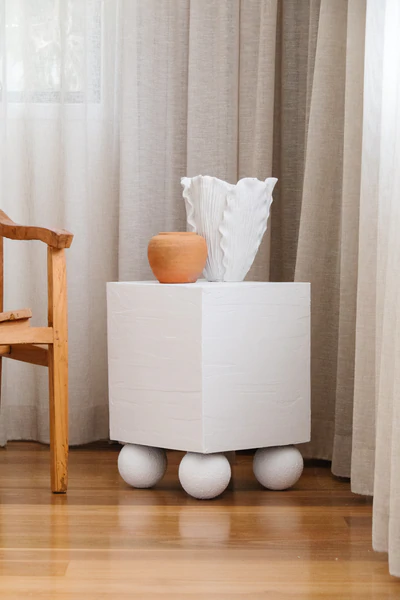
Upcycled Ball Side Table - Using Rendered Styrofoam Balls!
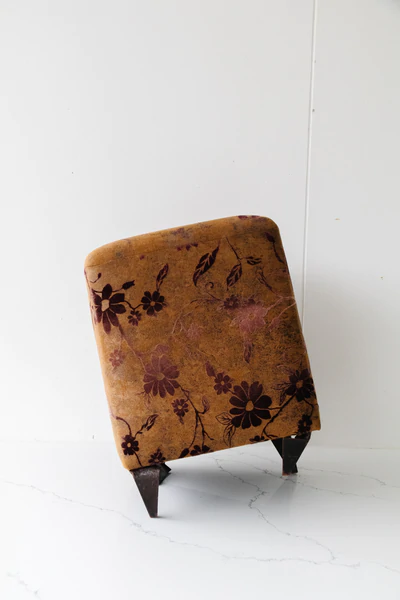
How do you upcycle a $5 tip shop footstool? Using styrofoam balls! And a bit of paint, glue and plaster, of course. Welcome to this weeks upcycle! I love sphere furniture legs and I have been pondering for a really long time how I could create some myself. What ensued was a long search for large wooden balls and you wouldn't believe the places I've been. I almost gave up on my idea when I couldn't find any, but when I was at Spotlight back in November shopping for Christmas crafts, I stumbled across some large styrofoam balls. They are typically used for Christmas decorations, floral arrangements and other crafts but then it clicked - I could use these for furniture legs! All I needed was to find the perfect piece of furniture to upcycle. I finally found a very sad looking footstool at the tip shop last week for $5 and knew it was kismet. Read on to find out how you can upcycle a side table using styrofoam balls.
Before & After

Materials
A lighter piece of furniture, like a footstool or a side table
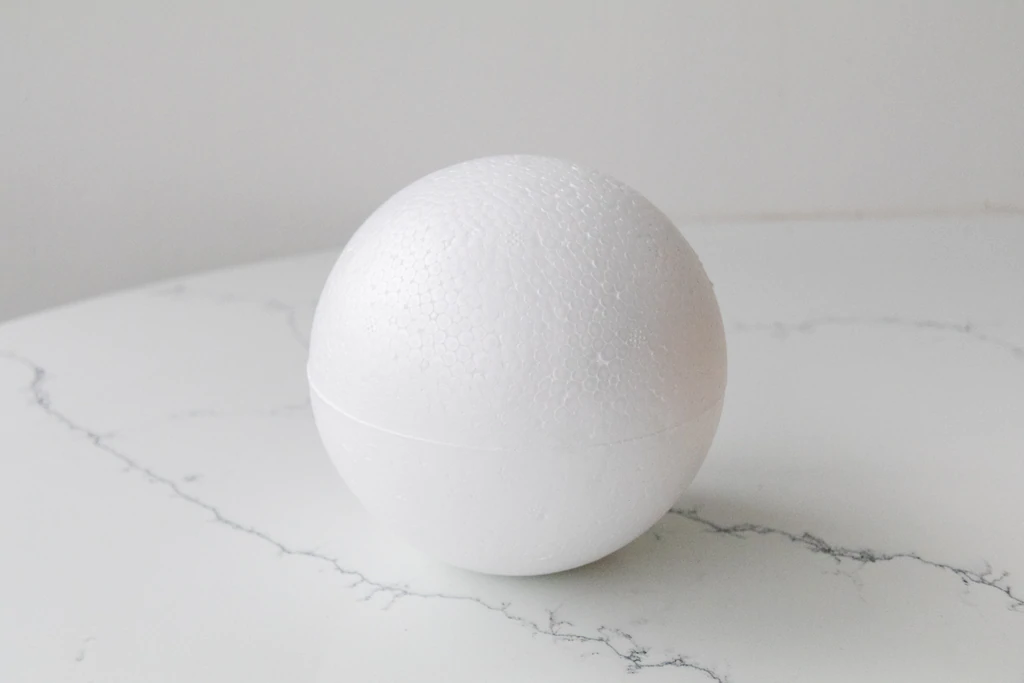
4 x 15cm styrofoam balls from Spotlight
Paint brush
White paint. I love and used Dulux Lexicon Quarter.
Cardboard box and 4 skewers
Dulux Texture Paint from Bunnings
3mm sheet of MDF from Bunnings
Selleys High Strength Liquid Nails glue from Bunnings
Painters tape from Bunnings
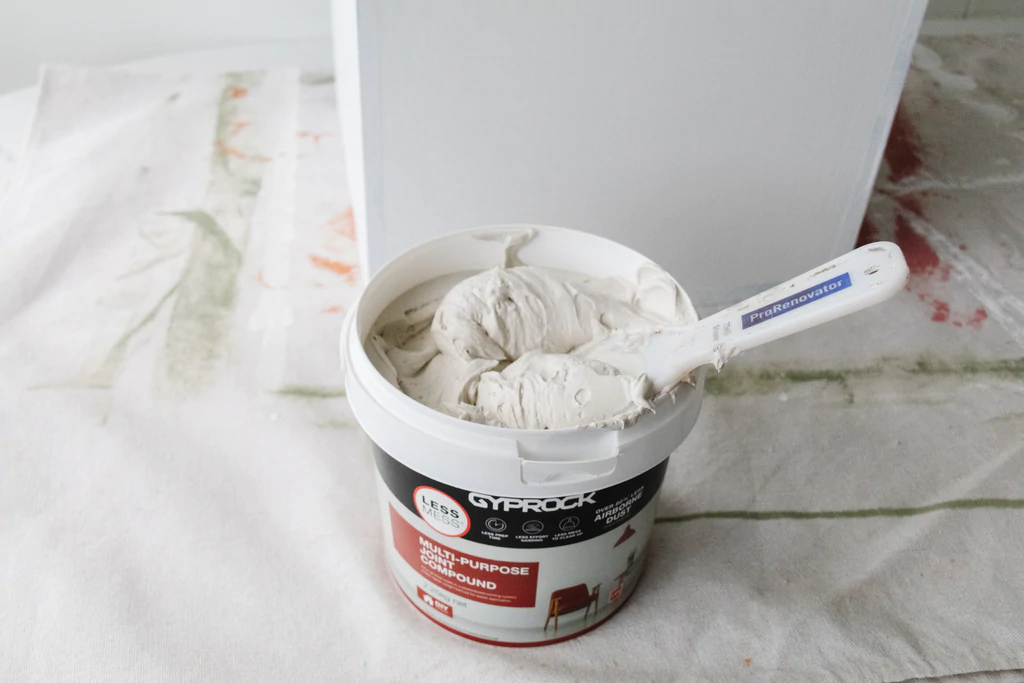
Gyprock Multipurpose Joint Compound from Bunnings
Paint scraper from Bunnings
I also used a measuring tape, ruler, pen, drill, detail sander, clamps and jigsaw.
For the purpose of this tutorial, I will be detailing the steps I took. You may need to adapt these steps depending on the piece of furniture you are using.
How To
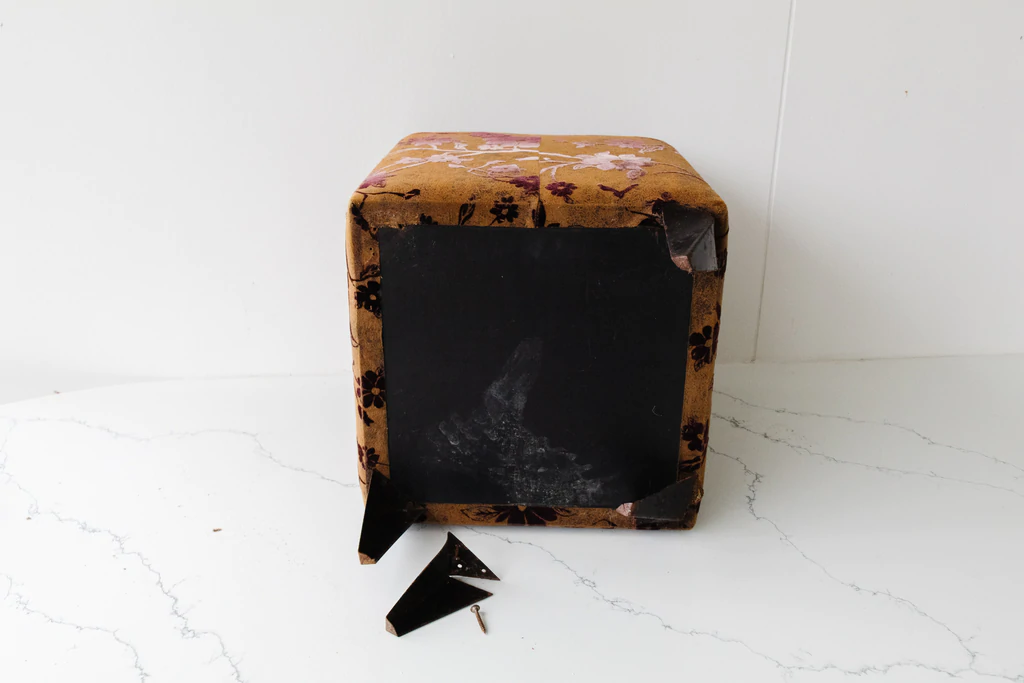
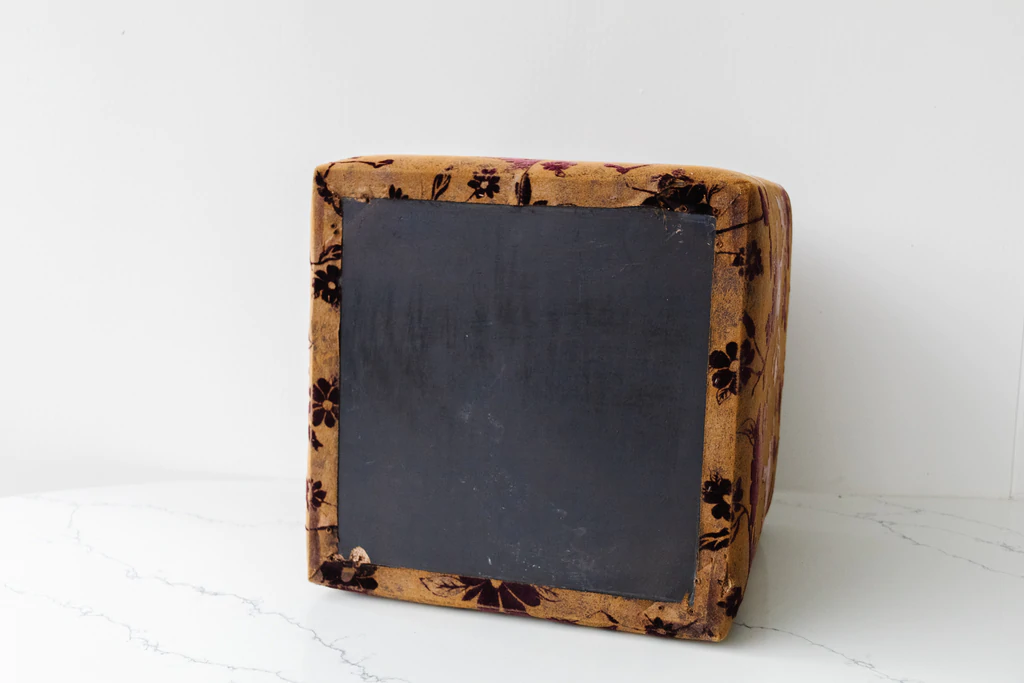
The first thing I did was to remove the legs from the footstool using a drill. They were in very bad condition so I threw them out with the rusted screws.

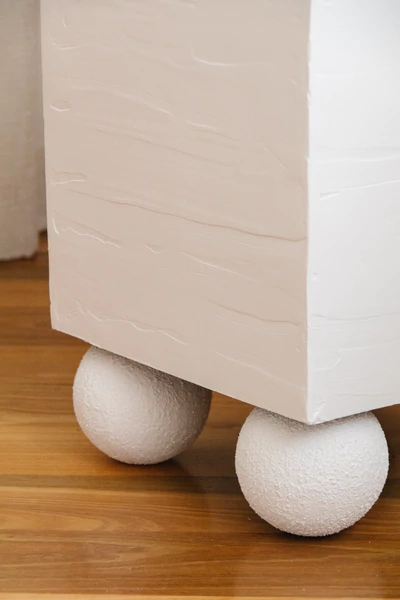
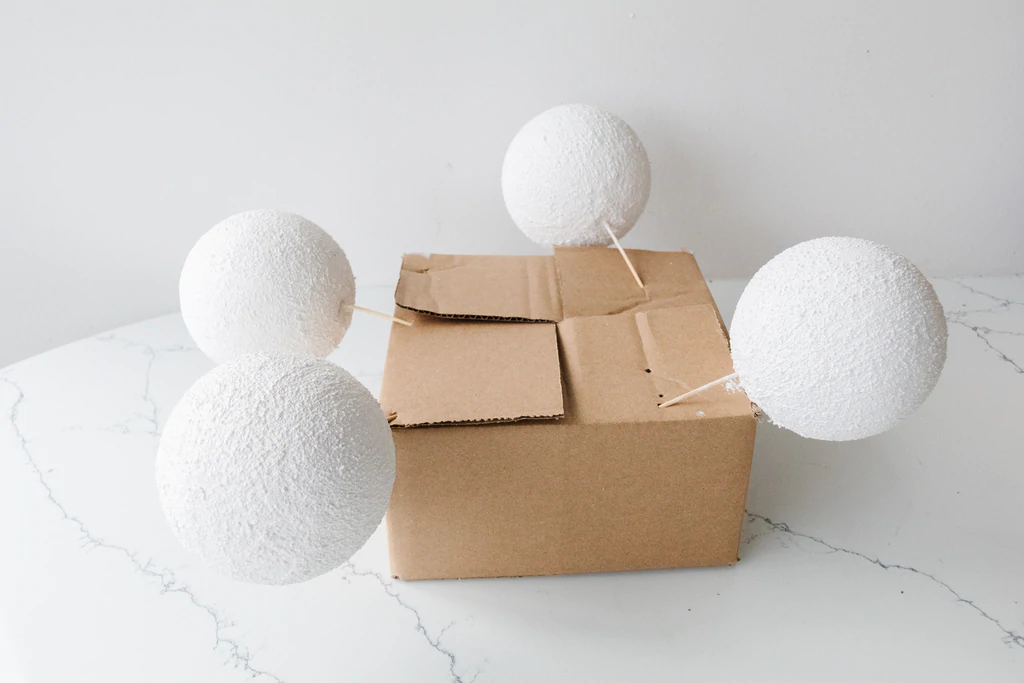
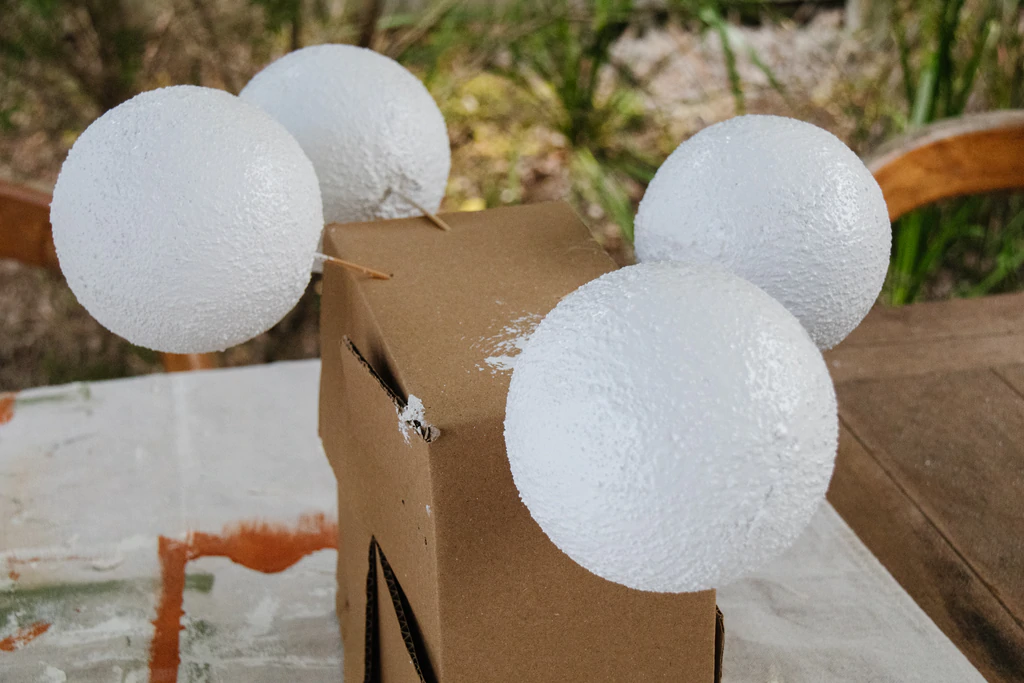
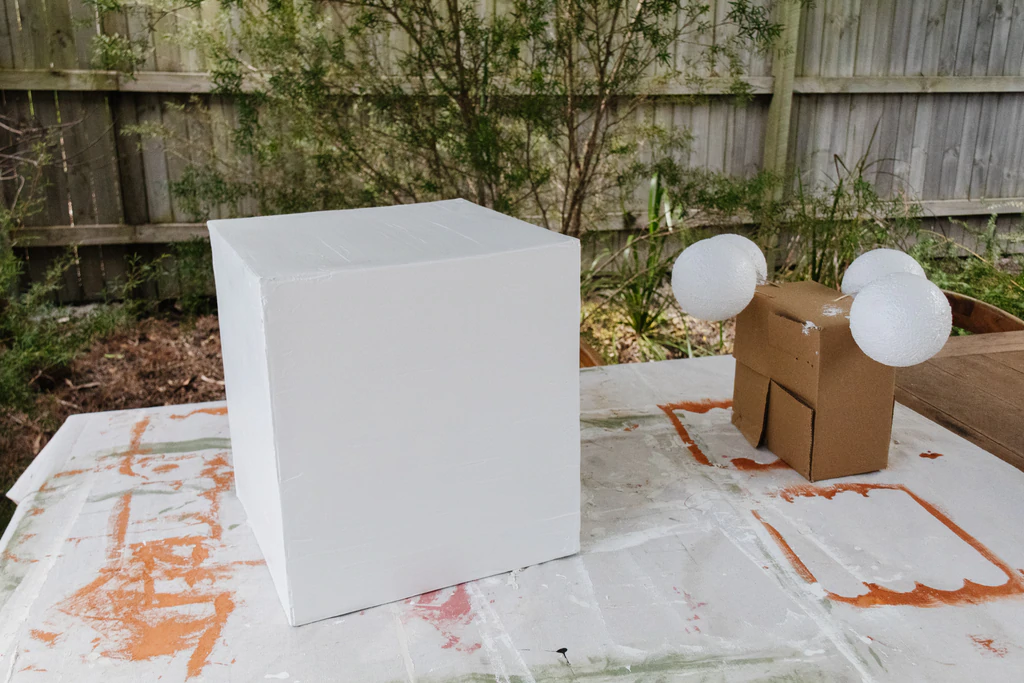
Following this I pierced the top of a cardboard box (close to the corners) four times with a skewer. I then pierced each styrofoam ball with a skewer and applied to two coats of white paint. I pushed the skewered balls into the cardboard box to dry between coats. Following this I dabbed the texture paint all over the balls and set aside back into the cardboard box to dry.
When the glue had dried I flipped footstool over and measured the height and width. I marked these measurements onto a sheet of MDF and cut them out using a jigsaw.

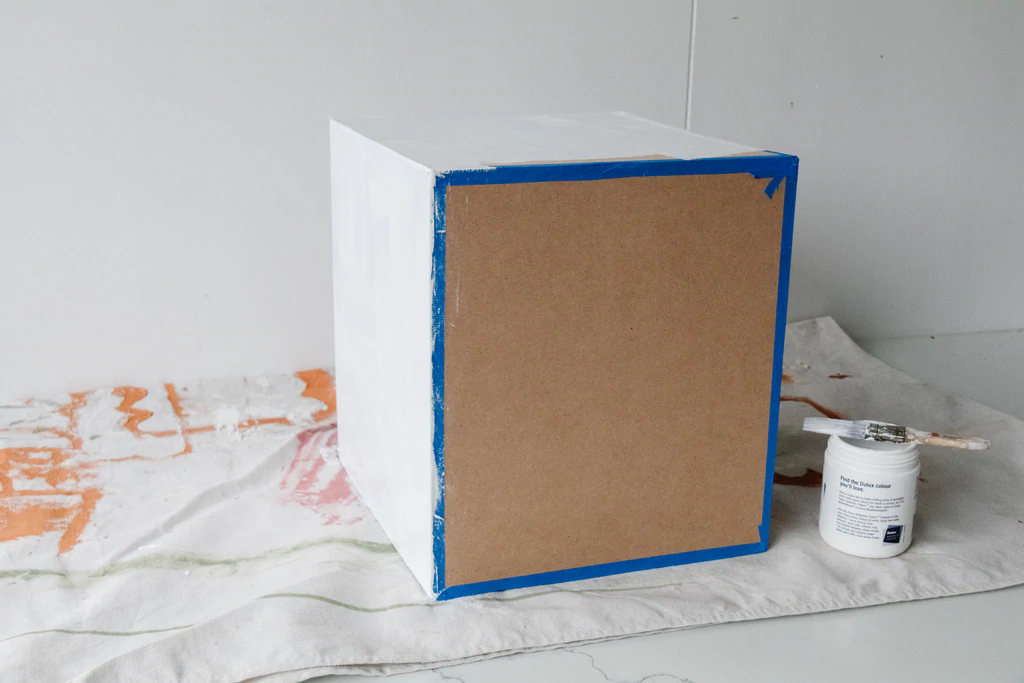
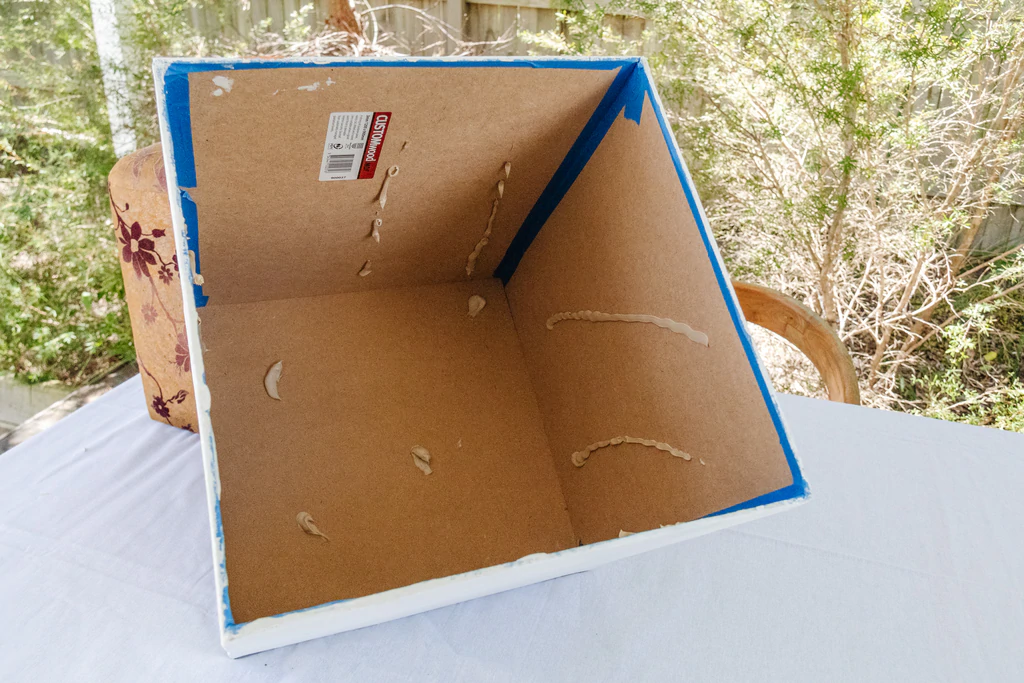
I put the pieces of MDF together to create a cube using glue and painters tape, with the top and bottom remaining open.
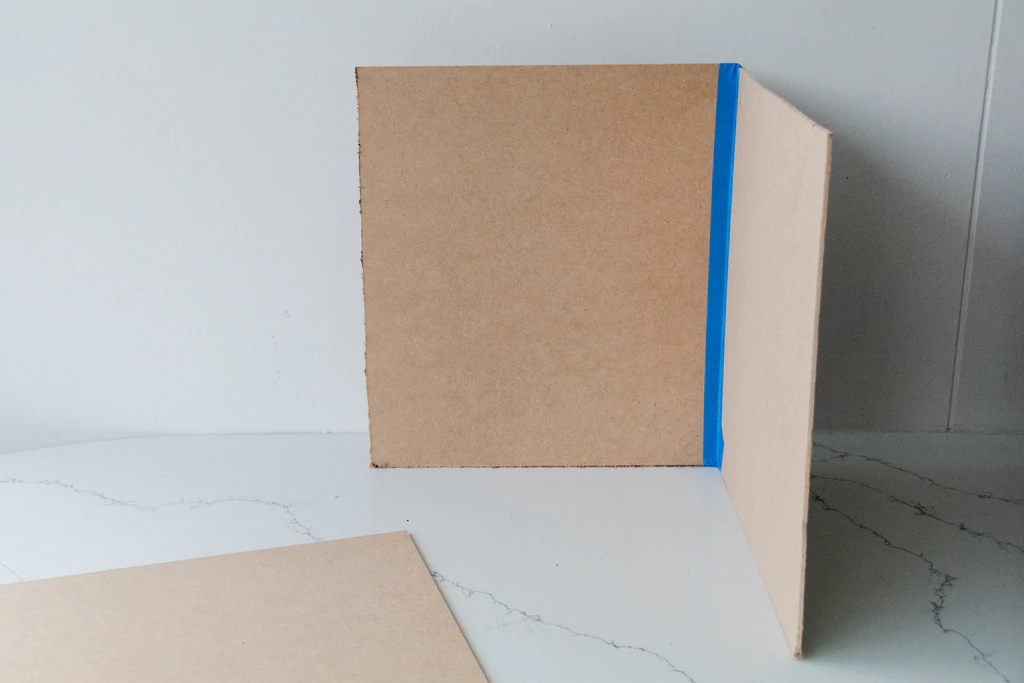
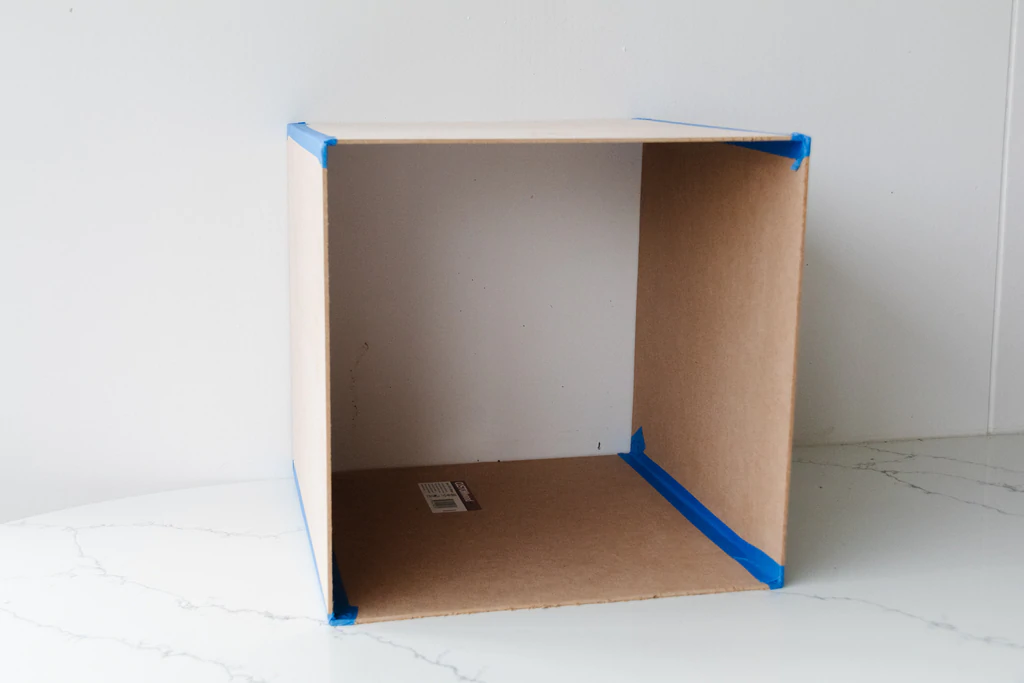
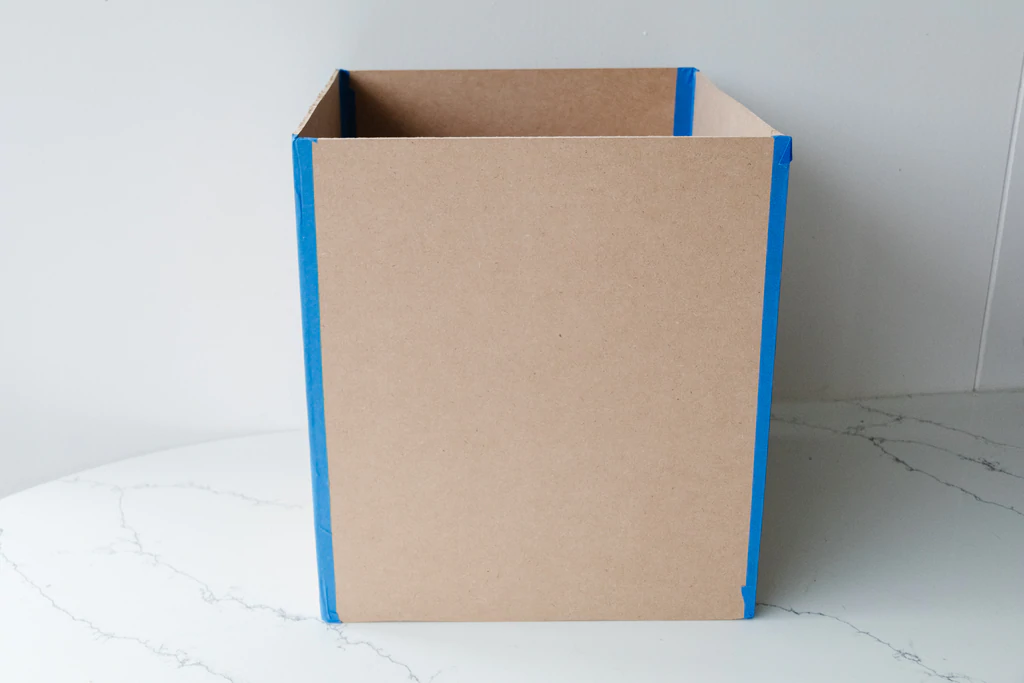
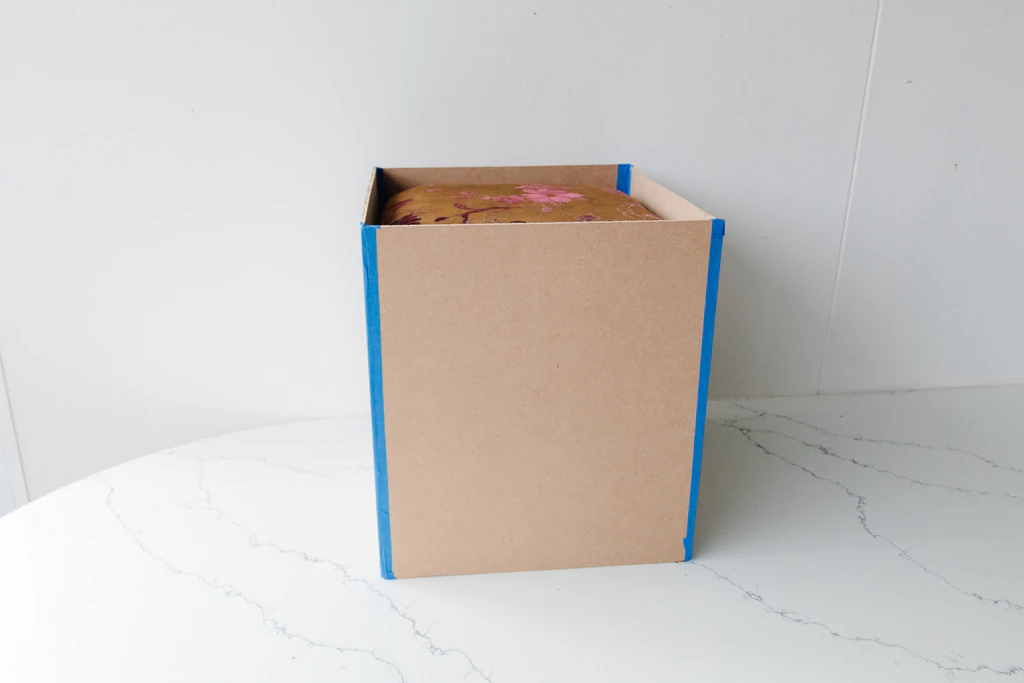
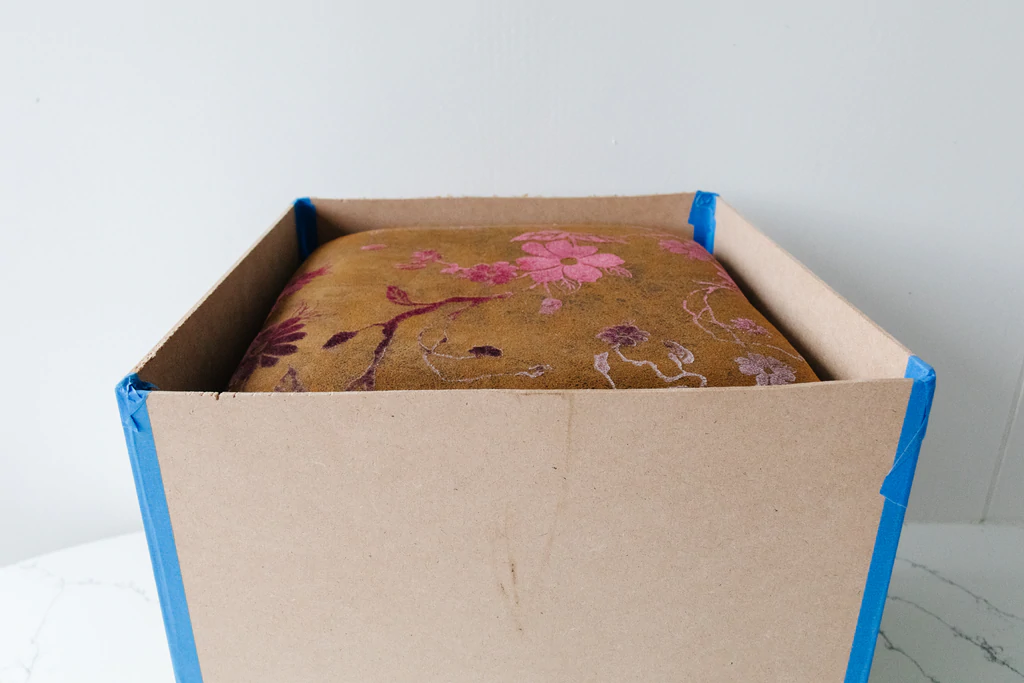
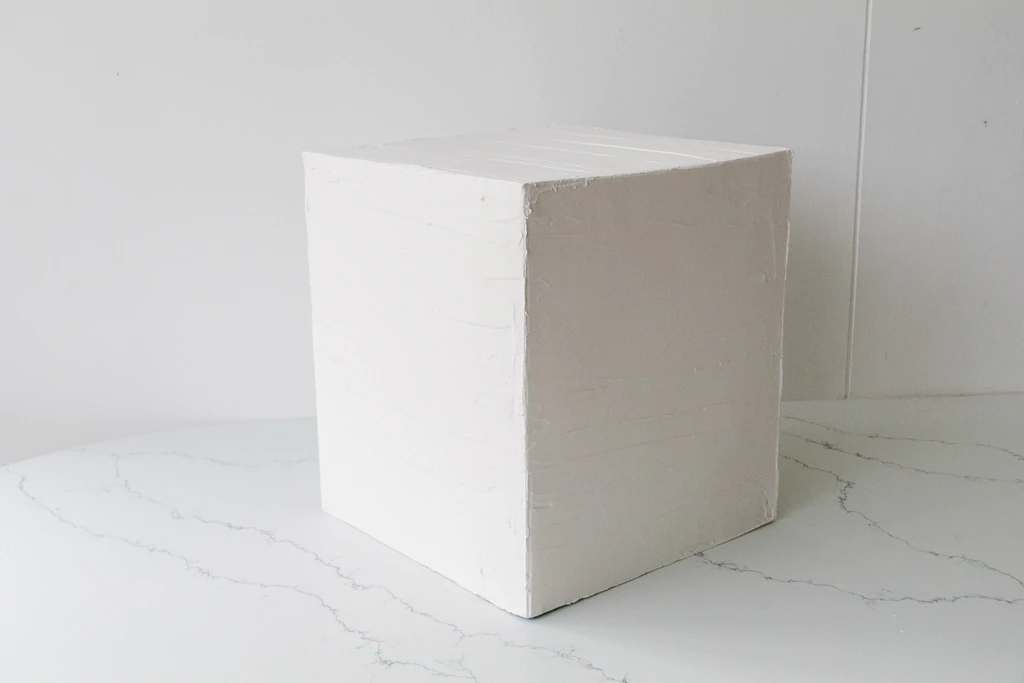
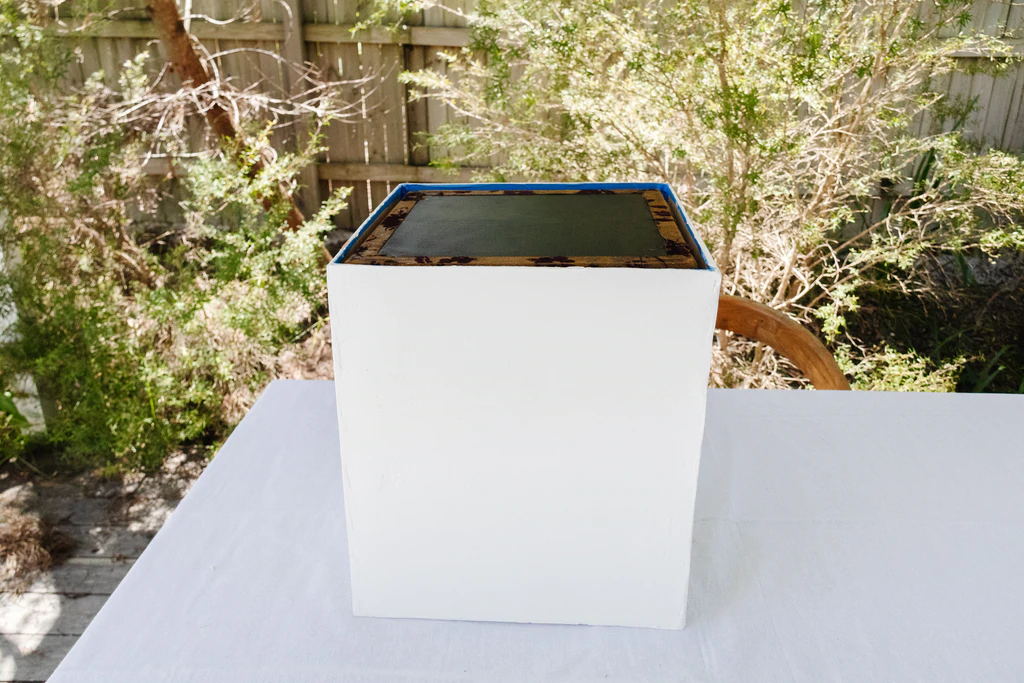
After checking the MDF fit around the footstool snugly, I cut another piece of MDF and closed the top of the cube (and it now looks like a plinth!).

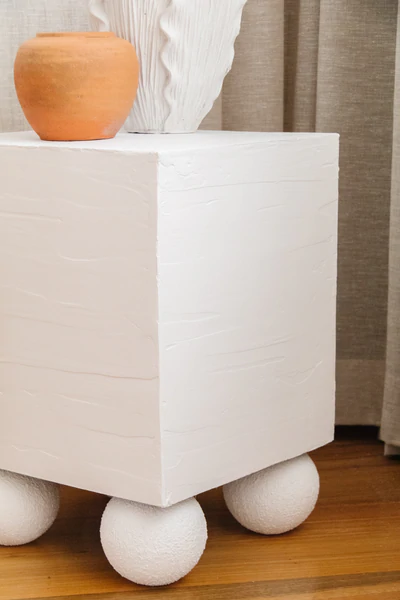
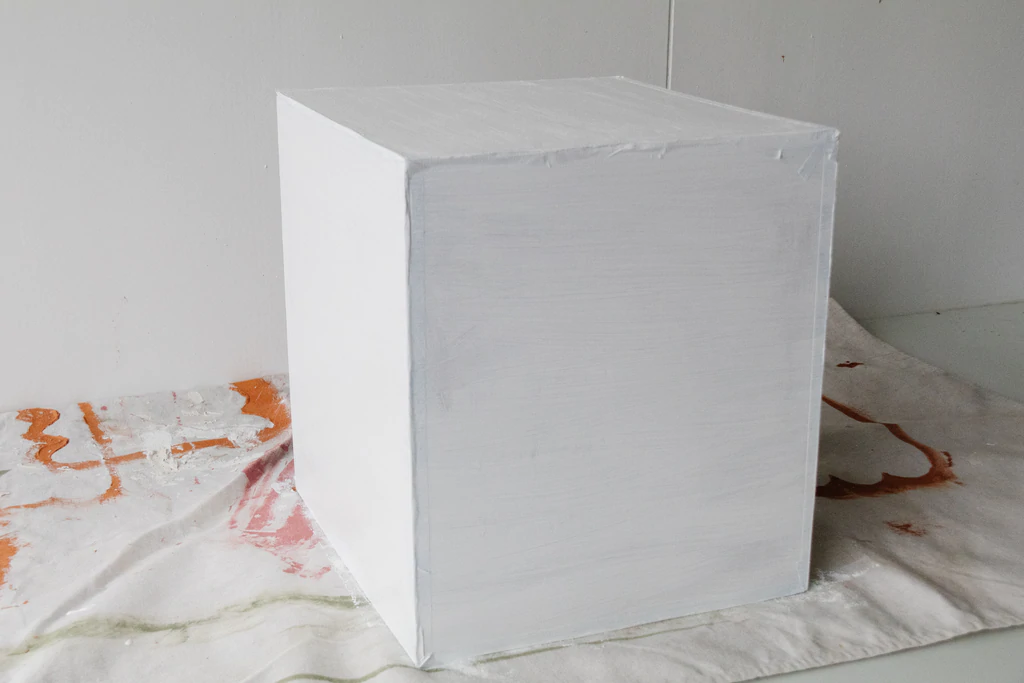
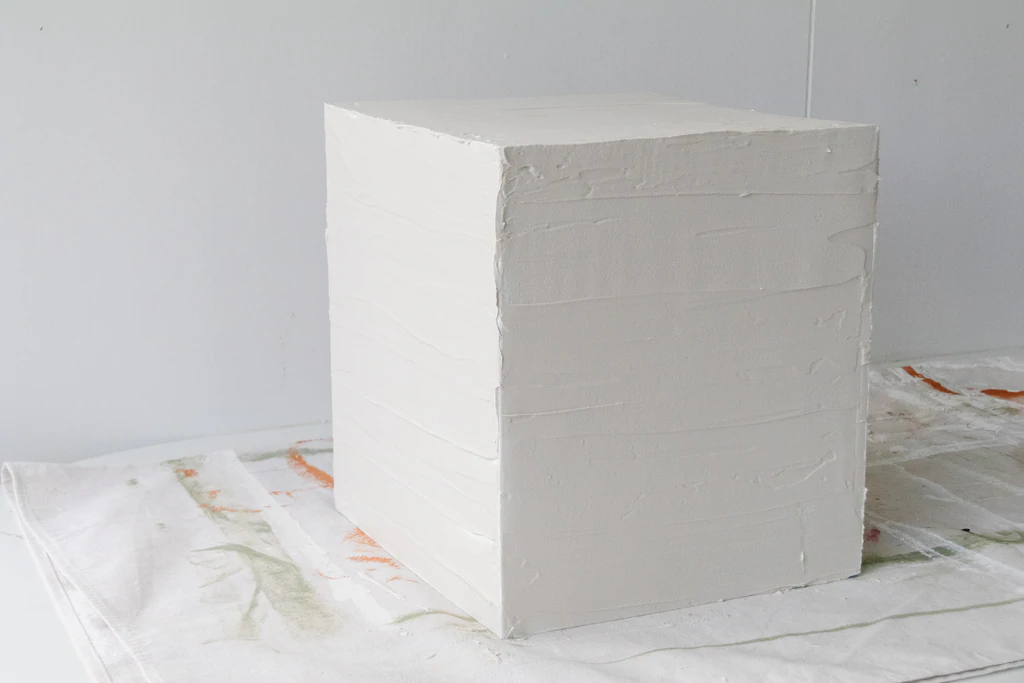
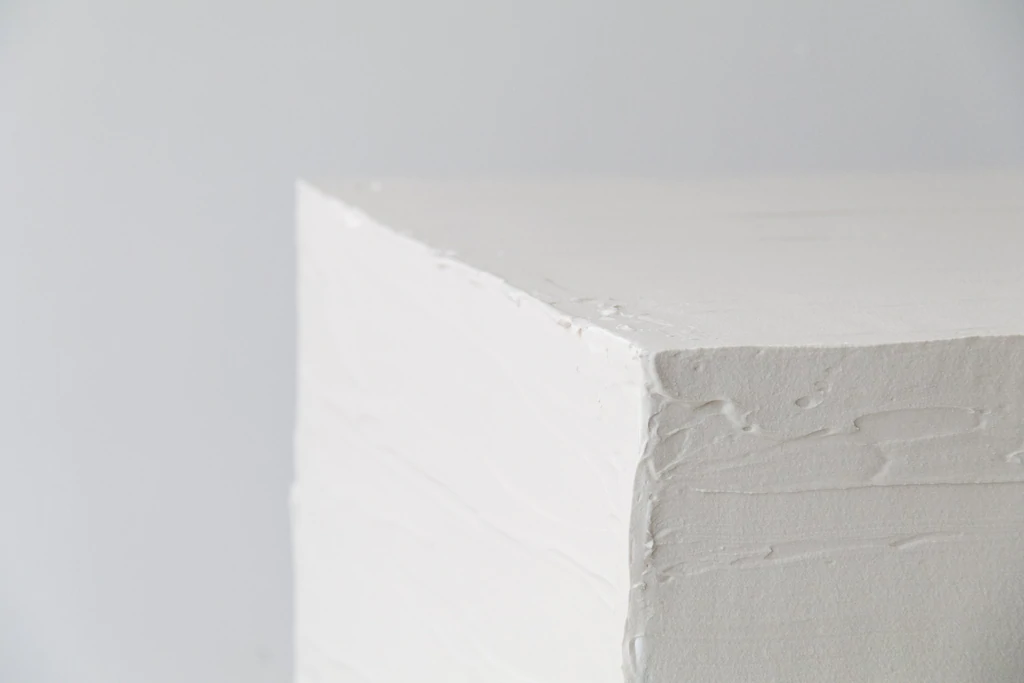
I removed the footstool from the plinth and applied two coats of paint directly onto exterior sides of the MDF cube. Then I covered the plinth as evenly as possible using plaster and a plastic scraper. This time I experimented with horizontal strokes to create a different texture and finish! The joint compound dries in 12 to 24 hours depending on the weather.
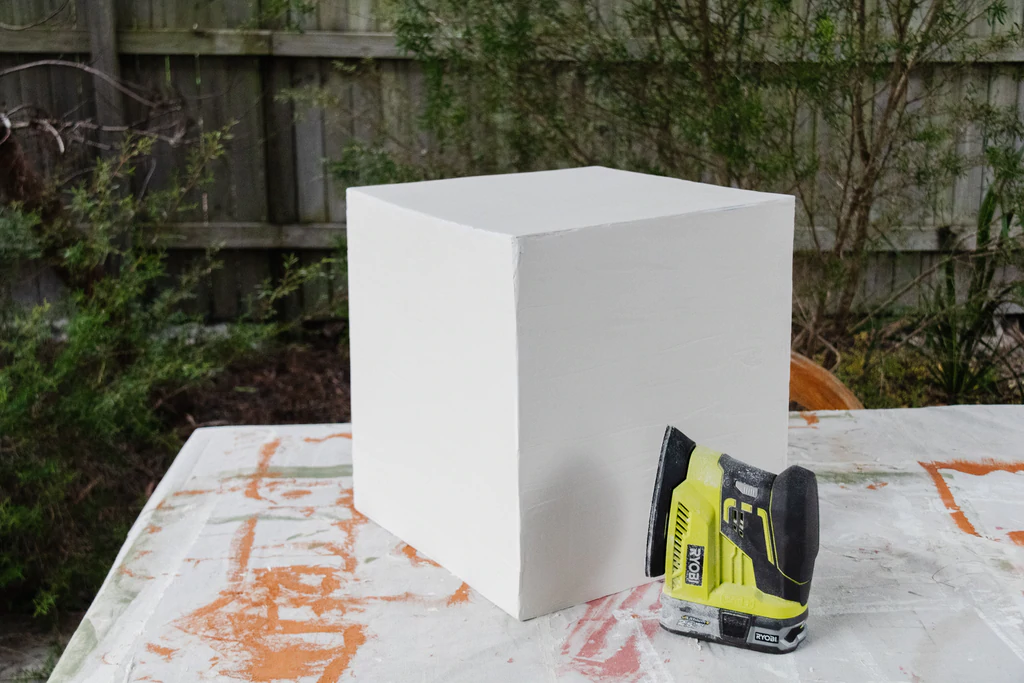
Once the joint compound had dried, I got my detail sander and sanded it smooth. Then I painted the joint compound and the textured balls so the finish was consistent.
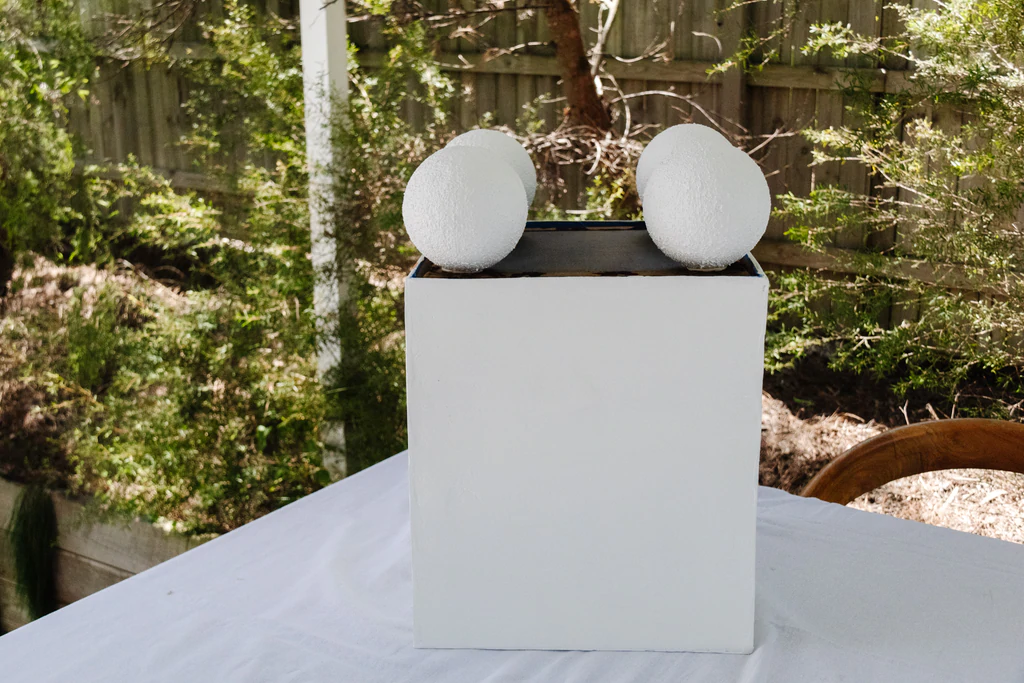
When the plinth and styrofoam balls were dried, I flipped the plinth over and applied glue to the inside. Then I slipped it over the footstool. I tipped the footstool onto it's top and firmly glued the foam balls in place underneath the footstool.
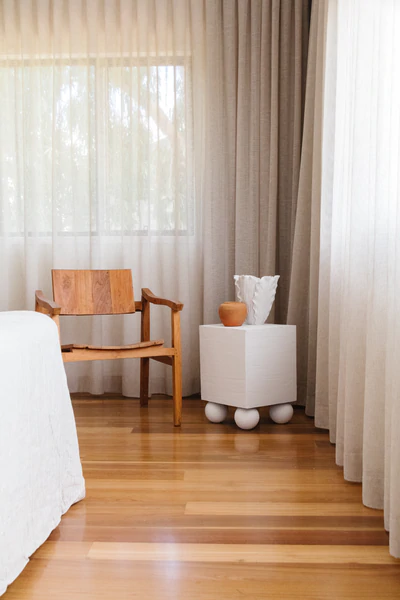
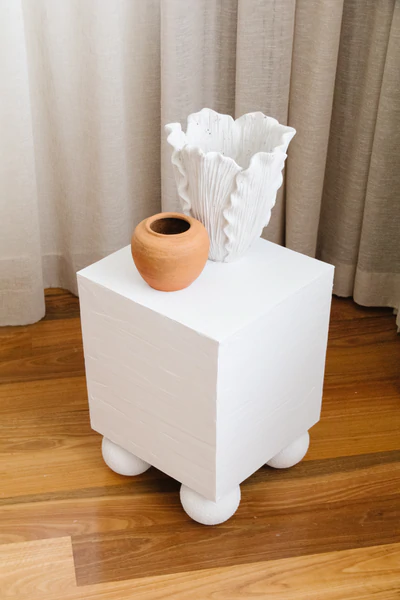
Ta daaaa! Nobody's gonna know I used a footstool and styrofoam balls to make this side table, right? Right?
I can't believe how good this side table looks! And to think it used to be a really ugly footstool... I love the beautiful curves of the ball feet juxtaposed against the sharp edges of the plinth on top. I am also genuinely blown away my idea for using styrofoam balls for the legs actually worked, and painting them in texture paint actually makes them look like they're made from rendered concrete. I hope this project brings you all the feels and is one you are encouraged to try at home. Total project cost? $45 (excluding paint and glue). Very happy, very happy indeed!