How To Make Upcycled Fluted Wall Sconces
Fluted Wall Sconces made from leftover dowel, cardboard box scraps and texture paint? Yes, yes indeed! Since I made my DIY Wavy Wall Scones last year using puck lights, I have become obsessed with wall sconces. Like, I want them everywhere ha! And when I realised I could use a dowel I had leftover from this project to make a pair of DIY Fluted Sconces for our living area, I couldn't wait to get stuck in. I have to admit though, this project had a few twists and turns. My original plan was to leave the Tasmanian Oak dowels as they were to highlight the beautiful timber, but I ended up getting white glue on the front of the dowels and I had to pivot. I decided to simply paint them white, but when I realised I still had half a tub of Dulux Texture Paint left in my studio, I decided to finish the wall sconces with that. And to my total surprise, the texture paint actually created a gorgeous rendered finish - which I am obsessed with! Totally project cost? $0! Why? All the materials I used for this project I already had at home, and being able to reuse and repurpose materials that could have ended up in landfill has brought me a lot of joy. Read on to make your own DIY Fluted Wall Sconces. And make sure you watch this video to see how it all came together.
Materials
Cardboard box or cardboard scraps
Boxcutter
Painters tape from Bunnings
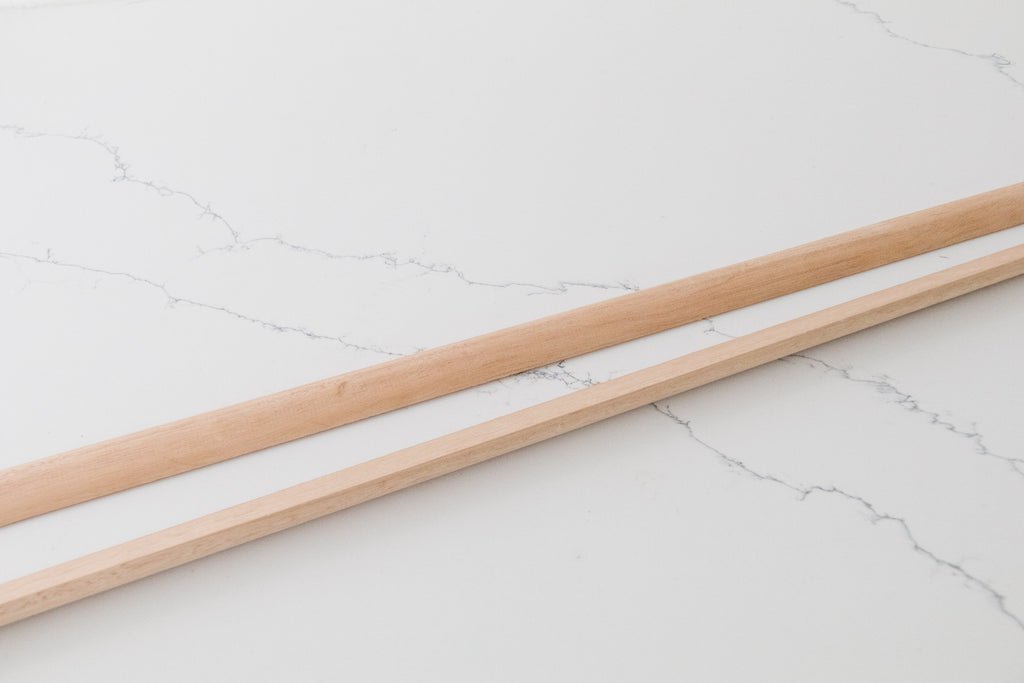
2 x 2.4m half dowel (I got a 2.4m whole dowel I had from an existing project cut in half lengthways at Bunnings where I purchased it from)
Pen and measuring tape
Glue - I used Selley's Hold Up and when I ran out of that I used Selley's Liquid Nails, which I think is better suited to this project.
White paint
Paint brush
Dulux Texture Paint from Bunnings
2 x puck lights from Bunnings
3M Command Velcro Strips from Bunnings
I also used a jigsaw and clamps for this project.
How To
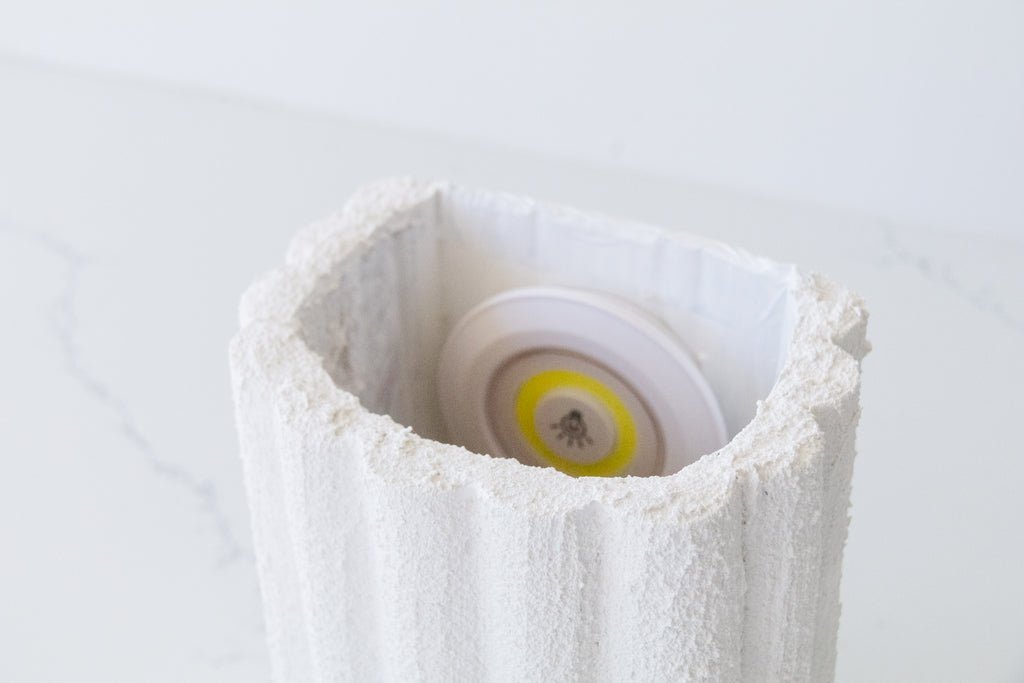
Create two cylinder frames for the wall sconces using cardboard and painters tape to the measurements of your choice. Set aside.

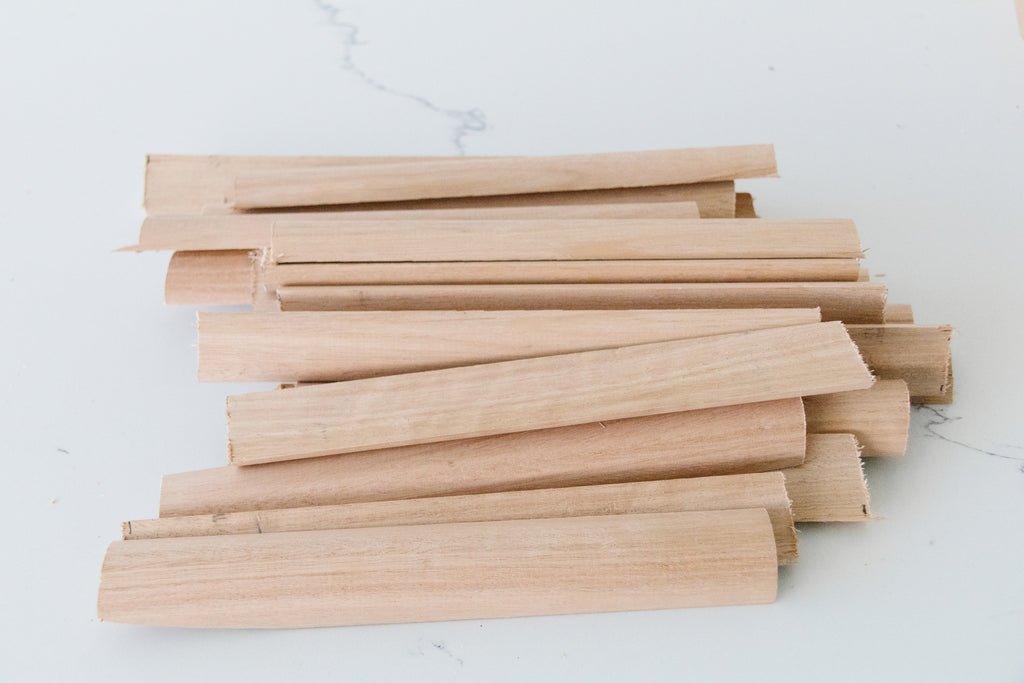
Measure and mark how long you would like each piece of half down to be using a pen and measuring tape. Secure one of the half dowels to your work surface with clamps and cut the half dowel using a jigsaw. The length of my half dowels were 21cm so I was able to get 11 cut per 2.4m half dowel. You might need more or less depending on how big or small you'd like your fluted wall sconce to be! Make sure the dowels are as even in height as possible.
Mark out with painters tape the section on the cardboard that will face the wall and then glue the flat side of each half dowel onto the cardboard. I used 11 dowels per wall sconce. Set aside to dry.

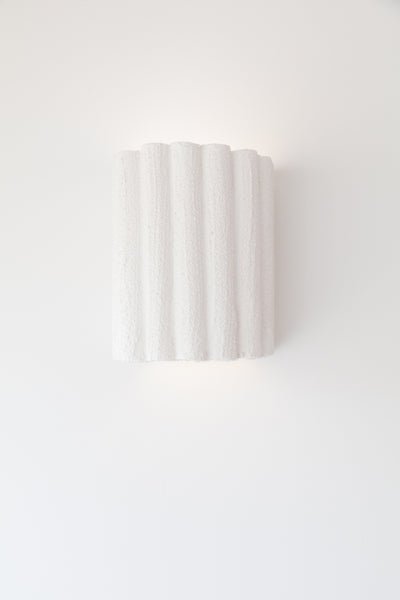
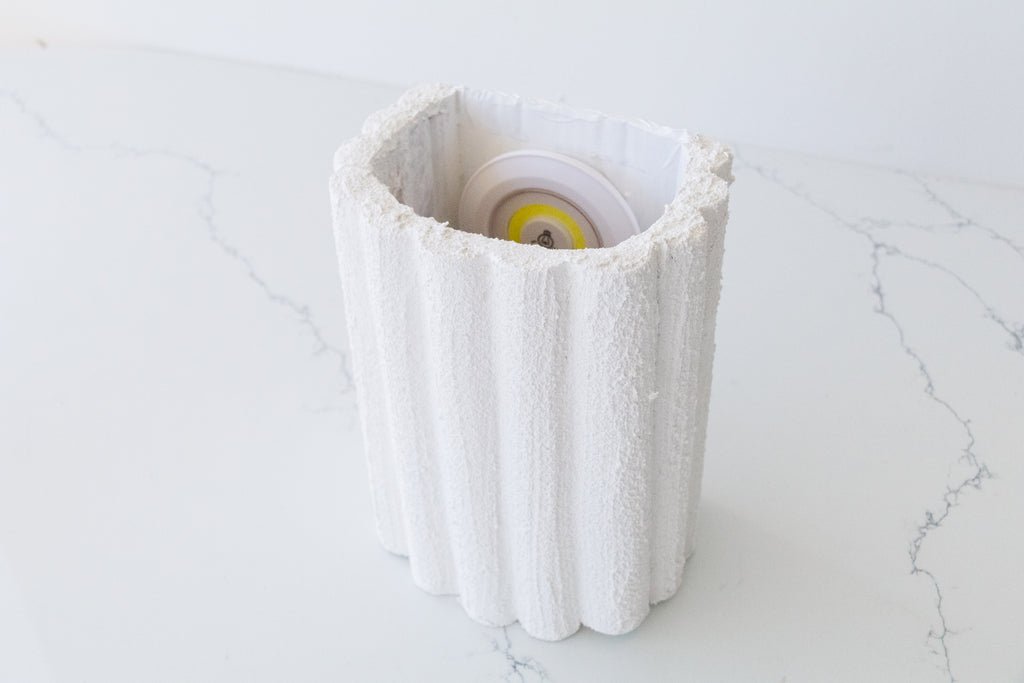
Paint at least 2 to 3 coats of white paint over the entire surface of the wall sconces. You don't have to paint the back if you don't want to. Apply Dulux Texture Paint over the painted half dowels and make sure your brush is moving up and down the half dowels and not across. Set aside to dry. Feel free to add as much or as little as you like. One thing I wanted to ensure was to "hide" the lines where the half dowels met on the sconce and so I used a bit more Texture Paint in those sections.
When the Fluted Wall Sconces have dried, place the 3M Command Strips on to the back of the each wall sconce. These velcro strips are great because they are removable! These sconces were a bit heavier than my DIY Wavy Wall Sconces, so I used more velcro strips to make sure they were really secure.

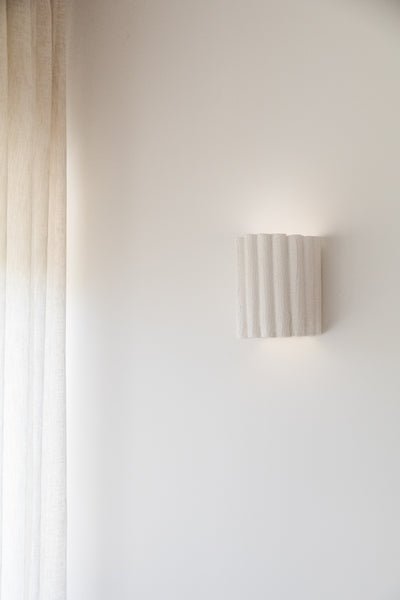
It's now time to place the puck lights into the sconces. The puck lights come with a sticky backing, so remove the strip and place the puck light in the middle of the inside of the cardboard box. Press down firmly. You can turn the puck lights on by using your hand or you can use the remote that comes with the packet. Next mark out where you want the sconces to go on your wall, then firmly press each sconce onto the wall. Use the remote control provided to turn the puck lights on and off, or you can do so manually with your hands.
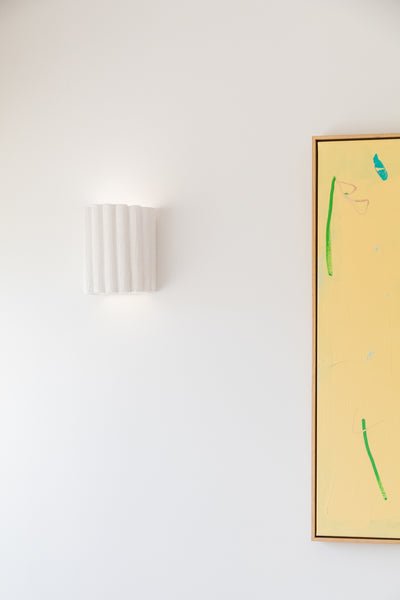
Ta daaaaa! A DIY adventure involving cardboard scraps, dowels and texture paint.
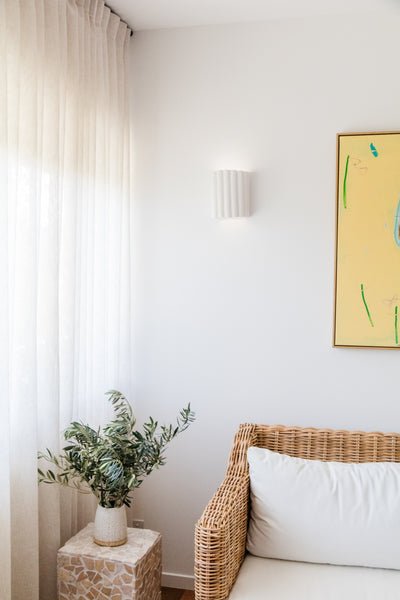
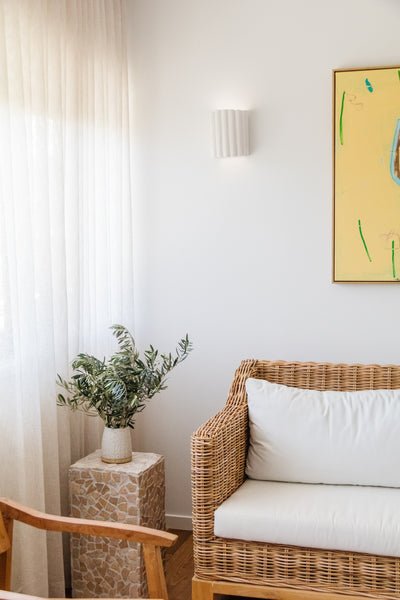
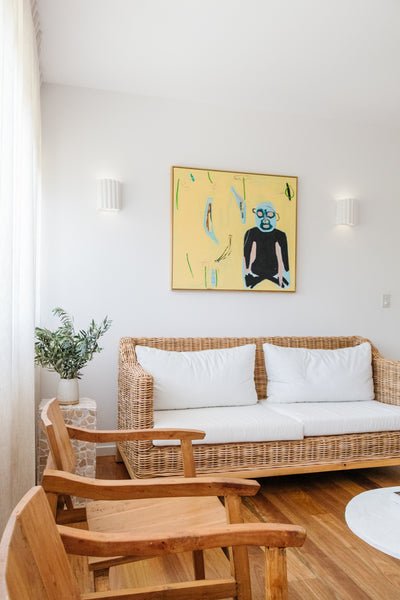
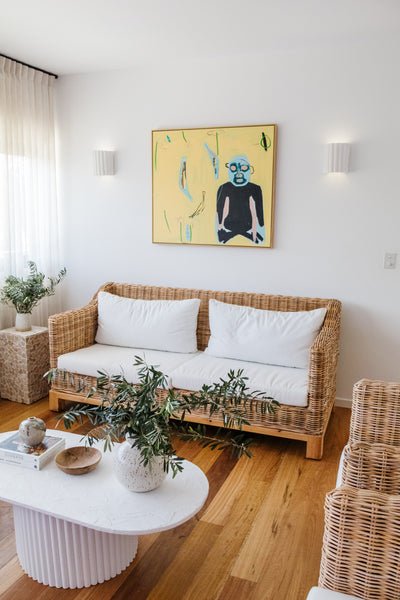
I honestly cannot believe how beautiful these Fluted Wall Sconces look. They're organic, raw and utterly divine. I love how they add texture and a point of difference in our living room while complimenting our art and furniture so well. I feel like these sconces would look good in any home, no matter the interior style. And while I had a plan in mind, it was fun to push myself creatively and pivot when it looked like it wasn't going to work out! The beauty of DIY...IRL.