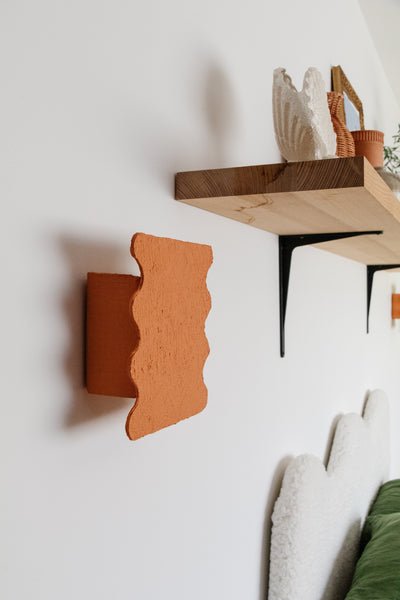
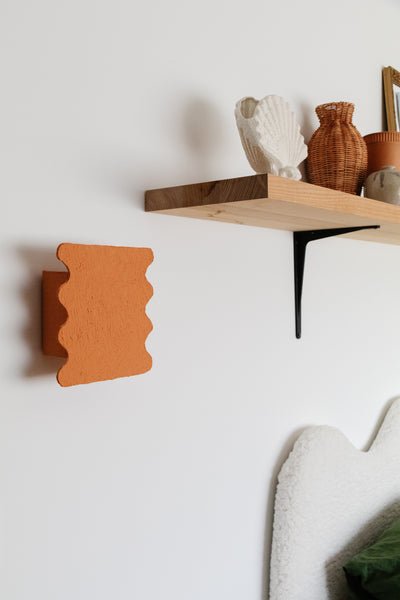
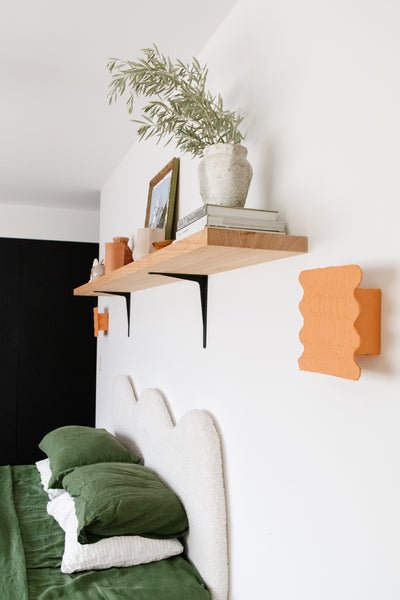
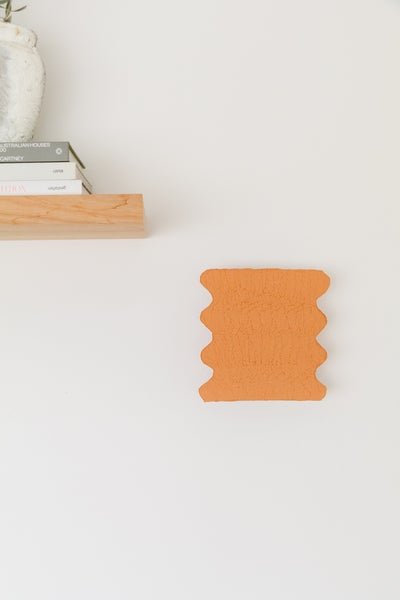
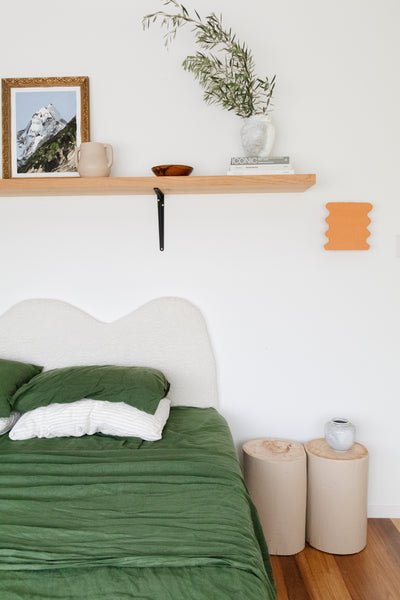
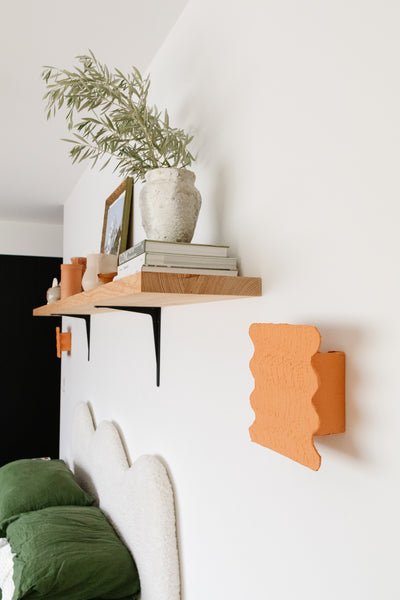
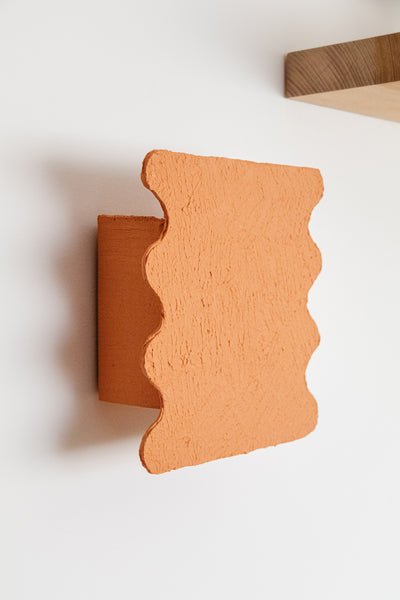
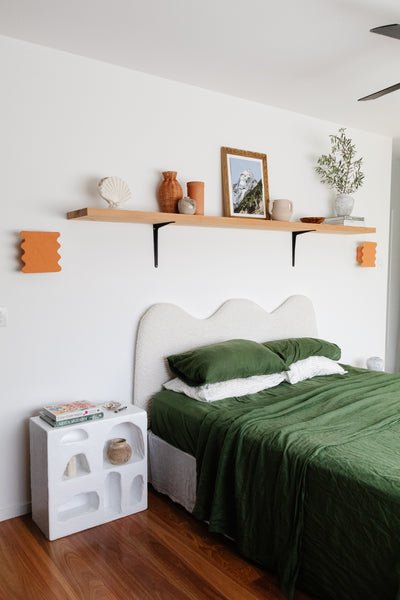
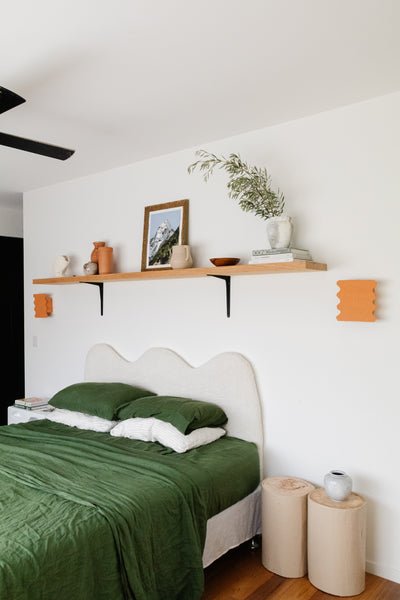
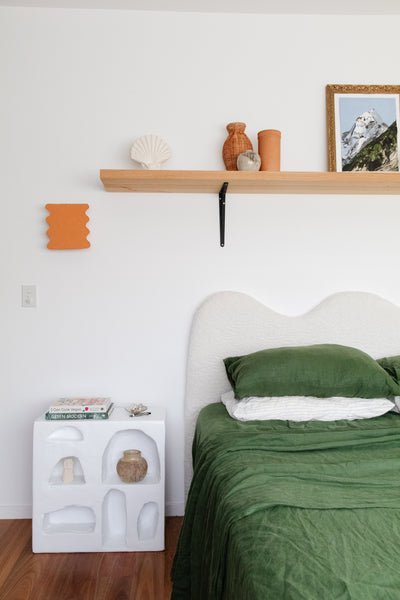
DIY Wavy Wall Sconces
Coming to you this week with a project I have been mulling over for a long while, the DIY Wavy Terracotta Sconce. As you already know I love anything wavy - have you seen my DIY Wavy Mirror, DIY Wavy Chubby Table, DIY Wavy Placemats, DIY Wavy Bed Head and DIY Wavy Candle Holder? Can't stop, won't stop. I love the softness and interest a wavy edge gives a space and for this project, I used several inspiration images as a reference point for the design. I had 3 designs in mind and put a vote out to Instagram to see what my amazing community liked the best. And let me tell you, I was surprised when my preference got the least amount of votes! So I decided to make the top two designs to see which one worked in the space the best.
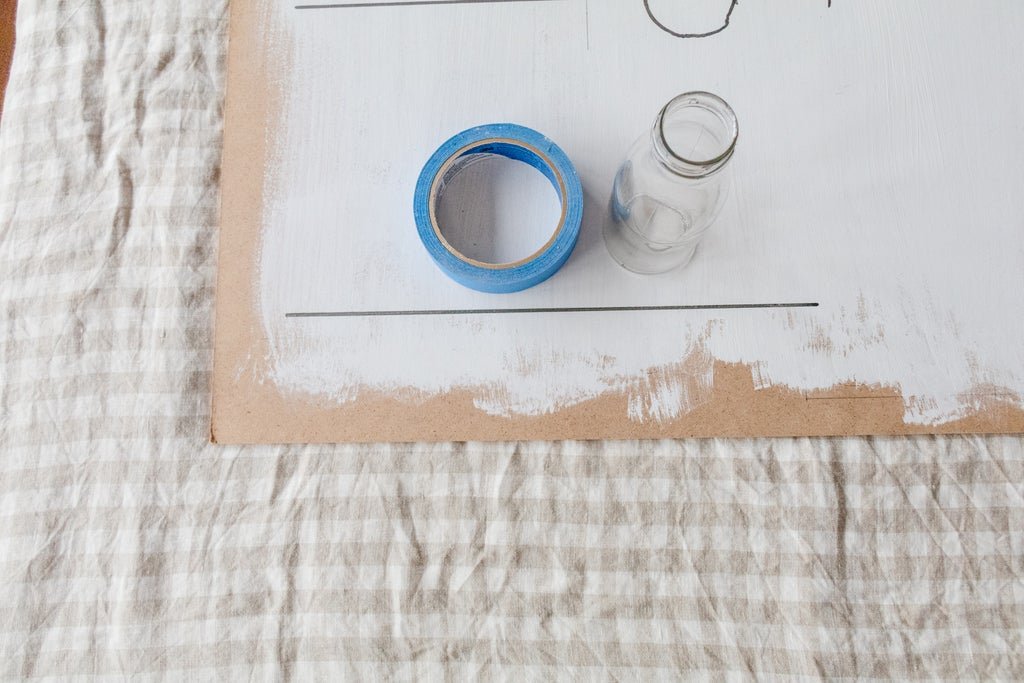
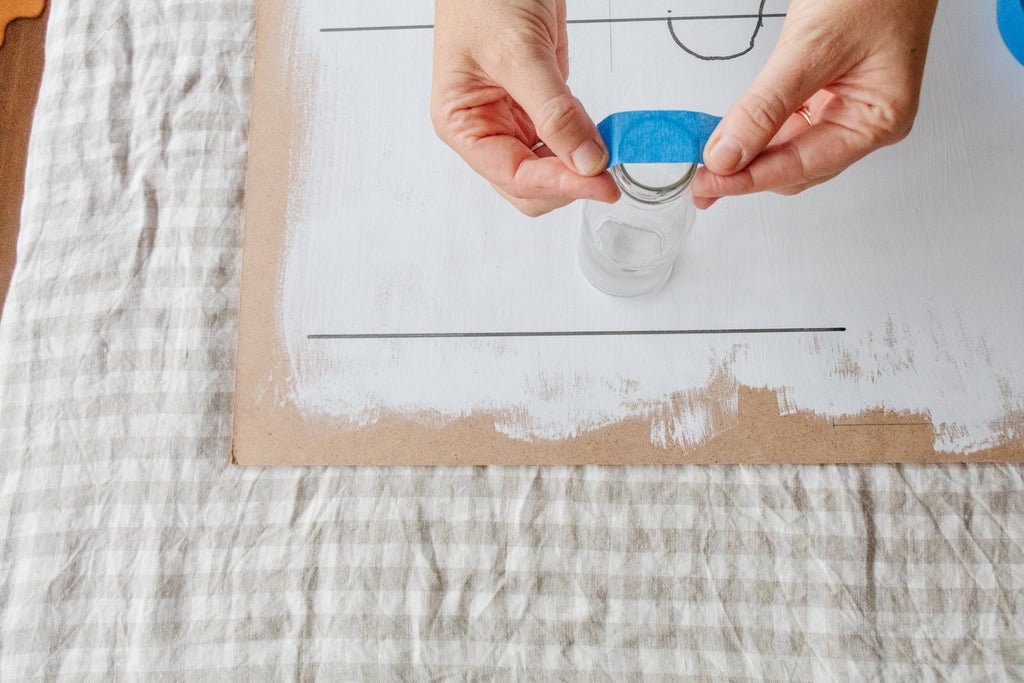
Now, as you know I love coming up with creative DIYs using what I already have at home. For this project I repurposed a thin sheet of MDF, a cardboard box, puck lights, painter's tape and paint. I knew I wanted the DIY Wavy Terracotta Sconces to have a professional look and when I tried to freehand draw the waves myself I came unstuck. It's not easy, even with measurements! I gave it some more thought and wondered if I could use the narrow end of a glass bottle to draw the waves evenly. I used a piece of painters tape placed across the top of the bottle to ensure the height and depth of each wave was consistent as I traced around the bottle on top and below a straight line - and it worked! Next entailed an adventure using my trusty jigsaw, terracotta paint, plaster of paris, and here we are! Read on to learn how to make your own DIY Wavy Terracotta Sconces.


Materials
Thin sheet of MDF
Ruler & pen
Bottle, coin, coaster - anything in the shape of a circle
Painters tape
Cardboard box
Strong glue (I used Selley's Exterior Wood Glue)
White paint
Grout - optional or any other colour paint of your choice
Paint
Plaster of Paris, or you can use my DIY Texture Paint, which uses flour instead of plaster of Paris (and is more affordable/accessible)
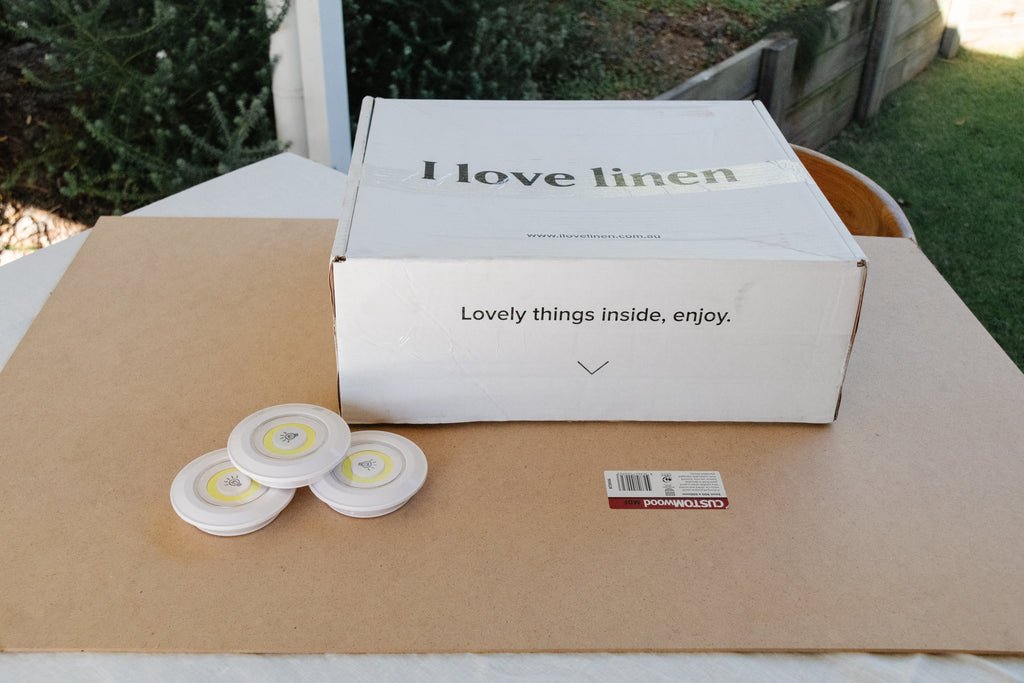
2 x puck lights
3M Command Velcro Strips
I also used a jigsaw and clamps for this project.
How To
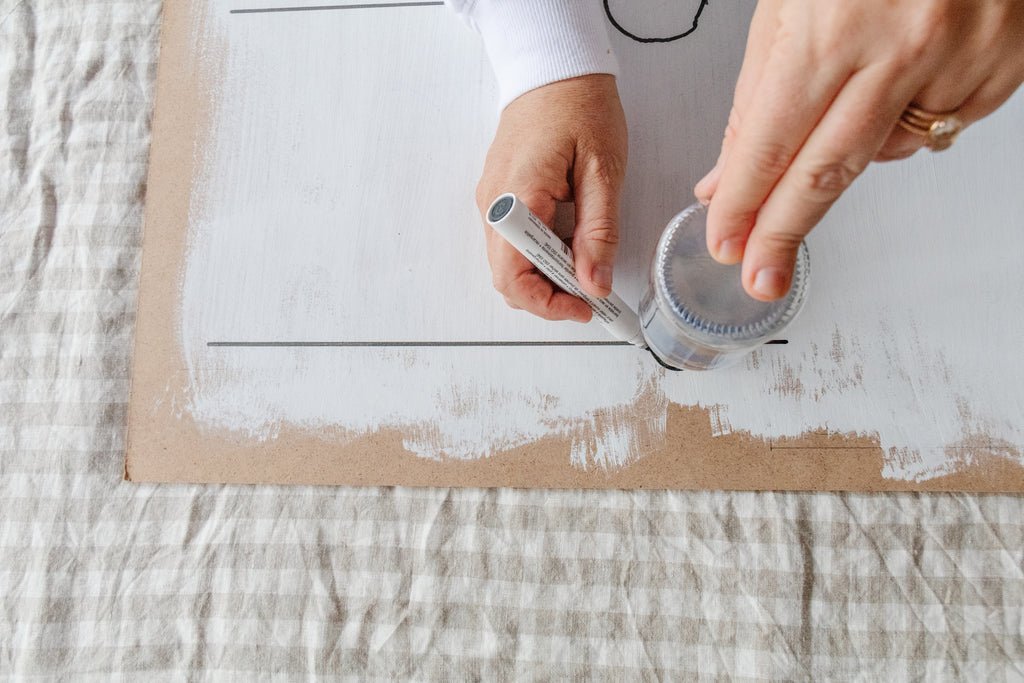
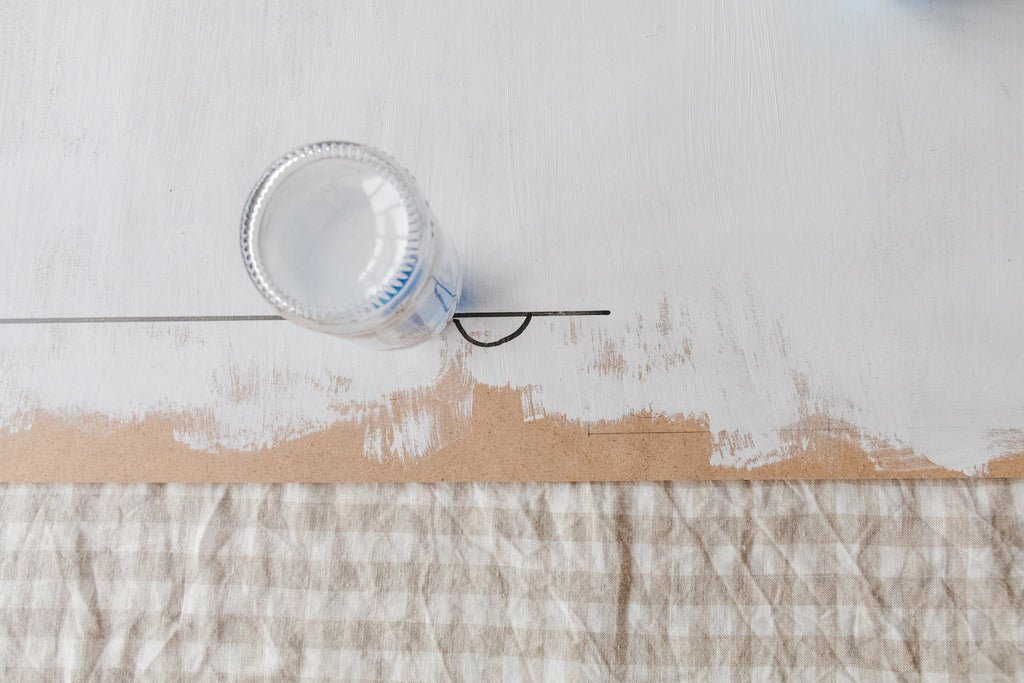
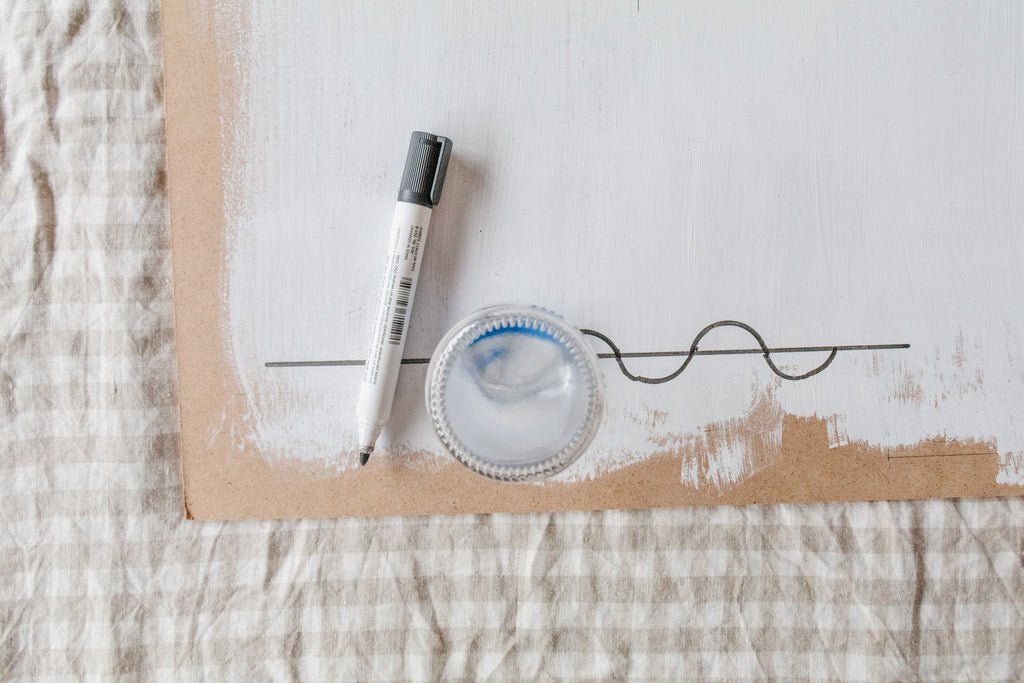
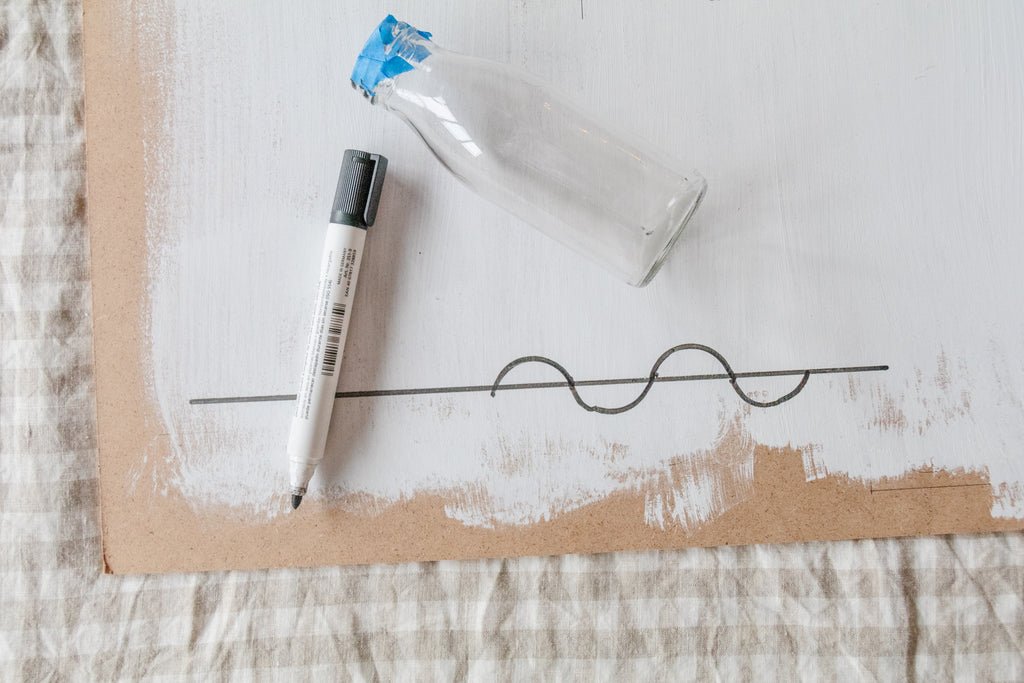
Place the MDF sheet on your work surface. Work out the size of your sconce, I knew I didn't want ours to be bigger than 25cm x 25cm. Using the pen and ruler, draw a line onto the MDF.
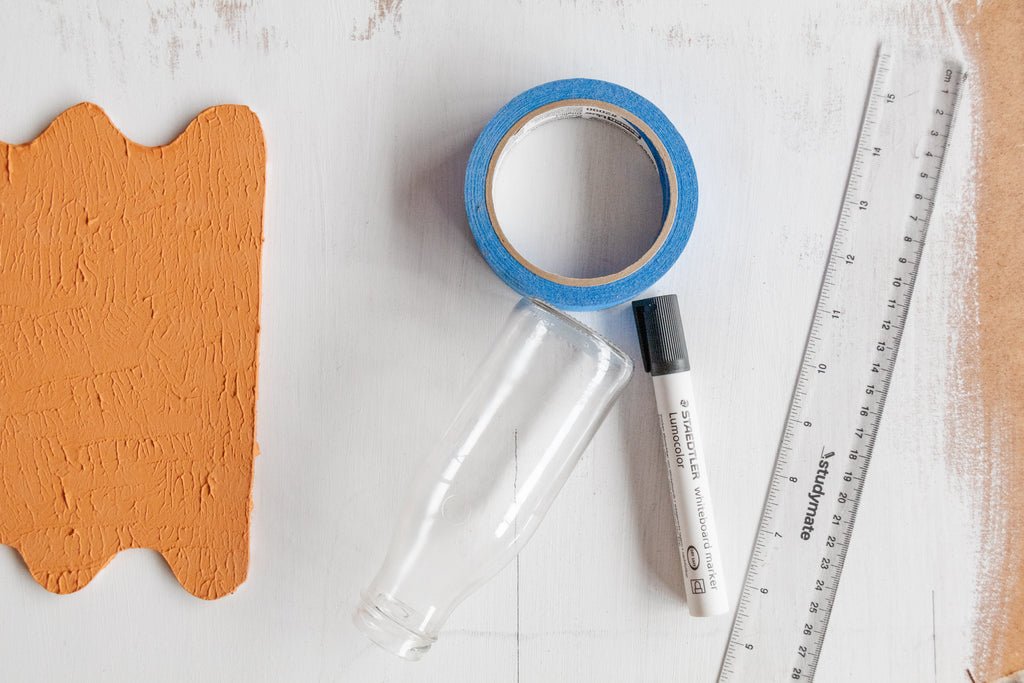

Place a piece of painters tape across the end of the bottle. Line the tape with the line on the MDF and trace around the top half of the bottle top. Repeat underneath the line and keep going until you are happy with the amount of waves. I chose to do 4. Mark out the the remaining shape of your sconce.
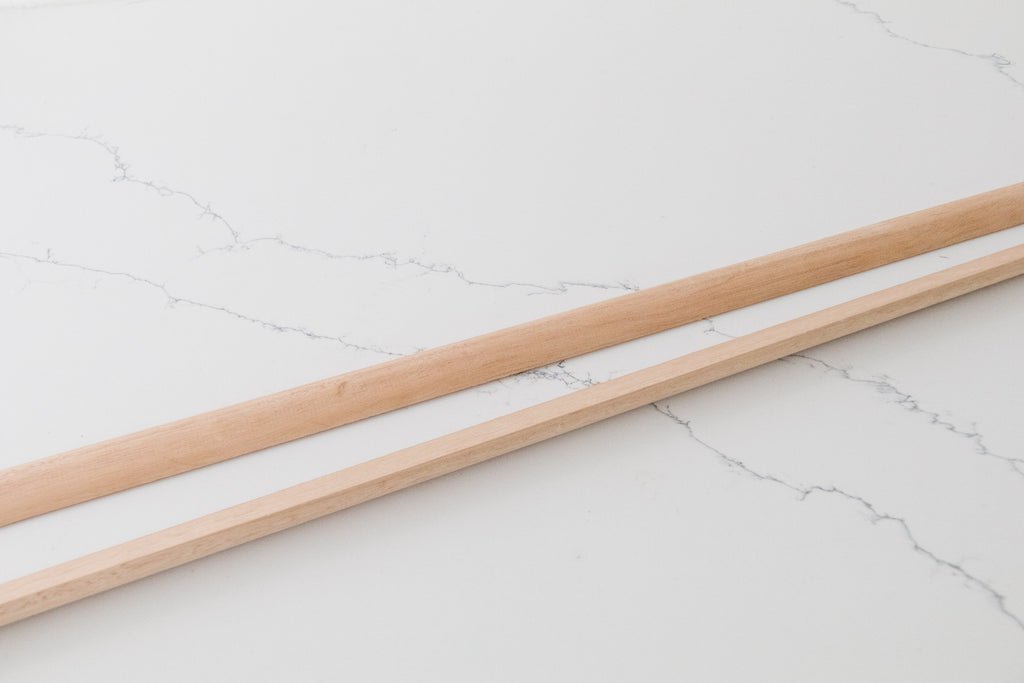
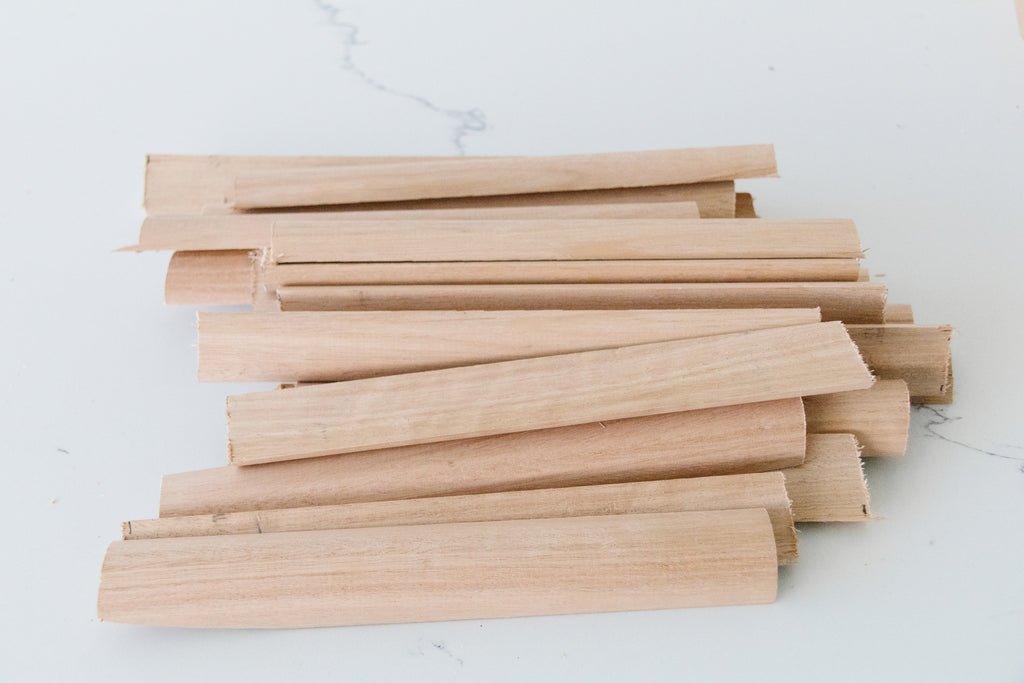
Mark out with painters tape the section on the cardboard that will face the wall and then glue the flat side of each half dowel onto the cardboard. I used 11 dowels per wall sconce. Set aside to dry.
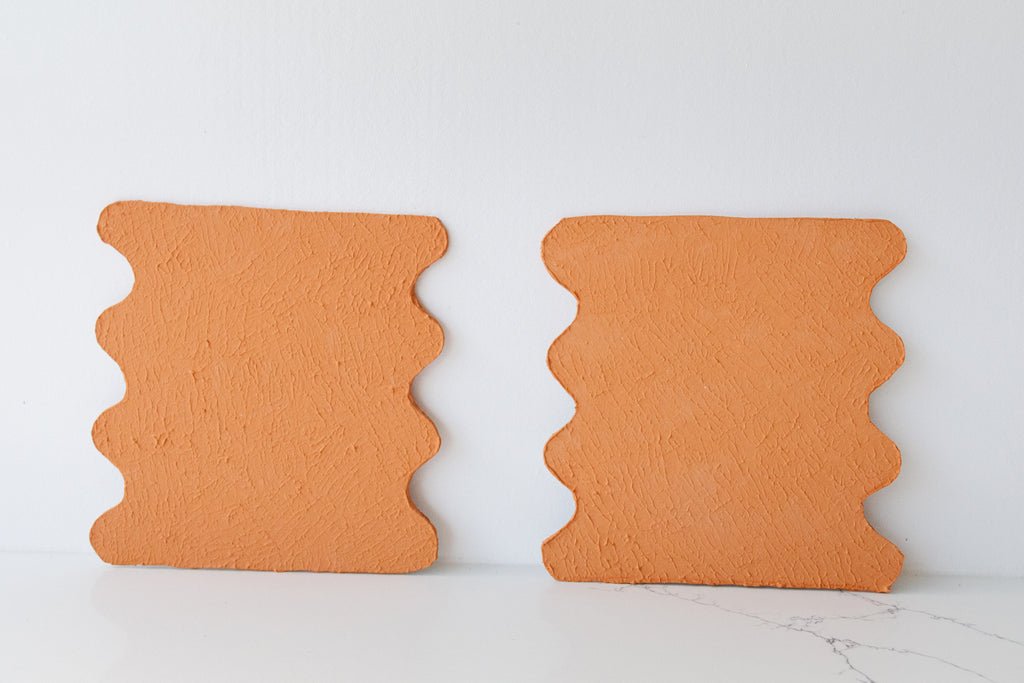
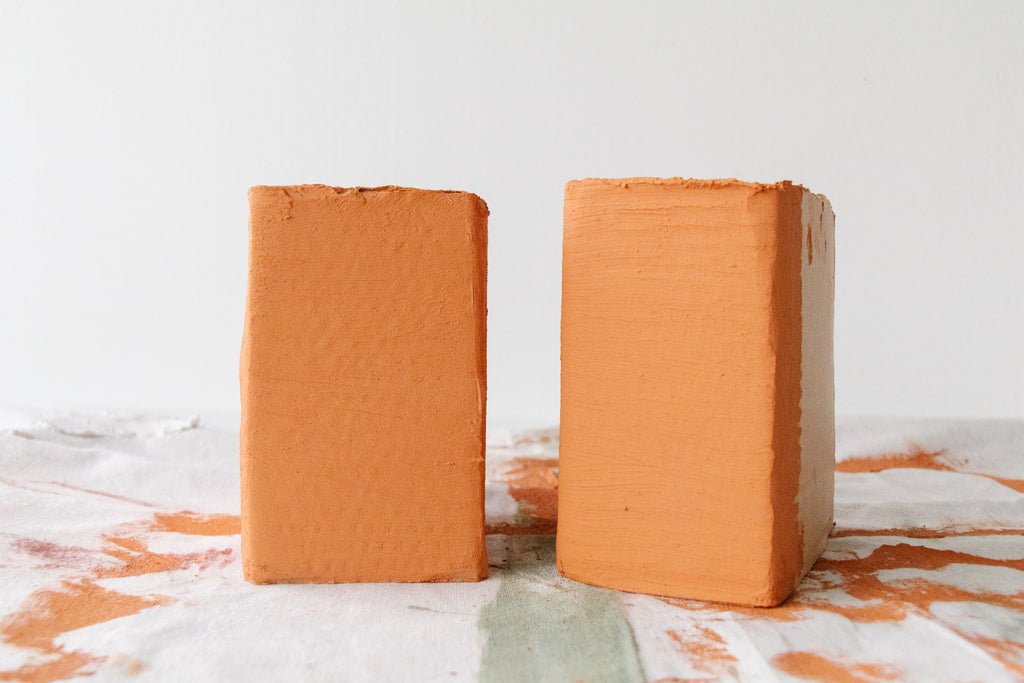
Secure the MDF to your work surface using the clamps and cut out the sconce using a jigsaw. You'll need two sconces, so trace around the first sconce onto another section of the MDF and then cut the second sconce using the jigsaw. You will now have two front sections of your DIY Wavy Sconces.

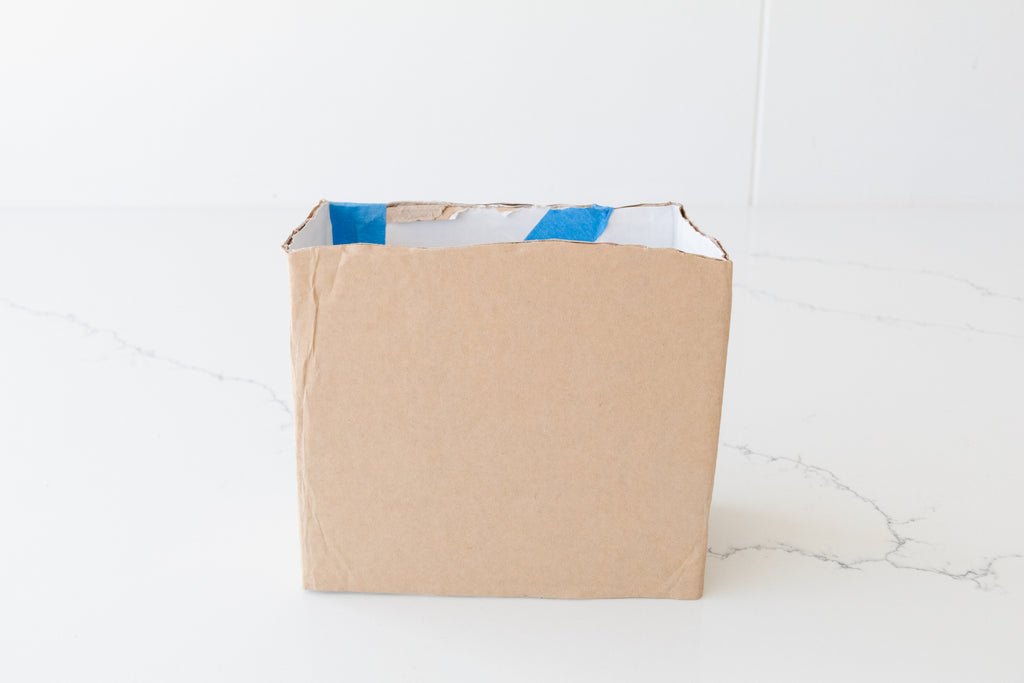
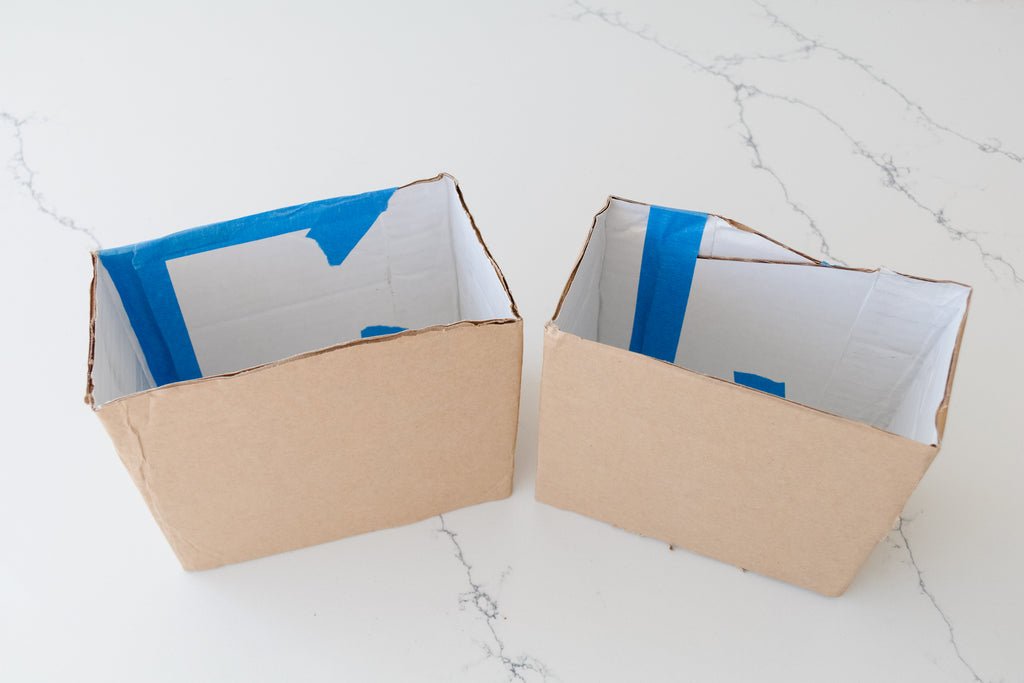
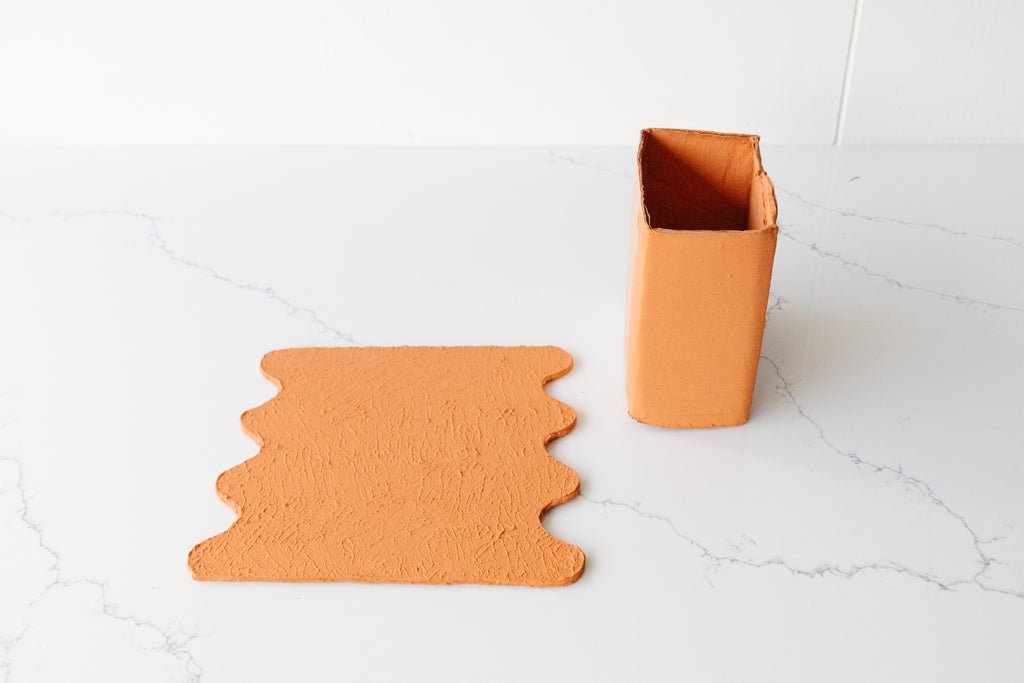
Cut to piece of cardboard and fold them each into a rectangle. Secure with painters tape.
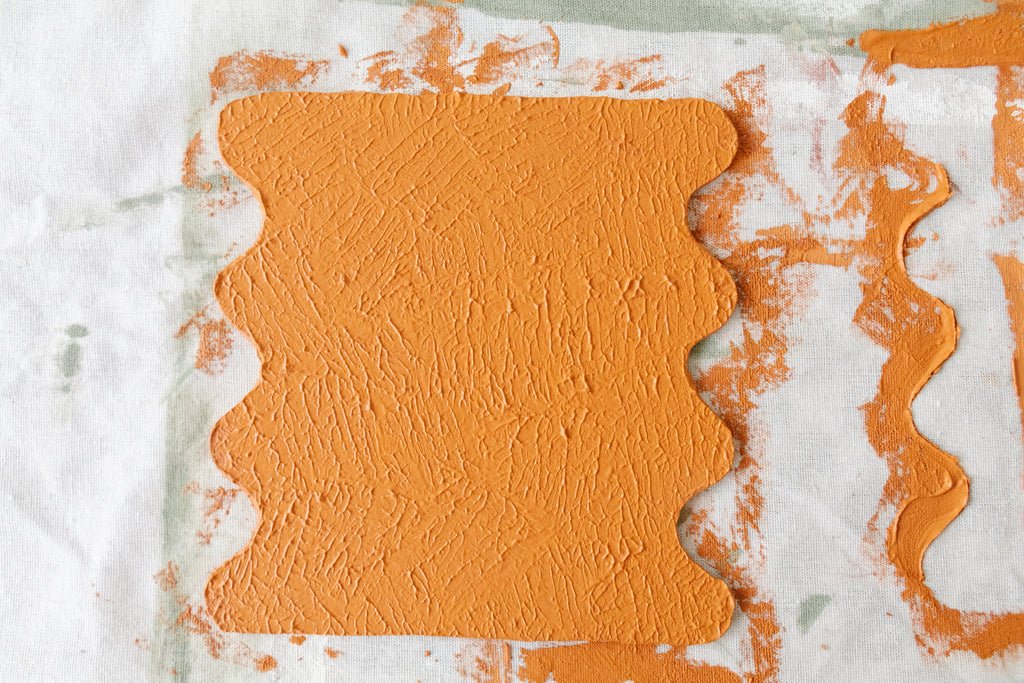
Mix 1/2 tablespoon of plaster of paris with about 1 cup of liquid terracotta paint. Mix vigorously to combine. It may look a little lumpy but that's ok. Keep mixing. Add more plaster or paint as you need. Paint the facing of each sconce and the cardboard boxes. Set aside to dry. Paint a second coat and set aside to dry. To create the textured pattern on the front of the sconce, slap the paint brush down on it's flat side. Or watch this video here.

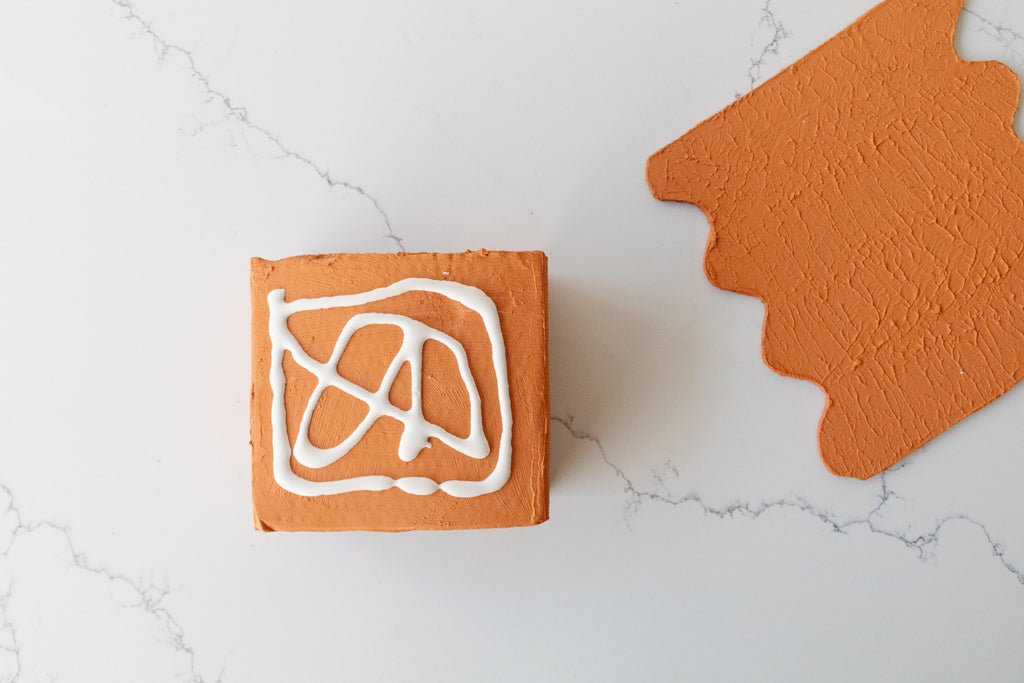
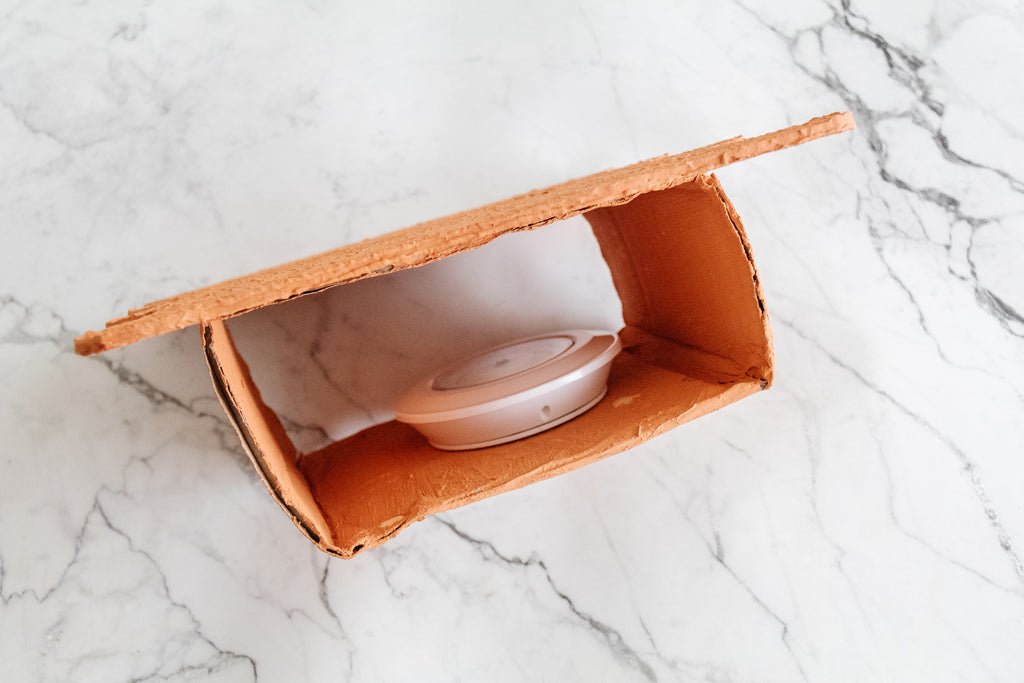
When the sconces are dry, apply glue to the back of a cardboard box and place the sconce facing on top. Repeat with the other sconce. Set aside to completely dry.

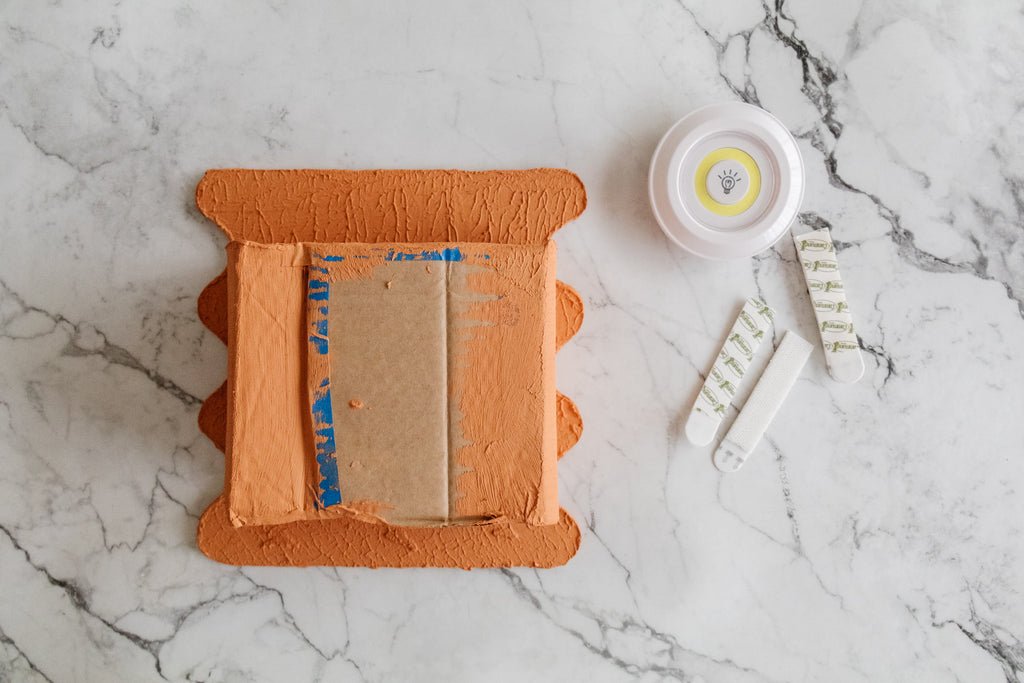
The puck lights come with a sticky backing, so remove the strip and place the puck light in the middle of the inside of the cardboard box. Place the velcro strips on the back of the sconce, and affix each sconce to the wall. These velcro strips are great because they are removable.
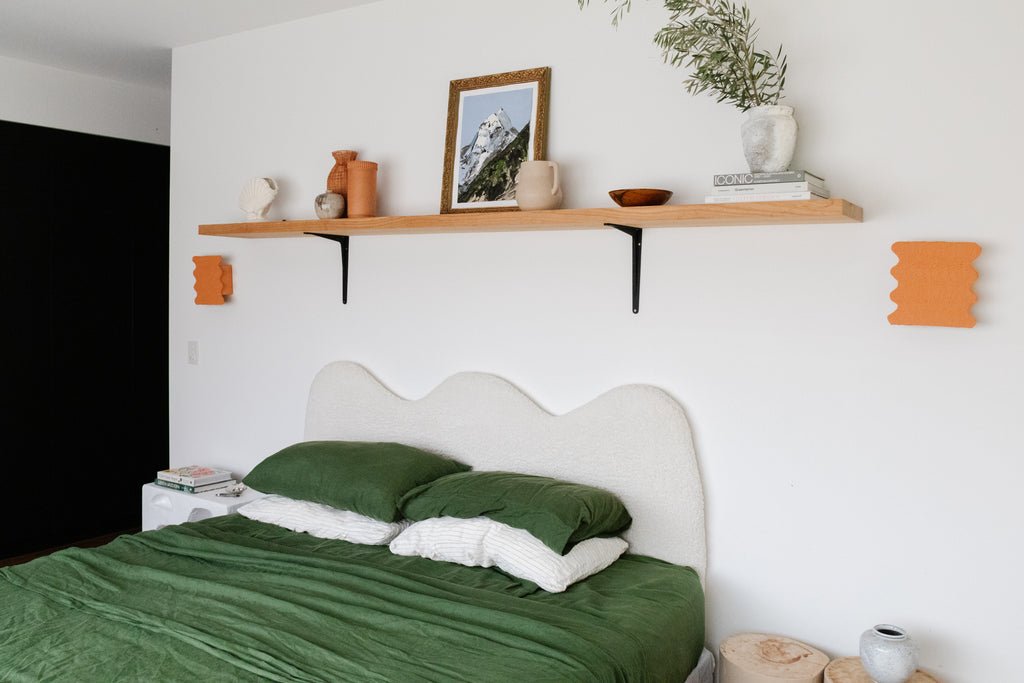
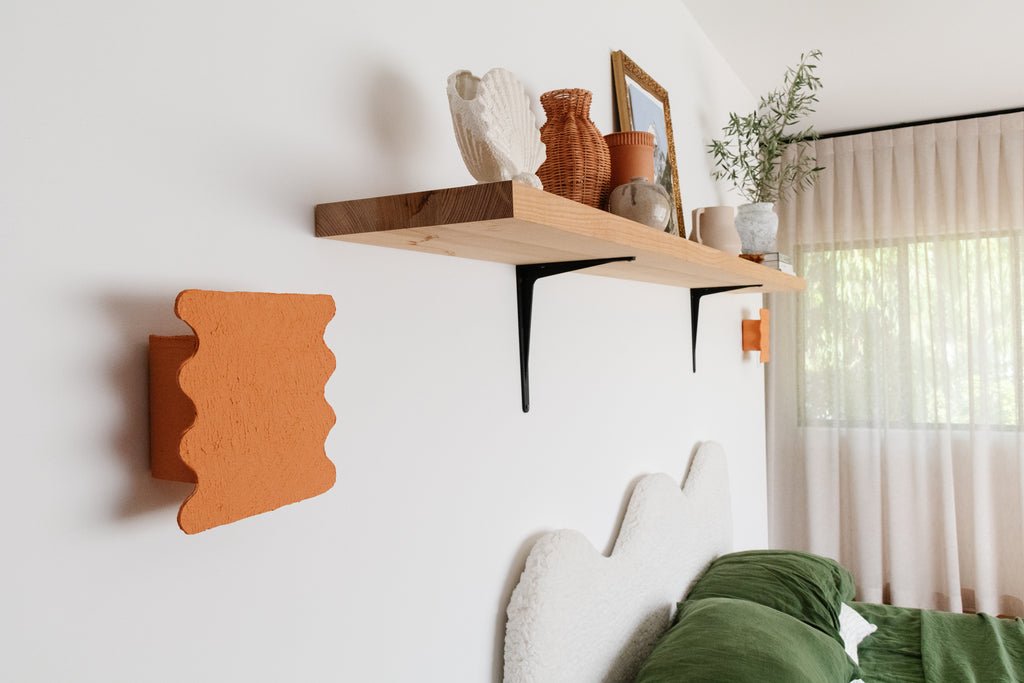
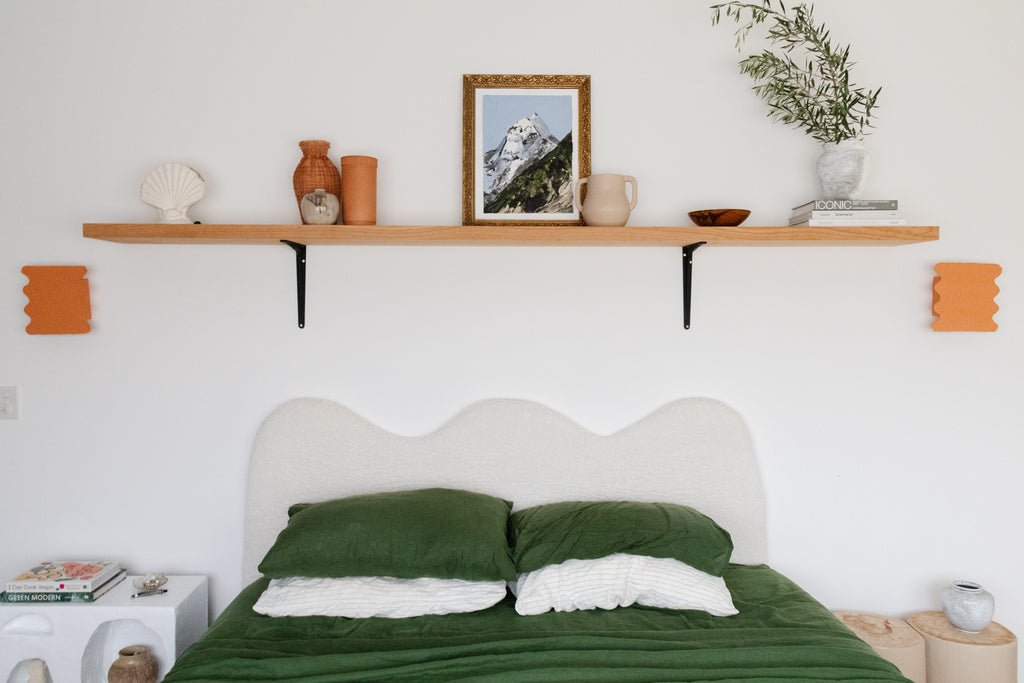
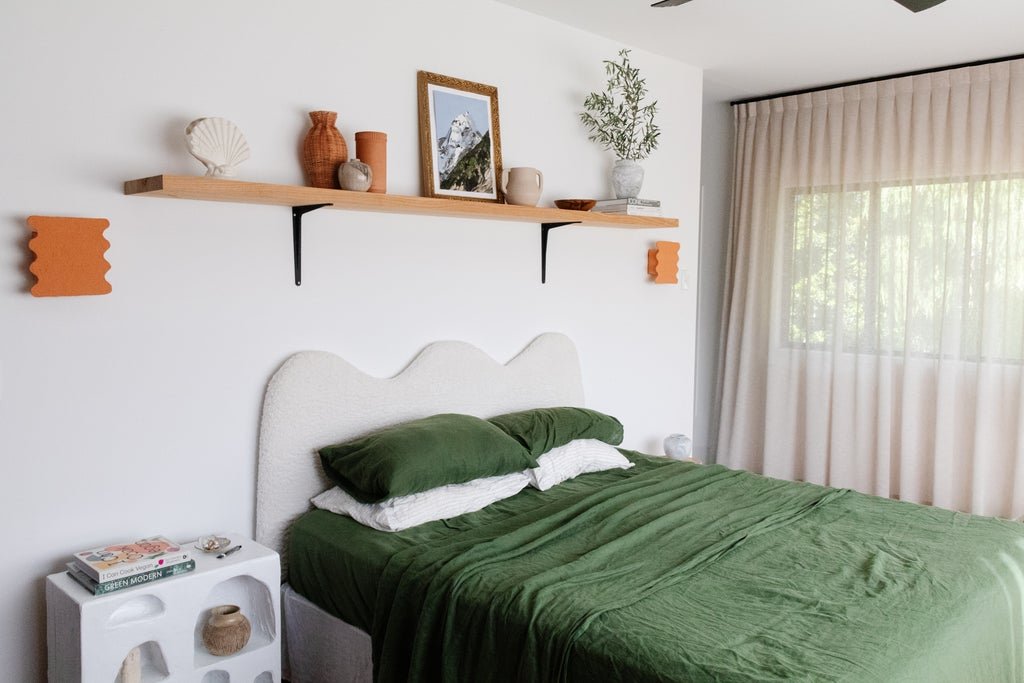
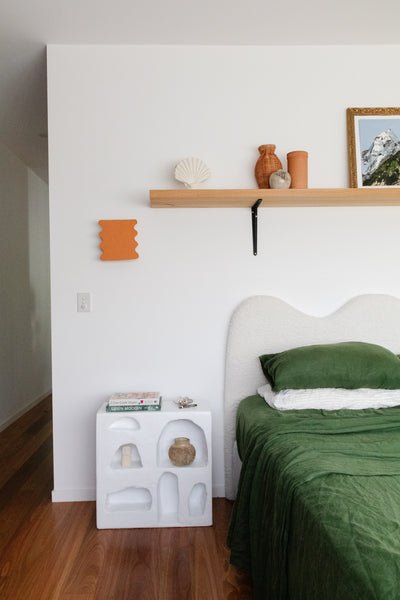
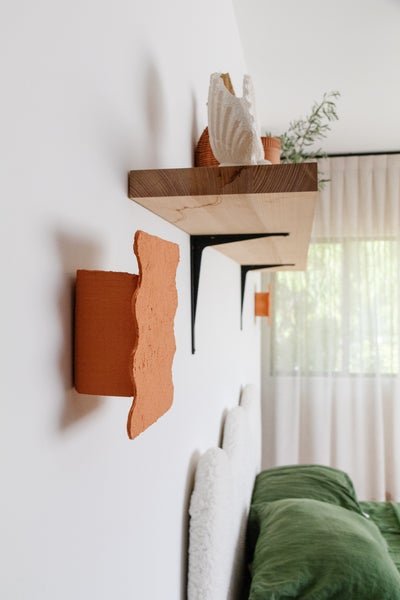
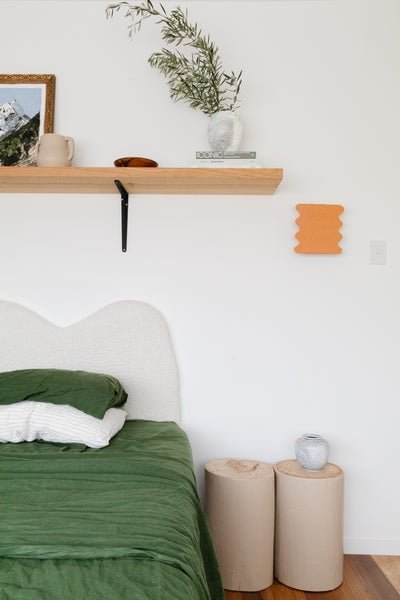
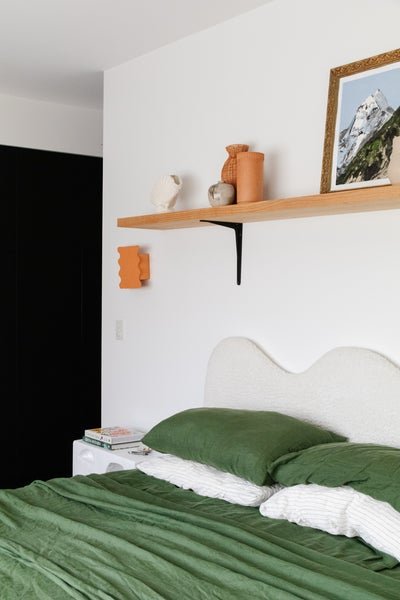
Ta daaaaa! The DIY Wavy Sconce.
What I love most about this project is that you can give the sconce any finish you like, such as white texture paint, and paint it any colour you like. You could even grout it or cover it in shells. So many options! I am feeling very inspired by this project and woke up in the middle of my sleep last night with a design in mind - firstly using toilet rolls, then paper towel rolls and then I moved to half dowels. I love how creative these projects are and as I was explaining to a friend on the weekend, it's not the process or the finished result that excites me the most, it's the creative problem solving at the beginning that I love.