Upcycled Lime Wash Effect Coffee Table
Coming to you today with my favourite upcycle to date! Making an organic shaped coffee table using a large PVC pipe I salvaged from the tip shop and MDF panels. And because I'm a little extra, I created my own lime wash effect using paint to give it a beautiful finish!
So how did this upcycle come about?
Towards the end of last year I was on one of my tip shop adventures and I picked up two huge PVC pipes for $10 each. It was actually the same day I found the stones sheets for this Upcycled Stone Plinth! I knew the PVC pipes would be perfect for a lot of projects so I put one under each arm and paid for them straight away. I have been wanting to change the coffee table in our living area for one that's a bit more grown up and I couldn't find what I was looking for, so I decided to upcycle one of the PVC pipes and make my own.
For the last couple of months I haven't stopped thinking about how I would finish the coffee table. Naturally I thought about using plaster and tiles, but I wanted to try something new. Then I thought about lime wash walls, and I wondered if I could lime wash a coffee table. I spent a lot of time researching and speaking to various paint experts on the matter (thanks to the team at Inspirations in Noosa!) and unfortunately it's not possible for two reasons:
1. Practicality - Lime wash is absorbent so it's not suitable for a coffee table, which will experience spills from water, oils and food over time.
2. Sealing - It's not possible to seal limewash as it'll affect the "blooming". The team at Inspirations spoke to Porter's Paint at length (who offer a lime wash range called Interno) and they agreed lime wash is best suited to surfaces that come into little or no contact i.e. walls.
I would be lying if I said I didn't feel a little defeated but then I wondered if I could use paint to recreate a lime wash effect... And here we are! Read on to learn how to upcycle your own coffee table and finish it with my lime wash effect using paint.
Before & After

Materials
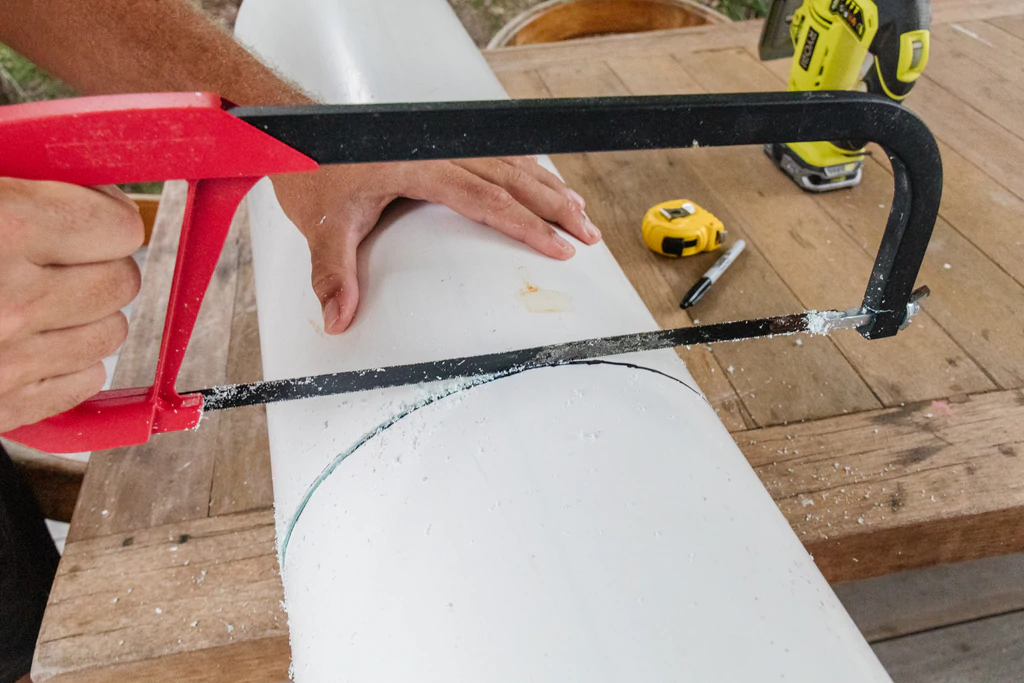
PVC pipe cut to size using a hacksaw. You can get PVC piping from any hardware store.
3 x 1800 x 600 MDF panels from Bunnings
Measuring tape
Pencil and Sharpie
Selley's Wood Glue from Bunnings
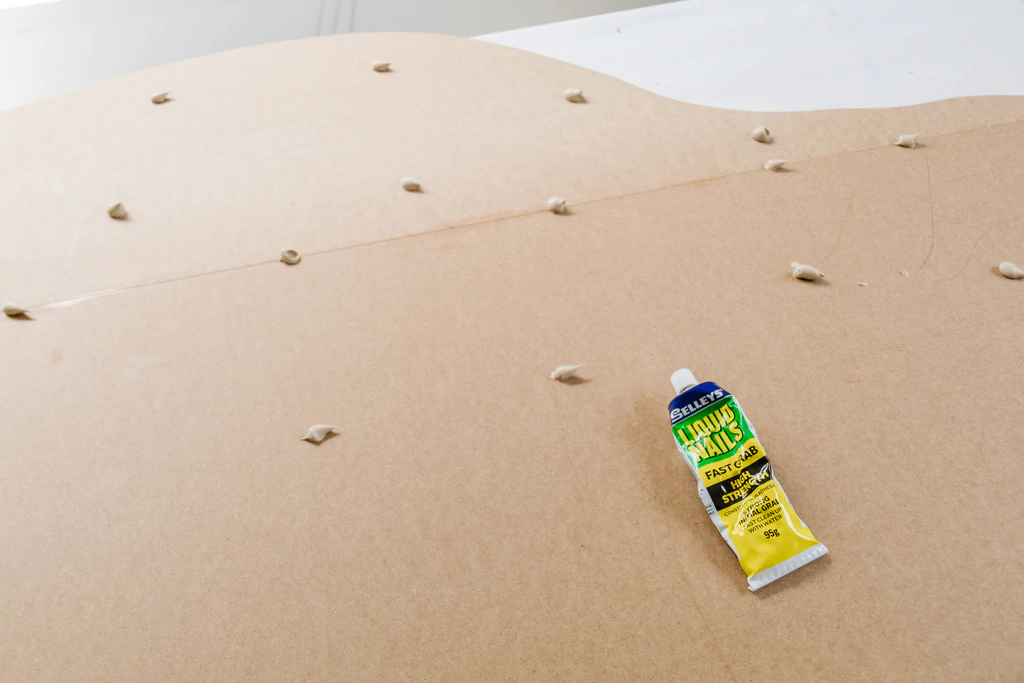
Selley's Liquid Nails from Bunnings
Wide paint brush
Microfibre roller
Primer paint (white)
Two tones of paint, one light and one a few shades darker. I used Porters Paints Himalayan Salt and Almond White.
Paint trays
Muslin cloth
I also used a jigsaw, clamps and detail sander for this project.
You may want your coffee table to be shorter, taller or wider - and that's totally ok! For the purpose of this tutorial, I will be explaining how to make this coffee table using the measurements I used. I wanted our coffee table to be at least 1200L and 800W. The MDF panels I bought were 1800L x 600W so I had to buy 3 so I could double the thickness and get that 800W I wanted.
To make the panels easy to work with (they are really heavy!) I cut them down to 1400L so I had extra room to work with. I also cut one panel in half lengthways to ensure I was able to achieve a wider coffee table of at least 800W (the MDF panels are only 600W).

How To
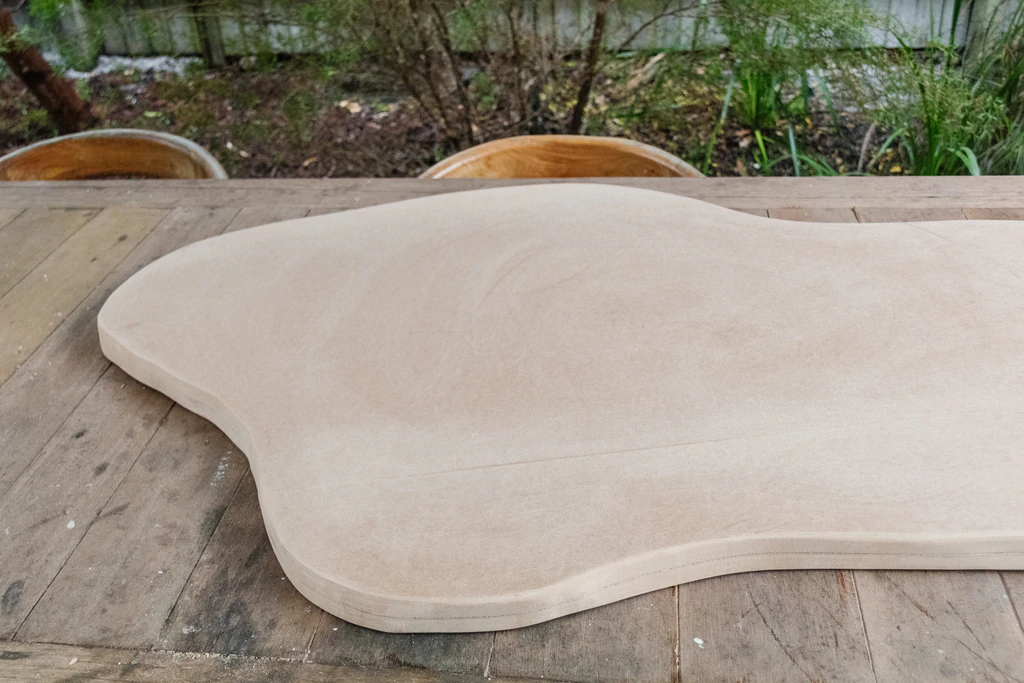
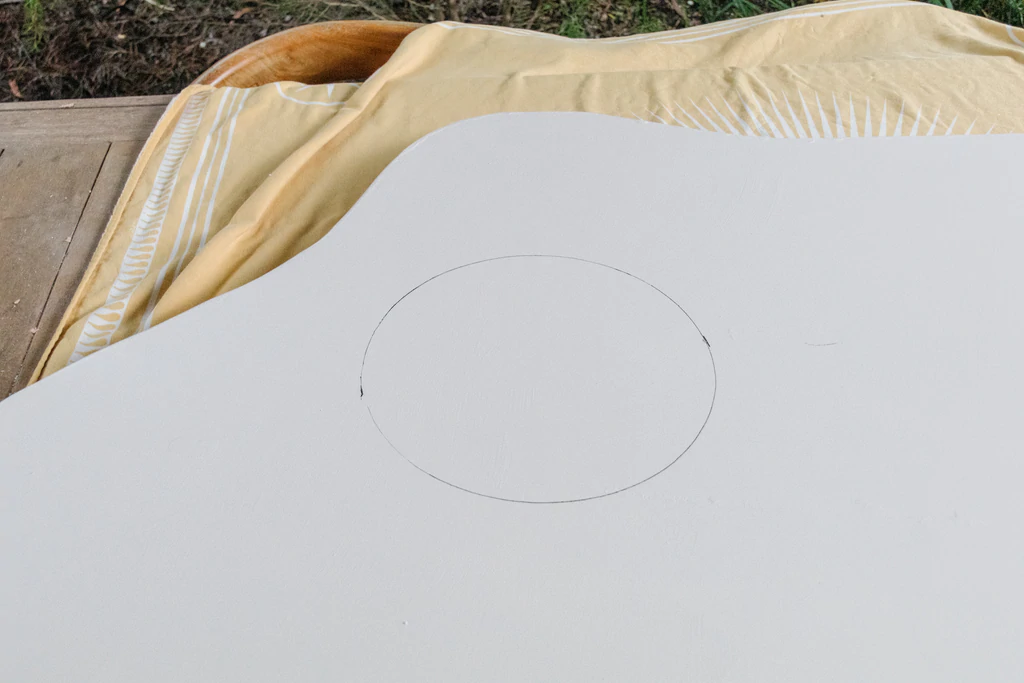
Lay one panel of MDF onto your work surface and lay half a panel next to it. Made sure they are lined up. Using a pencil (or your kids colouring pencil like I did lol) to draw the shape of the tabletop onto the MDF. I recommend practising a few times on a piece of paper first. The great thing about using a pencil on MDF is that you can easily erase it, but I just kept going round and round with the pencil until I was happy with the shape.

Cut the 2 panels of MDF with a jigsaw along the outline you've drawn and set aside.

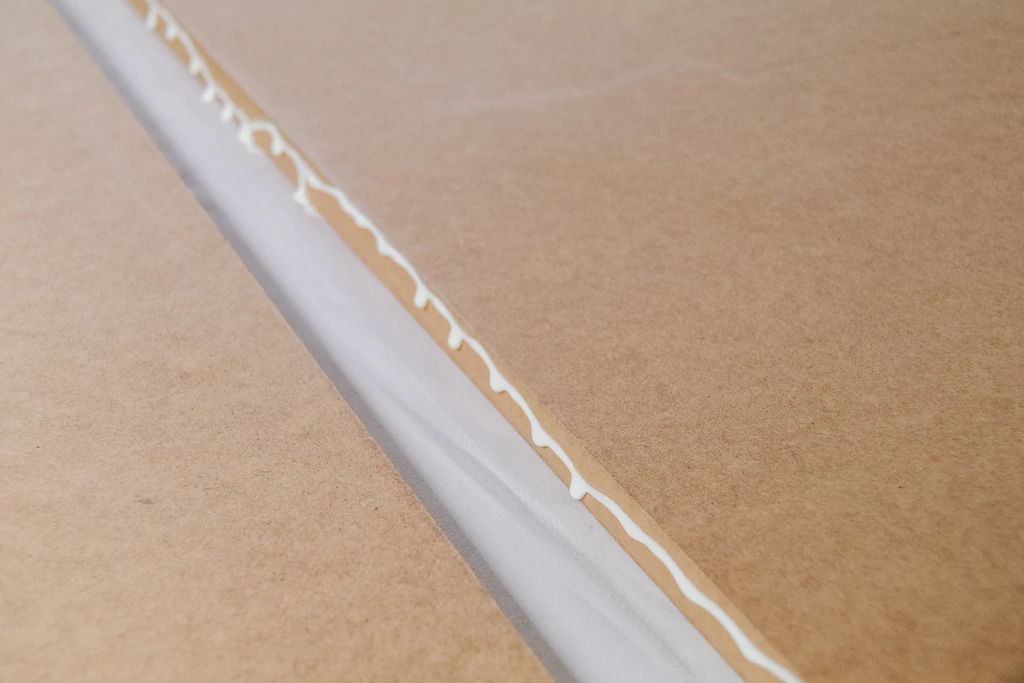
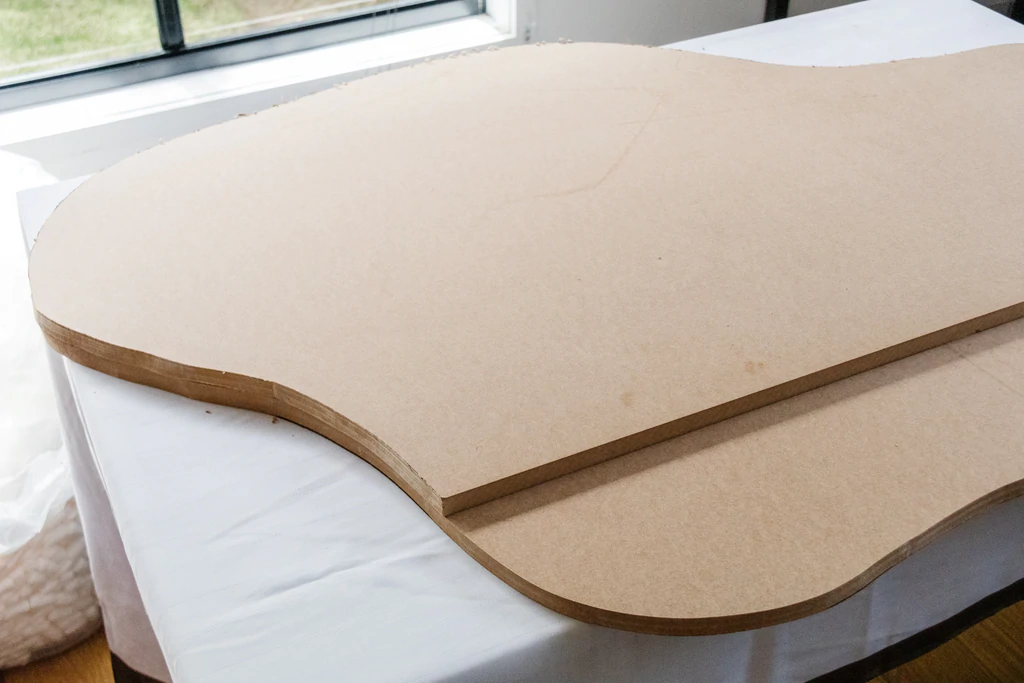
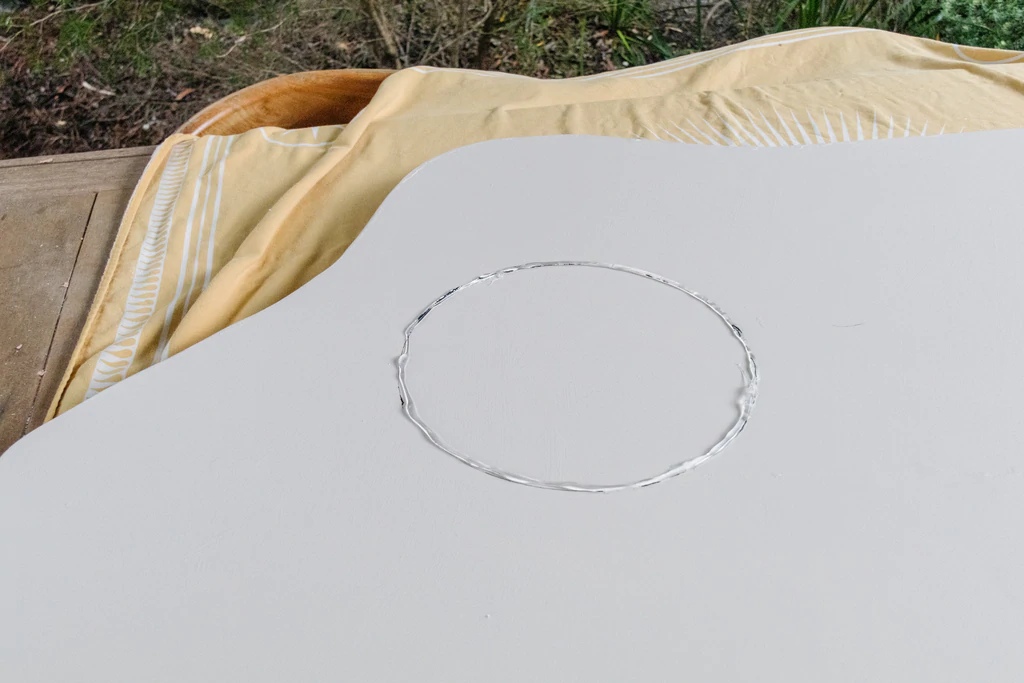
Lay down the final panels on your work surface and then lay the cut panels on top. Ensure the joins are not in the same position as this will make gluing the 4 panels together difficult. Trace around the cut panels using a thick pen (like Sharpie). Remove the top panels and cut the bottom panels. Make sure you cut right on top of the line as this will make it easier for you to sand the edges later on.

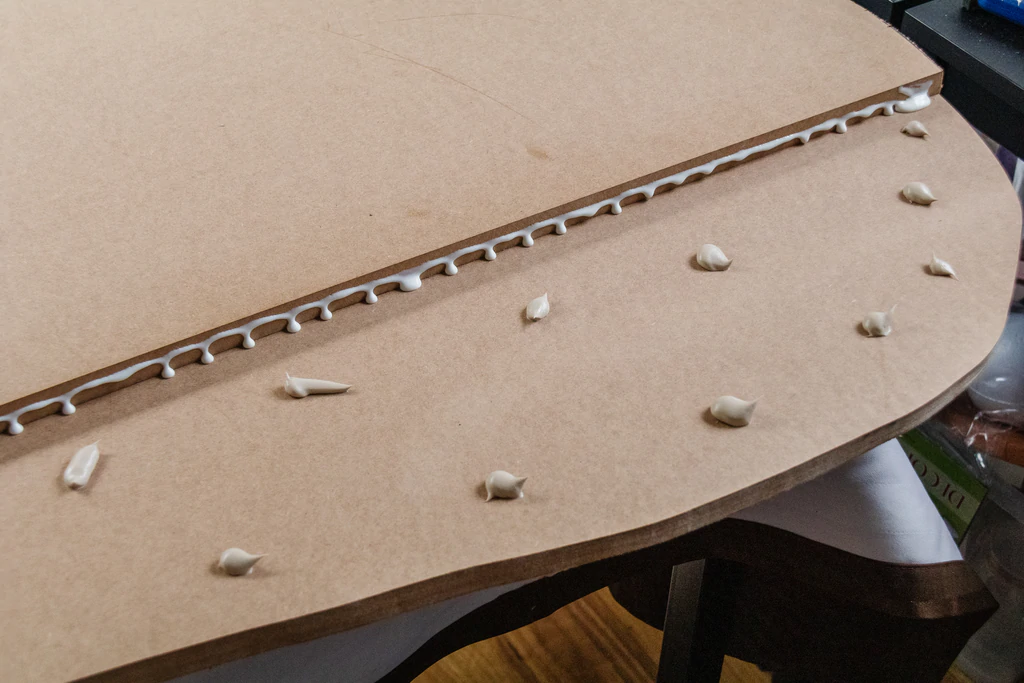
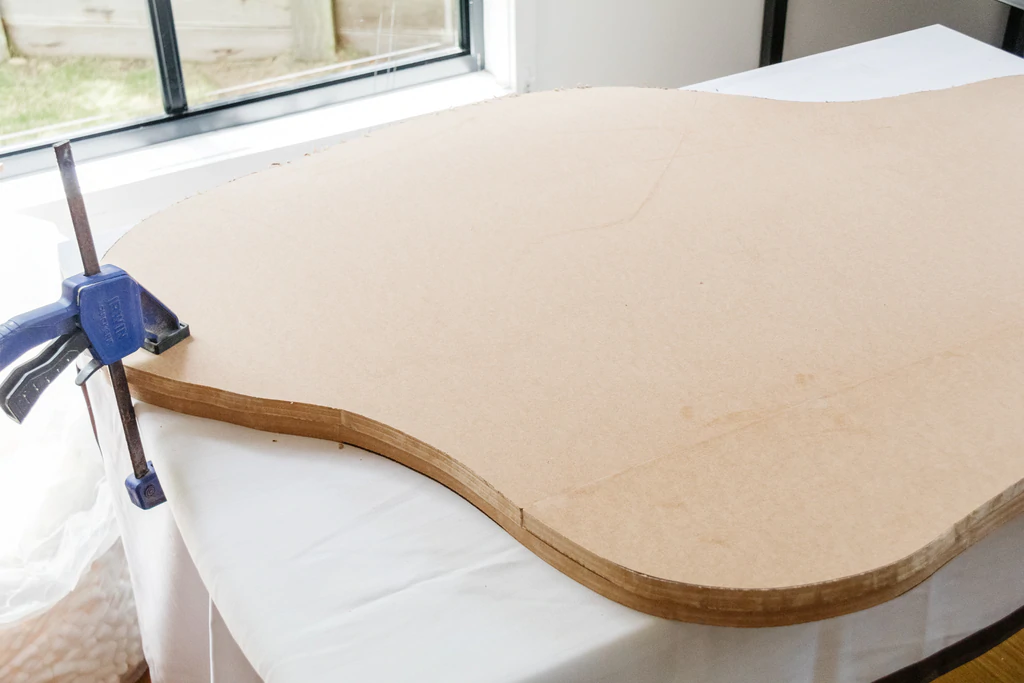
Glue the bottom panels together and use clamps to push them together as the glue dries. After 30 mins glue the remaining two panels on top. Clamp the panels again to secure them in place. Leave to dry overnight.
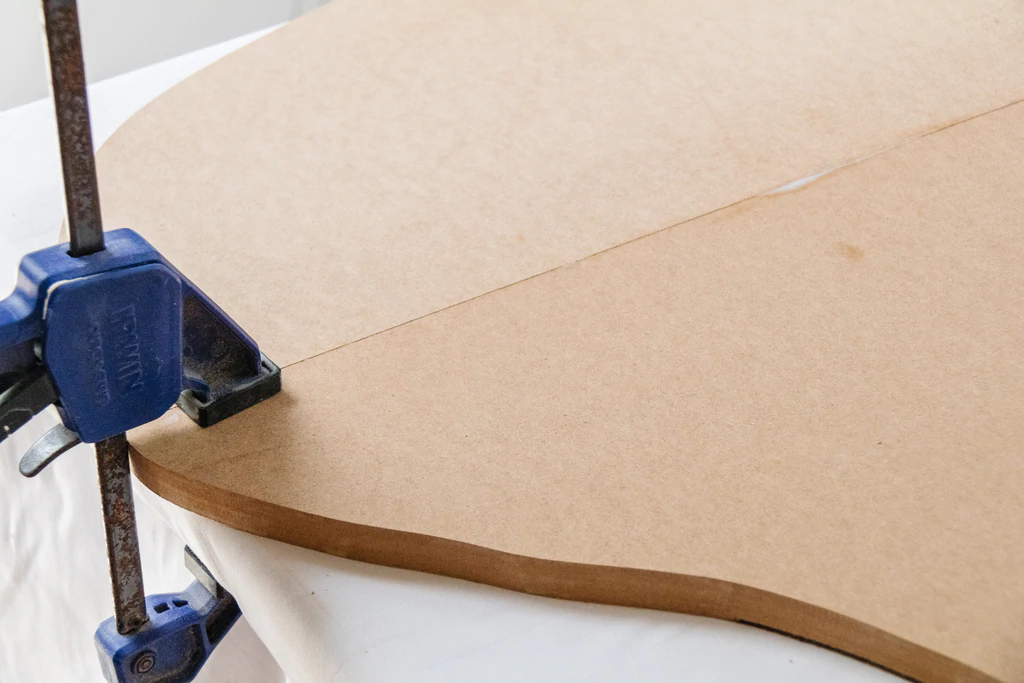

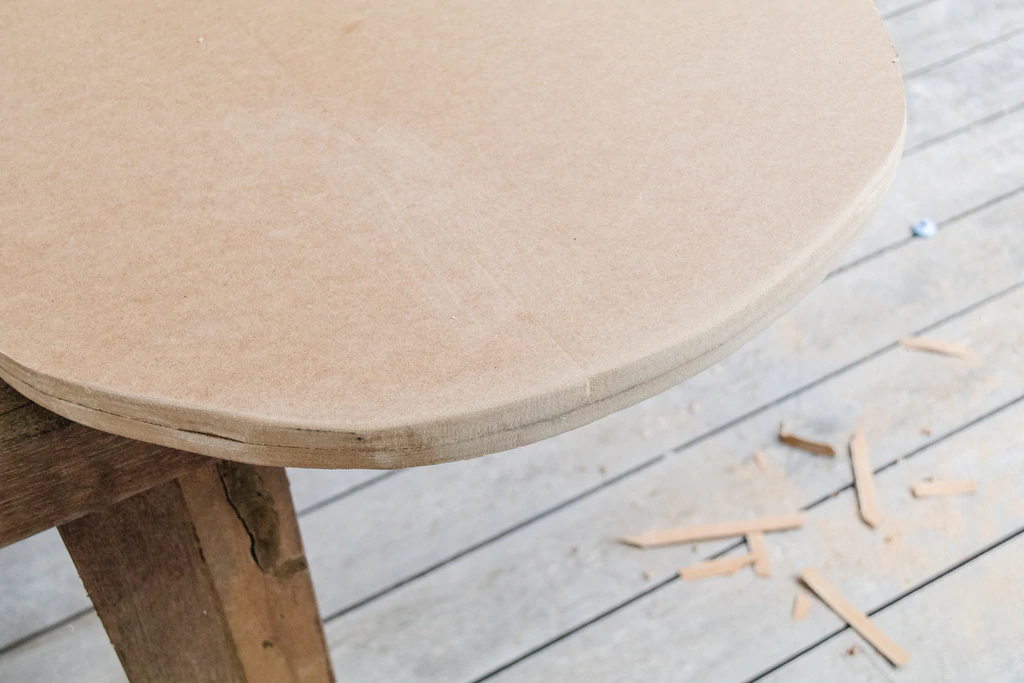
It's inevitable that no matter how well you cut the MDF with a jigsaw, some of the edges will not be perfectly lined up. You may need to recut them using the jigsaw or spend time sanding them down. I ended up cutting some of the edges using my jigsaw as sanding those sections down would have taken too long. Sand down all the edges so they are rounded and smooth.
If you haven't already, cut the PVC pipes to your desired height. Mine were approximately 34cm. The table itself is about 38cm high as the tabletop is quite thick! Sand the cut PVC pipes to rough them up; this will make painting them a lot easier later on.
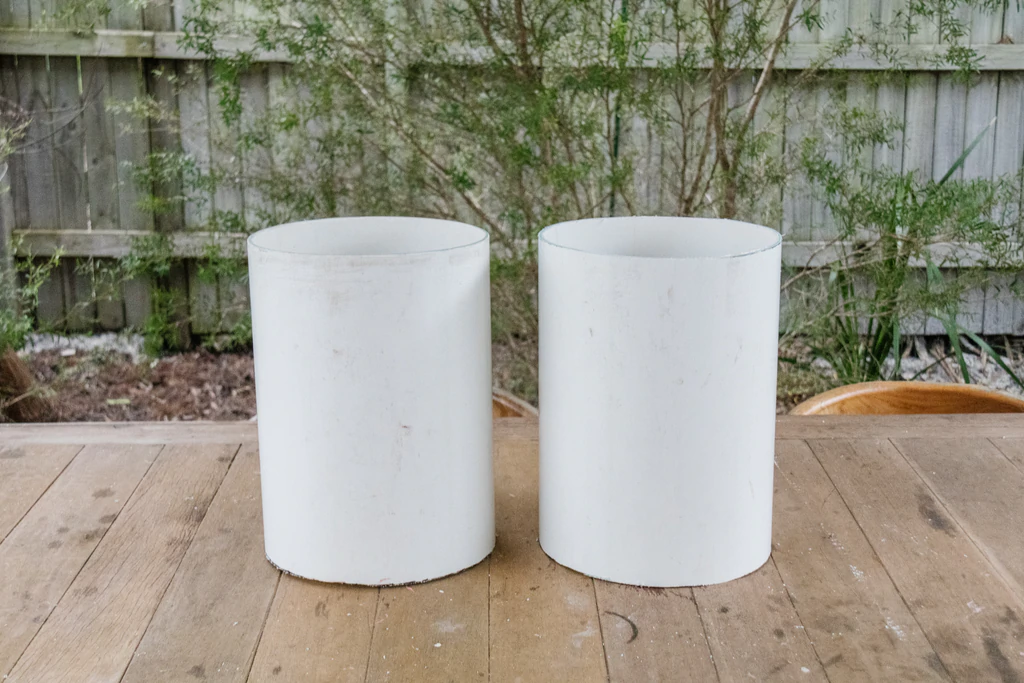
When you are happy with the edges, apply 3 coats of primer all over the table and PVC pipes. You can use a paintbrush or a roller. Typically I use a paintbrush to achieve a thicker coat, but it will show up the brush strokes. I always use a roller for the application of the last few coats of primer and paint as it gives a more professional finish. Make sure the each has properly dried before applying the next. Set the primed PVC pipes aside.
When the glue has dried carefully flip the table over and onto your work surface. Apply at least 3 to 4 coats of your base colour with a roller onto the top and sides of the table. A roller uses much less paint but means you need to apply a few coats, which is ok because it dries quickly and it gives a more professional, smooth finish. If you can see some glue underneath the paint, paint over this too.
Now it's time to create my lime wash effect! For this you will need two paint colours that are similar in tone, but a few shades lighter/darker. In my experience, I find the darker paint colour looks better as the base and the lighter paint colour as the paint strokes. See below the test I did with the colours I chose.

Pour a small amount of paint into a paint tray or disposable plate. Dip your wide brush into the paint and carefully remove as much as you can from the brush by wiping it against the sides of the paint tray. On a spare sheet of paper or MDF, slap the brush down twice to brush off any further excess paint then lightly apply the paint onto the table using quick, short, diagonal strokes/motions. Have a look here to see how I did it if you want to see some videos of this method I created. You'll notice the more you apply the brush onto the table, the less paint there'll be. And that's ok! You don't want to do bananas. Repeat this technique all over the surface of the coffee table. When you are satisfied with the finish (less is more and subtle is best!), let the paint dry for at least an hour.
Lime Wash Effect Tip: The one thing you want to avoid is loading up the paint brush with lots of paint and/or not wiping enough paint off the brush before you start applying the lime wash effect. I also applied a lot less paint when brushing paint on top of the base colour compared to my original test.

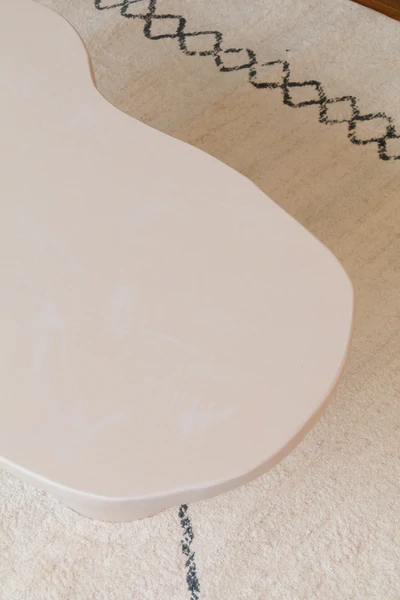
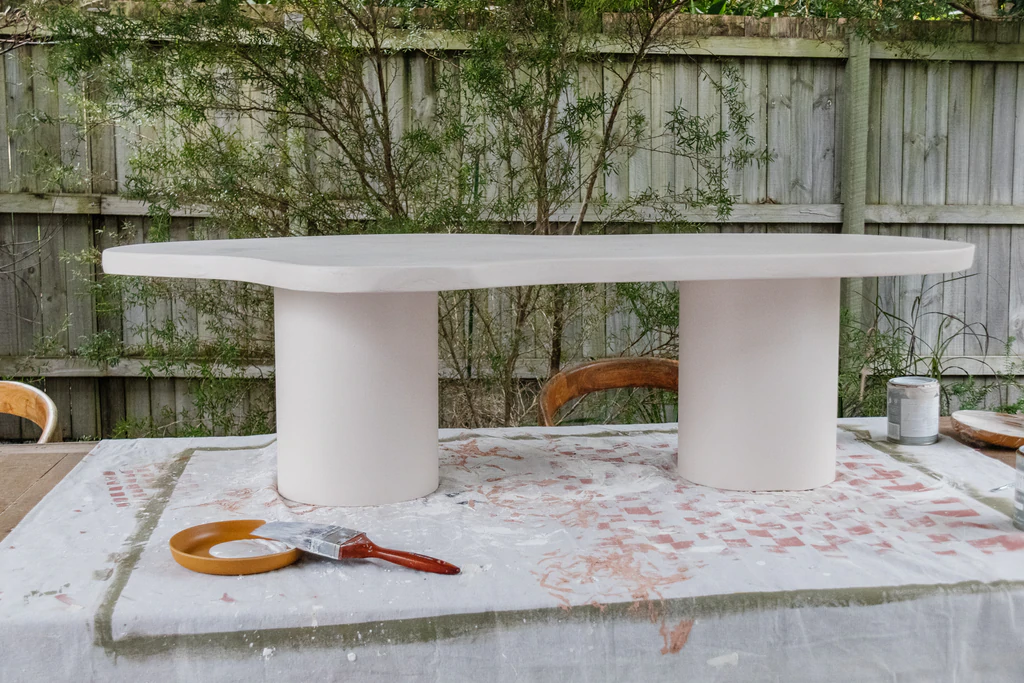
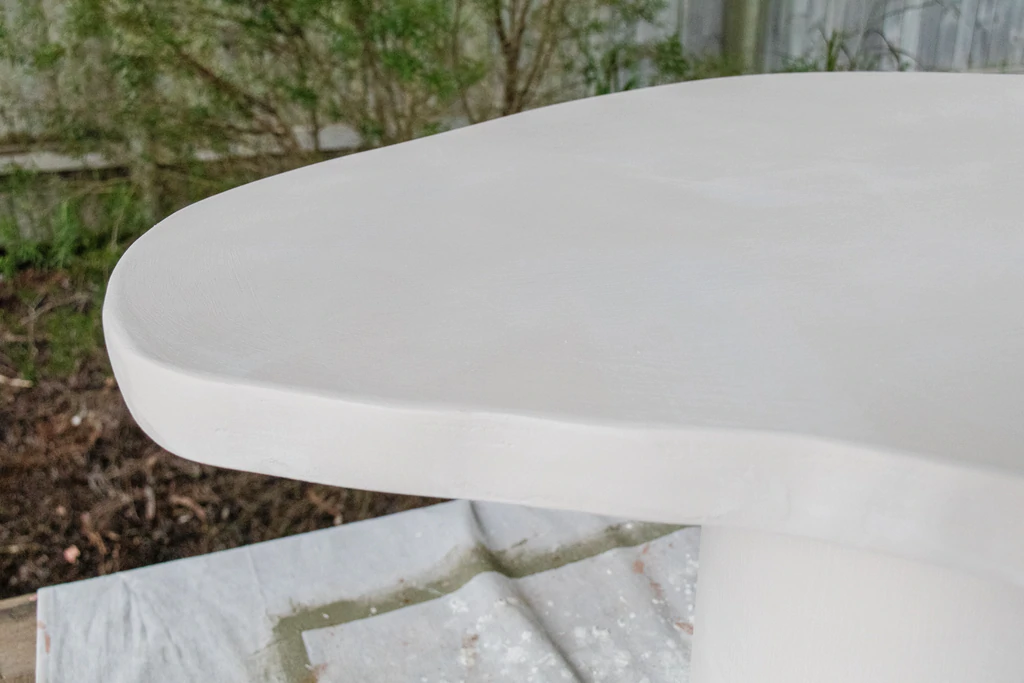
It's now time to seal the table. I used a product I hadn't used before - wax! And it so simple and easy to use, and beautiful! All I needed to do was apply a small amount onto the table using a muslin cloth and rub it into the table. Working in small sections is best and before the wax settles and dry (within 15 minutes), buff it in circular motions using a clean section of muslin (not the section you used to apply the wax) to achieve your desired glass. Just make sure you buff before the wax completely dries, otherwise it'll look flat and unattractively matt (like, not the good kind). And the coffee table is finished!
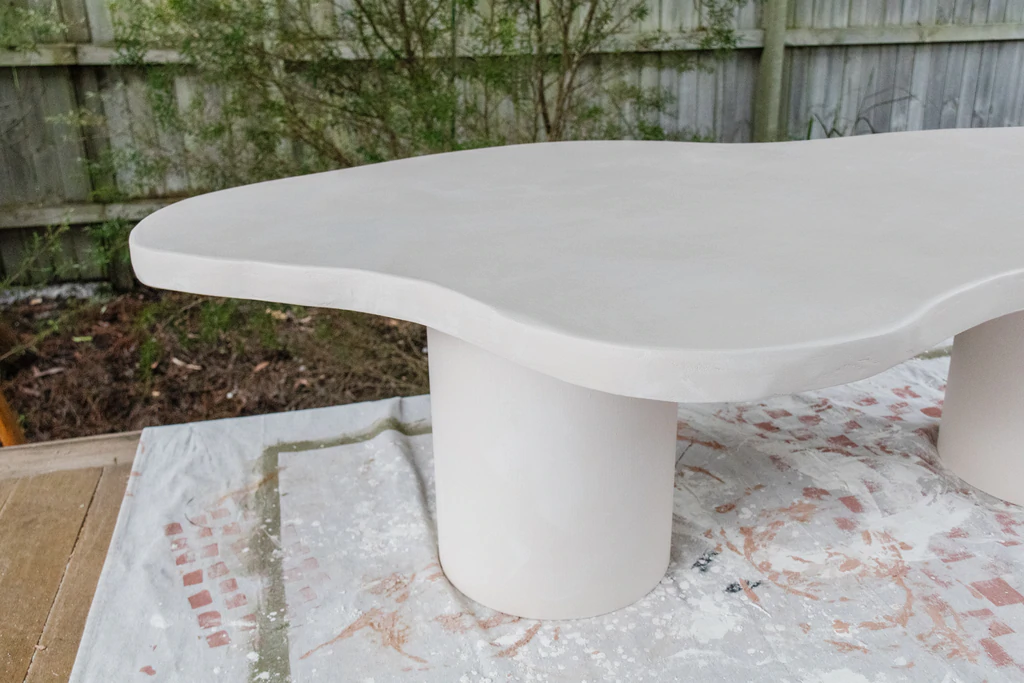
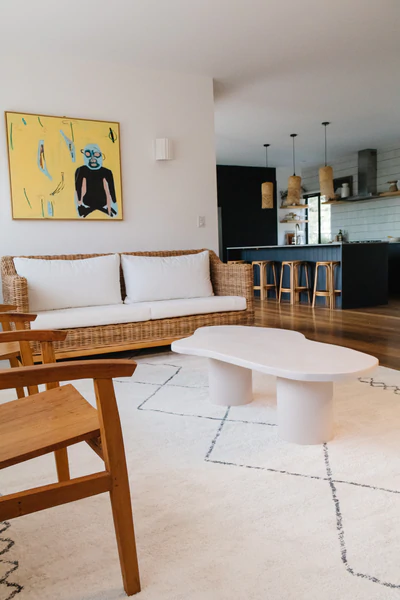
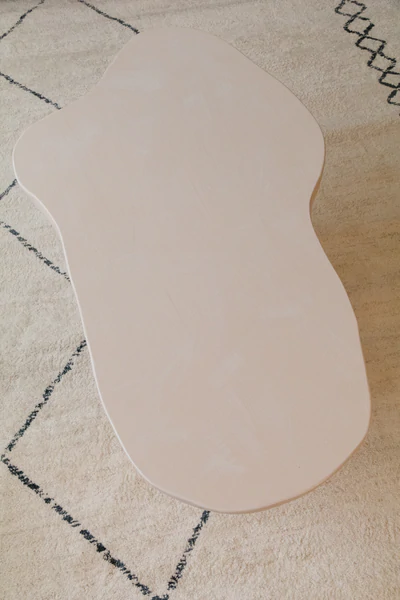
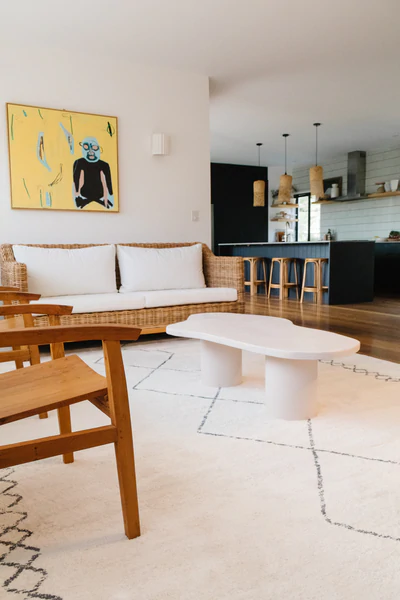
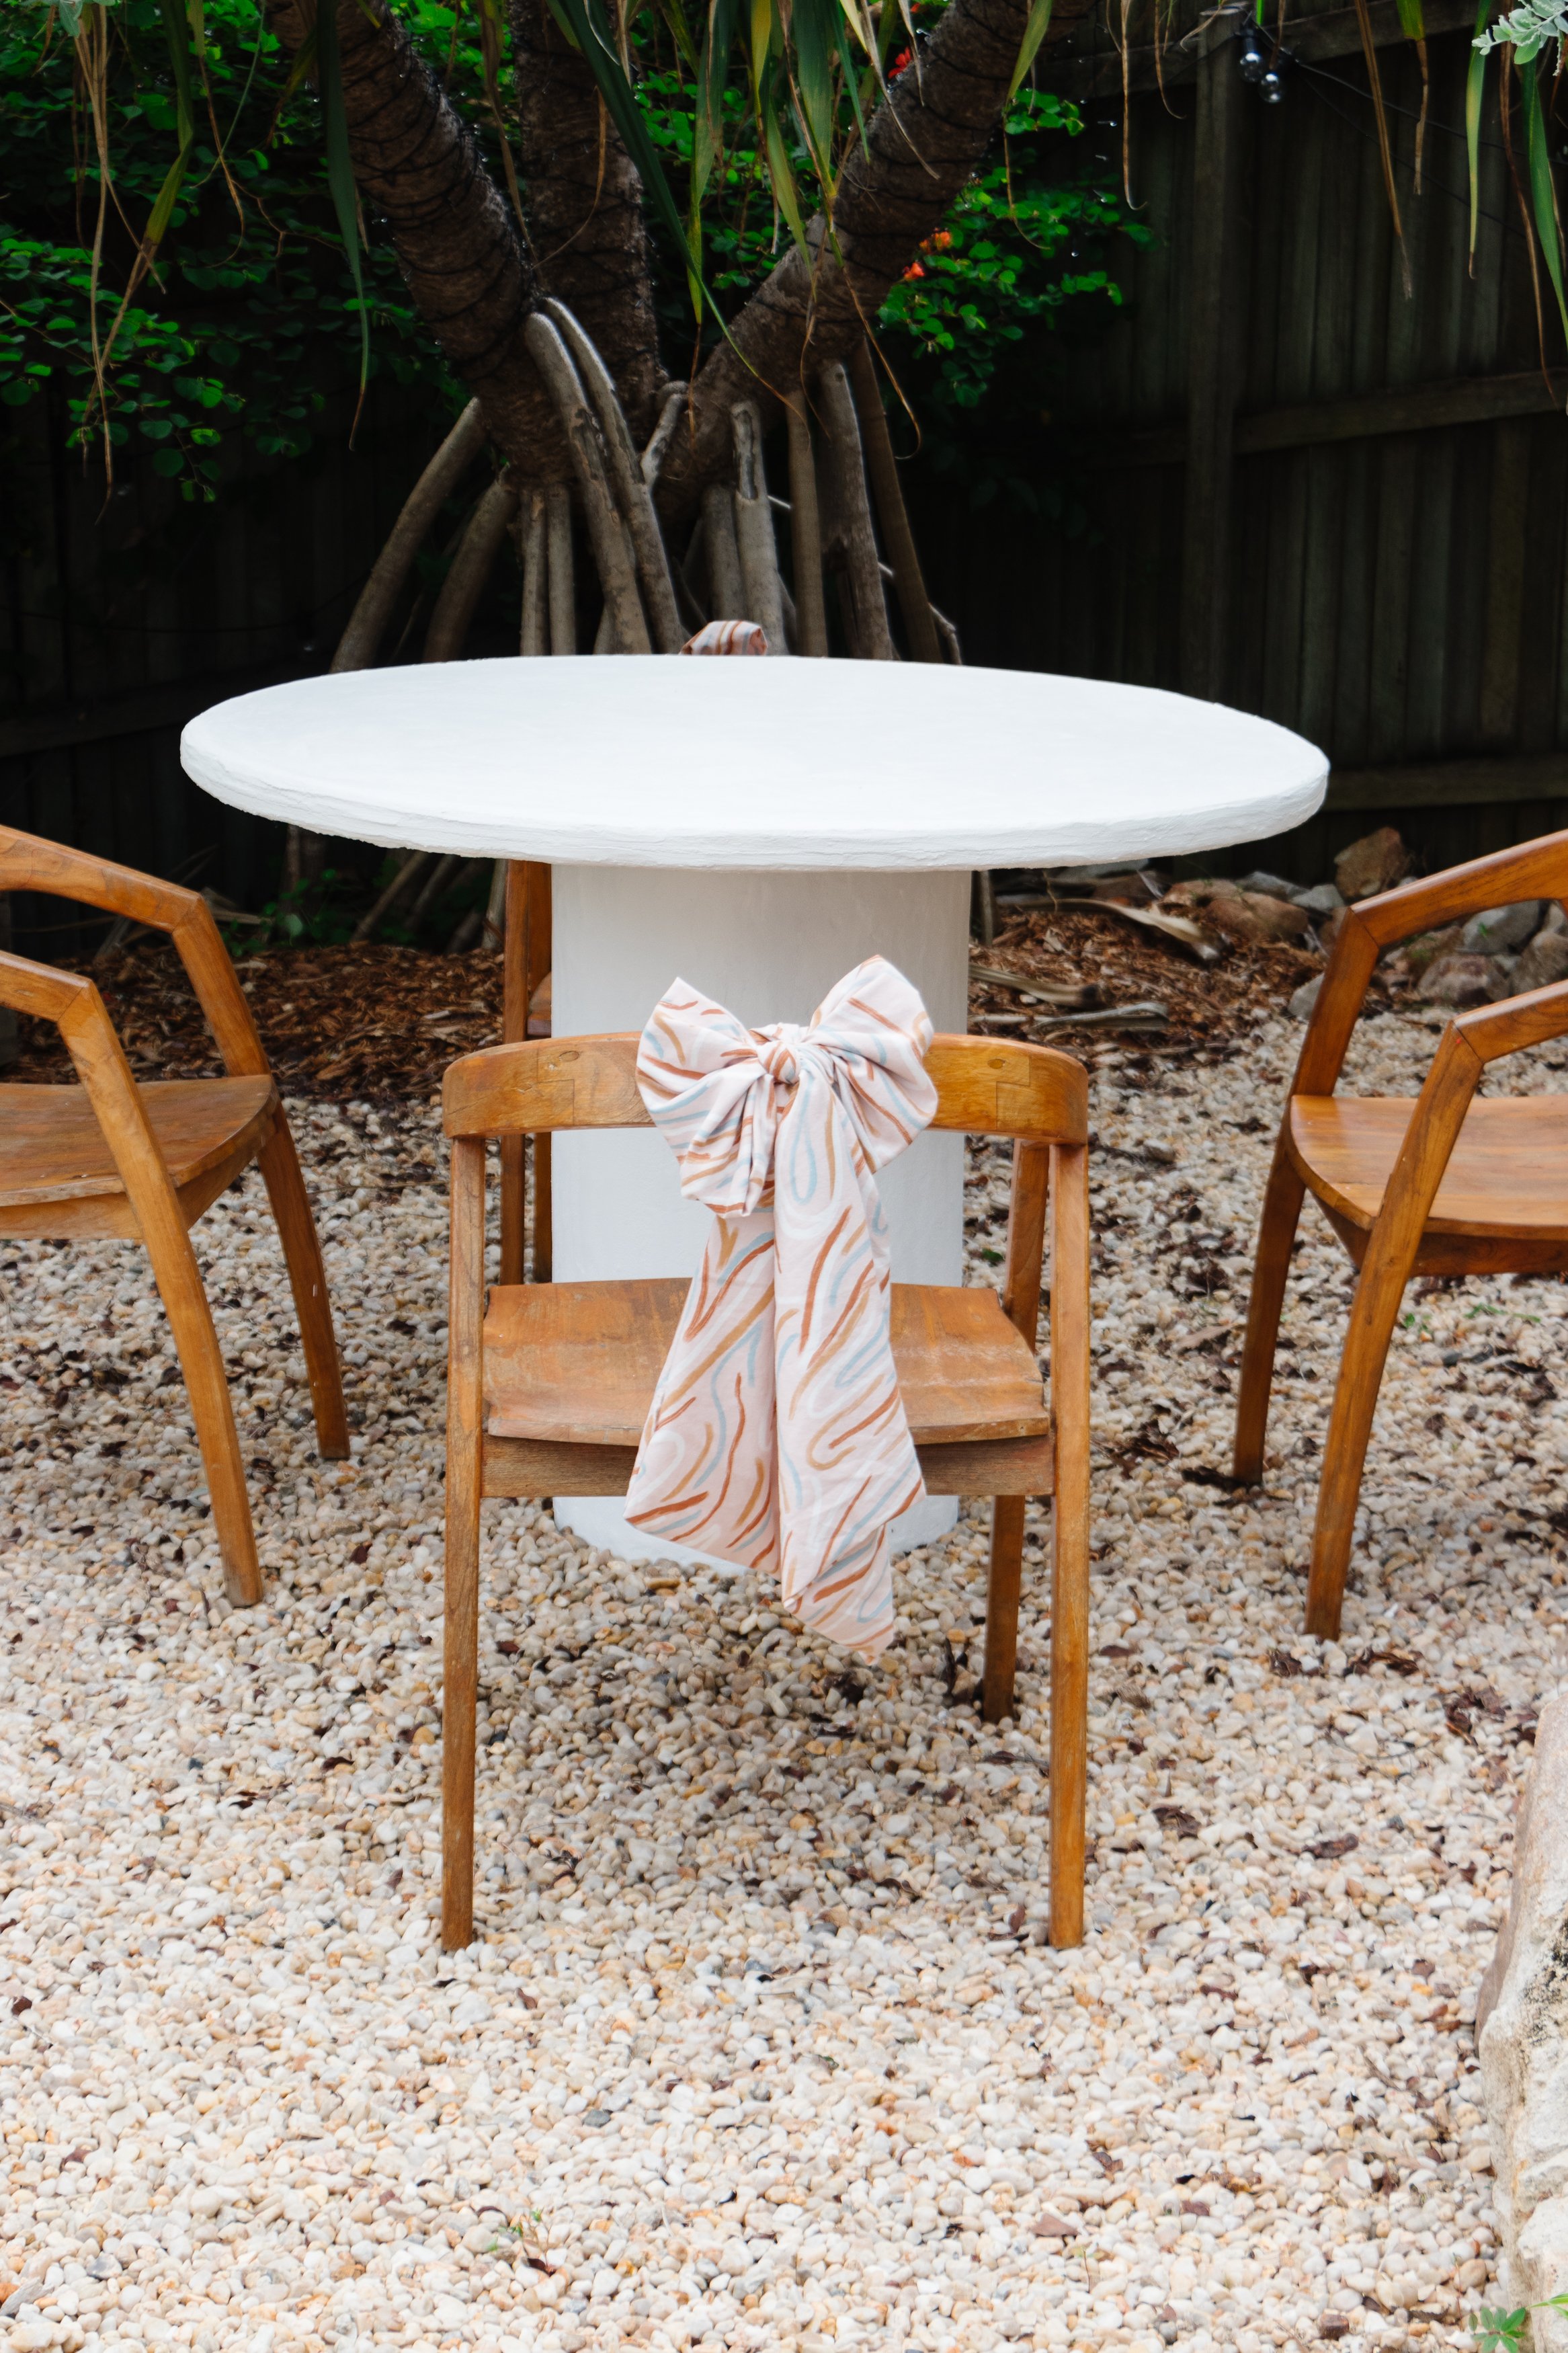
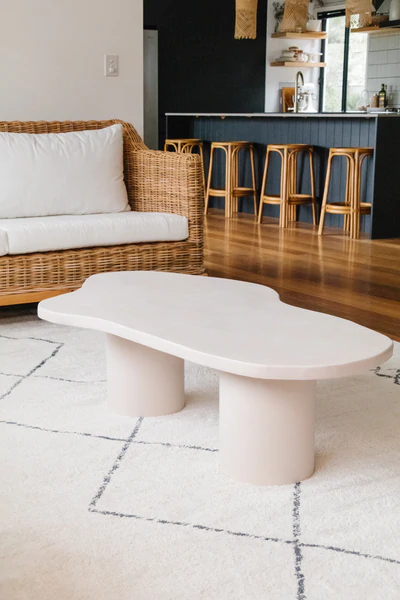
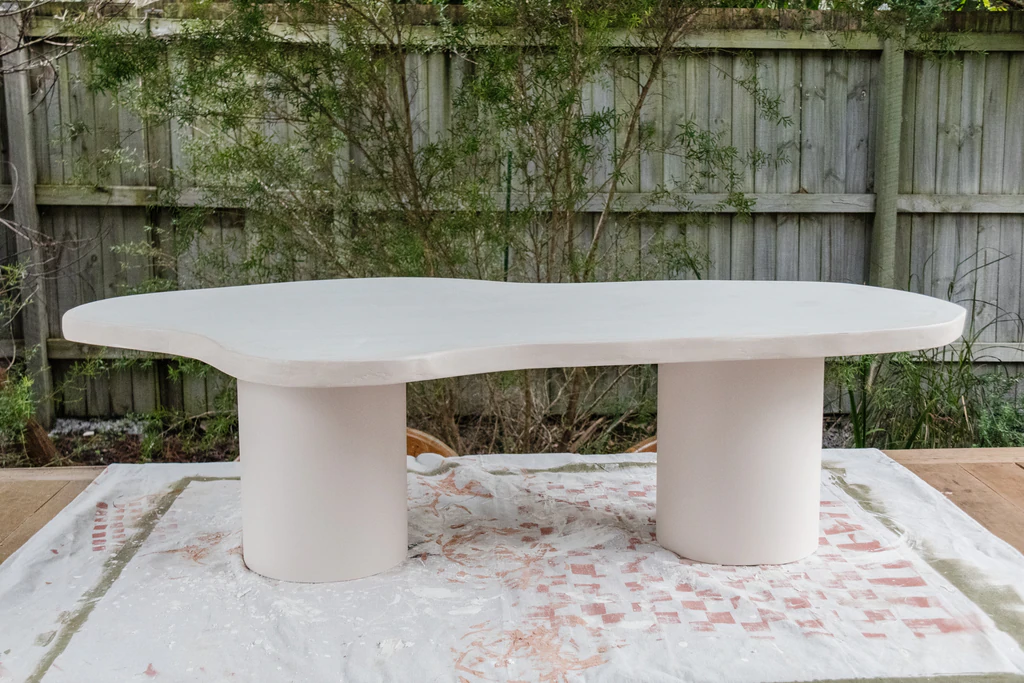
Ta daaaaa! A gorgeous organic coffee table made by upcycling PVC pipes salvaged from the tip shop and finishing it with a creative lime wash effect using paint.
I actually cannot believe I made this coffee table using a dirty PVC pipe, MDF panels and paint. I have been dreaming of making a coffee table like this for a very long time and when we moved it into our living room, the joy and satisfaction I felt was like no other. It never ceases to amaze me what you can do with a little creativity, and it all starts with rolling up your sleeves and rummaging through the garbage at your local tip shop. As they say, one persons trash is another persons treasure.