Before & After: The Upcycled DIY Stone Plinth
They say someone's trash is someone else's treasure, and that's definitely the case with my latest DIY - the Upcycled Stone Plinth! A few months ago I picked up a side table from my local tip shop for a bargain. I loved the unassuming shape and I knew it had a lot of potential. I checked it over and could see that it was possible to remove the top and upcycle it into a plinth. My only conundrum was figuring out what I would actually do next. I knew I wanted to do something fresh, new and different, so I spent a lot of time thinking about all the possibilities. I originally had my heart set on tiling the plinth so it would look like one piece of stone, but when I was at the tip shop earlier this week fate stepped in and I stumbled across a half empty box of mosaic stone sheets. And as they say, the rest is history. Read on to make your own Upcycled DIY Stone Plinth. And as always, happy making!
To see how this project came together, watch this video.
Before & After

Materials
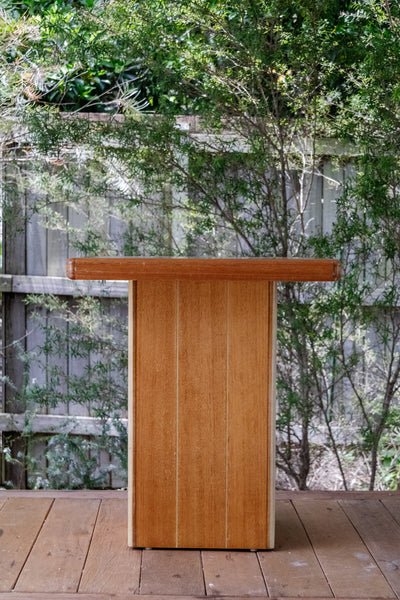
Side table
Cardboard or MDF
Selley's Liquid Nails Glue from Bunnings
Dunlop Premixed Resaflex tile adhesive from Bunnings
Spoon
Disposable gloves
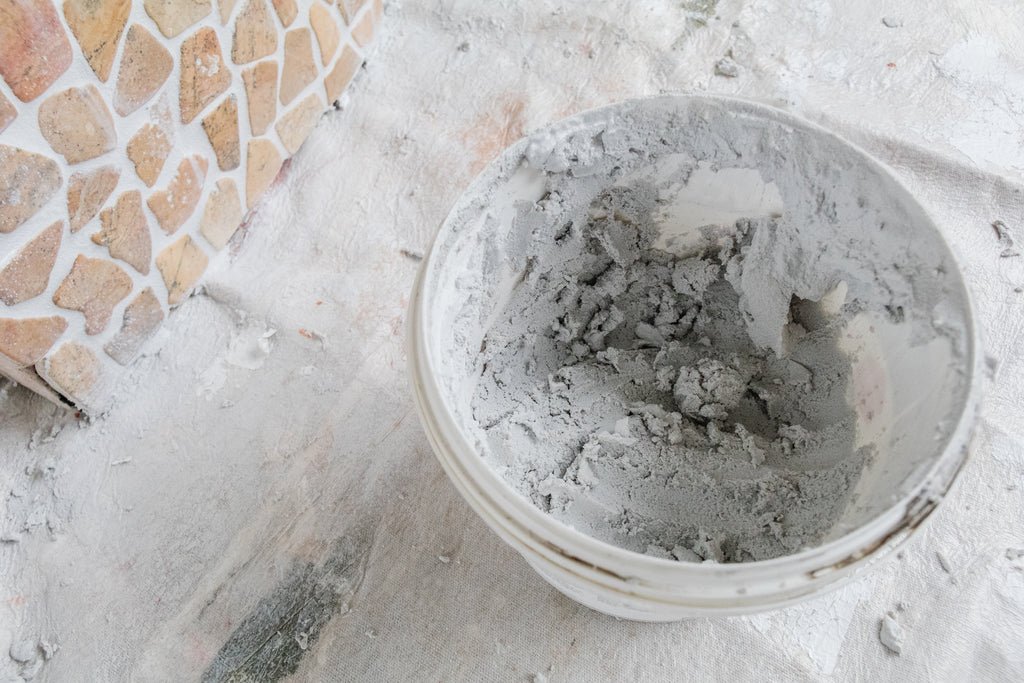
Davco Ready to Use Premixed Grout in "Silver Fox" from Bunnings
Tiling sponge from Bunnings
How To
Step 1: Start by wiping down your plinth/side table. In my case, I used a spare sheet of MDF to enclose the plinth, which you may not need to do. If you do, you could also layer and glue two sheets of cardboard cut to size.

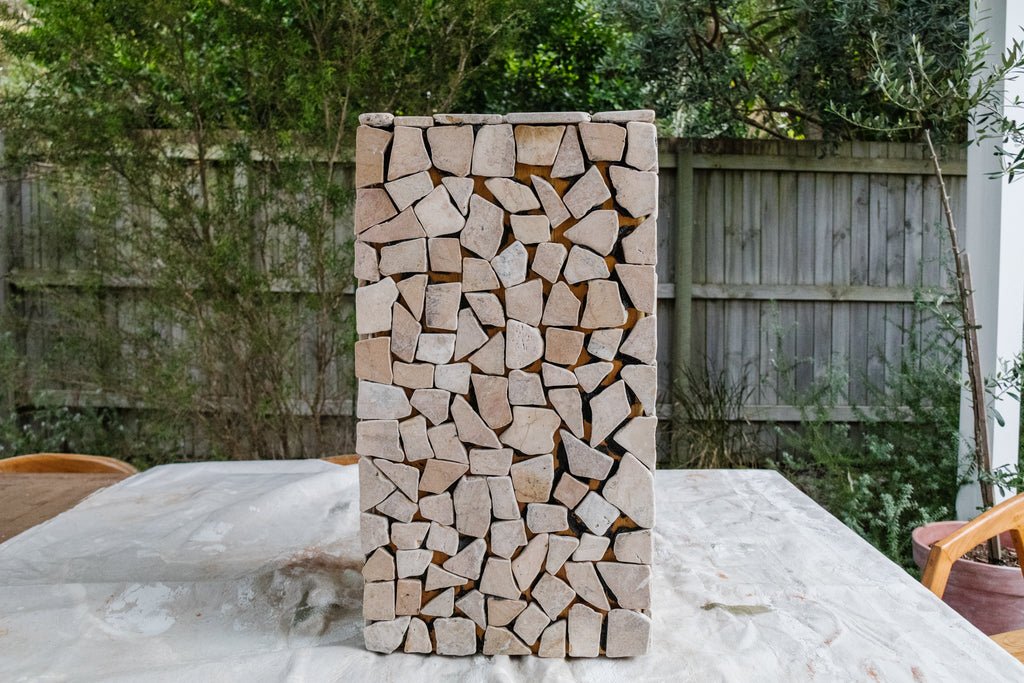
Step 2: Affix the stones to the plinth/side table using the tile adhesive. I used a spoon to dab the adhesive onto the back of each piece of stone before pressing into place/onto the plinth. You may need painters tape to hold the stones in place. Set aside to dry for at least 24 hours.
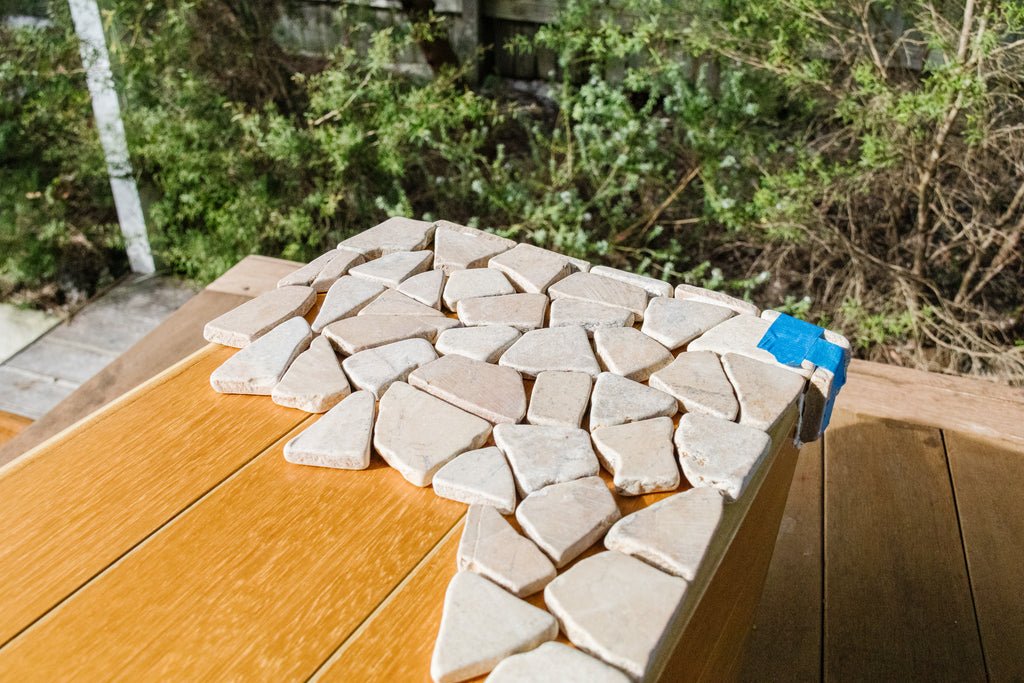

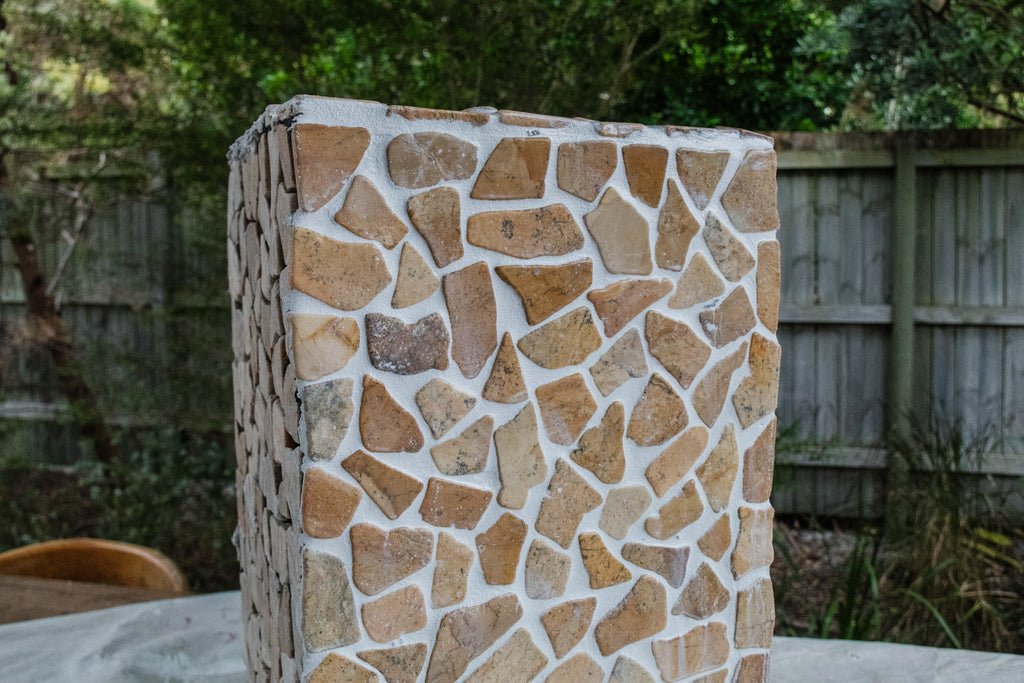
Step 3: Wearing disposable gloves, apply the grout diagonally (this help push the grout int between the stones). Grout one section at a time as the ready made premixed grout cures (starts to dry) quickly.

Step 4: Wet the sponge, wring it out and wipe the excess grout off. The more you get off the stone now the better as it means you won't have to do that when the grout is dry, and that's a very painful job to do! Use the blue side of the sponge at the end and wipe it down once.

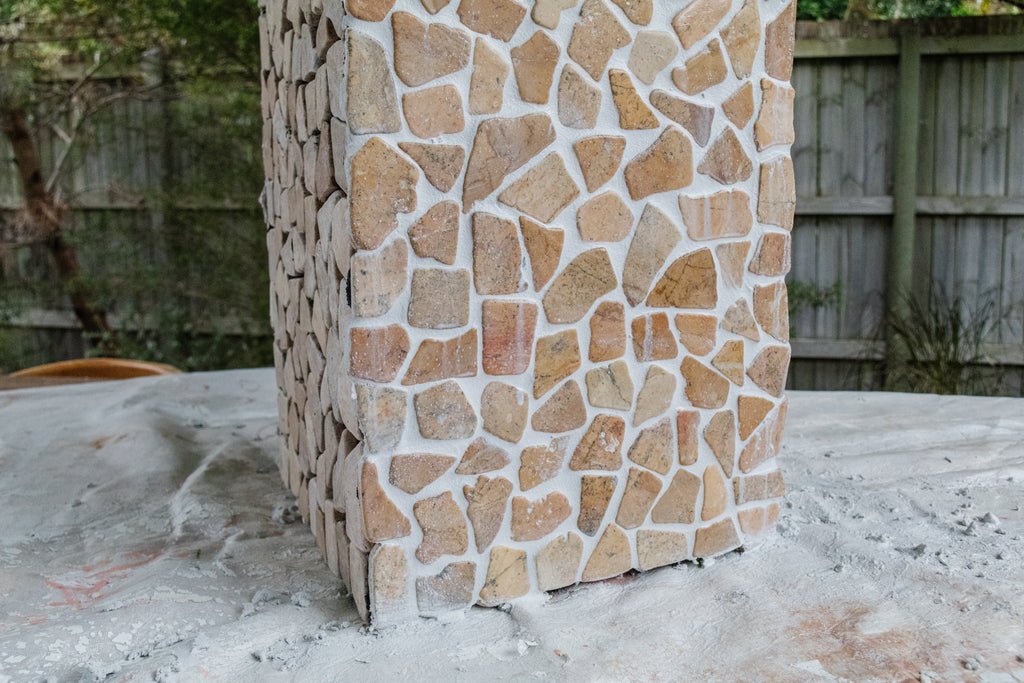
Step 5: Repeat with each section of the plinth until you have finished grouting. Set aside to dry for at least 12 to 24 hours.
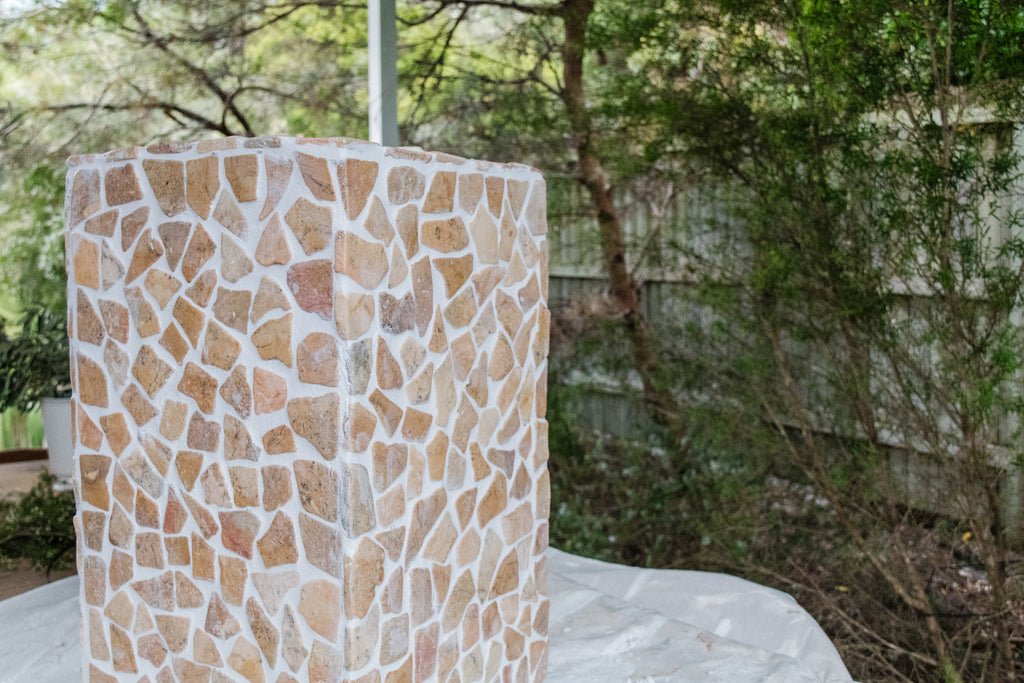
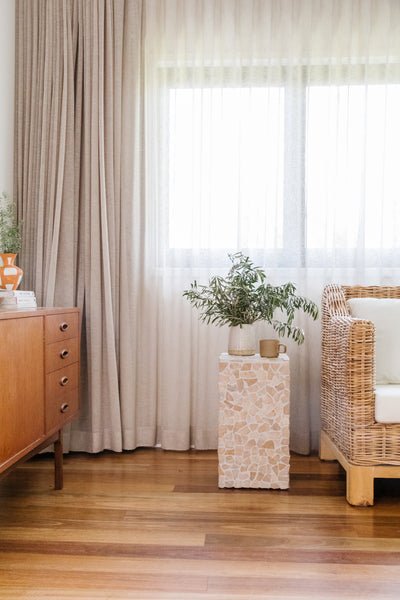
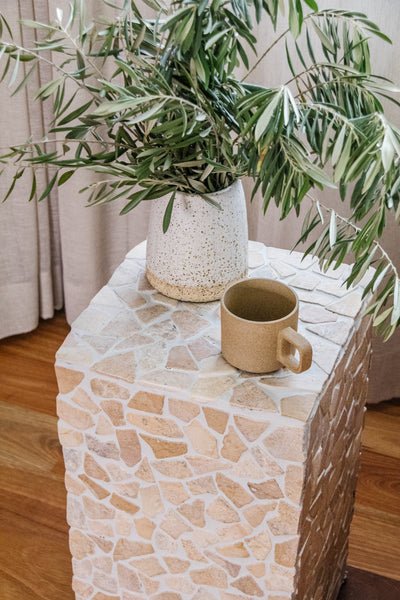
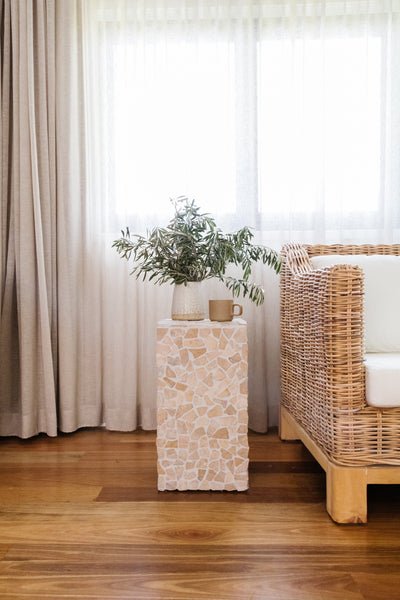
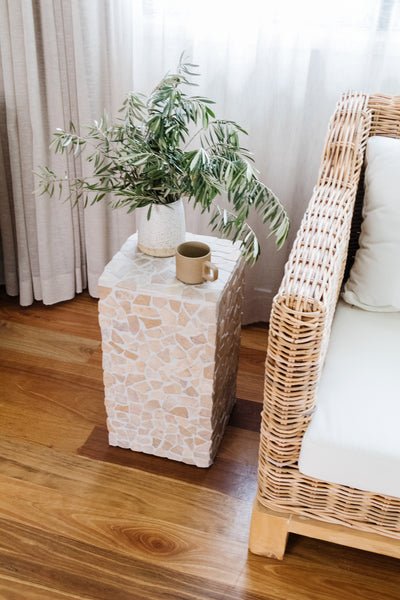
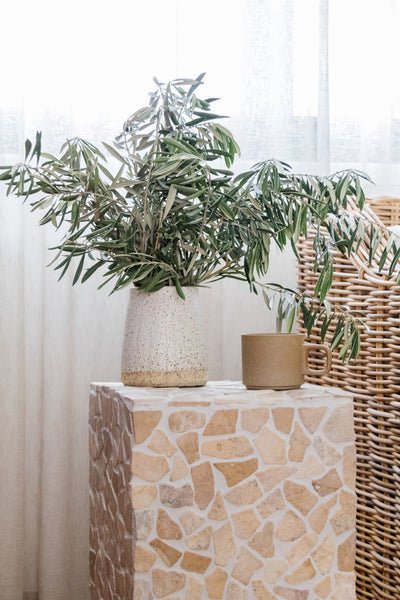
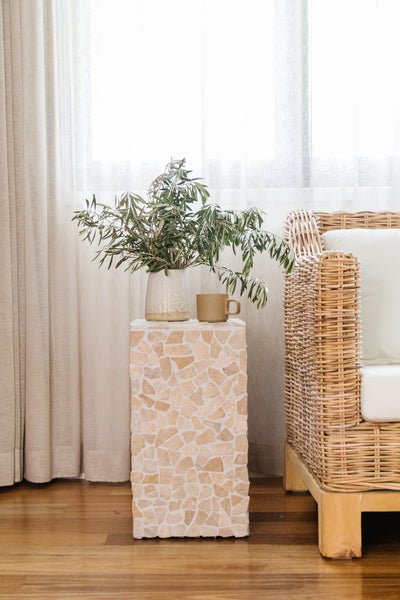
Ta daaaaa! A side table that's been transformed into a beautiful Stone Plinth in just a couple of days.
While I found the stone sheets at my tip shop, you can actually buy similar ones from Bunnings and National Tiles, so this is an upcycle you can easily try yourself on a secondhand side table. But what I love most about this project is that it only took a couple of days to complete - this is an easy project you can sink your teeth into. You don't need any special skills or equipment, and it's not a long drawn out process. And thank goodness because it's Christmas Eve and I am keen to get into the festive spirit with my family and friends! Happy holidays!