Make this DIY Rope Rainbow for your littles
Dusty loves rainbows, and I knew I had to get making. After scouring Pinterest for rainbow project ideas, I came across a stunning rope rainbow and knew I had to give it a try myself! This project does take a little longer than most but it’s also a great project for mindfulness, or whilst you Netflix and chill - hello Stranger Things and The Office!

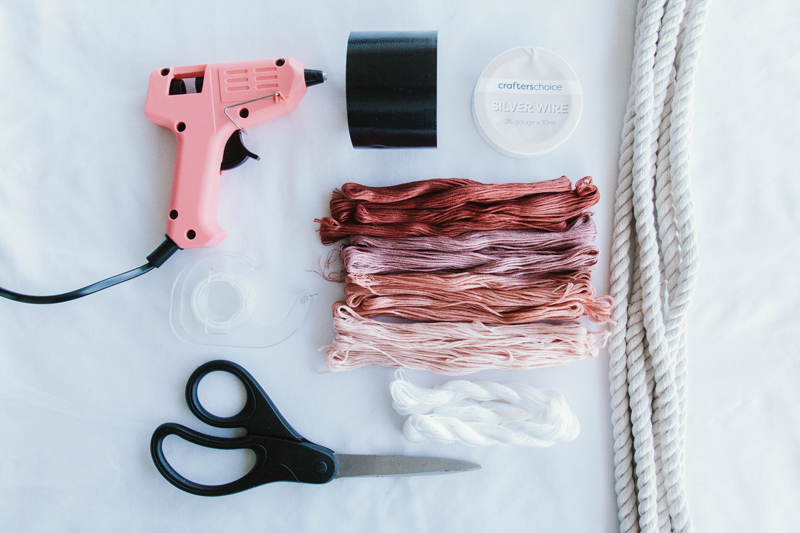
Materials
Hot glue gun
Sticky tape
Gaffer tape
Scissors
Thin craft wire
3 metres of chunky cotton rope
Coloured yarn and/or embroidery thread
Paper
Steps
Before we begin the steps, scroll down this blog post for all of the step by the images. They will really help! Now onto the steps.
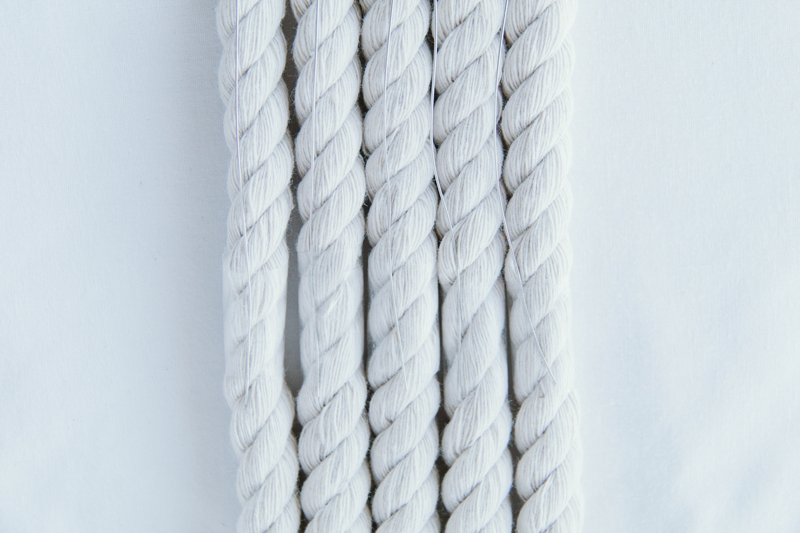
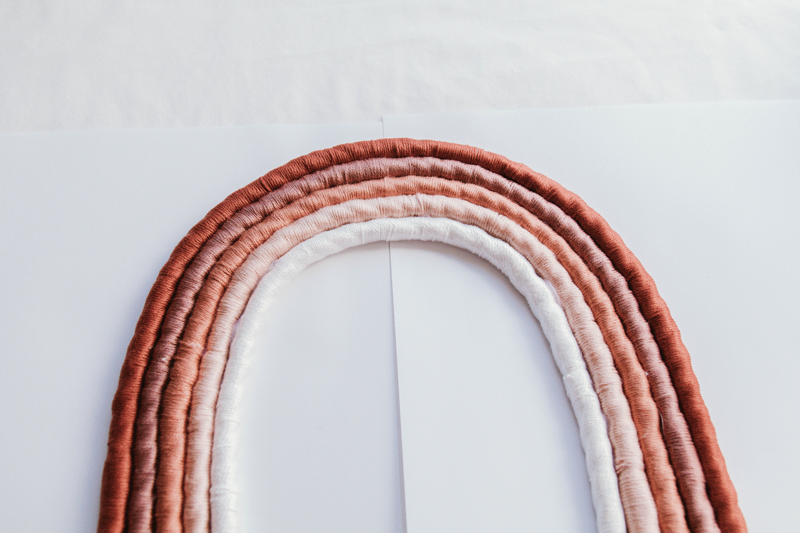
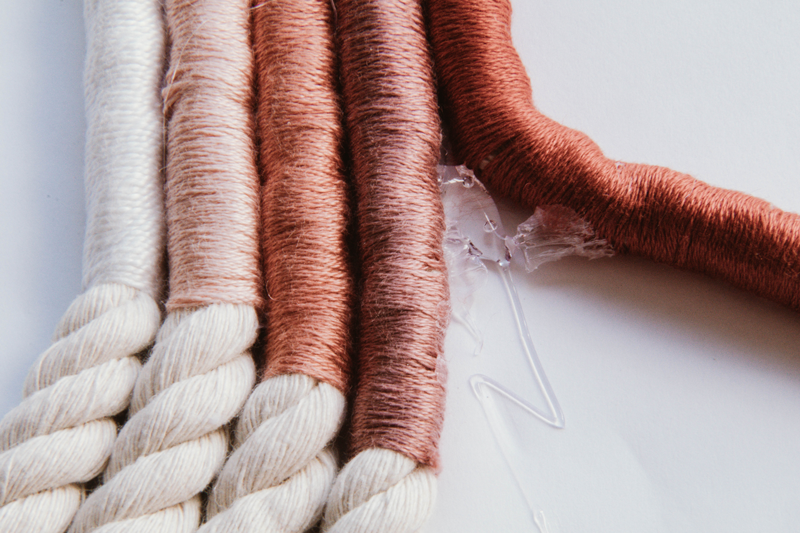
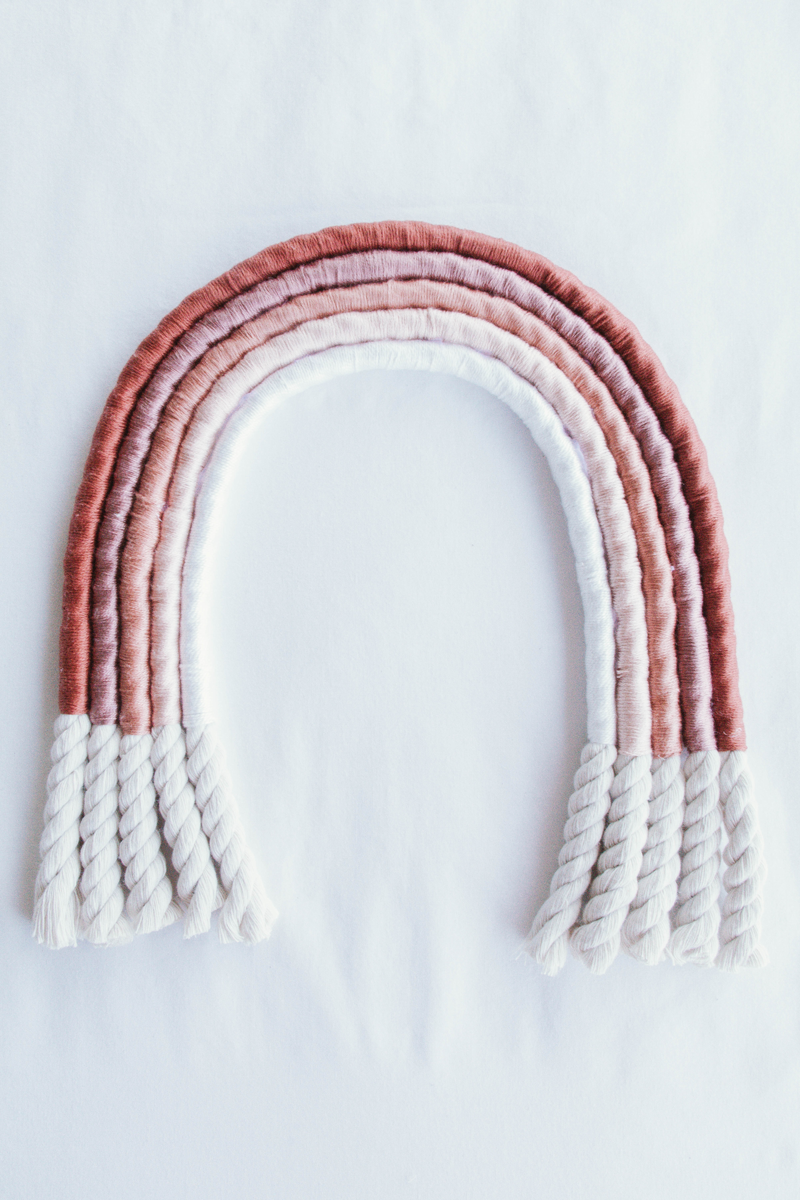
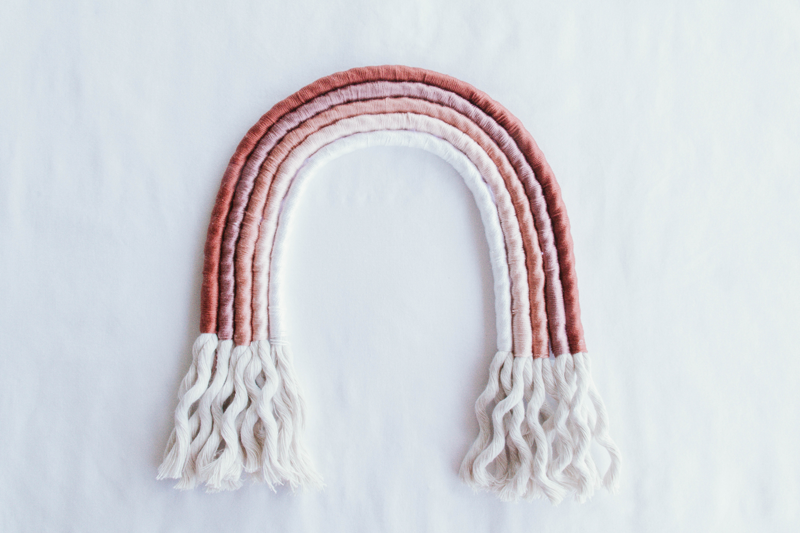
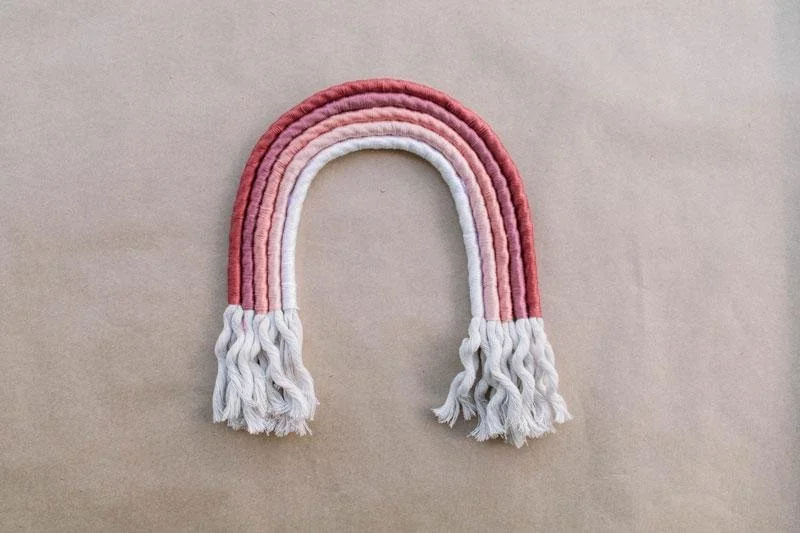
Assemble the yarn into the order you want the colours to appear on your rainbow. We had five colours and arranged them from dark to light.
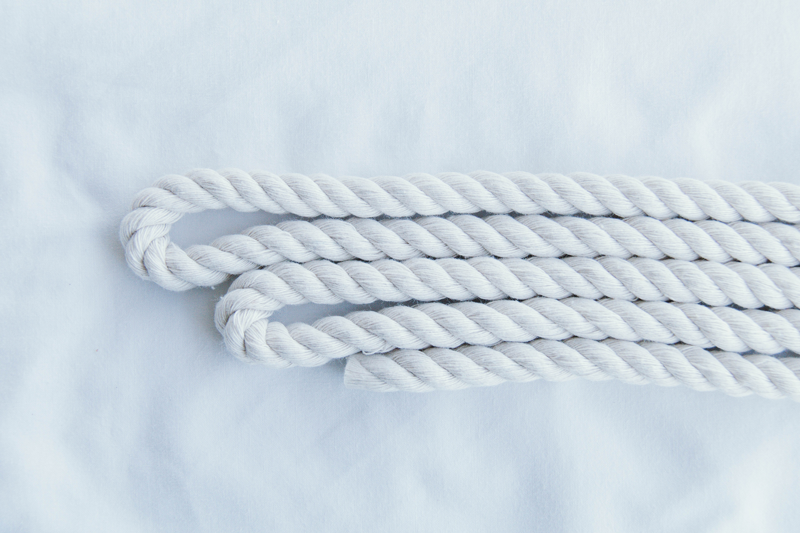
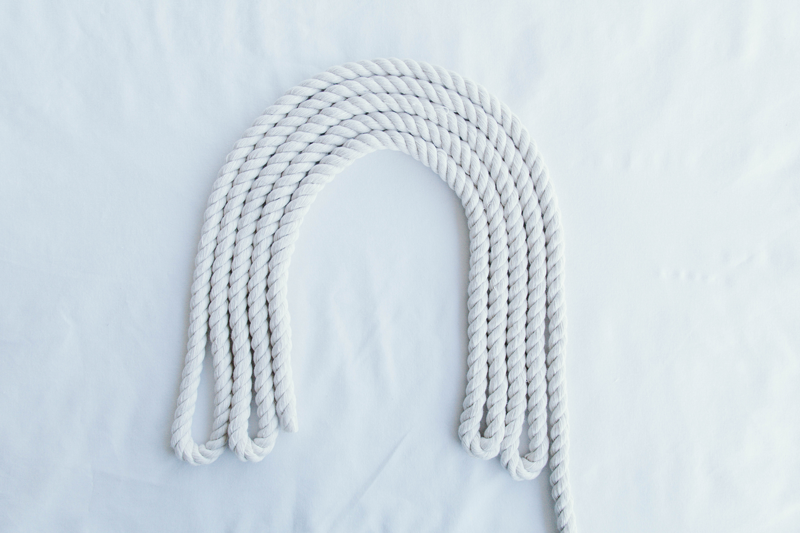
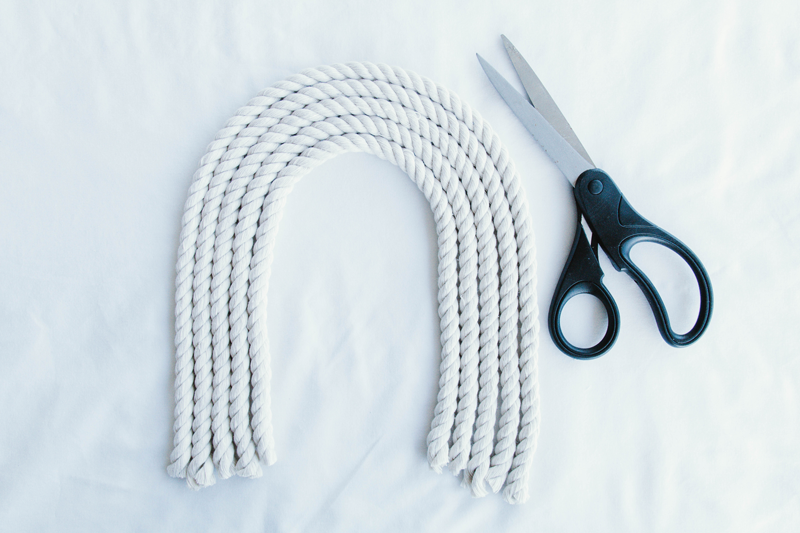
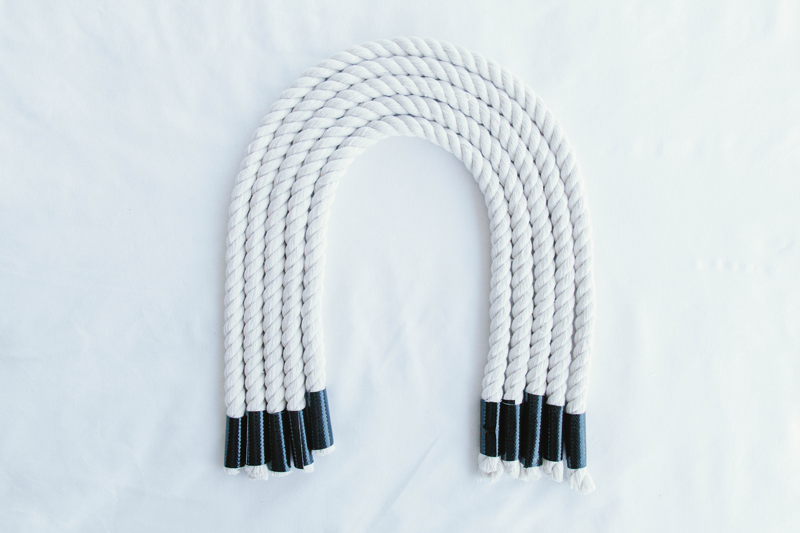
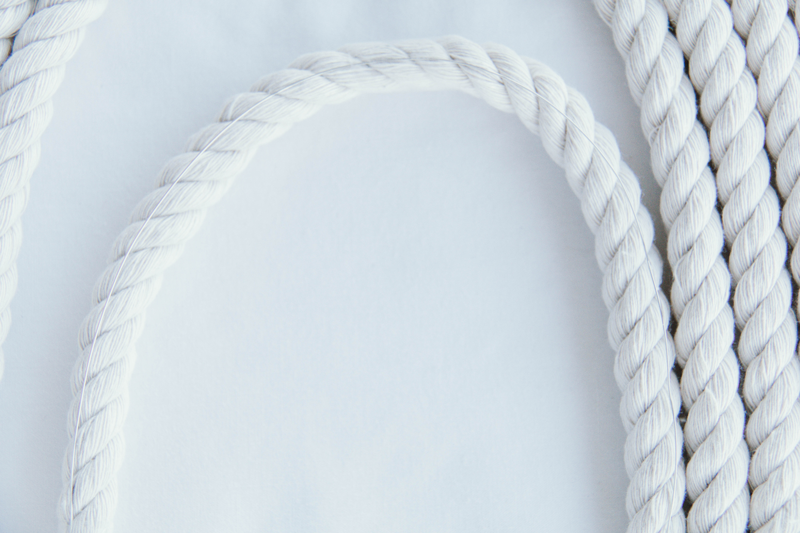
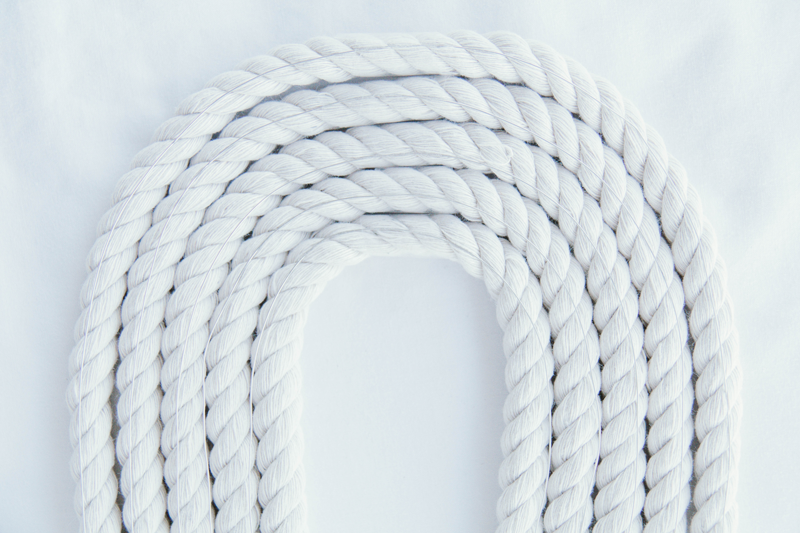
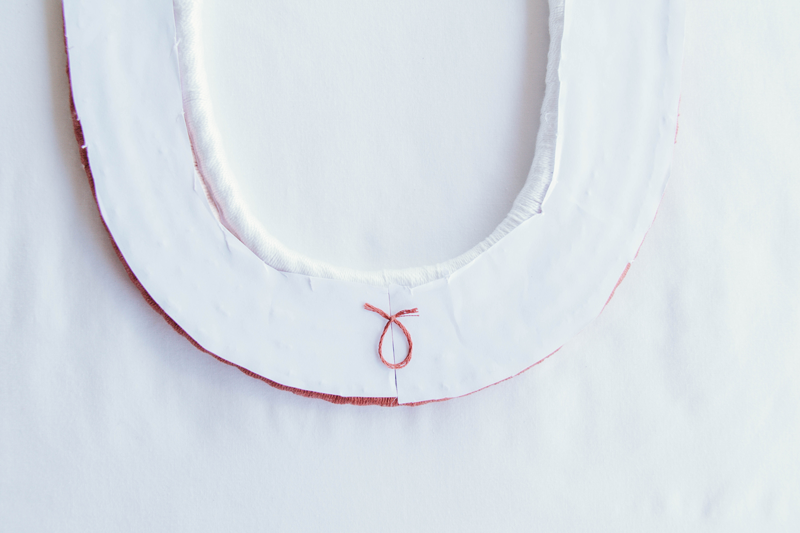
Loop your rope to form the shape of your rainbow and make sure you leave extra length at the base of the rainbow. If you have five colours, you need five lines of rope to form your rainbow.
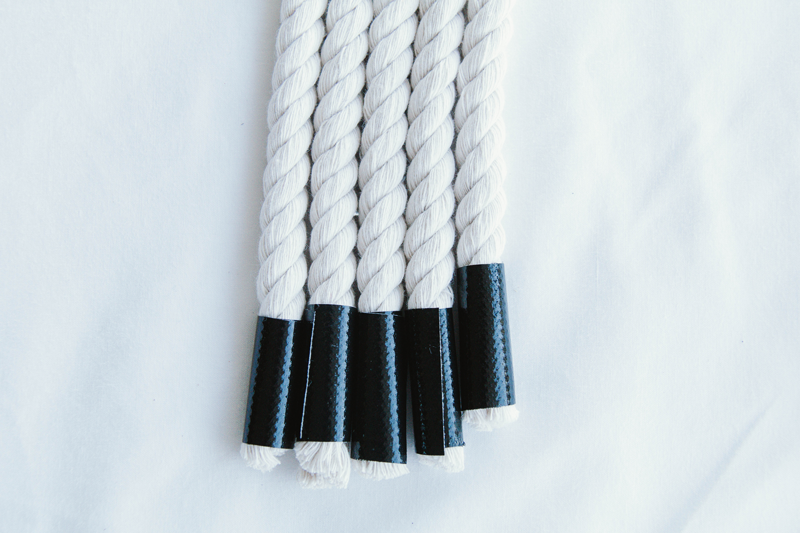
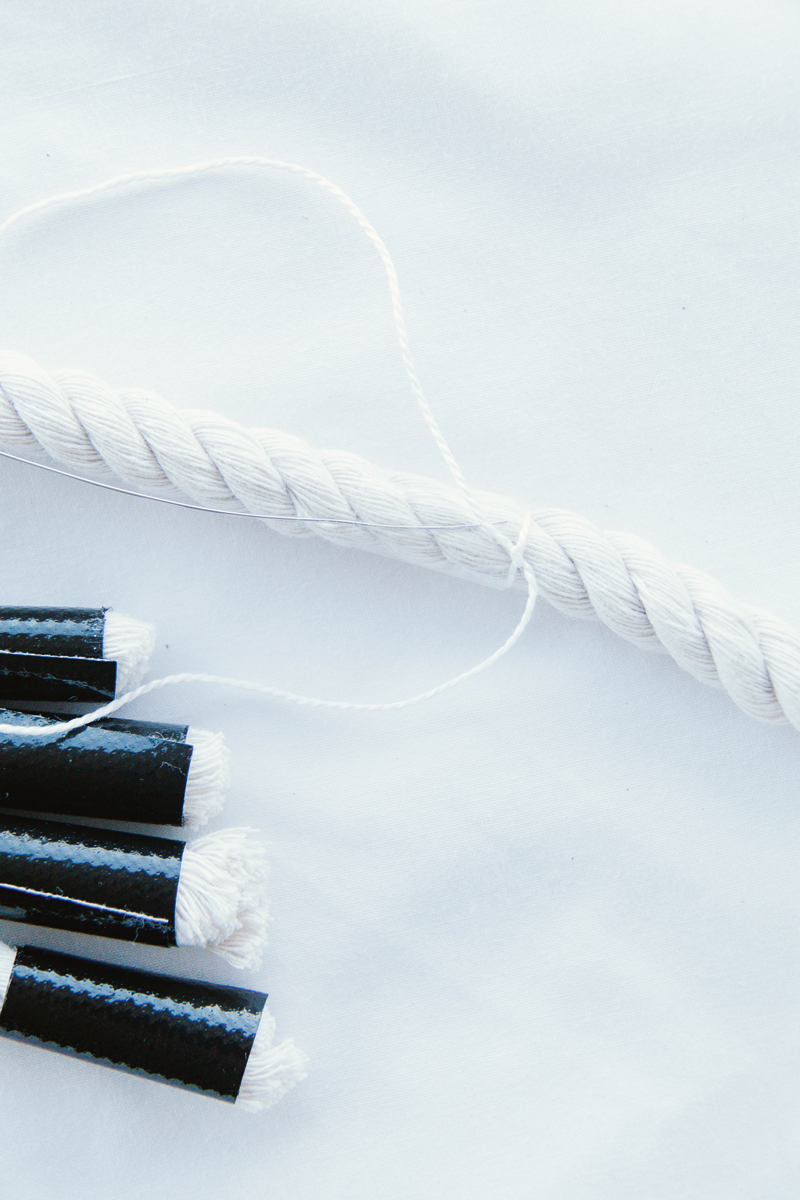
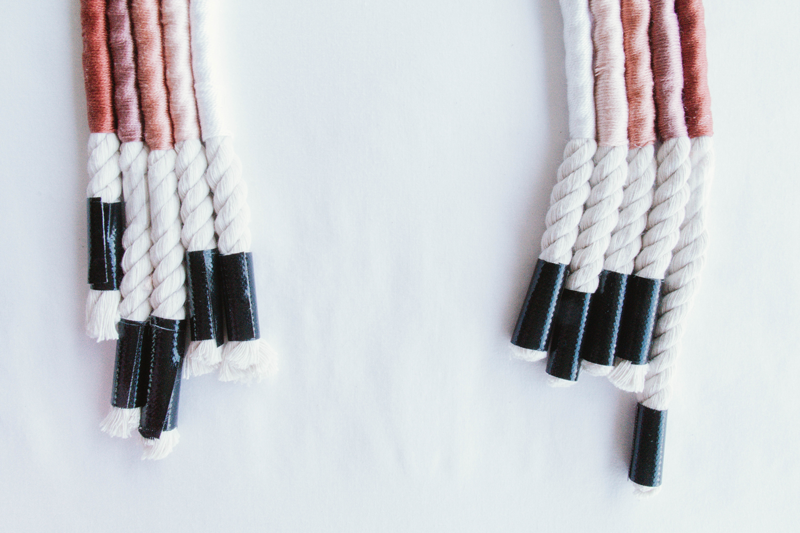
Using your scissors, snip the ends off the bottom of the rainbow.
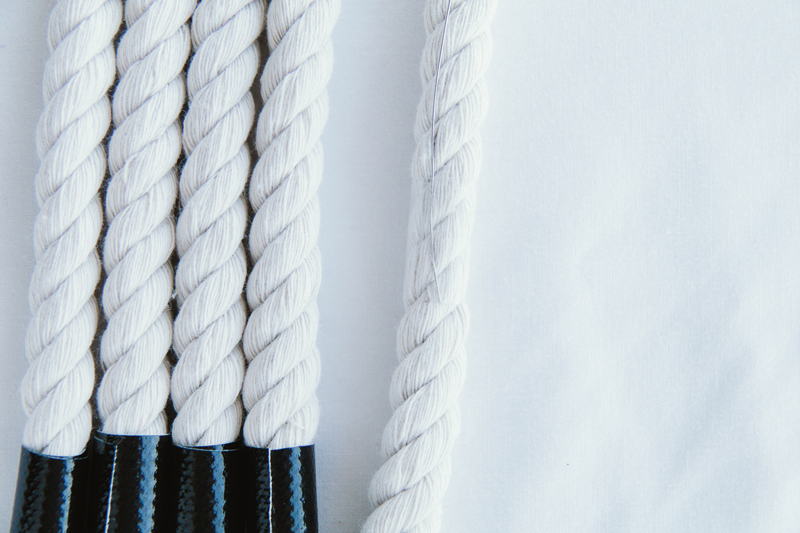
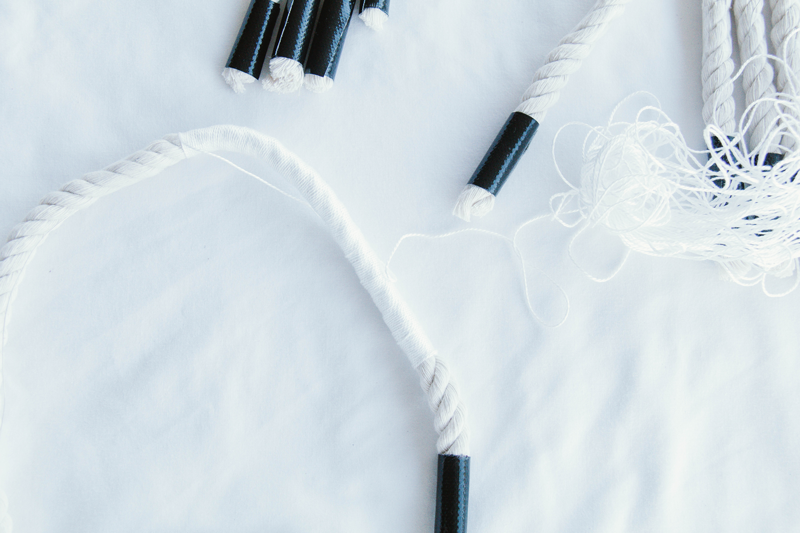
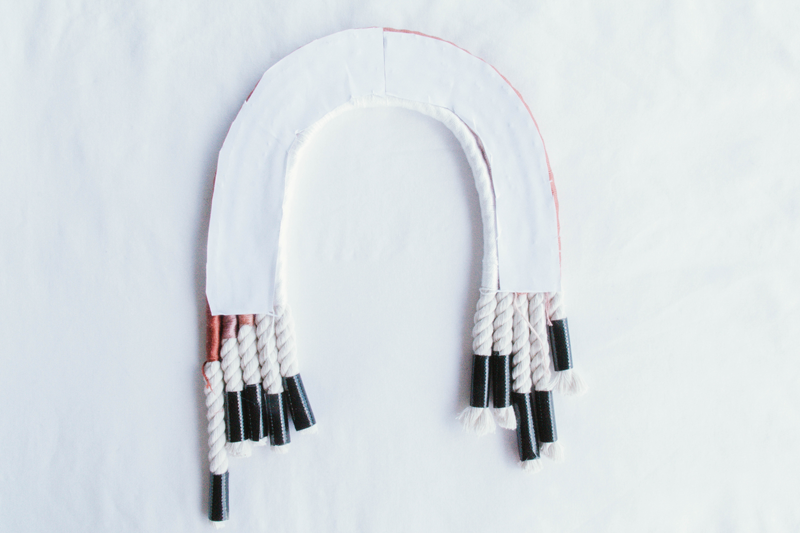
Using the gaffer tape, tape the bottom of each piece of rope.
Cut the thin craft wire to the length of each piece of rope, then attach using sticky tape. We cut the thin craft wire about an inch above the gaffer tape, but at the wire is so thin, you can cut the craft wire over the gaffer tape and cut off excess wire once the yarn has been wrapped around the rope.
Above the gaffer tape, tie a double knot with the coloured yarn of your choice and start wrapping around. Be careful not to have any cotton rope showing through. This is where the project takes a bit of time, so do this whilst enjoying the outdoors, or in front of the television.
Place the rainbow ropes onto a piece of paper (depending on the size of your rainbow and paper, you may need a couple of pieces for this) and glue down with the hot glue gun. Don’t worry too much if the glue is a bit messy, it dries clear.
Cut the excess paper off and again, don’t worry if you can’t do the neatest job because no one will see this.
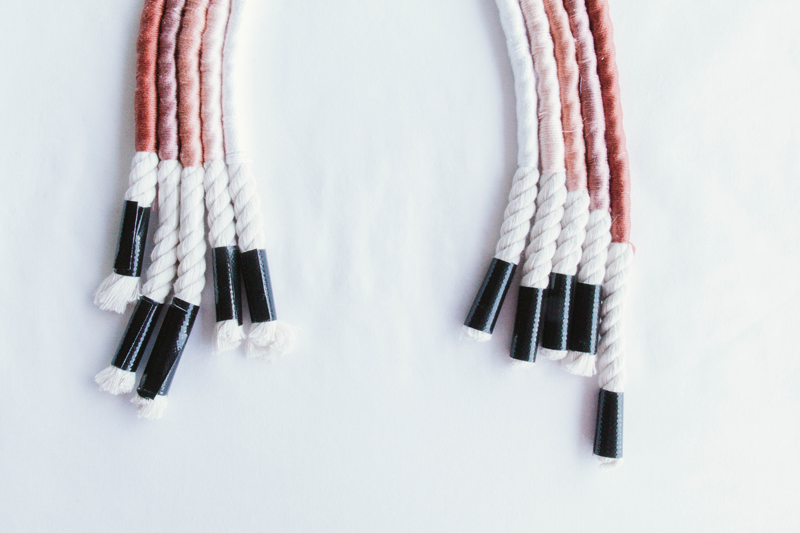
You may find the yarn isn’t even, so undo the yarn until it’s as even as possible and re-tie.
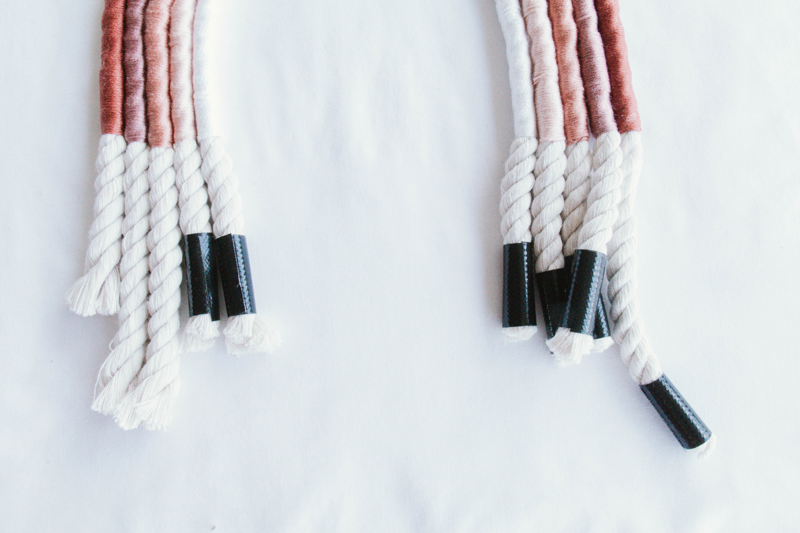
Remove the gaffer tape and cut the bottom of the rope evenly, this was my favourite part!
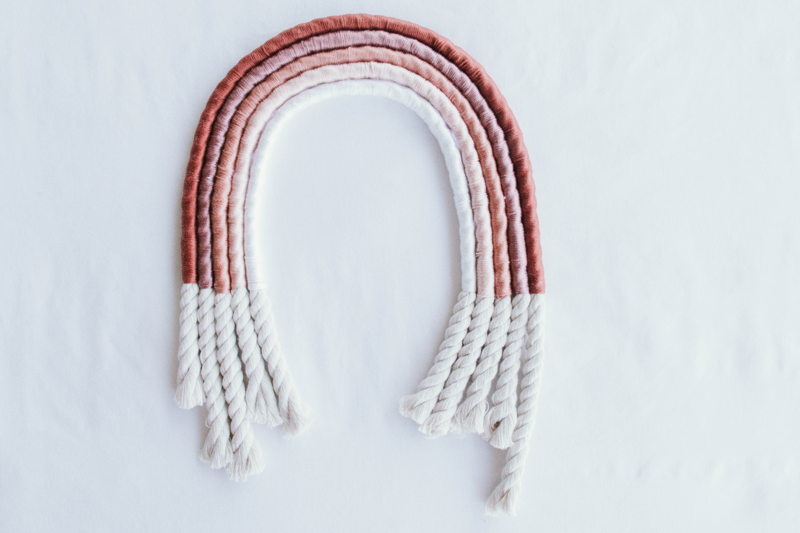
You can leave the rope as is or you can undo the rope to make it look more cloud-like, which I love.
Grab some extra yarn and glue a closed loop behind the rainbow, this will mean you can hang the rope rainbow on your wall.
And that’s it. Enjoy!