
How To Paint A Gingham Pattern
Hello gingham…paint!
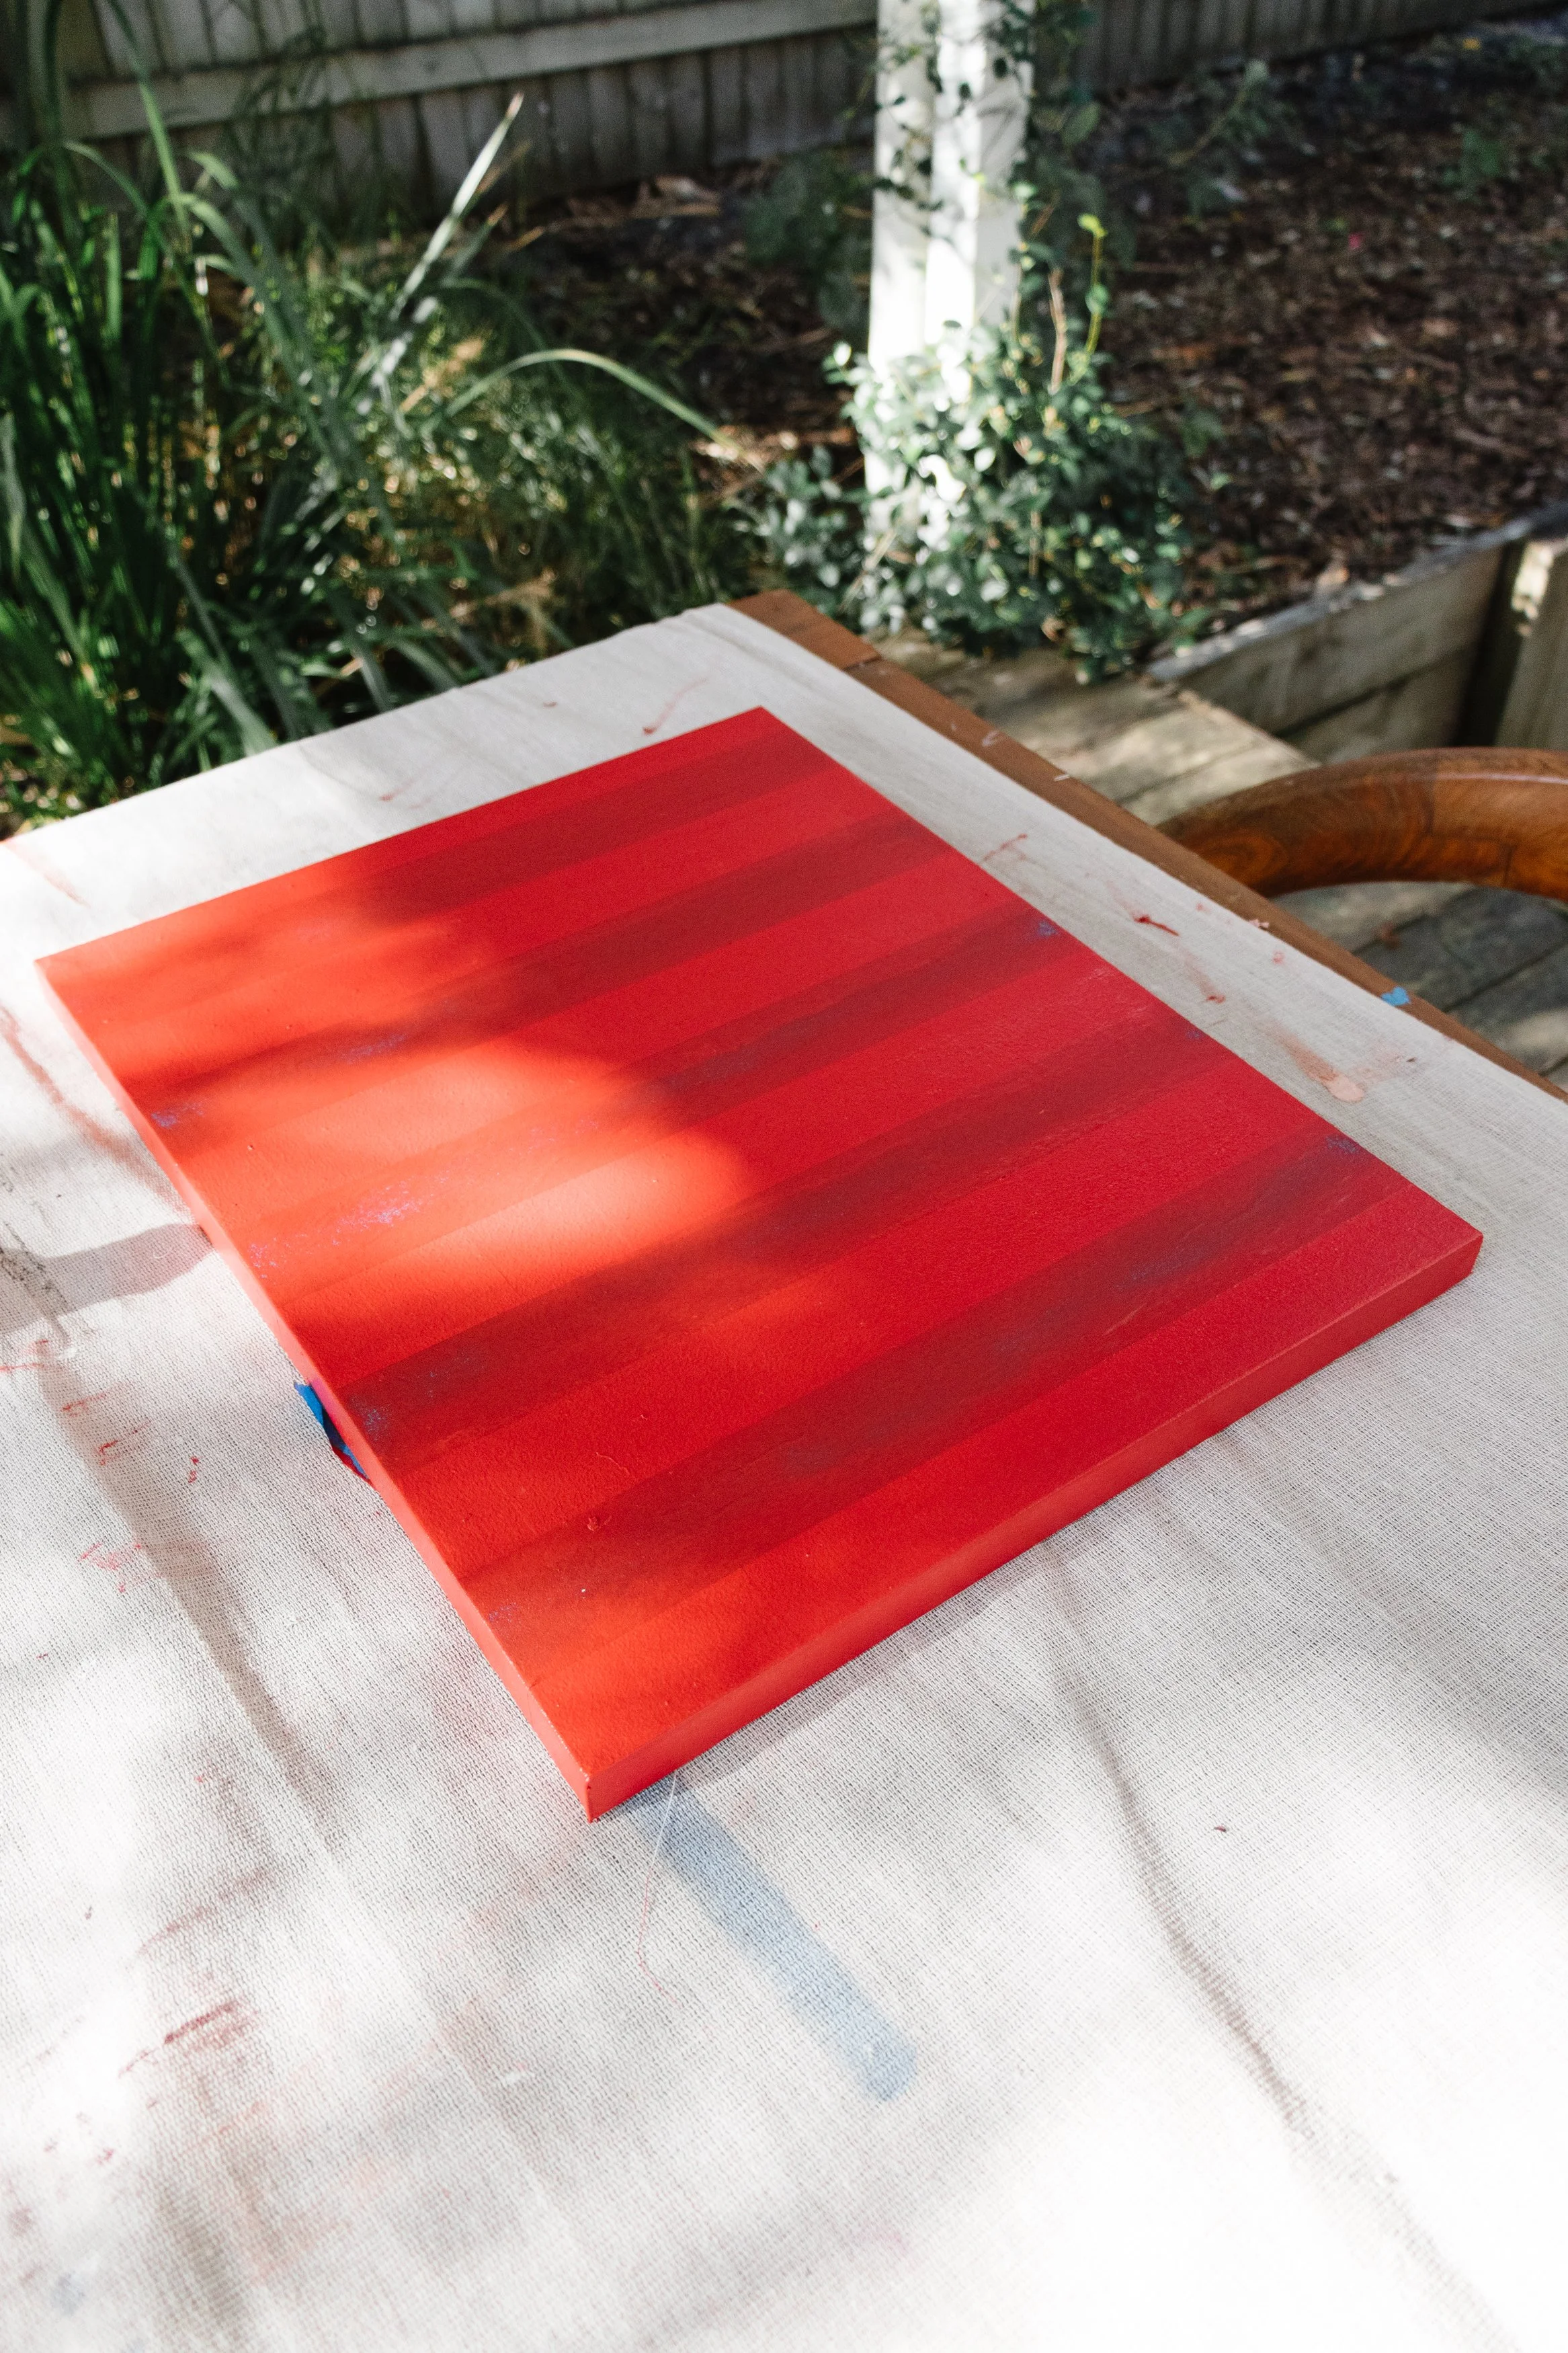
If you’ve been following along over on Instagram, you’ll know I recently upcycled a tired bookshelf and painted a gingham pattern! The technique is a bit of a mind bender but once you get the hang of it, it’s a lot of fun and the result is incredibly beautiful - and kind of surreal! I originally got the idea when I saw a pale blue gingham sofa and I got the random idea to figure out how to create a gingham pattern using paint. I did a bit of research but couldn’t find anything that I could easily understand, so I spent some time working on the process before diving into the bookshelf project. It was very ambitious - but that’s just me! I’m an “all in” kinda gal. It went viral and I got lots of questions (no, the bookshelf is no upside down!) about the process, so I shared a more detailed break down of the process in this reel. However, I quickly realised that it will probably be even easier for people to understand if I painted something simple, like a thrifted art canvas - so that’s what I did! You can watch the process here where I used three different colours or you follow my step by step instructions below. Gingham paint would look beautiful on a wall, lamp, cabinet and so many other pieces around your home. Have fun, get creative with your colours and experiment by using different sized tape together!
Before & After


Materials
Thrifted canvas
1 x White water-based acrylic paint (your base colour)
3 x Water-based acrylic paint in three different shades in the one colour (like my bookshelf) or three similar/like-minded colours (like this art canvas)
4 x Paint rollers
How To
Step 1: Paint the thrifted art canvas using white paint and a paint roller. Set aside to dry. The white paint is your base colour, and I think it’s perfect because it makes the other colours stand out.
Step 2: When the paint has dried, apply painter’s tape in a vertical direction to create a striped pattern. Use smaller bits of tape in between to keep the lines straight and evenly spaced. Make sure to press the painter’s tape down firmly to limit bleeding. This may happen because you are applying several layers of paint; if it does, don’t feel disheartened. It’s all part of the fun. Remember, we’re never chasing perfection over here.


Step 3: Apply the lightest shade of paint all over and peel the tape off straight away, then set aside to dry.
Step 4: Next apply painters tape on top to create a horizontal striped pattern. Apply a mid shade of paint all over and set aside to dry. Don't peel the tape off.
Step 5: When the paint has dried, apply painters tape in the same place as you did for the first vertical striped pattern in Step 2. Apply the darkest shade of paint all over. Immediately and slowly, peel all the tape off to reveal the beautiful gingham pattern. Be mindful where you put your fingertips - you don’t want to get too much paint on them and for that to transfer onto the art piece. And that’s it!


