Upcycled Round Ball Bar Stools
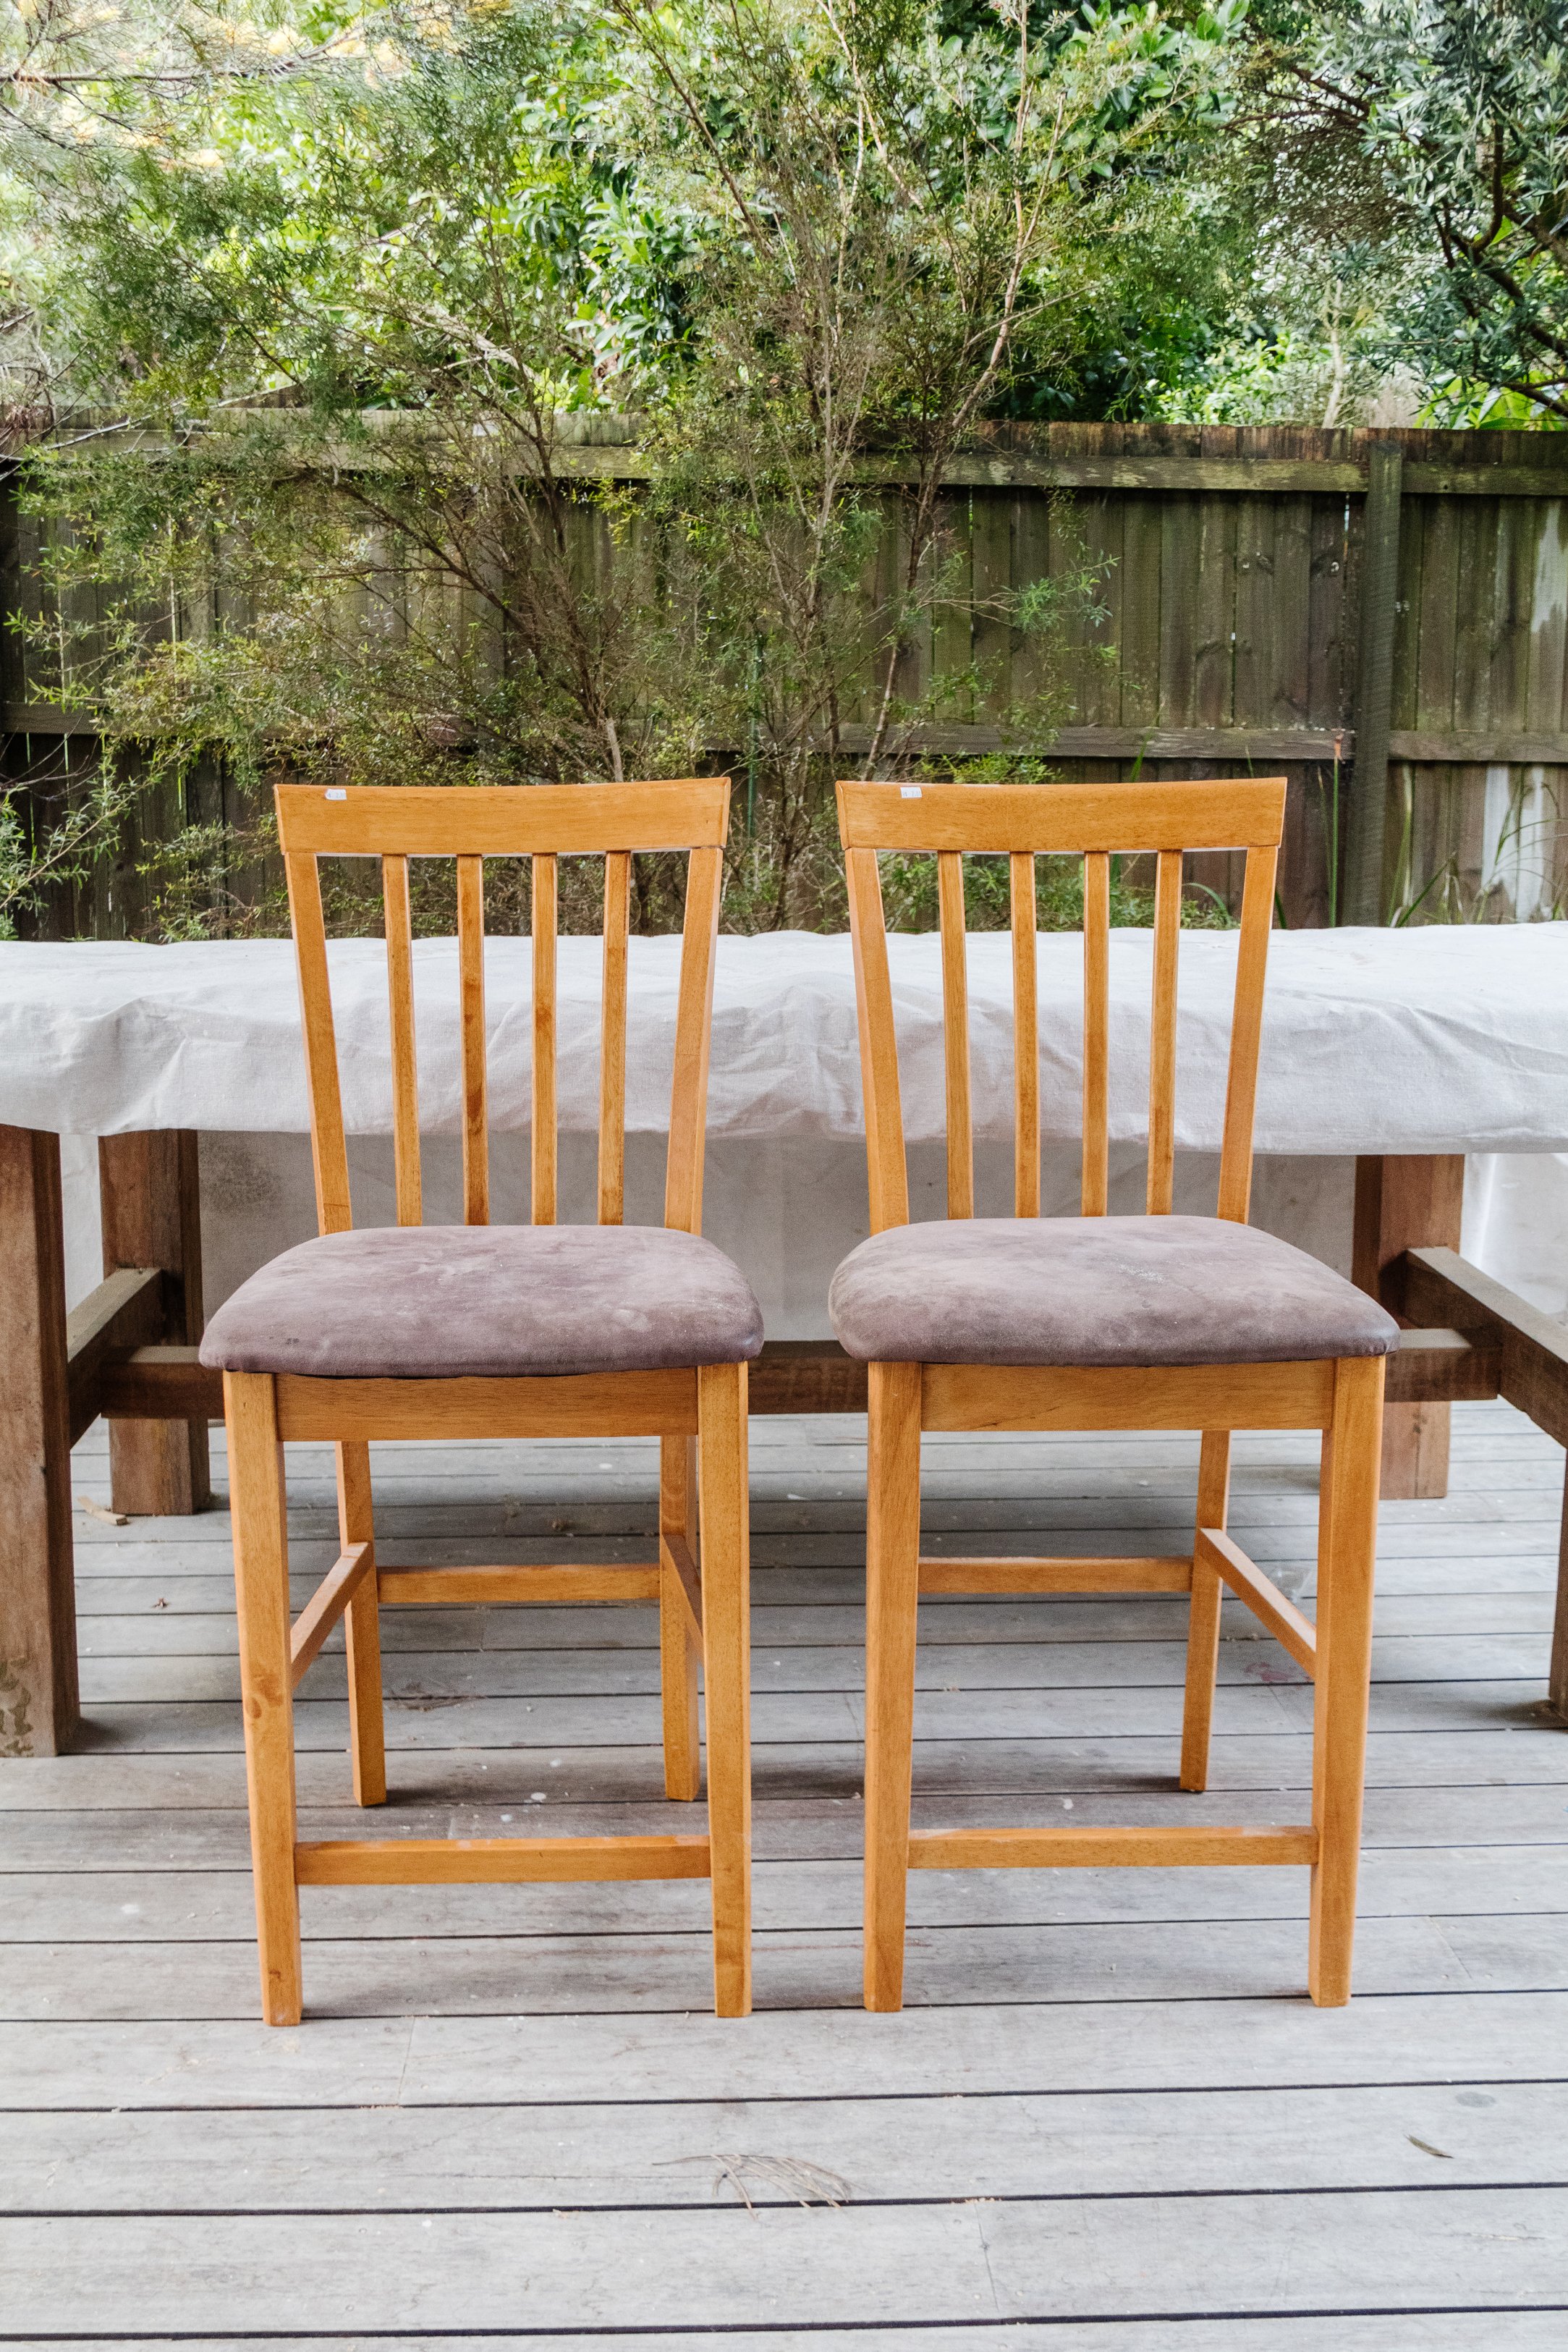
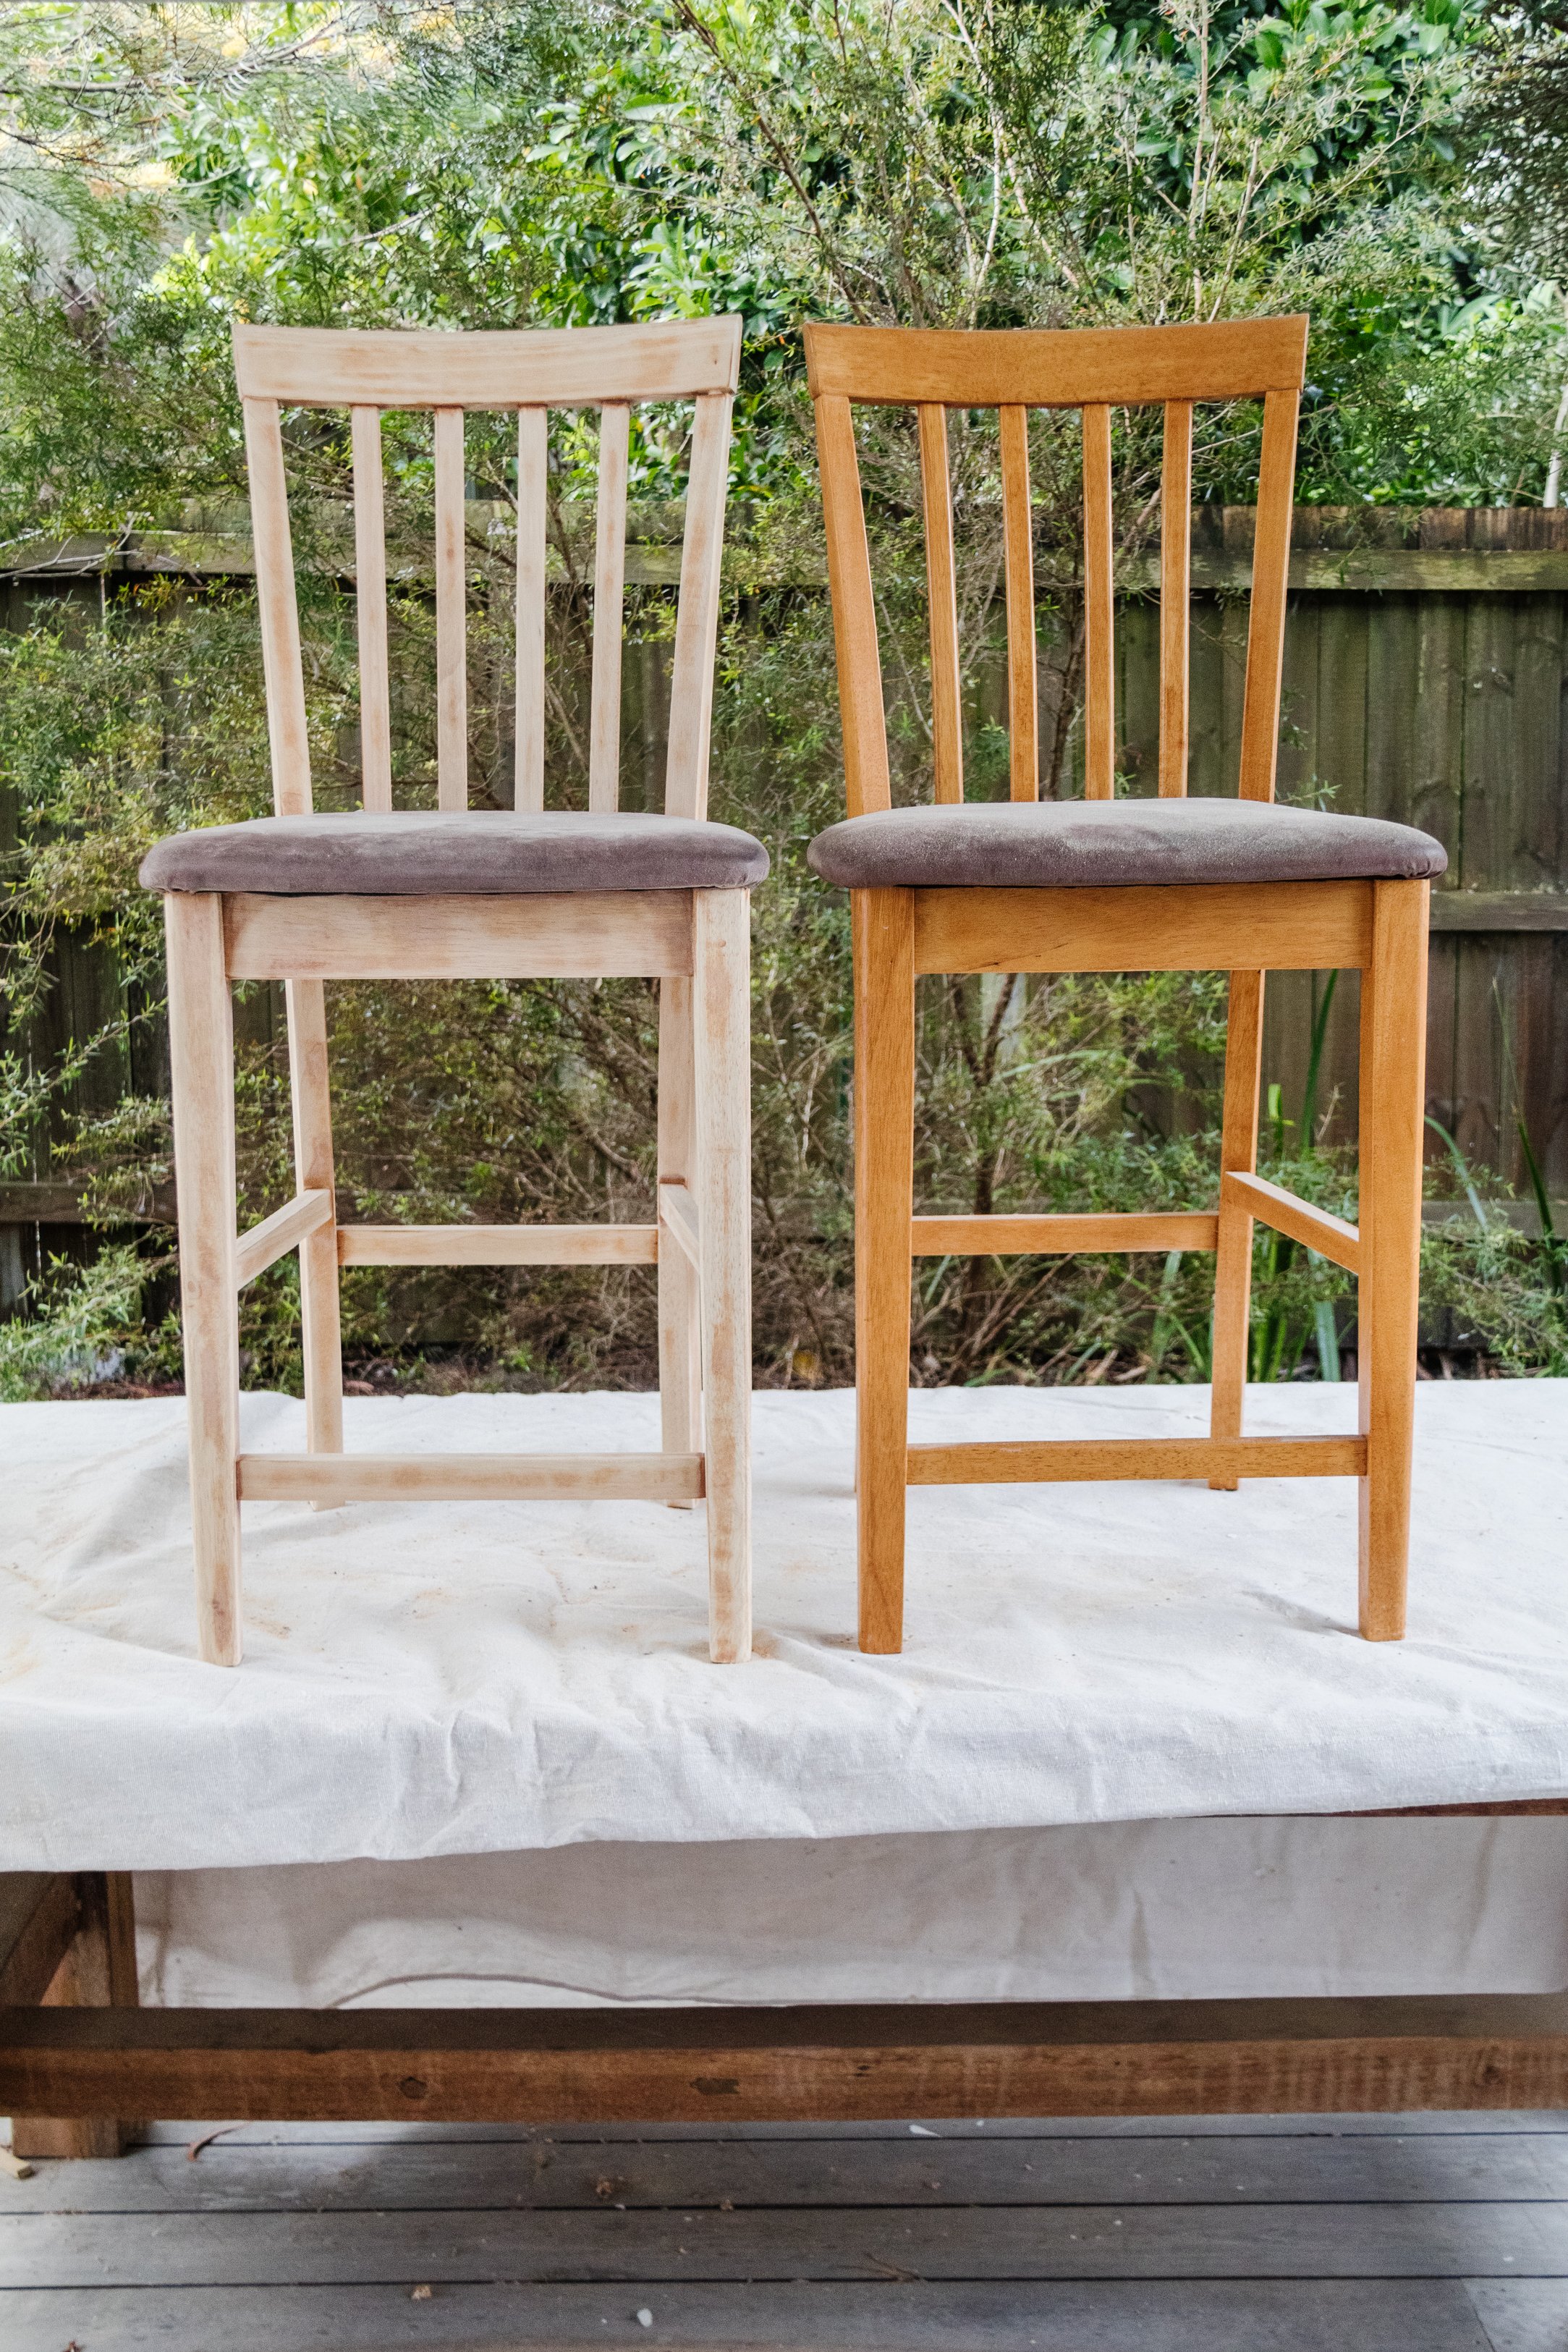
I stumbled across two bar stools at a charity shop for $2 each and…
For a grand total of $4, how could I resist? They were utterly perfect for an upcycling project I’ve been thinking of for months, so I brought them home to see if I could bring my idea to life. As you know I love working with foam balls. Have you seen my Upcycled Ball Side Table, Upcycled Ball Table Lamp, Upcycled Round Ball Mirror and Upcycled Textured Relief Art? Foam balls are such a versatile material and I love using them. For this upcycle I was inspired by round balls as a feature on top of chairs, so I set about seeing if I could use foam balls to recreate this look. I spent a bit of time figuring out how to attach the foam balls securely to the bar stools and once I had solved that problem (I was so nervous it wouldn’t work!), all this project took as a bit of sanding, painting and reupholstering - and here we are. Total project cost? $50! Yup, $50 - including the chairs, fabric, paint, dowel and glue, which is crazy considering similar styles of ball chairs cost over $1,000 each. Read on to learn how you can upcycle your own bar stools (or recreate this upcycle on any chairs) with a round ball detail.
And to see how these Upcycled Round Ball Bar Stools came together, make sure you check out this video!
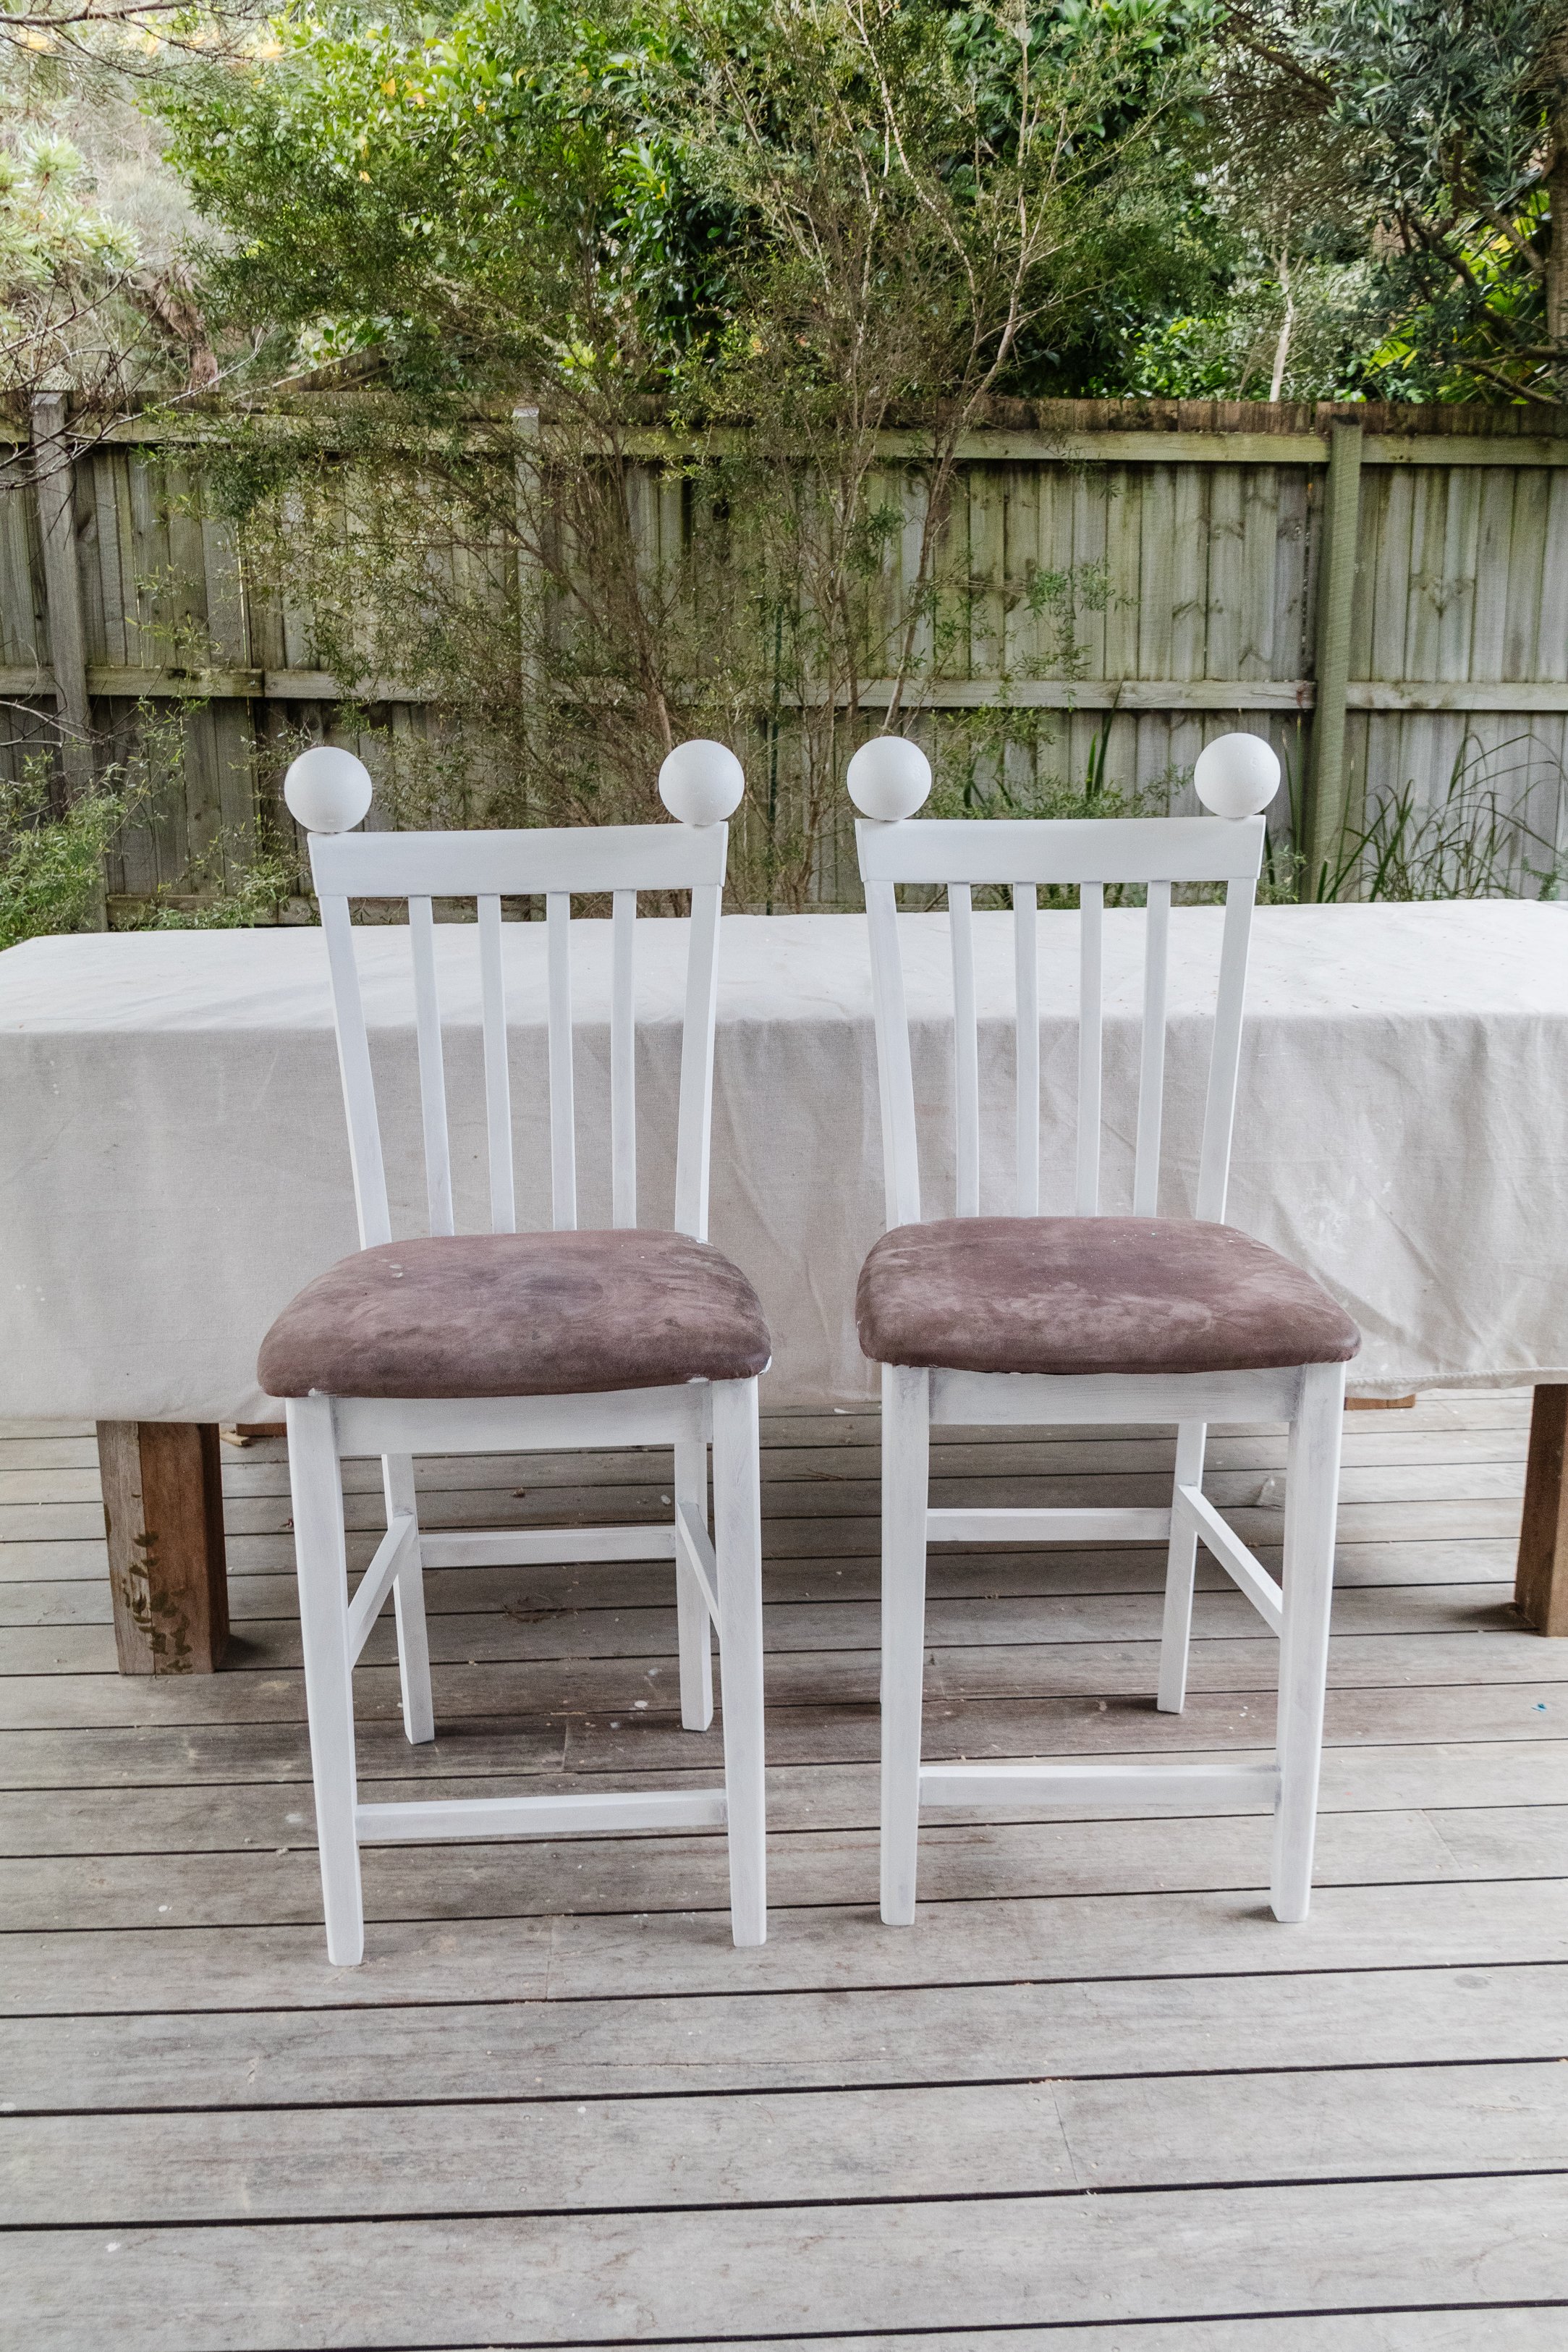
Before & After

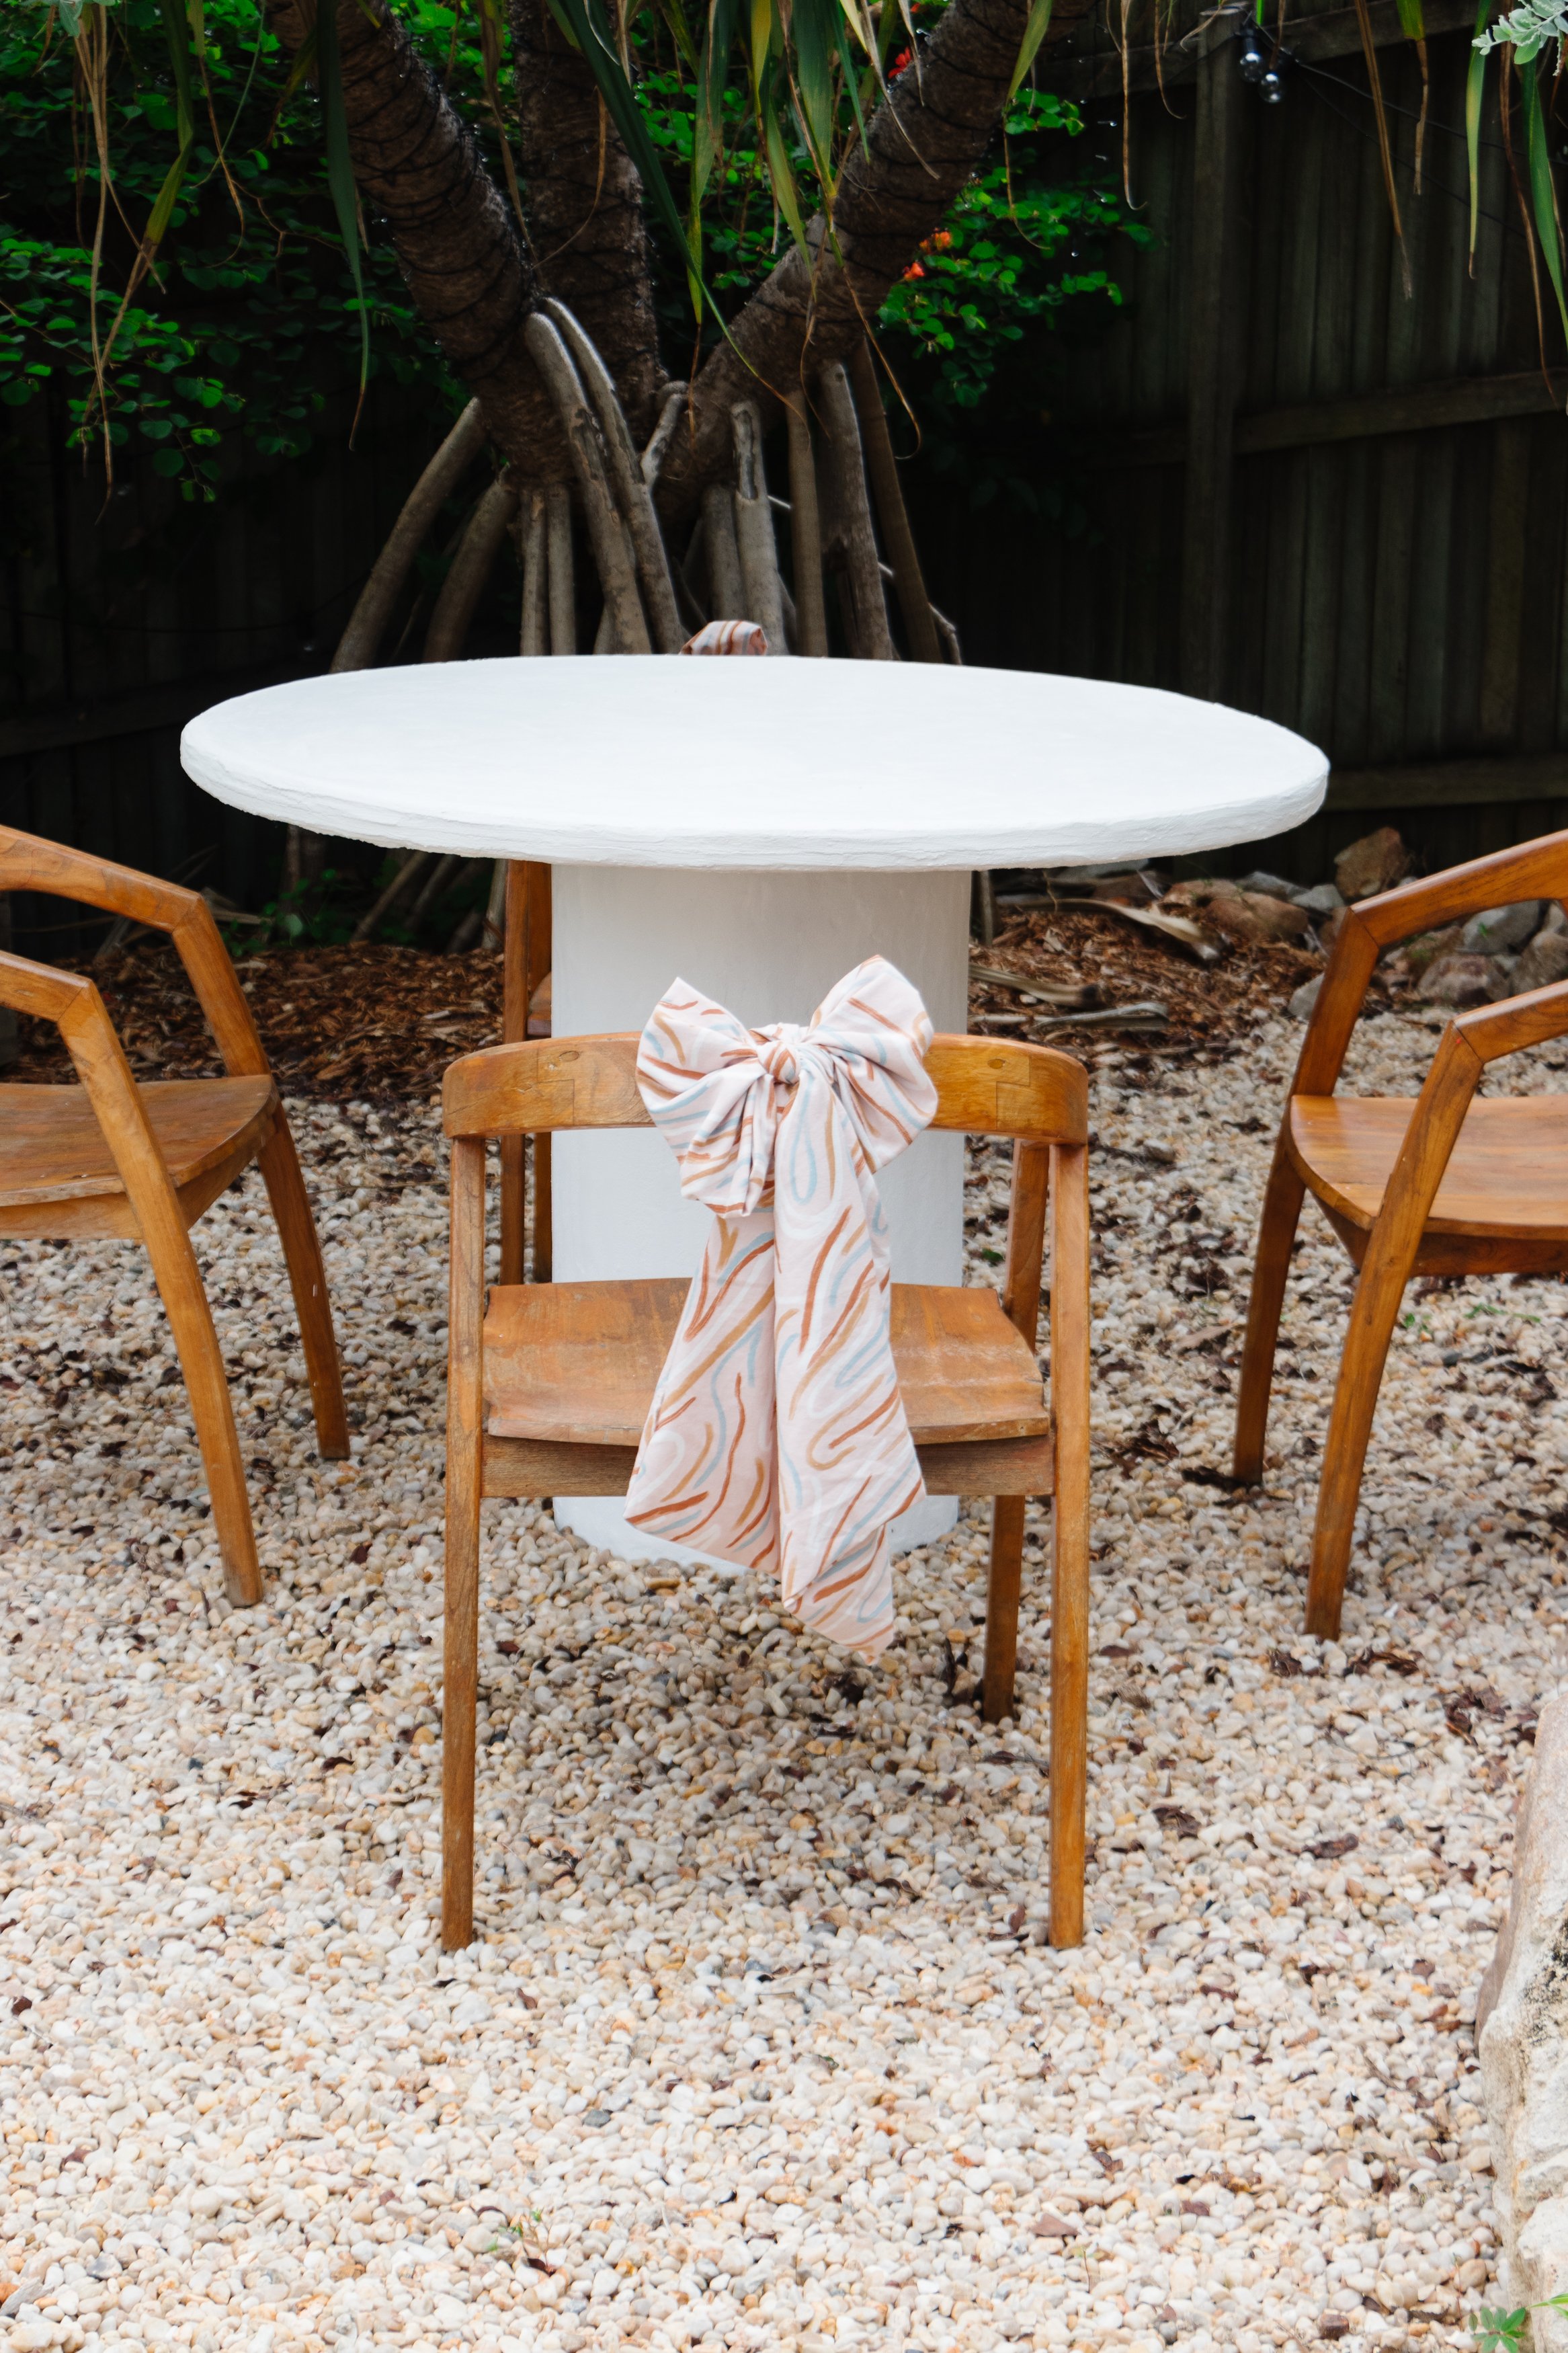
The Inspiration
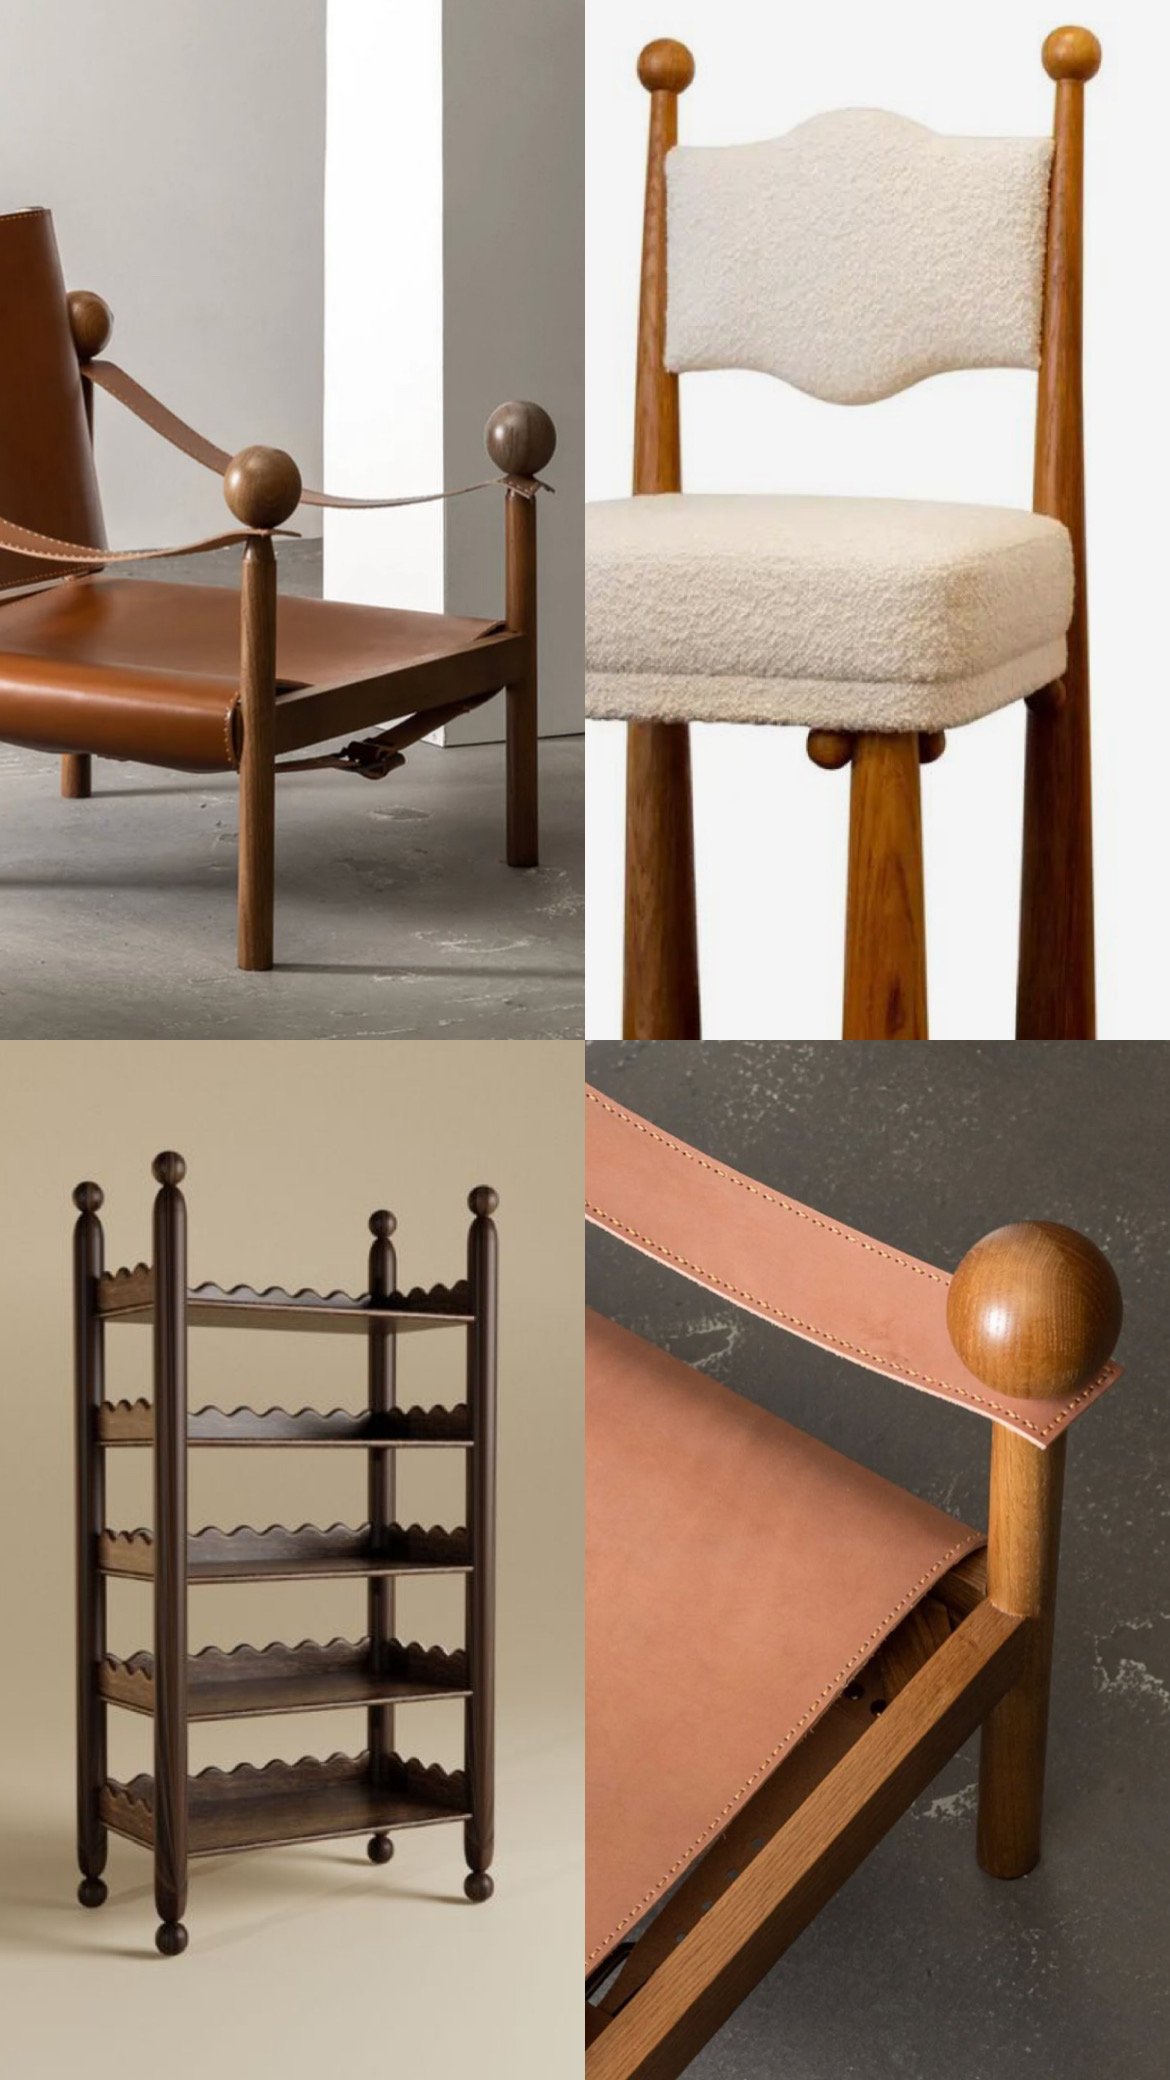
Project Details
🕒 Project Time Estimate: 3 hours, not including glue and paint drying time
💰 Project Cost: $50
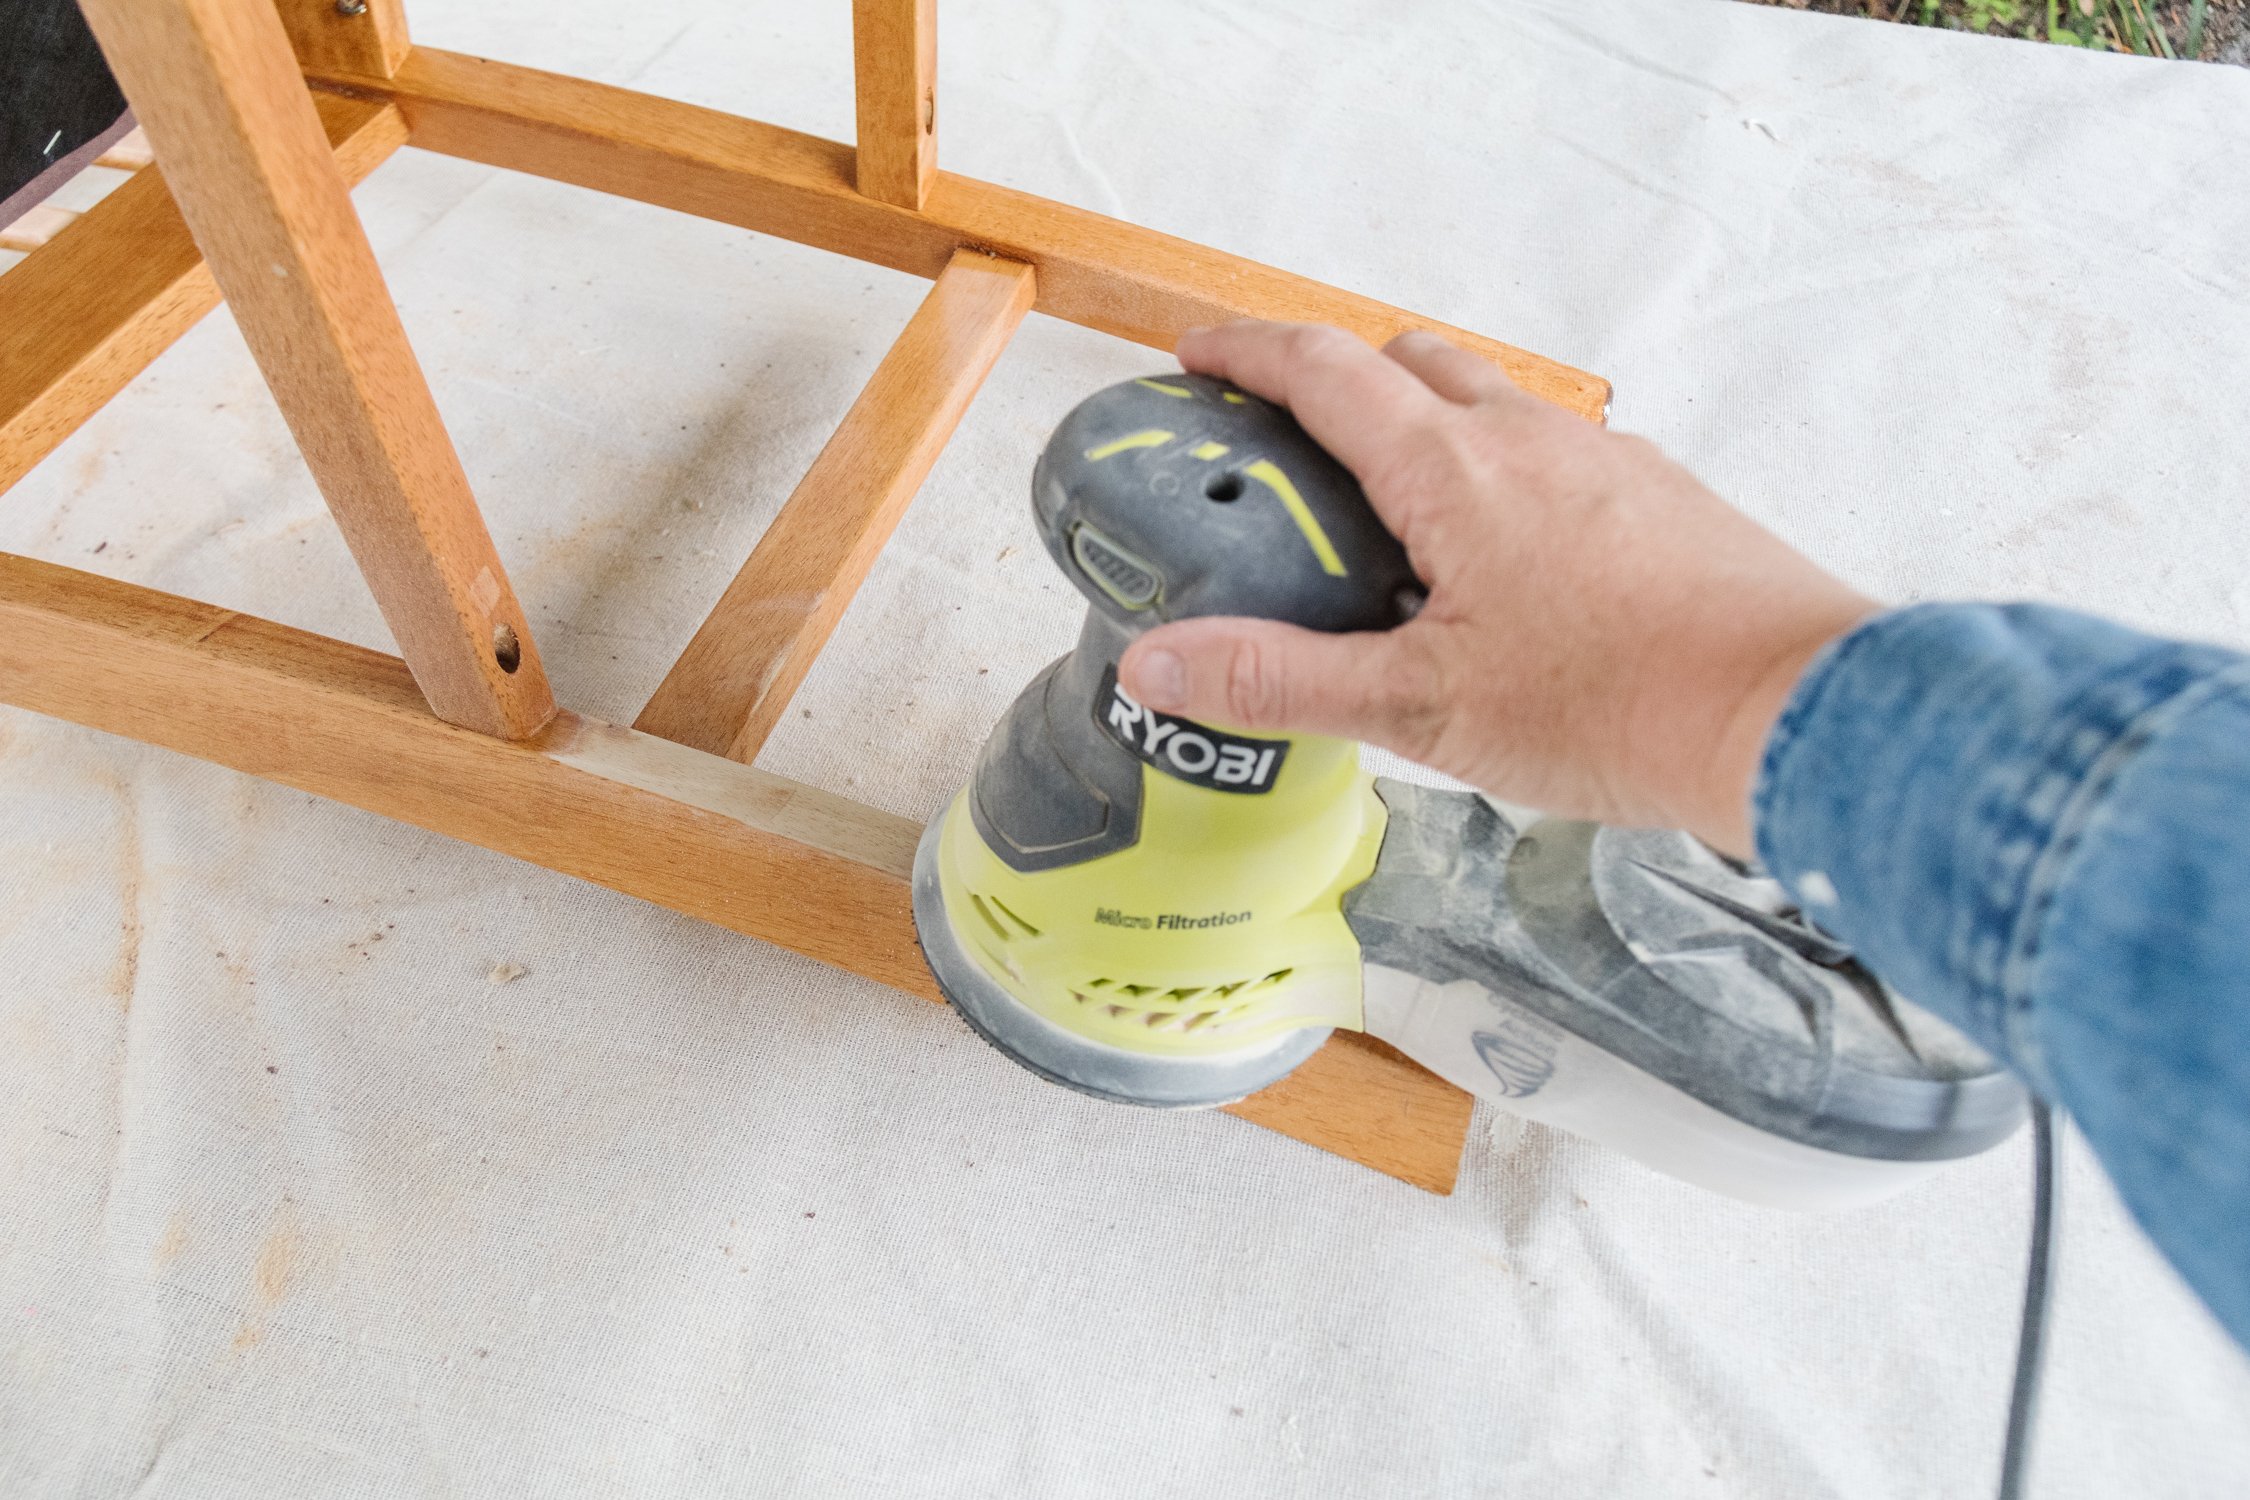
⚒️ Tools: Drill and bits, orbital sander, saw
👷♀️ Skill Level: Beginner DIYer
Materials
Secondhand bar stools
Paint brush
White primer paint
Dulux “Mornington” paint from Bunnings
How To
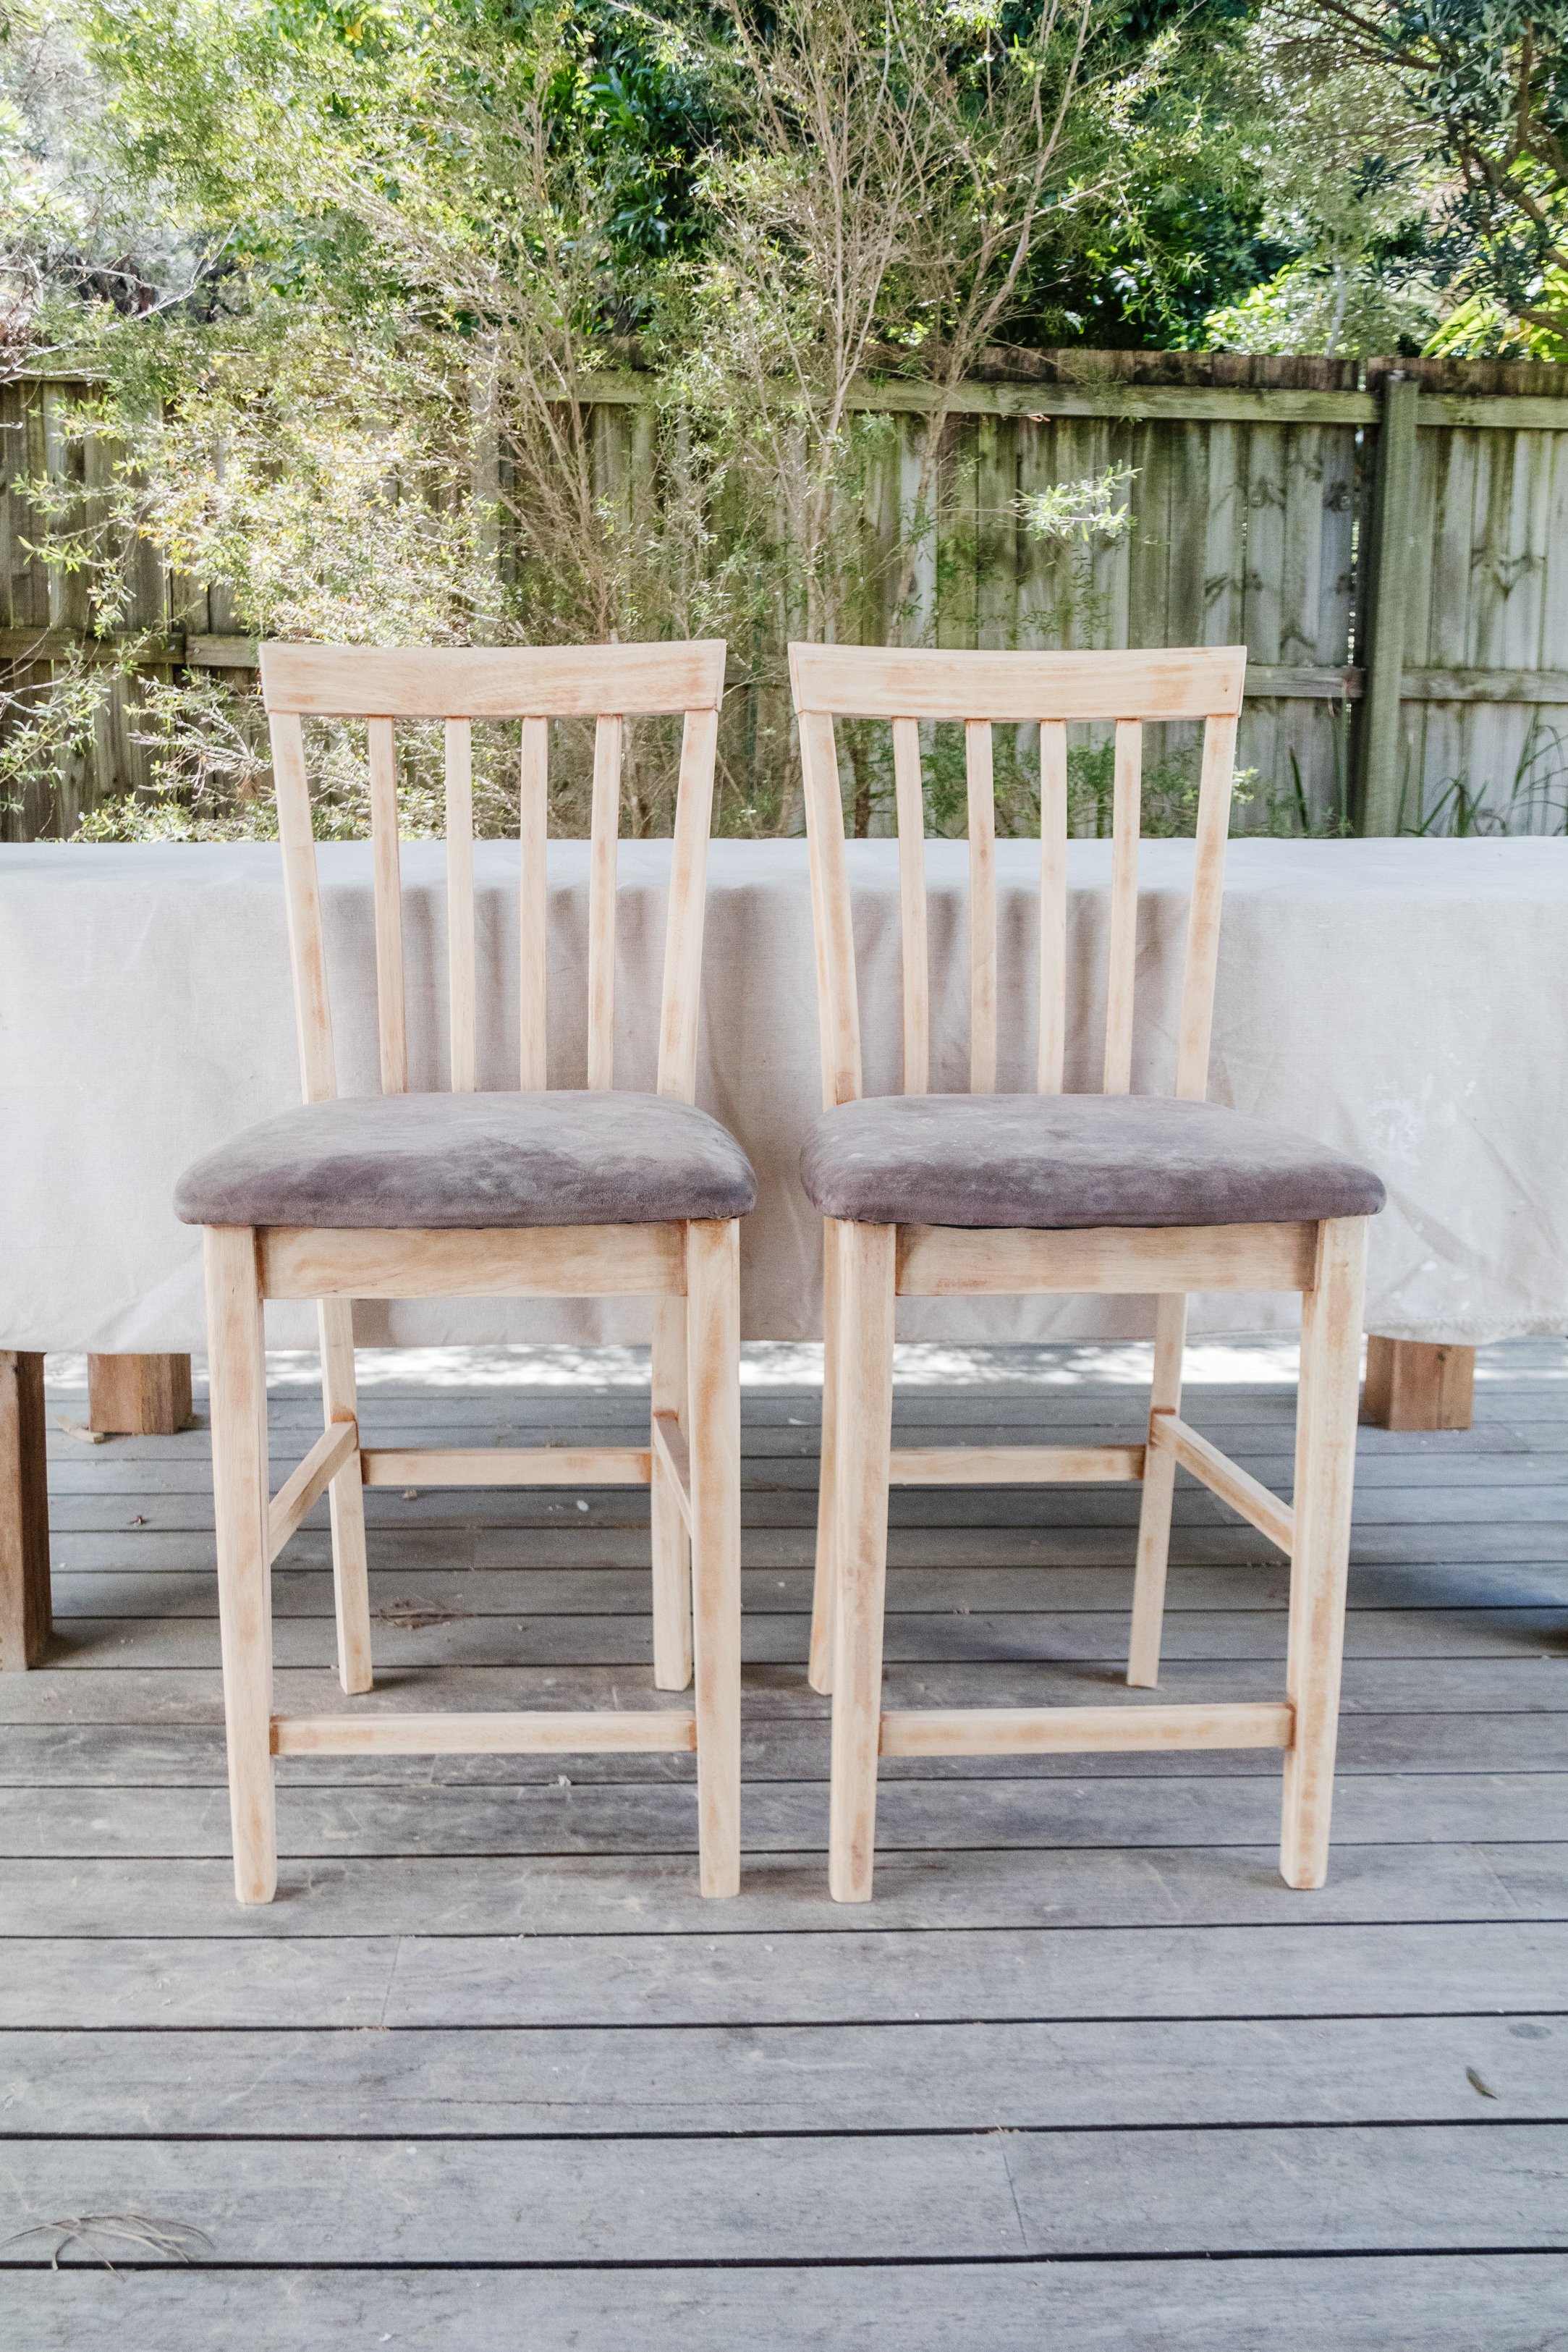
Step 1: I started by sanding the timber on both bar stools using my orbital sander.
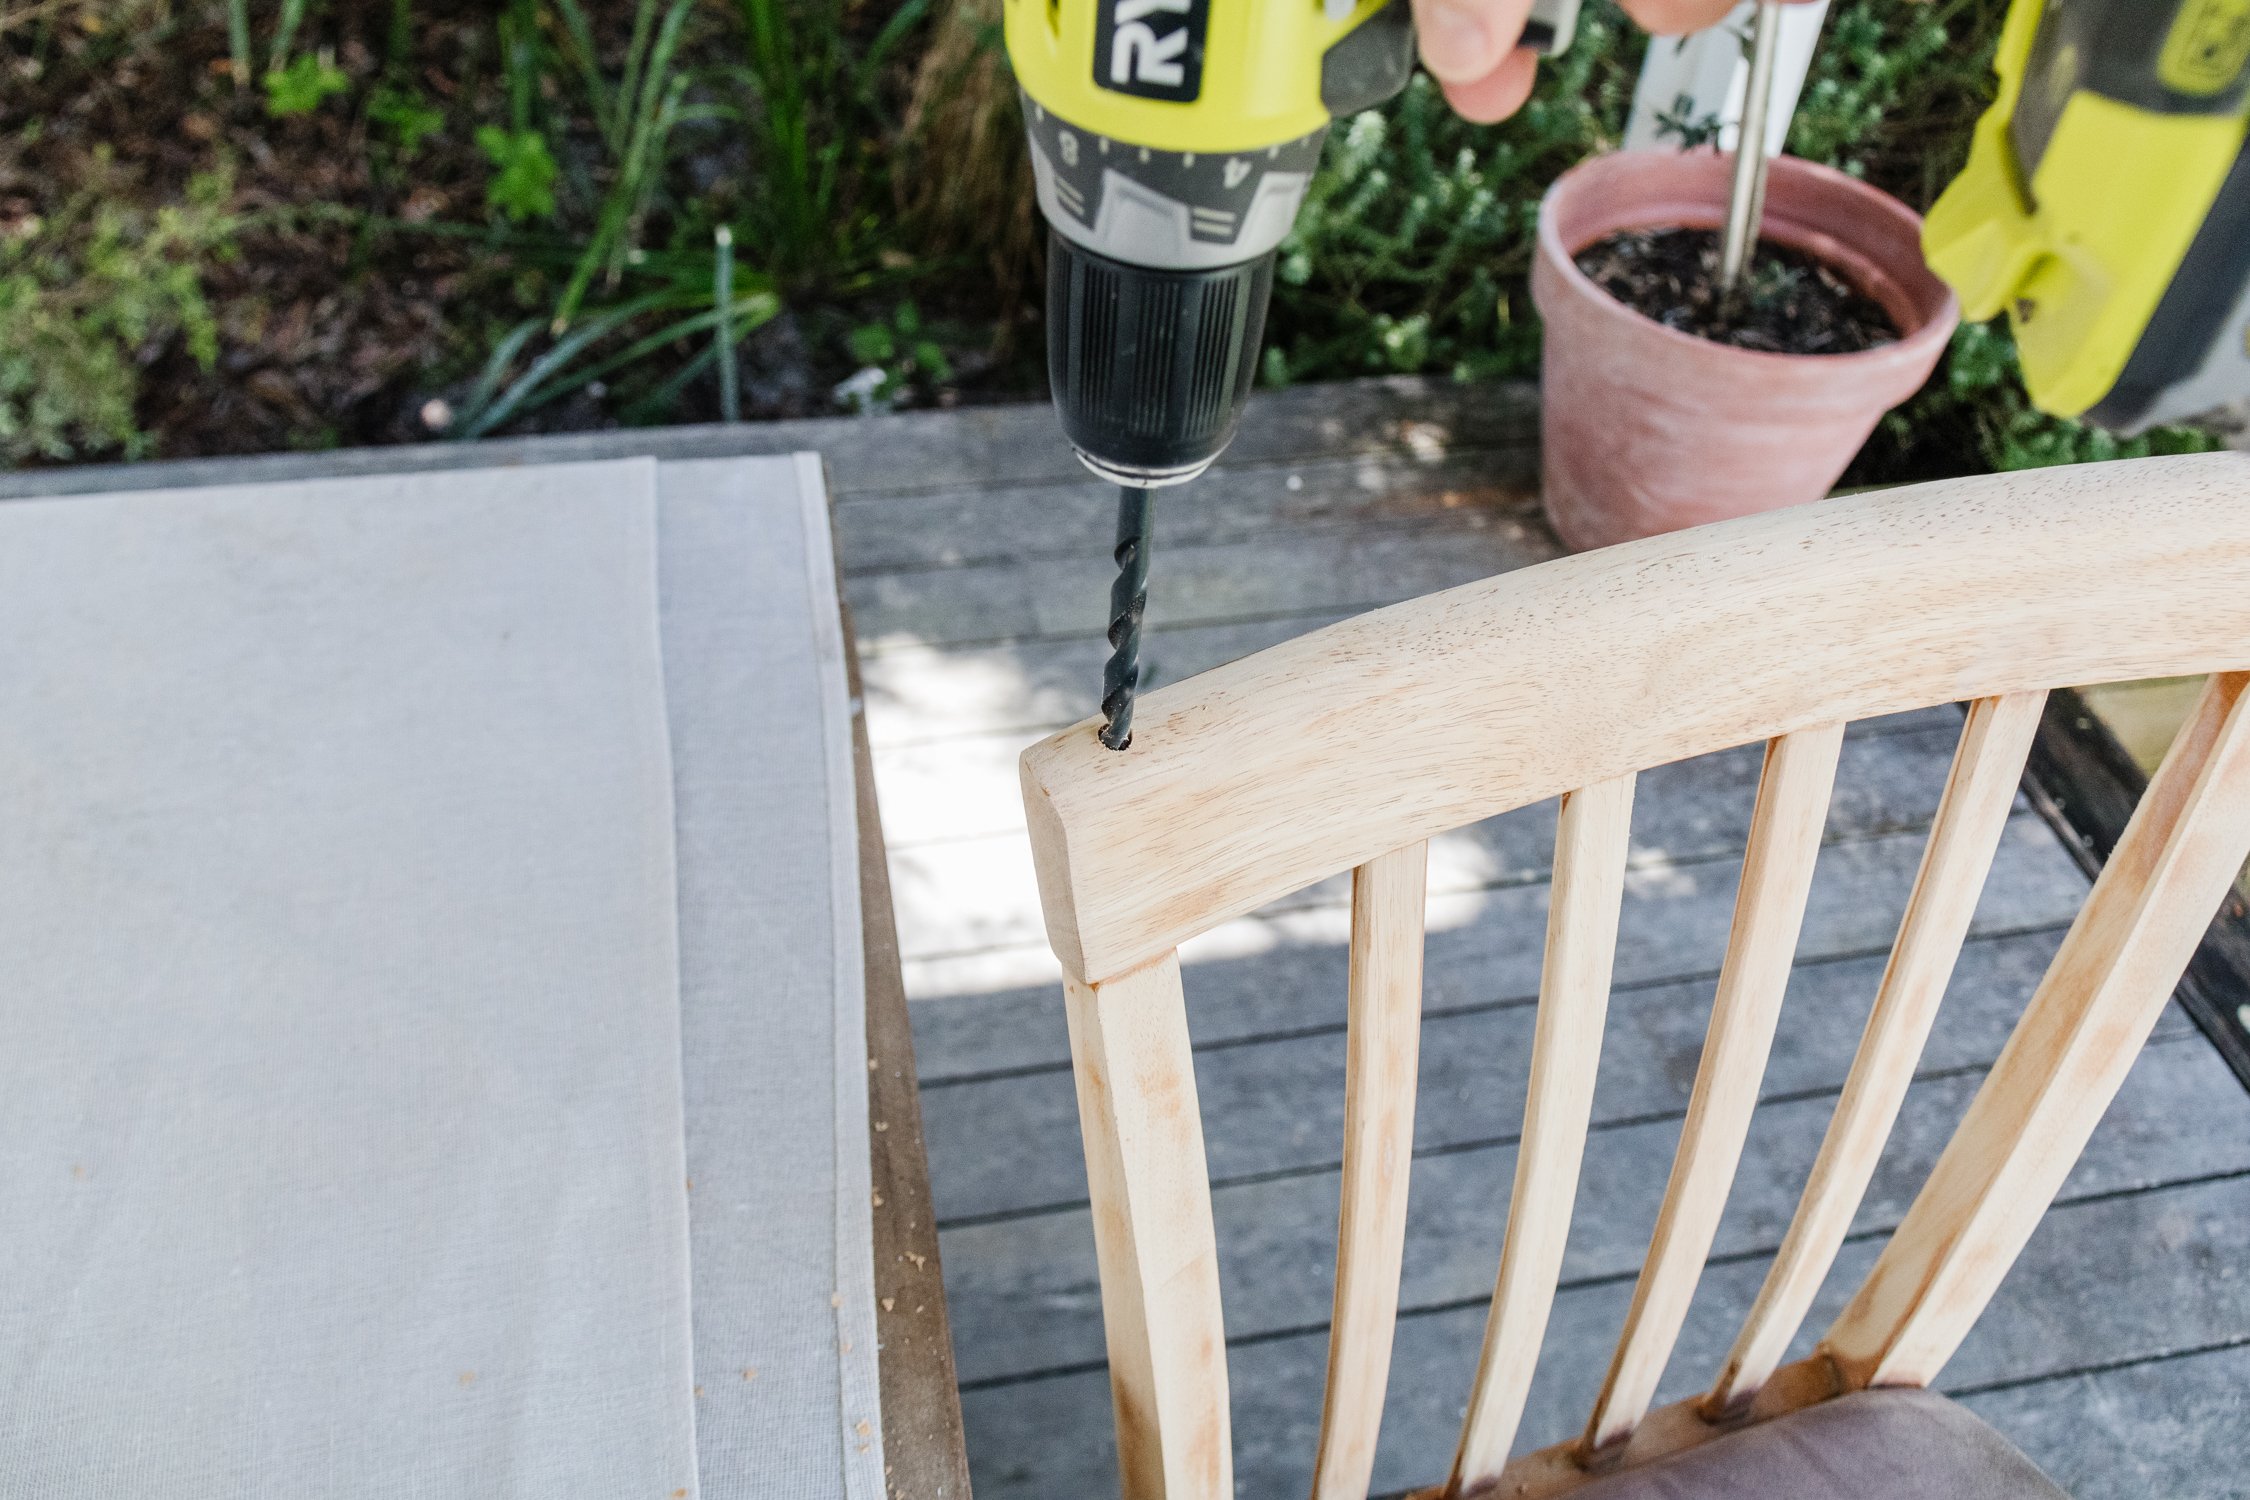
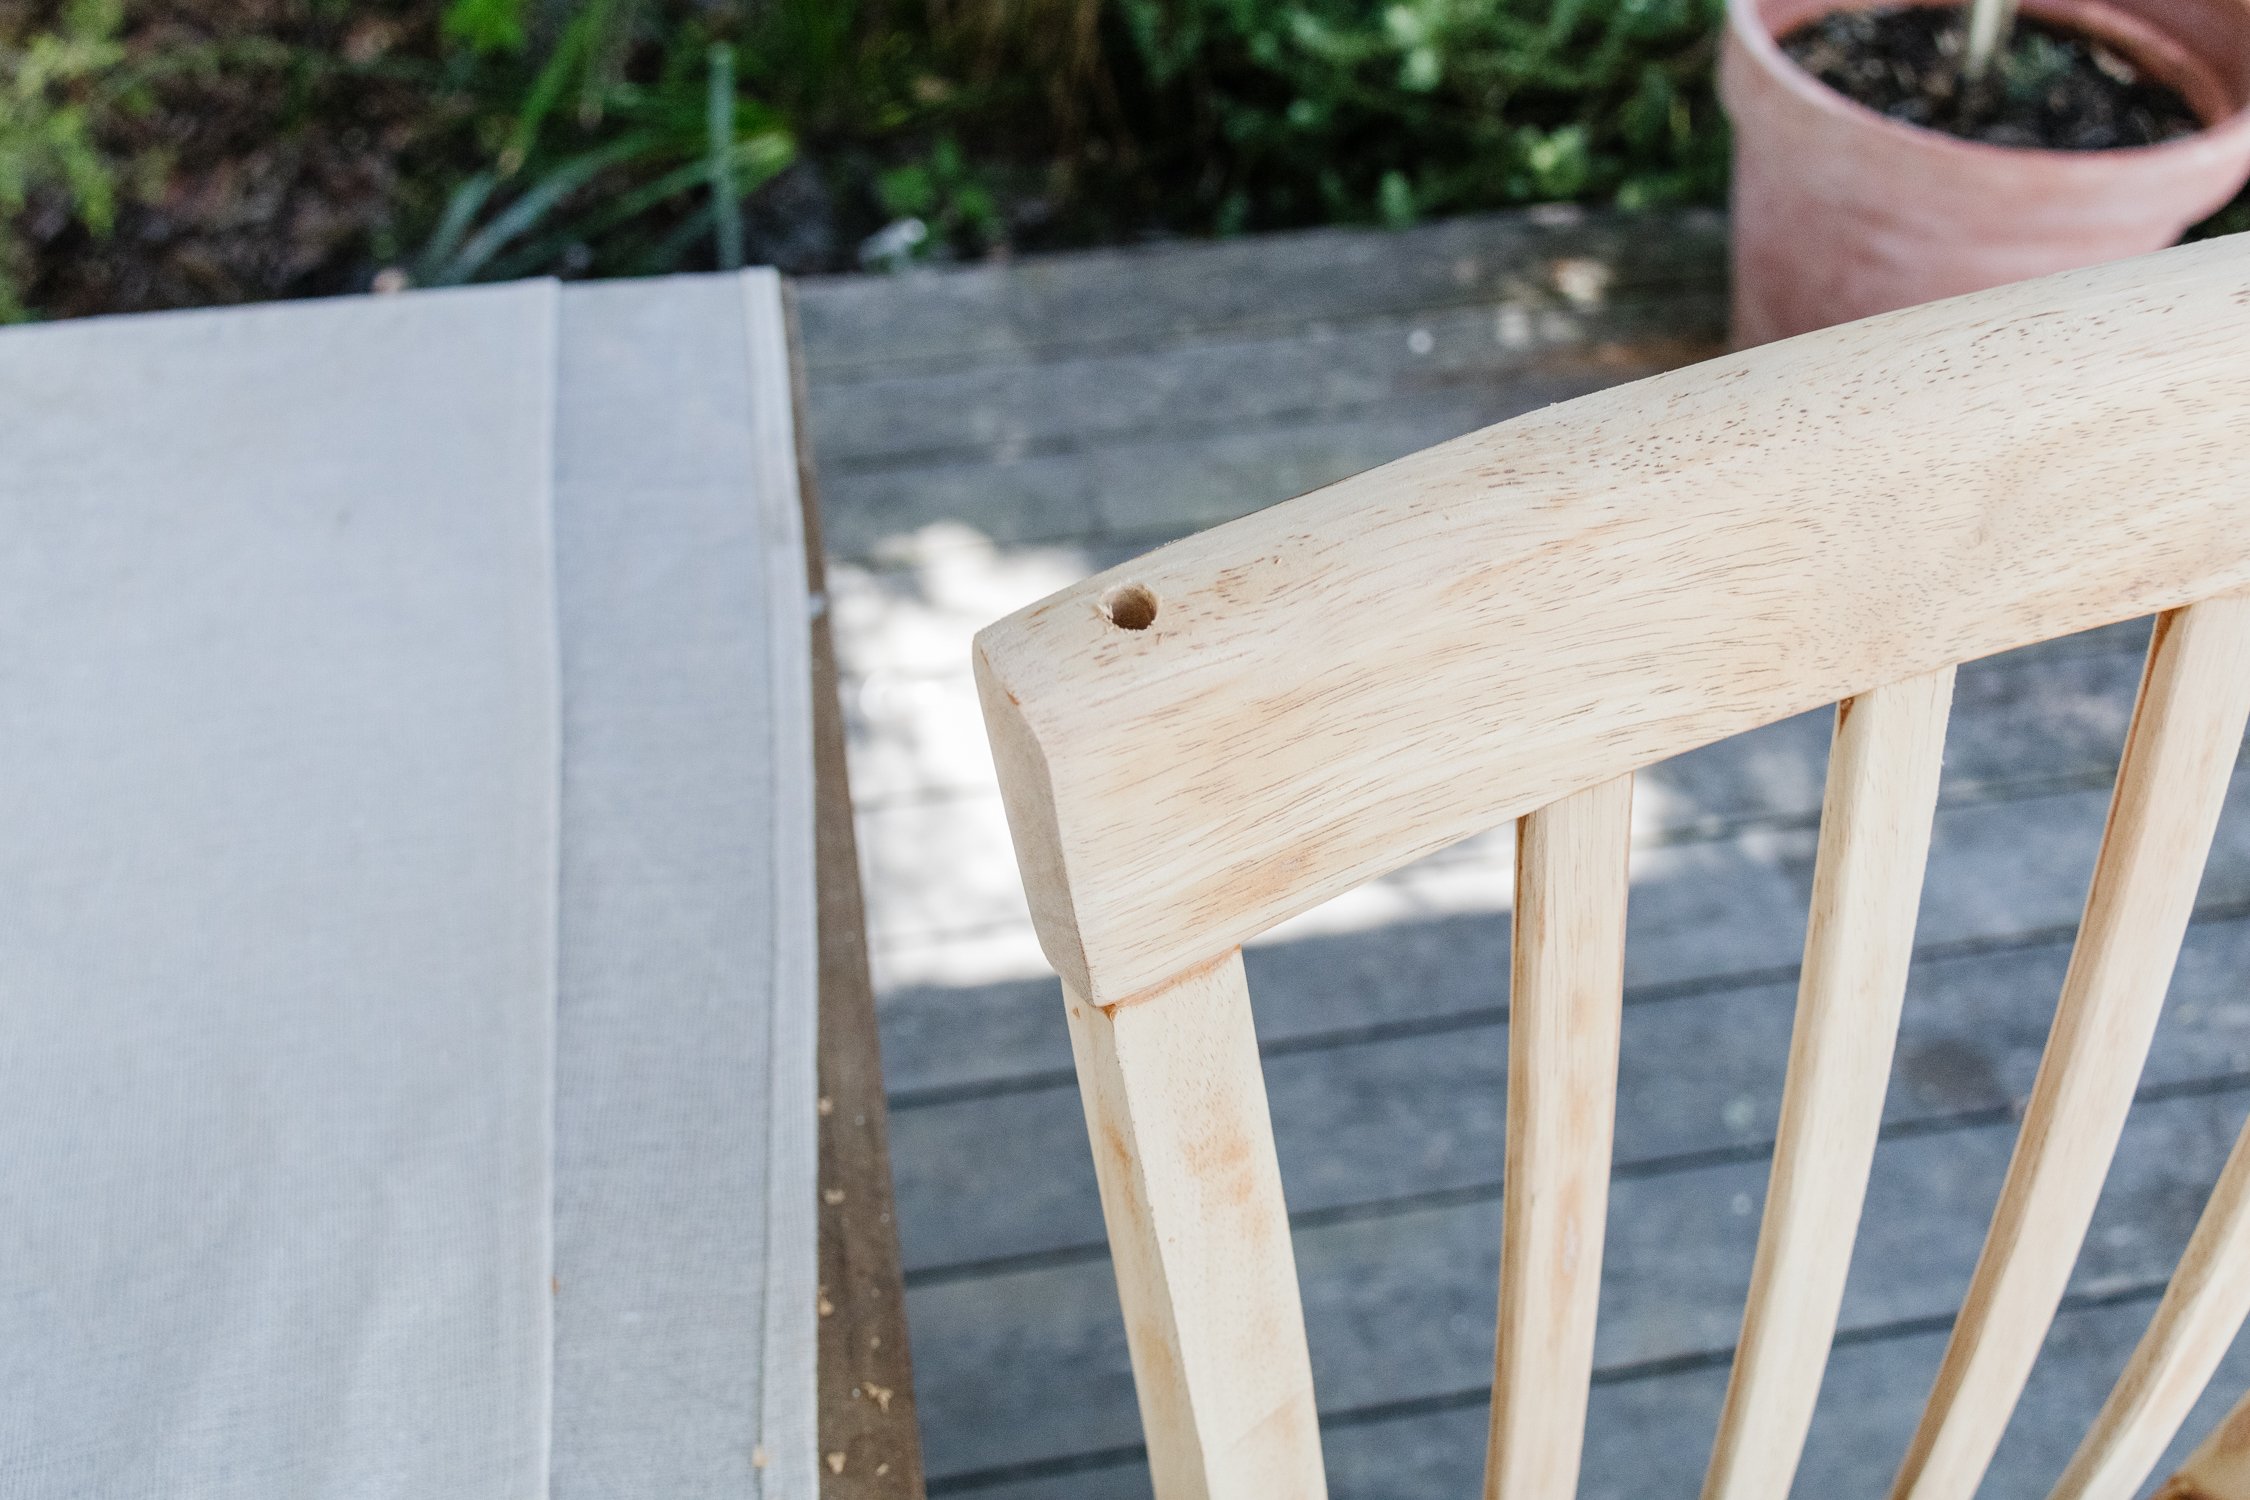
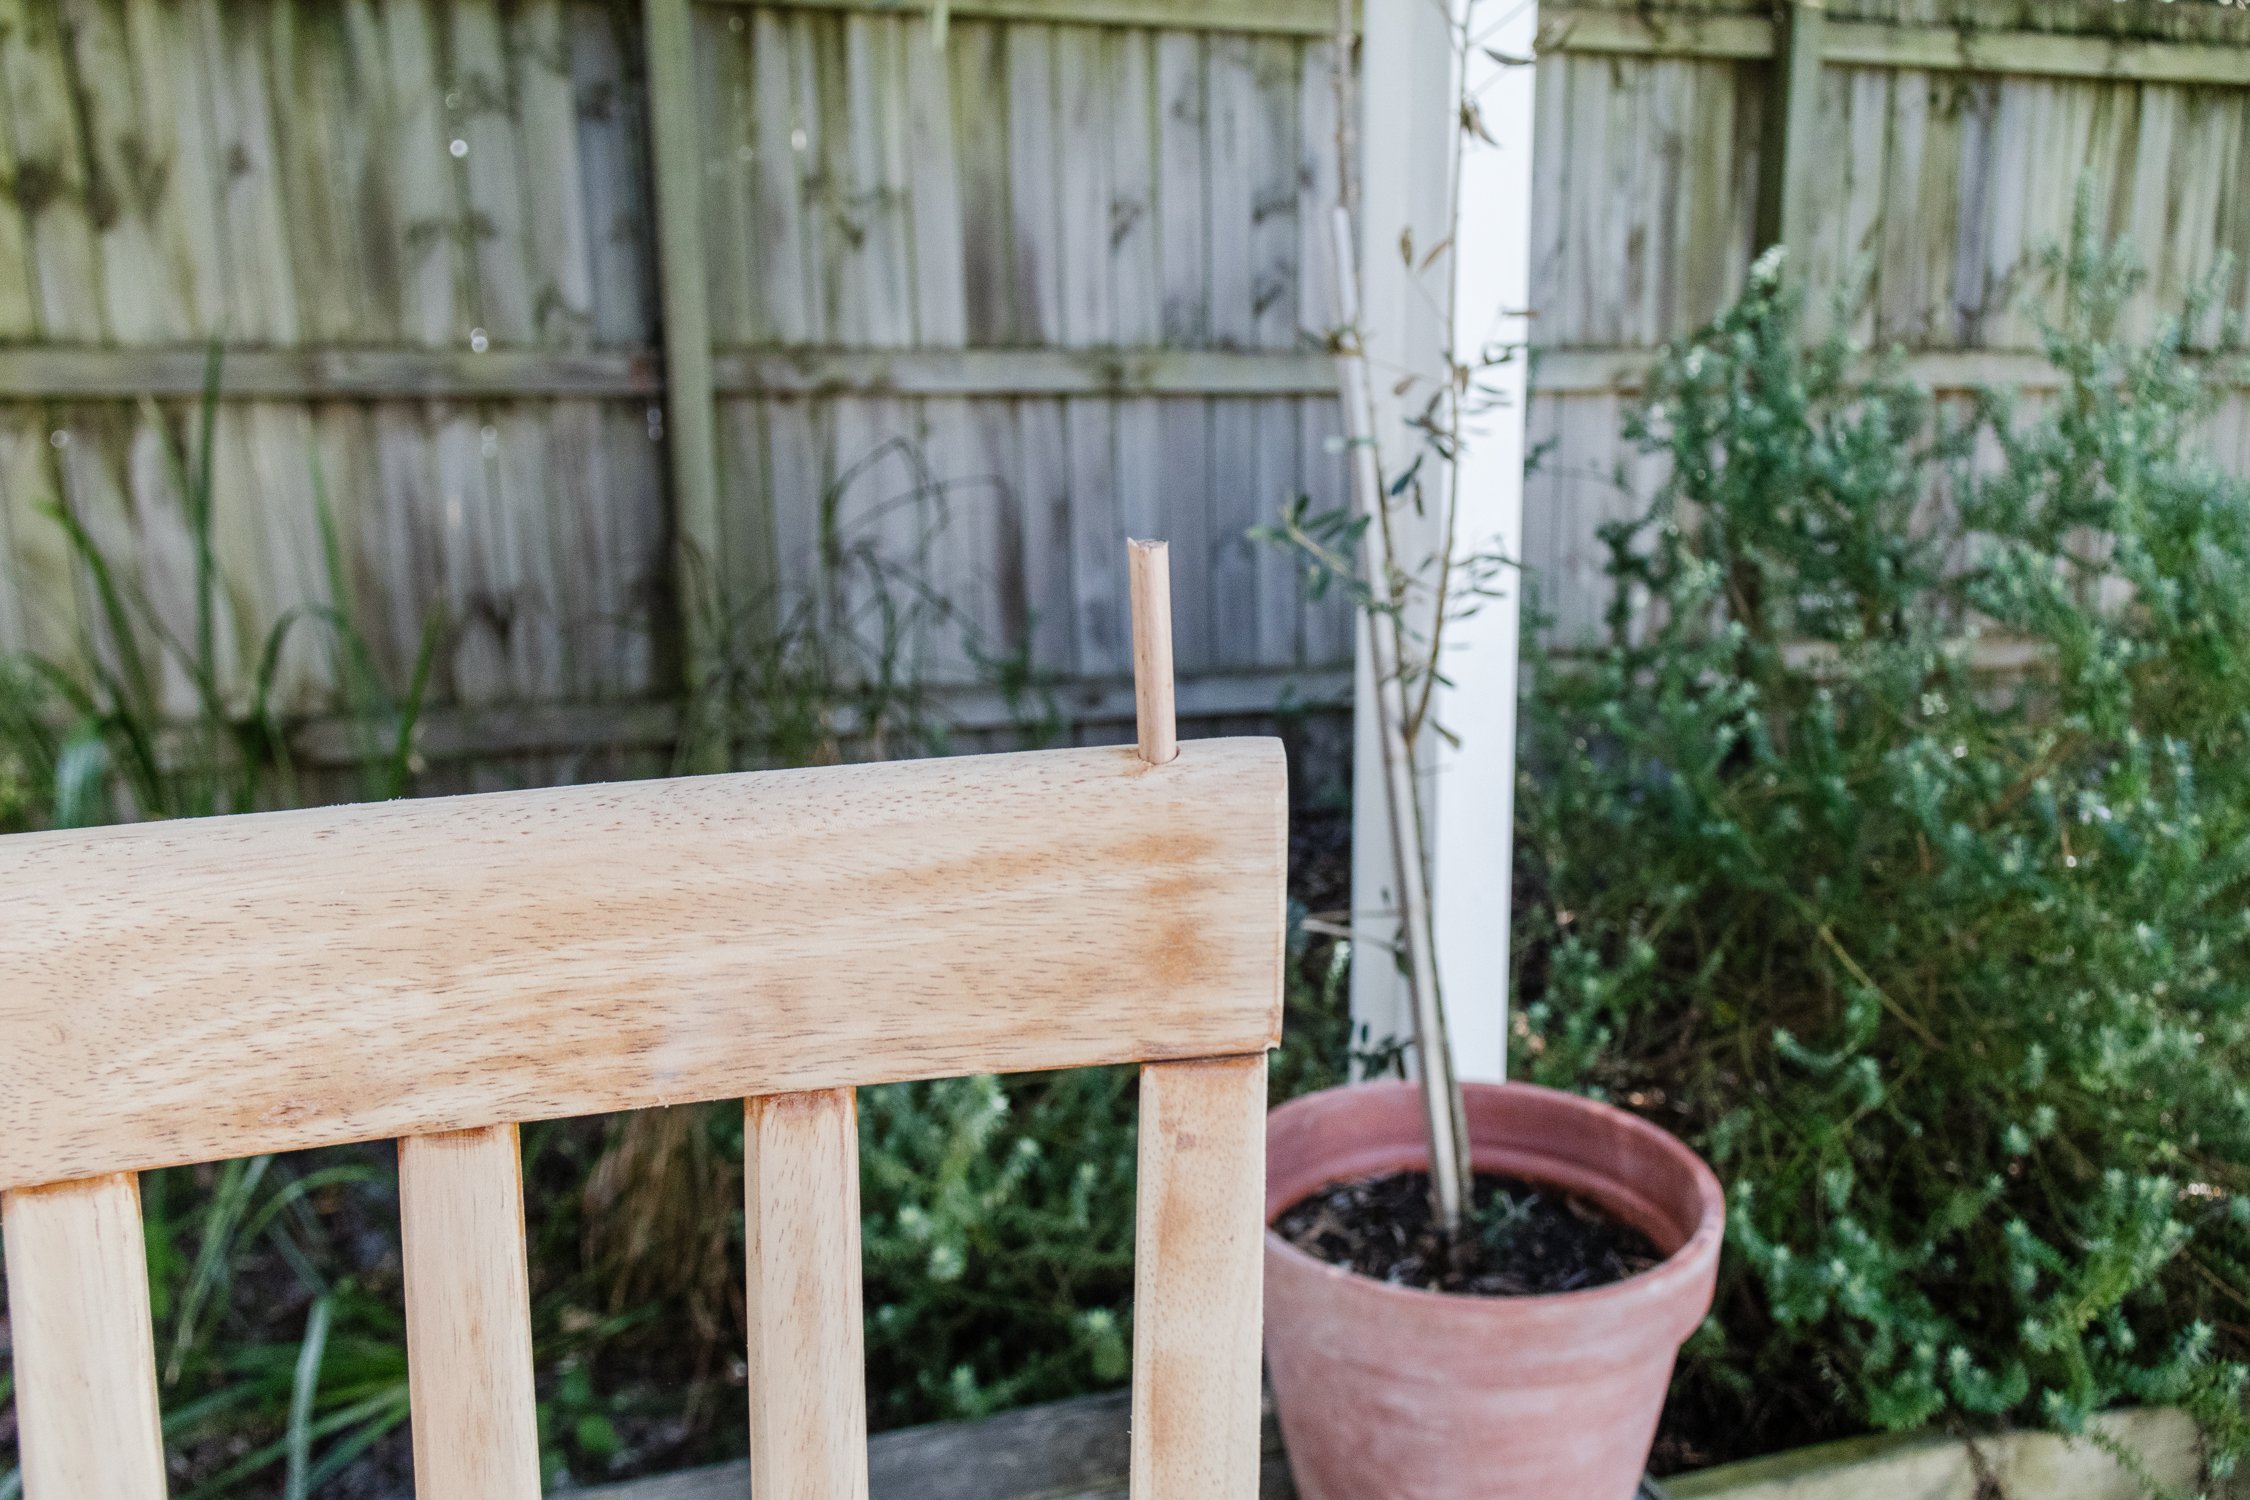
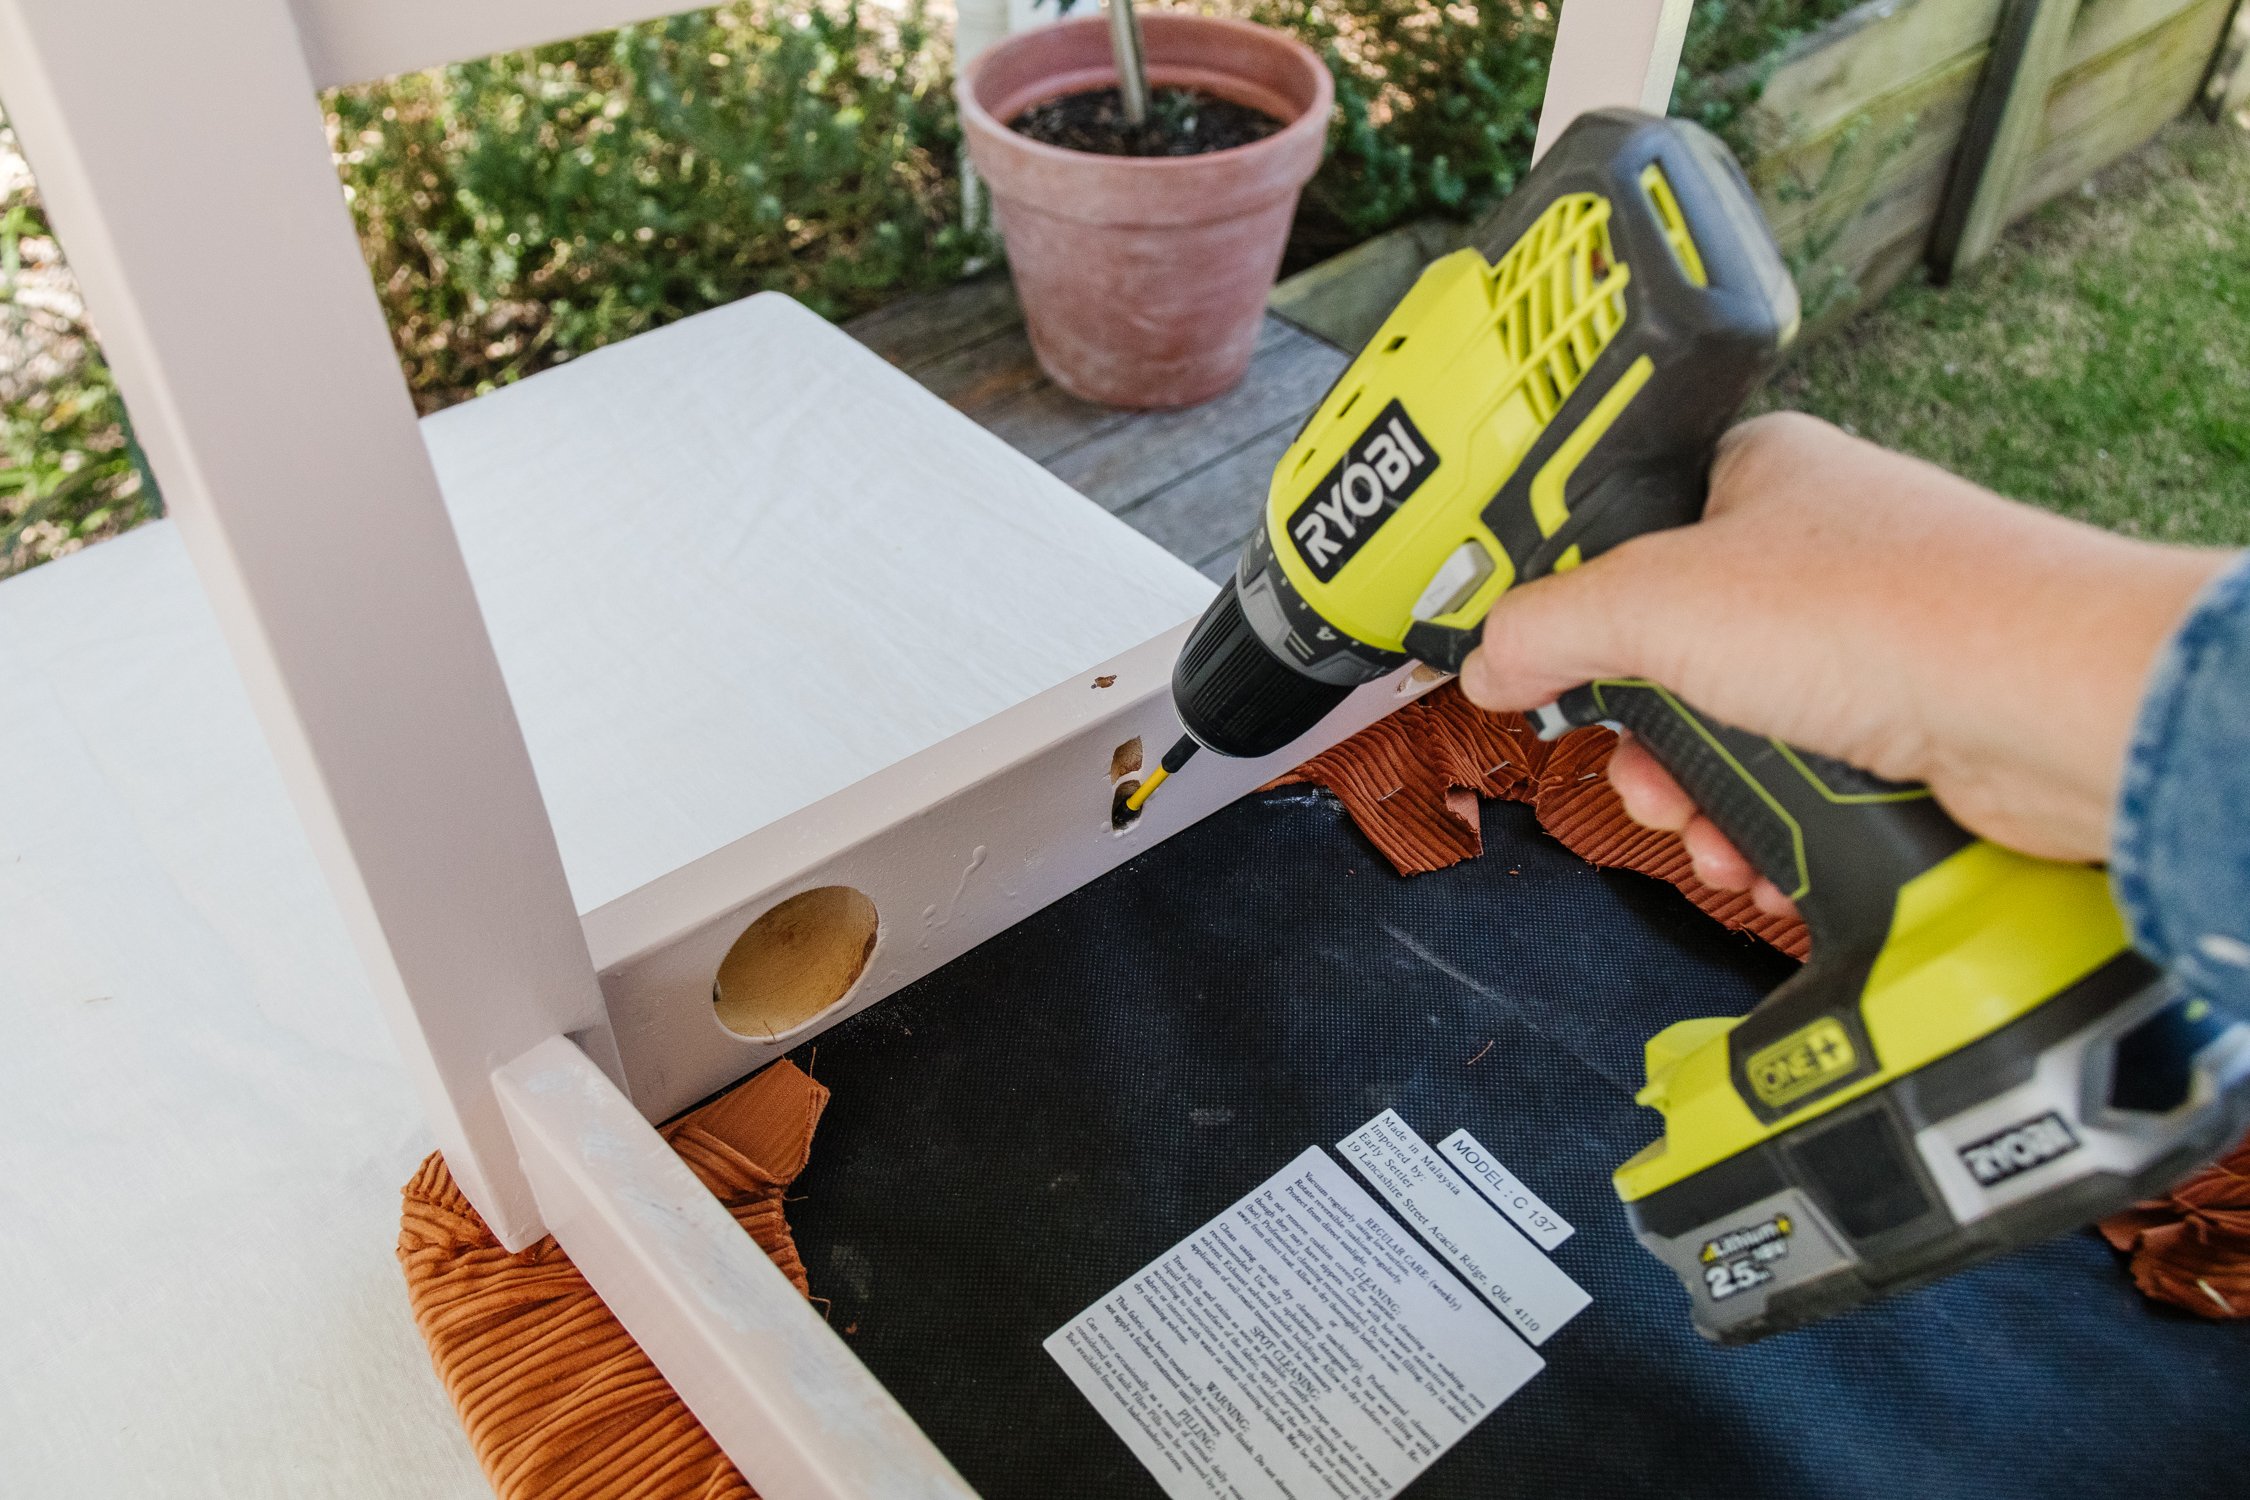
Step 2: Once the timber was sanded and all the existing stain and varnish had been removed, I measured and marked the top of each char approximately 2cm in from the corners of each seat back and drilled two holes into the top of the seat backs. I made sure the drill bit I used was the slightly bigger than the dowel.
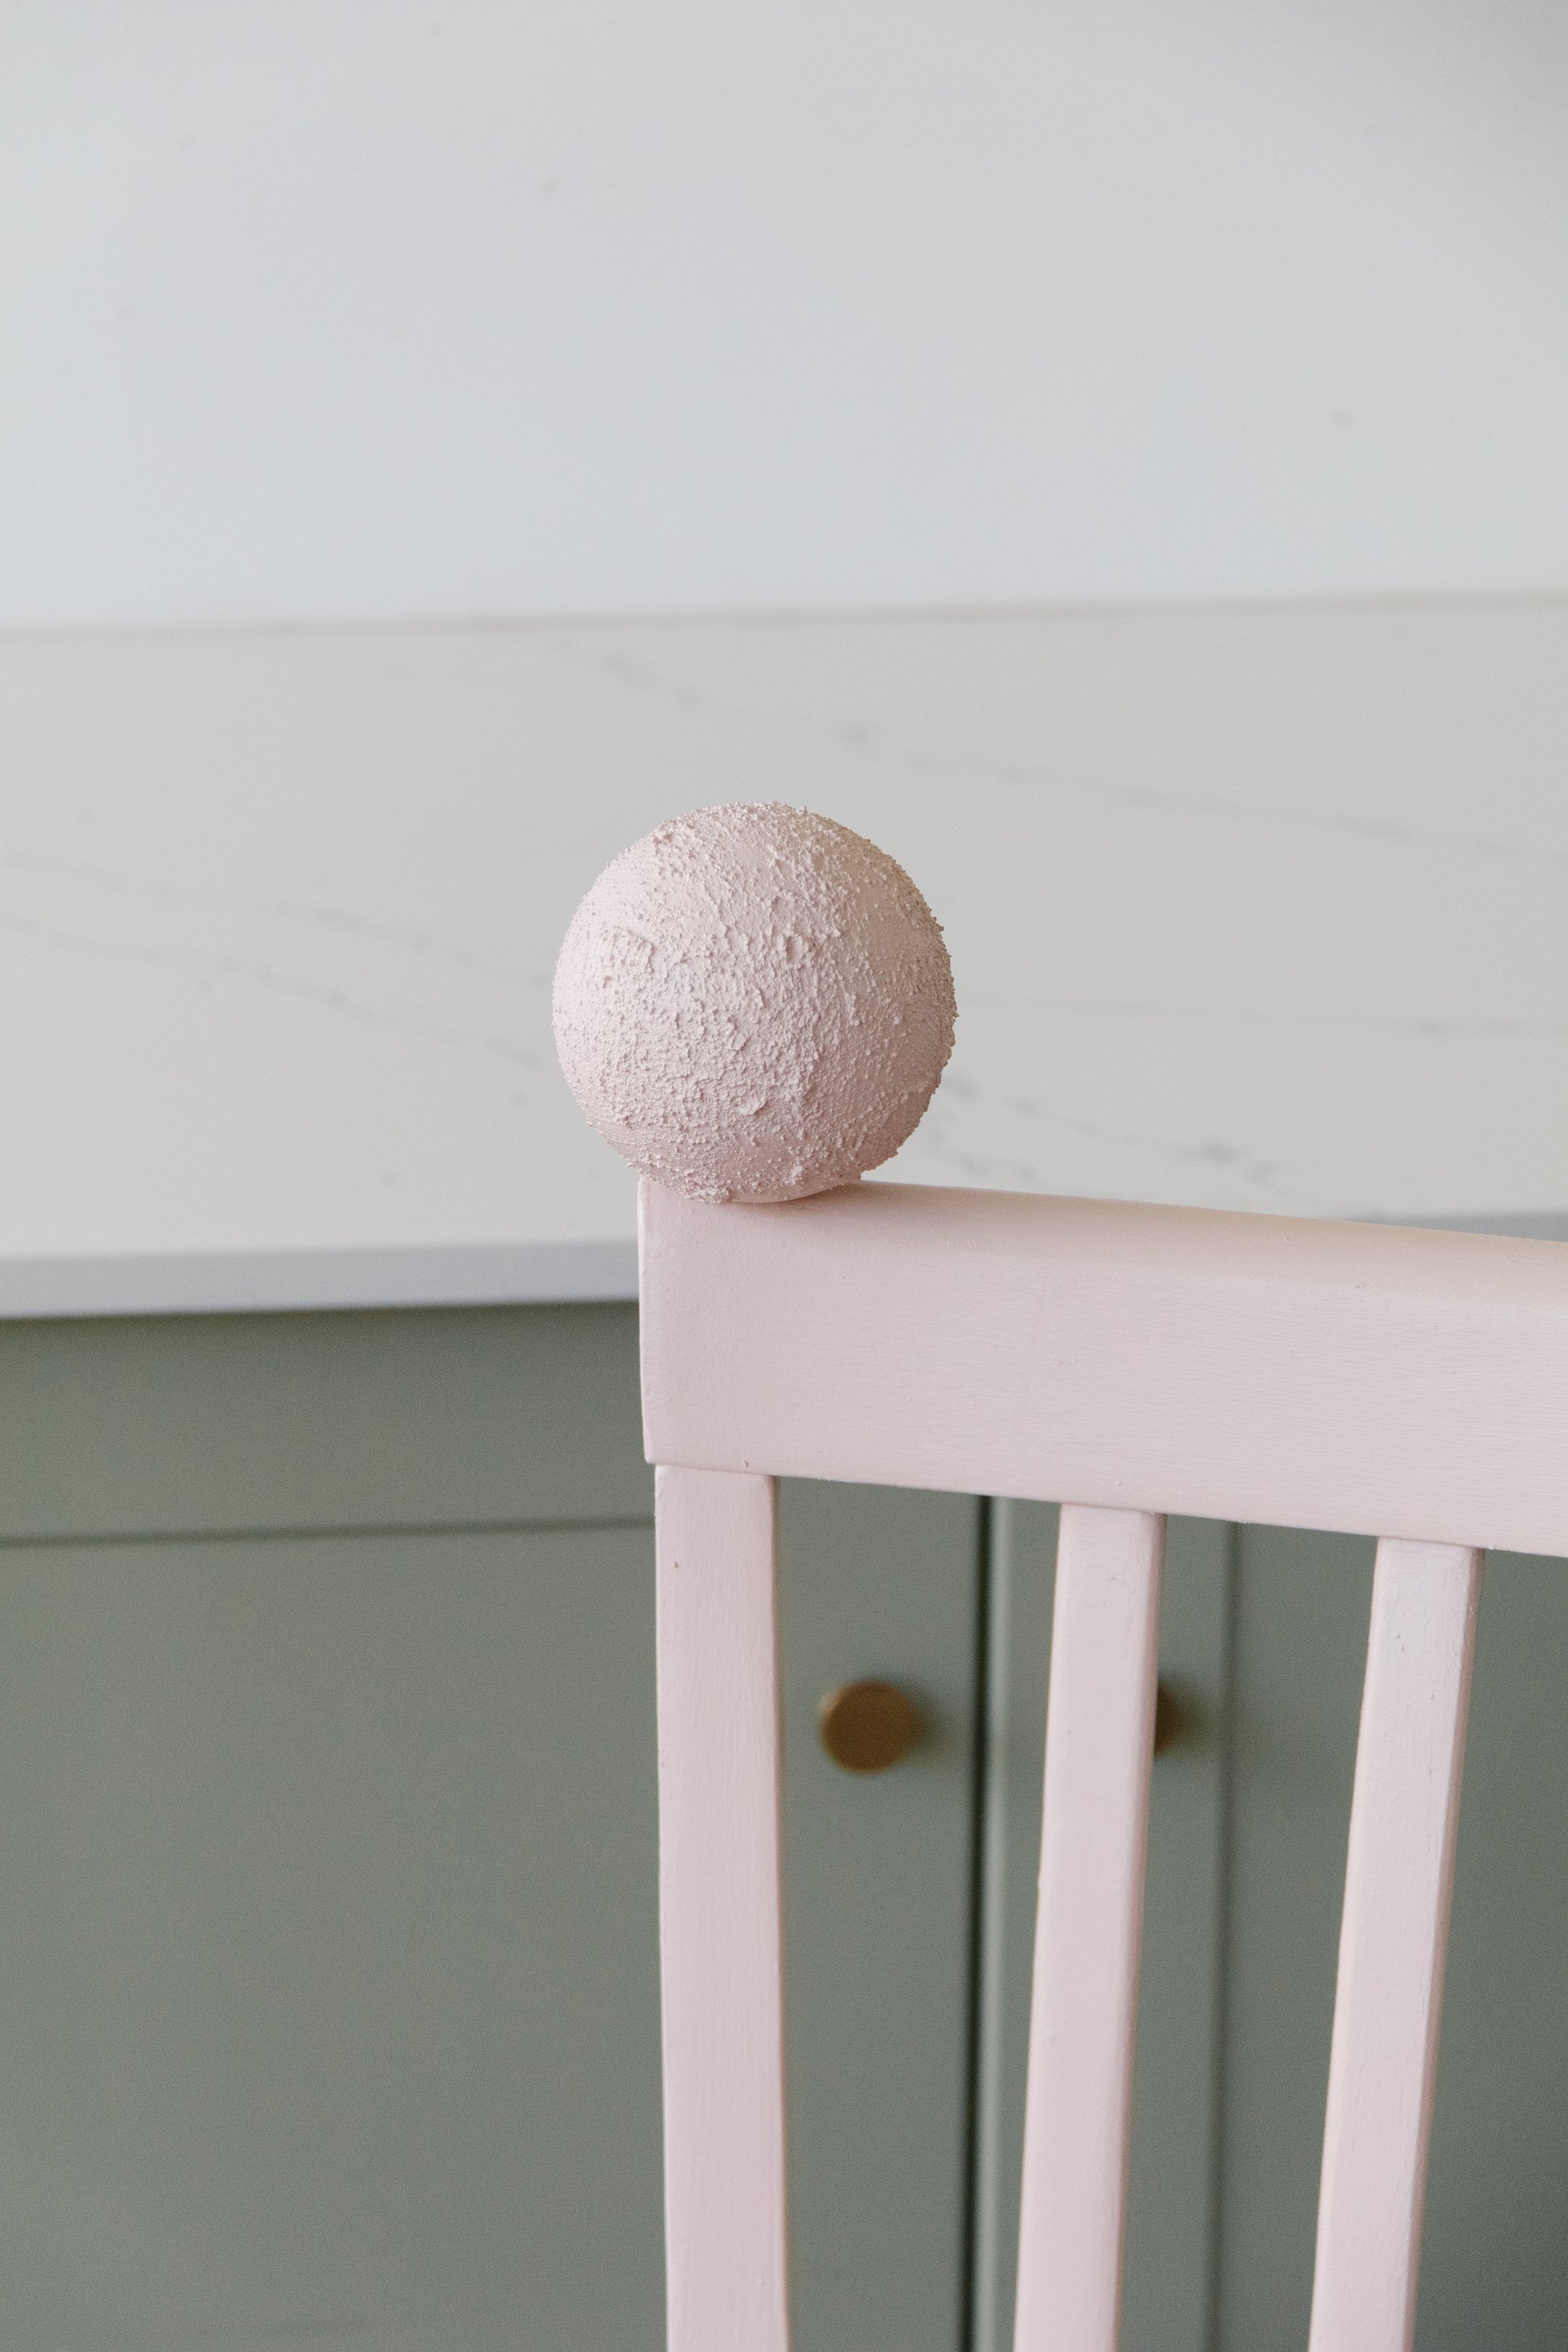
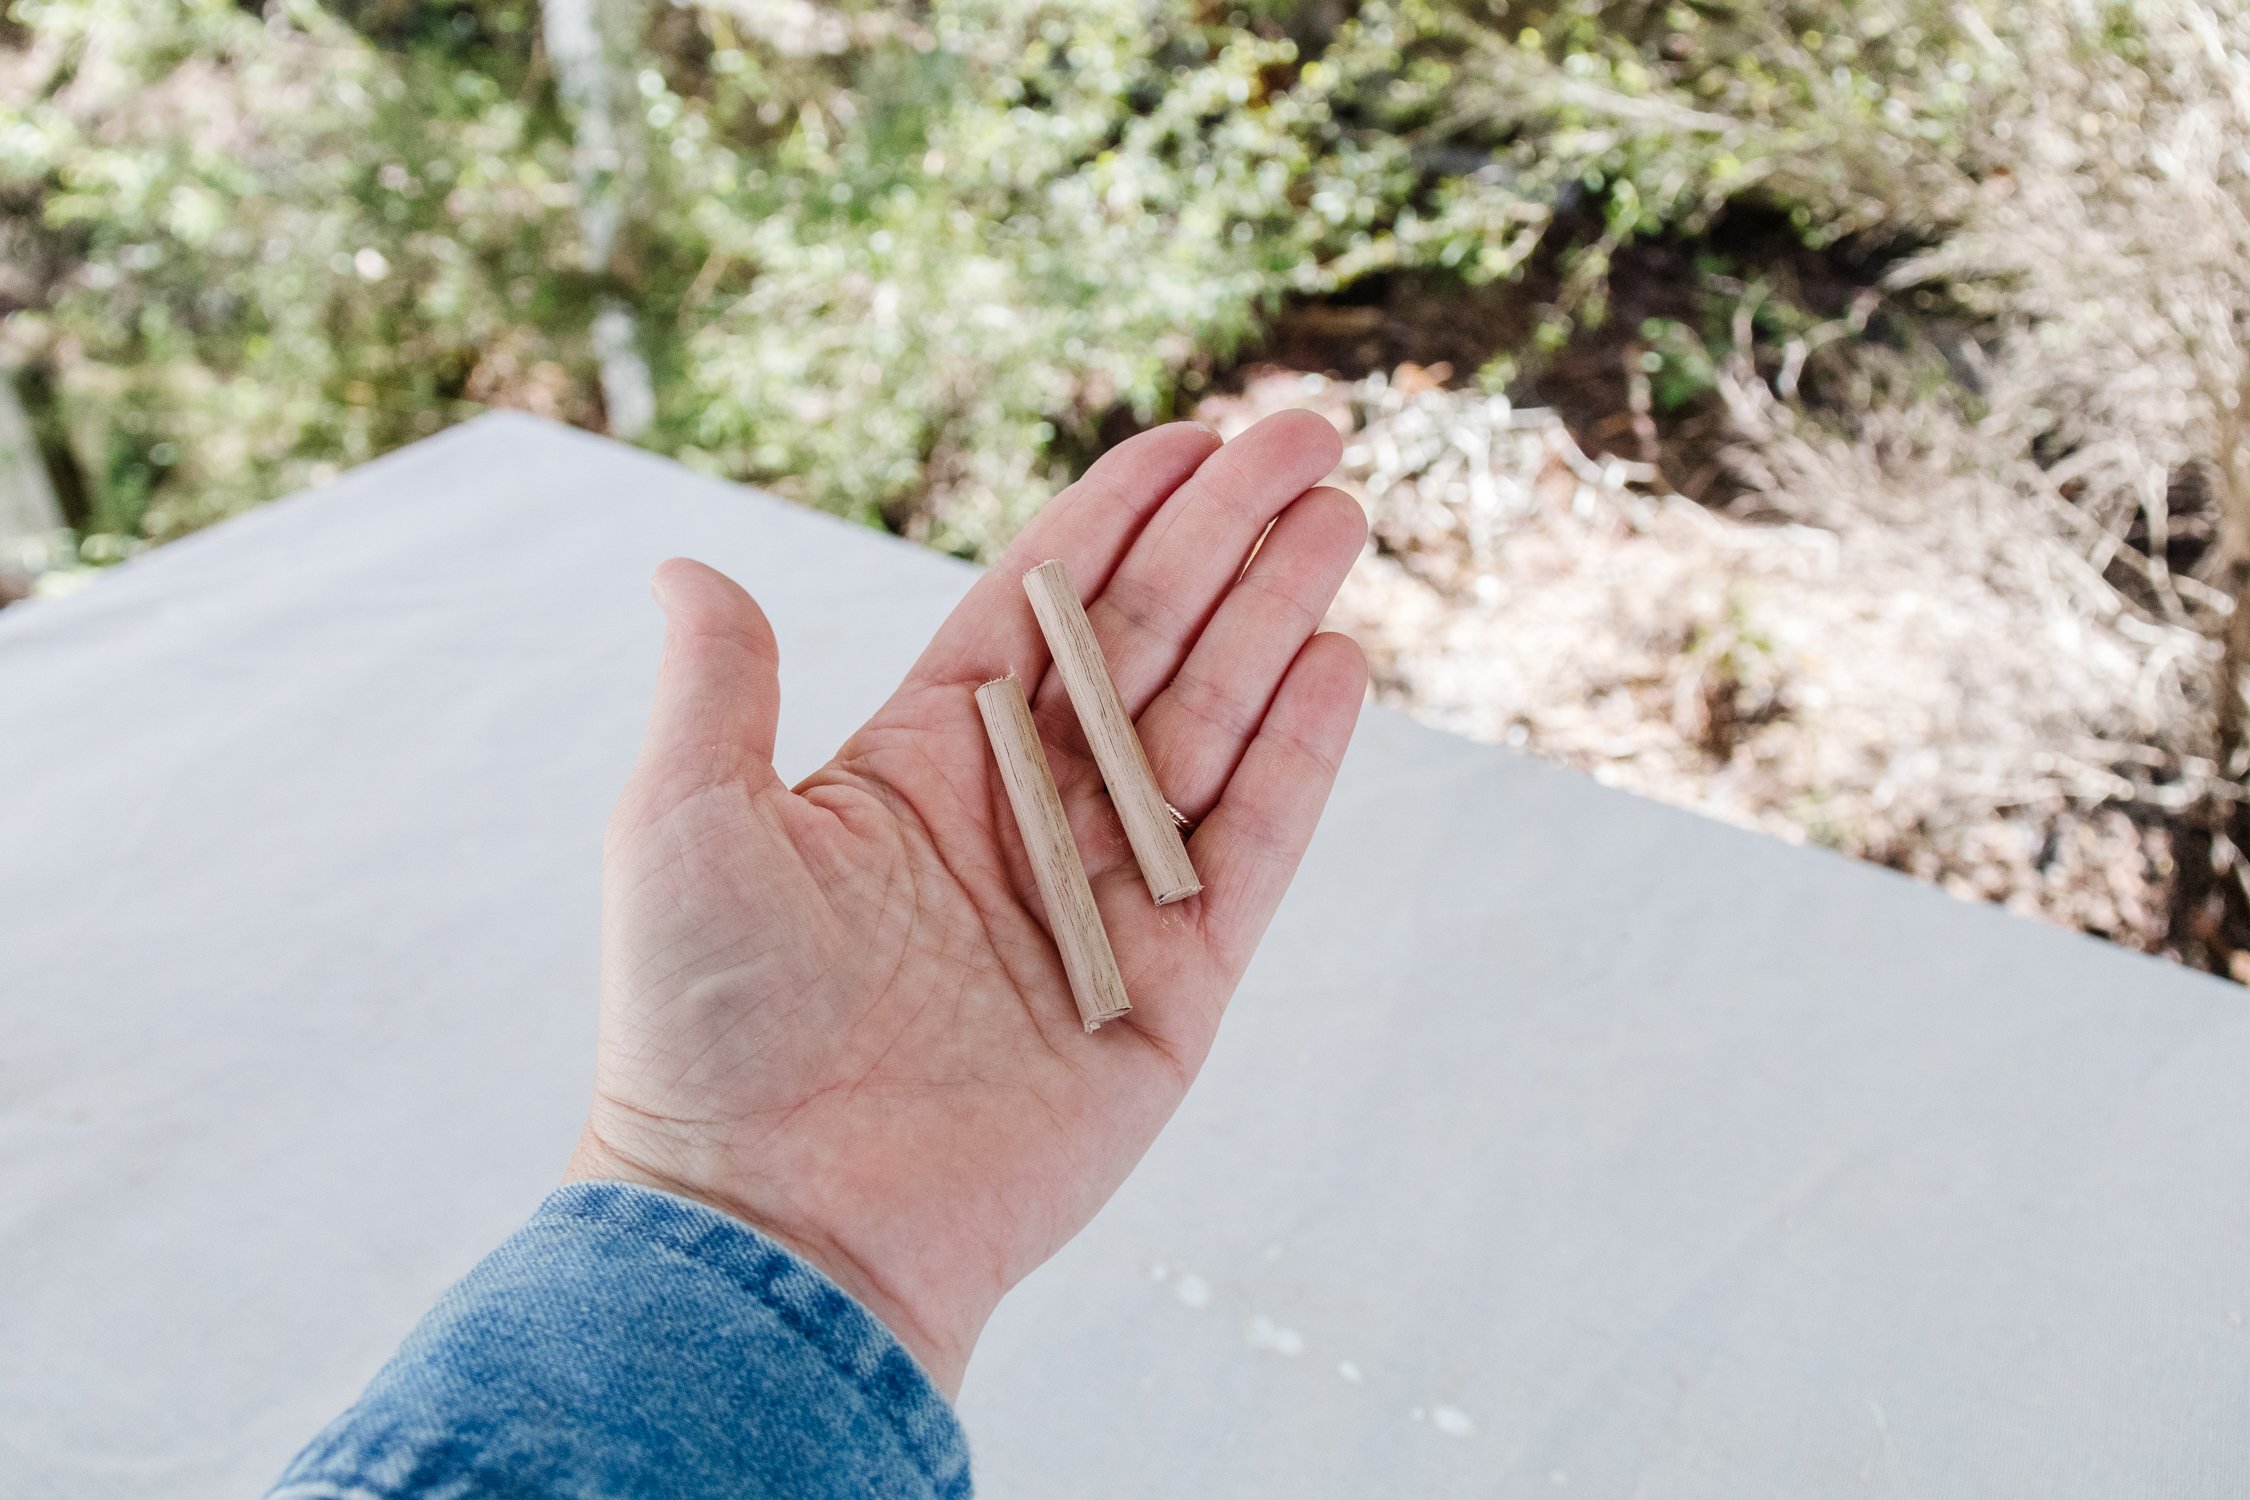
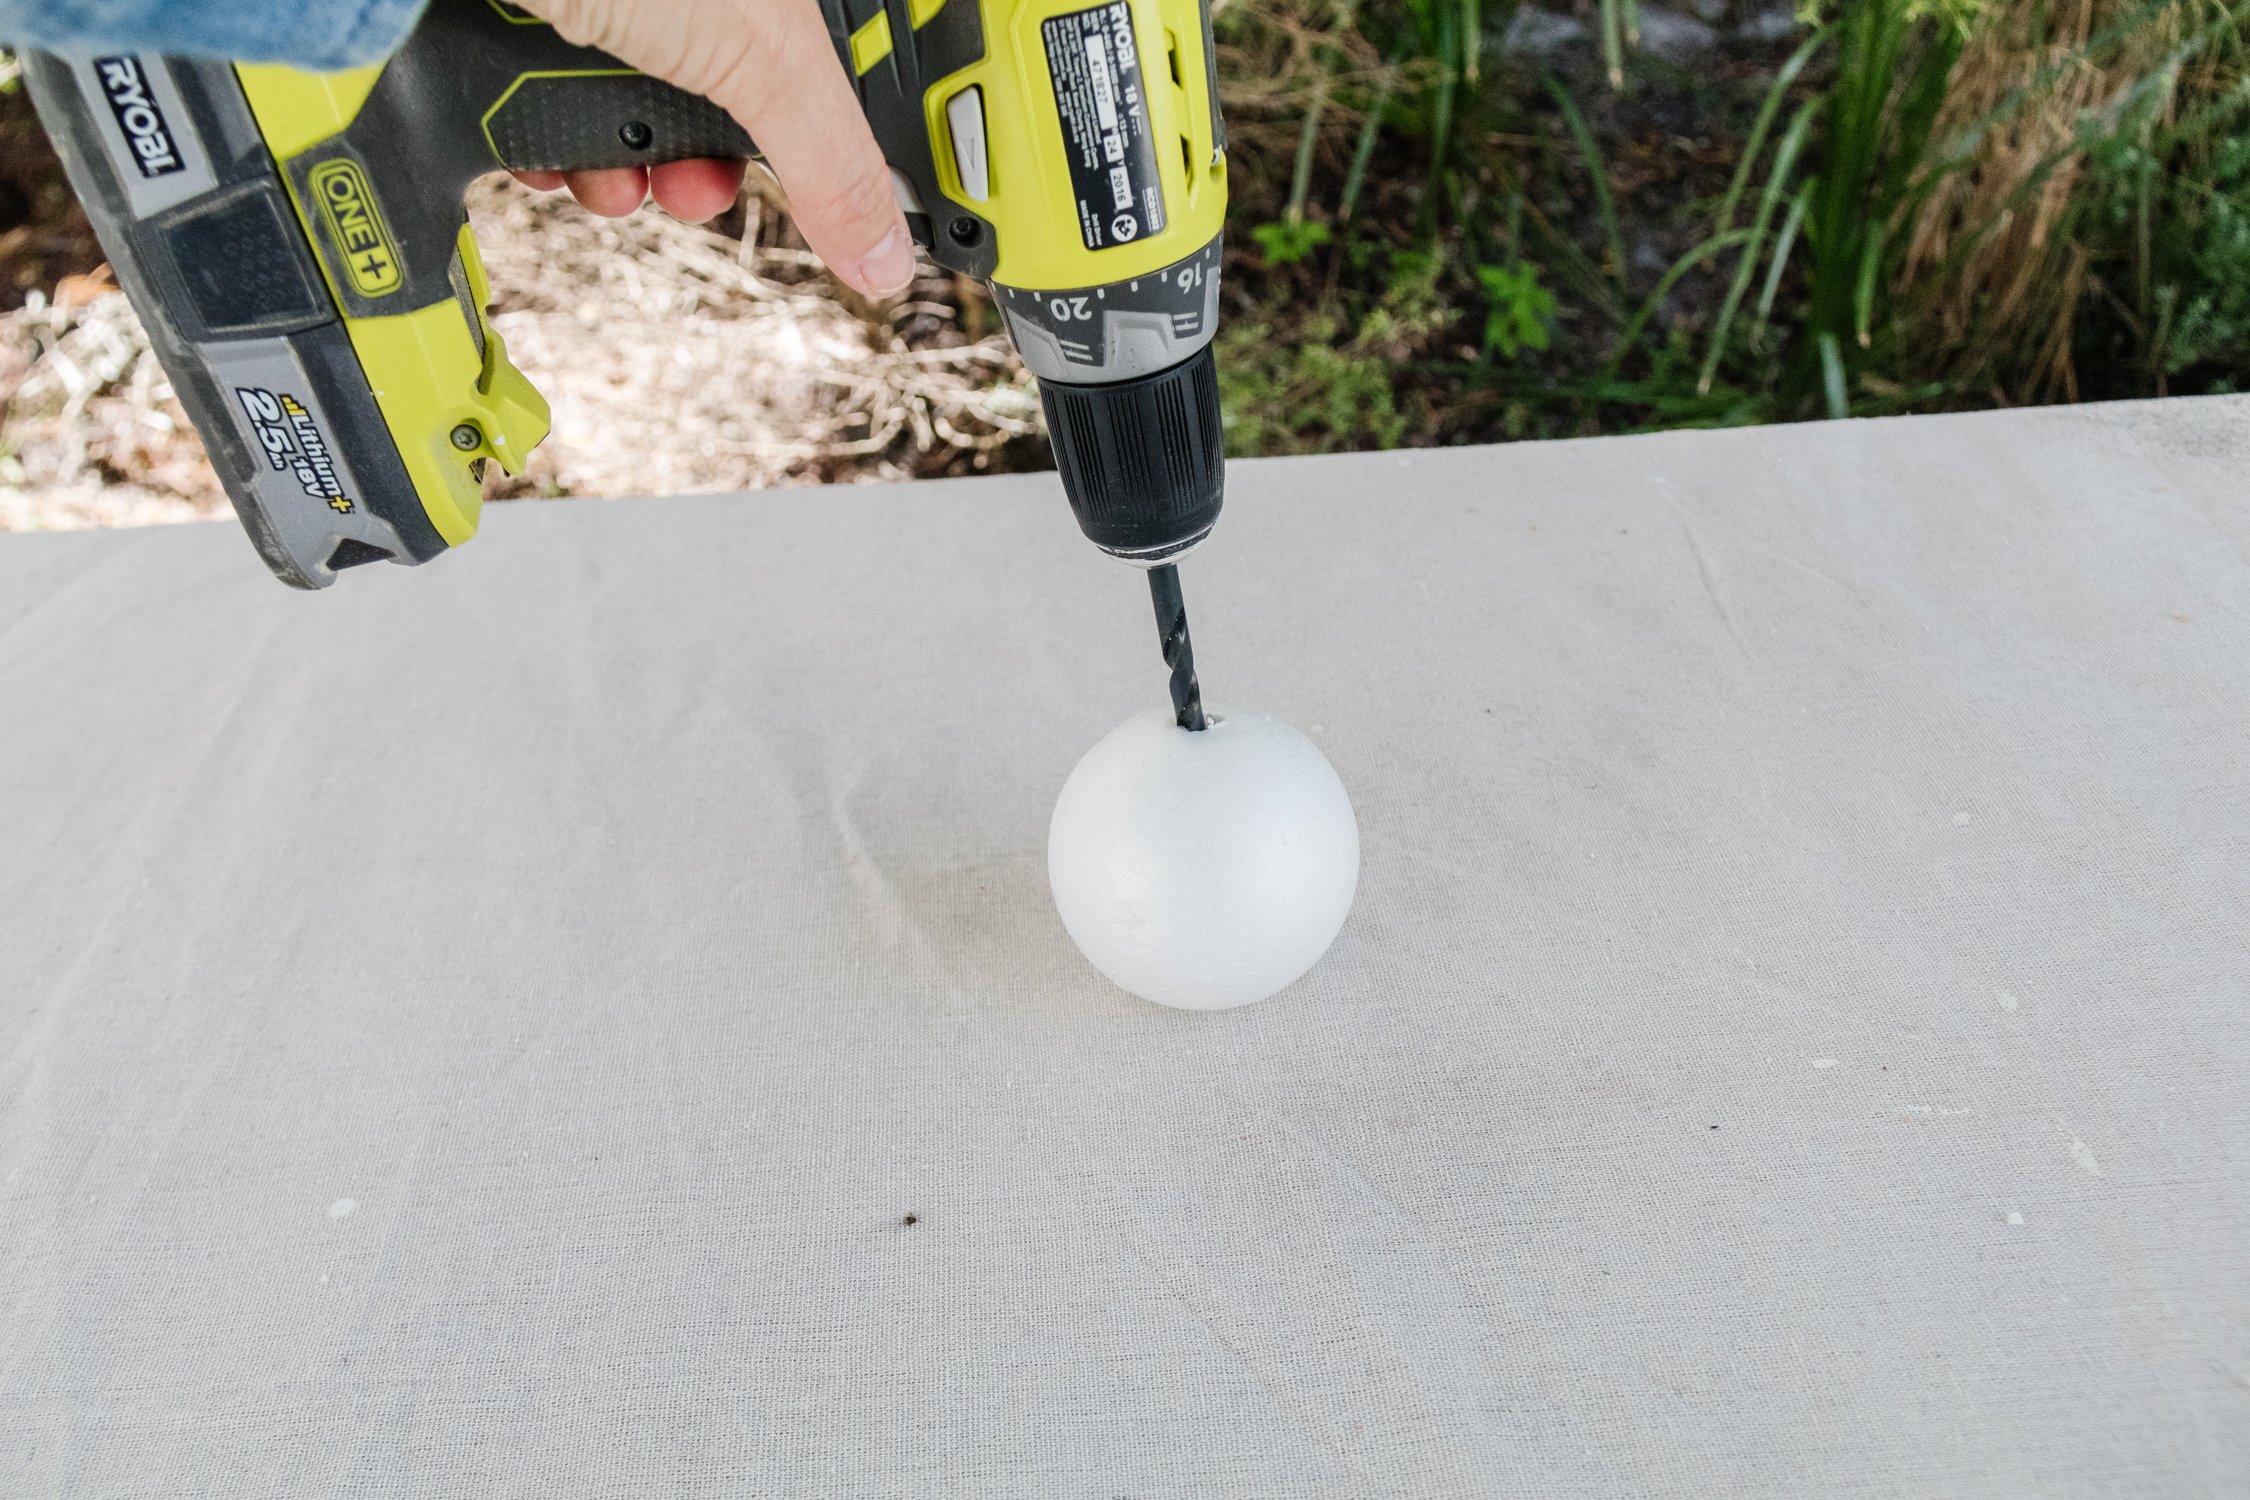
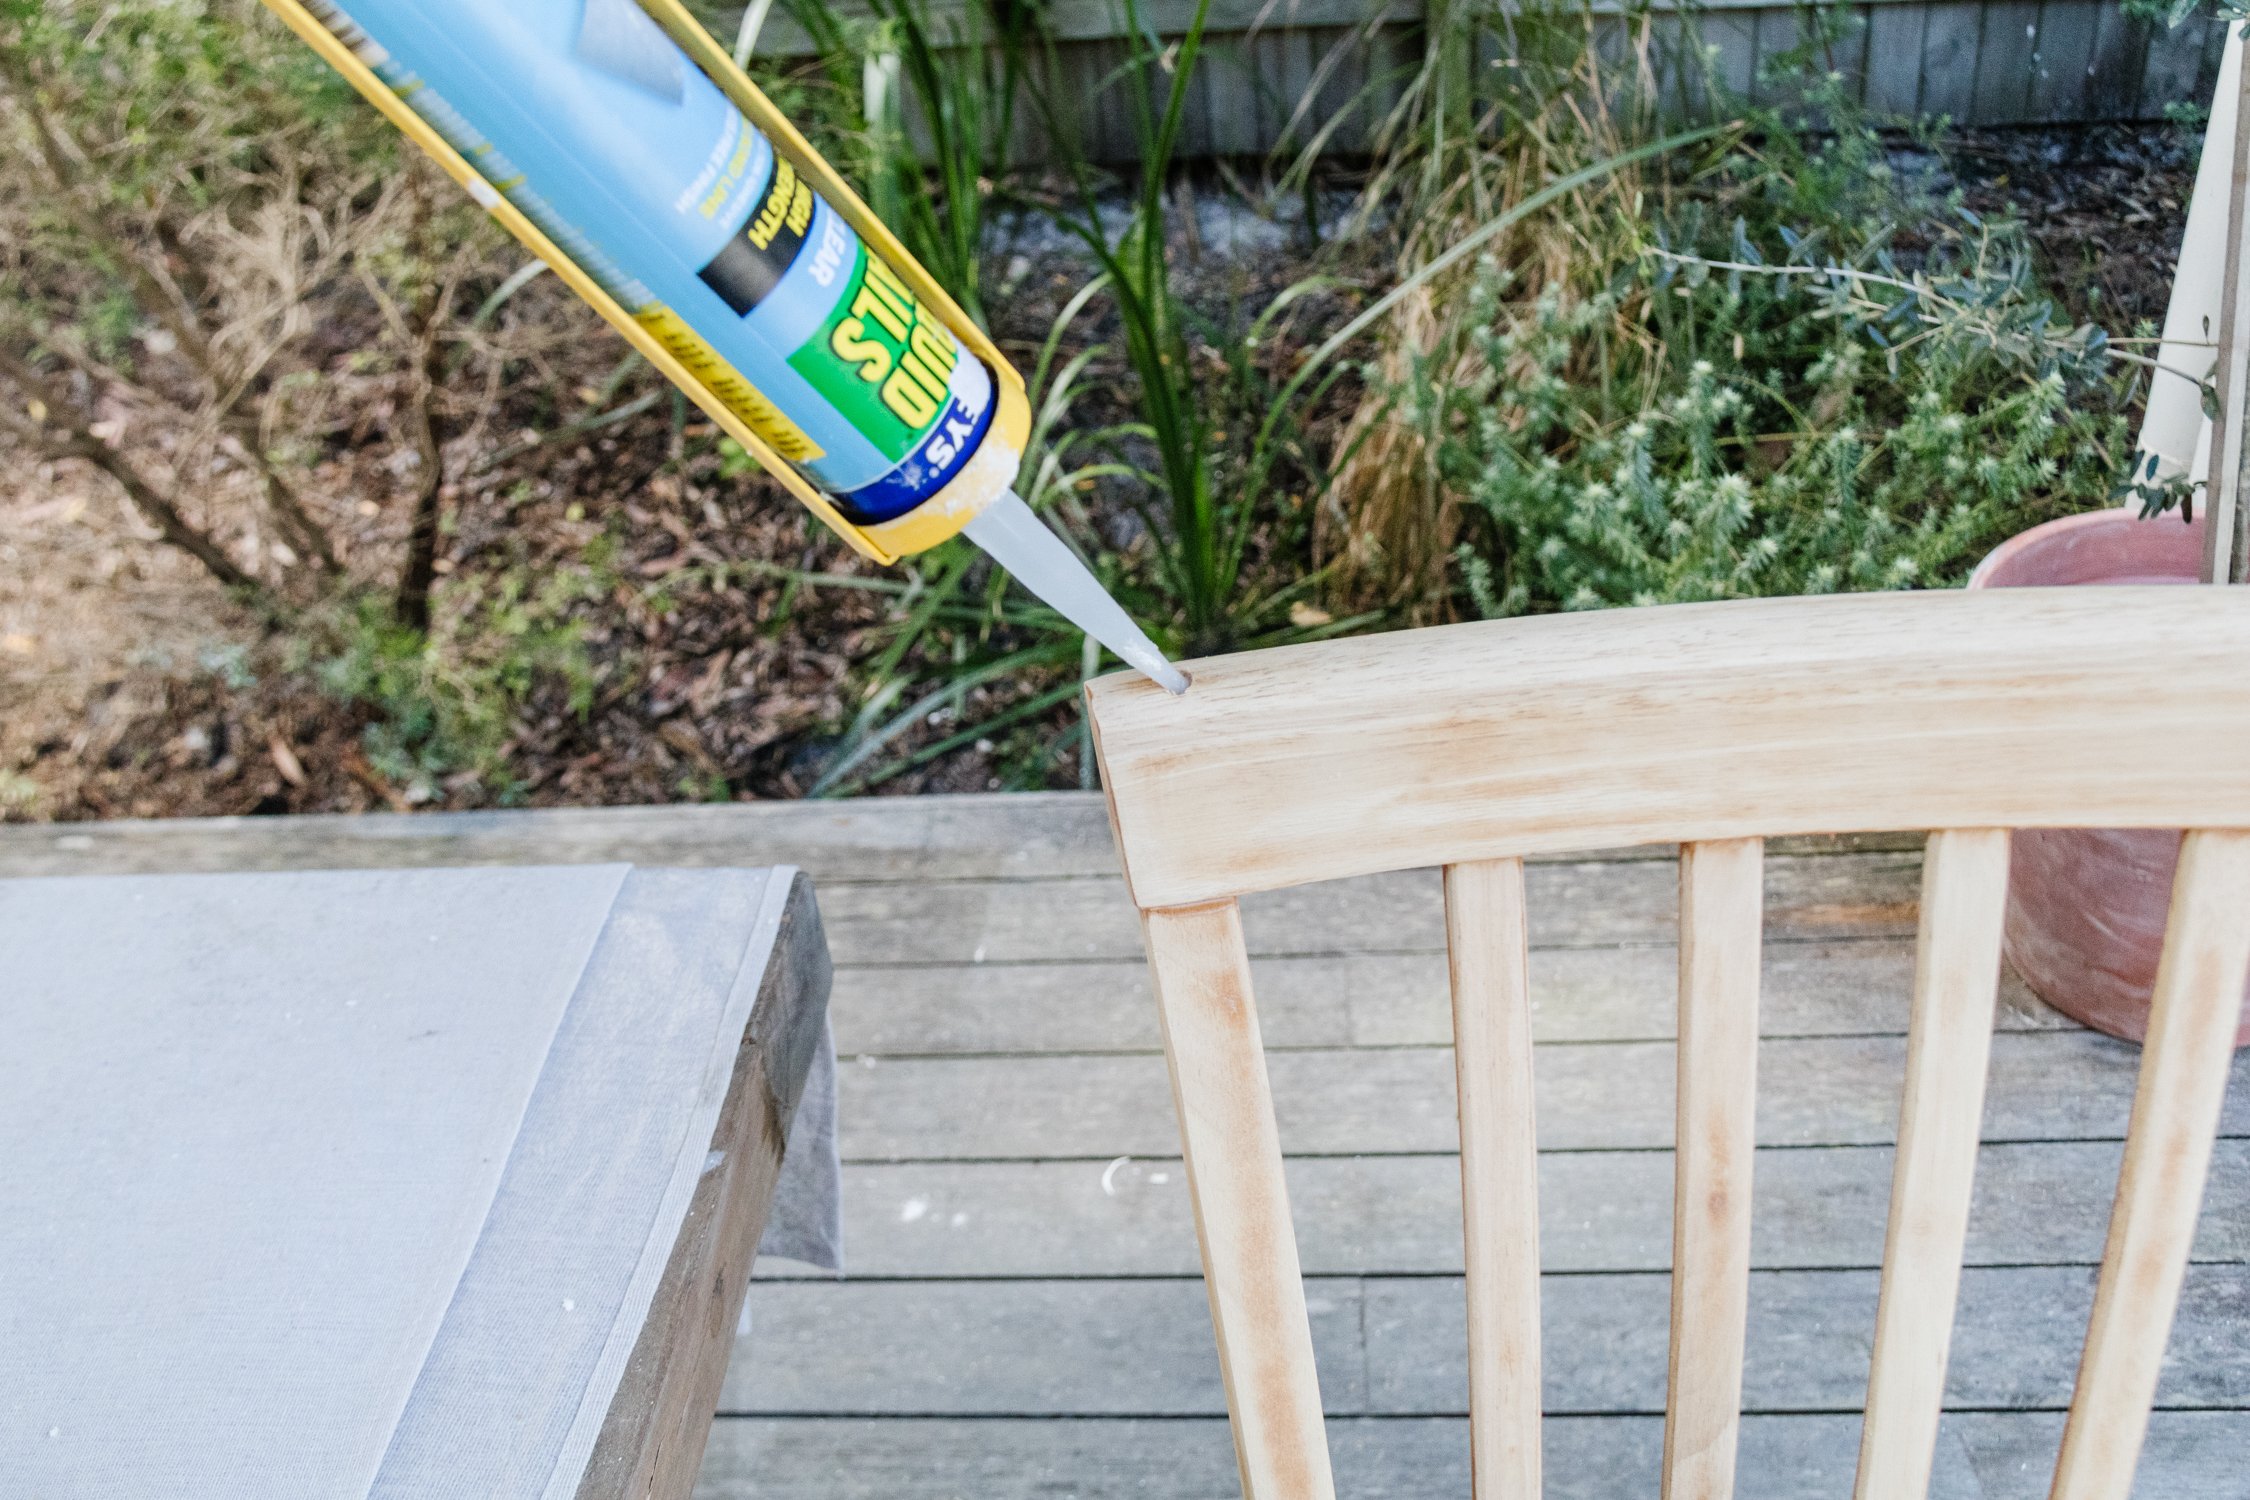
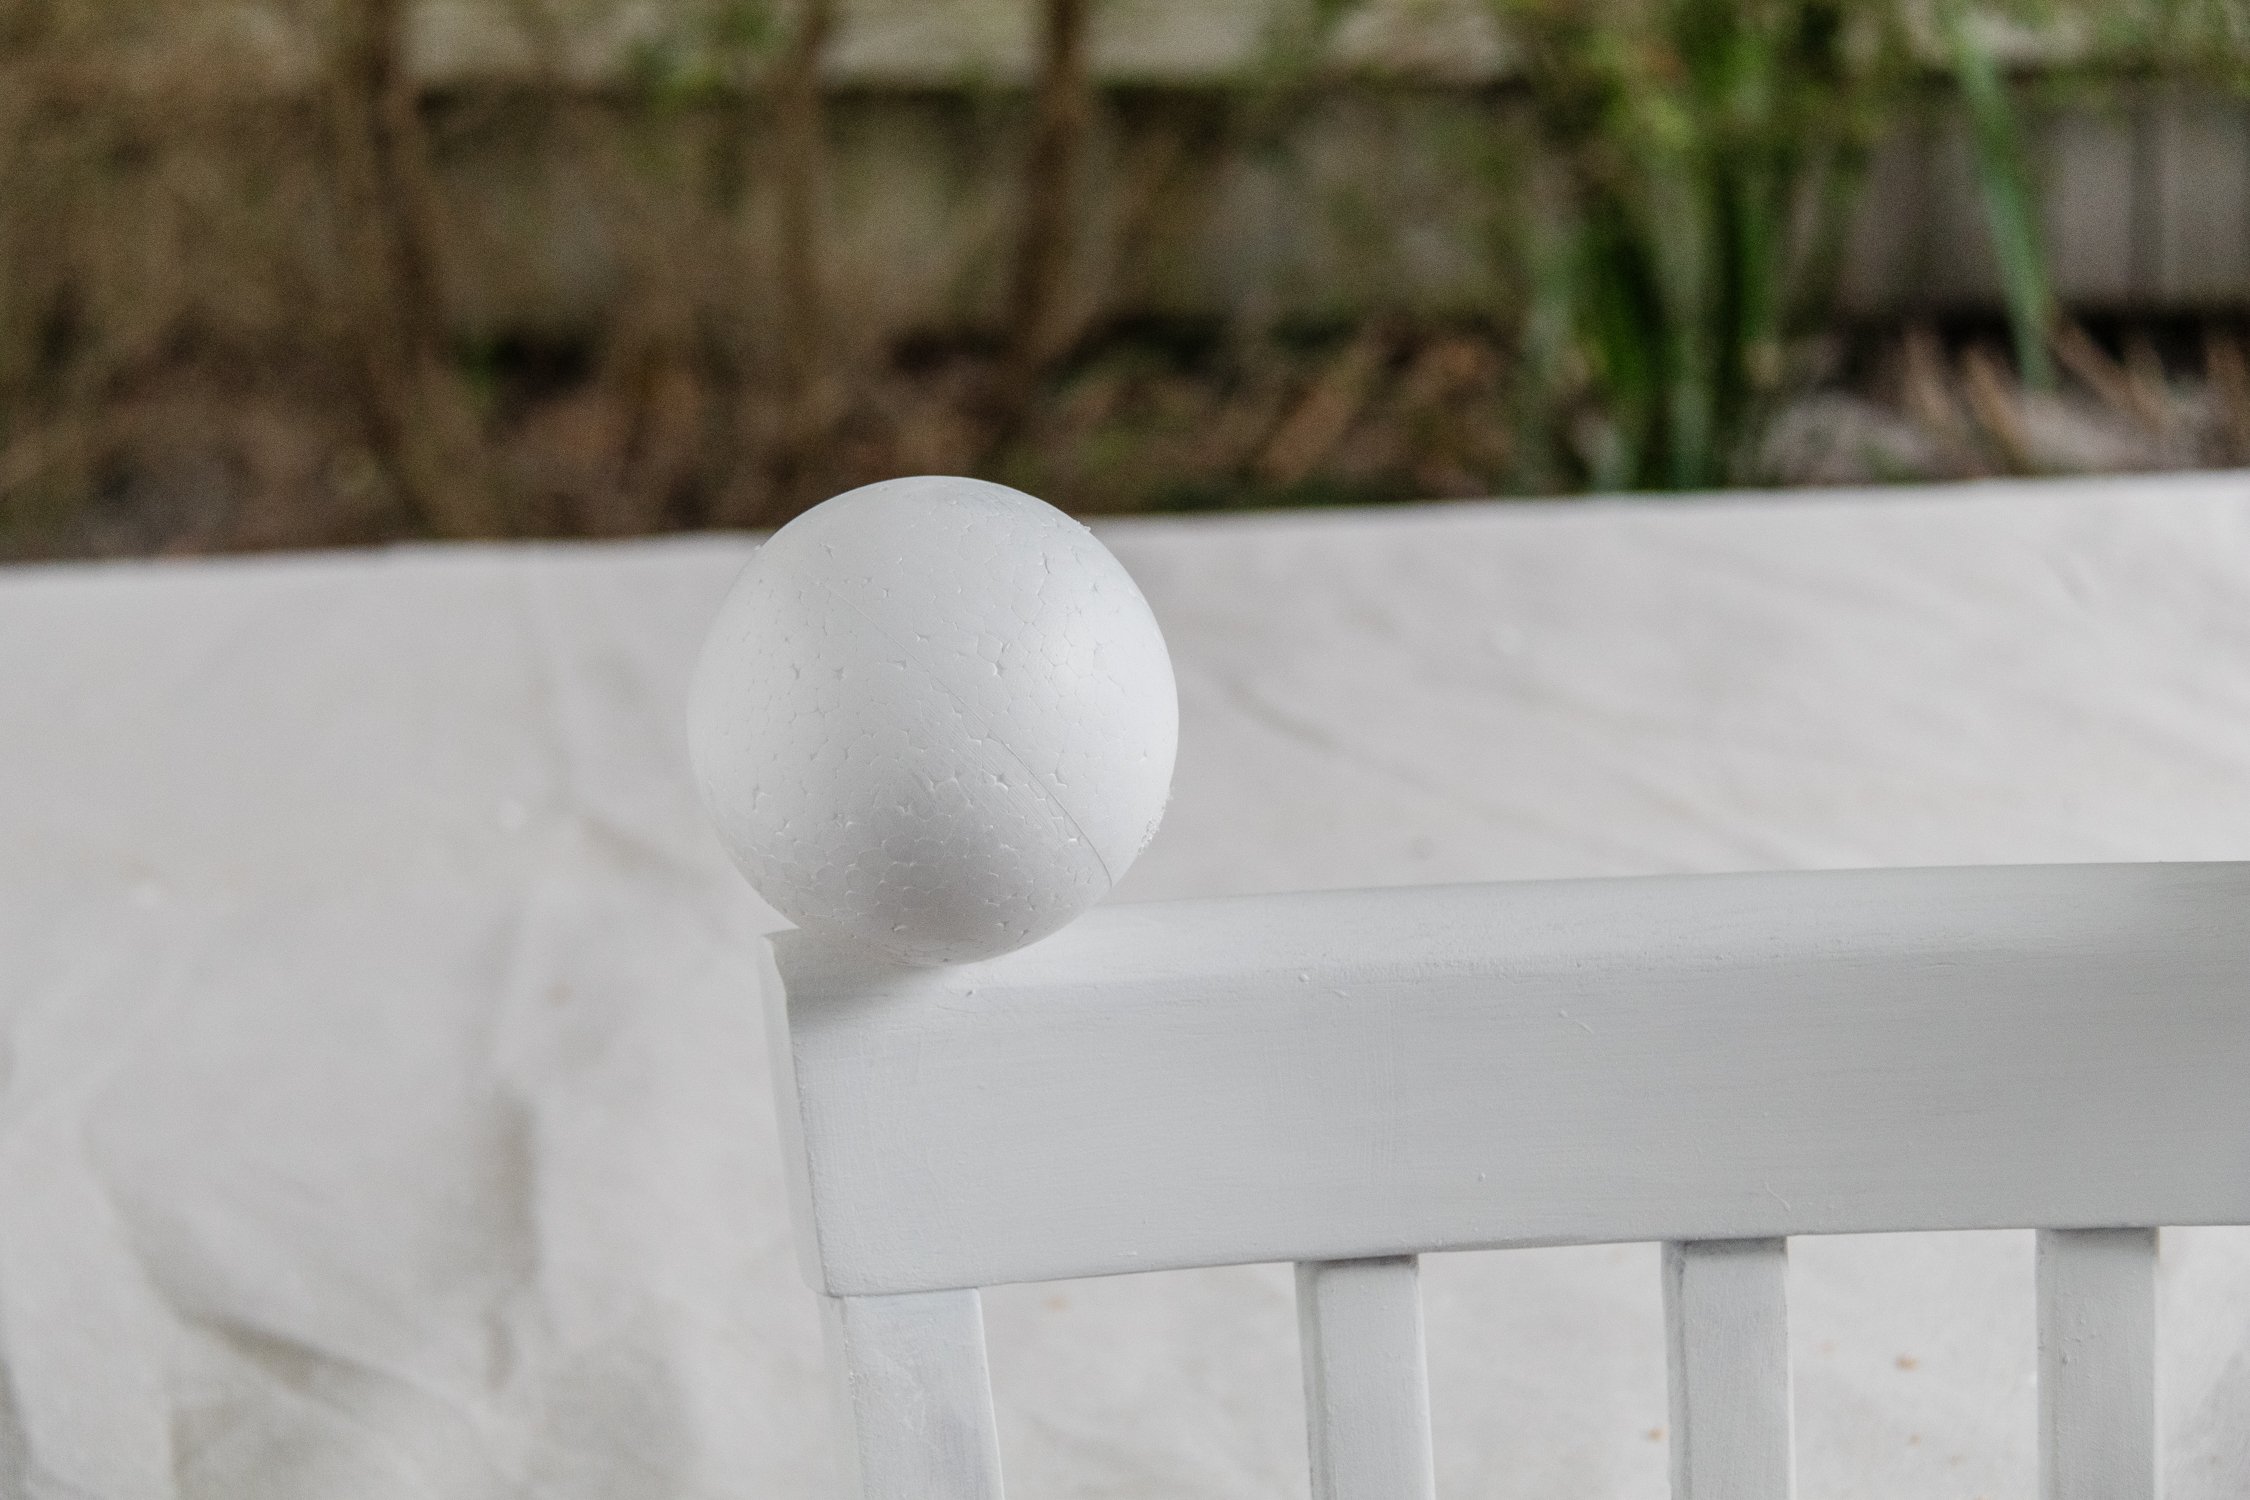
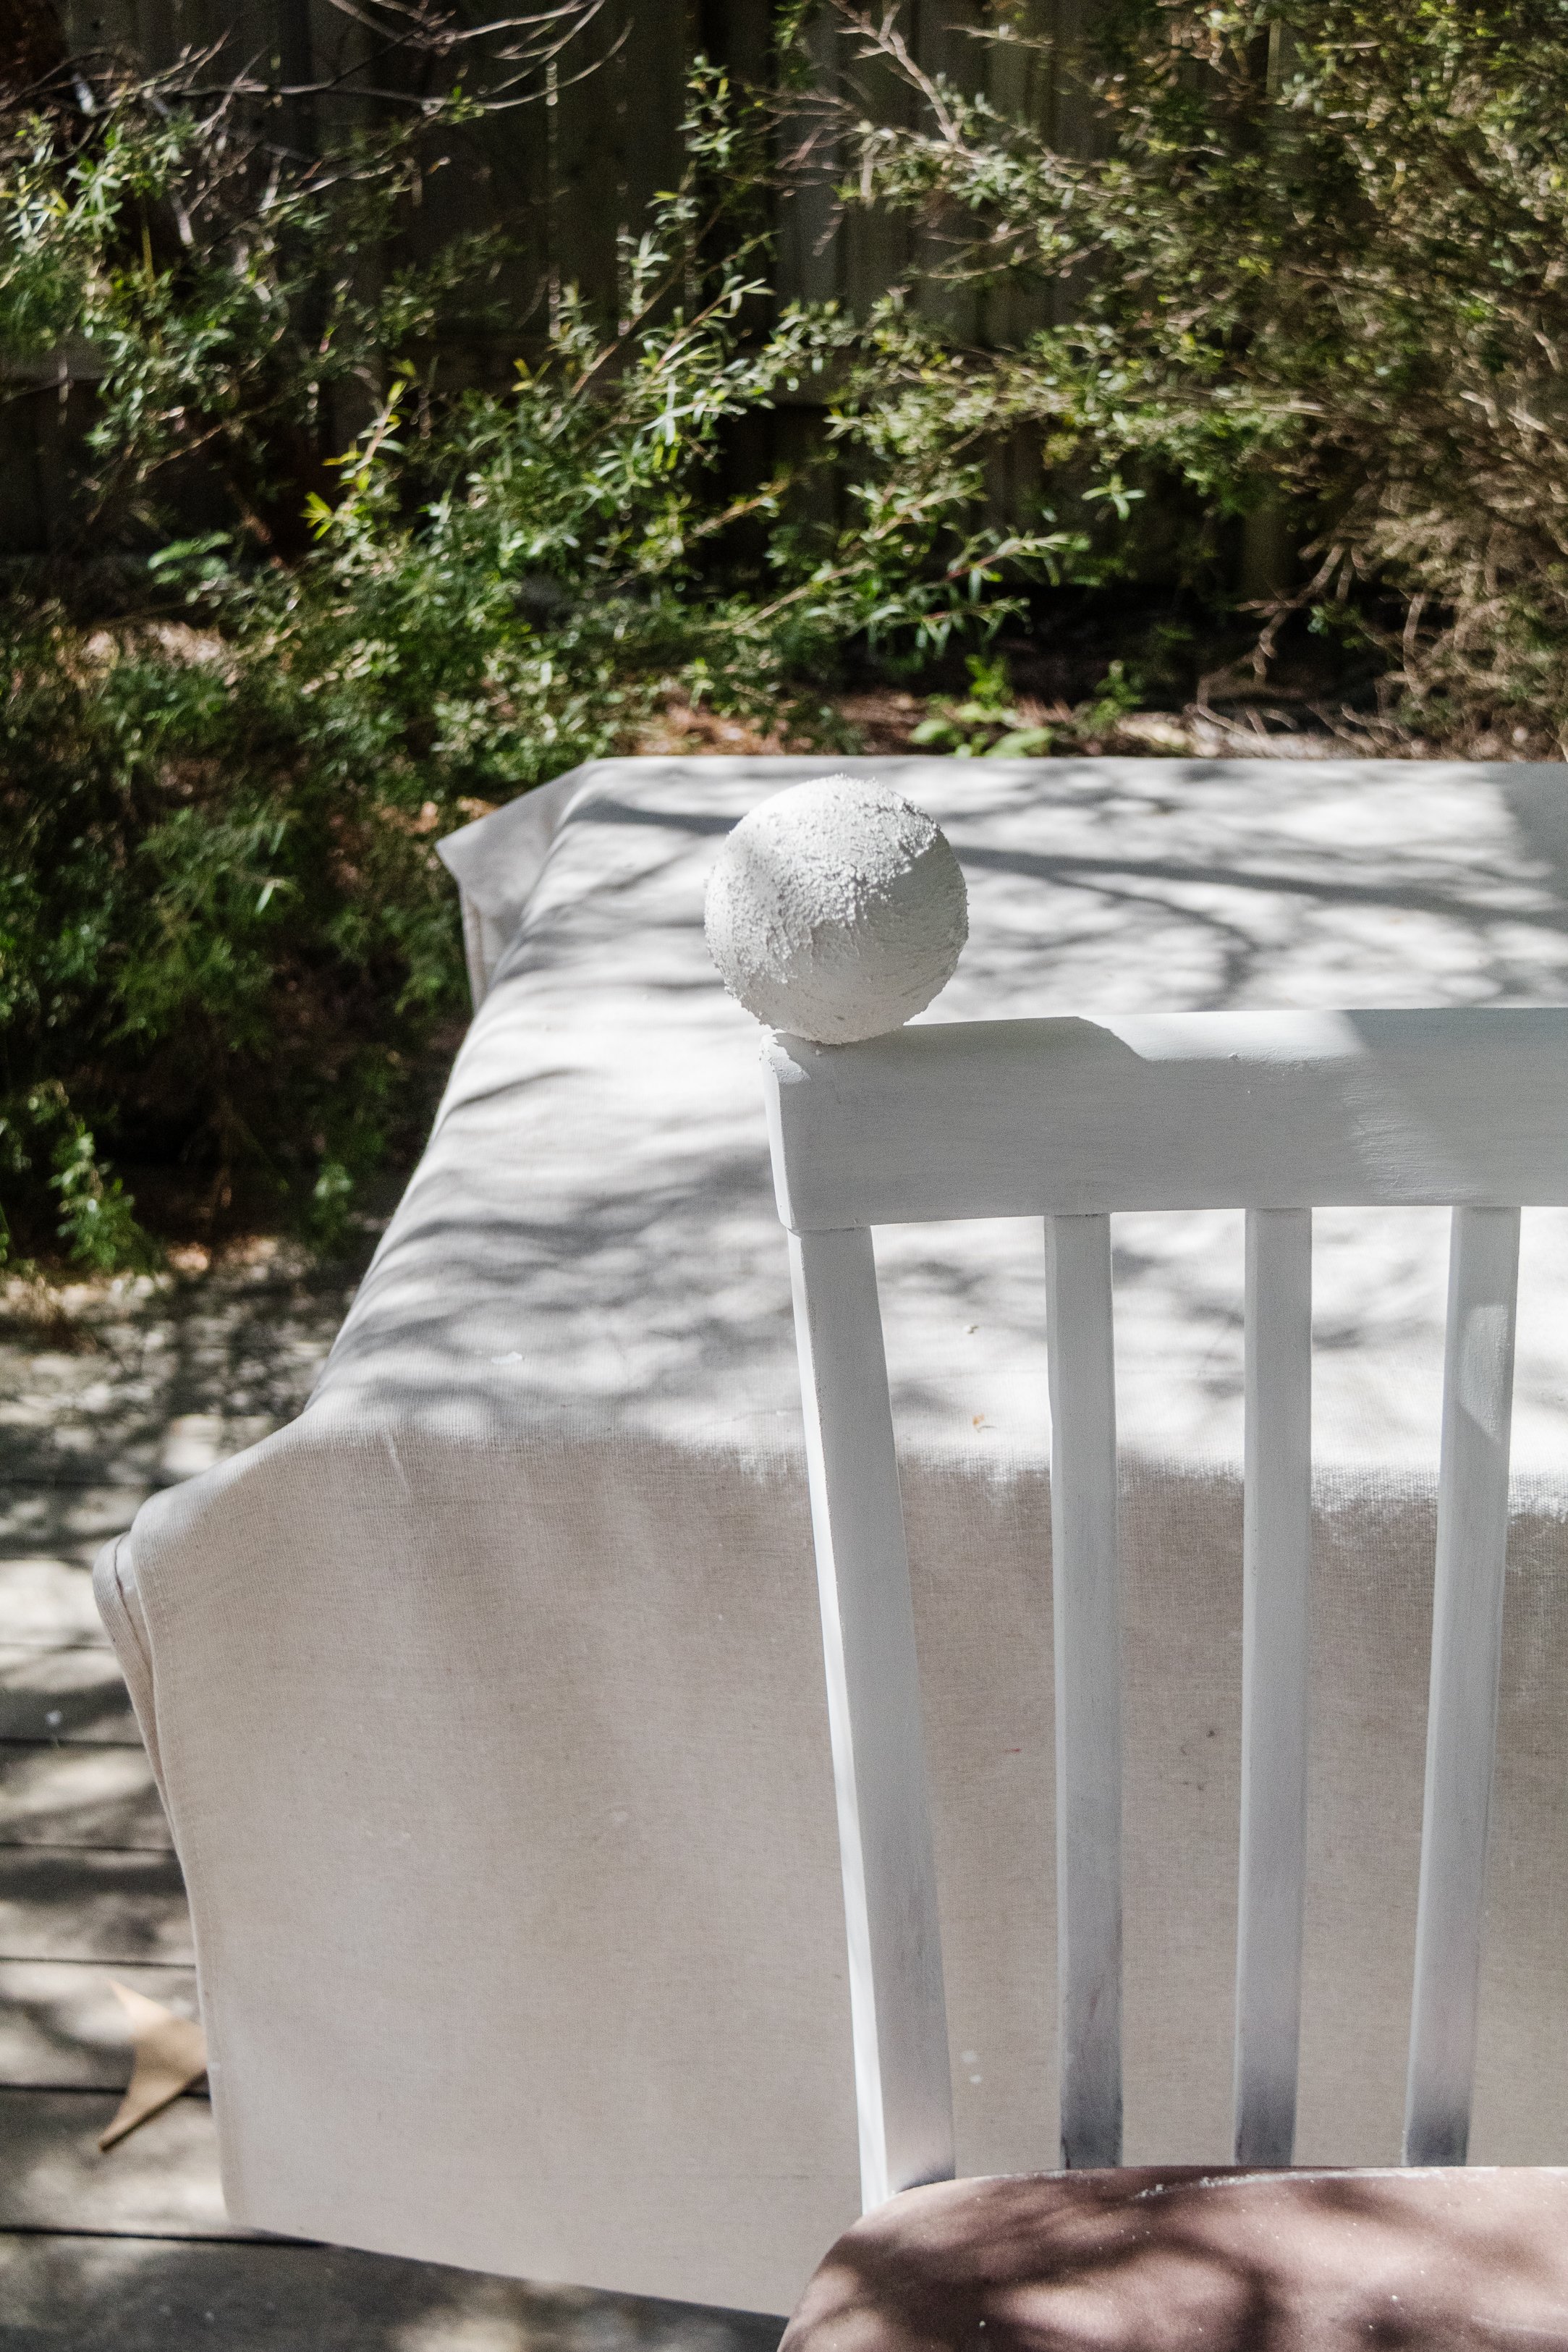
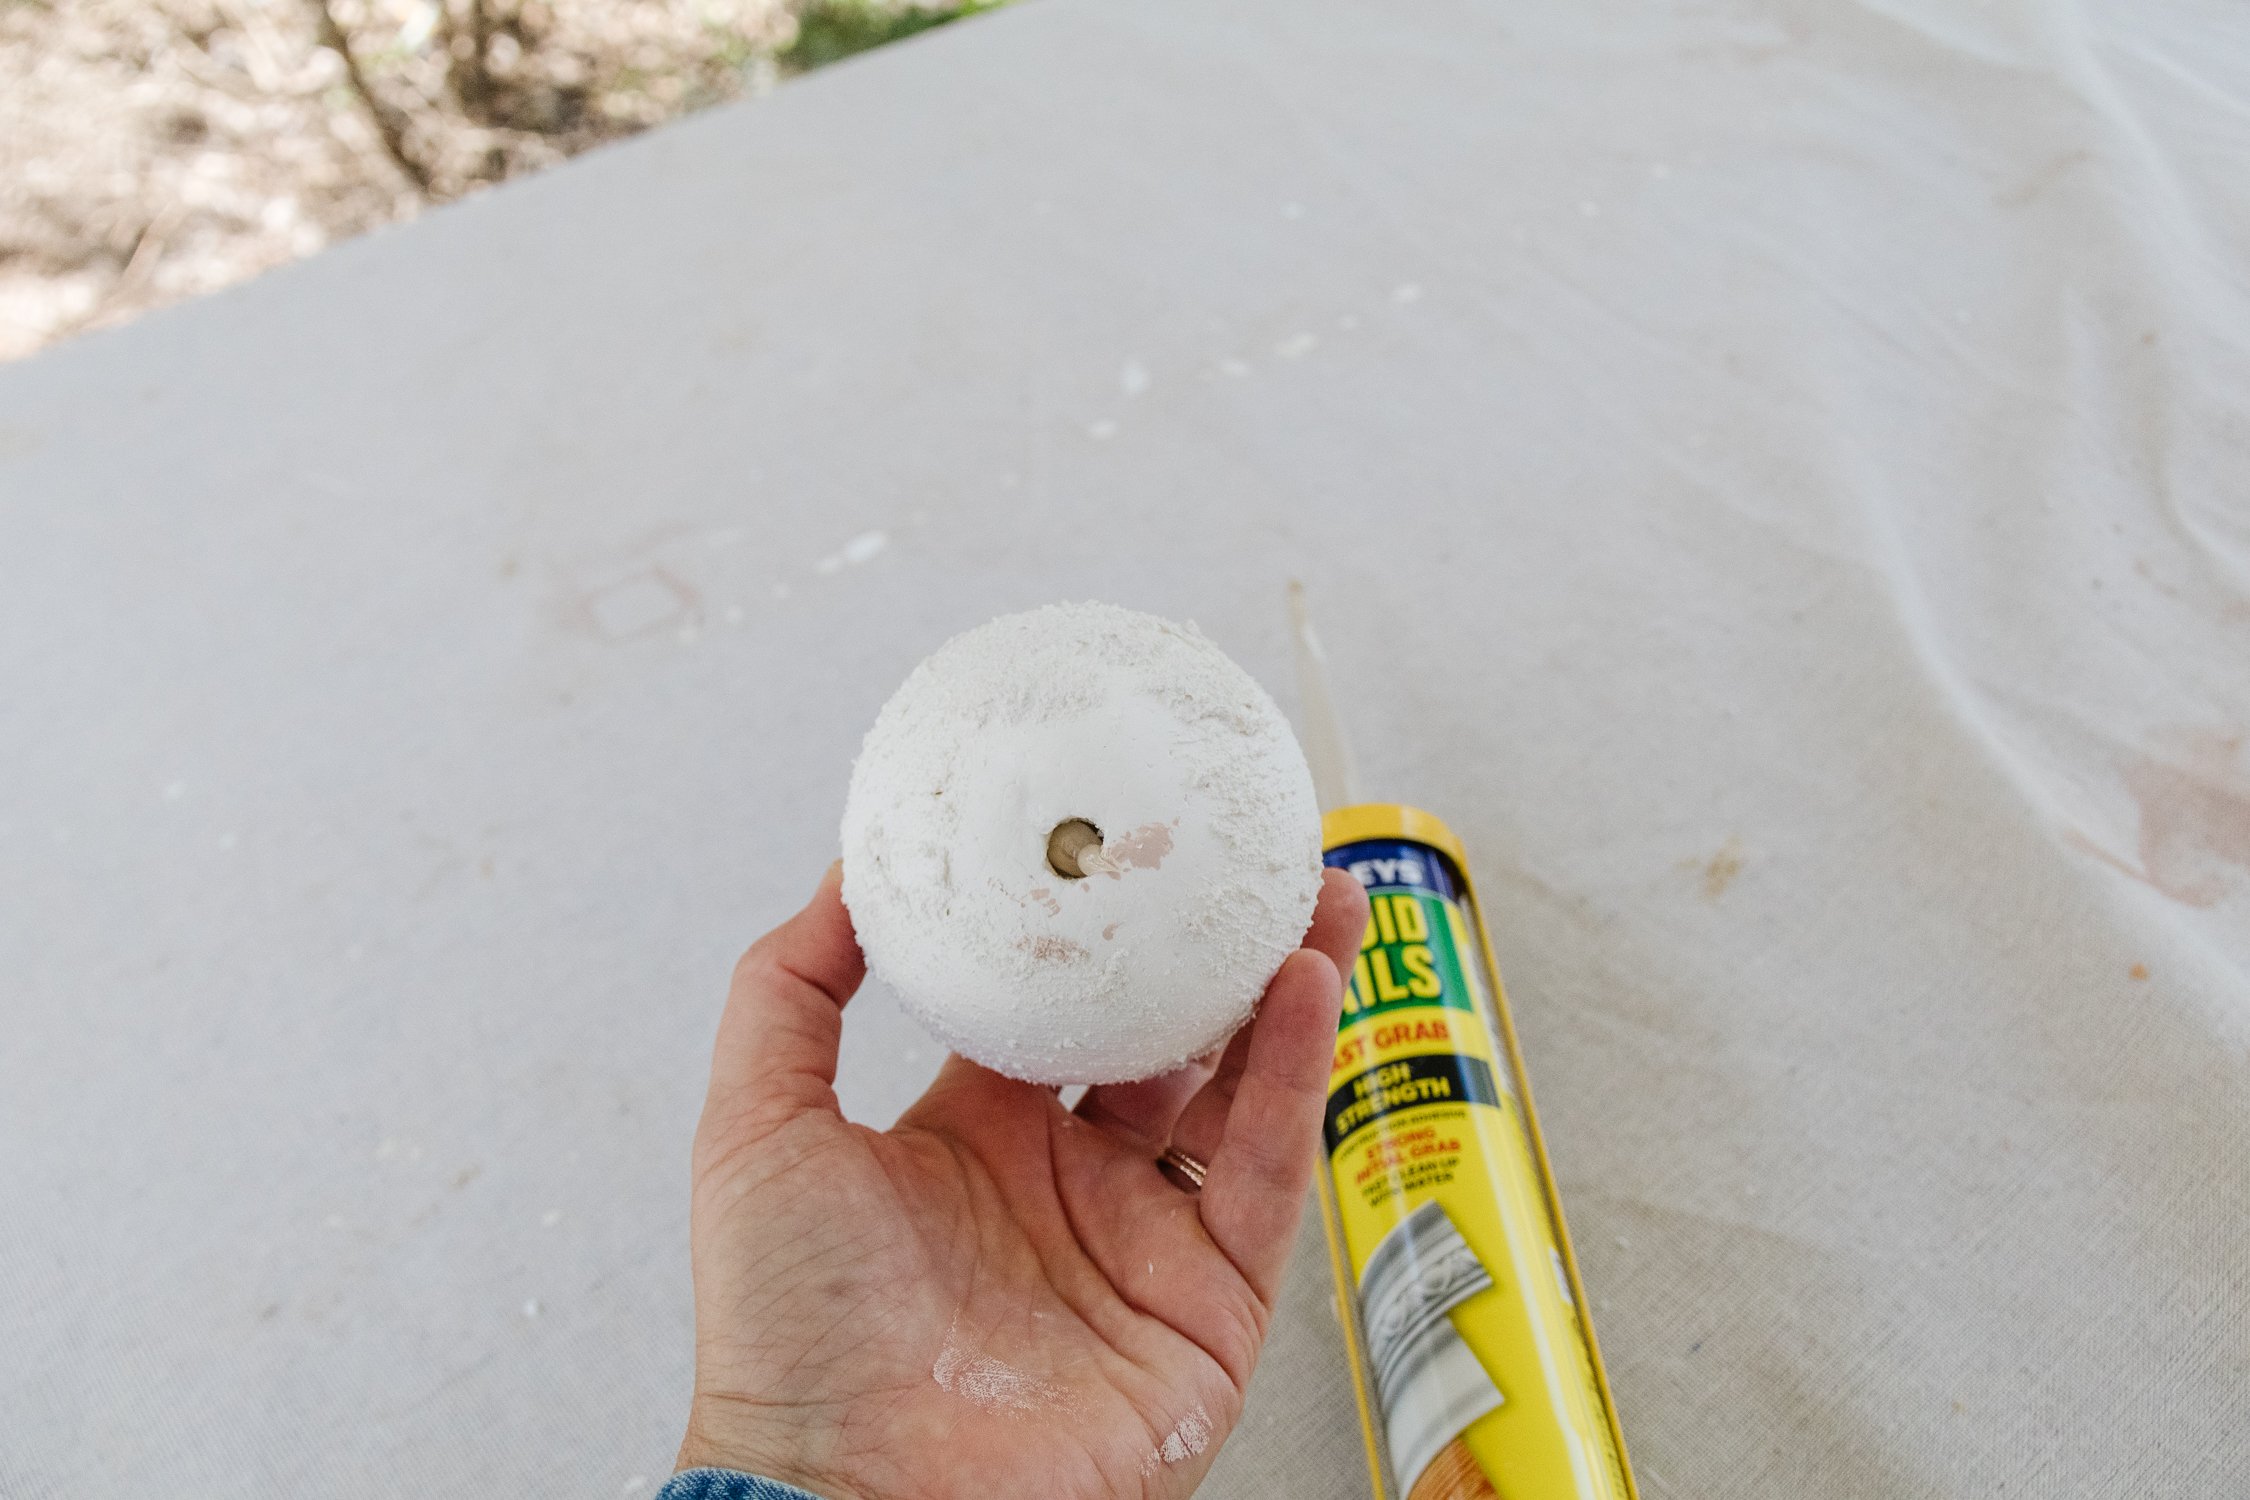
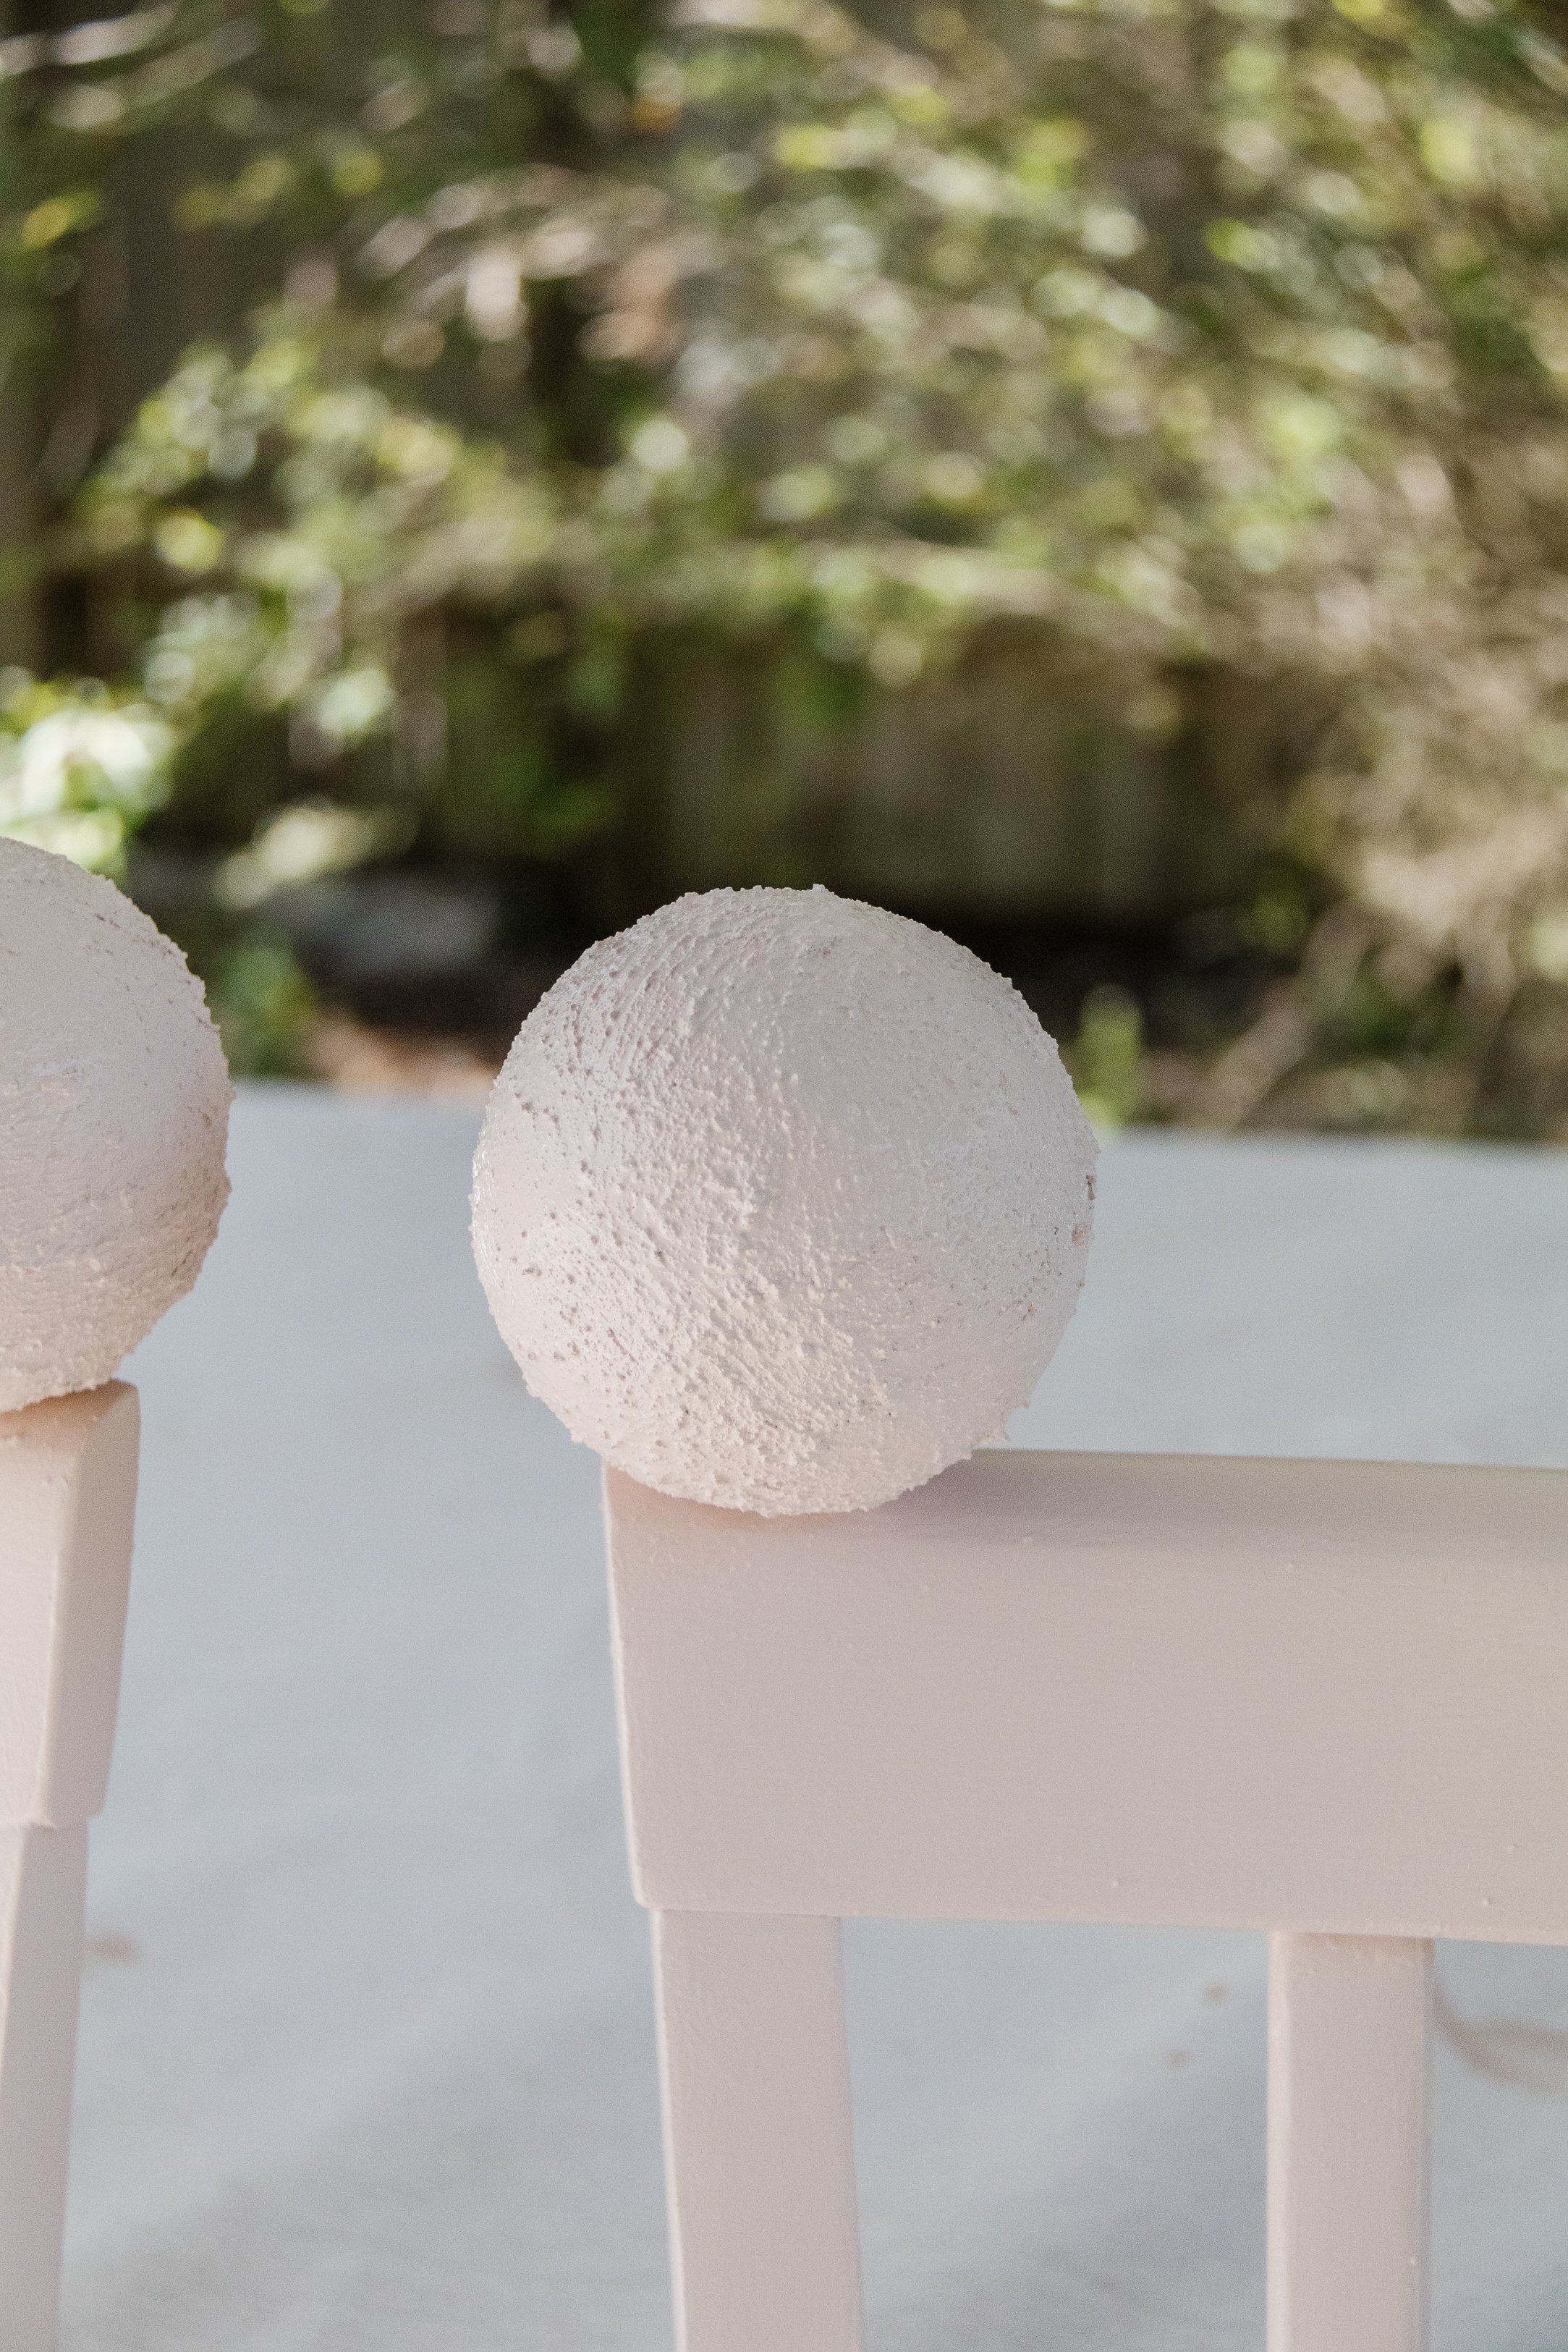
Step 3: Then I cut the thin dowel into four small pieces approximately 10cm) using my saw and I also drilled holes into each foam ball making sure not to drill all the way through to the other side. I glued the dowels into the chairs (but I did not glue the foam balls onto the dowels at this stage).
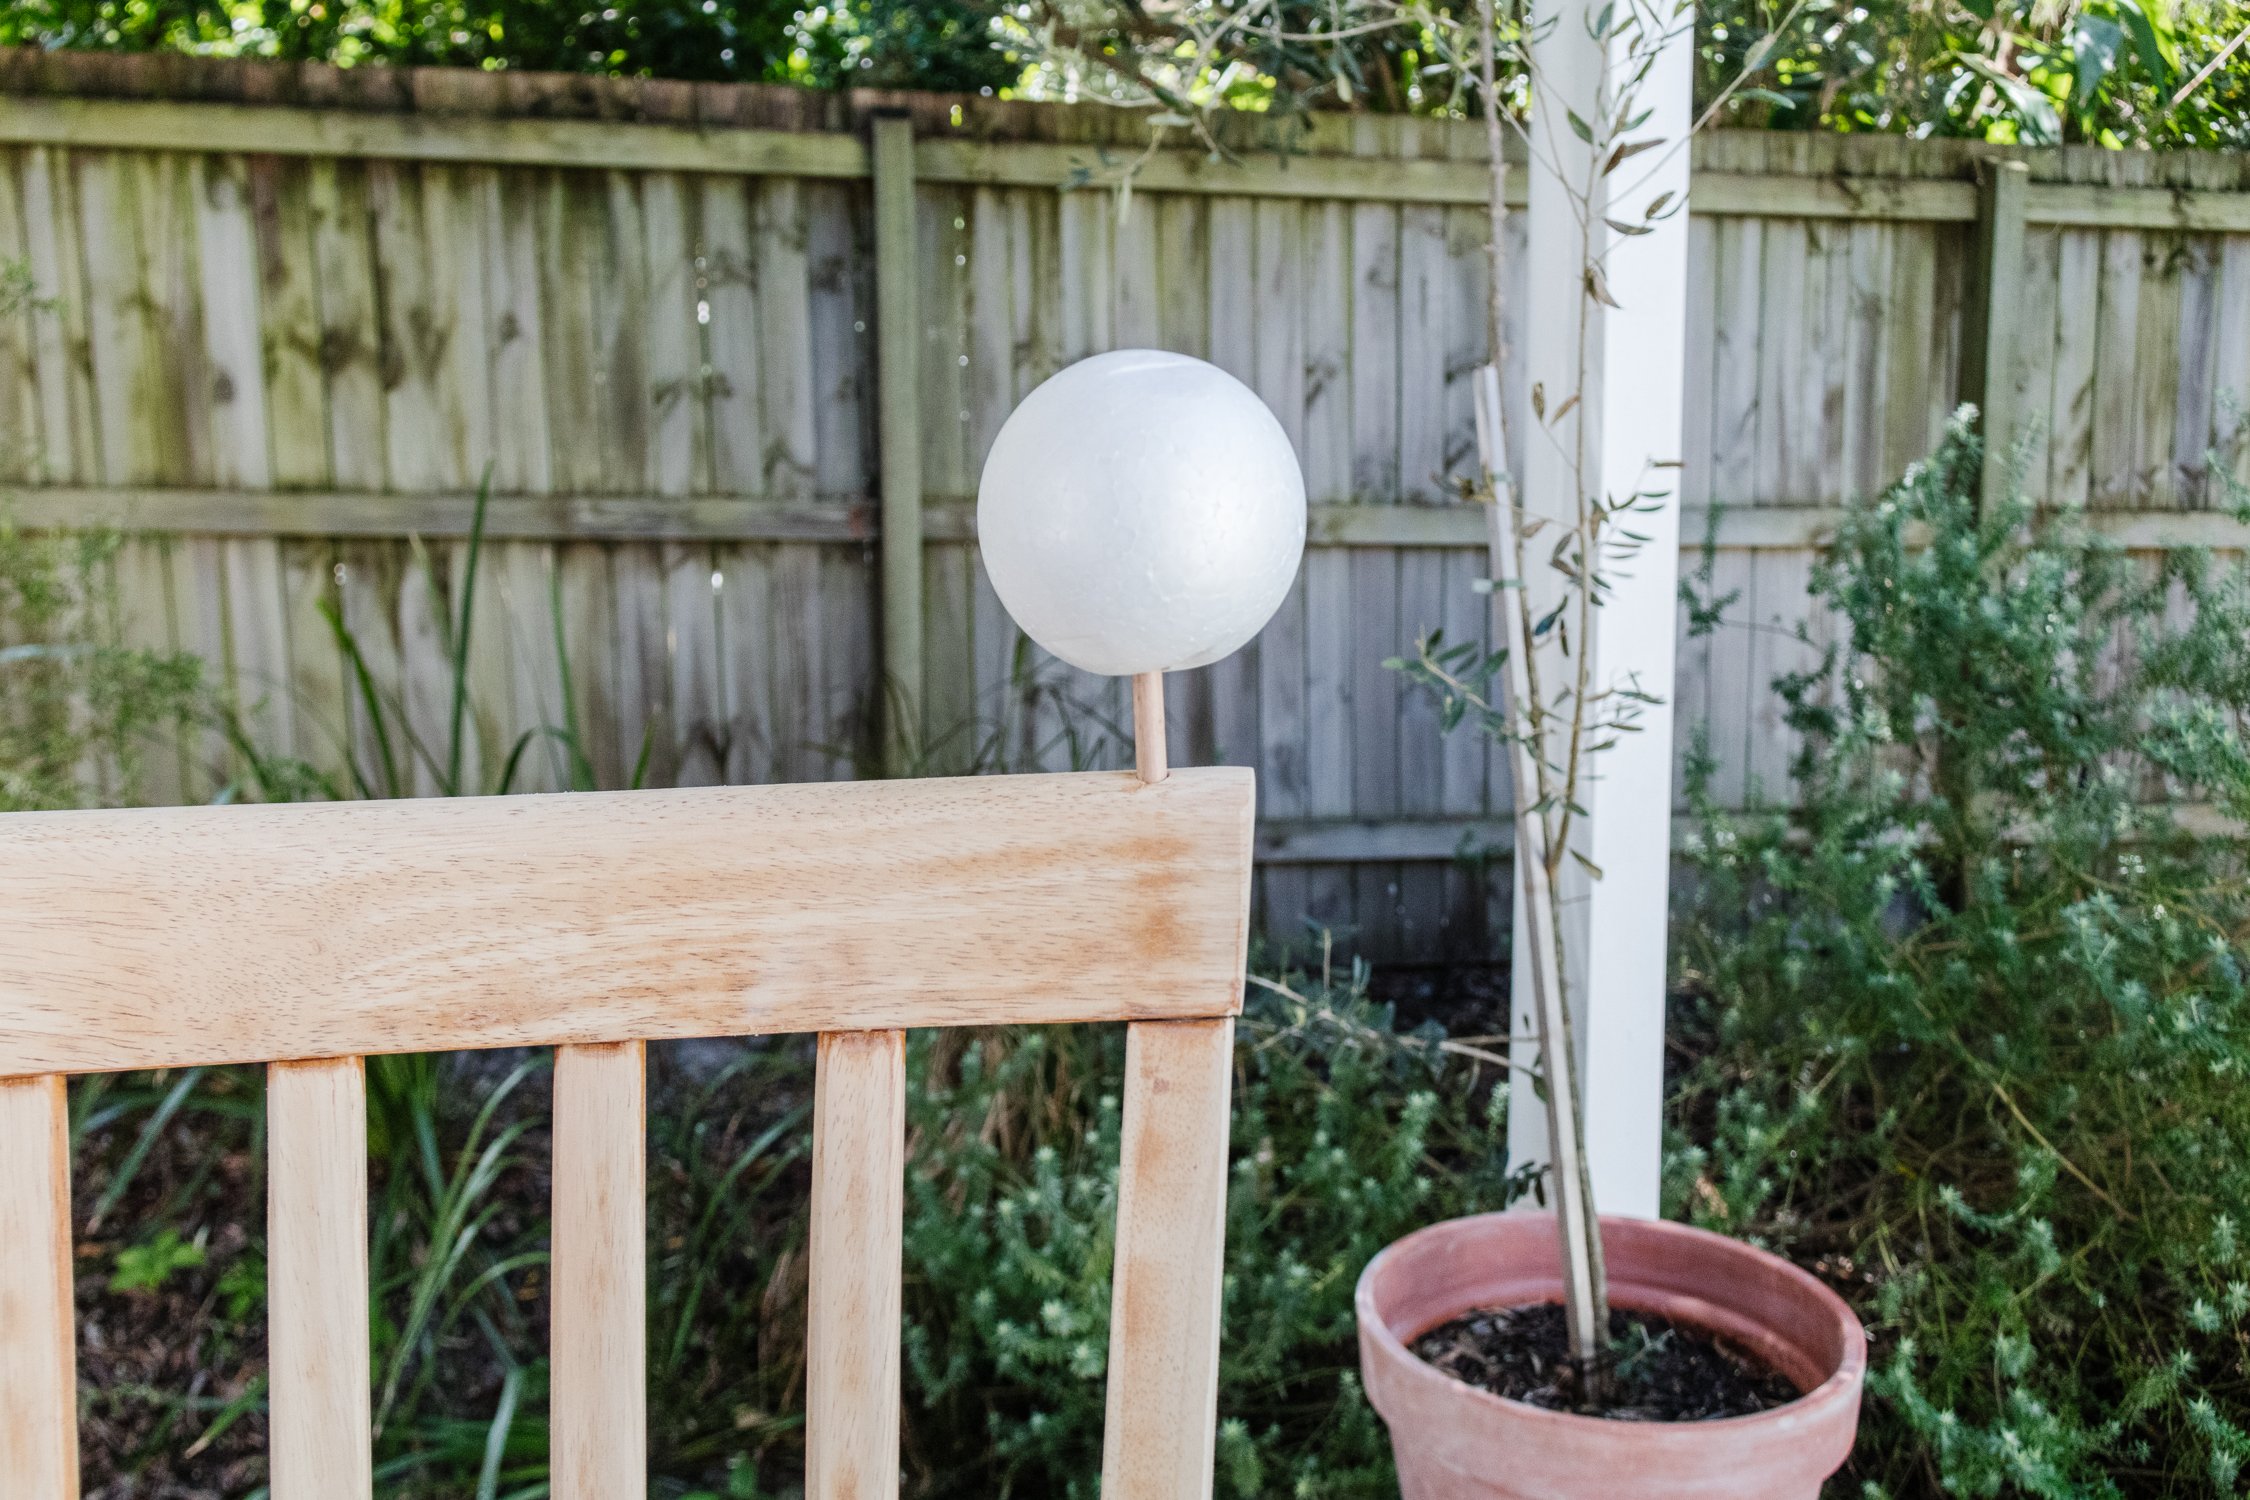


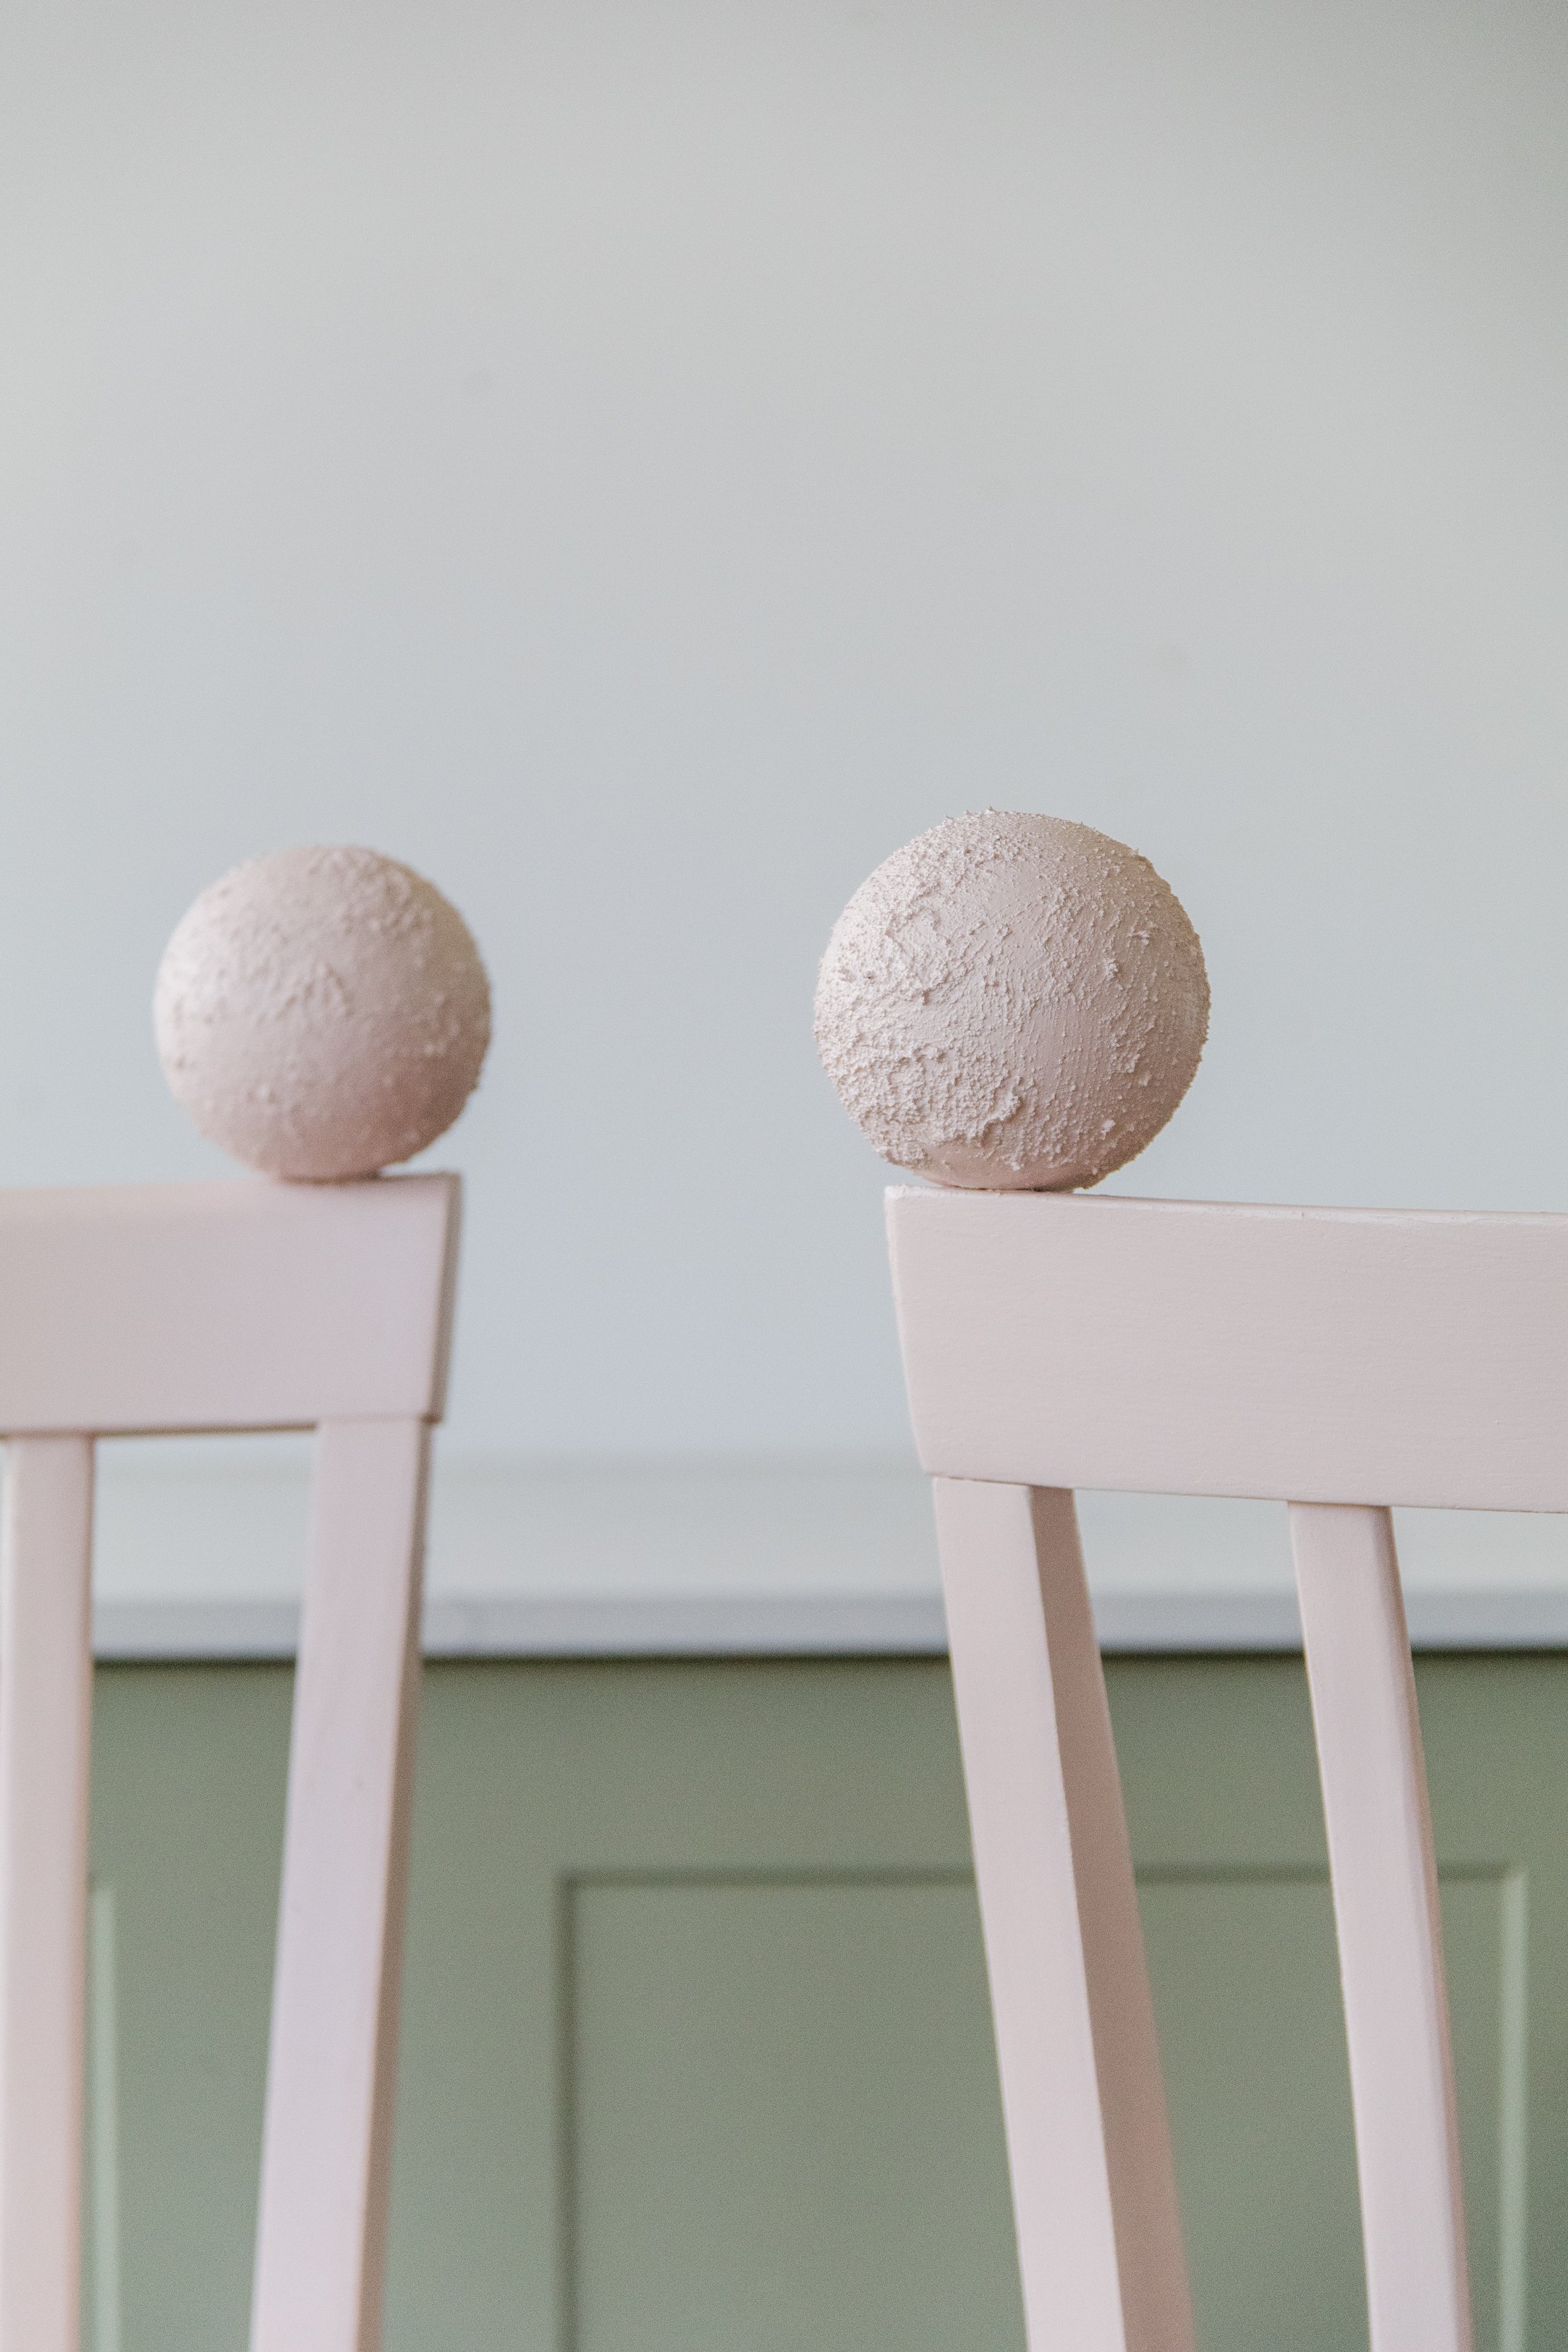
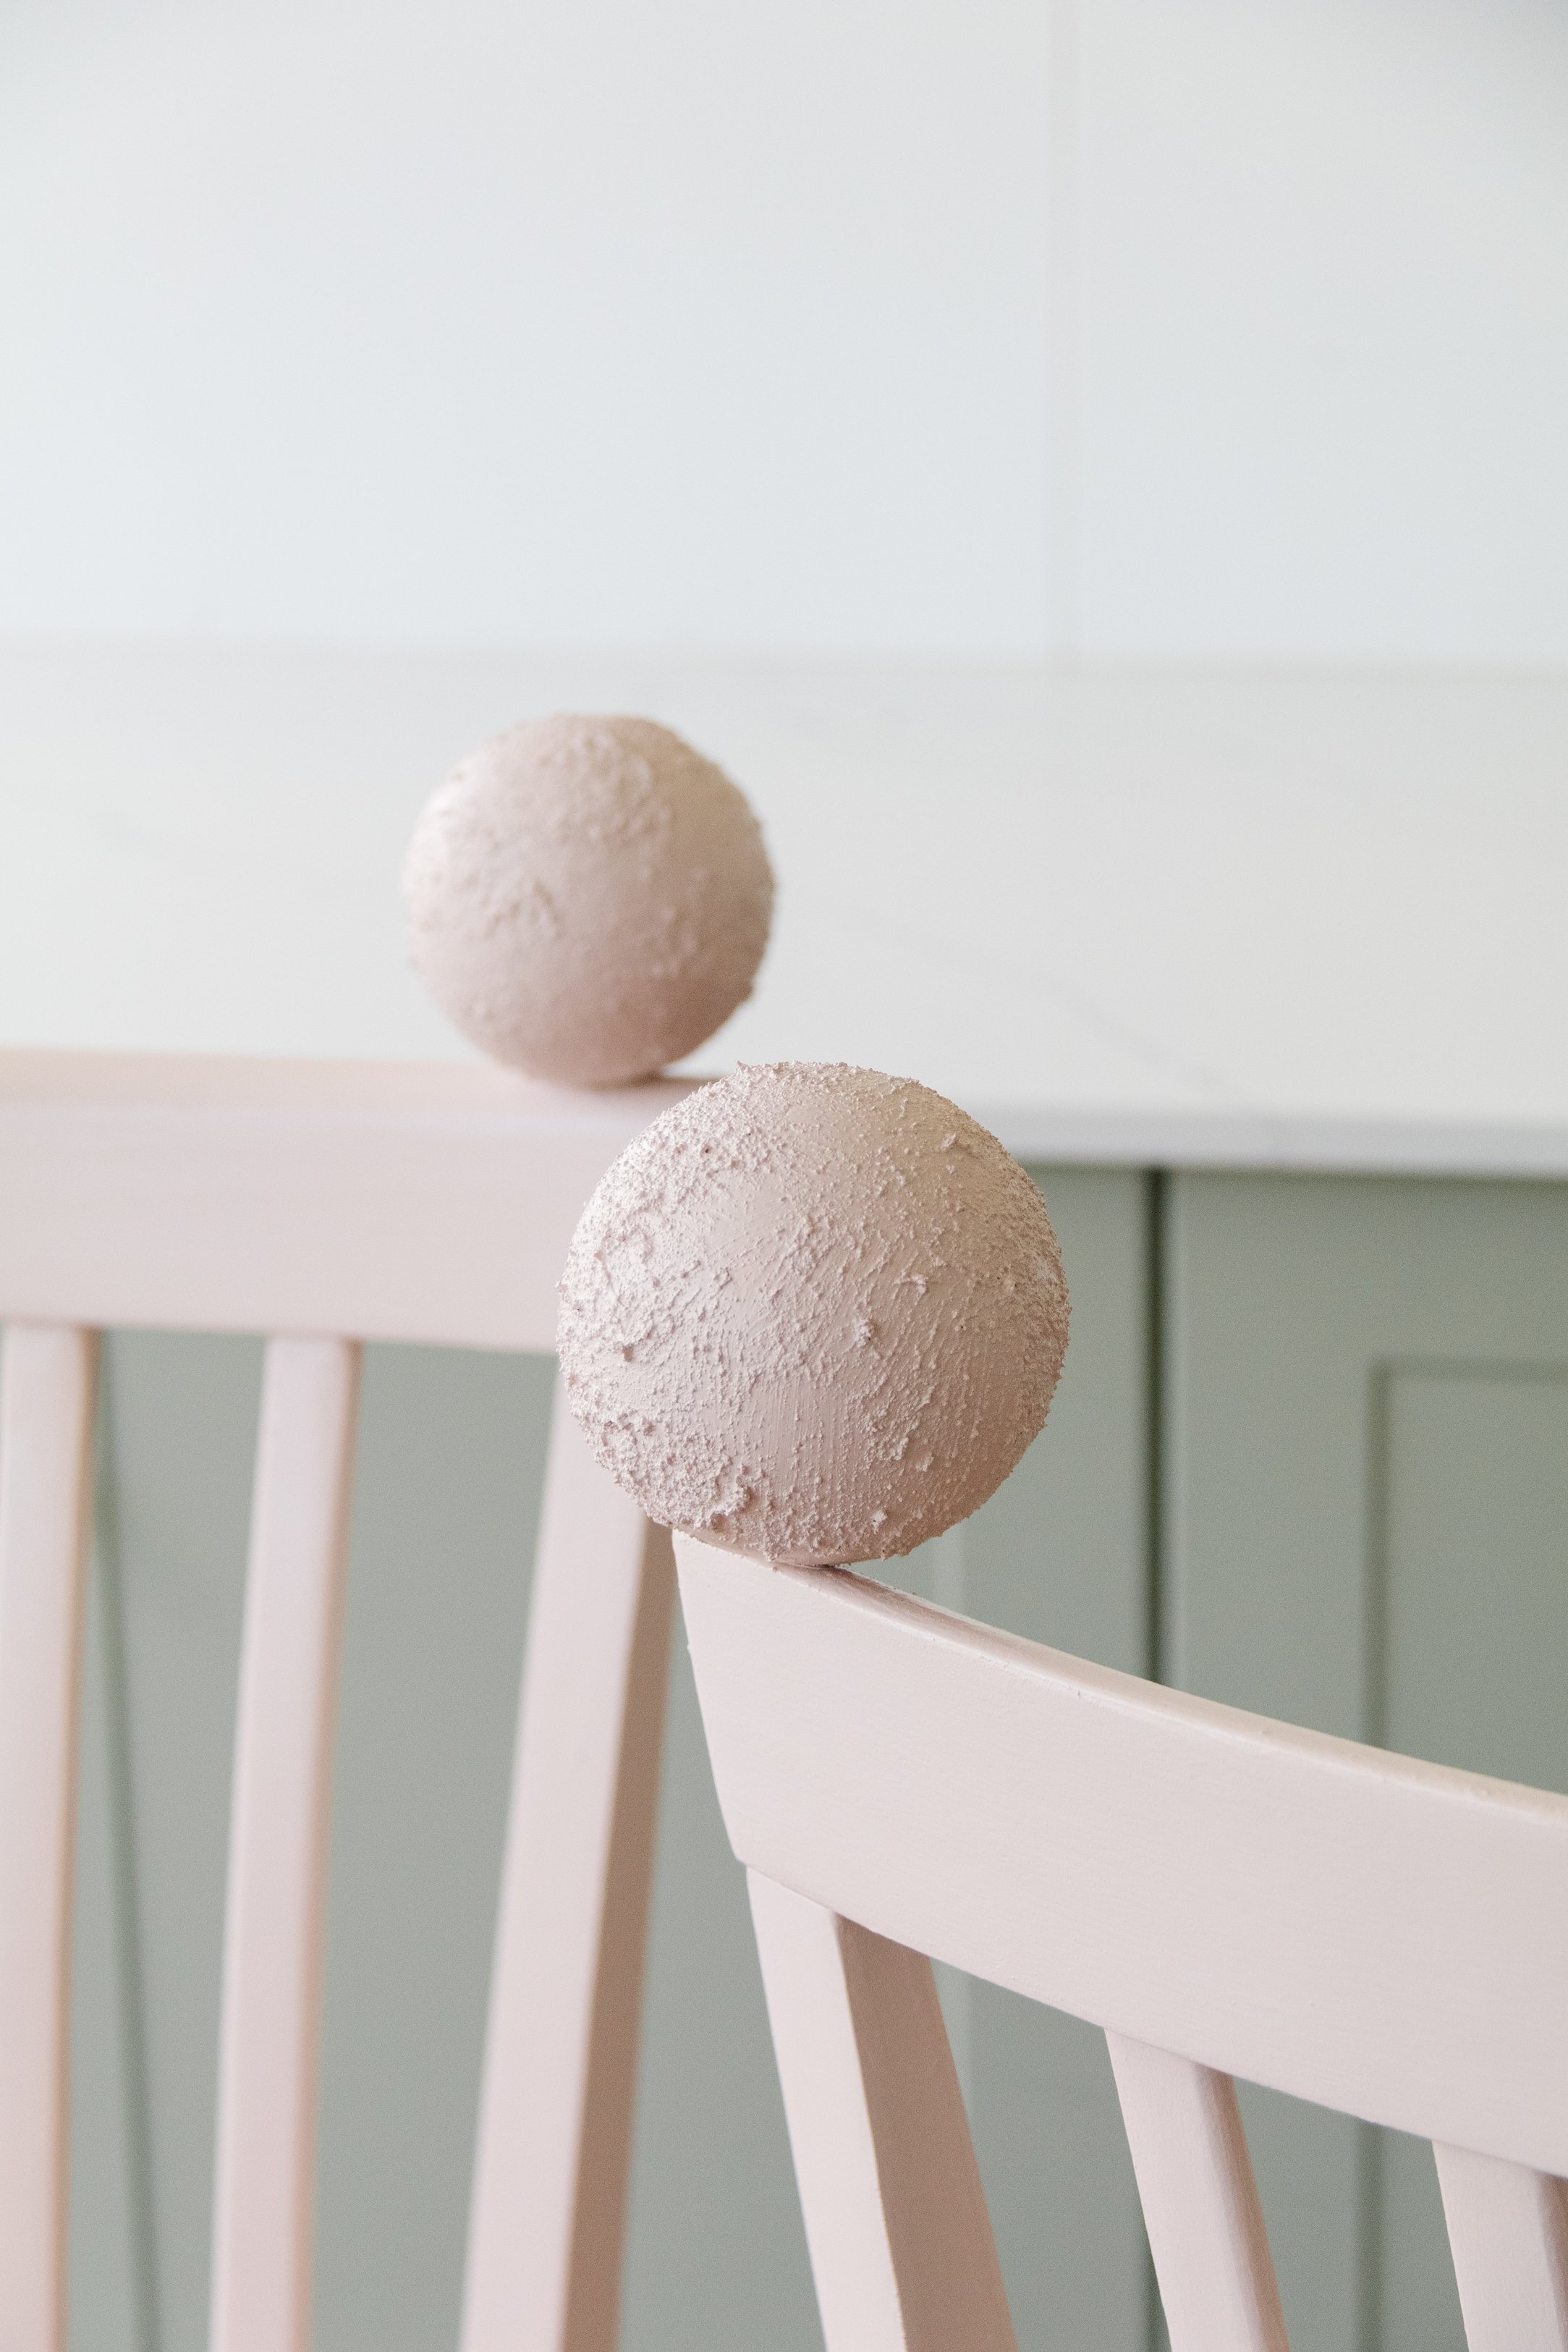
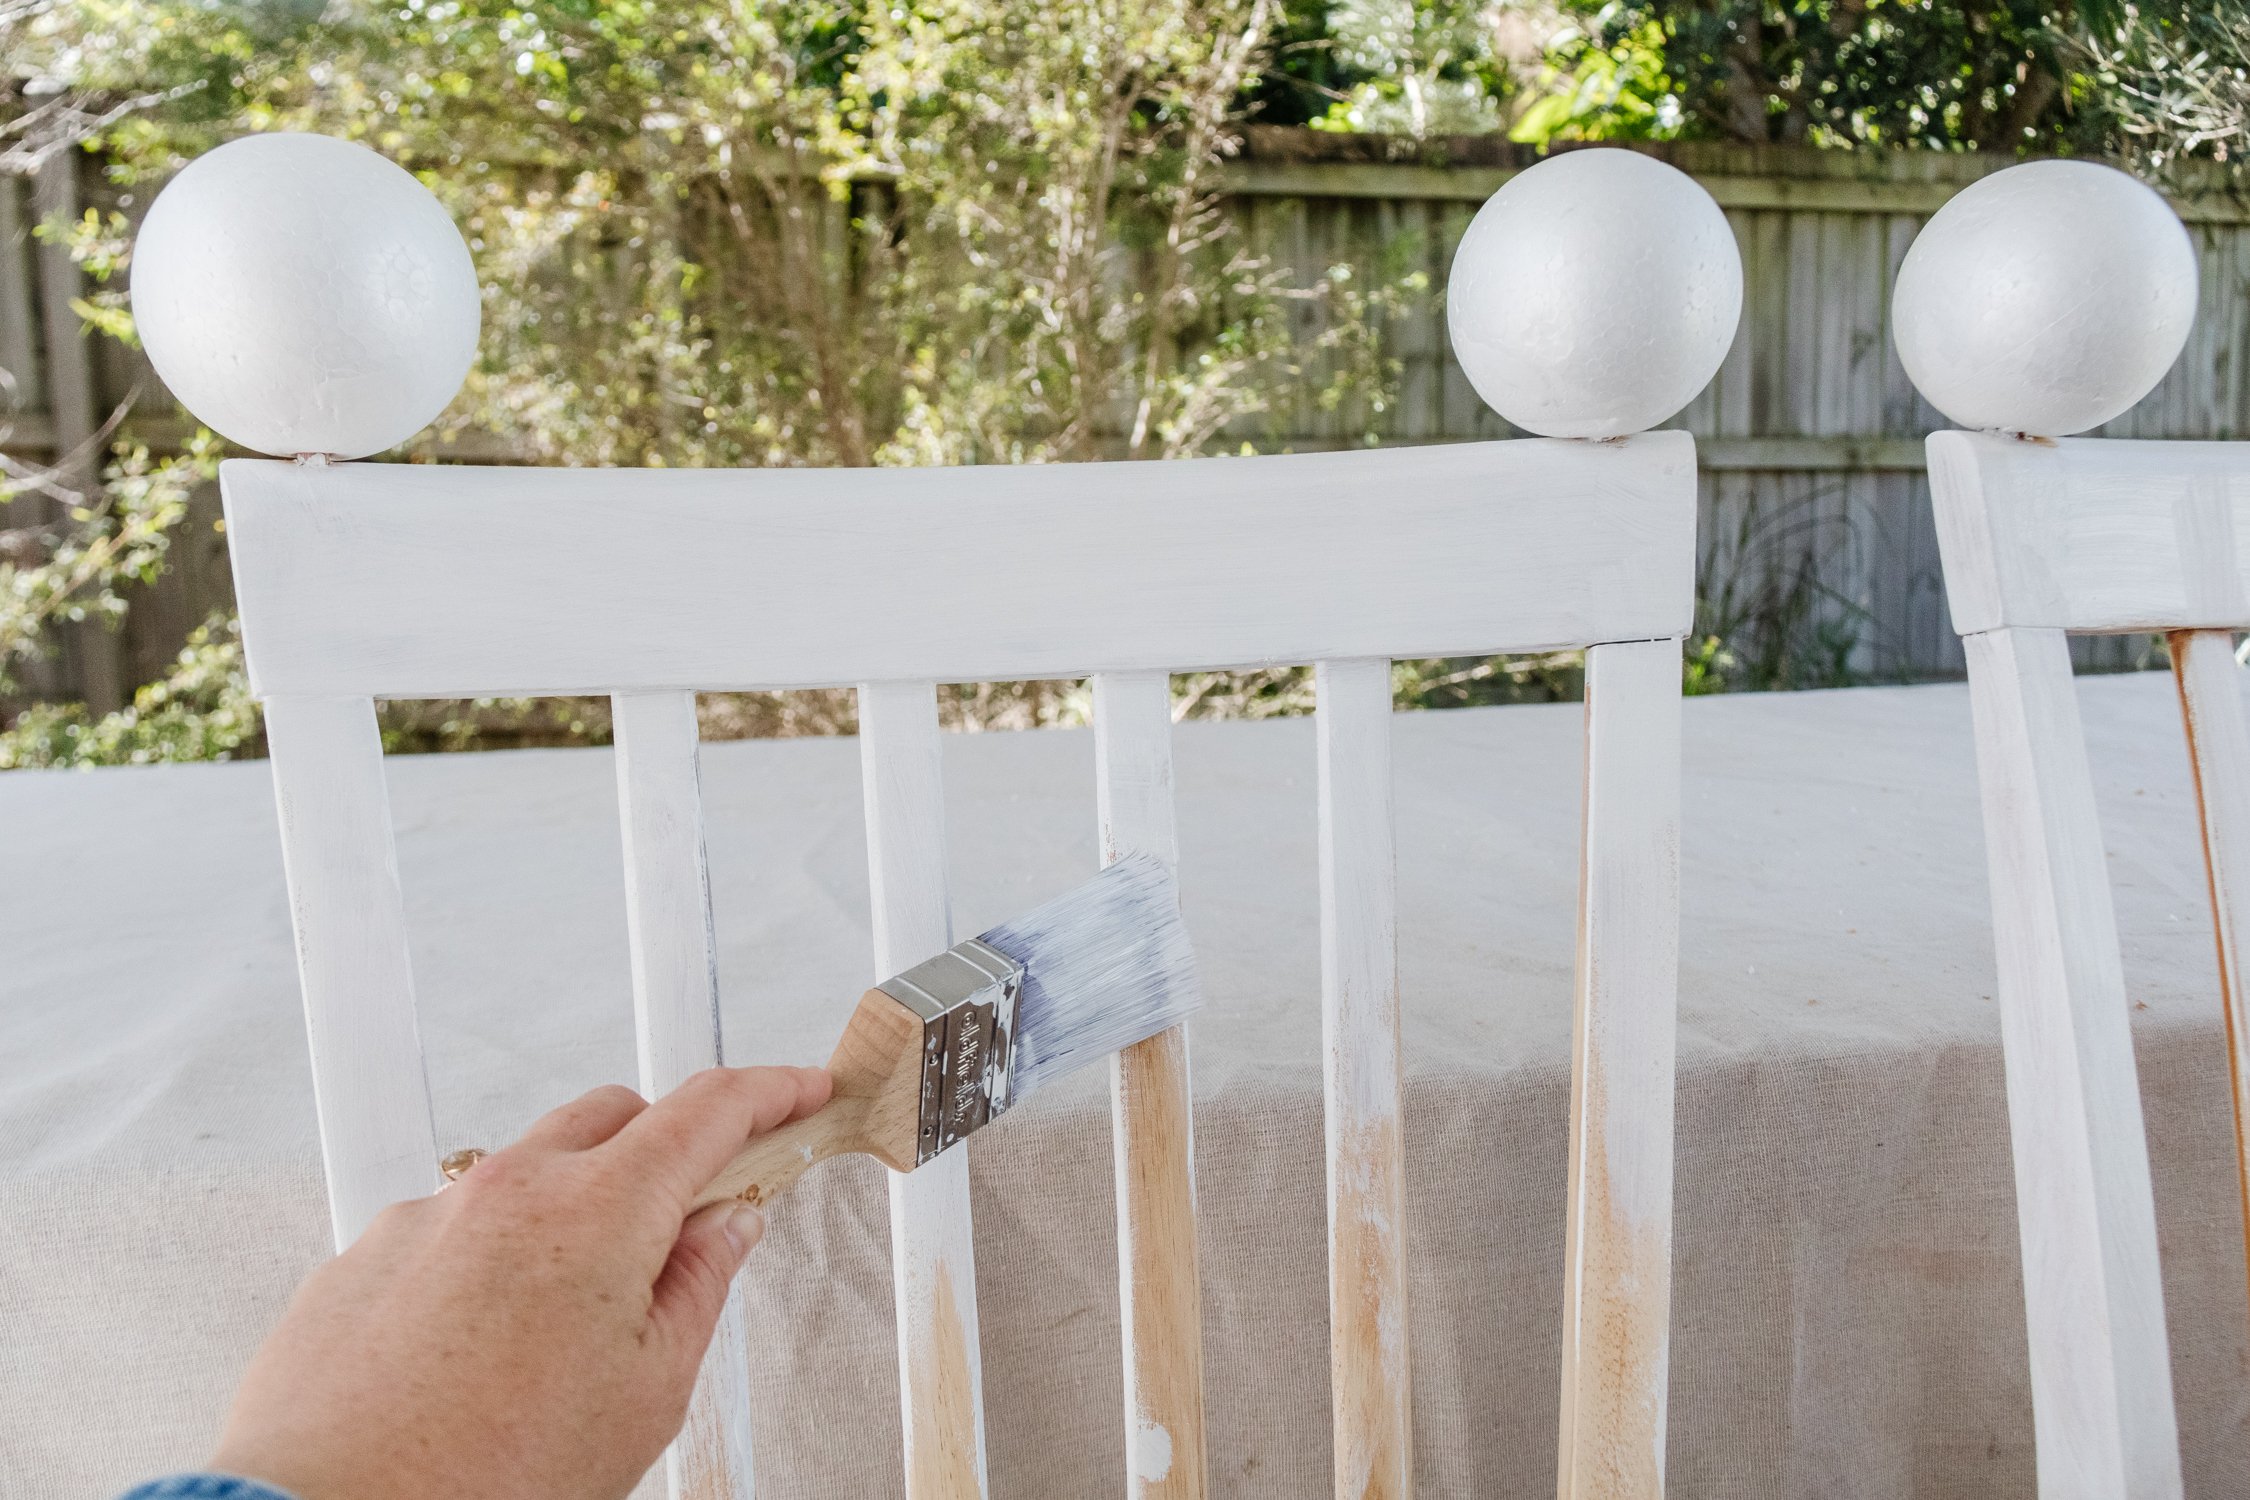
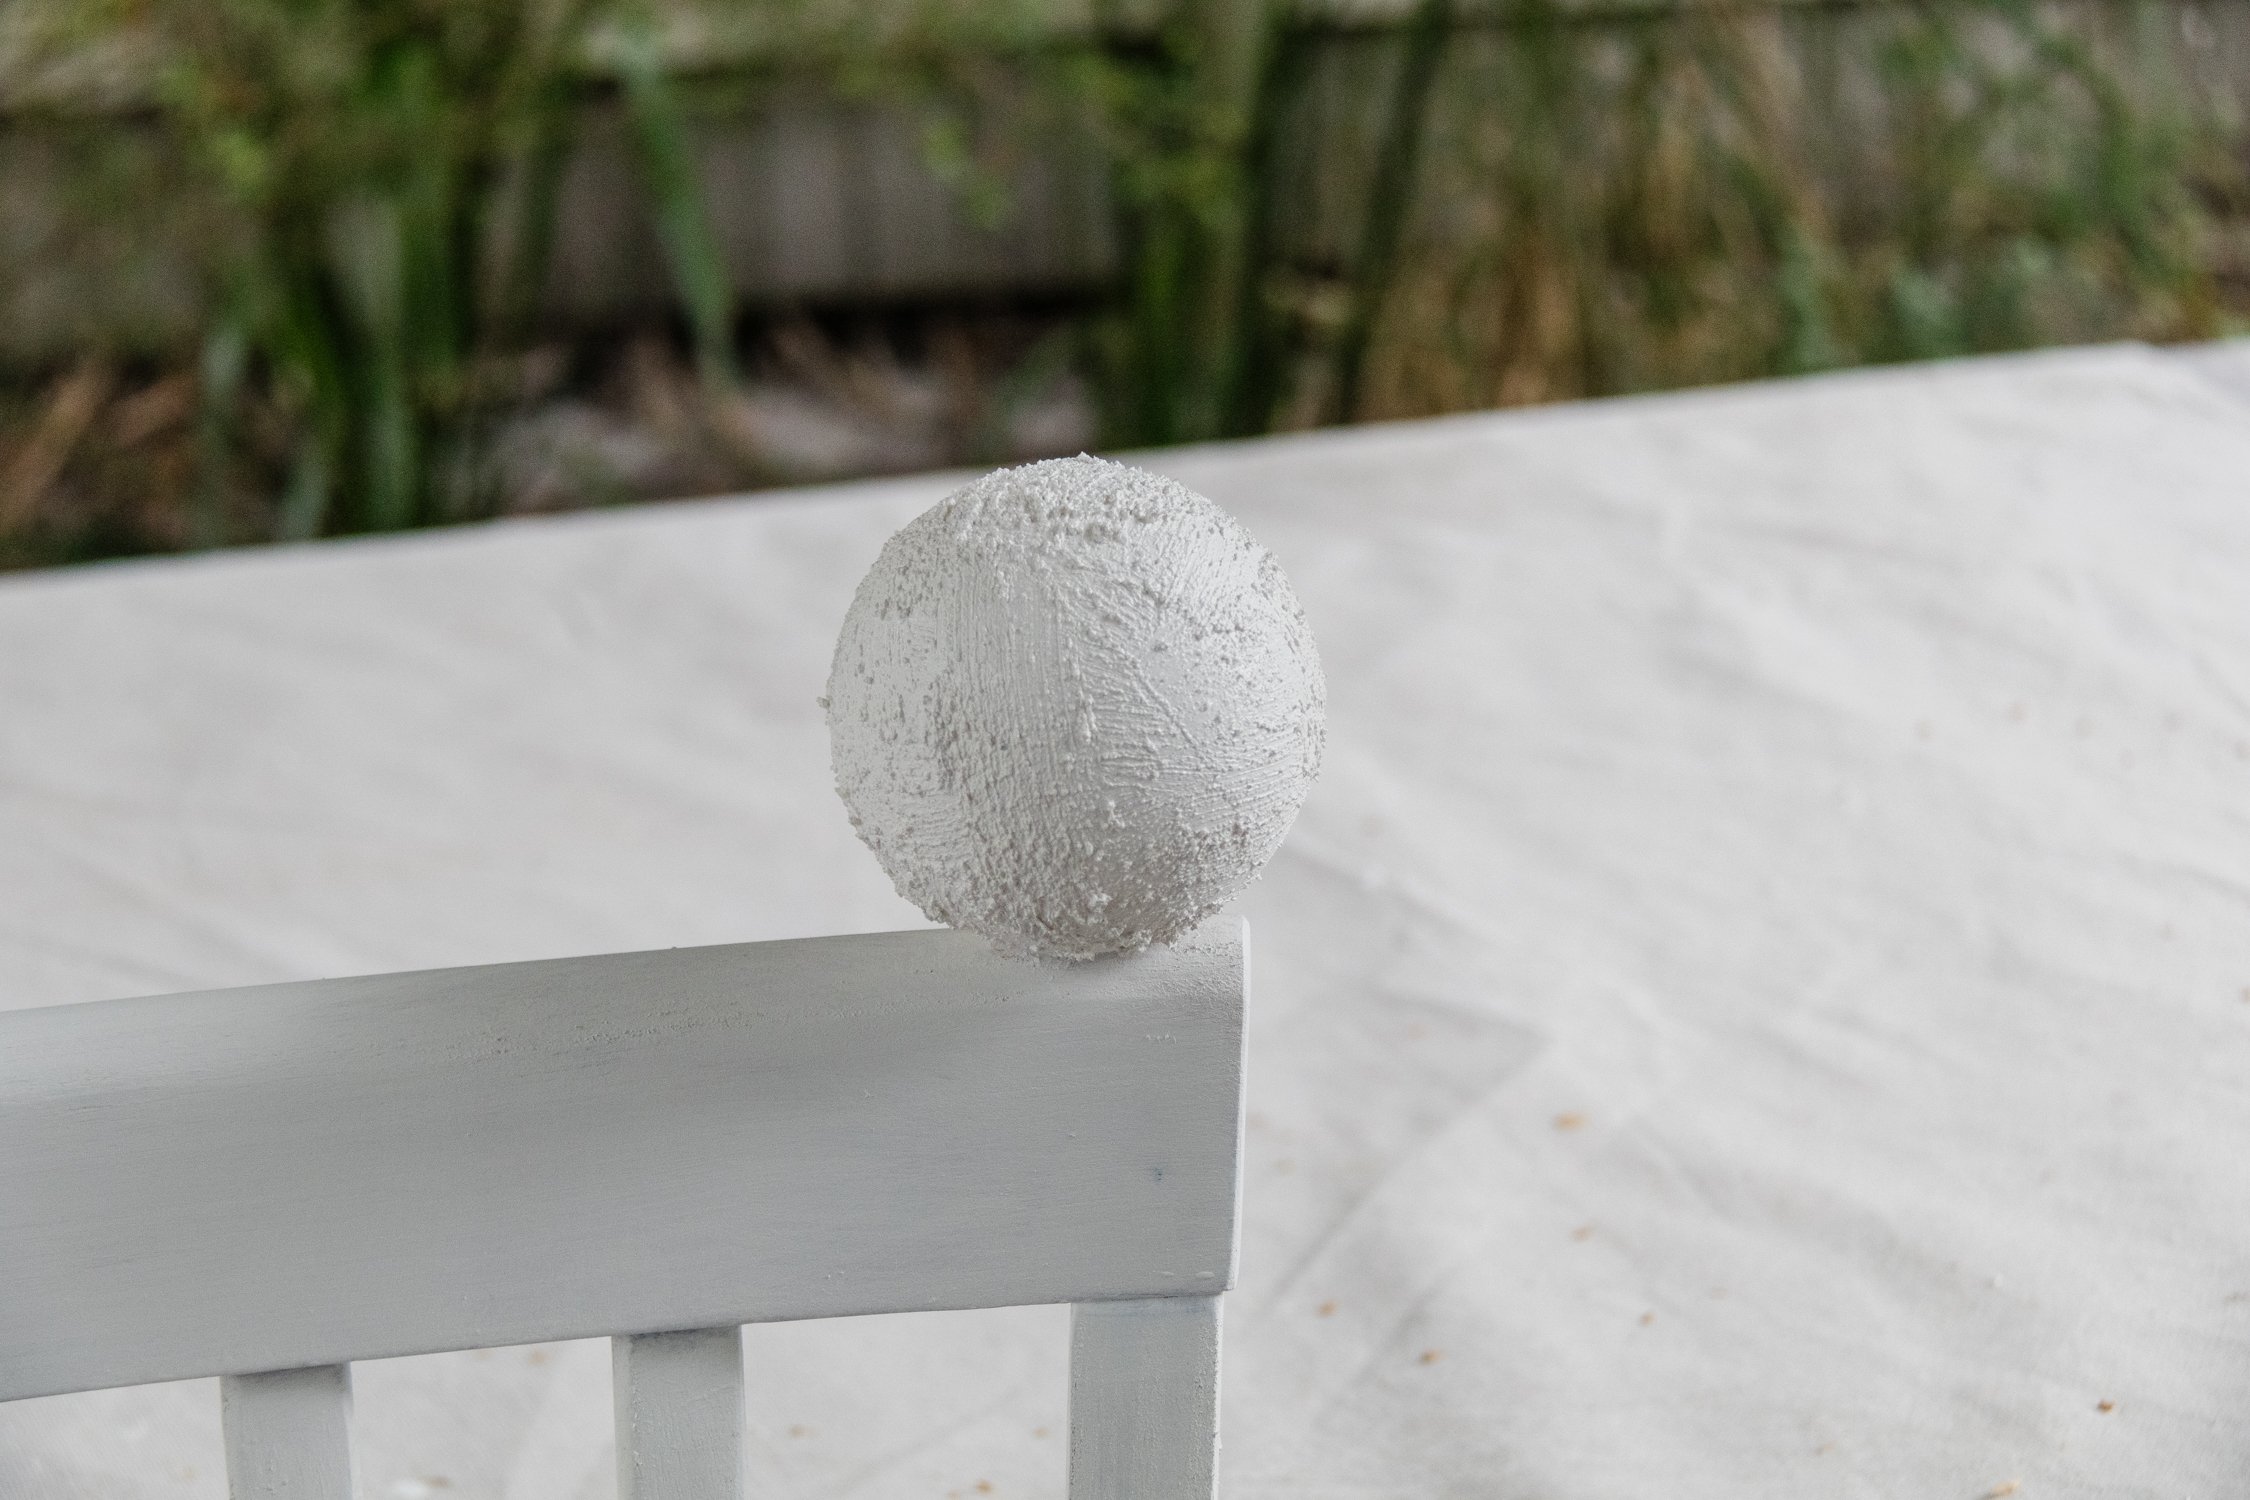
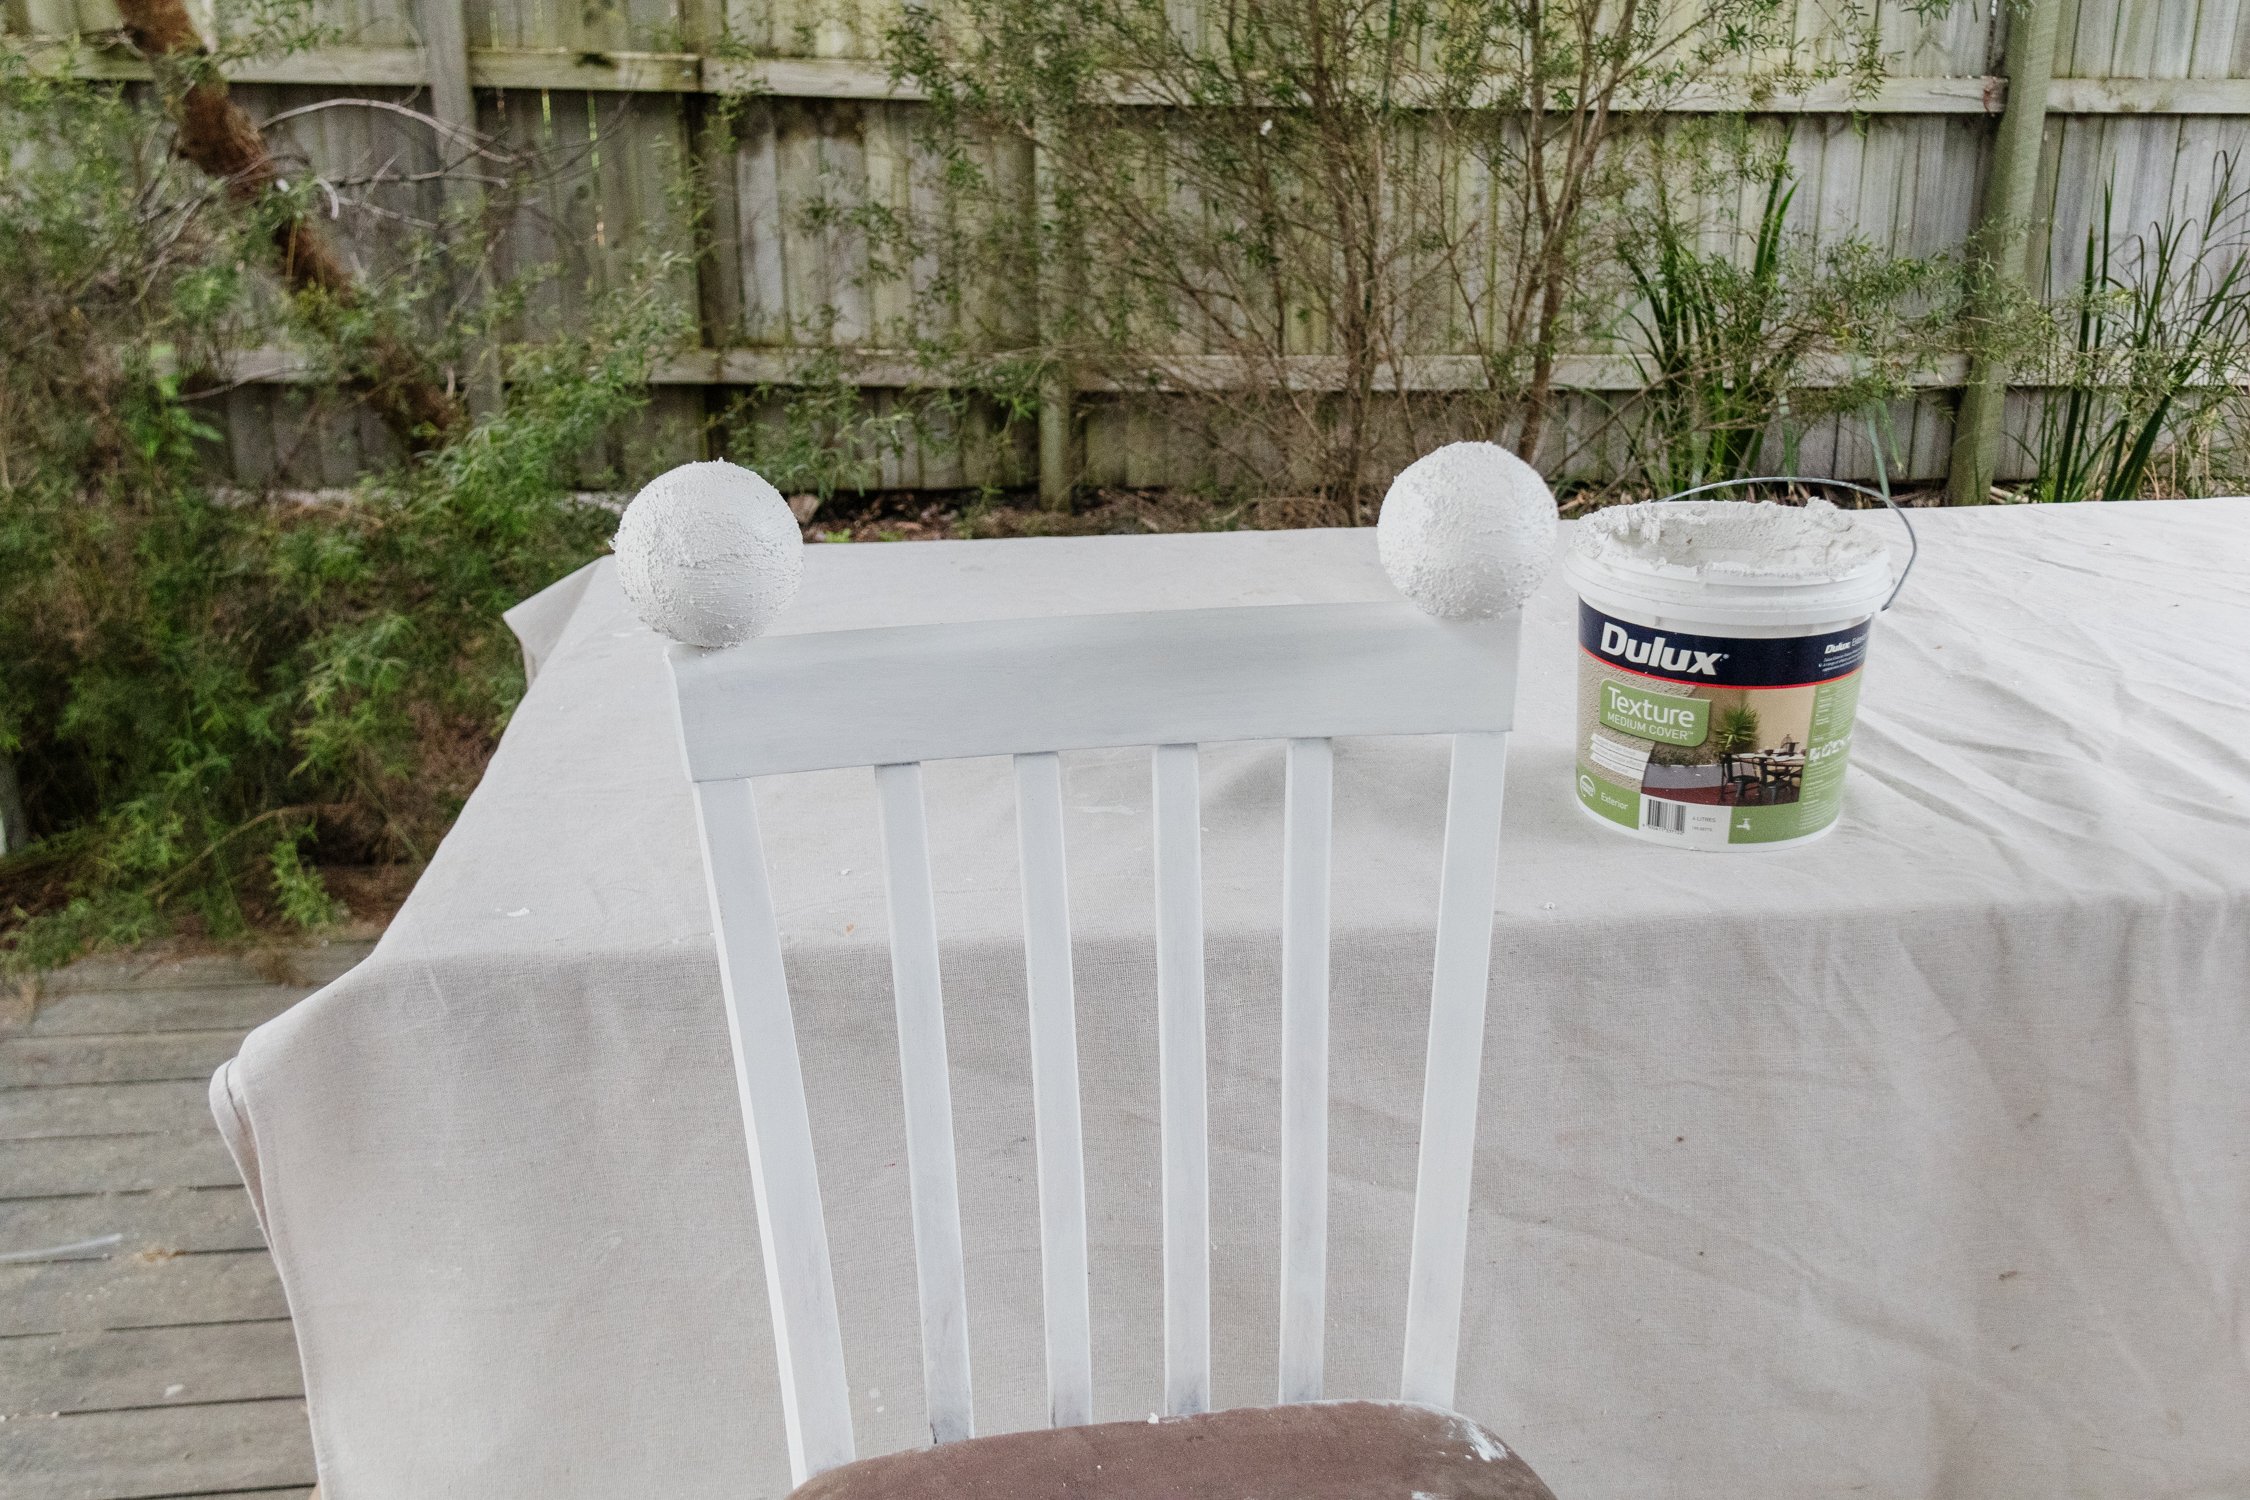
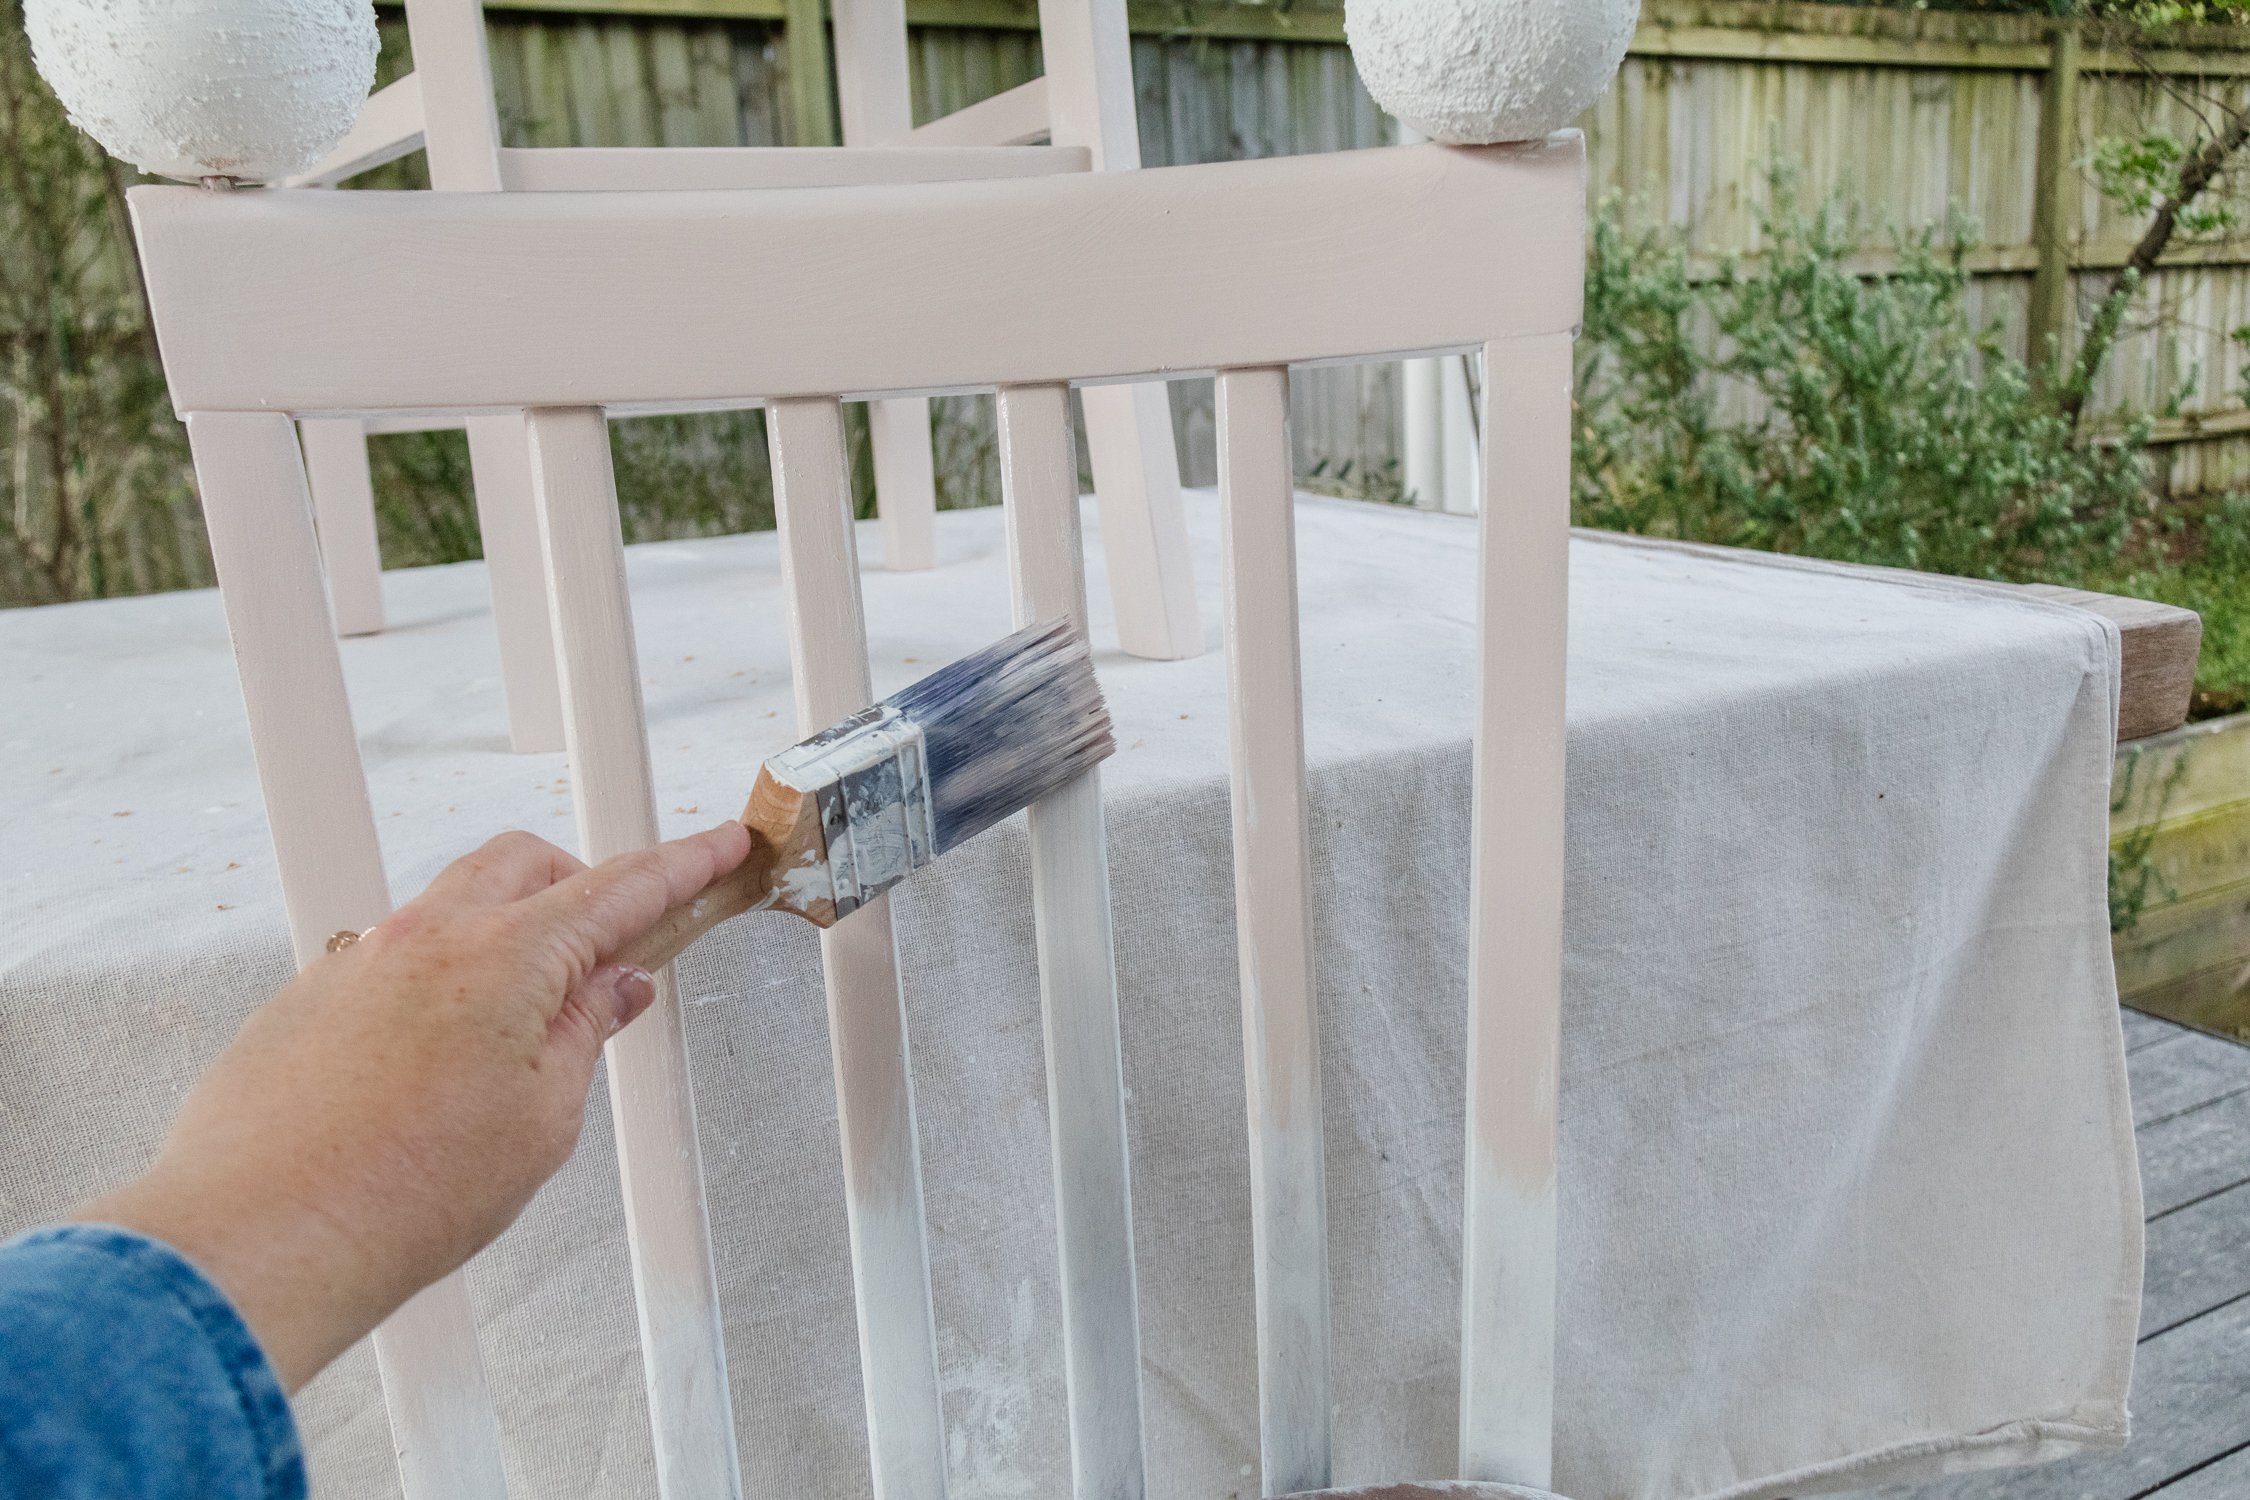
Step 4: I painted the timber with one coat of white primer paint, which I added a small dollop of water to thin the paint out. I do this when I am running out of paint and want it to go the distance. The primer dried quickly so I applied a light coat of Dulux “Mornington” paint and applied one thick coat of Dulux Medium Texture Paint onto the foam balls. I placed the textured round balls back onto the dowels and let them dry over night.
Step 5: I glue the textured round balls onto the dowels using Selley’s Fast Grab, which is a water based glue and therefore won’t melt the foam like other glues do. I usually use Selley’s Hold Up for gluing styrofoam but my local Bunnings was out of stock, and I was recommended to use the Fast Grab.
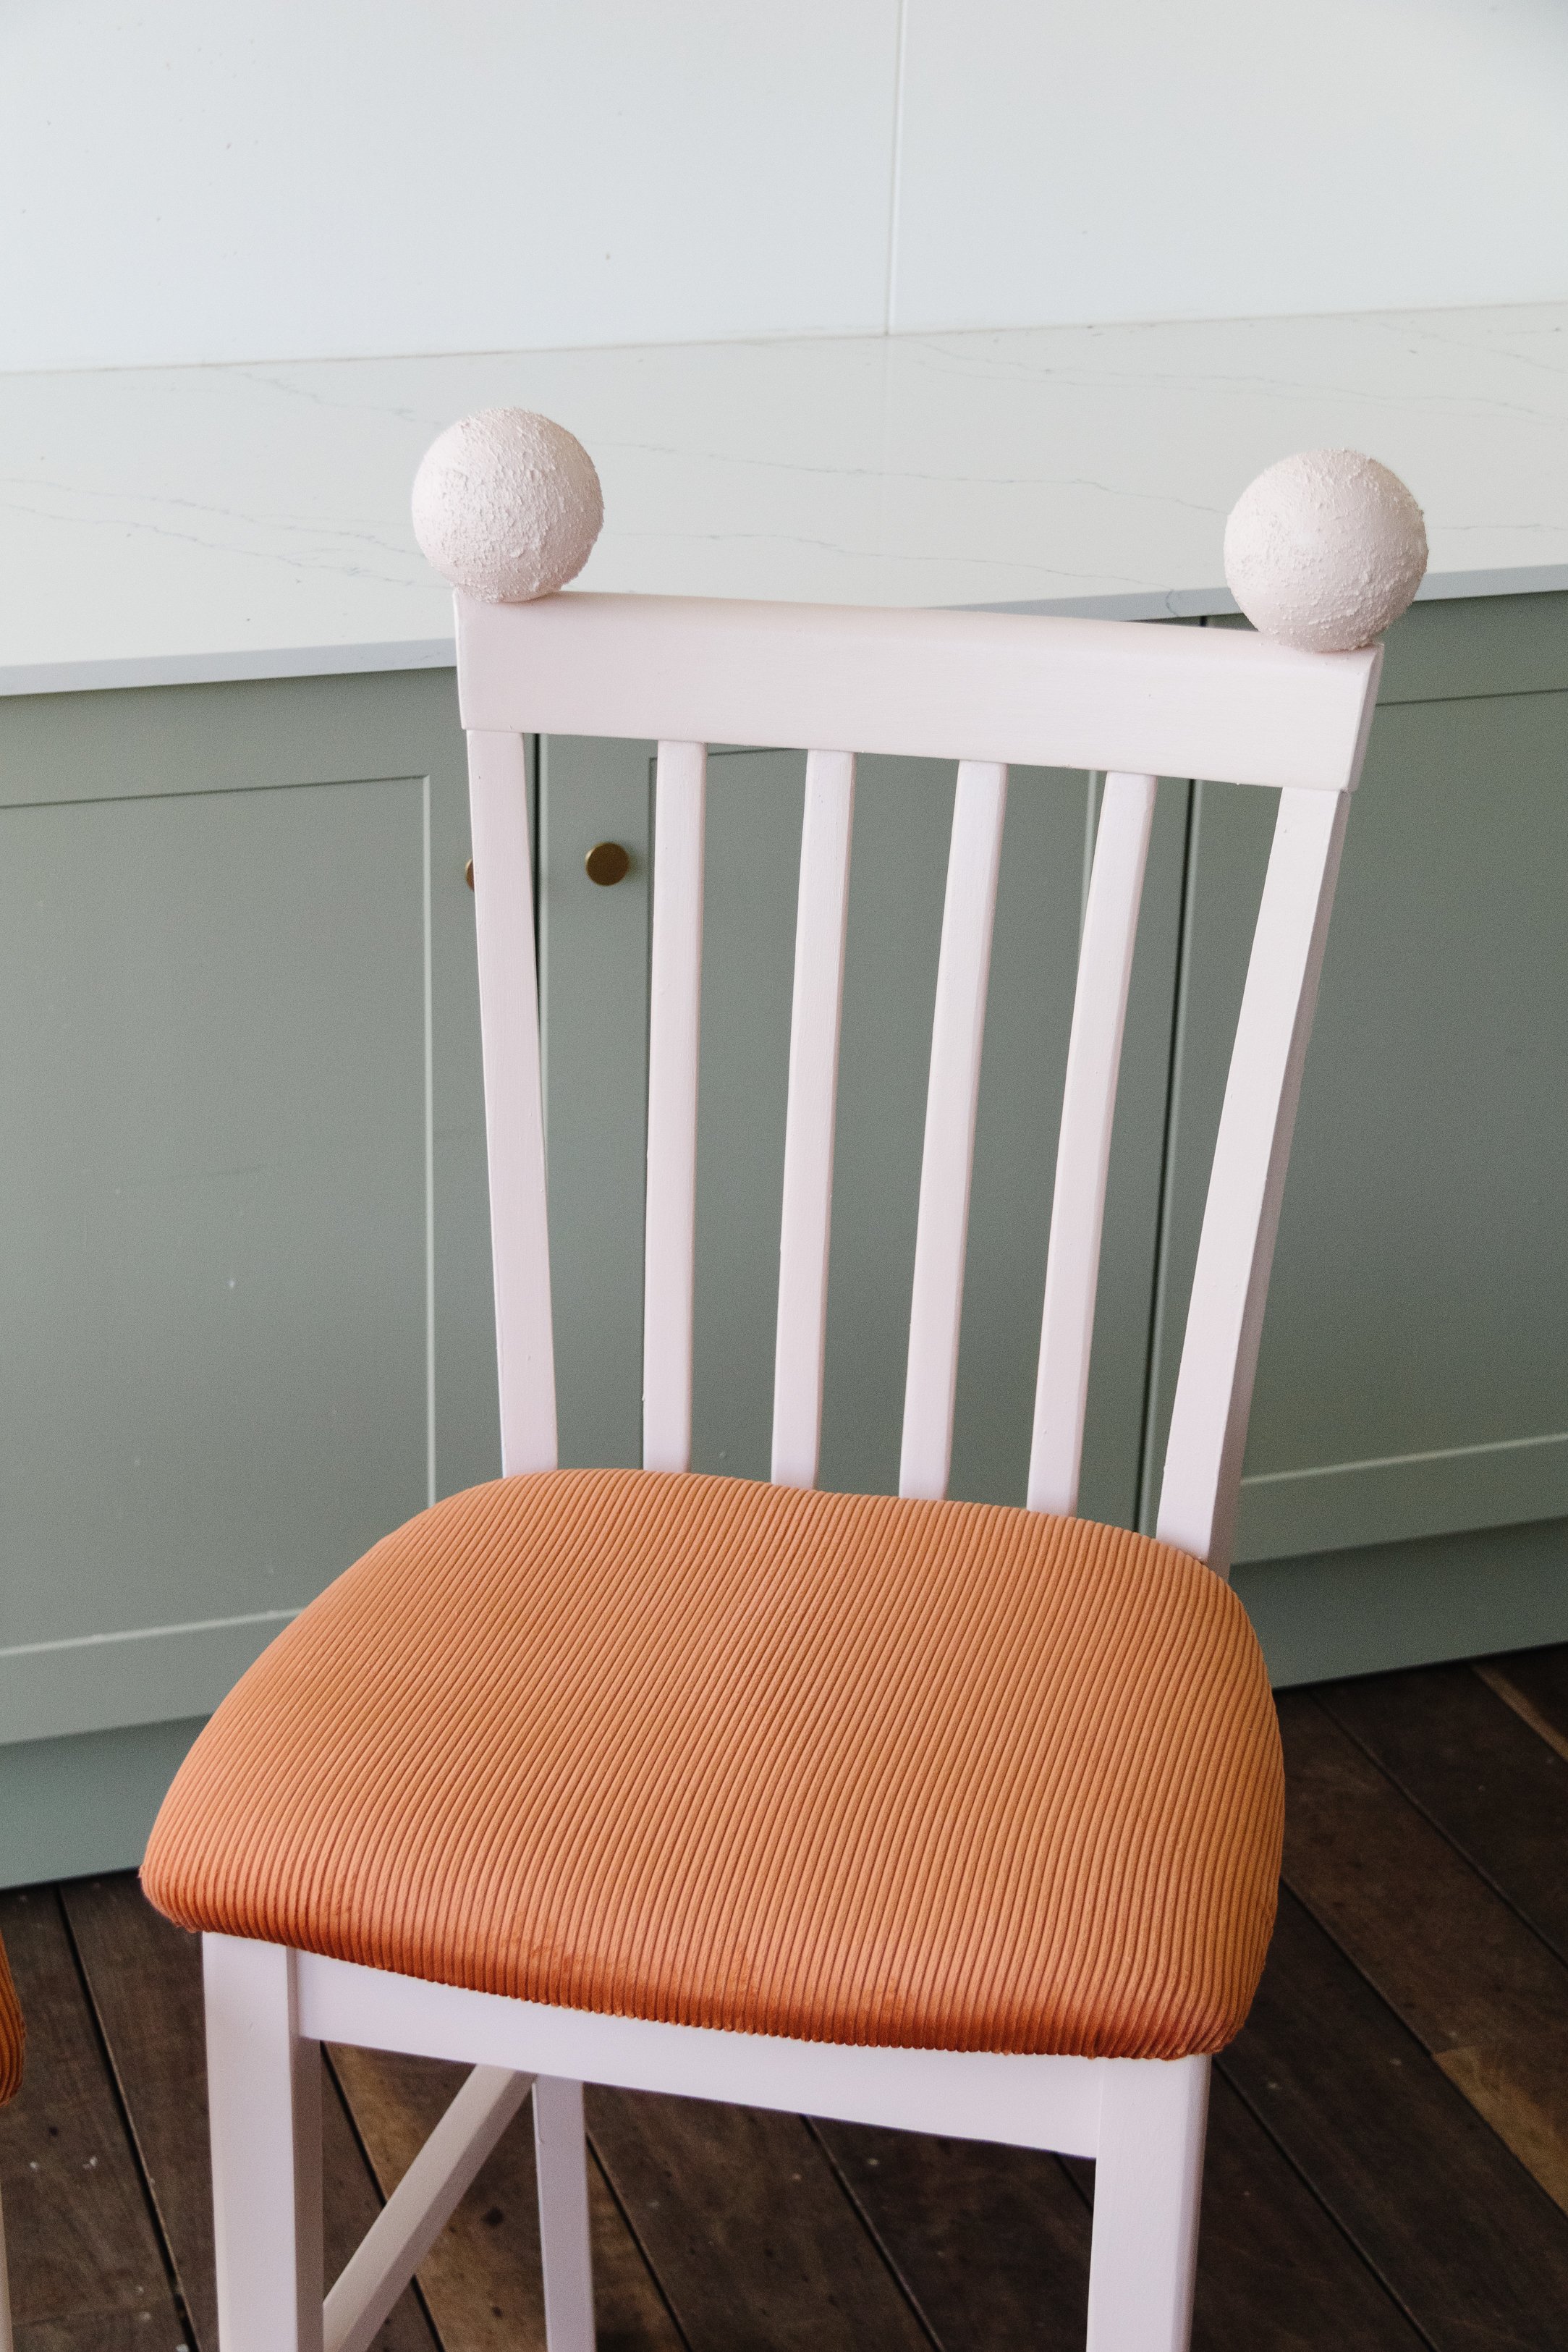
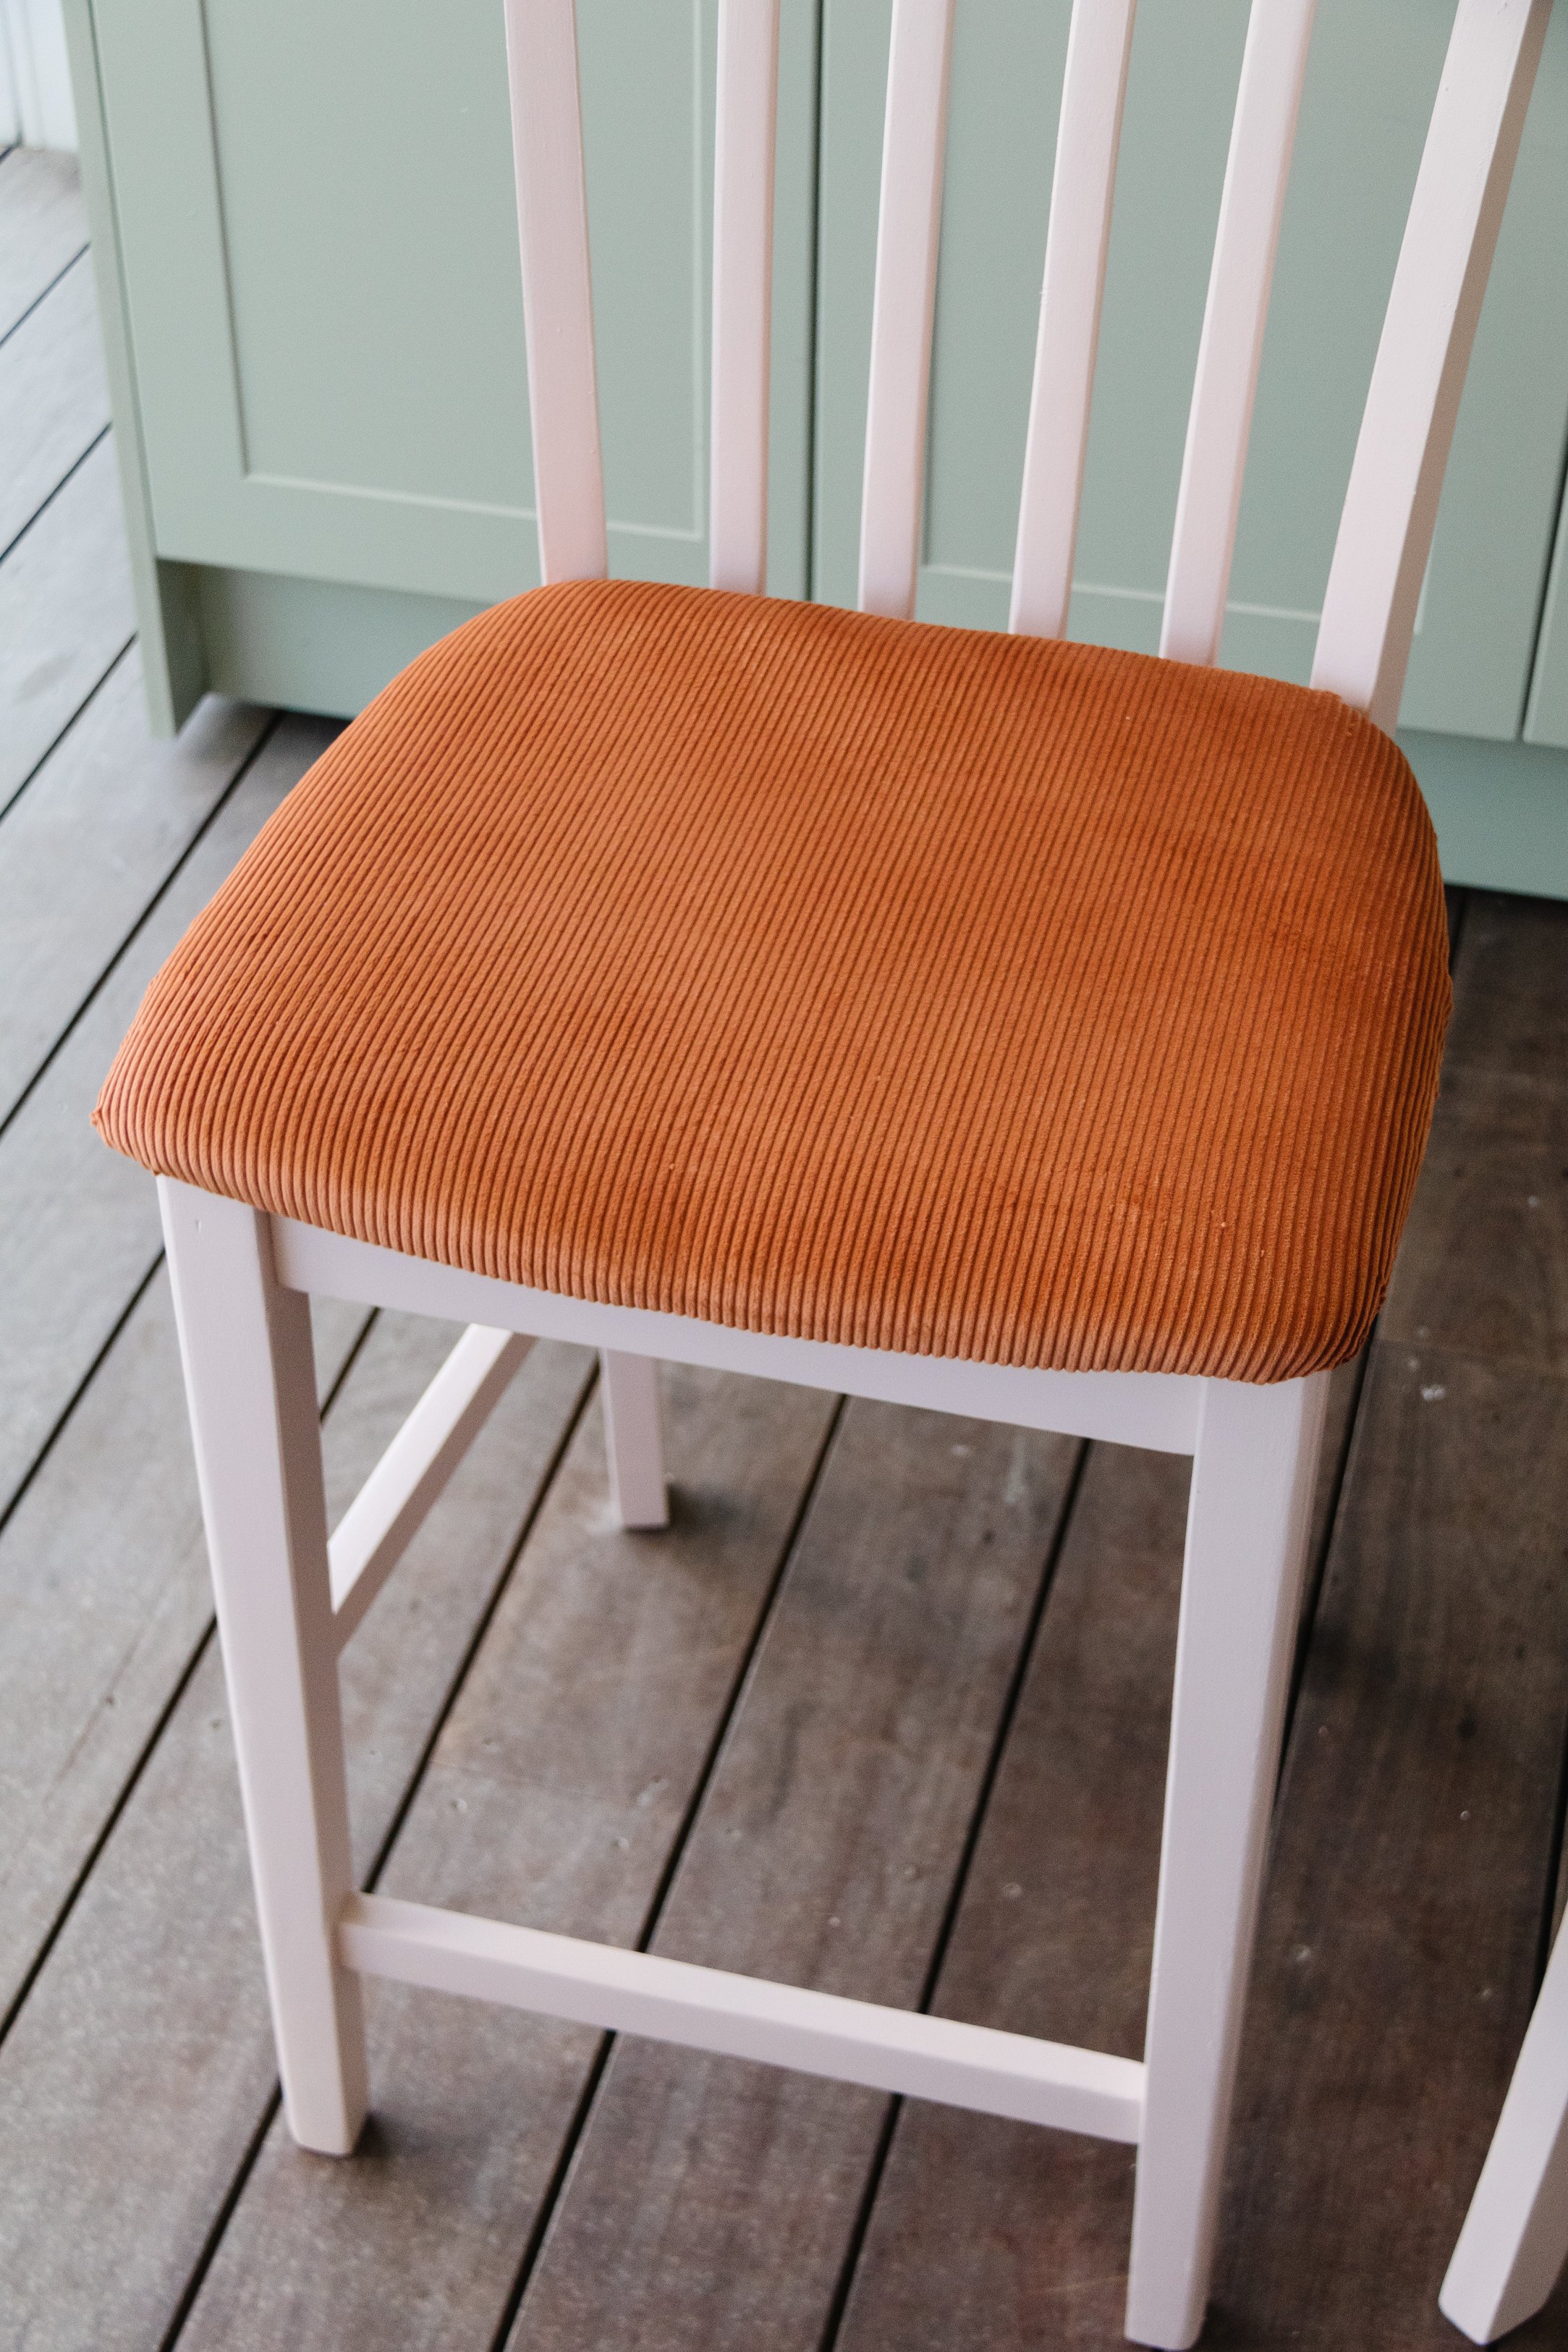
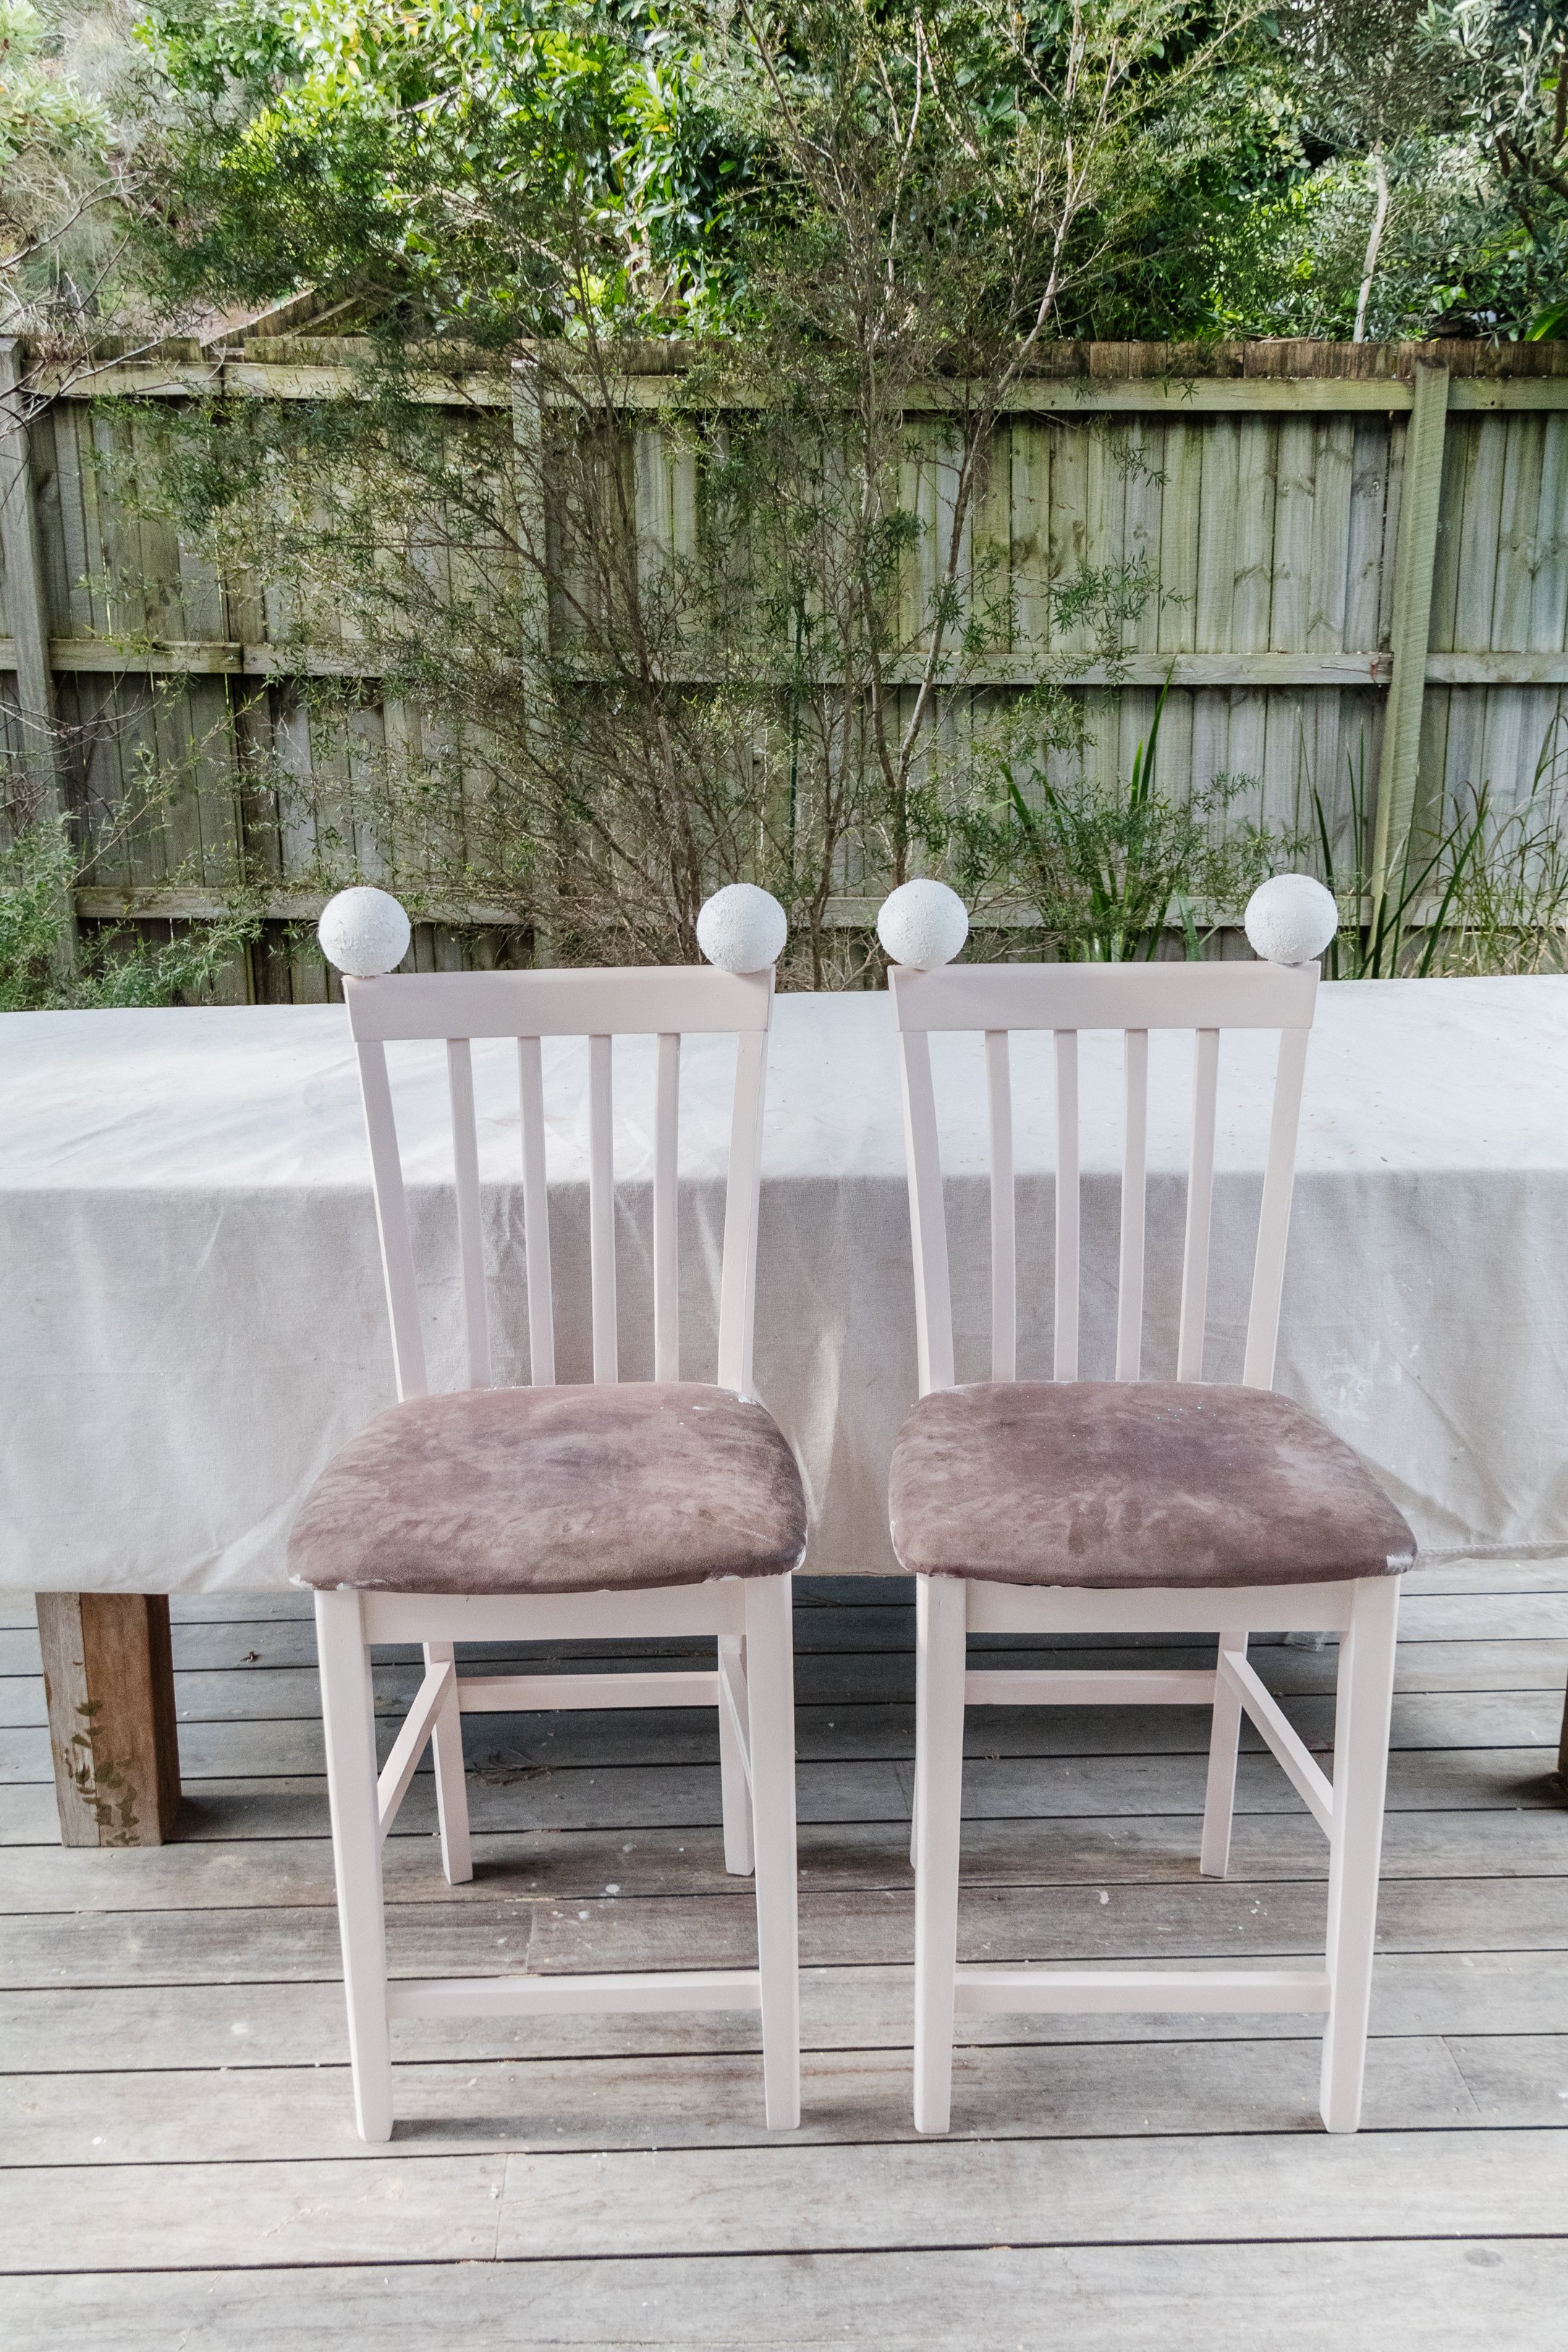
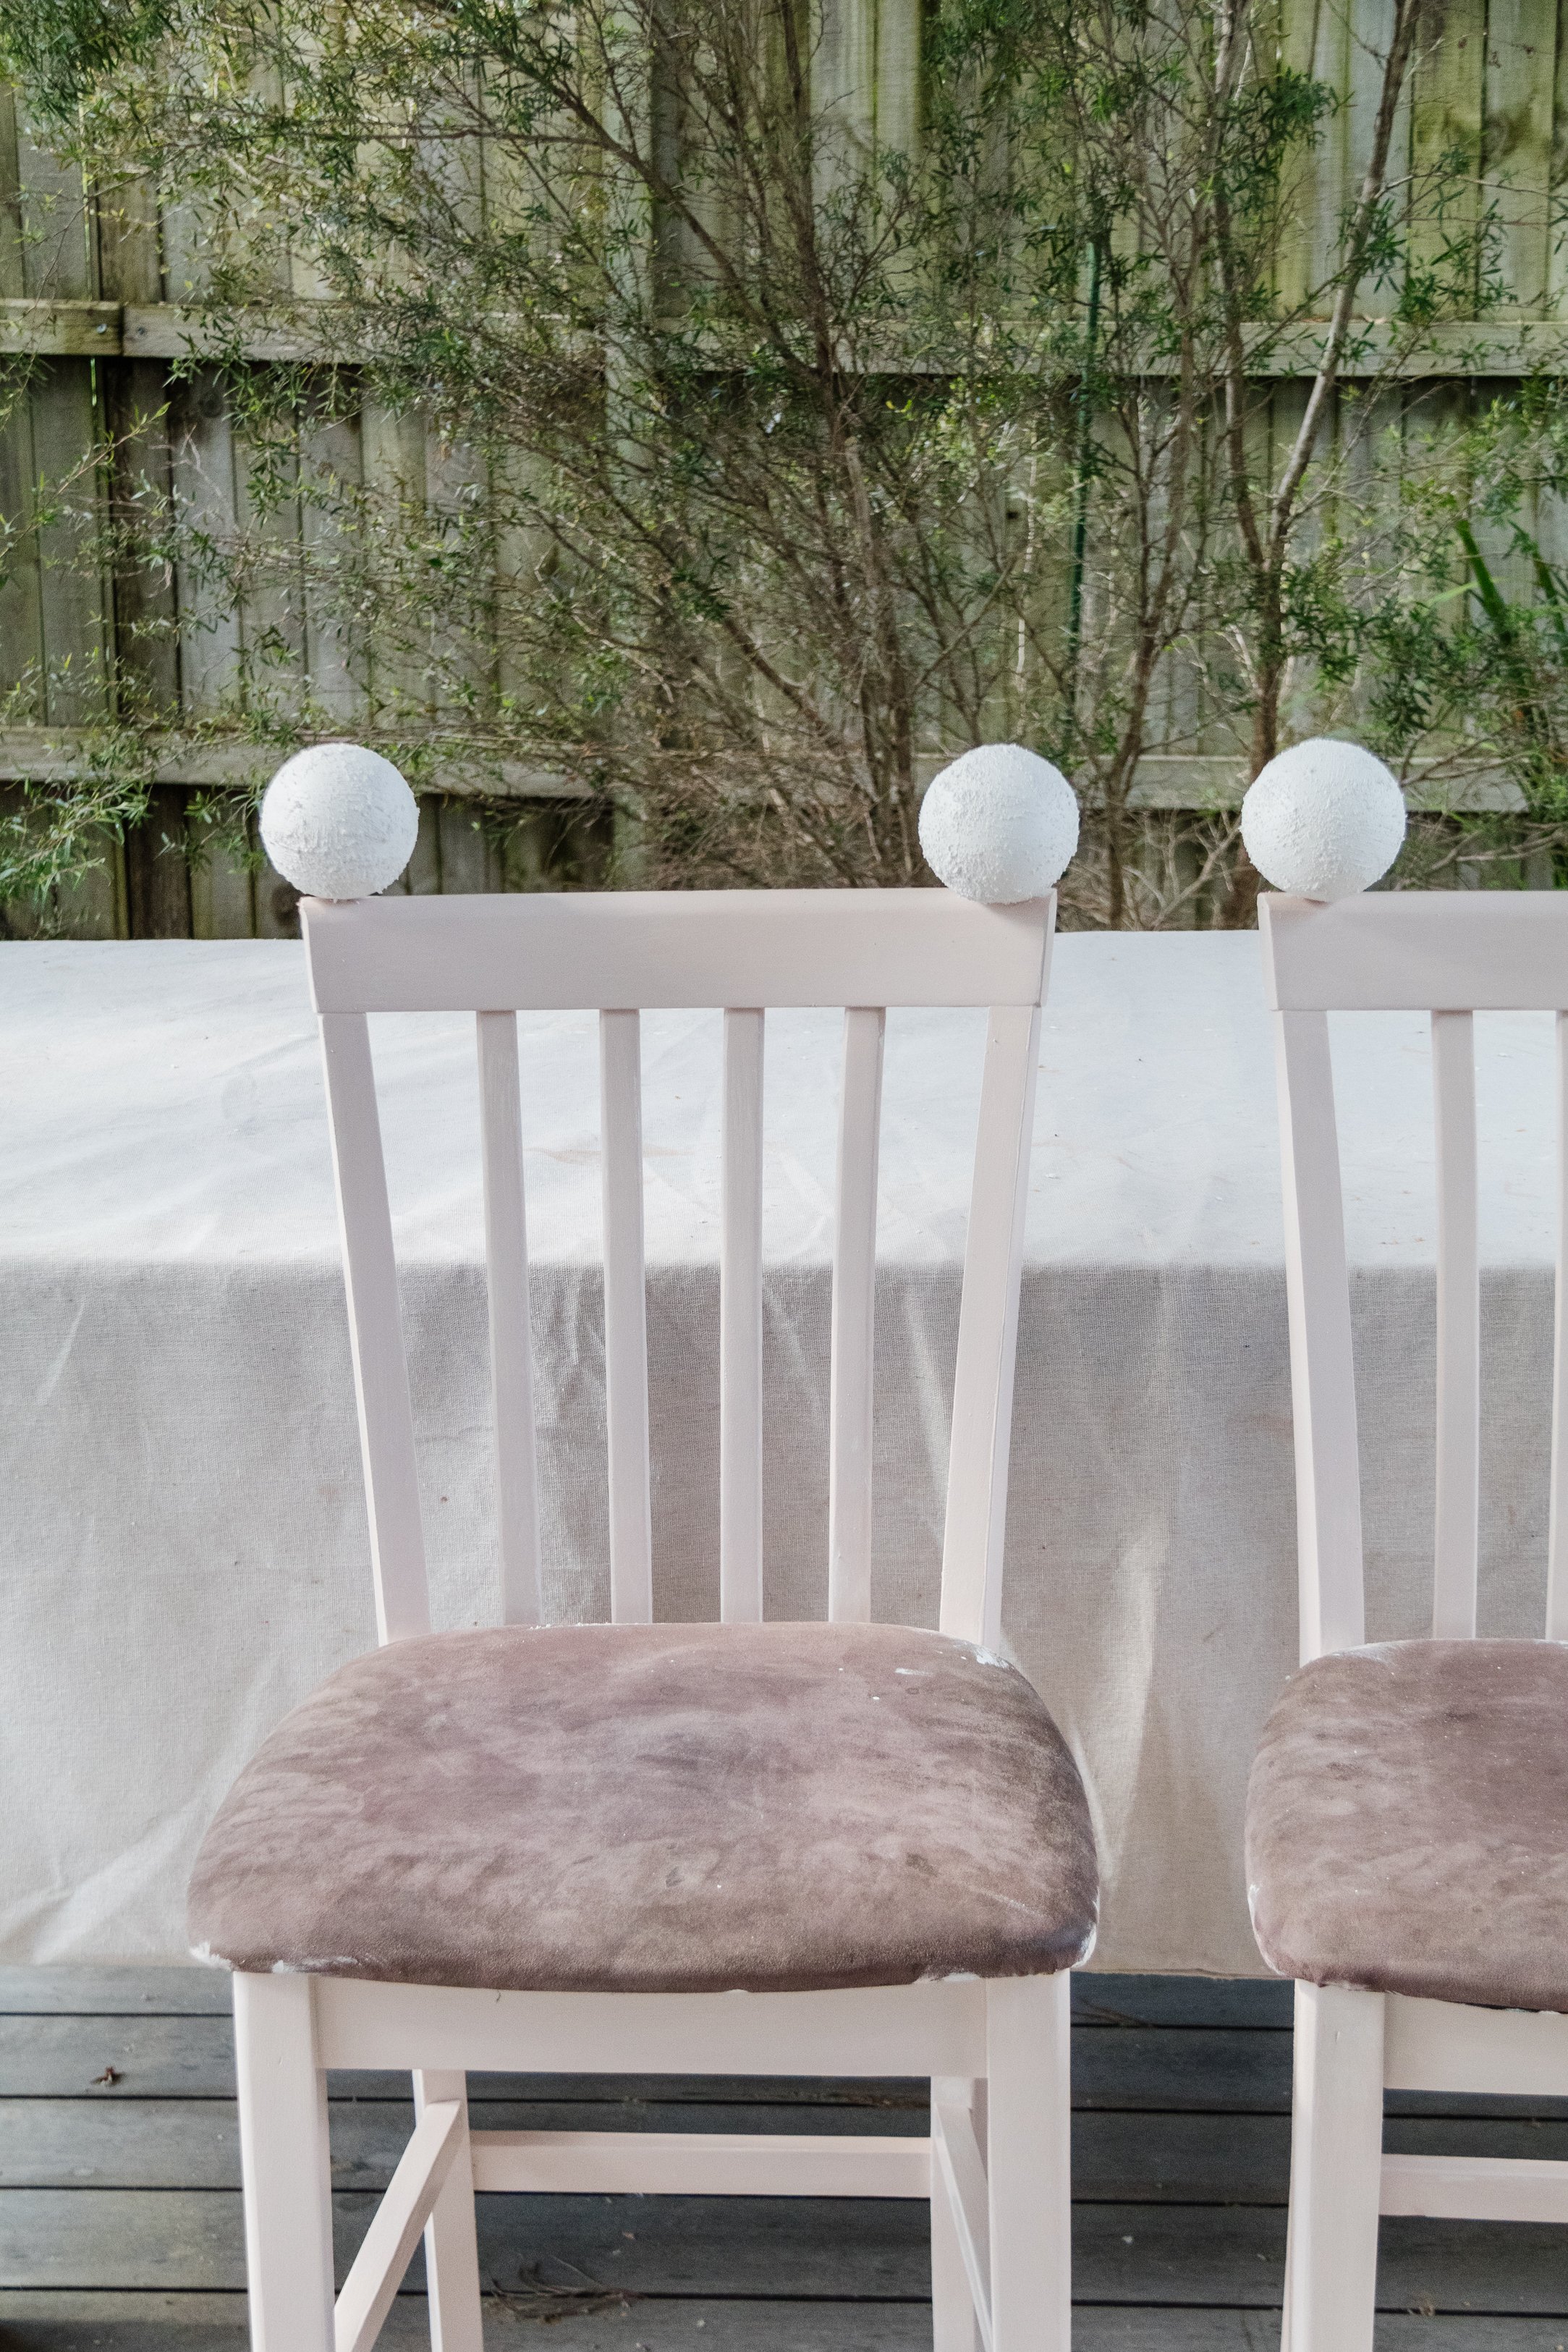
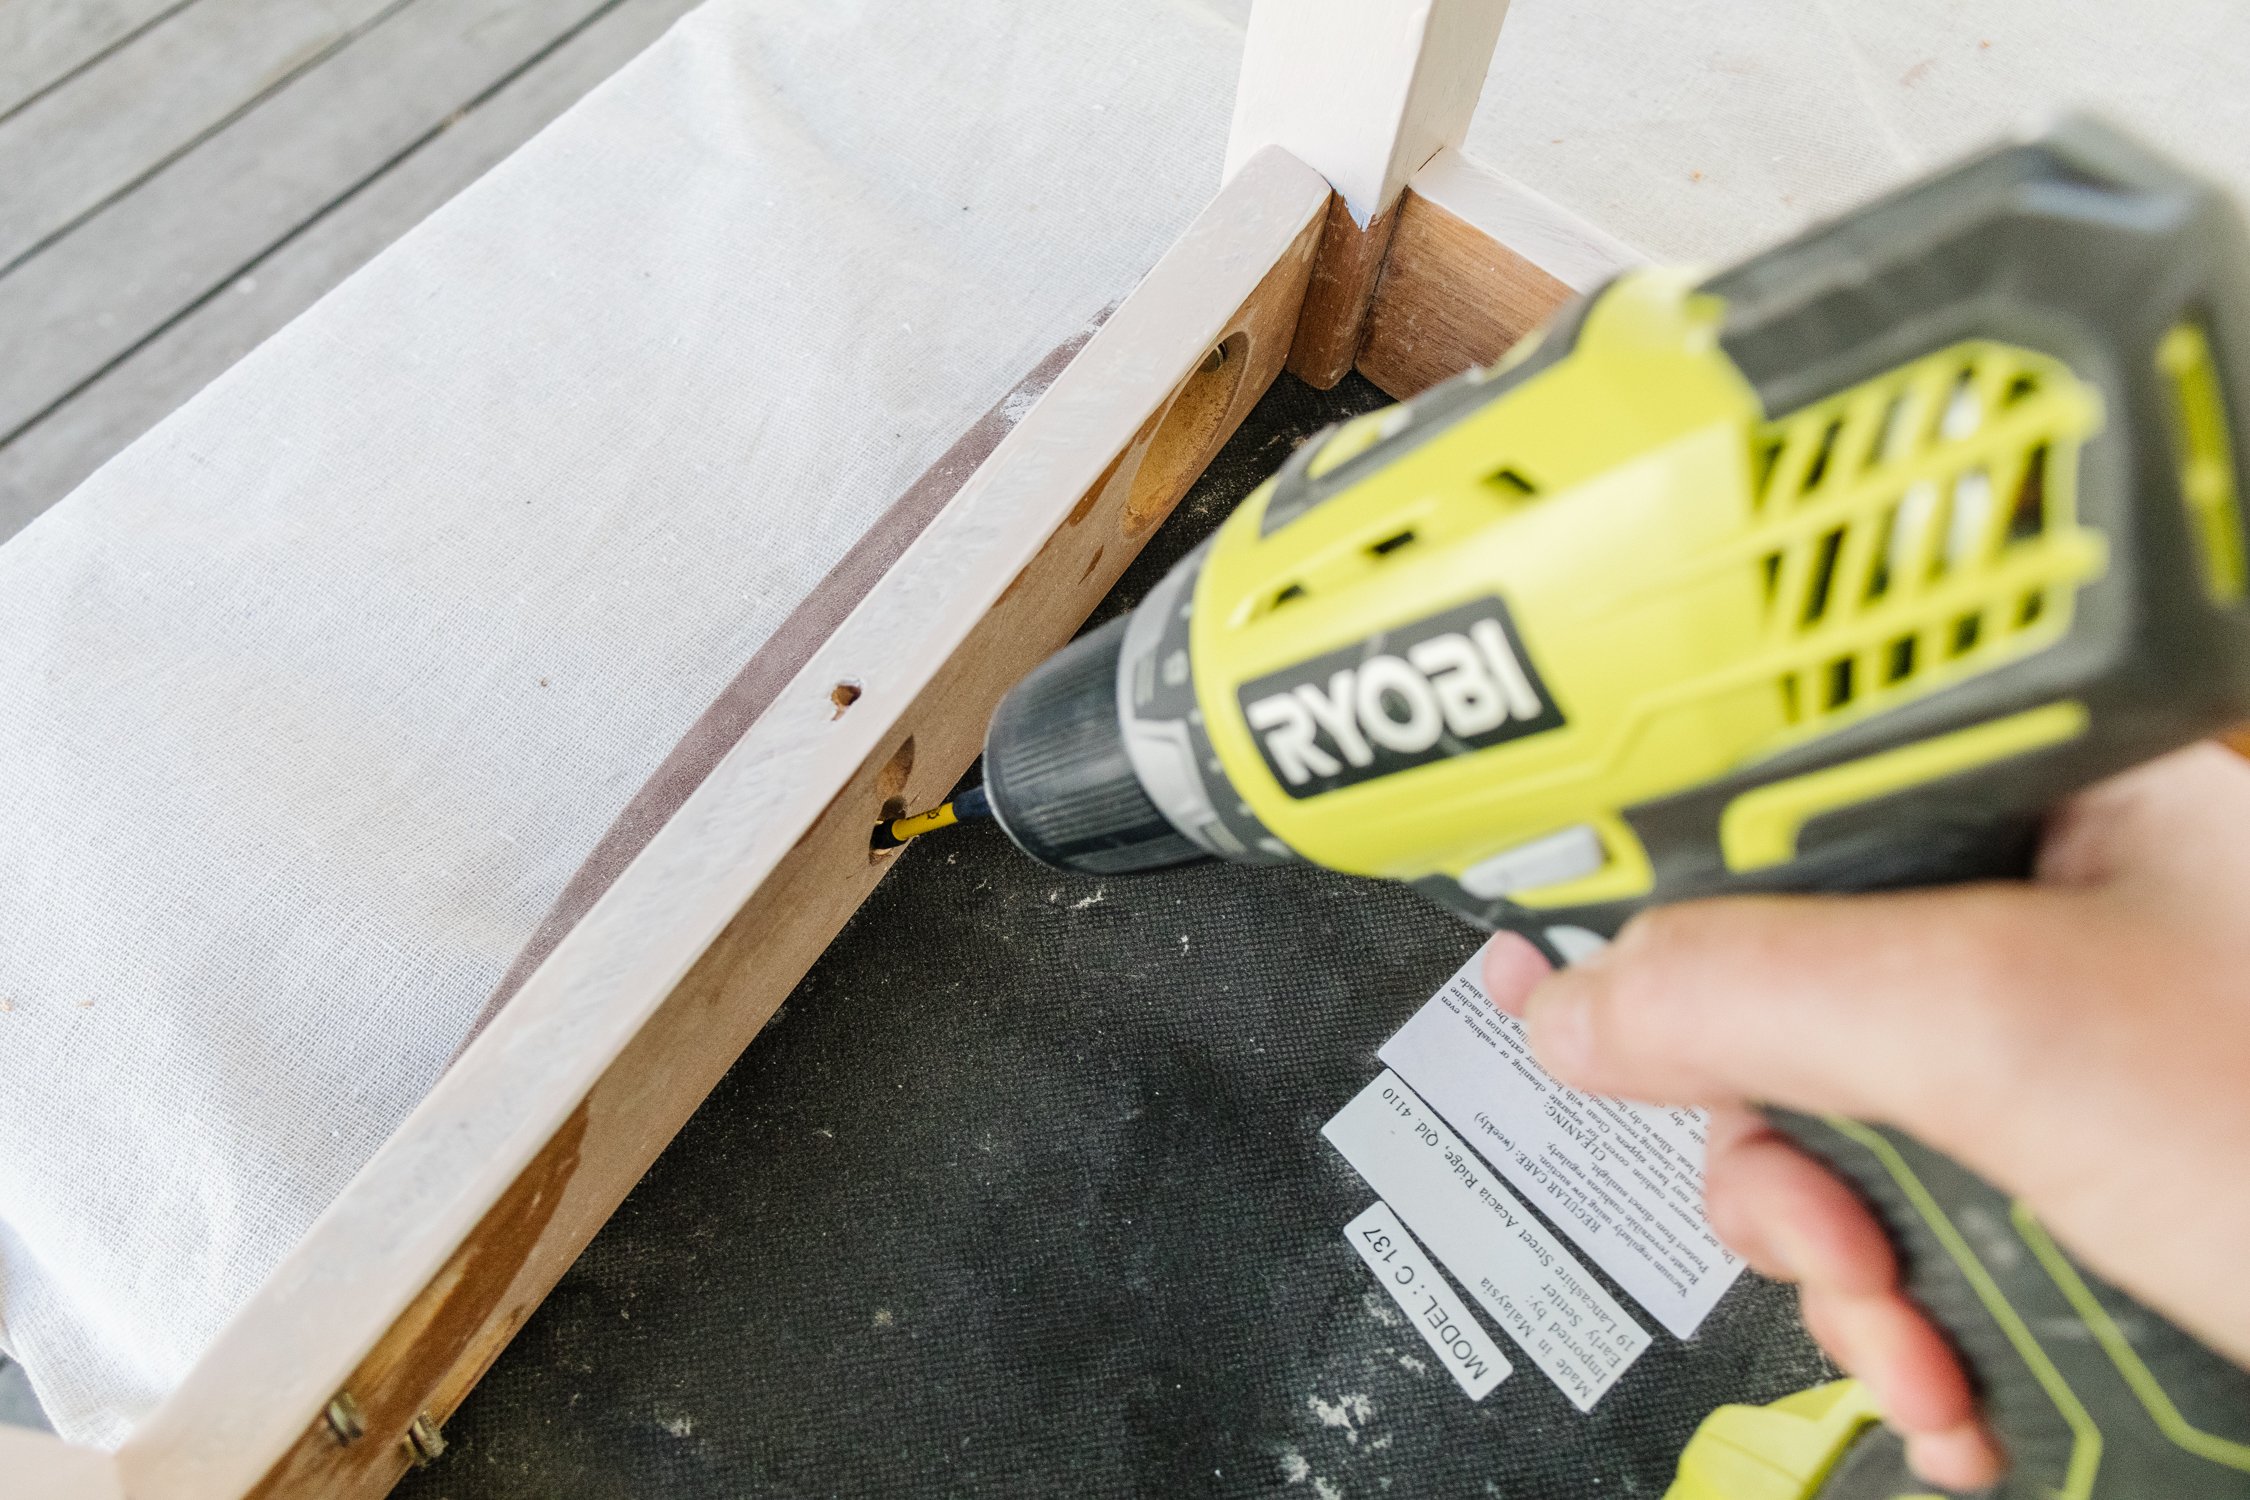
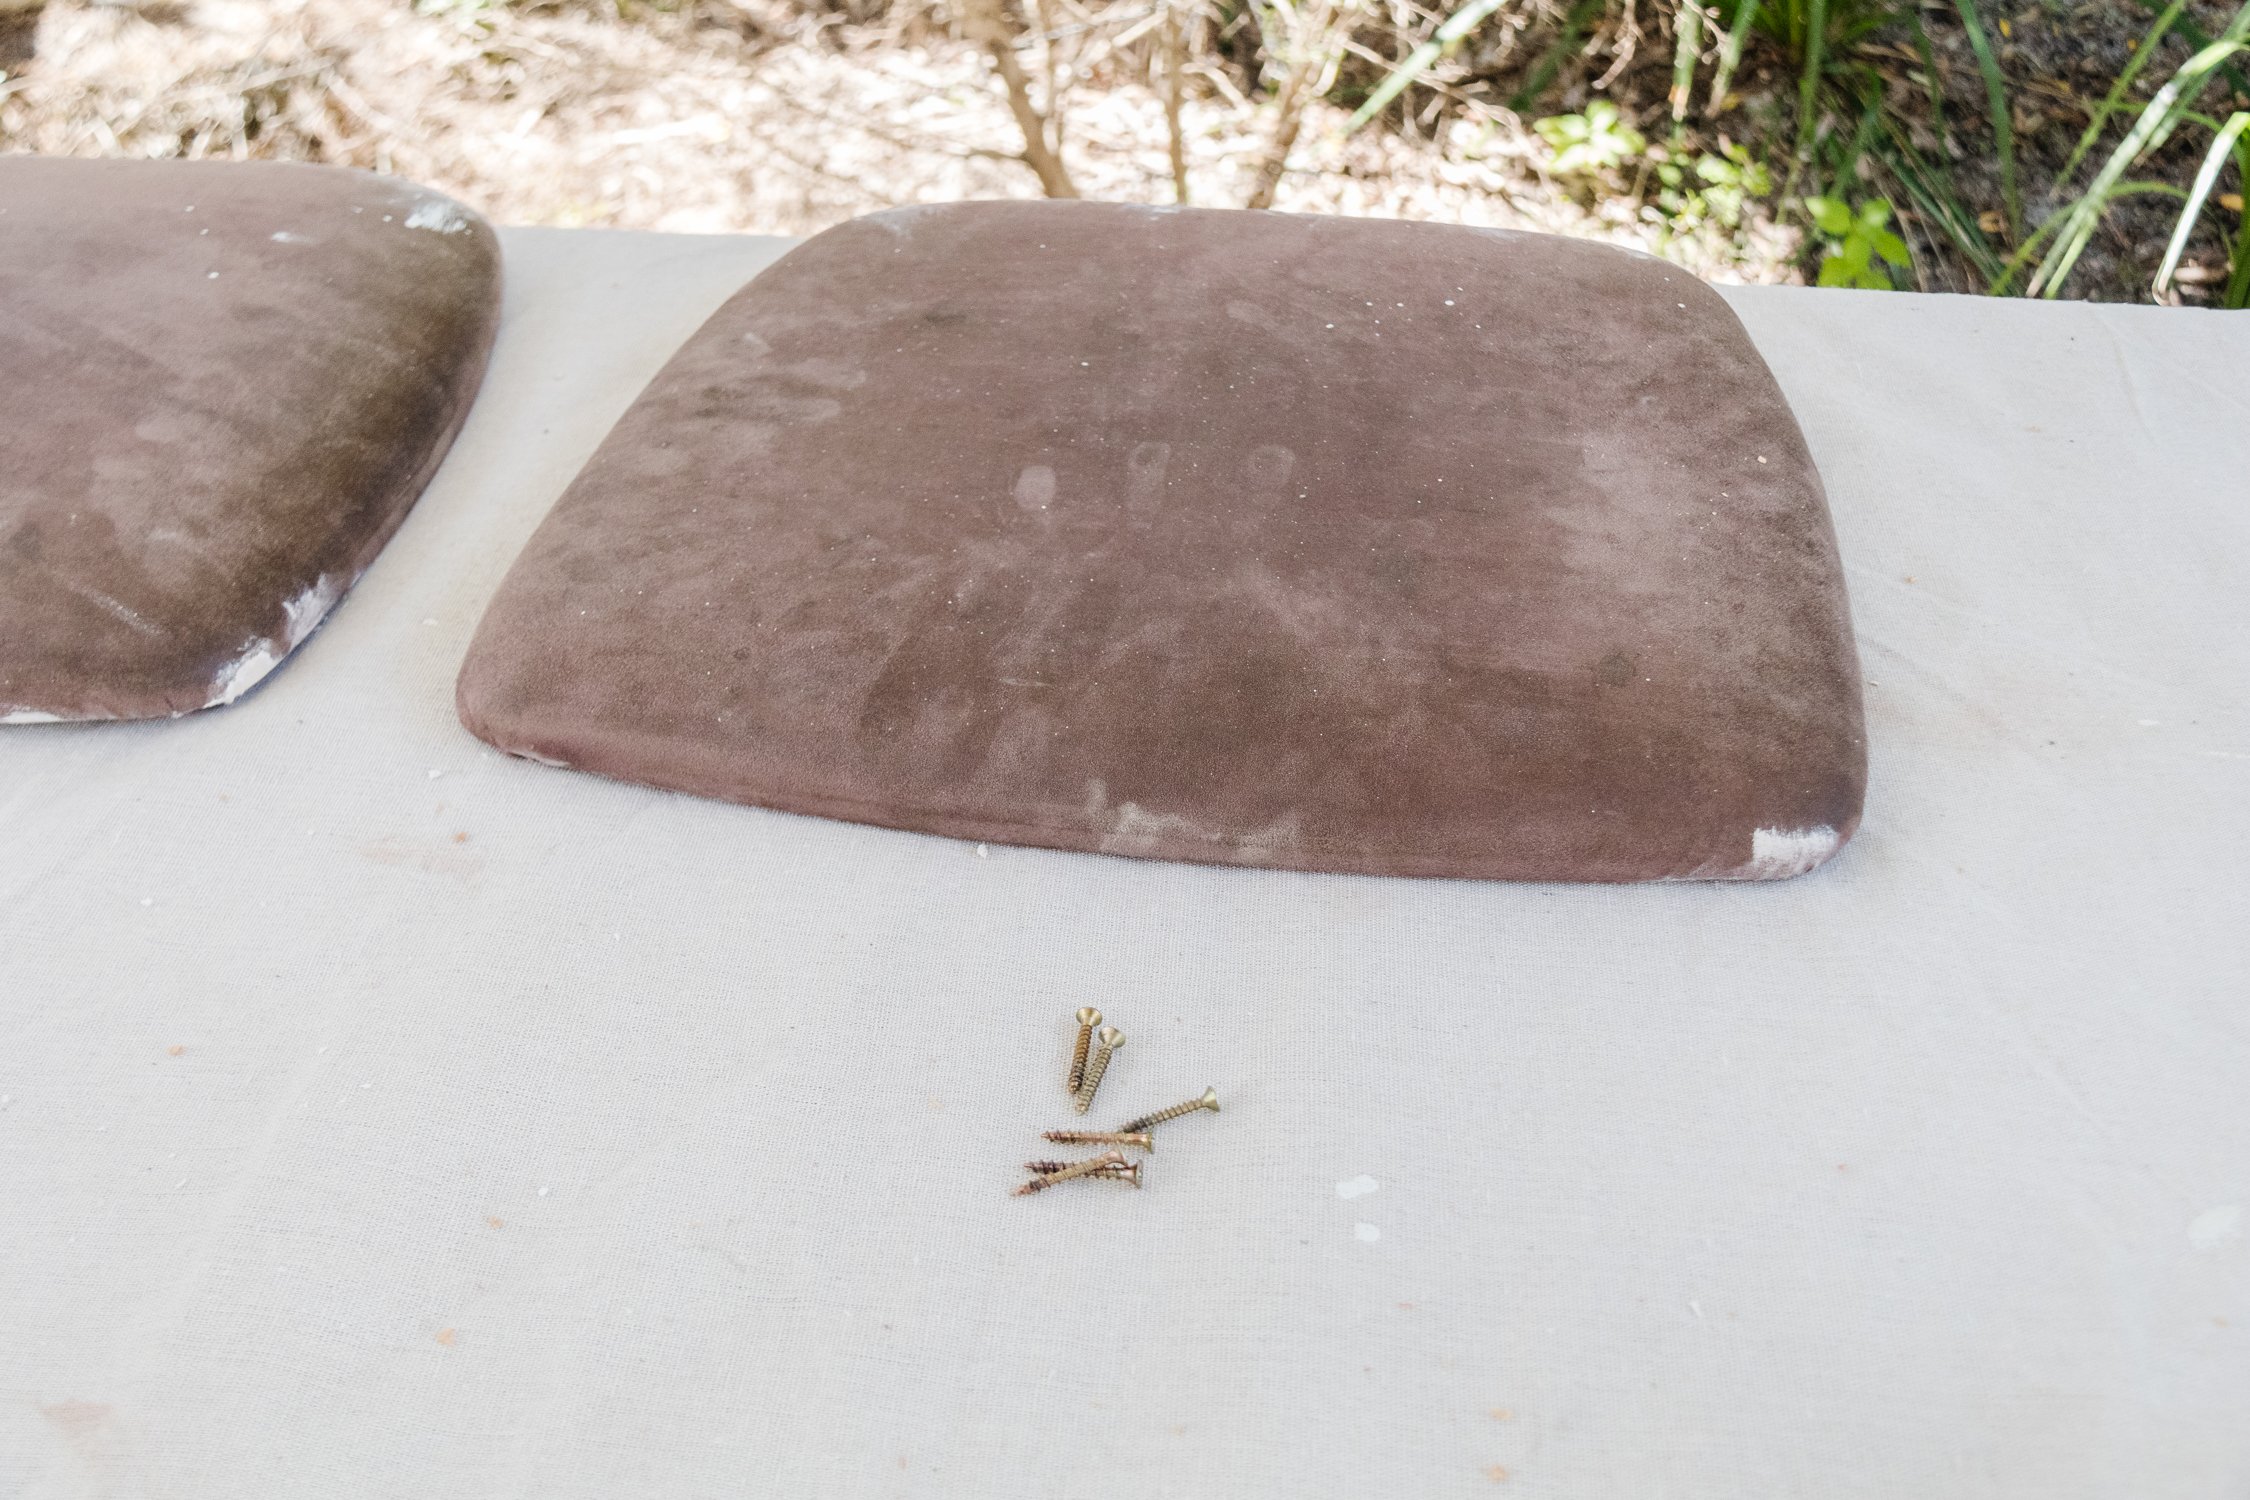
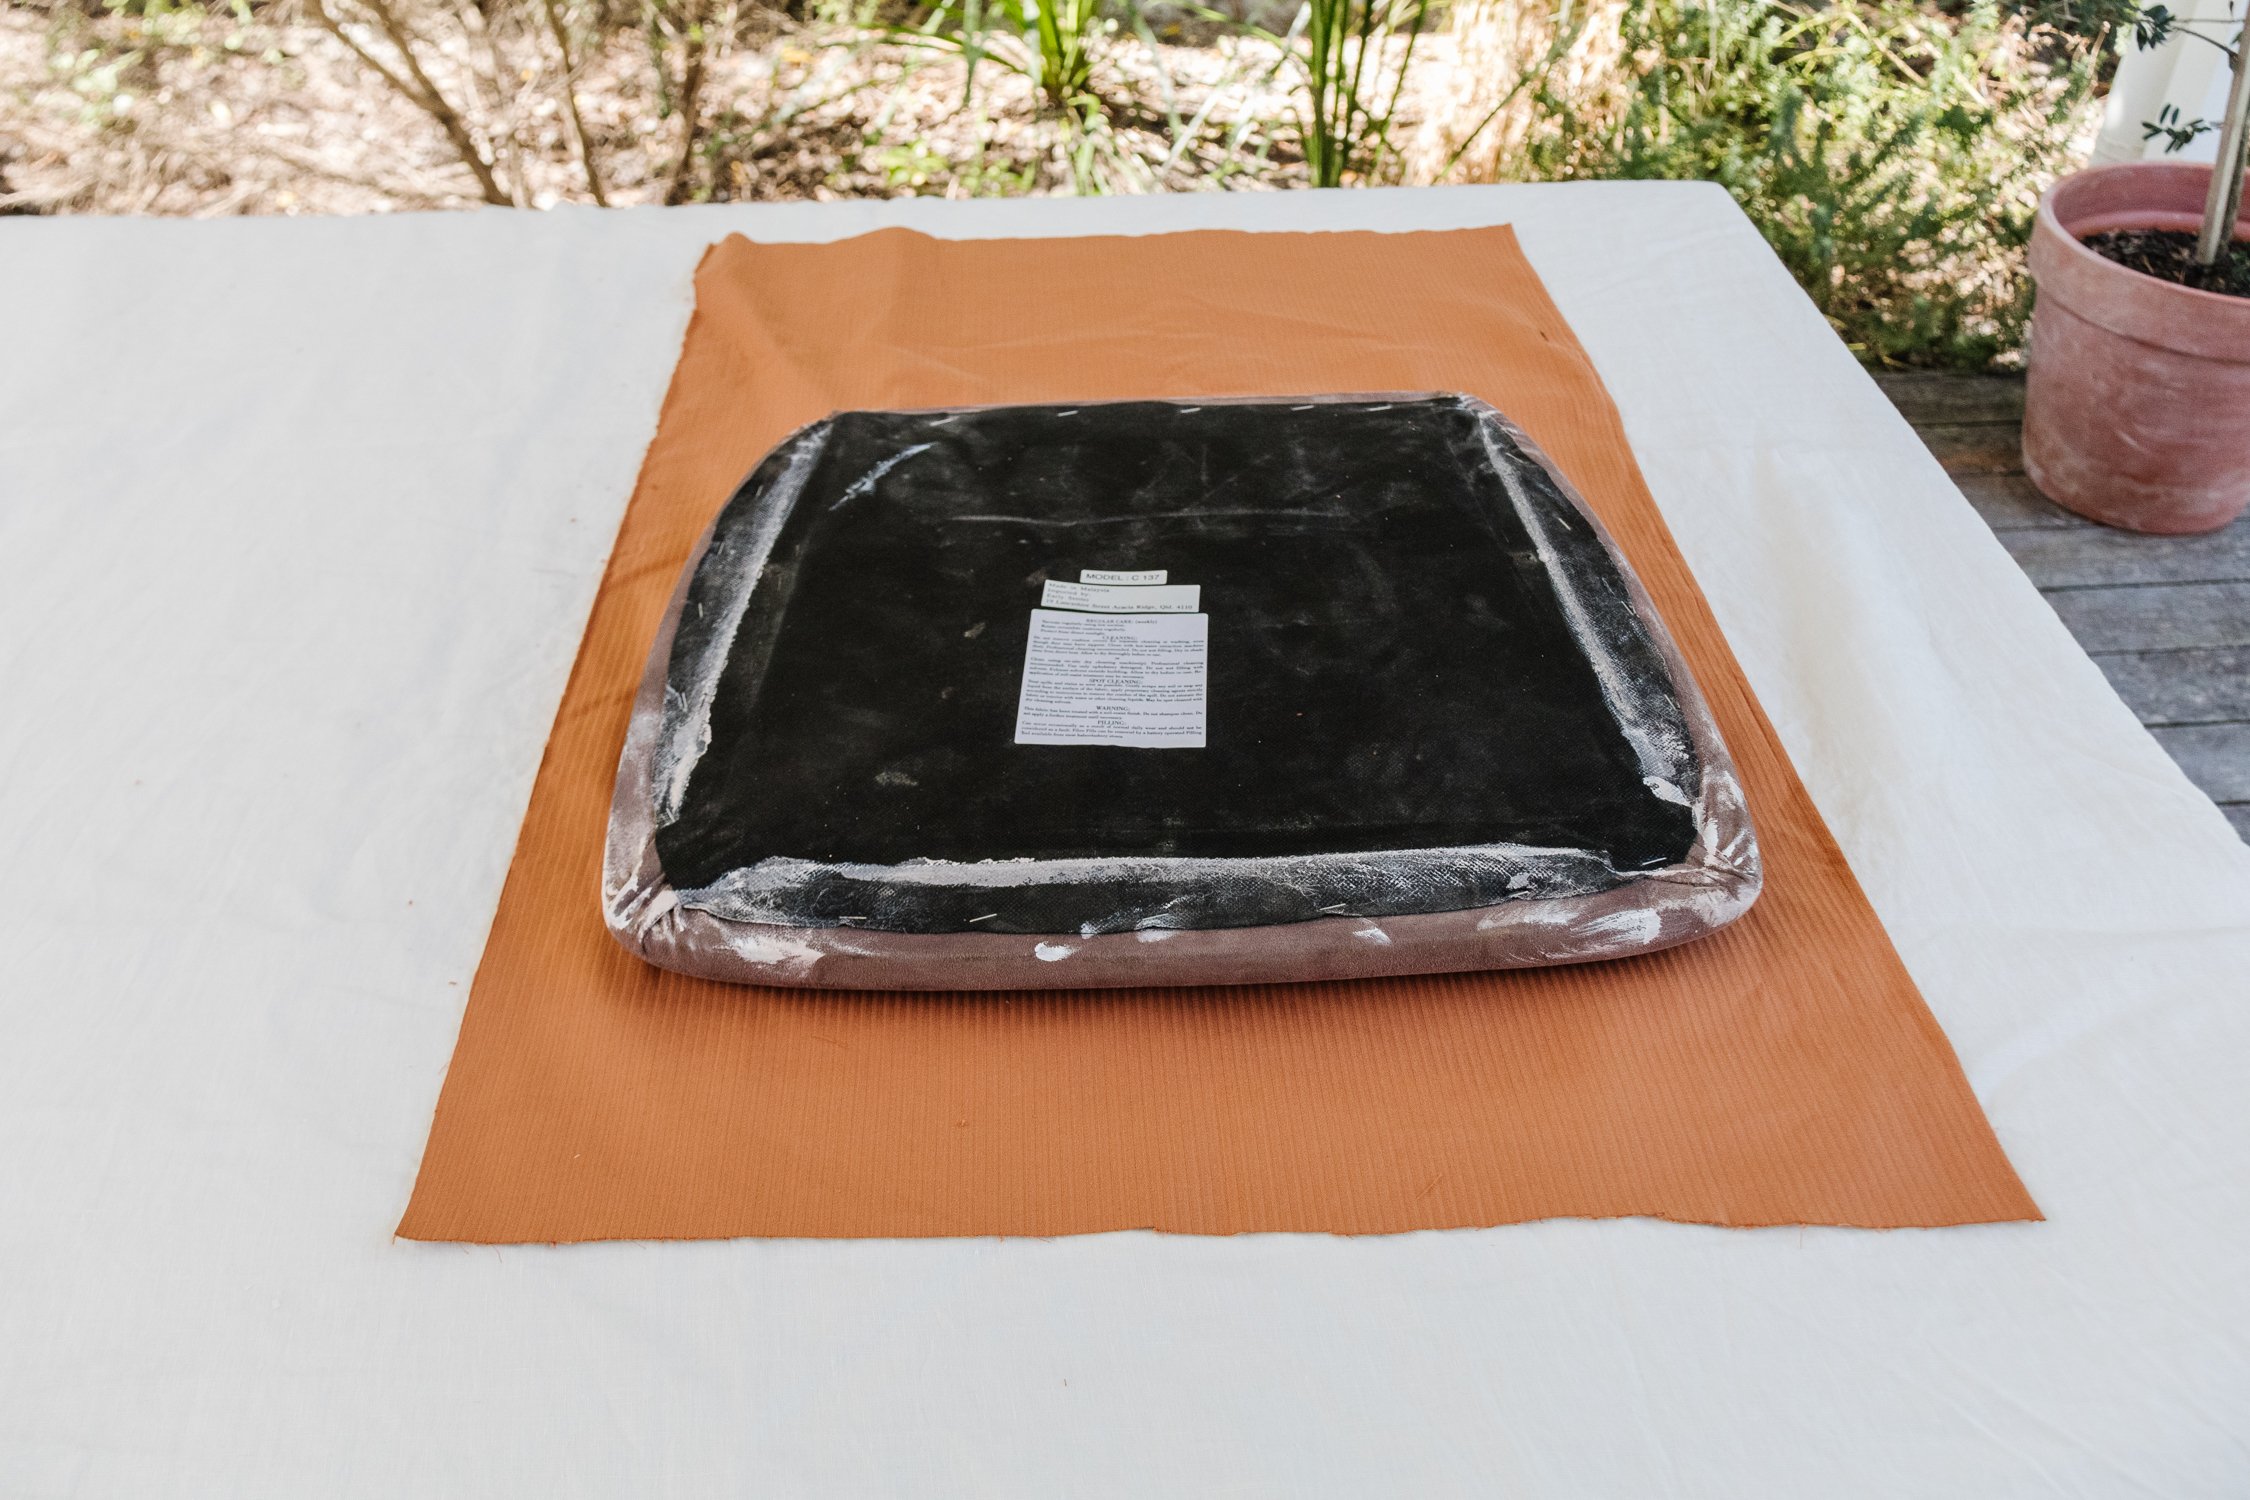
Step 6: I finally removed the seat cushions, wiped them down and stapled a piece of caramel corduroy onto each seat. I painted two coats of Dulux “Mornington” paint and then the paint had dried, I put the newly reupholstered cushions back on. And that’s it!


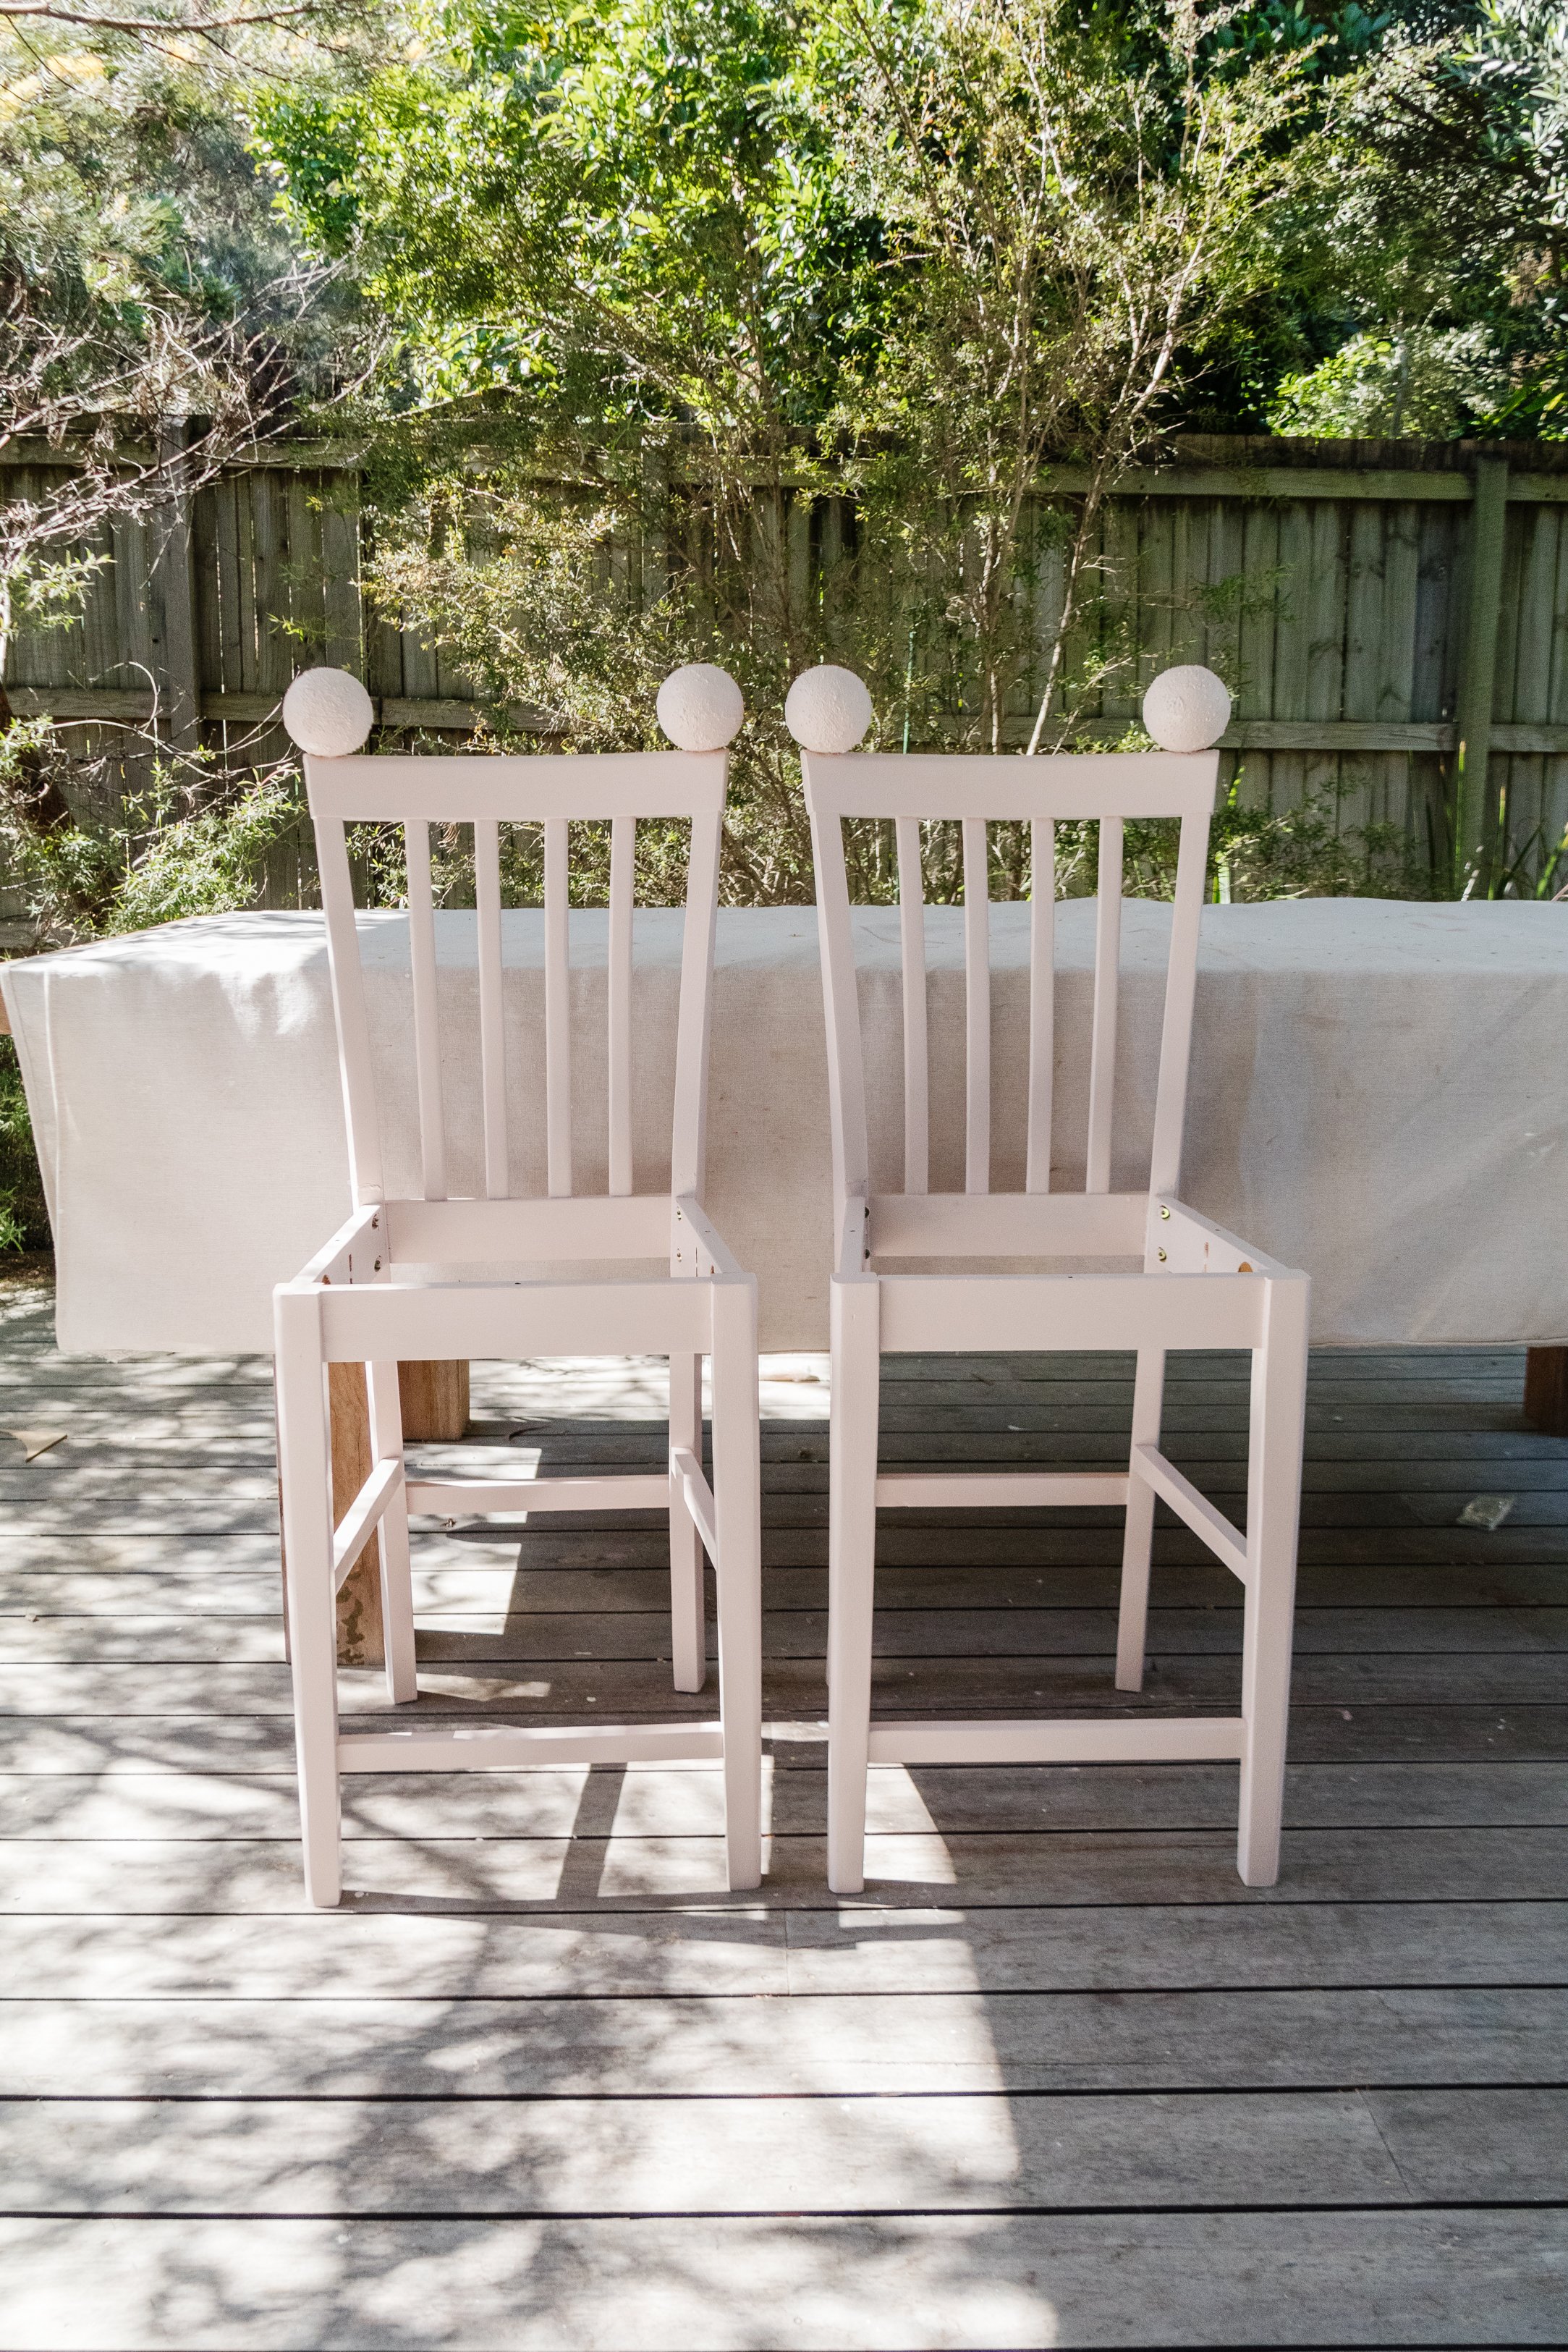
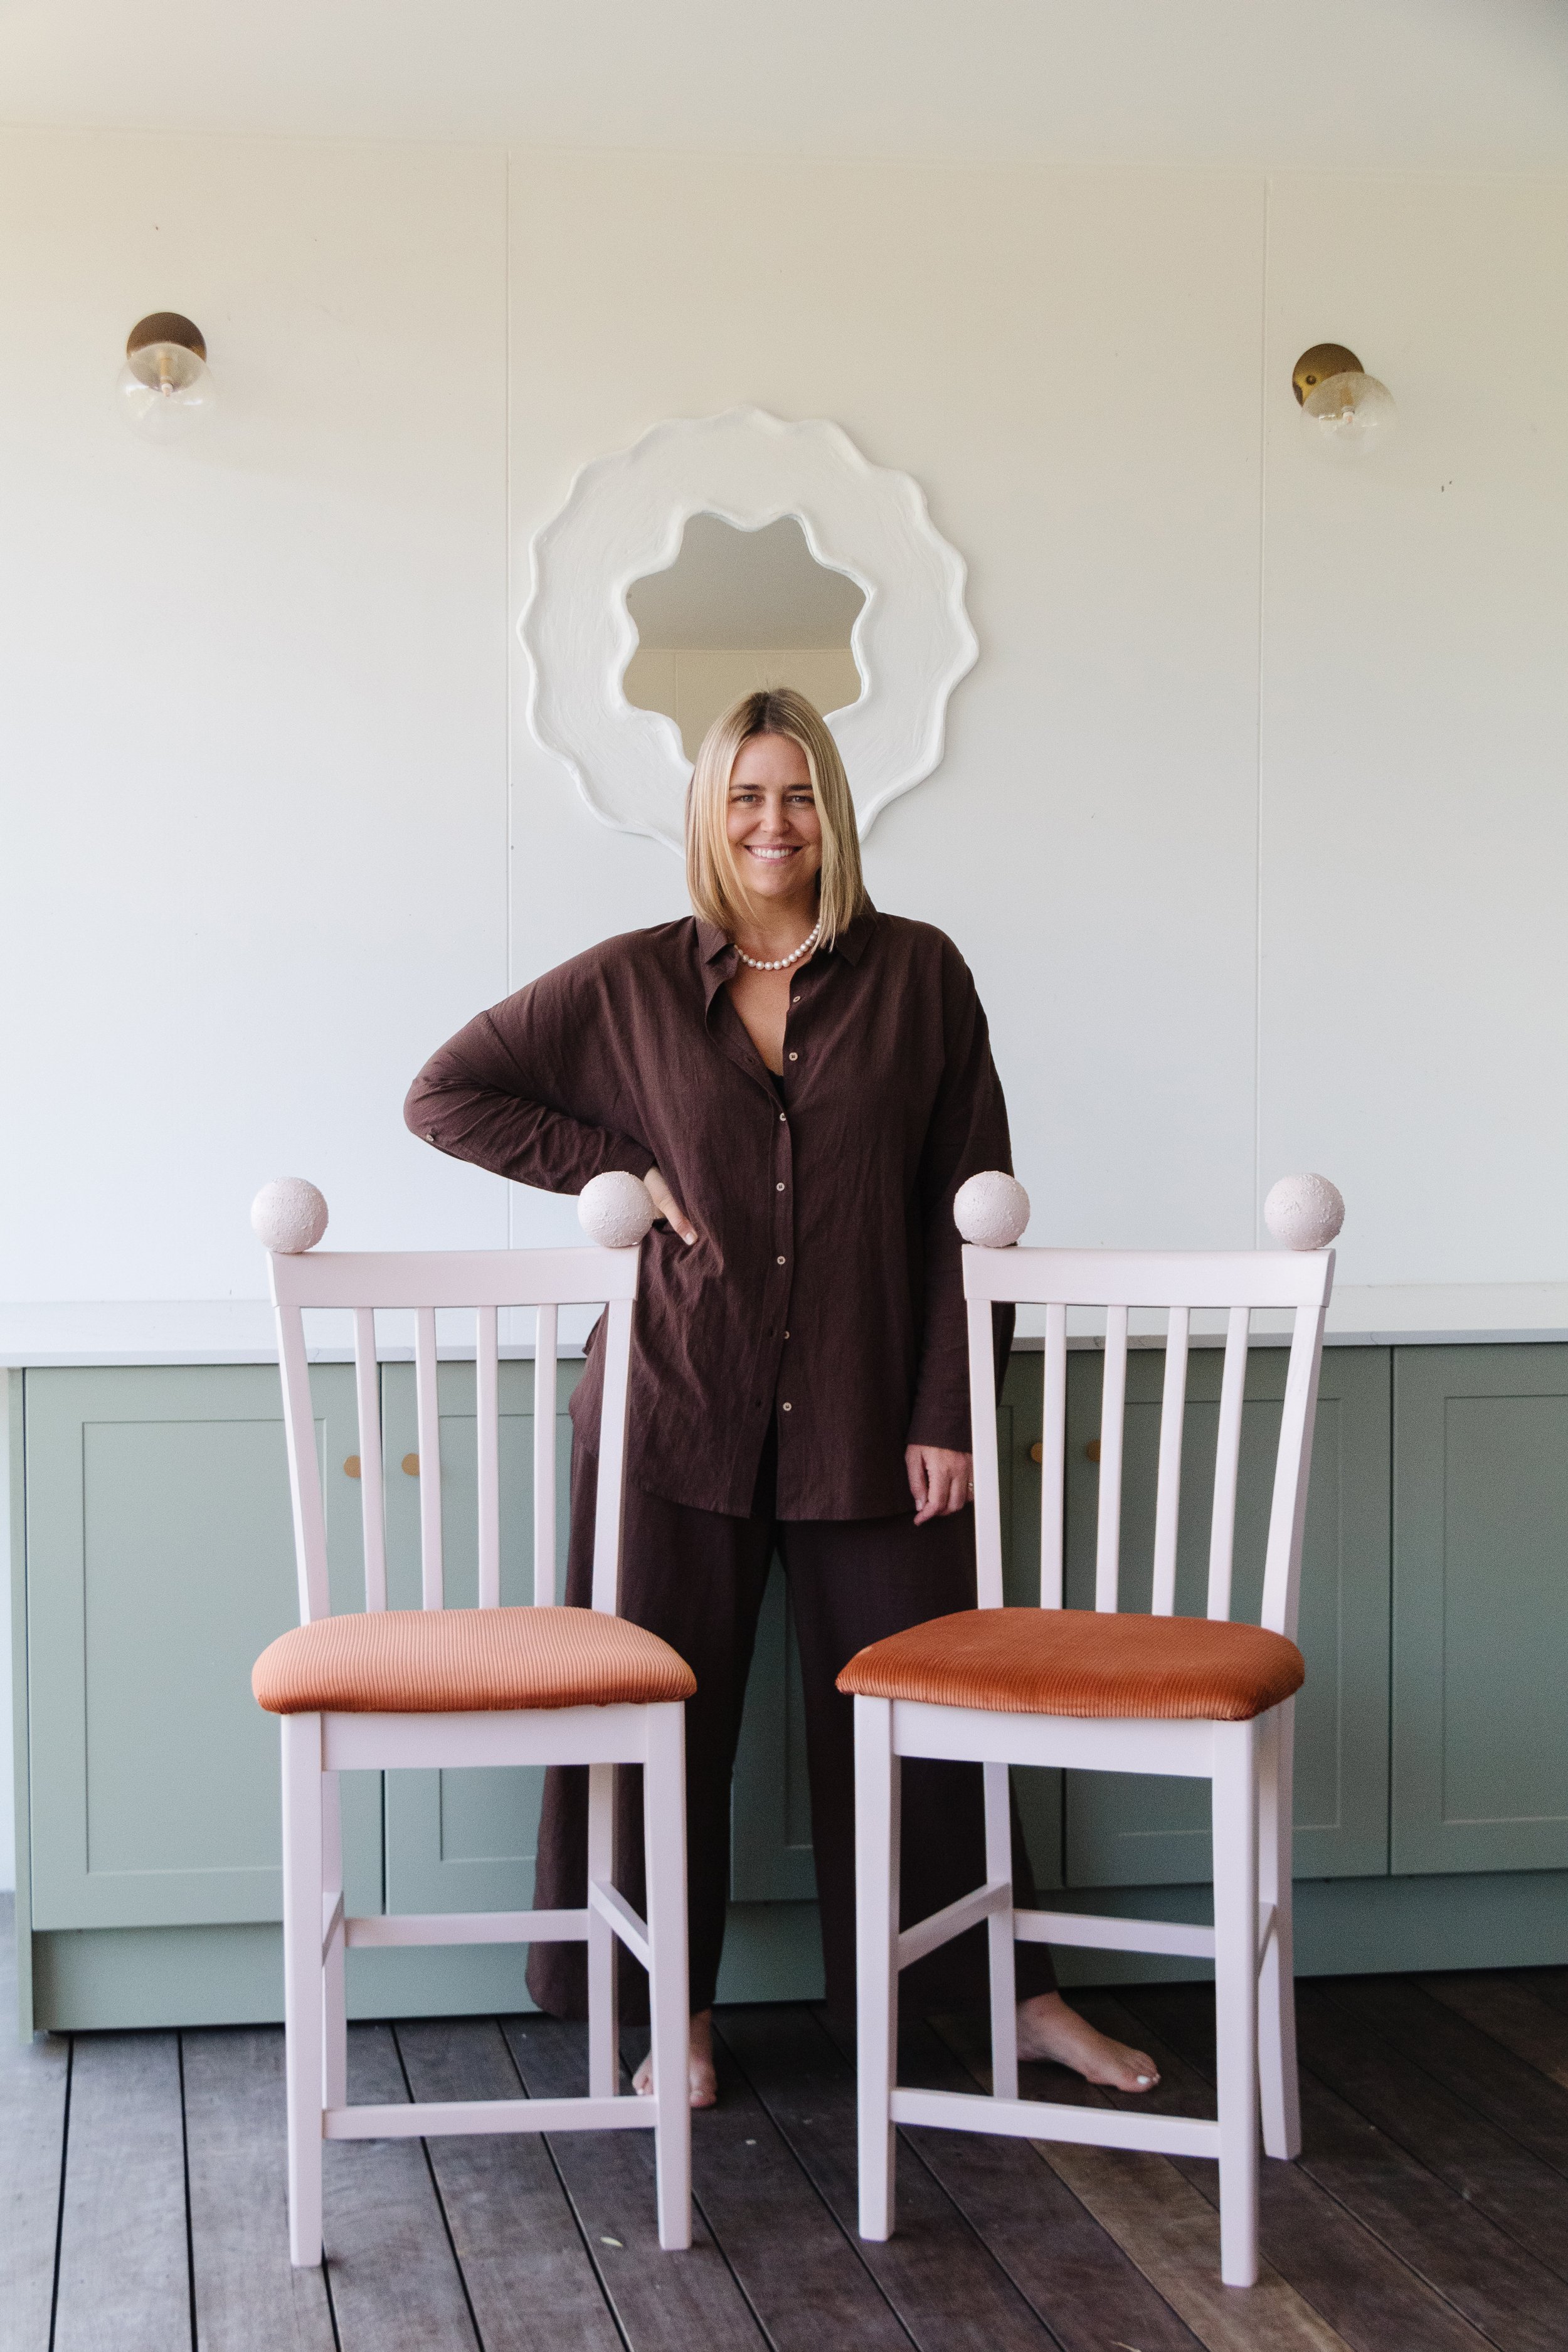
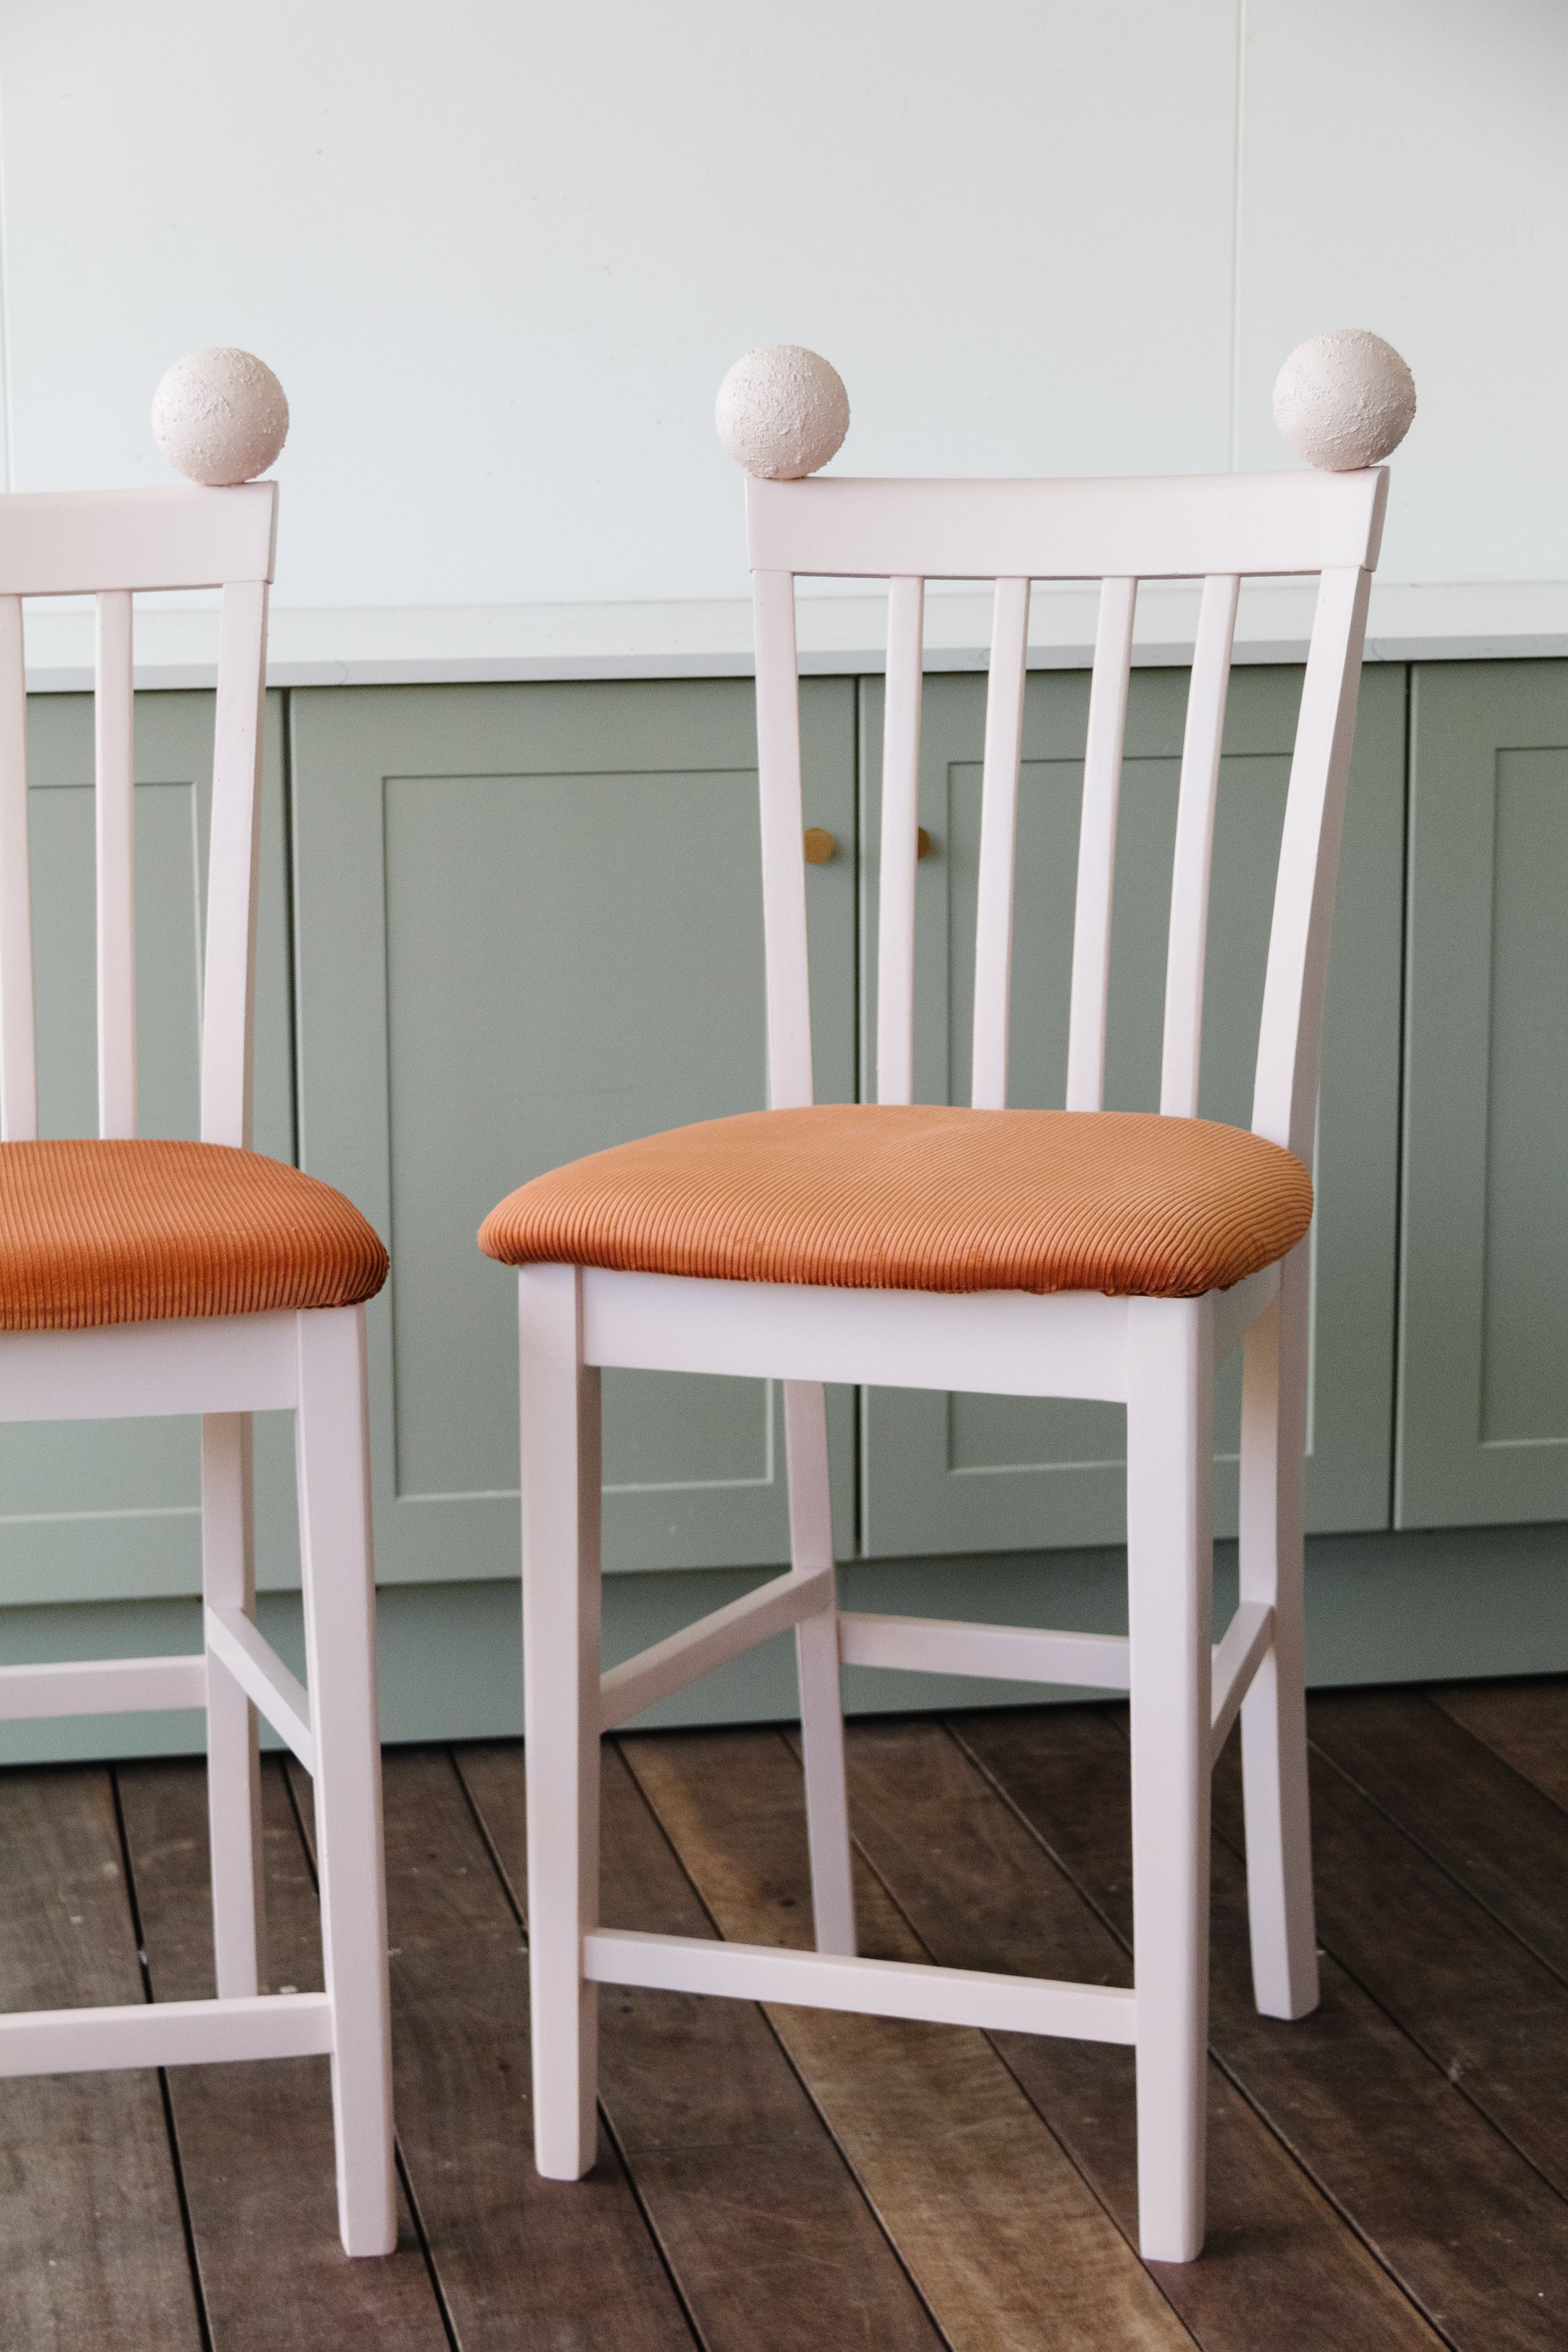
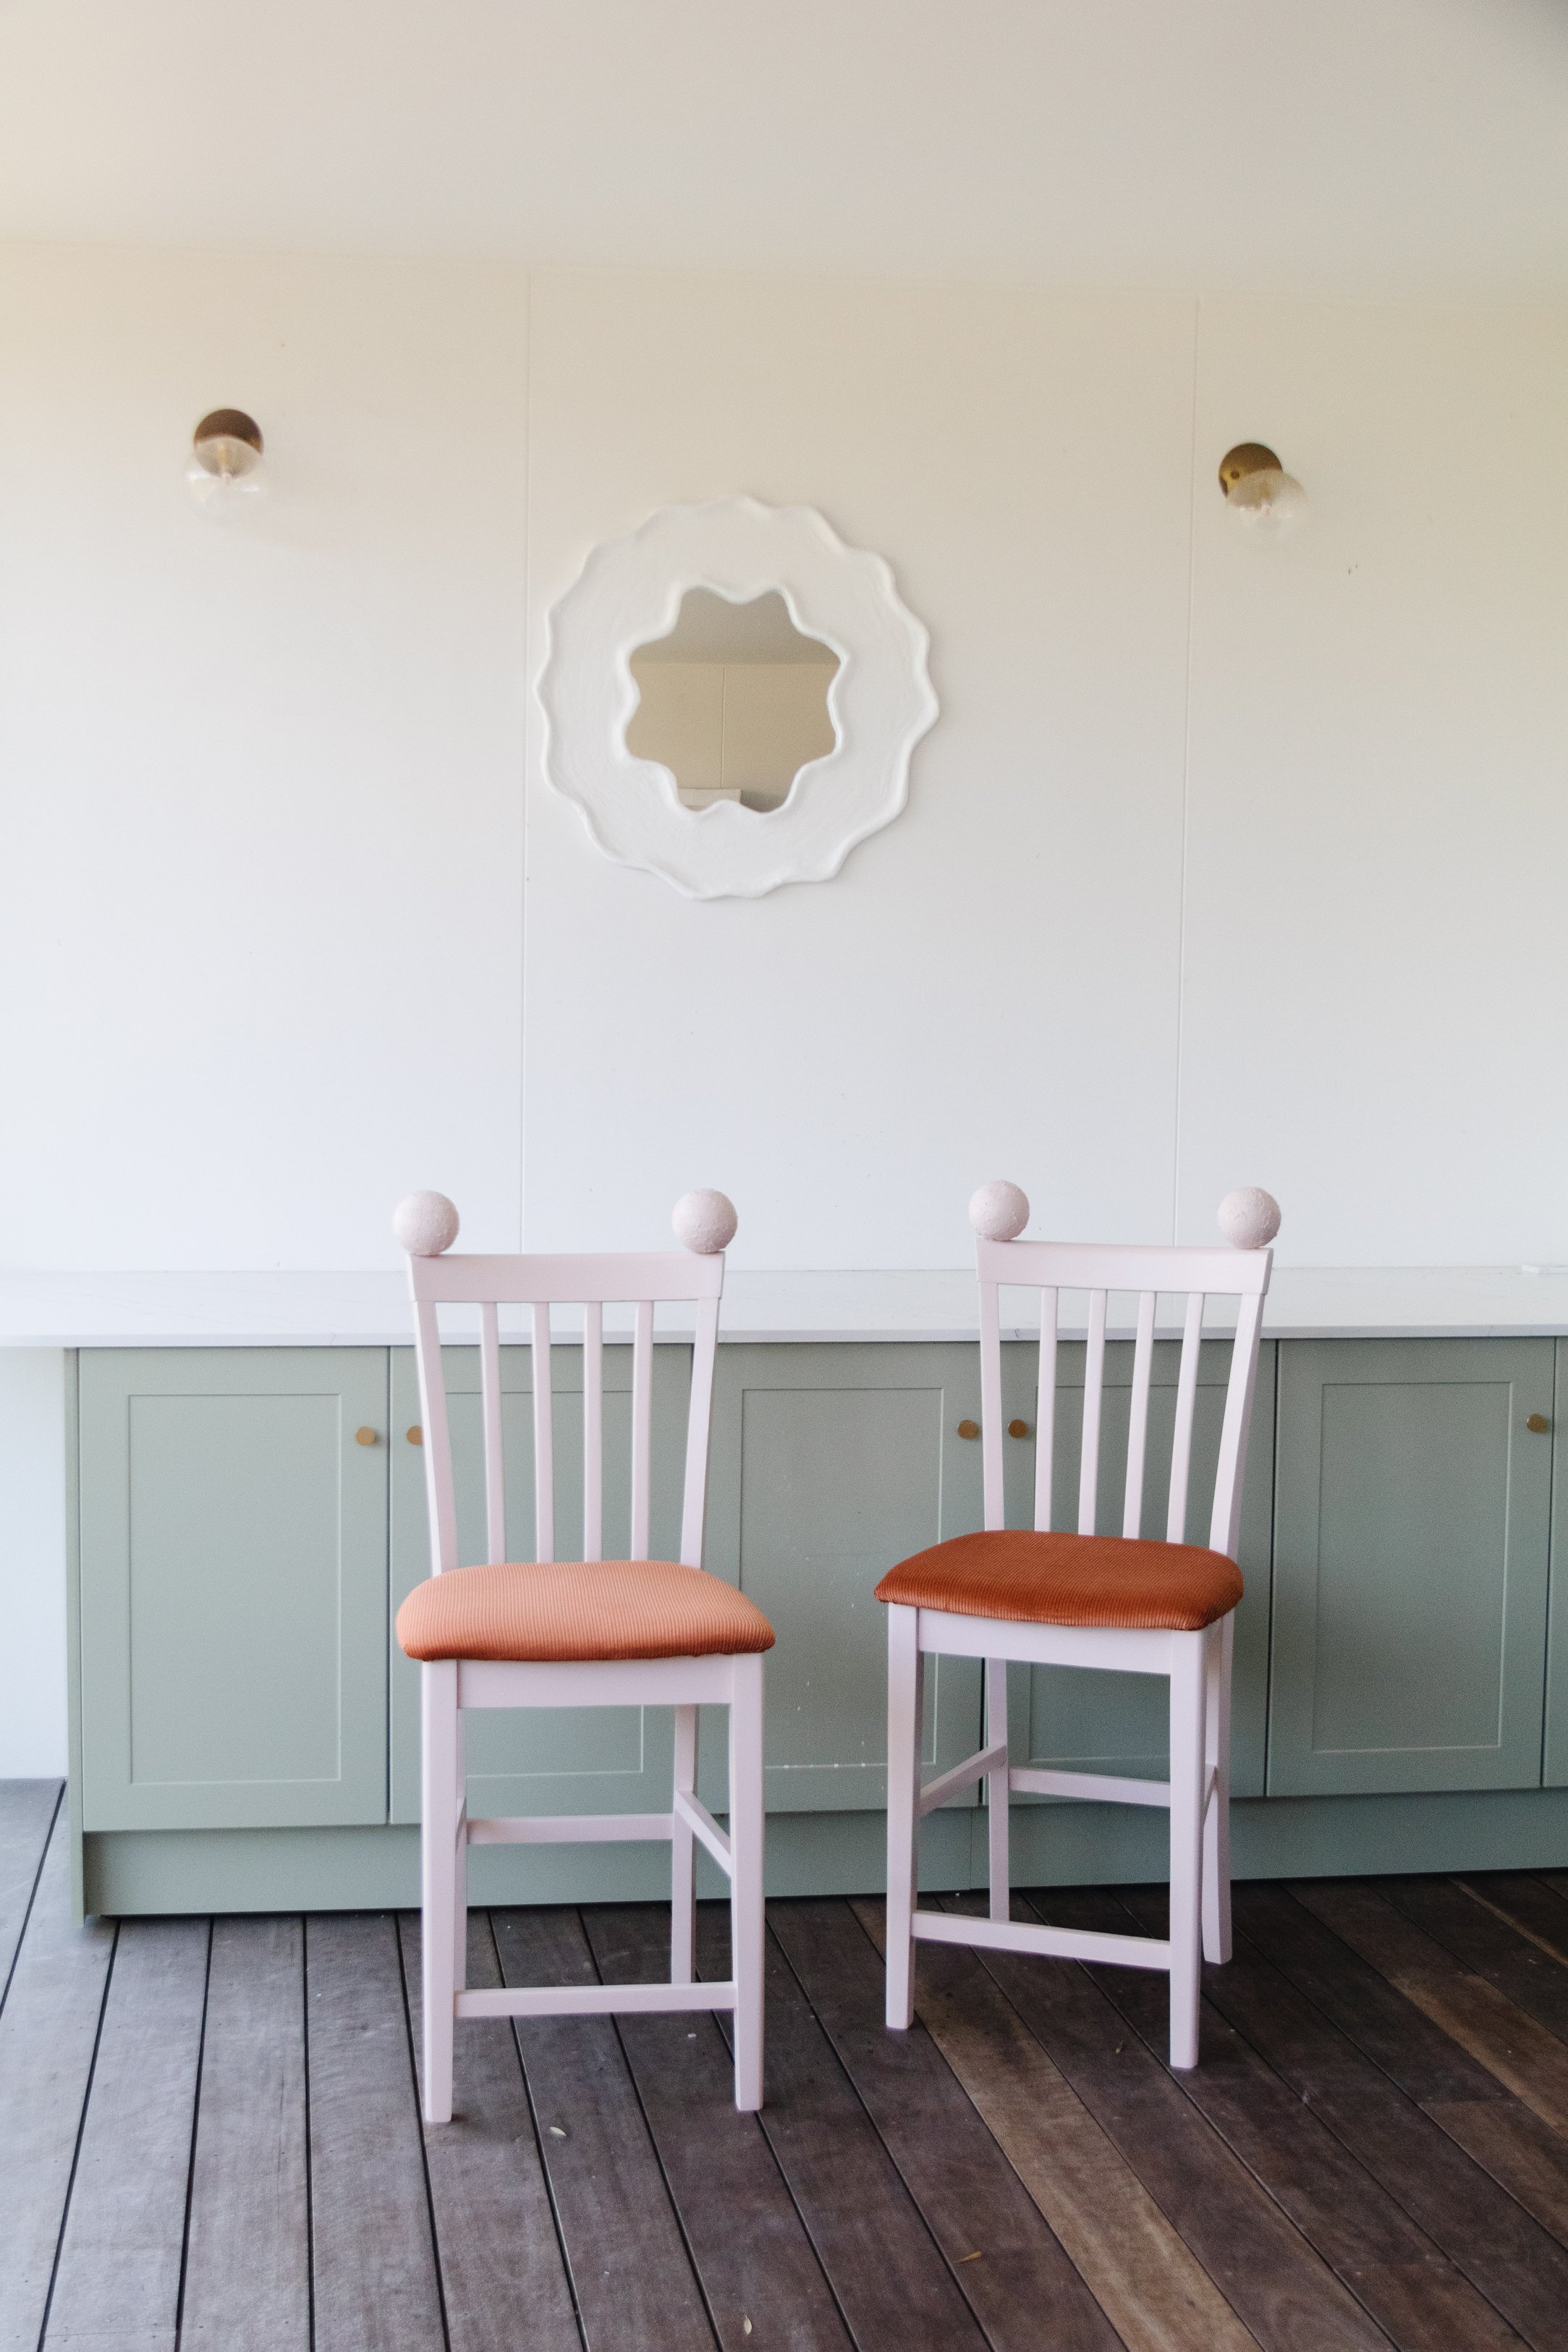
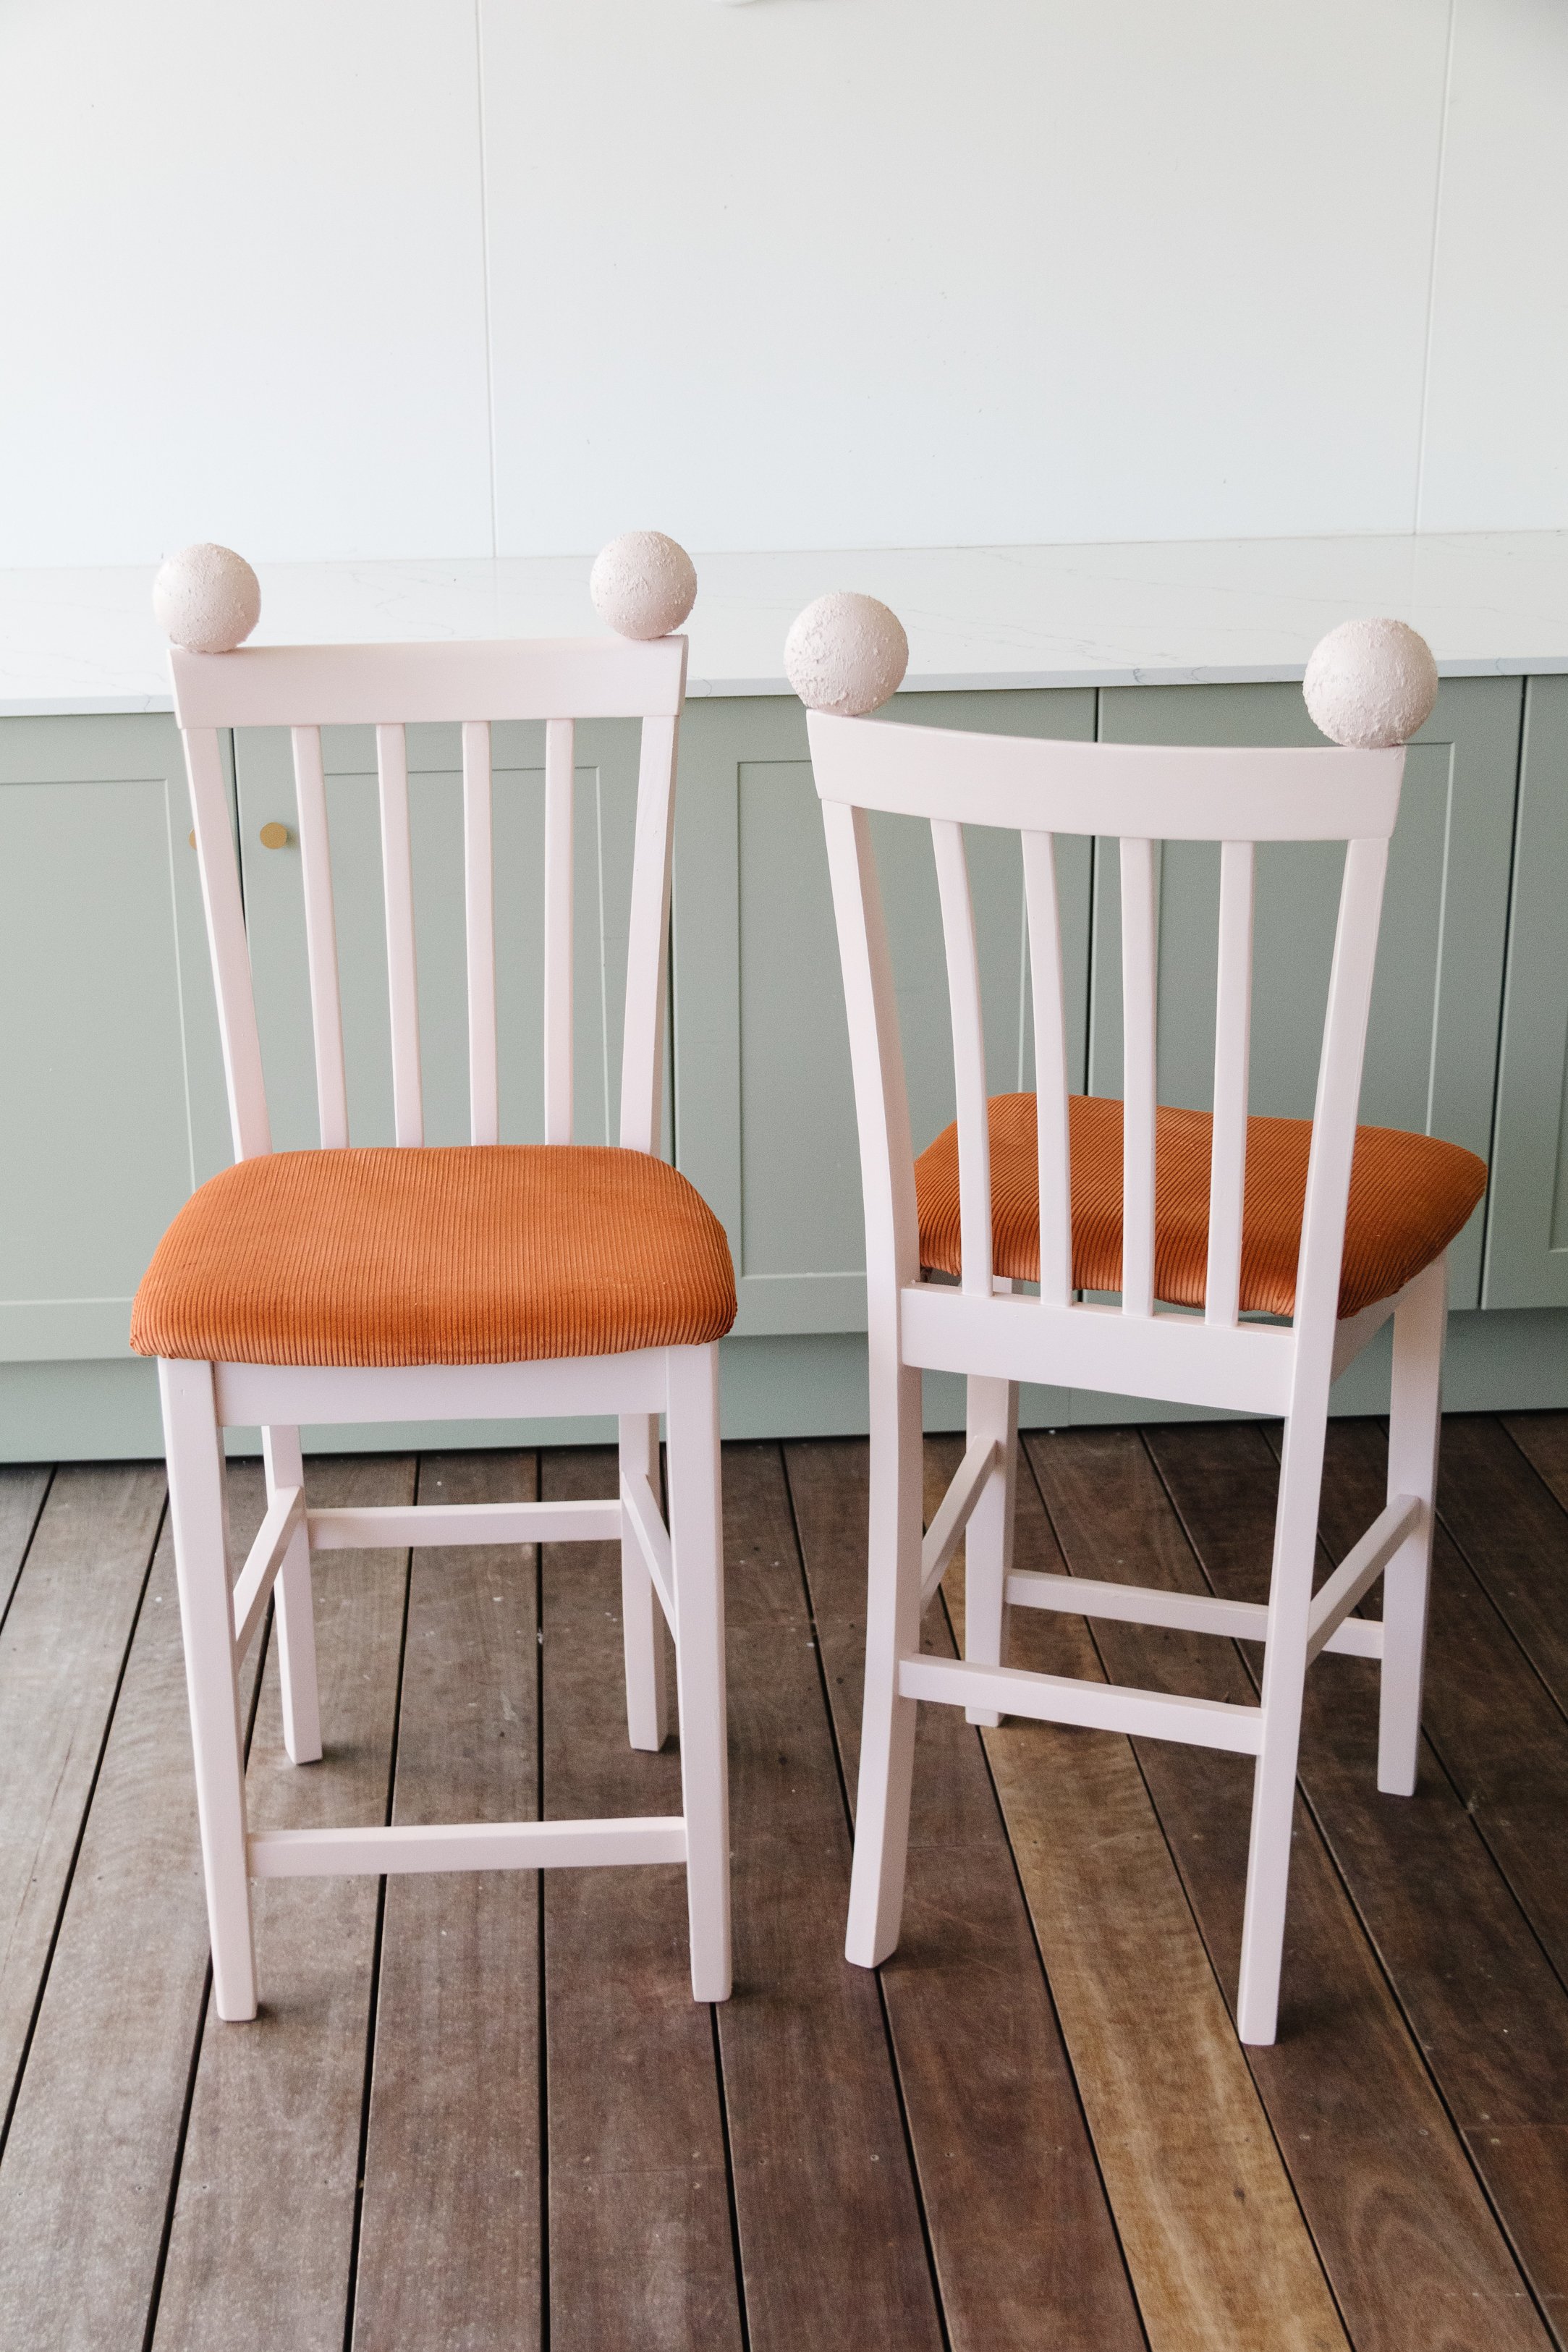
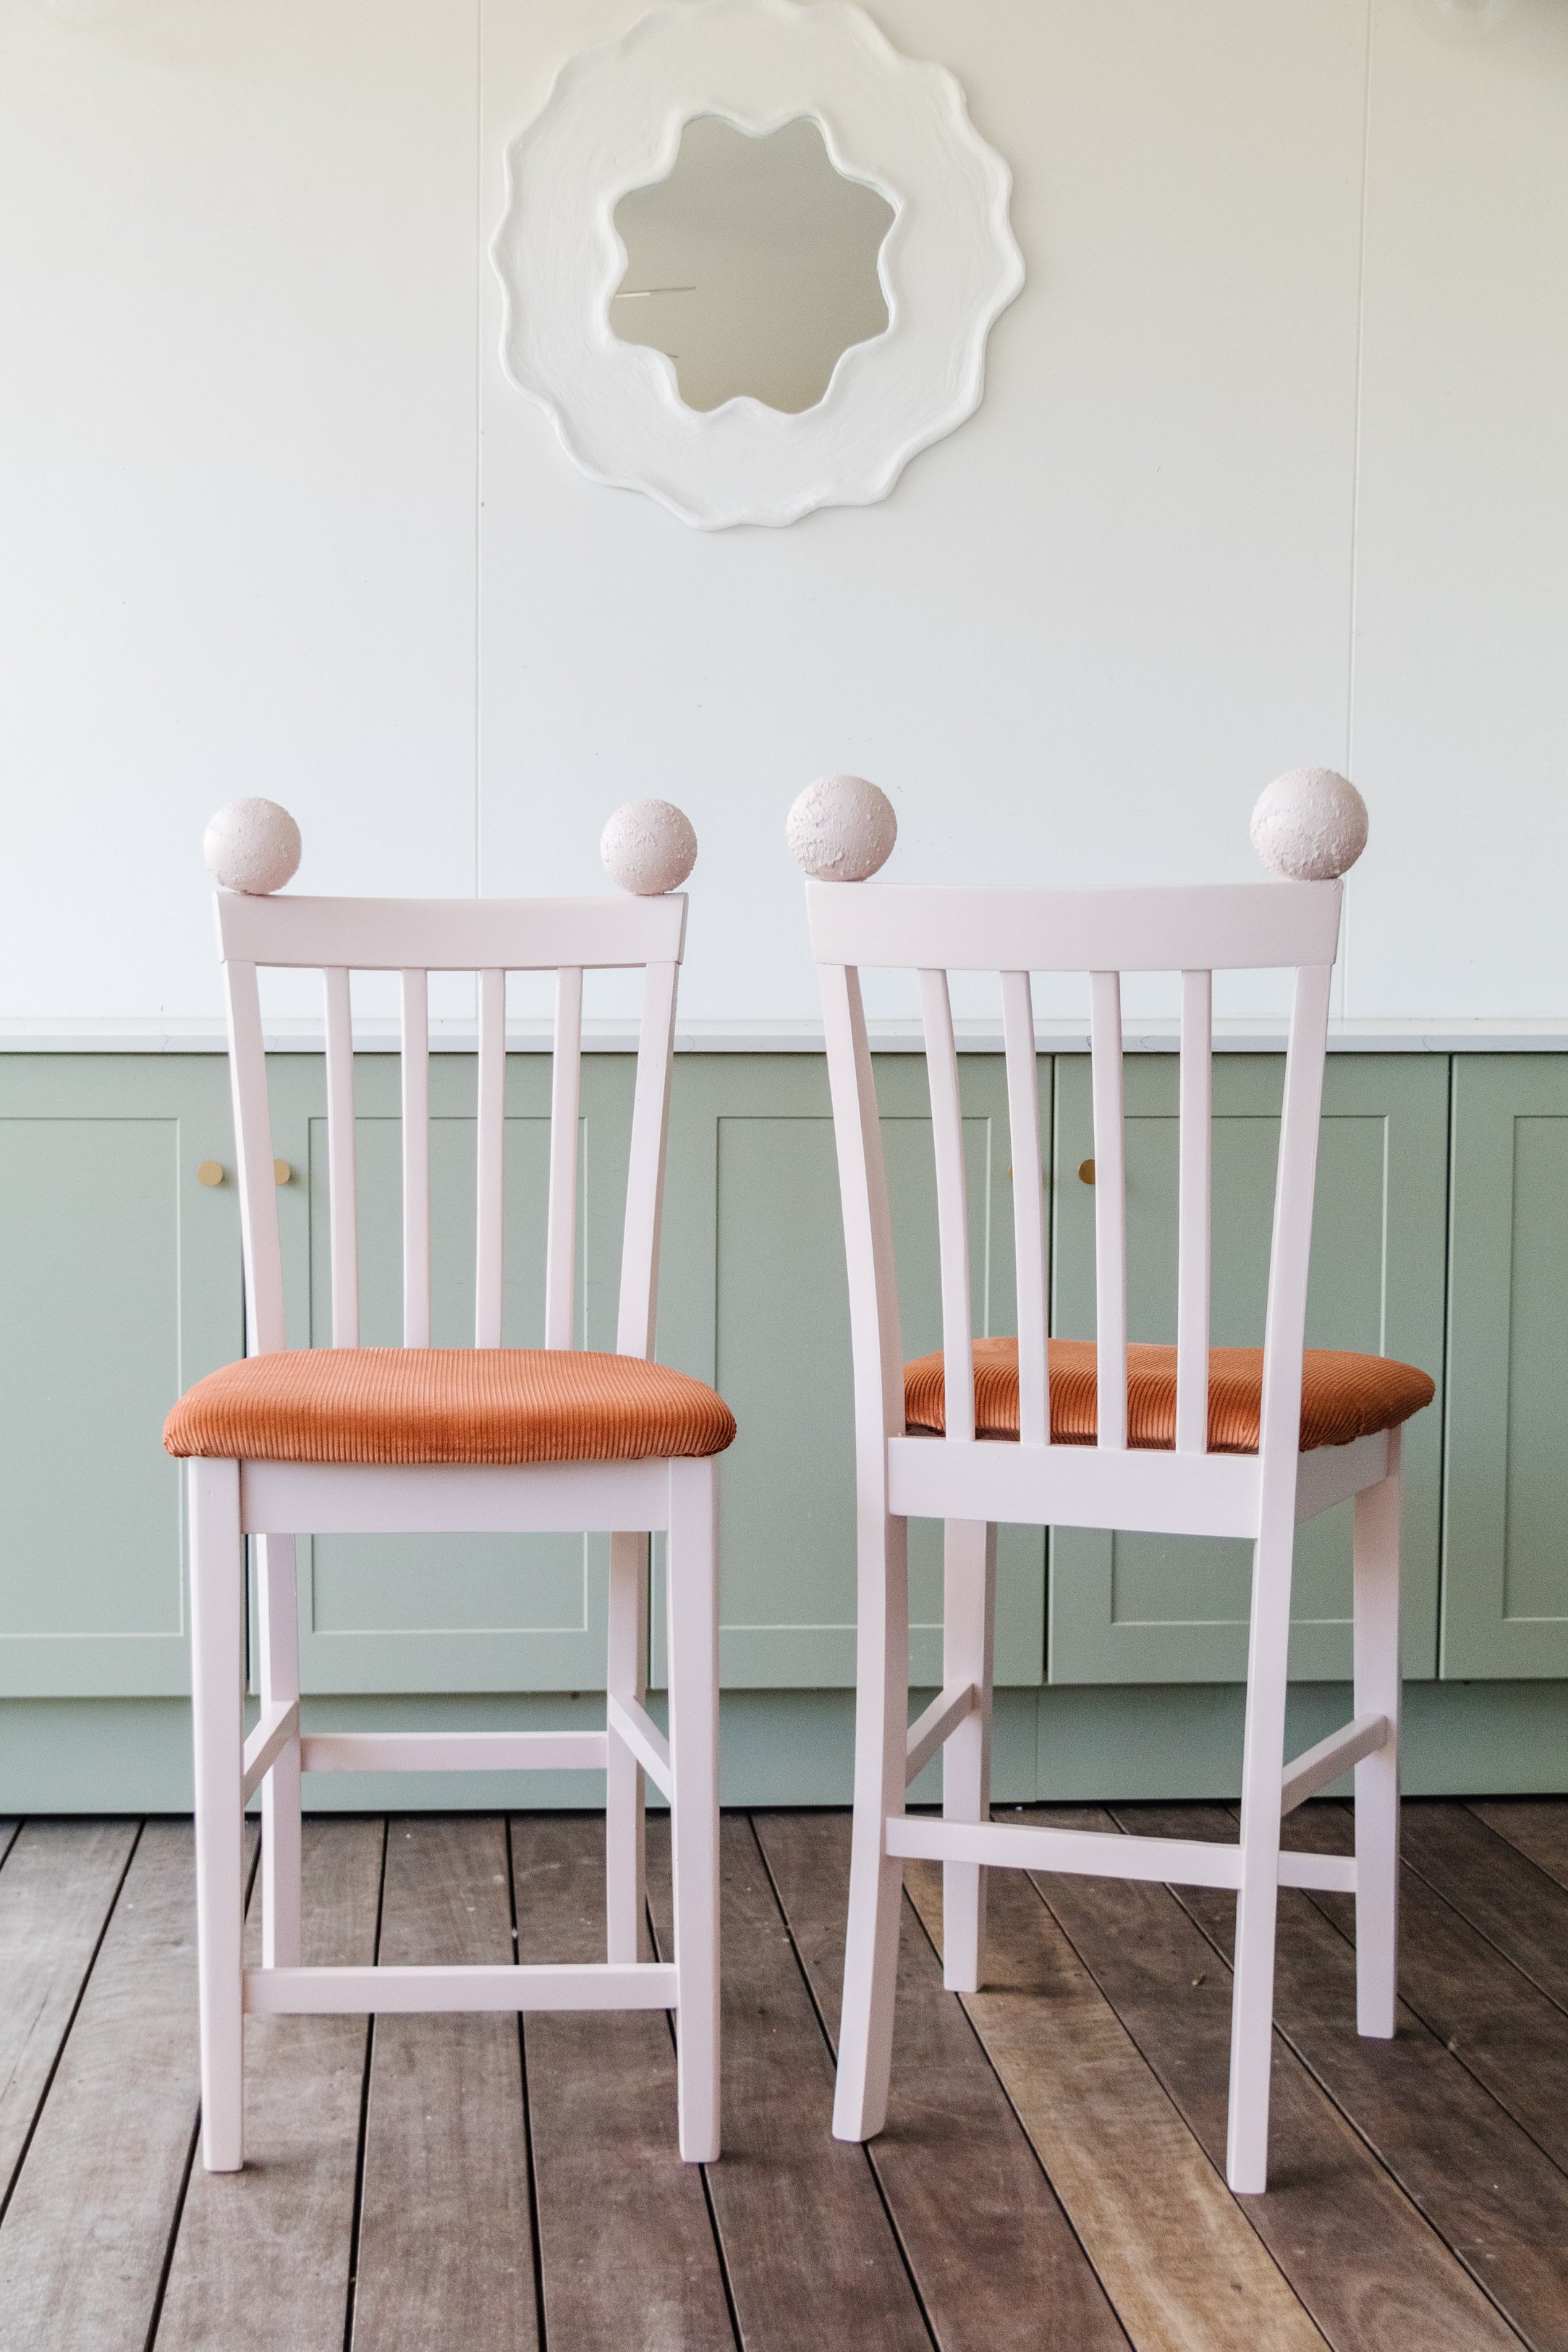
Ta daaaa! What a glow up - and for only $50!
I honestly cannot believe this transformation! I really enjoyed the challenge of using round foam balls instead of timber balls, which also meant I was able to keep the costs down - you guys know I am allll about coming up affordable alternative. And I loved figuring out how to anchor the round ball detail to the tops of the chairs; I simply took my time and enjoyed the process. And honestly, it never ceases to amaze me what you can create with round foam balls! And this is why I love what I do. I love helping you make your dream home for less. I hope this project inspires you to look at furniture for your home that’s out of your price range and think “how can I make it myself - for less?”.