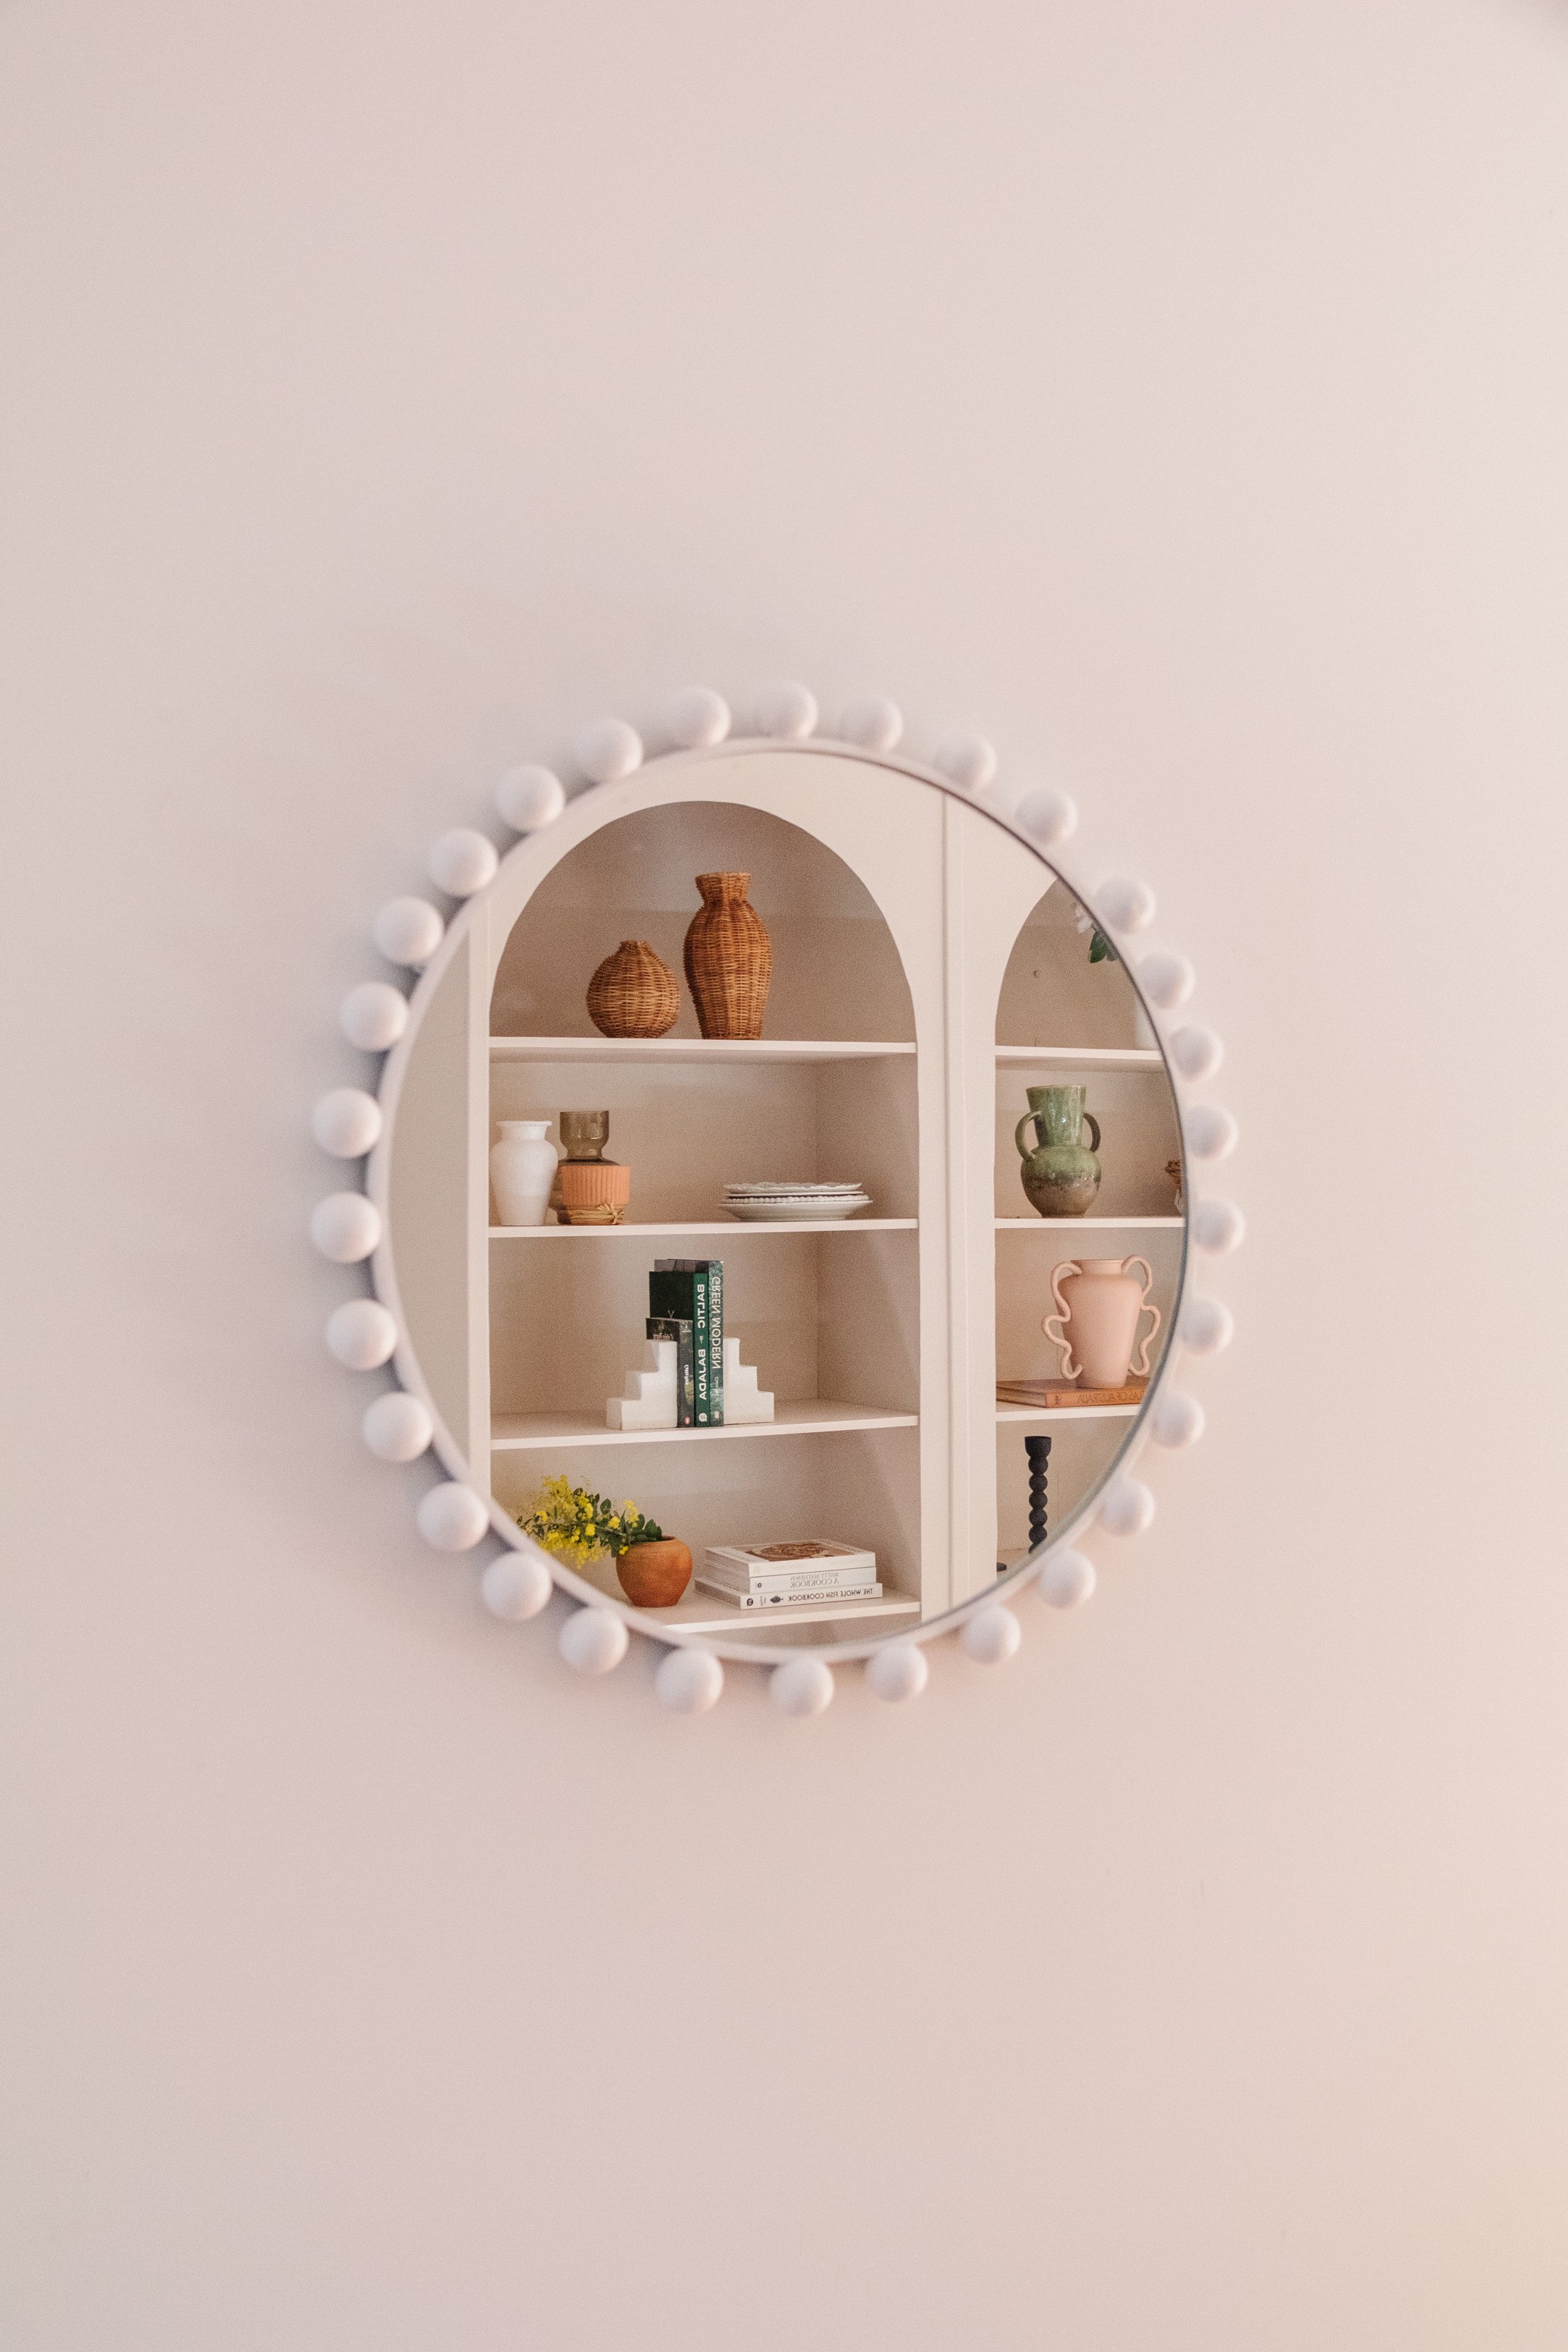
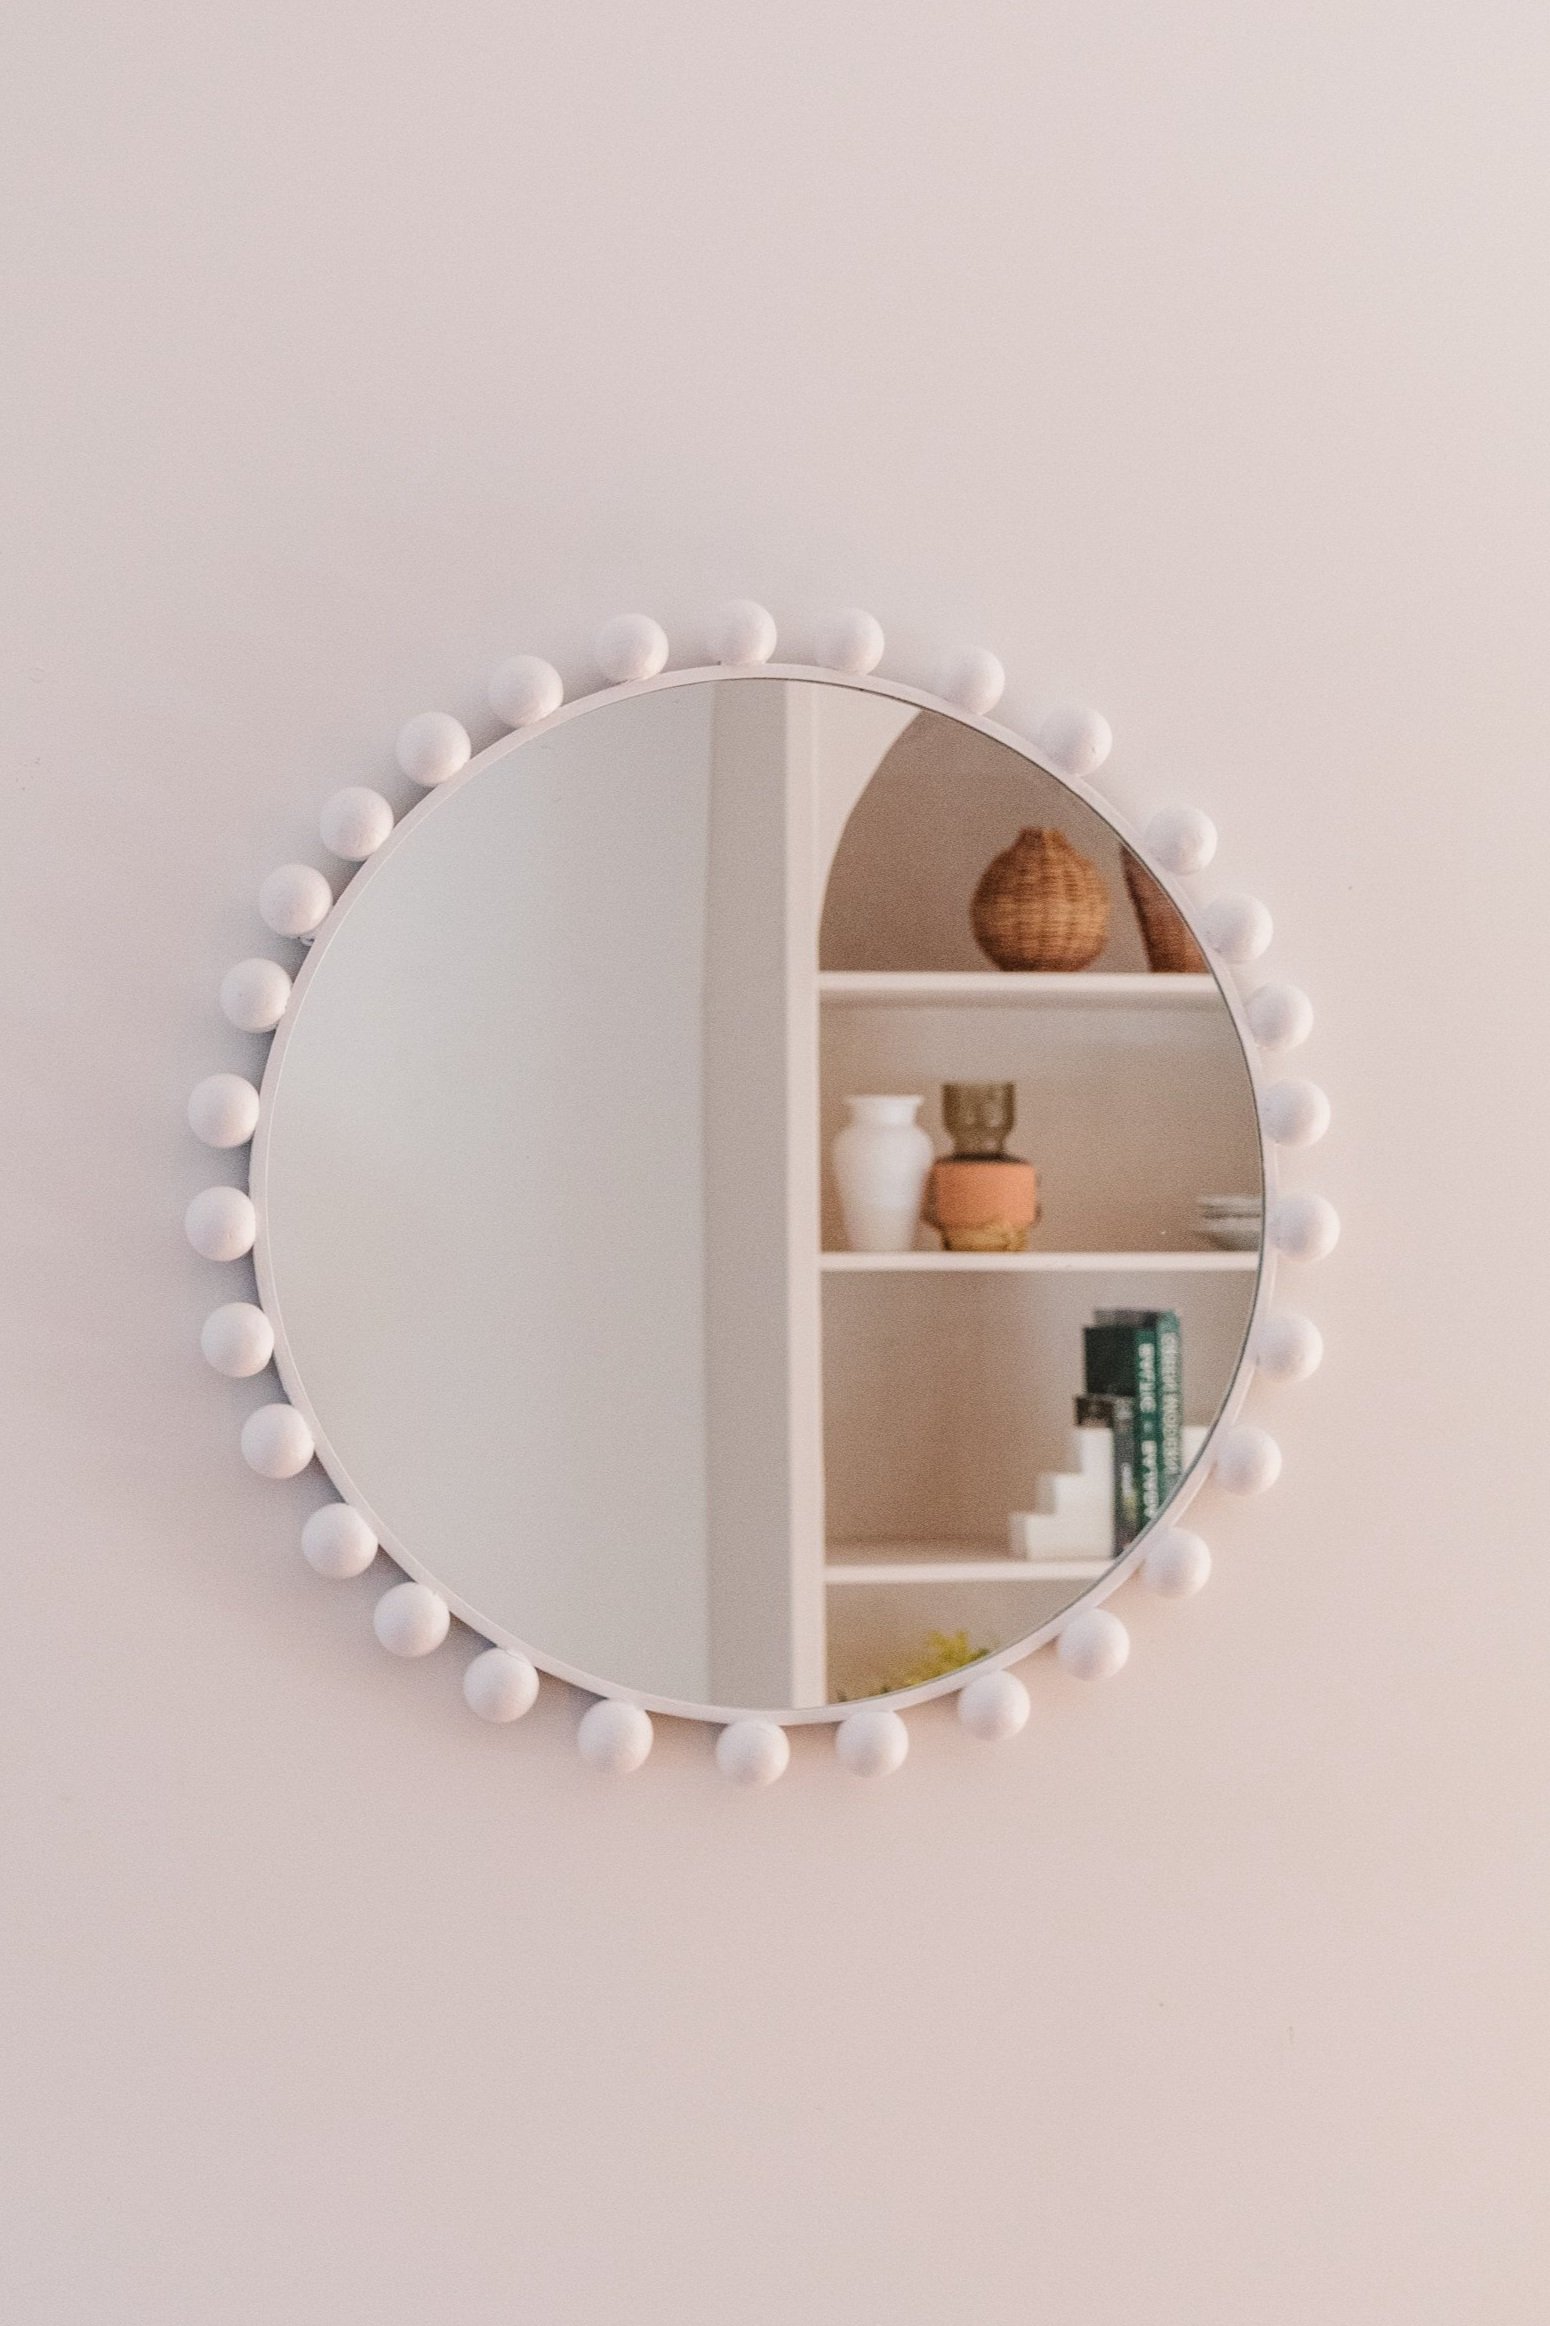
Upcycled Round Ball Mirror - for under $50!
I fell in love with a round ball mirror but it cost $1,800 and it was wayyyy out of my budget so I made my own for less. A lot less!
If there's one thing I love, it’s upcycling mirrors. Have you seen this one? They make any space feel bigger and brighter, and this morning I stumbled across a round mirror at the tip shop. It was a little bit more expensive than what I would usually spend, but I’ve been wanting to make a ball mirror for months and I knew it would be perfect. I actually came across this ball mirror ages ago but it was way out of my budget ($1,840!) and typically I started thinking about how I could make it myself for a fraction of the cost. So, I decided to head up to the Lincraft store in Gympie to pick up the materials I needed - foam balls and paint. As you guys know I love working with foam balls and I am so happy my mirror dupe worked! Read on to learn how to make your own Upcycled Ball Mirror - it’s so fun and easy!
And to see how this Upcycled Round Ball Mirror came together, make sure you check out this video!
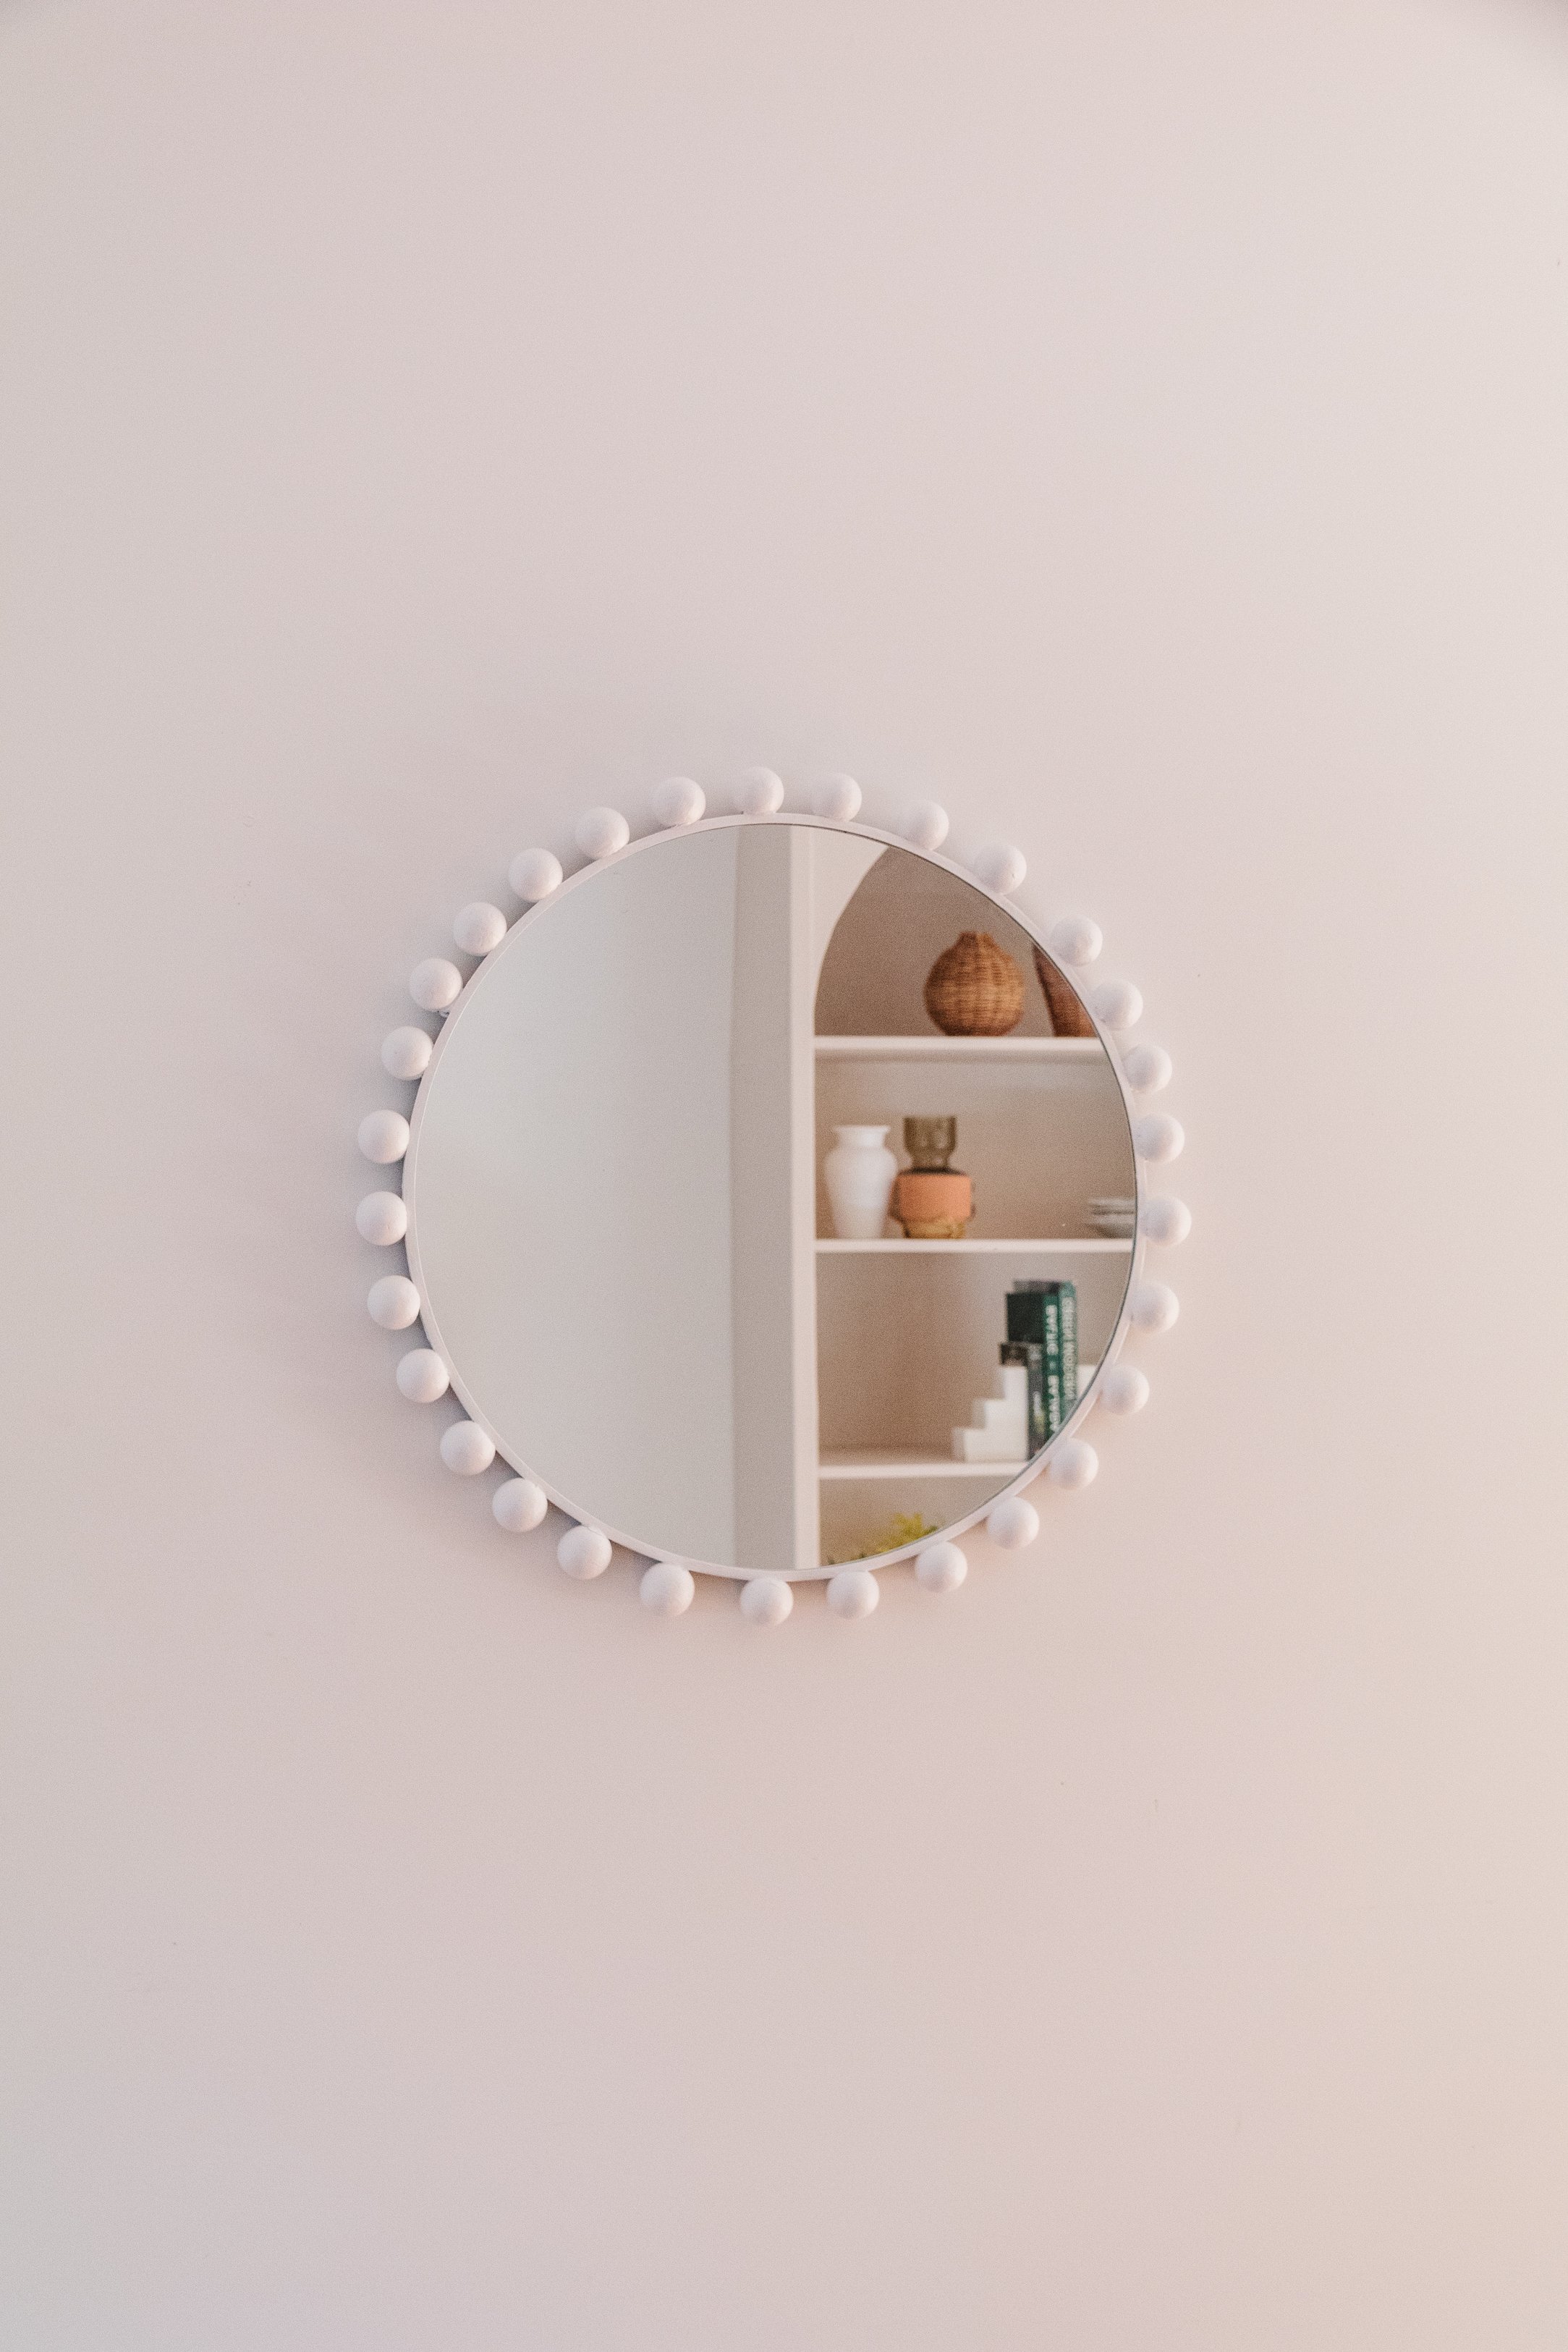
Before & After
I am kicking myself! I totally forgot to take a “before” photo but you can see what the mirror looked like before I painted here.

Project Details
🕒 Project Time Estimate: 1 hour, not including paint or glue drying time
💰 Materials Cost: $50 ($15 mirror included)
⚒️ Tools: Paint brush
👷♀️ Skill Level: Beginner DIYer

Materials
Round secondhand mirror. Tip: Look for one that has an existing frame so you can easily glue the styrofoam balls onto.
White primer paint
Paint brushes from Lincraft
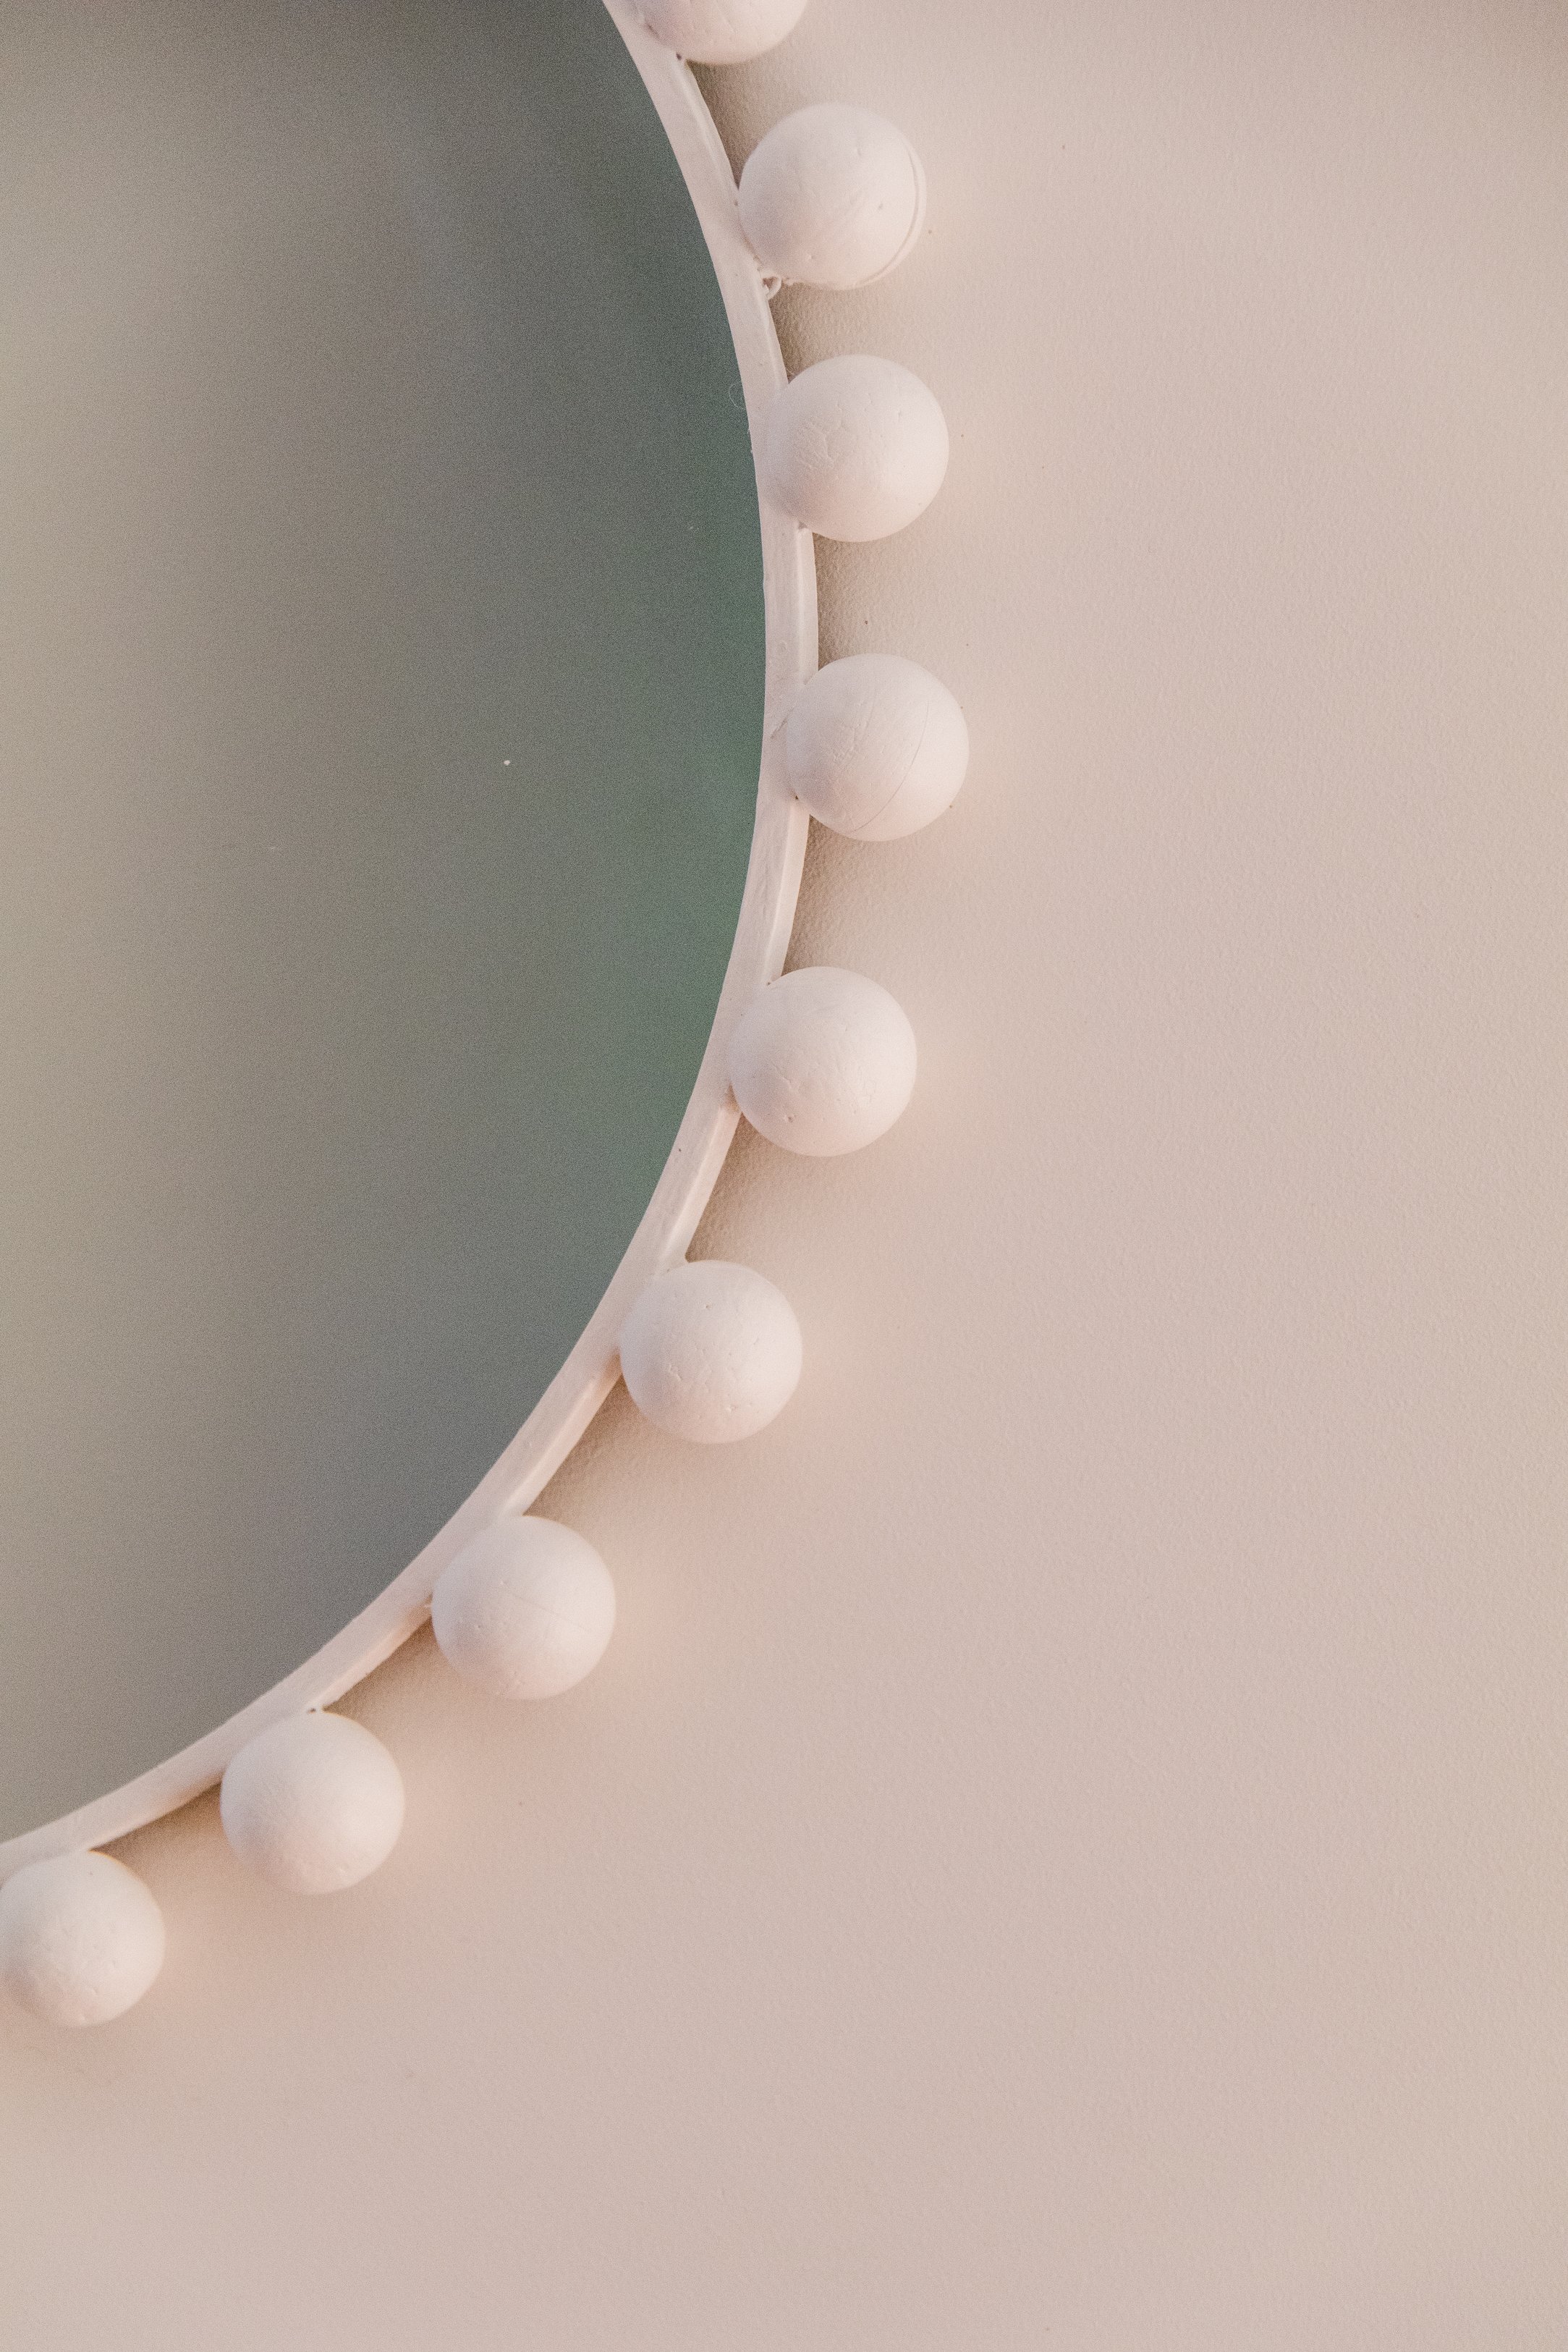
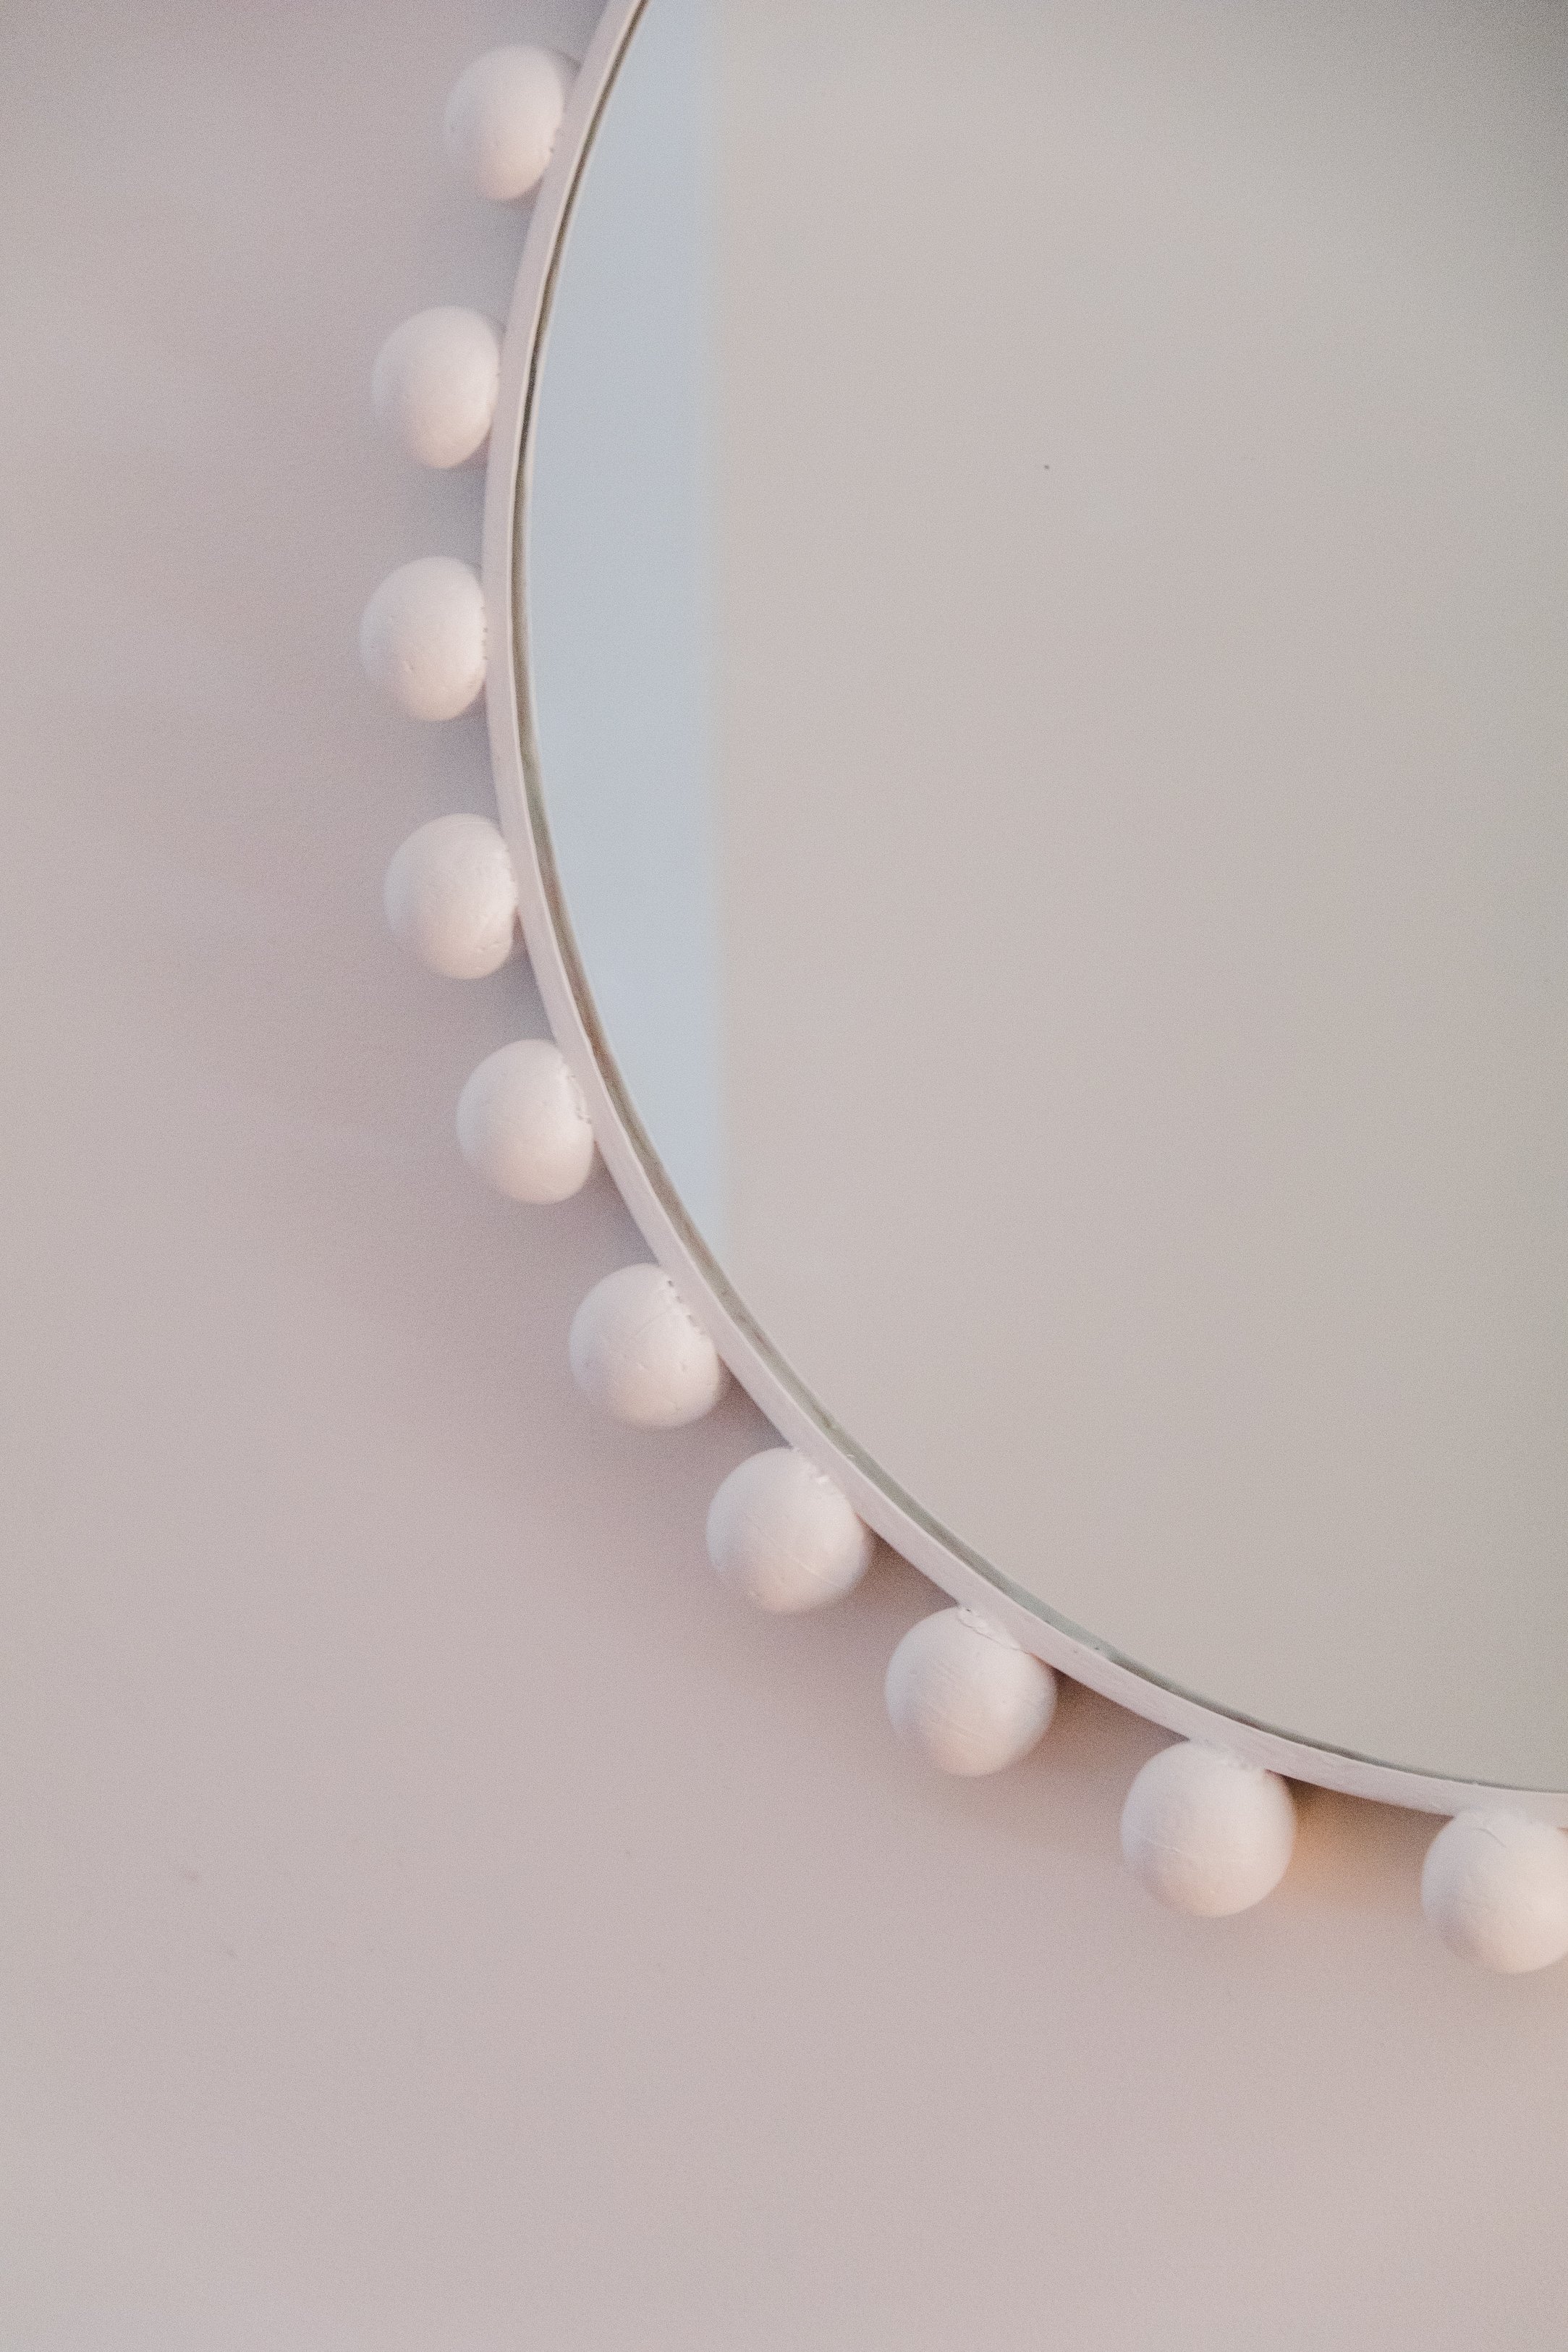
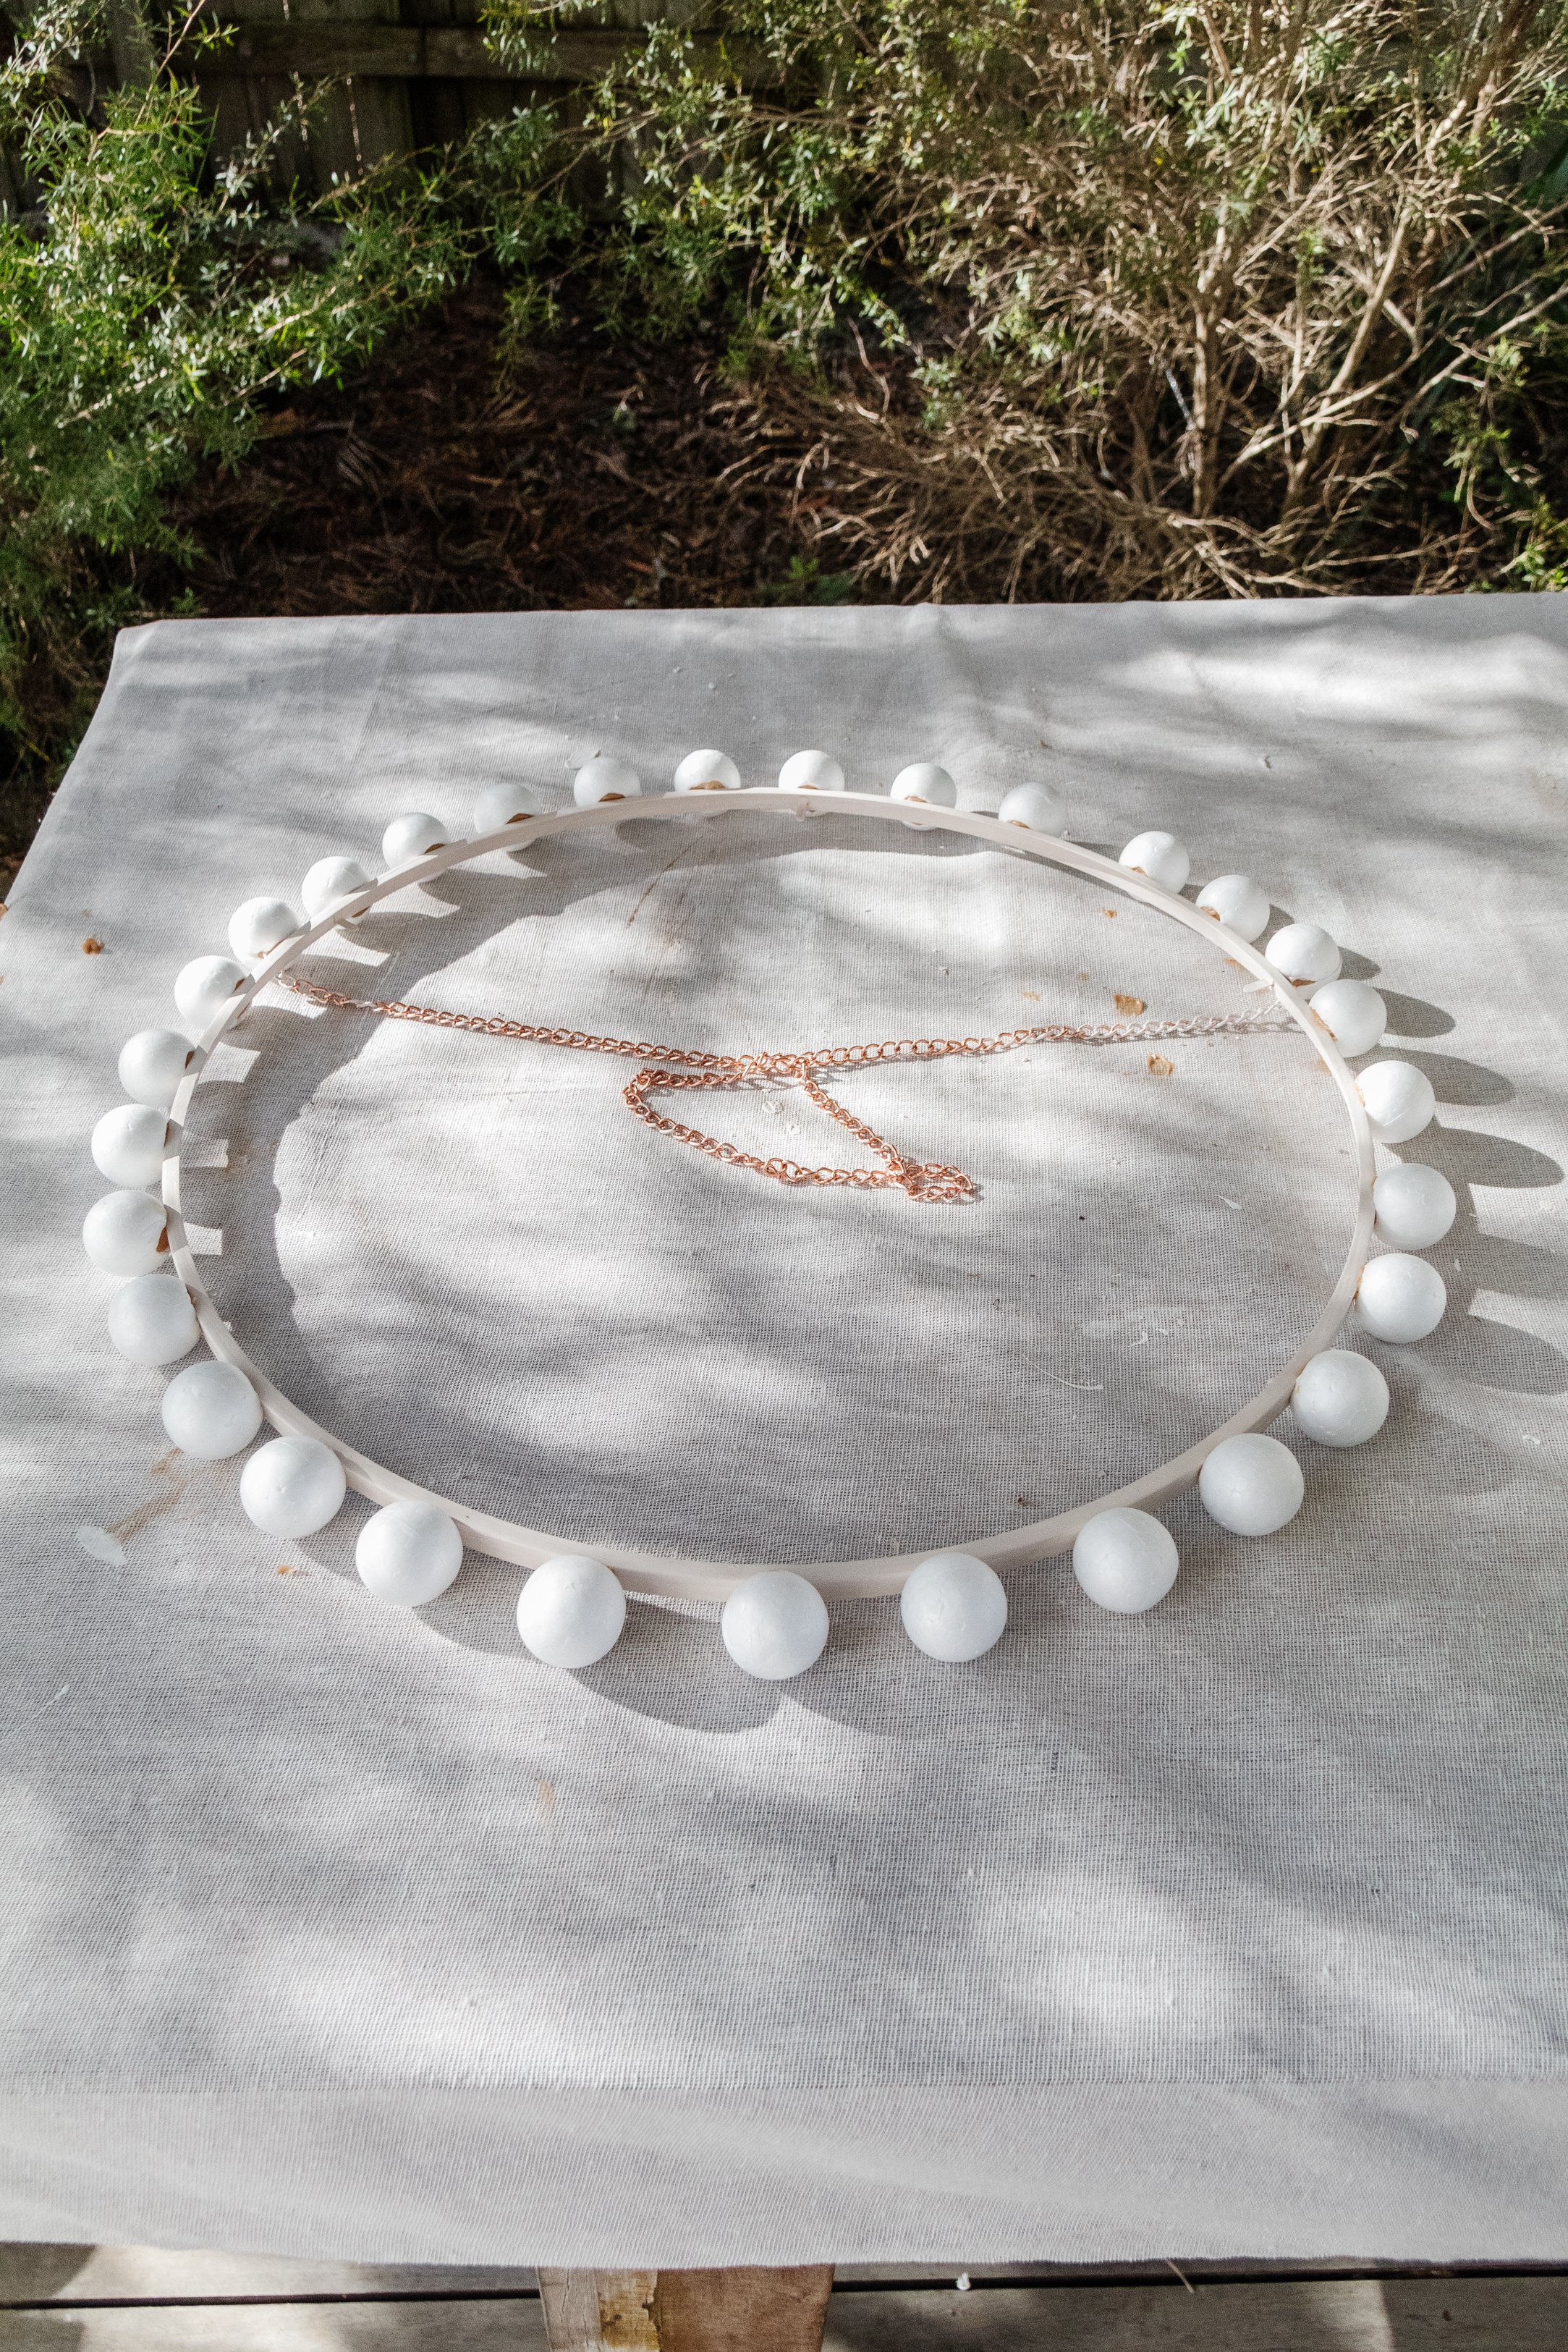
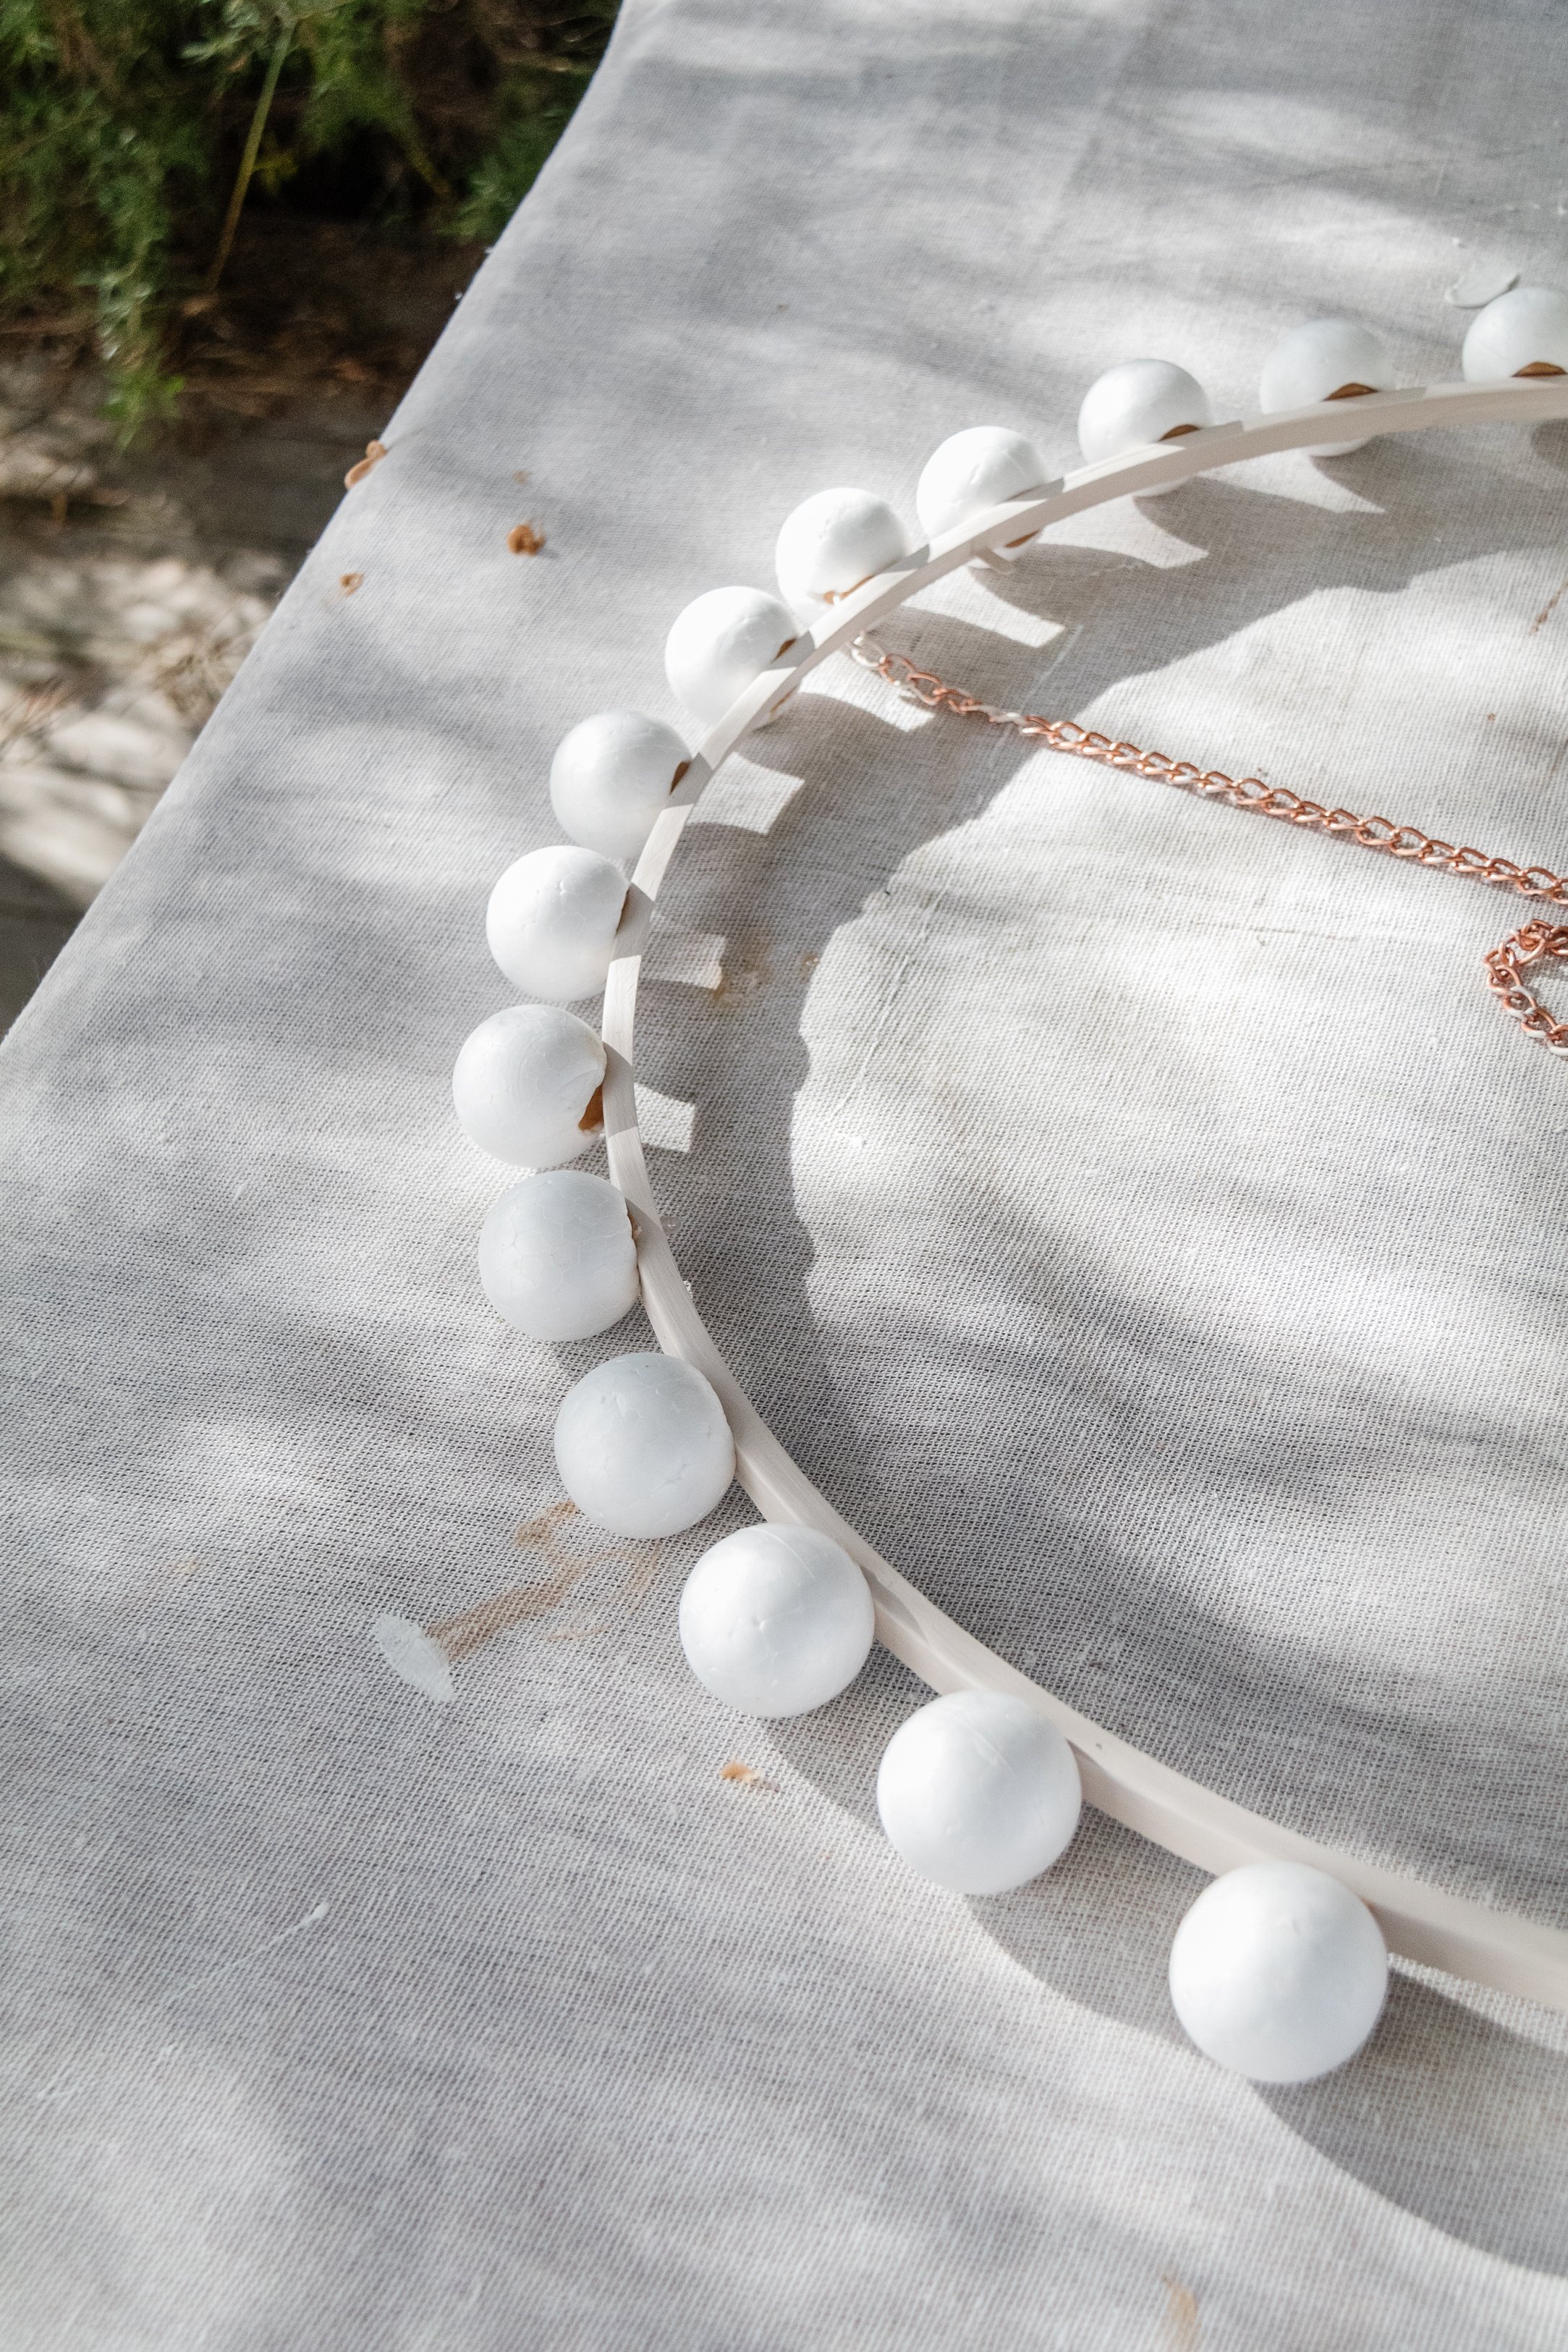
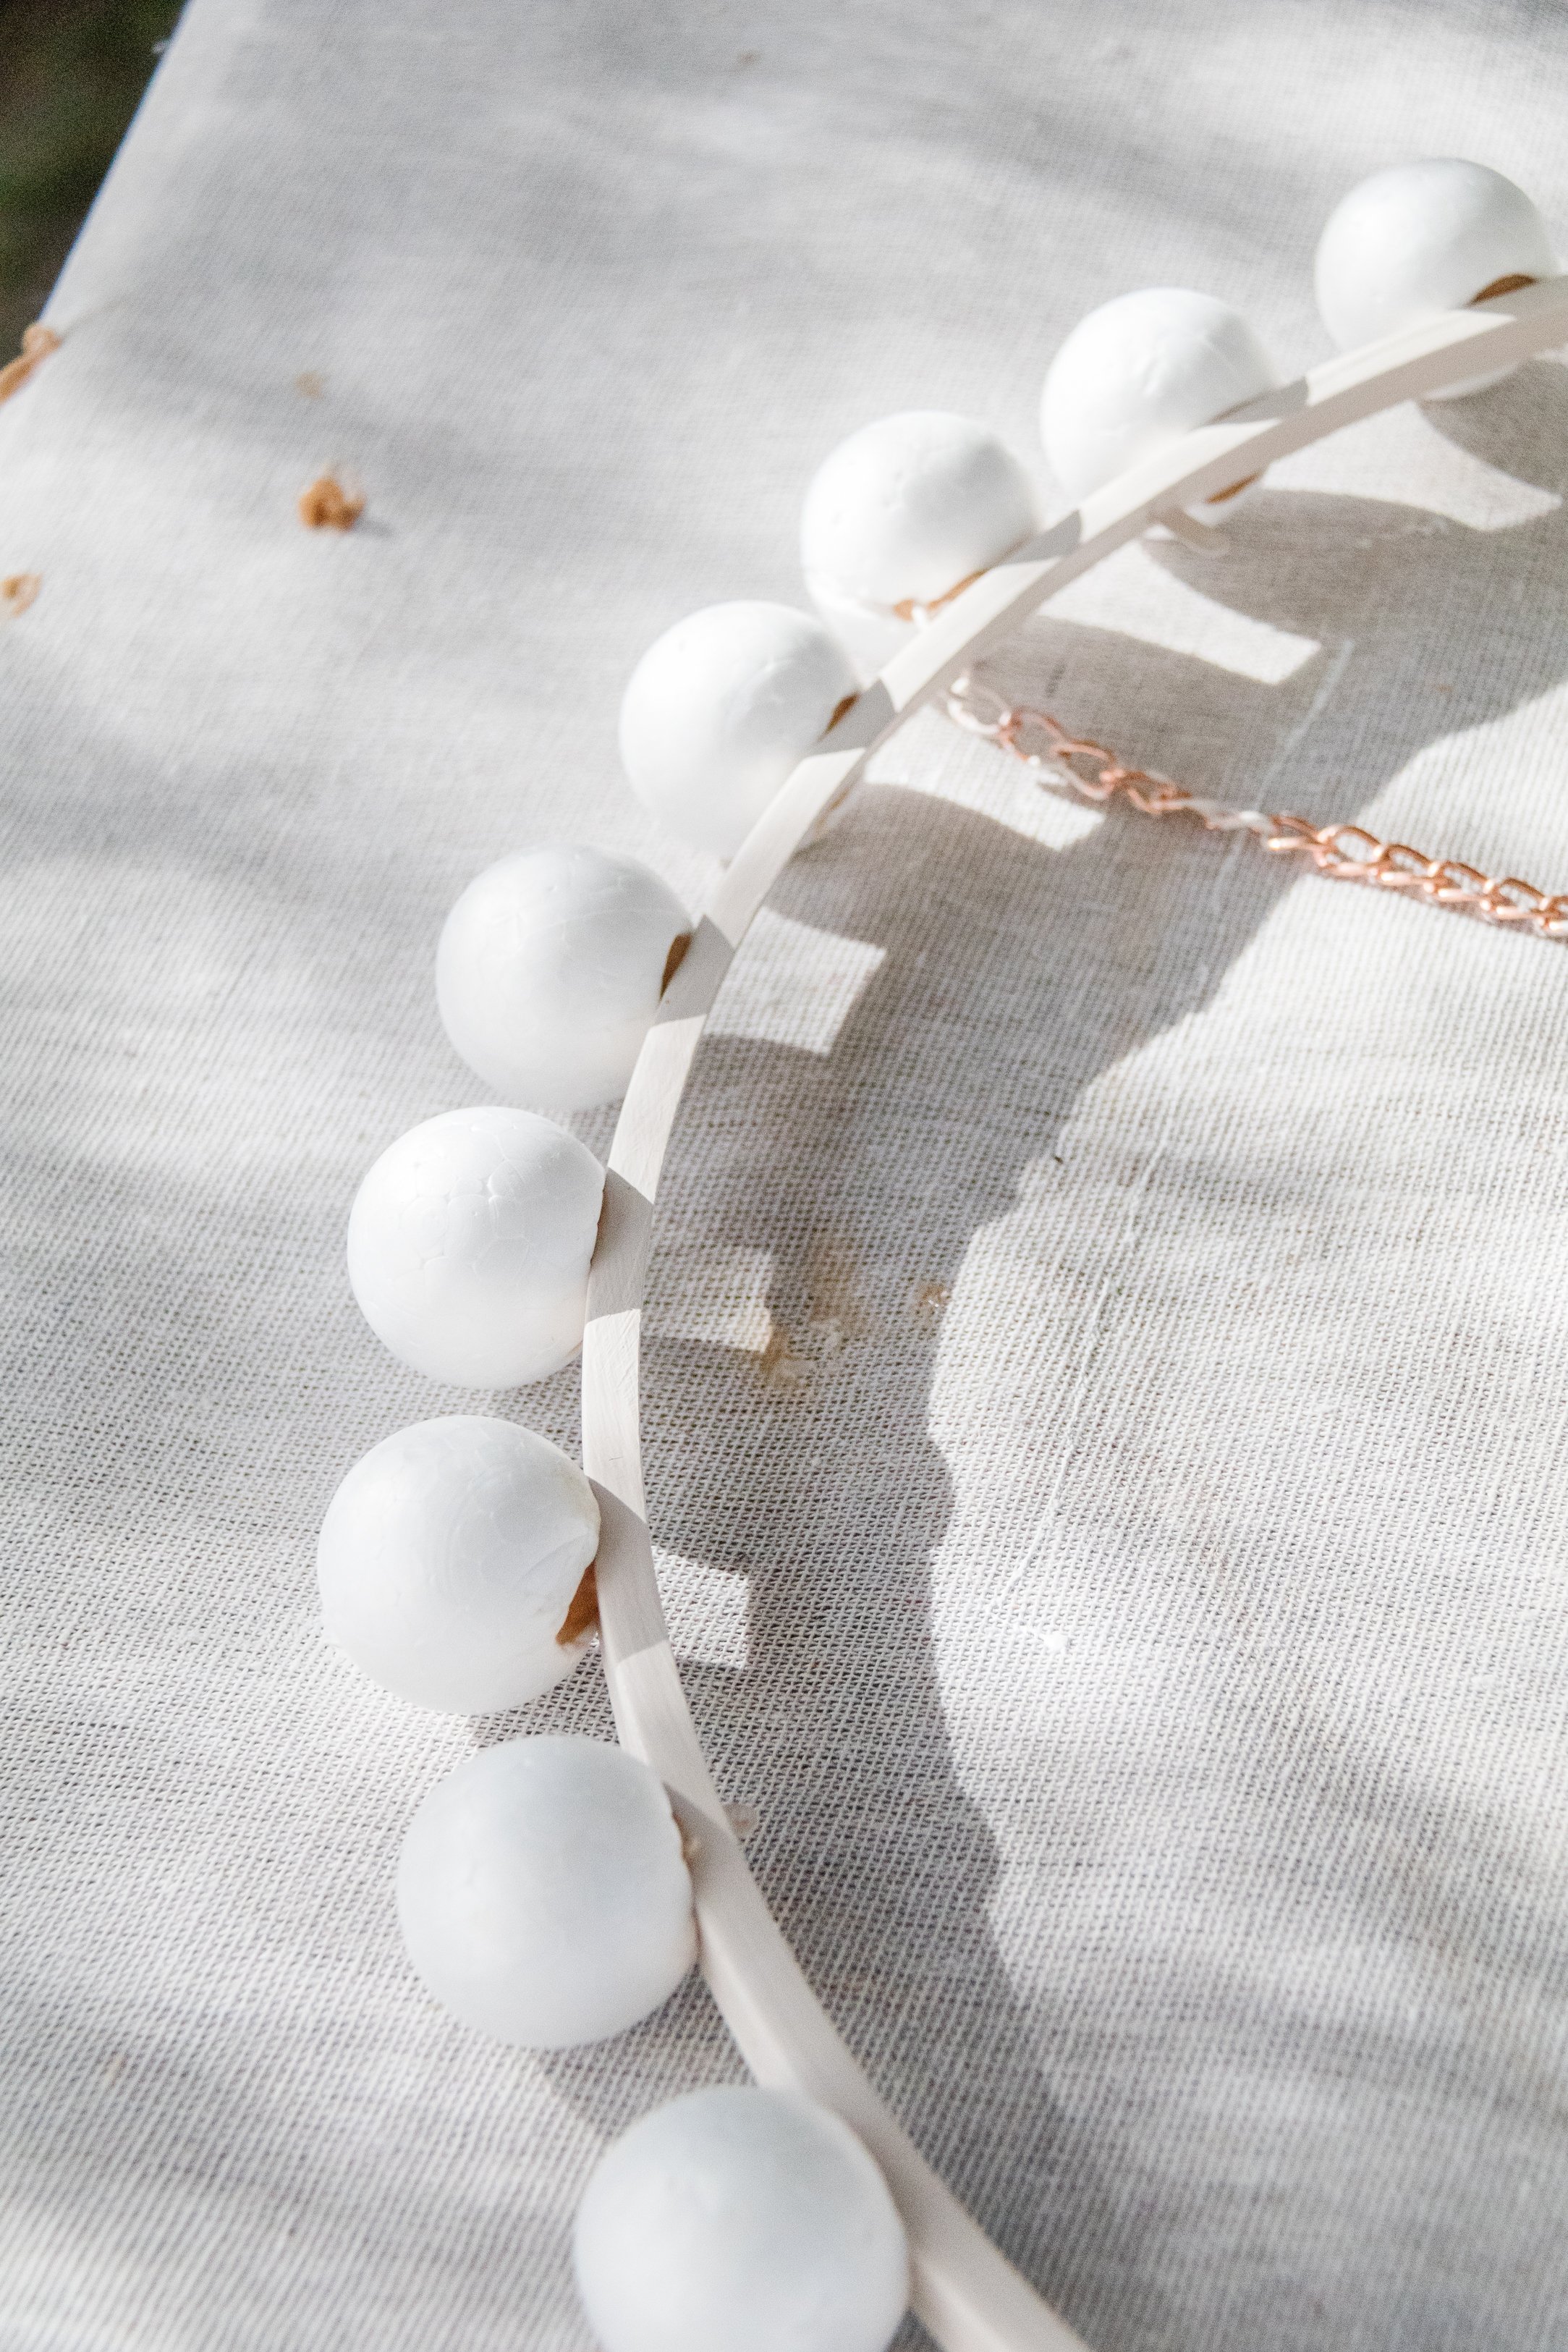
38mm Decofoam Balls from Lincraft
Selley’s “Hold Up” glue (in the photos I used another glue, and it melted the styrofoam so make sure you use a white water based glue like Selley’s Hold Up - it’s amazing!)
Studio Acrylic Paint from Lincraft in “Red Bean Grey” or “Titanium White”
How To
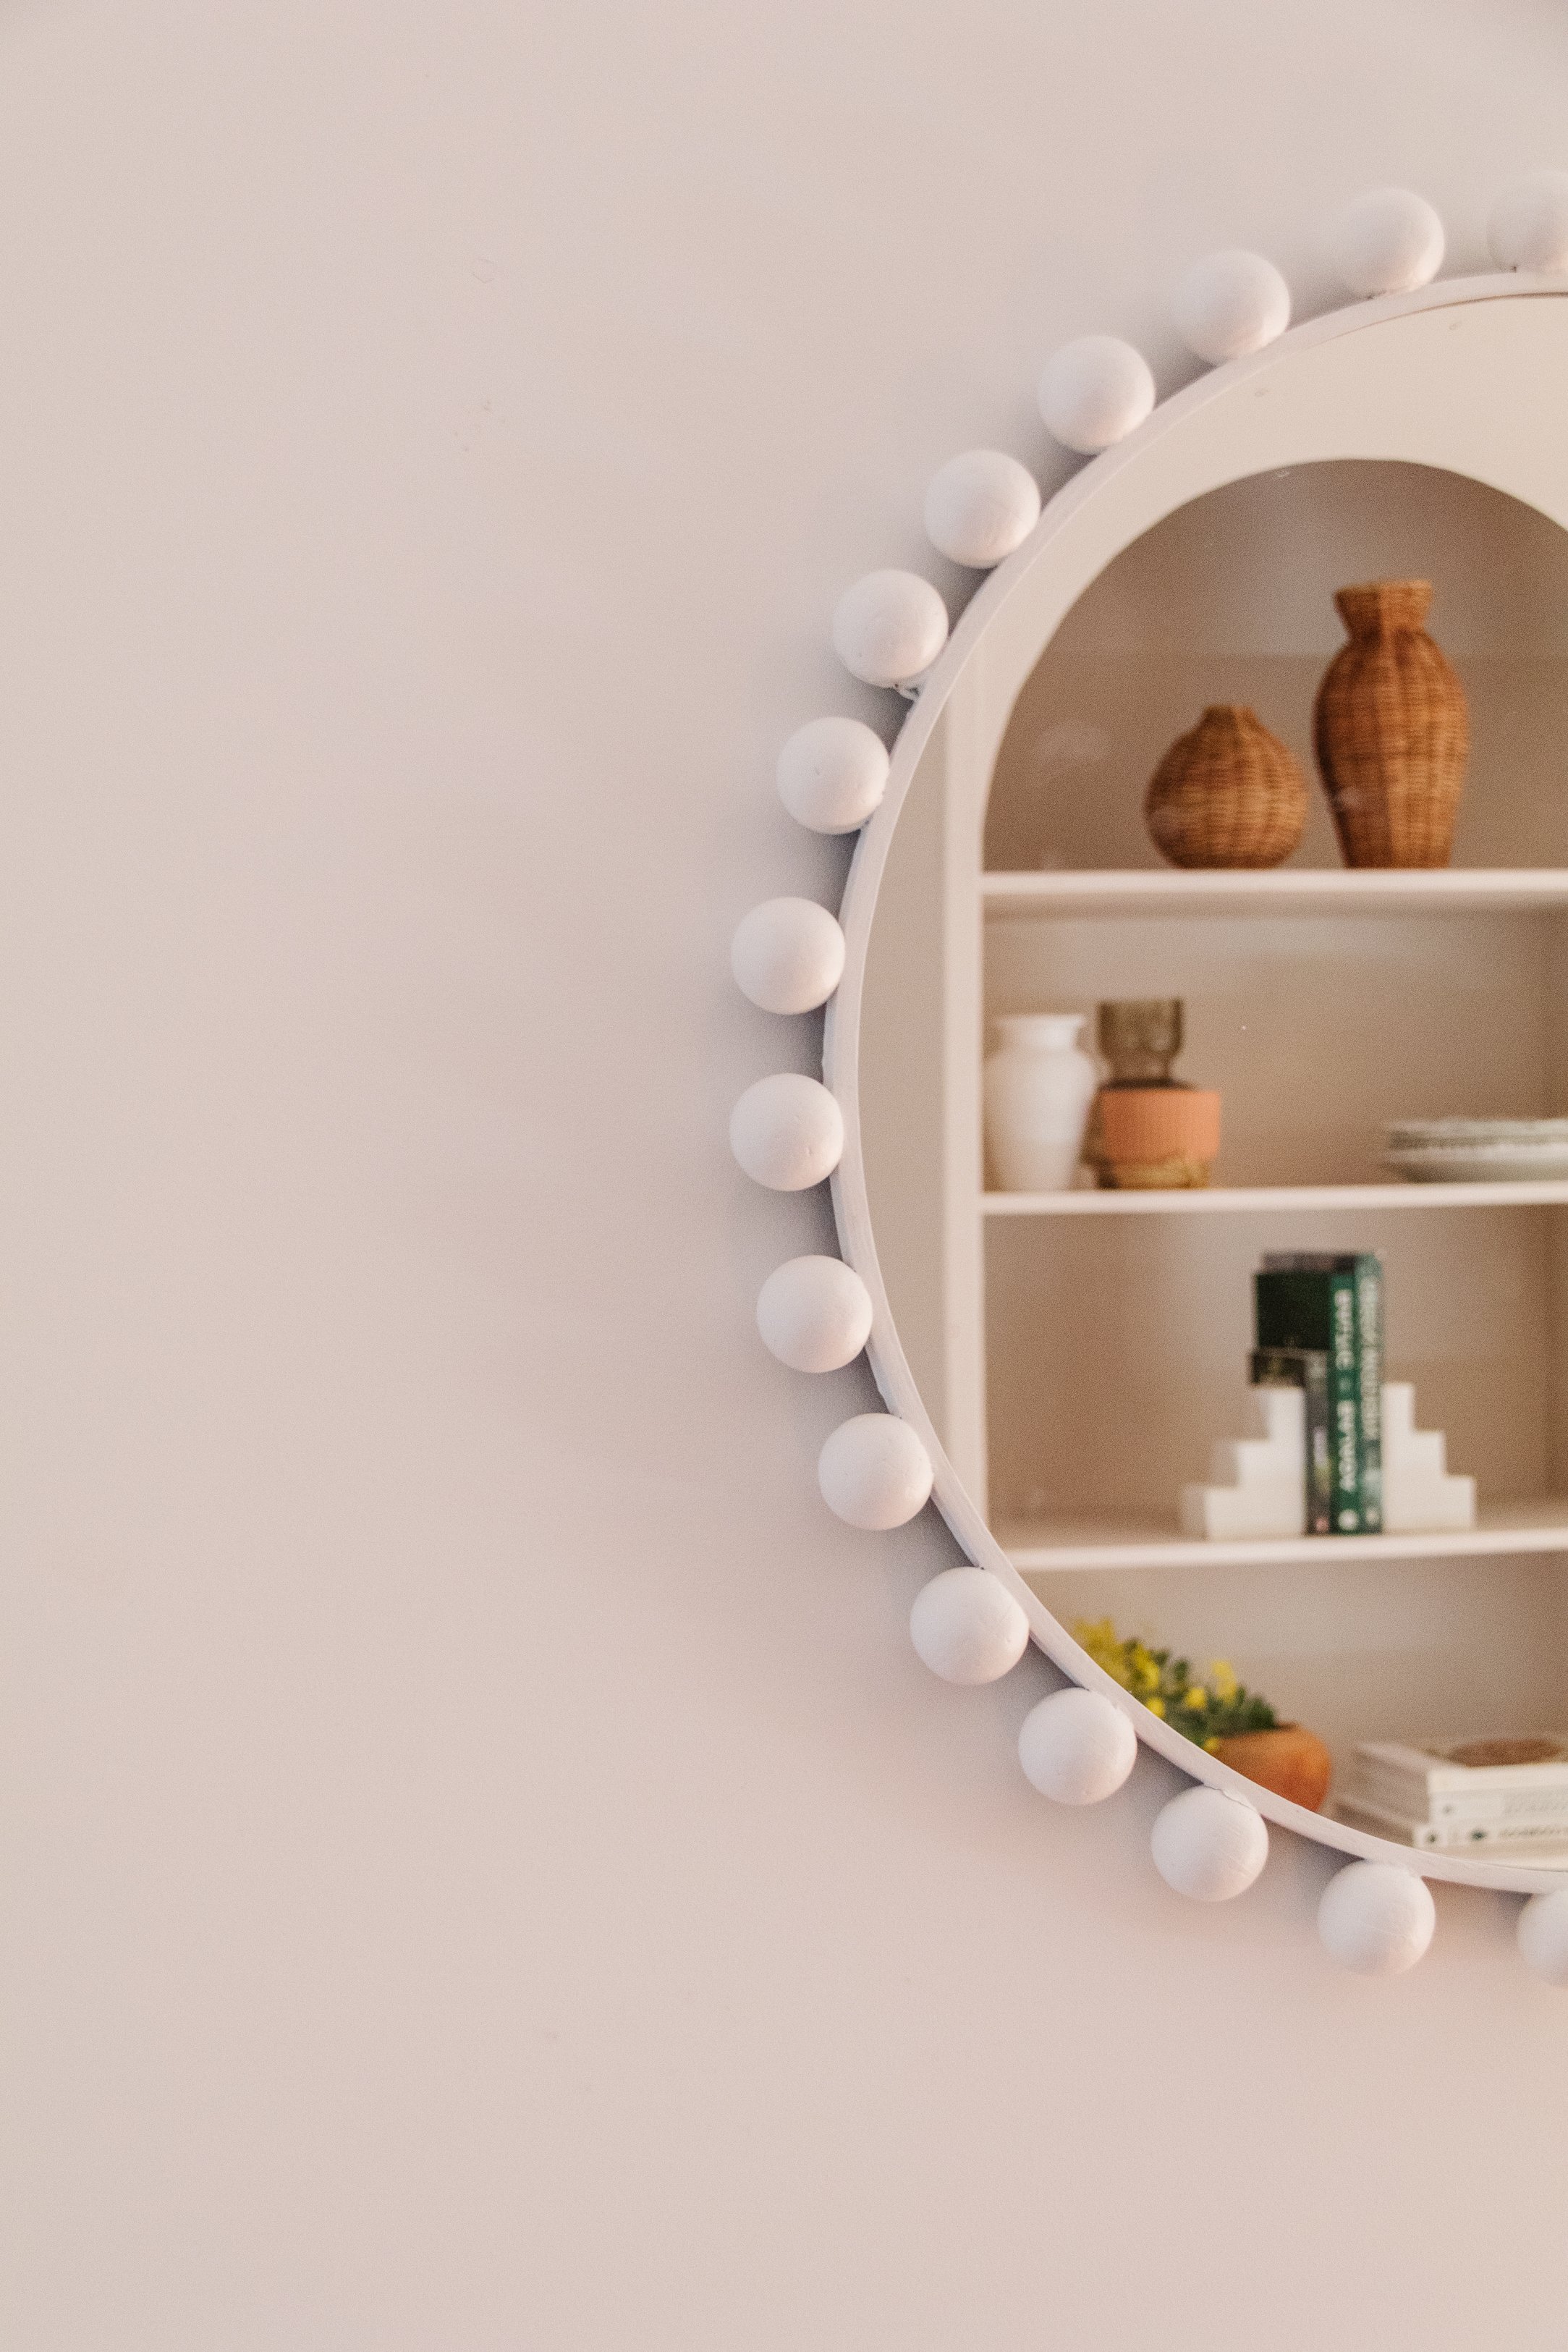
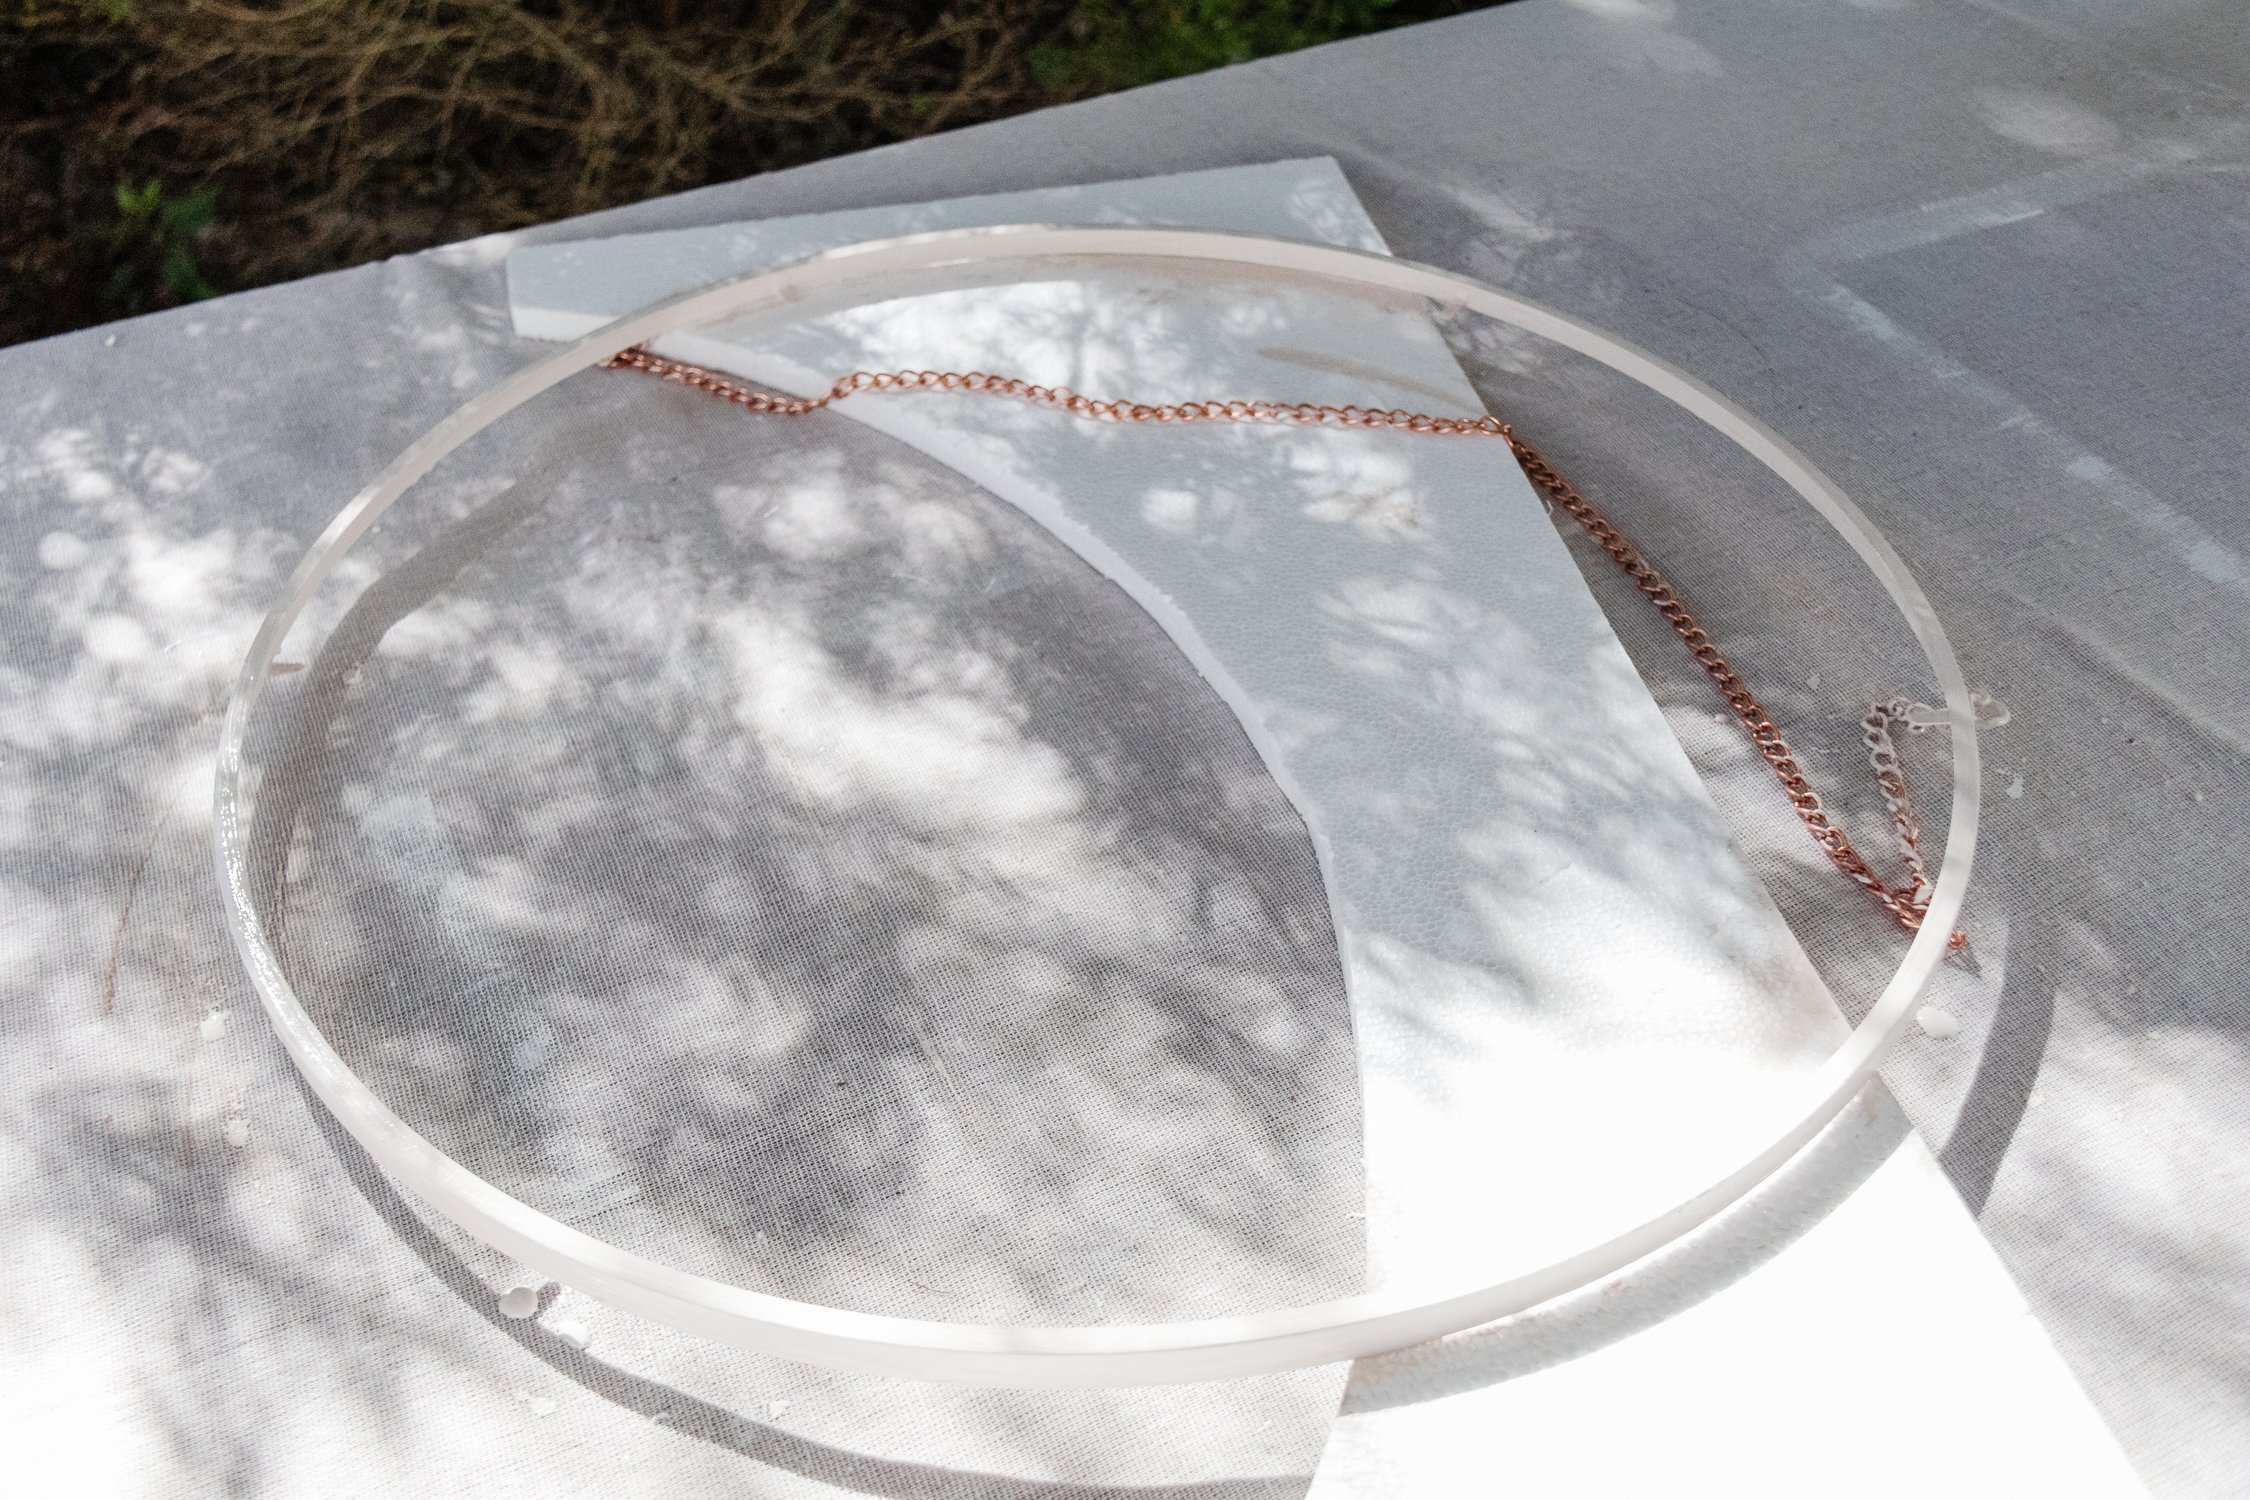
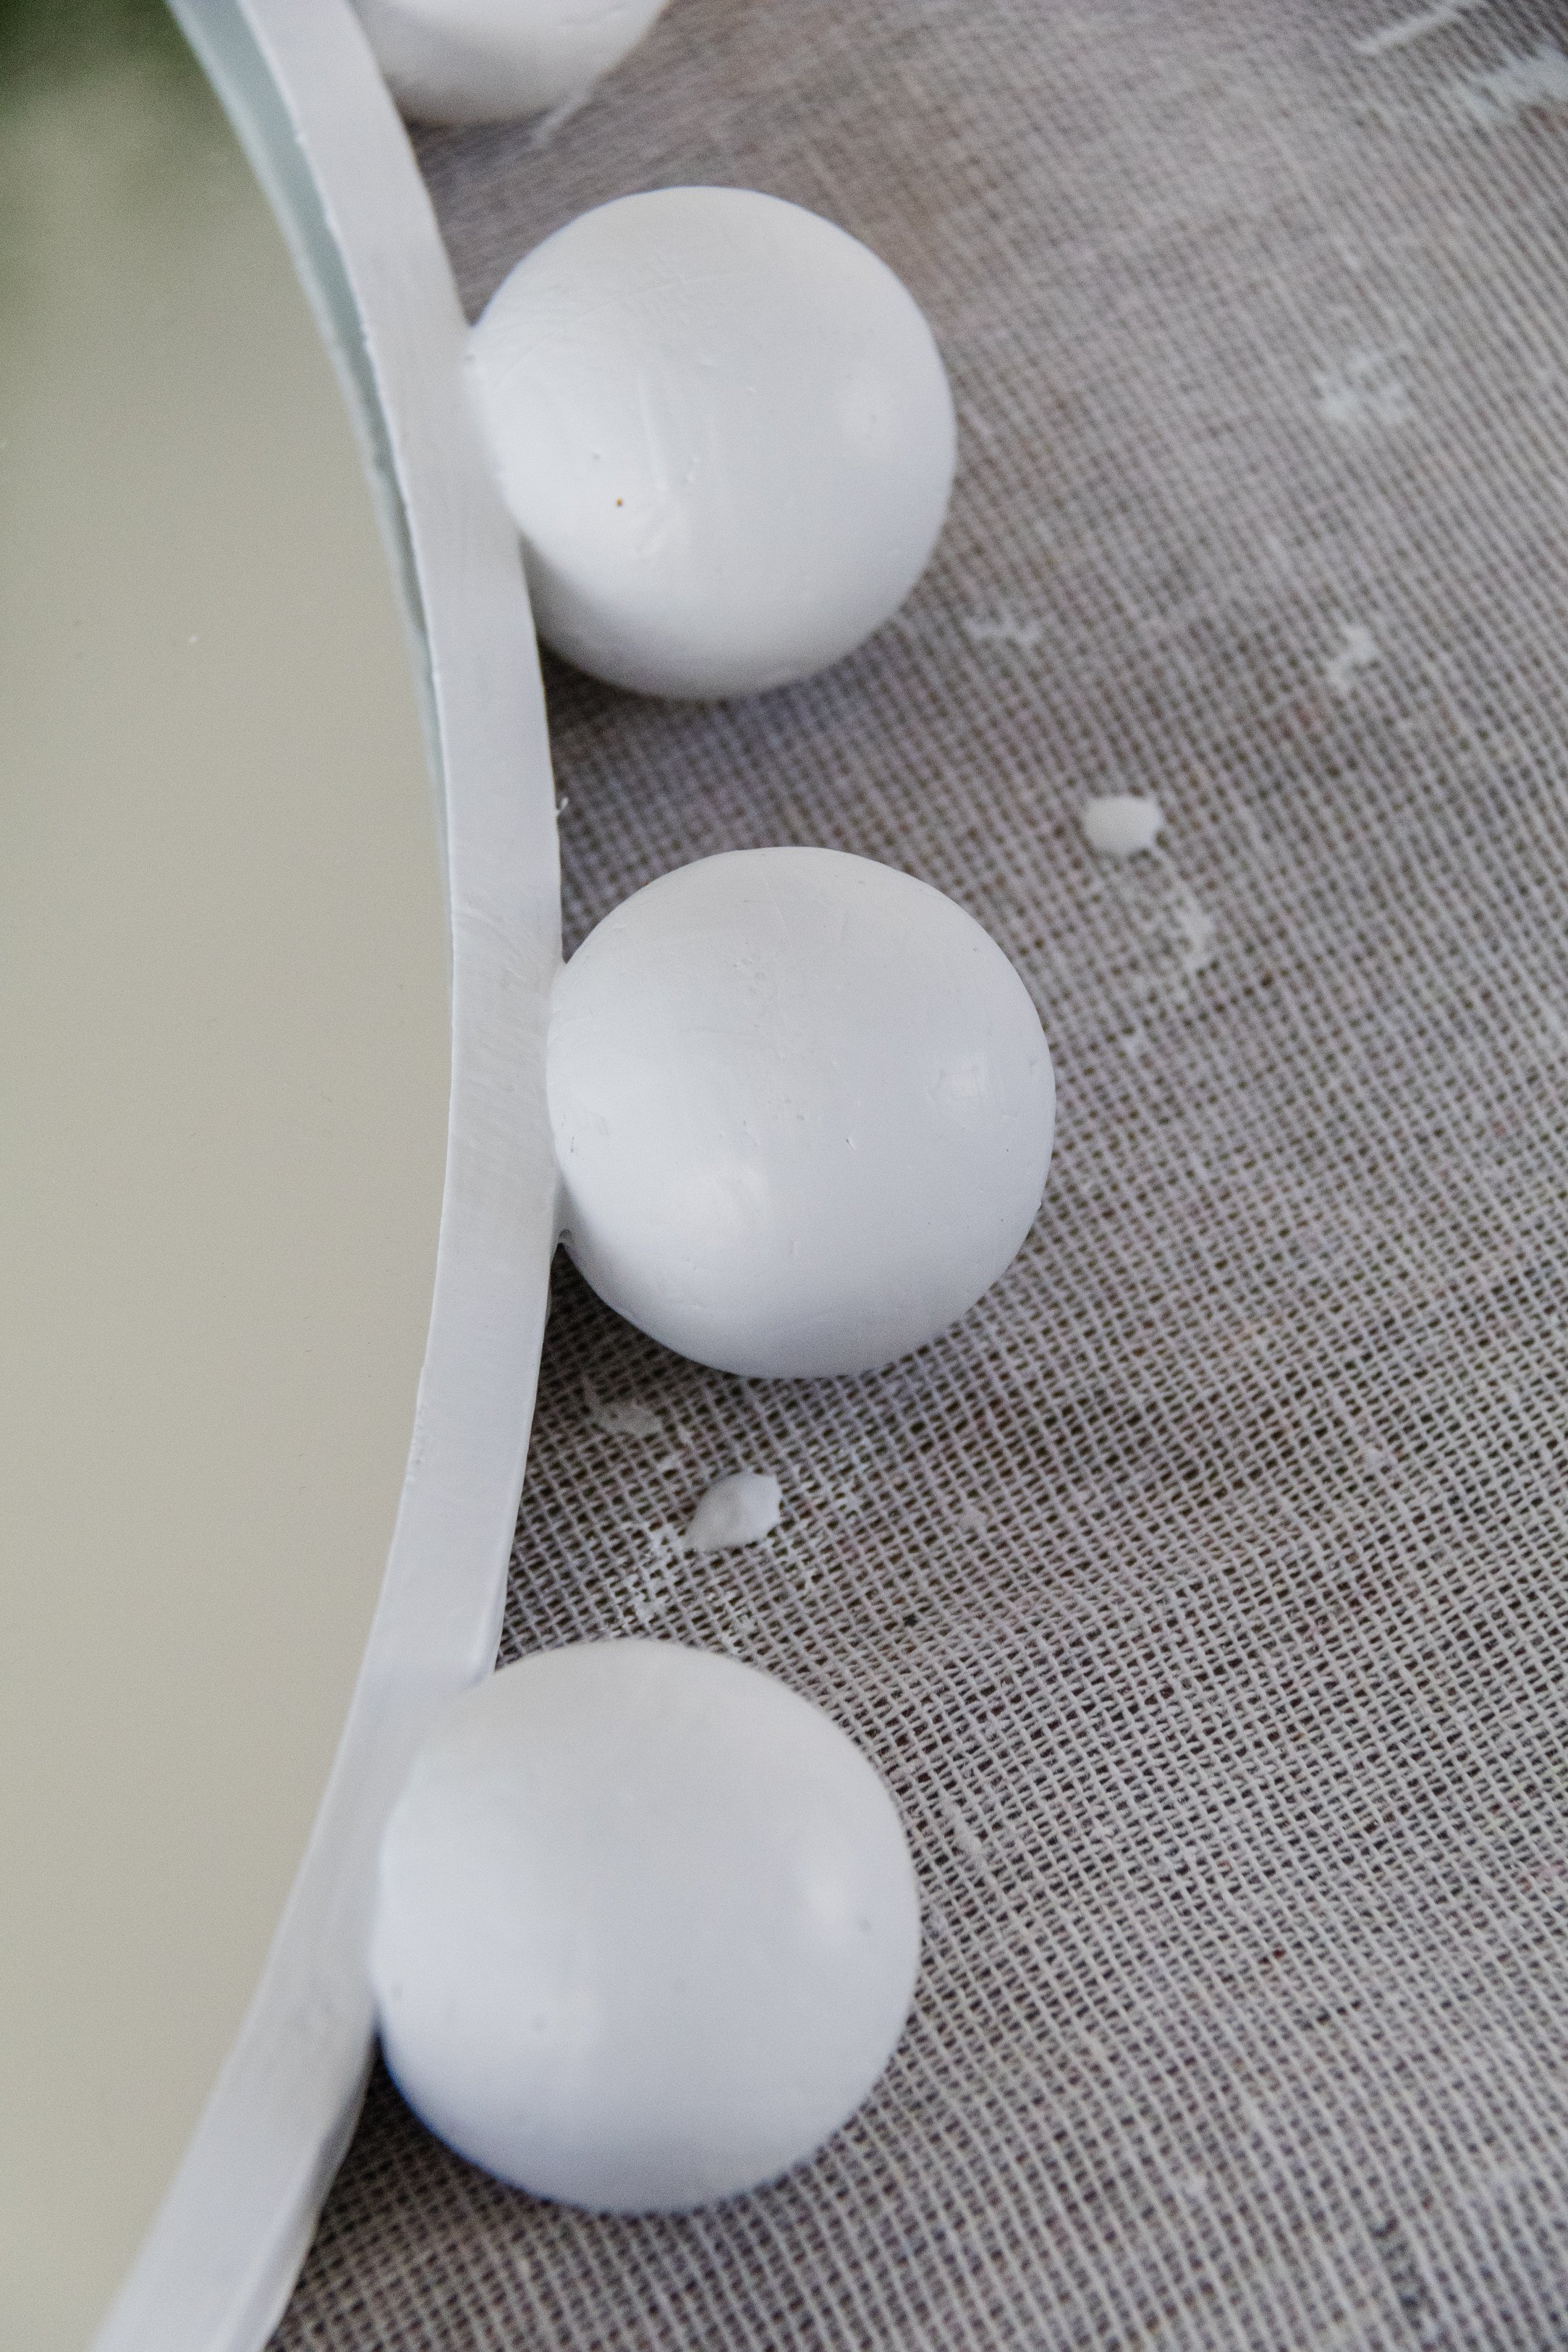
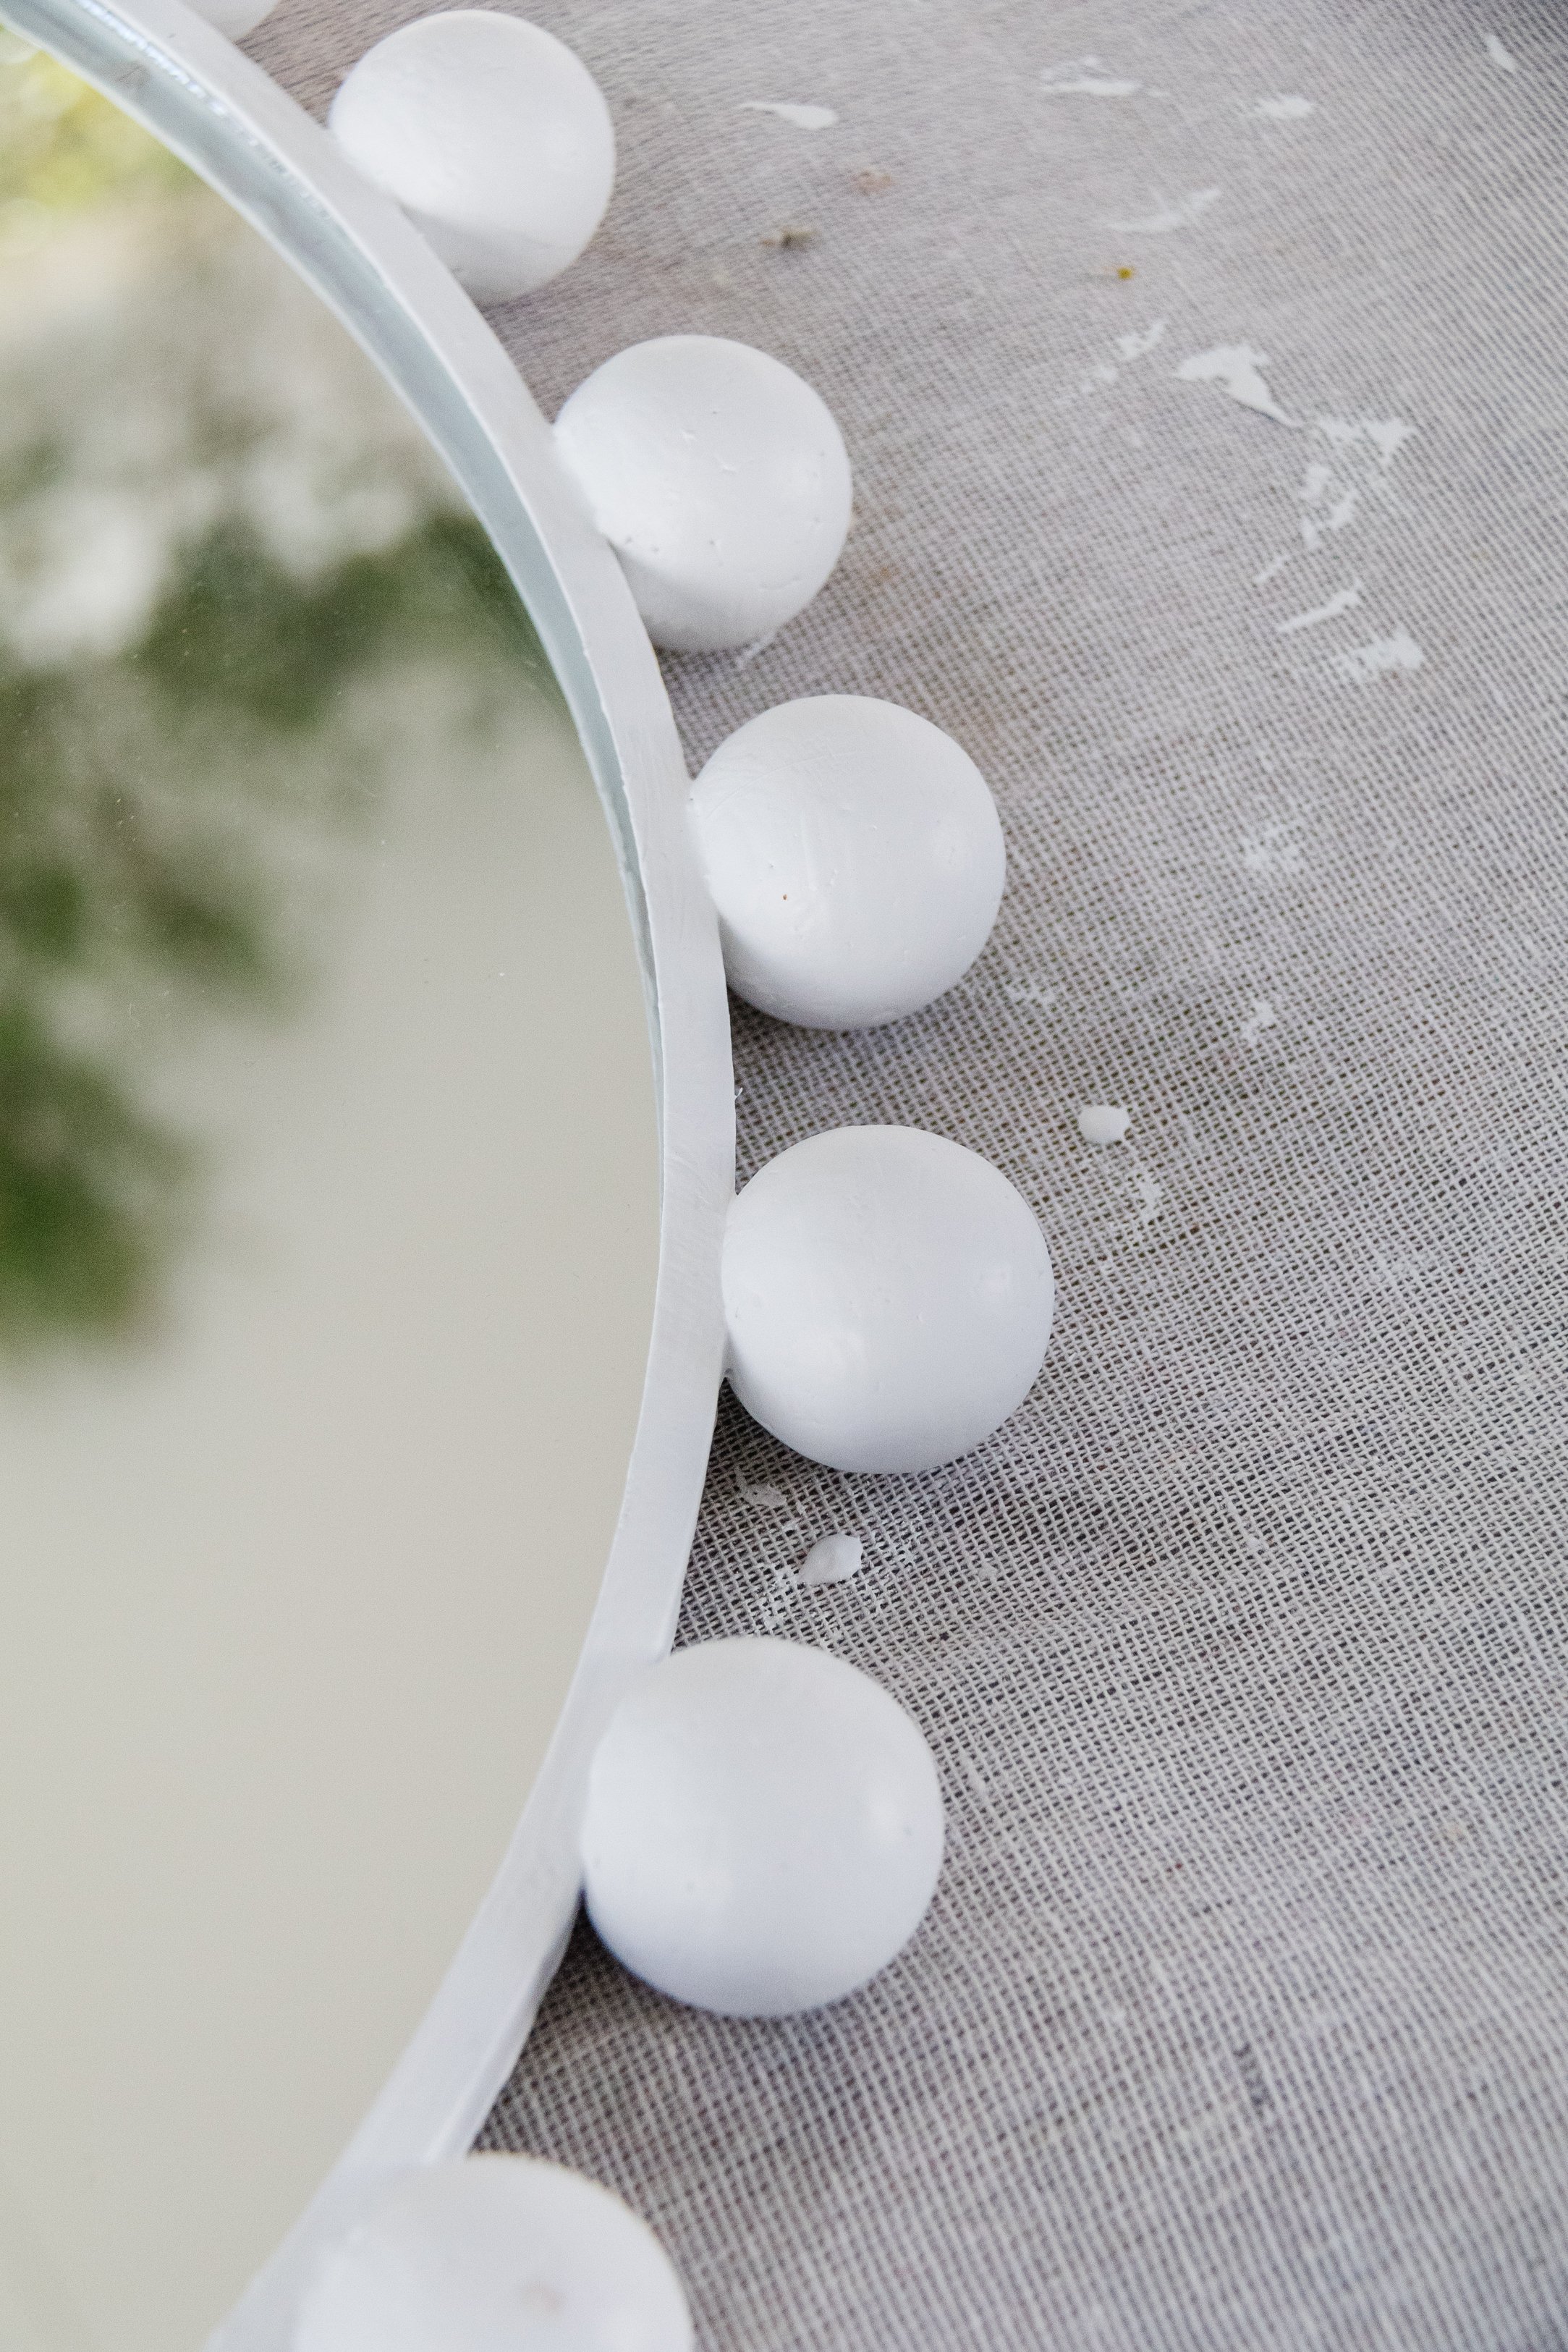
Start by removing the mirror from the frame. Paint the frame with white primer and set aside to dry. When the paint has dried, apply one to two coats of Studio Acrylic Paint in “Red Bean Grey” on the frame and set aside to dry. When the frame has completely dried, glue the foam balls all around the perimeter of the frame; you may need to elevate the frame like I did to glue the balls on. Set aside to dry.
When the glue on the foam balls has dried, carefully paint one to two coats of Studio Acrylic Paint in “Red Bean Grey” all over the styrofoam balls. I actually changed my mind at the last minute, and painted over the “Red Bean Grey” acrylic paint with “Titanium White” - and I am so glad I did! Let the paint completely dry between coats. Set aside to dry. Adjust the chain or string at the back and hang the mirror in your home. And enjoy!
Ta daaaa!
I’ve seen similar ball mirrors cost thousands and there is no way I can afford that, so I challenged myself to make my own. And I did it! And I can’t believe I upcycled this mirror for under $70 - how good is that! And this is why I love what I do. I love helping you make your dream home for less. And I hope this project inspires you to look at home decor that’s out of your price range and think “how can I make that myself?”.
This project is in collaboration with Lincraft.