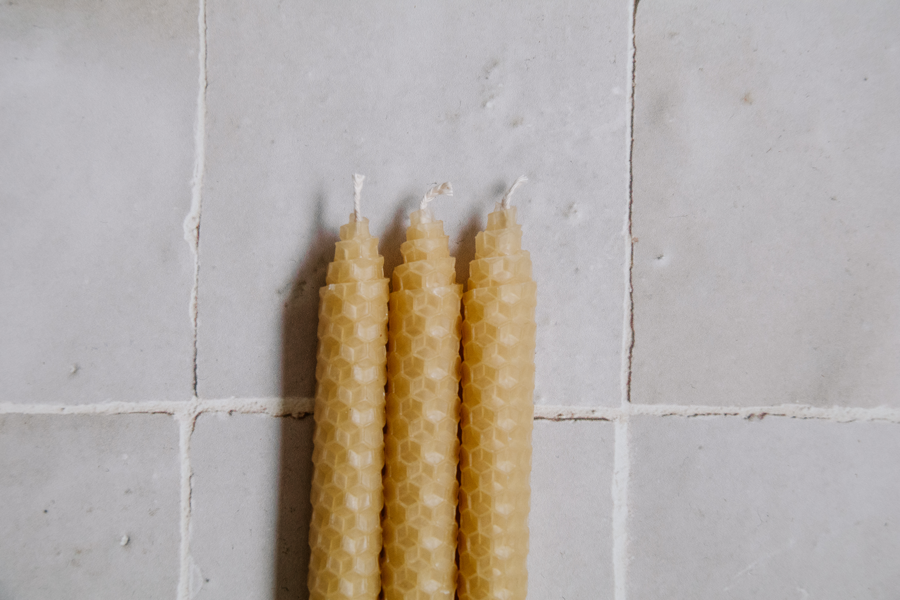
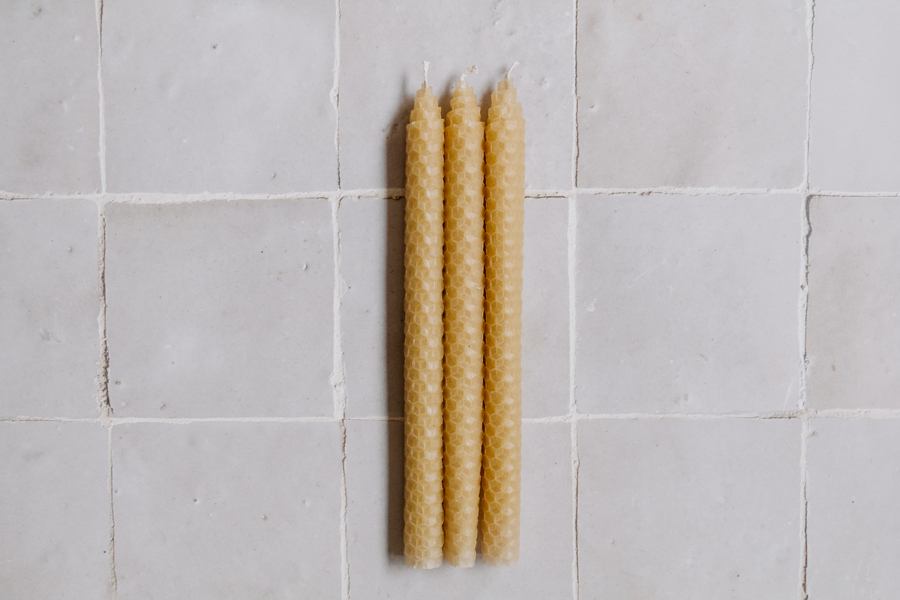
DIY Tapered Beeswax Candles
I am obsessed with creating interesting centrepieces for our table when we have friends and family over, and I've been dreaming of making my own candles. I didn't want to have to worry about melting beeswax and using the pouring method - instead I wanted to make something quick and easy. These DIY Tapered Beeswax Candles would have to be one of my most simple DIYs to date.
We had some beeswax sheets and cotton string in Dusty's craft box, leftover from lockdown last year. I knew making a beeswax candle would be lots of fun and also, wouldn't take a tonne of time - something I don't have a lot of these days! However I didn't want to simply roll the sheets and be done with it; so after a bit of trial and error I figured out how to taper them, so they matched my other tapered candles. Read on for the tutorial.

Materials
Natural beeswax sheets, which is available at most craft supply stores
Natural cotton string or you can buy cotton wick online, which is also available at most craft supply stores
Craft knife or sharp kitchen knife
Cutting mat or board, I got mine from Officeworks
Ruler

Steps
Lay out one sheet of natural beeswax on your cutting mat or board. Measure 2cm from the top and lay a ruler diagonally across.

Cut the natural beeswax sheet using the craft knife.

Place the cotton string or wick along the longest length of the beeswax sheet, leaving extra at the top.

Gently fold the beeswax sheet over the wick, and start slowly rolling your candle.

When the candle is rolling, I found it help to roll it back and forth a few times to make sure the seam of the beeswax sheet sticks.

Cut the wick approximately 1cm on top of the candle. Light safely, and enjoy!
When I was making these beeswax candles, I also had a very random idea to create a vessel for them using leftover Sculpey clay we had from Dusty's craft box. Dusty didn't love the colours of the clay, so instead of them going to waste, so I decided to make a DIY Wabi Sabi Clay Candle Holder. Make sure you check it out! It was SO easy.