DIY Wabi Sabi Clay Candle Holder
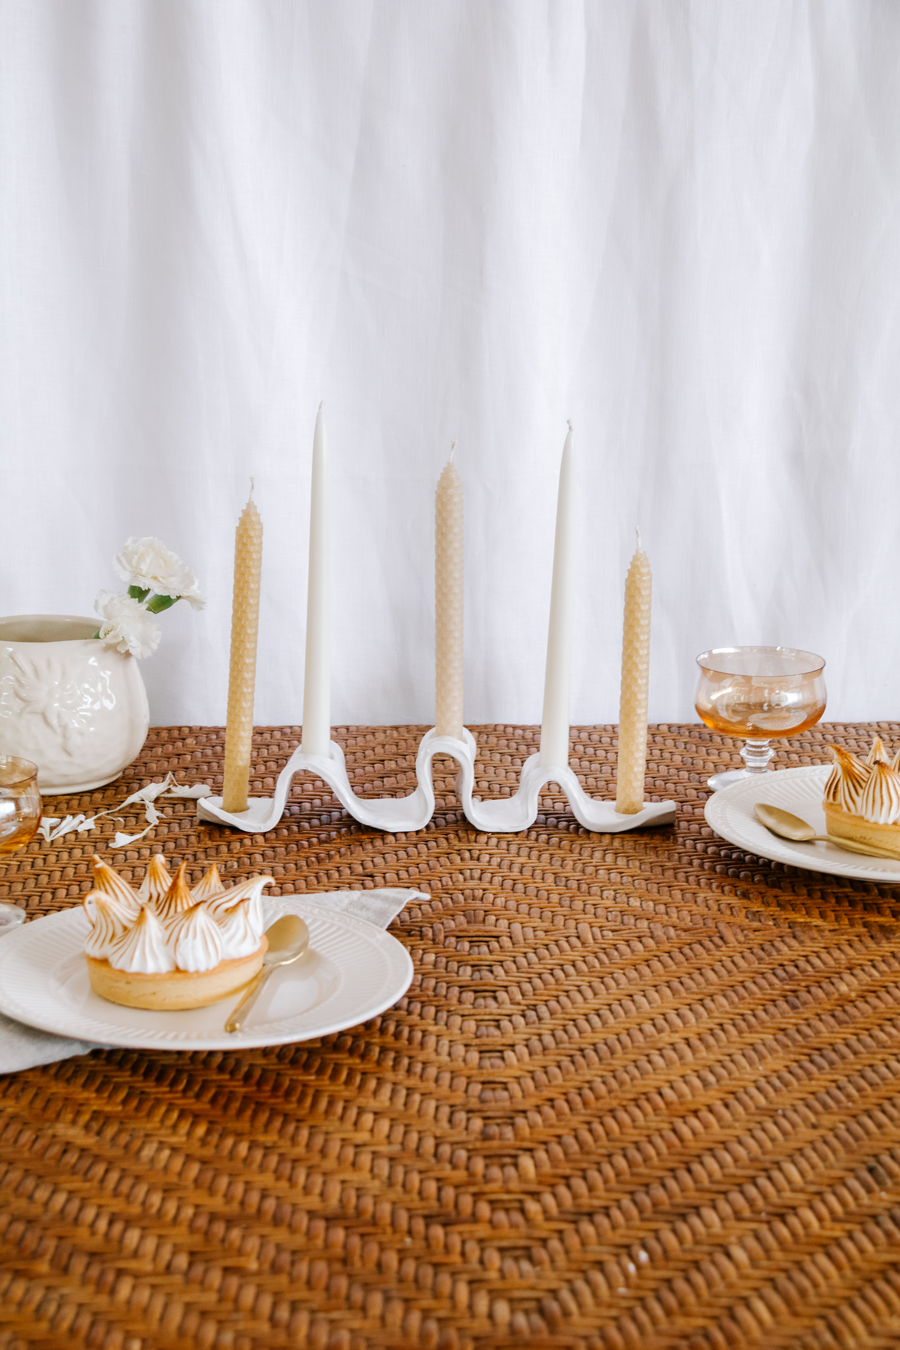
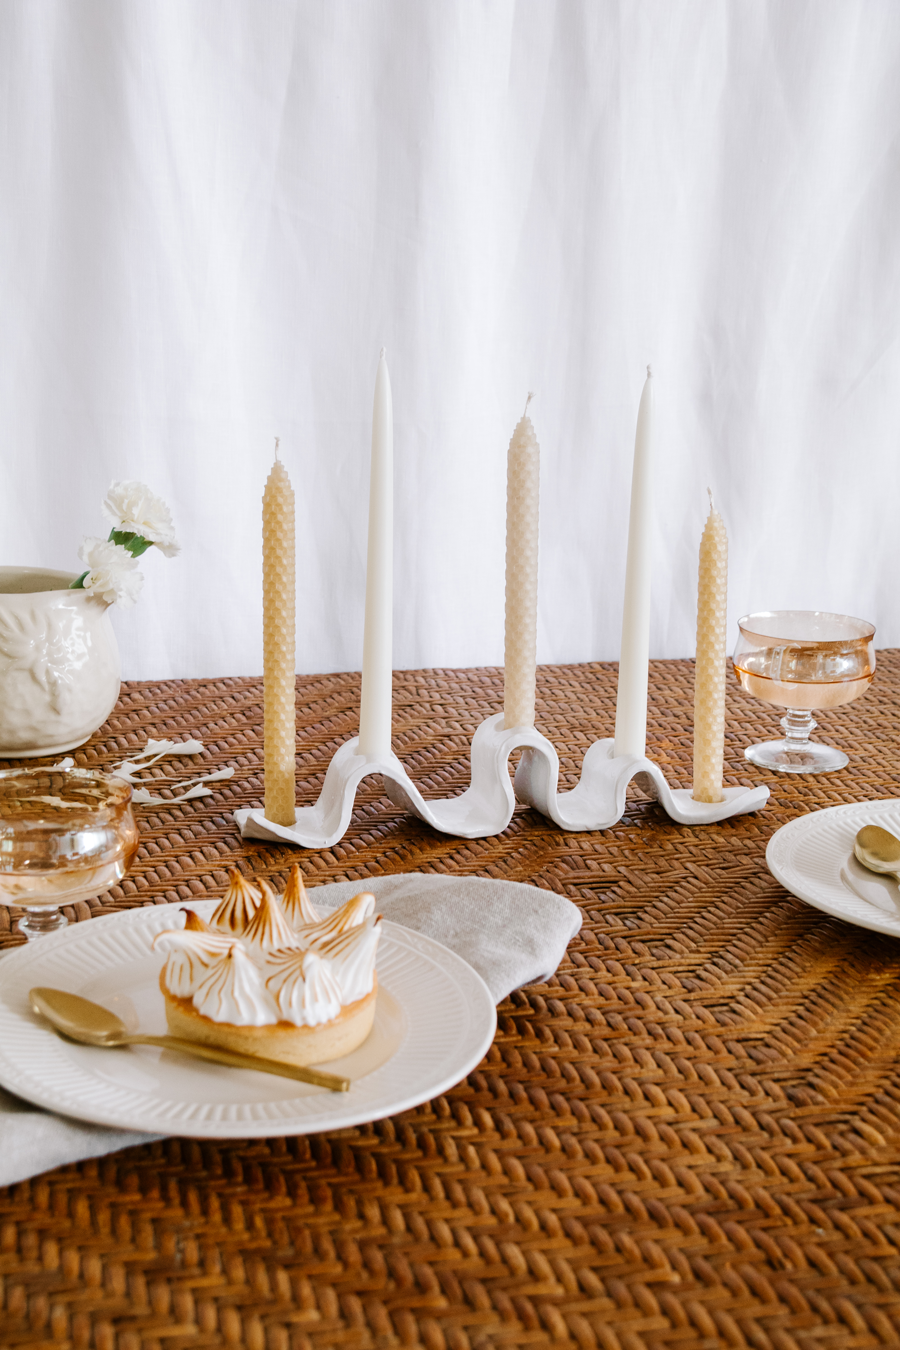
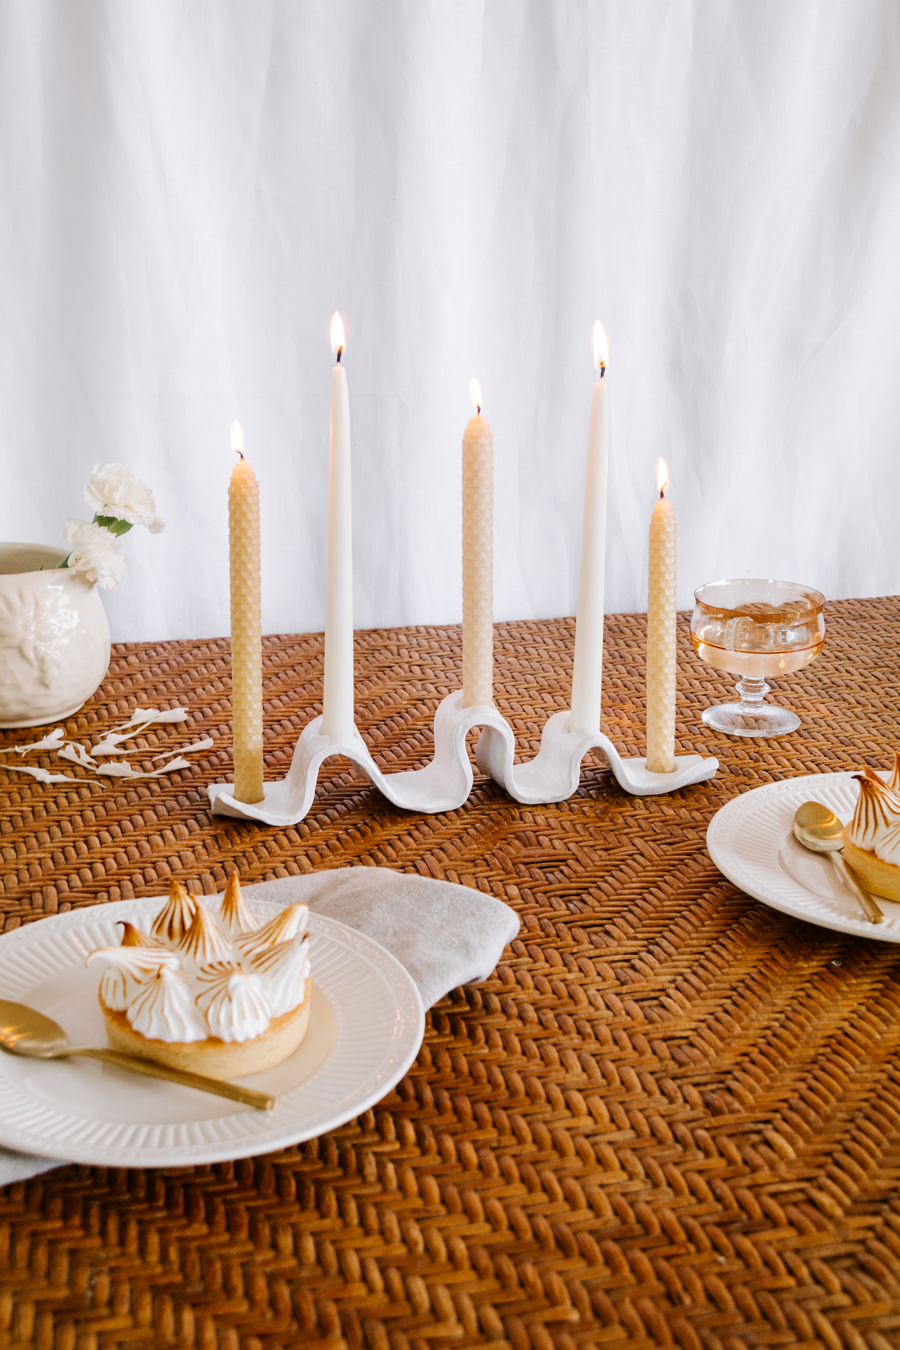
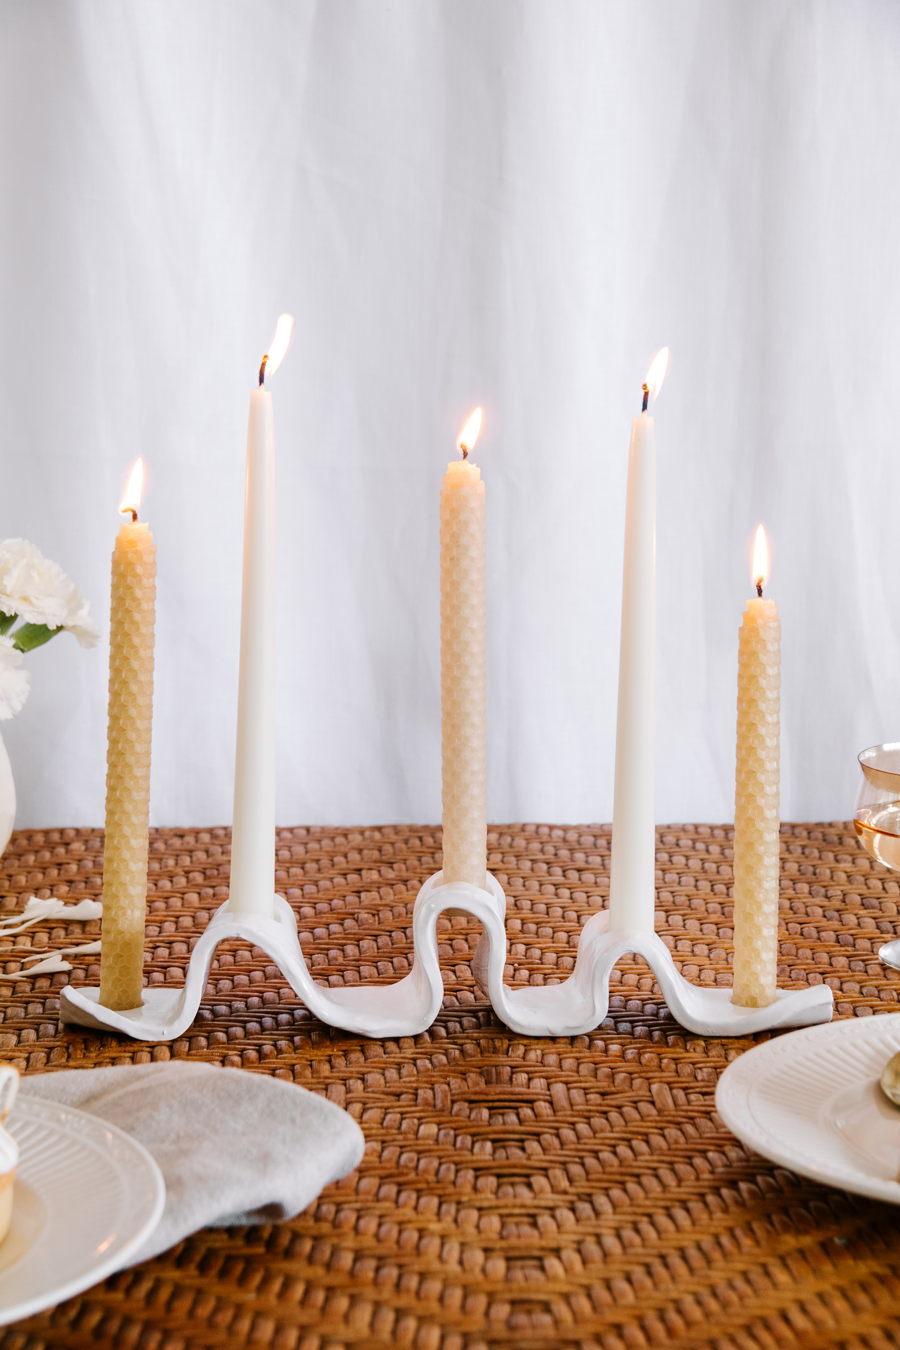
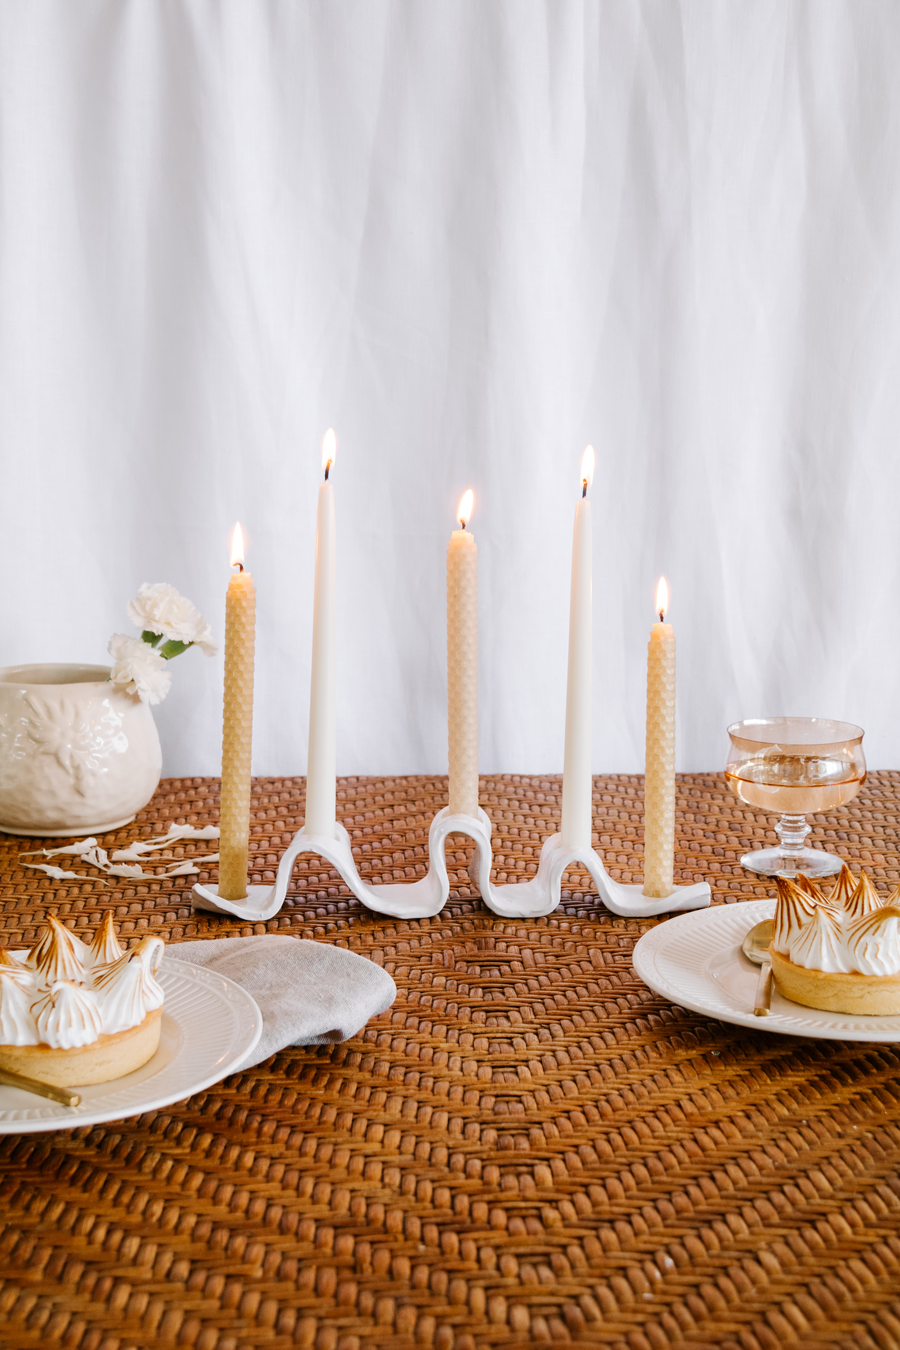
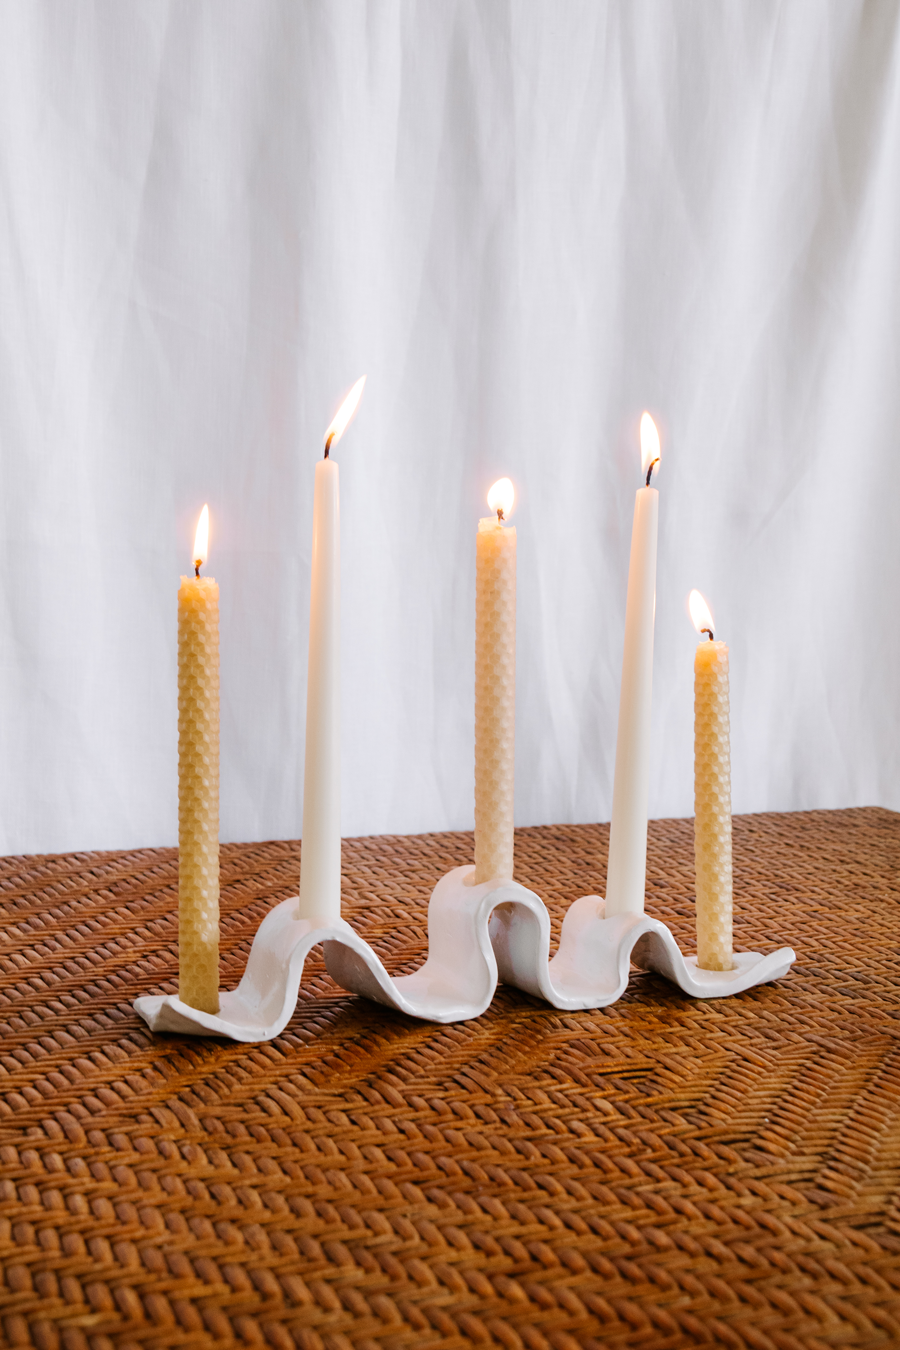
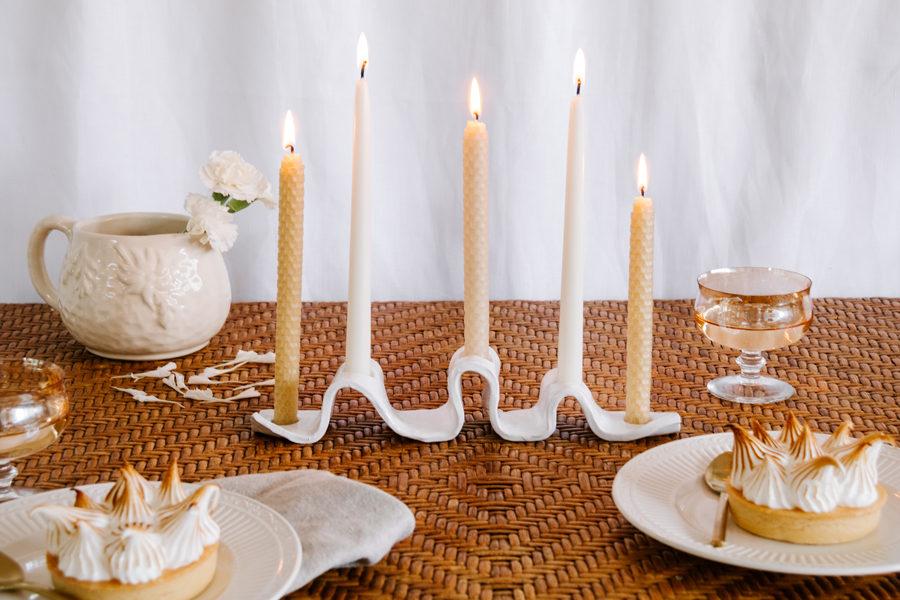
Sometimes an idea strikes, and you have to run with it. I was making my DIY Tapered Beeswax Candles recently and realised I needed a vessel to hold them in. We had some leftover Sculpey clay from Dusty's craft box from lockdown; he didn't love the colours, so instead of it all going to waste, I decided to make an organic looking candle holder, inspired by wabi-sabi.
For those of you who know know, wabi-sabi is a Japanese term that essentially means finding beauty in imperfection. In the context of home decor, it embraces the authenticity of something that is imperfect, finds value in the lovingly weathered and lived-in, and promotes an overall sense of peace and tranquility using simplicity. And, it's the perfect way to describe my DIY Wabi Sabi Clay Candle Holder. It's imperfect, simple and beautiful - in my humble opinion. And best of all, you only need a few materials and it's very easy to make. Read on for the tutorial.
Materials
Oven baked clay, I used various colours from Sculpey and approximately 6 small packets
Craft knife or a sharp kitchen knife
Rolling pin
Non stick flat board for rolling, I used a concrete serving platter
Cutting mat or board
Small lid that matches the diameter of the bottom of your candle
Baking tray, lined with baking paper
White glass spray paint or any other colour you prefer
Steps
Roll out all of your clay, approximately 50cm in length, 10cm in width and 1/2cm in height in the shape of a rectangle using the rolling pin and flat board.
Using your hands, start to shape the vessel by creating different sized loops in the clay.
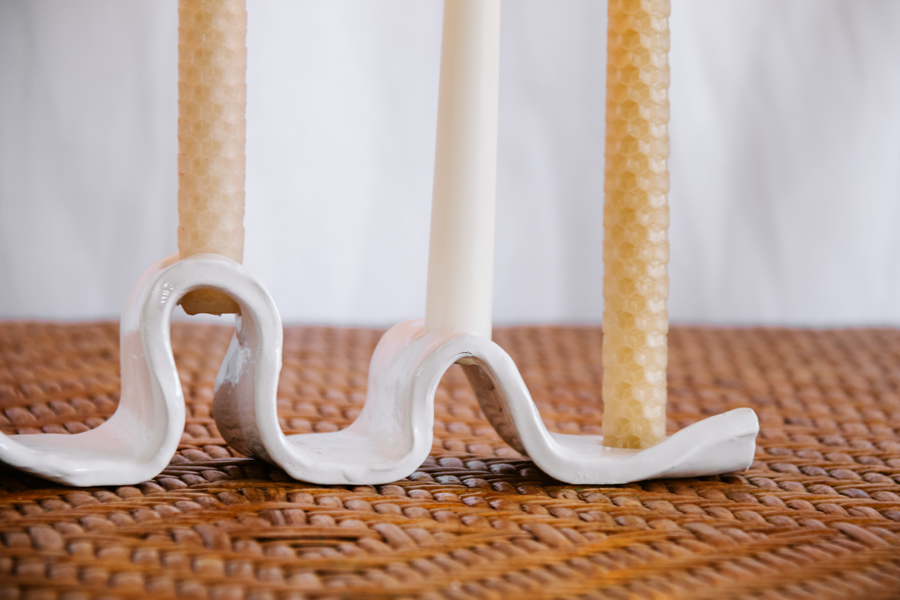
Mark out where you want your candles to fit with small lid; I used a test tube lid with a diameter of approximately 1.5cm. Flatten out the clay again, and push the small lid through the clay to create circles.
Using your hands, re-shape the vessel back to the original design in Step 2 and play around with the design to suit your style. I lifted the side of each edge at the front of the vessel for something different. Don't be too worried about what it looks like now. If you need a more visual reference, check out my "DIY" Instagram highlight.
Smooth down any rough edges with your fingertips.
Place the vessel onto a lined baking tray and place it in the oven.
Turn your oven on to 130C and bake for 30 minutes. Don't open the oven door at any stage of the baking, otherwise your clay may break or crack if the change in temperate is too sudden.
Turn your oven off and let the vessel cool in the oven for 30 minutes to an hour.
Remove the vessel carefully and coat with a few layers of your gloss spray paint. I suggest starting underneath the vessel, waiting overnight for it to dry. Then spraying the top of the vessel, being careful to get in-between the loops, and letting it dry again overnight.
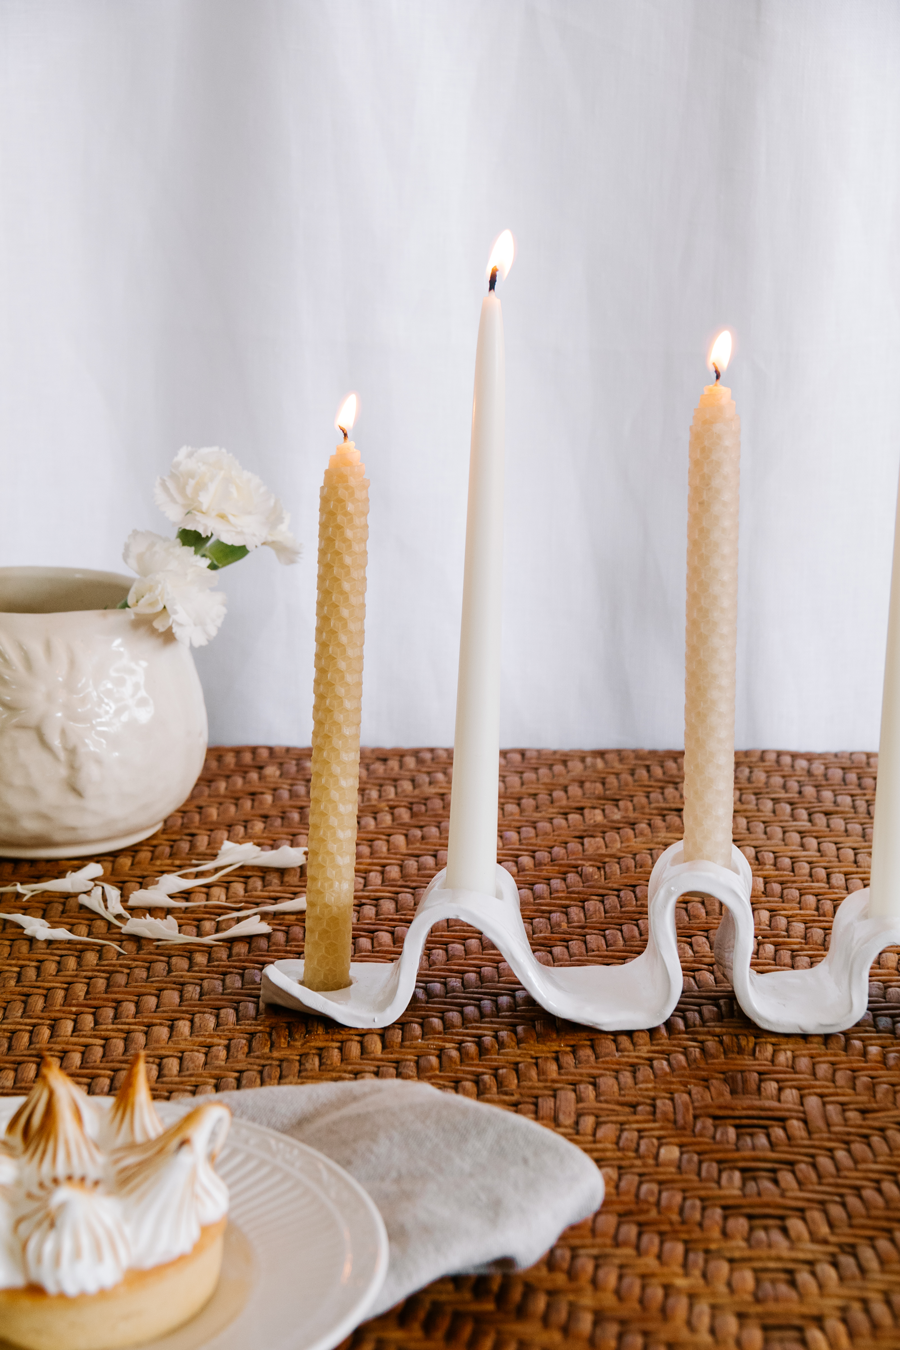
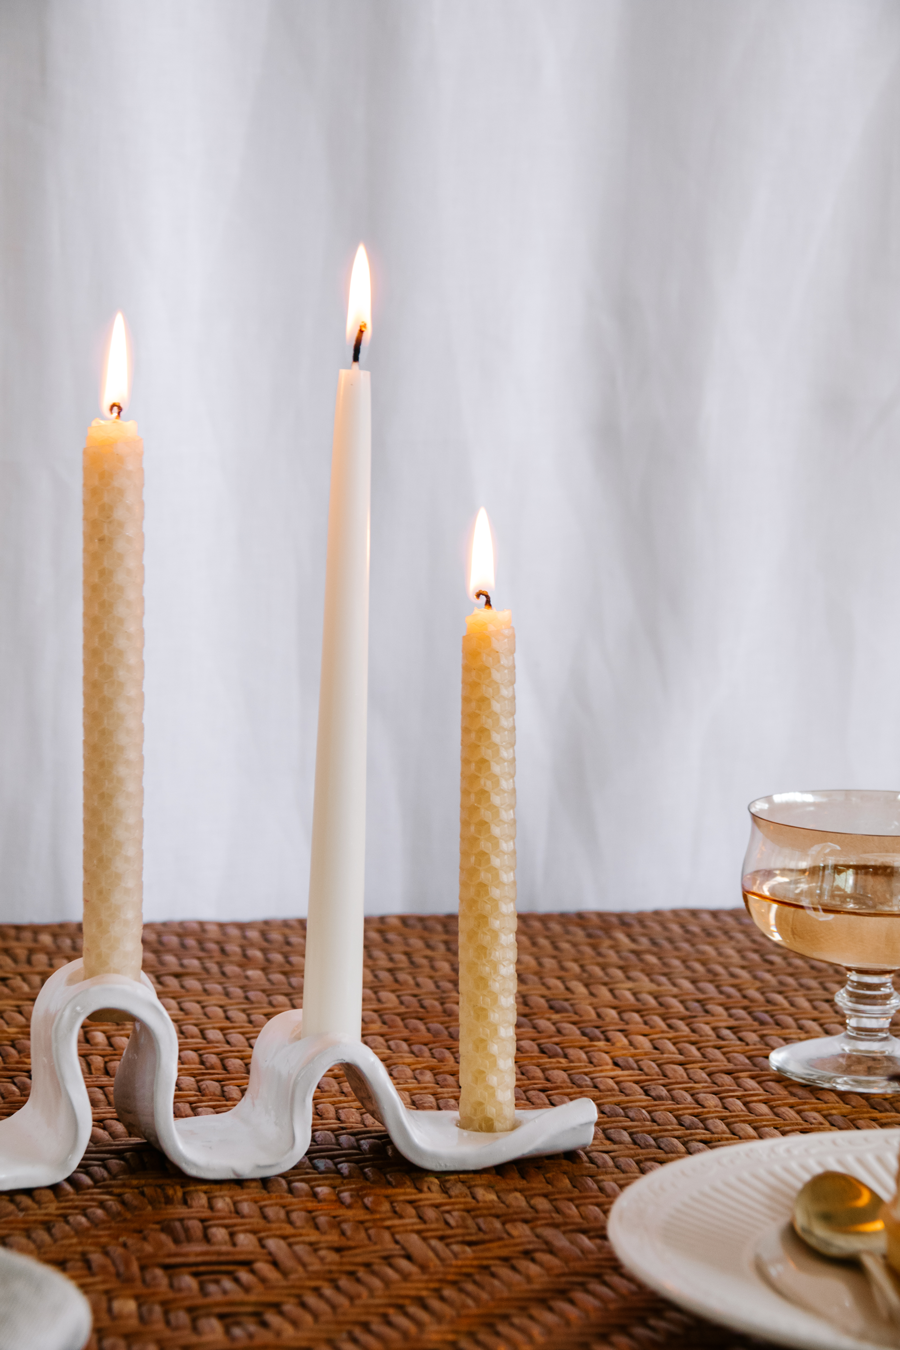
Very carefully and gently, push your candles into the holes and light the candles safely. I chopped the bottoms off the two white candles so they would fit into the holes. I didn't have to worry about doing this for my DIY Beeswax Candles as they fit perfectly.
I should also mention, never leave this vessel with lit candles unattended.
Enjoy!
If you make this DIY, remember to show me on Instagram by tagging me @smorkitchen #smorkitchen. I love see you make my recipes and projects - it gives me life!