Christmas Season: DIY Holiday Native Leaf Garland
Hello! I love this time of the year, everything feels so festive and given it's been a tough year for all of us, Christmas feels even more special than ever. I am obsessed with entertaining and I've already started thinking about what the tablescape, trimmings, decorations and decor is going to look like on Christmas Day. It's also the best time to get creative and make something crafty. I've always loved holiday garlands; there is something really special about them. They are a beautiful and creative way trimming to decorate your front door, back deck, living room, archway, kitchen - anything really - during the Christmas season. You can use cuttings from your garden or buy bunches of leaves from your local florist, and decorate your garland with fairy lights, decorations, wooden beads - the options are limitless!
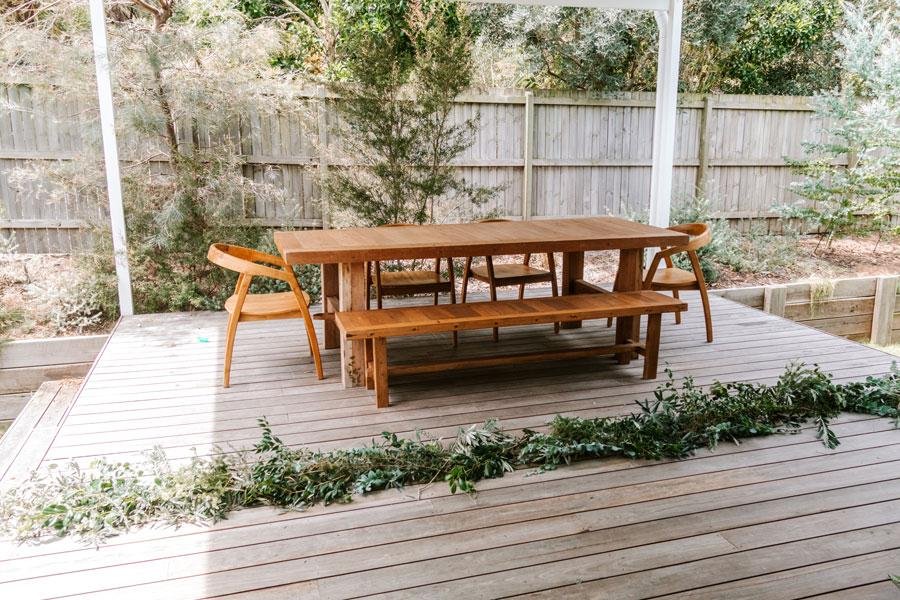
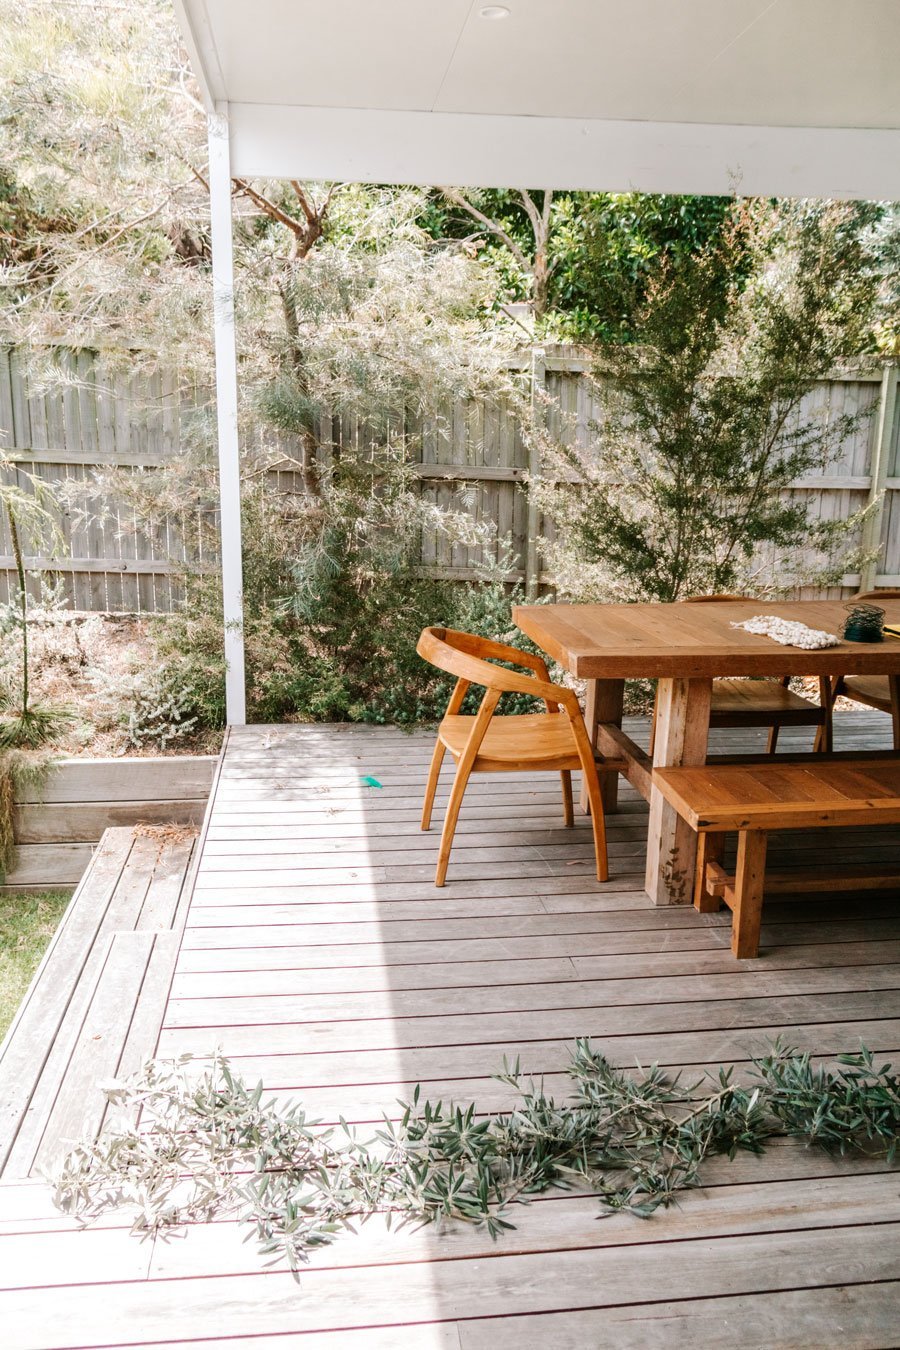
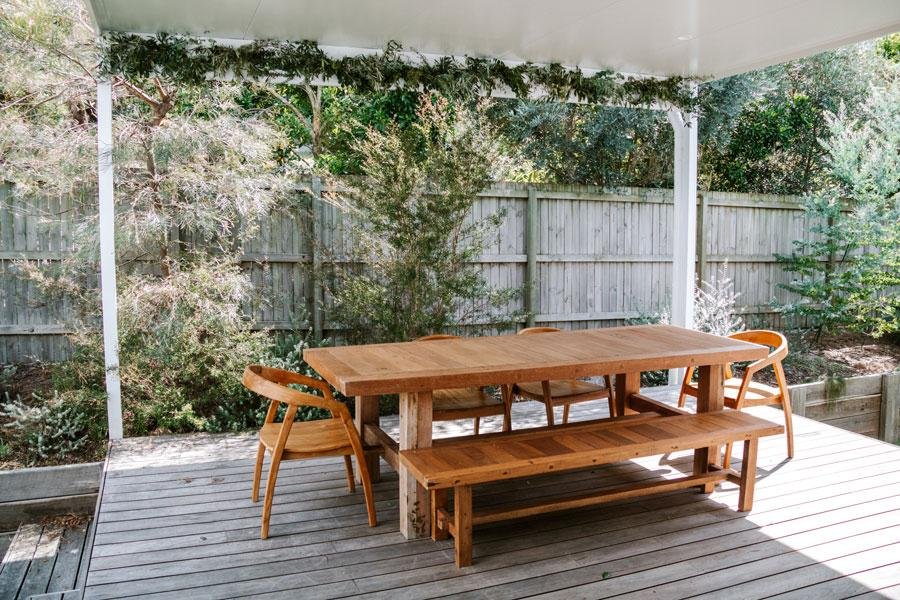
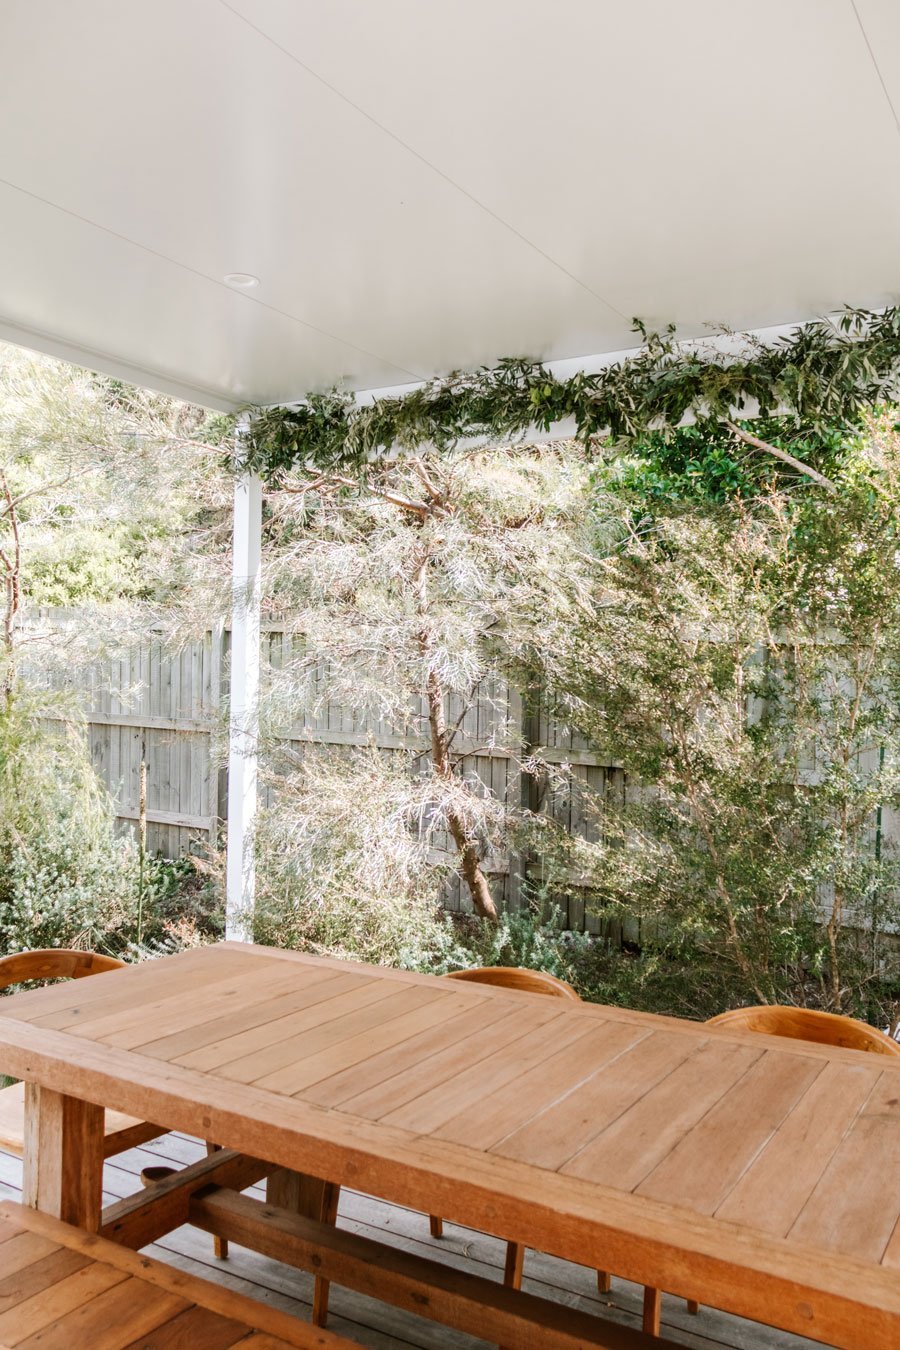
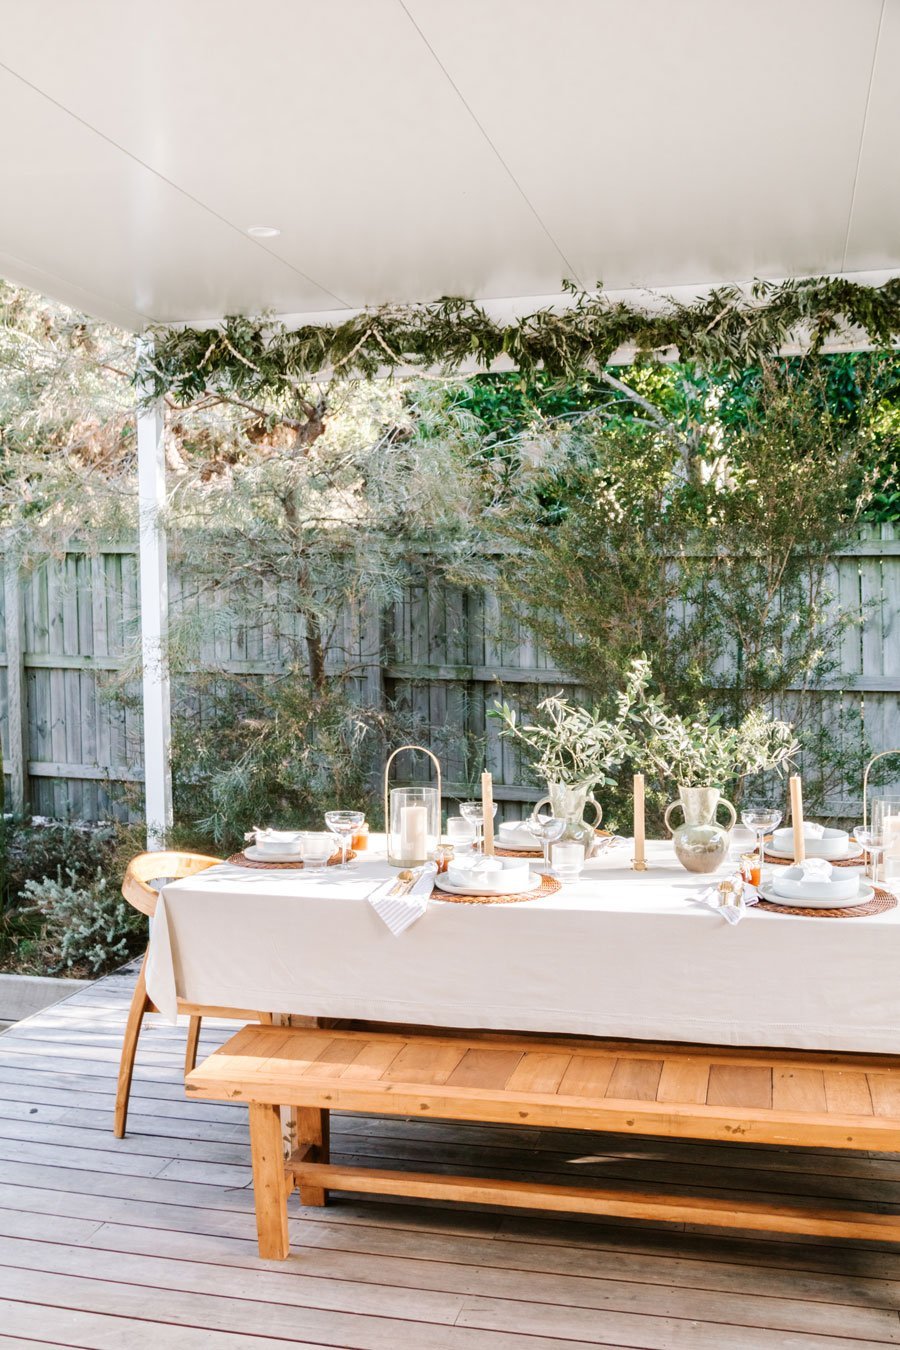
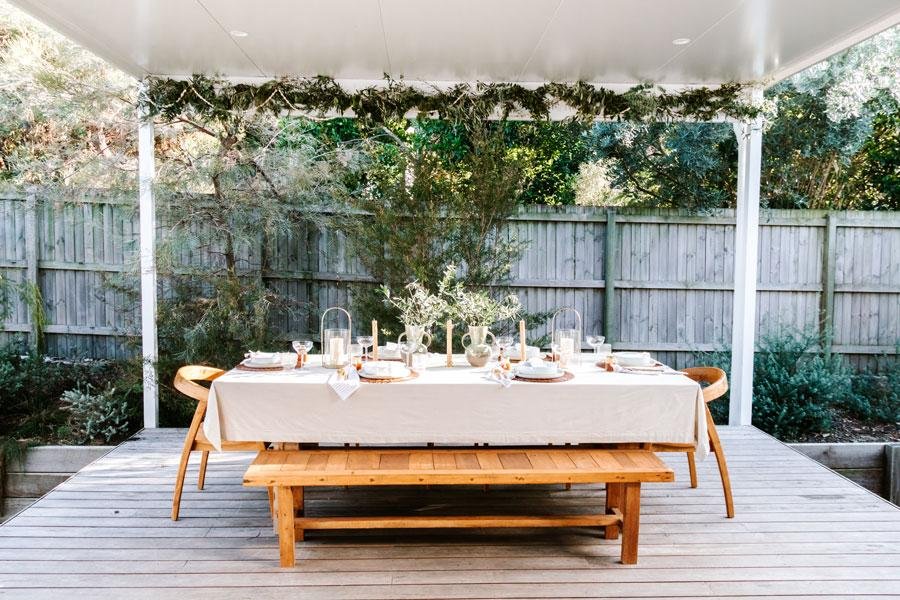
This year, we decided to move our dining table to our back deck and all of a sudden, I have become fascinated with how I can transform this space into an entertainers dream. I've always wanted to create a garland but seeing this time of the year can get really expensive, I wanted to make one that didn't require spending a lot of money. Instead, I decided to look around our home to see what we already had. What I love about this project is that you don't need a tonne of materials. All you need is cuttings, florist wire, staple gun, a ladder and decorations to trim the garland with.
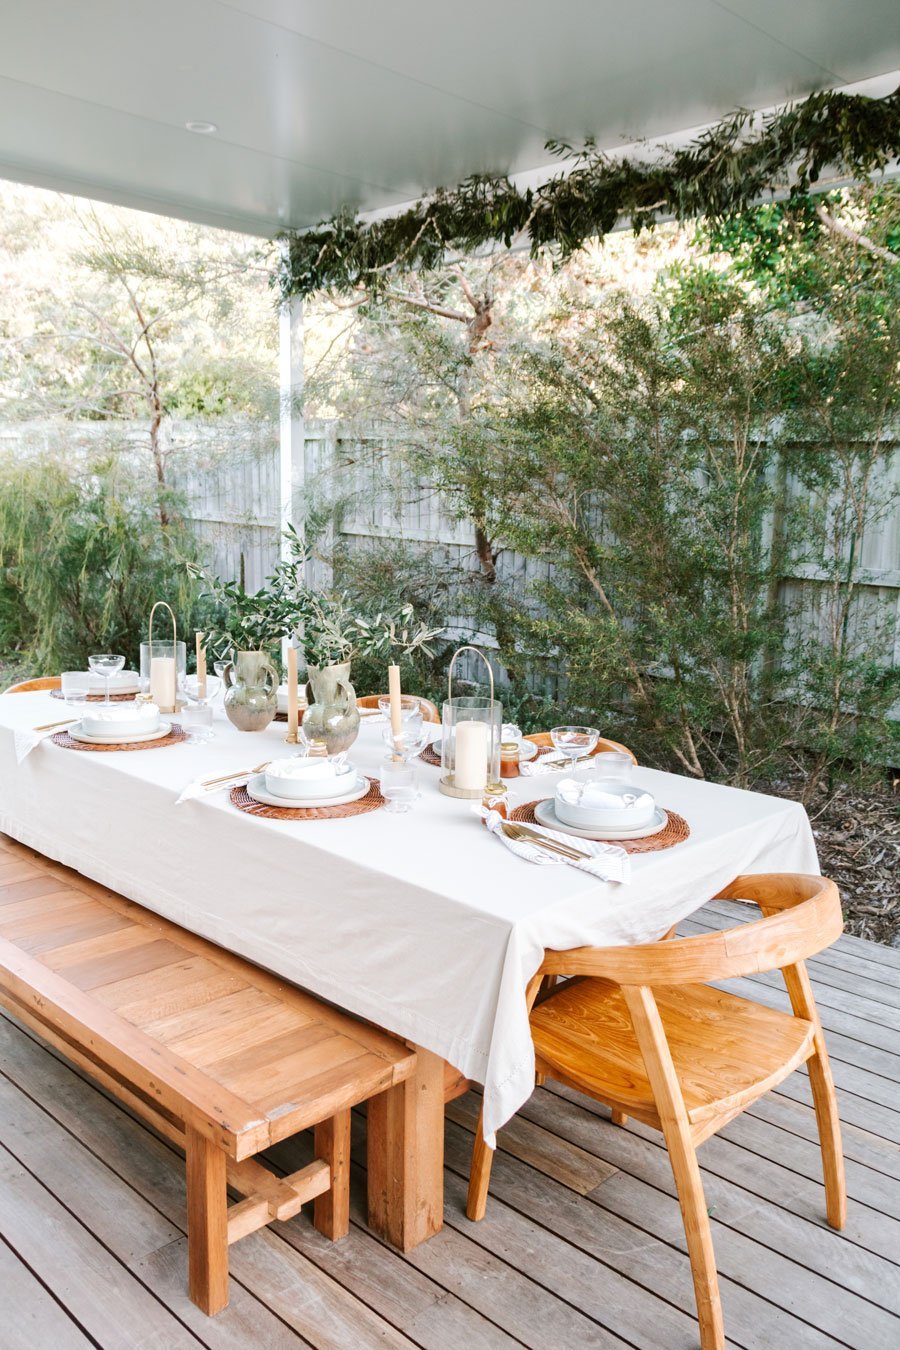
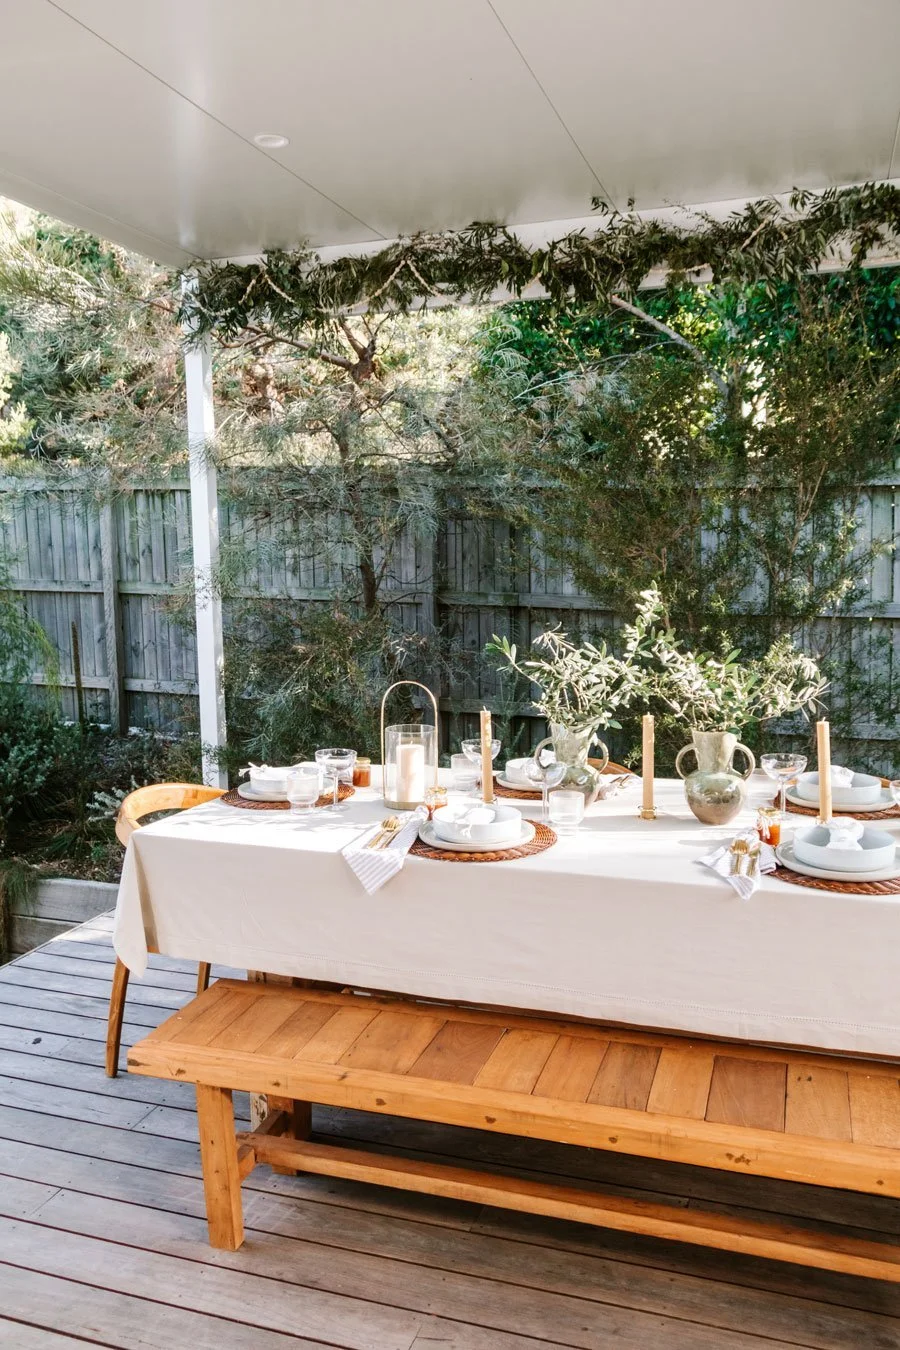
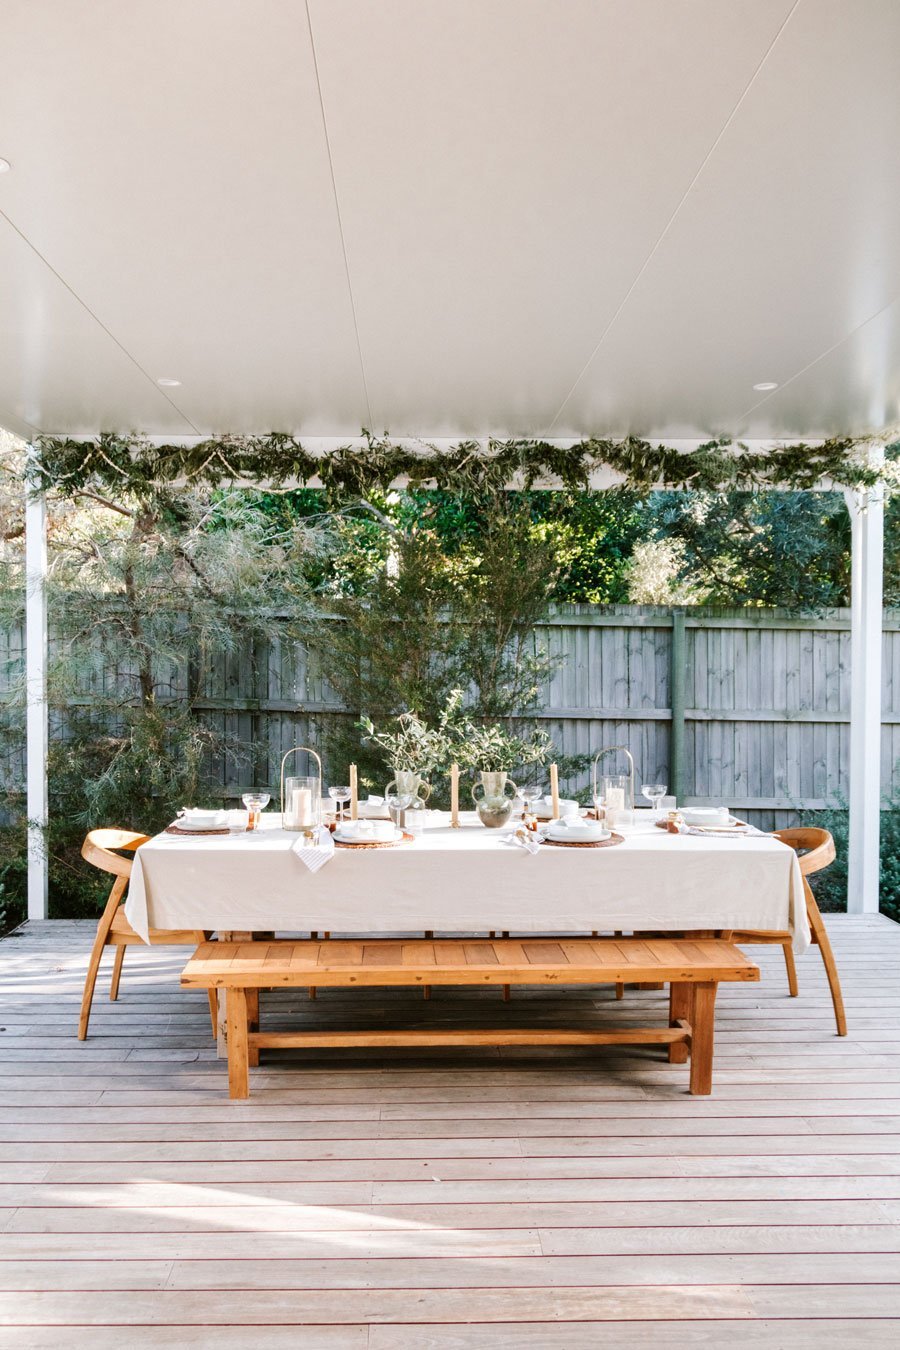
On a hot sunny day I put my hat on and walked around our garden for low hanging branches from a variety of trees I could use for the garland. I used olive branches from our neighbours tree that hangs over our fence line, and a whole host of native branches from trees on our property. I am definitely a minimalist at heart and once I got the hang of bunching the branches into sections using the florist wire, and using the staple gun to hang the garland, I wasn't sure if I should leave it plain or add some decorations. Thanks to a poll on Instagram, you all voted on Instagram that I should add strings of wooden beads (I had bought for a steal at Kmart for $5 each). I'm so glad I did because it went from a pretty leaf garland to a festive holiday leaf garland!
Read on below for the list of materials and steps. We've also created an Instagram Reel to show you how it came up on the day. Merry Christmas!

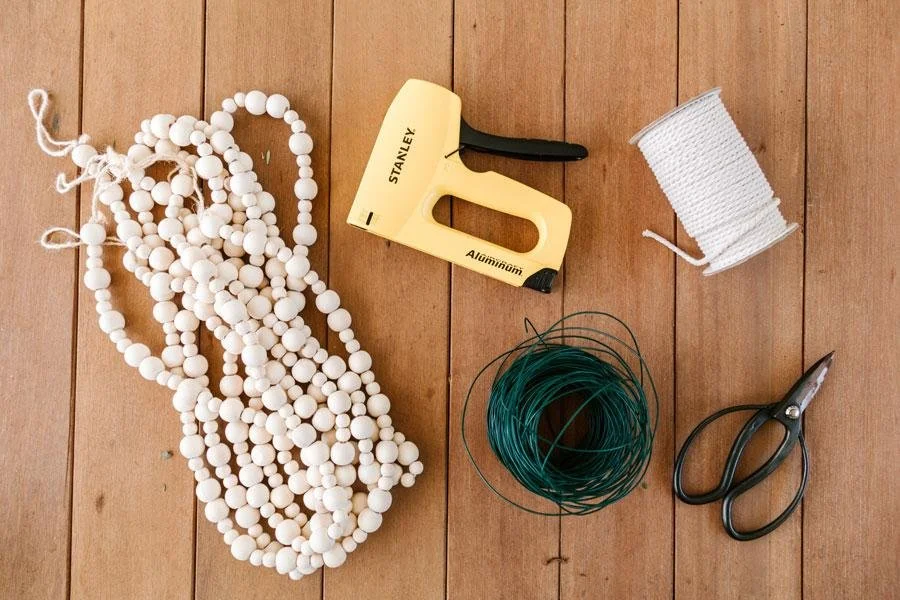
Materials
Branch cuttings from the trees in your garden and try to get different shades of green as this creates a lot of drama and texture in the garland.
If getting cuttings from your own garden is not an option, ask your neighbour if they don't mind you cutting some of their low hanging branches, or buy bunches of native leaves from your local florist, or go for a drive and grab branches off trees from the side of the road.
Florist wire
Scissors - for cutting branches and cutting florist wire
Staple gun.
If you don't want to use a staple gun, use 3M hooks or nails to hang your garland.
Ladder
Decorative wooden bead garland - we used these ones - or decorative pieces to suit your own style and space.
Steps
Once you have collected (or pillaged or purchased) your brand cuttings, alternatively lay out the branches on the floor to check the length of the garland. This is to make sure you have enough branches for the length of your garland, but also it's a bit of pre-planning so you can see what it's going to look like.
Use florist wire to tie sections of the branches together. Florist wire is really easy to work with and keeps the branches firmly together.
Once the first section is done, repeat until the length of the garland is in sections like this.
Hang each section using the staple gun (or 3M hooks/nails). Repeat util finished.
Trim the garland with decorative pieces. We used strings of wooden beads.