DIY Christmas Tree Advent Calendar
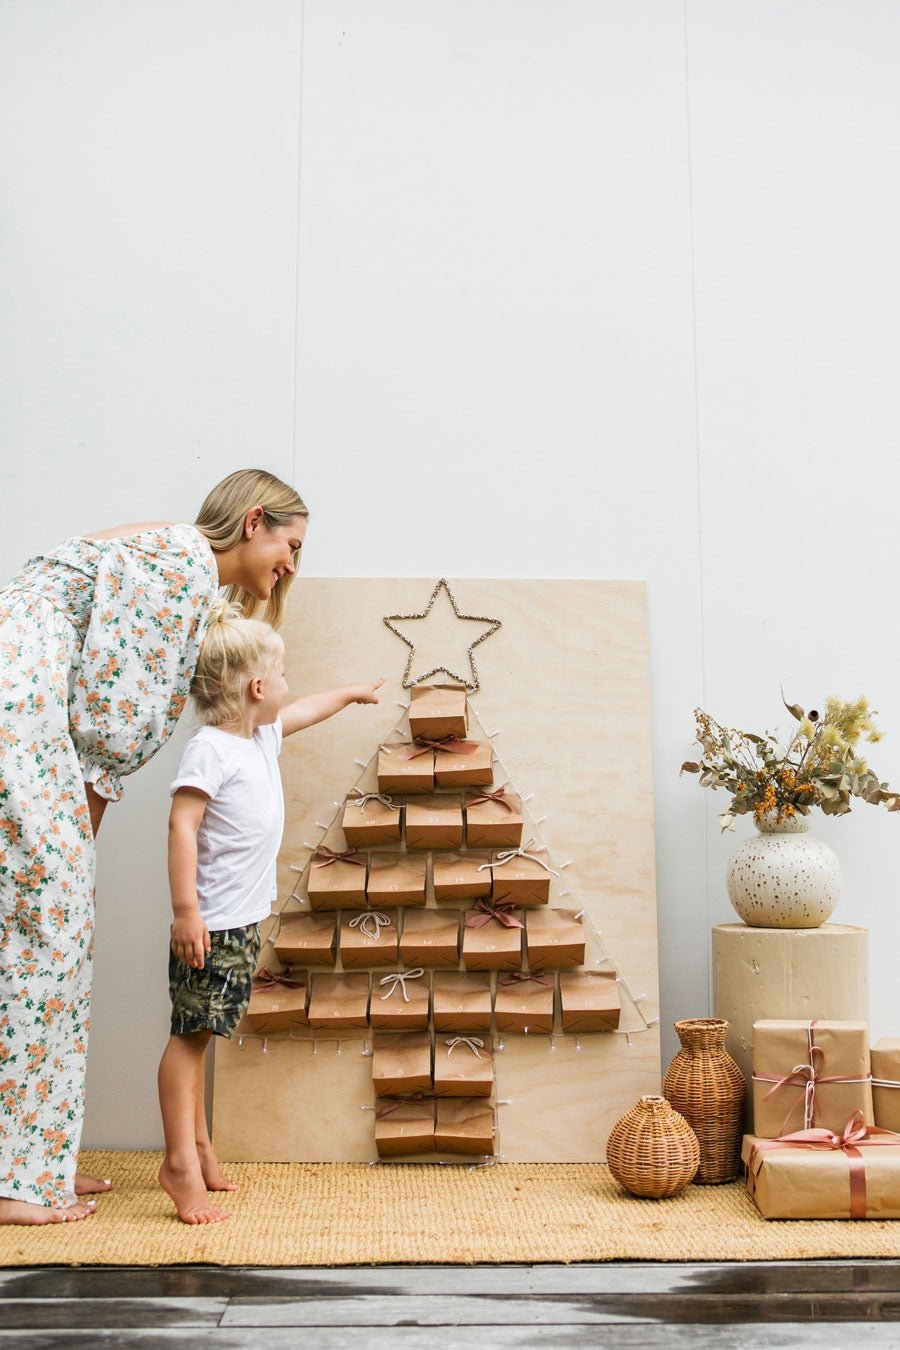
It's beginning to look a lot like Christmas...and I am not even mad about it. This year we have been looking forward to Christmas a lot earlier than usual, and it's no doubt because we all want something really good to look forward to. I am so excited to show you this years DIY Advent Calendar. Last year I made this nature inspired advent calendar for Dusty, but it was a bit of a flop because he didn't get it. This year, it couldn't be anymore different - he's fully into Christmas! (He is also very excited to meet Elf on the Shelf, and is prepping his wish list for Santa - dinosaurs and water pistols.
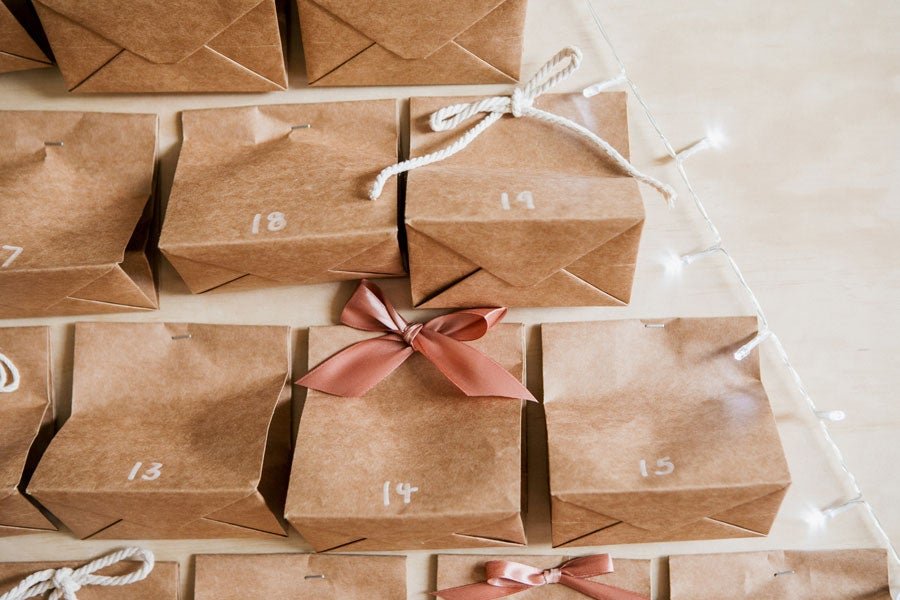
This year I decided (again) to use as much as I could find around home. I used a sheet of plywood, Christmas lights, rope, ribbon and a staple gun we already had in the garage. I rummaged through the Christmas bins at Vinnies and found a tinsel star for 50c, and picked up some paper bags from our local $2 shop. The Christmas lights (thanks for your help with this!) and bowtie ribbons were a last minute decision, and I am really happy with how it turned out. Dusty was too, thank goodness! Read on for all the materials and steps. And if you end up making one, make sure you tag us on Instagram @smorkitchen!

Materials
One sheet of premium plywood - we got ours from Bunnings (897mm x 1200mm)
Staple gun - we got ours from Bunnings
Star - anything will do. Maybe you could make your own!
25 paper bags from Choice Discount
White pen
Ribbon
Macrame cord from Bunnings
25 little toys and chocolates
Battery operated fairy lights from Bunnings
Hot glue gun - we bought ours from Spotlight a few years ago and they still have it in stock.
Steps
- To see these steps in action, visit our Instagram "DIY" highlight.
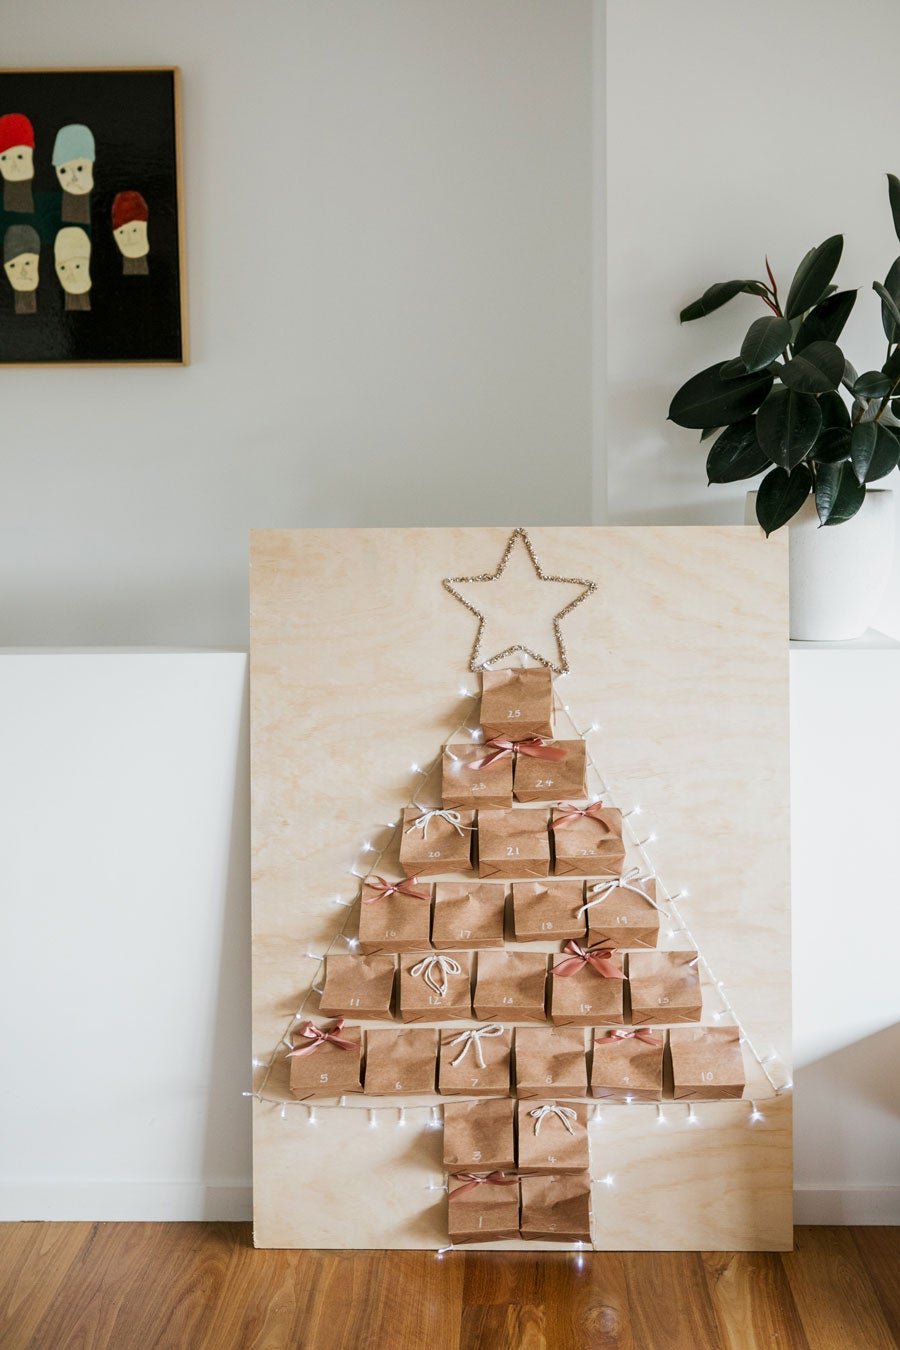
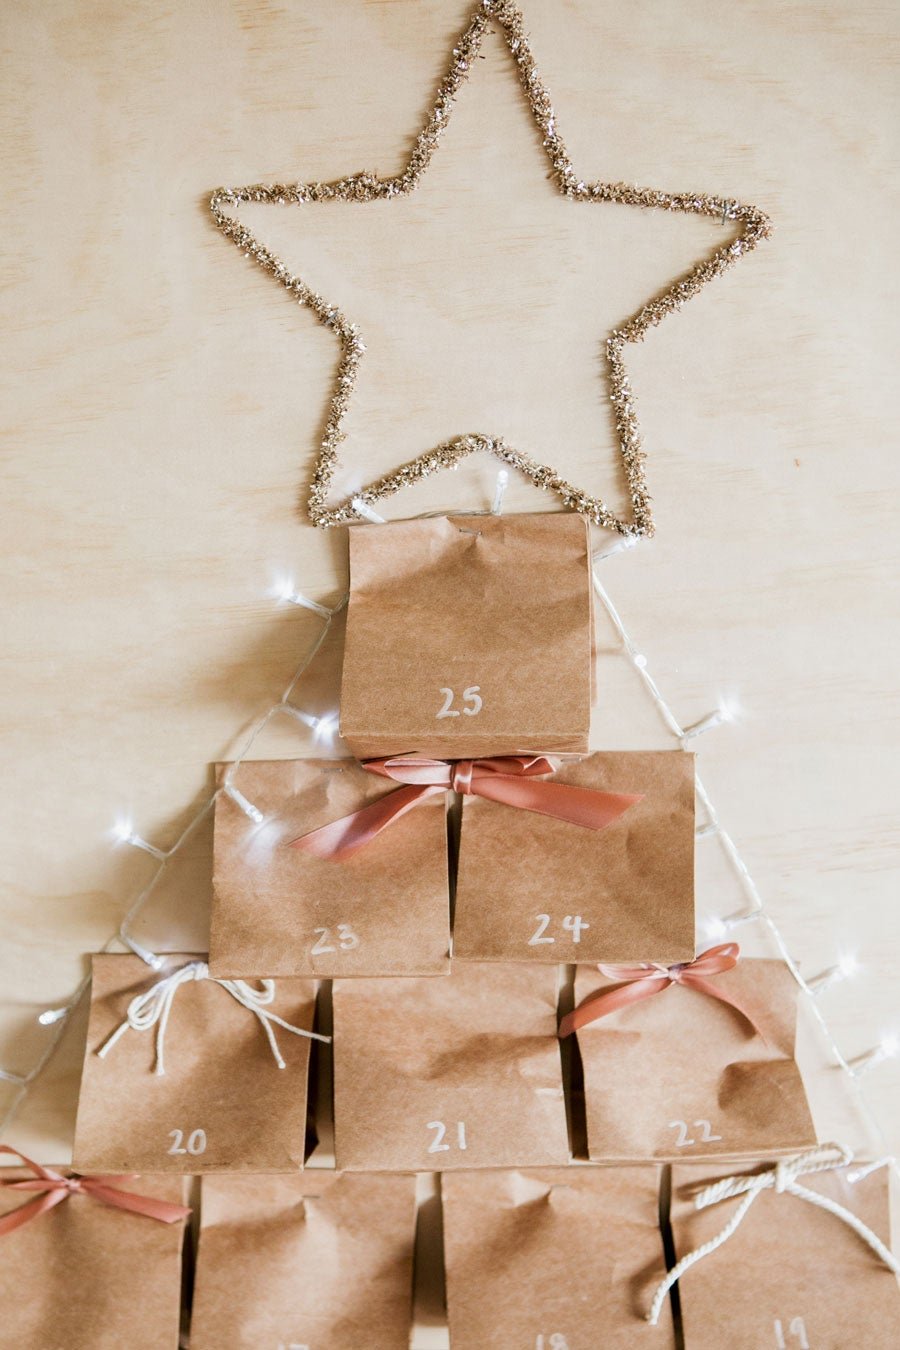
Secure your star at the top middle of your plywood sheet using the staple gun. I was so nervous to use a staple gun, but after a few goes, I got the hang of it.
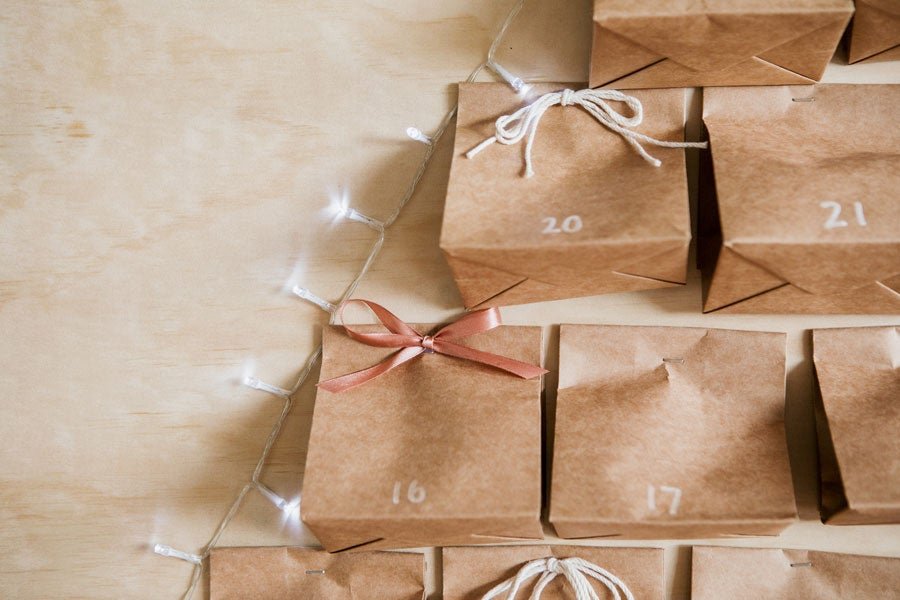
Roughly place your paper bags as per the arrangement in the images below. You may need to fold the paper bags down a few times to make sure they fit on the plywood sheet properly.
Once you've sorted out the sizing of your paper bags, number each paper bag from 1 to 25.
Put a little toy or chocolate into each bag.
Secure each paper bag onto the plywood sheet as per the numbered arrangement in the images below.
Secure the Christmas lights around the perimeter of the Christas tree/paper bags with the staple gun, and secure any leftover strands of lights to the back of the plywood sheet.
Tie your ribbon and rope into bow ties, and secure onto the top of the paper bags using a hot glue gun.
Style in your home for the 1st of December and let the Christmas cheer begin!