DIY Faux Potted Tree (for less than $30!)
I am so excited to share this fun and unexpected project with you, my DIY Faux Potted Tree! For a really long time, something has been bugging me about our living area and I recently figured it out - our rubber fig plant. I have always loved indoor plants; they bring so much vibrancy, happiness and health into our homes, but I knew it was time to switch things up. I moved our rubber fig plant into our bedroom and immediately knew I had to replace it with a new plant. But then an idea struck. After seeing lots of interiors photos with trees in living rooms, I knew I had to see if I could make my own.
Then I remembered seeing a dead tree that had fallen over on our way to Eumundi last weekend and I wondered if I could use it to make a faux tree. I know, I know - a faux tree? For someone who loves nature, this seems a bit strange but hear me out. I have always loved potted indoor trees but I’ve always known they were either fake or brought in from the outside for styling purposes. Trees don’t thrive indoors but I knew this was what our living area needed. So I wondered, what if I could make my own faux potted tree using a branch that and make it look so real you wouldn't even know? And here we are. Read on to learn how to make your own DIY Faux Potted Tree! And make sure you check out this quick video, and this longer video and these videos to see how it all came together.
Before & After


Materials
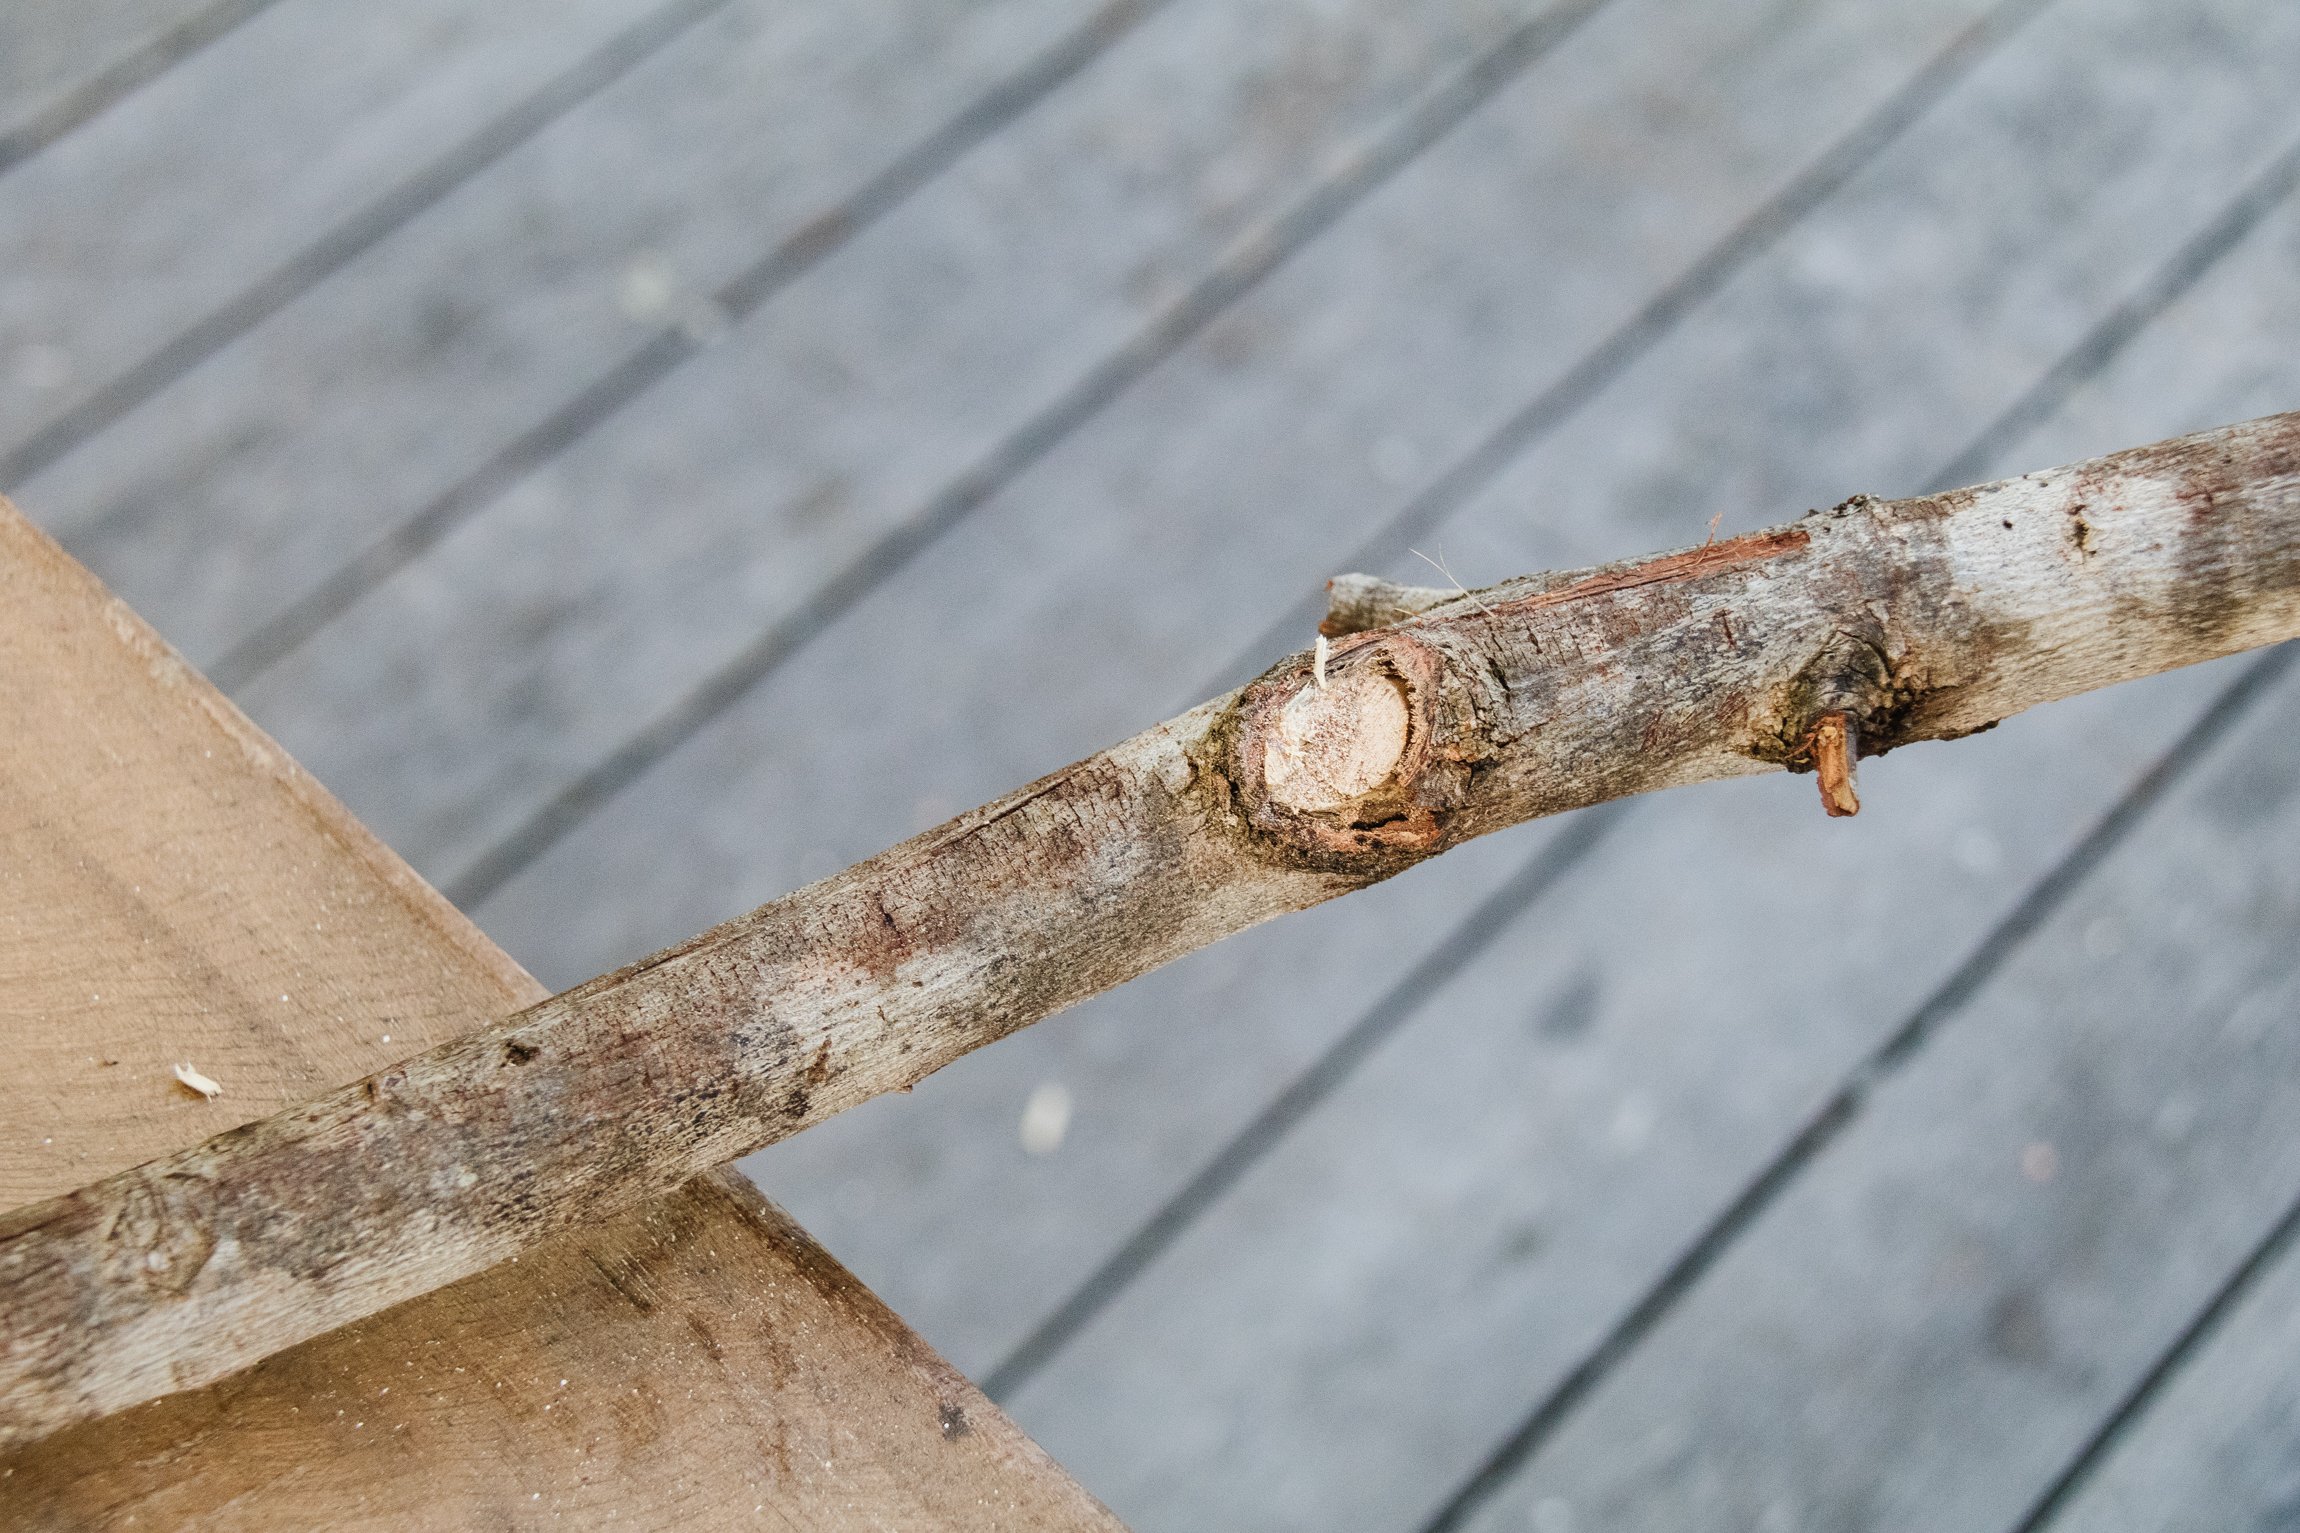
Large straight branch with smaller branches up the top. Preferably dry and already dead, and approximately 1.5 to 2.5m high. Spare branches too if you can get them.
Hacksaw
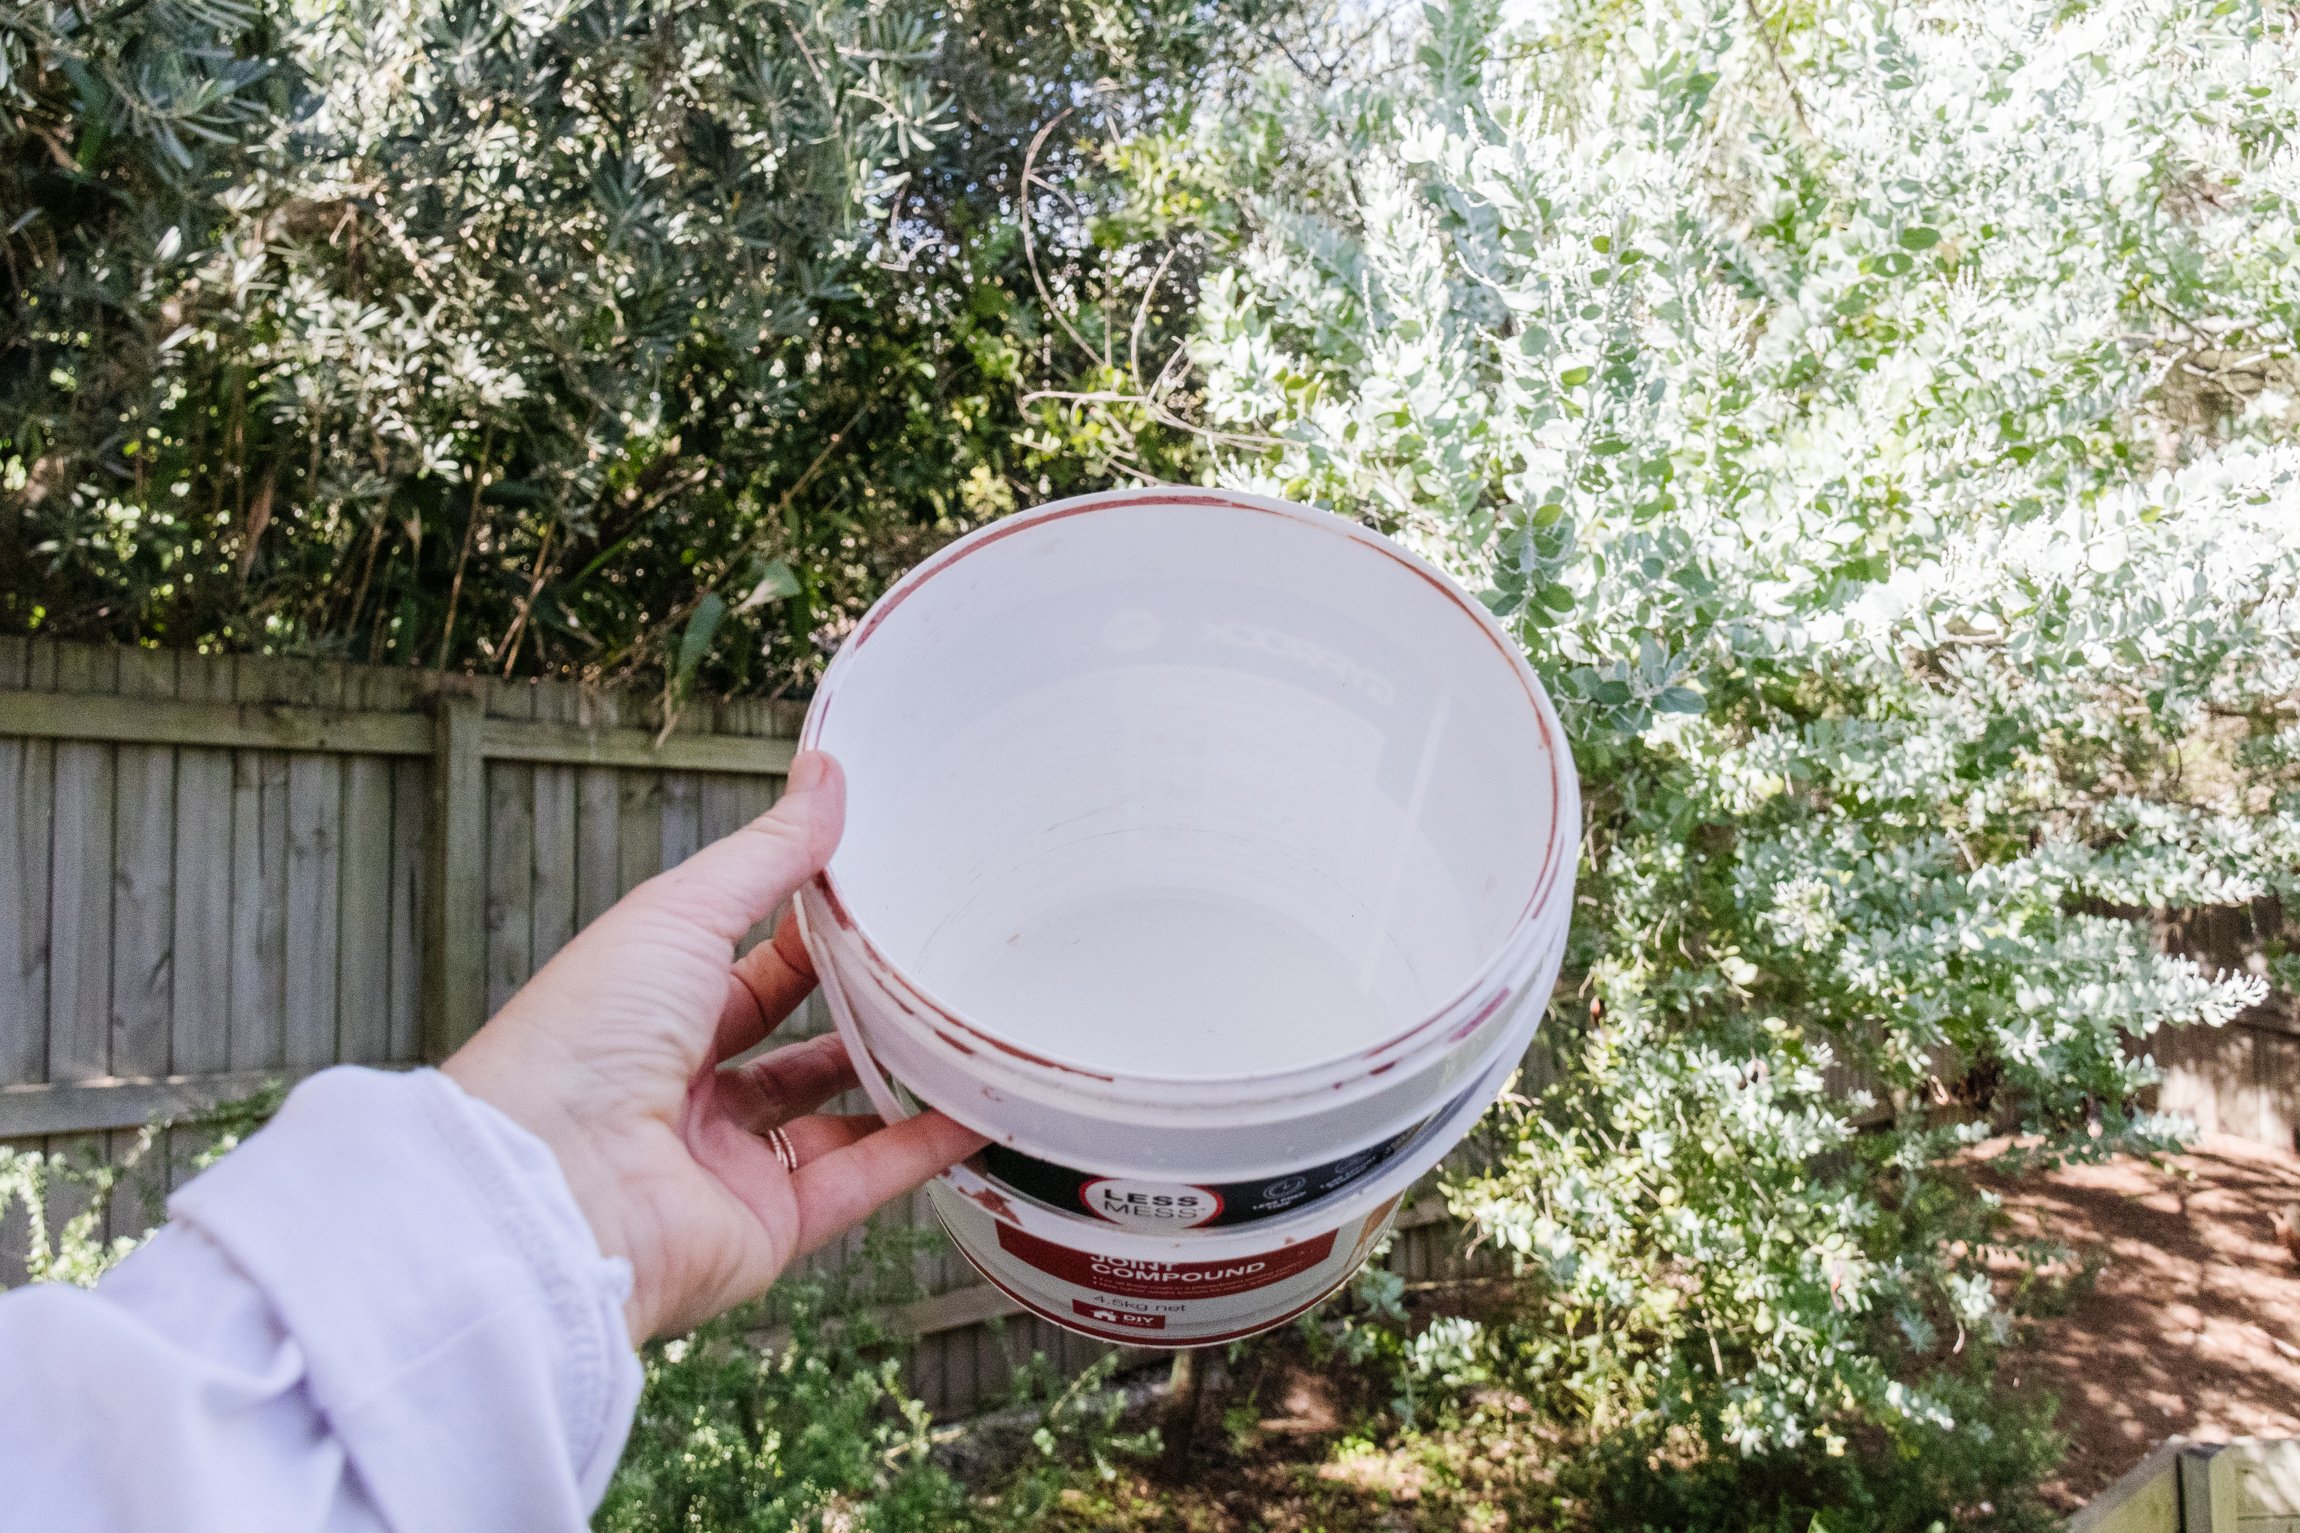
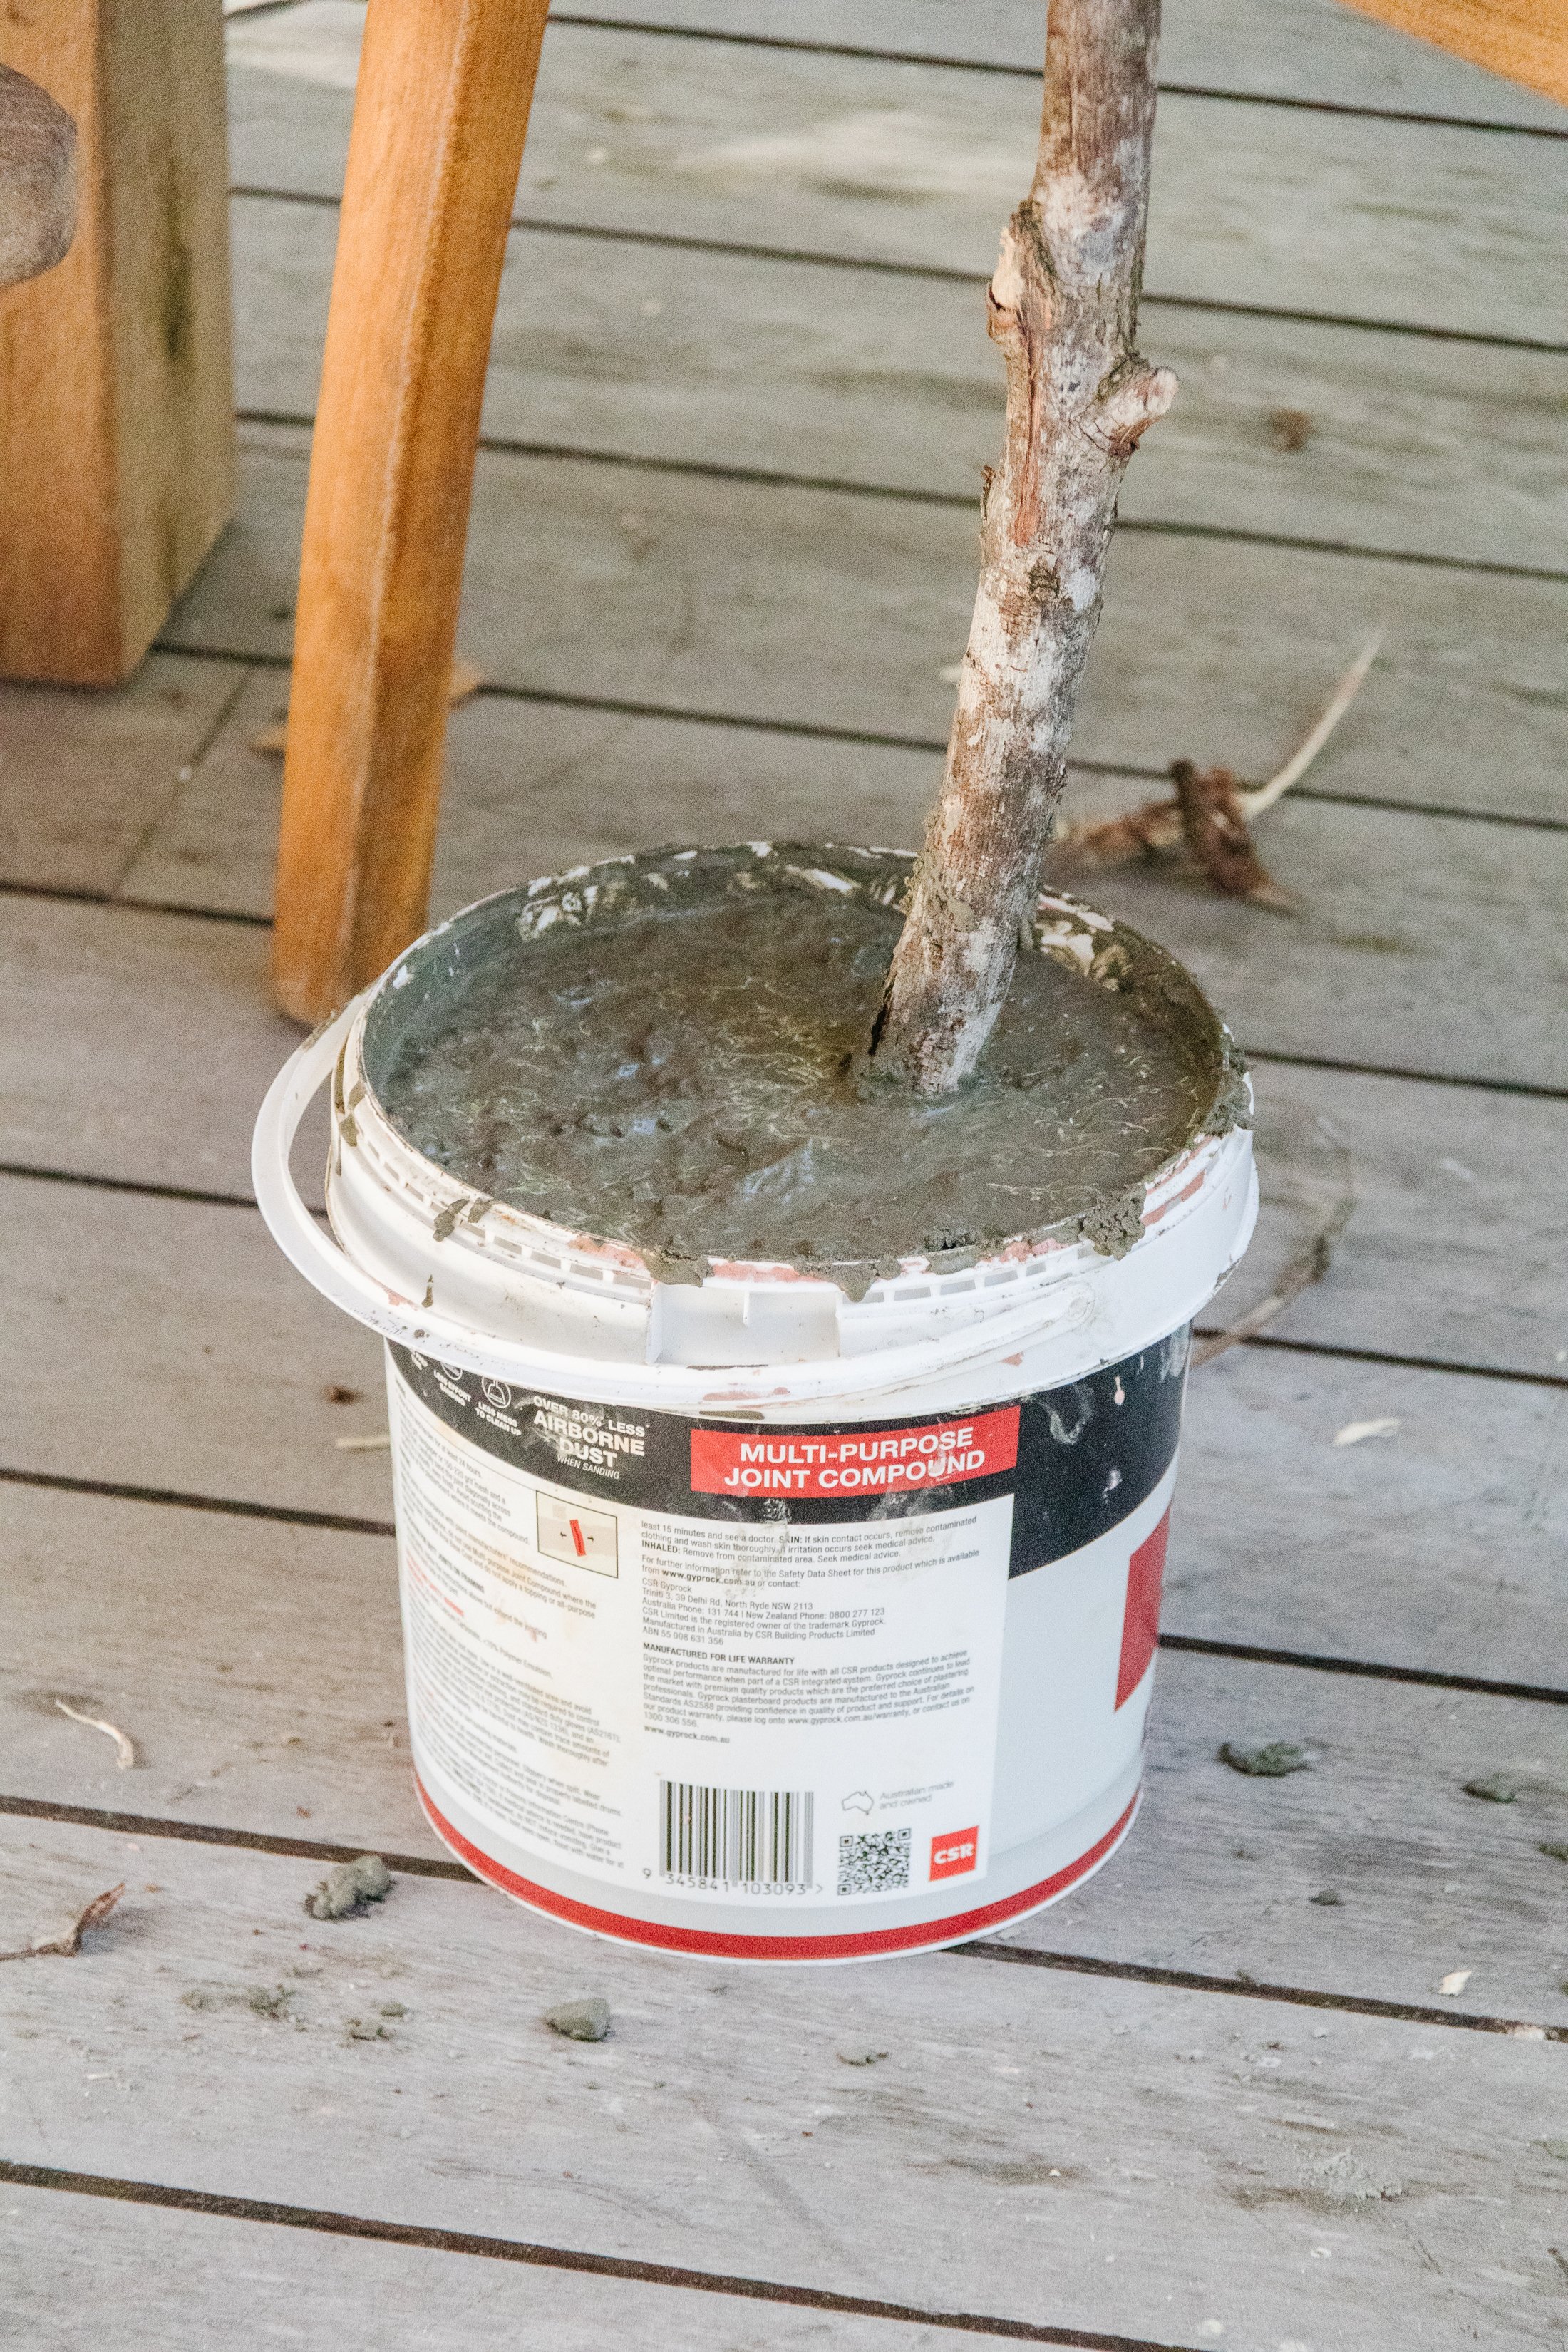
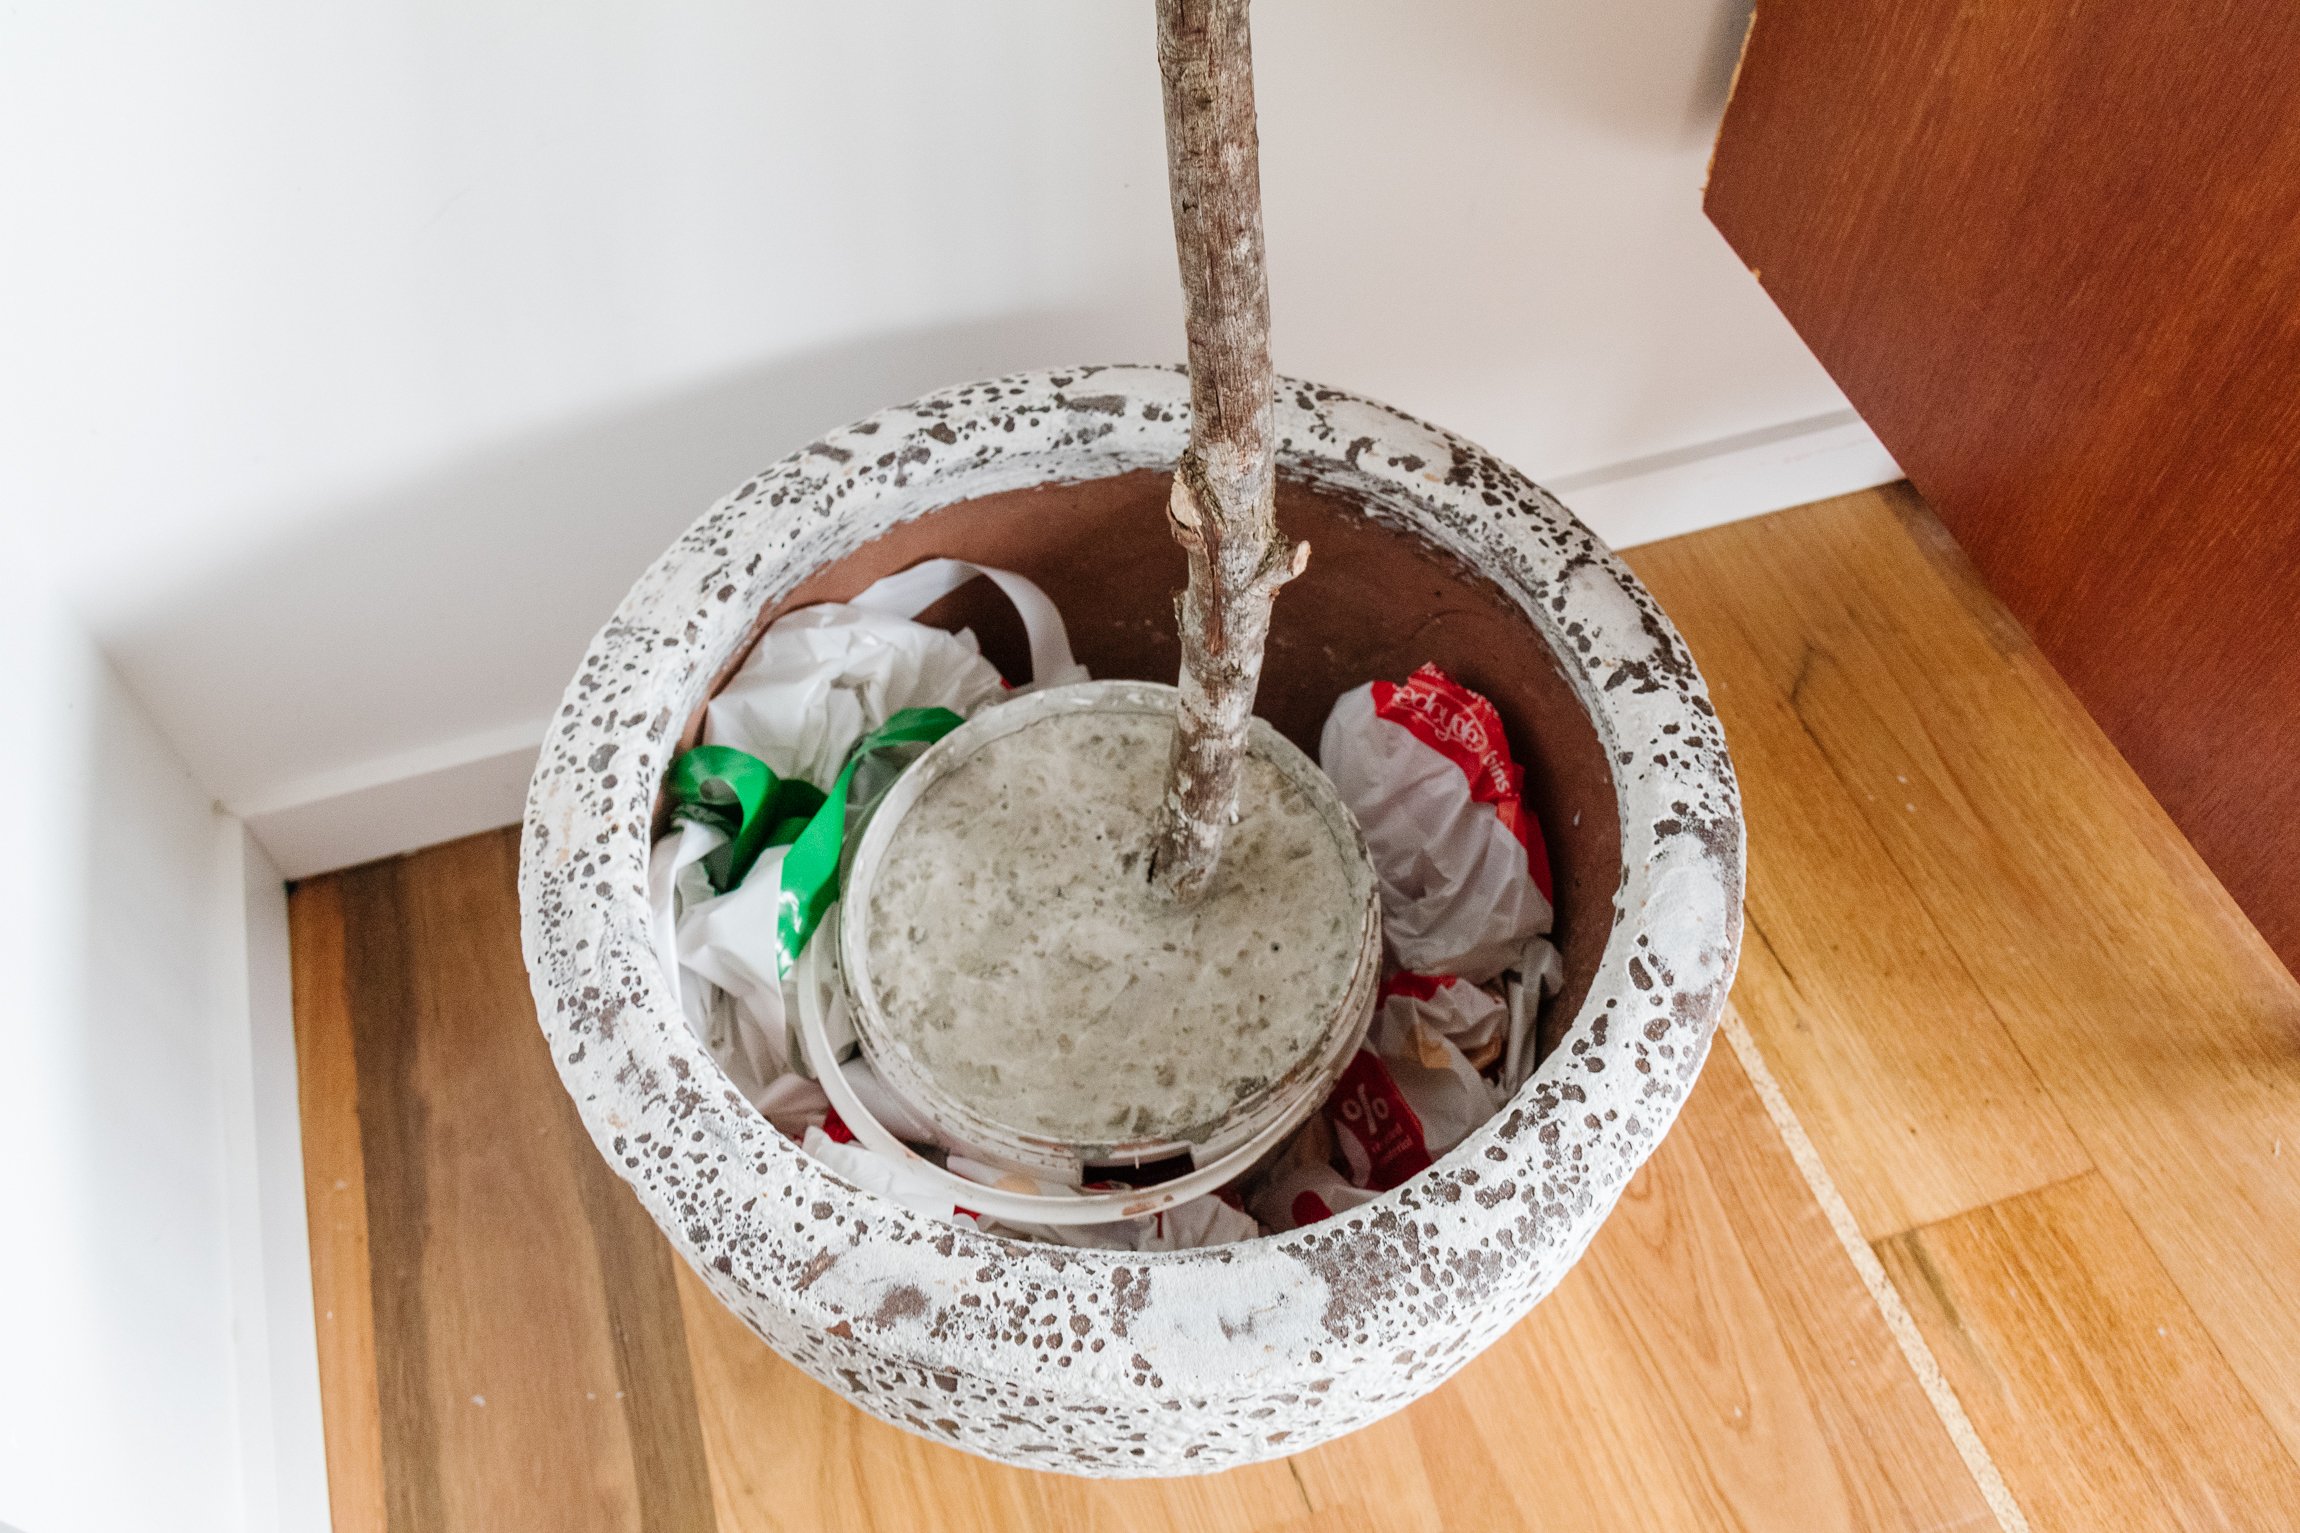
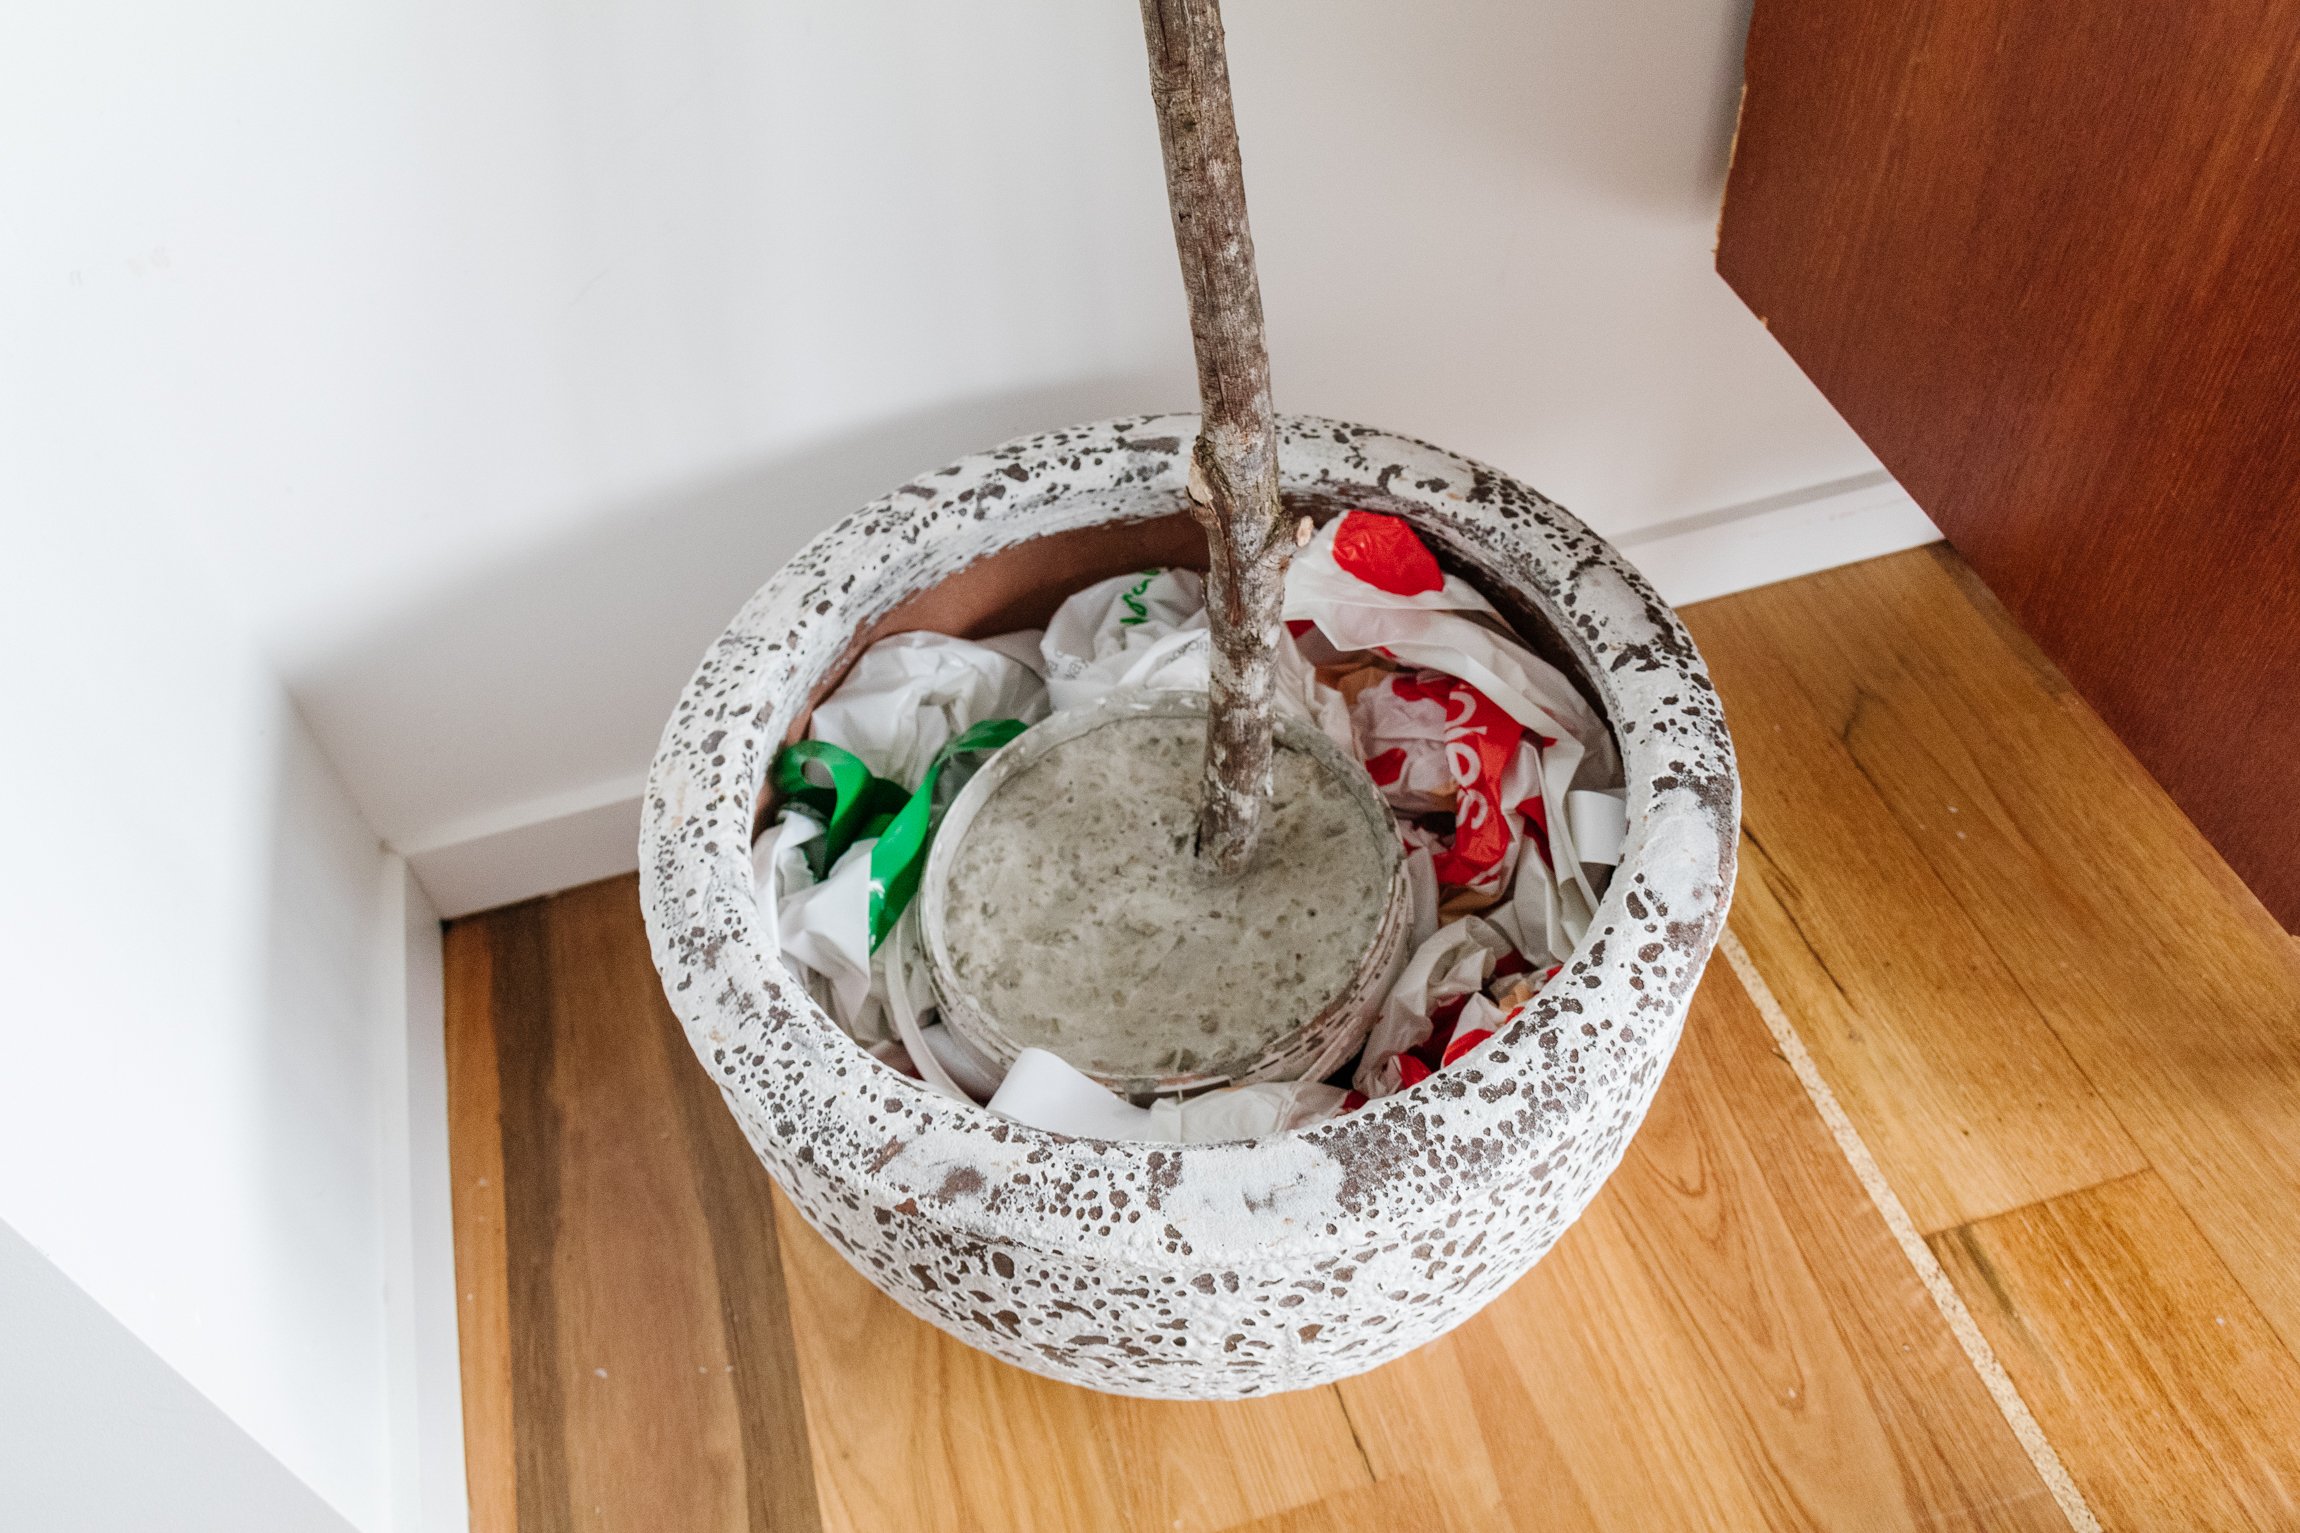
Bucket (I cleaned and repurposed a Multi Purpose Joint Compound bucket from Bunnings)
Fast set high strength concrete from Bunnings
Paint stirrer (to stir and mix the concrete)
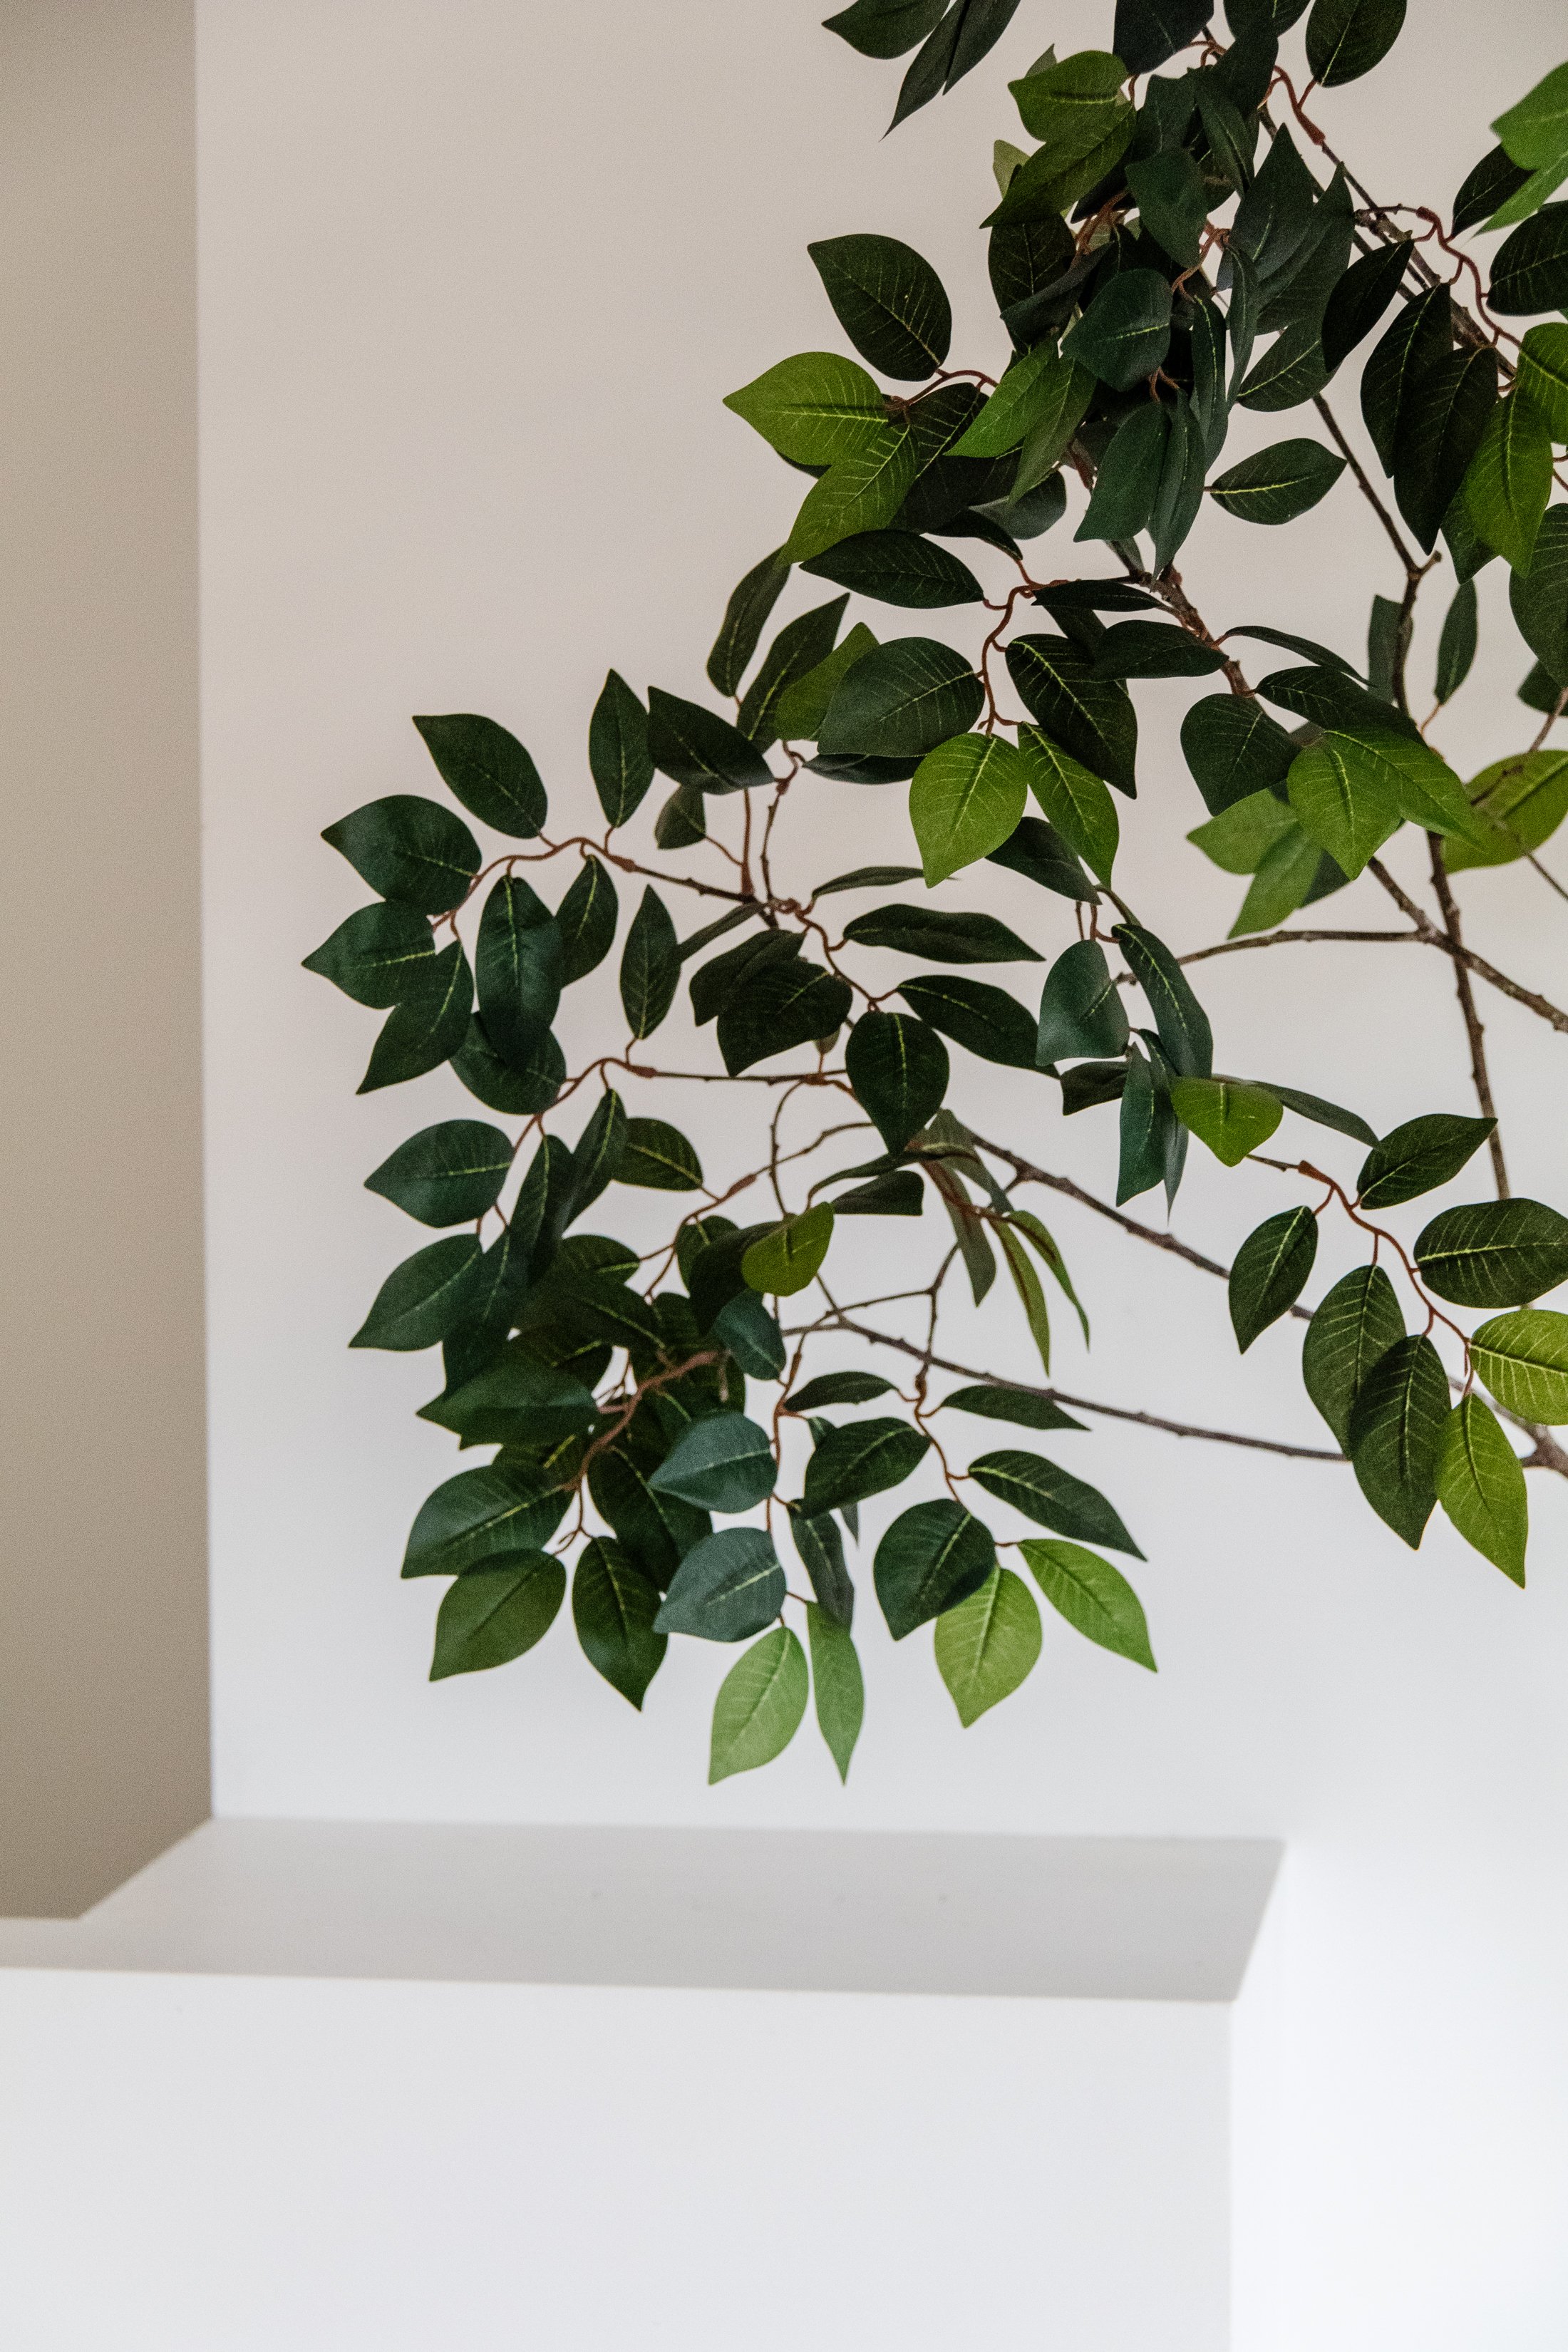
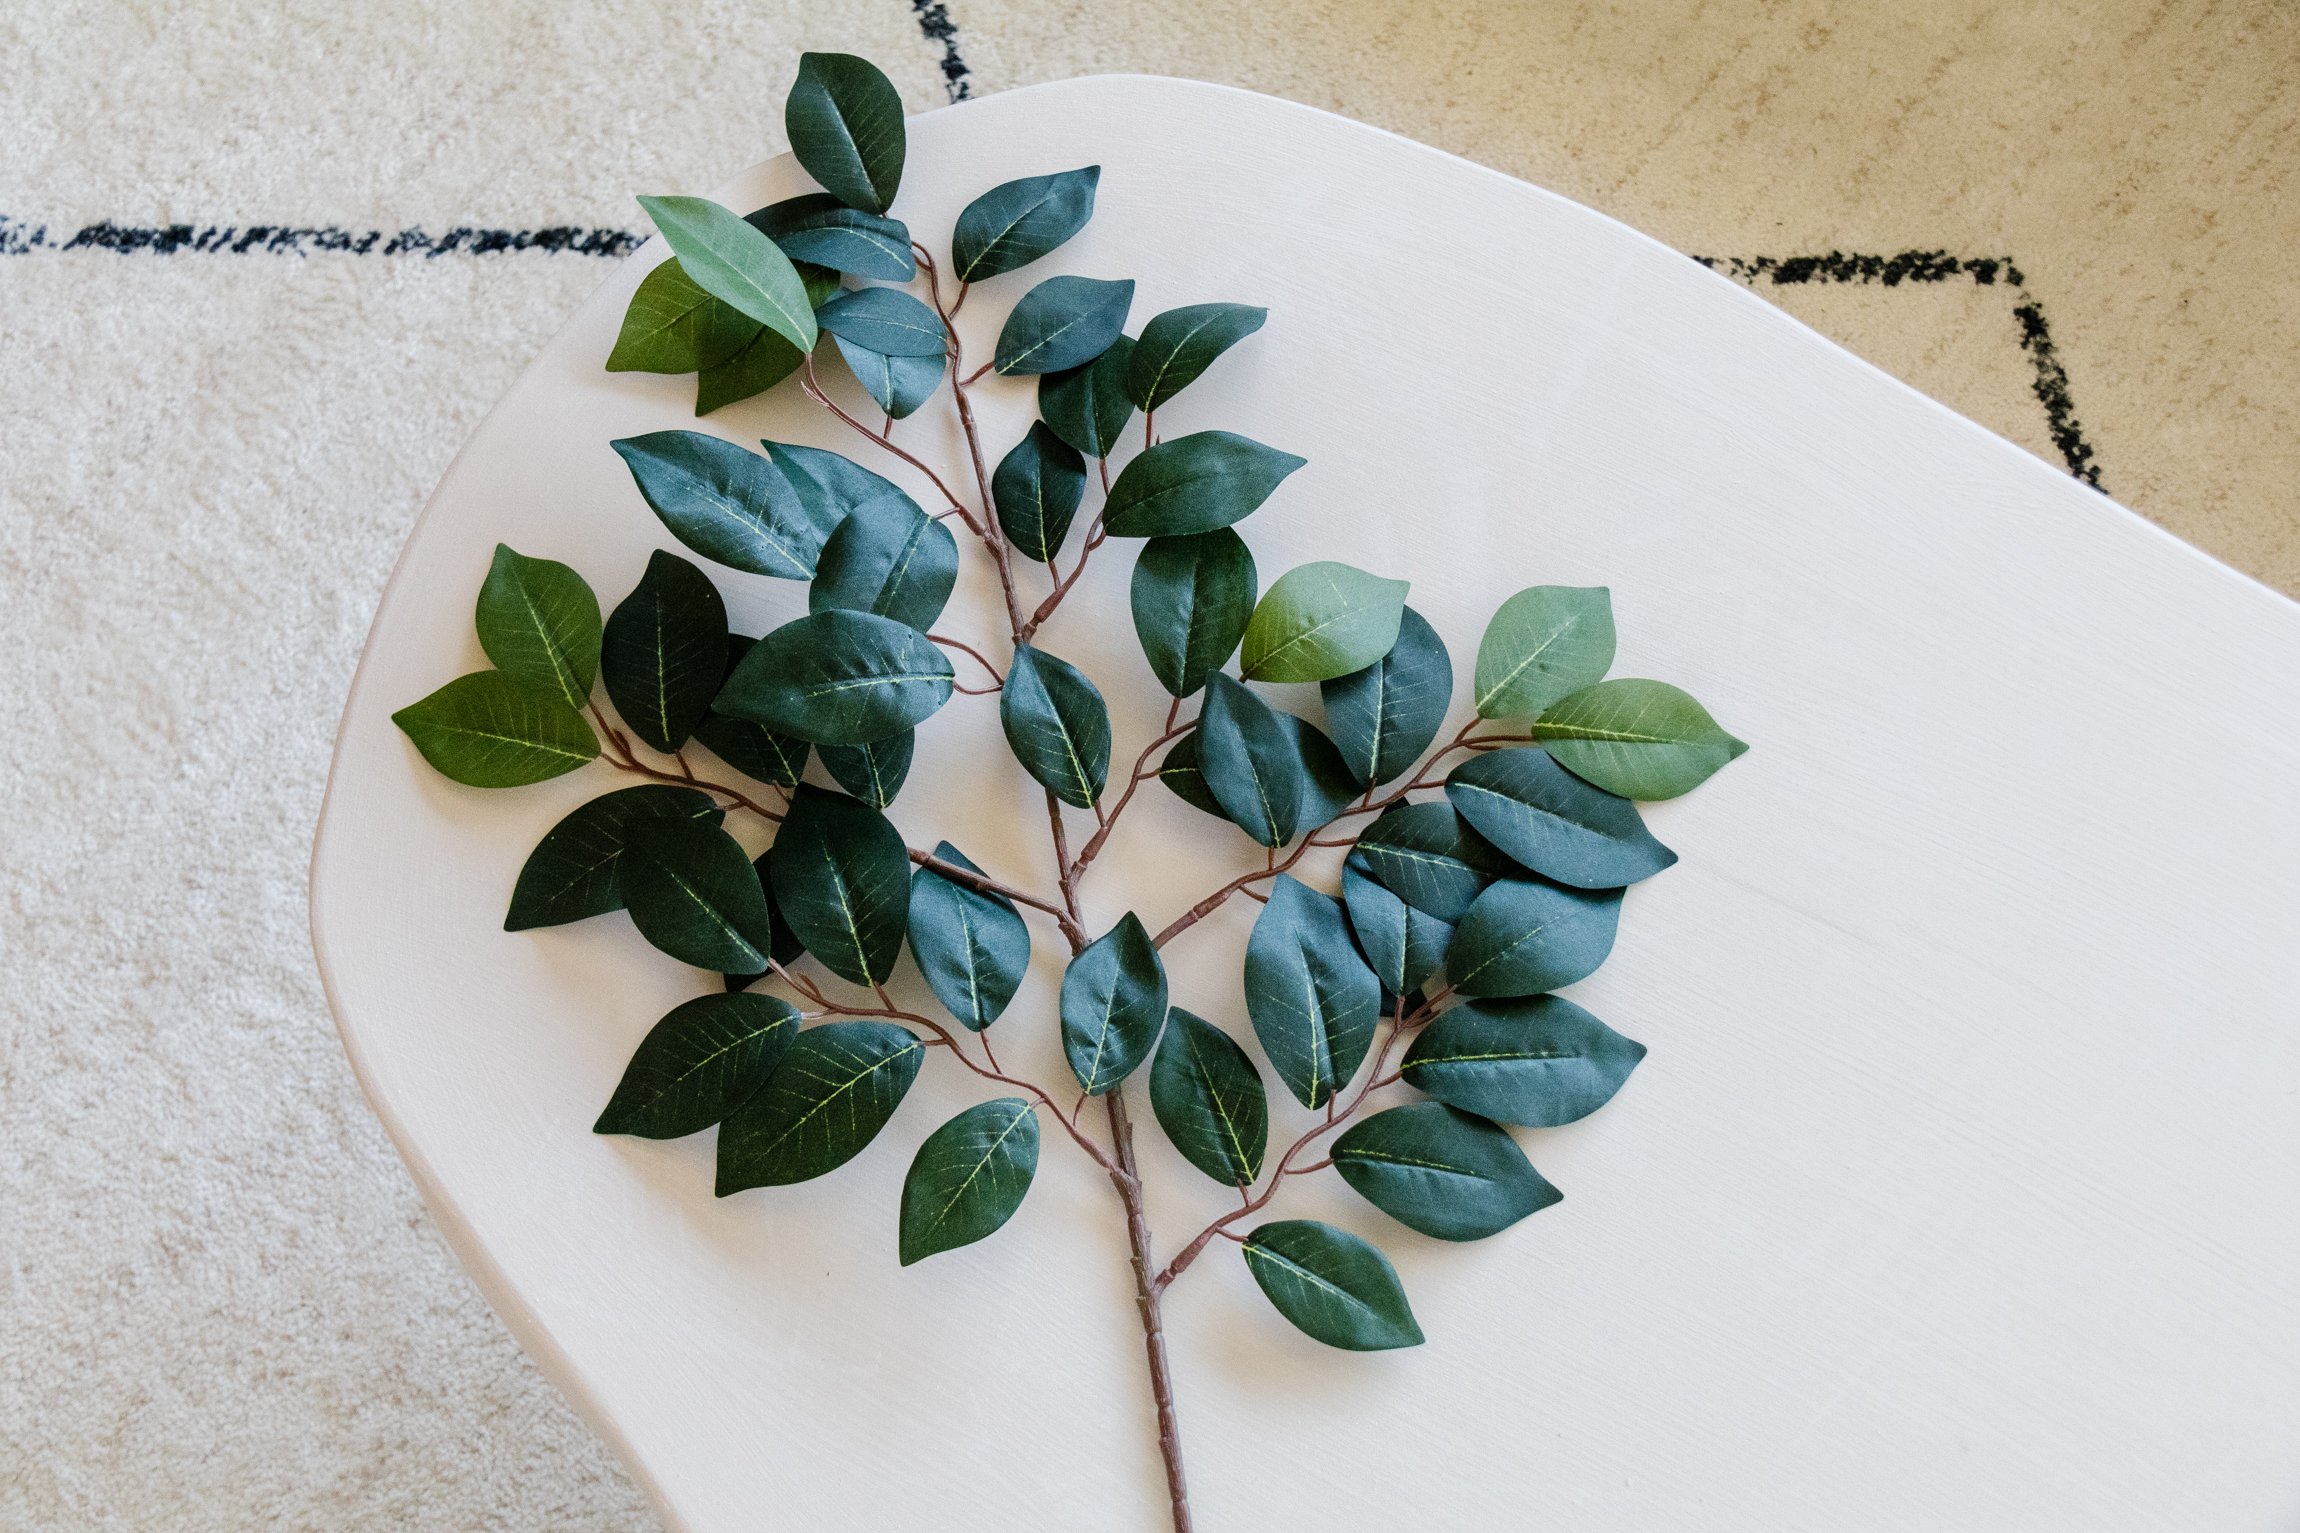
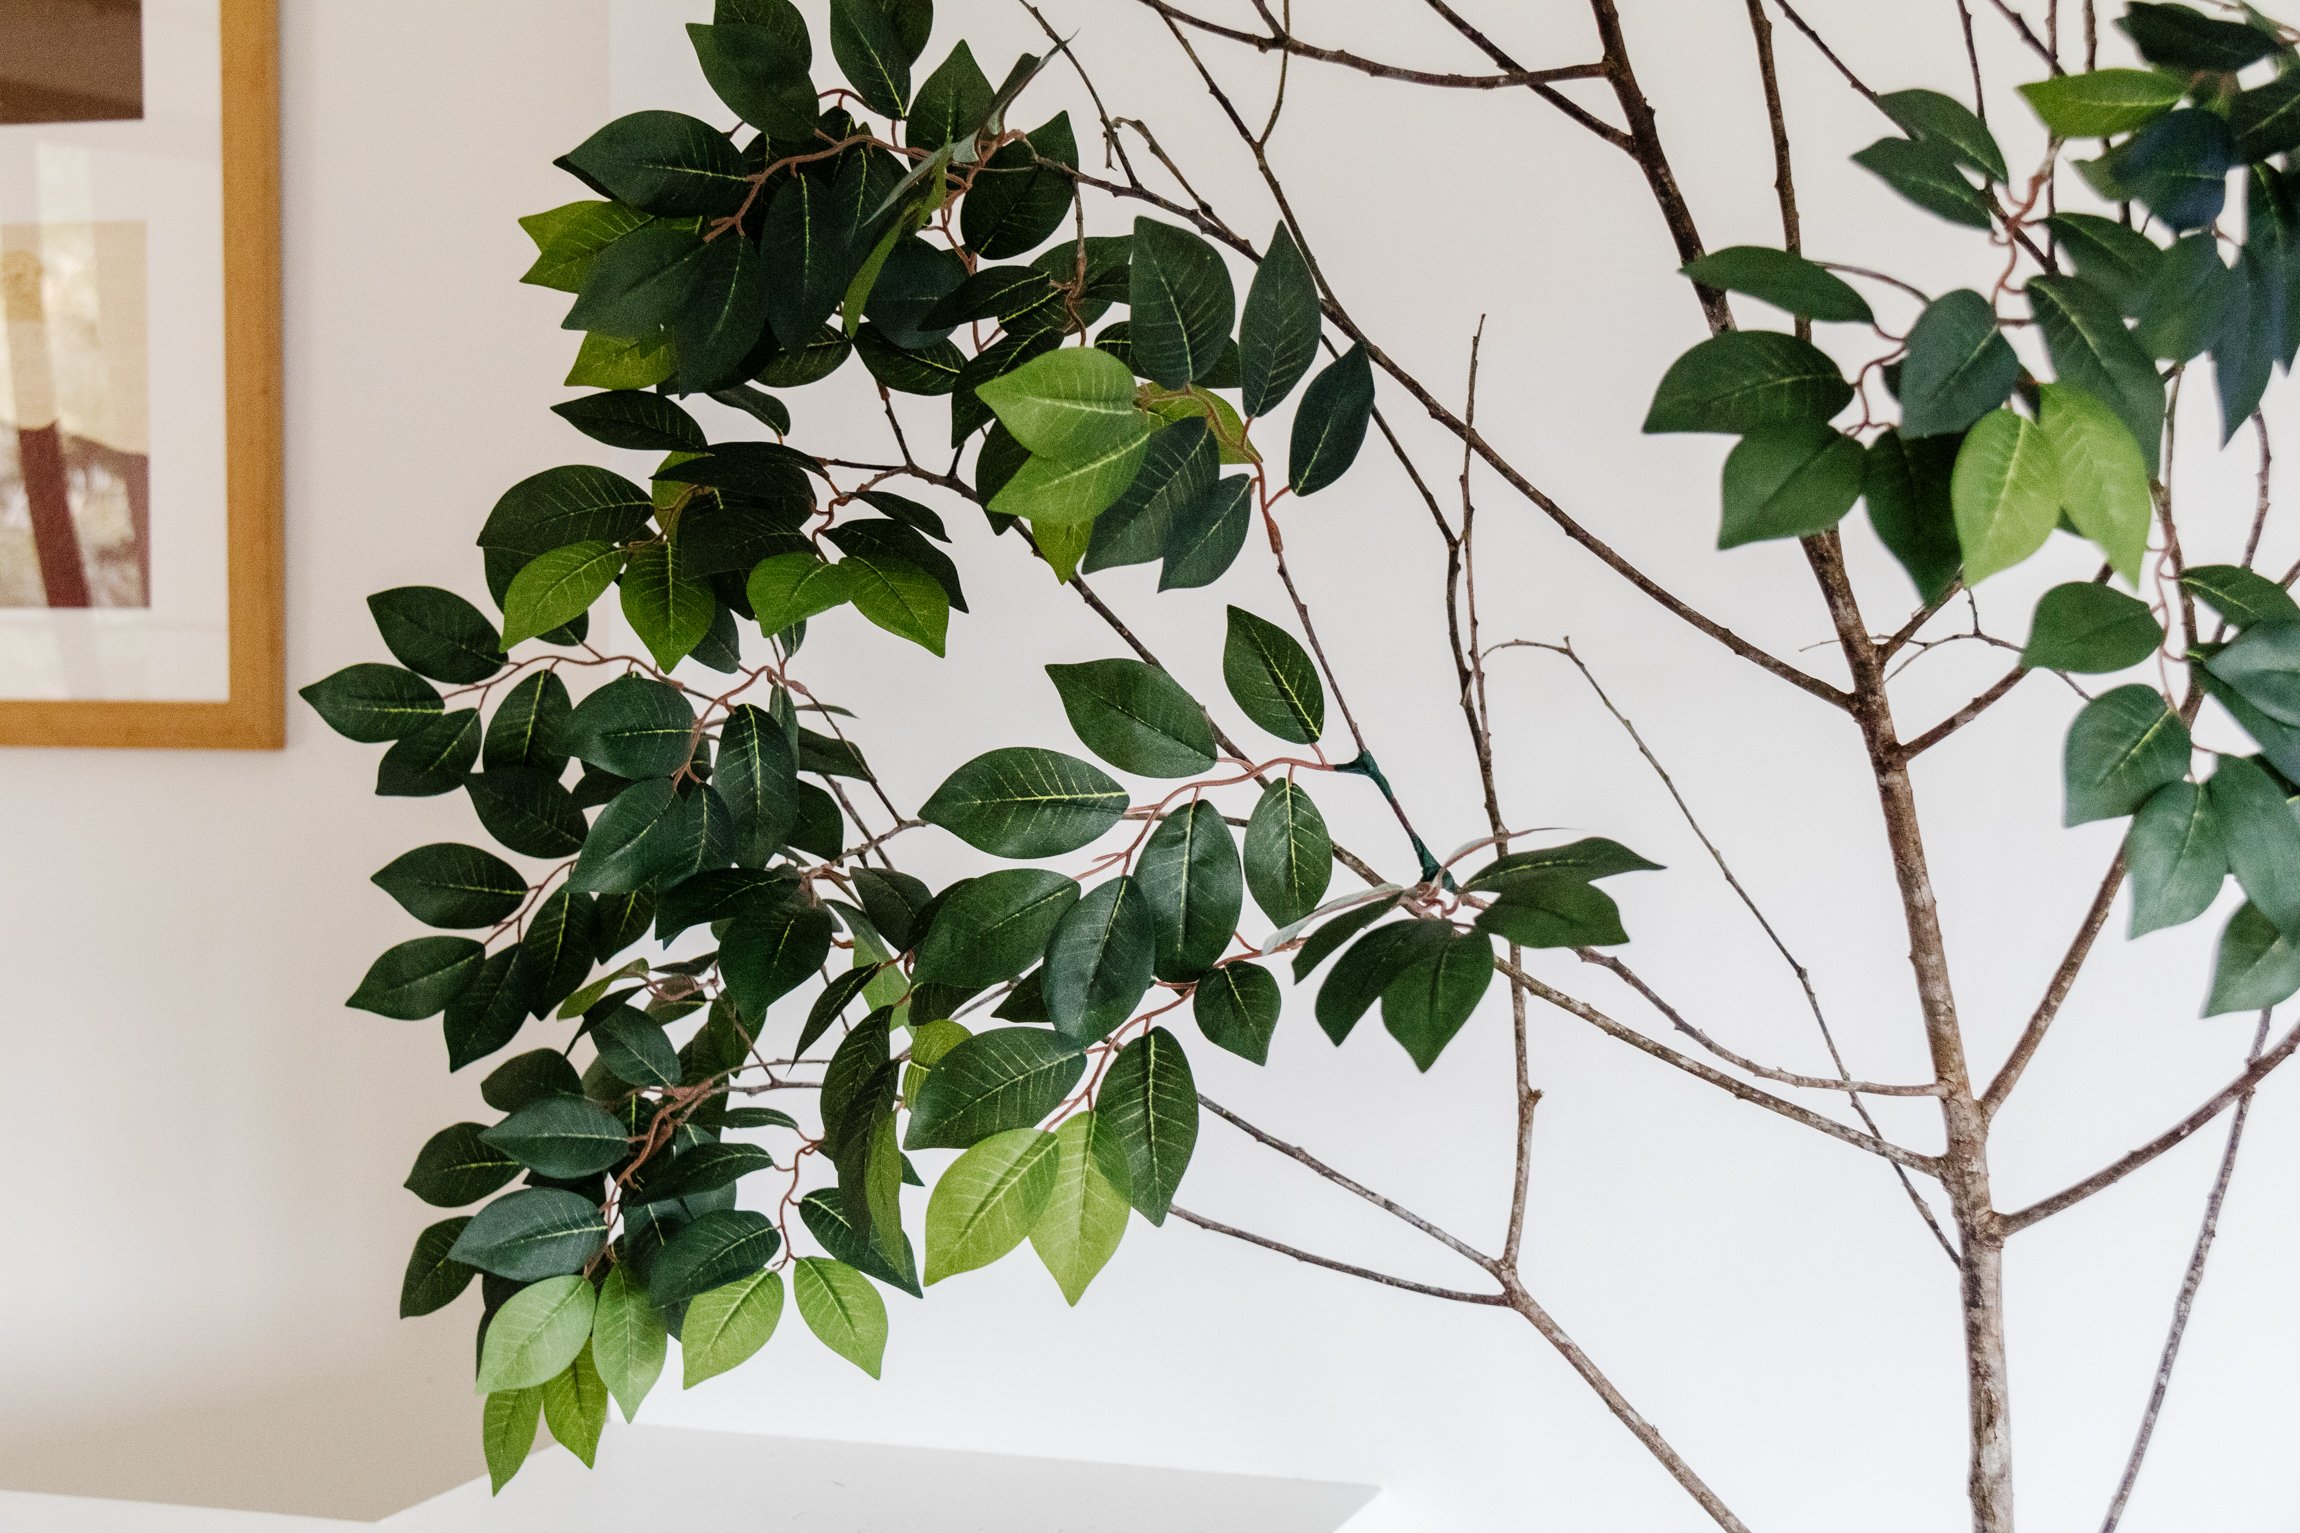
Faux leaves from Koch & Co
Scissors
Hot glue gun
Florist tape
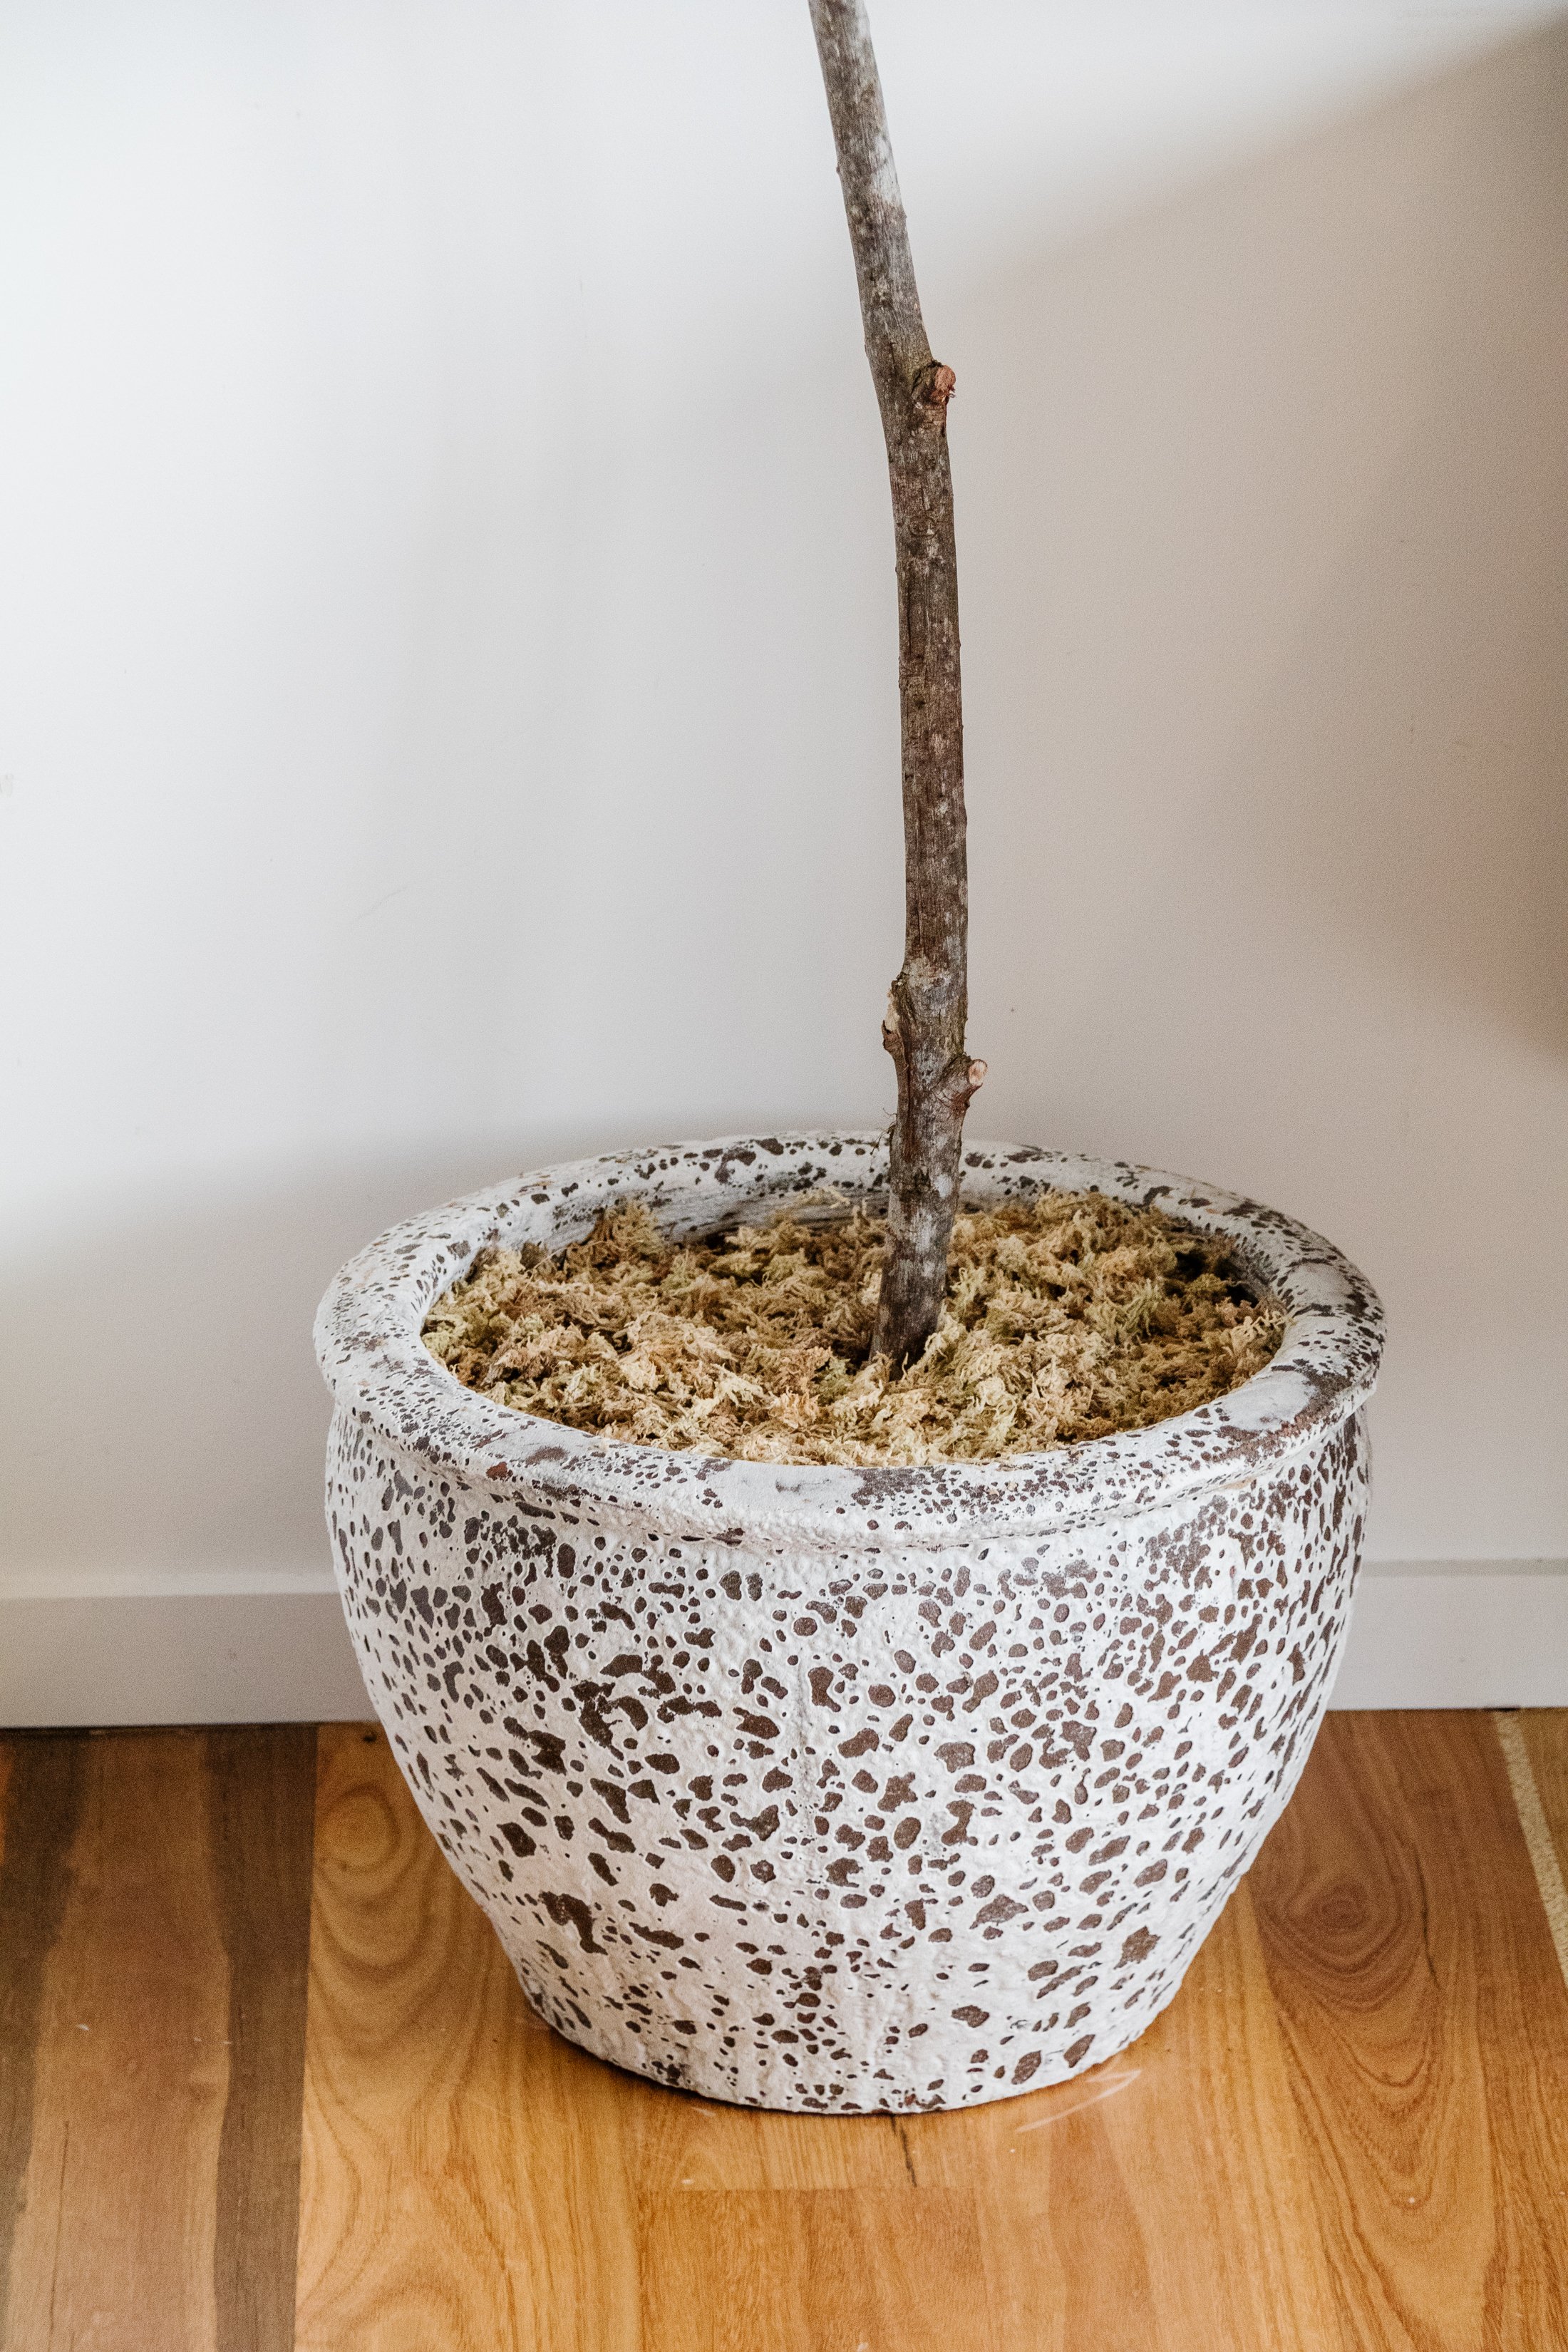
Pot
Shopping bags or newspaper
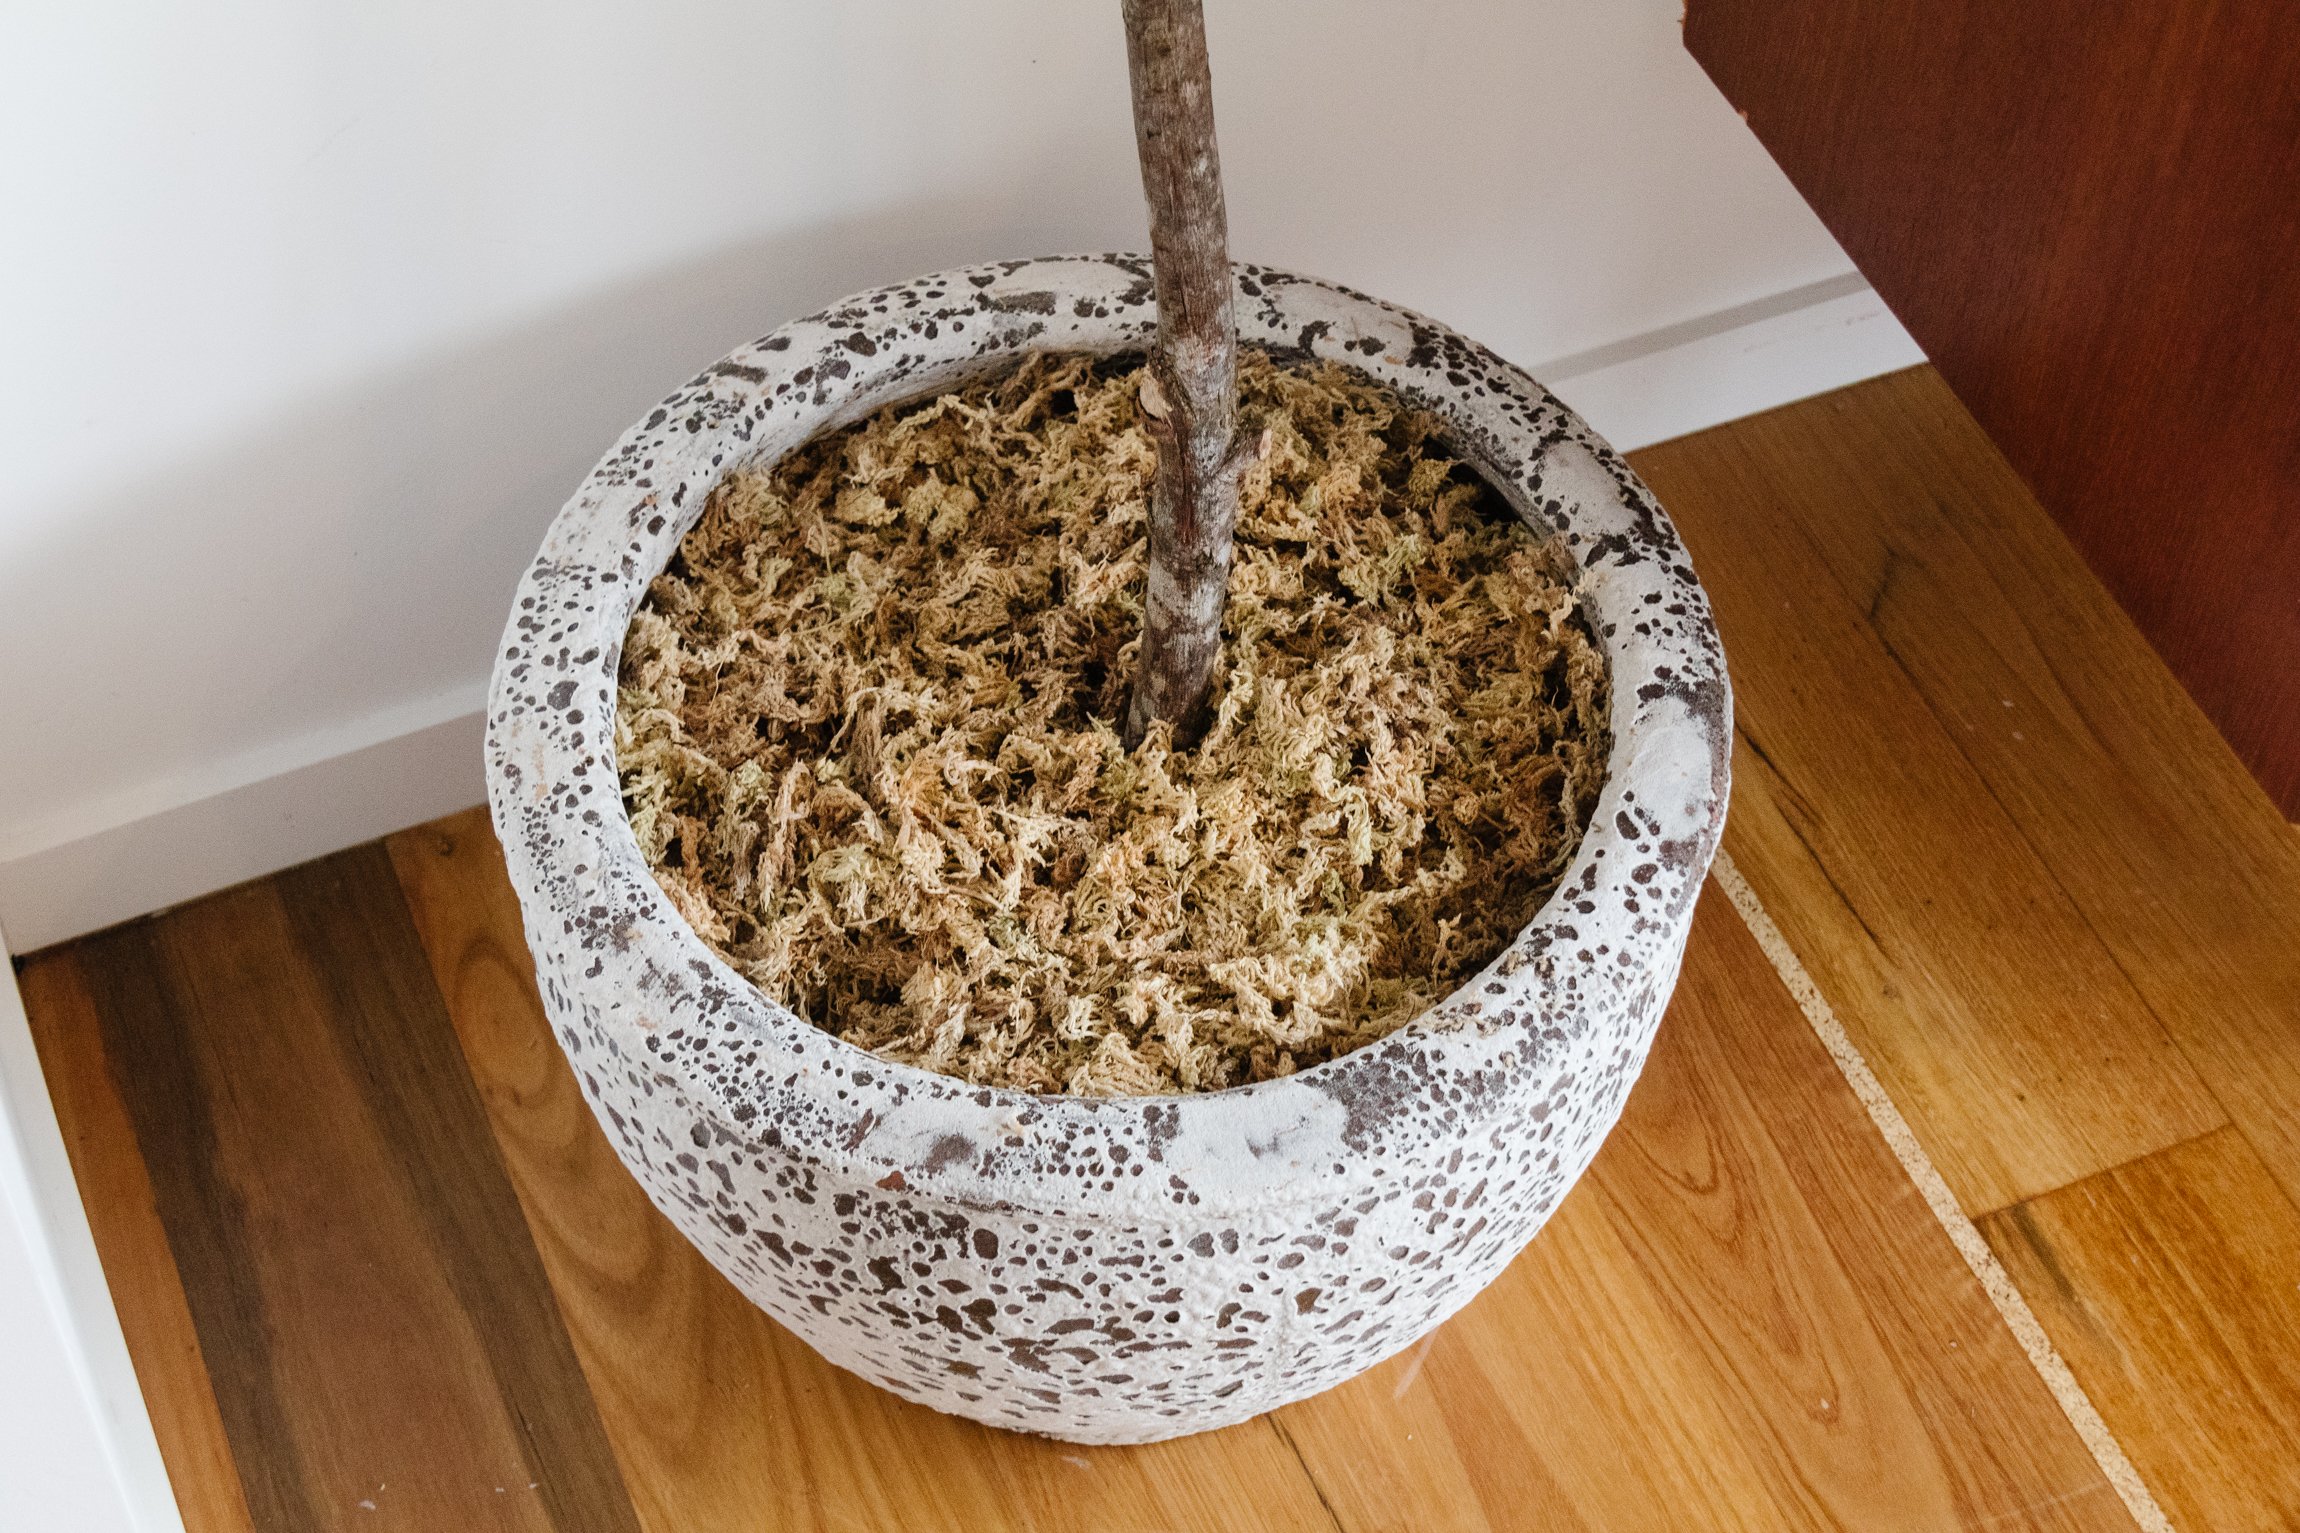
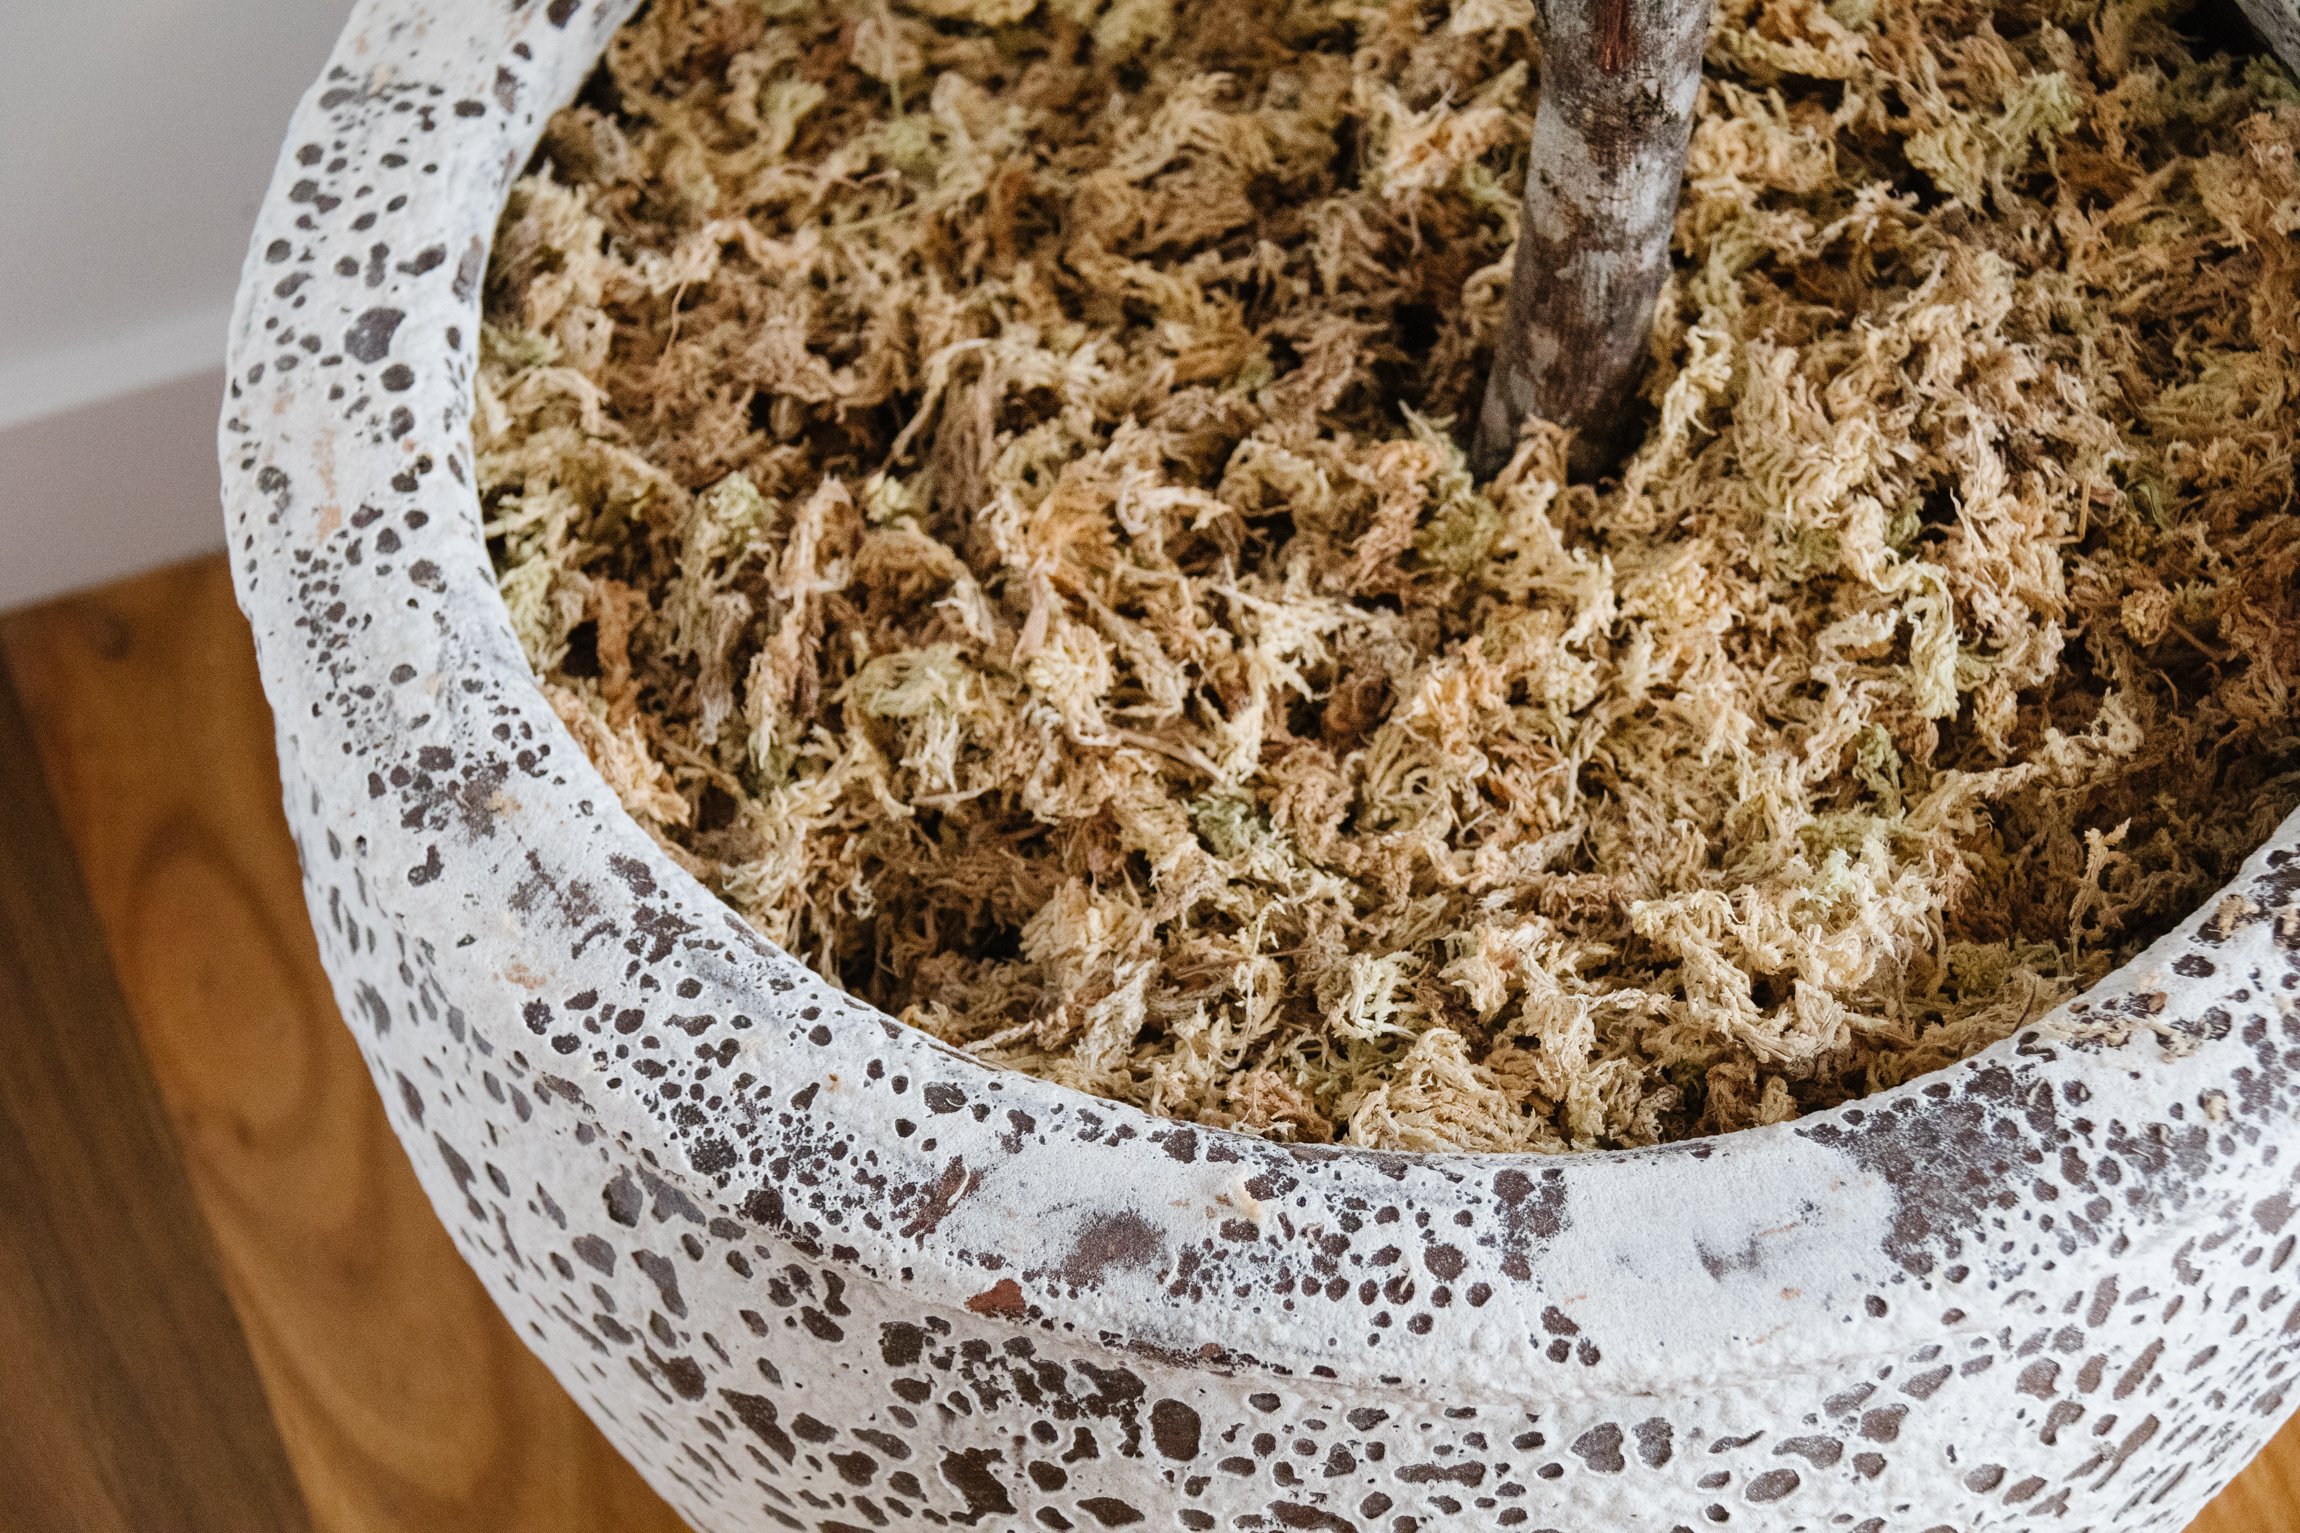
Moss from Bunnings
A quick note: Where possible, try to avoid cutting down a branch from a tree if possible! Look around to see if you can find any trees or branches that have fallen to the ground. Recently the Sunshine Coast was hit with devastating floods and I noticed a lot of fallen trees and branches swept up on the side of the road. When we were driving out to Eumundi the other weekend, I noticed a dead tree had completely fallen over so we pulled over and broke off a huge branch for me to use for this DIY.
A quick tip: If you’re main large branch doesn’t have a lot of smaller branches on it (like mine did) you may need to consider attaching smaller branches using a hot glue gun and florist tape, like I did. This helps create volume where there is a lot of negative space that needs filling in.
How To
Trim and remove any lower branches from the main branch using a hacksaw.


In the bucket, add a small amount of cement and pour some water in. Stir thoroughly with a paint stirrer. Keep adding cement and water until the bucket is full and the cement is thick and wet, but not watery or runny.
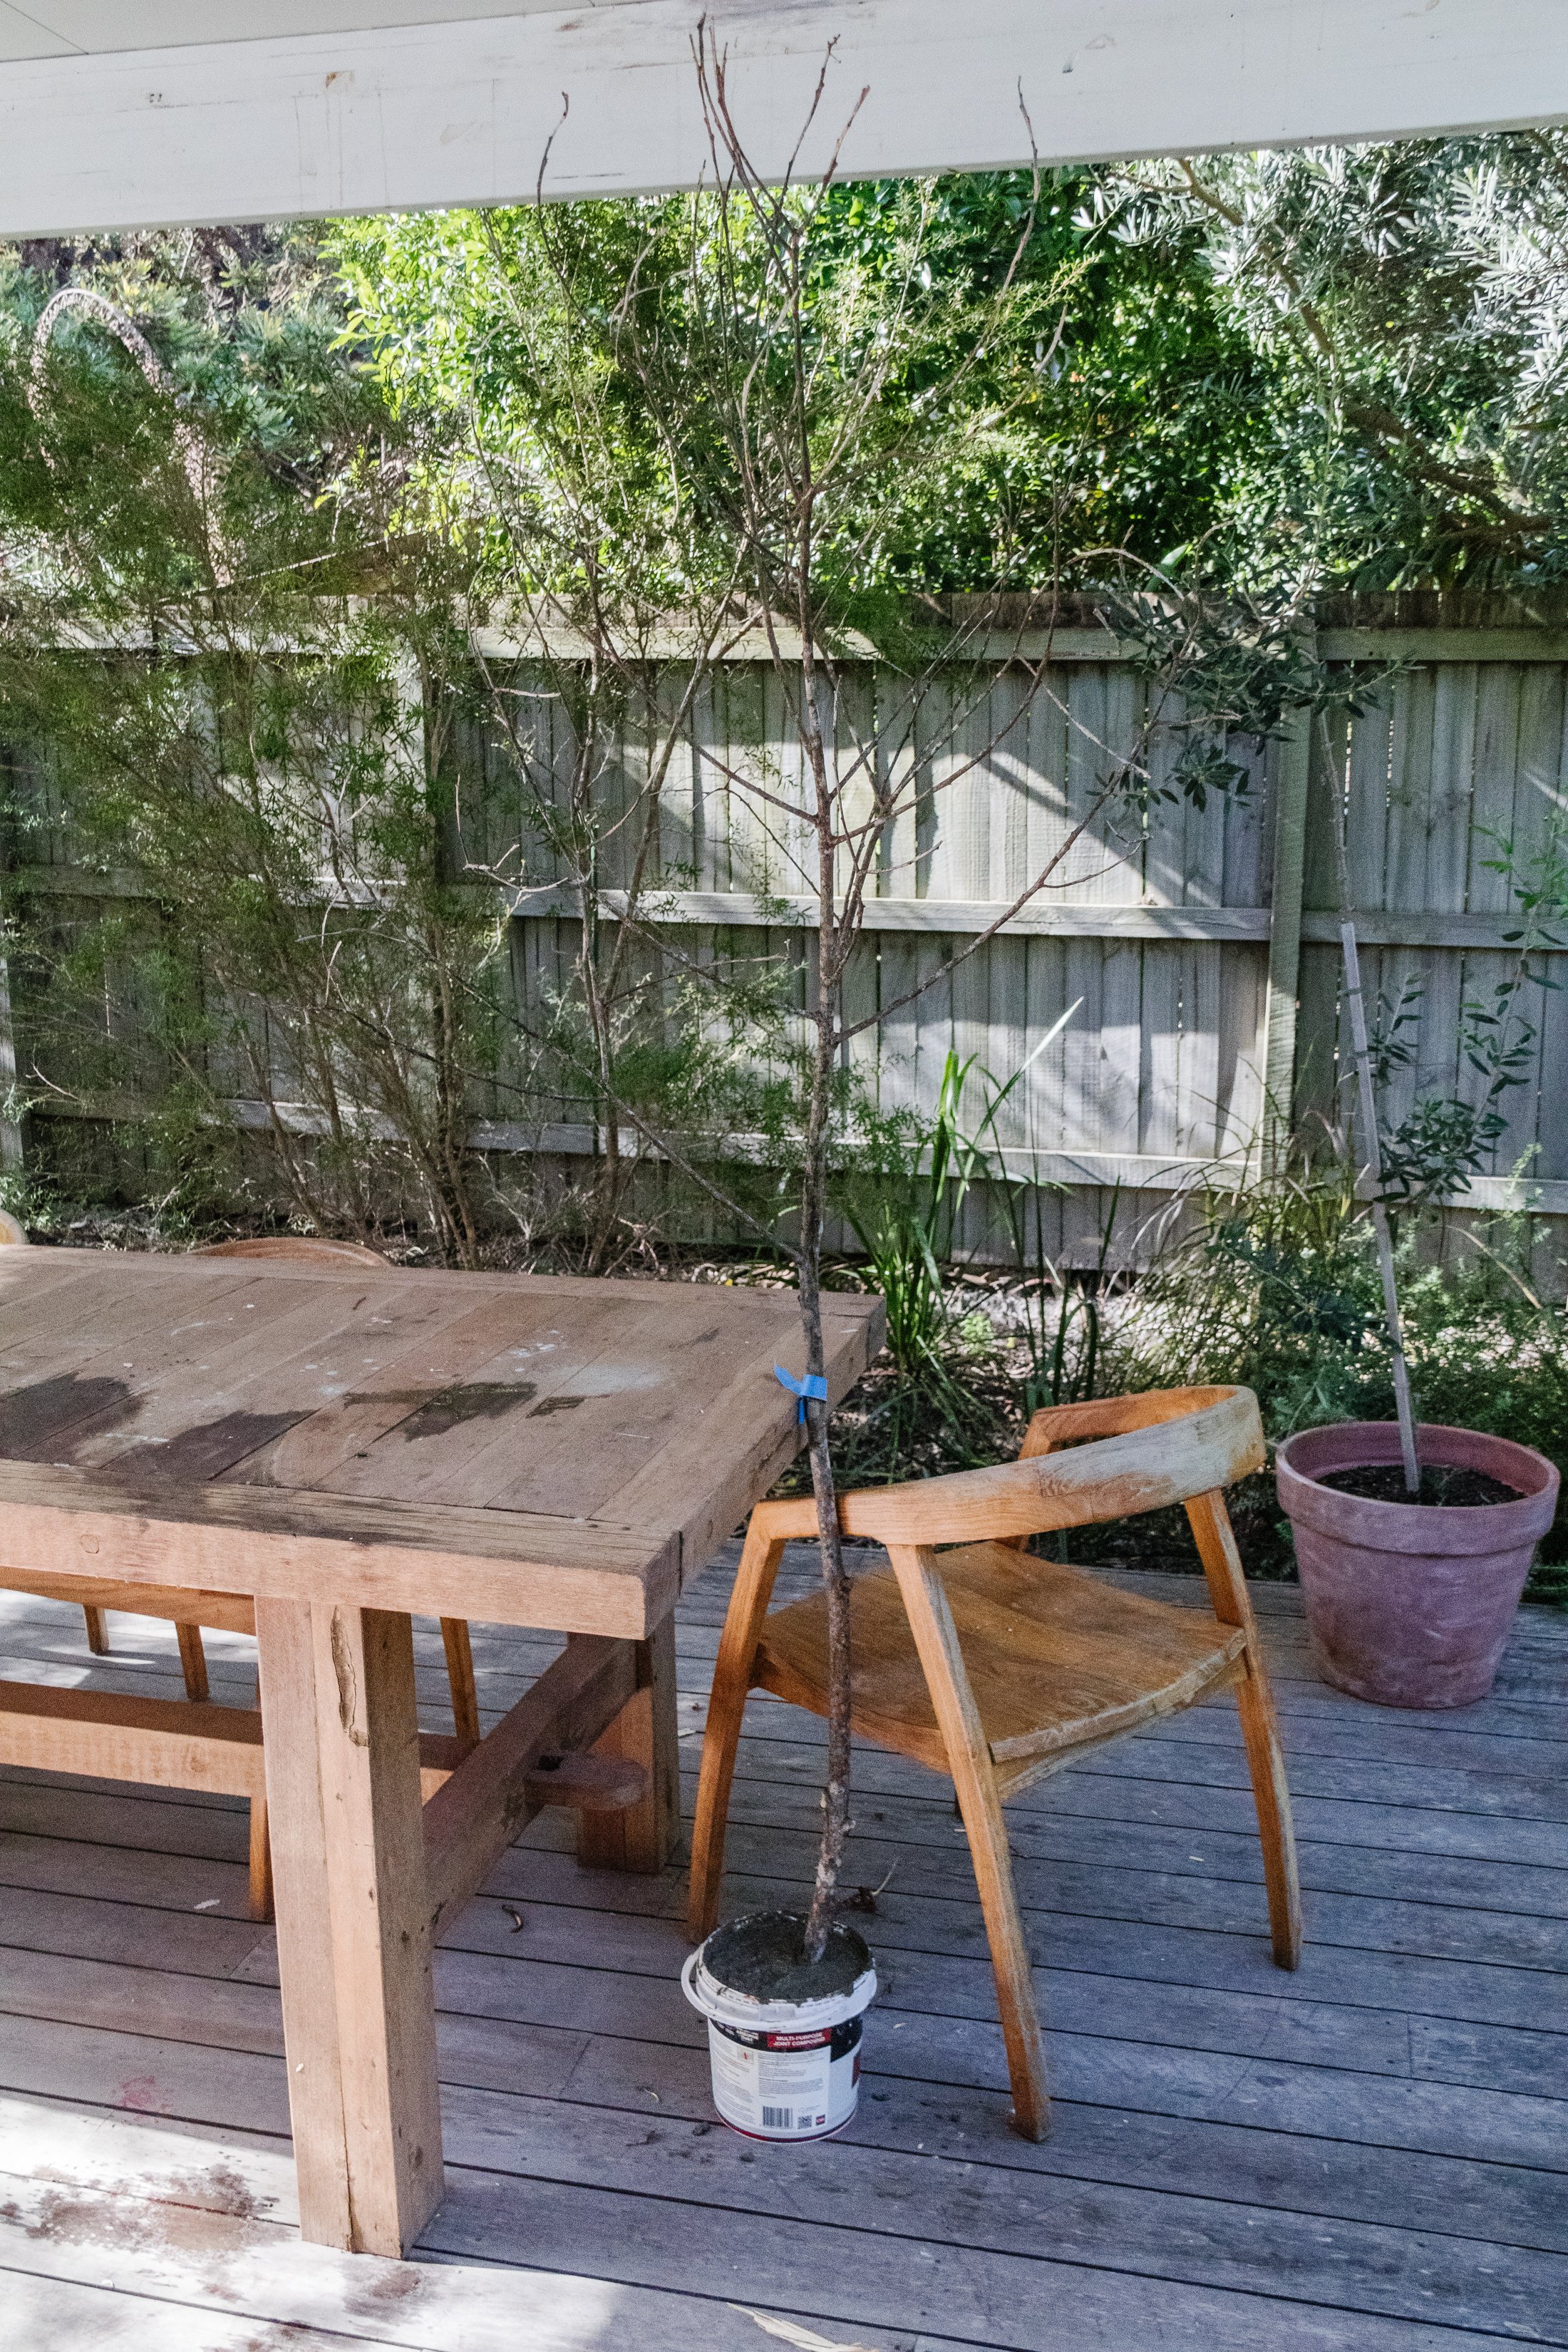
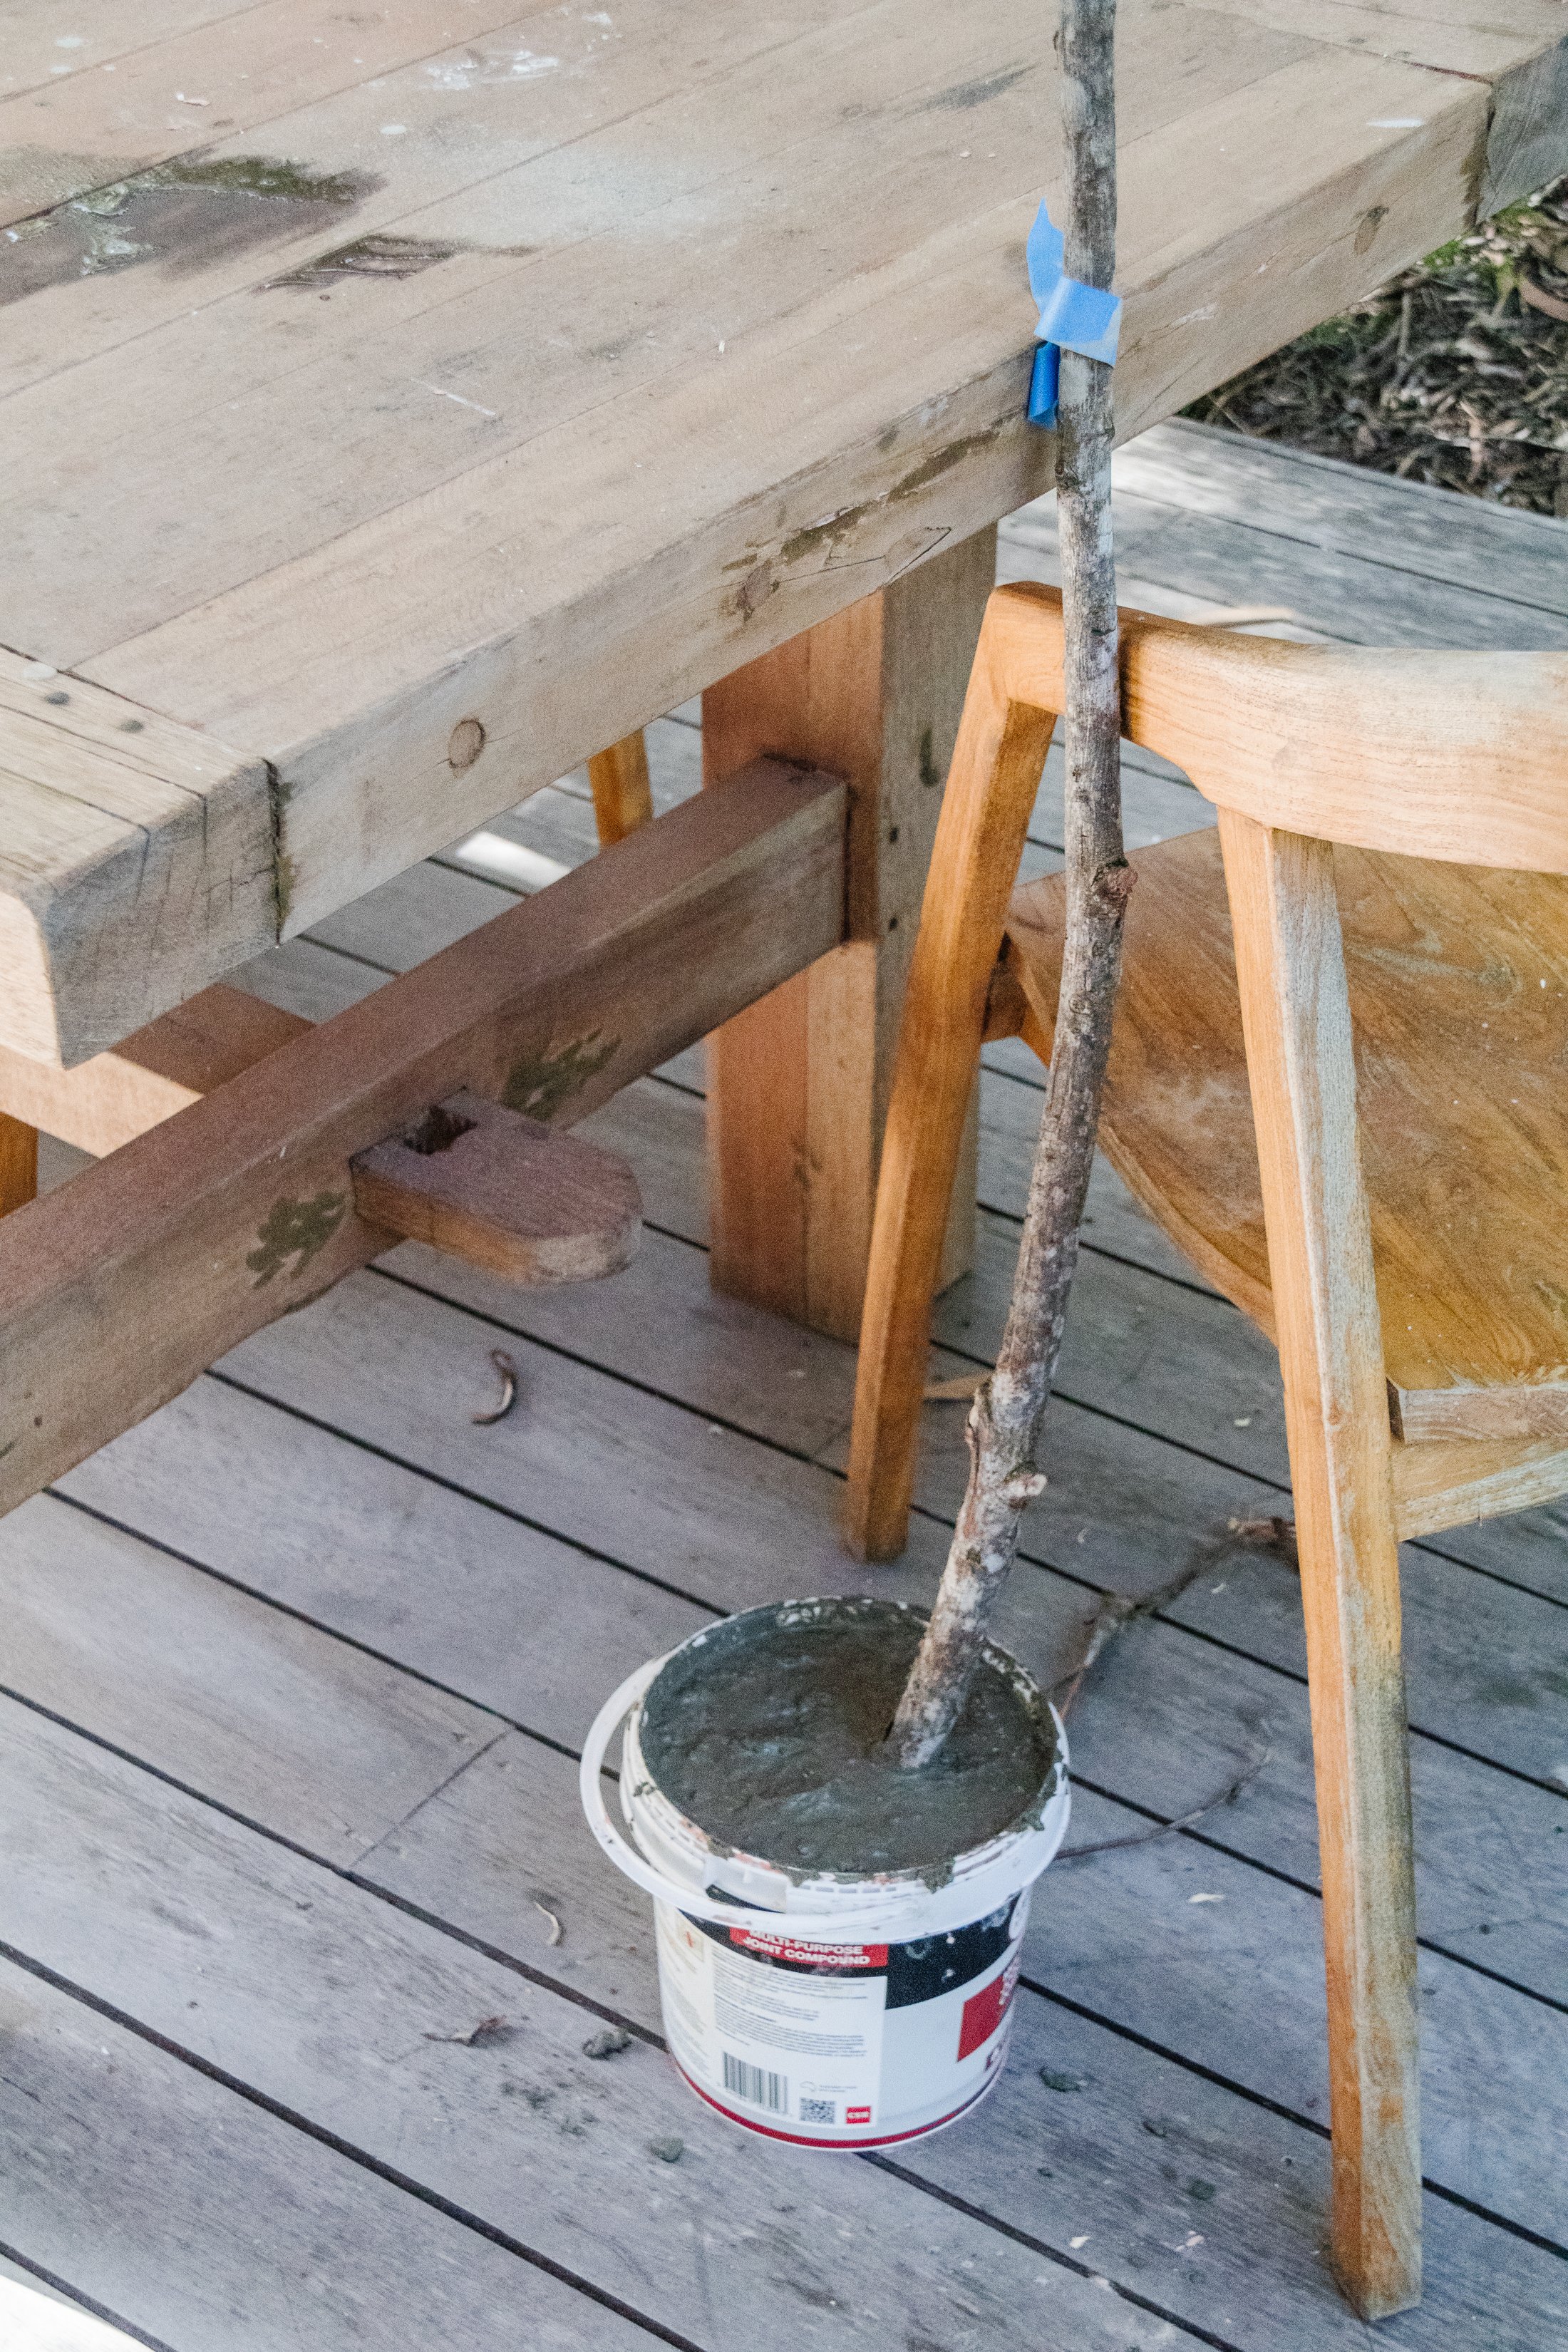
Push the base of the branch into the cement and make sure it's positioned straight. The concrete I used sets quickly (which is preferable for this project so you can start and finish it in a couple of hours) but you will need to secure the branch as it dries. I positioned the branch up against the table on our back deck and a chair, and for extra stability I wrapped painters tape around the branch and secured it to the table so it didn’t lean while the concrete was drying.

While the concrete is drying, pull the smaller leaf stems off the main stems. Group them according to size as this will help later on. When the concrete has dried (it literally takes 15 minutes!) cut a small slit into the bottom of each leaf stem and push them onto the branches. You may need to cut the smaller branches or use the hot glue gun to secure the leaf stems onto the branches. Take your time and enjoy getting creative!
If you want to create more volume, use spare twigs and branches and secure them to the existing branches using a hot glue gun and florist tape. It’s a little finicky but so worth it. And you don’t even notice the florist tape.
Extra tip: I found that the leaf stems with more leaves (7 leaves) looked better around the bottom and middle of the large branch/tree, while the smaller leaf stems (3 to 4 leaves) looked better when positioned at the top of the large branch/tree.


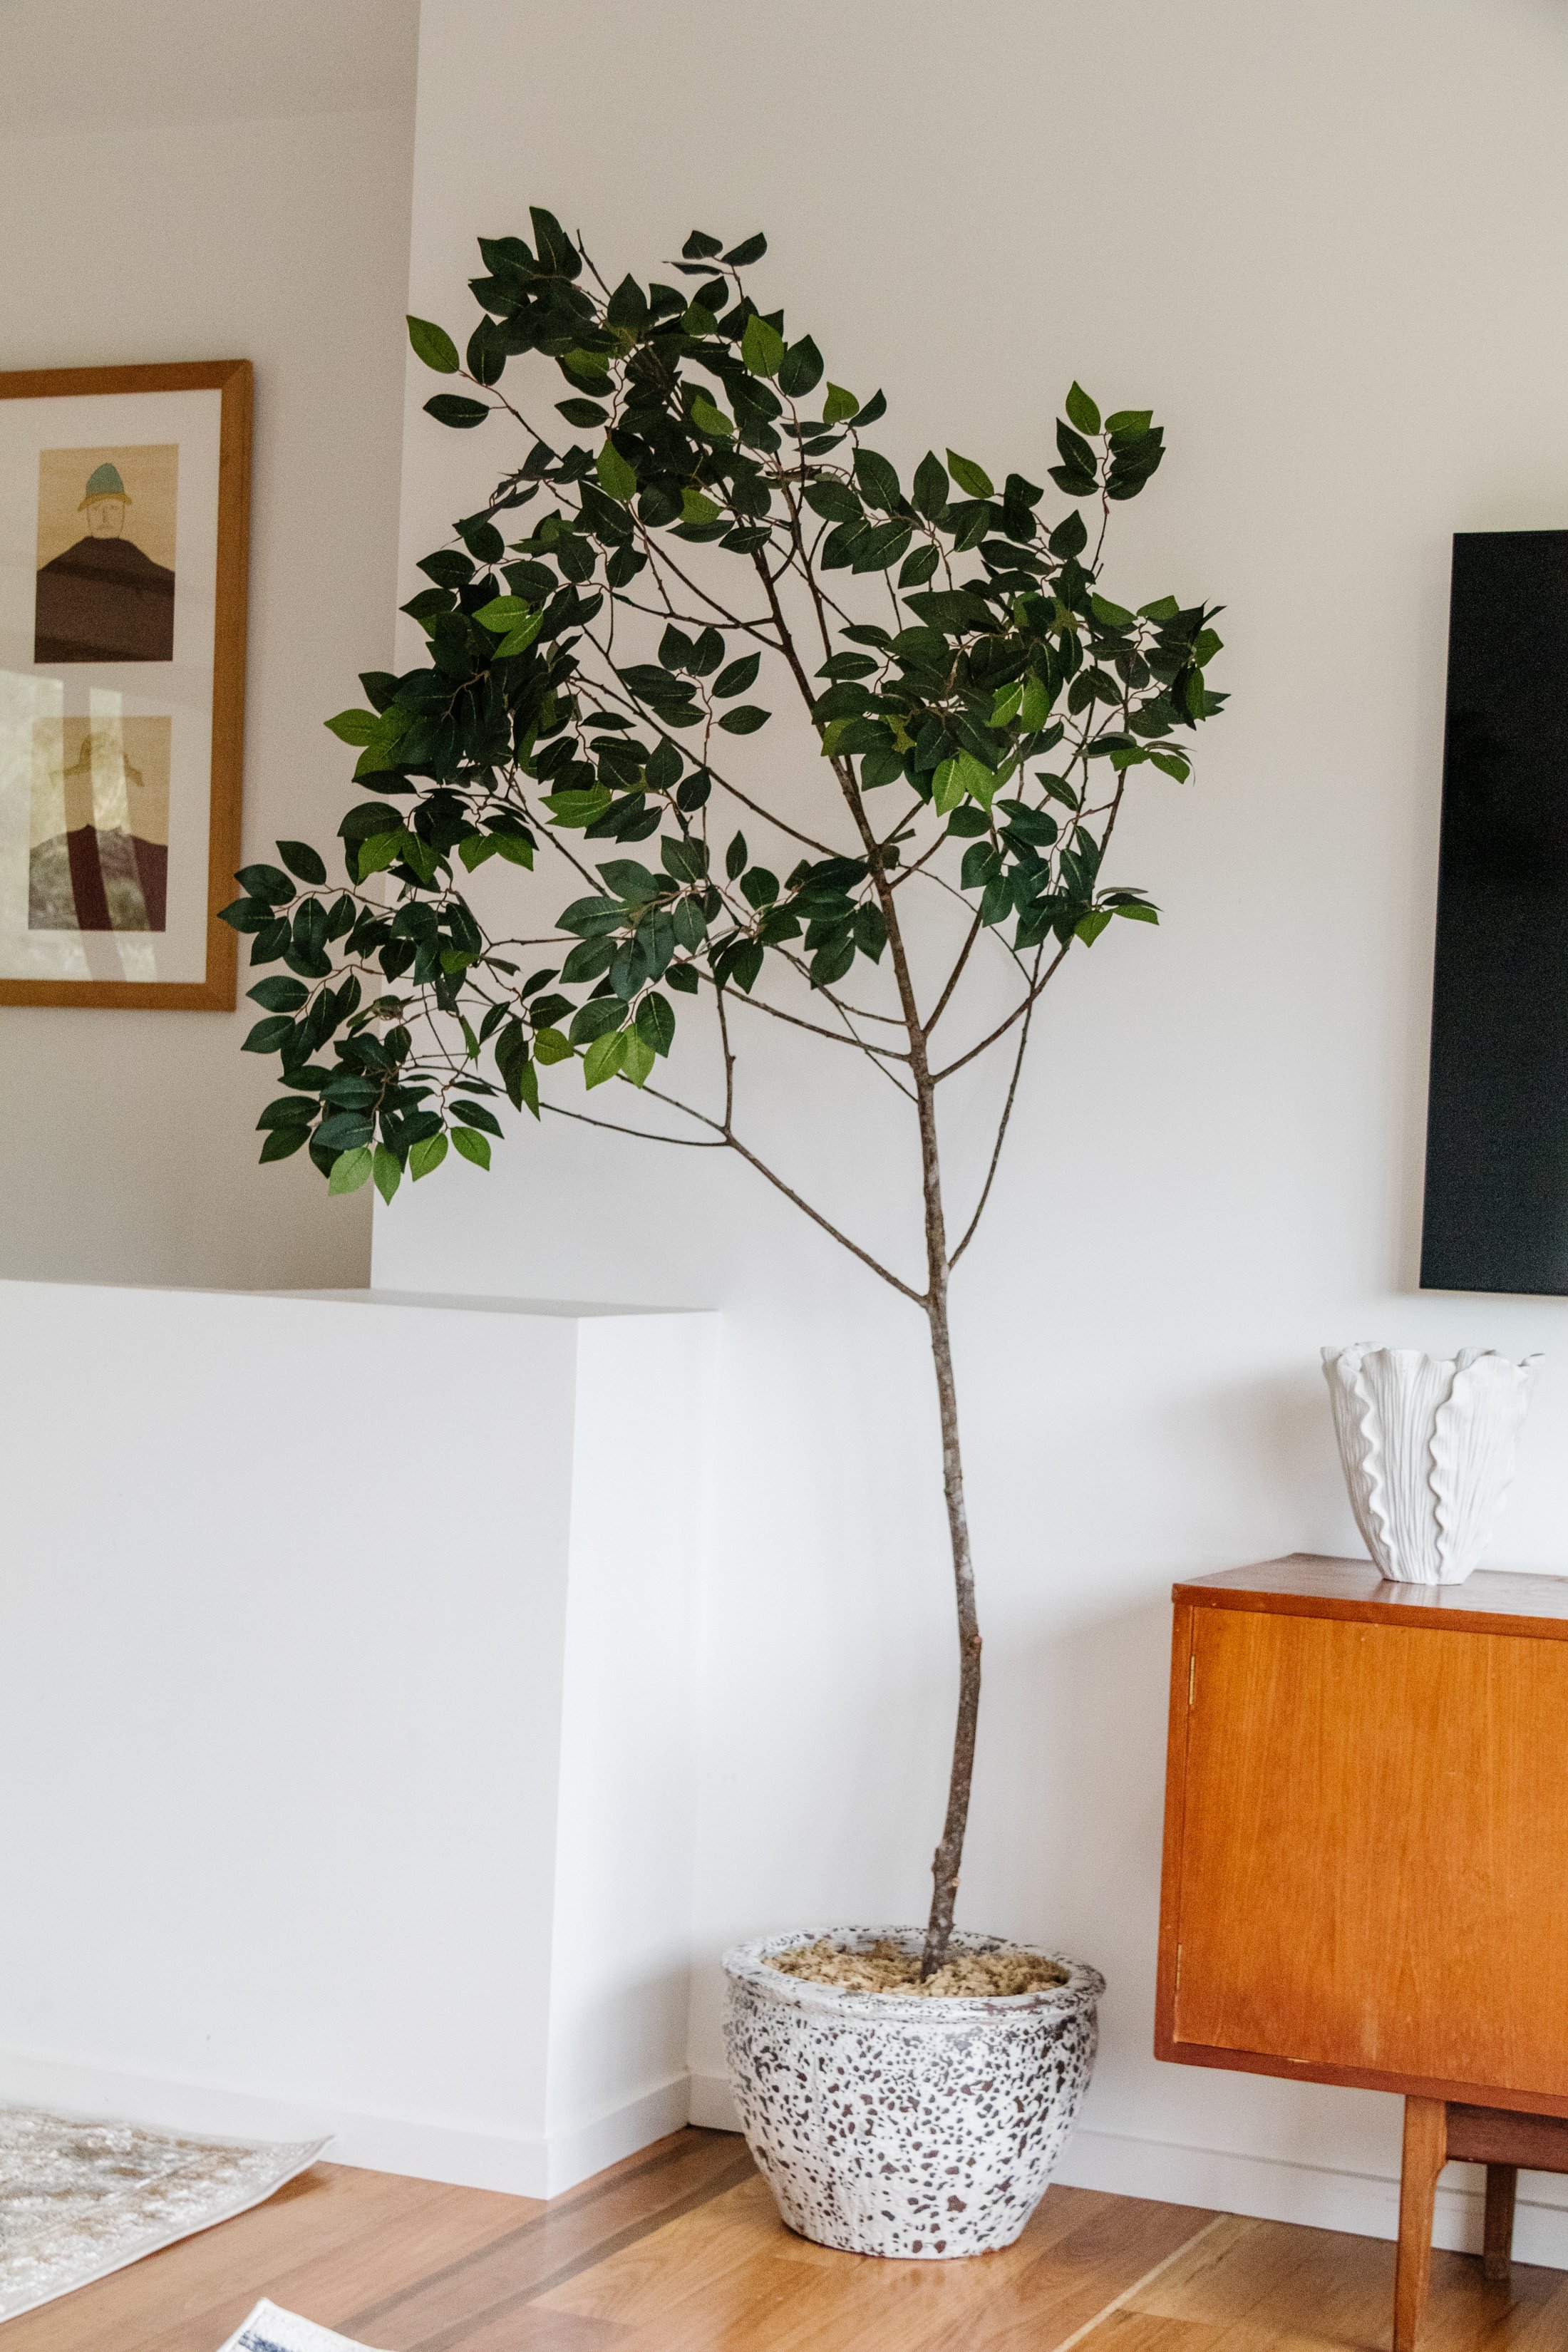
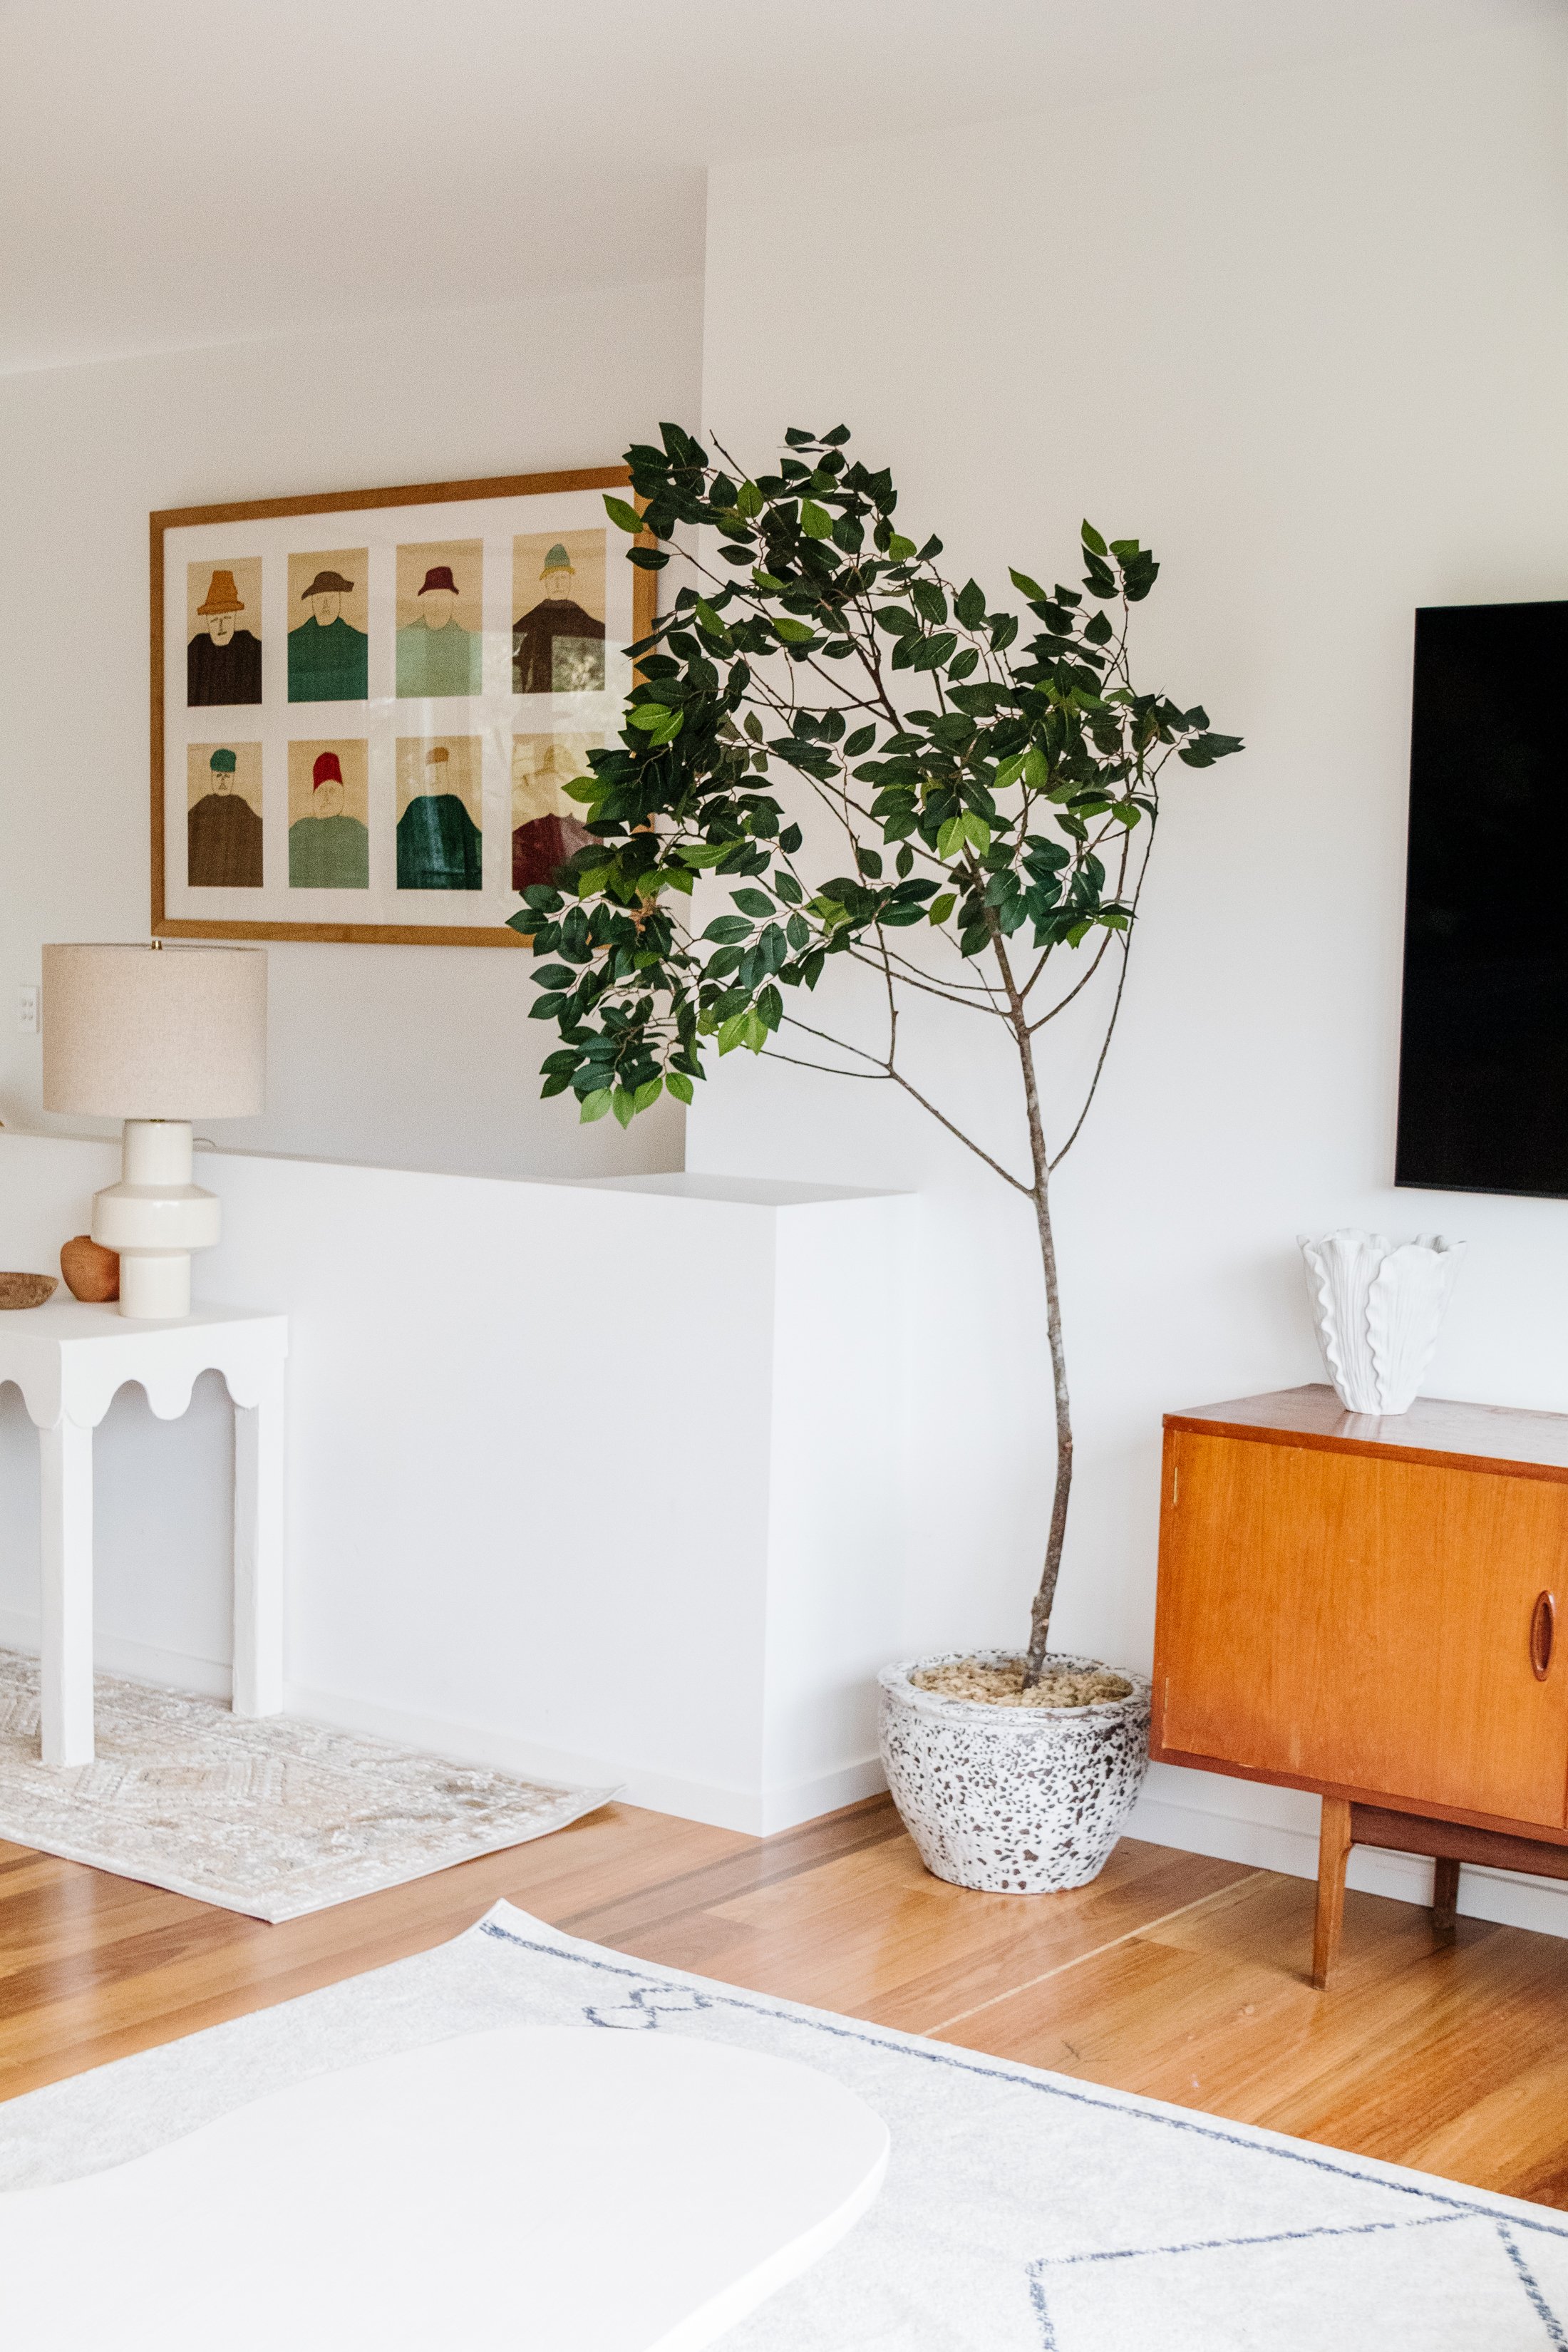
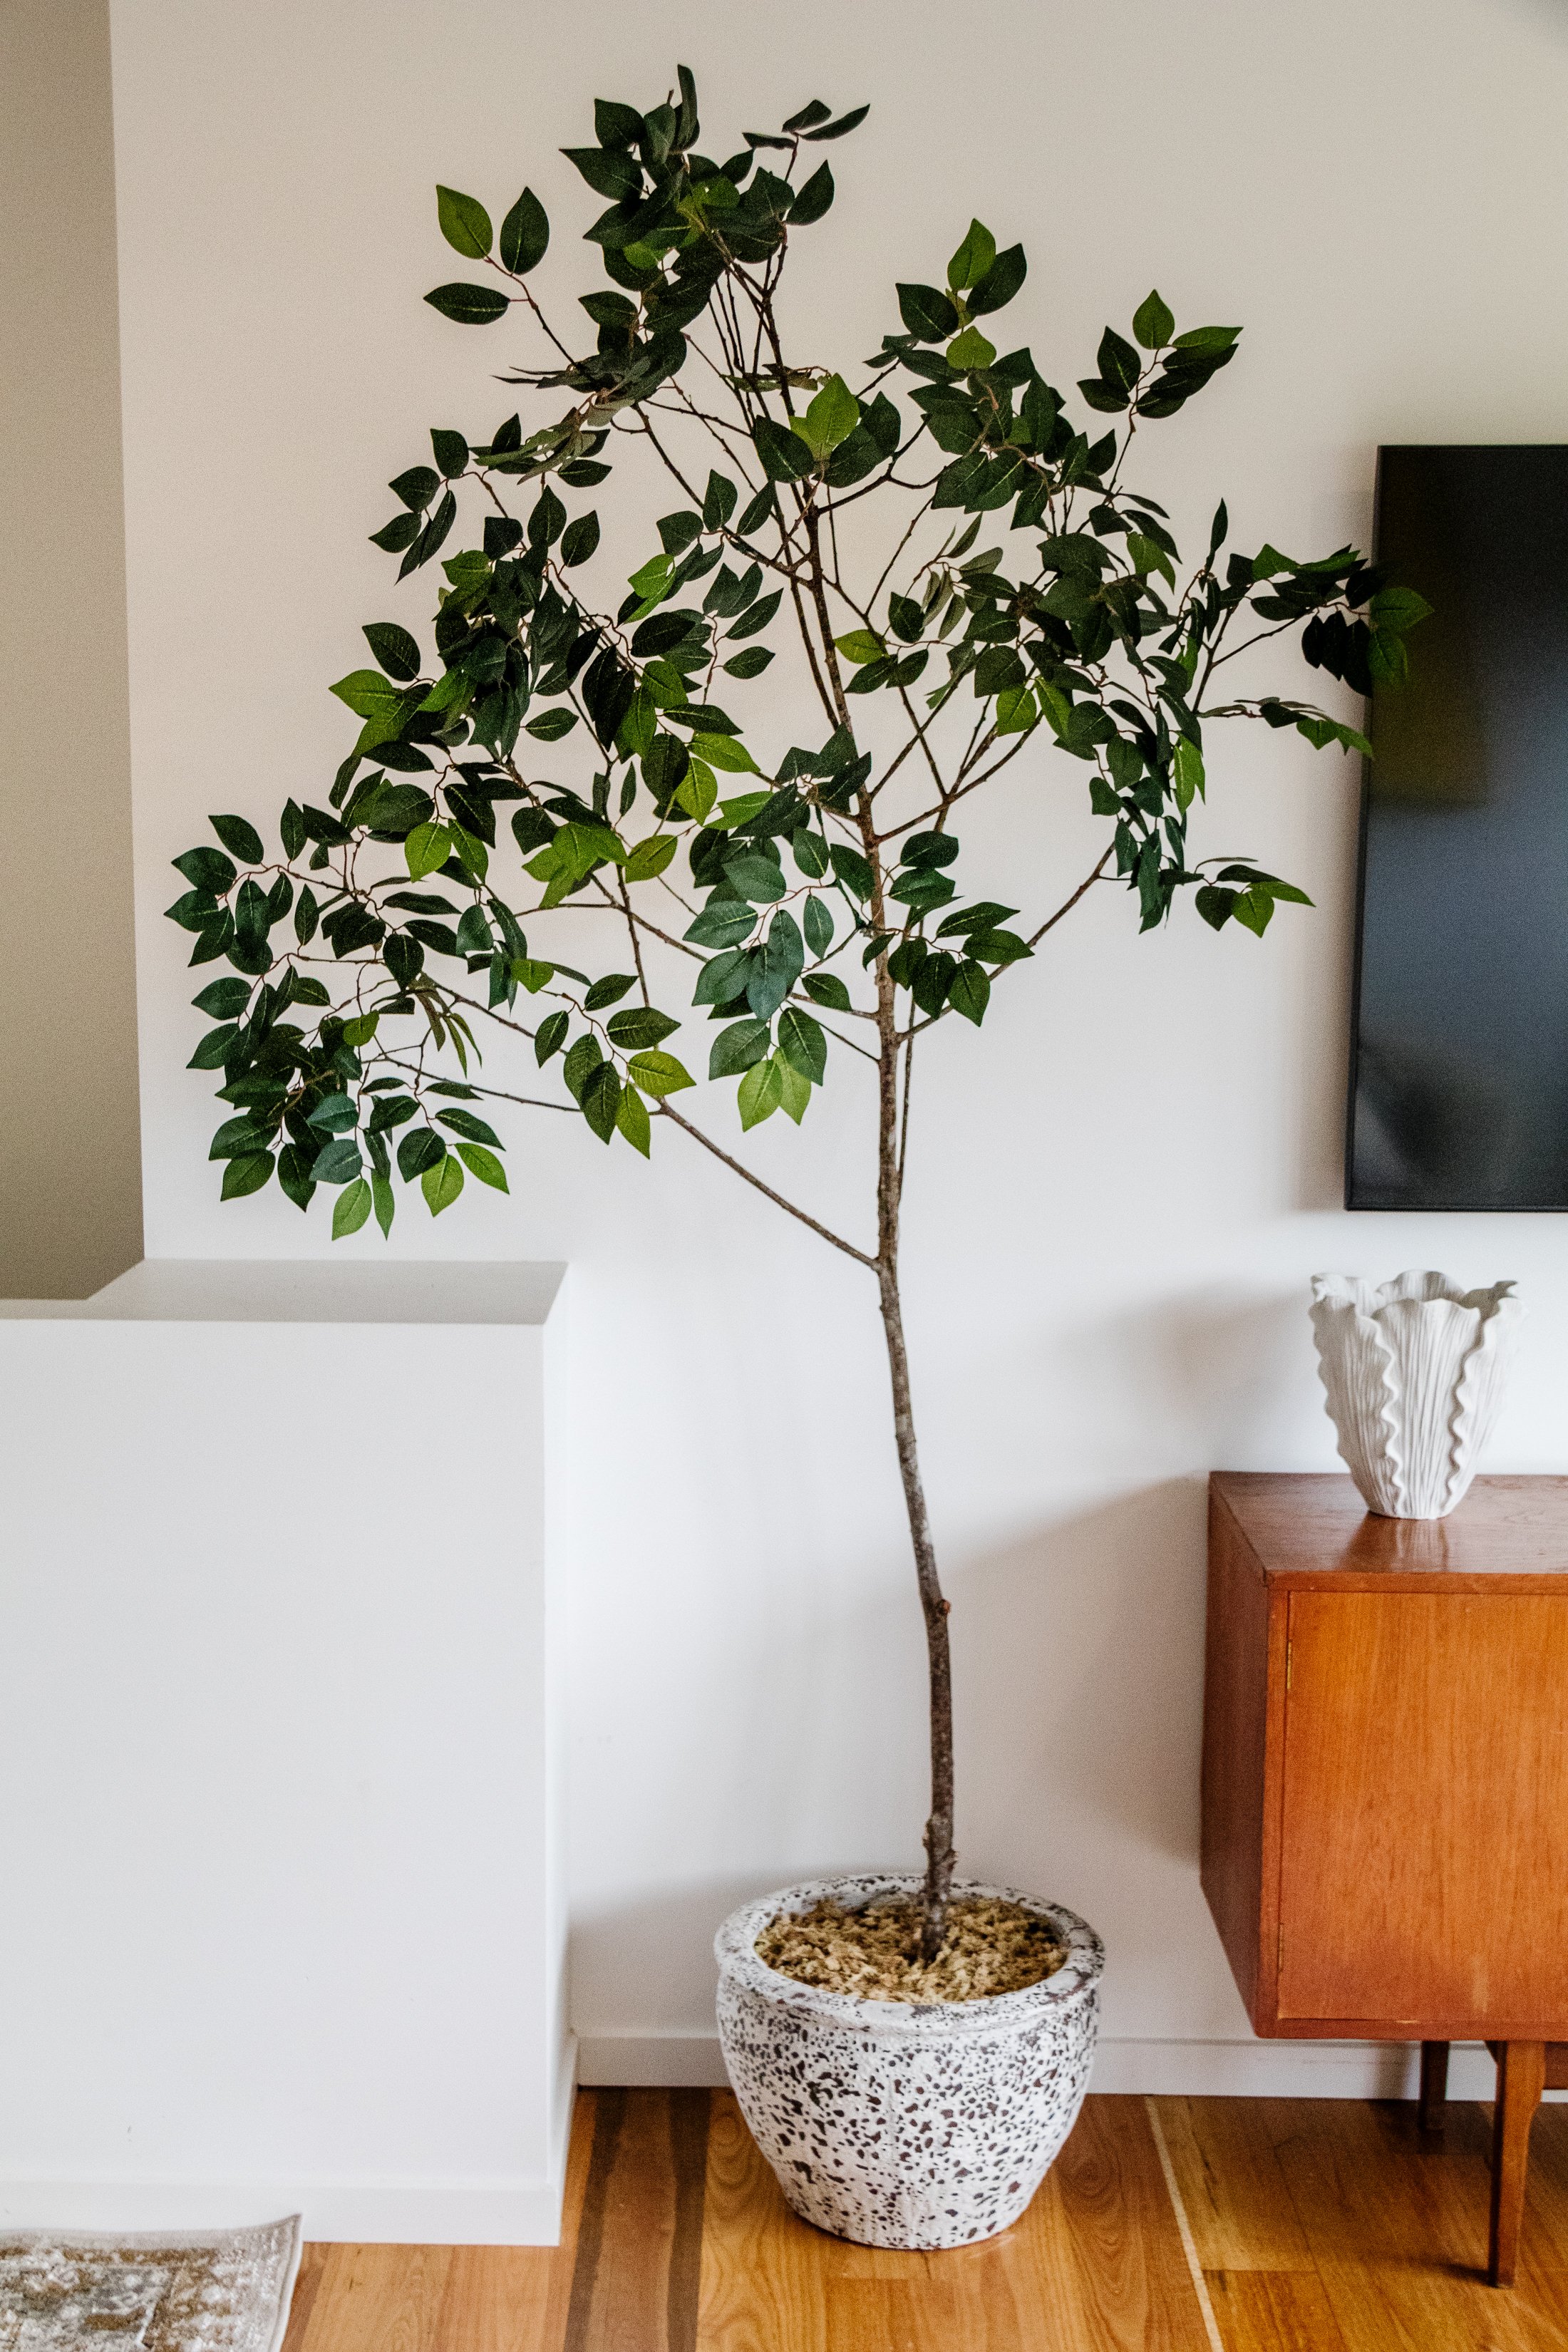
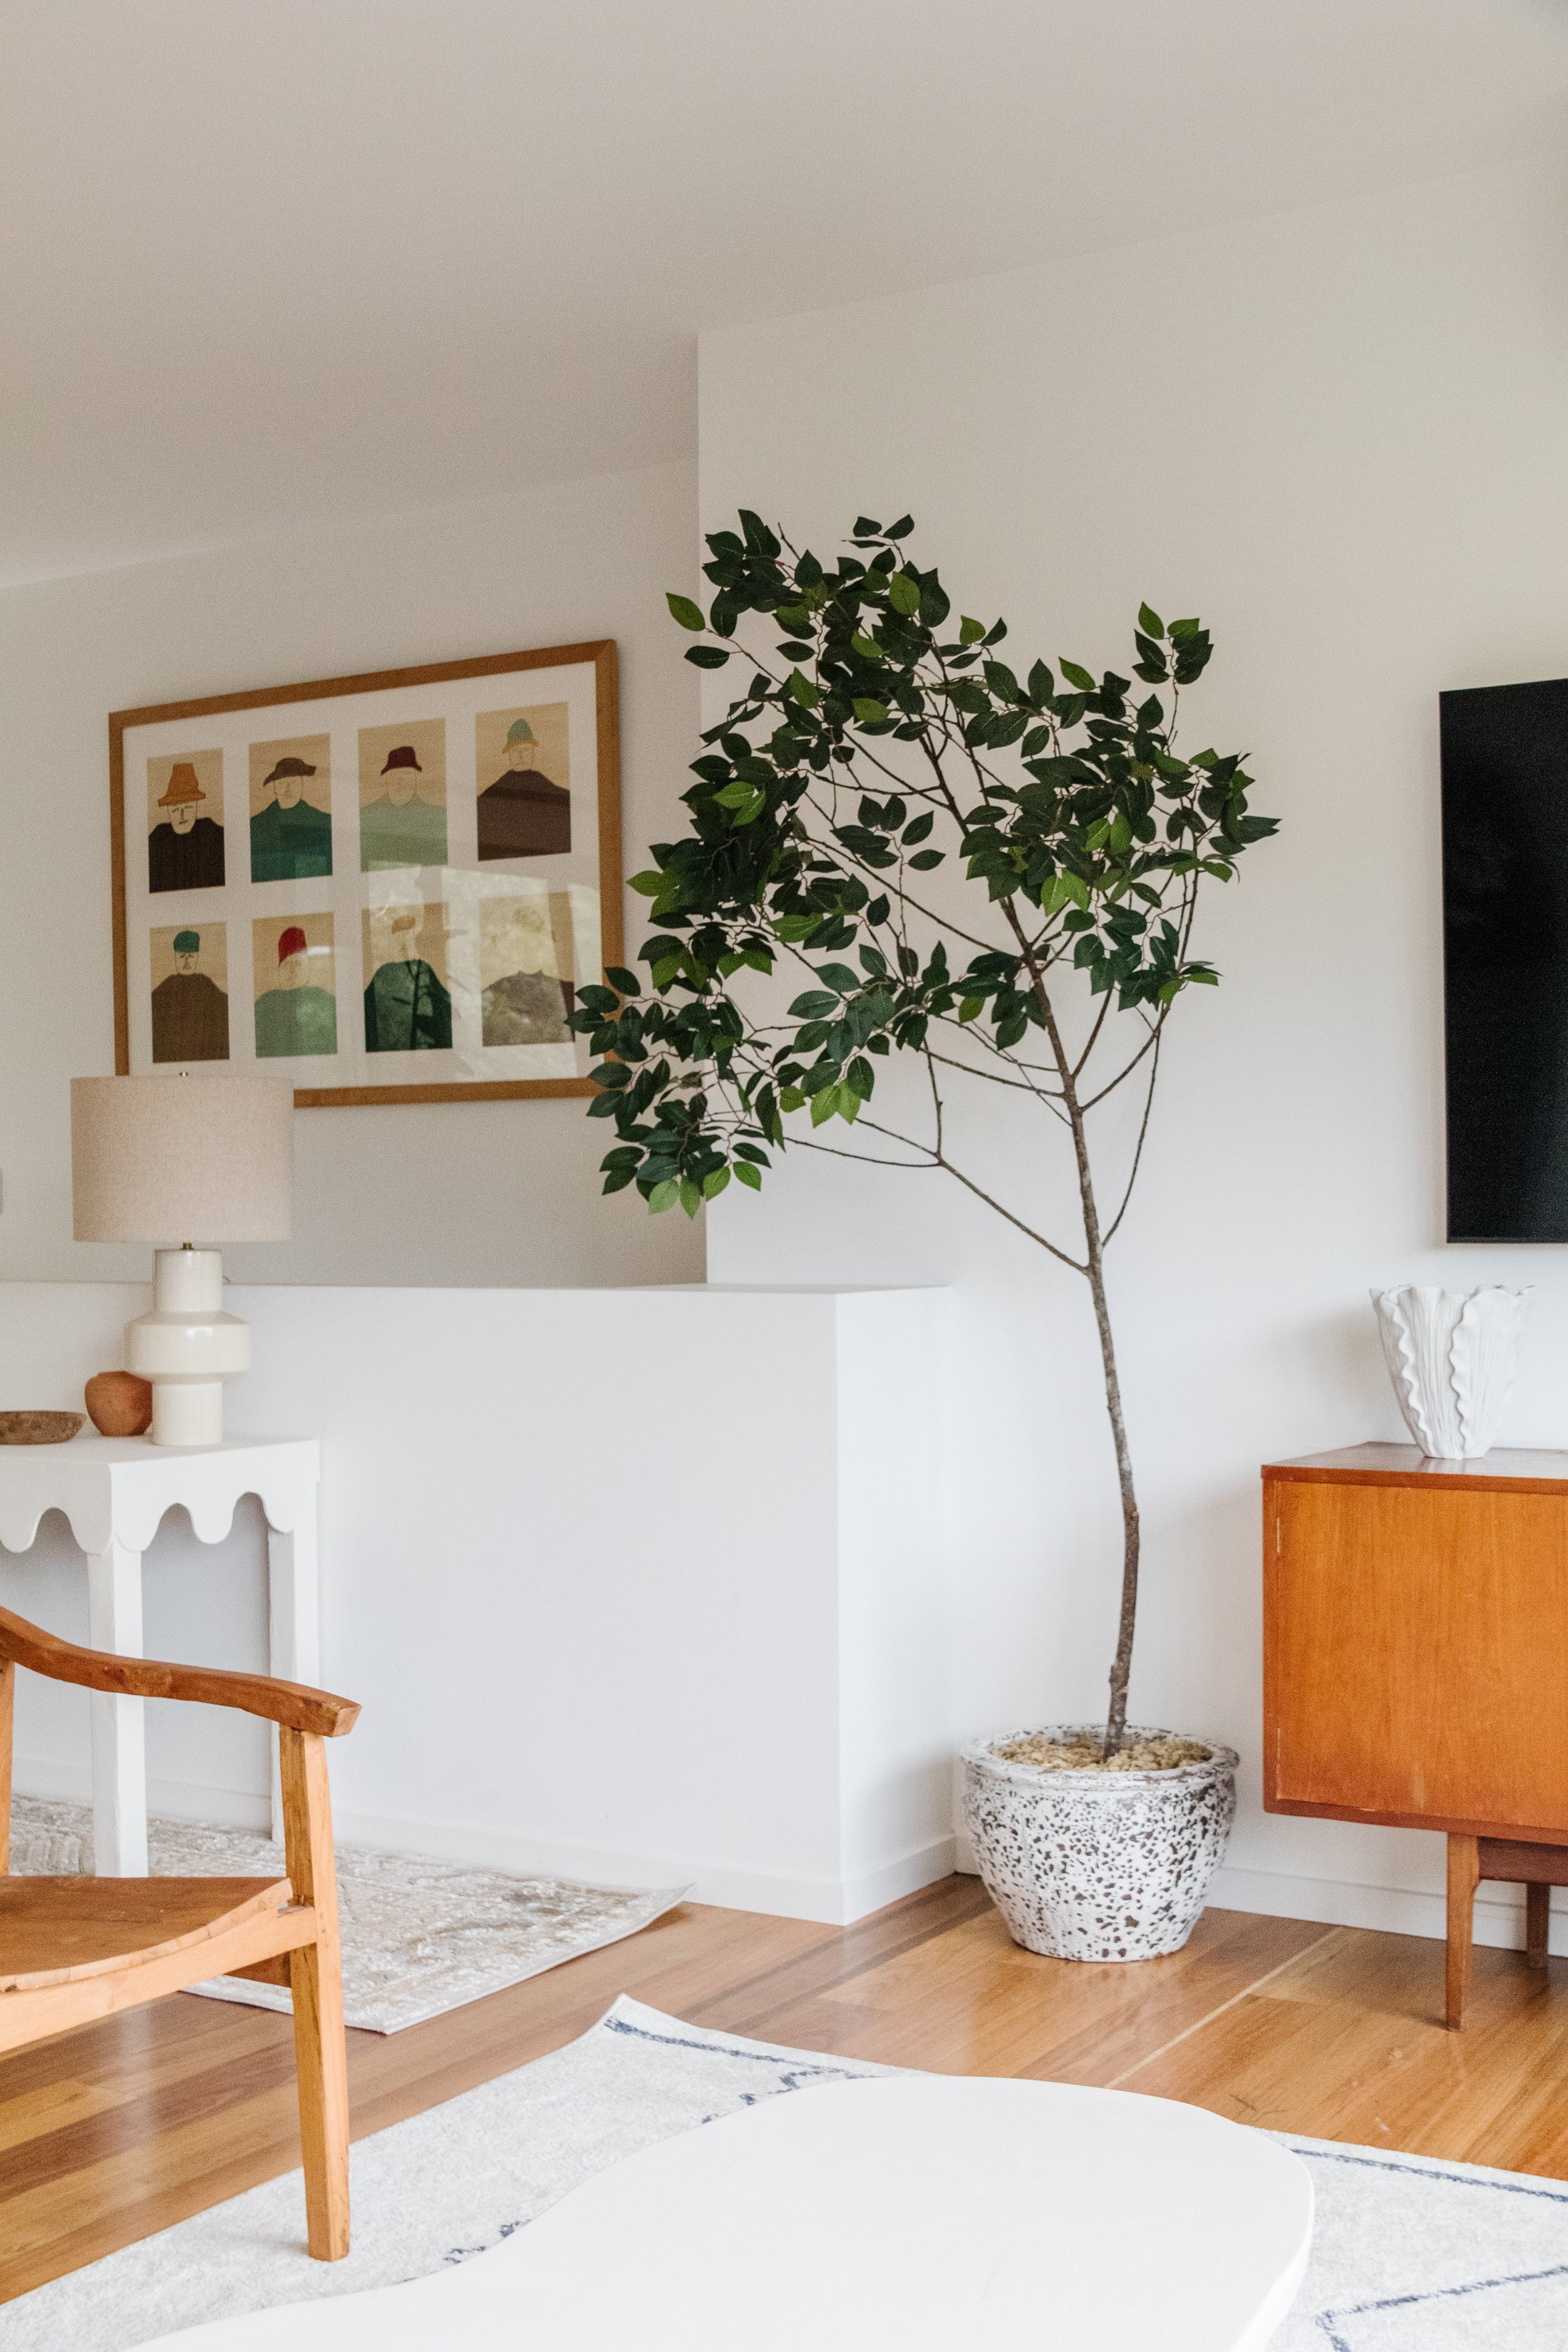
When you are happy with the volume of leaves on the branches, and your faux tree is finished! Now it’s time to style. Place the tree into a pot. You may need to elevate the tree (and cement filled bucket) within the pot so use scrunched up shopping bags or newspaper for this. Top the pot with moss.
Ta daaaa! A stunning DIY Faux Tree to style and enjoy anywhere inside your home.
Honestly, I cannot believe how stunning this DIY Faux Potted Tree is! It looks so real and alive. It took a bit under two hours to create and it has brought so much joy into our home. I am usually a bit of a plant snob and never in my wildest dreams would have thought I would have a faux tree in my house, but it looks so unbelievably real and convincing. Plus, it cost less than $30 to make! Not including the pot and moss. I have seen some faux trees costing into the thousands so yeah, I am very happy with this DIY. I hope I have inspired you to make your own! Truly, a tree in your house - is there anything better?