DIY Geometric Glass Vase with Cricut!
Looking for a unique way to elevate your glass vases? You’ve come to the right place.
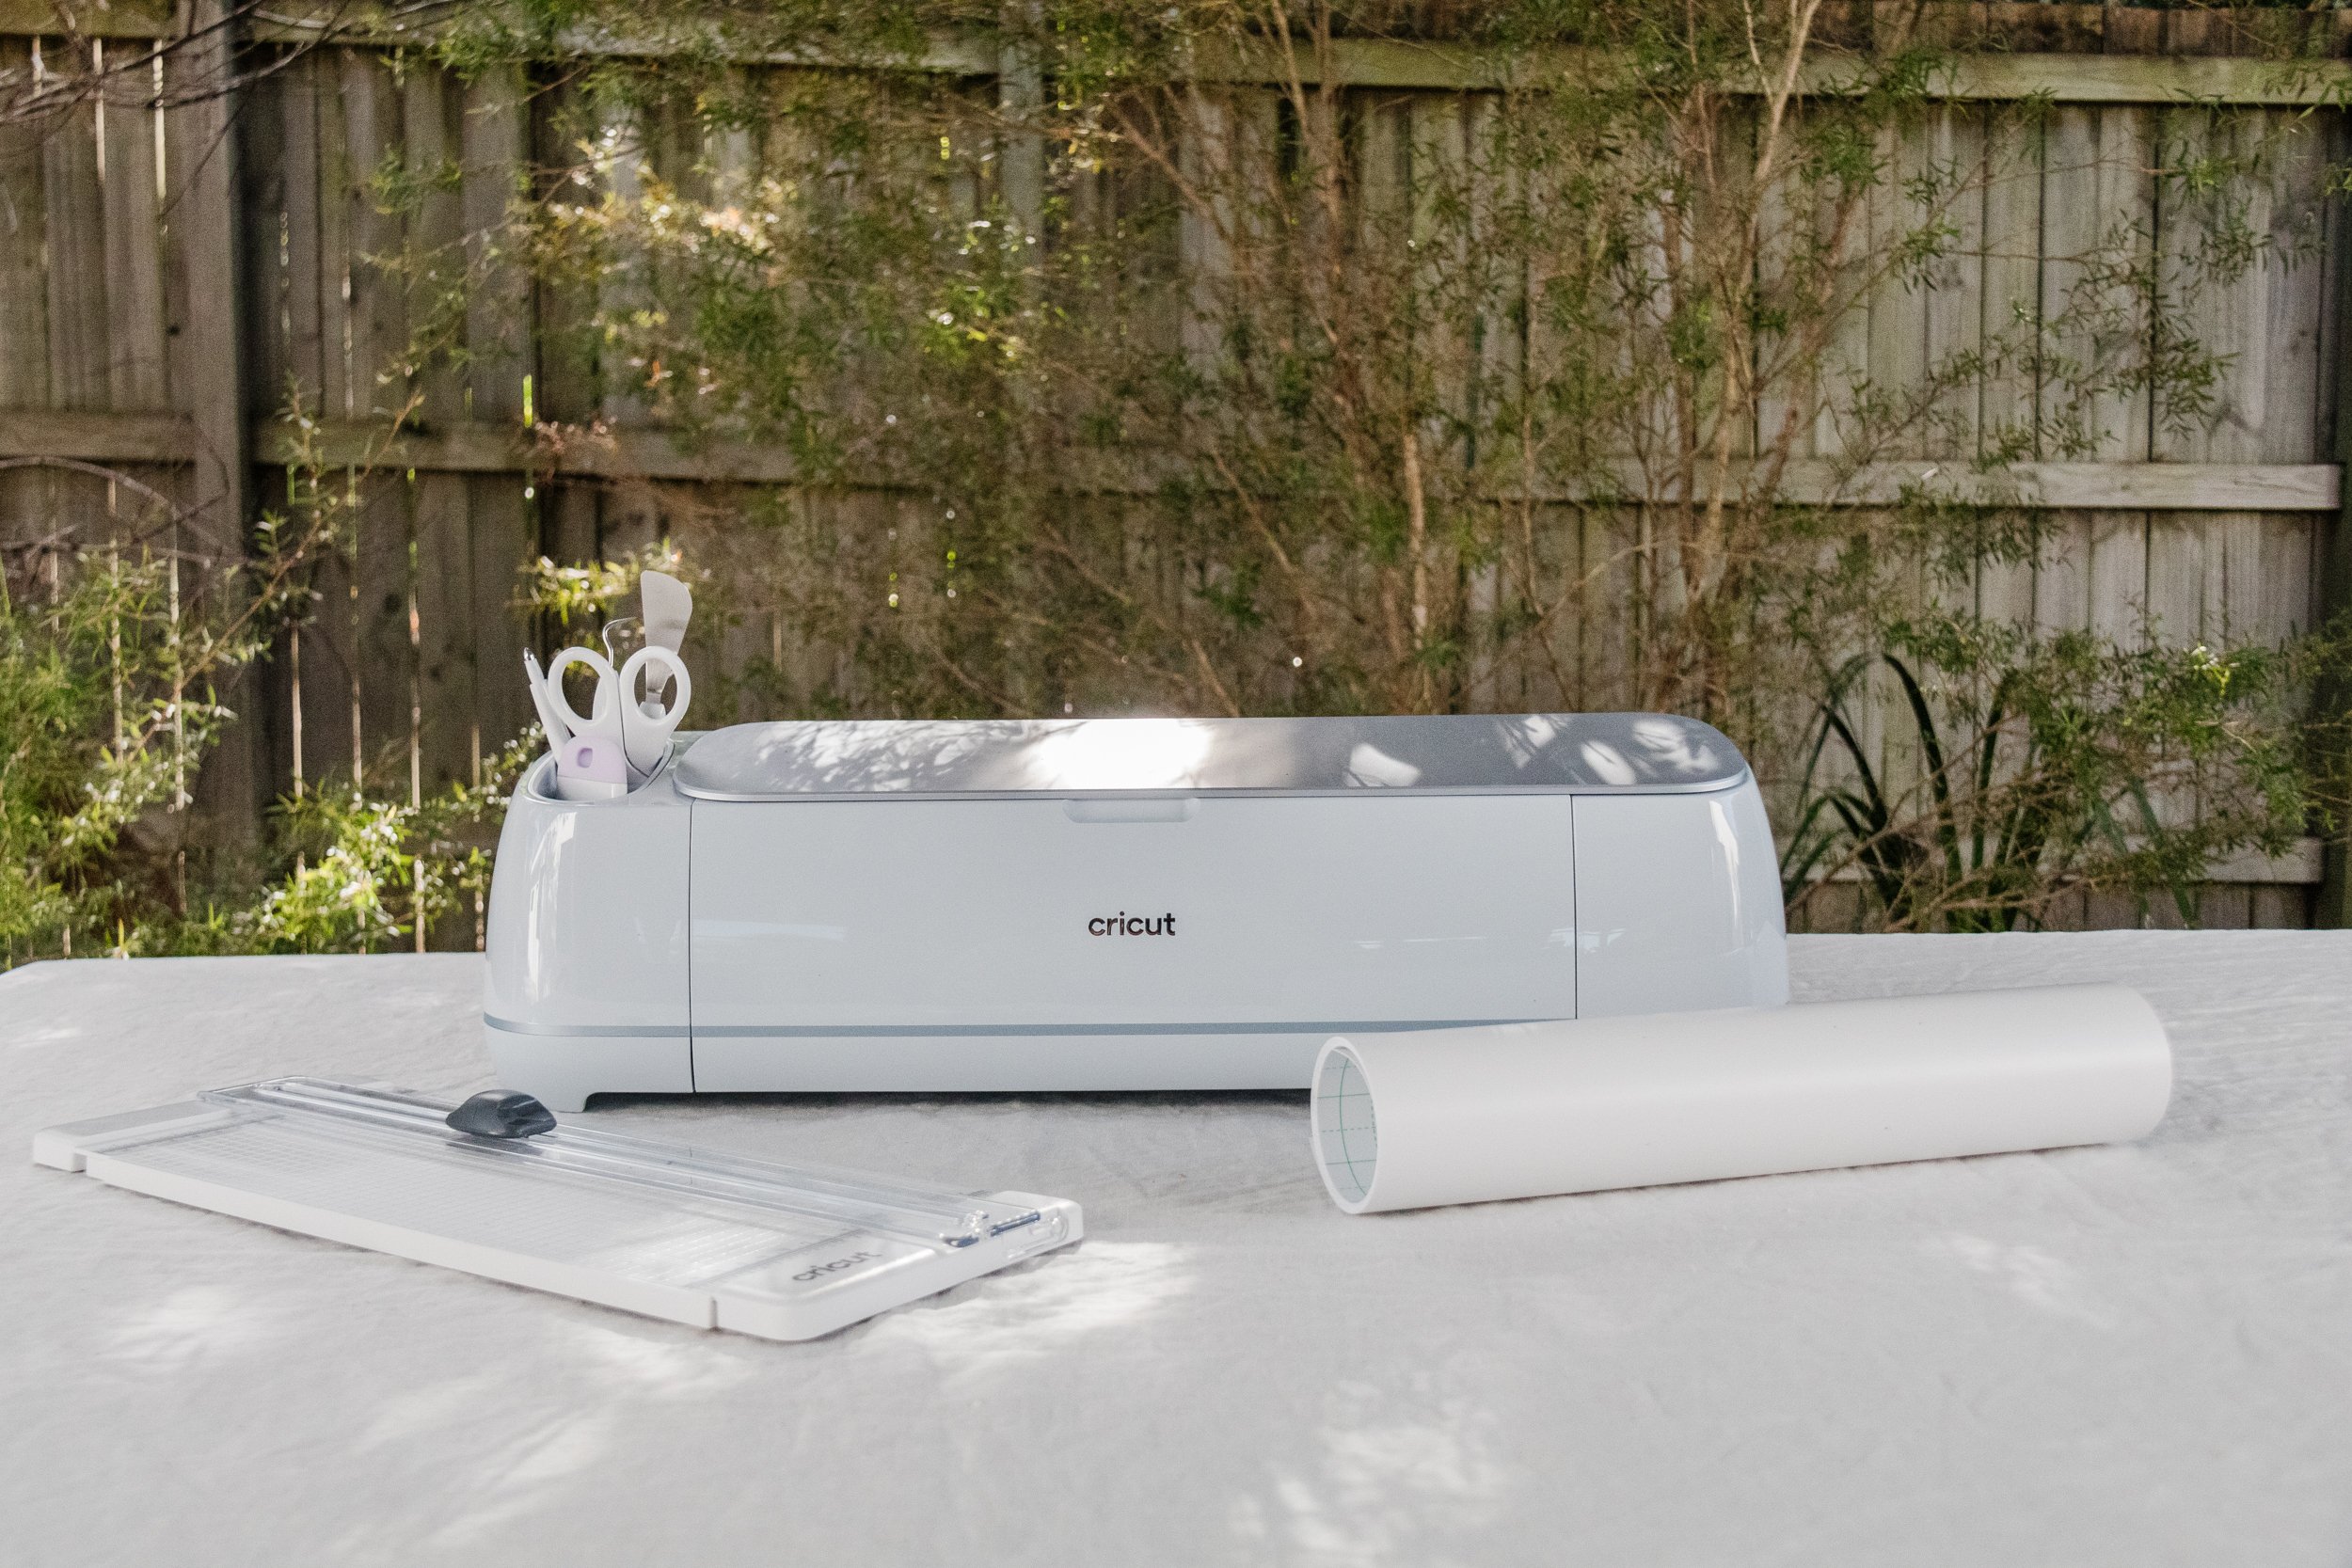
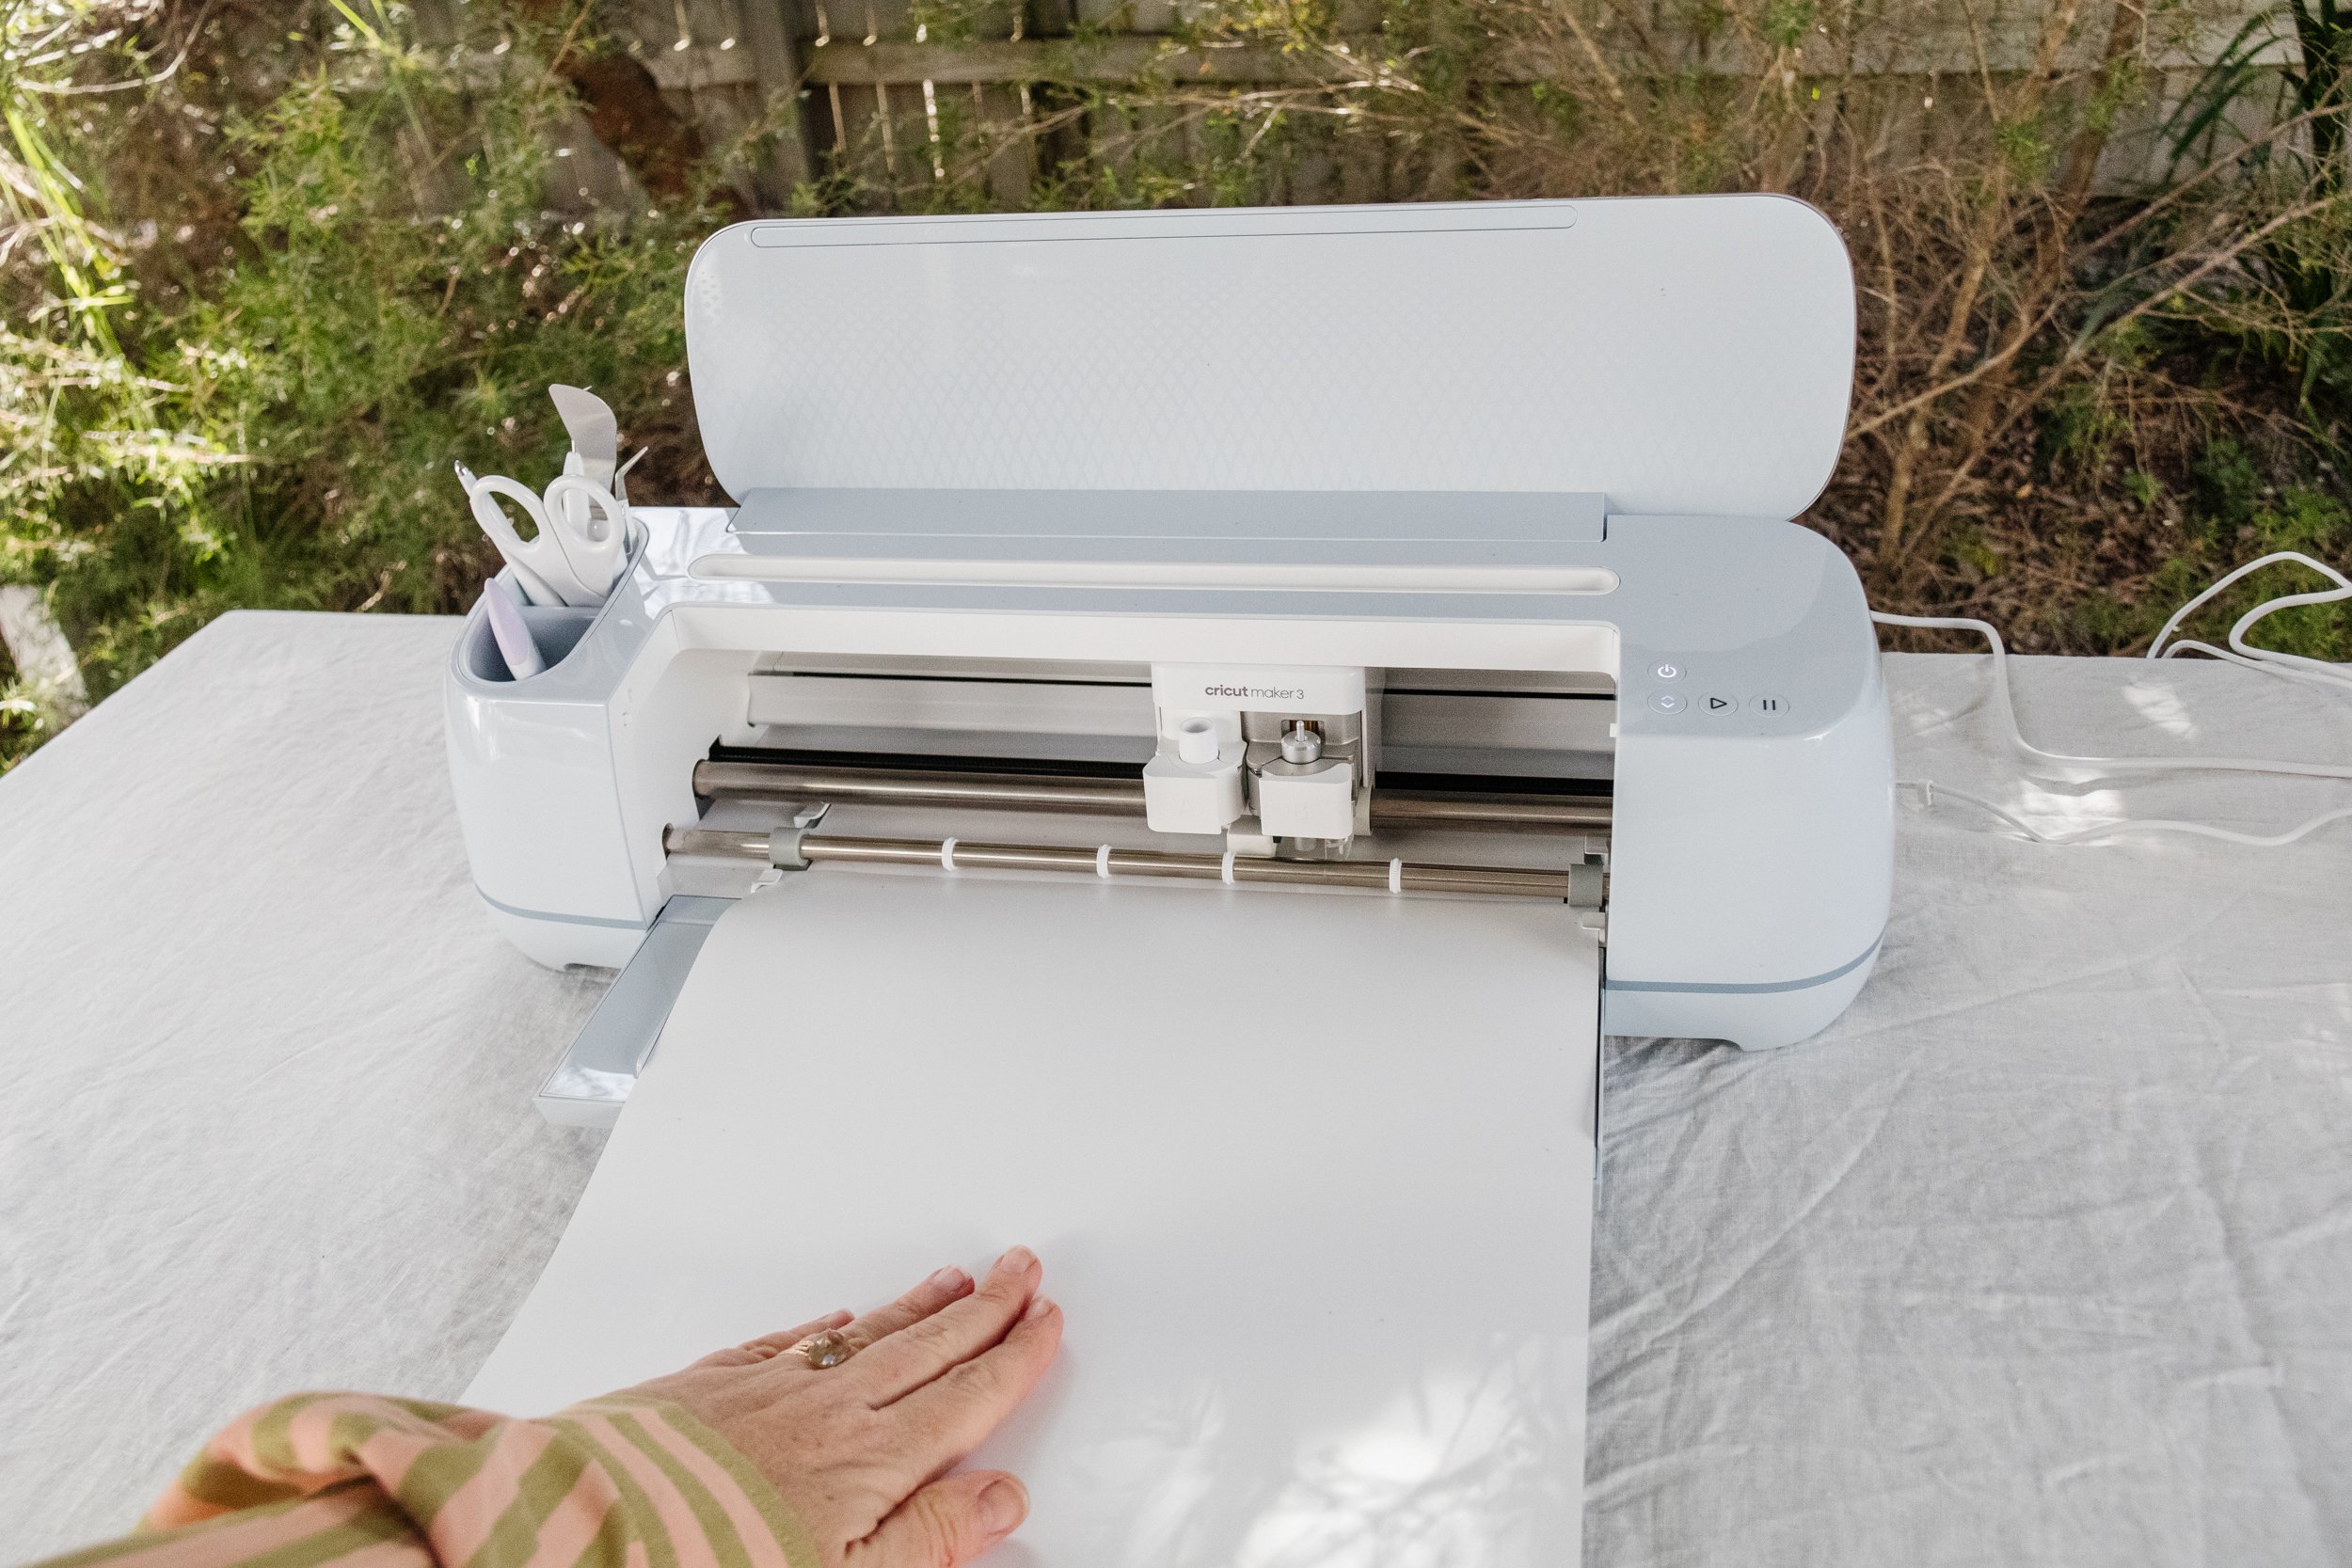
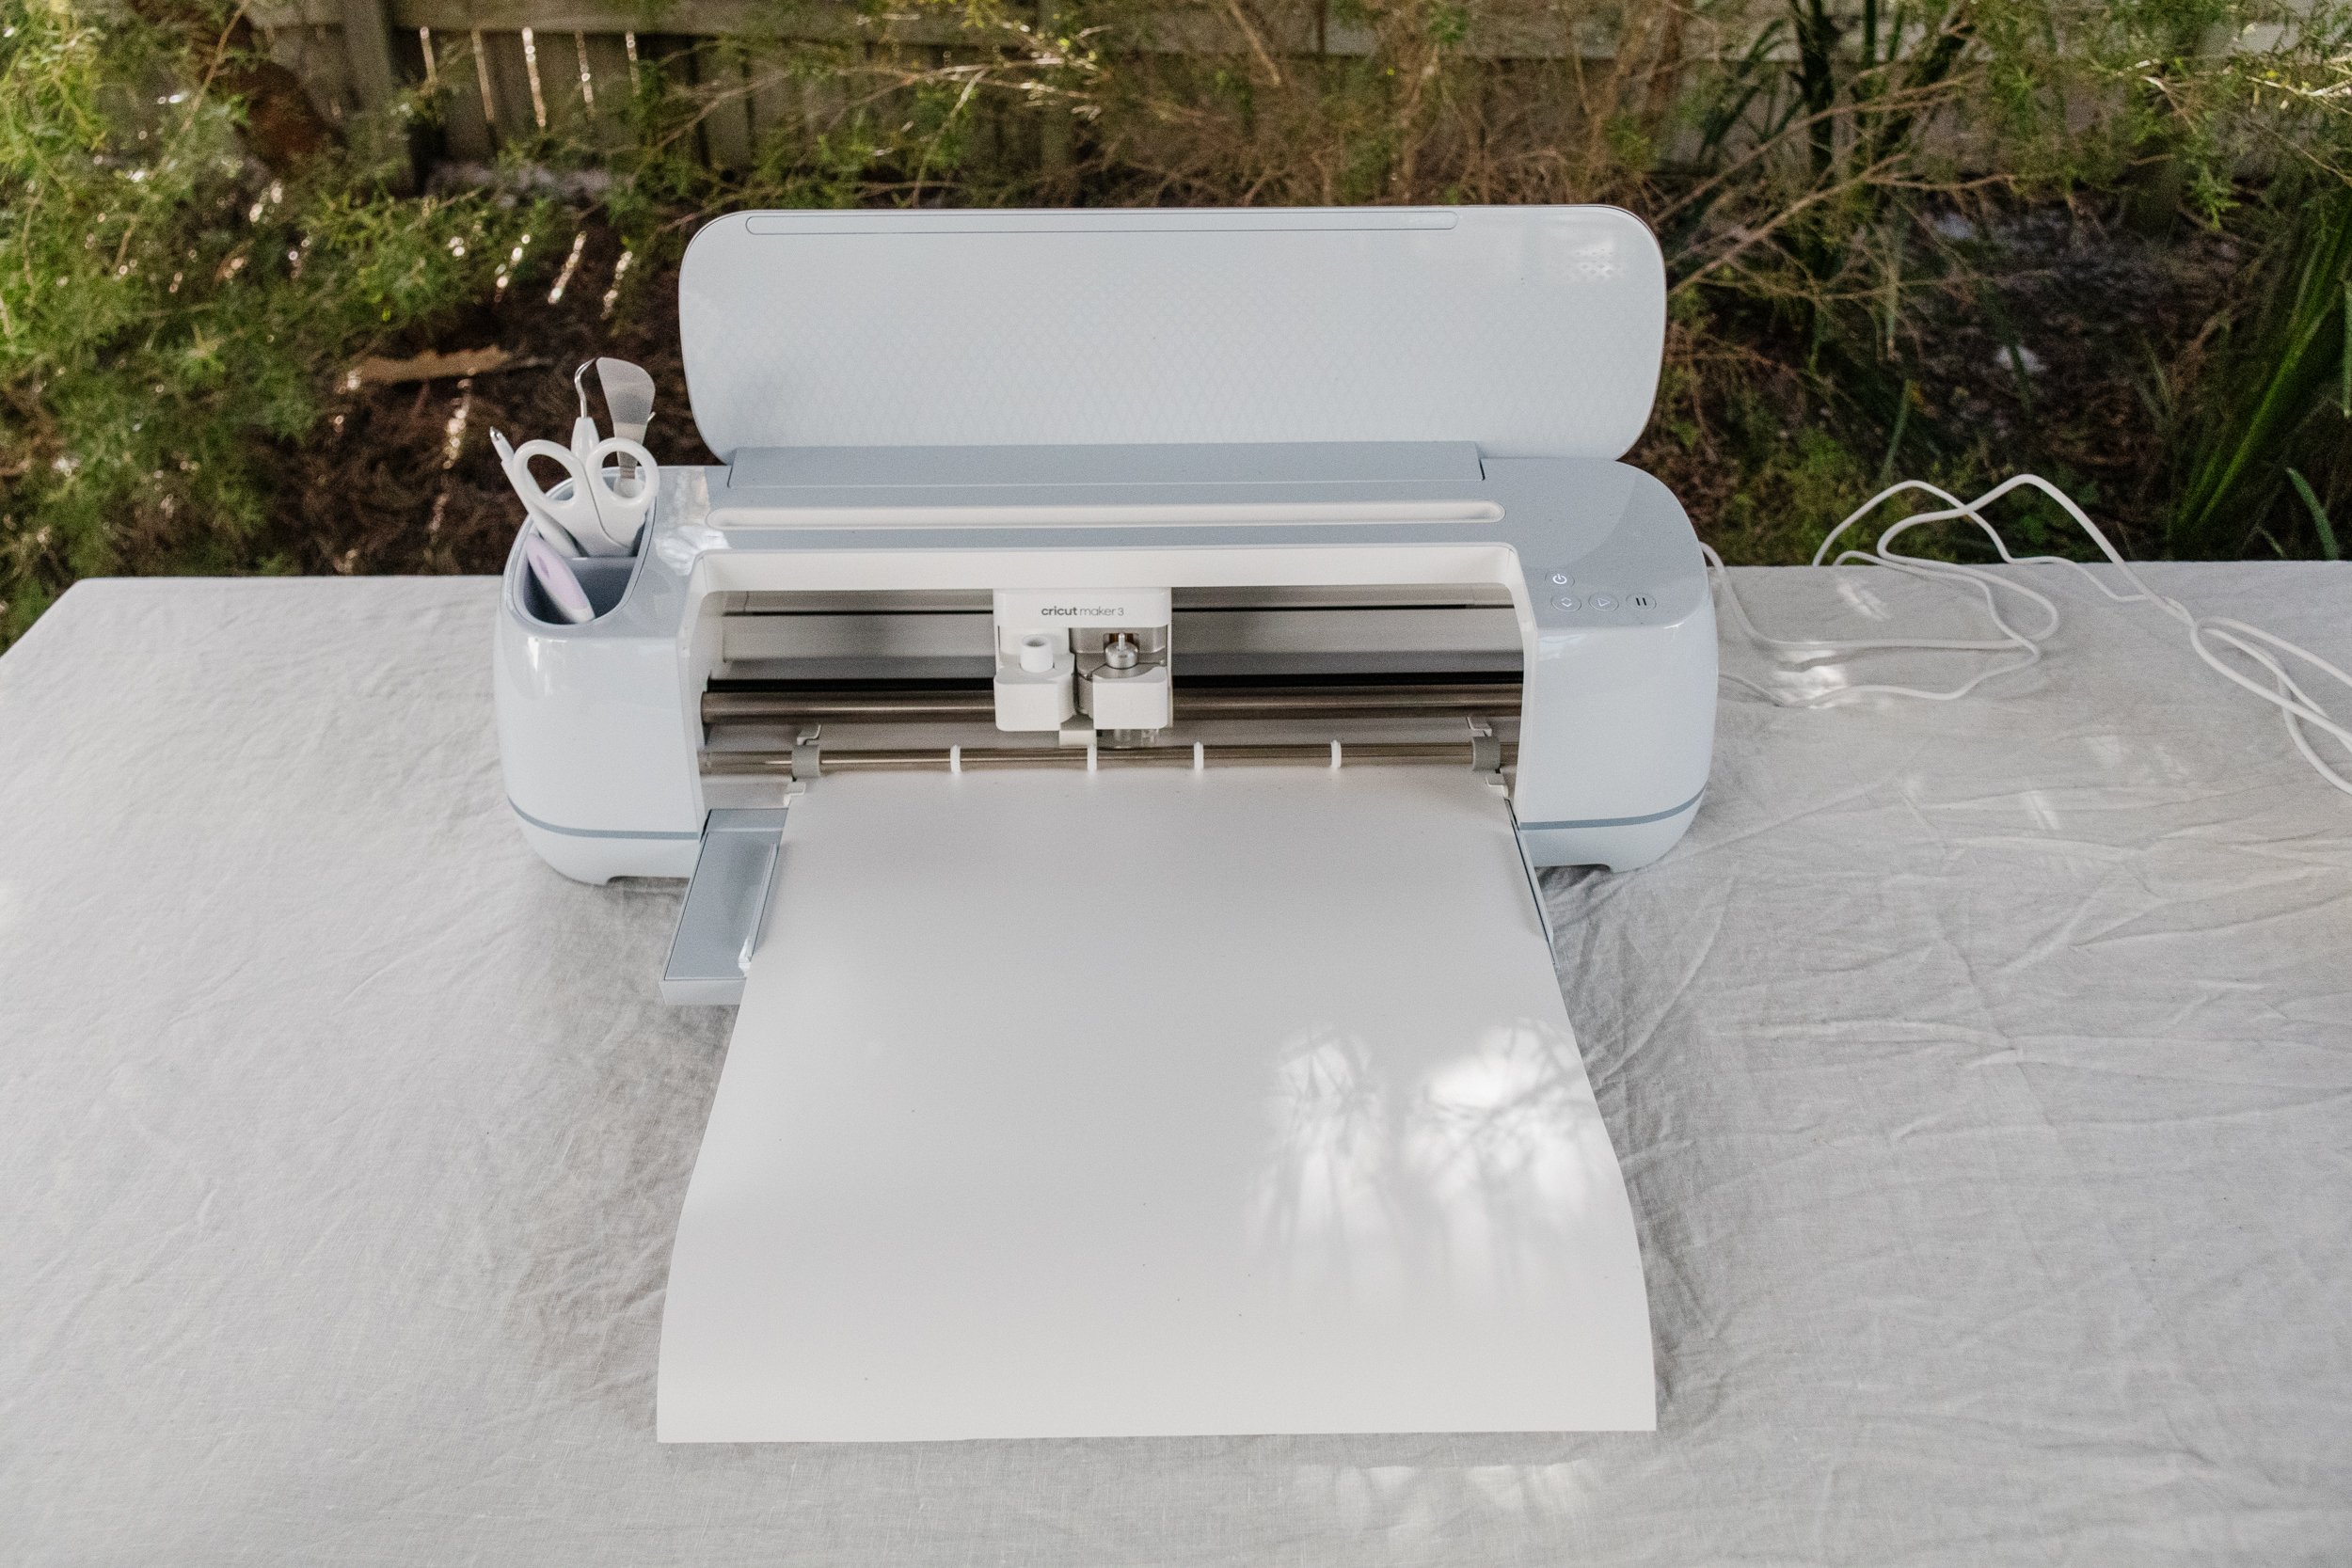
Yay! I am so glad you’re here because the Cricut Maker 3 just arrived on my front doorstep and I thought it would be a great opportunity to dive and get making together.
But first, what is Cricut? Cricut specialises in a range of cutting machines, which have been designed for home crafters and makers - like us! The machines are used for cutting a range of materials including paper, felt, fabric, leather, card, iron-on transfers and wood. And over the next few weeks, I’ll be creating a series of DIY and upcycling projects for your home in partnership with Cricut.
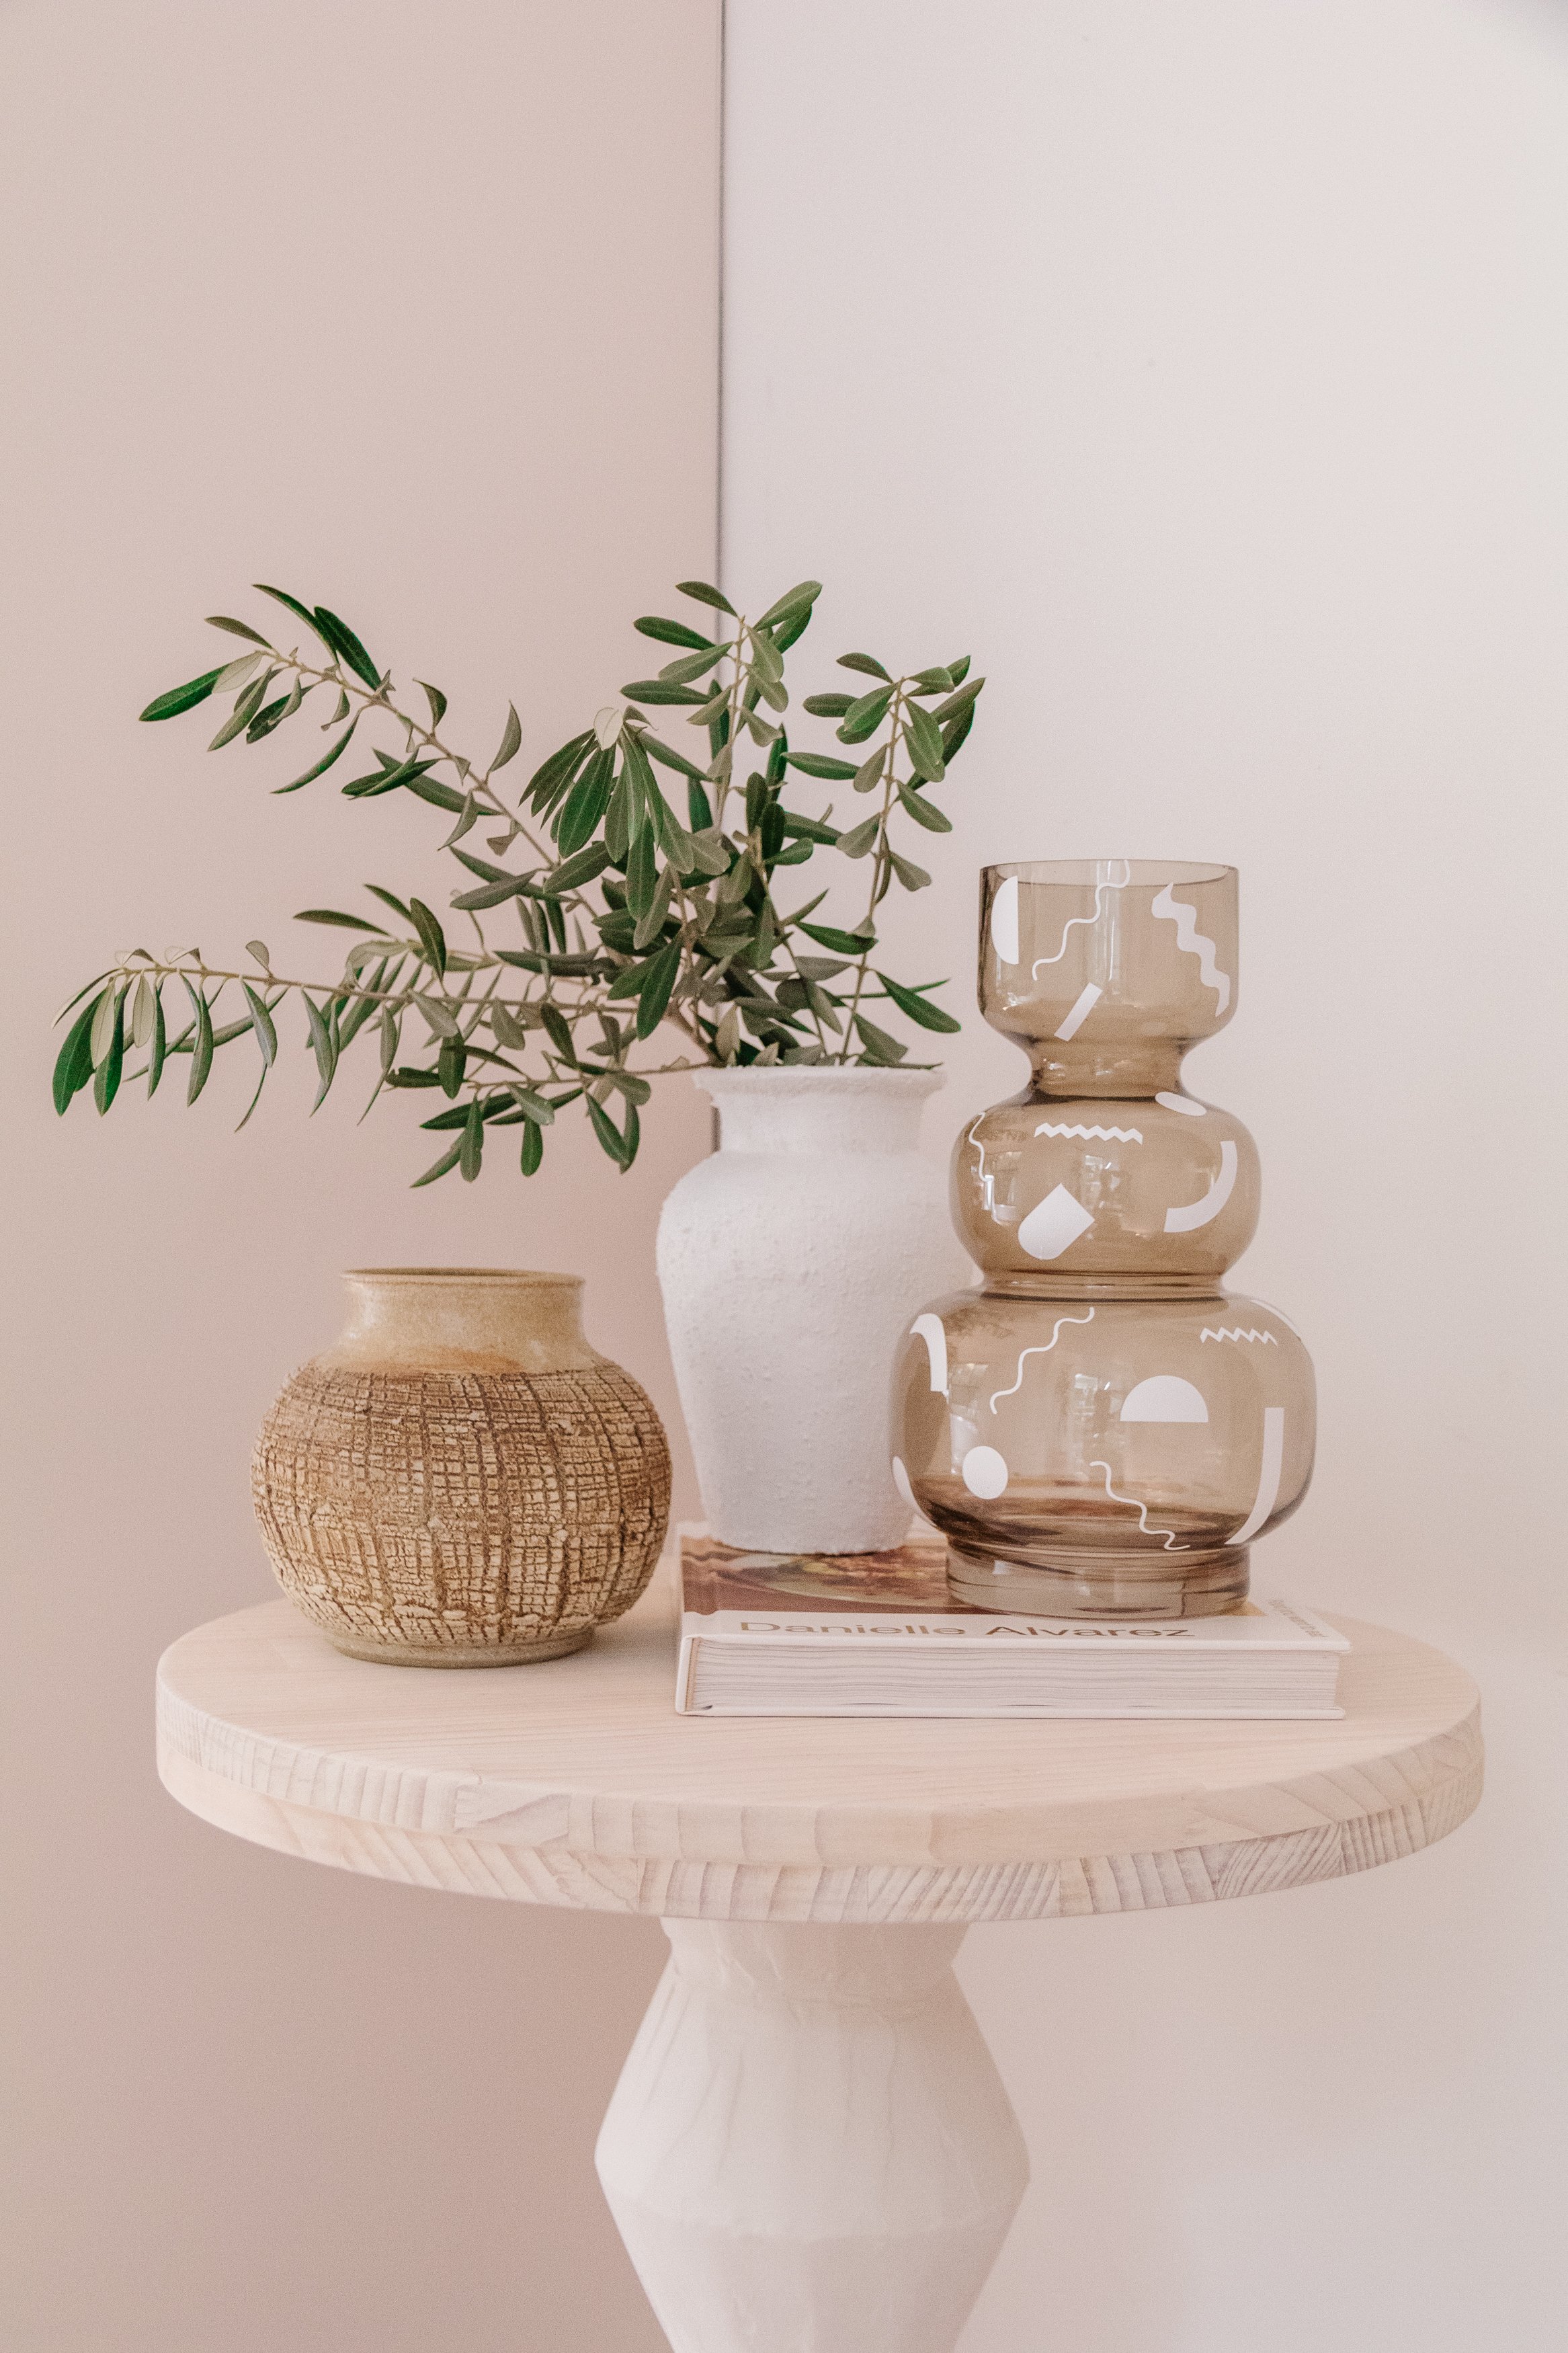
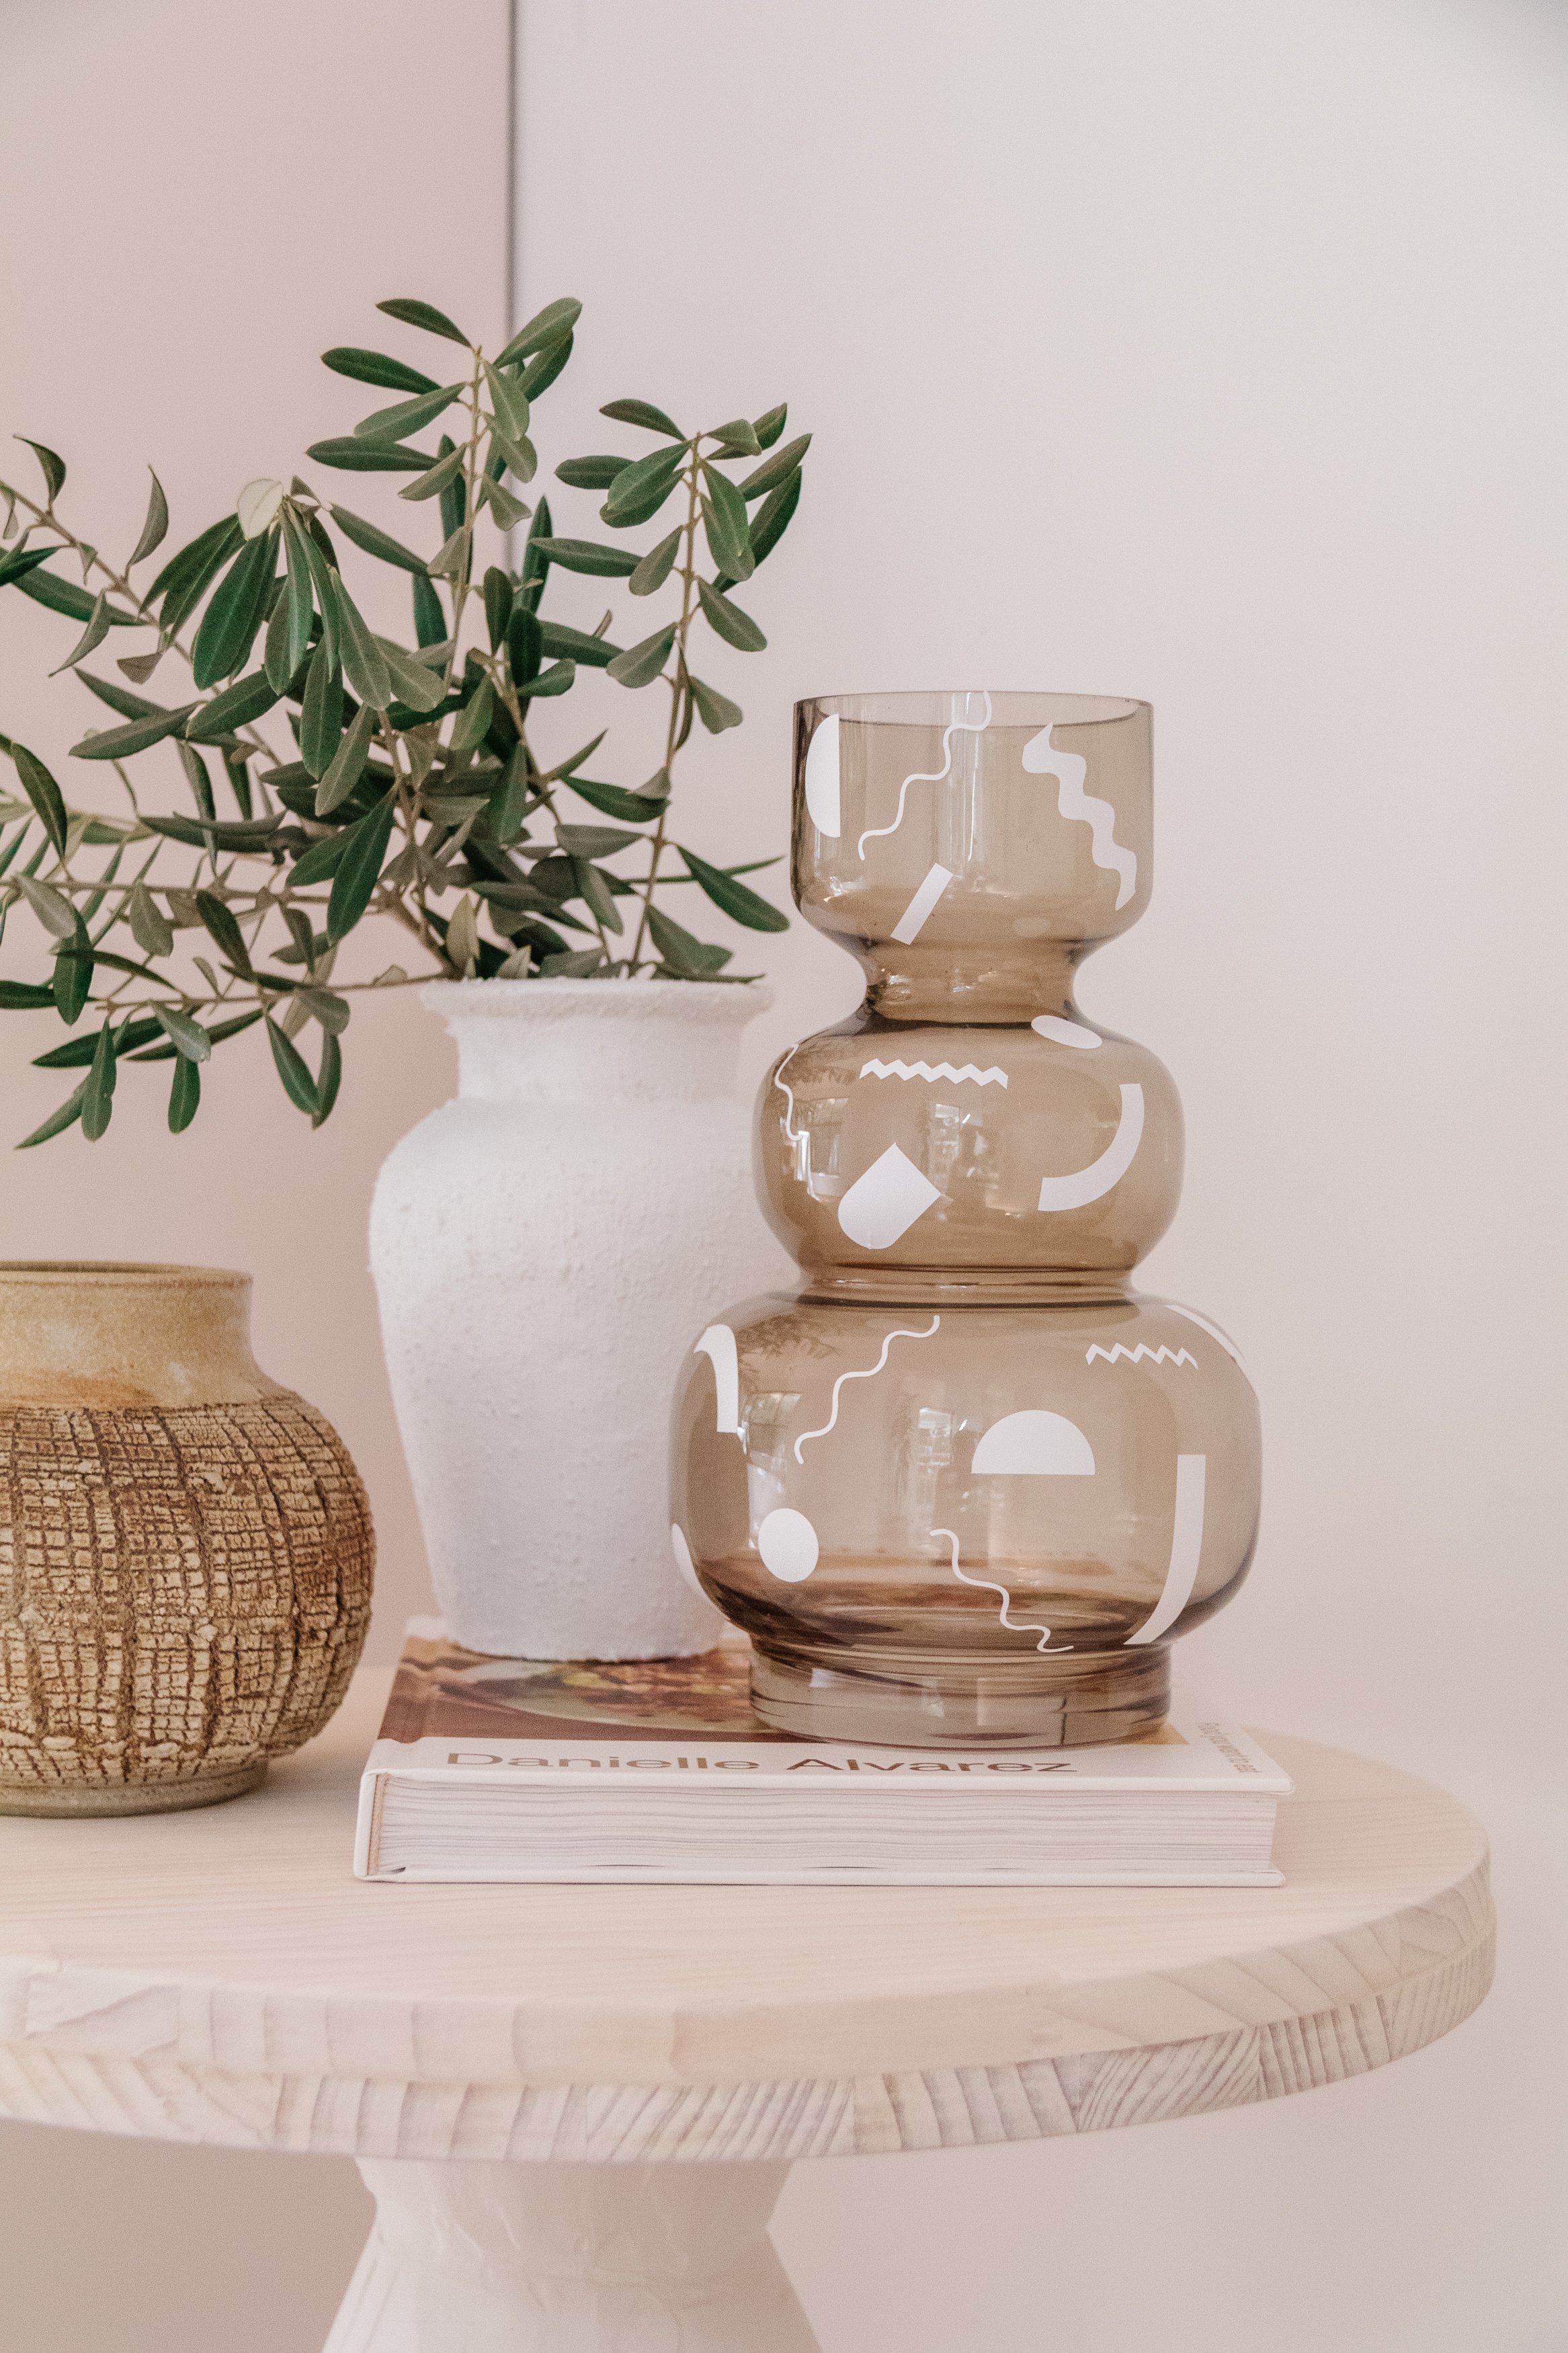
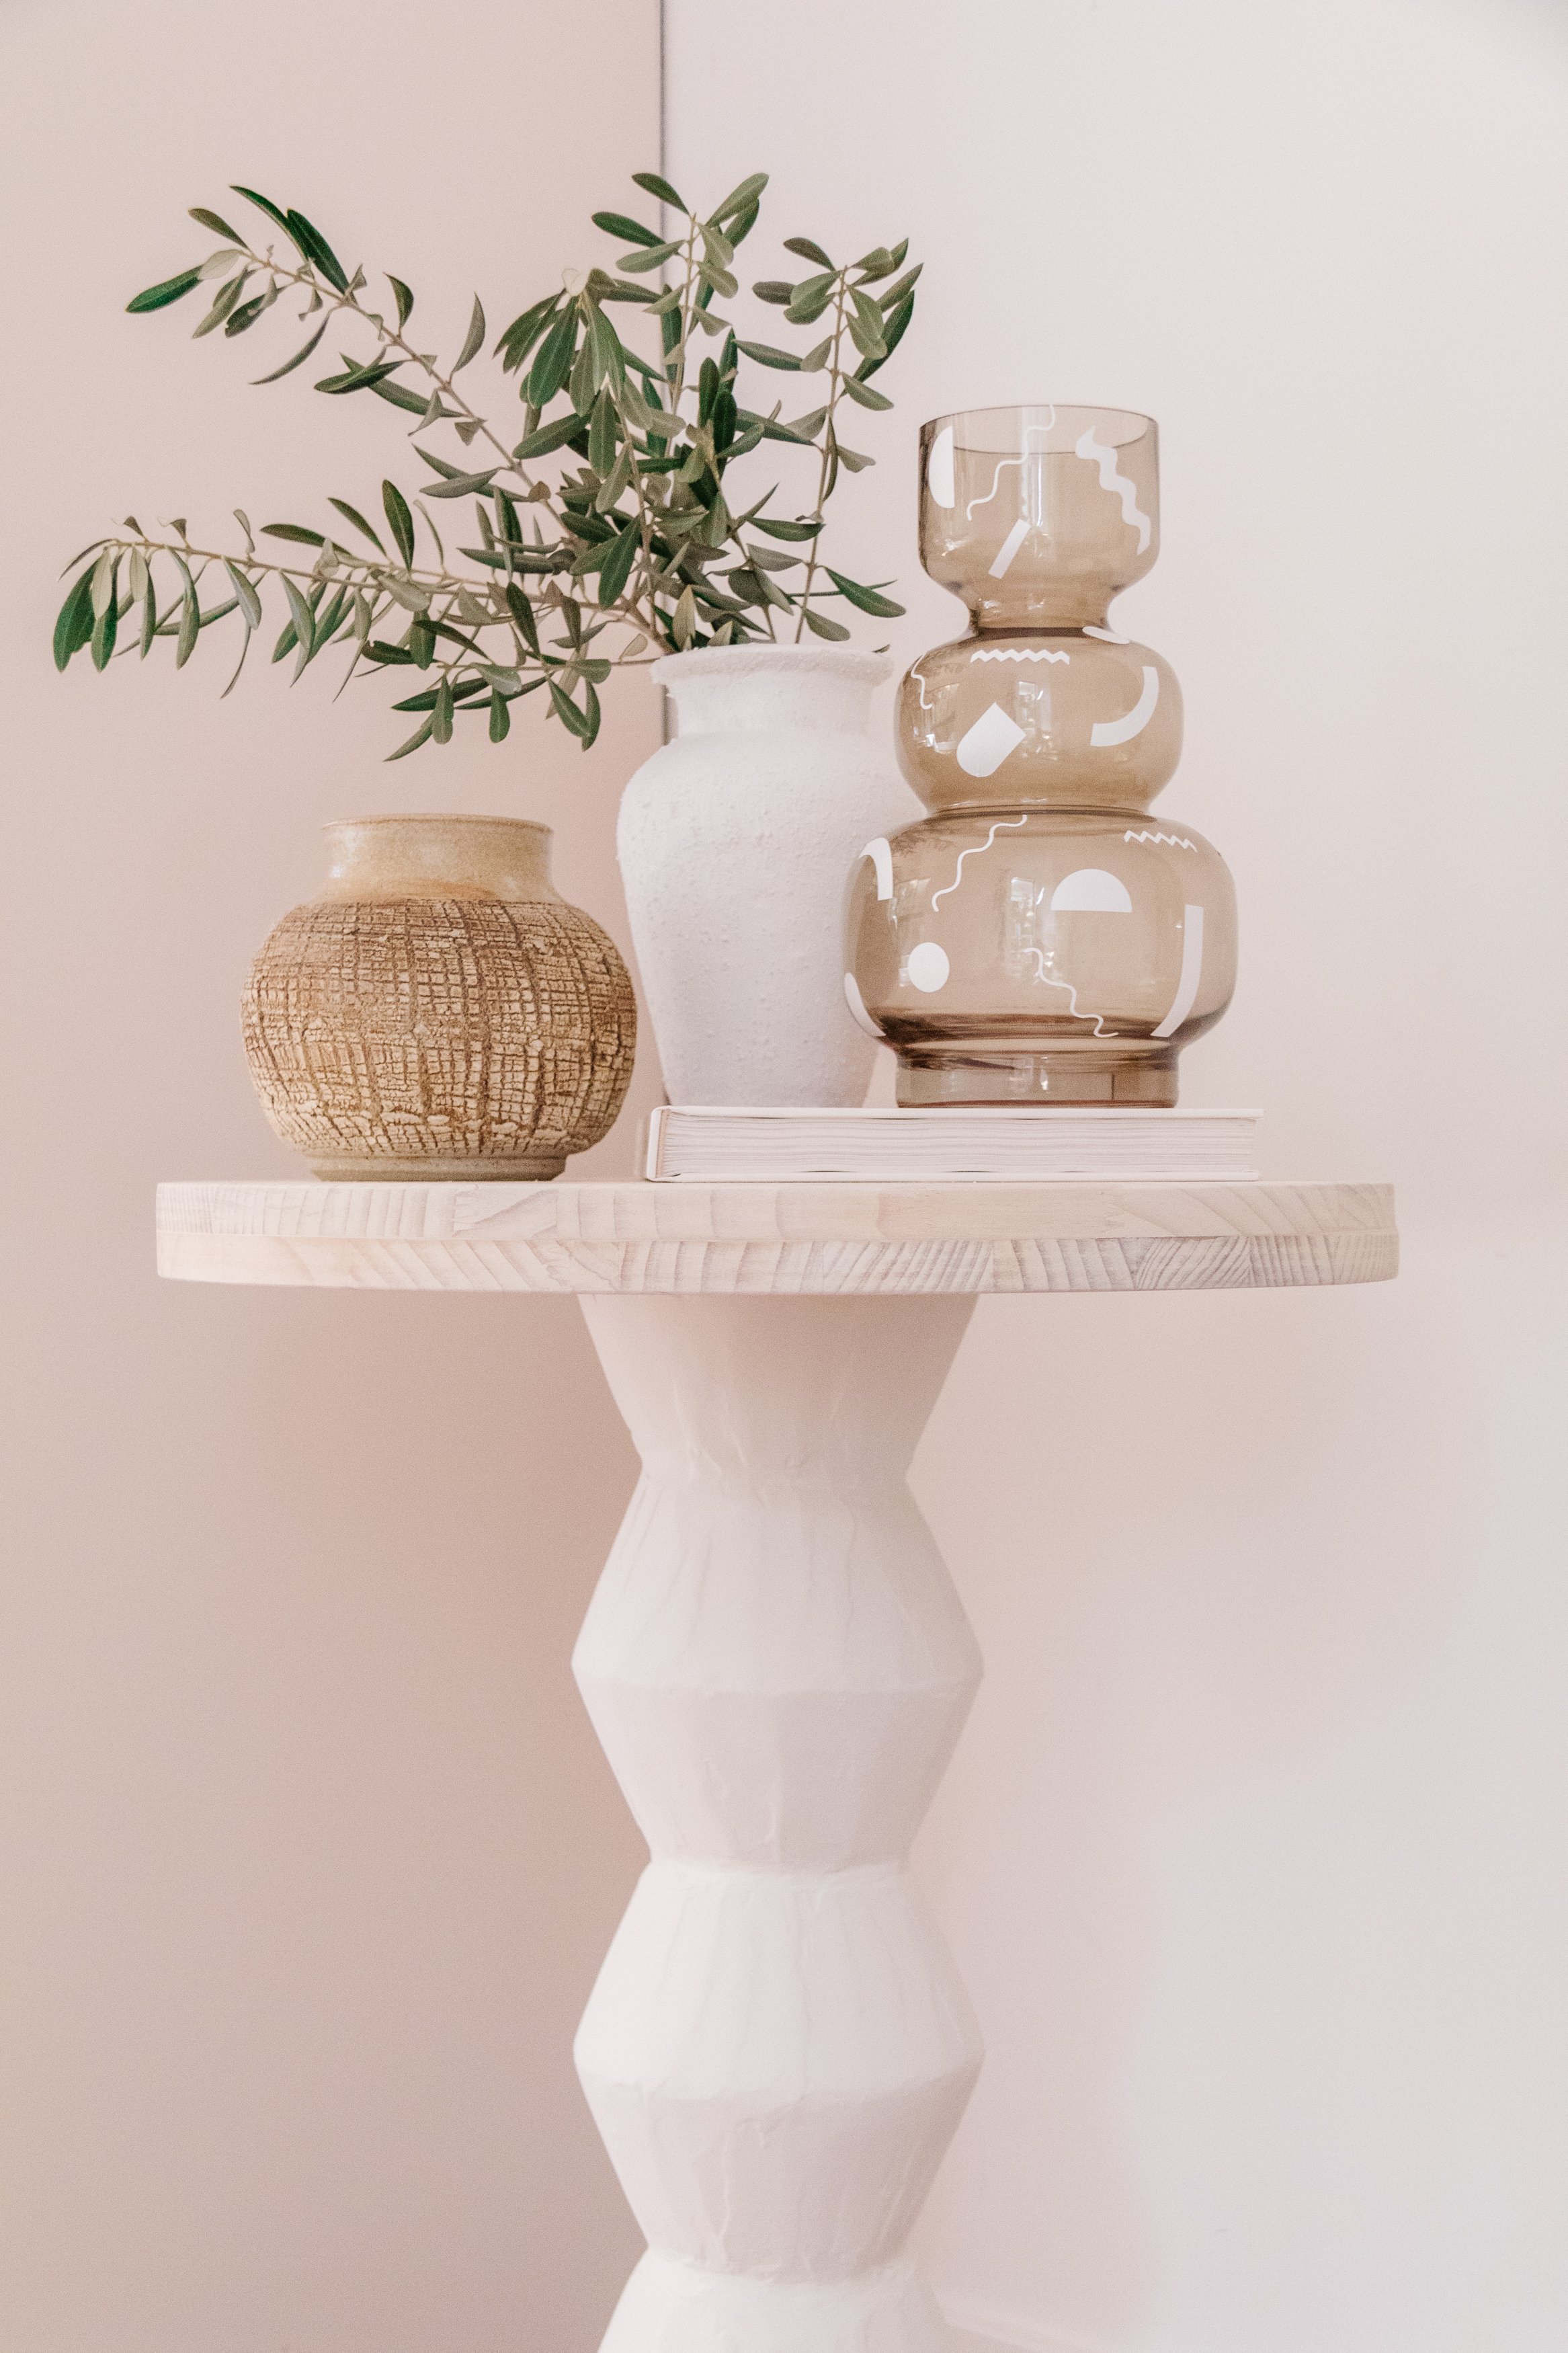
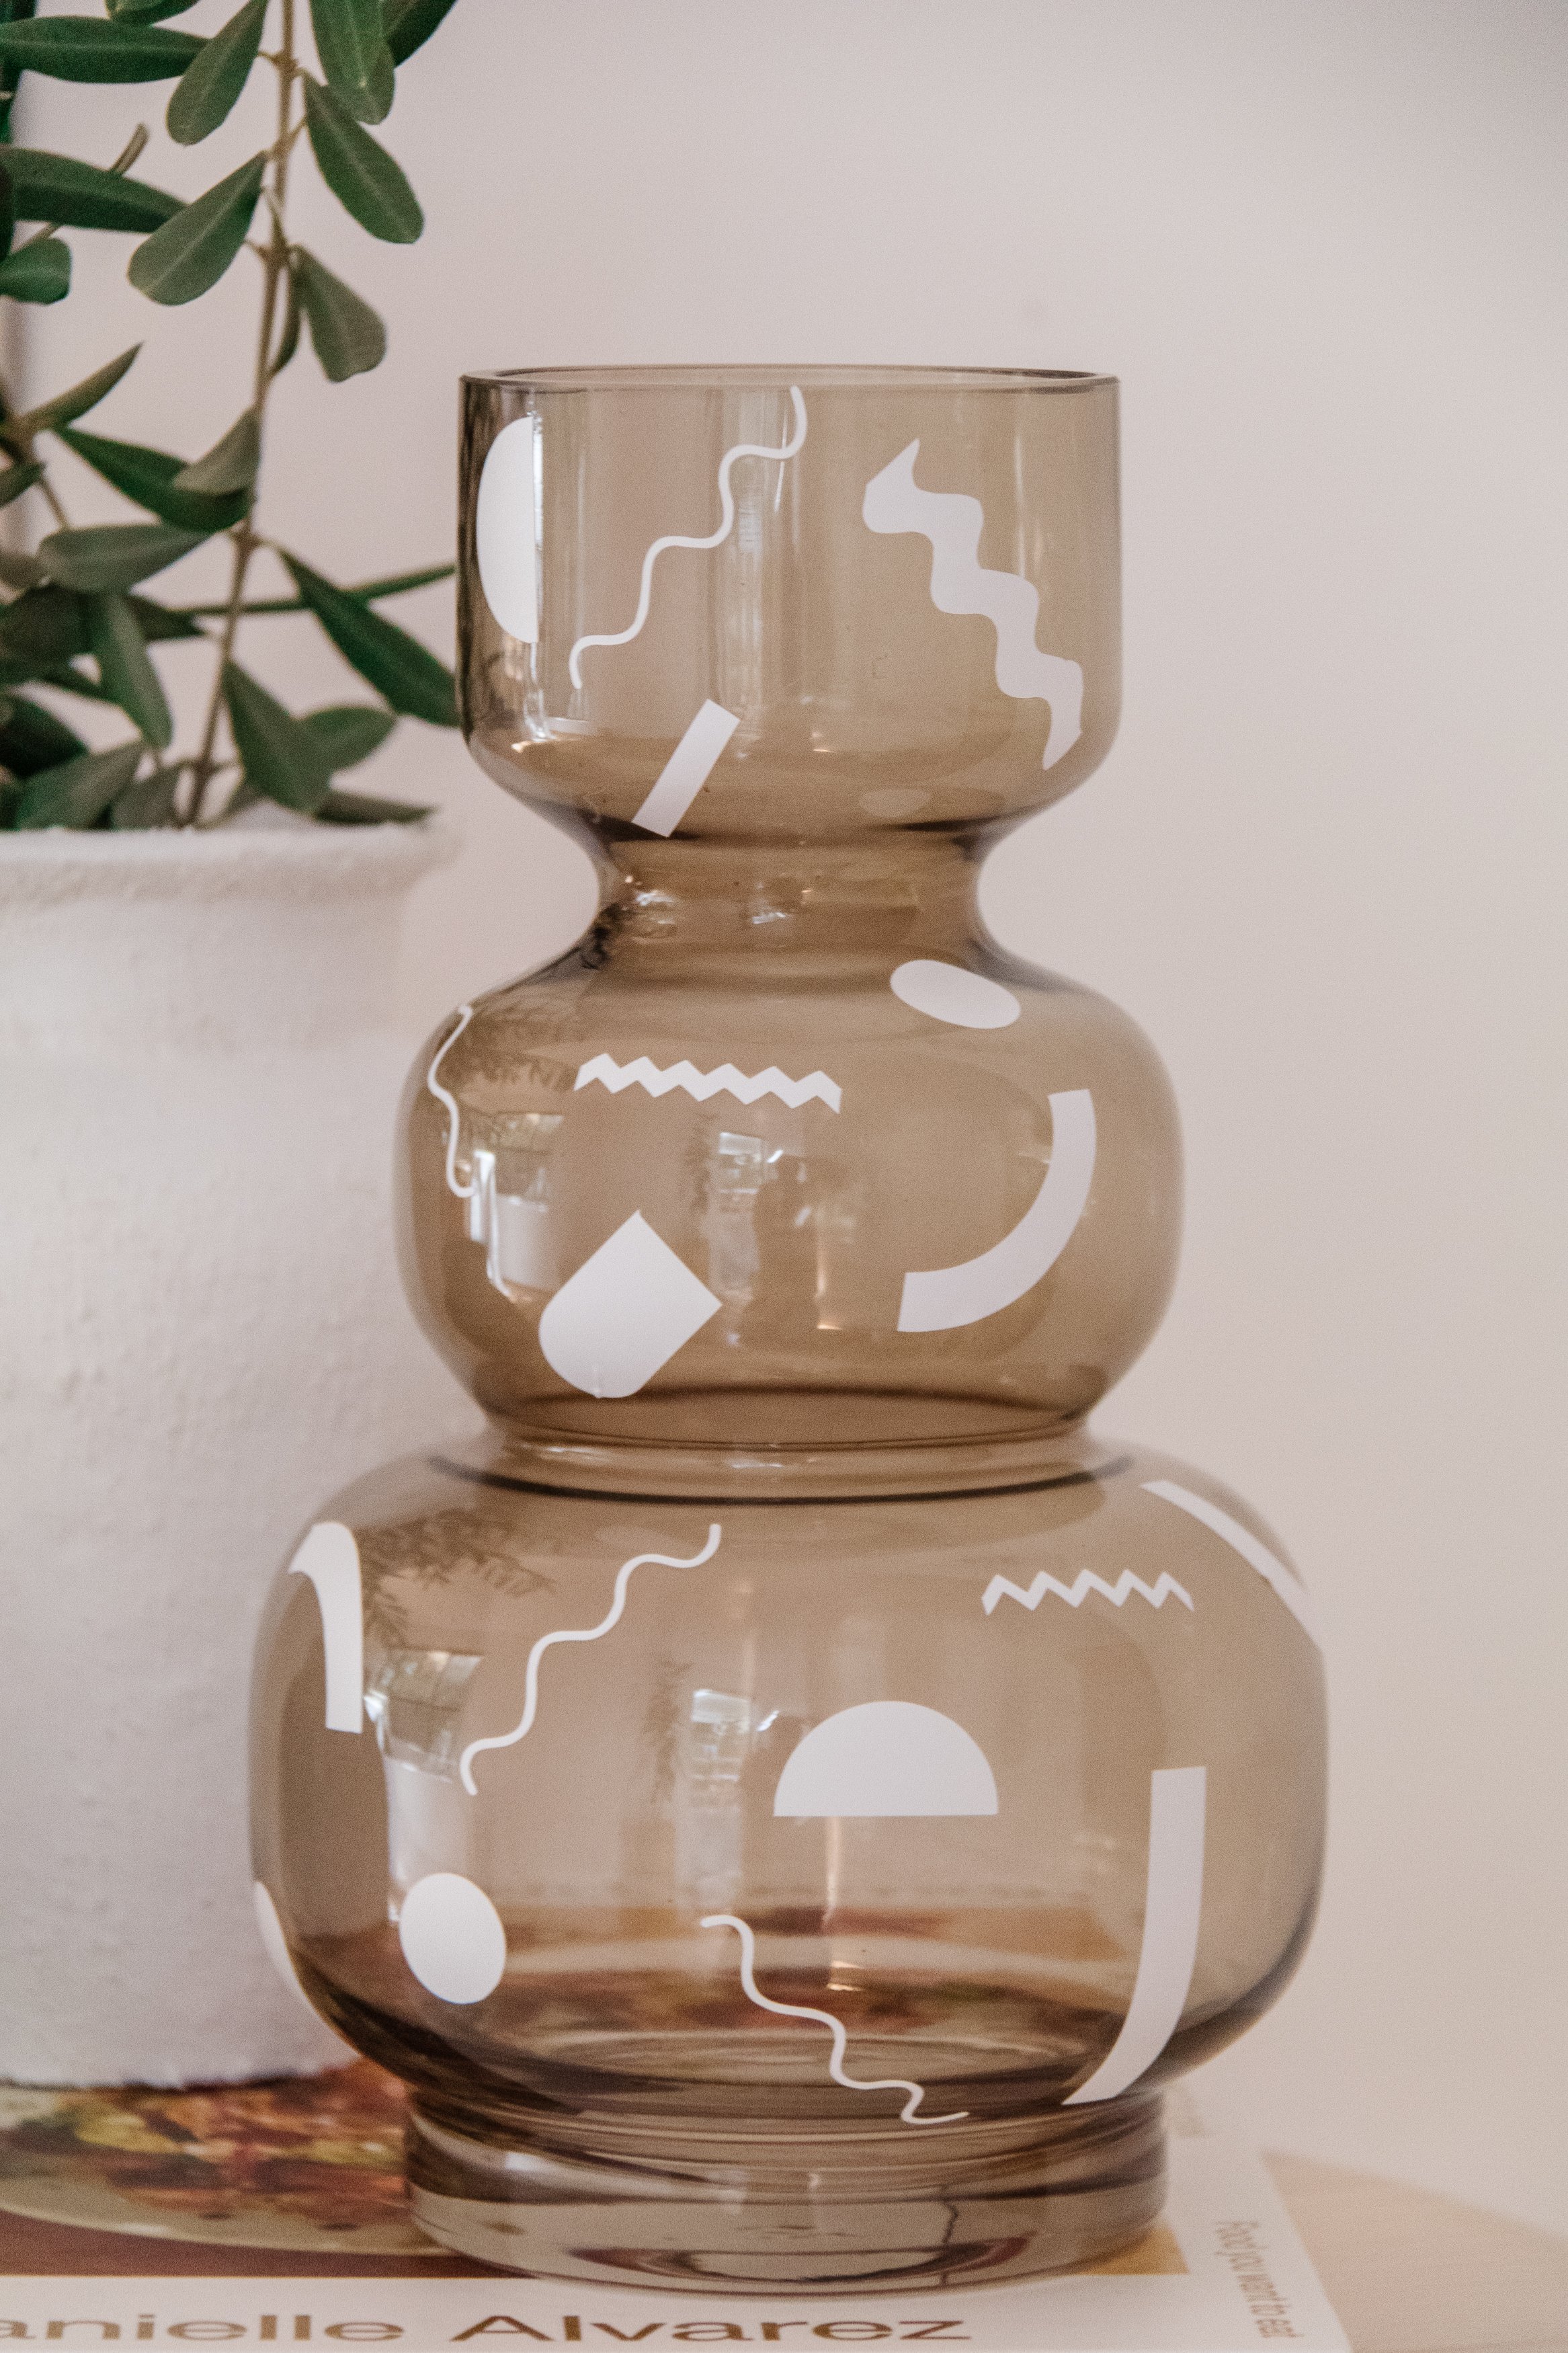
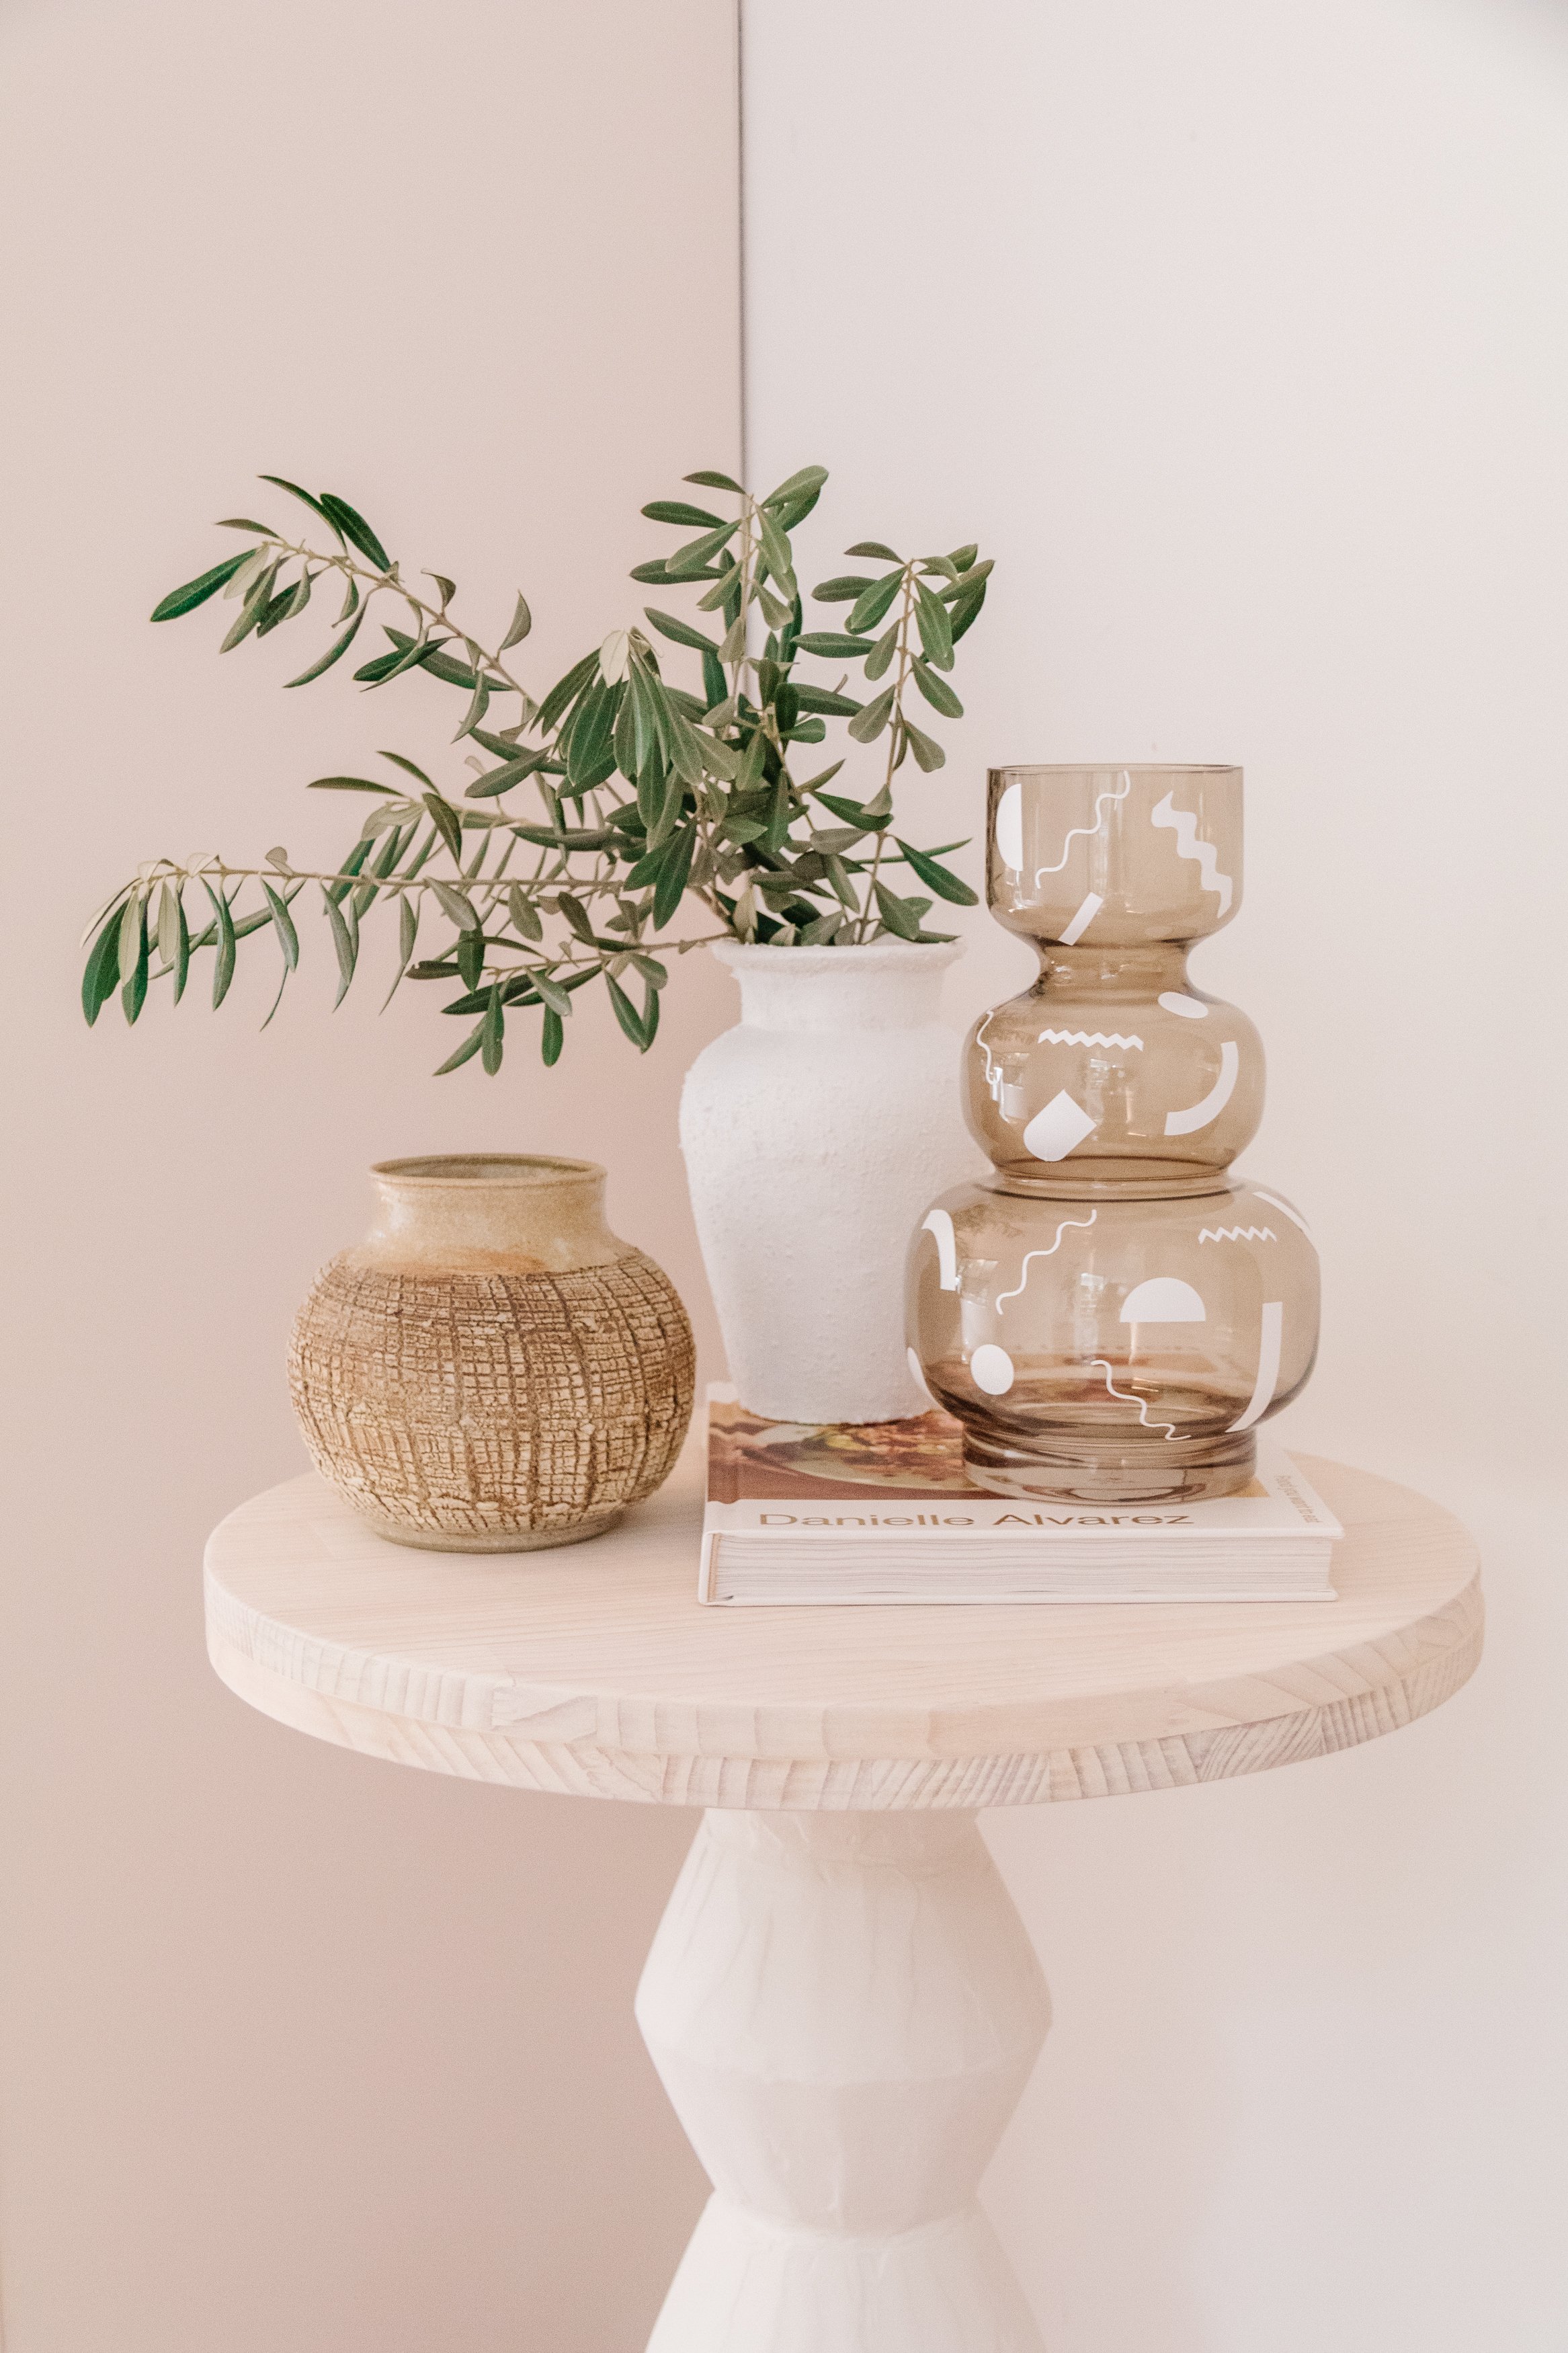
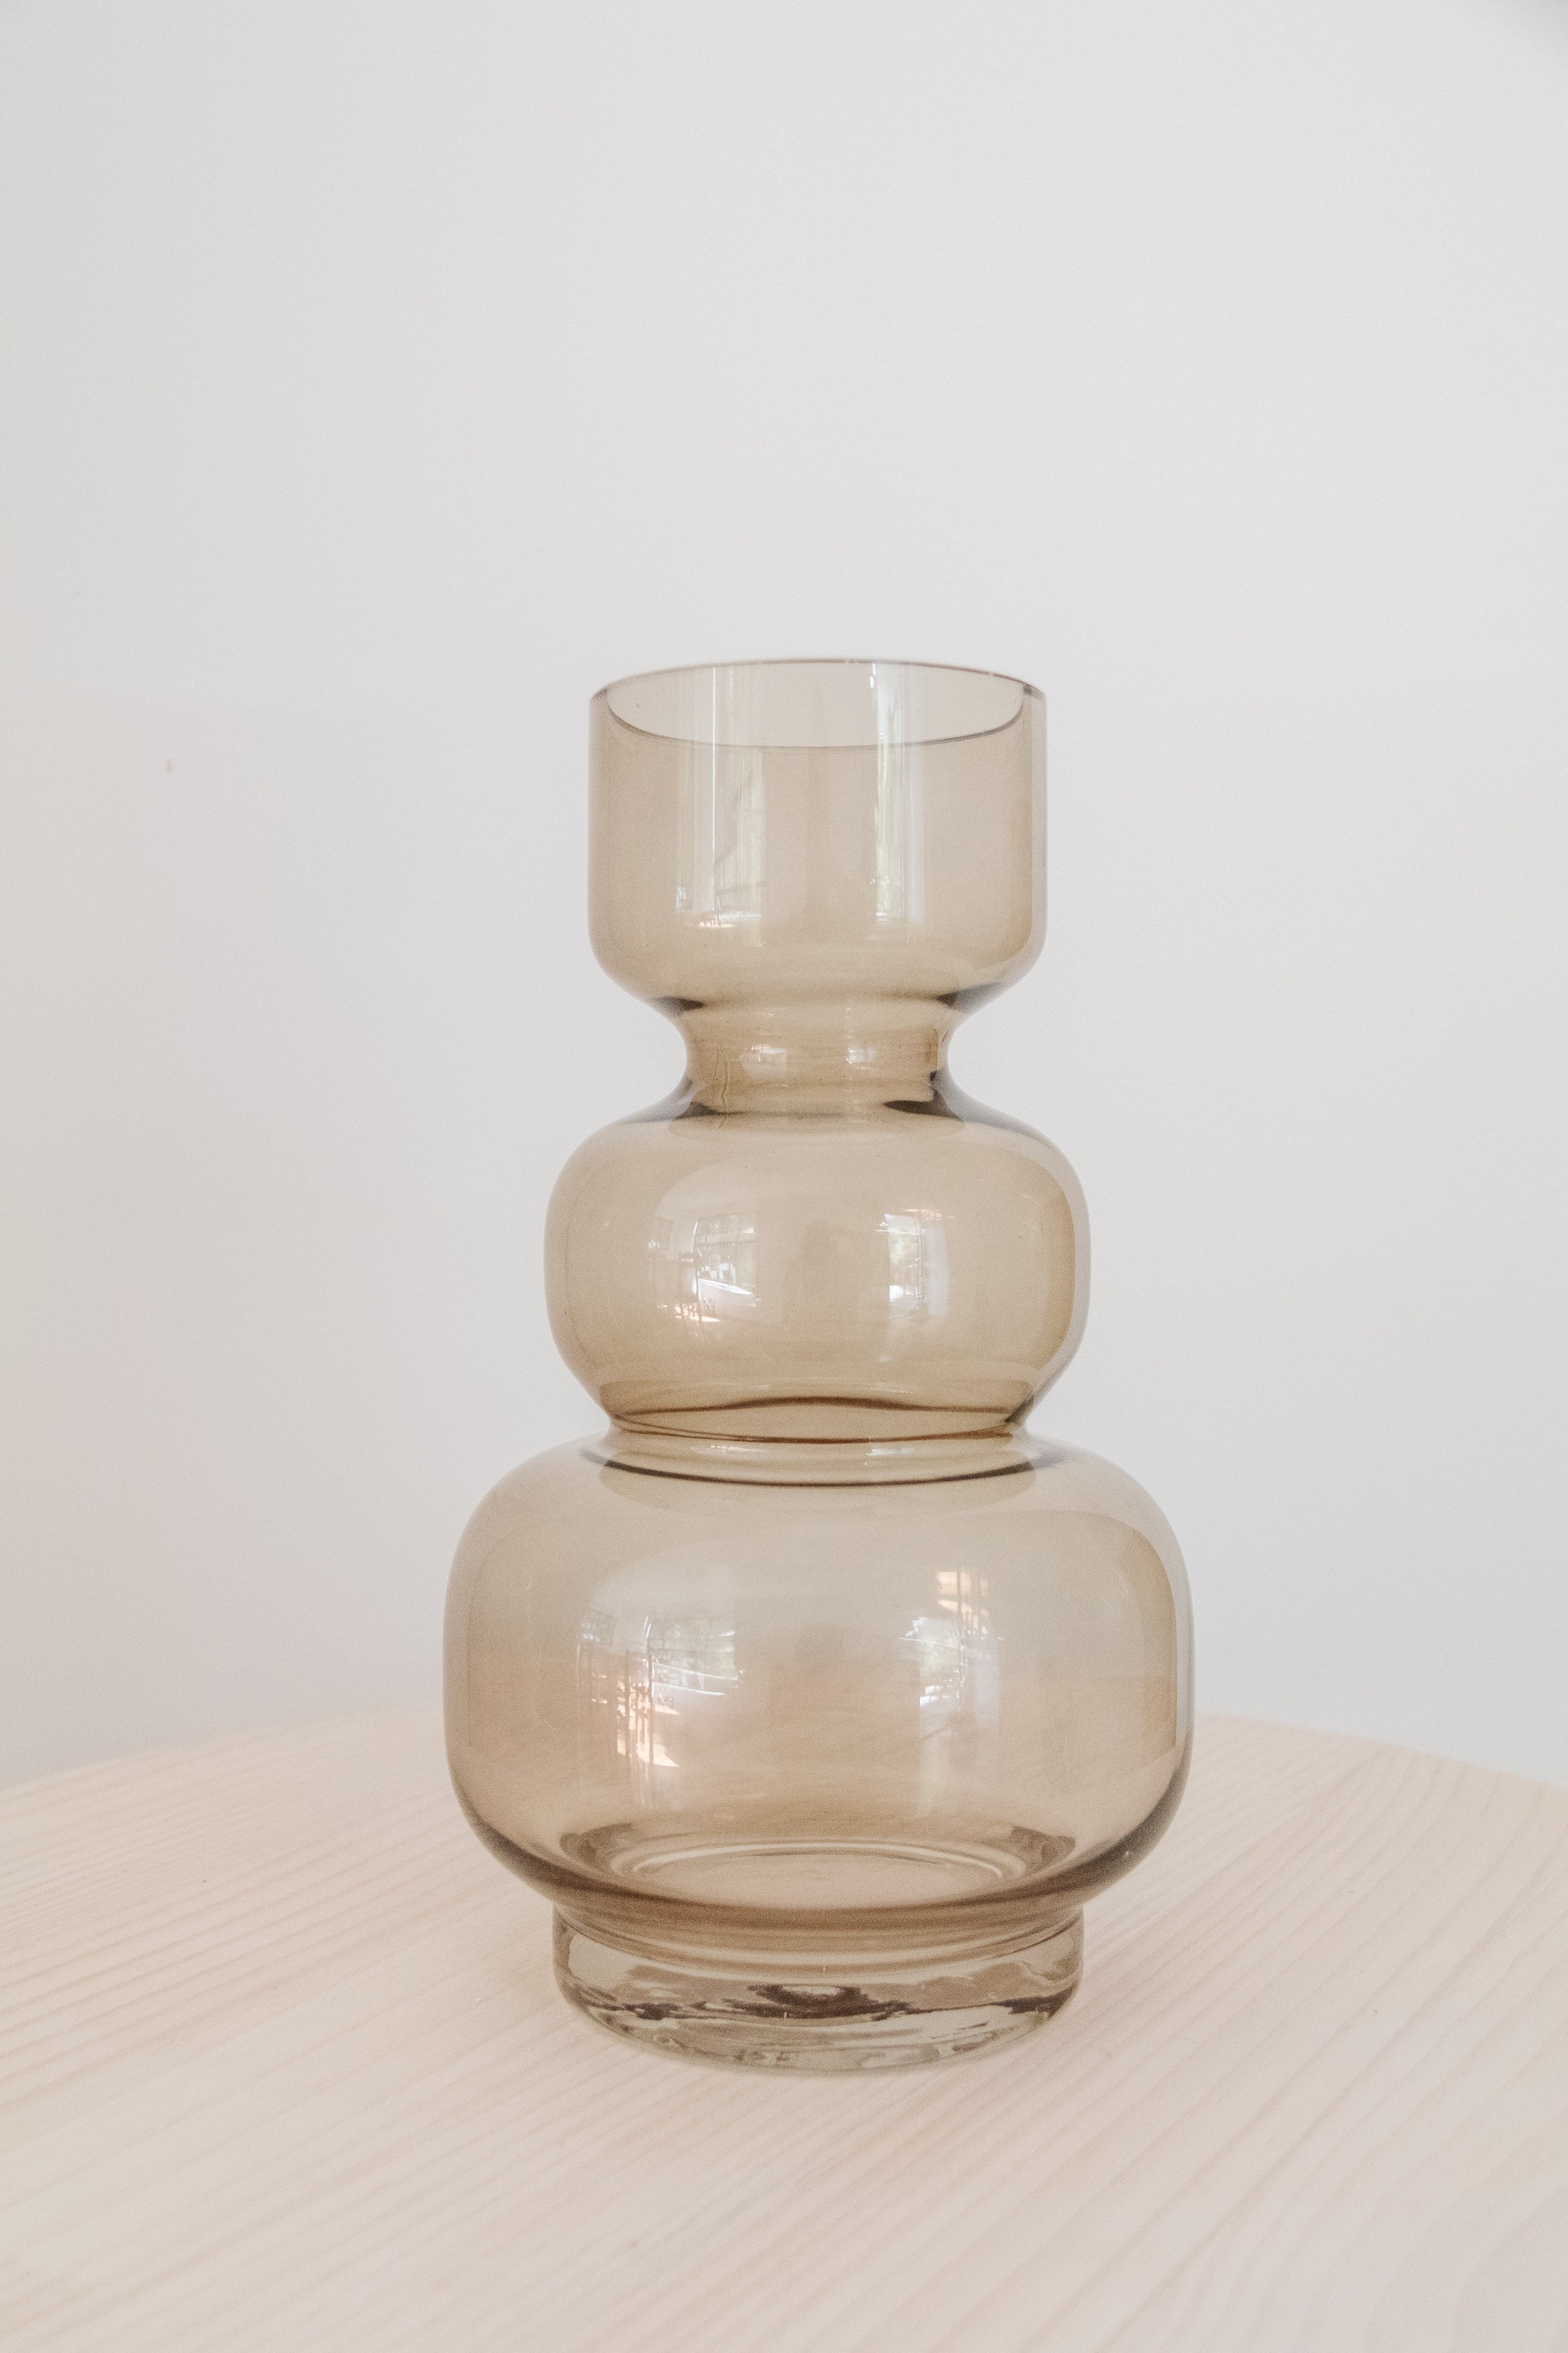
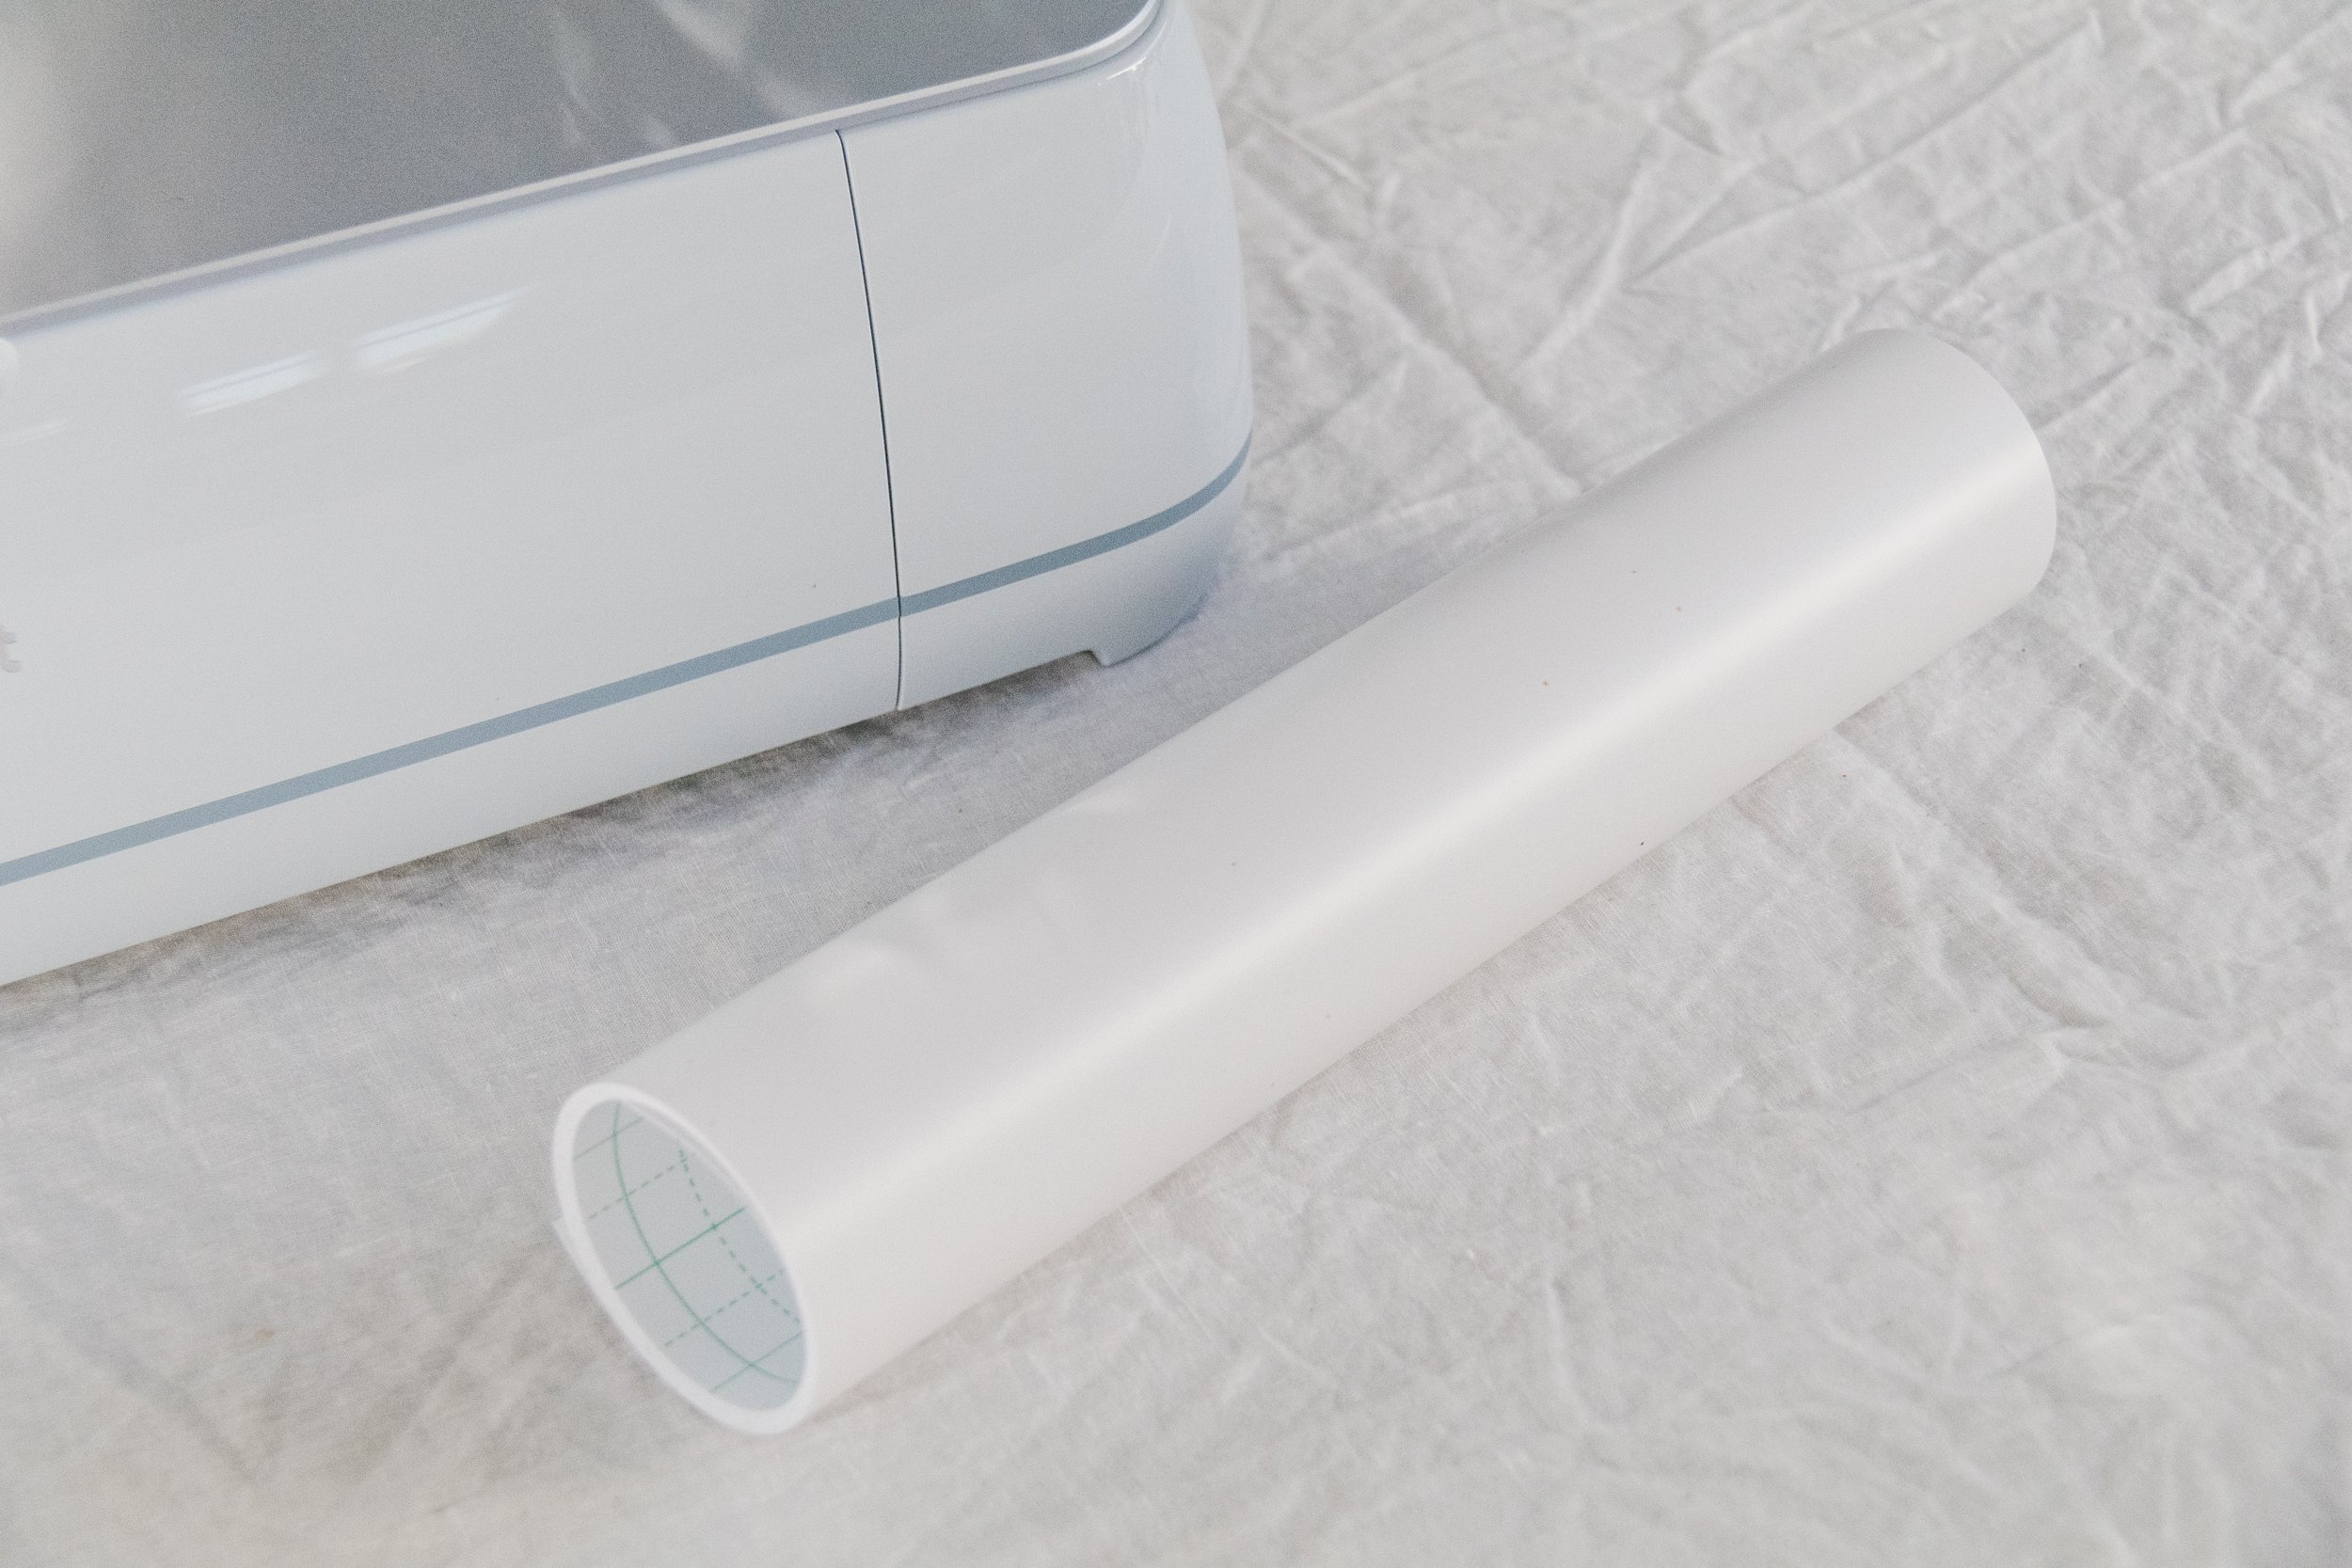
To kick off the series, I wanted to keep my first project simple. A little while ago I bought a beautiful glass vase from Big W and it’s lovely, but I think it needs a little something extra. So I am going to show you how to make a DIY Geometric Glass Vase using the Cricut Maker 3 and white vinyl. Let’s get started!
And to see how this DIY project came together, make sure you check out this video!
Project Details
🕒 Project Time Estimate: 30 mins
💰 Materials Cost: $50 for the vinyl
👷♀️ Skill Level: Beginner
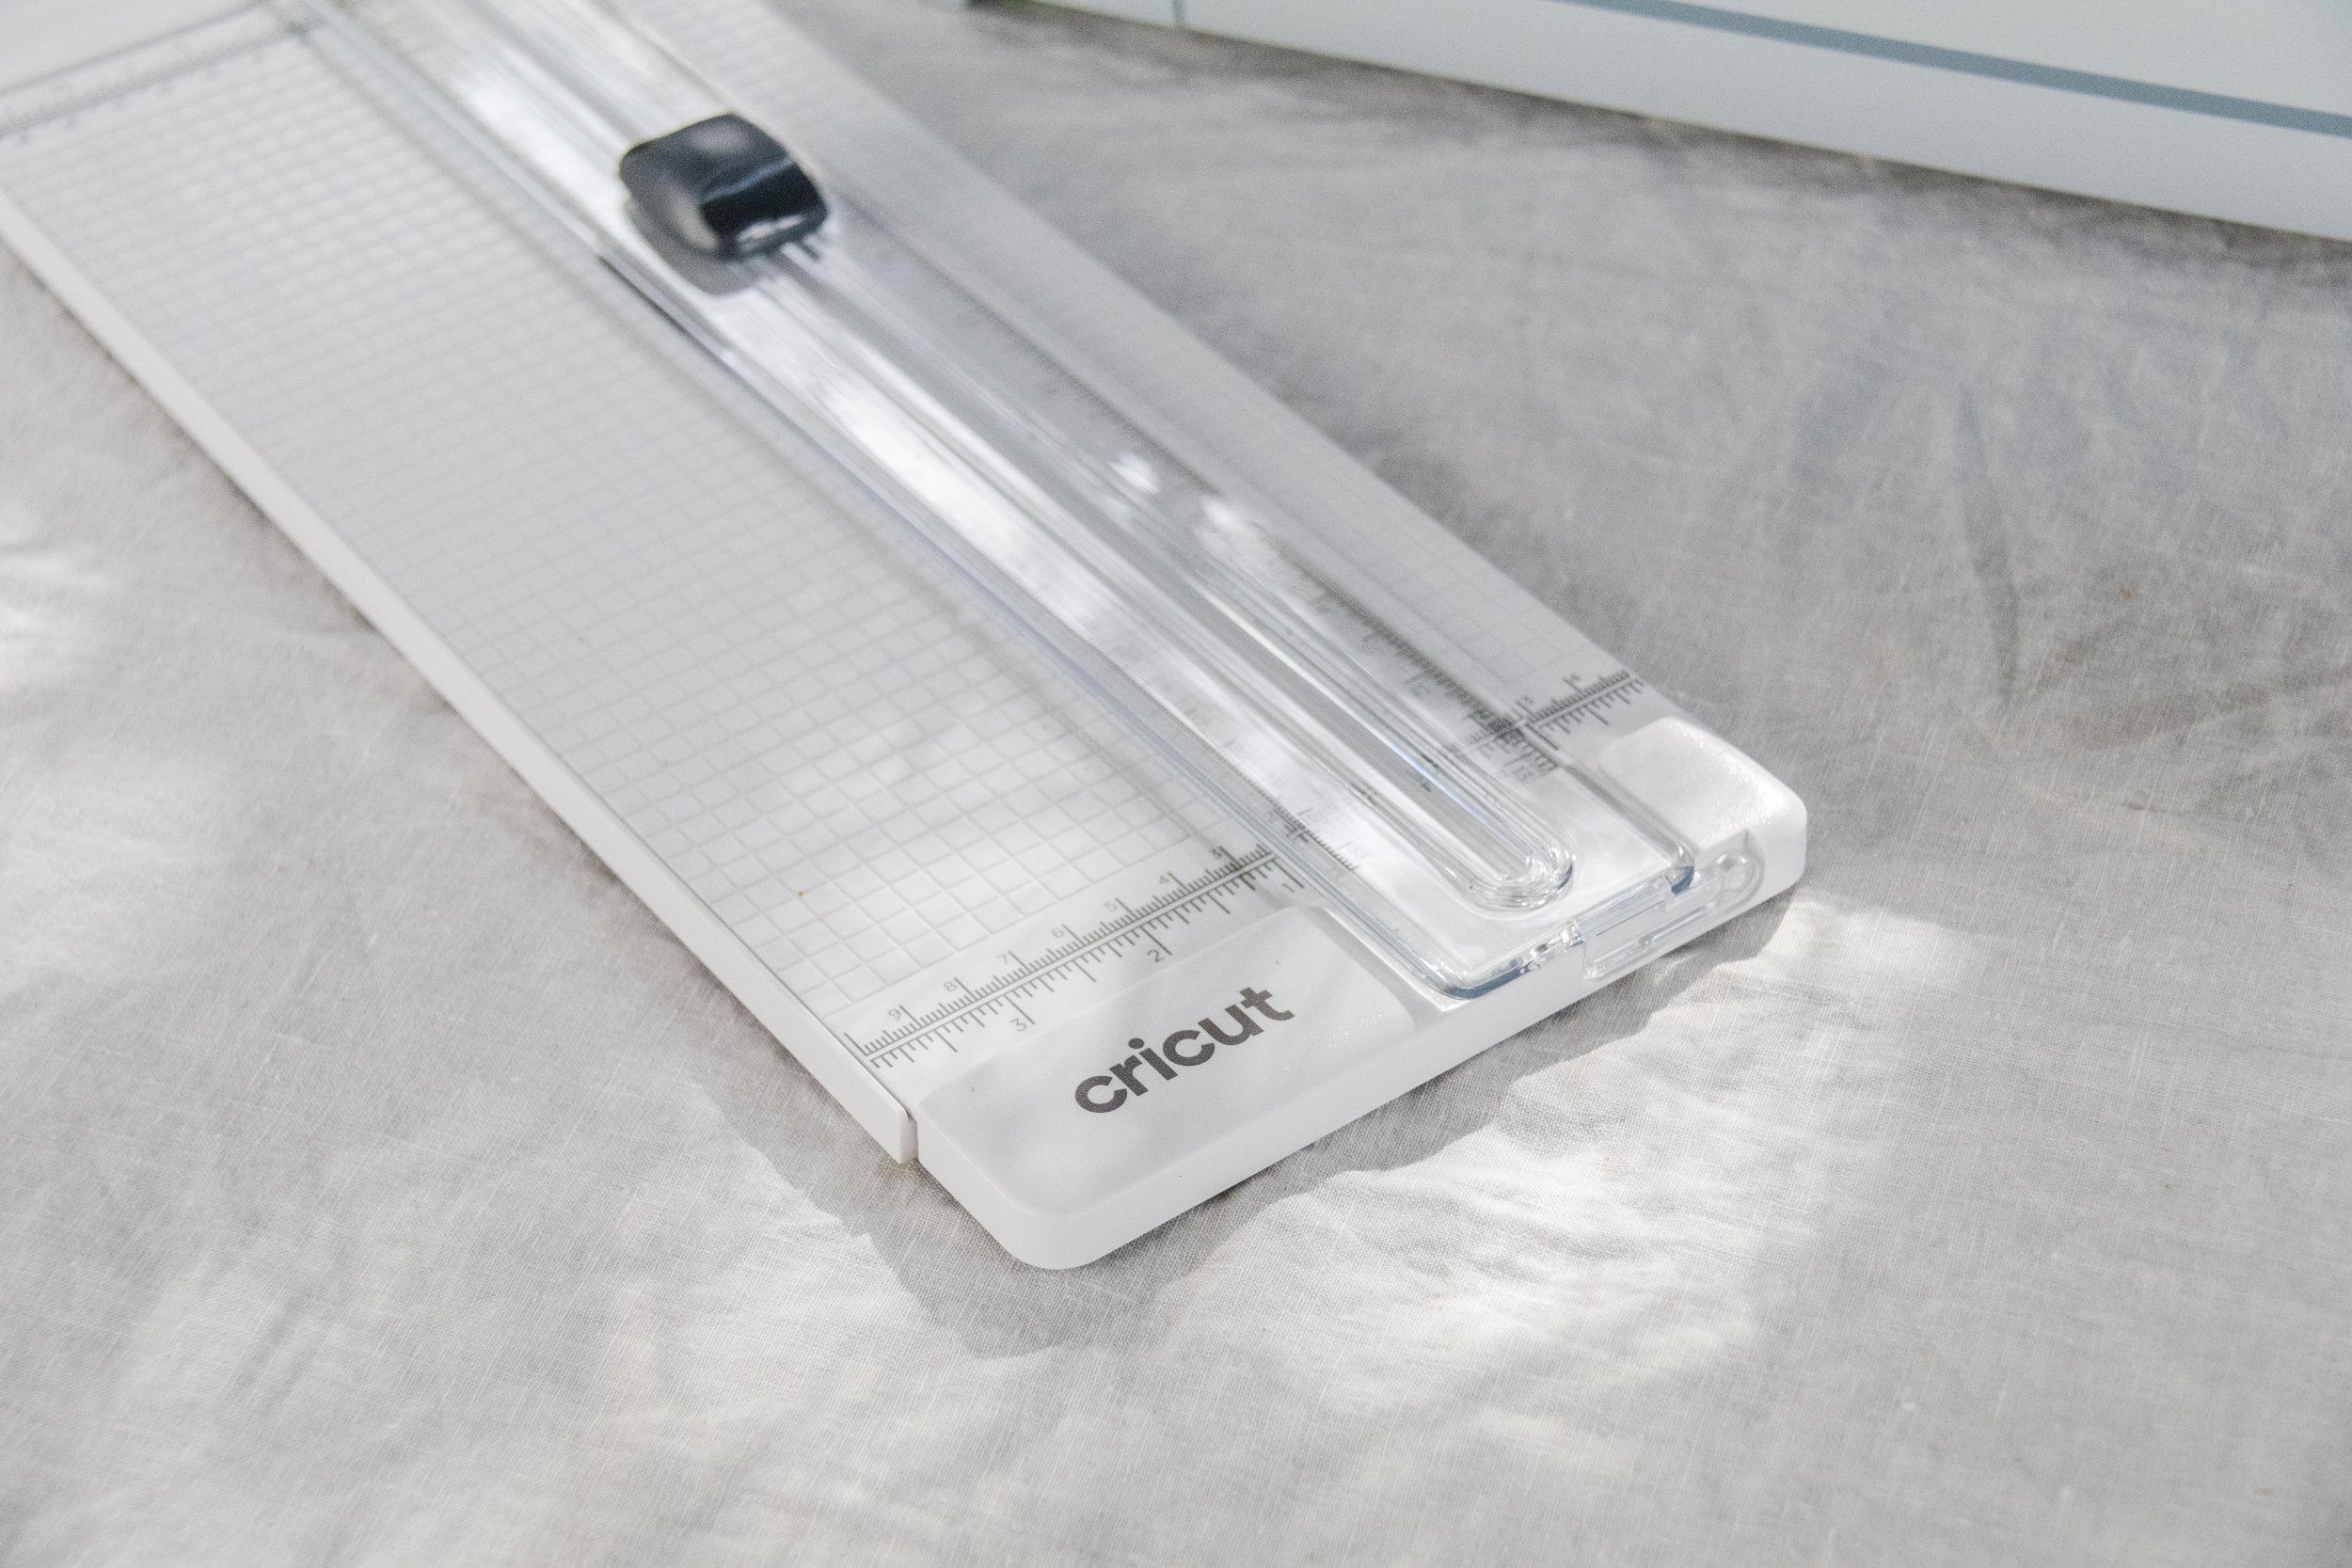
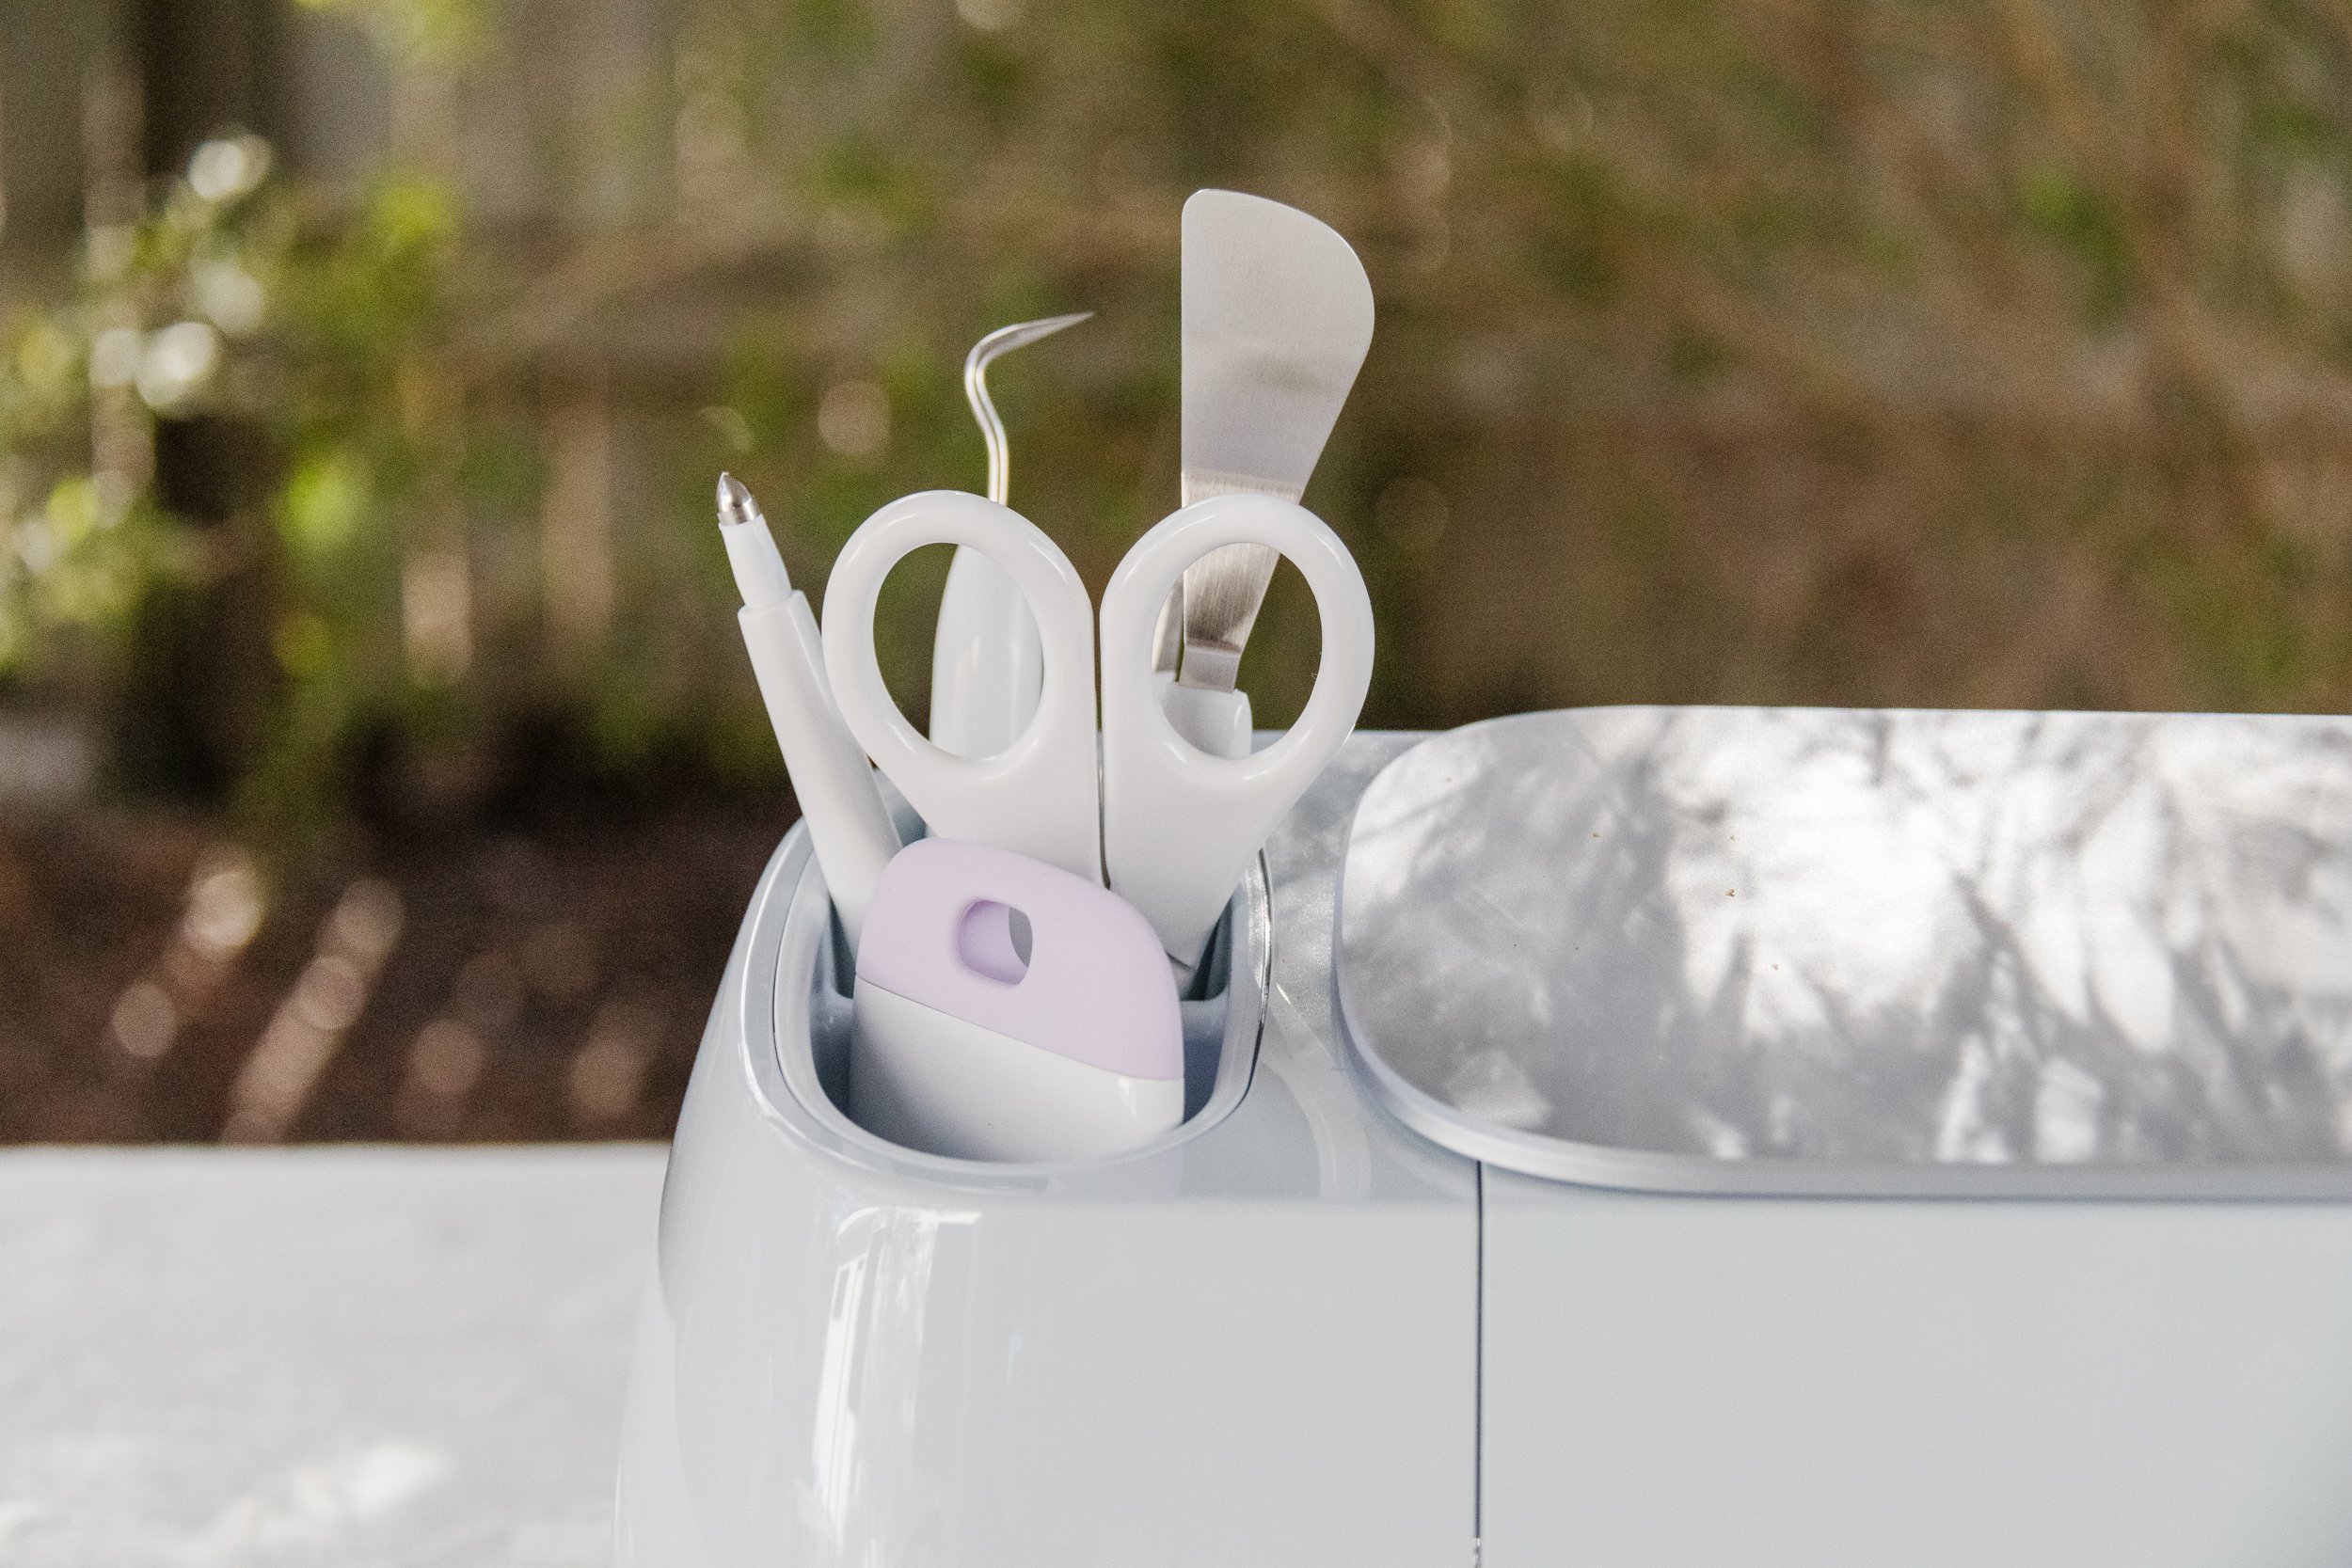
⚒️ Tools: Cricket Maker 3 and Cricut Basic Tool Set

Materials
Glass vase, I got mine from Big W (either new or secondhand)
Ps. In Australia, you can shop Cricut in a variety of stores including Officeworks, Spotlight and Big W.
How To
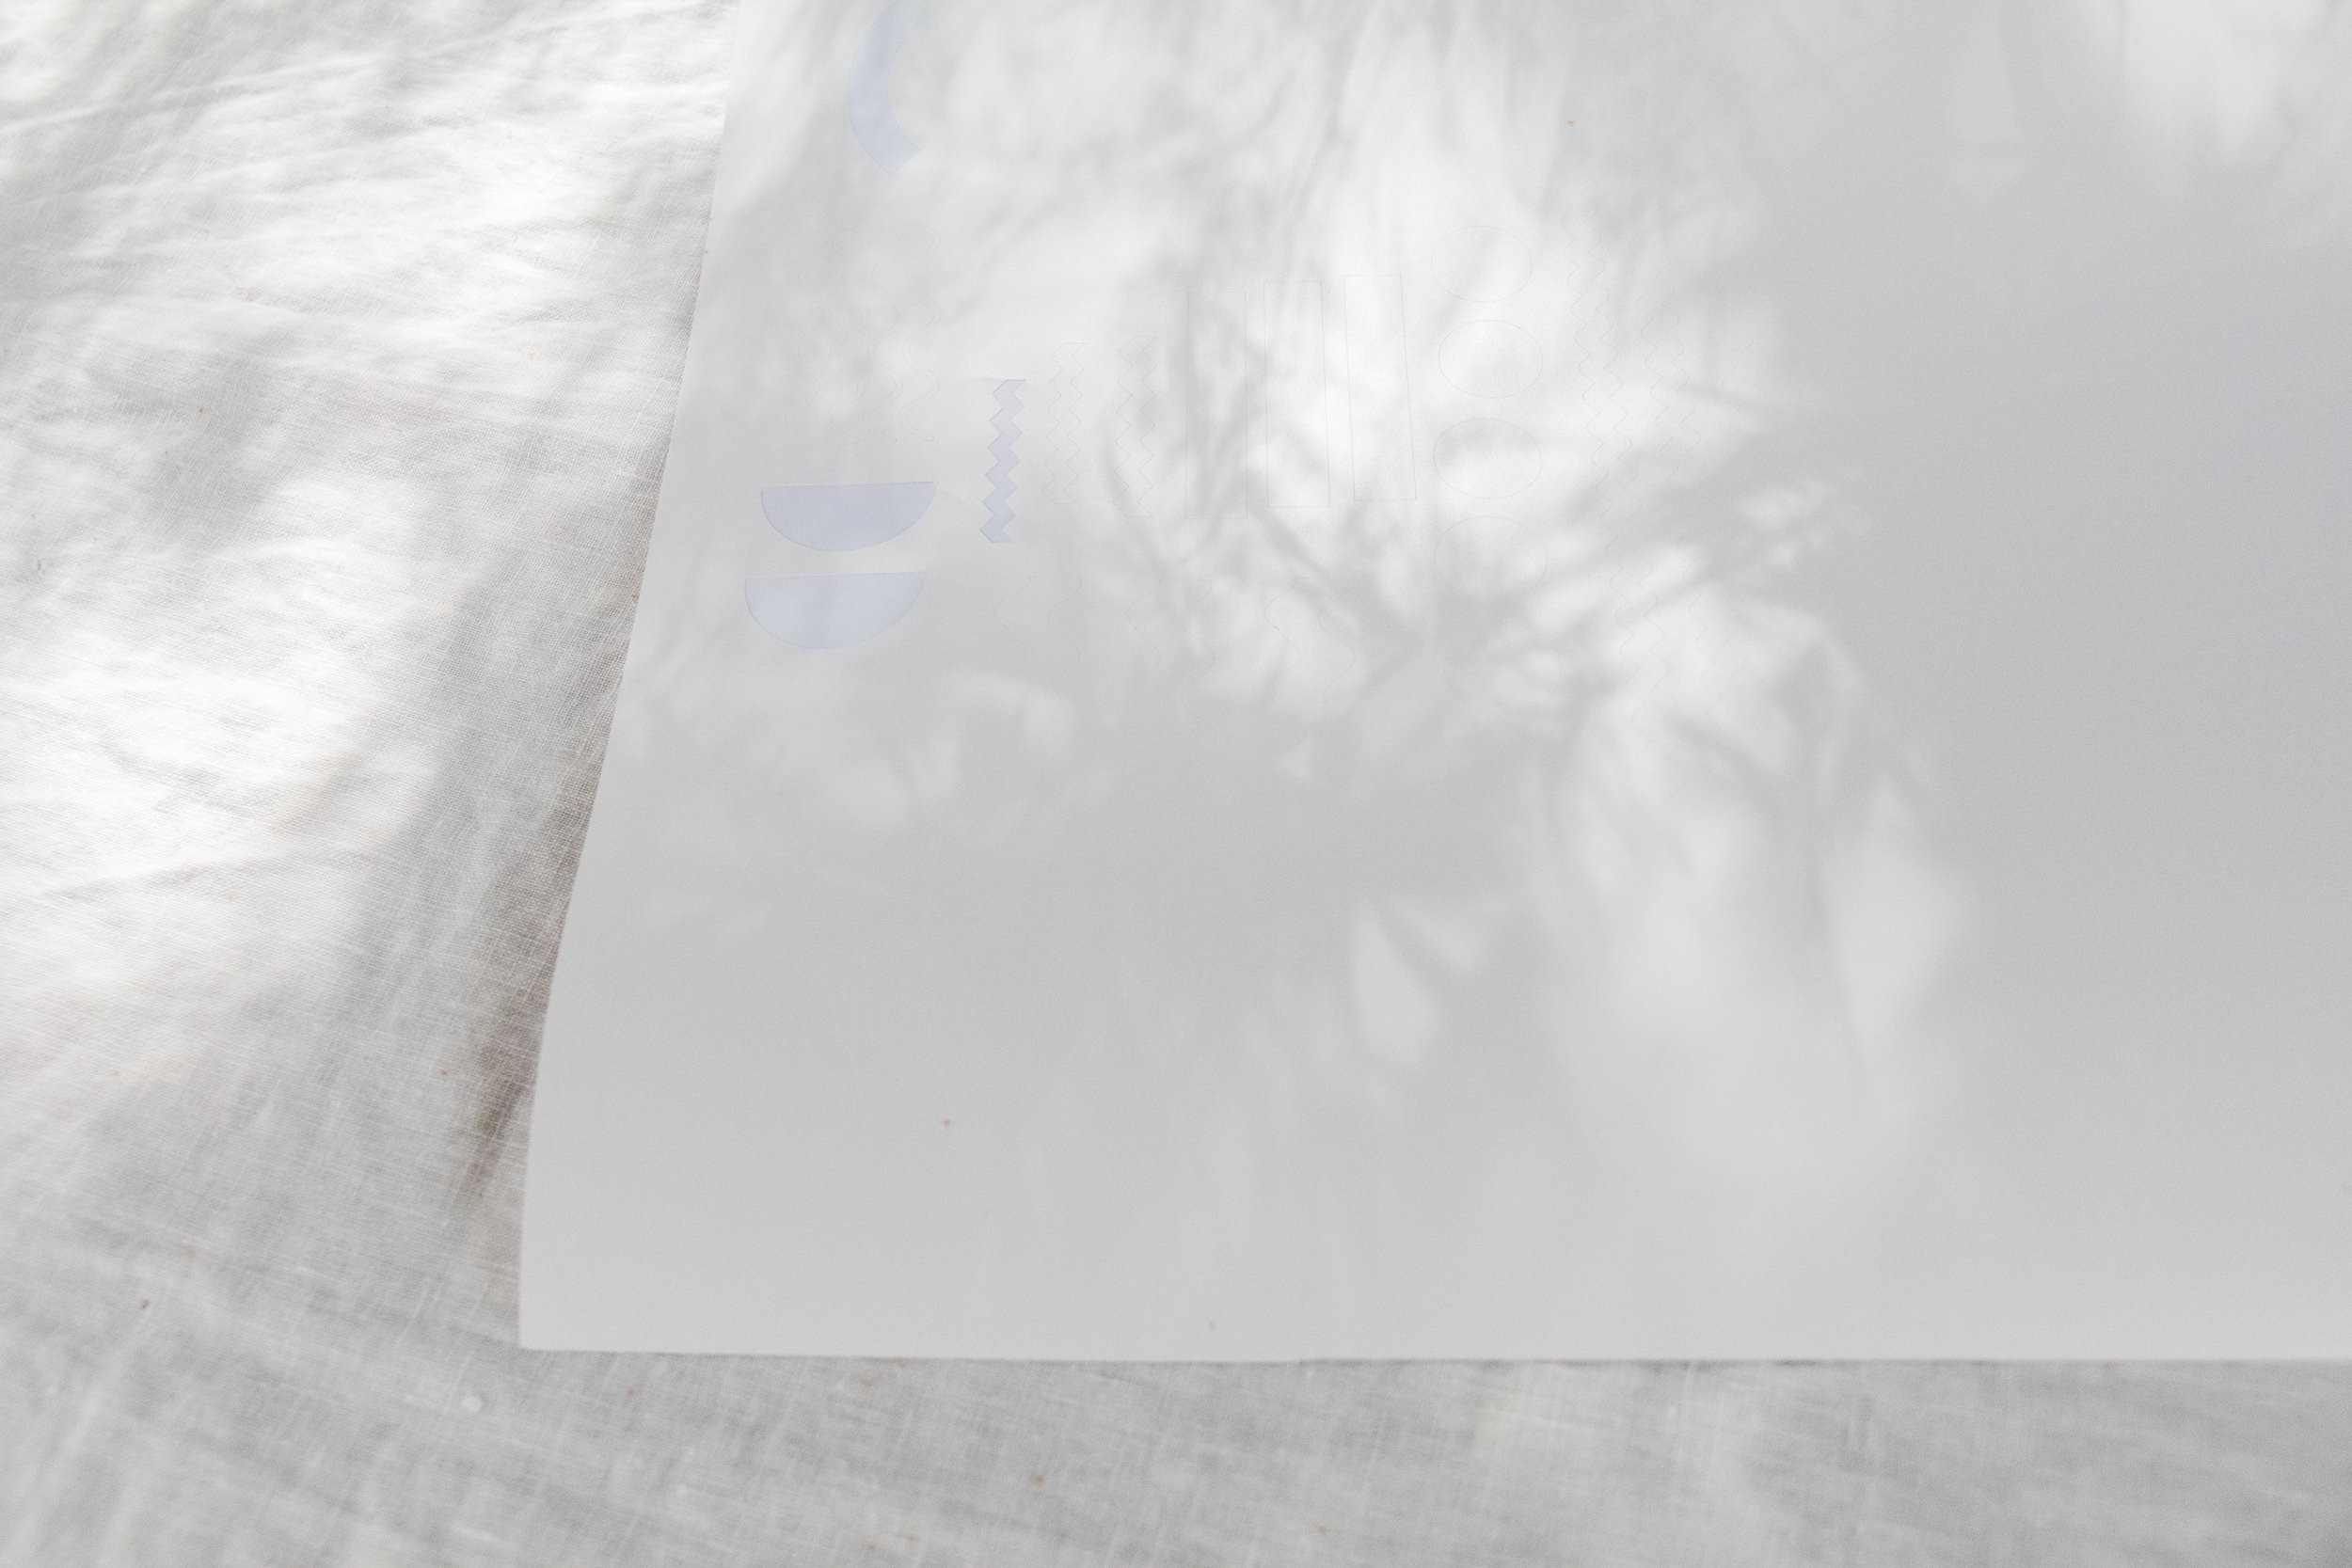
Start by opening the Cricut app. Search for your desired shapes/images and save them as you go; I searched for solid circle, wavy line, rectangle and a few others.
Click on “Canvas”
Click on “Images” in the menu on the left side of the canvas
Click “Browse all images”
Click “Saved” in the Filters menu.
Click on one of the saved images you want to cut, then click “Add to canvas” on the bottom right of your screen. Adjust the size of the image as you like. You can also copy and paste to make more of the same shape.
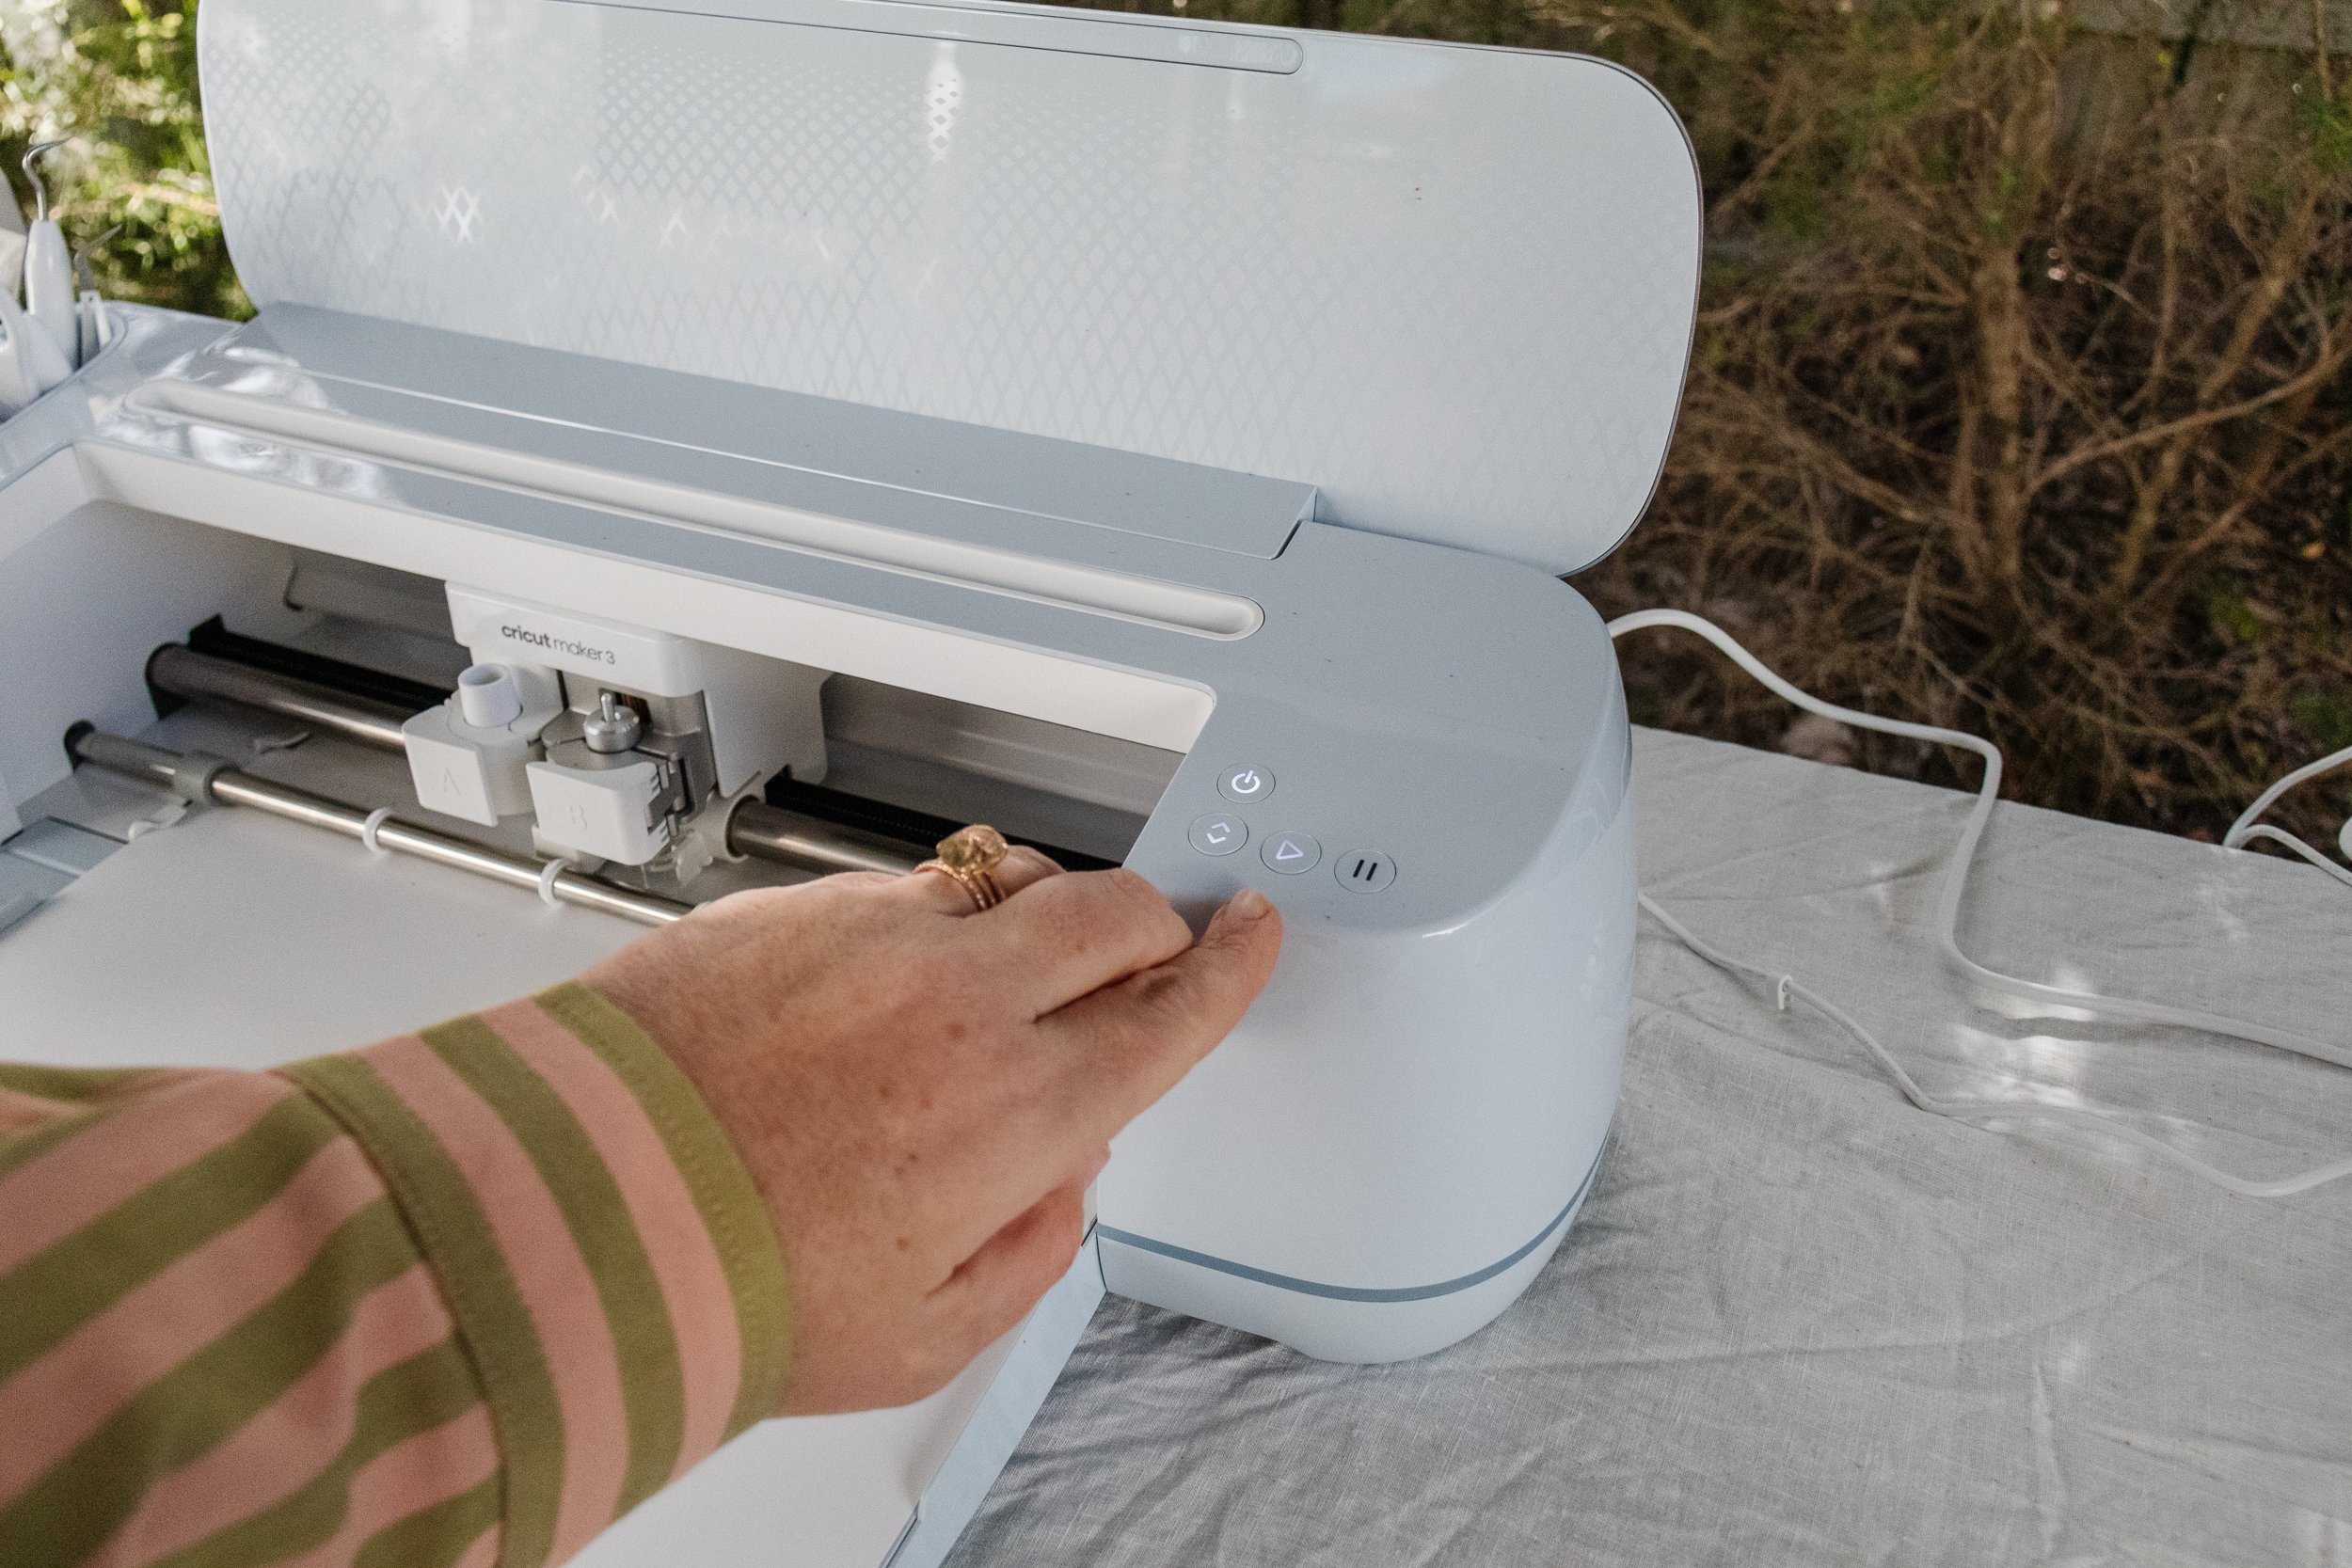
When you have all the shapes in your canvas, with your mouse select and hover over all of them, then click “Attach” on the menu to the right of your screen. Then click “Make It” on the top right of the screen. Follow the prompts until you have your cut sheet of Smart Vinyl.

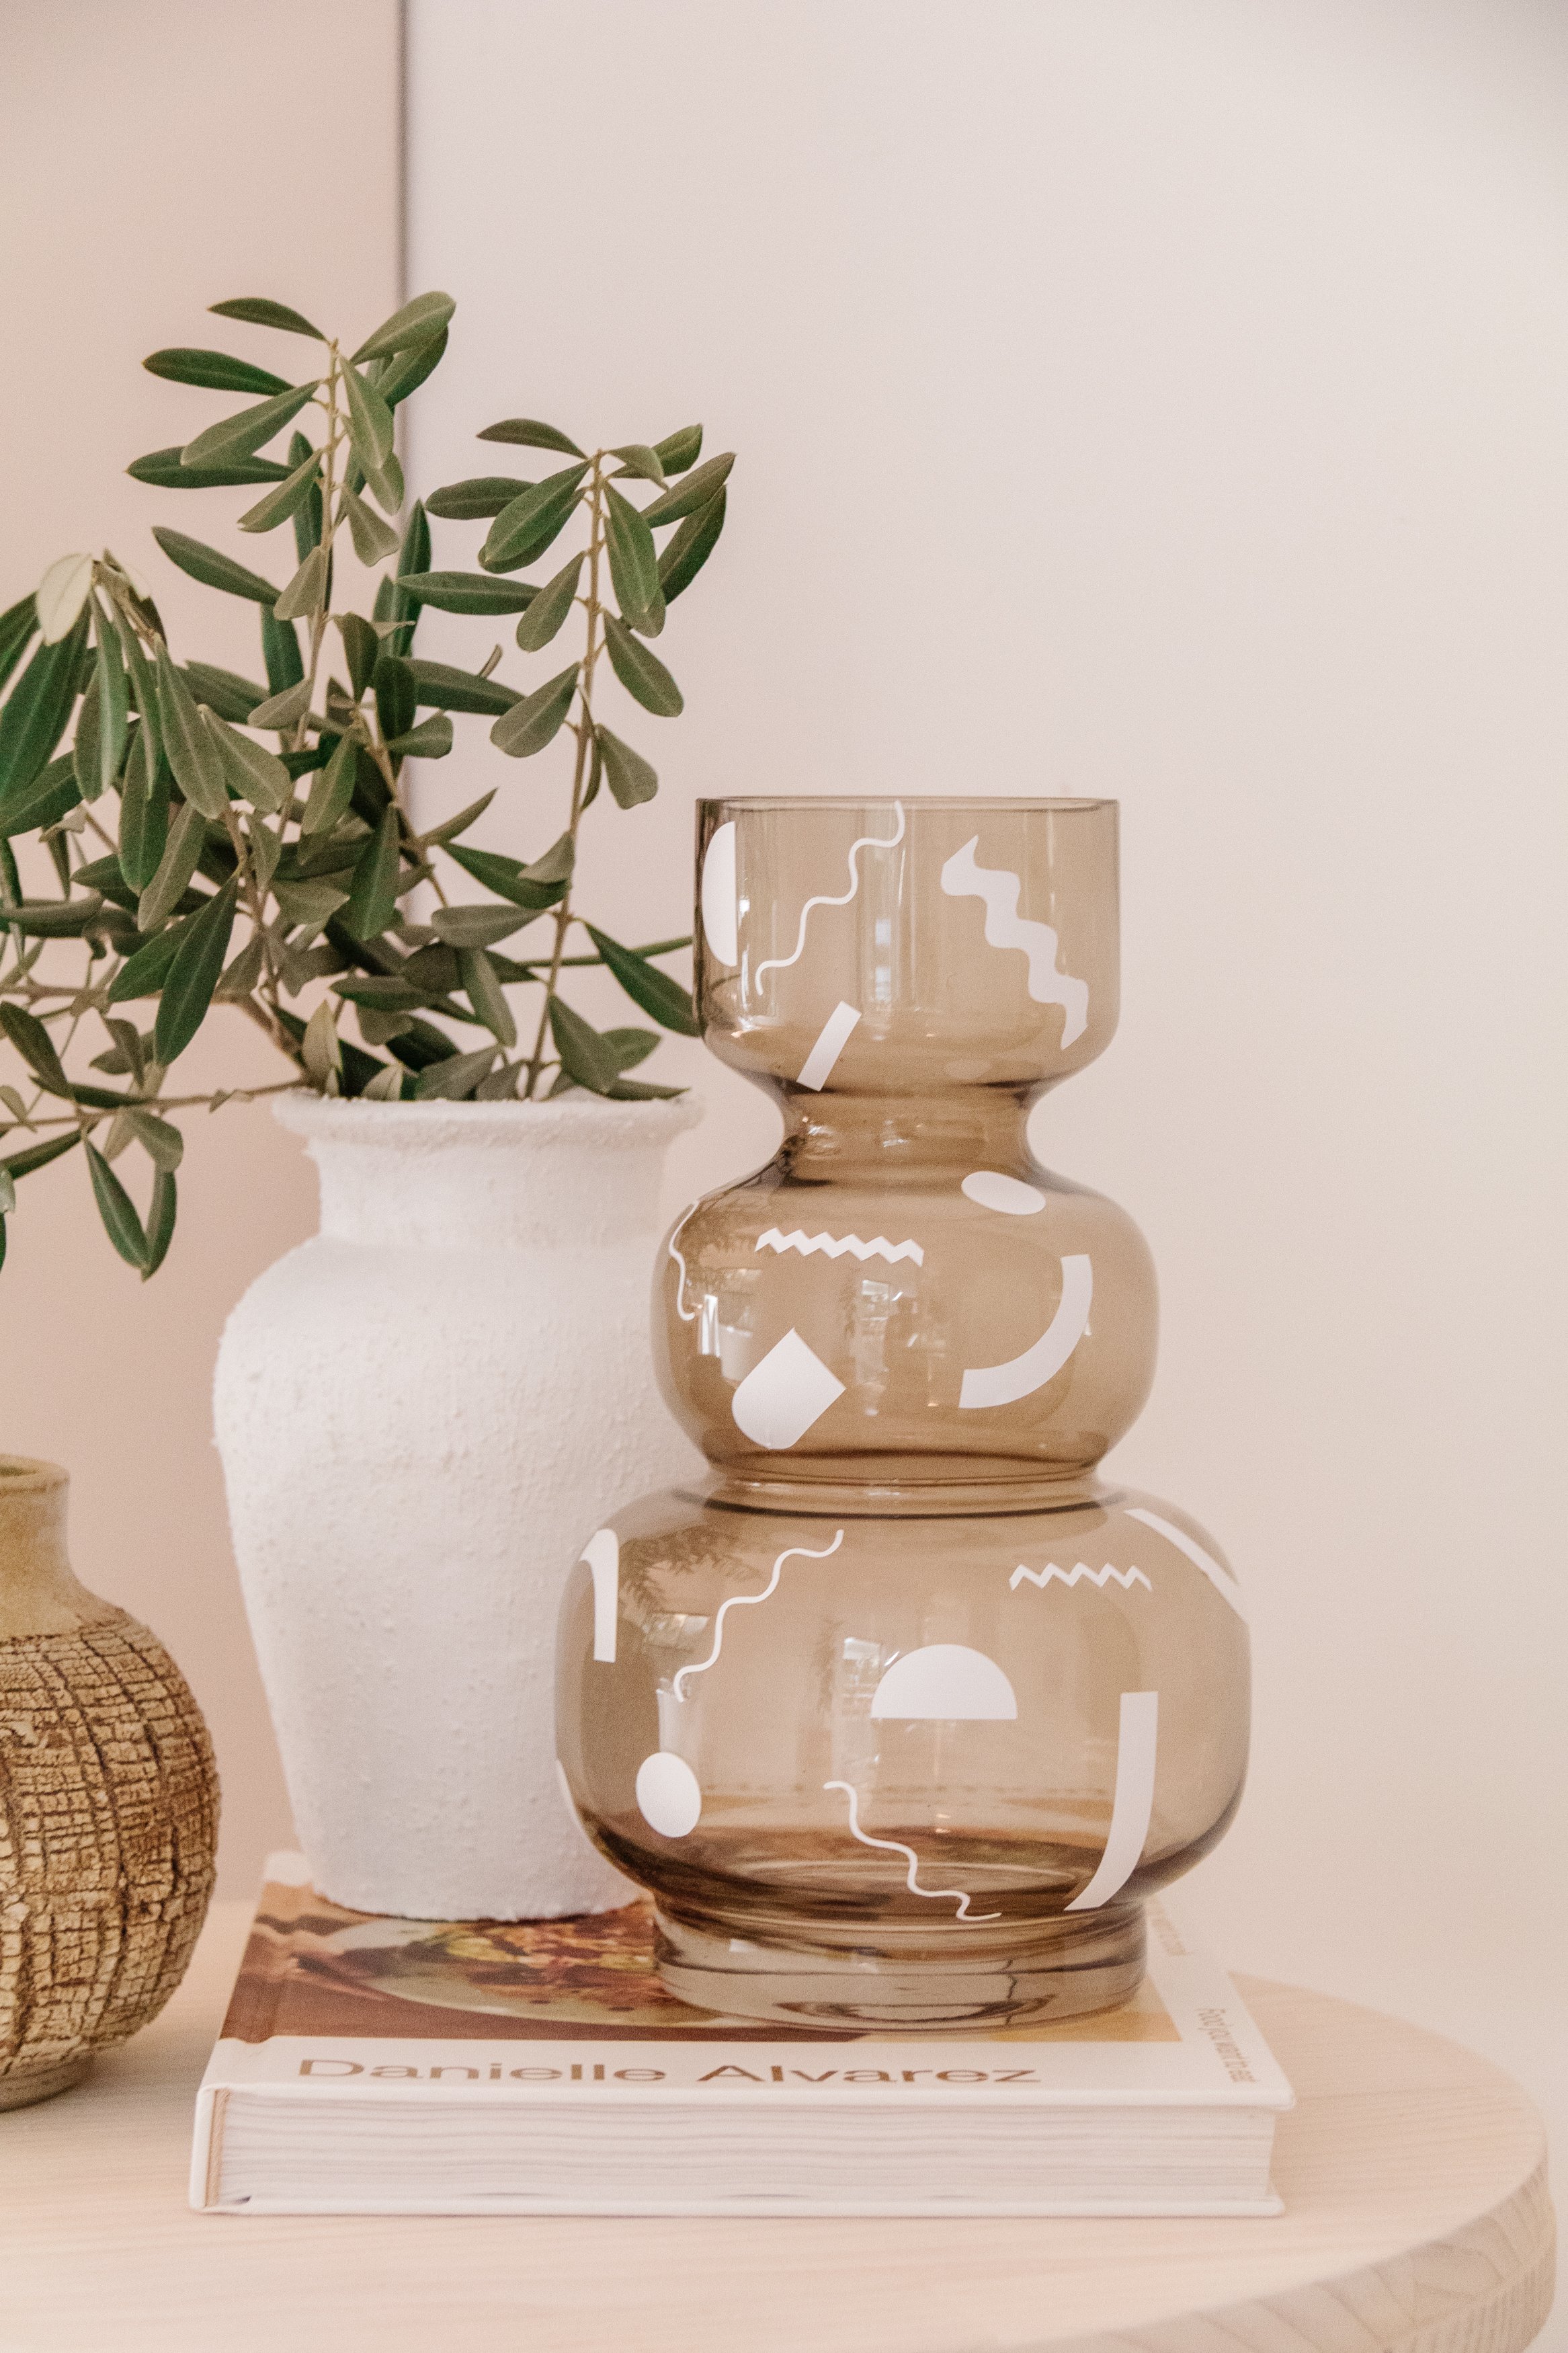
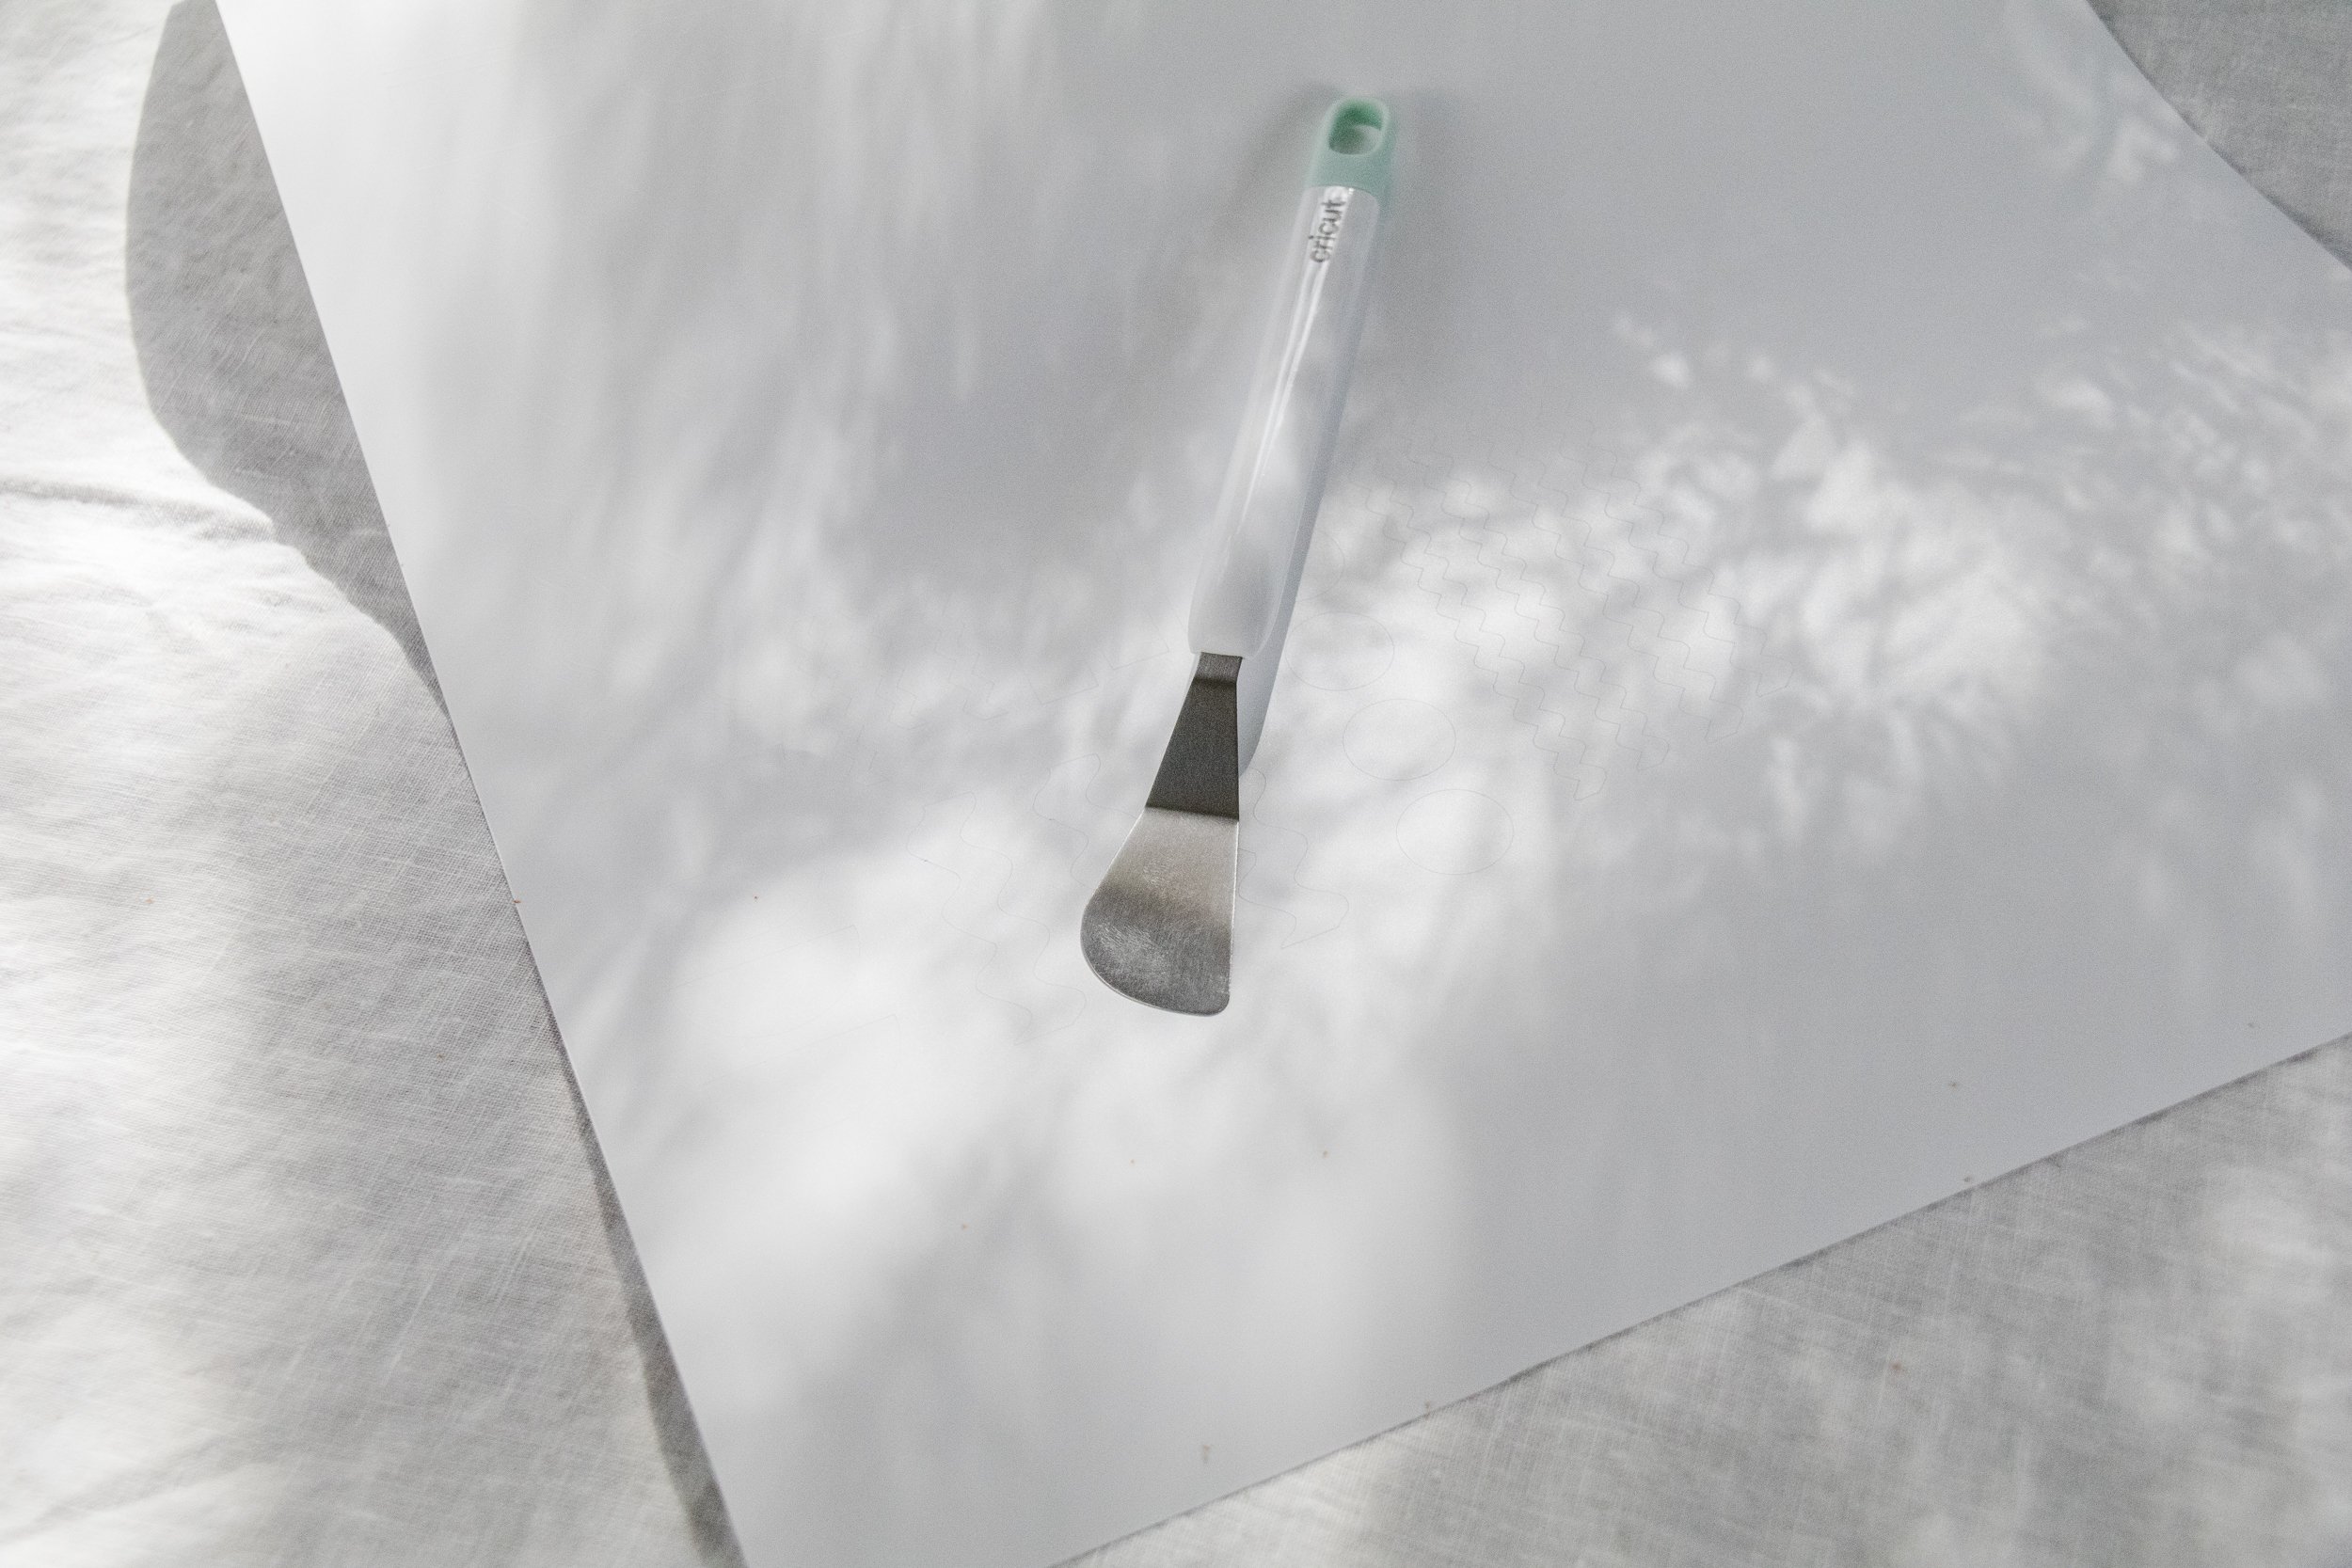
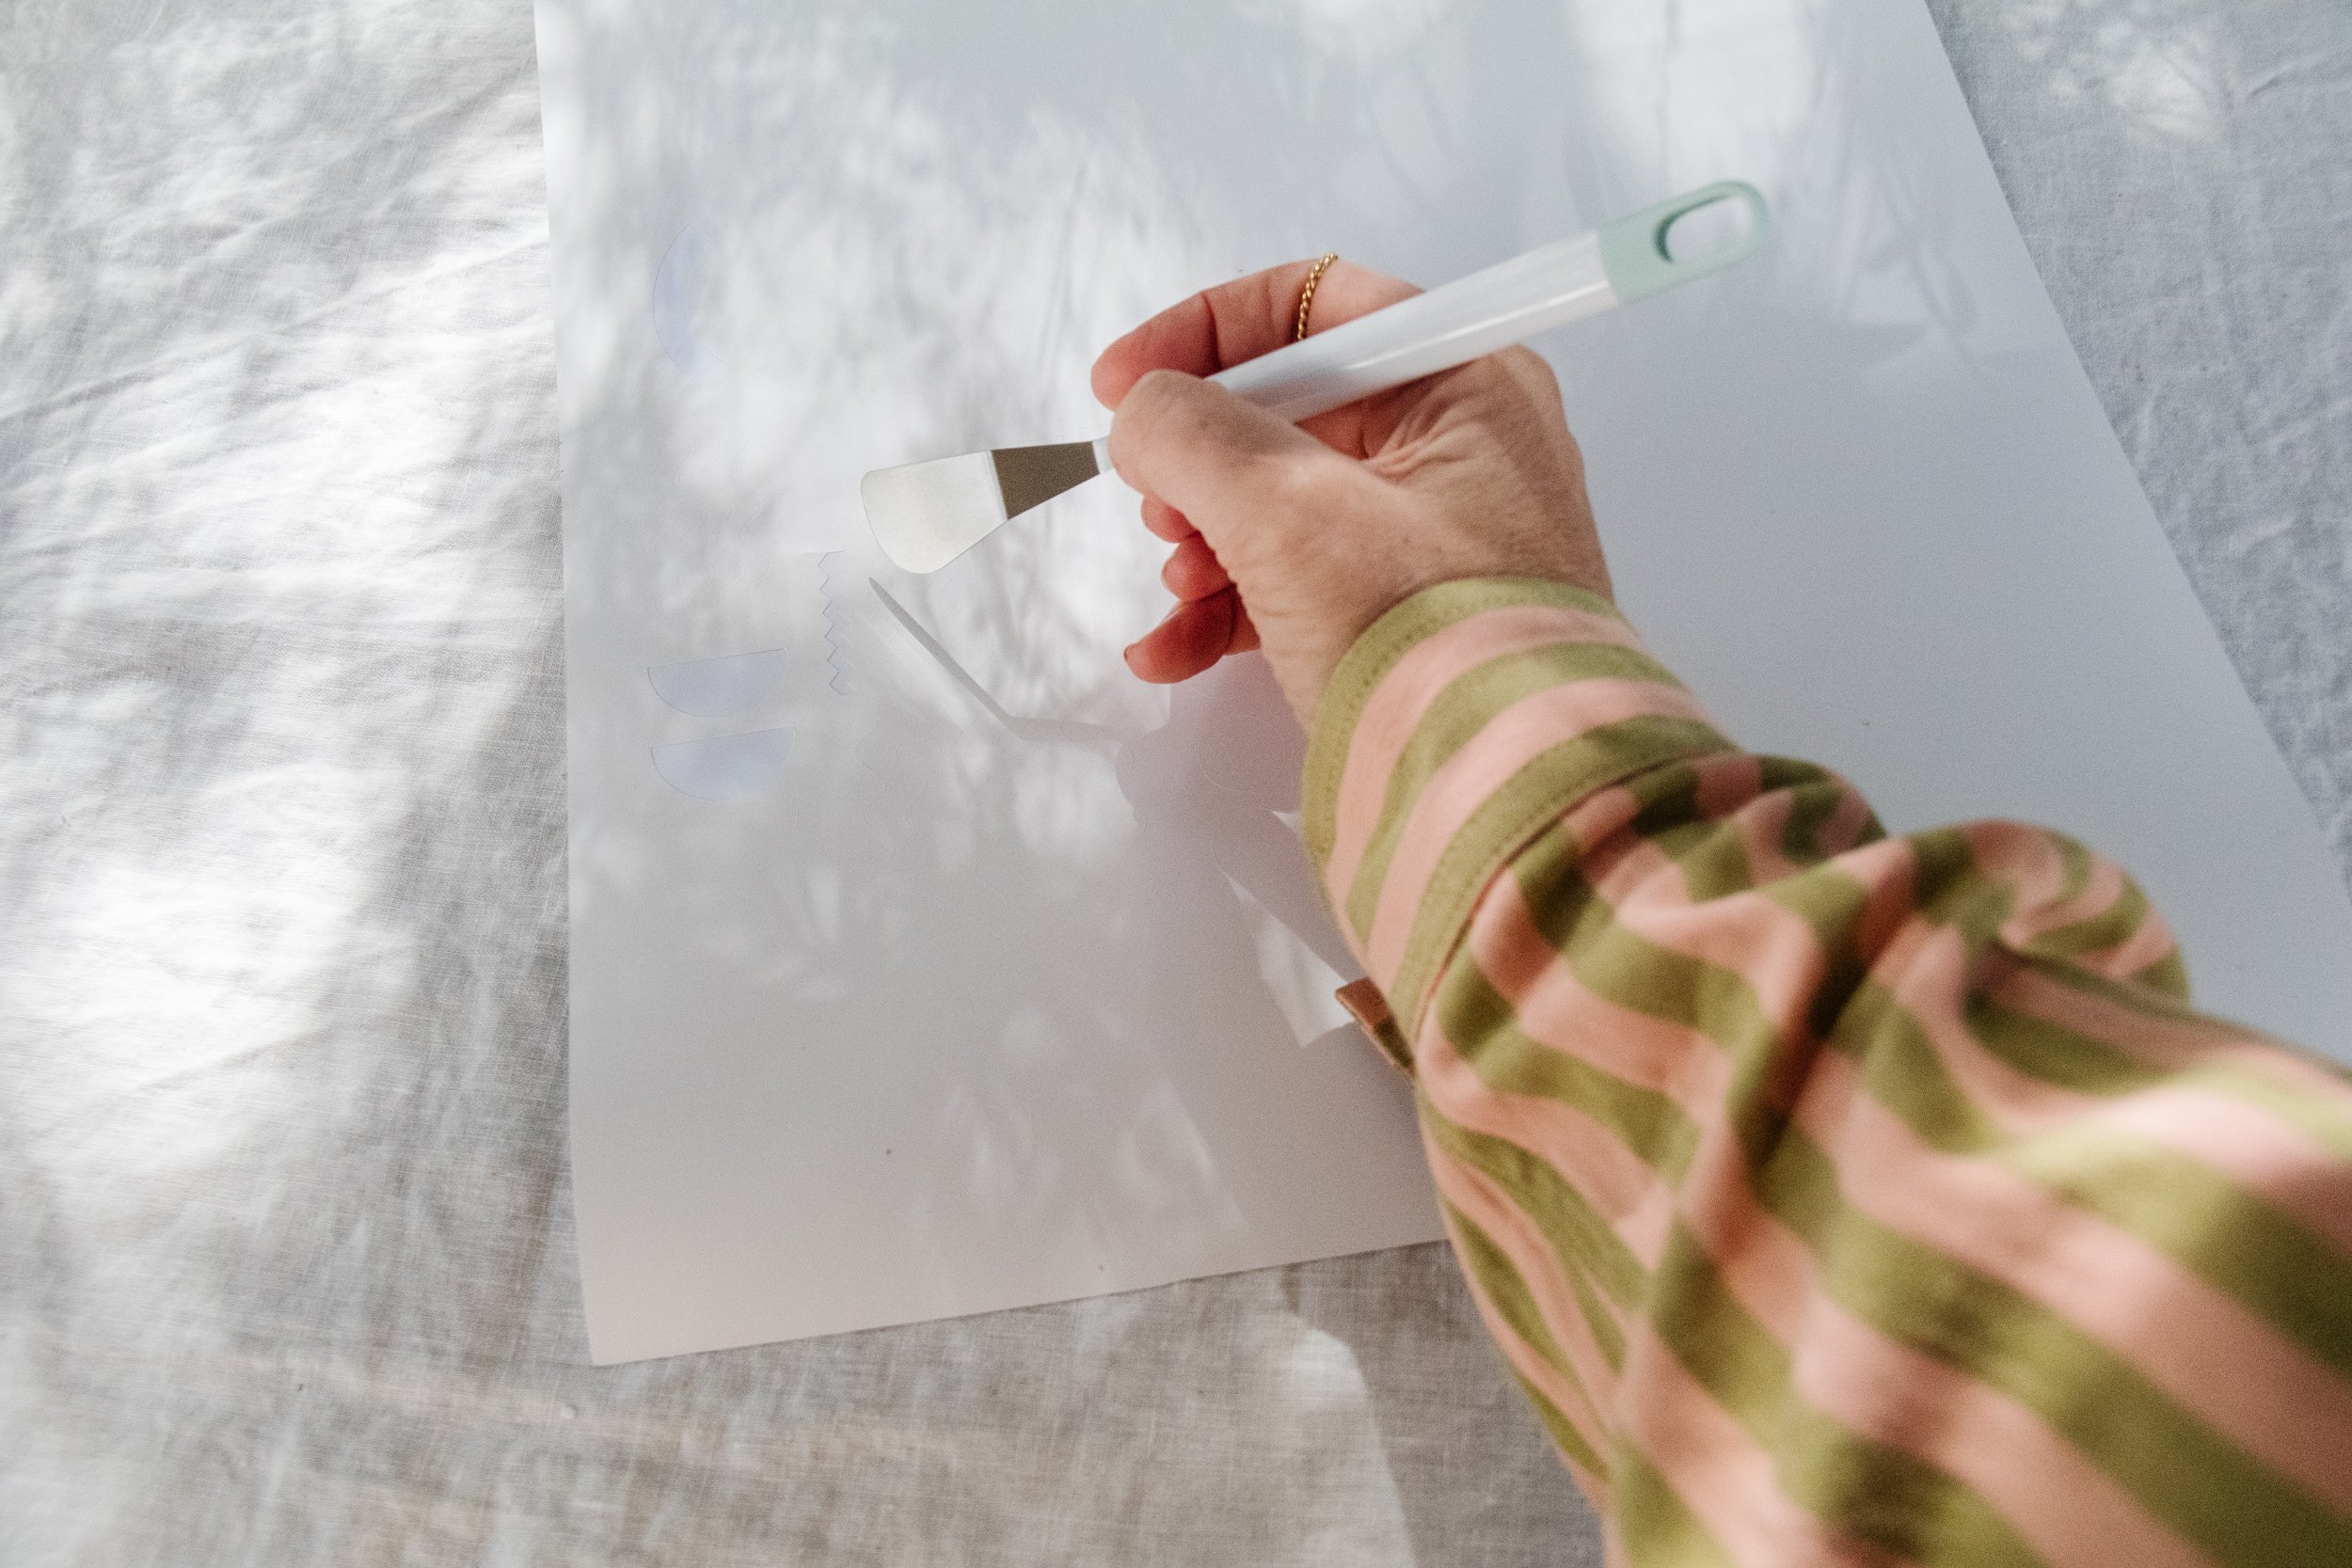
Use the Weeder or the Spatula (or your hands) to remove each shape from the vinyl sheet and place it onto the glass vase as you like. Use the scraper to ensure there are no bubbles underneath the vinyl when you have applied it to the glass vase. Continue placing the shapes as you like to create a beautiful design as you go, and most of all - have fun!
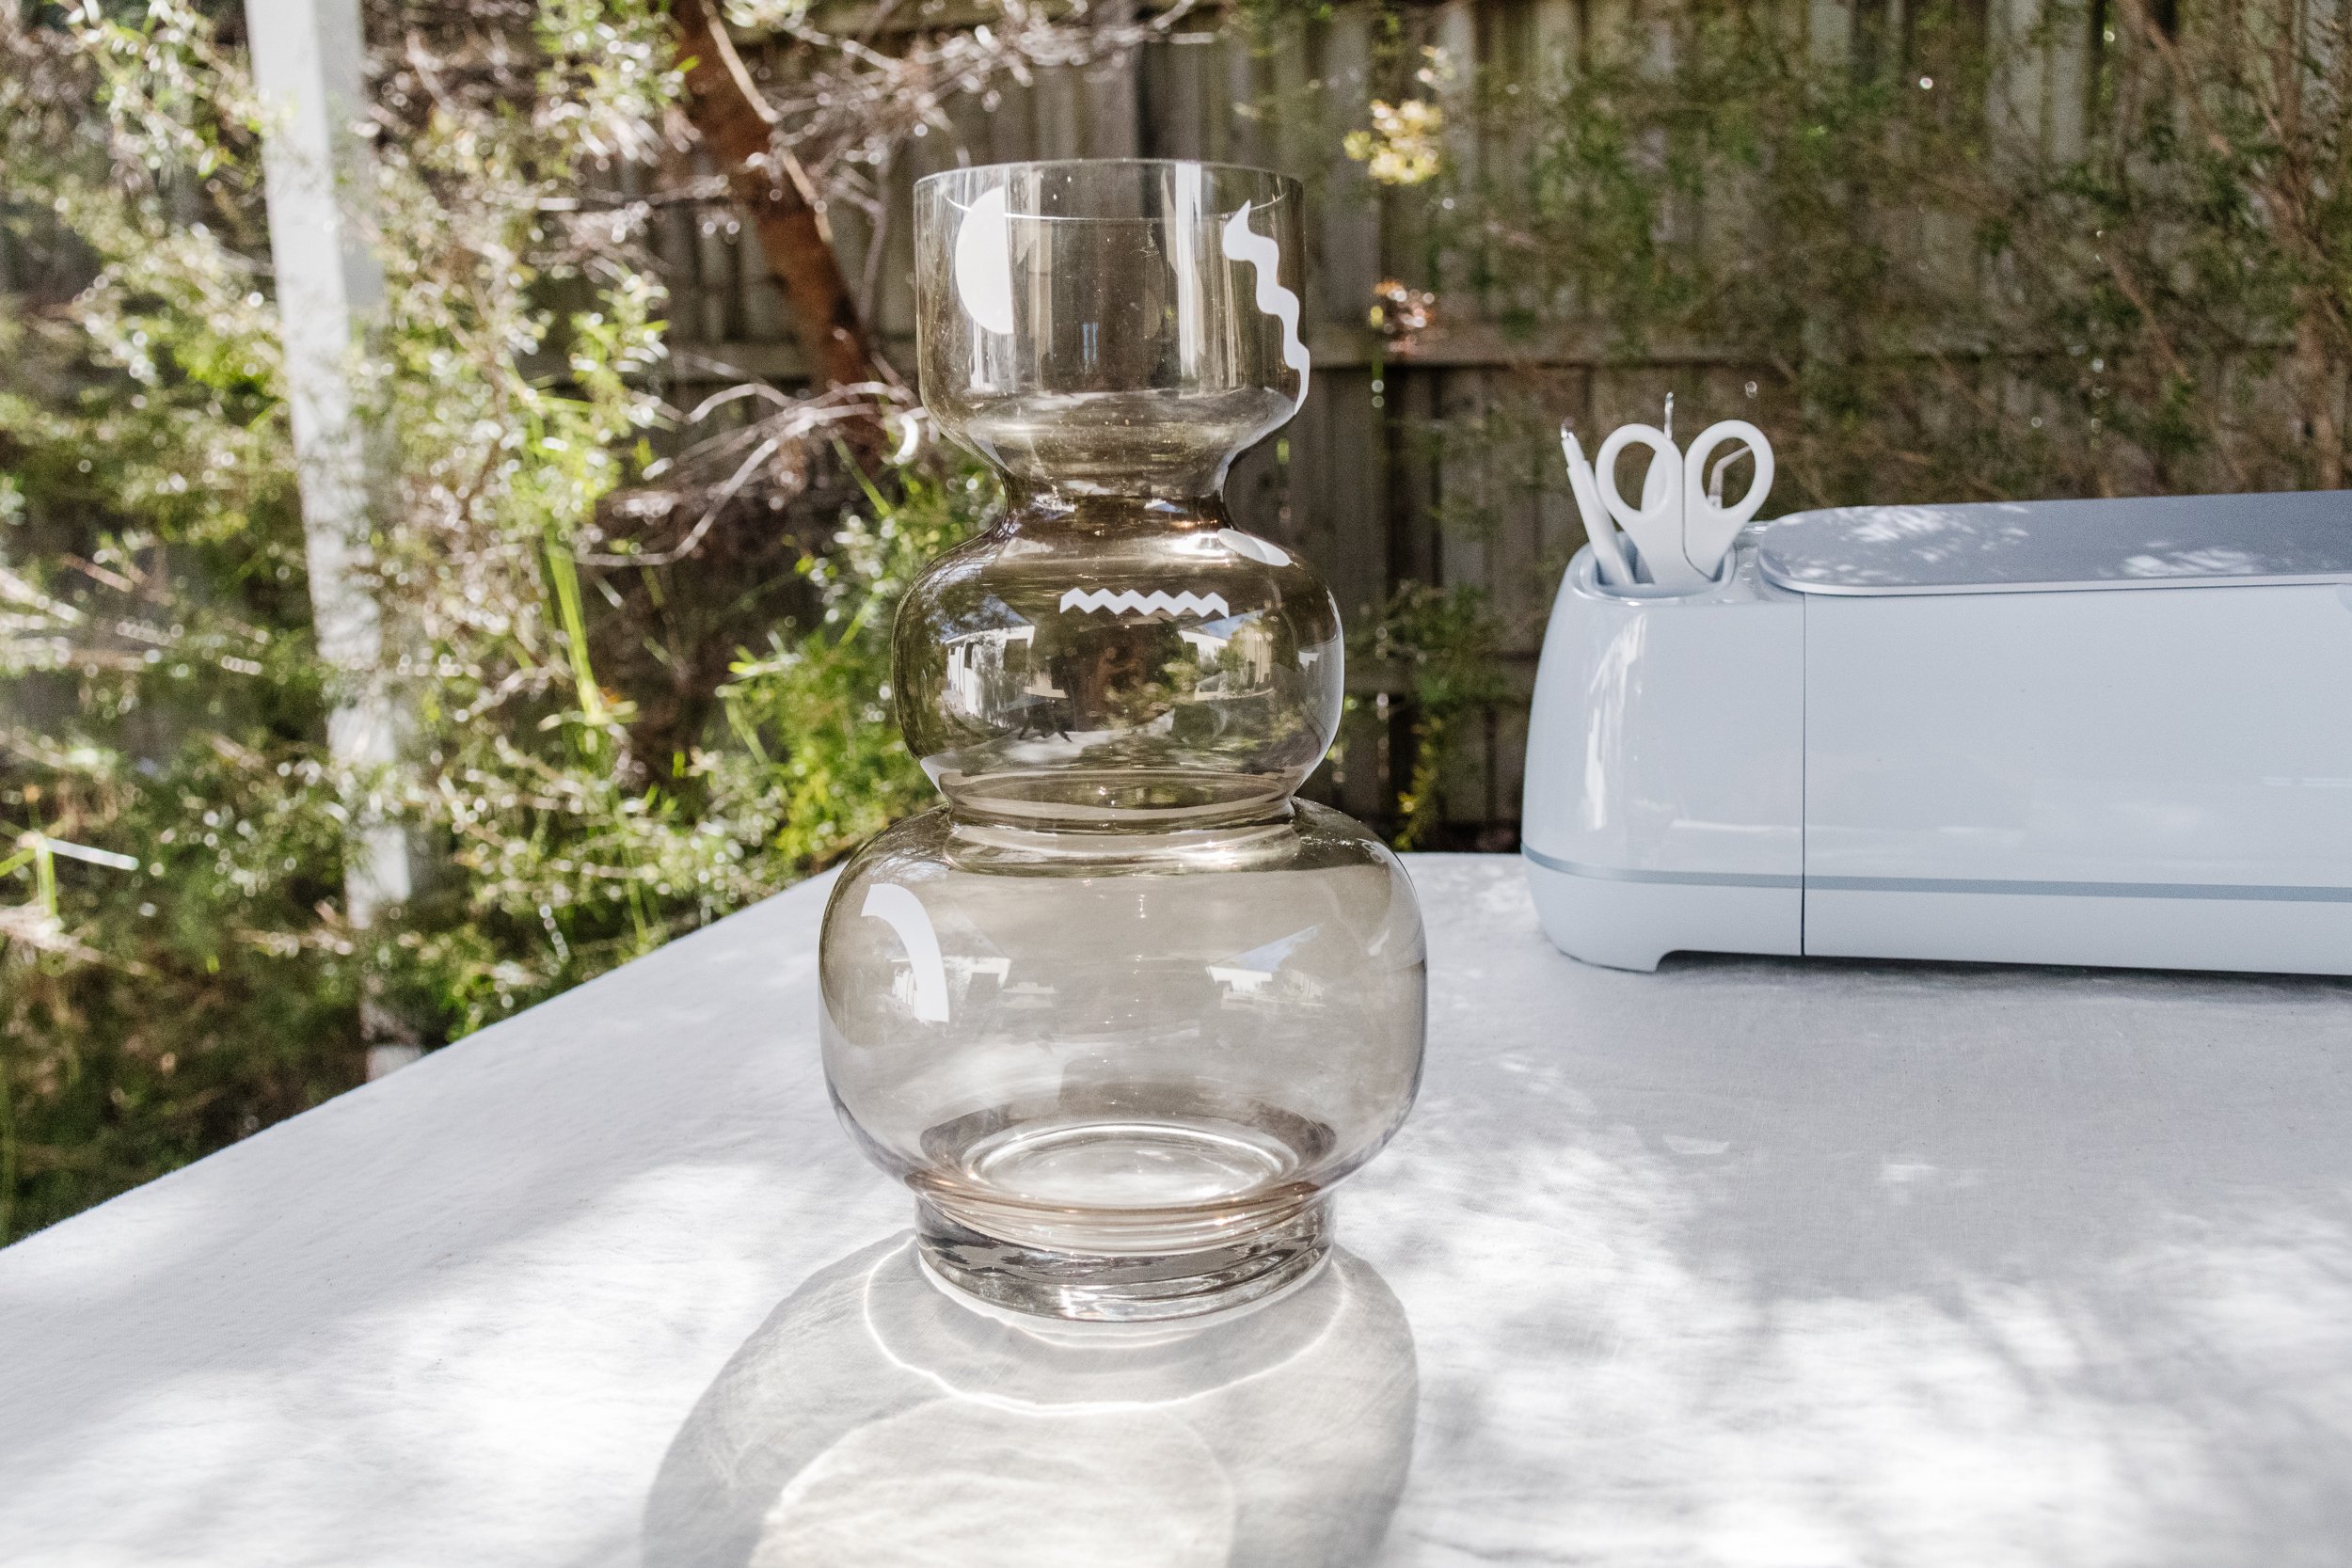
Ta daaaa! A cute DIY Geometric Glass Vase that will add a little fun in your home.
How cuuuuute are they! Honestly, I wasn’t sure if I could pull this off because it was the first time I used a mitre saw - and I was so nervous! In the end I just took my time and after a couple of cuts, I got the hang of it. Soon I’ll be making 45 degree cuts and I won’t eve bat an eyelash. I was going to paint these but I decided to keep it simple, and I am so happy I did. Usually I’ll paint plaster, but for this project I decided to leave the plaster raw and I love the organic finish!