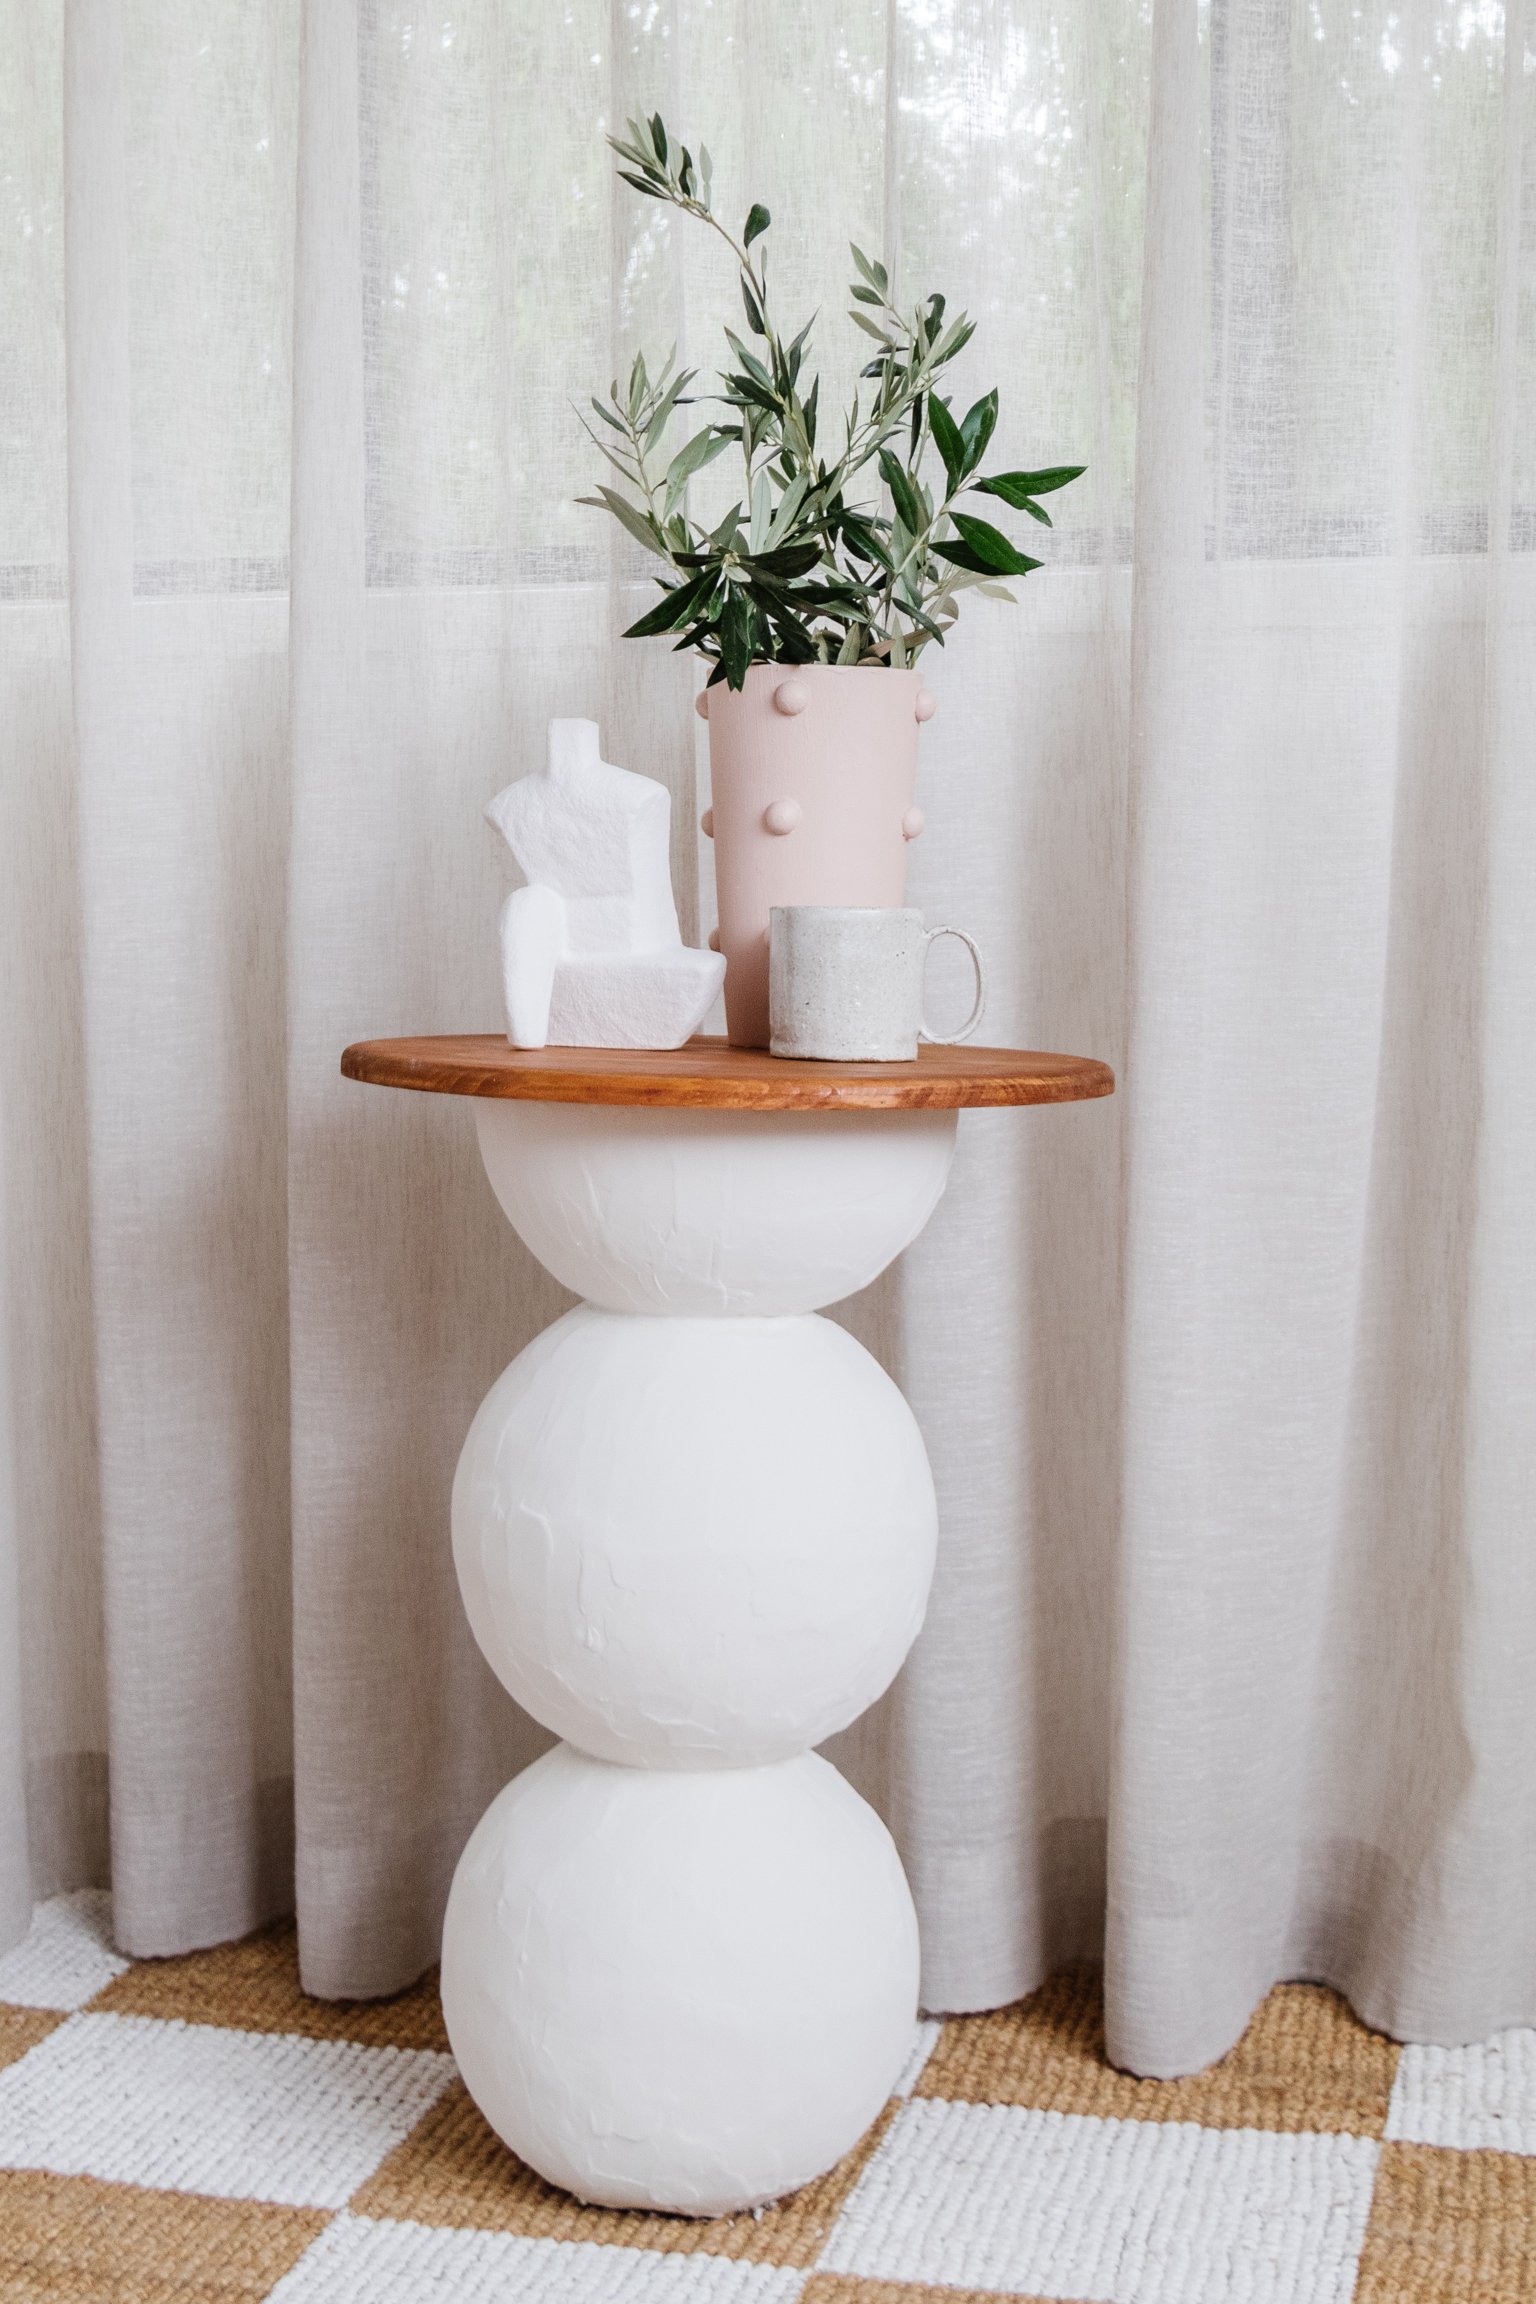
Making A Sculptural Ball Side Table
Make a side table from scratch using plant pots!
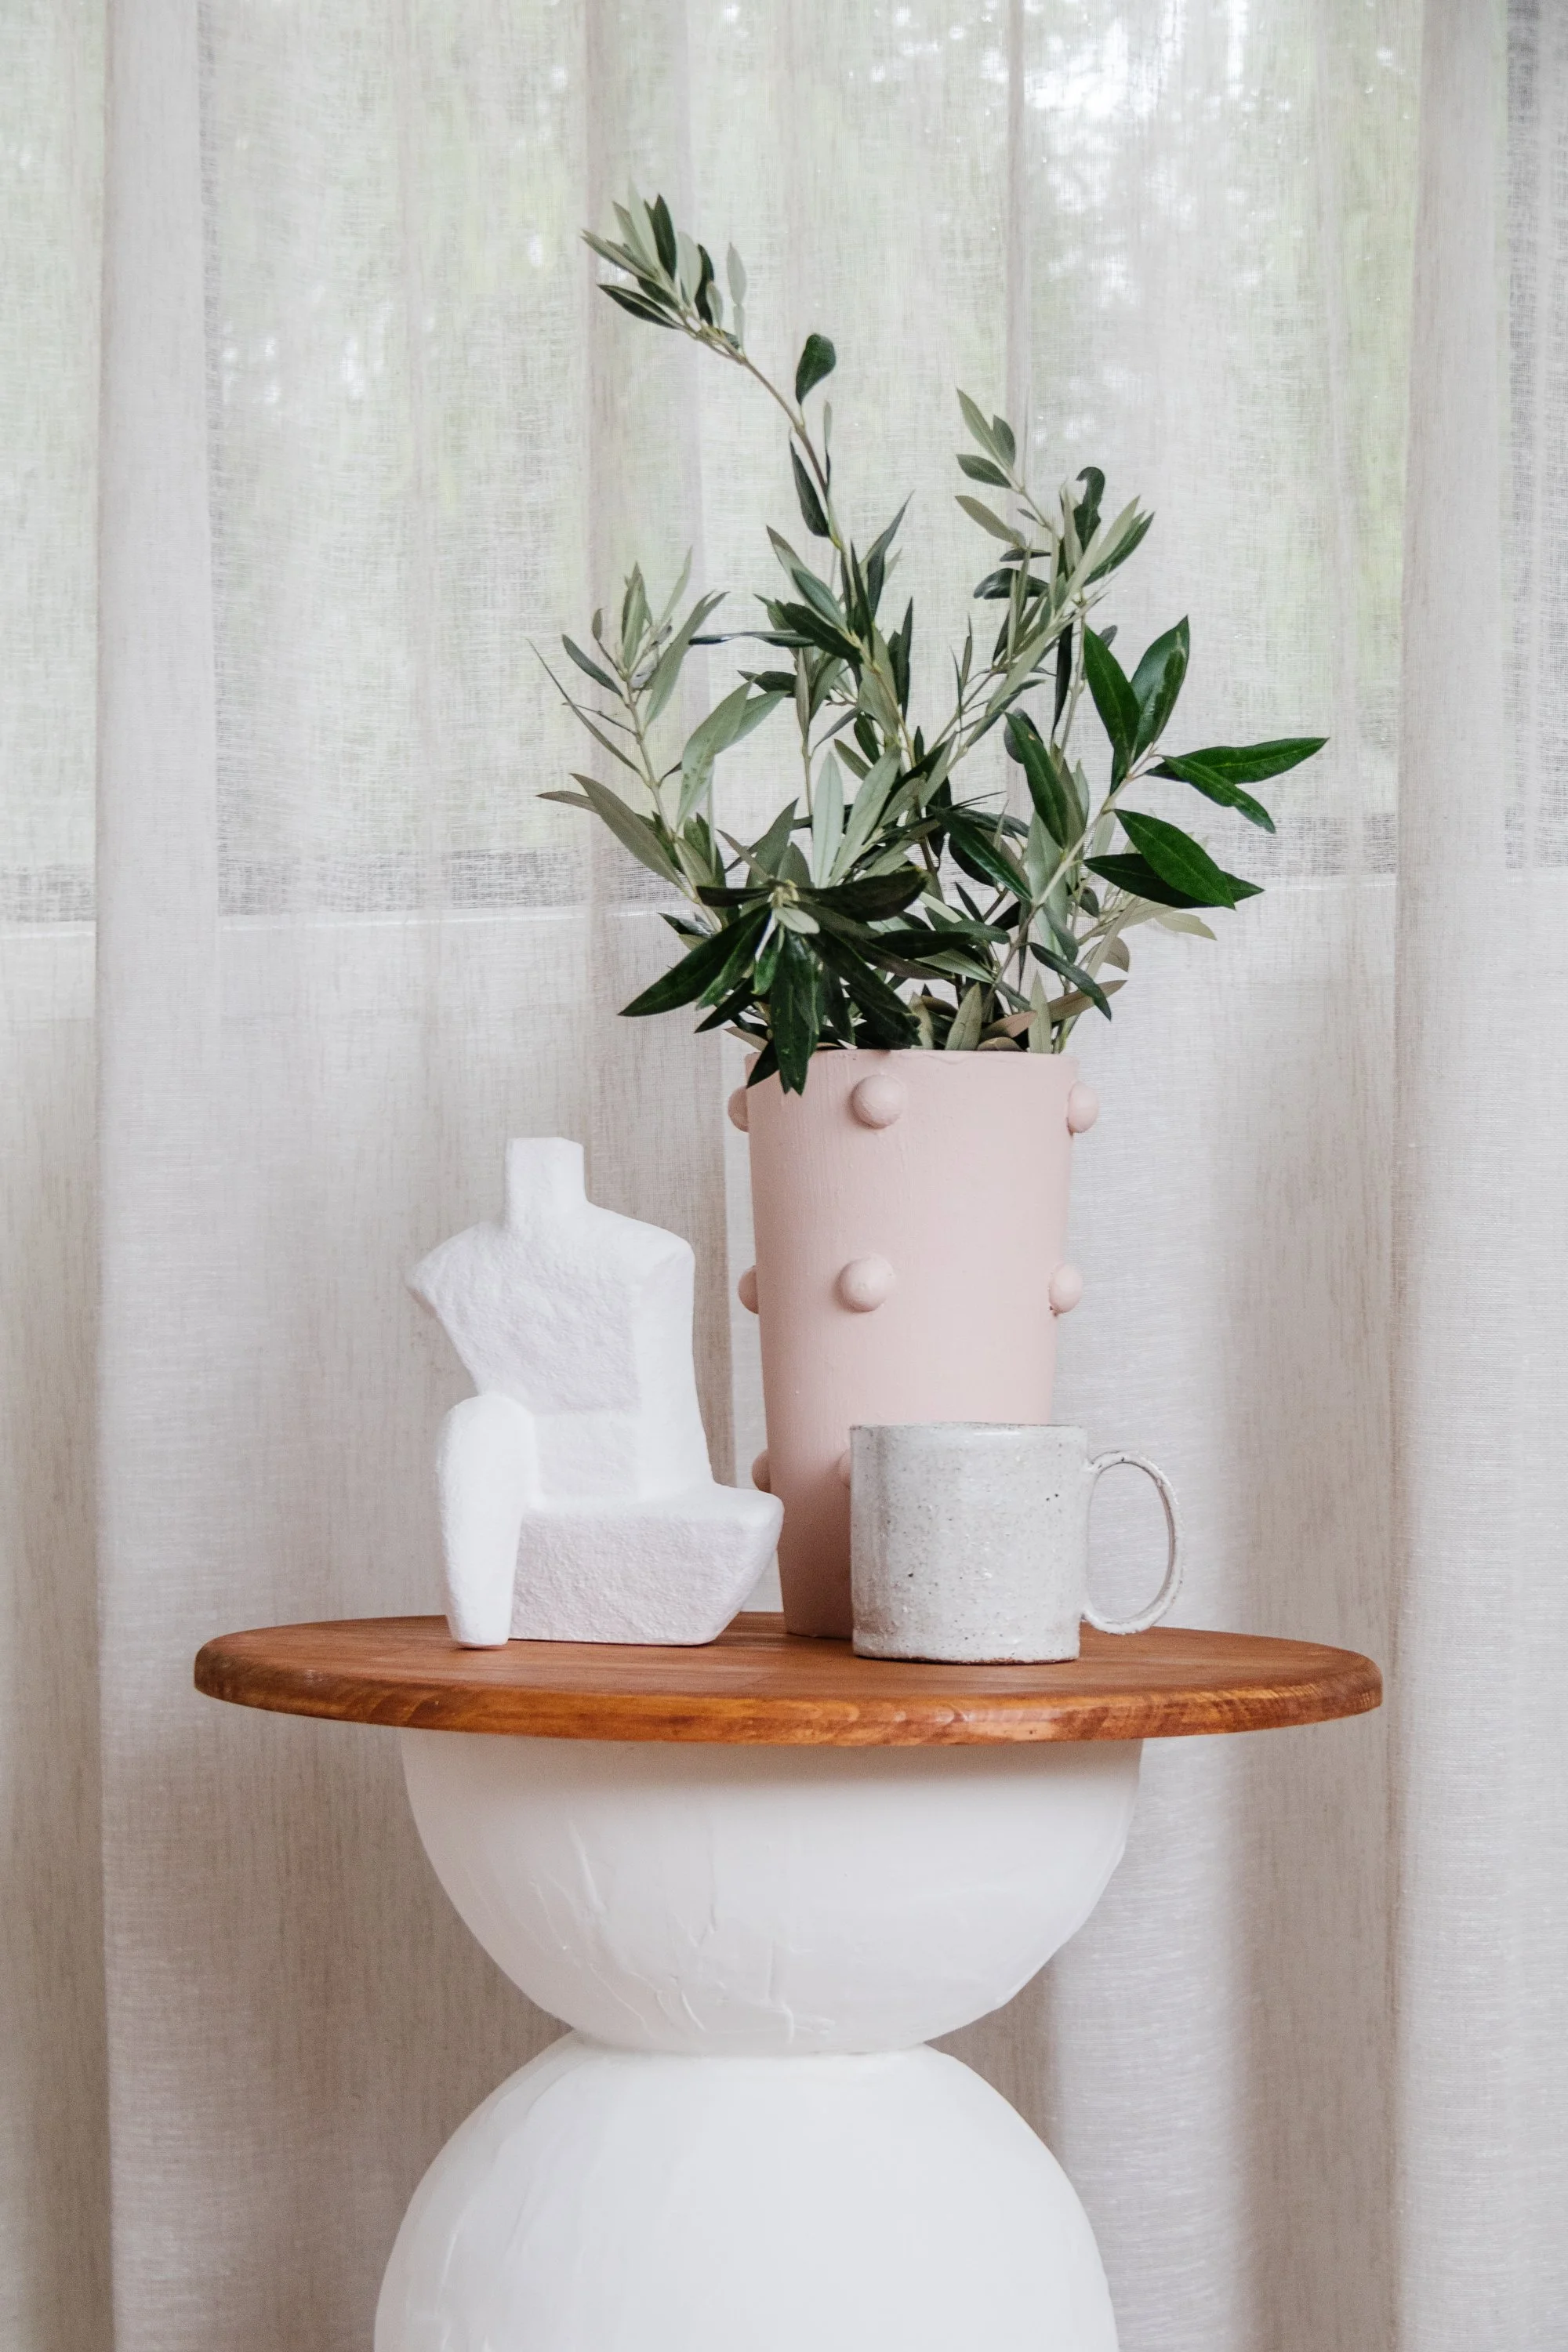
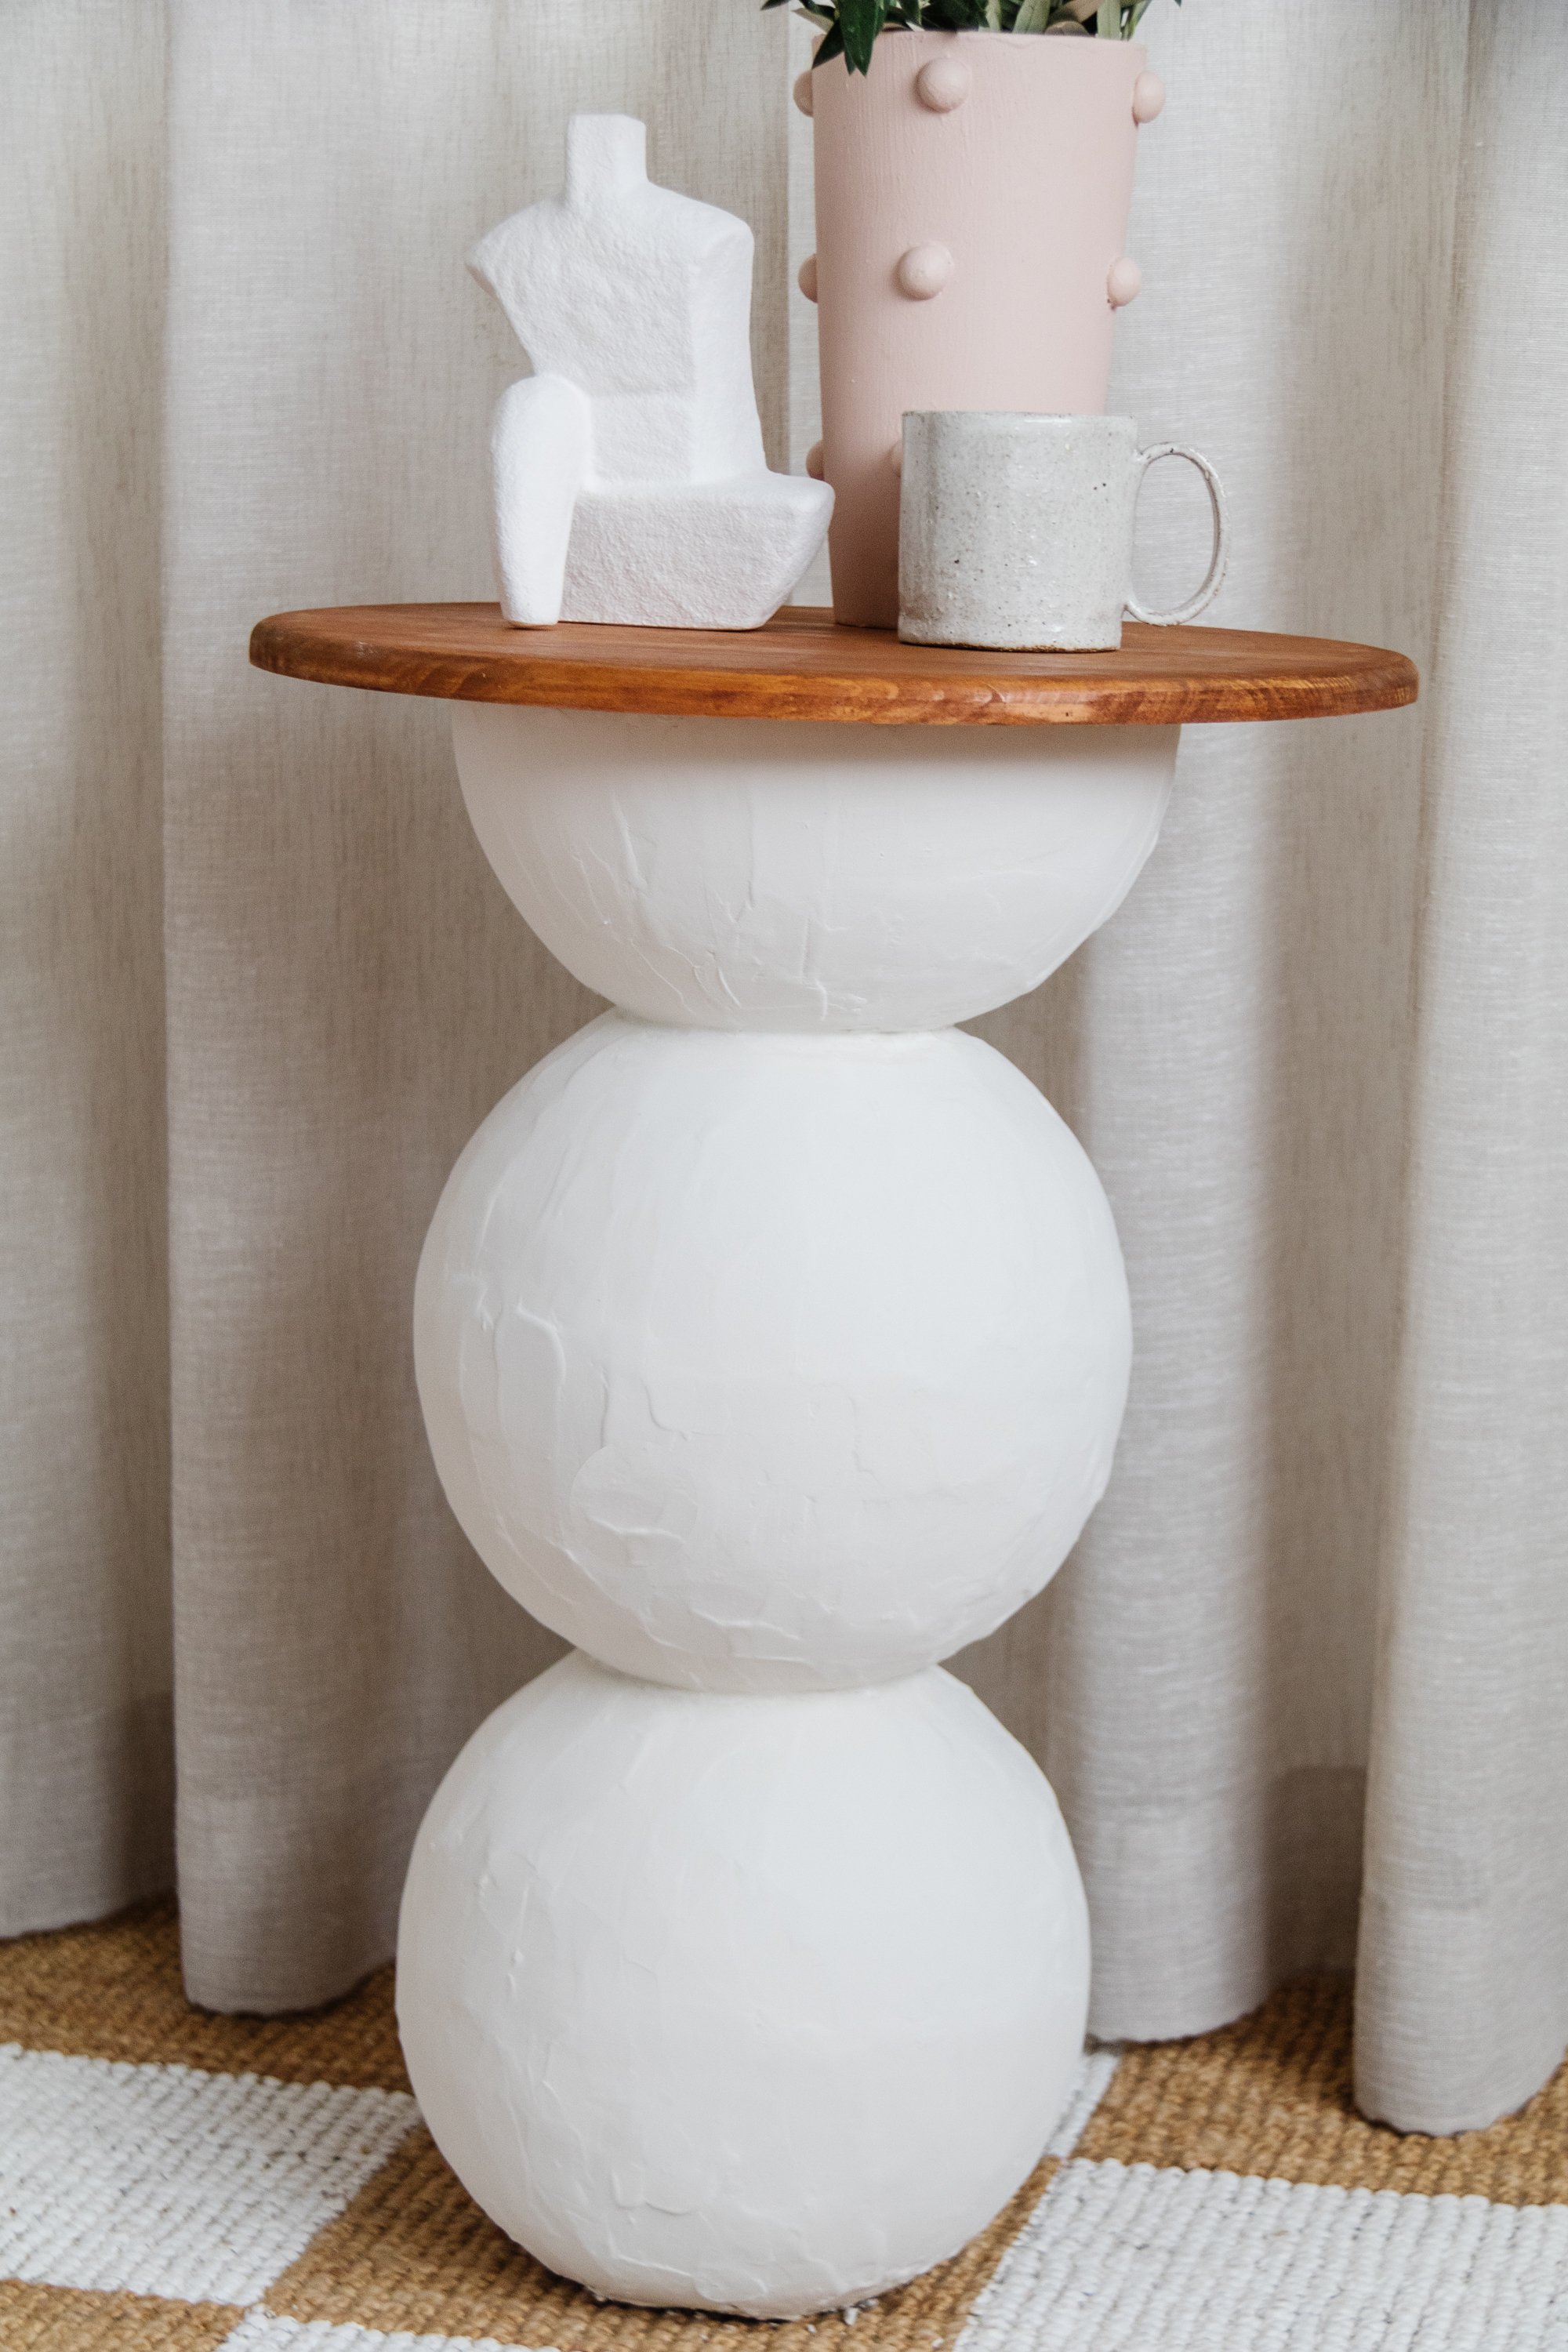
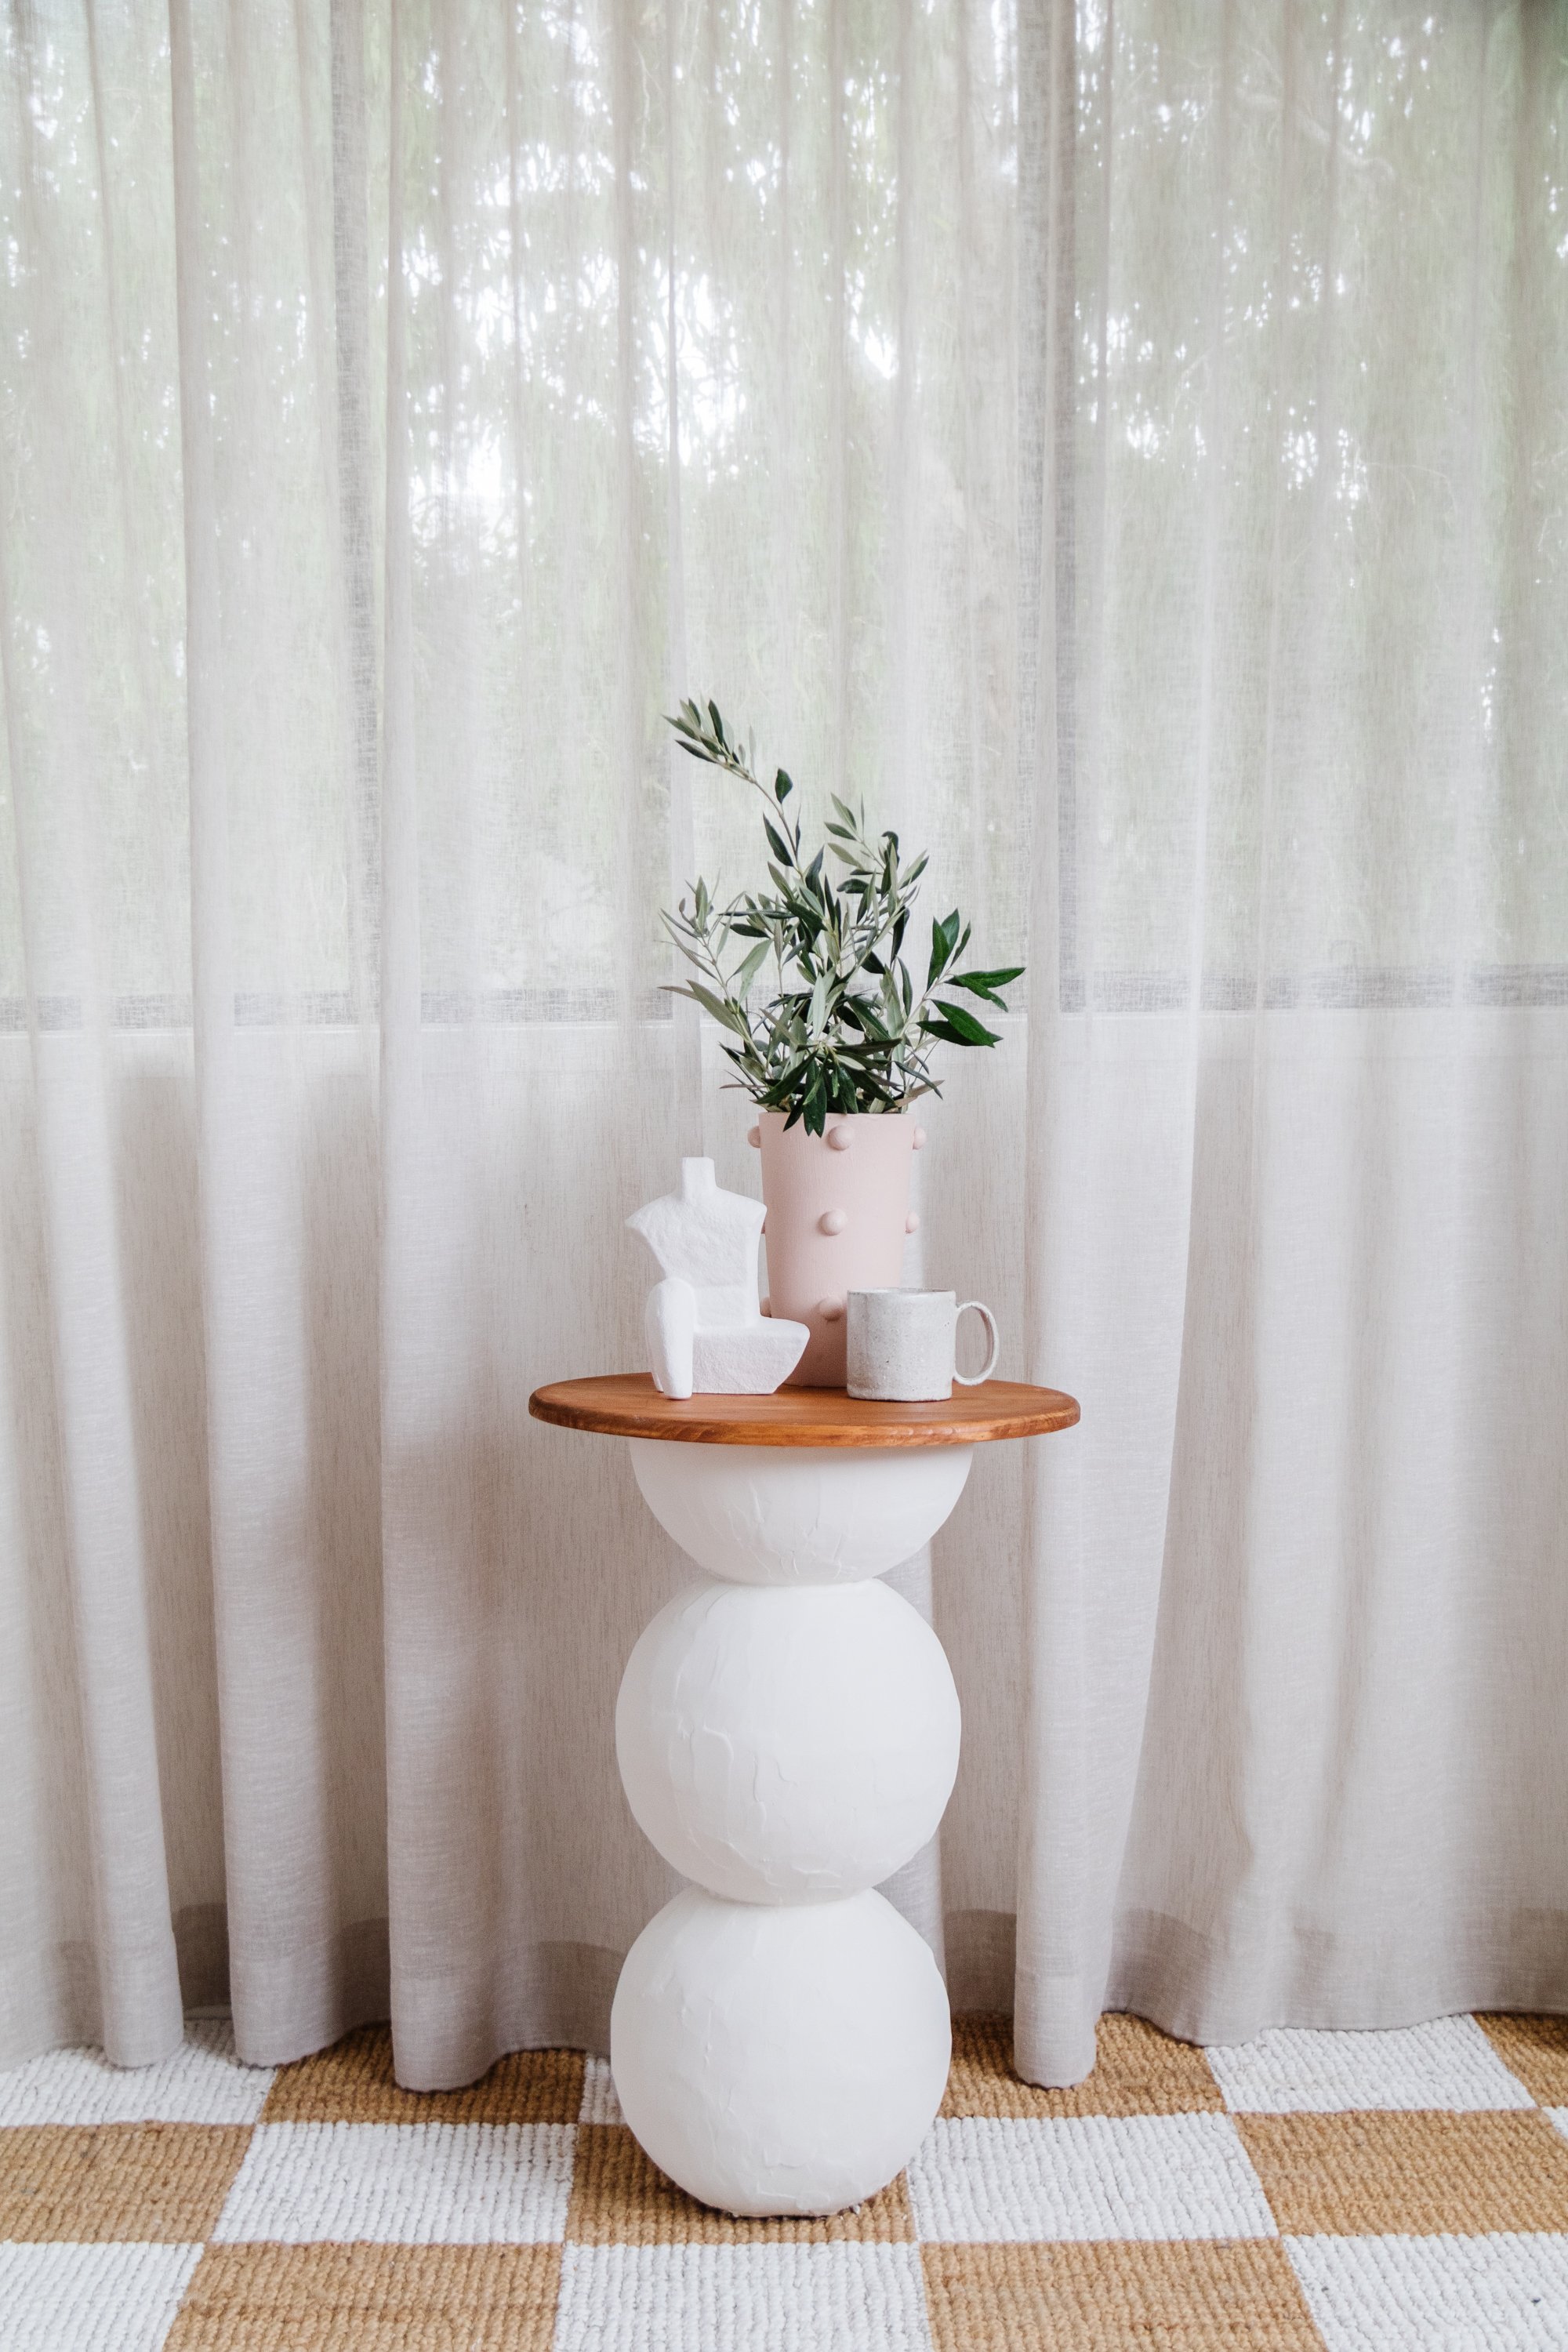
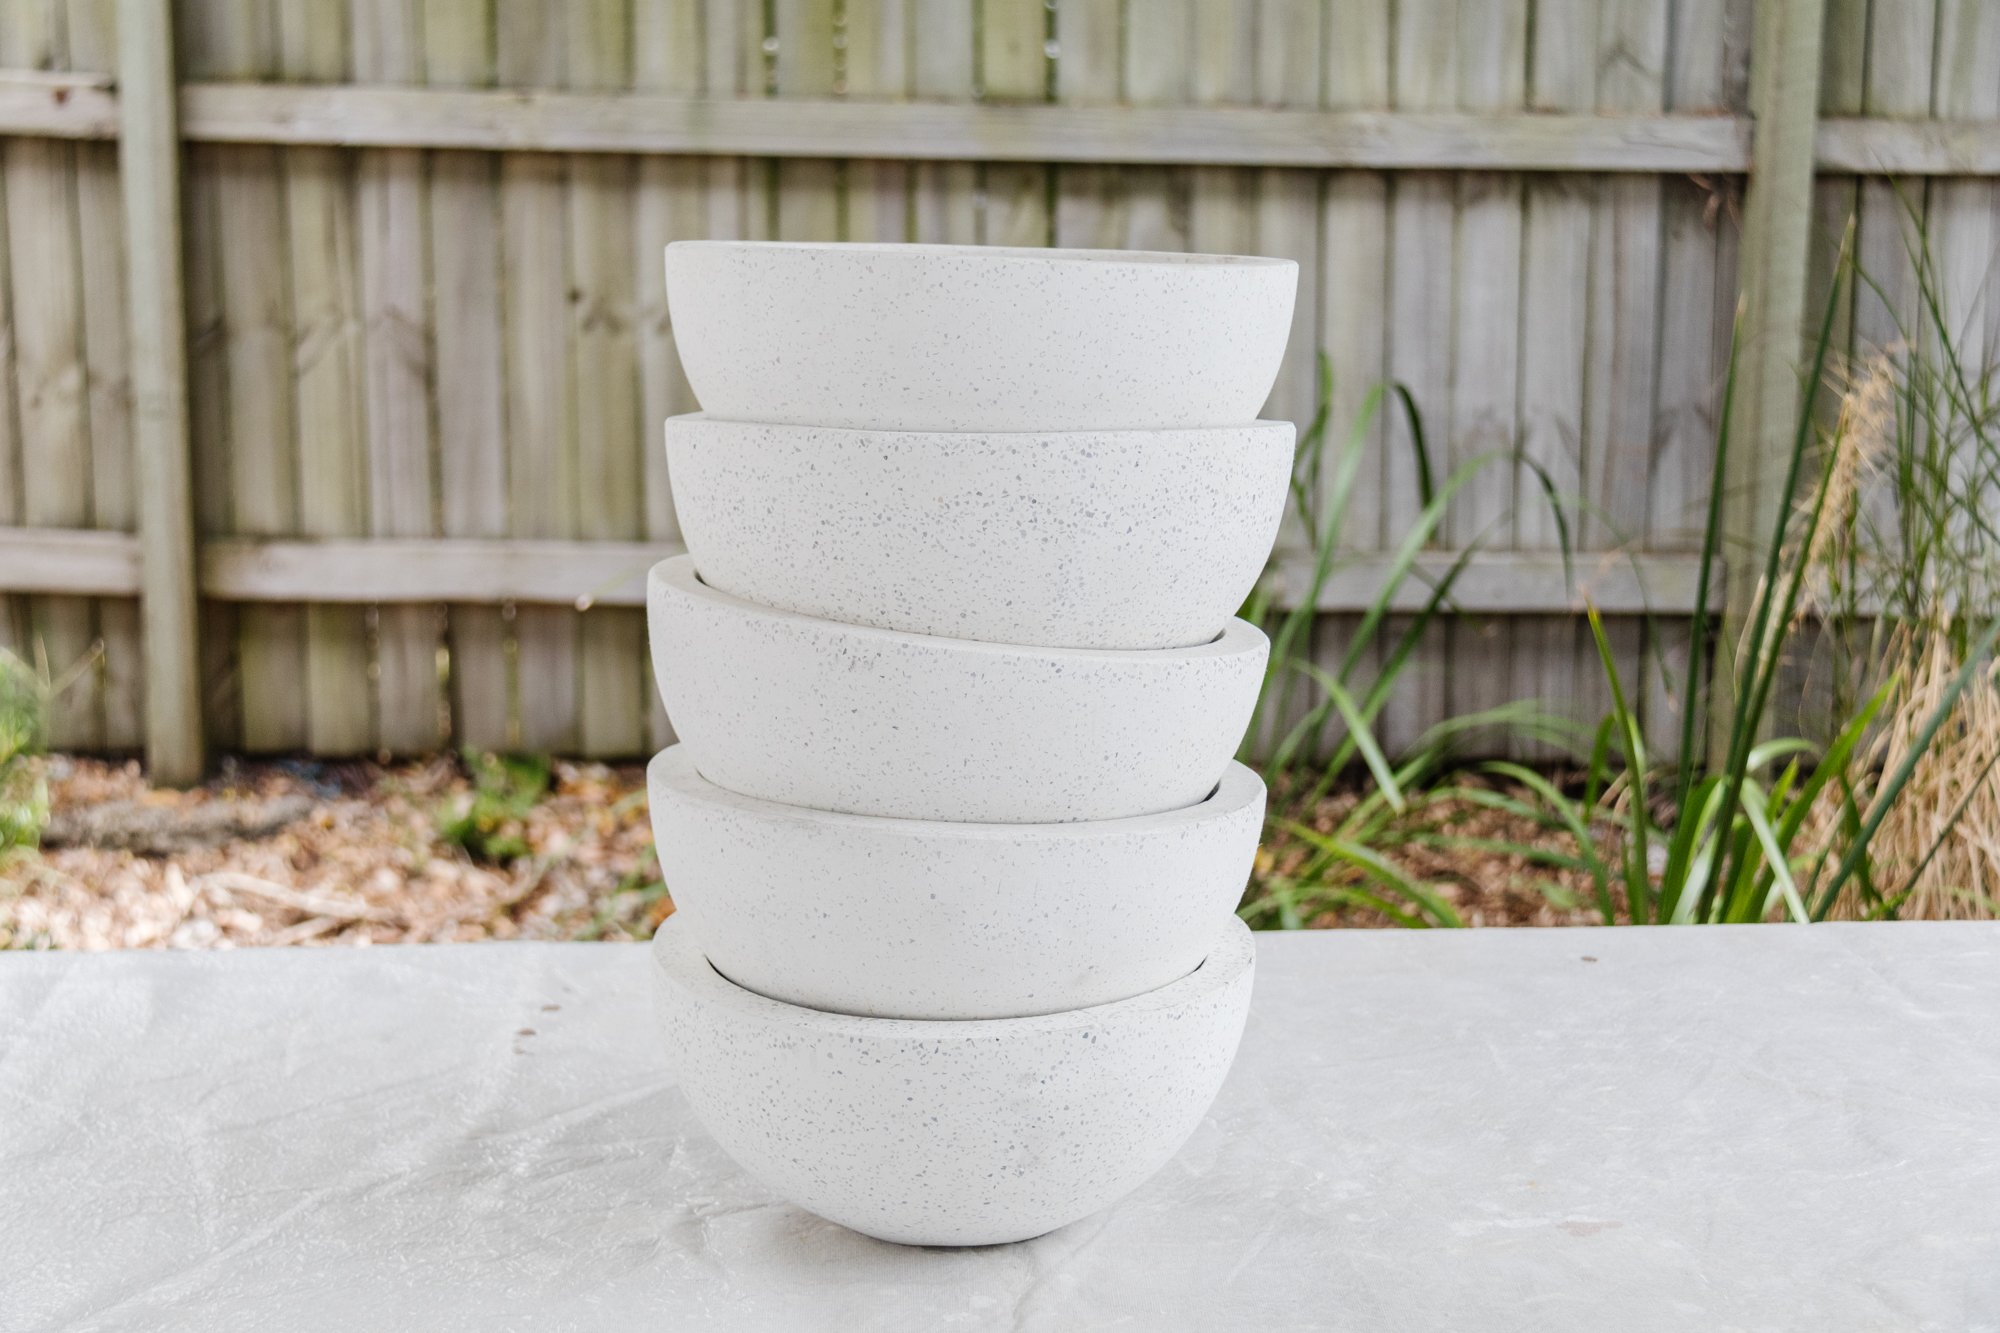
Making a side table using plant pots? Oh absolutely! This isn't my first foray into using plant pots to make a sculptural table (have you seen my DIY Sculptural Console Table and DIY Totem Side Table?) and after finding rounded cement pots at Bunnings a few of weeks ago, I knew these would be perfect to create a ball side table. The shape, height and weight were a mesh of everything I had been searching for. I simply stacked them on top of each other using glue, covered them in plaster, routed a round pine panel, which I then stained and glued on top. And there you have it!
See how this project came together by watching this video!
DIY Sculptural Ball Side Table

Project Details
♻️ Making: A DIY Ball Side Table - from scratch!
🕒 Project Time Estimate: 2 to 3 hours, not including plaster drying time
💰 Materials Cost: $150
Materials
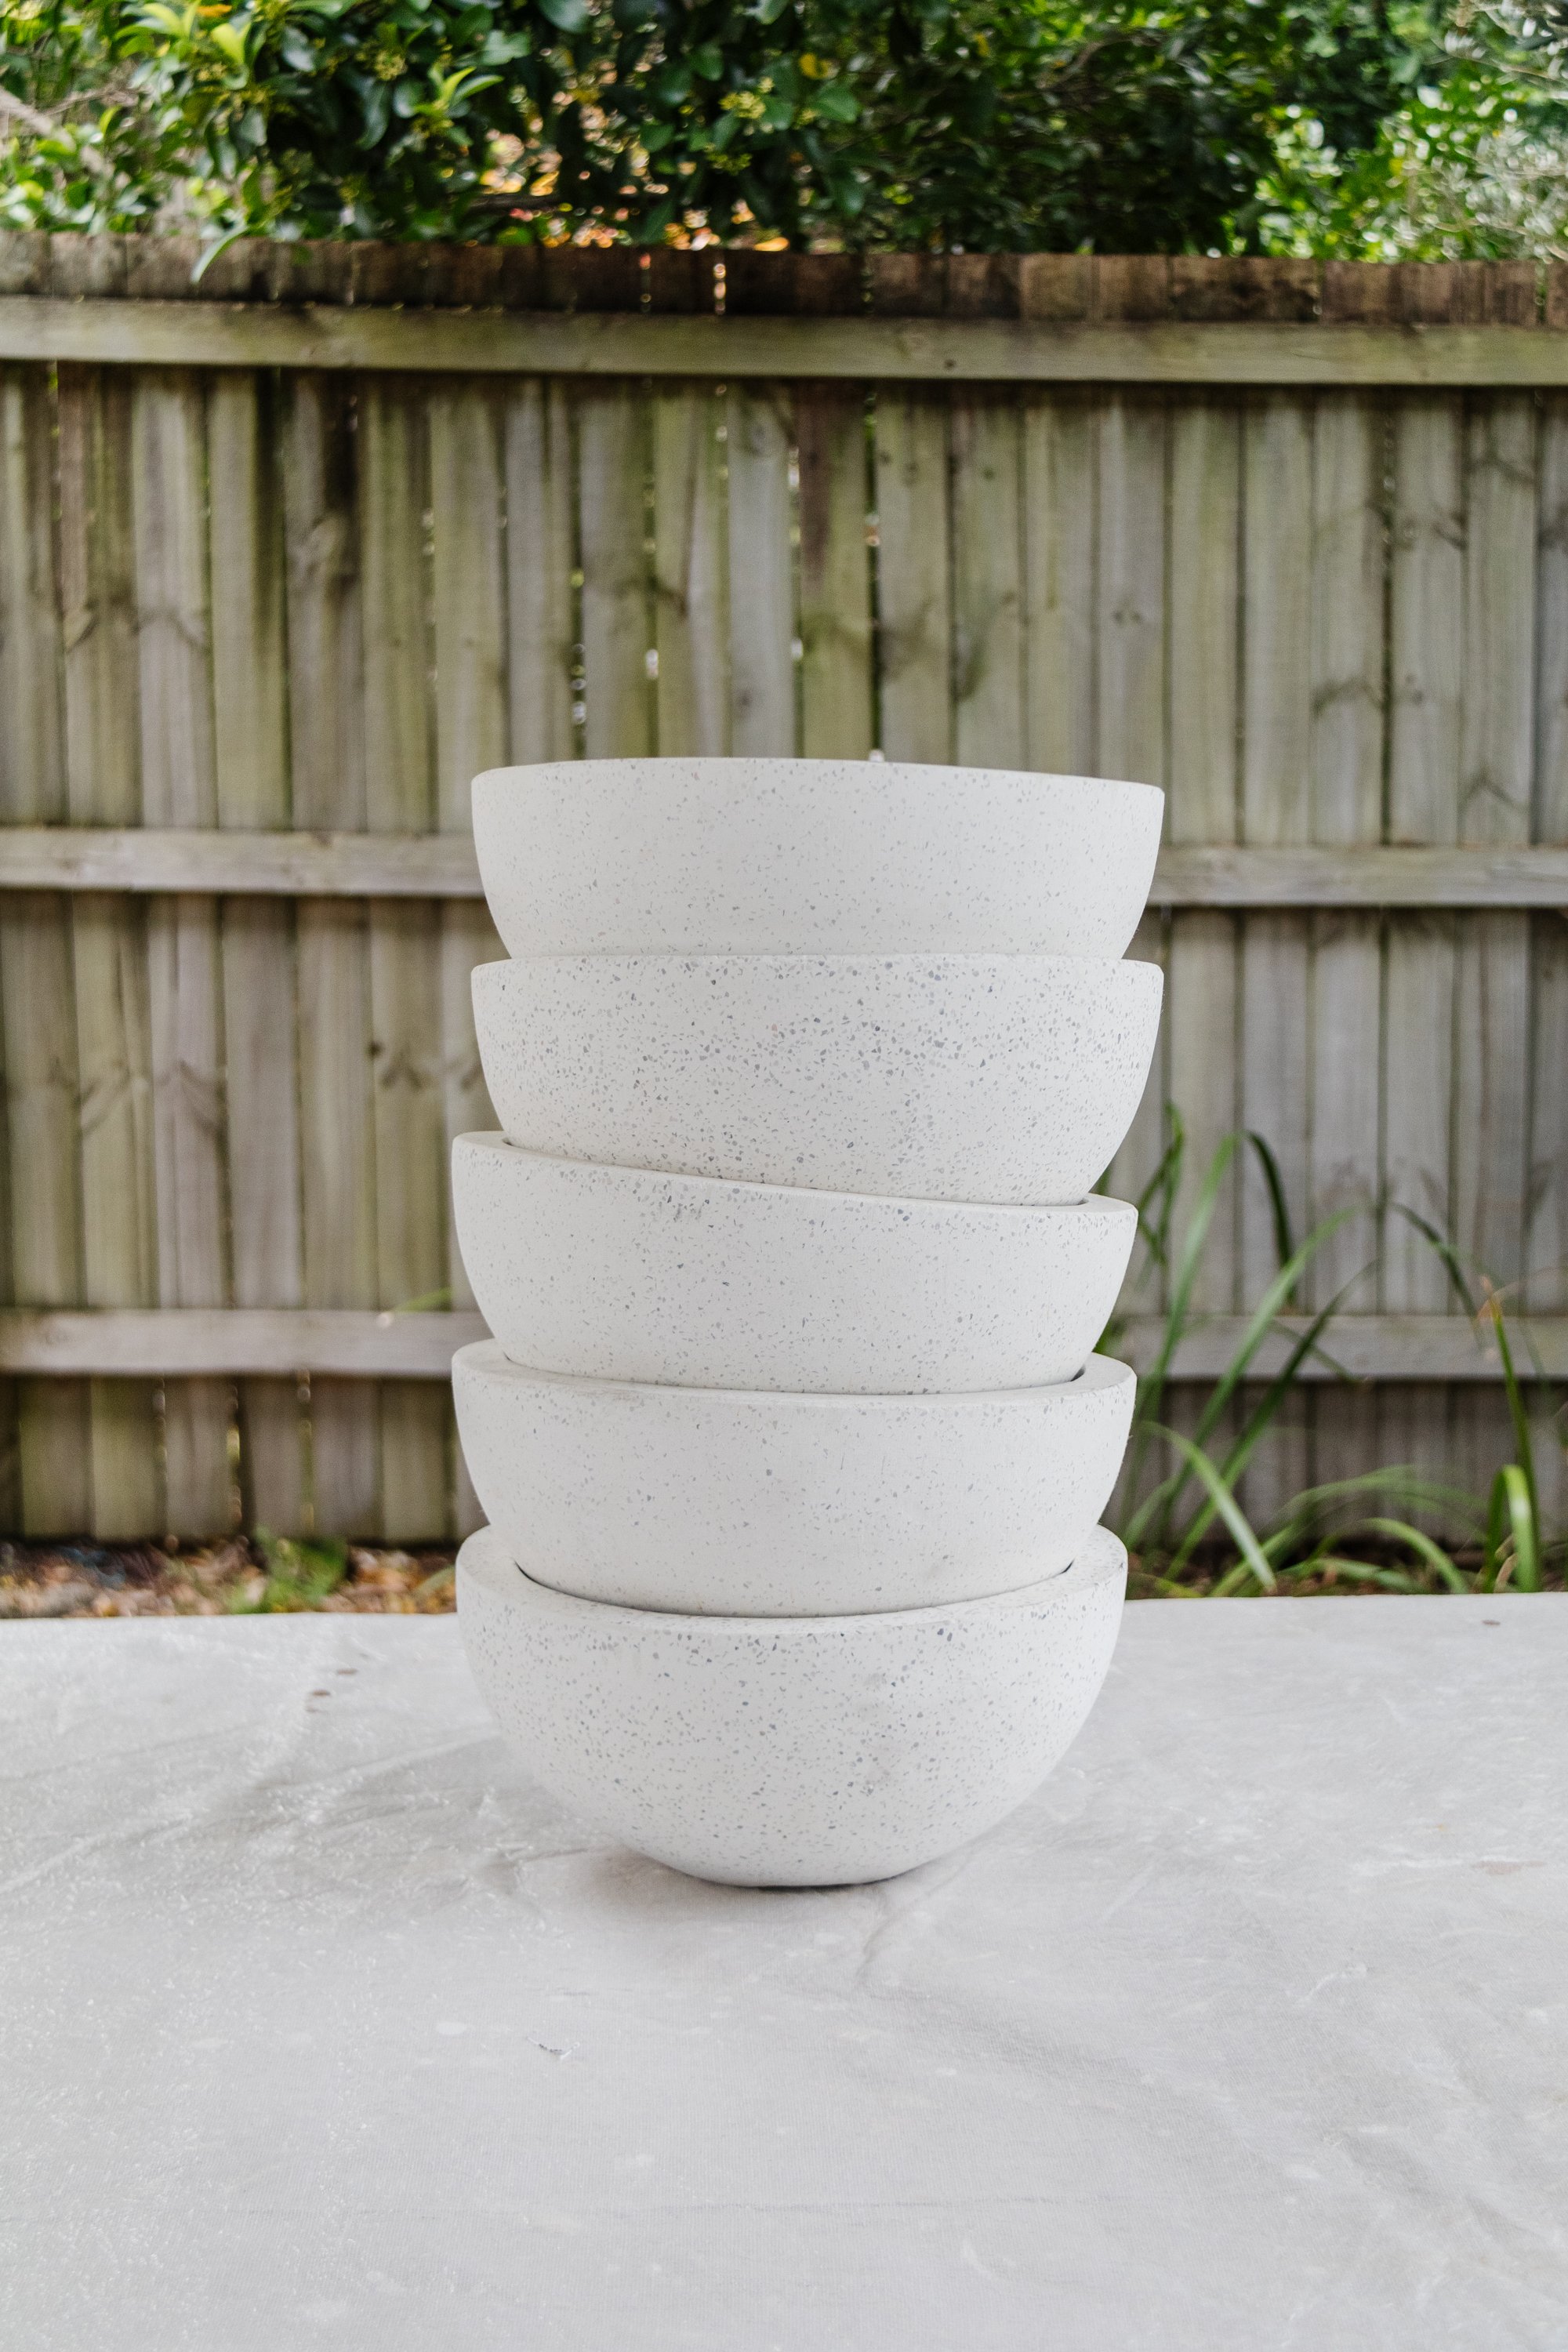
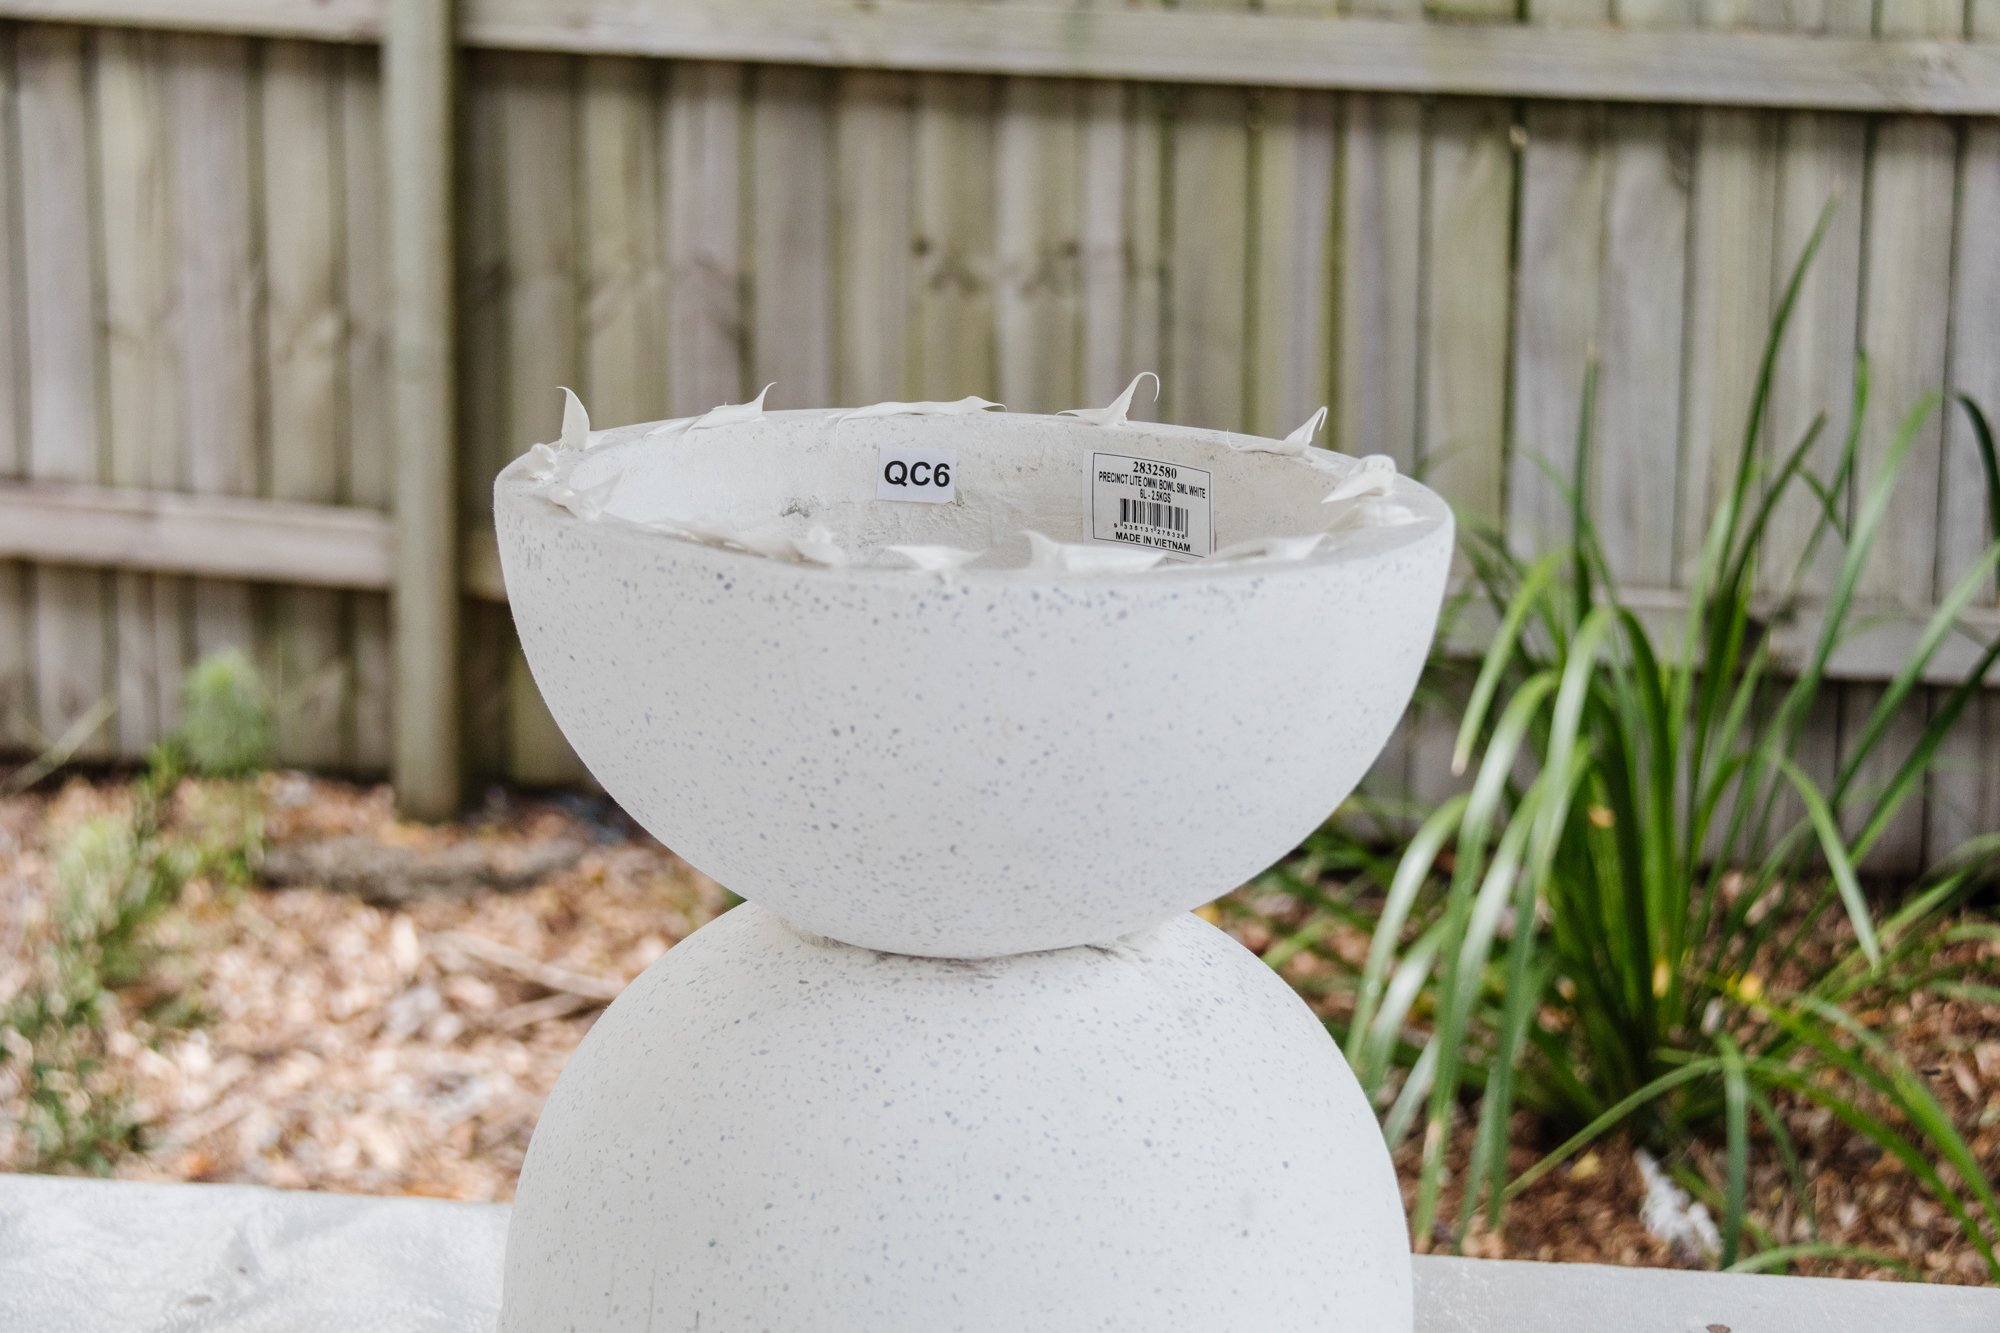
5 x plant pots
Selley’s Hold Up construction adhesive
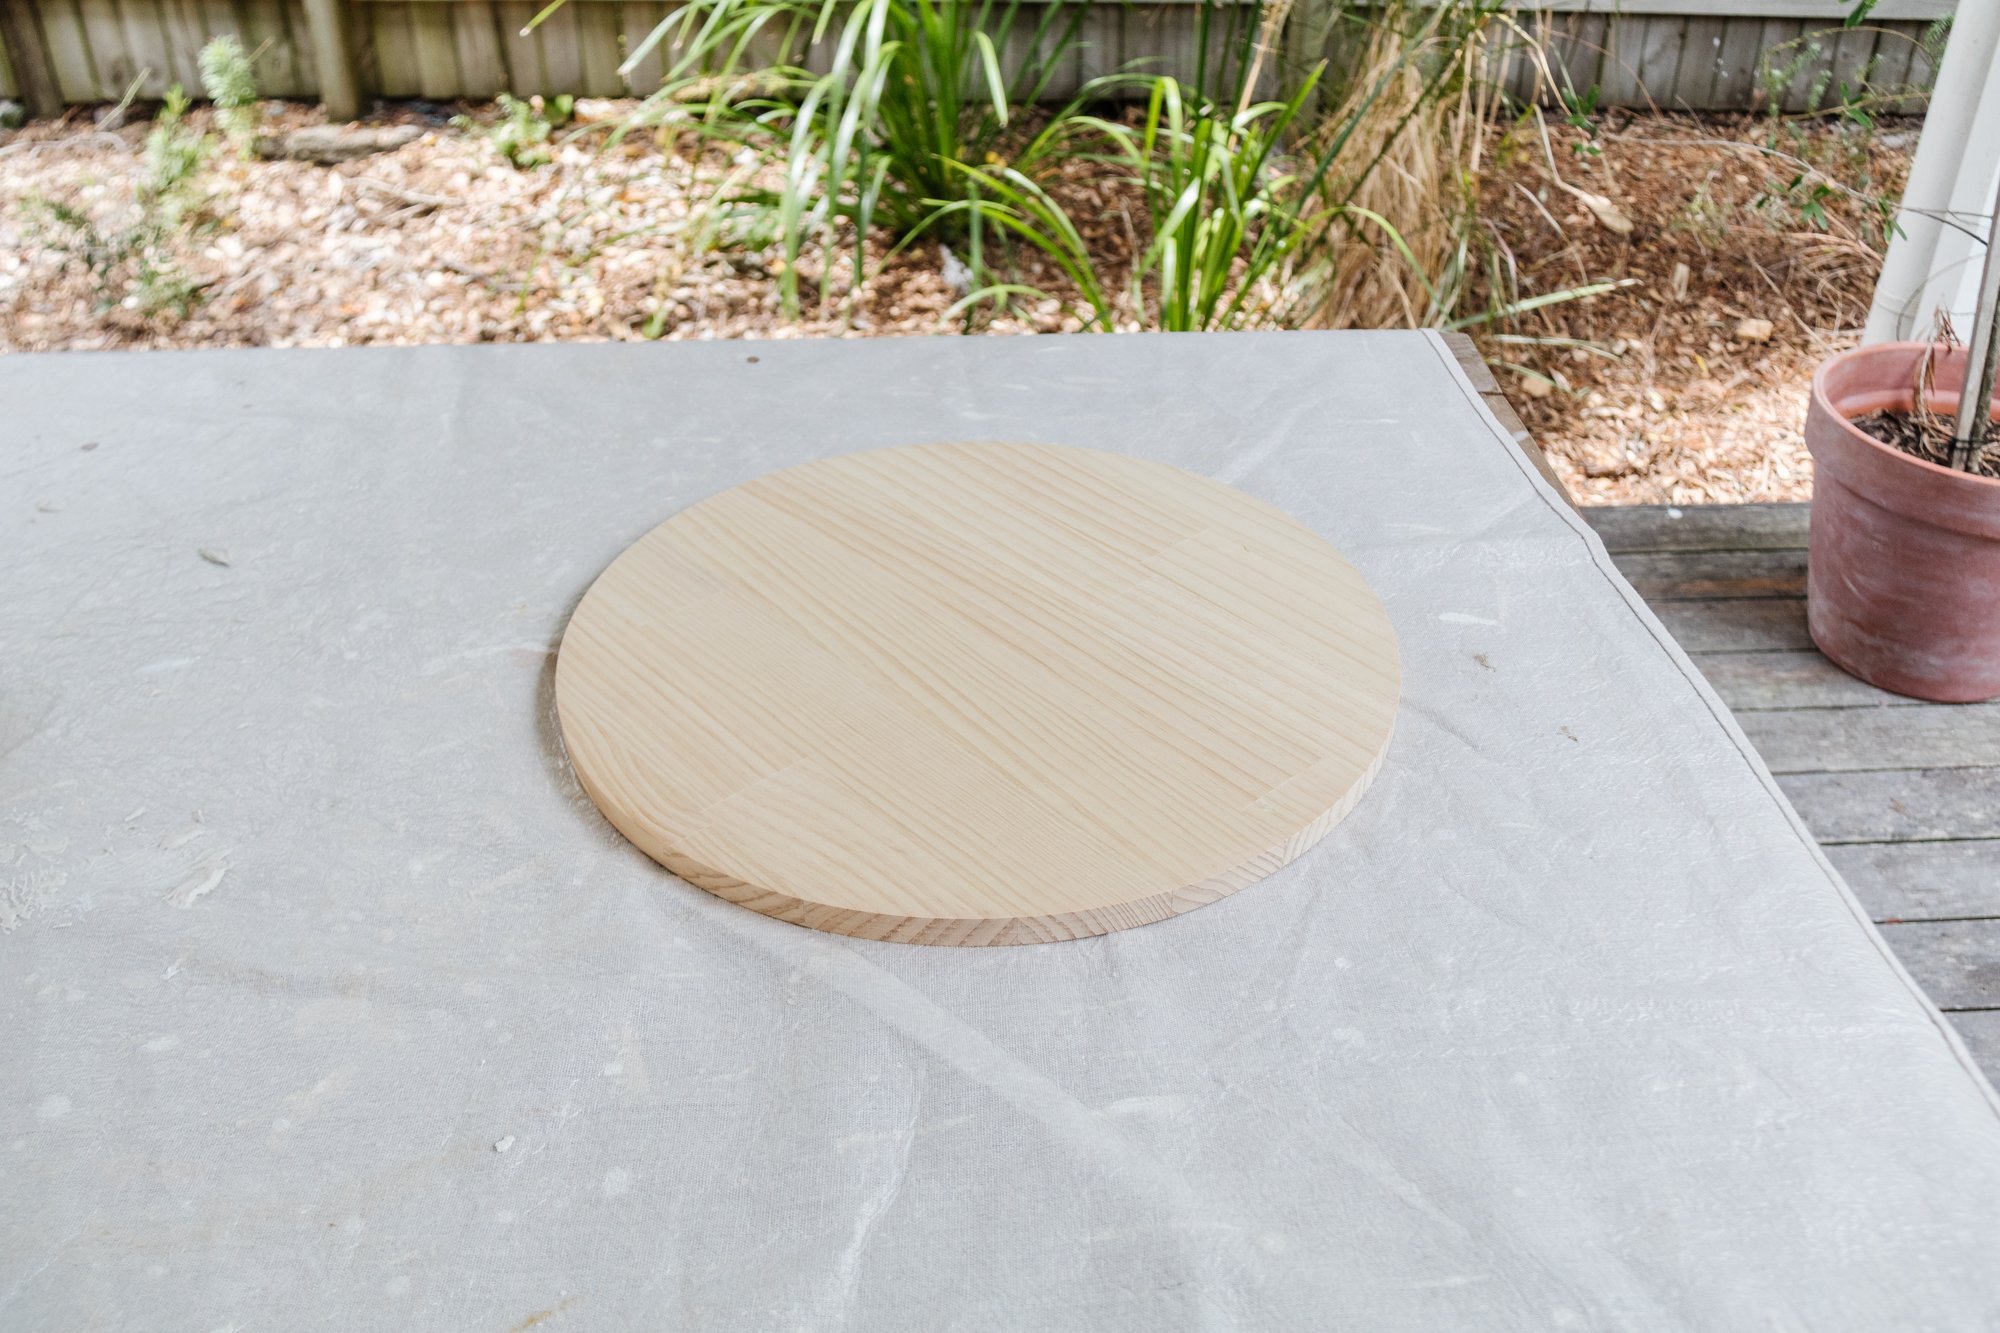
SpecRite Round Pine Panel or this one, which you won’t need to stain
Tools
Scissors
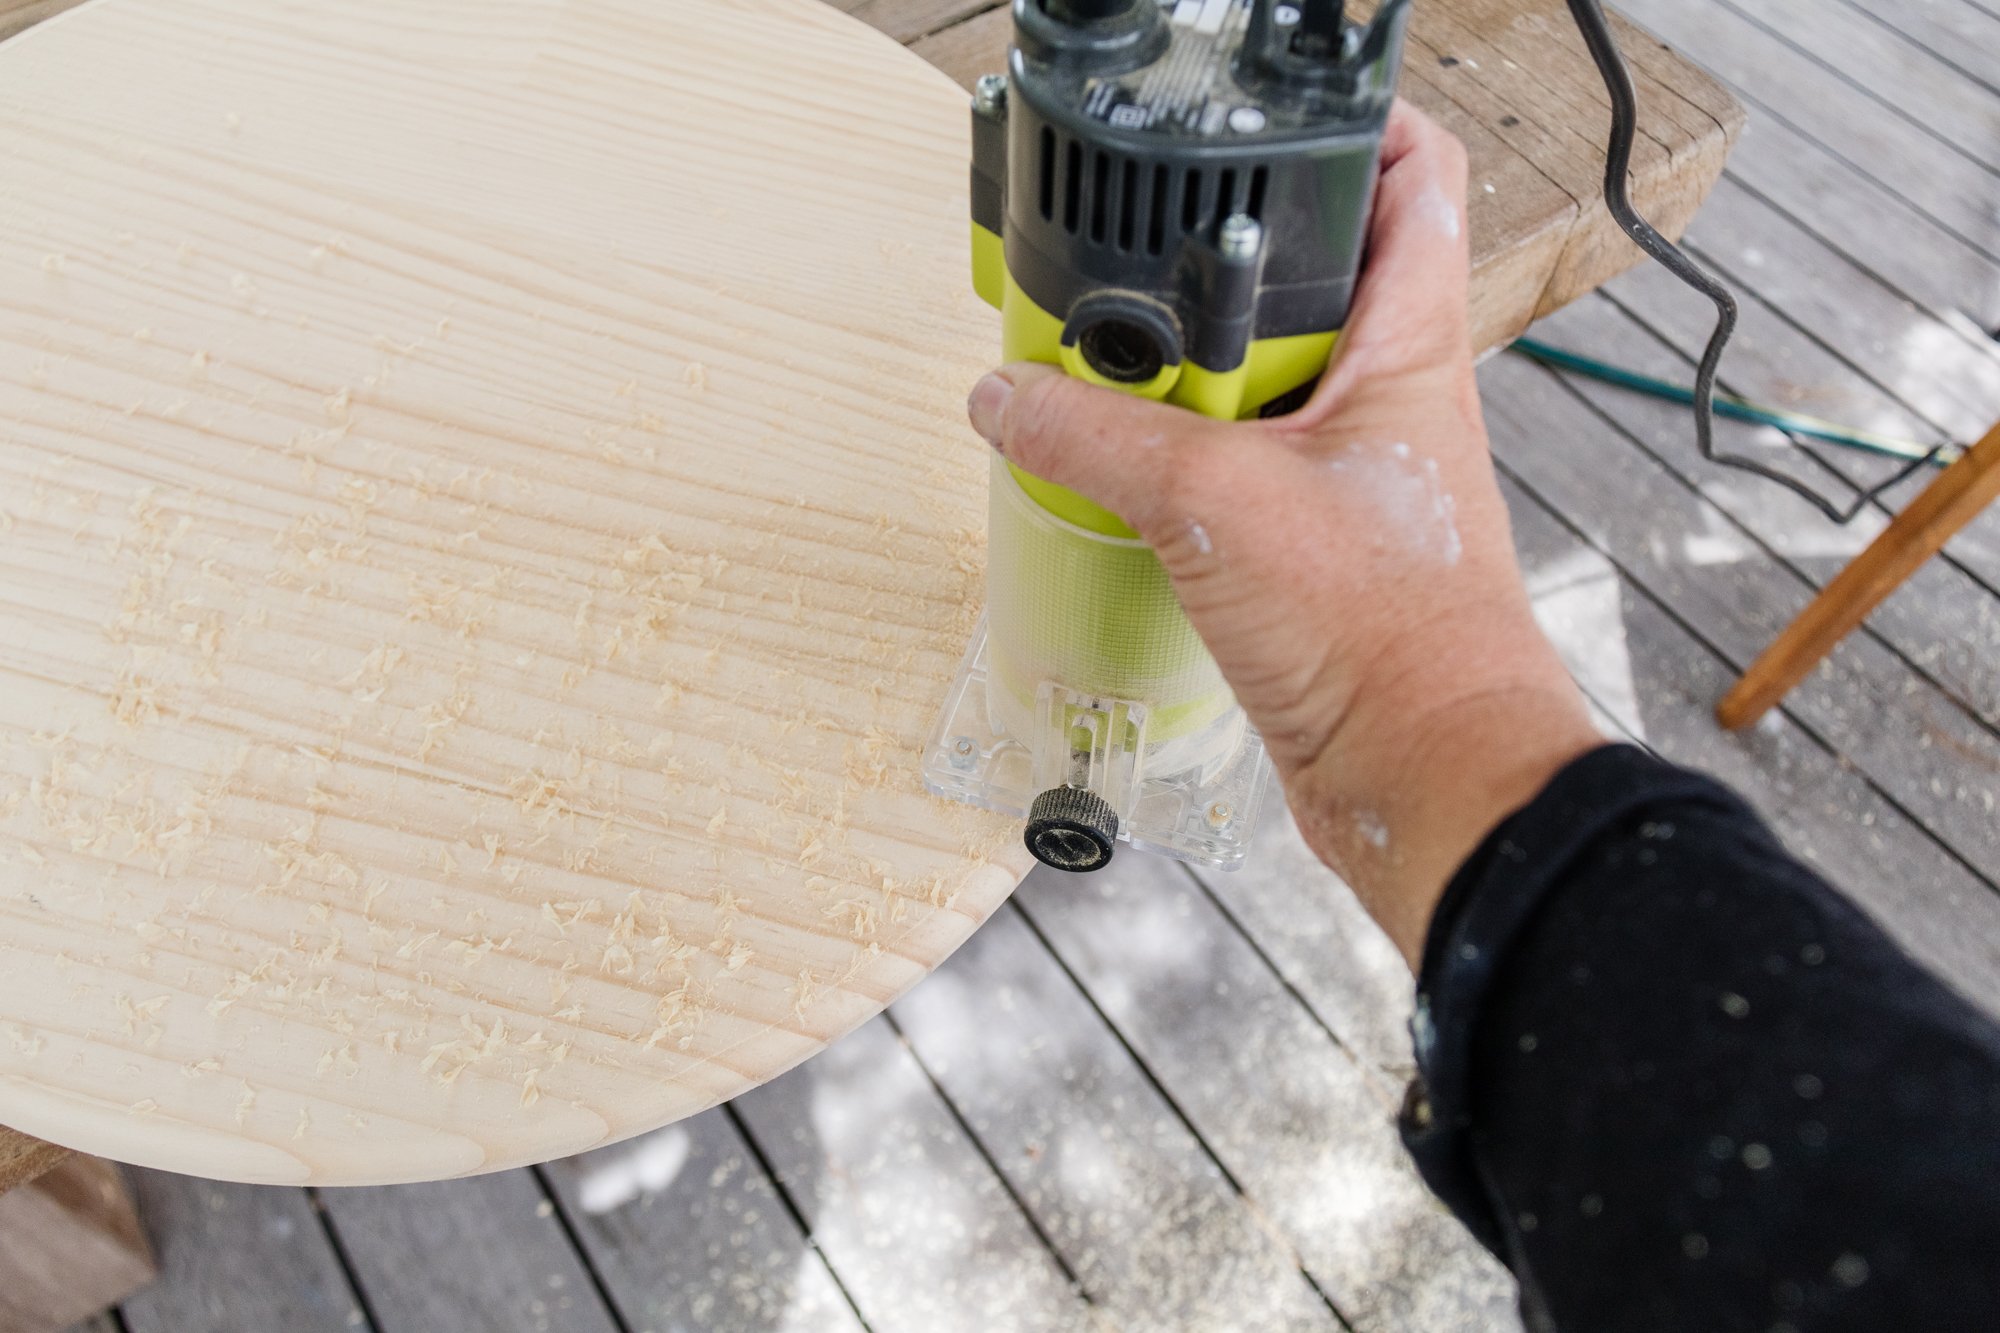
Optional: Router to round the edges of the pine panel

How To
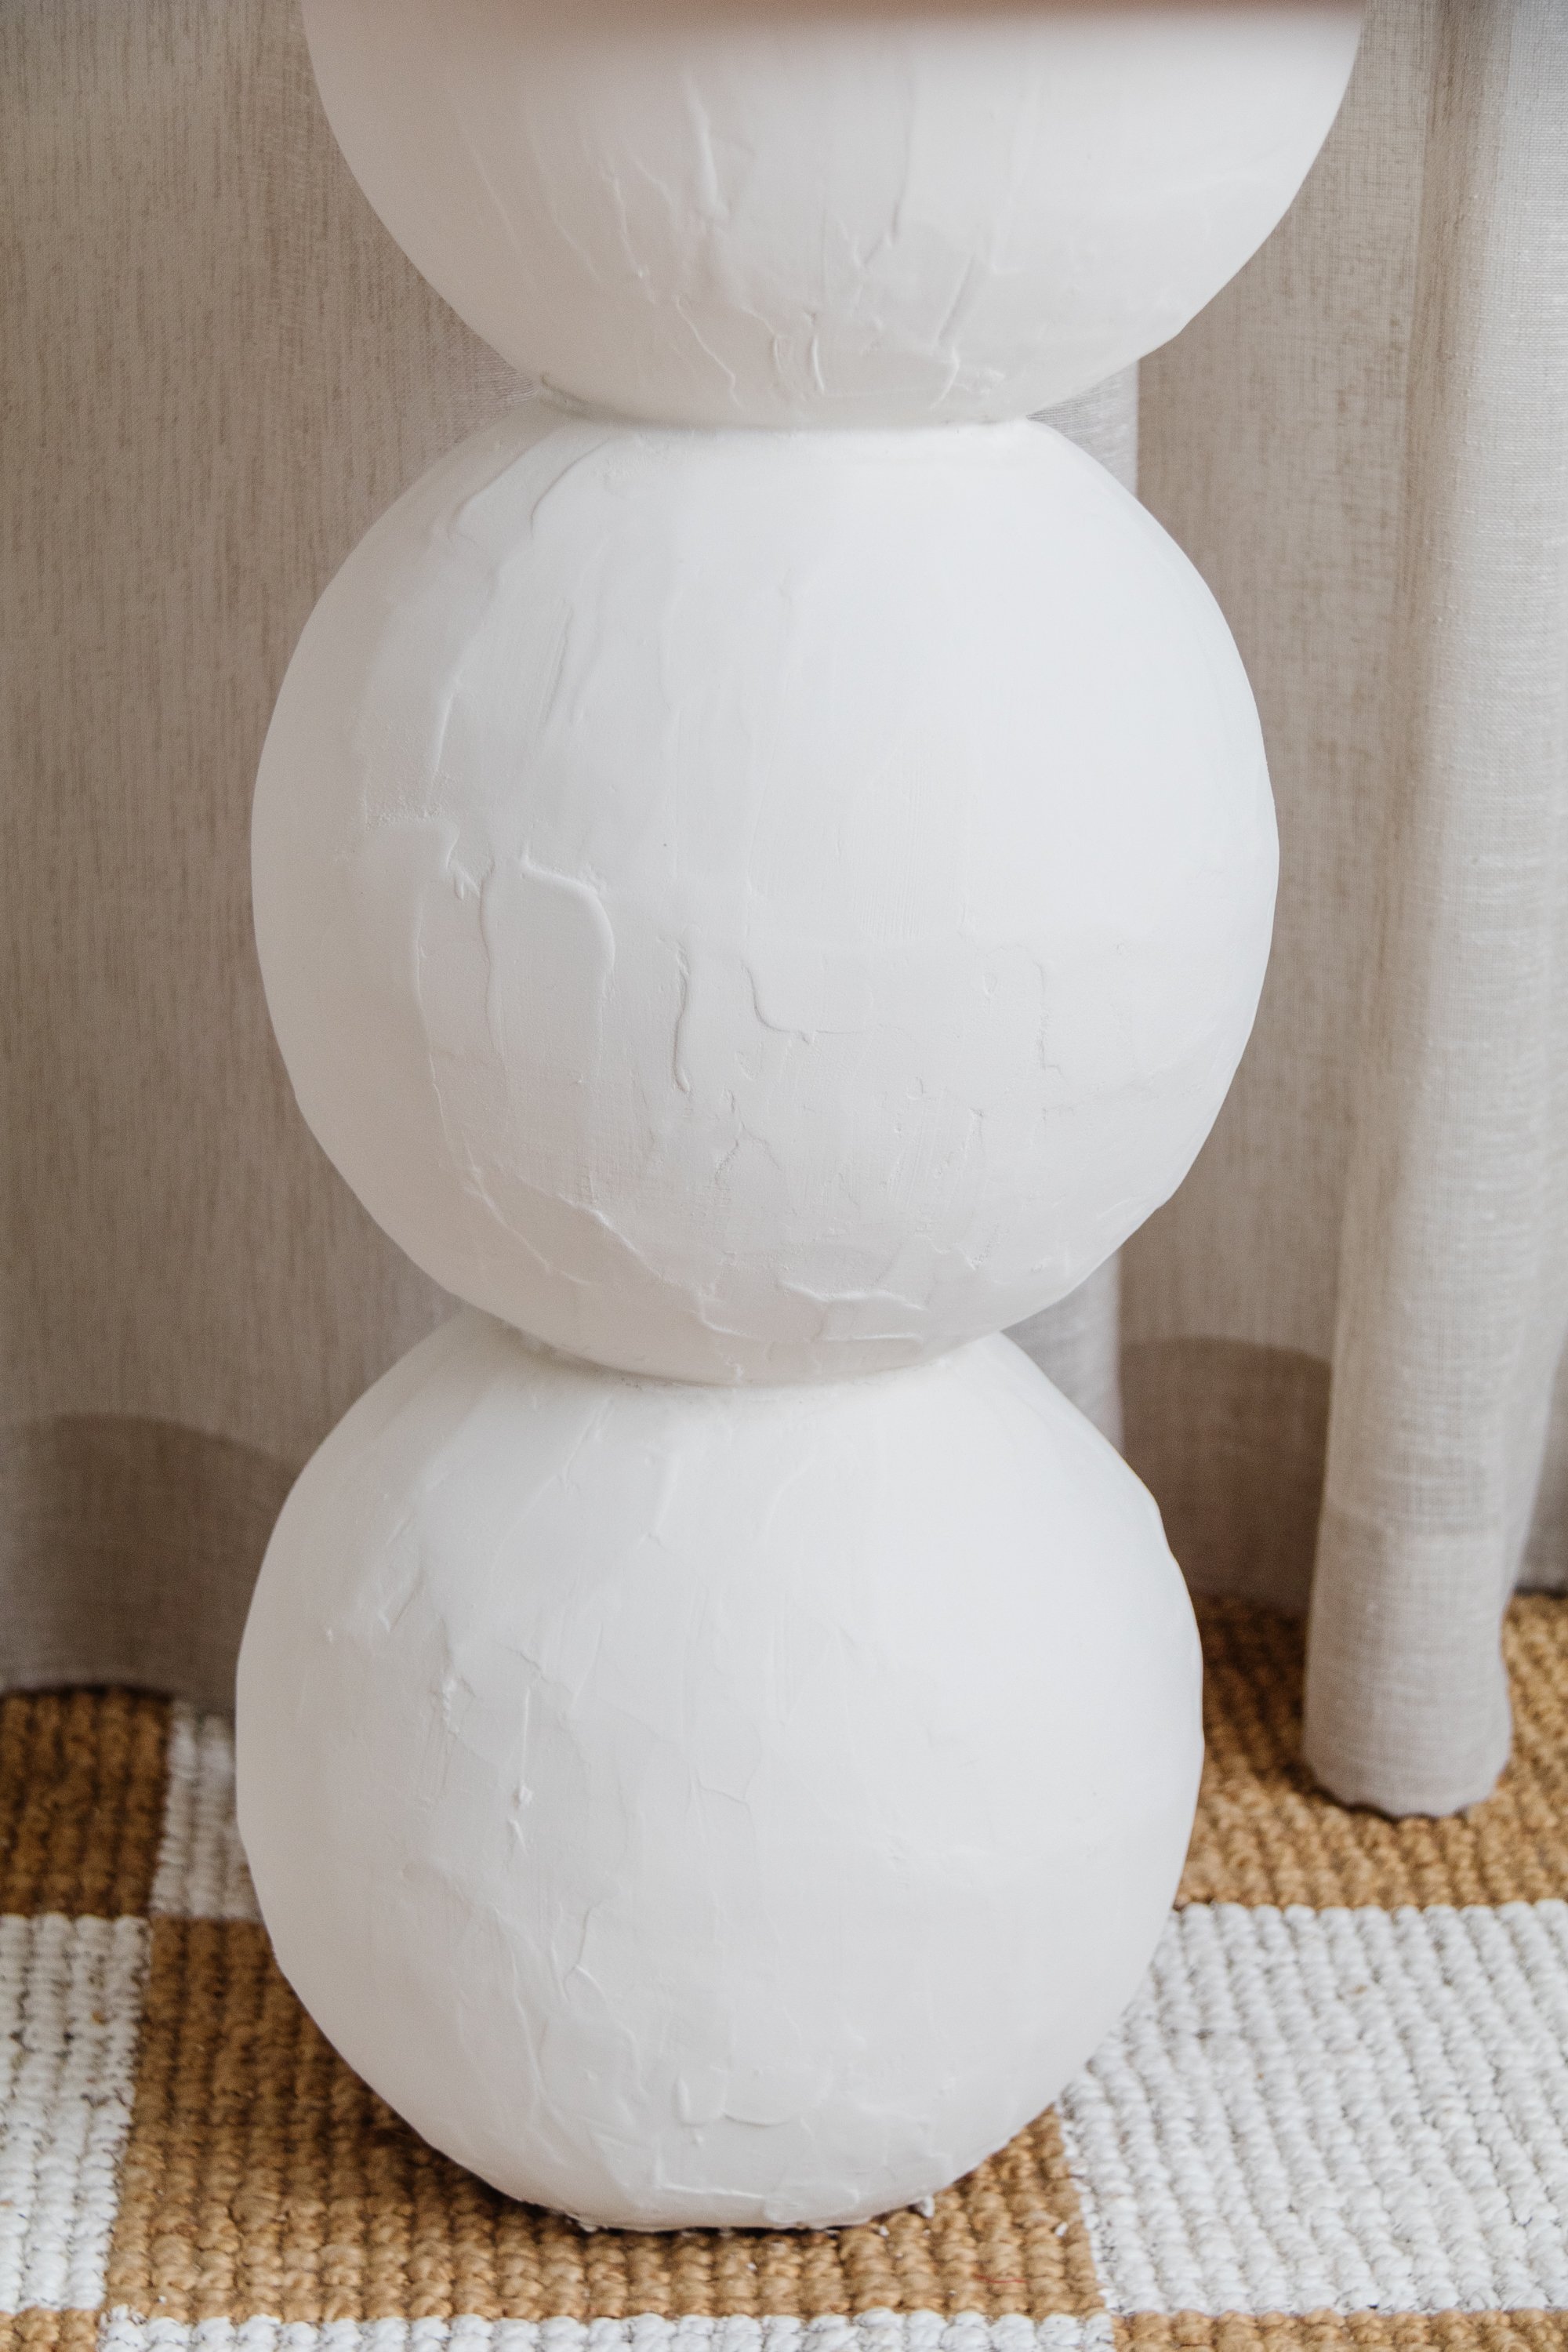
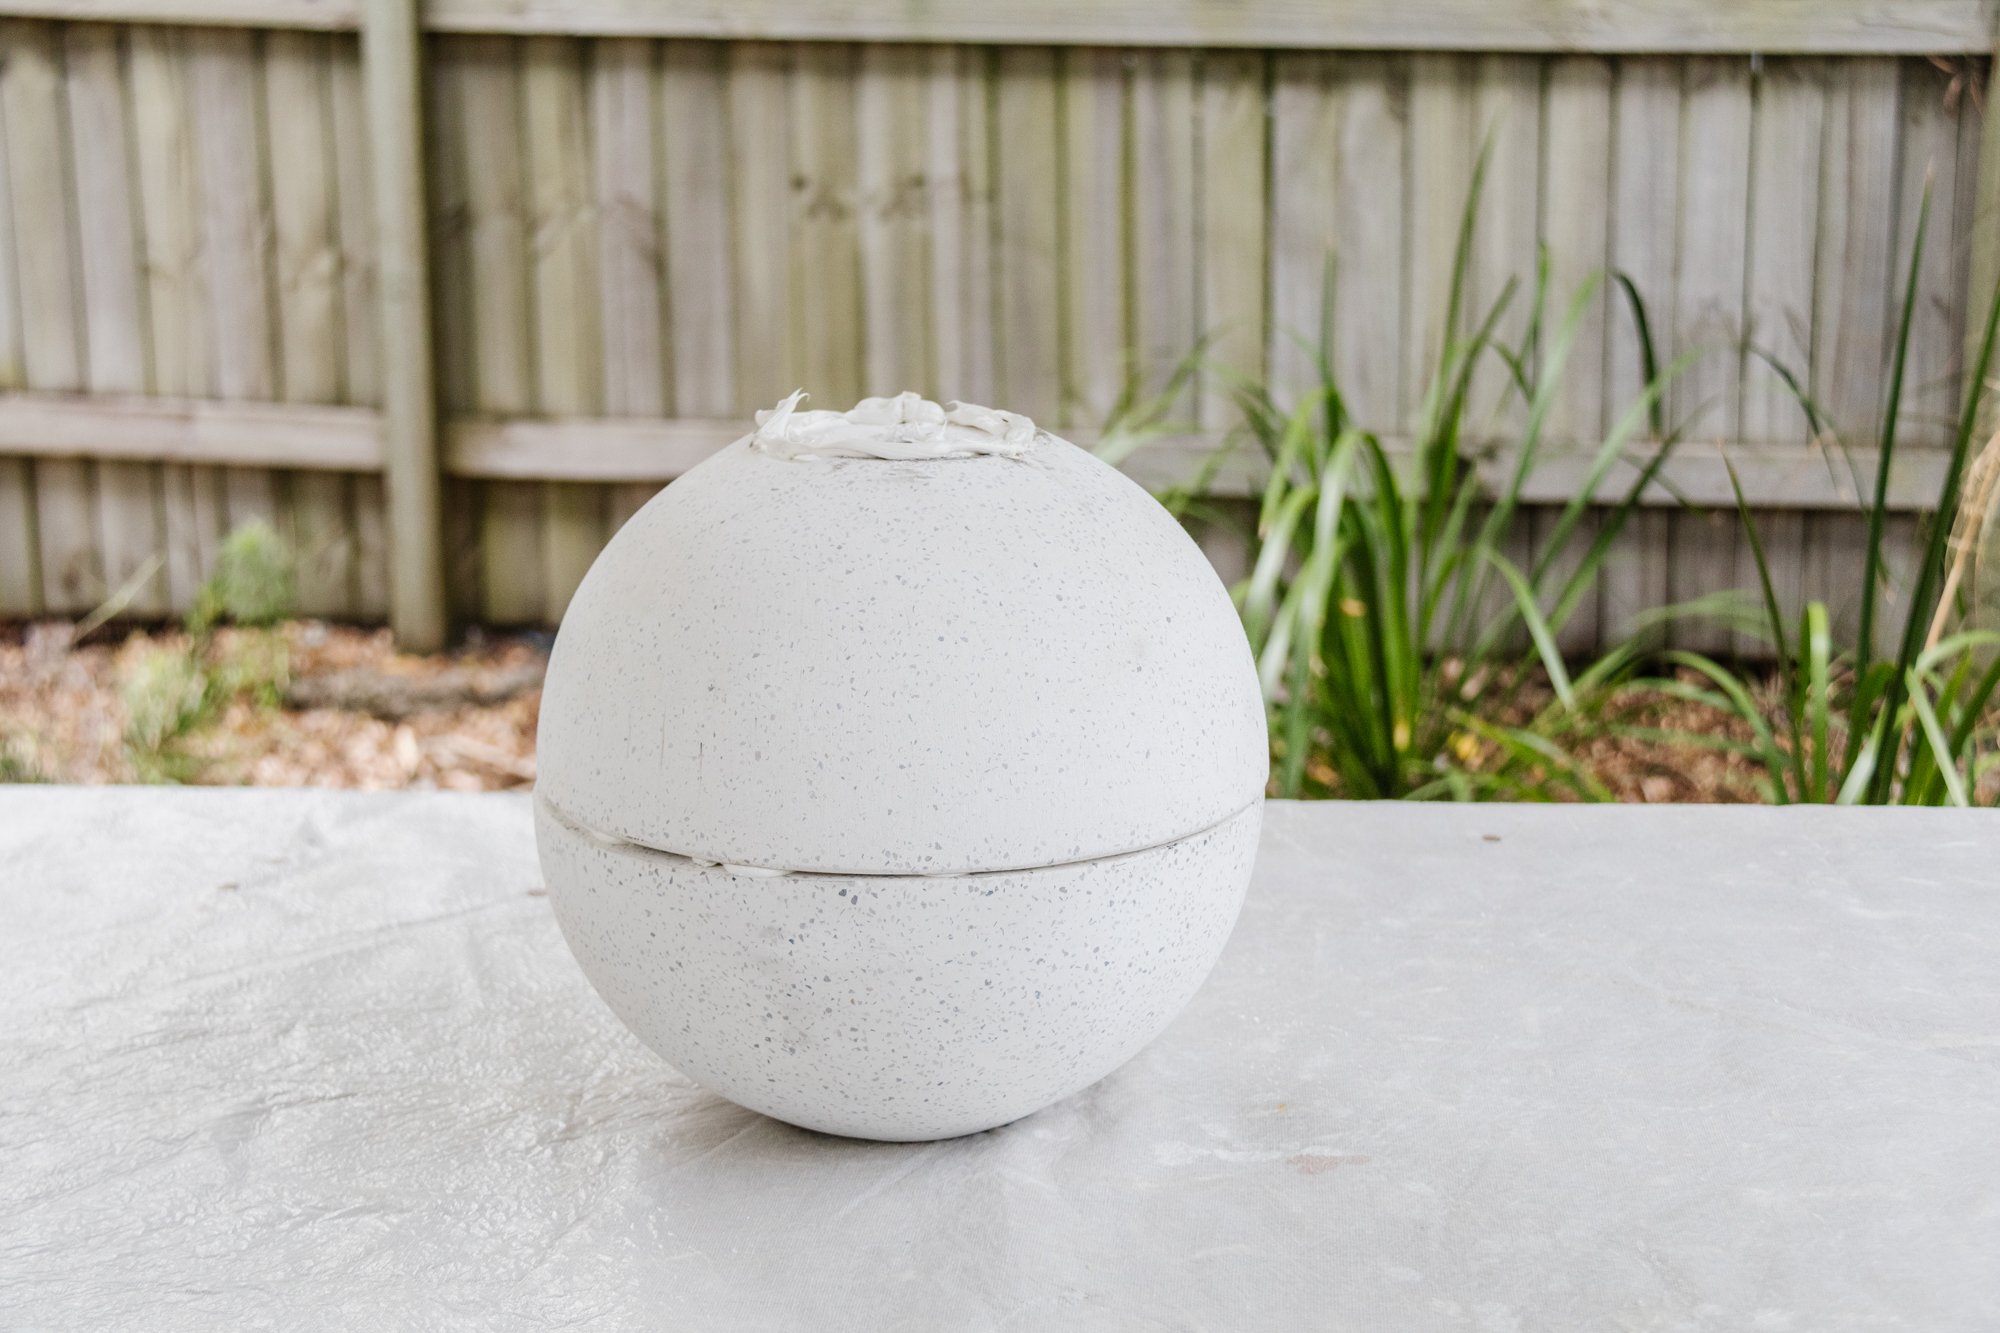
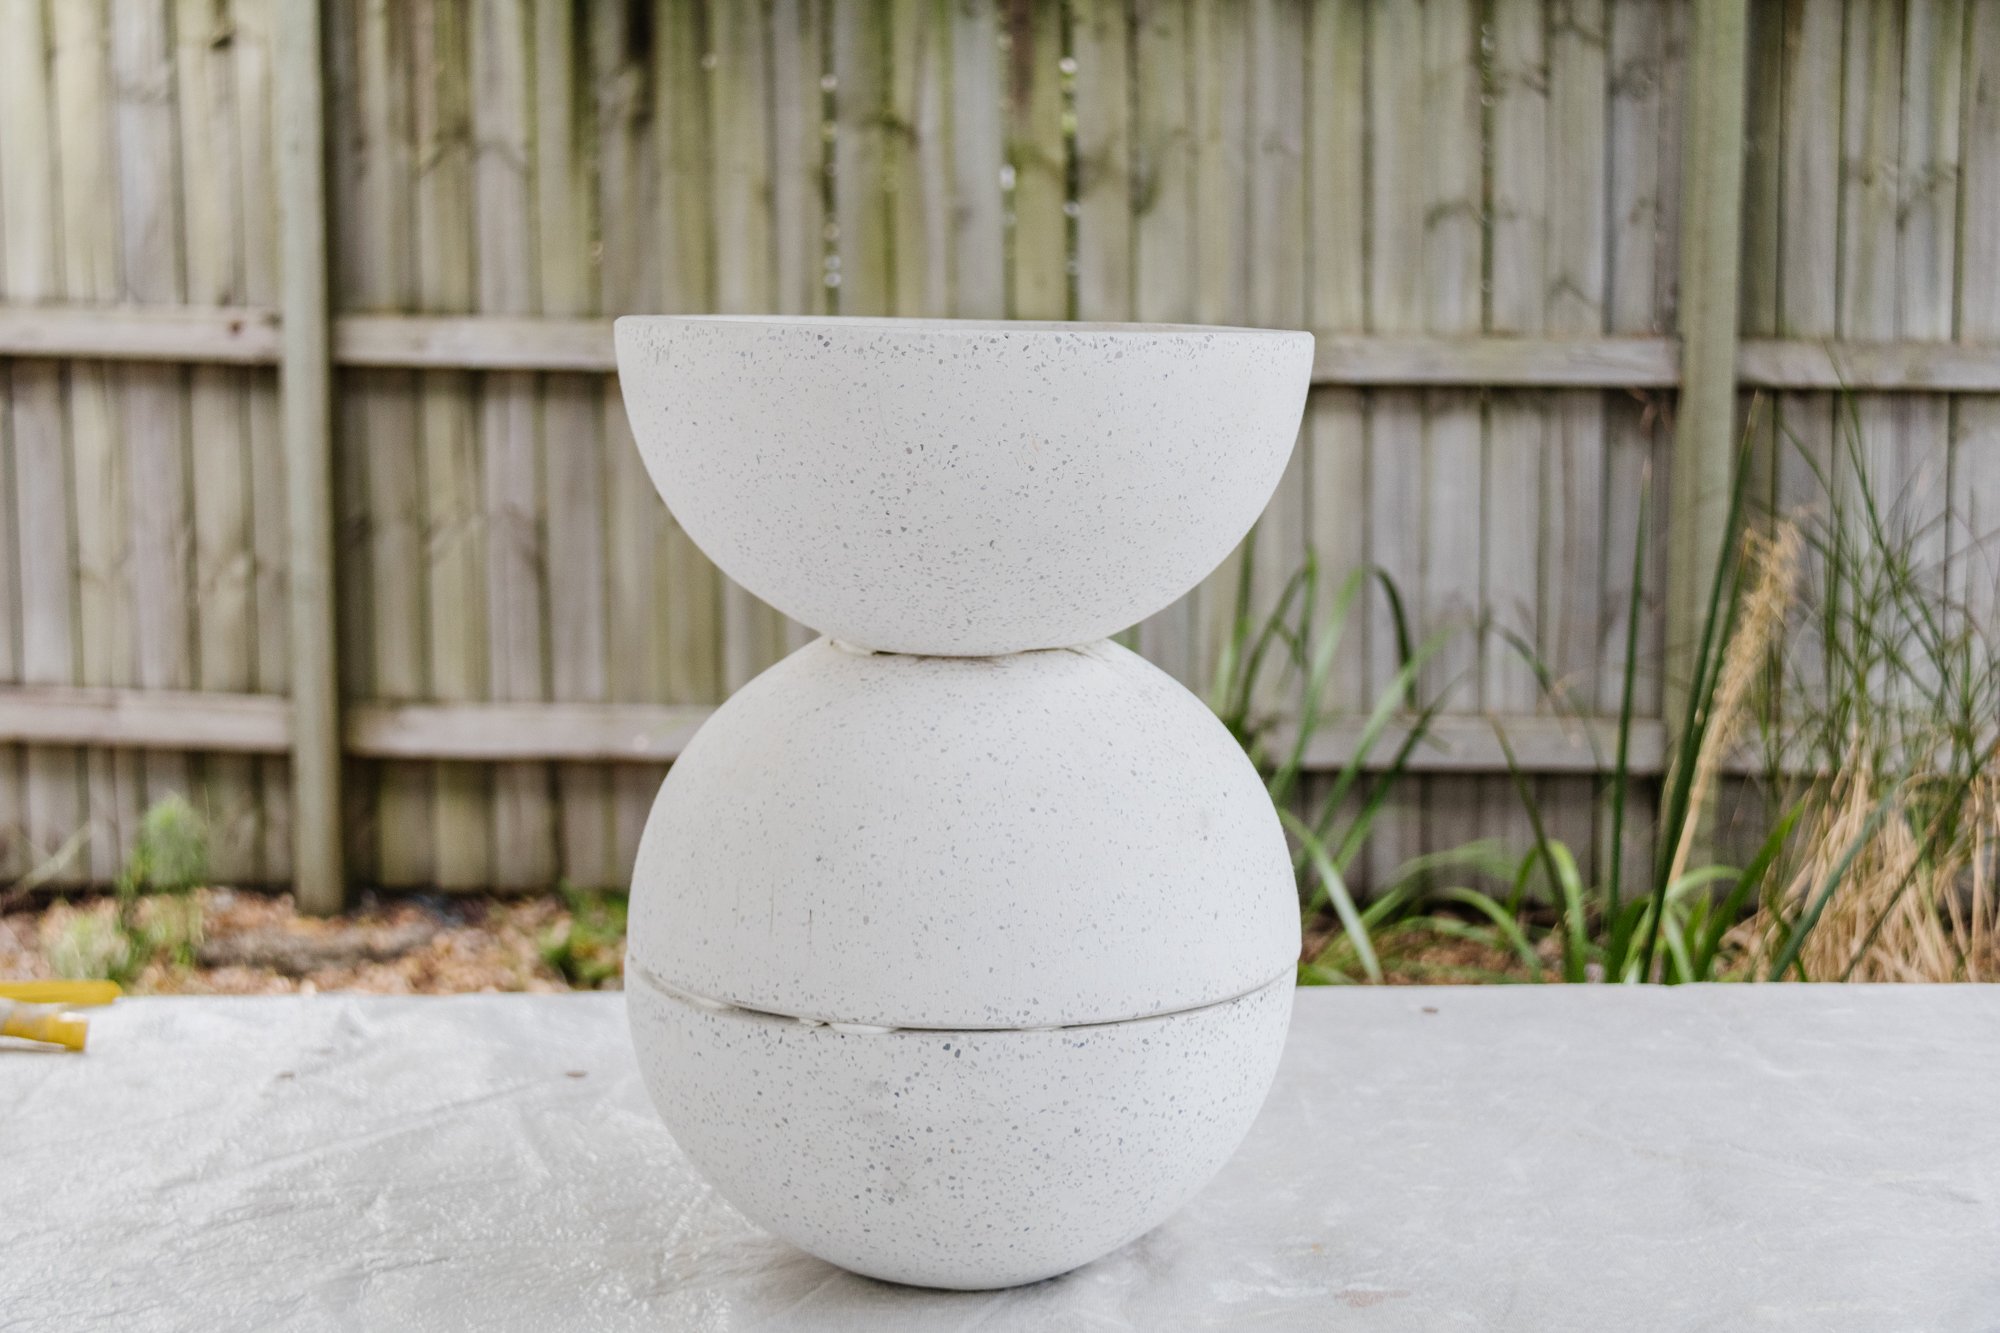
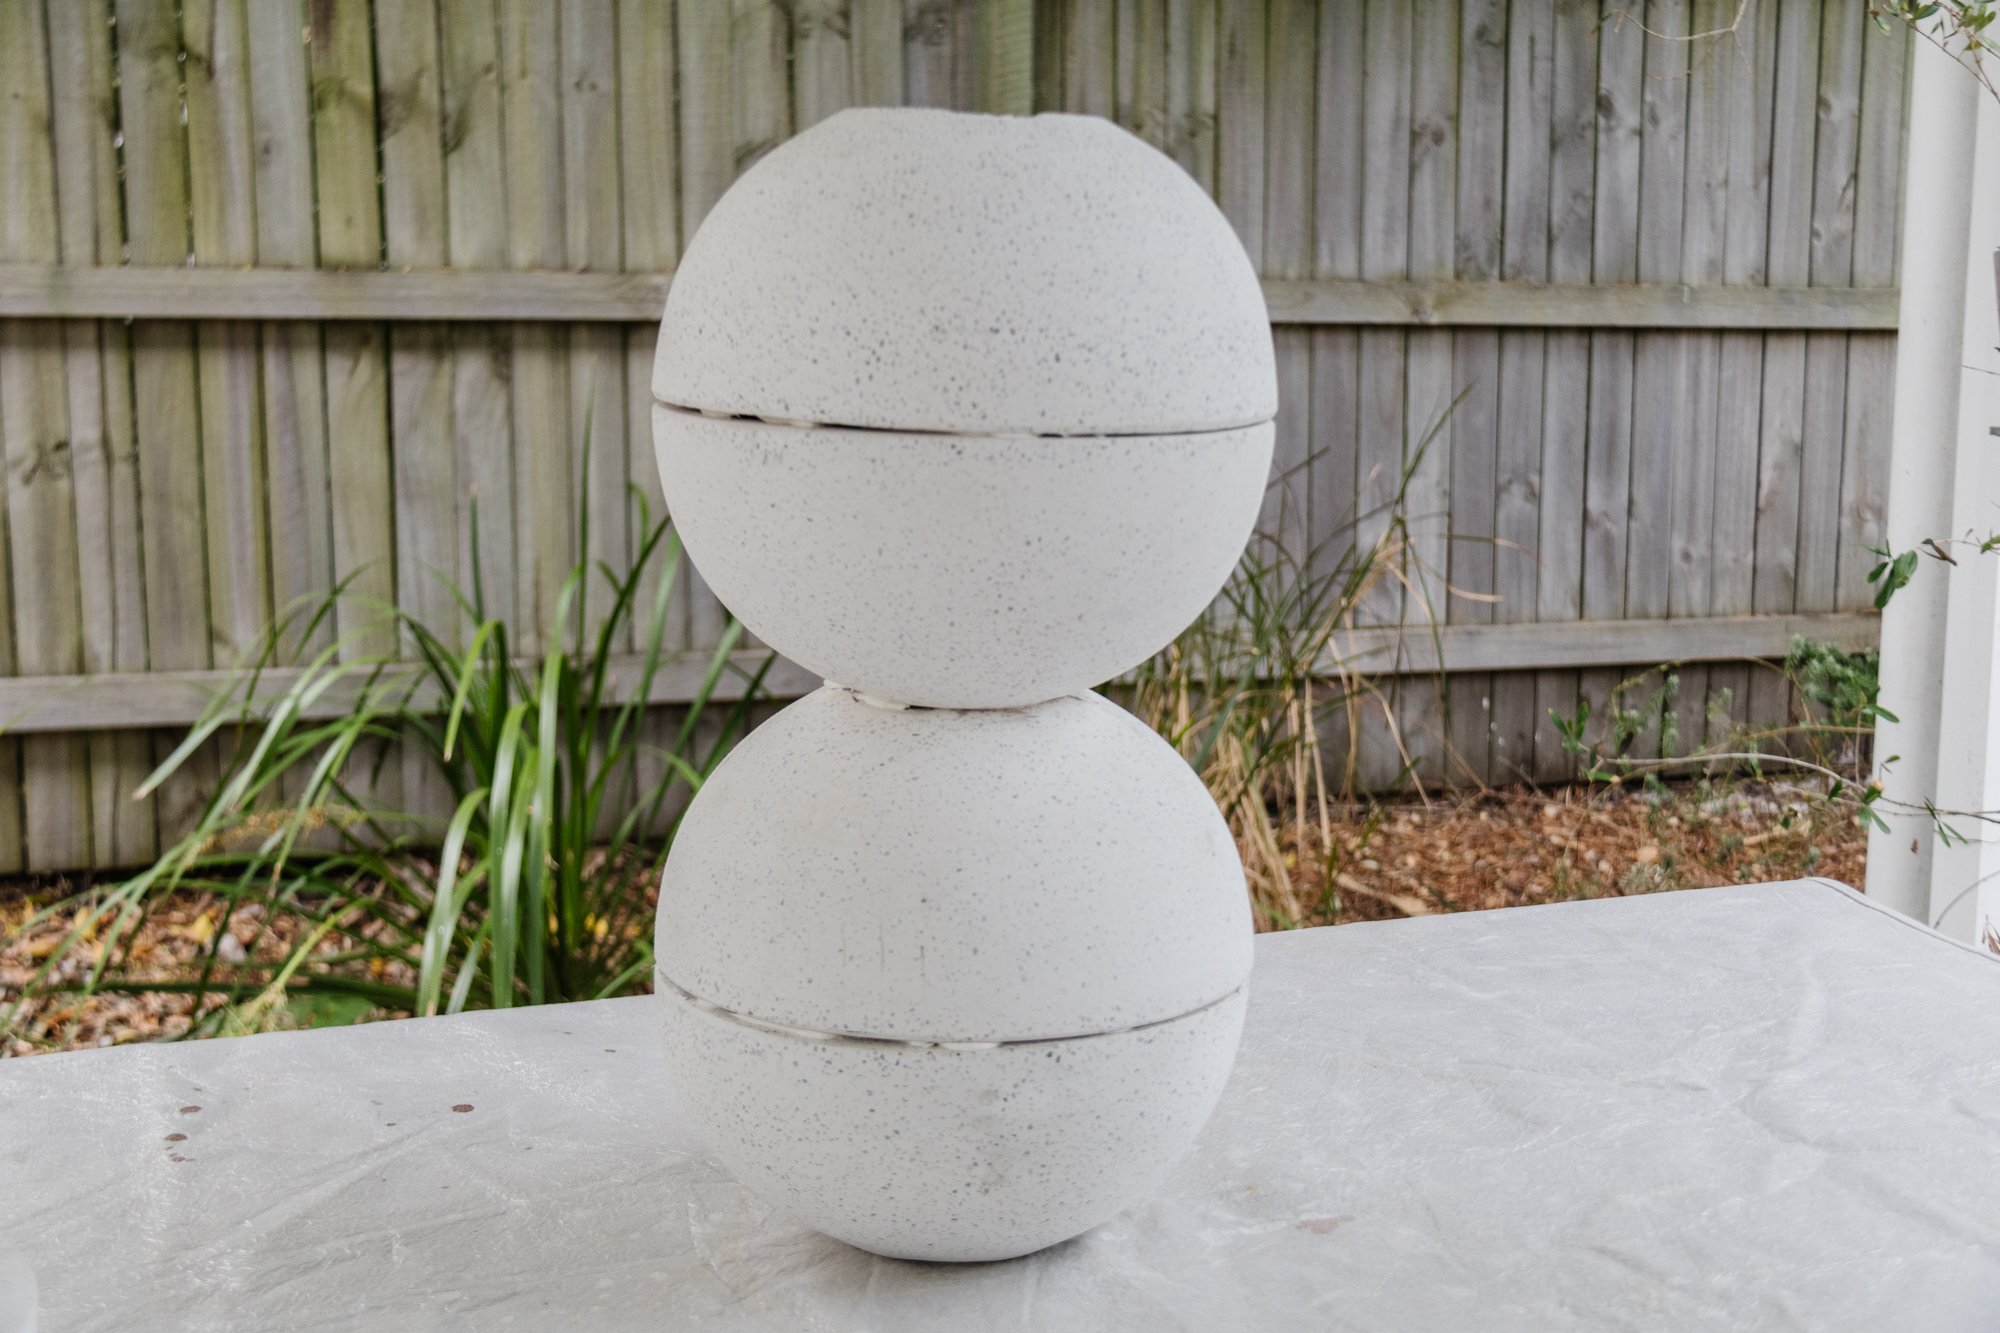
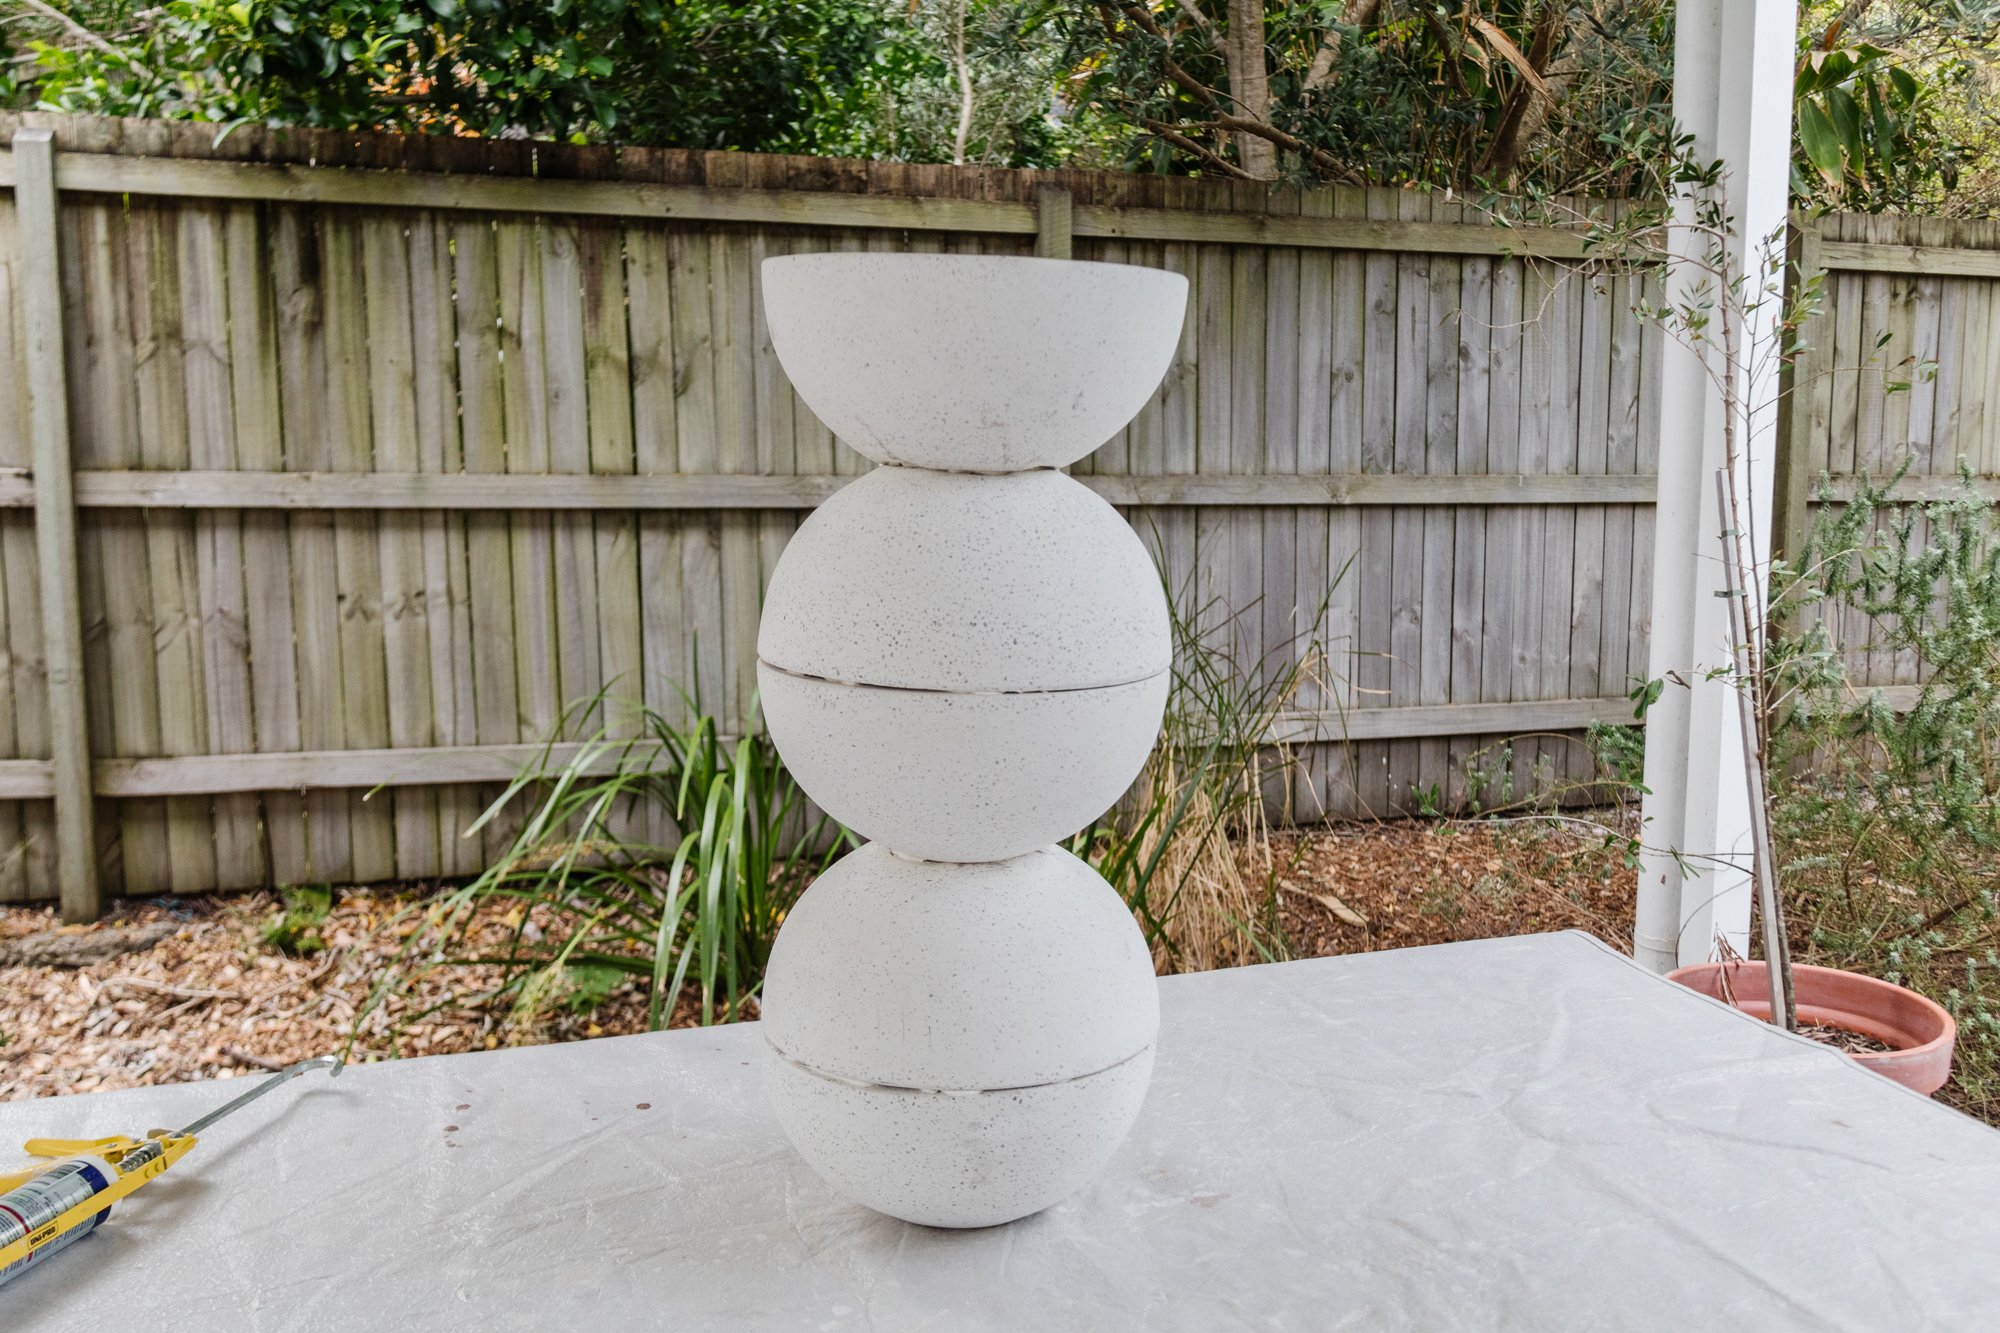
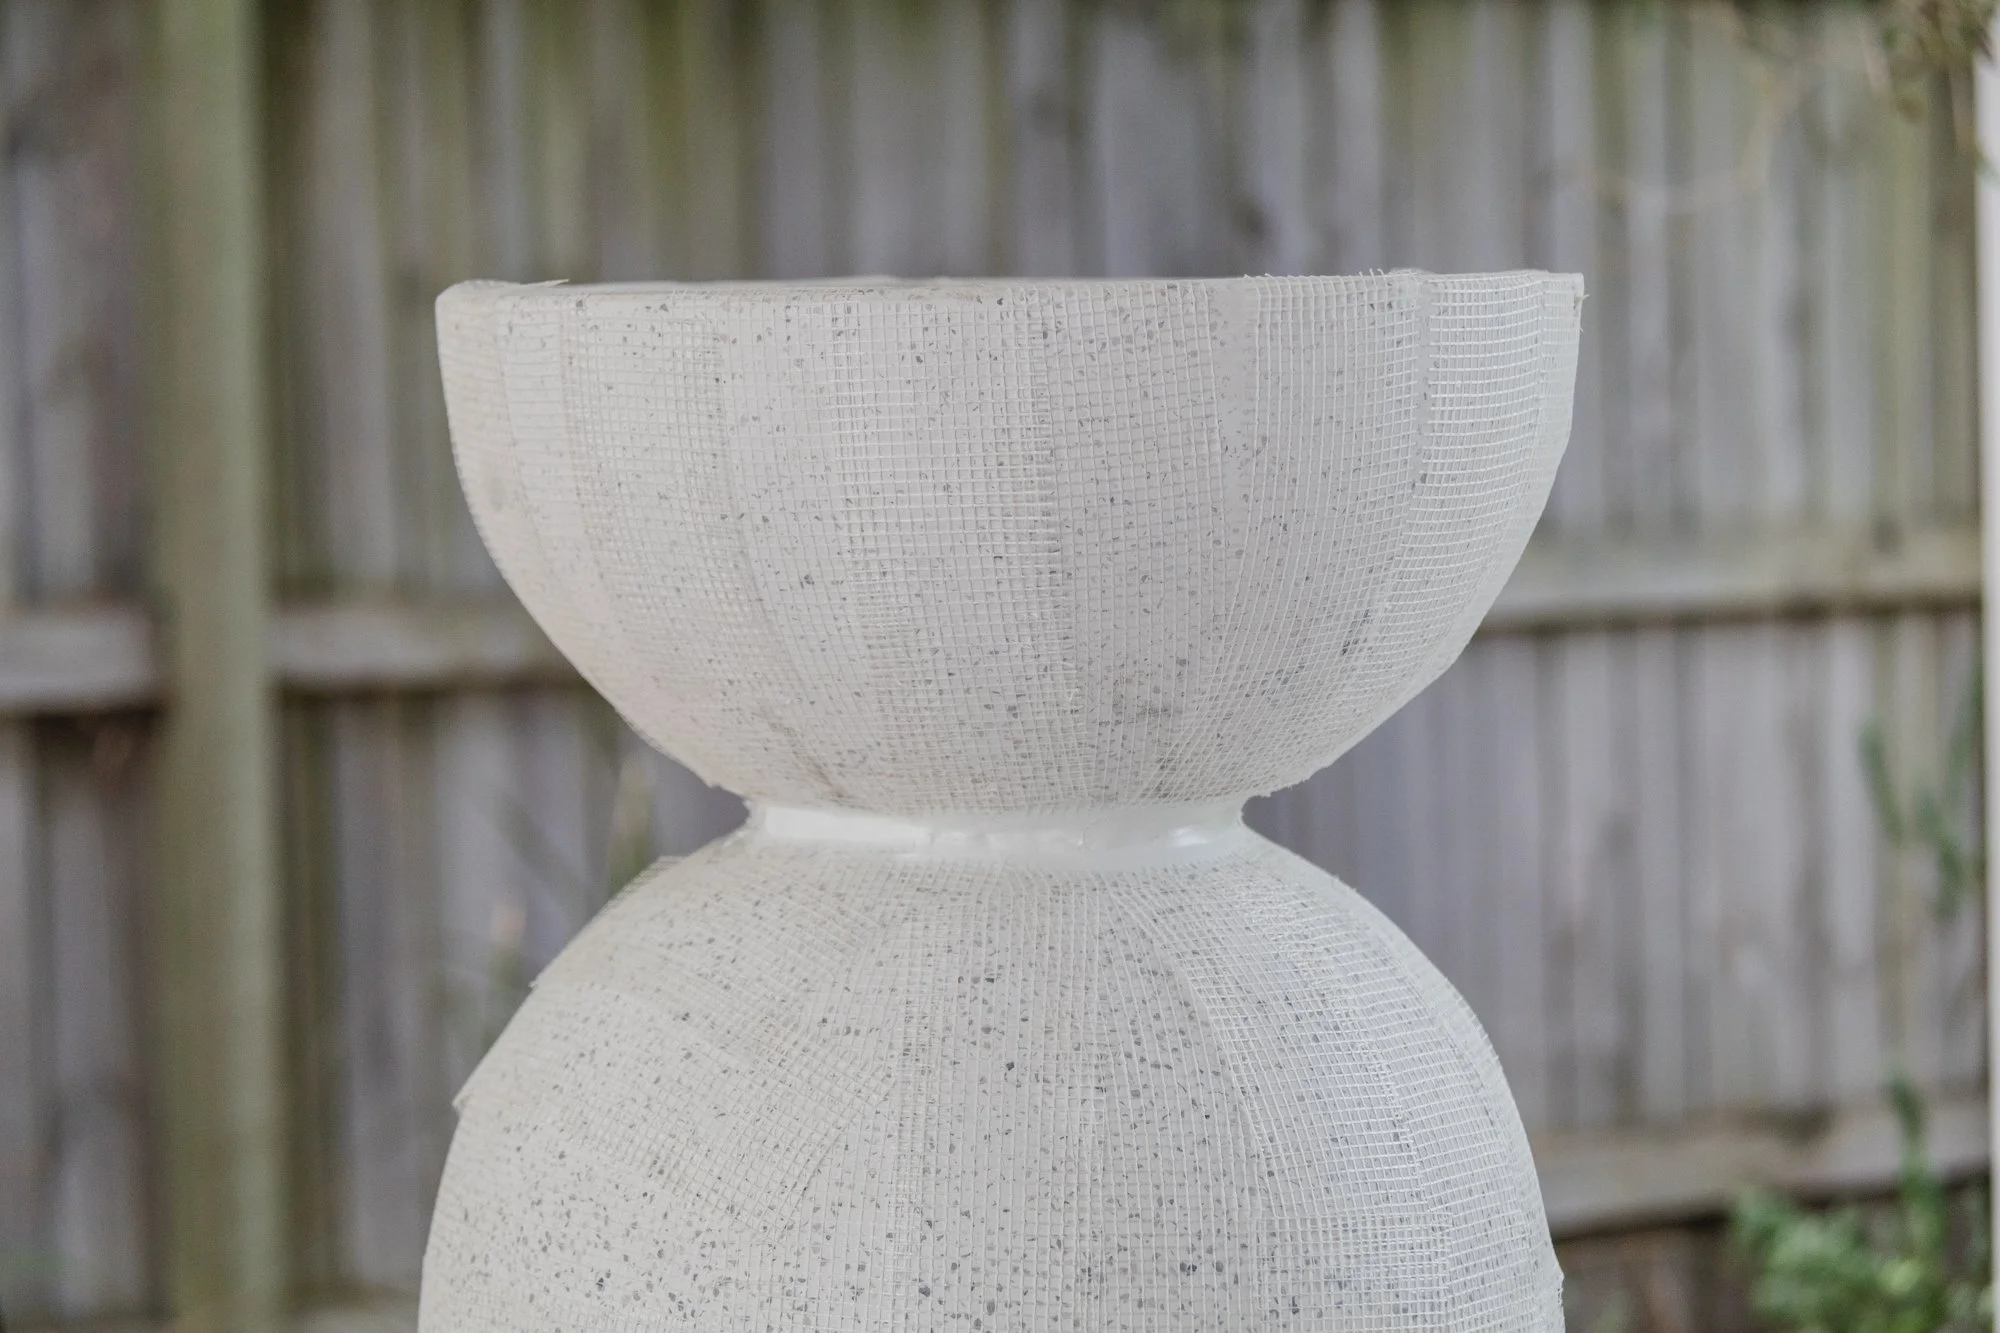
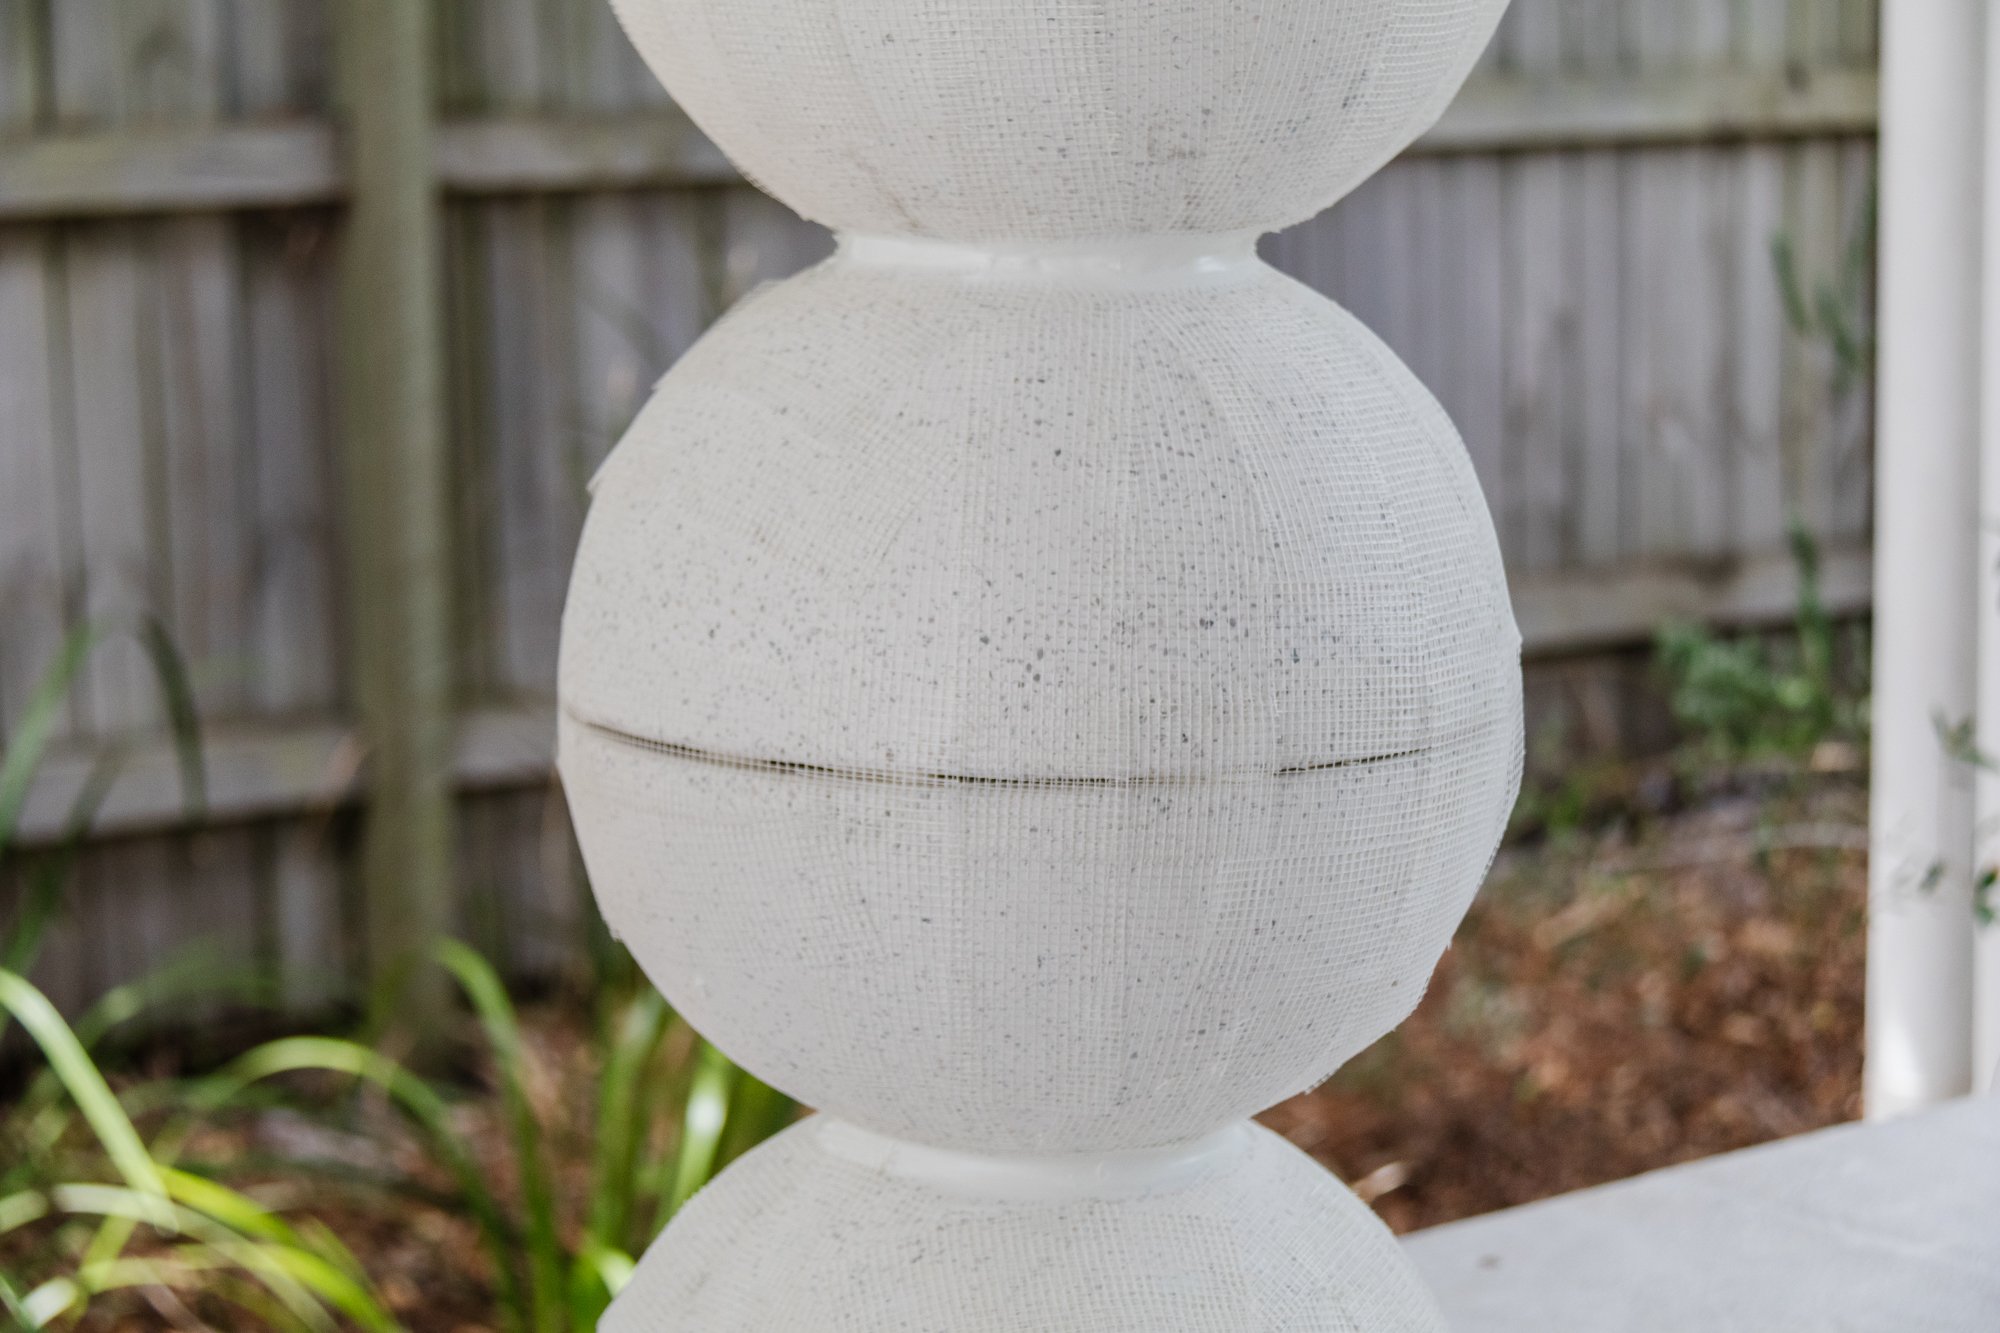
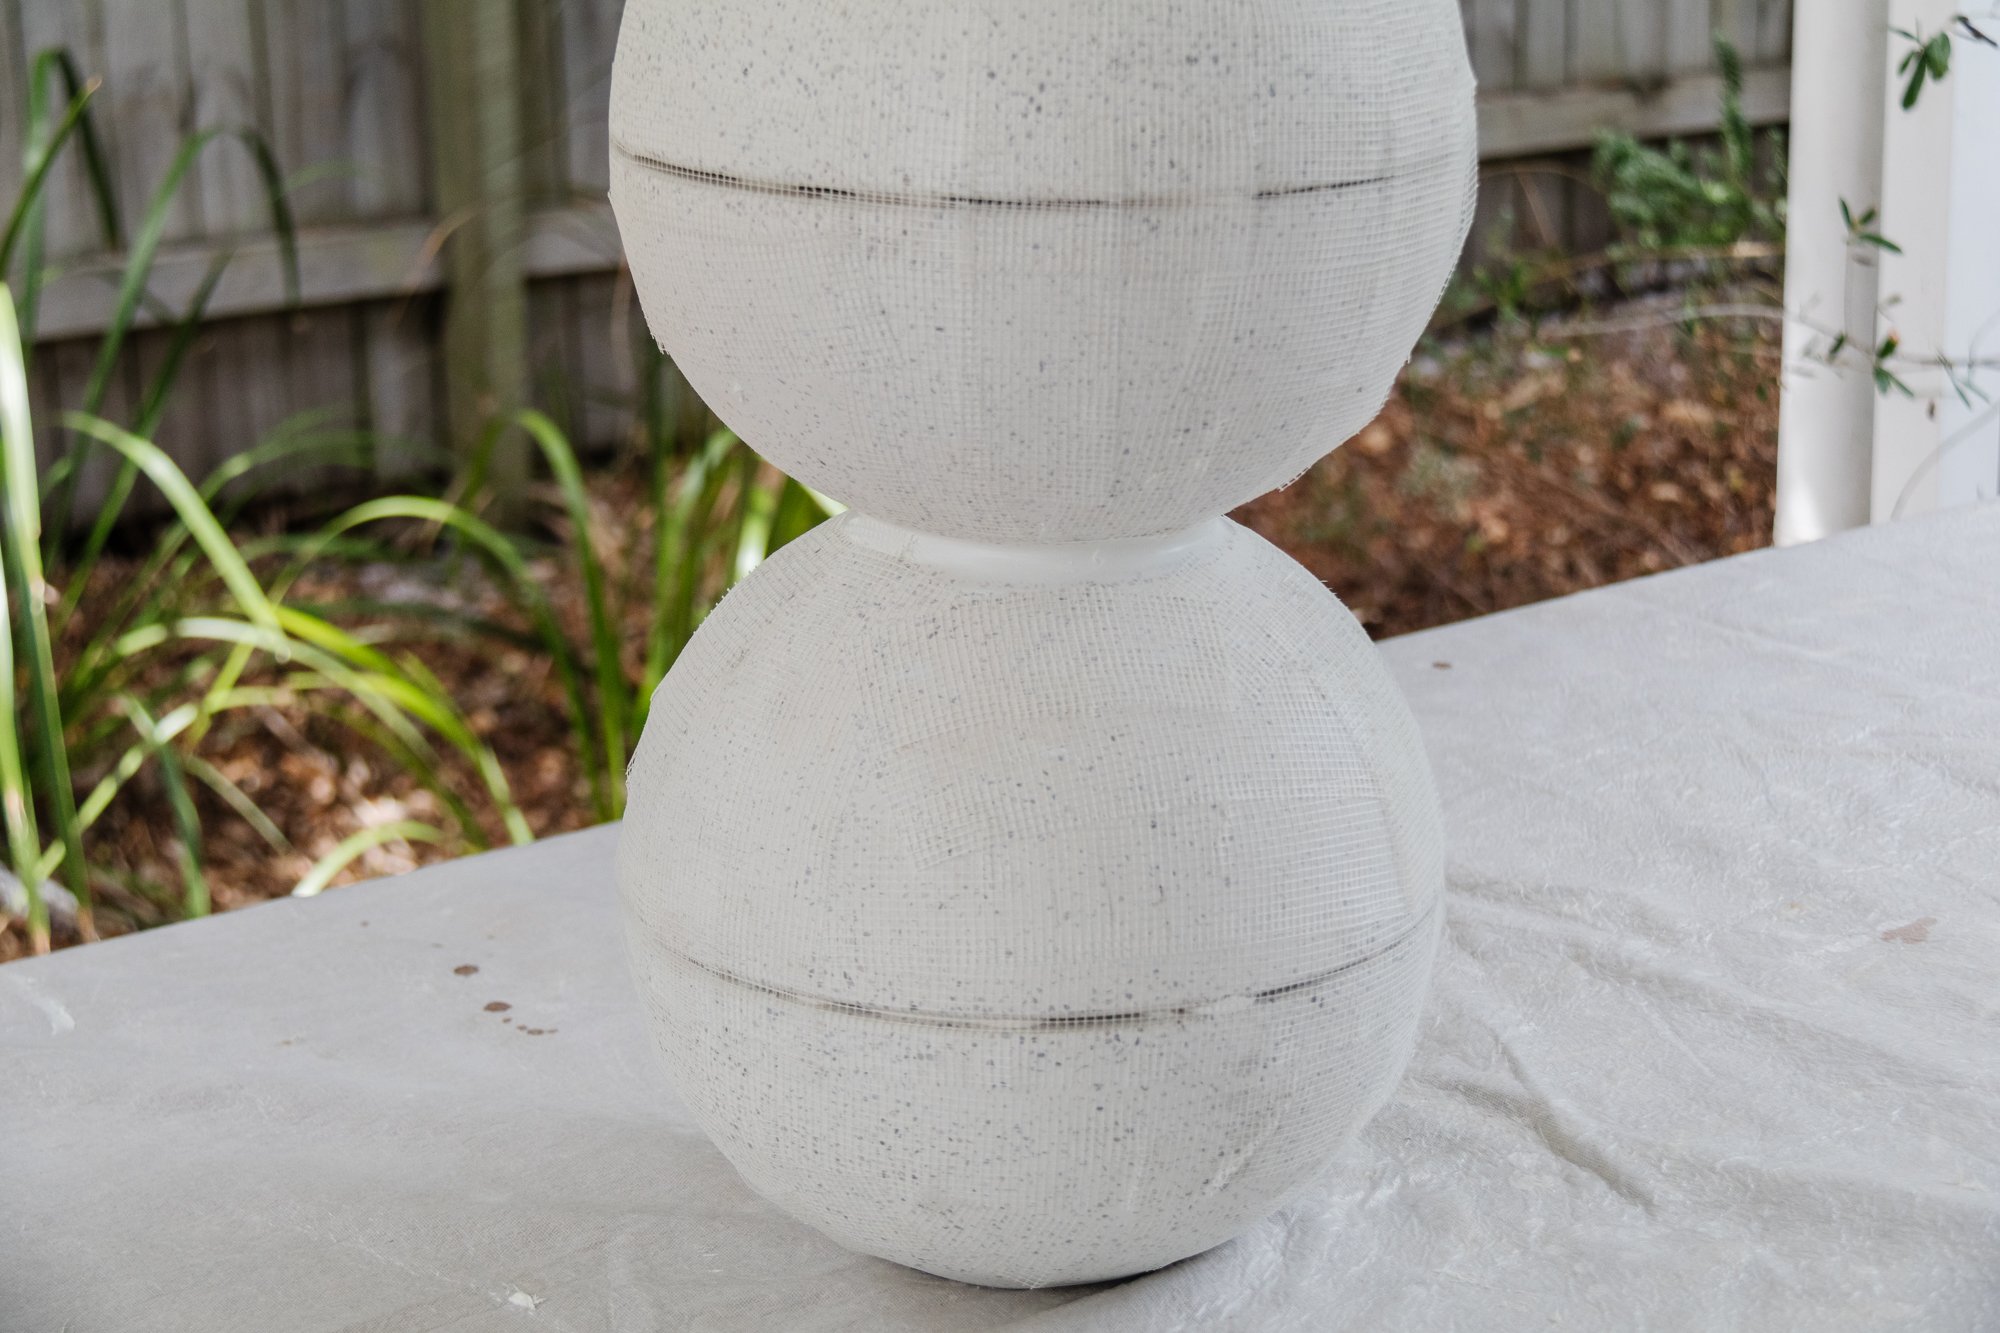
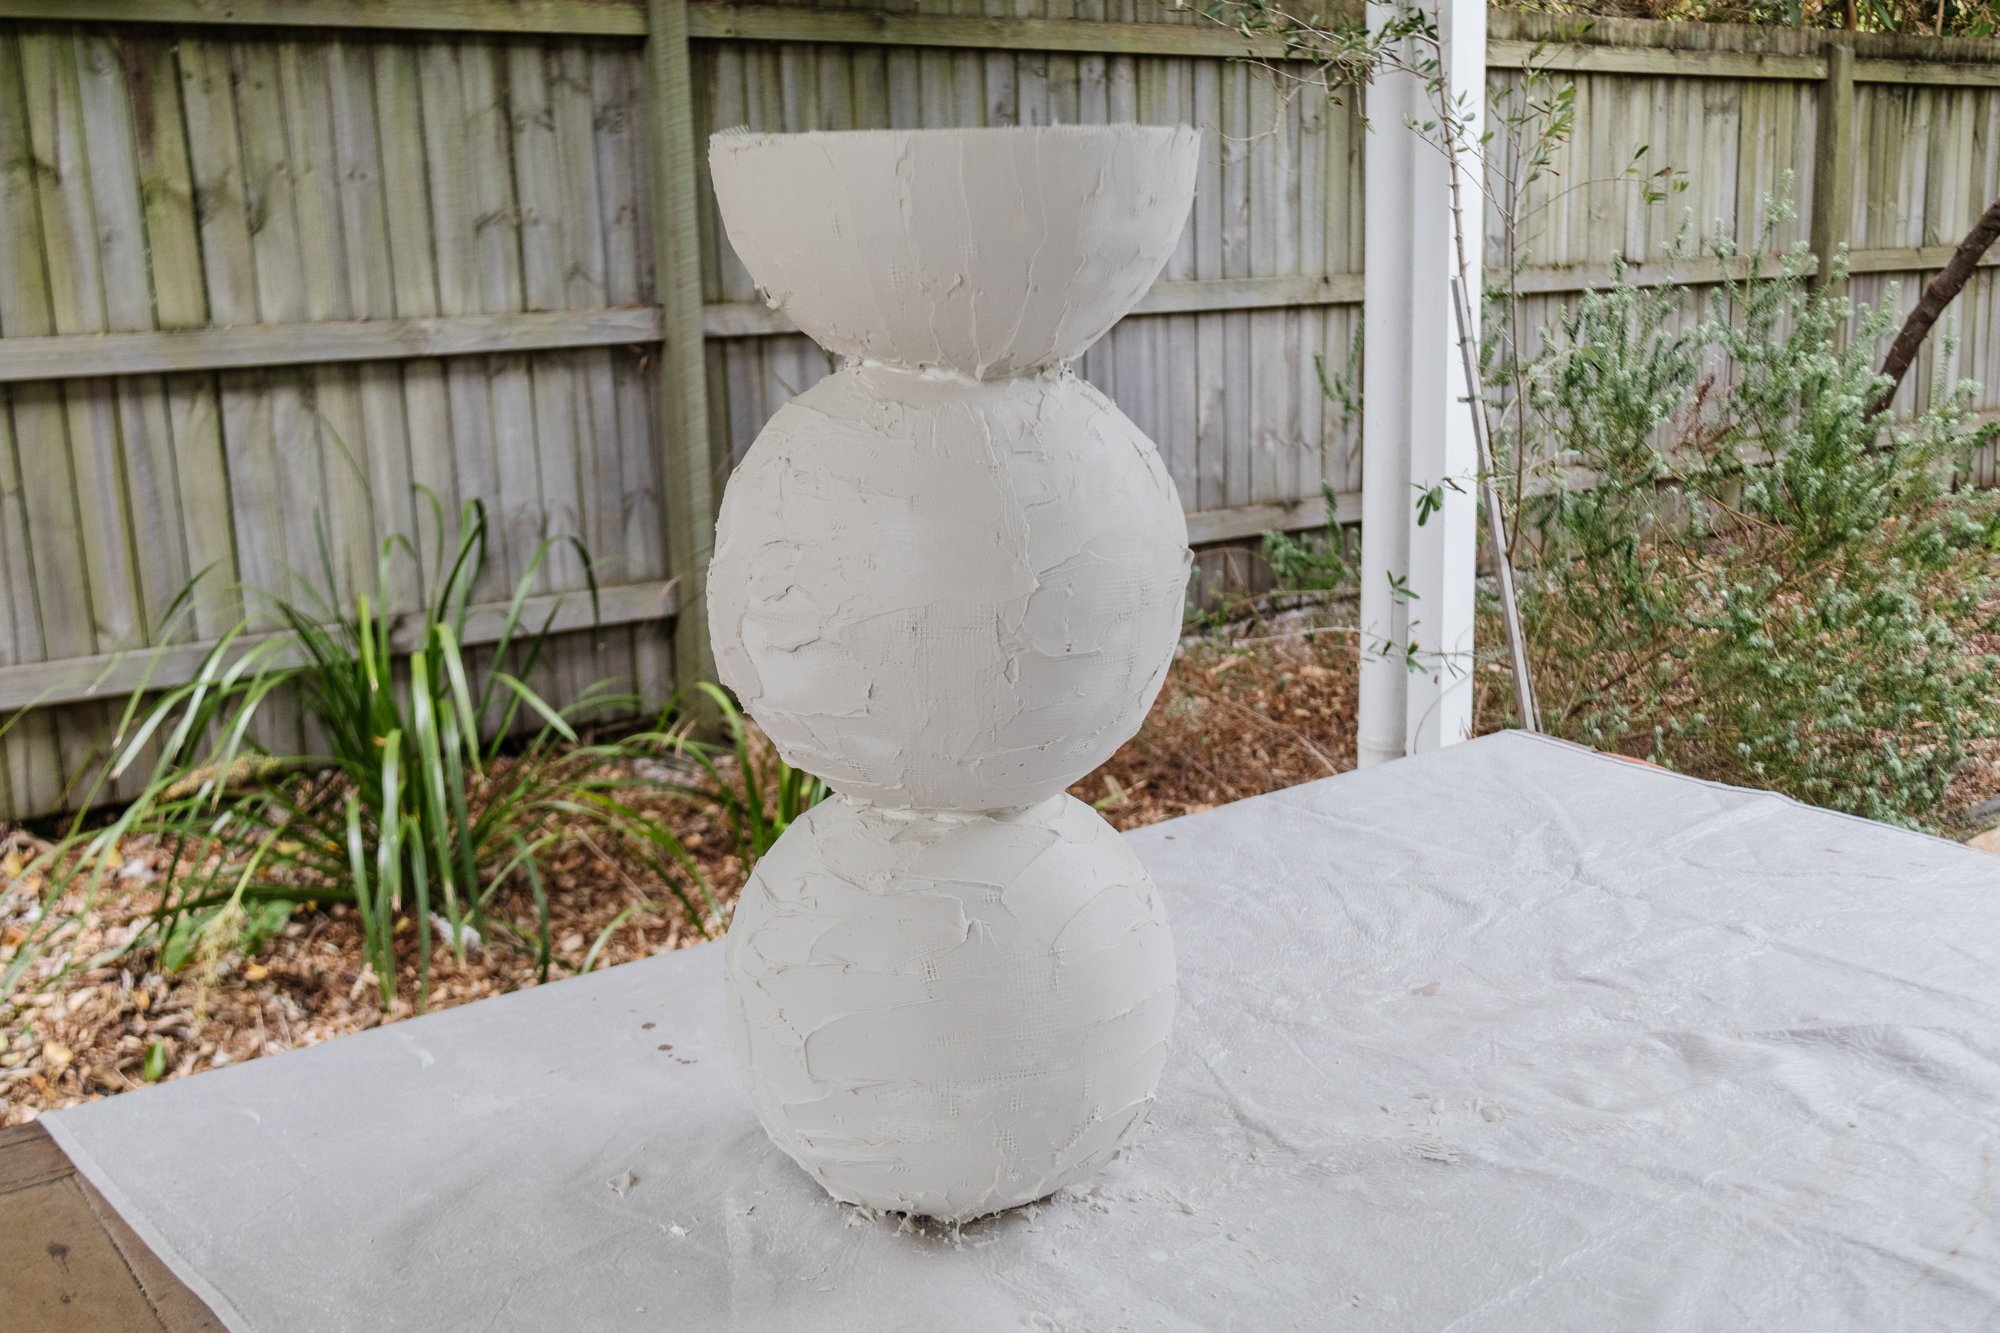
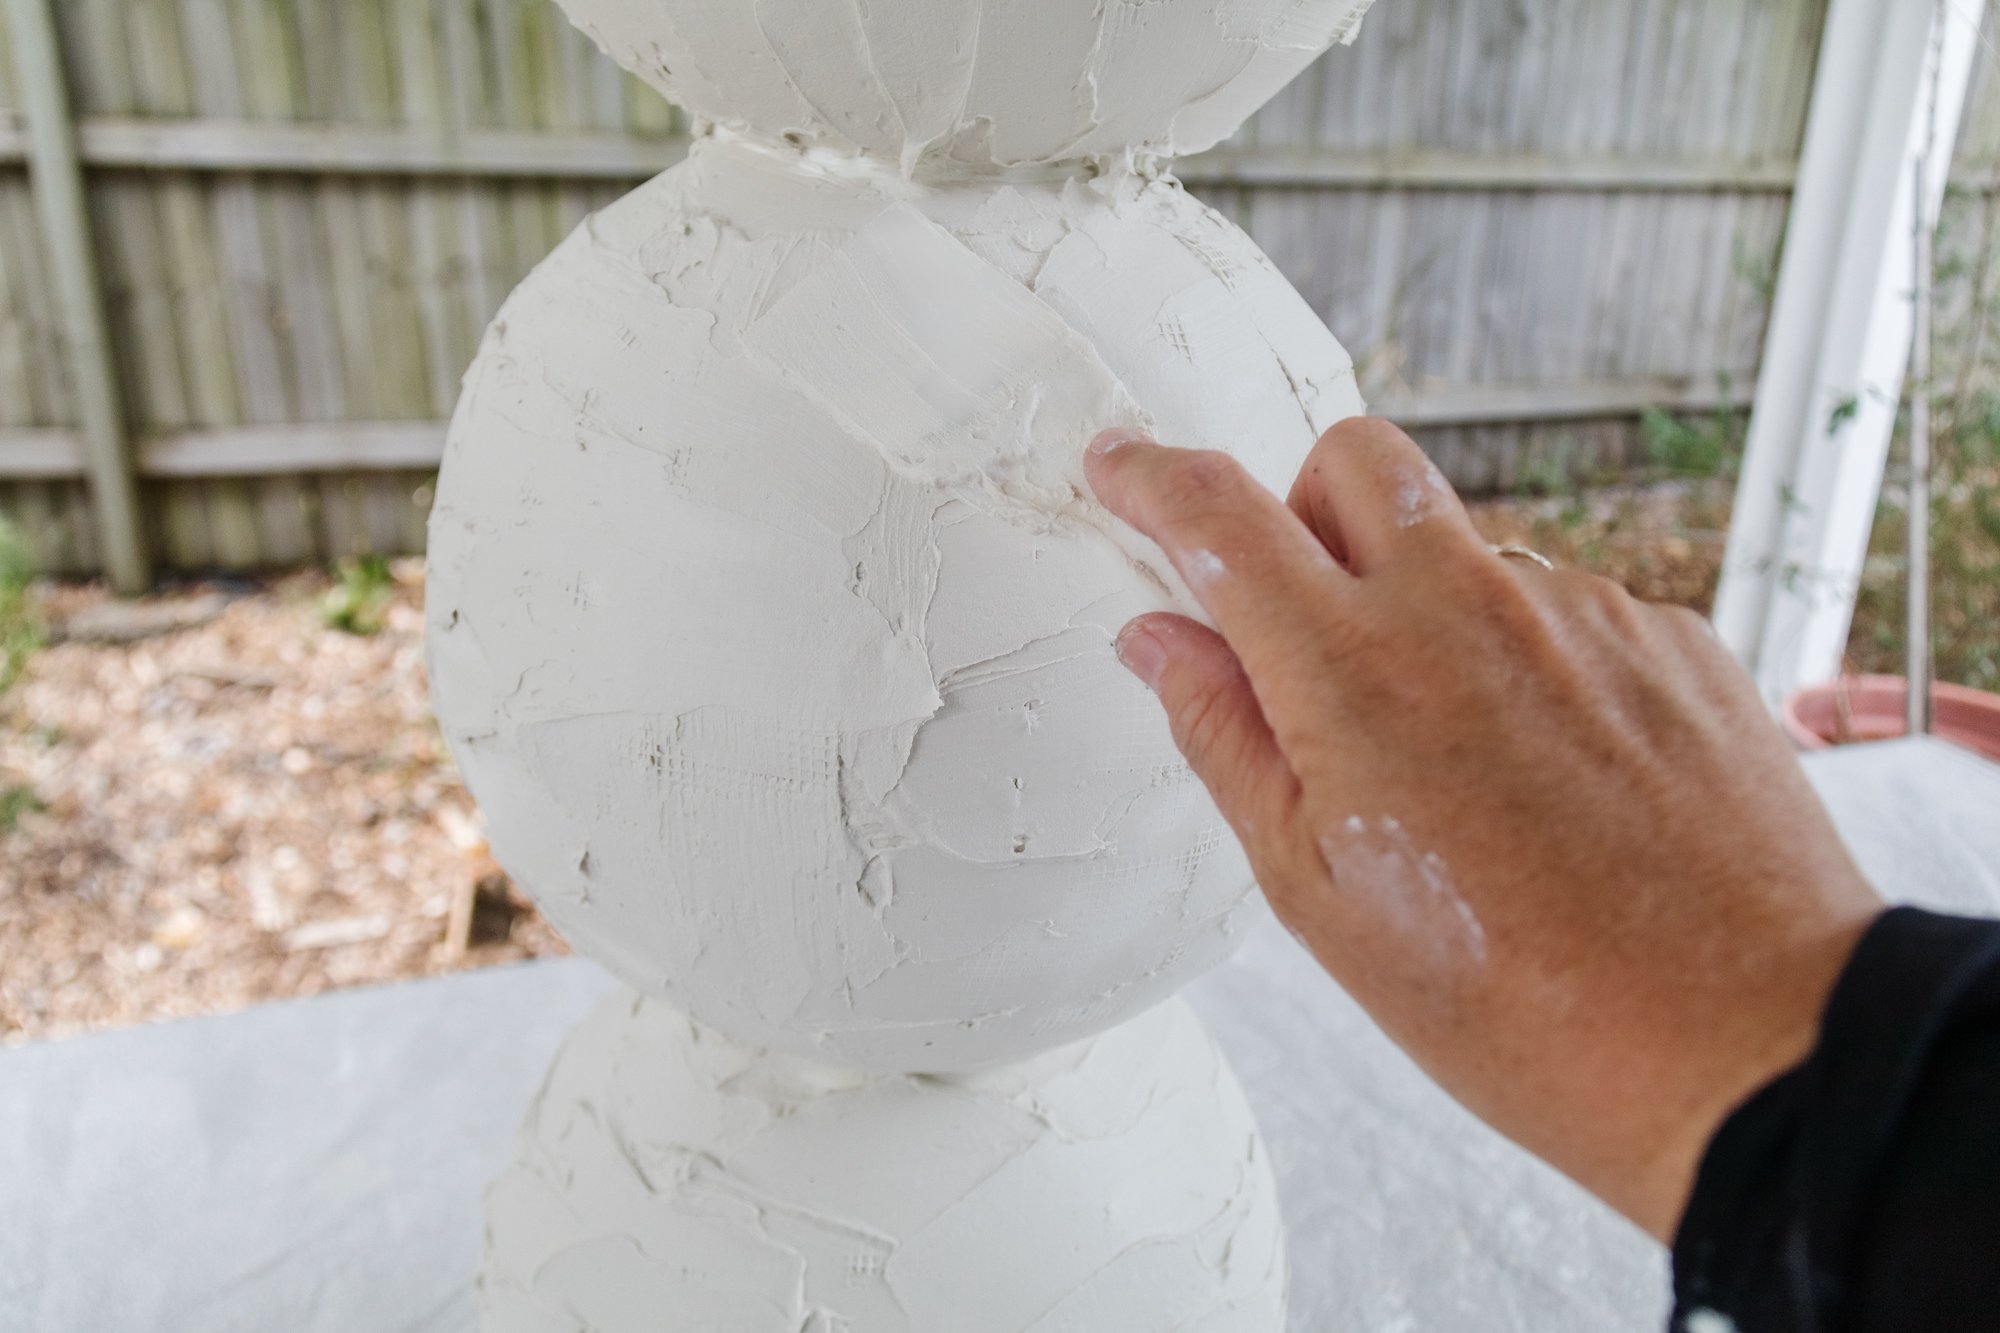
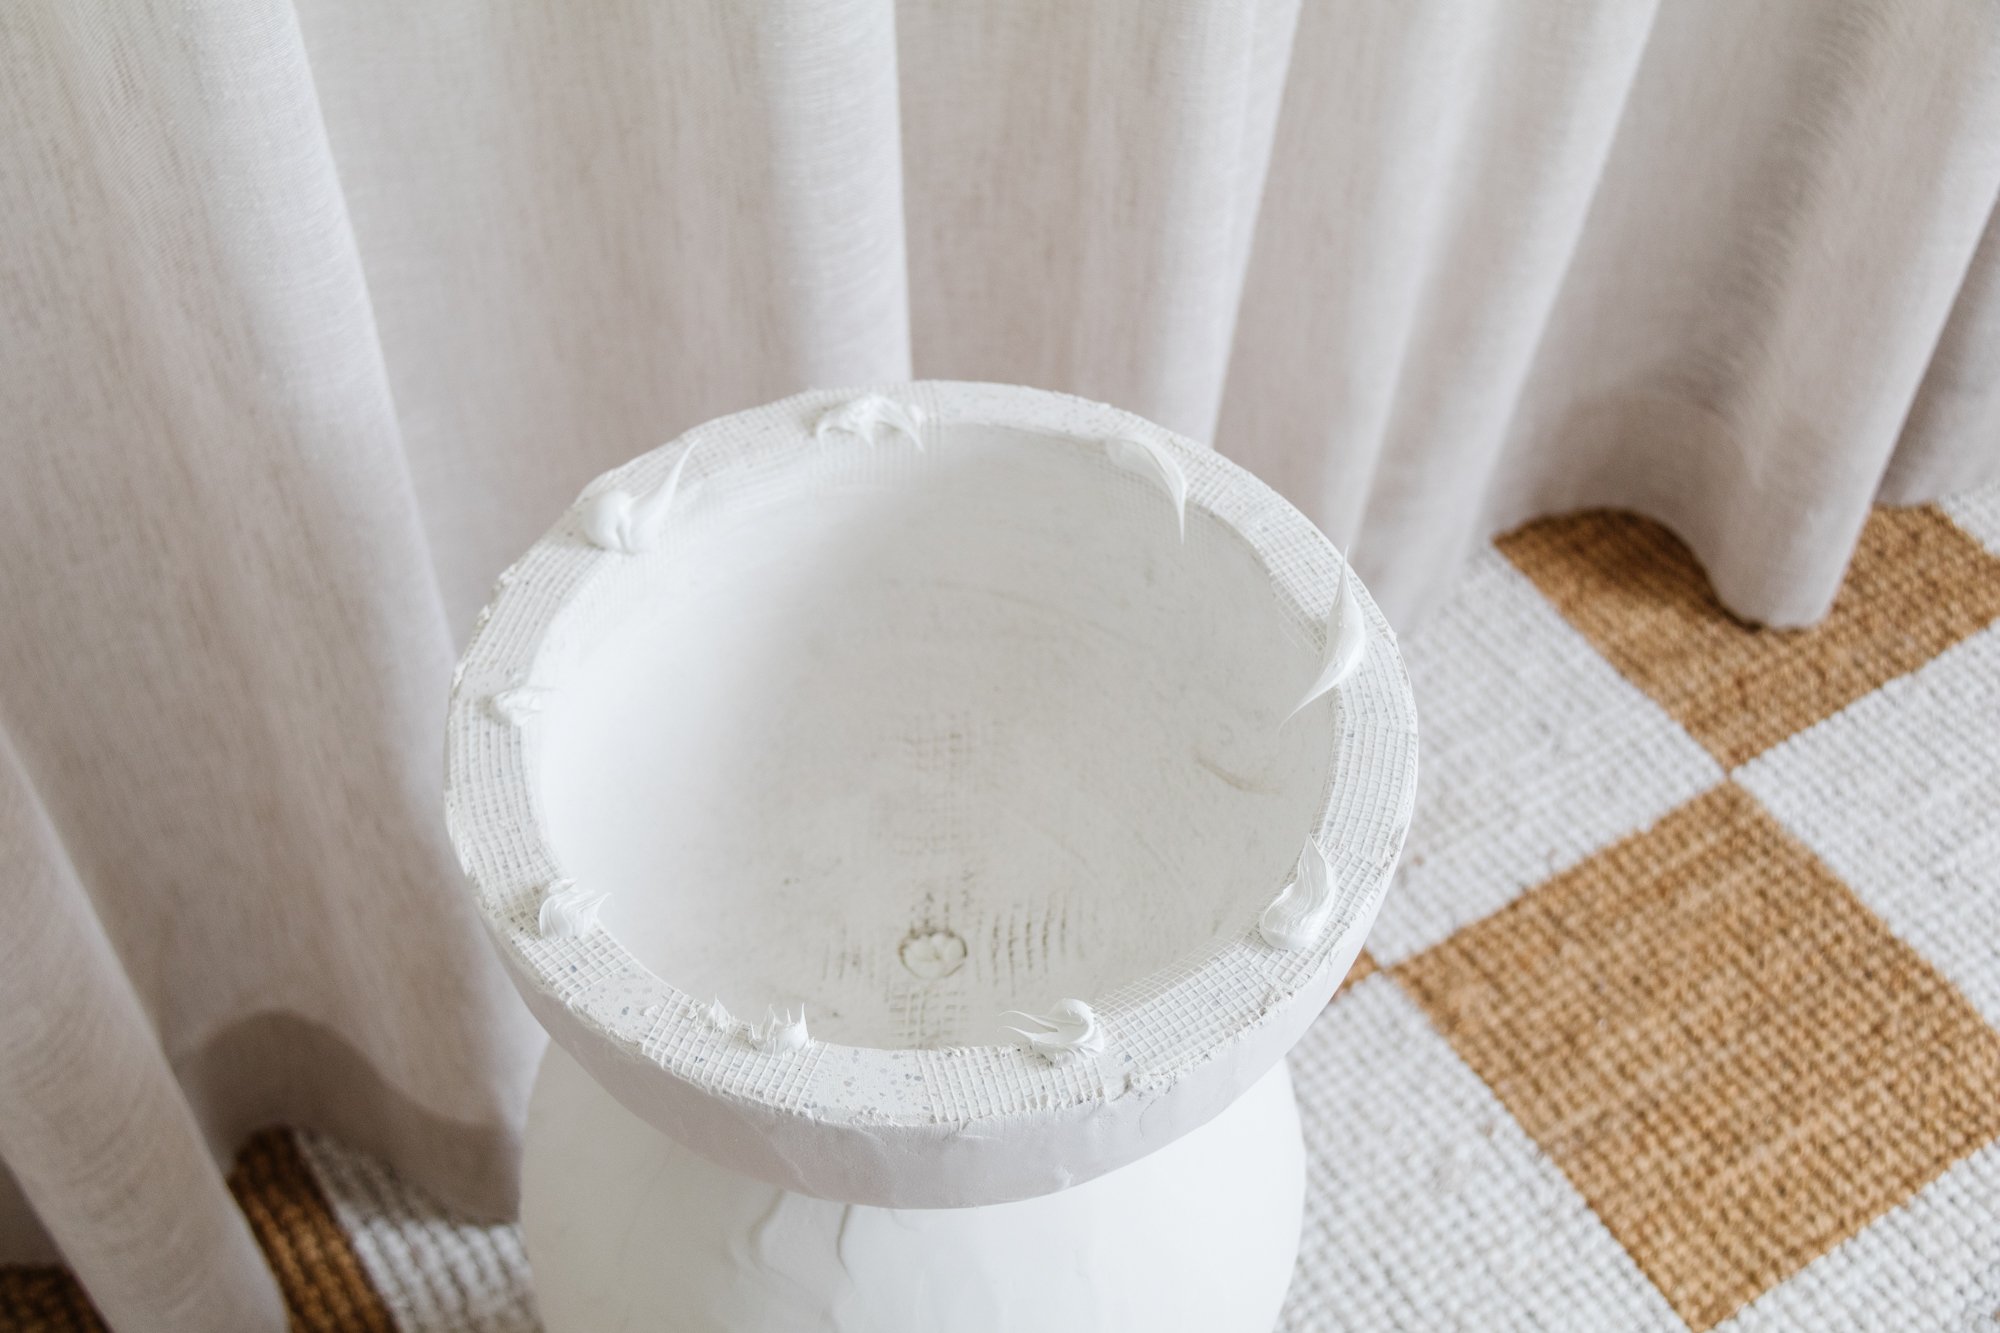
Step 1: To start, glue the tops of two plant pots together, then glue the remaining three on top as per the photos below and cover the sculptural base with plaster tape. Apply a thick coat of plaster using the plastic scraper making sure to completely hide the plaster tape. Set aside to completely dry. You may need to apply a couple of coats of plaster to well and truly hide the plaster tape.


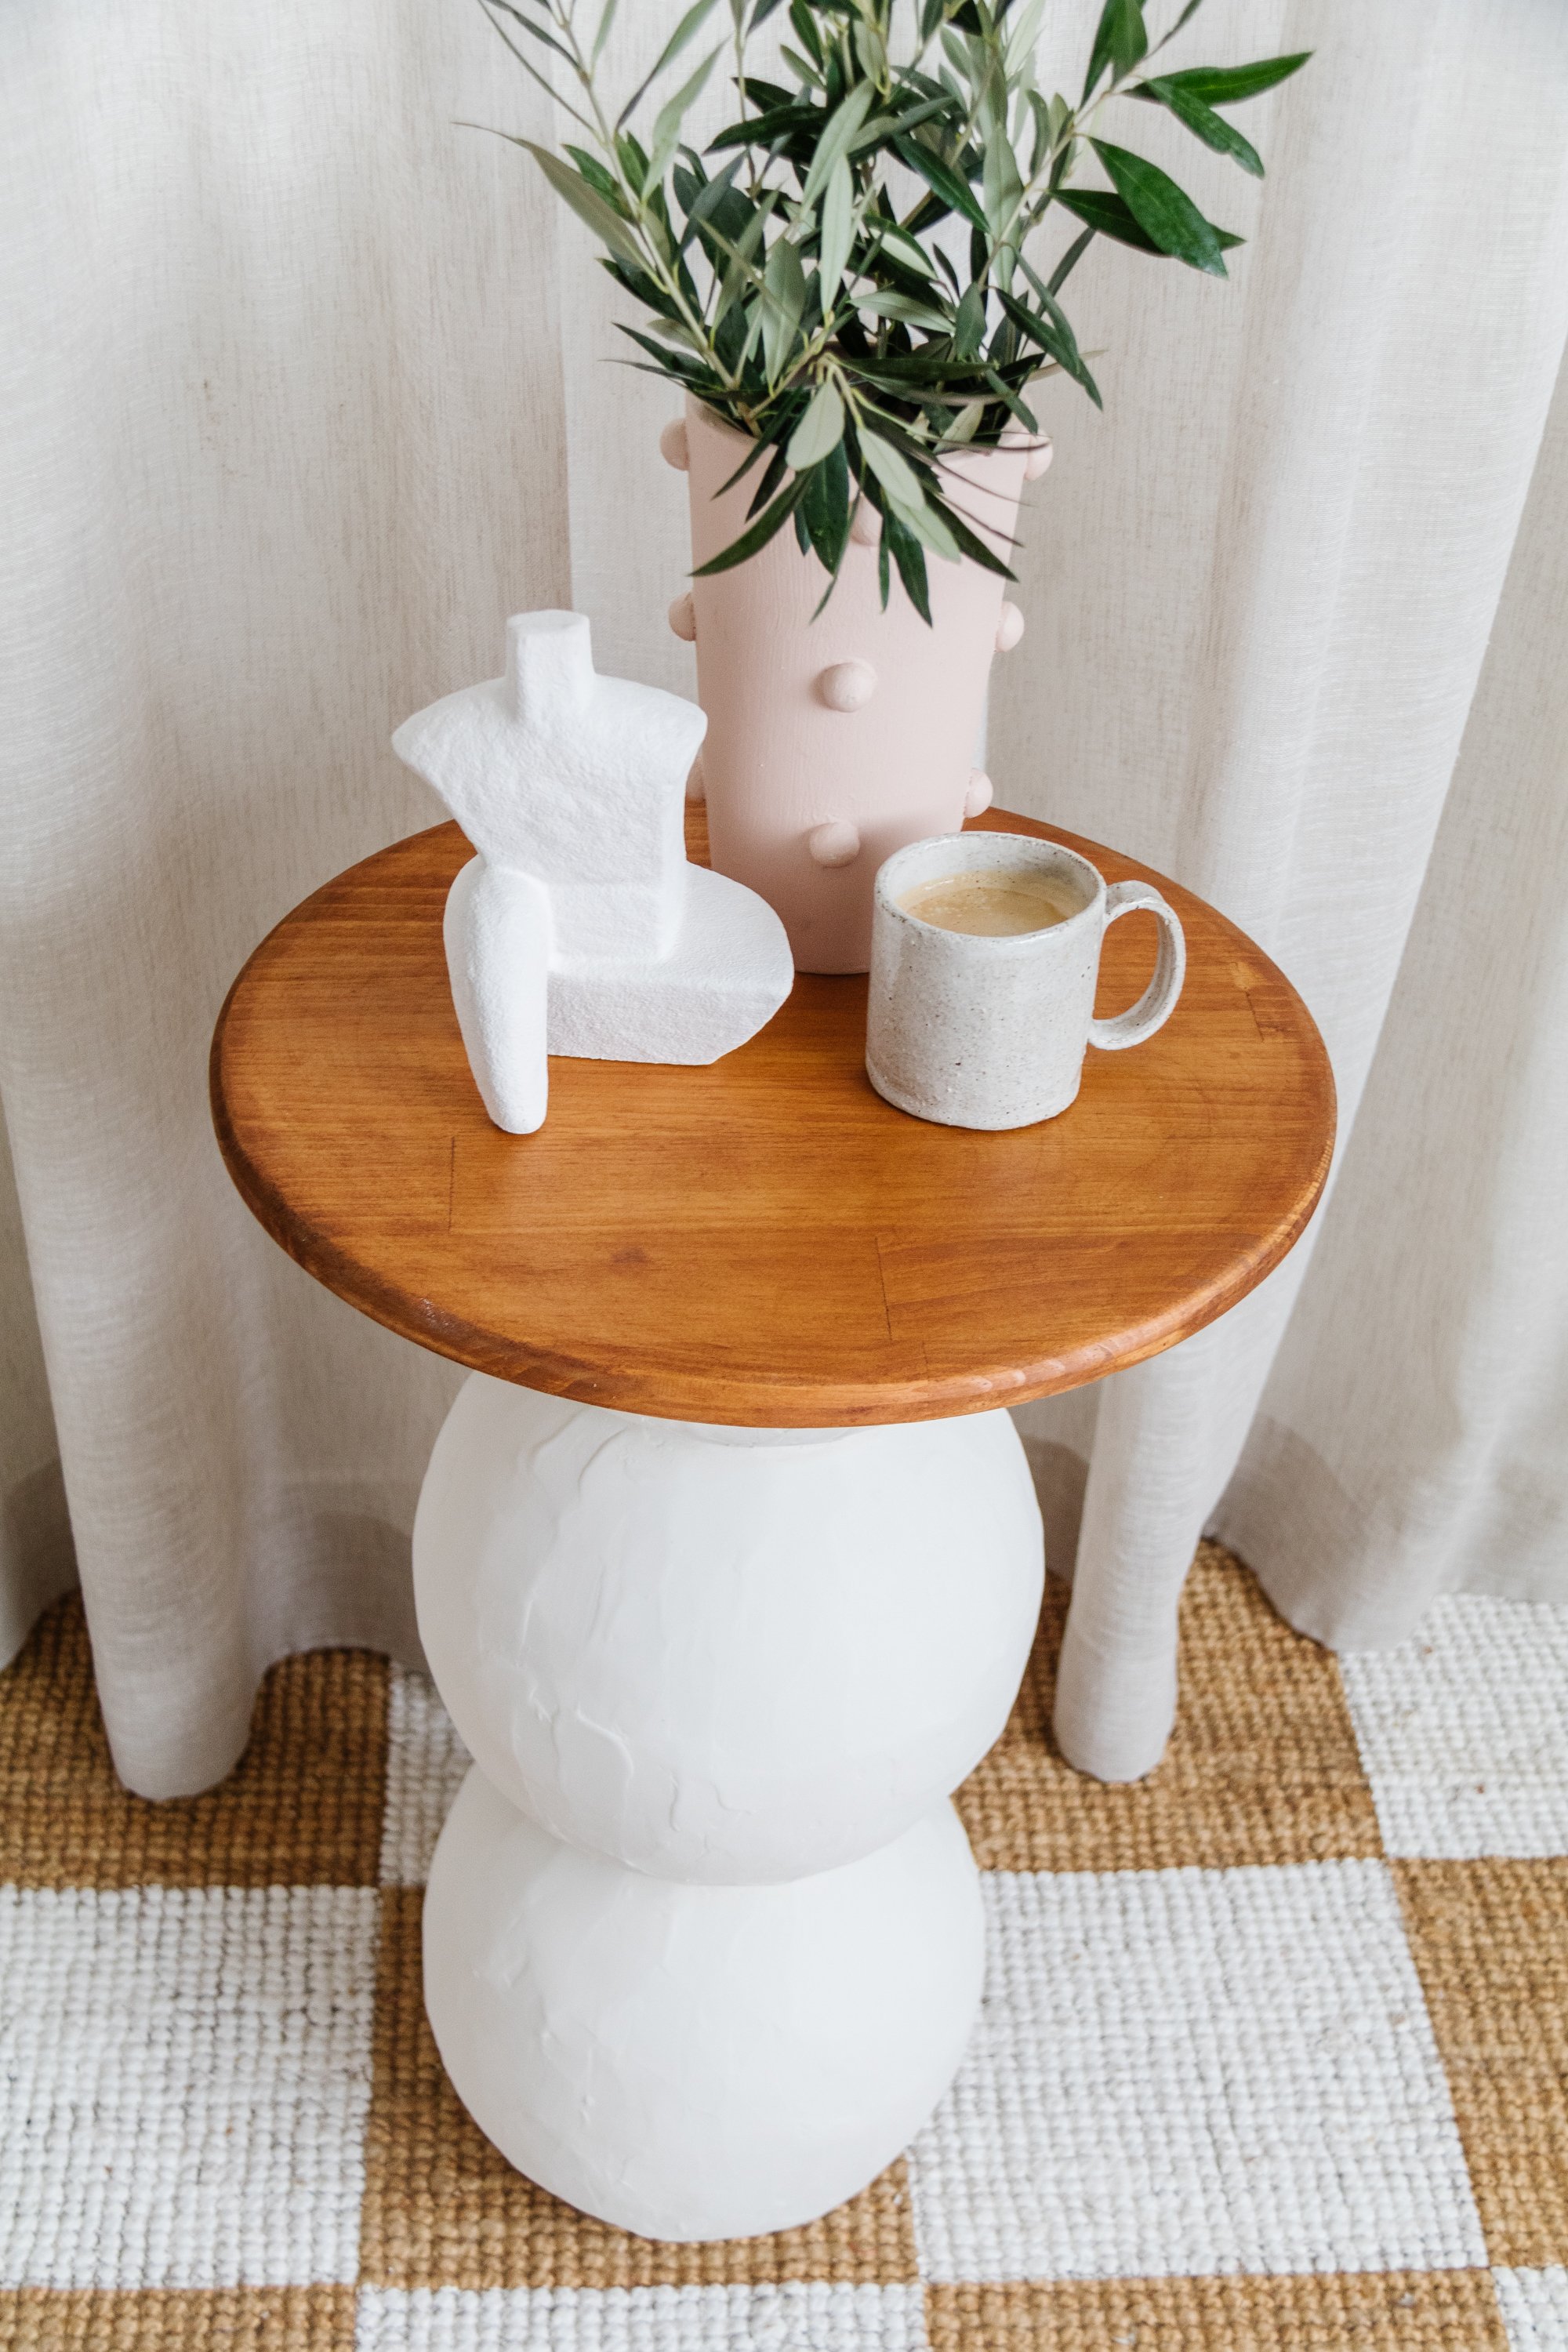
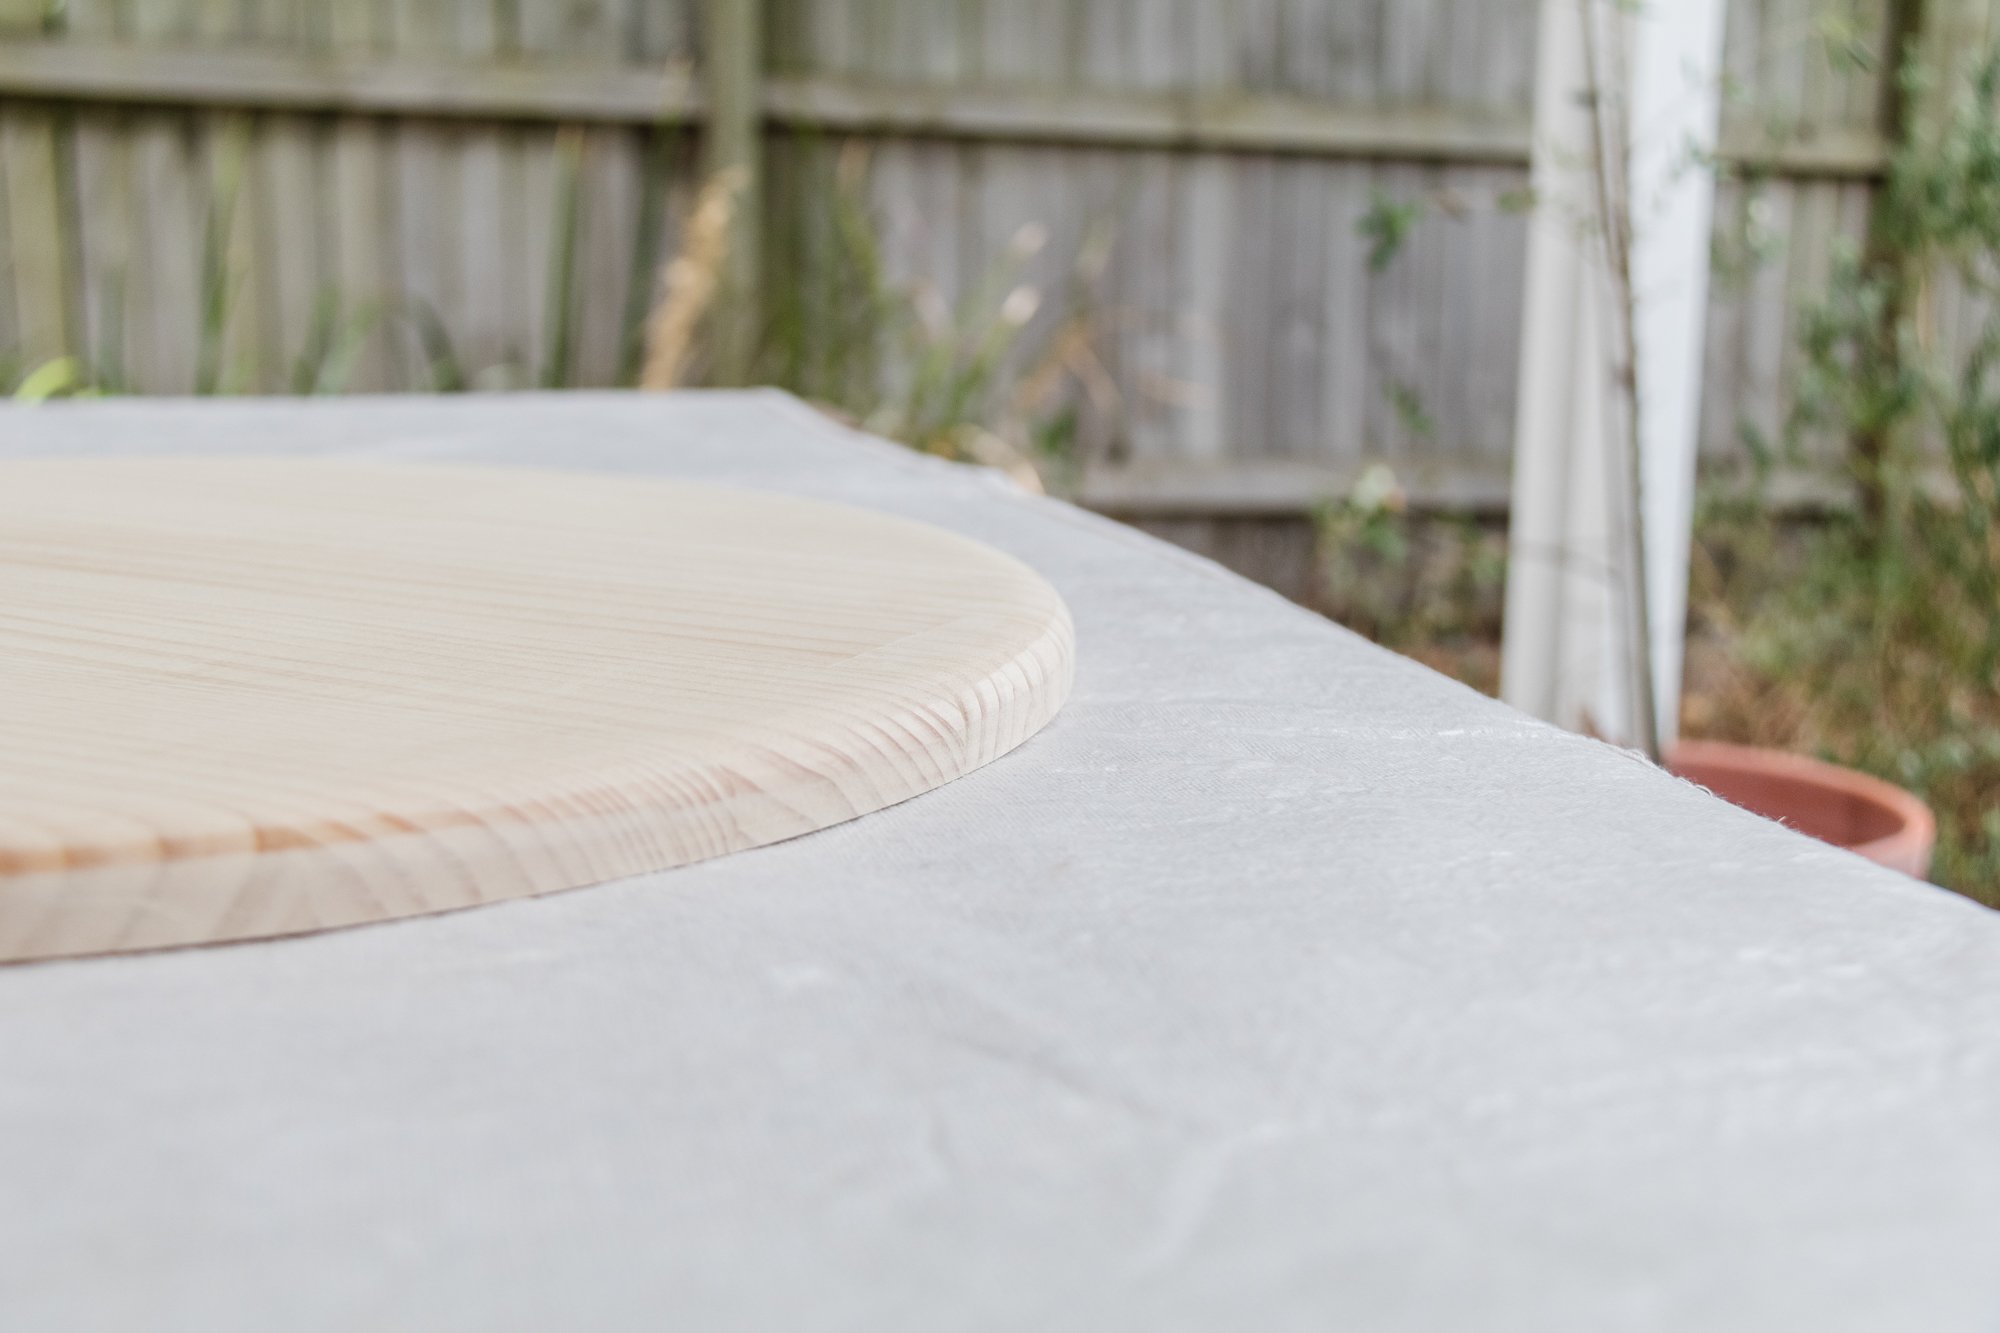
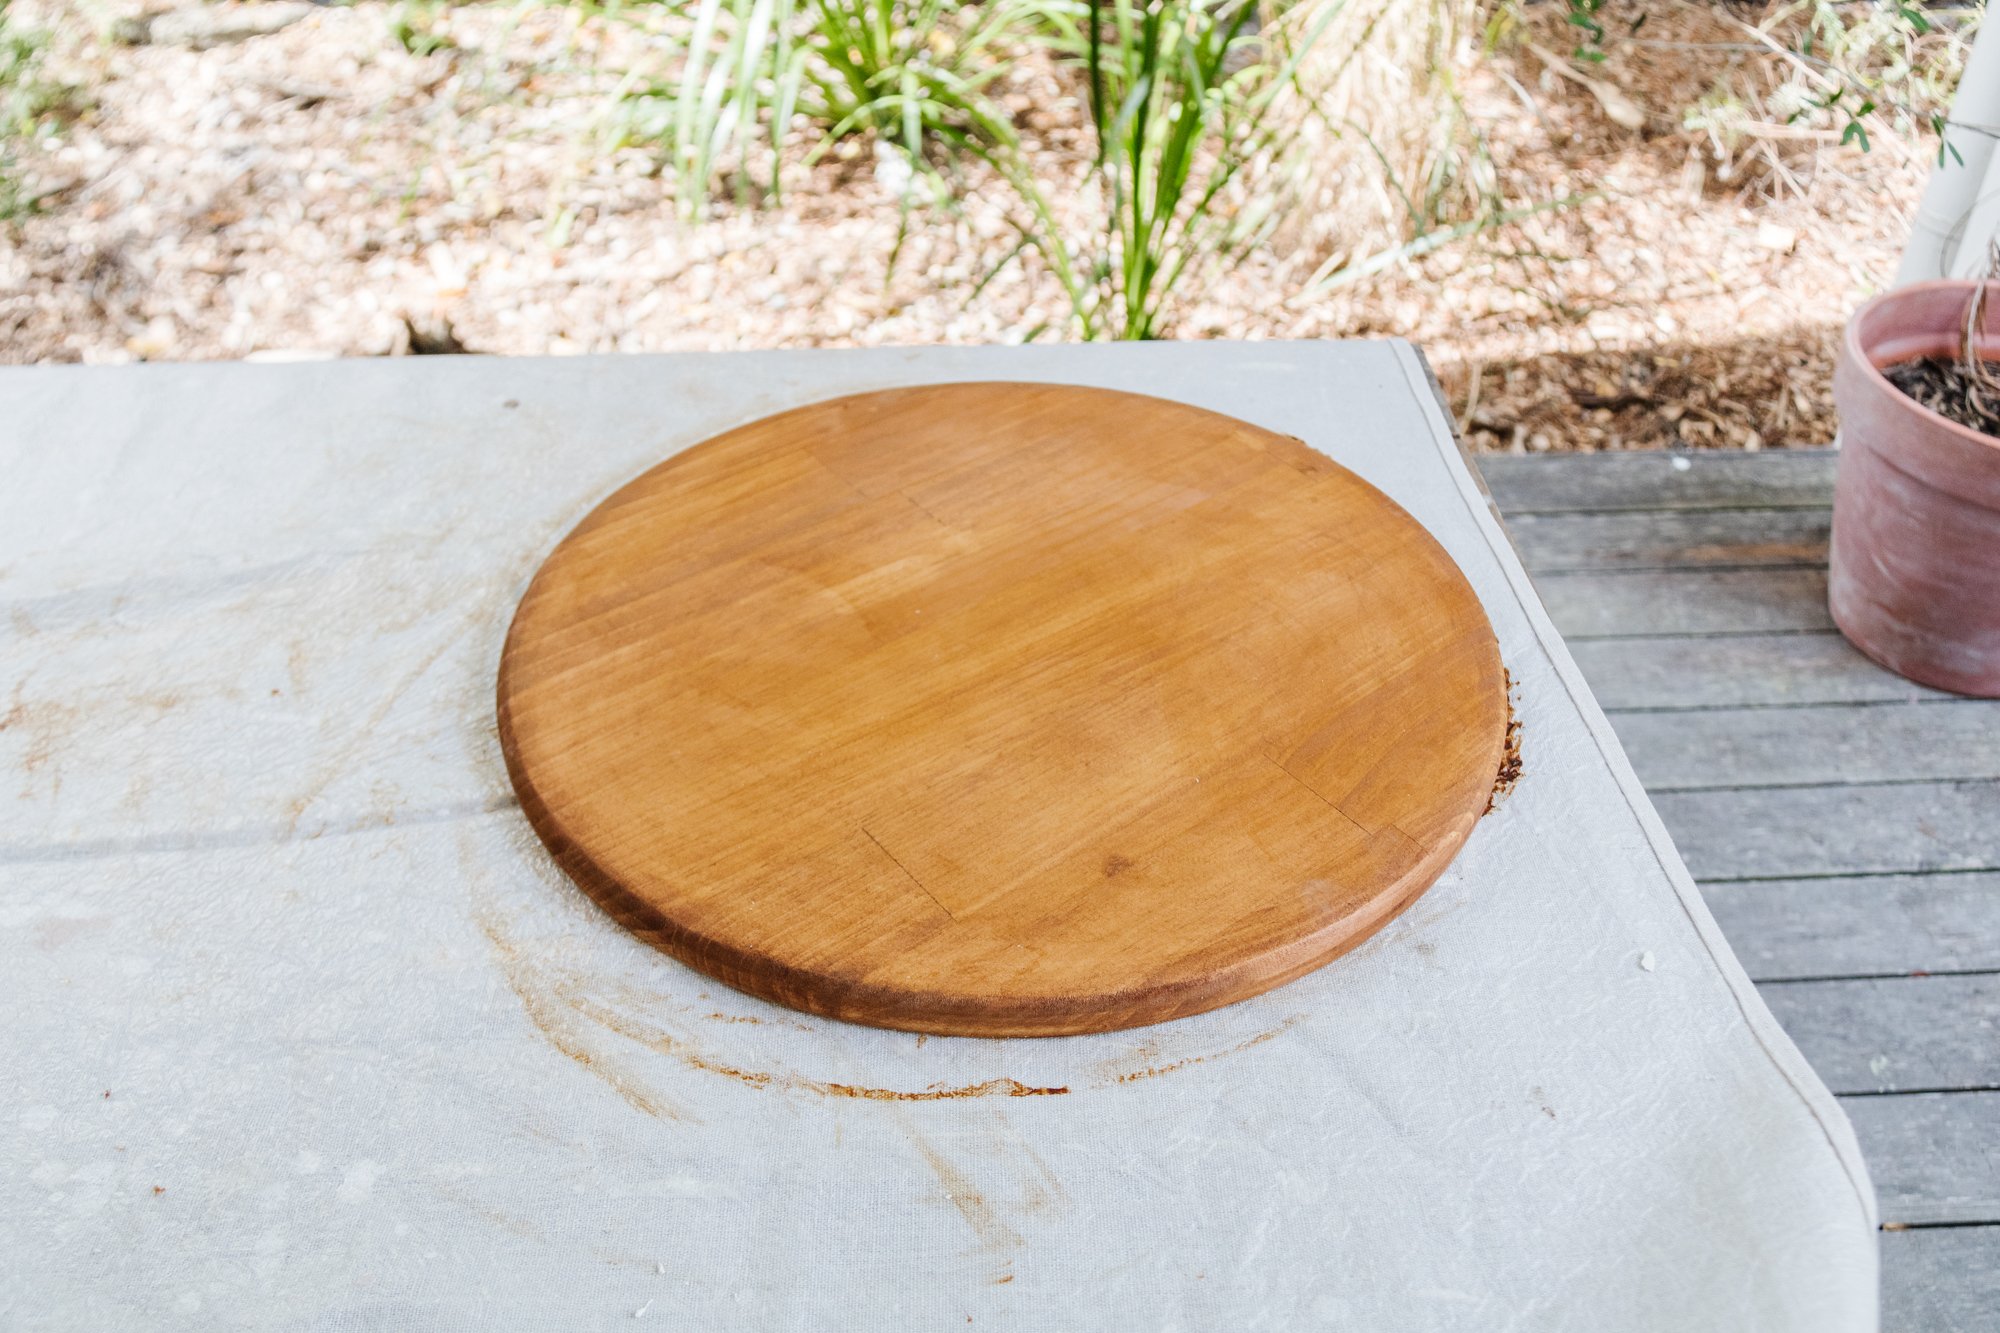
Step 2: This step is optional - while the plaster is drying, route the edges of the round pine panel to give it a rounded edge then apply a few coats of timber stain all over the pine panel (including underneath).
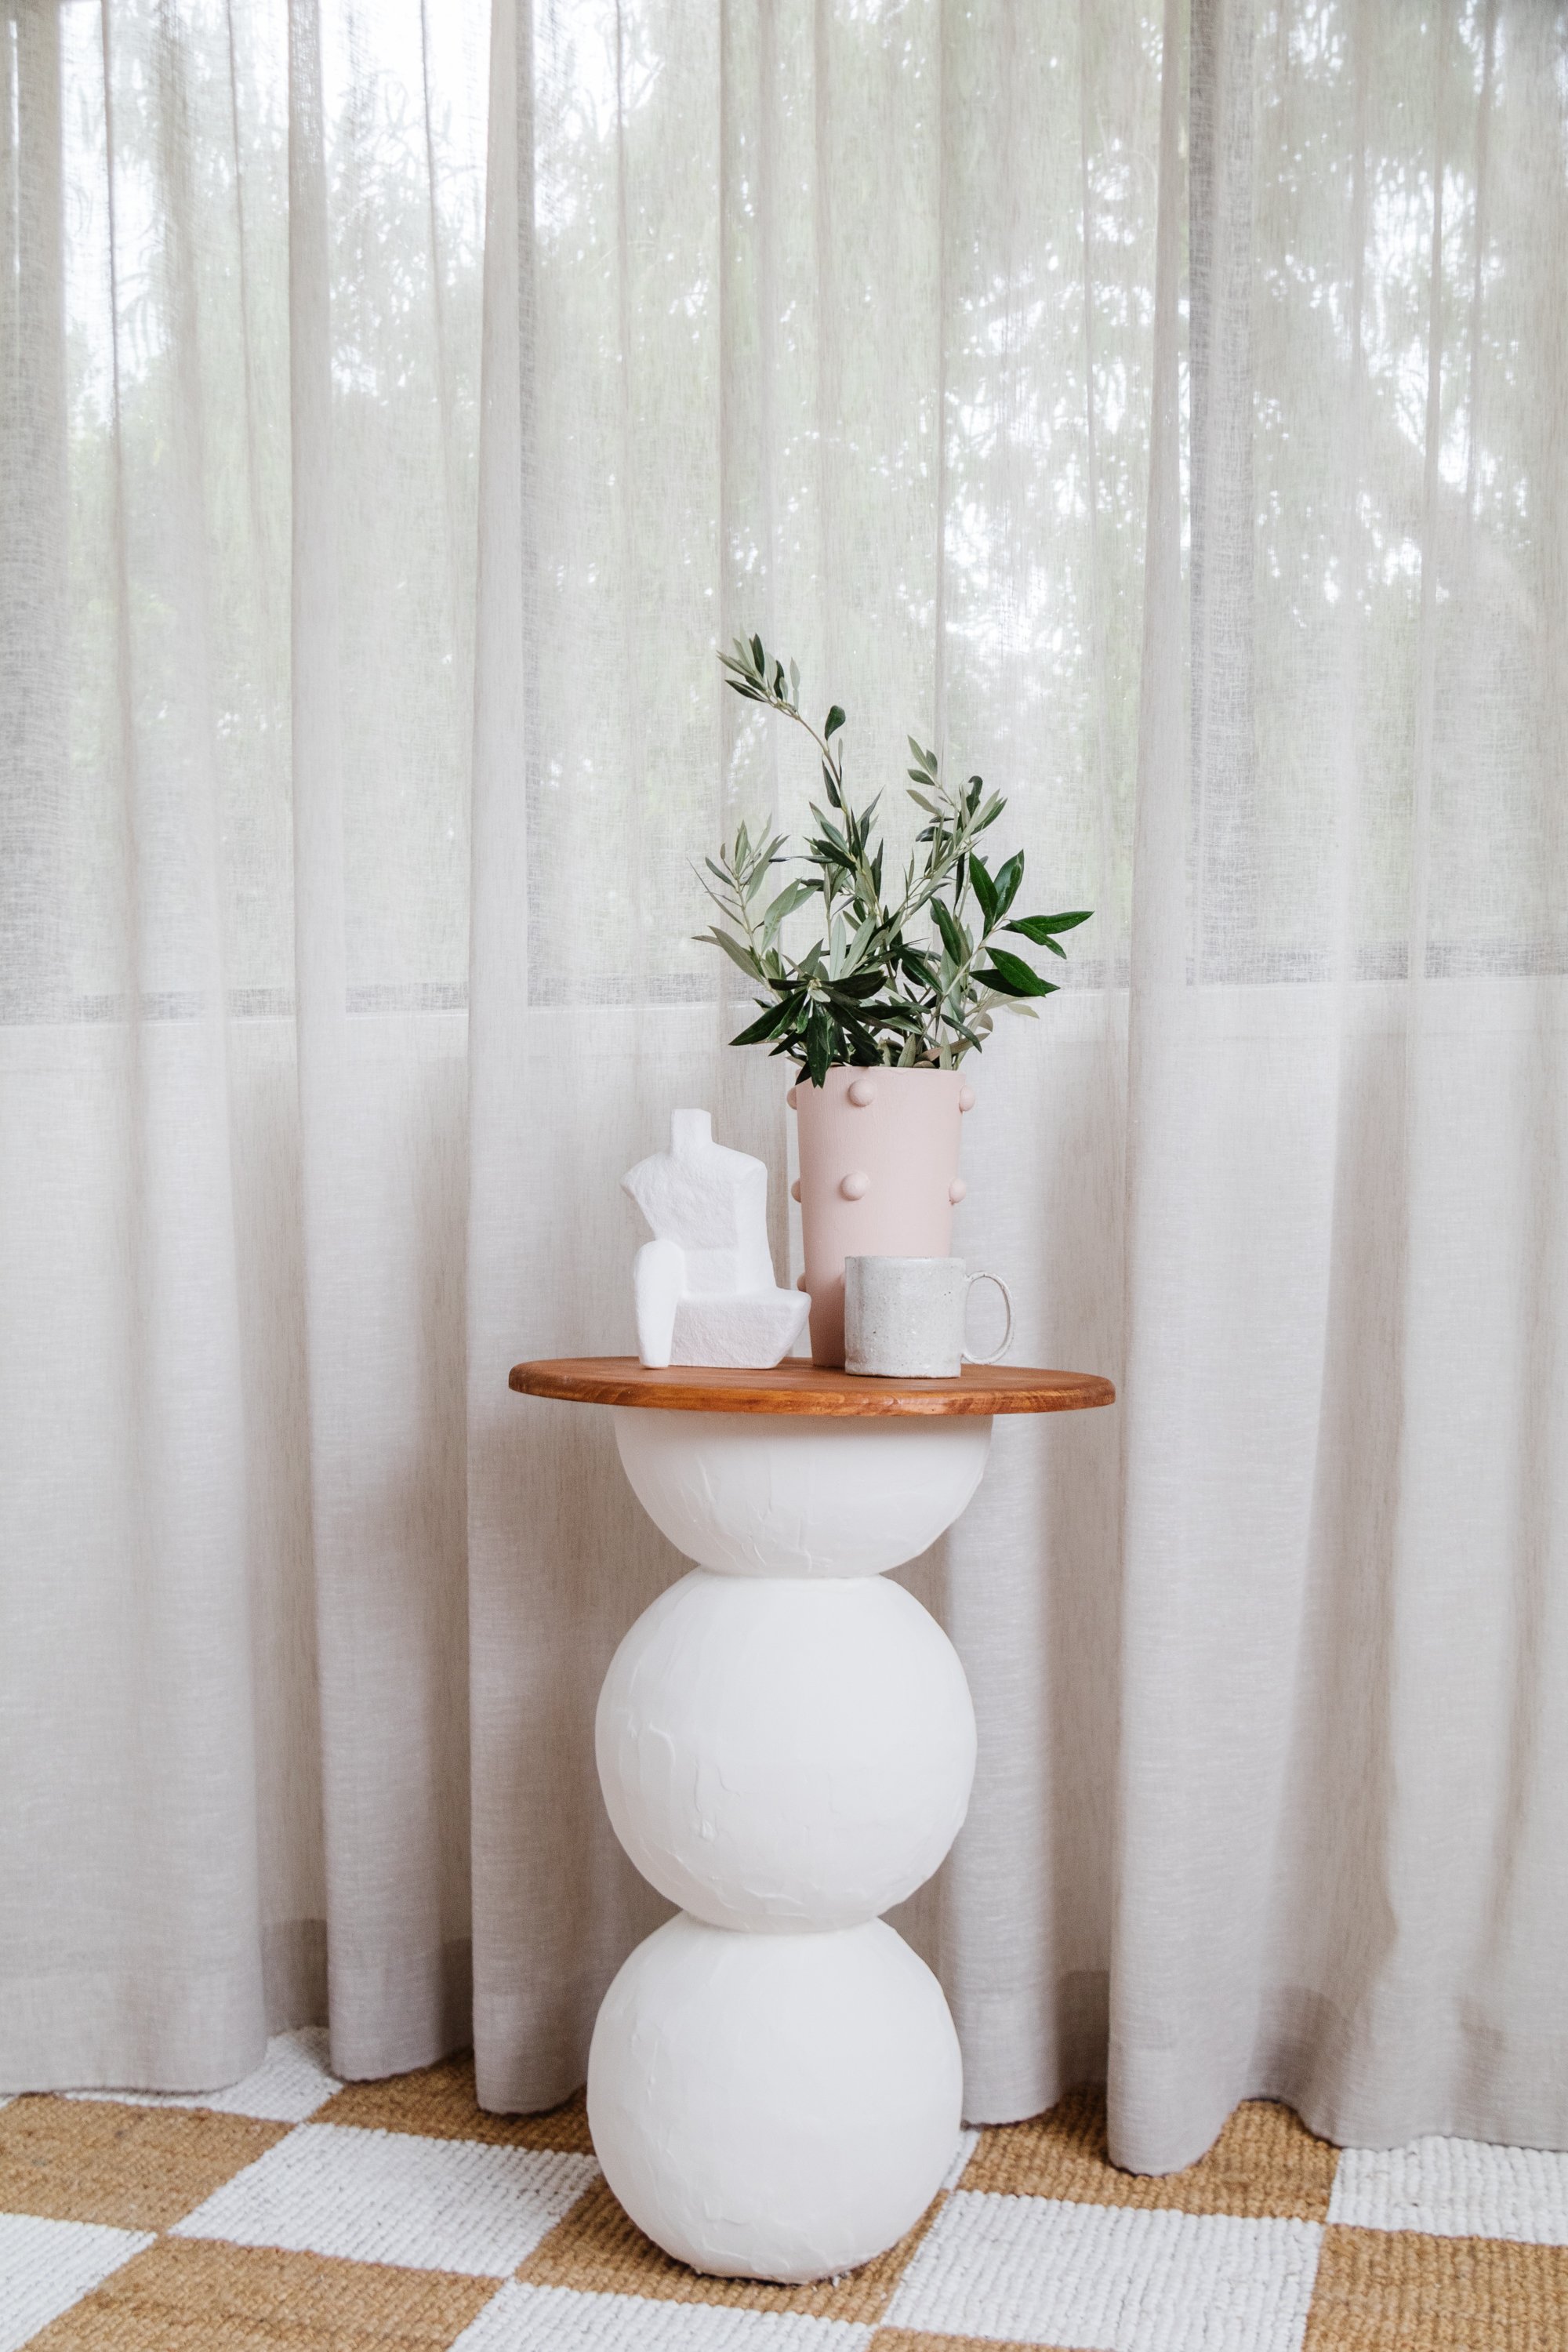
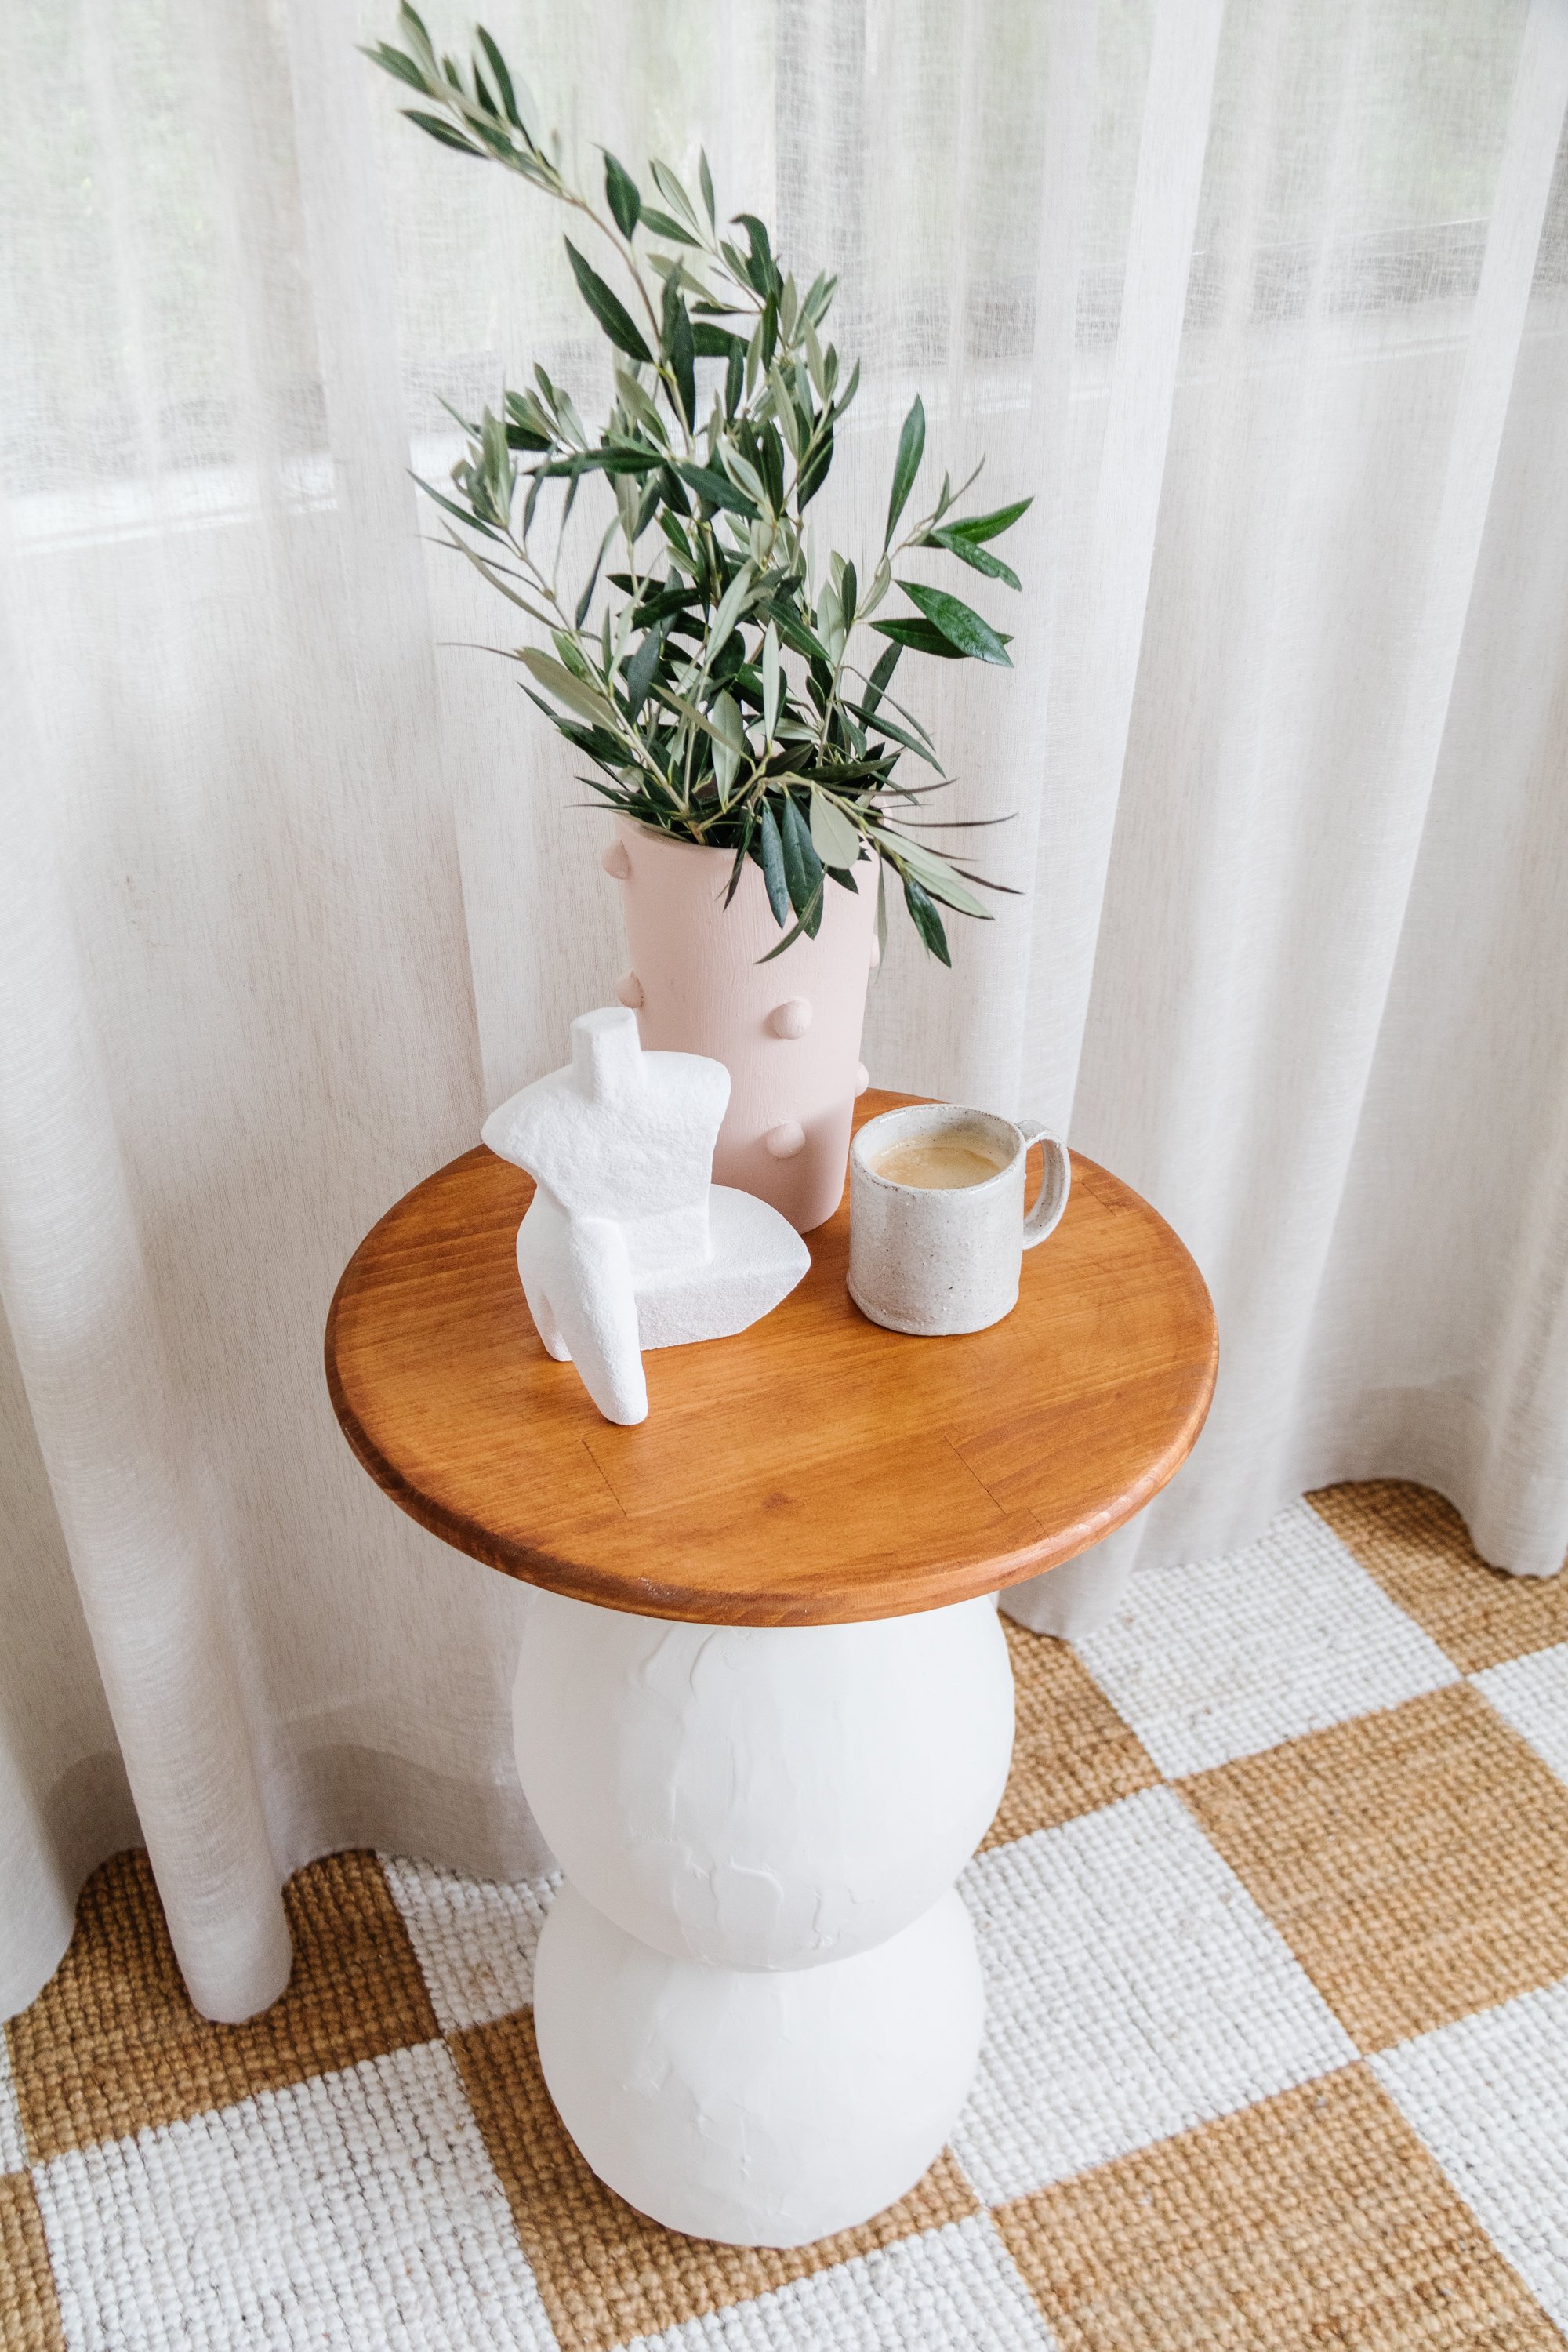
Step 4: When the plaster has dried, lightly sand it using a sanding sponge then glue the stained timber panel on top.


Ta daaaa! There is no better feeling making a piece of furniture from scratch using unexpected materials.
I hope you feel inspired to make your own sculptural ball side table. You could use bowls to create the ball feature, but the plant pots happened to be a stroke of luck - because they’re made from concrete, they’re very sturdy and durable. There are so many possibilities with this project - you can use angular pots instead of rounded ones like I used, you could use bowls instead of pots, you can create a square, racetrack or rectangle tabletop with a rounded or straight edge, you could paint the plaster, or even paint stripes! The best thing about this project is that you can truly make it your own, to suit your own home. And how good is that?