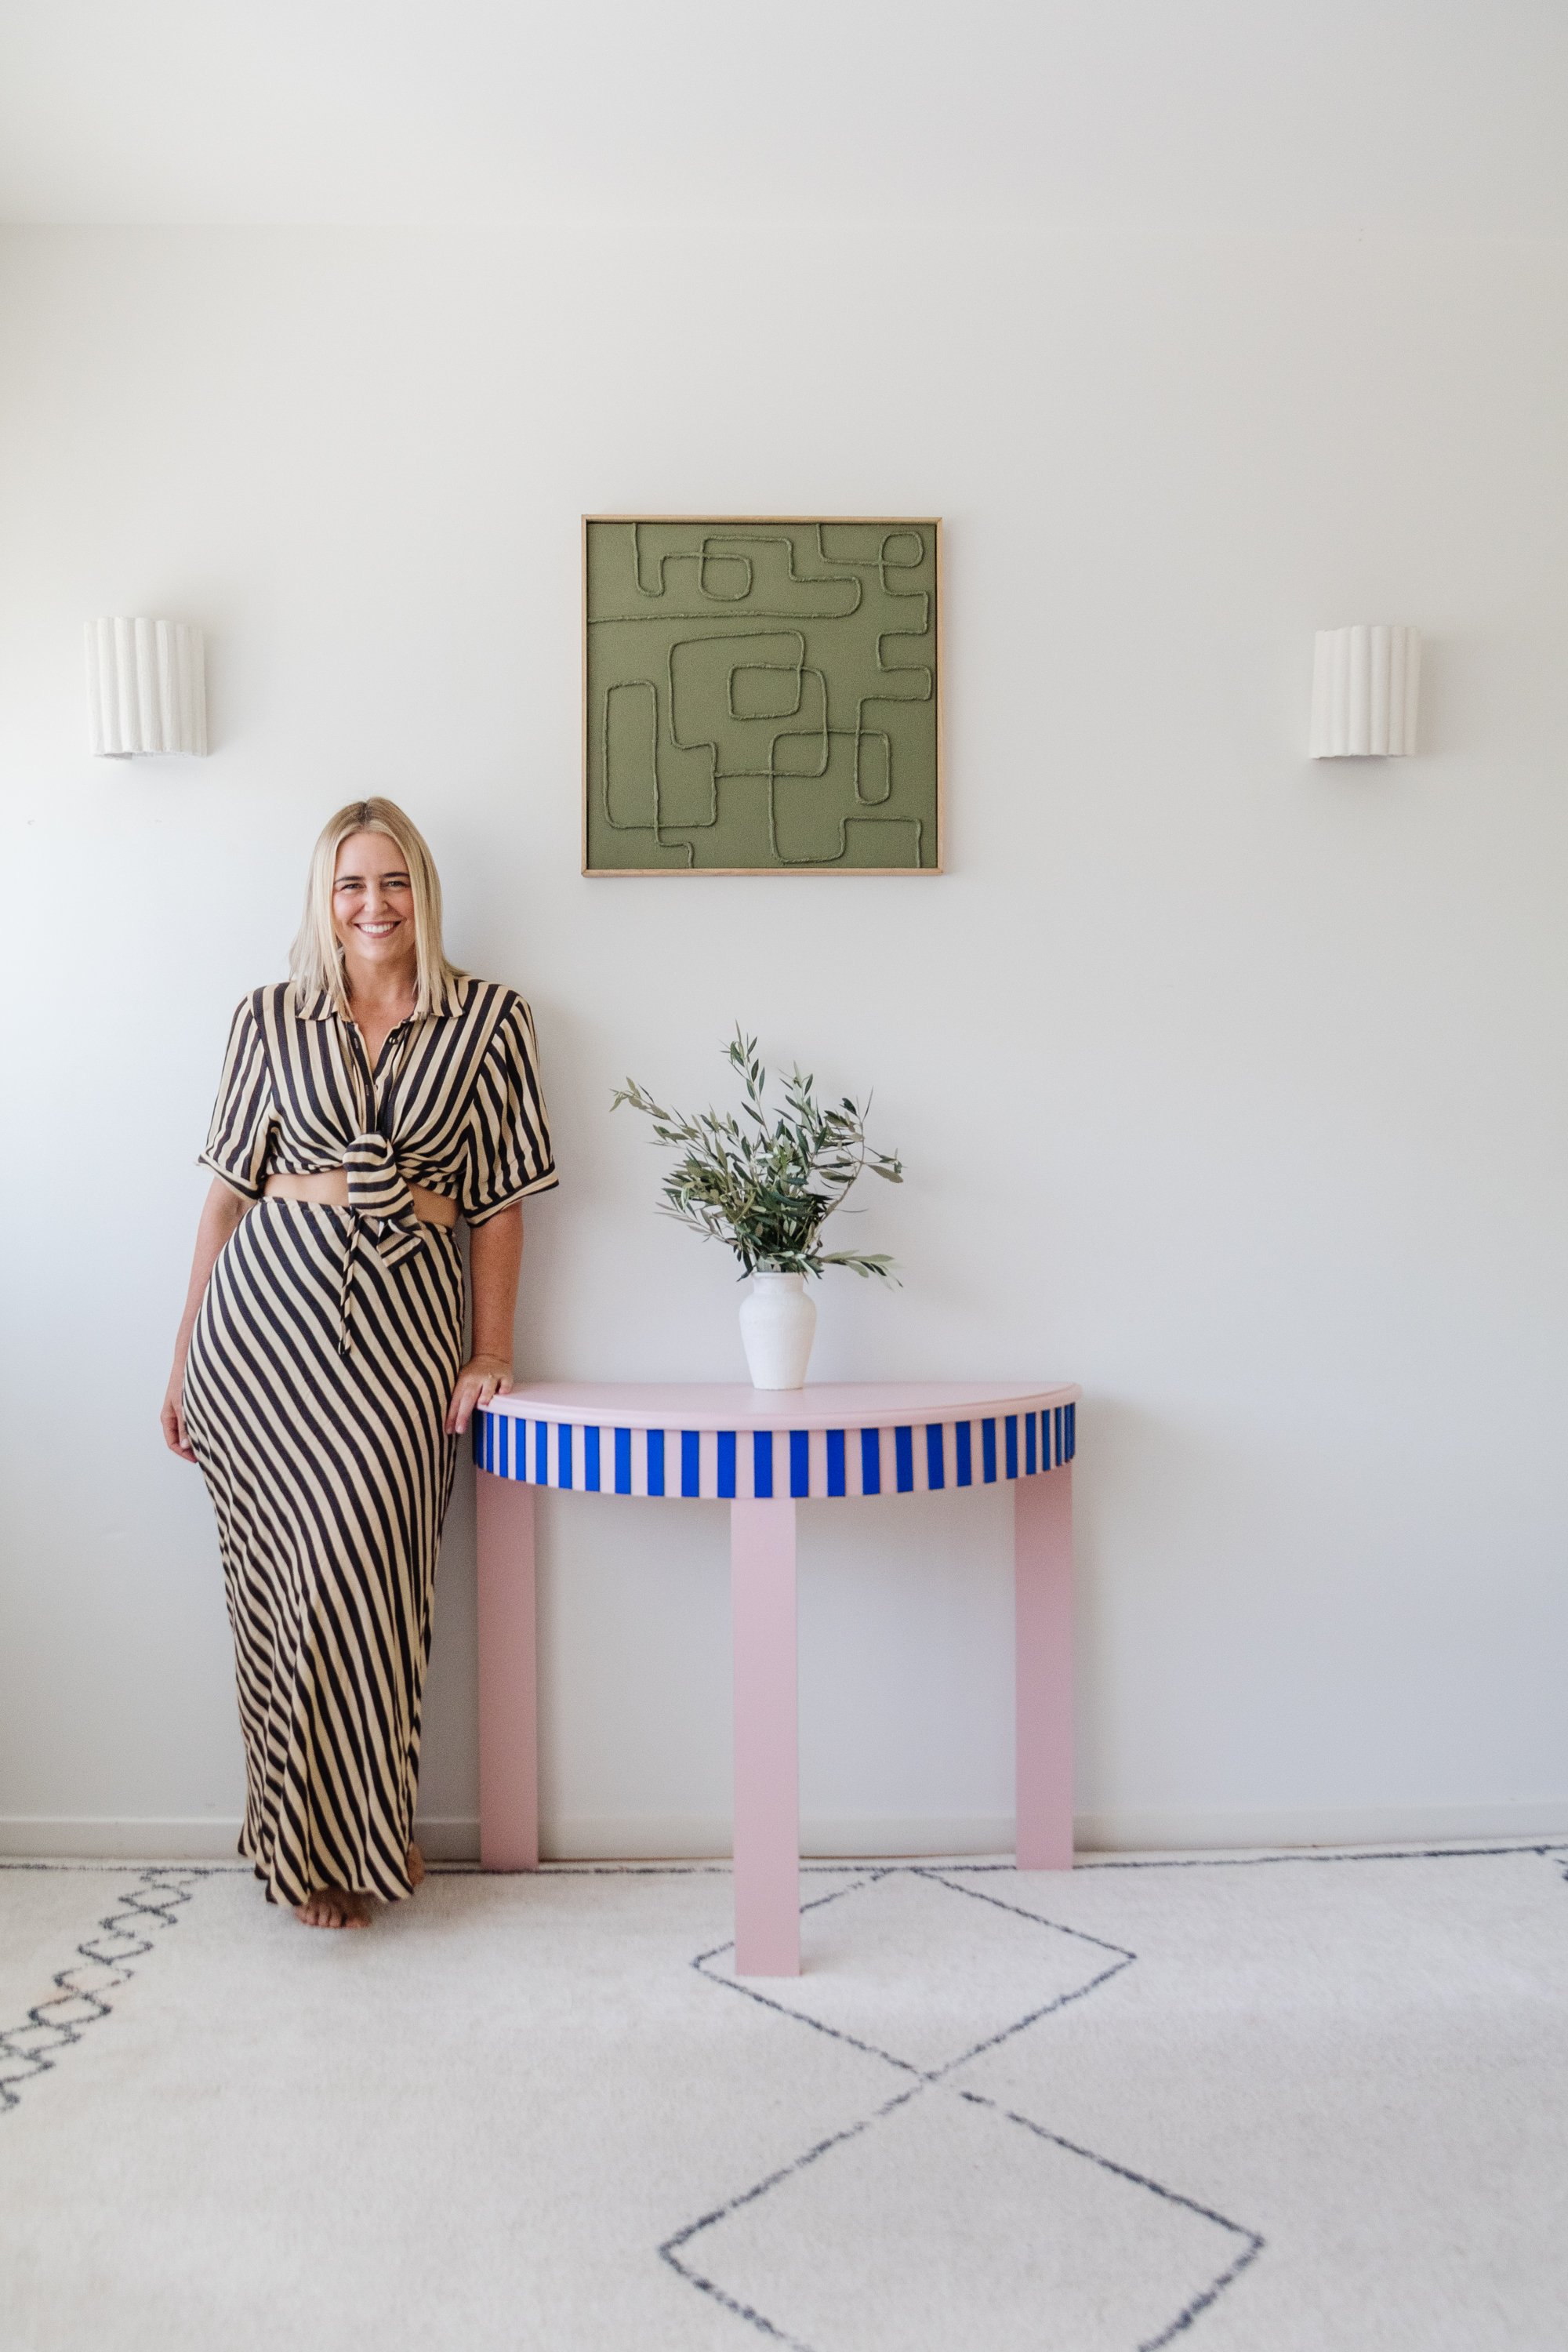
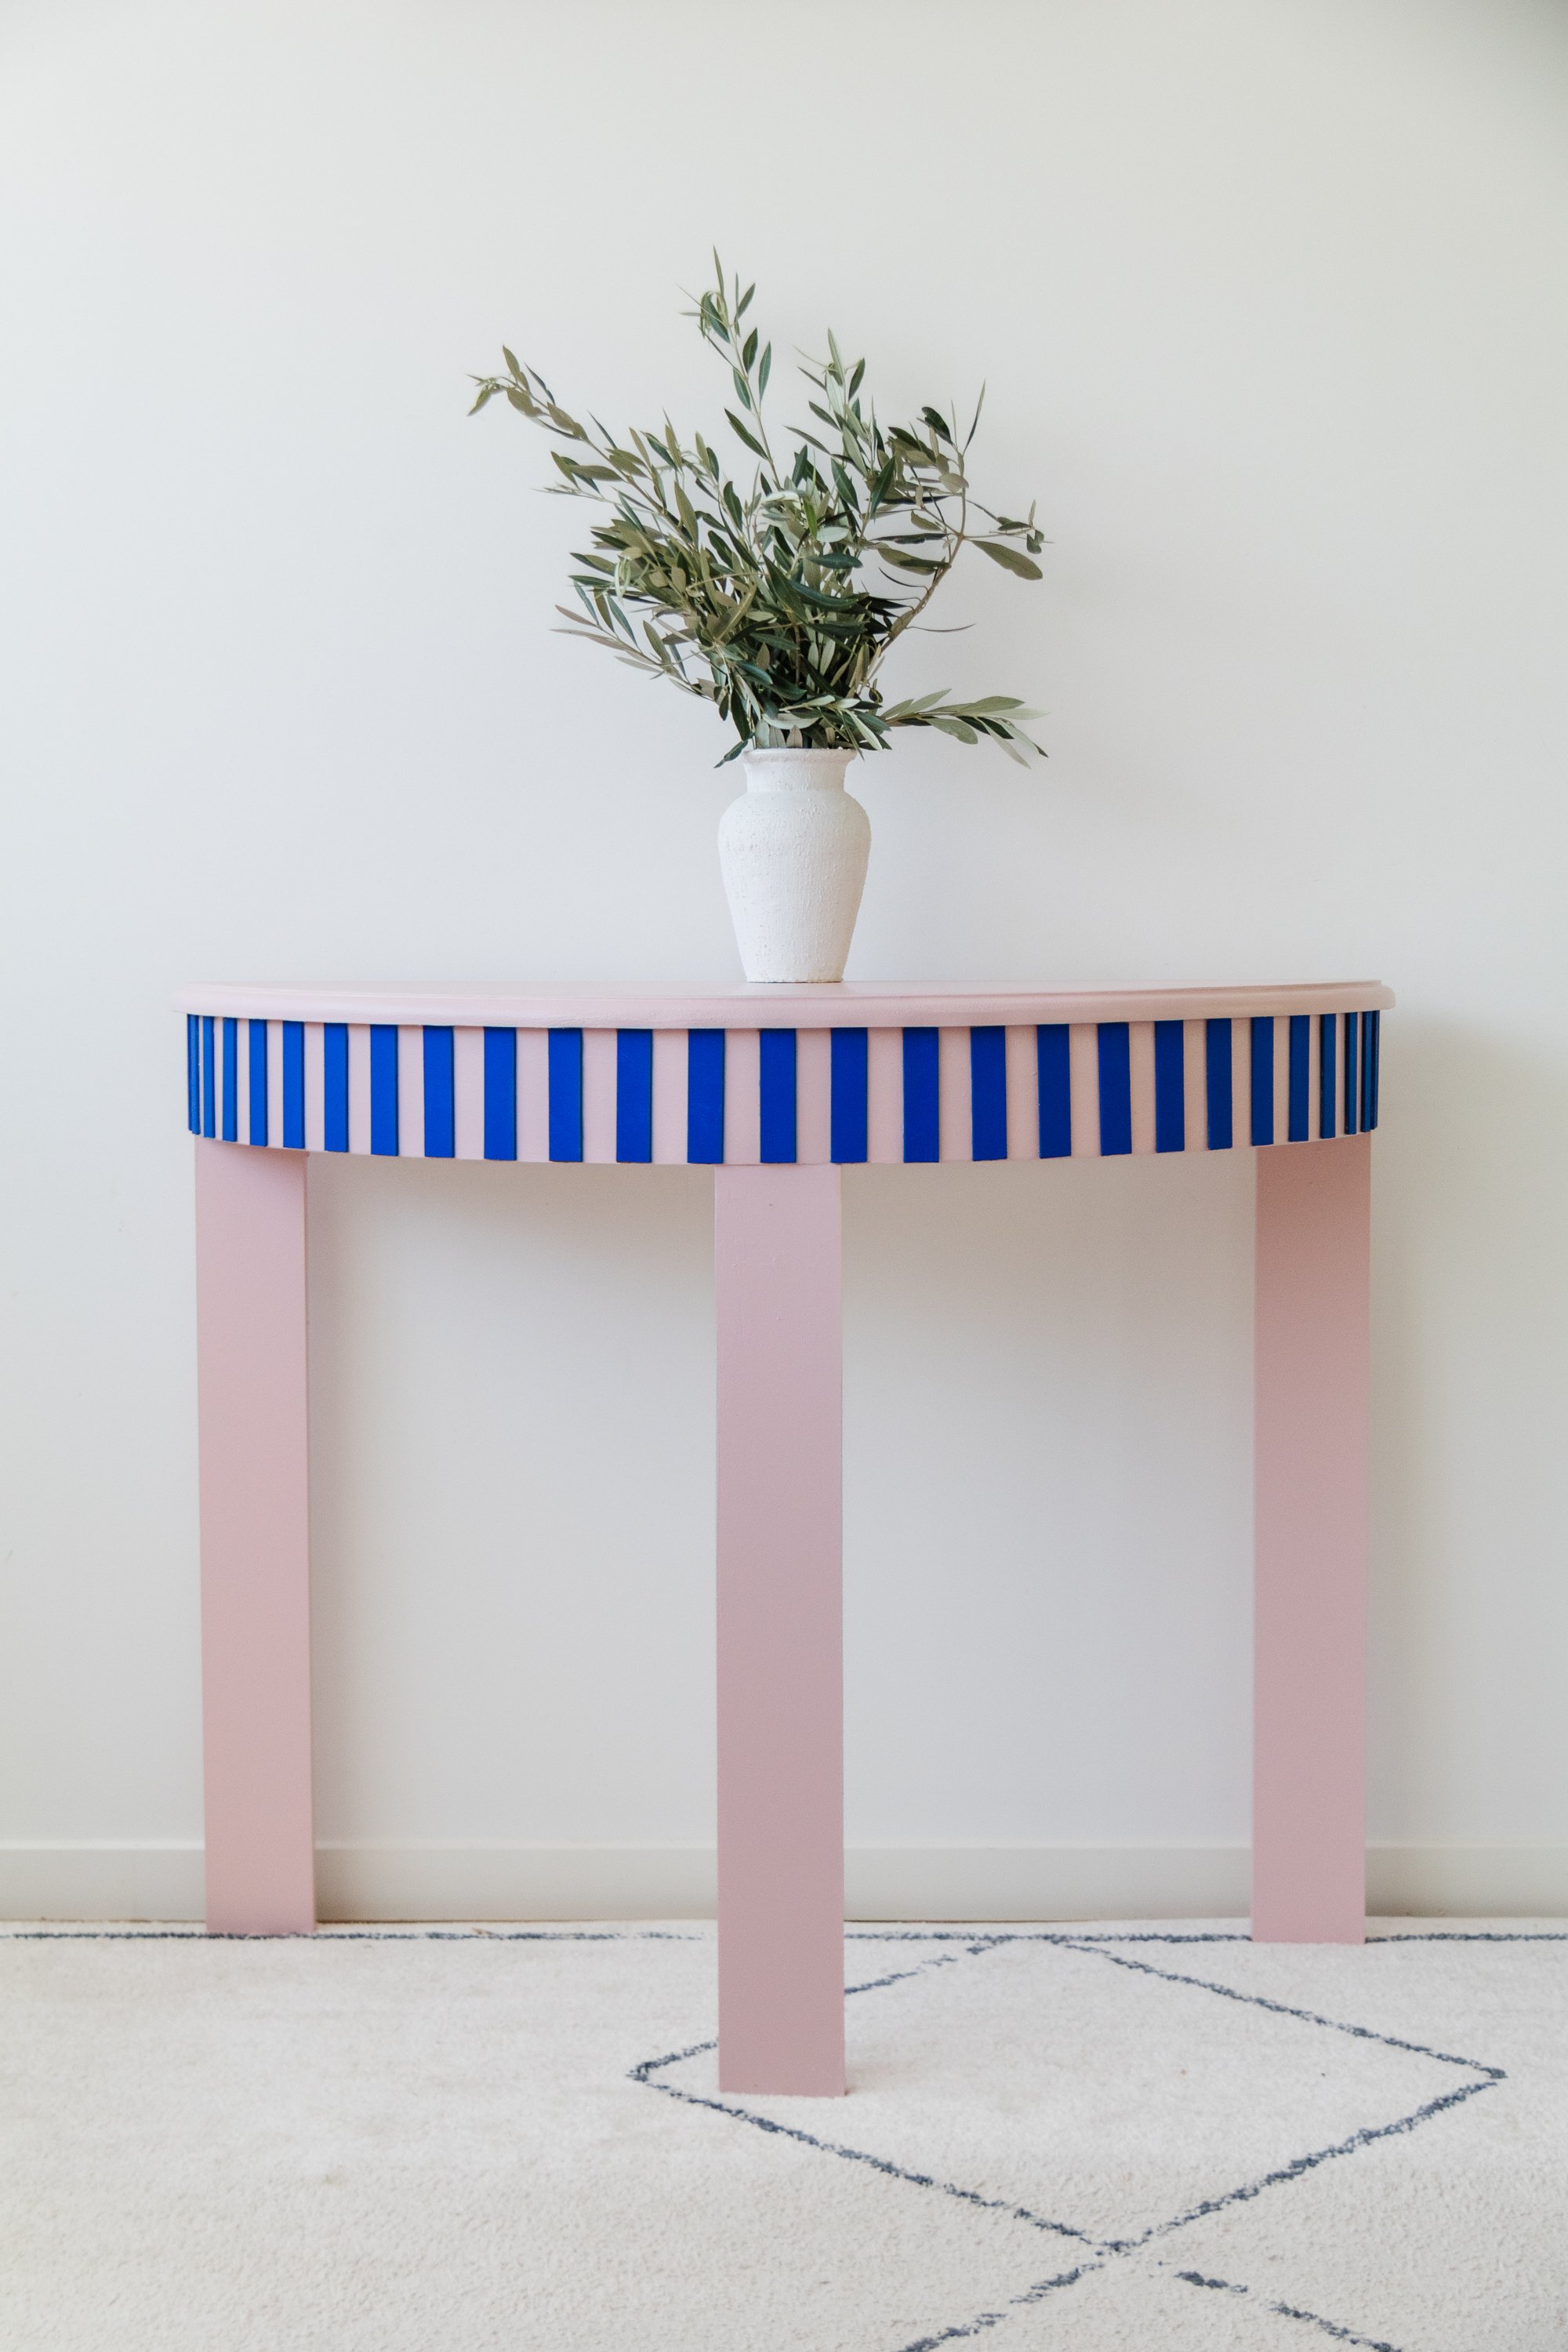
Upcycling A Console Table (using blinds!)
Add a fluted detail to your next furniture upcycle using blinds
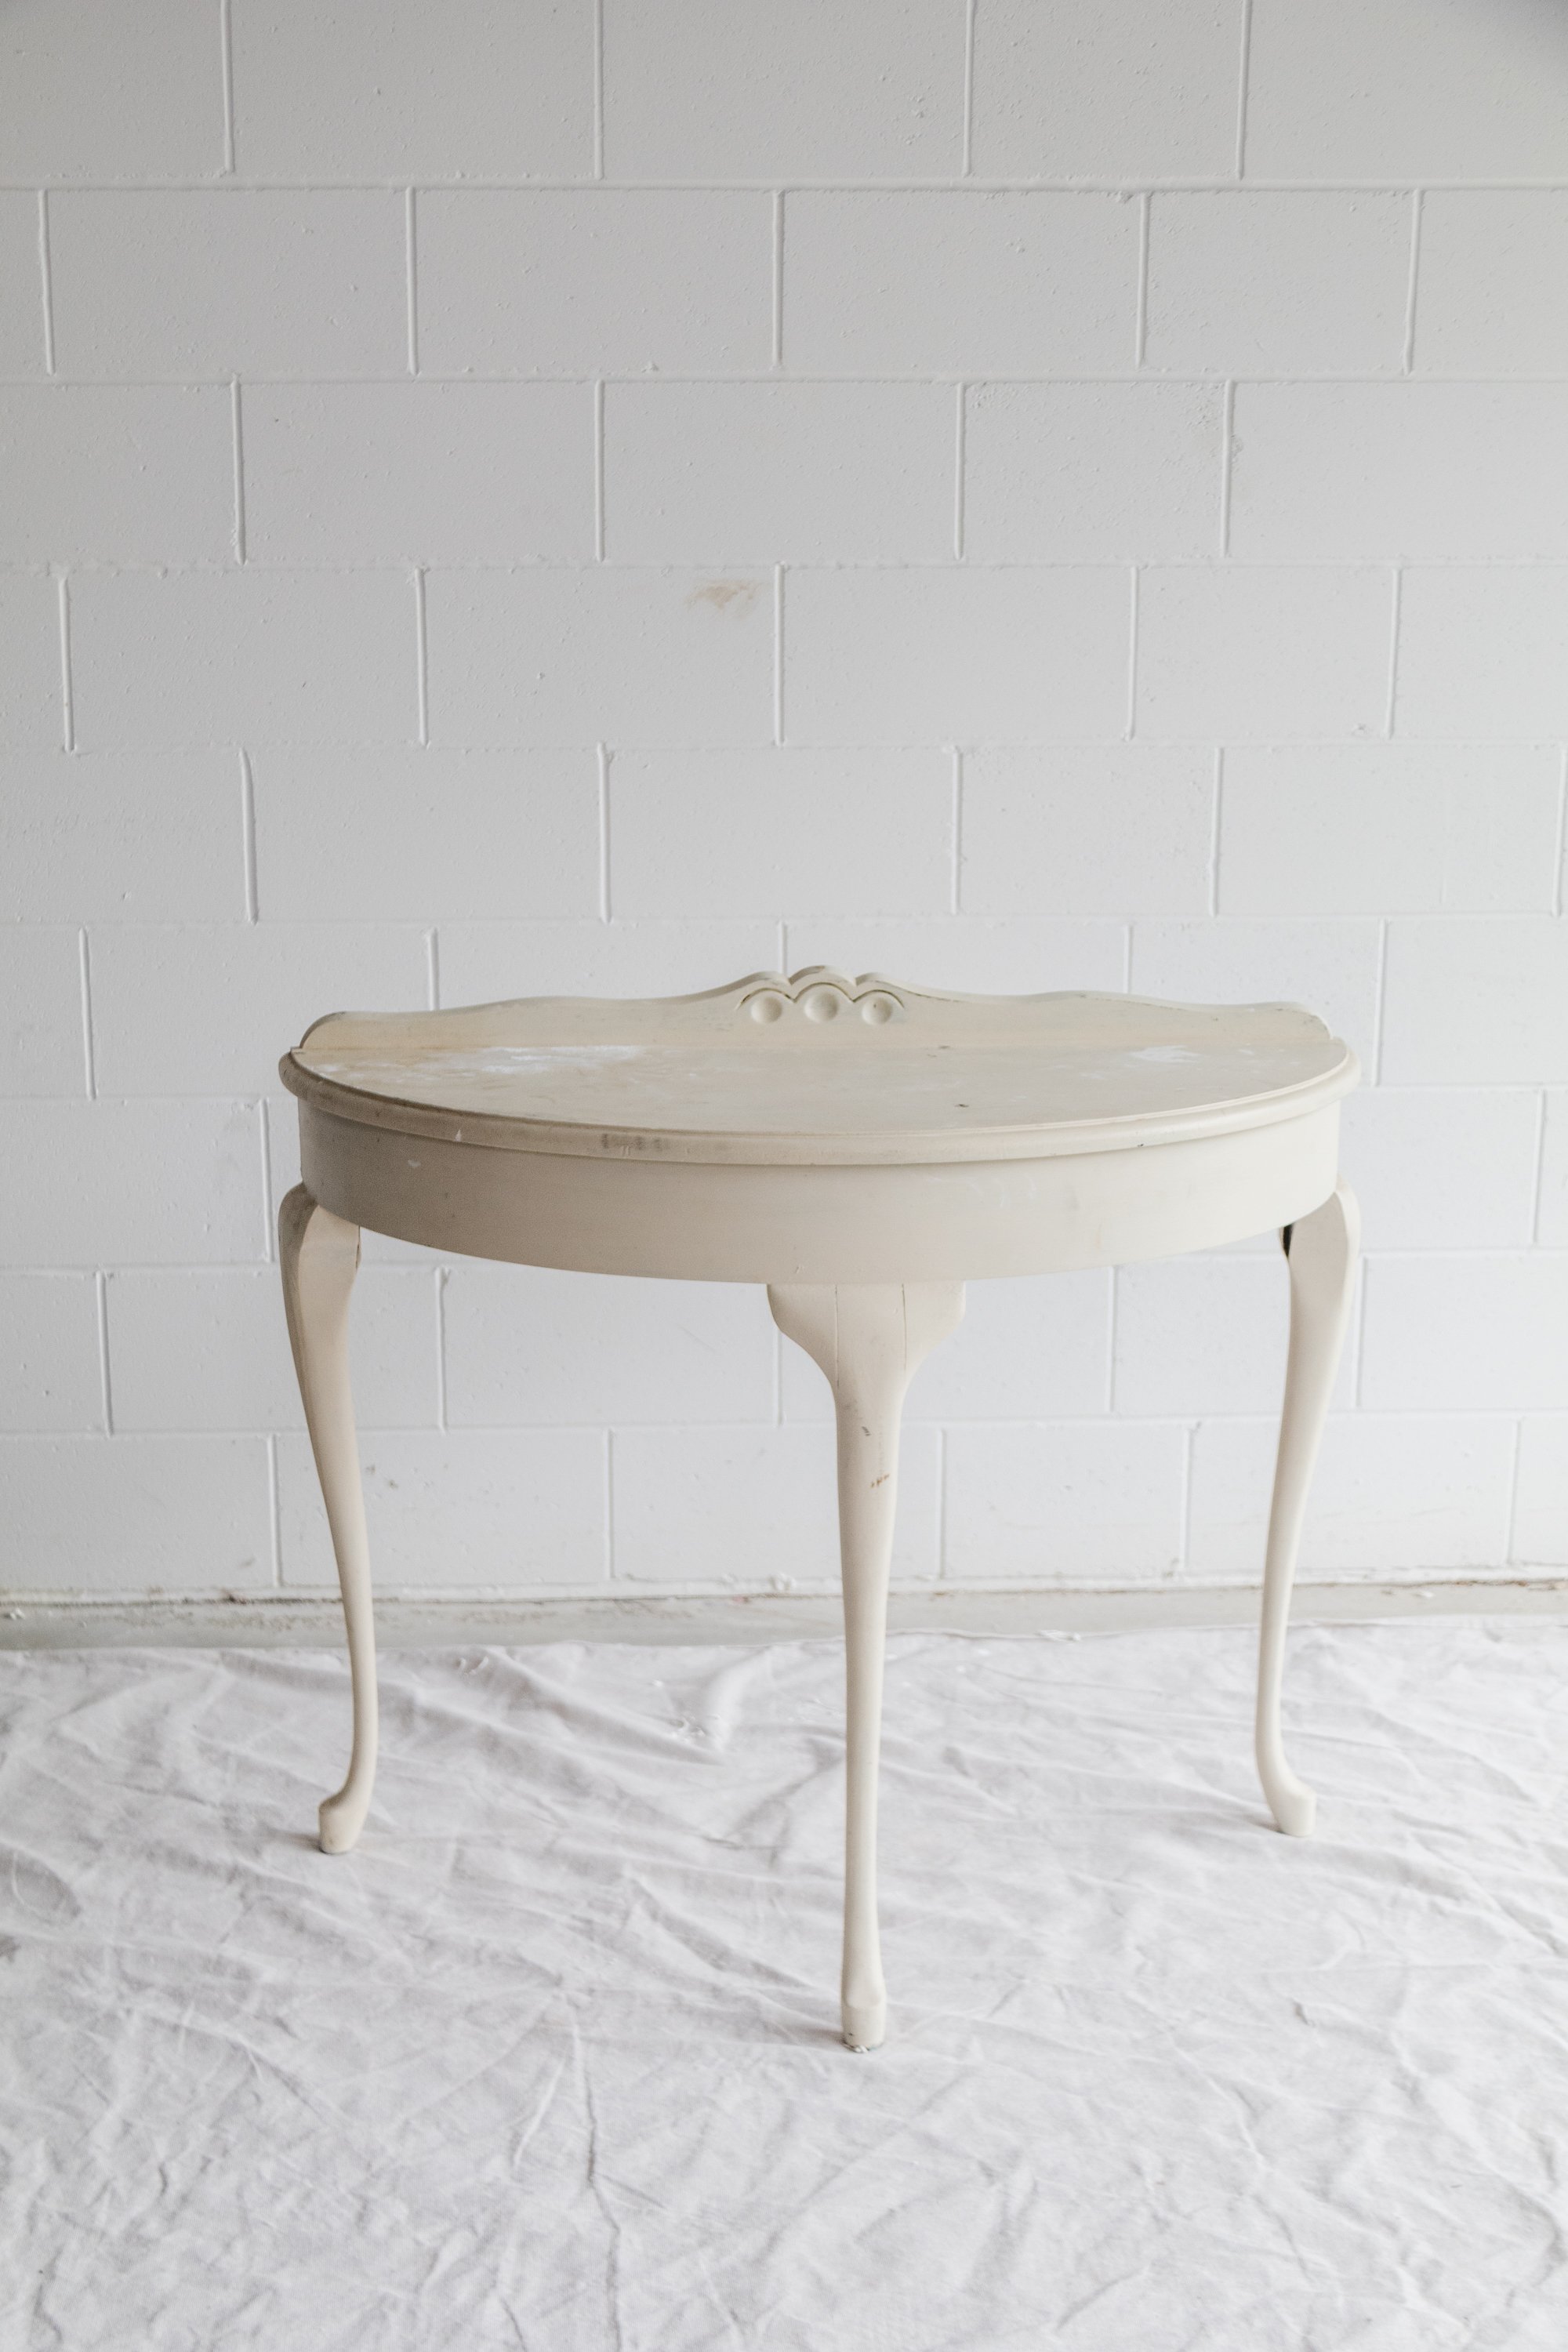
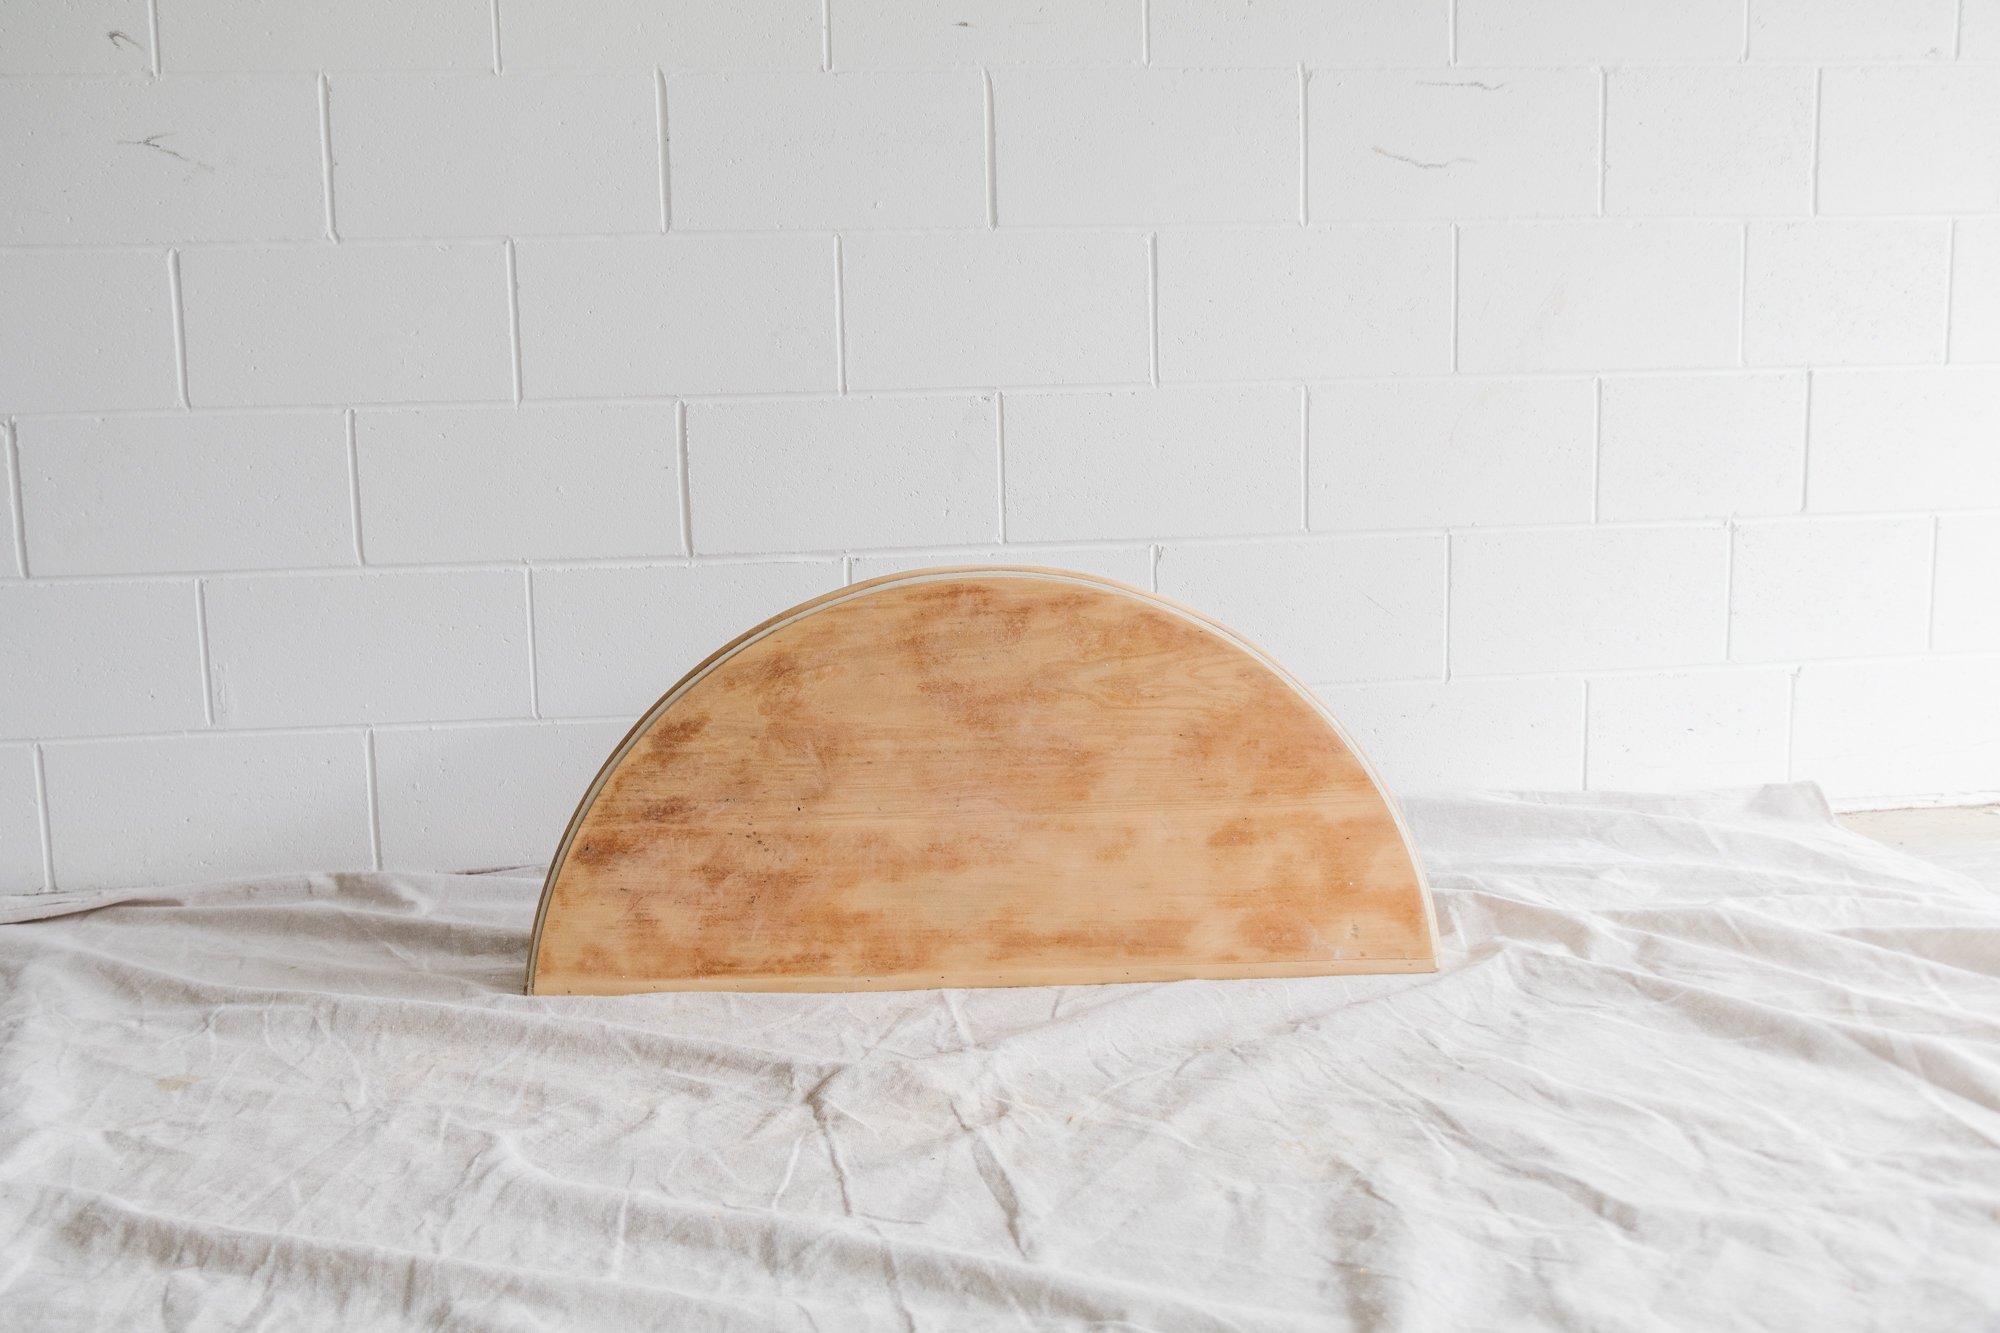
Last year I stumbled across a beautiful console table at a charity shop; I instantly fell in love with the arc shape and it reminded me of this console table by Worn Store. At the time I didn’t exactly know how I would upcycle but I I knew I wanted it to give it a modern makeover and quickly checked it over to see if I could remove the ornate legs and the detail at the back. After seeing it would be possible, I took it home and I haven’t been able to stop thinking about it - it had so much potential.
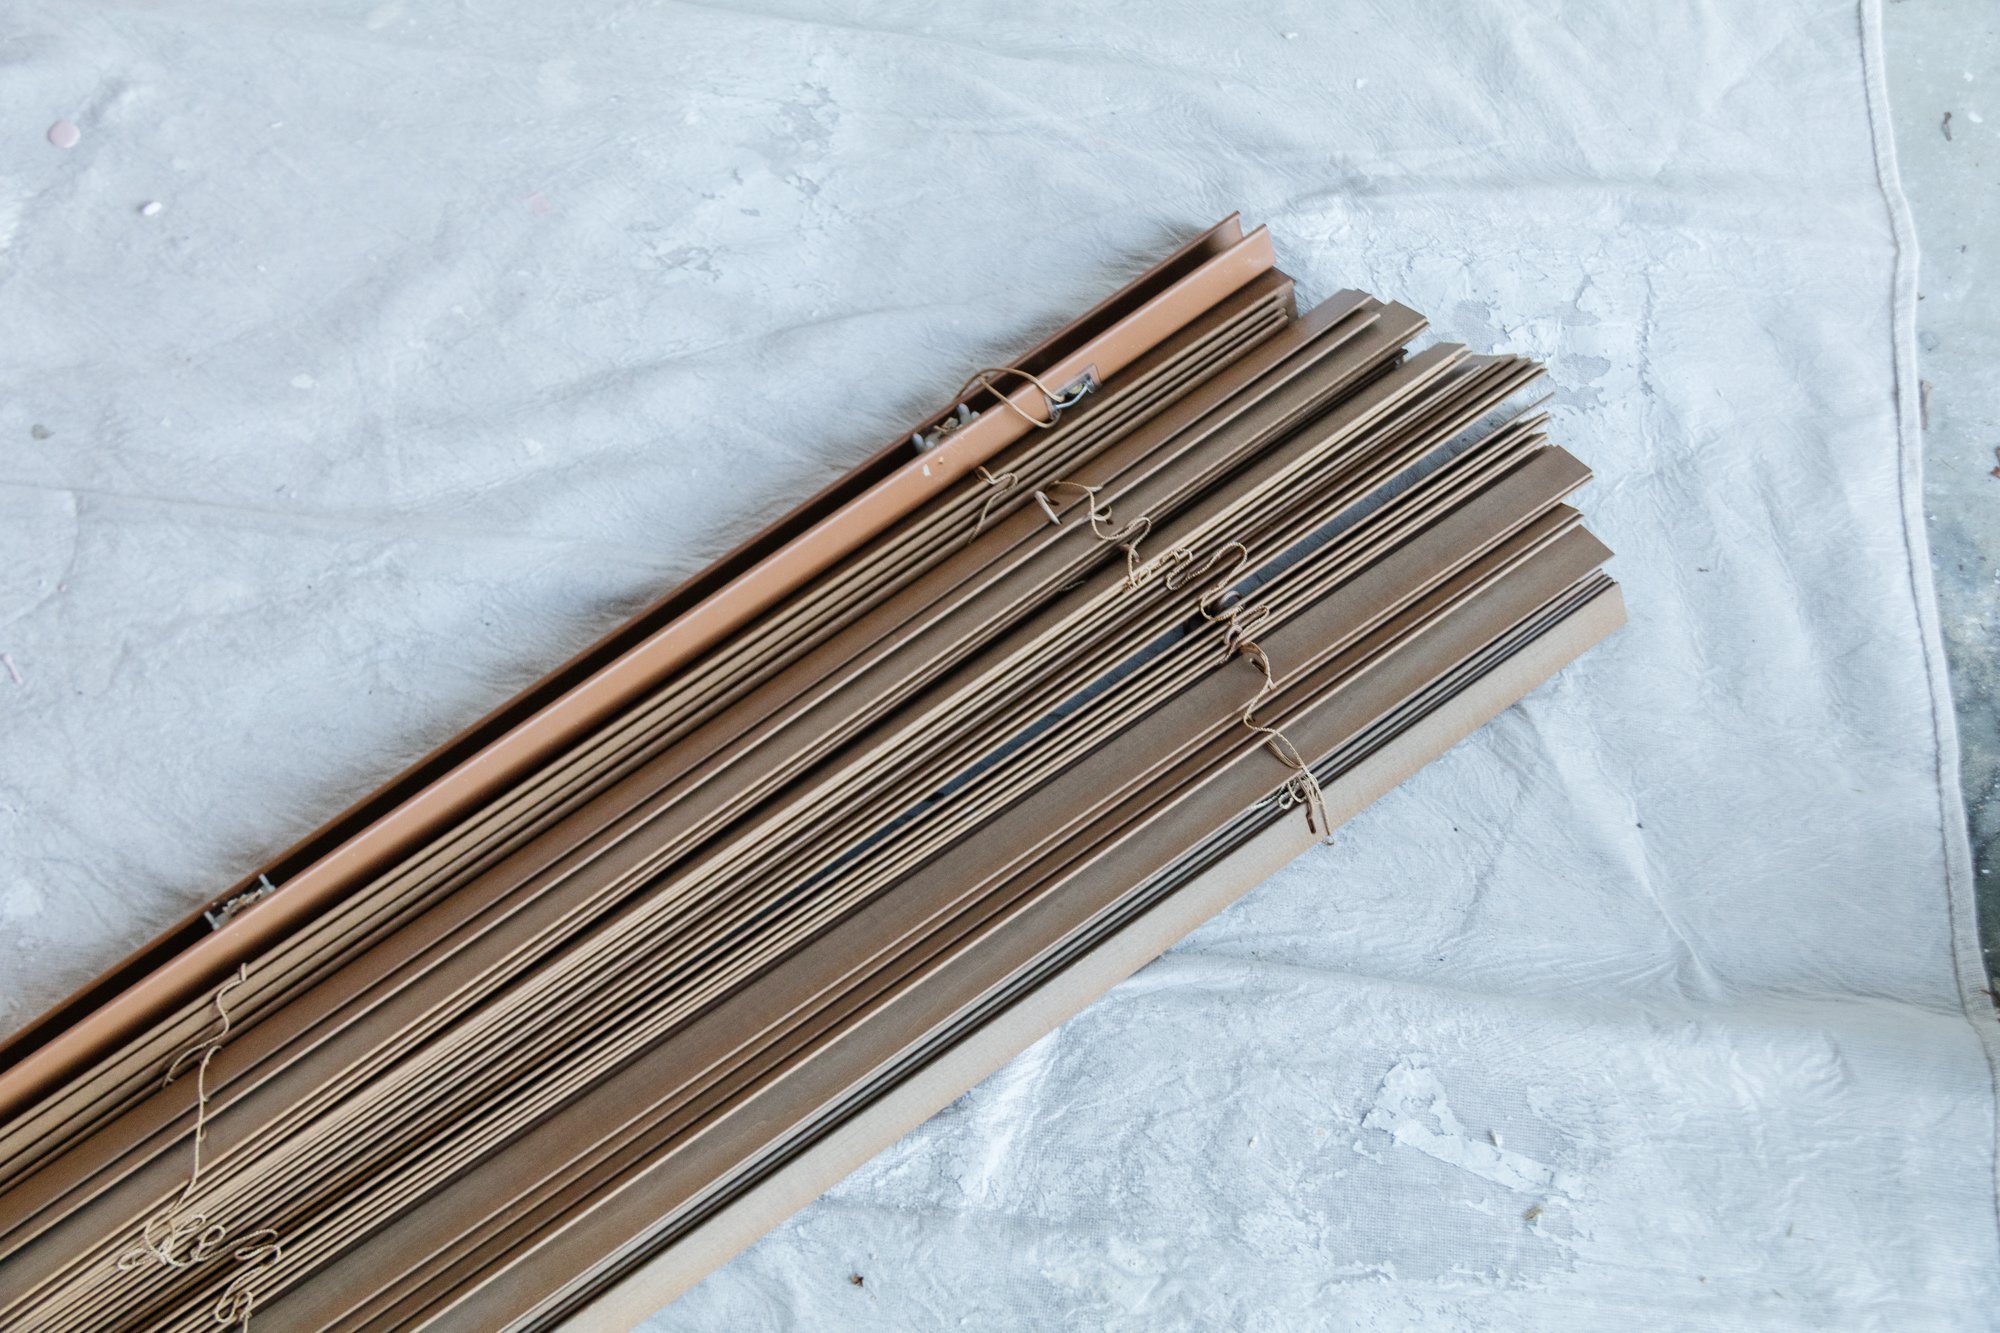
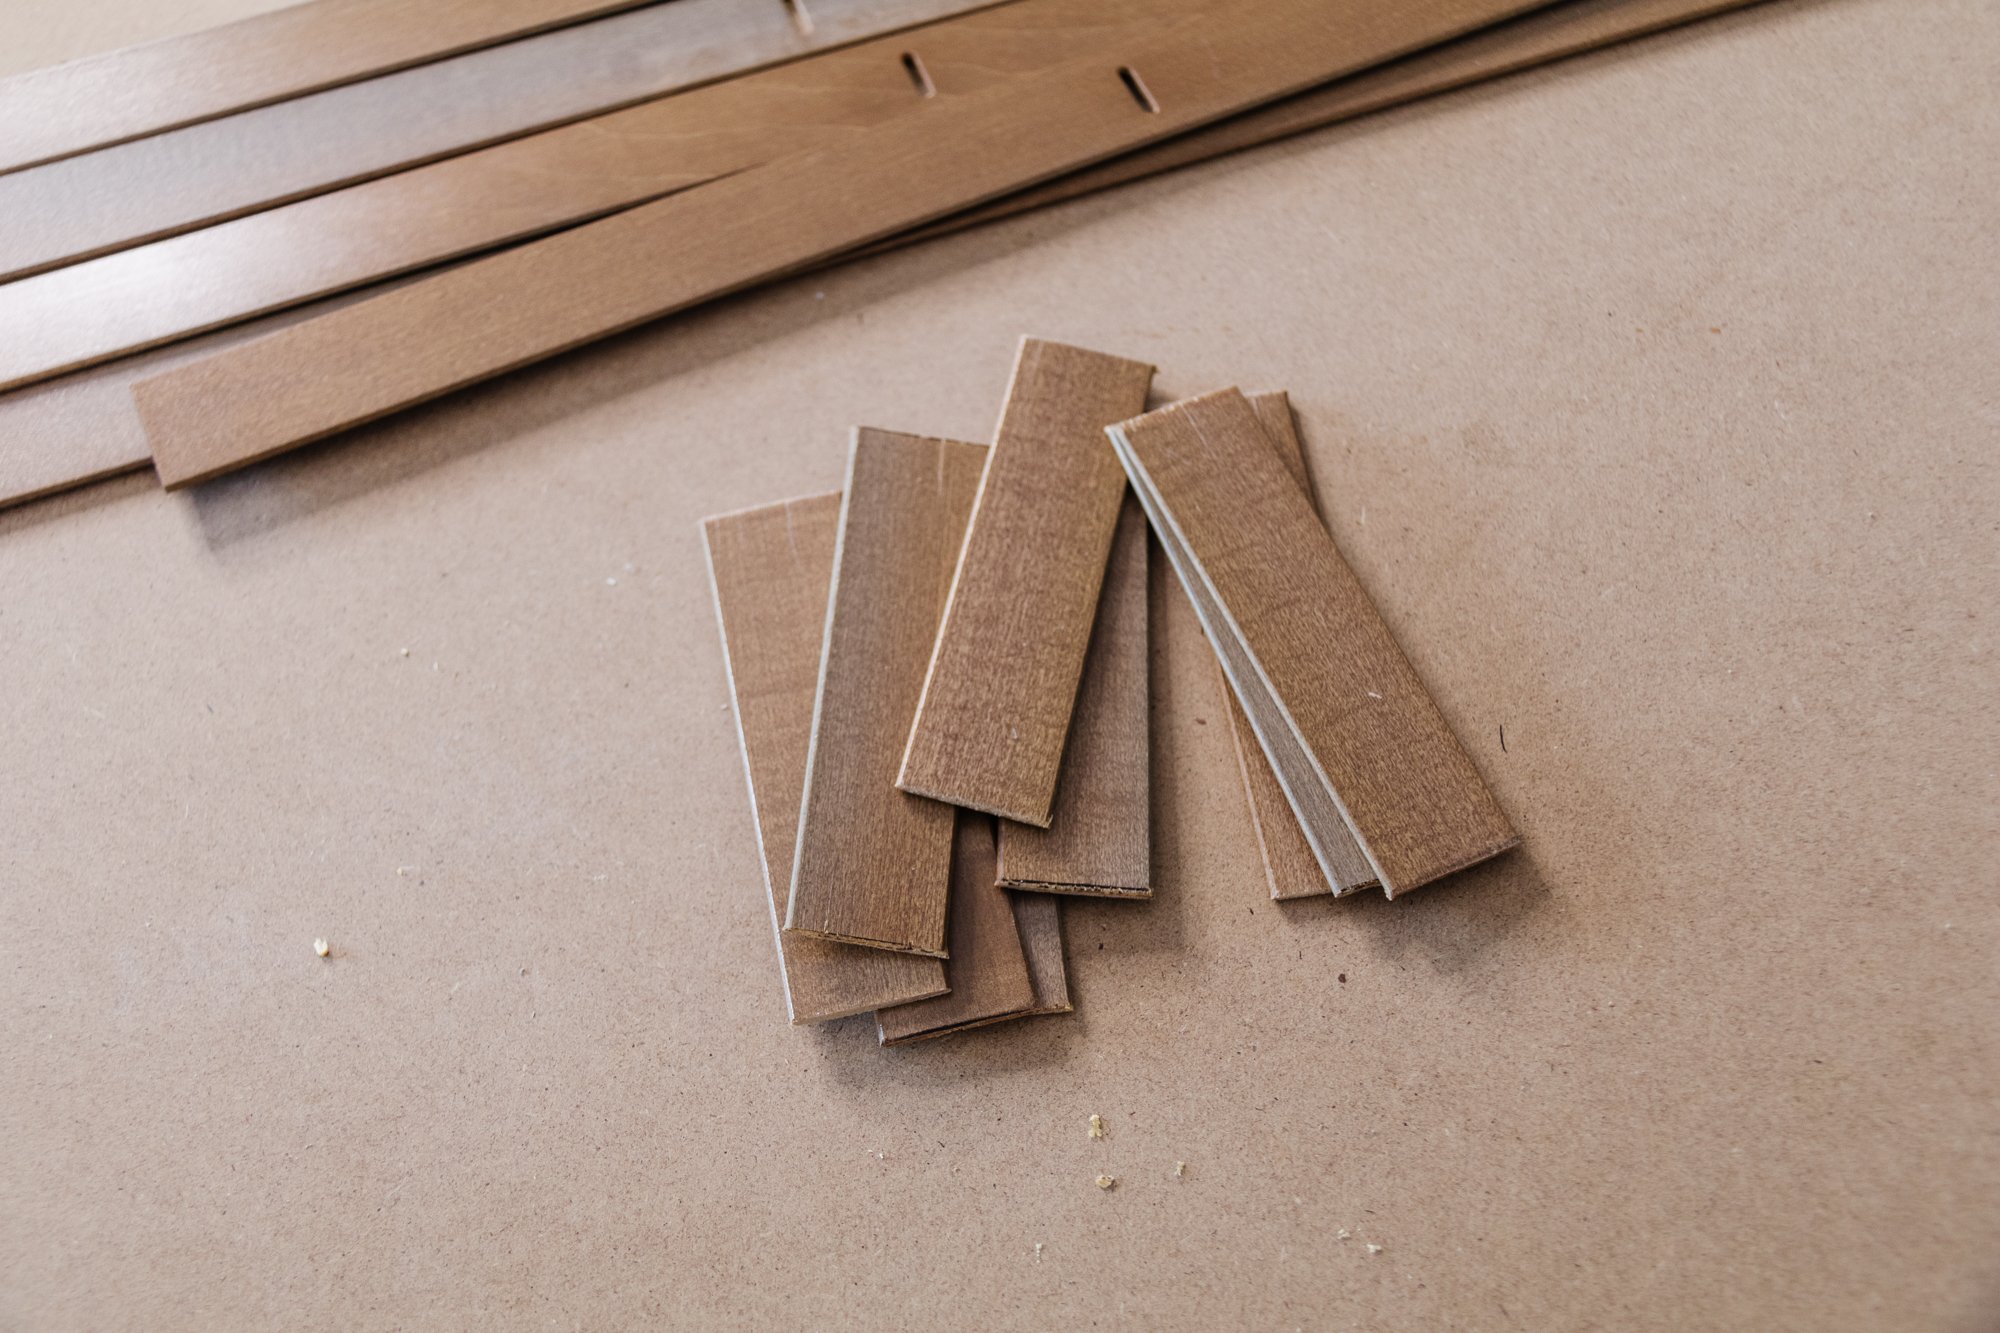
When I came across a set of old, broken, dirty blinds for $5 at my local tip shop I couldn’t help but think they were an affordable alternative to creating a fluted detail instead of using timber. If you’ve been following along over here for the last few years, you’ll know I love adding a textural elements to my projects, so I took the blinds home to see if I could use them to create a fluted detail along the front of the console table. And I could!
I’ve been feeling really creative and wanted flex my colourful paint collection at home, and decided the table should be colourful and different to my safe colour palette of pink, green and white. I’ve been drawn to Yves Klein Blue a lot lately and started dreaming about using this in some way. Choosing colours to paint furniture does not come naturally to me, so I decided to ask my Instagram community for help and that’s what they did! Read on to find out how this project came together. There were a lot of twists and turns, even a fight between me, the console table and our garage wall lol.
To see how this project came together, watch this video and these Instagram Stories for a blow by blow.
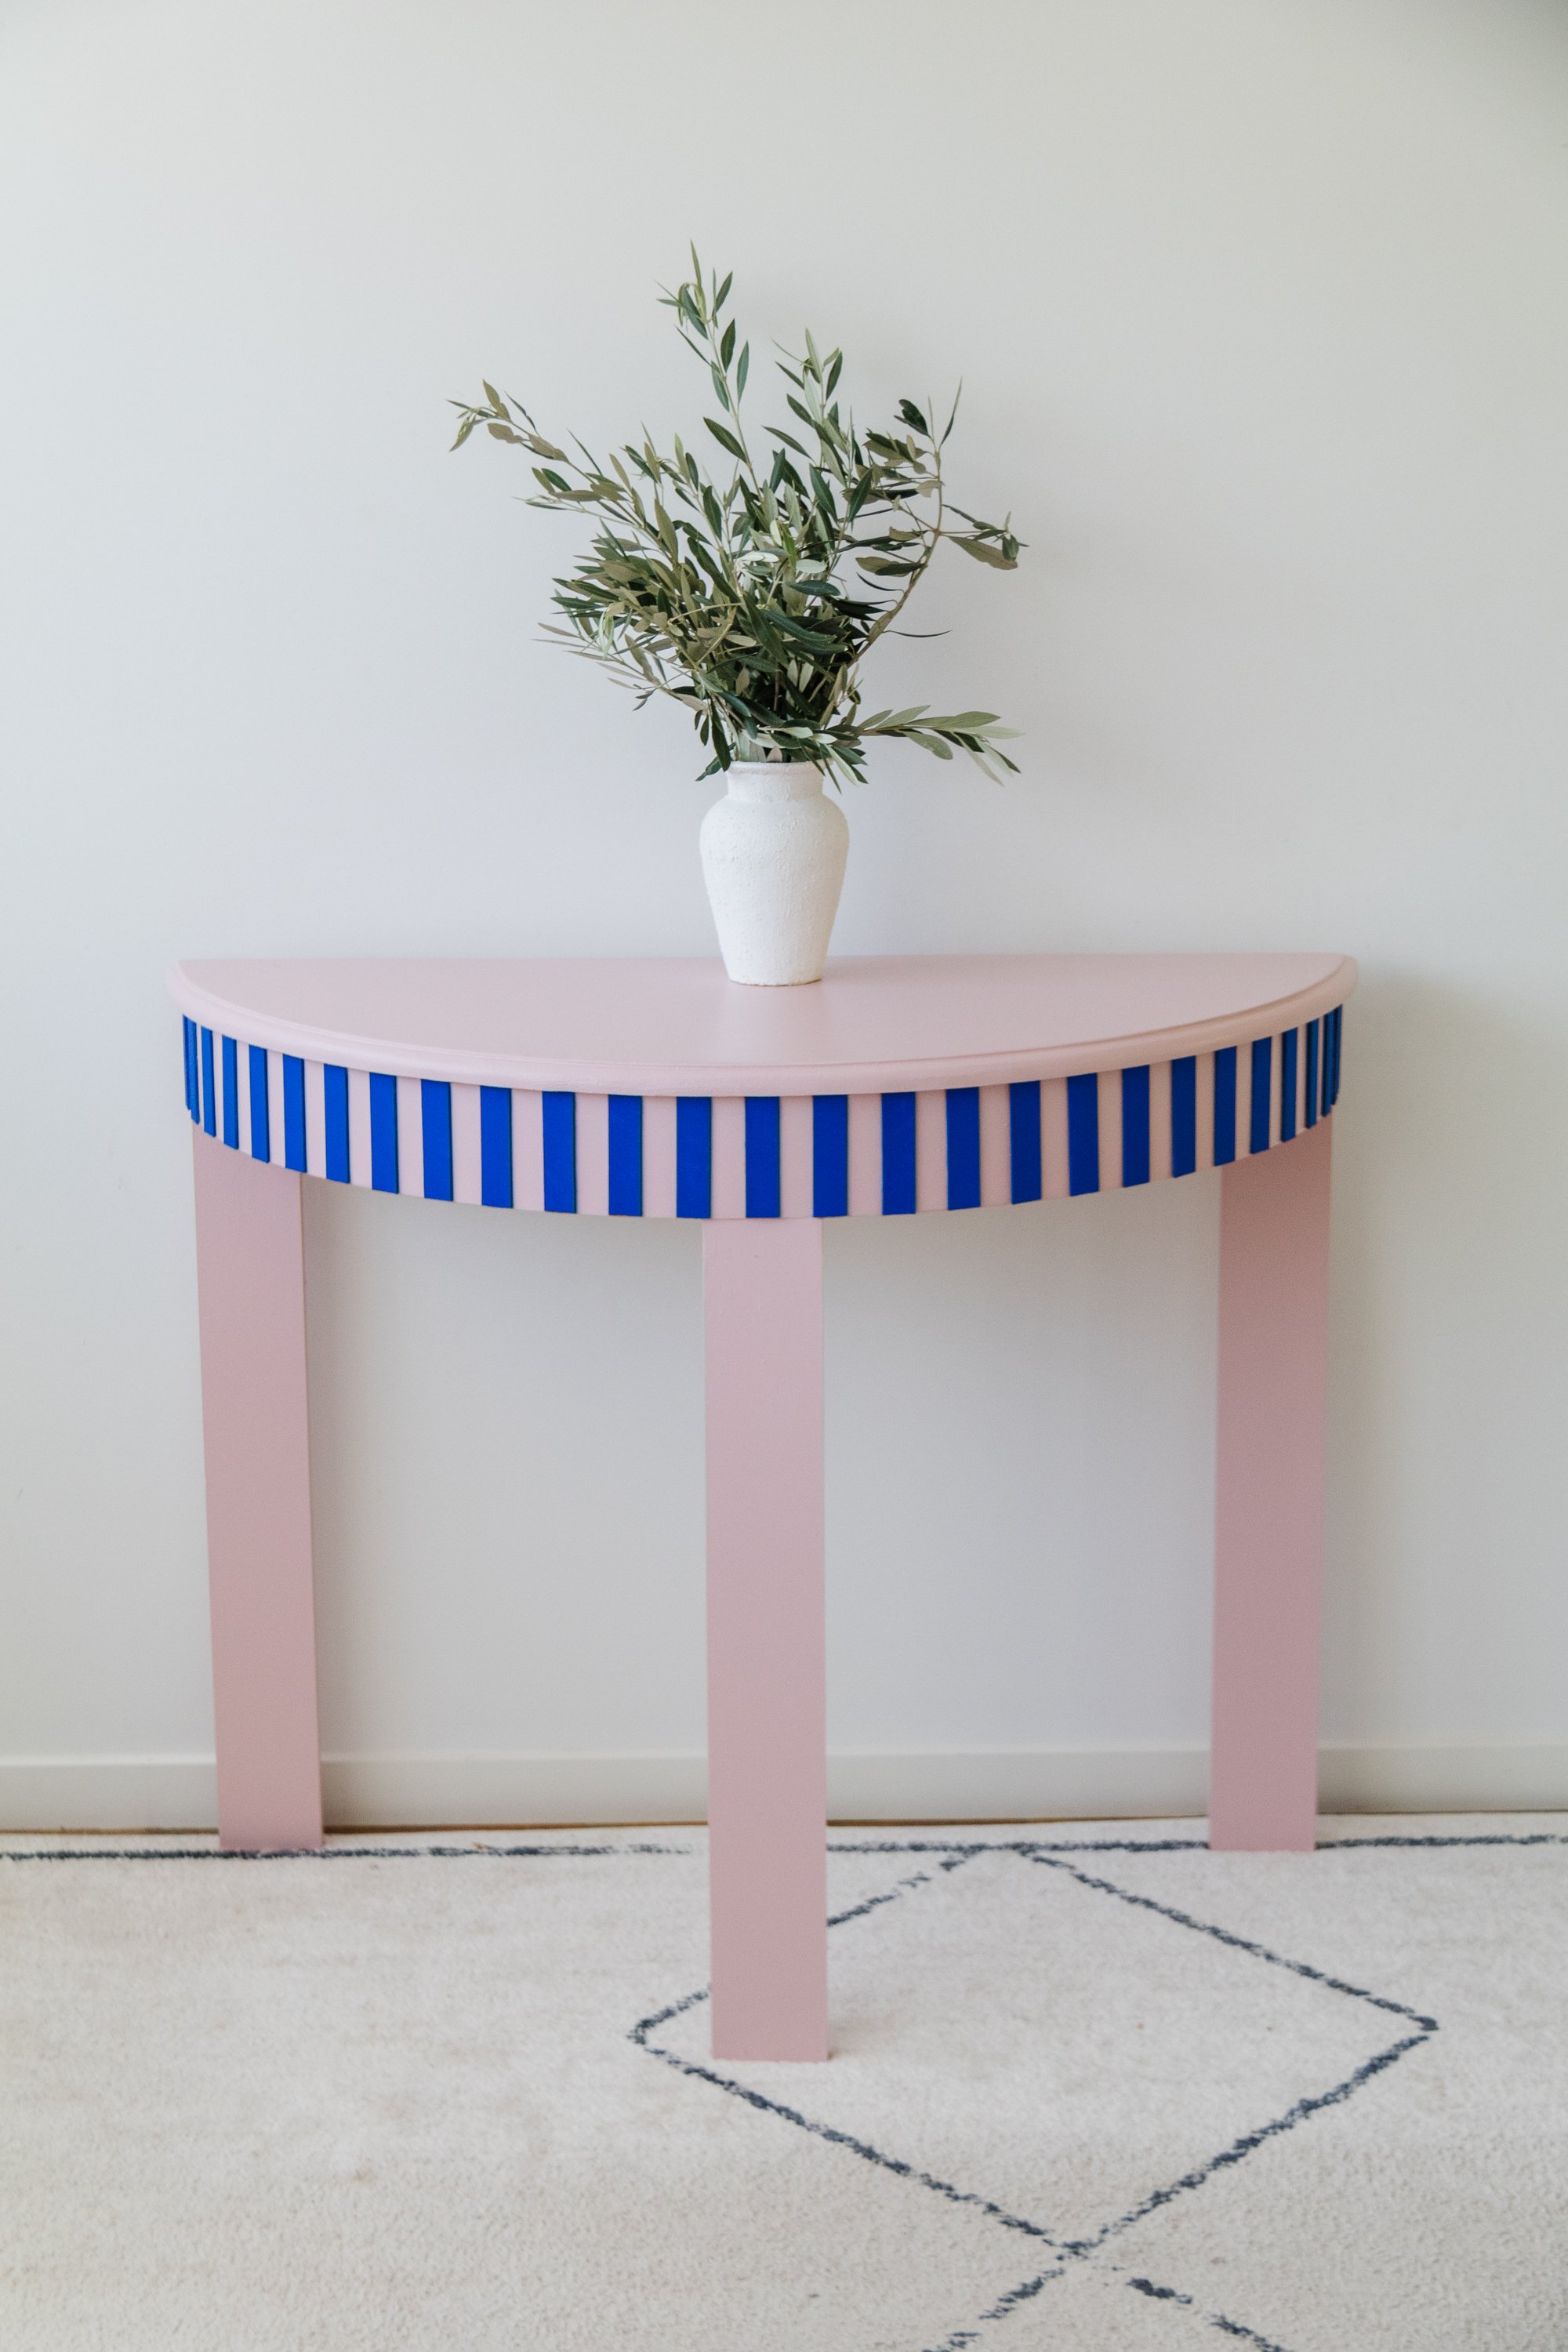
Before & After

Project Details
♻️ Upcycling: A console table. You could replicate this fluted detail on any table (a flat surface.
🕒 Project Time Estimate: 3 hours
💰 Materials Cost: $50
Materials
Wide pine planks
Secondhand blinds (or new)
White primer paint
Dulux “Princess Pink”
Jo Sonja “Ultramarine Blue” (you can also get “Ultramarine Blue Deep”)
Tools
Measuring tape
Drill
Hammer
Jigsaw
Sander
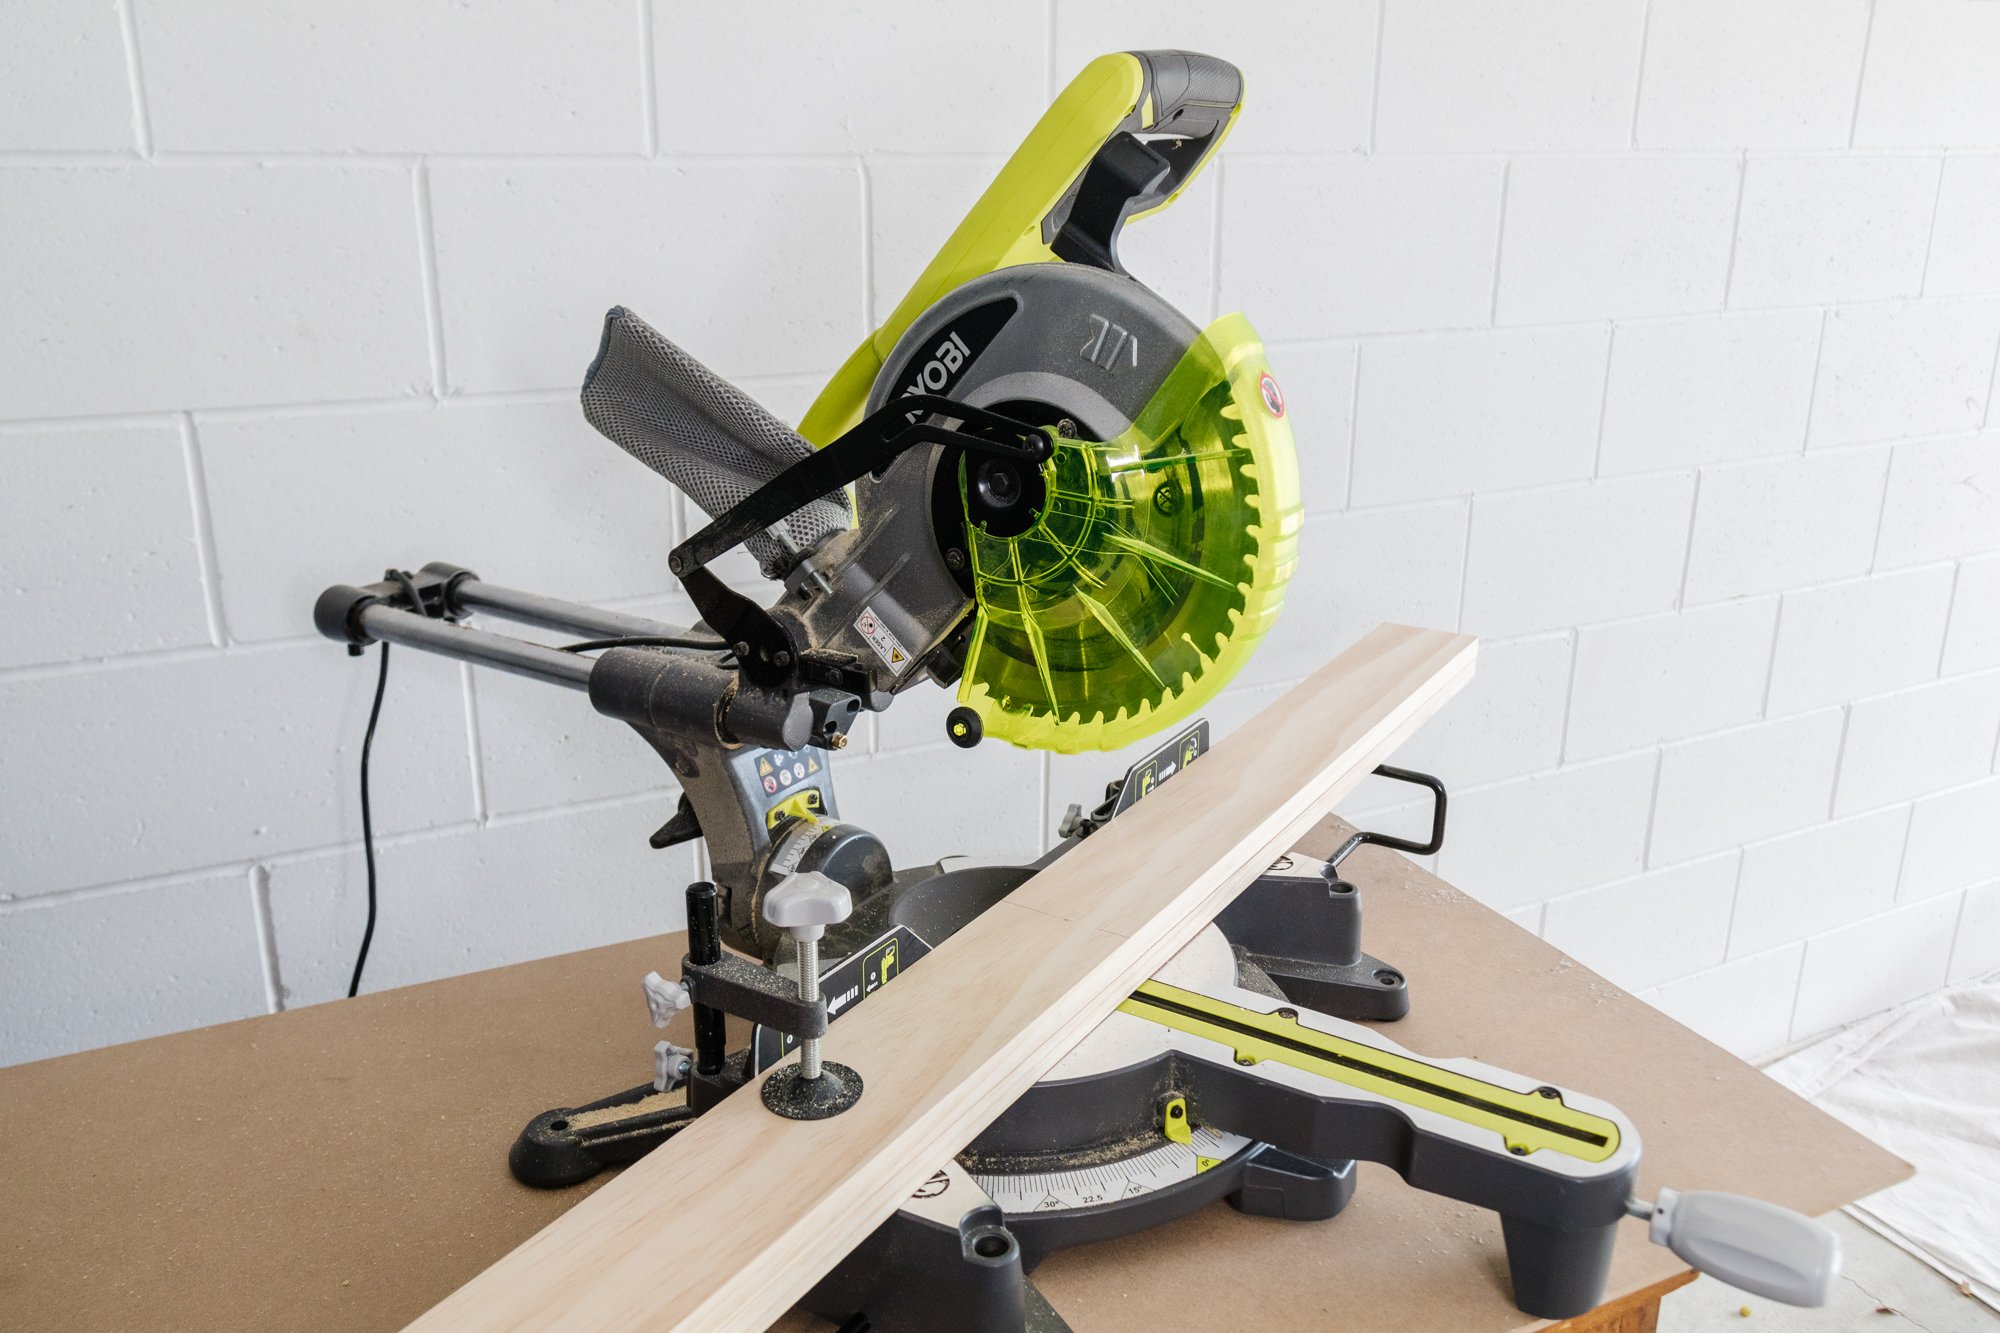
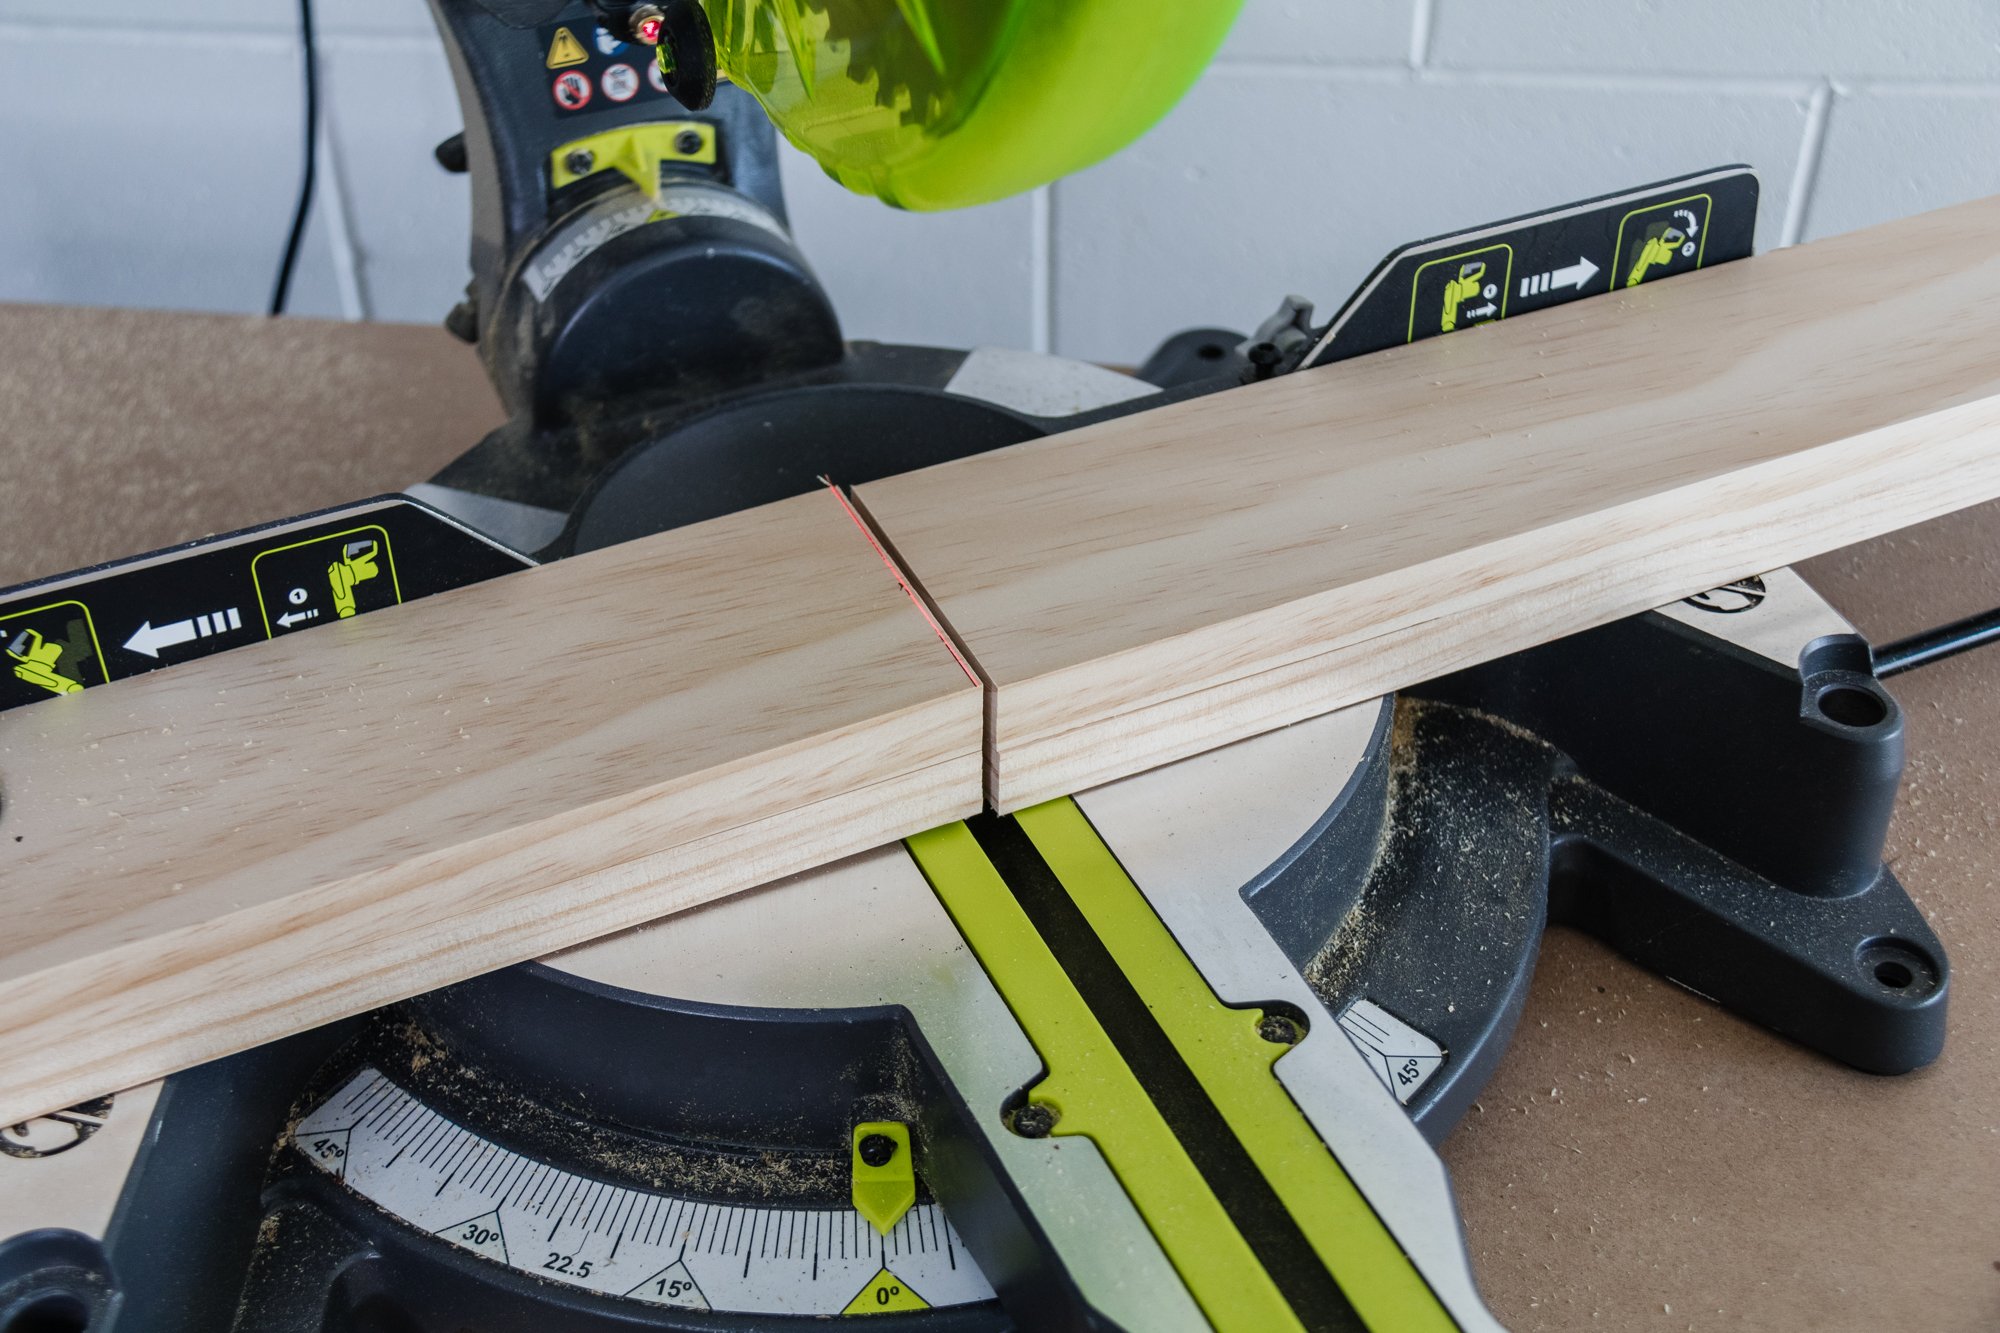
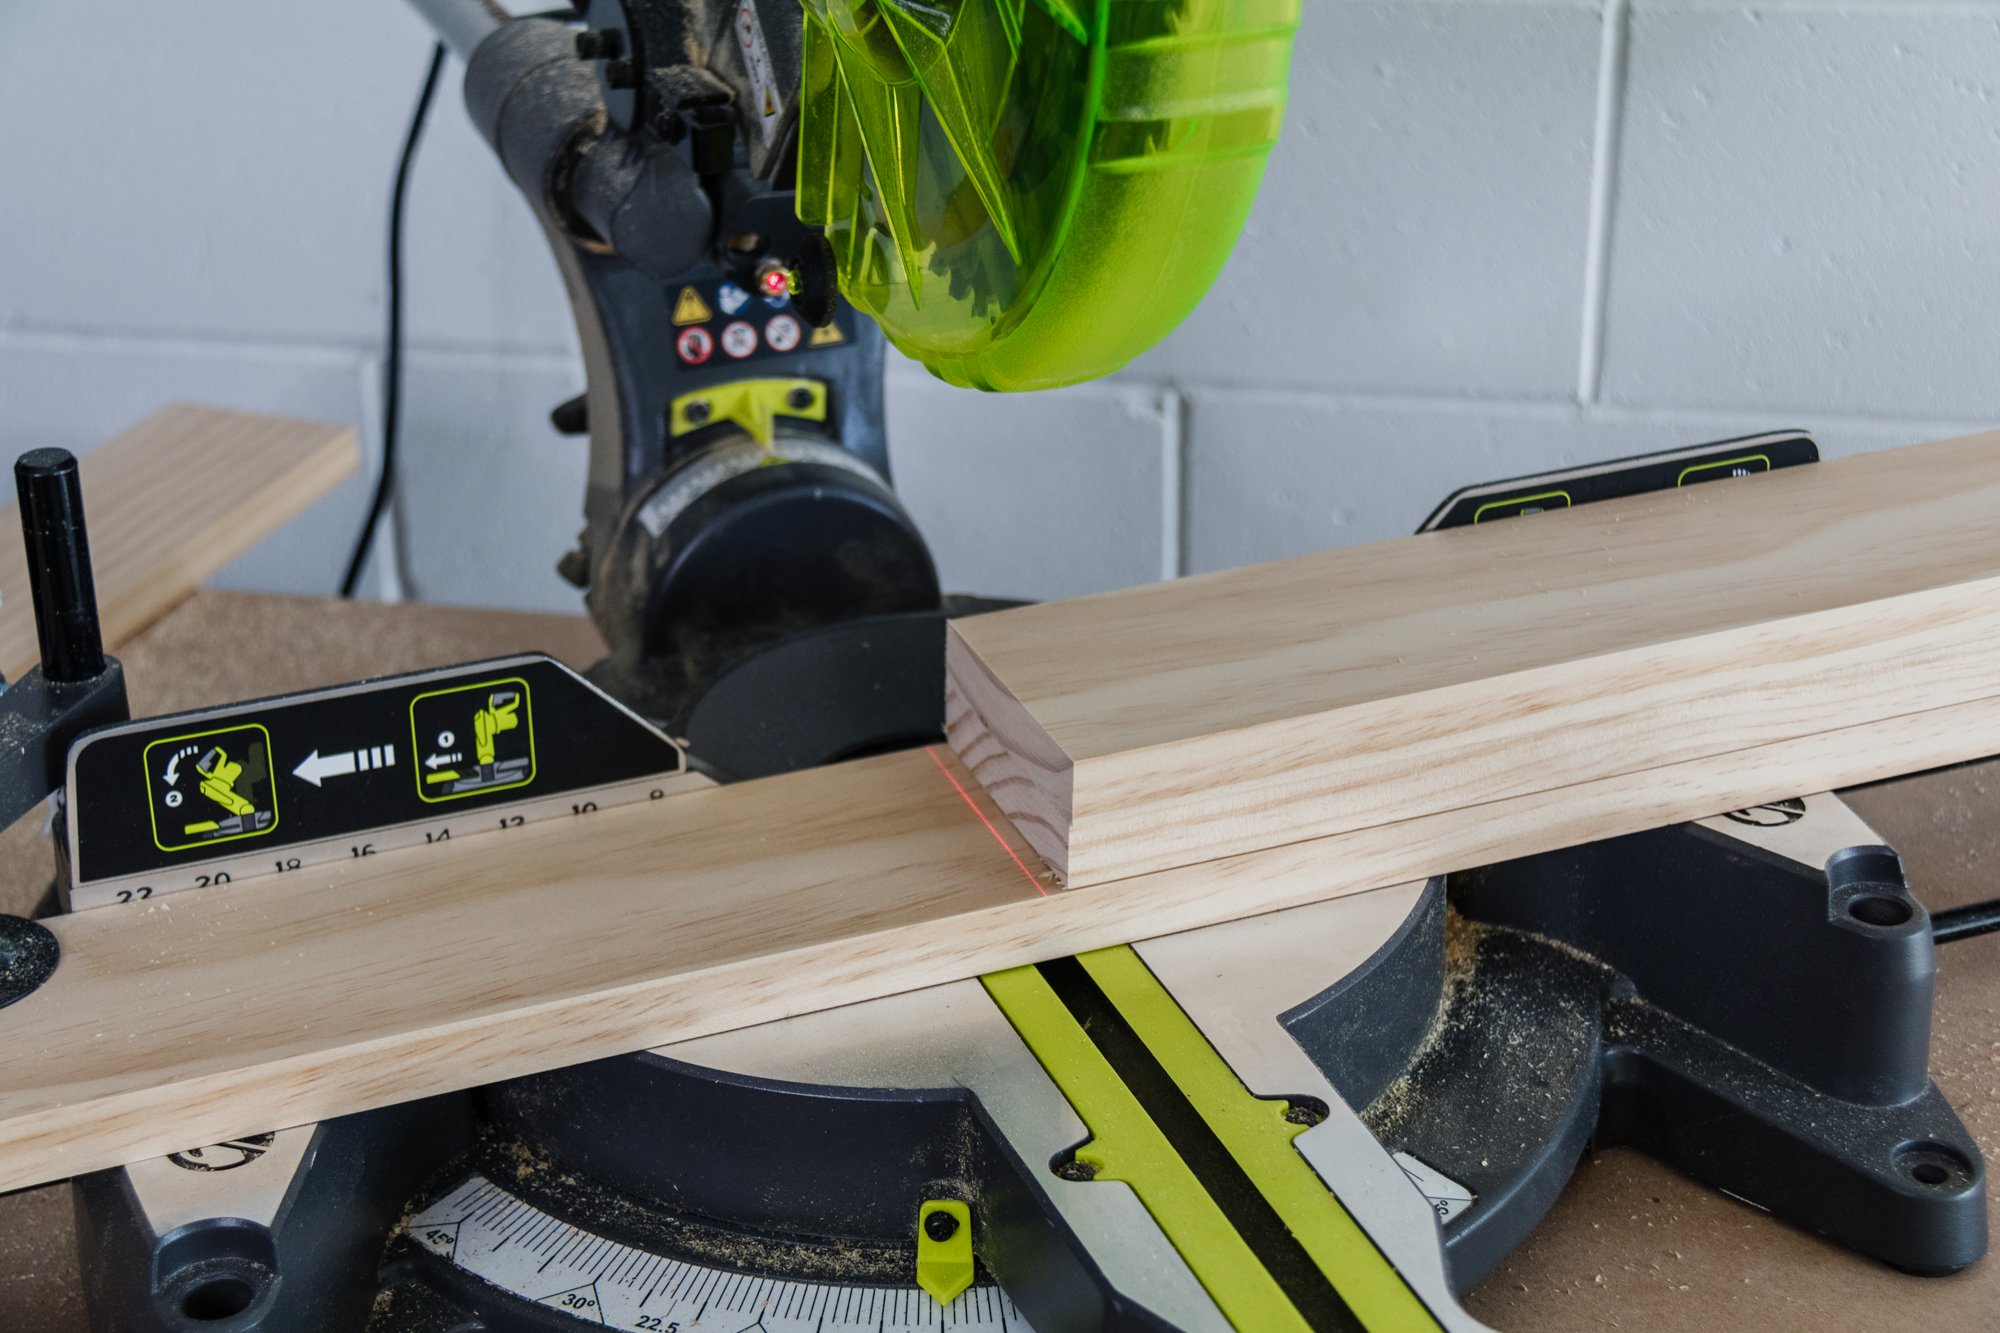
Hand Saw. Or a mitre saw if you have one.
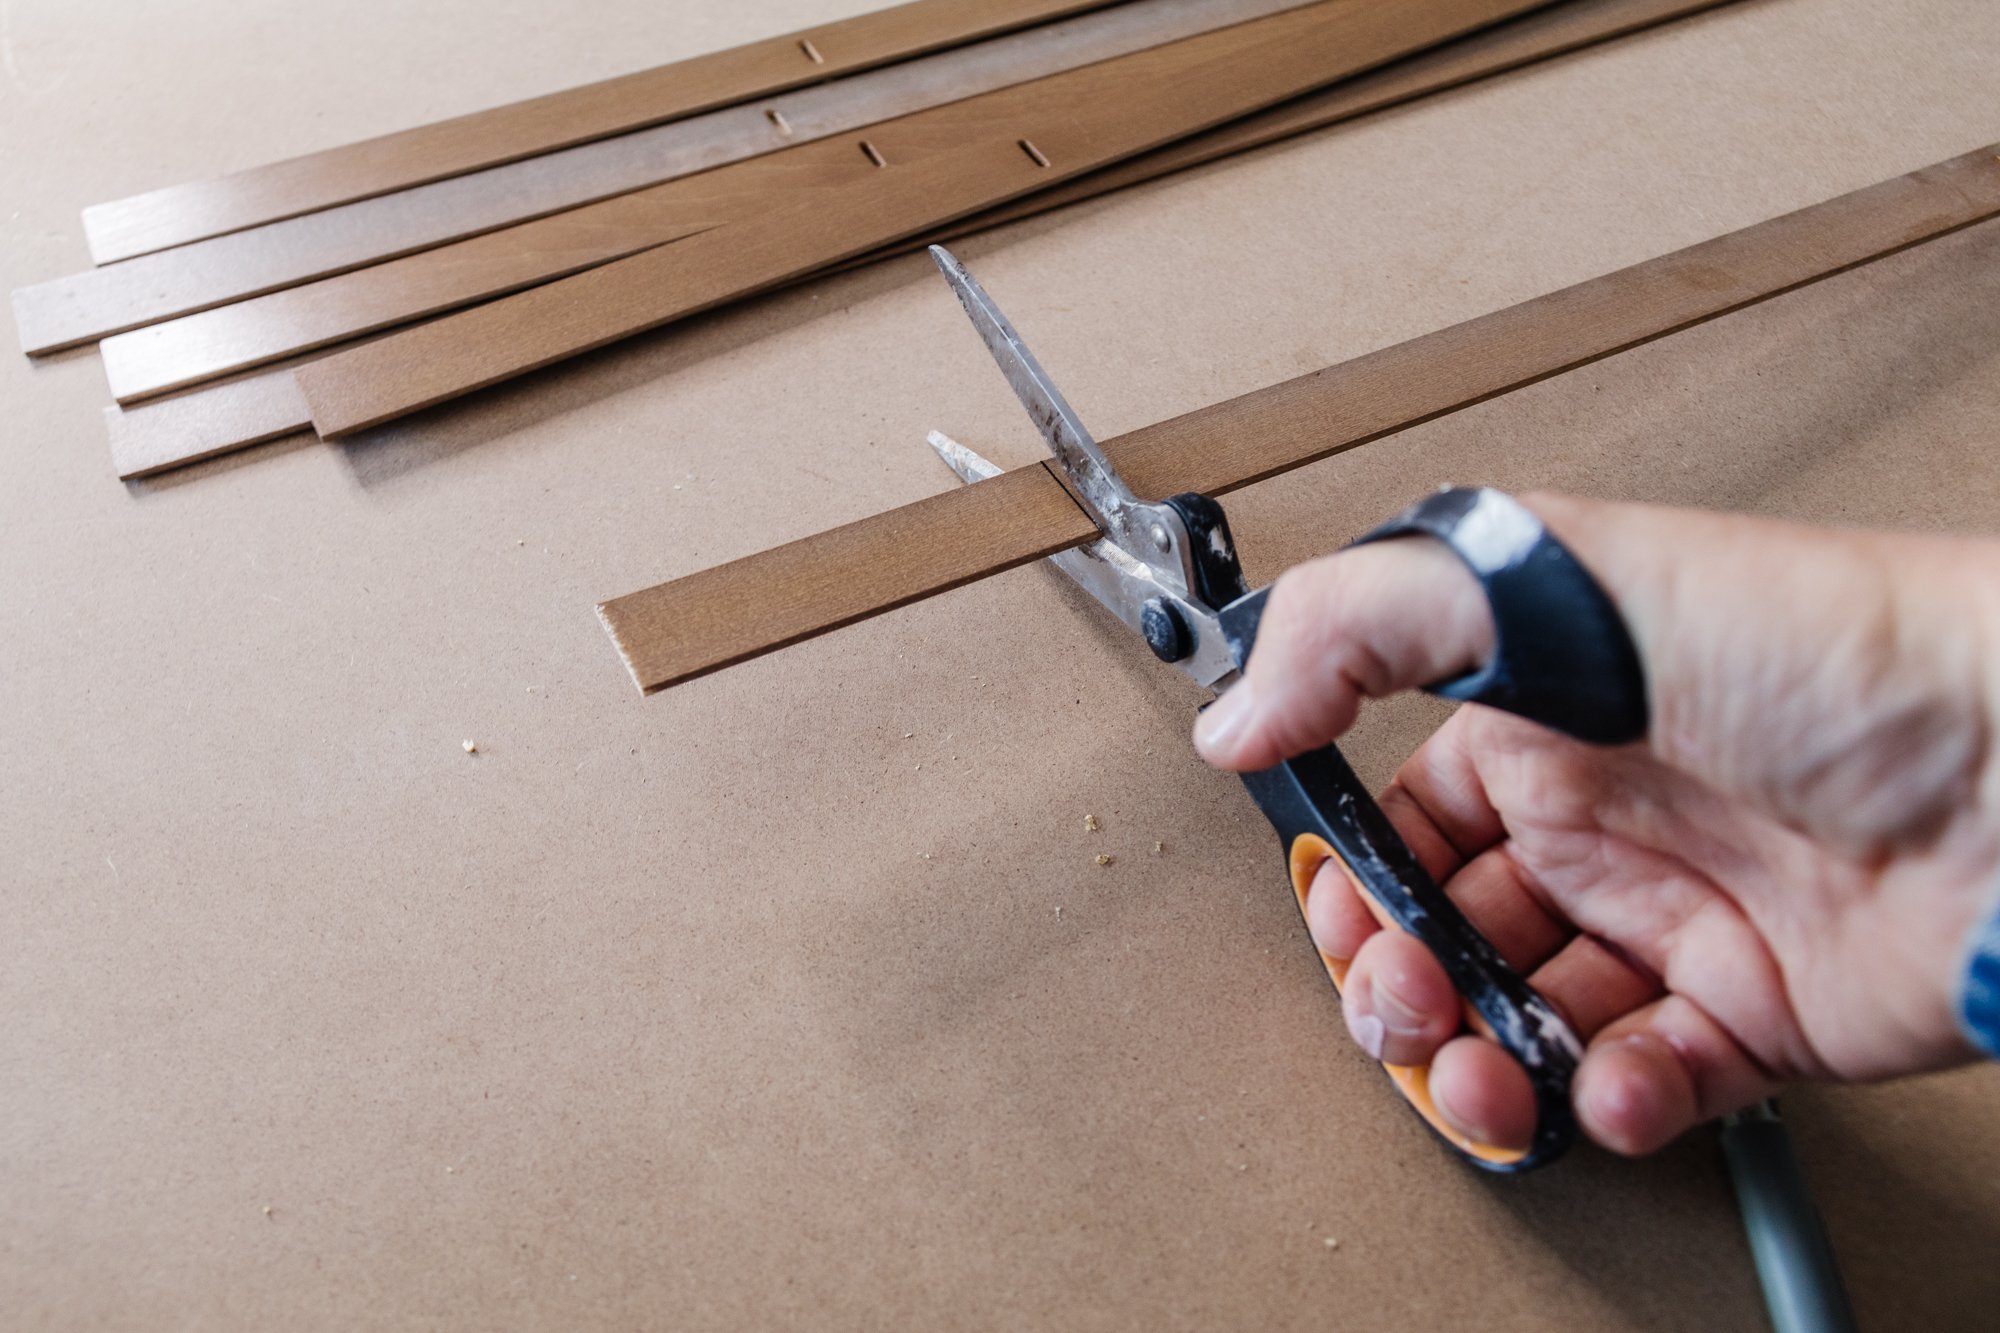
Sharp scissors

How To
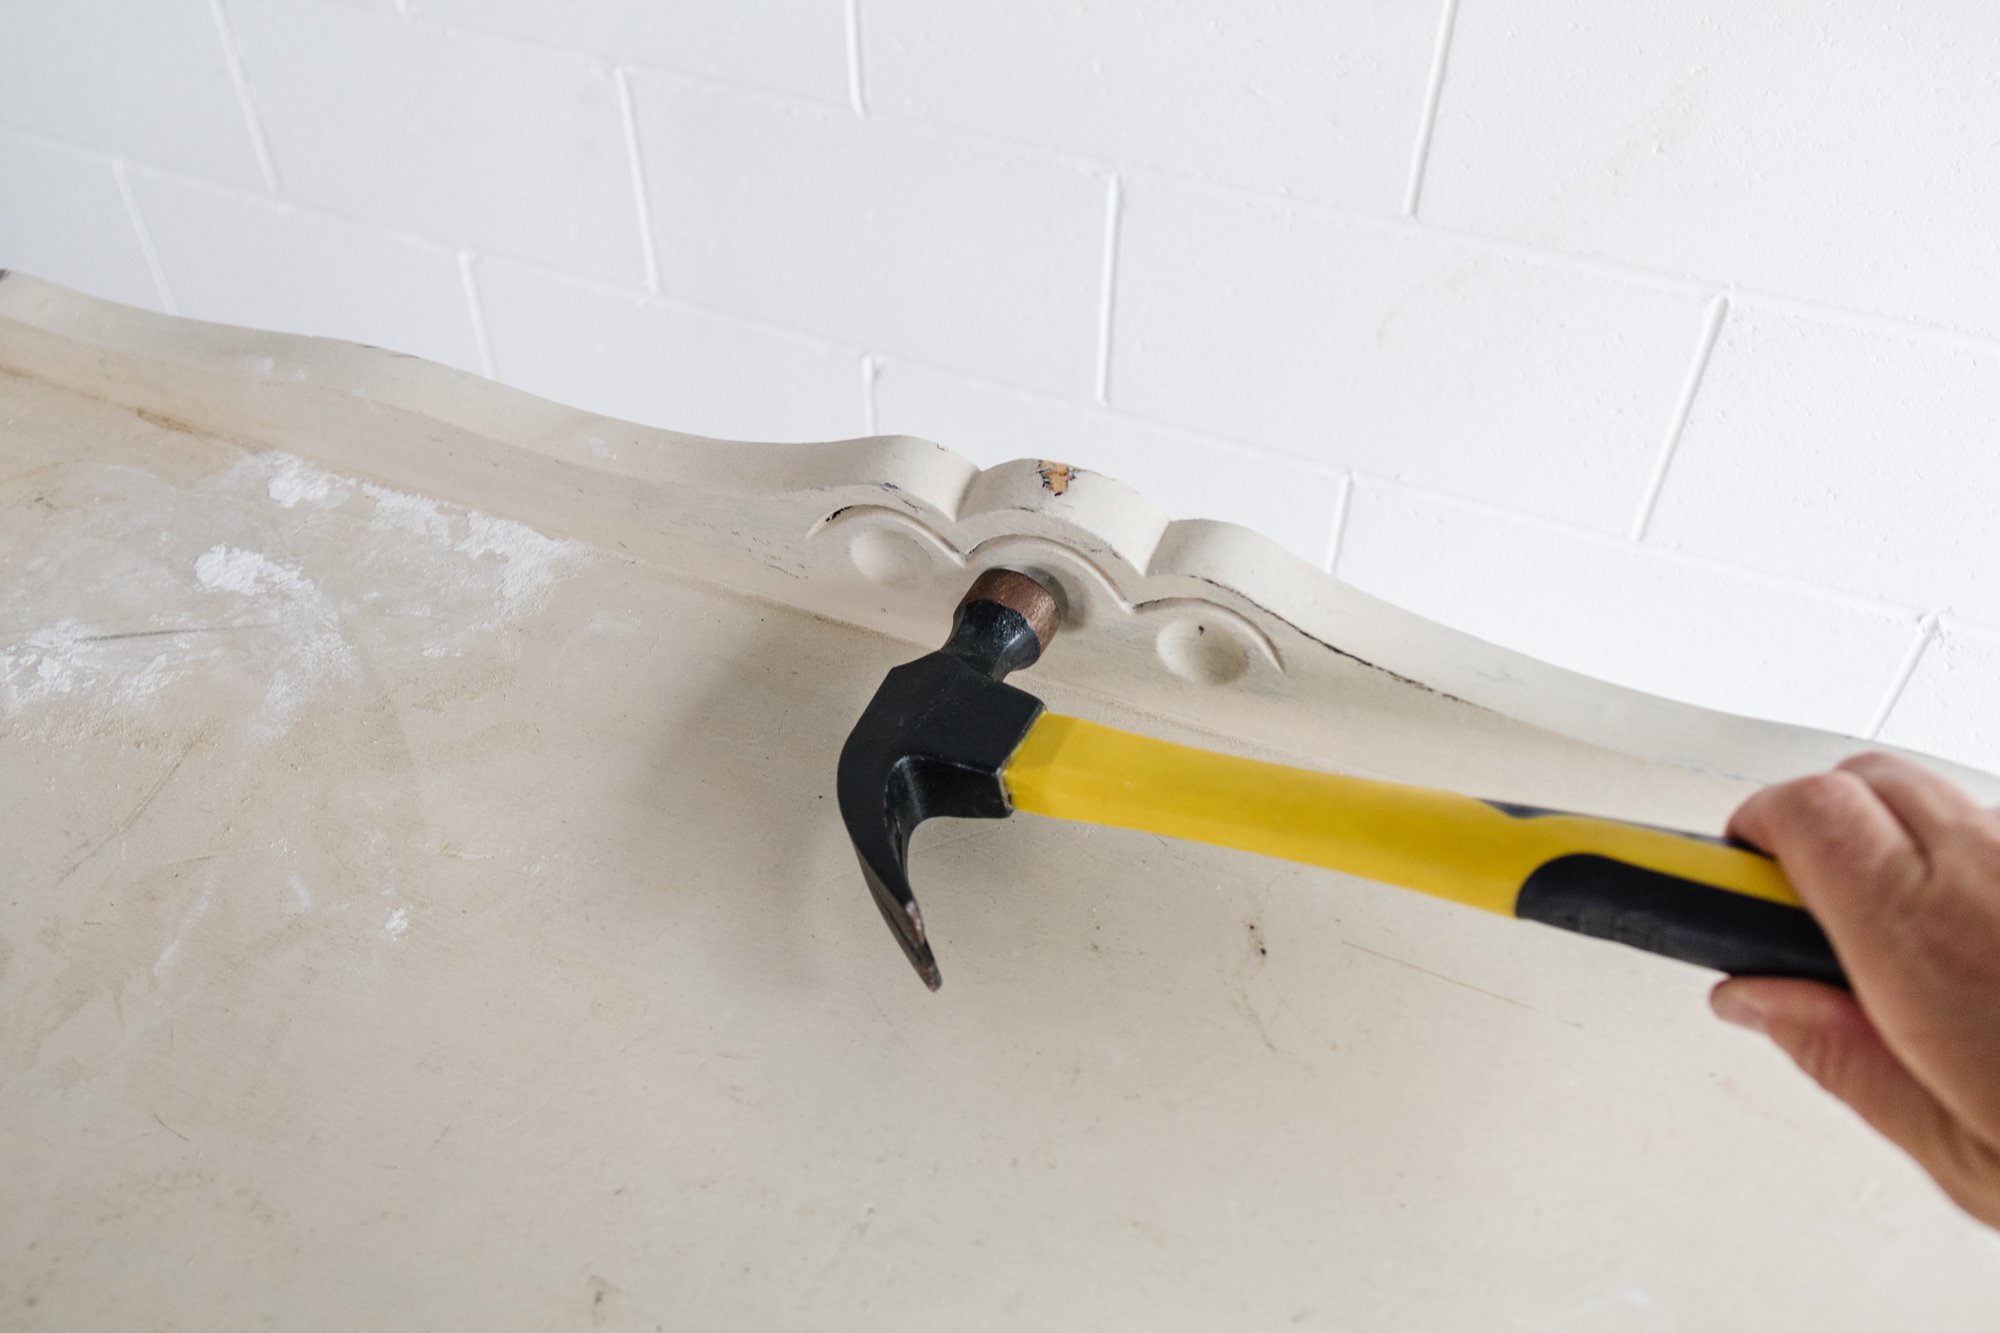
Step 1: To begin with I removed the ornate detail at the back of the table using a hammer by gently tapping it initially, then knocking it off. A small section wouldn’t come off, so I used my jigsaw to remove it. Following this I removed the legs using a drill, jigsaw and a bit of brute force.
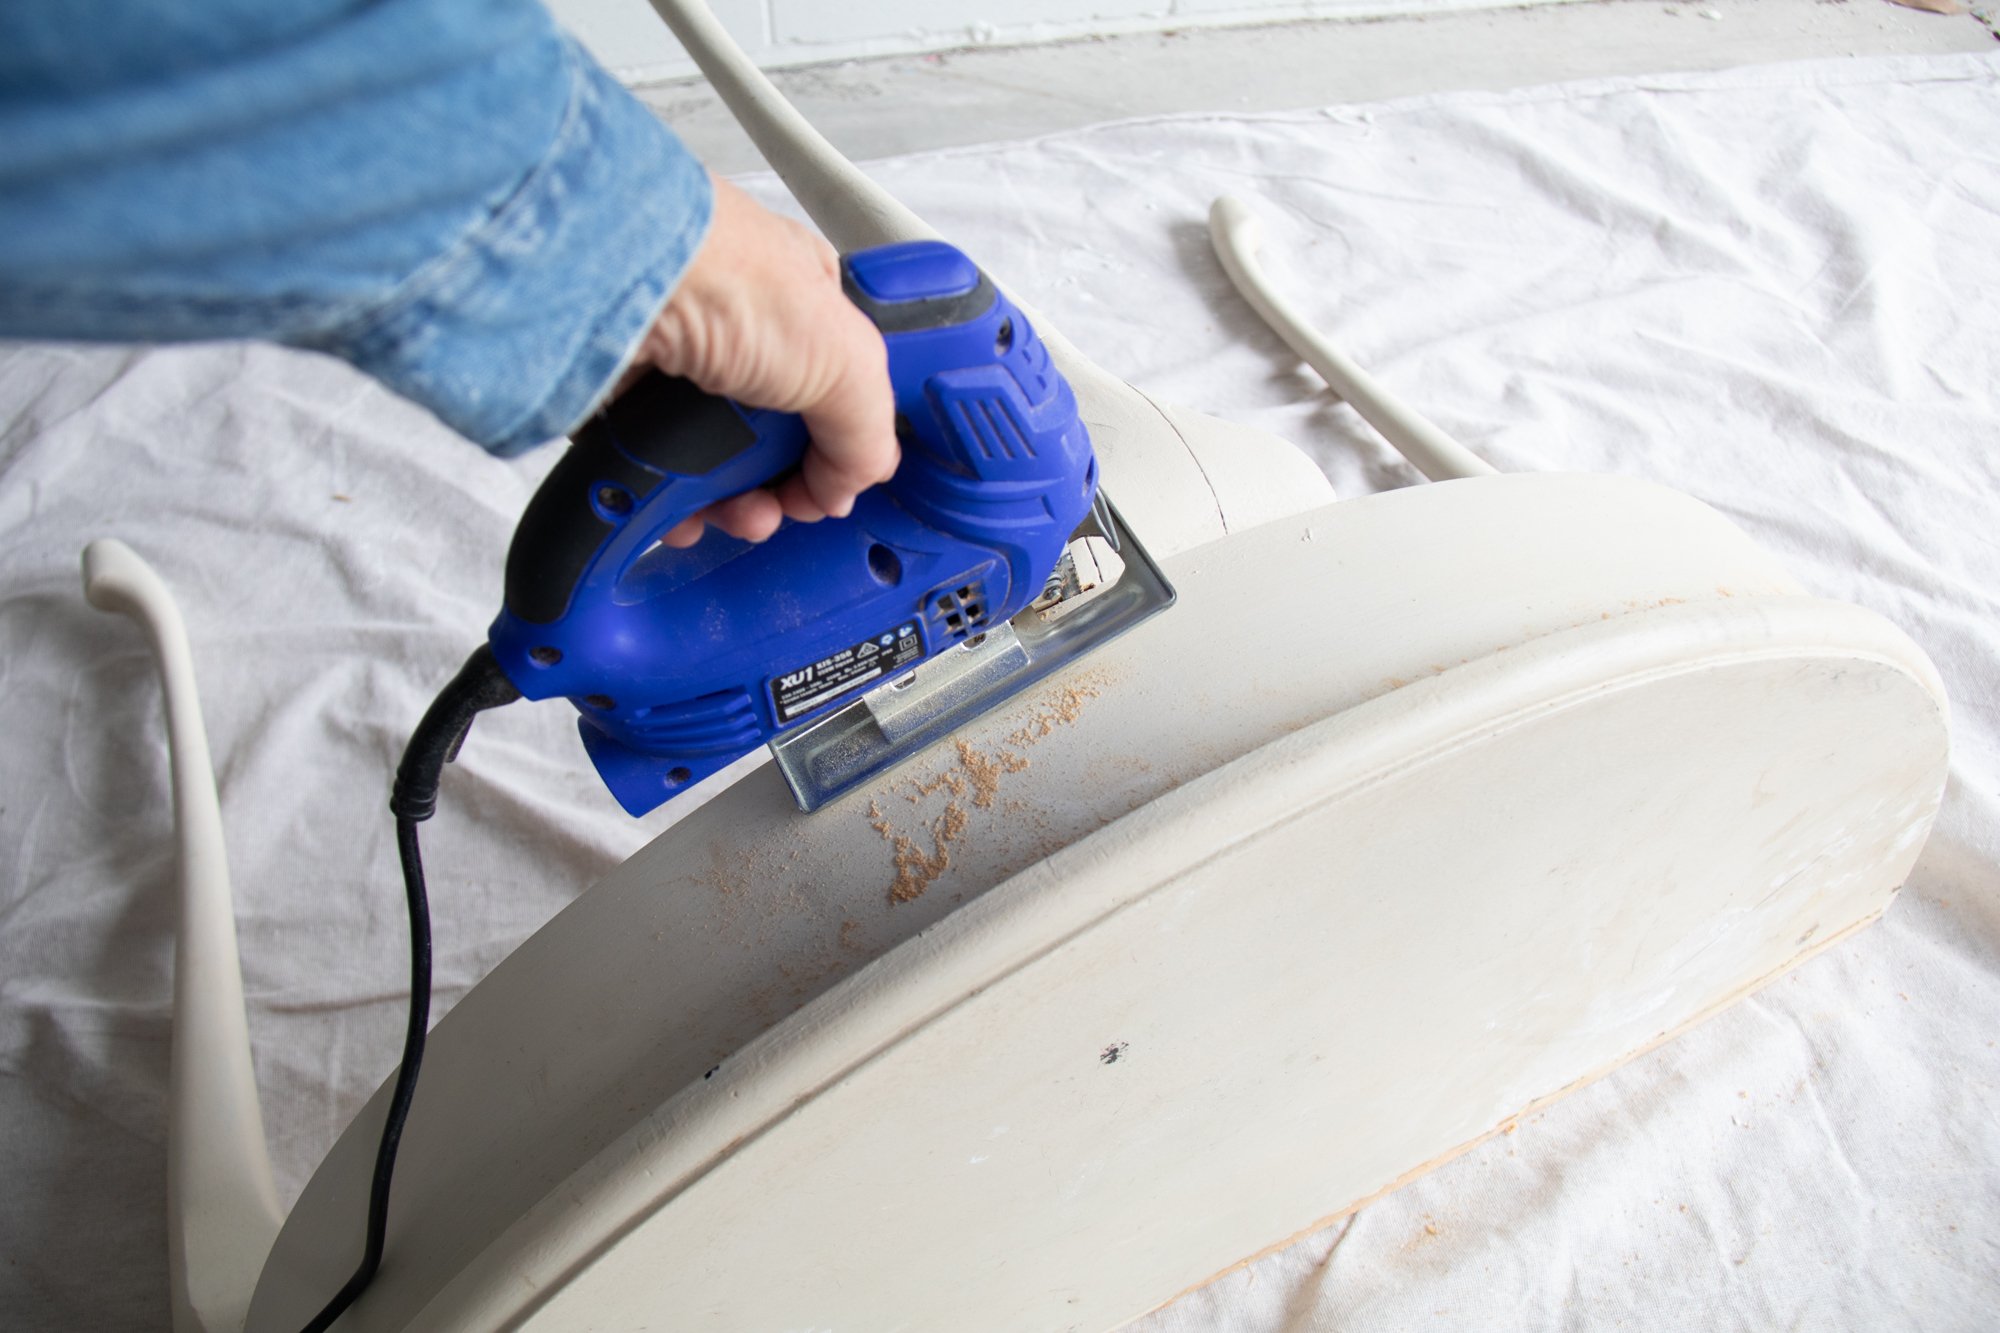
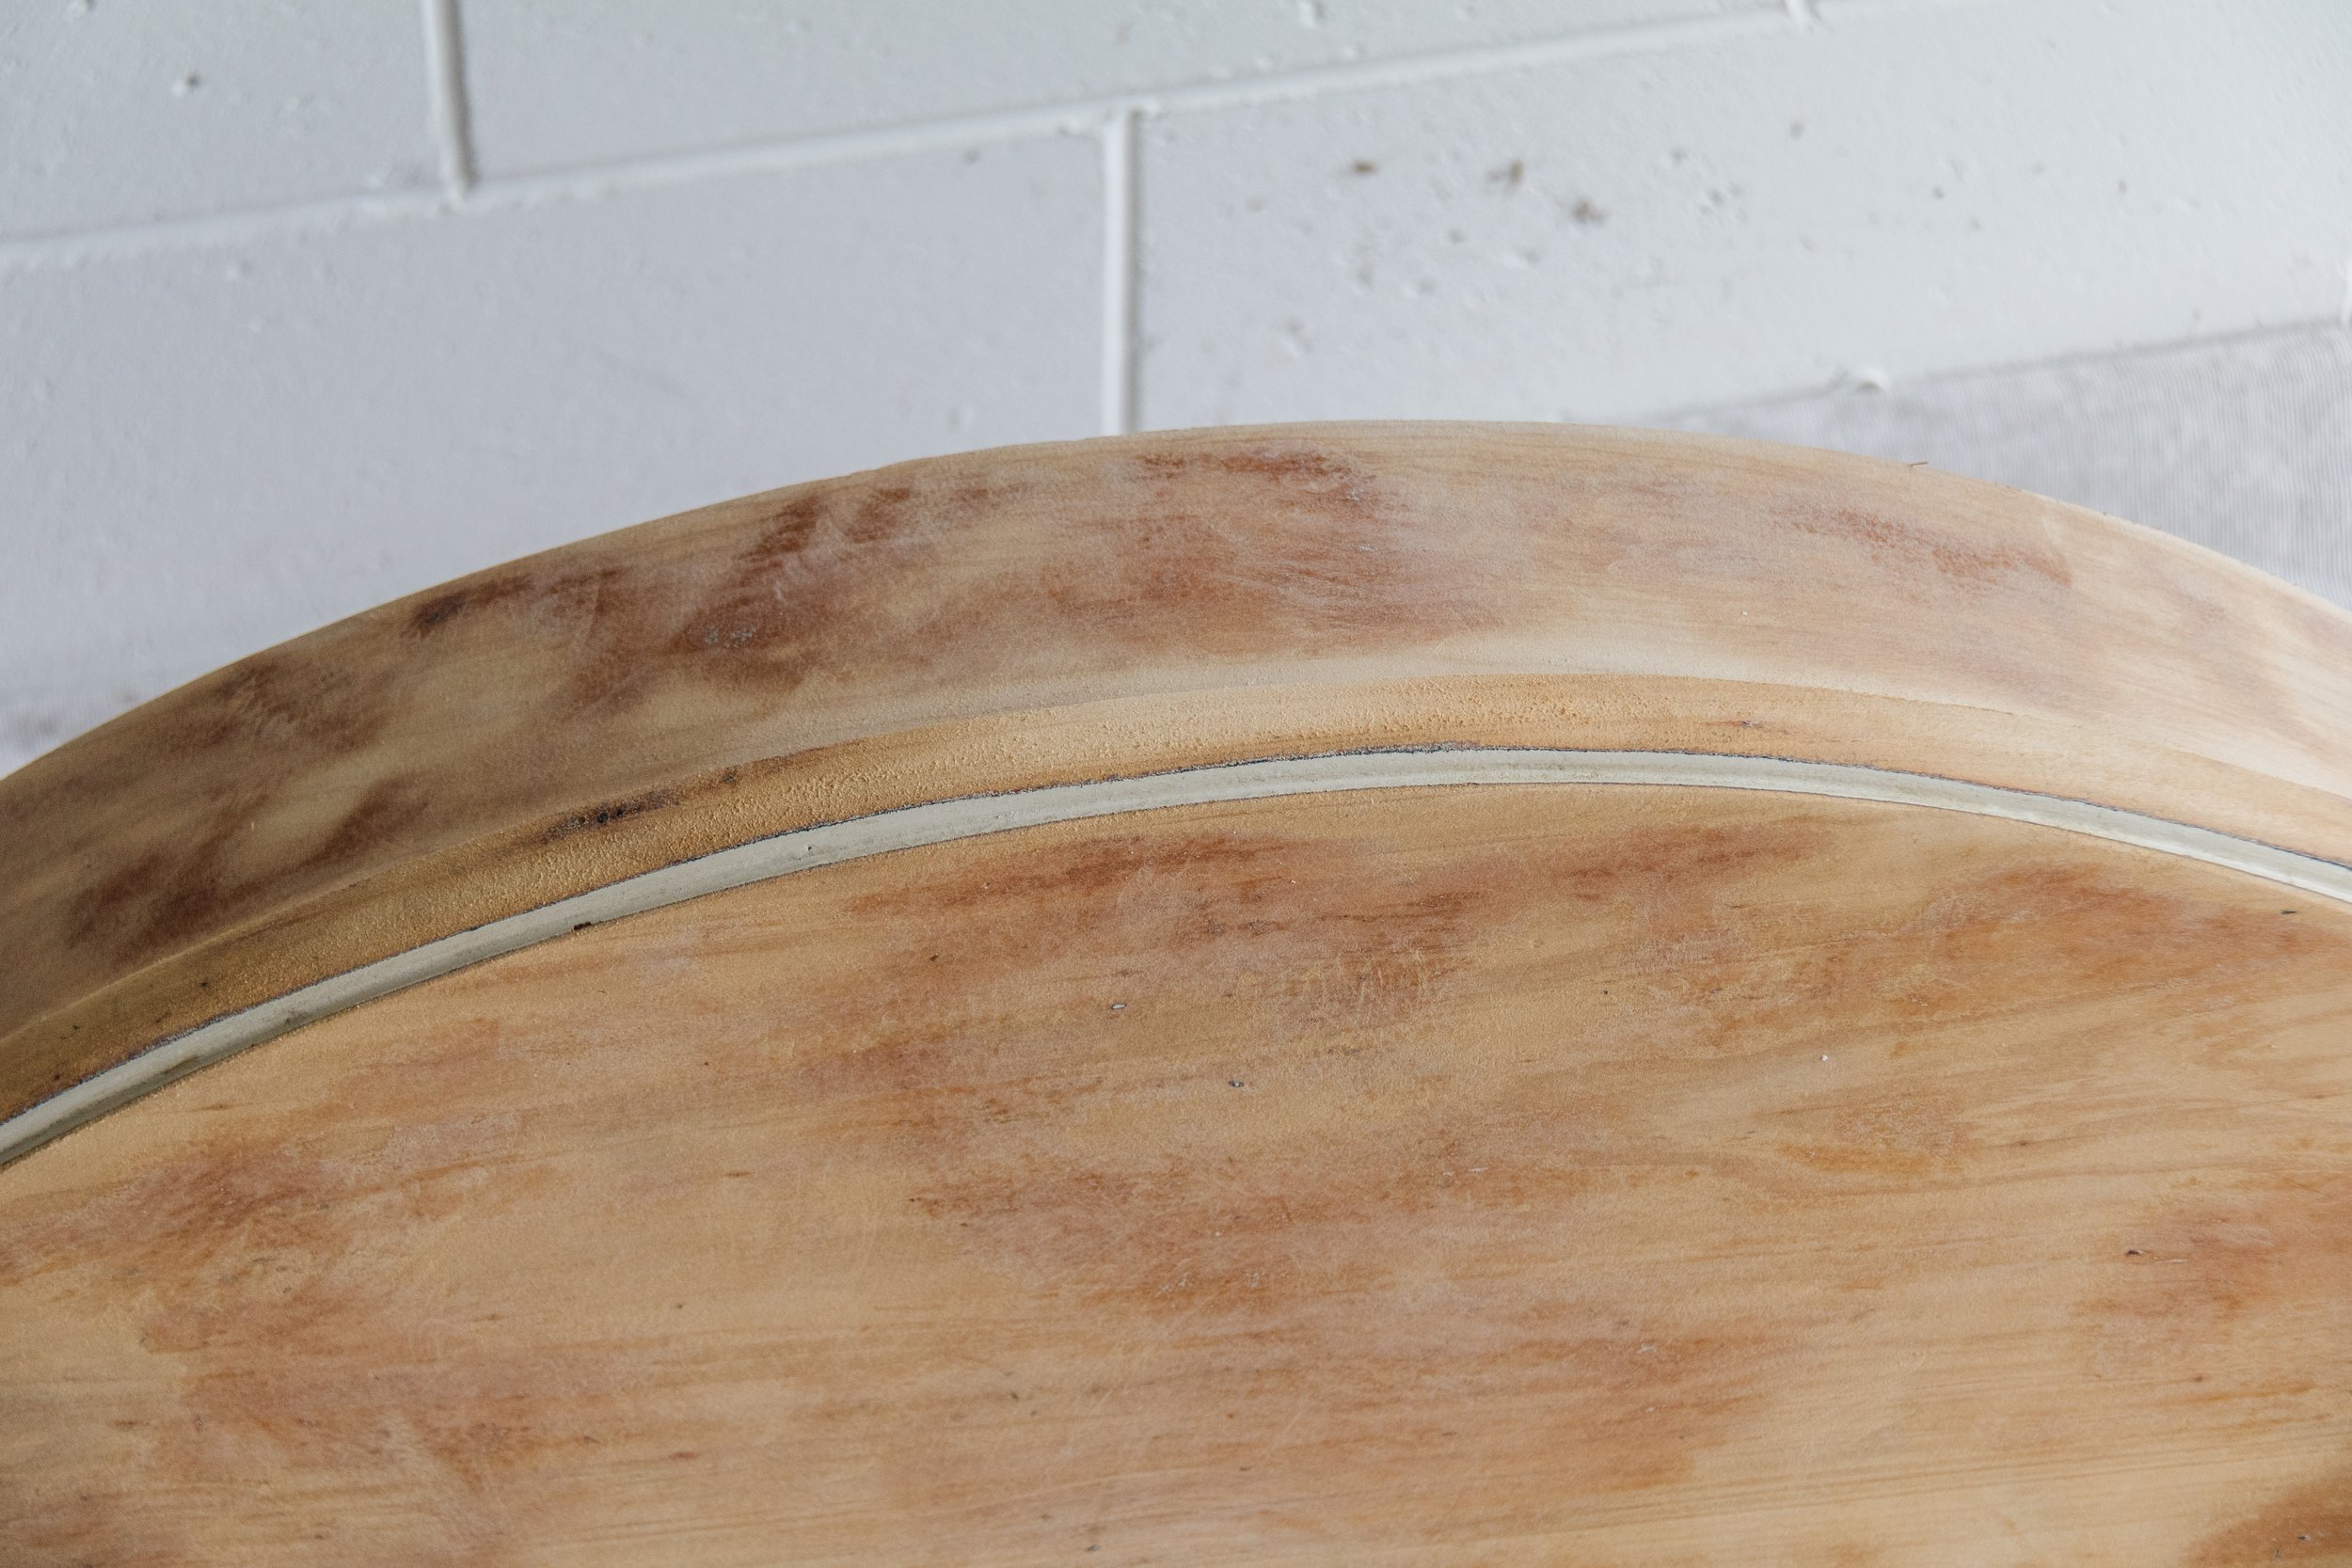
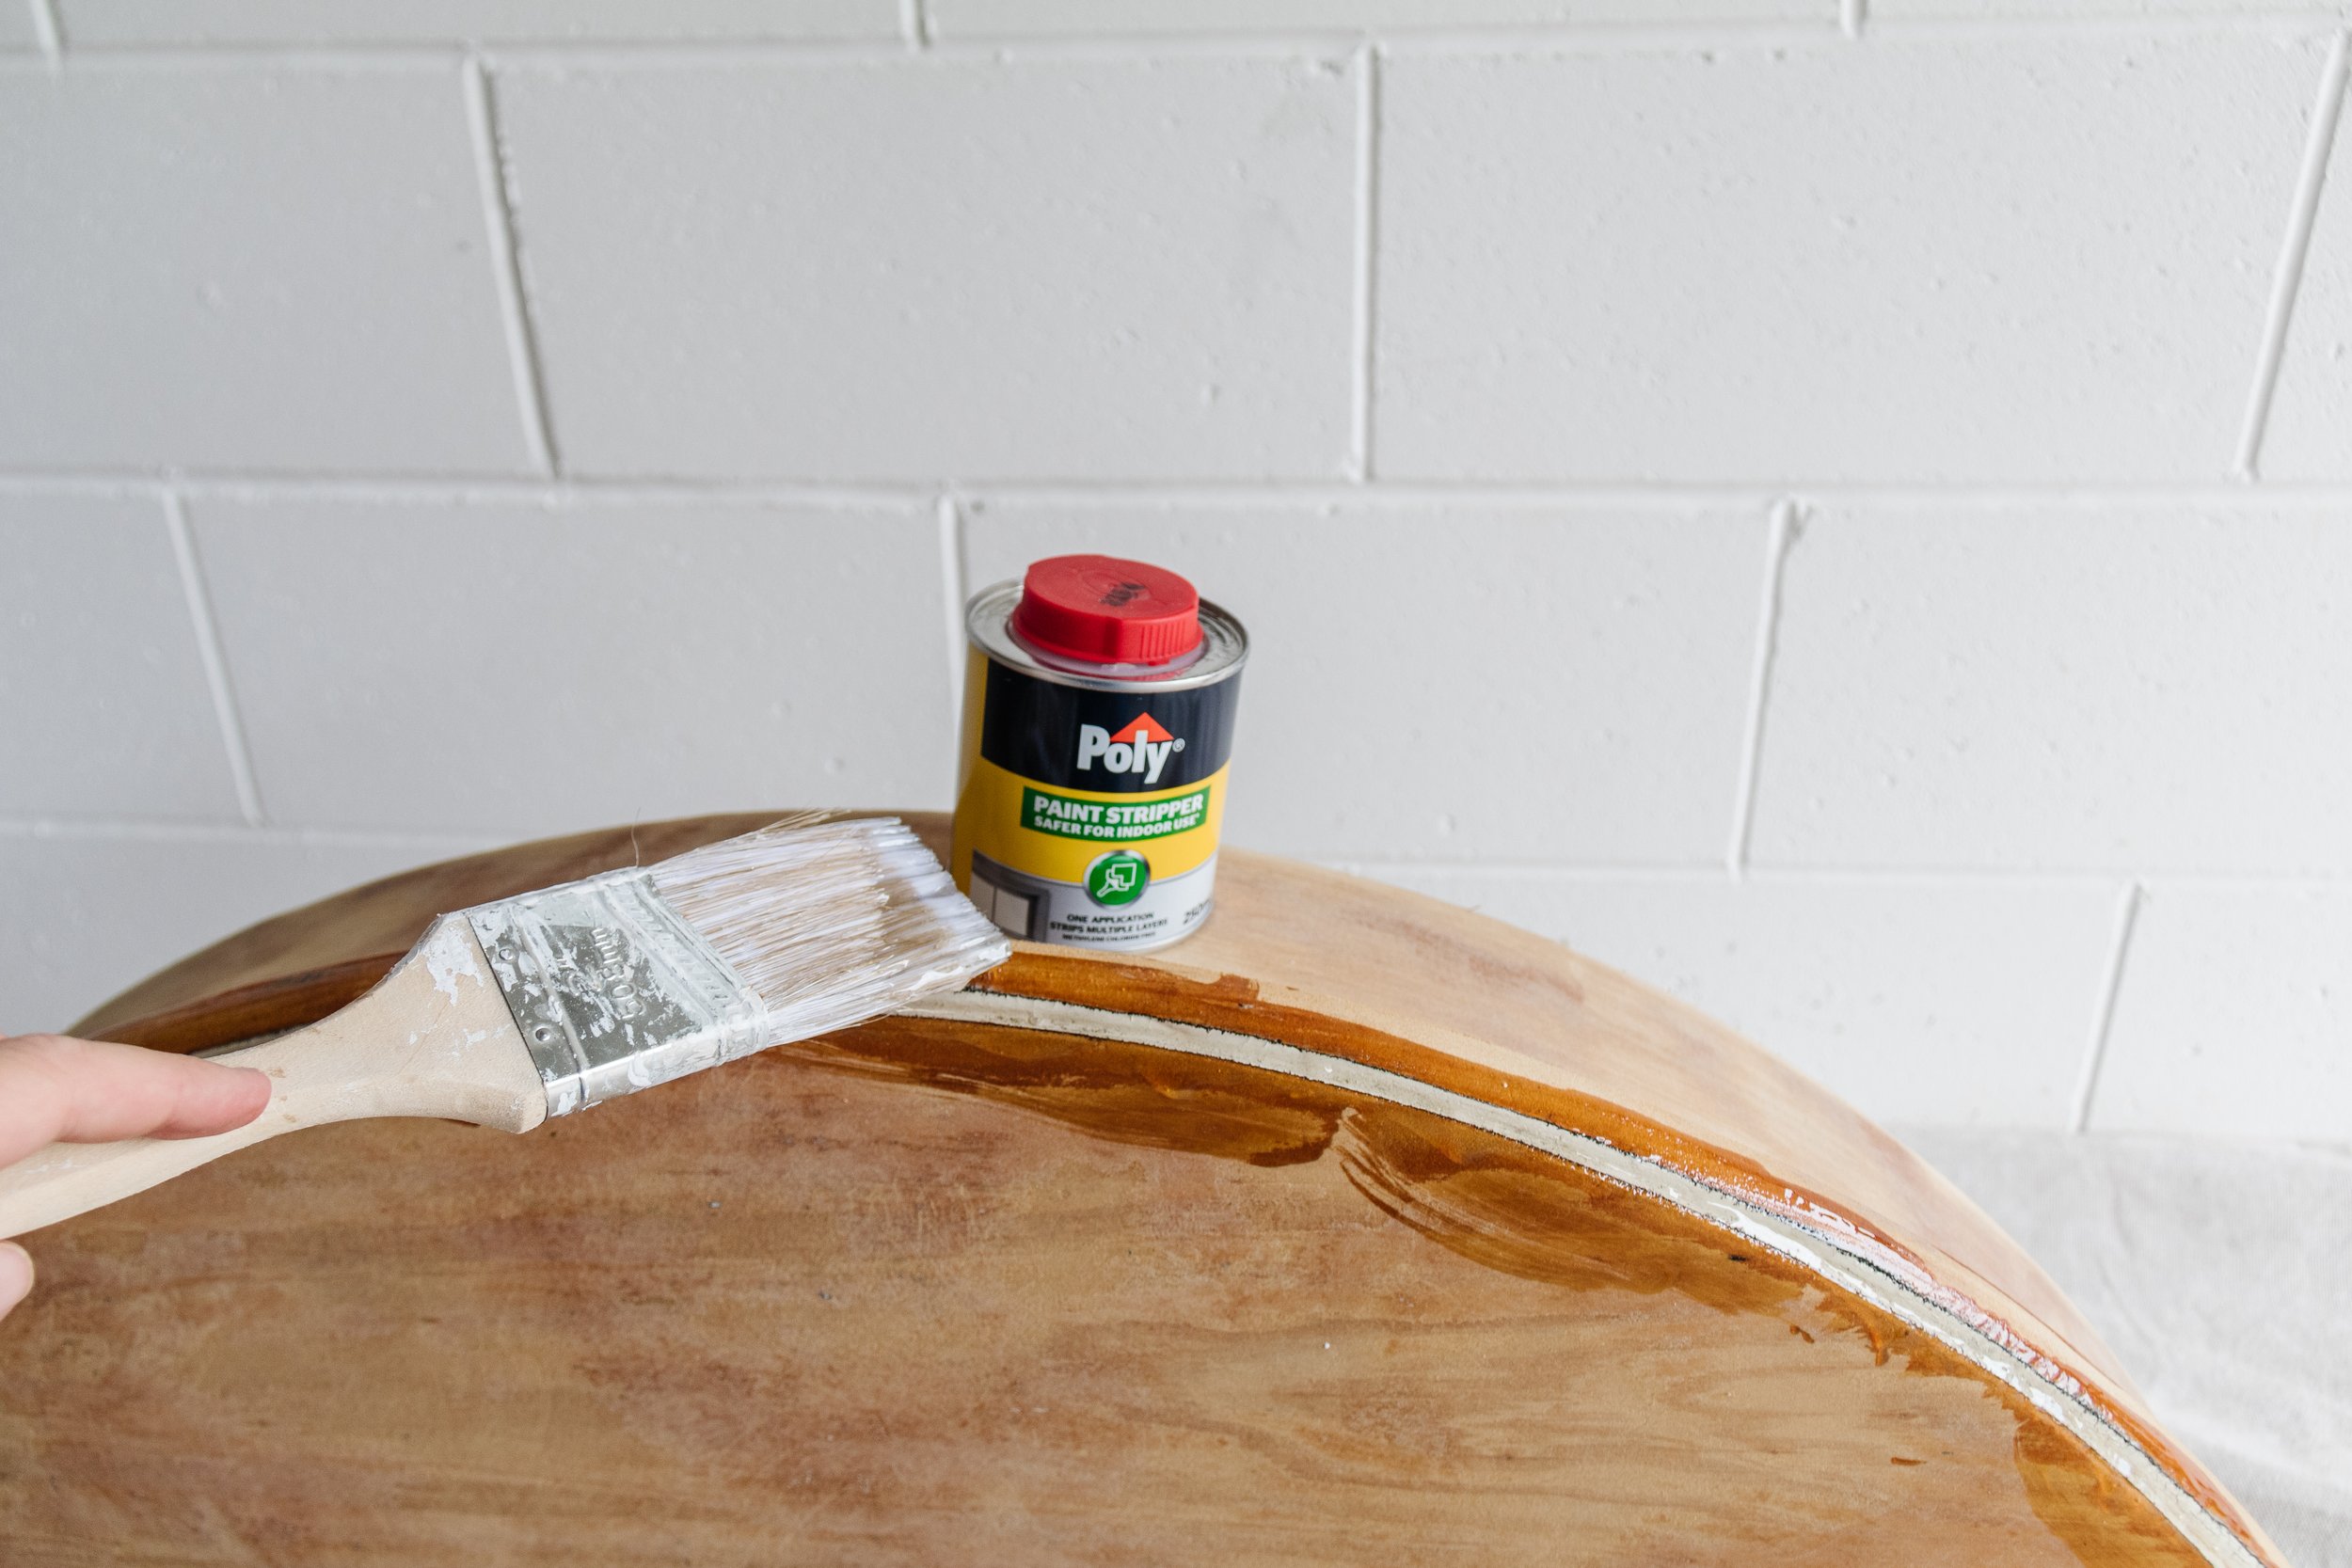
Step 2: I removed the existing paint using my sander and paint stripper for those difficult to reach places.

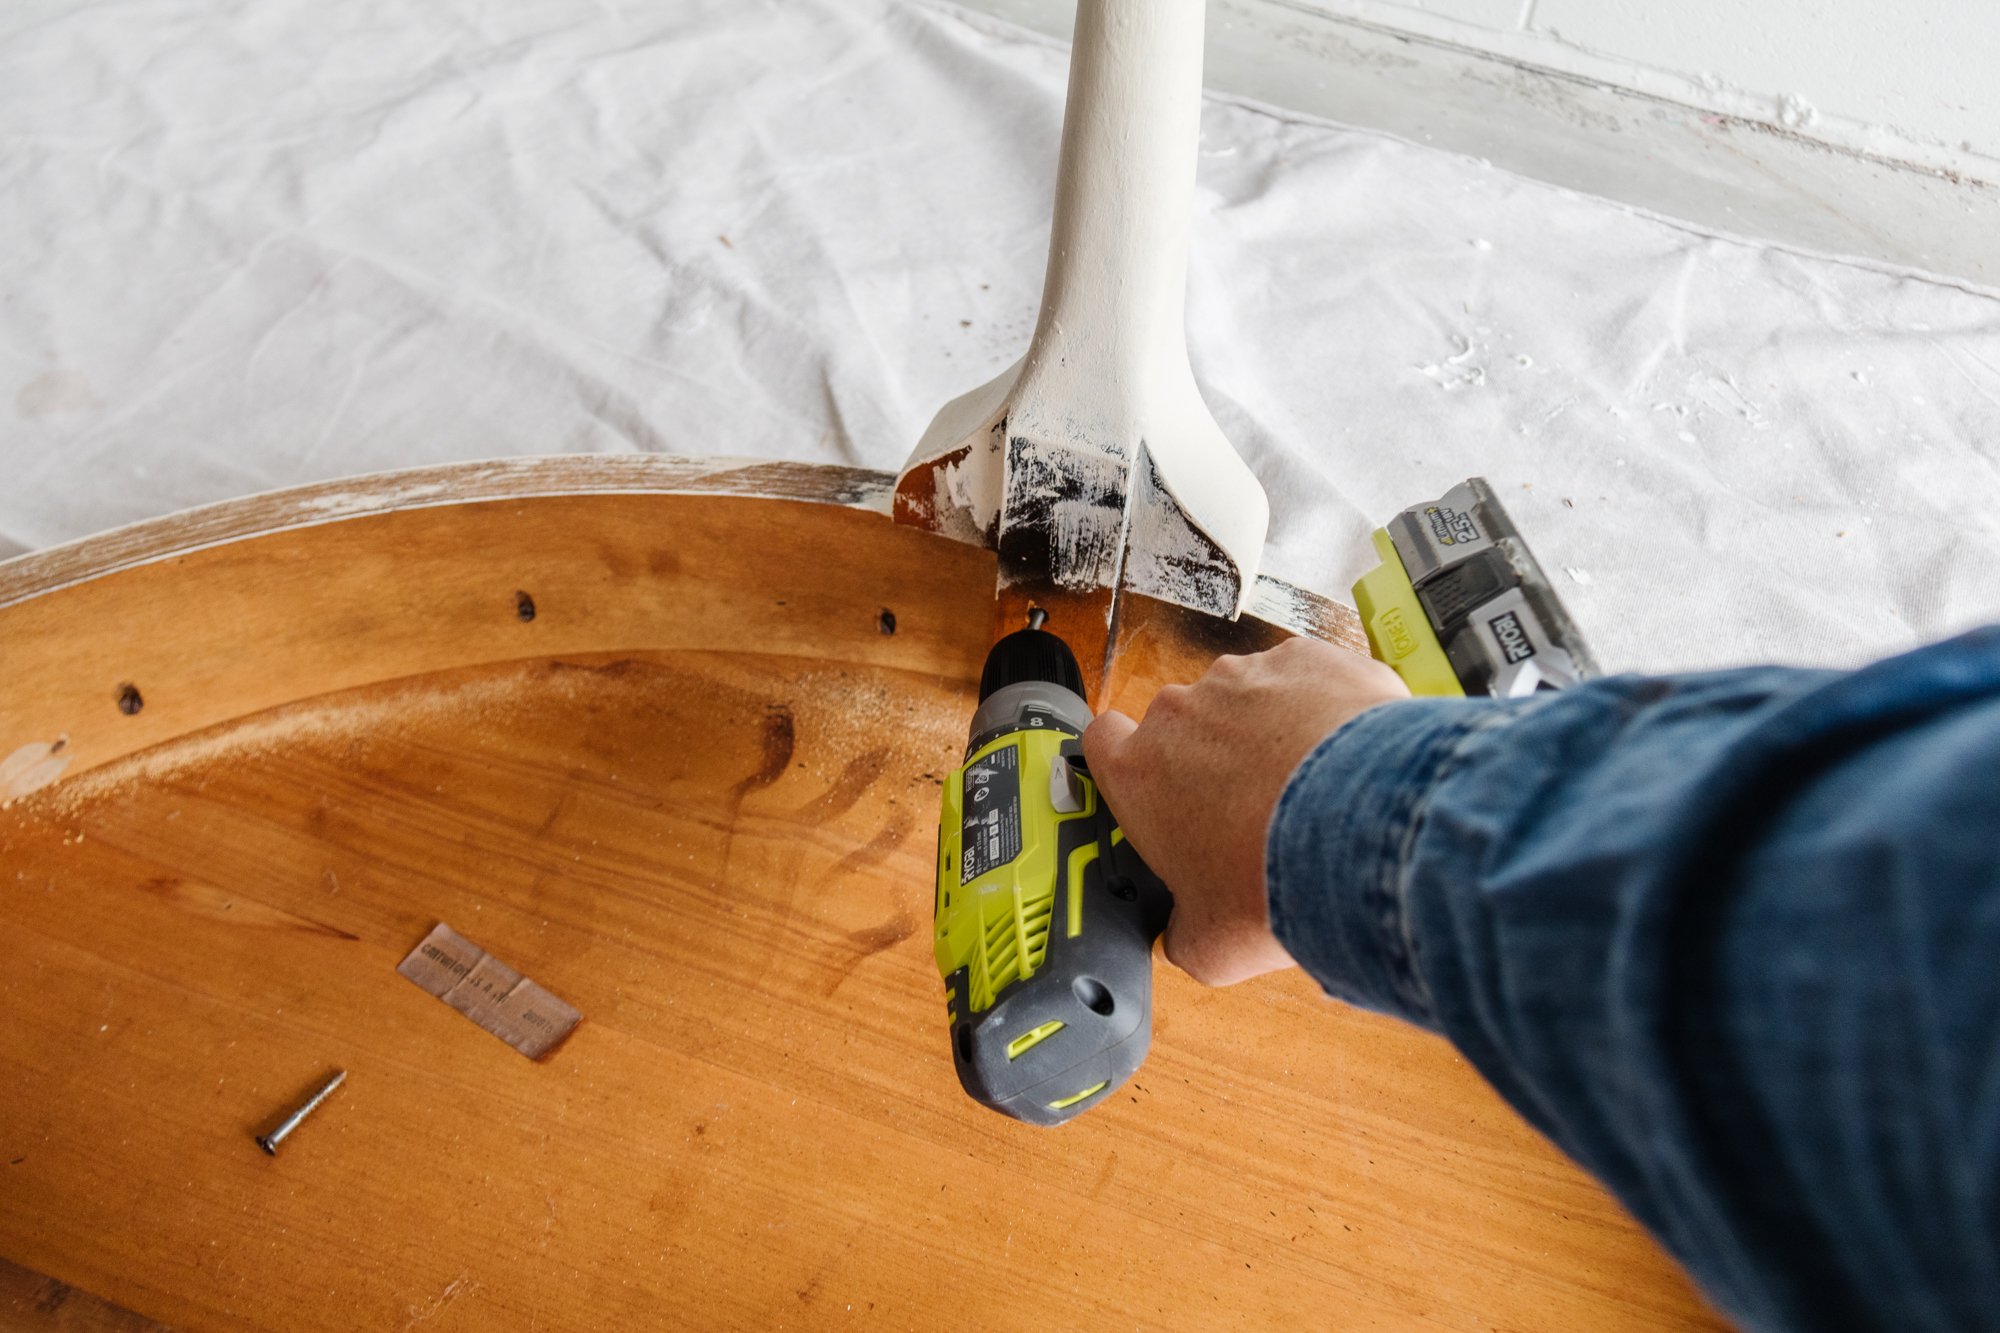

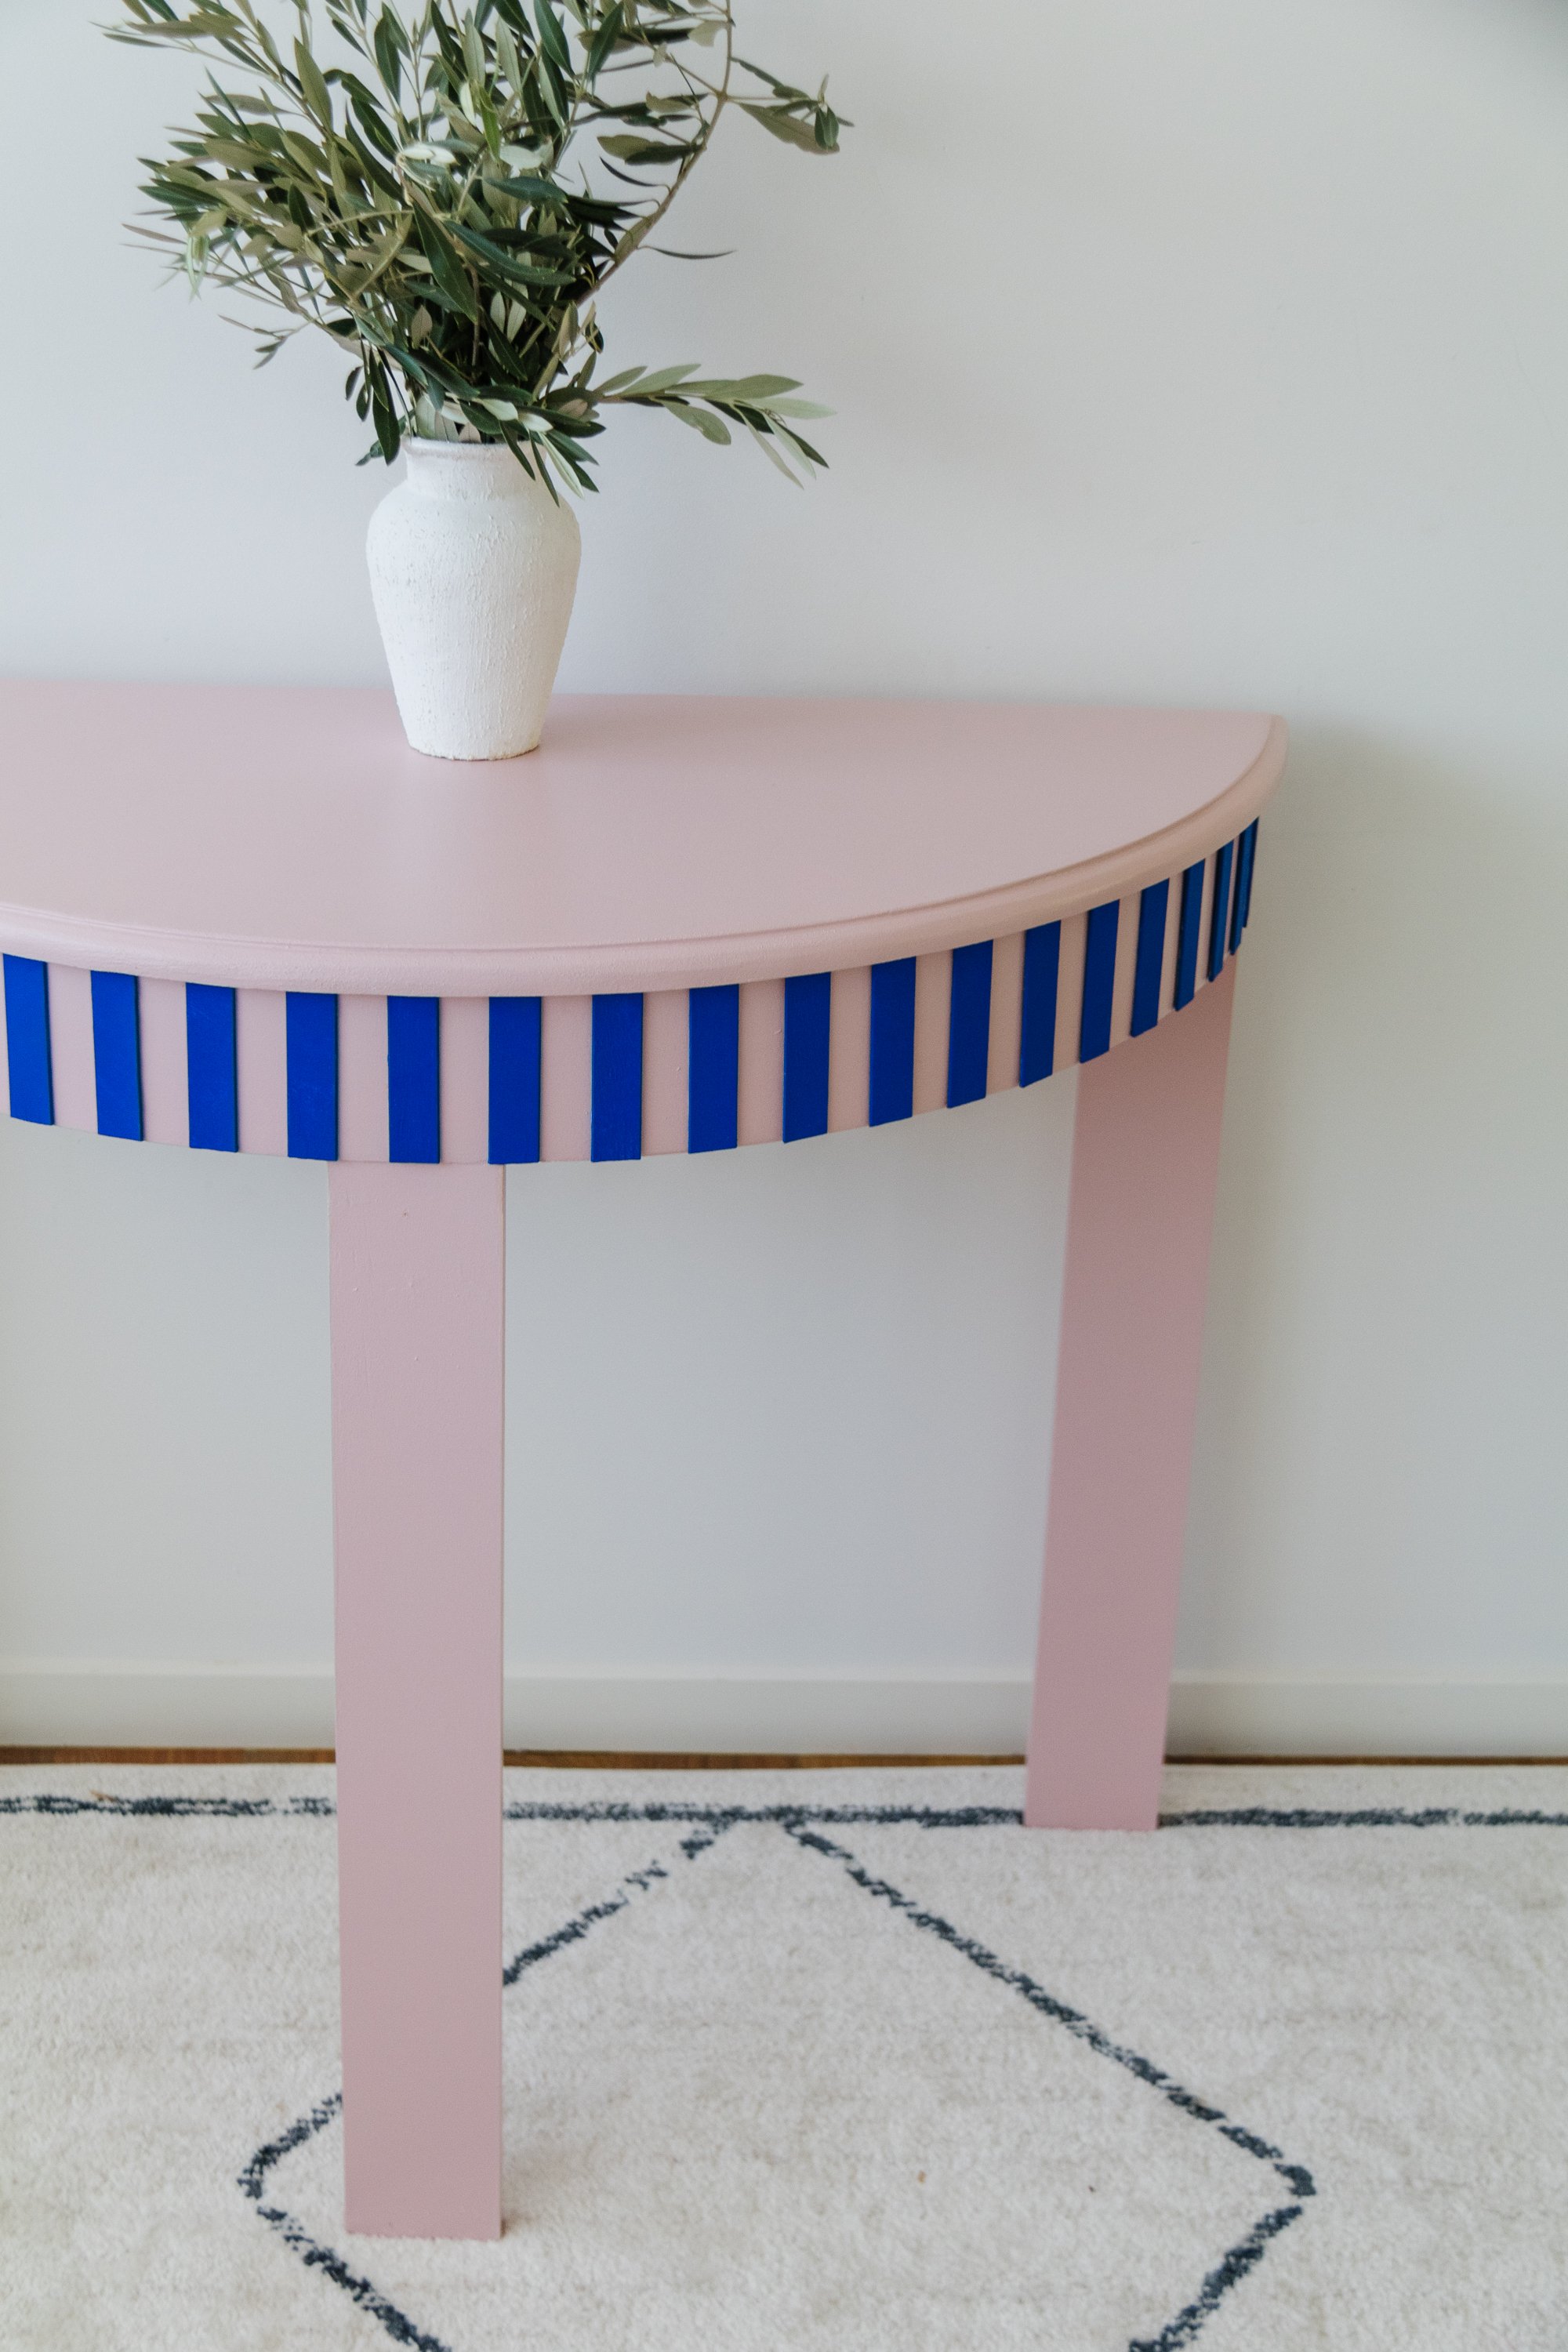
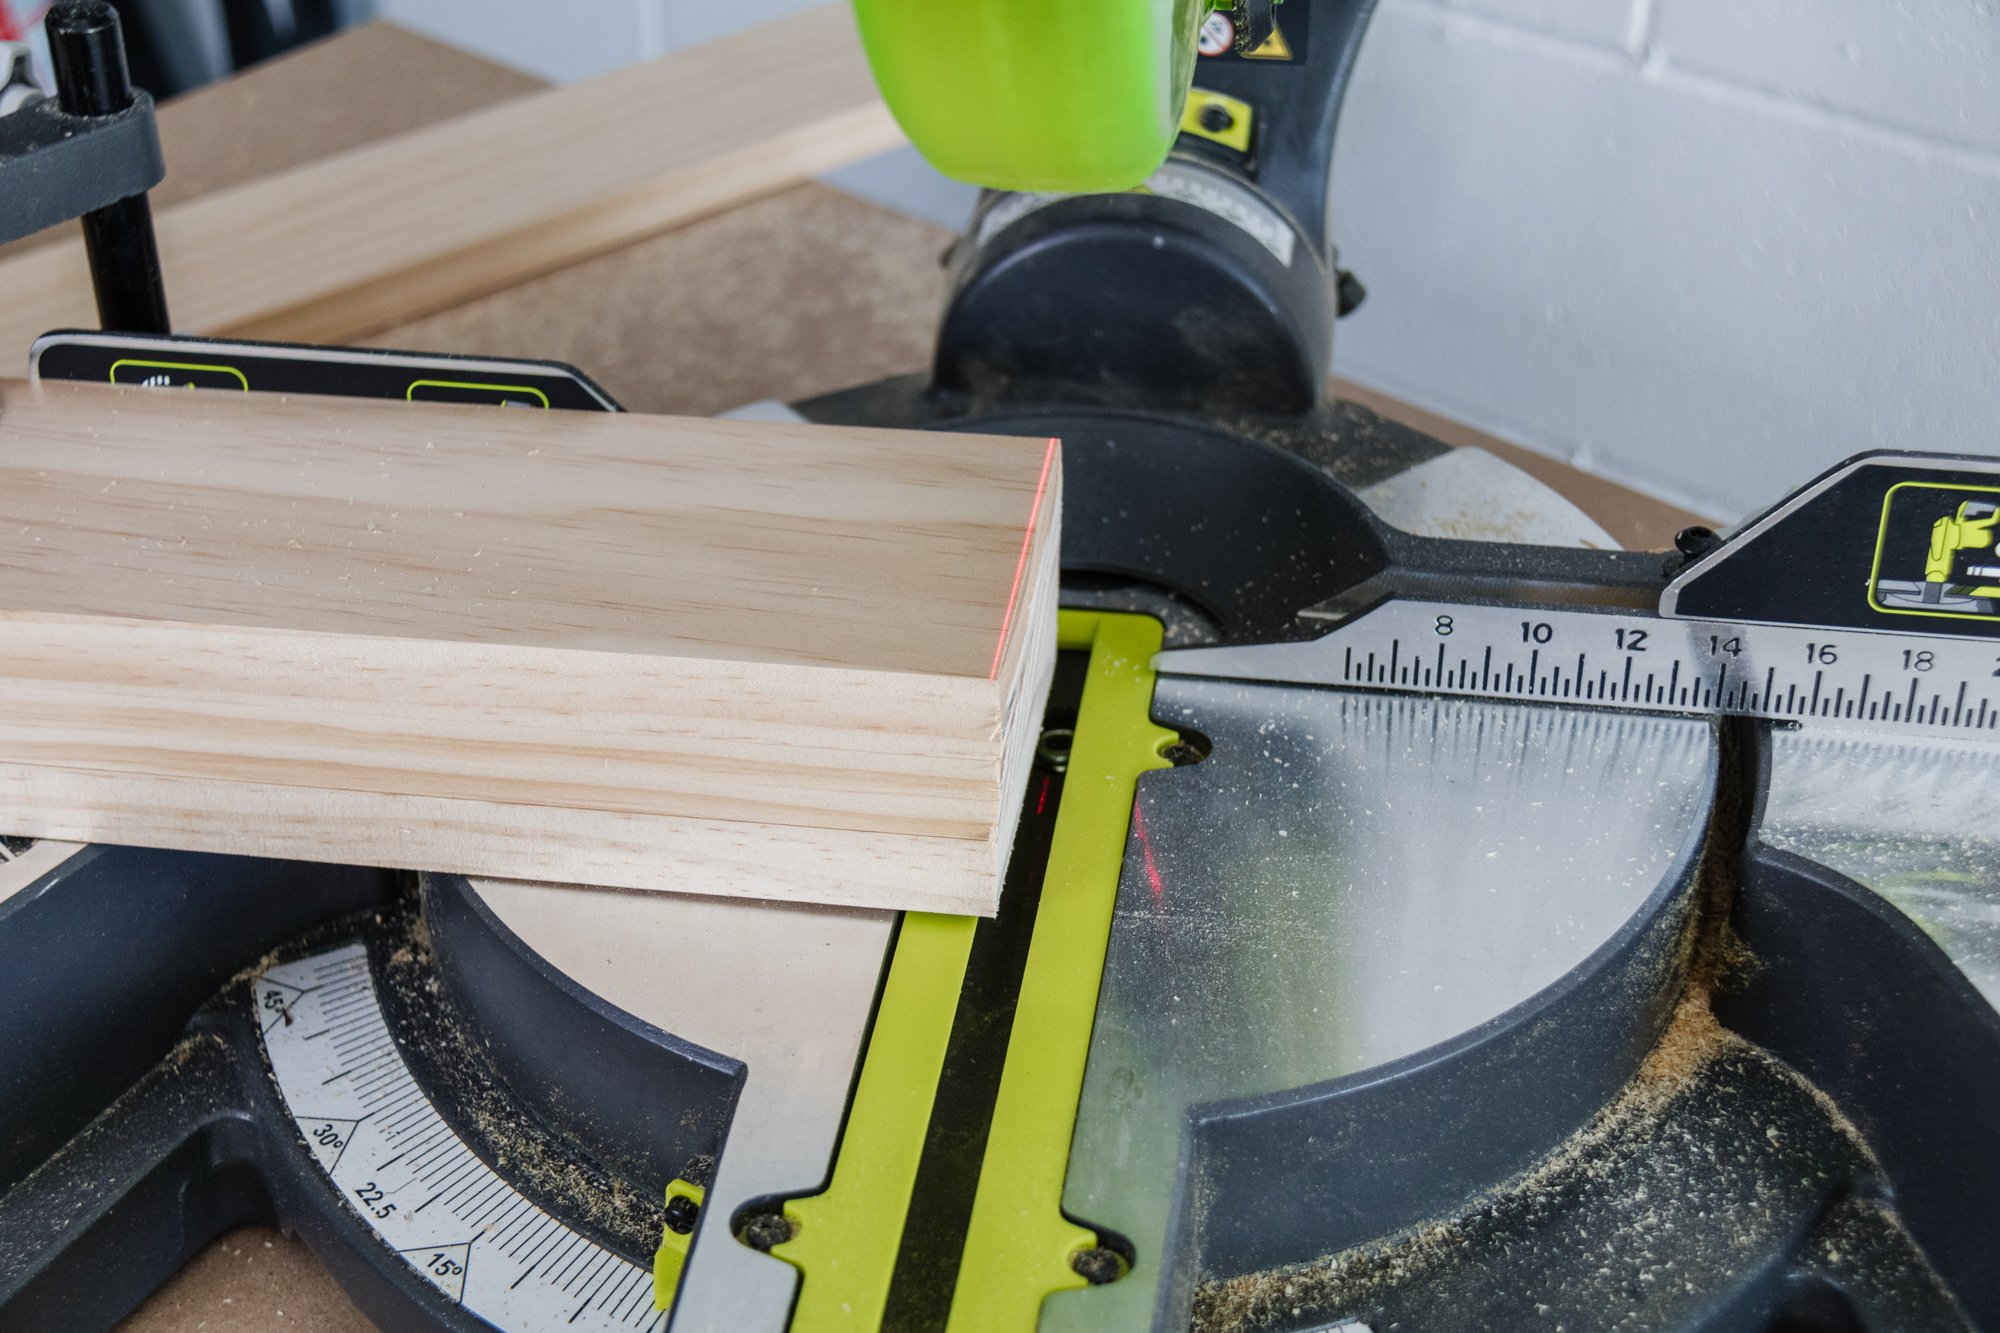
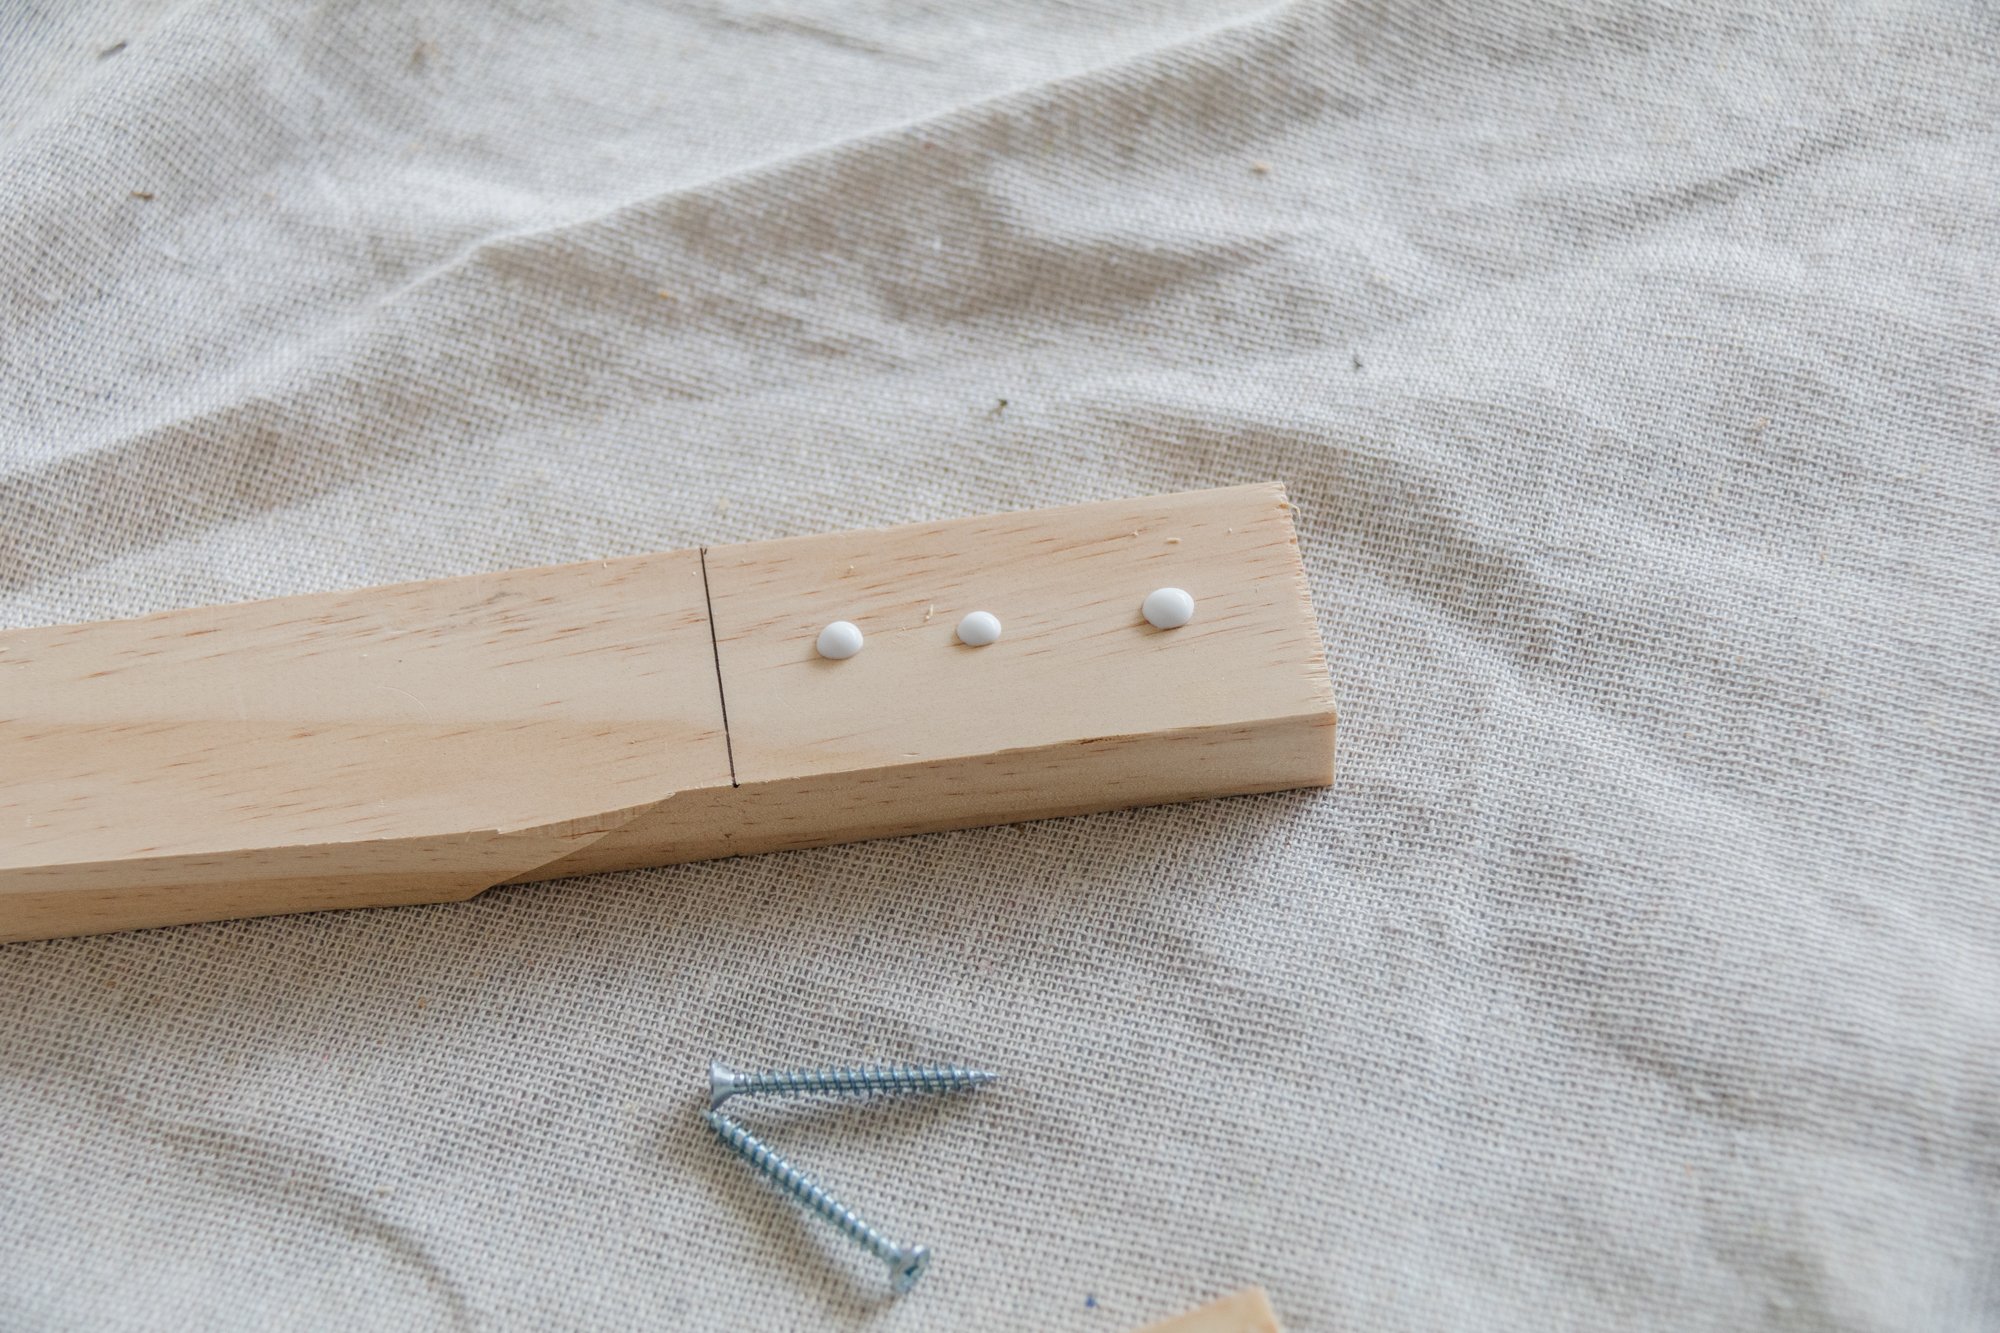
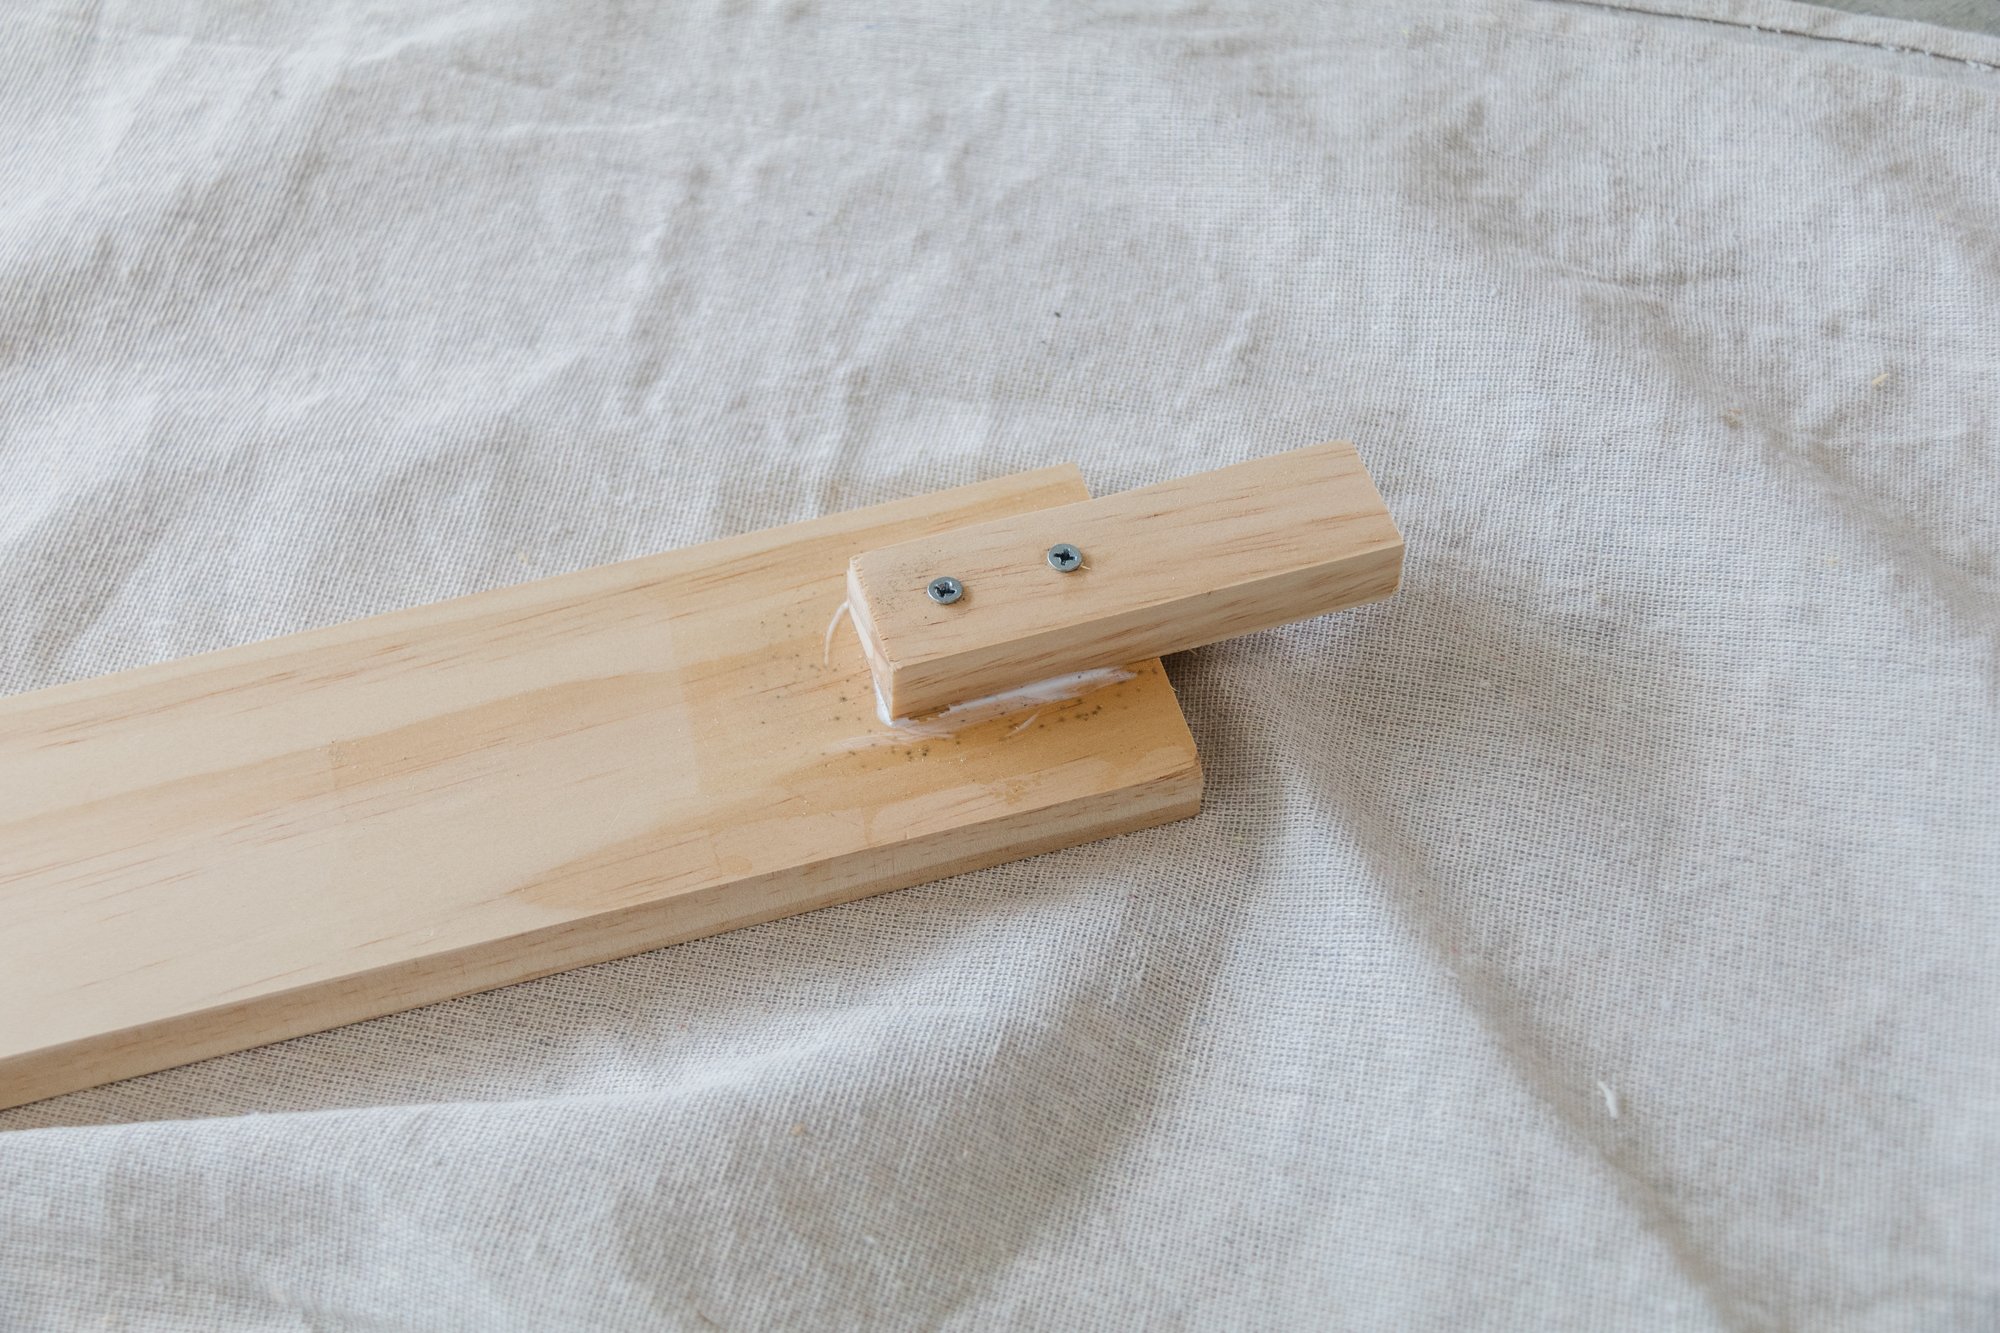
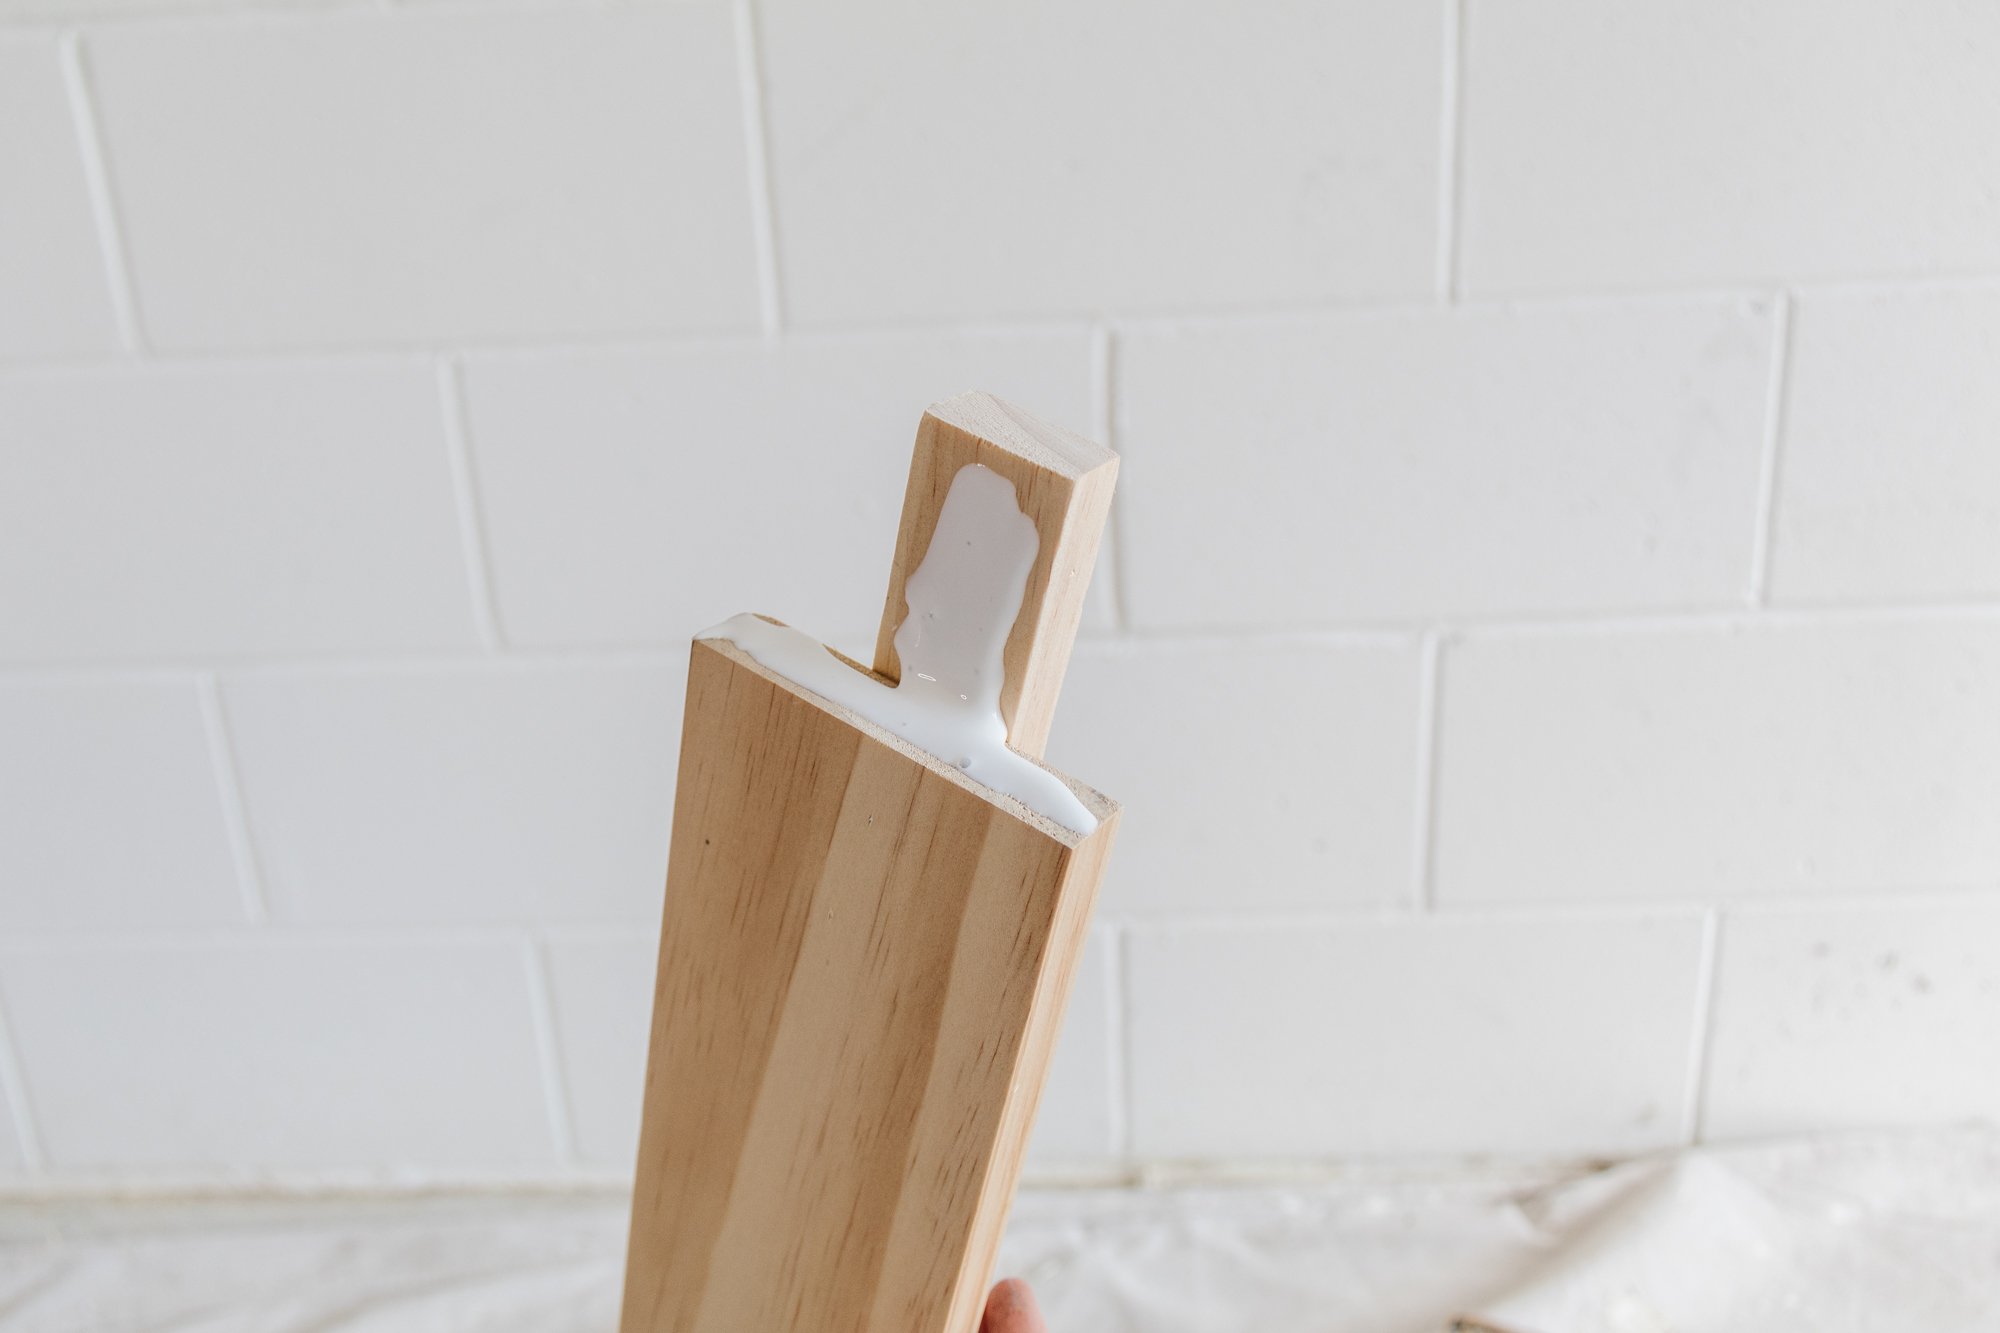
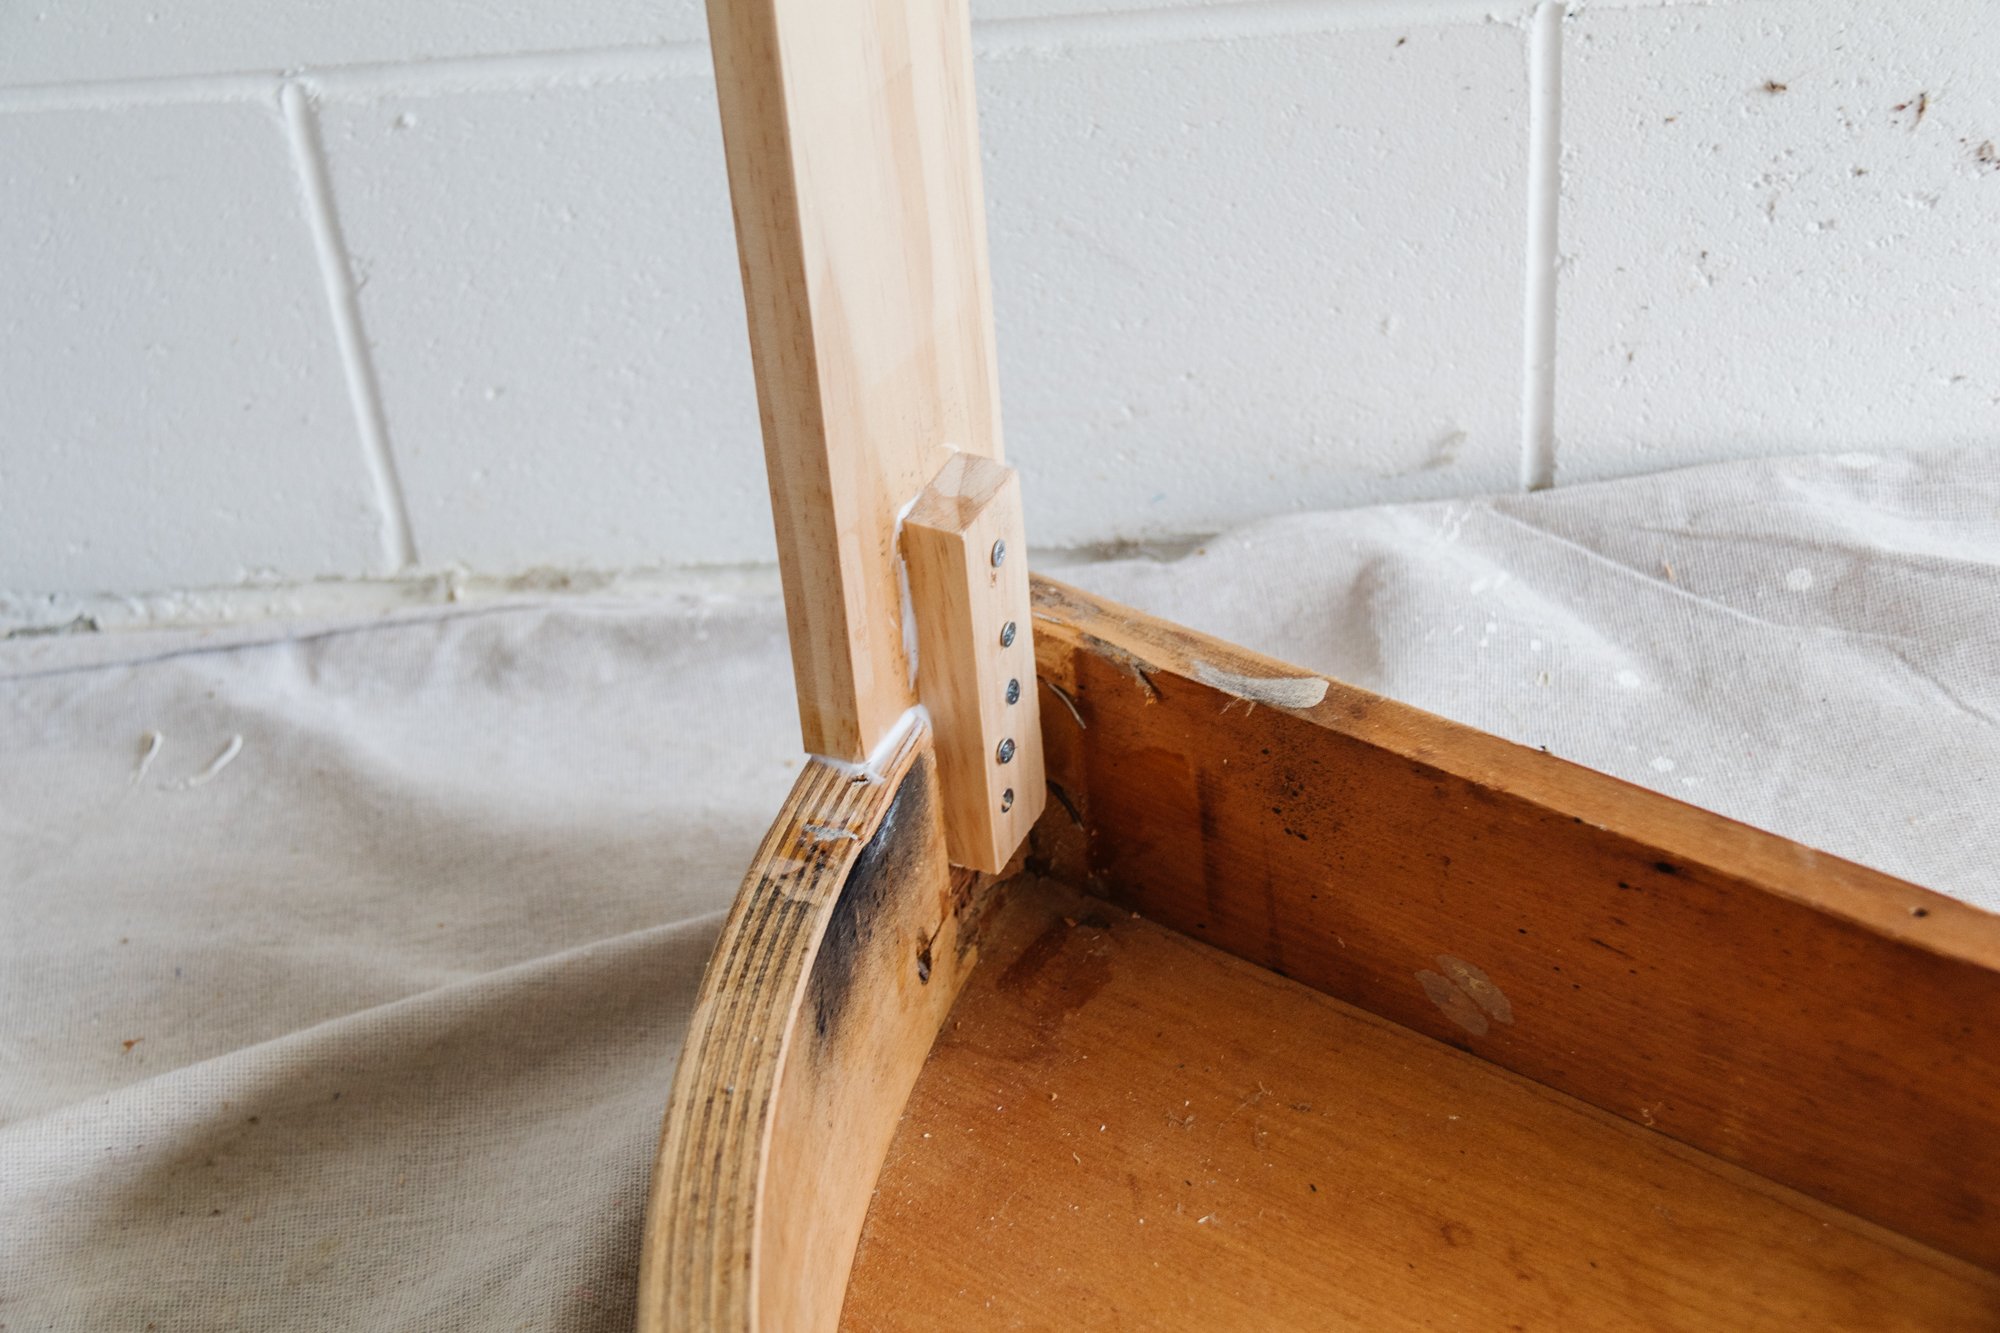
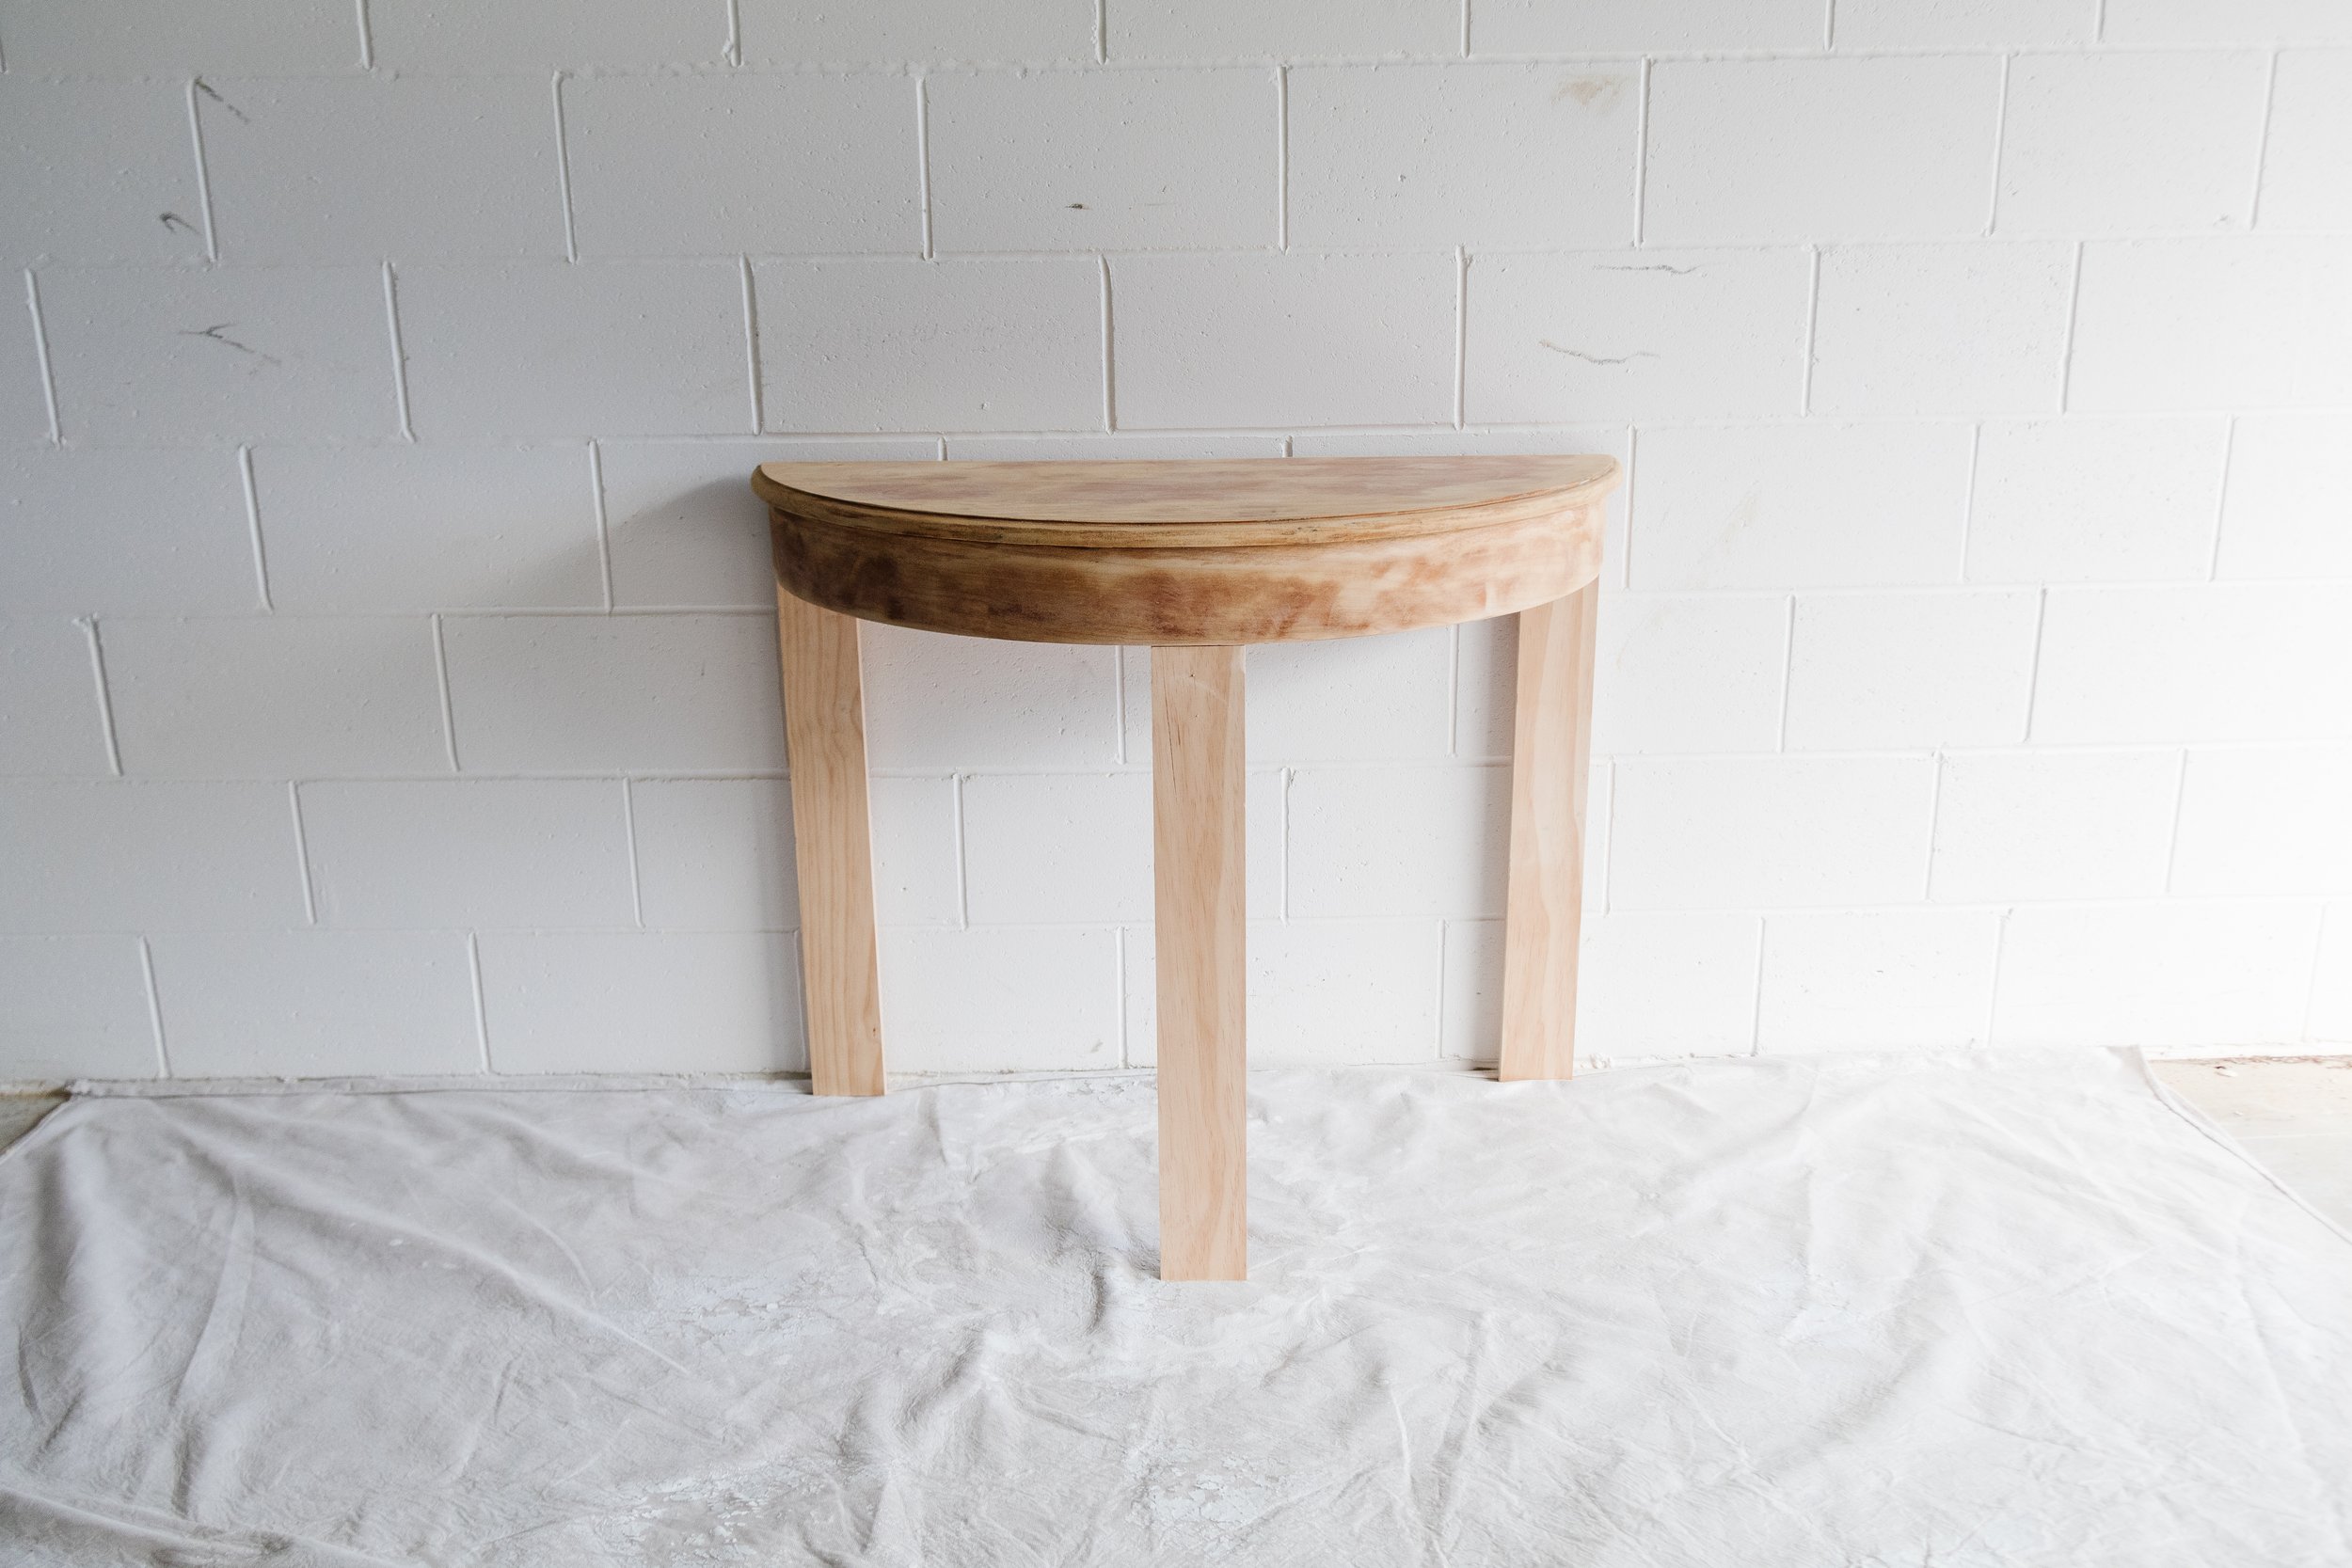
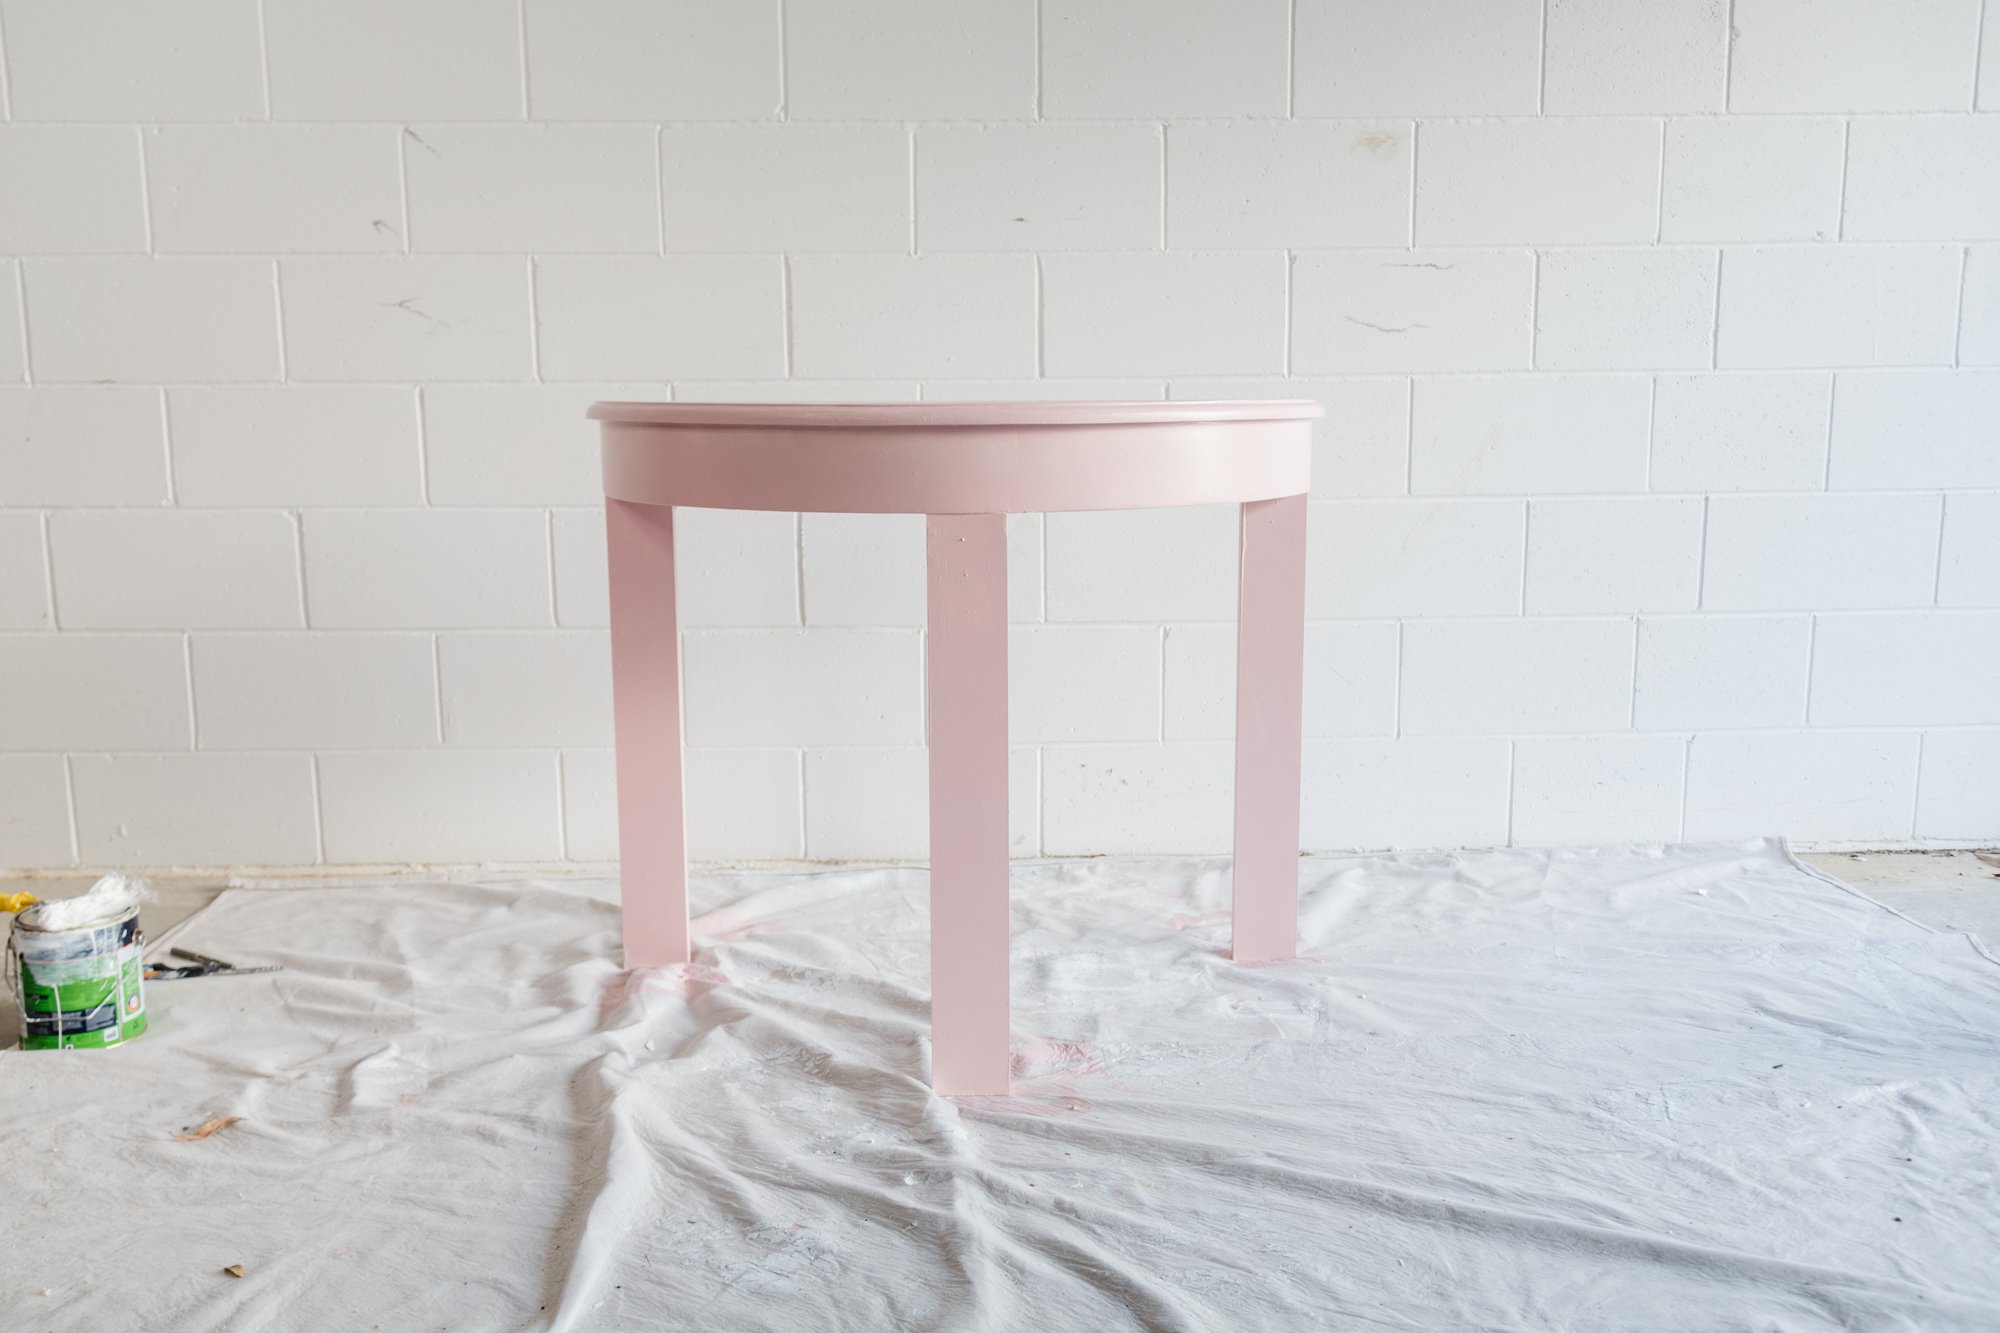
Step 3: I liked the height of the original legs (70cm) so I used this as a guide to measure and cut the pine timber planks for the new legs, which I attached to the table using wood glue (for extra strength and stability) and timber screws. Please note the last photo is not how I positioned and installed the back two legs. Please refer to my Instagram Stories to see how I did this.
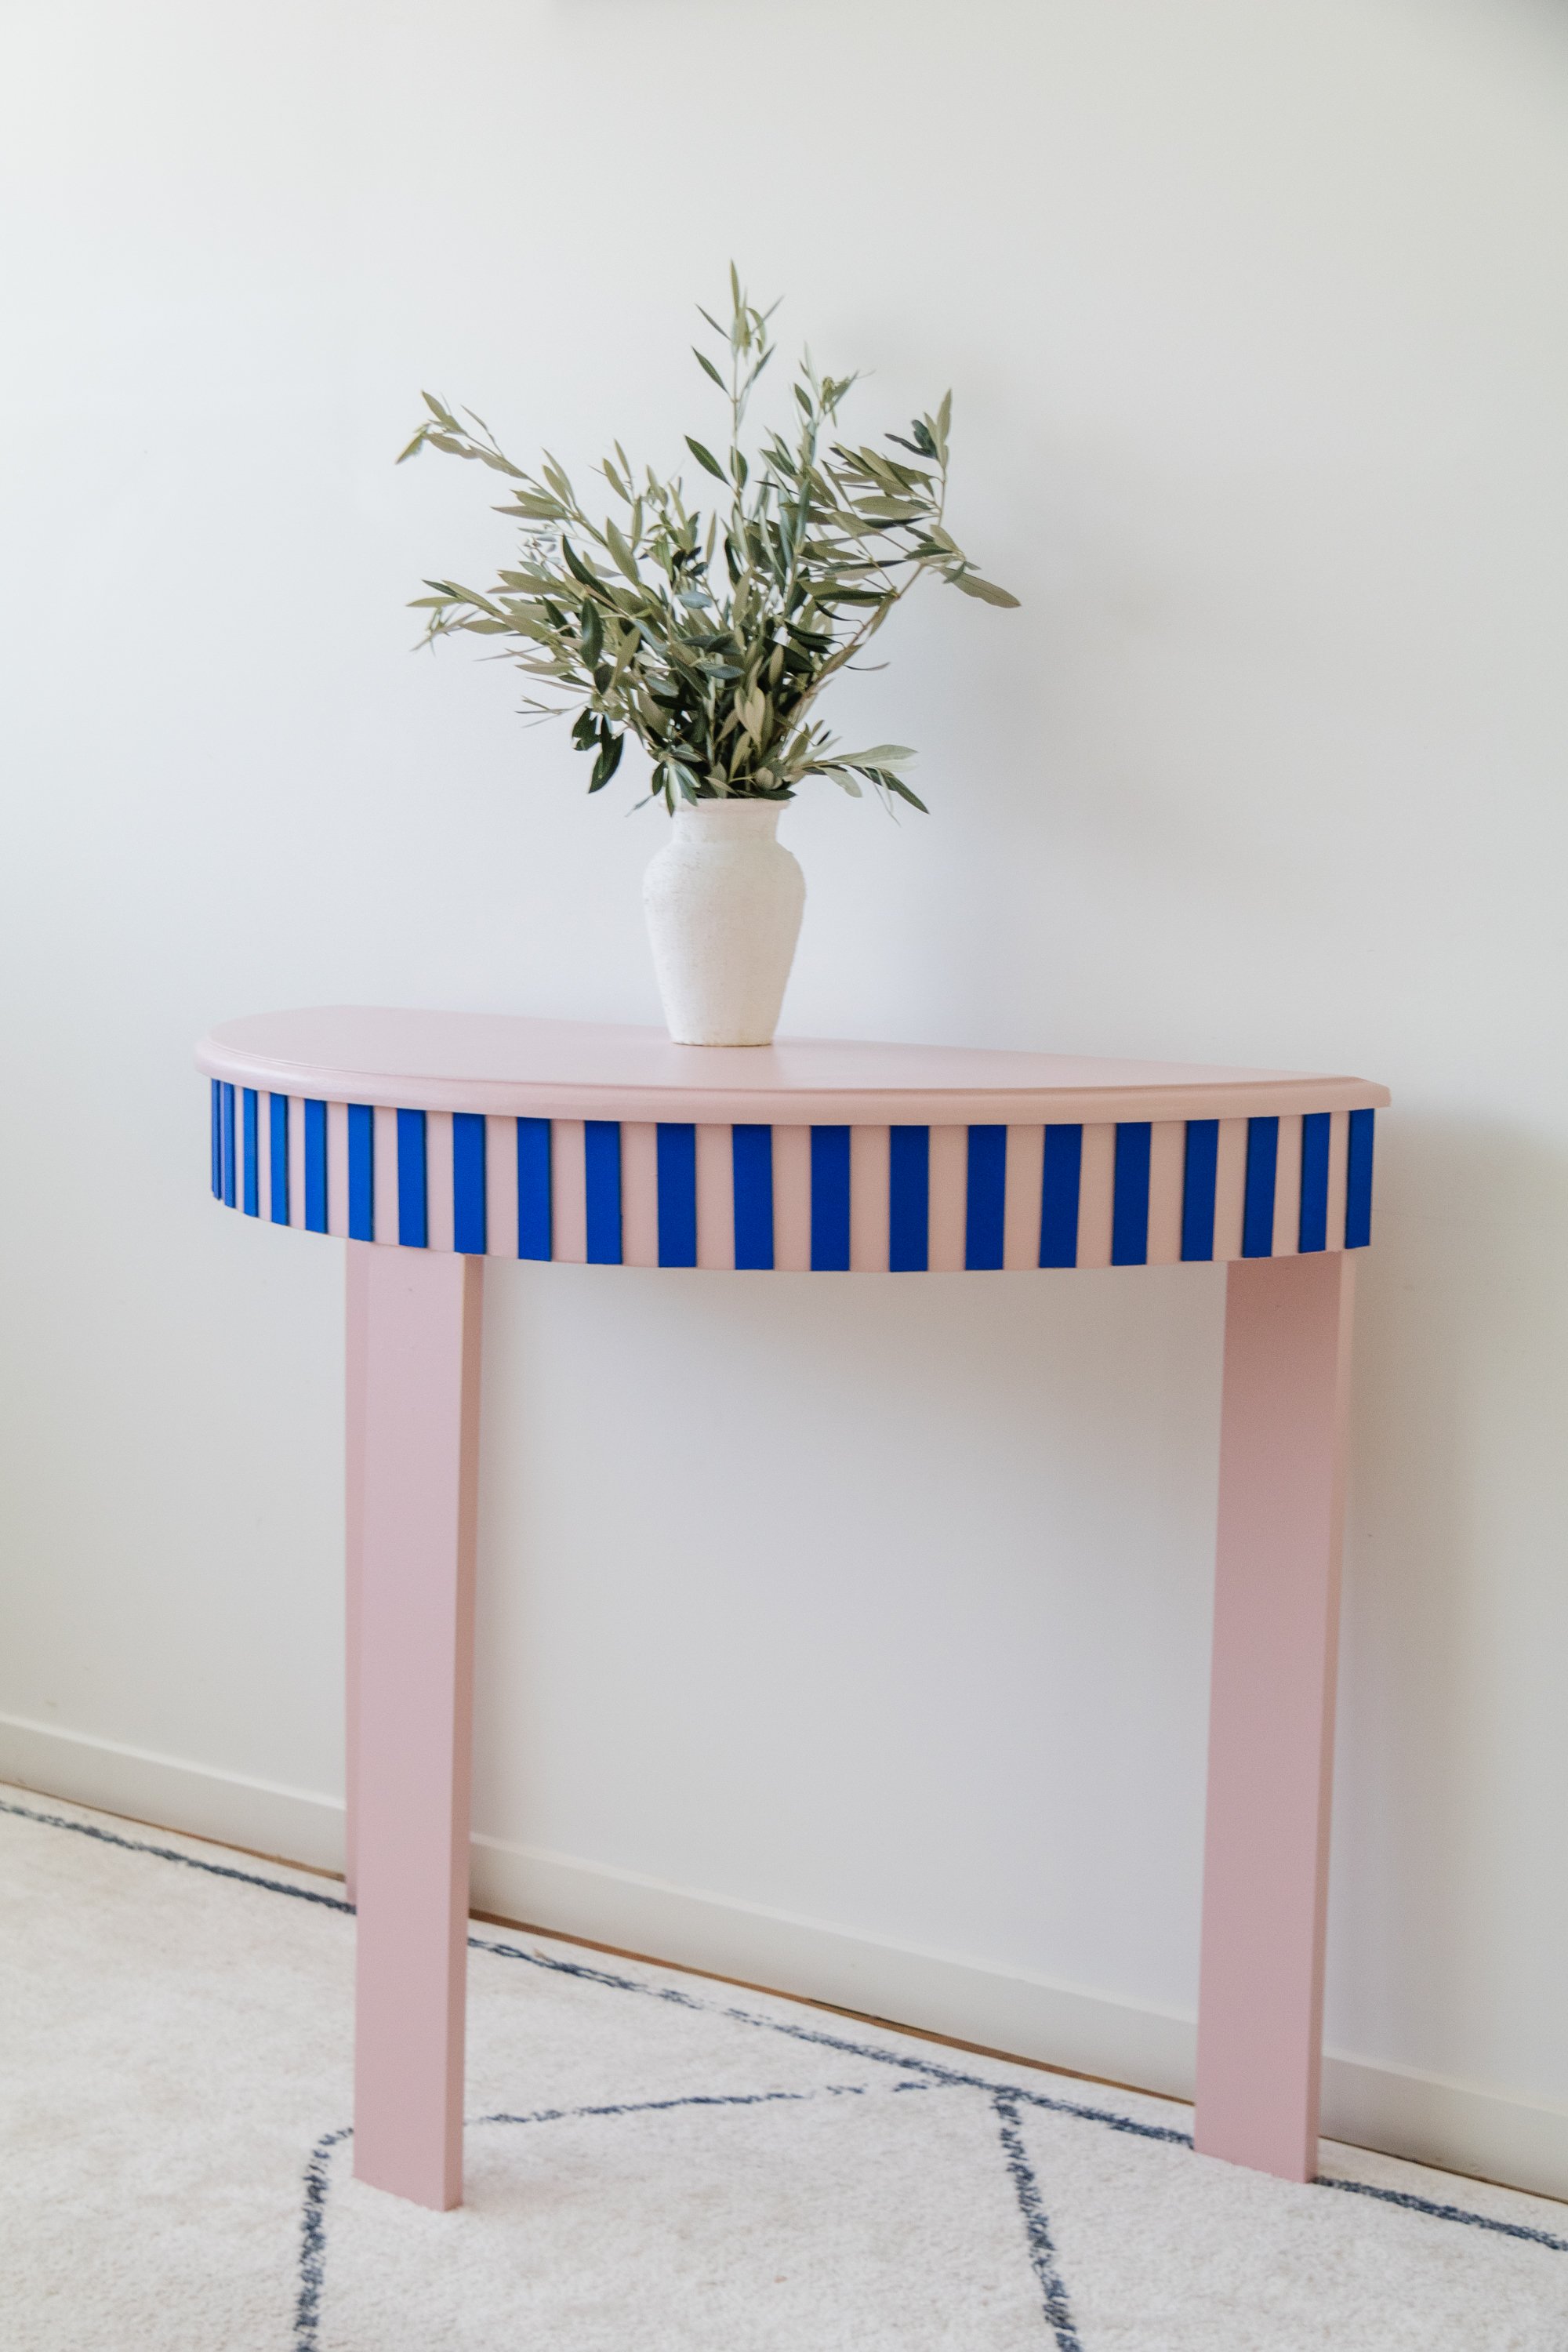
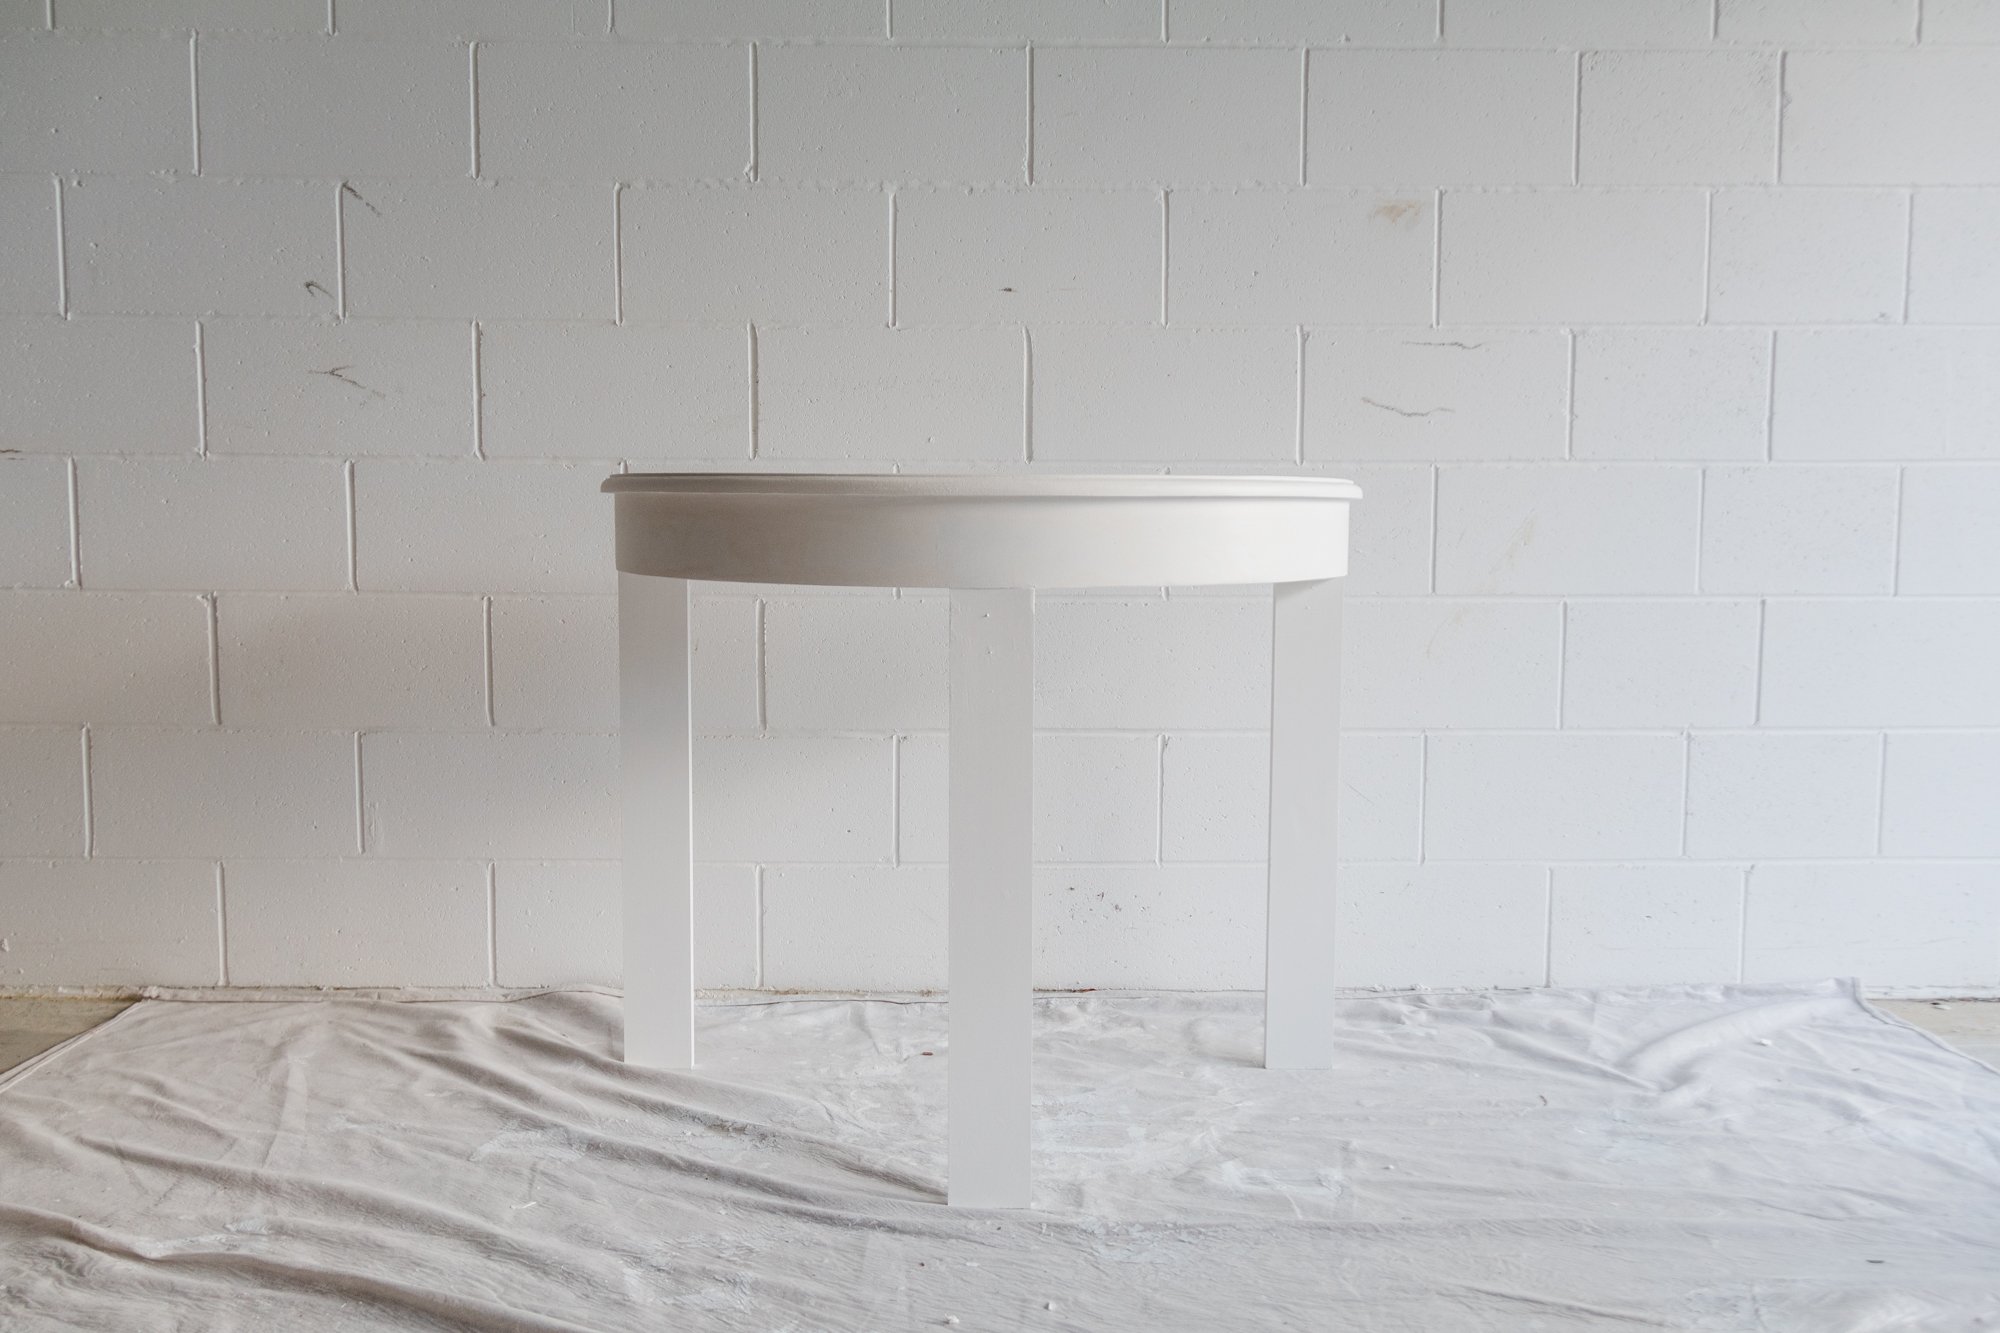
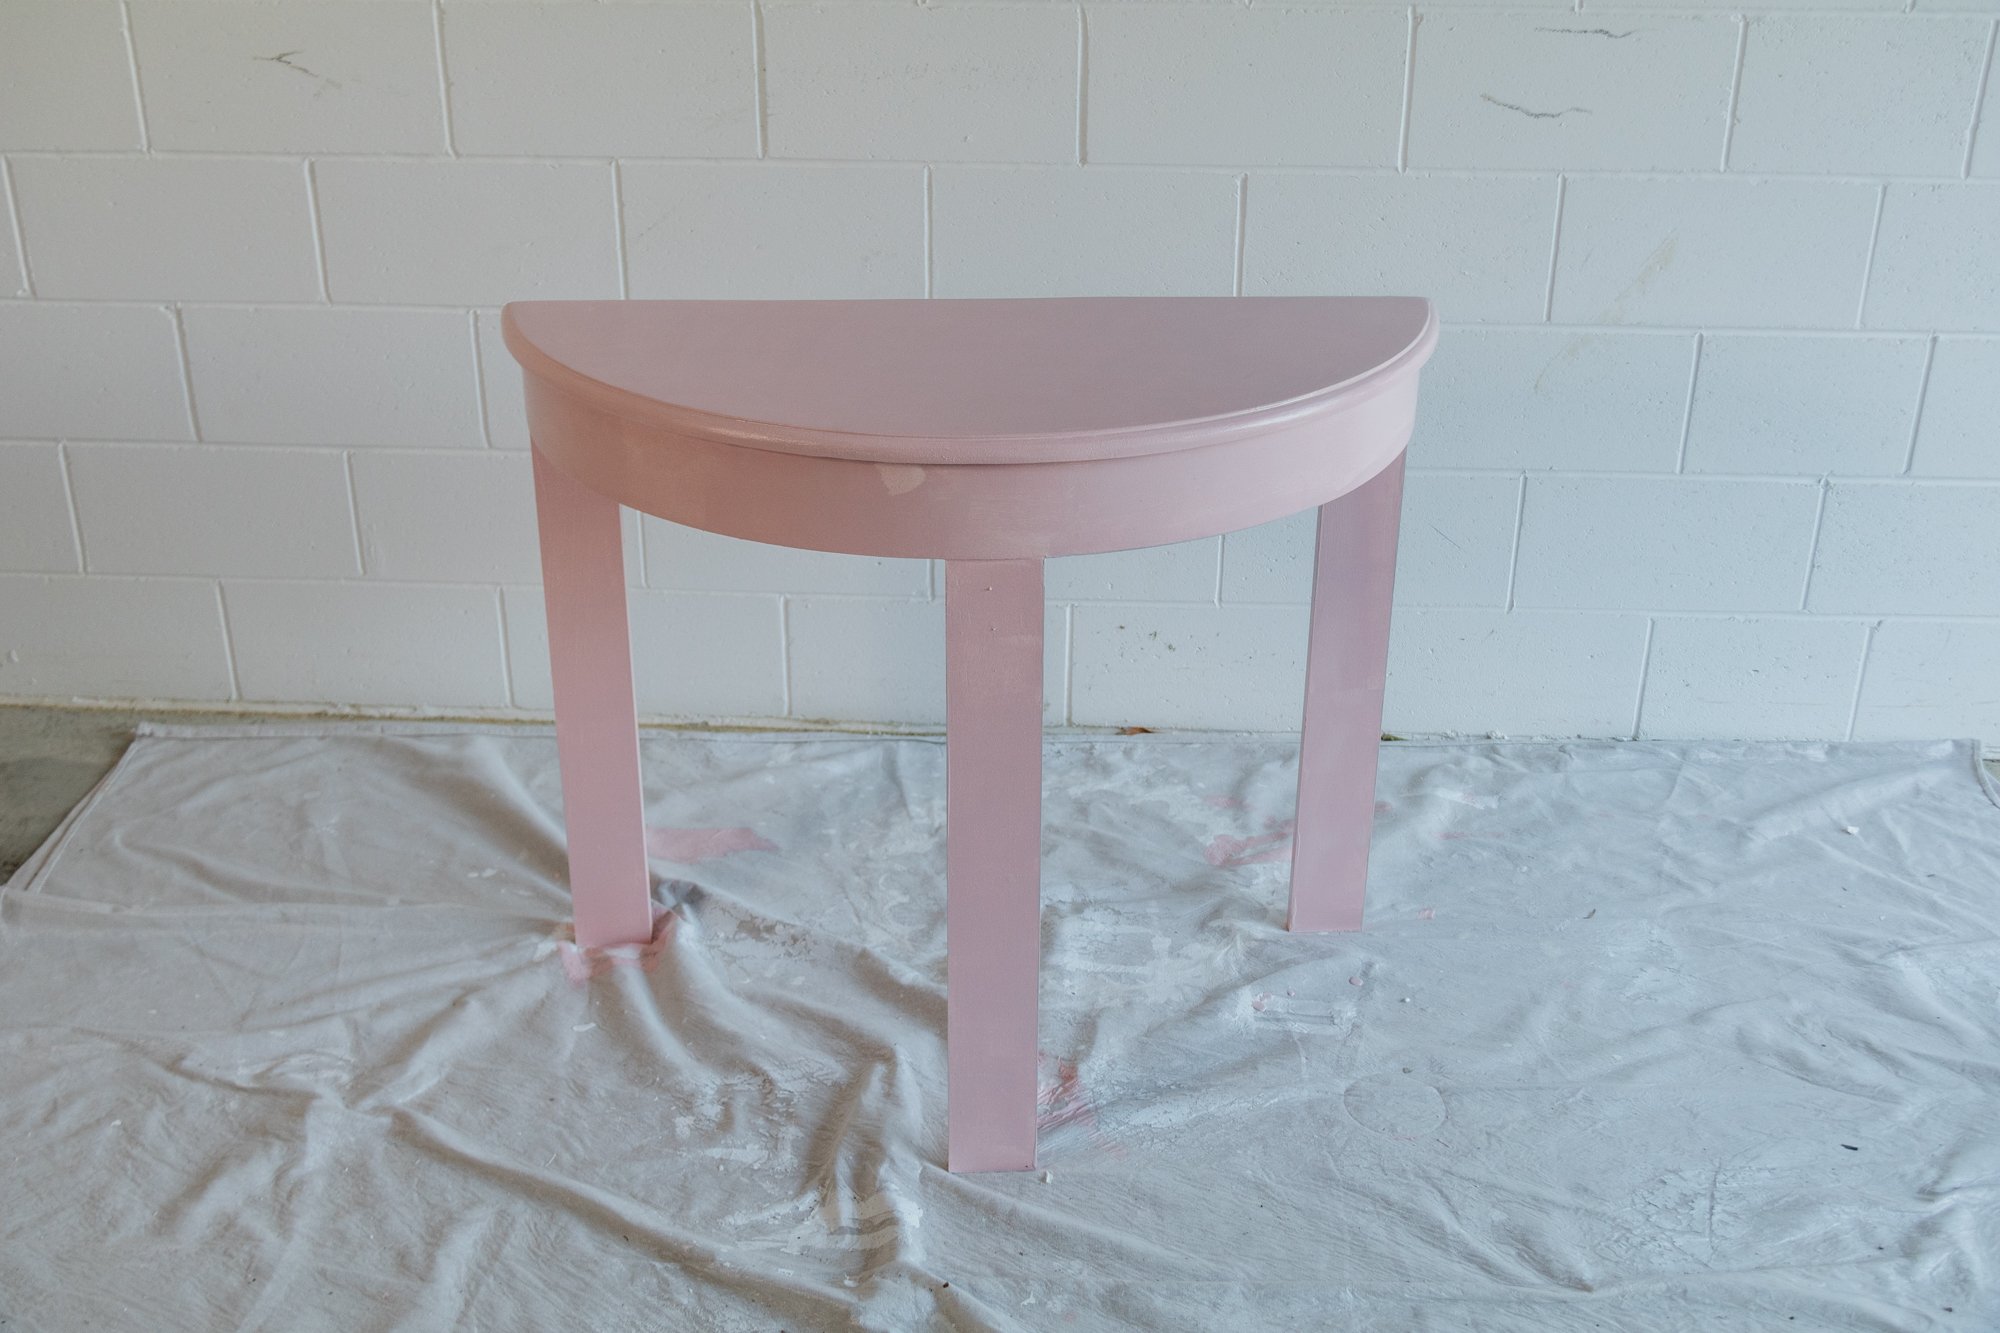
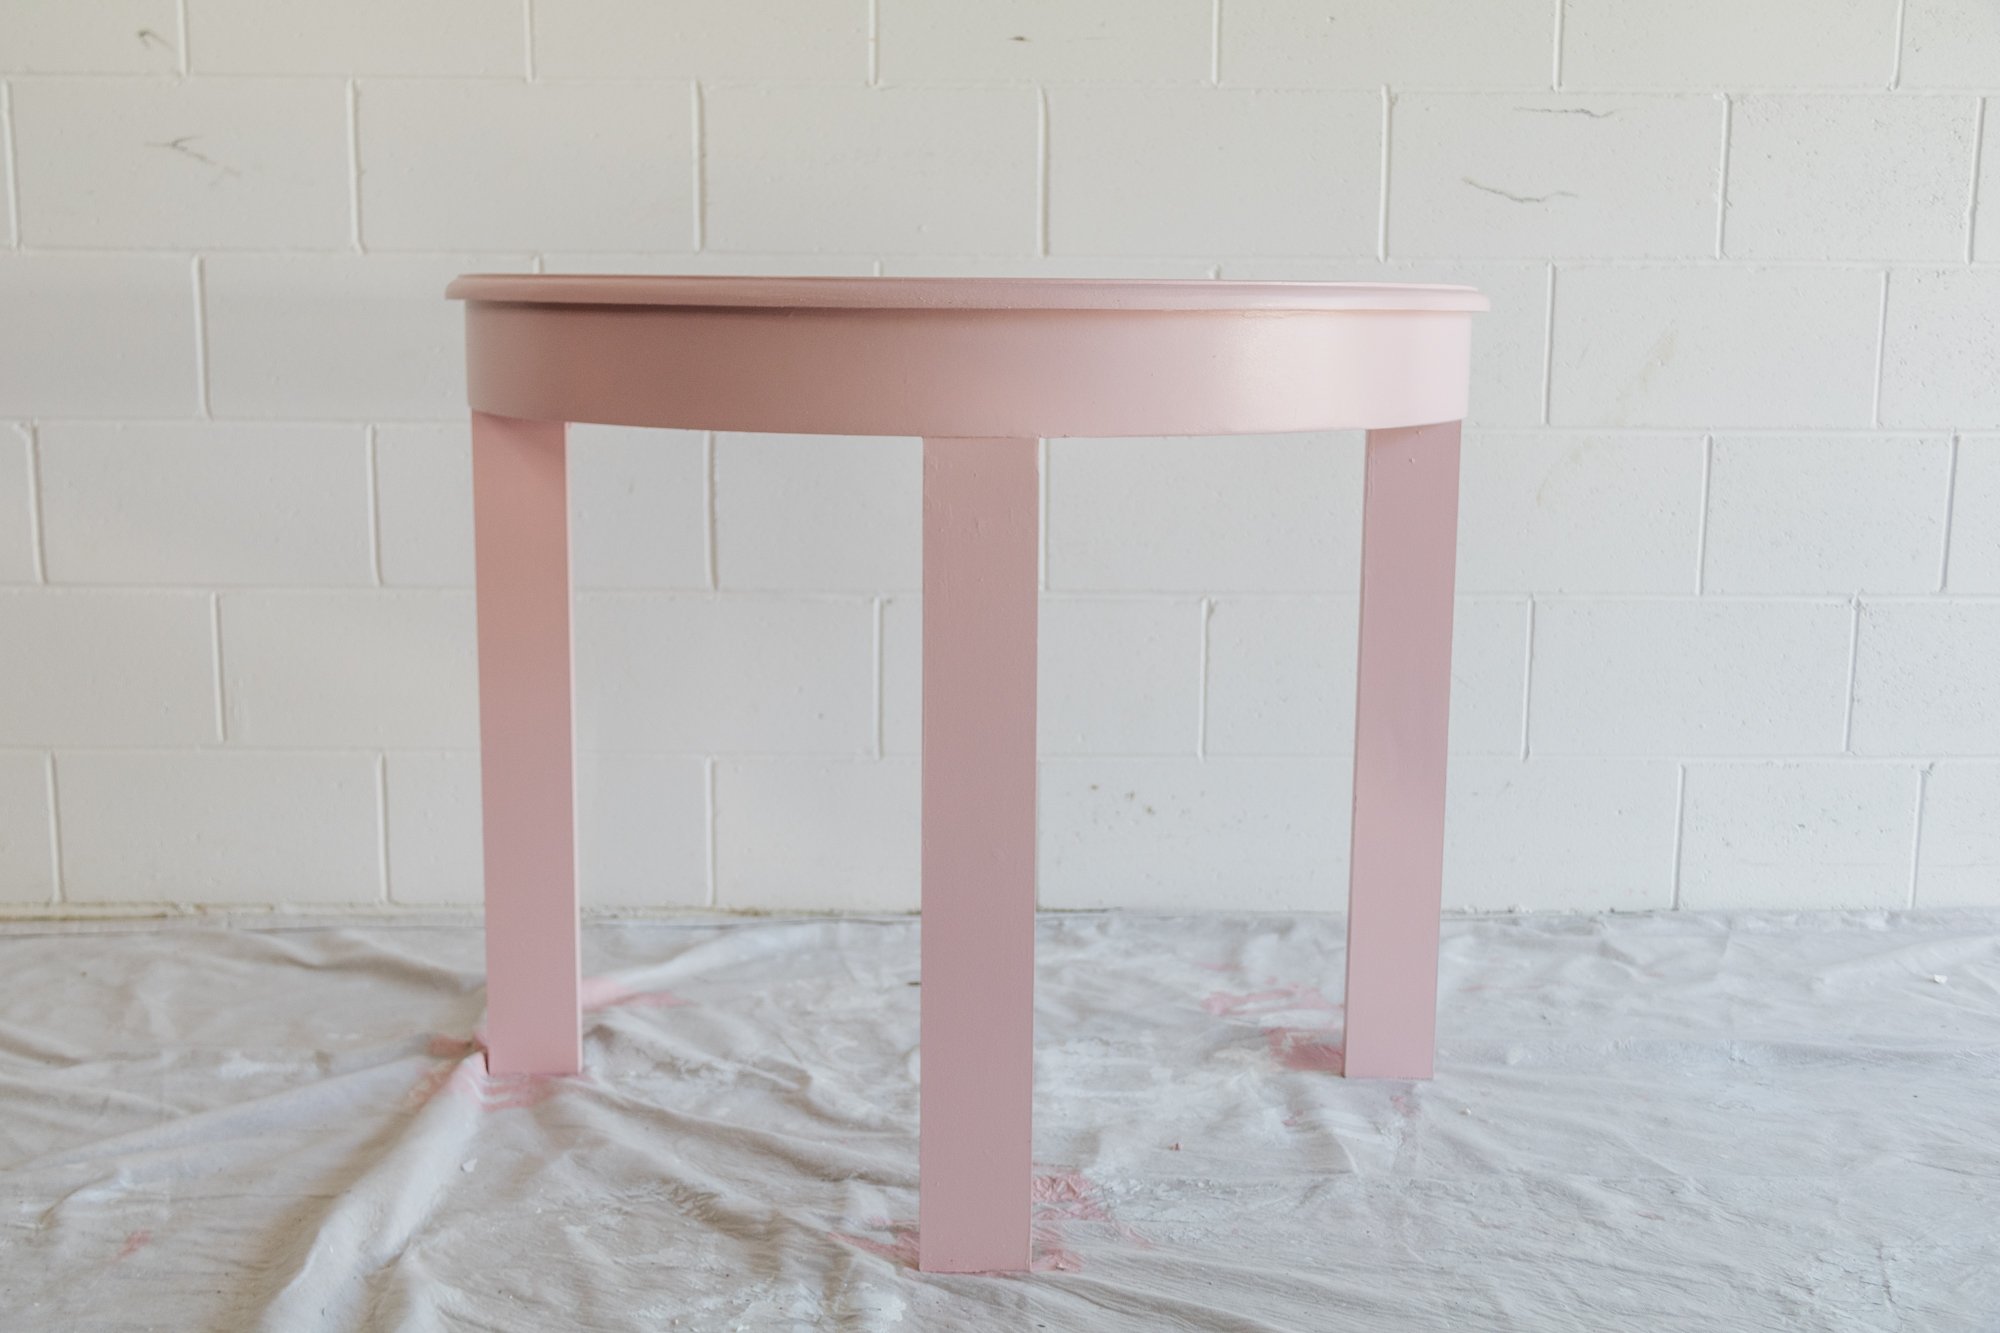
Step 4: When the glue was dried, I primed the surface of the console table with white paint. When the paint had dried, I applied three lights coats of Dulux “Princess Pink” .
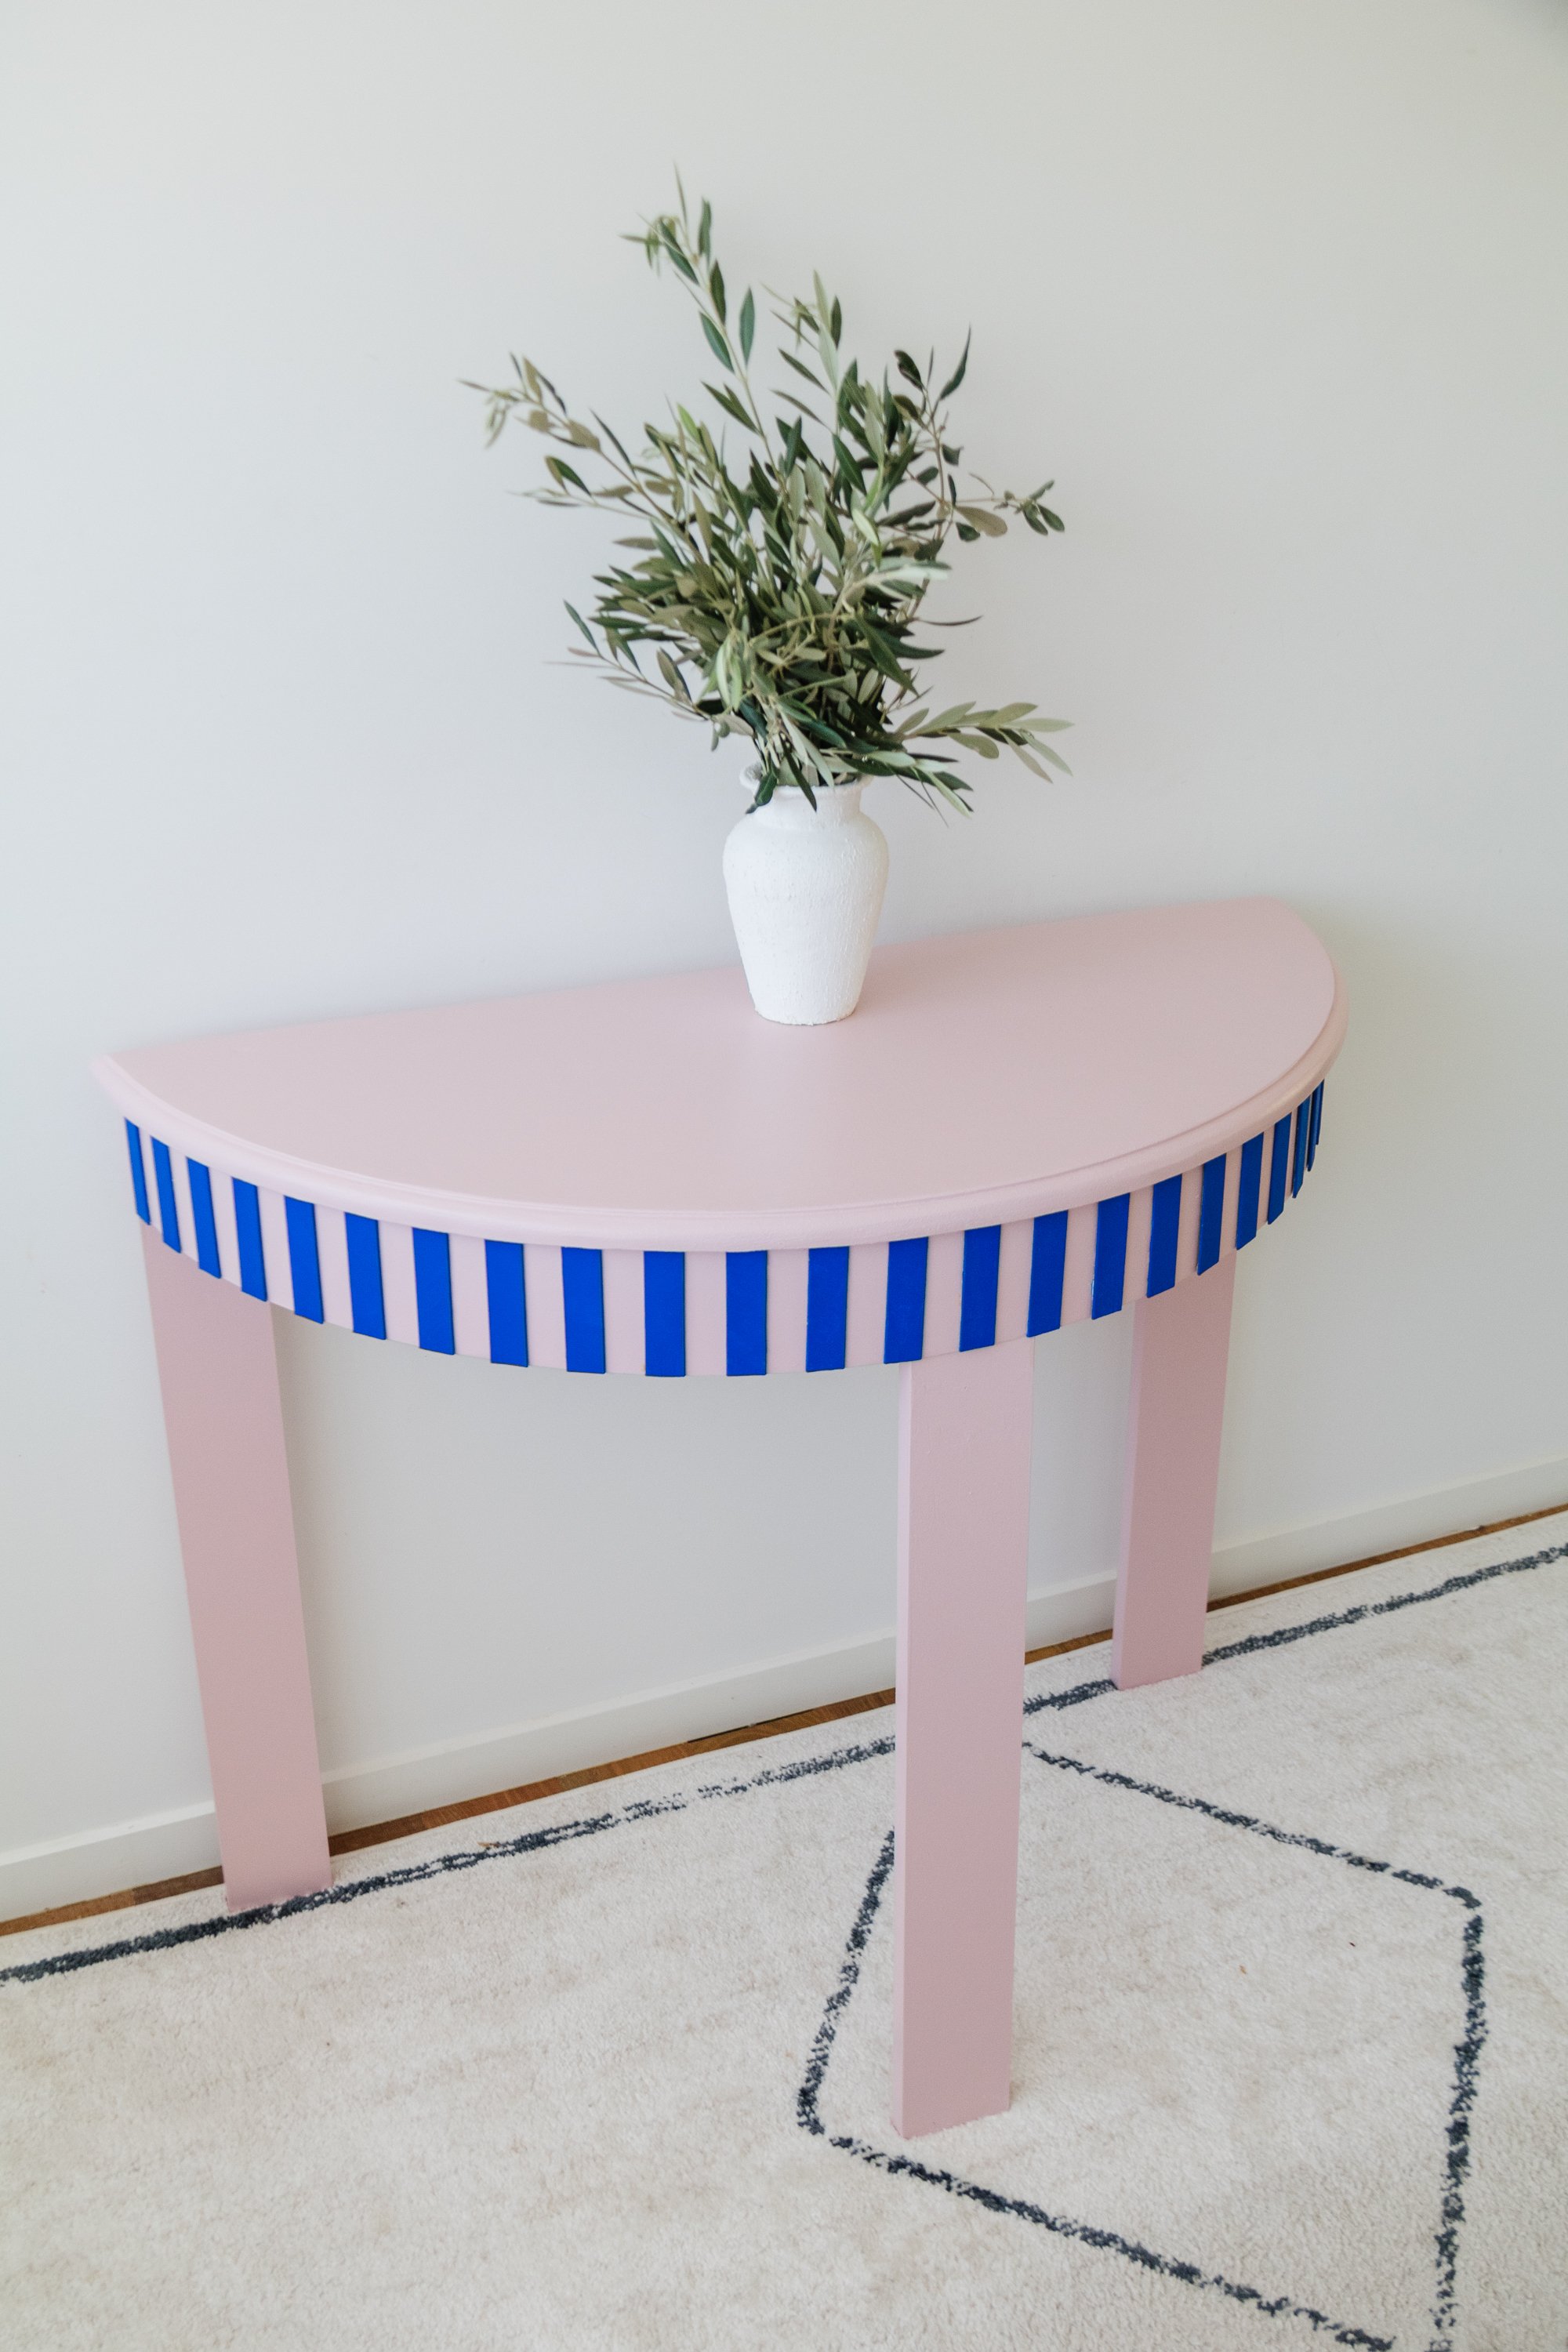
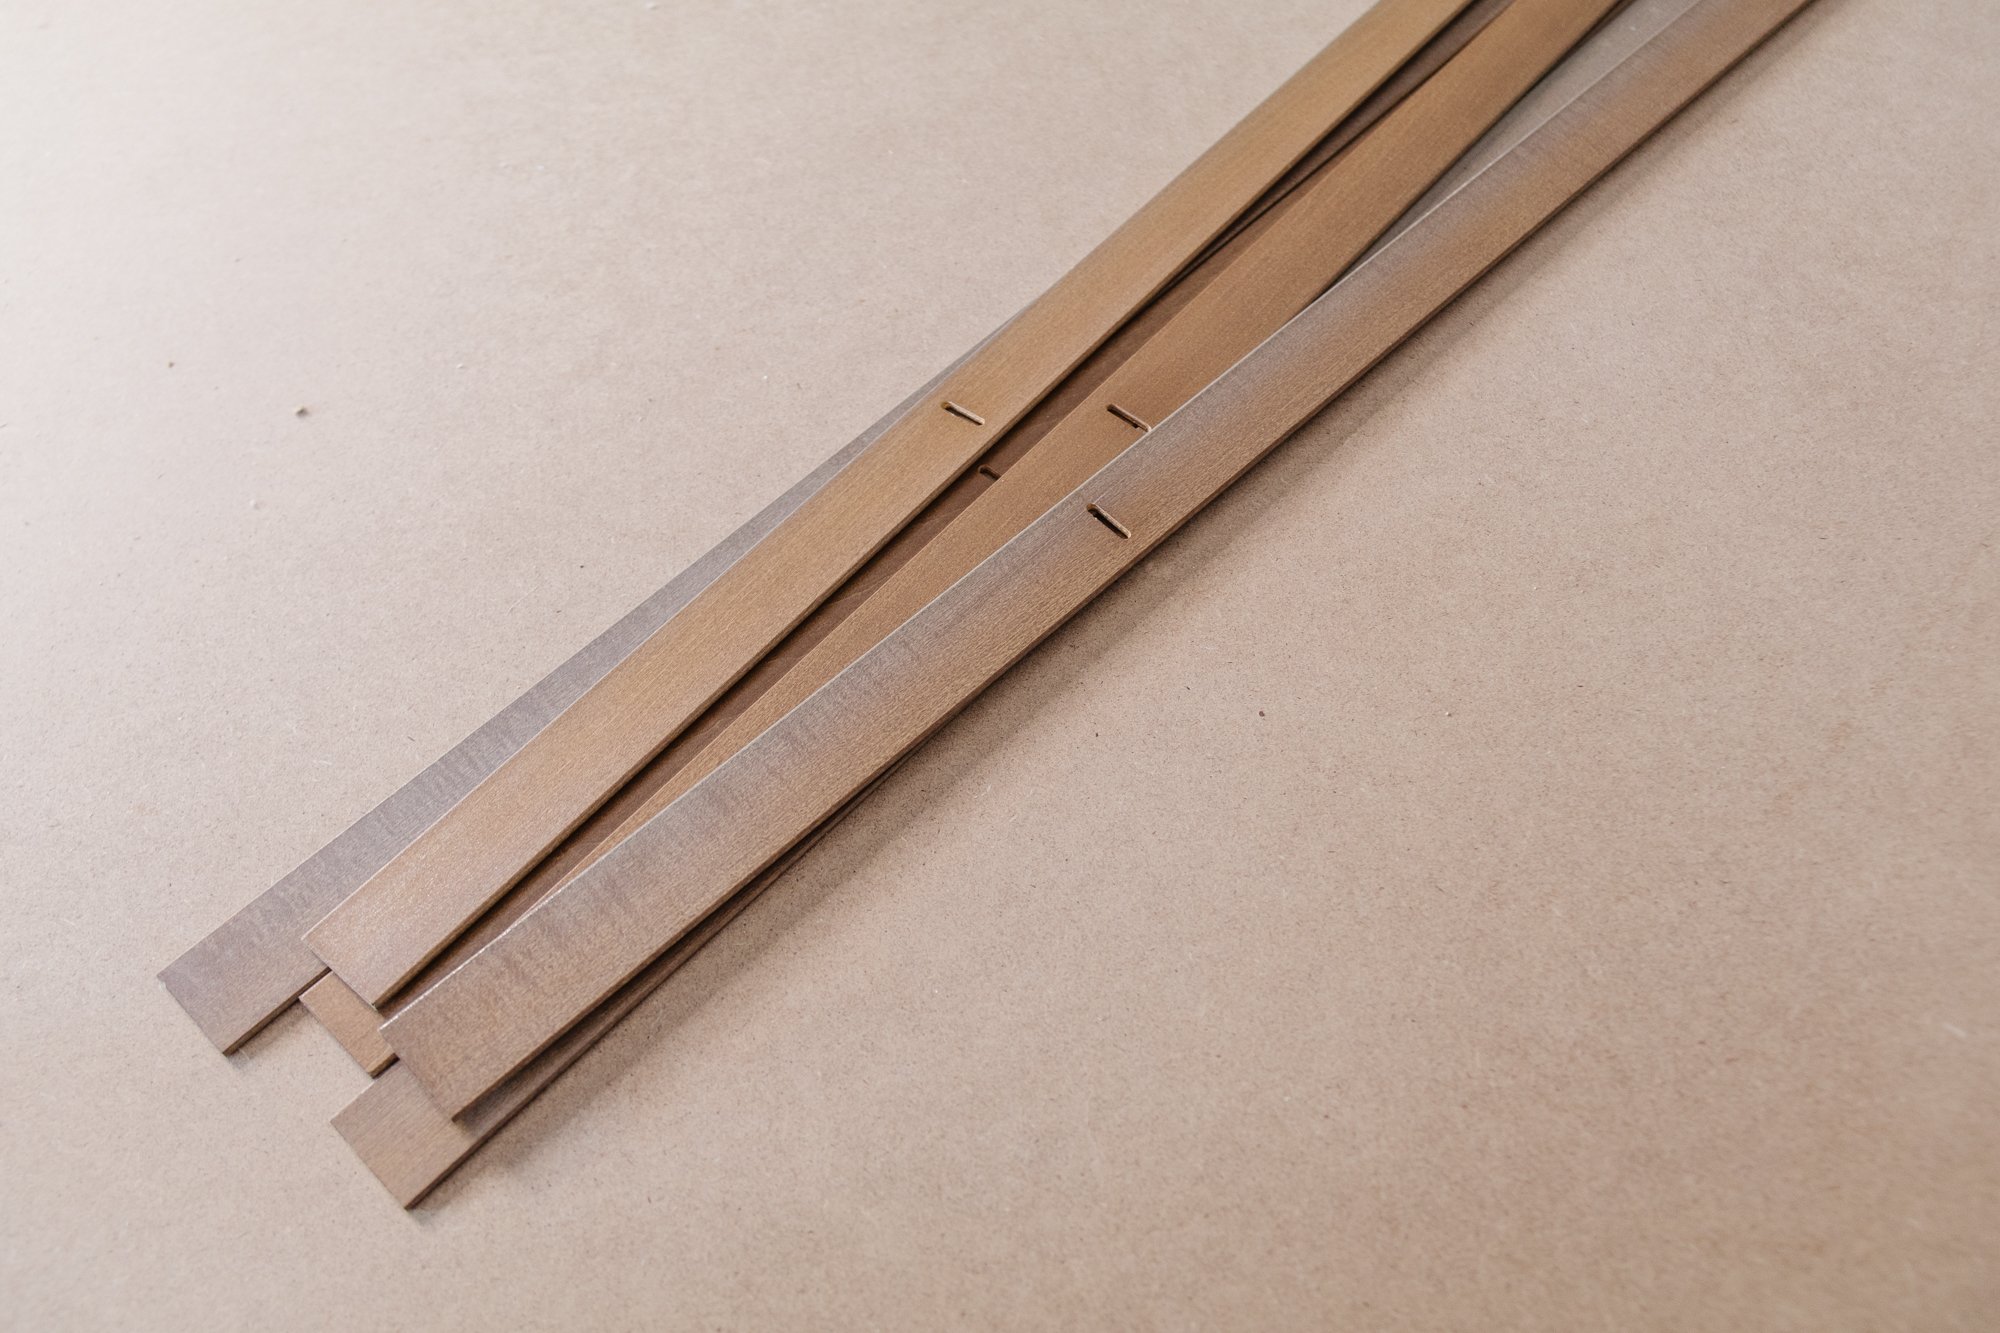
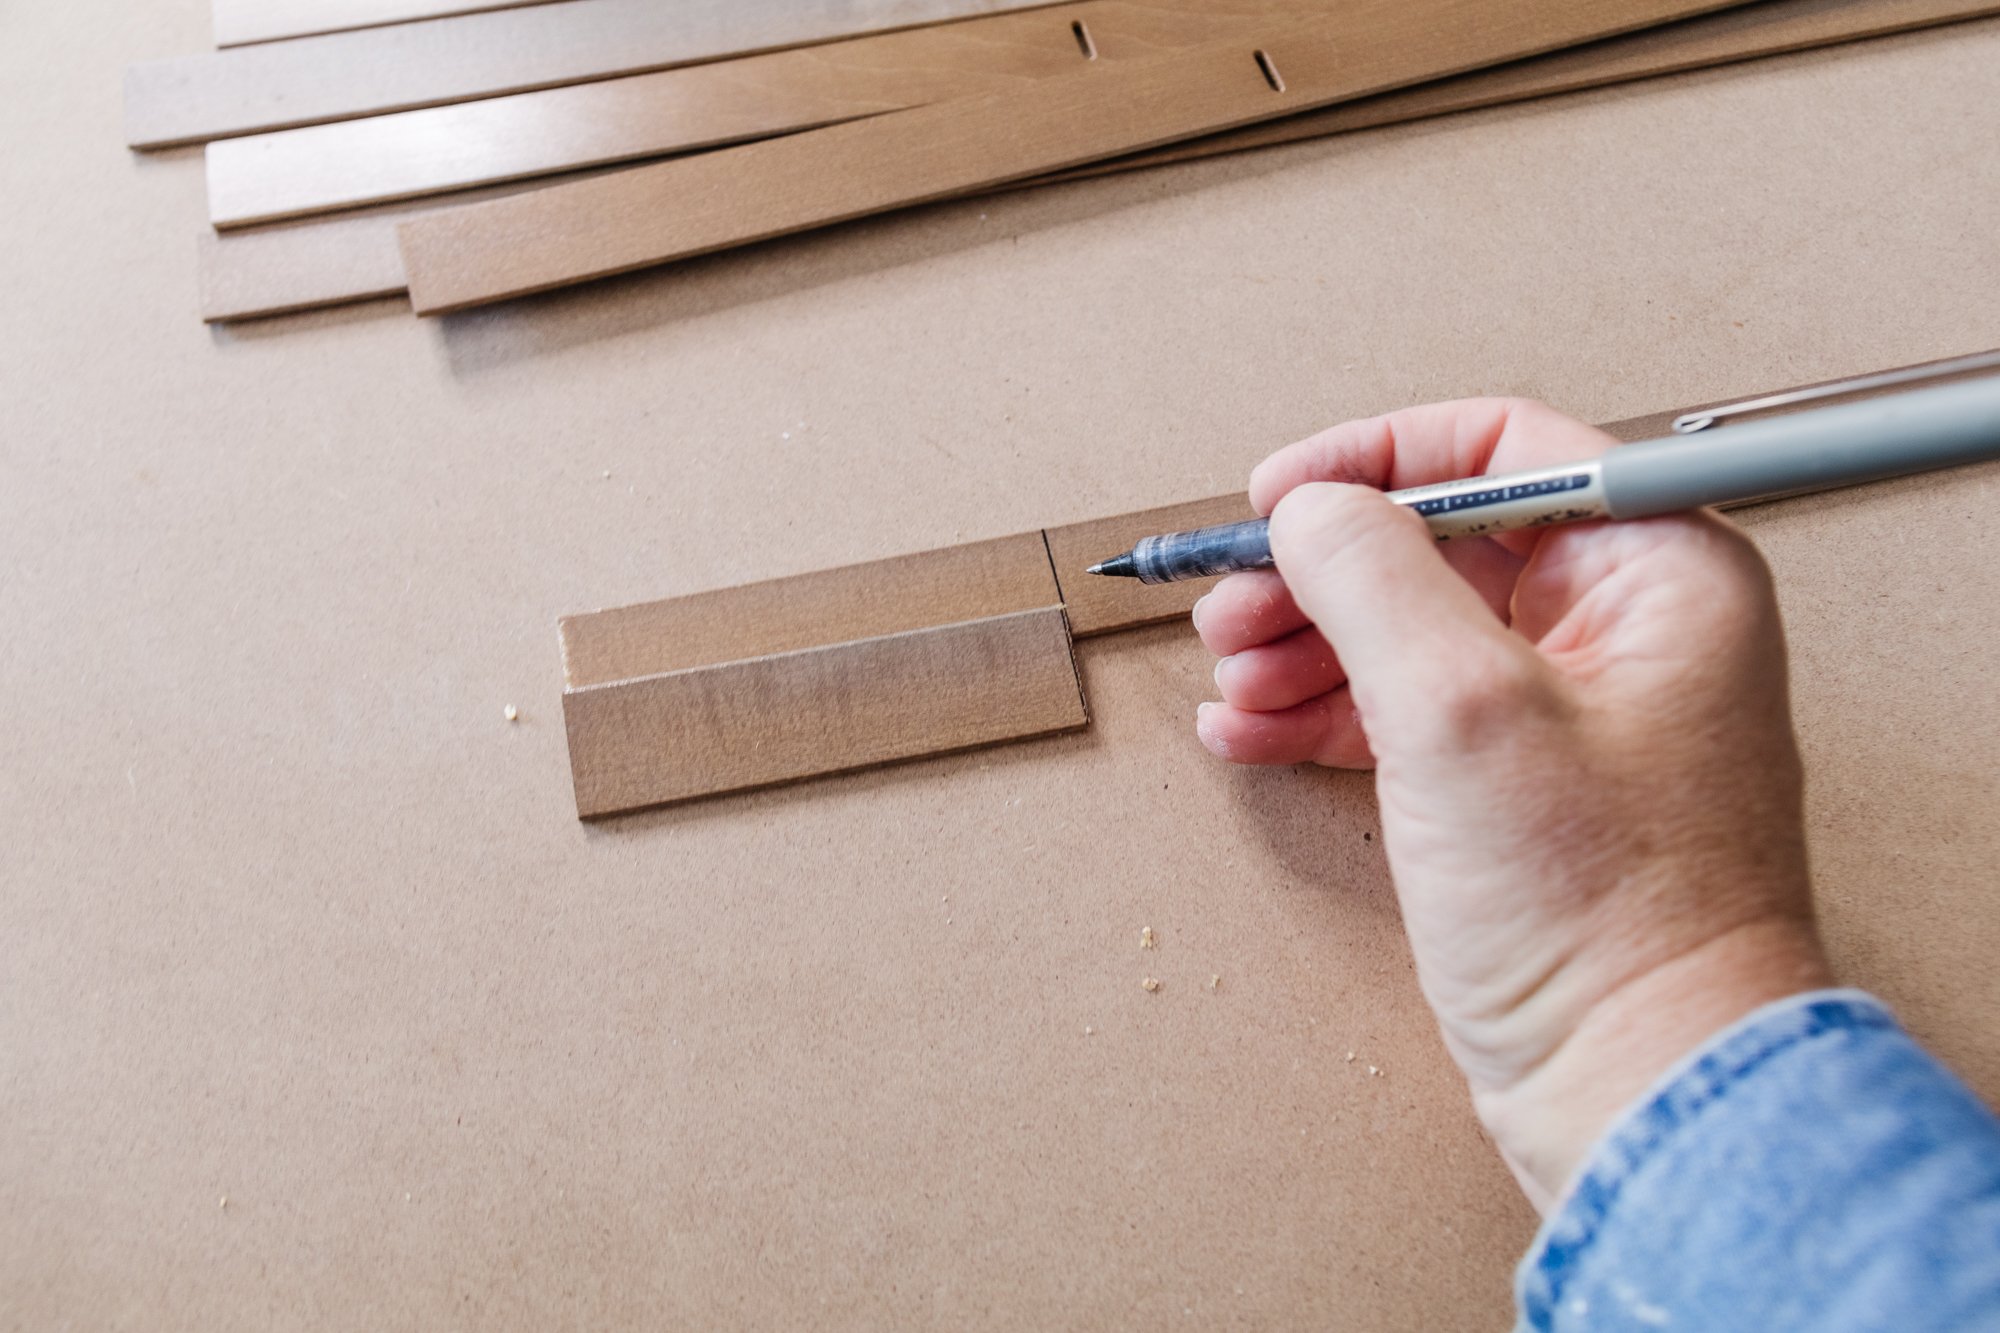
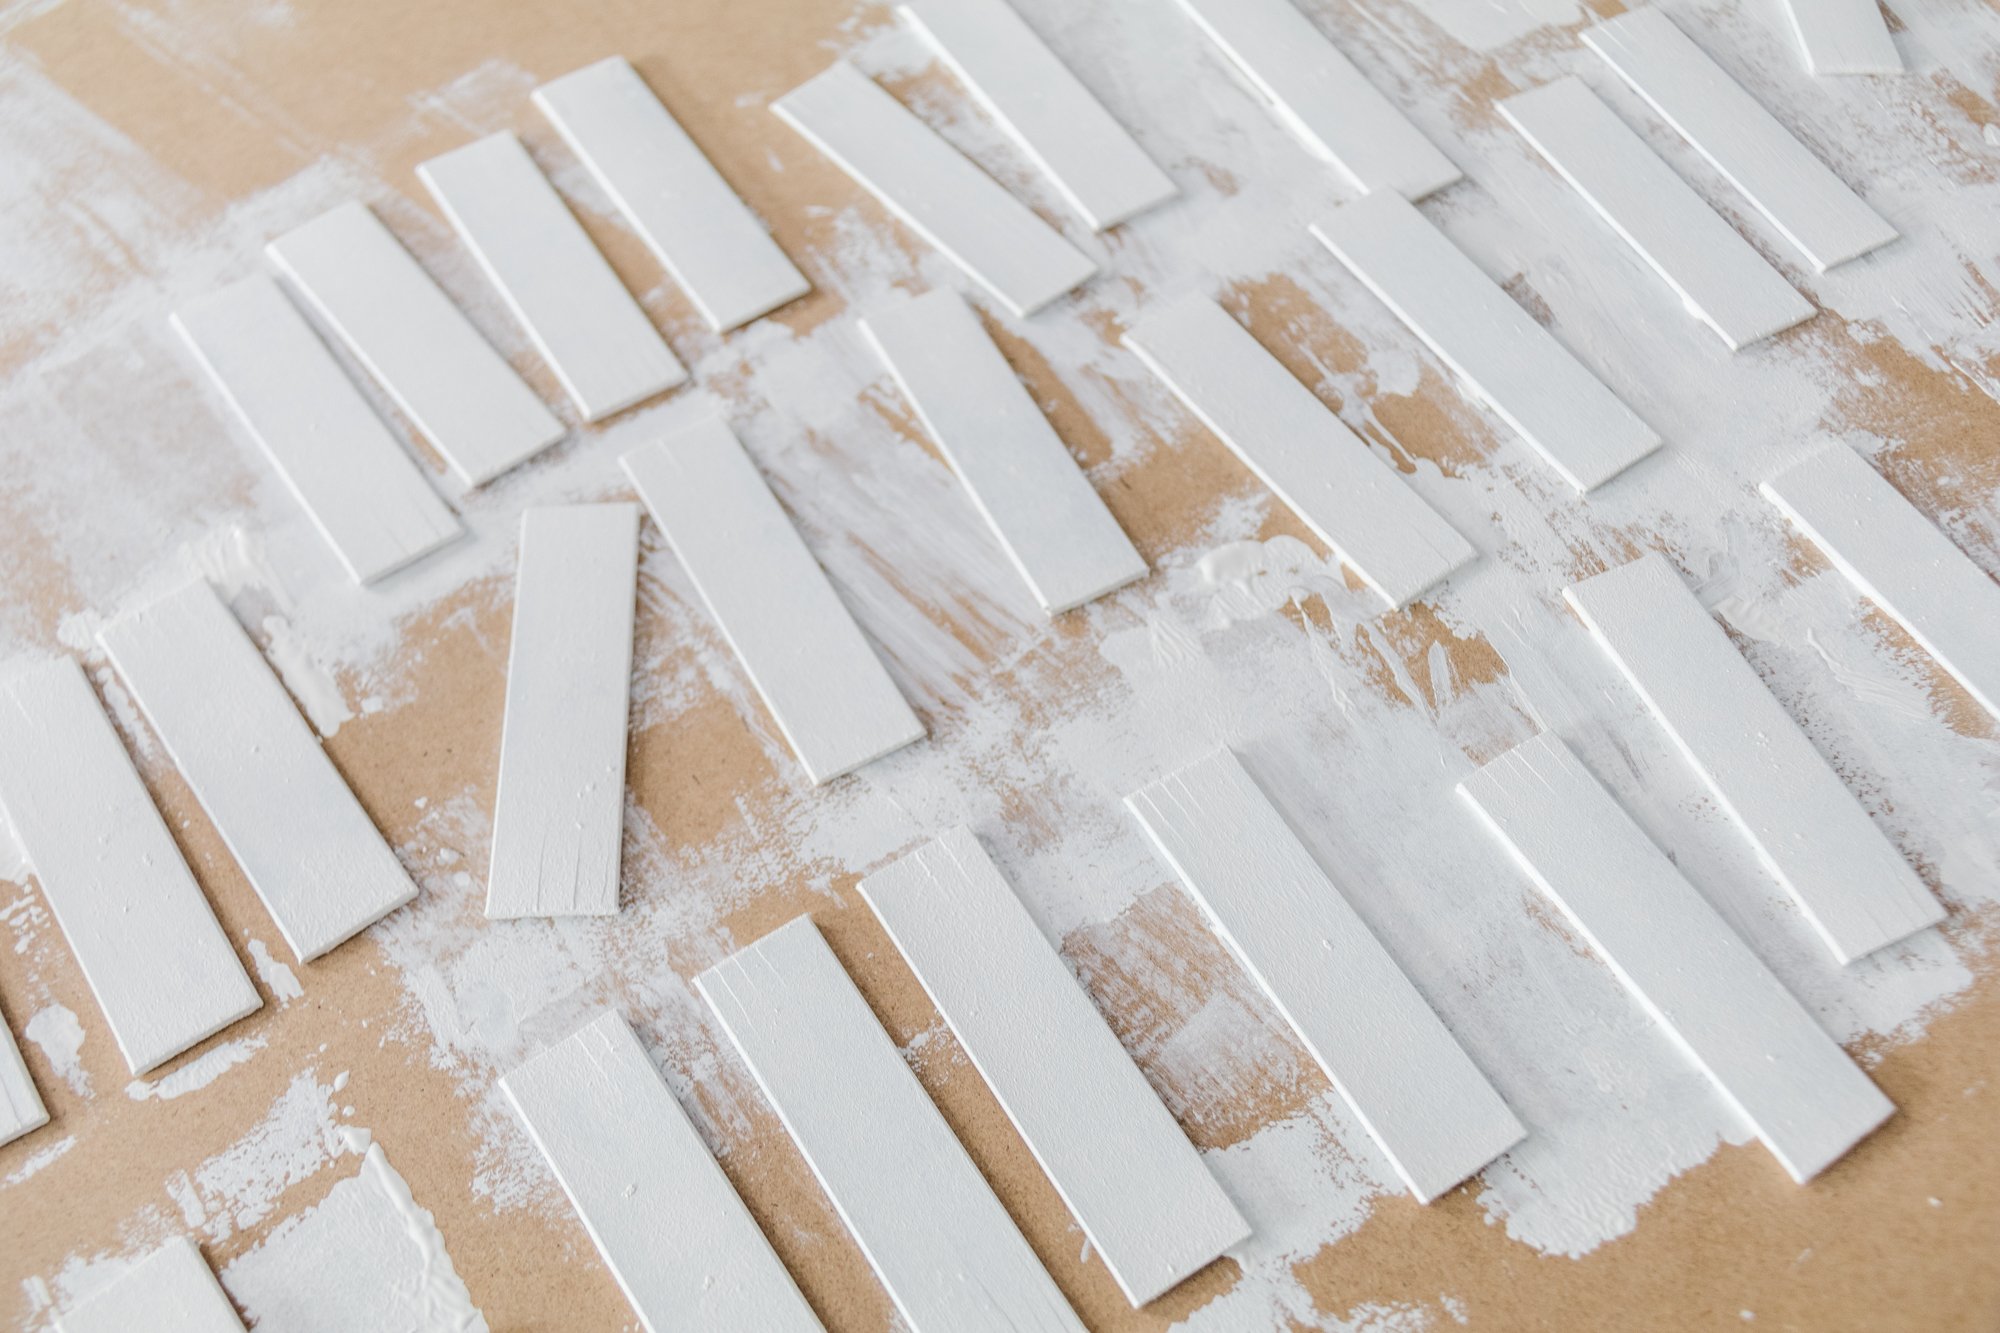
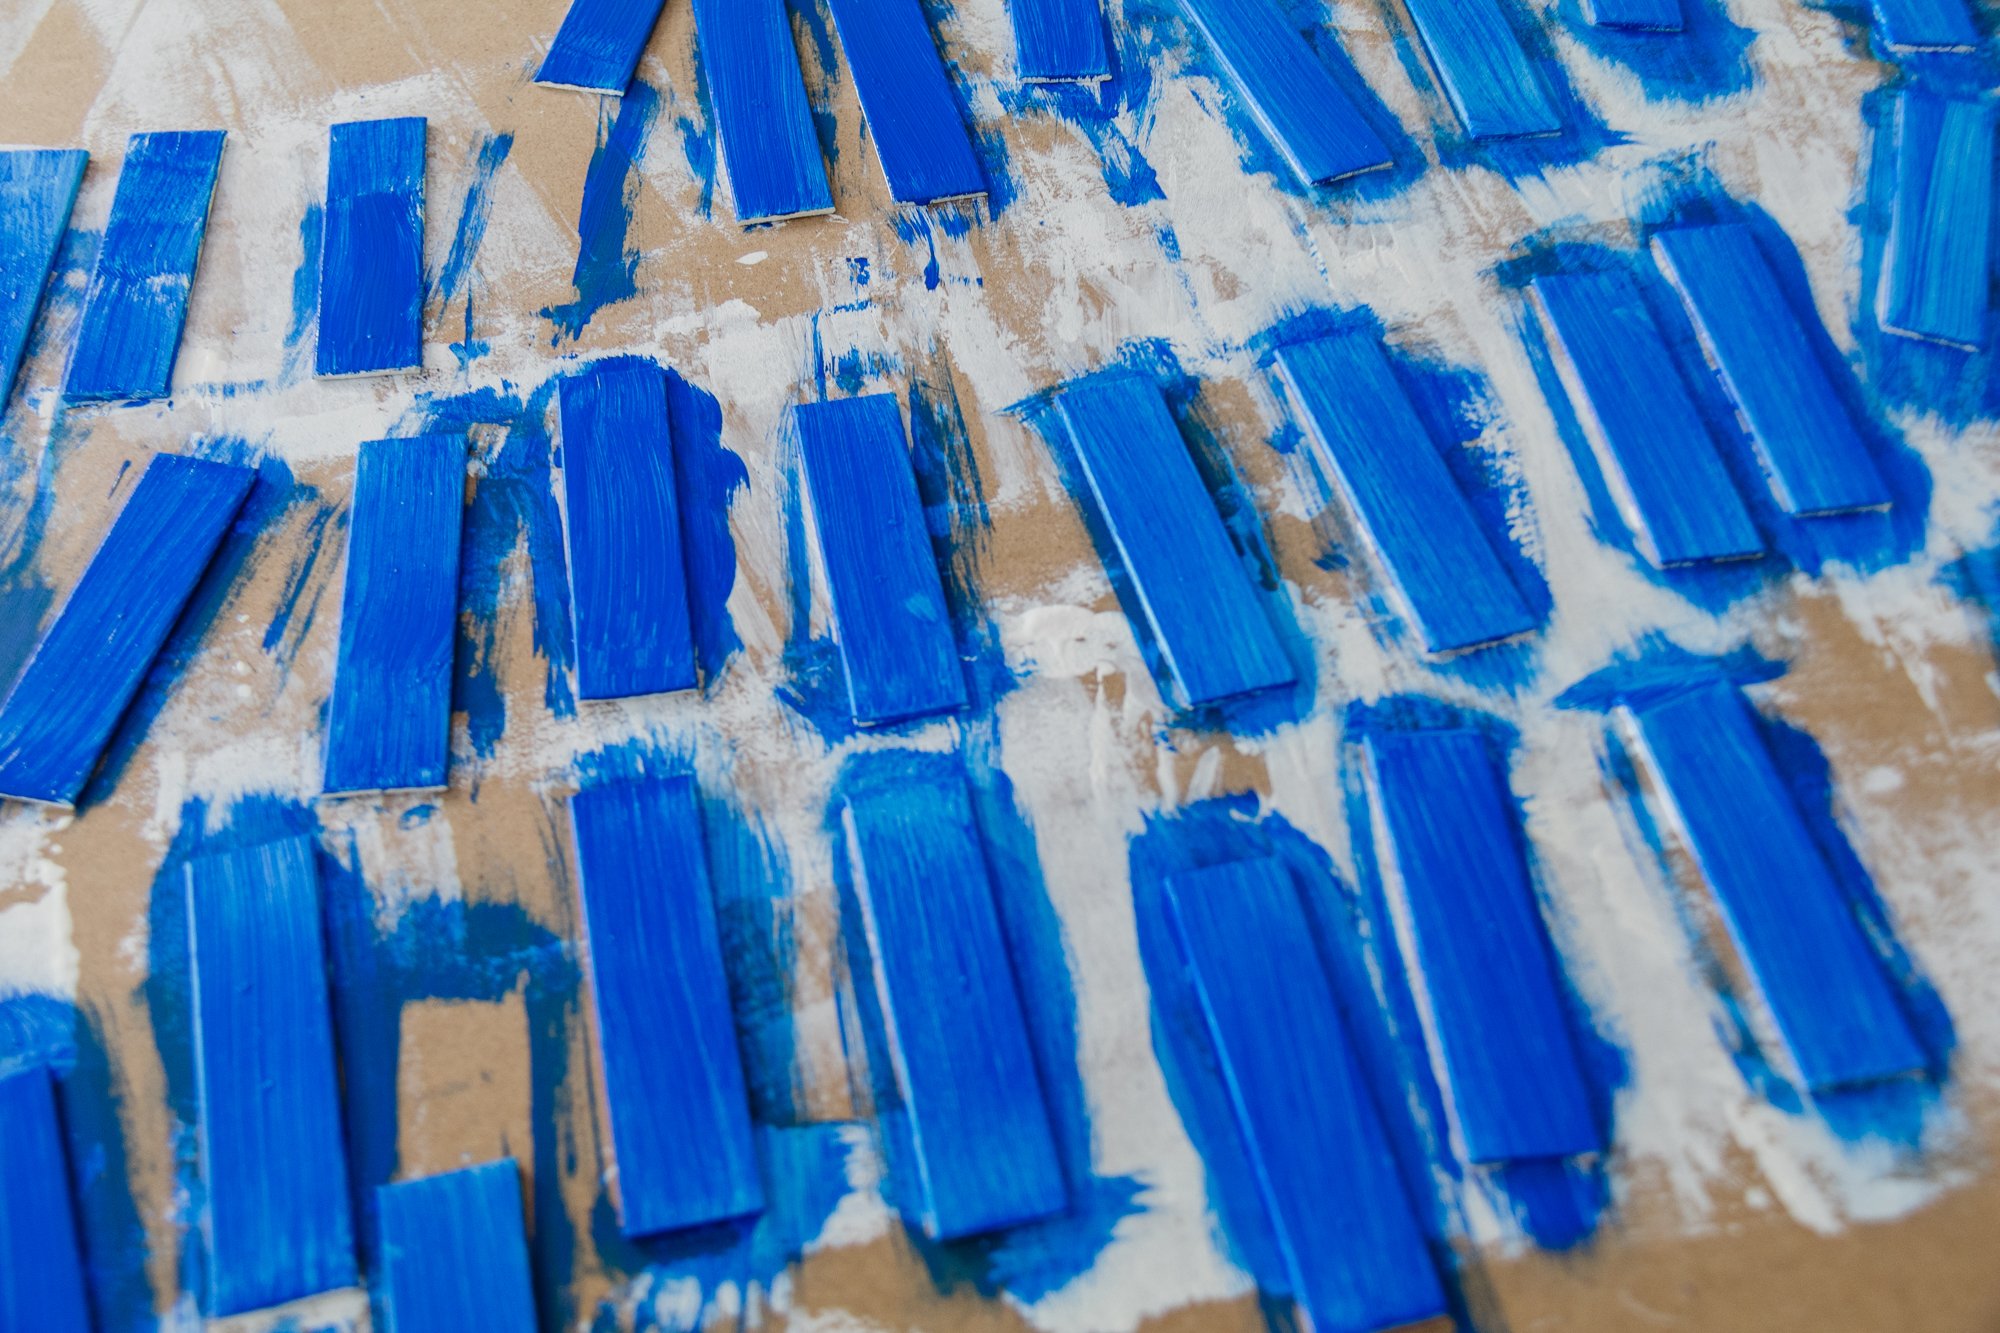
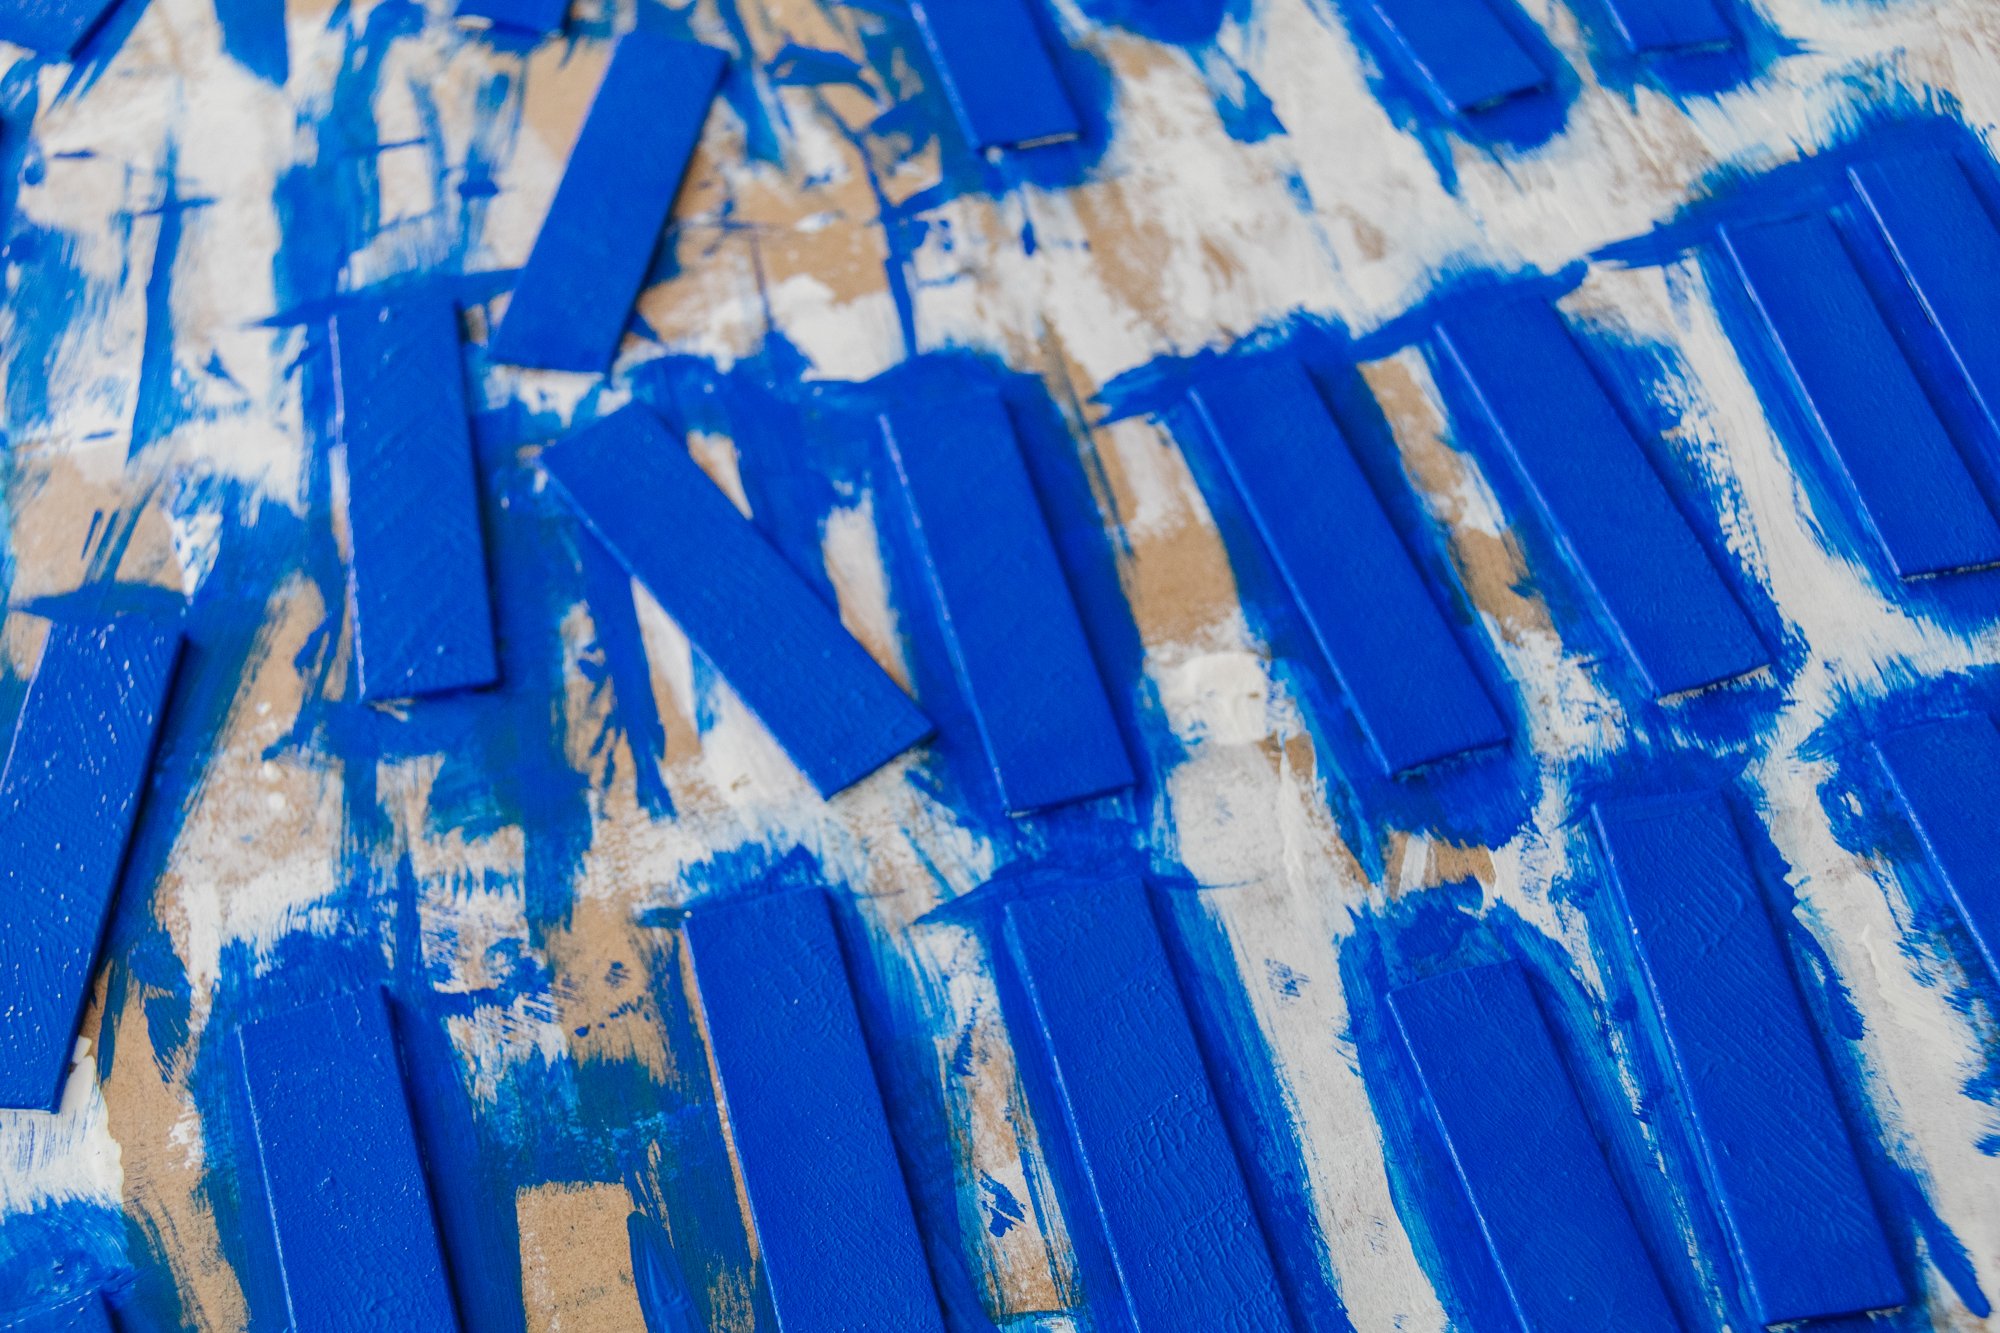
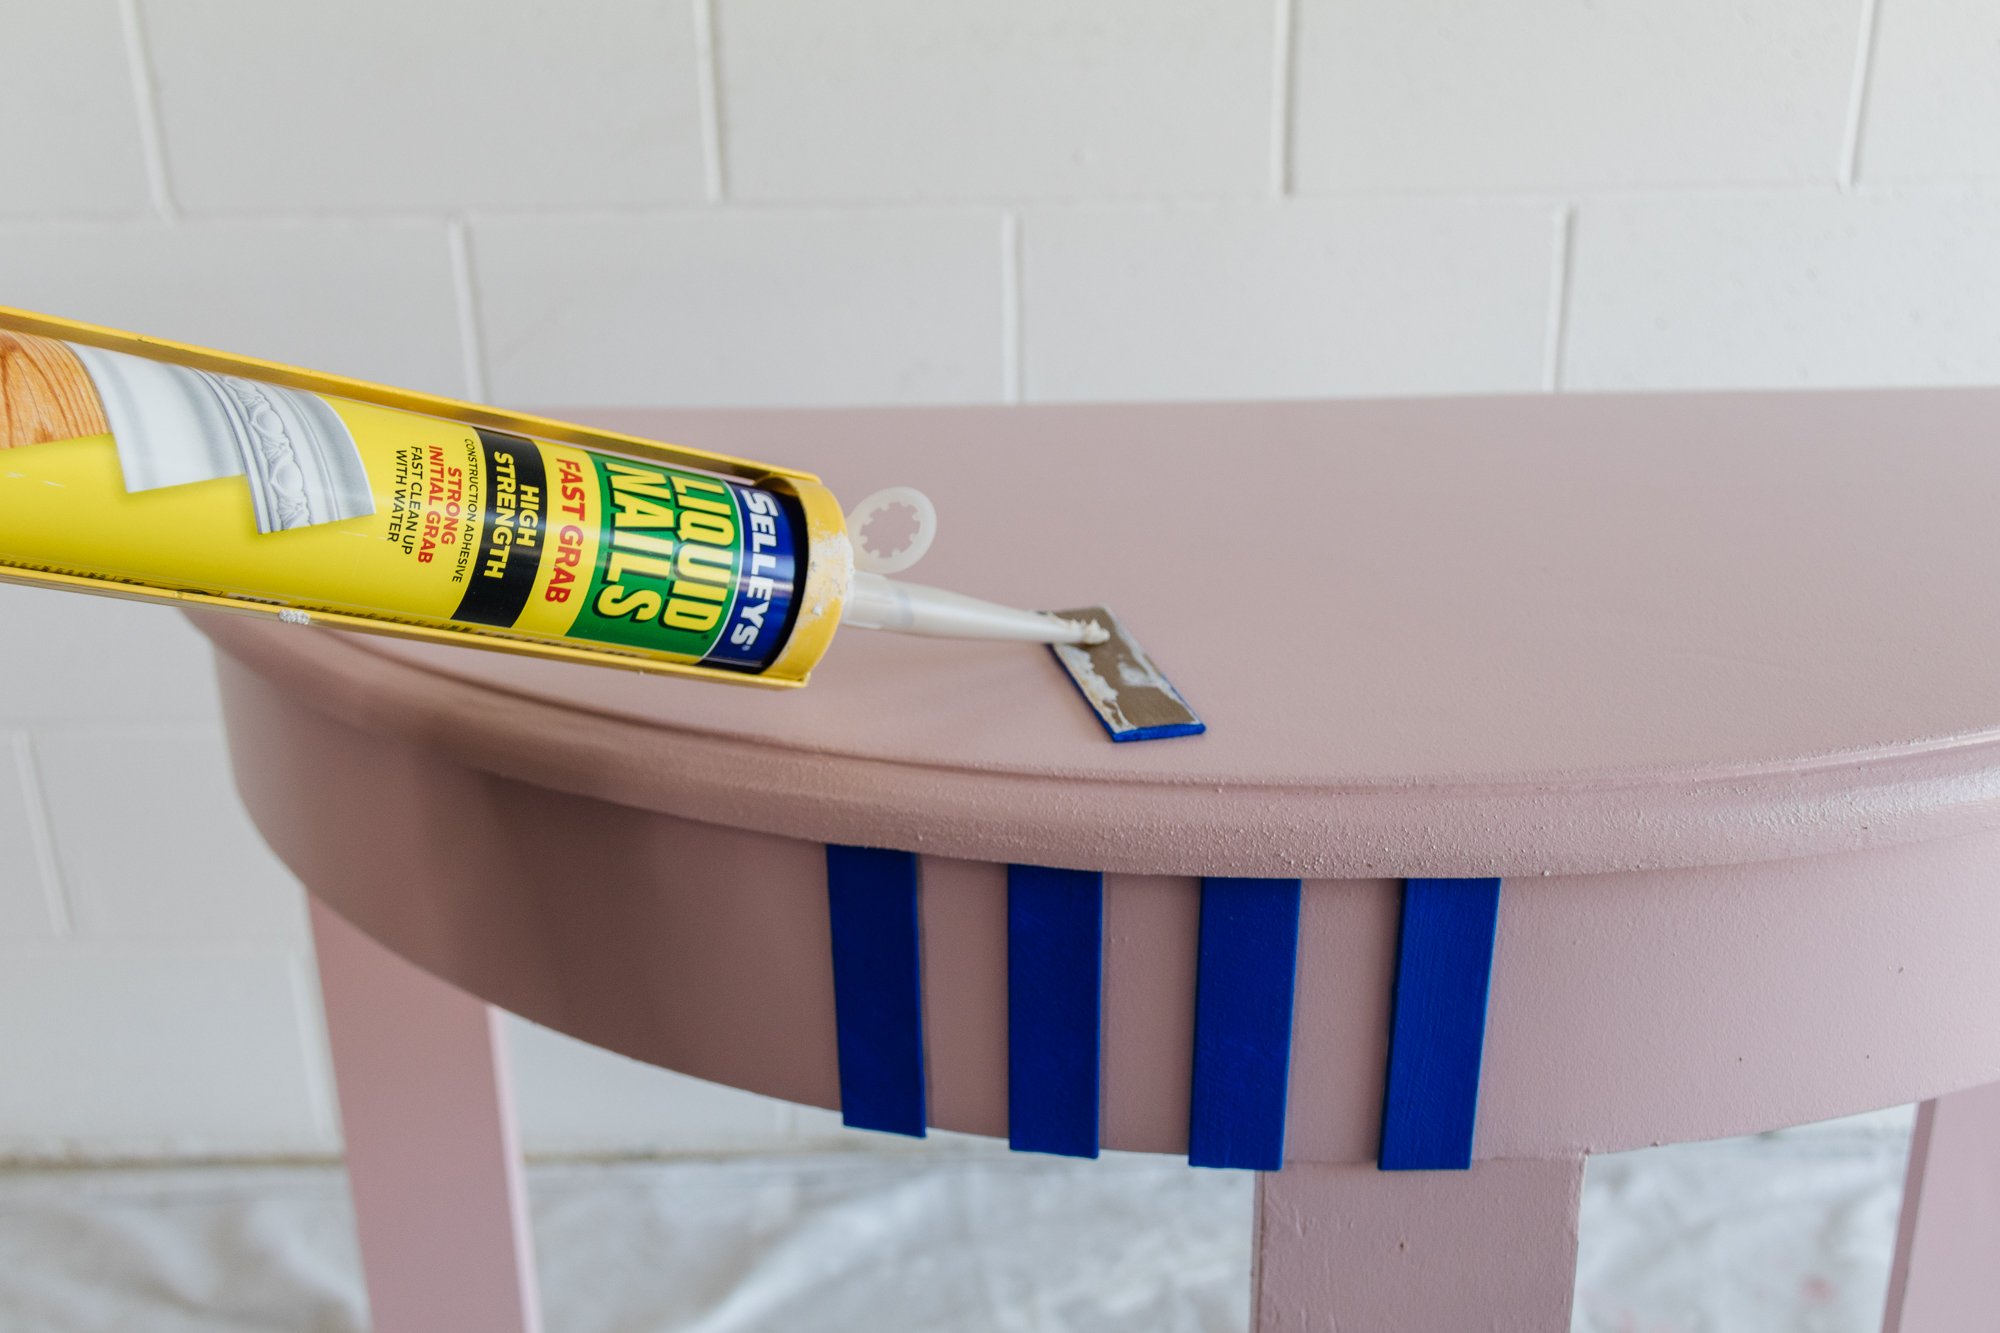
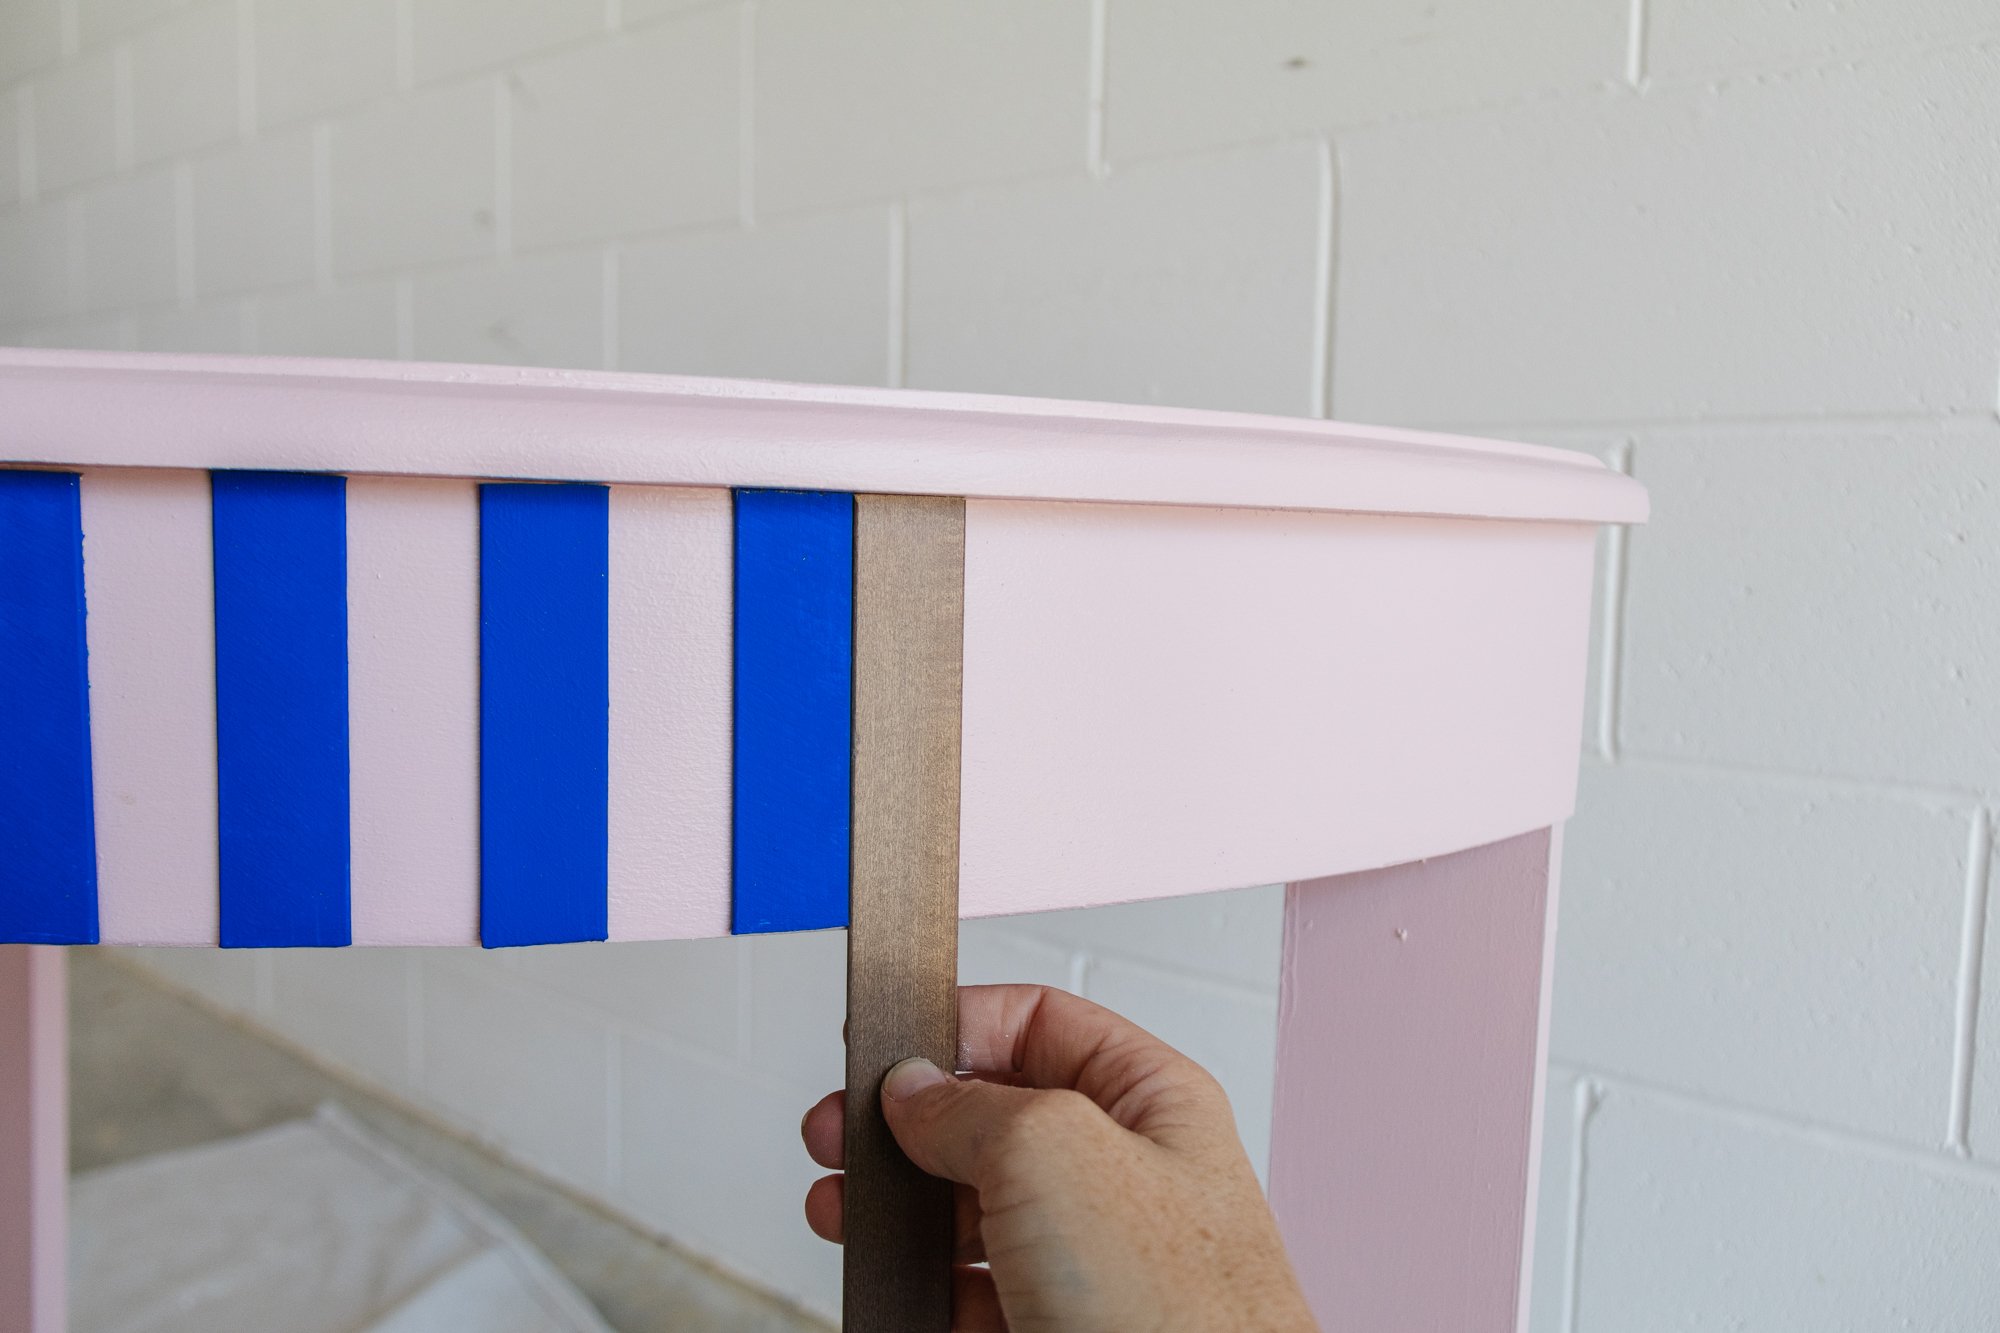
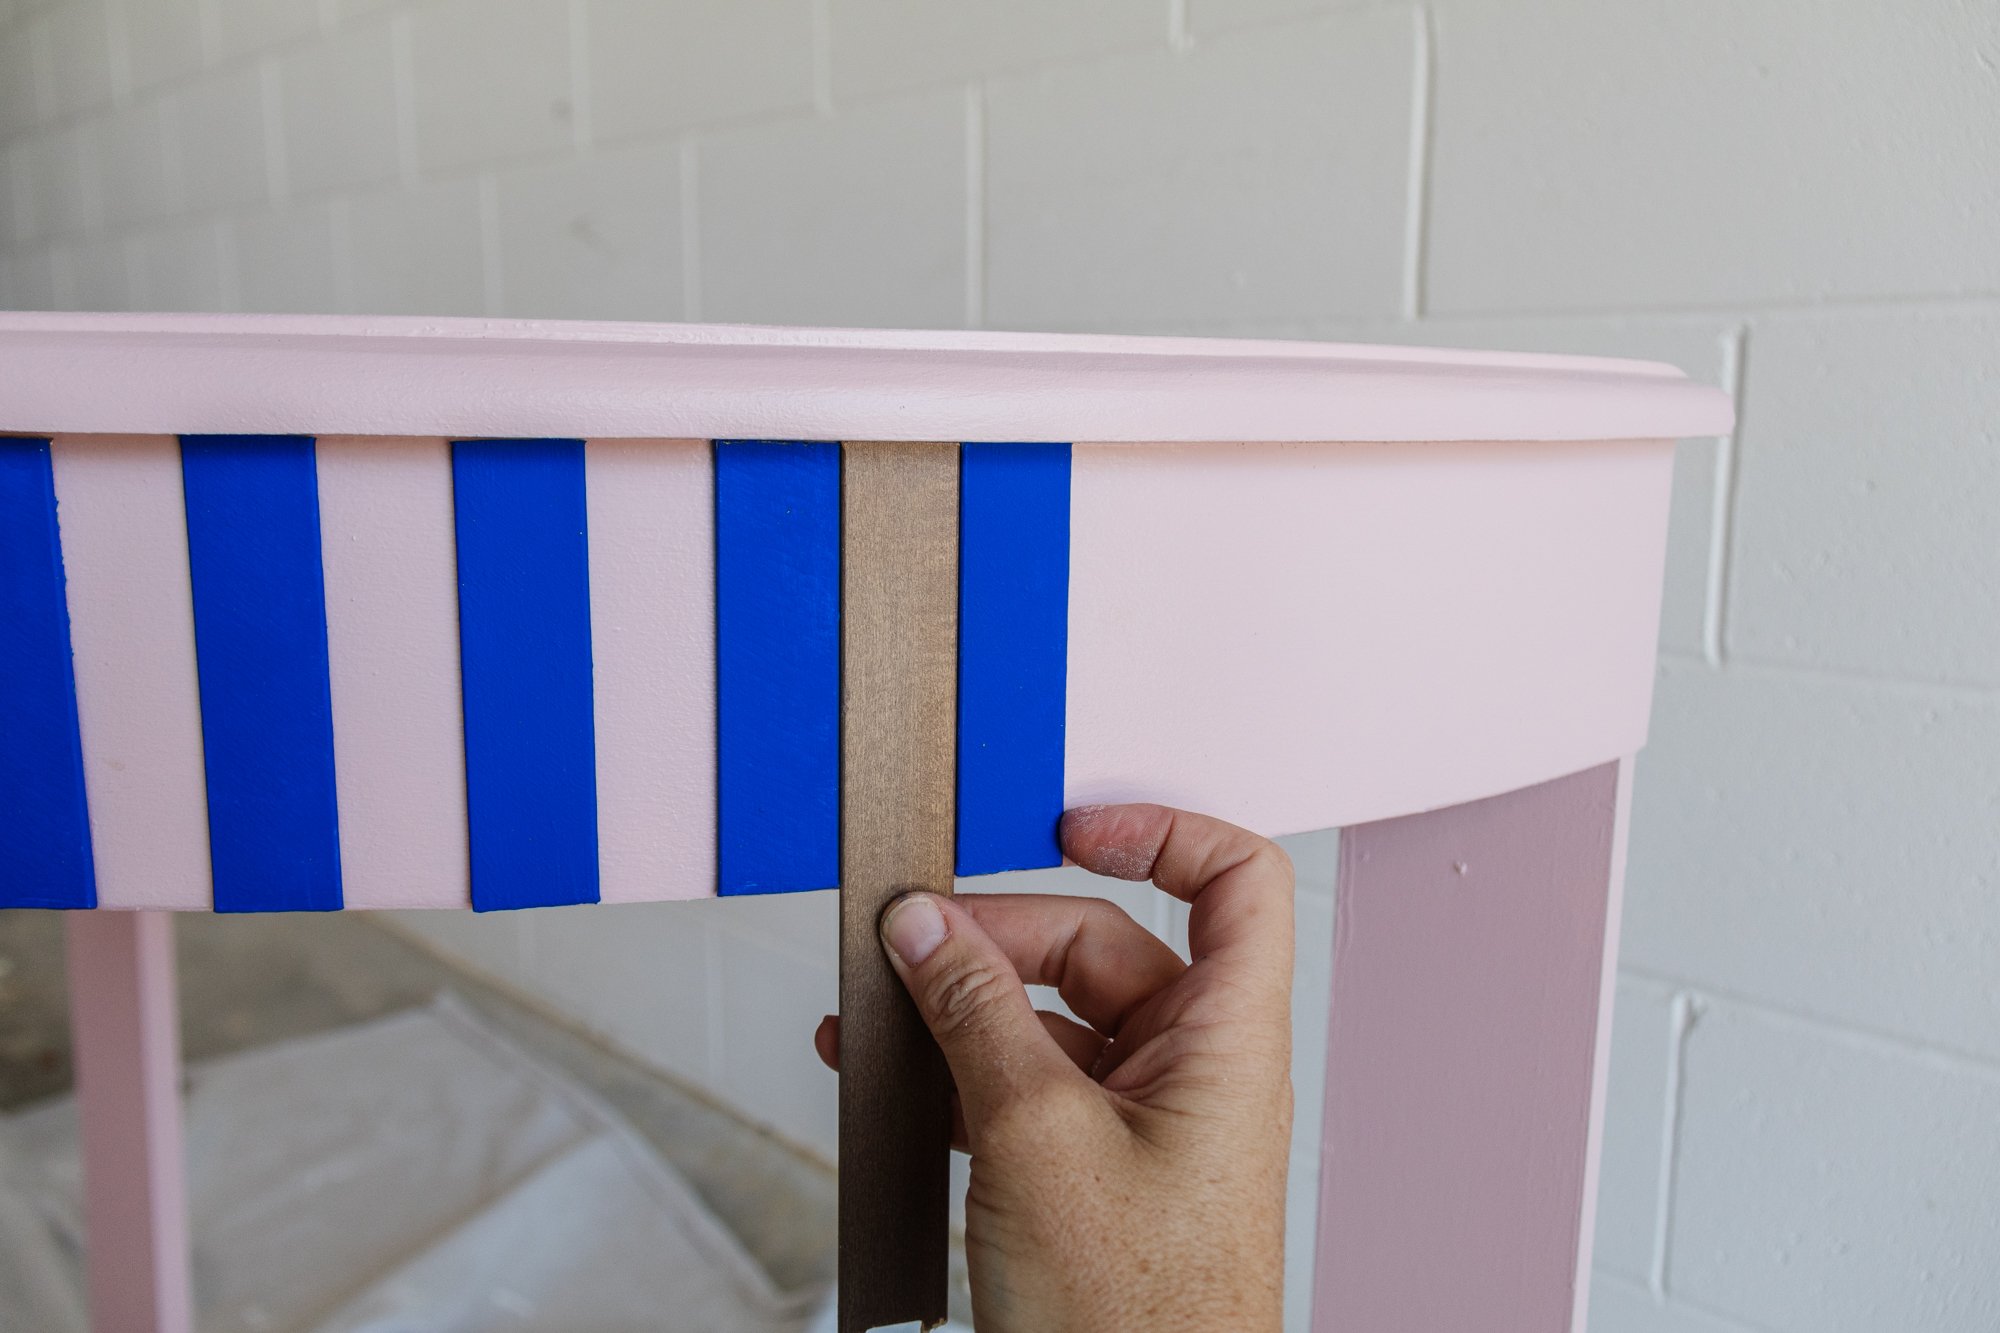
Step 4: I measured the table where I wanted to glue the blinds on to and cut 30 in total using scissors. I primed the blinds with white primer and painted them with Jo Sonja “Ultramarine Blue”. When they were dry I glued them to the front of the console table using construction adhesive, which I kept in place with painters tape so the they wouldn’t slip down as the glue was curing. I started in the middle and used a spare piece of blind to ensure they were evenly spread. And that’s it!
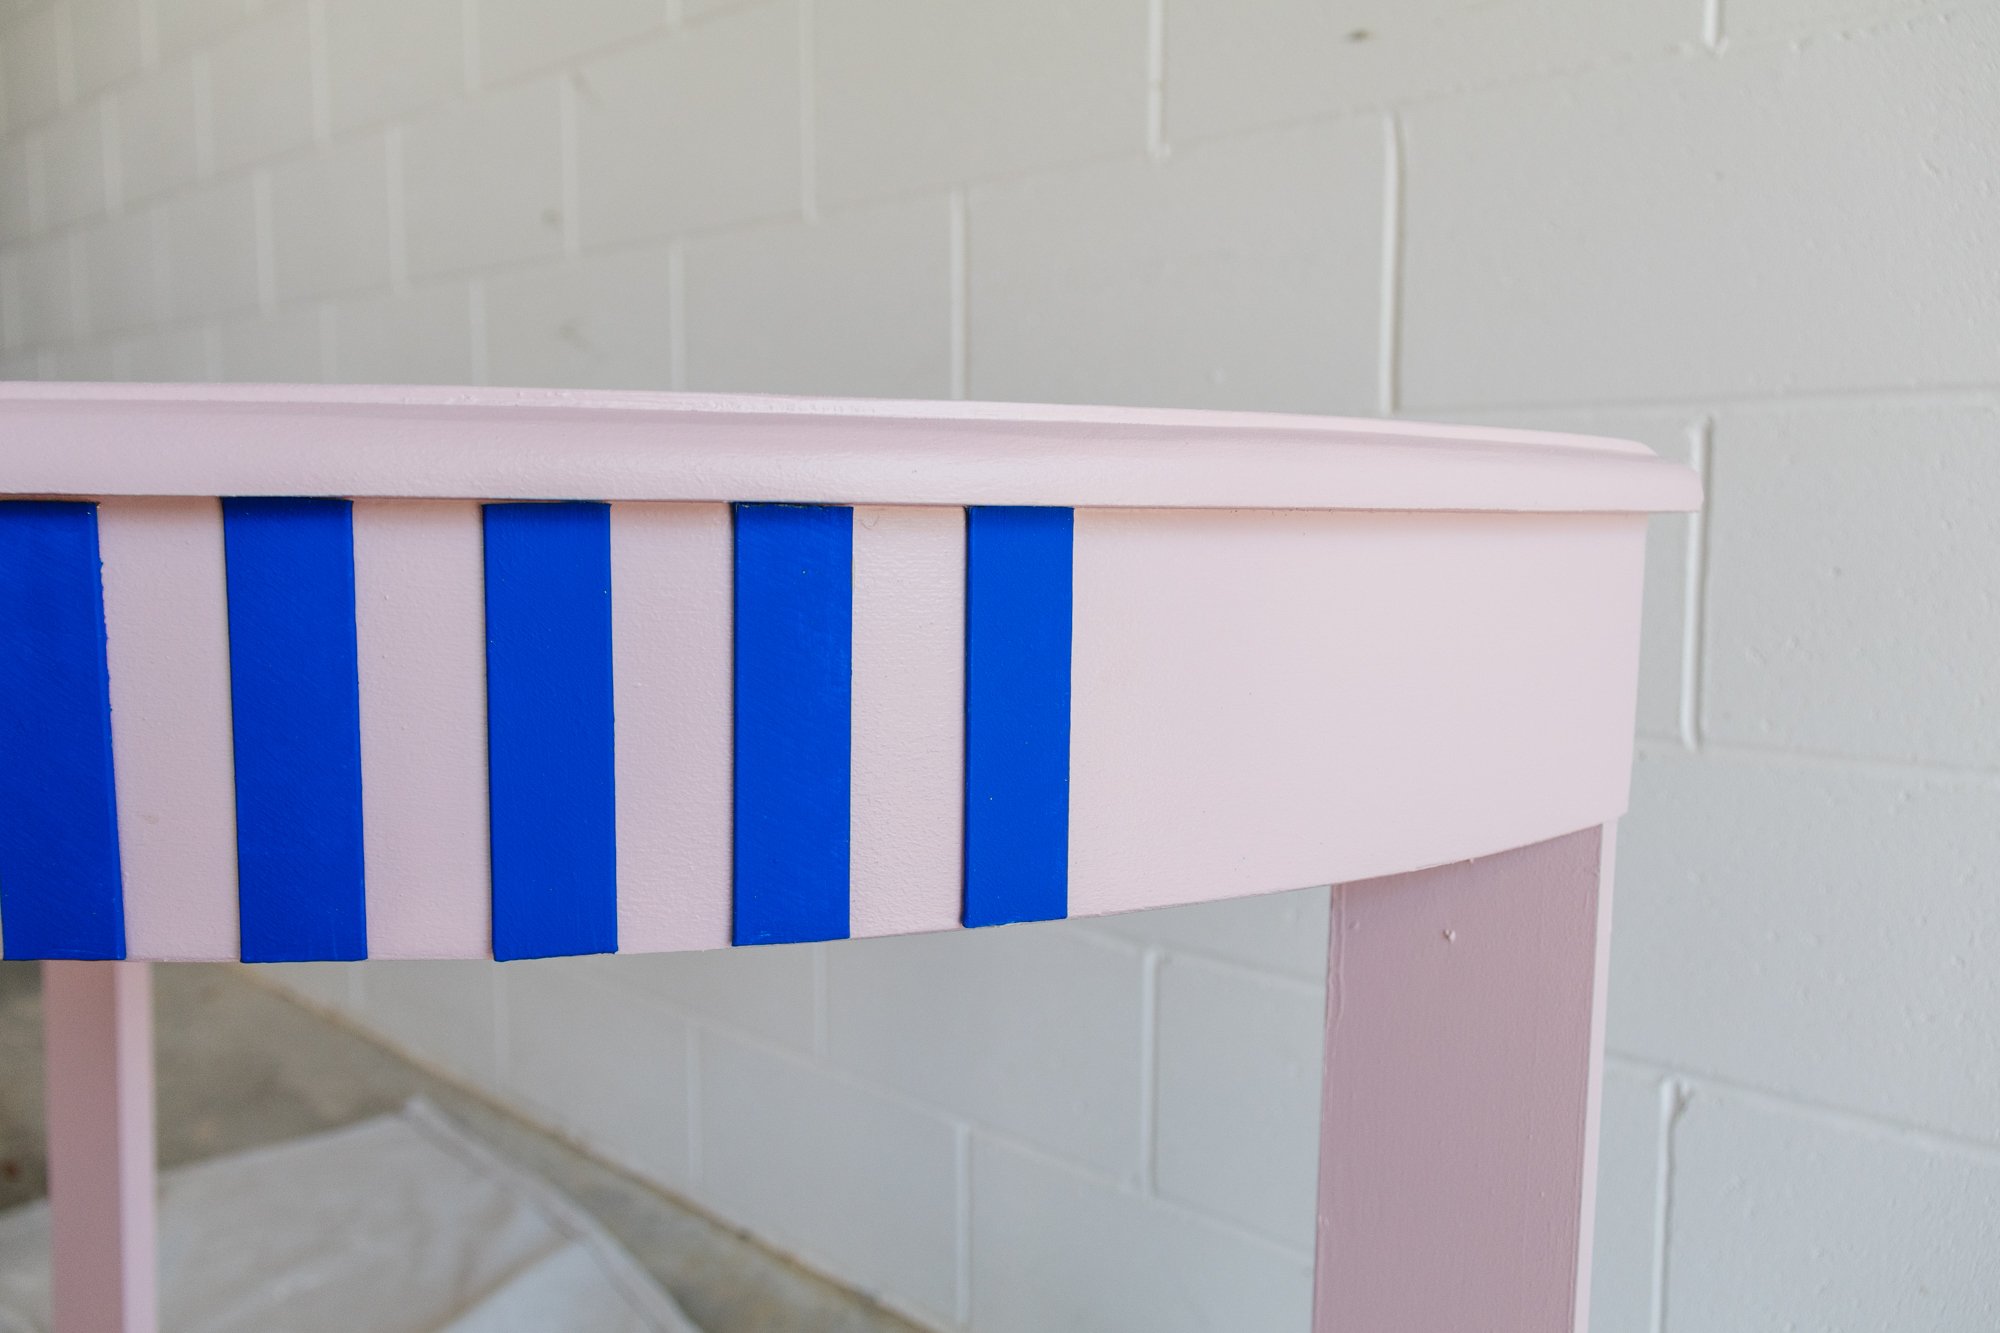
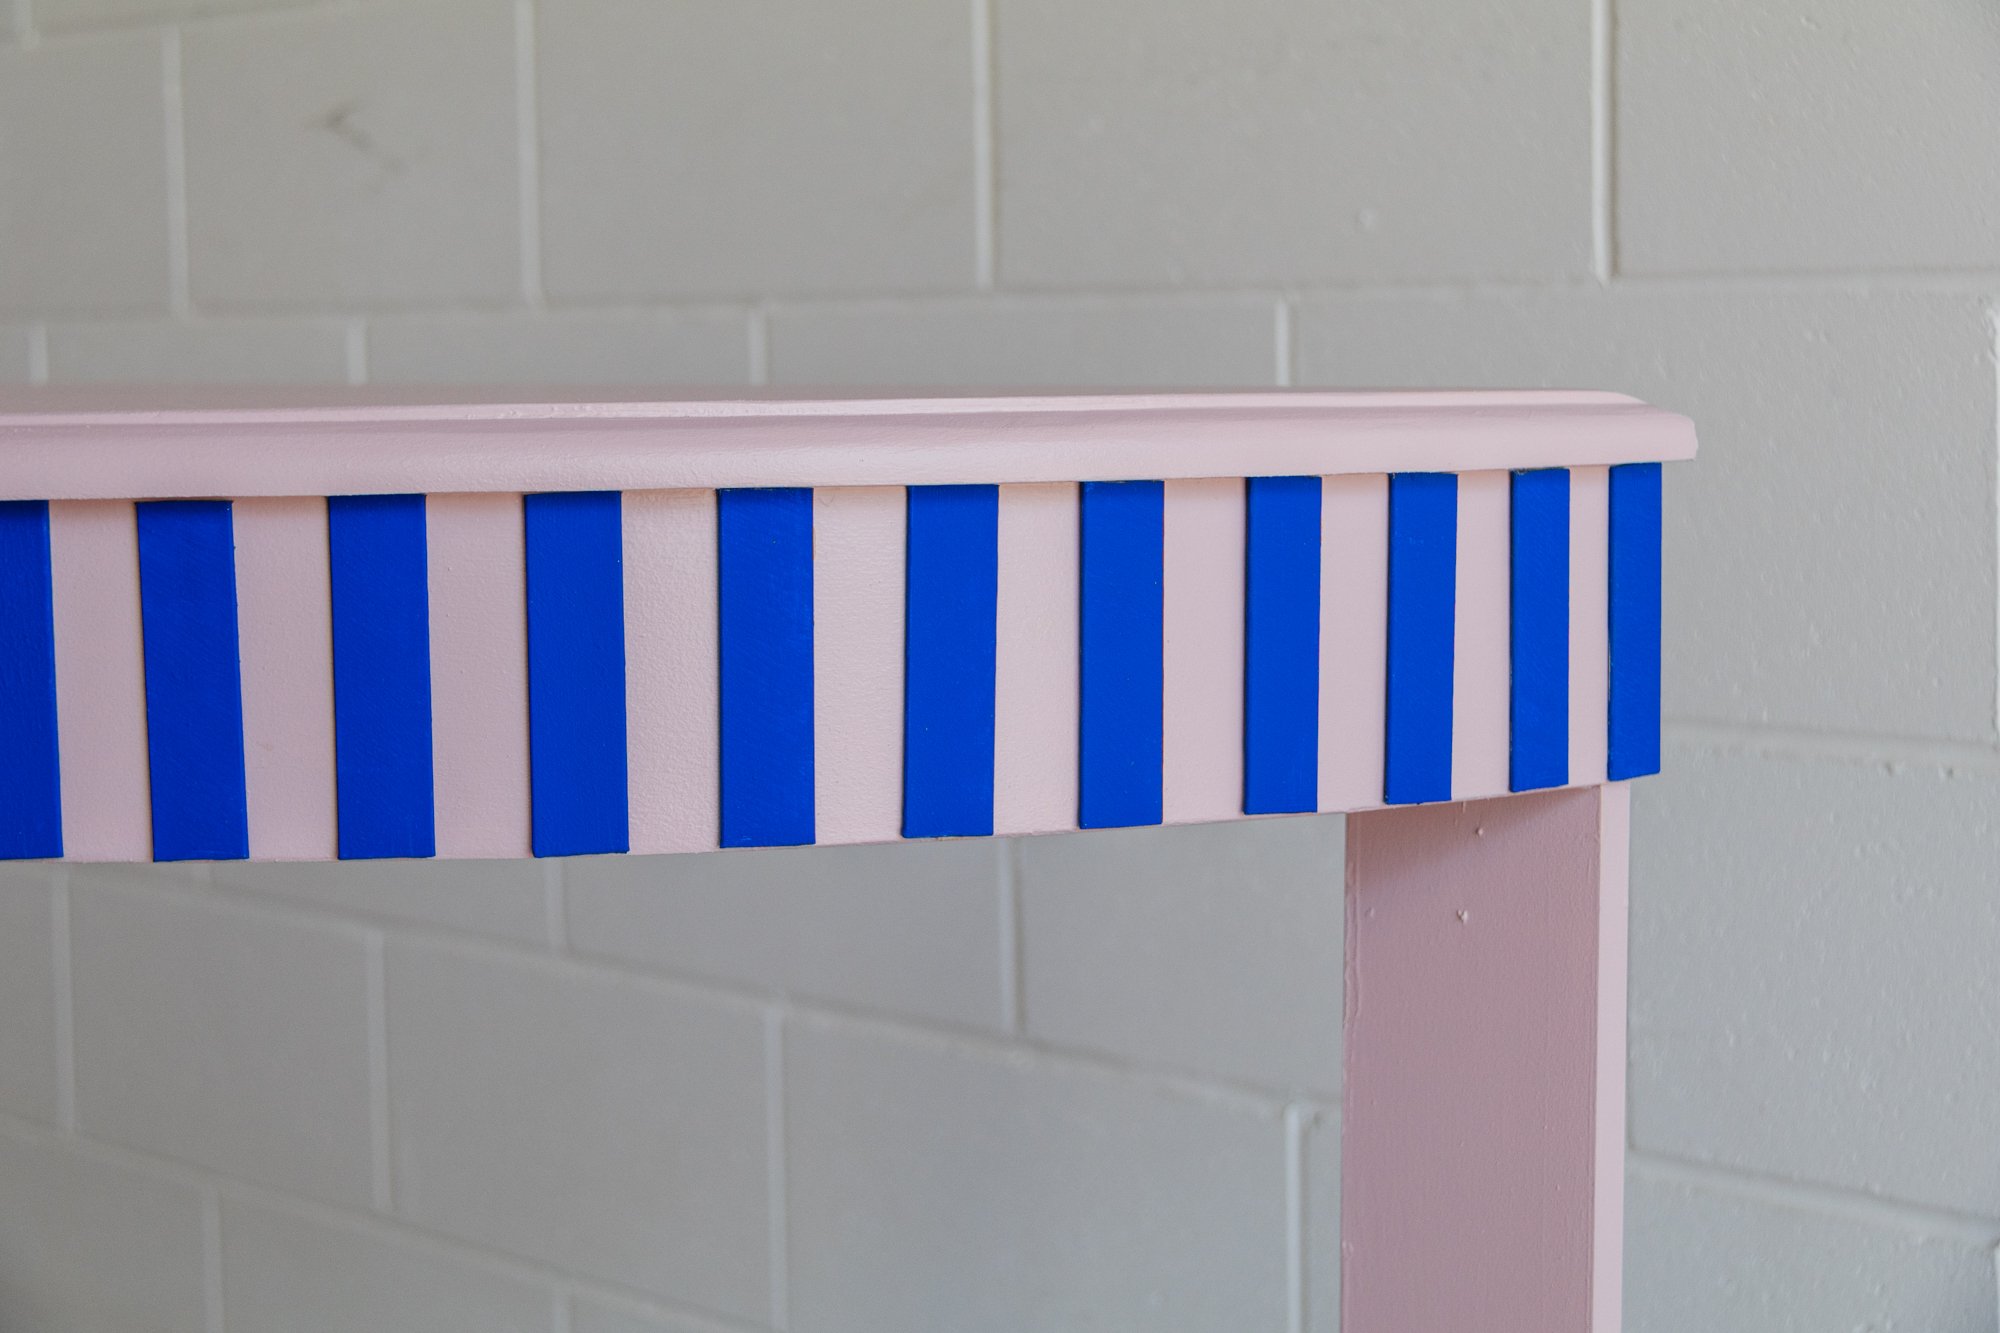

Ta daaaa! A designer worthy fluted console table.
This upcycled fluted console table is the stuff 5 year old self dreamed of. When I first had the idea to add a fluted detail, I wanted to find an affordable material to timber. When I saw a bunch of blinds sitting at the back of my local tip shop collecting dust, I knew they would be perfect. I’m all about adding elements of detail like this to my project because it makes the furniture come alive with texture and interest. But then I took it a step further and made this my most colourful project yet. Love it or loathe it, it was fun to try something new!