How To Make A Fluted Door
I’ve always dreamed of having a fluted door in my home, so I decided to DIY it!
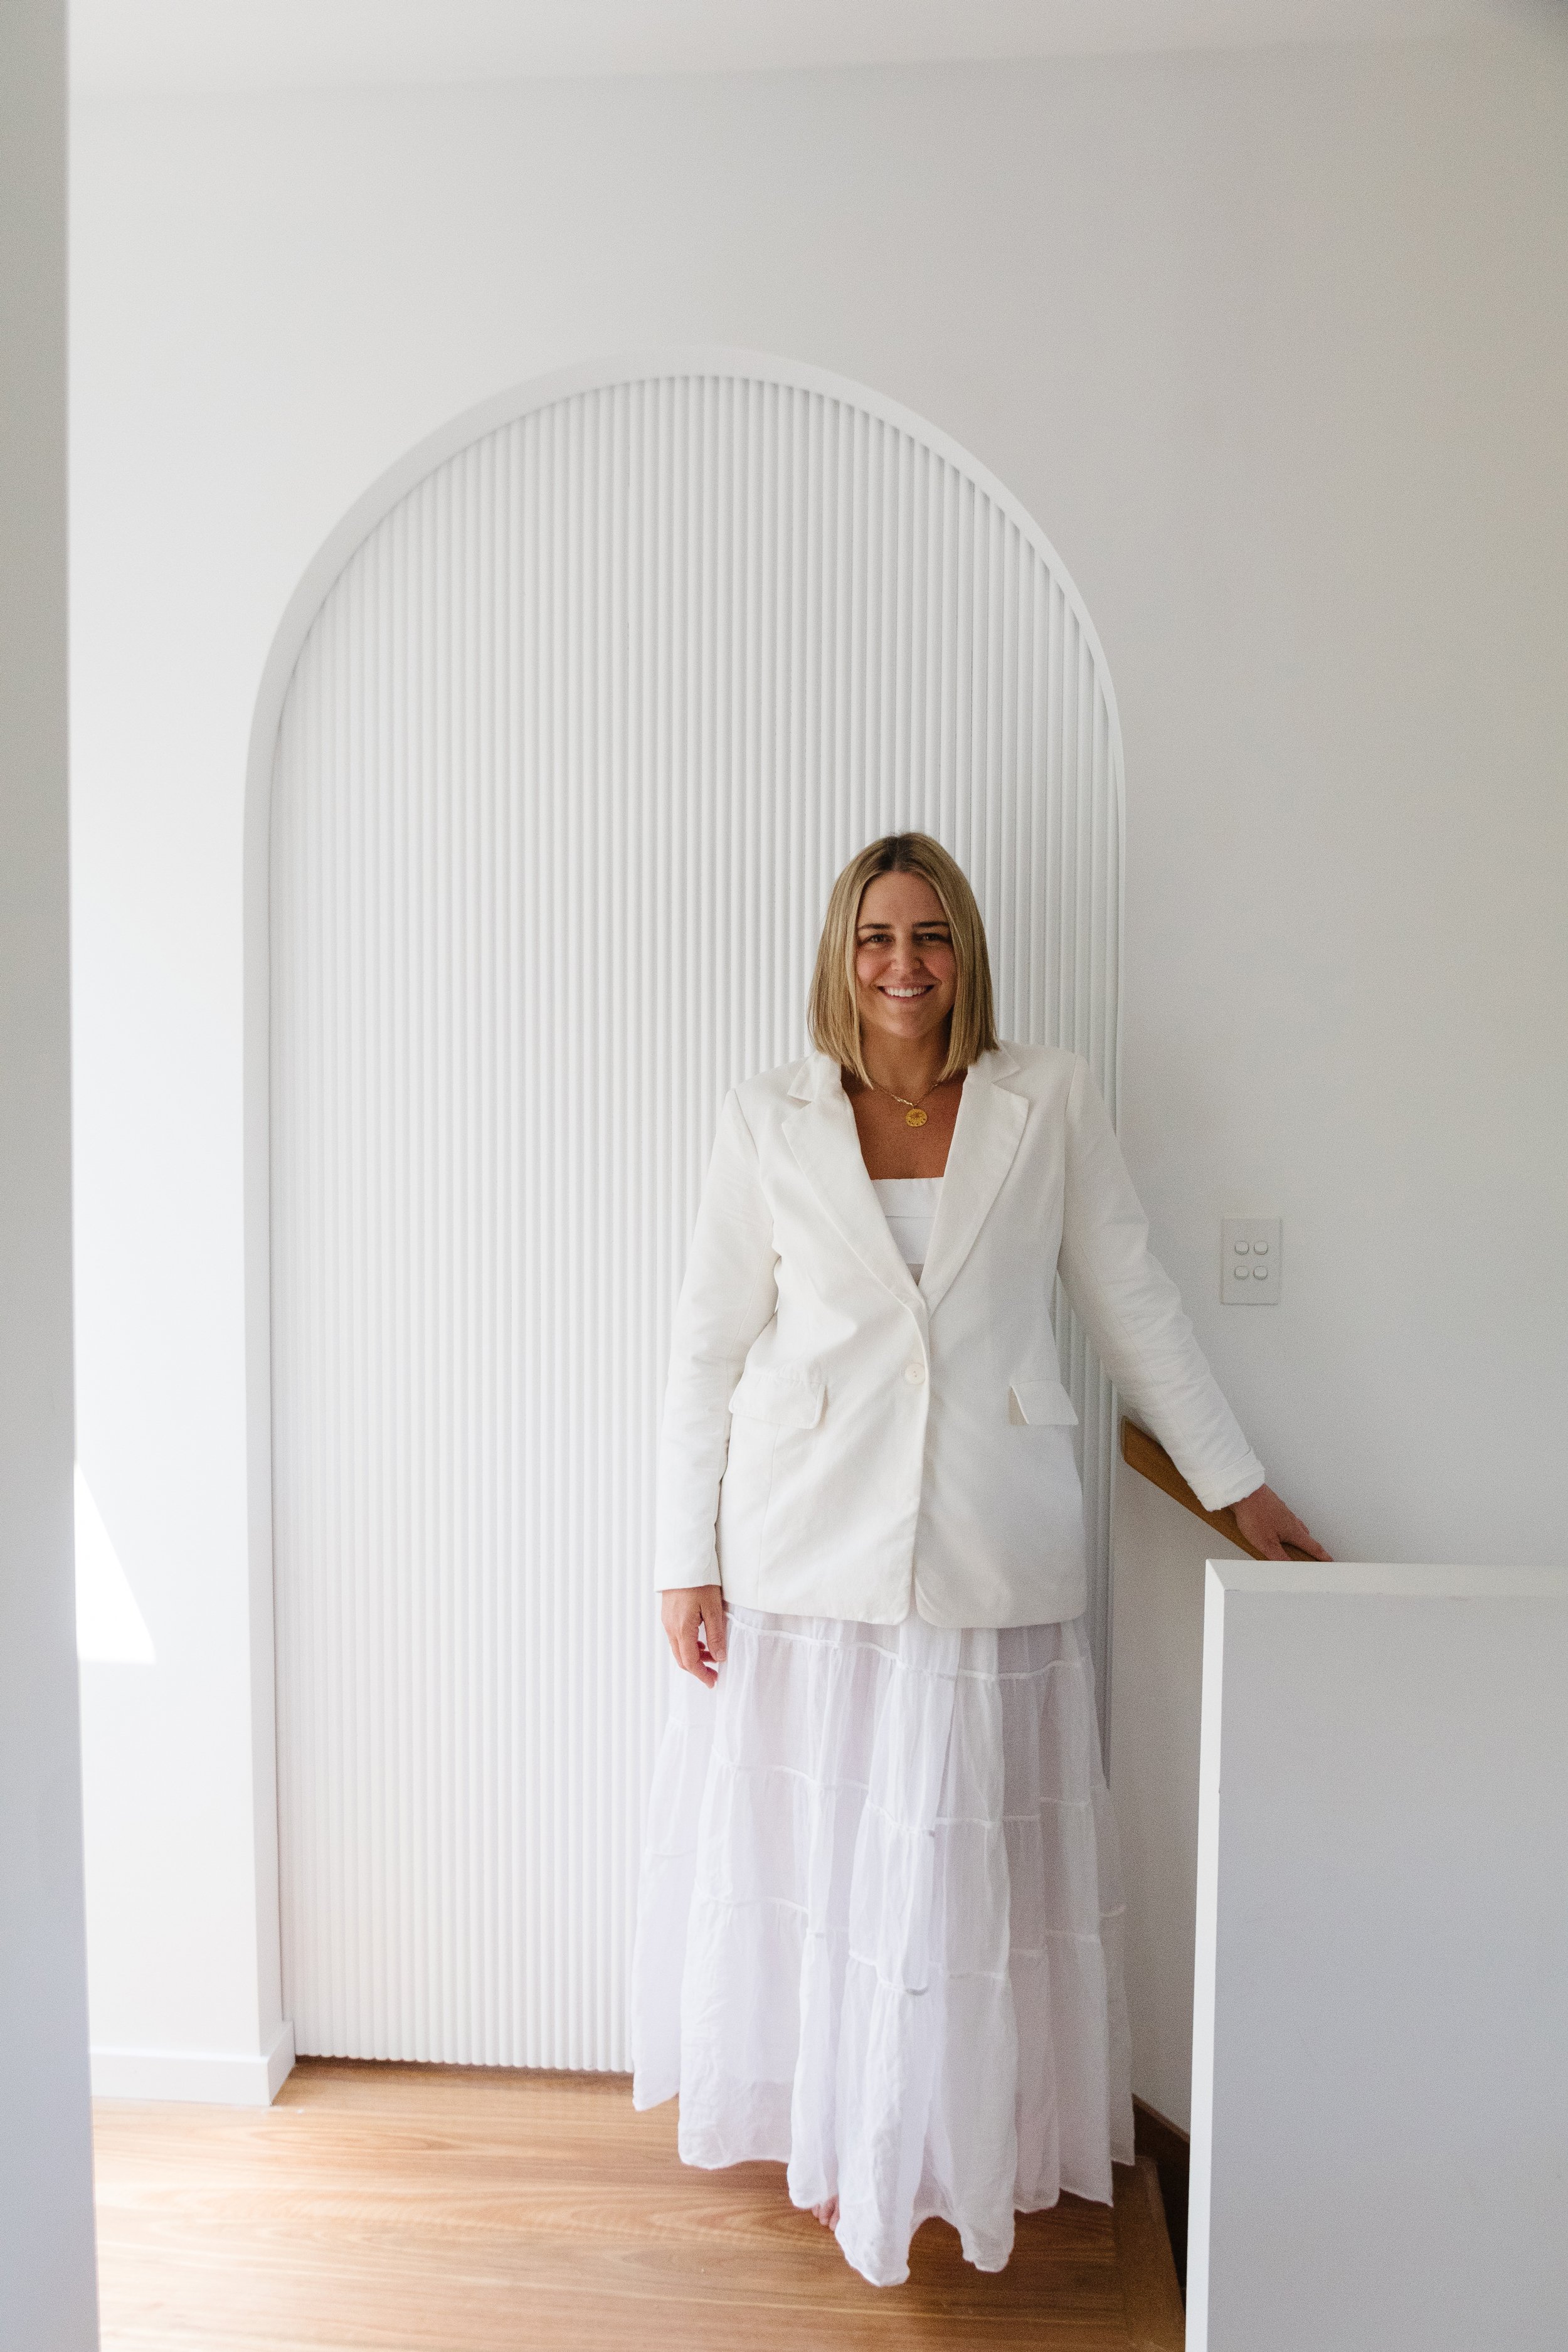
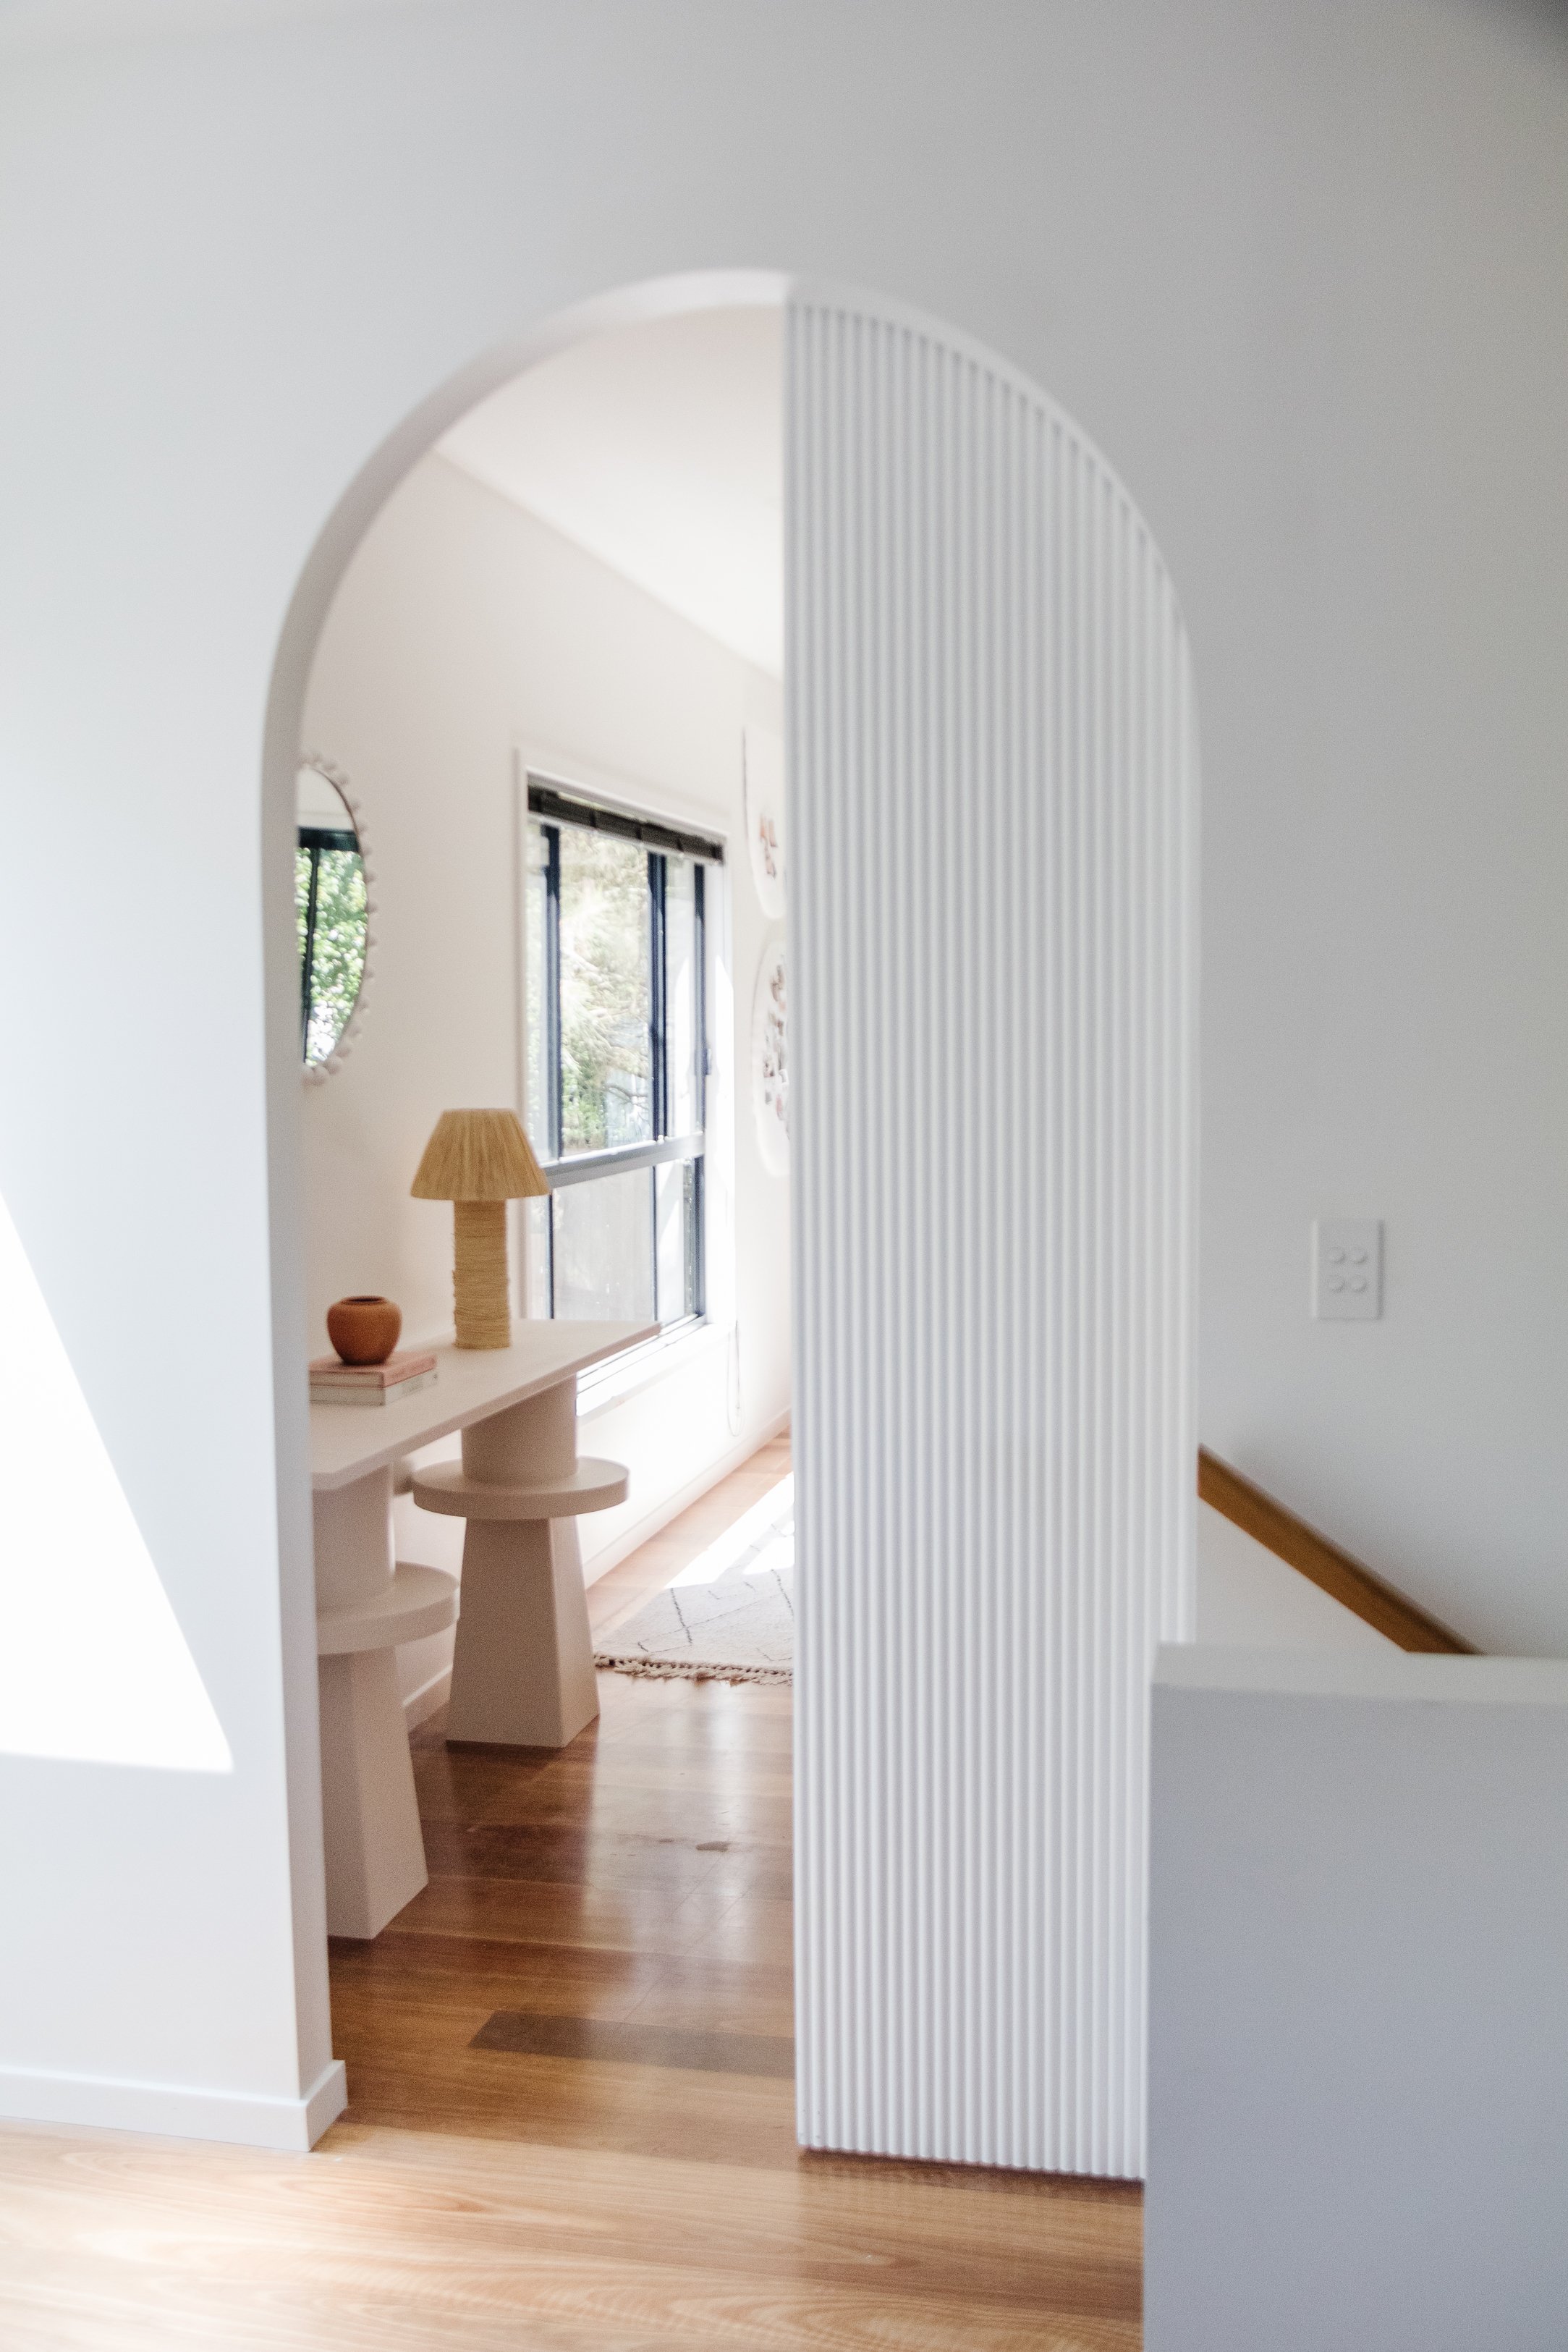
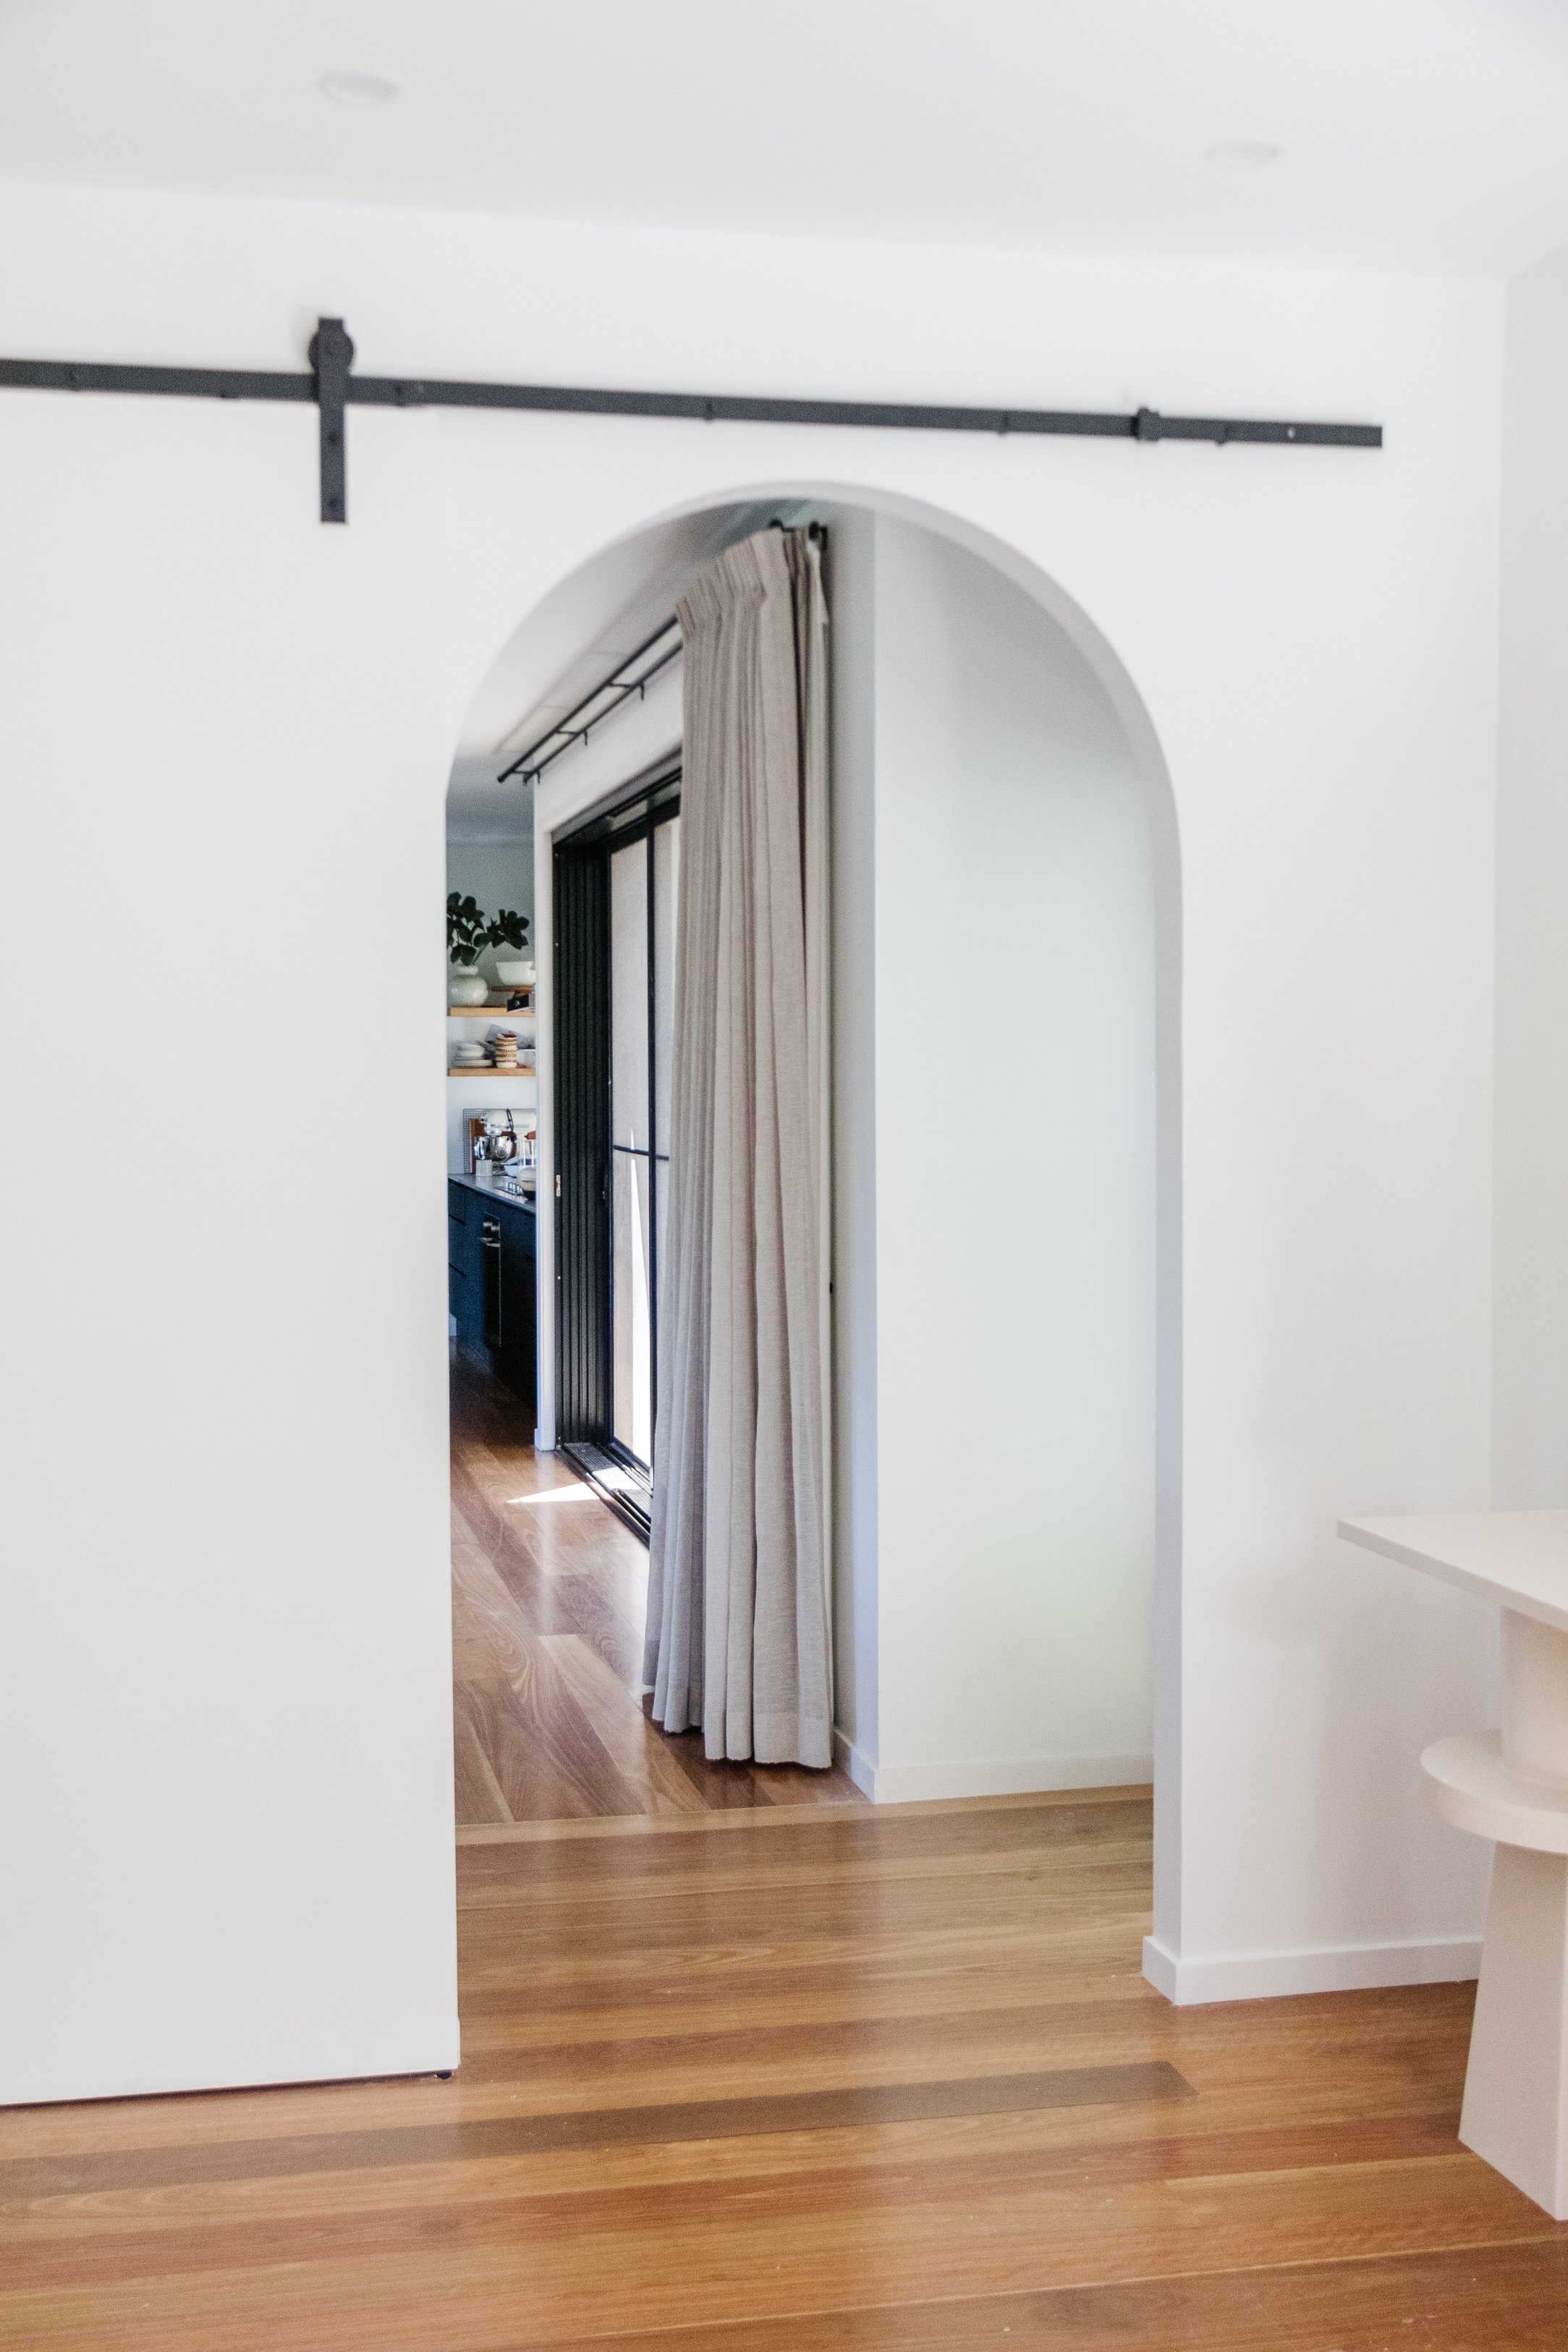
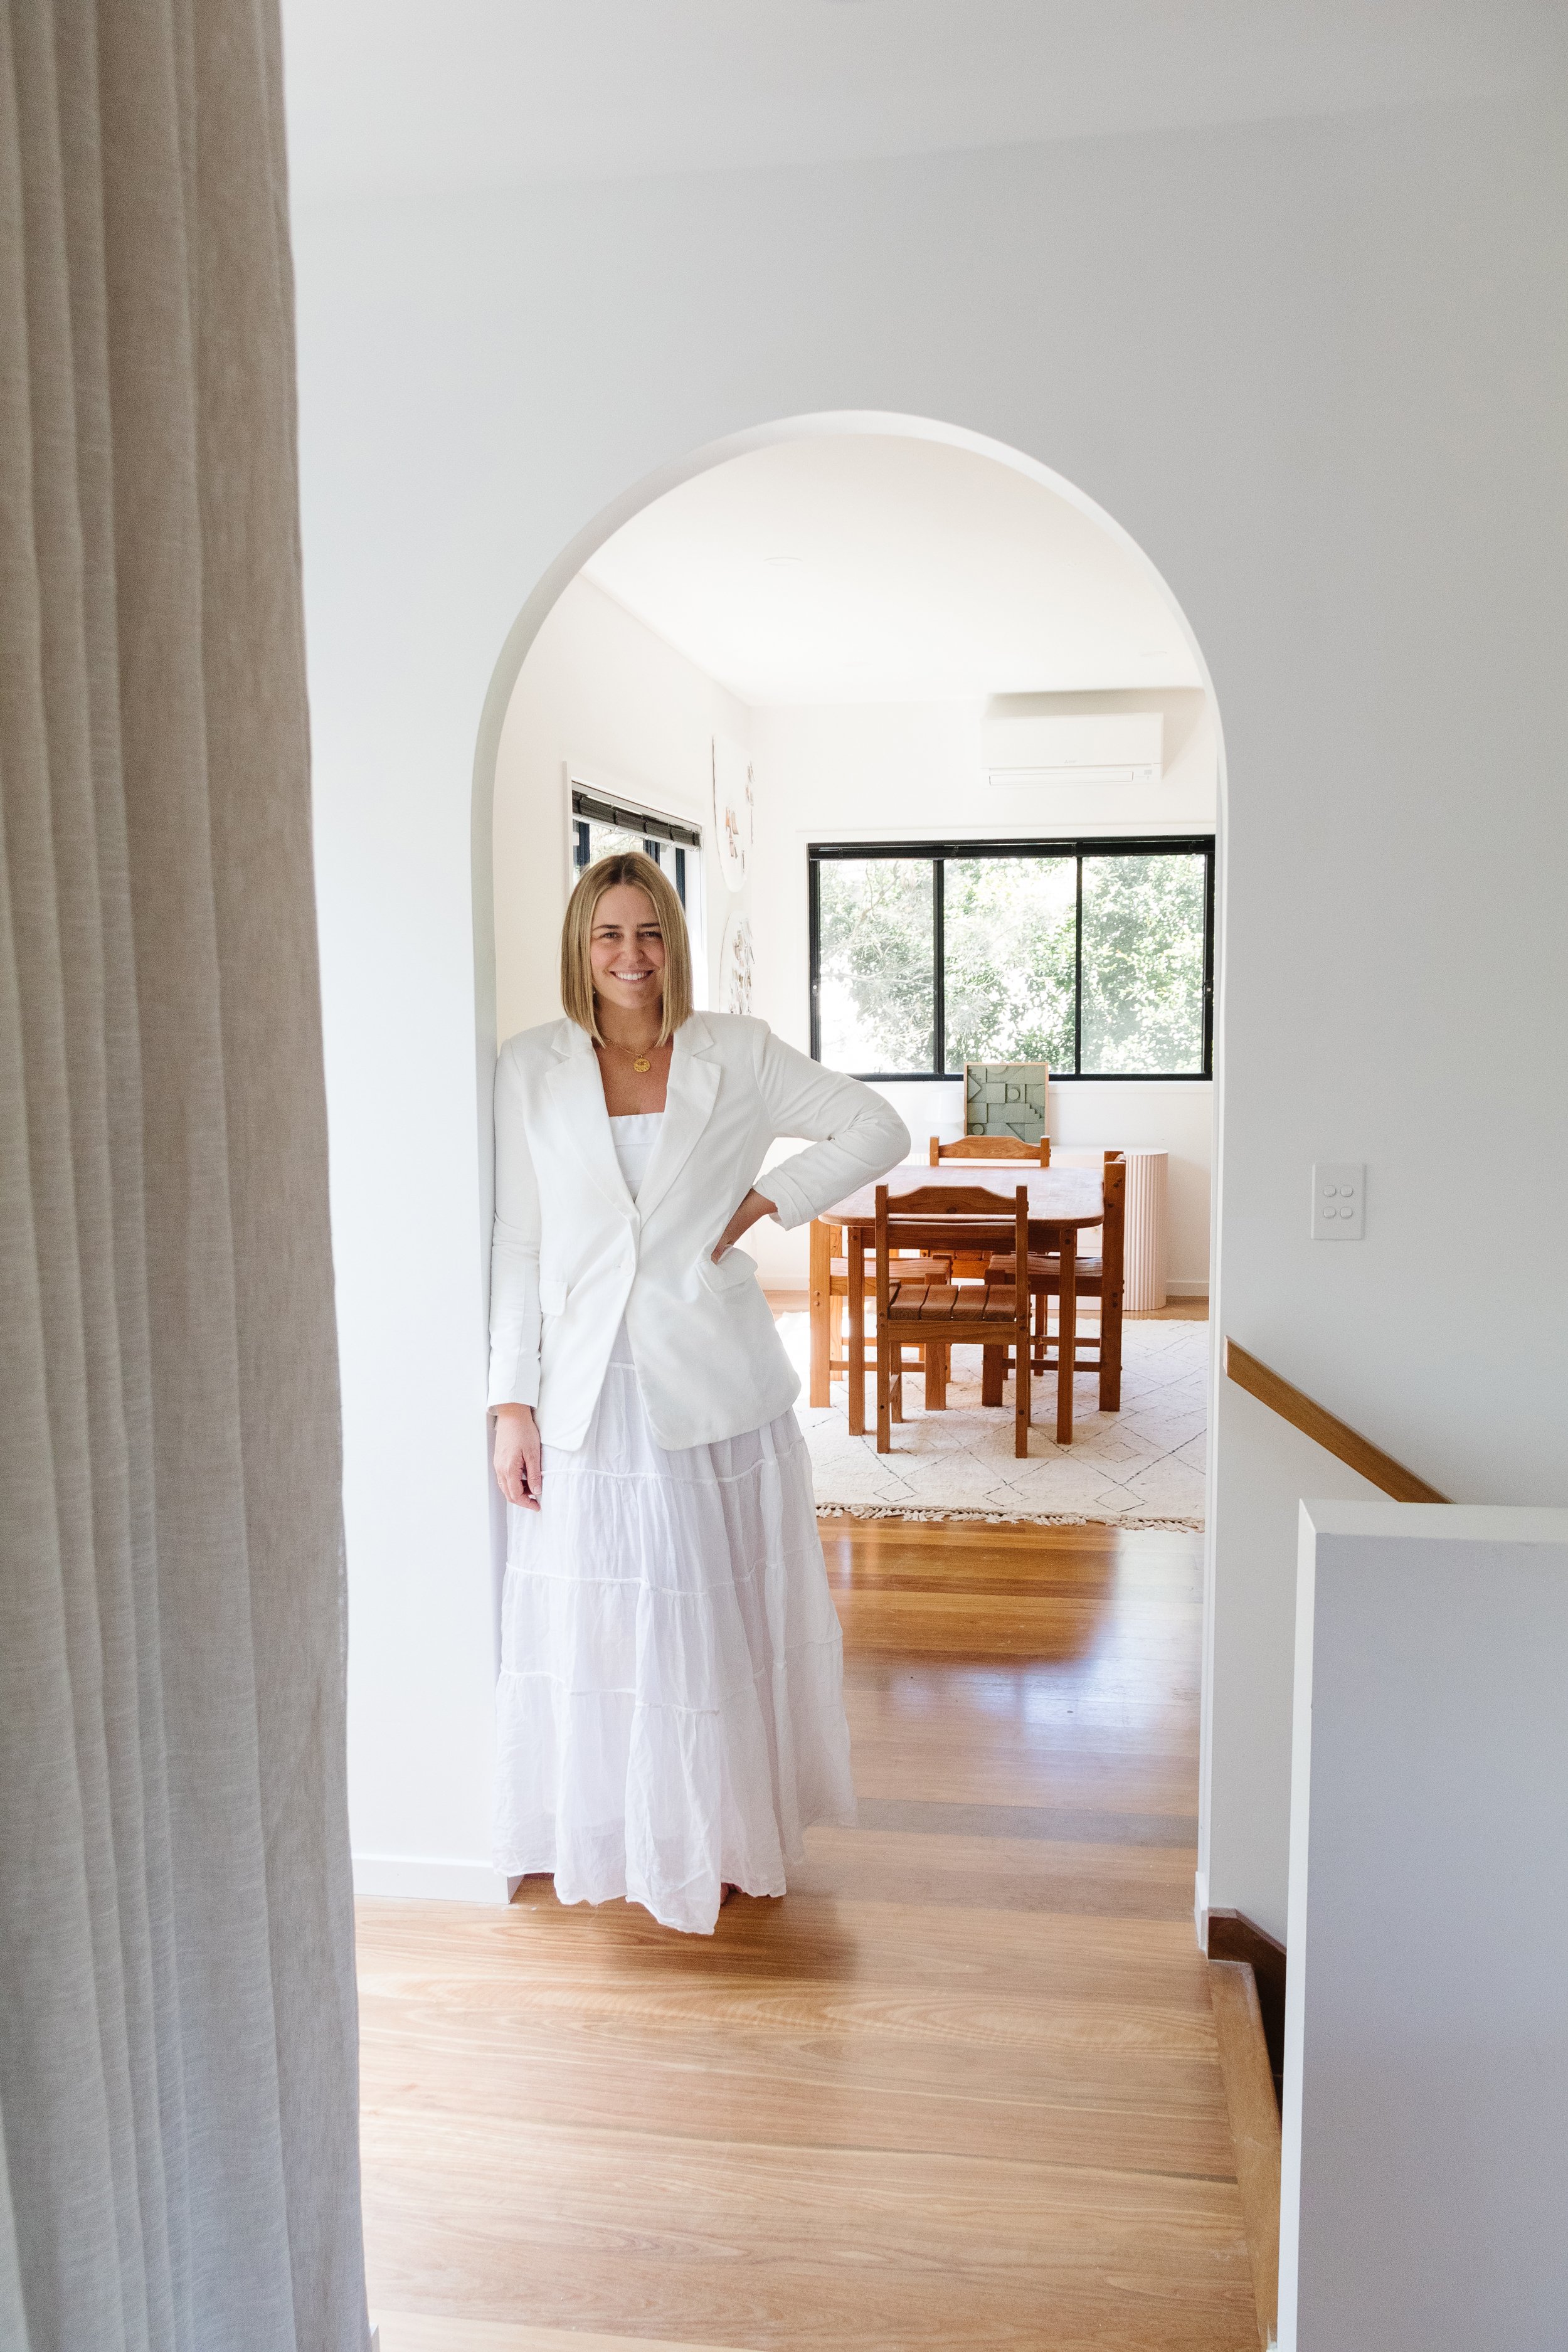
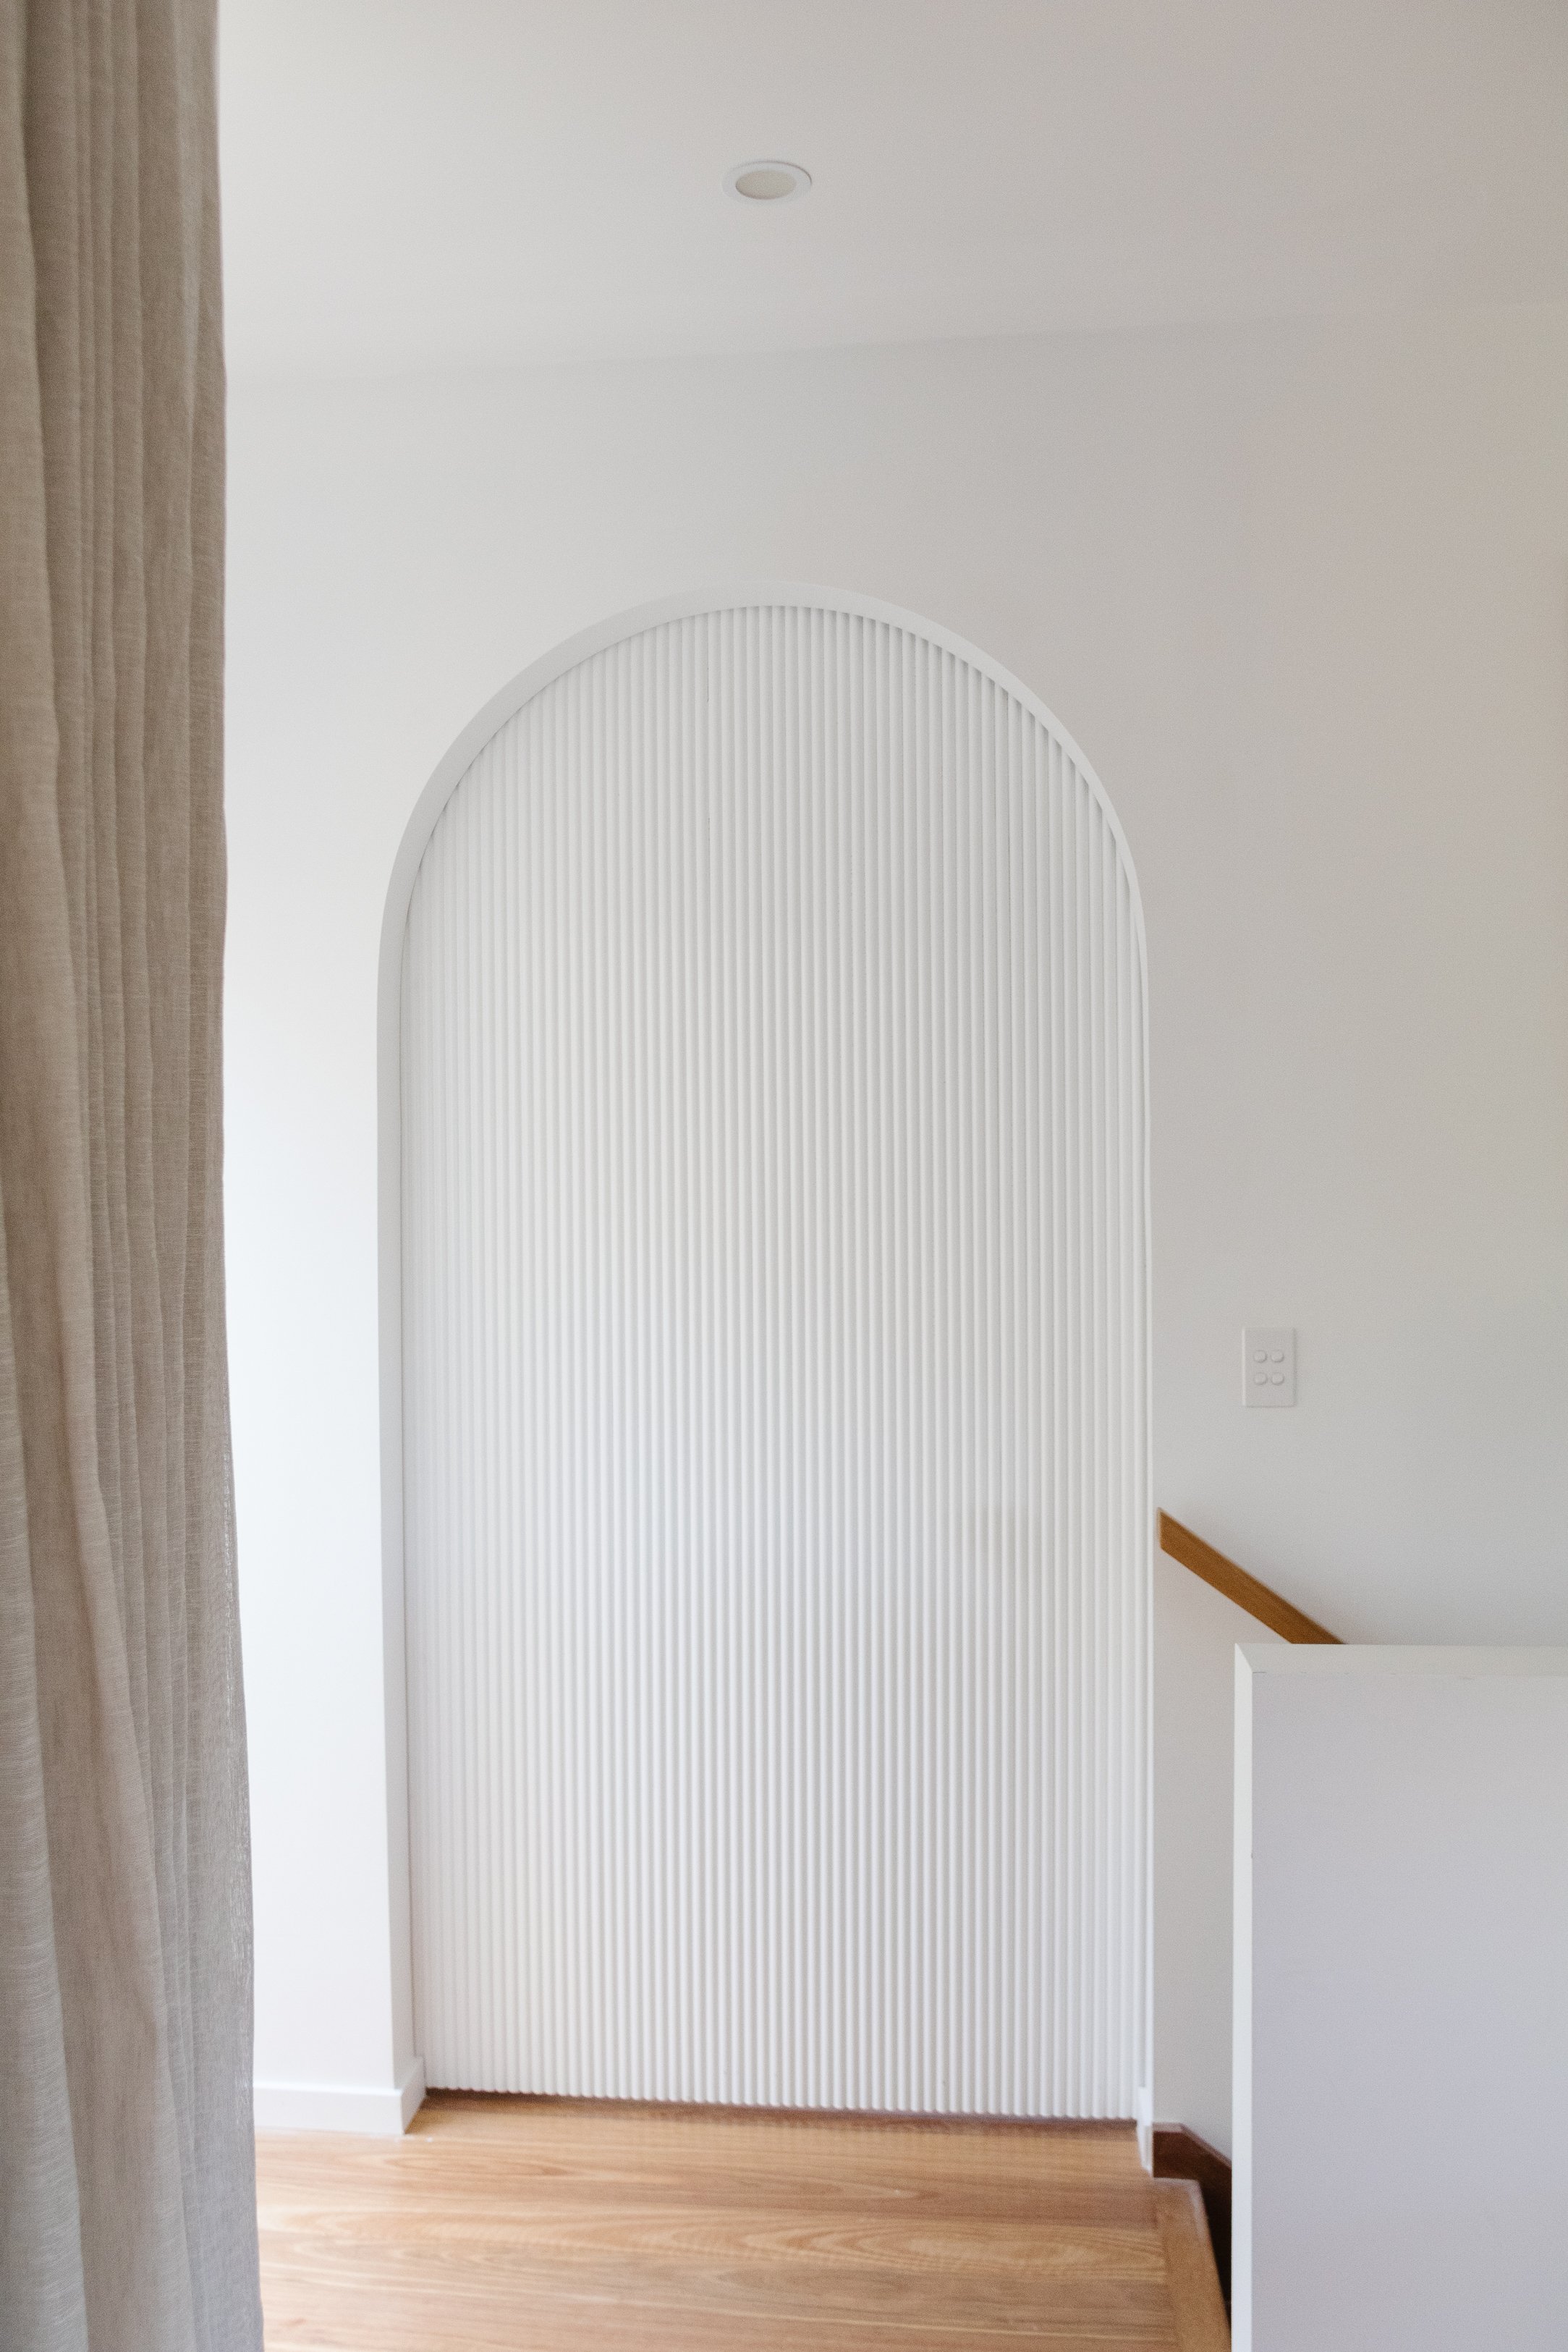
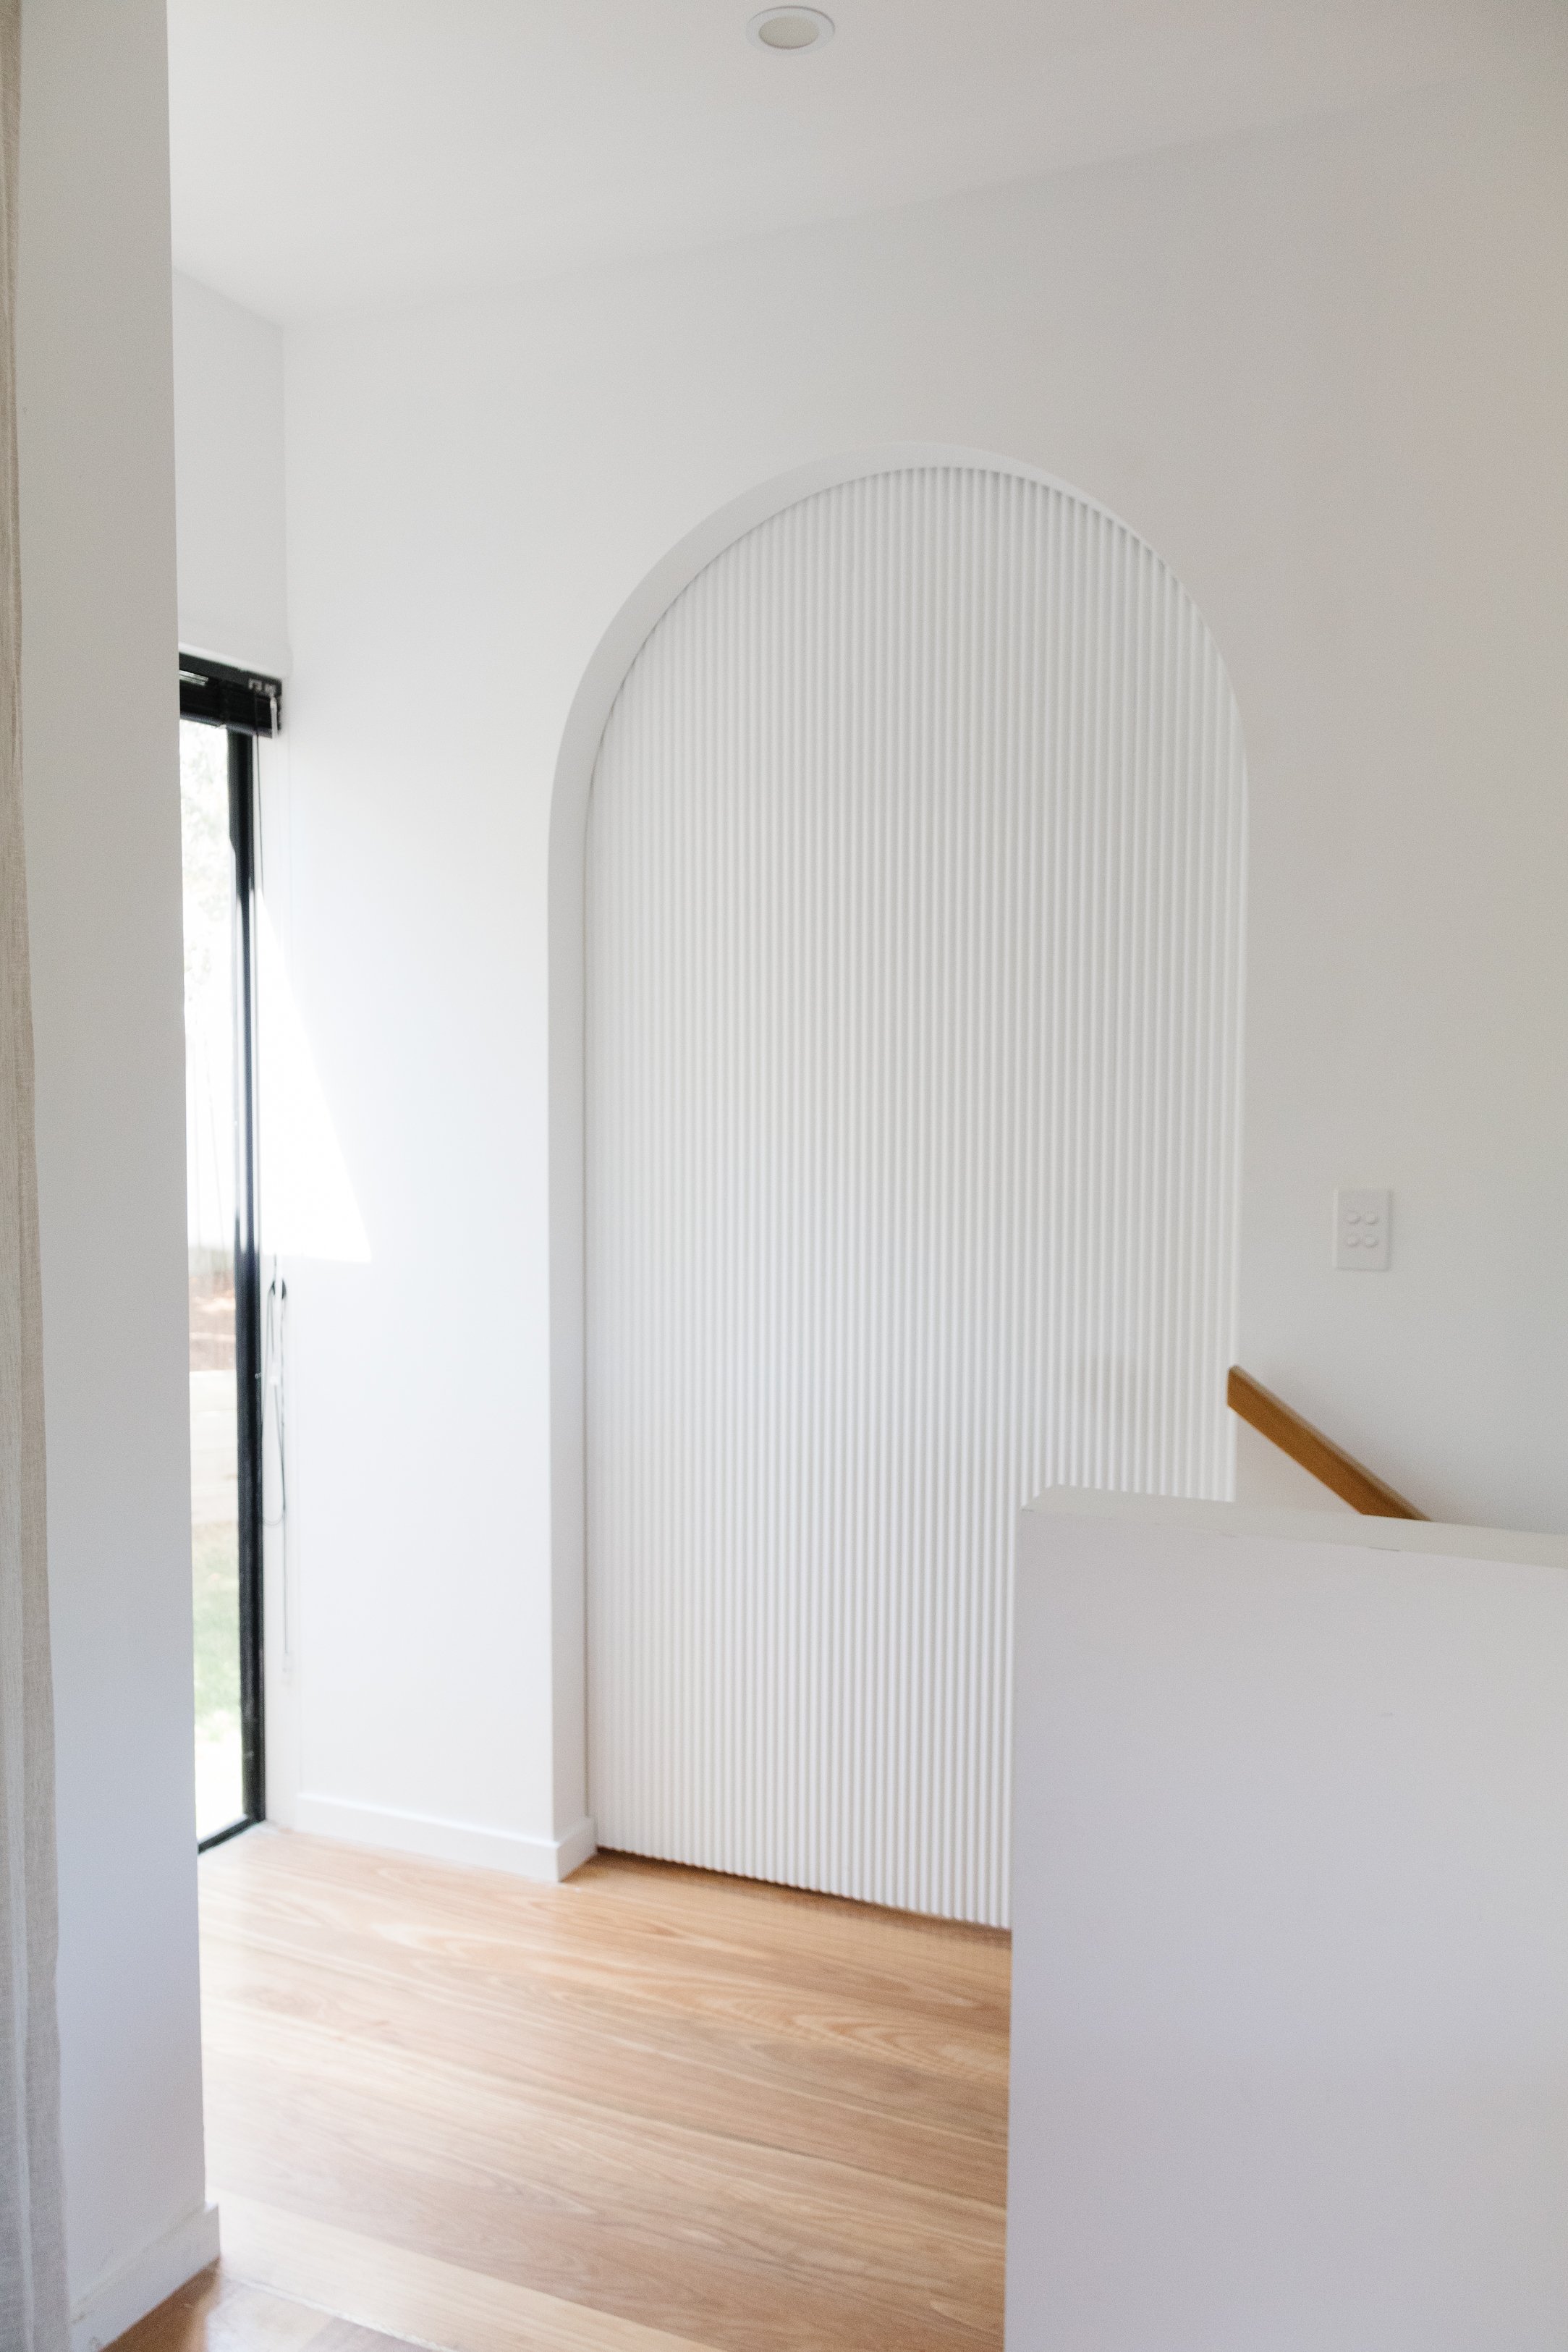
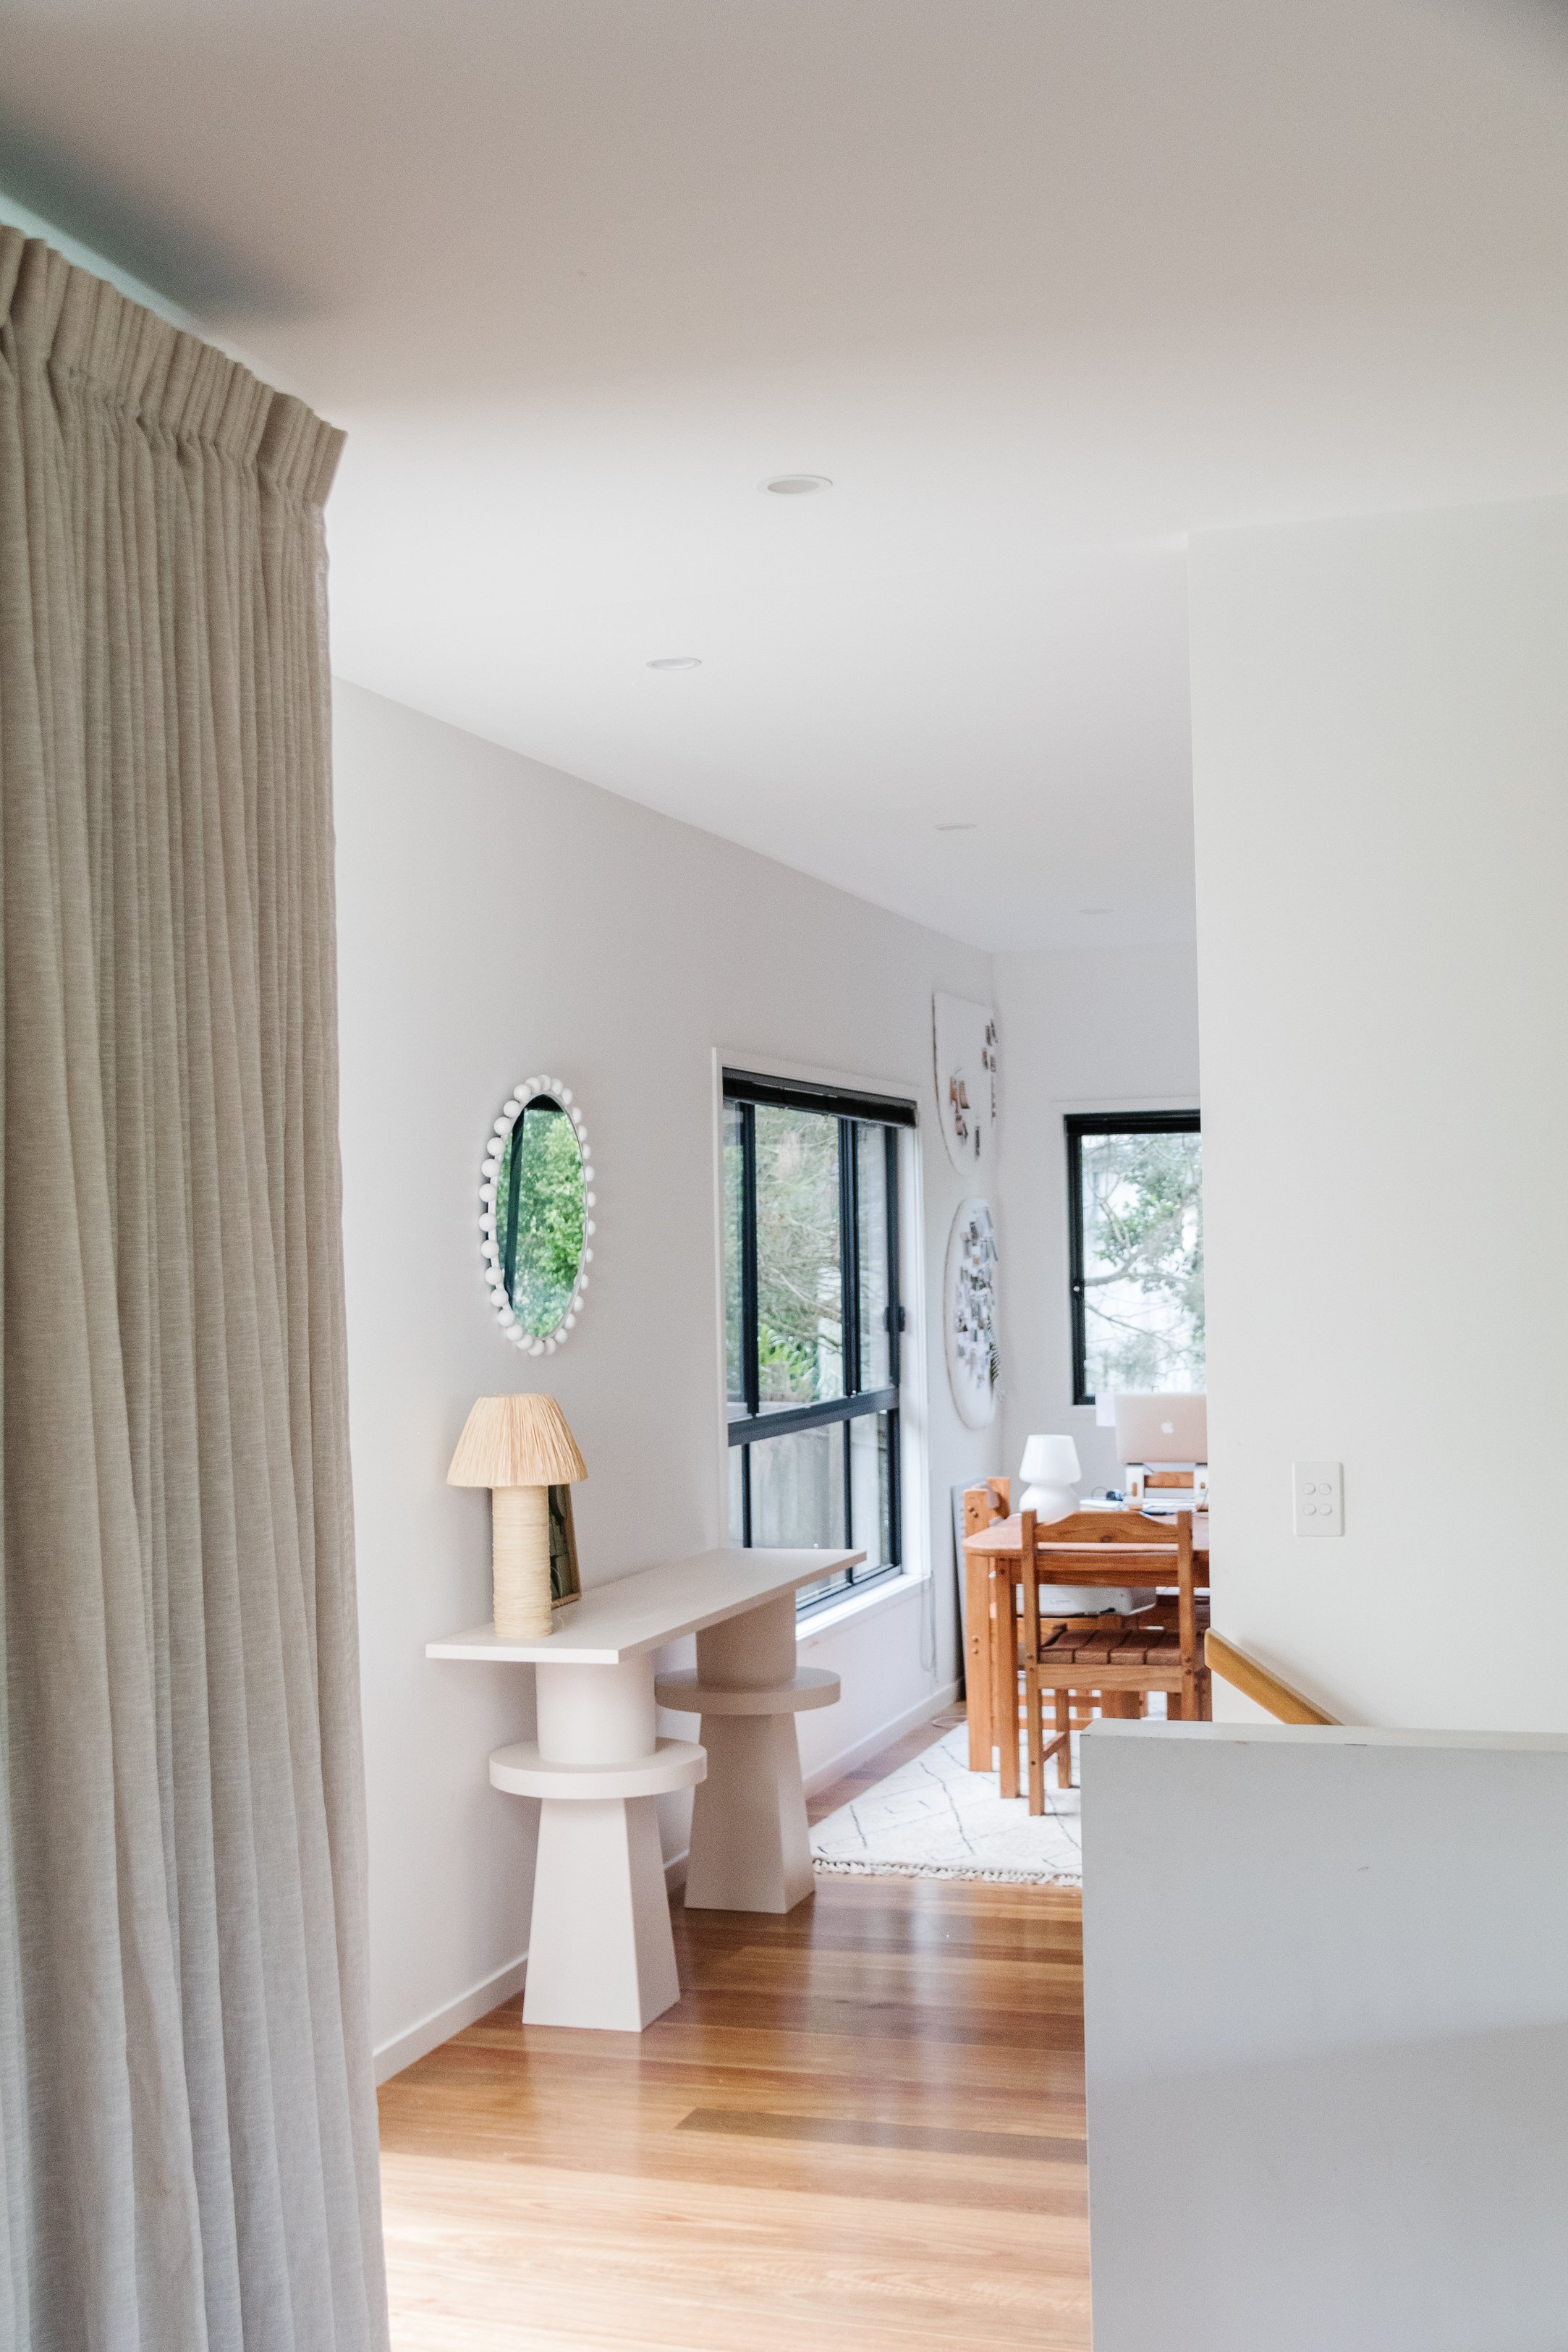
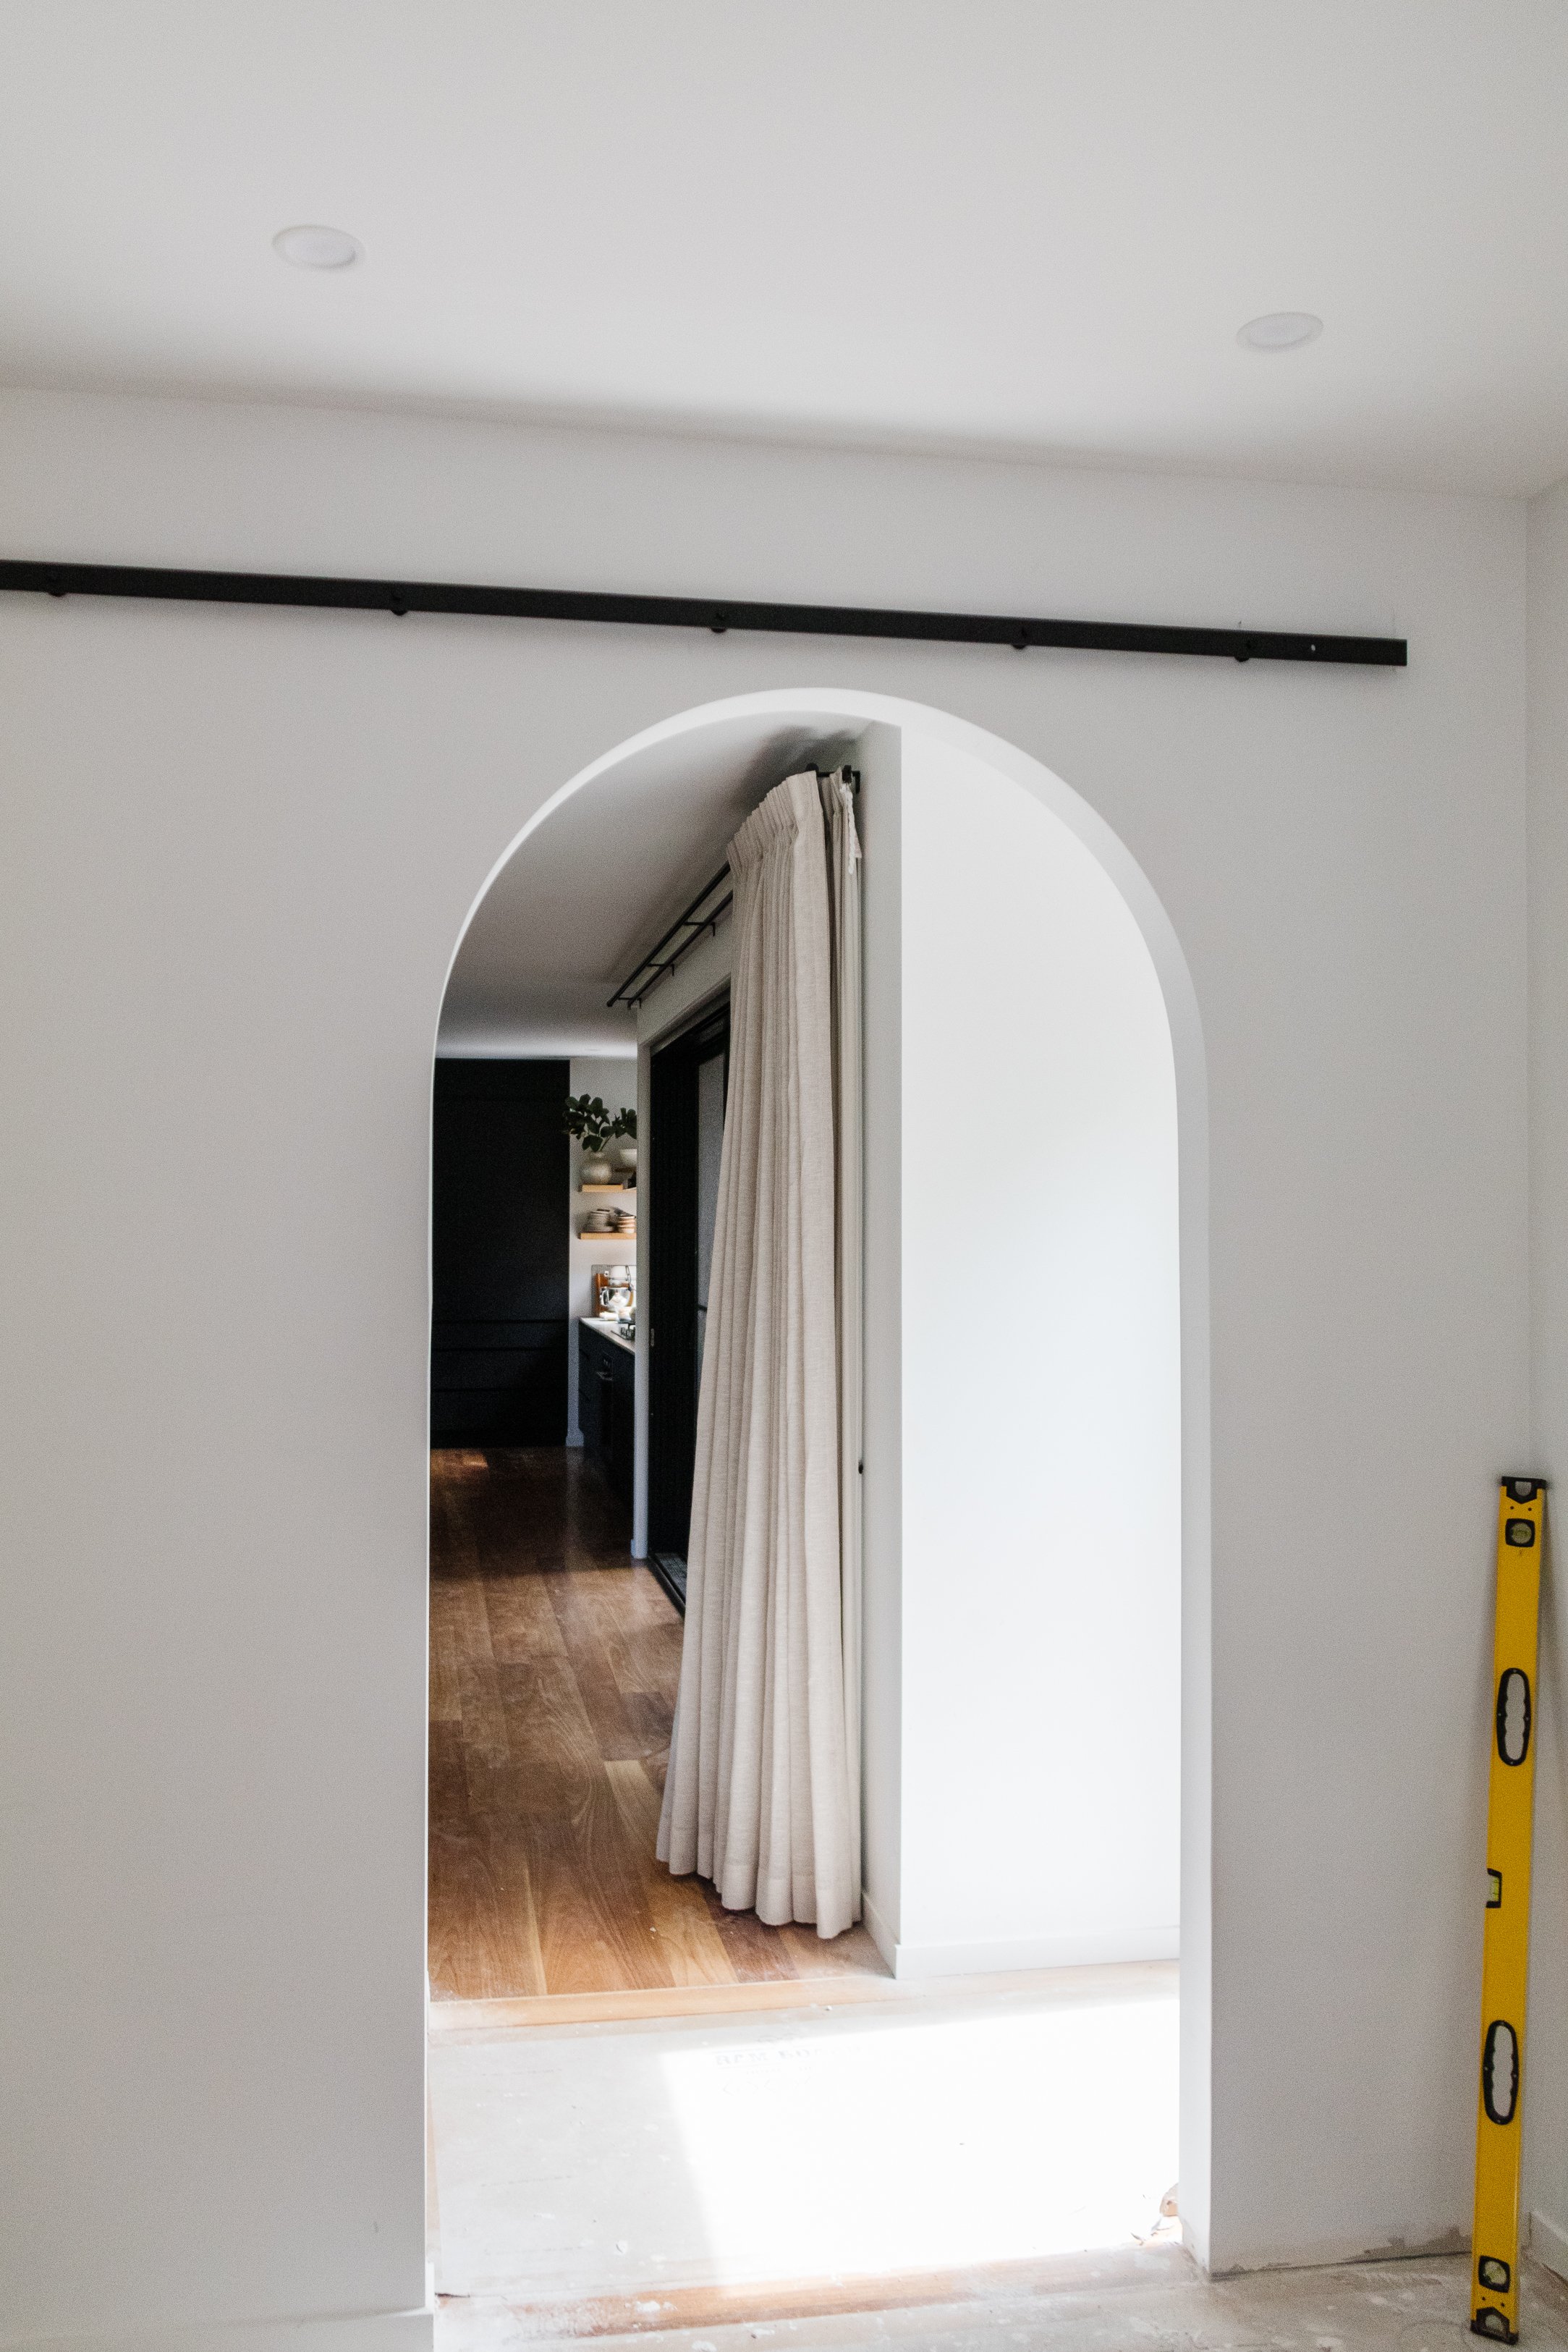
If you haven’t already checked out my DIY Arched Doorway project with Bunnings make sure you do. It was a fun, challenging and totally rewarding four days of solid work and I couldn’t be happier with the result! It has totally changed the way we use our home and it feels like it’s always been there.
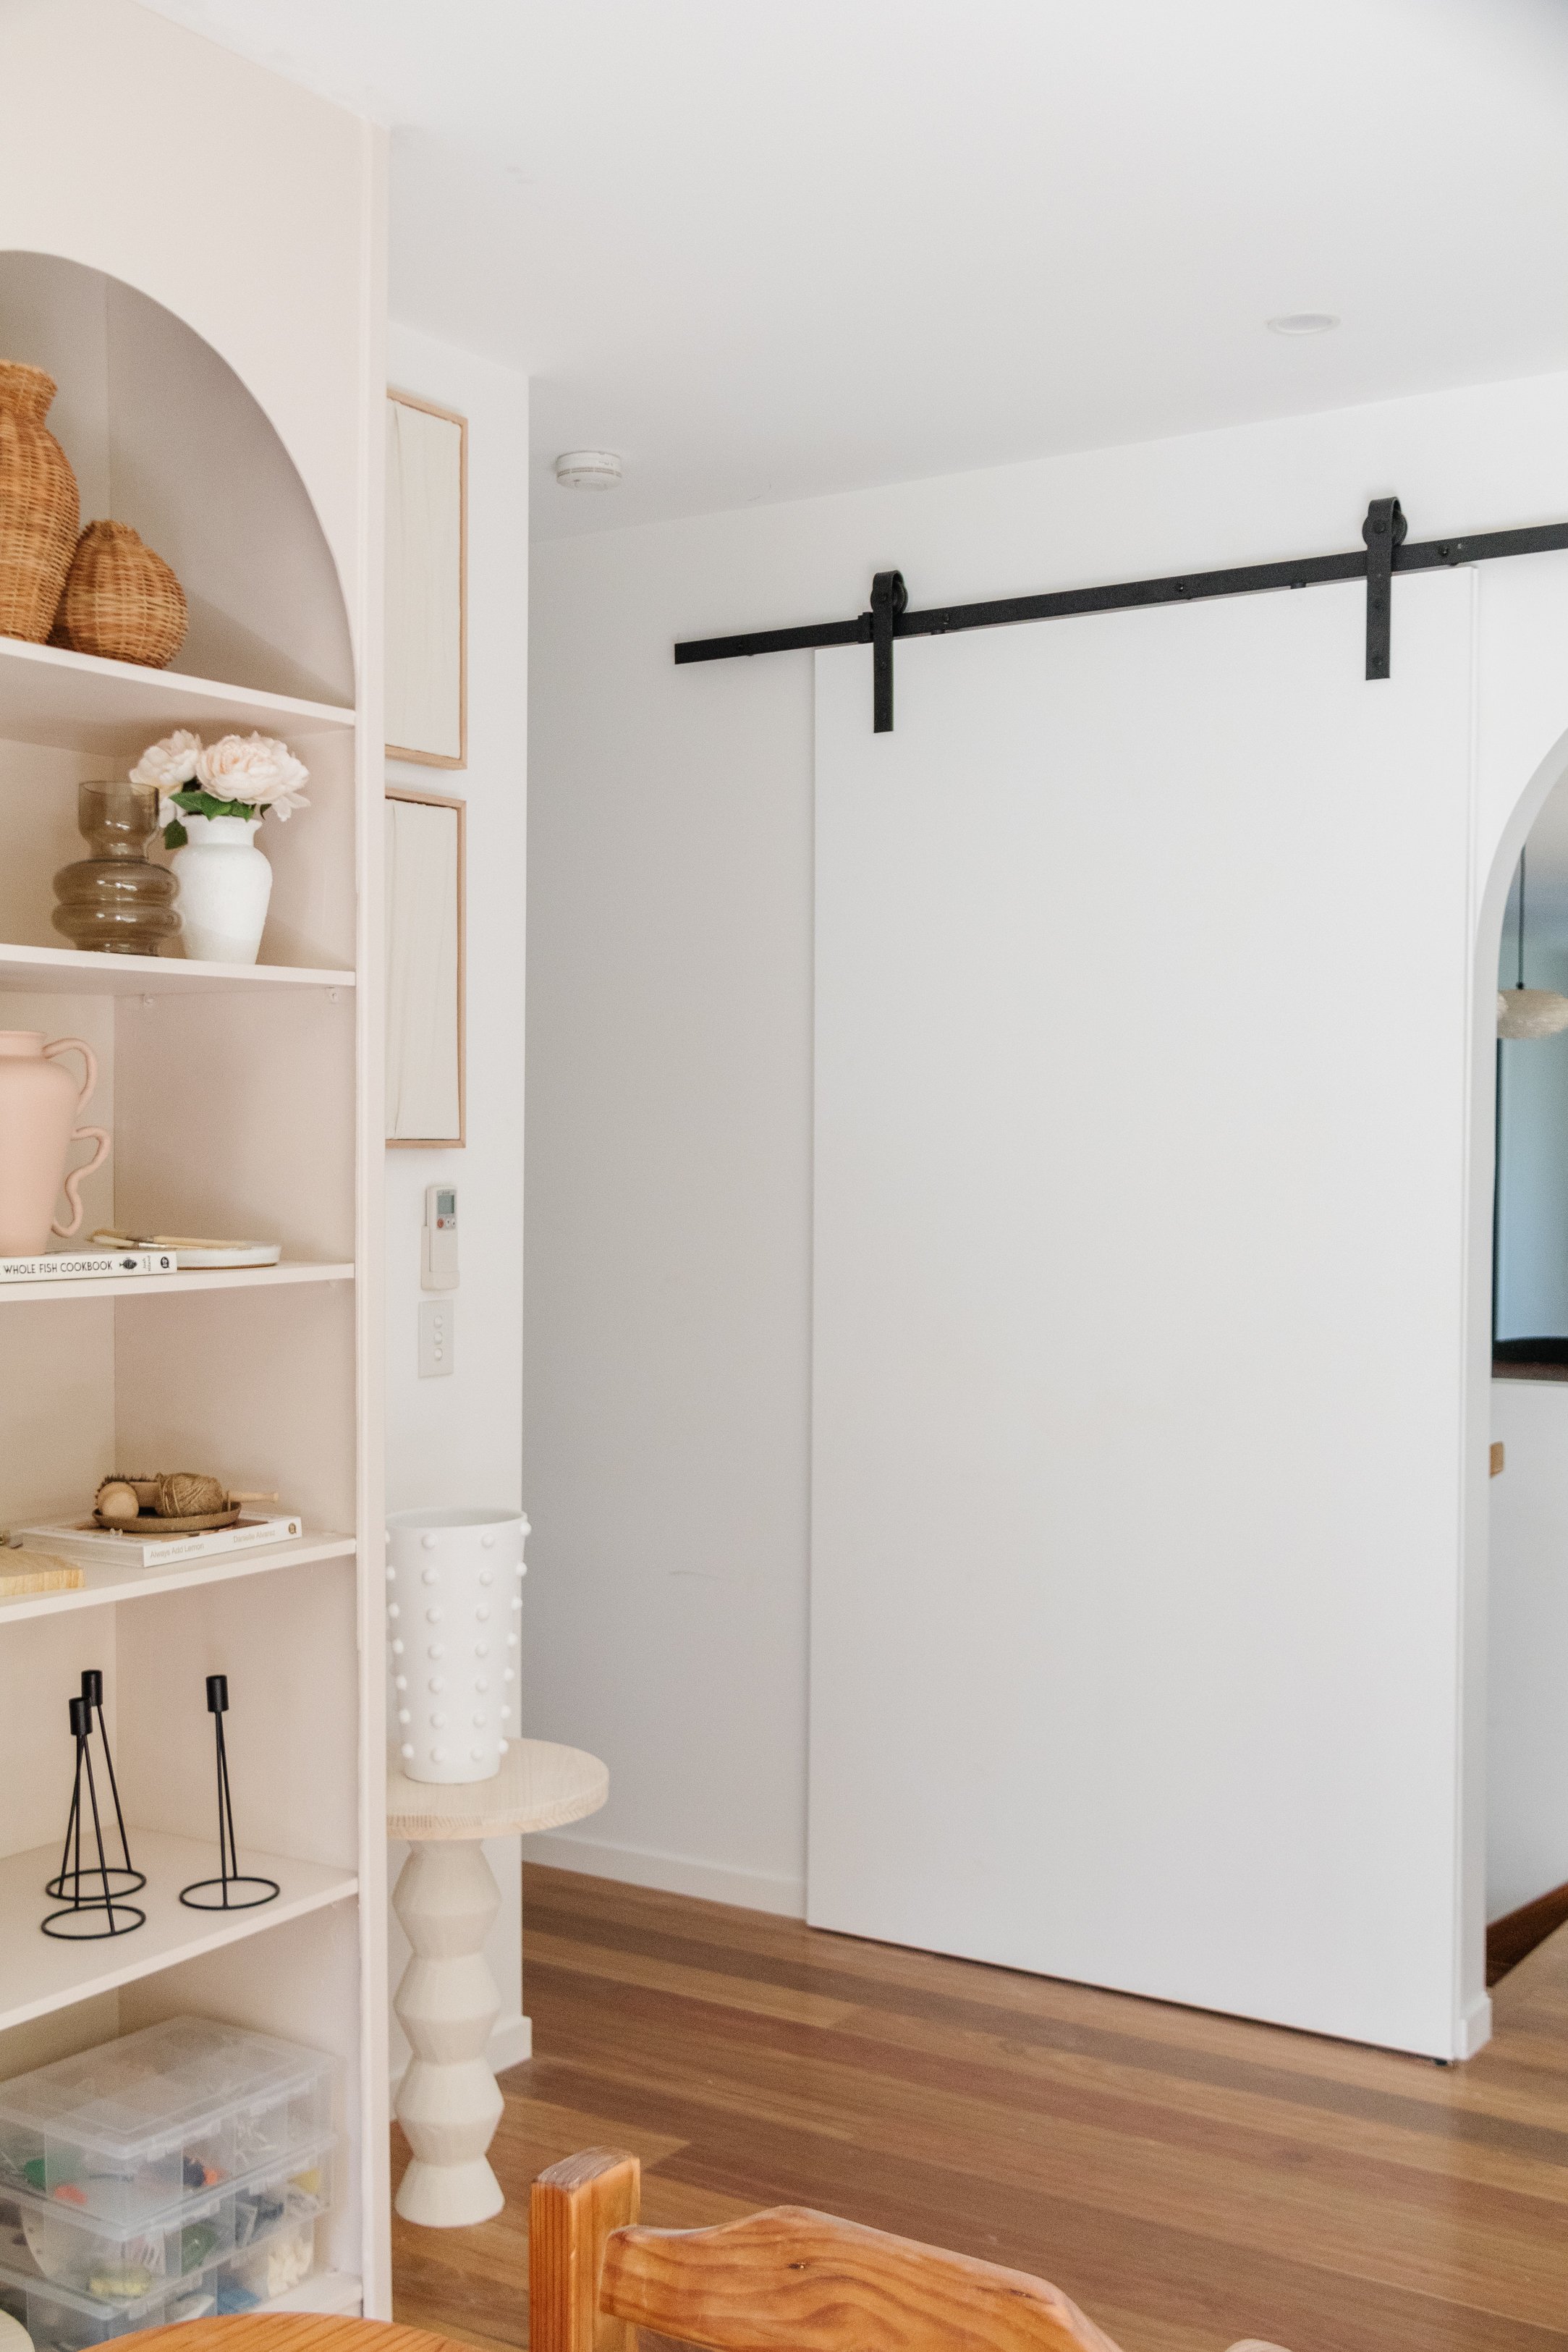
Part of that project was to install a barn door and track, however I couldn’t find the door I has been dreaming about - a door with a fluted detail on one side. I spent a lot of time researching and originally it was between these two options from Bunnings:
Option 1: Gluing an EasyCraft Convex Panel onto a 2400 x 1200 MDF panel - $440
Option 2: Gluing timber half dowel onto a 2400 x 1200 MDF panel - $750
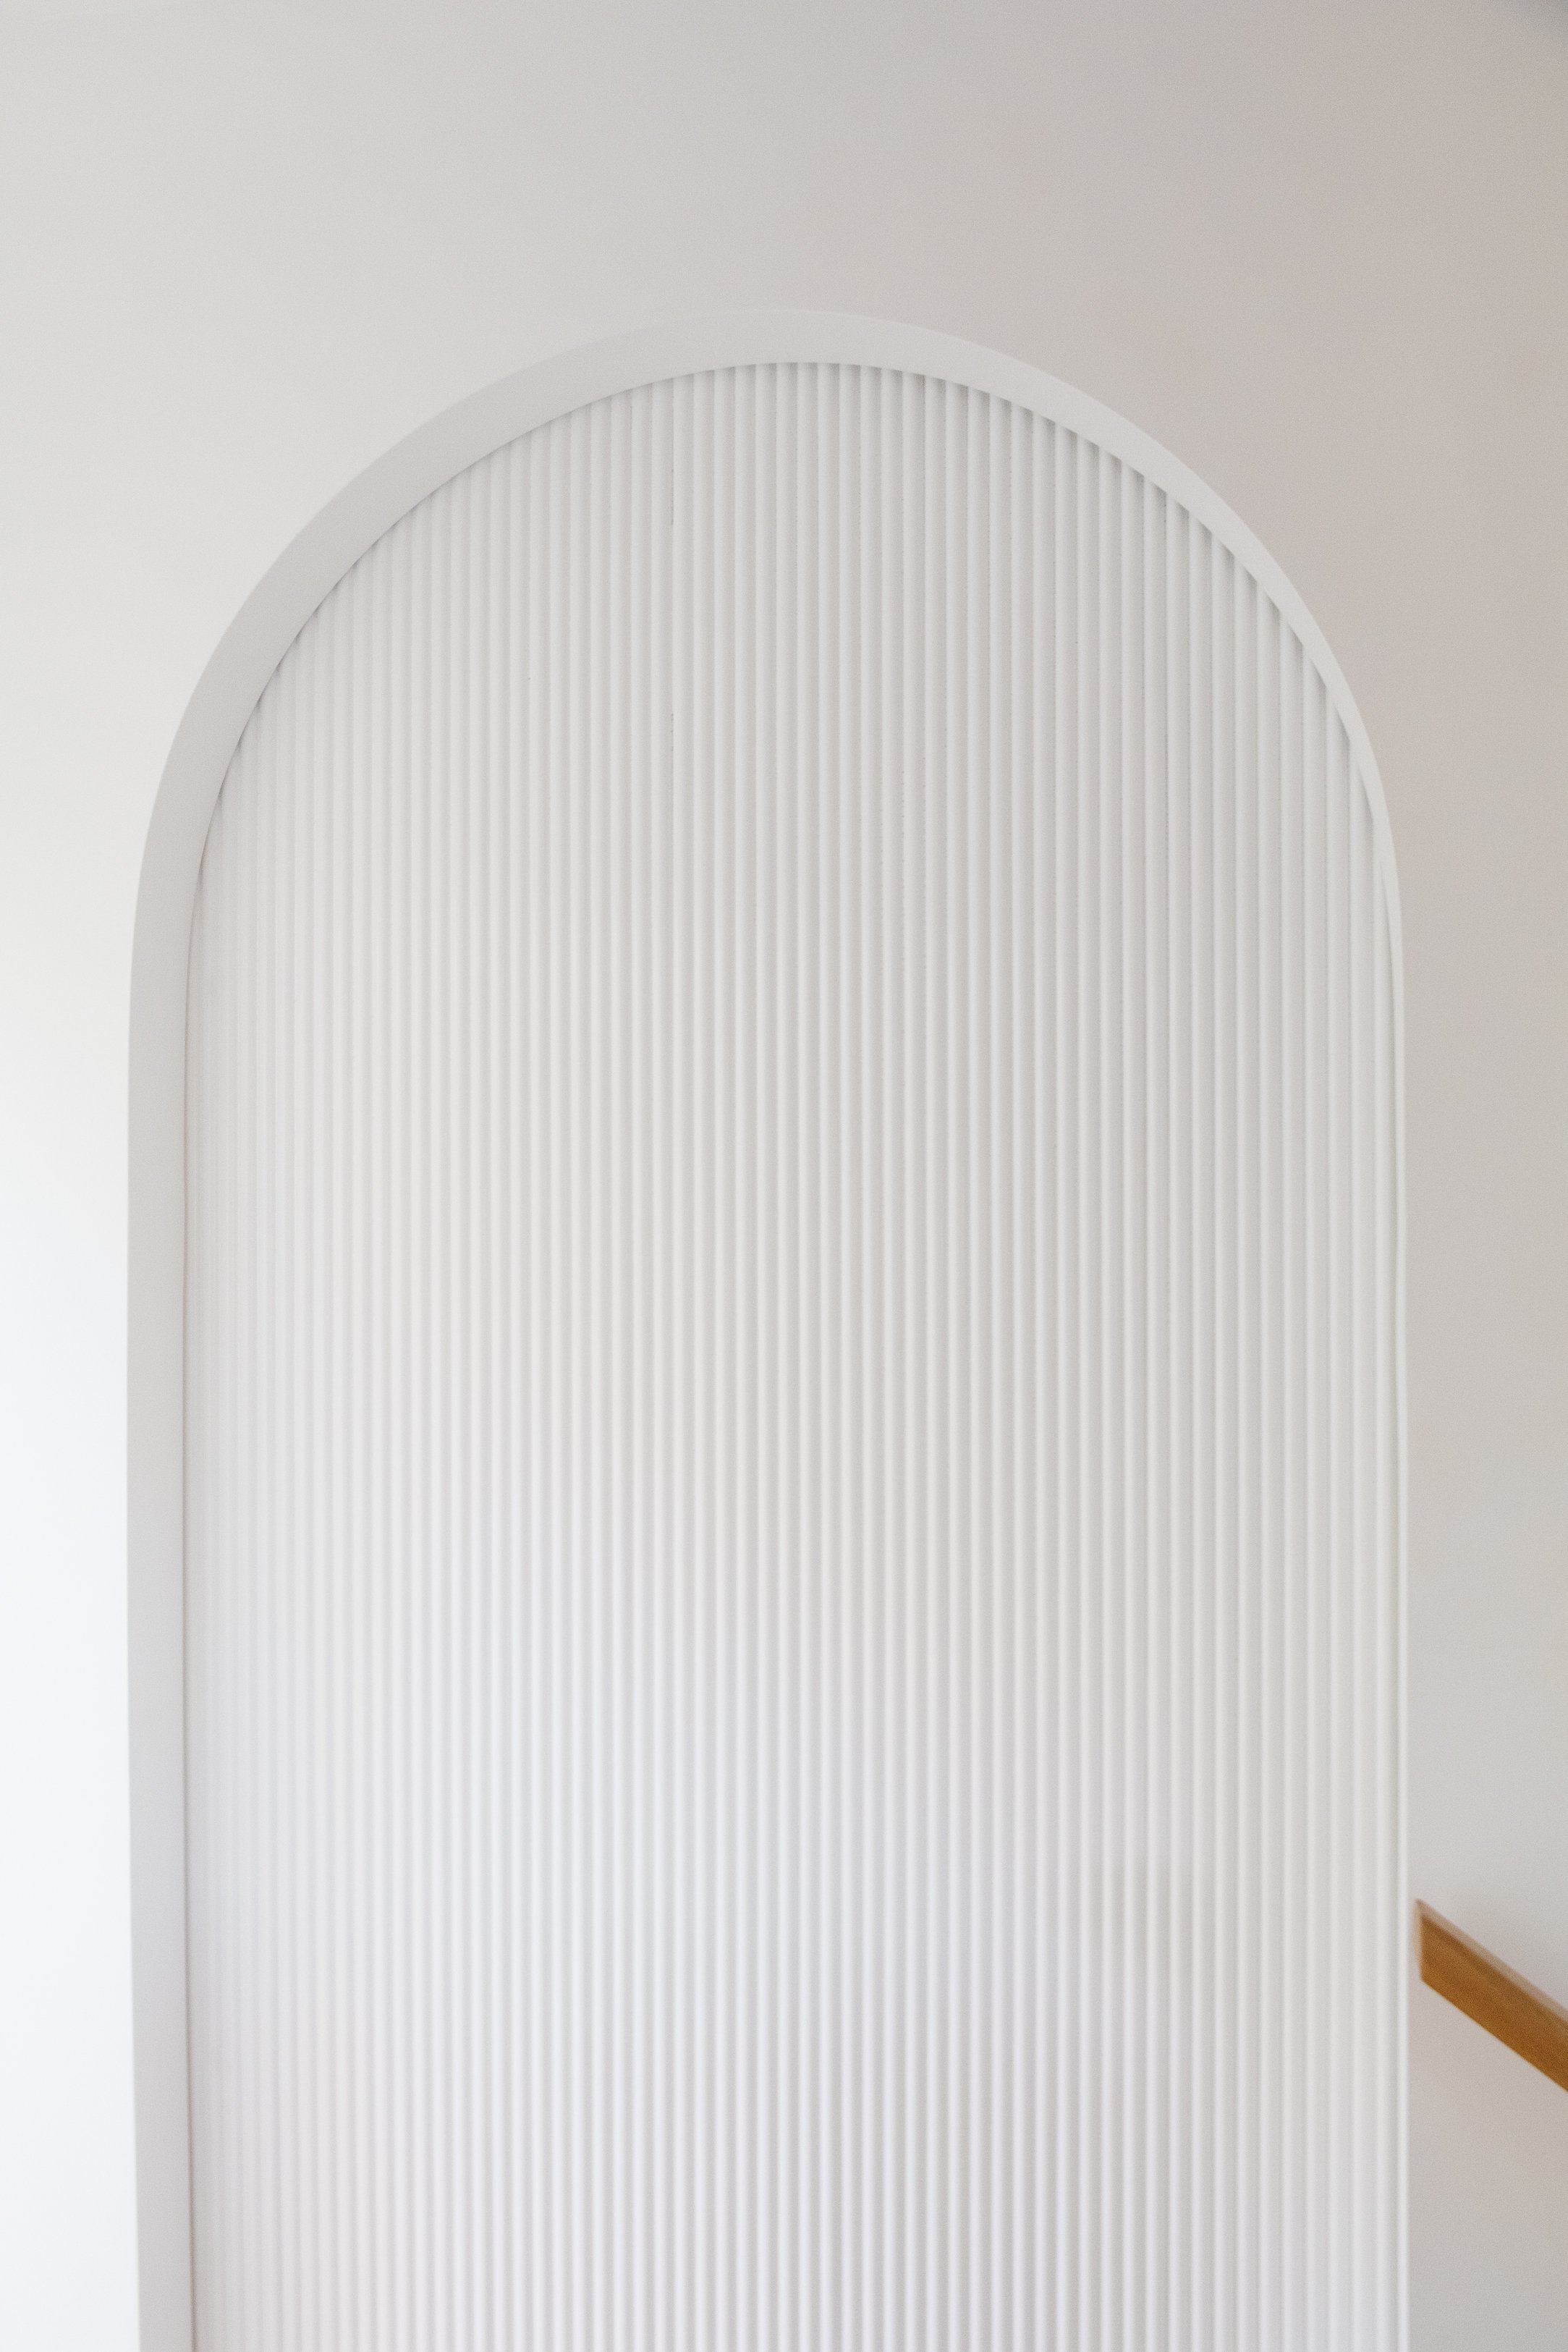
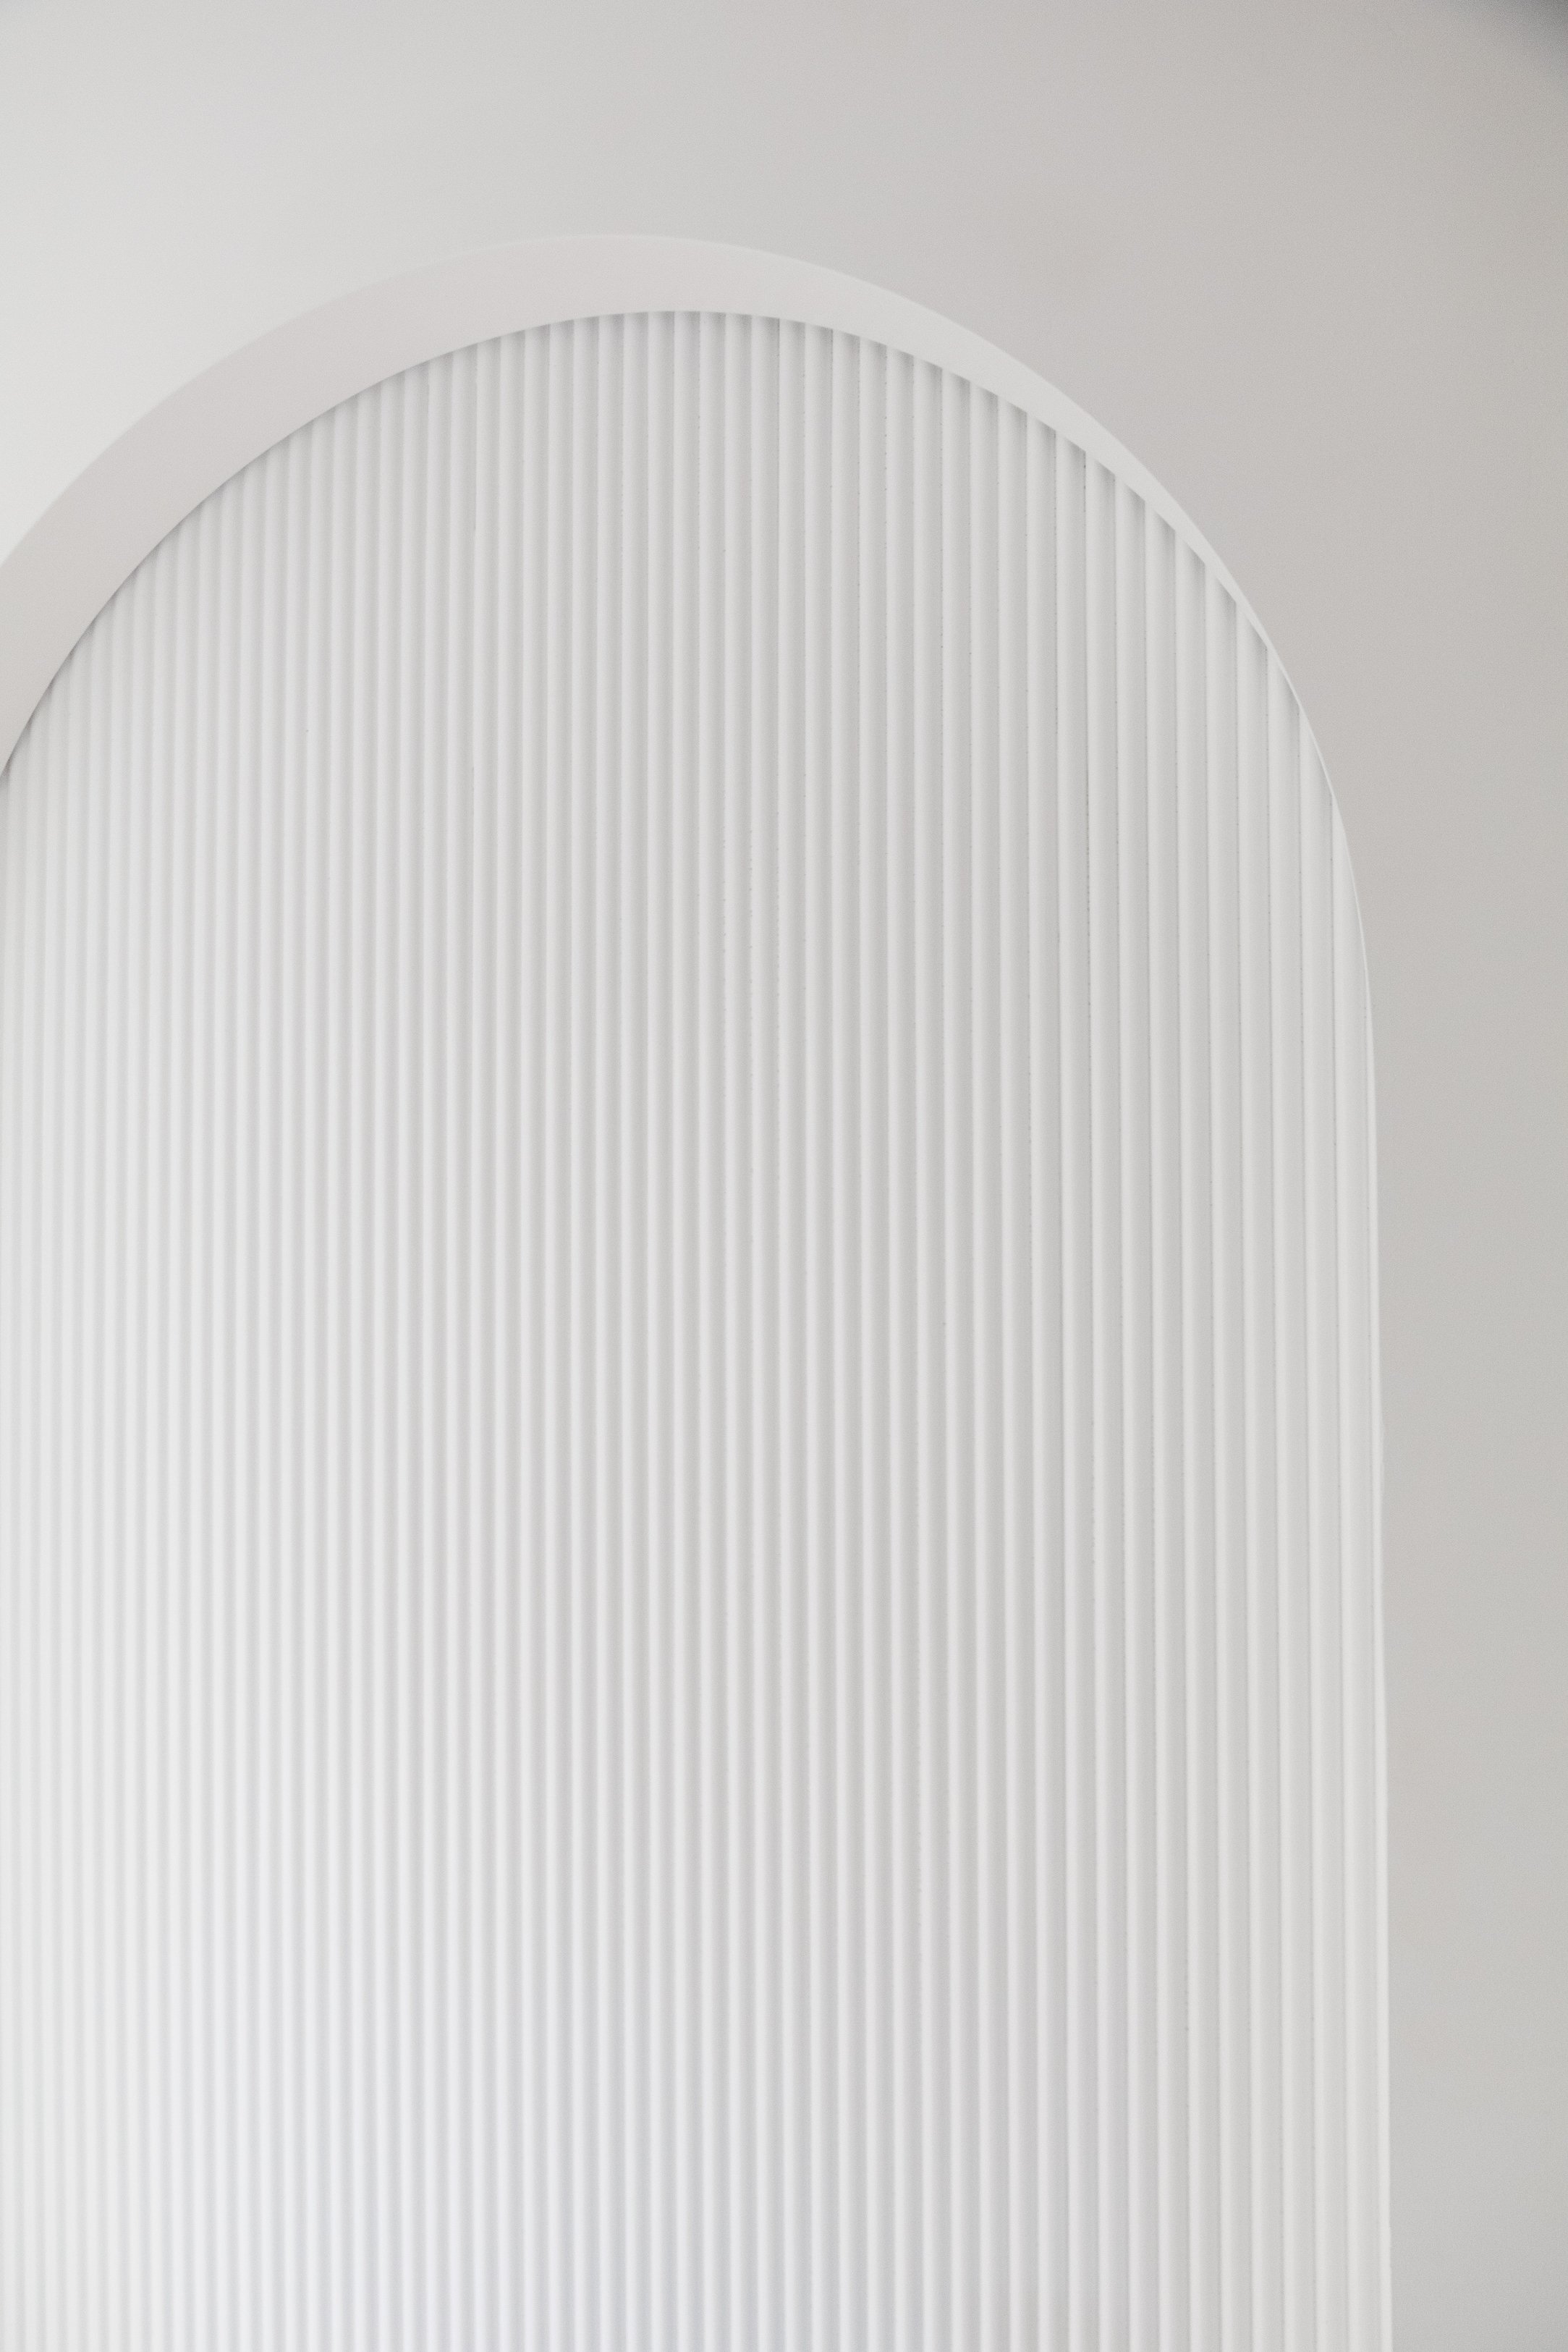
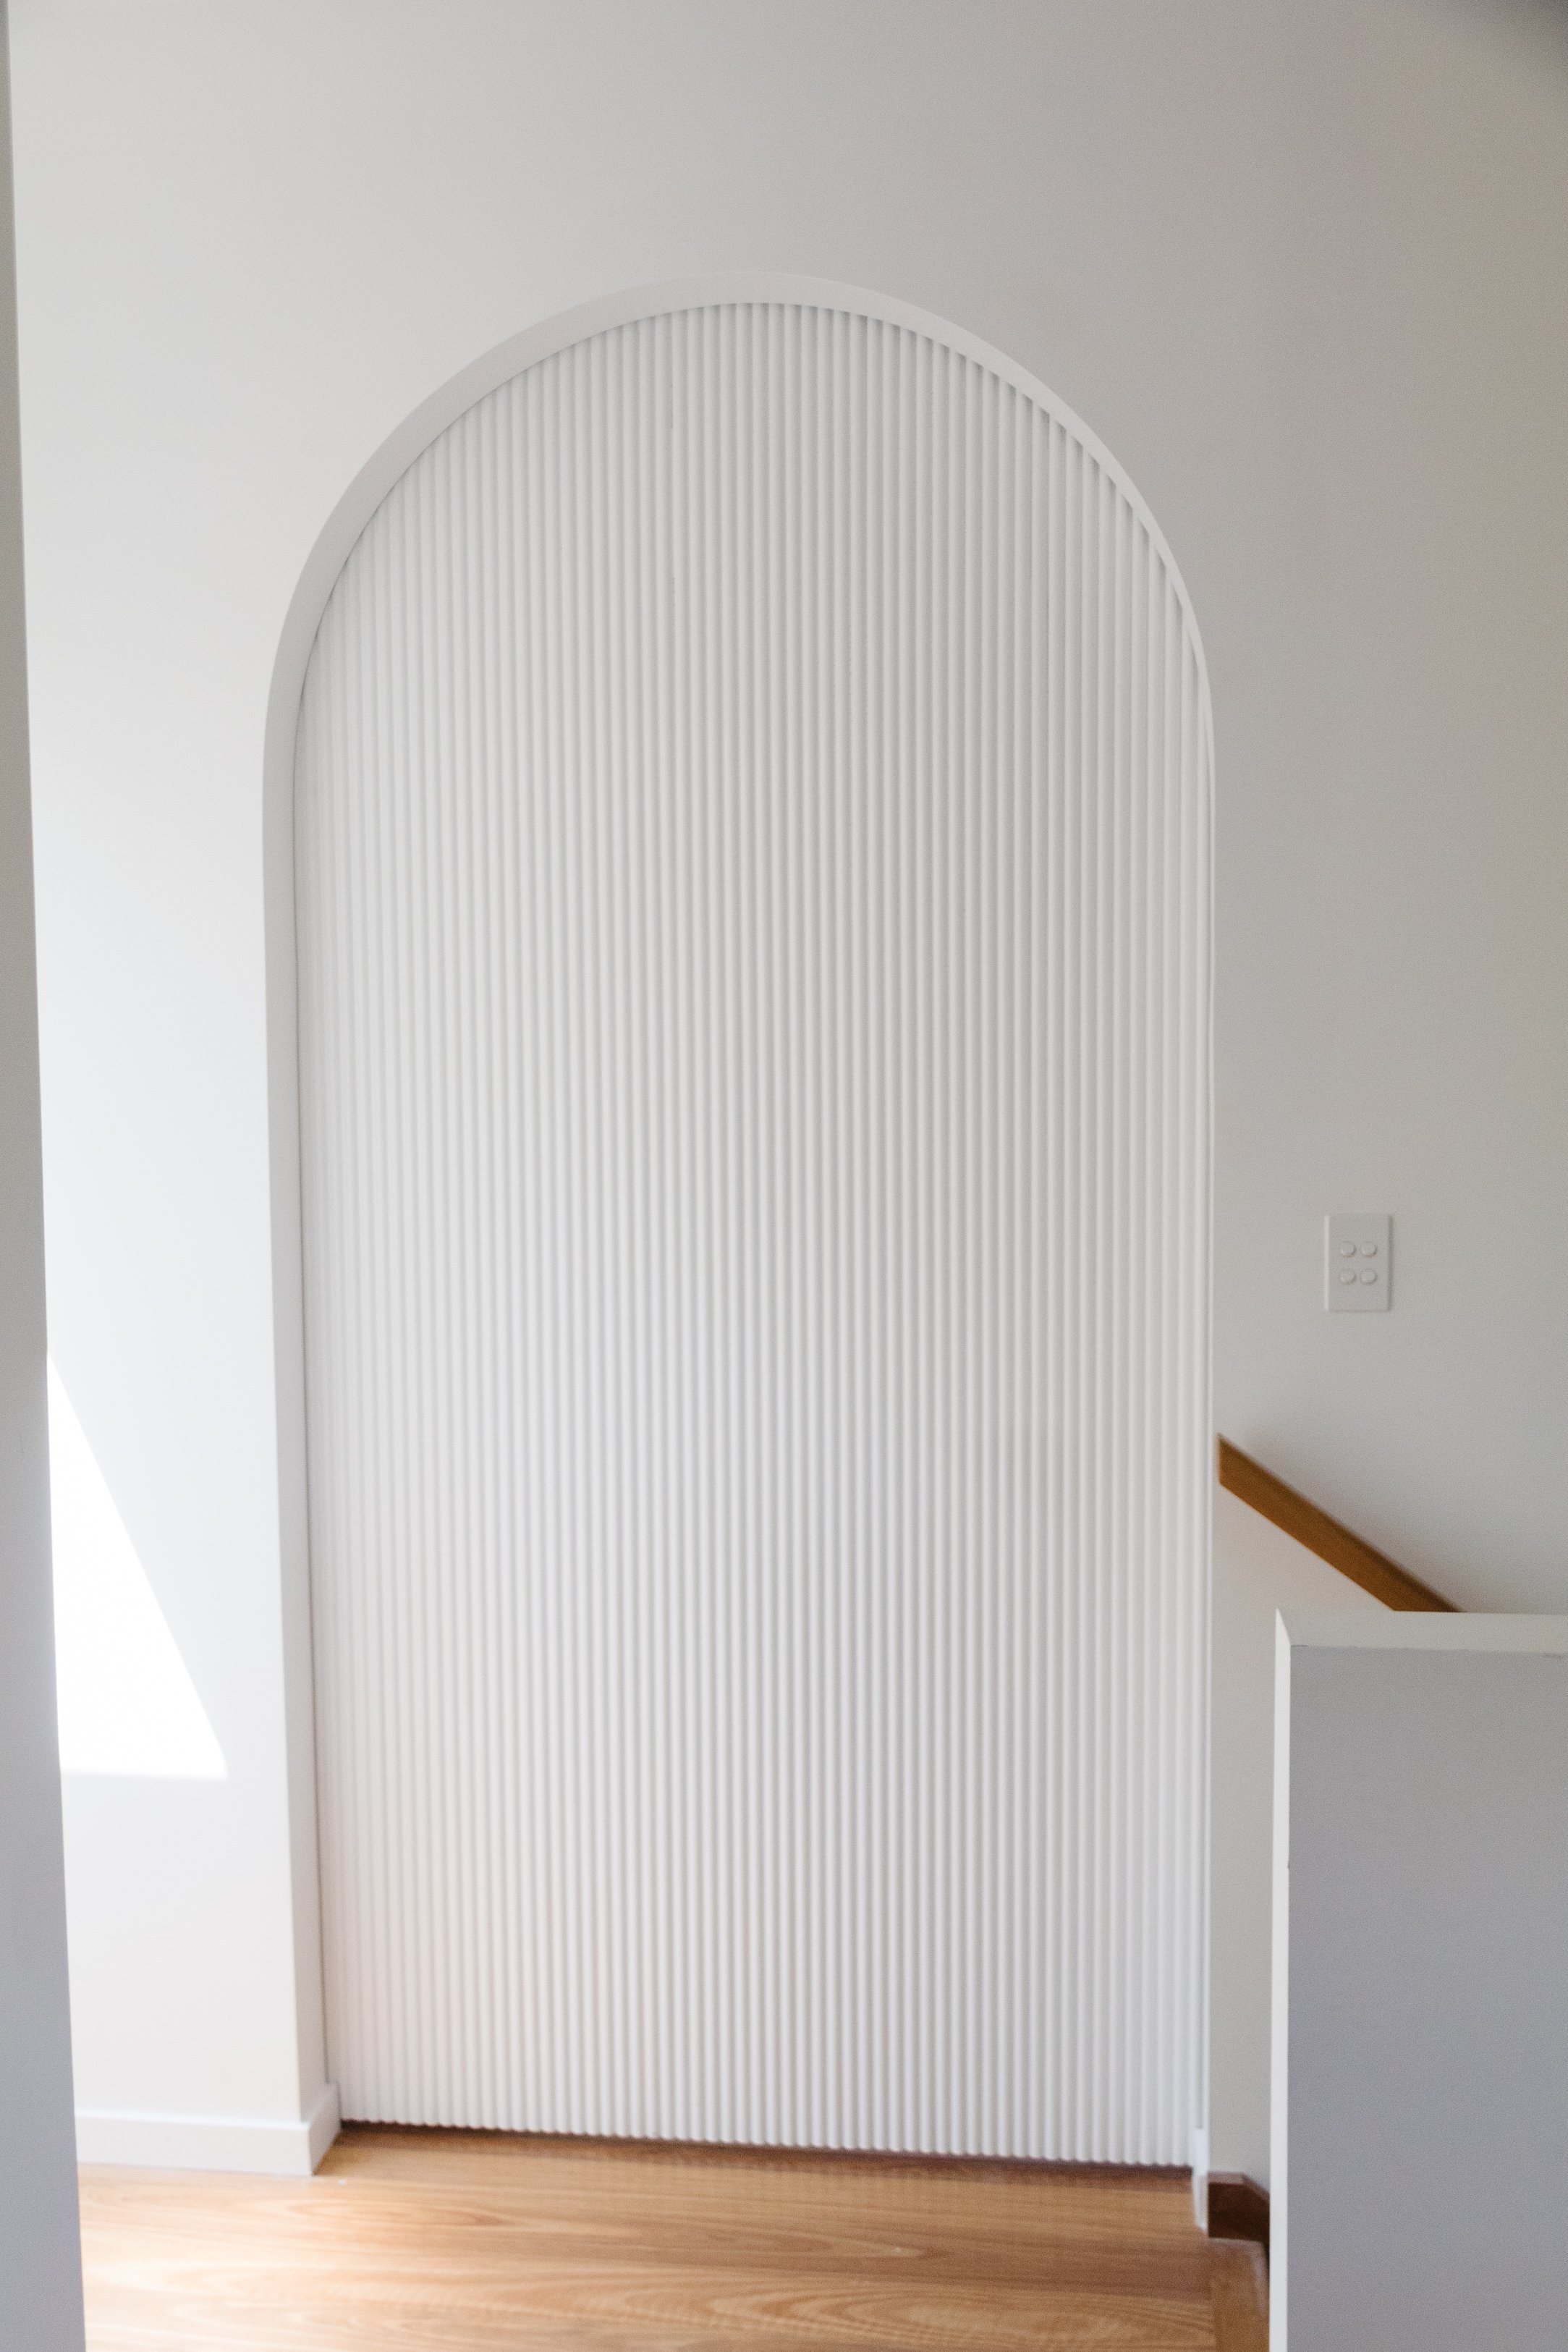
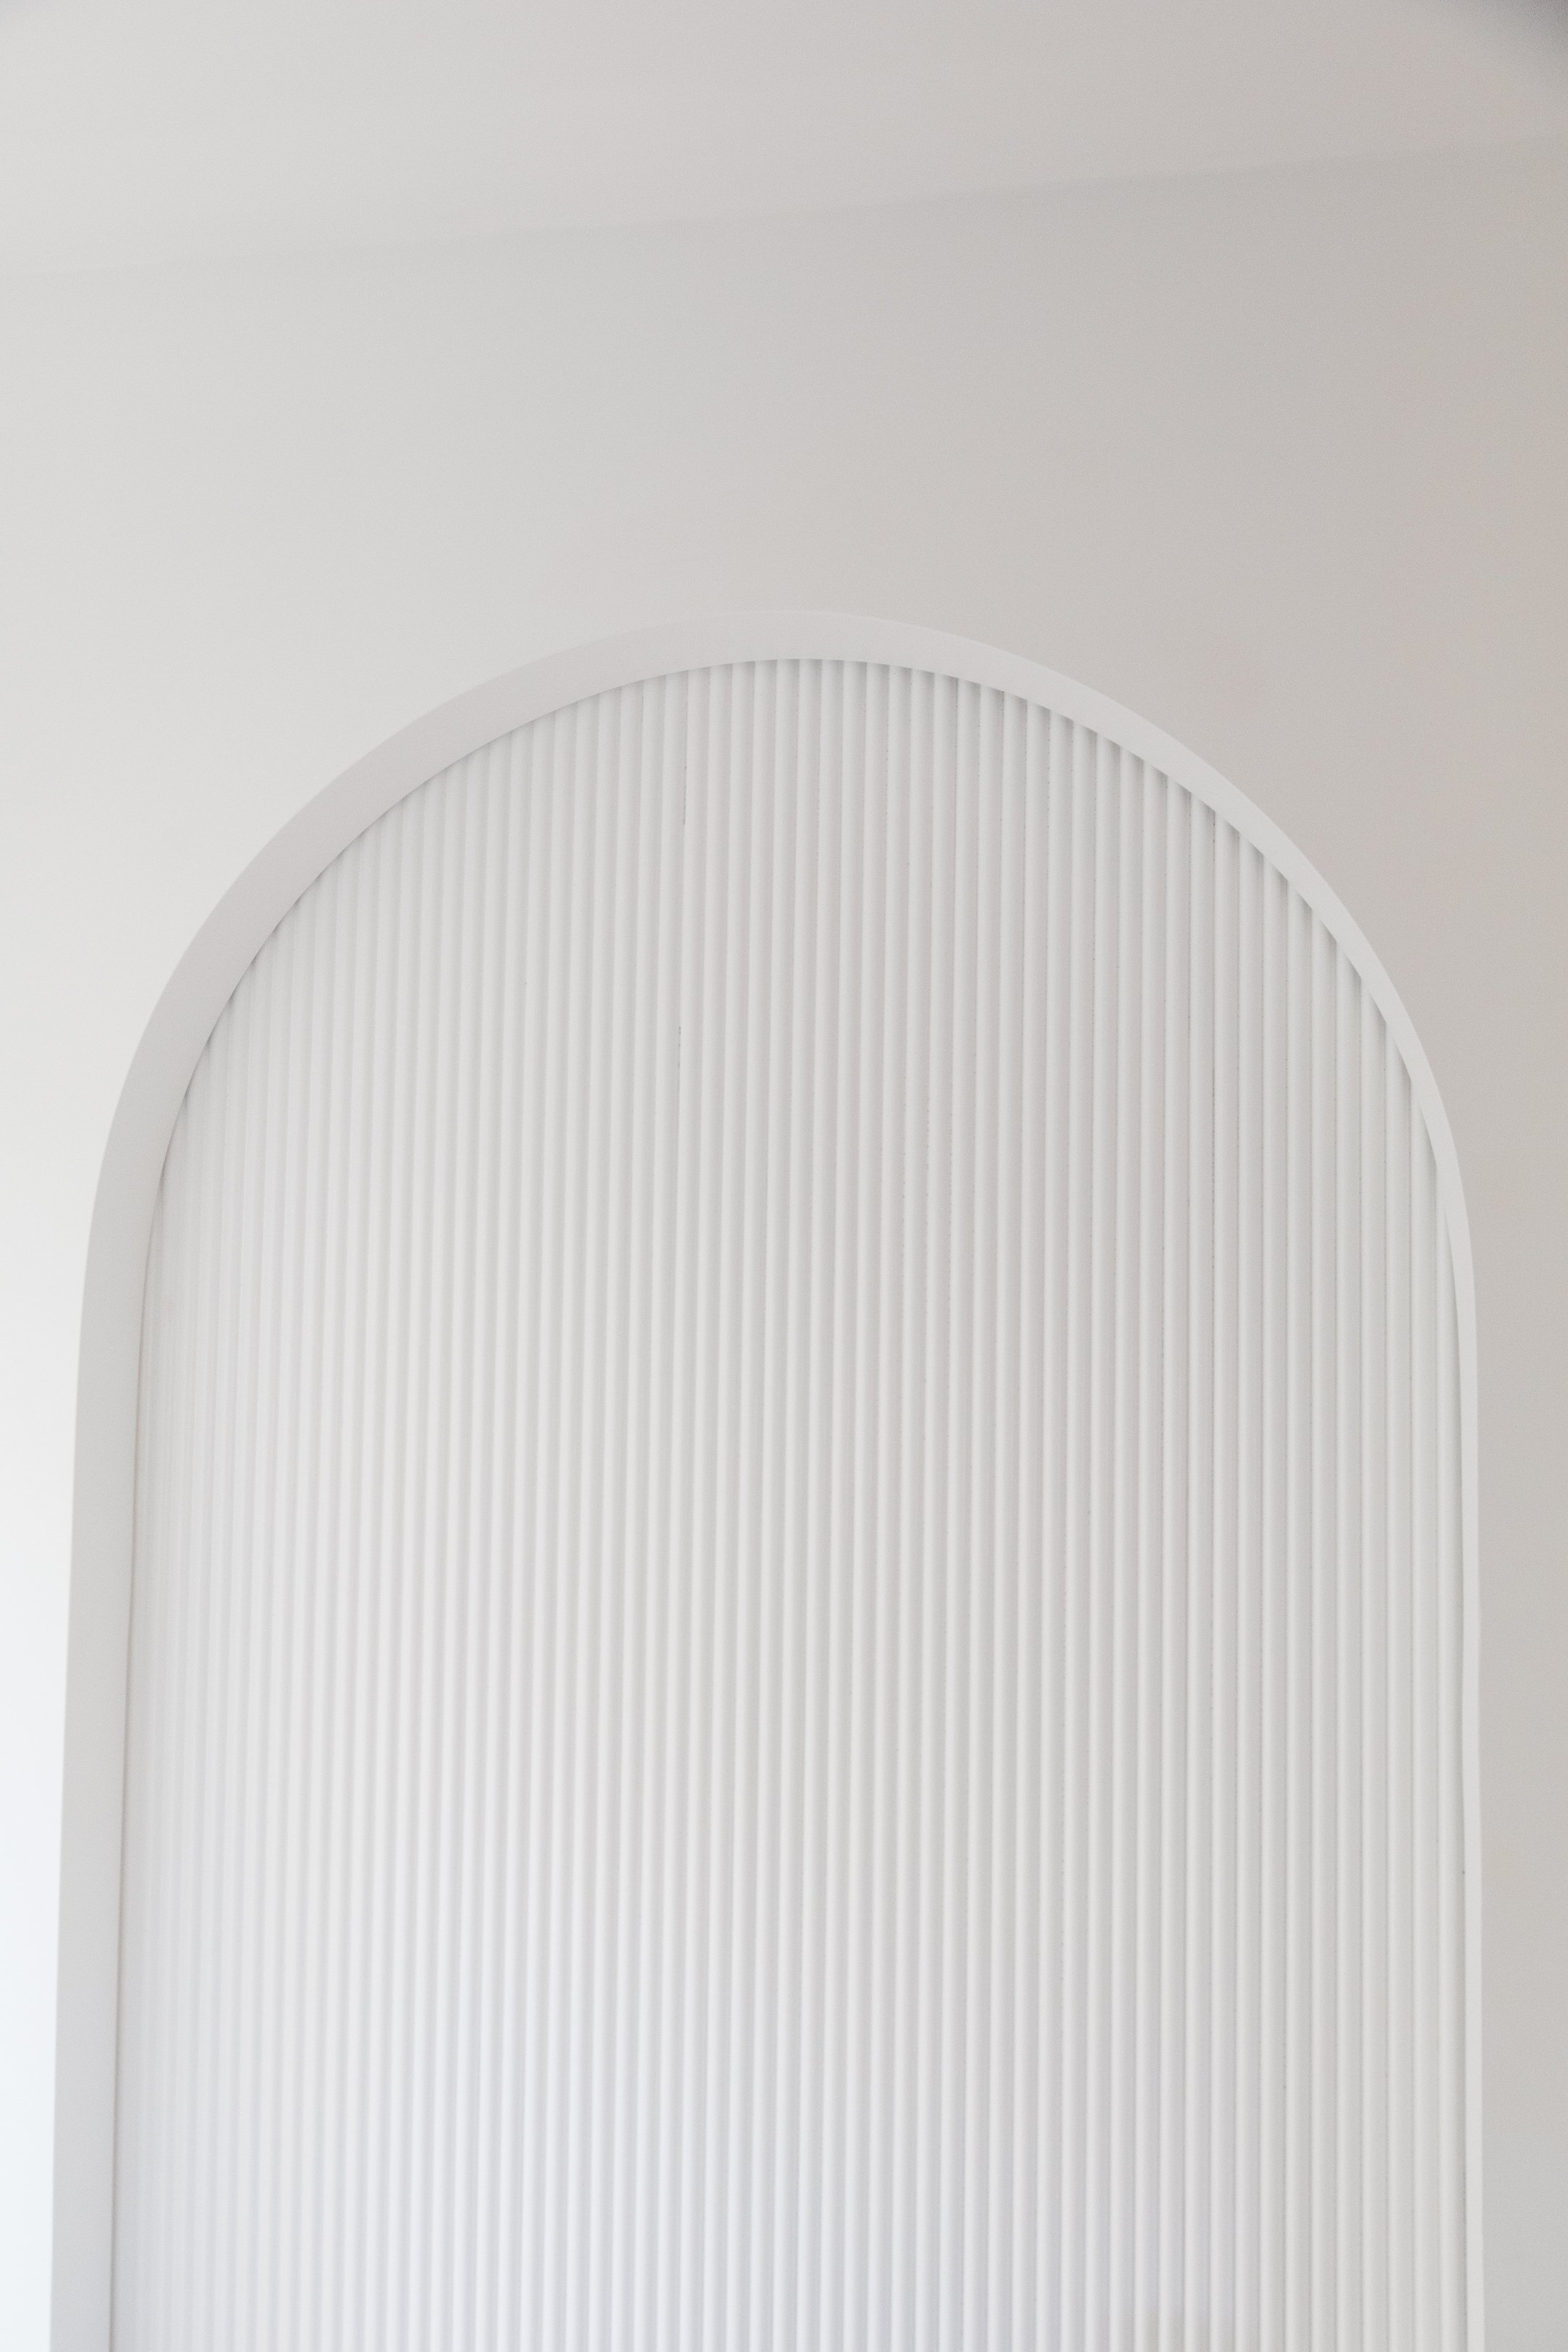
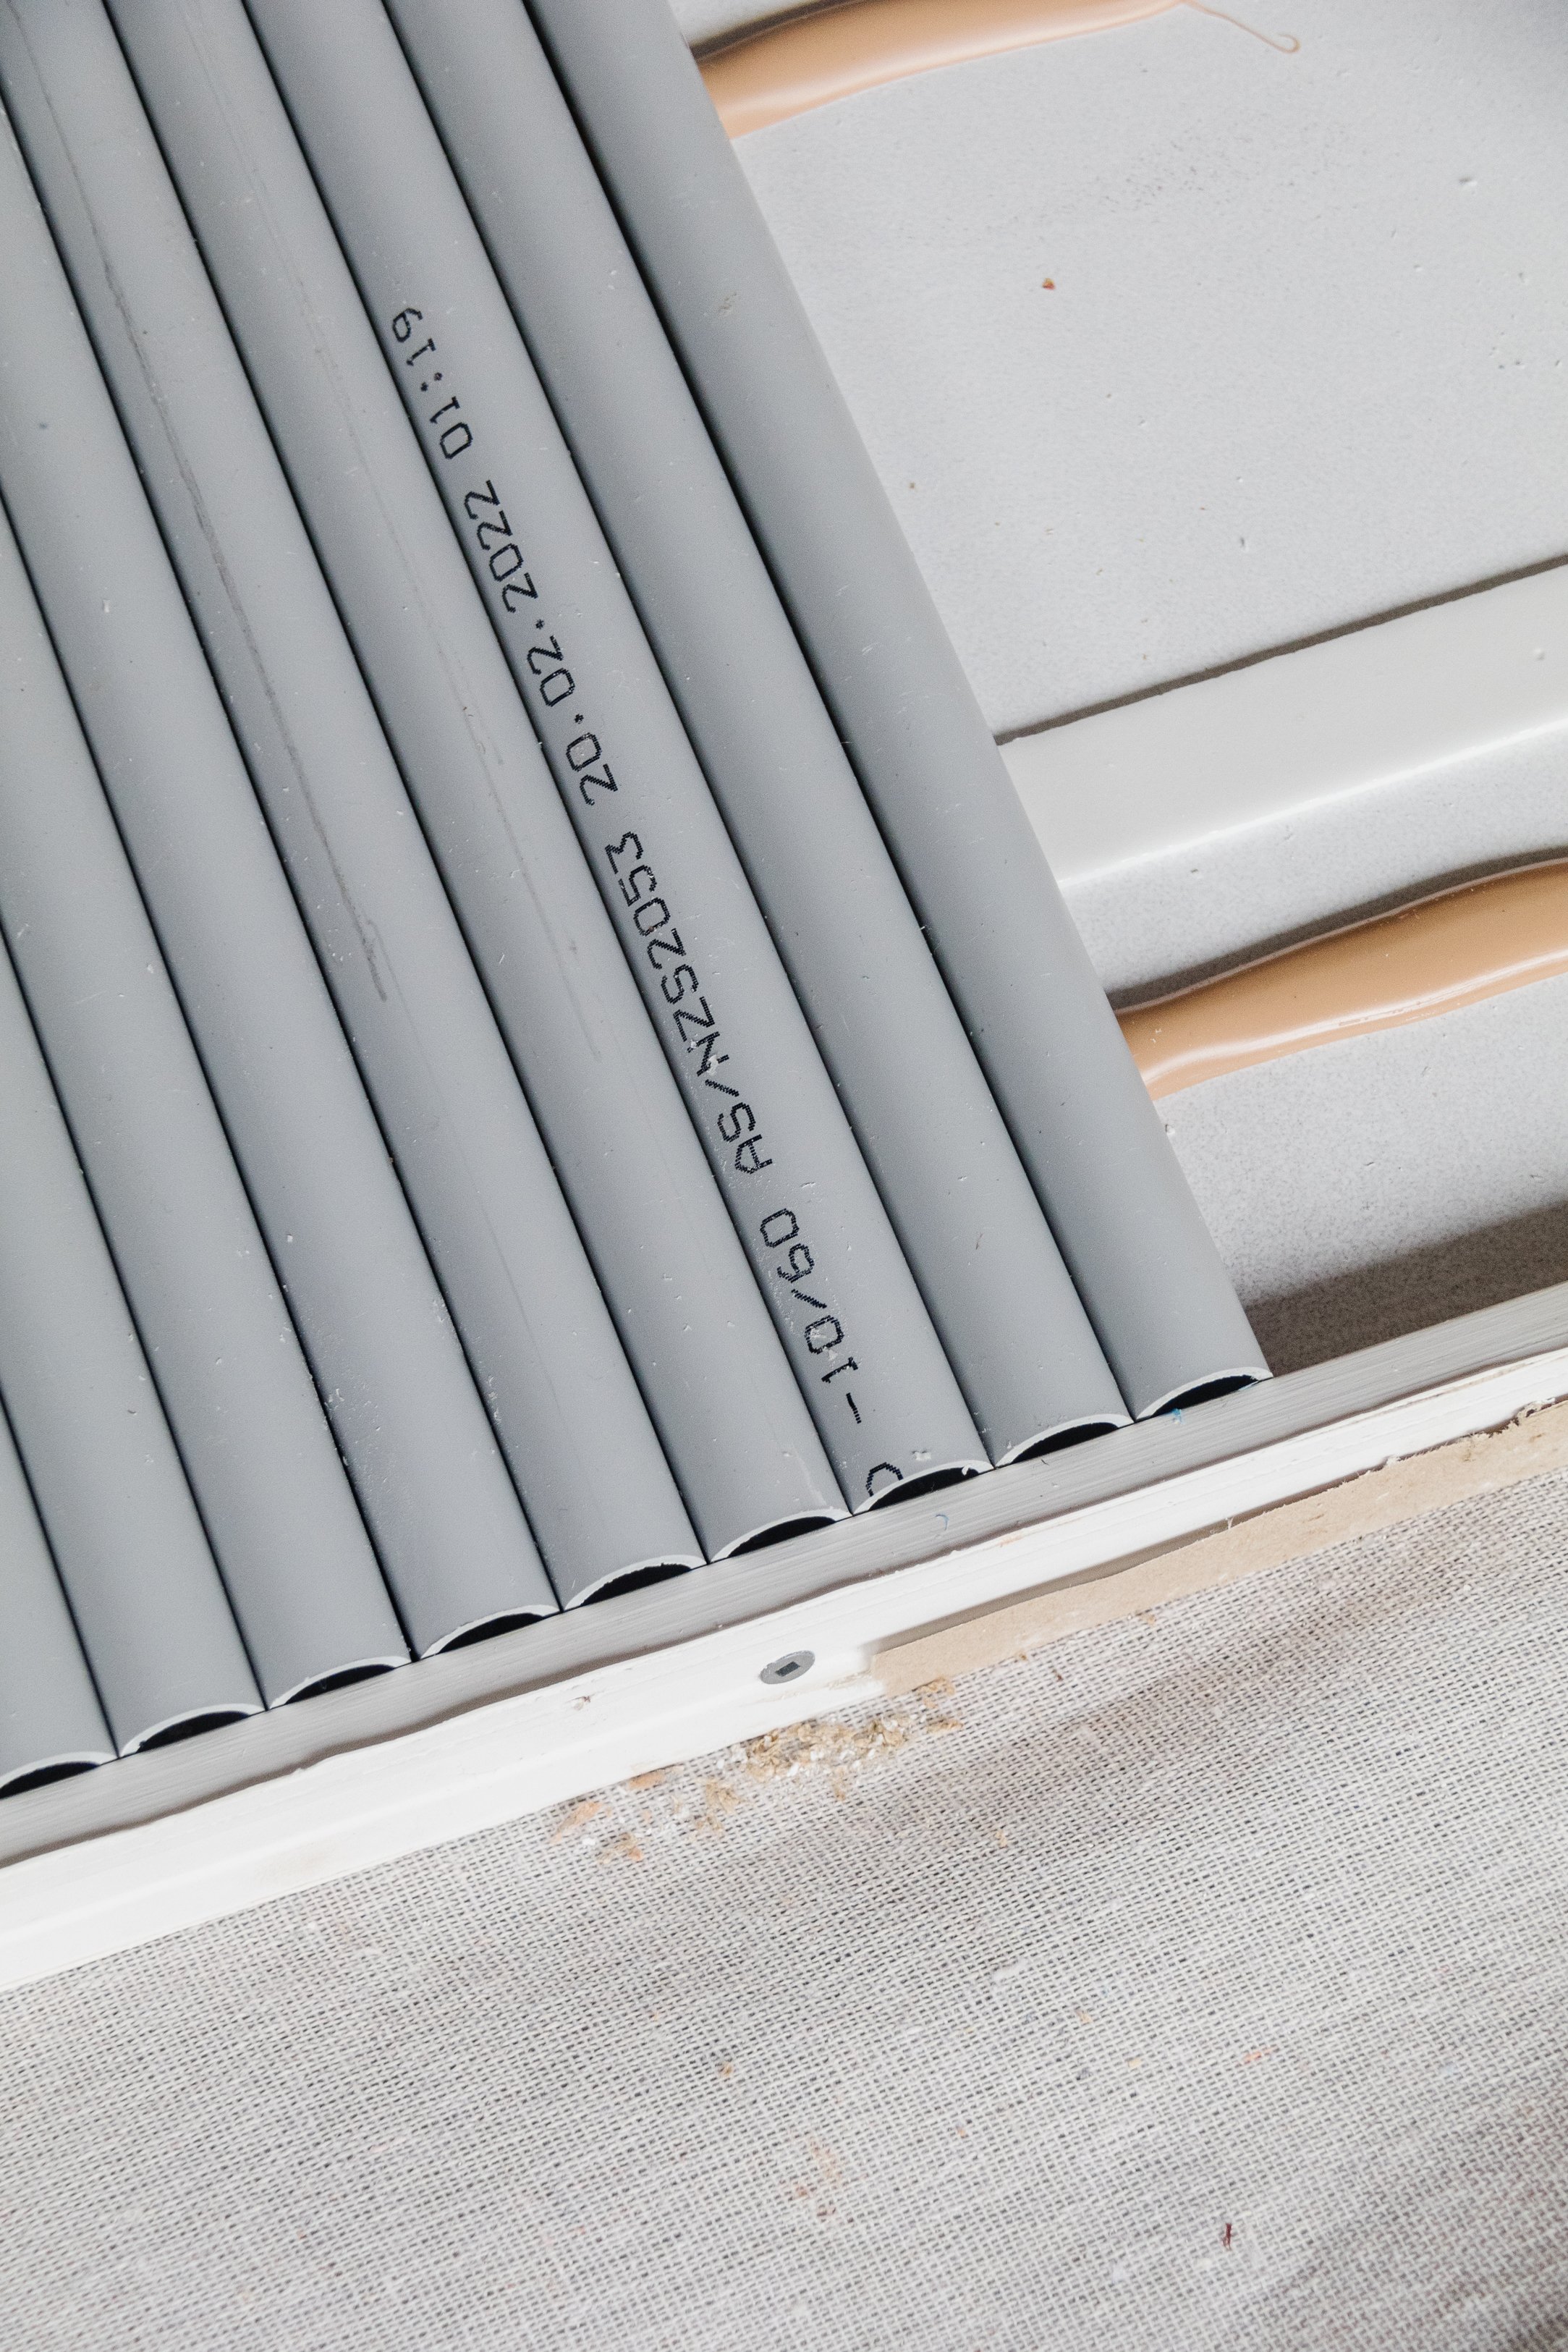
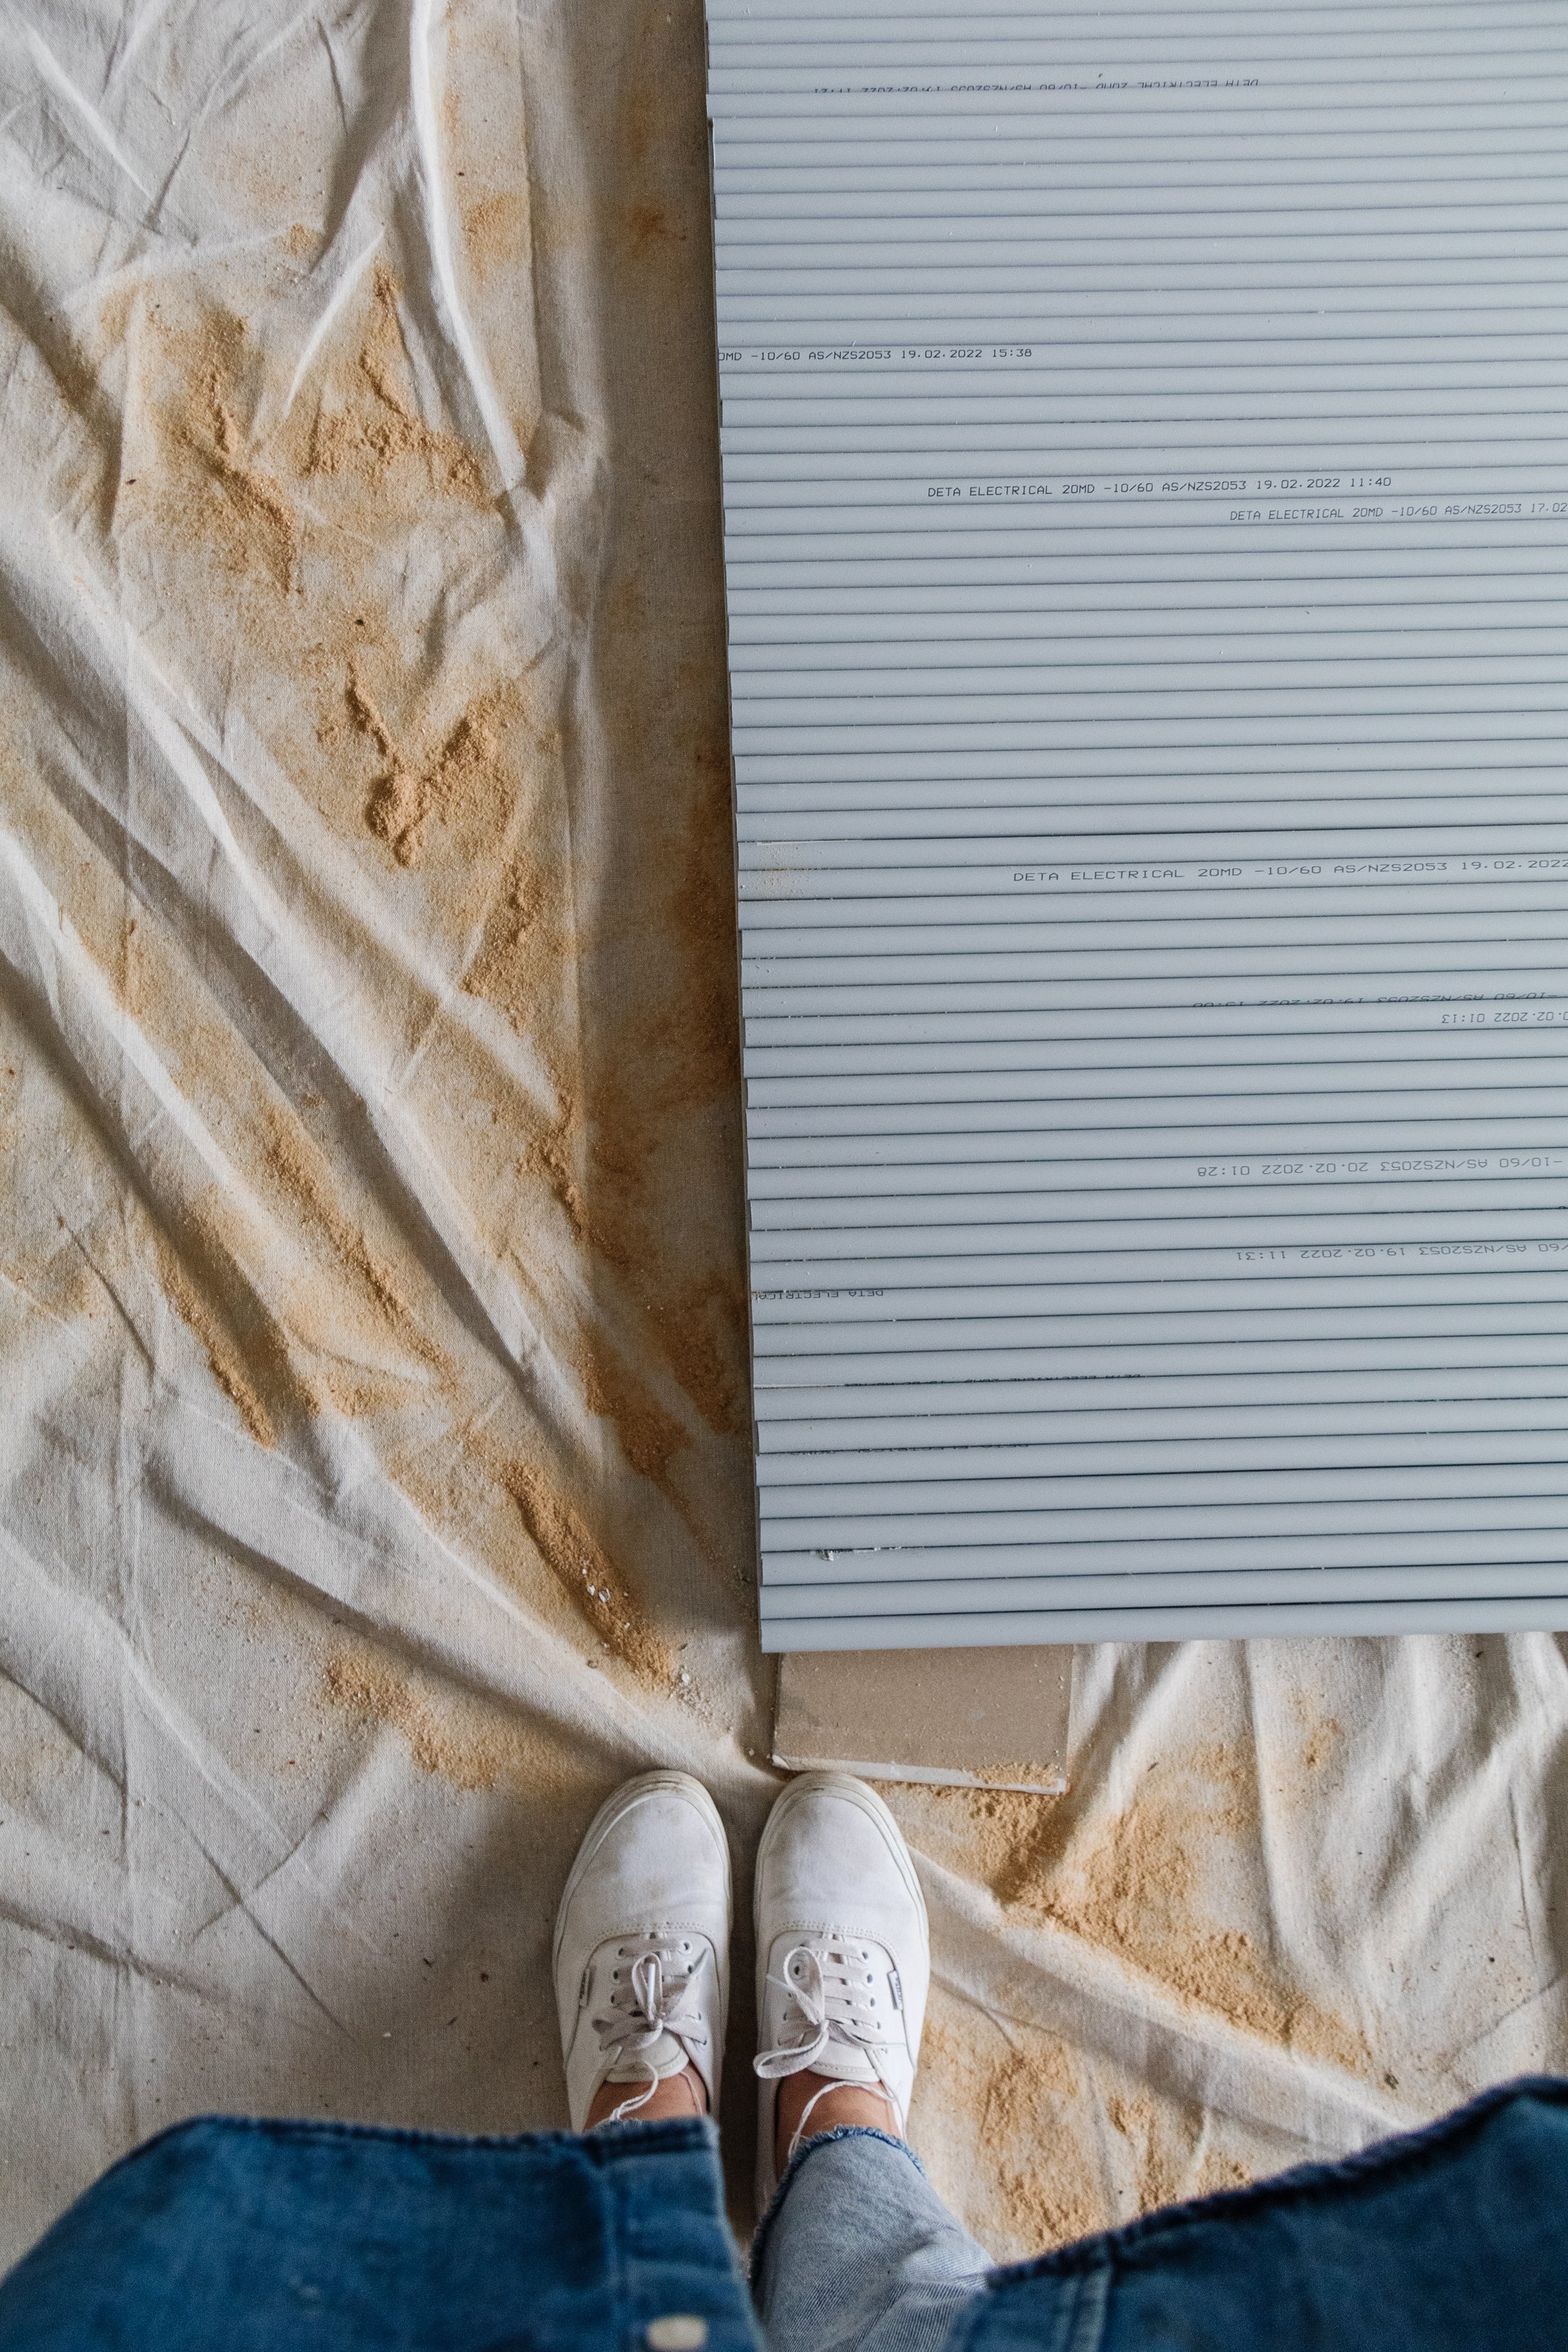
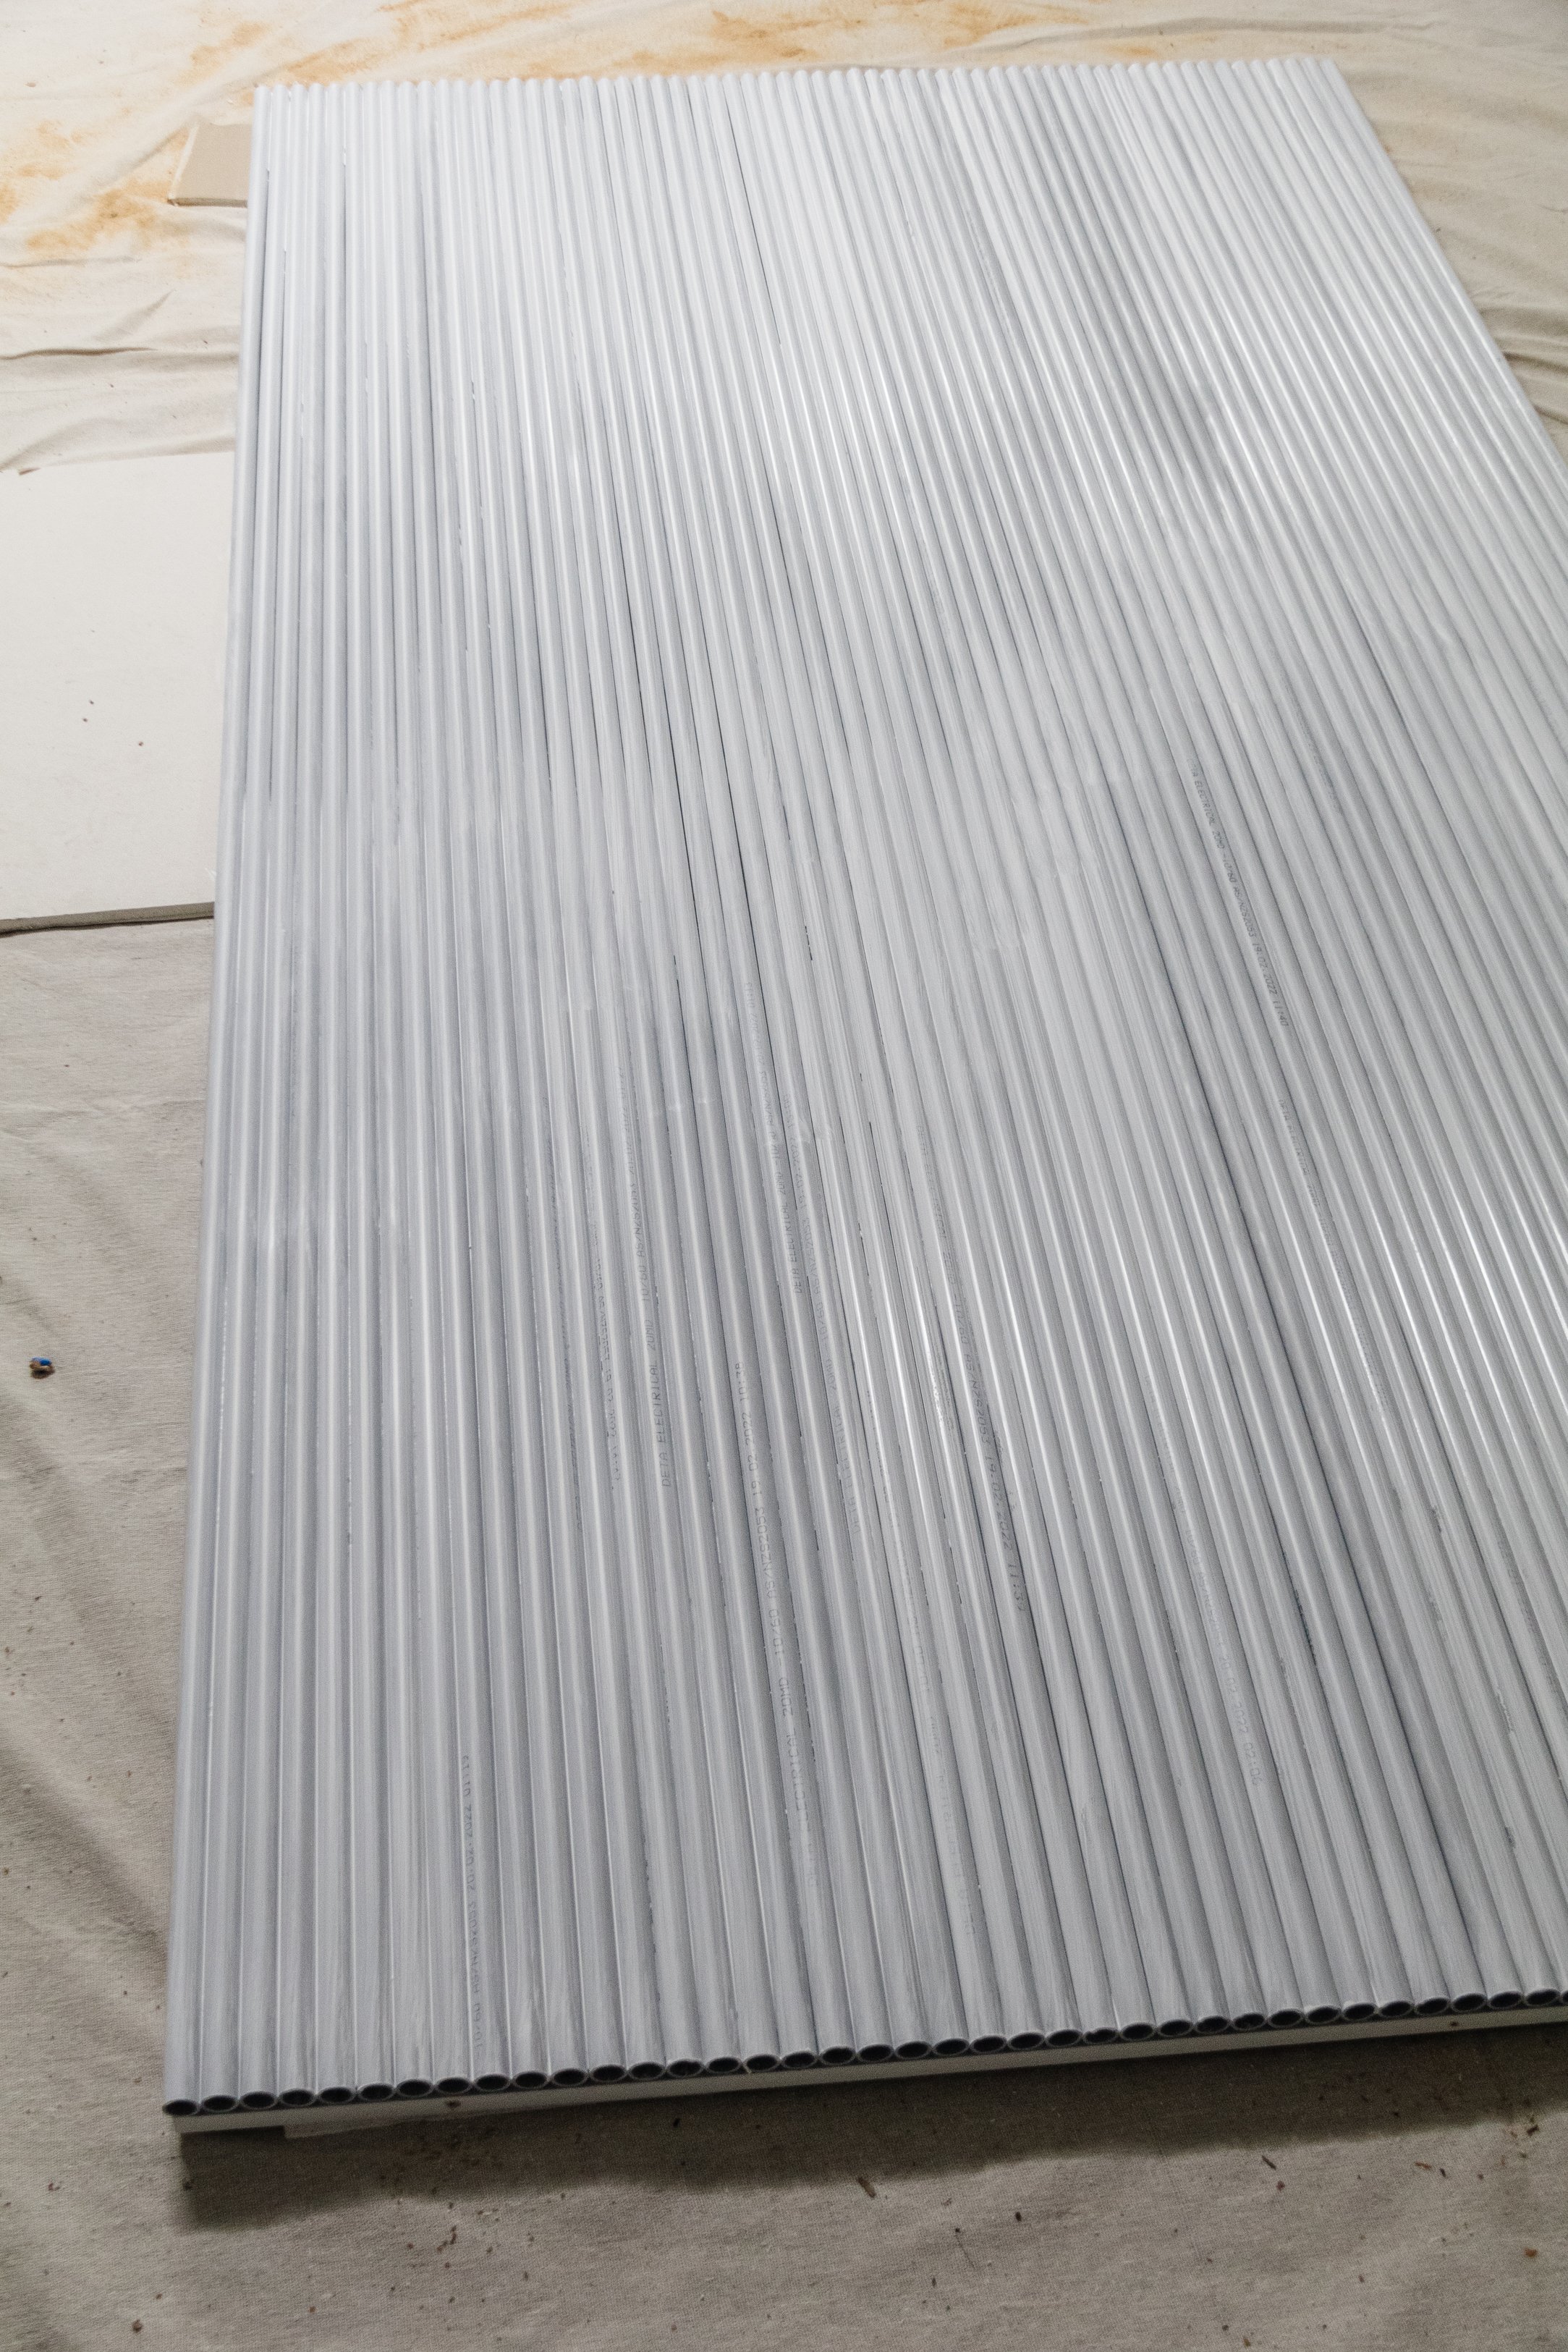
But then I discovered 4m pieces of PVC pipe that cost $3.74 each, which meant the cost for these glued onto a 2400 x 1200 MDF panel was only $300! So that’s what I went with. Read on to learn how to make your own DIY Fluted Door.
Before & After


Materials: Fluted Door
All materials are available at Bunnings:
Taubmans Advance Adhesion primer blocker. It’s not available on their website yet but you’ll find it in the painting section at Bunnings.
Project Details
🕒 Project Time Estimate: 2 days
💰 Materials Cost: $650 (not including power tools)
👷♀️ Skill Level: Intermediate DIYer
⚒️ Tools: Mitre Saw, Drill, Sanding Block 120 grit, Paint Brush, Doors Roller, Caulking Gun, Roller Frame and Extension pole

How To
DAY ONE - 2 hours
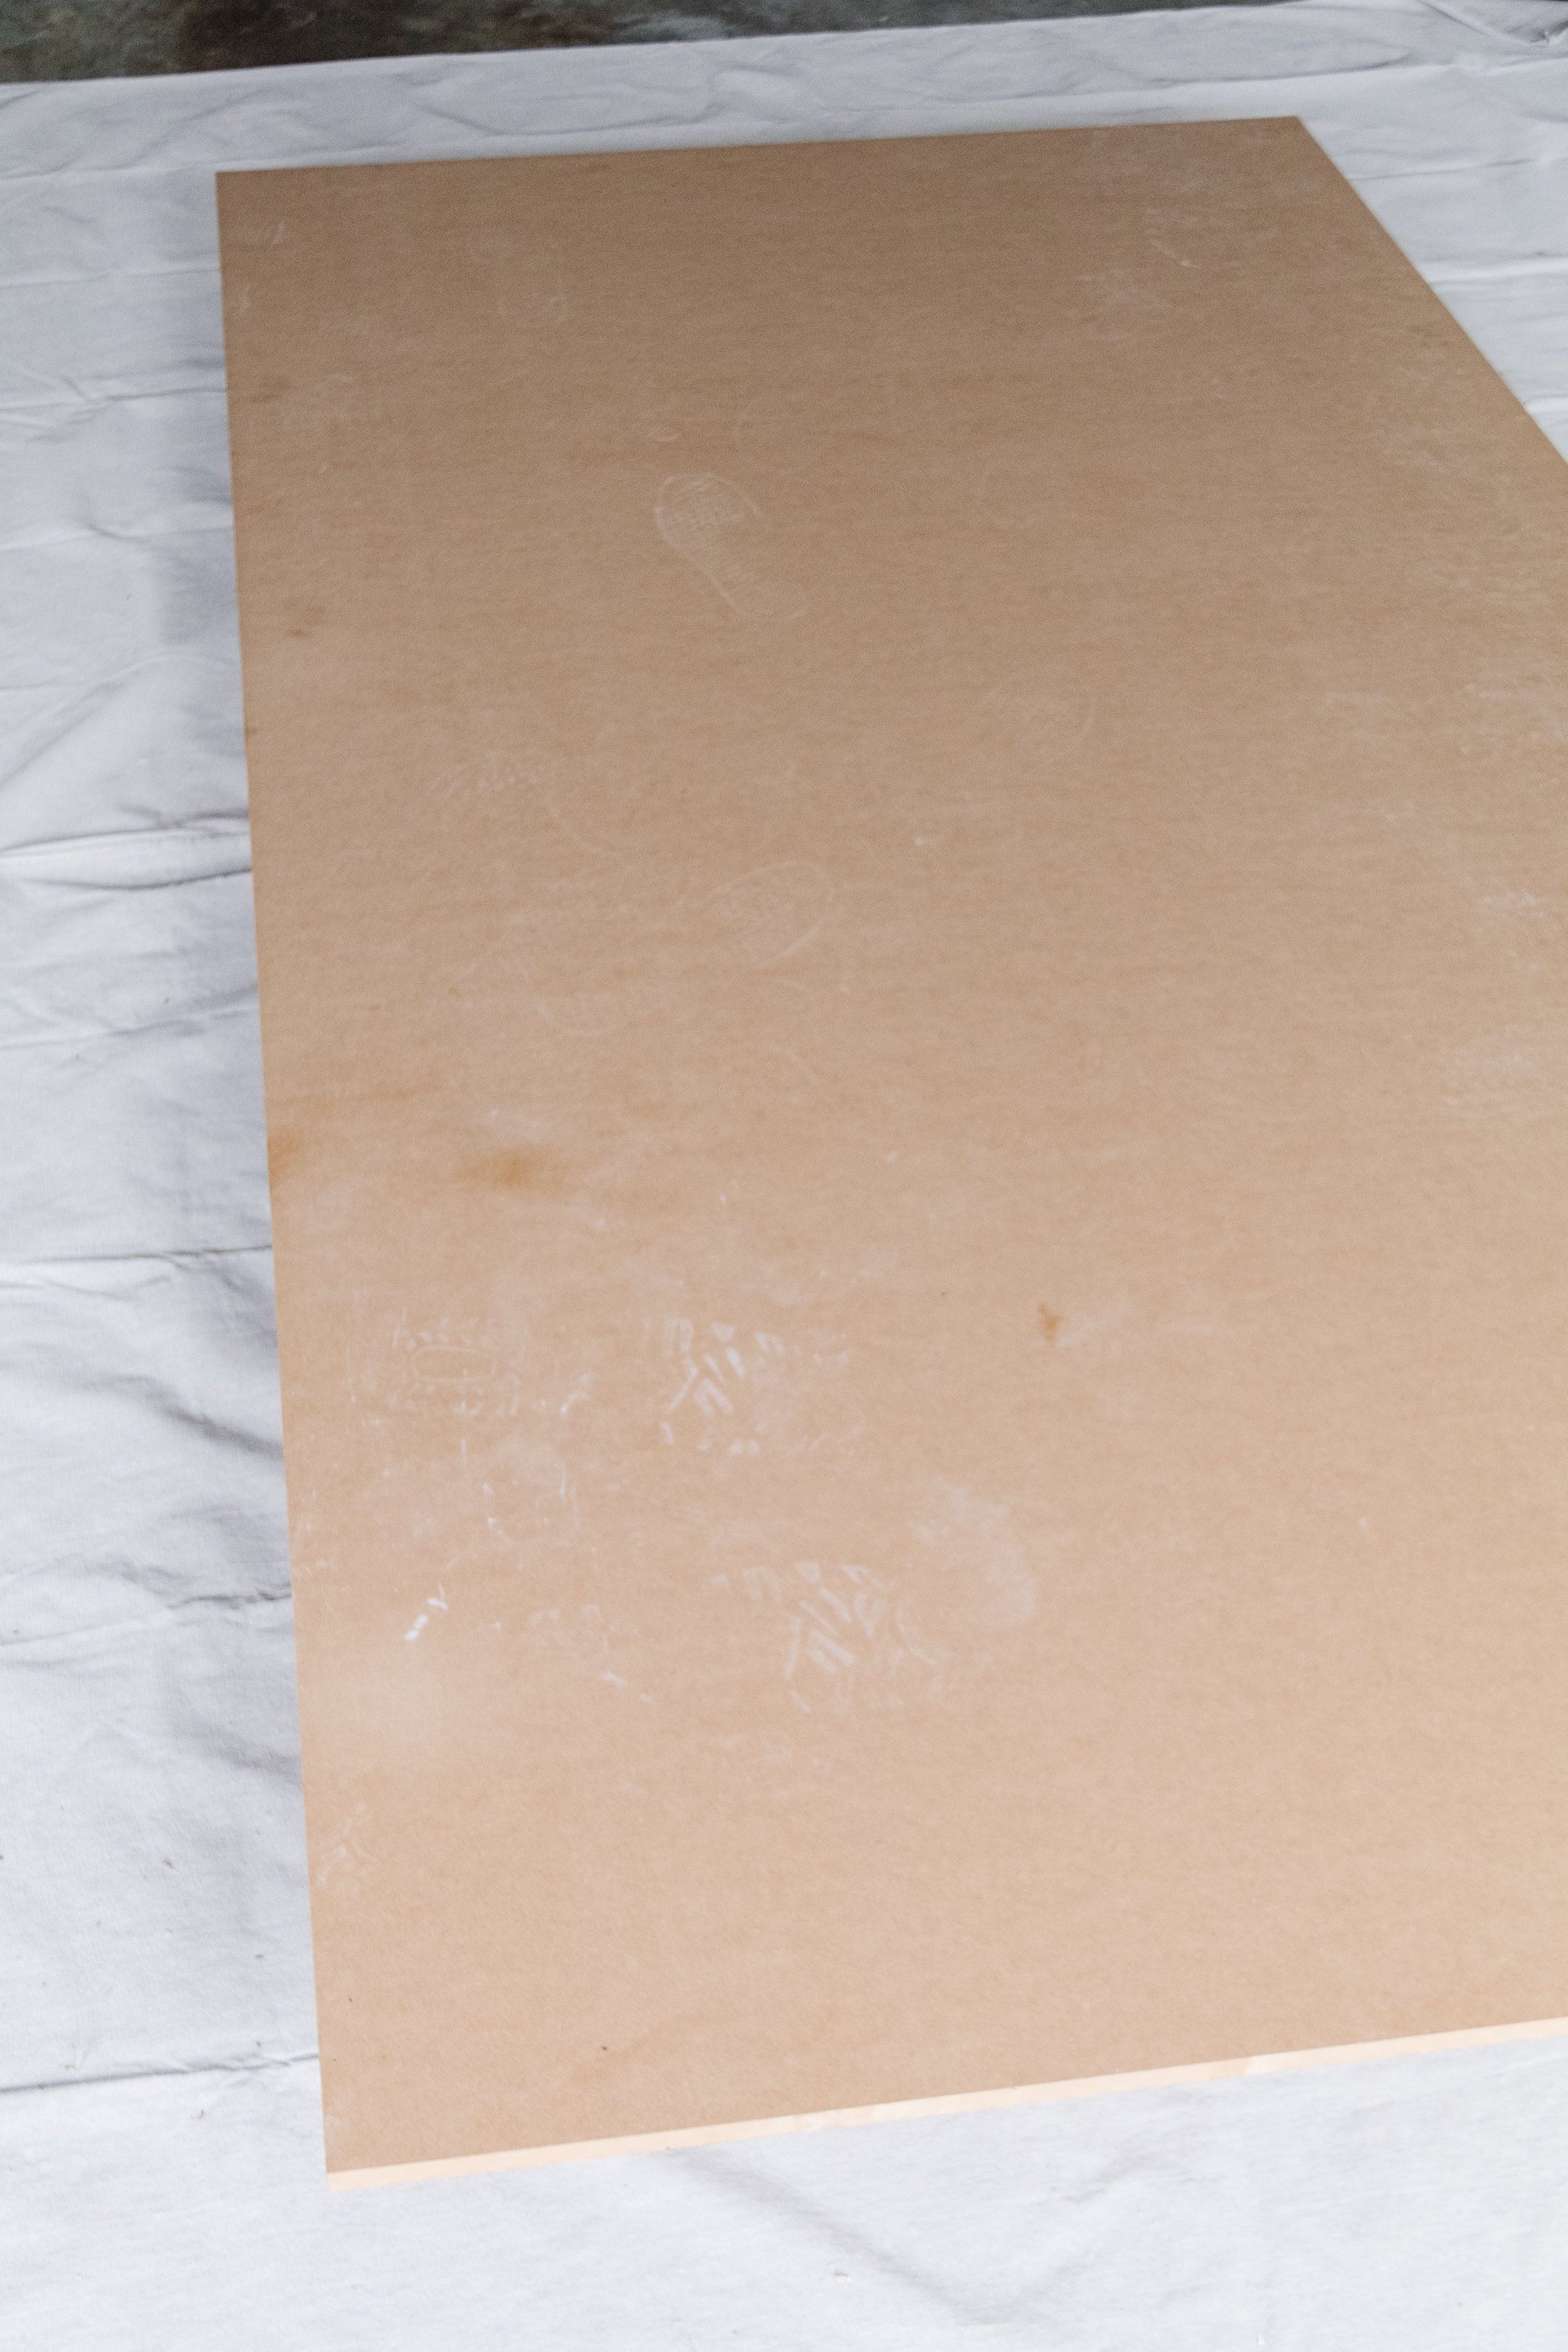
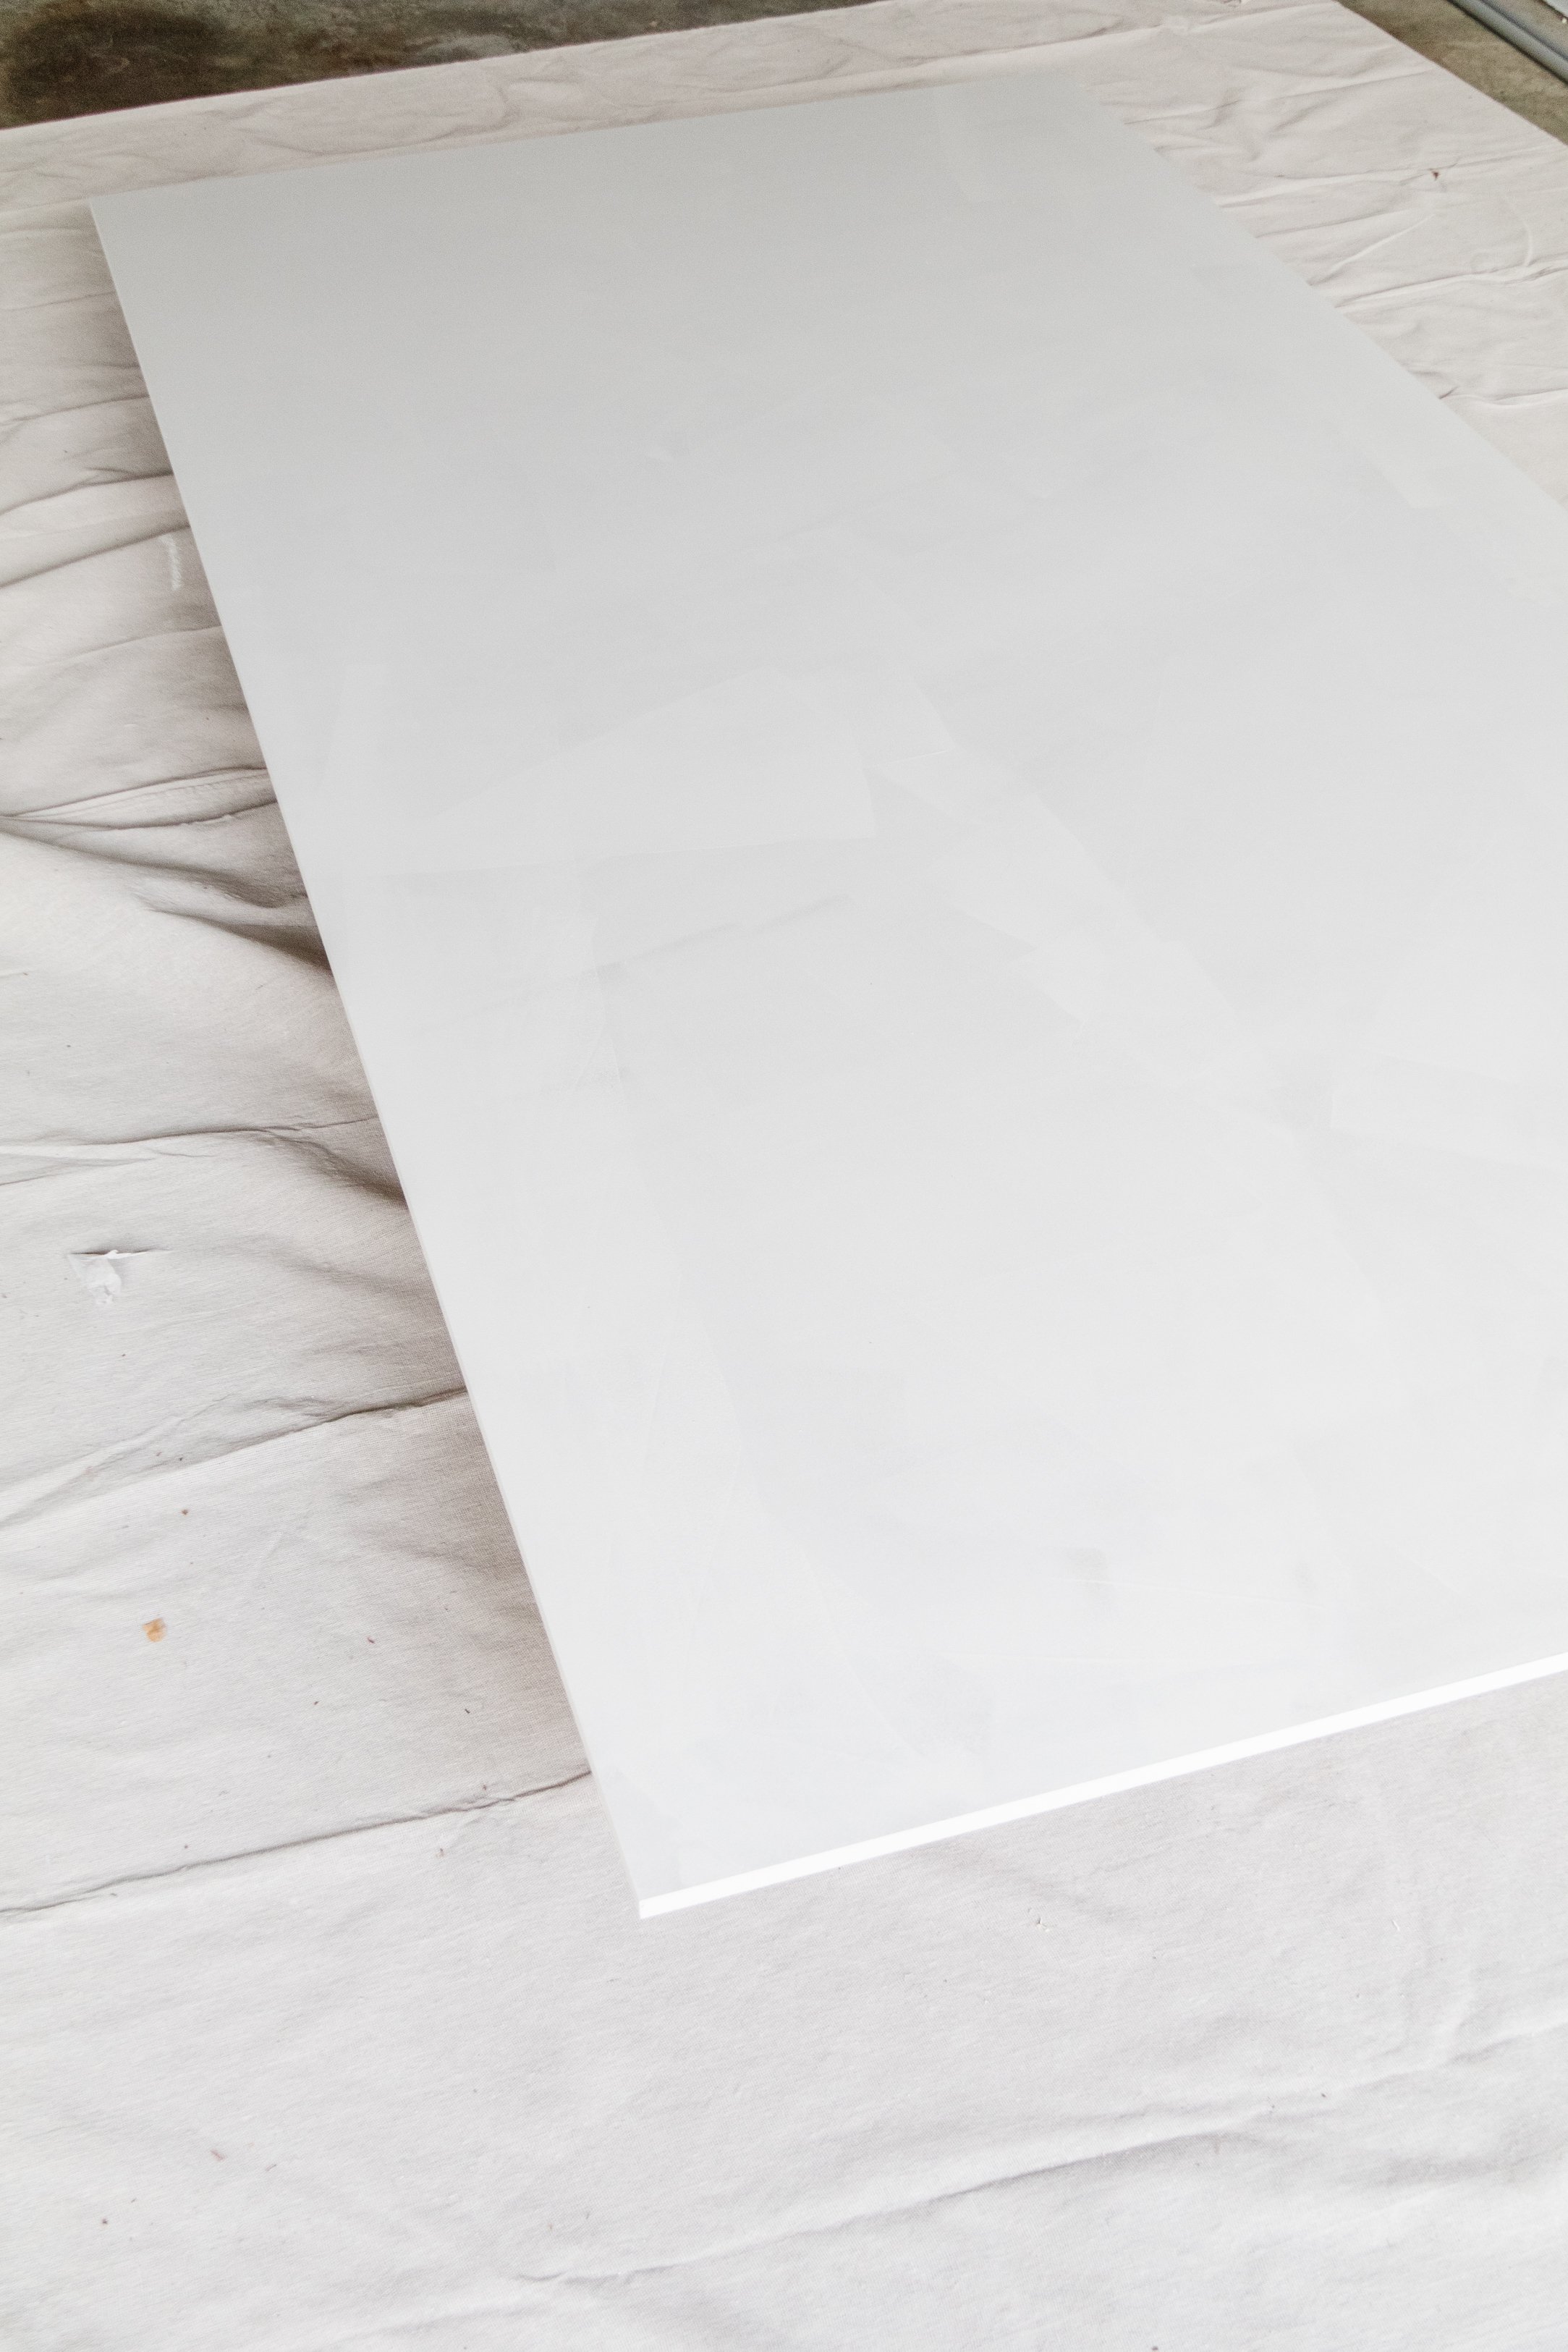
Place a drop sheet onto a flat surface, preferably indoors - like a garage. Prop the MDF panel on top of level painting tins or timber. Using the roller, roller frame and extension handle, apply one coat of primer (I didn’t use the extension handle for this step but I did for the rest). When dry, flip the MDF over and repeat on the other side.
NB: You will need two people to lift the MDF panel as it’s quite heavy.
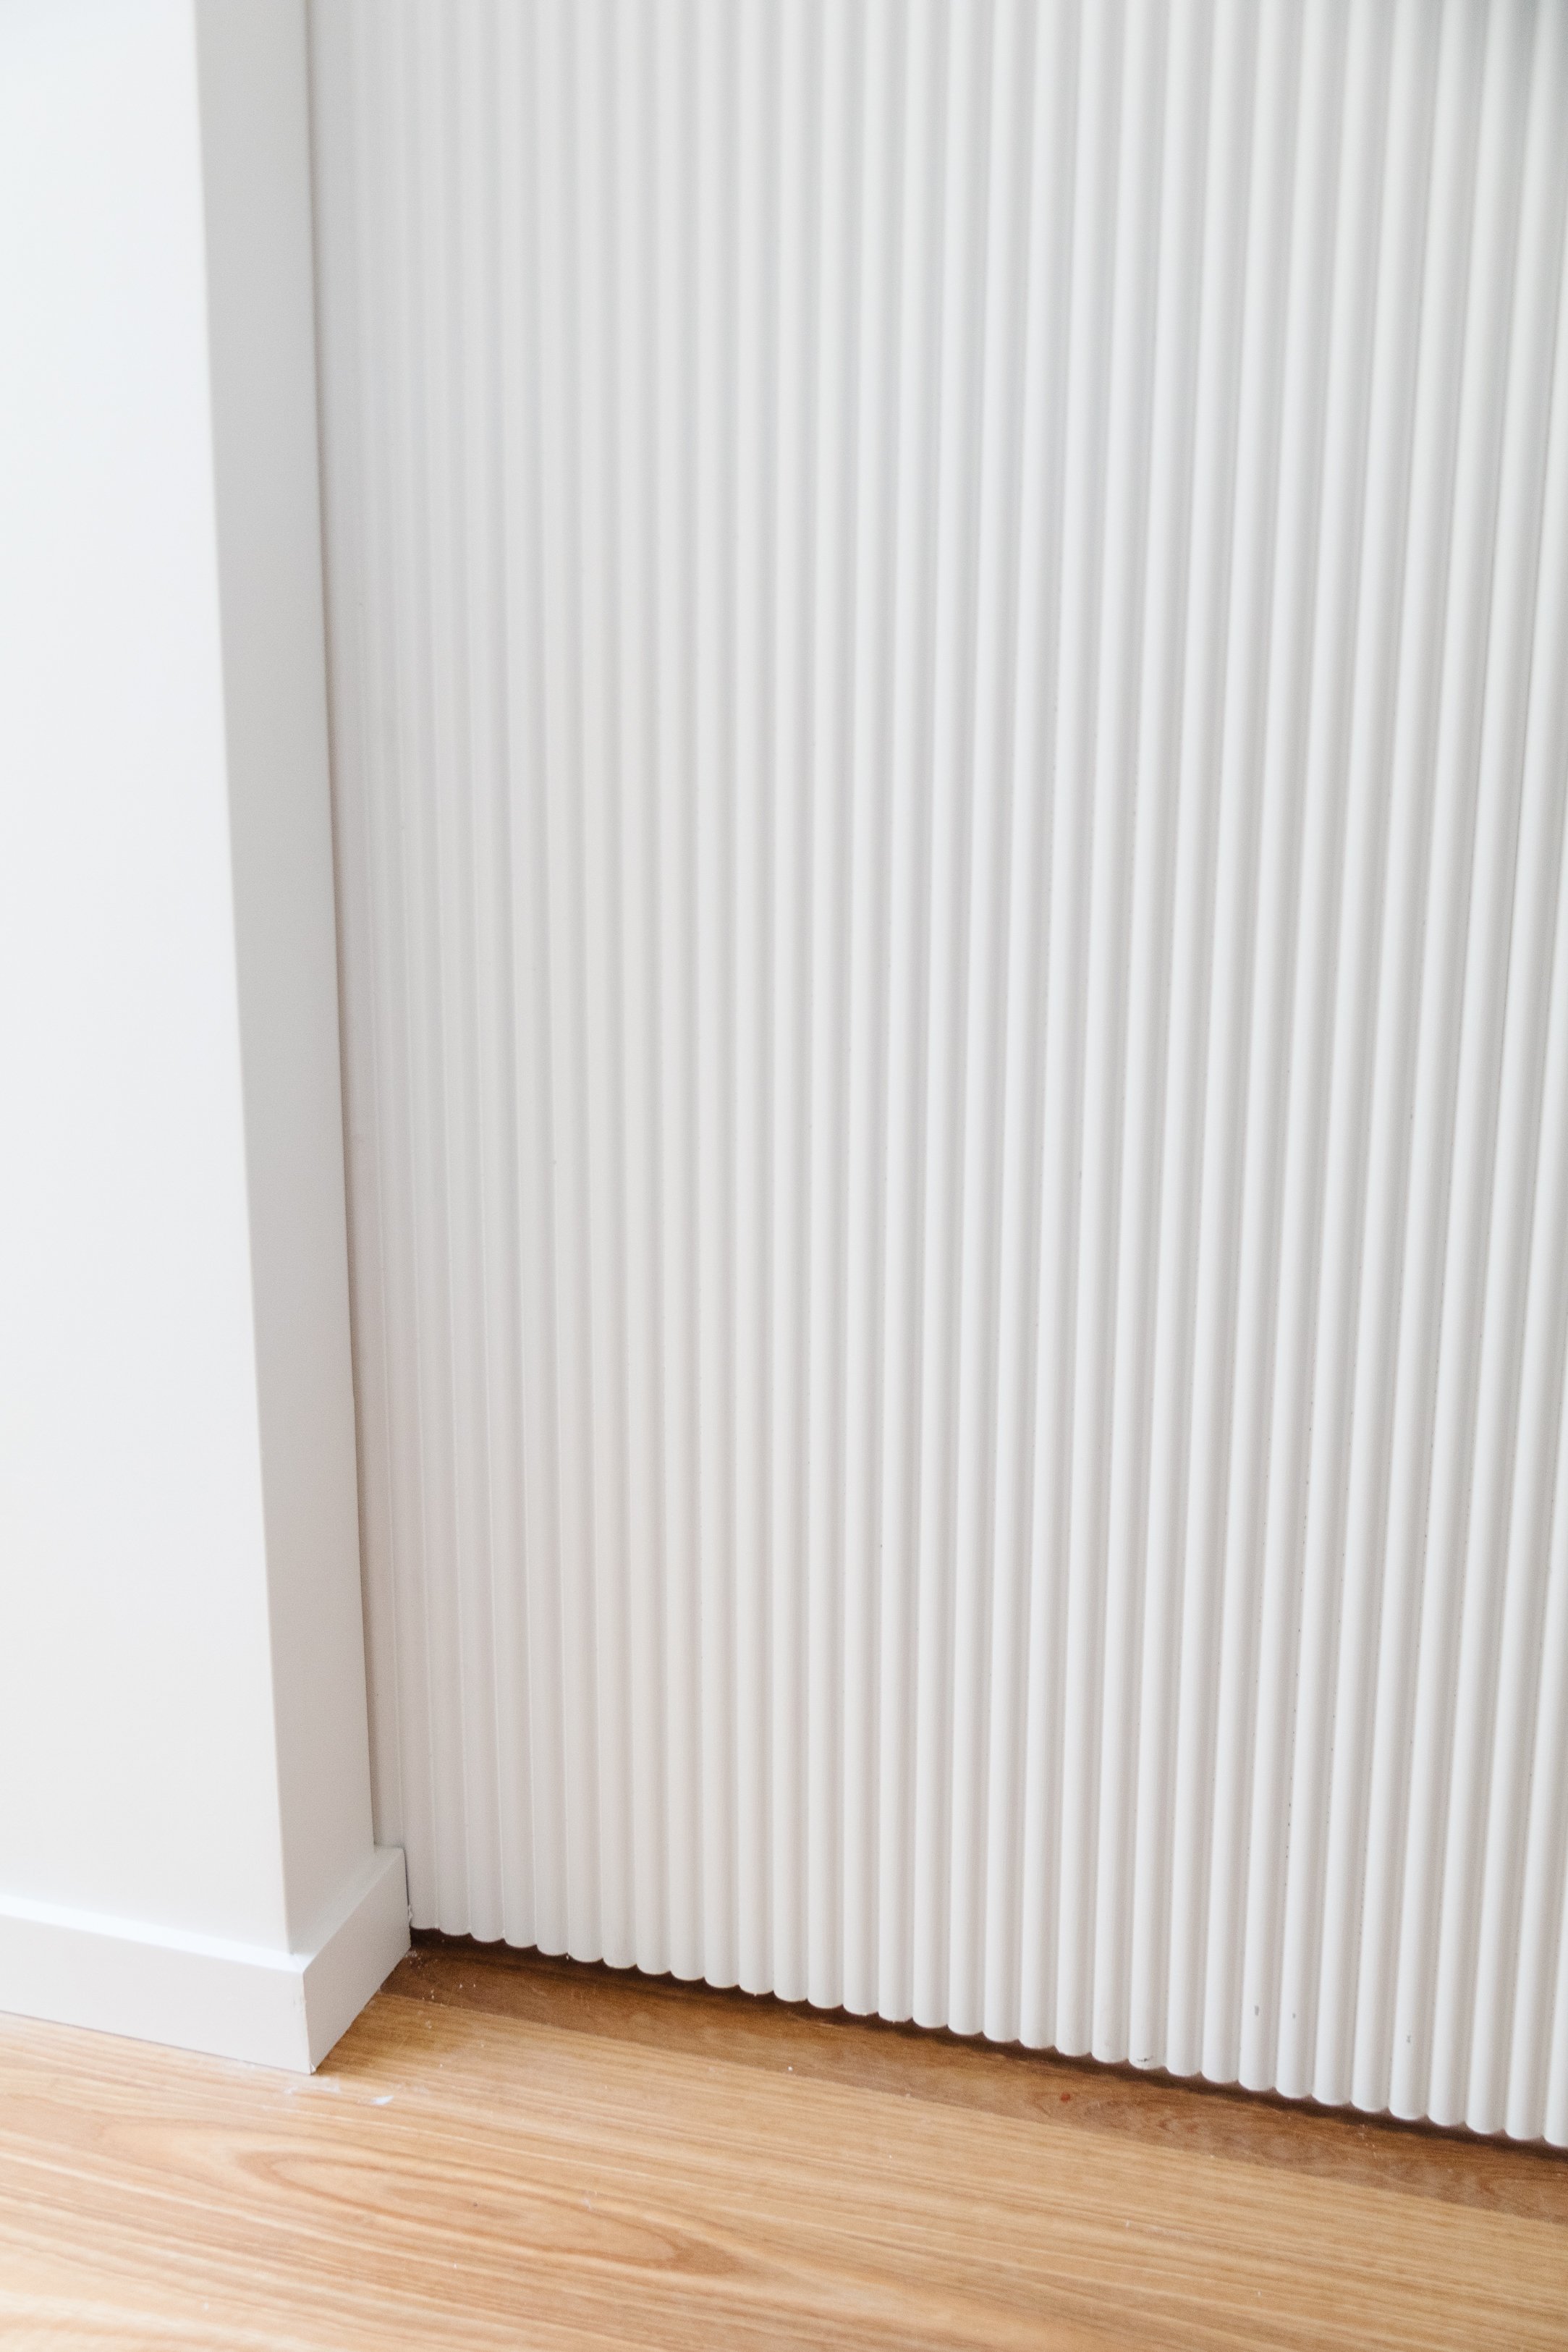
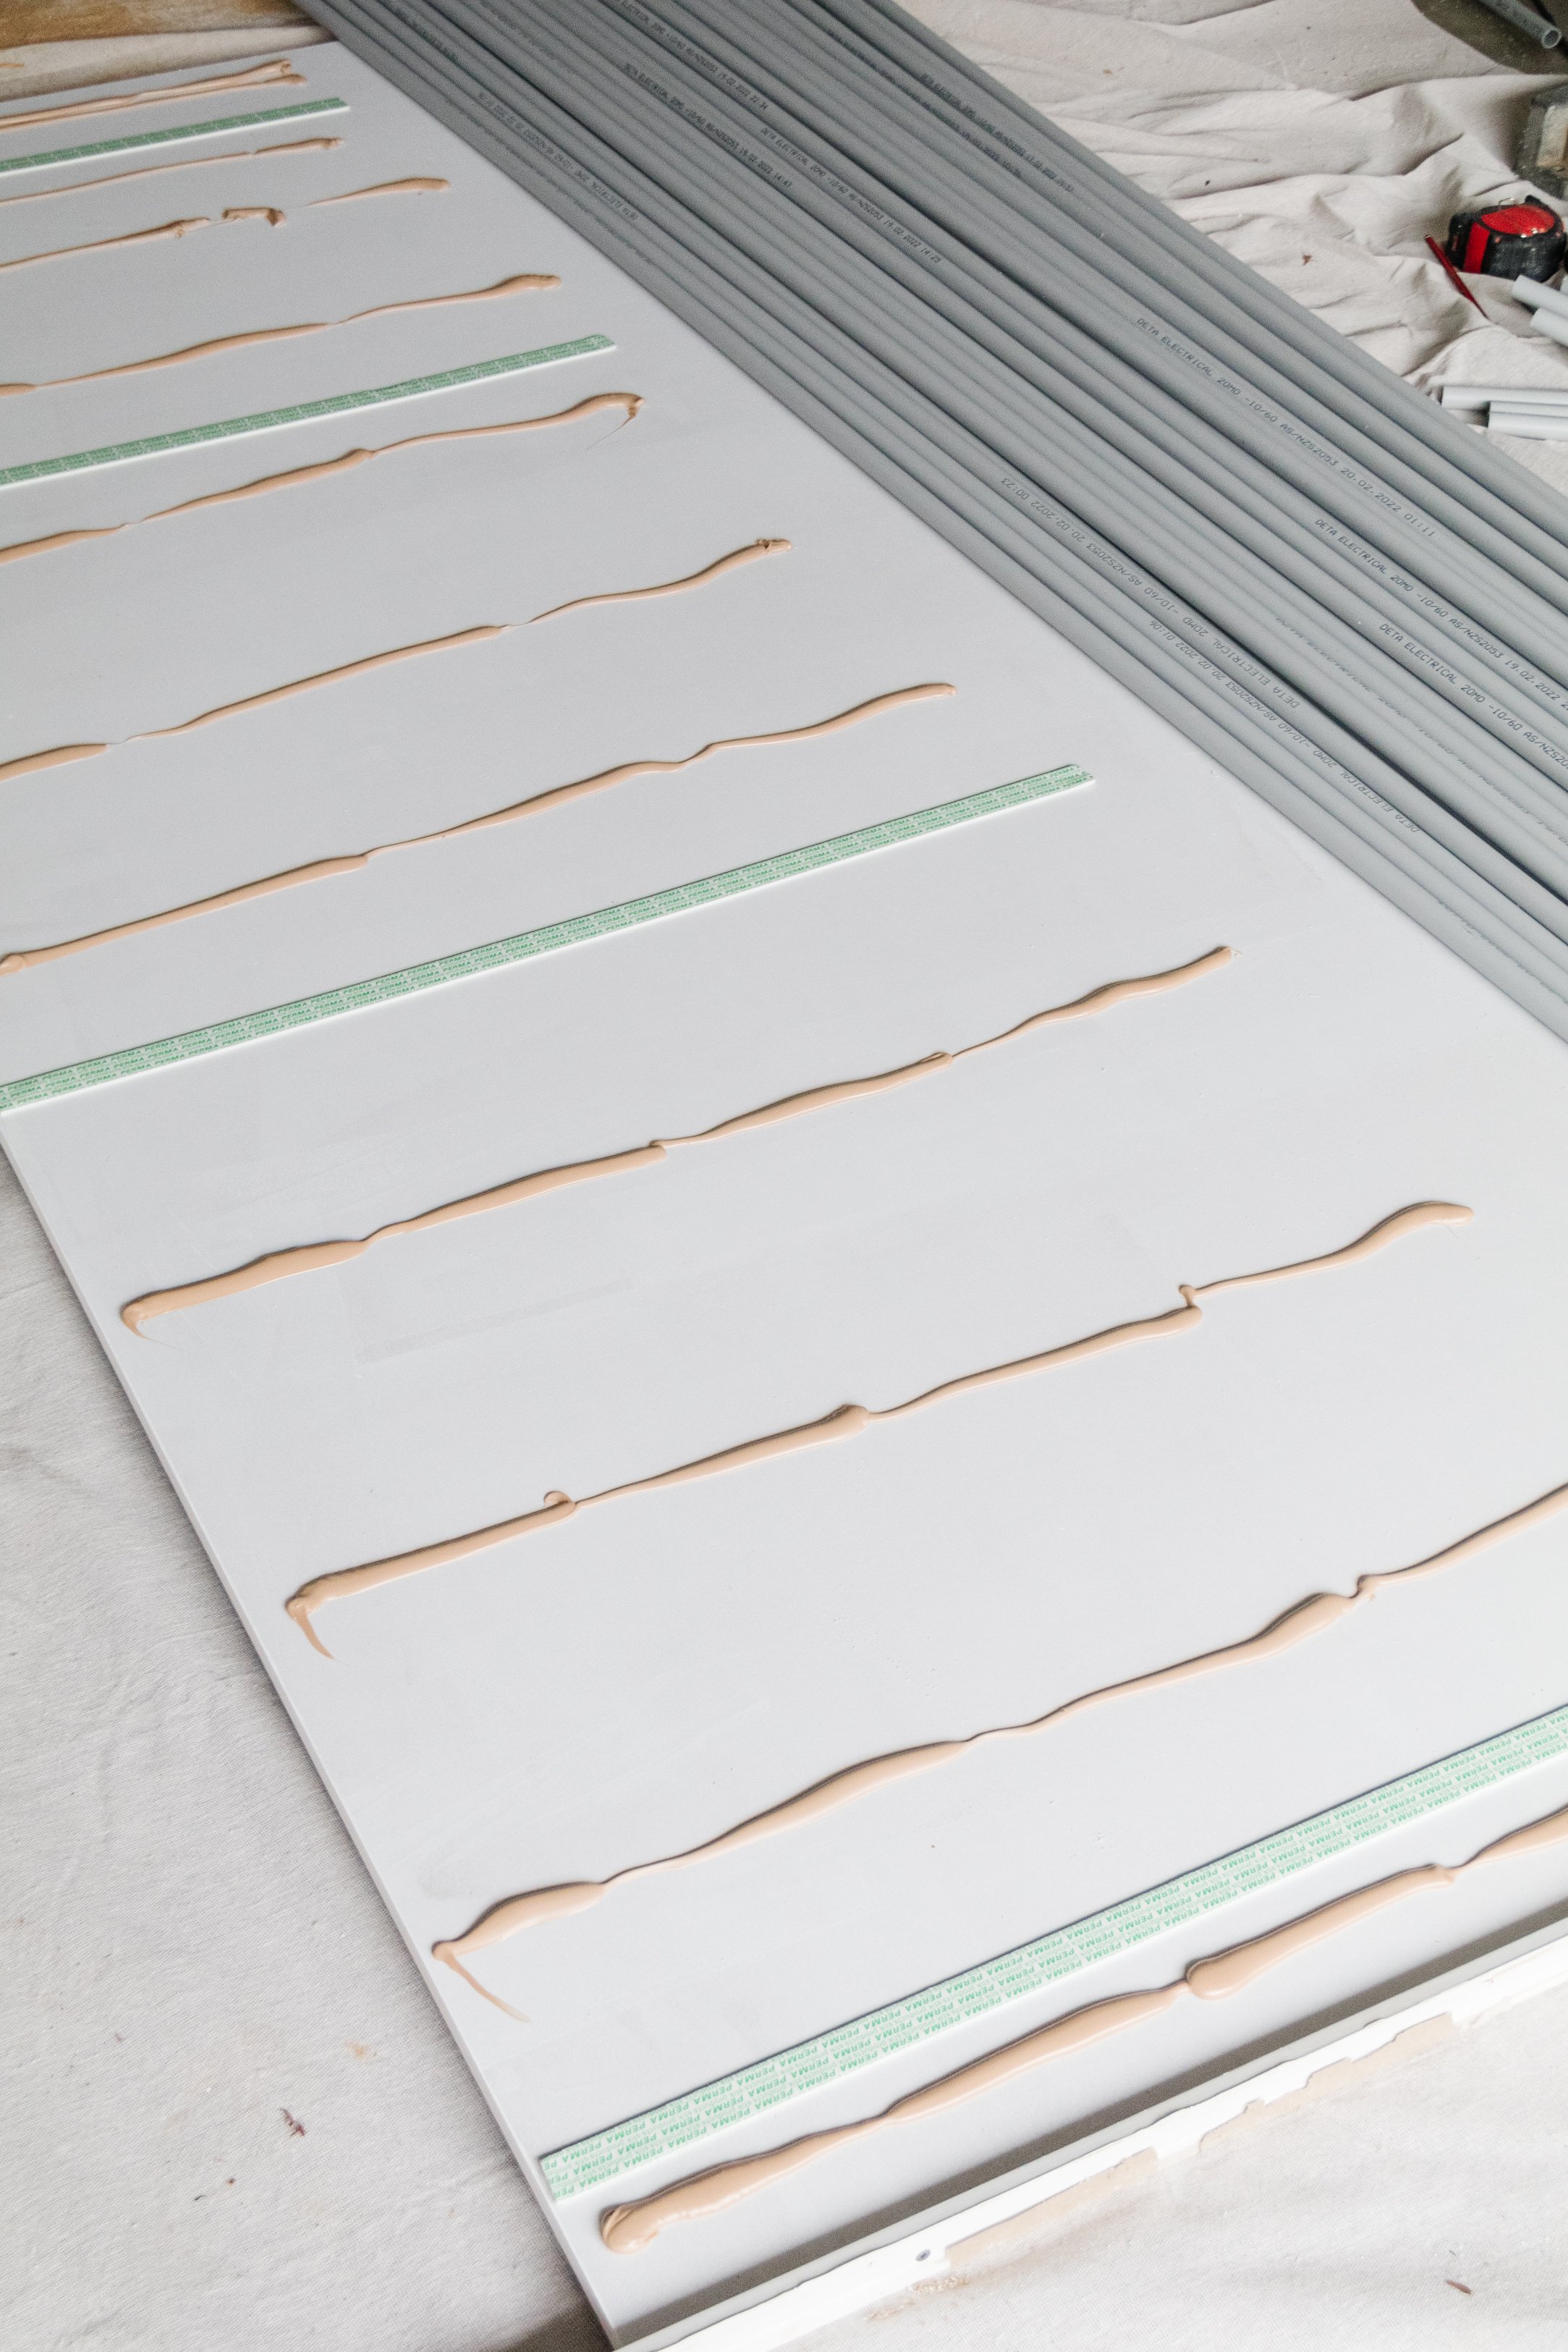
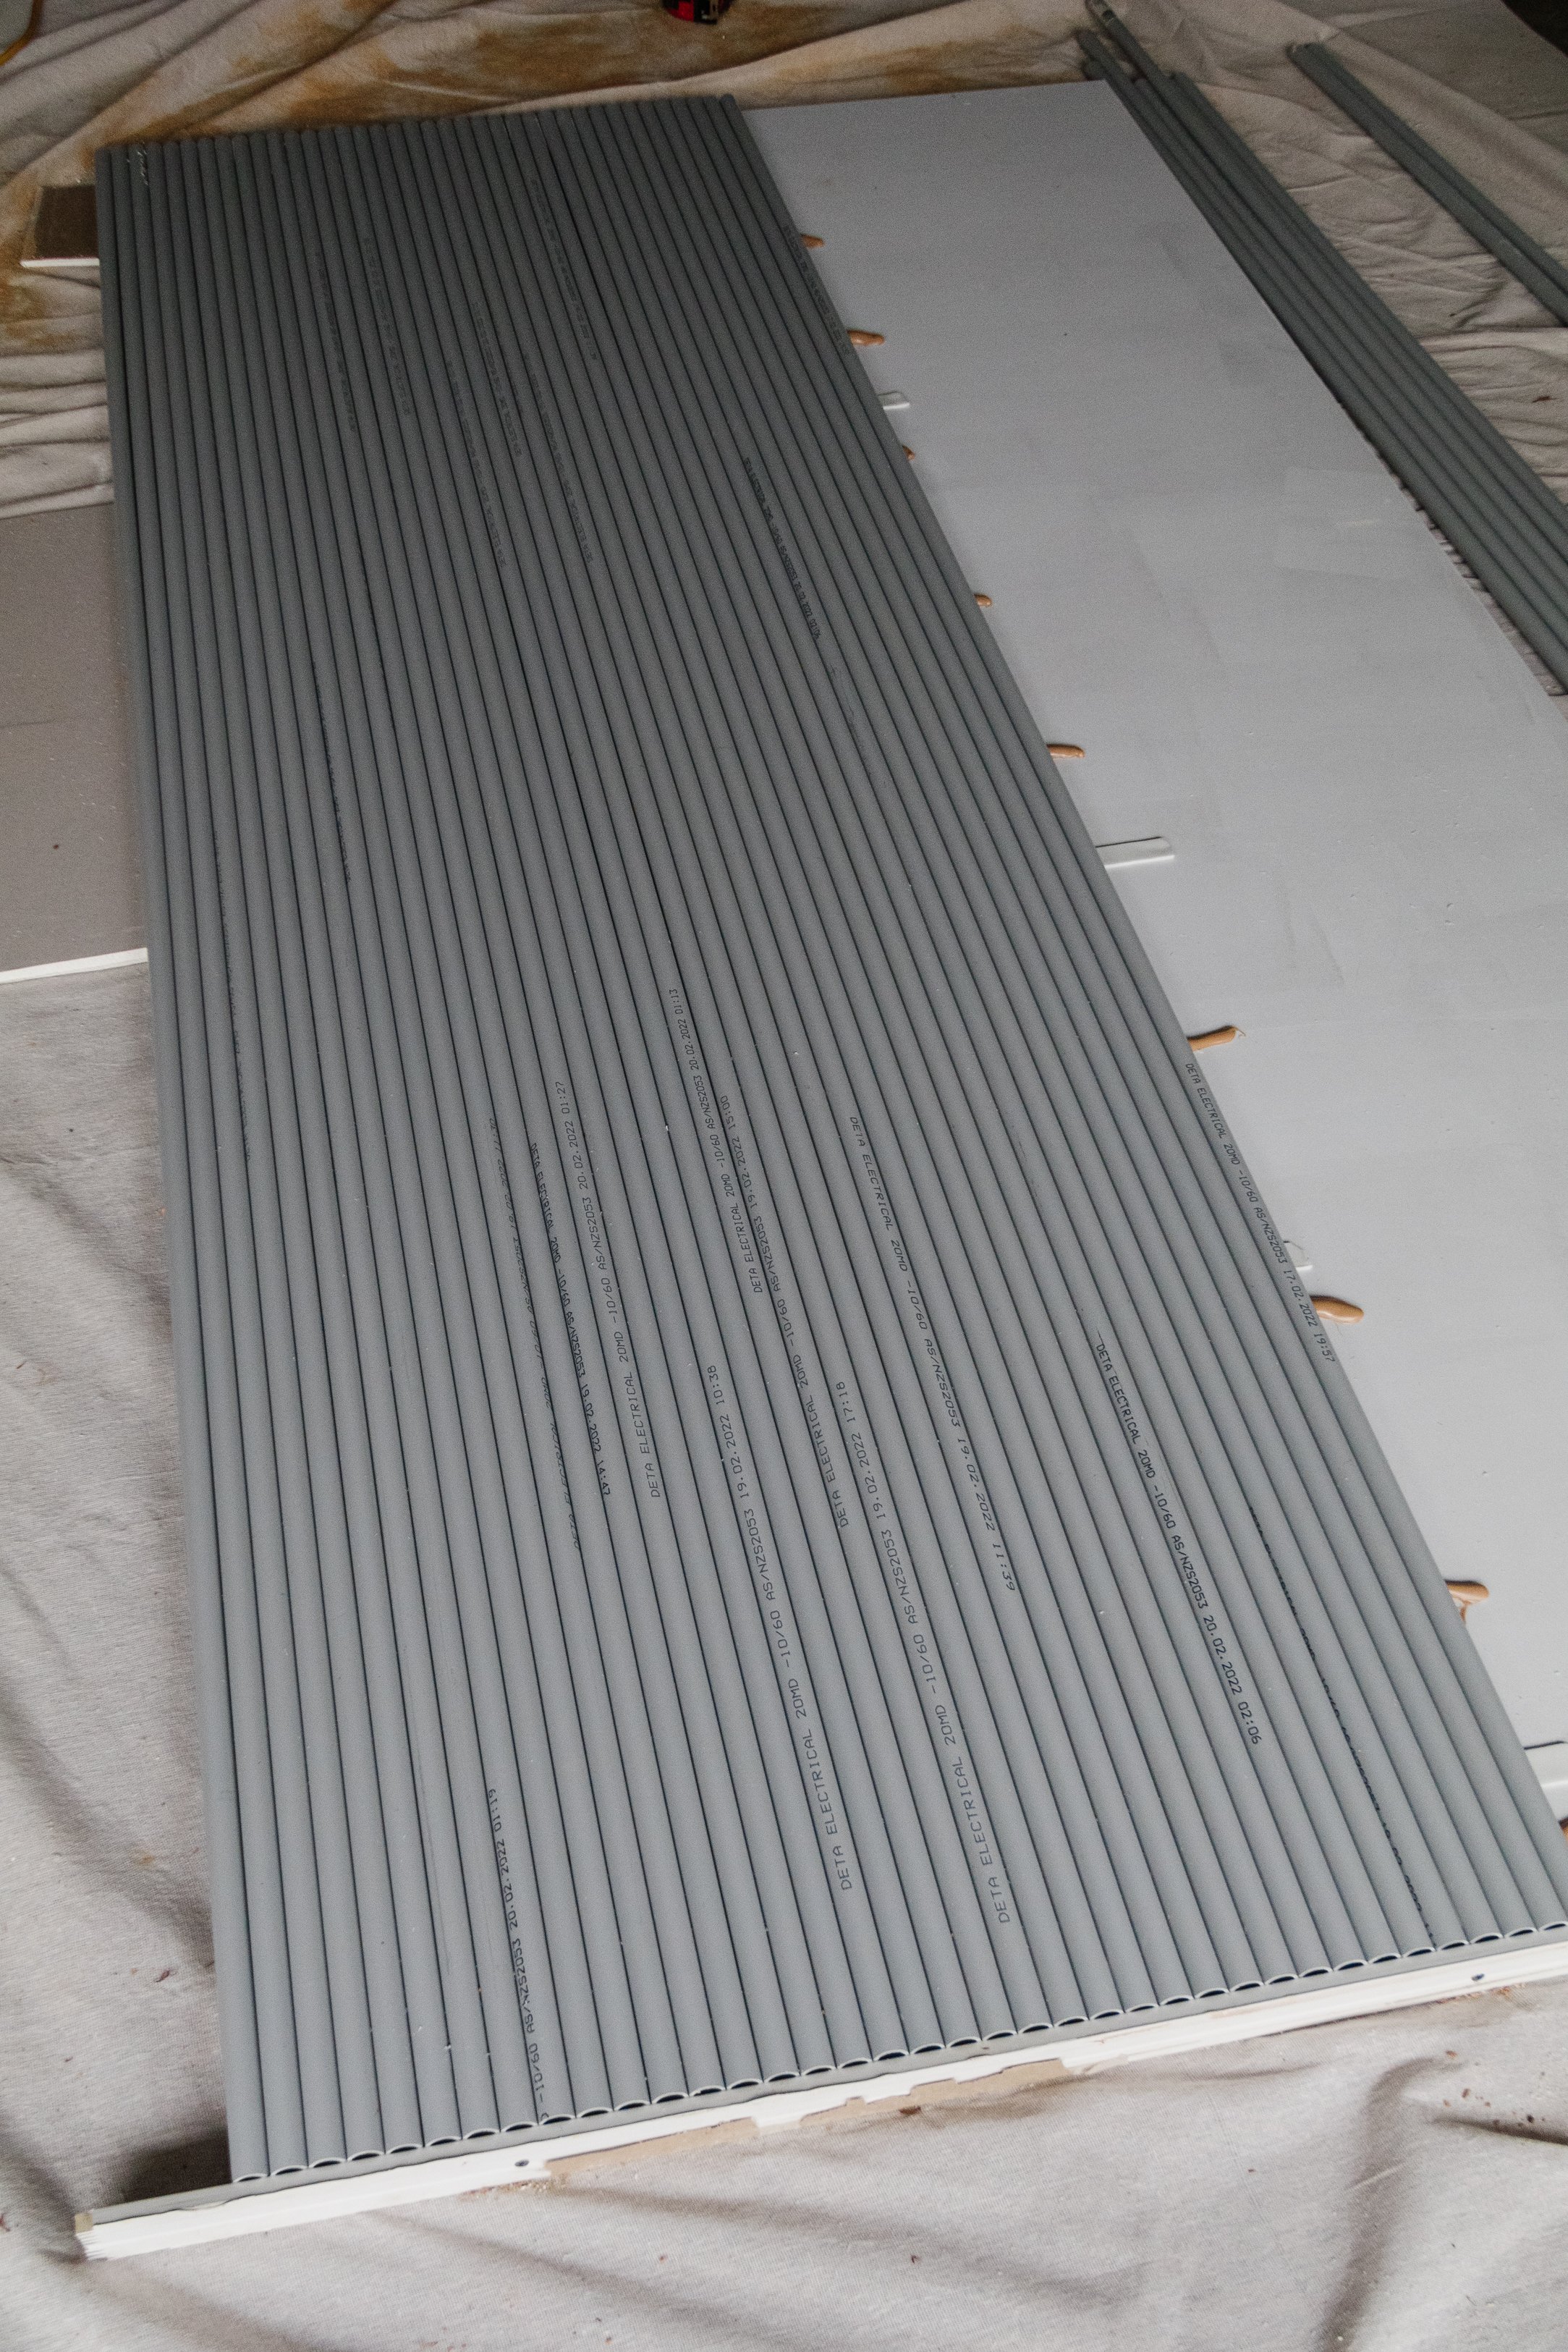
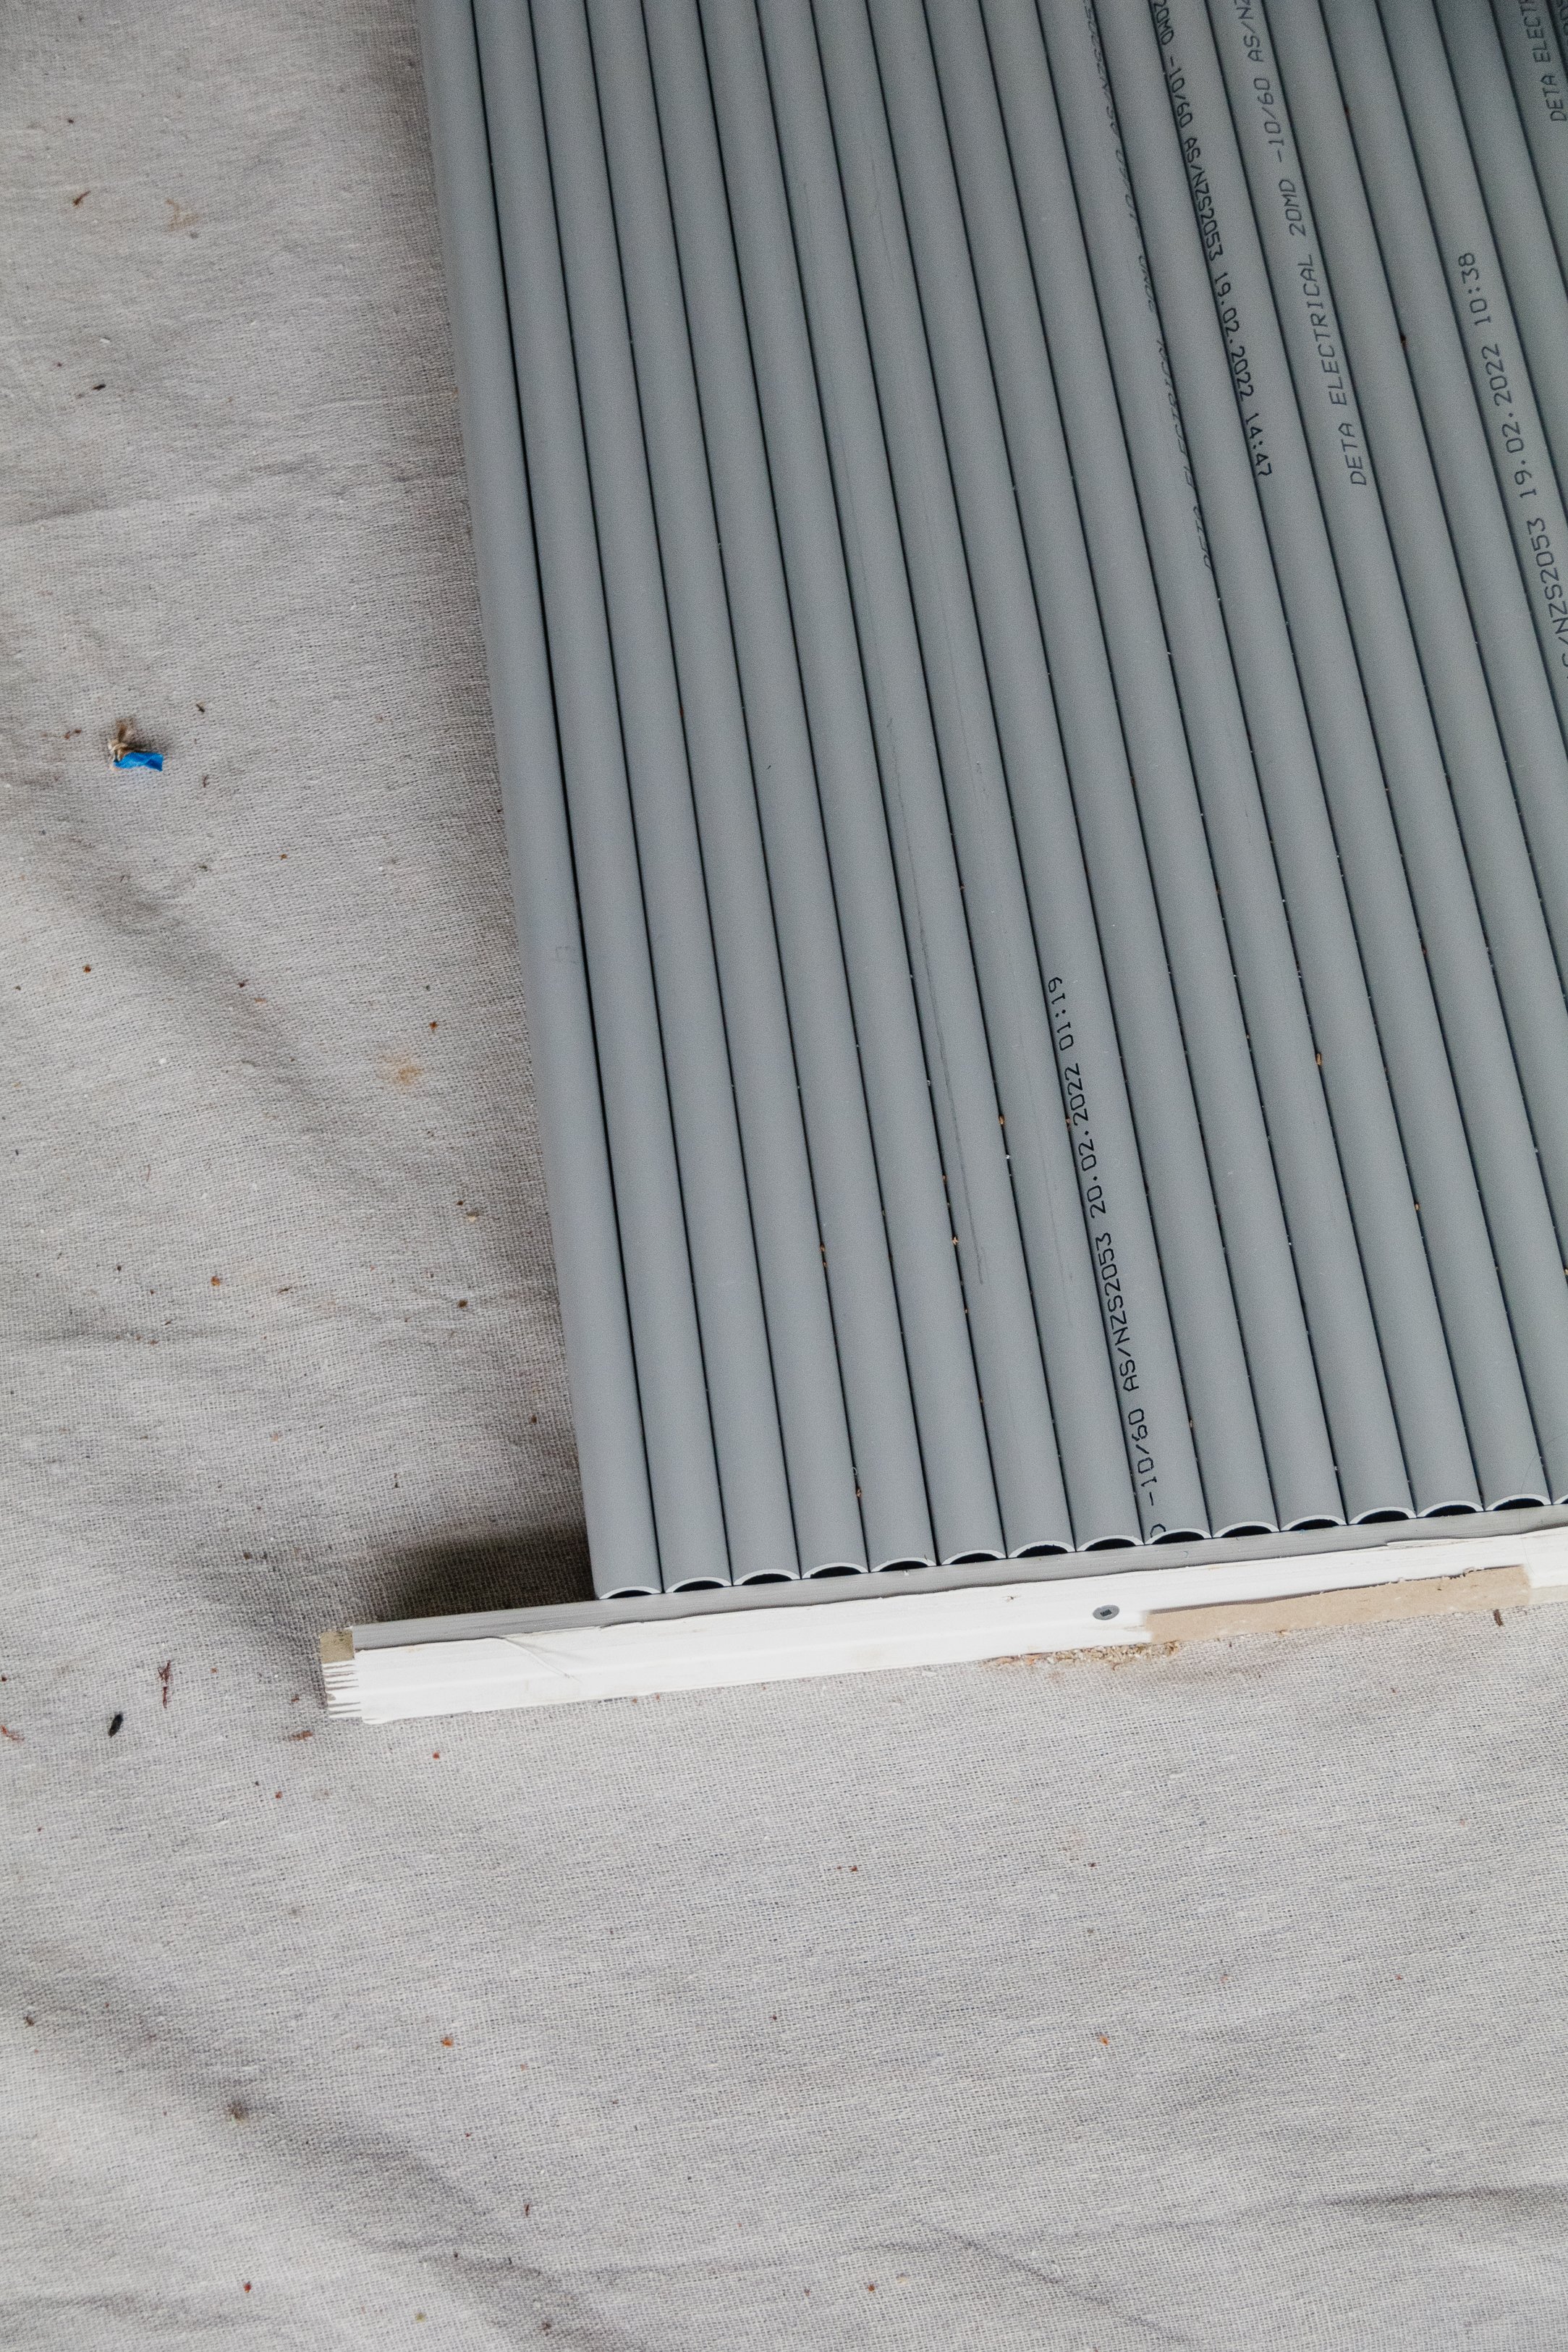
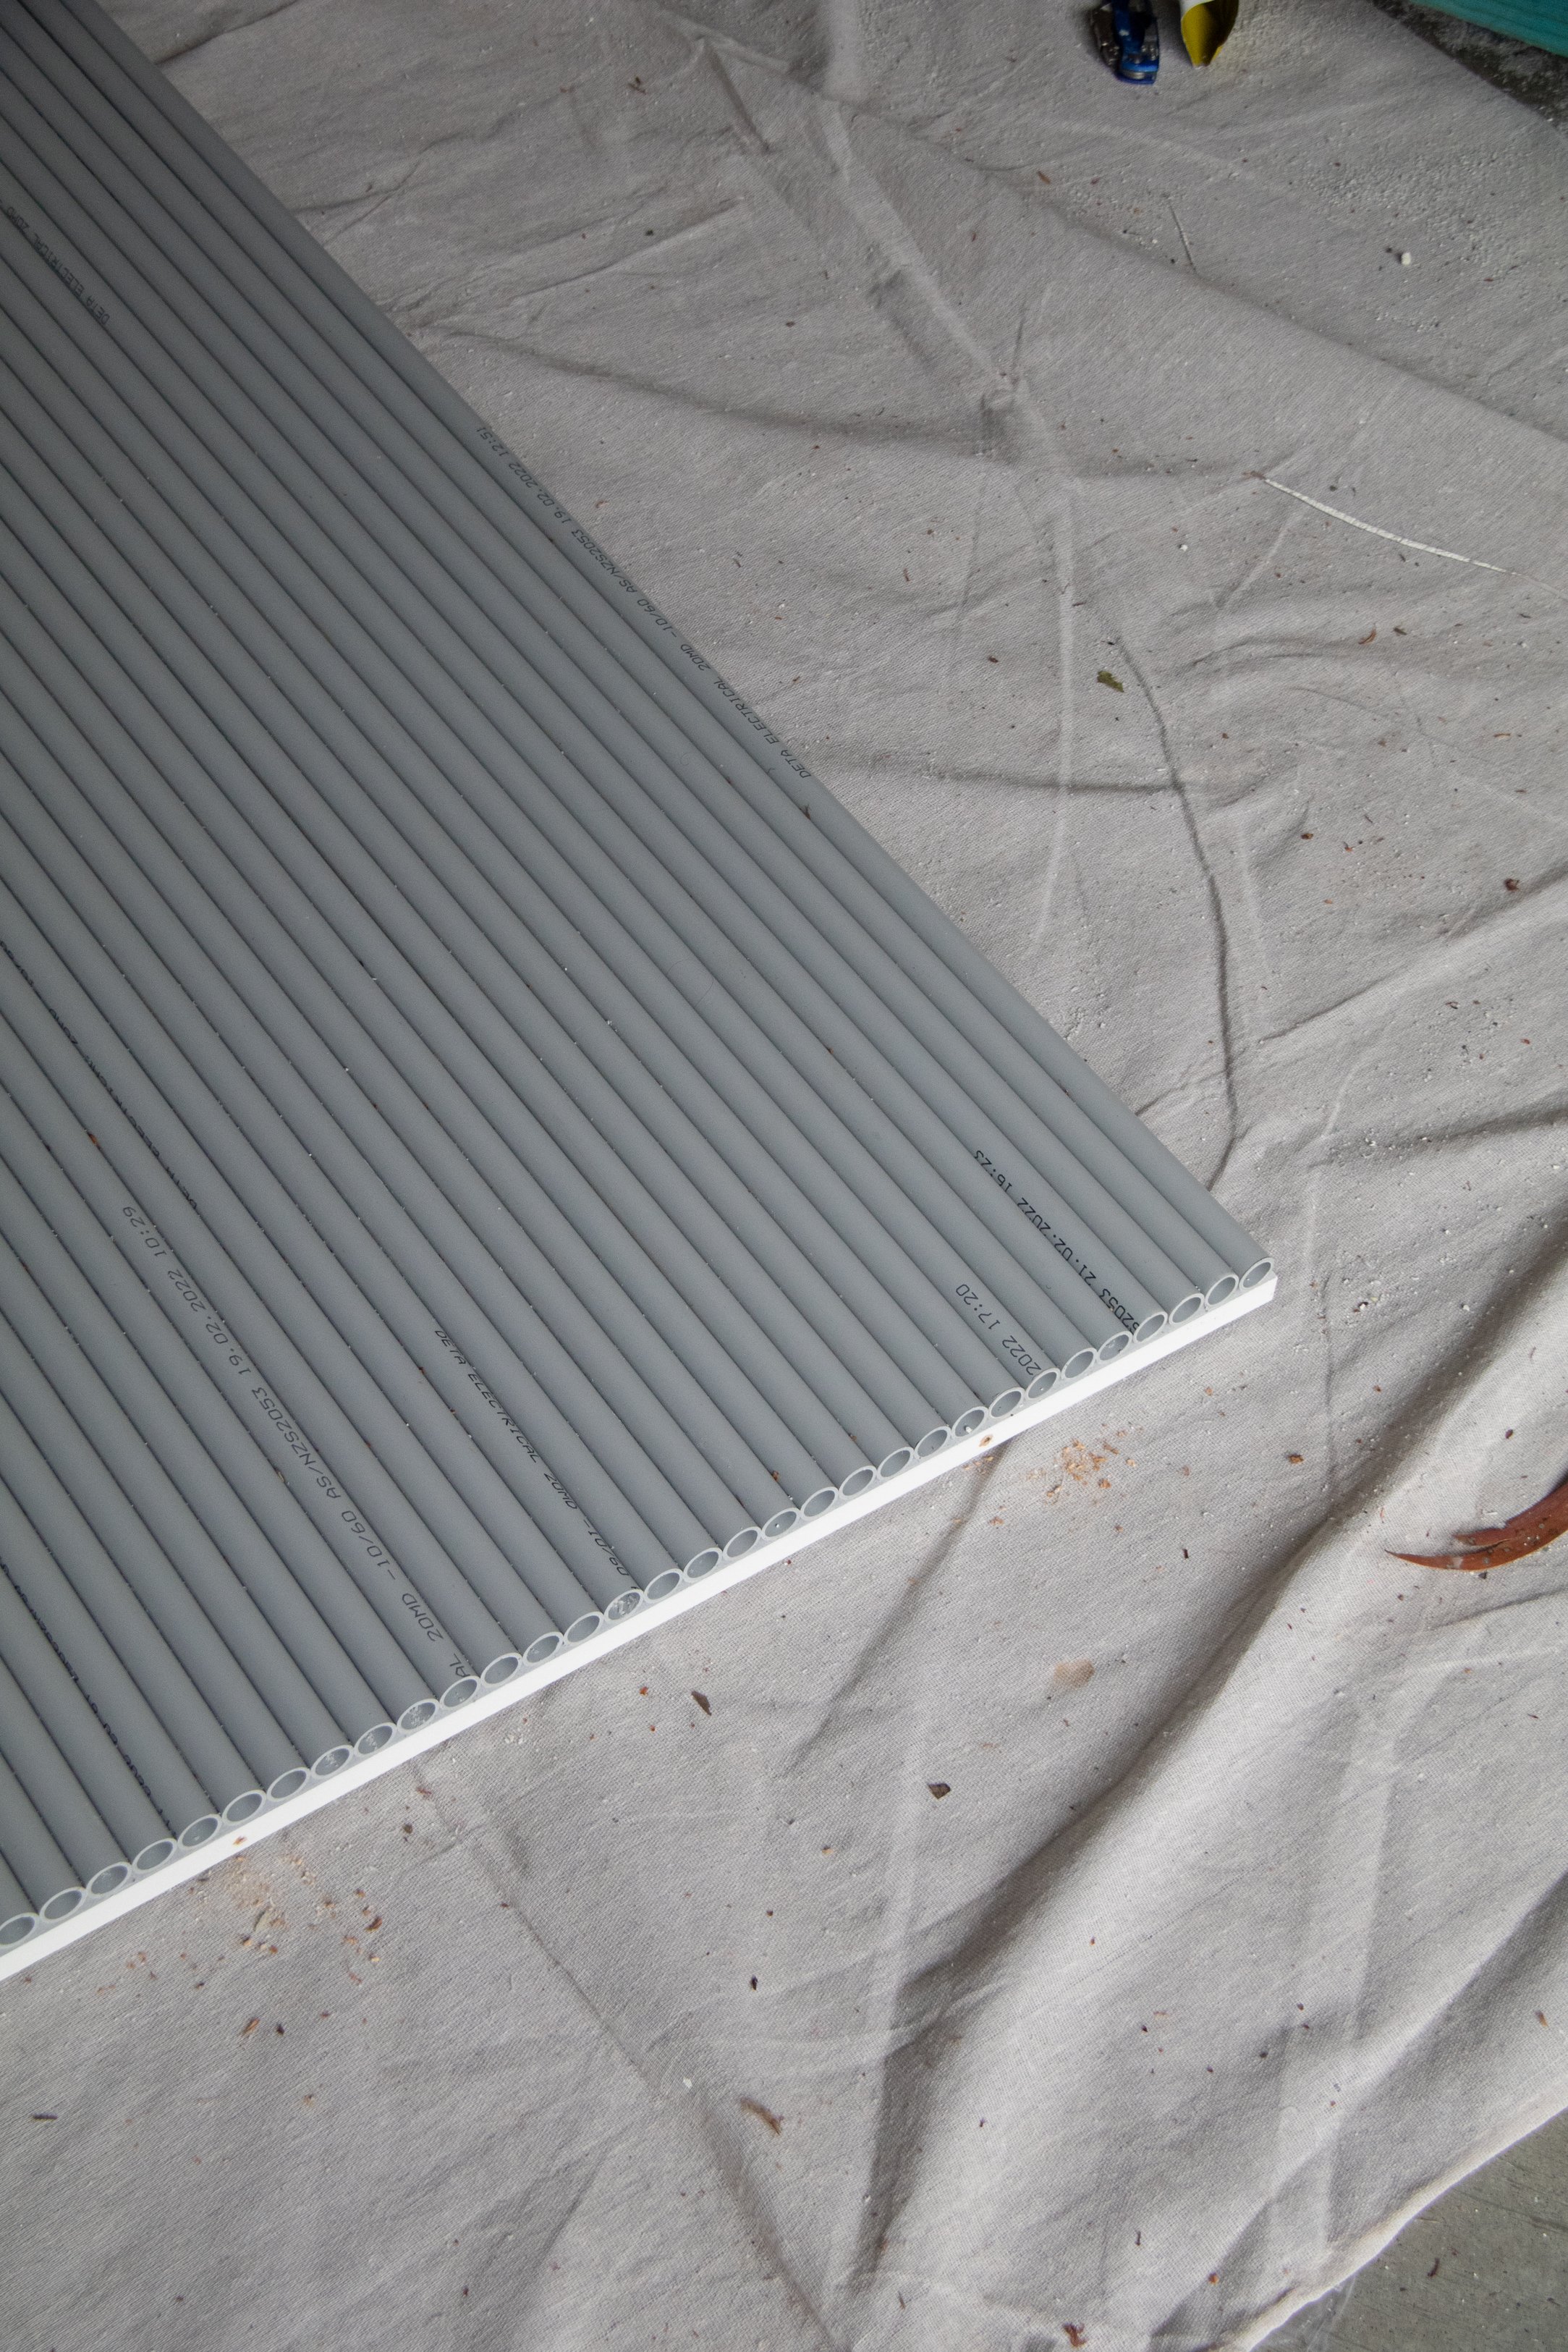
Cut the PVC pipes to size using a mitre saw. Screw a piece of timber at the bottom of the MDF, as this will ensure the pipes line up evenly at the base of the door.
Apply mirror mounting tape onto one side of the primed MDF horizontally, as shown in the photos below. Apply Liquid Nails in between and starting from one side and working your way over, position the pipes into place. Set aside to dry overnight.
DAY TWO - 5 to 7 hours (plus paint drying time)
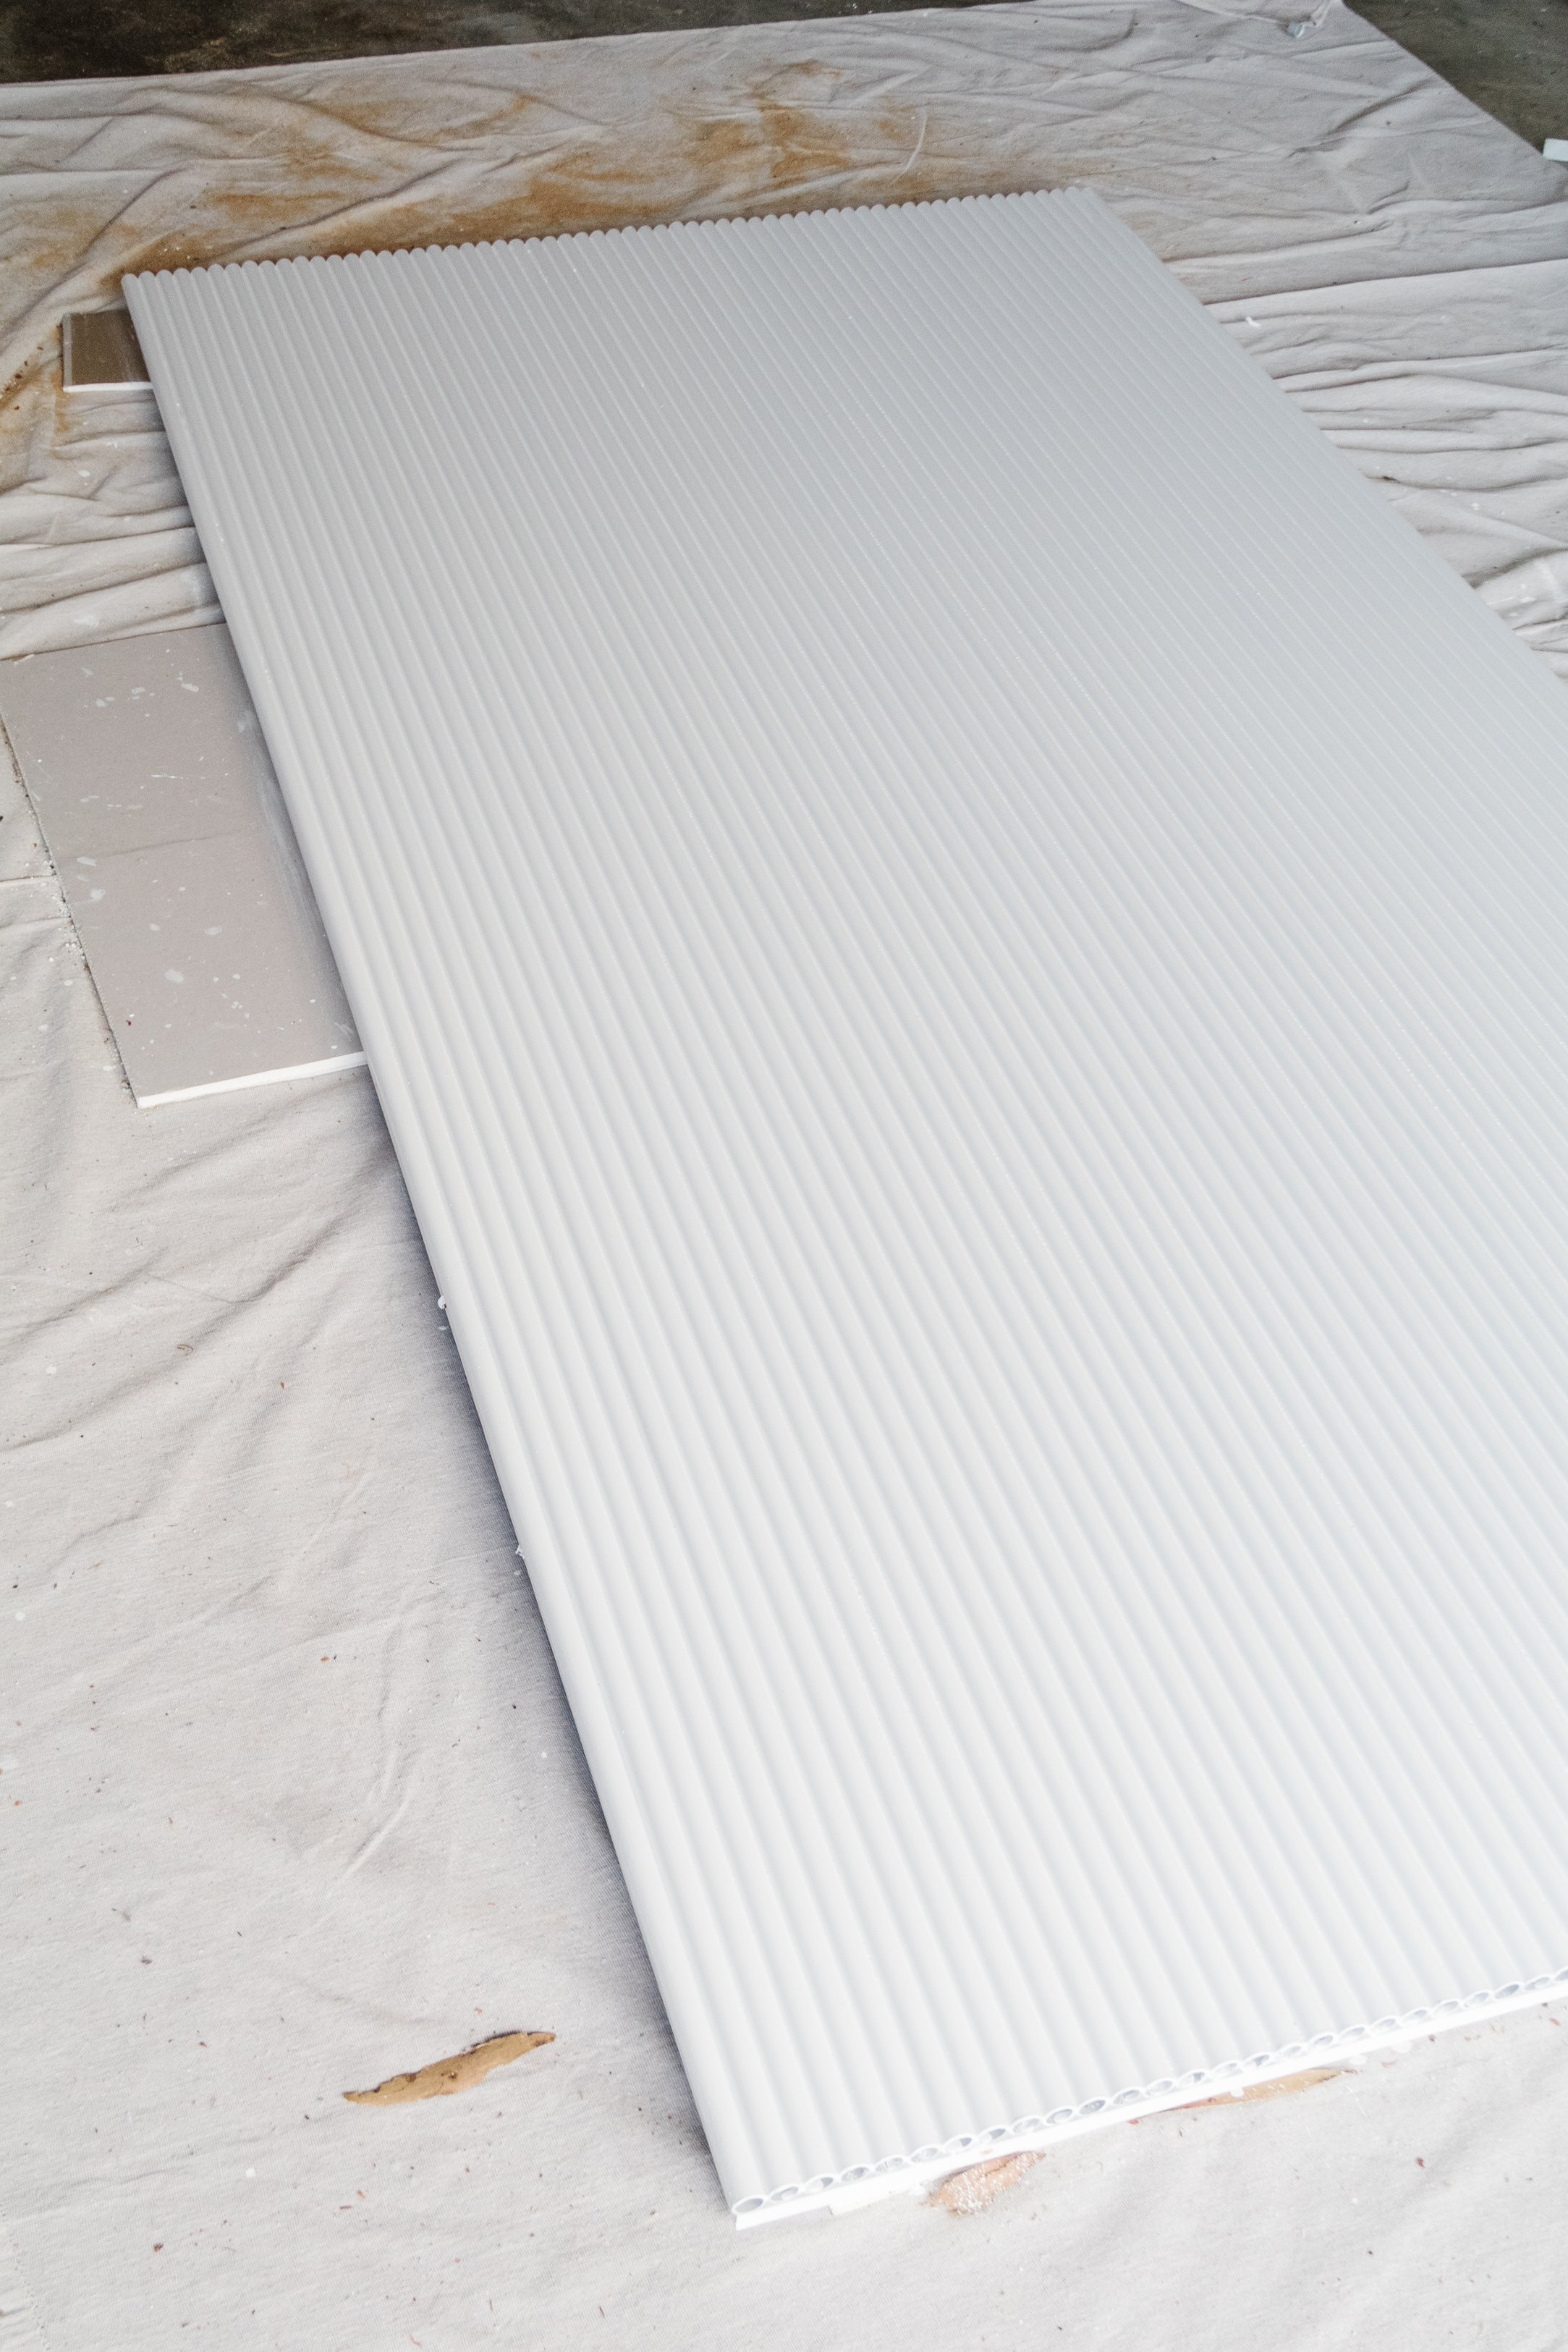
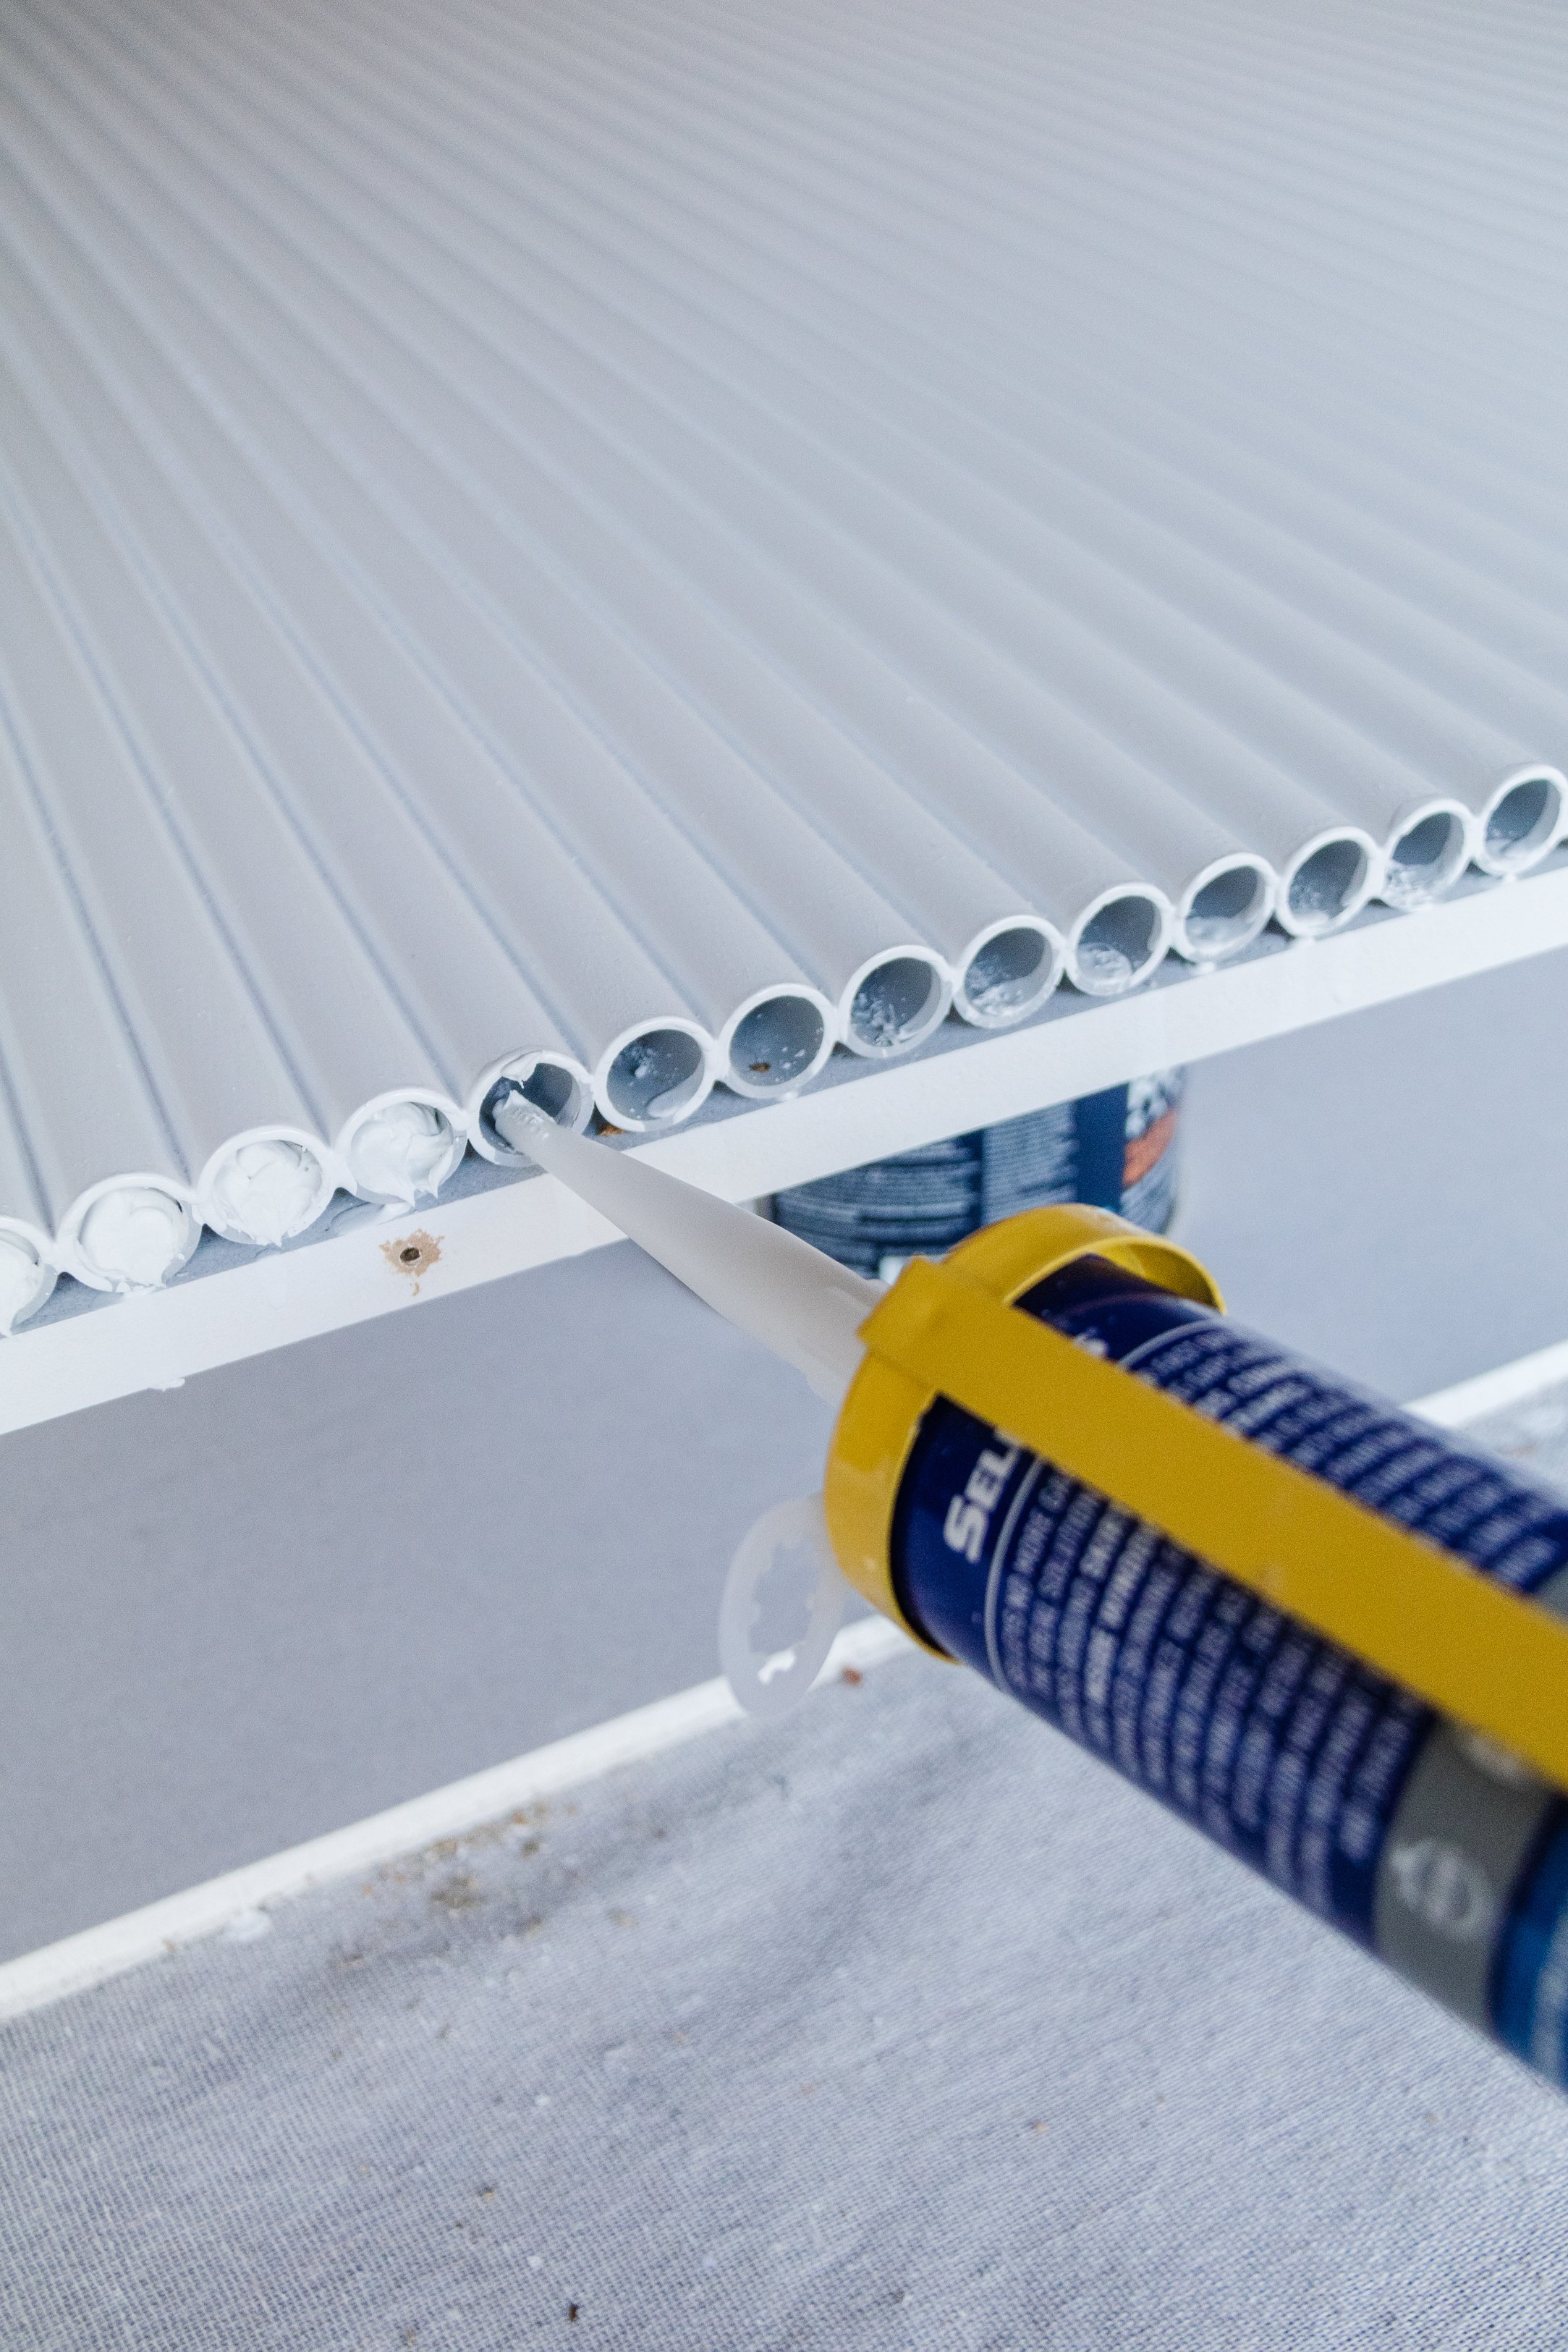
Using a paint brush, apply one coat of primer. It’ll dry pretty quickly so apply three to four light coats of Dulux Aquanamel with the same pain brush. If needed, you may need to fill in some gaps between the pipes using Selley’s No More Gaps. Fill in the gaps at either end of each pipe with more No More Gaps.
Stand the door up and lean it against a wall. Paint 3 light coats of Dulux Aquanamel with the roller, frame and extension pole. The paint will dry quickly and remember to sand this side lightly in between coats so the finish is super smooth!
install the barn door track using the instructions provided. Then install the DIY Fluted Door as per the barn door track kit instructions.
And then your DIY Fluted Door is done!

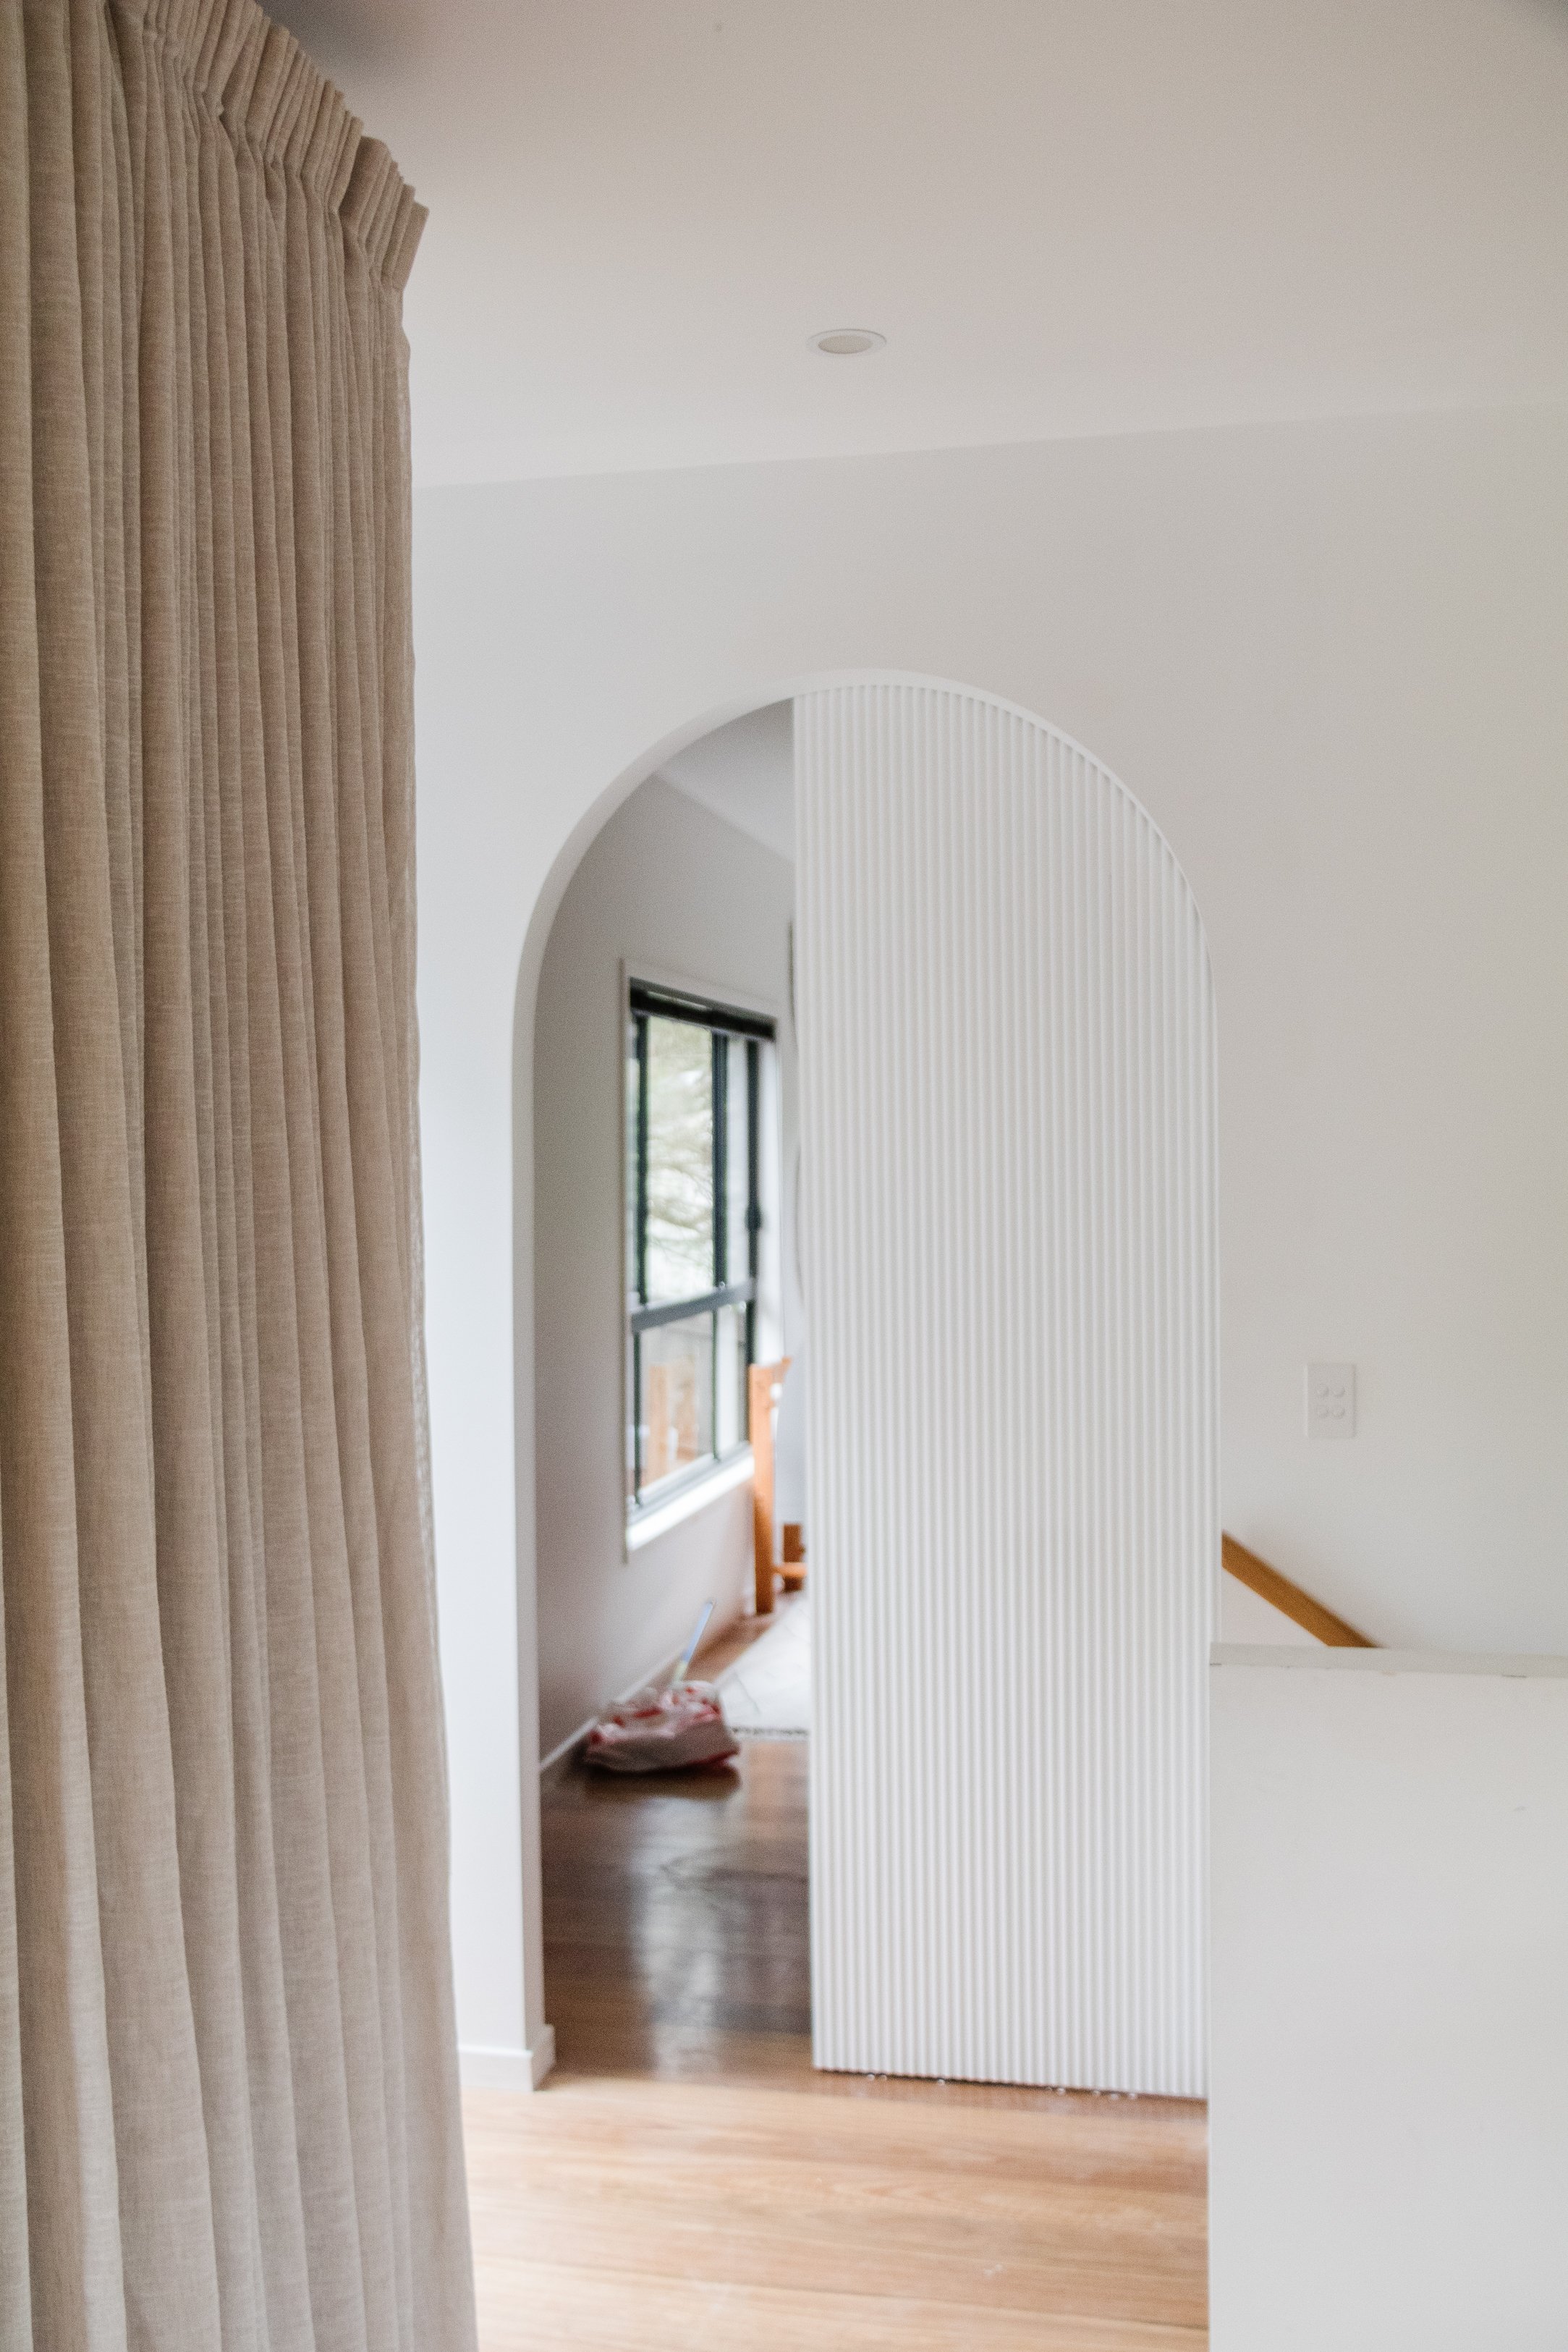
Ta daaaa! Divide areas in your home with a DIY Arched Doorway, it’s life changing.
I have been dreaming about having a fluted door in our home and I couldn’t be happier - it looks incredible! I knew I could create a fluted door that was both easy to make and affordable, and that’s all thanks to the inexpensive PVC pipes from Bunnings! This project was a total labour of love and every time I walk through our Arched Doorway and open/close the beautiful Fluted Door, I can’t help but smile with joy and satisfaction and think “I made that''. And it’s the best feeling in the world!
This project is in collaboration with Bunnings.