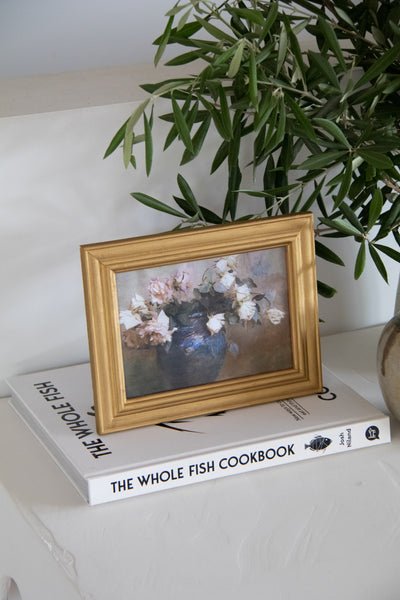
How To Make A Gilded Frame - 2 Ways!
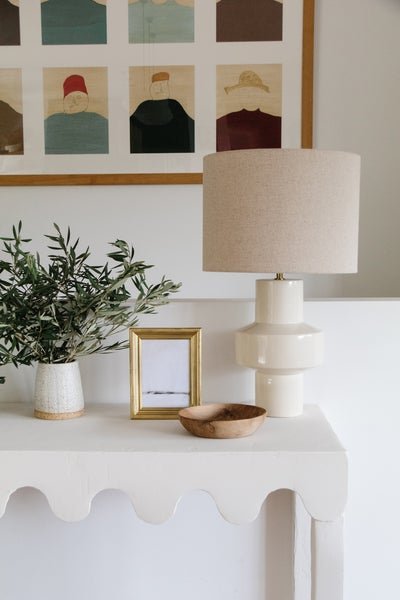
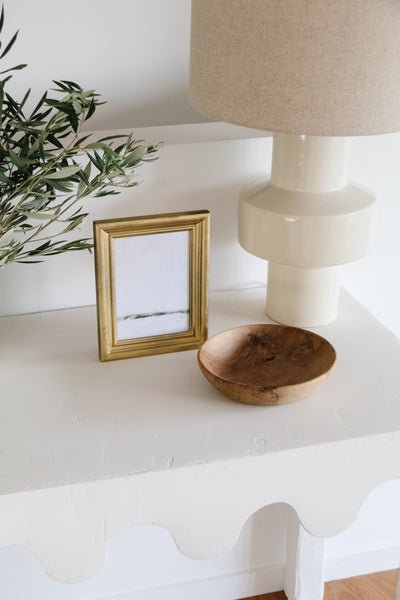
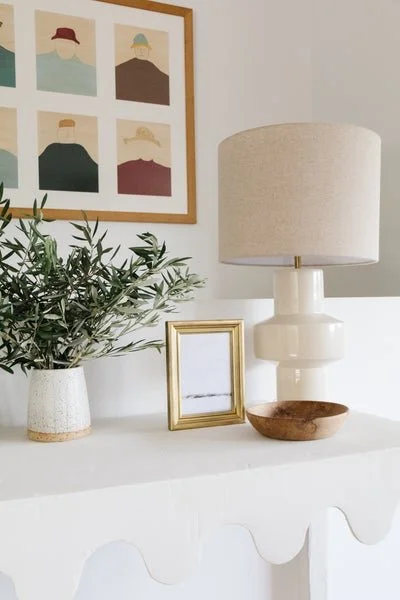
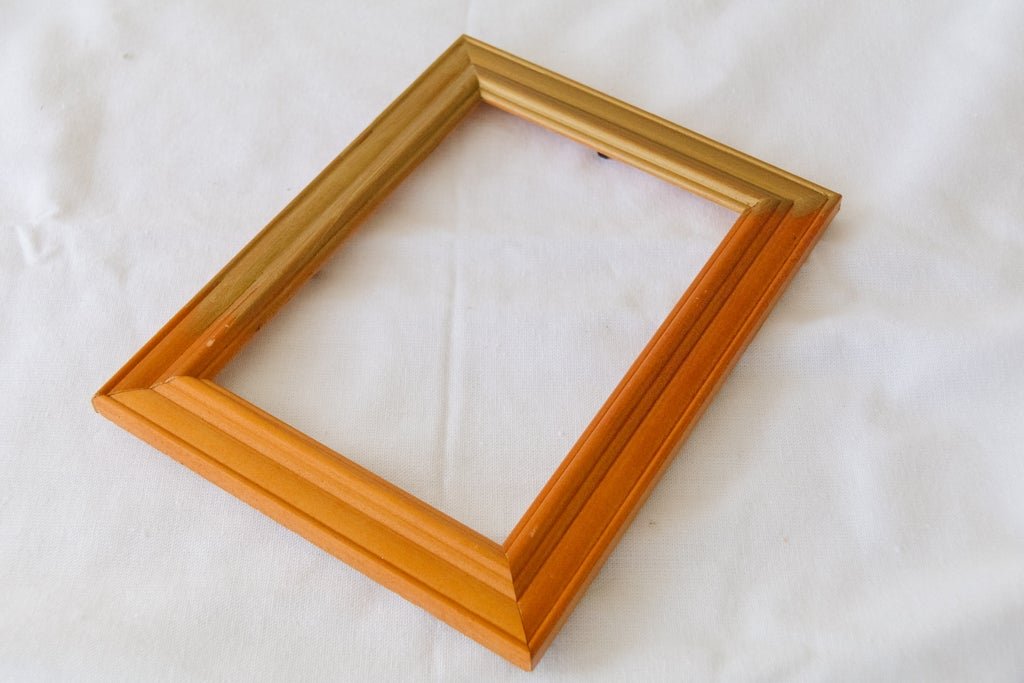
A few weeks ago I went on a little thrifting adventure and ended up picking up a beautiful gilded framed mirror for $50. I don't usually spend that much on one item when I got thrifting (unless it's furniture) but there was just something super special about it and it's now taking centre stage in our kitchen. I love how it adds texture and interest into a space you wouldn't ordinarily find a gilded frame, or a mirror for that matter. And it got me thinking. I had also picked up some timber picture frames for $2 each and I wondered if and how I could use them to make a gilded frame. I did a lot of research and found a product that is really popular to create this technique, but then I had a random idea today and decided to see if it would work. And it did! I am excited to report that they both turned out beautifully, and this is a quick DIY that brings a tonne of joy and satisfaction. Best of all? Both techniques work on timber and metal. Yay! Read on to learn how to make a gilded frame.


Materials
Picture frames
Rub n Buff in gold leaf or antique gold from Spotlight
Black chalkboard paint - I used Dulux Black Chalkboard Paint from Bunnings. I had this at home already so if you are looking for a more affordable option, try the spray paint instead.
Paint brush
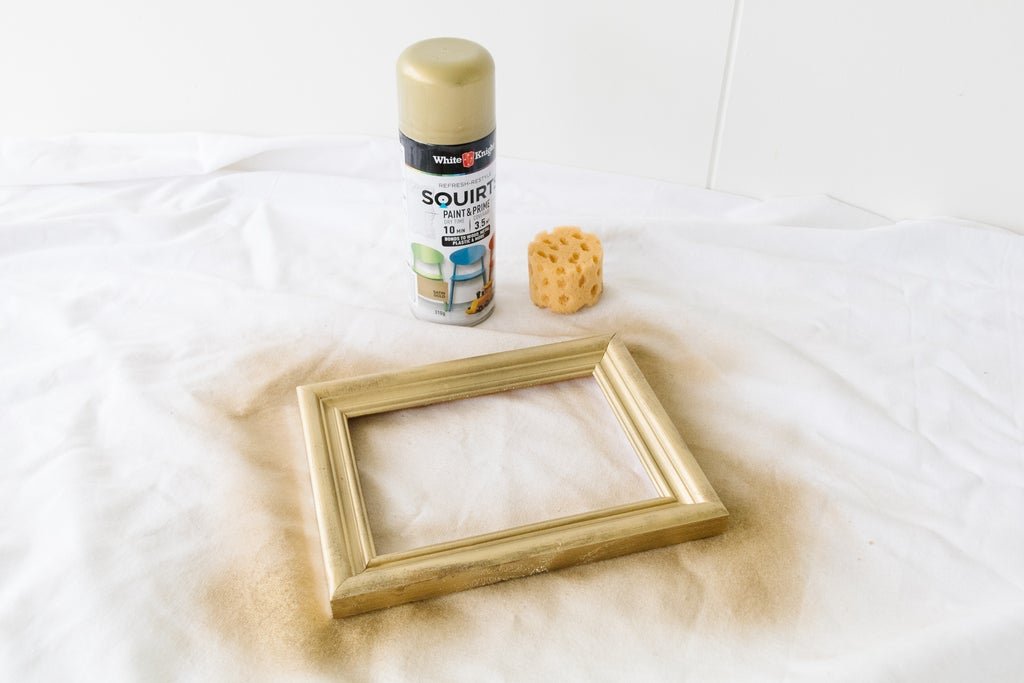
Gold spray paint - I used White Knight "Gold Satin" from Bunnings
Sponge

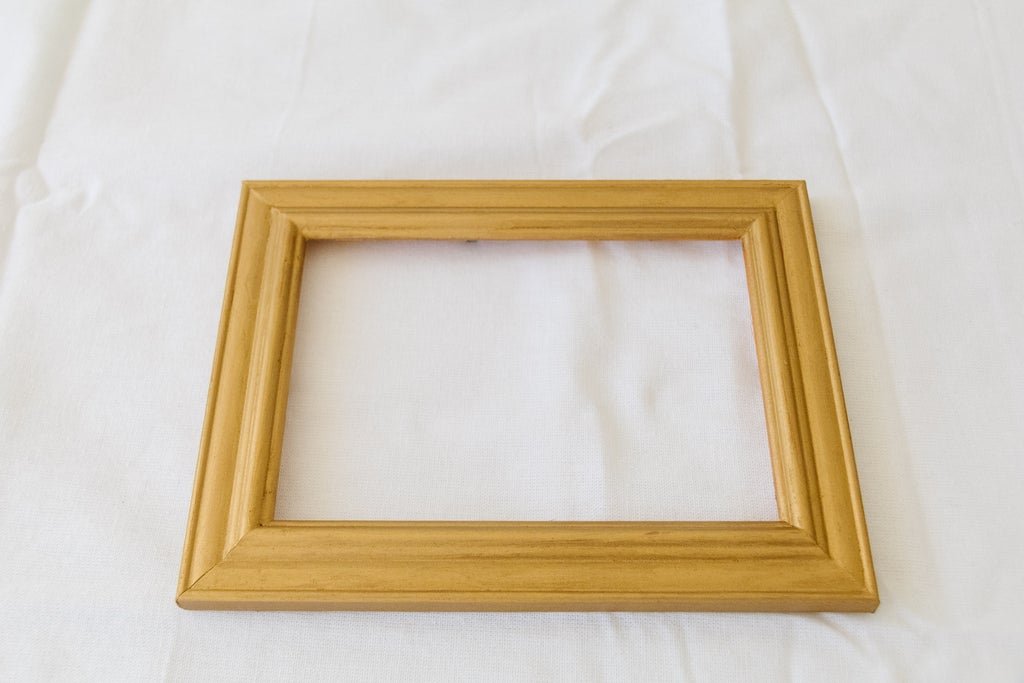
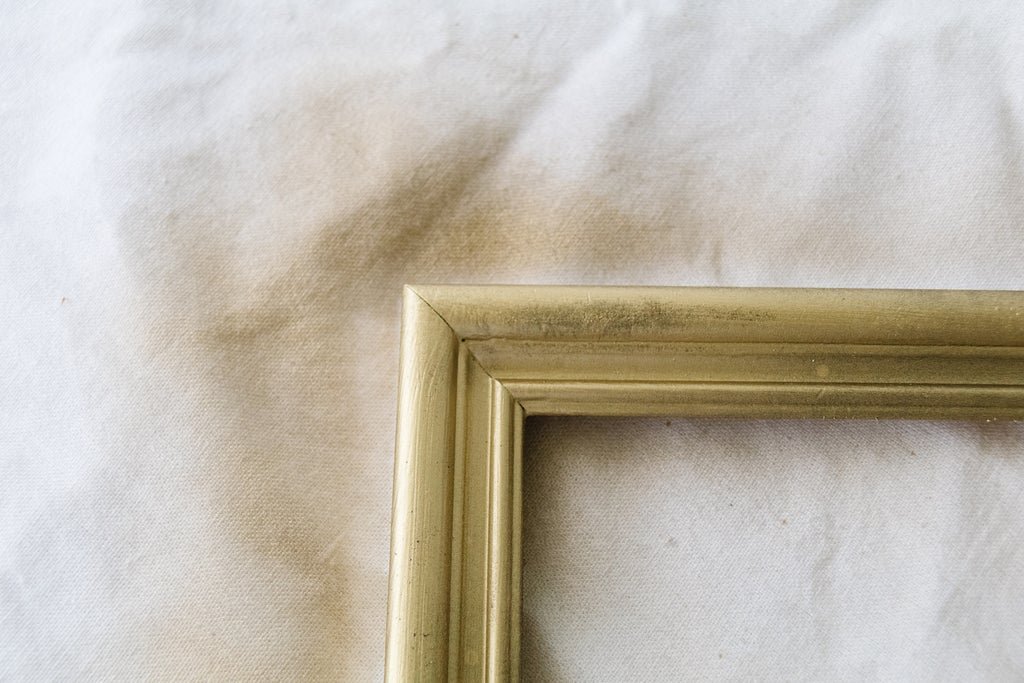
How To: Option #1 Rub n Buff
Remove the frame from the back and glass. Apply a small amount of Rub n Buff onto your fingertip and rub it onto the timber picture frame. A small amount goes a long way and simply wash your hands when you're done with warm soapy water. If you would like to add more Rub n Buff, wait for the first layer to dry first. If you add more while it's still wet, it will take off the initial layer and may affect the final finish.

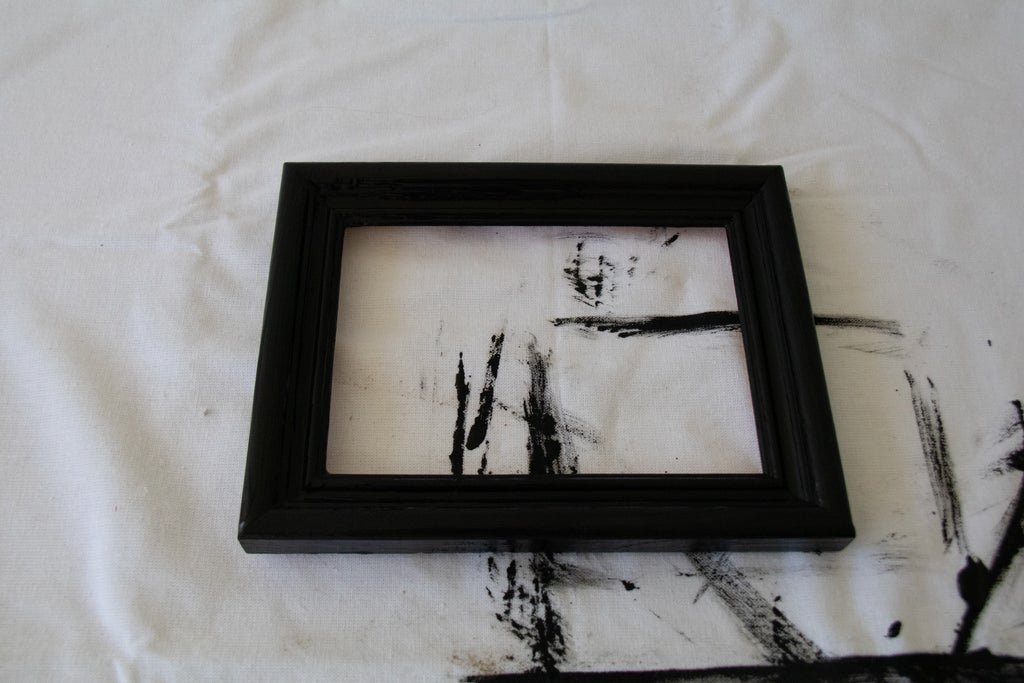
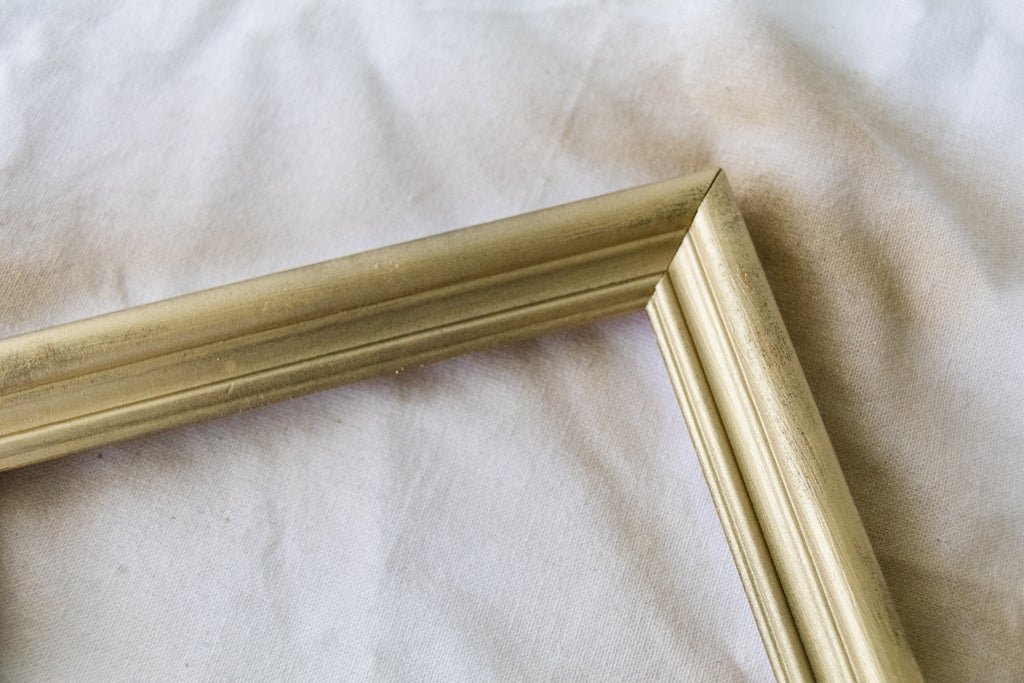
How To: Option #2 Paint
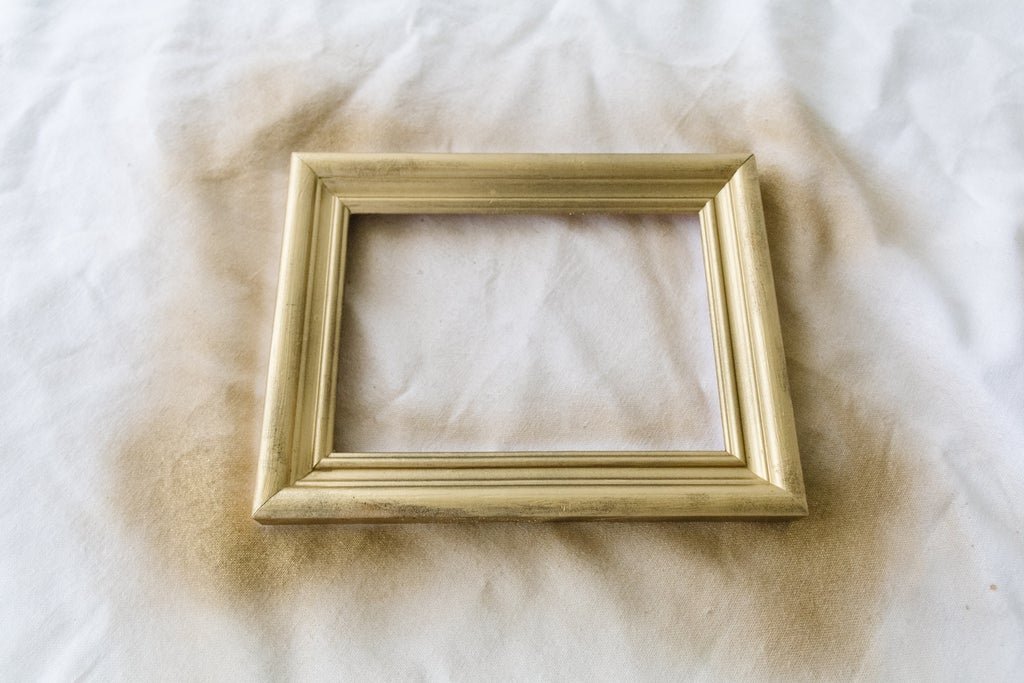
Remove the frame from the back and glass. Paint the frame with the chalkboard paint and leave to dry completely. Lightly spray paint the frame with gold spray paint and straight away dab the sponge in sections on the frame to achieve an antique gilded look.
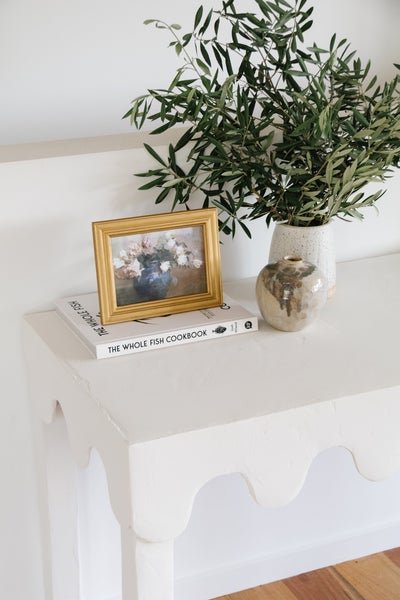
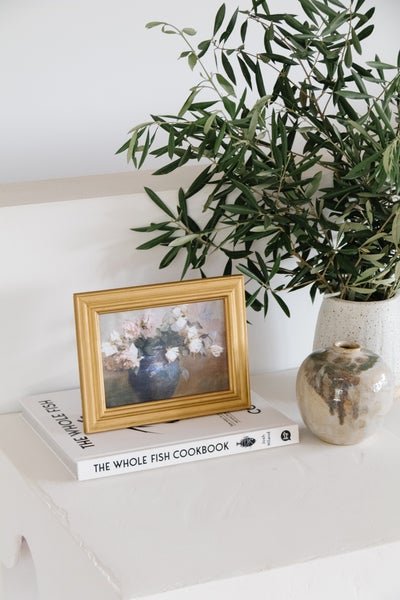
The Verdict...which one was better?
Both! Honestly, I am so impressed with the finish on both options. The Rub n Buff definitely has a polished finished yet the paint offers a antique finish, so it really depends what look you personally prefer! In saying that thought, I think I am leaning towards the Chalkboard paint and gold spray paint as it has a more authentic gilded look. But then I look at the frame I used with Rub n Buff, and then I really like that! I think for this project I'll sit on the fence? Well, that's a first! :)

Option #1 Rub n Buff

Option #2 Paint