How To Make DIY Checker Painted Placemats
The checker print is here to stay in 2022 and I couldn't be happier! Why? Because it's a trend where you can go all in, or simply add a few subtle touches in your home. I'm seeing the checker print everywhere these days - cushions, bedding, ceramics, fashion, interiors, rugs, furniture, - and I have been wanting to incorporate them in my home a little bit more. Before the holidays I bought a set of checker napkins from Bonnie & Neil but sadly I couldn't afford the additional cost of placemats or a tablecloth. I find napkins are a fantastic and inexpensive way to add texture and interest to a table setting, so I am always on the look out for unique prints, colours and fabrics.
However I couldn't stop thinking about checker placemats, so I decided to DIY my own using thick textural linen fabric I didn't end up using for this project. When I shared that I made these checker placemats on Instagram over the weekend I was surprised you guys wanted to see how I made them. And here we are! This is one of those super quick, no fuss DIY projects you can start and finish in a couple of hours, and better yet, there is no sewing involved! These DIY Checker Painted Placemats create a beautiful moment on the table and I am excited to experiment with coasters next, but also multi coloured stripes. More on that later... Read on to find out how you can make your own DIY Checker Painted Placemats.

Materials
Thick linen measured to size and how many placemats you want to make. My placemats measure (L) 48cm x (W) 32cm. Tip: I find a thick textural linen works best as as the finish looks bespoke and high end.
Iron
Drop sheet from Bunnings
Water based acrylic paint - you don't need to worry about fabric paint for this DIY
Painters tape from Bunnings
Scissors
Double sided fabric tape from Spotlight or Lincraft
Method
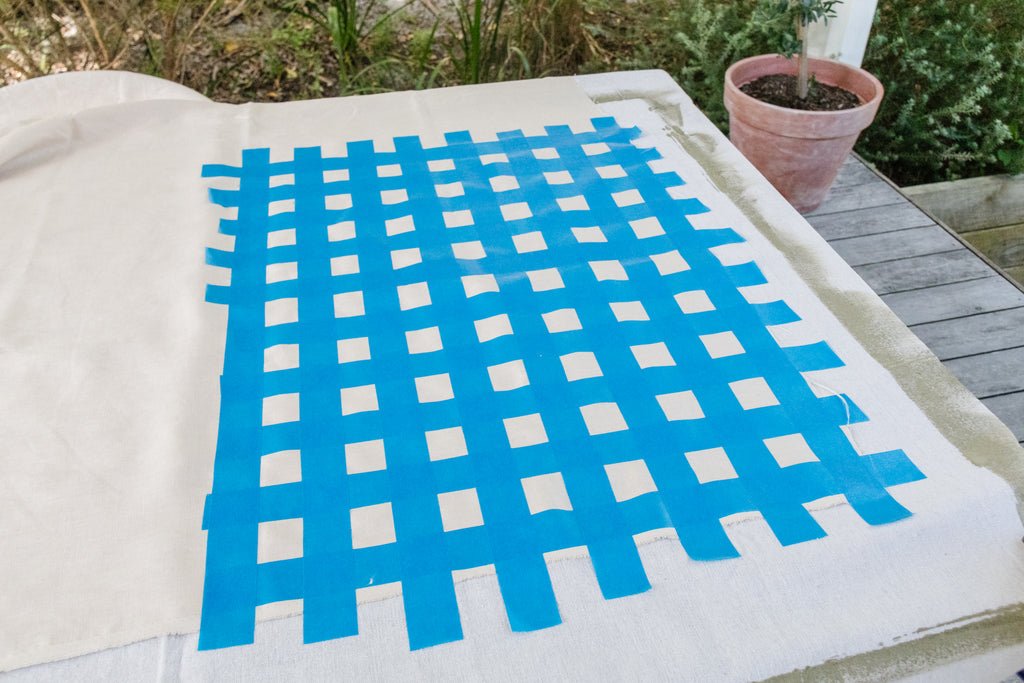
Iron your fabric so there are no creases or folds. Lay a down drop sheet onto your work surface to prevent the table from getting paint on it, and place the fabric on top.
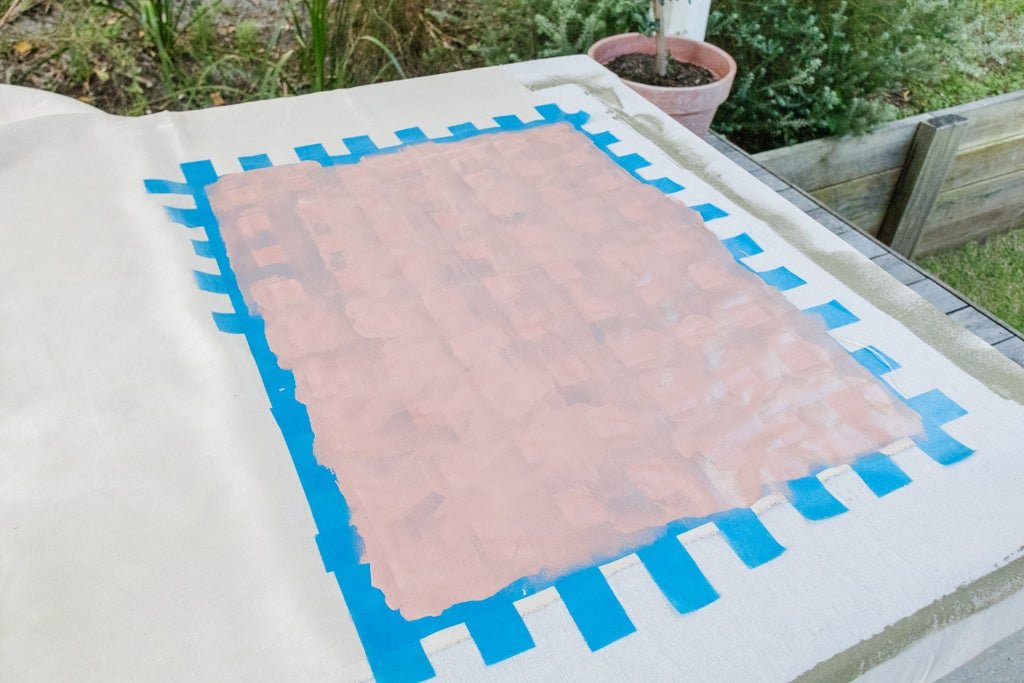
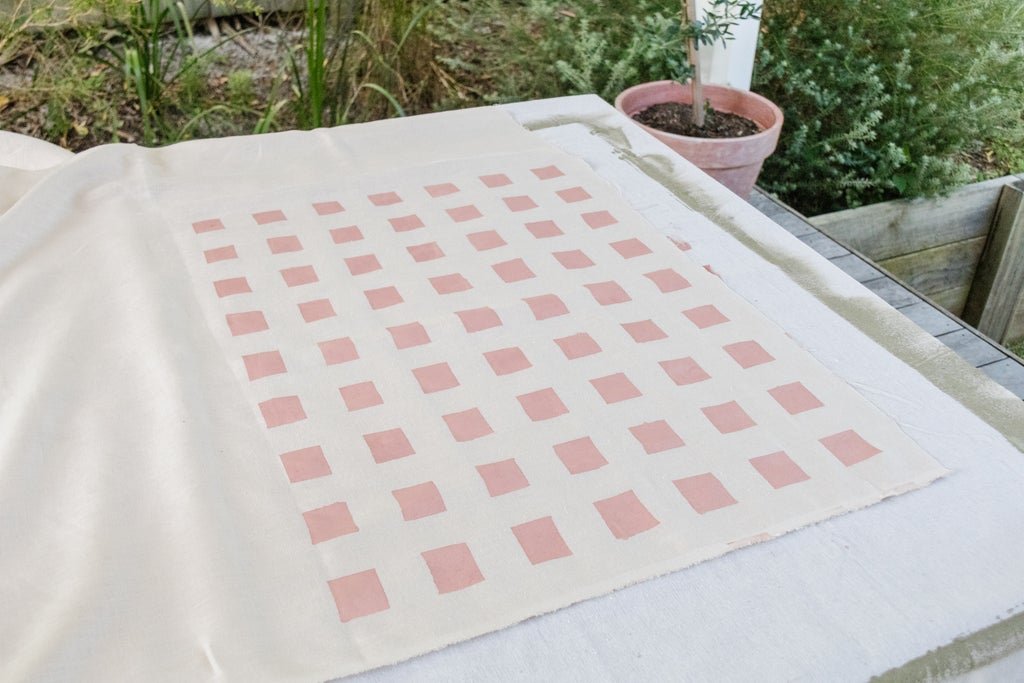
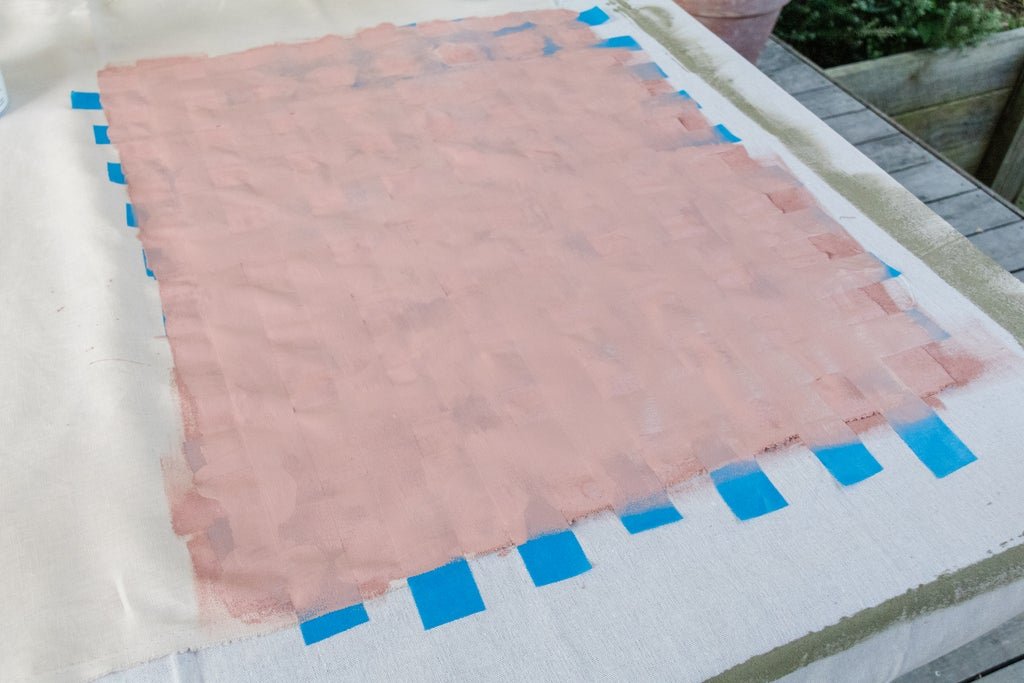
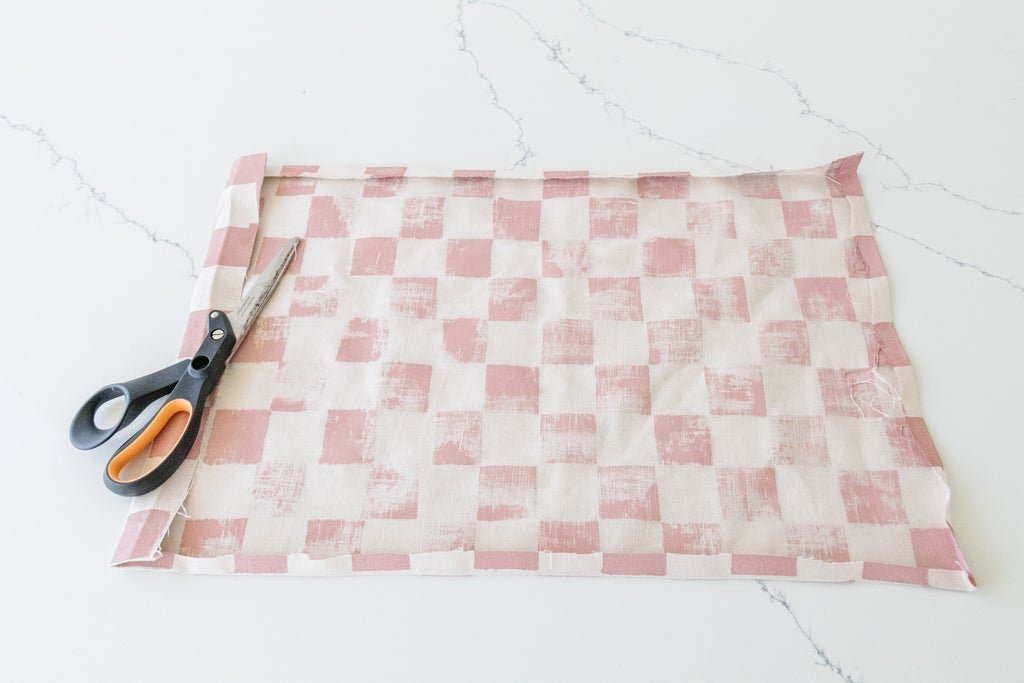
Paint the checker print onto the fabric sing my "Painted Checker Method". When the fabric is dry, cut the fabric into the desired measurements of your placemats using scissors.
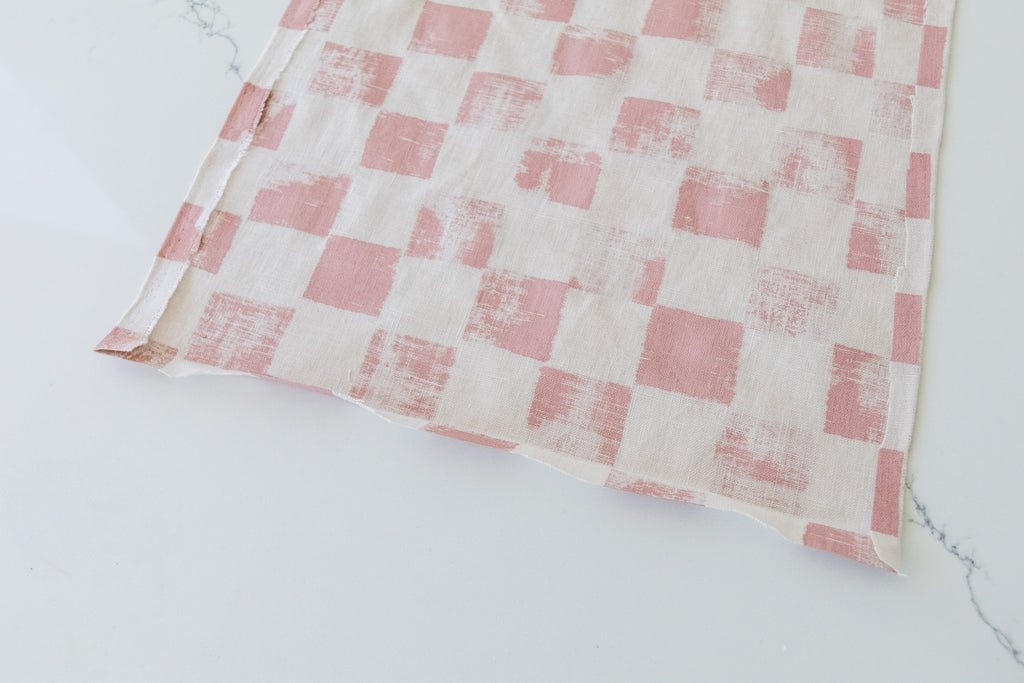
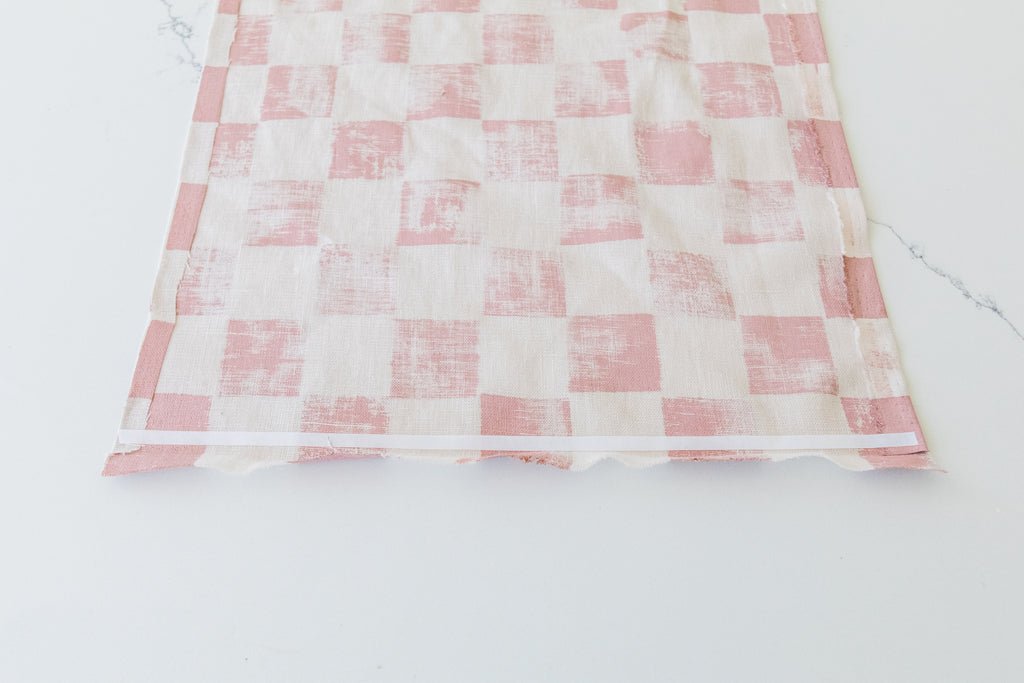
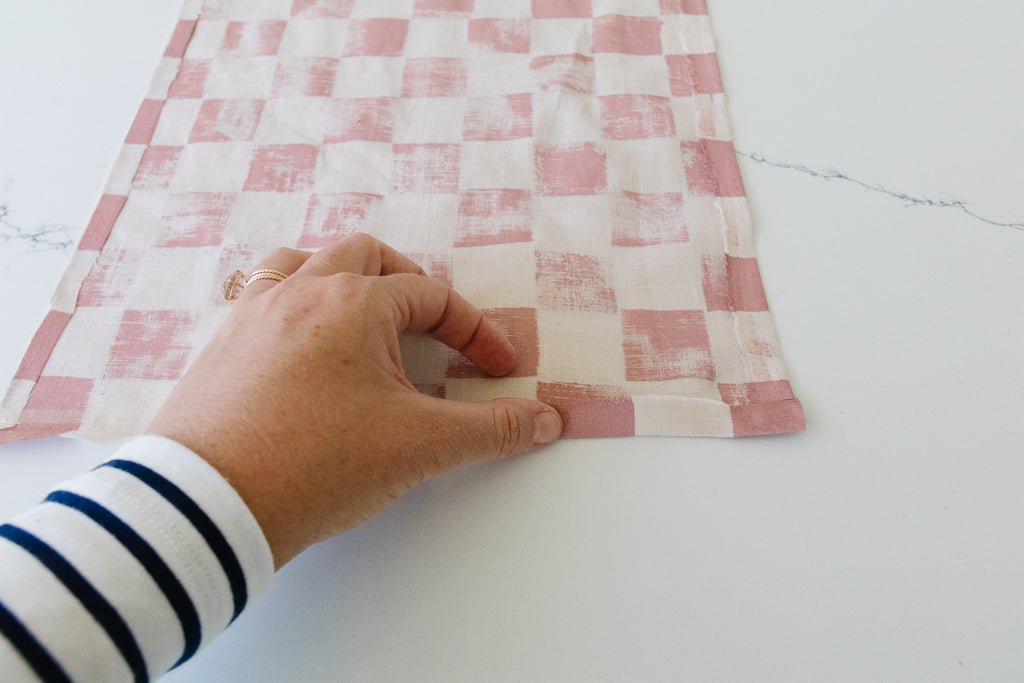
Fold the sides of the placemat underneath the painted fabric by 1cm. Iron the folds to create creases in the fabric.

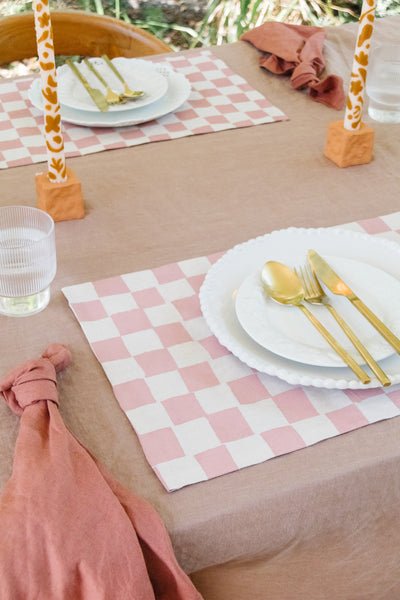
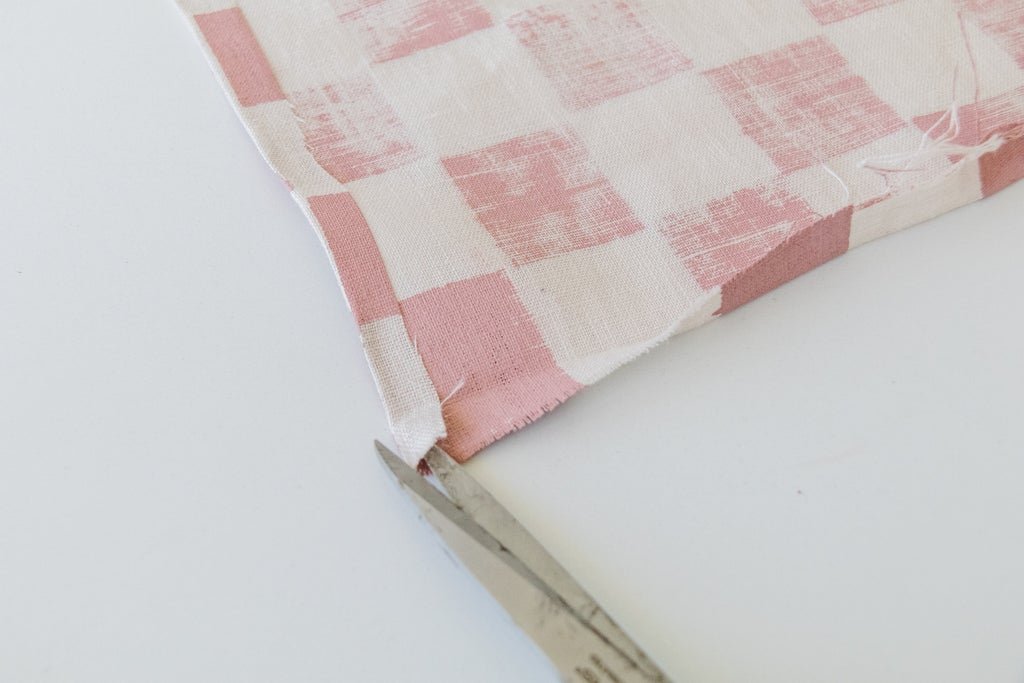
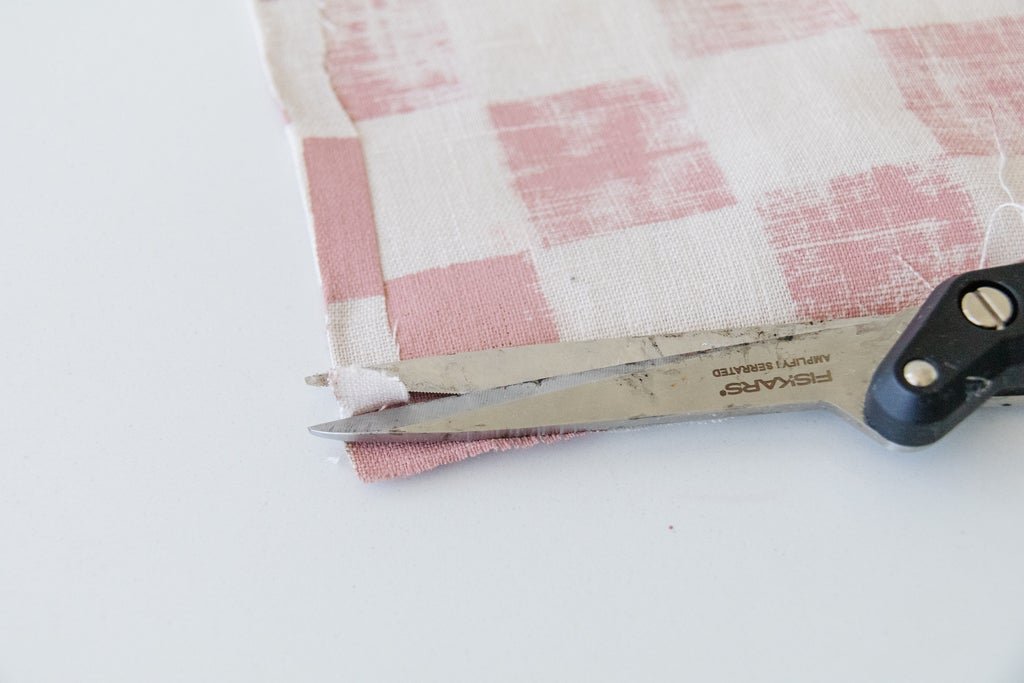
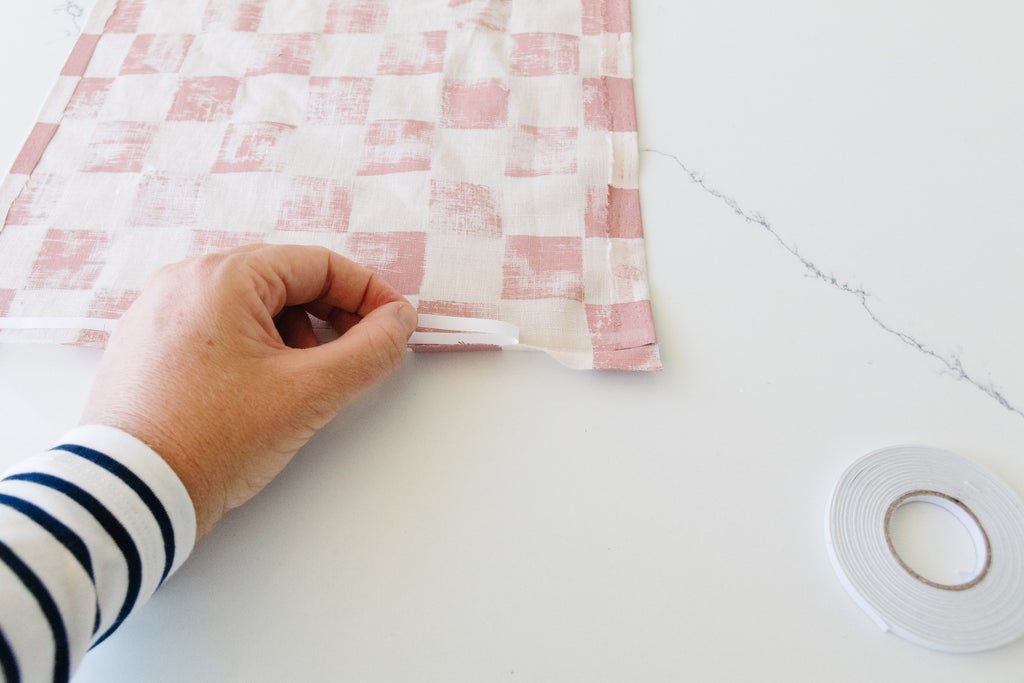
Apply the double sided fabric tape along the longest sides of the placemat. Trim excess fabric away from the corners. Apply the double sided fabric tape along the longest sides of the placemat. And they're finished!

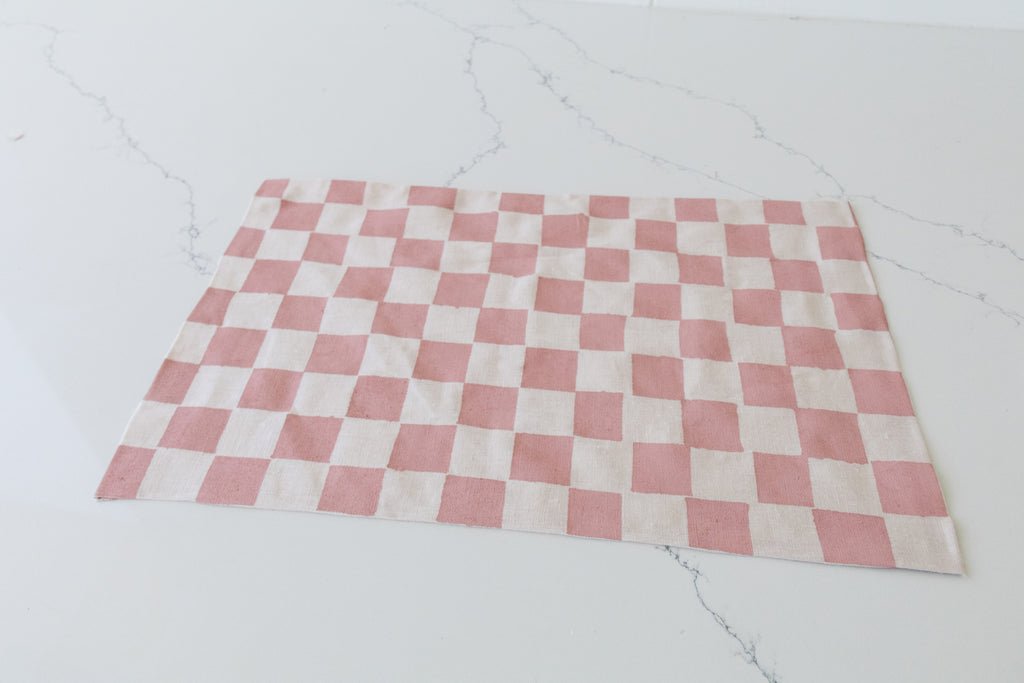
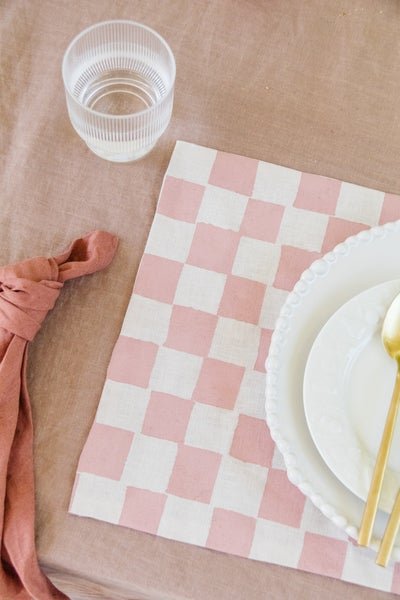
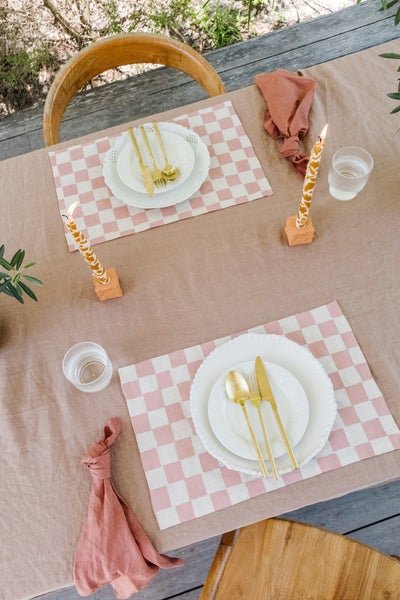
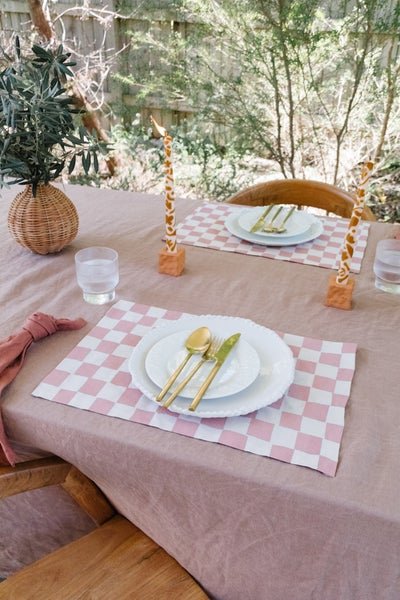
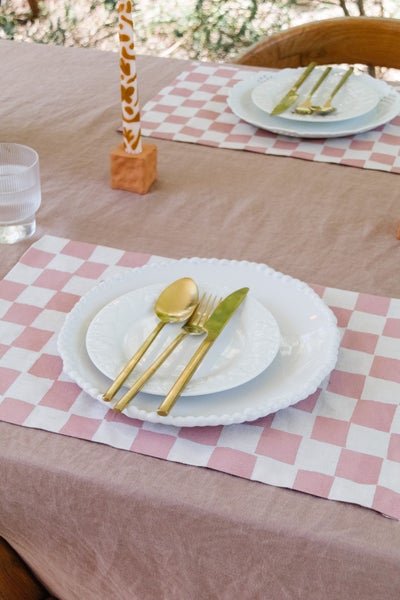
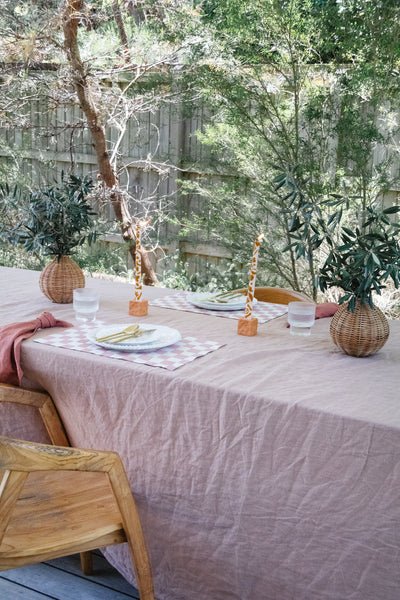
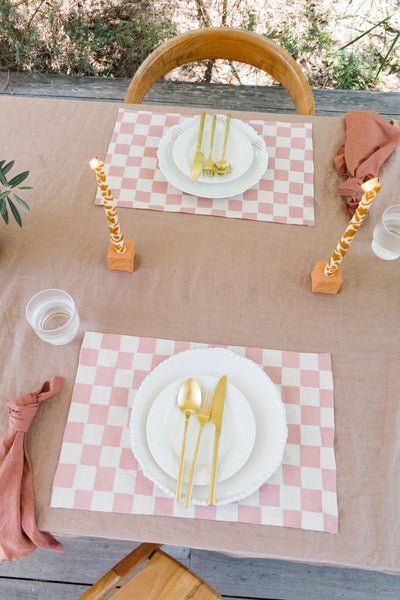
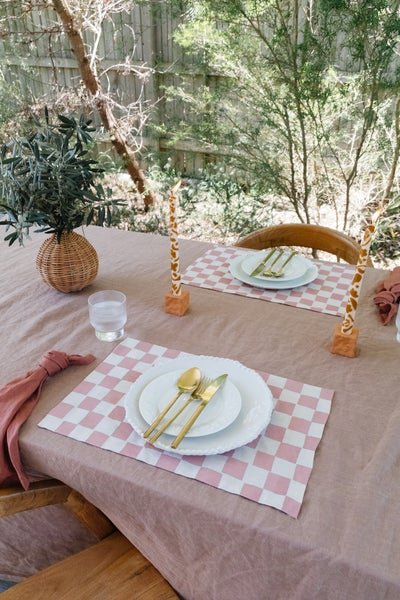
Ta daaaaa! A gorgeous checker moment that will bring all the joy and fun to your tablescape the next time you entertain at home.
A DIY project that only takes a couple of hours and uses materials you most likely already have at home? Yes please! I am so happy with how these turned out. They look absolutely gorgeous on the table and I am excited to keep experimenting more with checkers this year. Also, I am honestly so surprised with how easy they were to make. You can use any colour water based acrylic too! If you want a bit more durability, I recommend sewing the edges but honestly double sided fabric tape is washable and super durable these days, so you can get away using it to fold down the edges and look to replace it in about 10 washes or so.