How I Made My Own Dentil Moulding
Inspired by Zoë Foster Blake’s home, find out how I made my own dentil moulding using leftover materials!
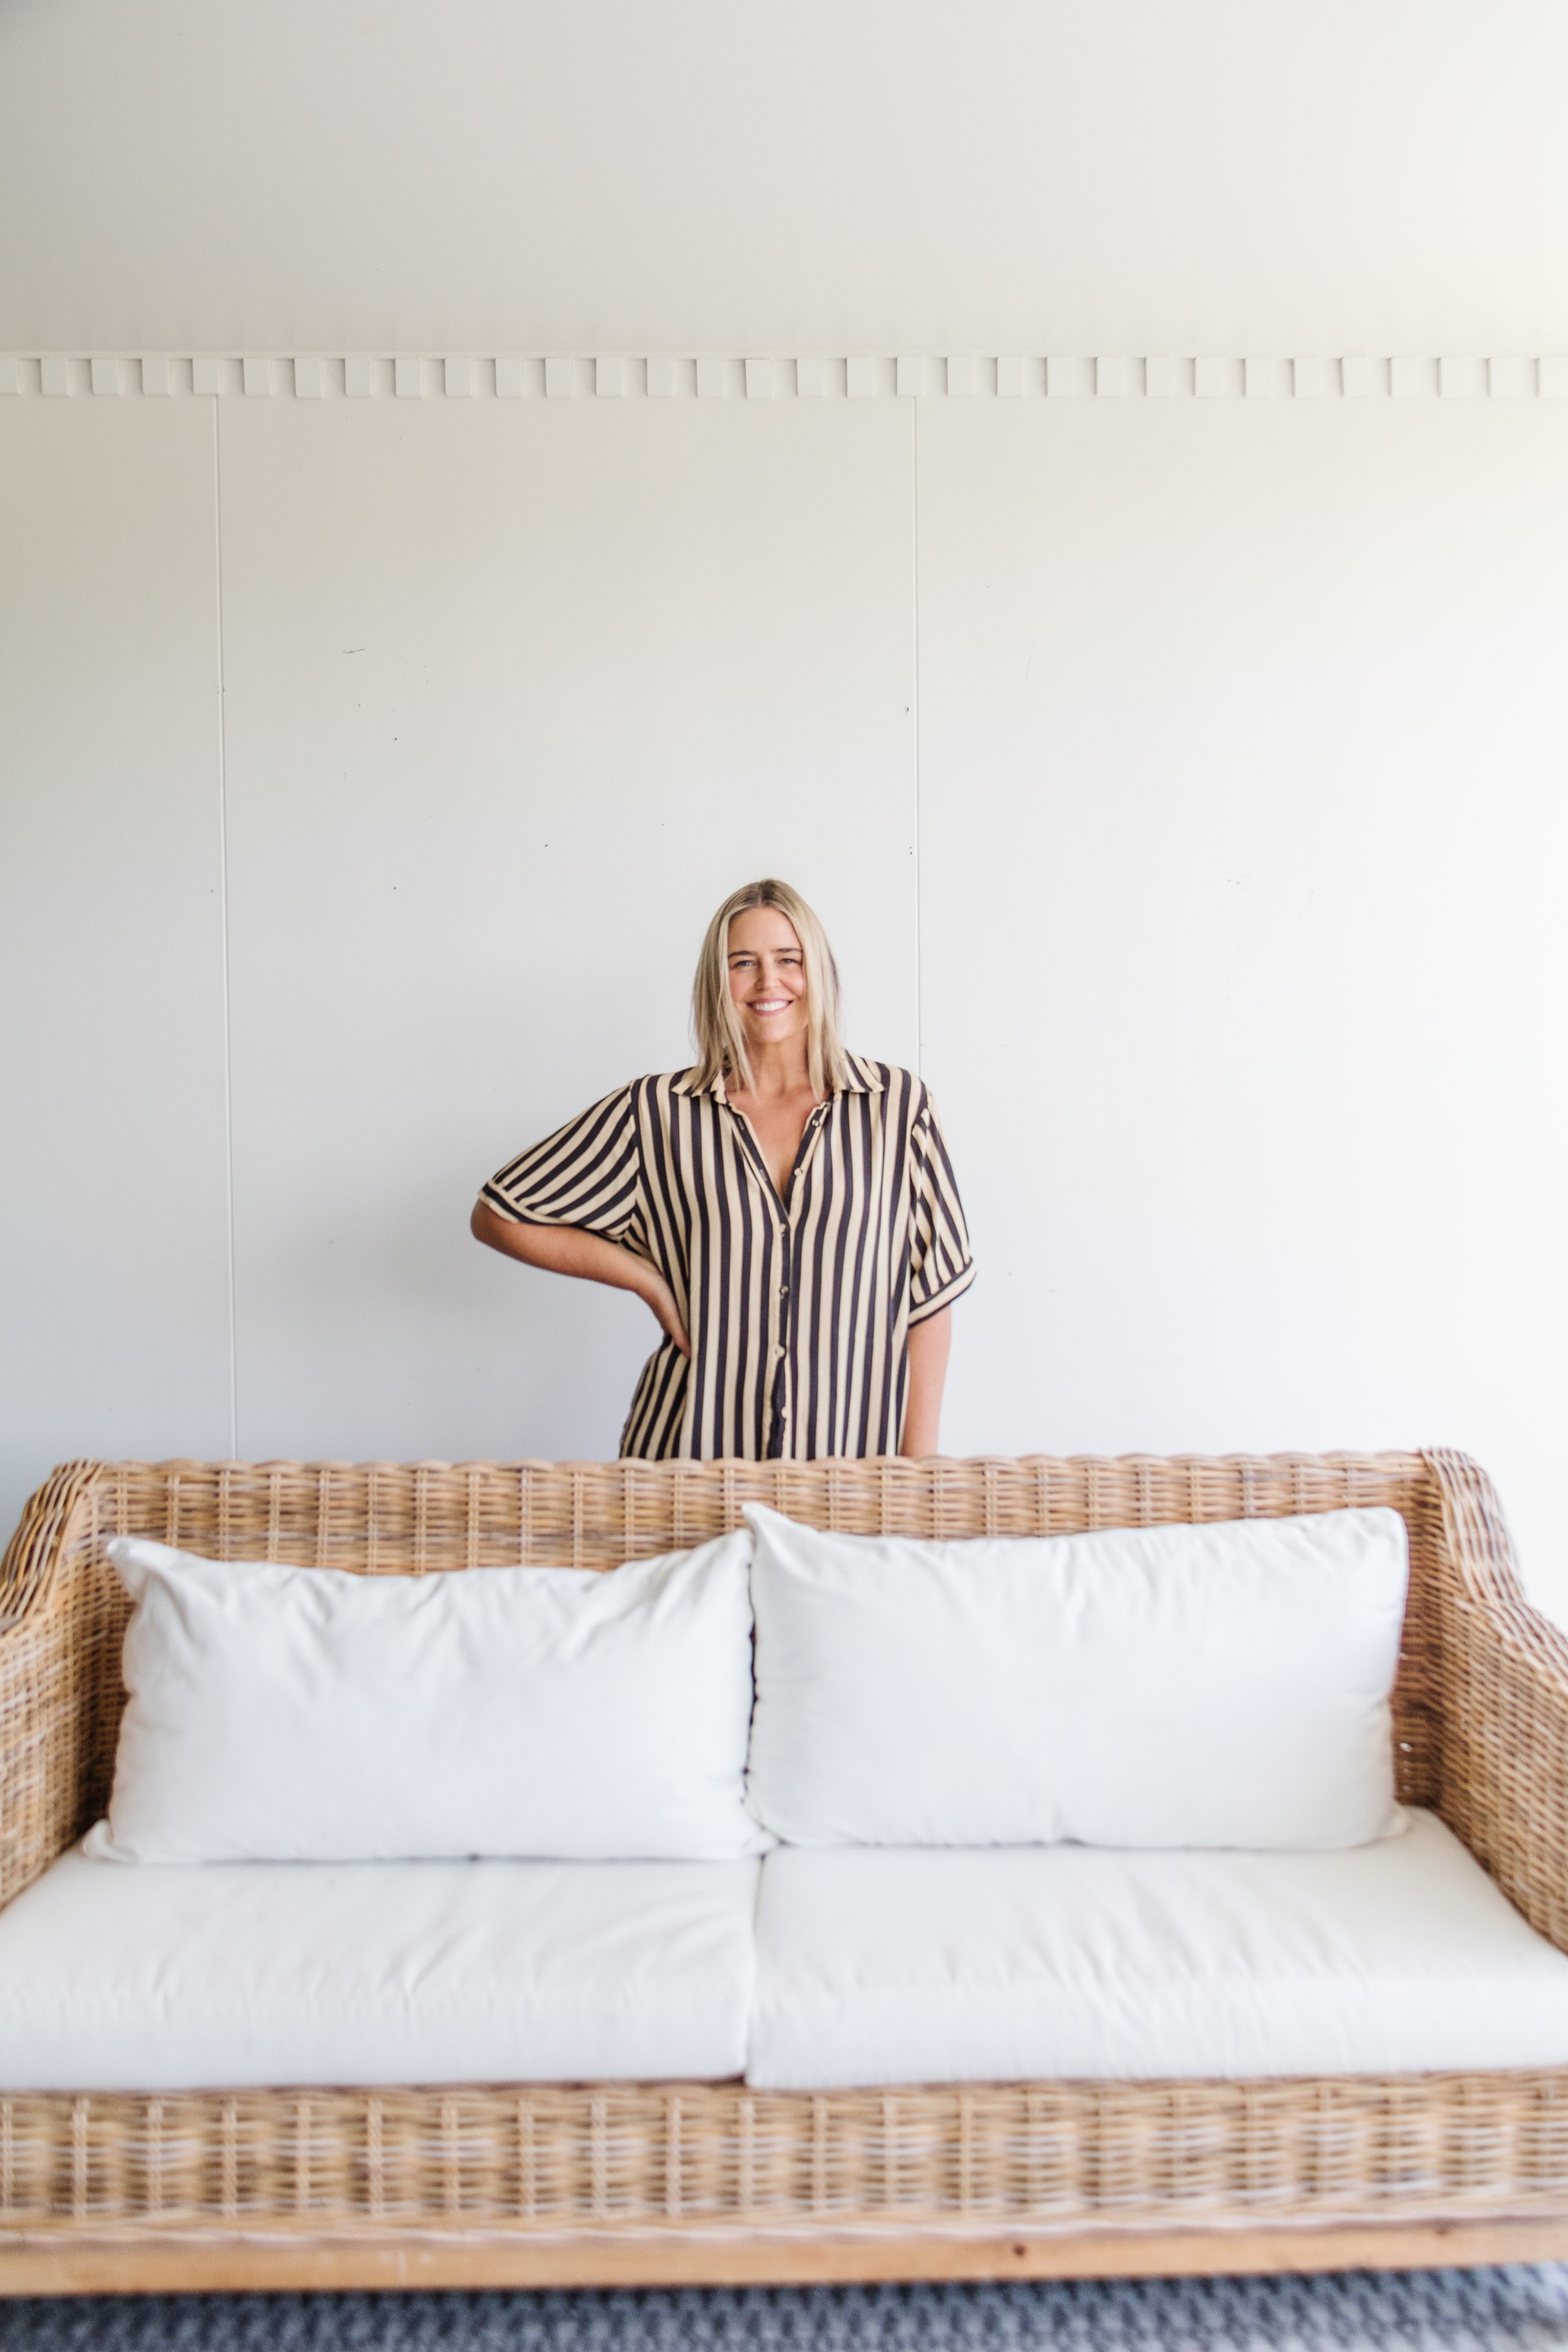
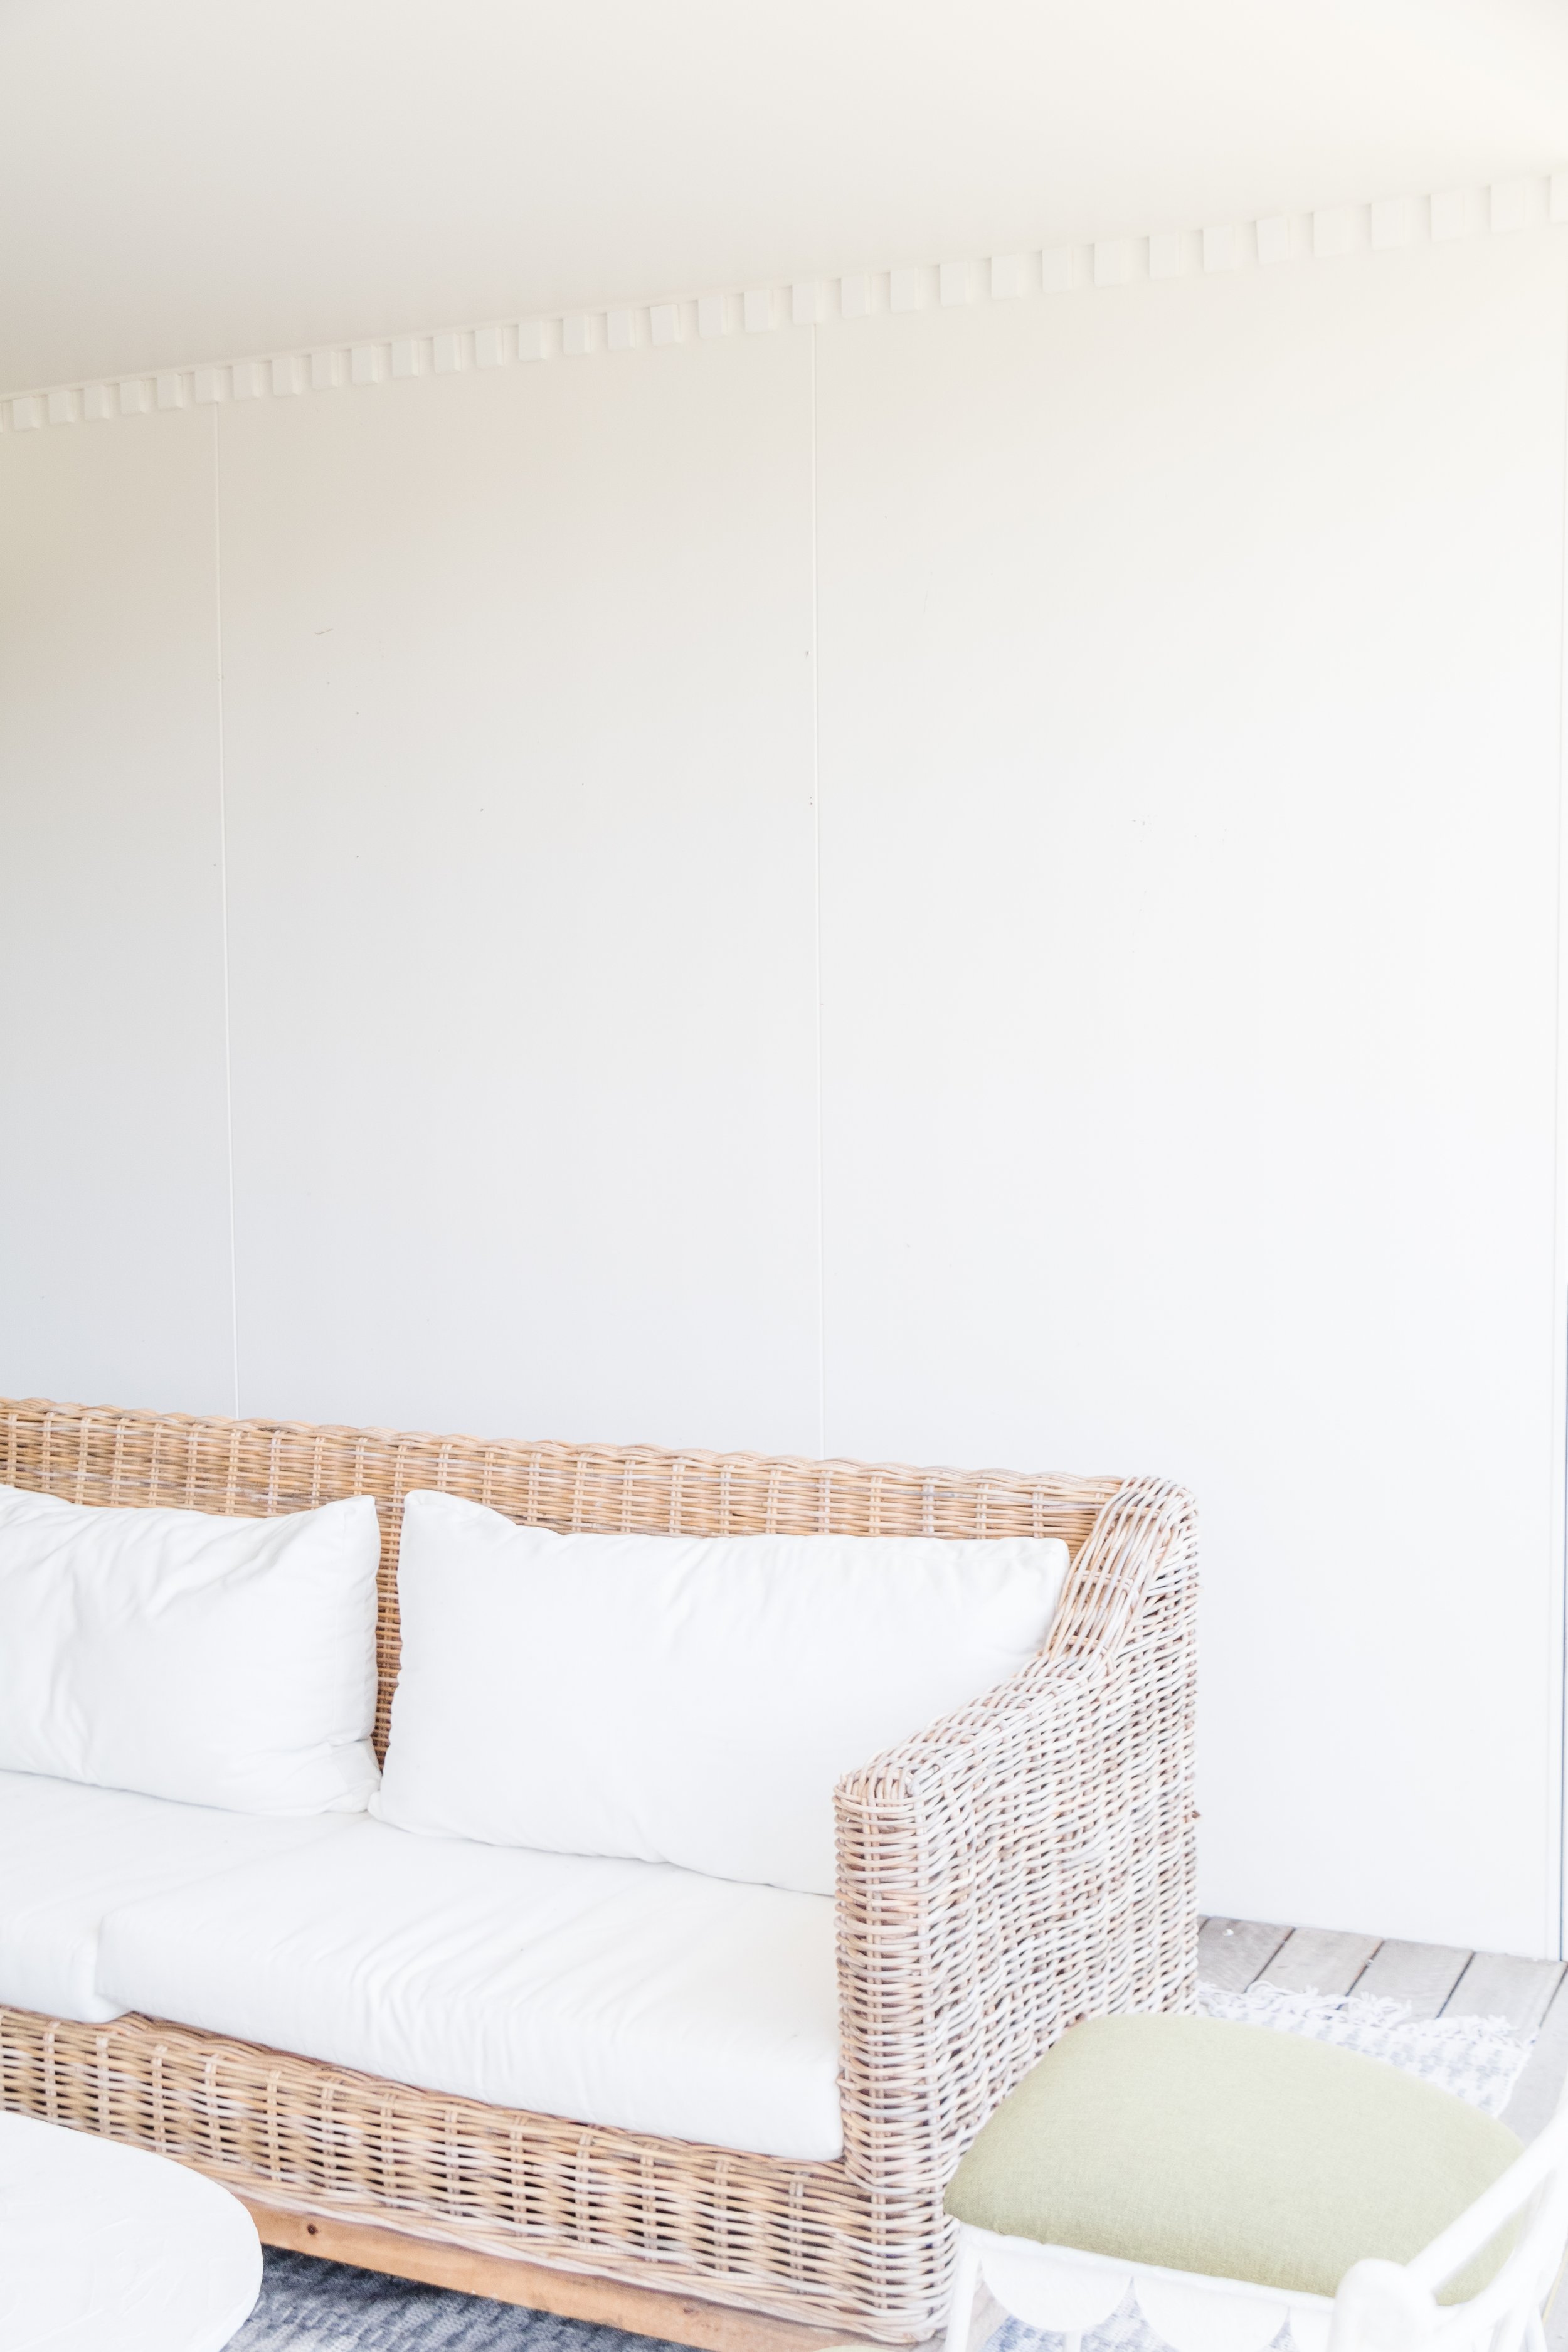
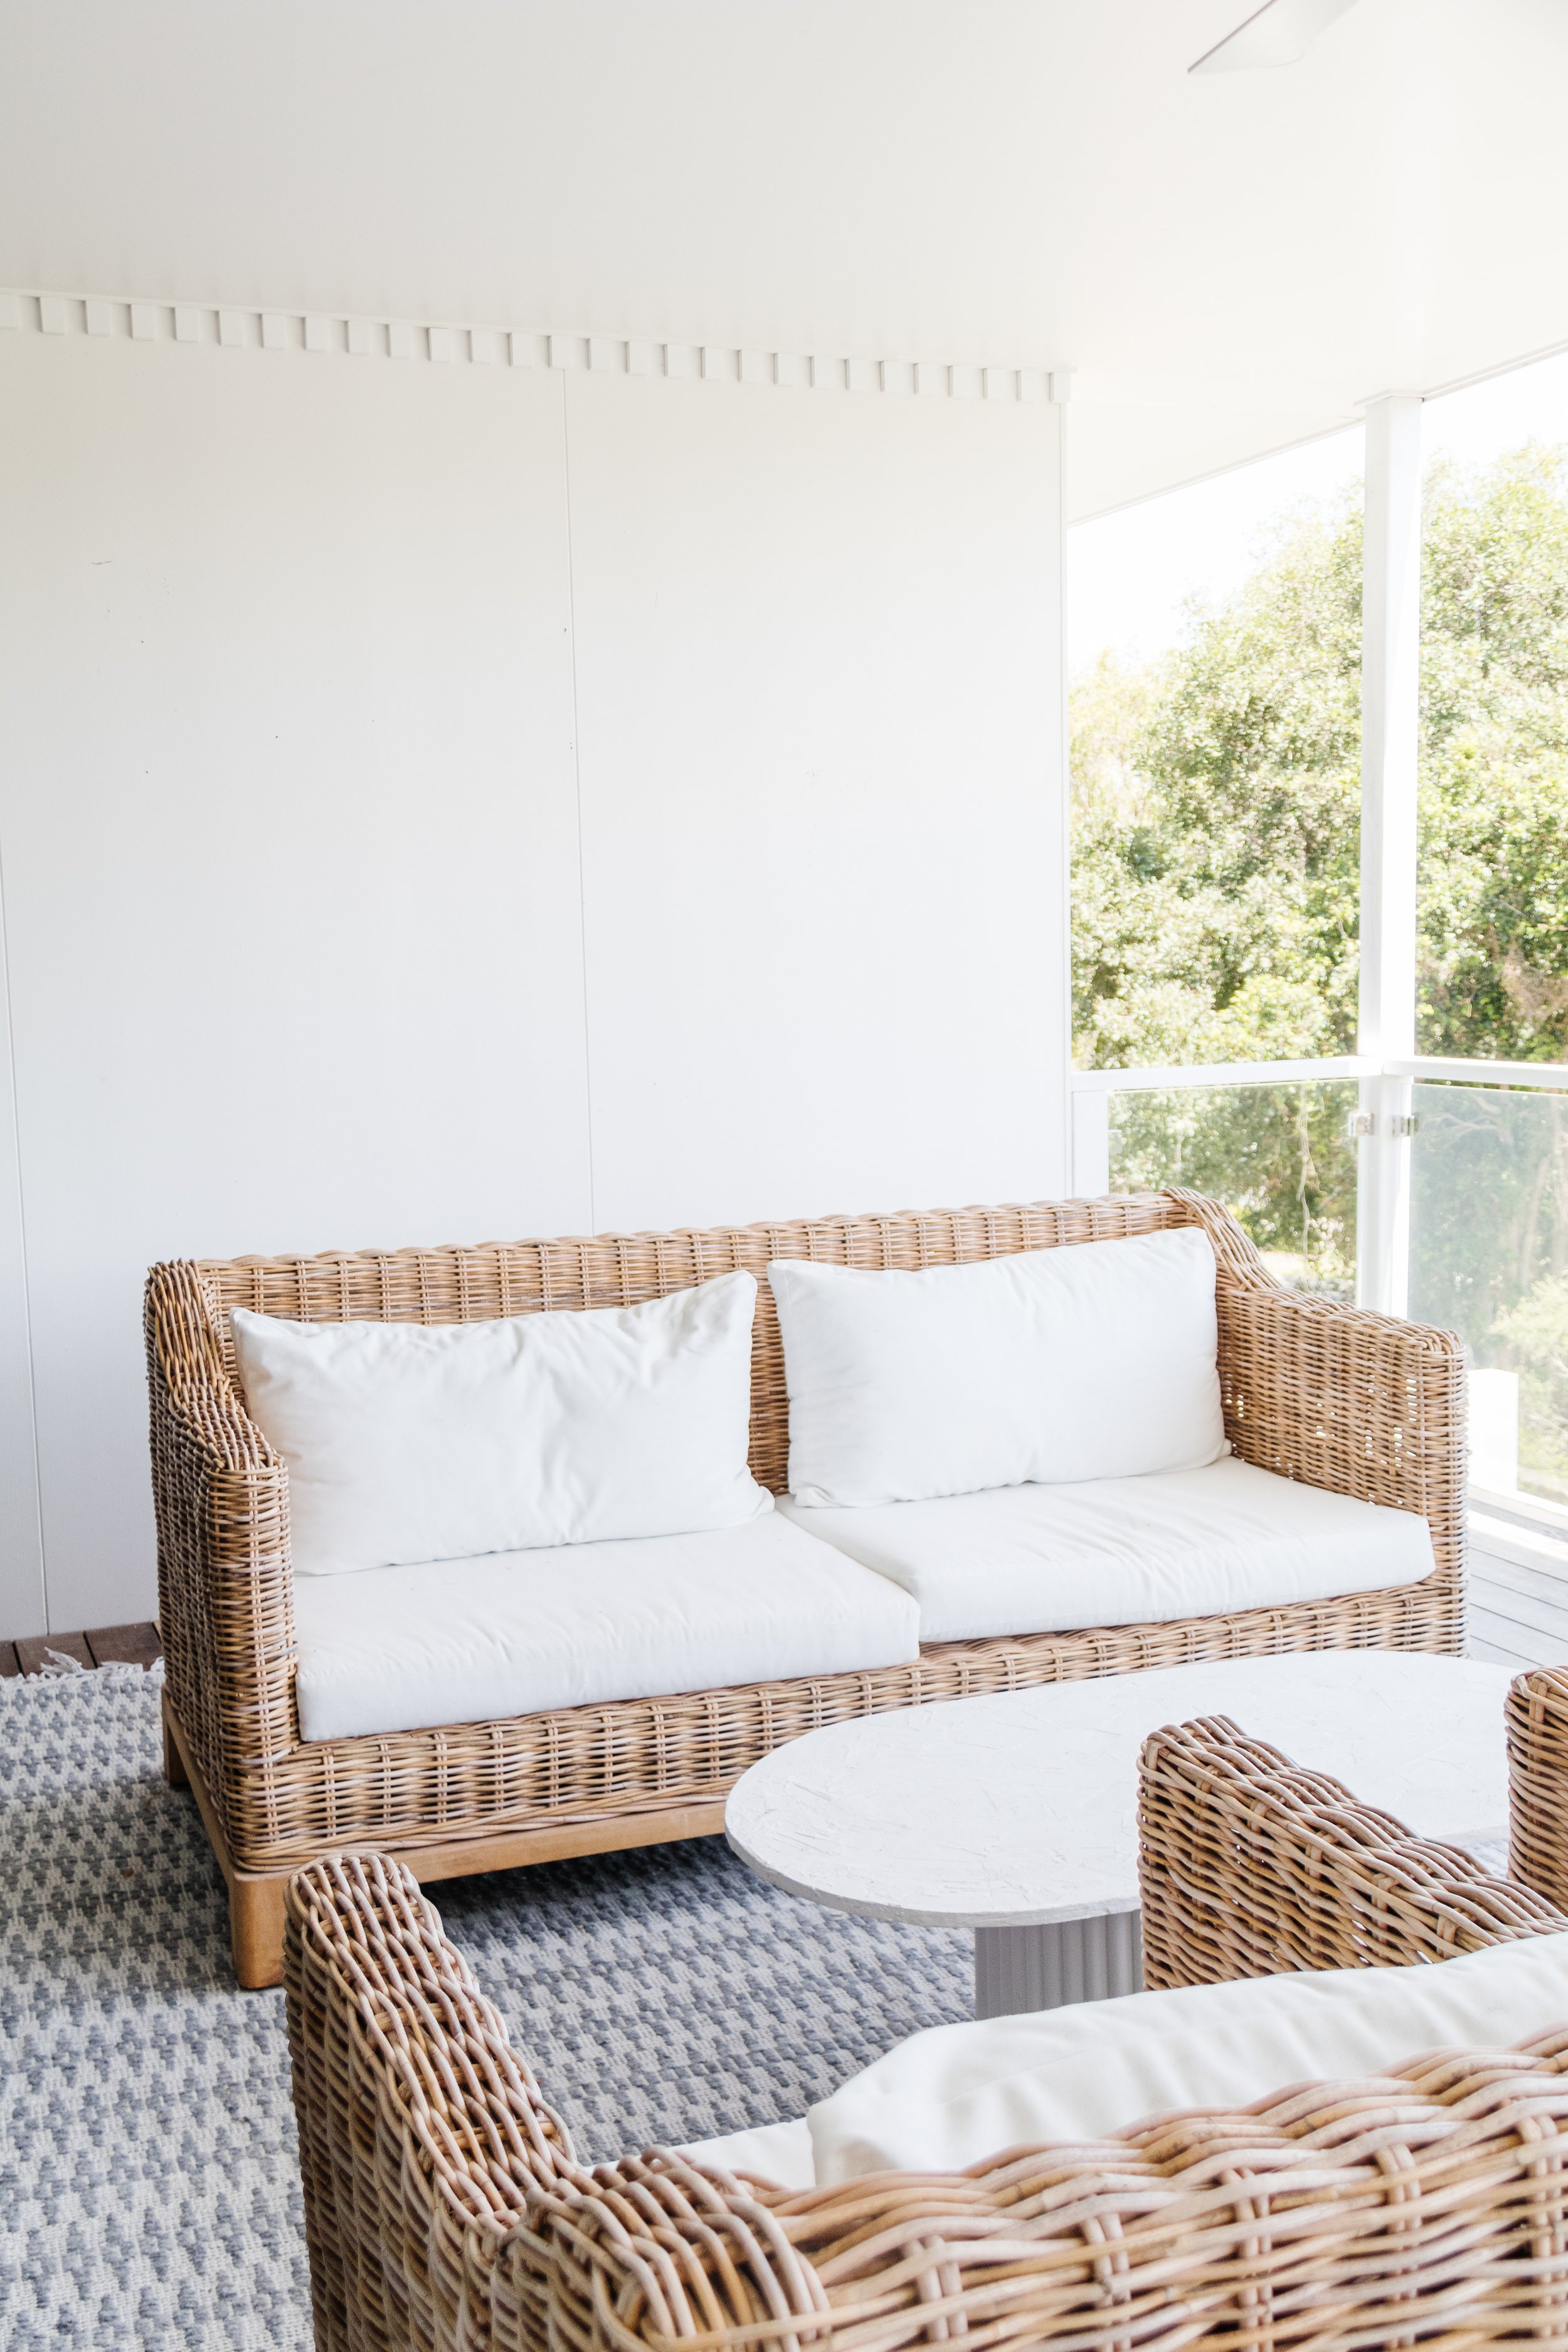
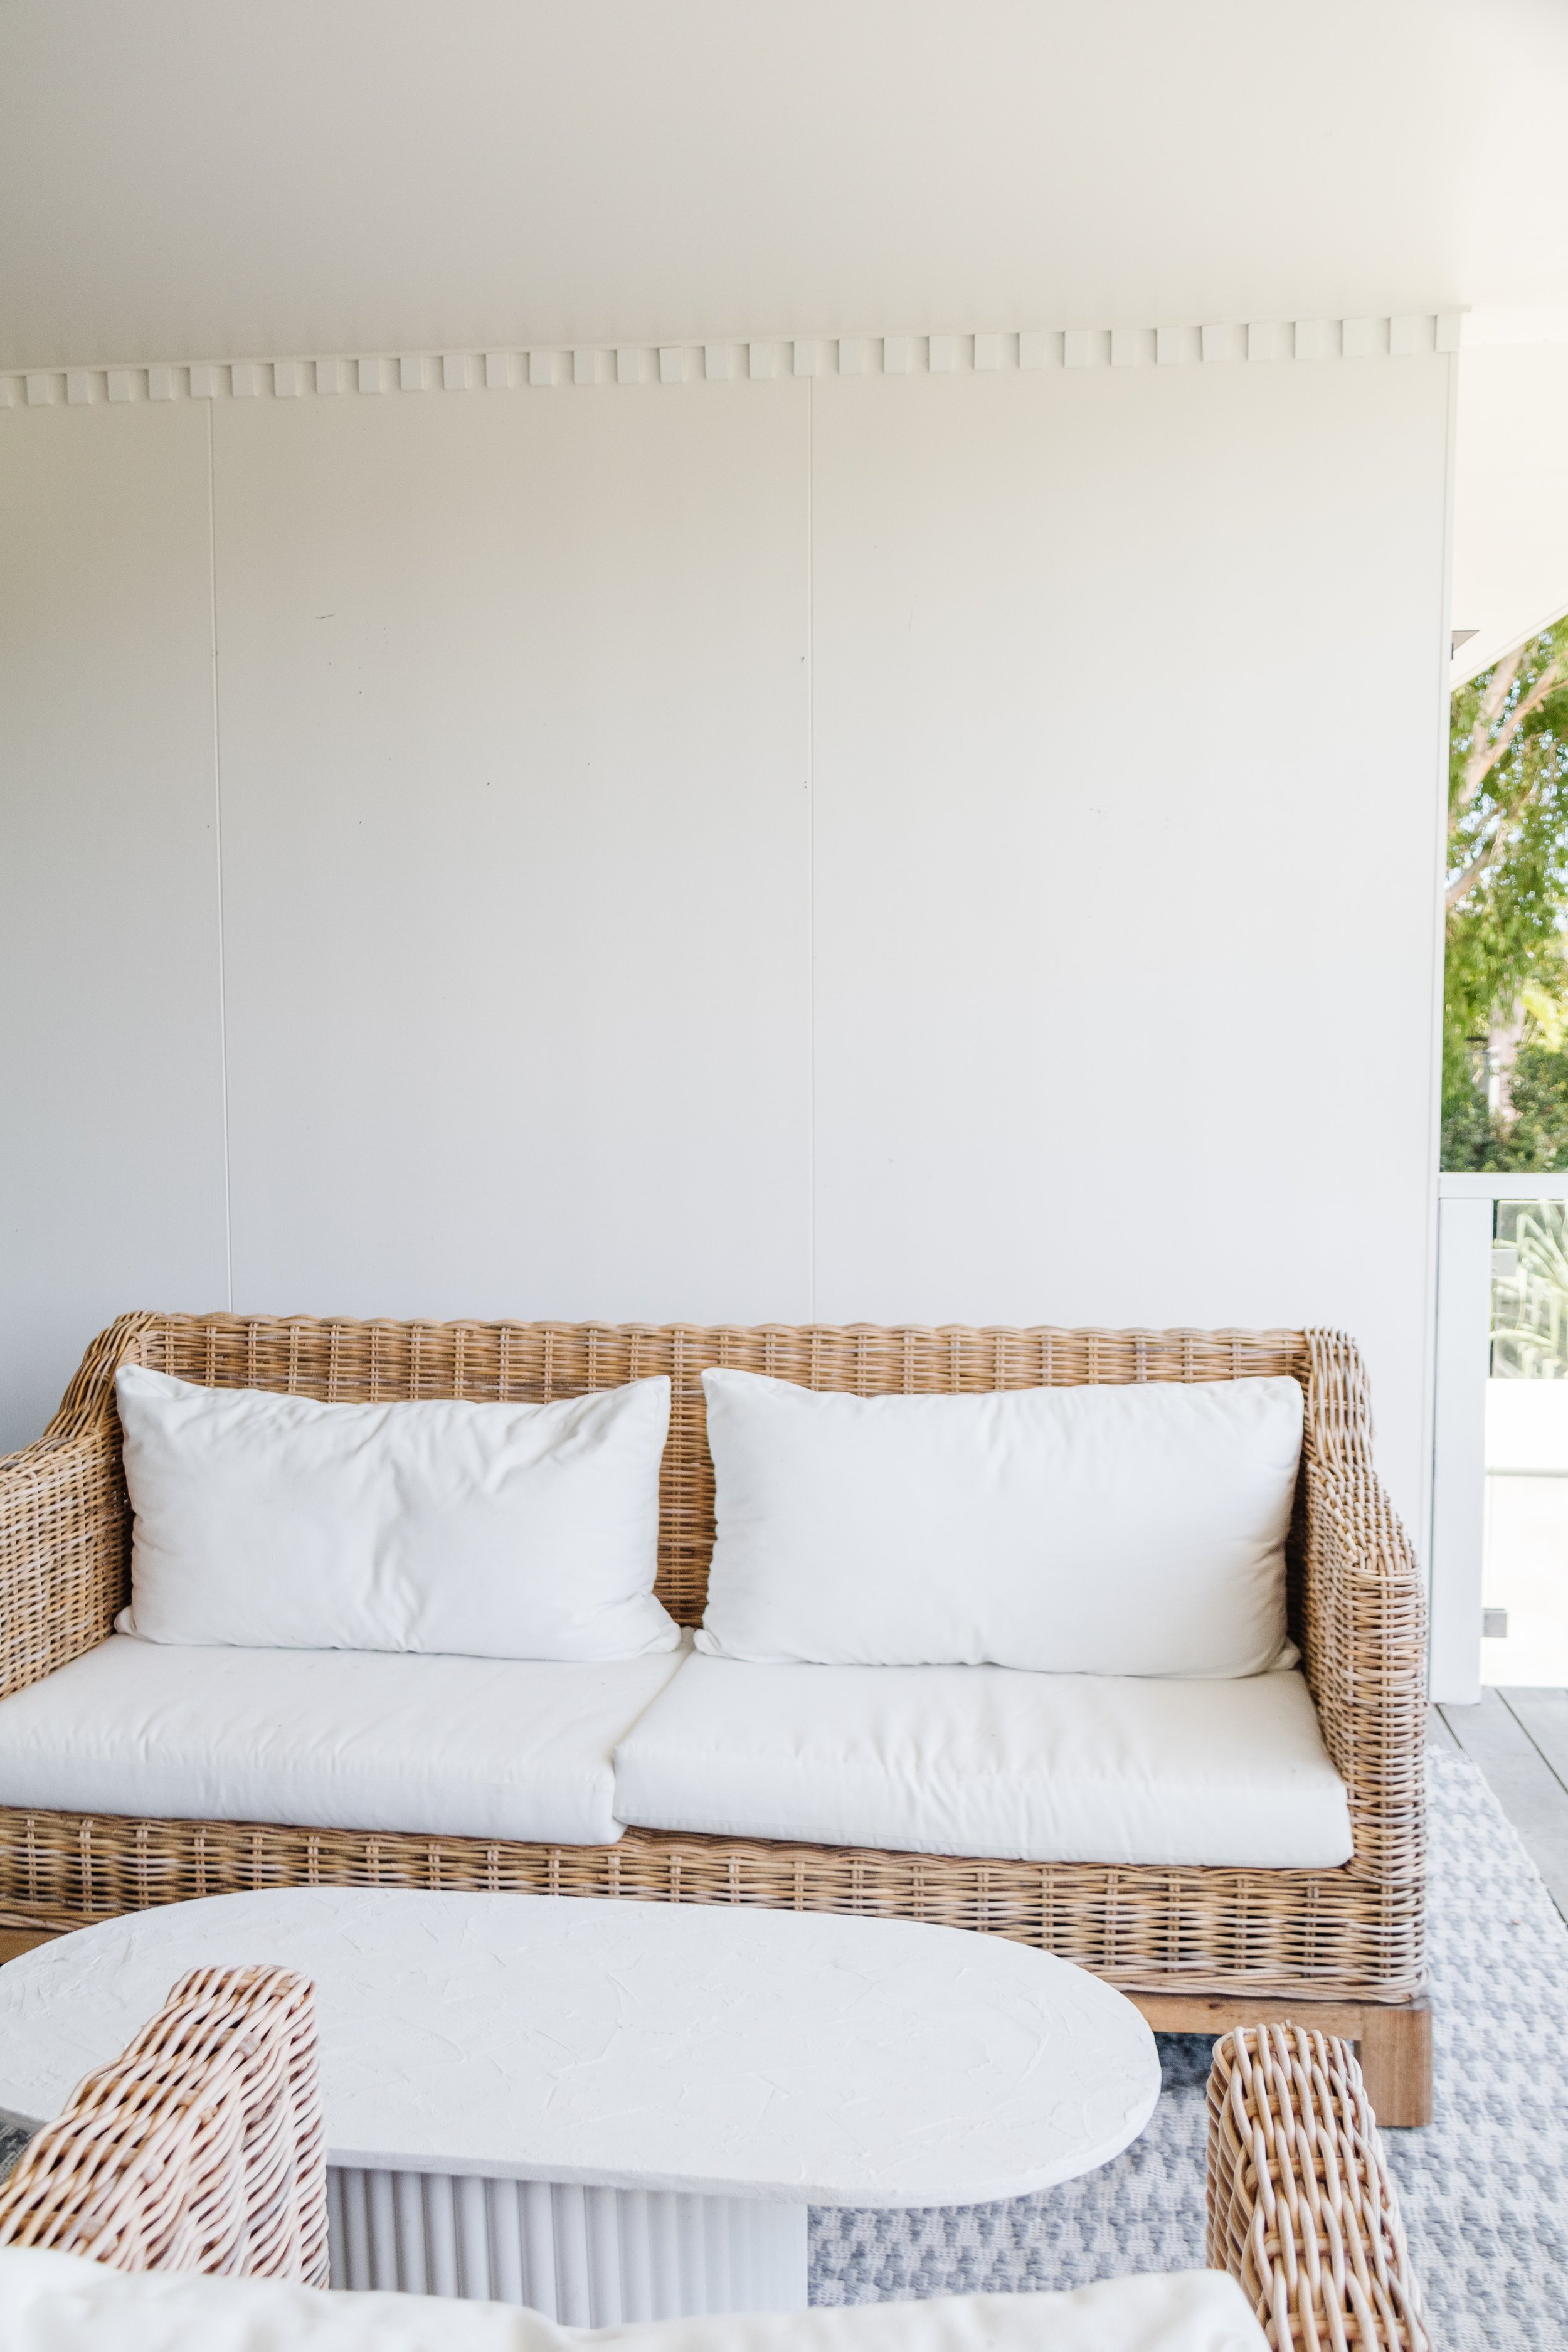
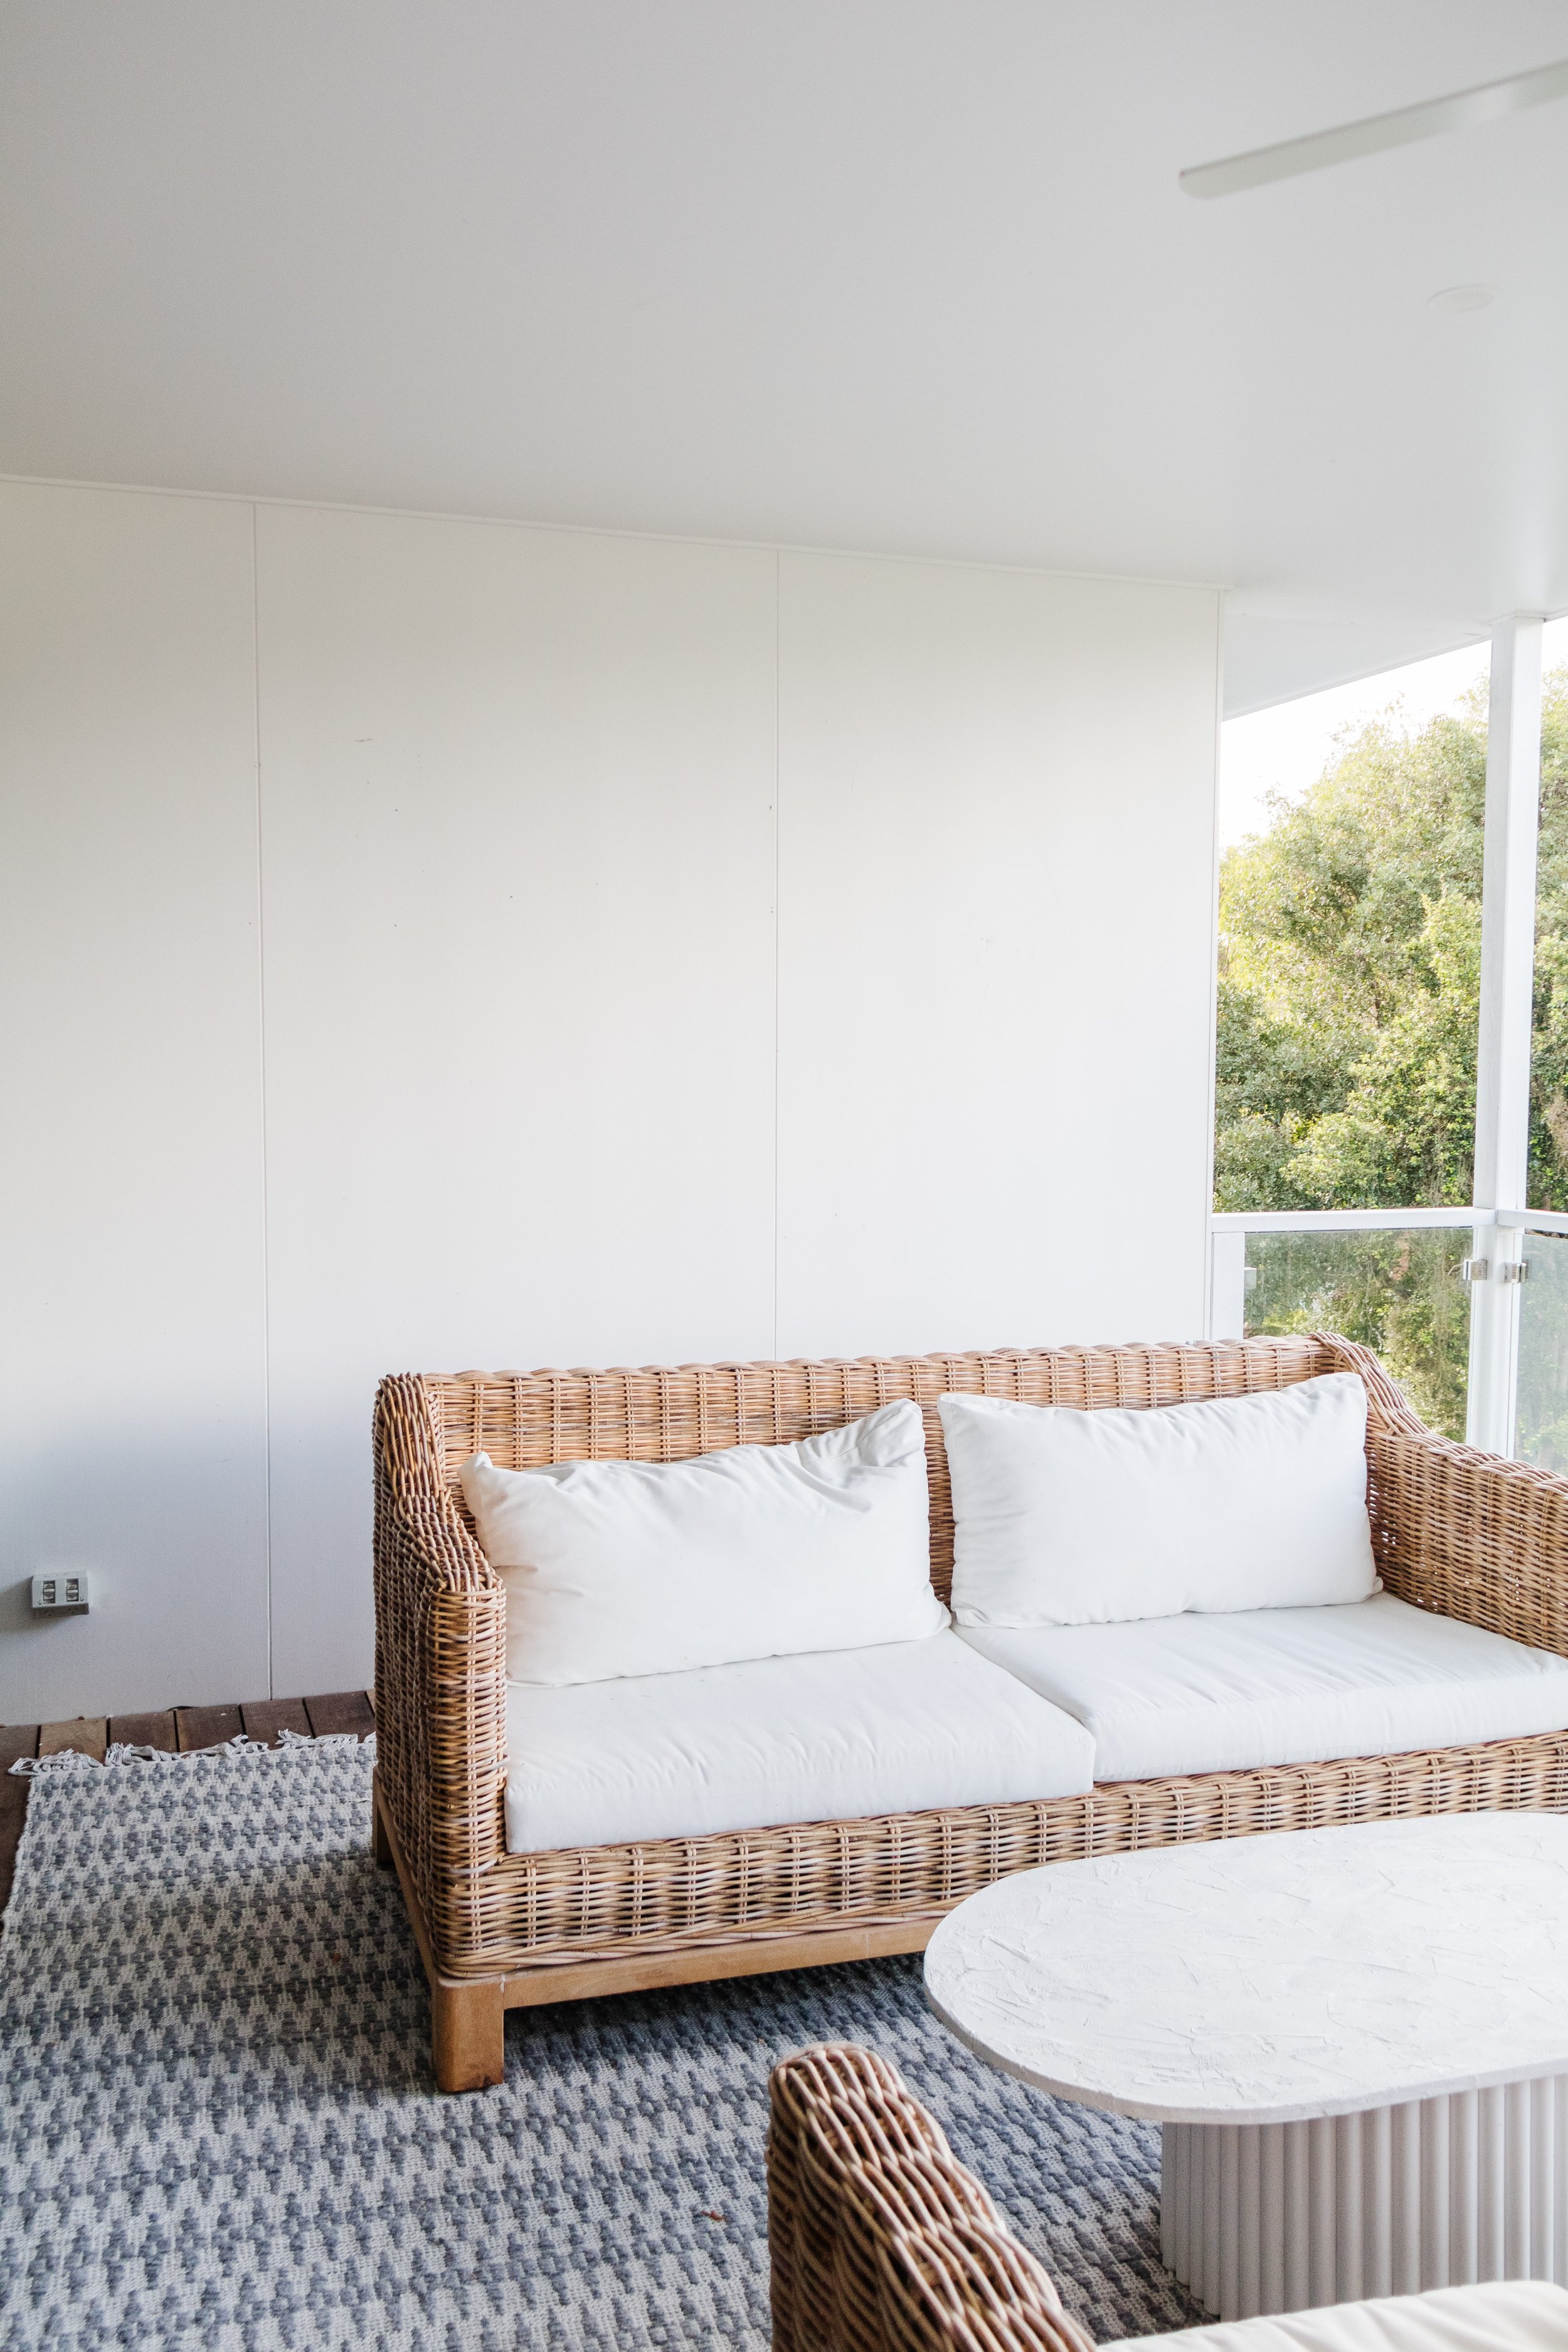
When I saw Zoë Foster Blake and Hamish Blake’s house in Vogue Living last year I fell head over heels for the retro leaning, fun-filled family sanctuary. Designed by YSG Studio’s Yasmine Ghoneim to include “elements of Nanna”, it’s a wild mishmash of patterns, textures, colour, eras and art. But what stood out the most to me was the dentil moulding featured throughout. And it got me thinking…could I make my own dentil moulding? And off I went. Ha! I started visualising how beautiful it would look in our open planning kitchen and living area. And I liked where it was going. When I told Jason my idea (the pragmatist) he suggested I use our front deck as my canvas, which I loved! It’s a big enough space to add impact but small enough to experiment with.
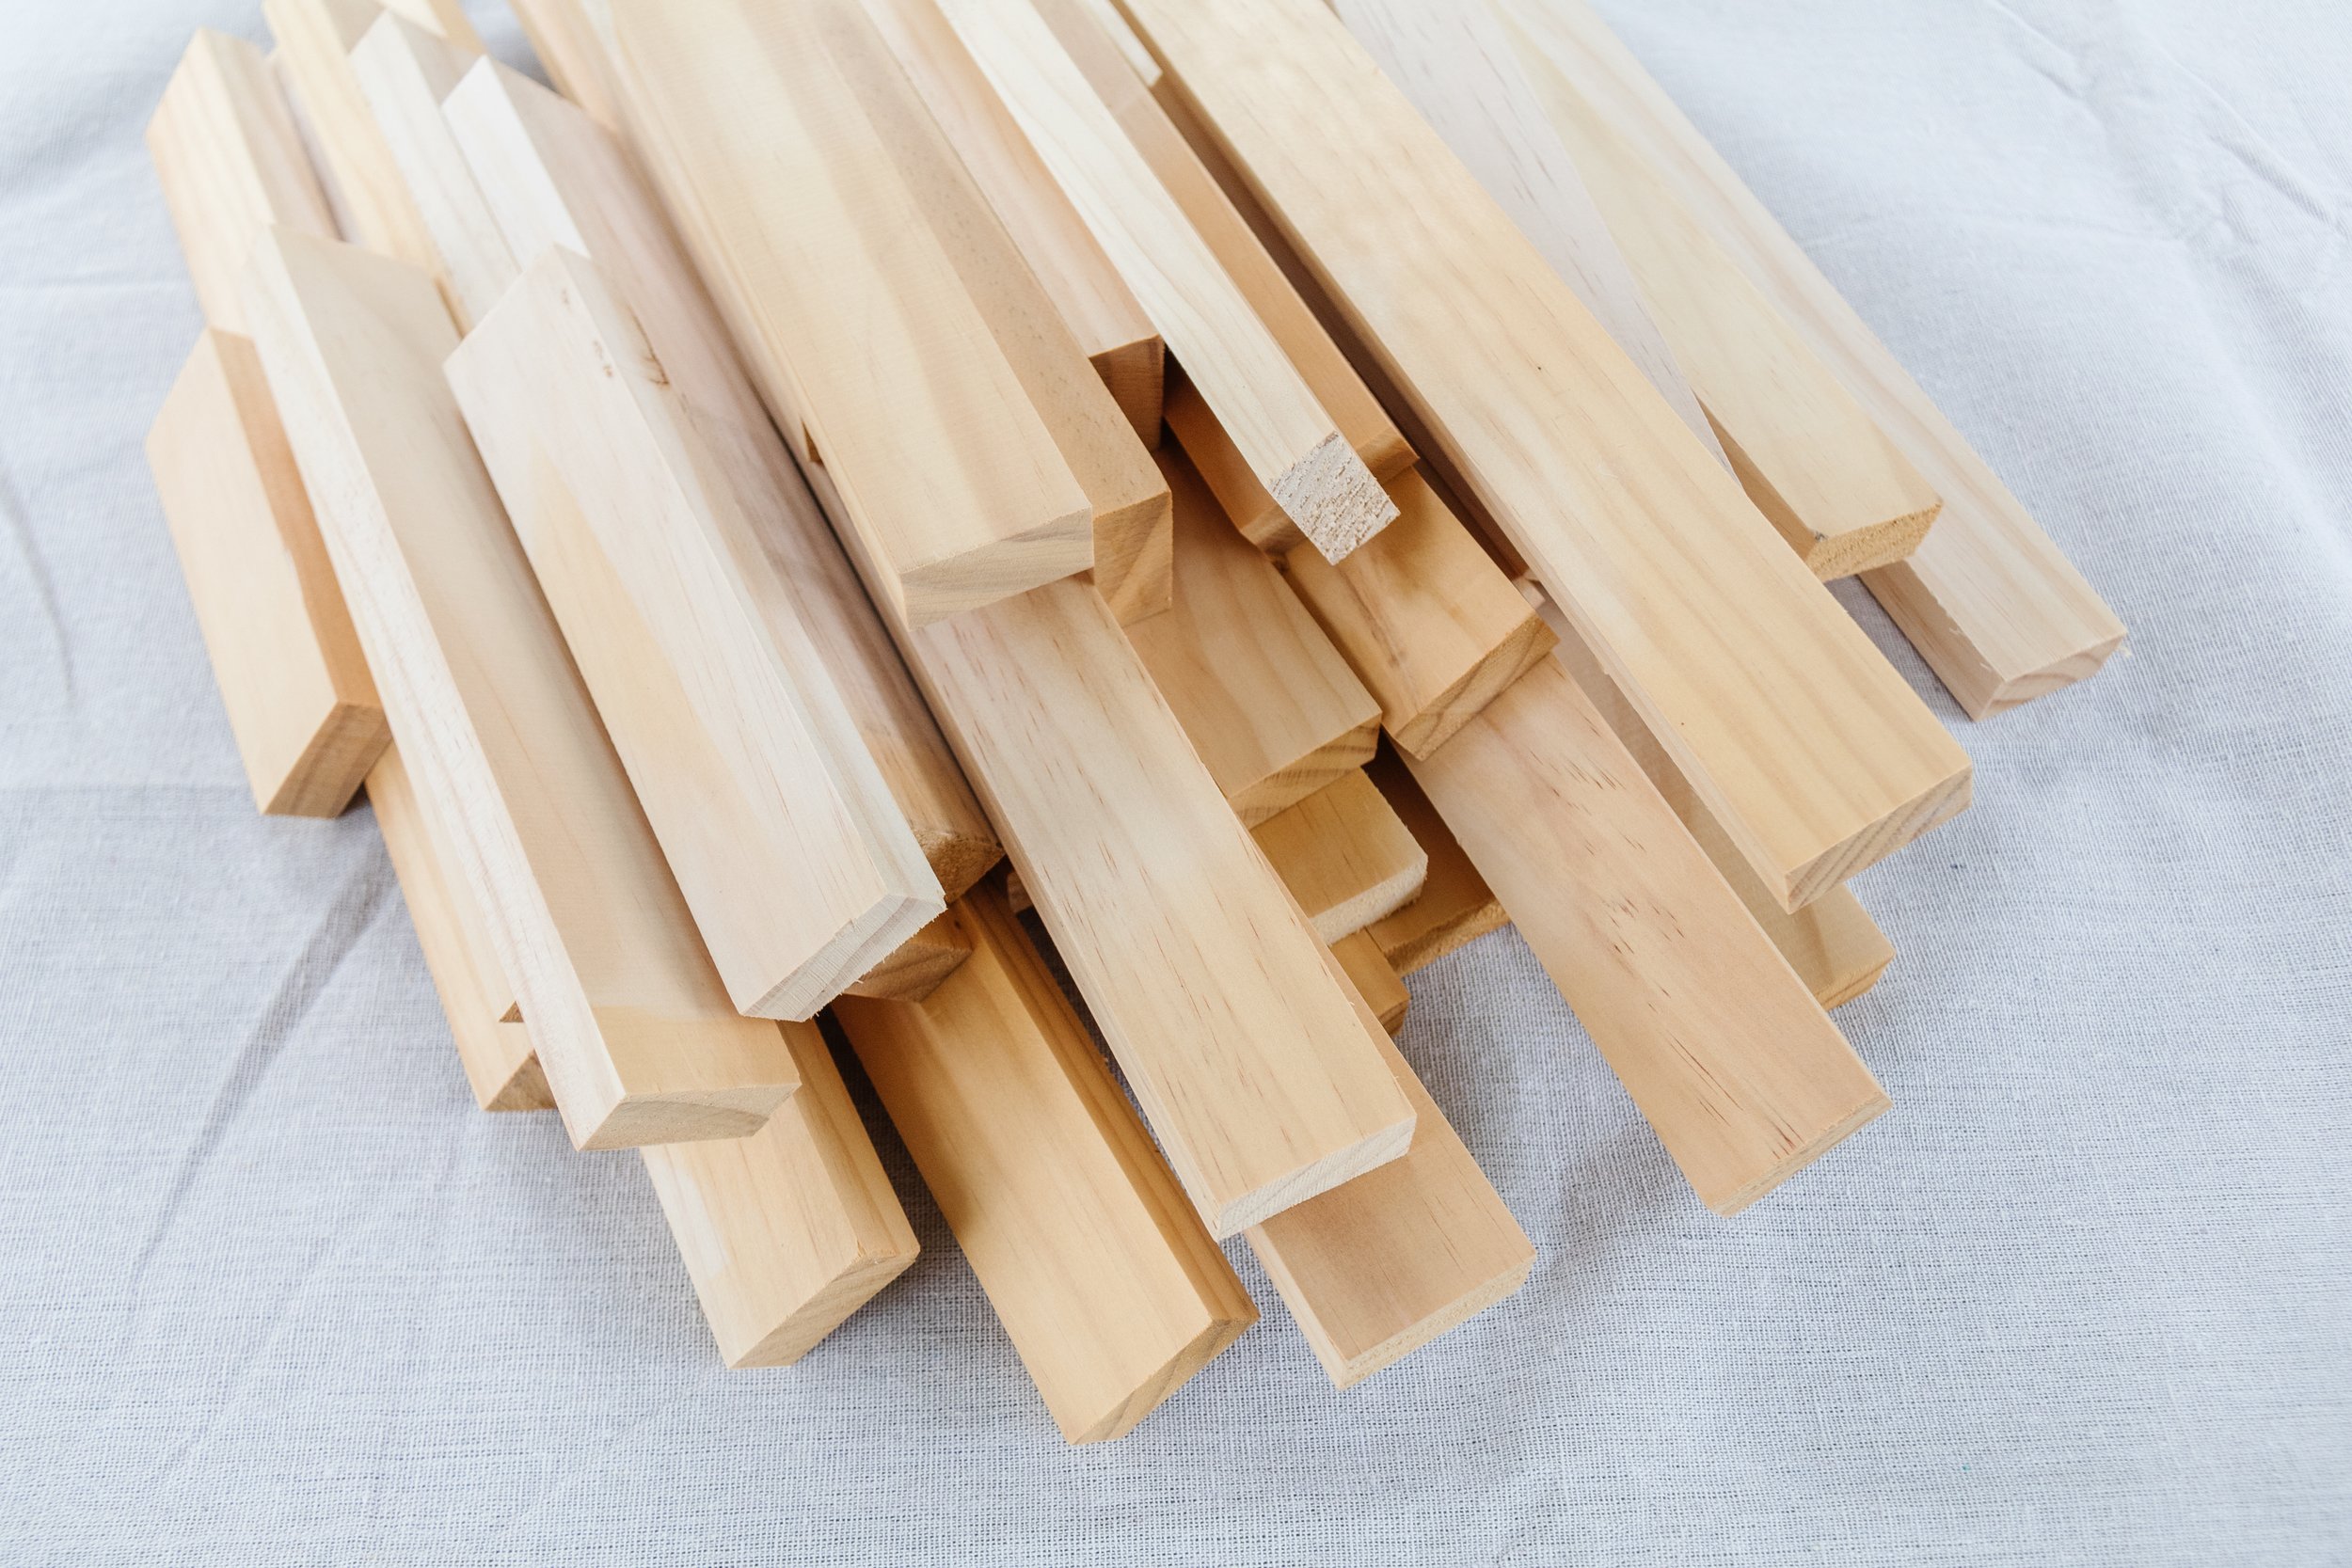
Because I’m all about making ideas happen I knew I needed the best paint accessories by my side, so I partnered with Monarch to bring my vision to life. They have a wide range of quality, versatile painting tools and accessories that make projects like this so easy and effortless to execute. And as you may know, I like to be as resourceful as possible, so I also used leftover pieces of timber from my DIY Timber Christmas Tree project to create the dentil moulding. And as they say, the rest is history. Read on to find out how you can make your own DIY Dentil Moulding at home, in a day. Yup, a day!
To see how it came together on the day, check out this video!
Before & After


Before we dive head first into this fun project, let’s quickly chat about what exactly crown moulding and dentil moulding is.
What is Crown Moulding? Crown moulding is the architectural feature of a room which decorates the transition between walls and the ceiling. Crown moulding, also known as cornice moulding, typically boast intricate silhouettes and patterns.
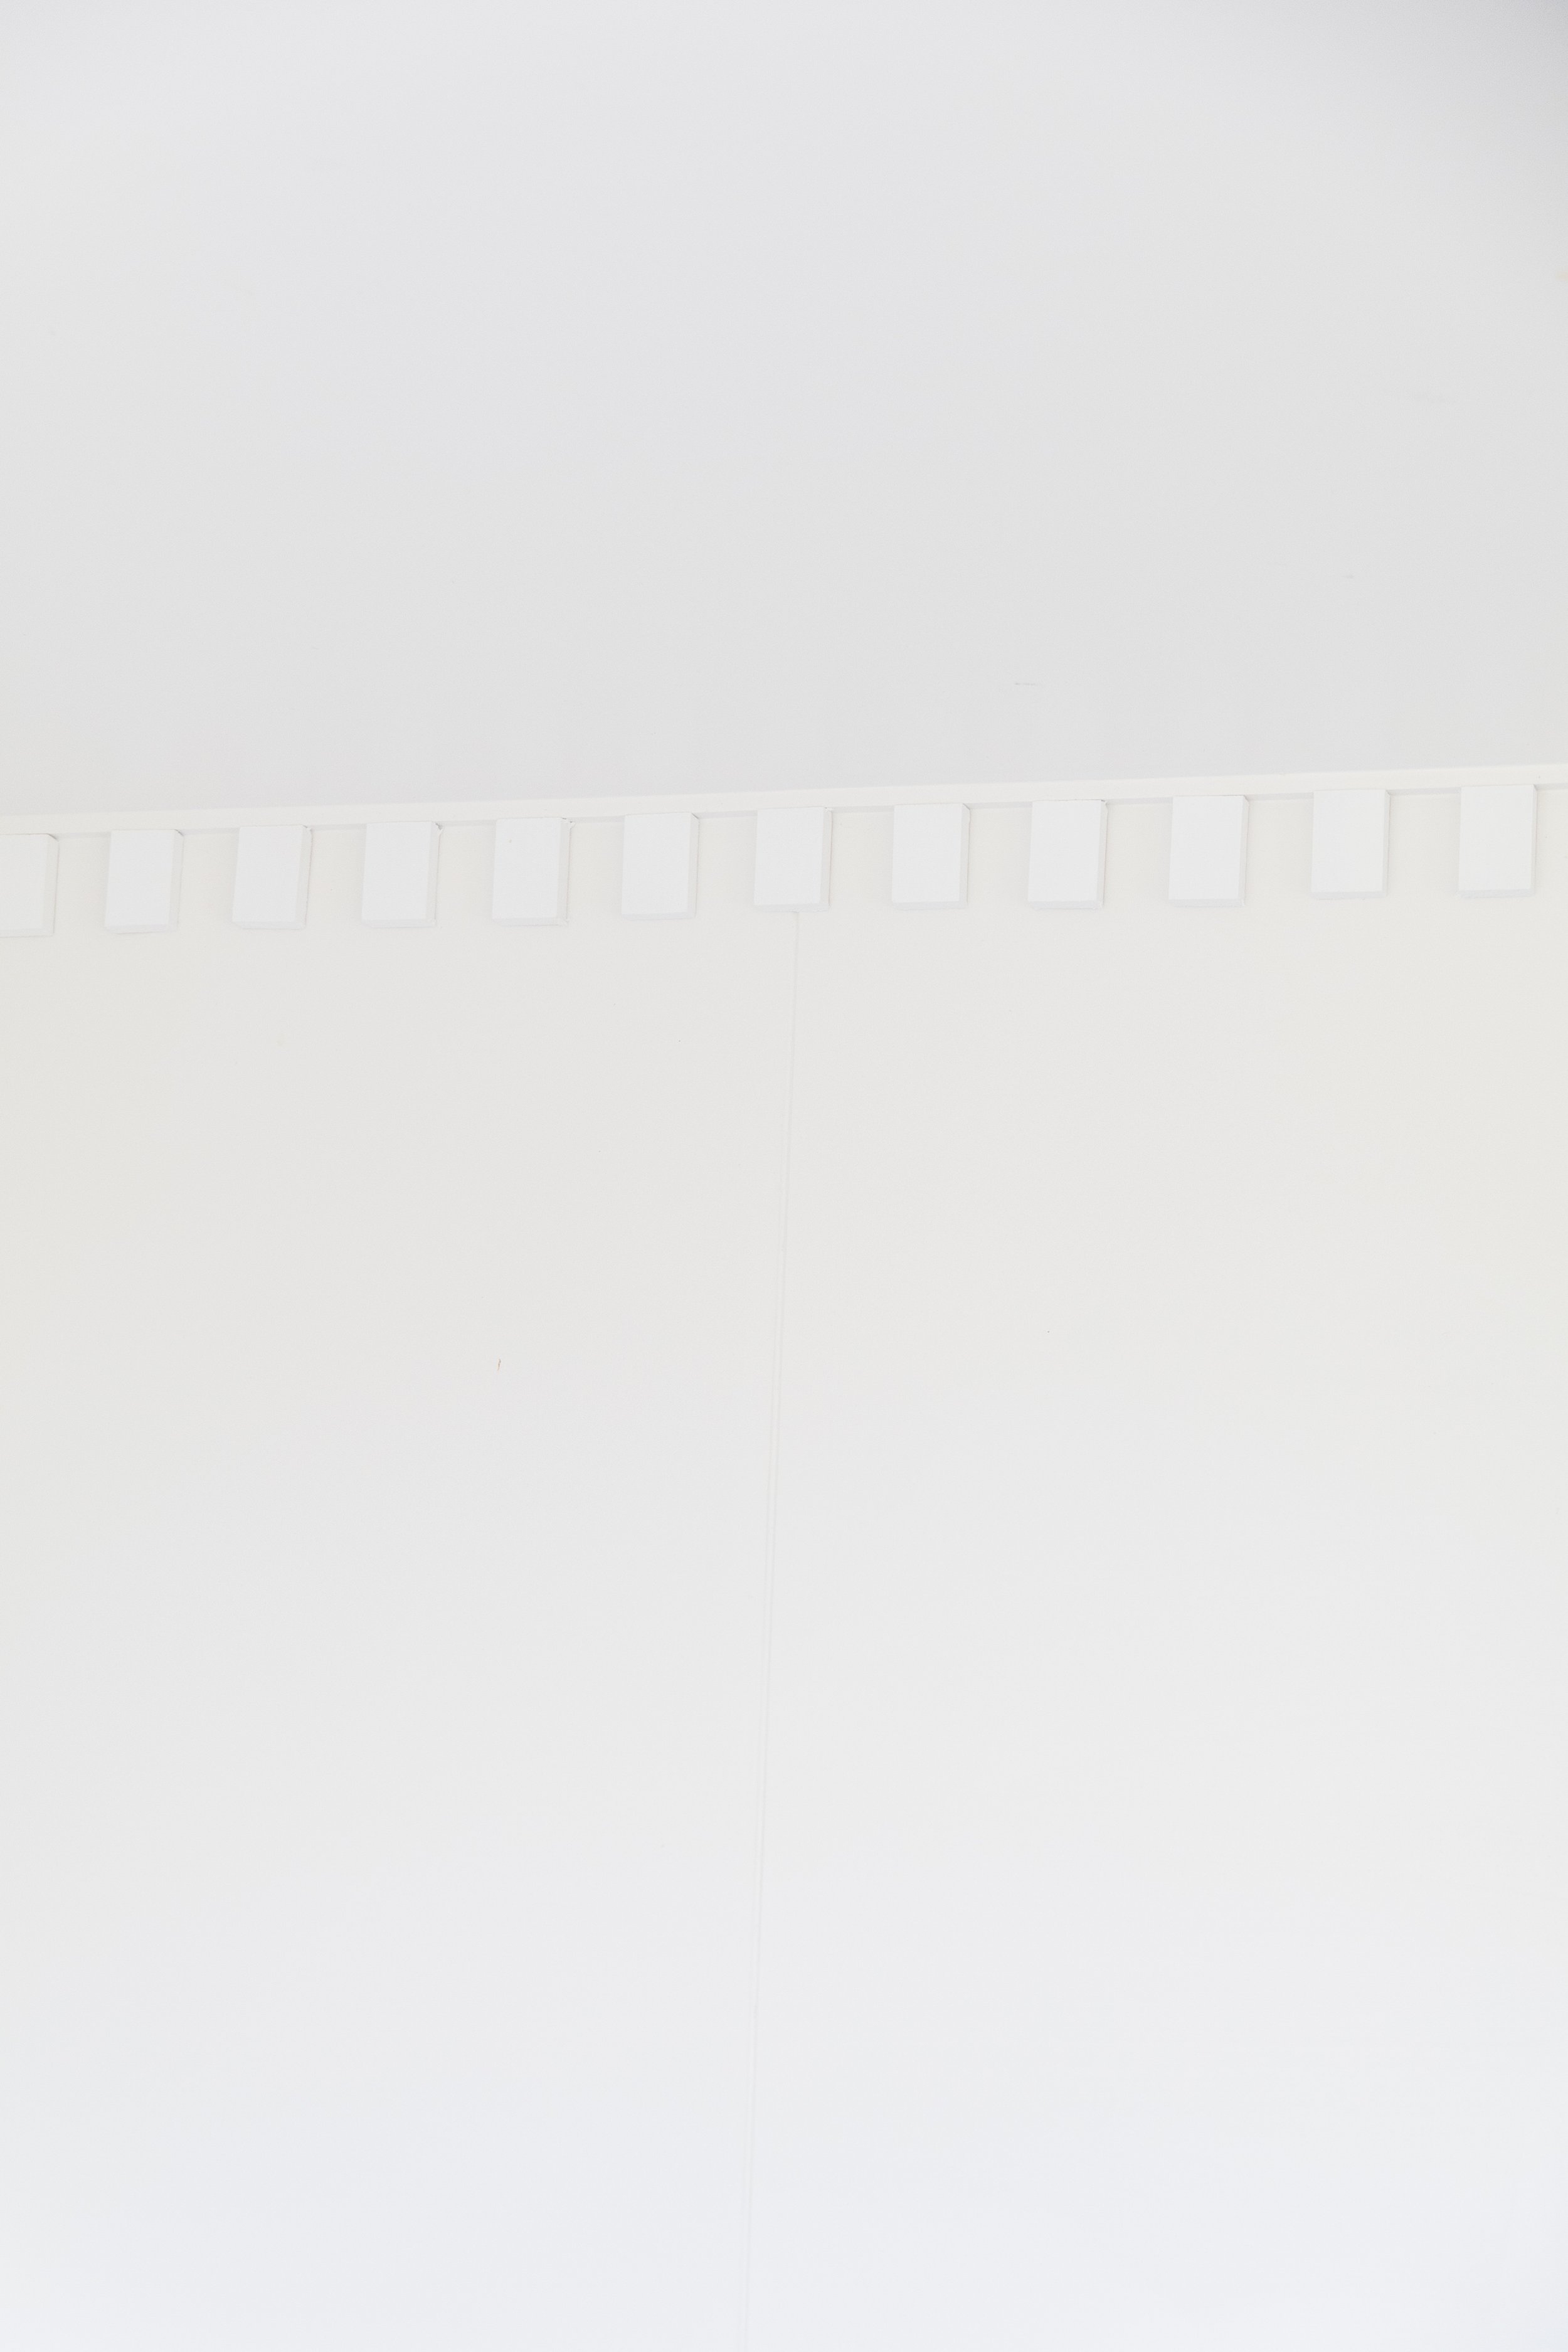
What is Dentil Moulding? Dentil moulding consists of small, evenly spaced rectangular blocks in a repeating pattern. Incorporated into crown moulding, dentils are frequently found in historic homes and is an ornamental detail with a classical pedigree. Dentils are found in ancient Greek and Roman architecture, and also in later styles such as Neoclassical, Federal, Georgian Revival, Greek Revival, Renaissance Revival, Second Empire, and Beaux-Arts architecture in 18th century Paris.
Now that you know what crown moulding and dentil moulding is, let’s get making!

Project Details
🕒 Project Time Estimate: 5 hours, not including paint and glue drying time
💰 Materials Cost: Approximately $170. Costs will vary depending on the size of the room and how much timber you will need.
⚒️ Power Tools: Depending on your skill level, choose from either a mitre saw, jigsaw, or a handsaw to cut the timber.
👷♀️ Skill Level: Beginner to intermediate DIYer
Materials
Pine - I used 42 x 19mm 1.2m DAR Pine Standard
Measuring tape
Ruler and pen
Exterior Paint in your colour of choice
Plastic gloves
2 x Small towels
Construction glue

How To
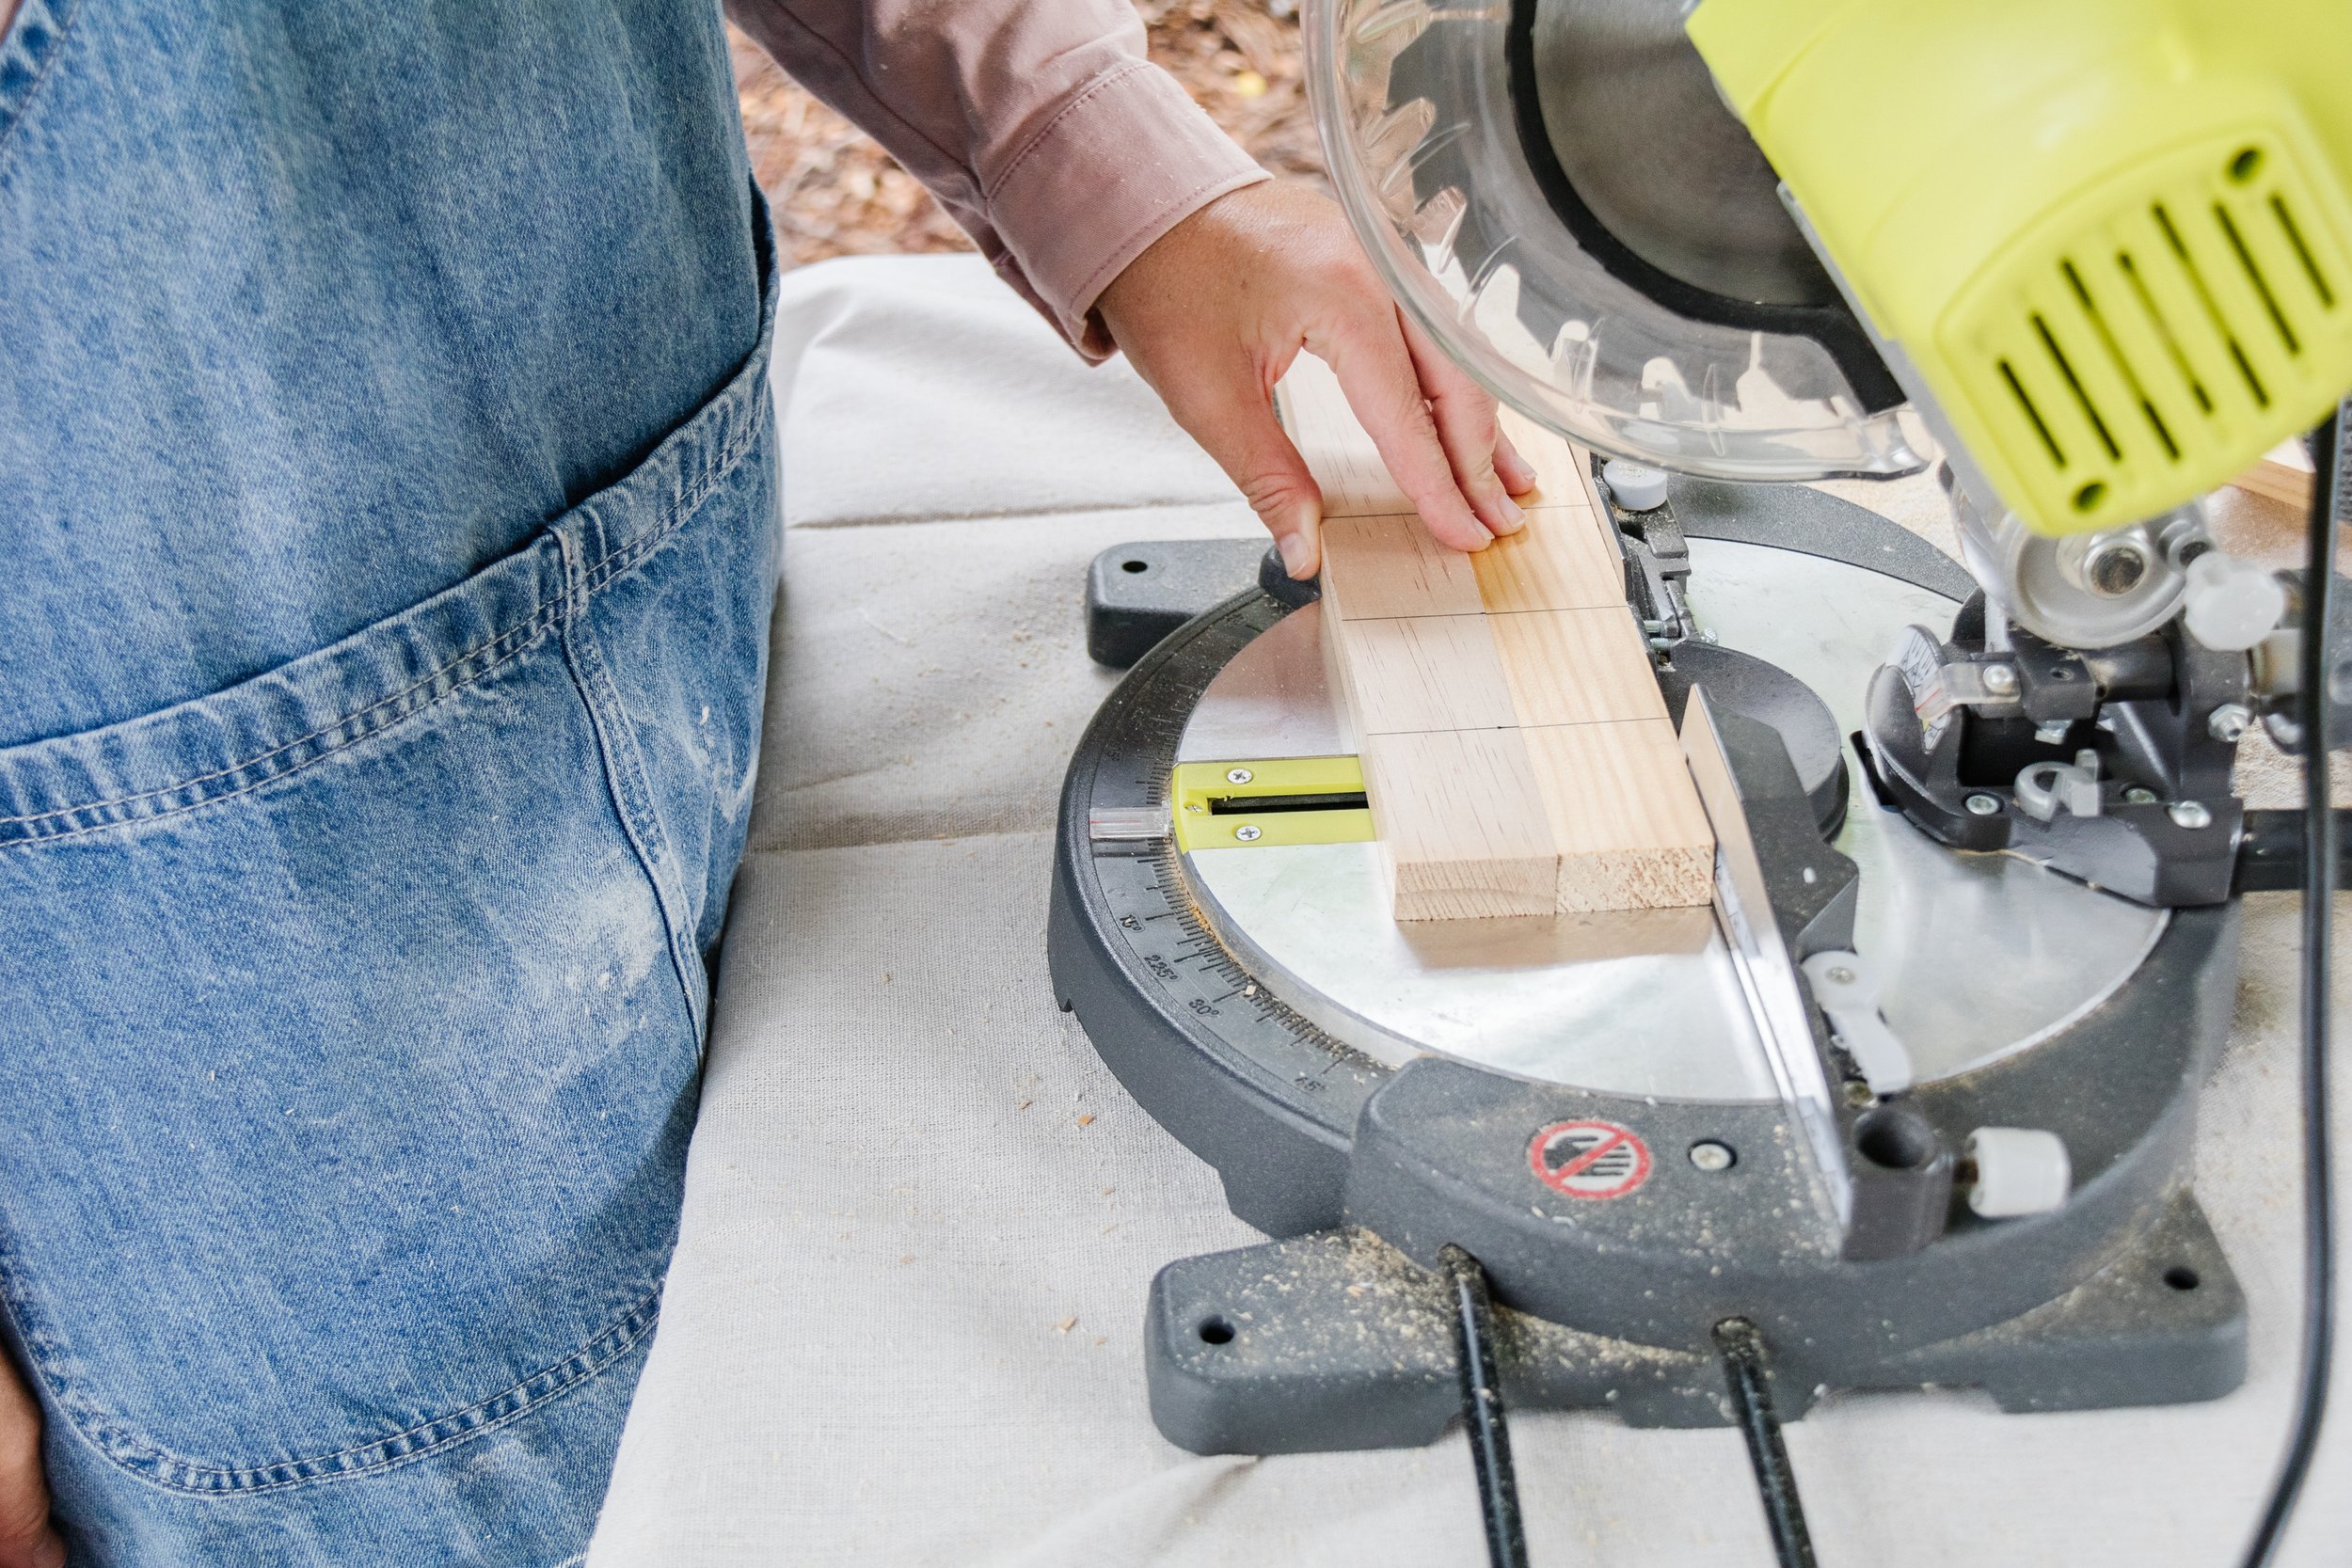
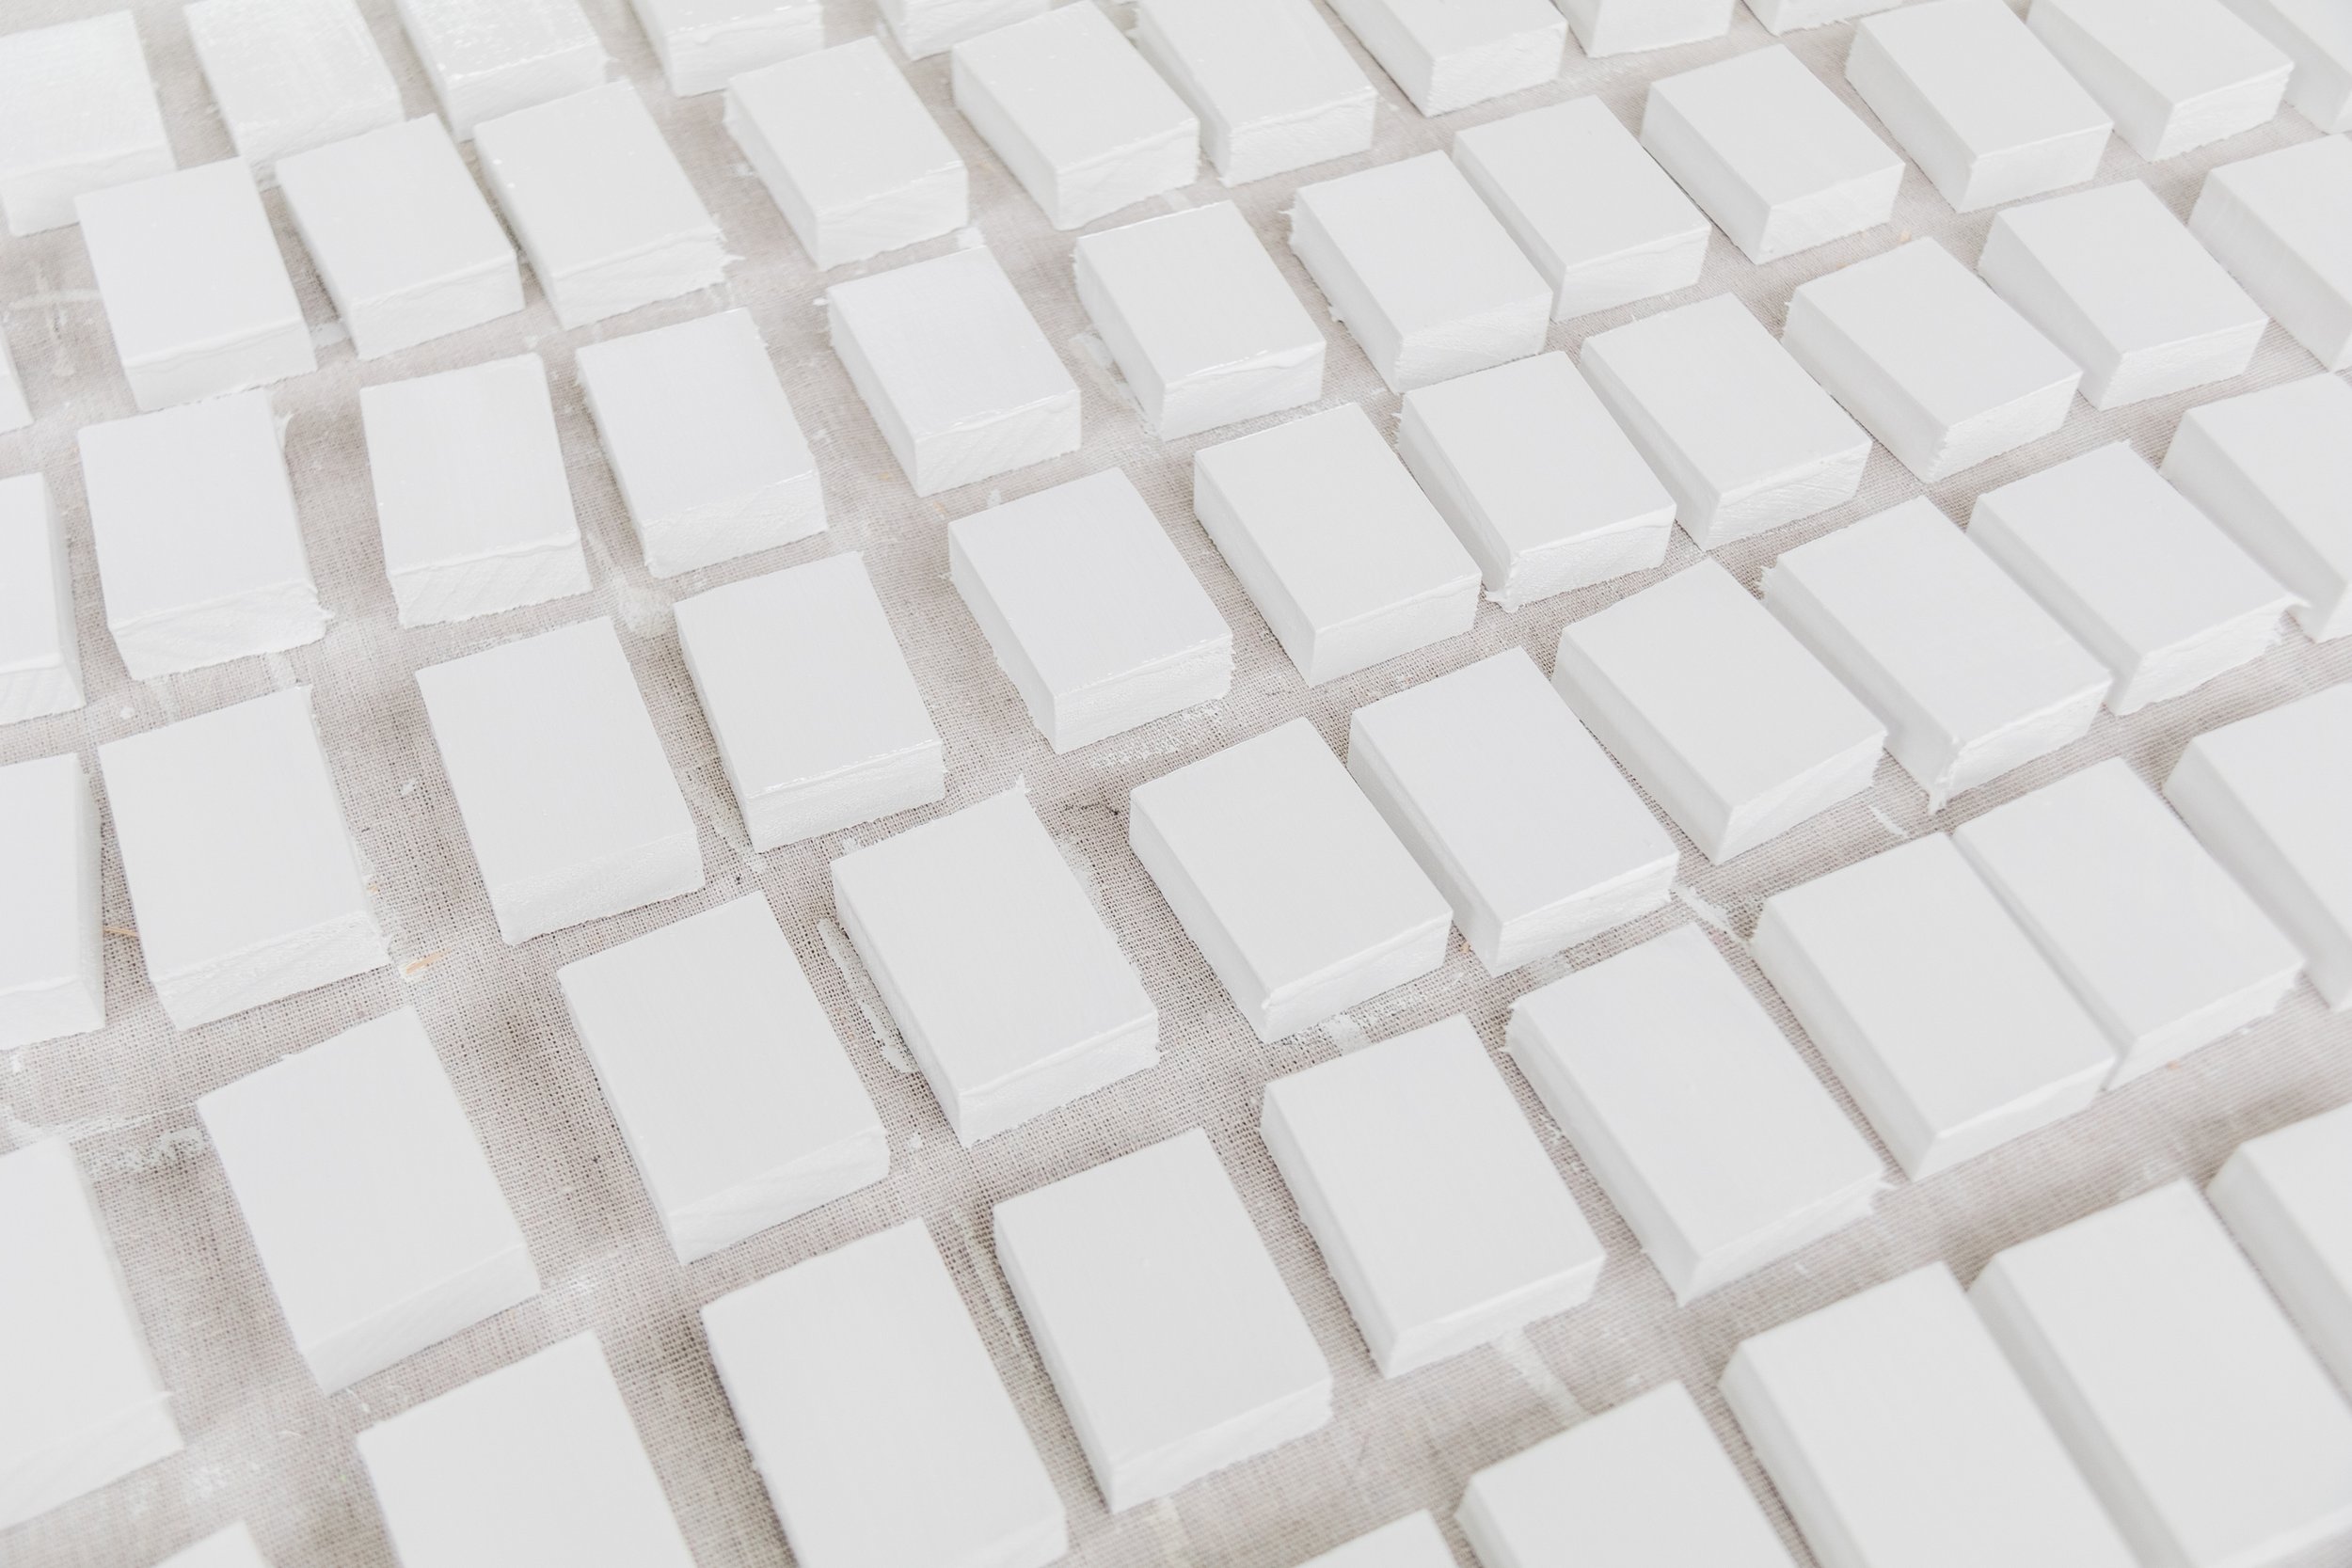
Step 1: I started this project by measuring the length of the three walls on our front deck, which were 2 x 3180mm and 6000mm. The width of the timber was 45mm, so I calculated how many pieces of dentil moulding I would need for our outdoor deck, which was 140.
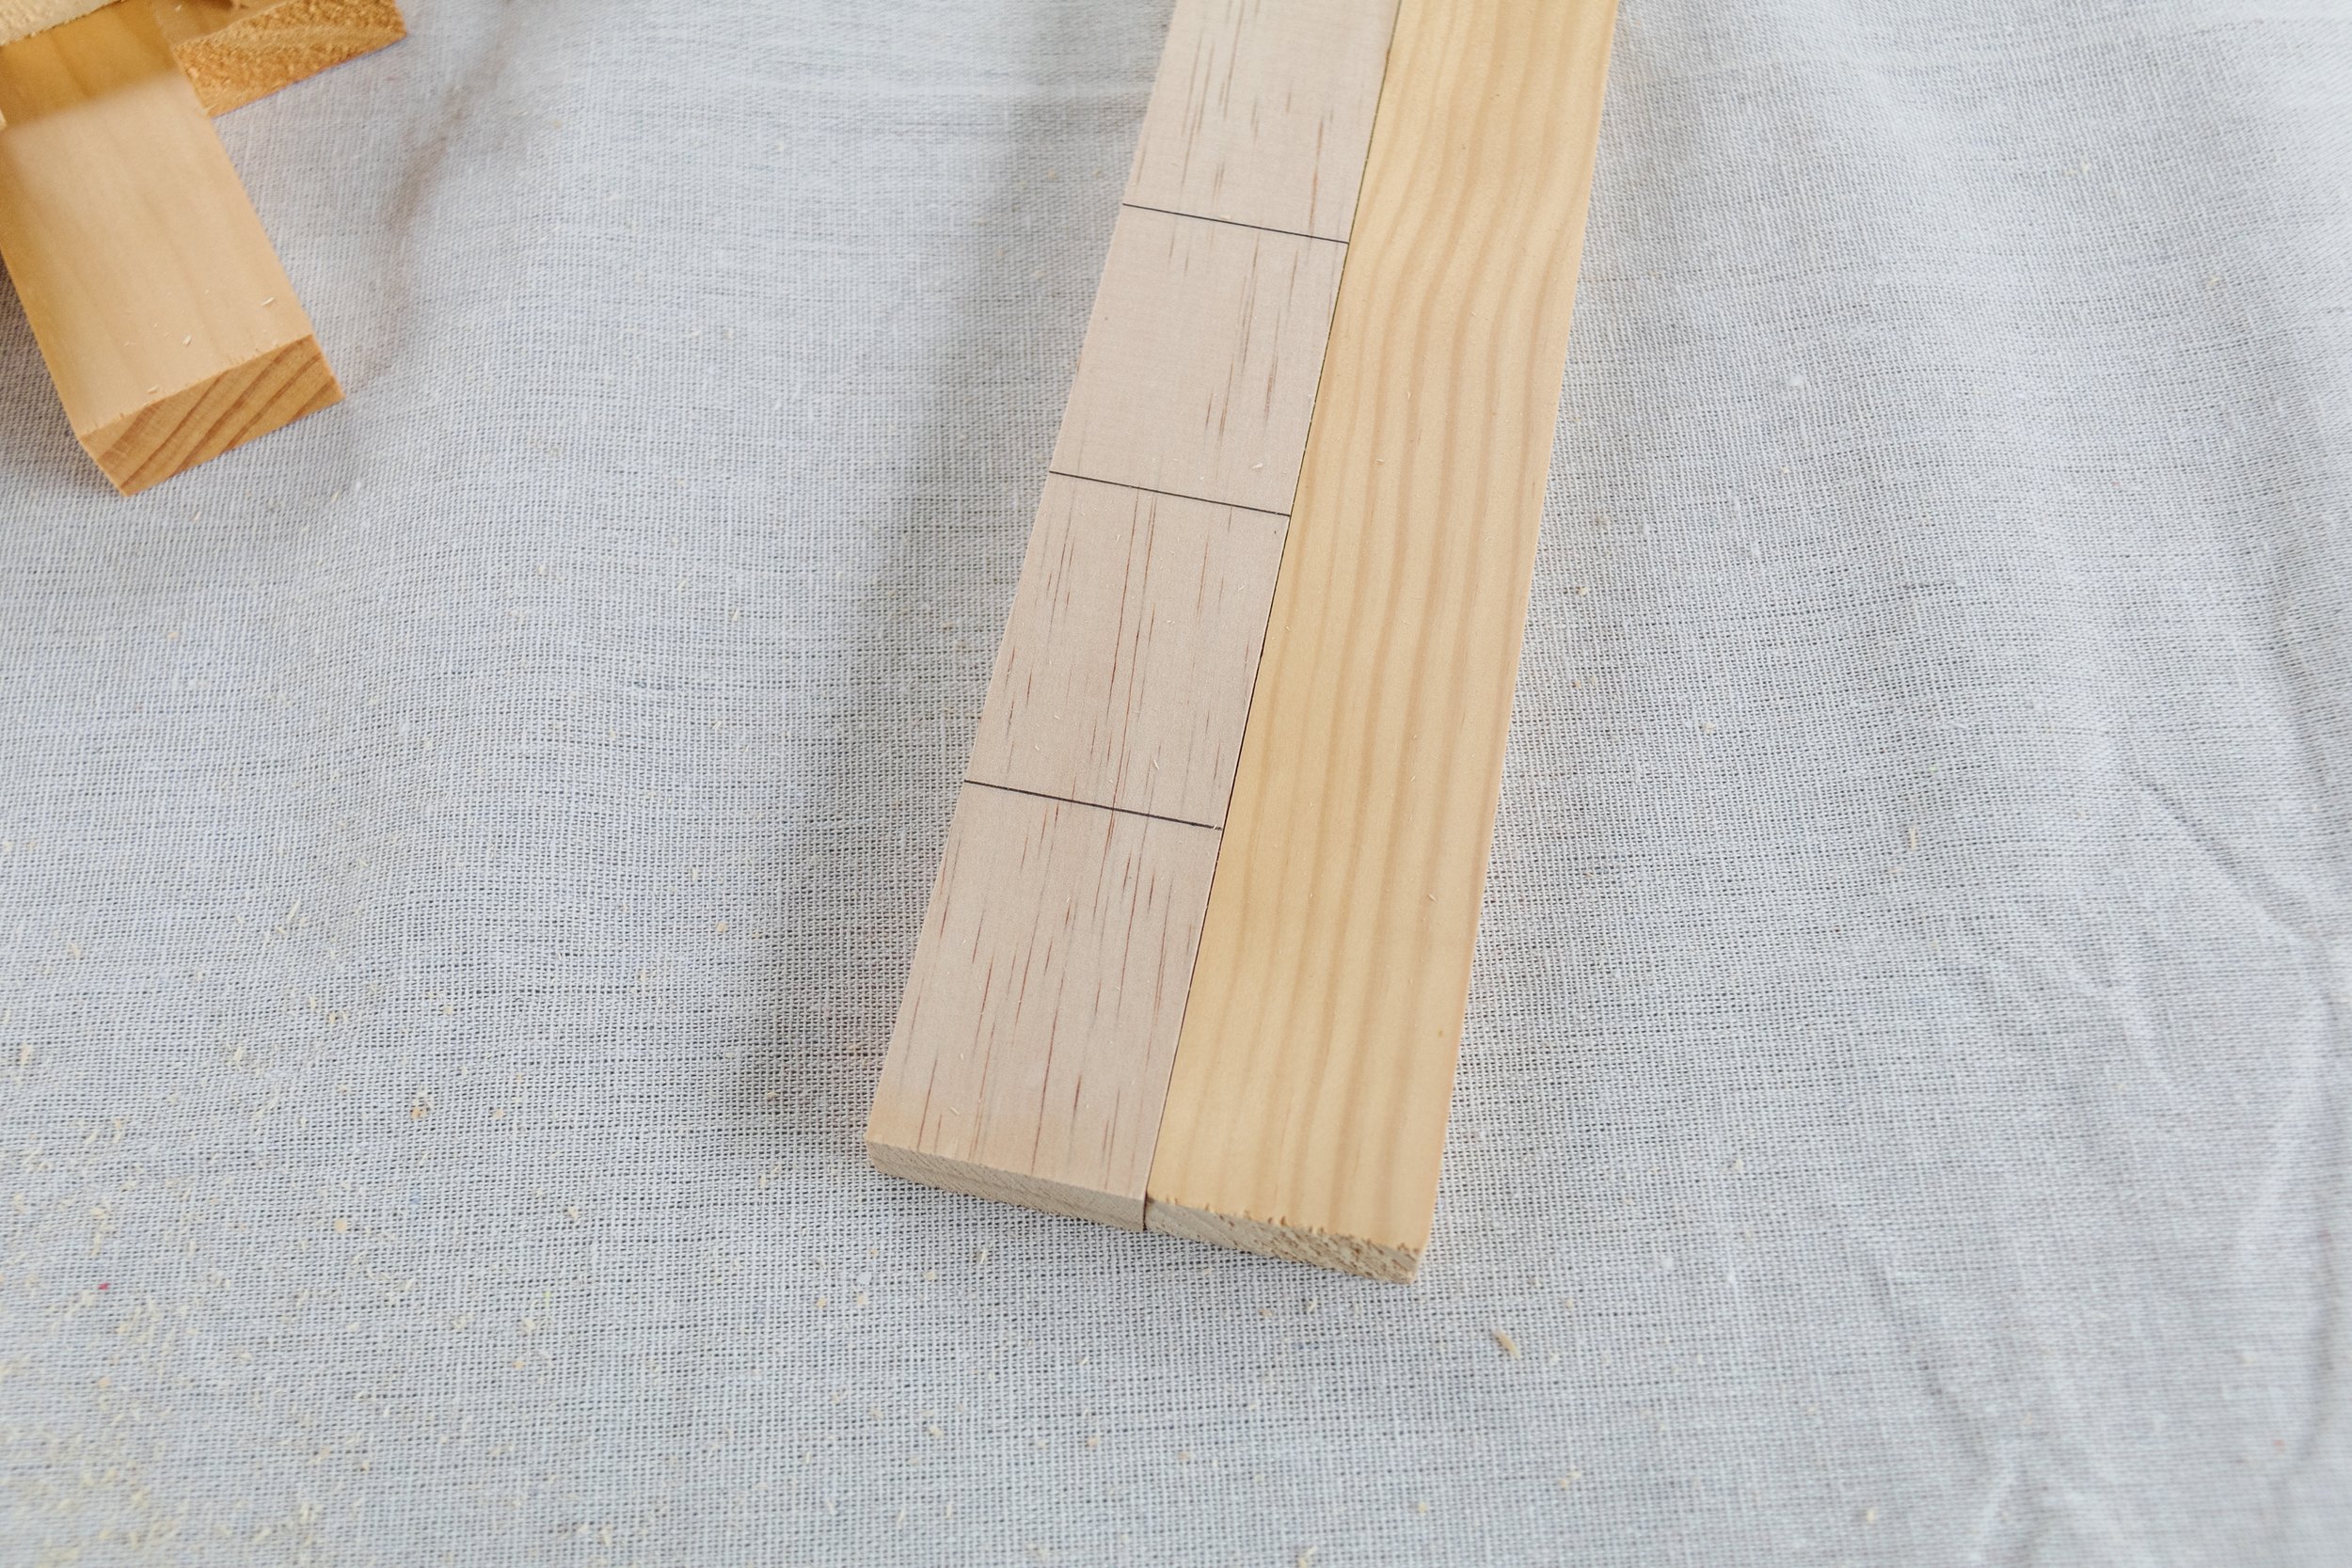
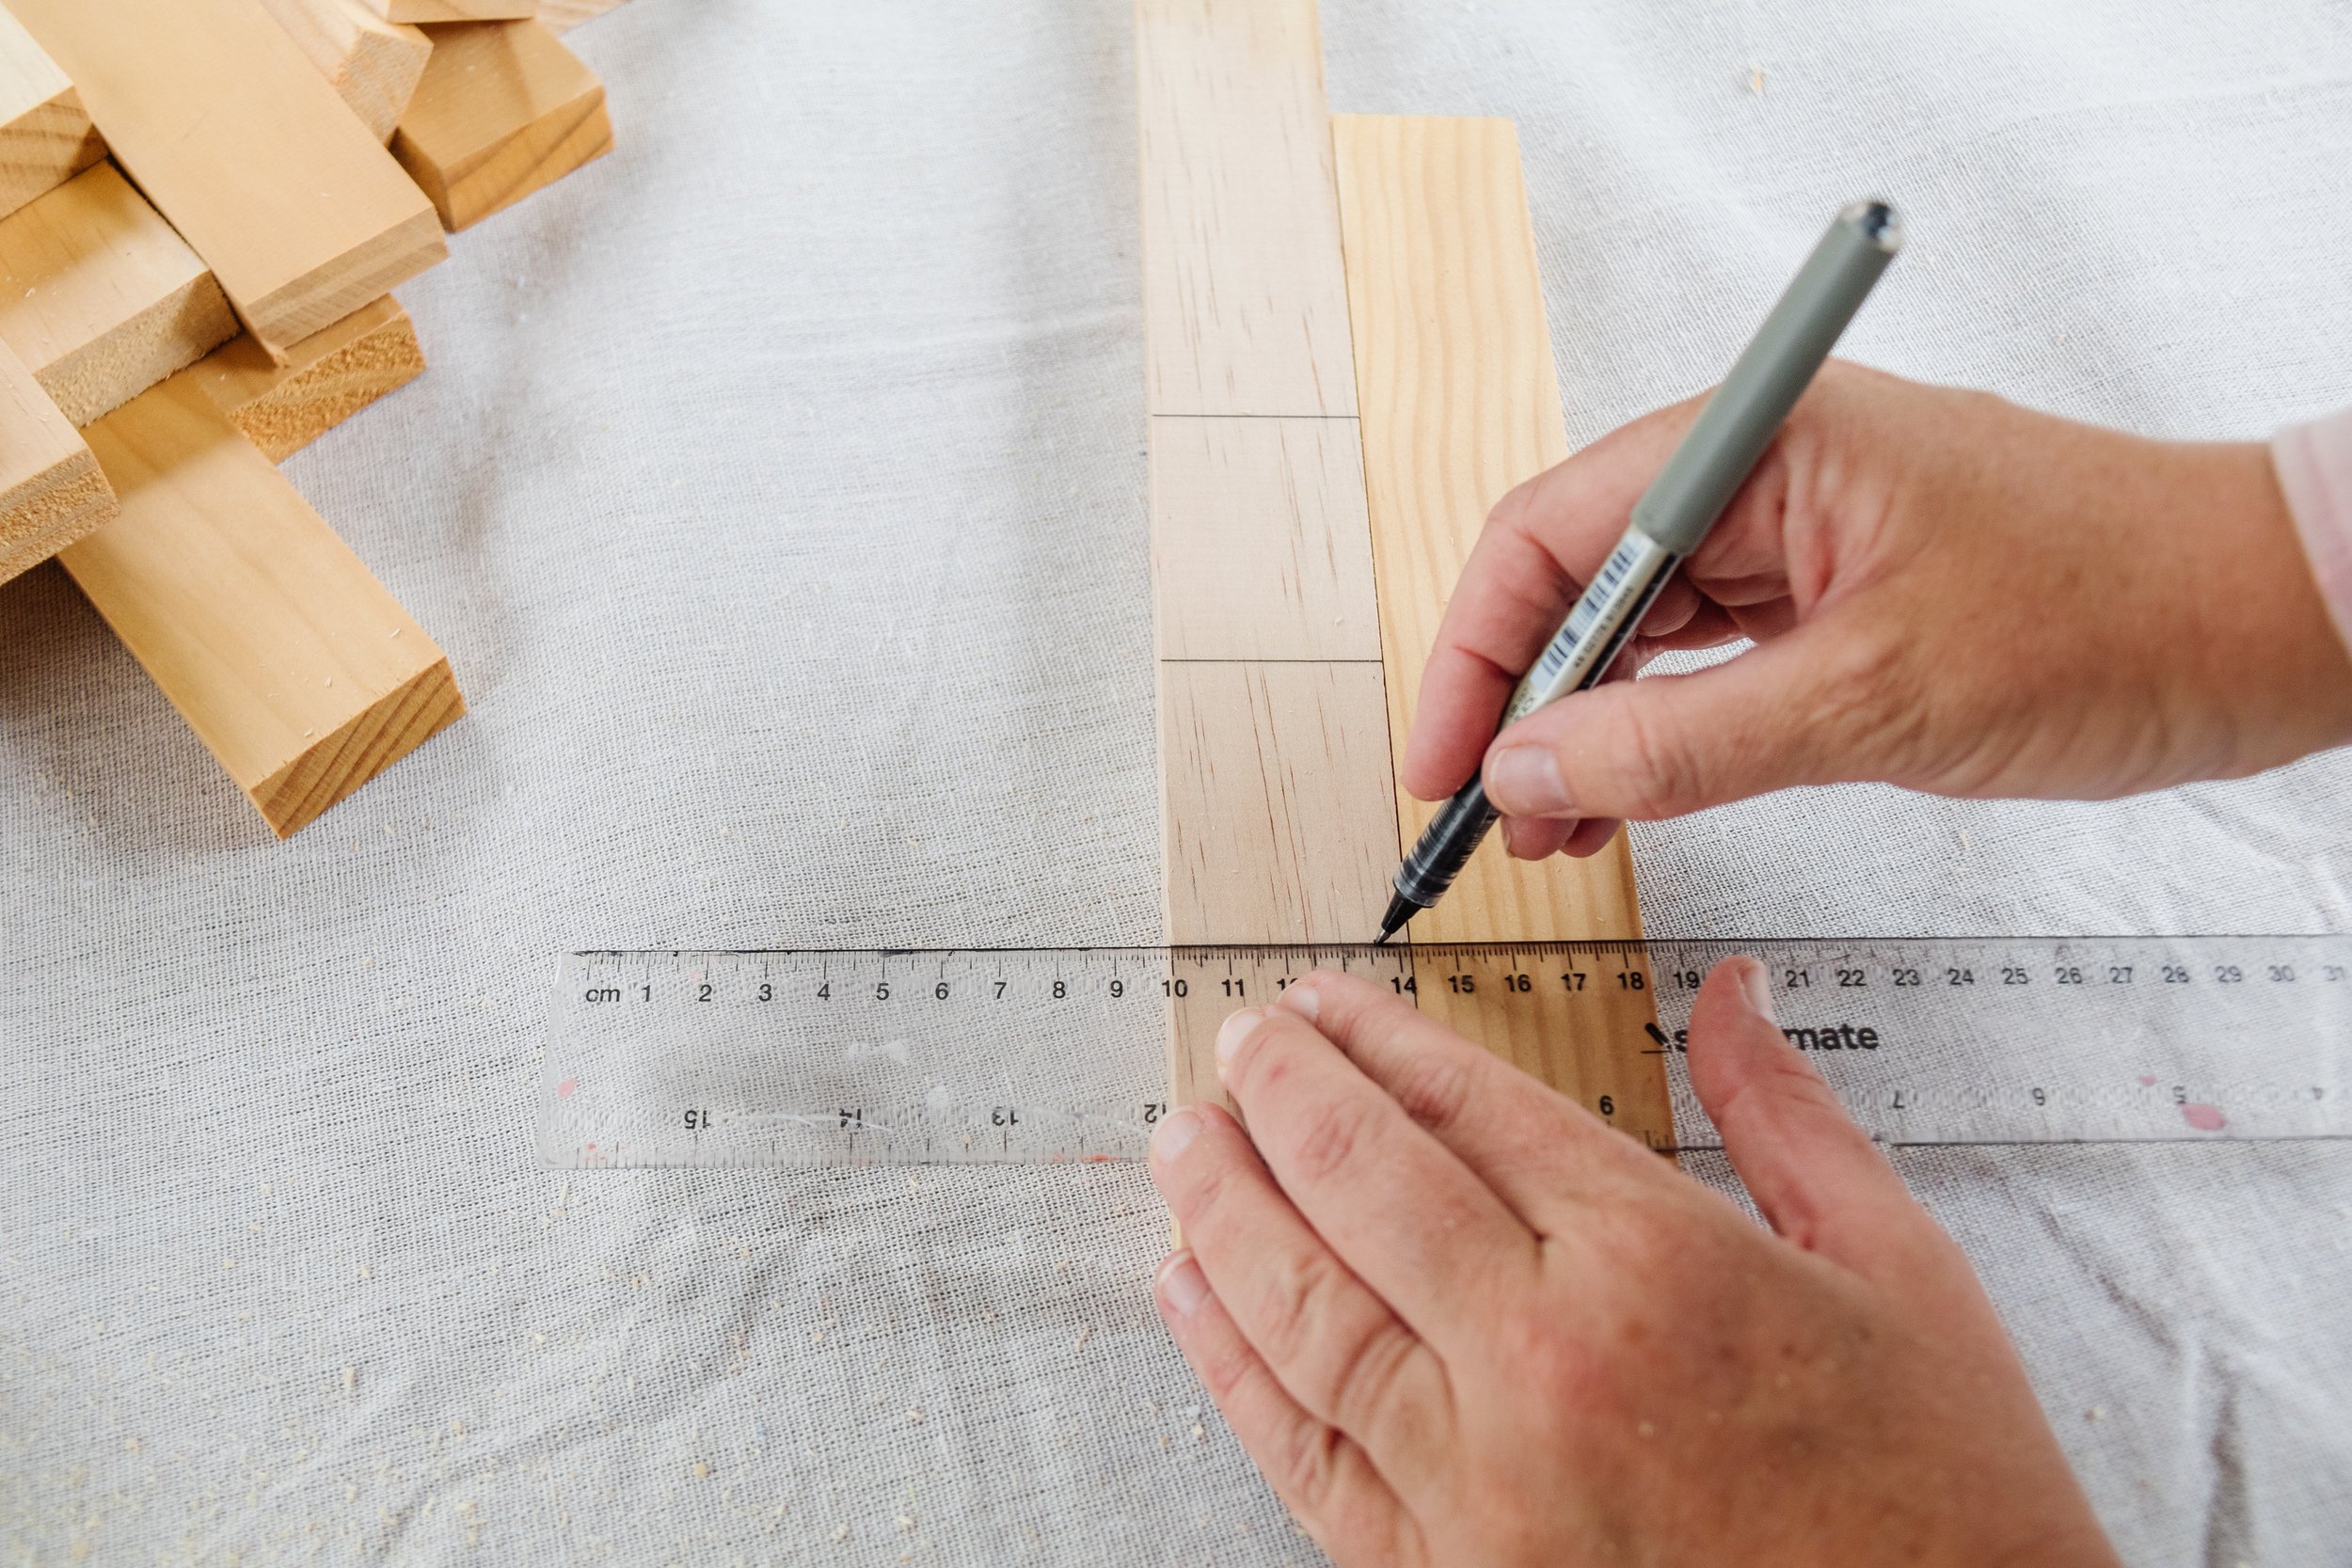
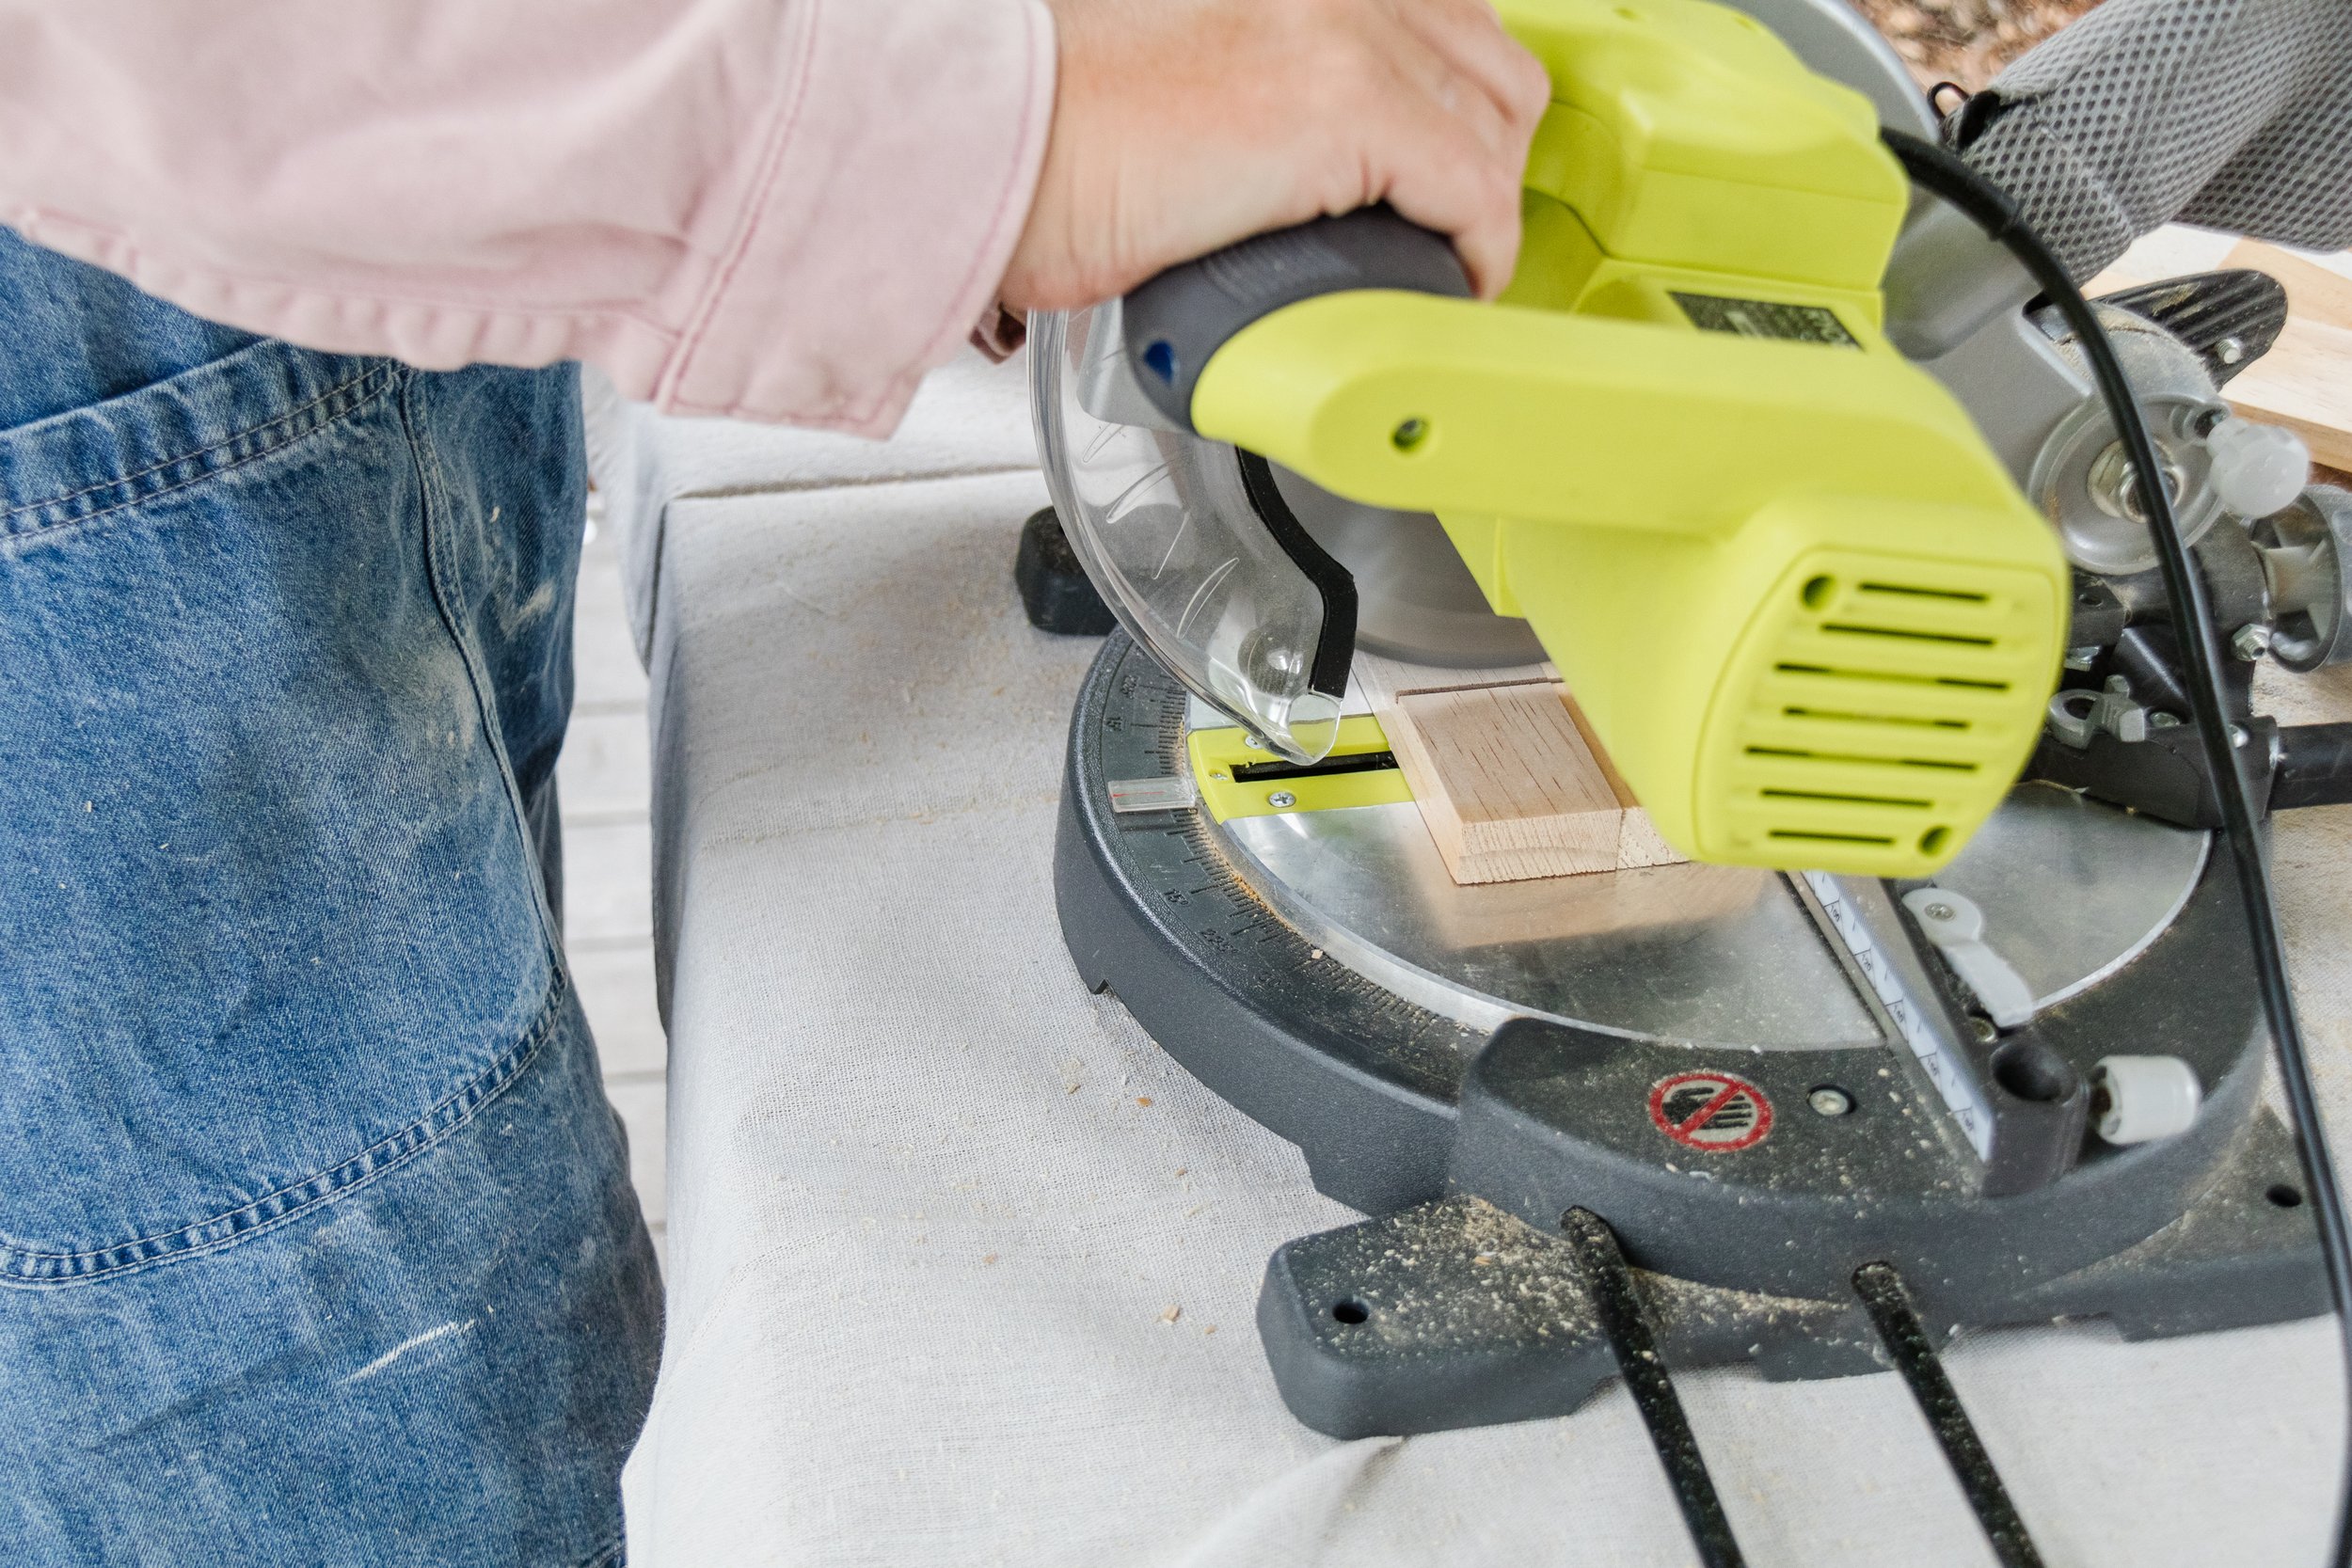
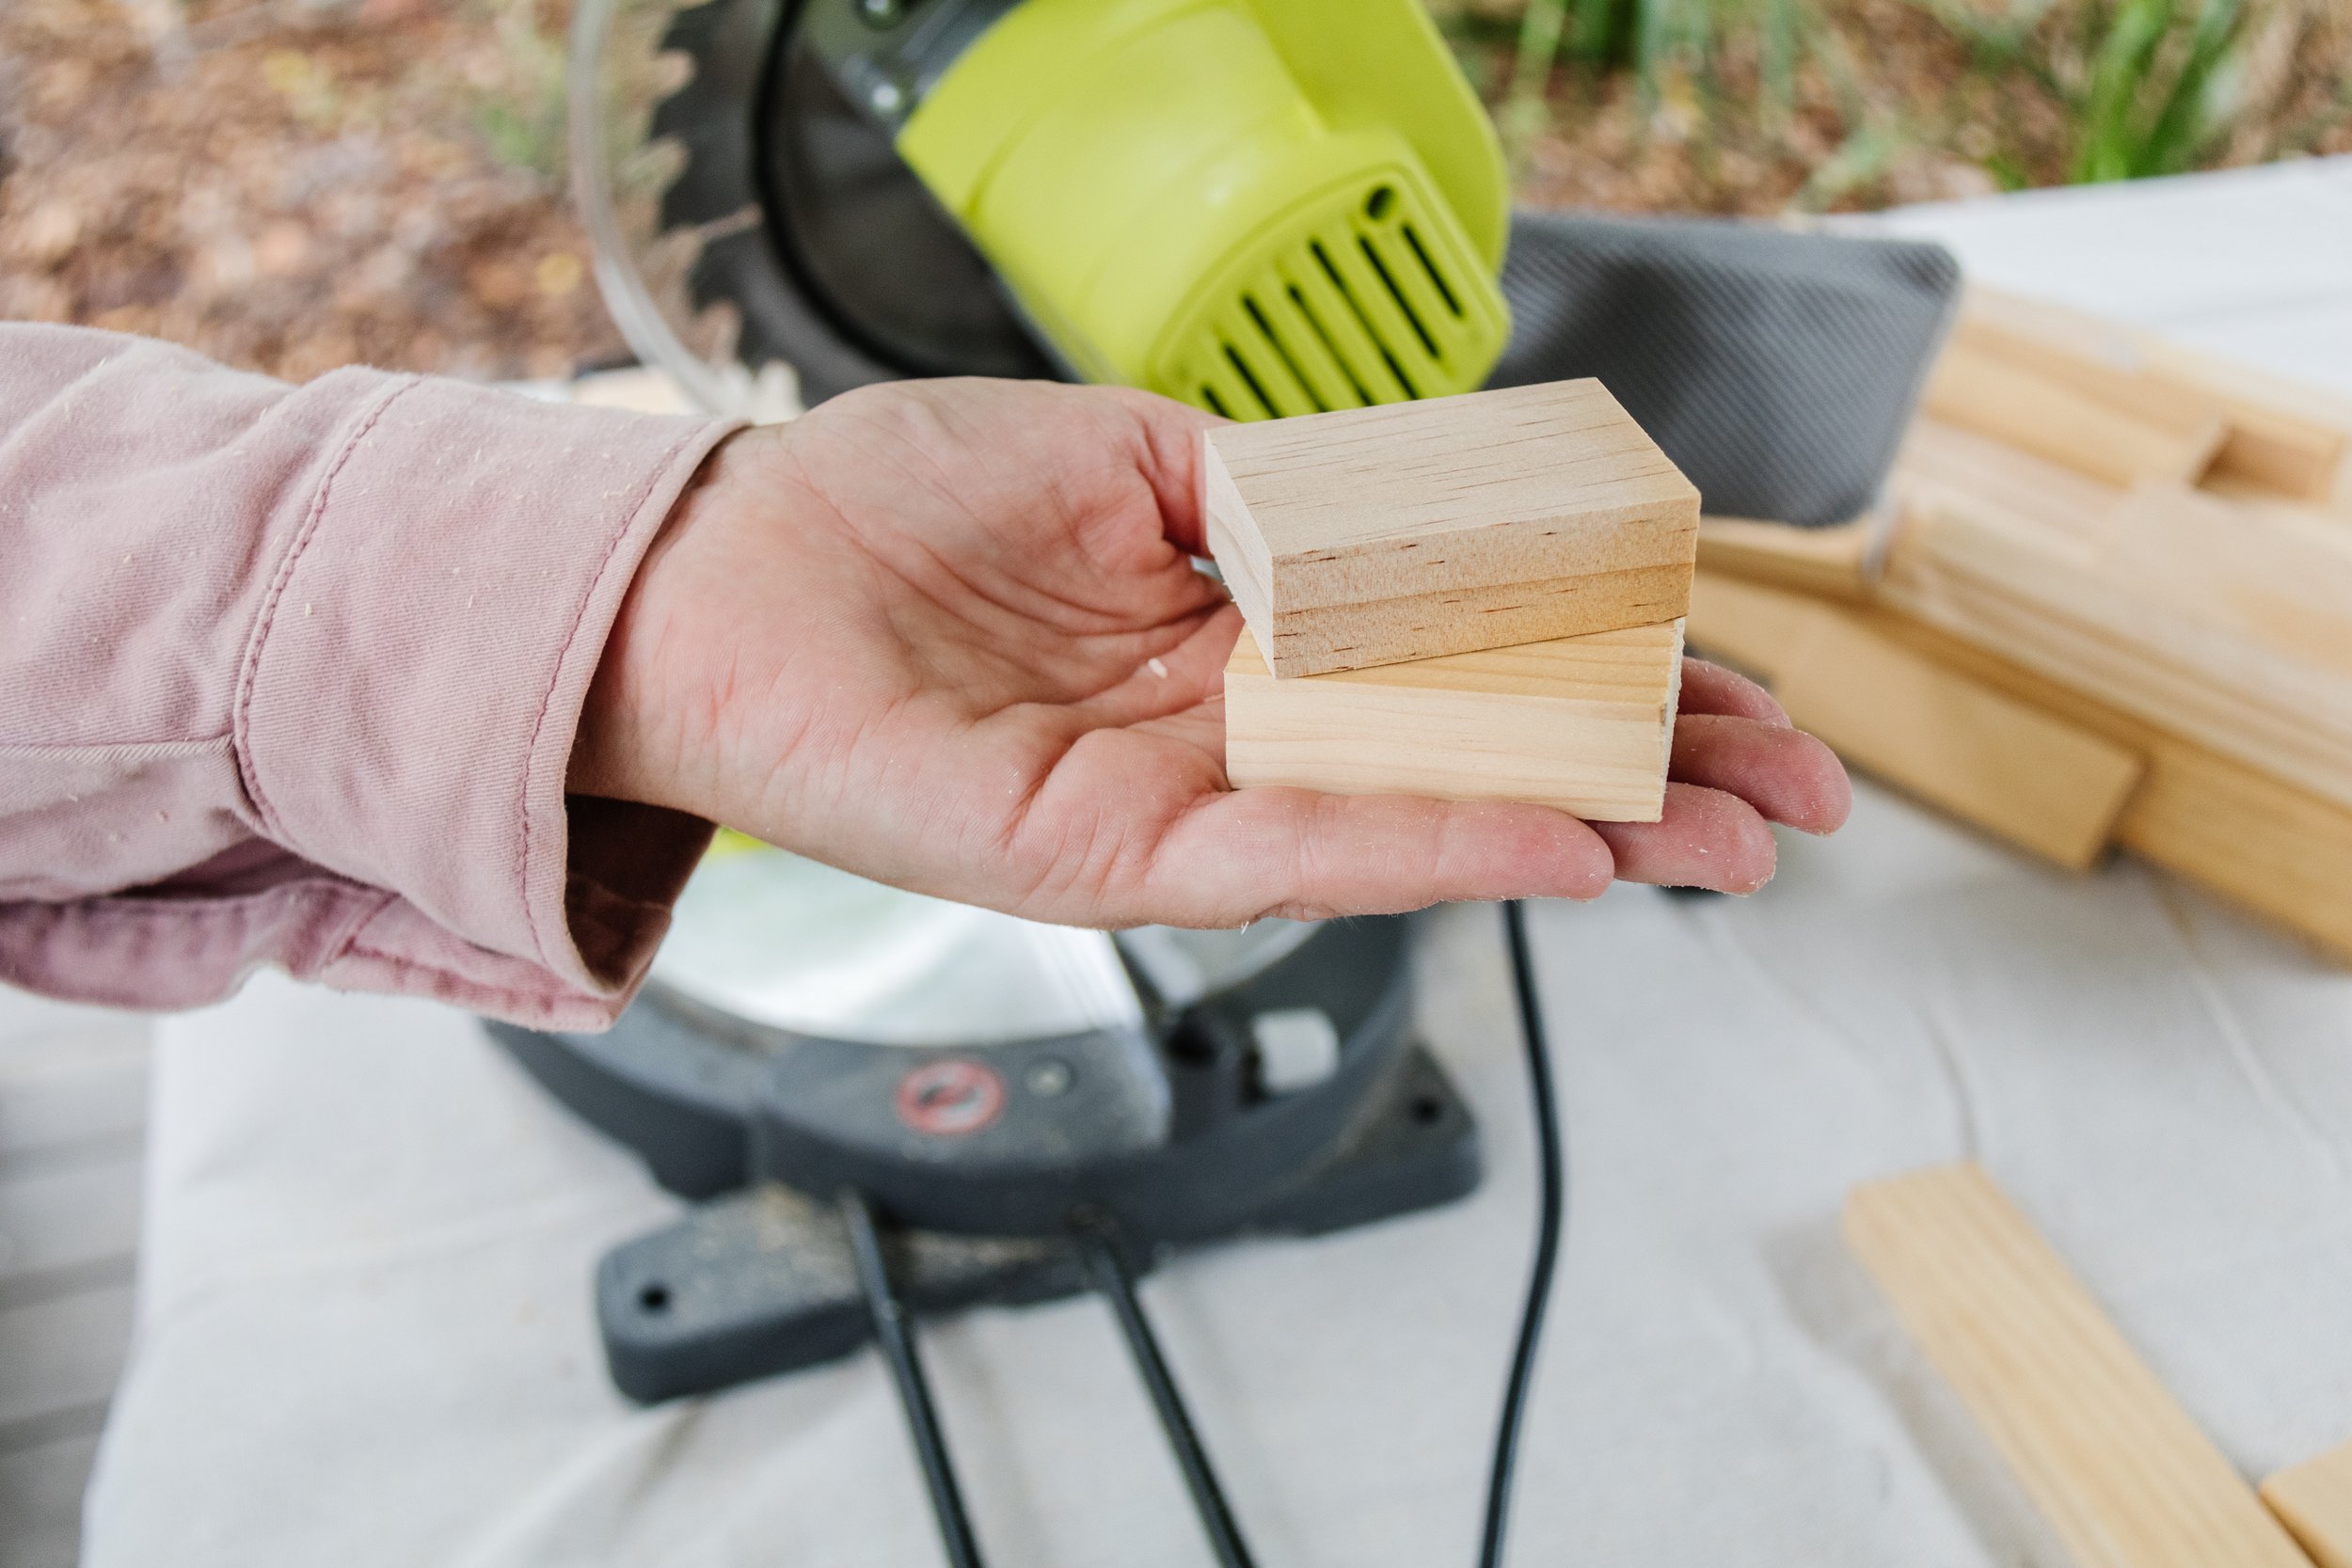
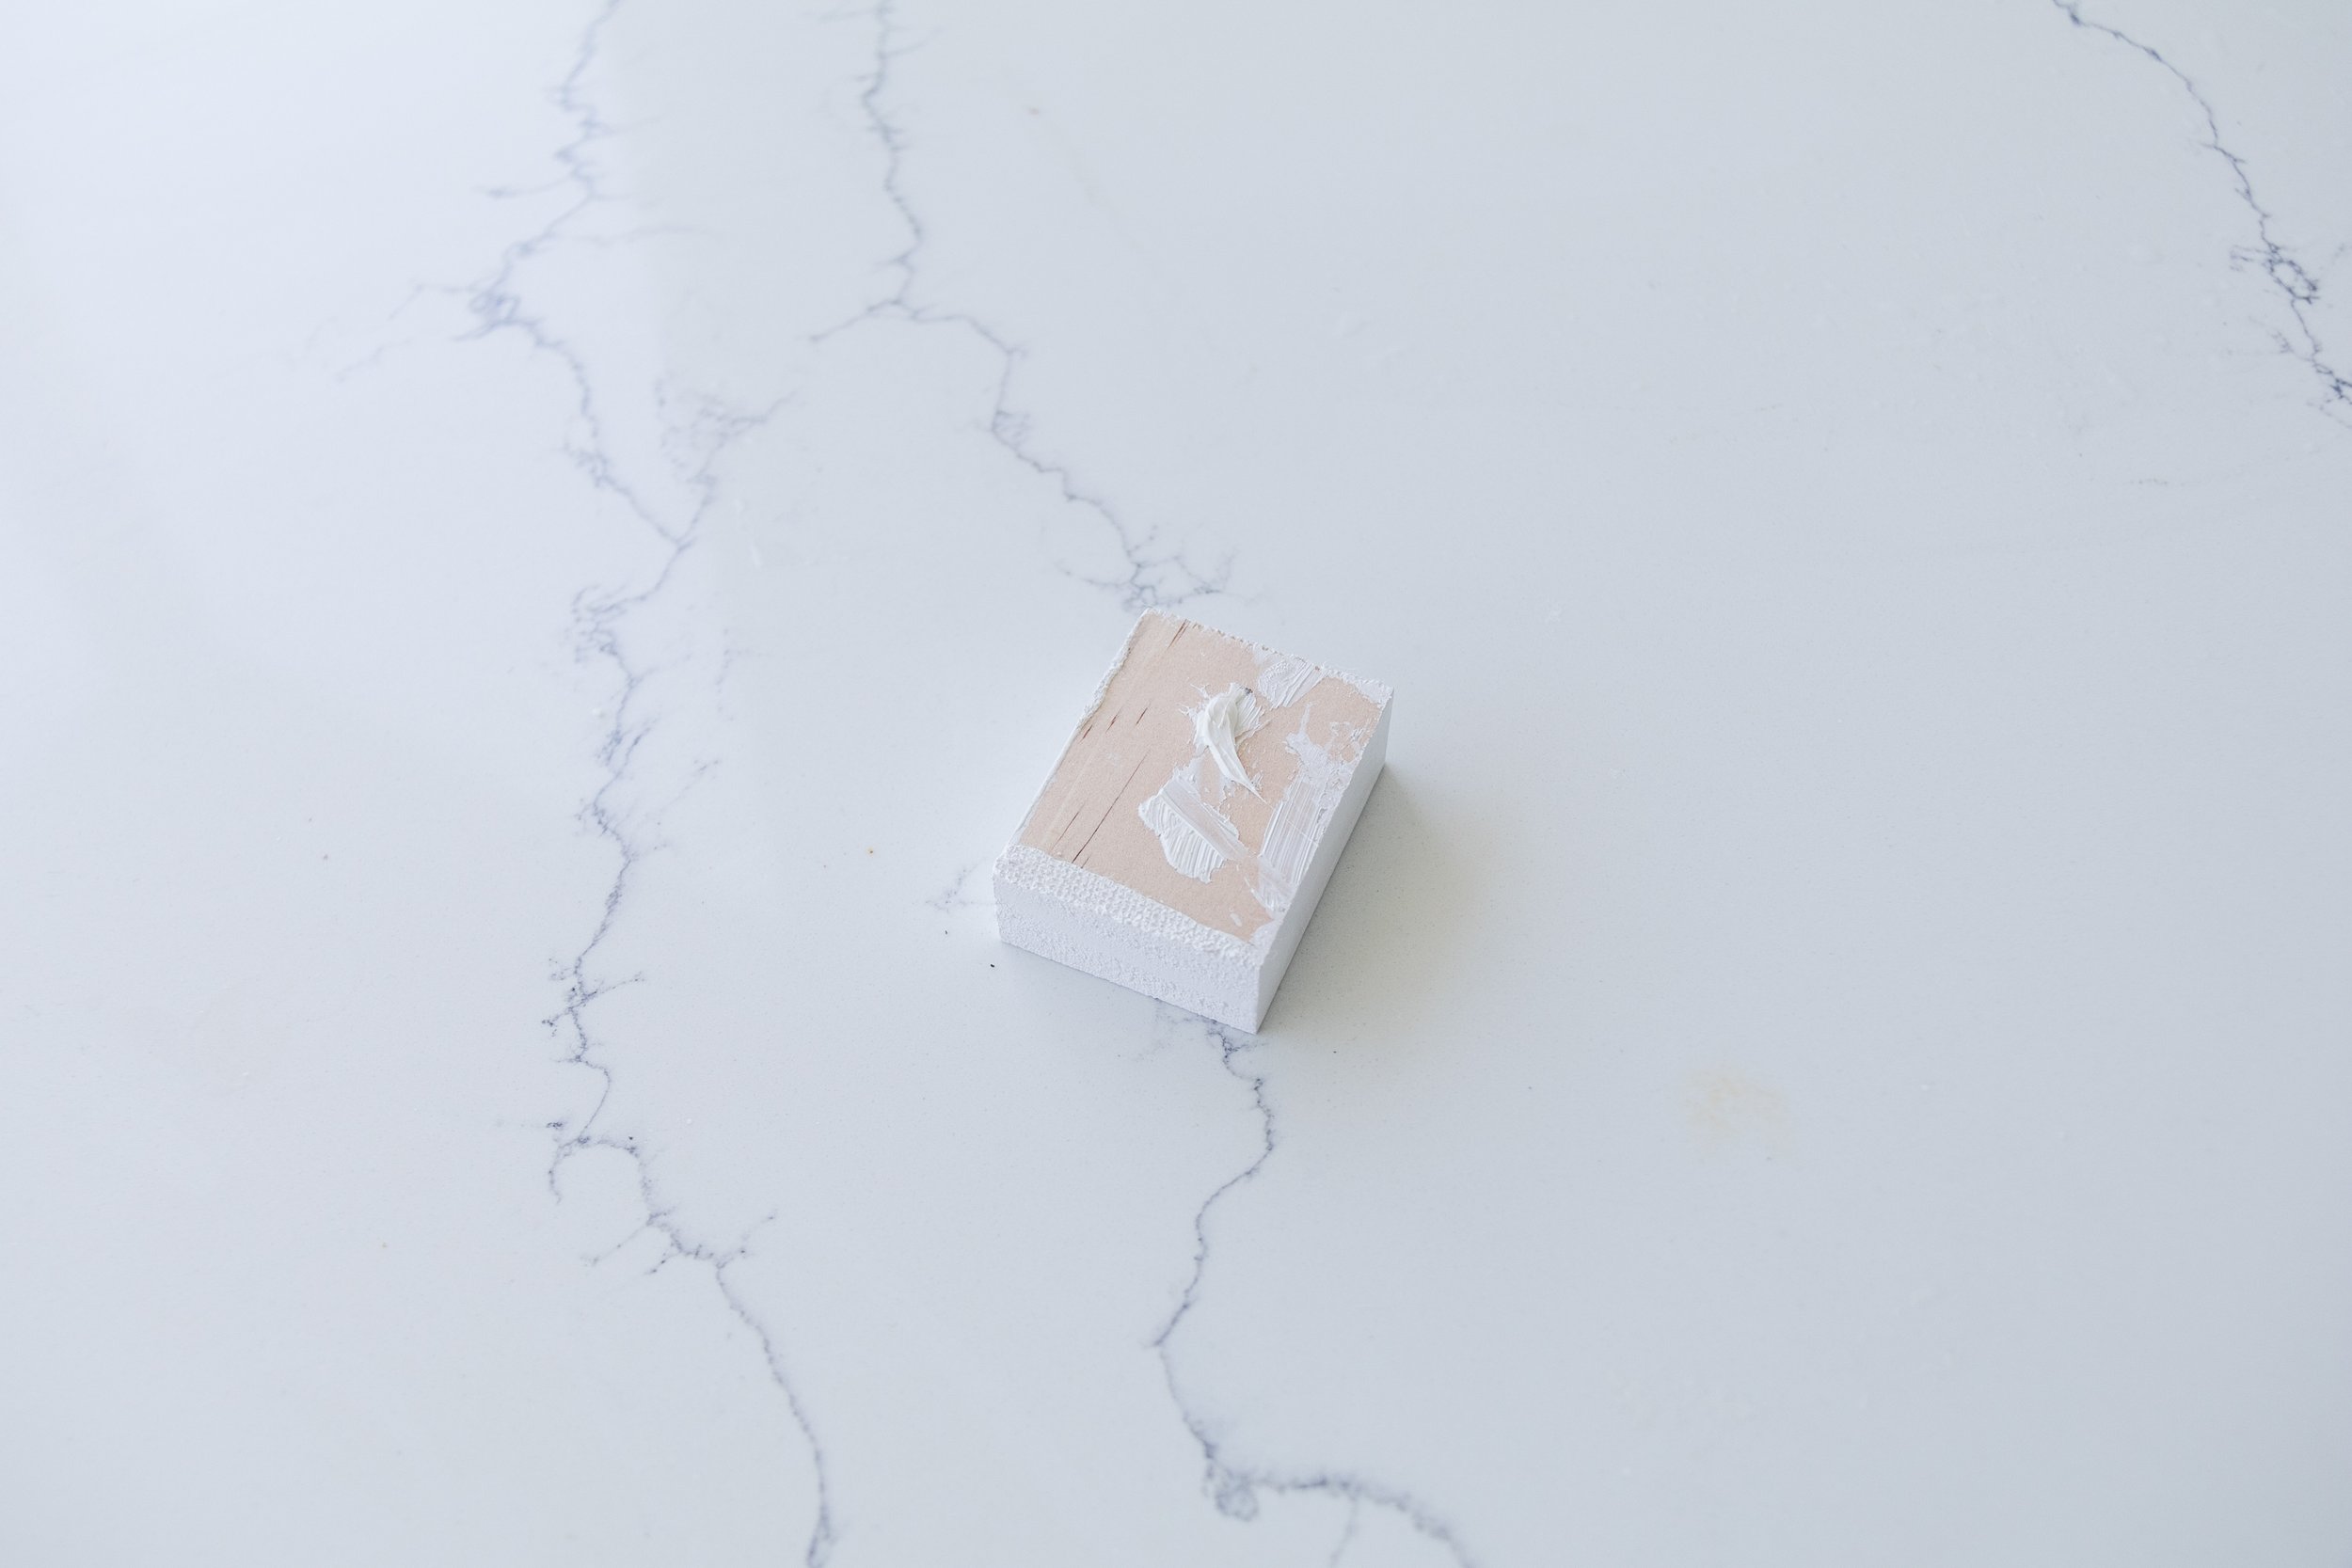
Step 2: I spent a lot of time researching dentil moulding examples, and the style I was drawn to the most were subtle rectangles. I decided 60mm would be the perfect height (knowing the width was 45mm). Using a ruler and pen, I marked the leftover timber at 60mm intervals. I placed my Monarch Leak Proof Canvas Drop Sheet onto my work surface and cut 140 pieces using my mitre saw. You can use a jigsaw for this too, and a handsaw - although the latter may take a long while! Following this I removed any visible splinters from the timber.
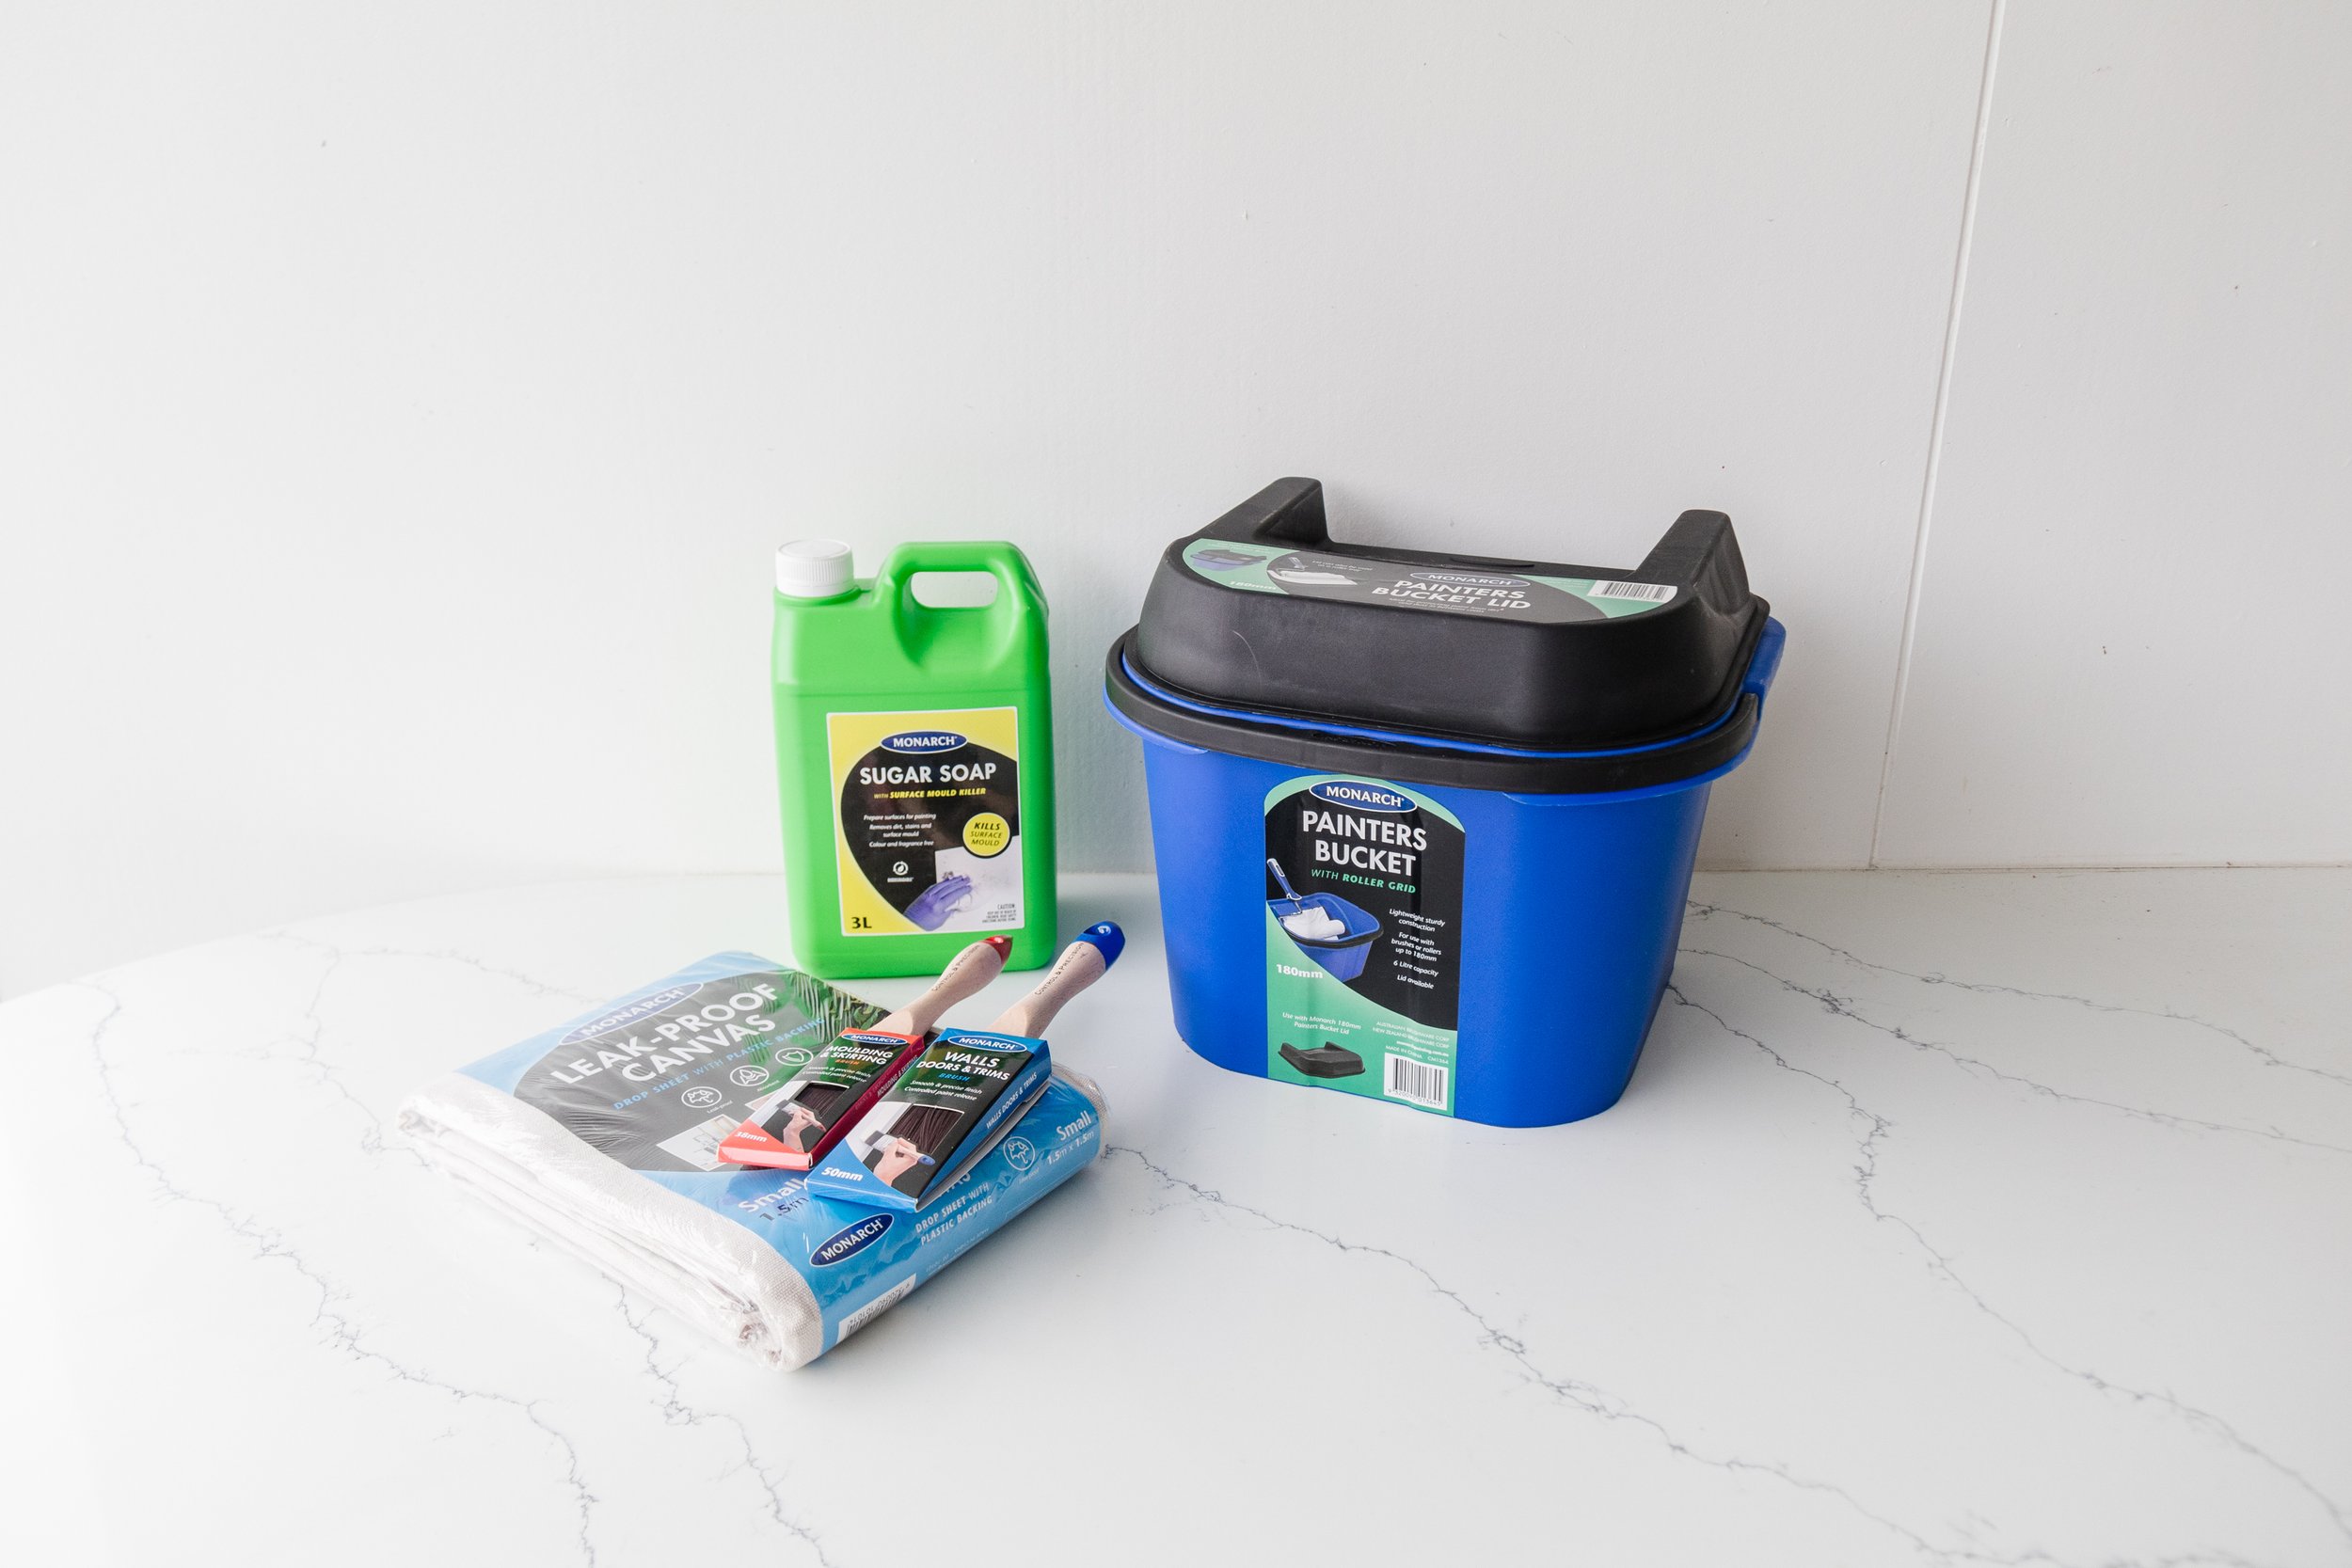
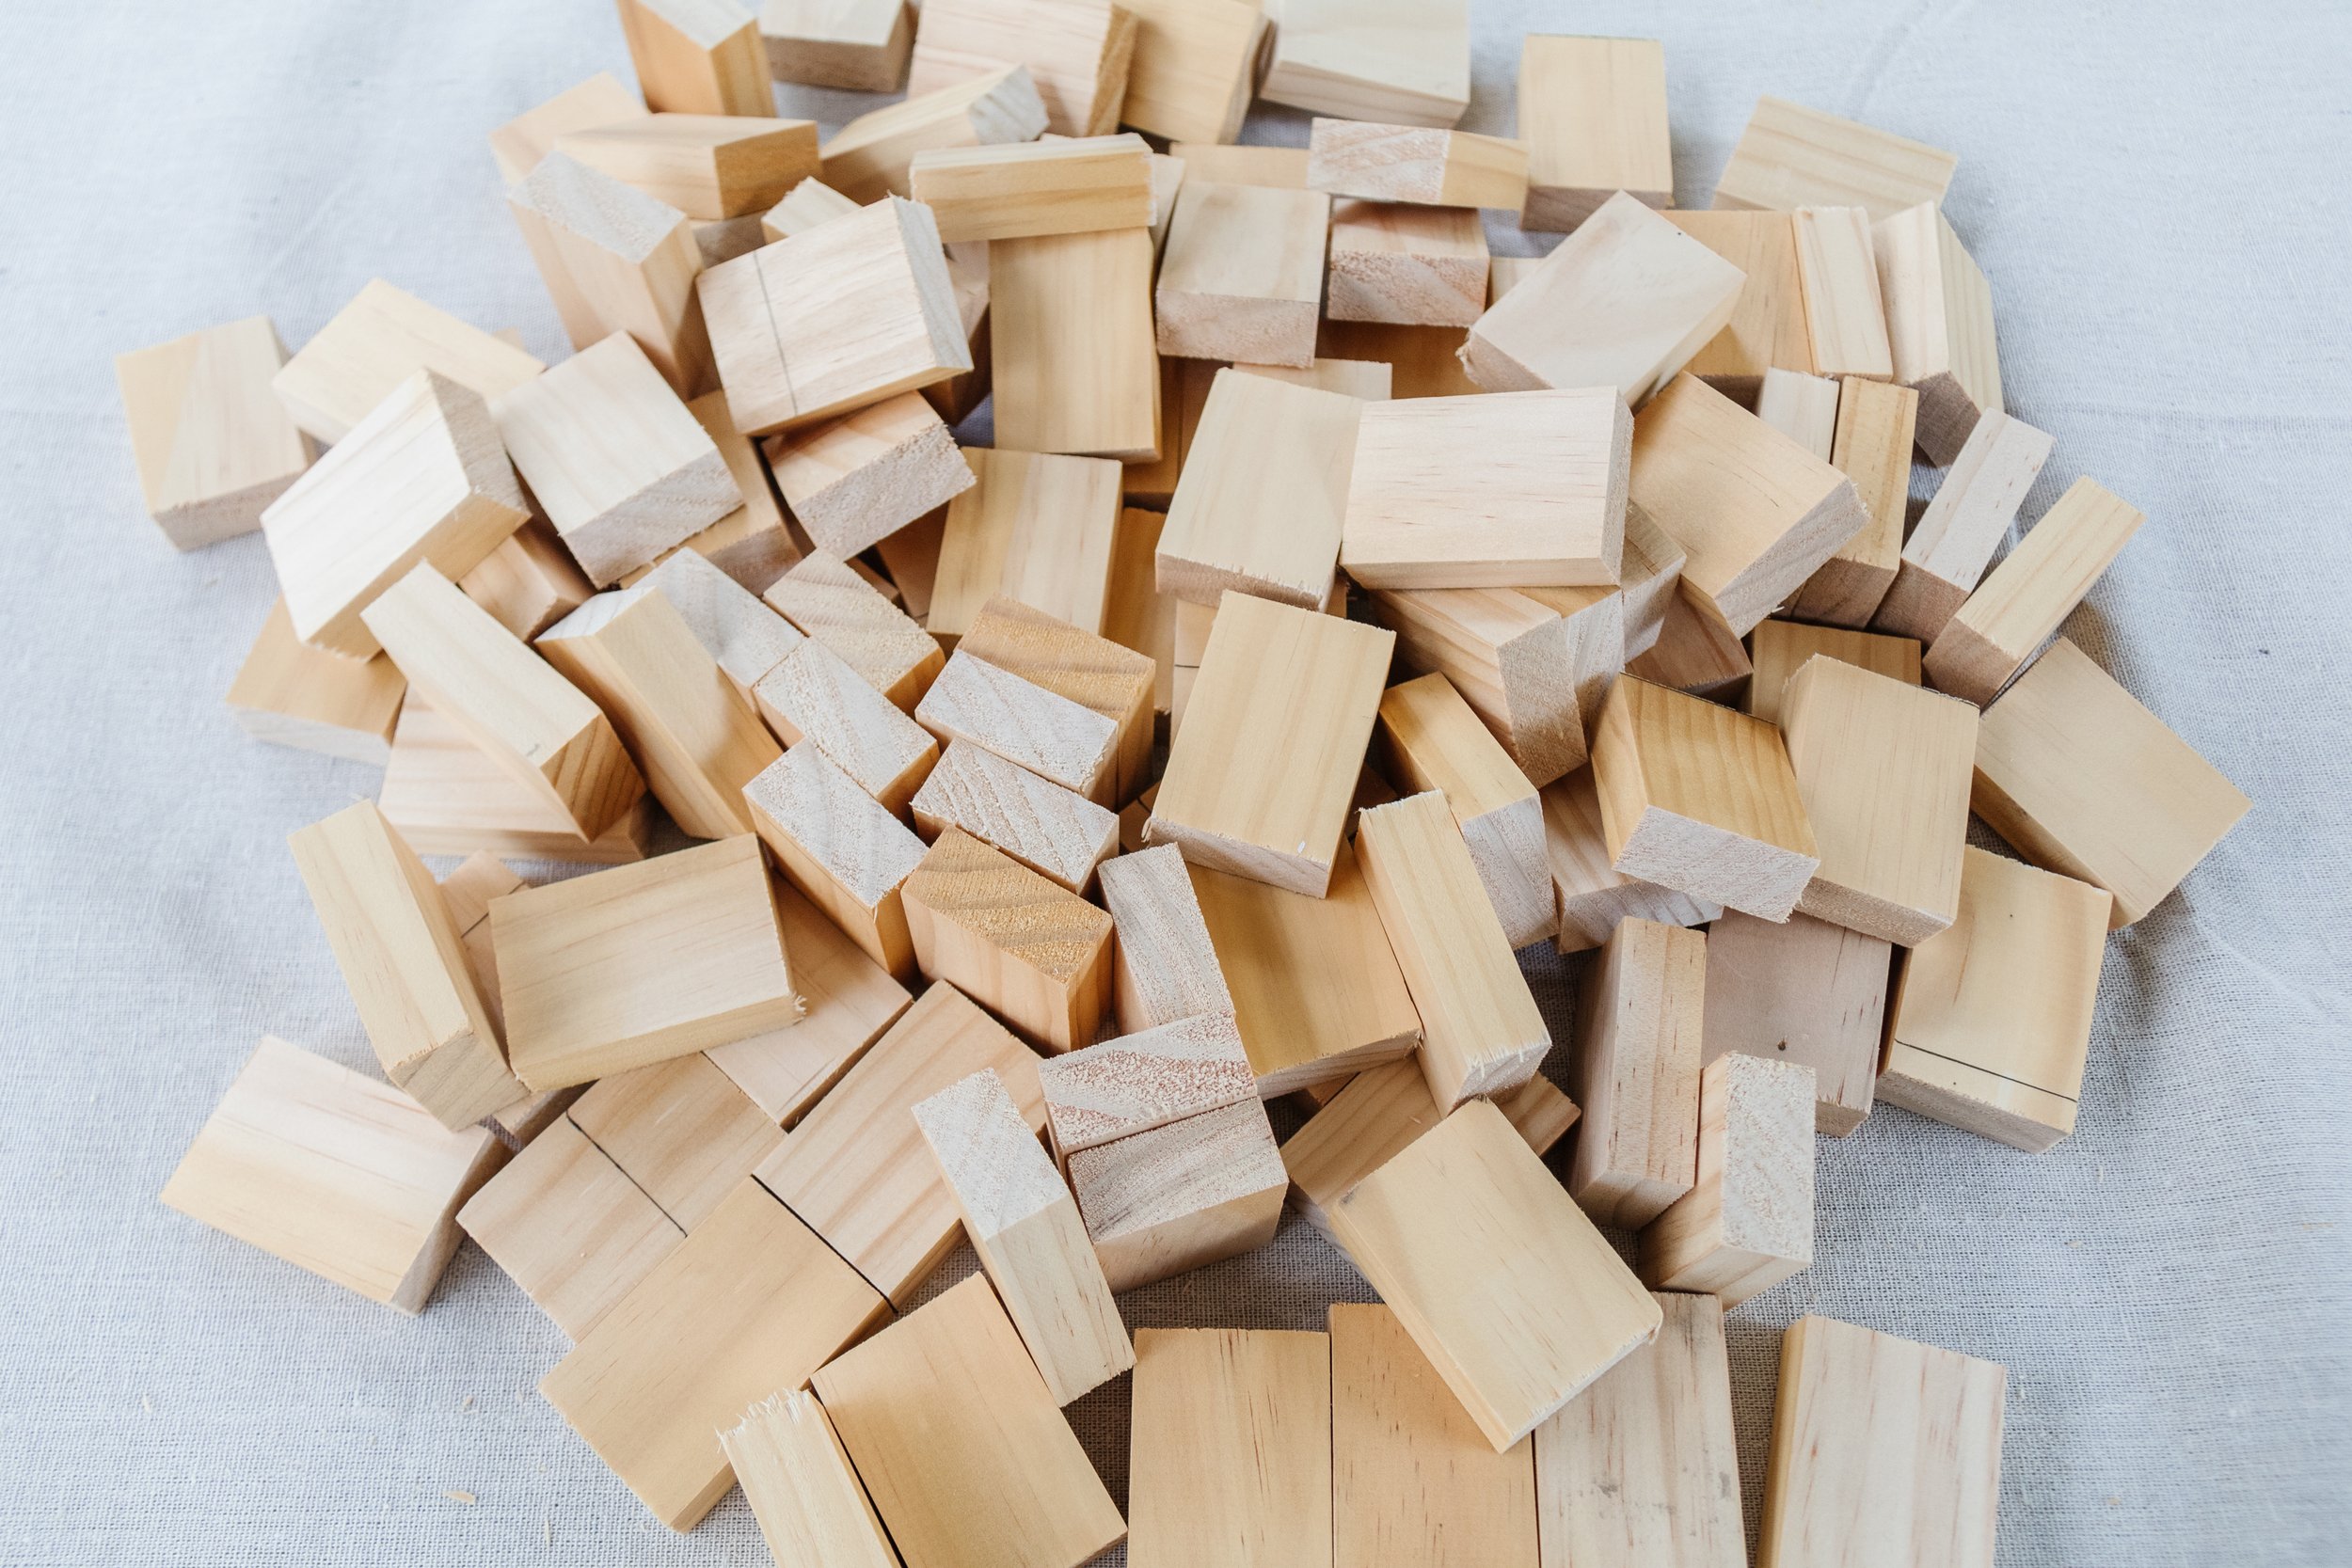
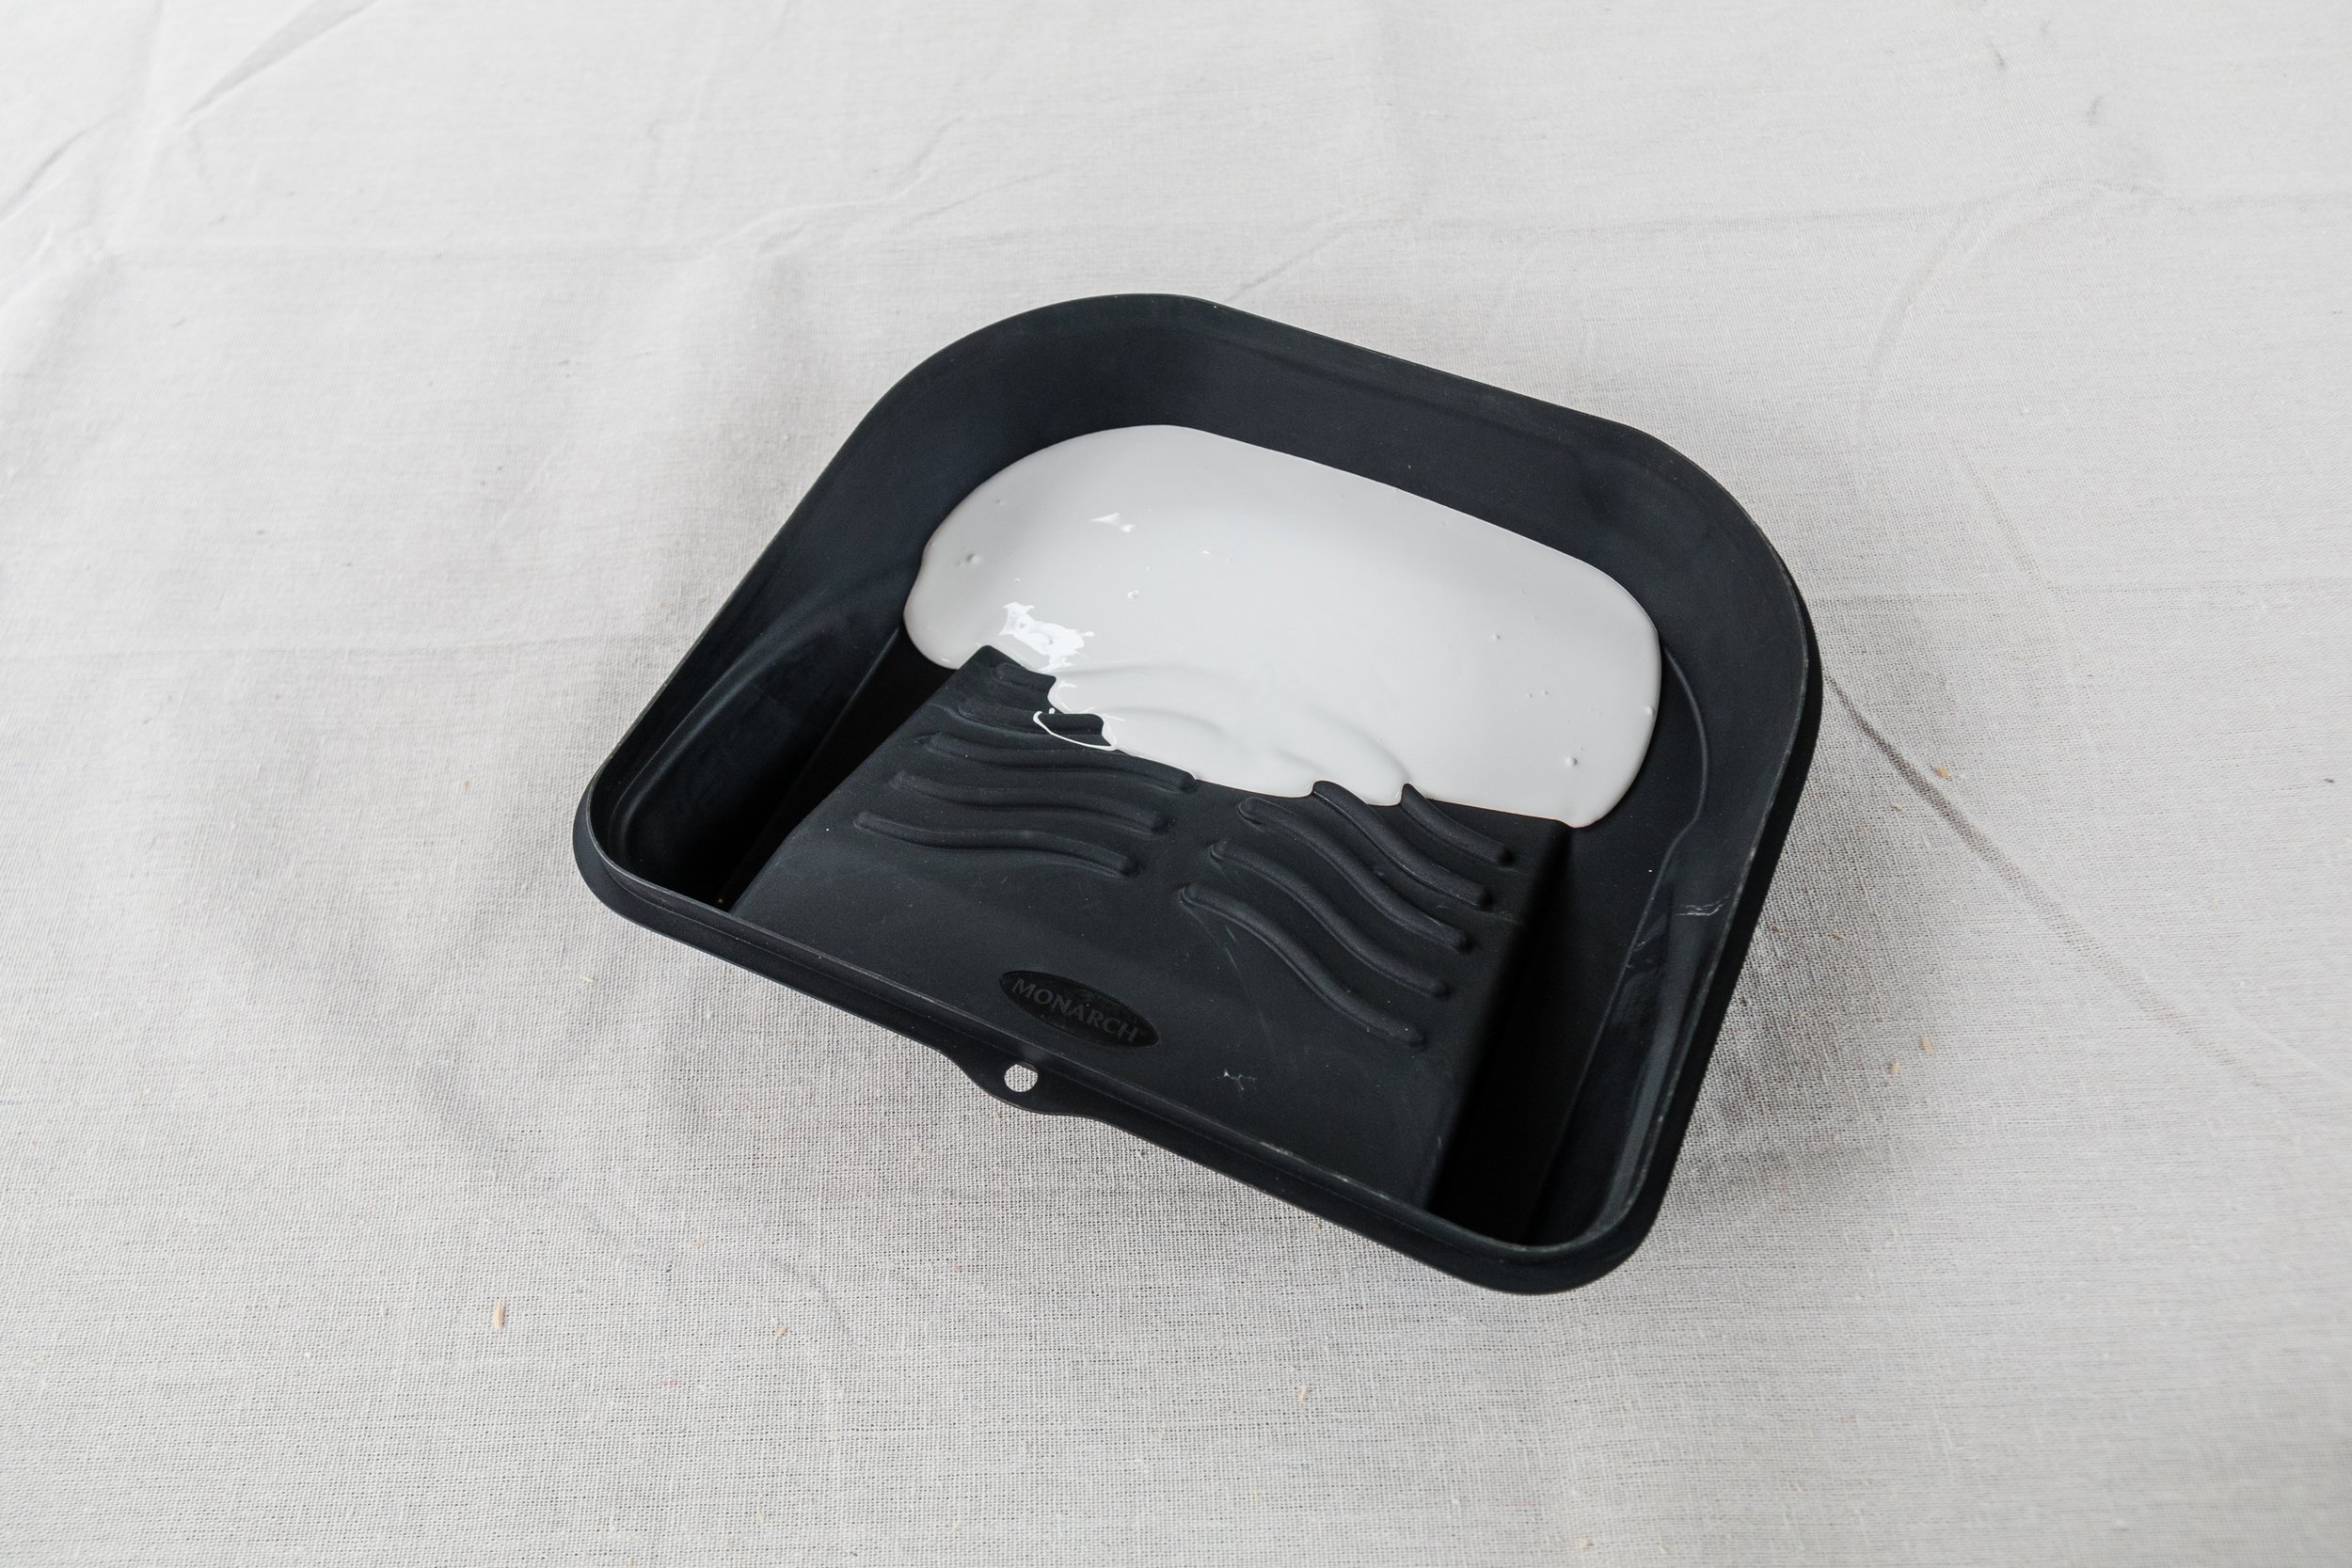
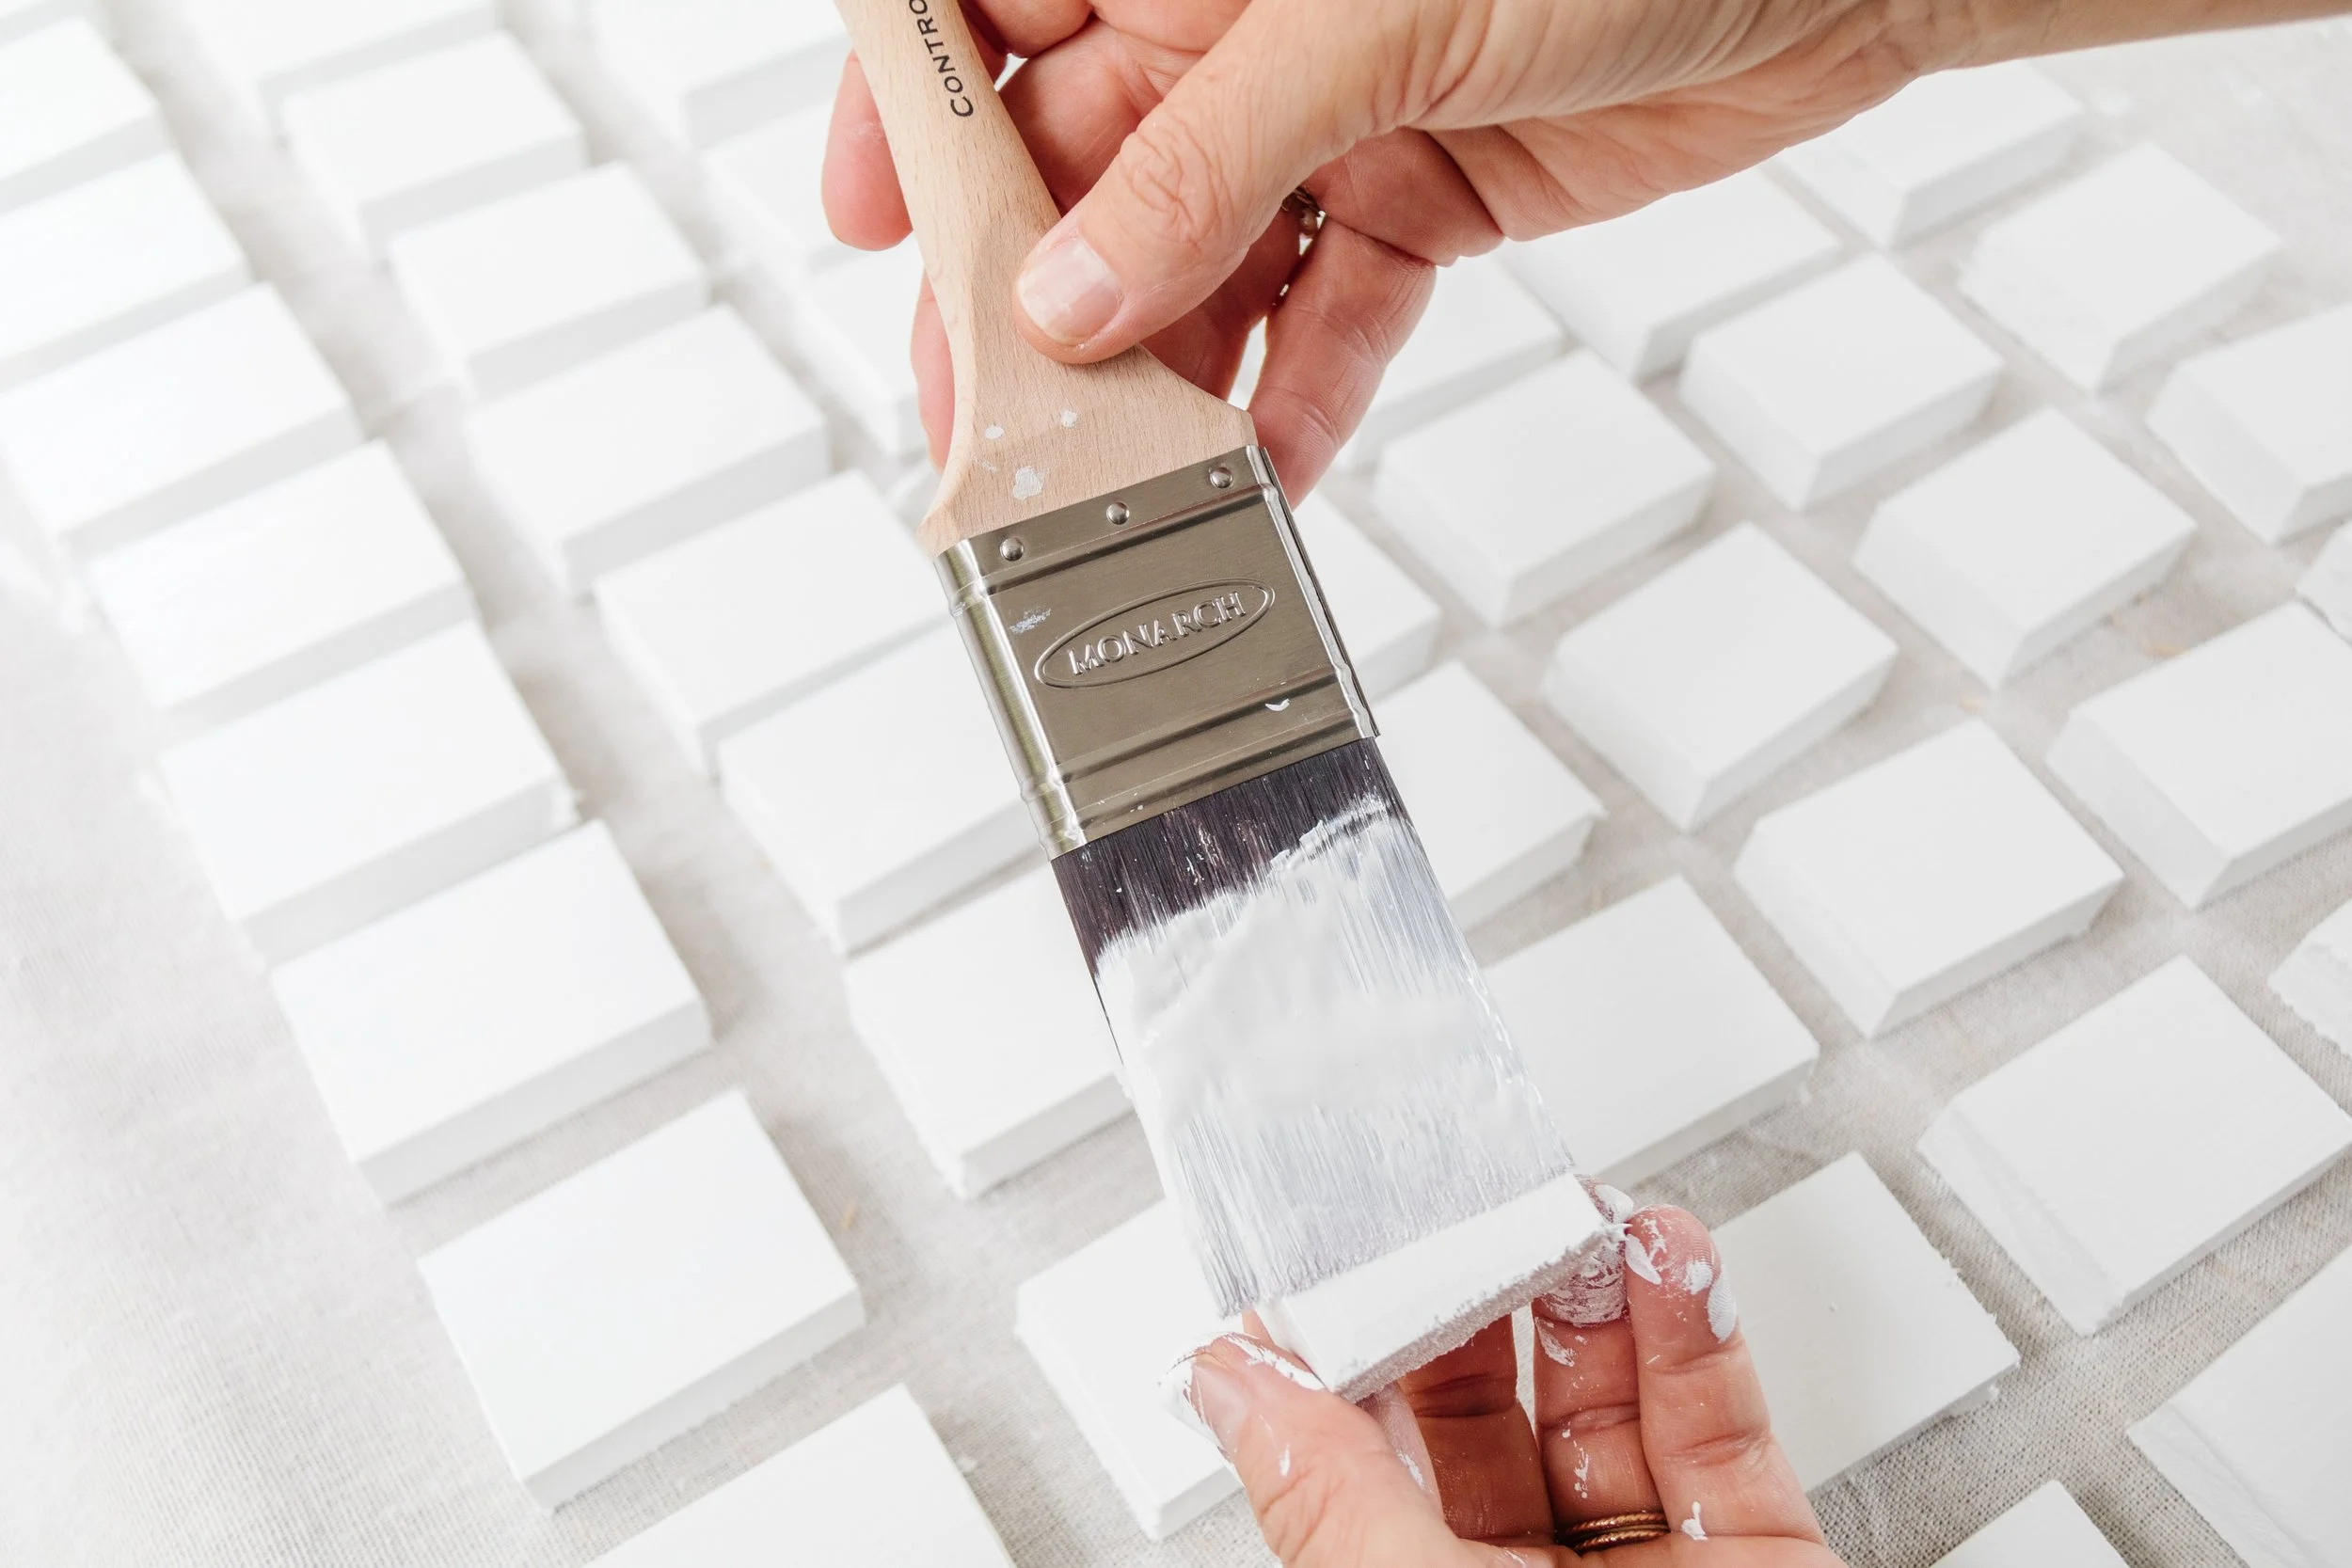
Step 3: Once the timber was cut, I poured white exterior paint into my Monarch Painters Bucket and started painting each piece of cut timber with my Monarch Walls, Doors & Trims 50mm Brush. I applied 3 light coats of paint (as the timber soaked up the initial couple of coats) but it went really quickly thanks to my Monarch paint brush! And as always, I waited for the paint to completely dry before applying the next coat. Honestly, I am so impressed with Monarch’s paint brushes. Their paint brushes hold a lot of paint, don’t drip anywhere and feel so comfortable in my hand. It’s such a joy using them!
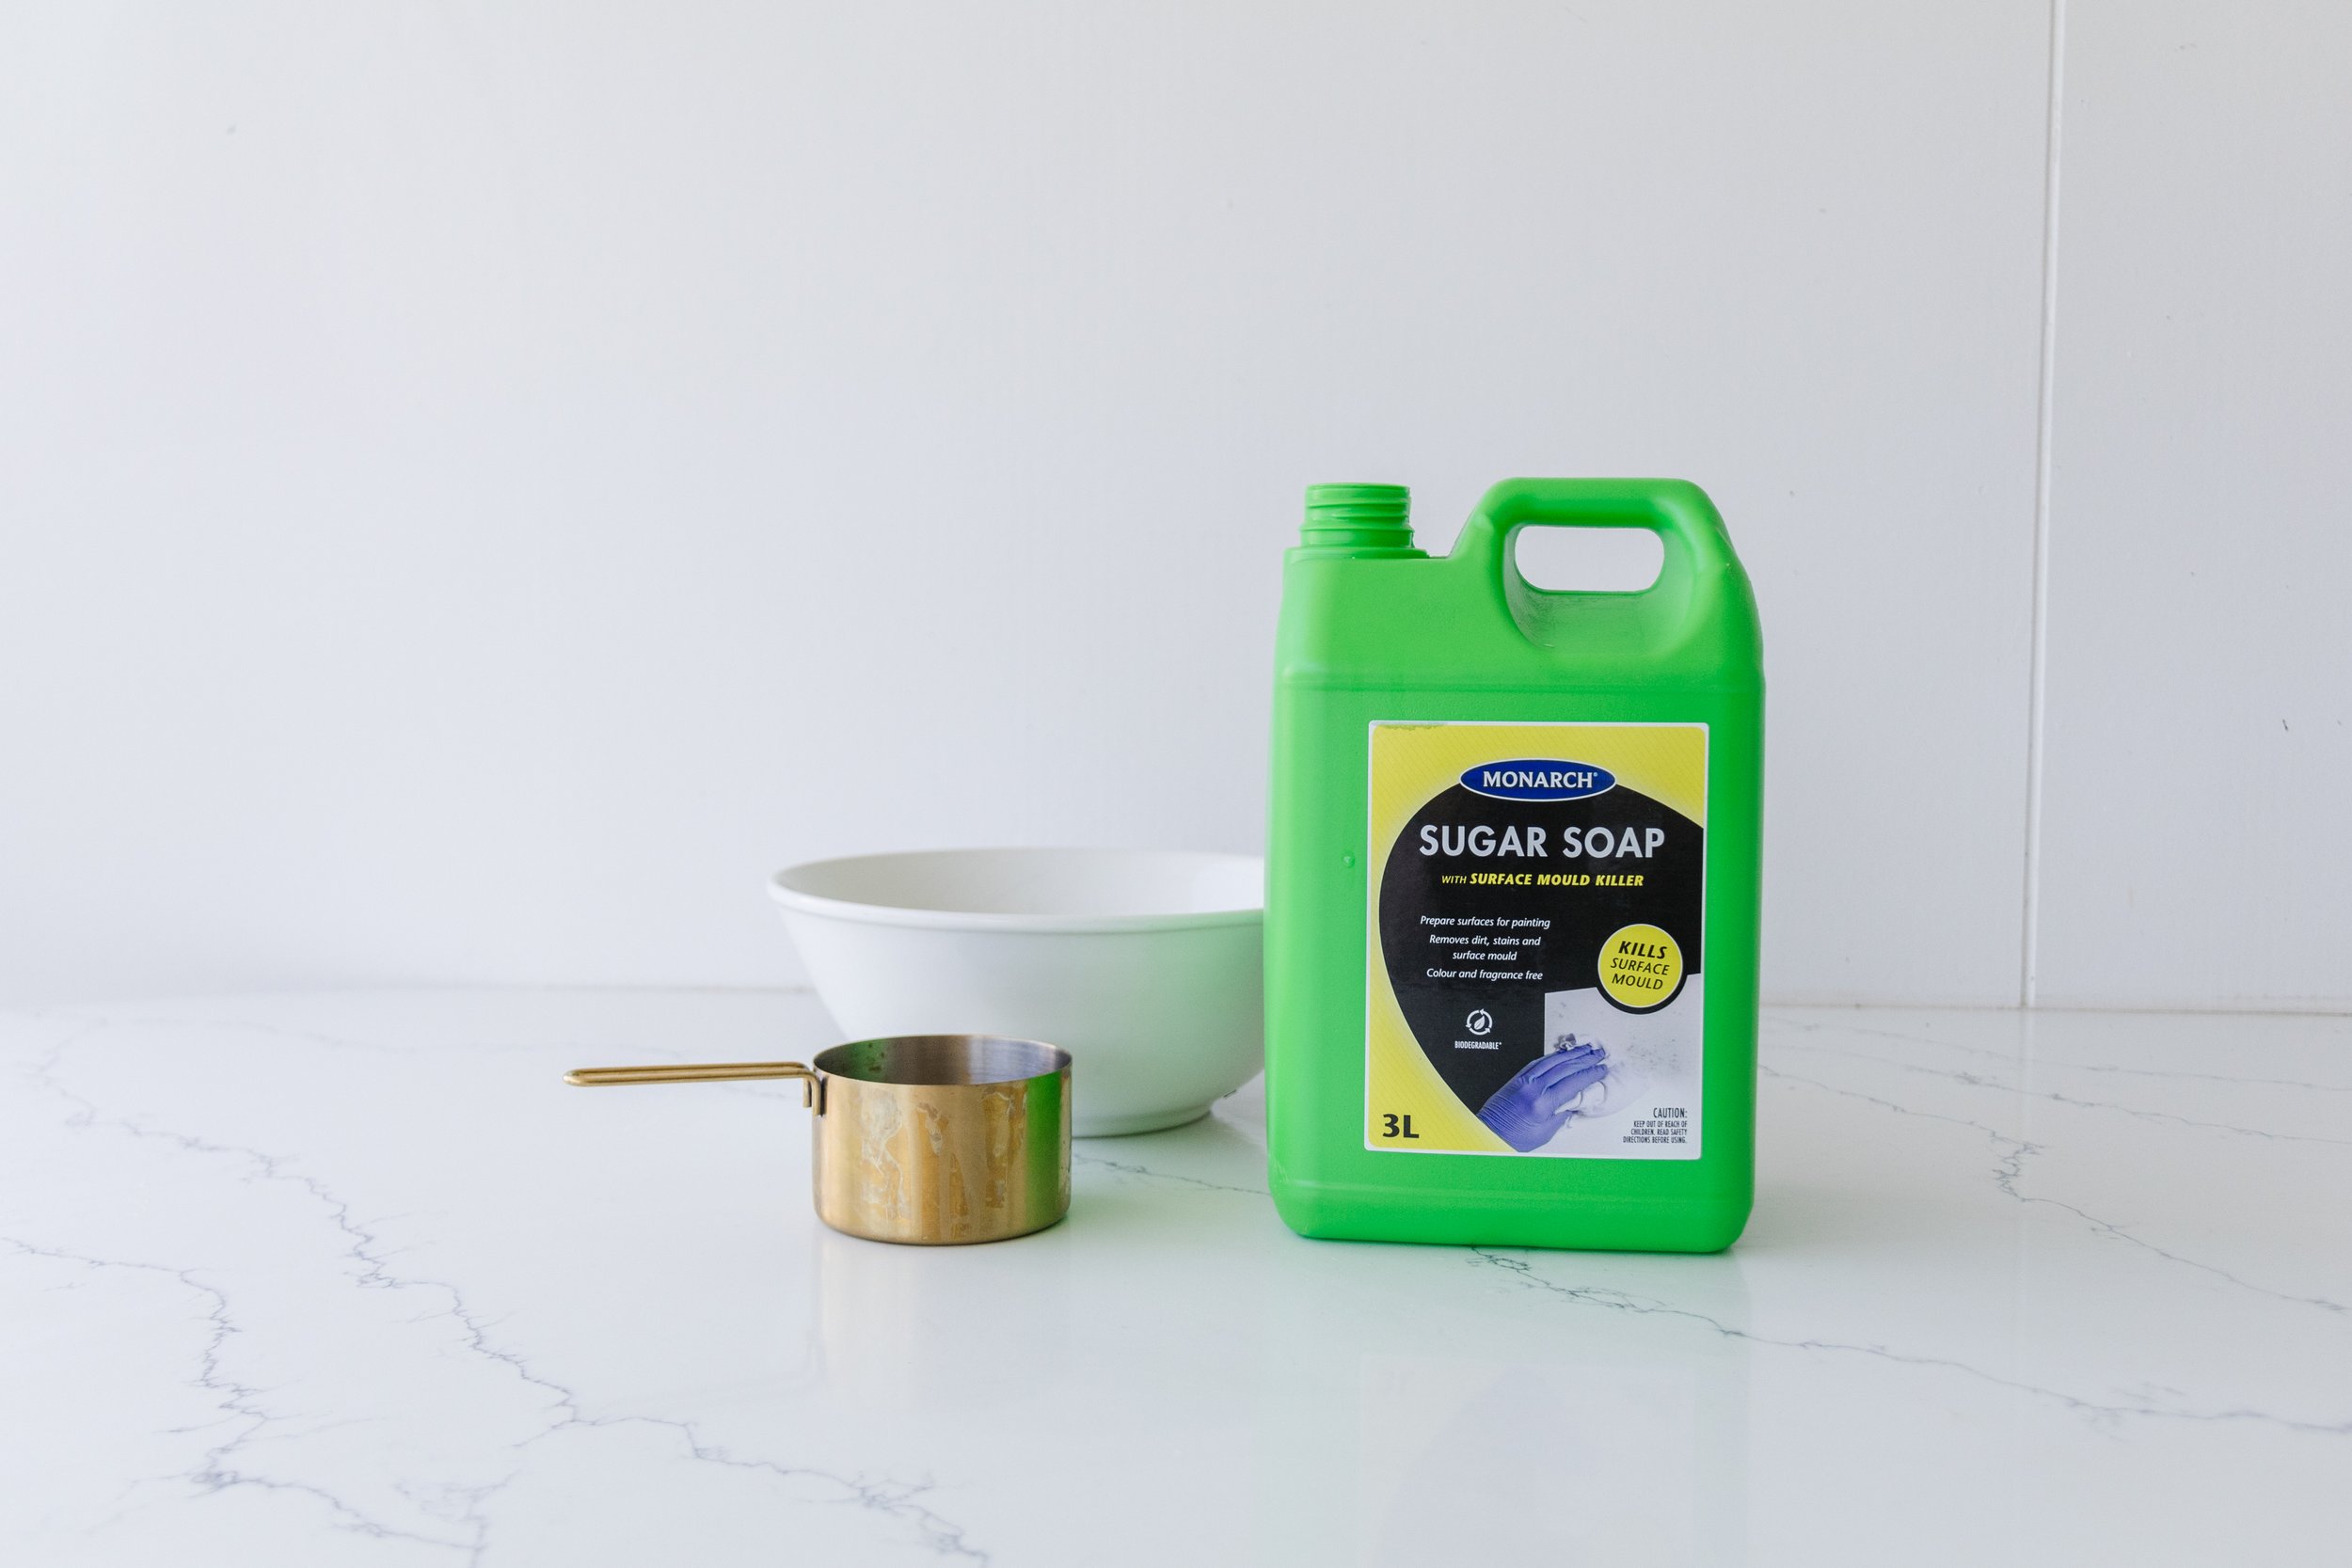
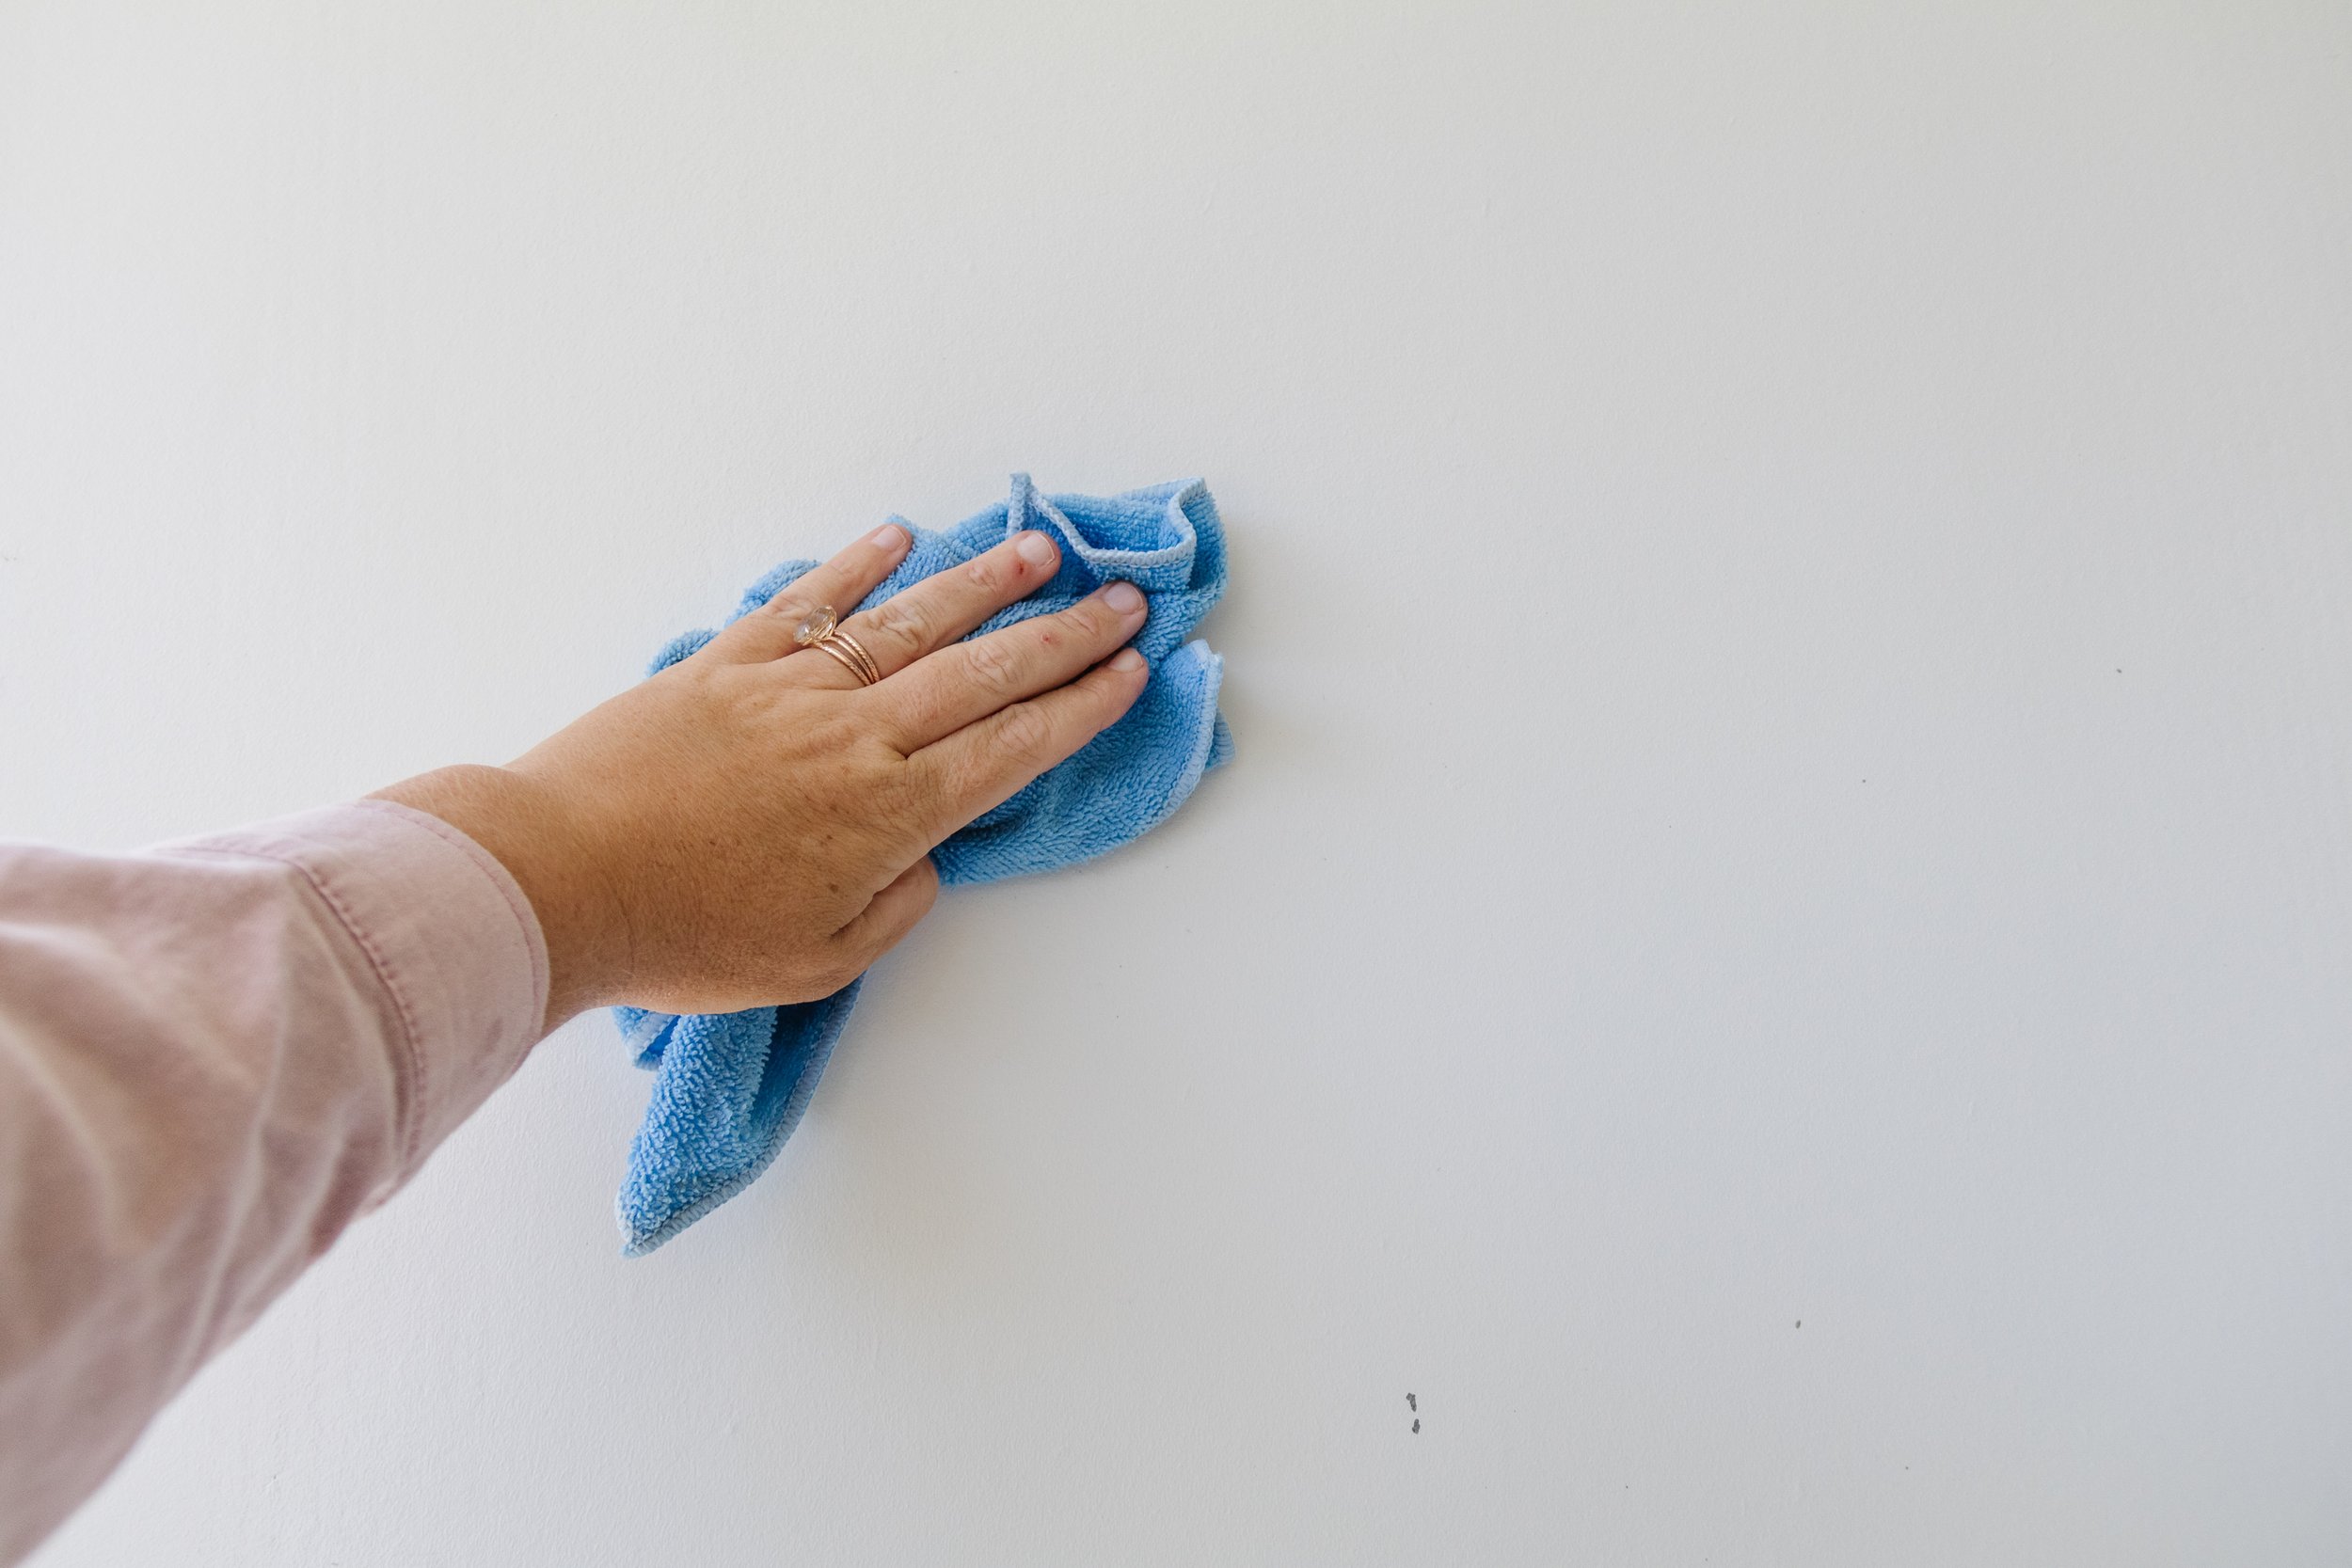
Story 4: Then it was time to prep the walls on our front deck. I cleaned the walls with Monarch Sugar Soap with Surface Mould Killer with a clean cloth, then wiped the walls down with another clean cloth 15 minutes later.
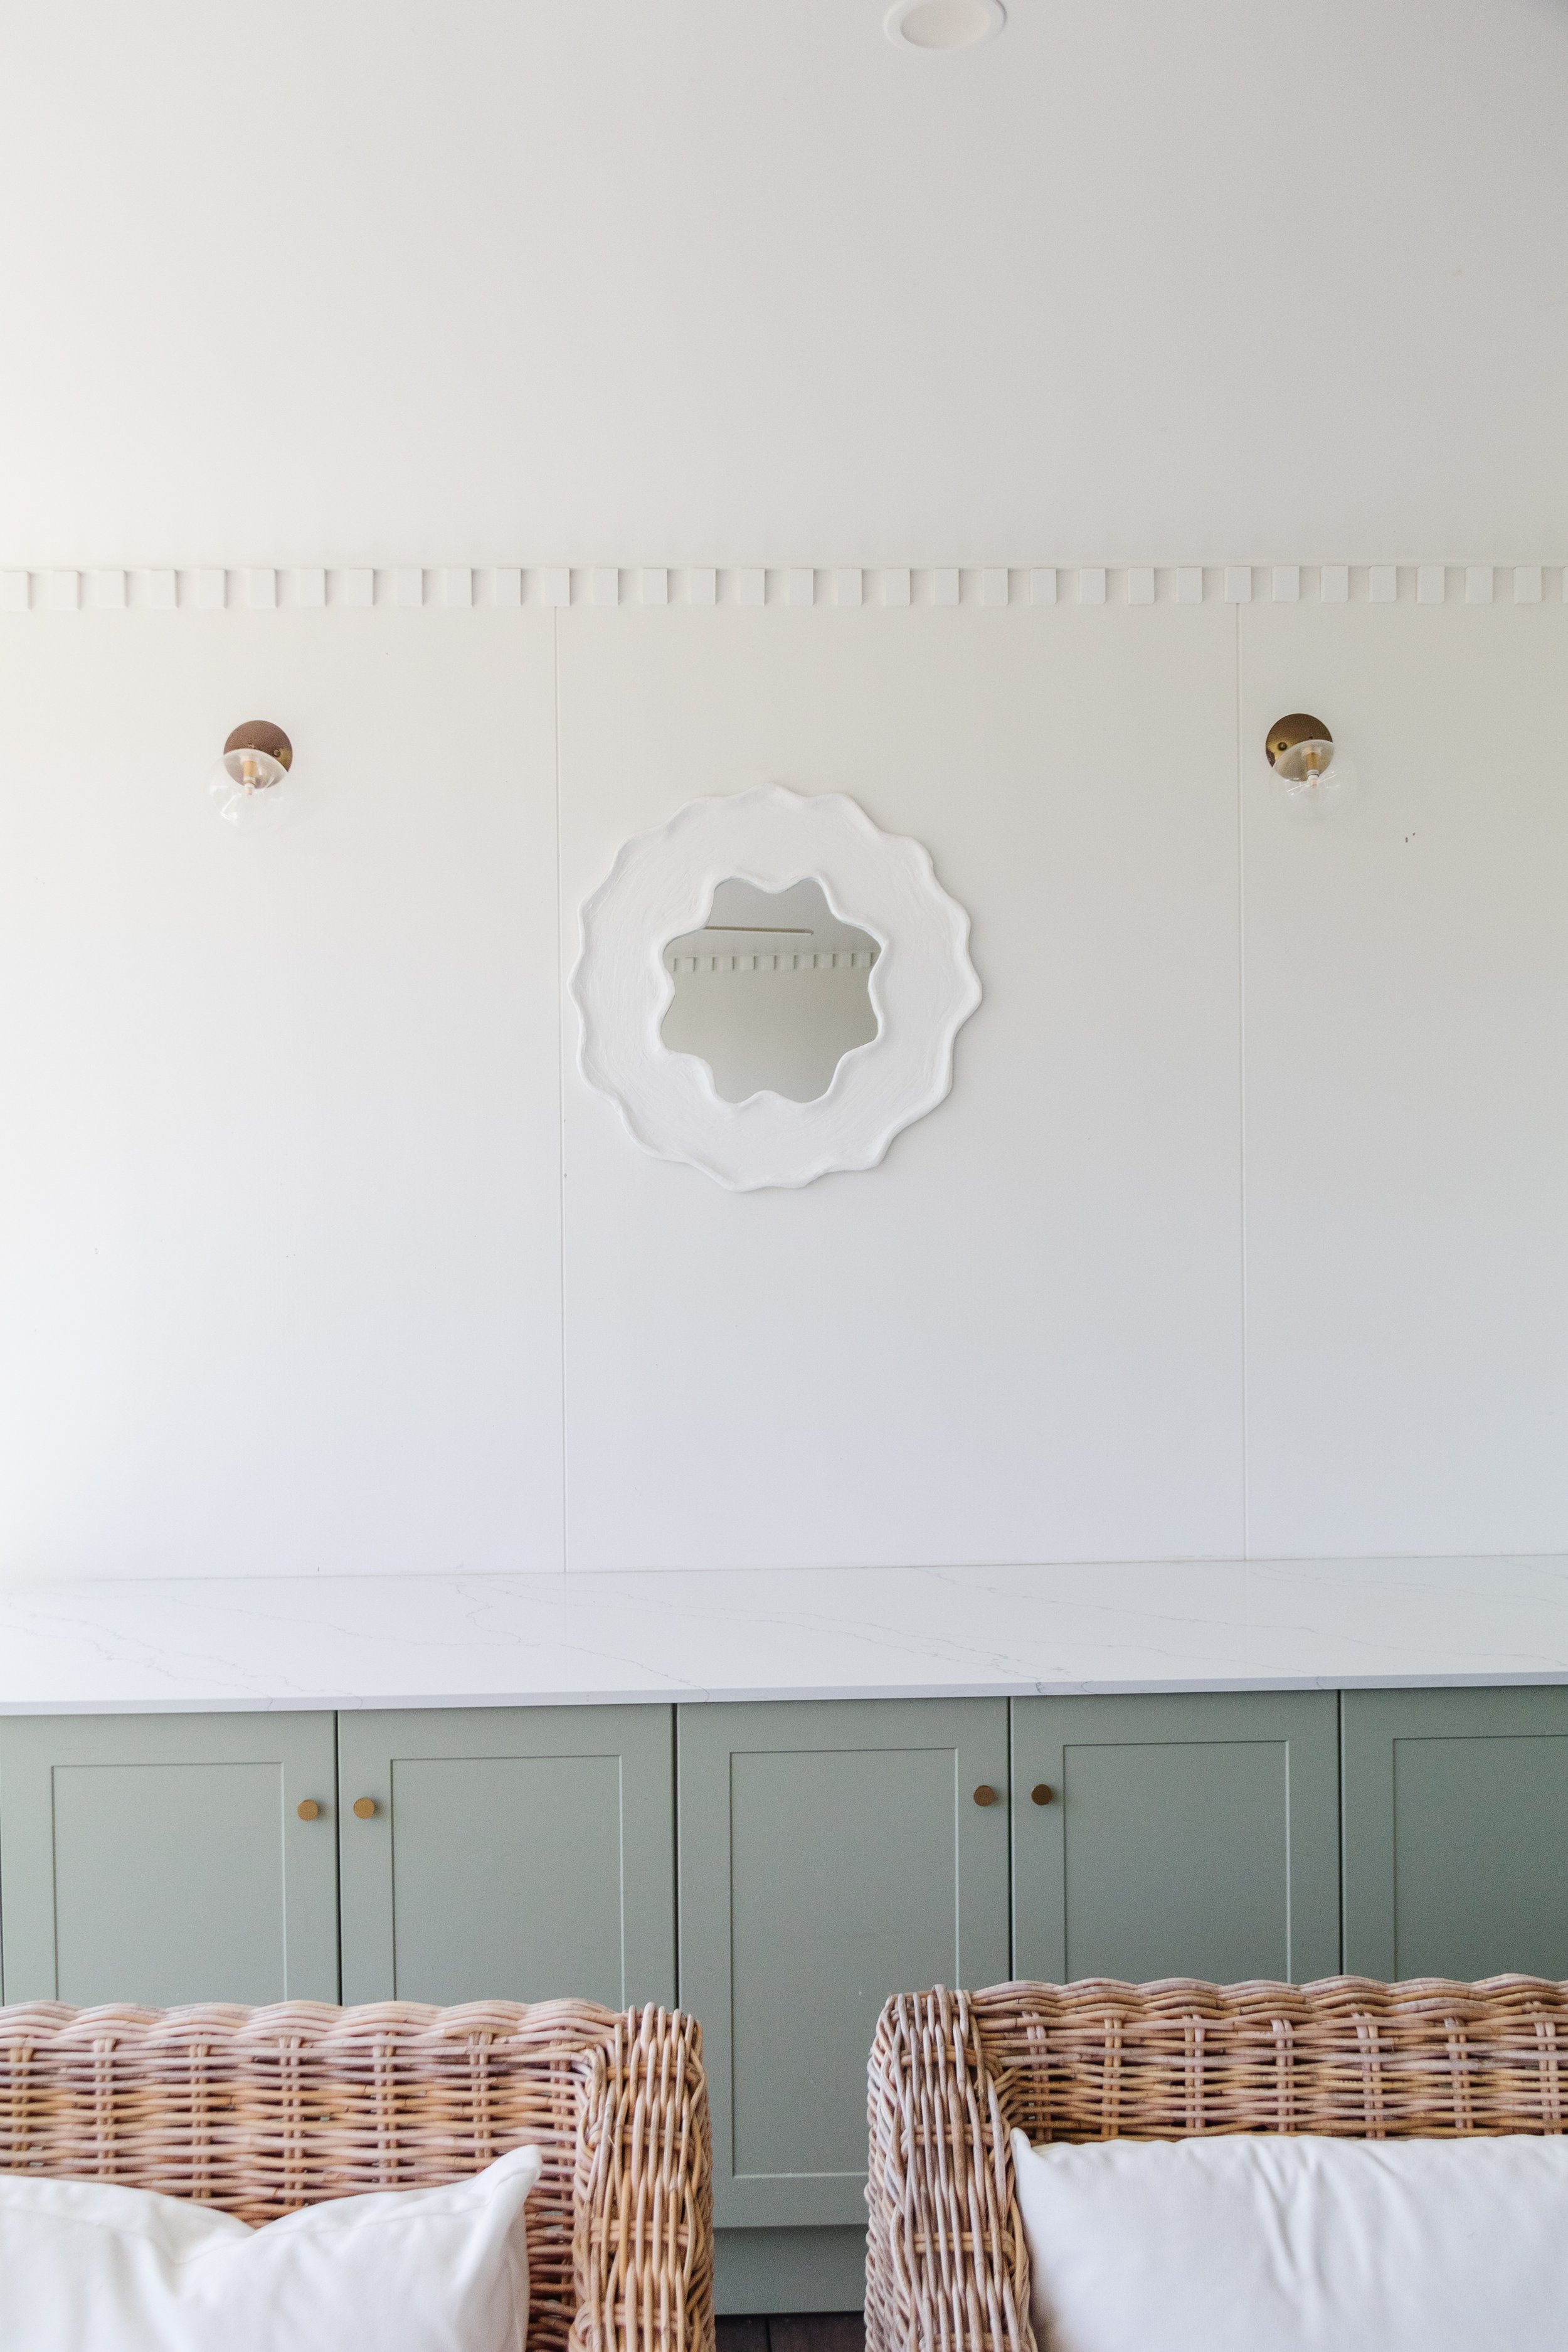
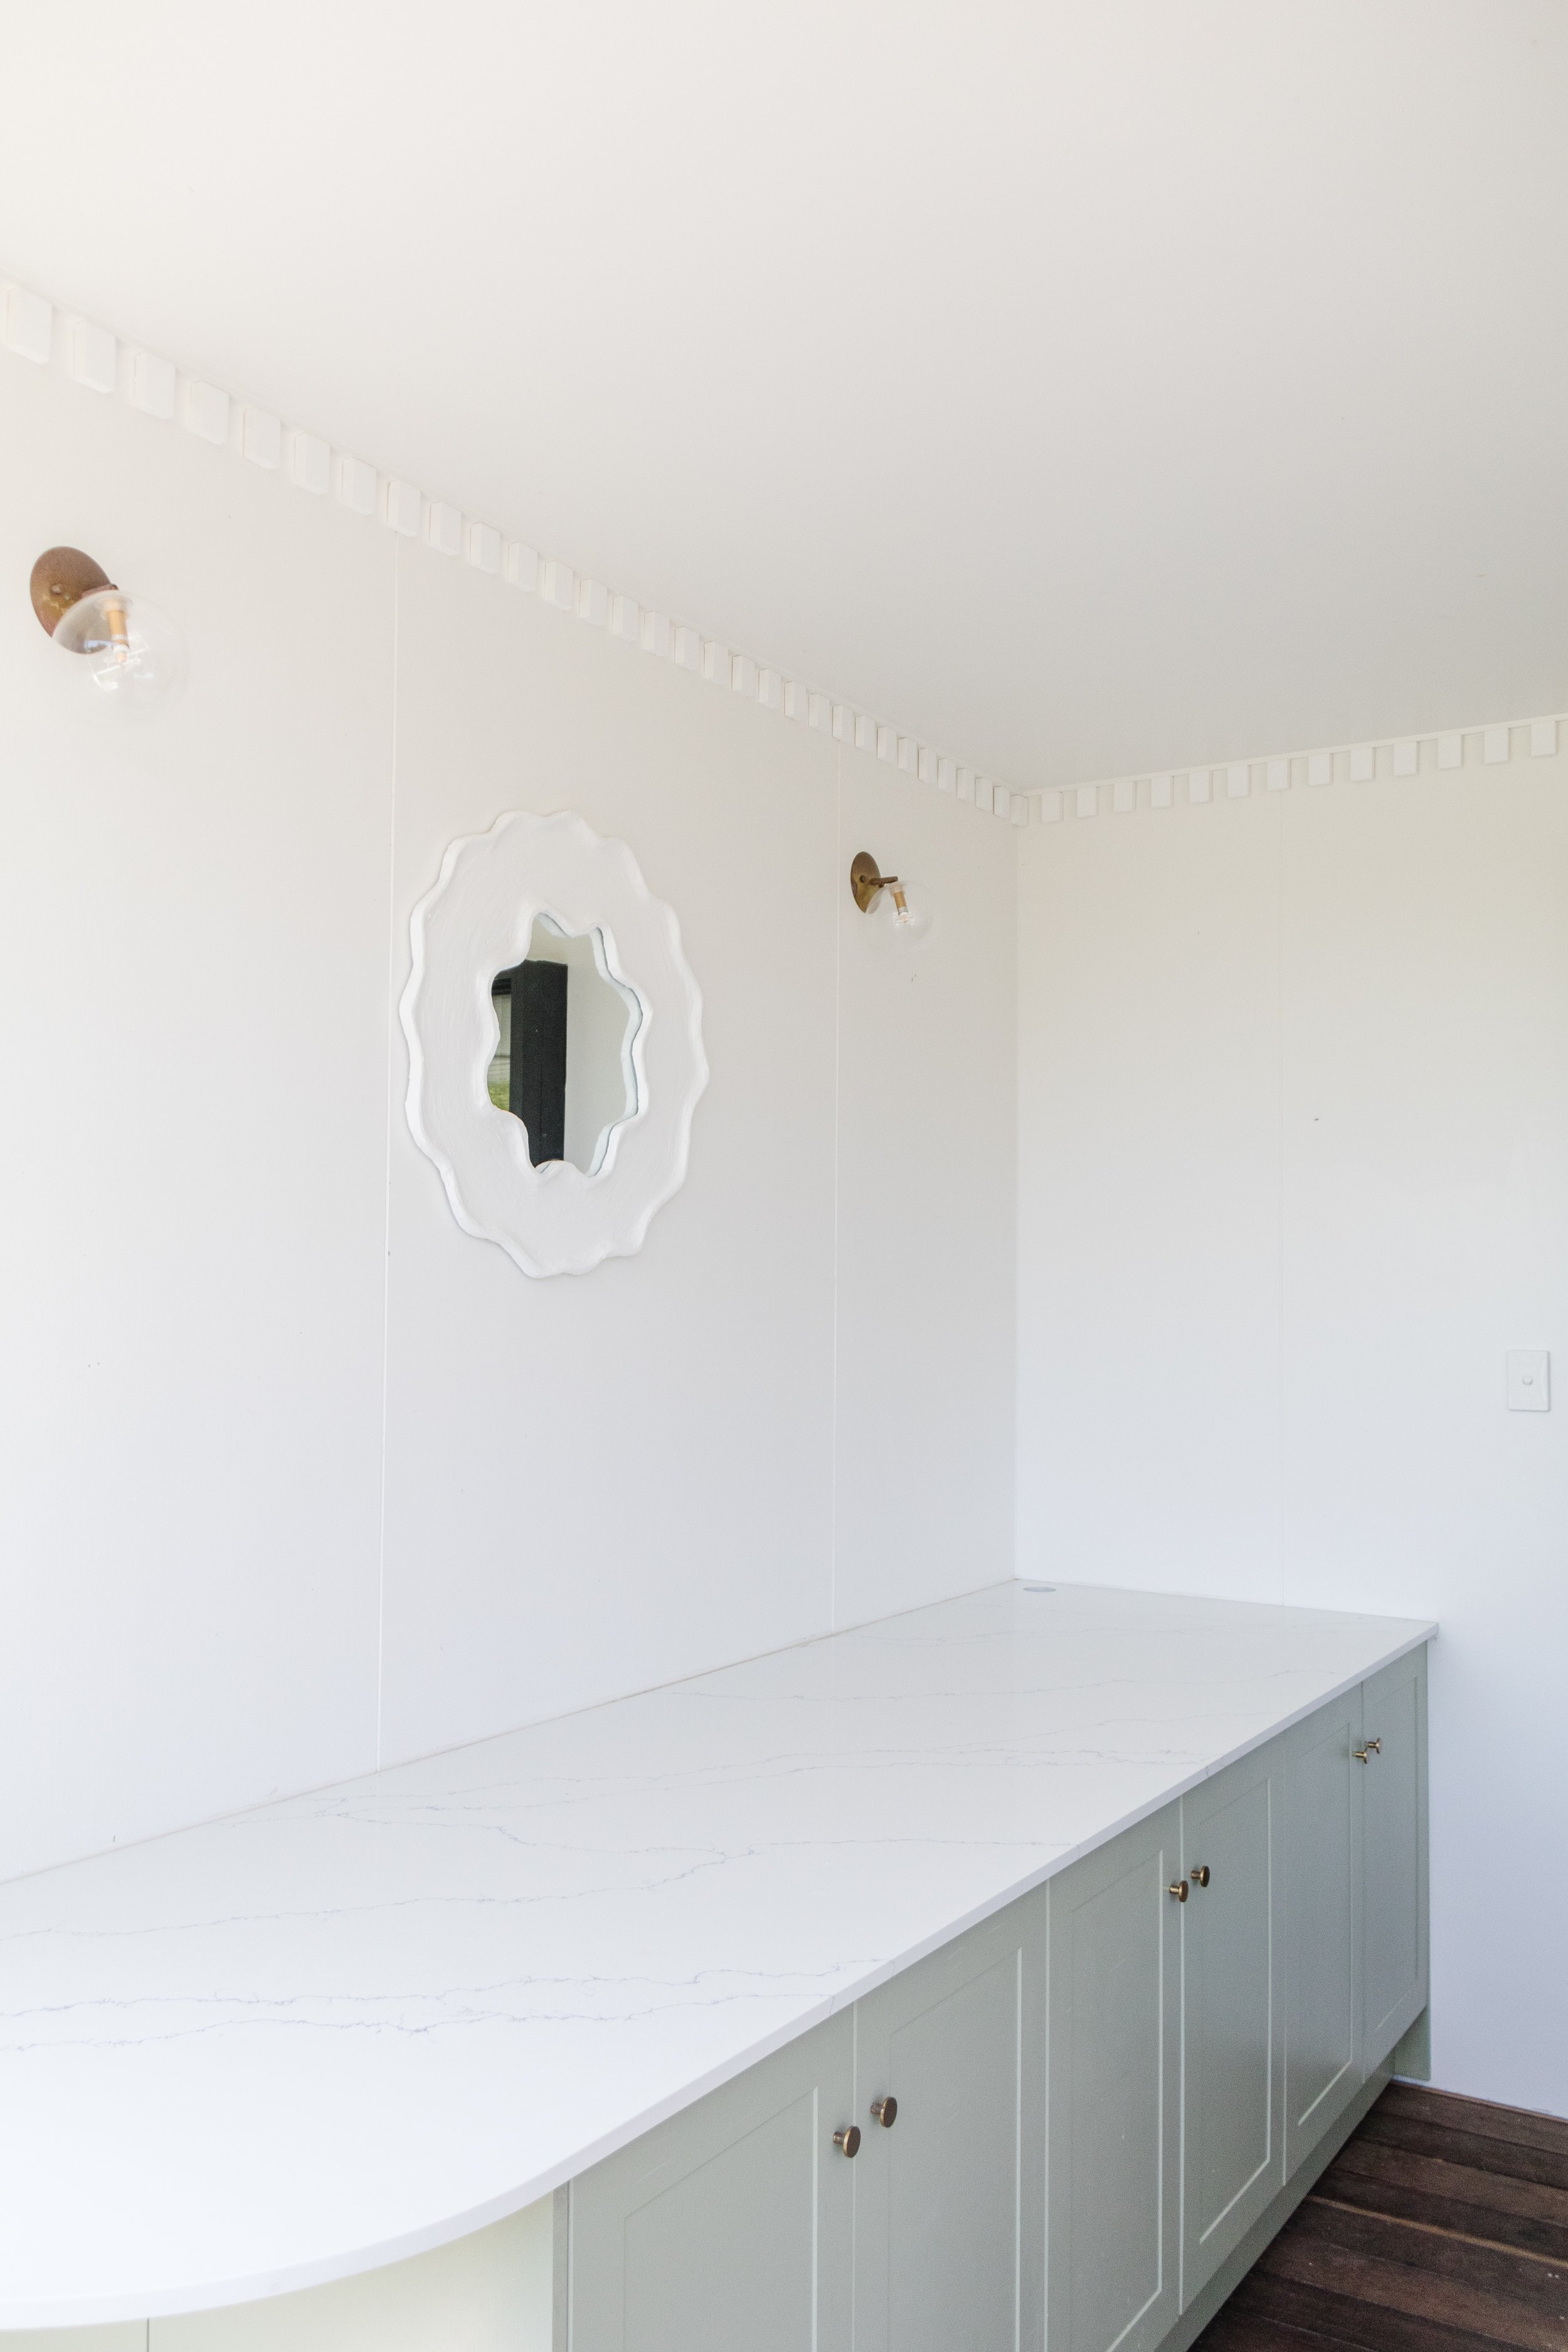
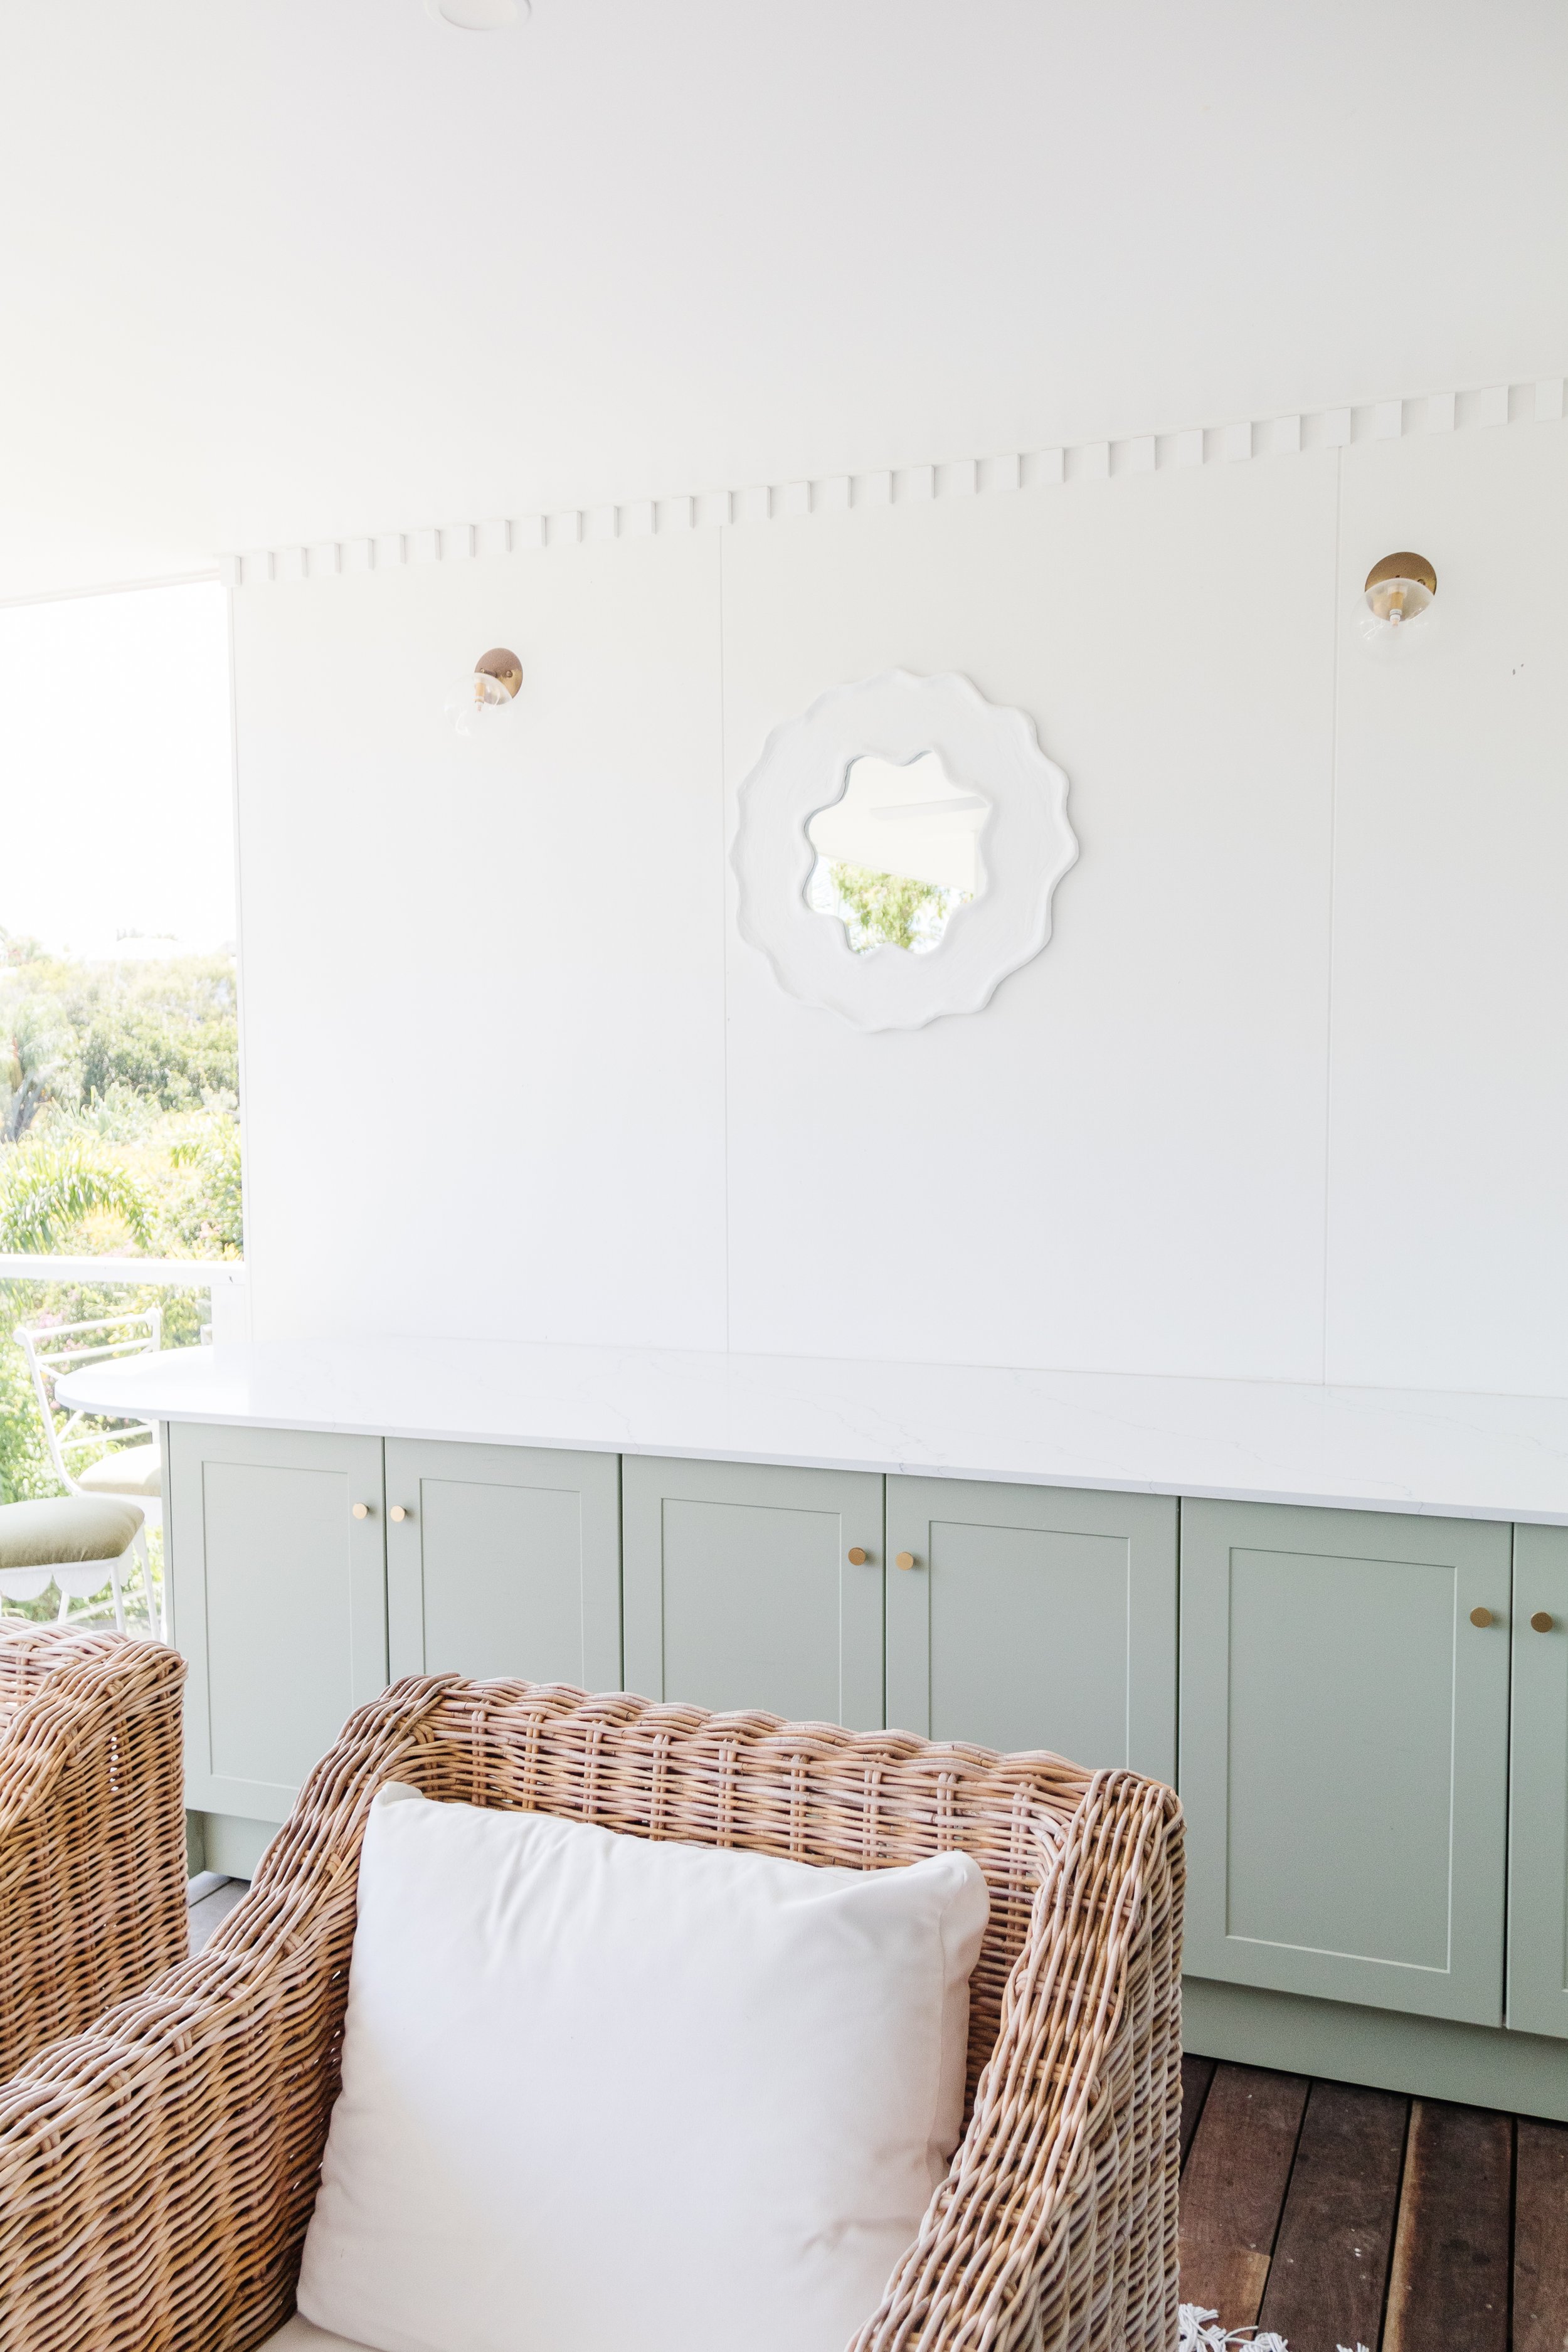
Story 5: When dry, I started gluing the dentil moulding onto the walls and directly underneath the ceiling. I used a piece of timber to ensure there was an even gap between each dentil. And that’s it!

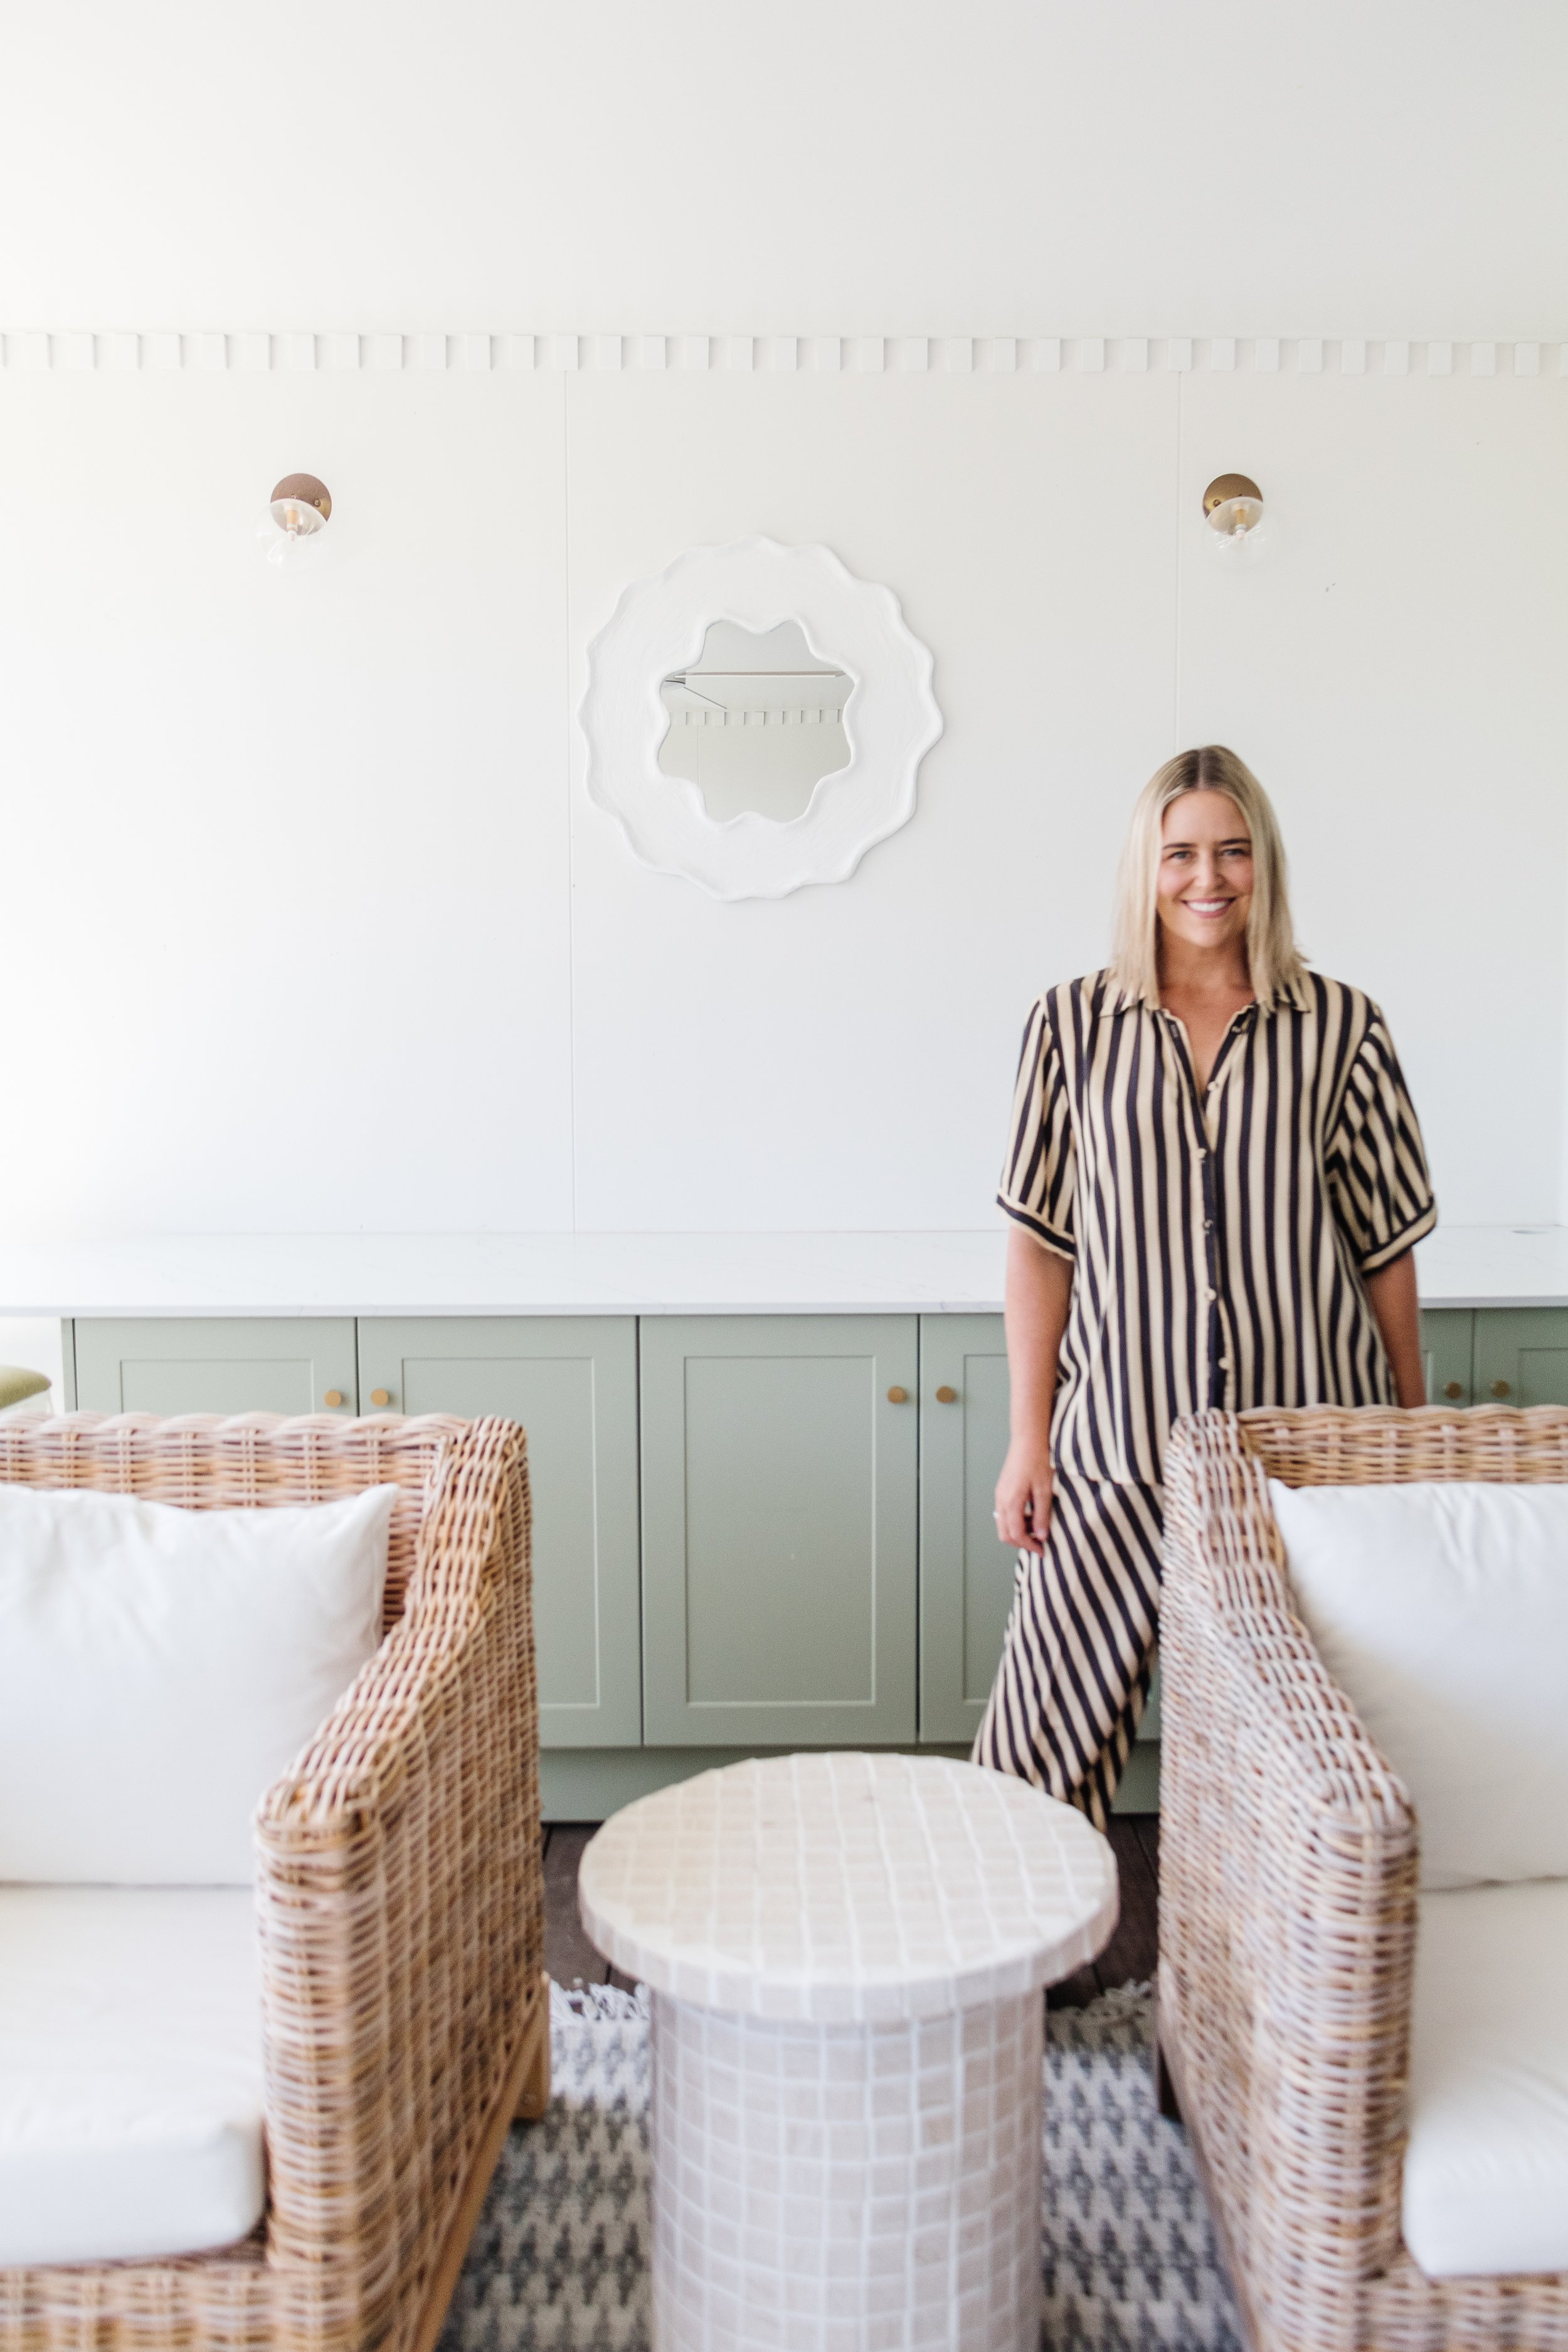
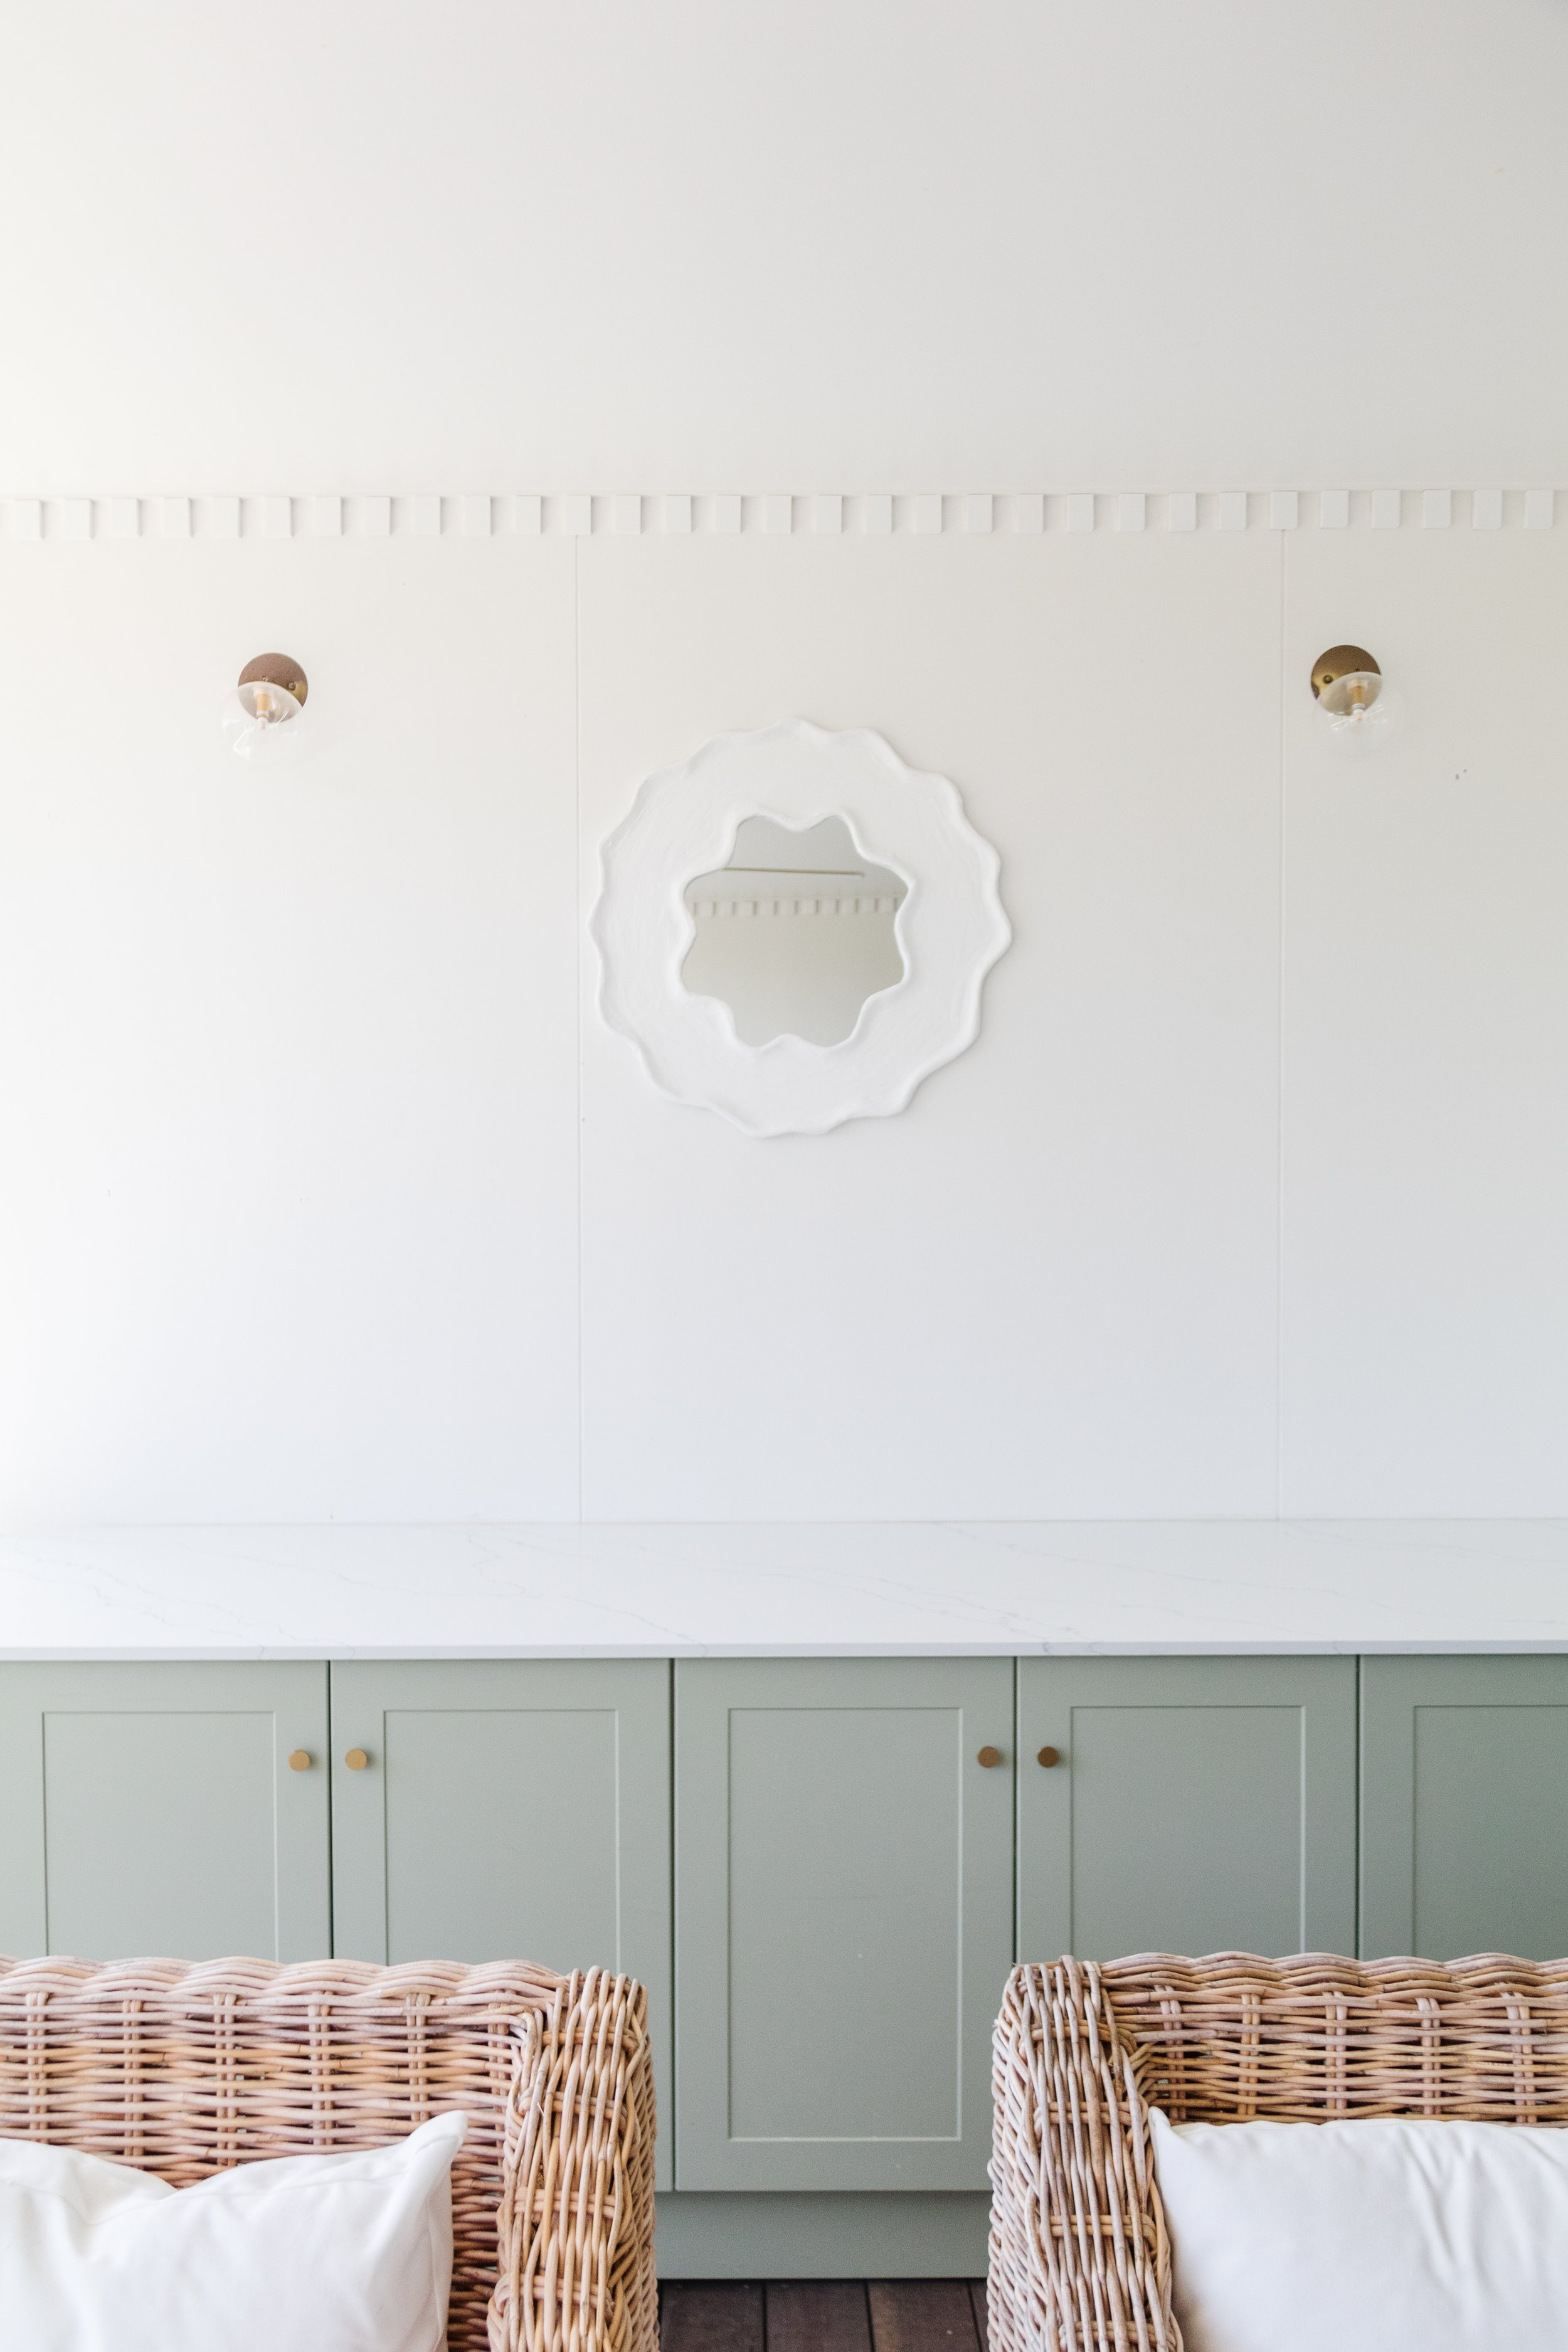
Ta daaaa!
This is one of the most satisfying projects I’ve done. Why? Because I saw something I truly loved and I worked out how to make my own dentil moulding using materials I already had at home, while having the best painting accessories by my side to get the job done effortlessly. I’ve always admired the power of paint, however the quality of Monarch’s painting accessories made the process so much more enjoyable. When you use products from the Monarch range, you’ll never look back. Promise!
This project is in collaboration with Monarch