How To Make Your Own Upcycled Vision Board
Come at me 2023!
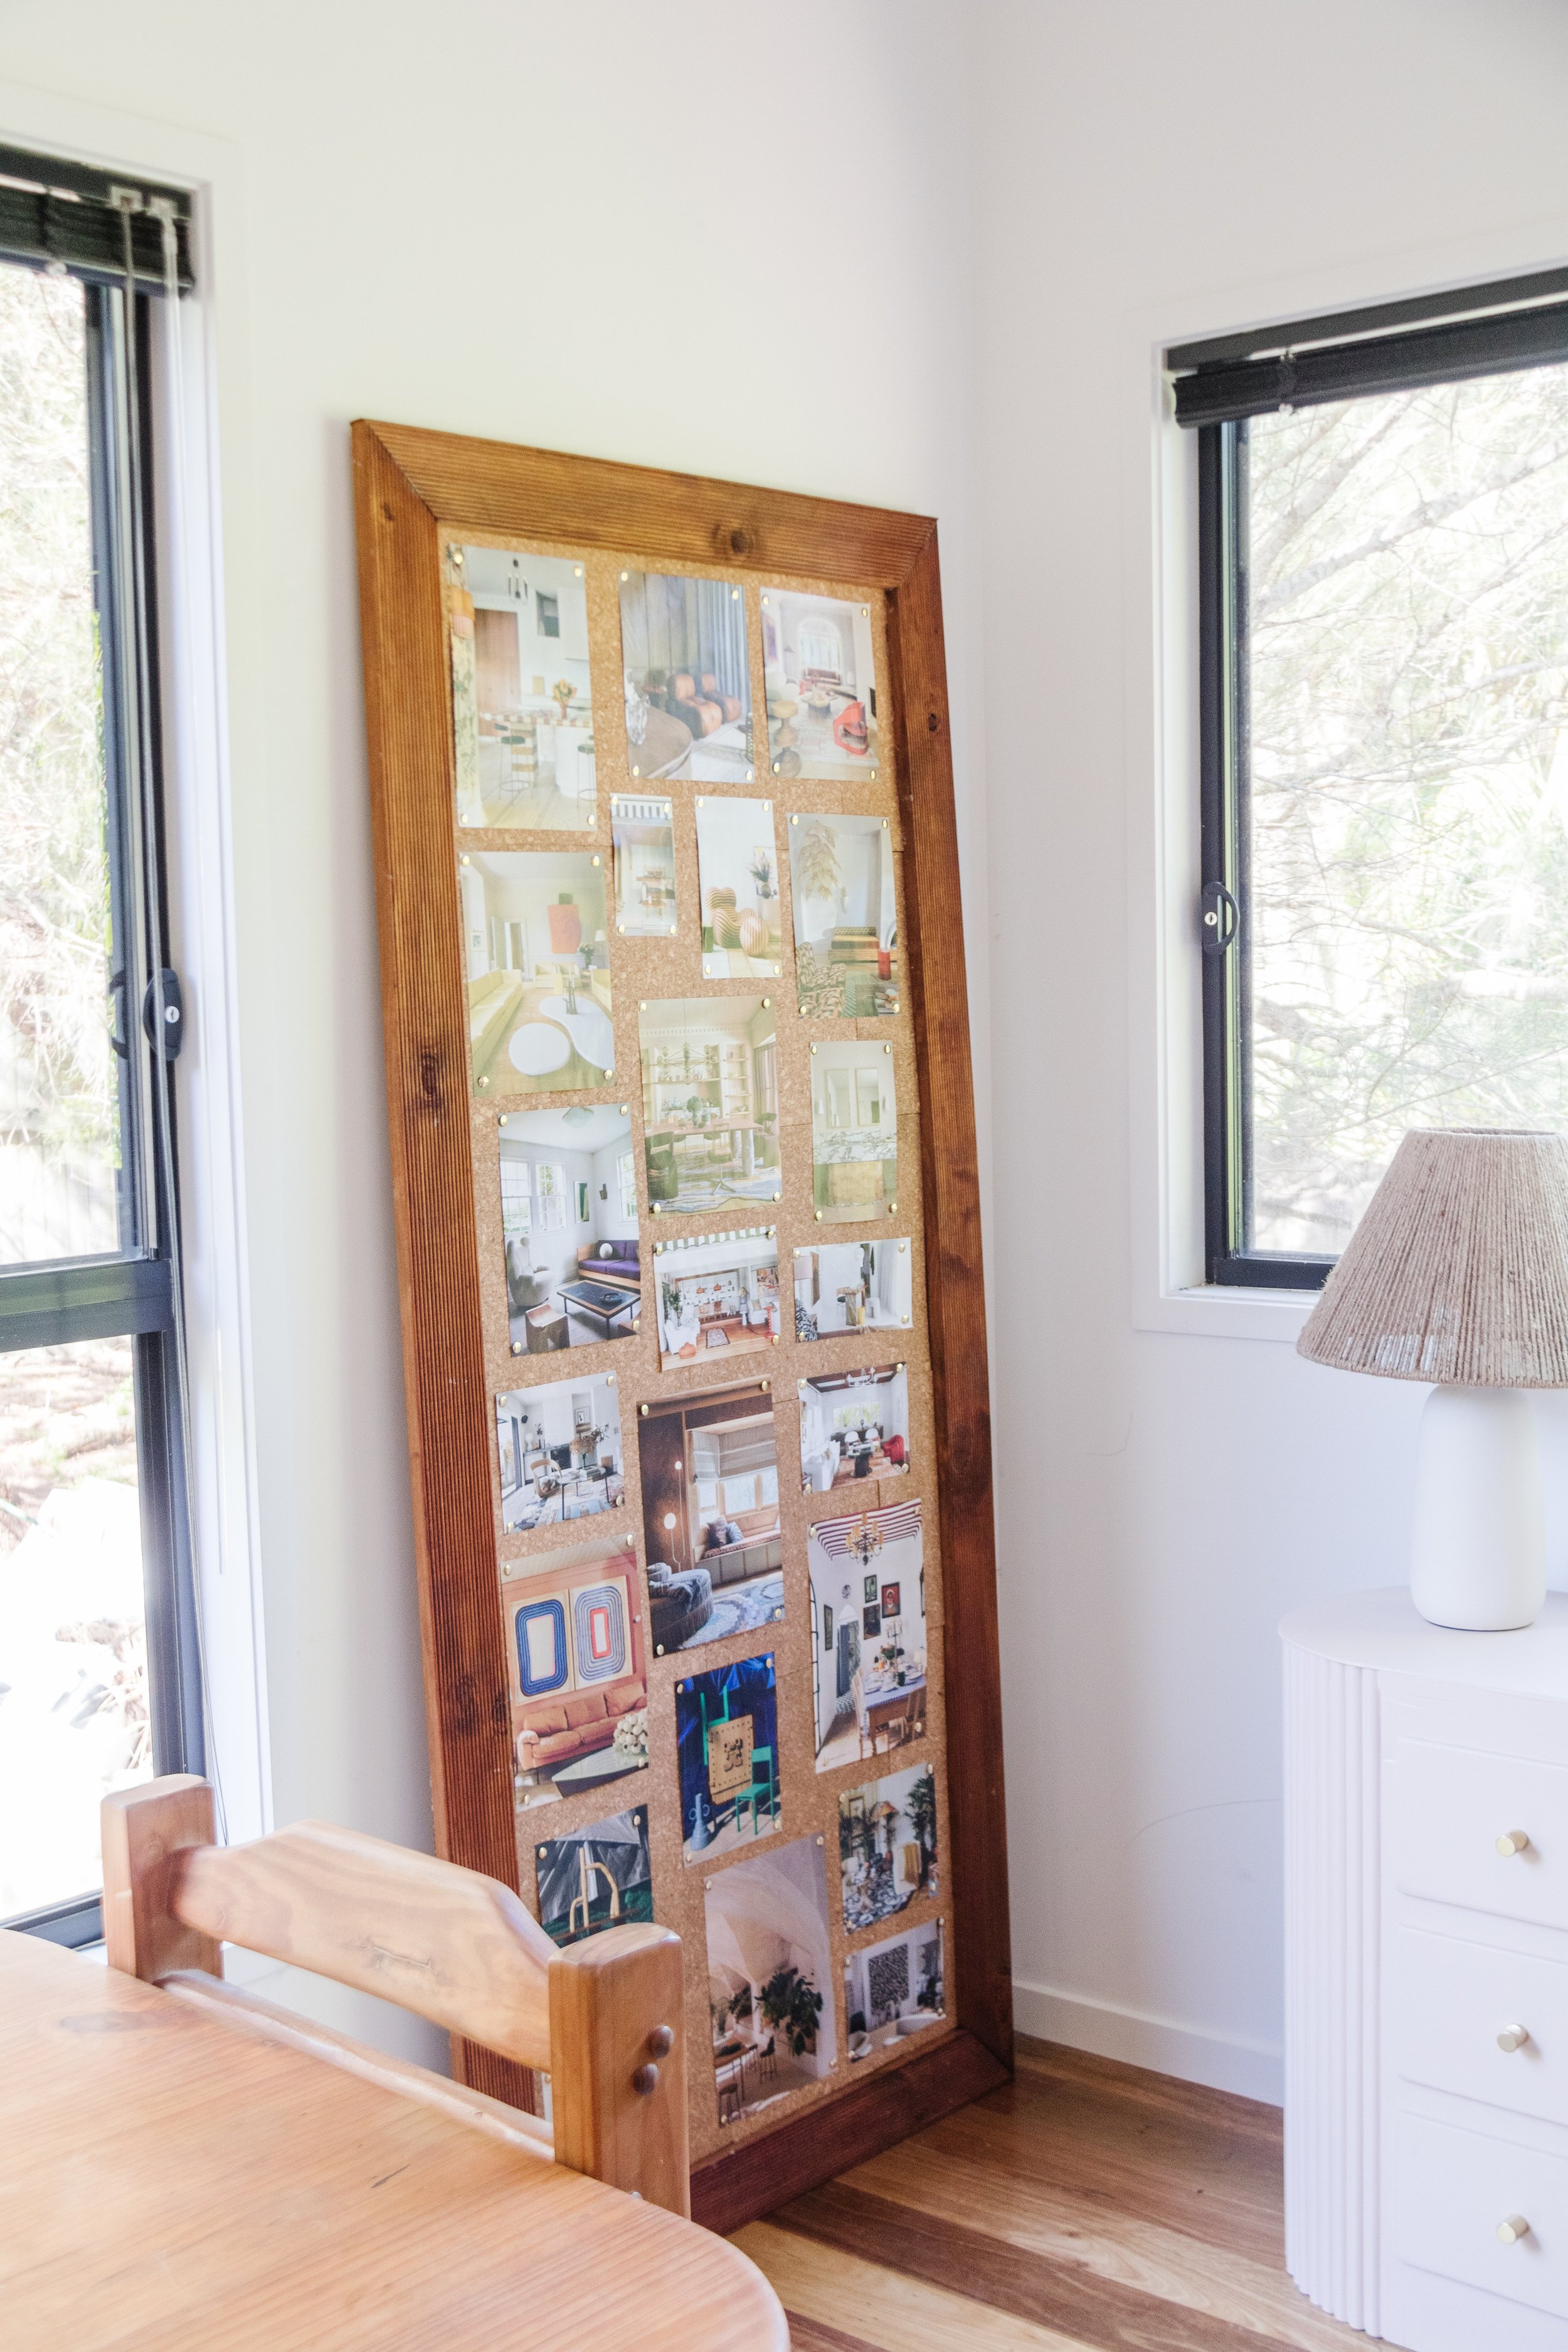
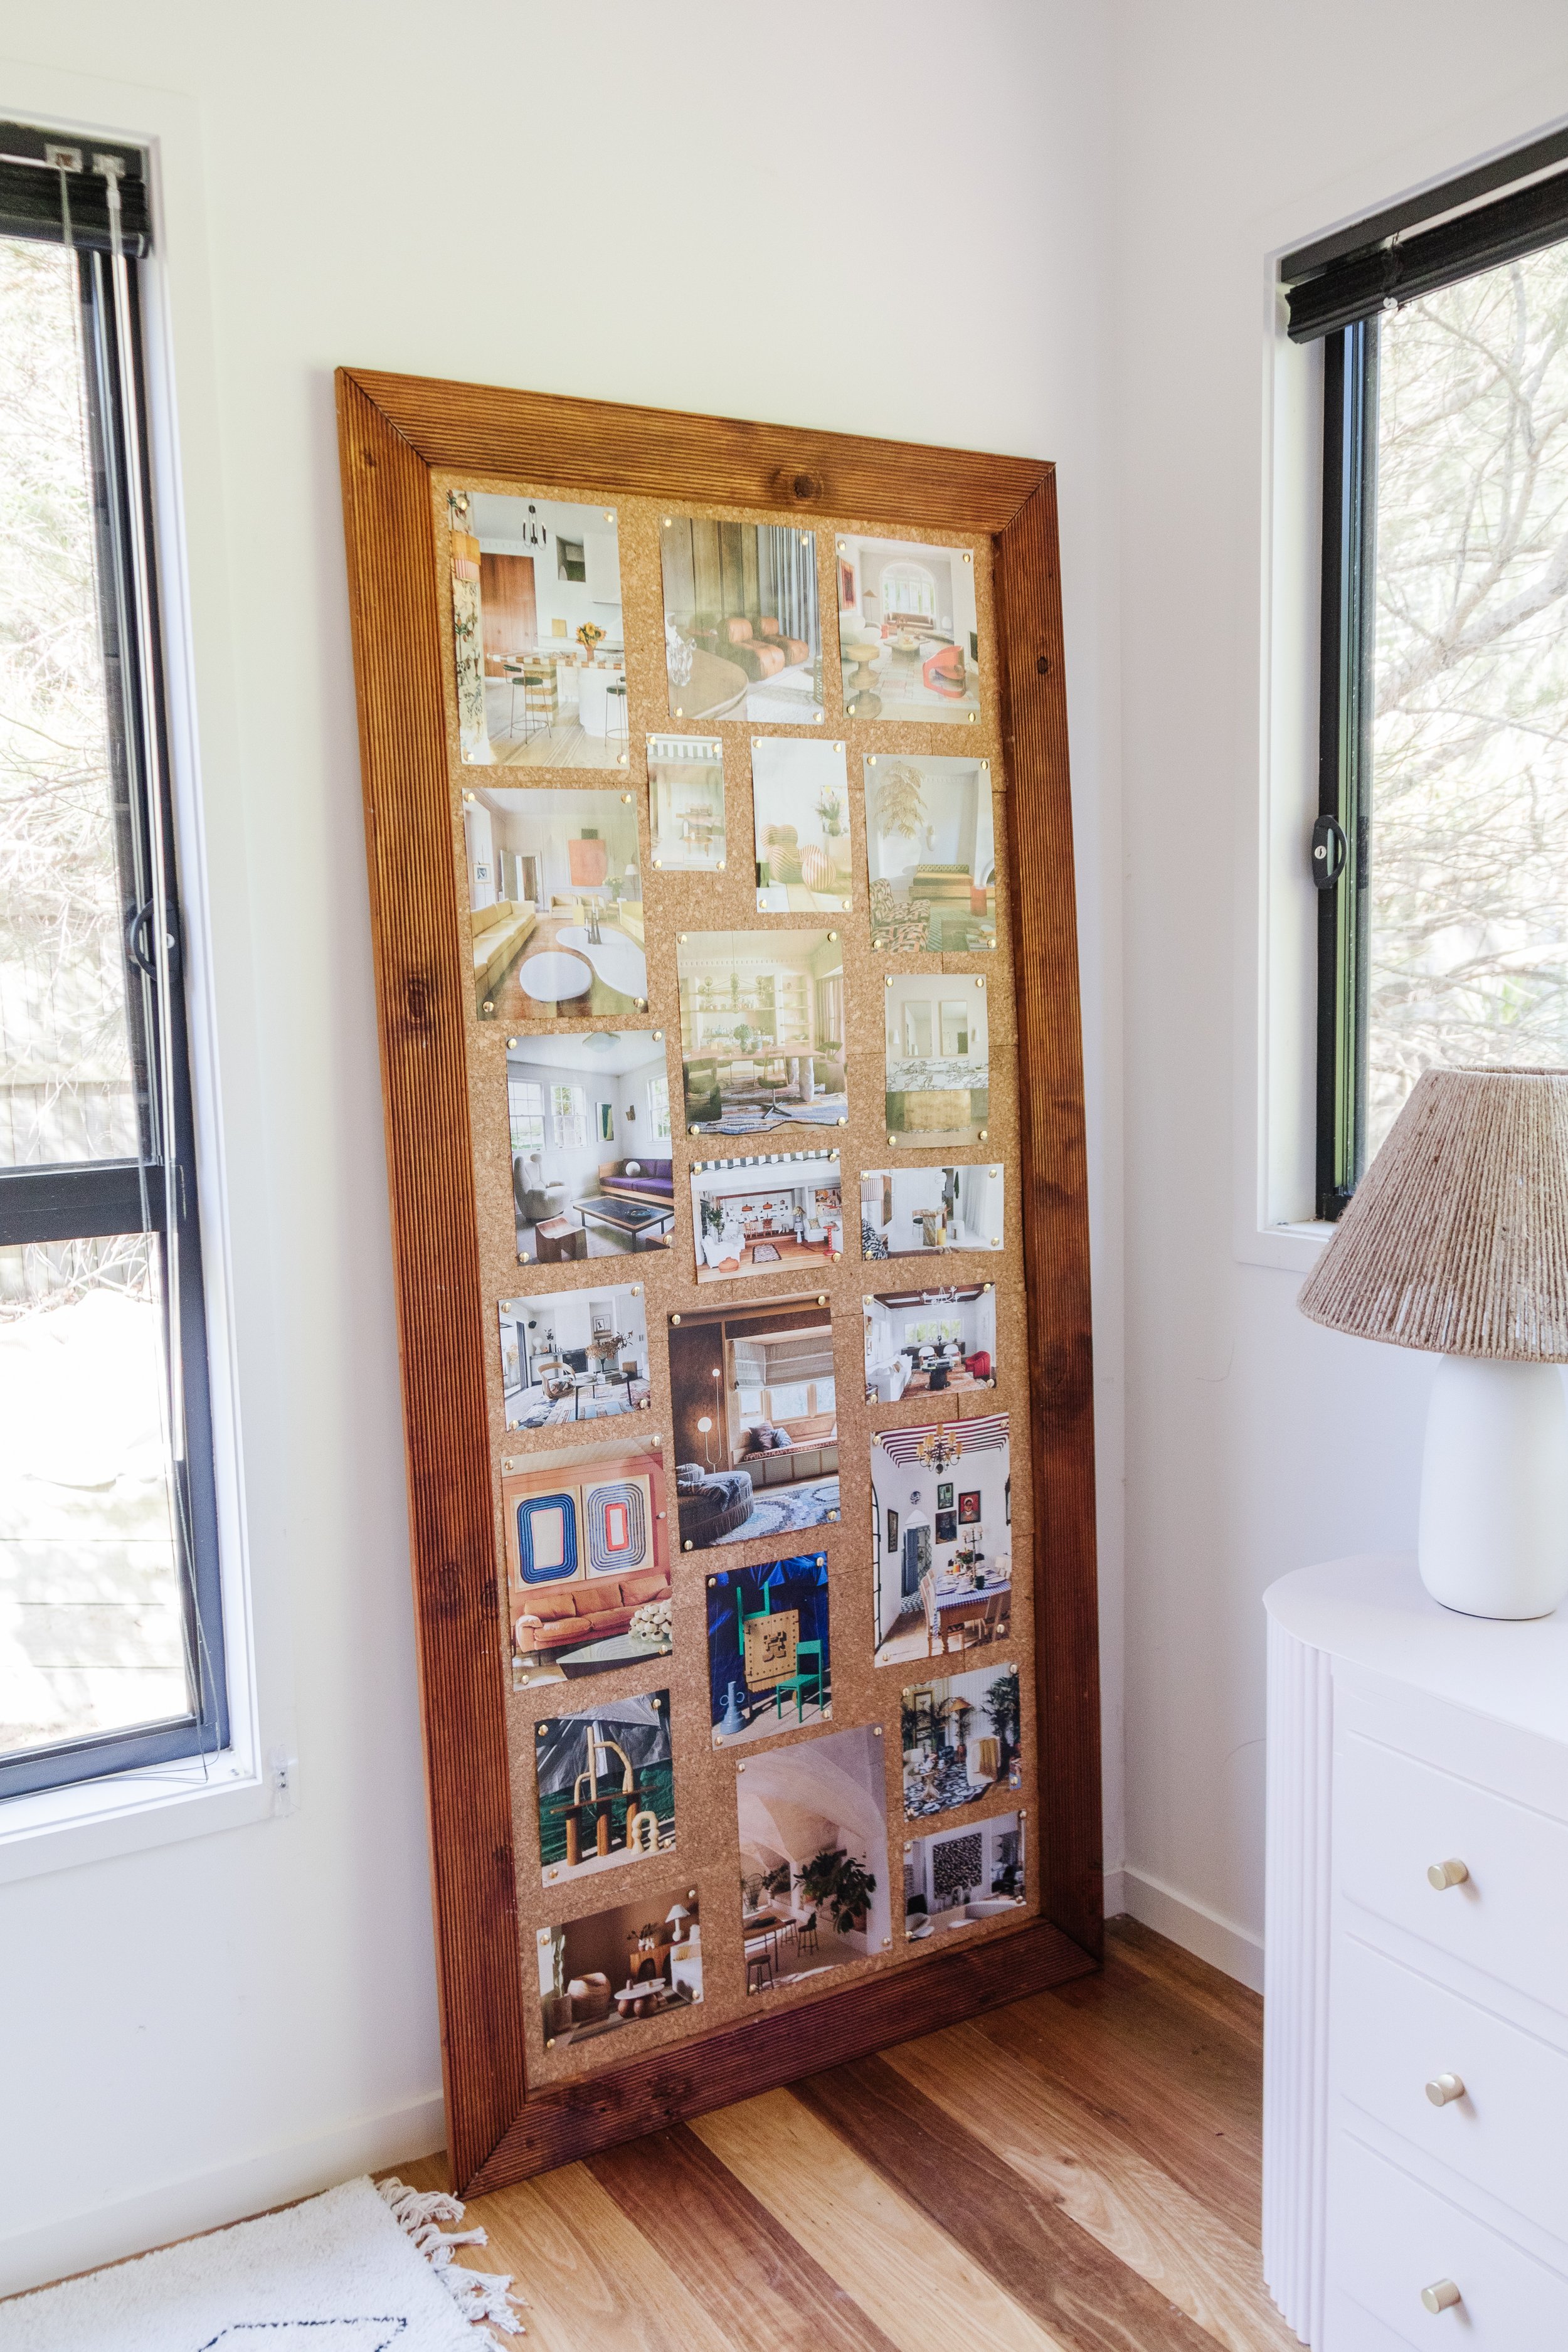
To bring in the new year I thought it would be fun to make a large board! A place where I can pin all the things that inspire me and everything I do here. Last year I made an arched pin board using materials I already had at home, but my kids are obsessed with it. They don’t stop playing with it, which is cute but also messy because I have to pin everything back onto the board every day. It was getting relentless so over the holidays I moved an arch pin board into their bedrooms so they each have their own to play with. And that’s given me the perfect excuse to make a vision board, but on a much larger scale.
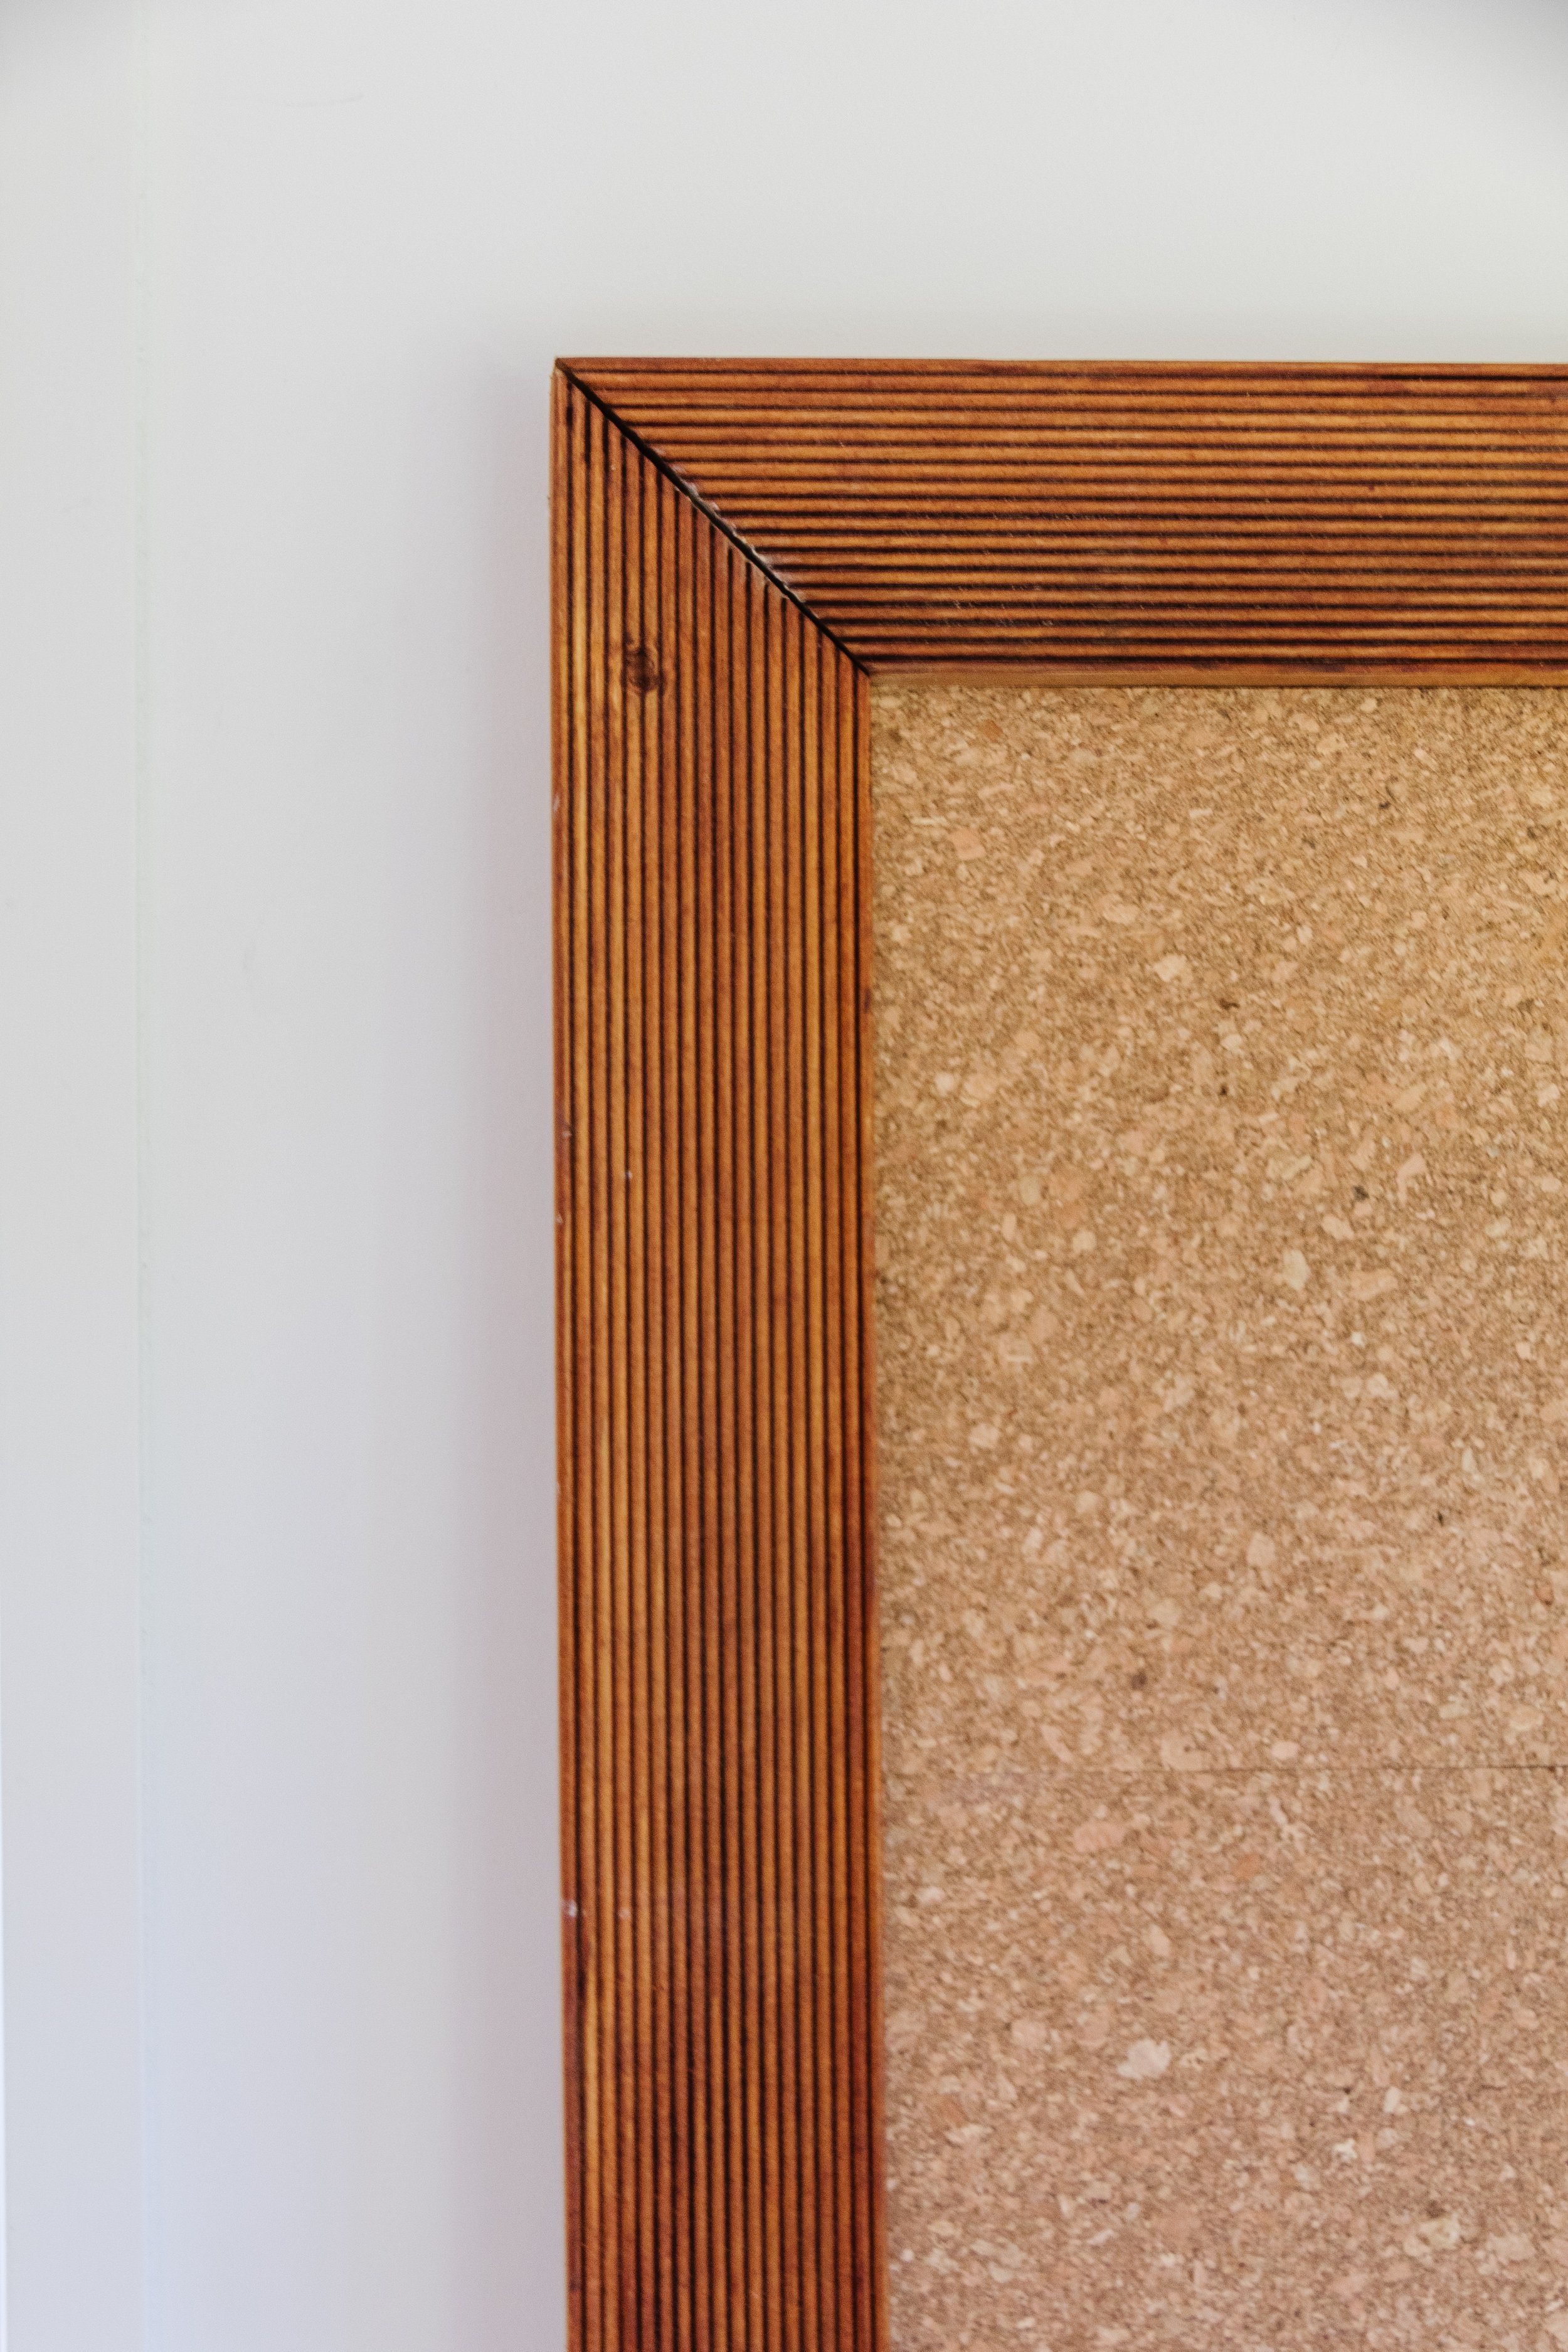
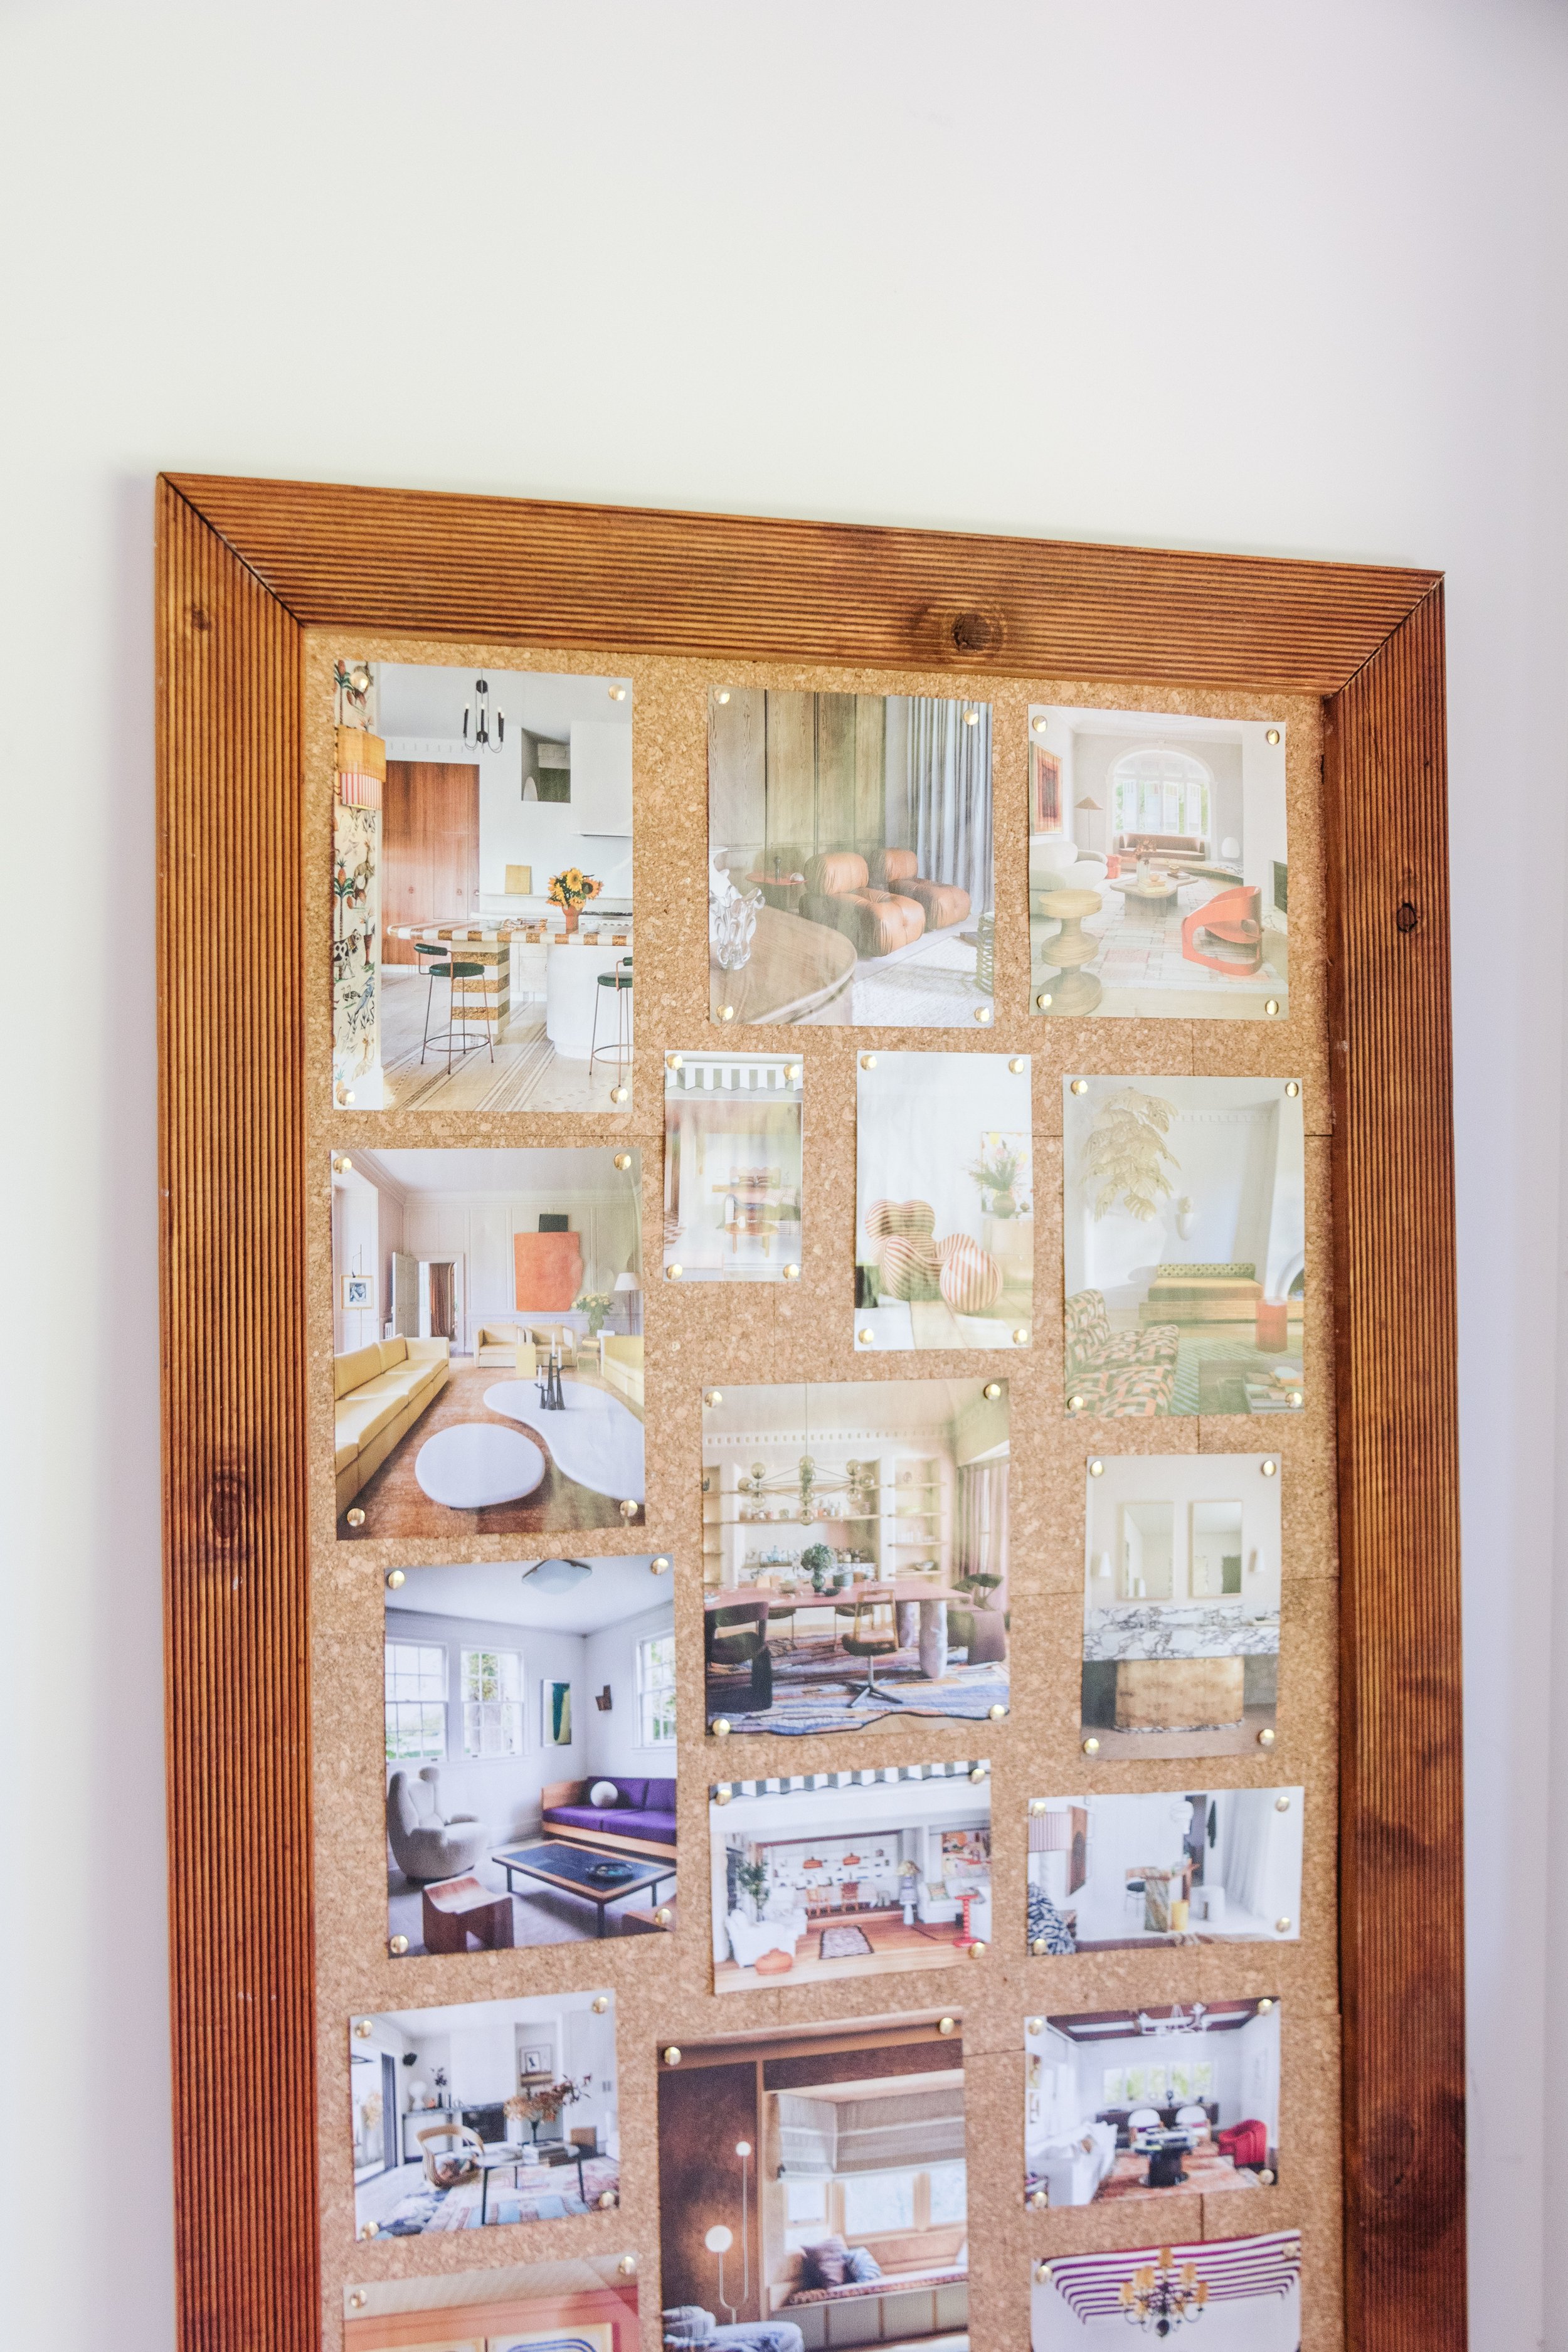
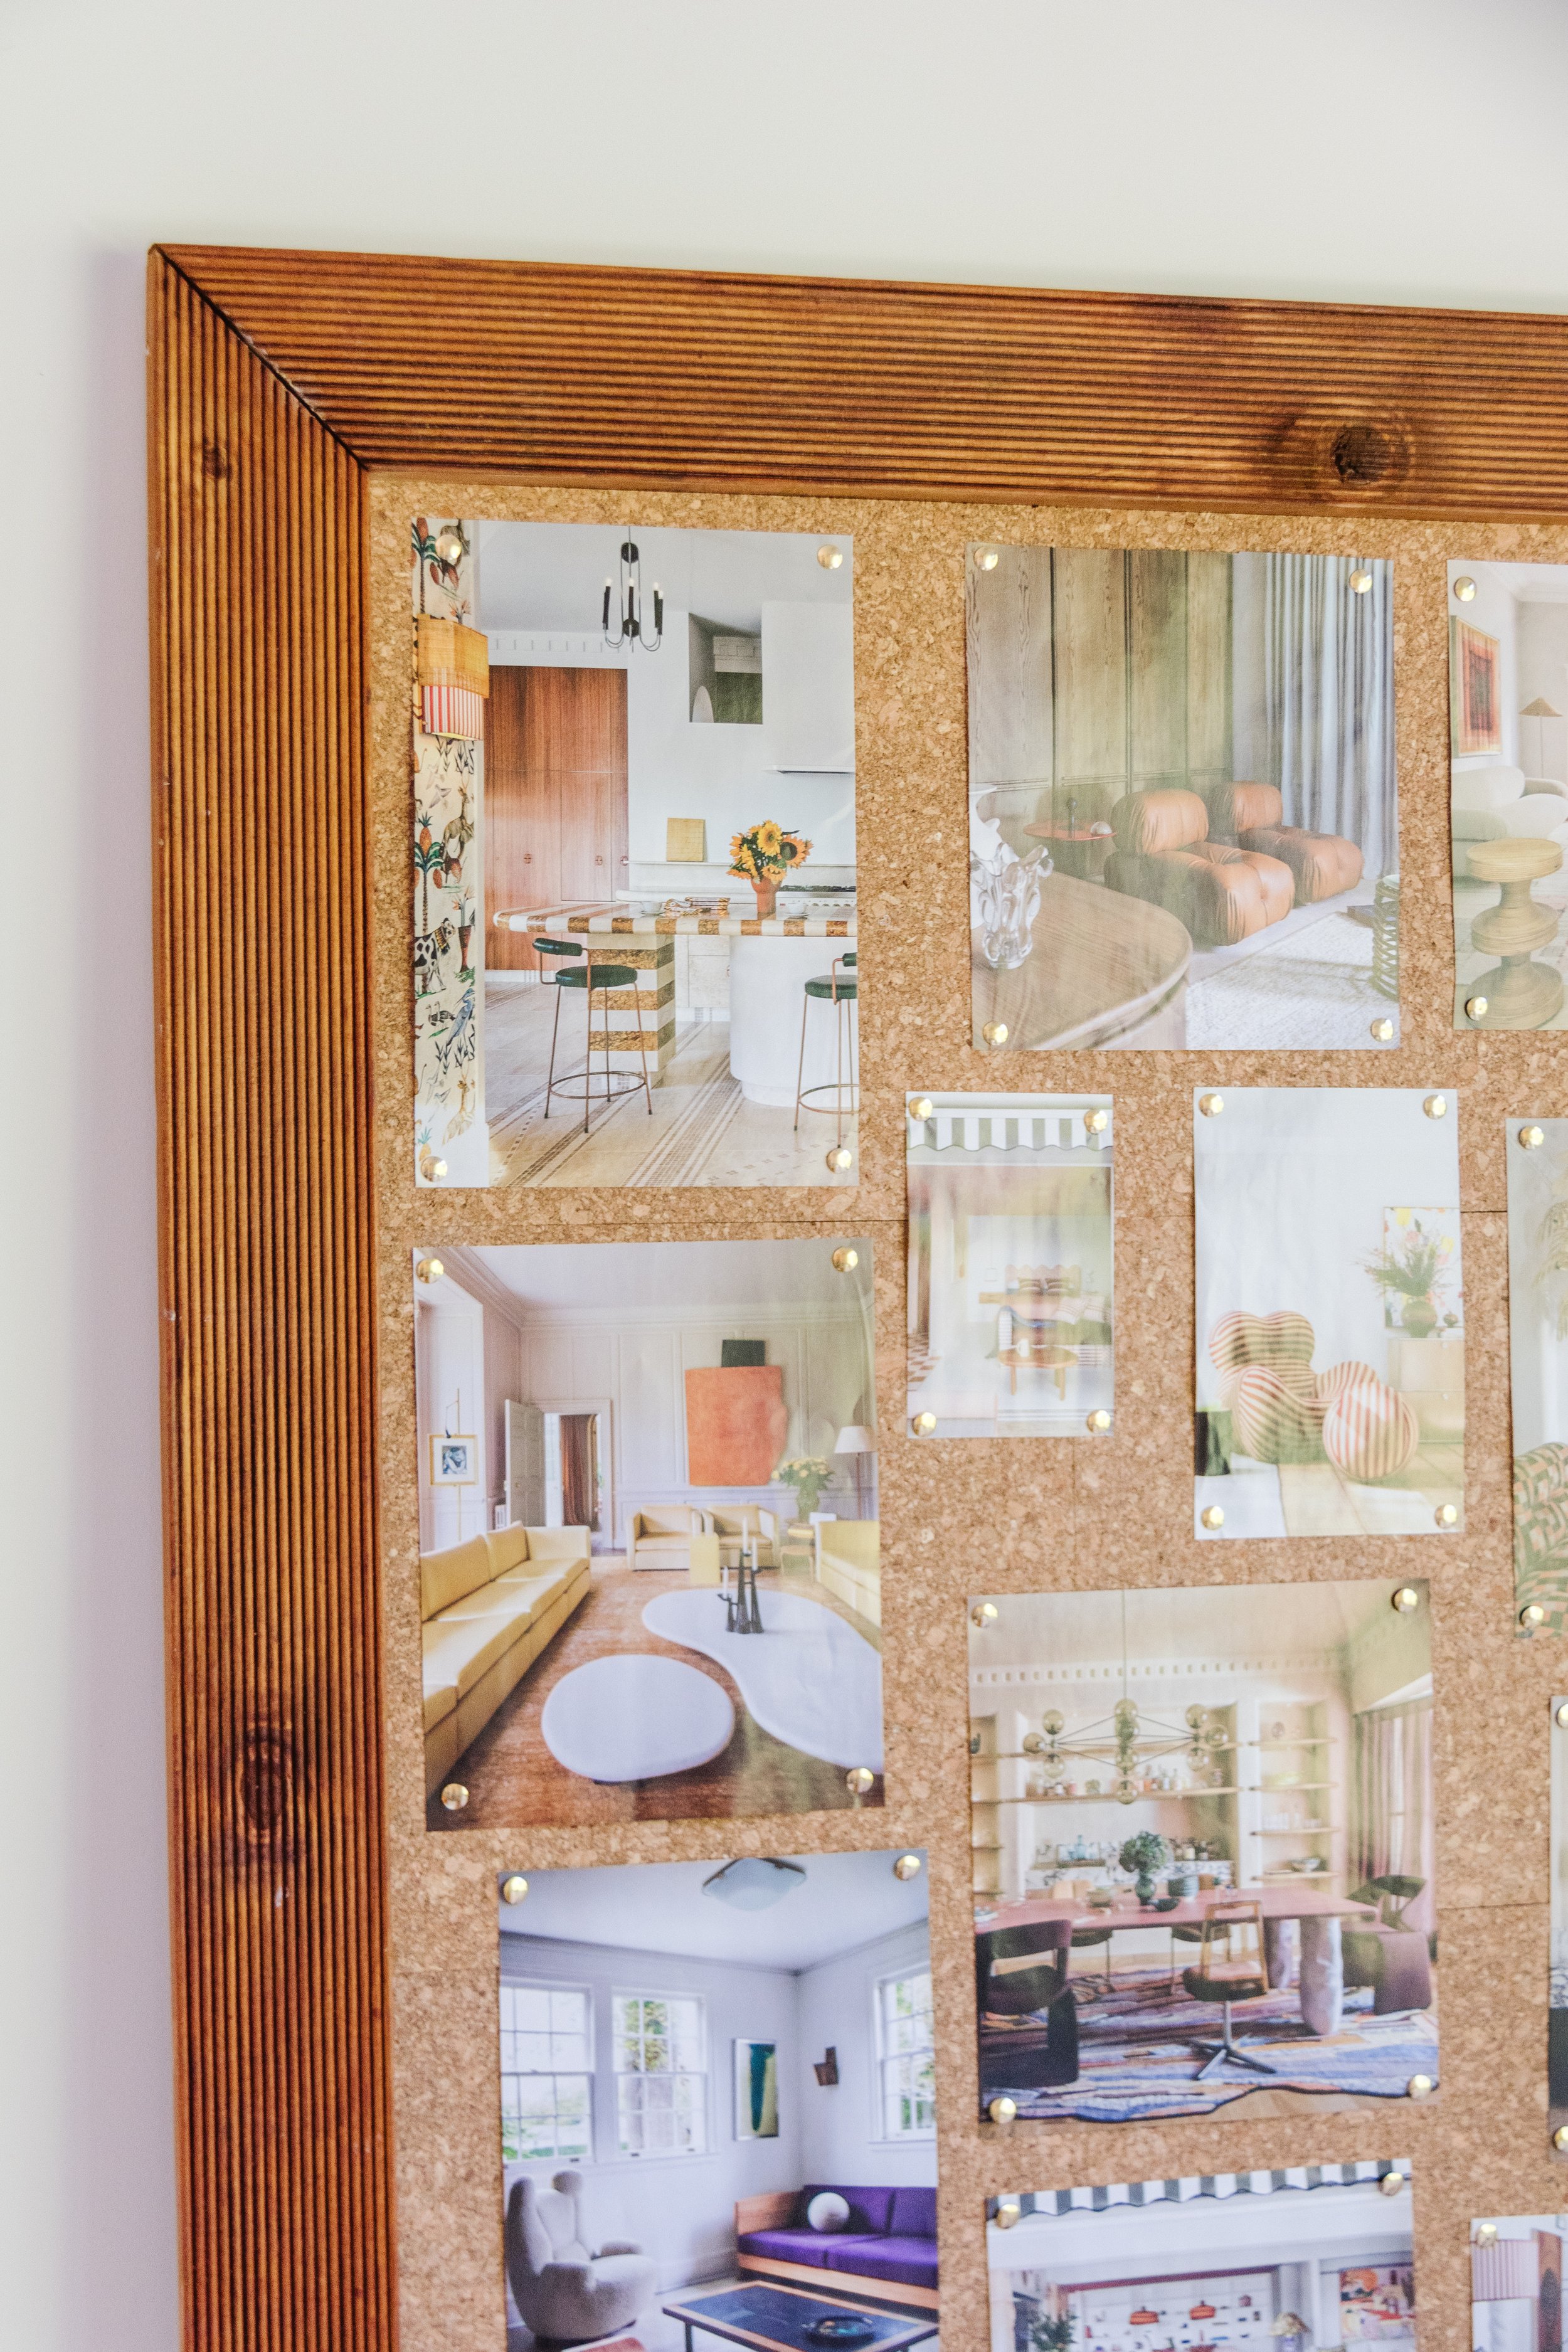
My design inspiration? When I was buying a bikini at Matteau last month I was mesmerised by a large scale vision board that took up a wall in their retail store. It was full of fashion, design and interior images, and I loved it. It was floor to ceiling, had a rich timber frame which hugged a cork centre. Straight away I knew something similar would look beautiful in my studio. And I got to work.
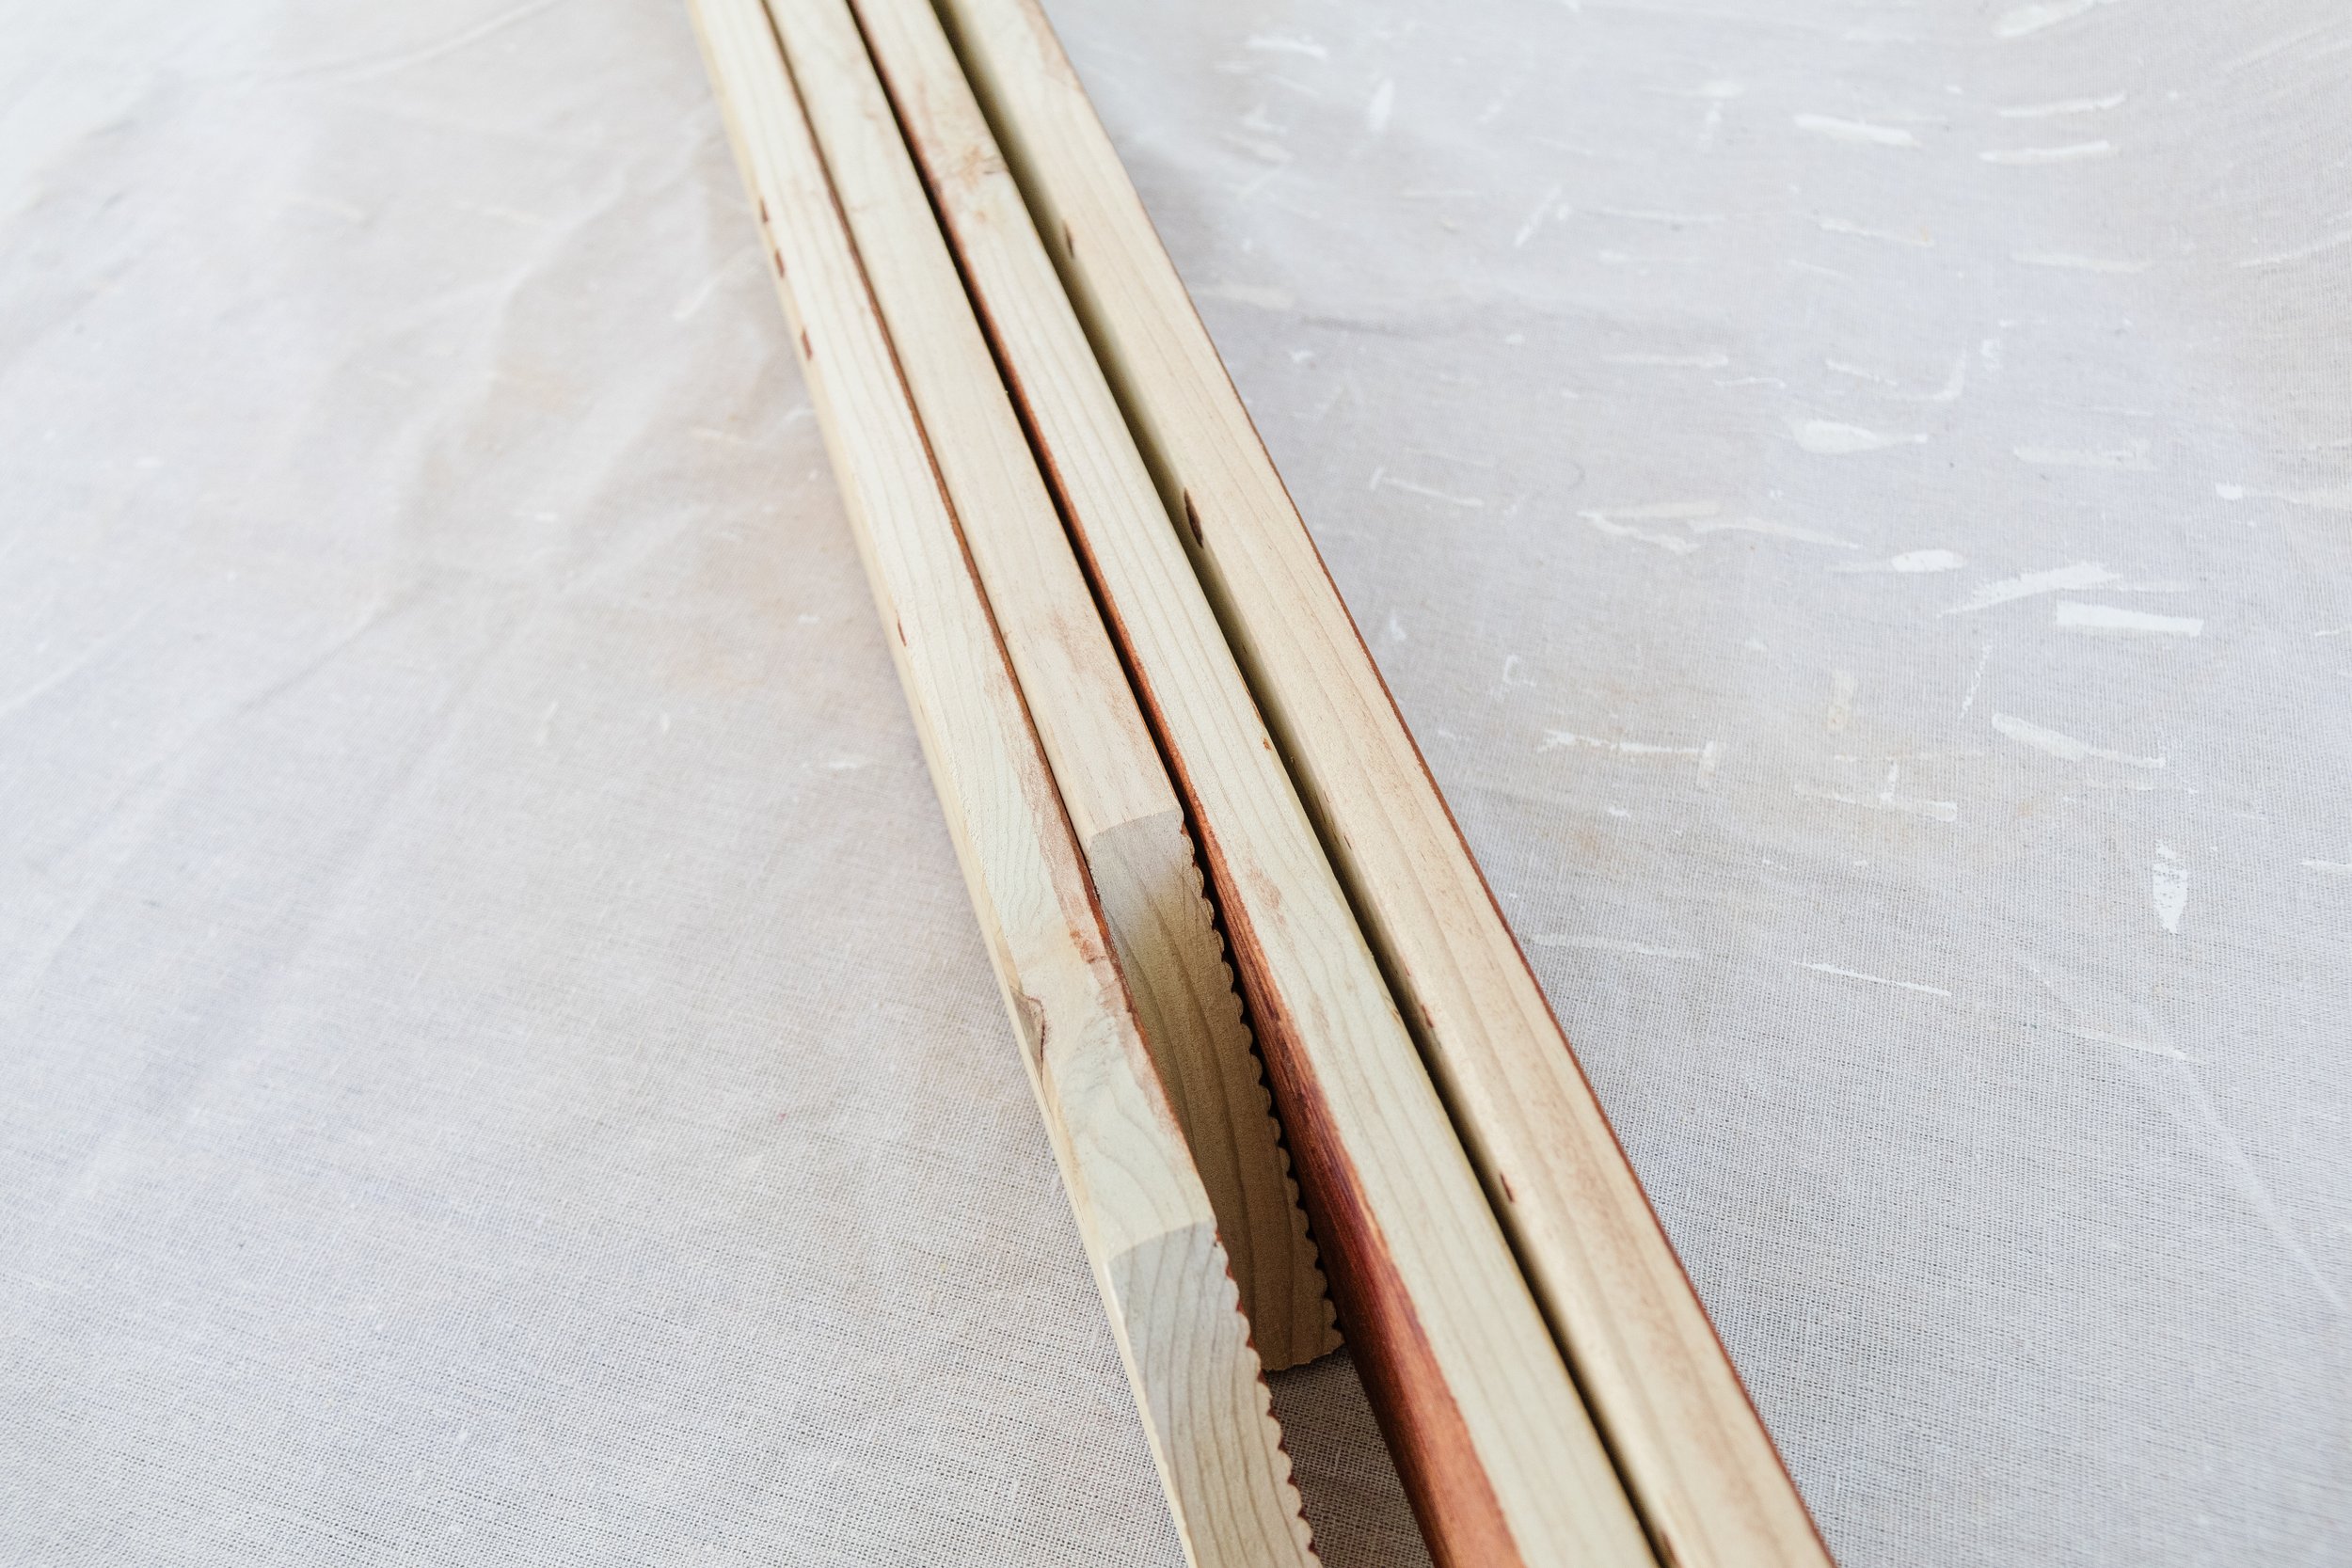
When planning my projects I always like to be as resourceful as possible, using secondhand thrifted materials where possible. We have an amazing tip shop near my house and they always have lots of reclaimed timber. I wasn’t sure what I was looking for, but as soon as I saw two long pieces of fluted decking timber, I knew this would be perfect to make the frame. I already had cork tiles at home and some cardboard boxes lying around, so I got to work. Read on to find out how to make your own vision board using reclaimed materials.
And to see how this Upcycled Vision Board came together, check out this video!
Upcycled Vision Board

But first, what is a Vision Board?
Vision boards are a collection of images (or objects) arranged in a way to help you manifest your goals or vision. They can be physical or digital, and they are highly versatile for manifesting your personal and professional goals. You can also use a vision board to help you envision your dream life.
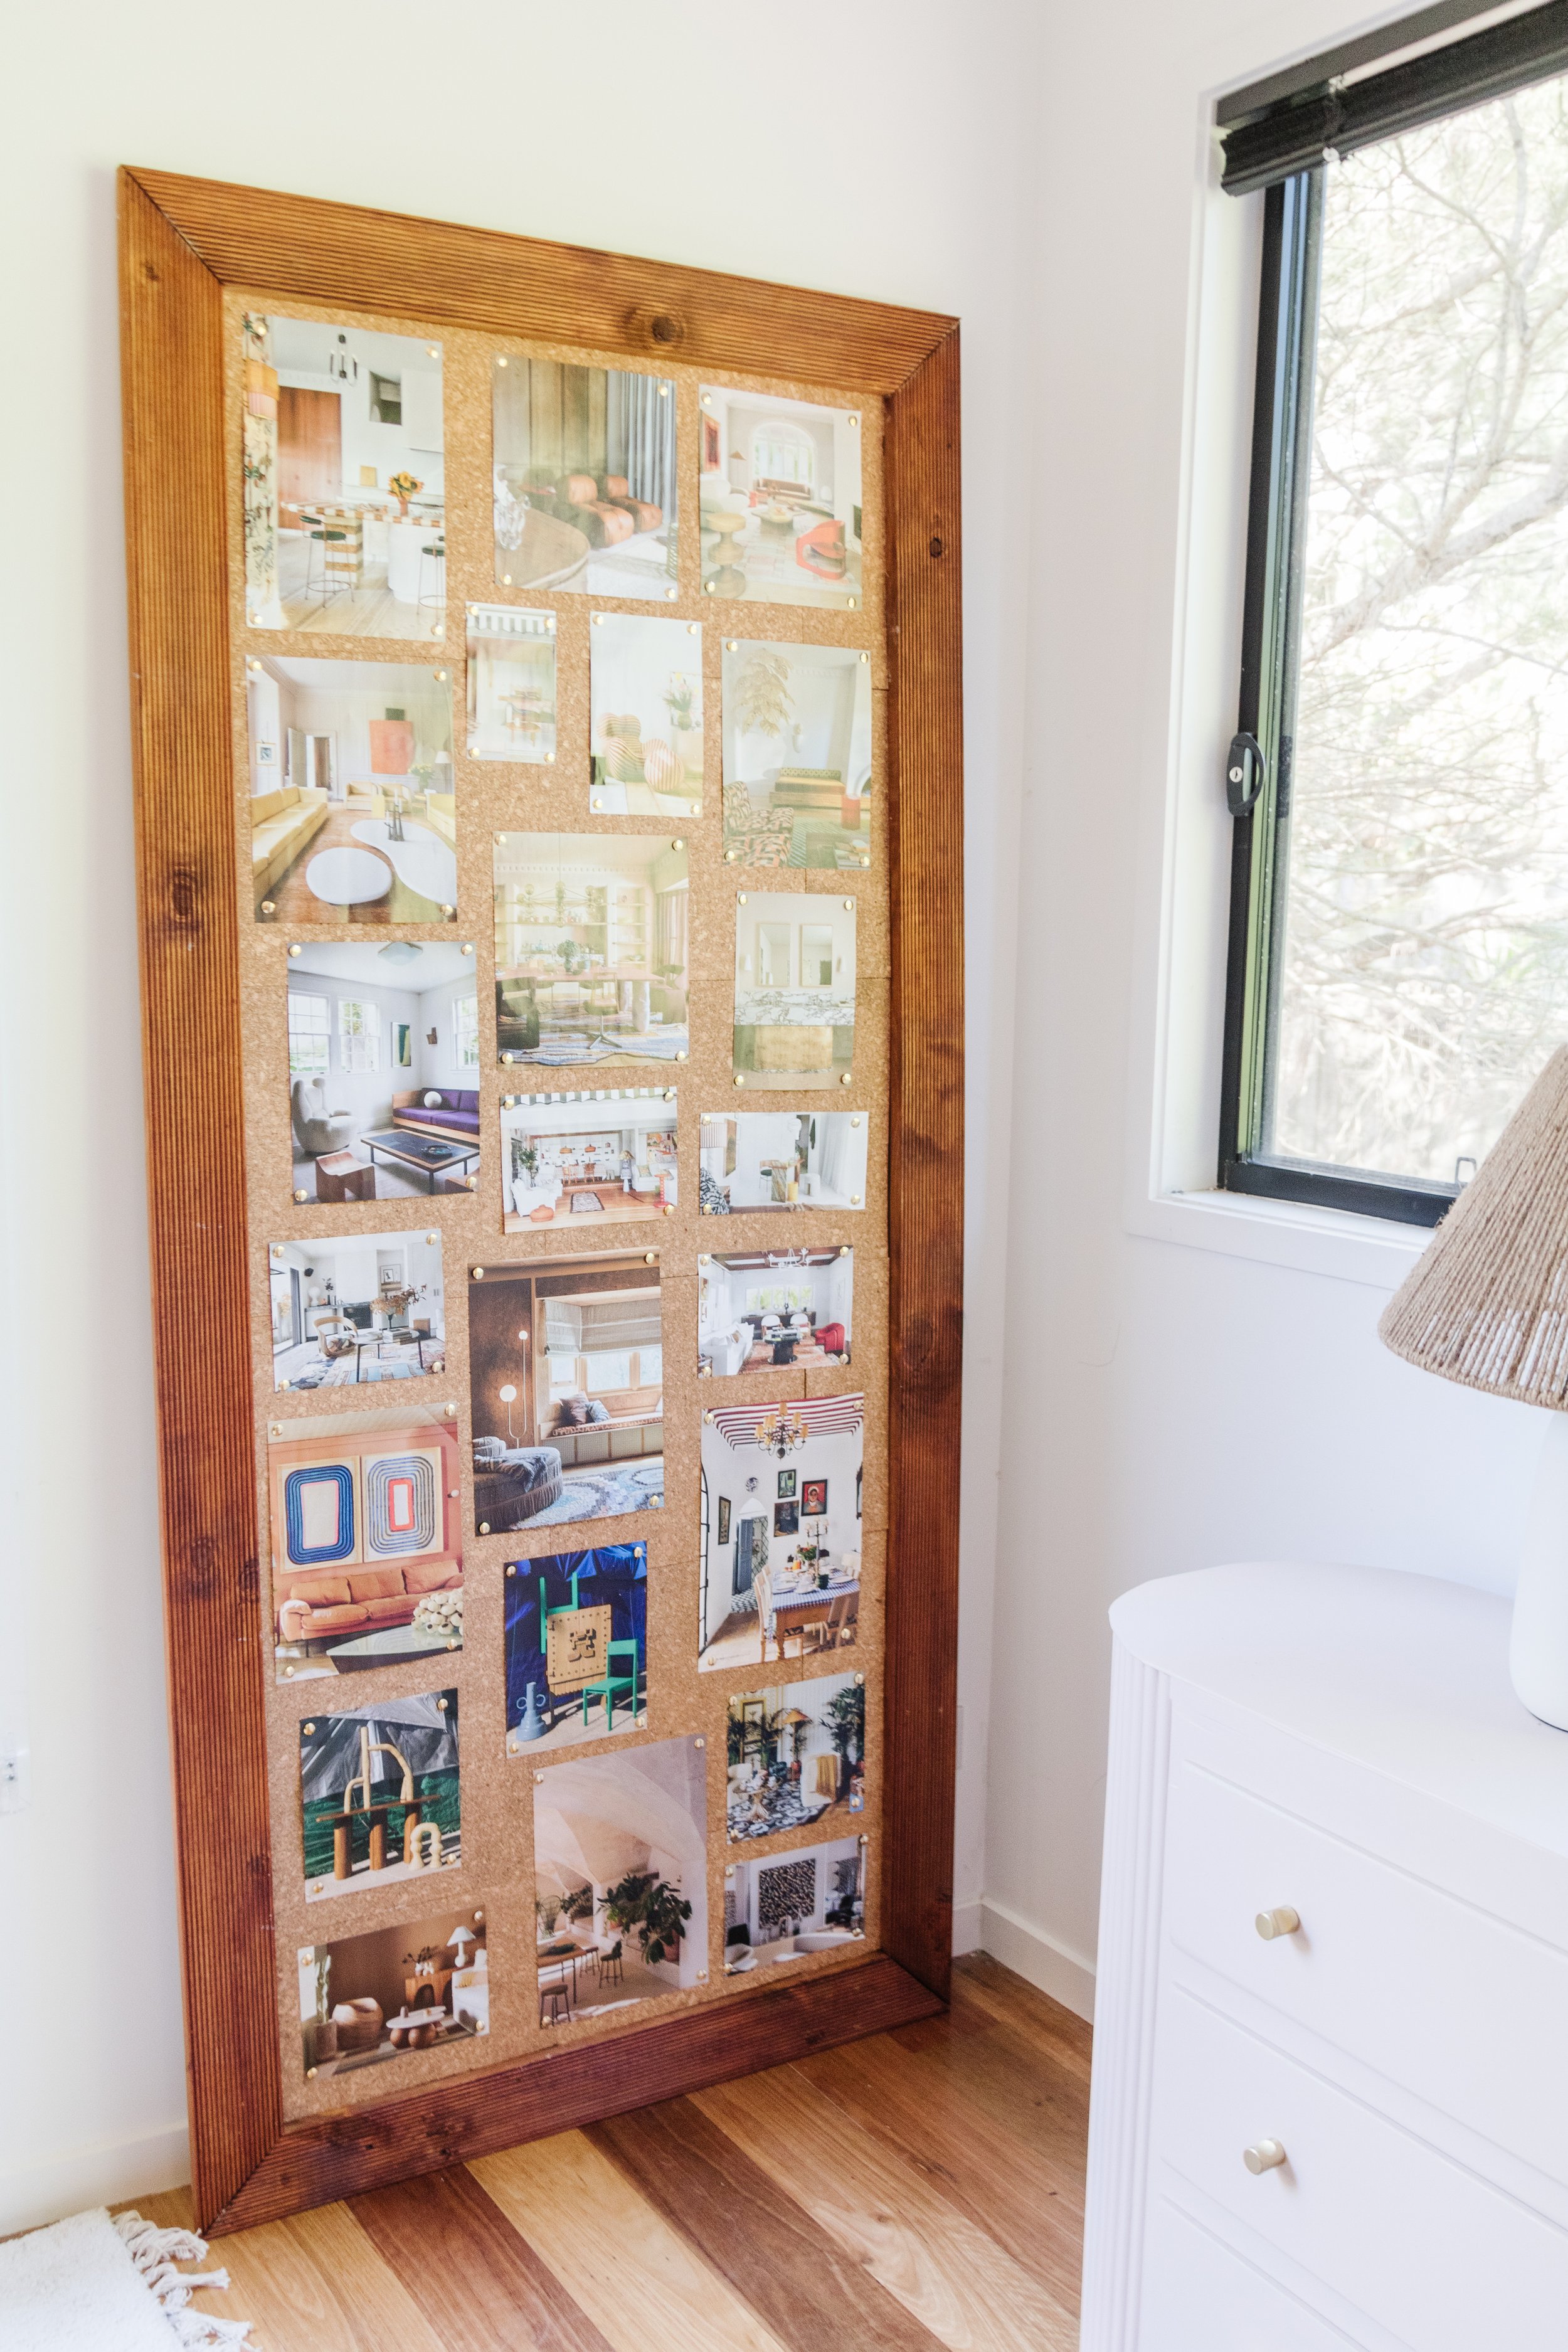
It’s really important you place your vision board where you’ll see them often, so in my case, my vision board is in my studio where I work everyday!

Project Details
🕒 Project Time Estimate: 3 to 4 hours
💰 Materials Cost: $70
⚒️ Power Tools: None!
👷♀️ Skill Level: Beginner DIYer
Materials
Timber trim for the frame (Tasmanian Oak timber or Pine timber would be perfect)
Cork tiles from Bunnings
Cardboard box scraps
Painters tape or masking tape
Tools
Measuring tape and pencil
Utility knife
Thumb tacks

How To
Step 1: Measuring The Vision Board
Start by measuring the size of your vision board with a measuring tape and write the measurements down on a piece of paper or notebook. You can make your vision as big or as small as you like. My vision board is 1900xmm x 900mm.
Note: I will be using the measurements for my own project, so simply supplement these measurements with your own.
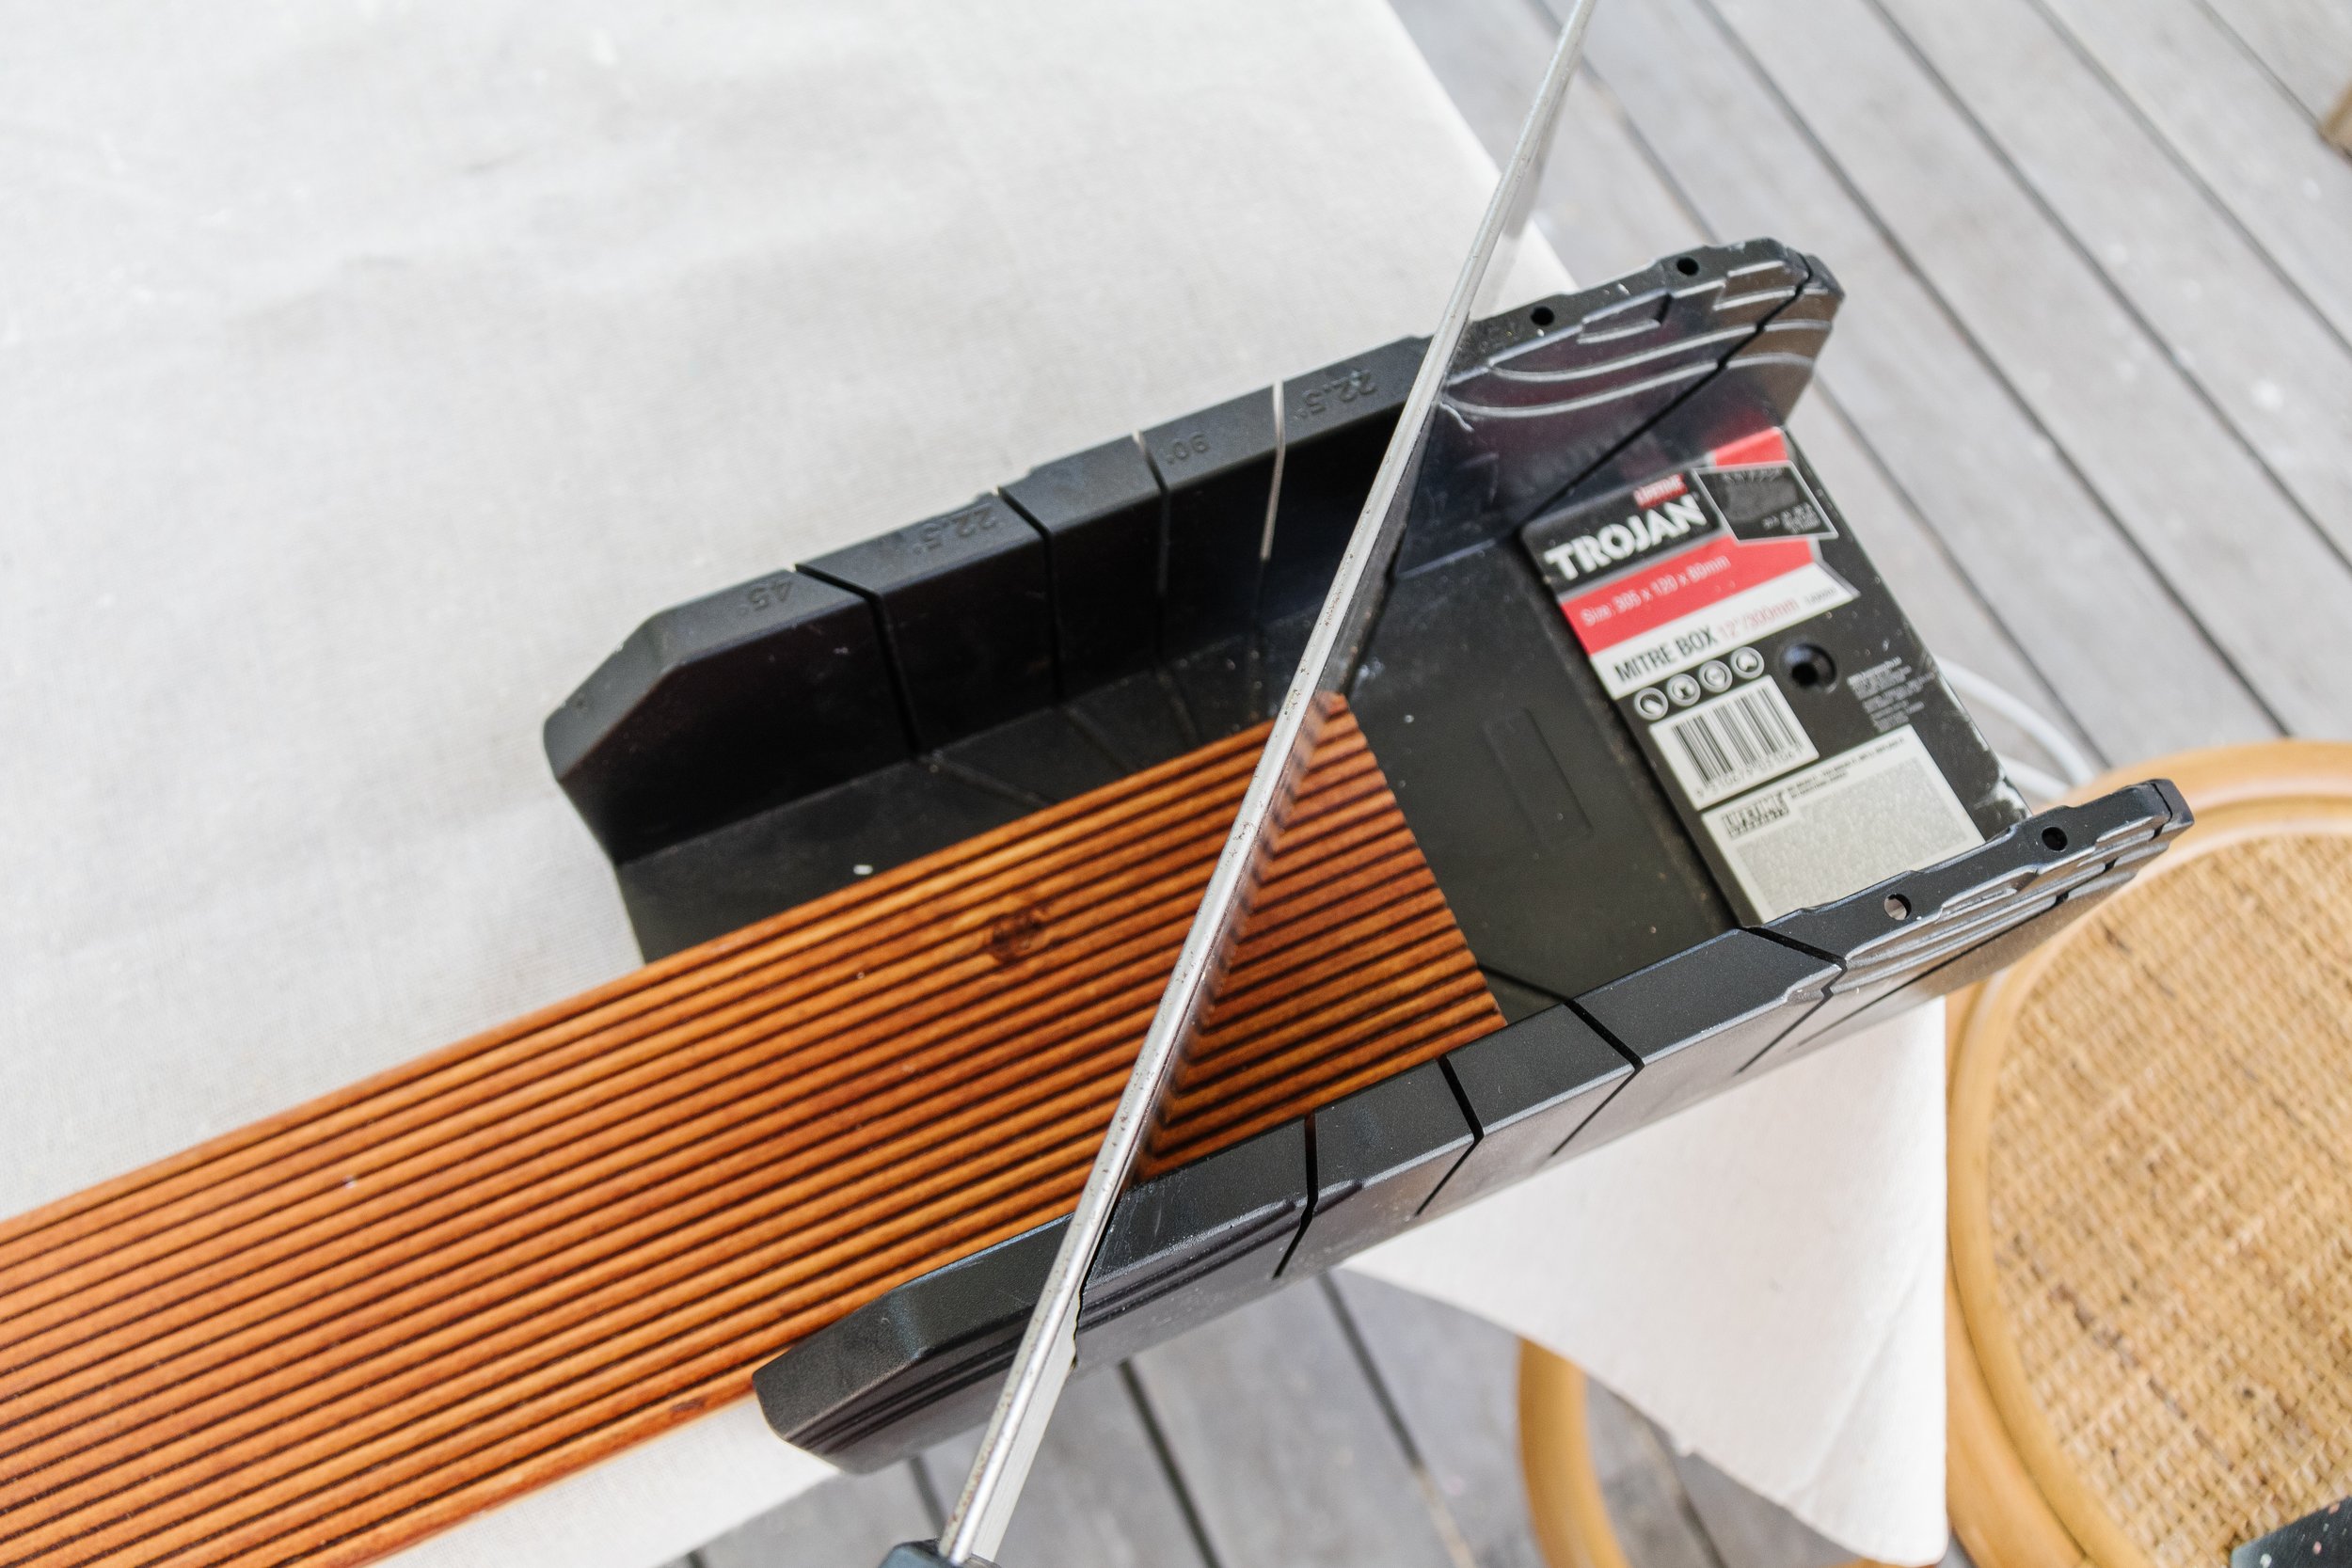
Step 2: Cutting The Frame
The first step is to cut 2 x length of timber, then the second step is to cut 2 x width of timber.
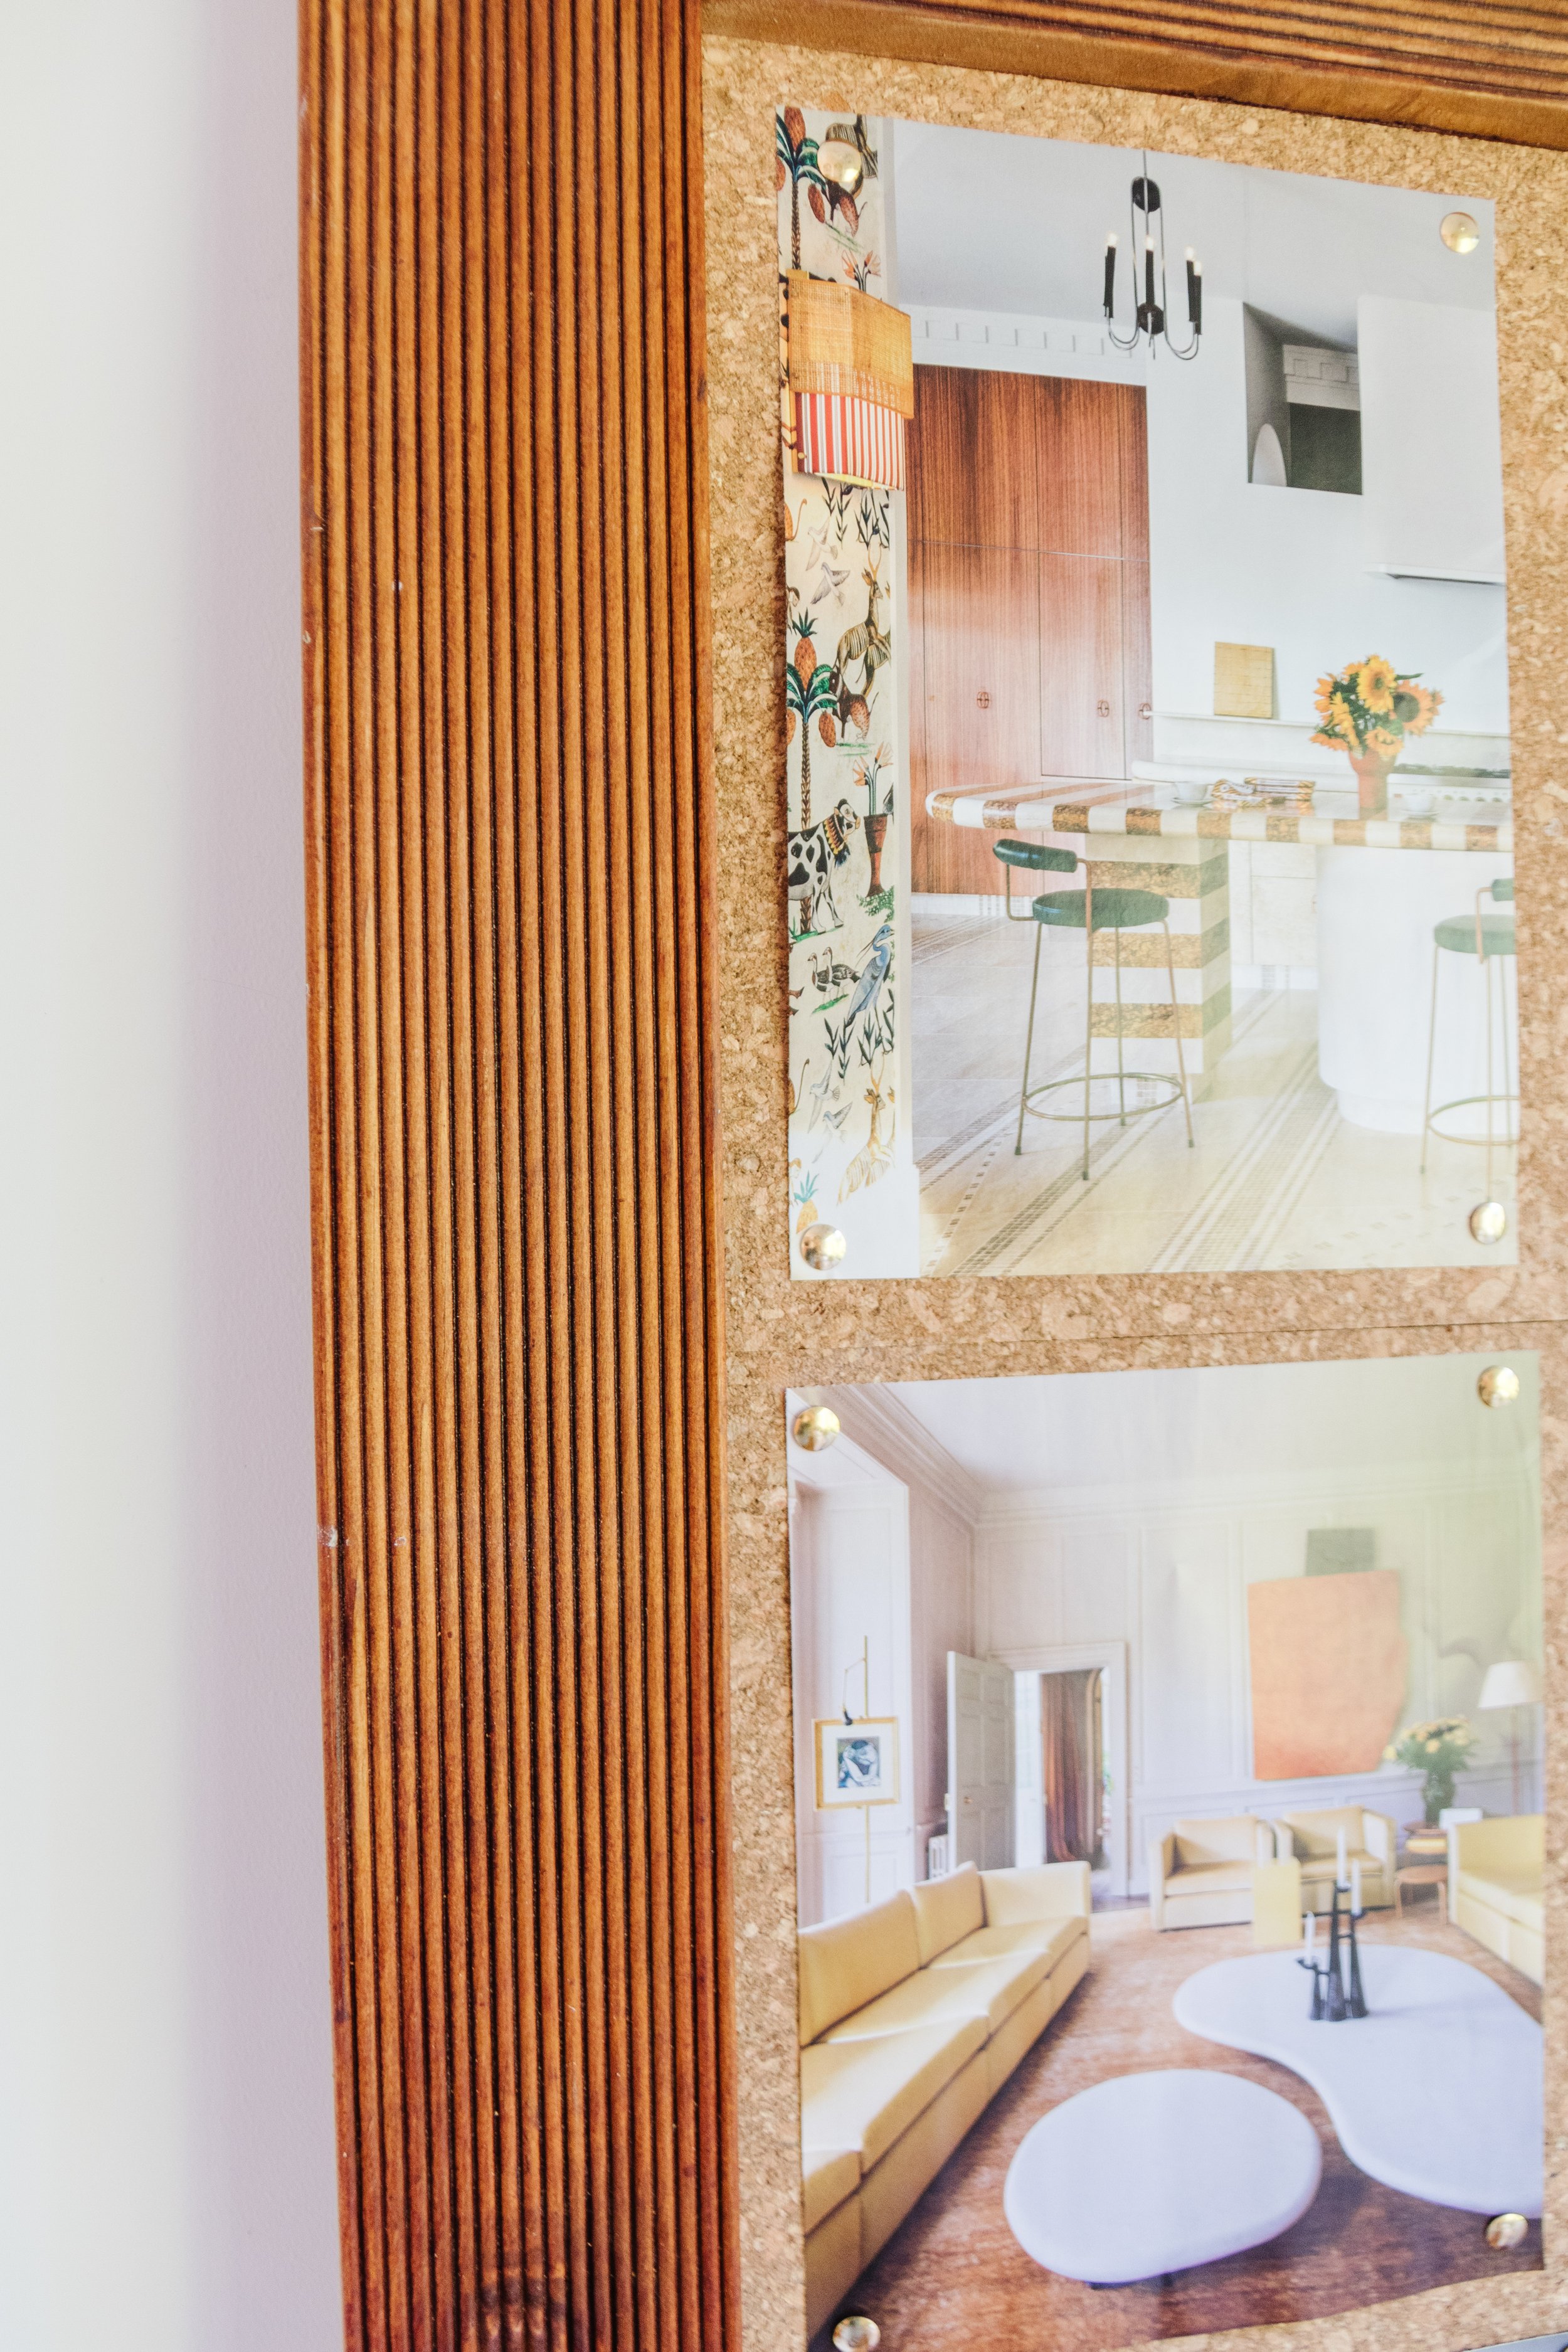
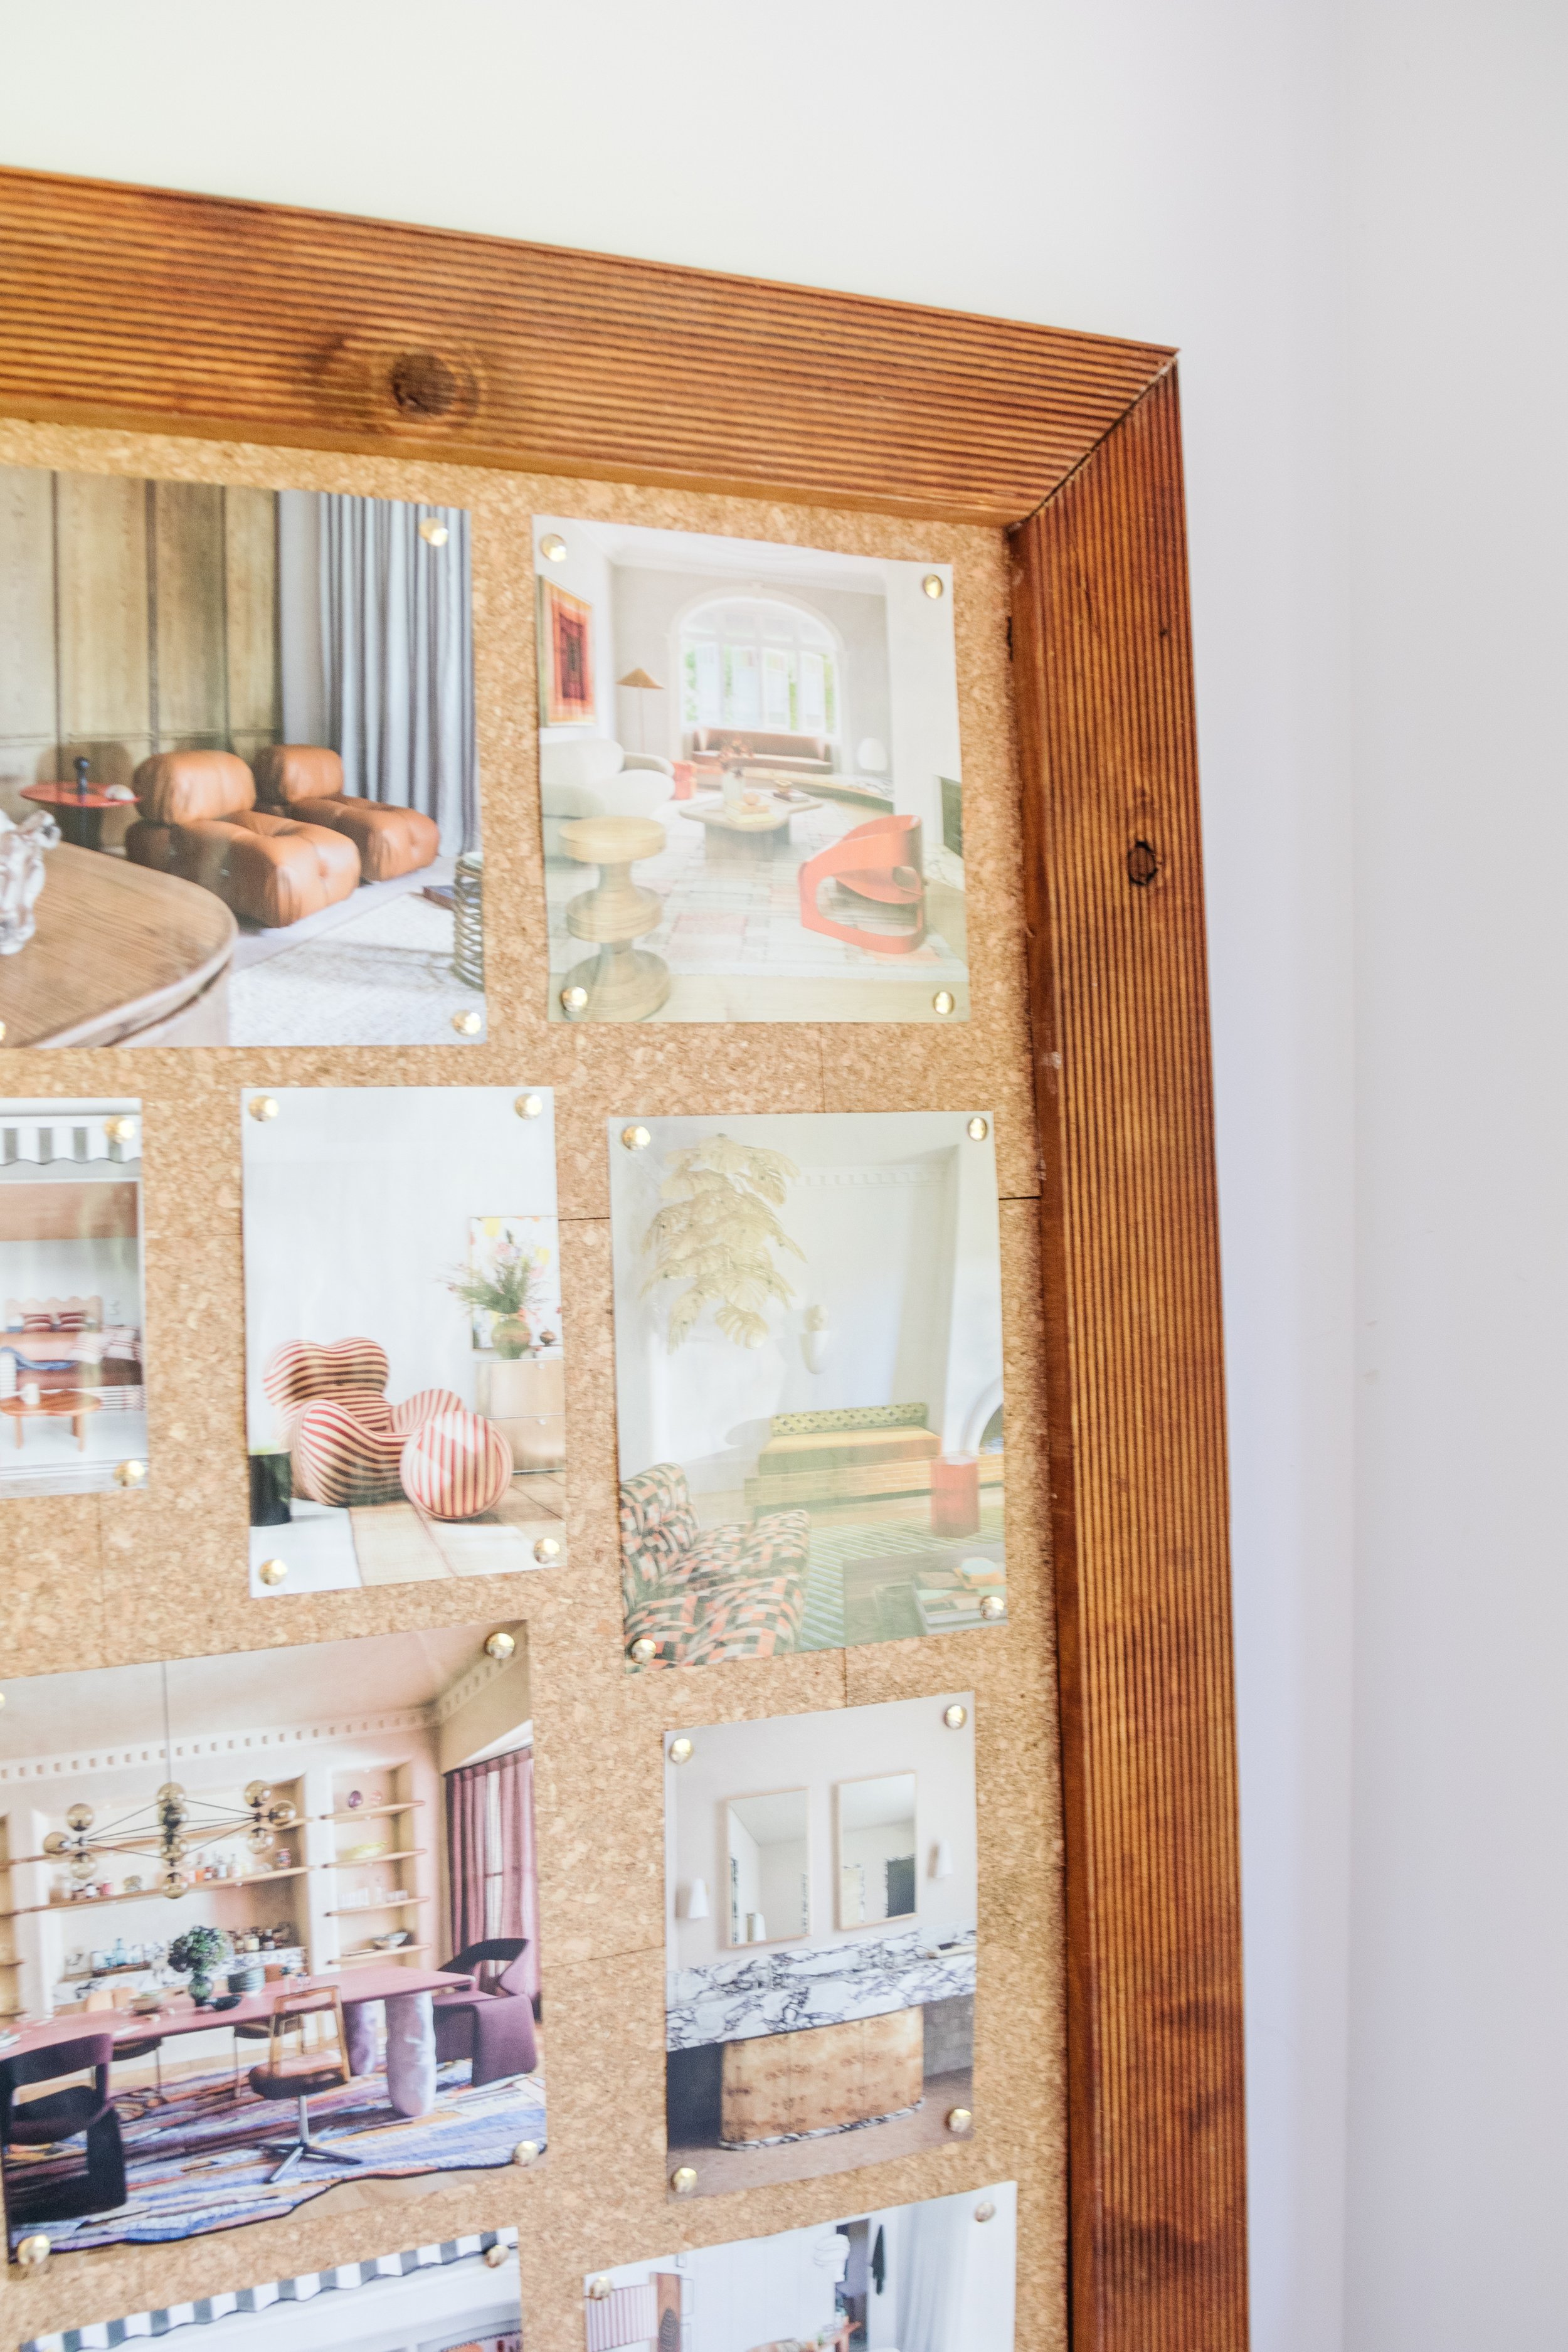
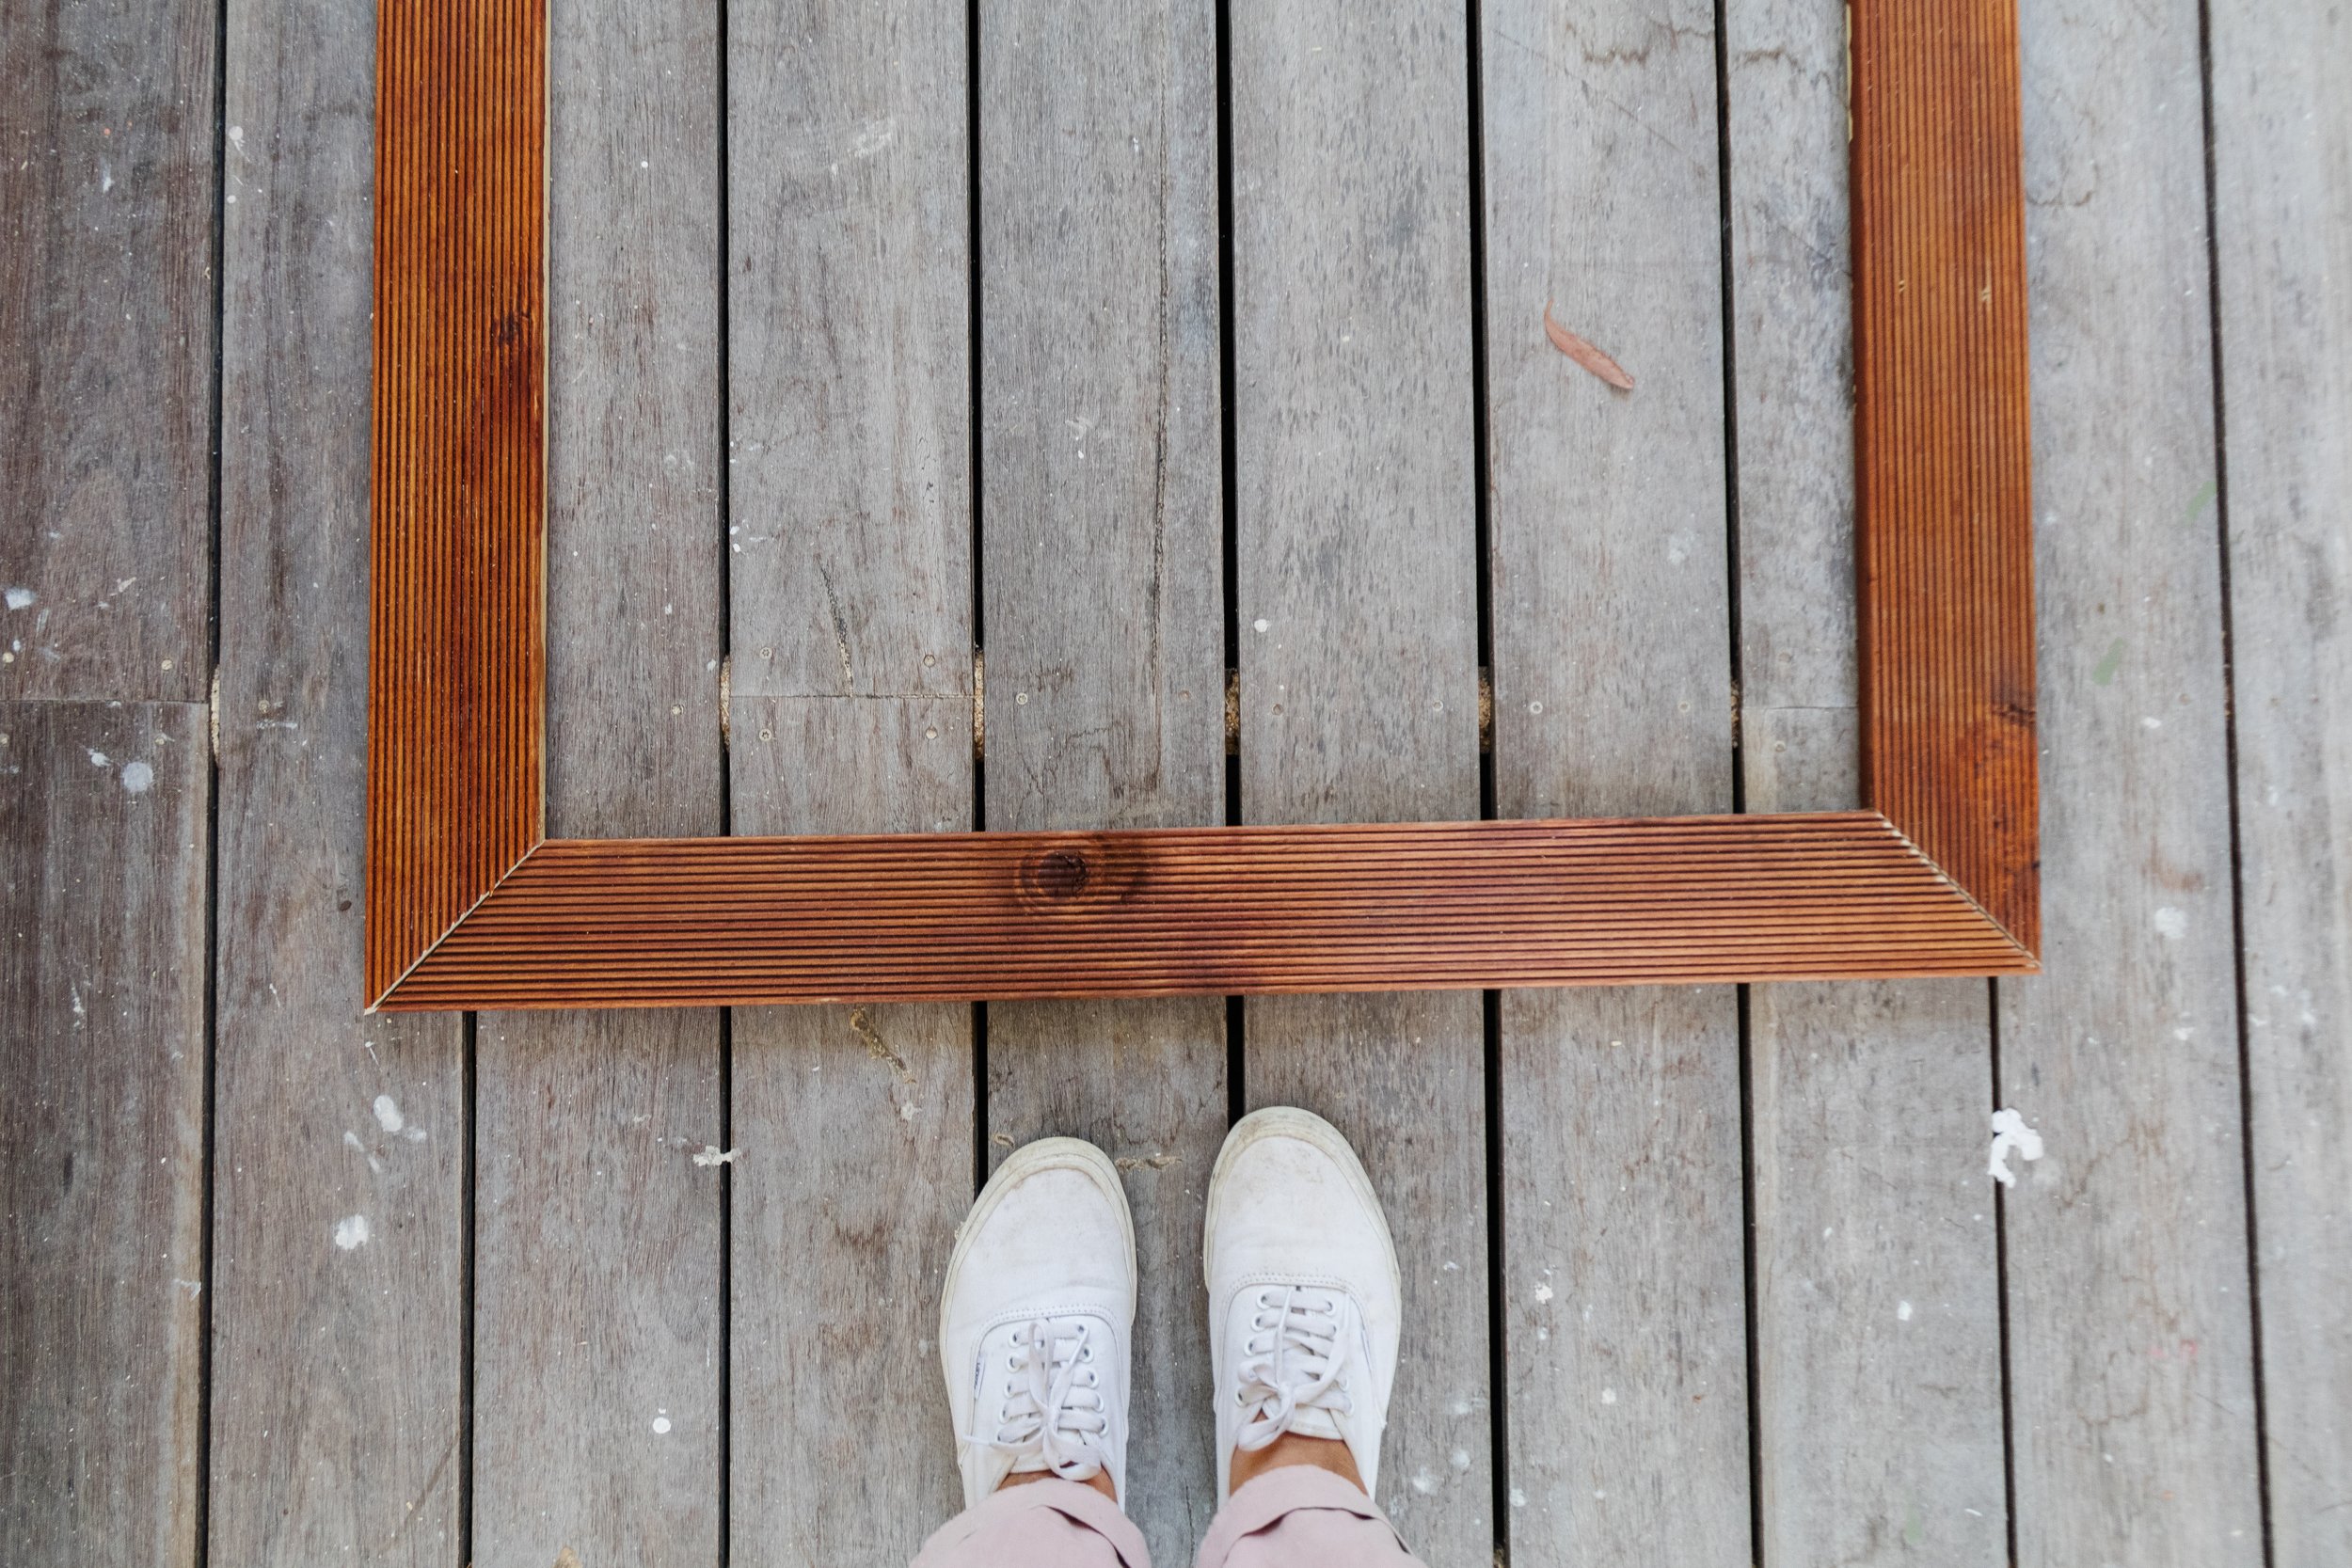
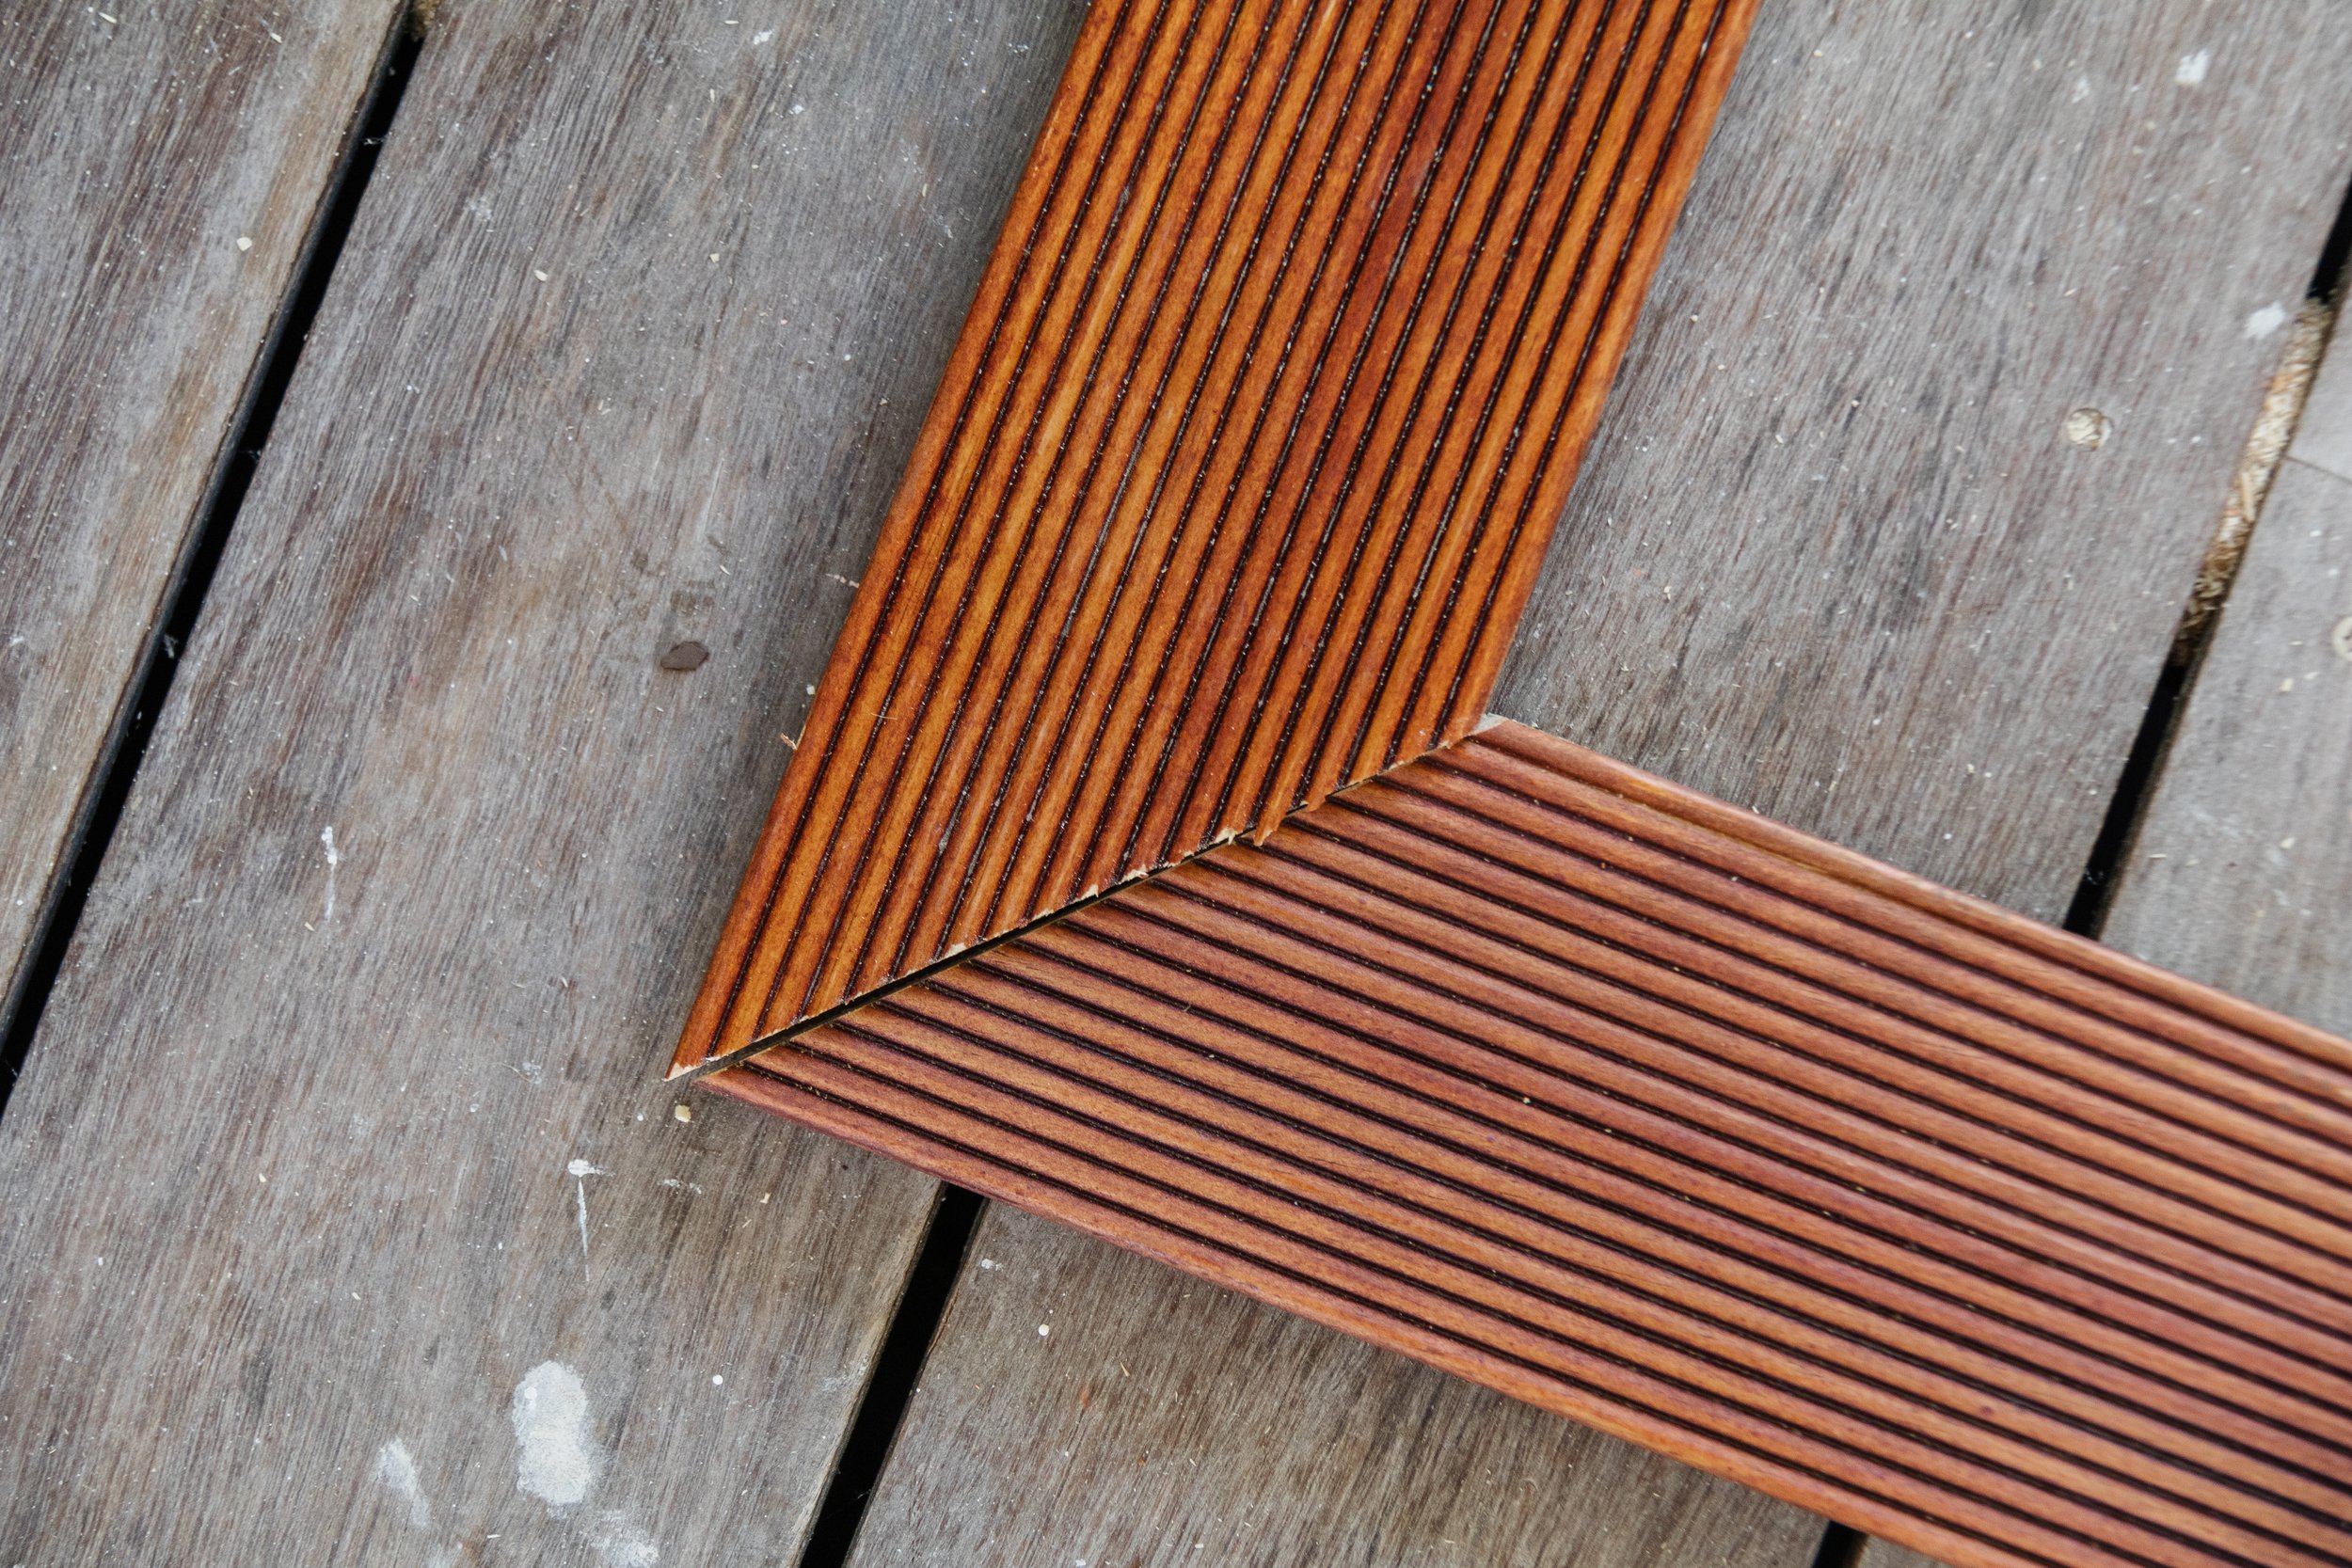
Set the mitre saw at 45°, line the timber flat and into position. The first cut is about trimming the very far end of the timber at 45°. Lock the timber securely in place and make the first cut. Remove the timber, flip the timber over and around, measure and make mark on the timber with a measuring tape and pencil so you know where to make the second cut - this measurement is the height of the vision board. Placed it flat onto the mitre saw and make the second 45° cut. You will now have your first length of timber, which as been cut at 45° at both ends. Repeat this step for the second length of timber, while making sure to check your measurements again and again. If your piece of timber has an intricate detail like mine did, make sure you cut it properly so it’s facing forward. When the second piece is done I have my two lengths of timber. Repeat for the widths and always check your measurements. You will now have 4 pieces of timber cut at 45° - two widths and two lengths.
If you need further clarification, make sure you watch these Instagram Stories, which is when I shared How To Make A Floating Timber Frame last year

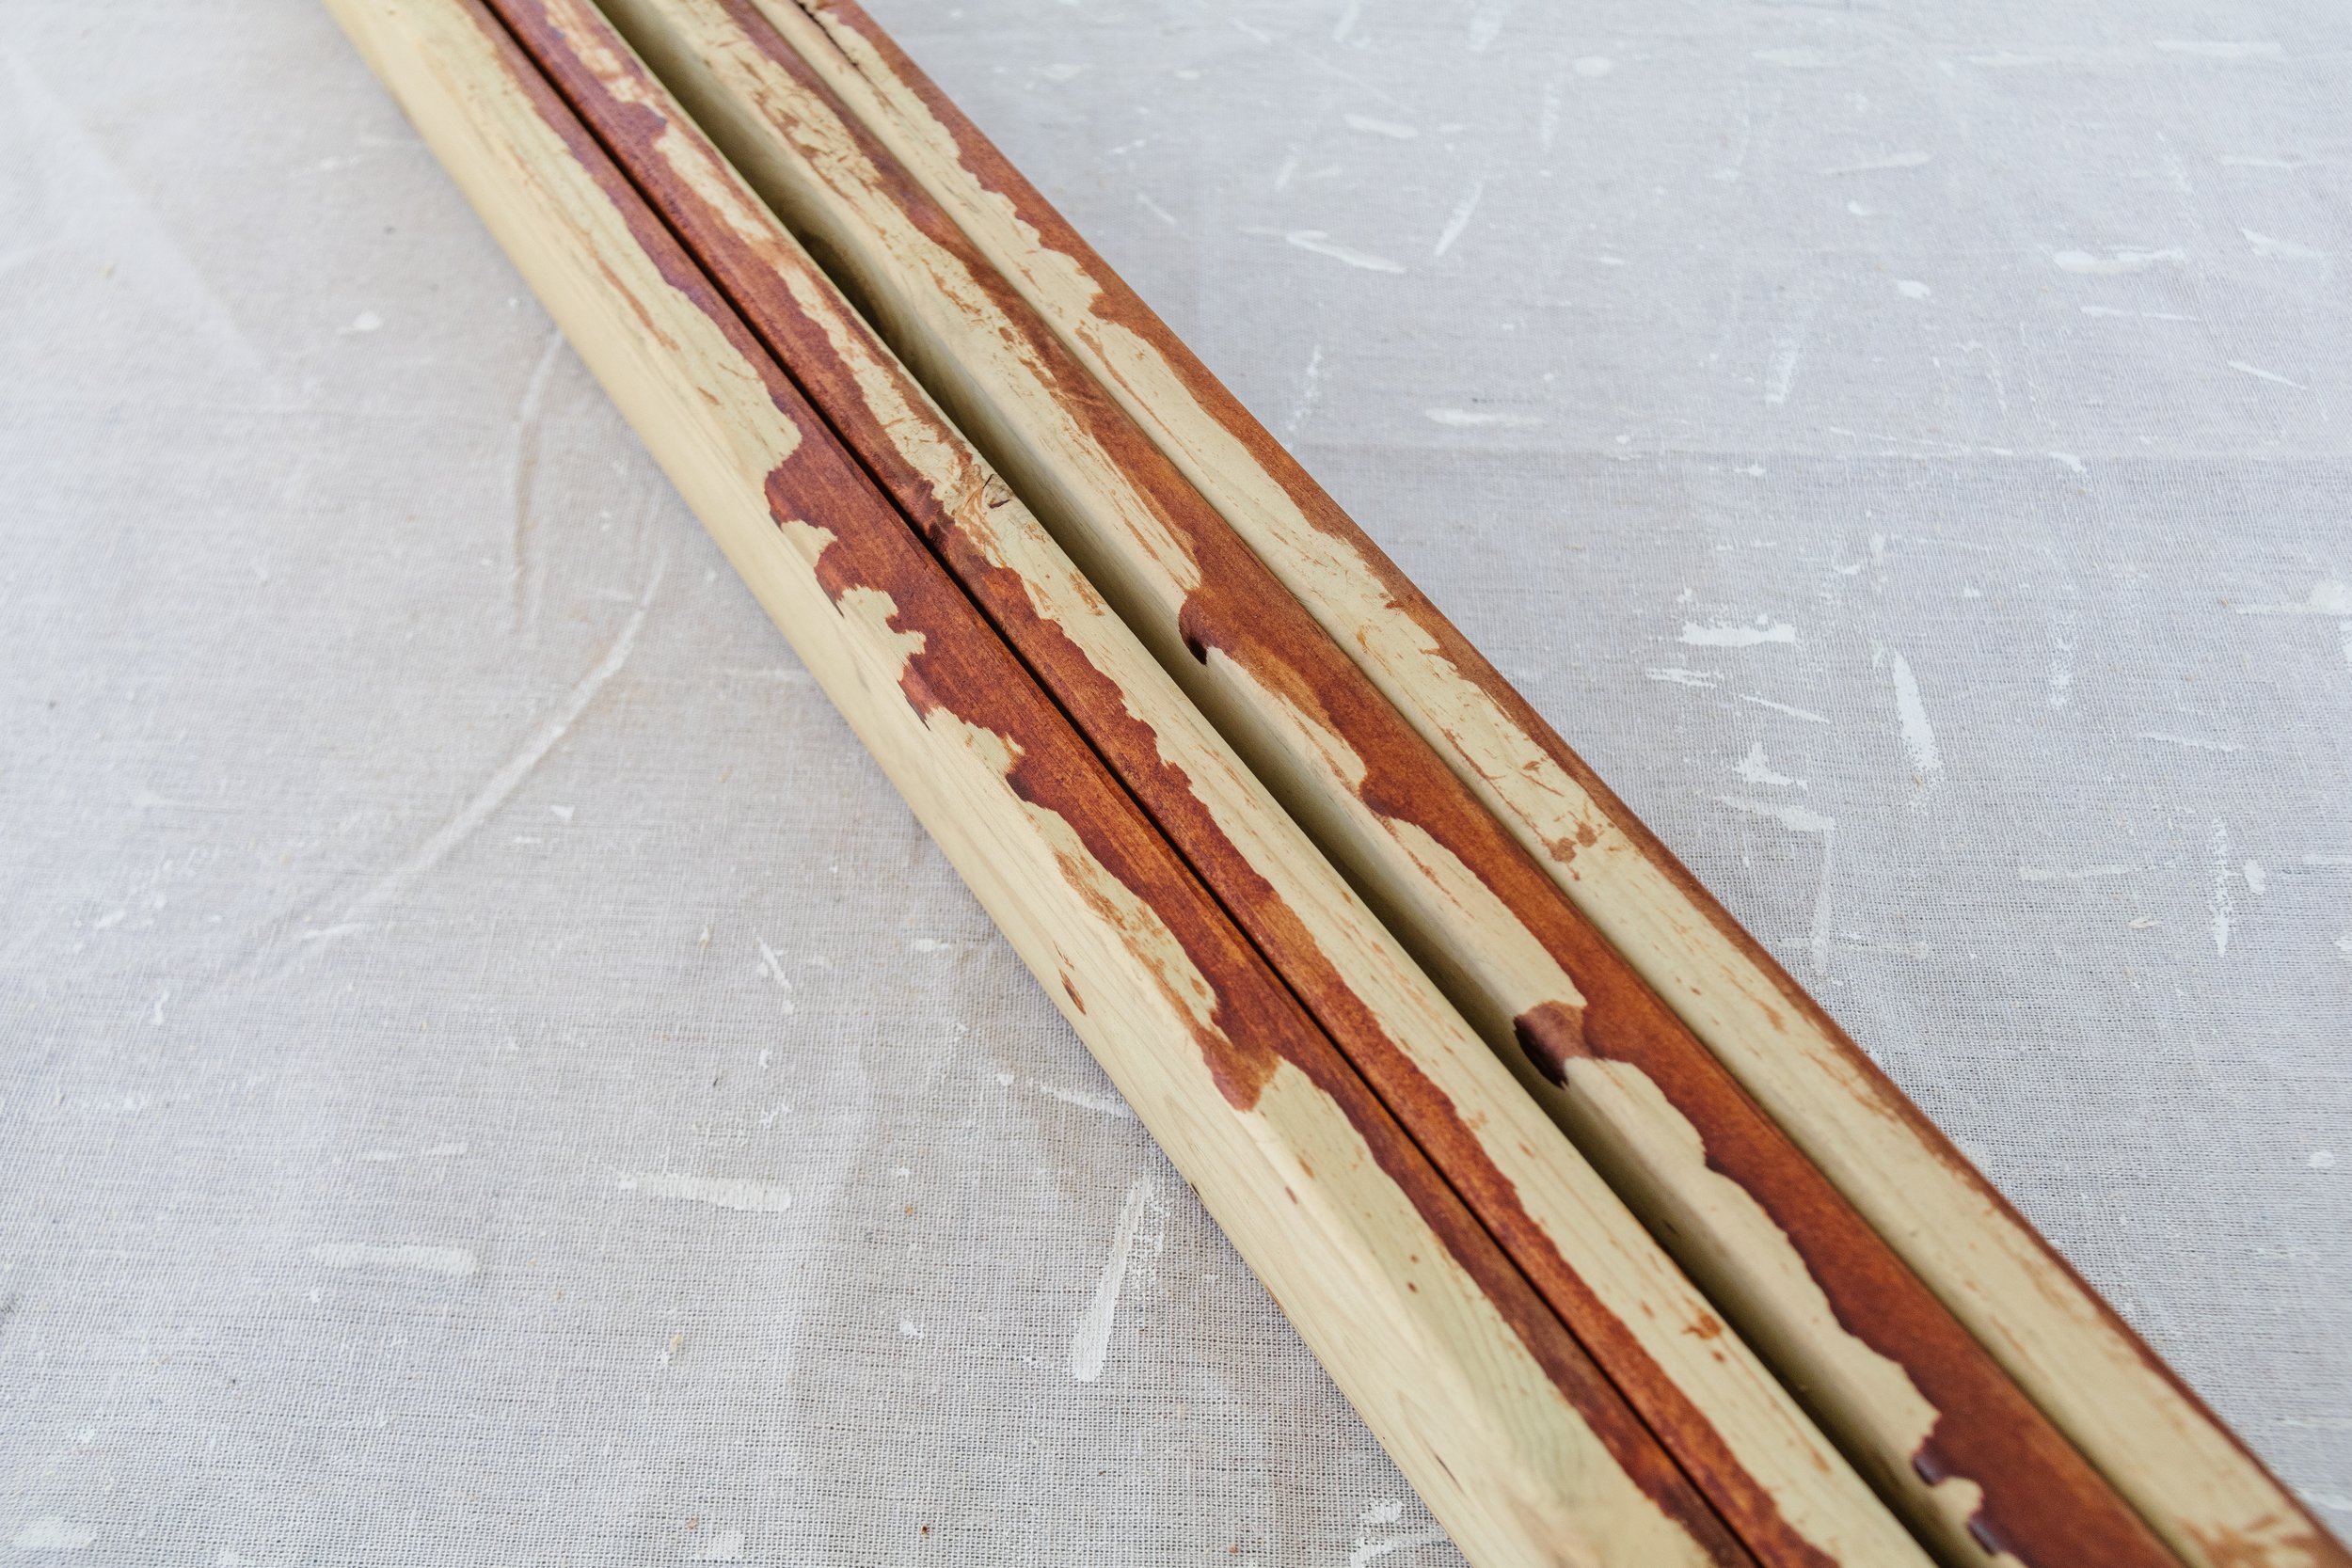
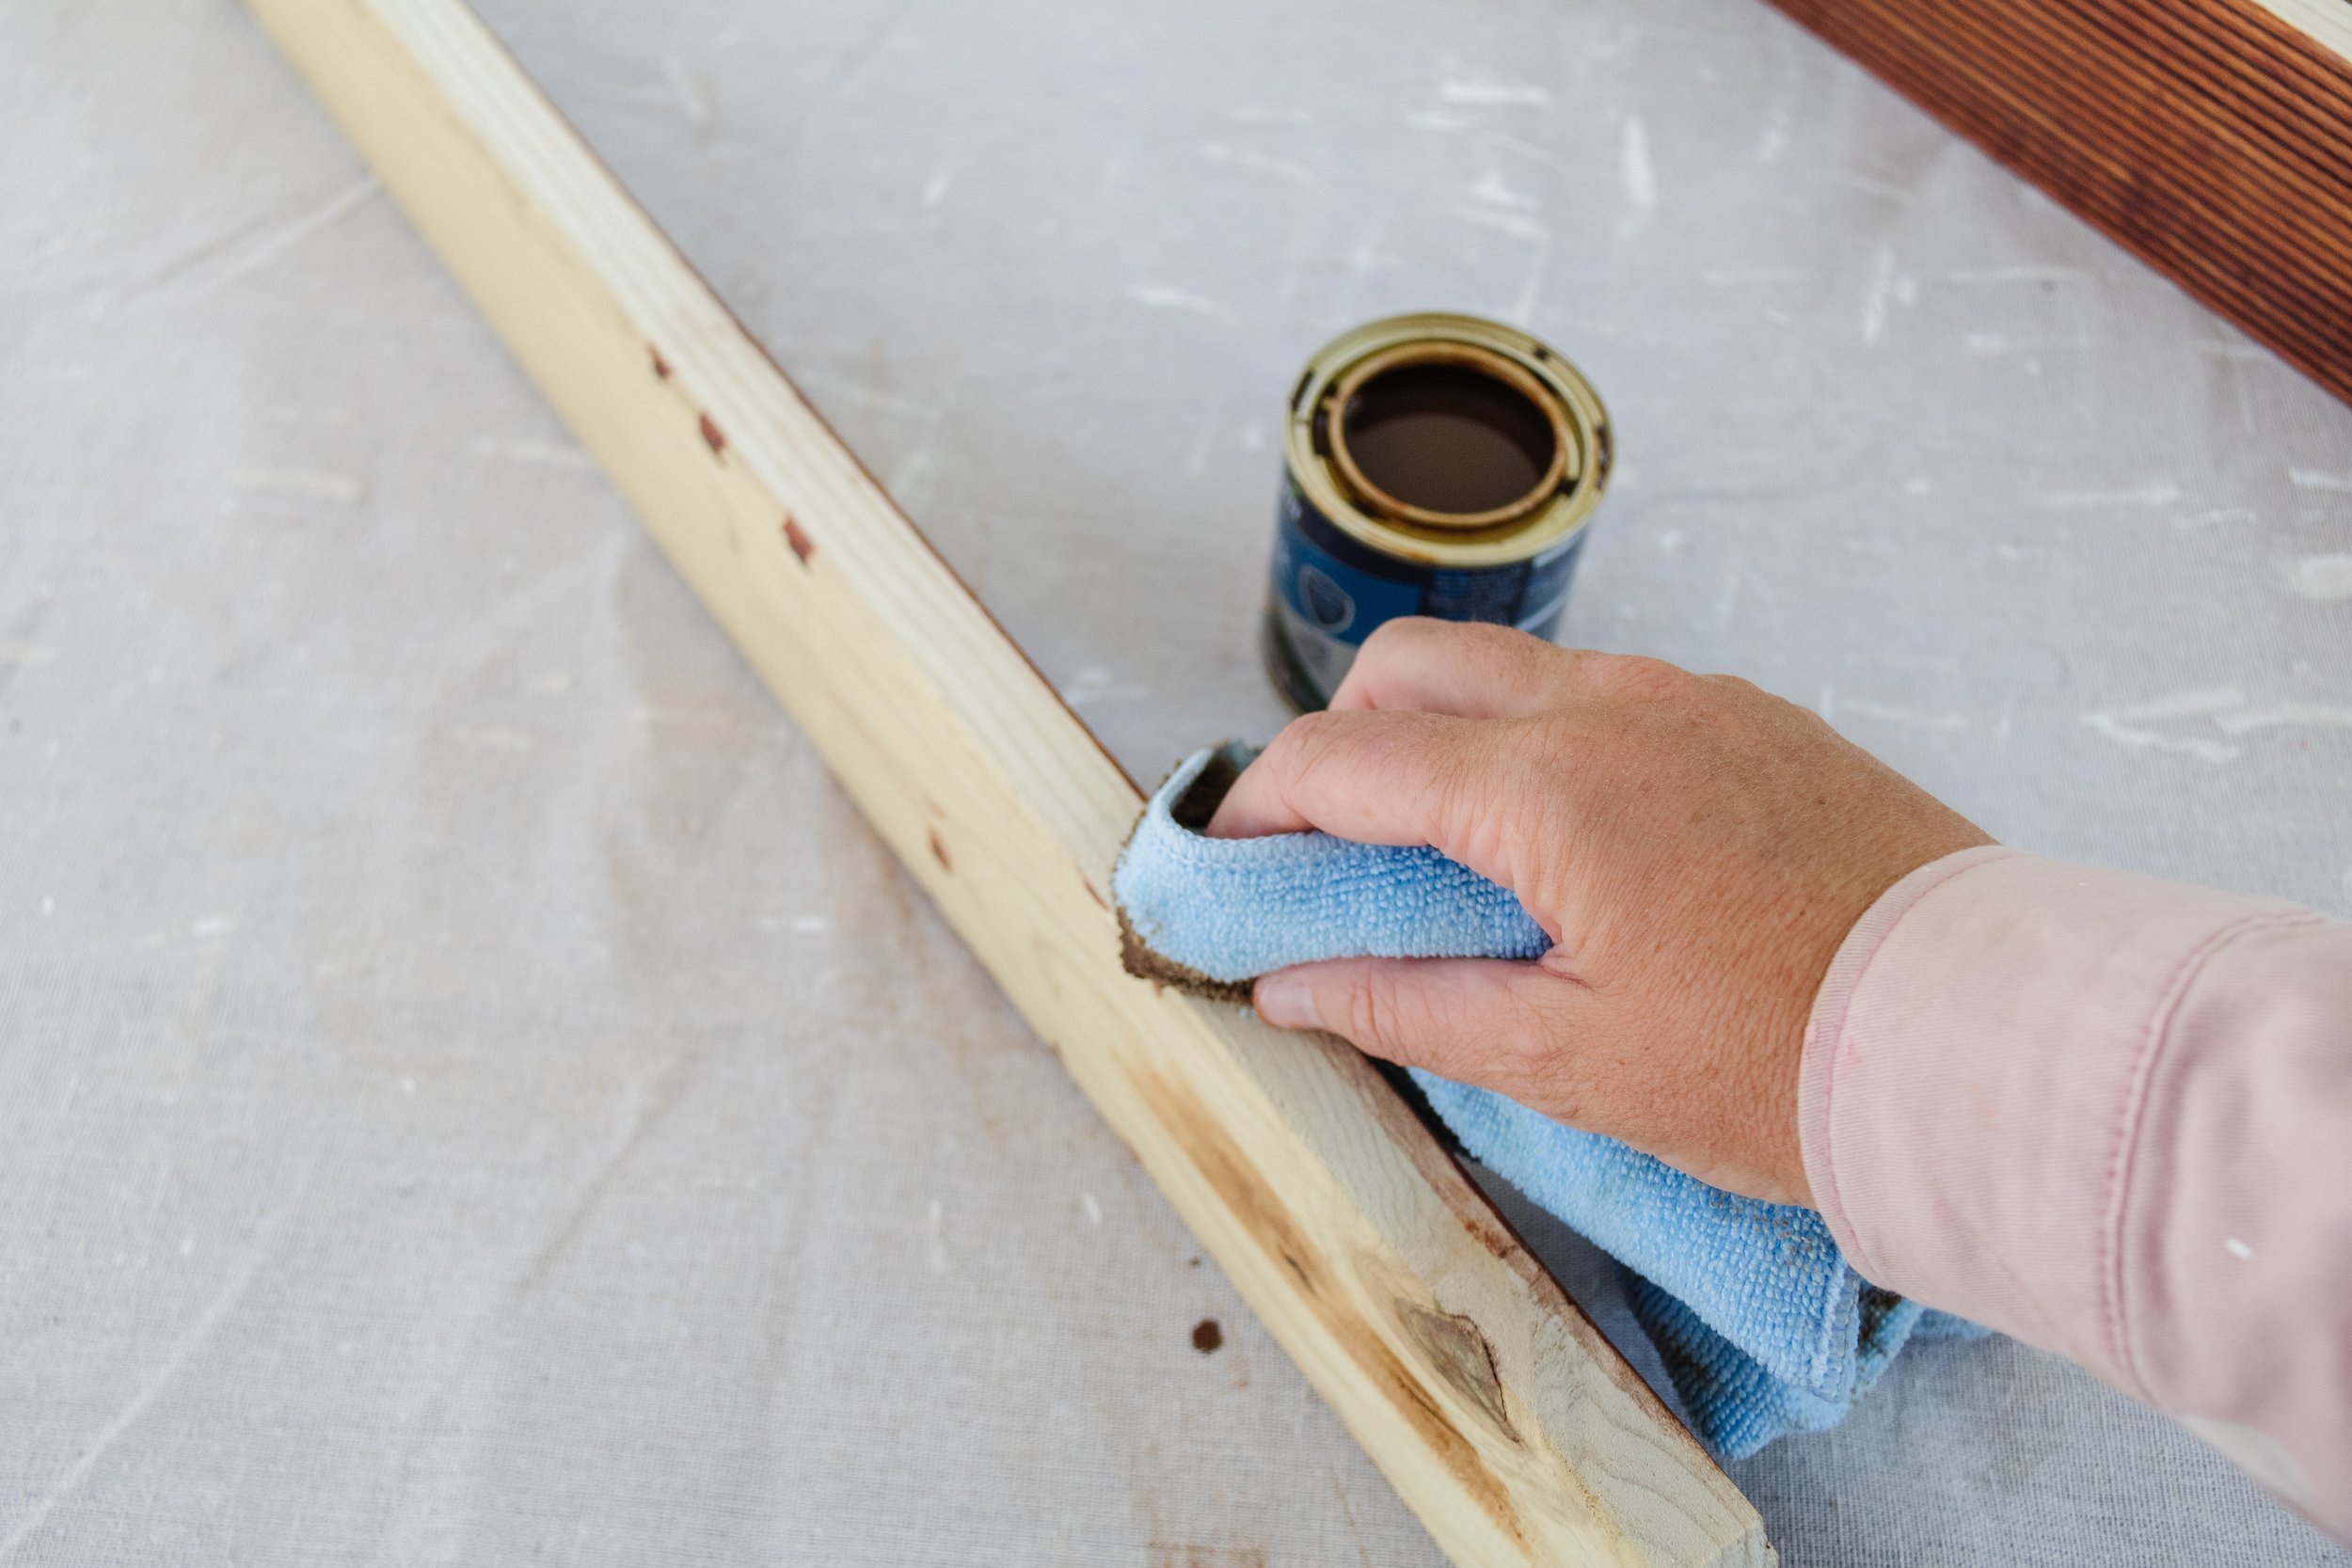
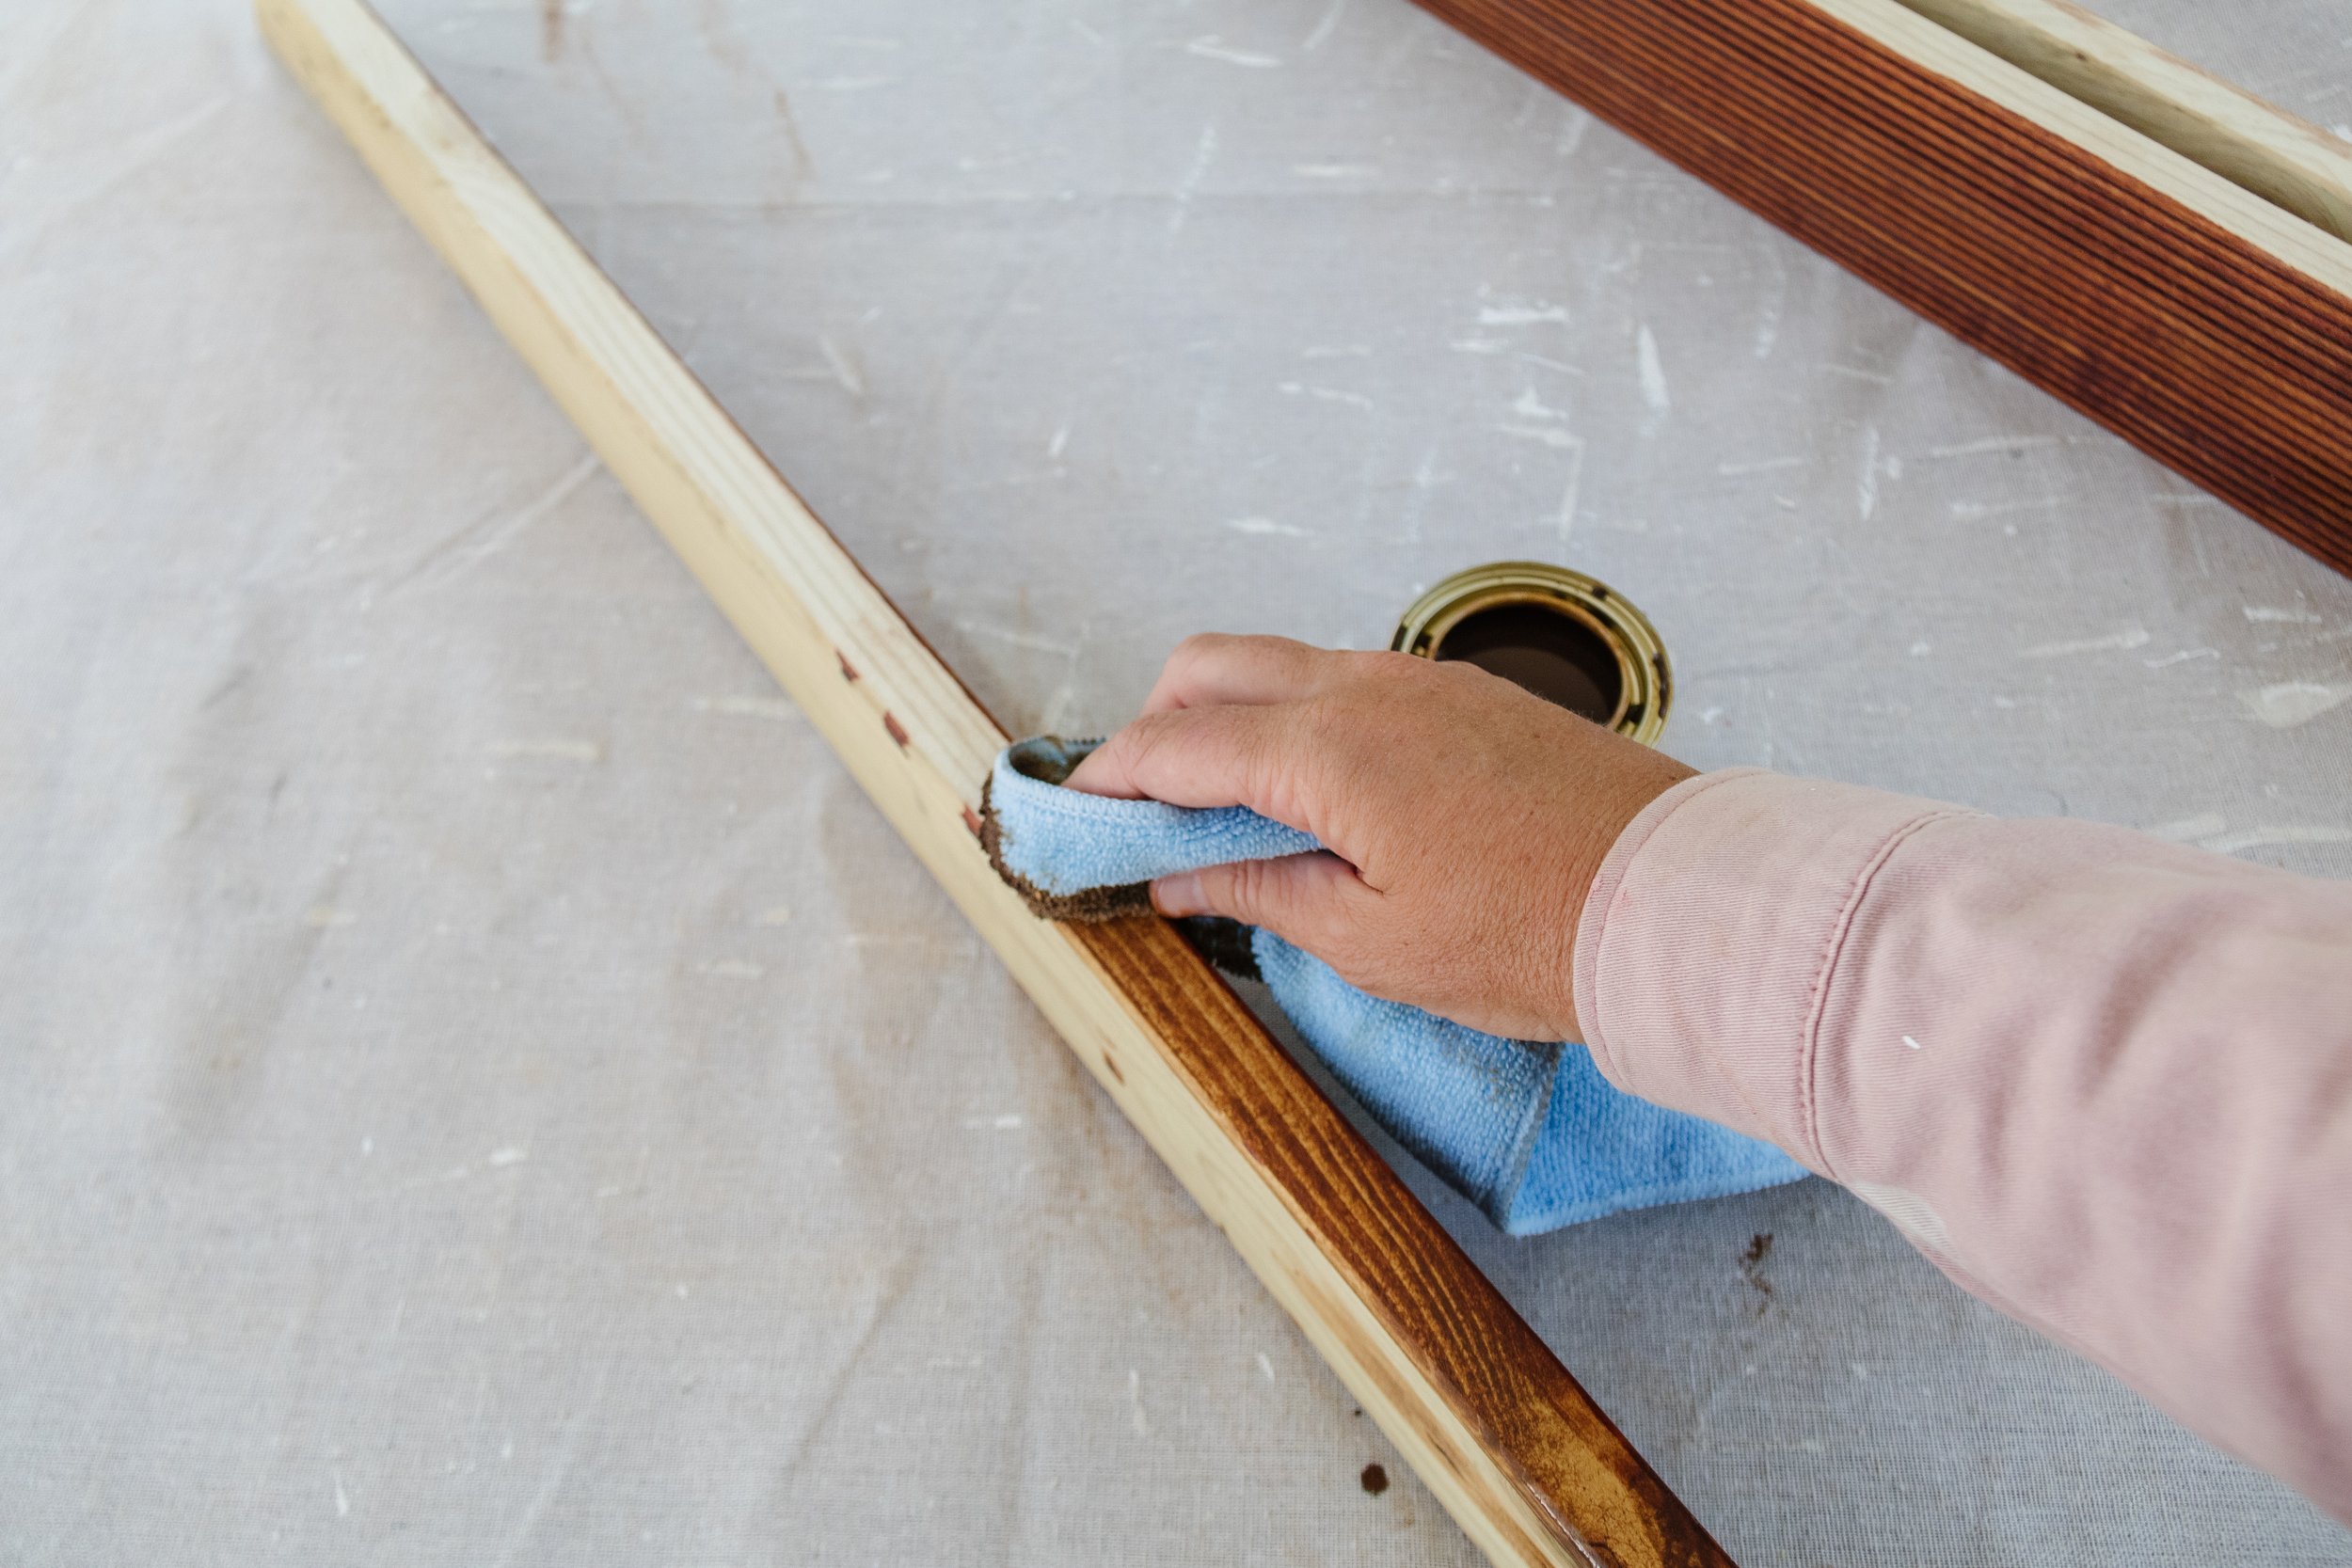
Step 3: Touching Up The Timber
What I did next is something you most likely won’t have to do yourself, but I thought I would leave the steps in here just in case. Because the timber was stained while it was part of a deck, there is a lot of timber stain running off the sides of each piece of timber. To remove the stain I simply sanded the sides of the timber and then I re-stained the sides using this decking stain.
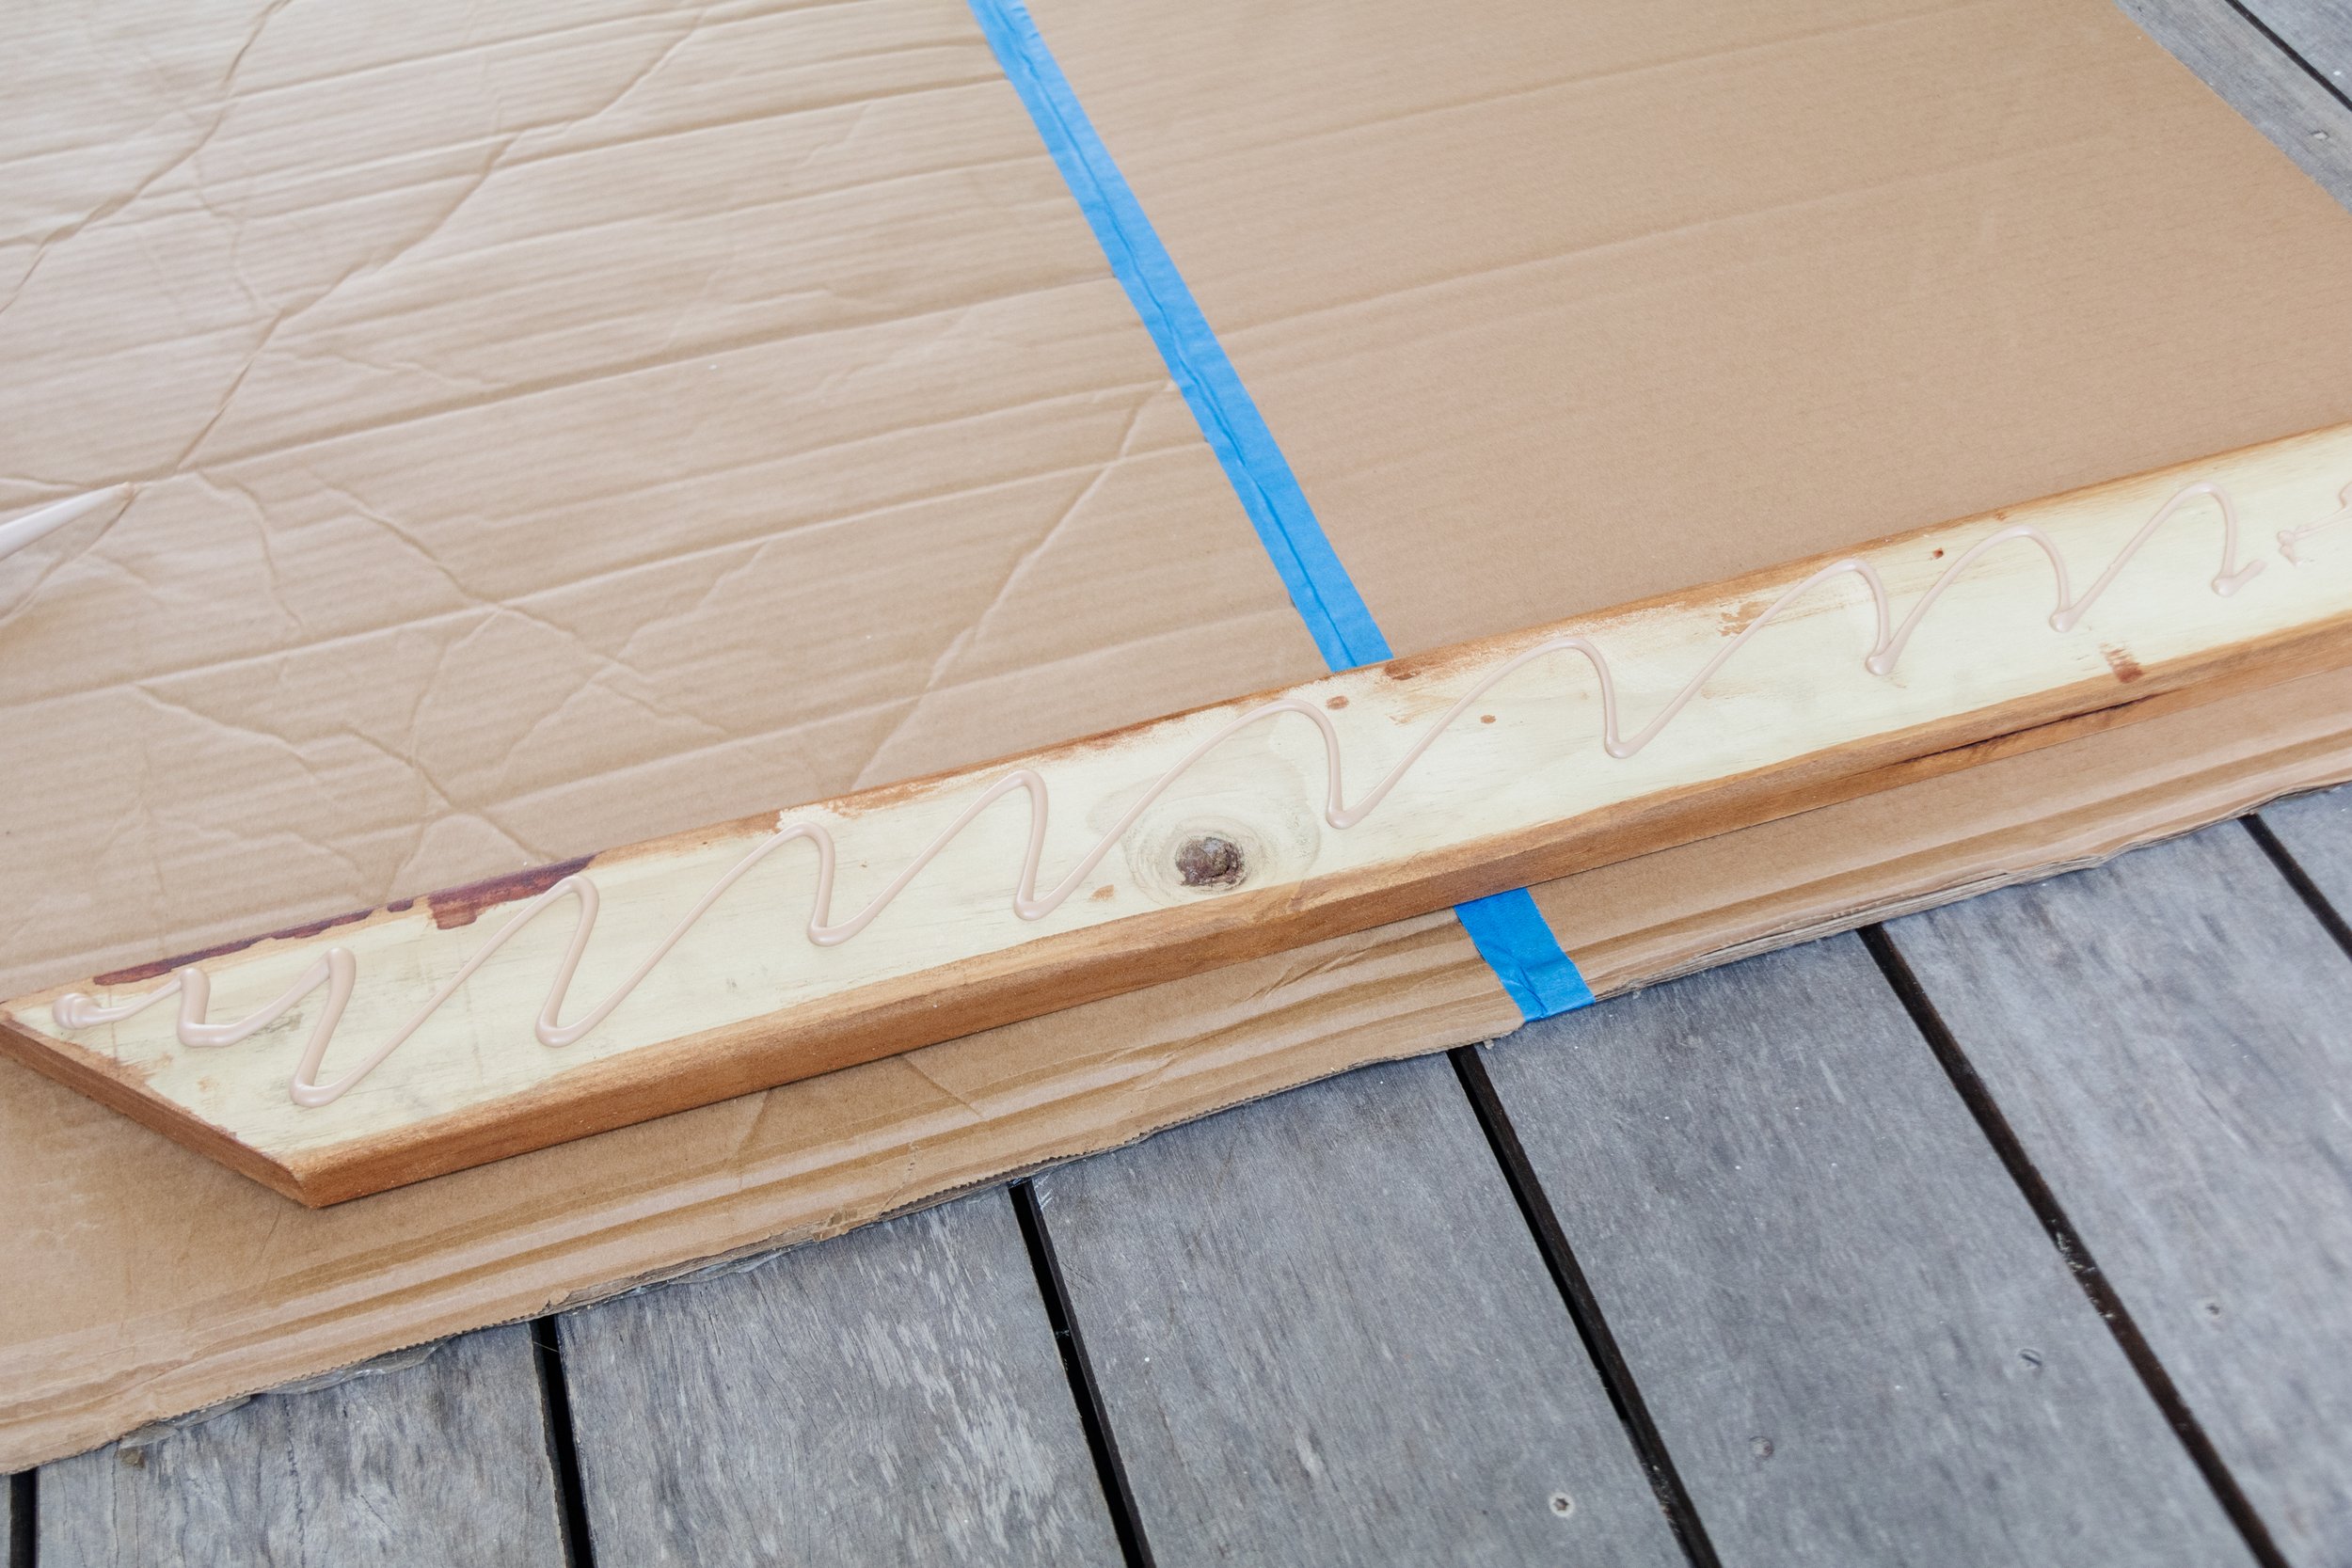
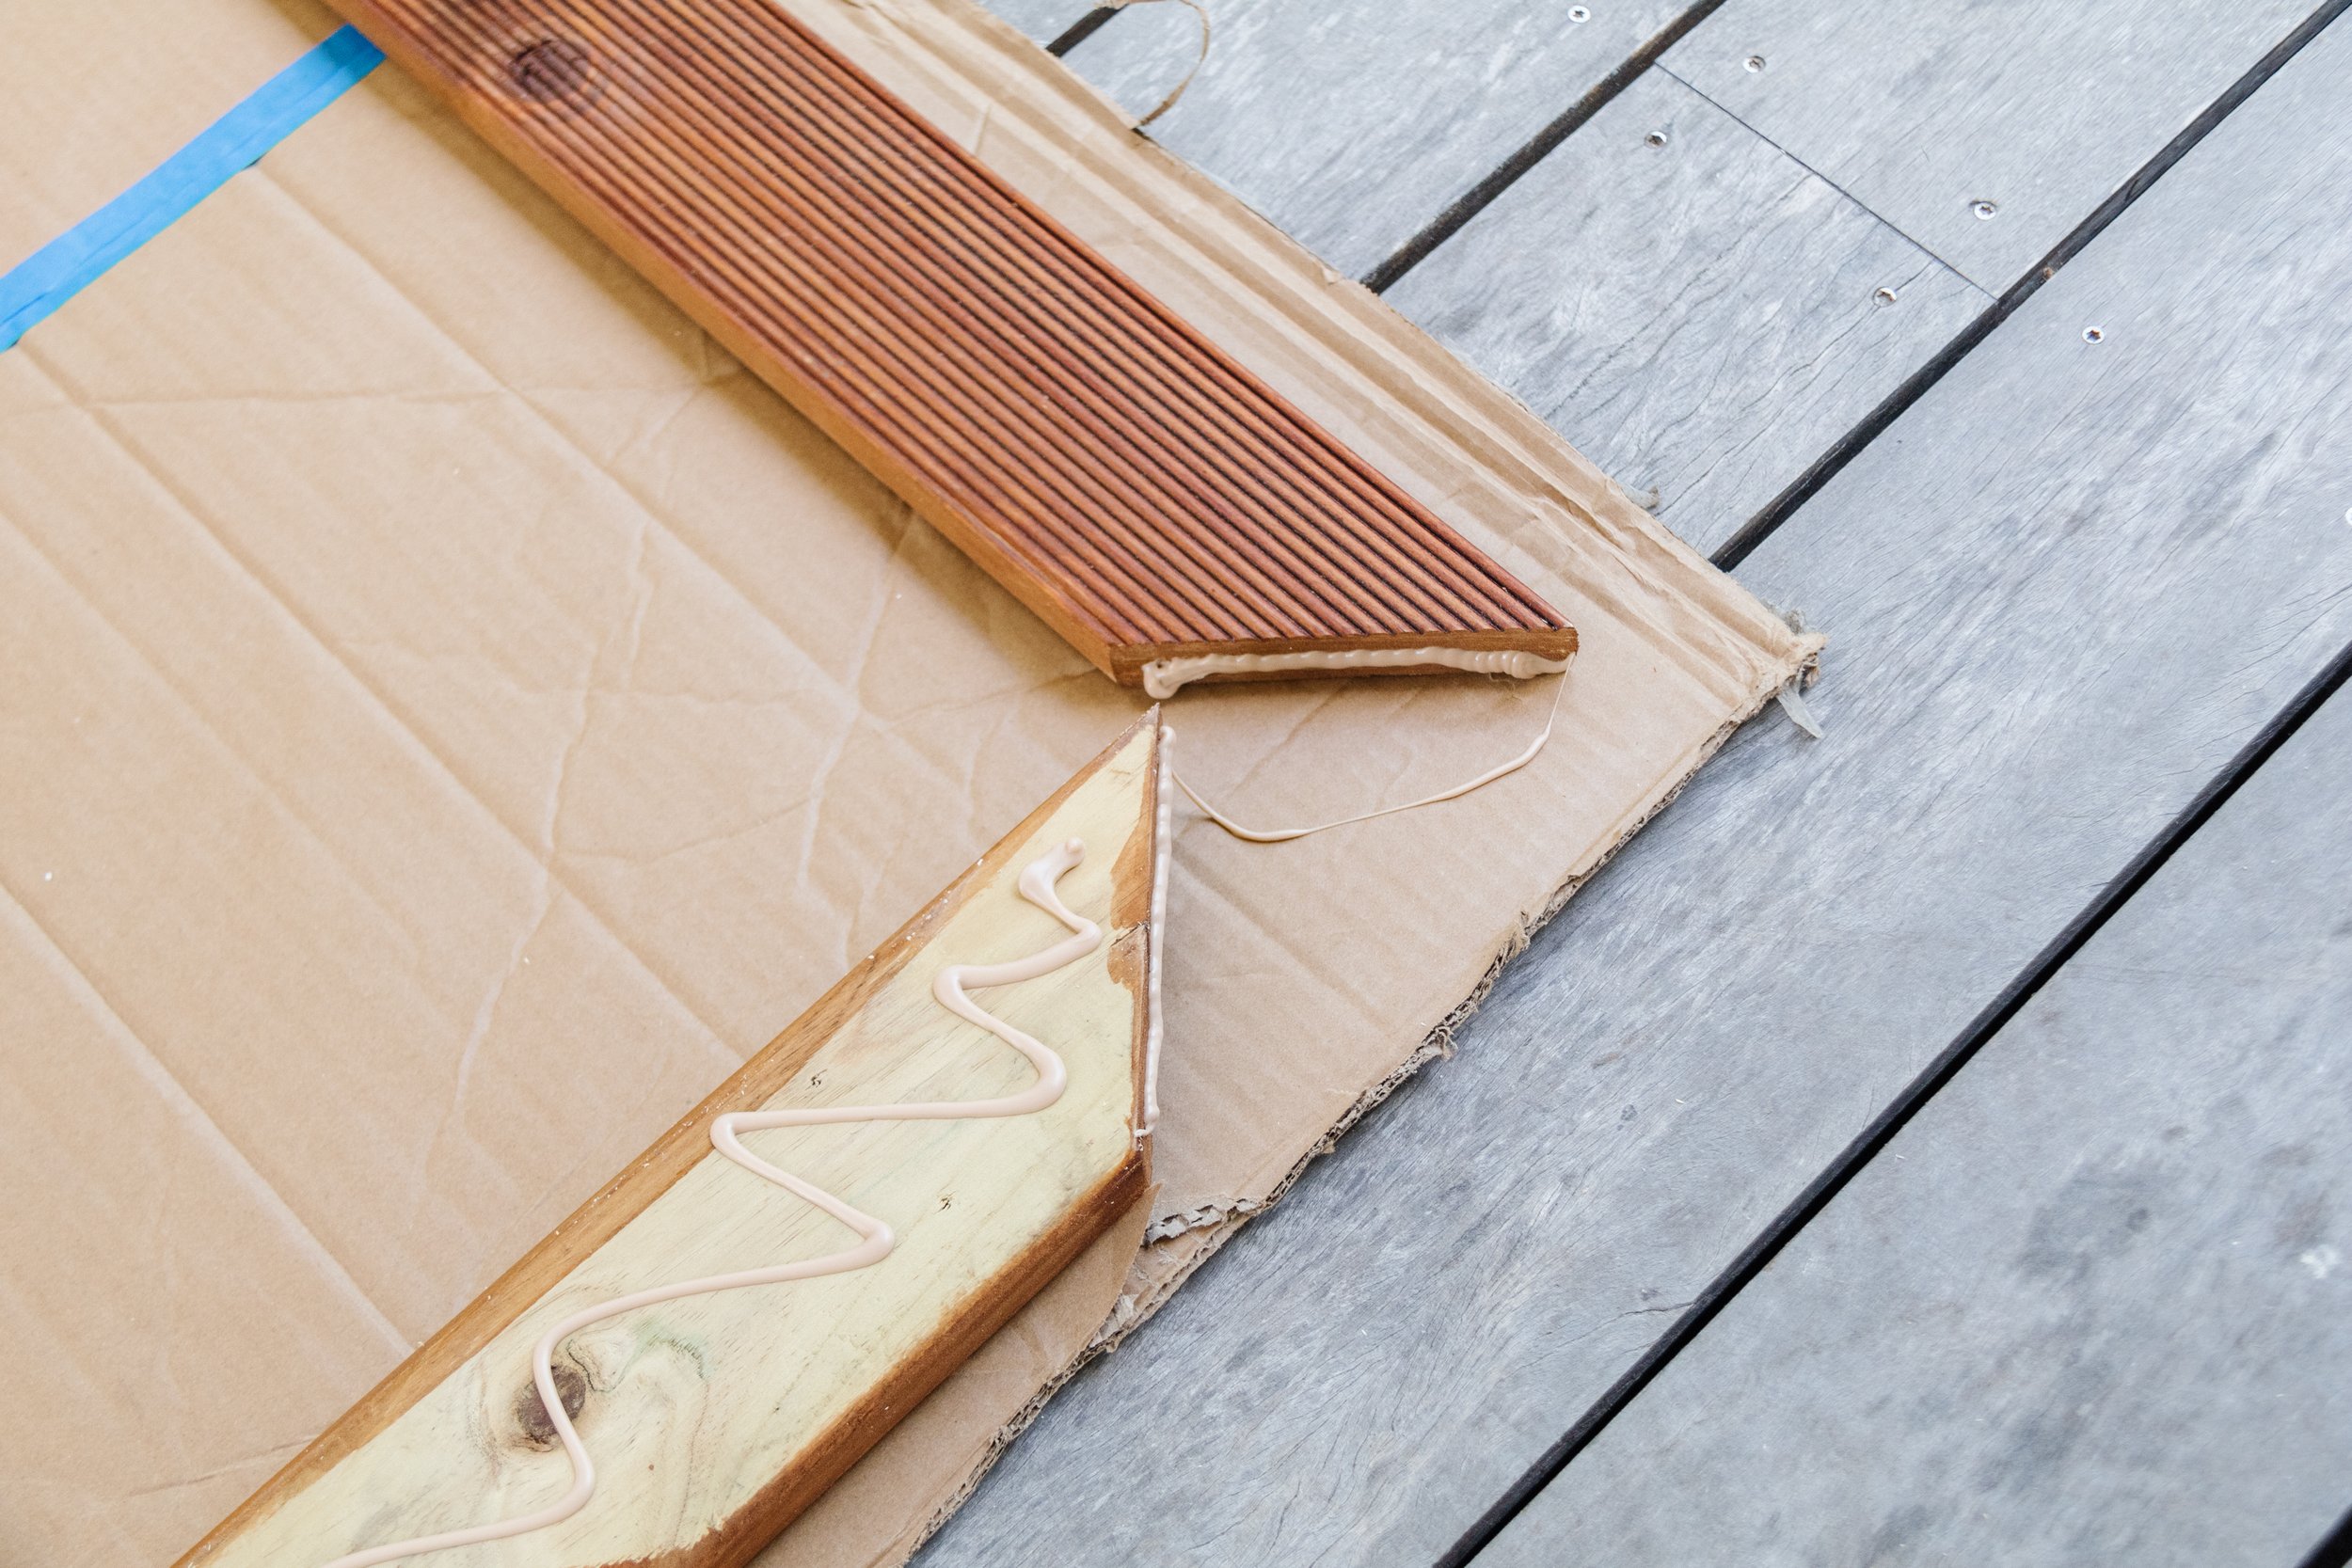
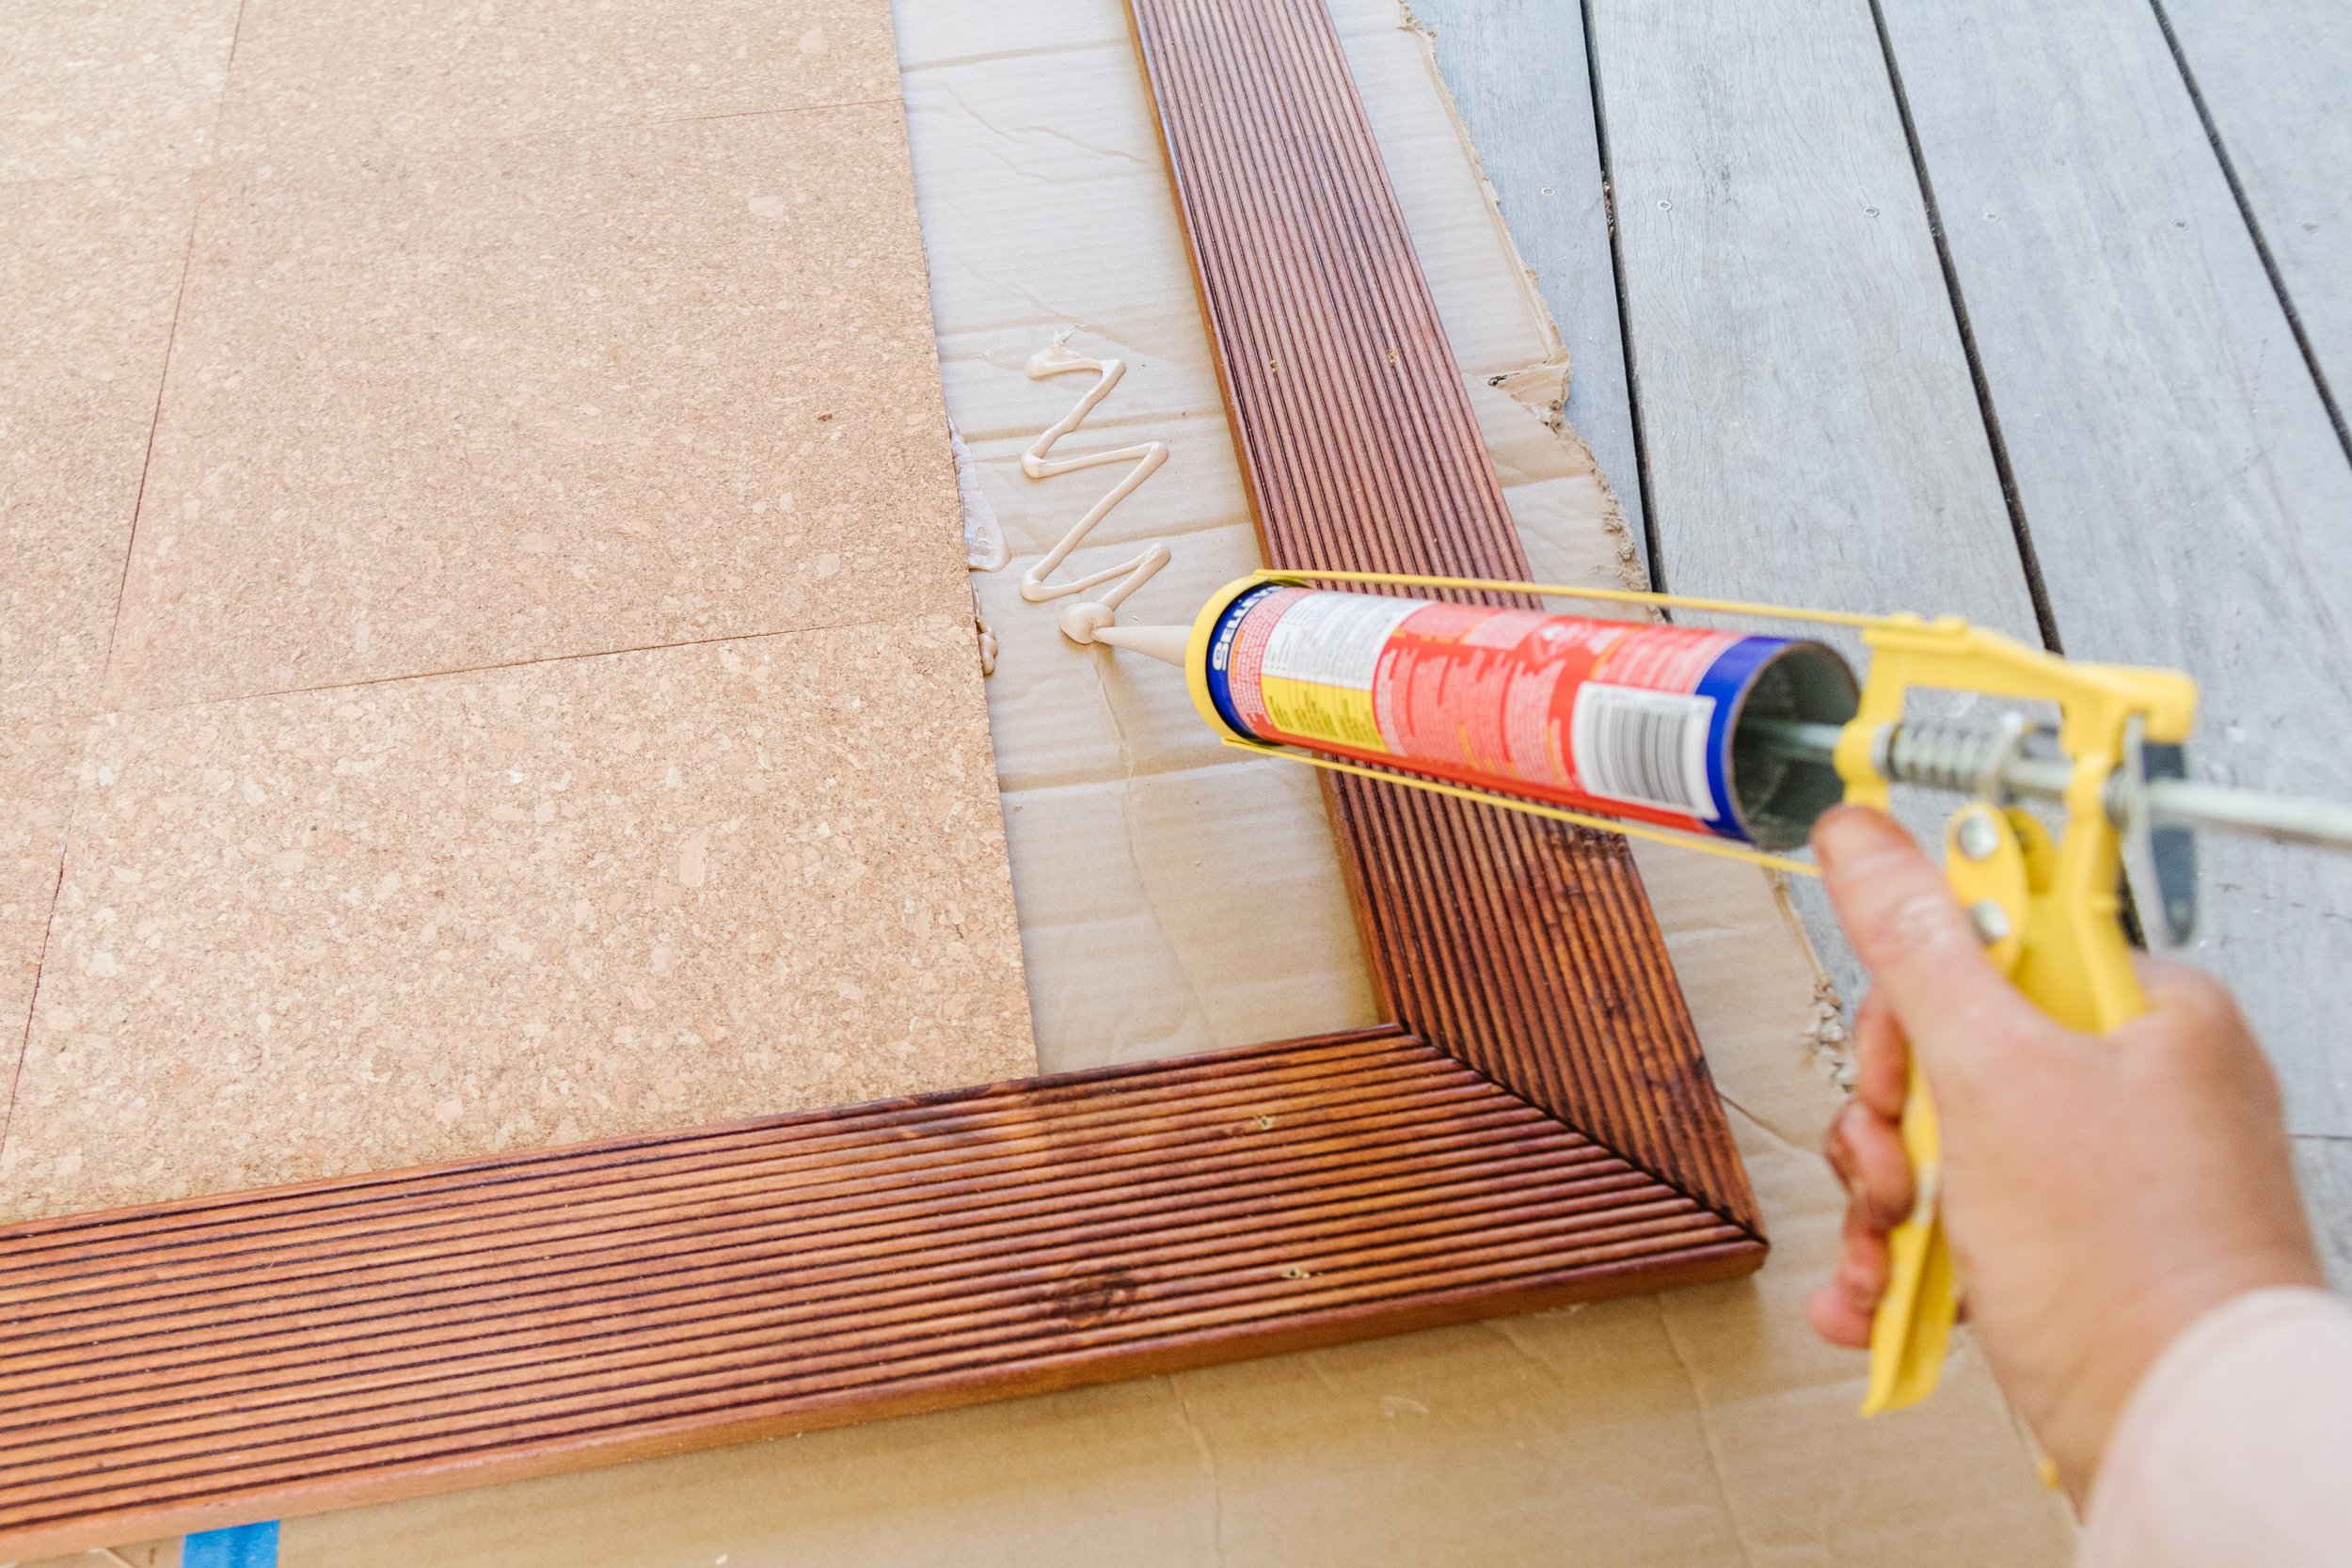
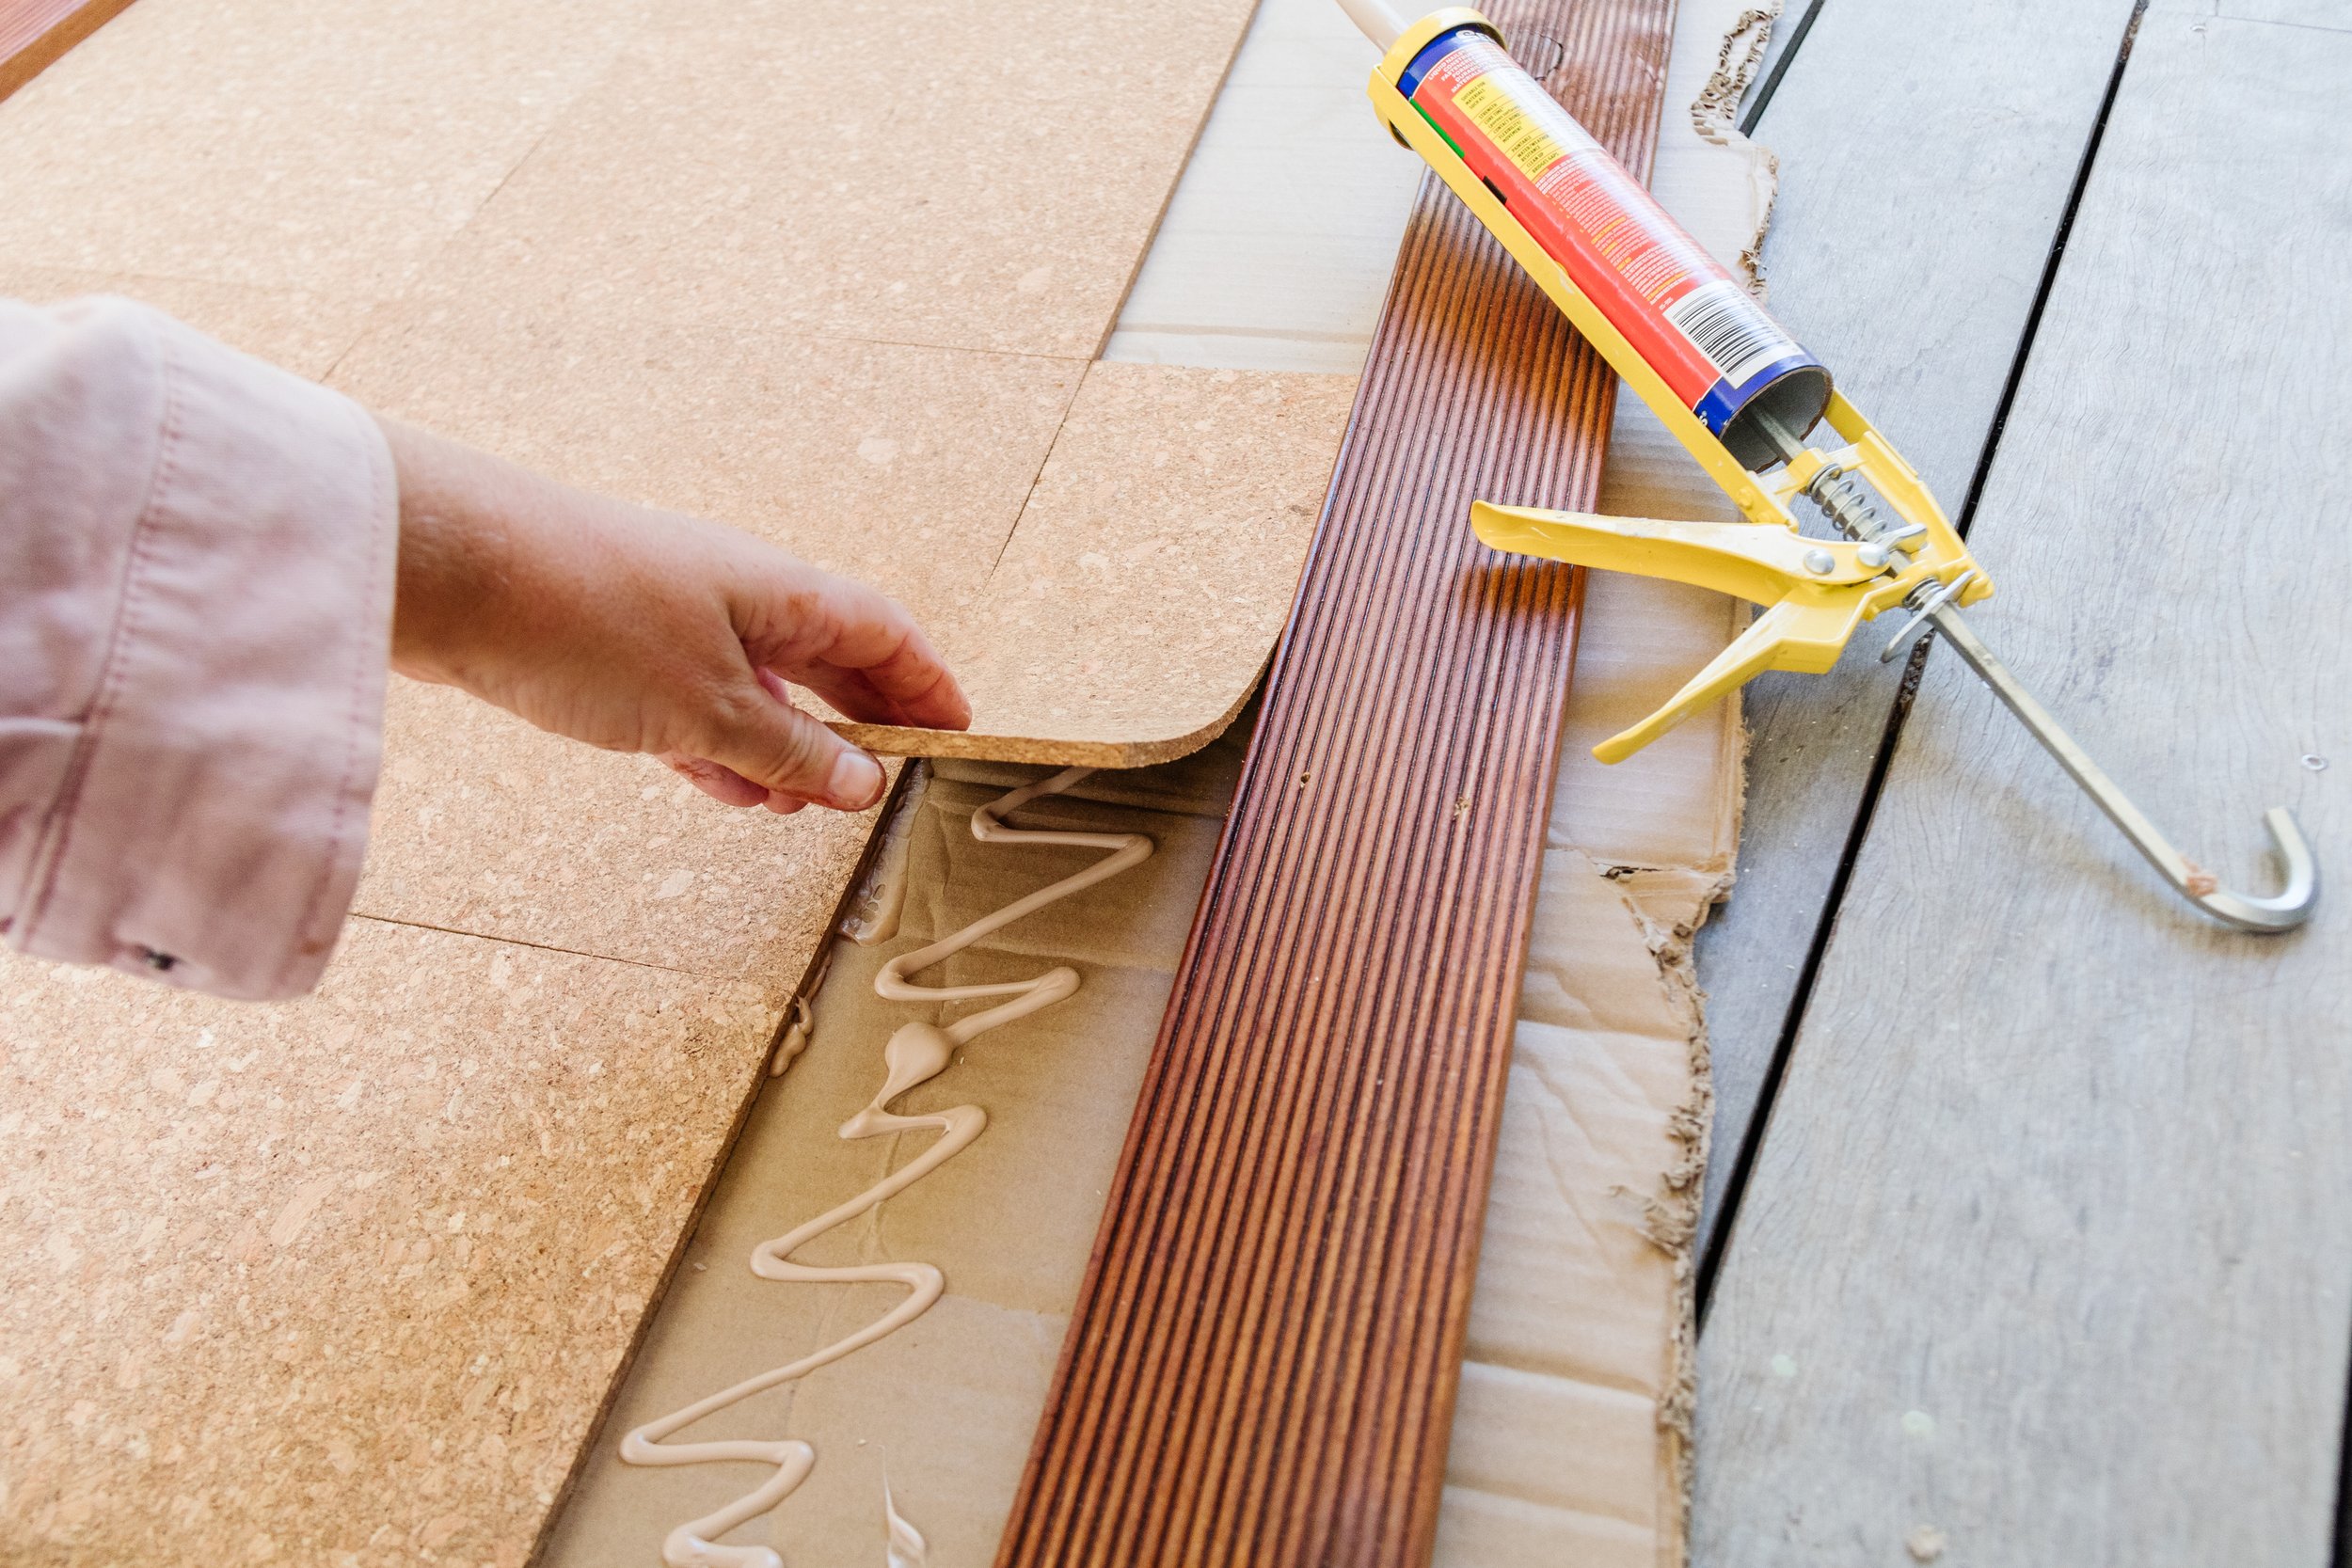
Step 4: Assembling The Frame
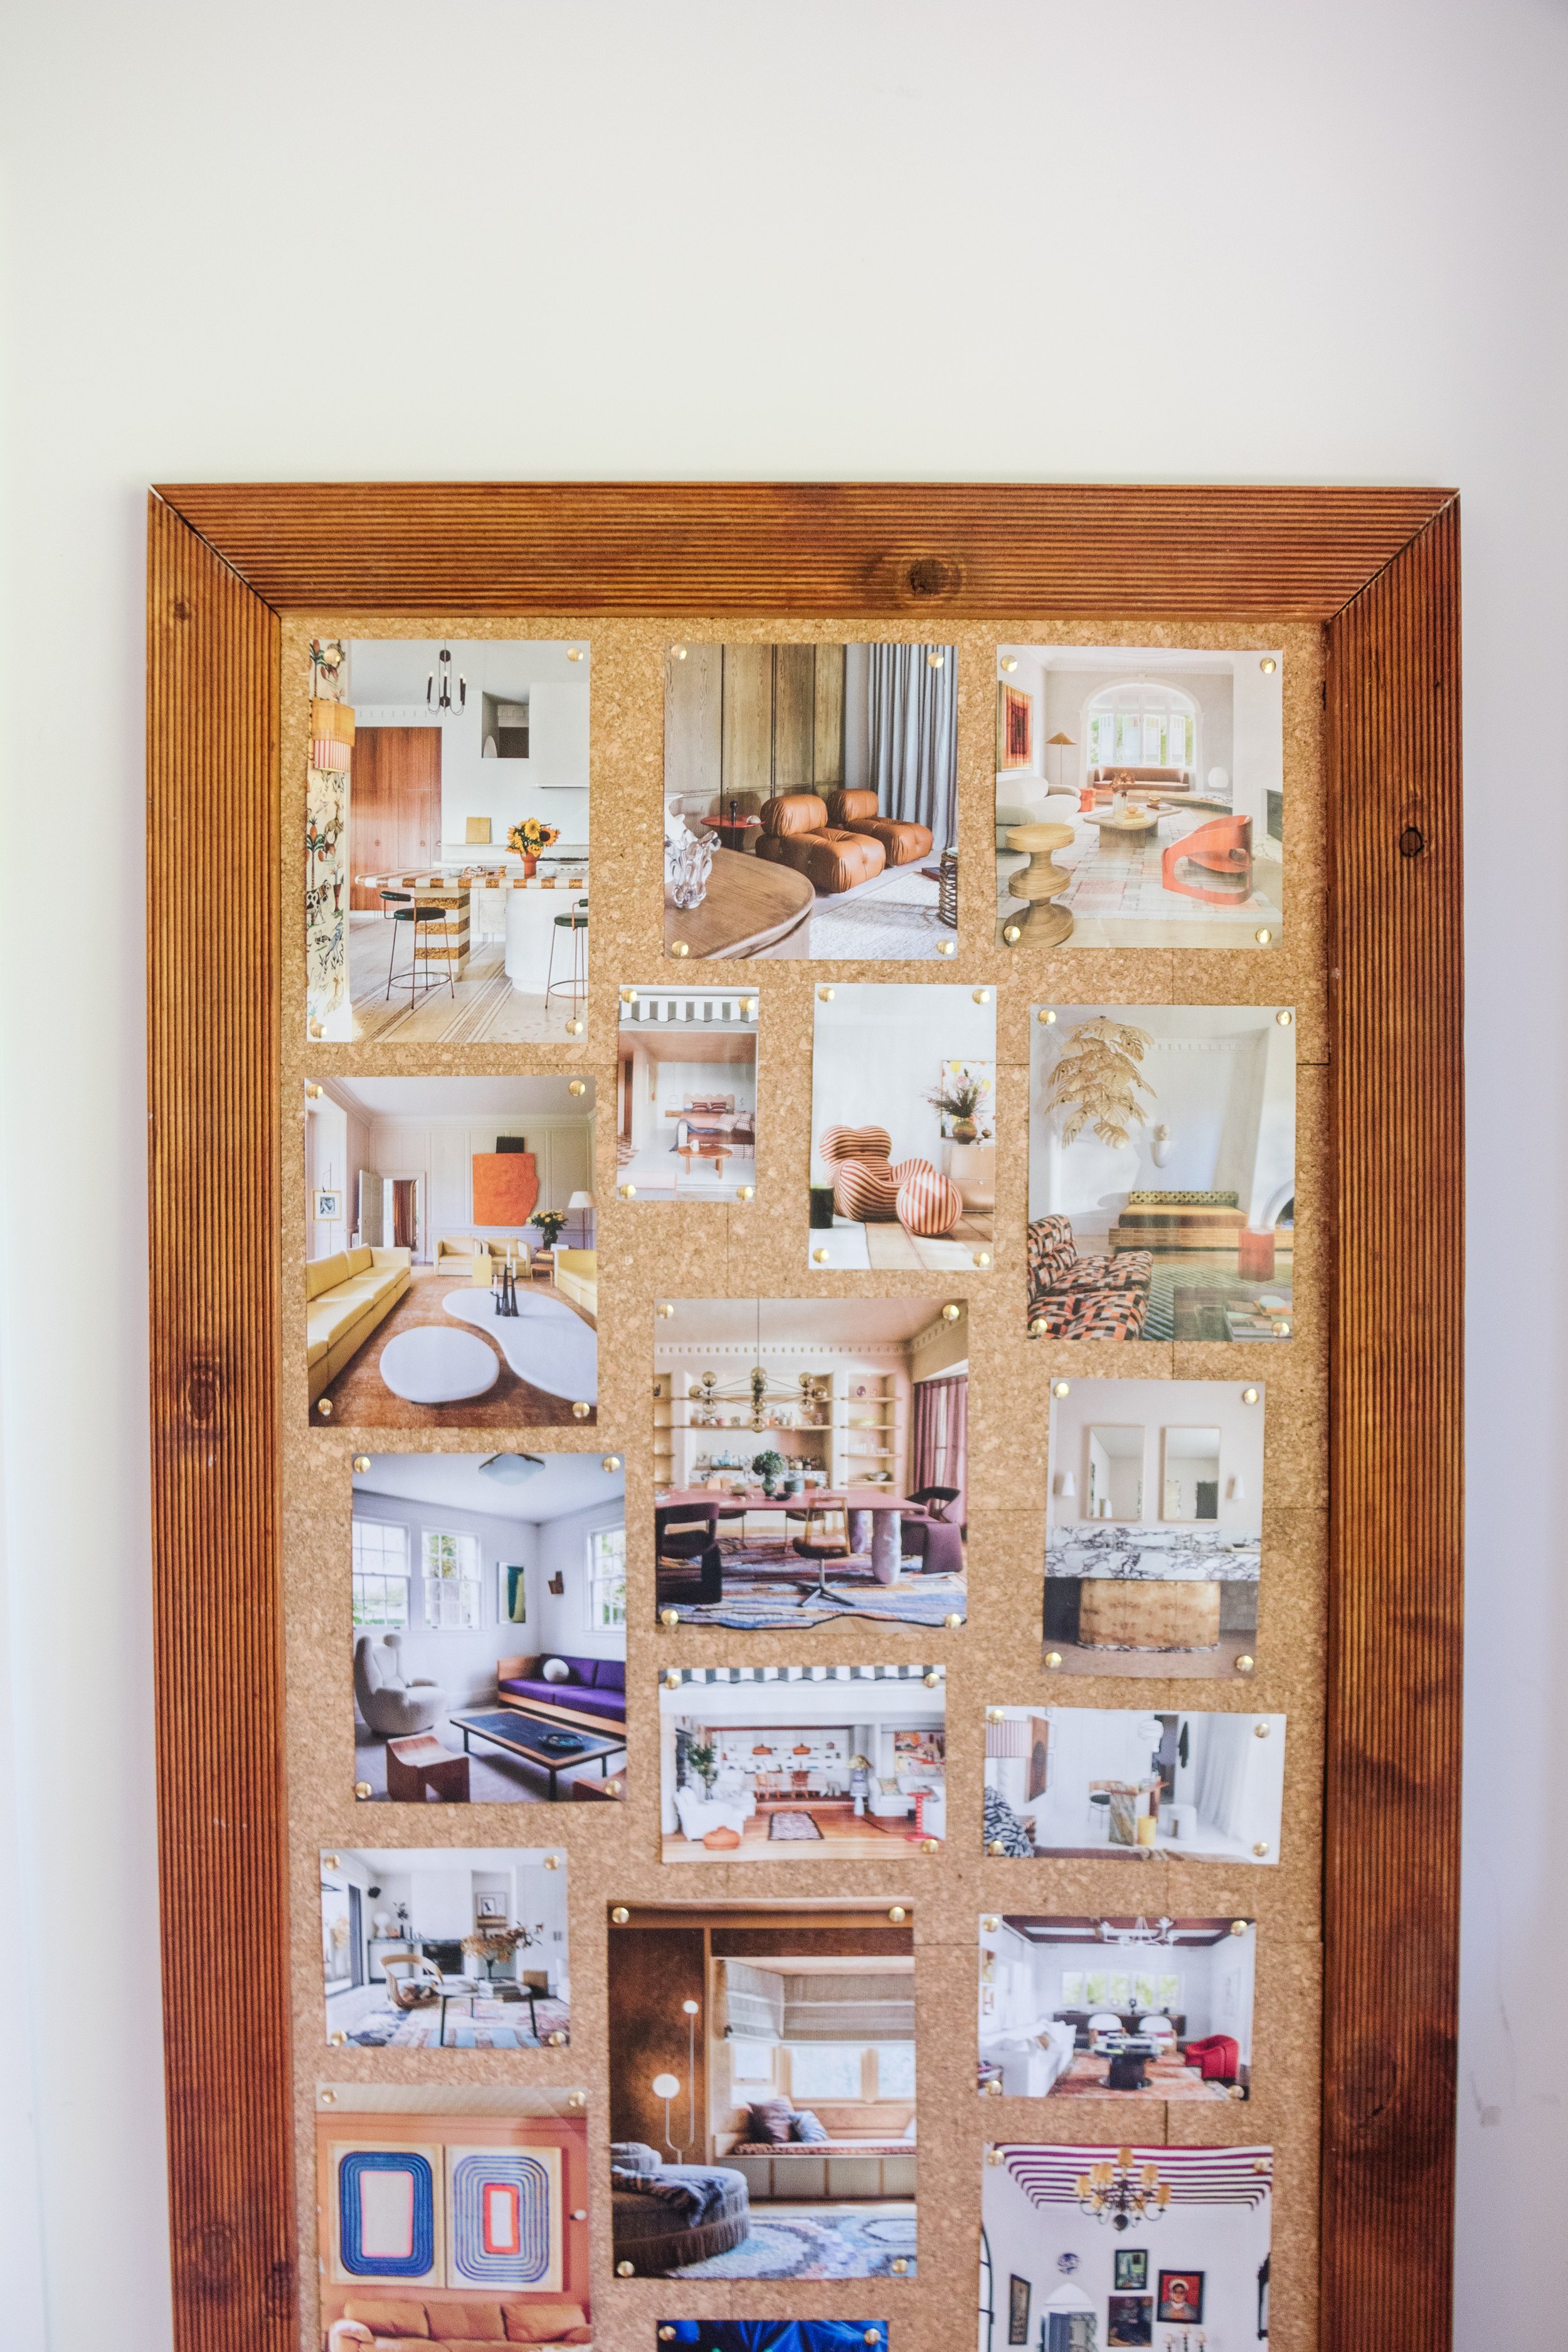
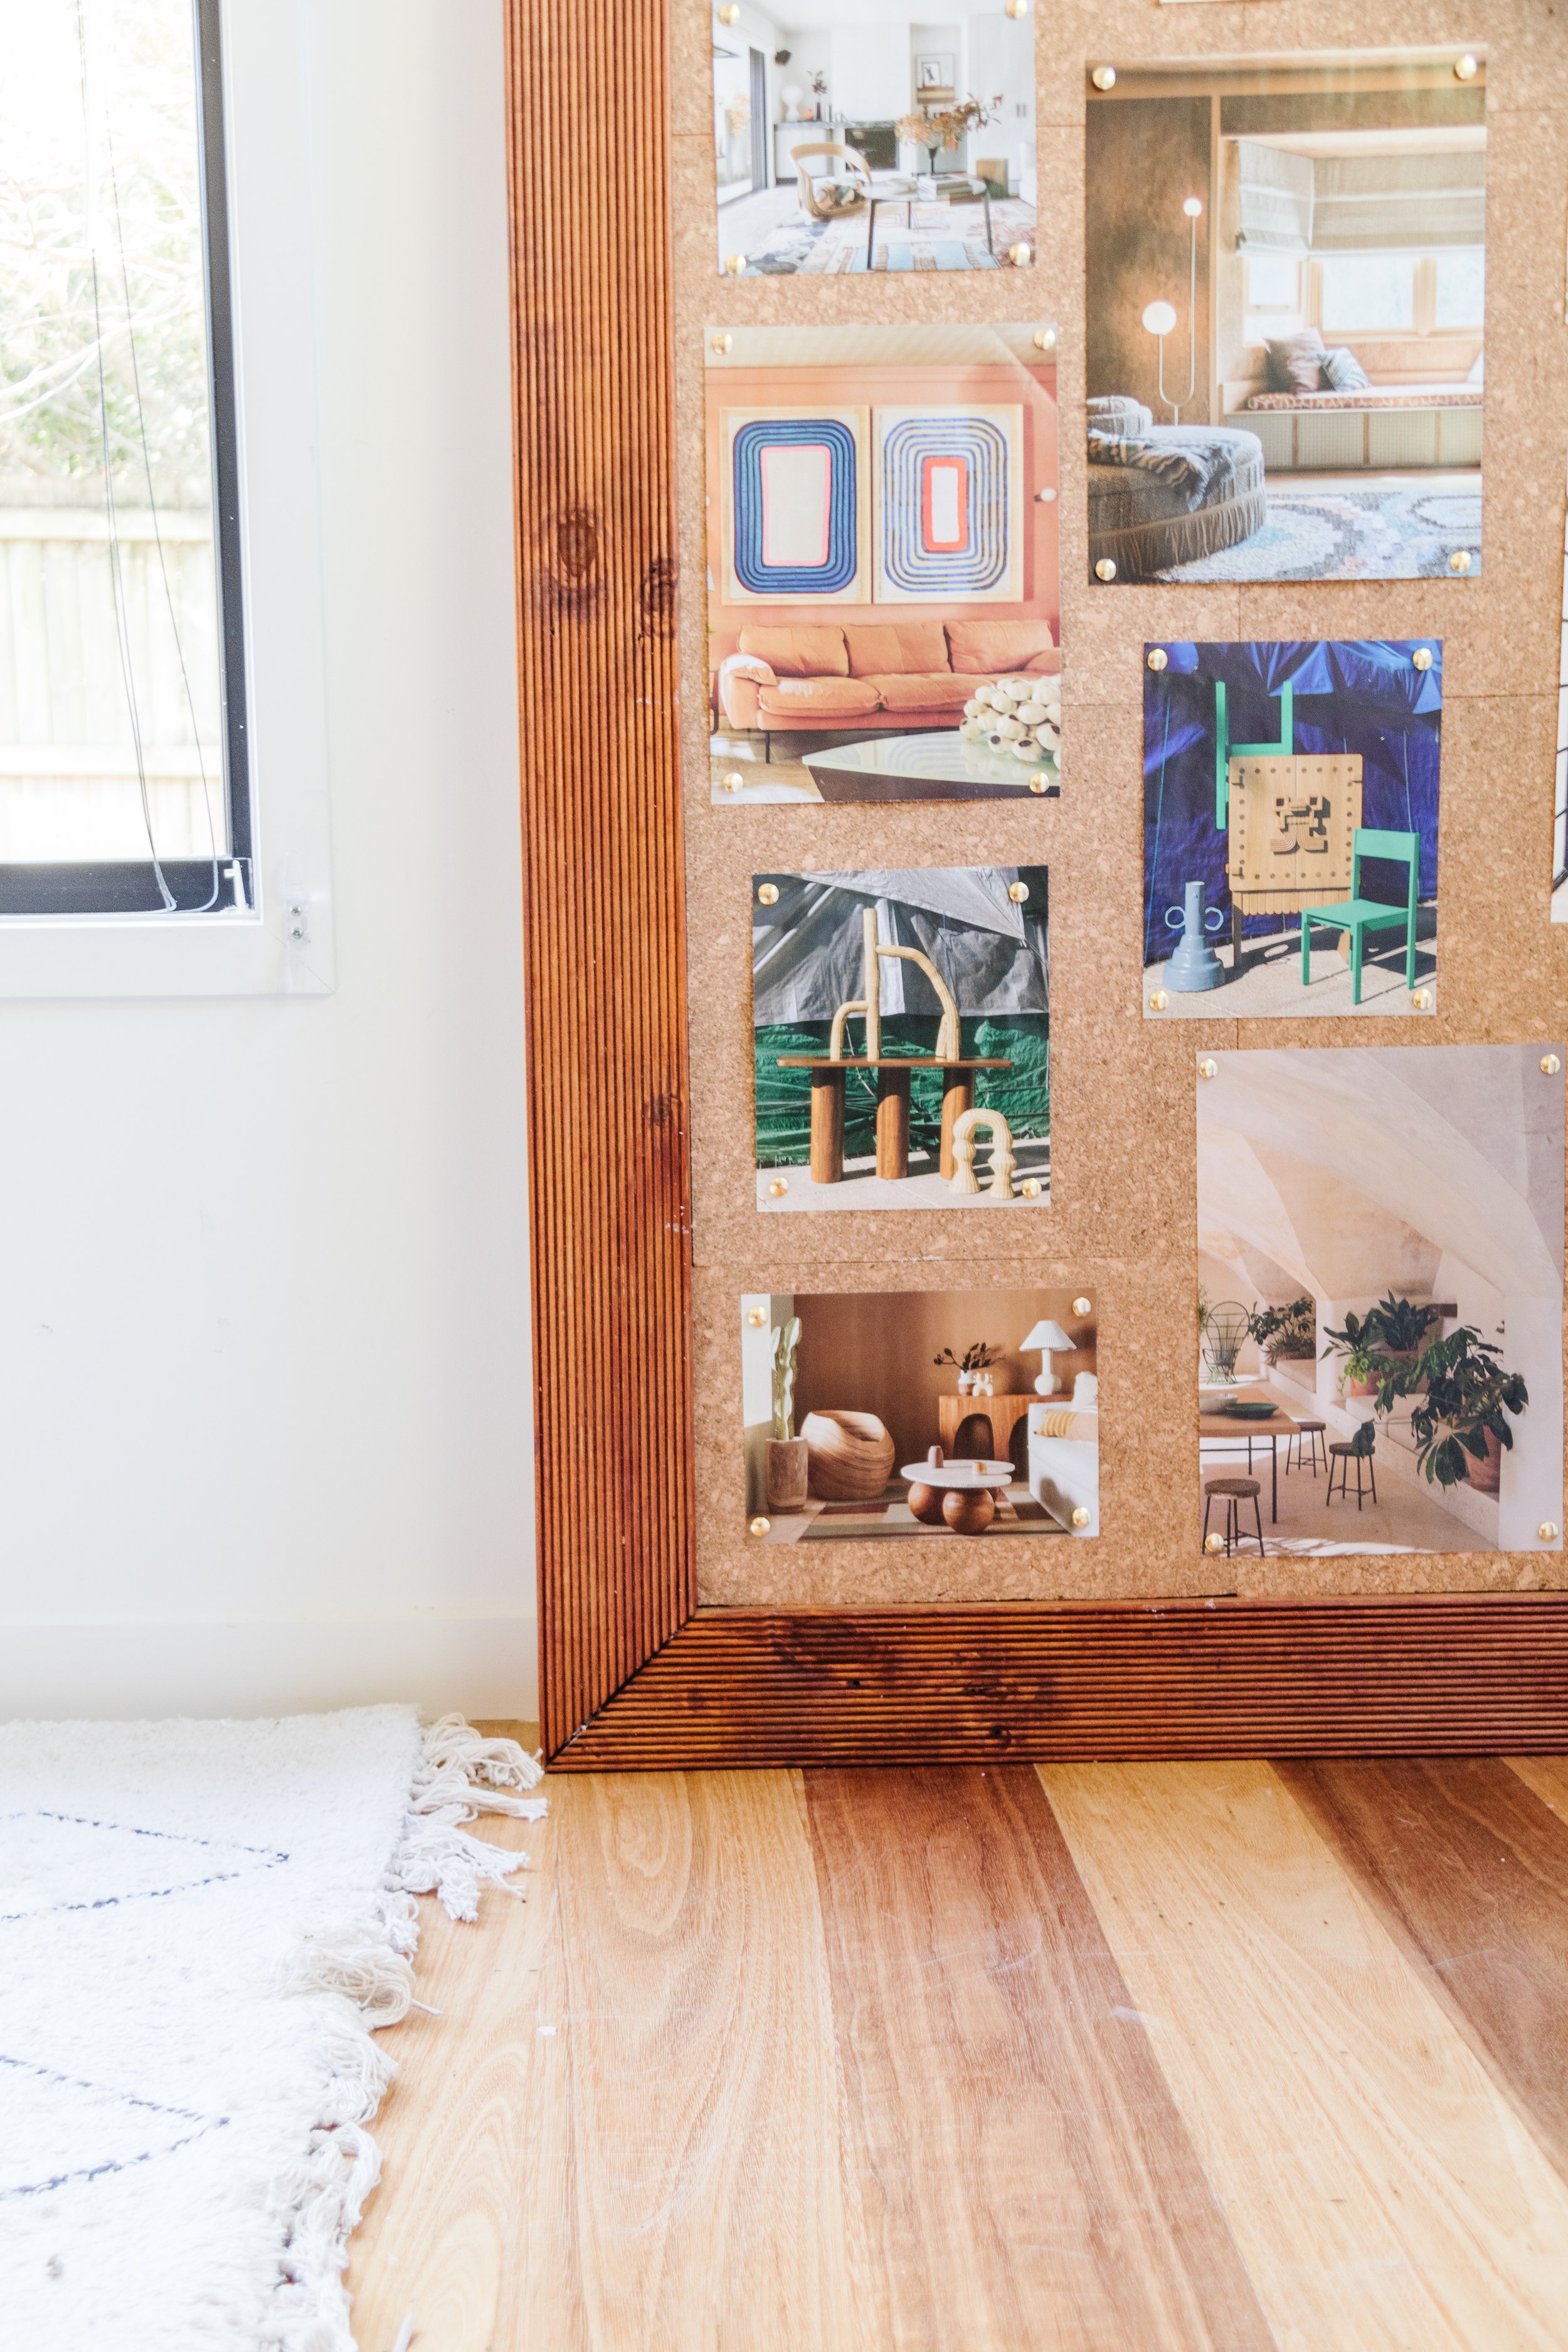
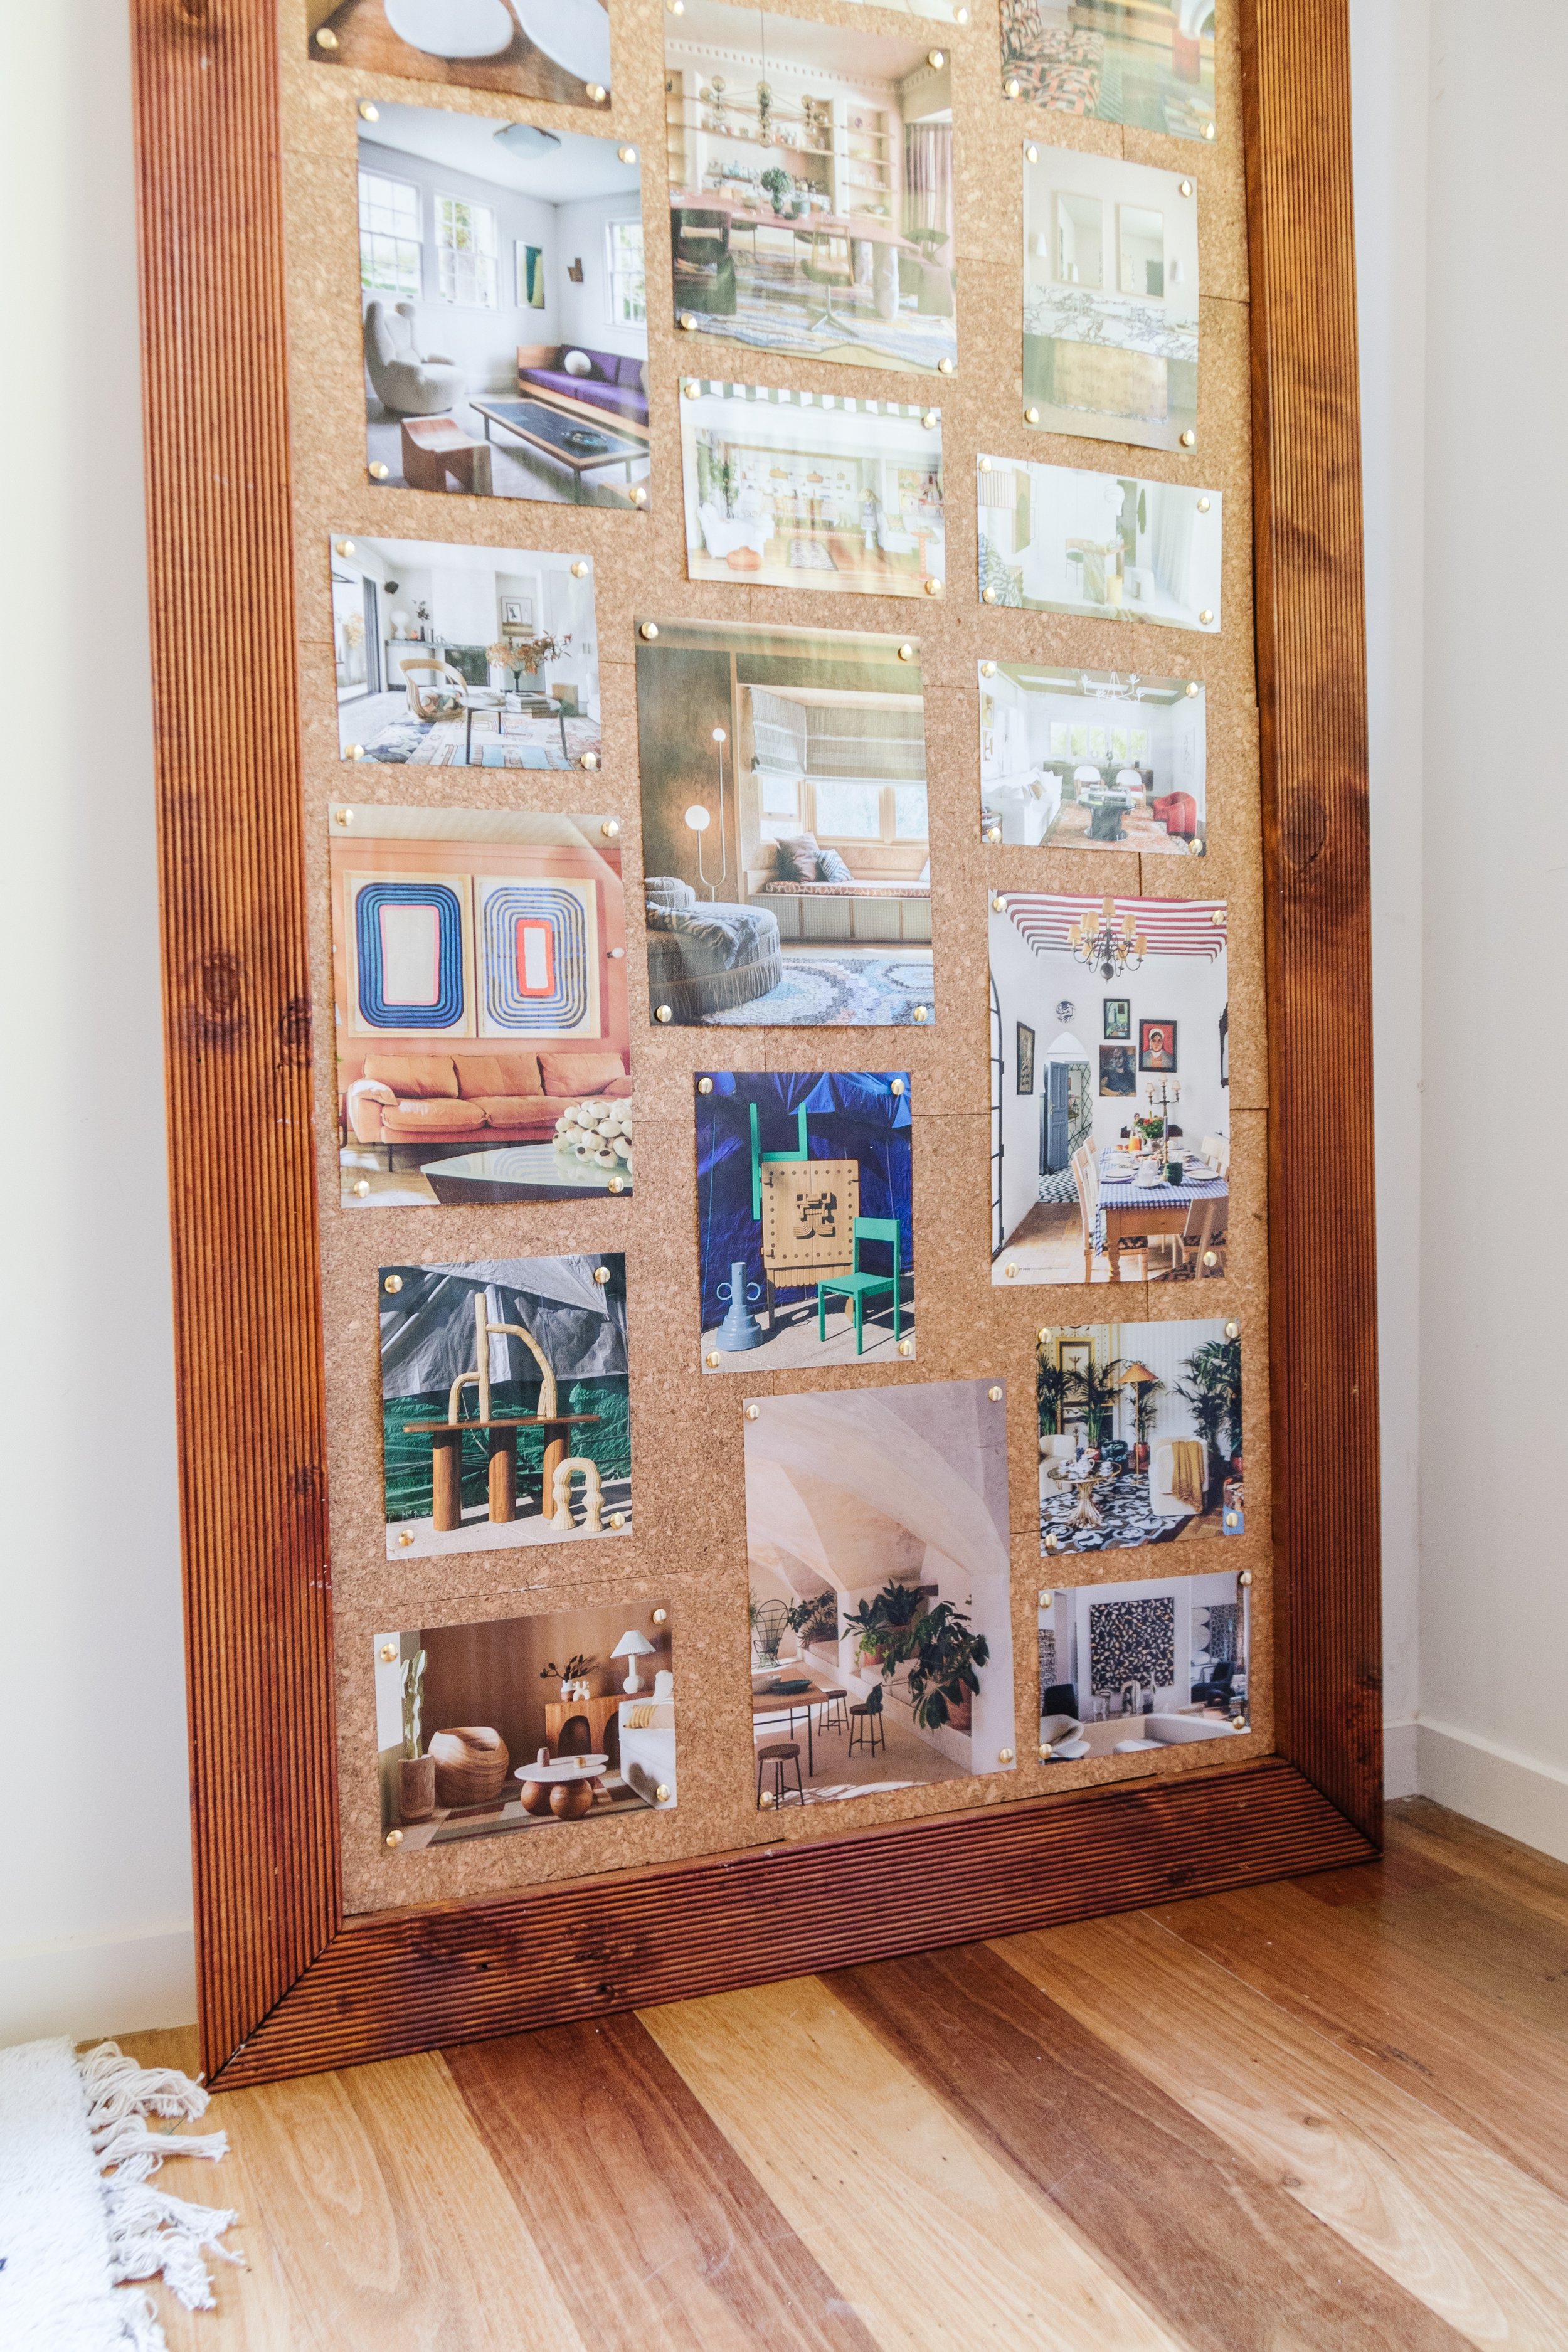
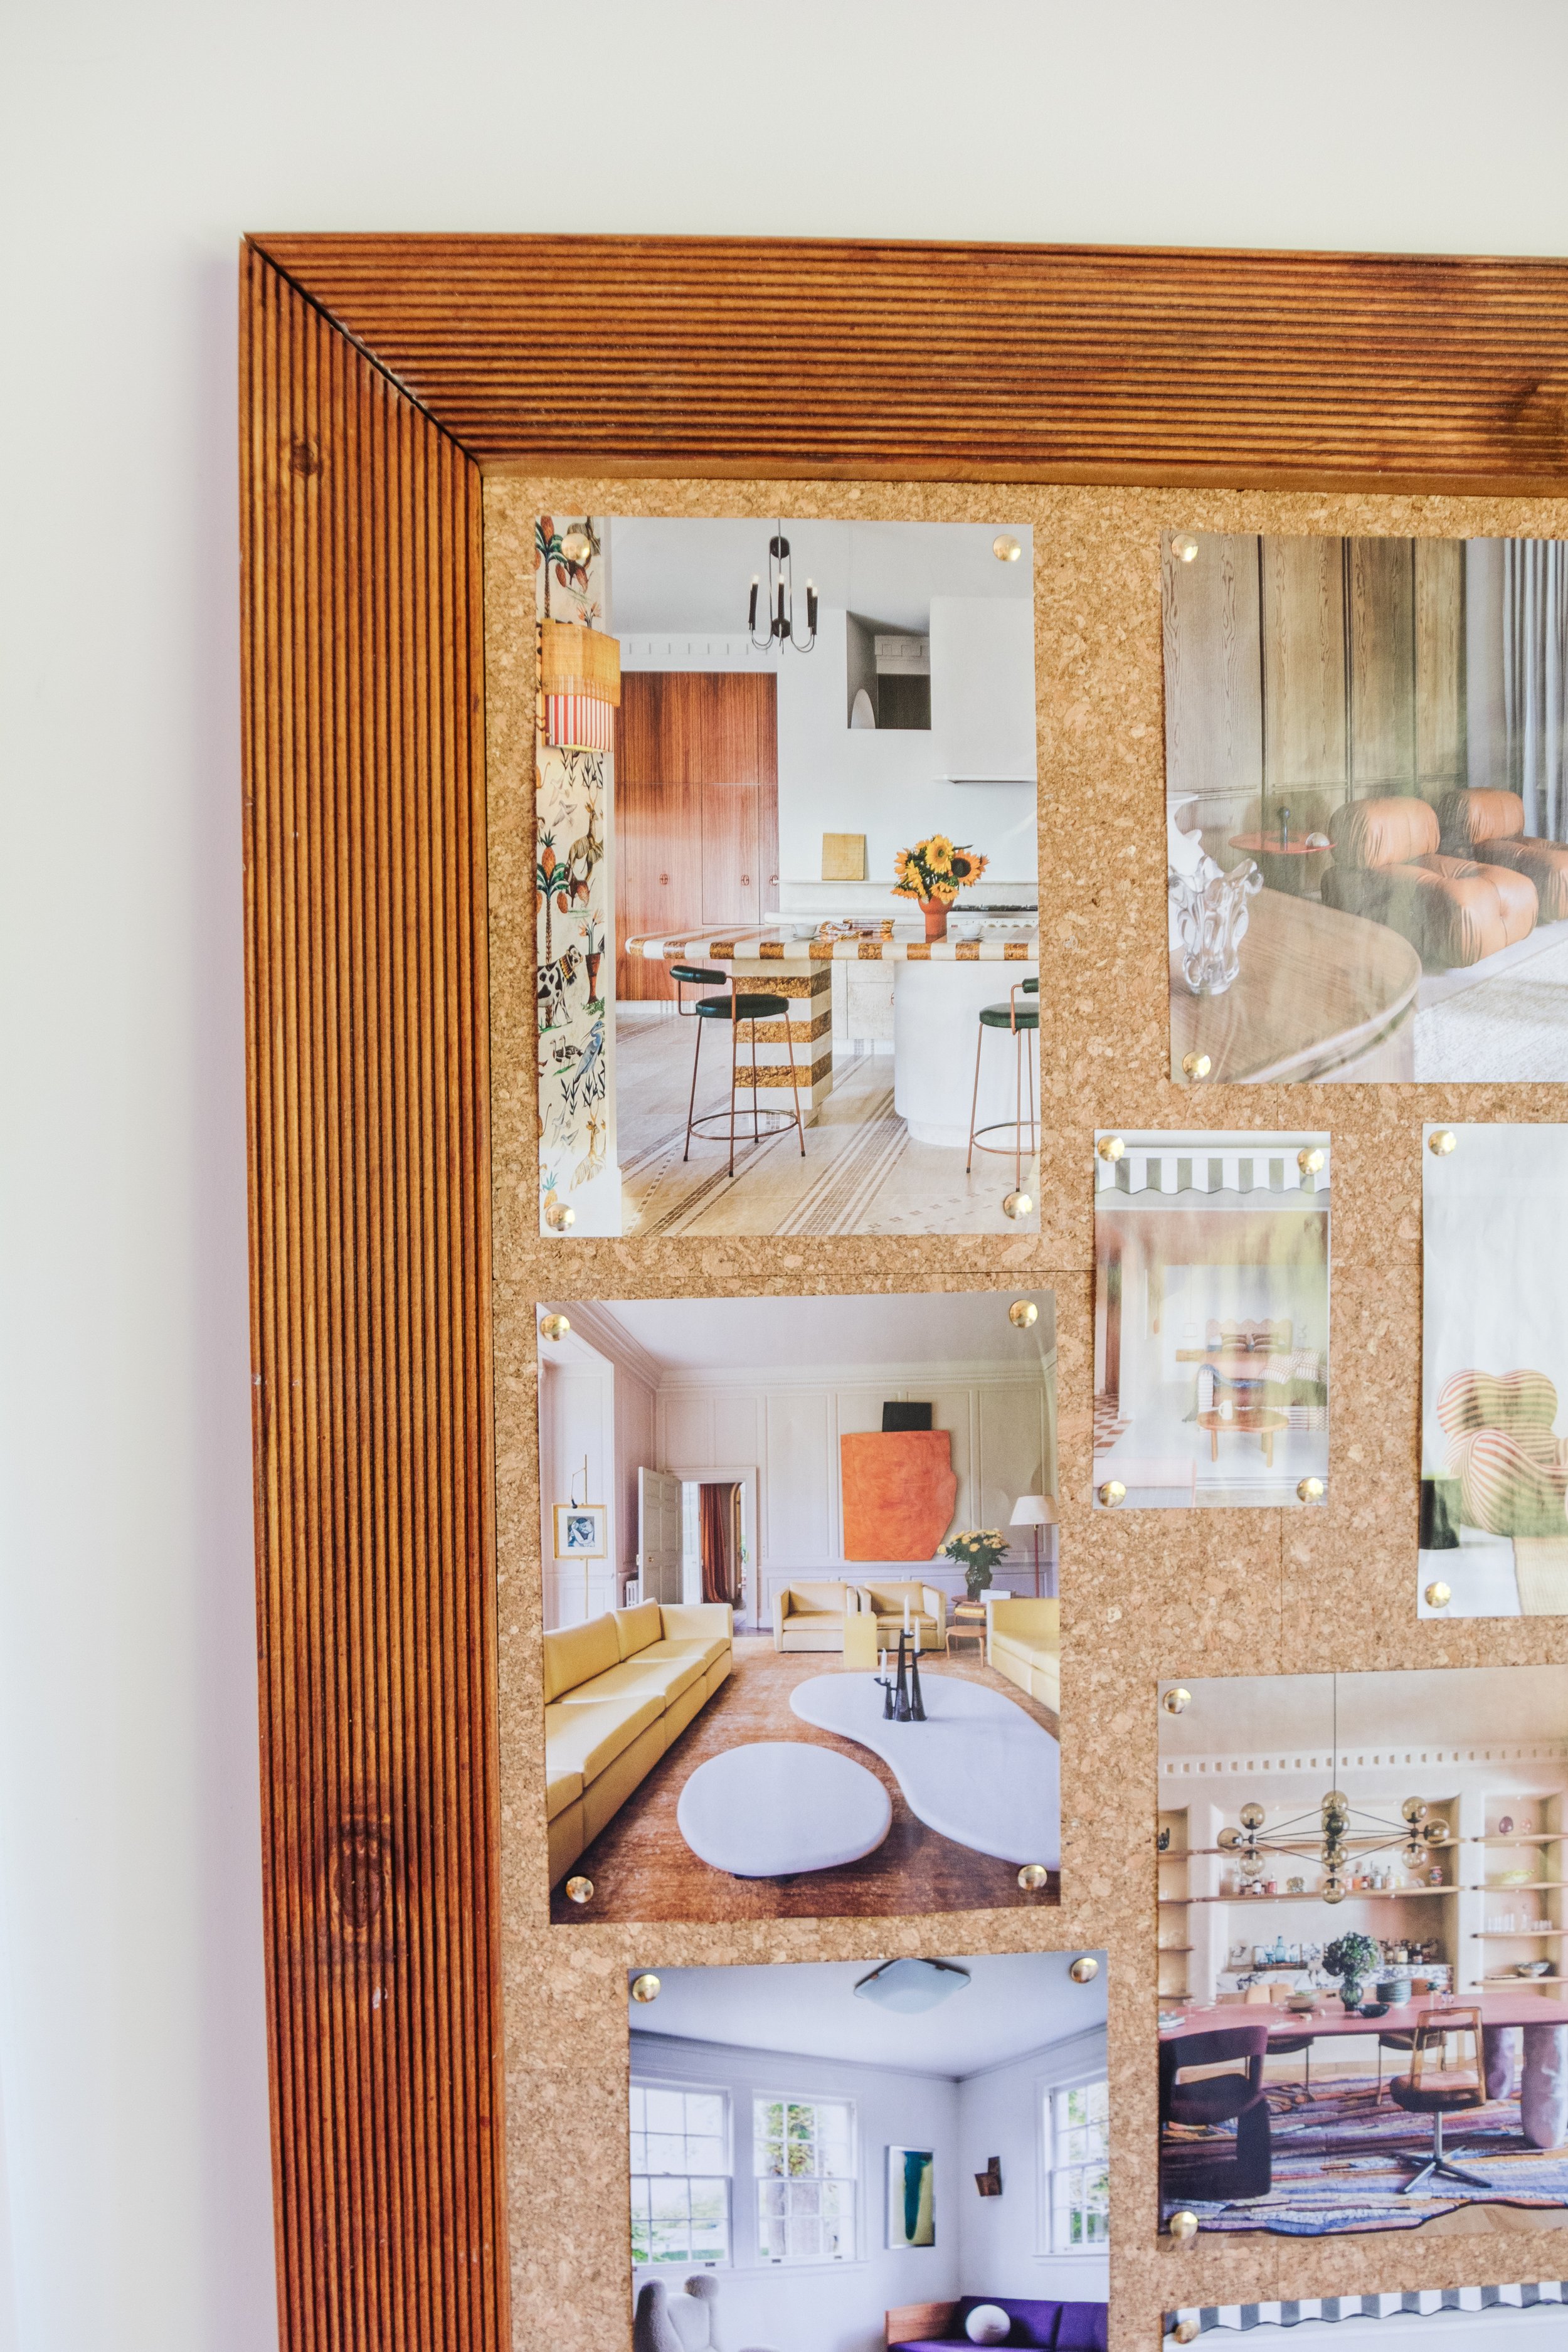
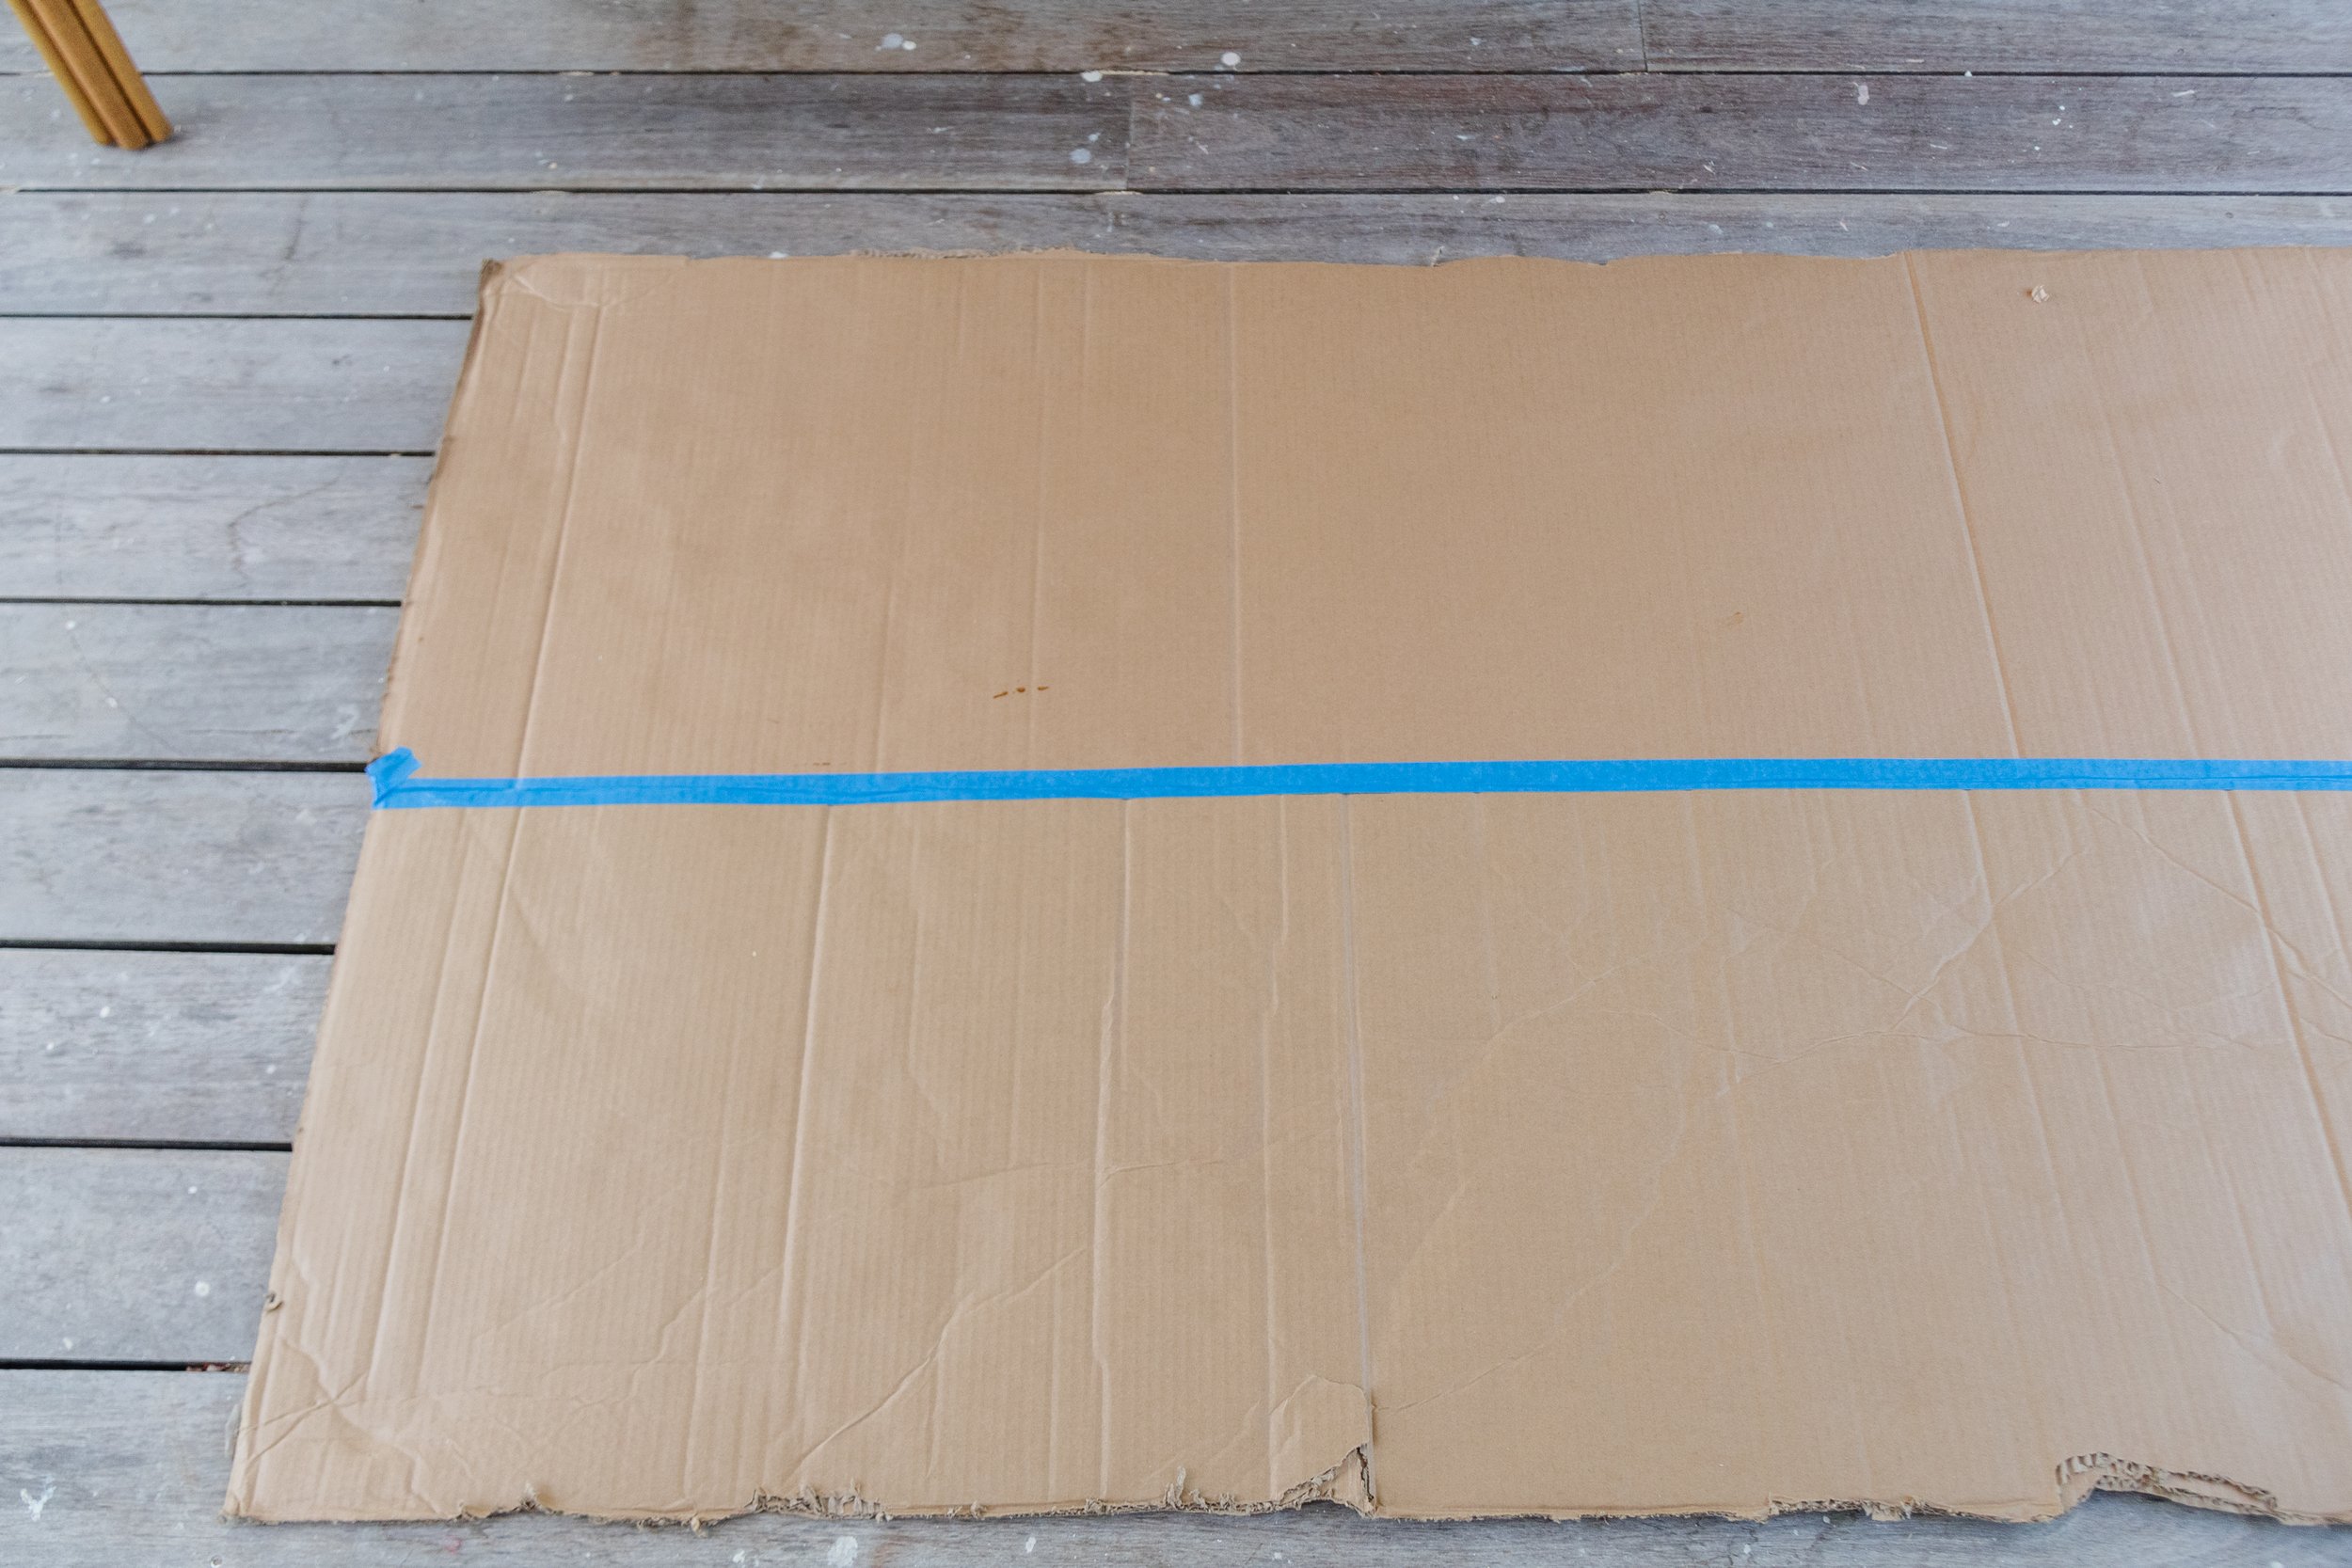
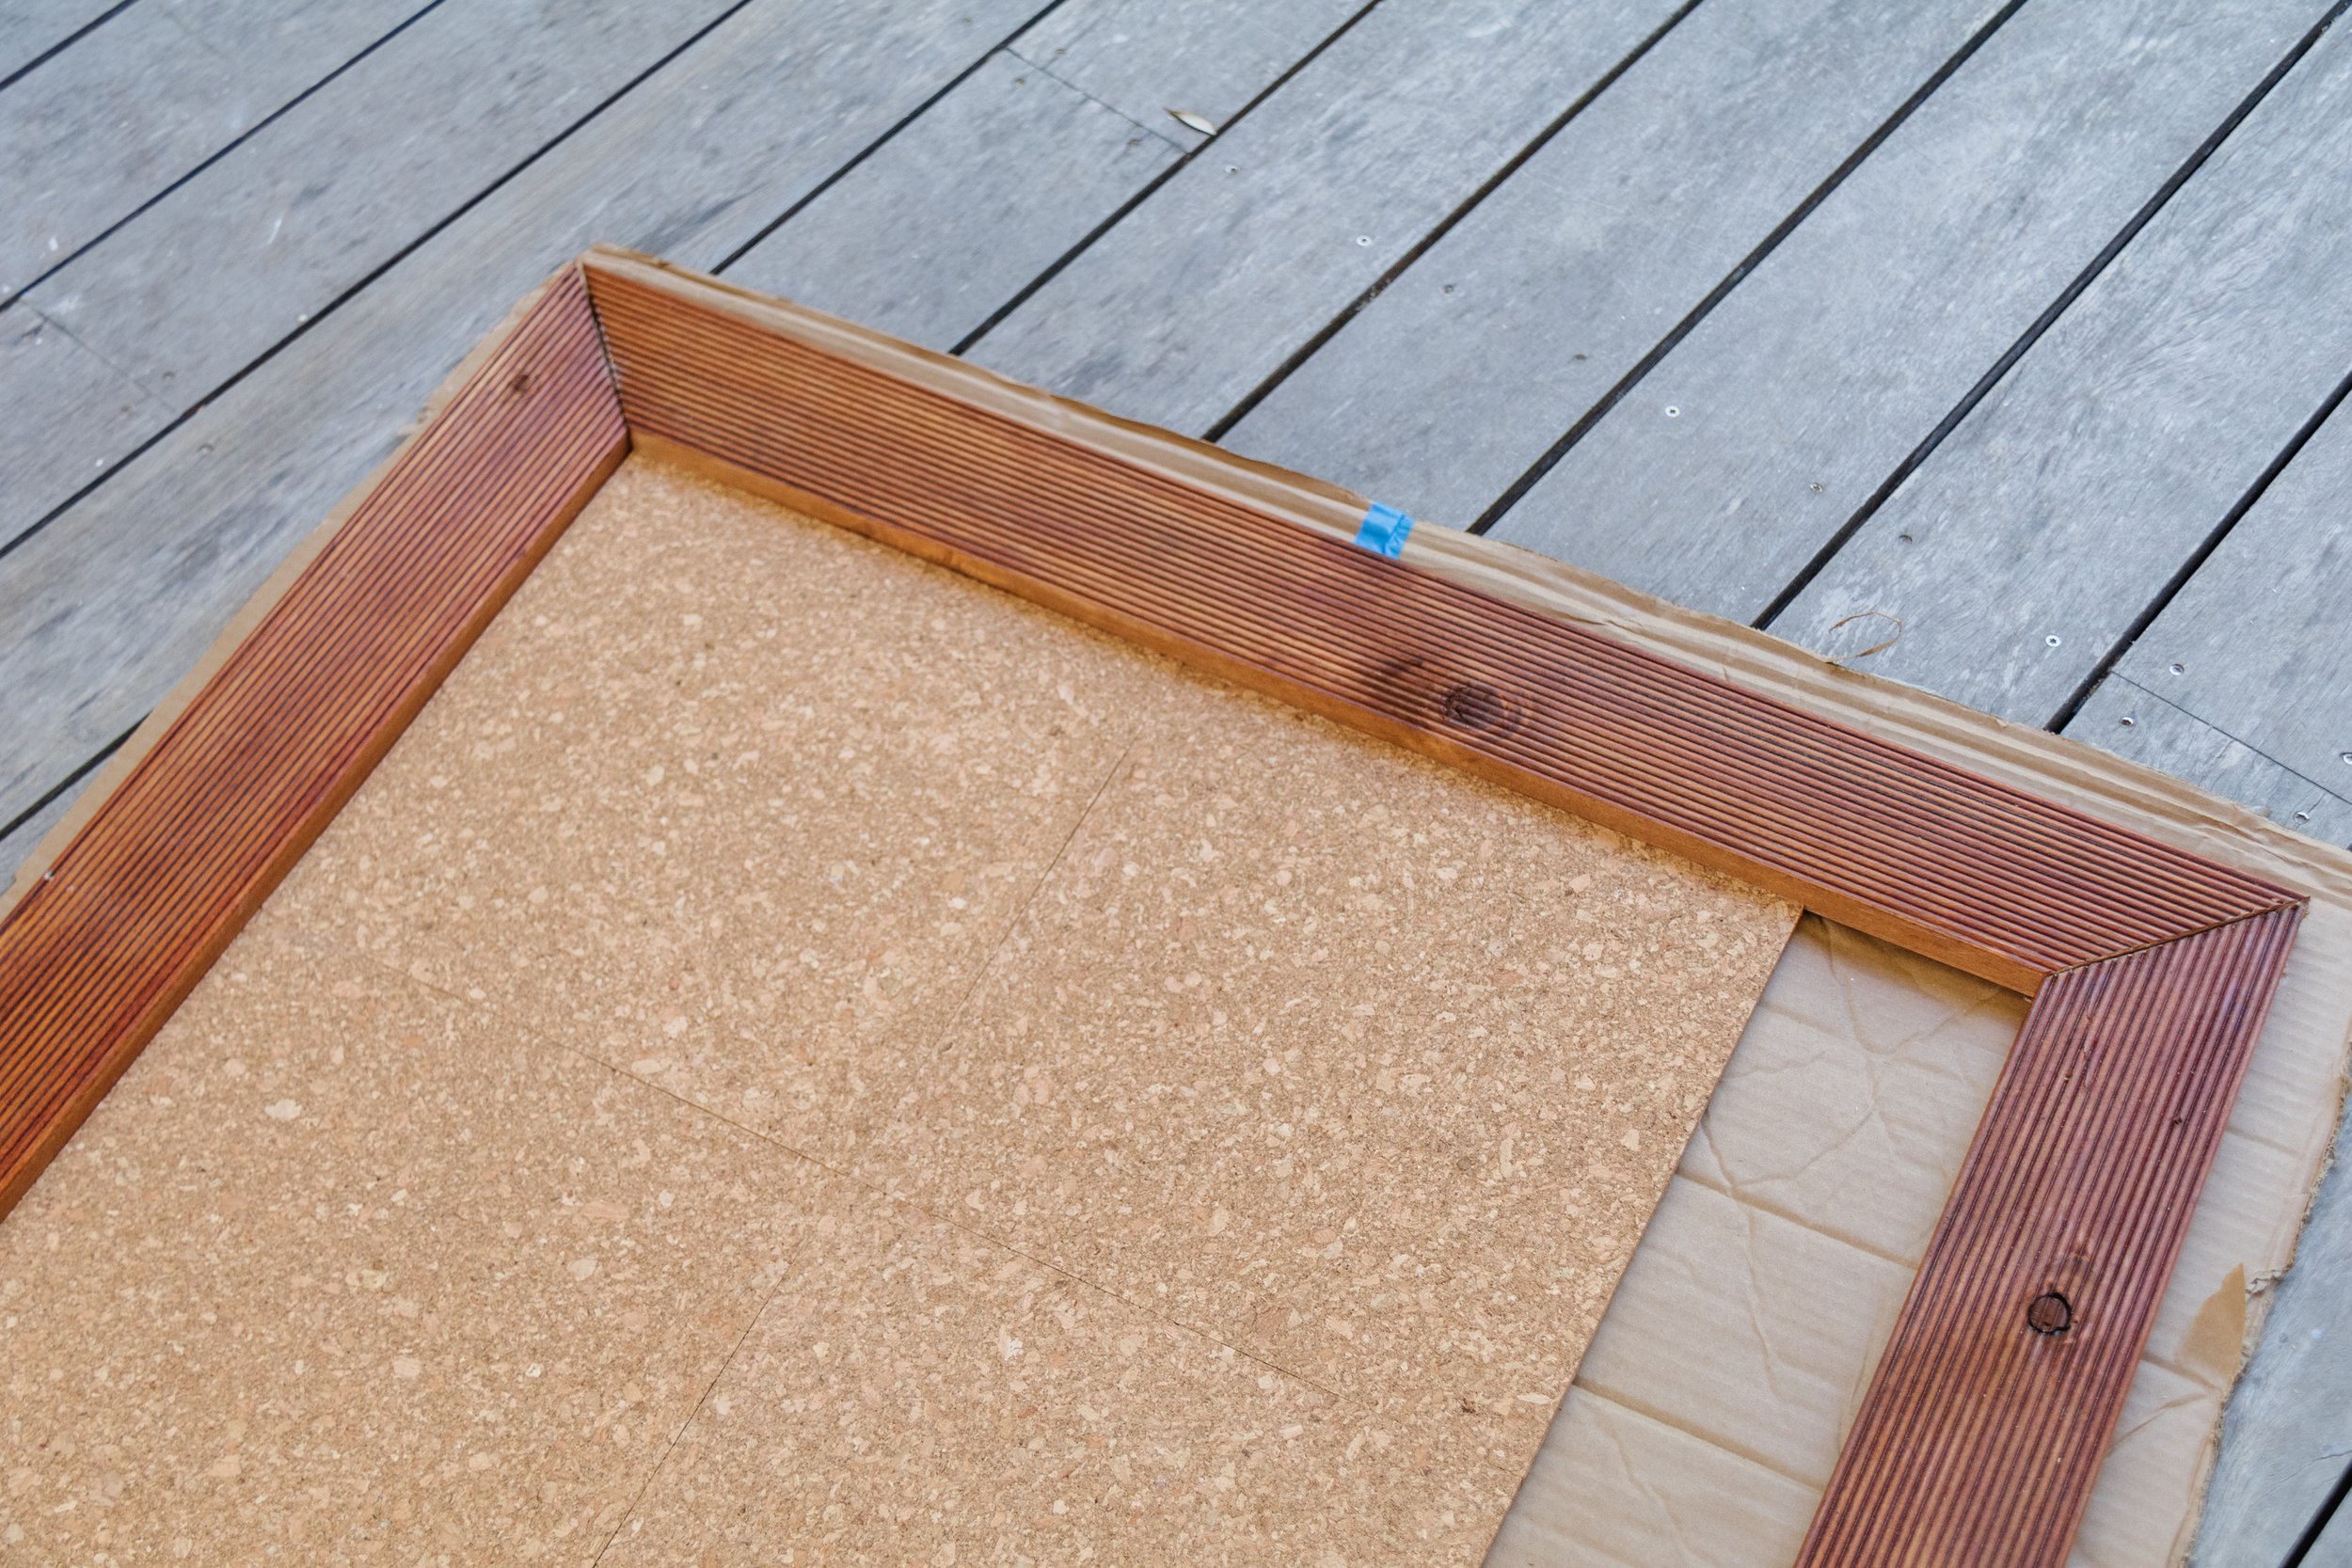
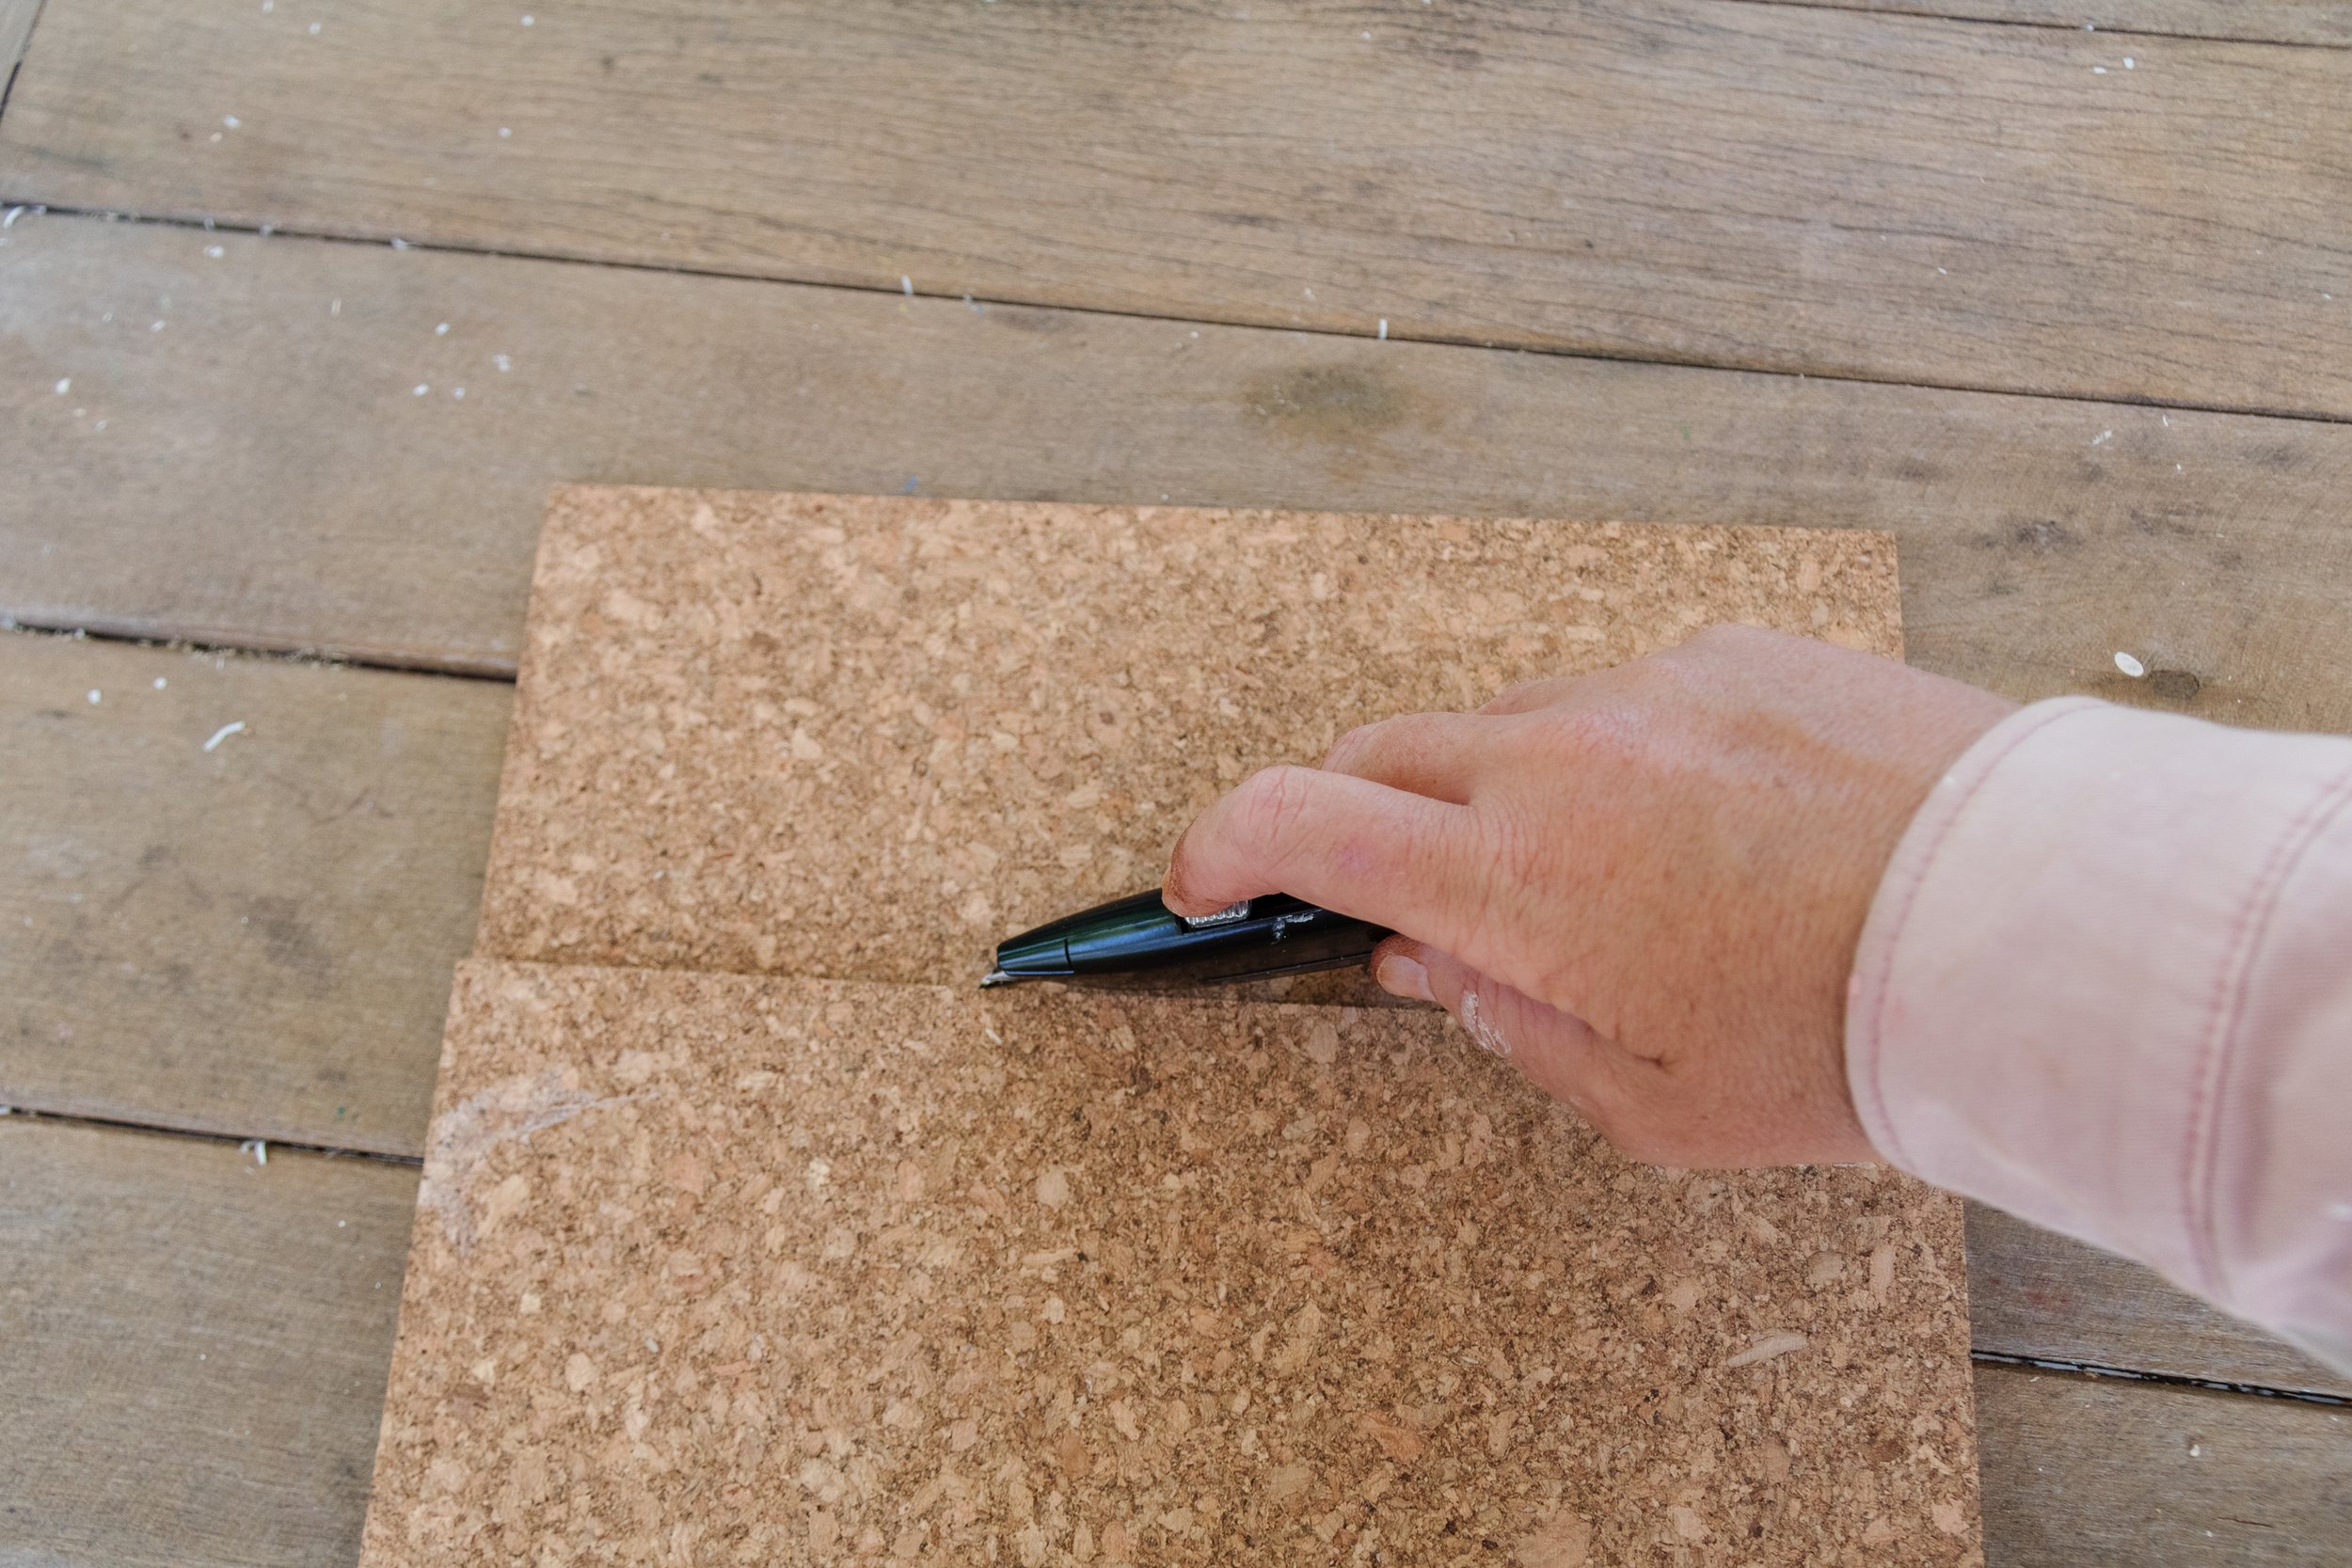
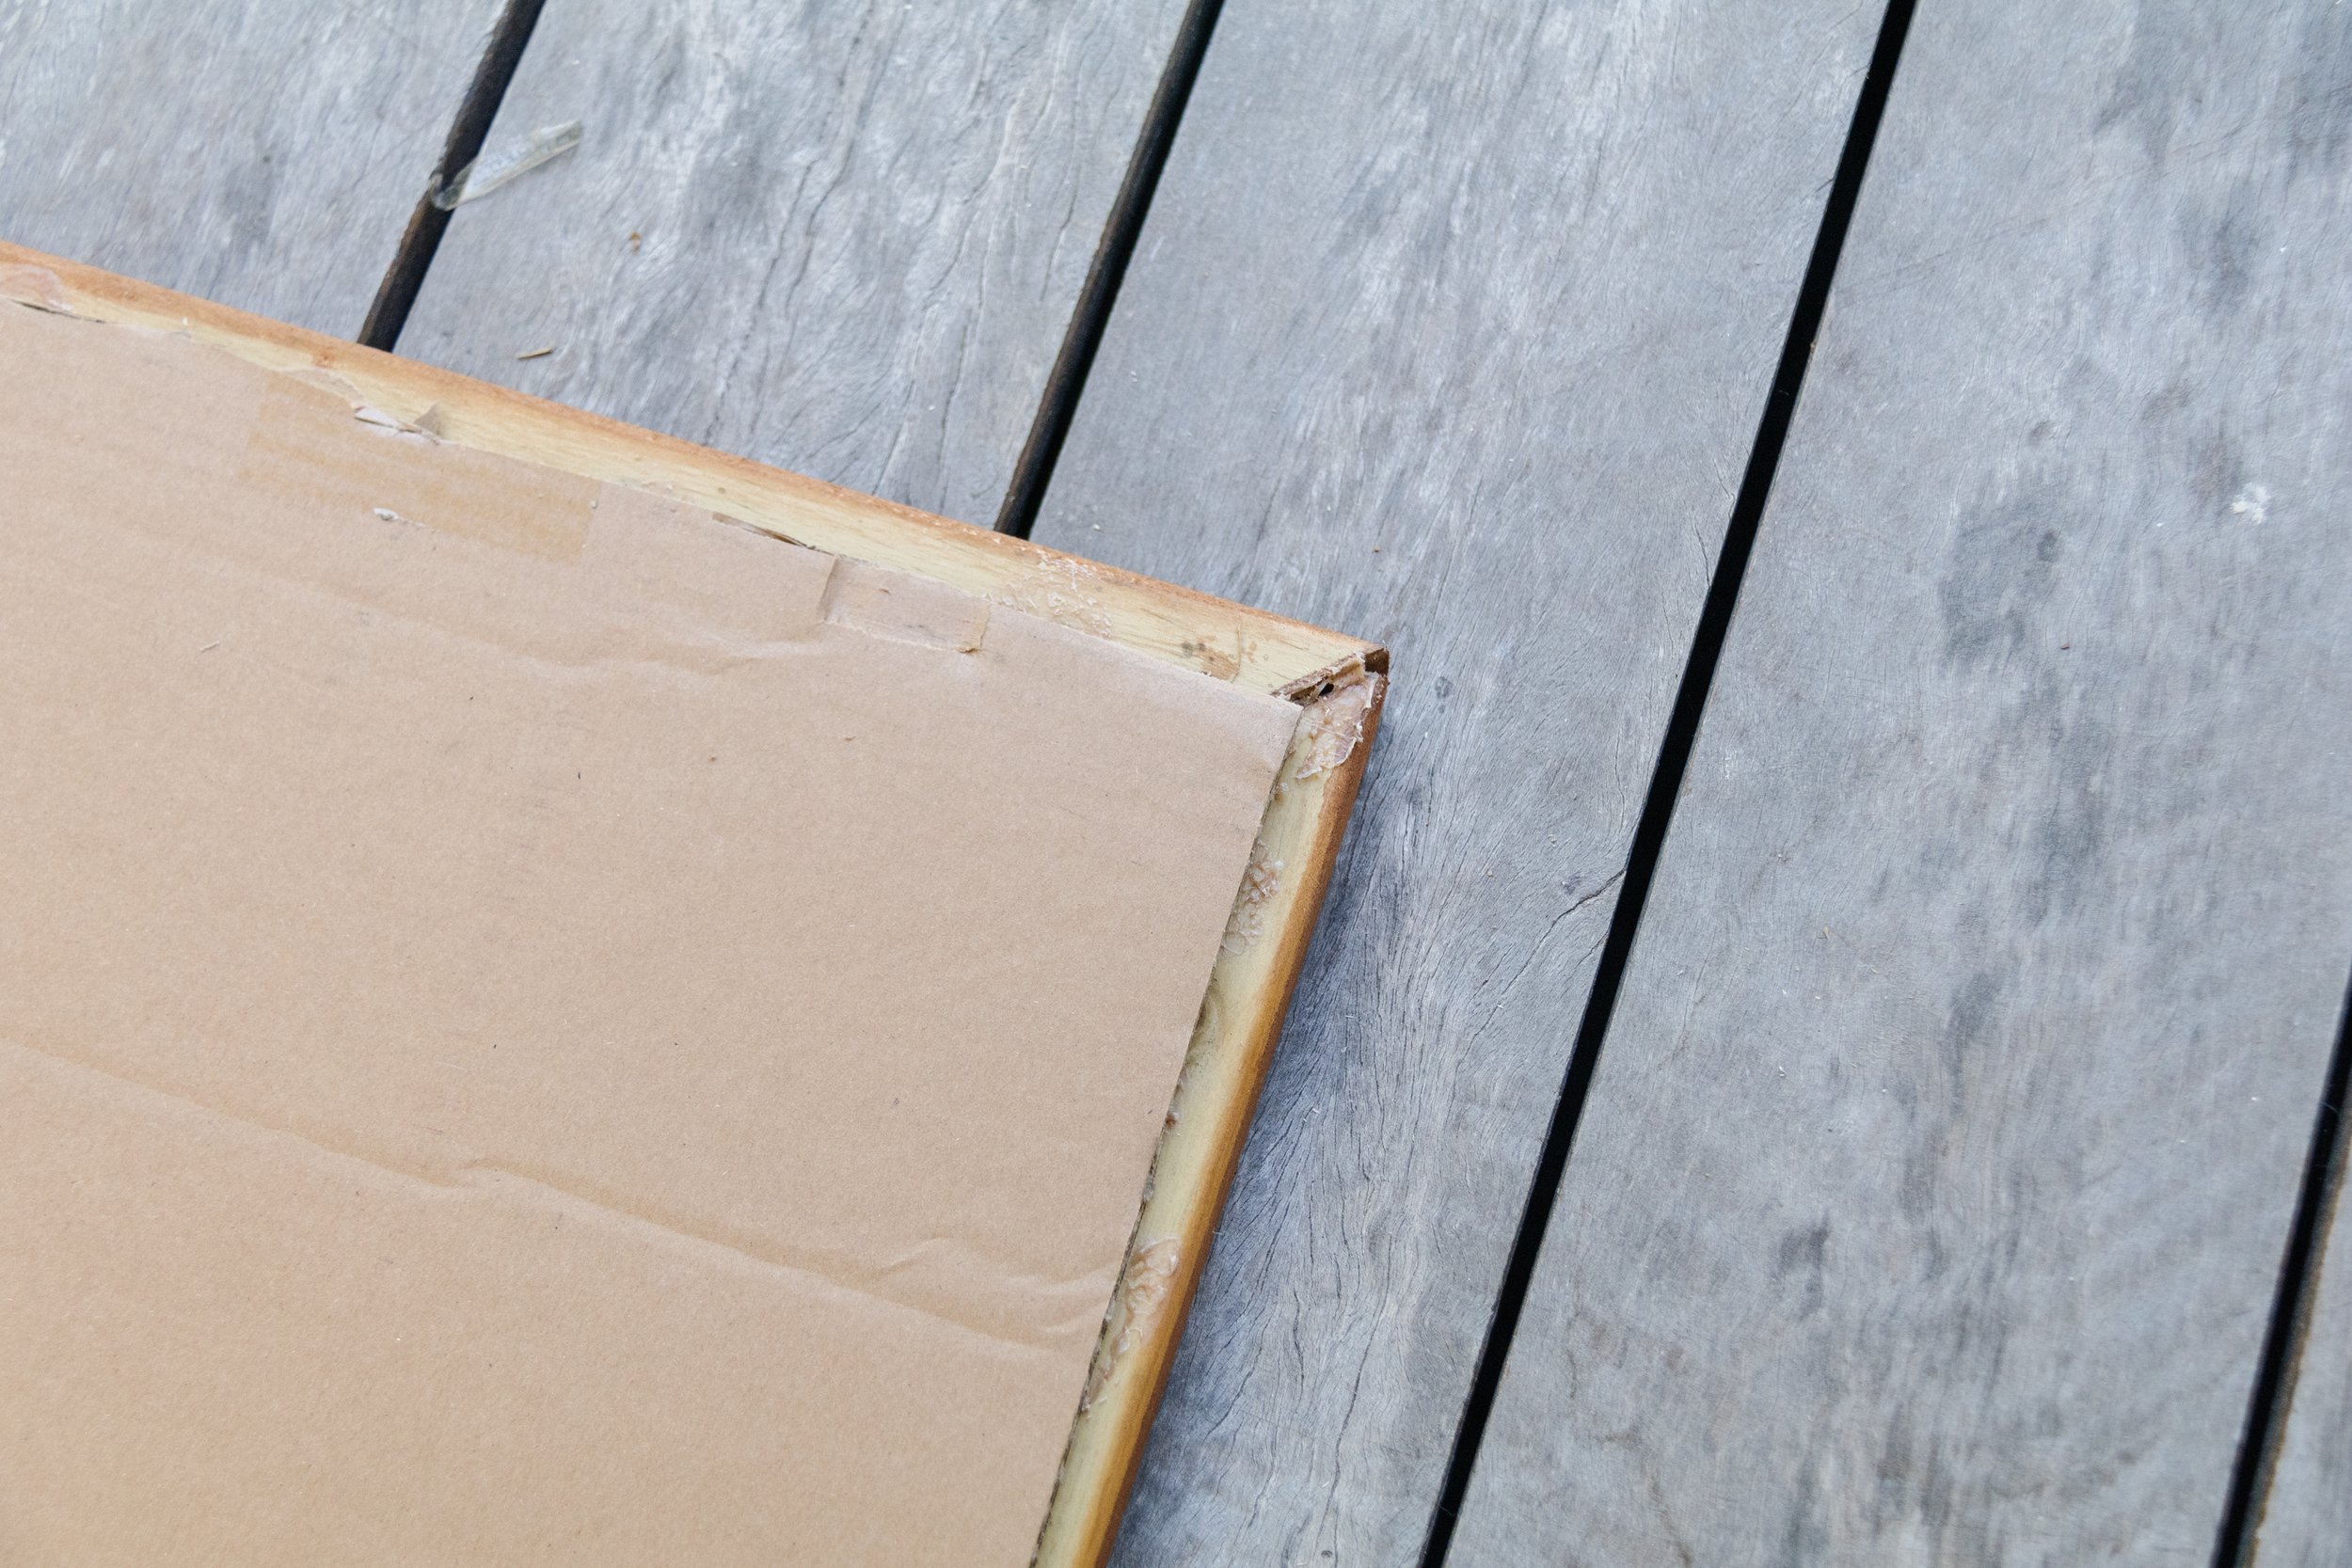
Create one big piece of cardboard large enough so that it’s bigger than the timber frame and then tape the pieces together pieces, but make sure the cardboard doesn’t overlap otherwise the cork will be uneven when you apply it later on. Lay the frame on top and then glue each piece timber onto the cardboard, one at a time. Then glue the cork tiles on top of the cardboard. You may need to trim excess cork tiles from the sides and you can do this with a utility knife. When this is done, gather images that inspire your goals and dreams, then pin them onto the vision board. Lean the board against a wall and that’s it!

Ta daaaa!
And there you have it! My upcycled Vision Board using reclaimed timber, scrap pieces of cardboard and cork tiles. I've always wanted a vision board and it's so exciting to have one in my studio