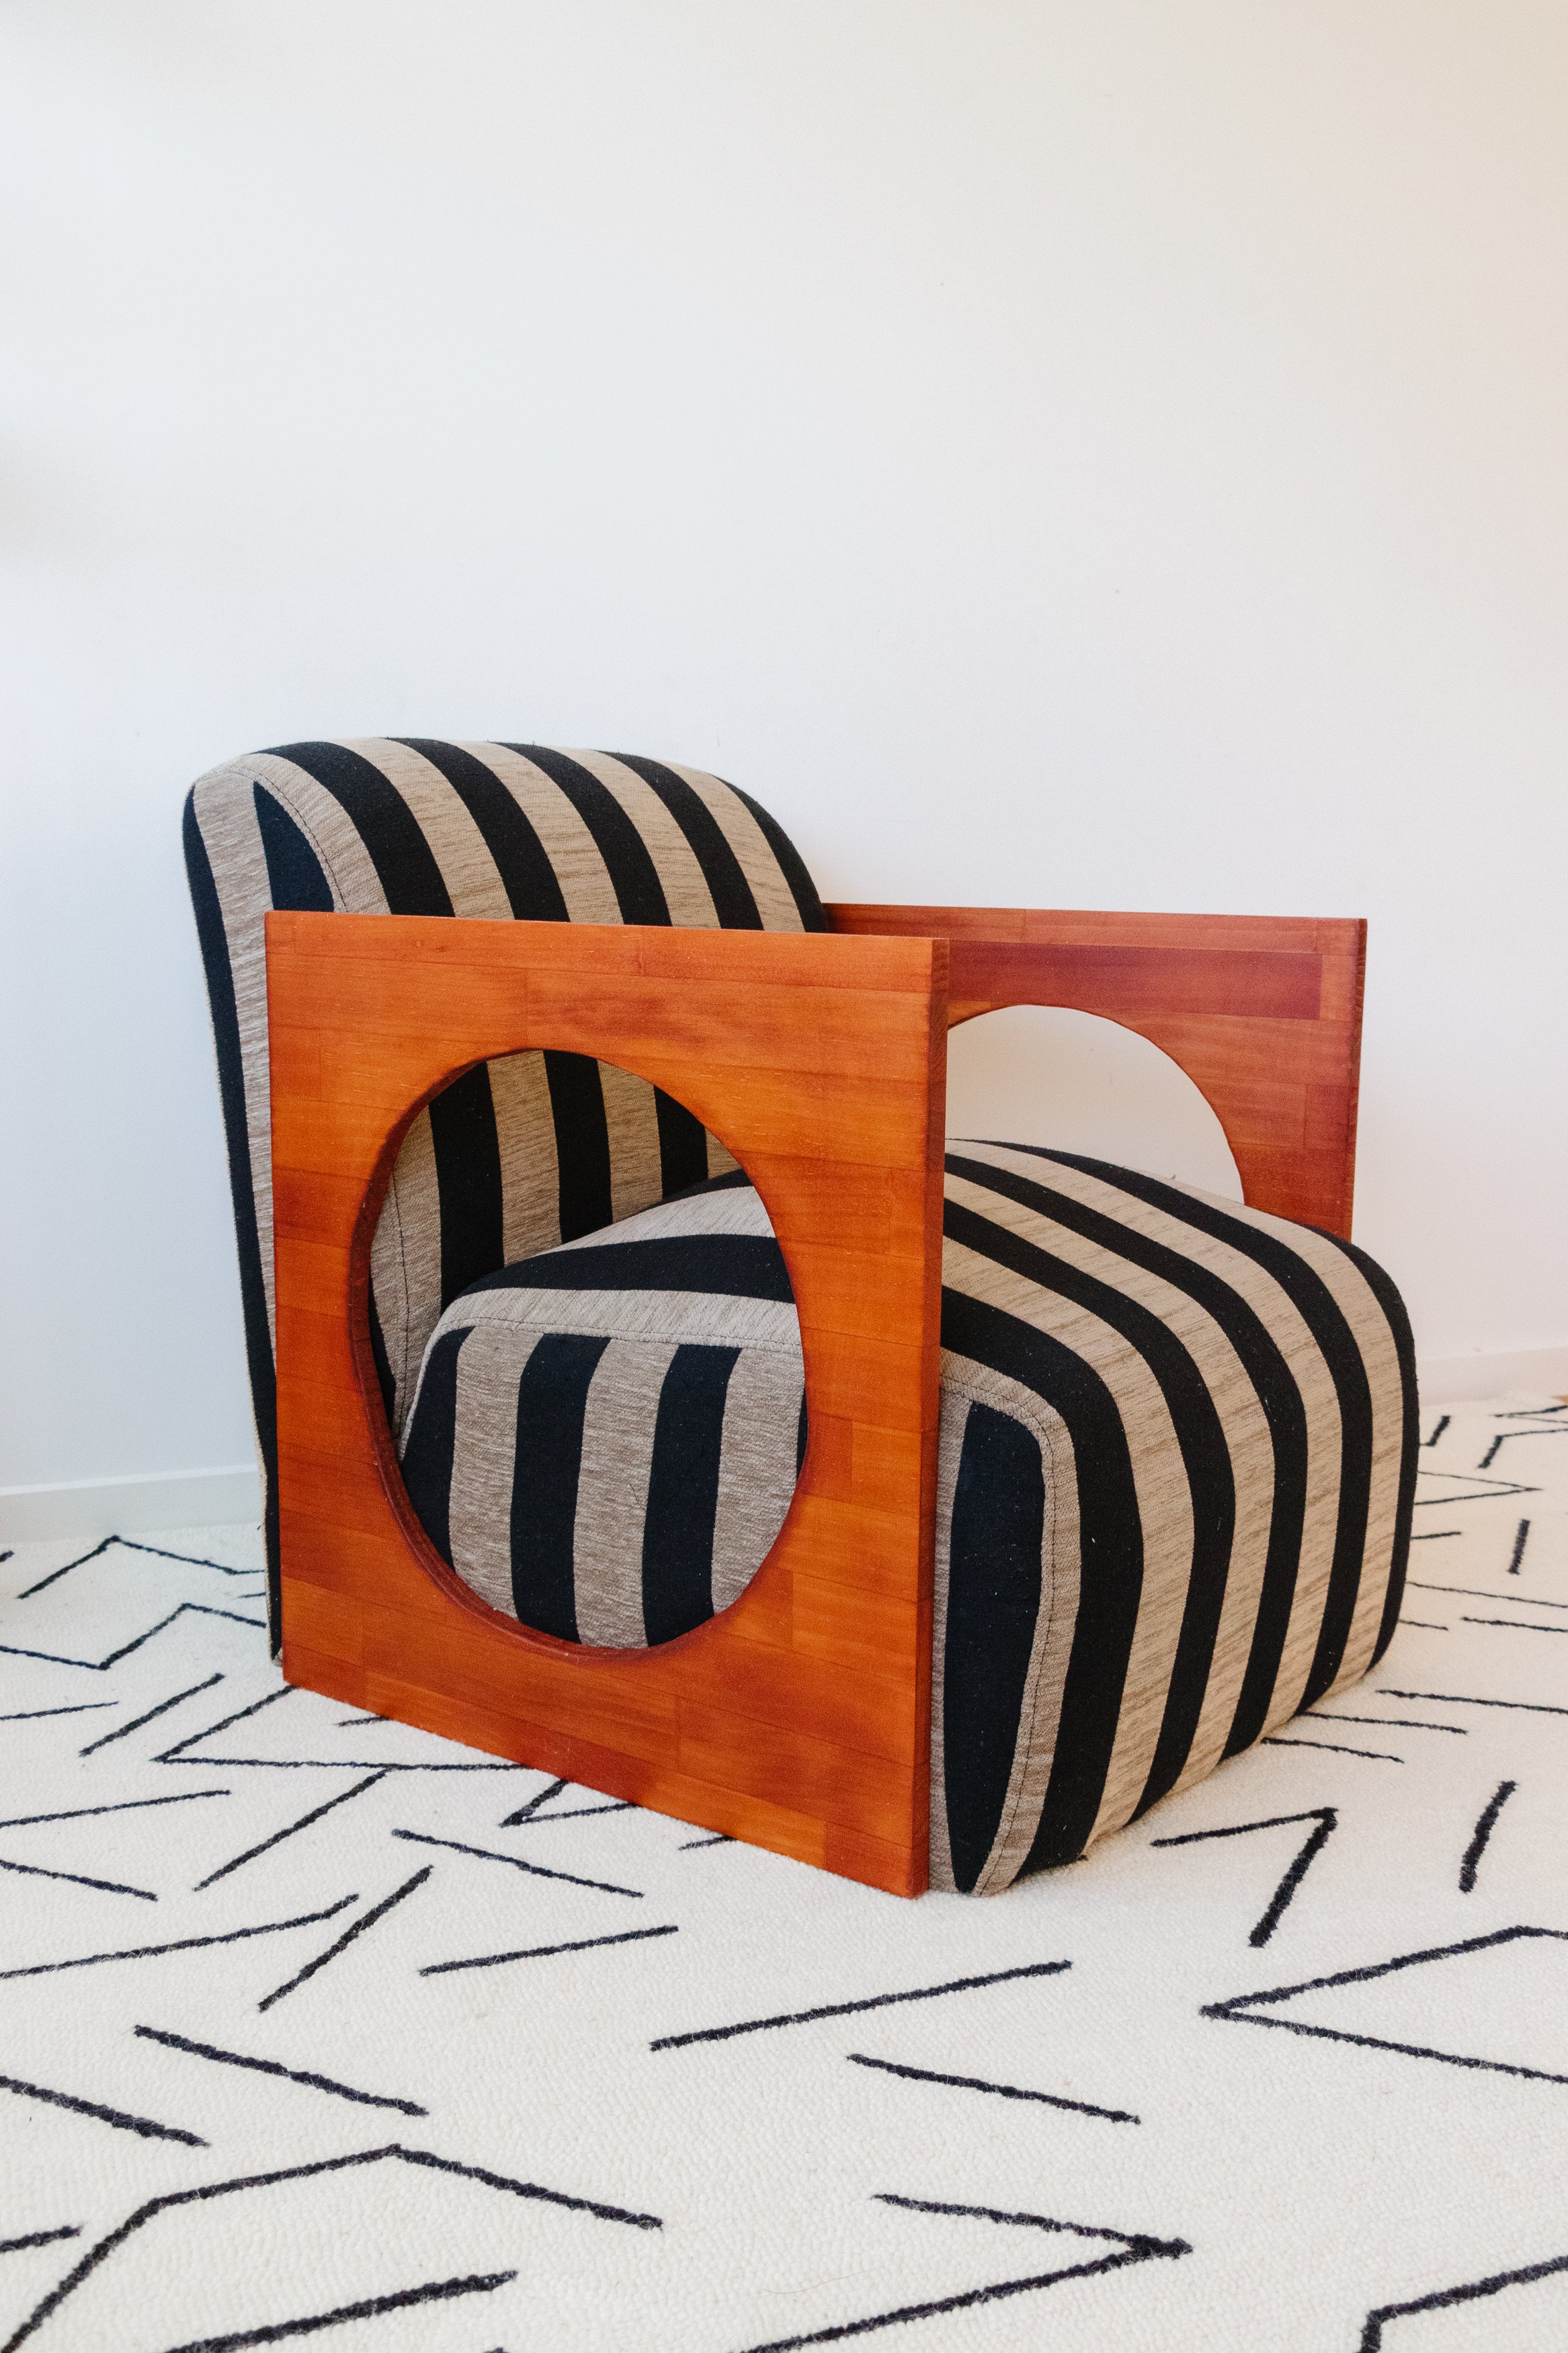
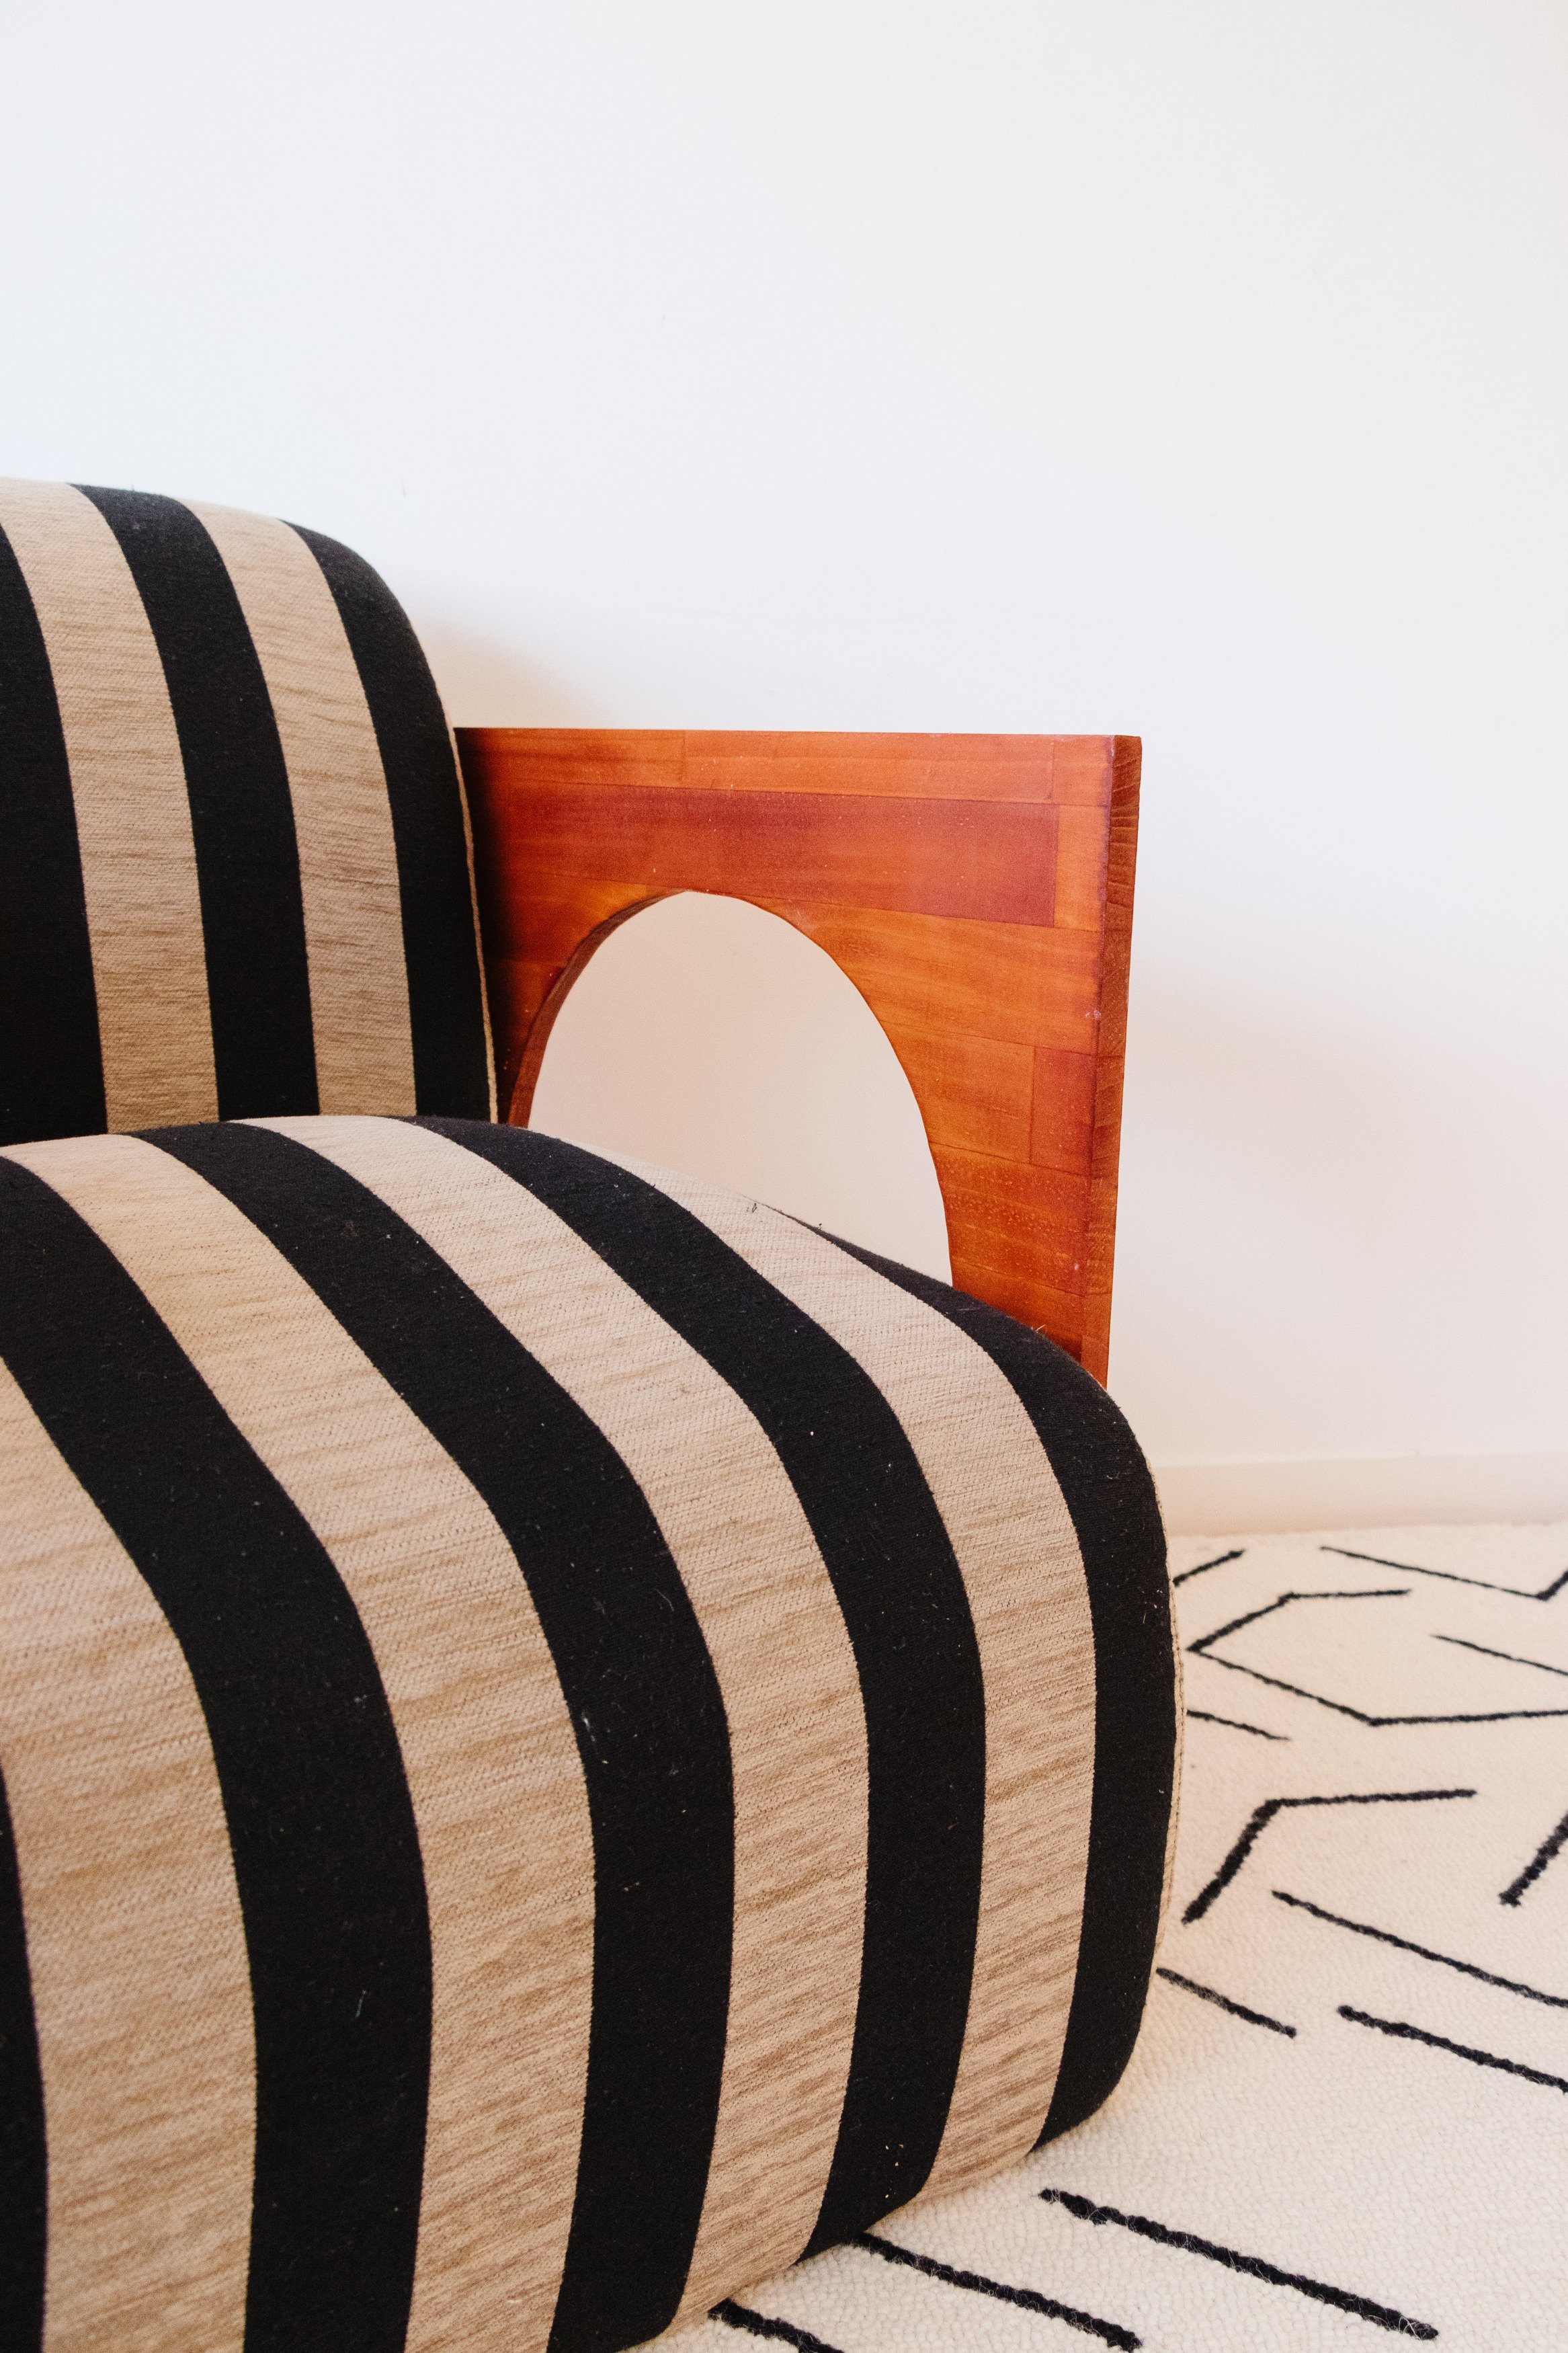
DIY Wooden Accent Armchair
What I do to this chair will blow your mind!
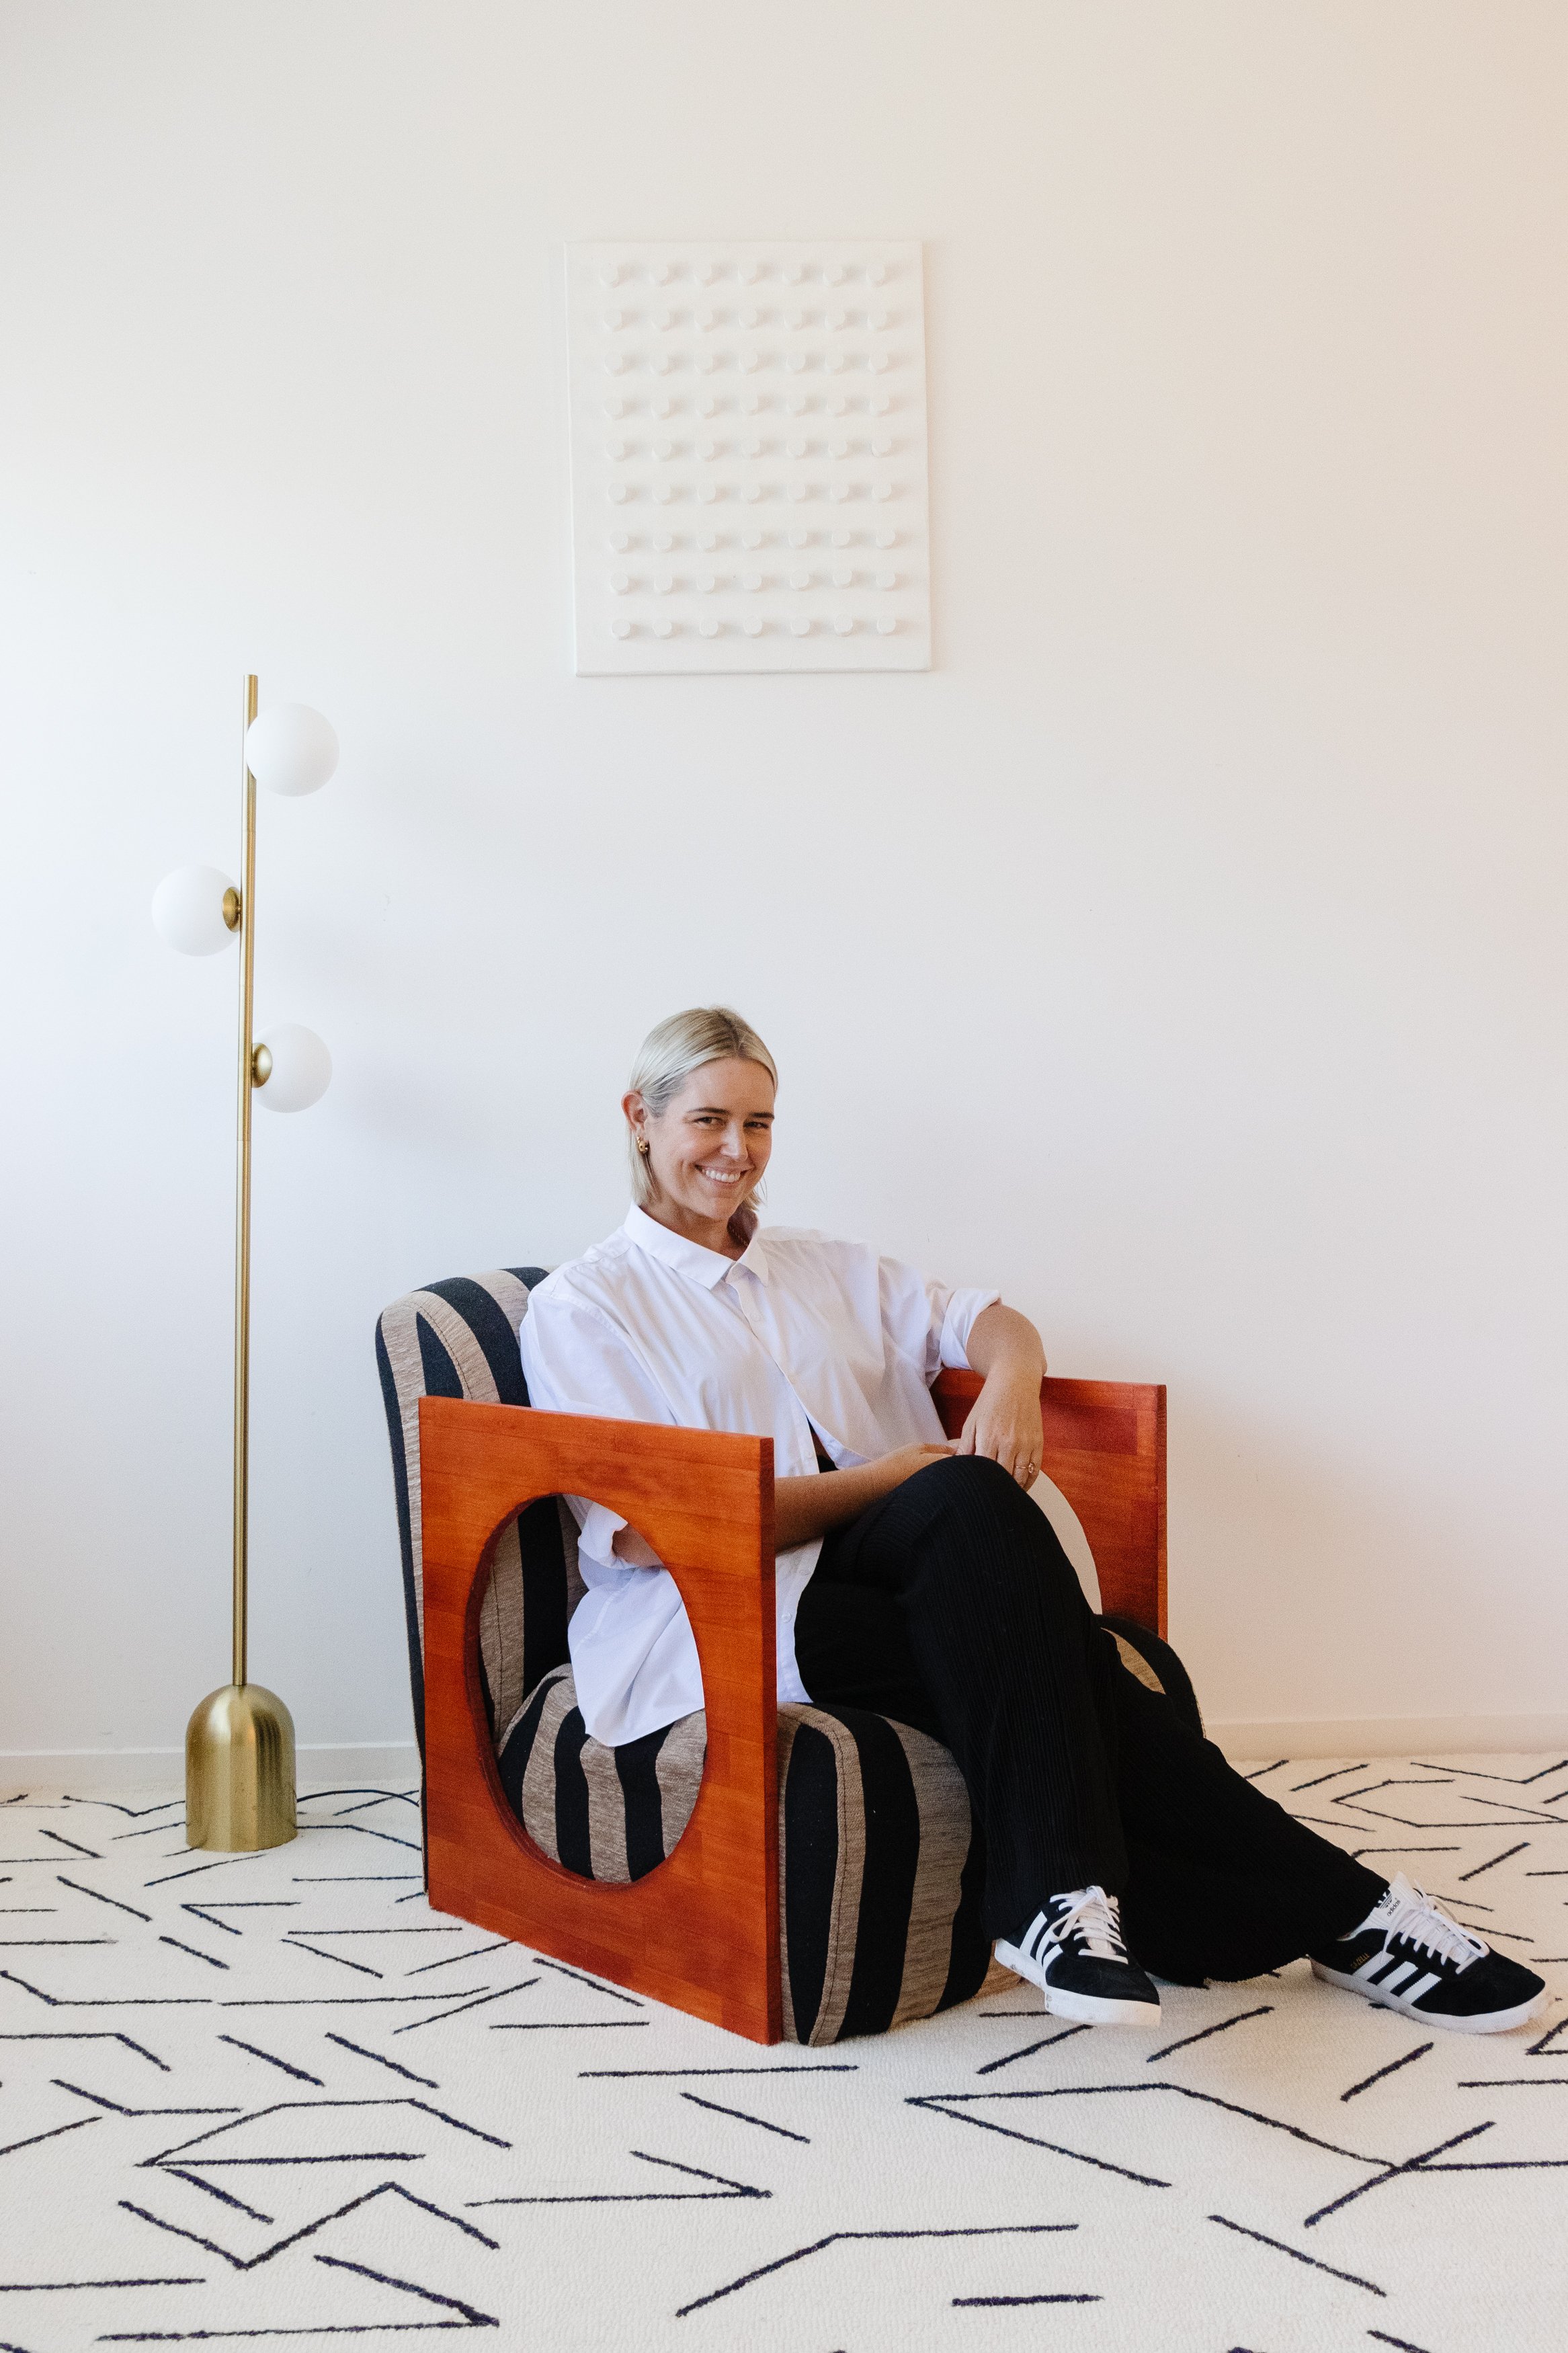
Jason and I were in the car and when we drove past an armchair on the kerb I couldn’t believe what I saw - it was beautiful! Why would someone abandon such a gorgeous chair? Well, their trash is my treasure! And much to my delight, it was very comfy (and bouncy lol). I threw it in our boot, took it home, and started to think about what I could do to it. Honestly, it was fine as it was but I wanted to make it fancy. After being inspired by wooden accents, I decided to add to the design using a piece of timber and my favourite RYOBI tools.
To see how my Upcycled Wooden Accent Chair came together, watch this video
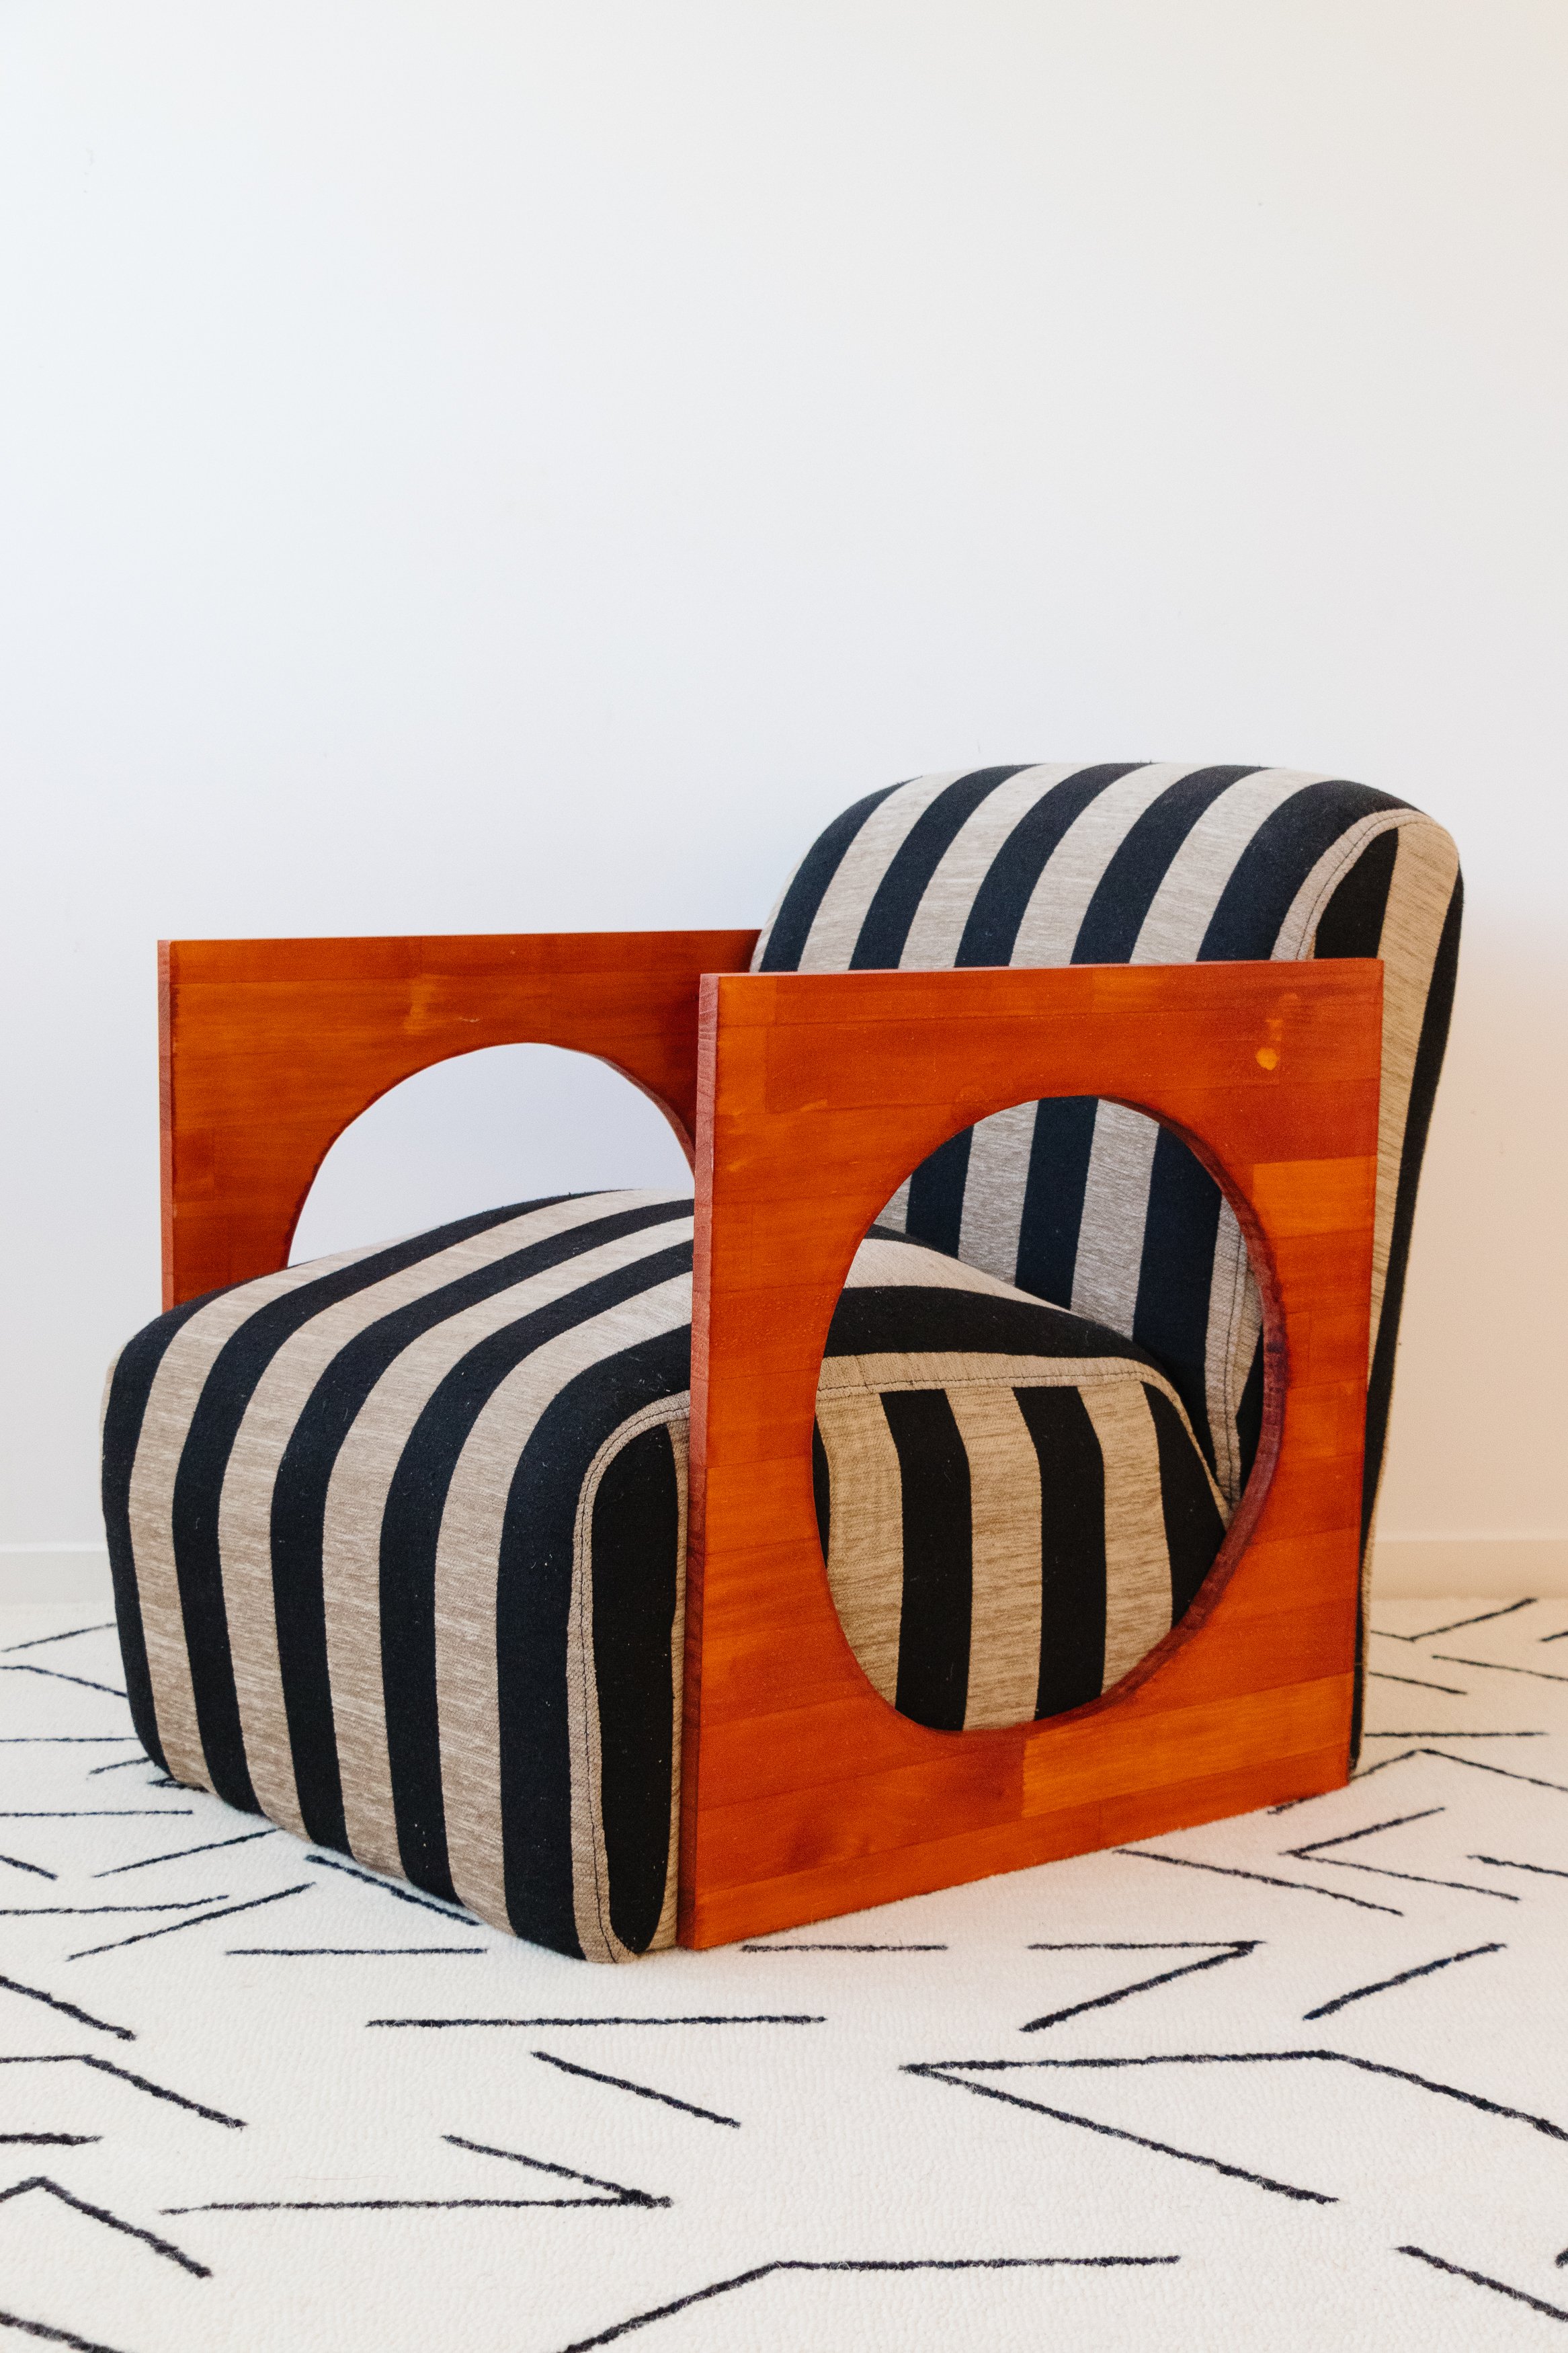
Before & After


Project Details
♻️ Upcycling: An armchair
🕒 Project Time Estimate: 4 hours
🪑 Skill Level: Intermediate
💰 Materials Cost: $$
👷🏼♀️ Safety Gear: Face mask, safety eyewear and latex gloves
Materials
1200mm x 600mm timber
Pencil
String
60 & 120 grit sheet
Timber stain
Microfibre cloth
Satin varnish
Microfibre roller
Wood screws
Tools
Spot cleaner
Clamps
RYOBI Measuring tape
Spade bit

How To
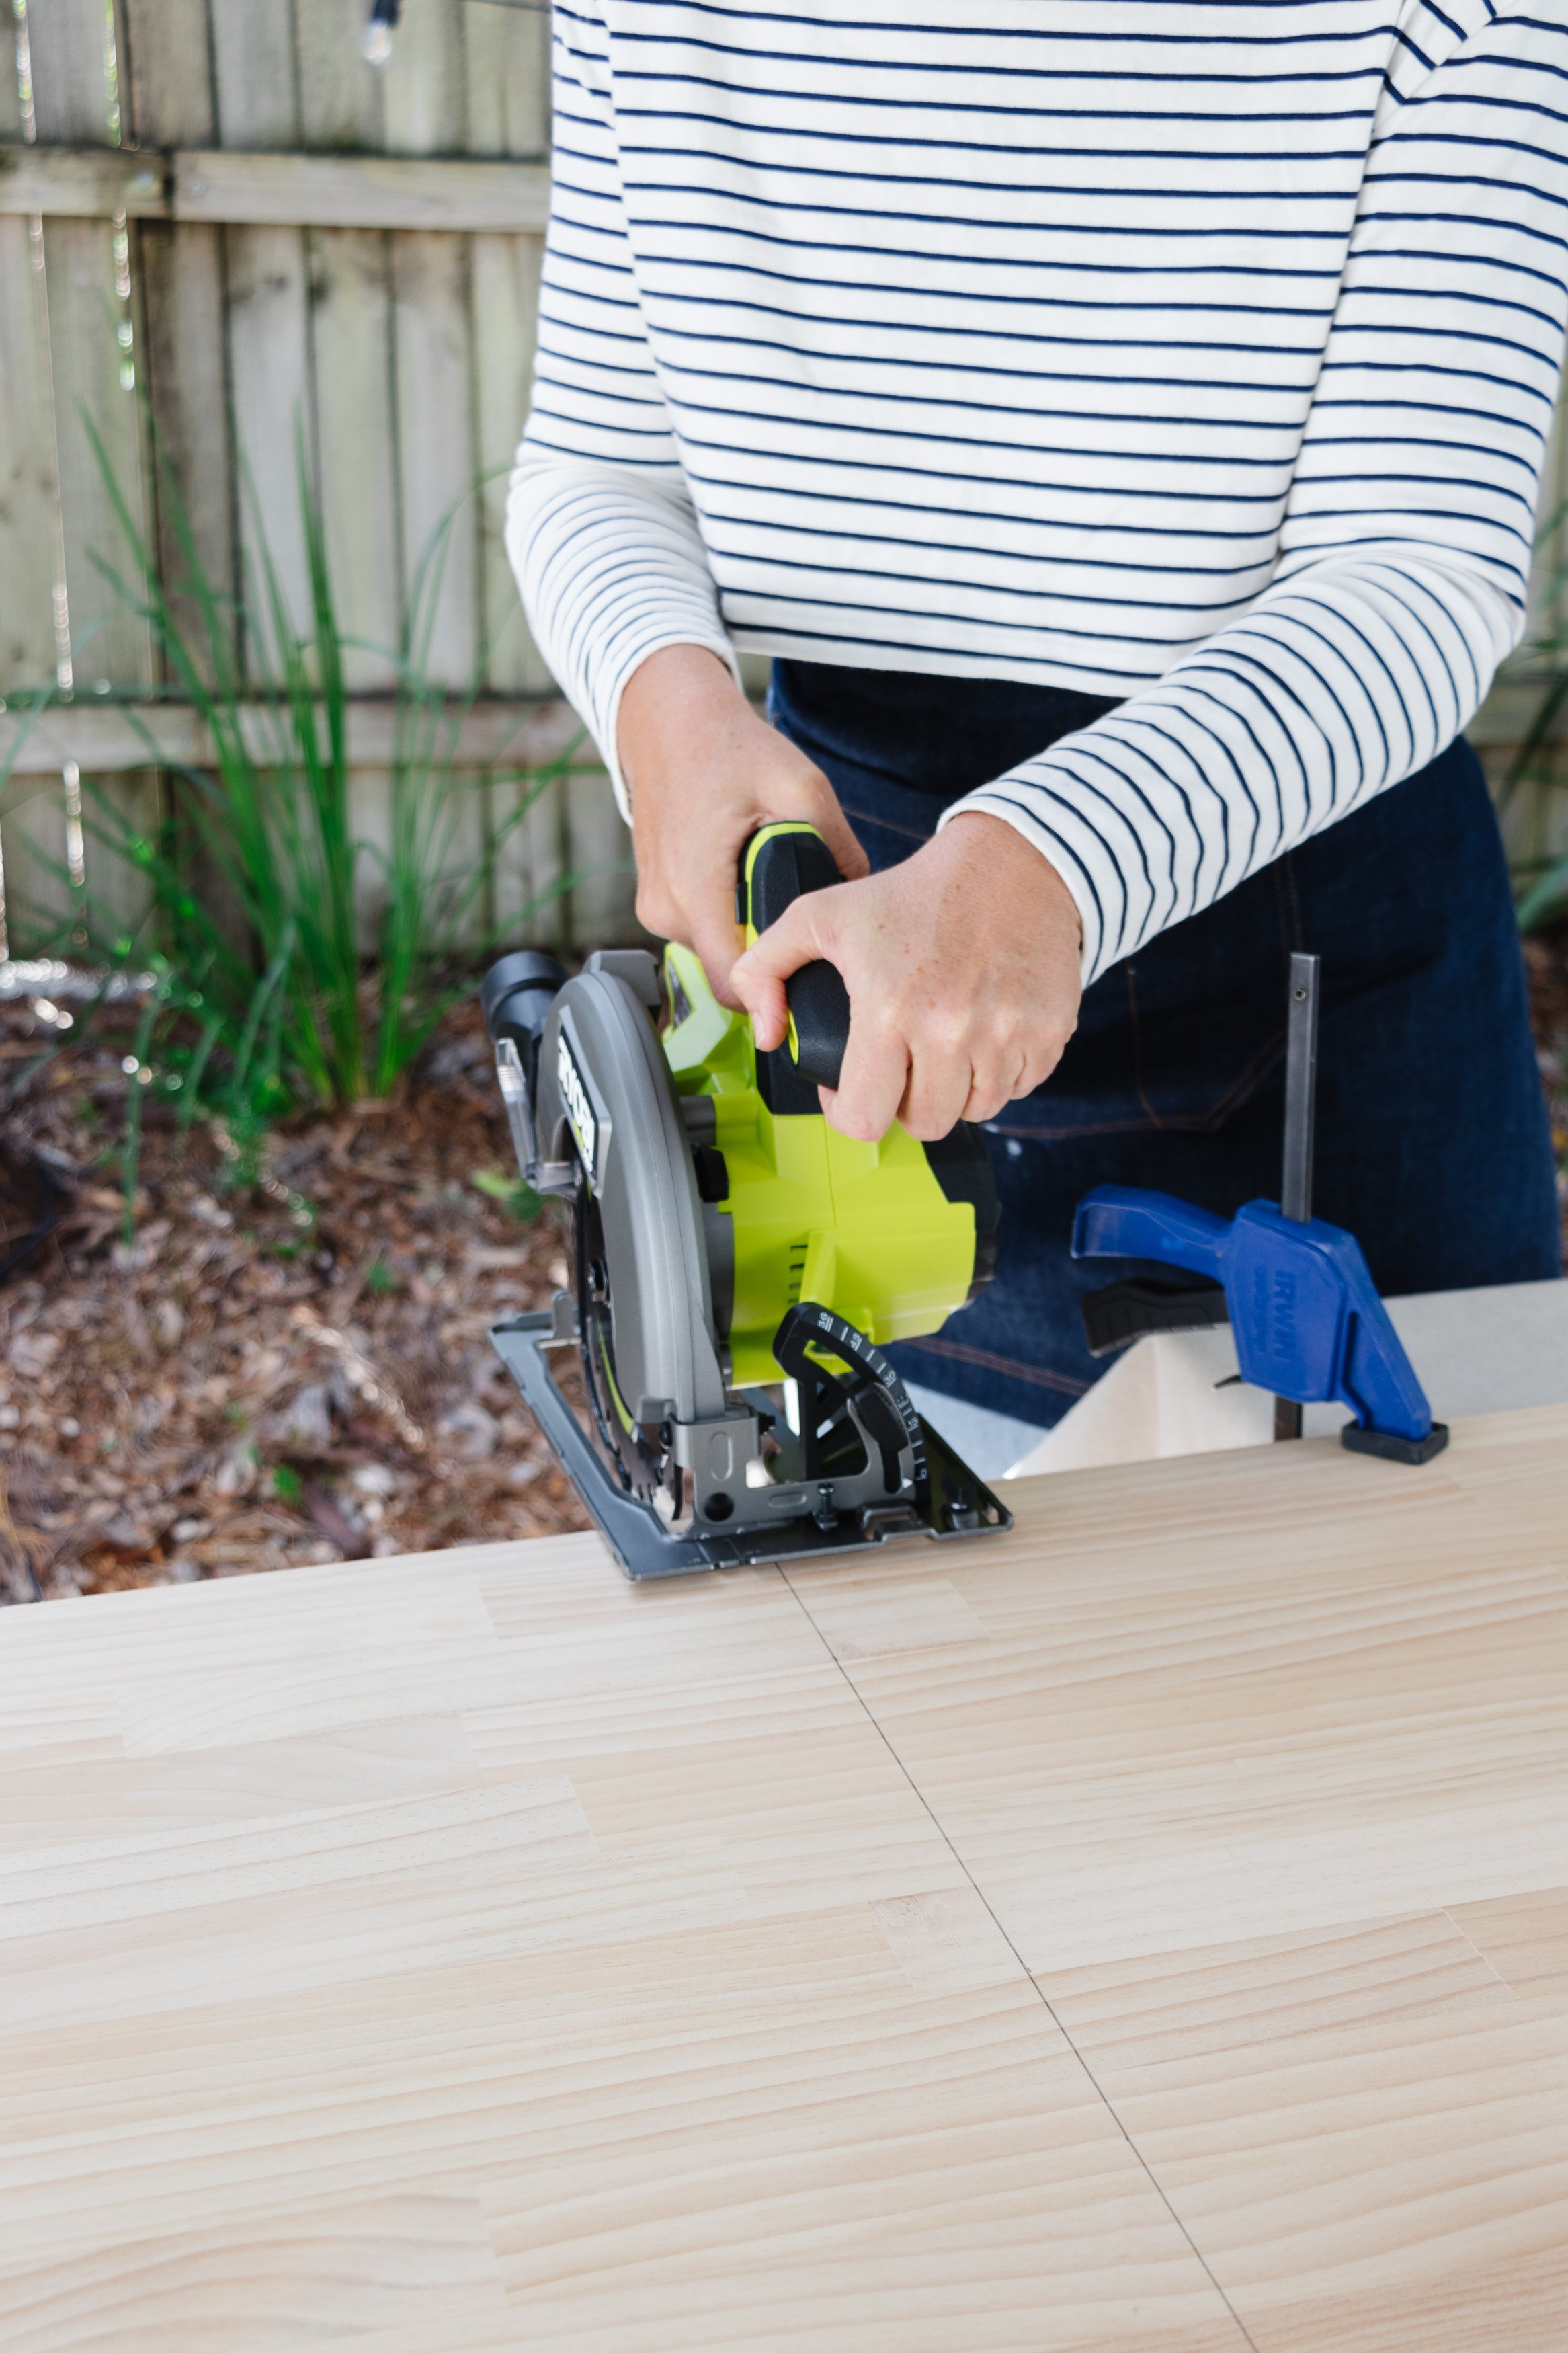
Step 1: To begin with I cleaned the upholstery using our spot cleaner. Following this I used my RYOBI Tape Measure and a pencil to draw a line down the middle of the wood, then I cut it in half using my RYOBI Circular Saw.
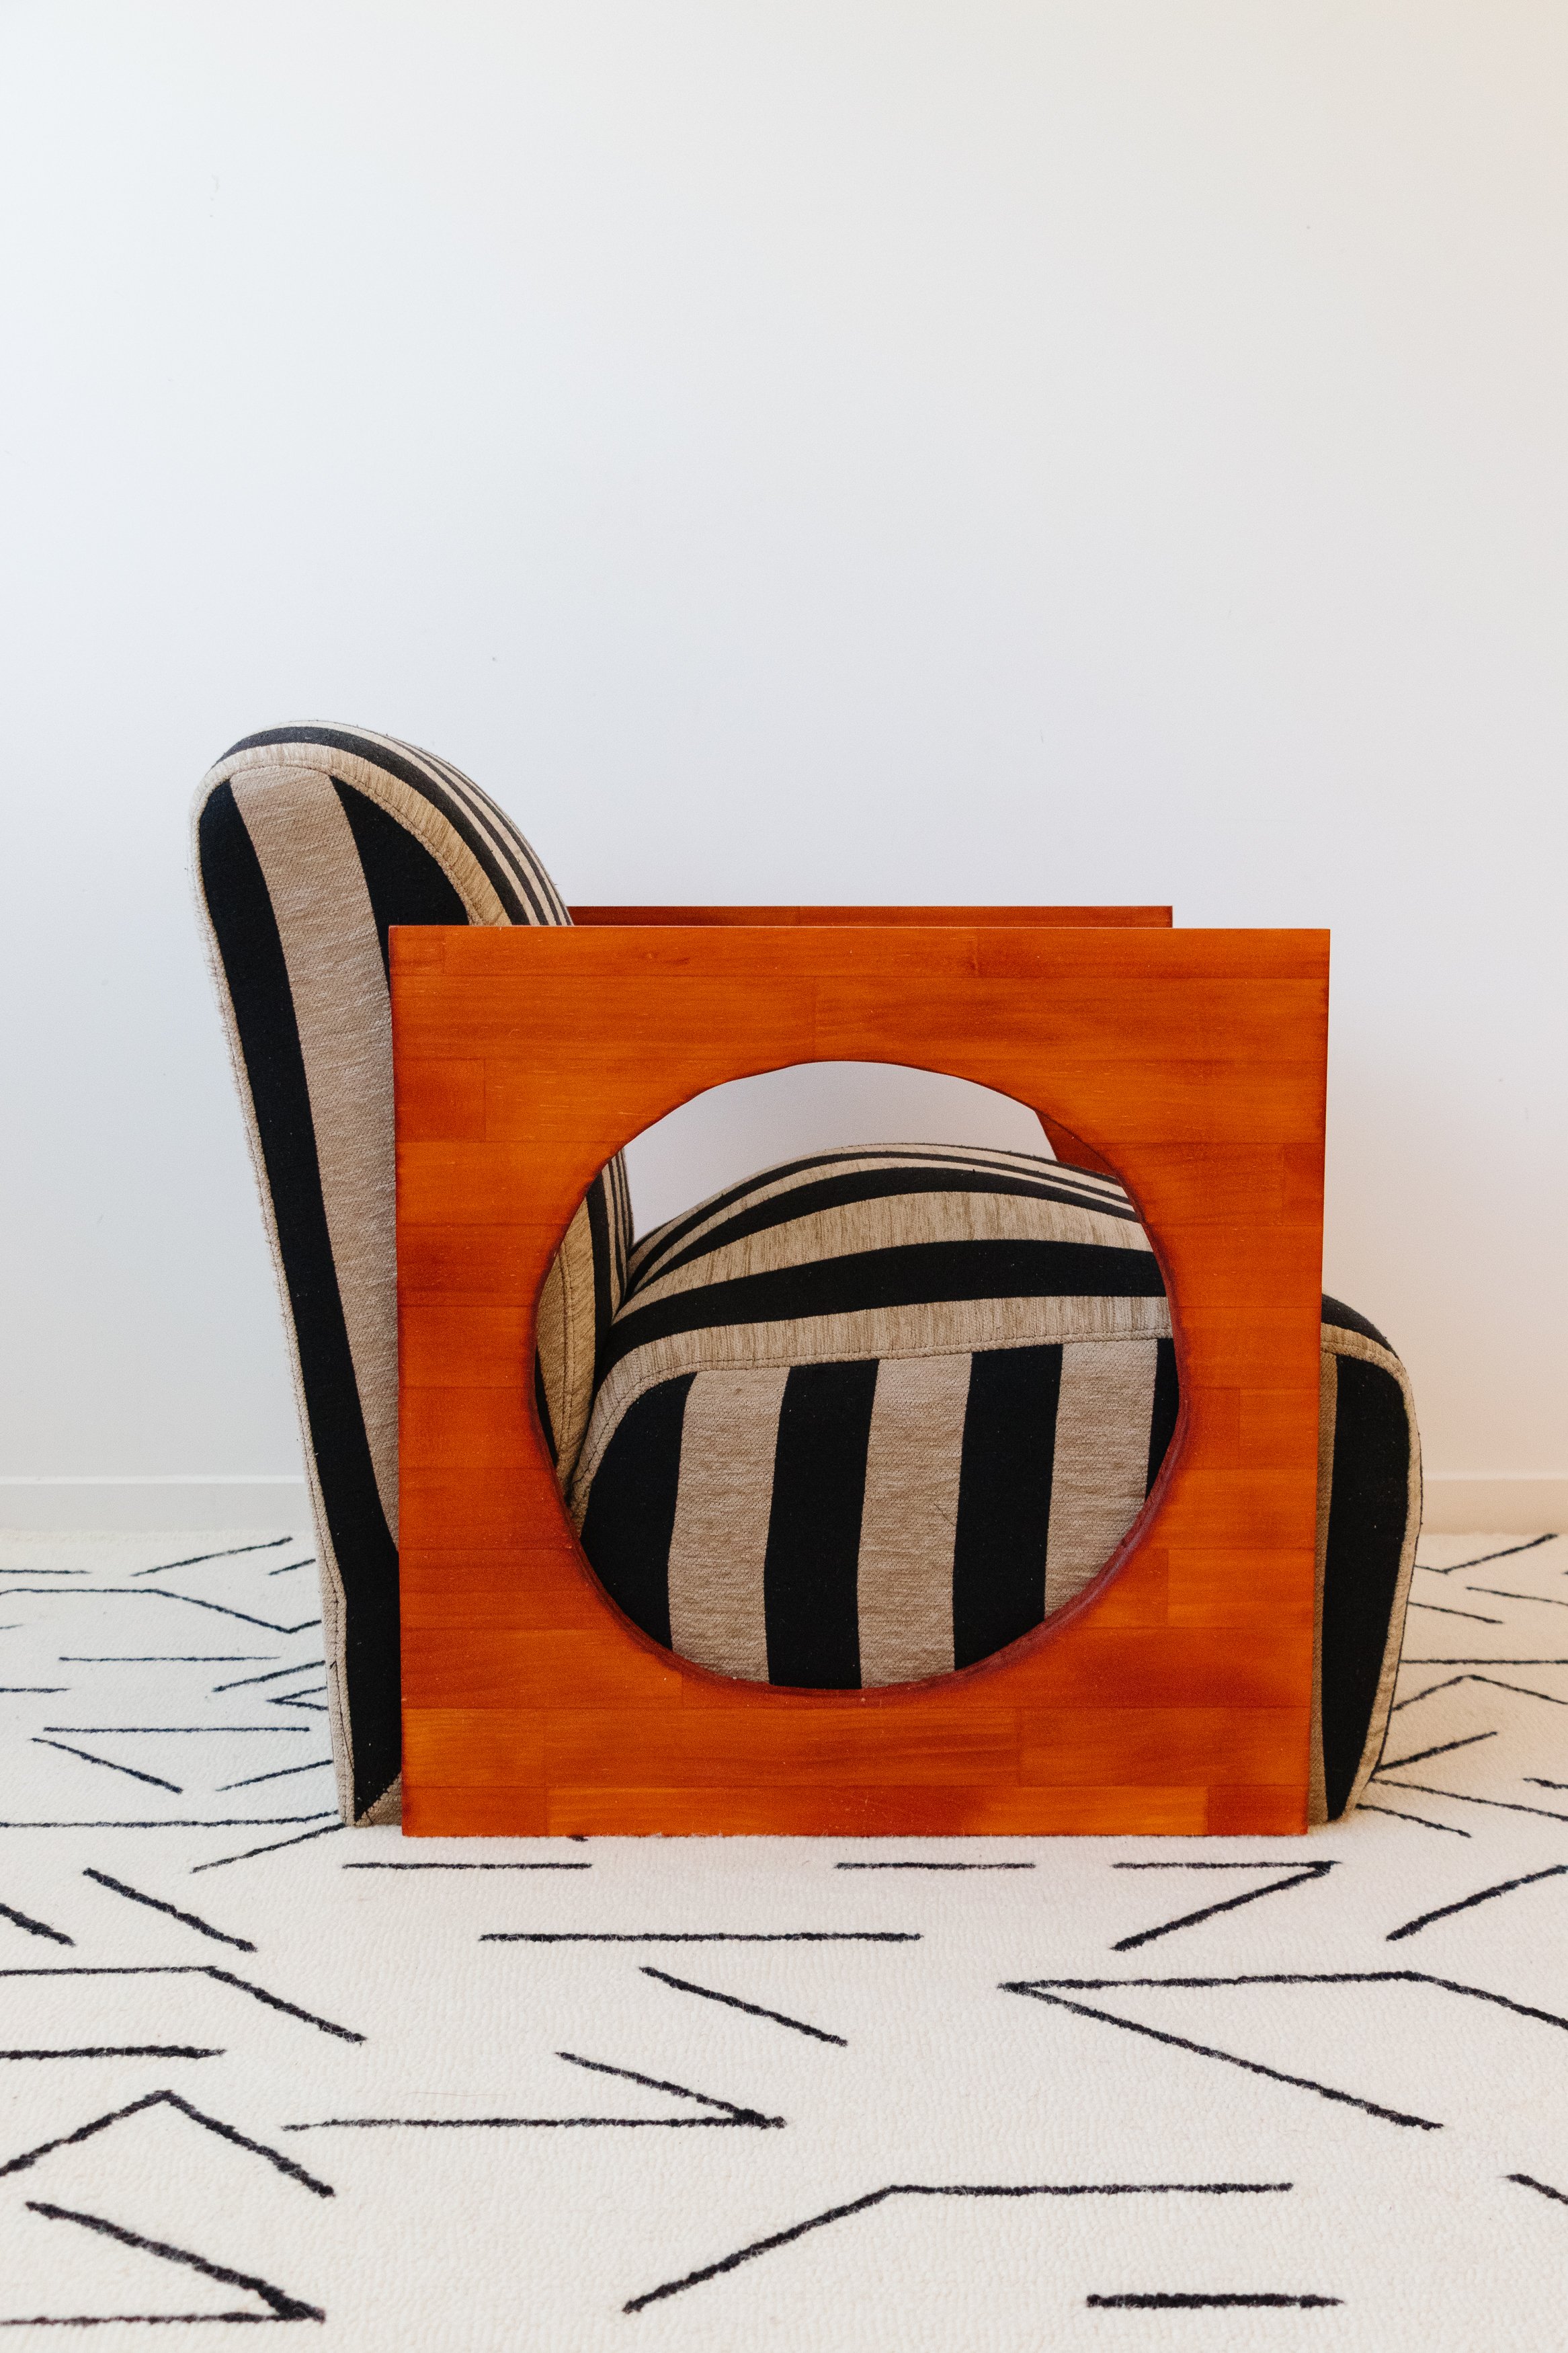
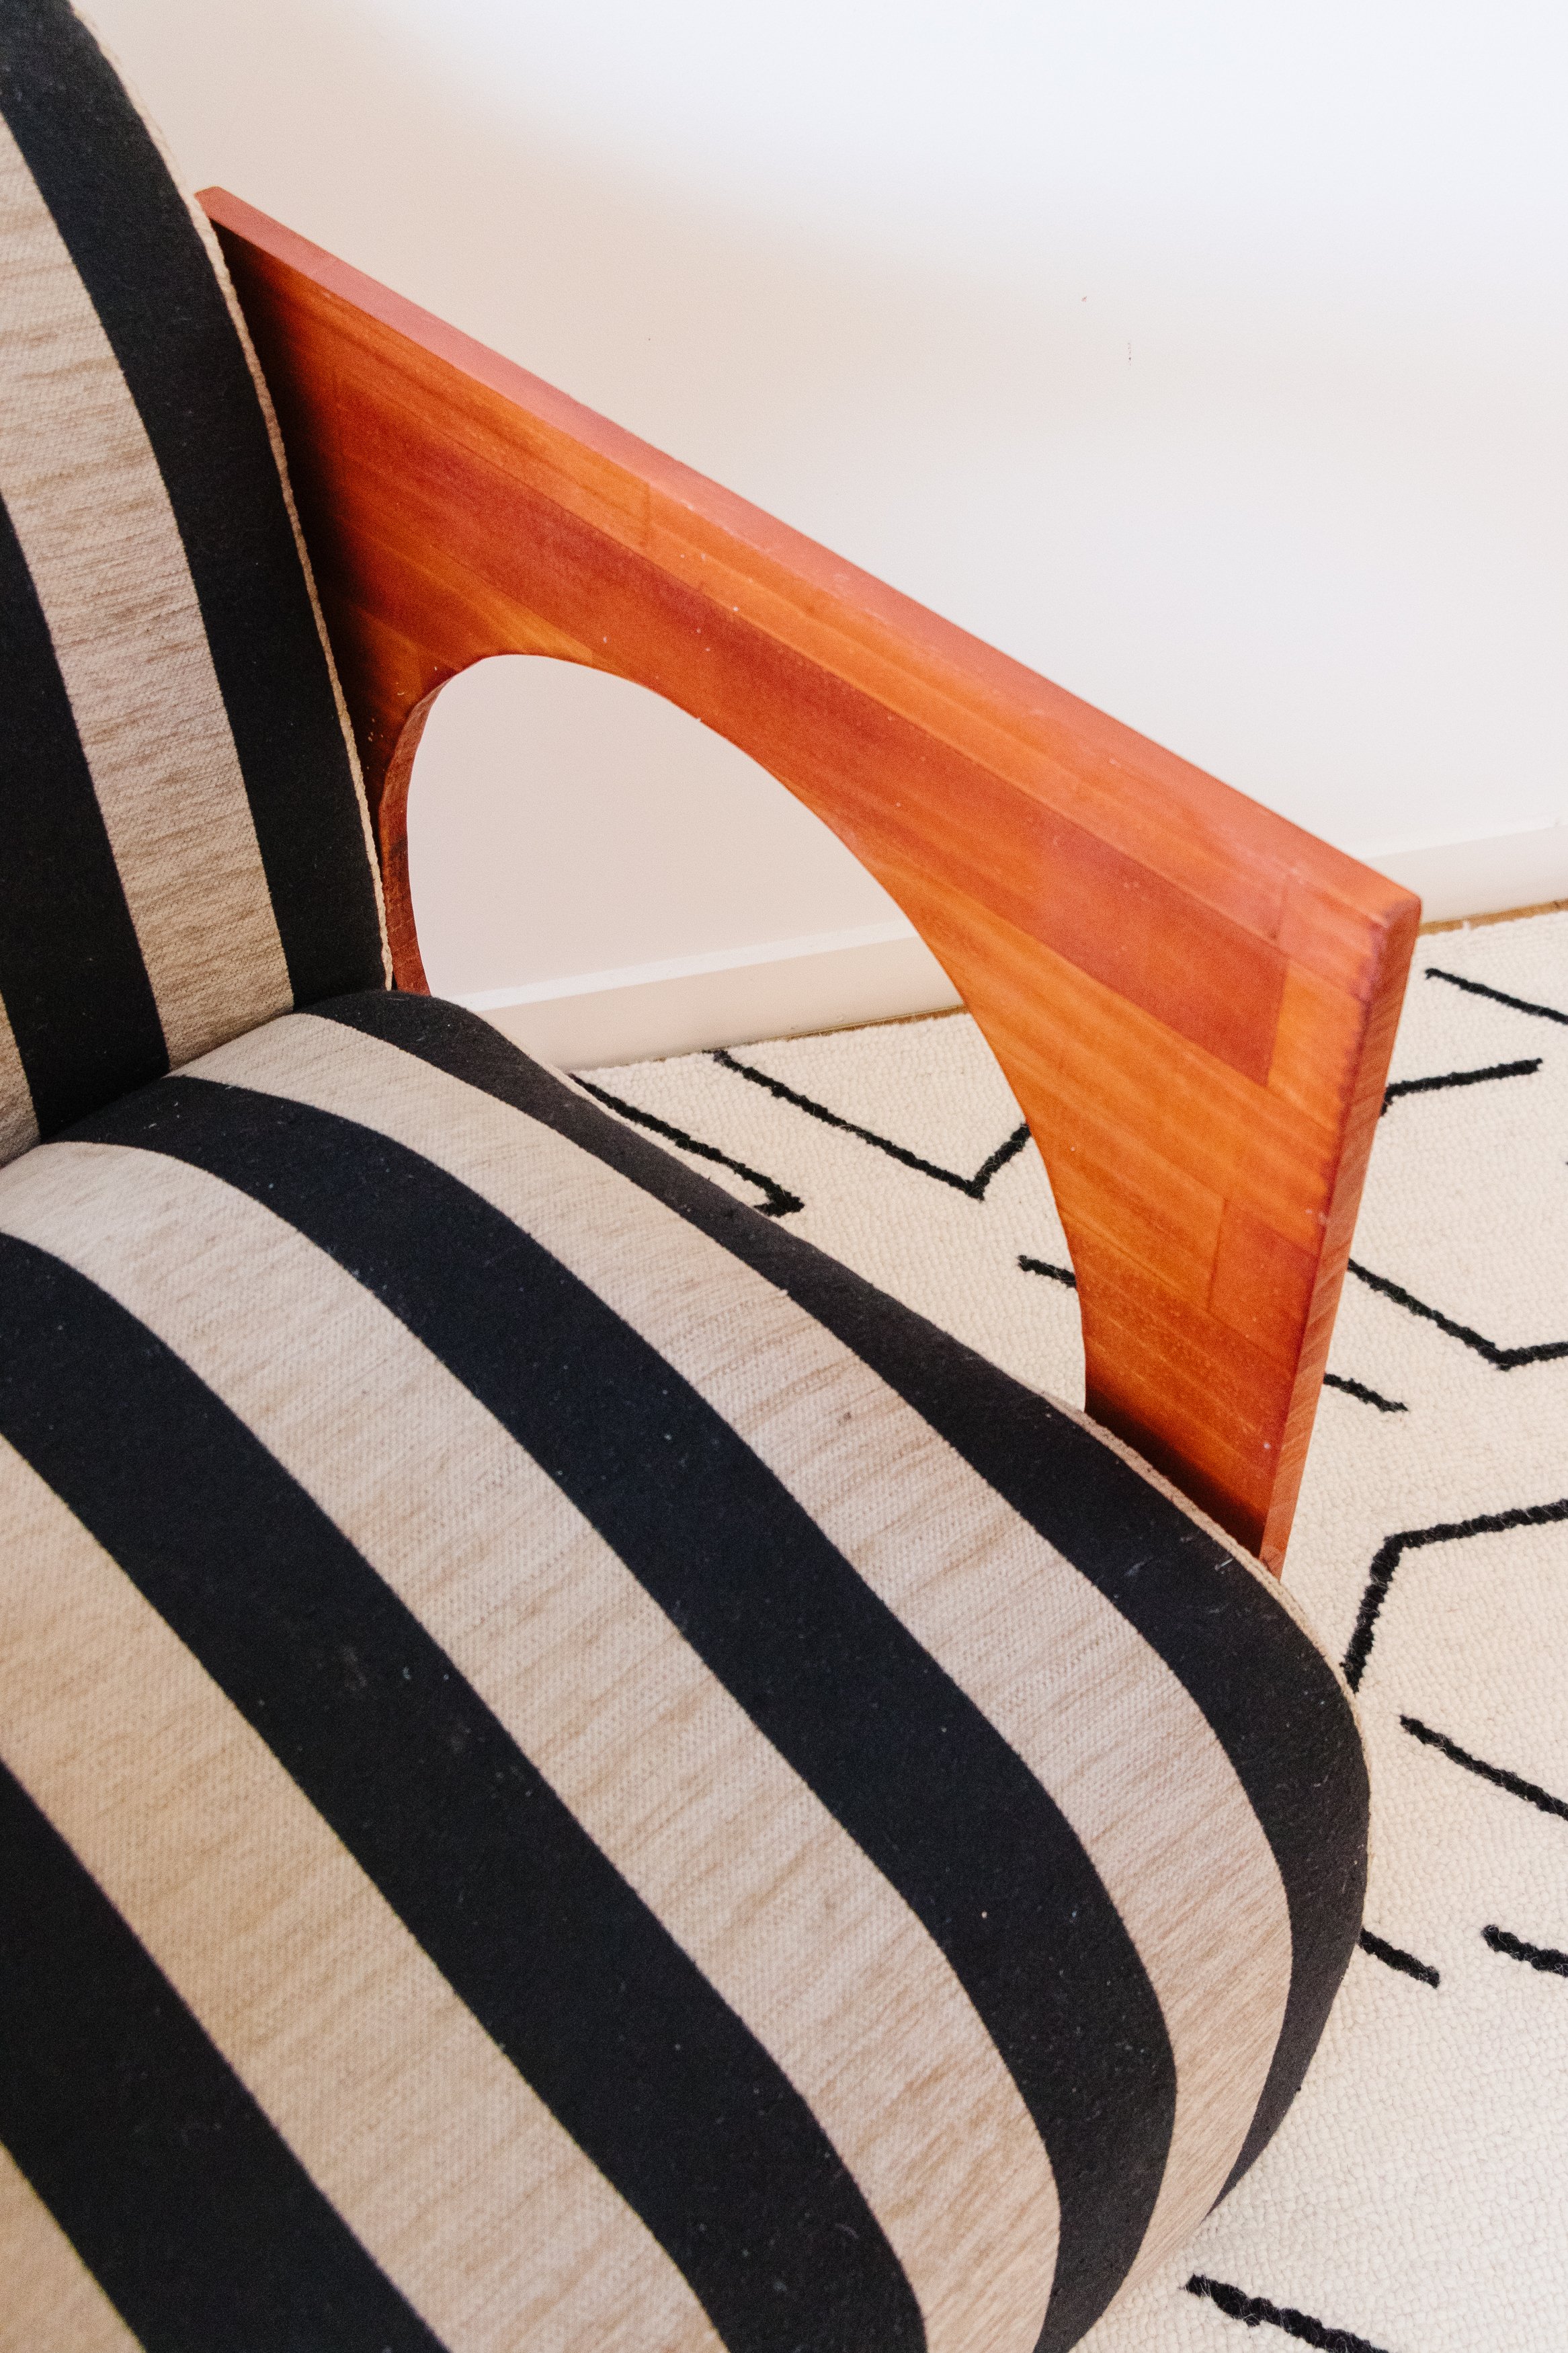
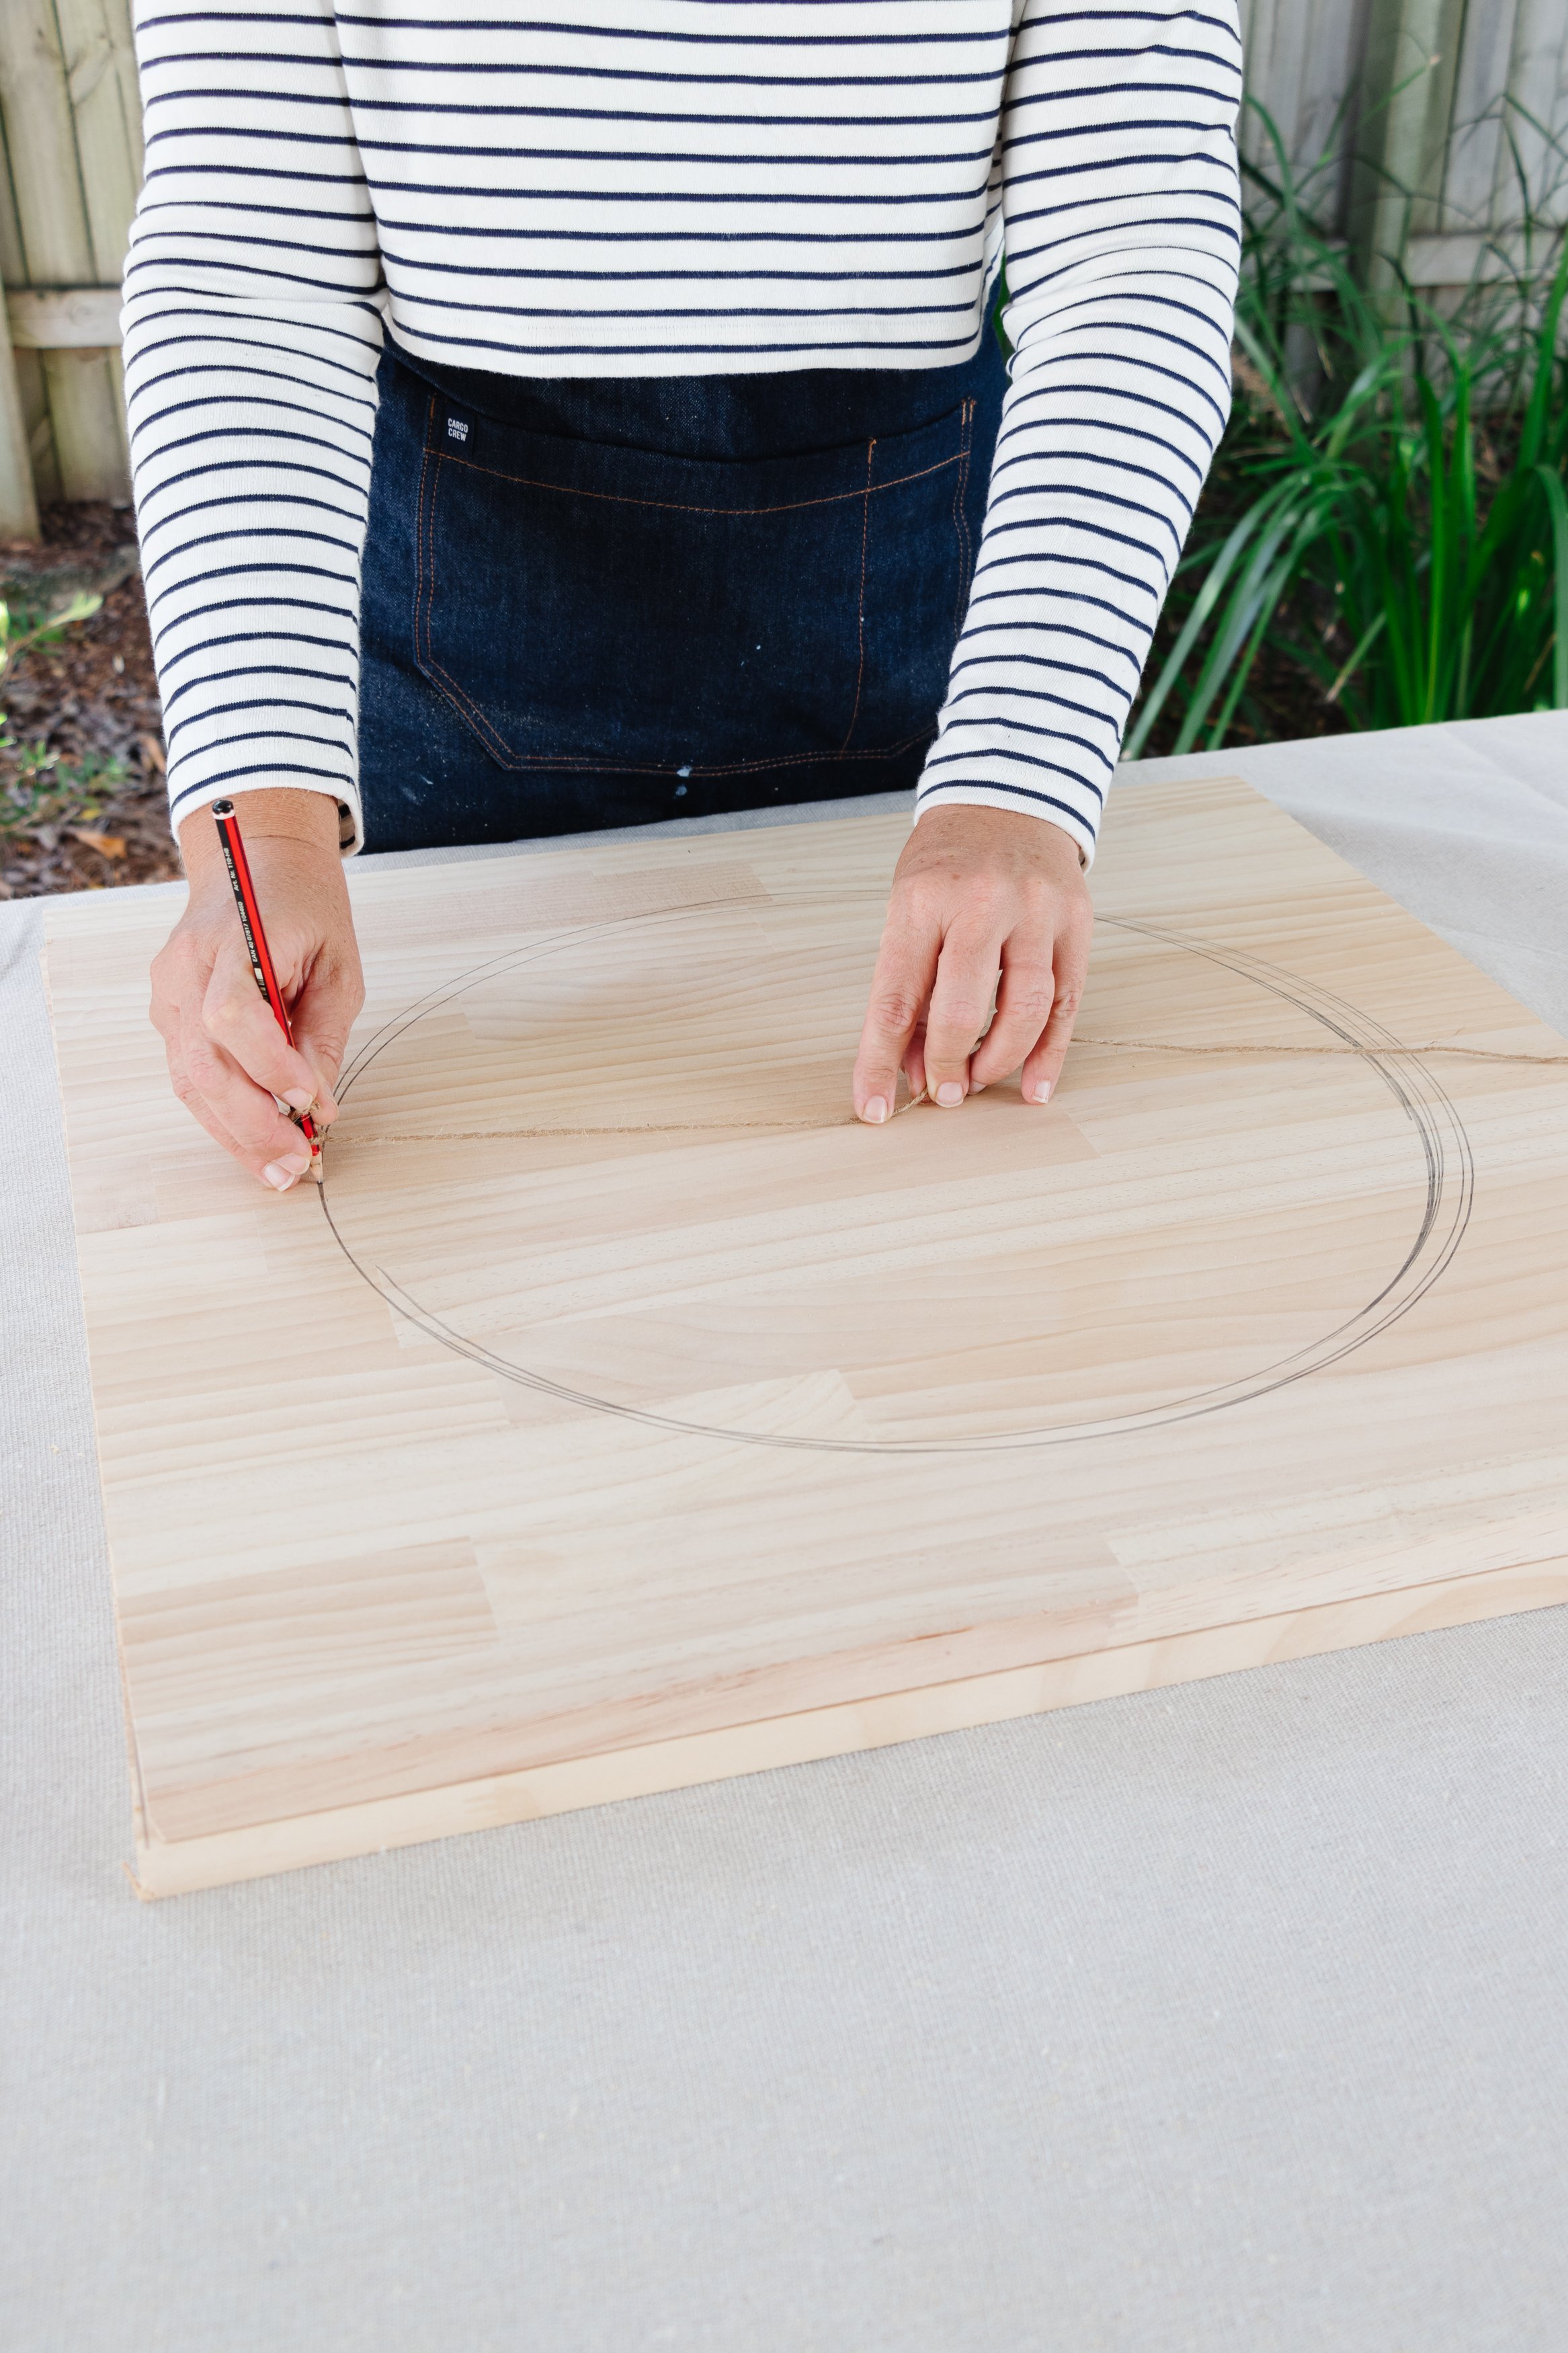
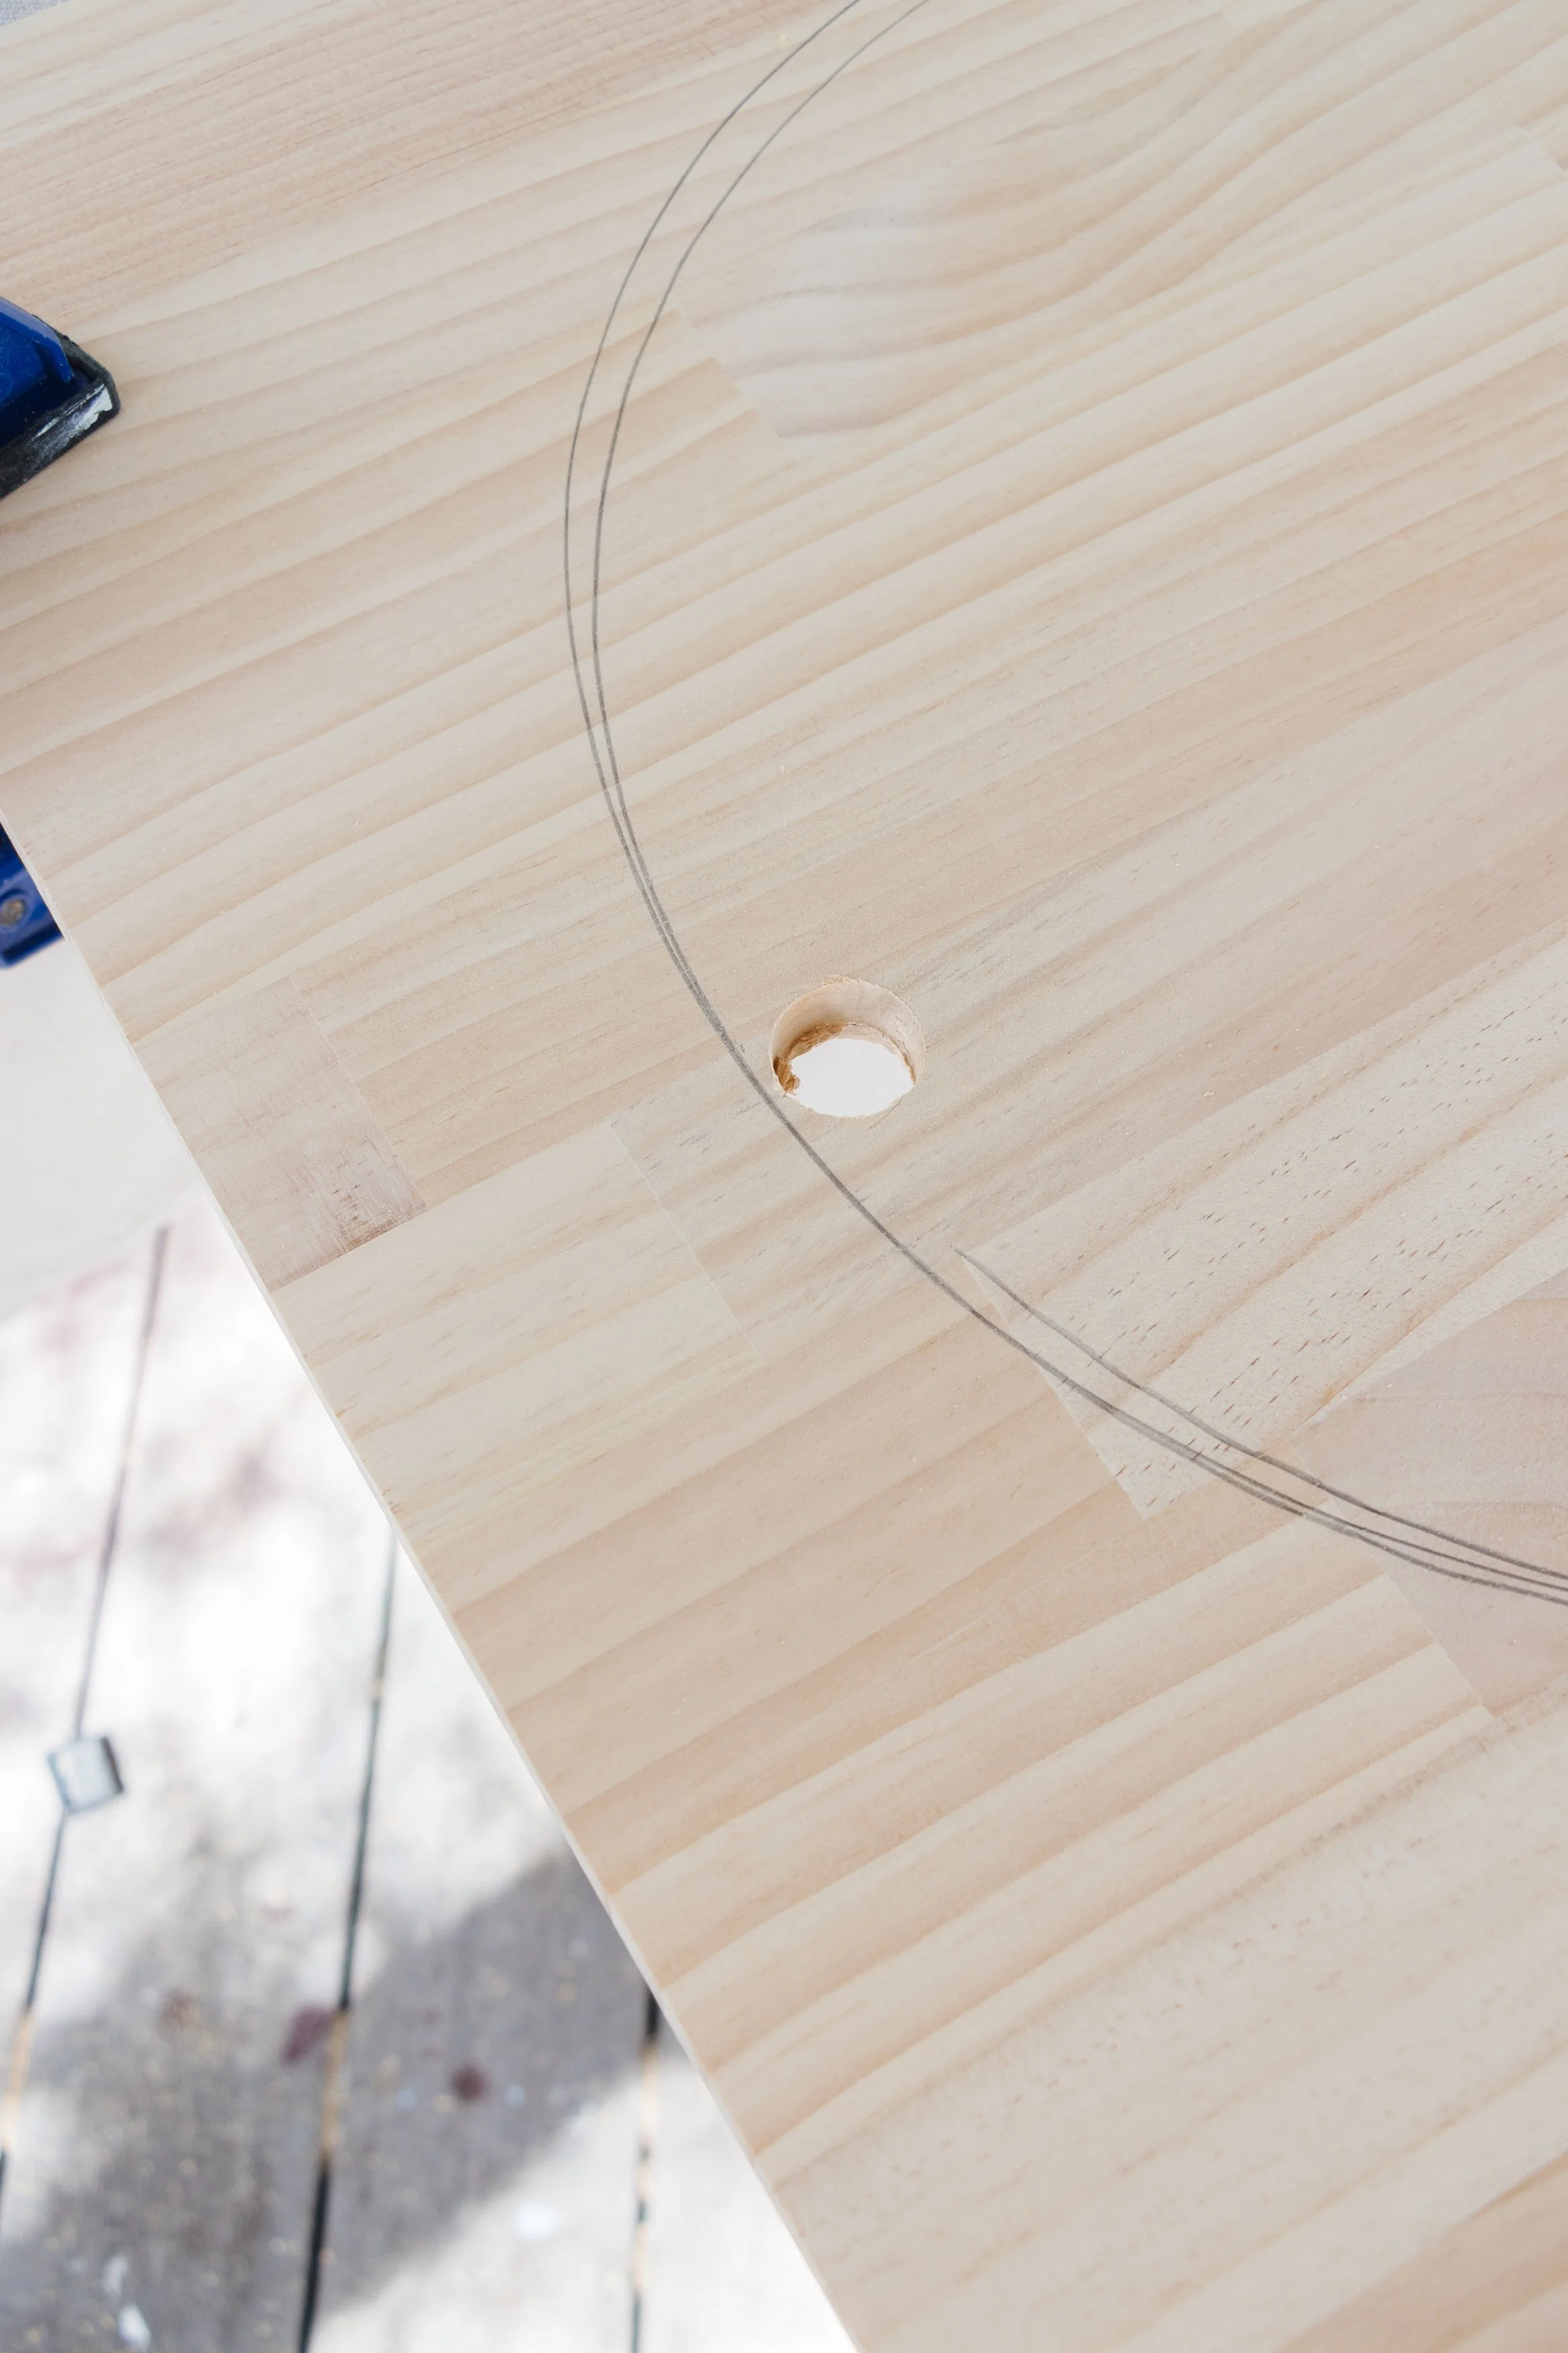
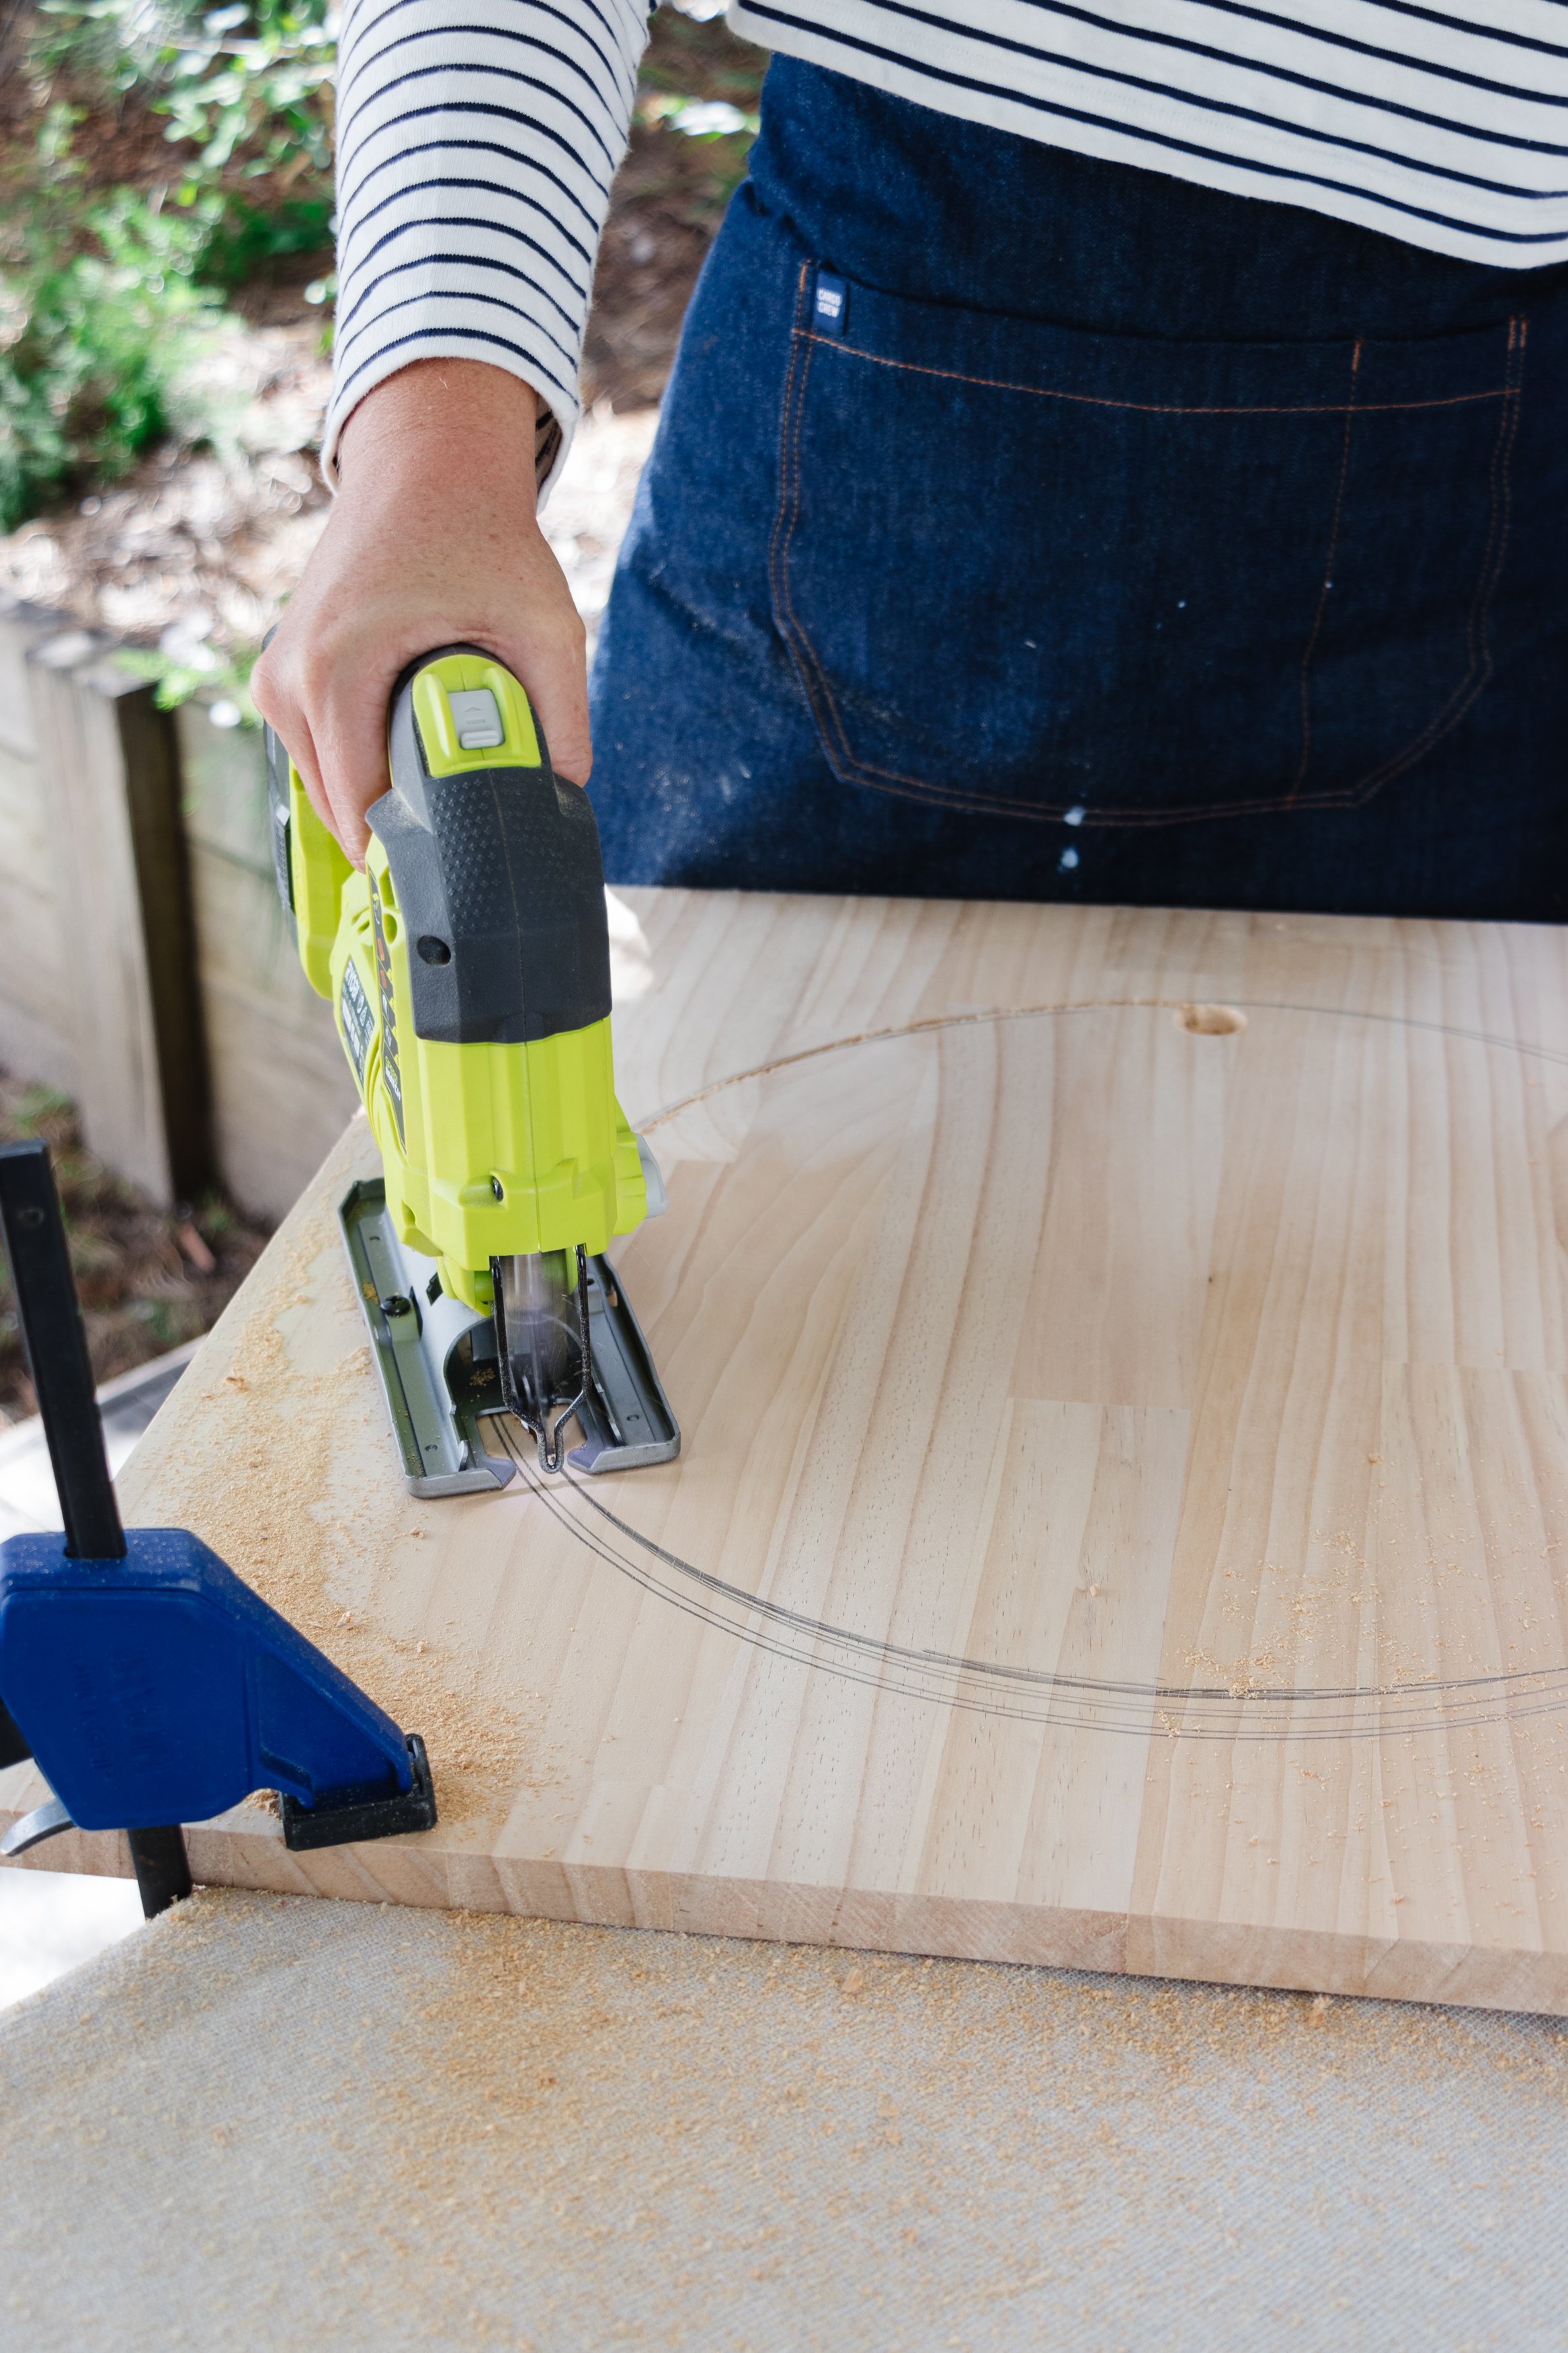
Step 2: I used a pencil and a piece of string to draw a large circle on each piece of wood, making sure there was at least 90mm from each edge. I used my RYOBI Drill with a spade bit to cut a hole inside the circle, then I used my RYOBI Jigsaw to cut the circle out.
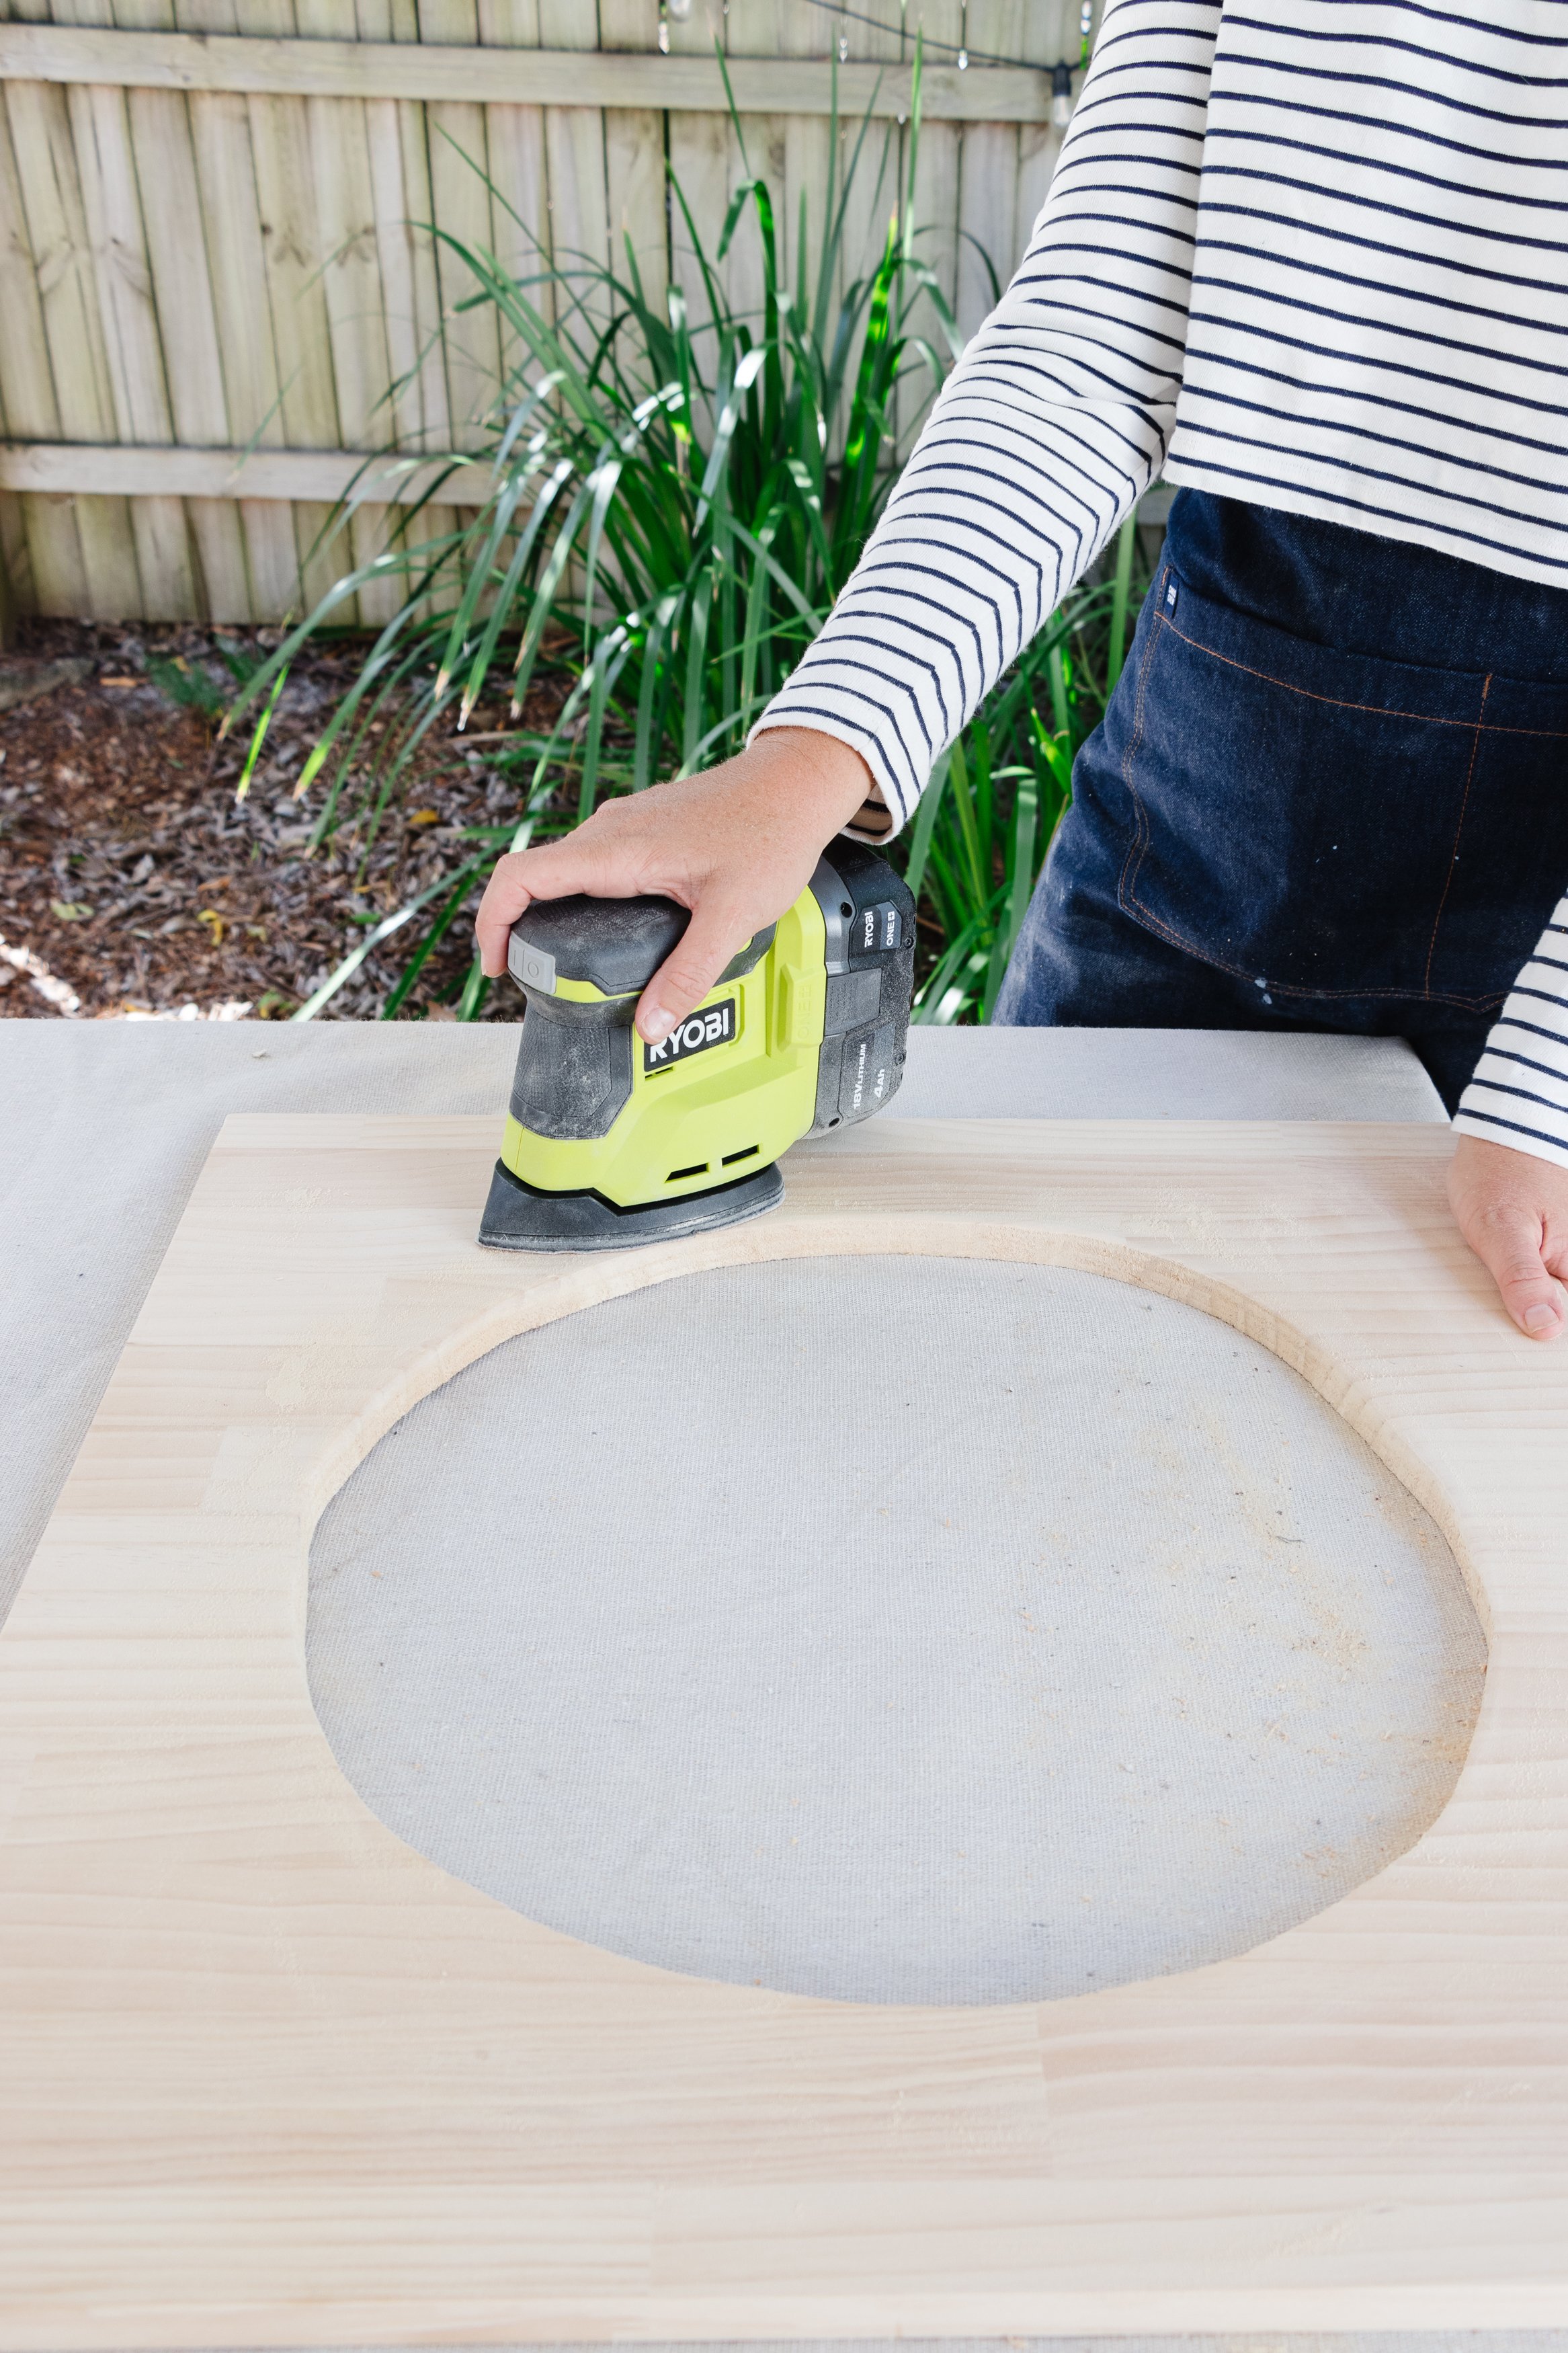
Step 3: I used my RYOBI Palm Sander to smooth inside the circle and round the edges.

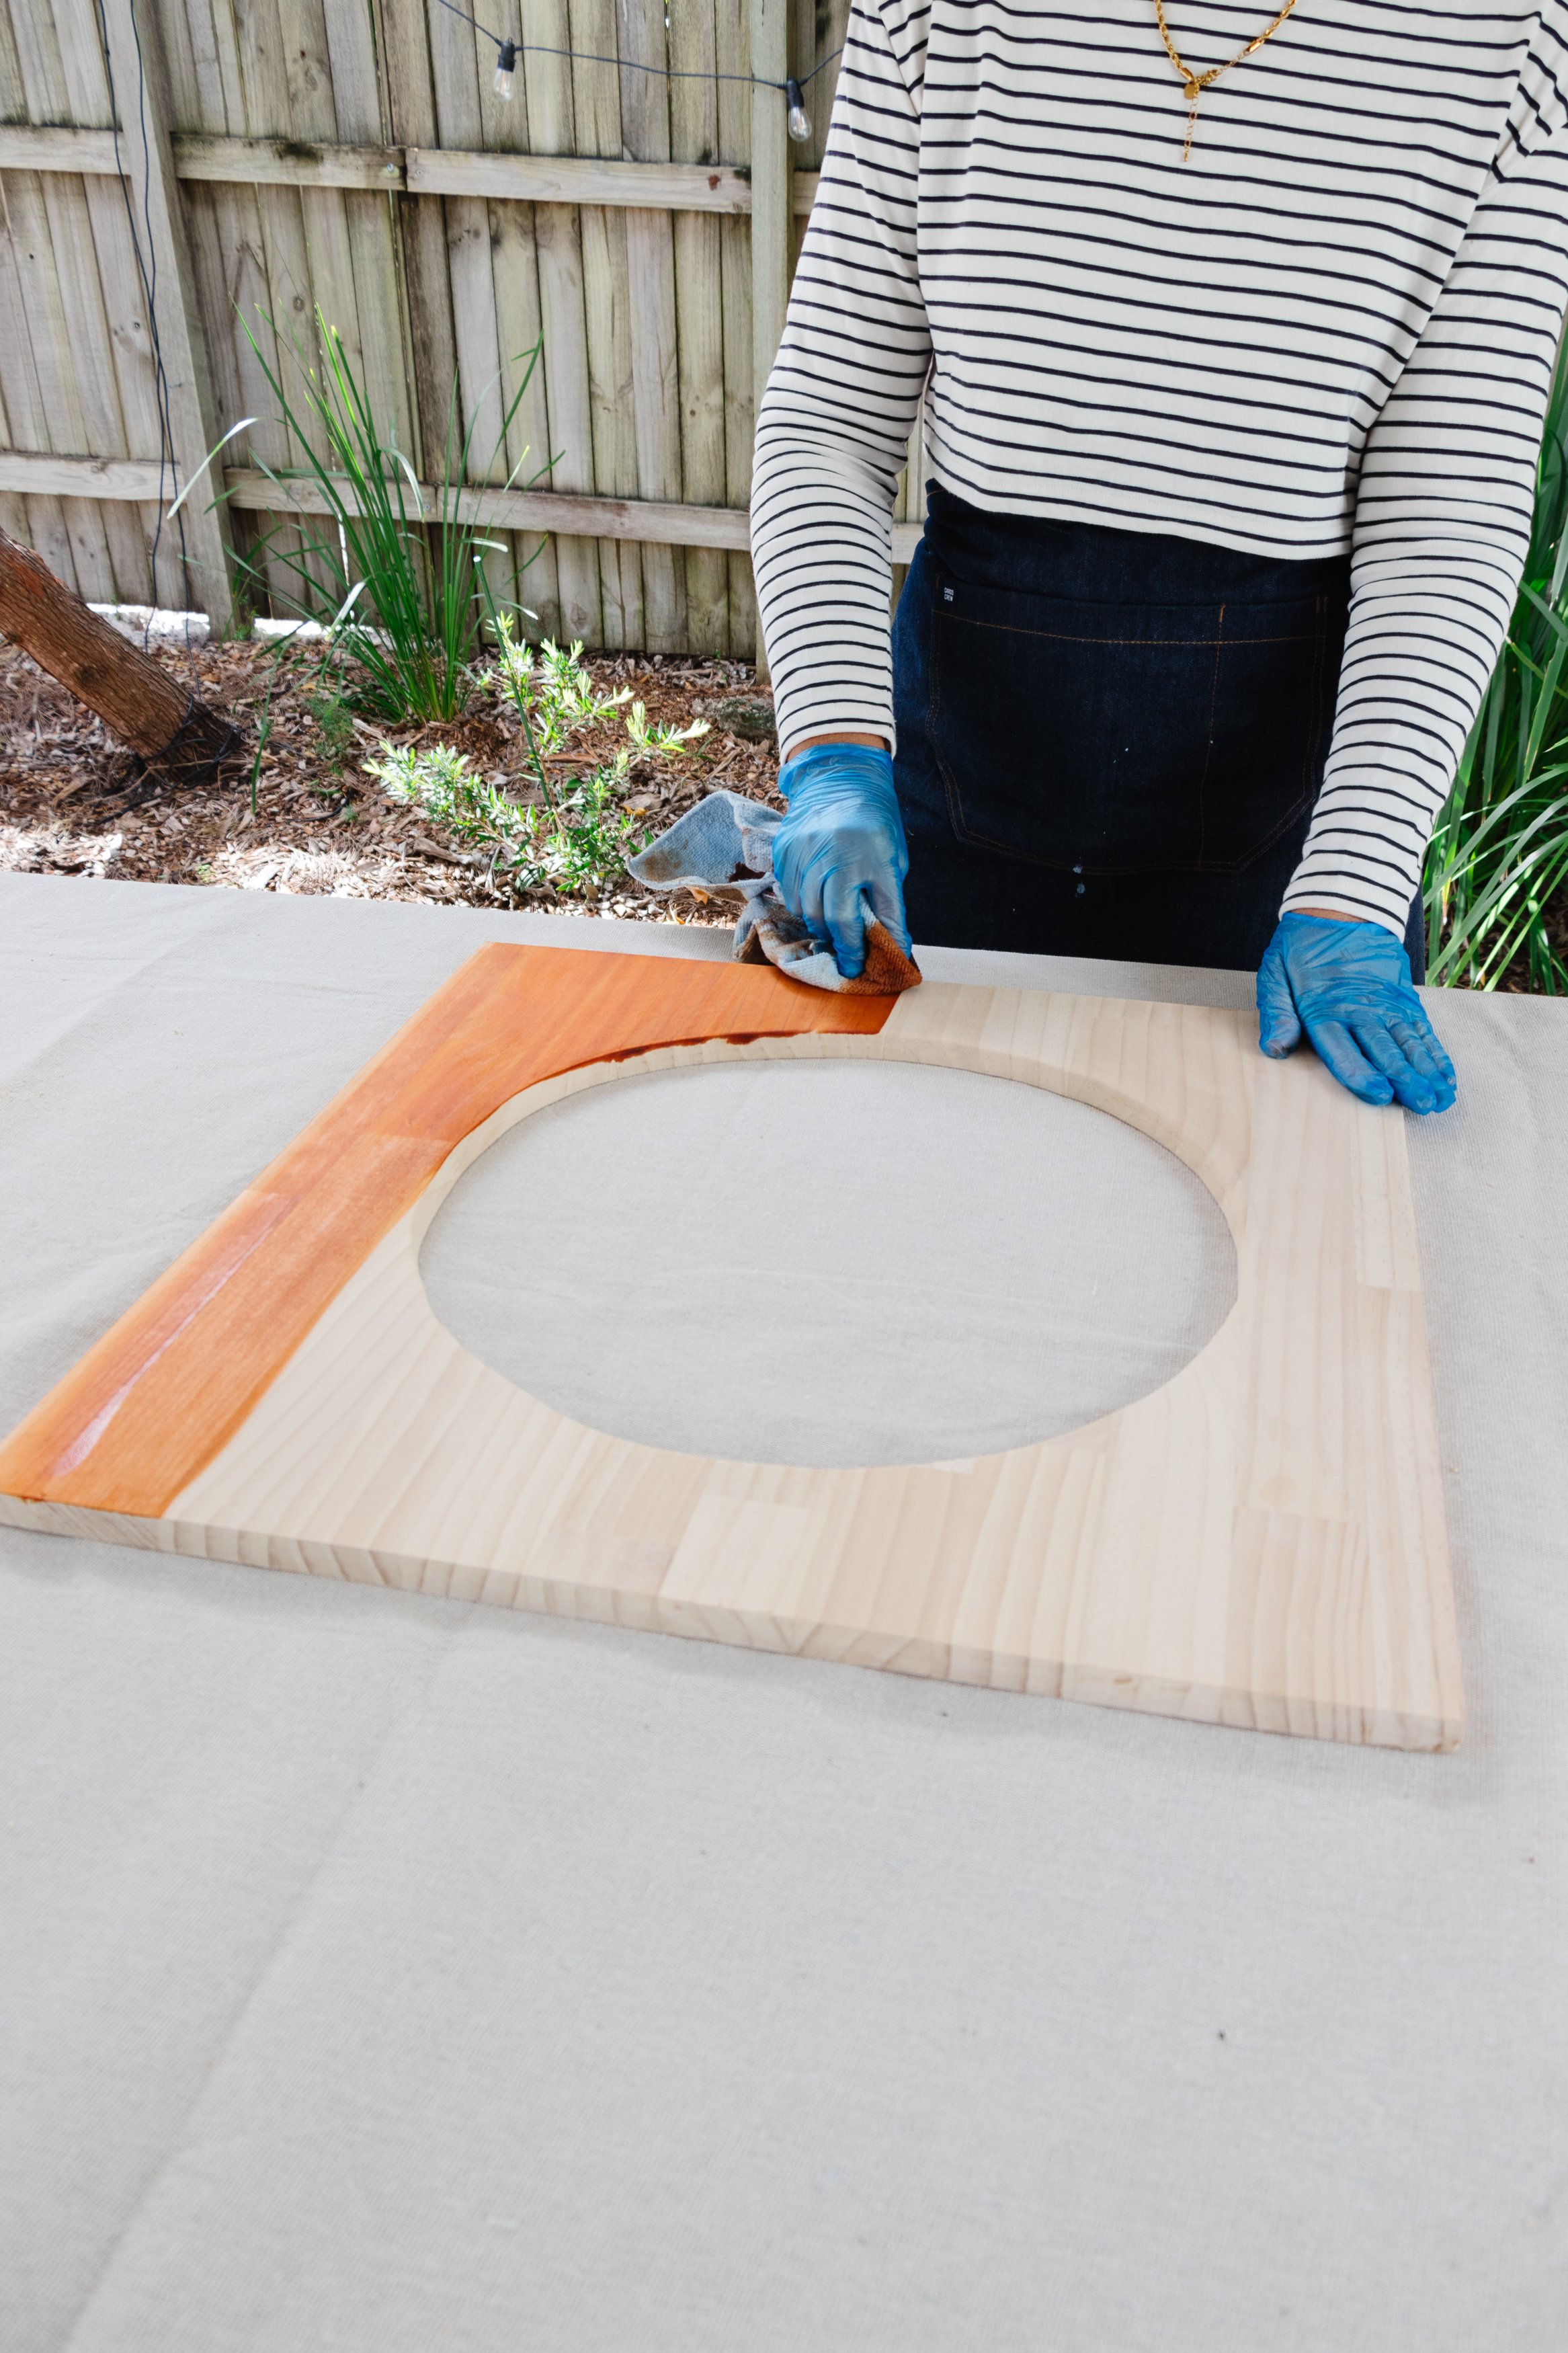
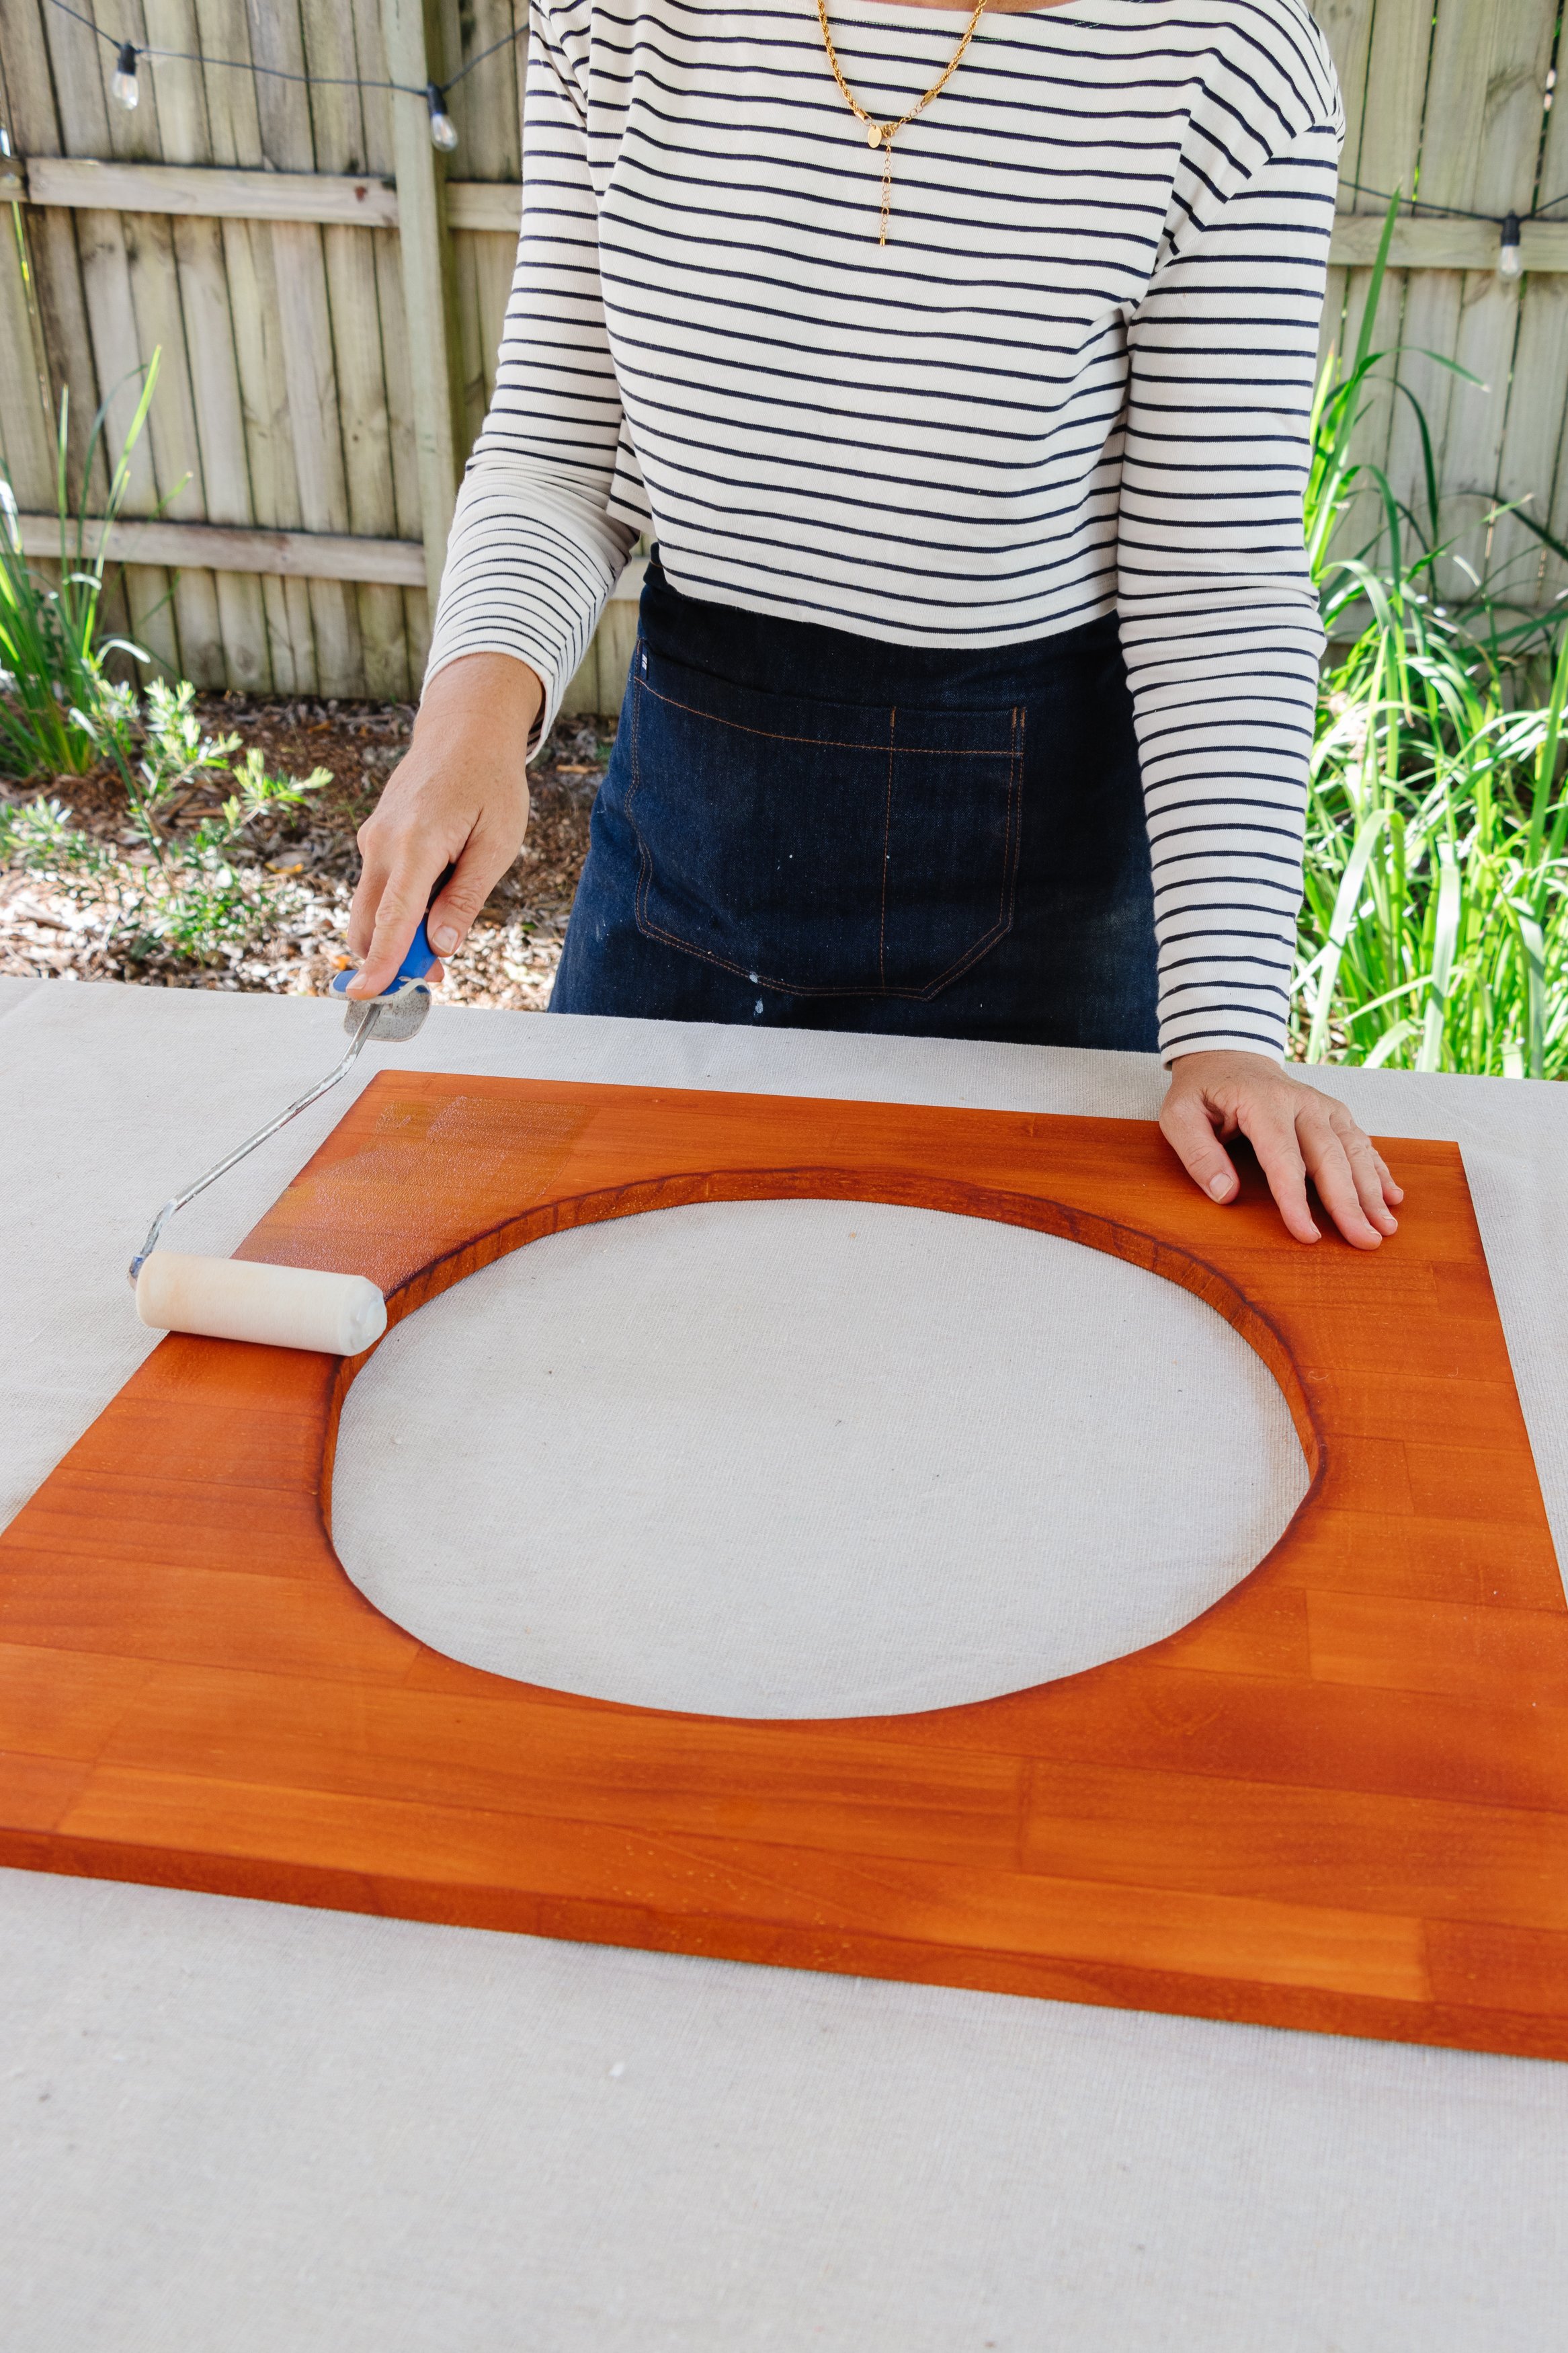
Step 4: I applied two coats of timber stain all over the wood using a microfibre cloth. When the stain had dried, I applied two coats of satin varnish all over the wood using a microfibre roller.
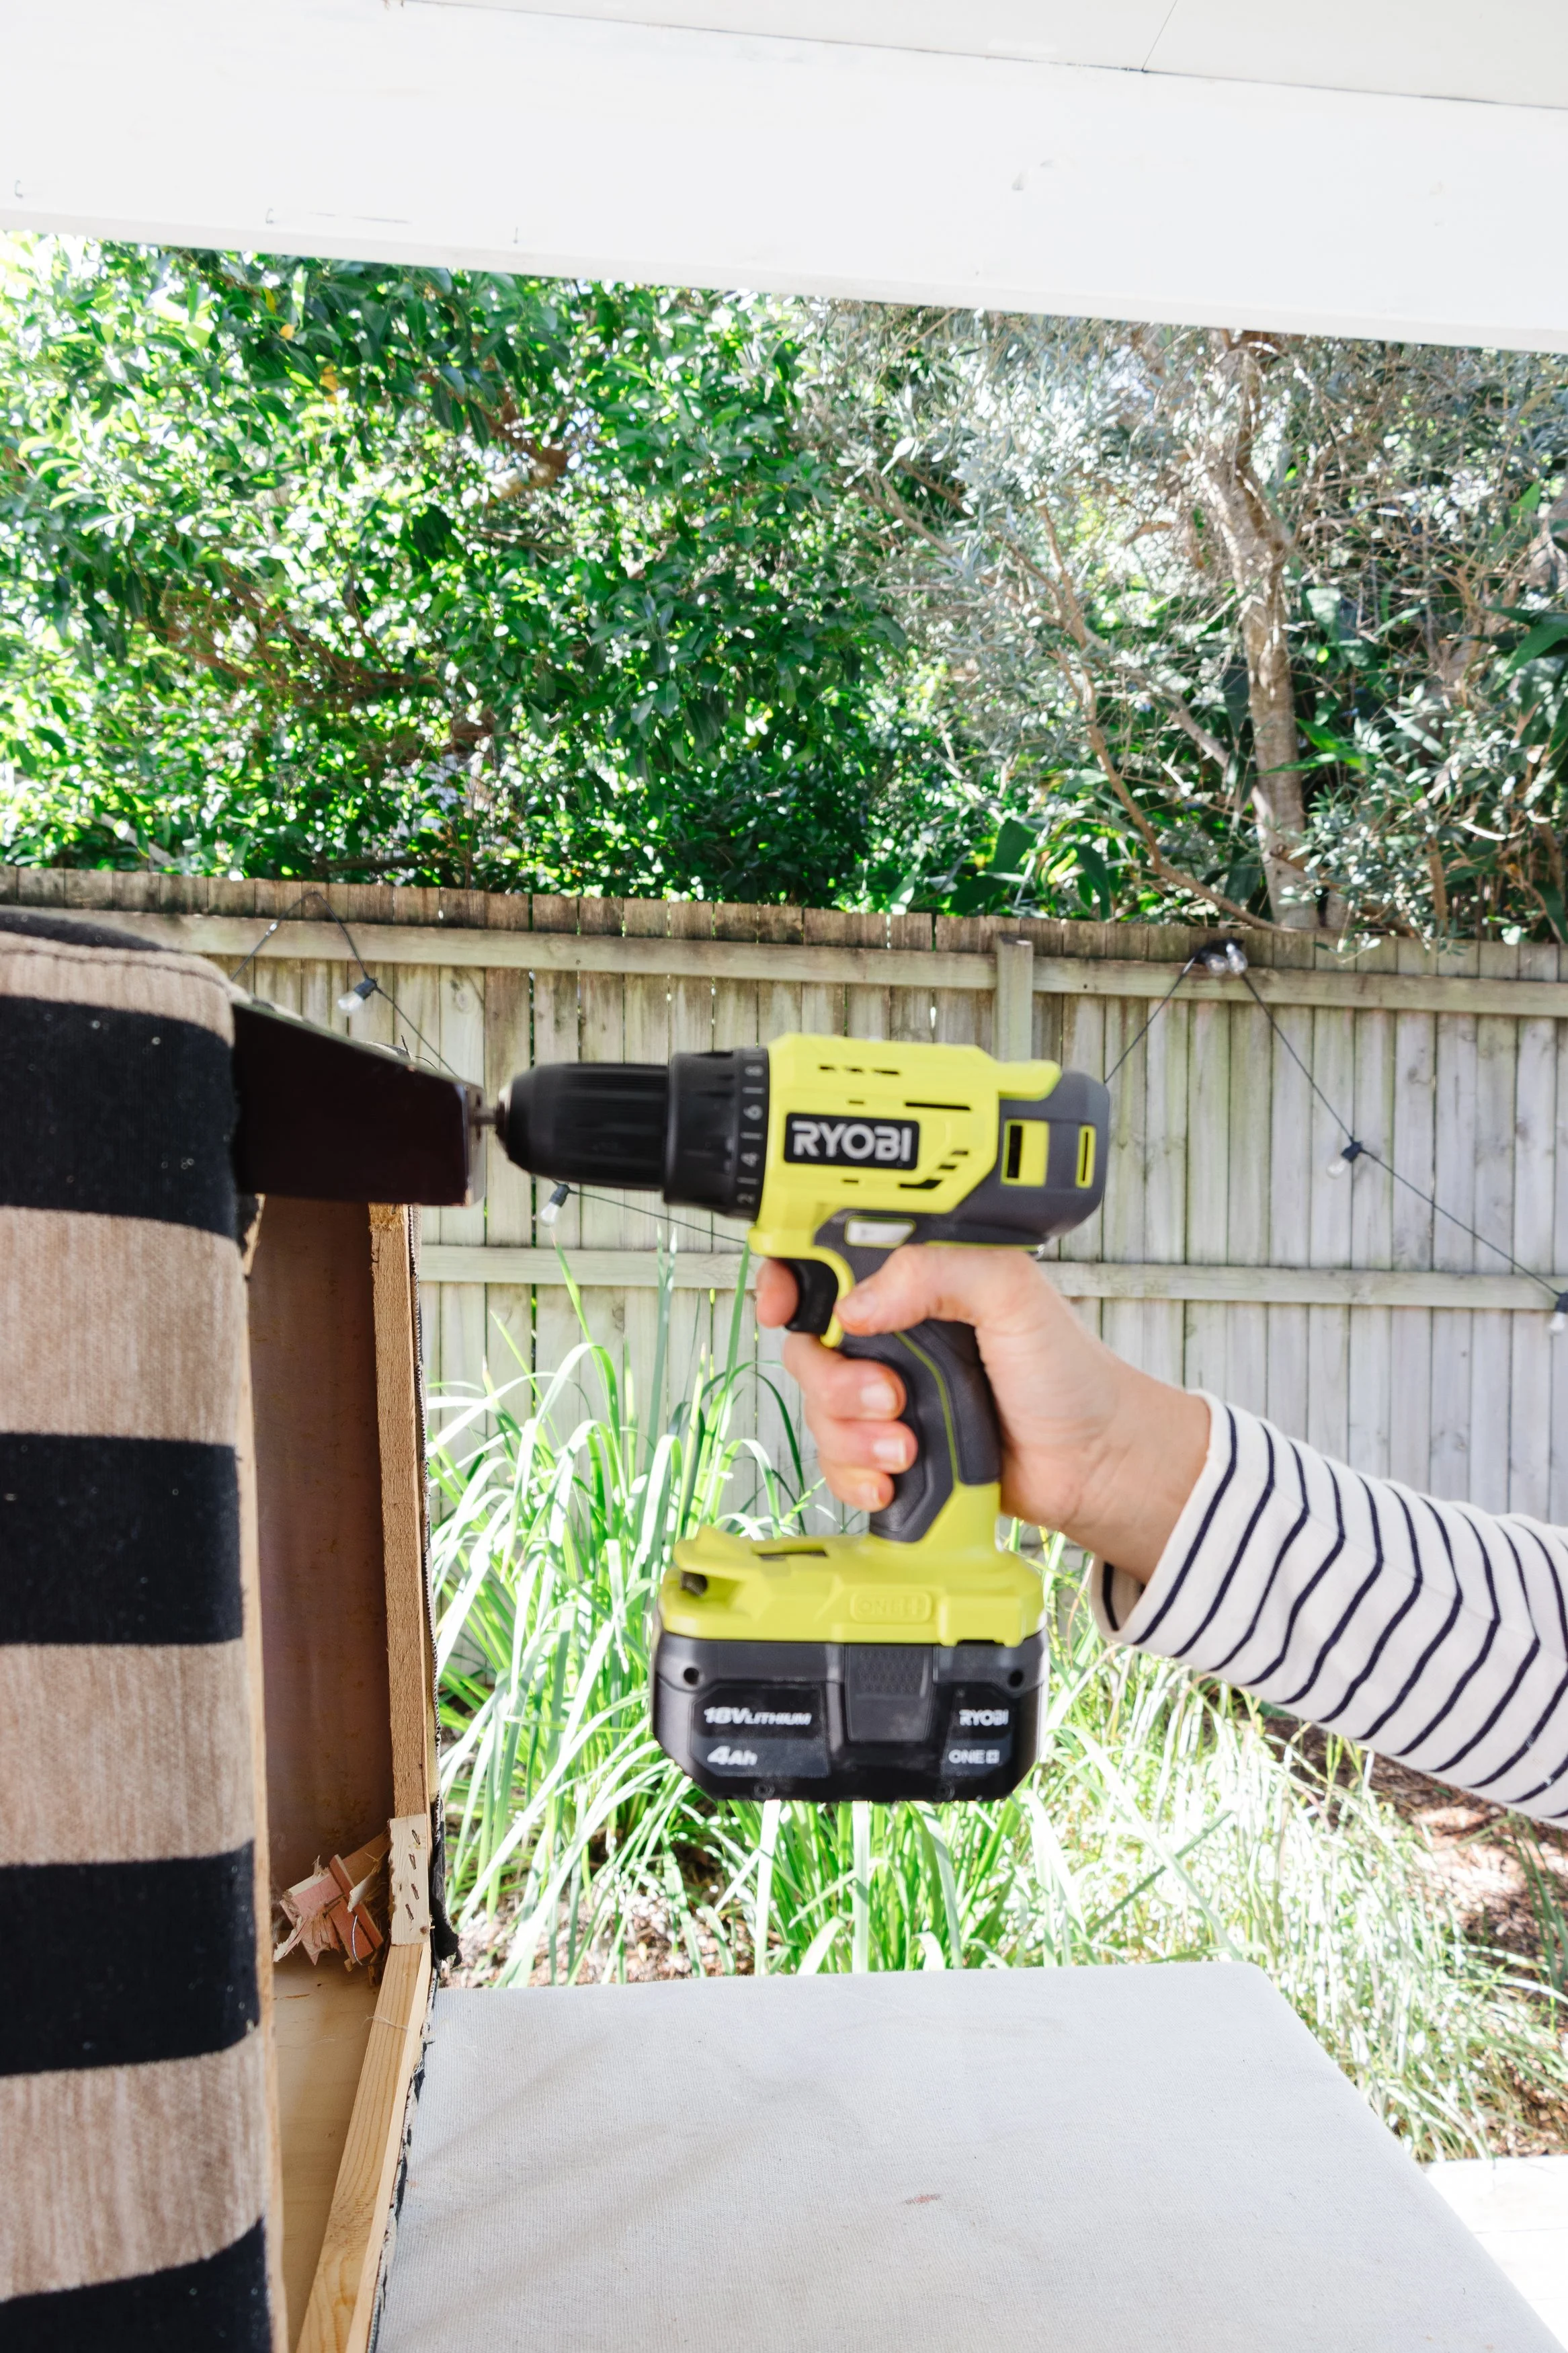
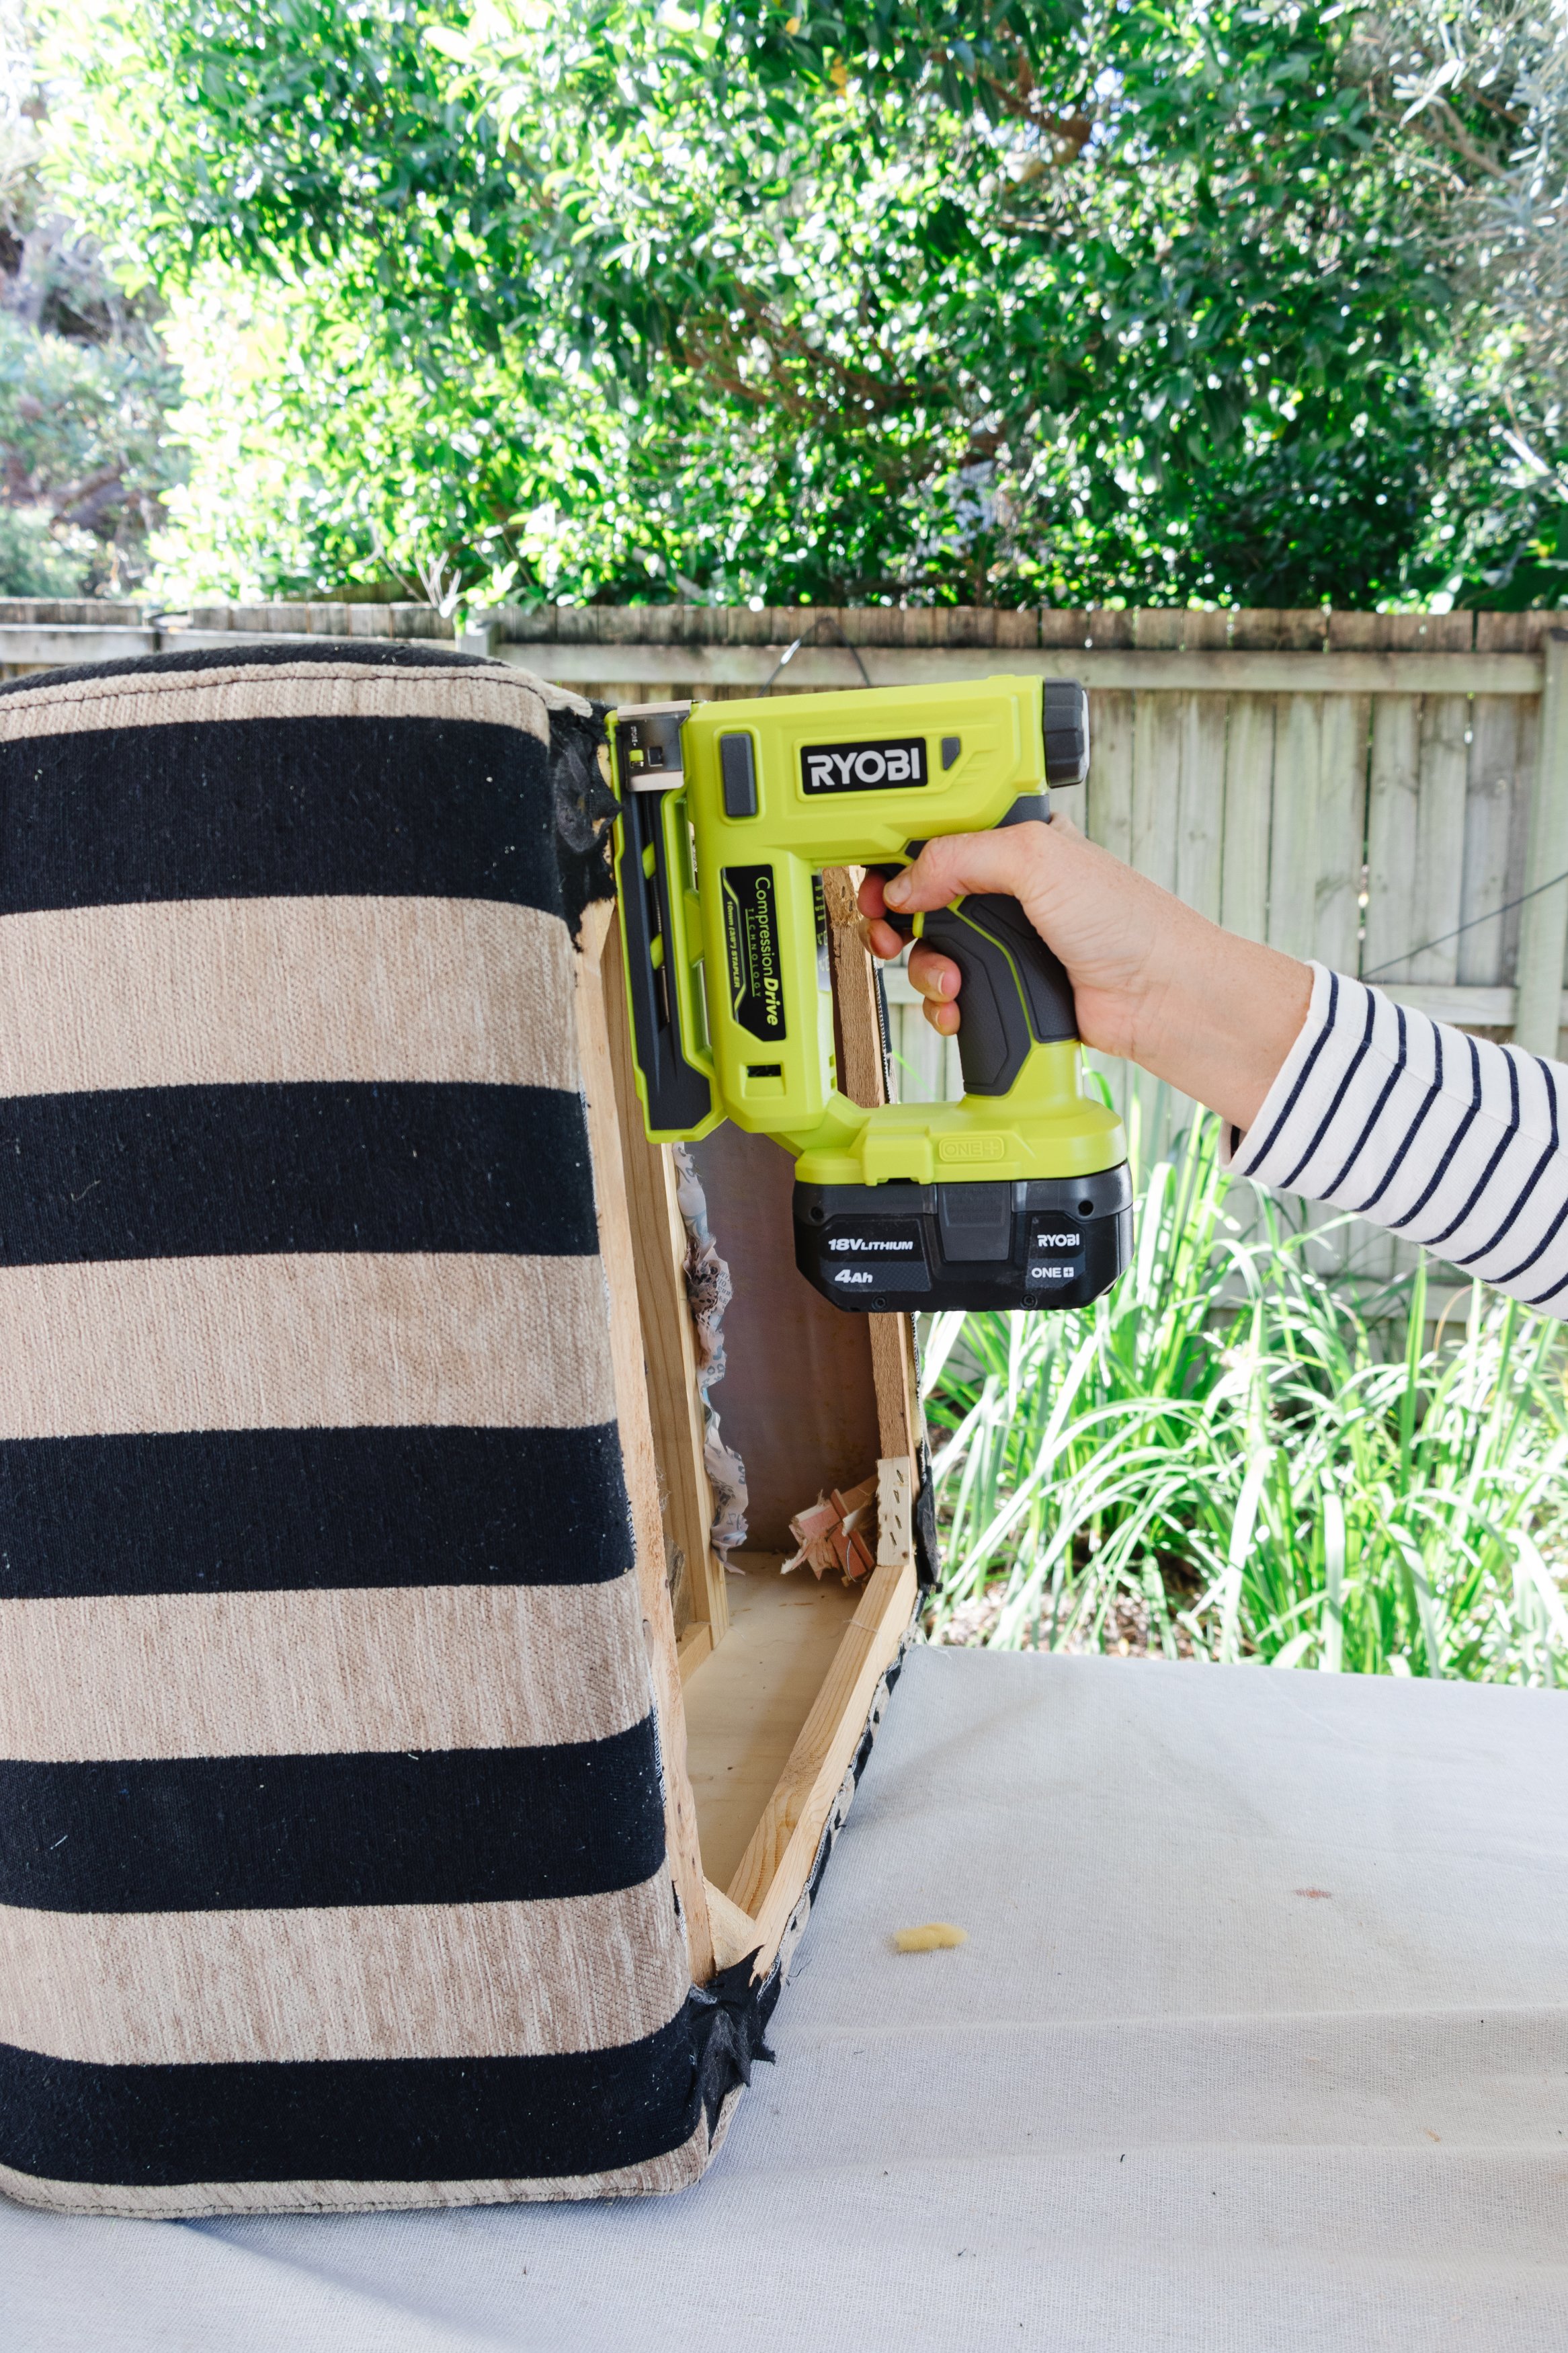
Step 5: While the varnish was drying, I removed the feet from the chair using my RYOBI Drill. I also used my RYOBI Stapler to secure some of the fabric that had come off the bottom of the chair.
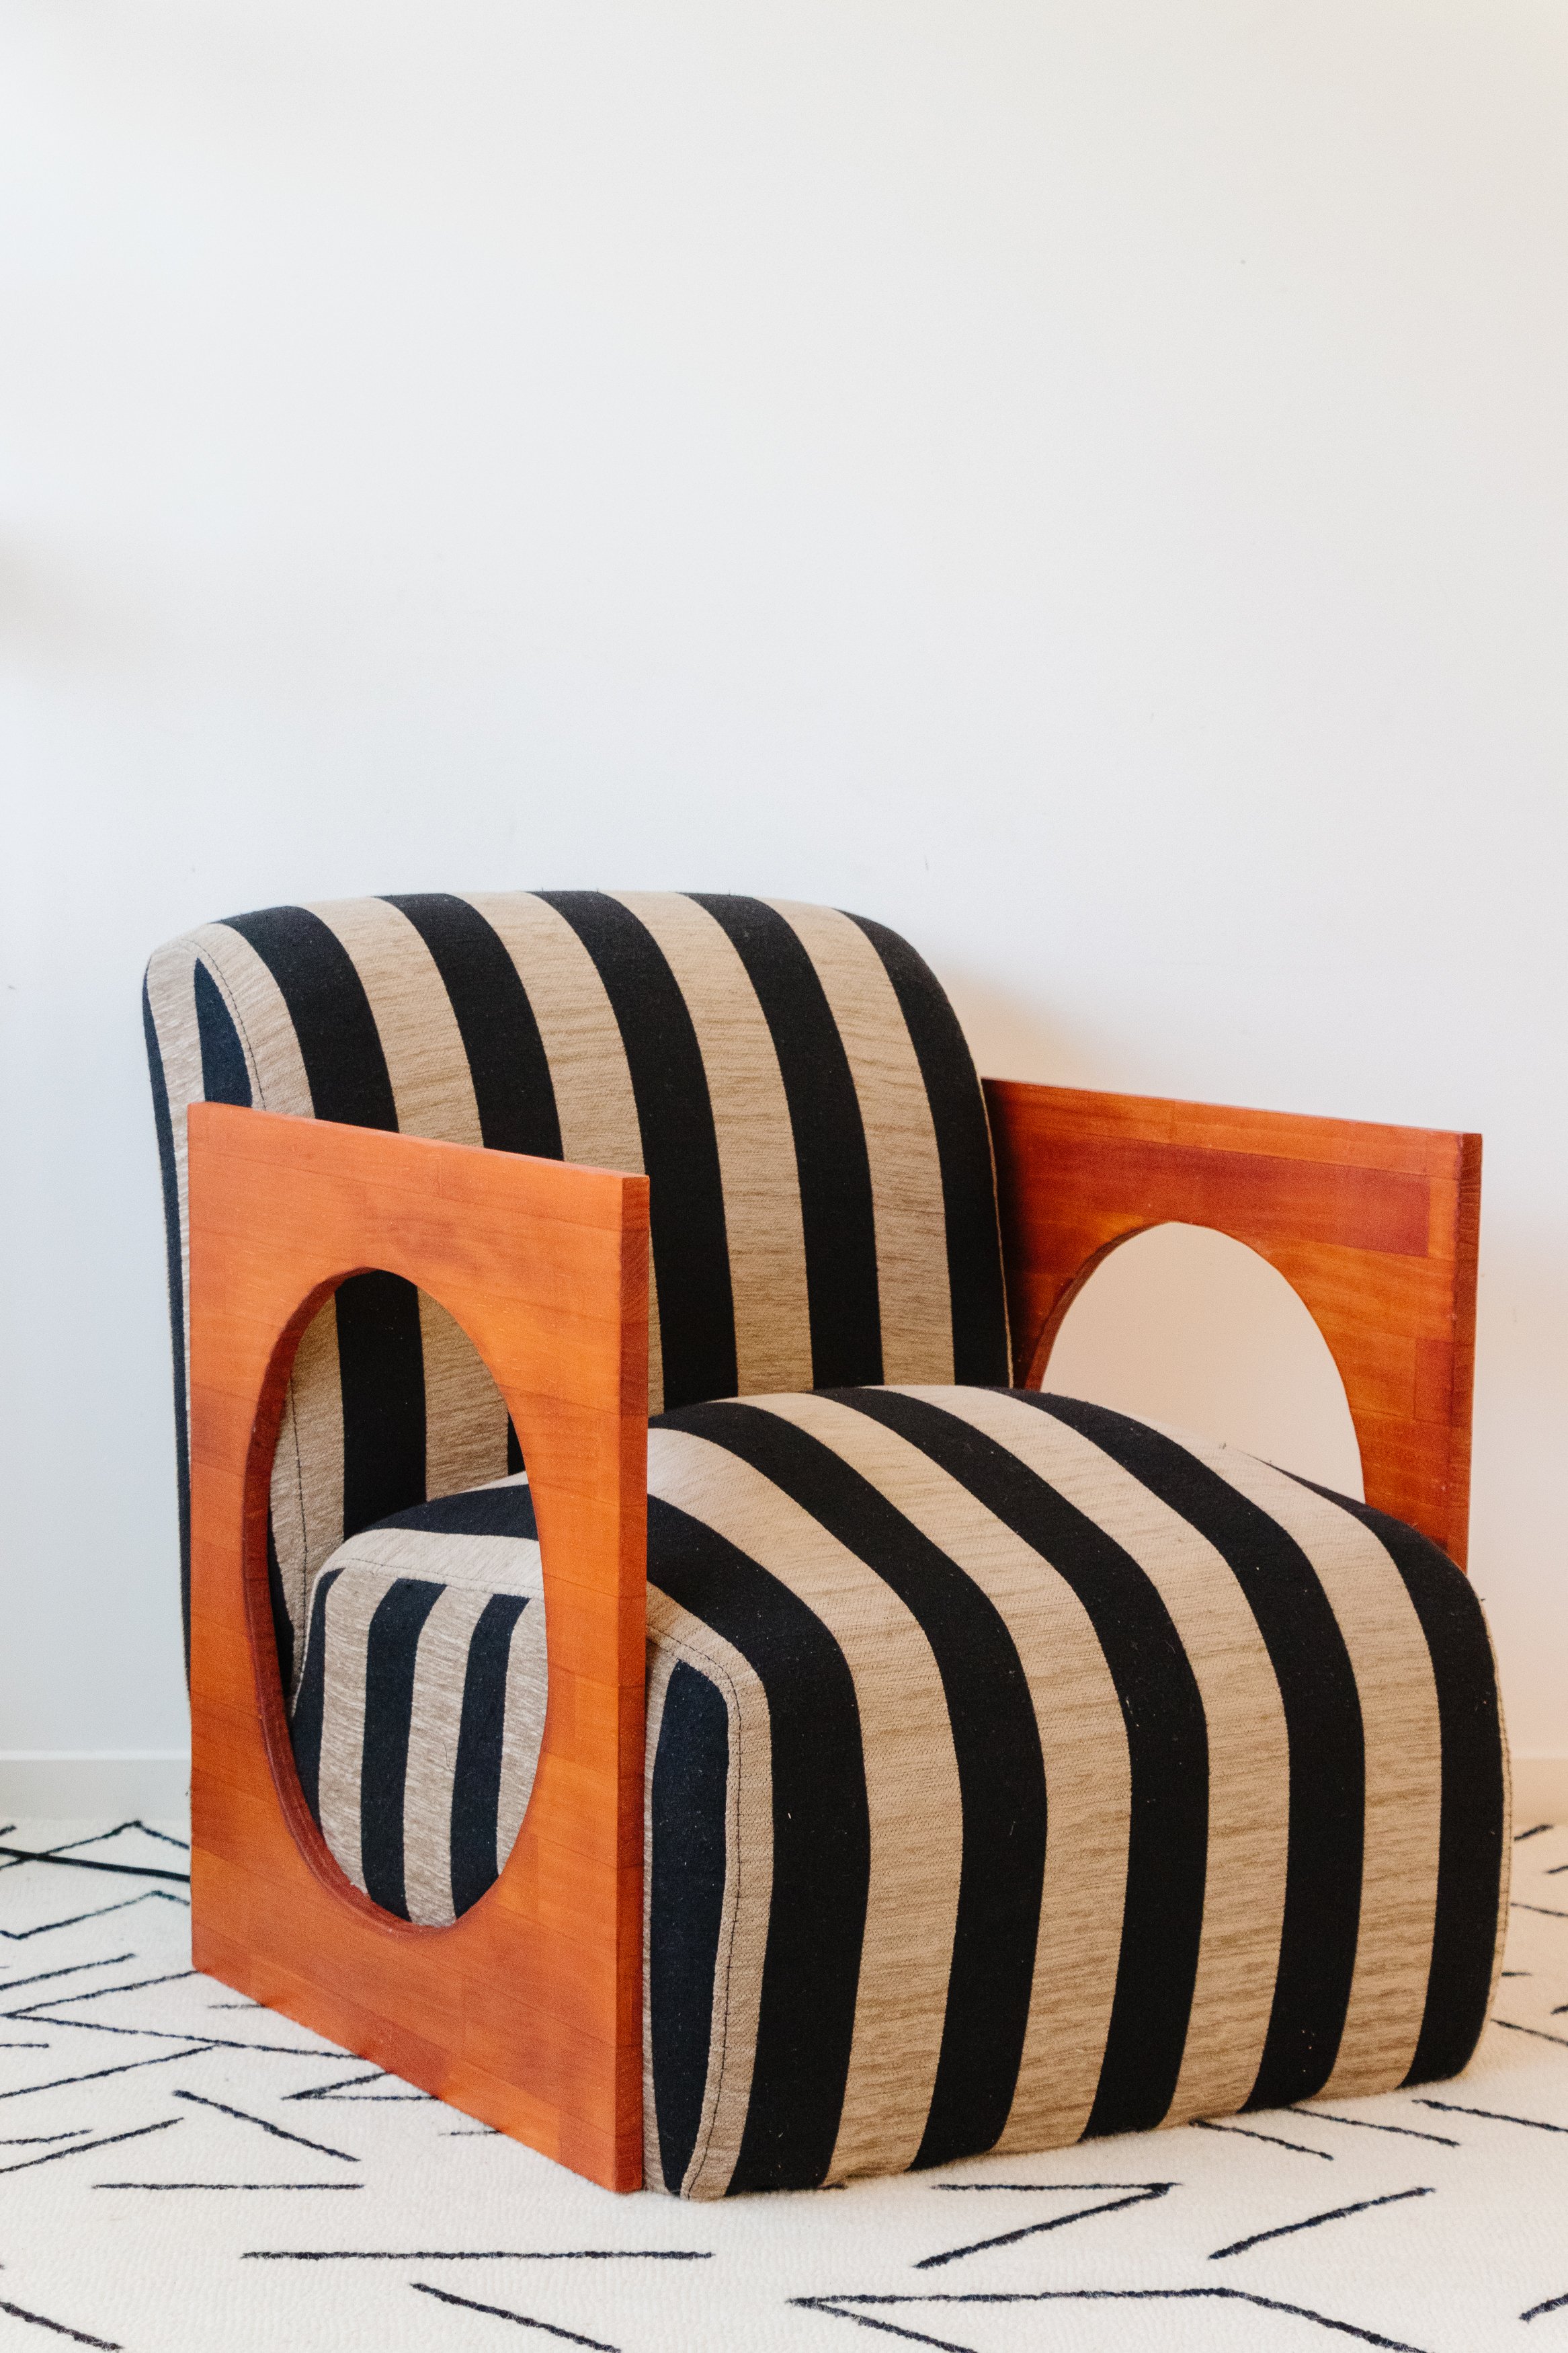
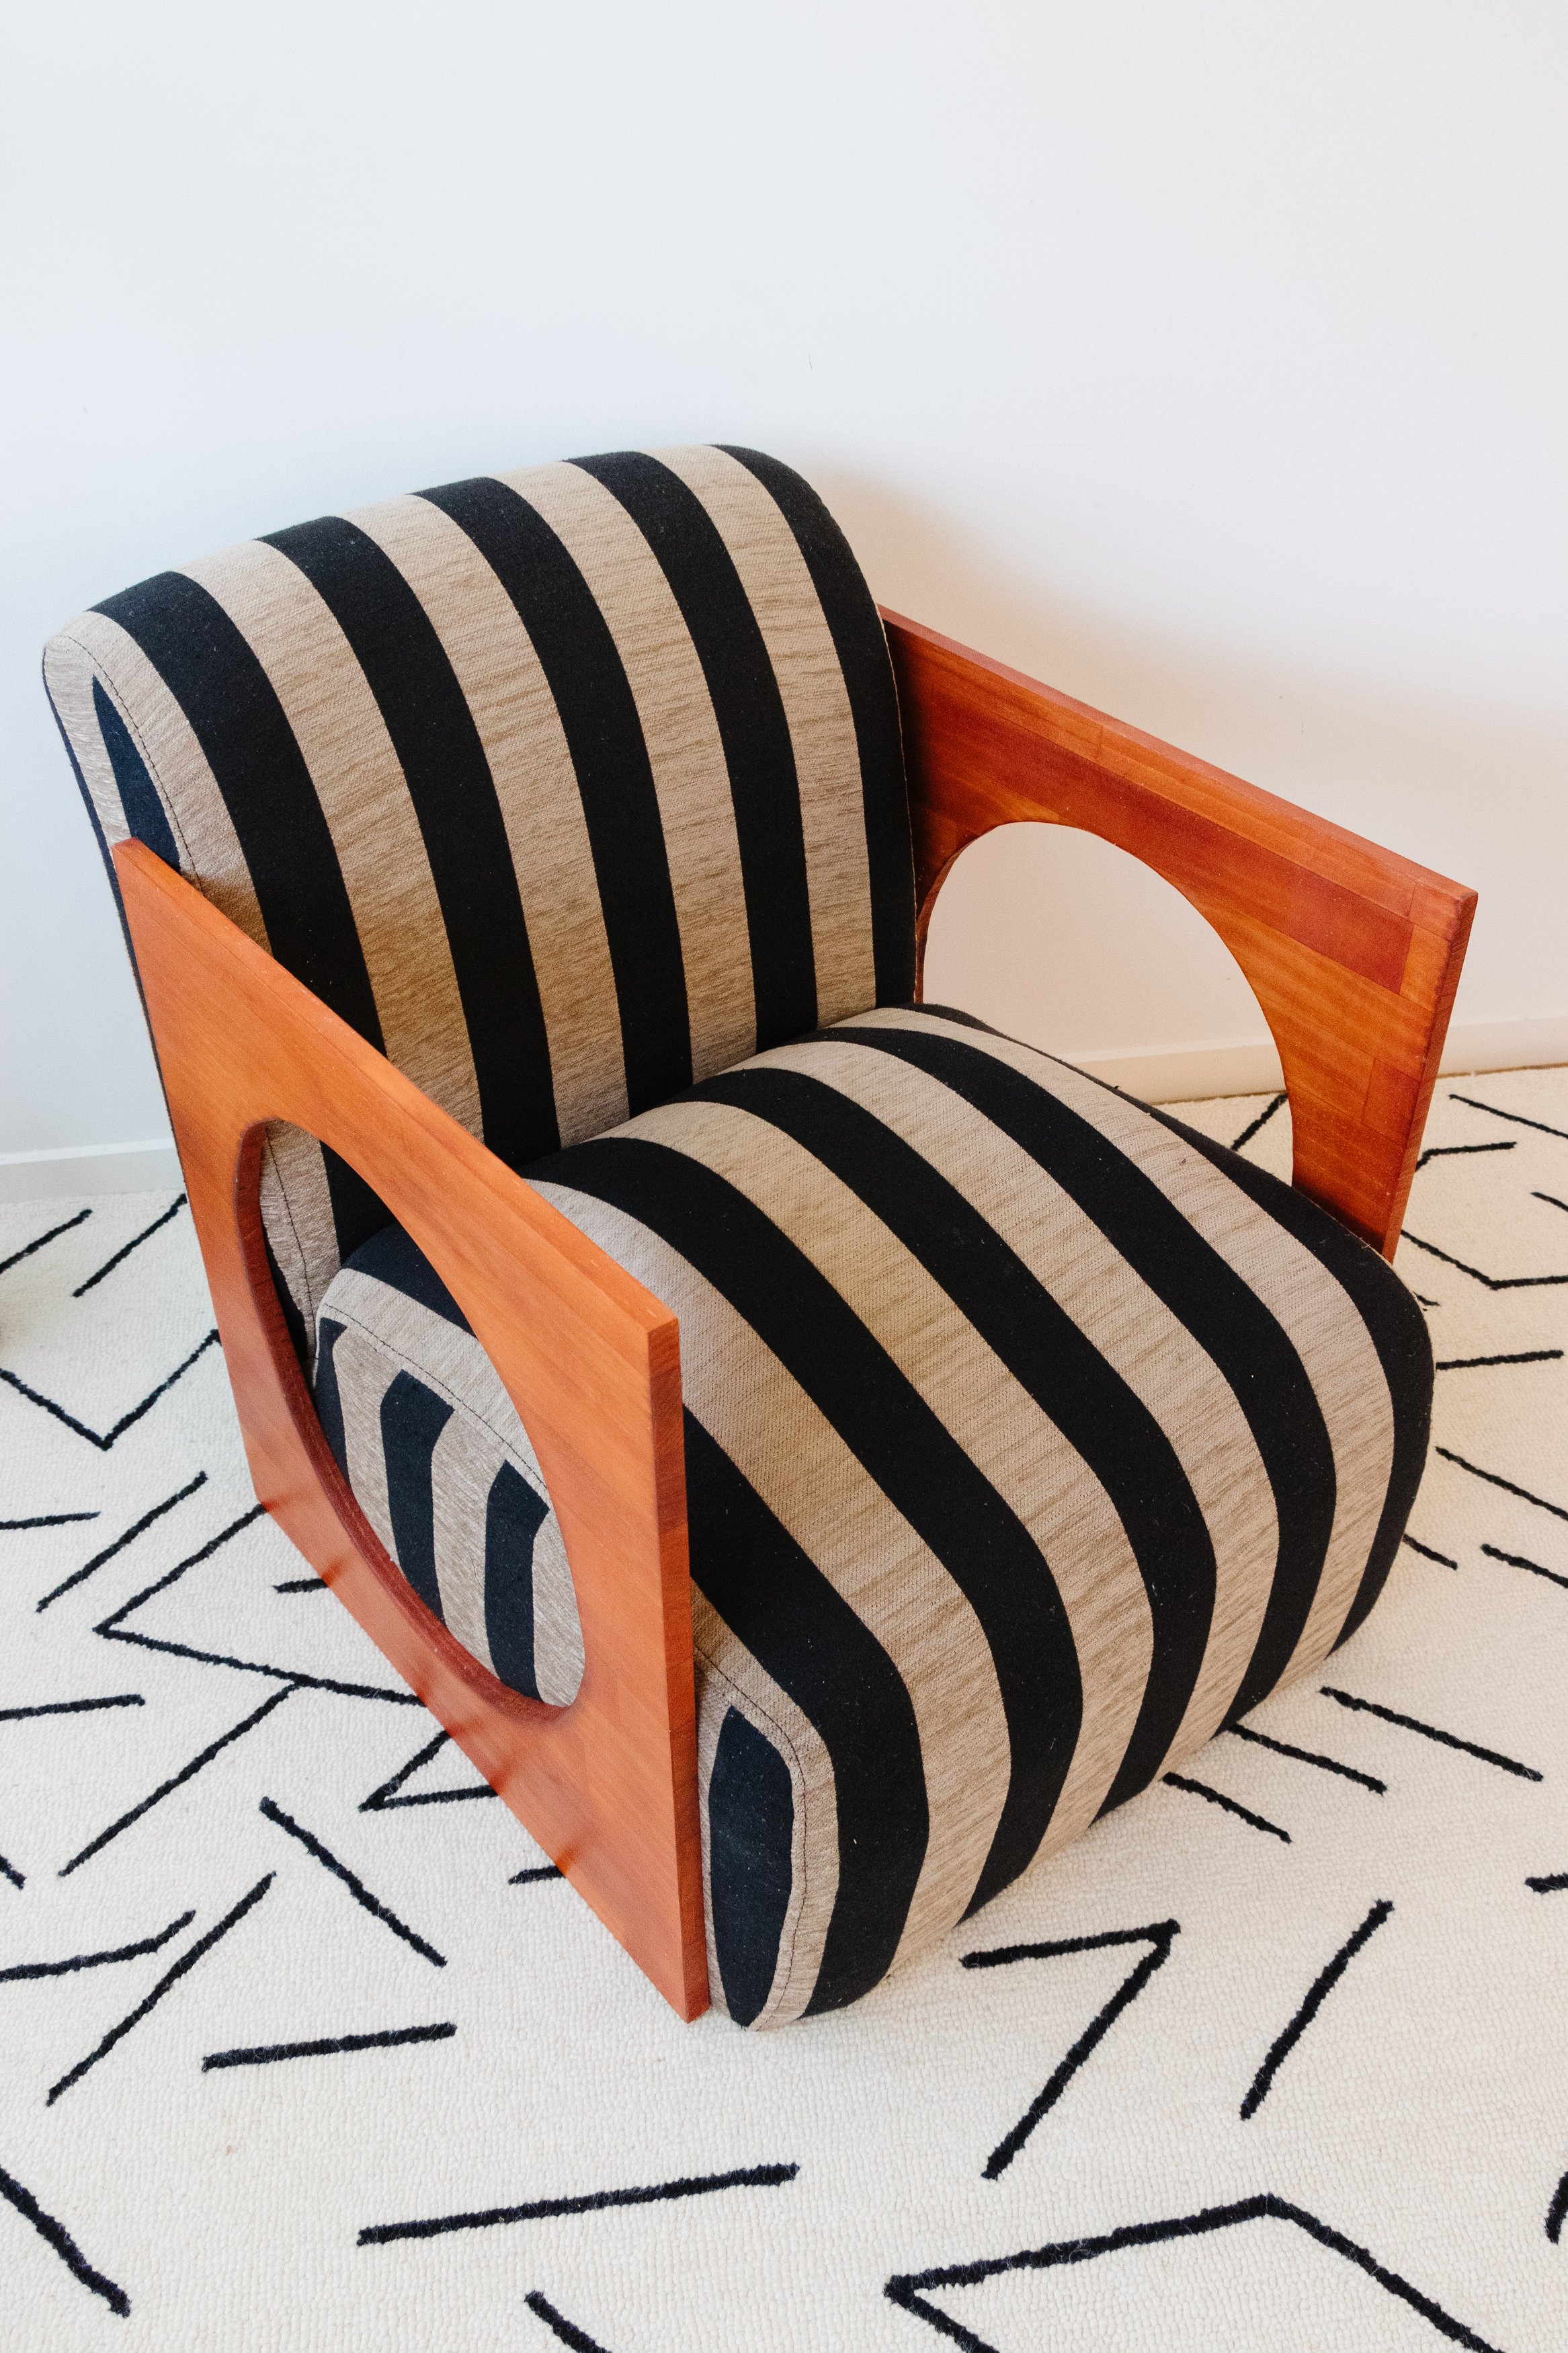
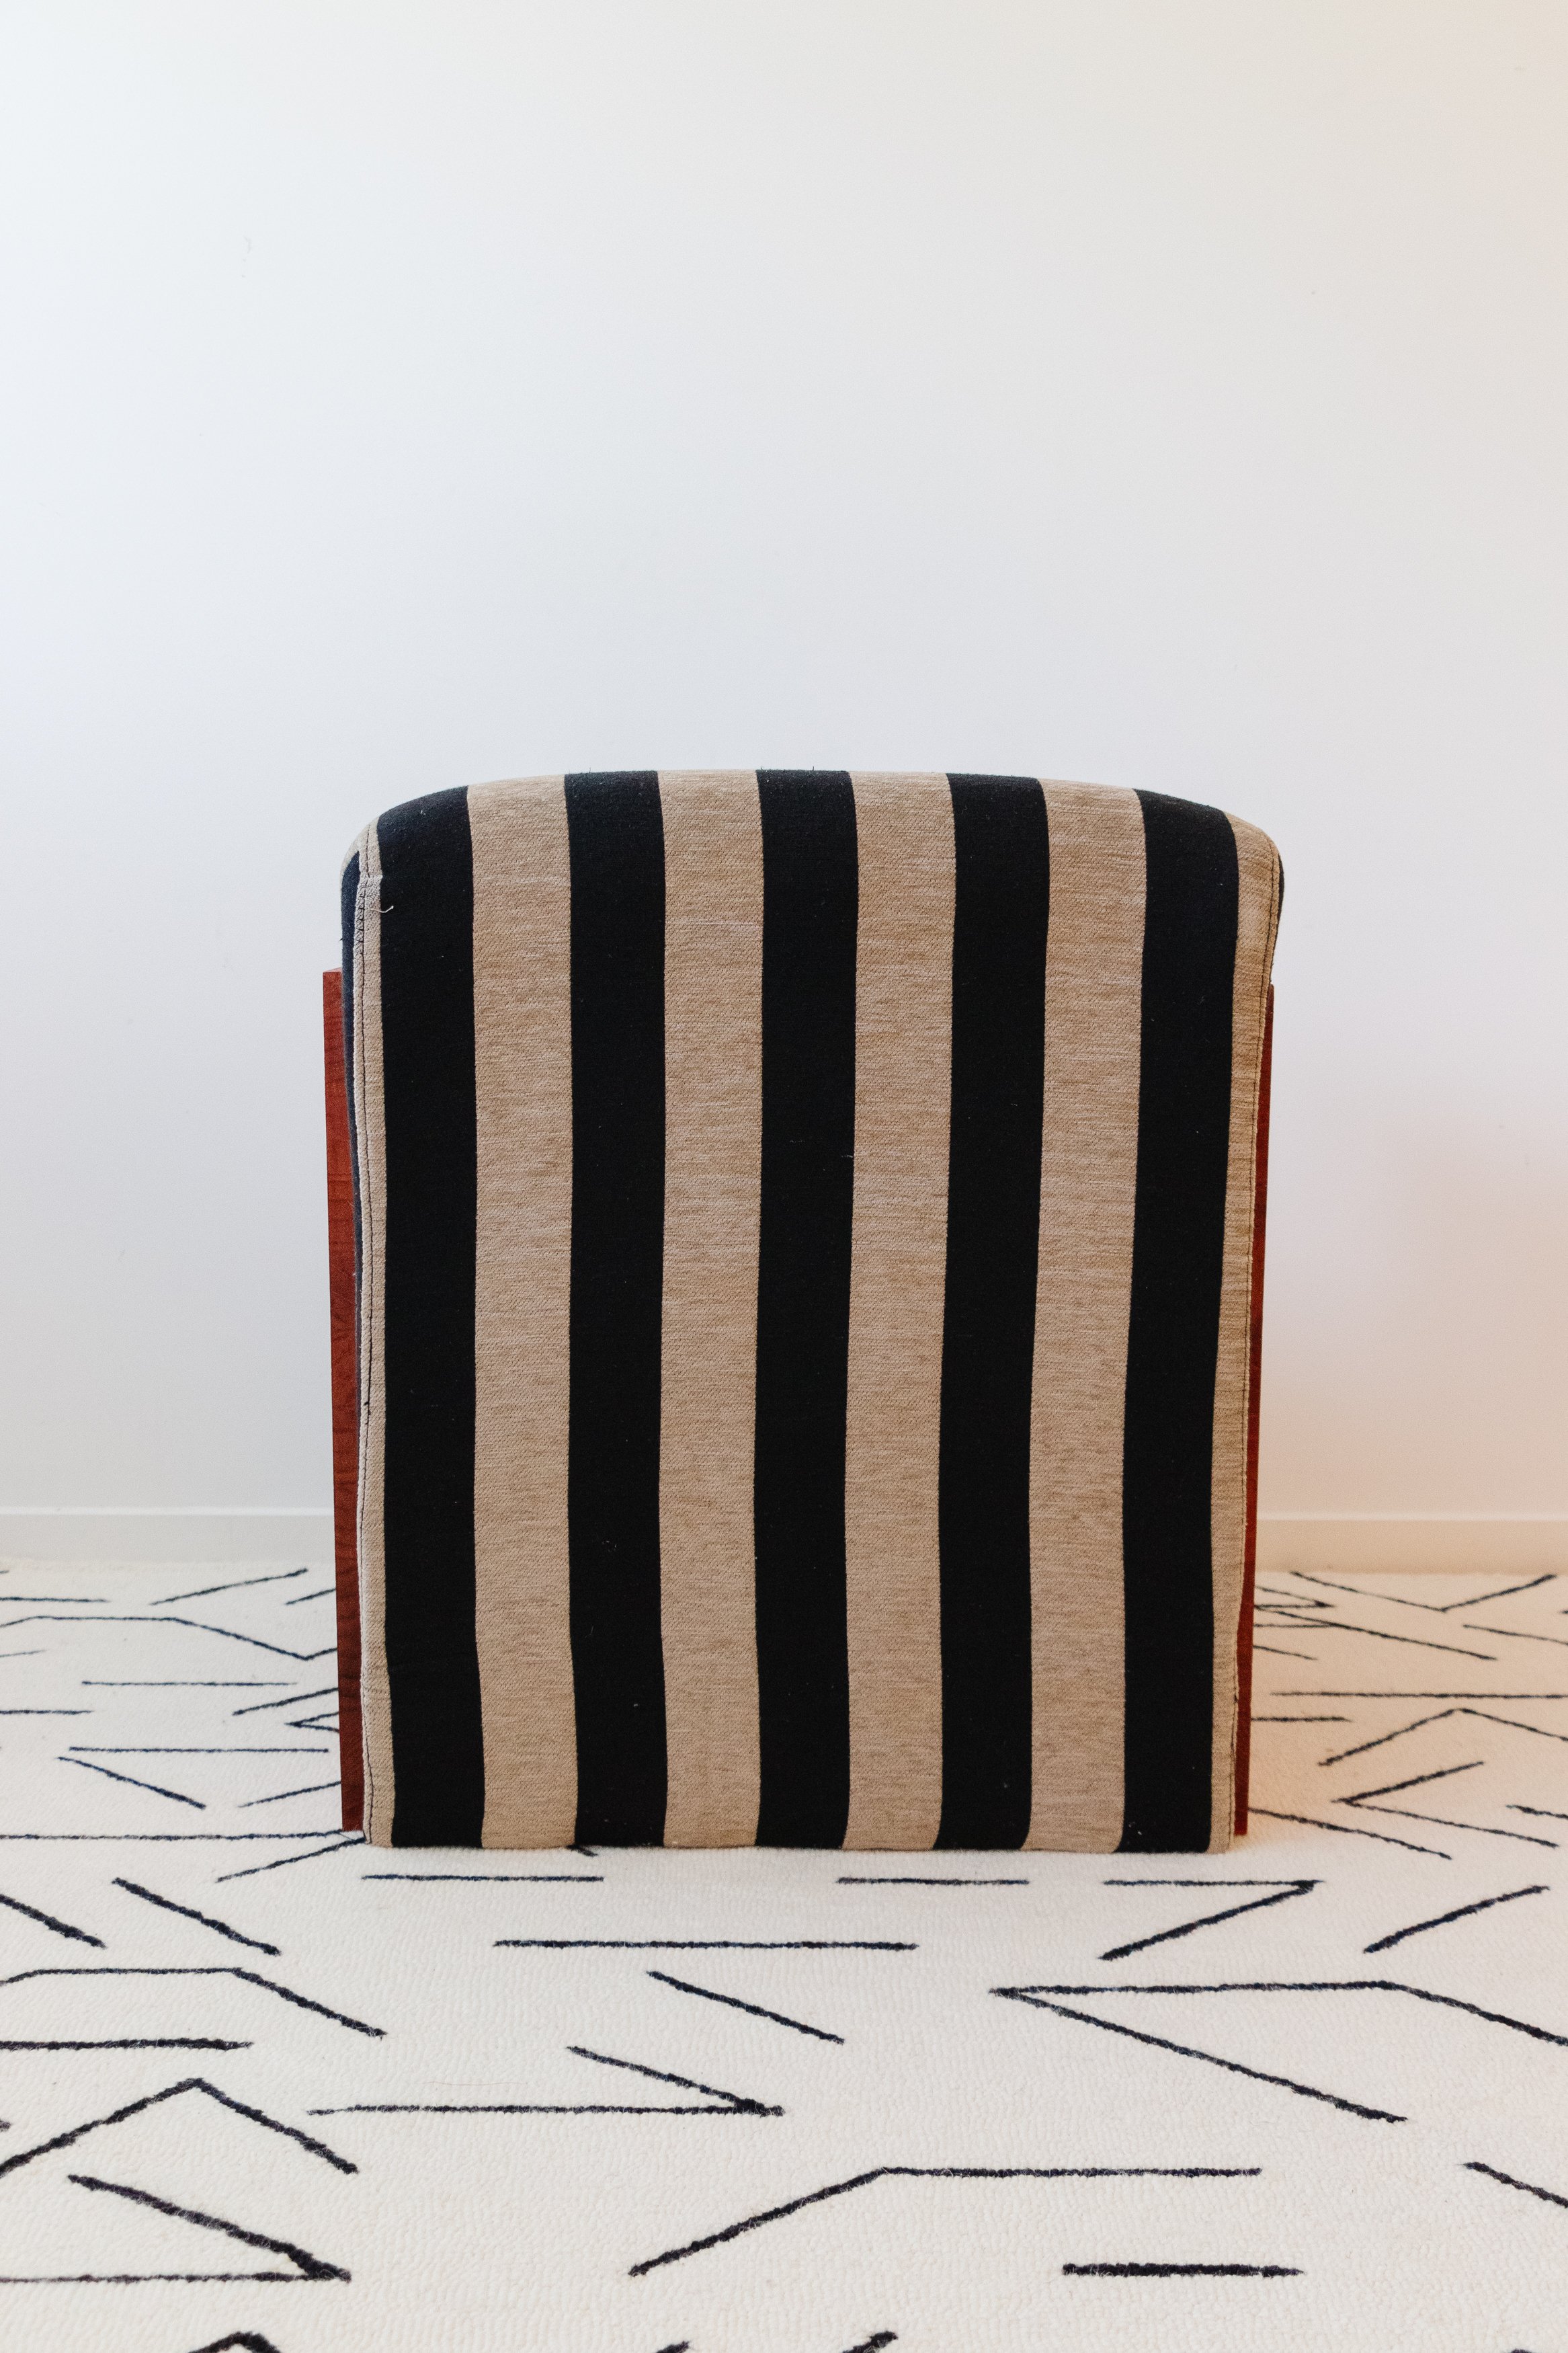
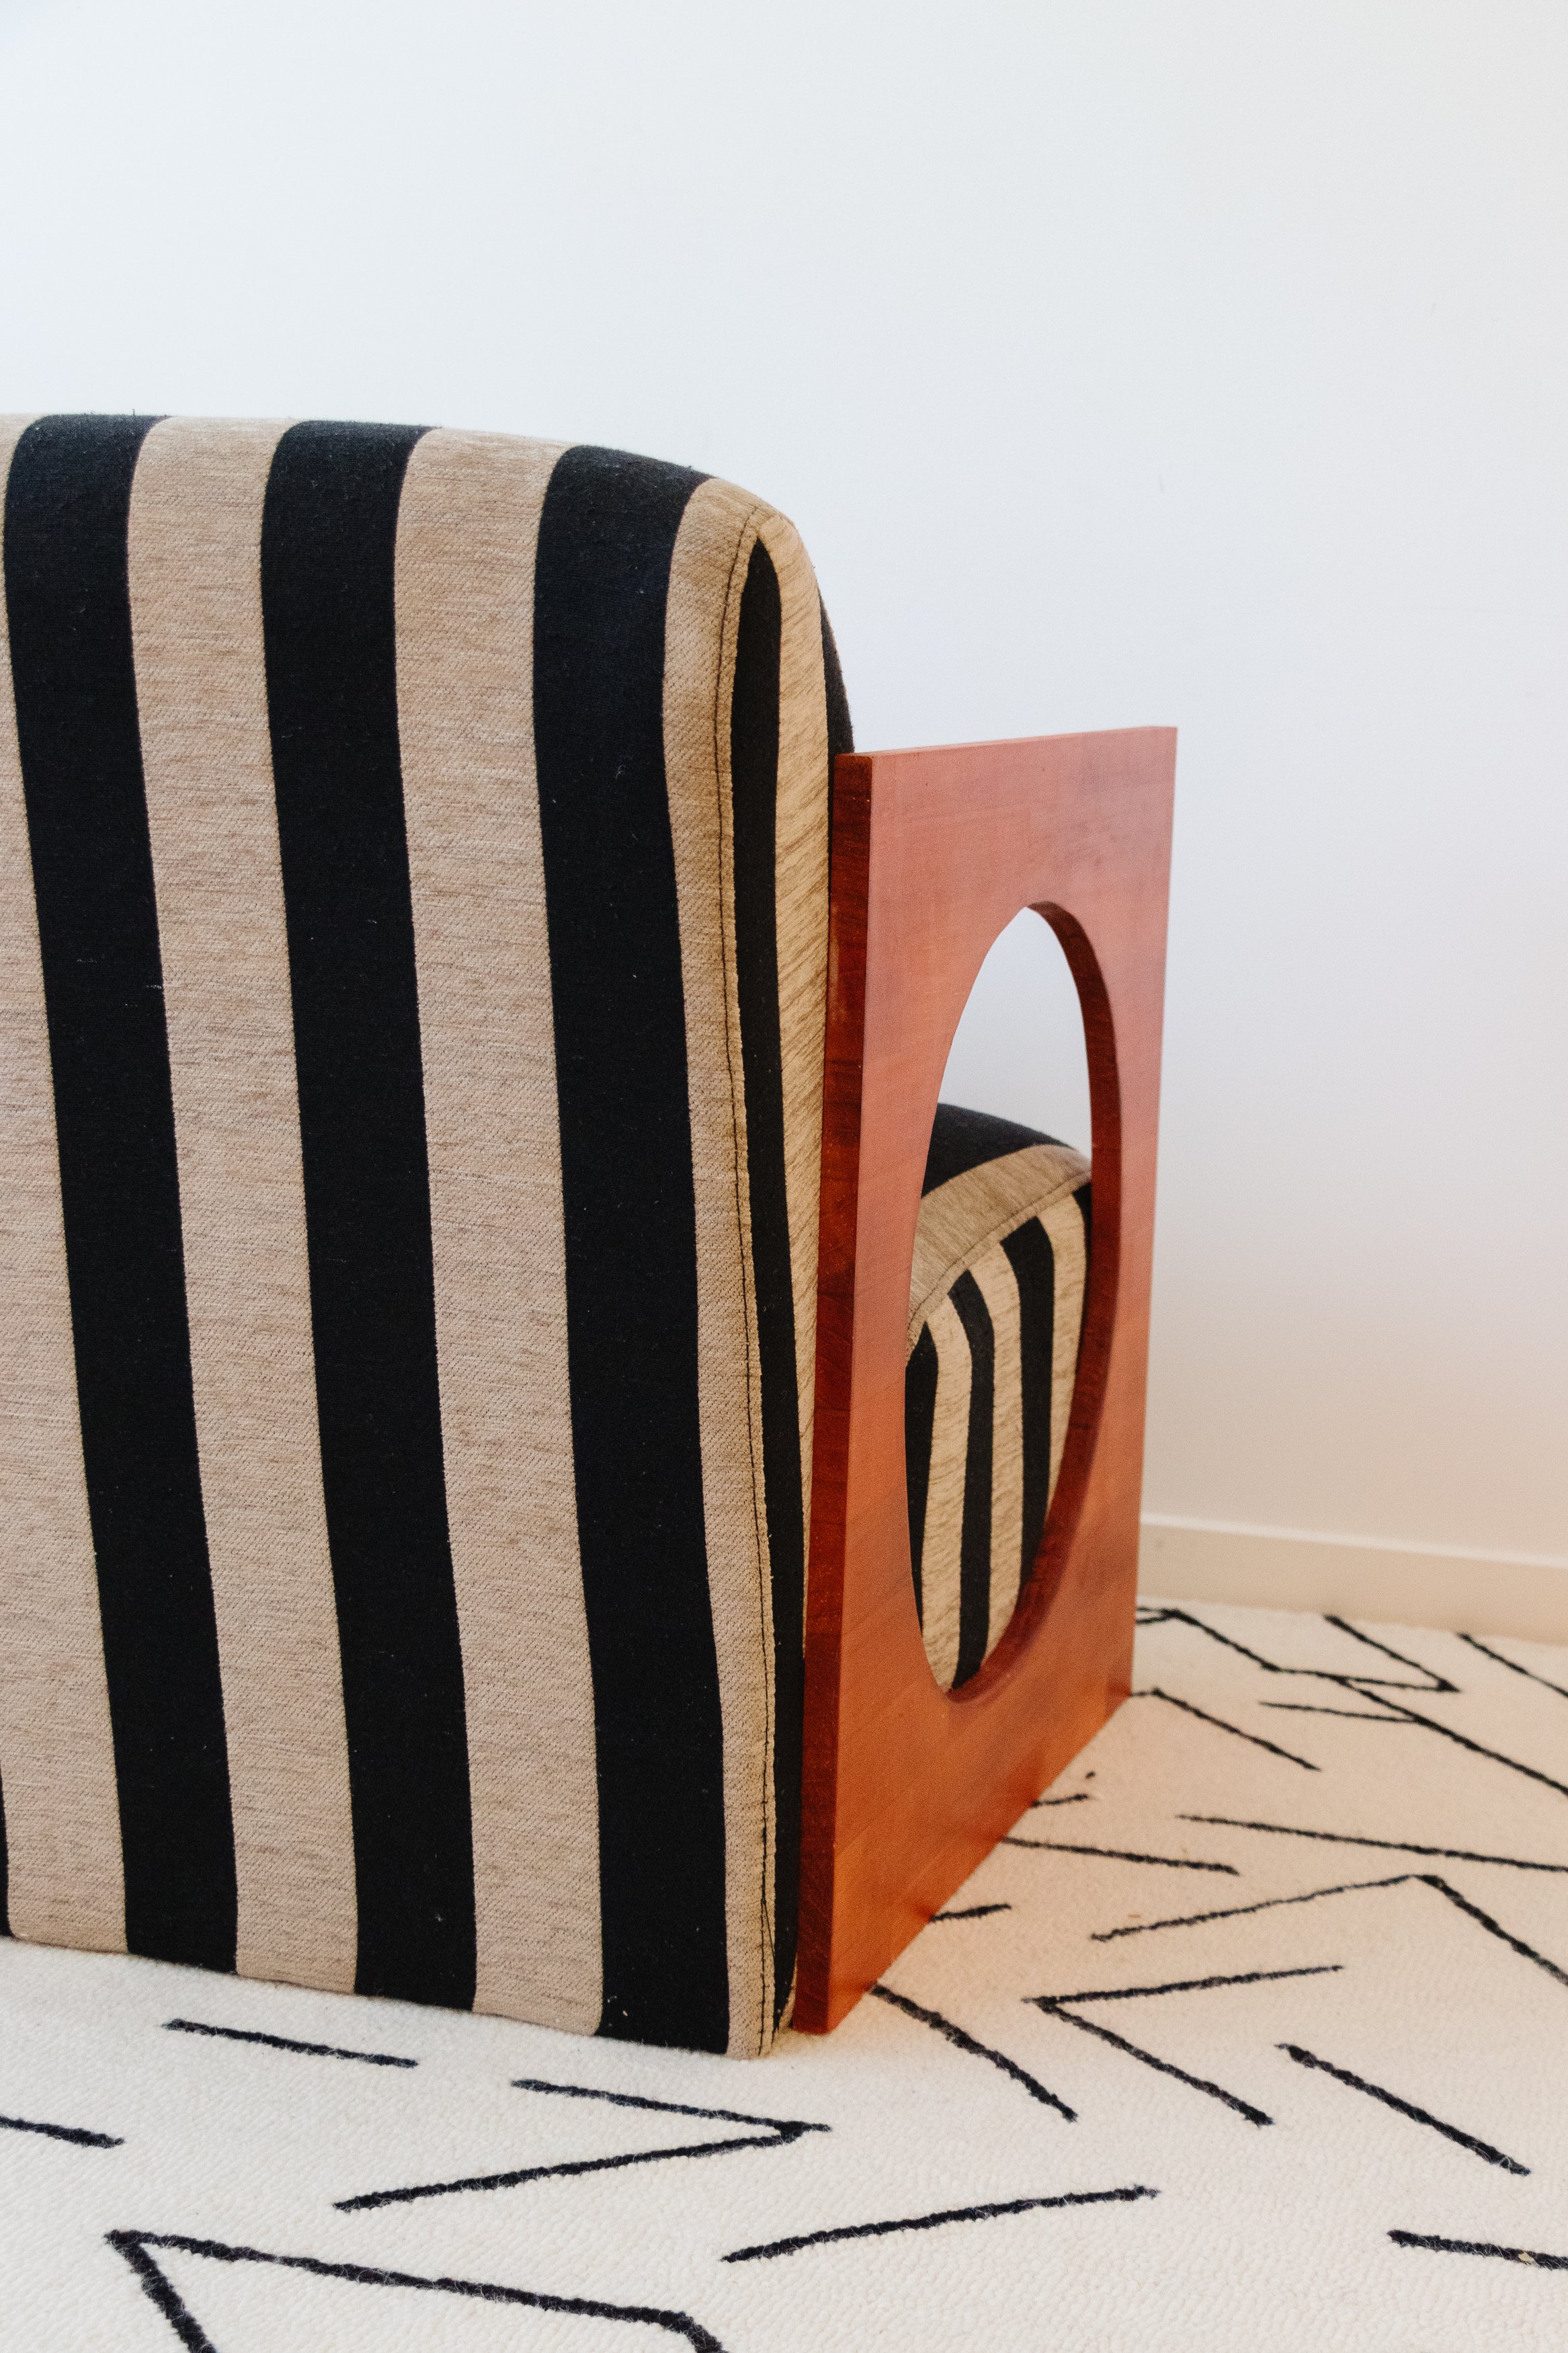
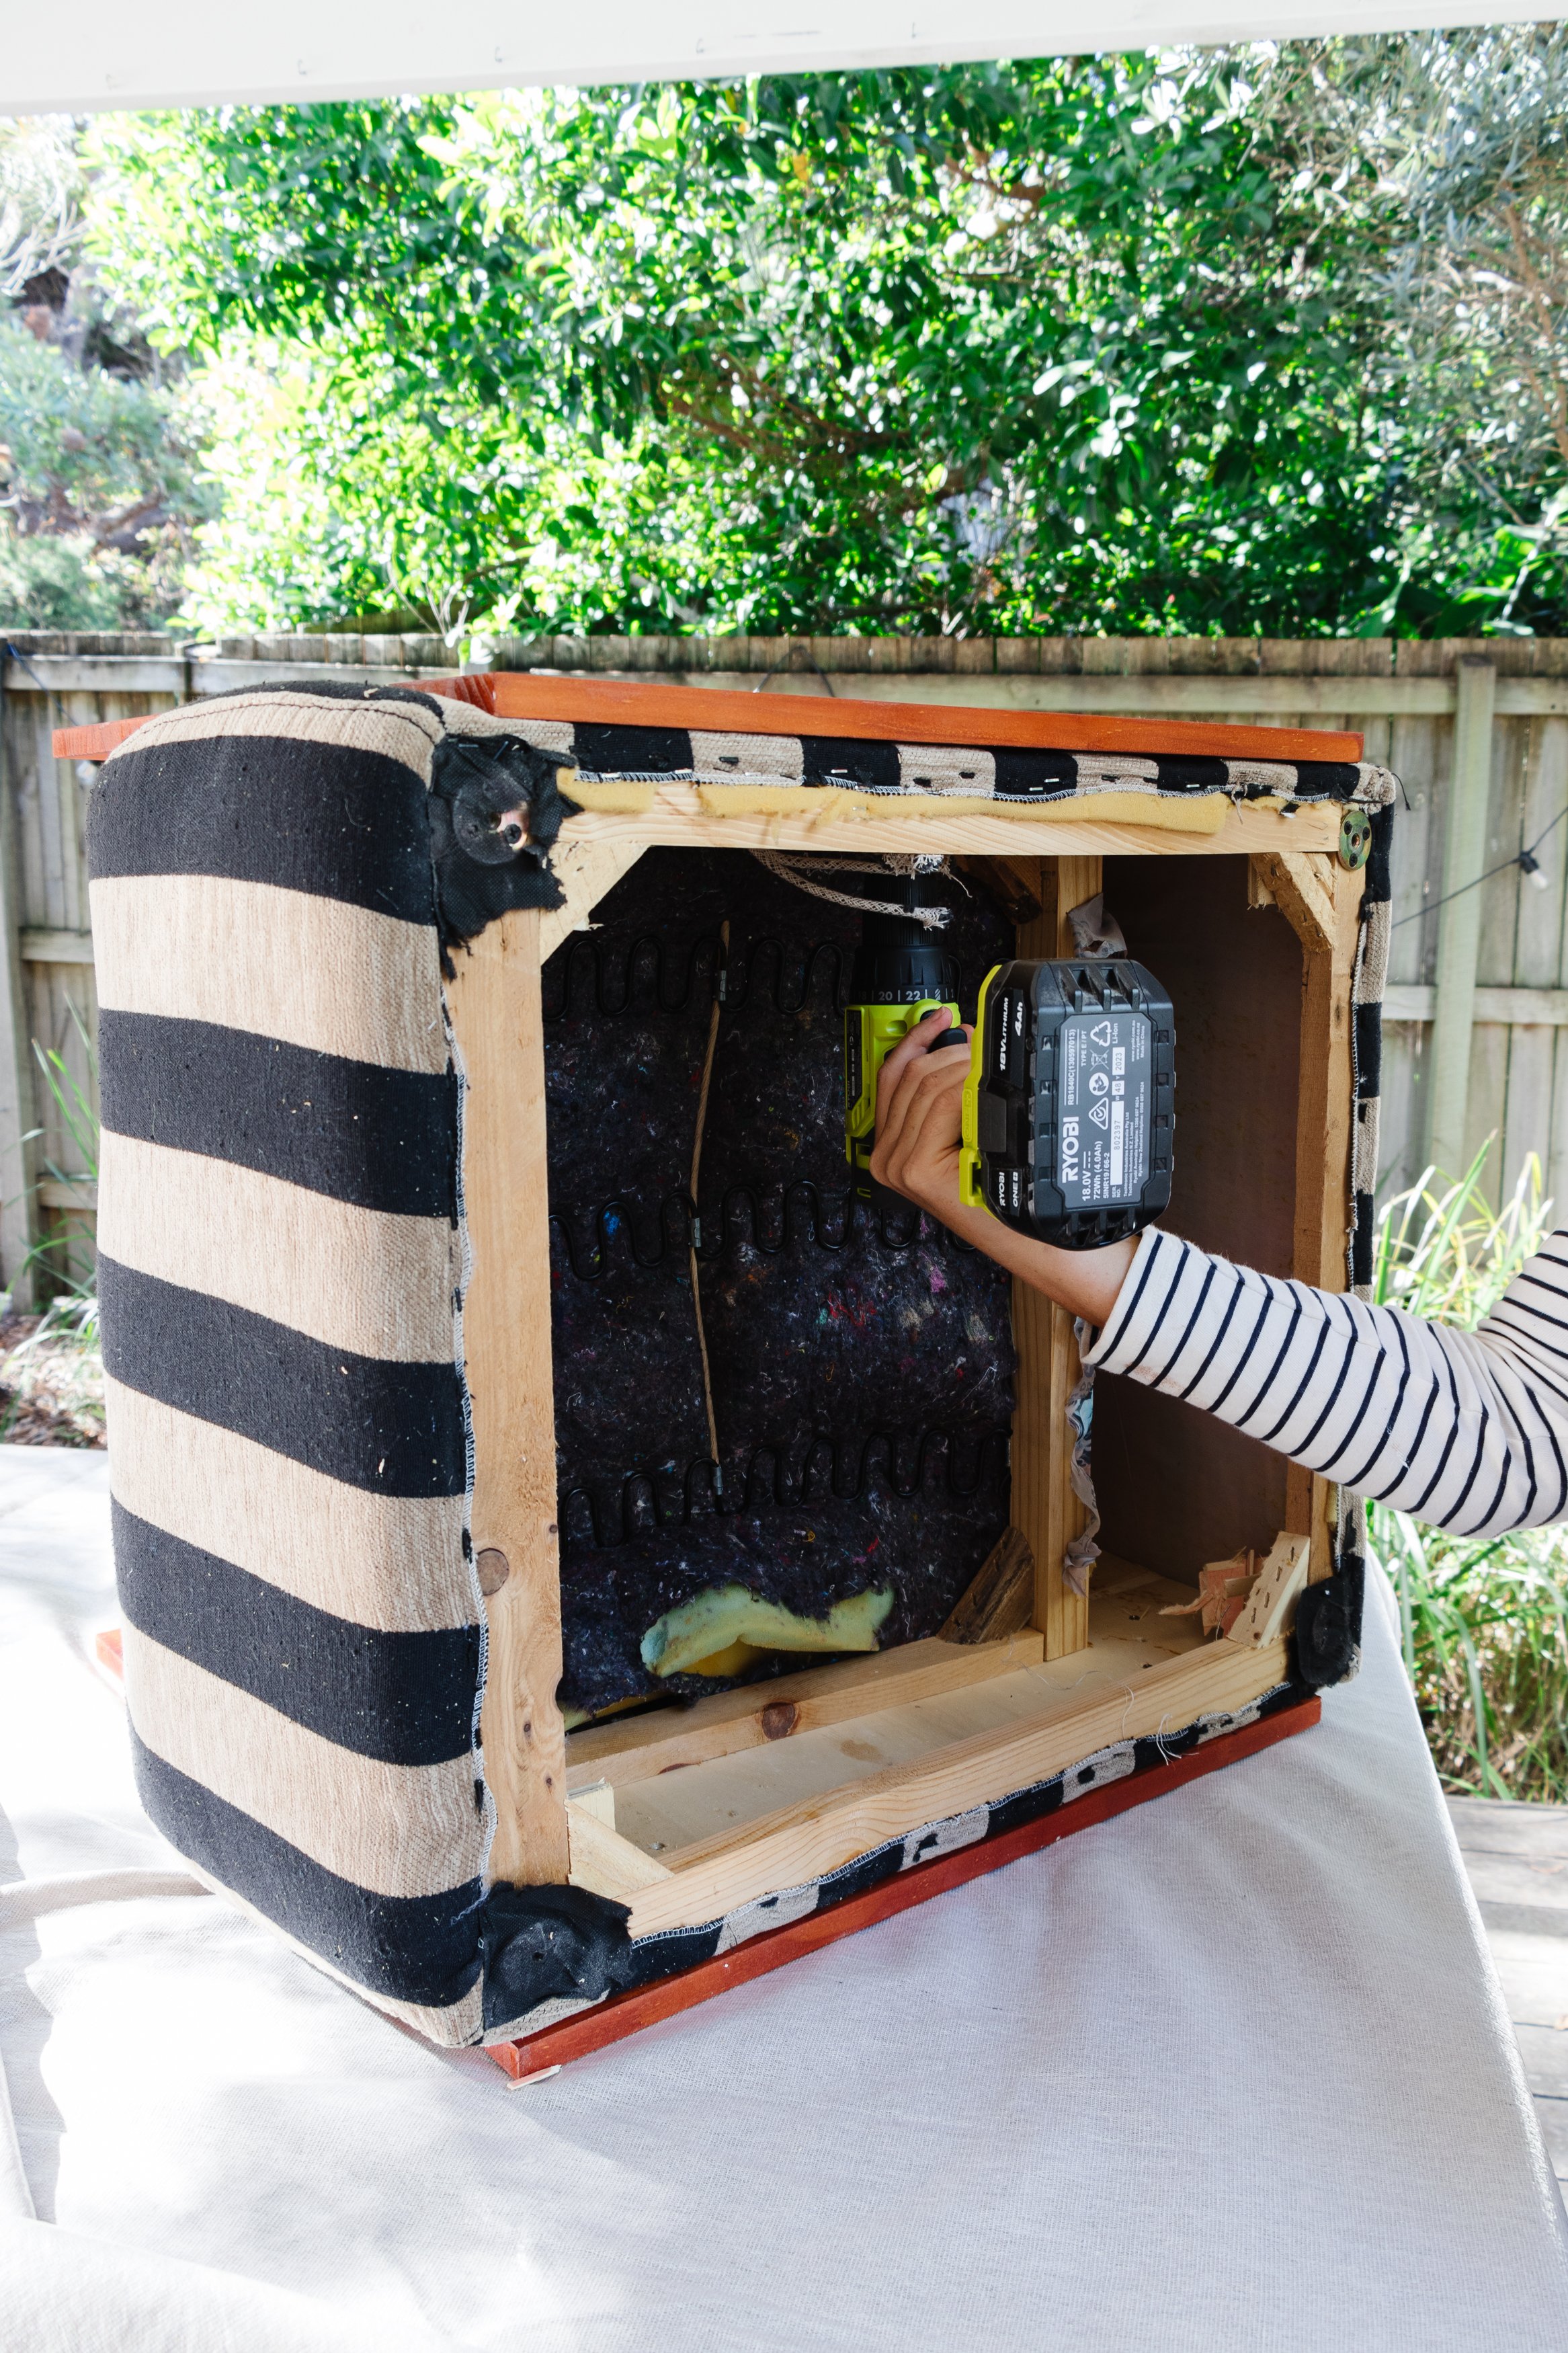
Step 6: I rolled the chair onto it’s side and placed one of the pieces of wood on top making sure the lines of timber were horizontal and that the bottom of the wood was in line with the bottom of the chair. I used my RYOBI Drill and timber screws to secure the wood to the chair from the inside. I installed the second piece of wood to the other side of the chair. And that’s it!

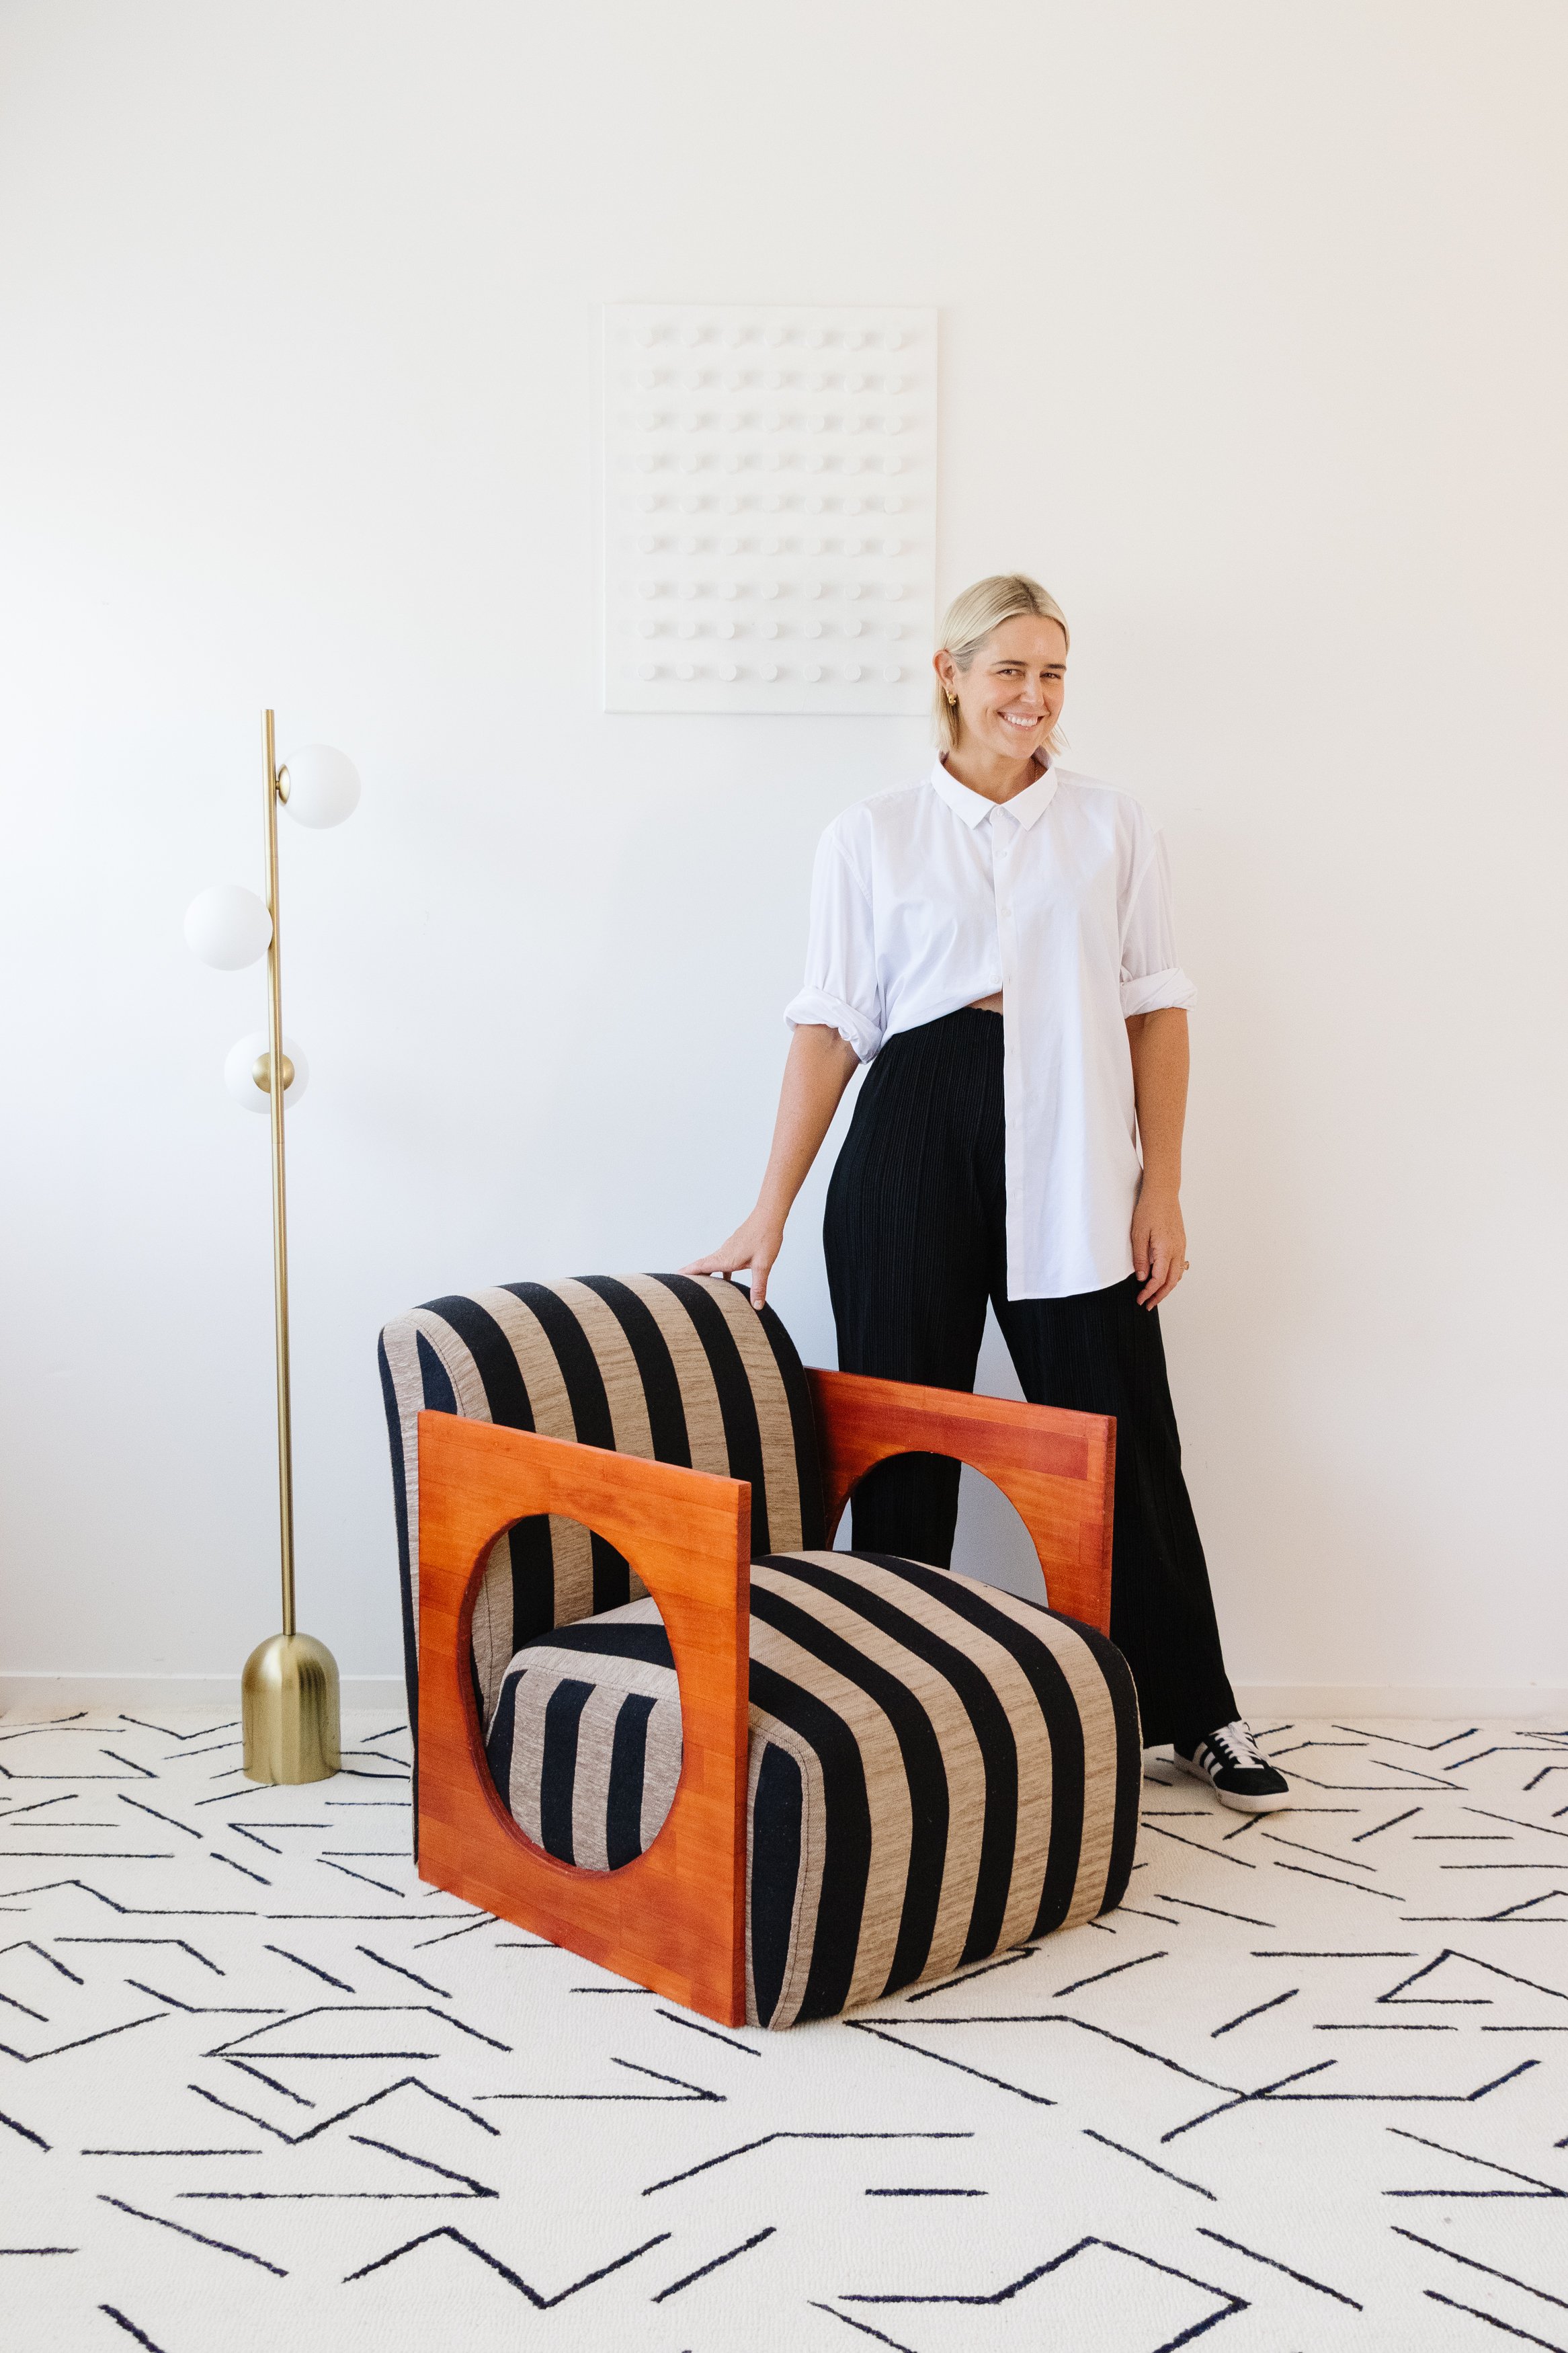
Ta daaa!
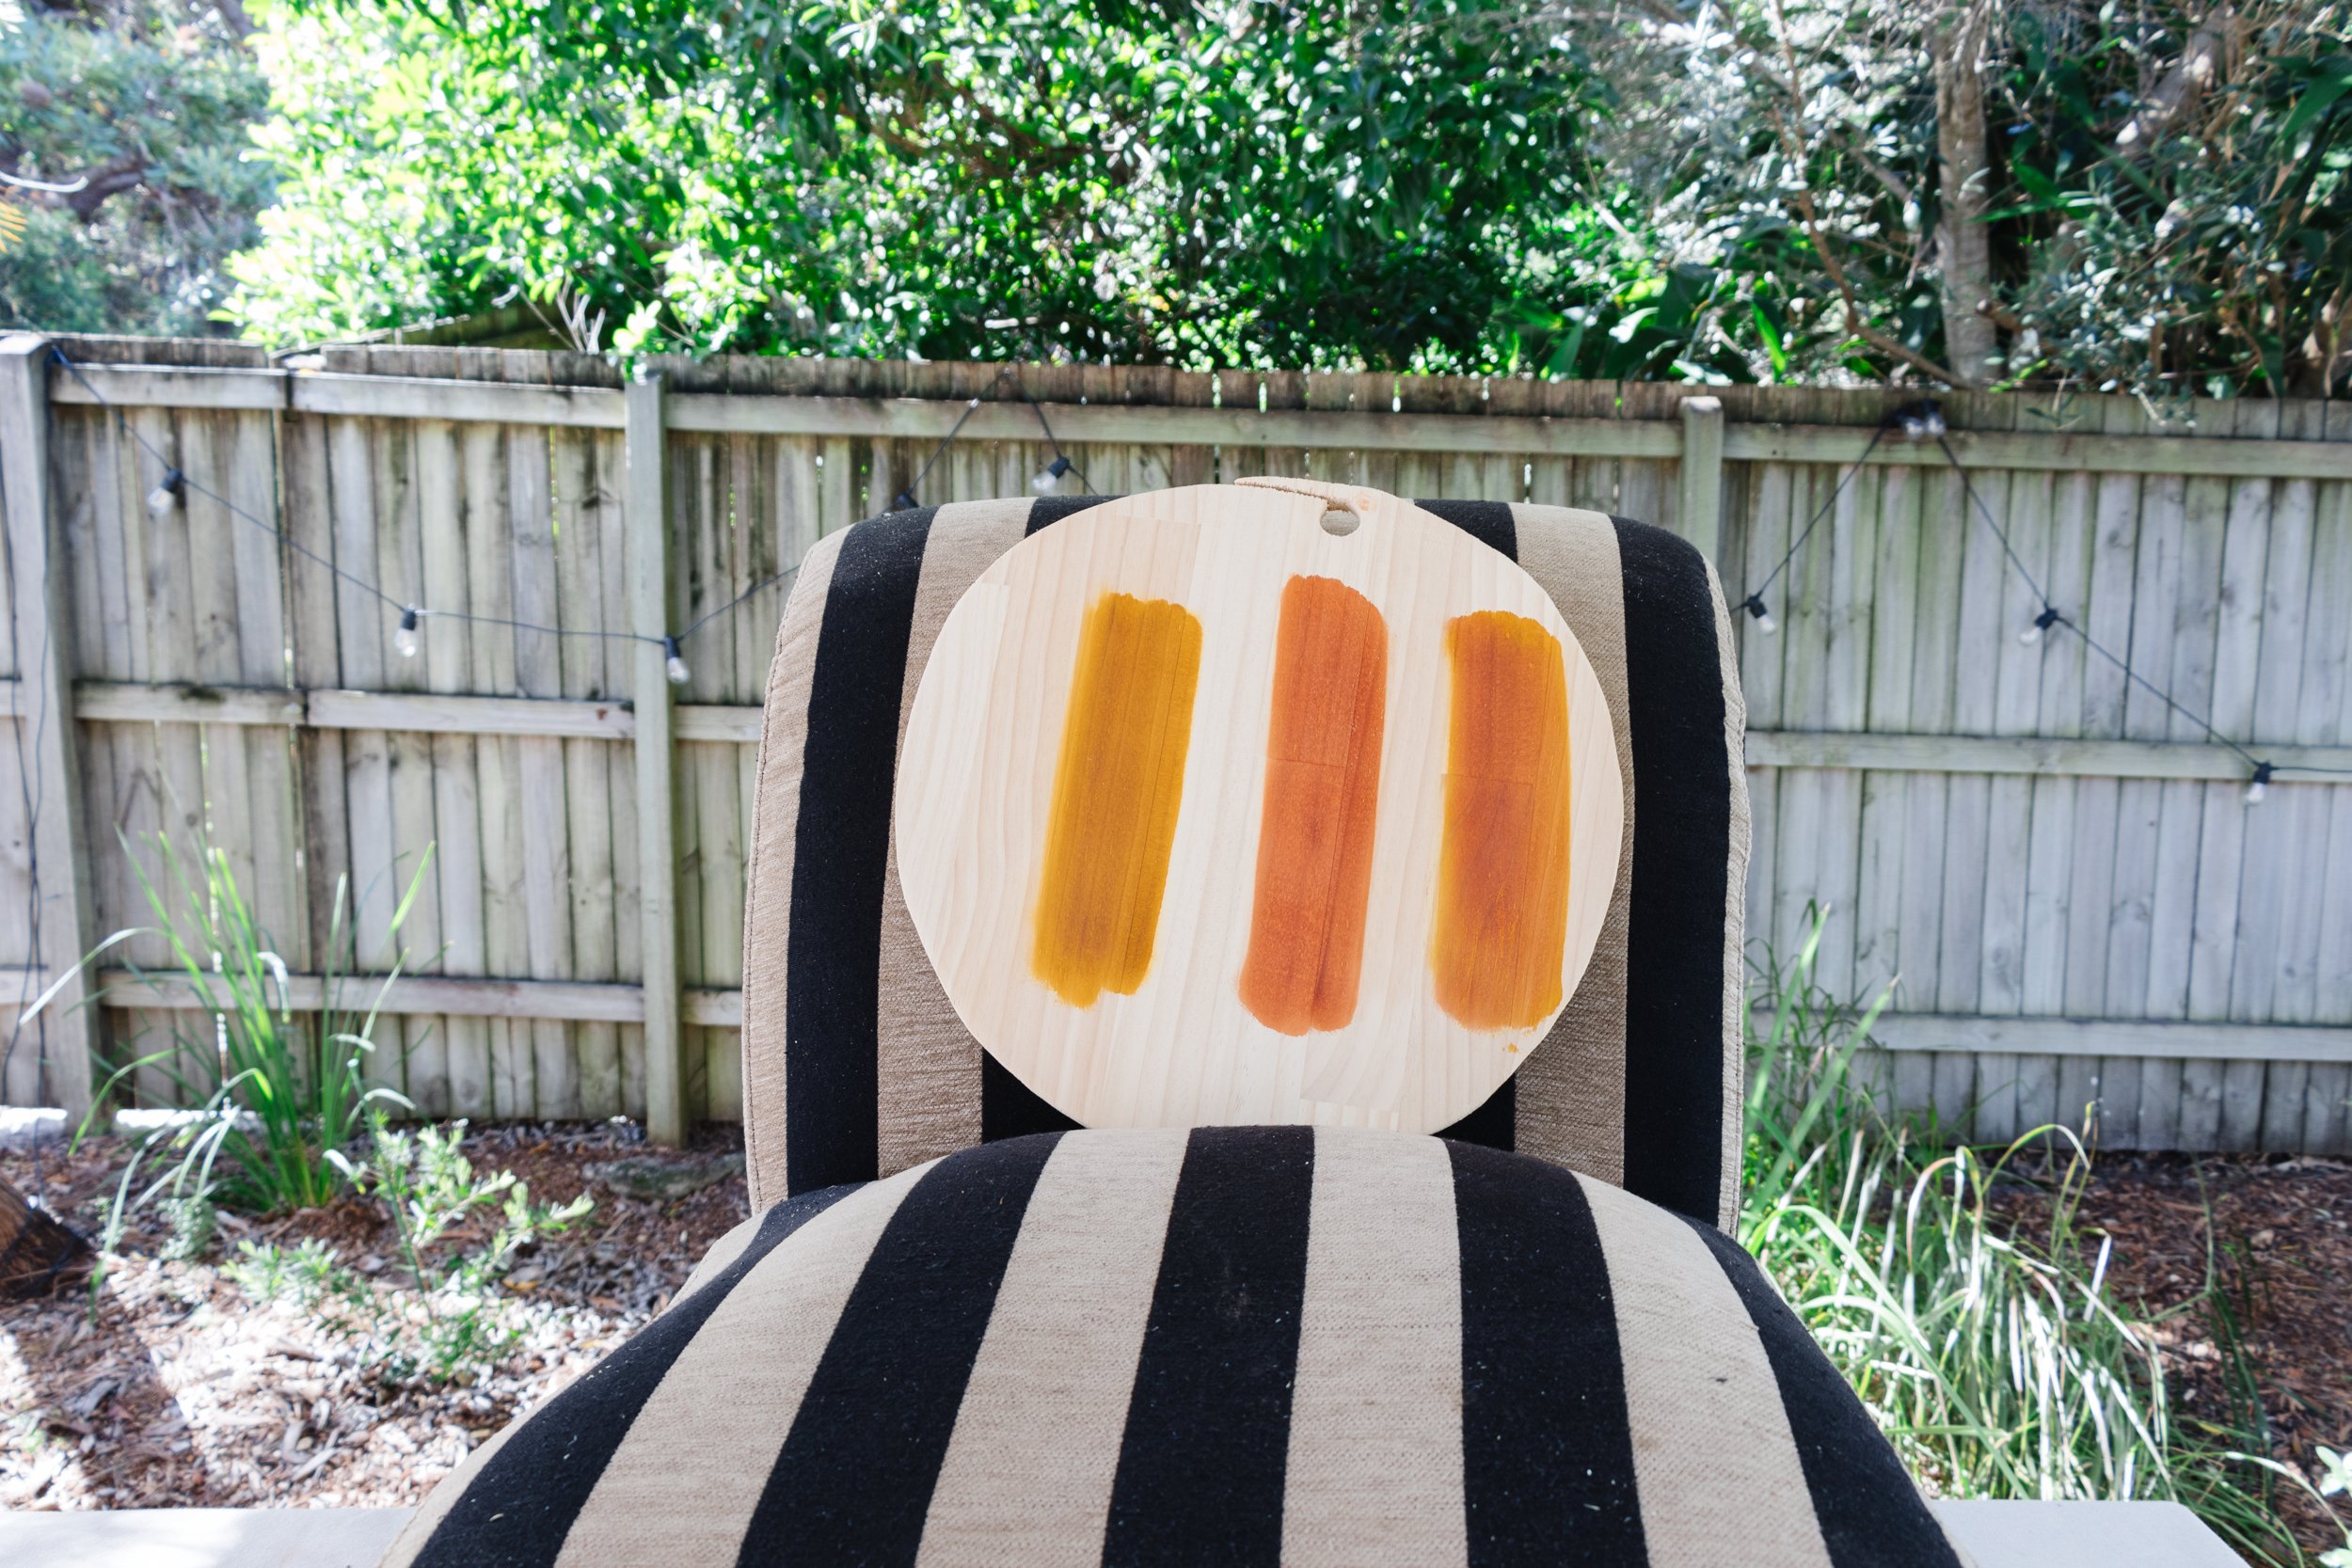
After cutting, drilling, sanding, staining, varnishing, stapling, and more drilling, I can’t believe I finally finished upcycling my dream wooden accent armchair! Thank you to everyone who voted for their favorite timber stain on Instagram and for sticking by my side during this eventful project. It’s one of my more adventurous ones and I can’t wait to hear what you think!
This project is in collaboration with RYOBI Australia