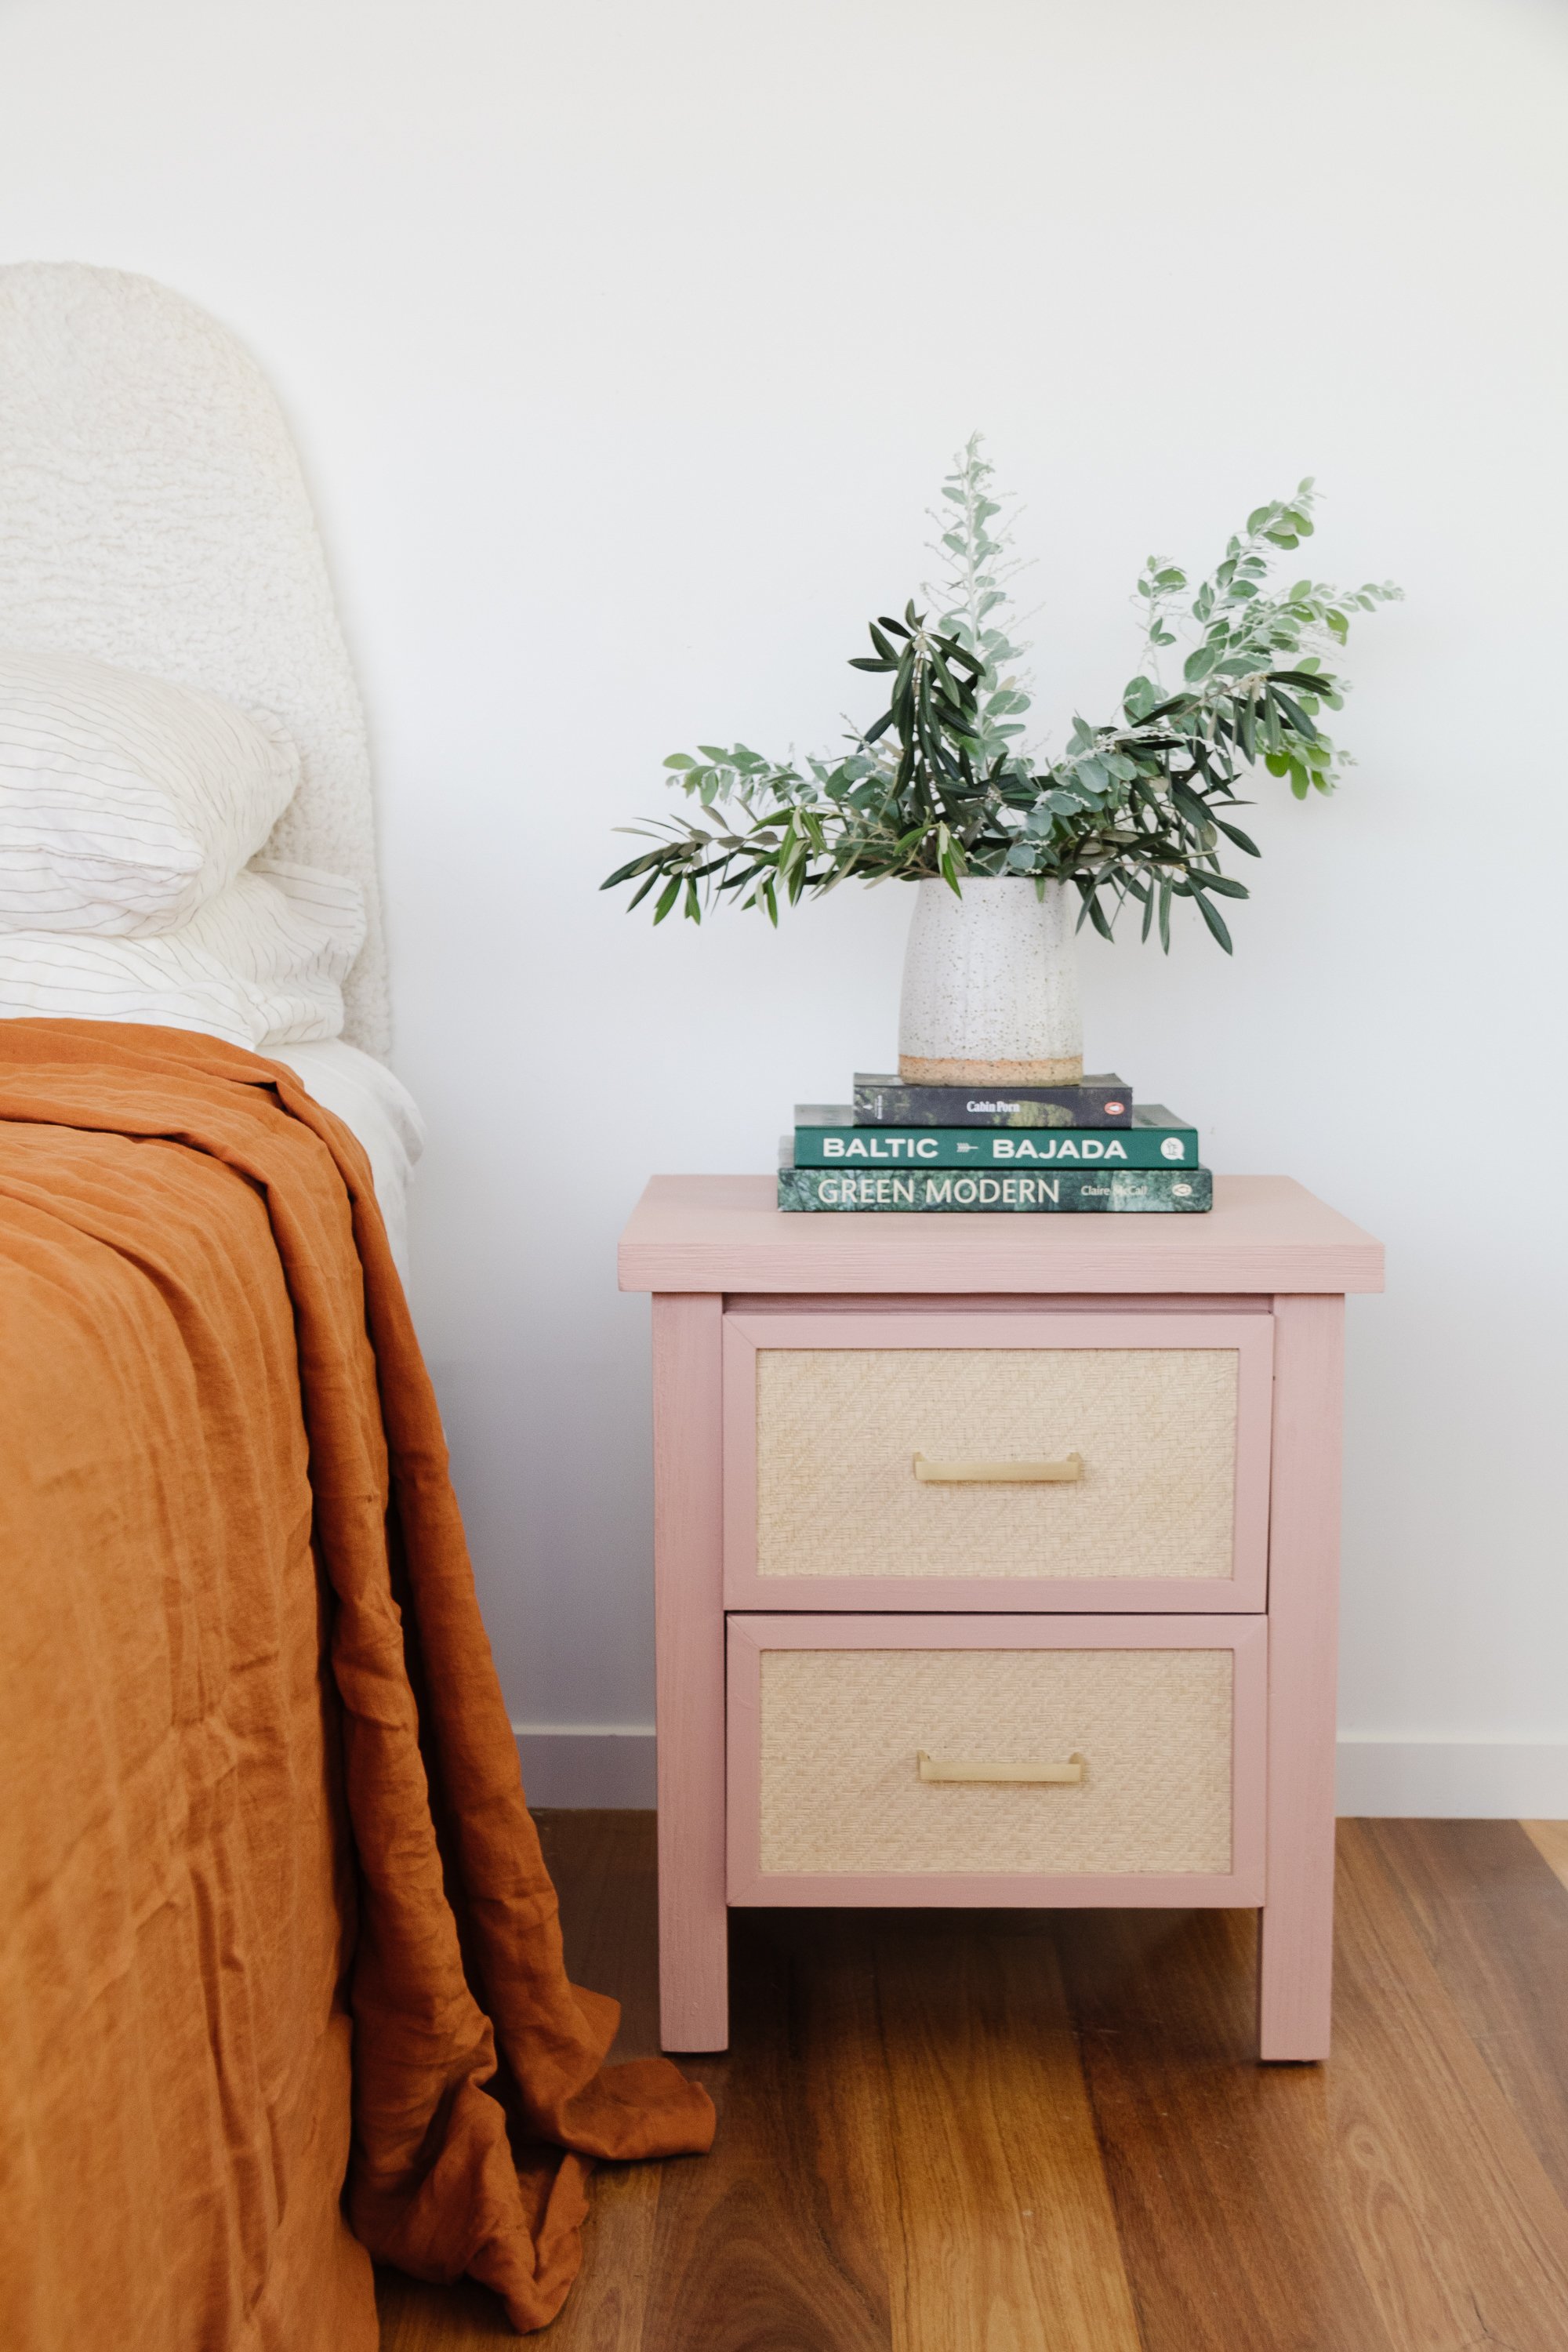
Before & After: The Upcycled Raffia Bedside Table
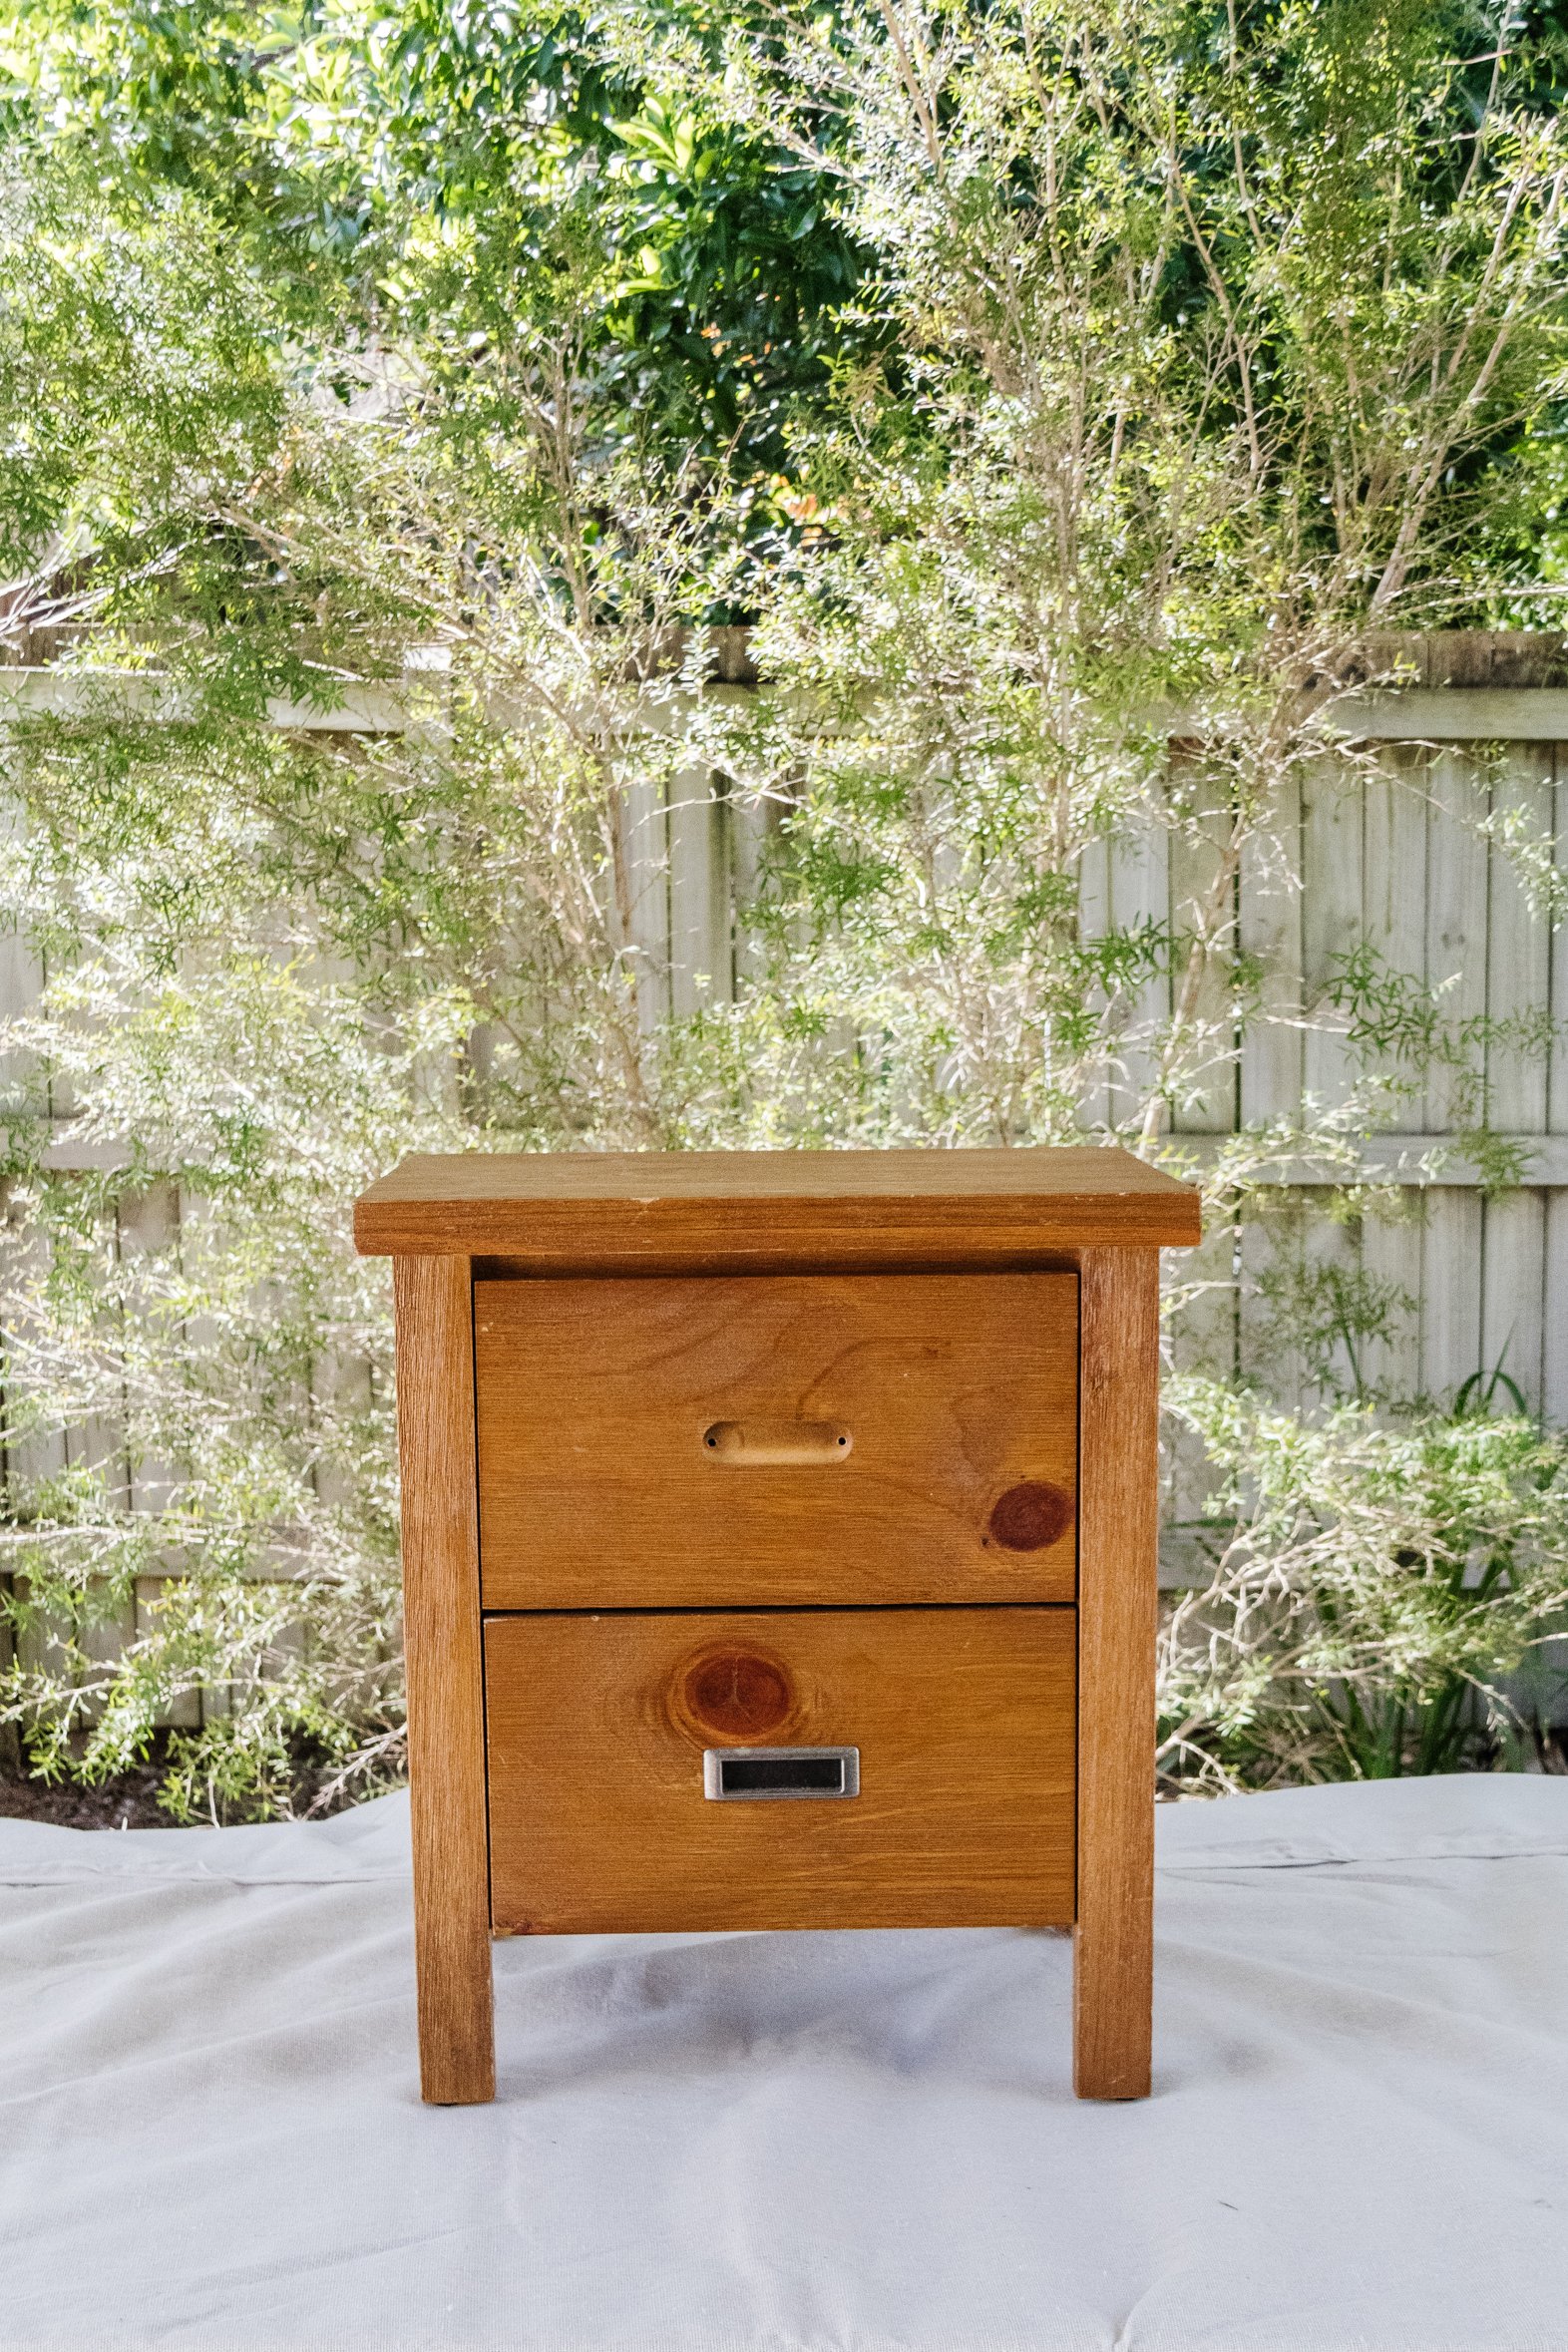
What do you do when you score a free bedside table on the side of the road? You upcycle it!
It’s Earth Day on 22nd April and for the month of April, I am partnering with Pinterest, who have challenged me to find, flip and upcycle two items that could have ended up in landfill to raise awareness for Earth Month. If you haven’t already, make sure you check out my Upcycled Wavy Plaster Mirror and this how to video here. I upcycled an ugly, unloved mirror I picked up at the tip shop for $5 using materials I already had at home - it’s quite the transformation!.
For my second project with Pinterest, I scored an unwanted bedside table from the side of the road recently and was excited to breath new life into it. Come and join me as I show you how you can transform this bedside table using paint, raffia fabric and timber.. And make sure you watch this video on Pinterest to see how it all came together. Happy Earth Month!
Before you get started:
If your bedside table is made with laminate, I recommend sealing it first wit Zinsser BIN Primer Sealer which you can get from Bunnings.
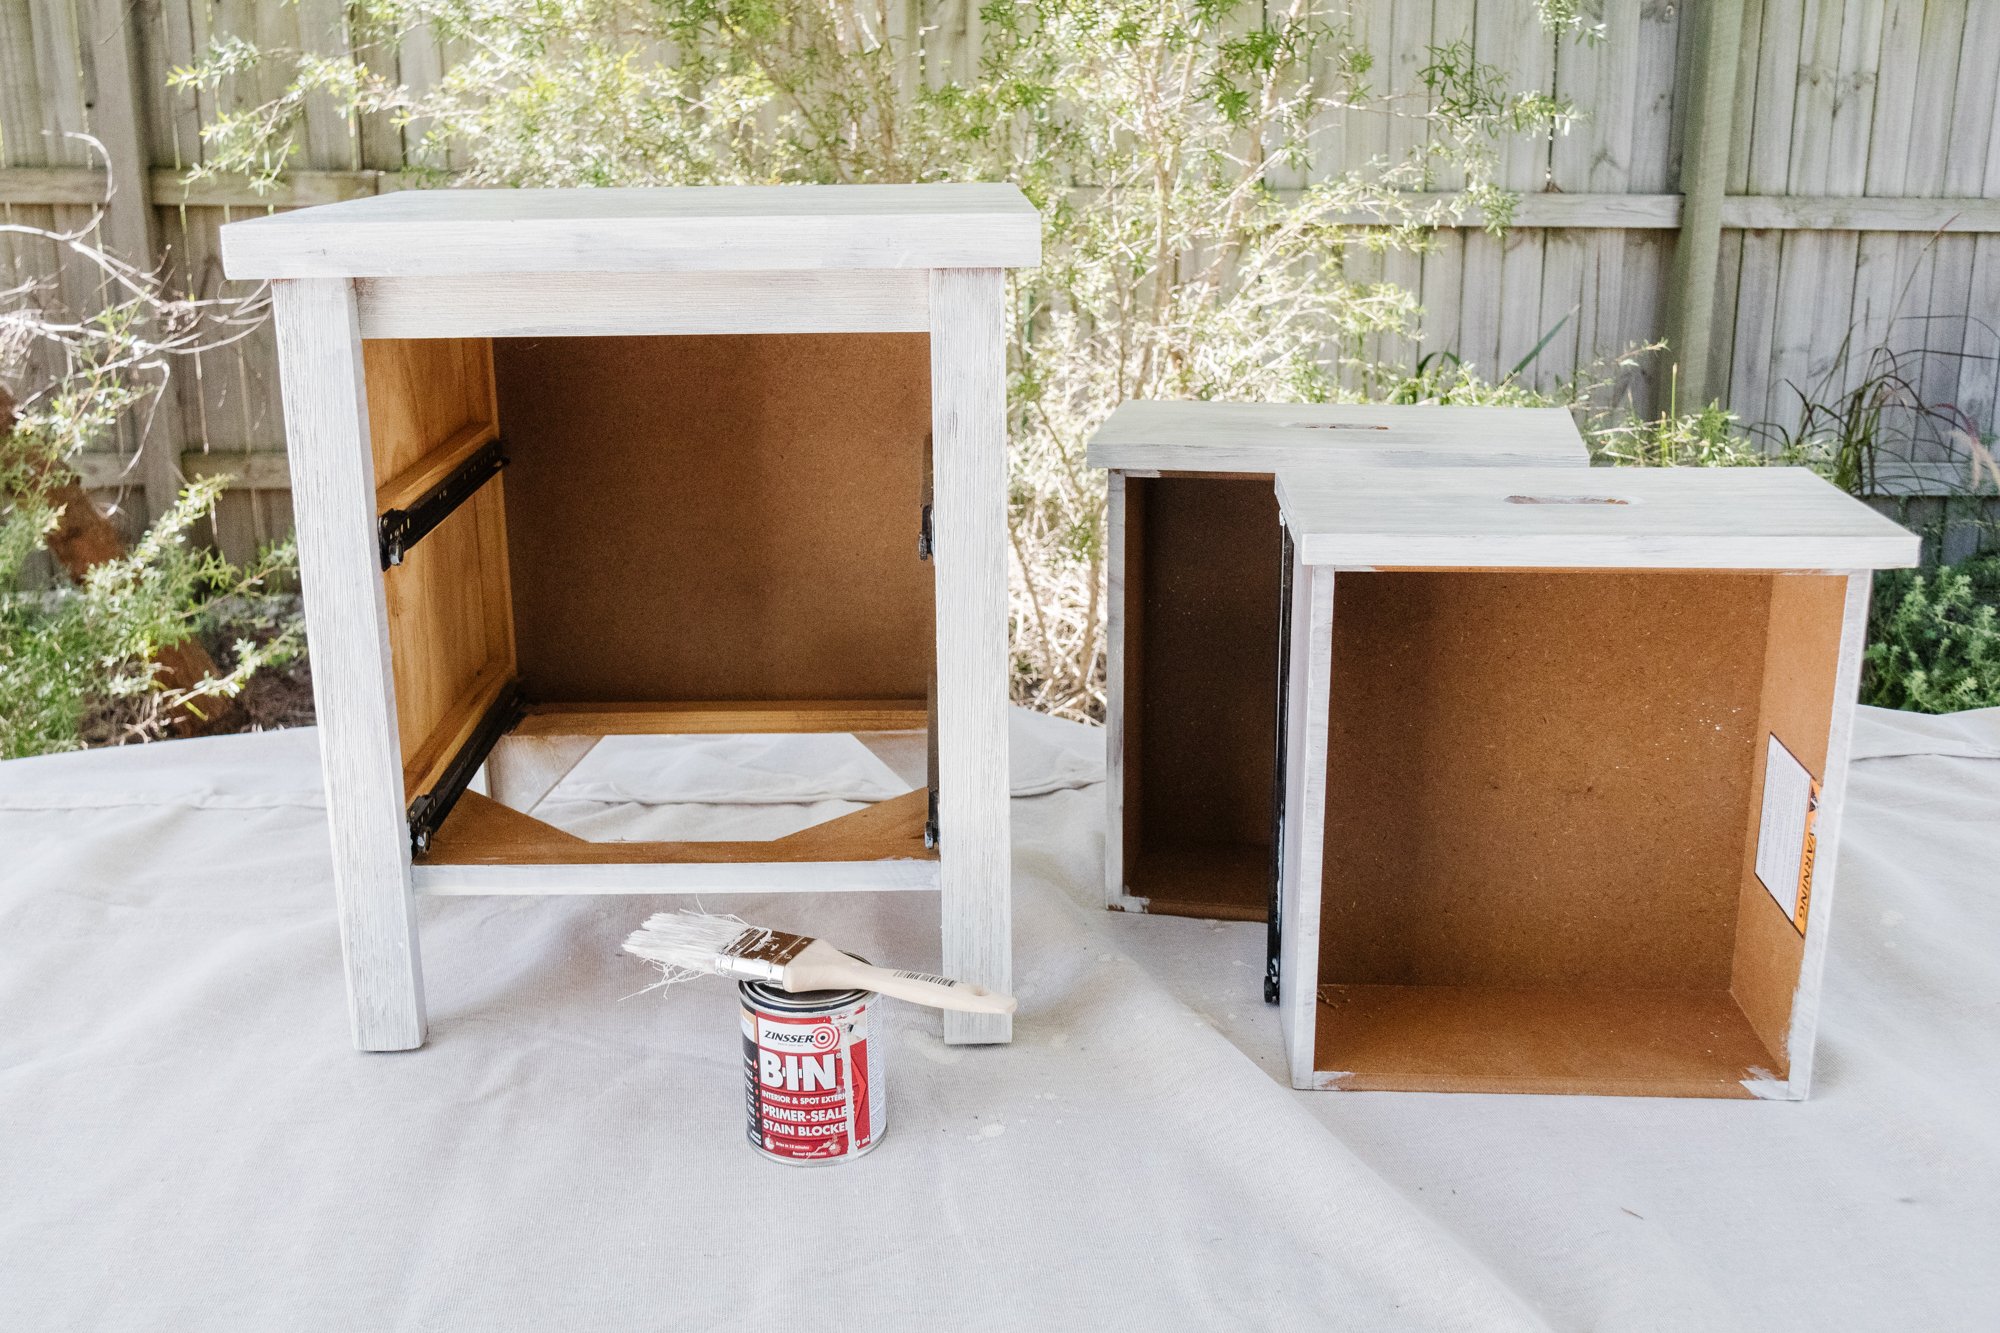
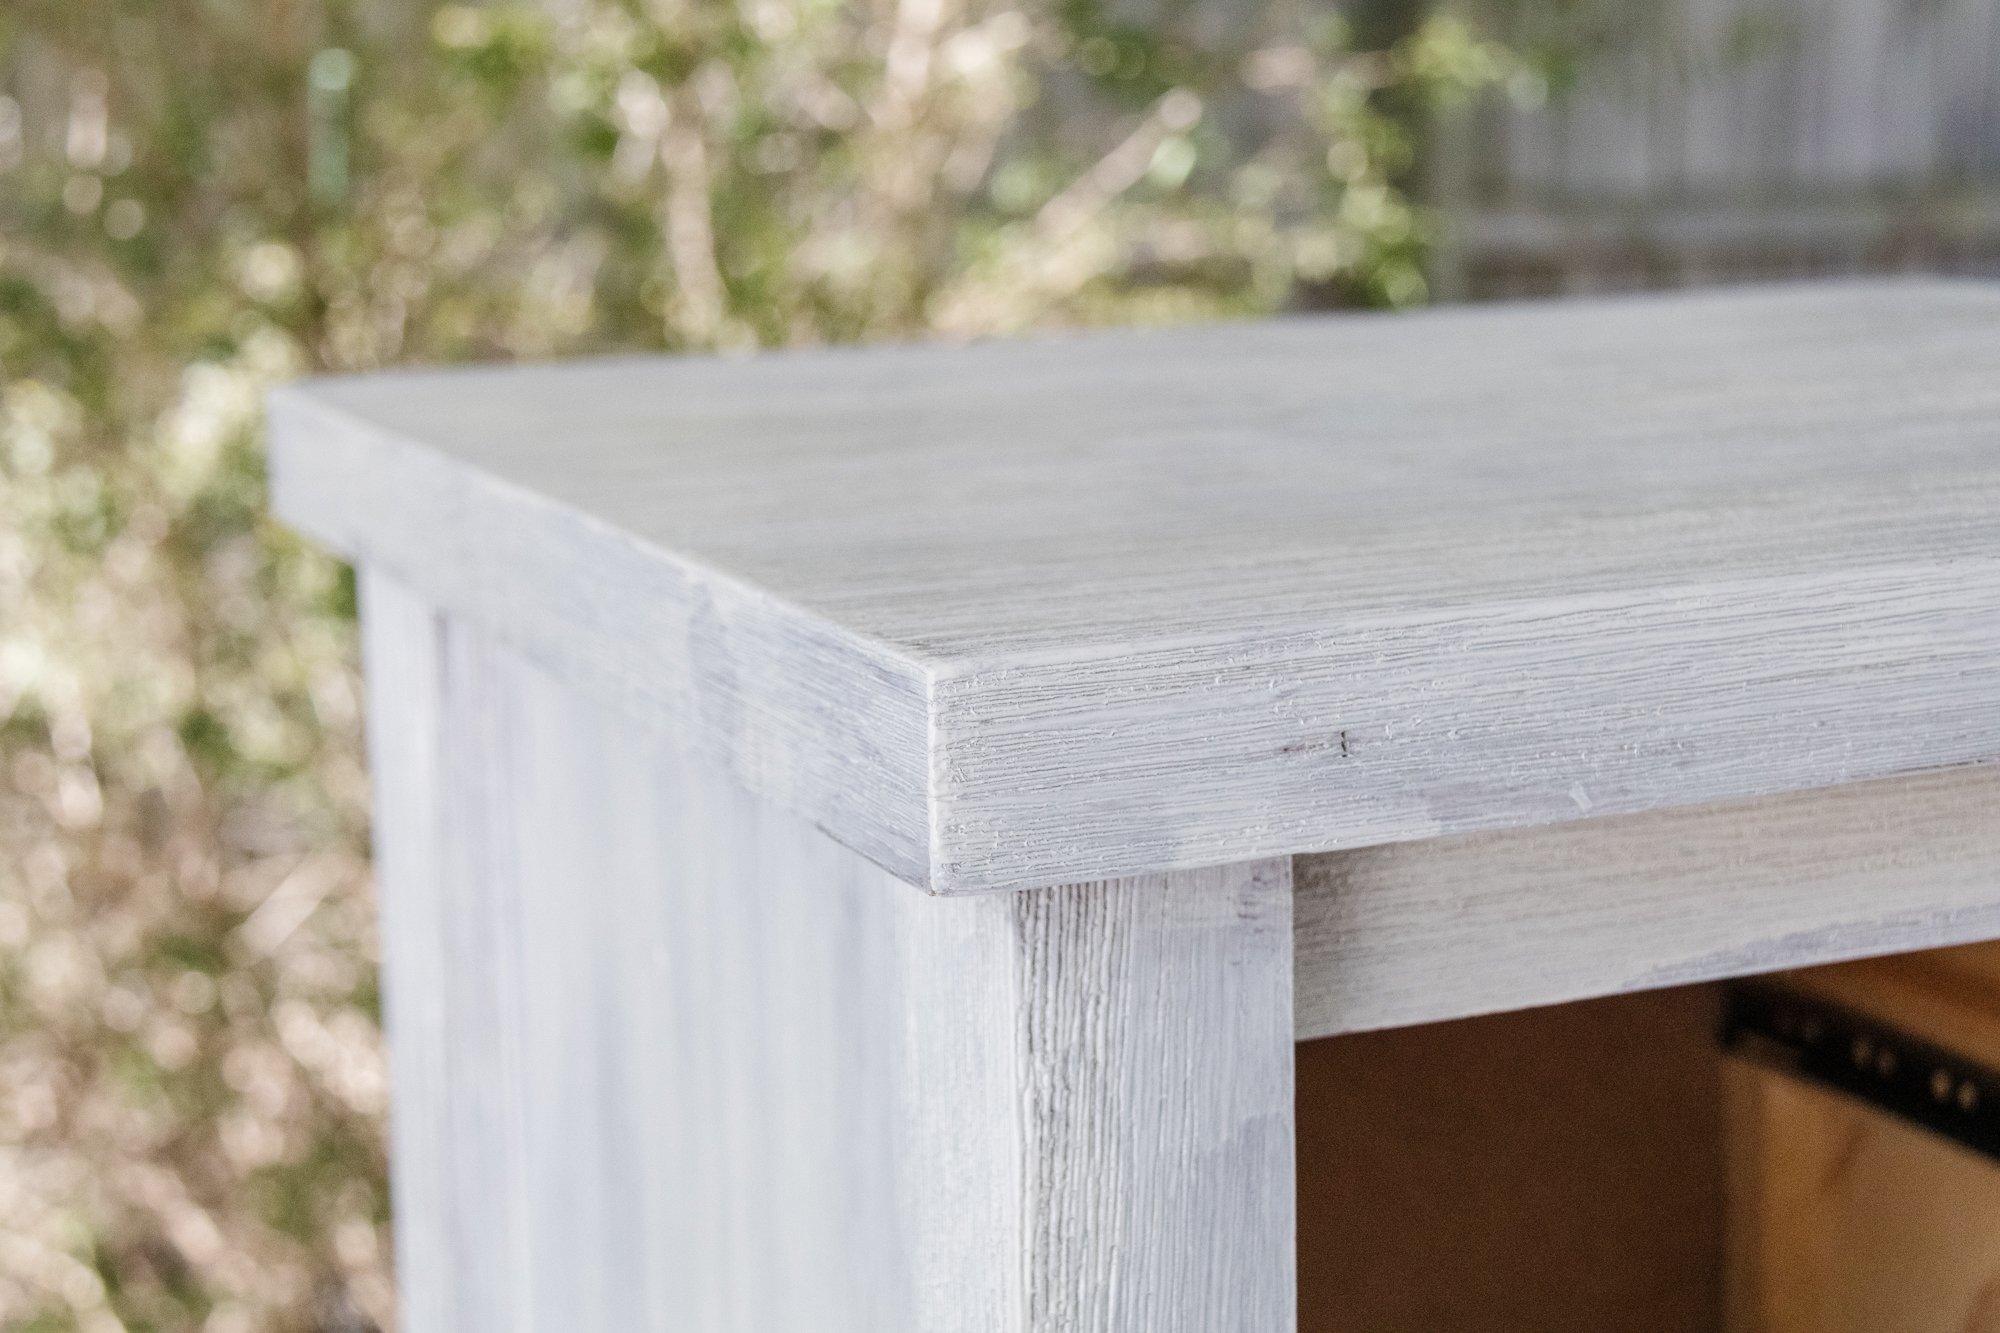
If your bedside table is made from timber, you will need to sand the surface first and then apply one to two coats of white primer paint.
Materials
Bedside table - preferably secondhand or one you already have!
2 x Paint brushes (and methylated spirits to clean one of them)
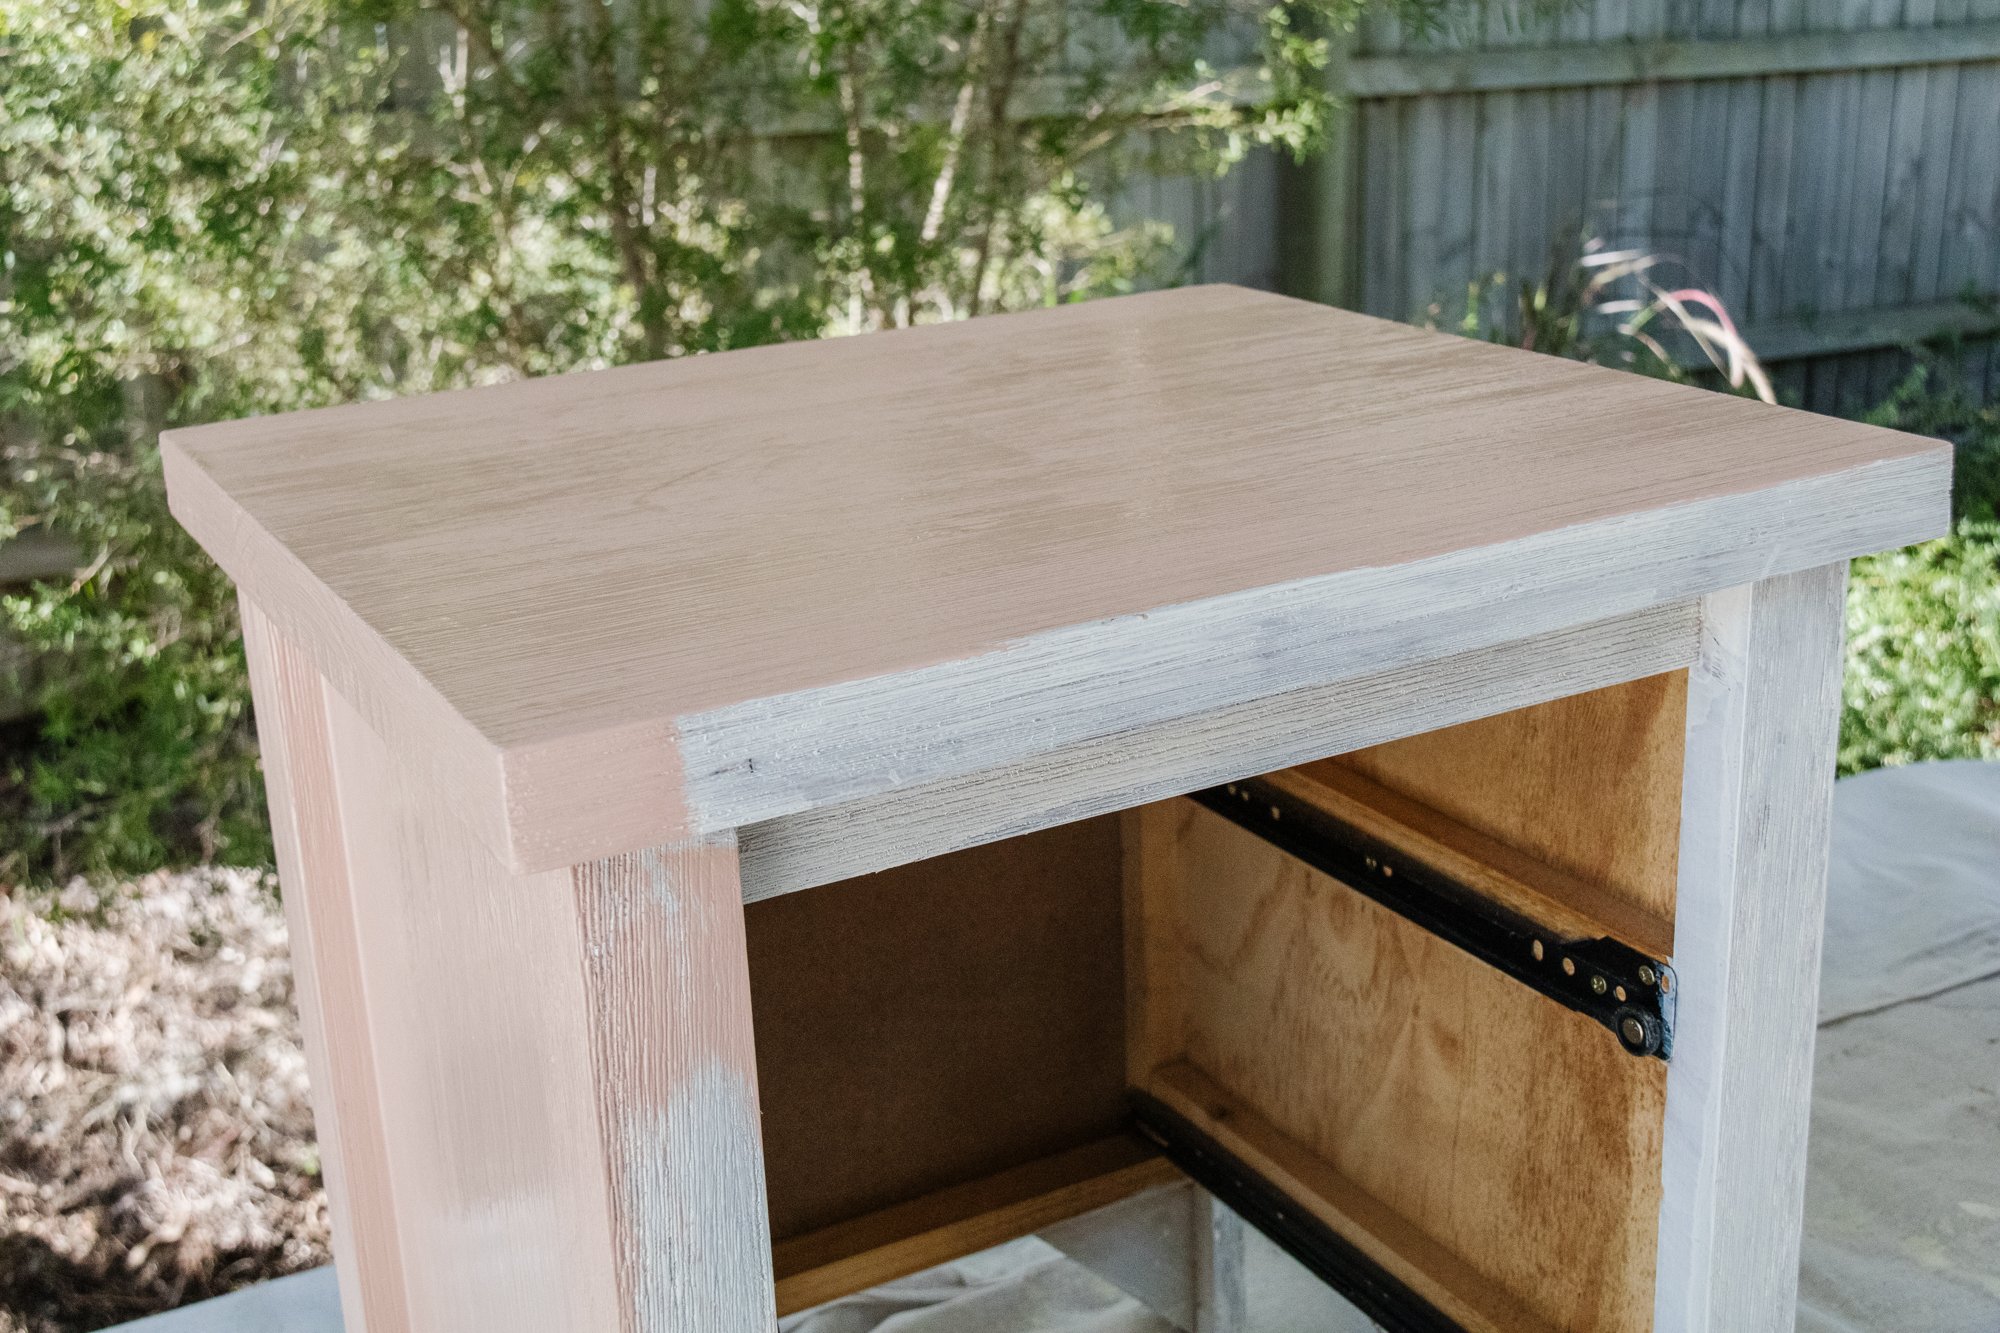
Interior acrylic water based paint in your colour of choice - 500ml is plenty. I used Primal by Dulux, which you can get from Bunnings.
Porta Tasmanian Oak Moulding (2.4m x 20mm x 6mm) from Bunnings
Mitre box from Bunnings
Tenon Saw from Bunnings
Measuring tape
Pen or pencil
Scissors
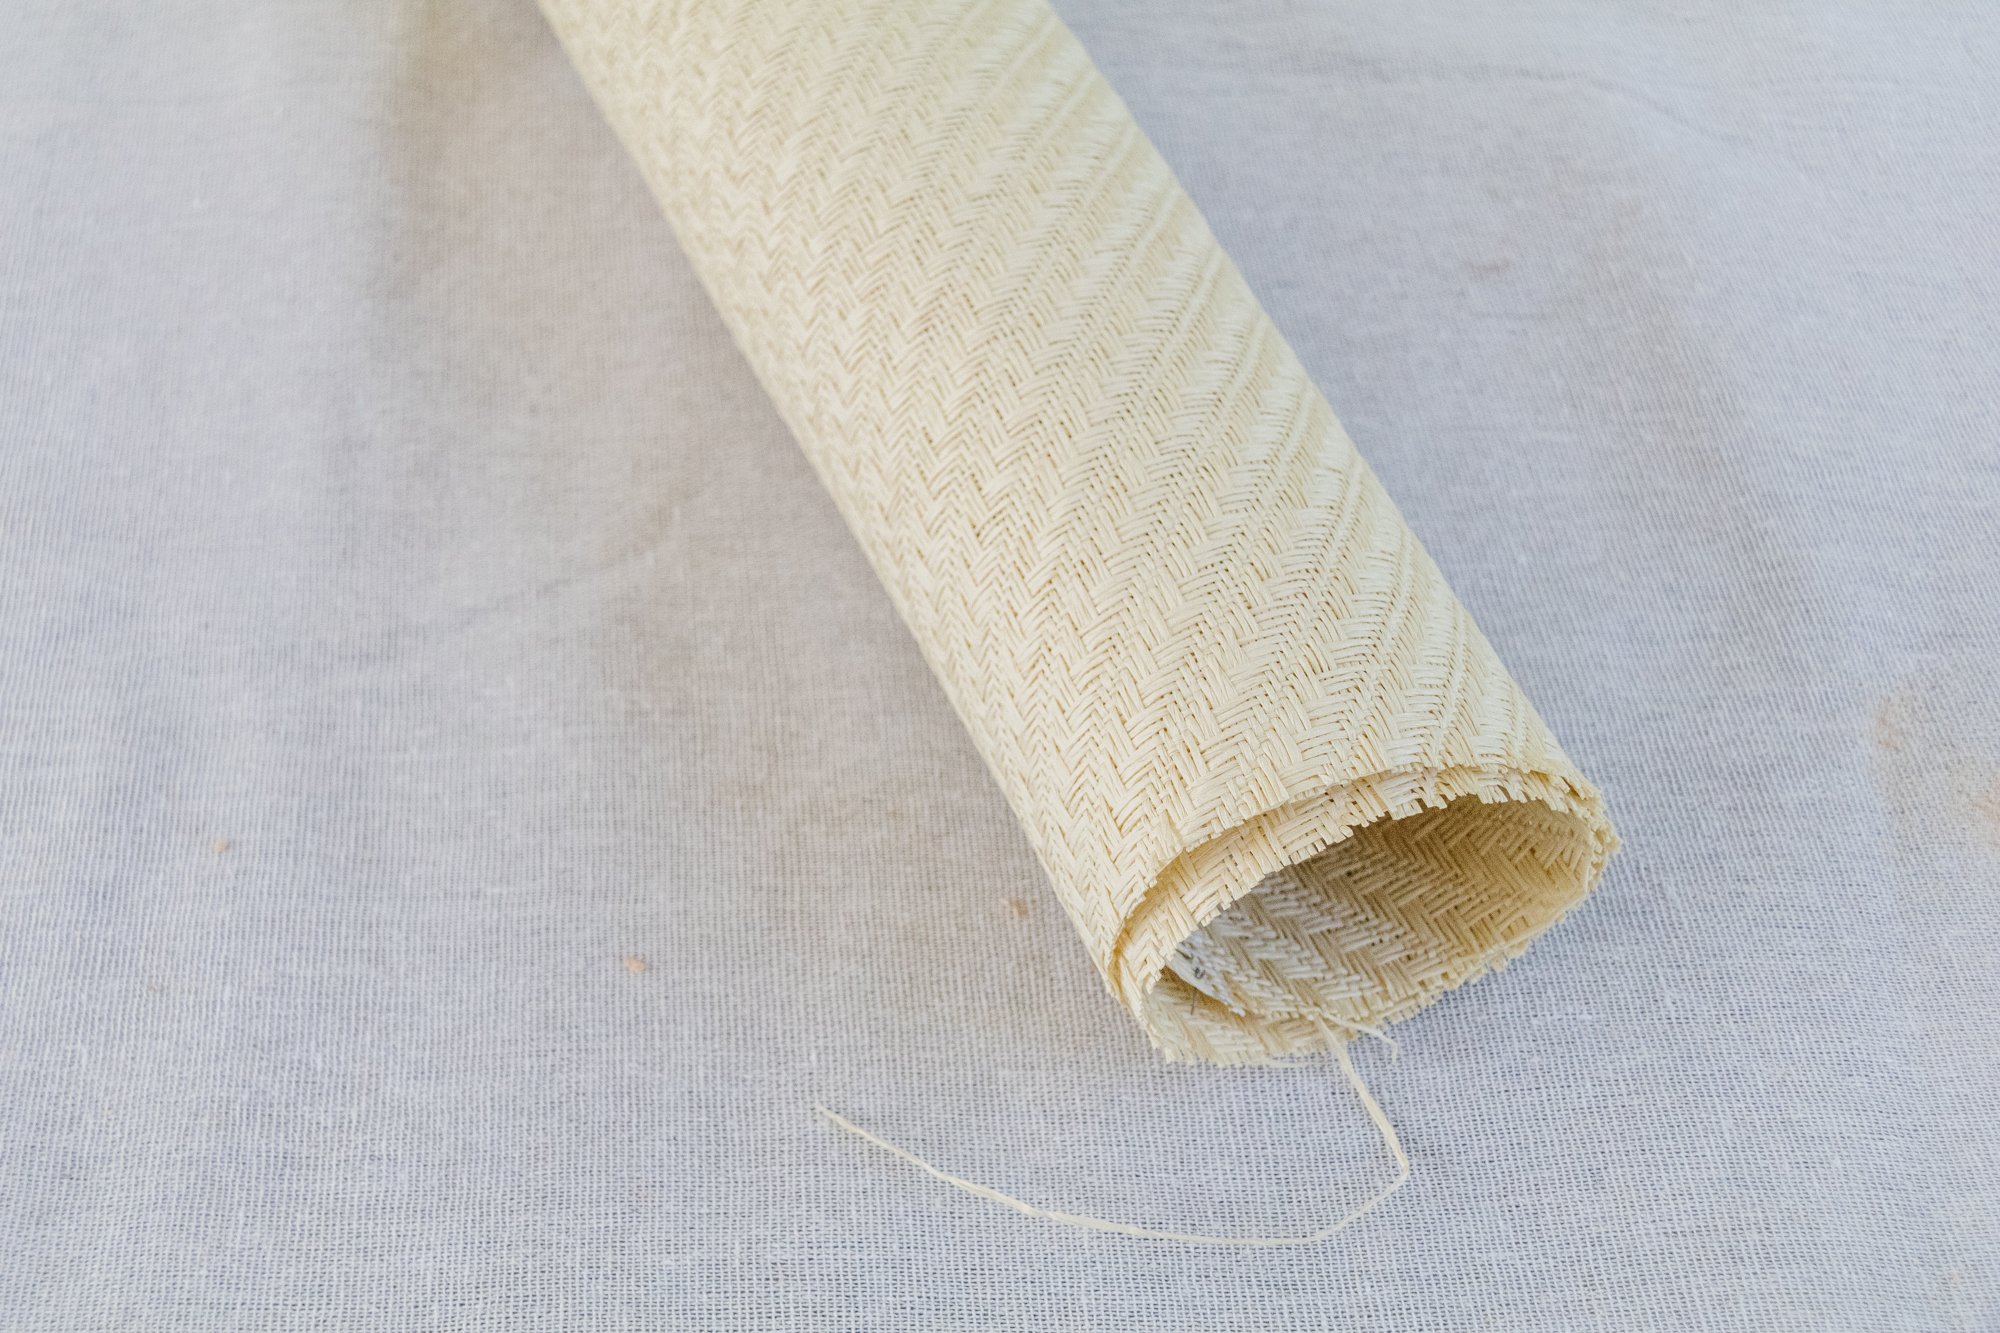
Raffia fabric from Spotlight
Selley’s Wood Glue from Bunnings. You can use interior or exterior.
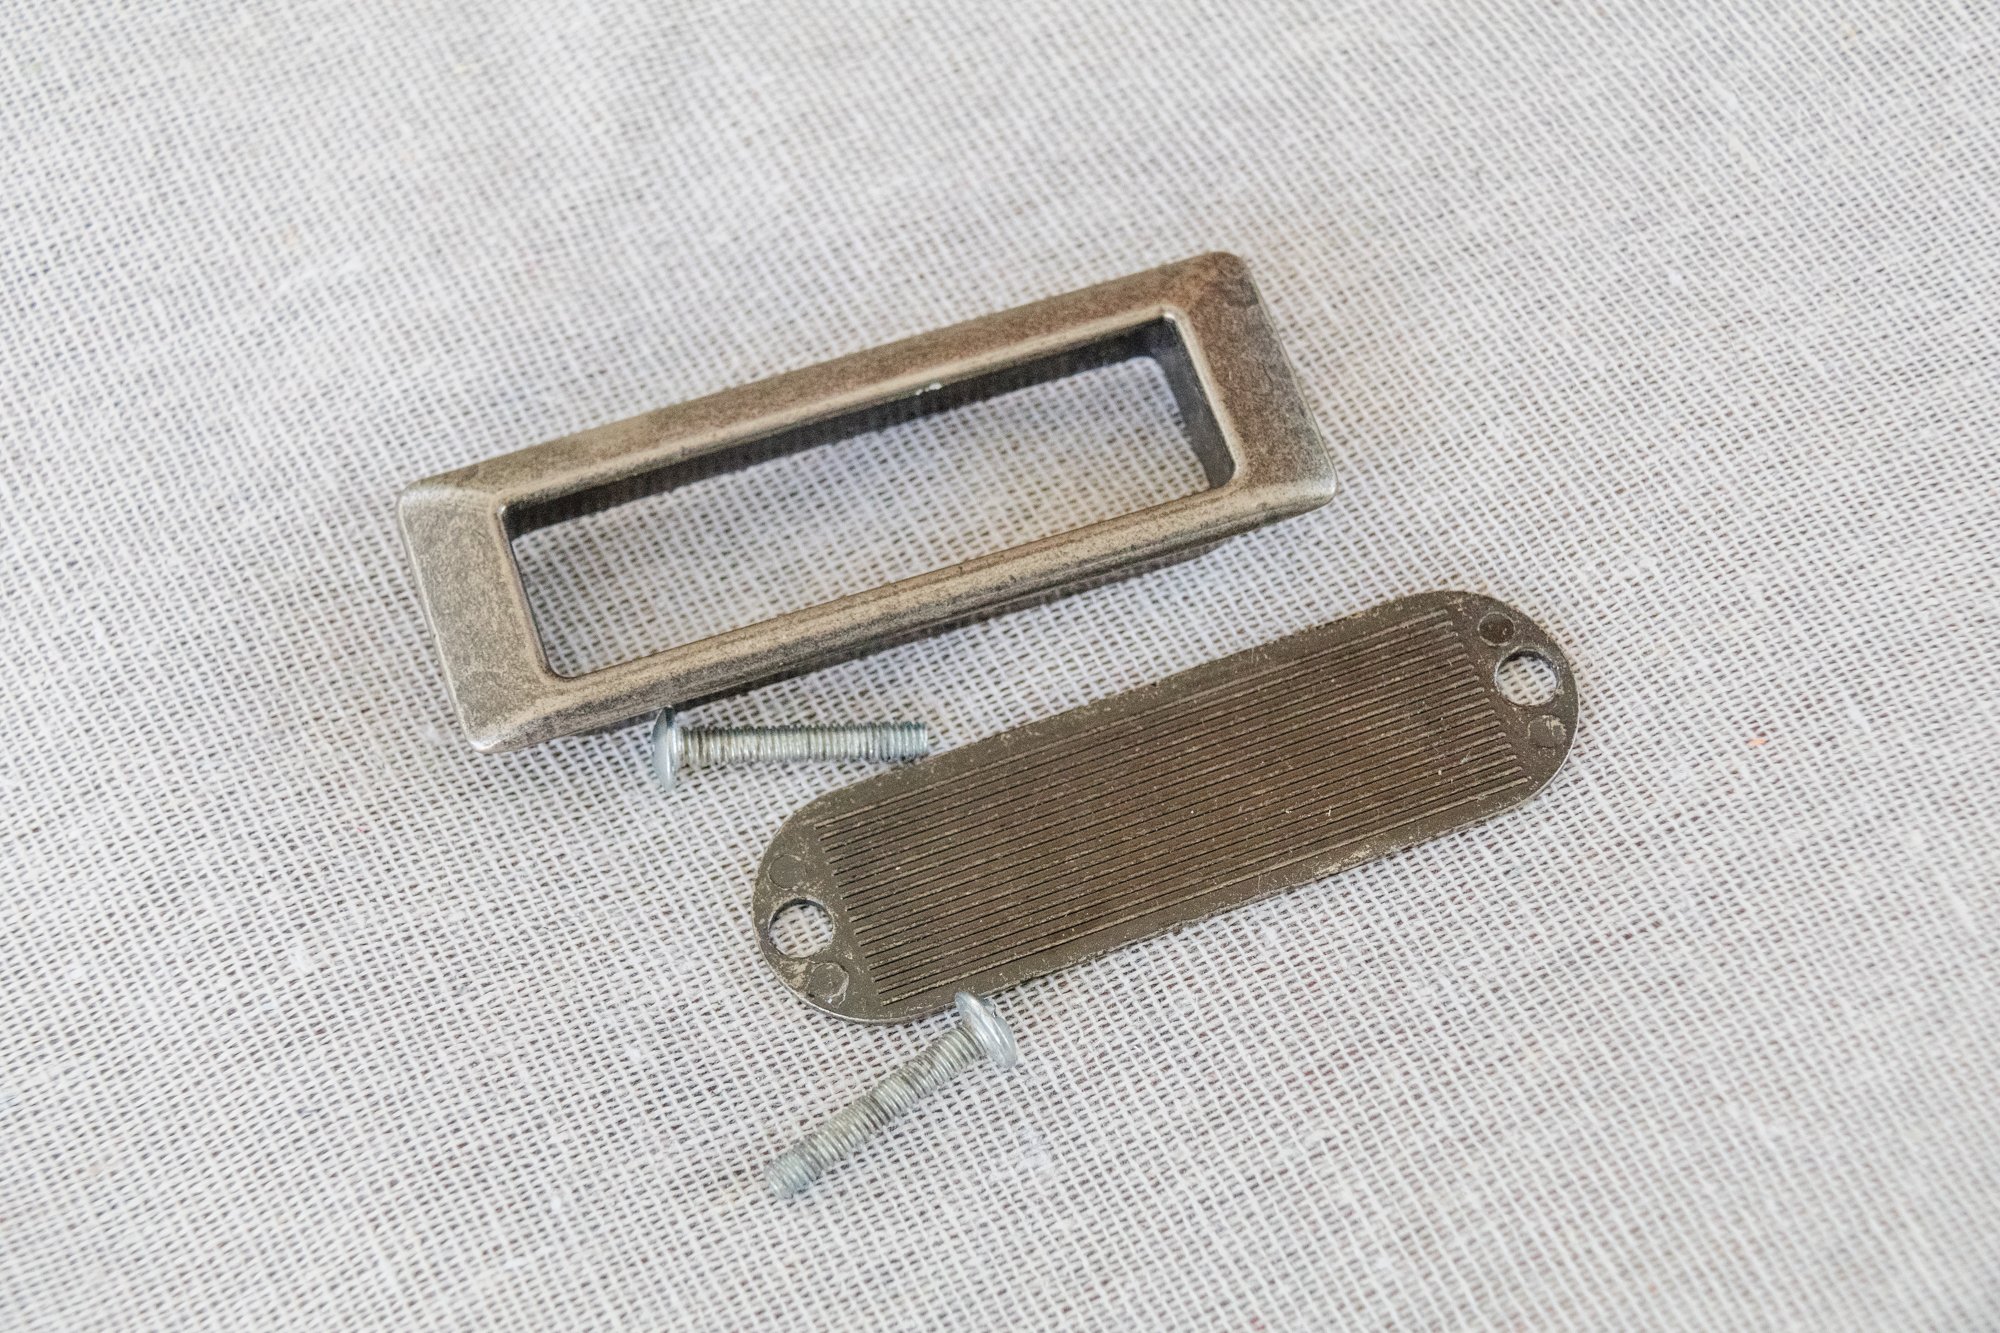
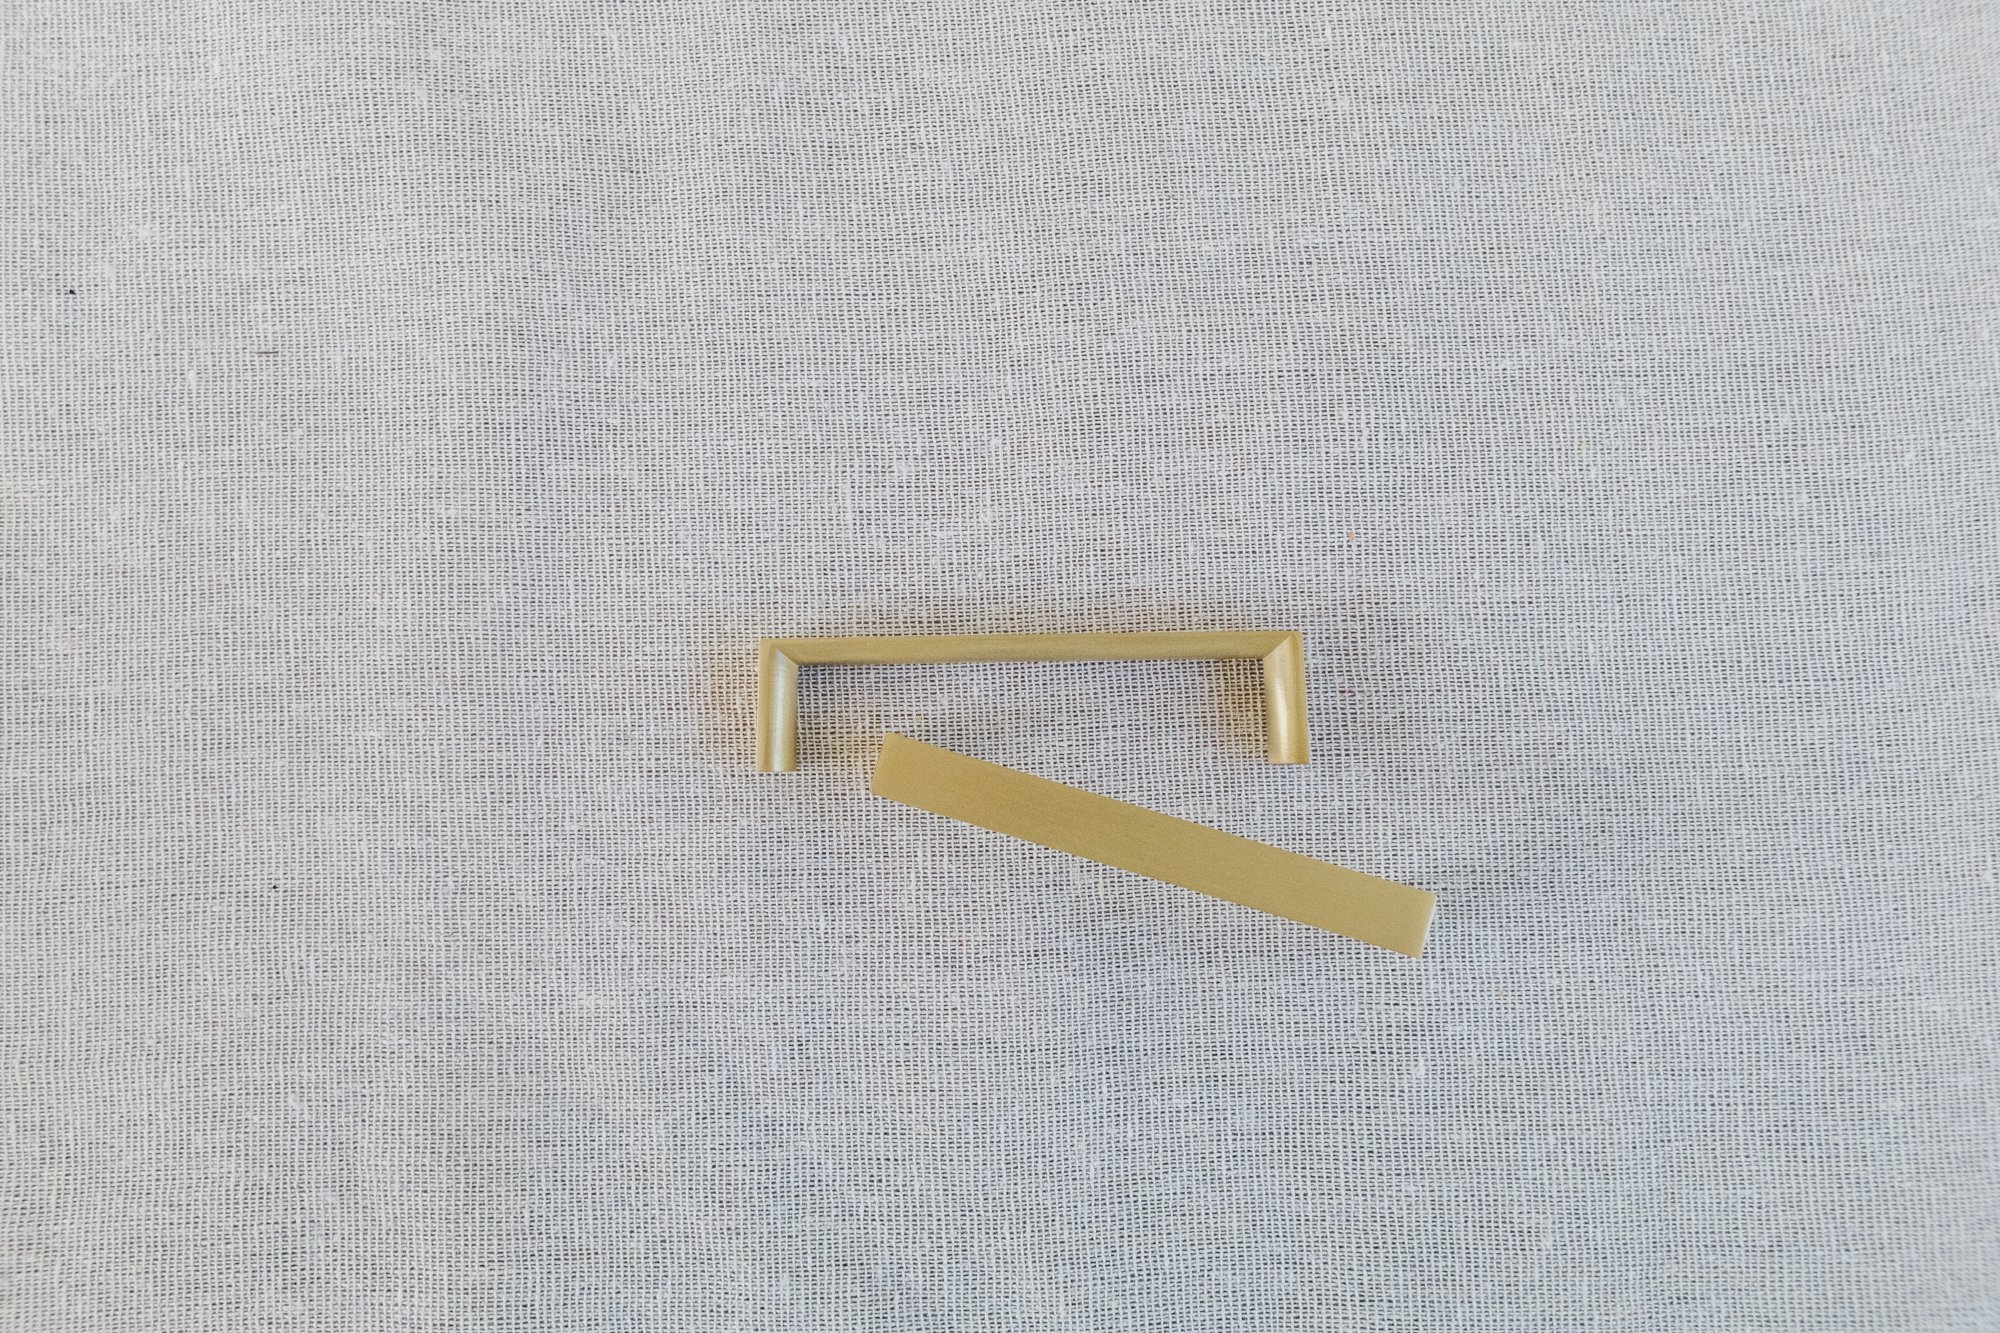
Brass handles from Bunnings
I also used baby wipes, a drill with a multi-purpose drill bit and screwdriver drill bit, and a detail sander.
How To
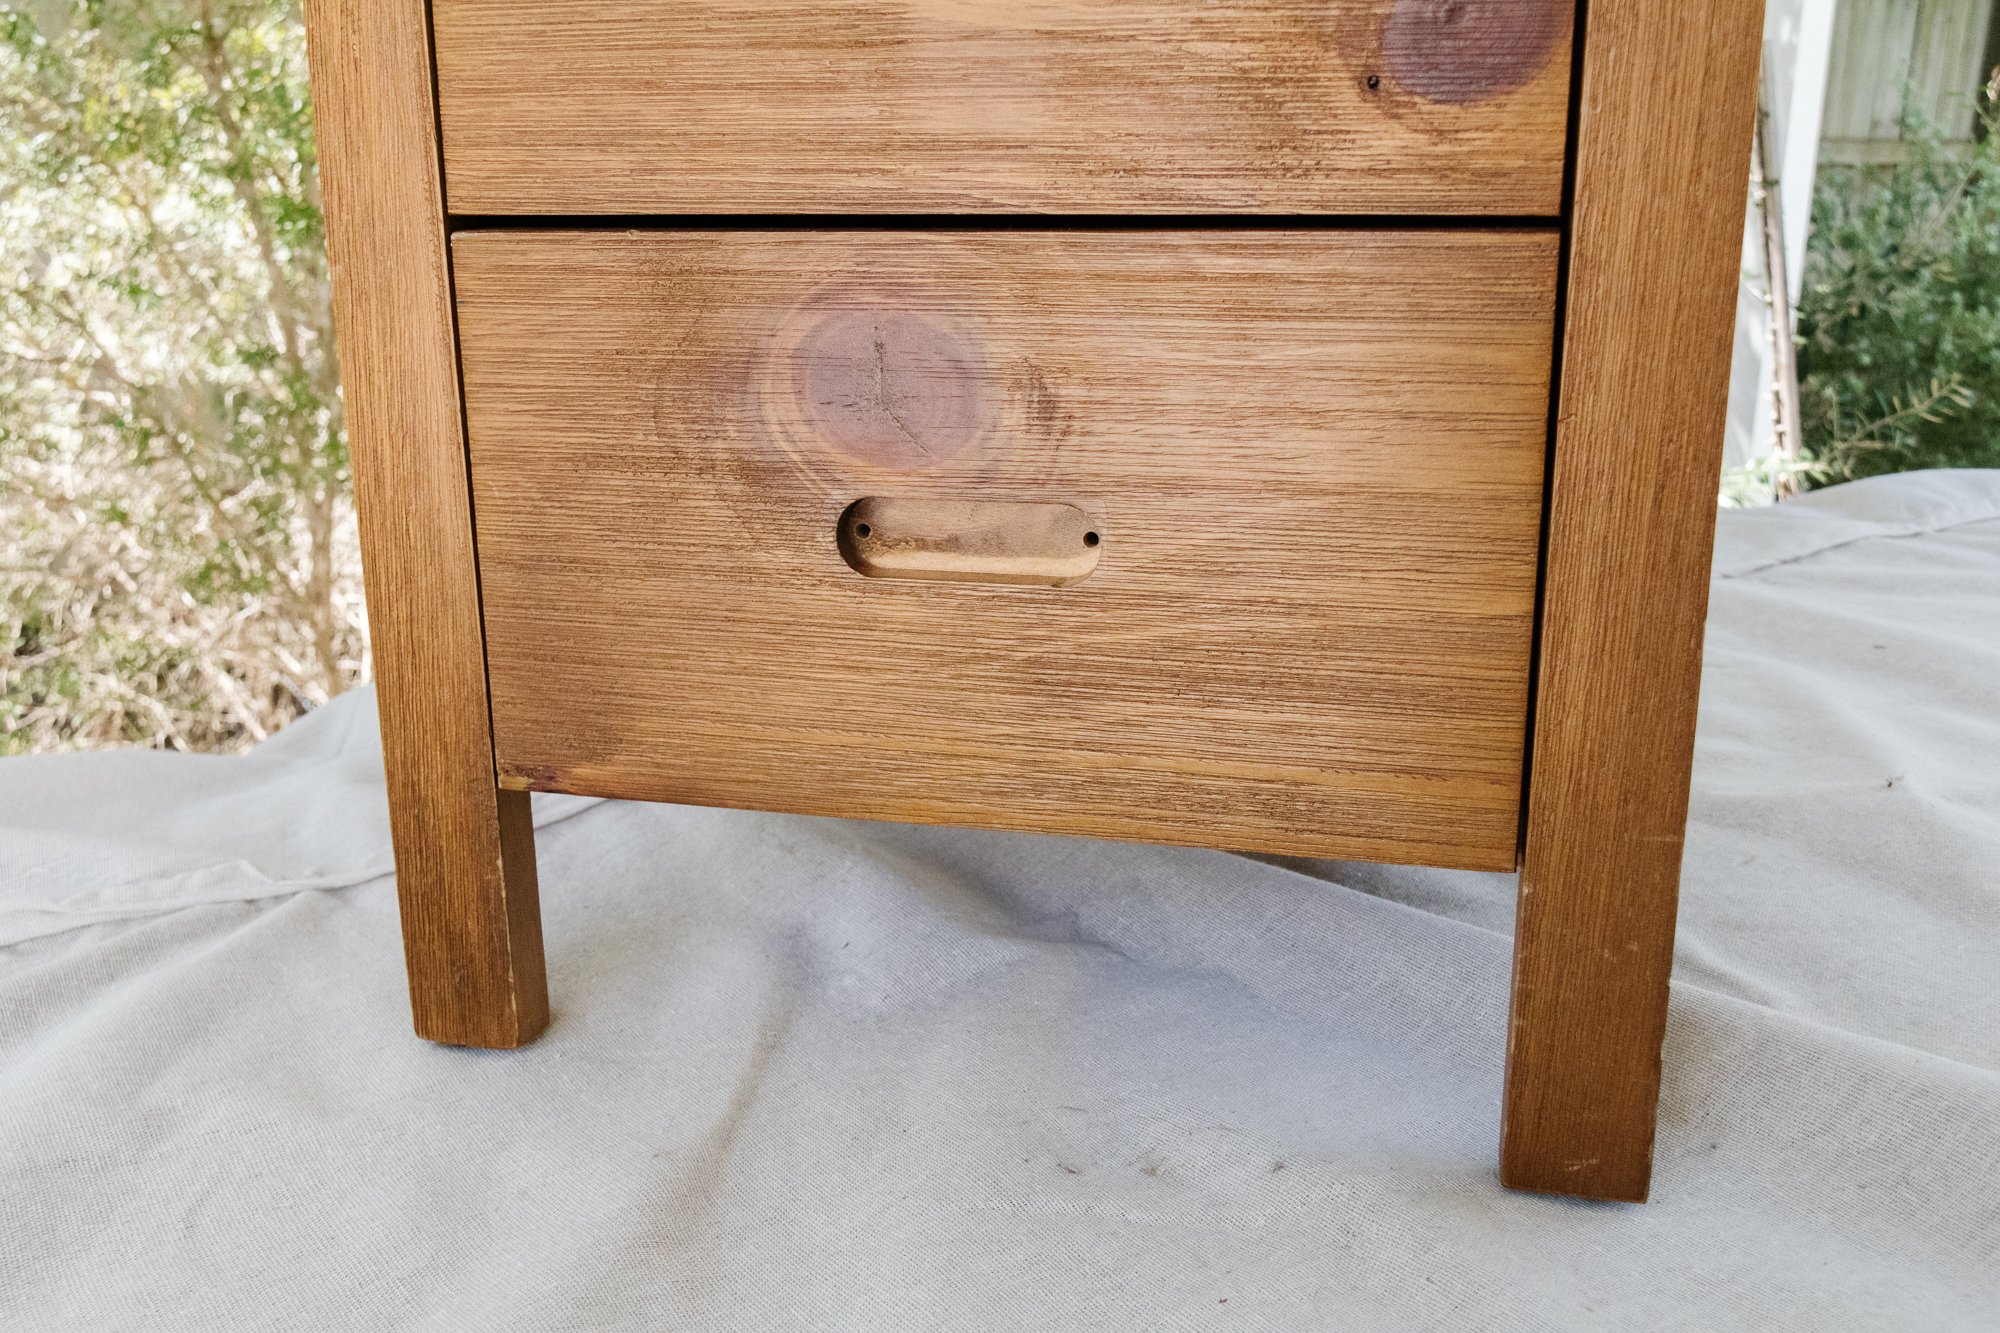
Wipe down the bedside to remove any dust, cobwebs or dirt with a baby wipe and remove existing hardware.
Depending if your bedside table is made from laminate or timber, please refer to my note above and seal it using Zinsser BIN Primer Sealer from Bunnings (if it’s made from laminate) or a white primer paint (if it’s made from timber). Apply one to two coats of paint and set aside to dry.
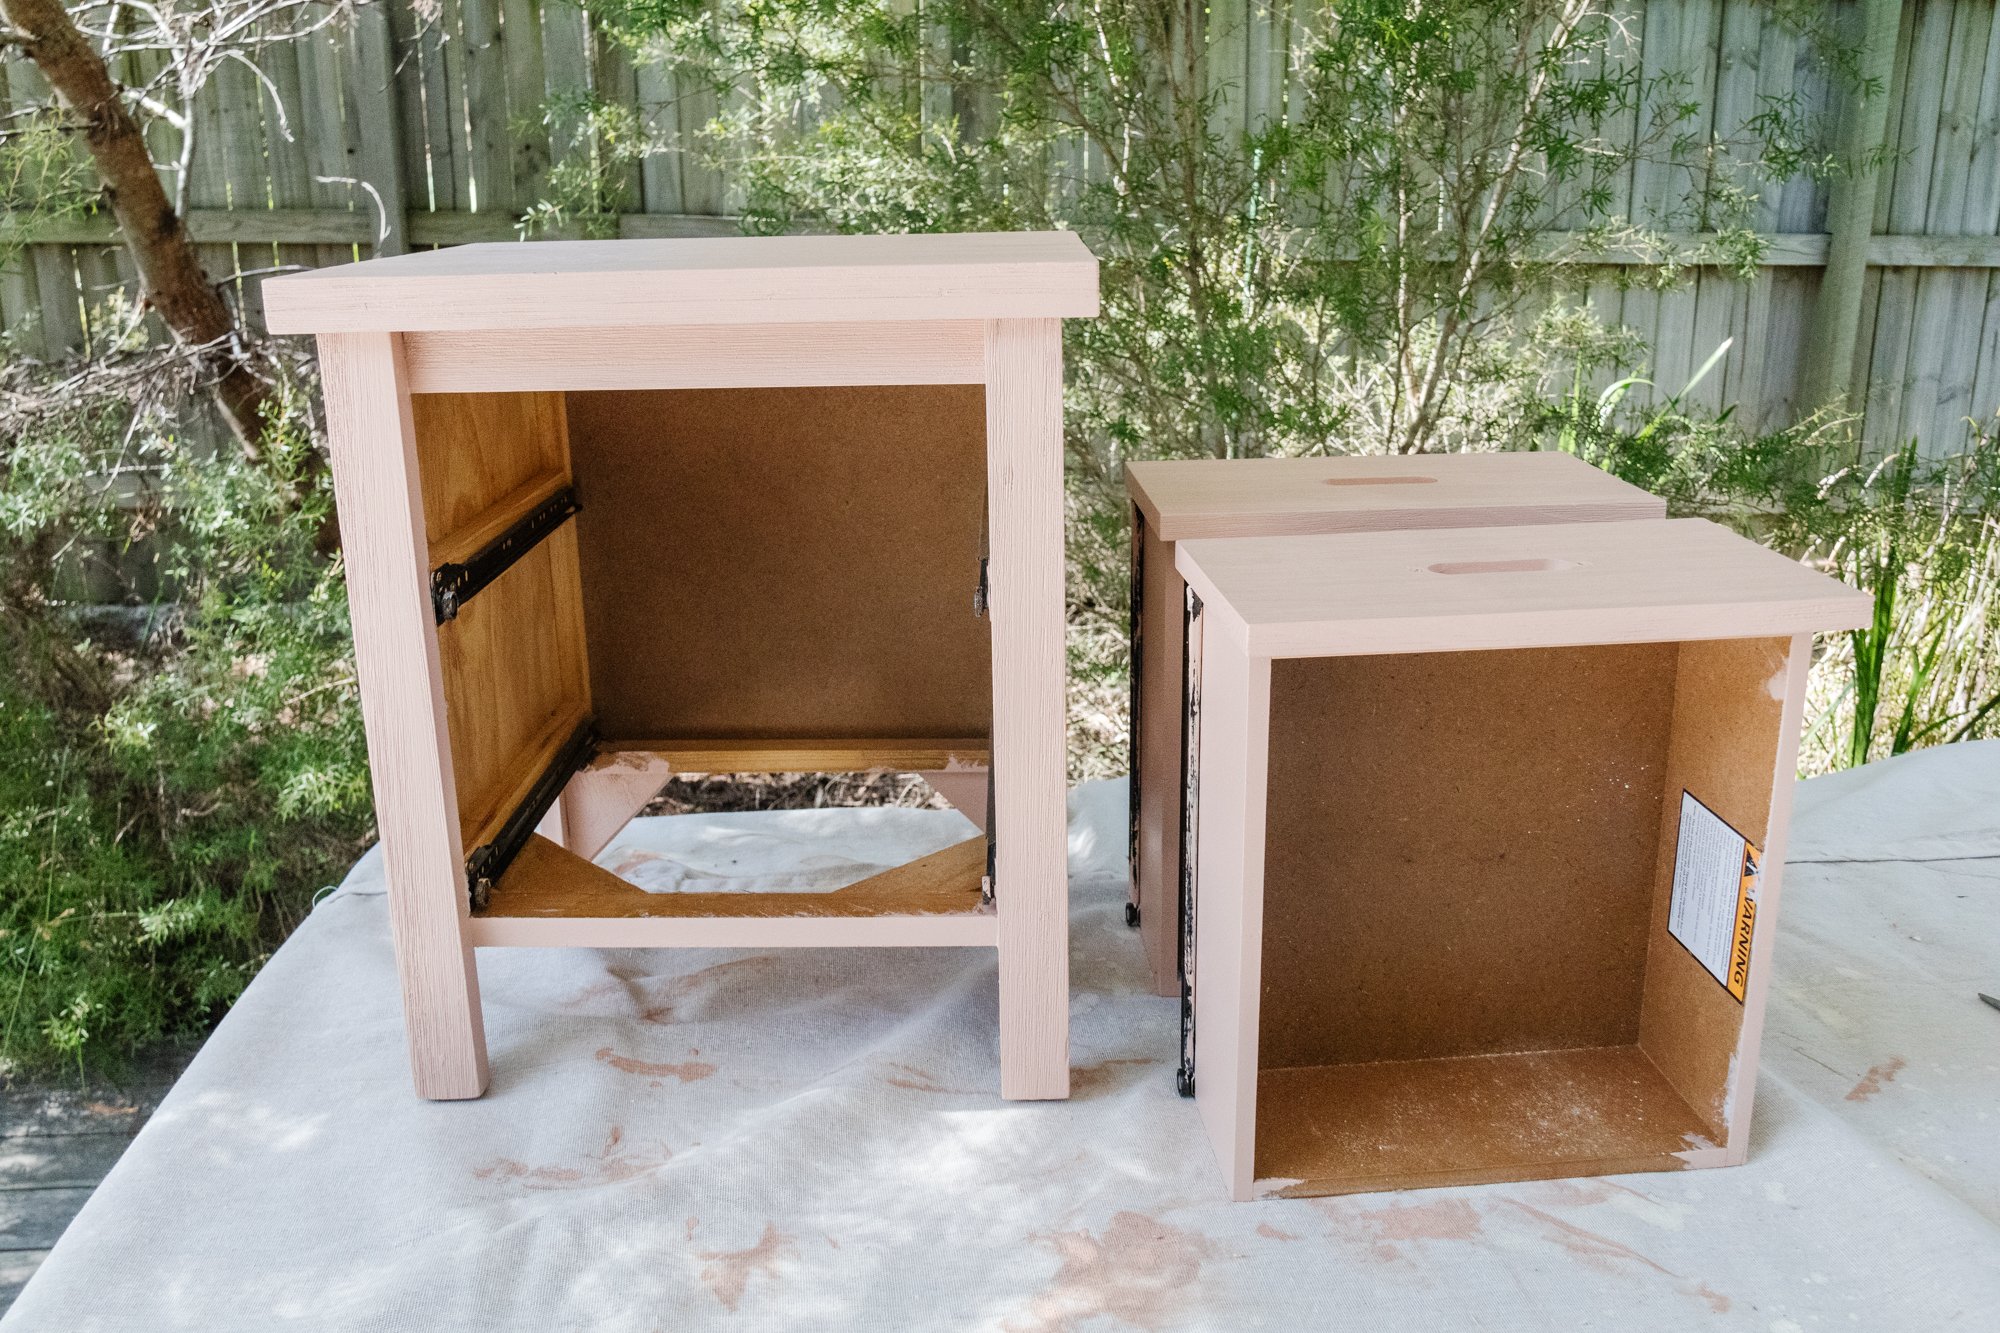
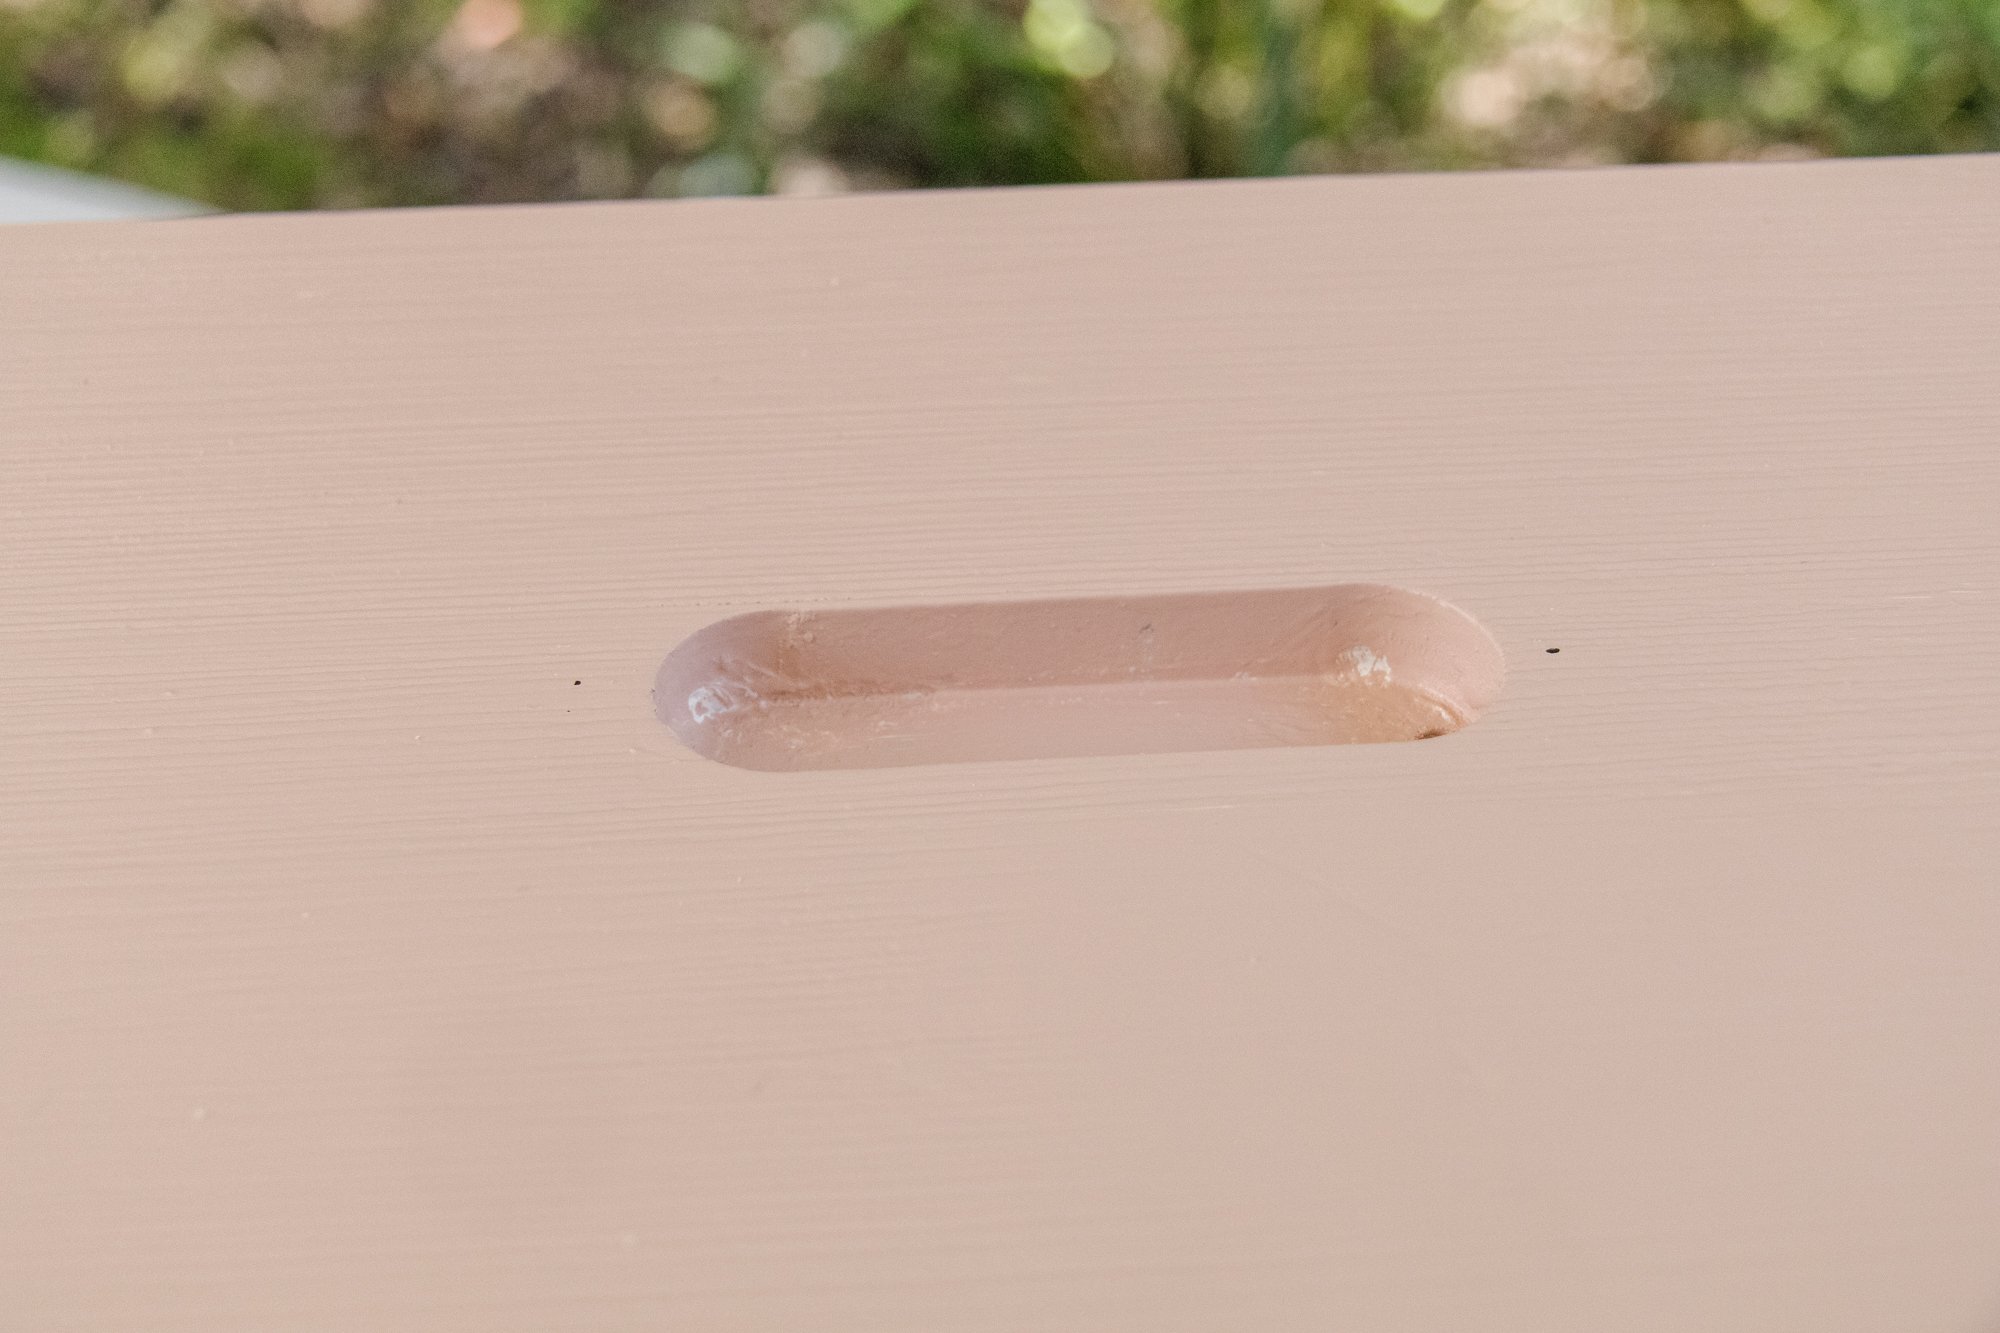
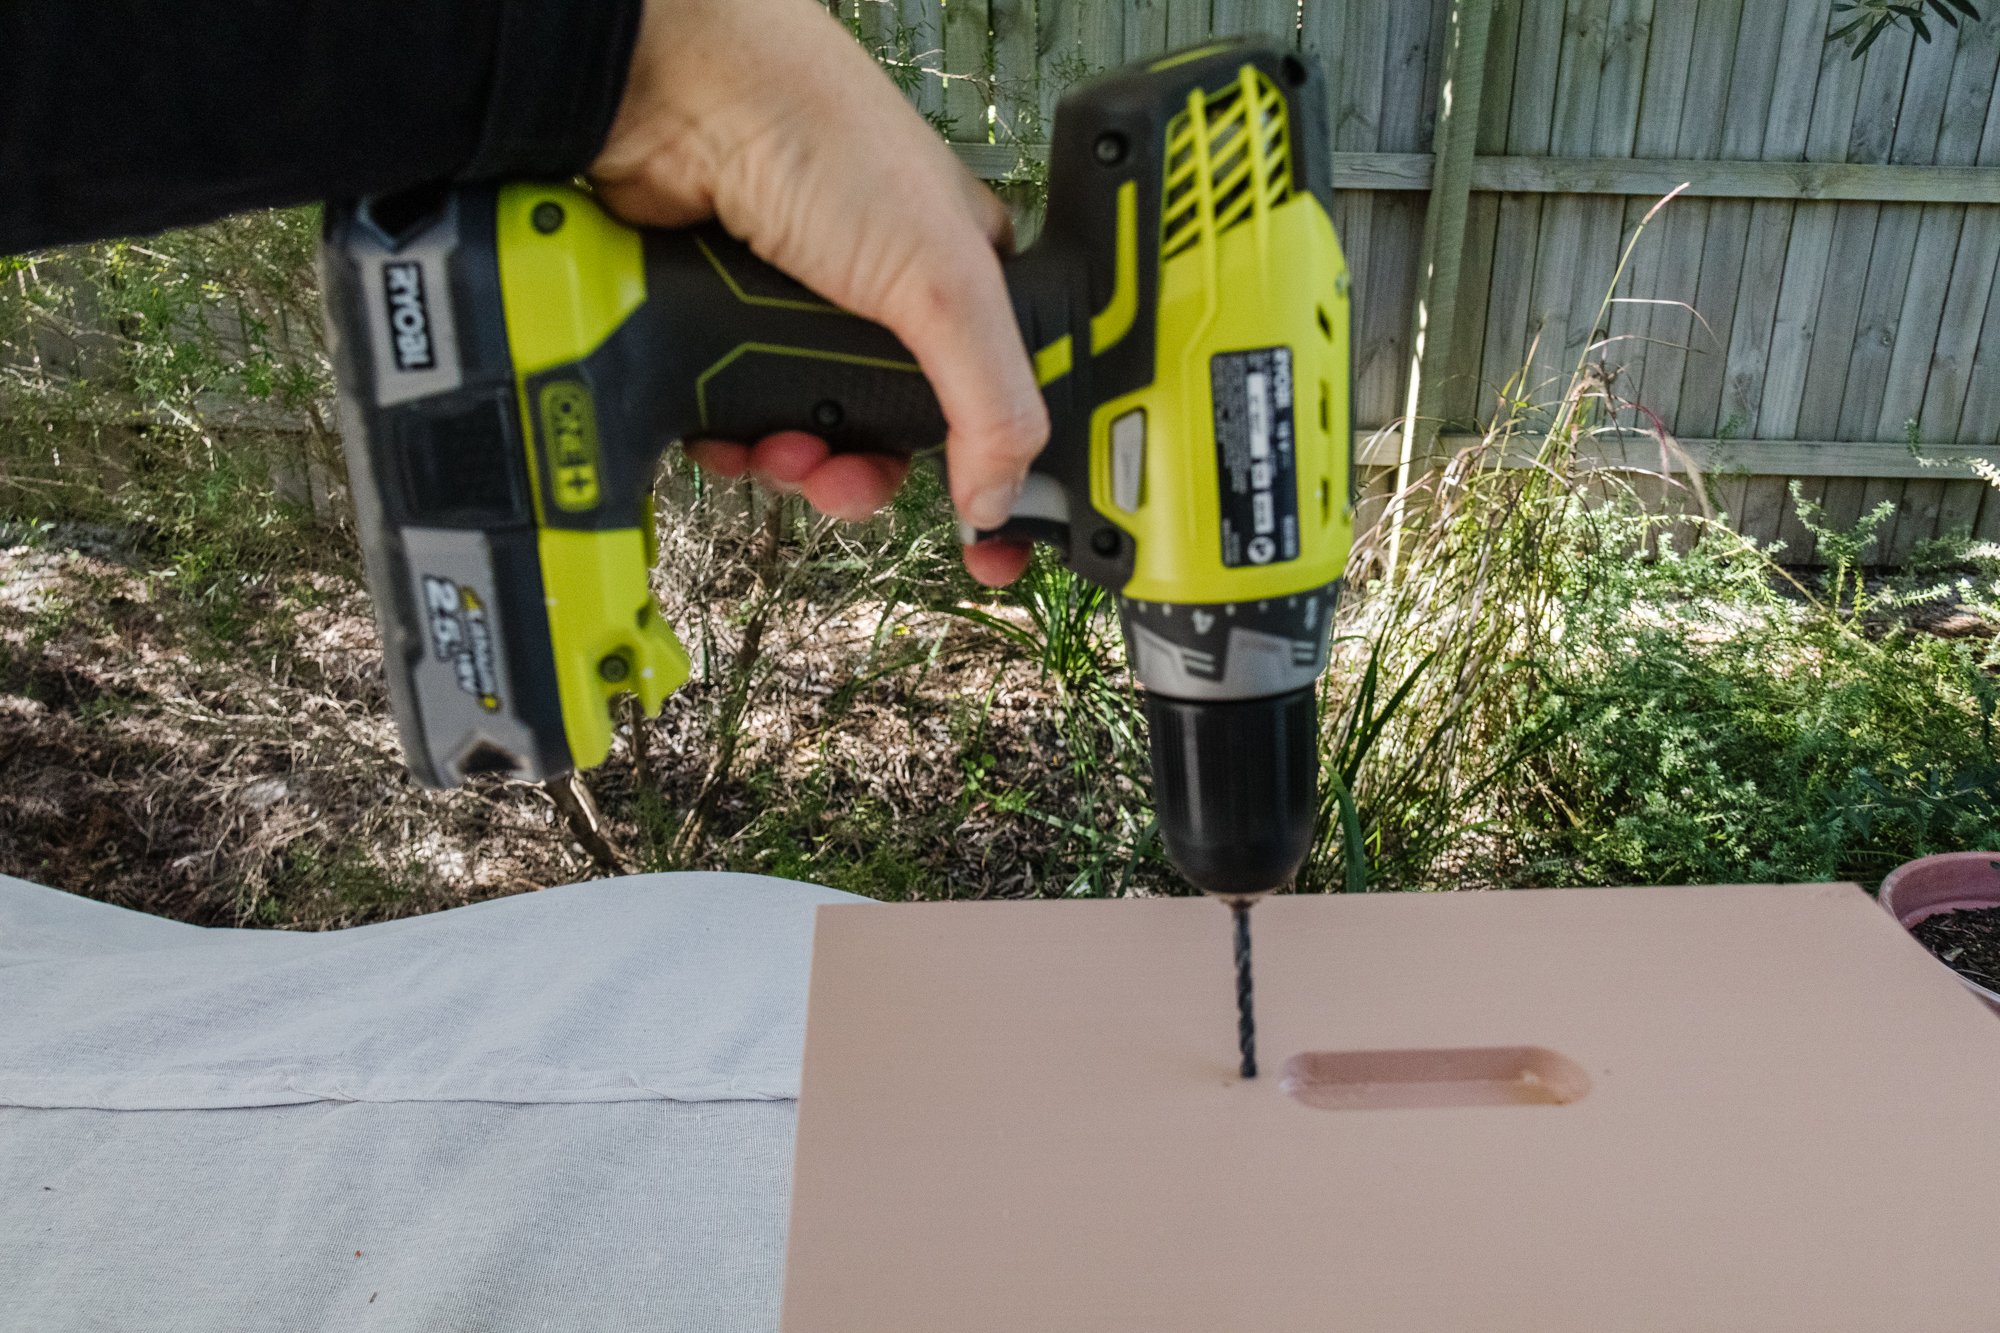
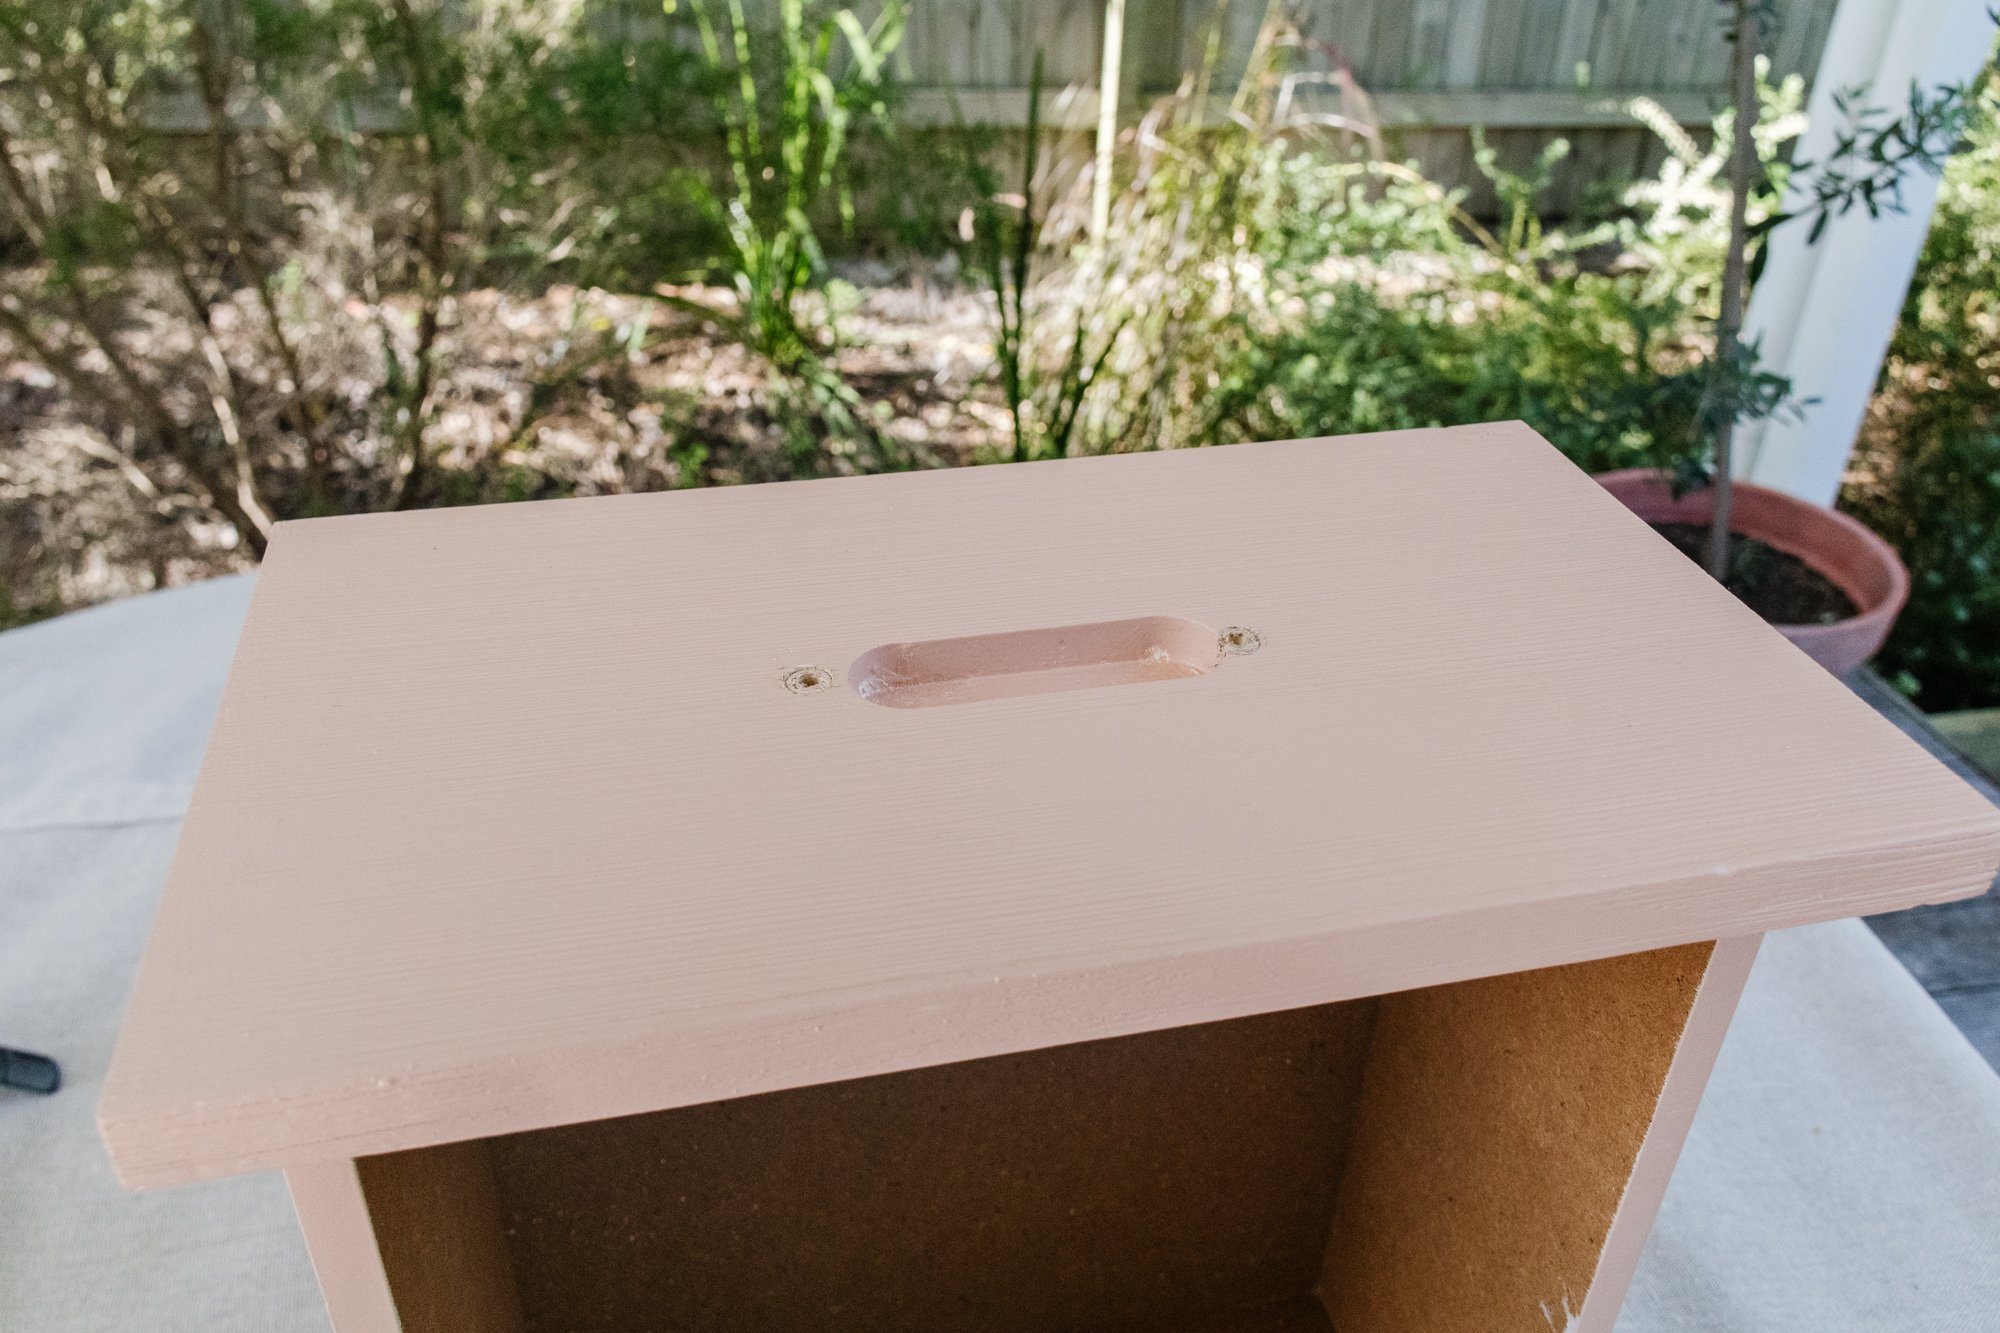
When the paint has dried, measure and drill two holes into each drawer for the new handles.
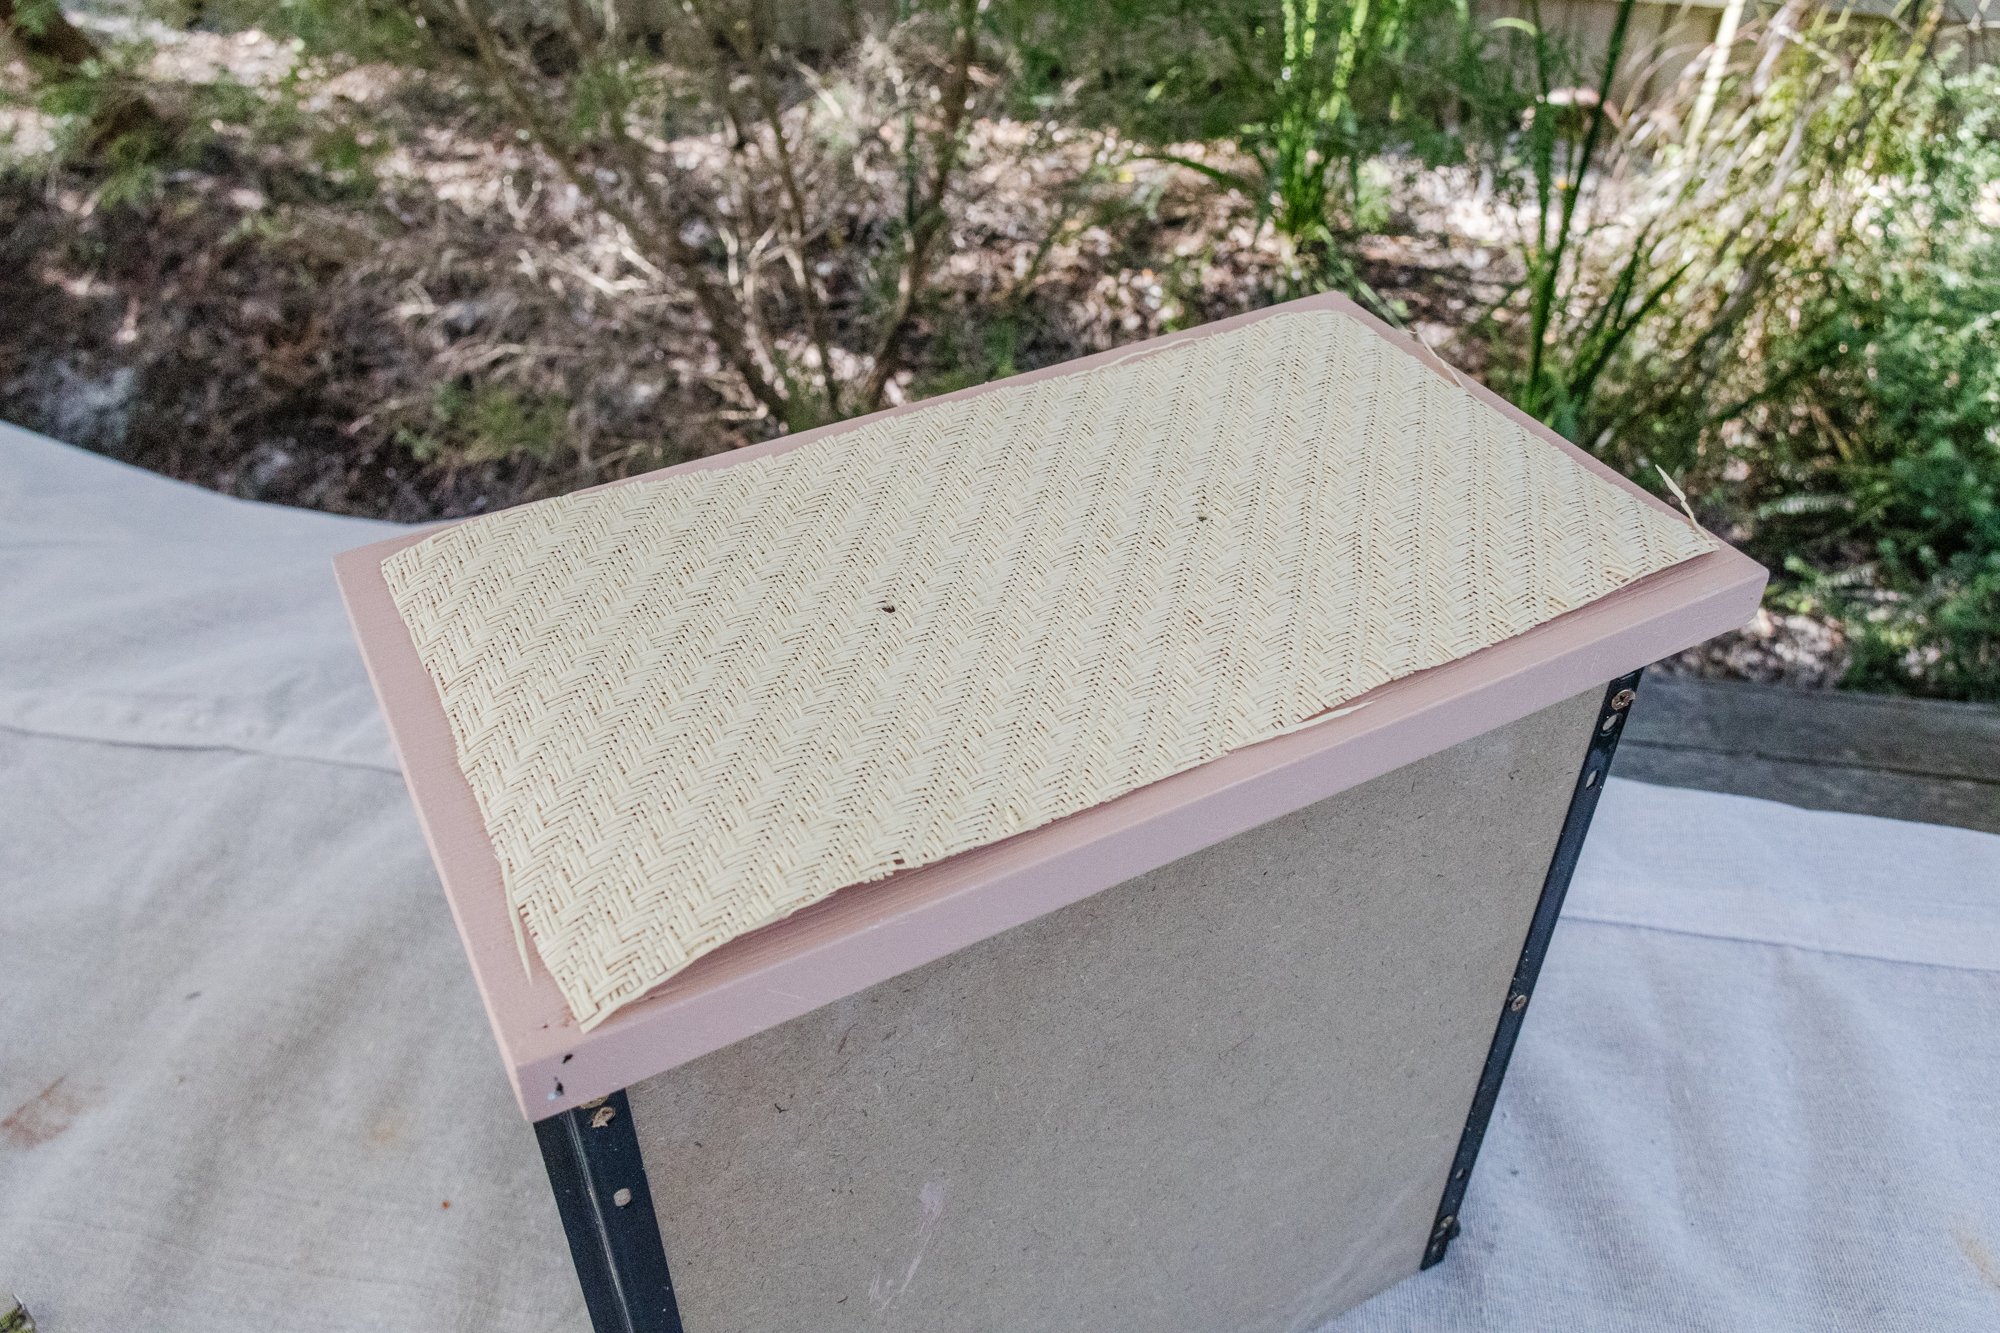
Measure and cut the raffia fabric to cover the front of each drawer. Glue down with wood glue and rest some heavy books on top so the raffia dries flat.


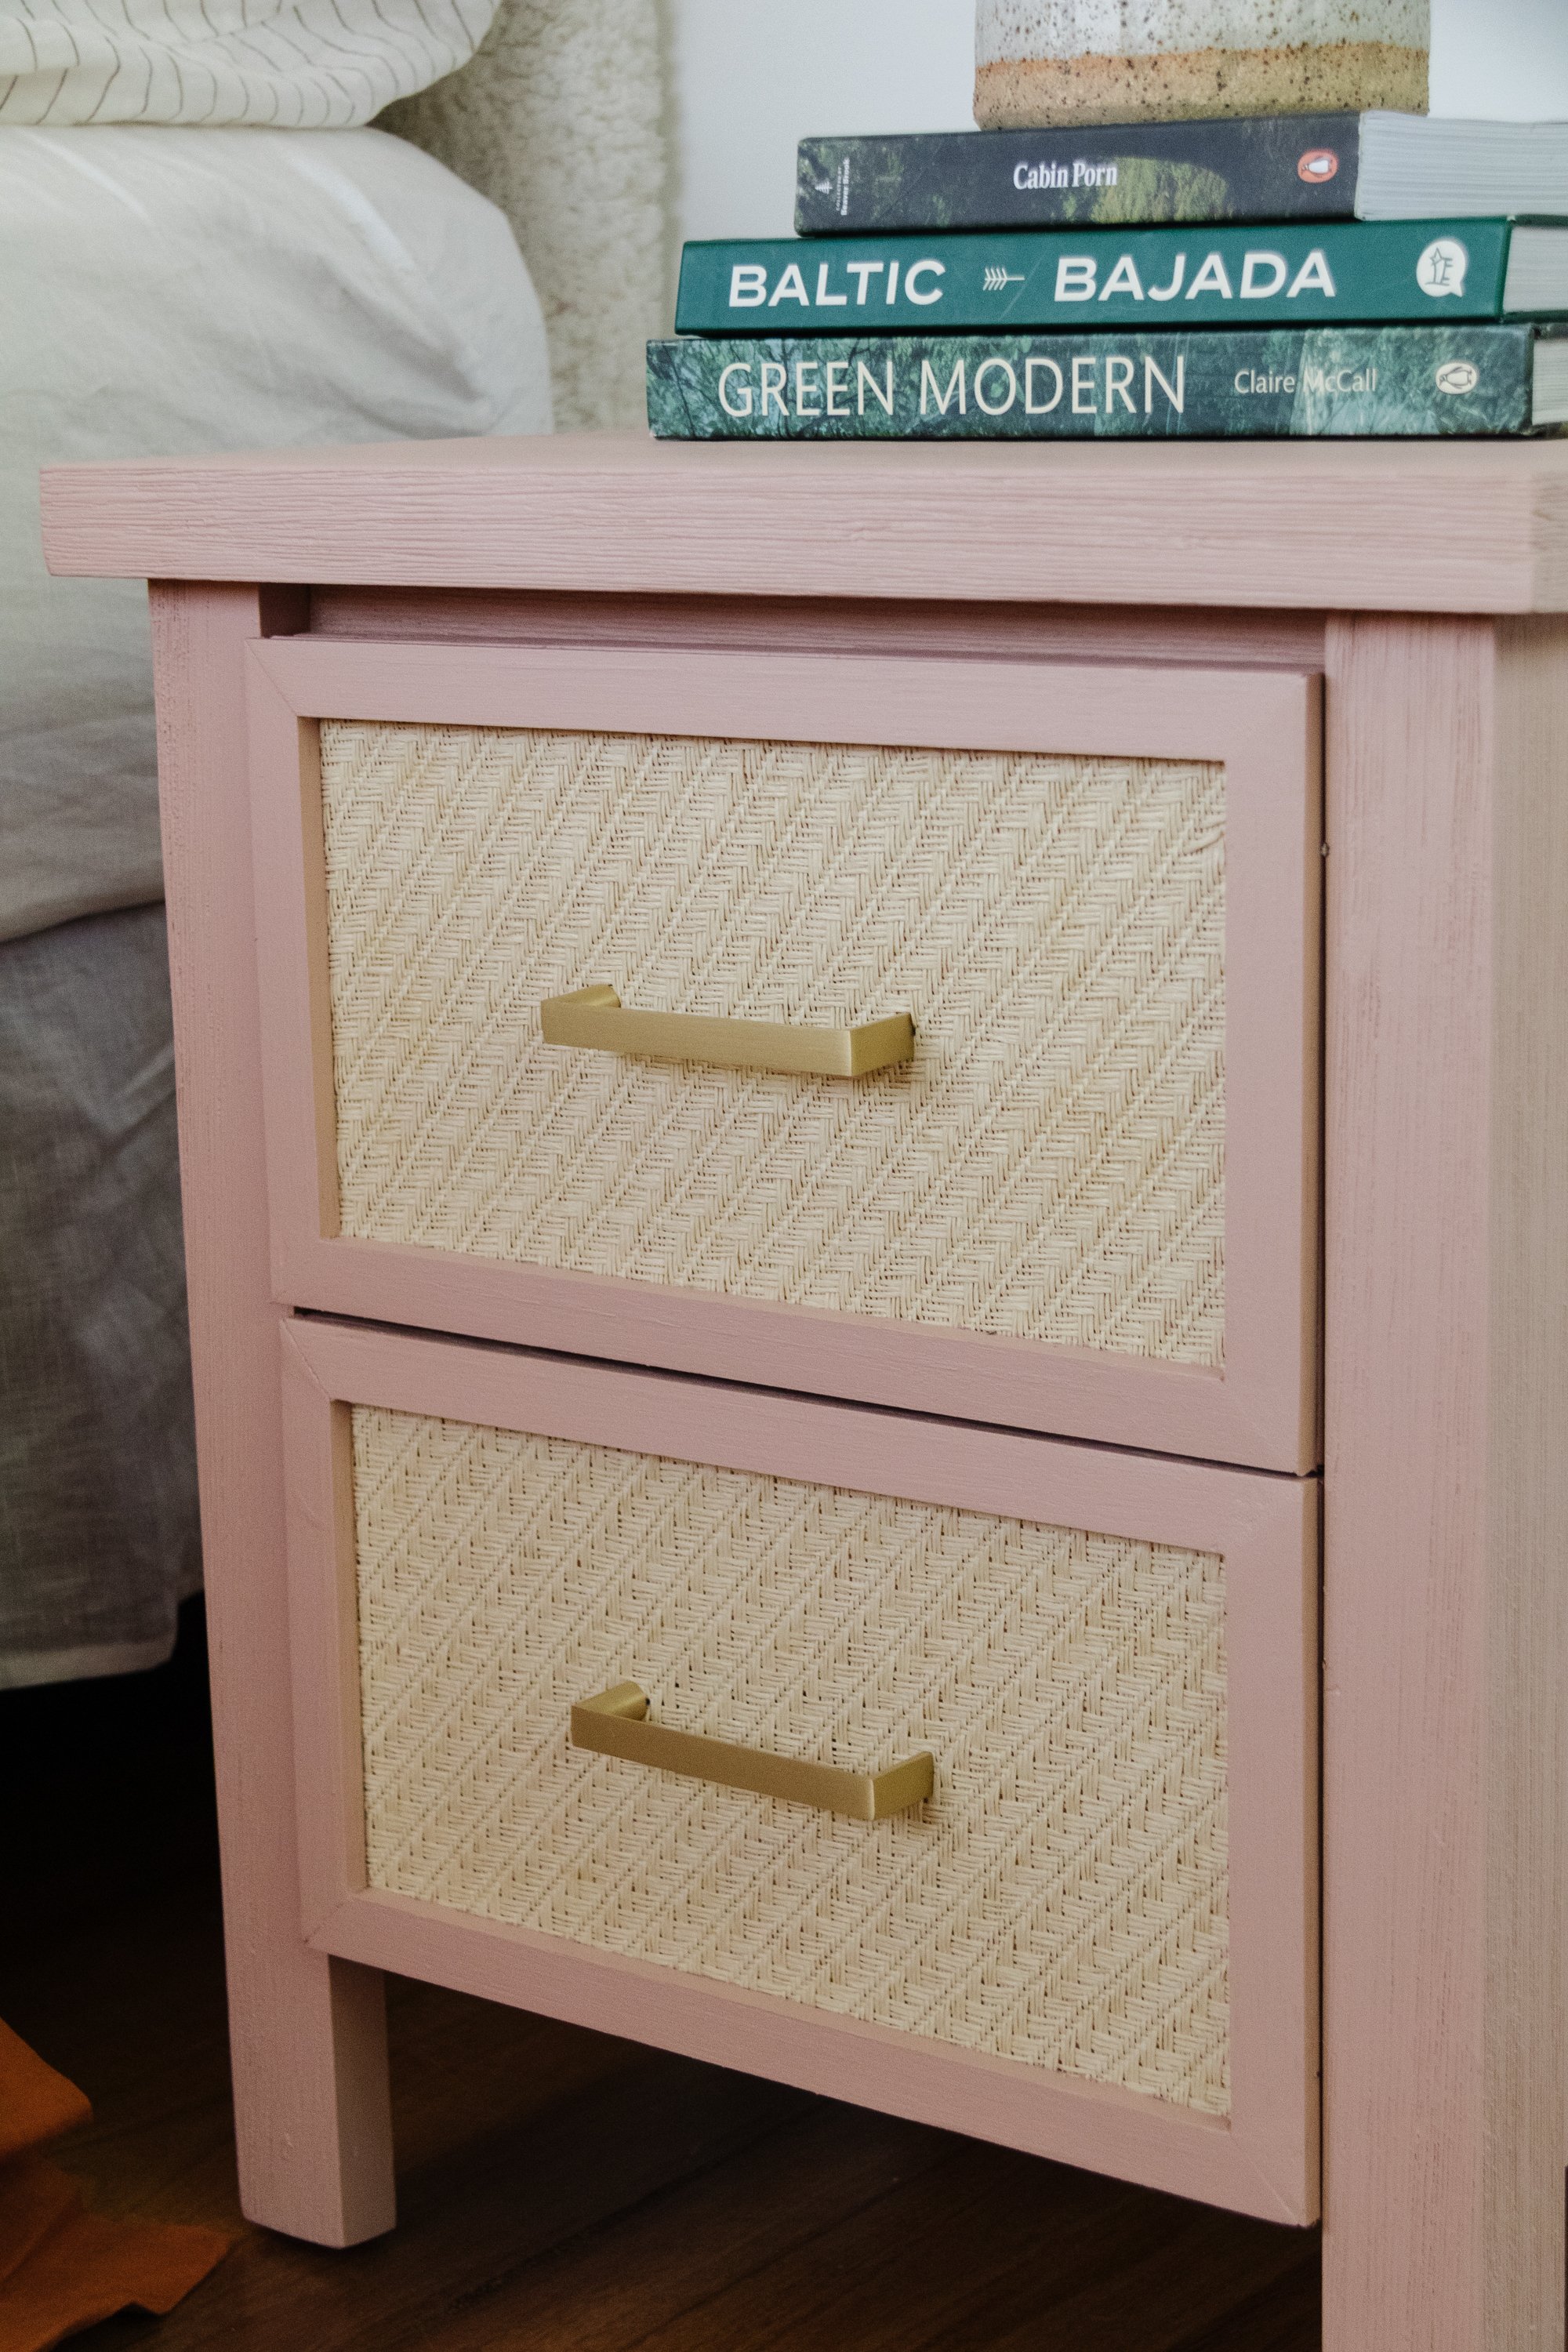
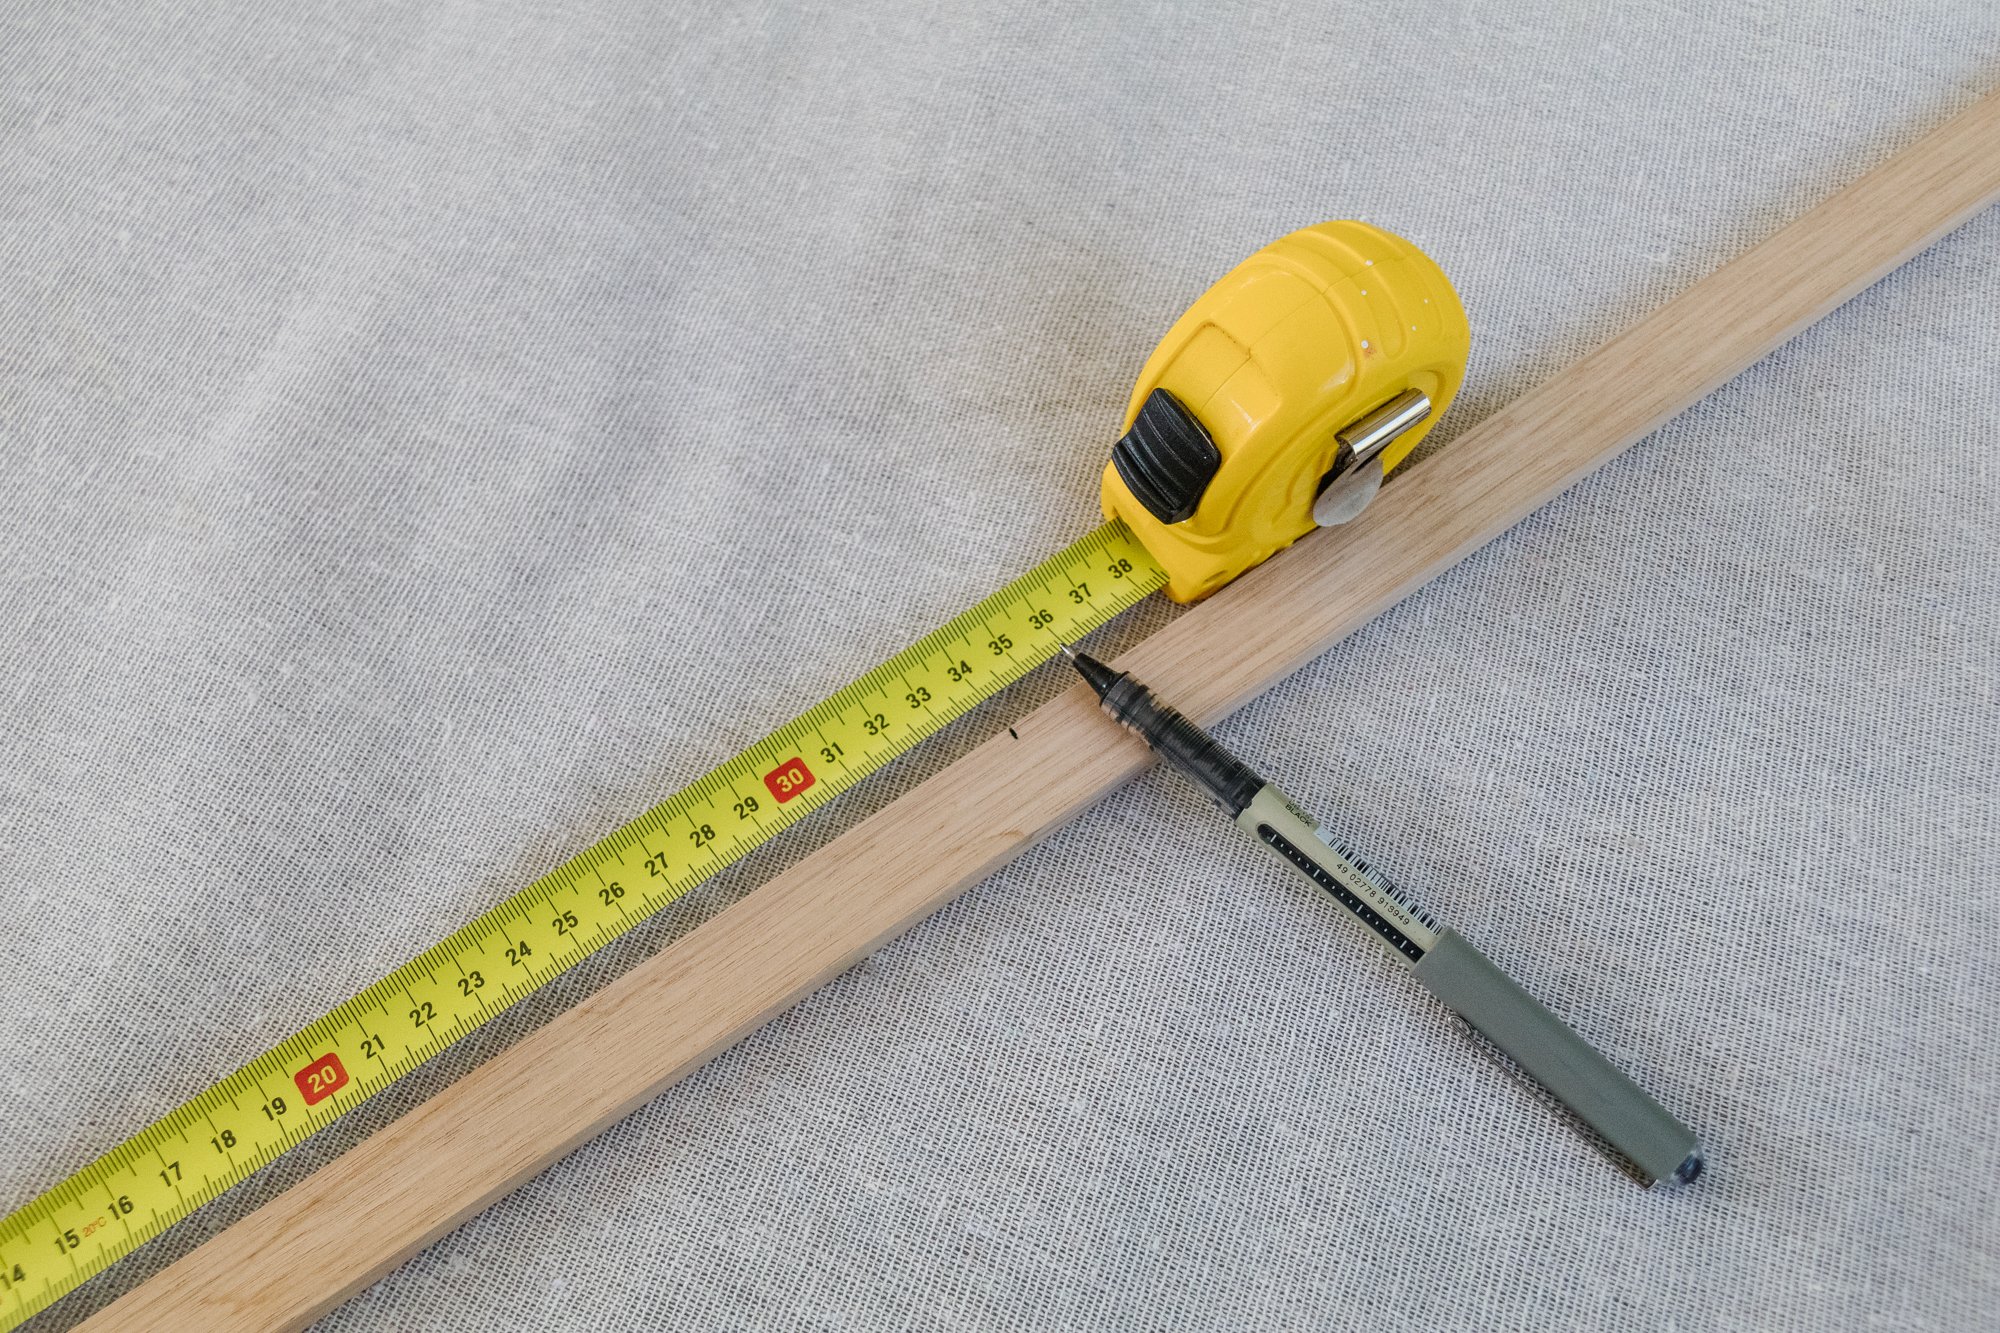
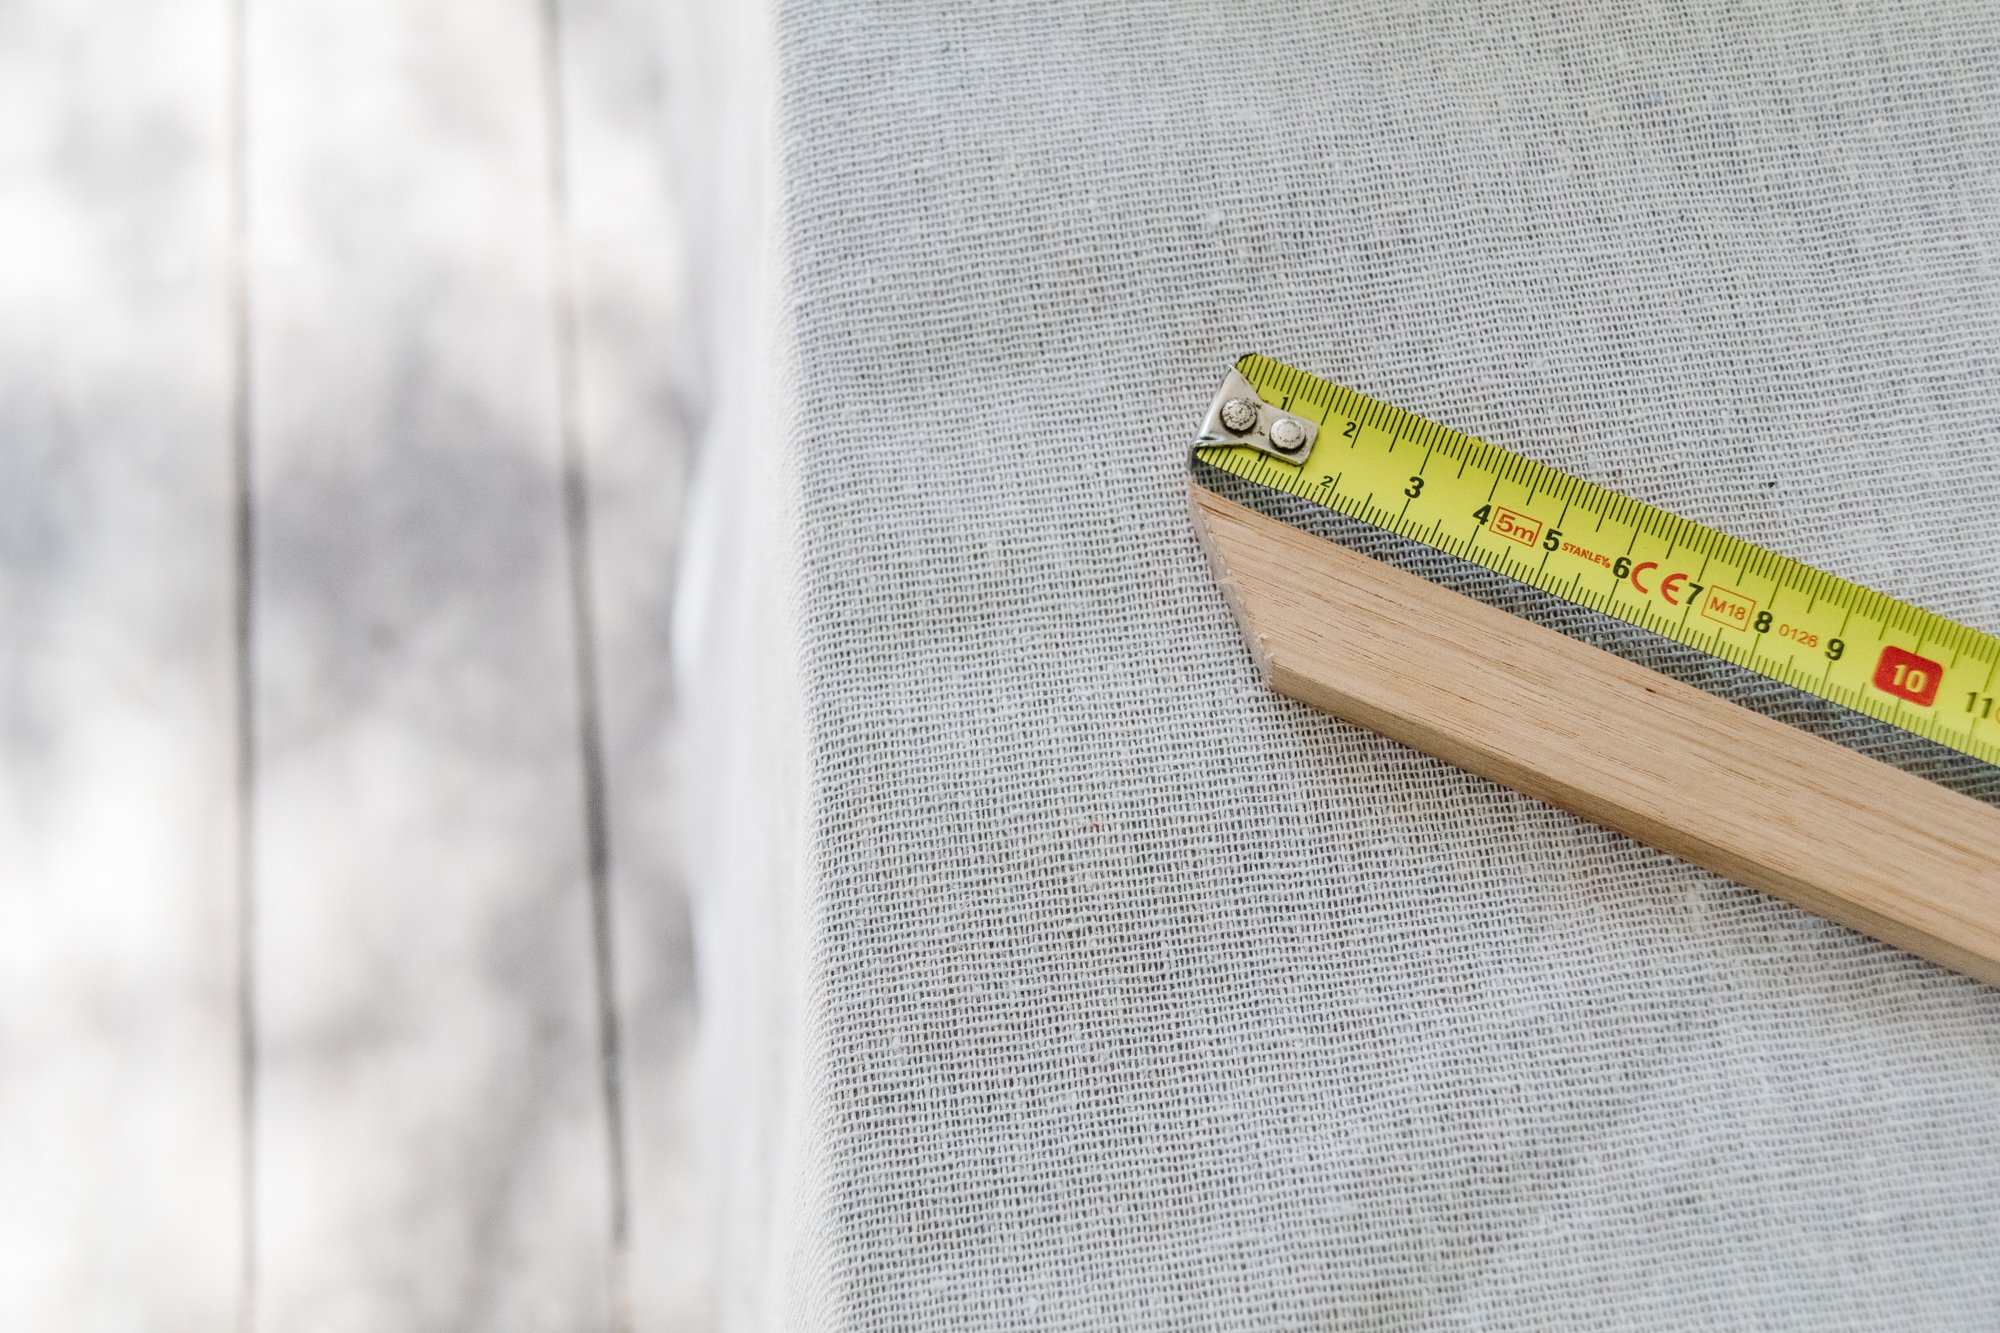
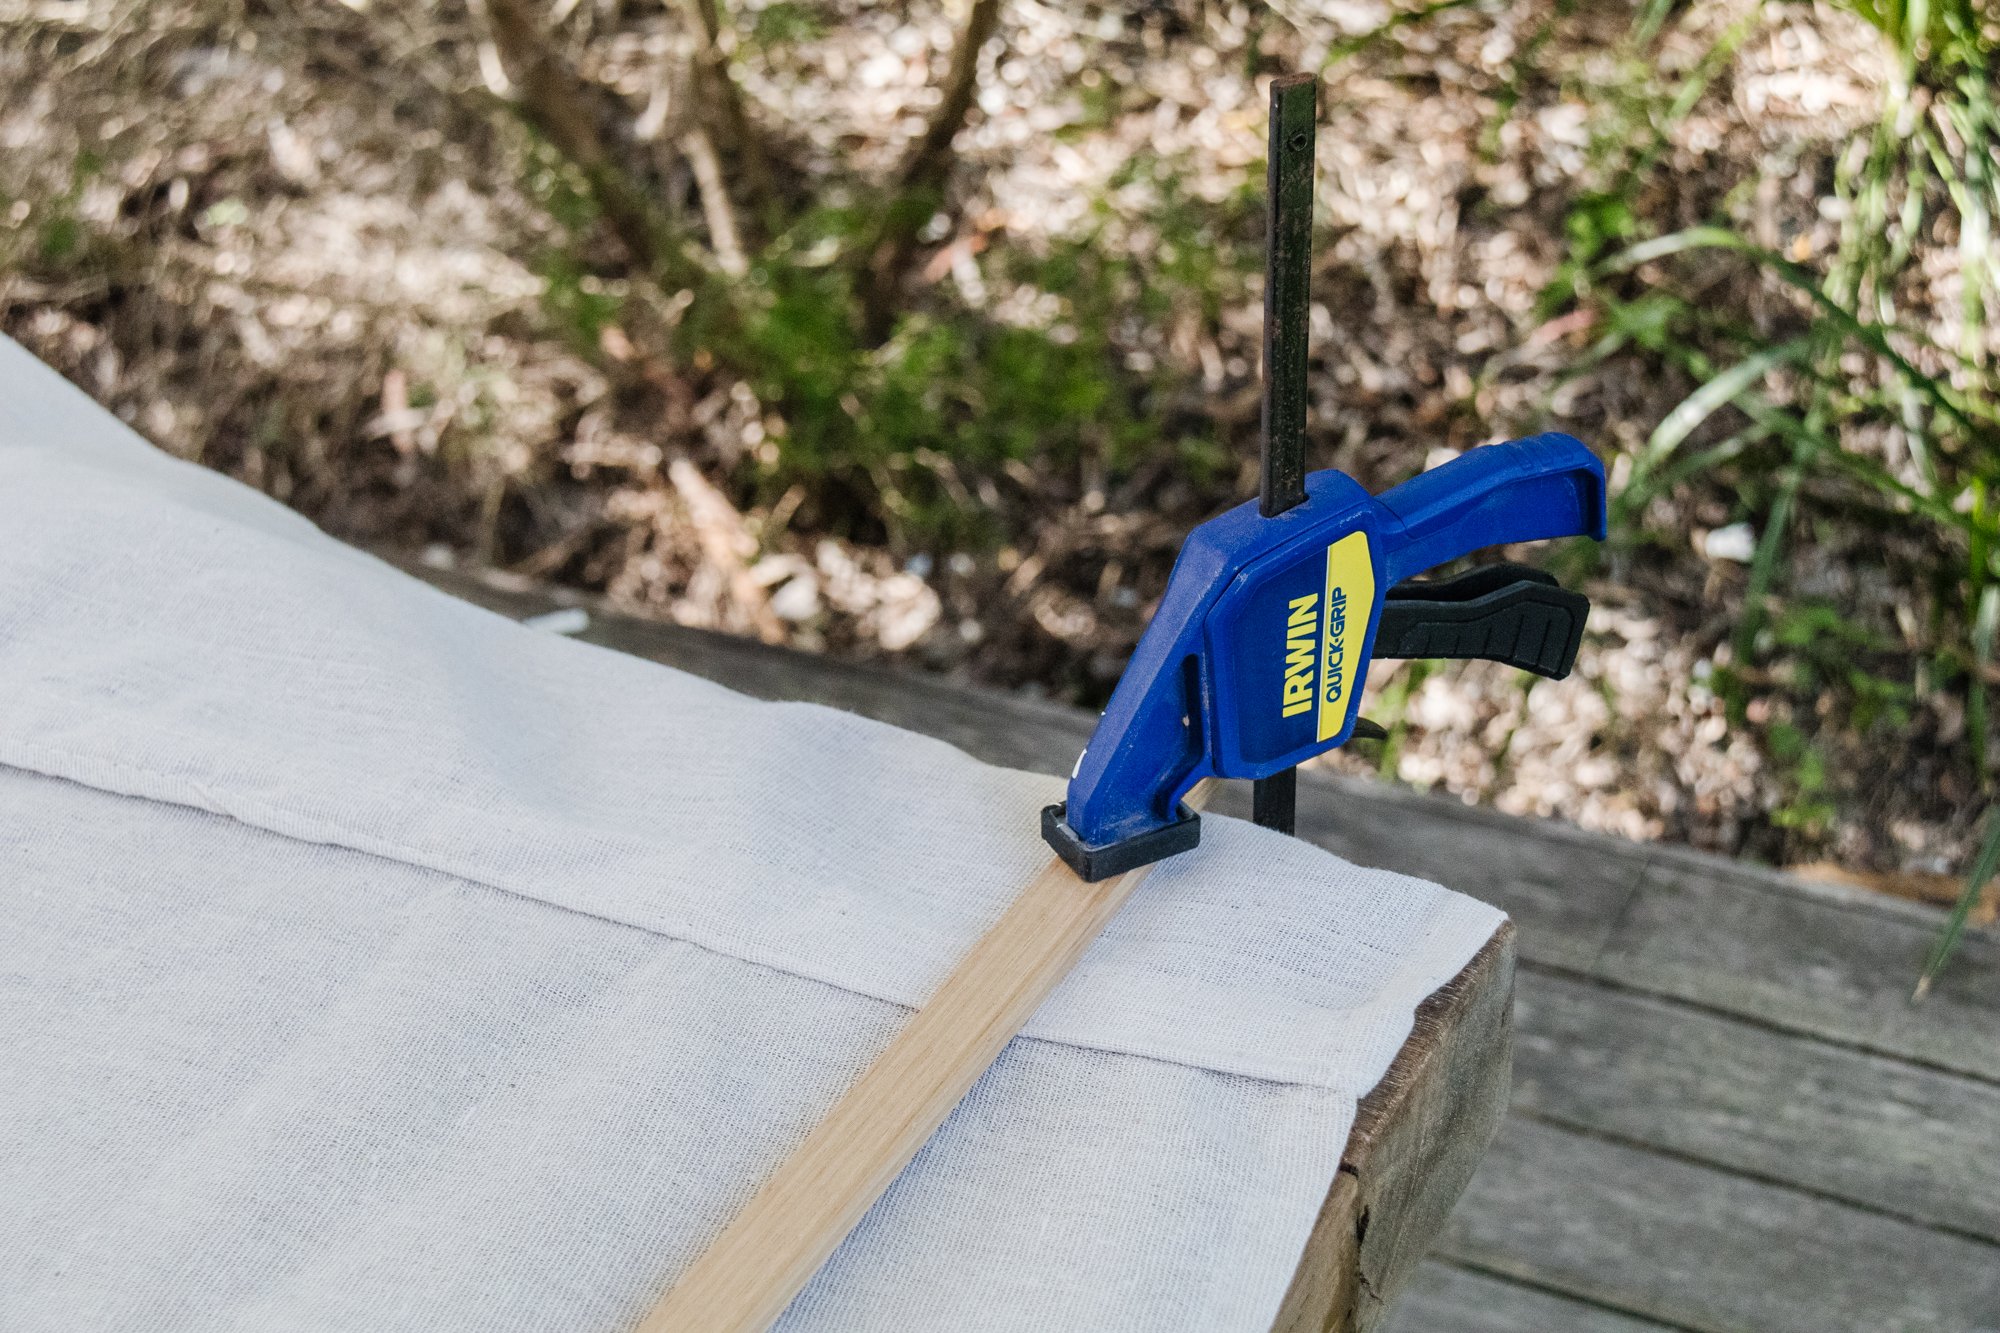
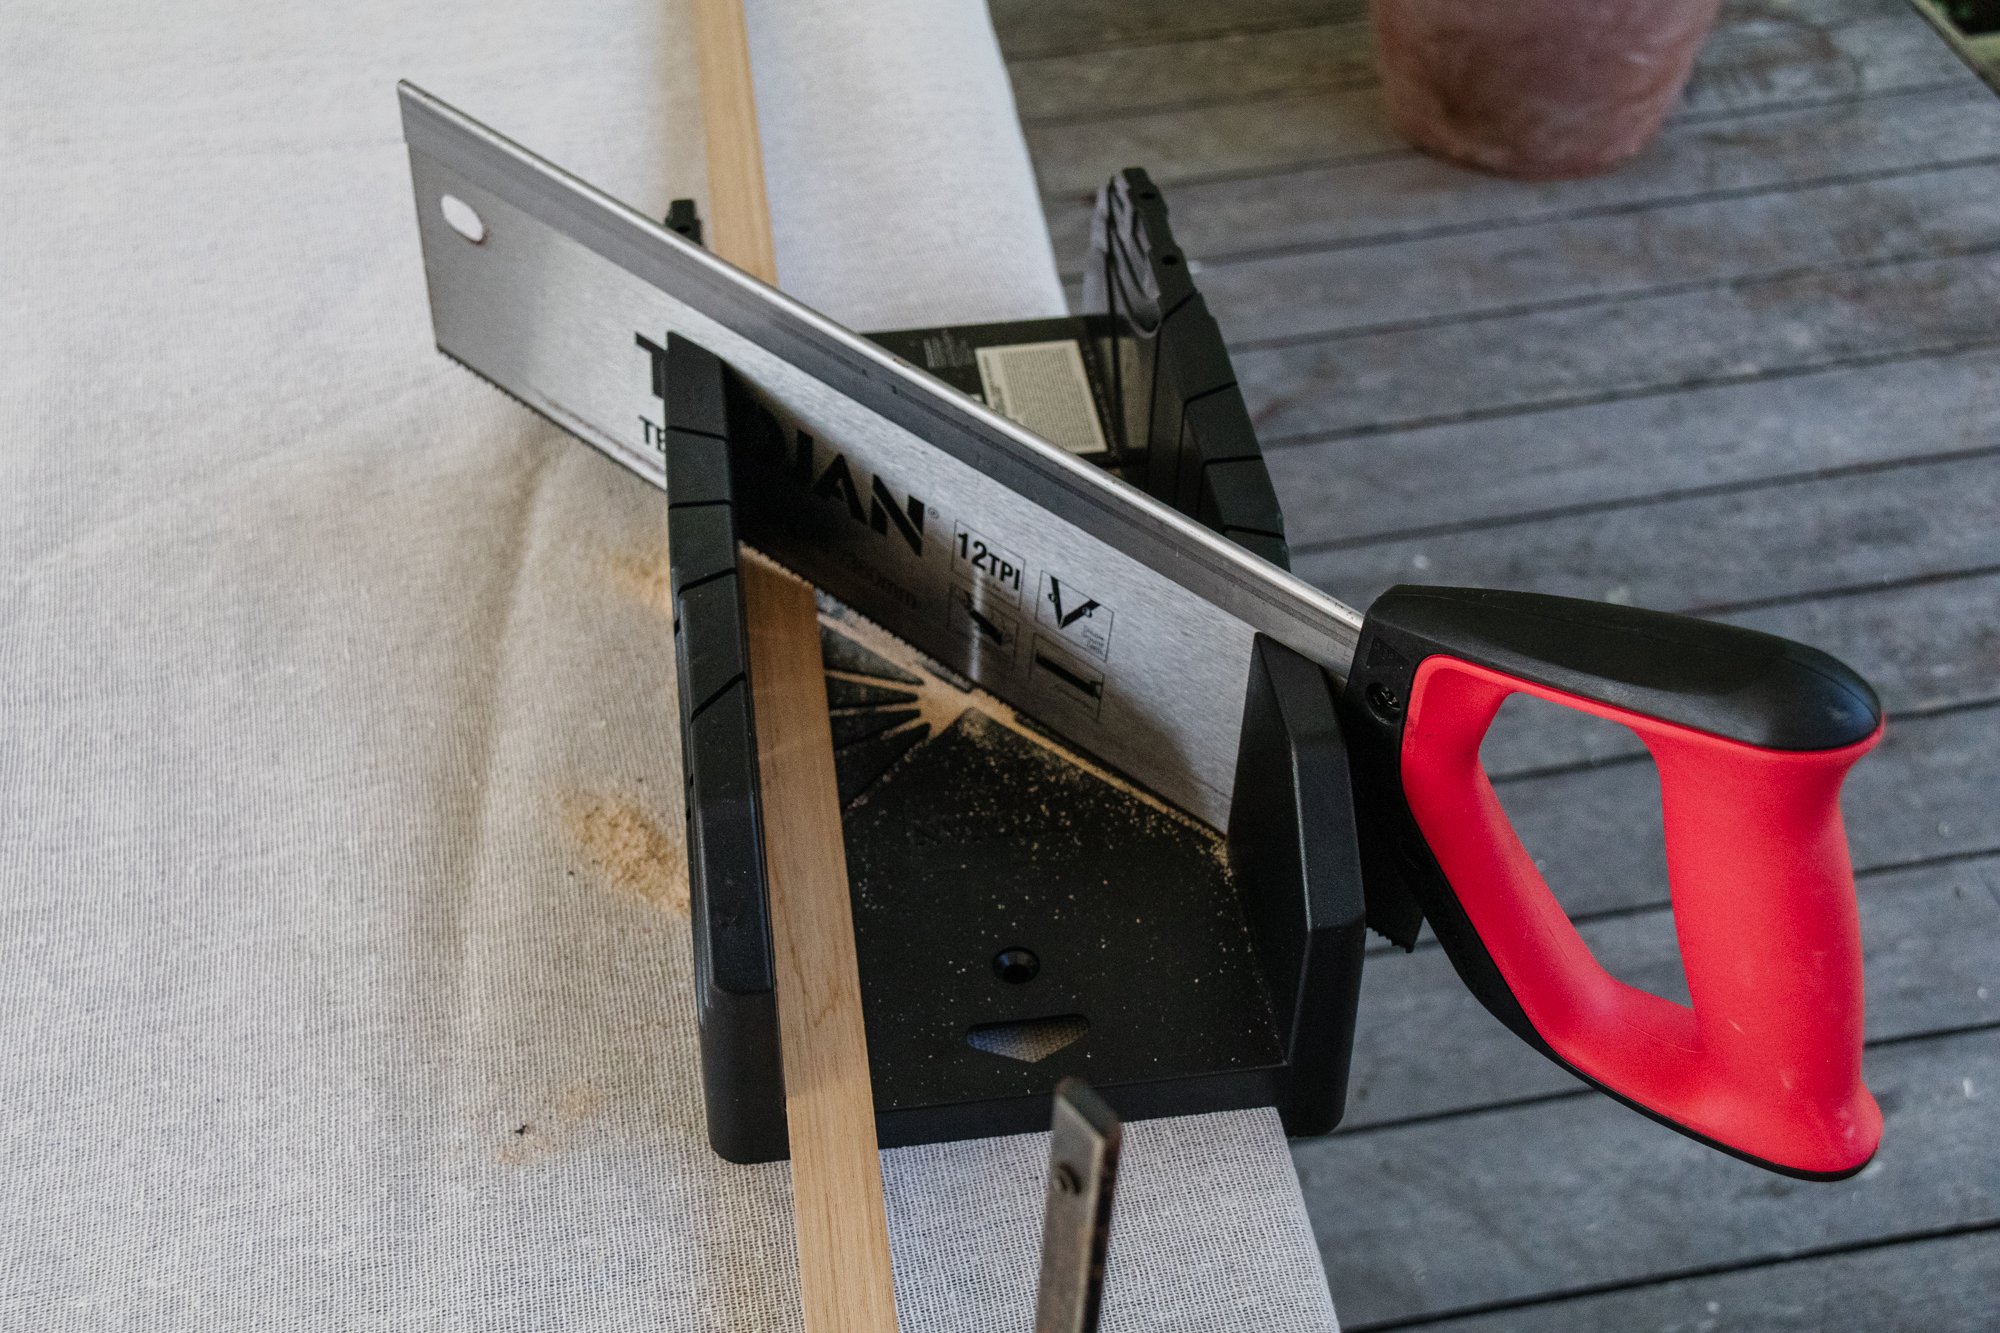
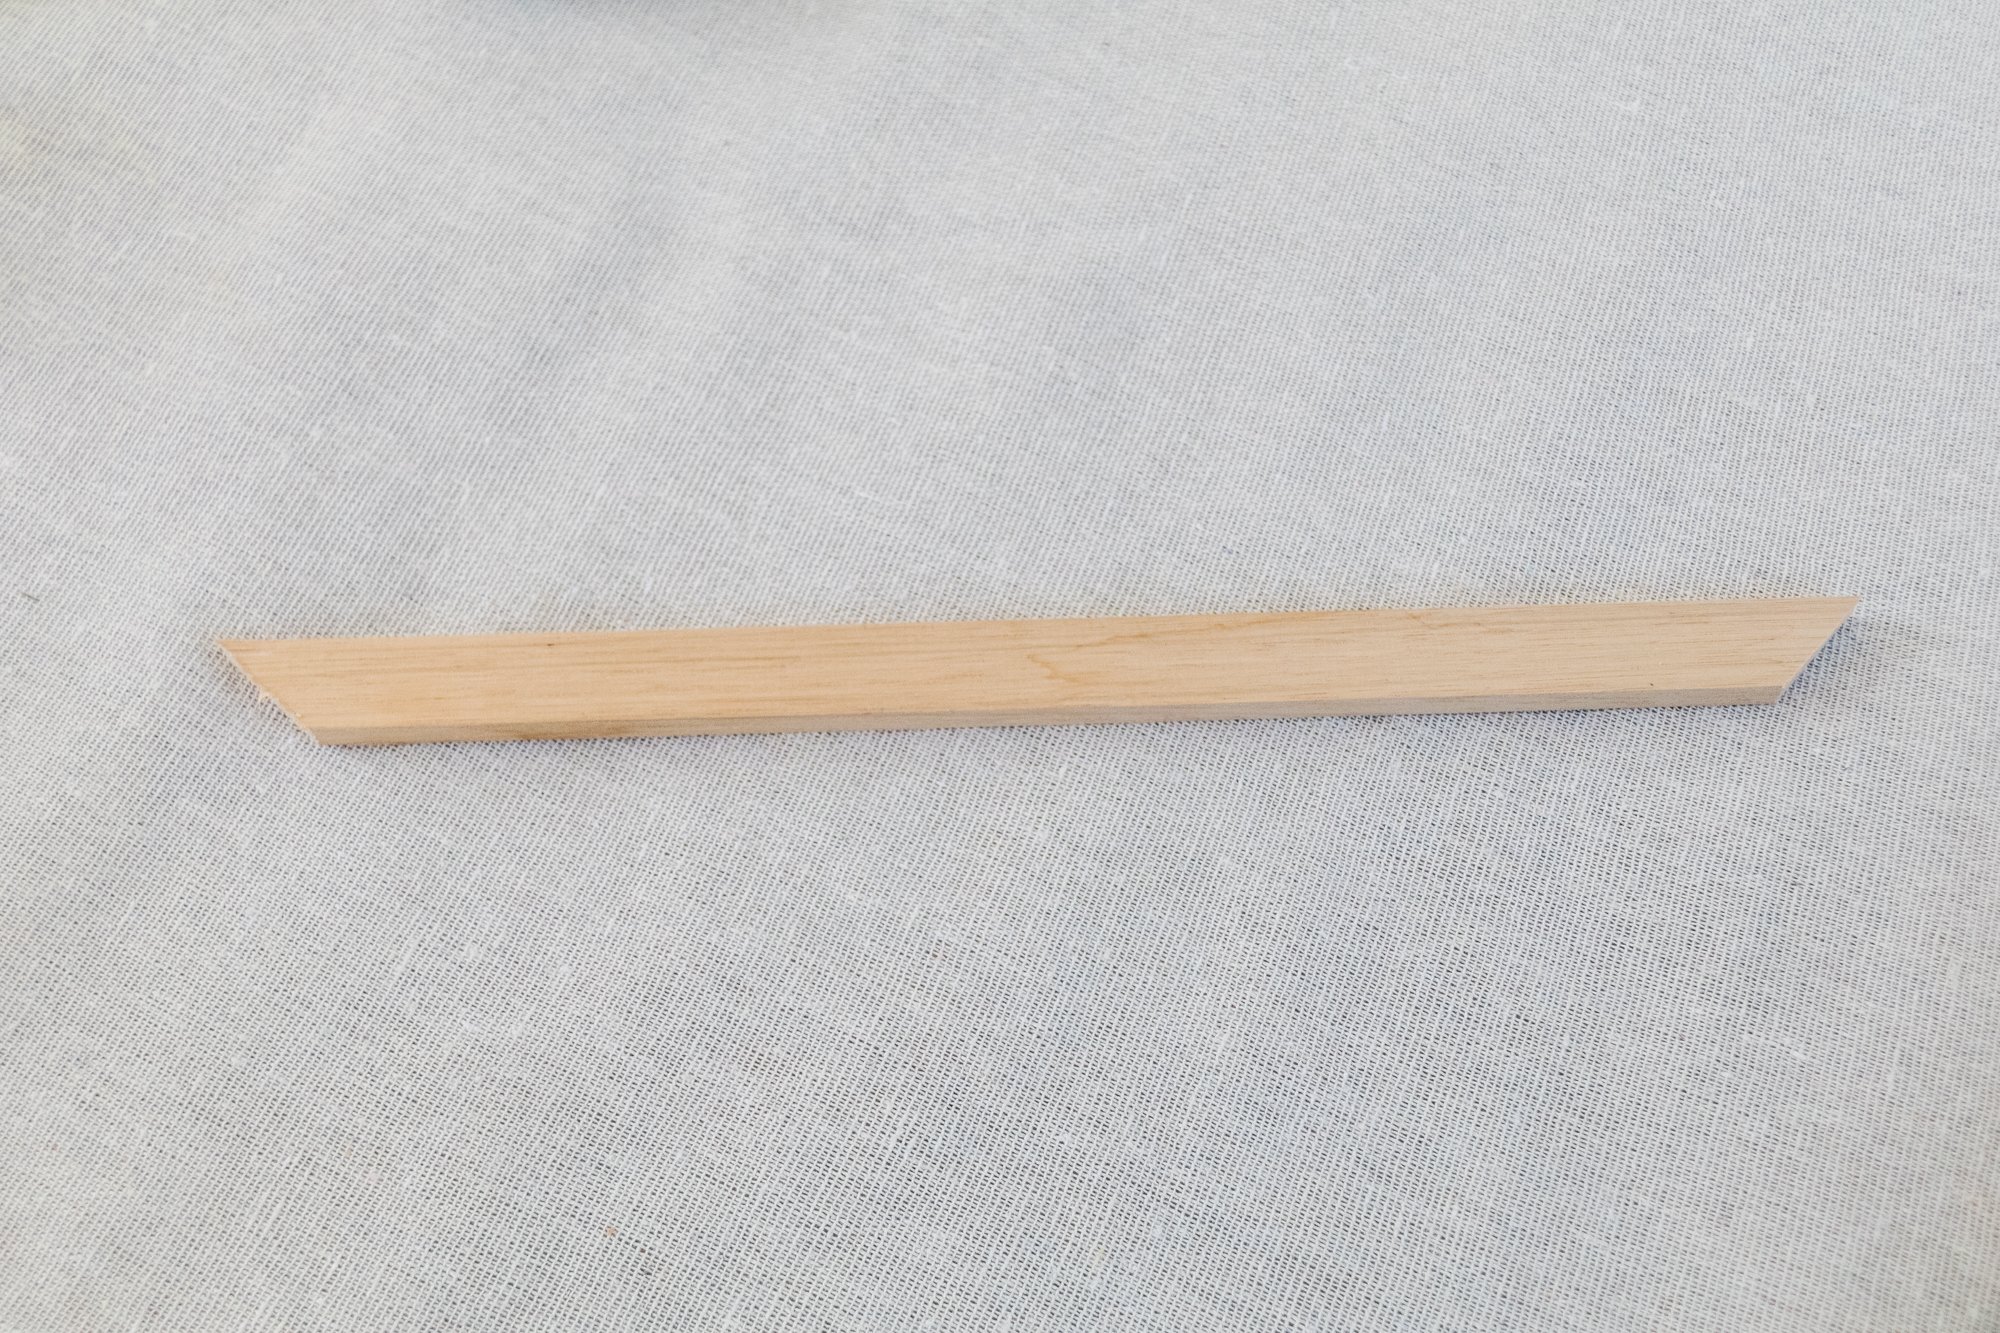
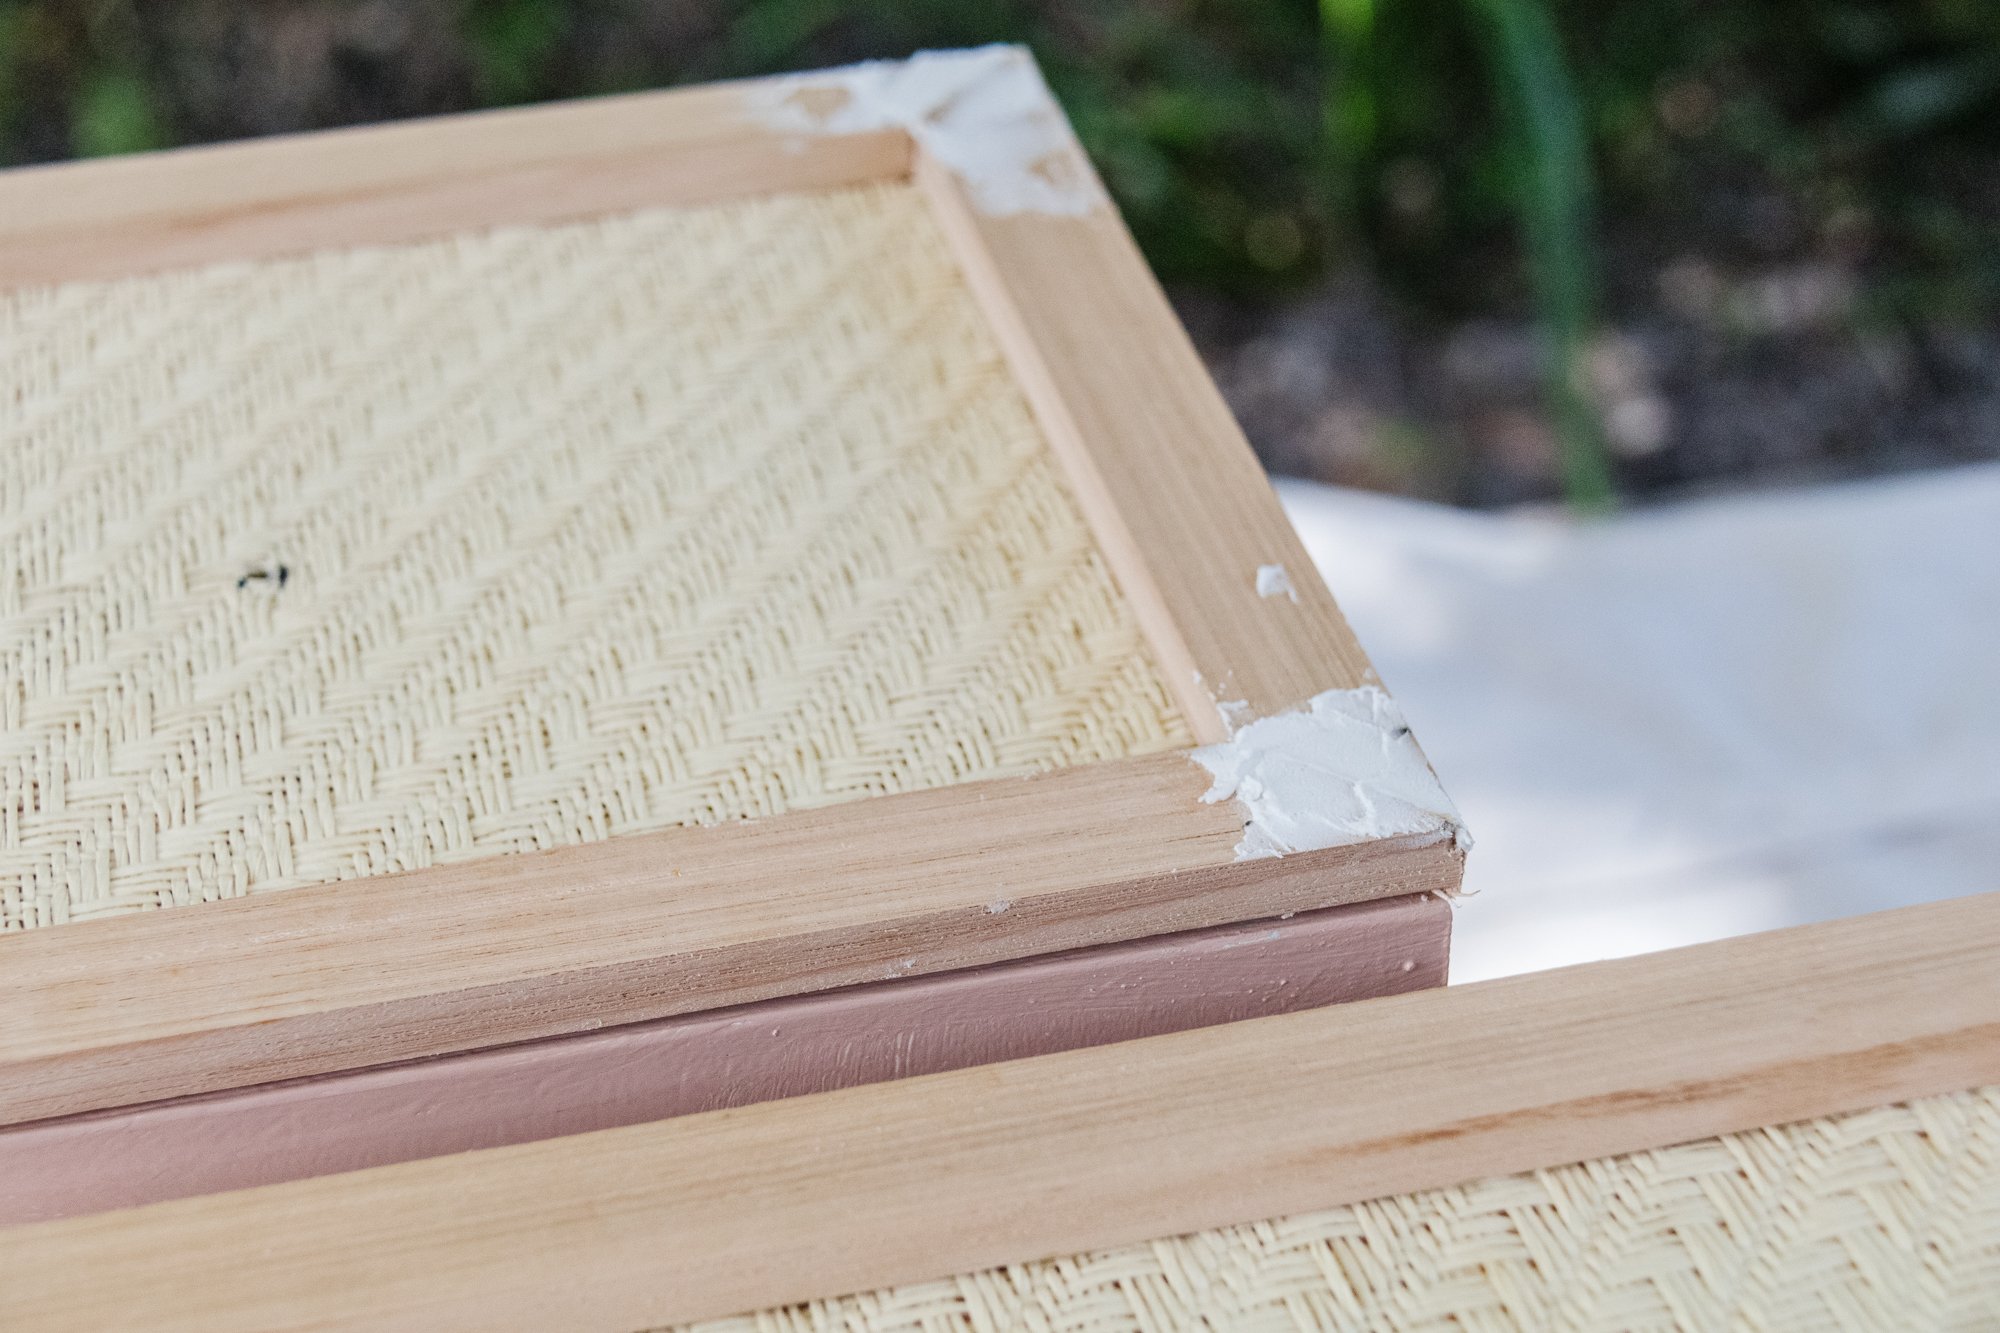
Cut the moulding to size so it sits around the edge of each drawer. Always measure the length from the longest tip. Mark where you want to cut the moulding. Place it into the mitre box and use clamps to secure the moulding at both ends. Cut at 45° angle using the tenon saw. Repeat until all sides have been cut.

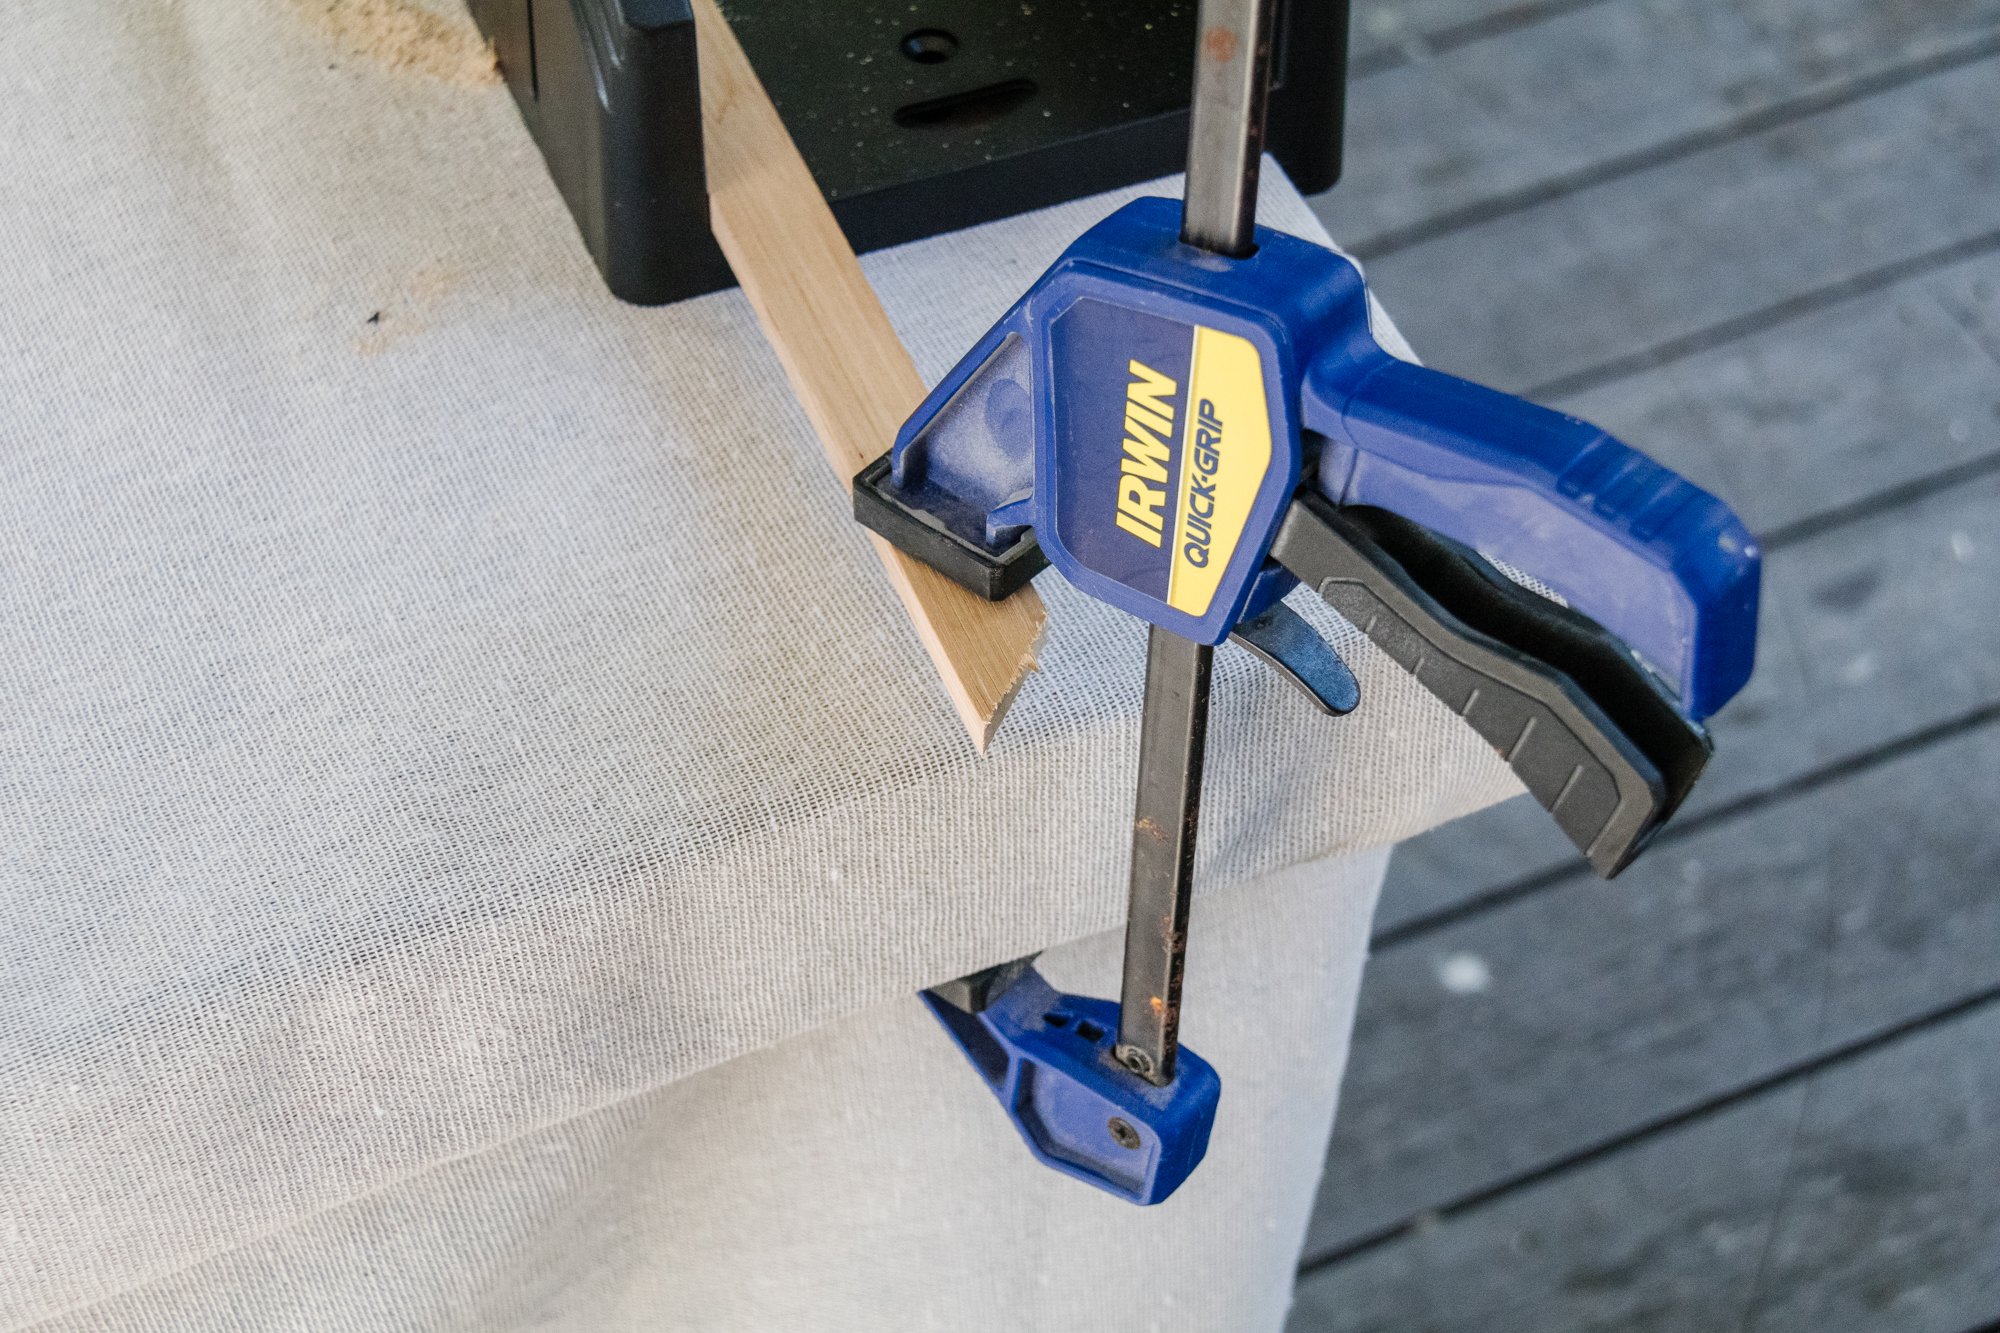


Glue the cut pieces of moulding onto each drawer. You may need to secure the pieces with clamps. When the glue has dried, fill in any gaps between the joins with multi-purpose filler. When dried, sand it smooth.
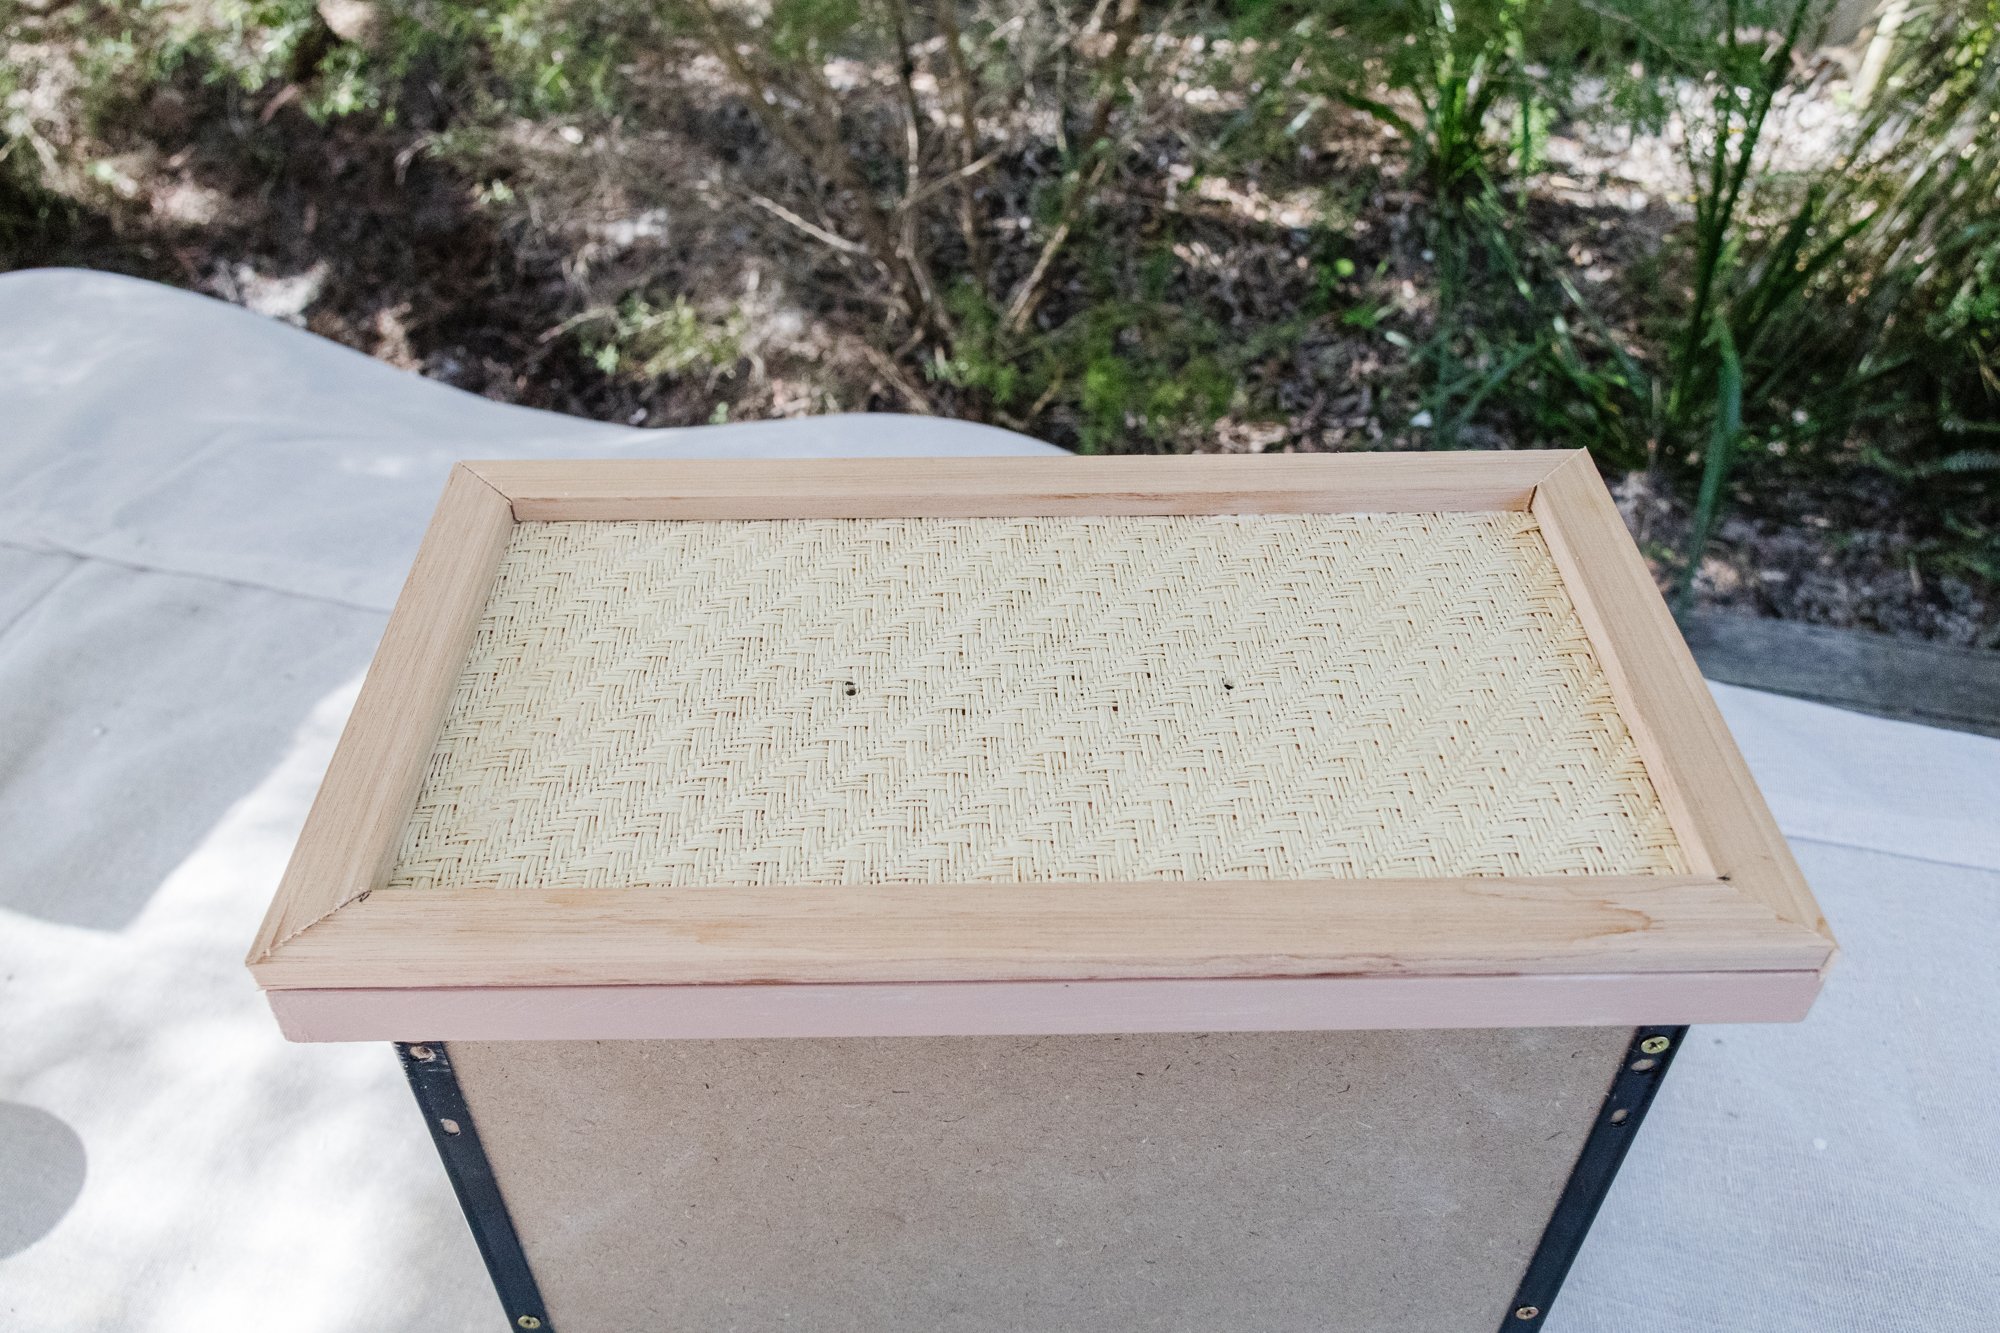
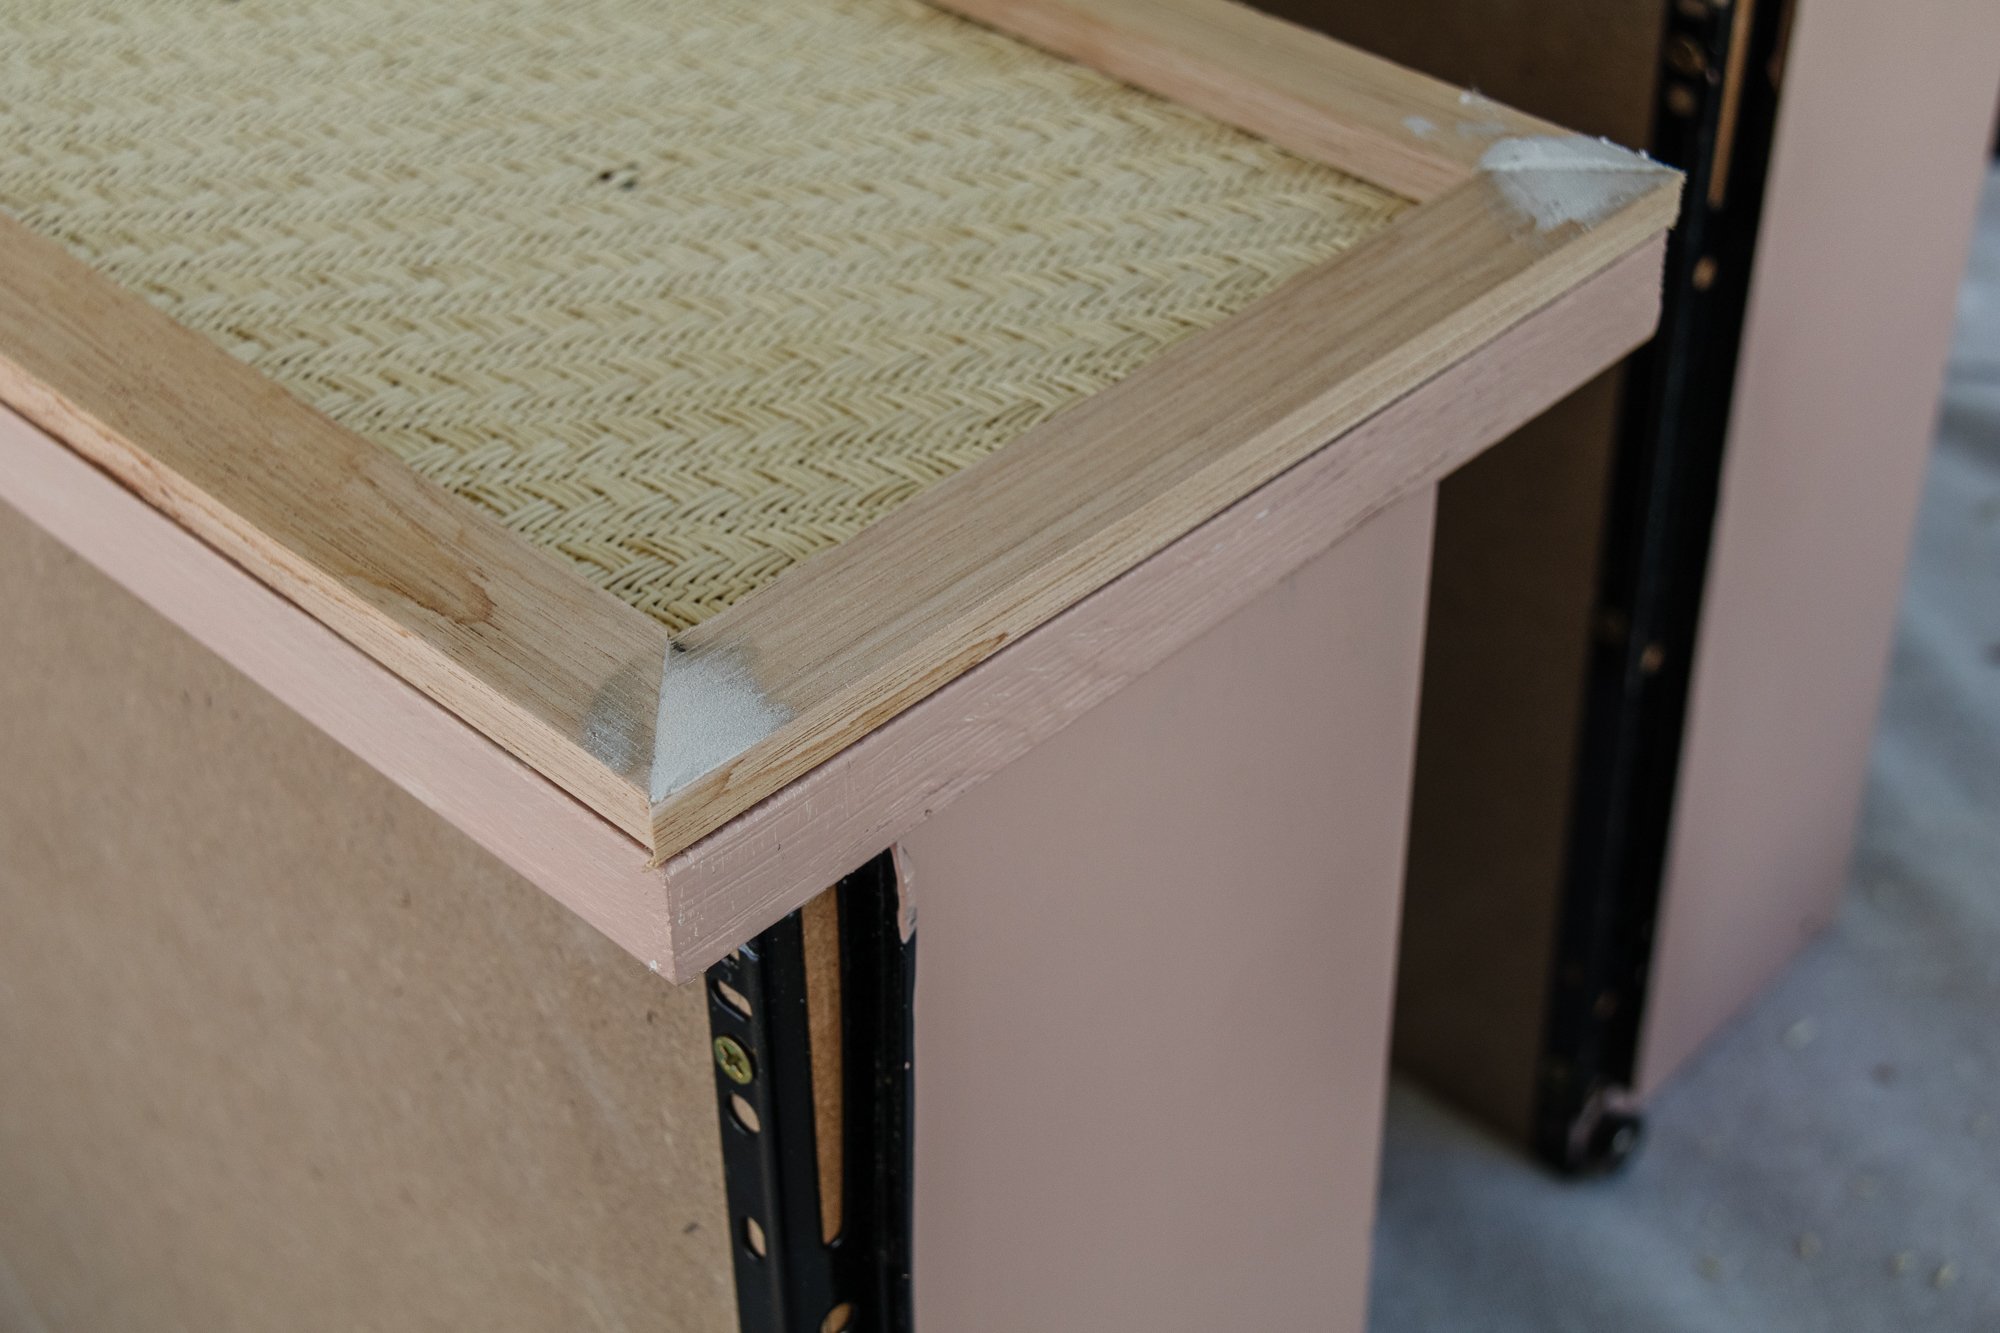
Place painters tape to the inside of the moulding. Paint the moulding and peel the painters tape off when the paint is still wet. Attach the handles and it’s finished!


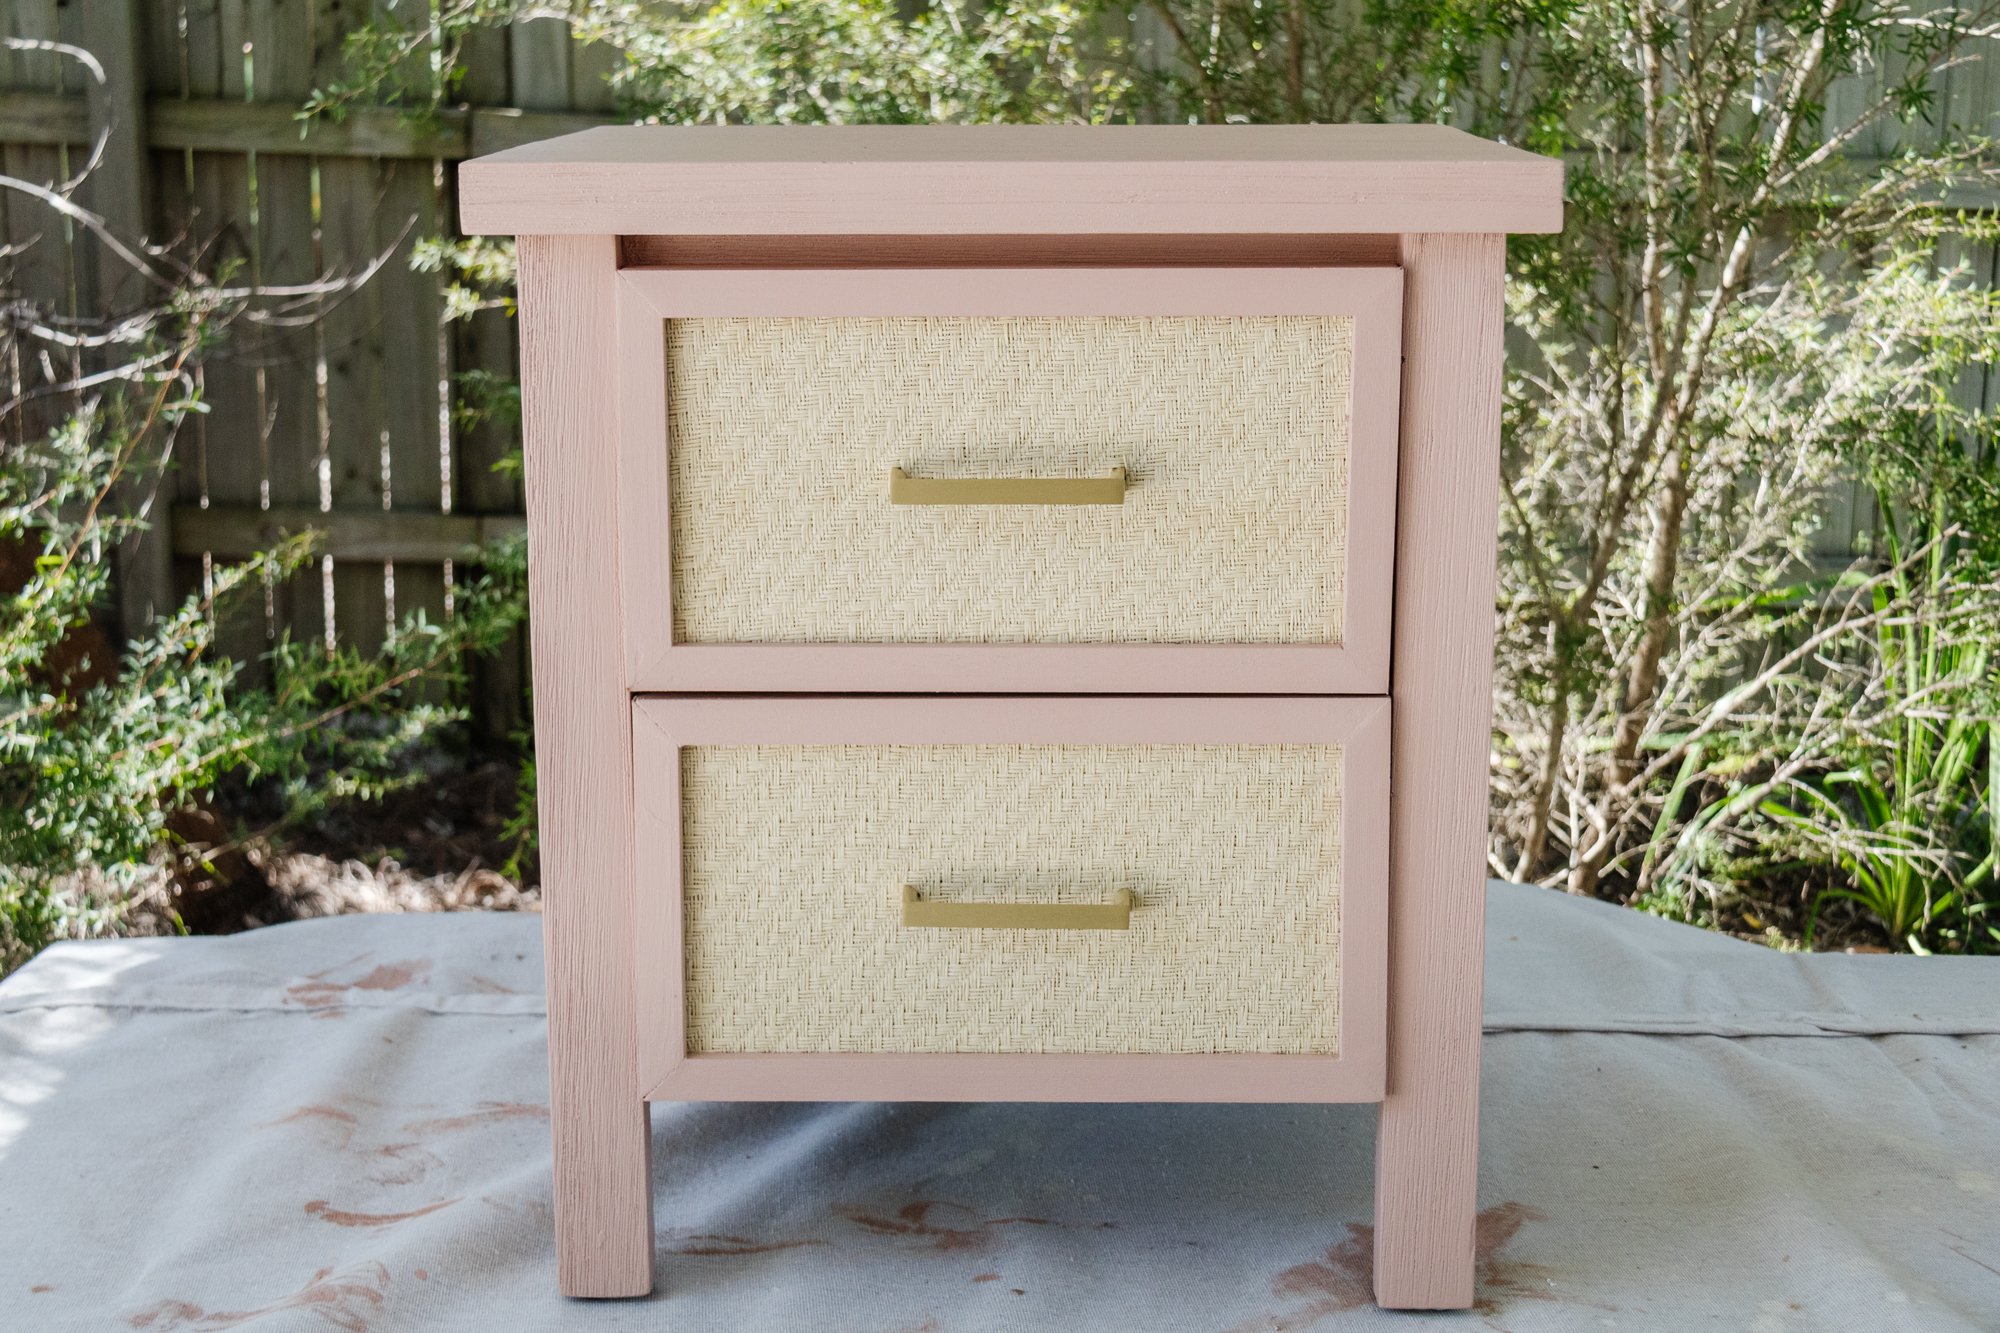
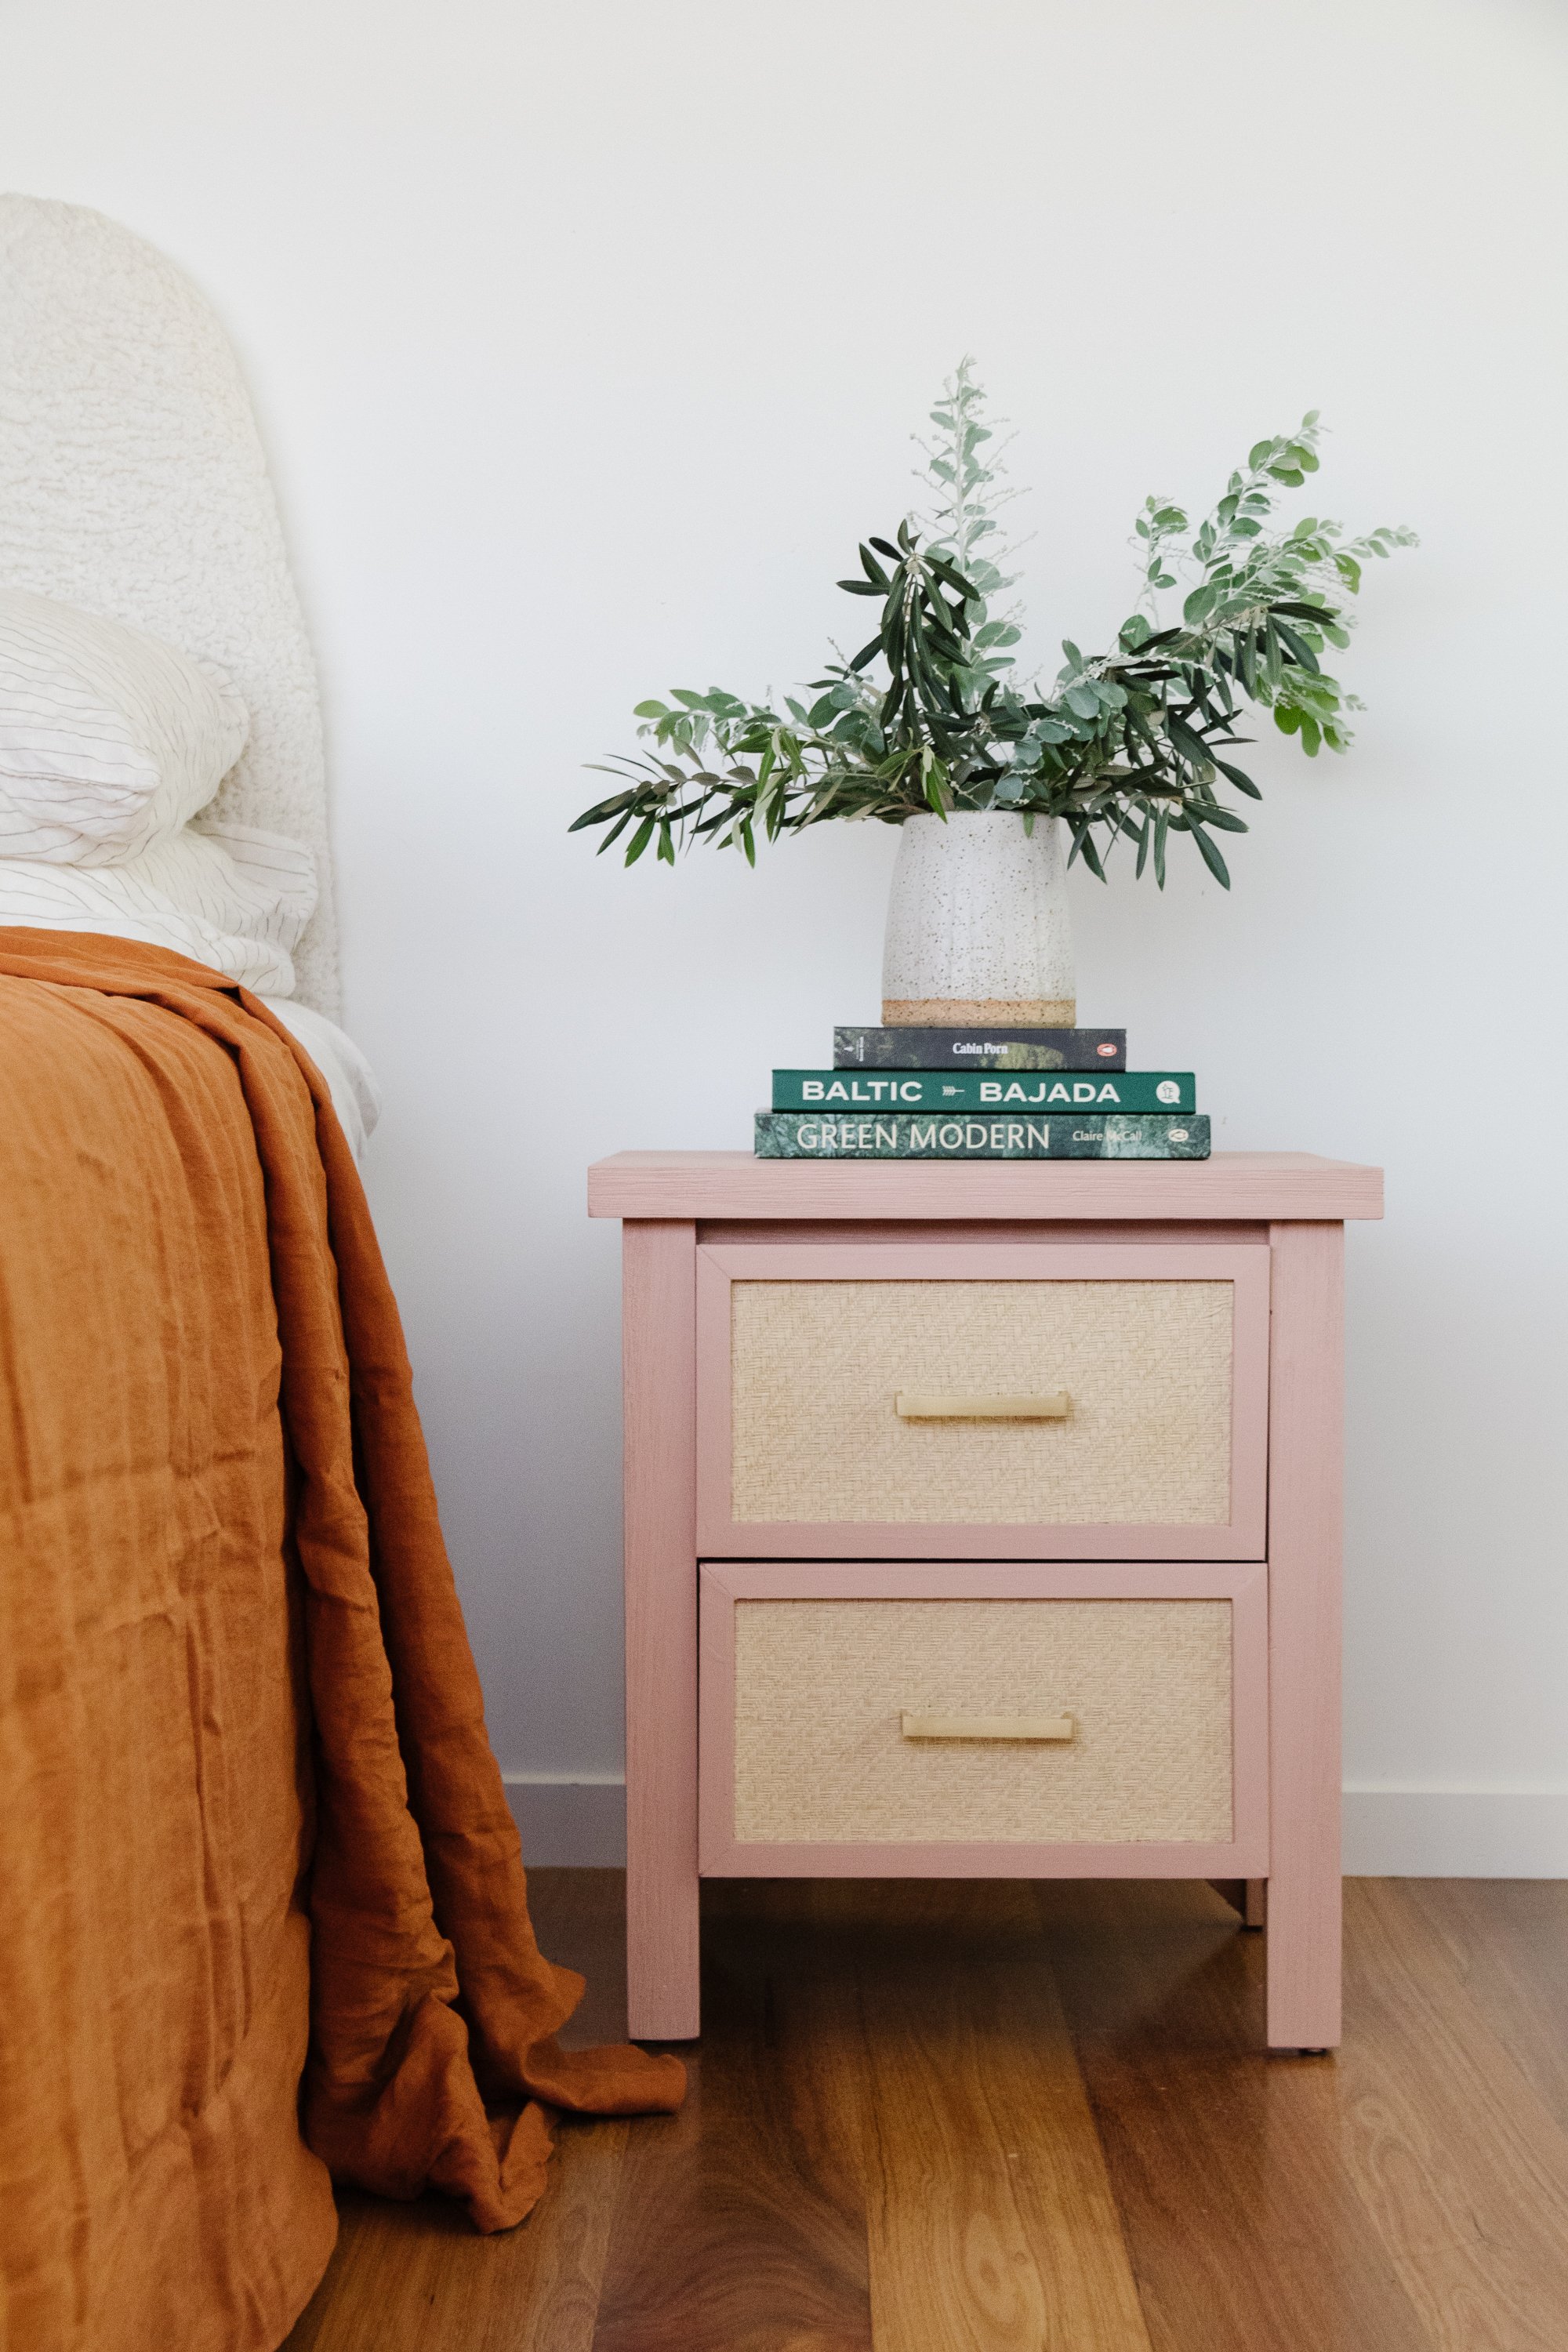
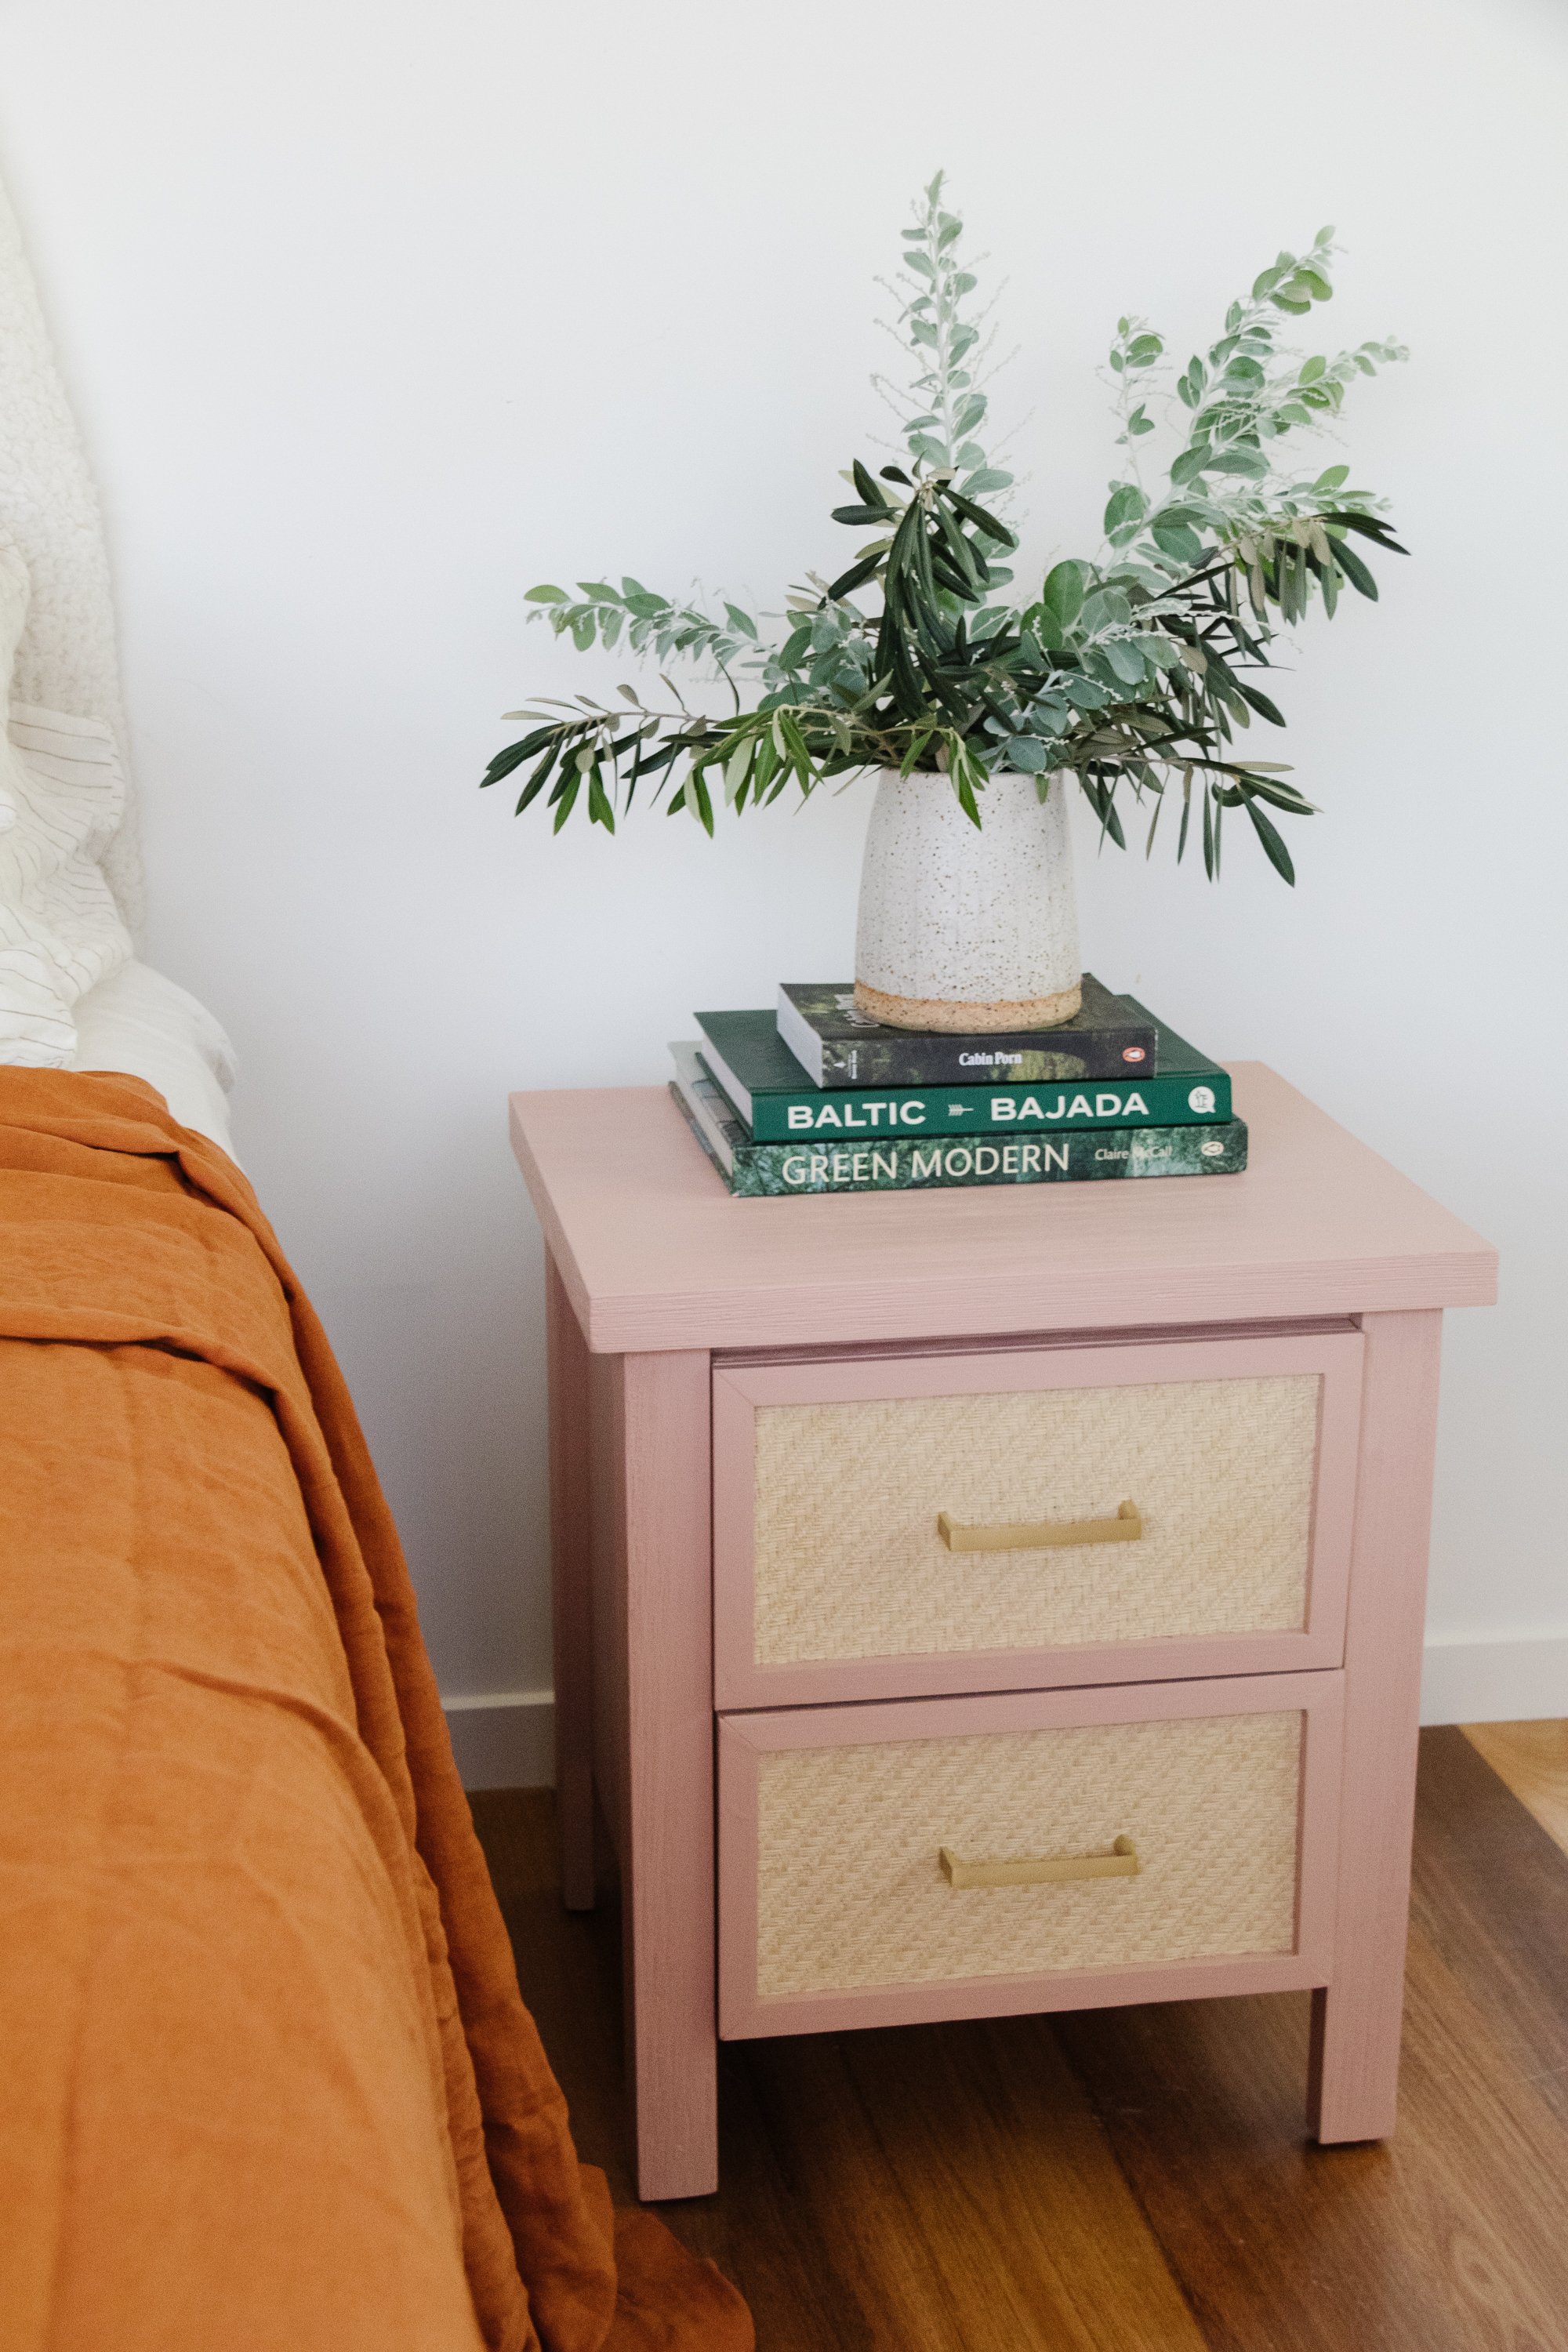
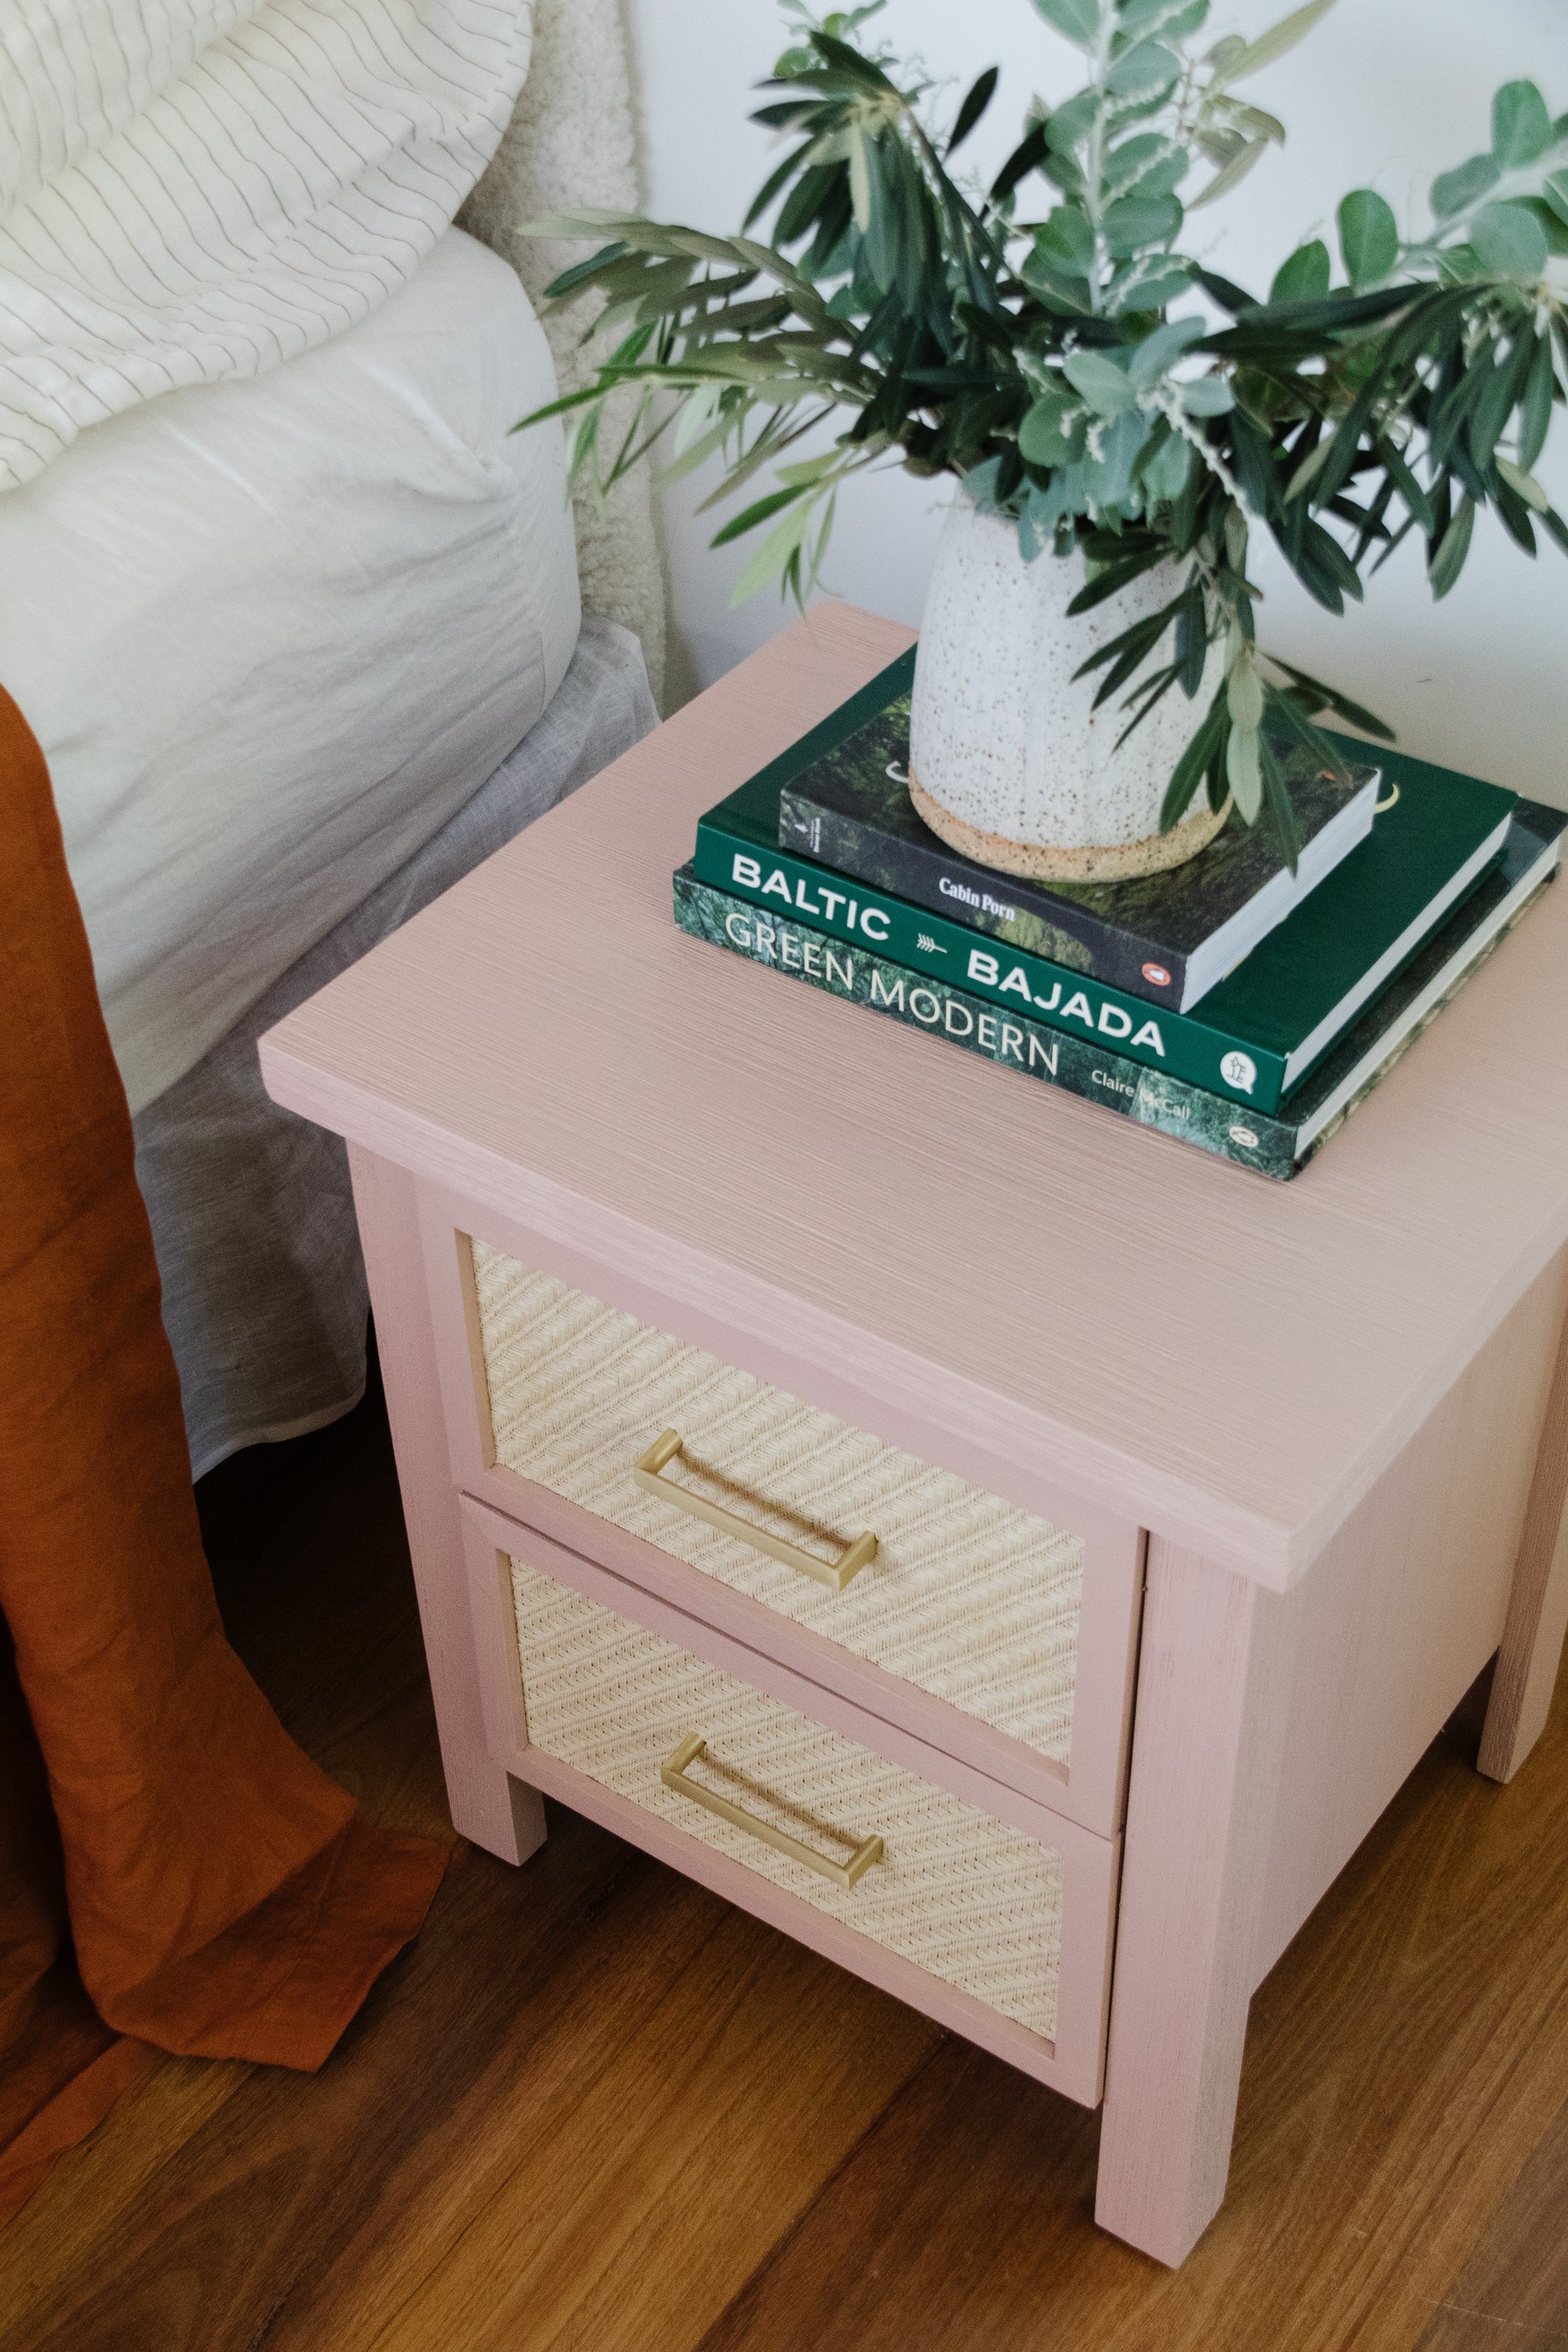
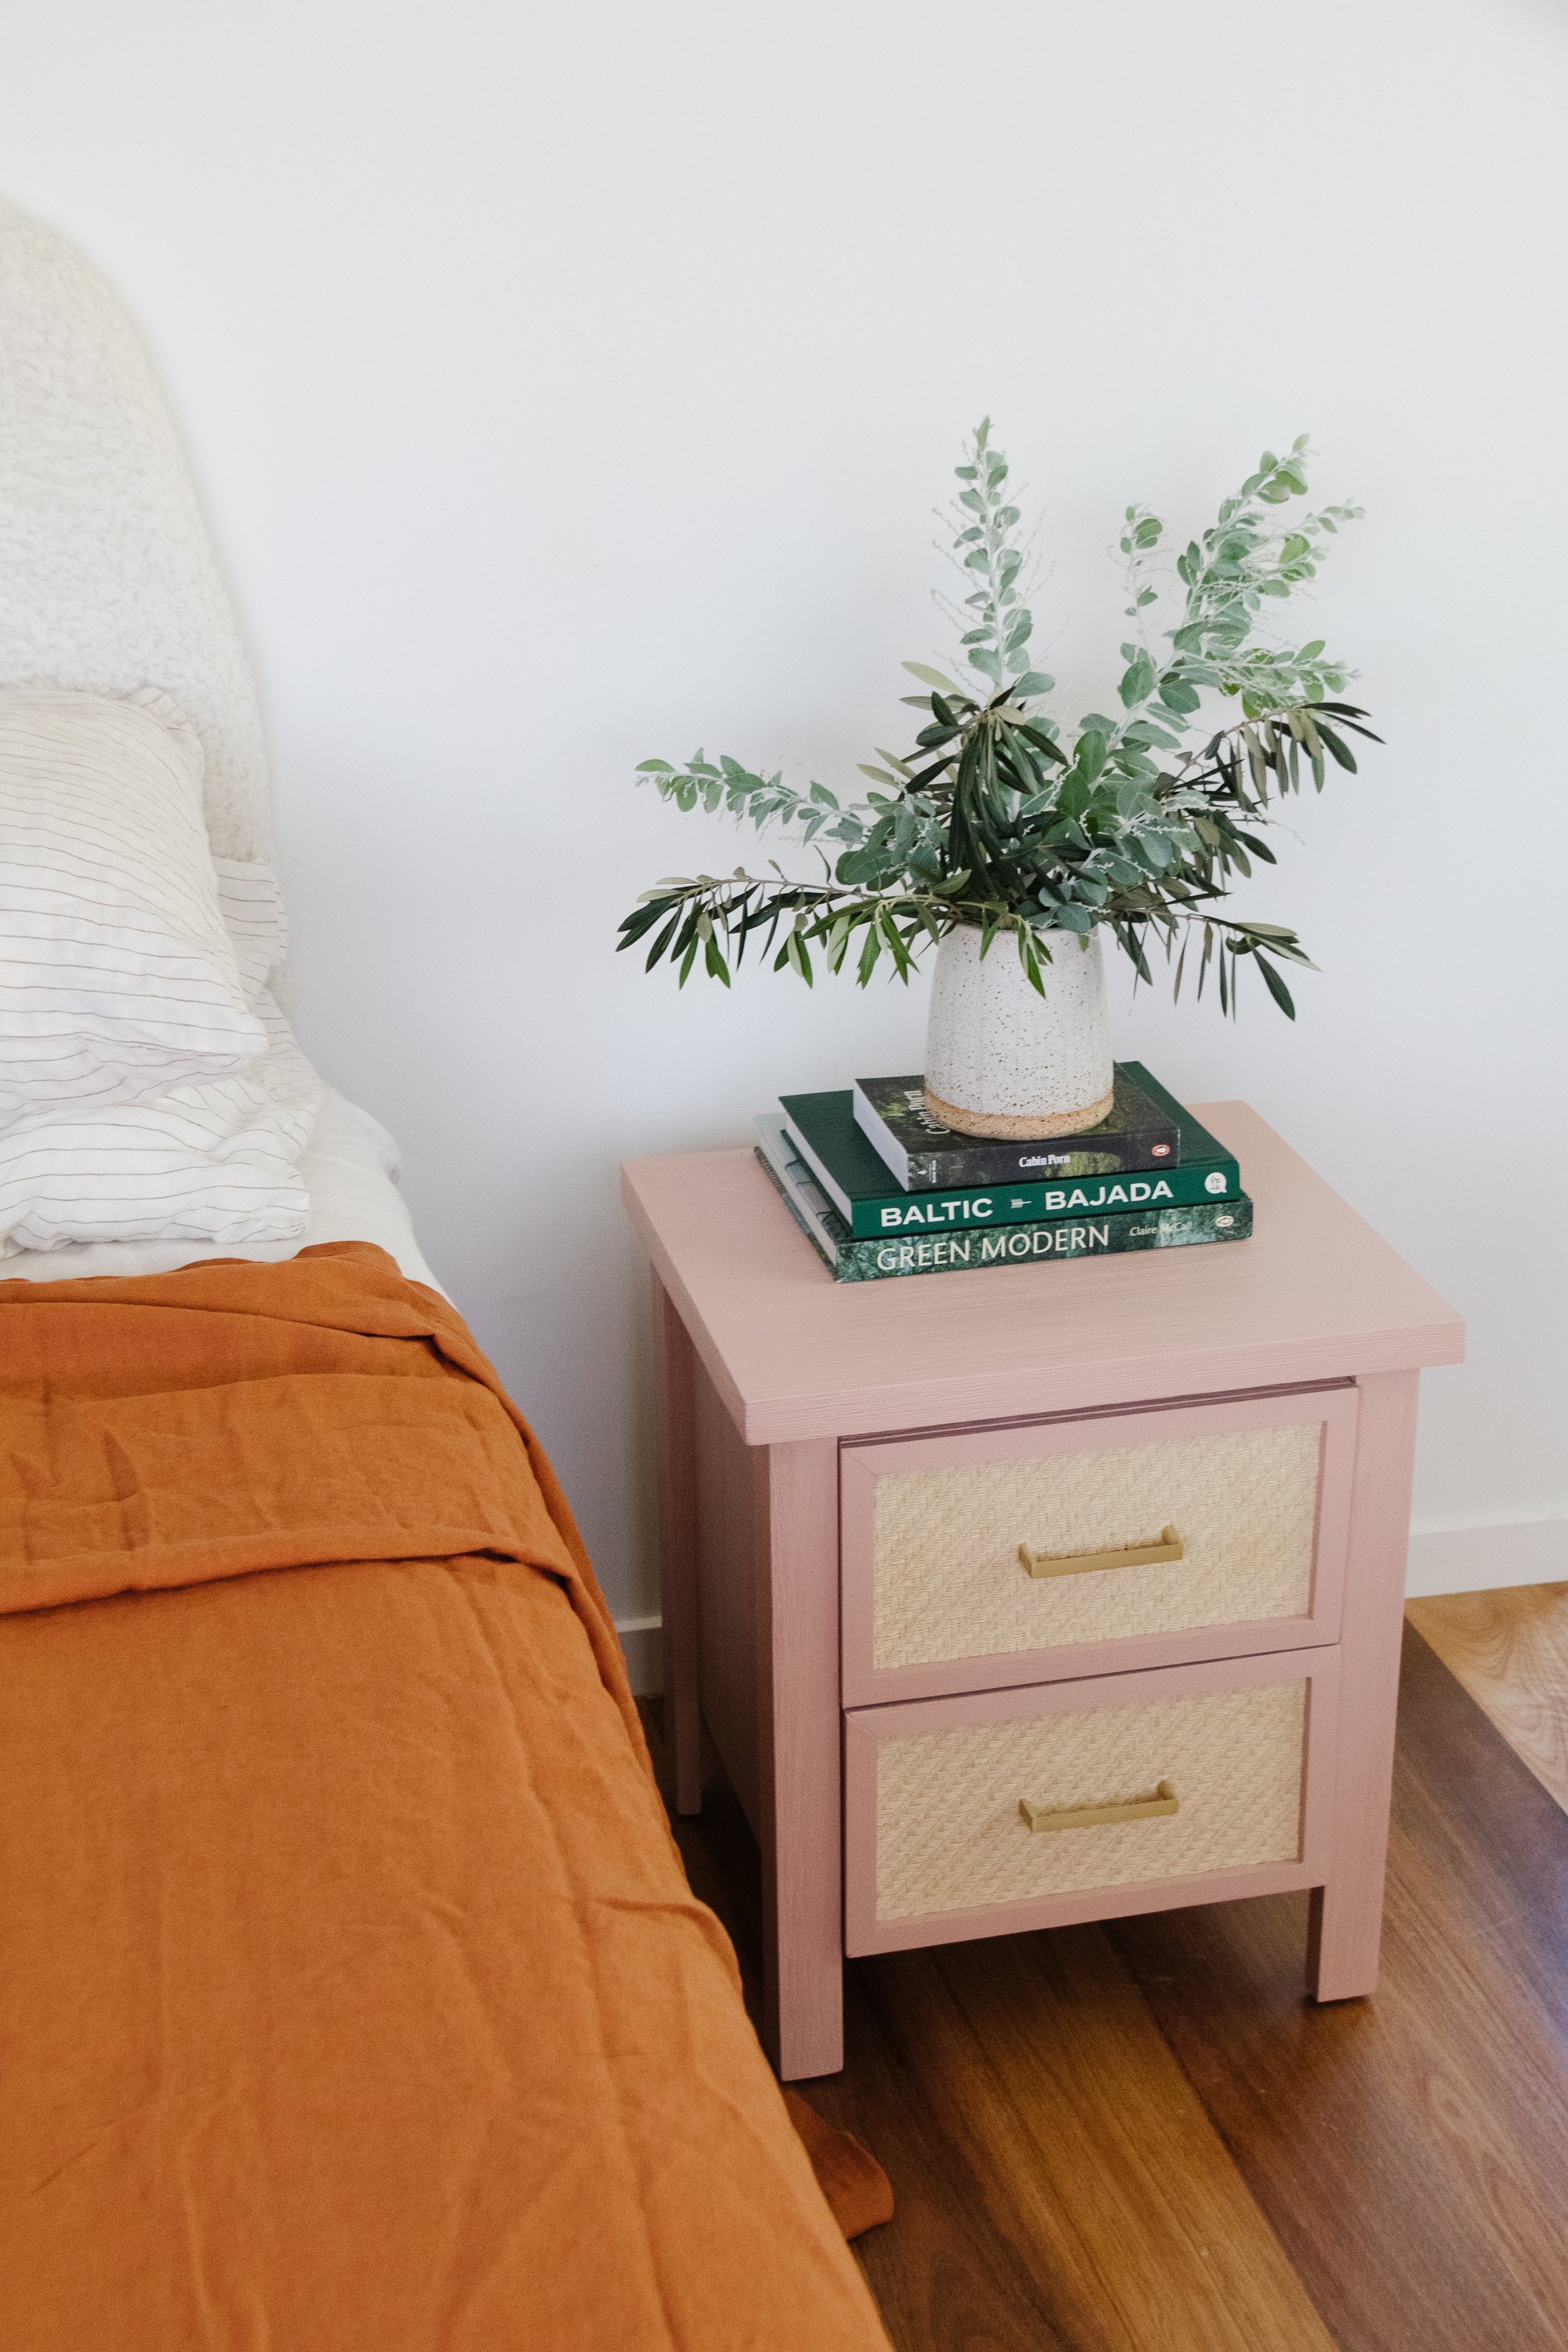
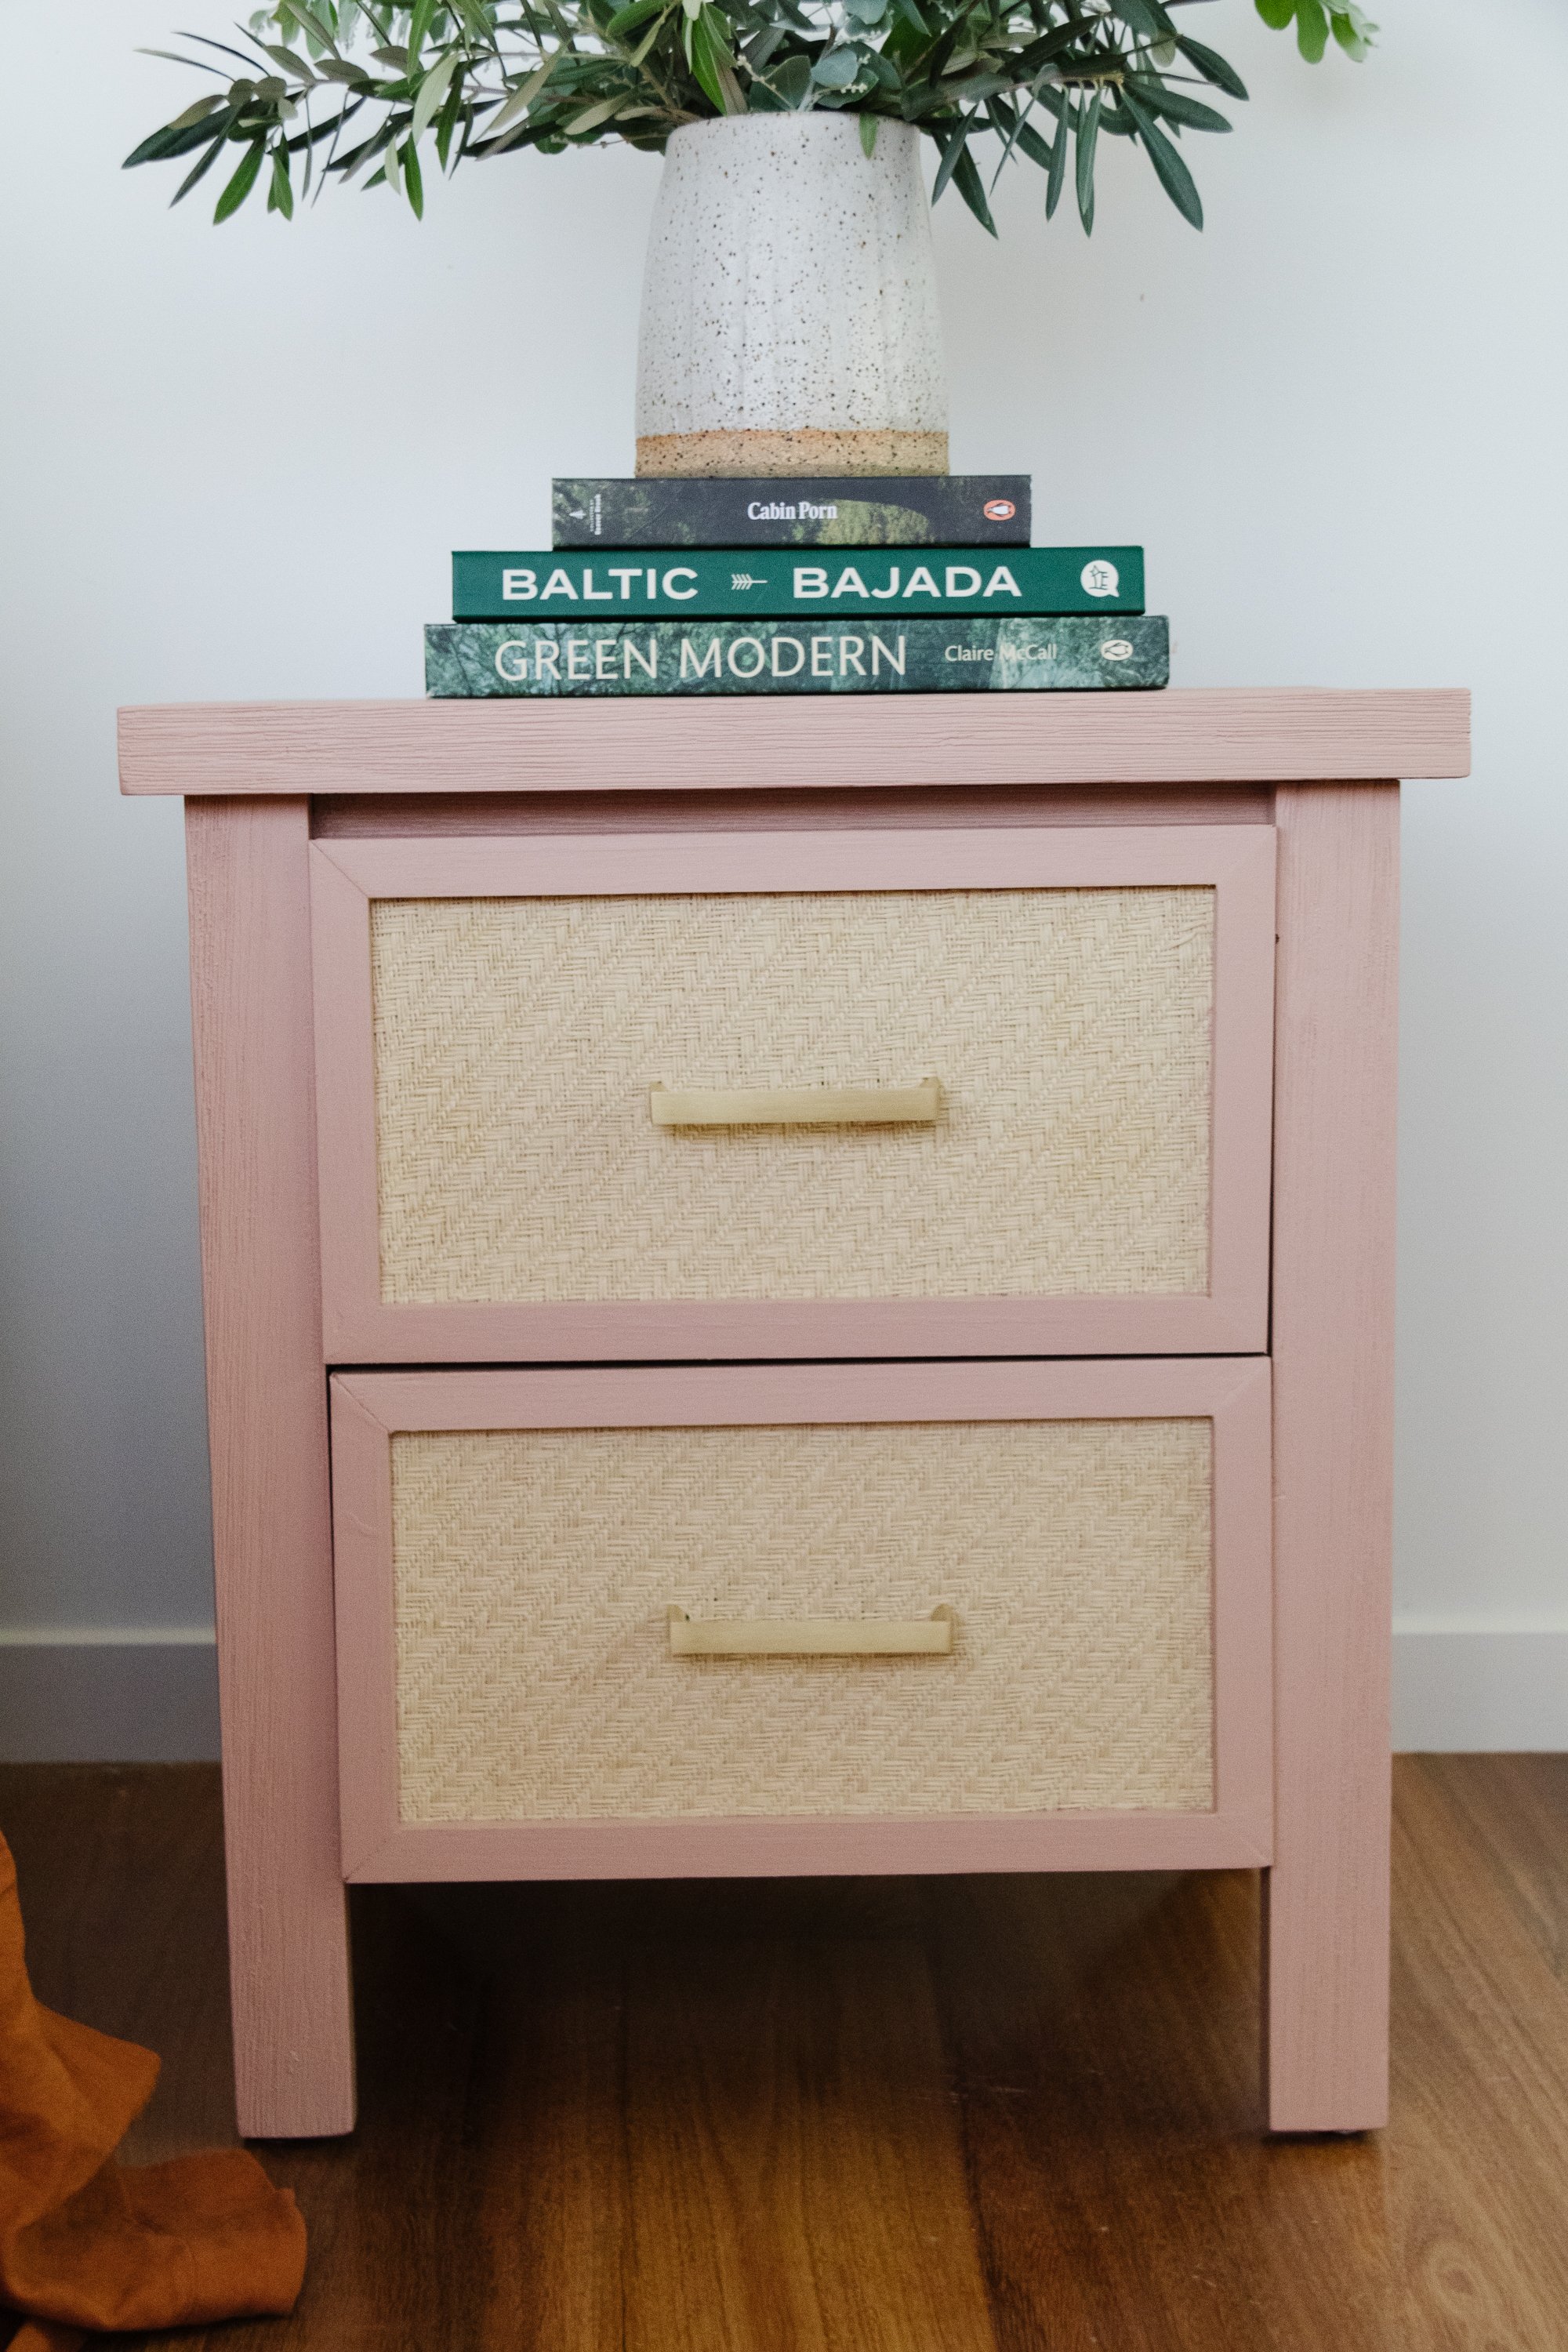
Ta daaaa! A designer worthy bedside table that only took half a day to upcycle.
True story! It’s the stuff dreams are made of. When I first had the idea to do the trim, I spent a lot of time wondering if I could really do it. I don’t own a mitre saw and they aren’t cheap, so when I discovered a mitre box I knew it would be possible. I am so happy with my first attempt at cutting moulding on a 45° angle - and if I can do it, so can you!
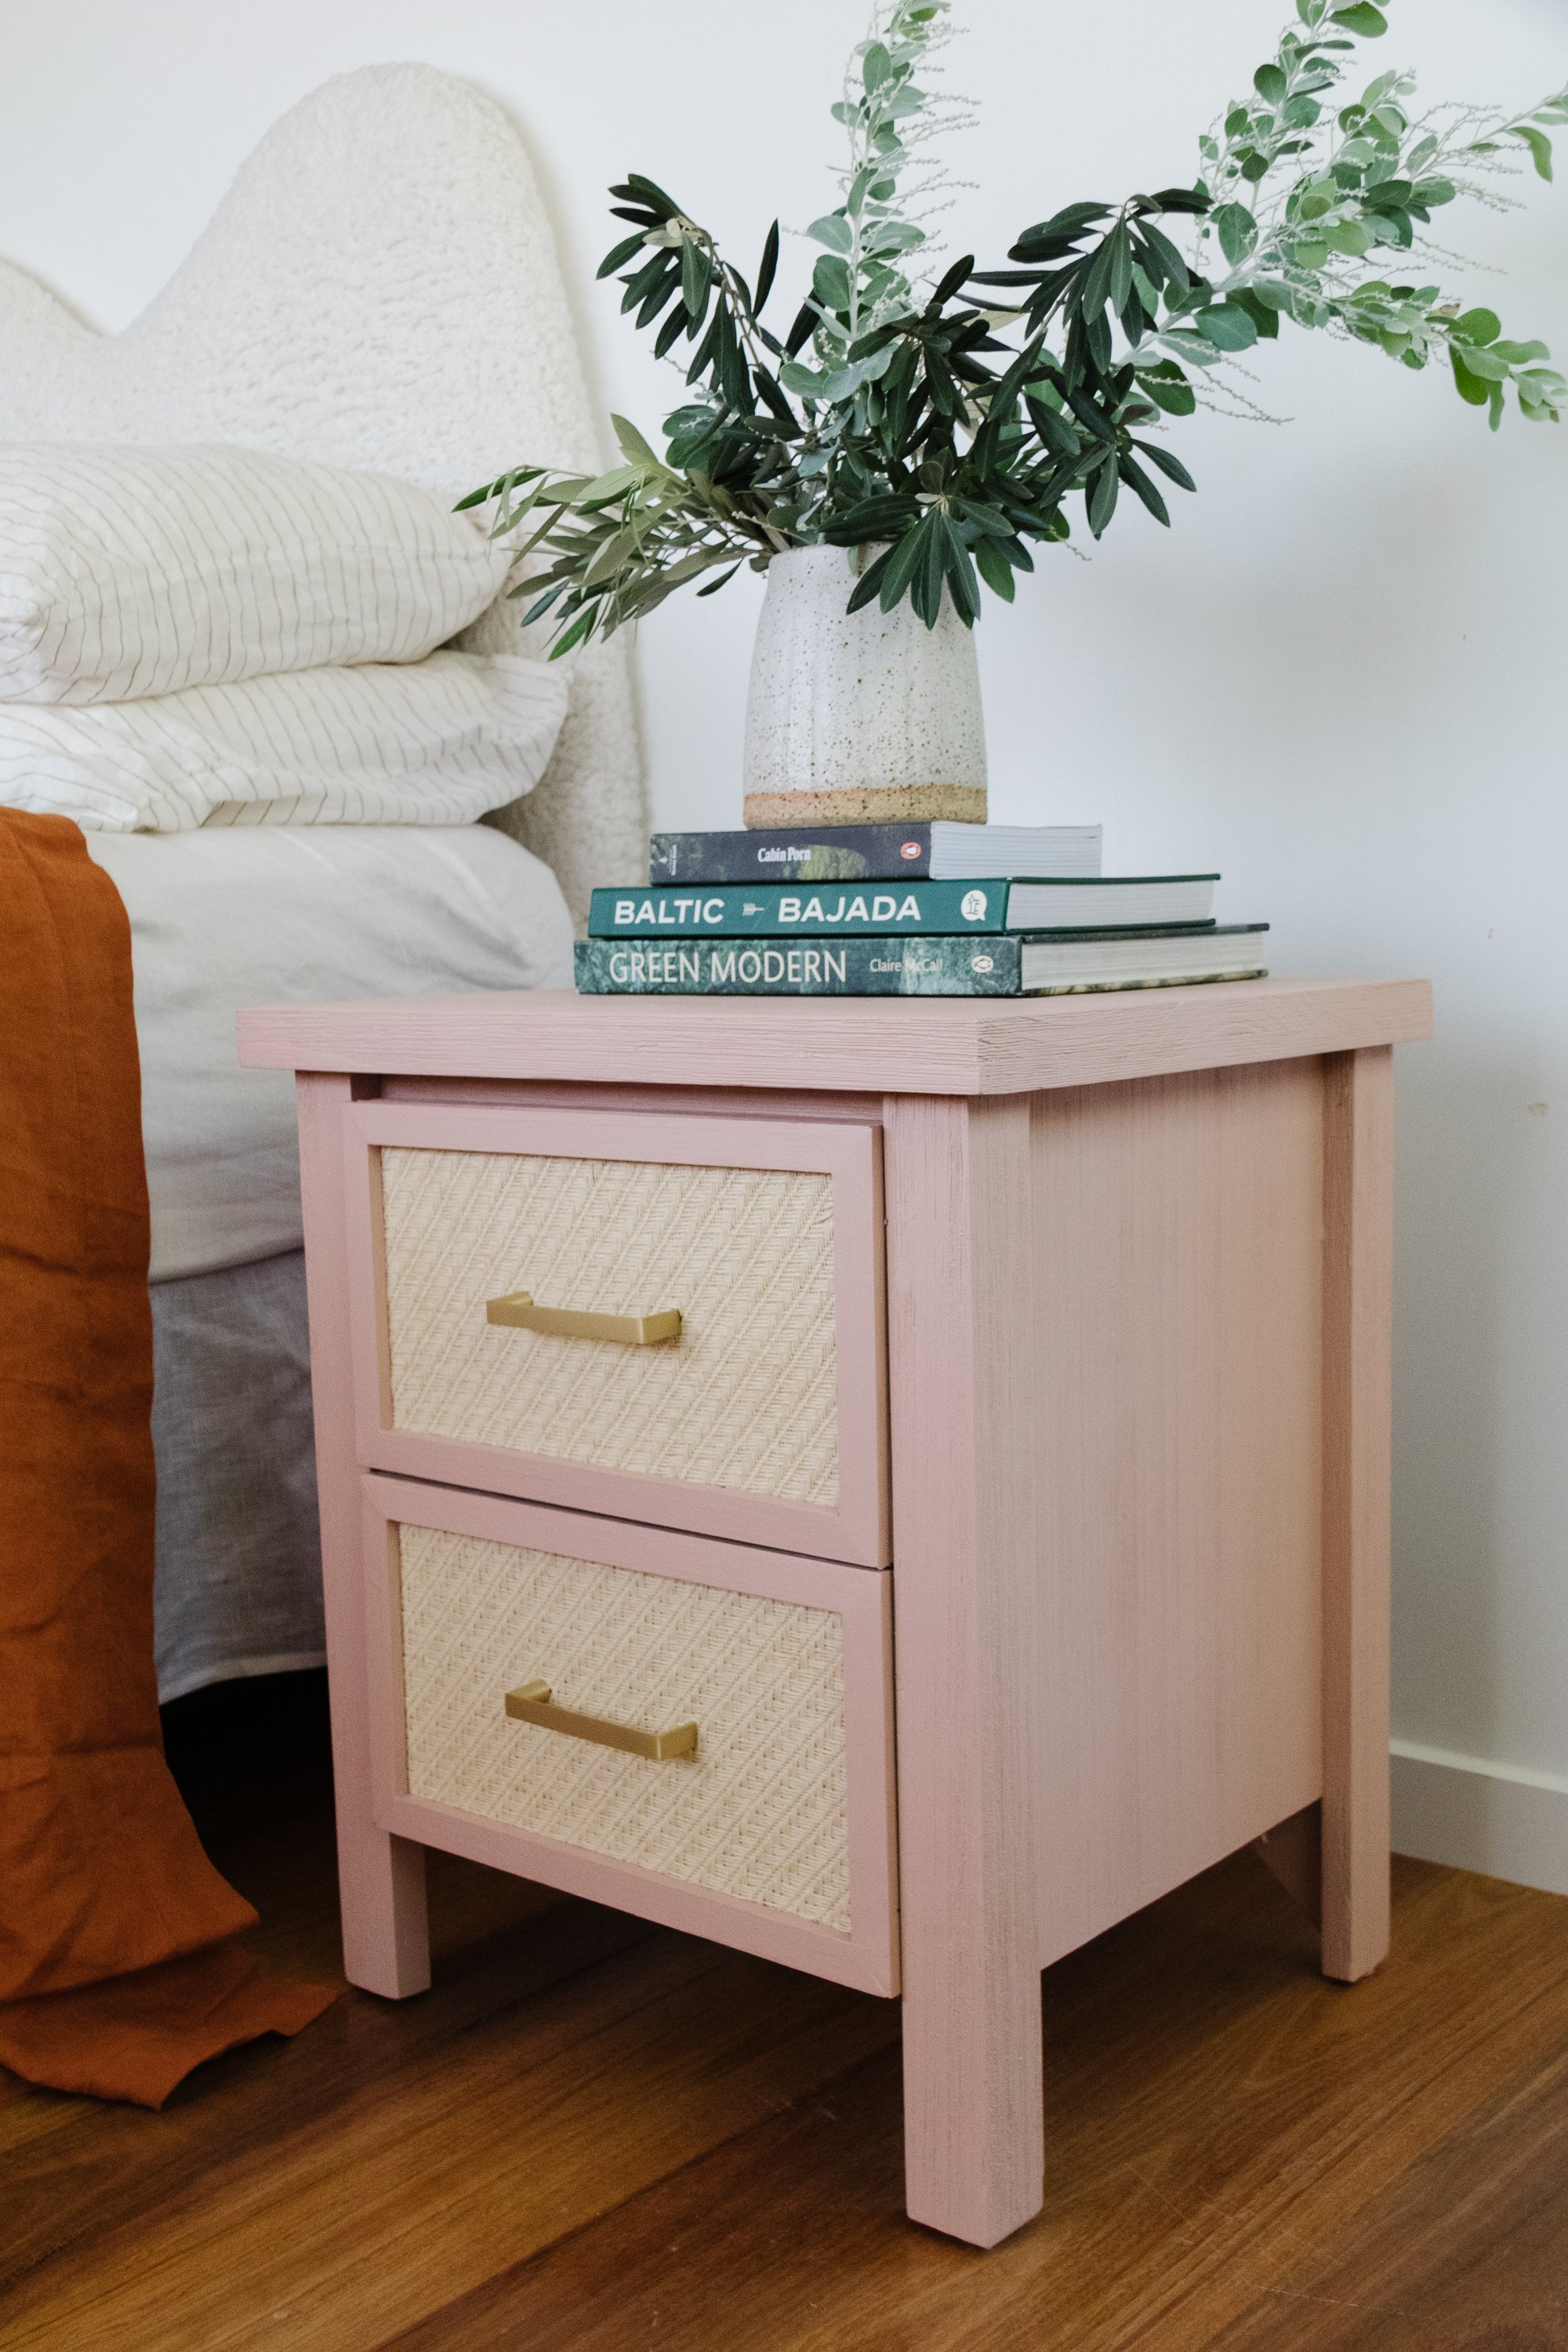
I hope you enjoyed this upcycle as much as I did. It’s going to look so cute in Celeste’s room, which we are in the process of updating as she is officially out of a cot. She made quite the speedy exit last month by climbing out and landing on the carpet in her room with a thud after every sleep for a few days, so it’s been exciting updating her bedroom. And in case you are wondering, the photos below are from our bedroom, so at least you can get an idea what it’ll look like in your own. Happy upcycling and Happy Earth Month!