How To Make An Easter Bunny Piñata
A fun and easy craft project for you and your kids to make together this Easter!
With Easter just around the corner, it’s the perfect time to get crafty with the kids and enjoy spending time together - while making an Easter Bunny Piñata! Bunnings recently asked me to come up with a fun and easy Easter craft project for the whole family to make together and I knew straight away we could make a piñata. I have always loved them and it seemed like the perfect project to tackle together as it involved lots of fun things - cutting, painting, decorating and of course, hitting the piñata! The first thing we did was obviously head to Bunnings to stock up on the materials for the piñata and then we came home and had a very fun crafternoon together. Read on to make your own Easter Bunny Piñata, and as always I have included all the steps and materials you need to make this Easter craft project even easier for you when you go to Bunnings. And watch this little video to see how it all came together. Happy making!
Materials
Pen
Small chocolate Easter eggs
How To
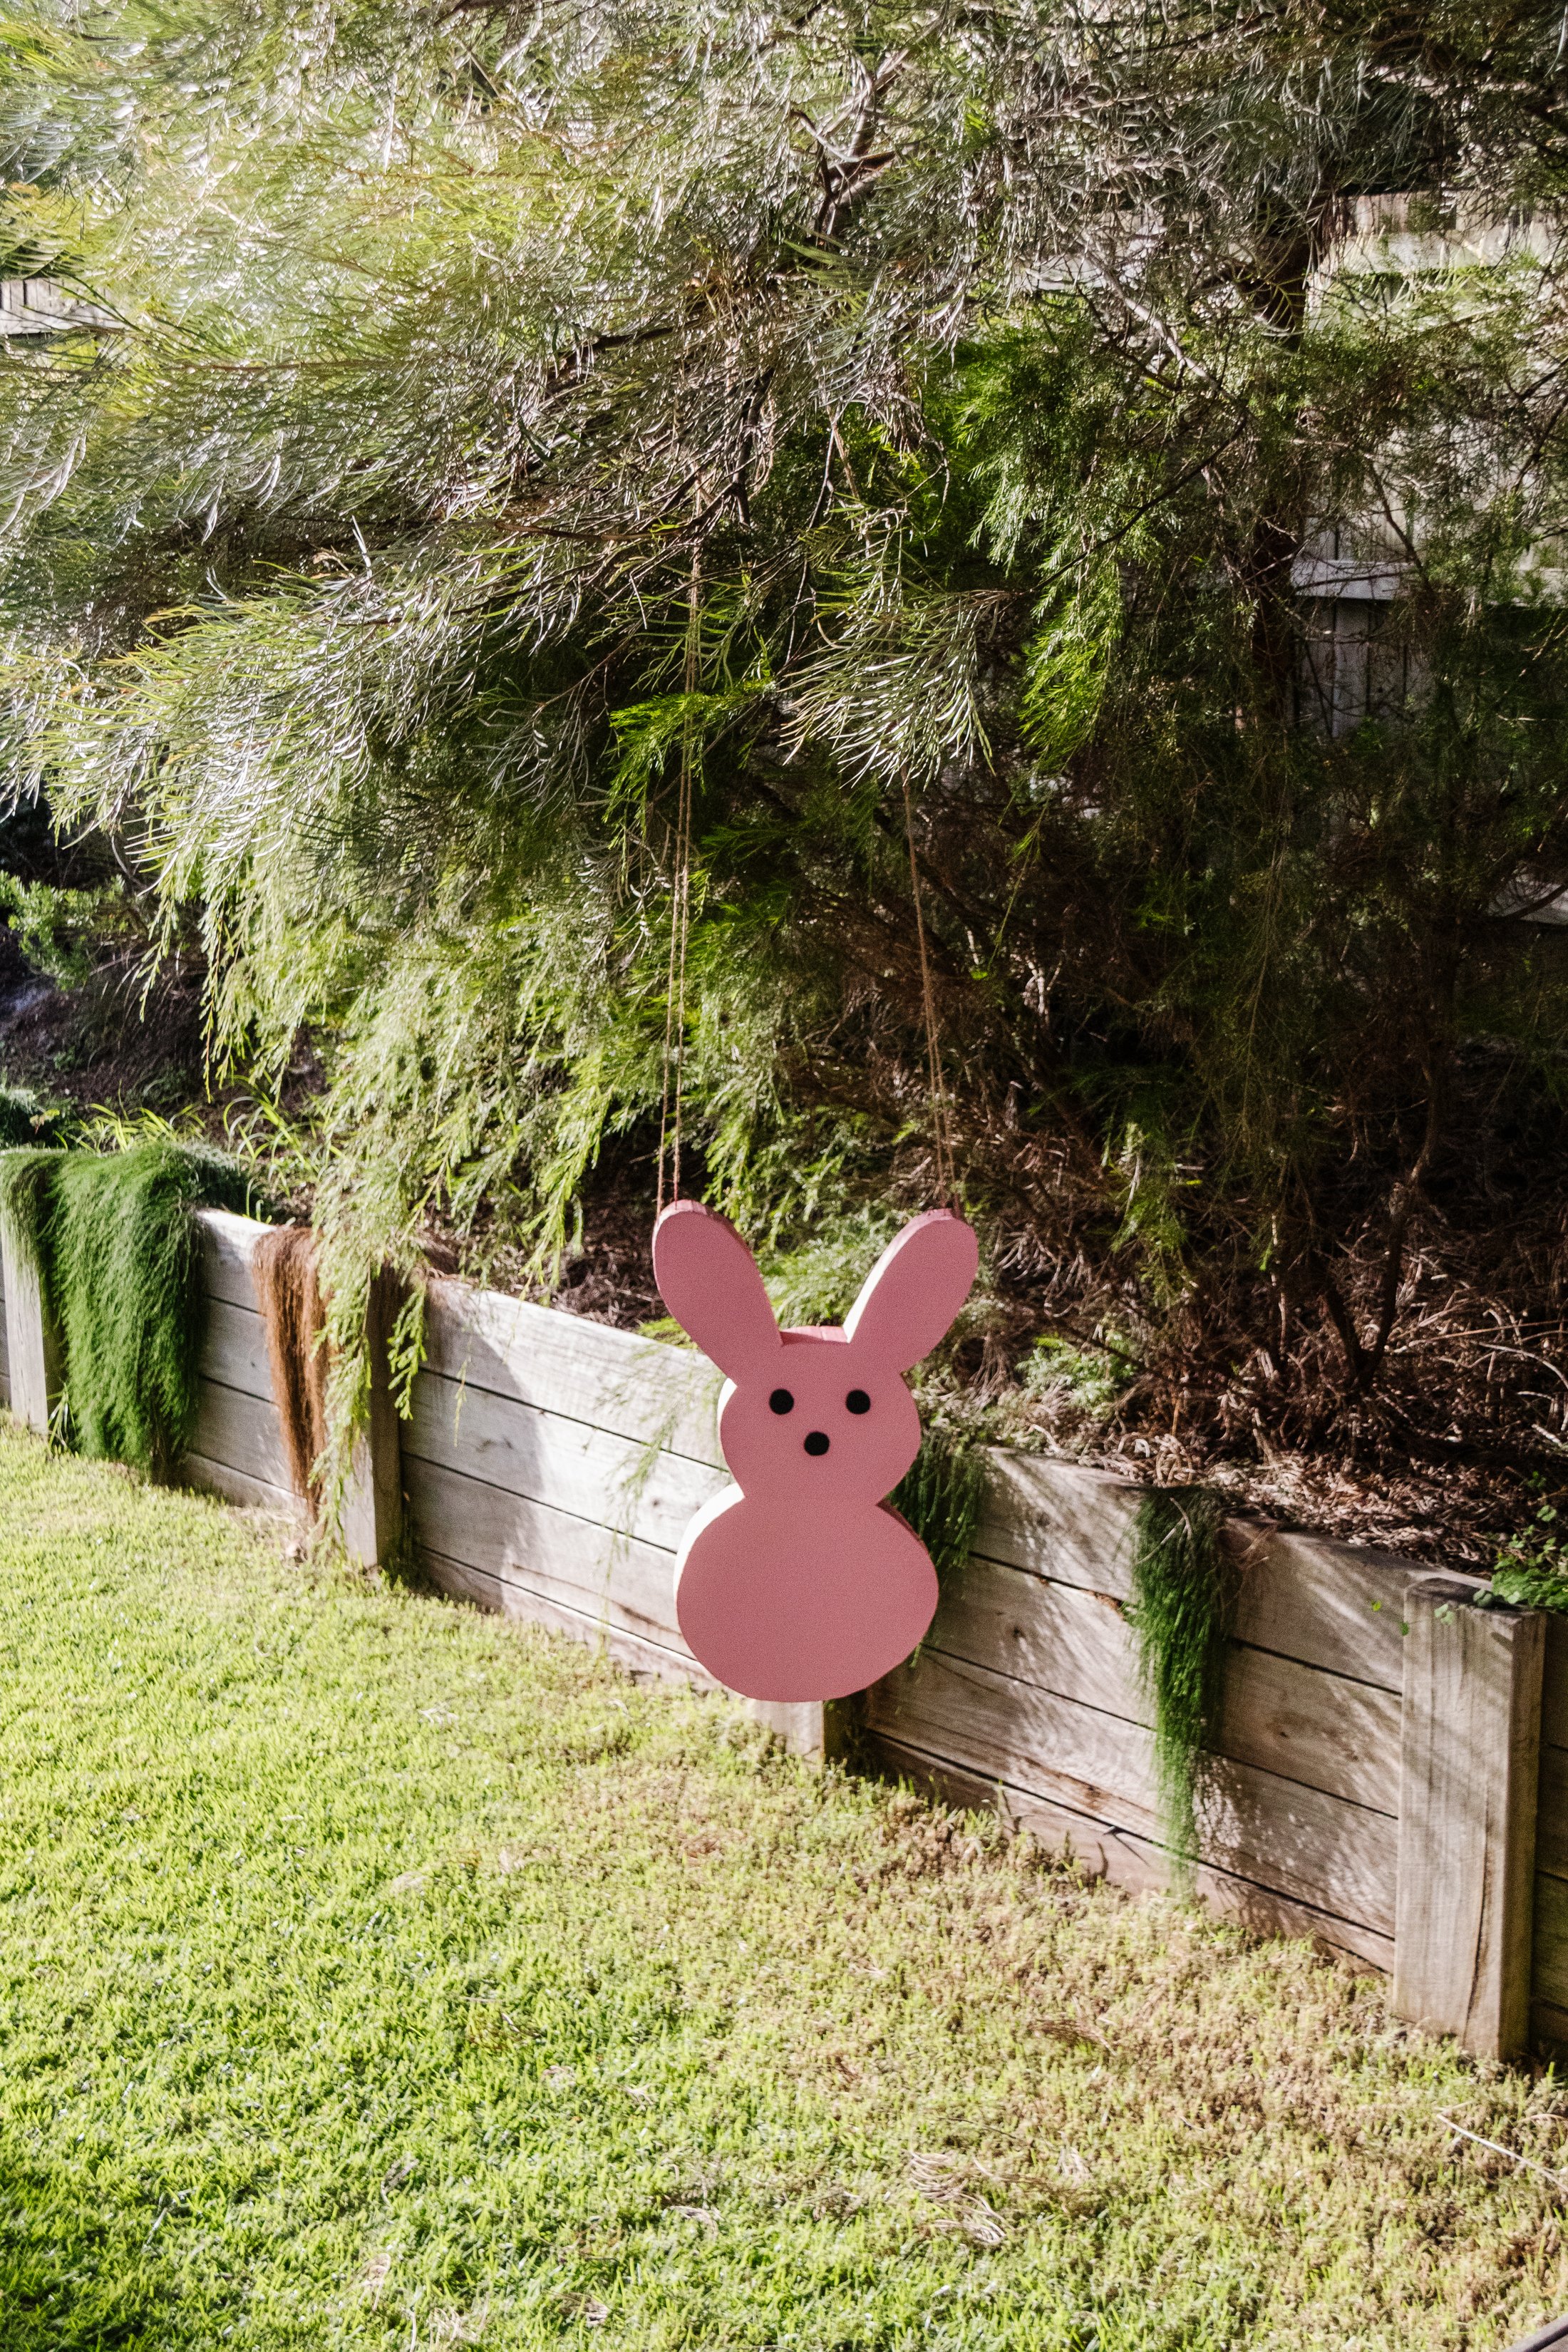
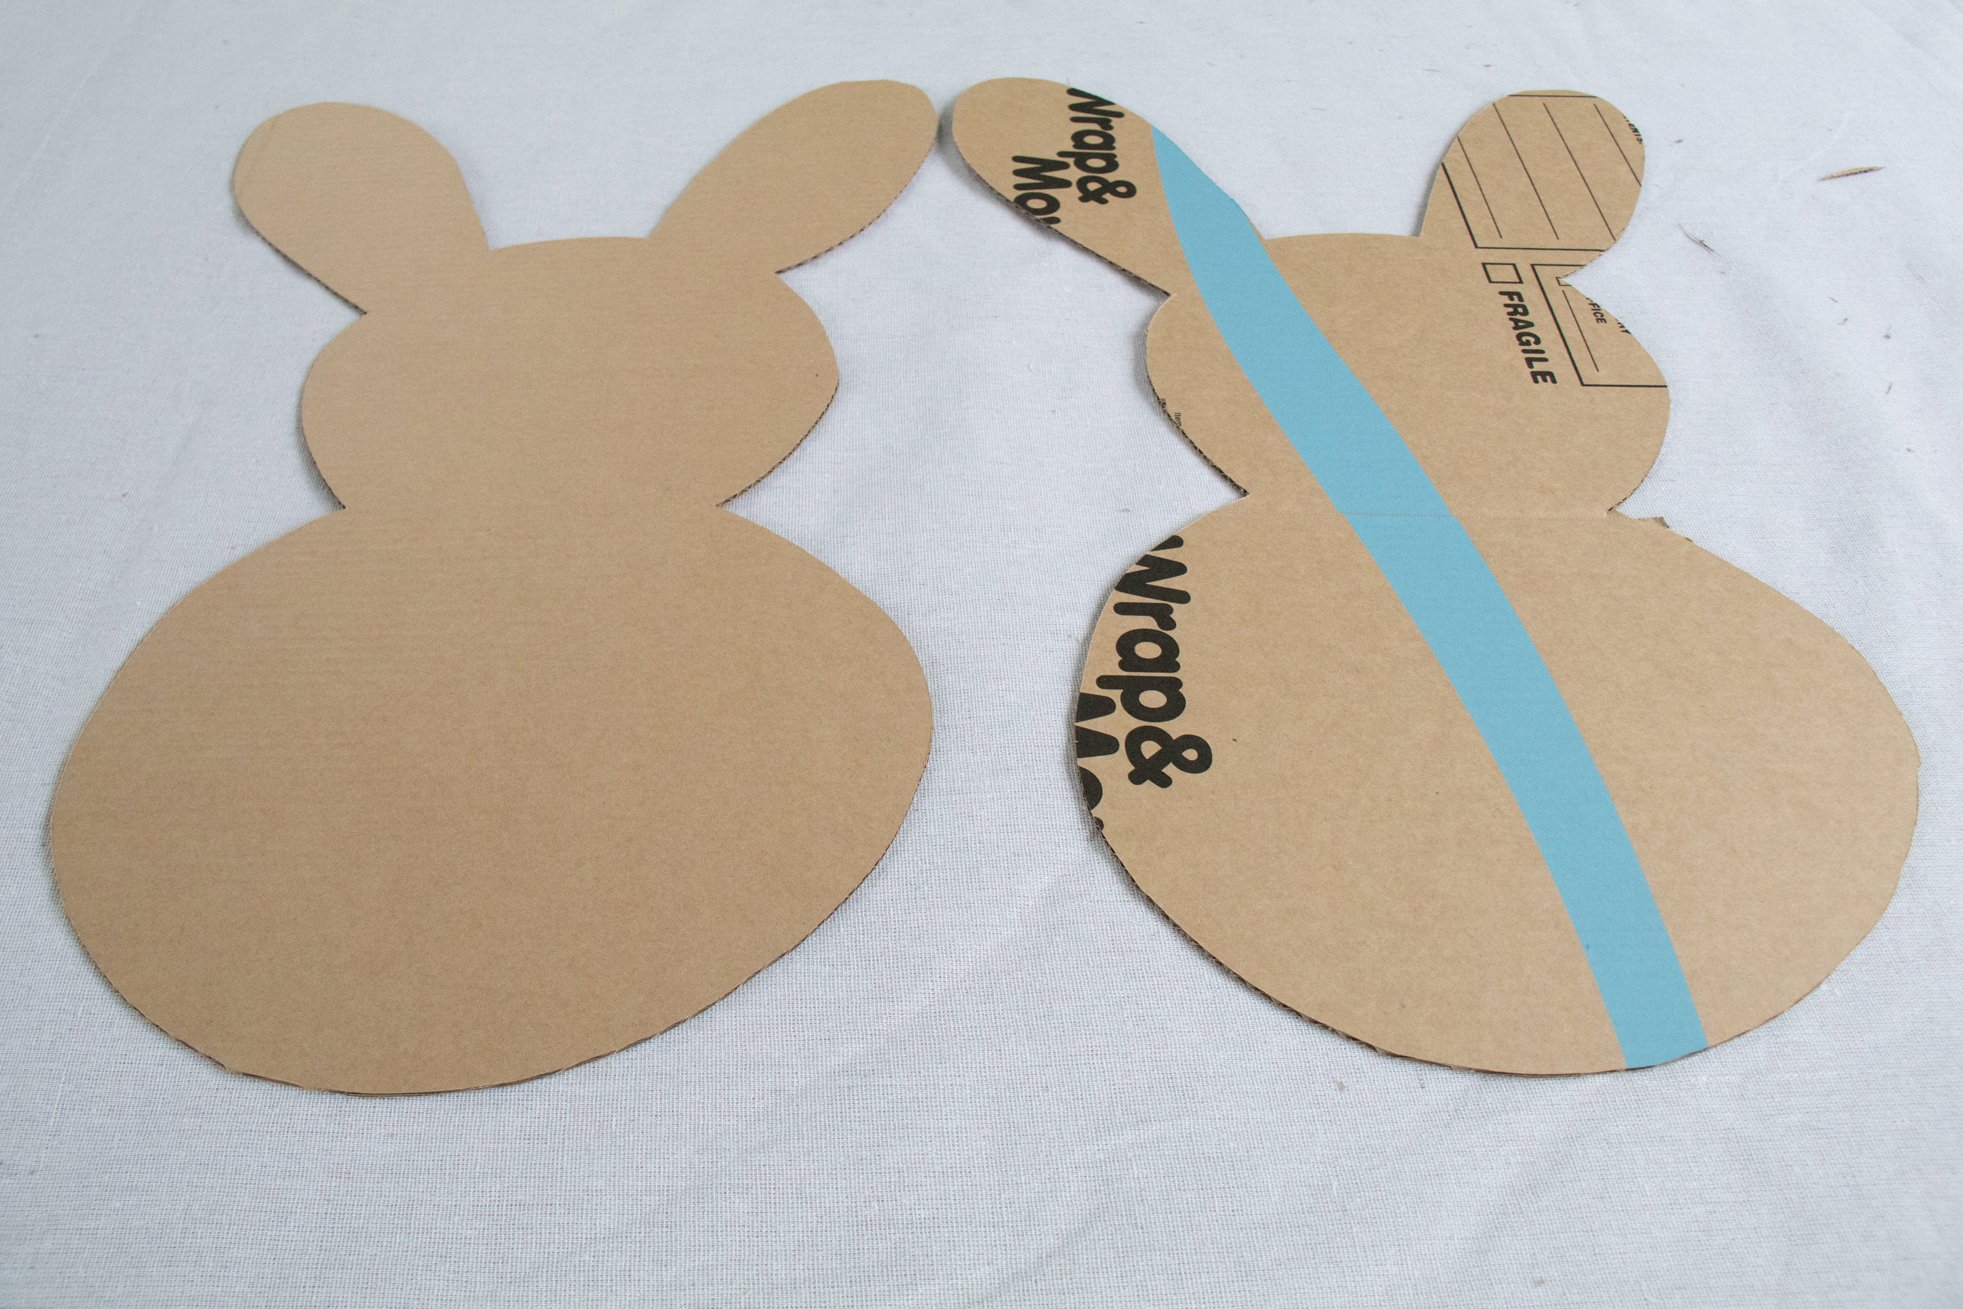
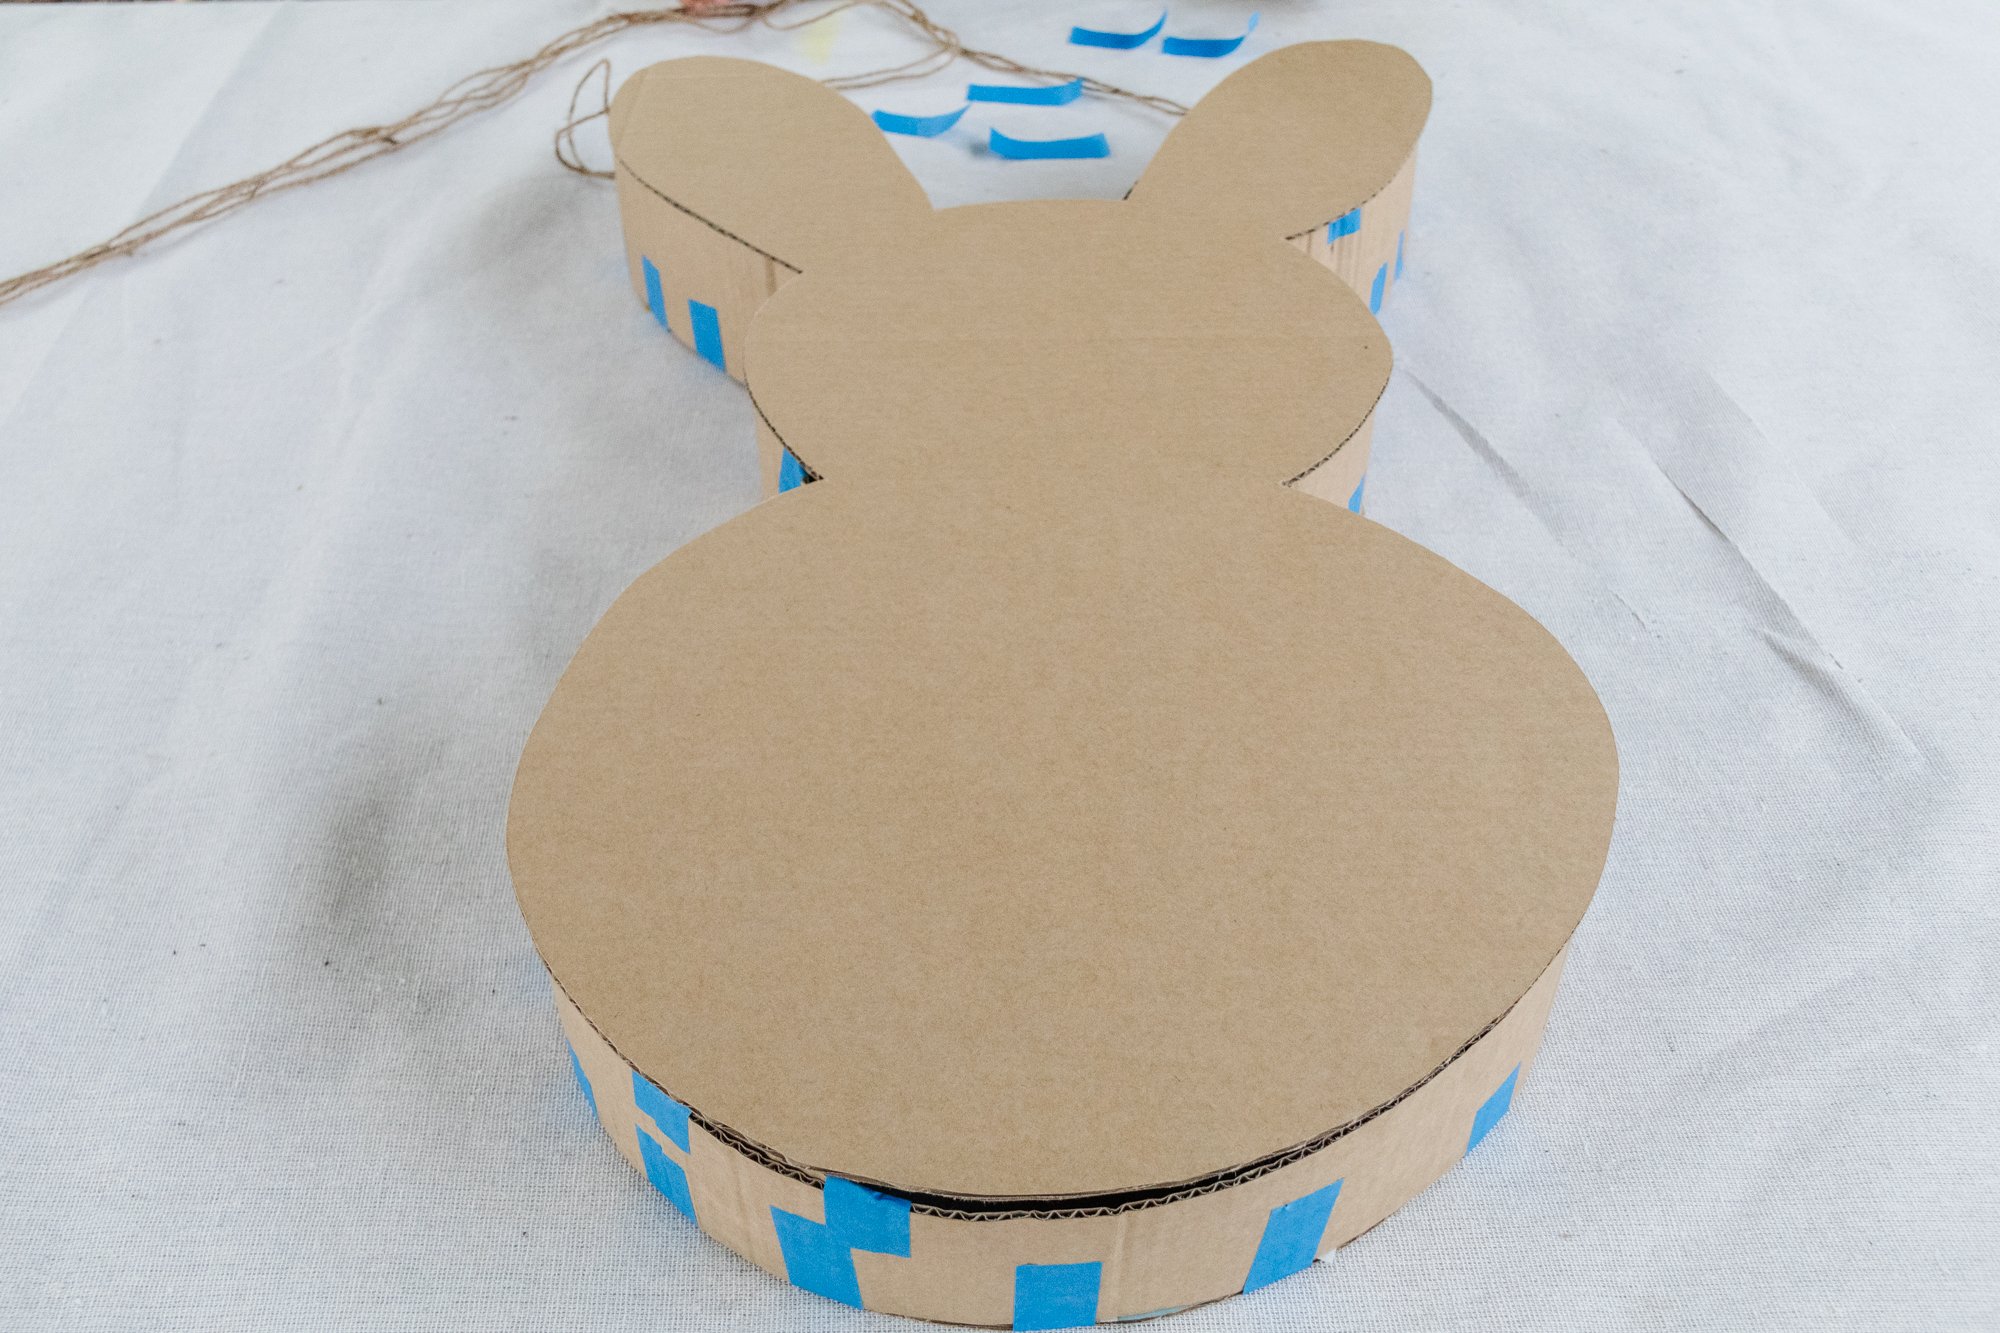
Draw an outline of a bunny onto one side of a cardboard box using a pen; it doesn’t have to be perfect! Cut along the outline using a craft knife. If the craft knife hasn’t quite cut the other side of the cardboard box, cut it out. You will now have the front and back of the bunny.

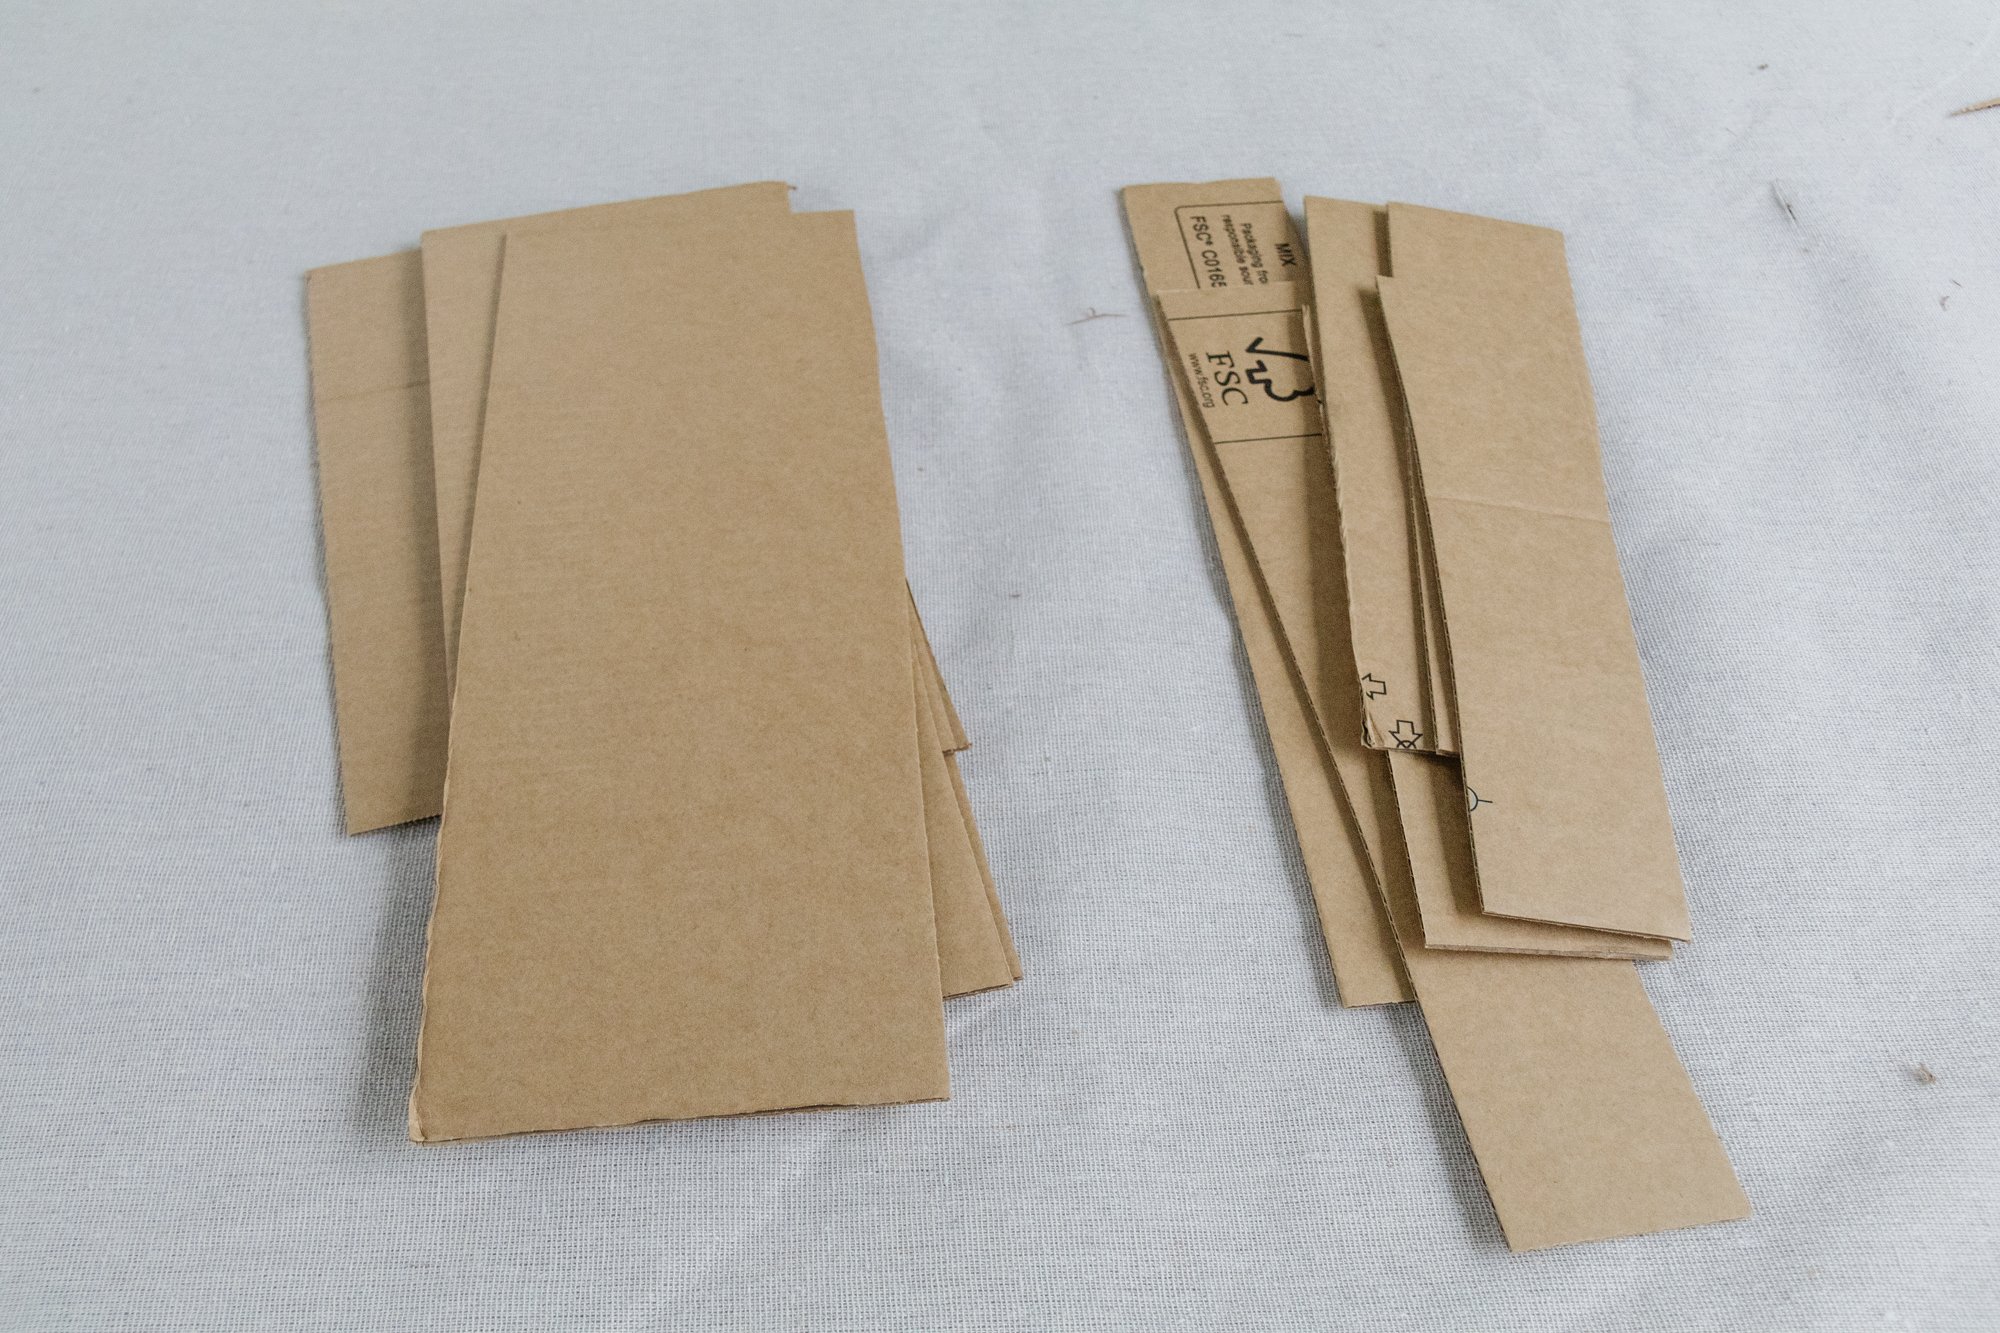
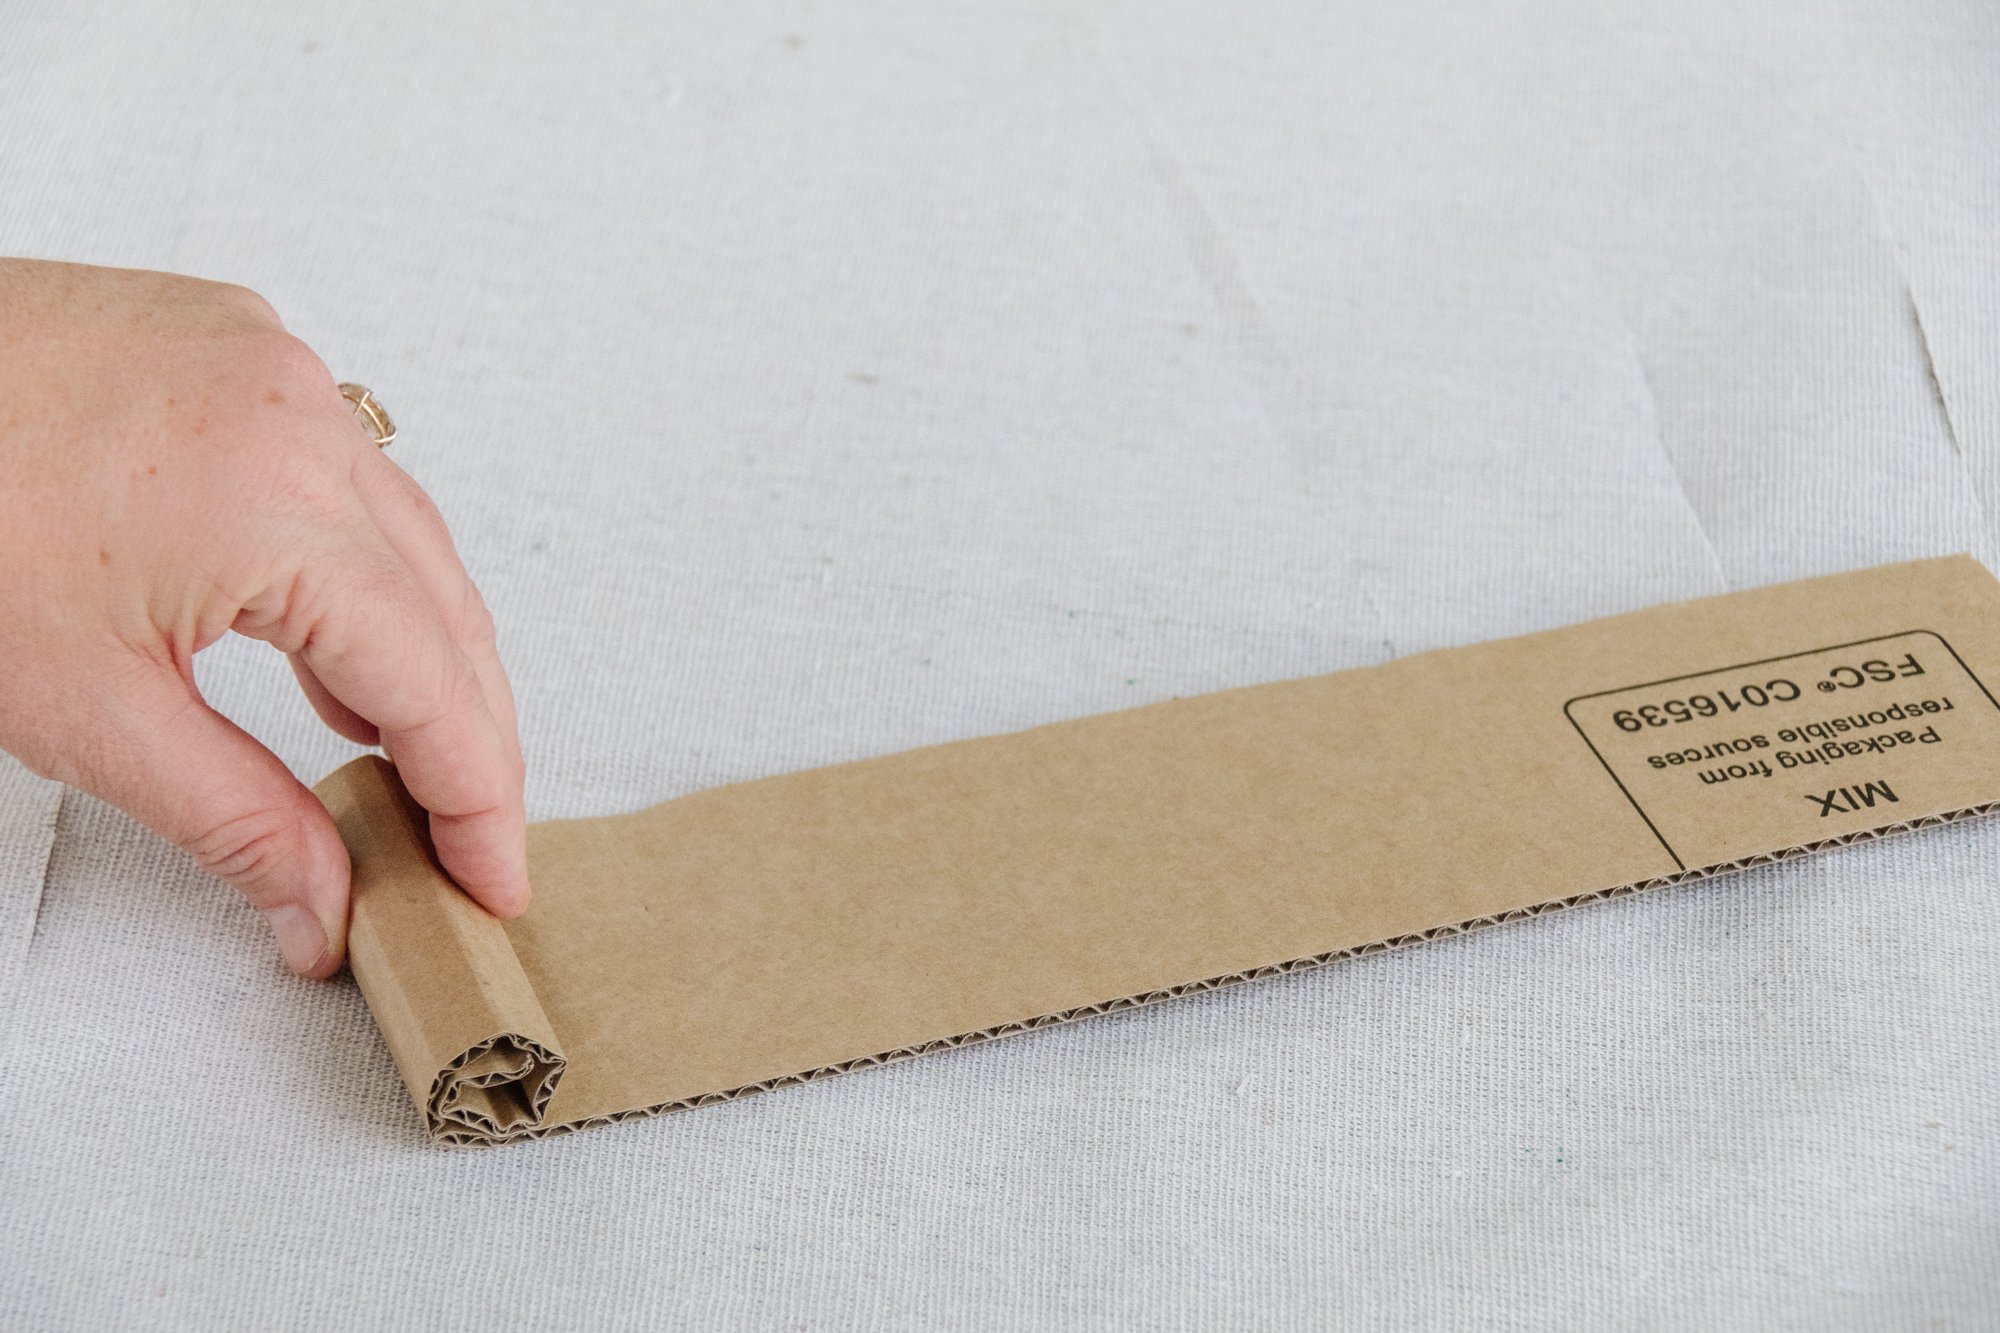
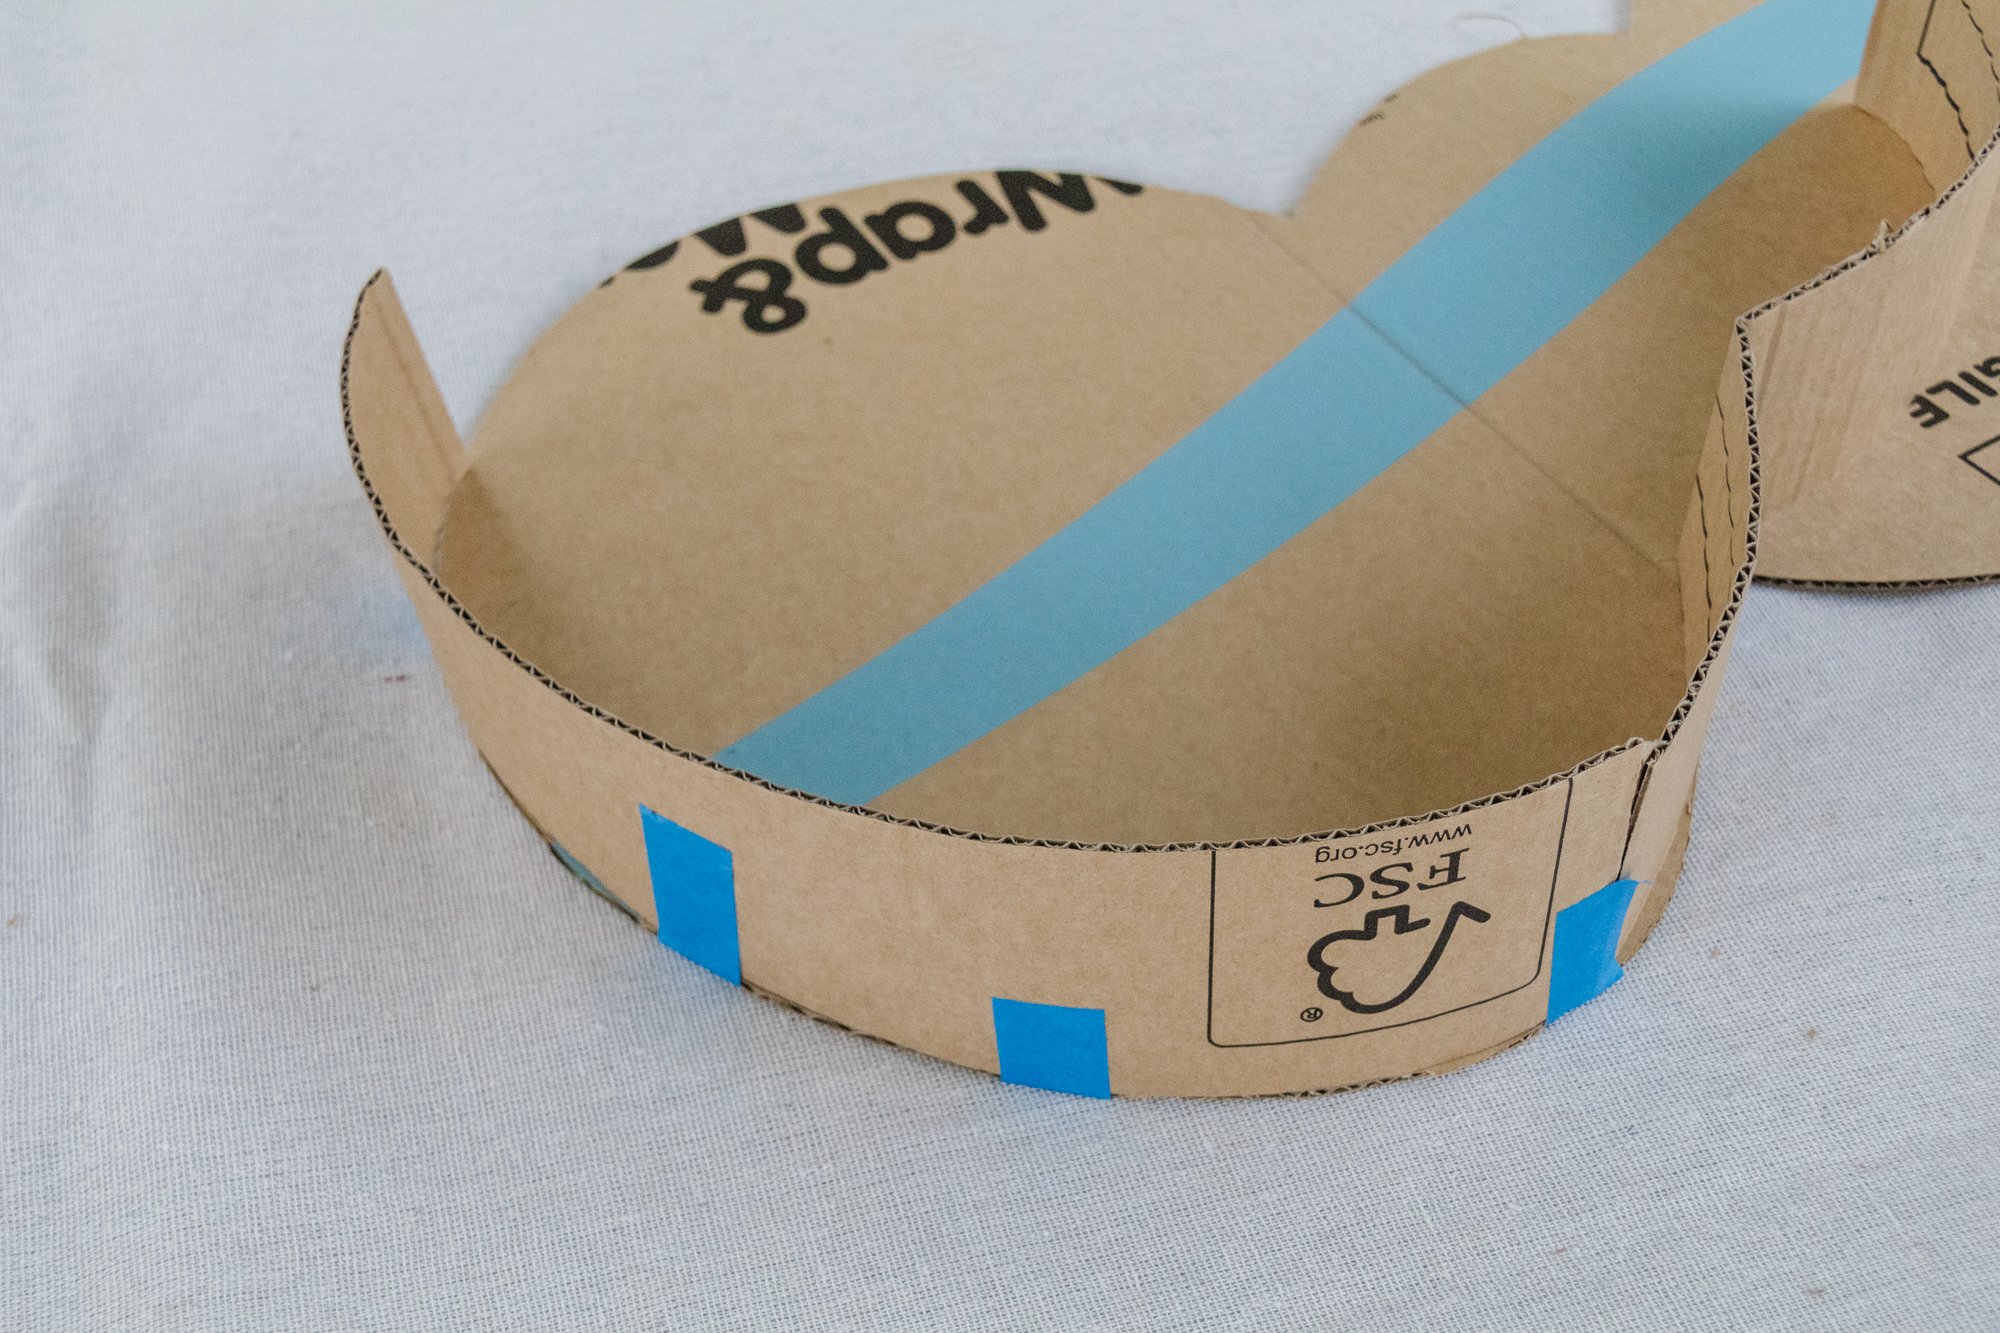
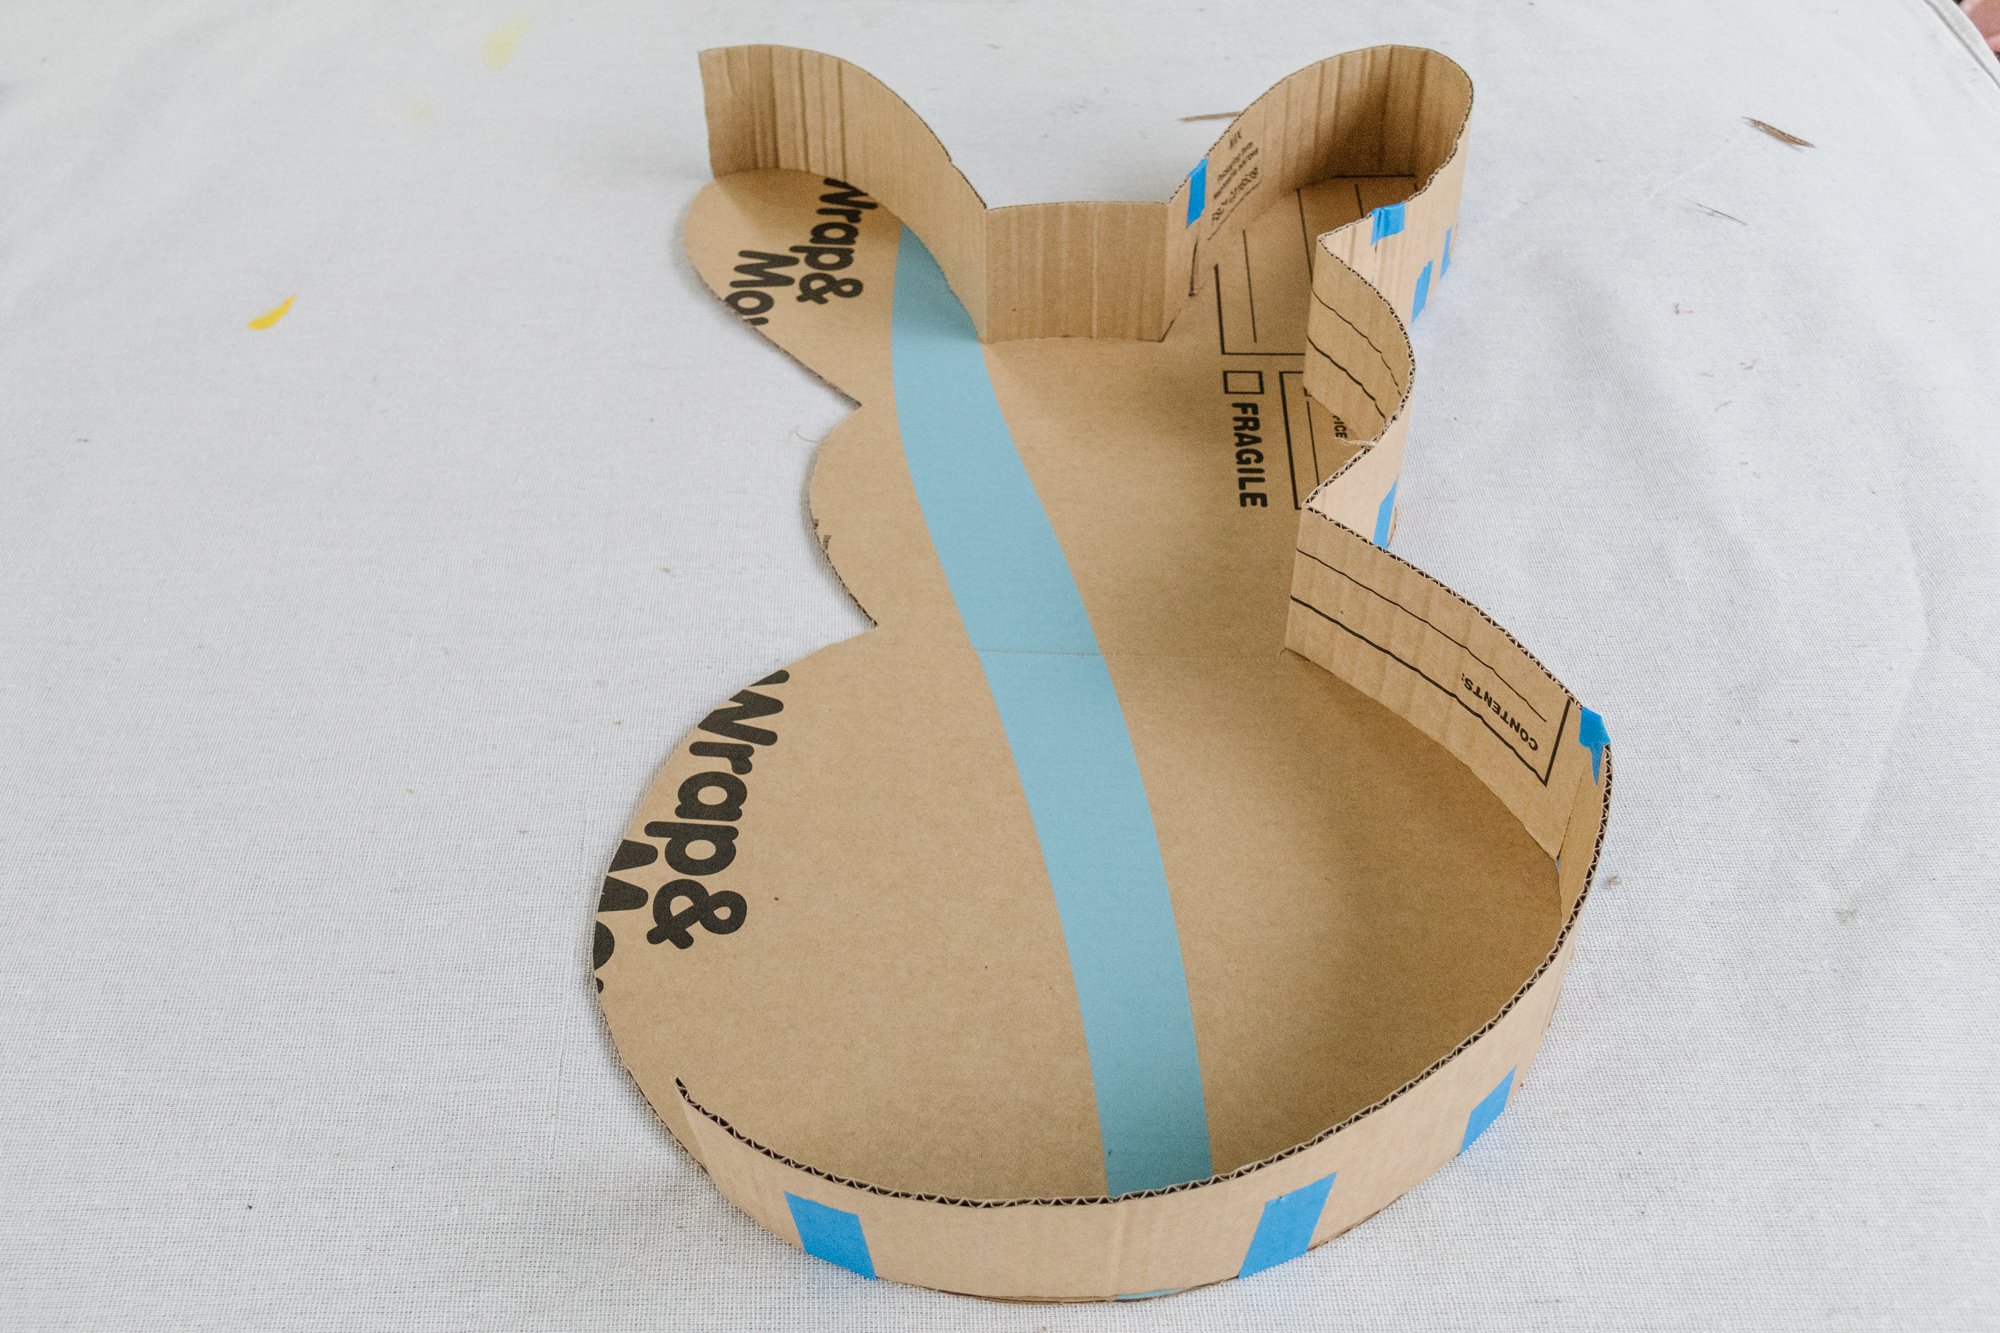
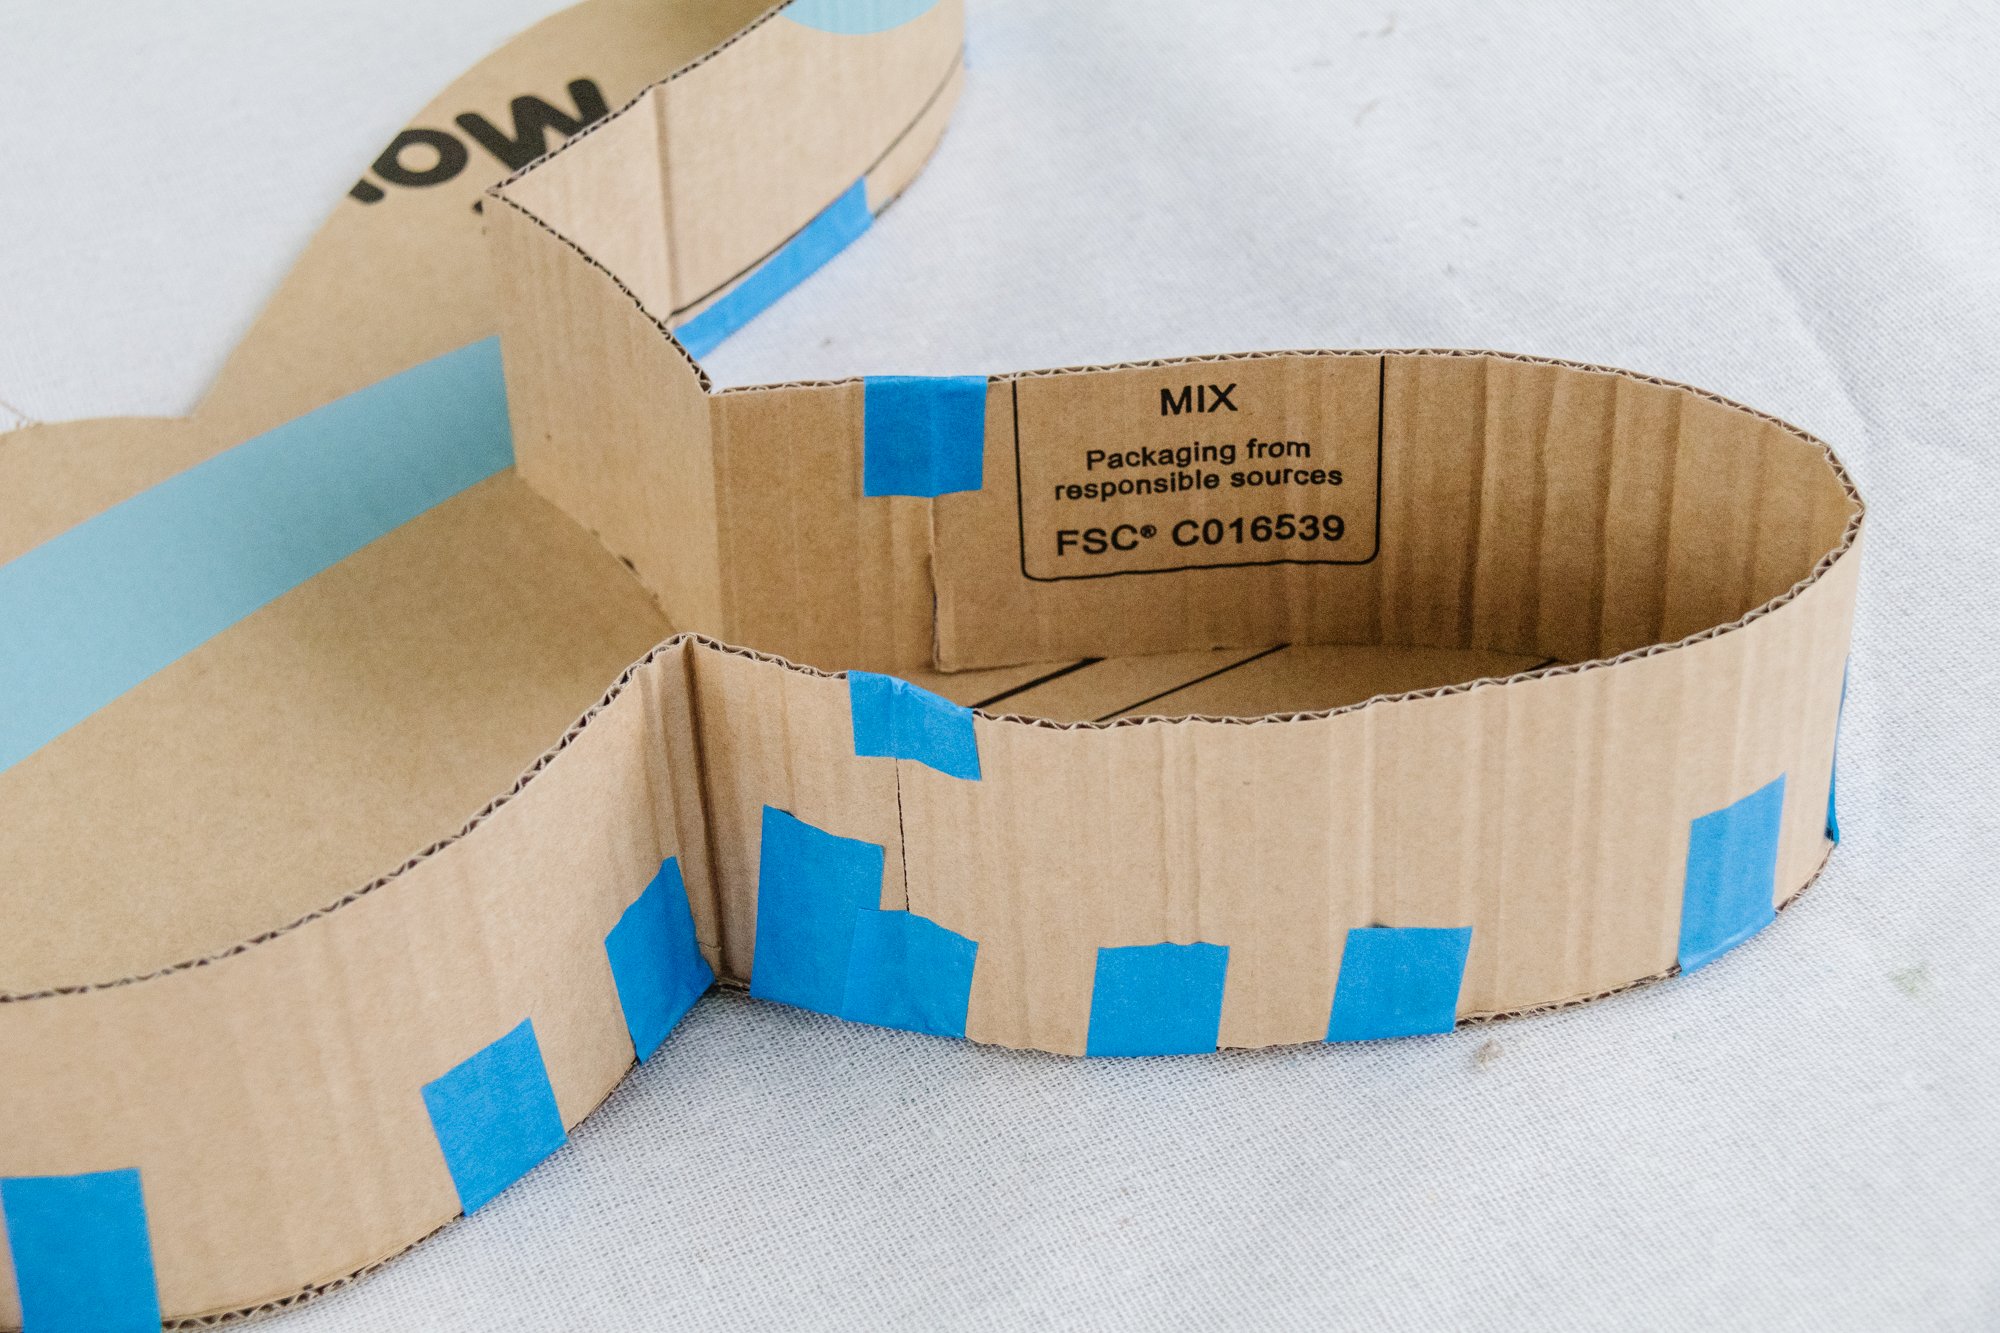
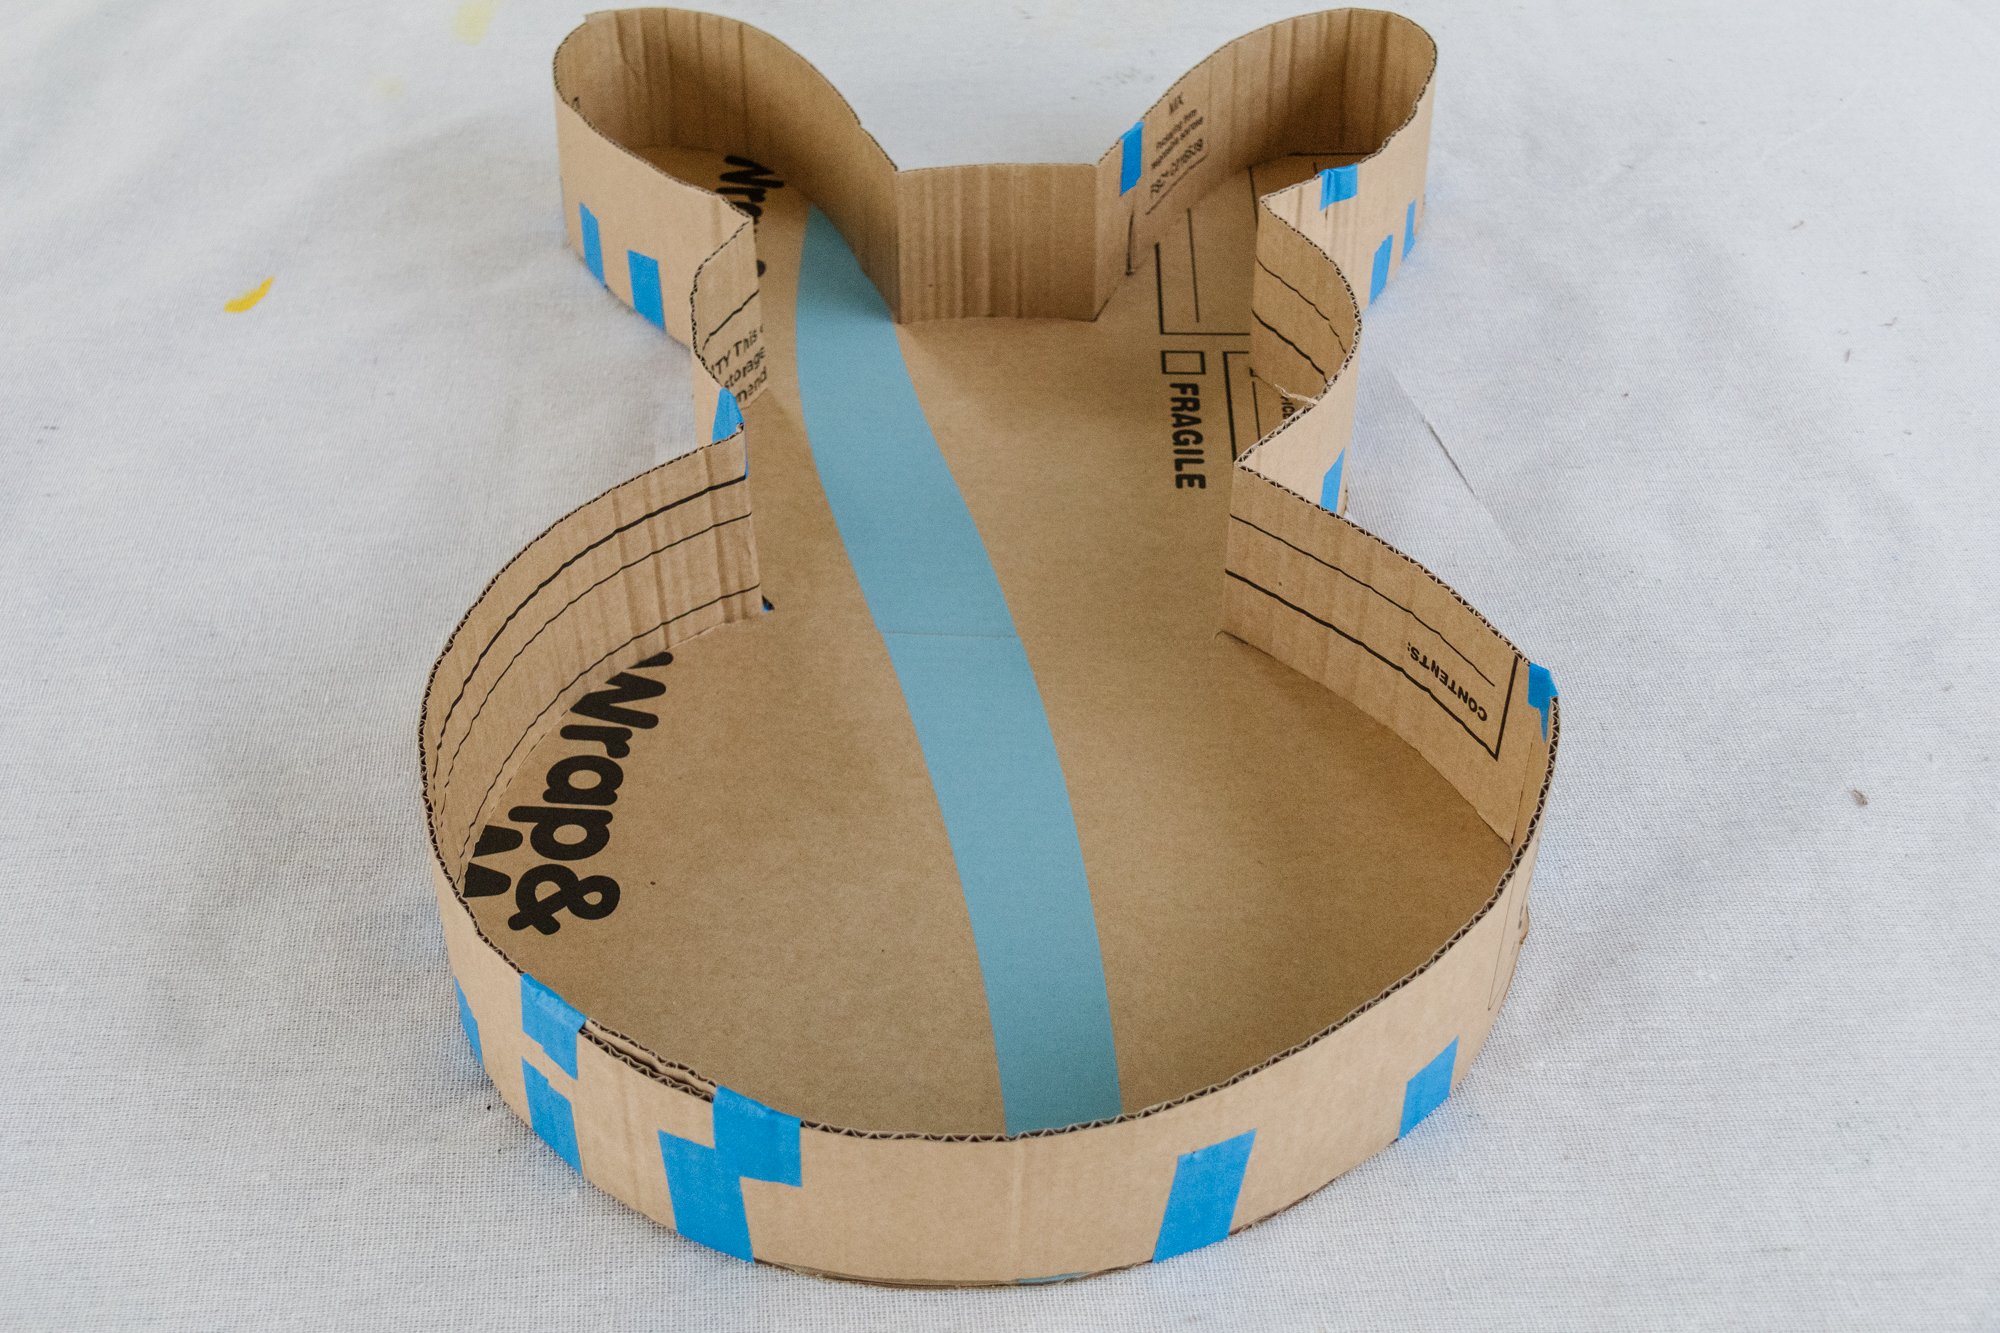
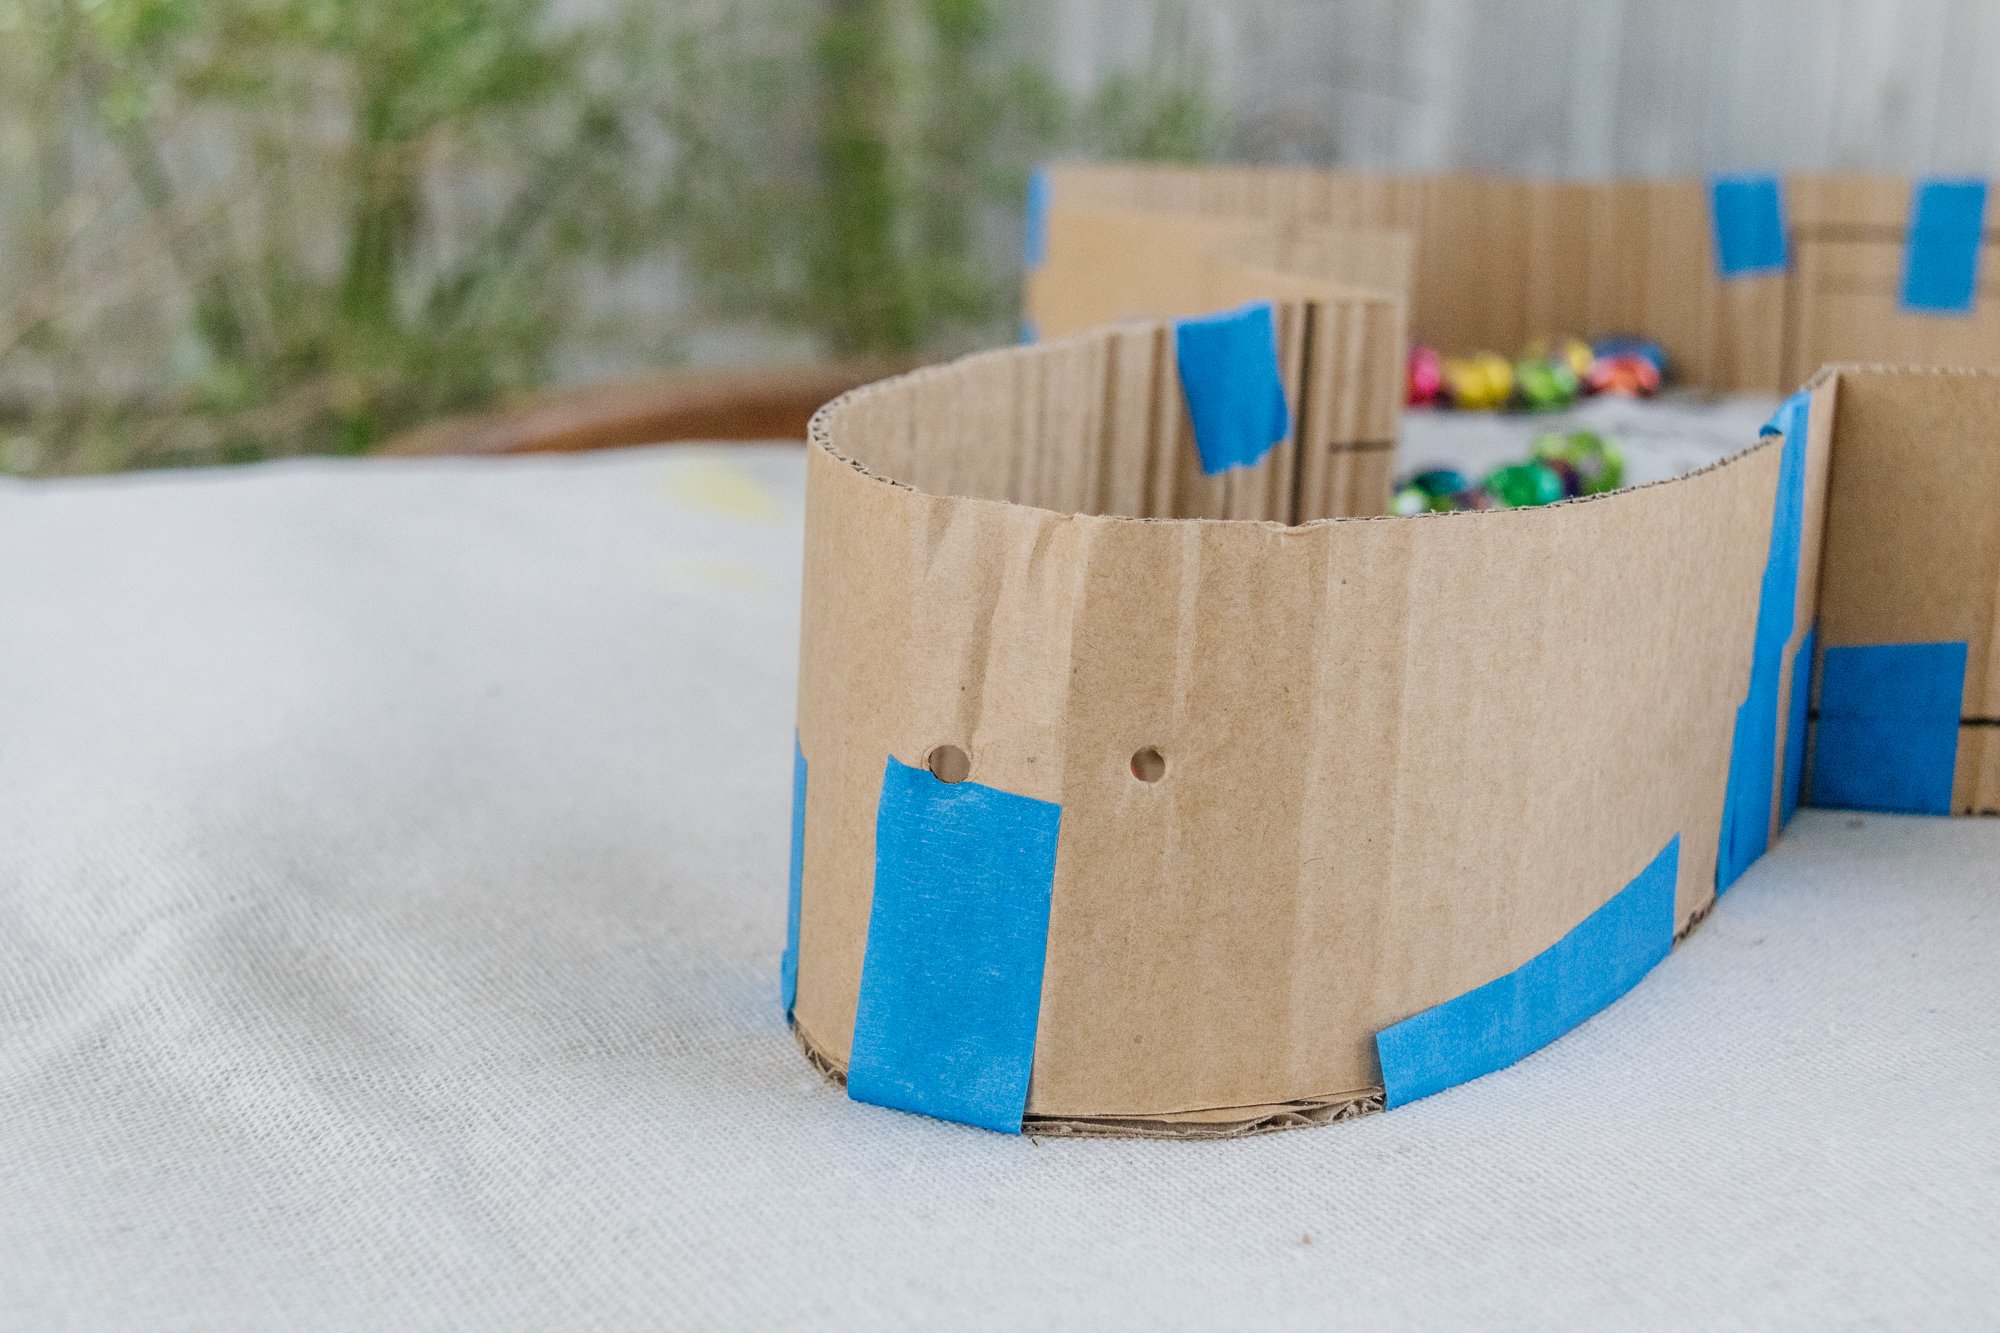
Using the craft knife cut the flaps off the remaining cardboard box, then cut down the middle again into strips. Roll the strips of cardboard to make them easier to work with. Attach the cardboard onto one cardboard bunny using painters tape.
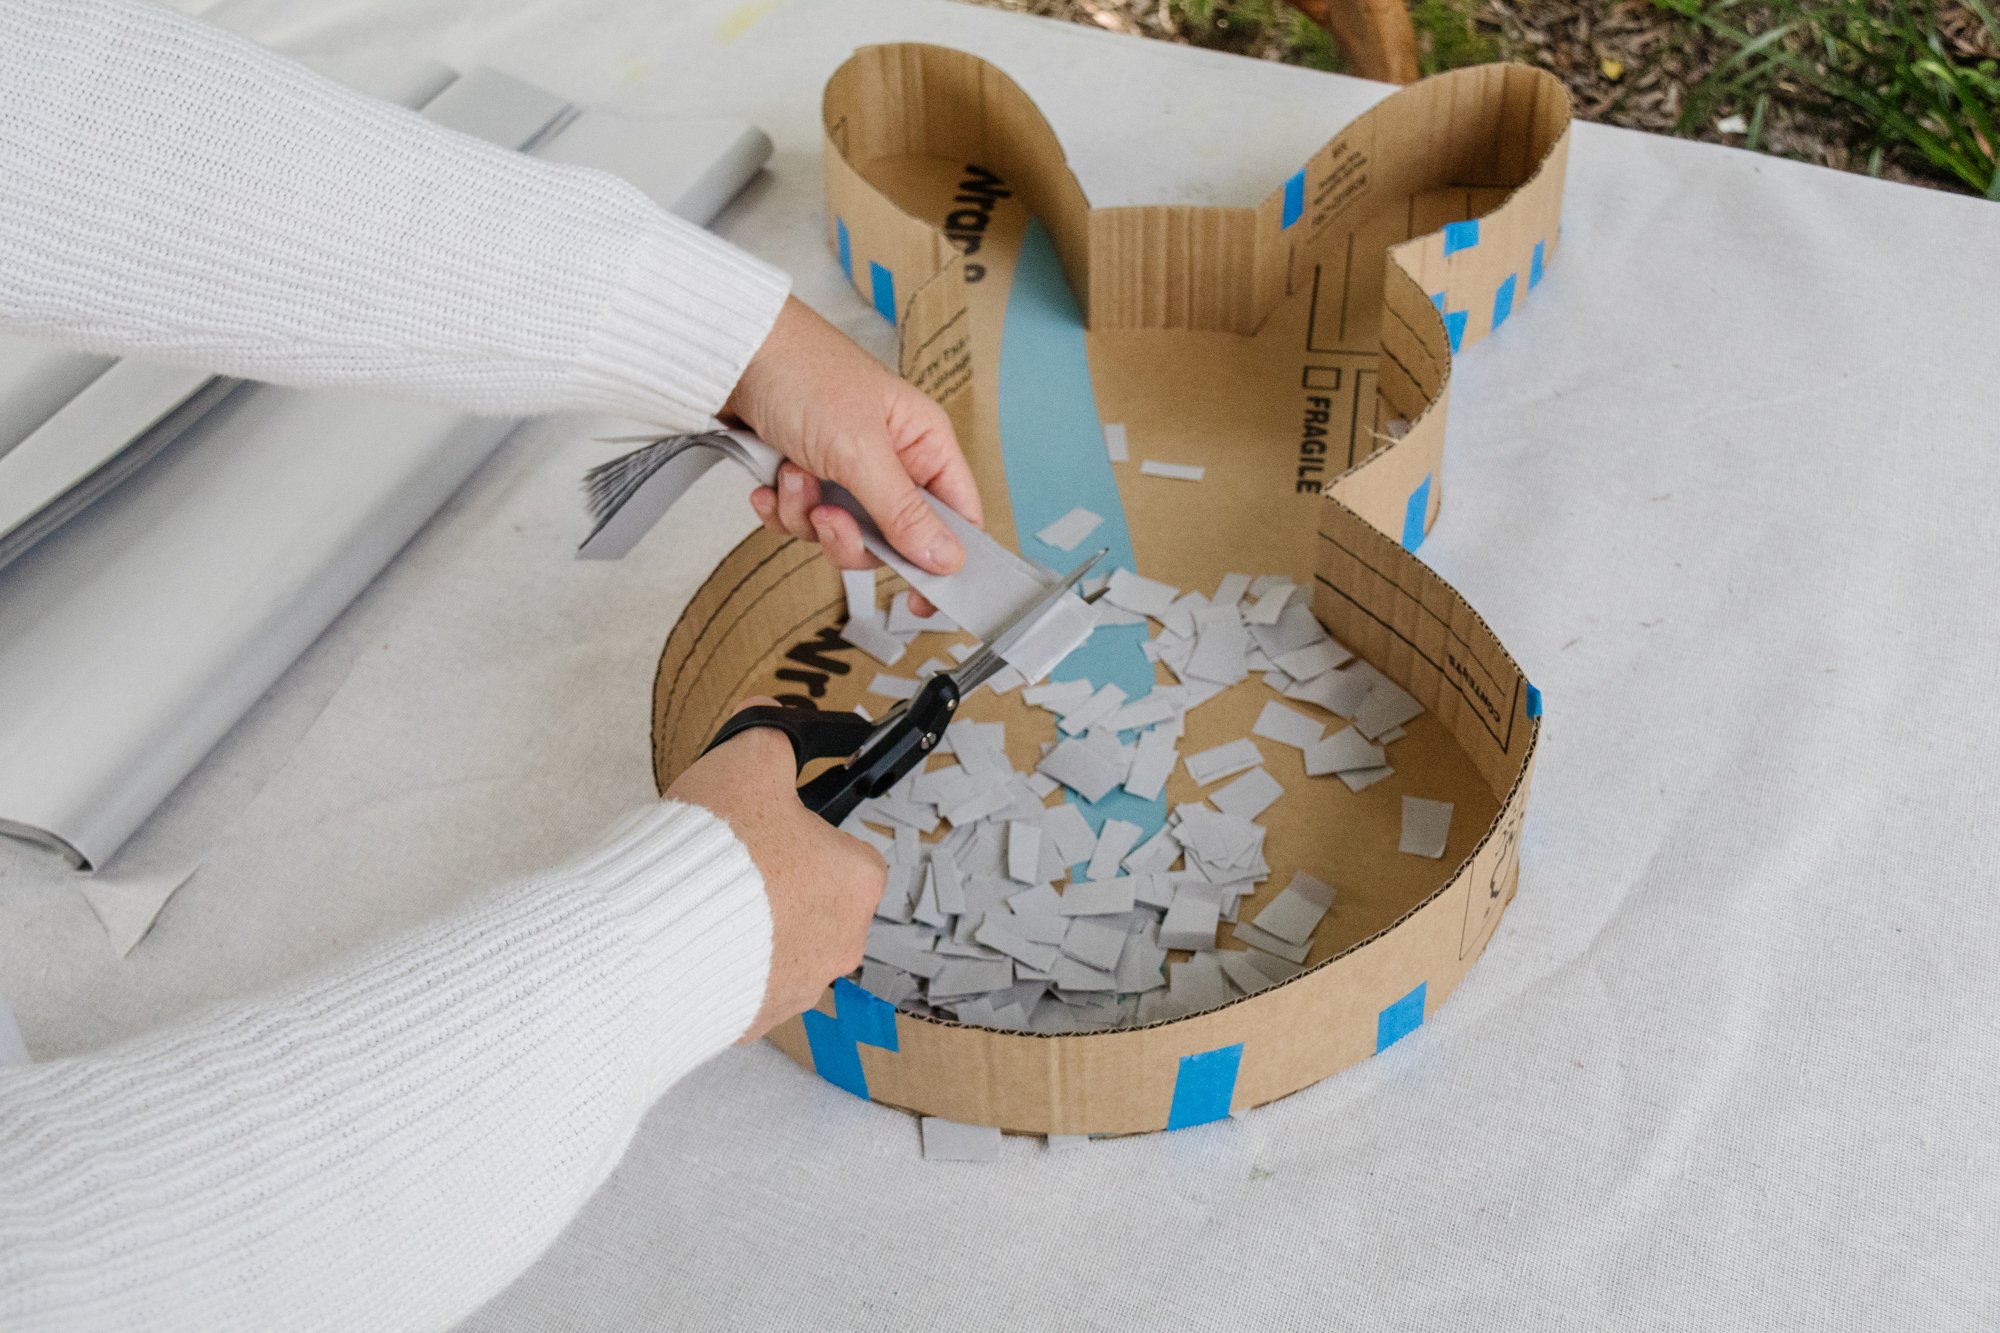
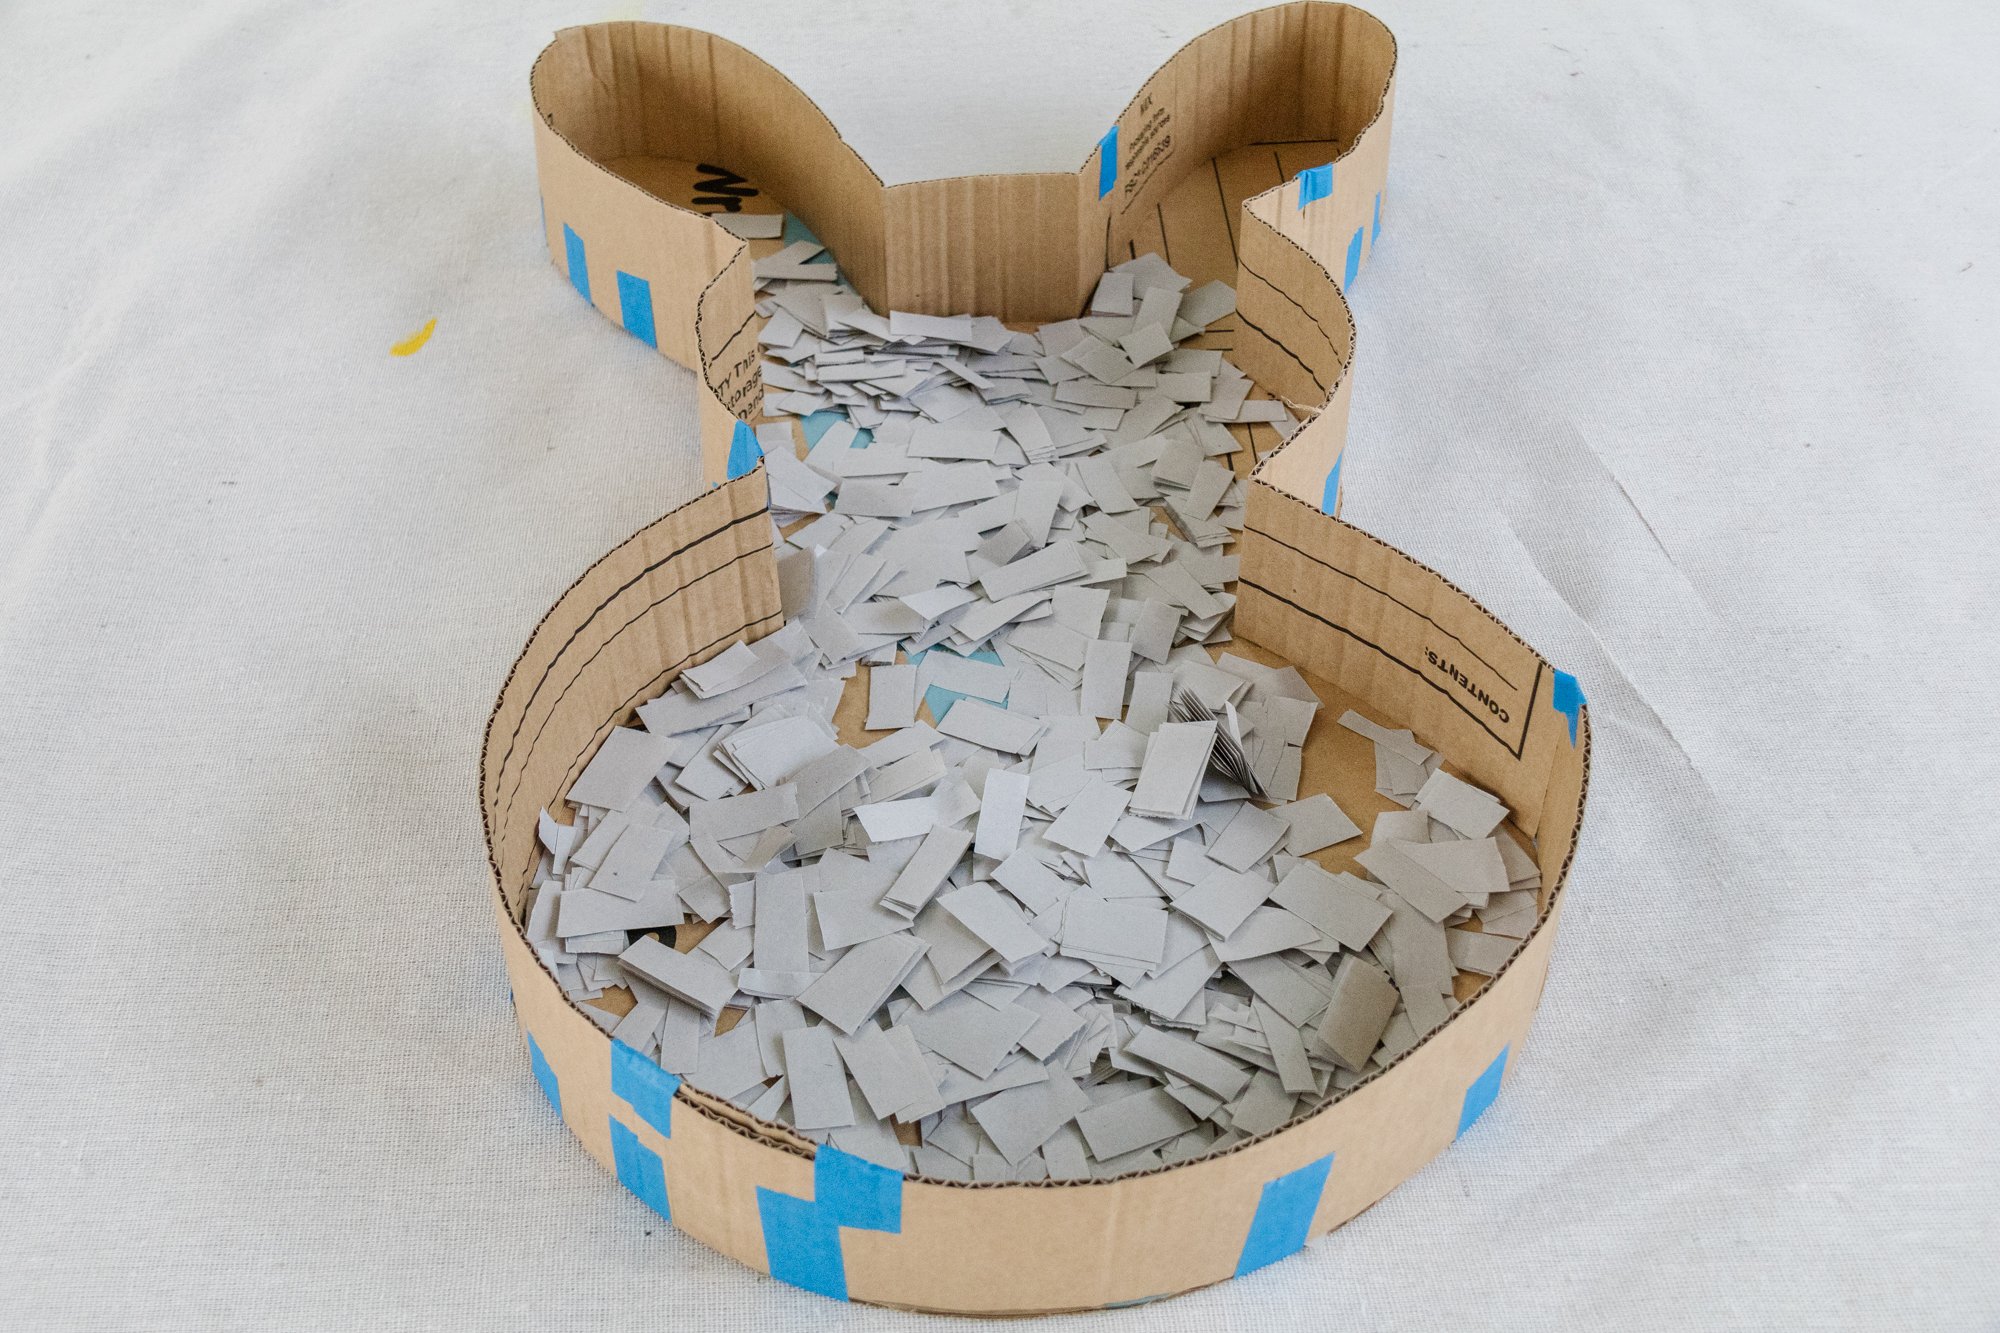
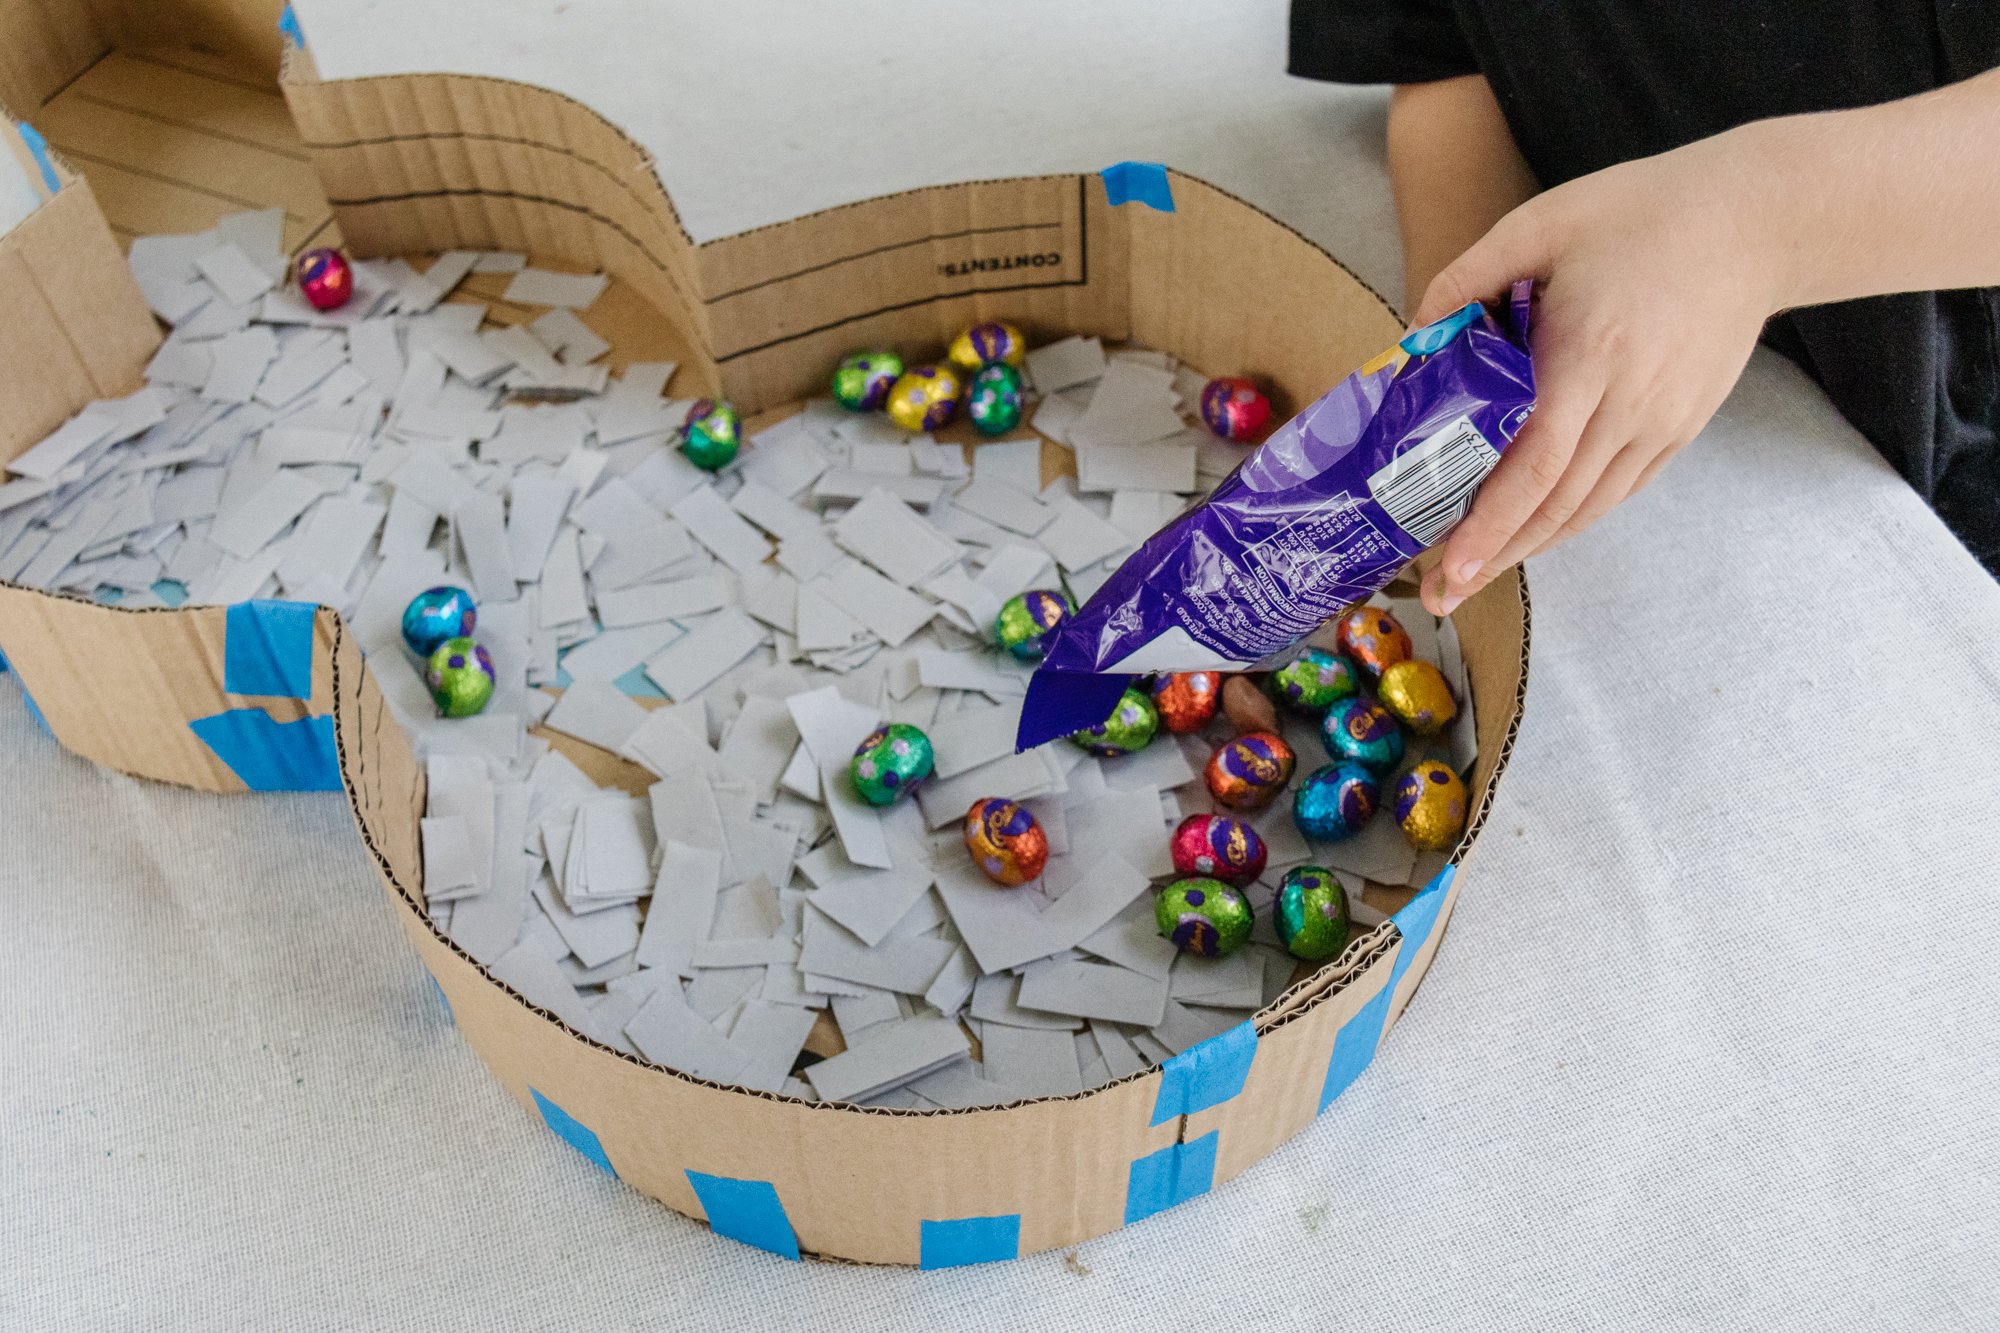
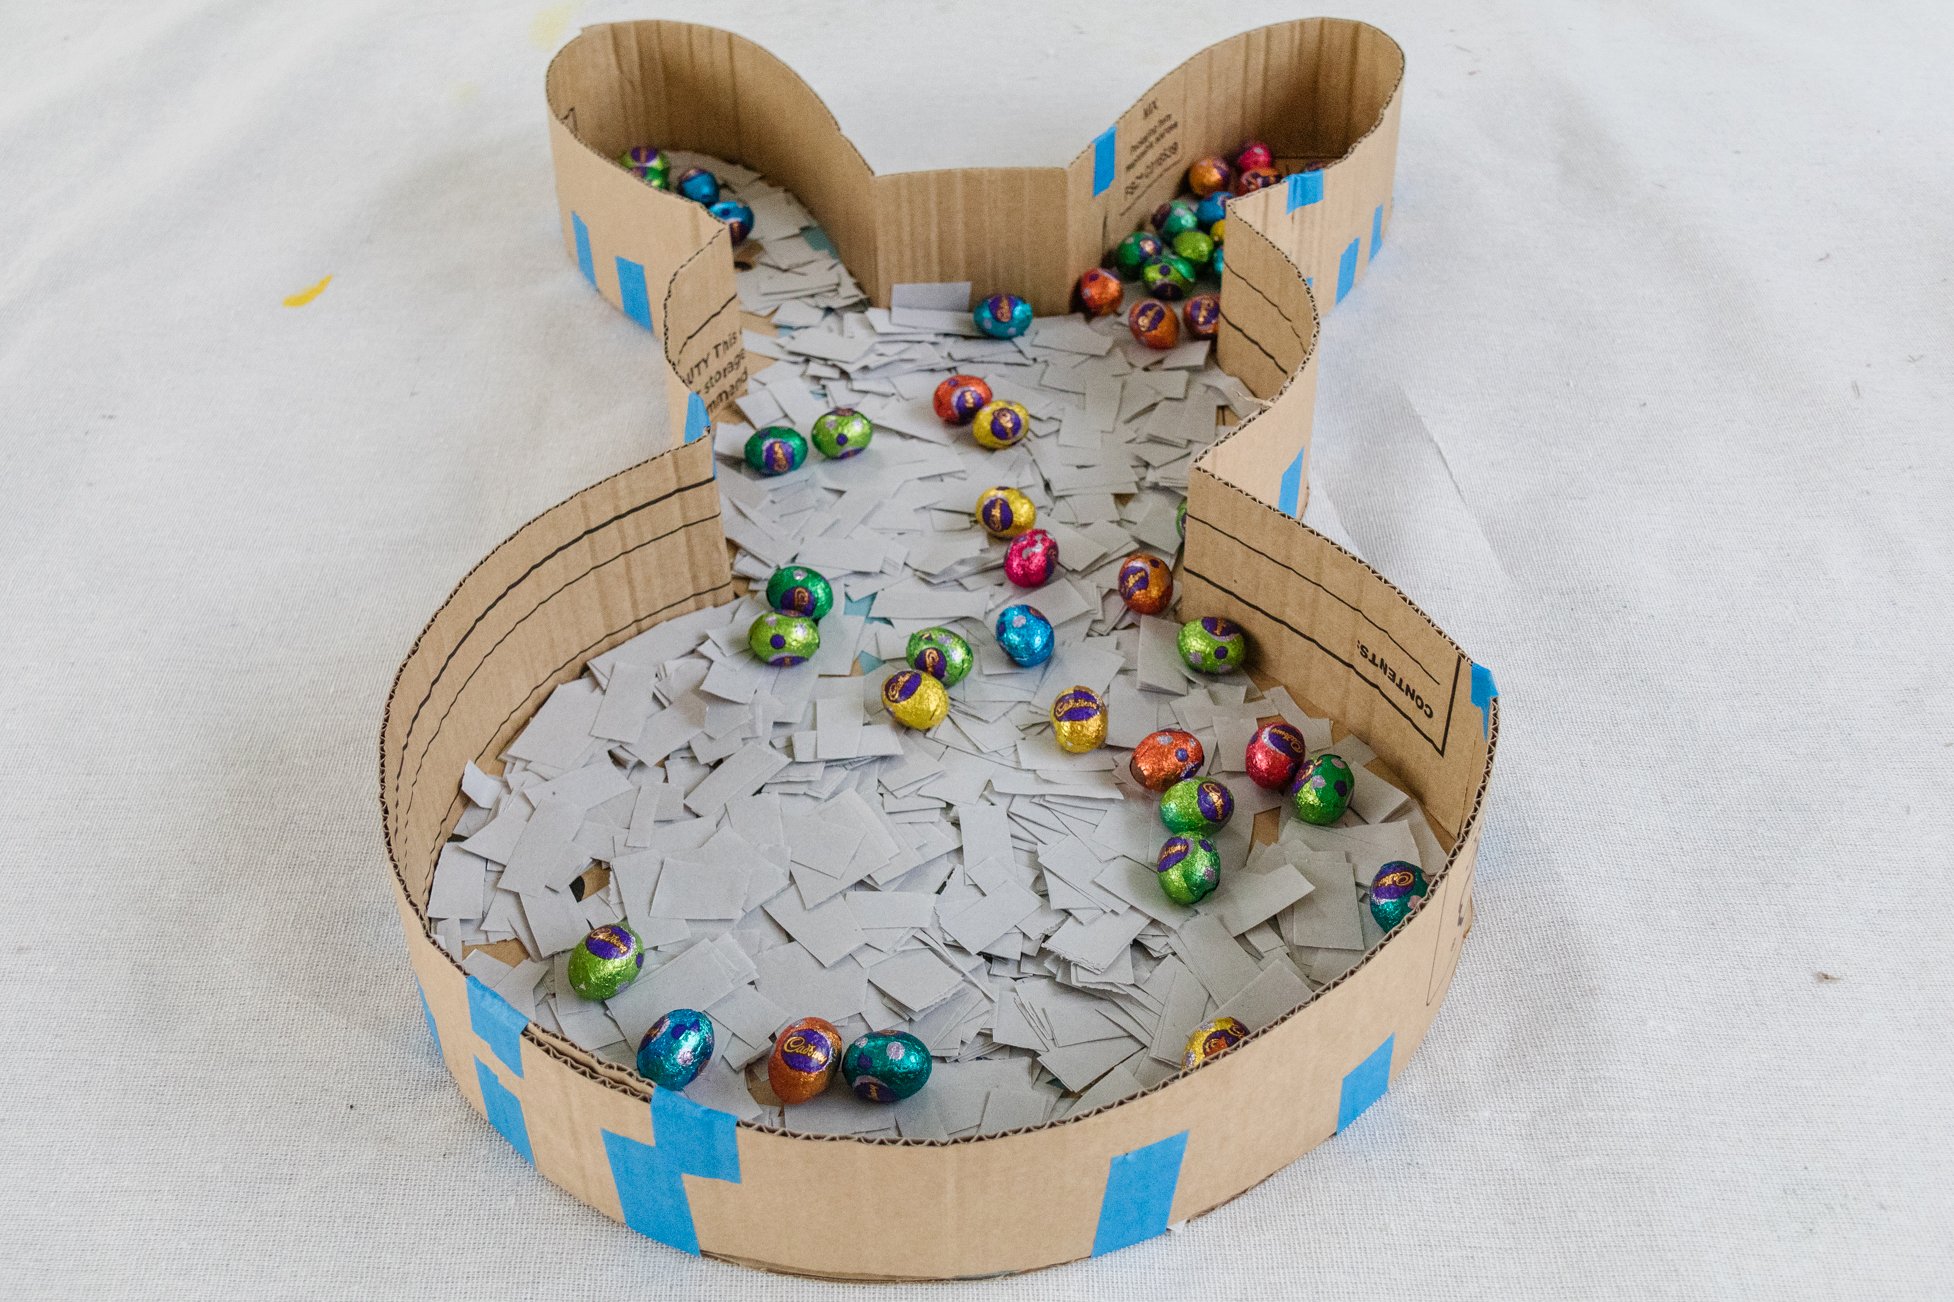
Prep the confetti that is to go inside the piñata by cutting the butchers paper into long strips, then into smaller pieces. Place the confetti inside the bunny and the chocolate Easter eggs.
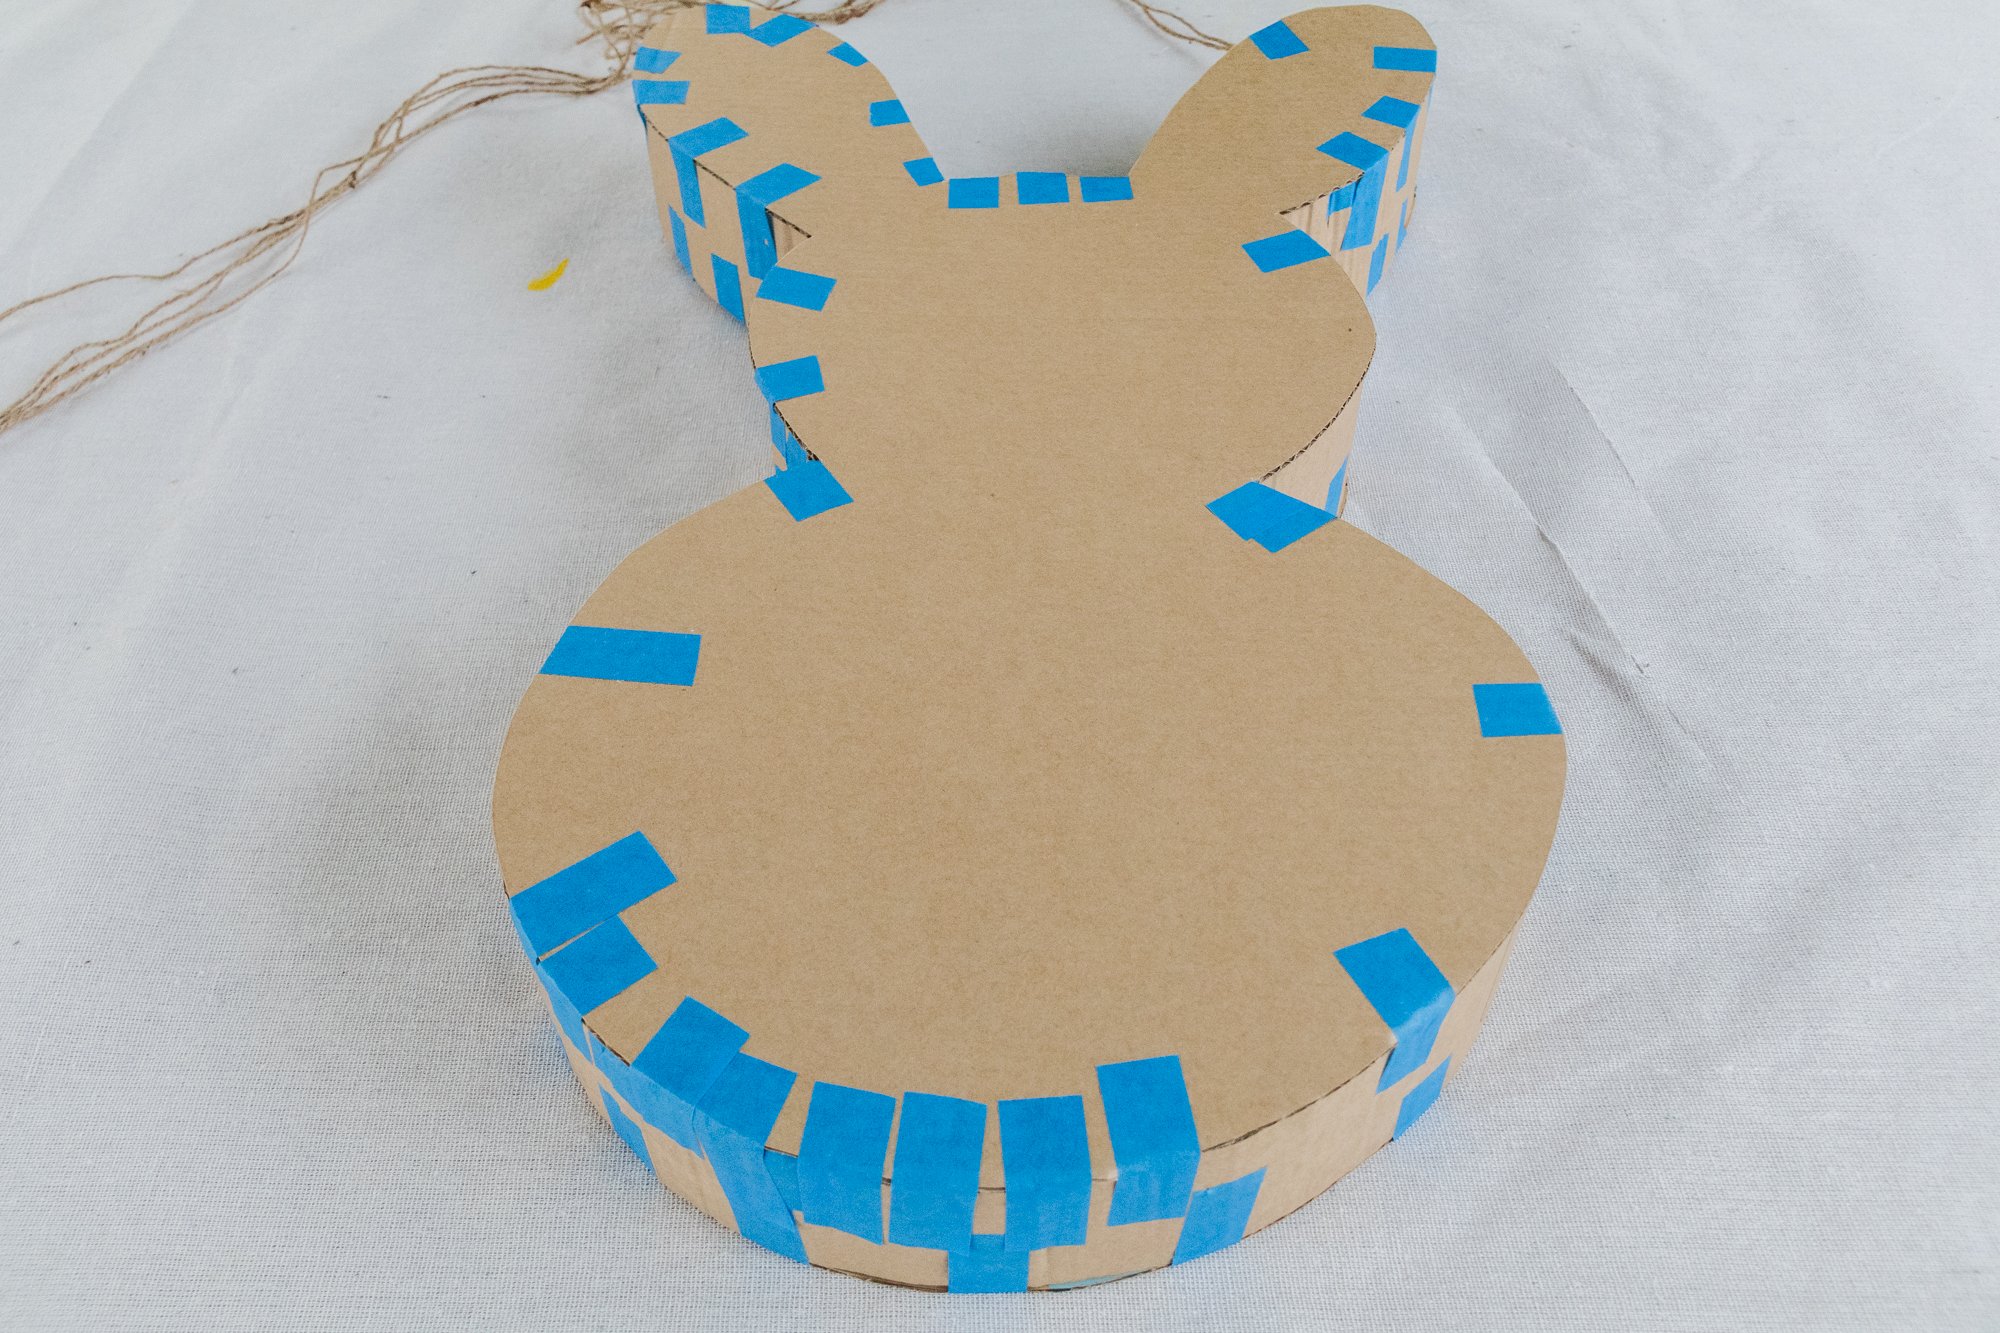
Punch two holes on top of each bunny ear and thread a long piece of jute twine through. Remember to make the jute twine as long as required so you can hang it. Place the remaining cardboard bunny on top and apply painters tape around the edges to tape the bunny closed.

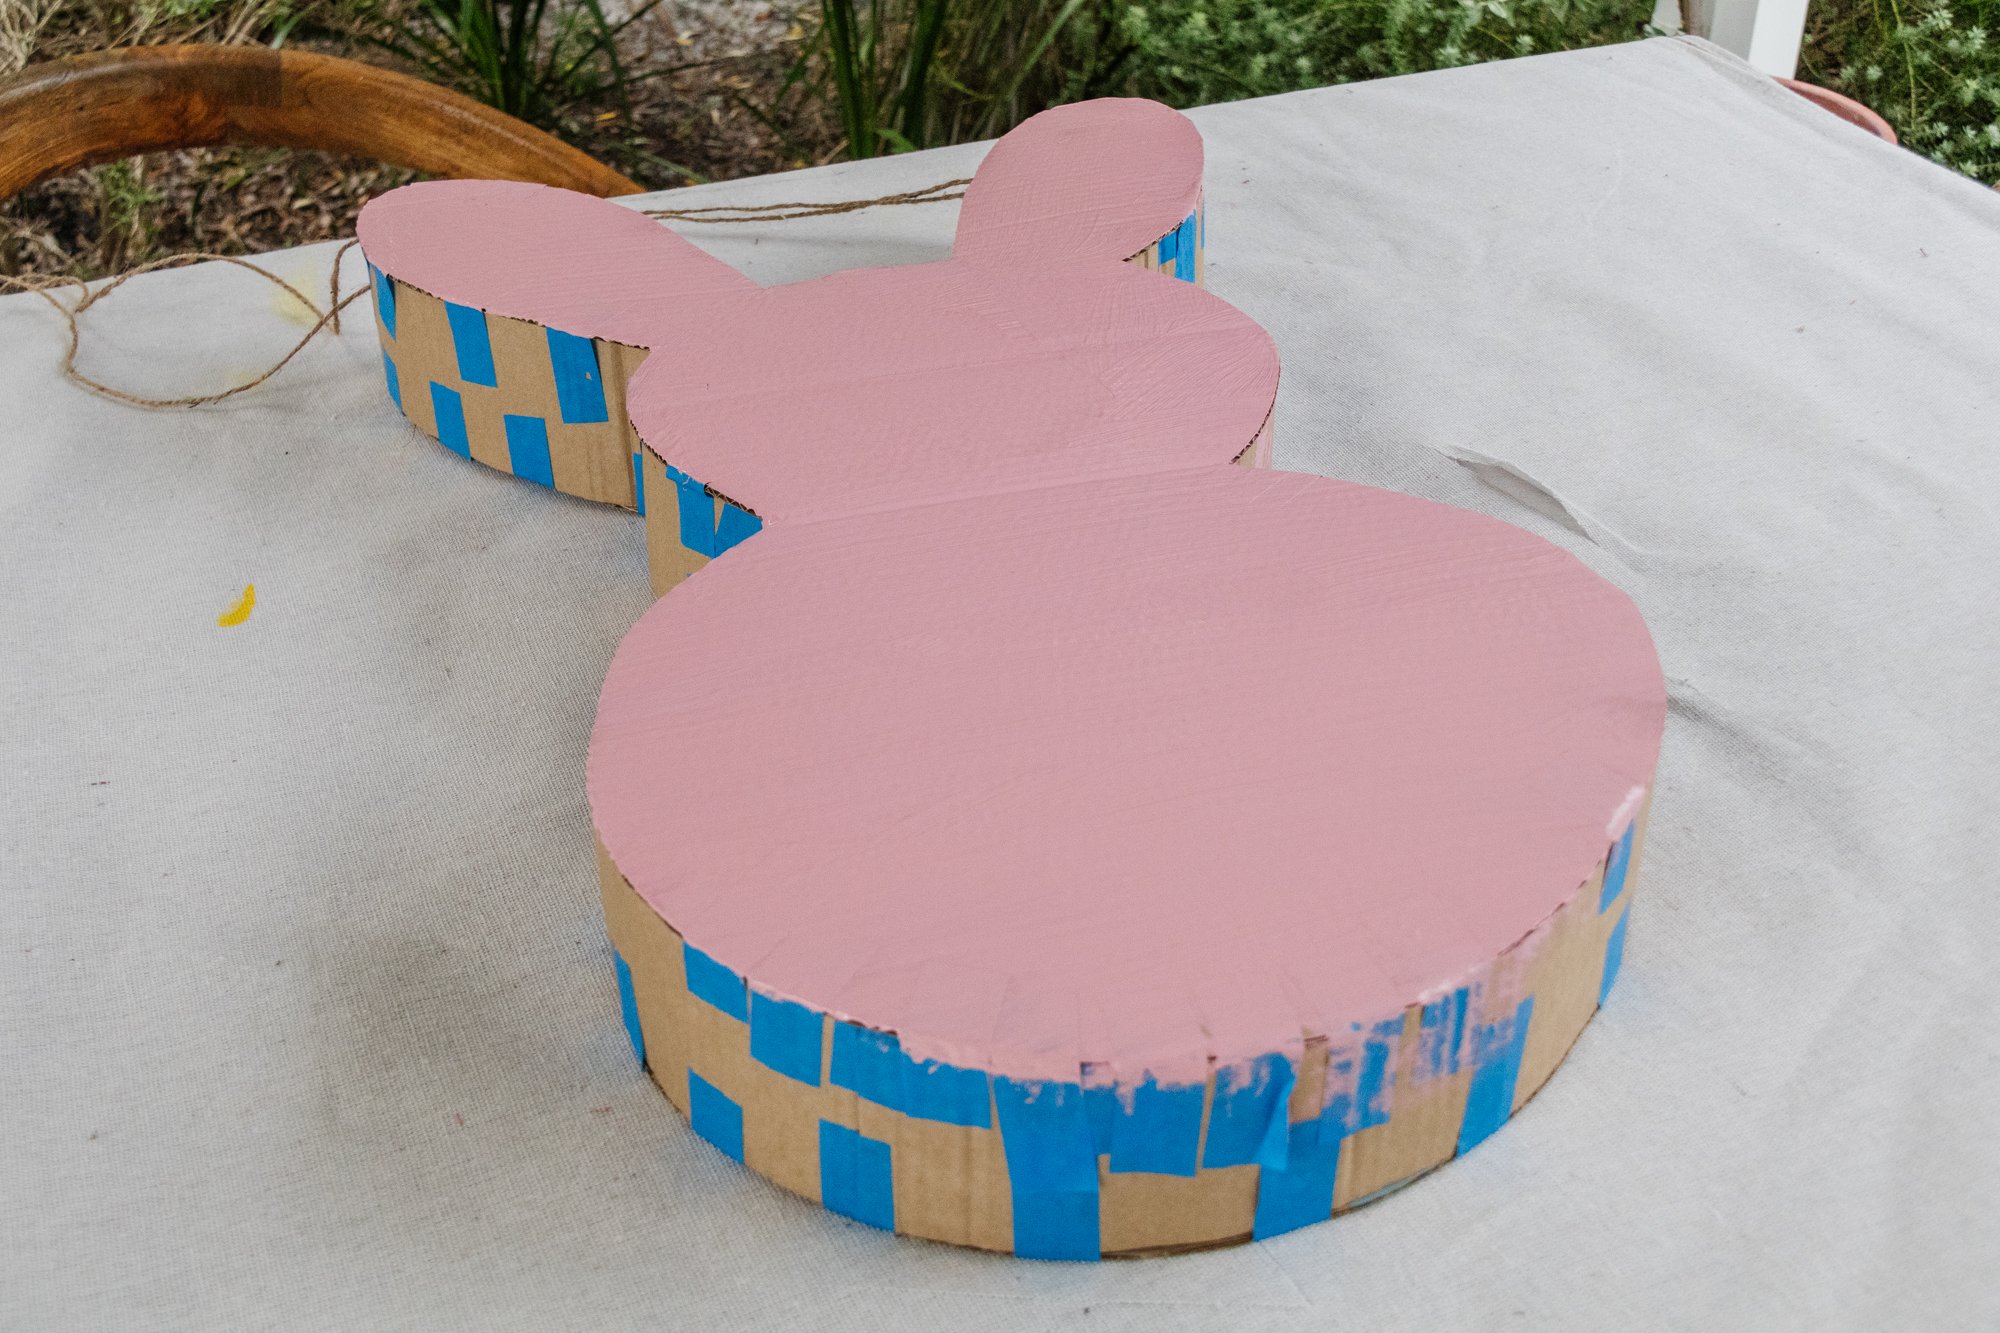
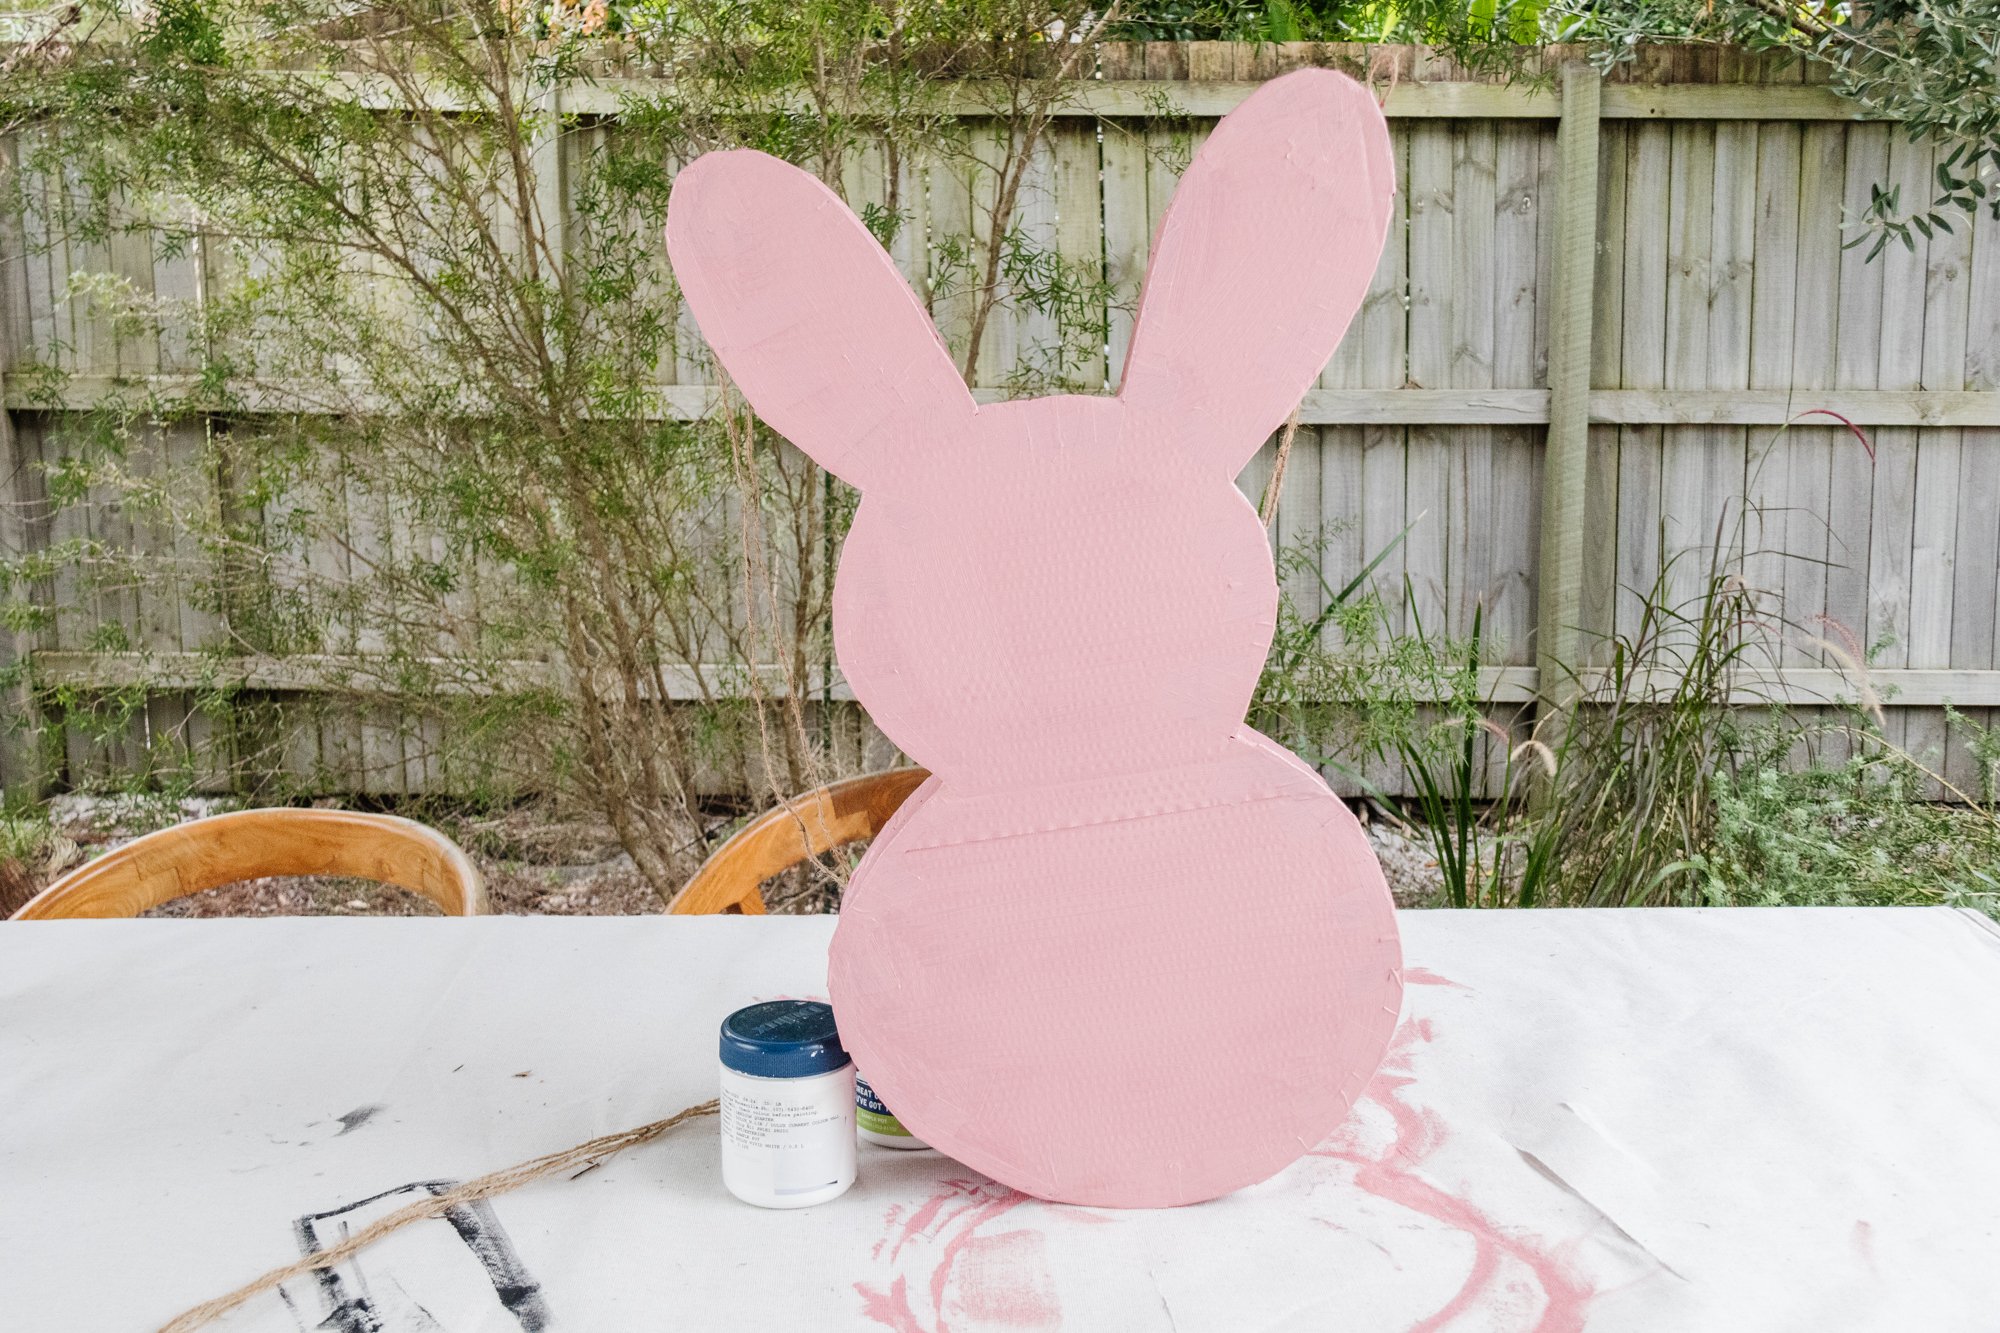
Paint the entire surface of the bunny. You may need to paint two to three coats to hide the painters tape.
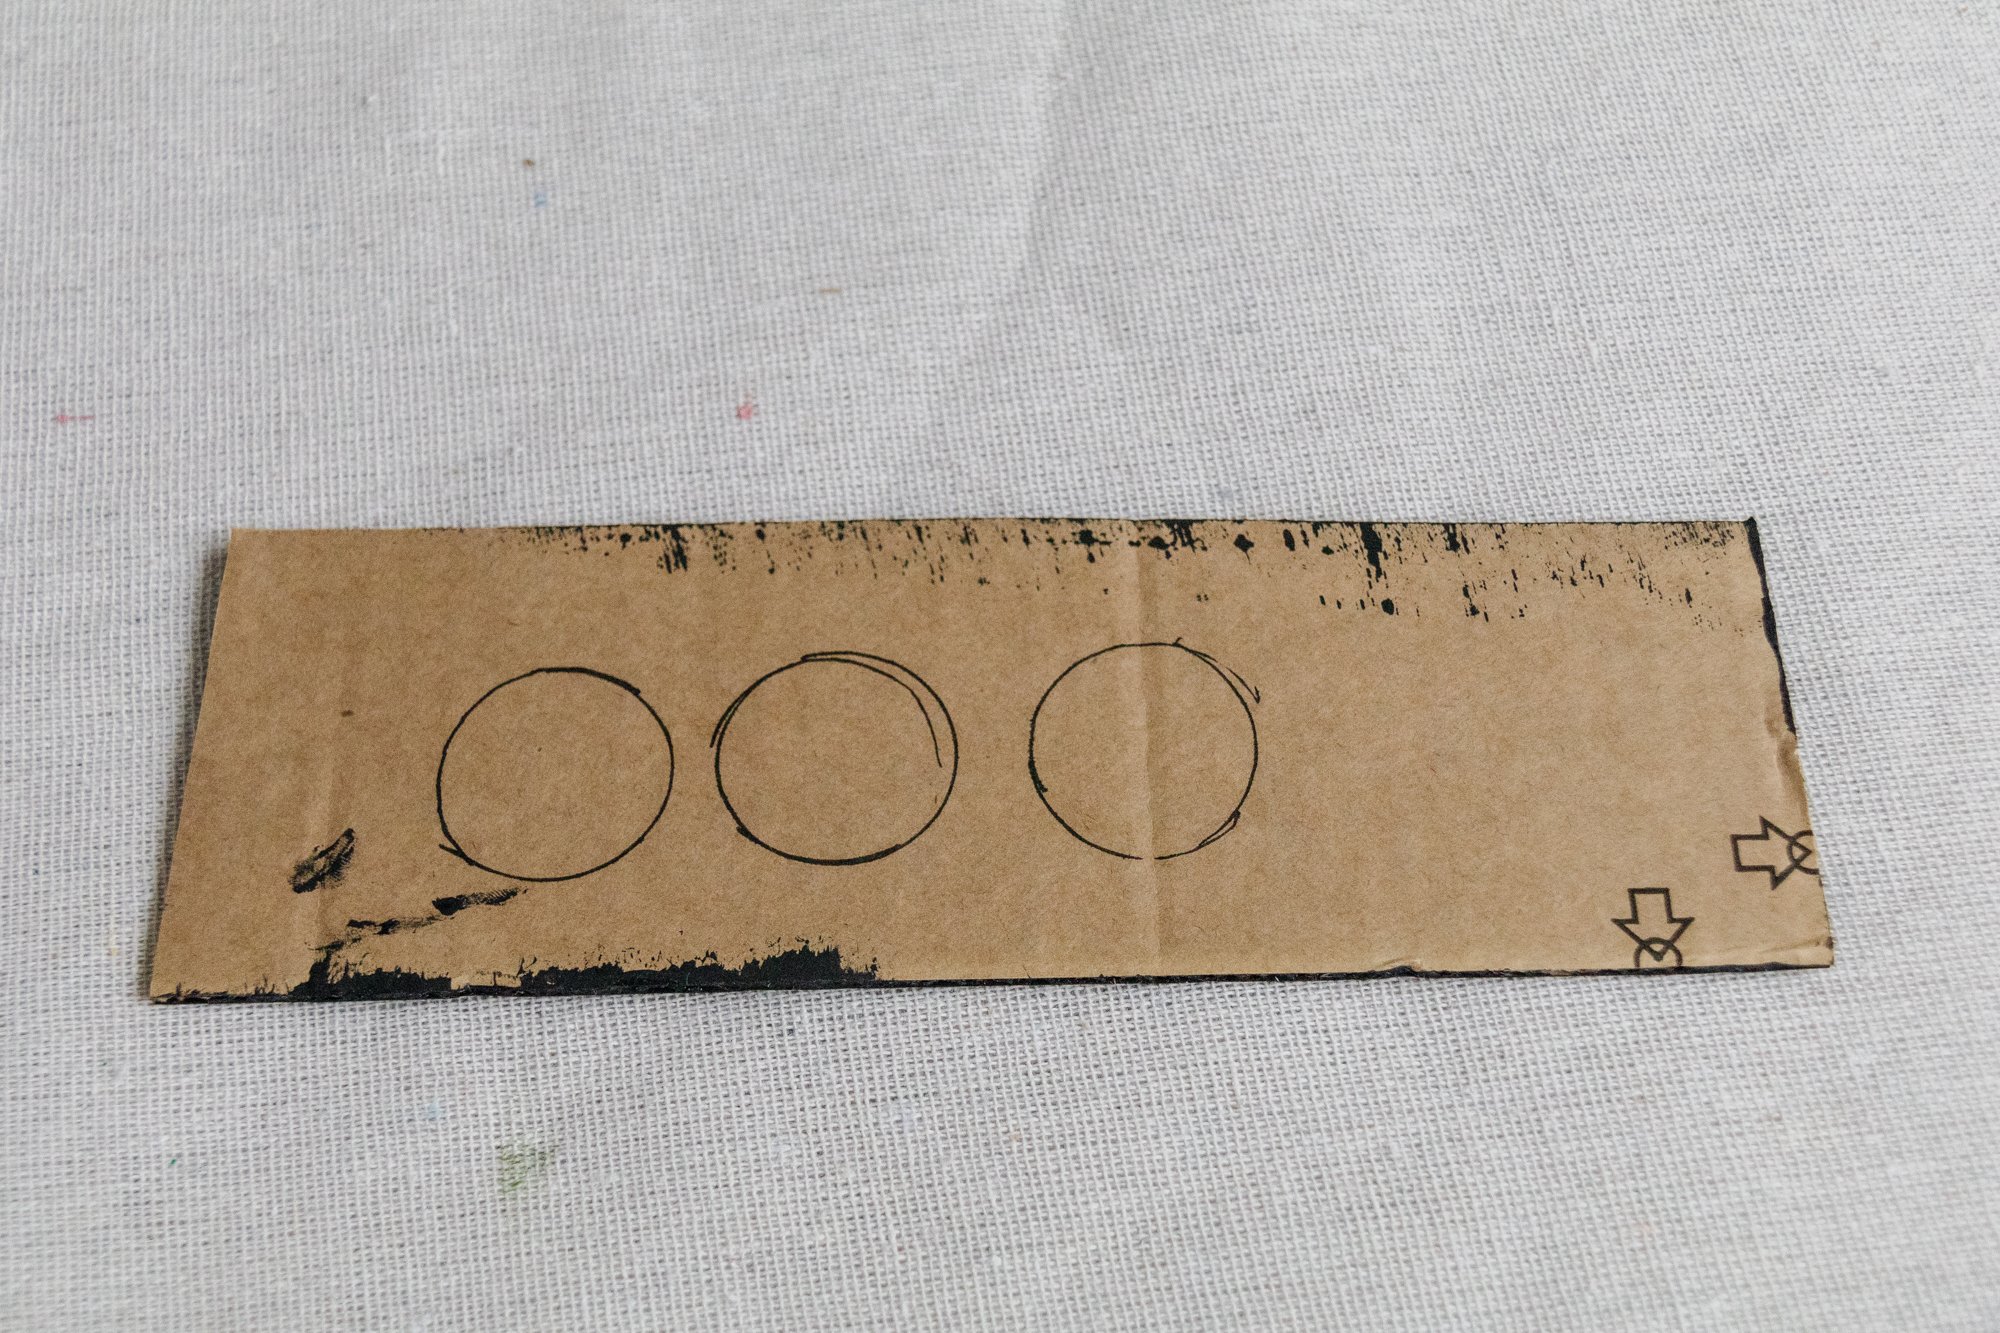
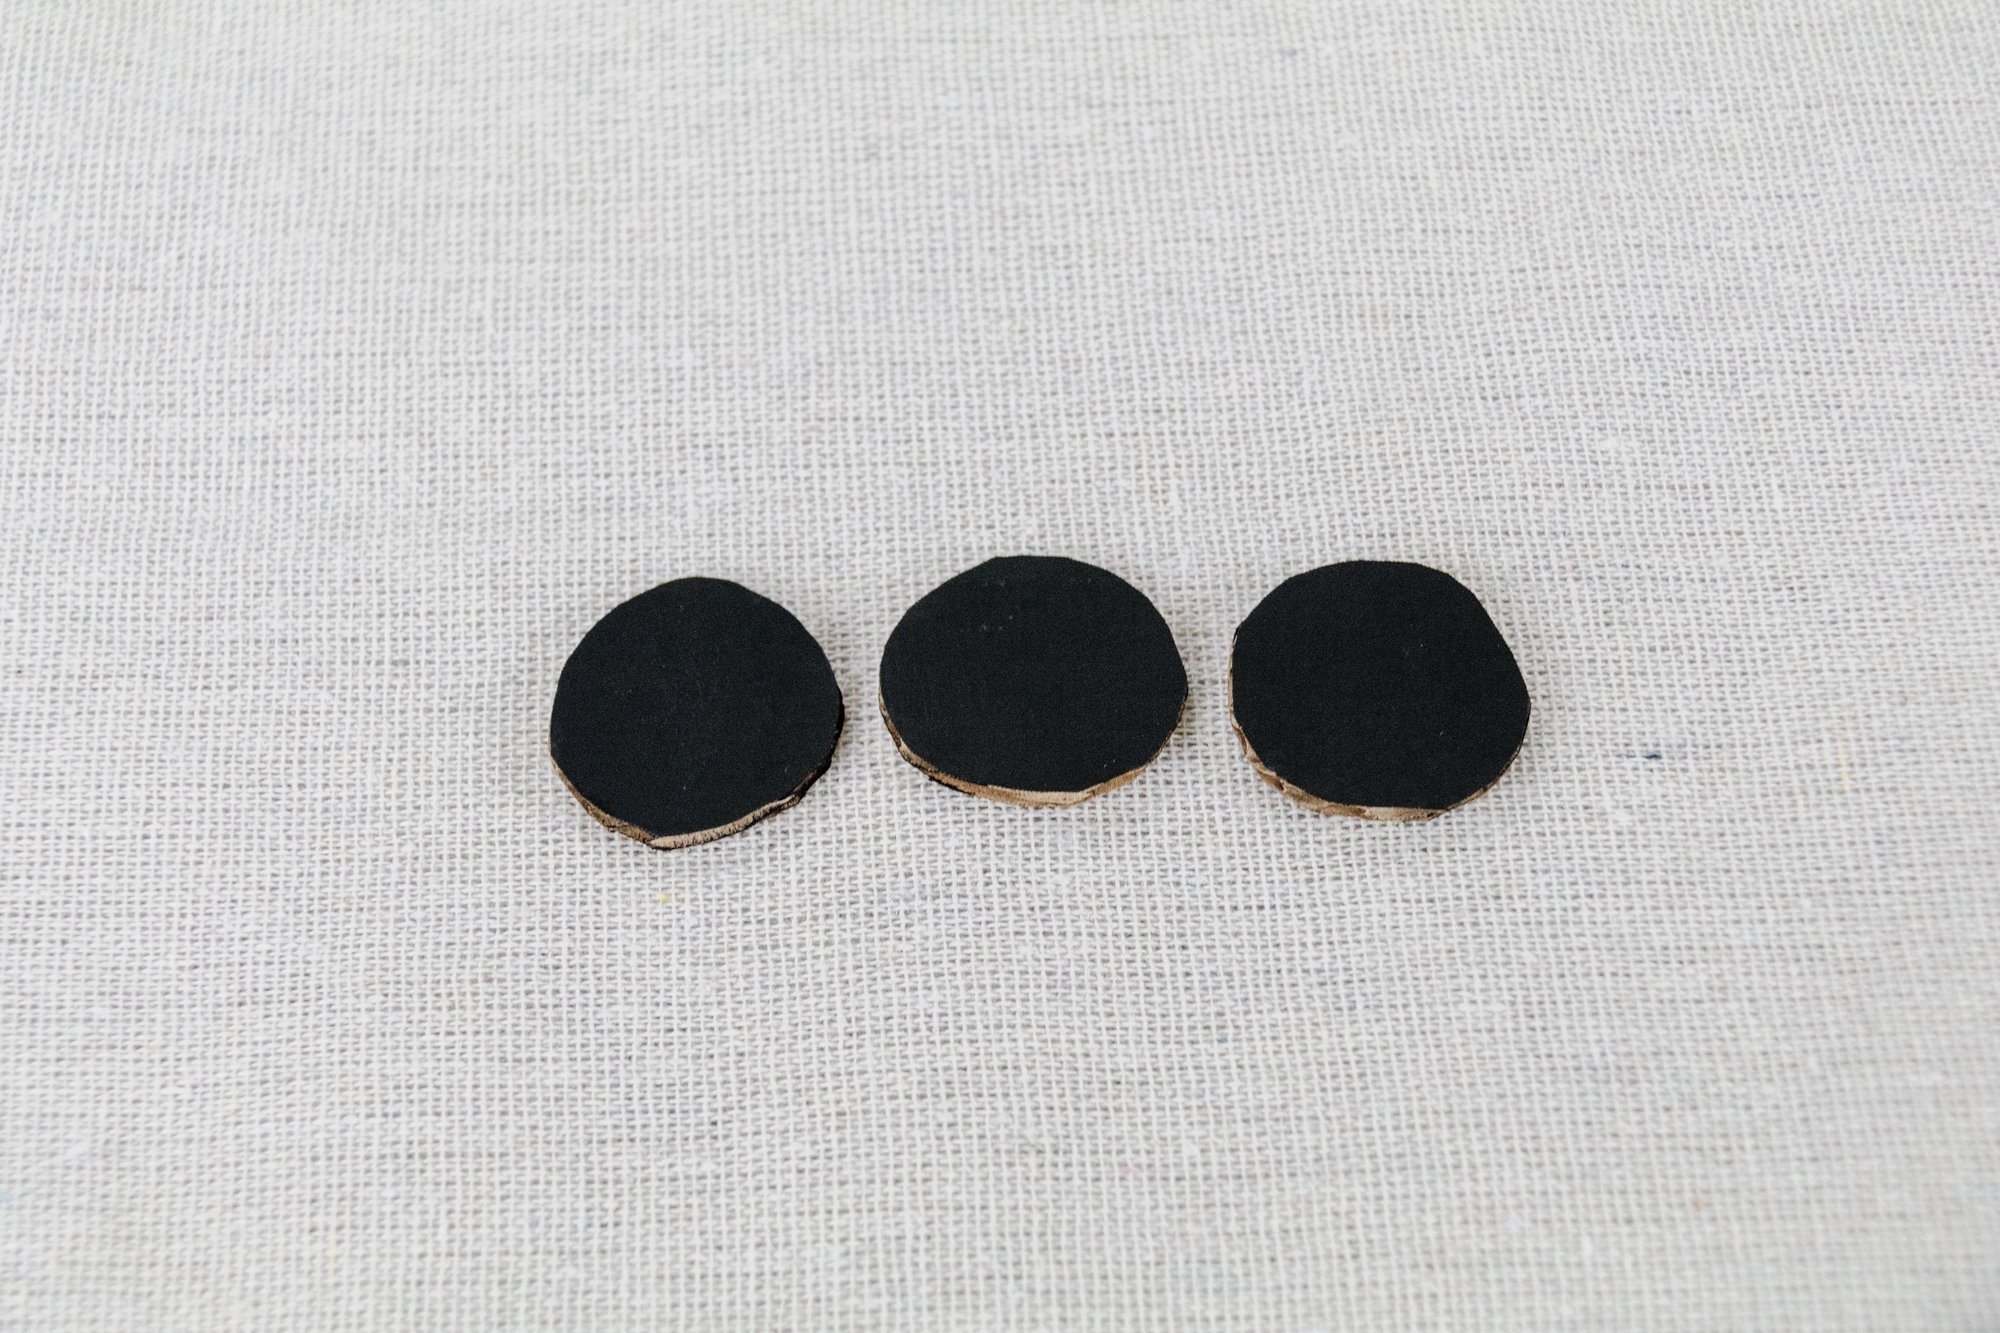
While the paint is drying, paint a small section of cardboard with black paint and when it is dried, cut out three circles for the the eyes and nose. When the paint has dried on the bunny, glue the eyes and nose onto the bunny.

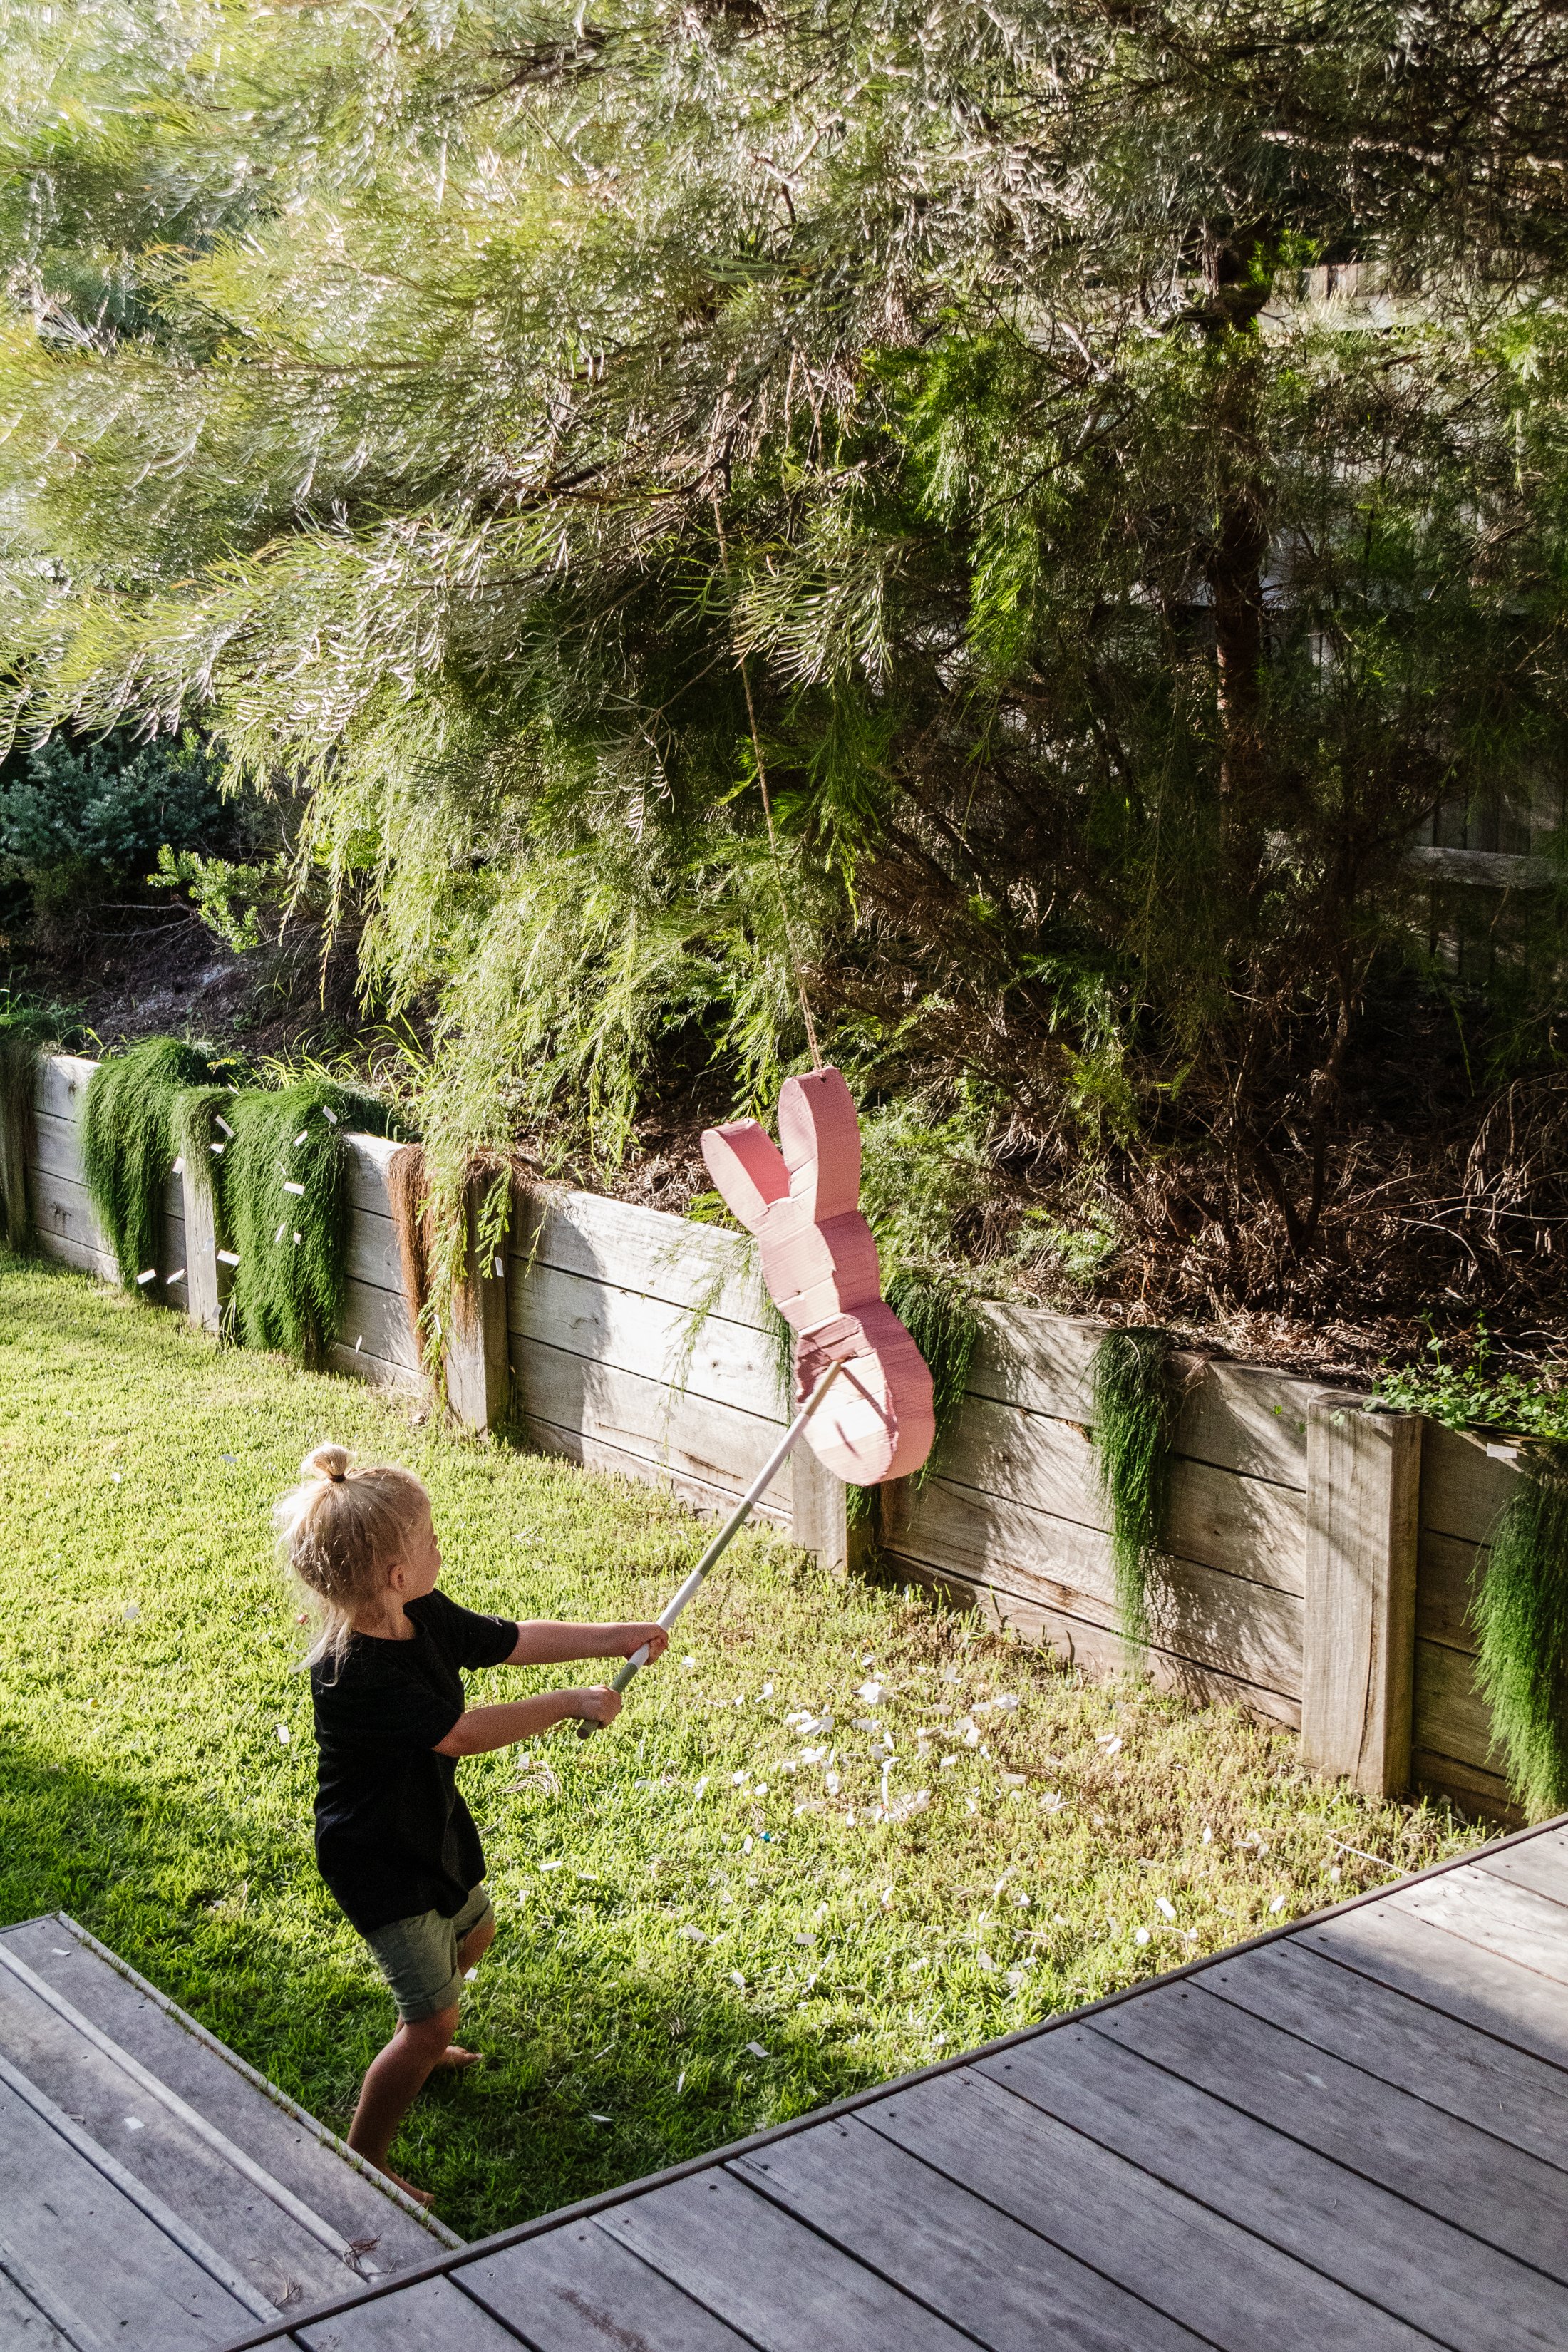
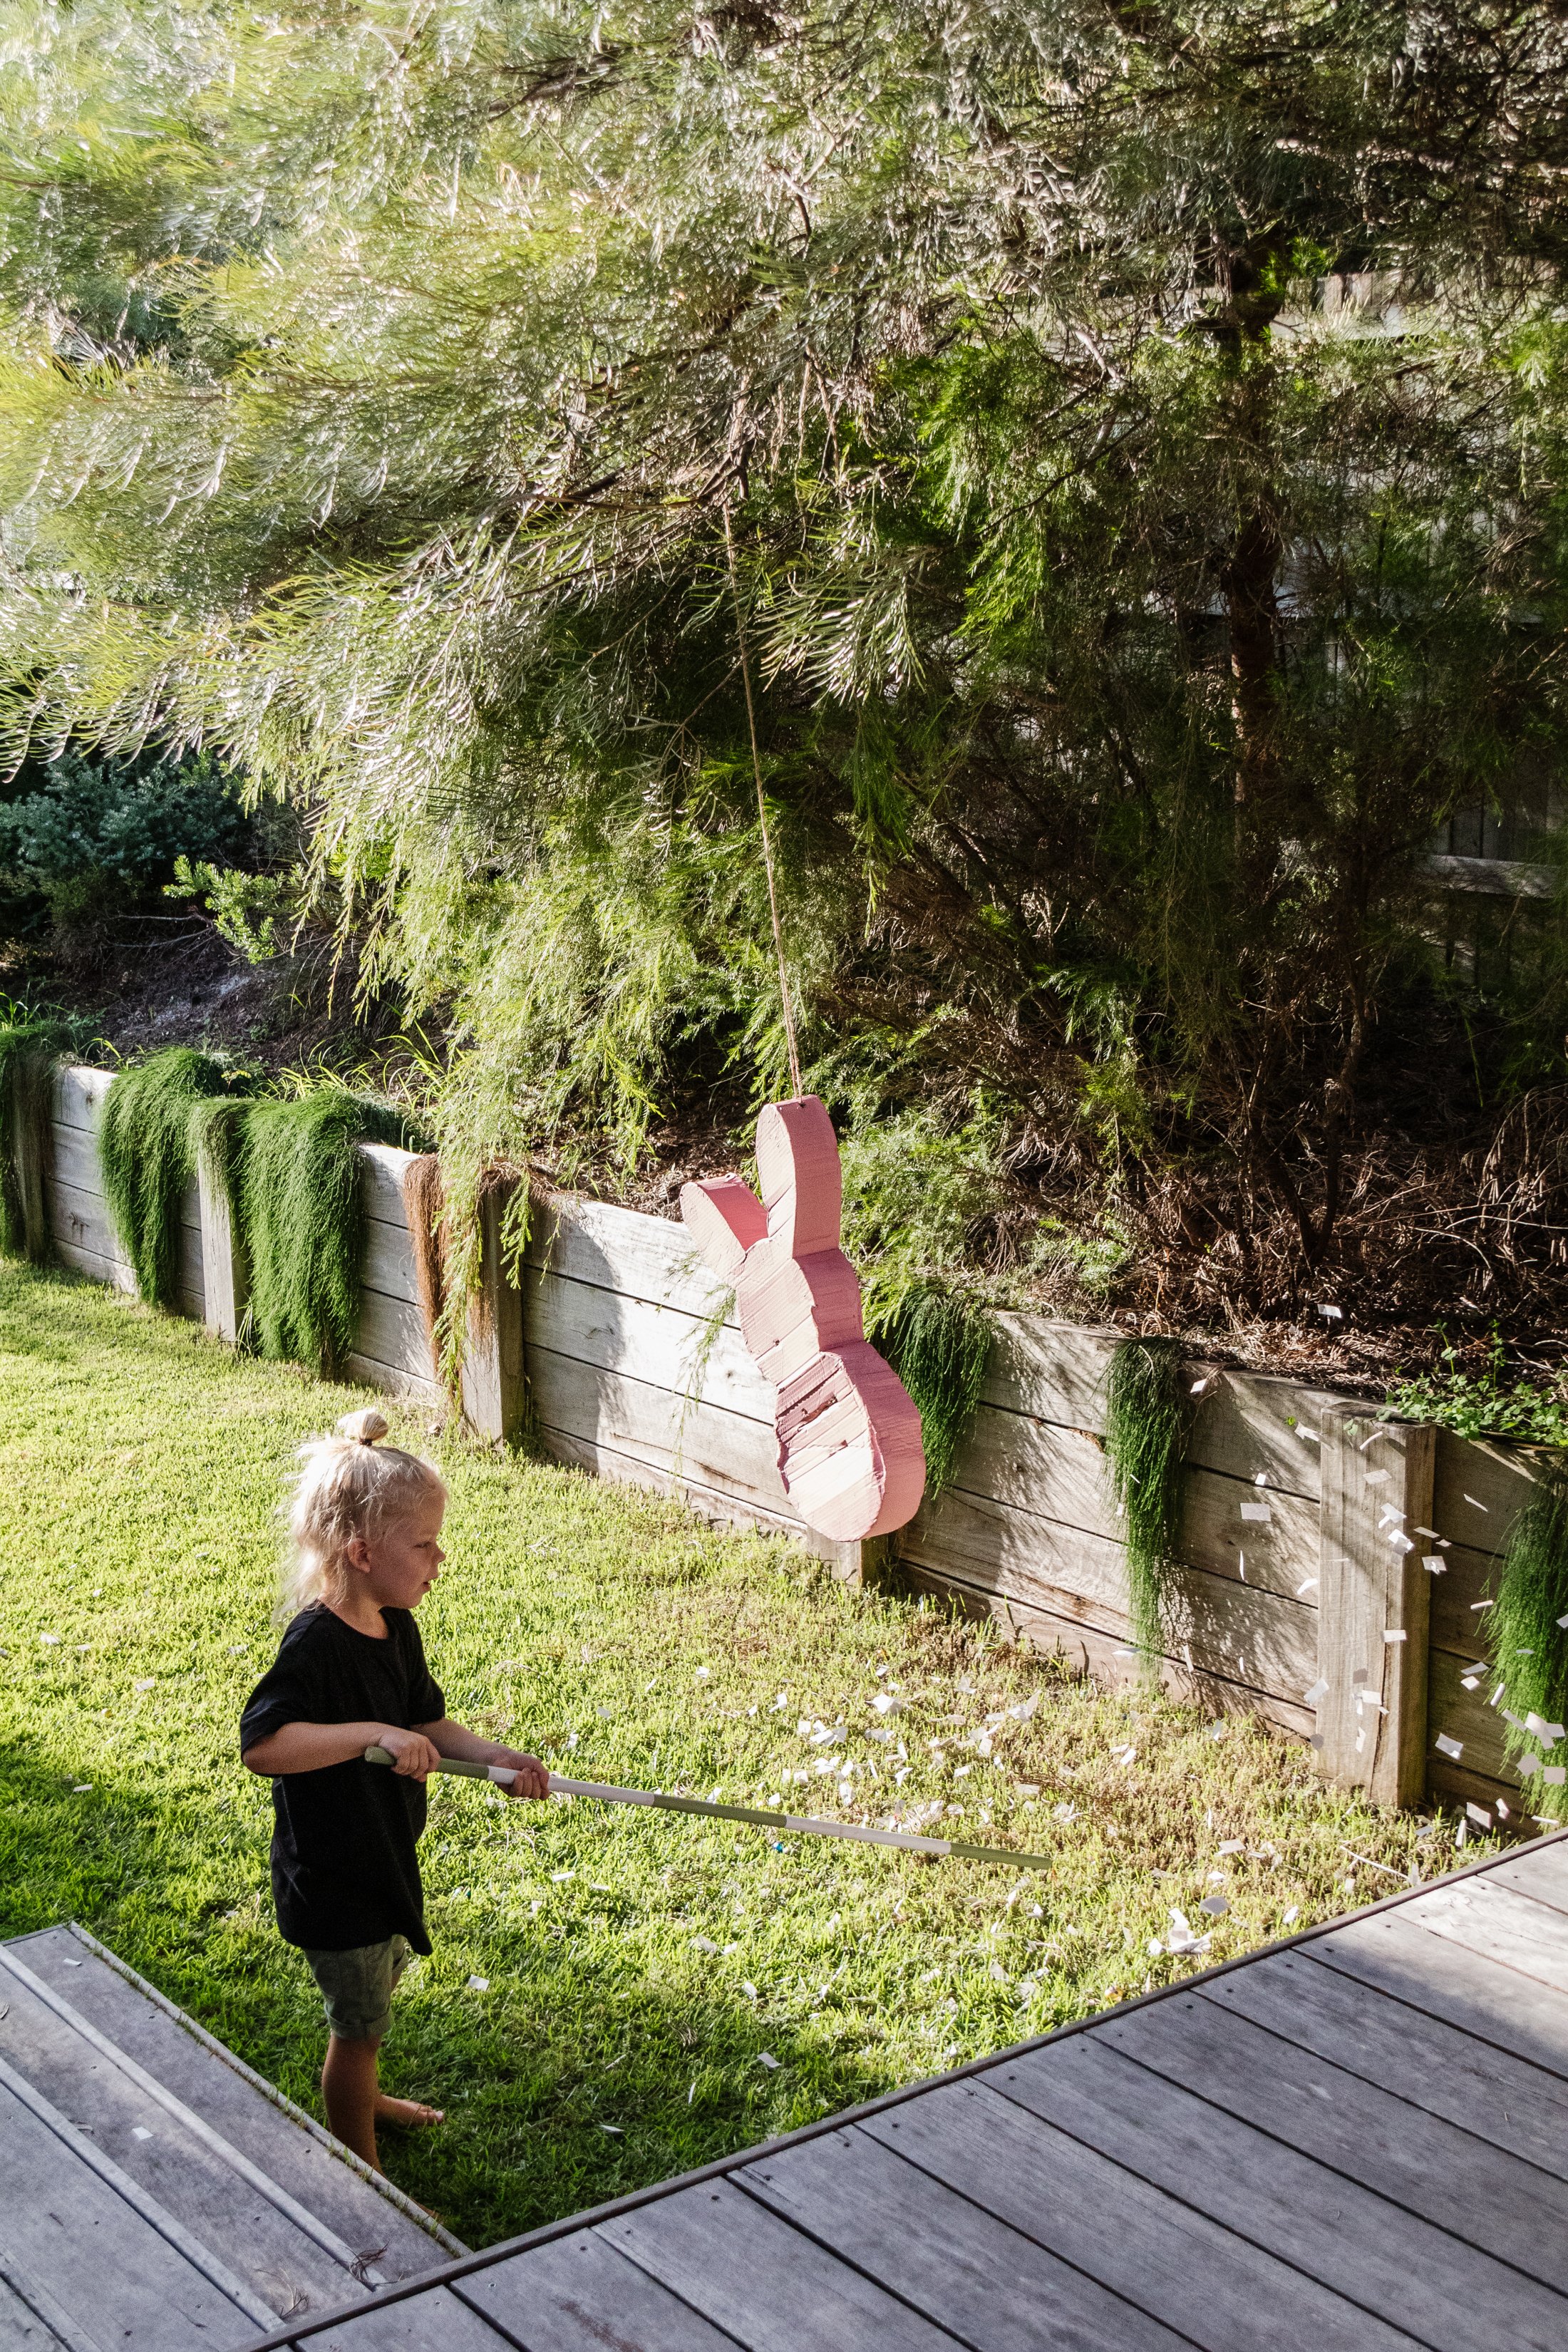
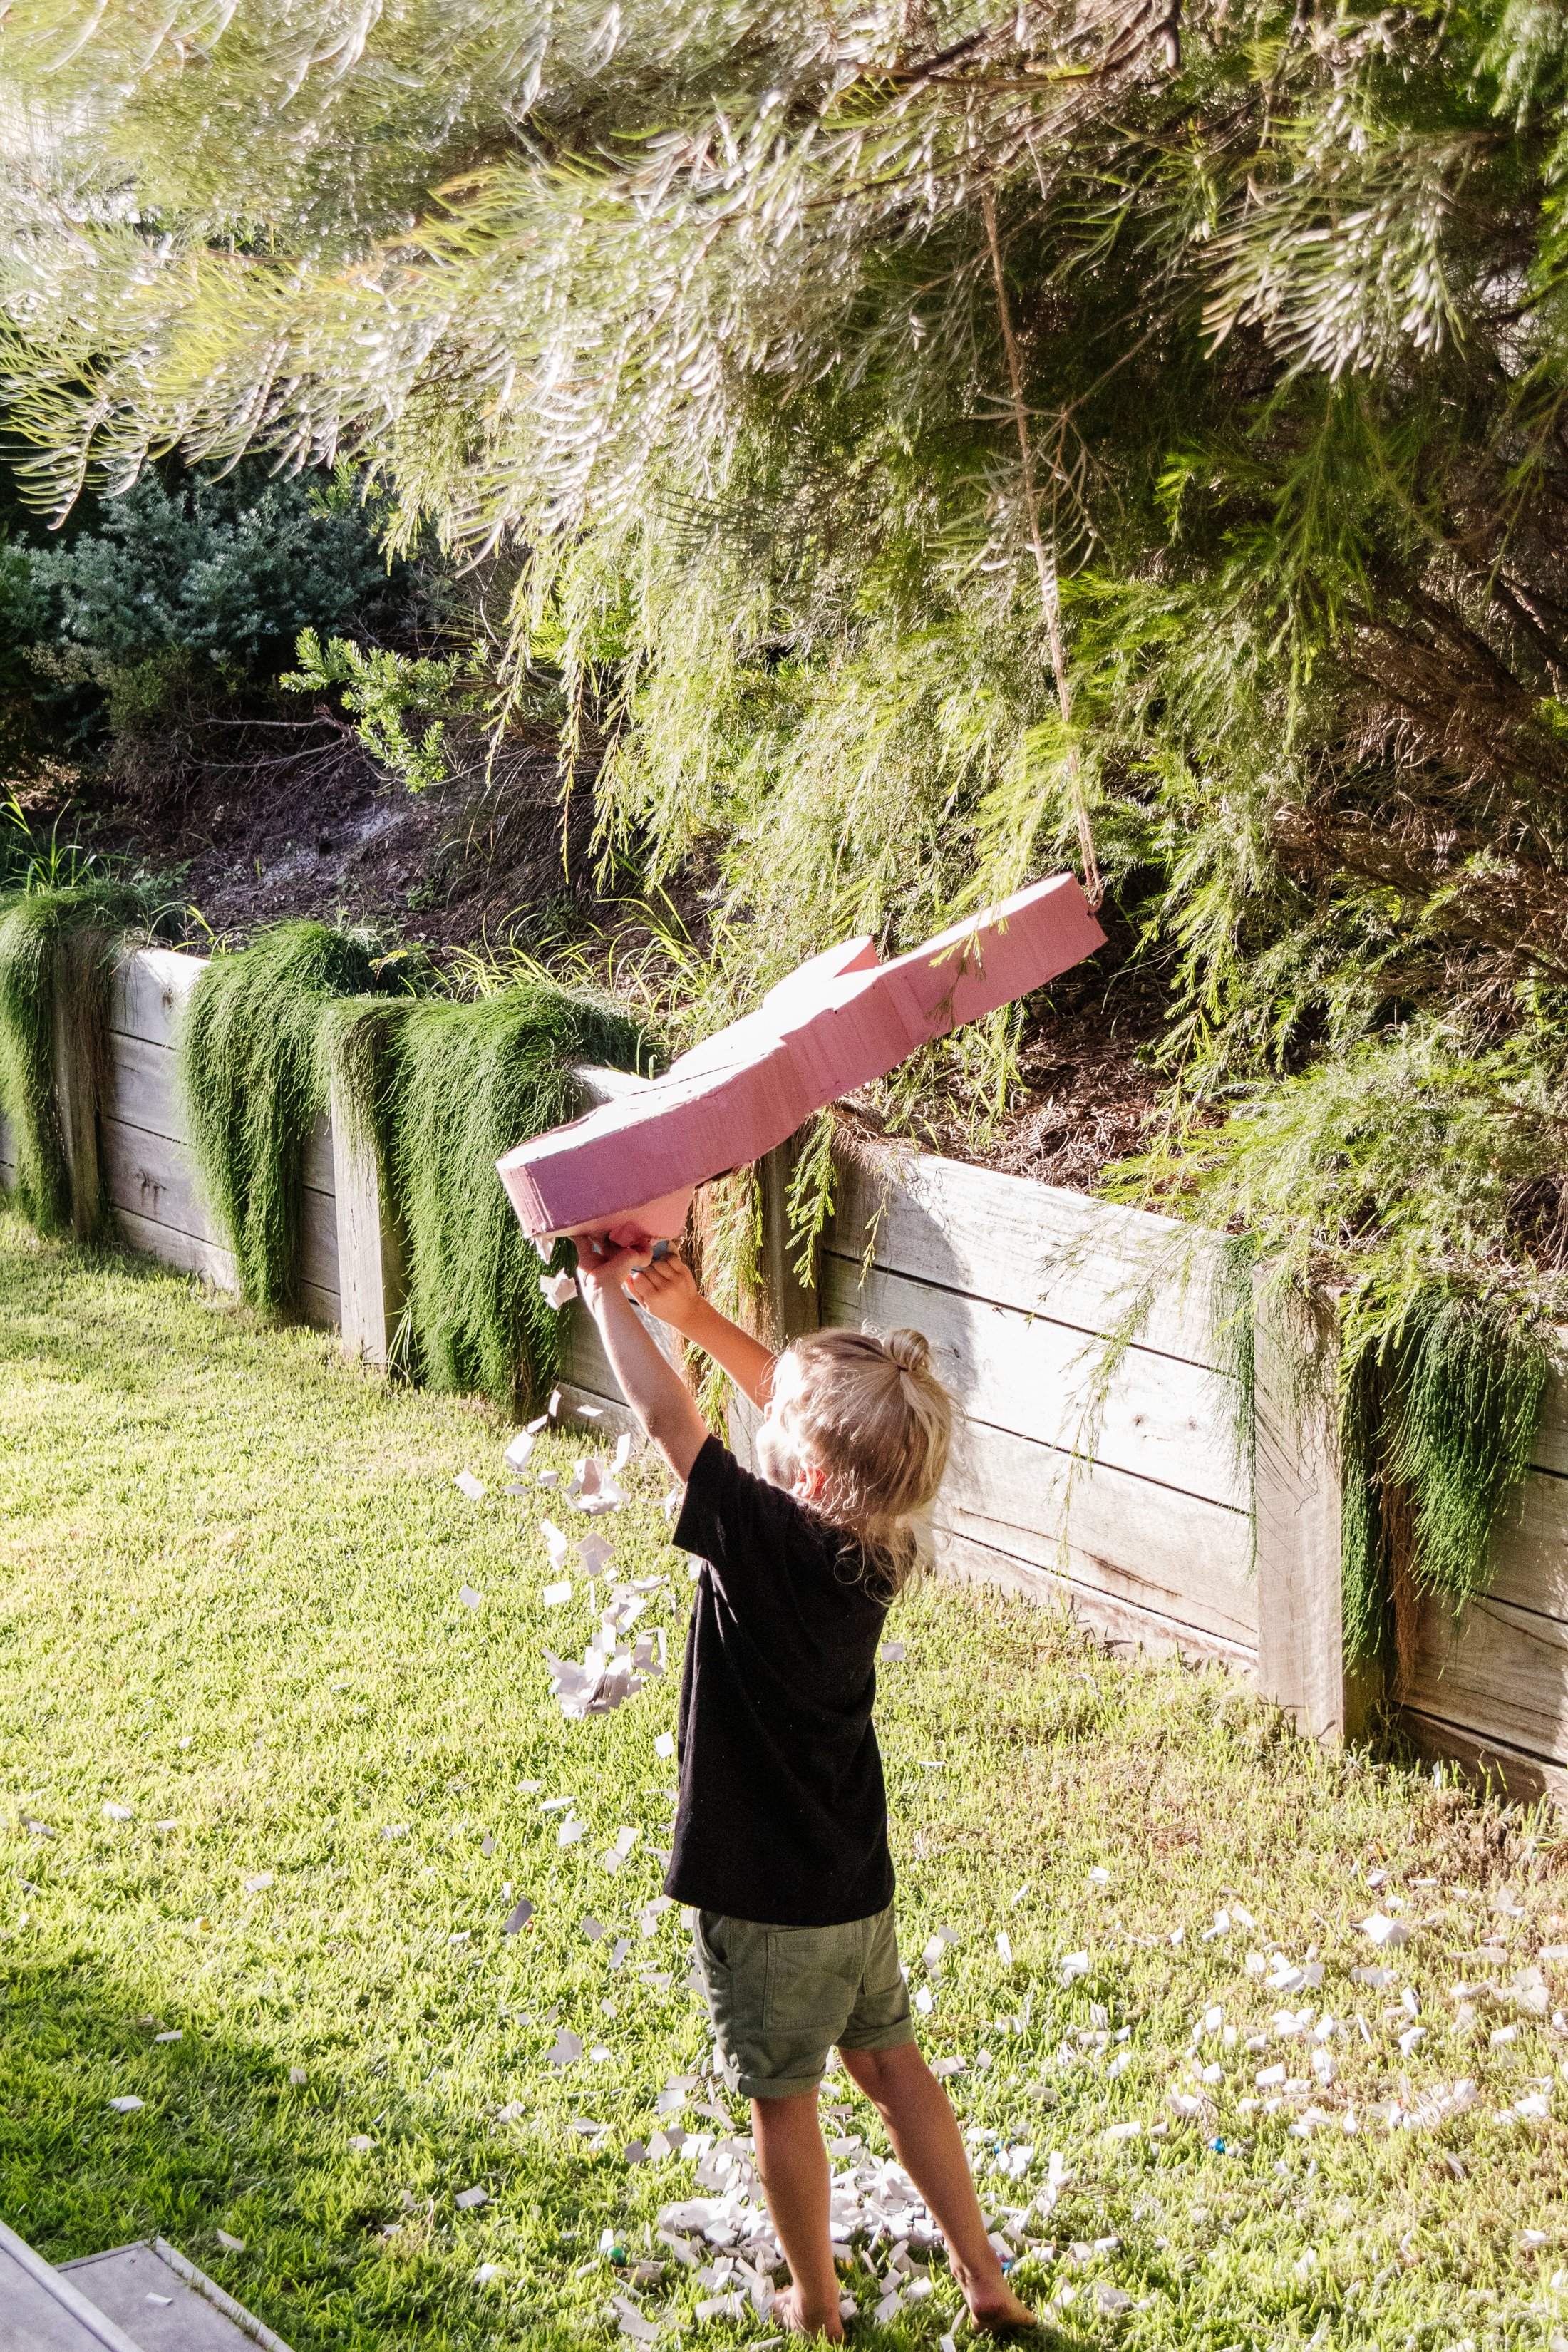
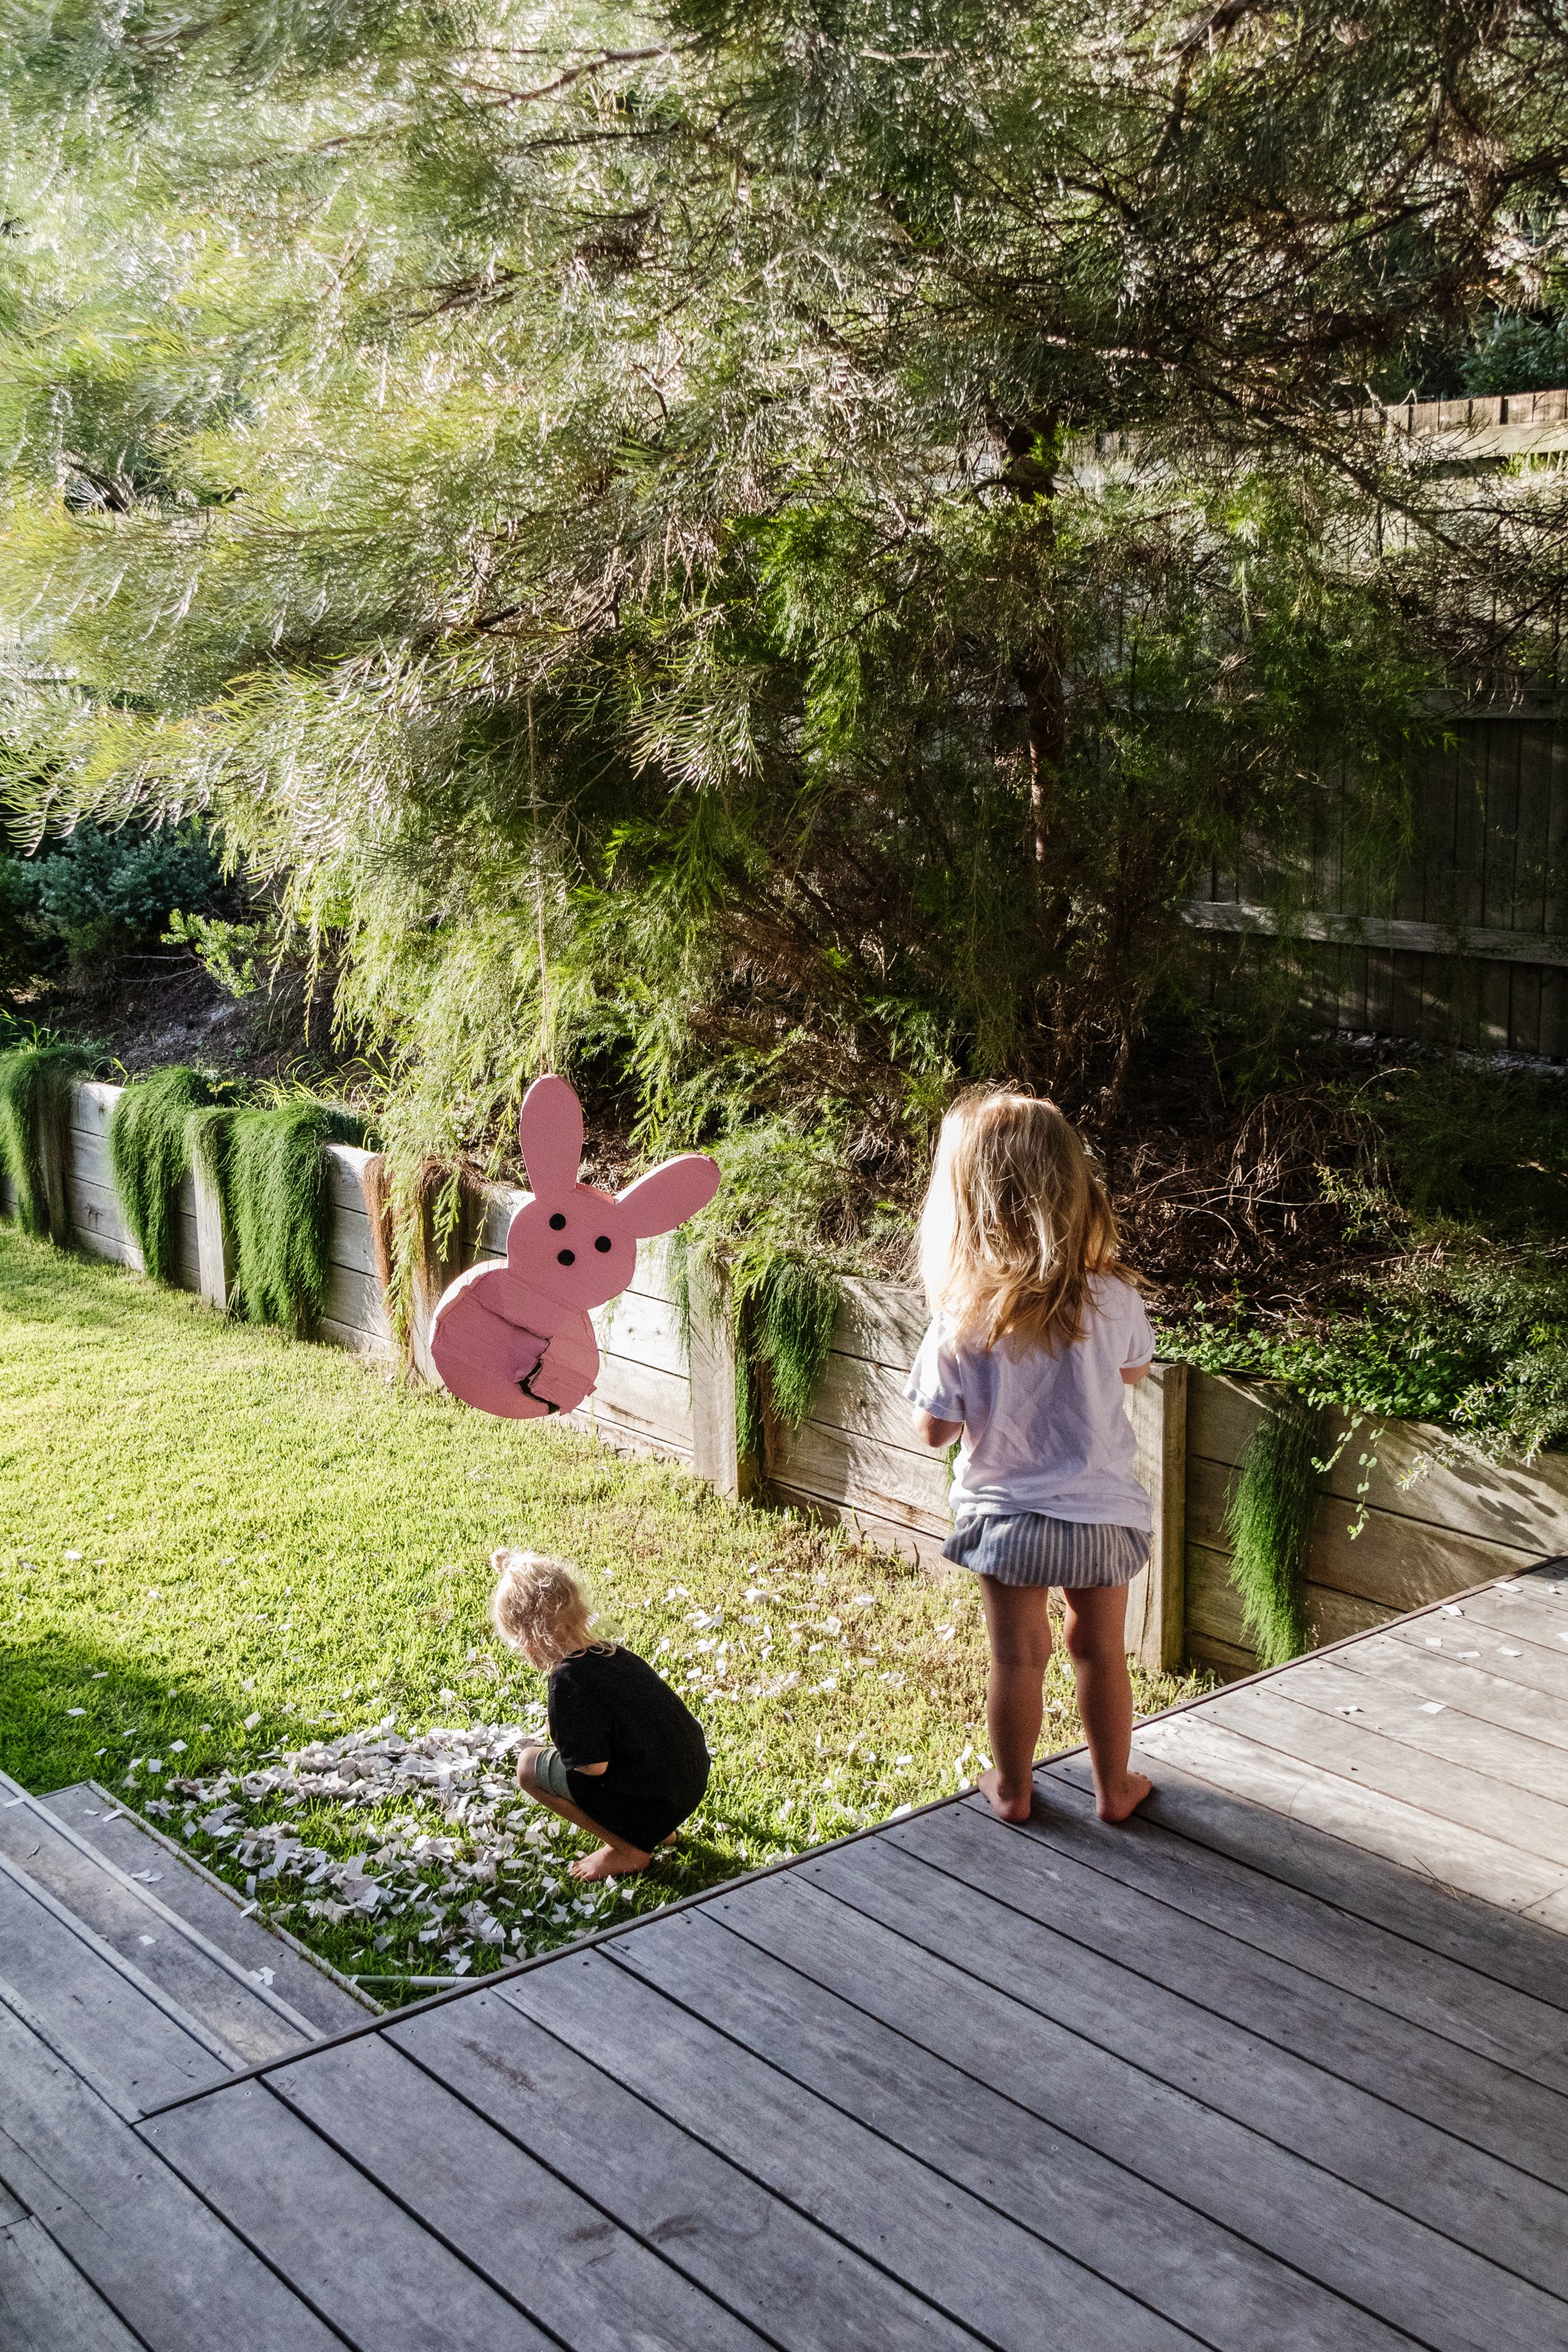
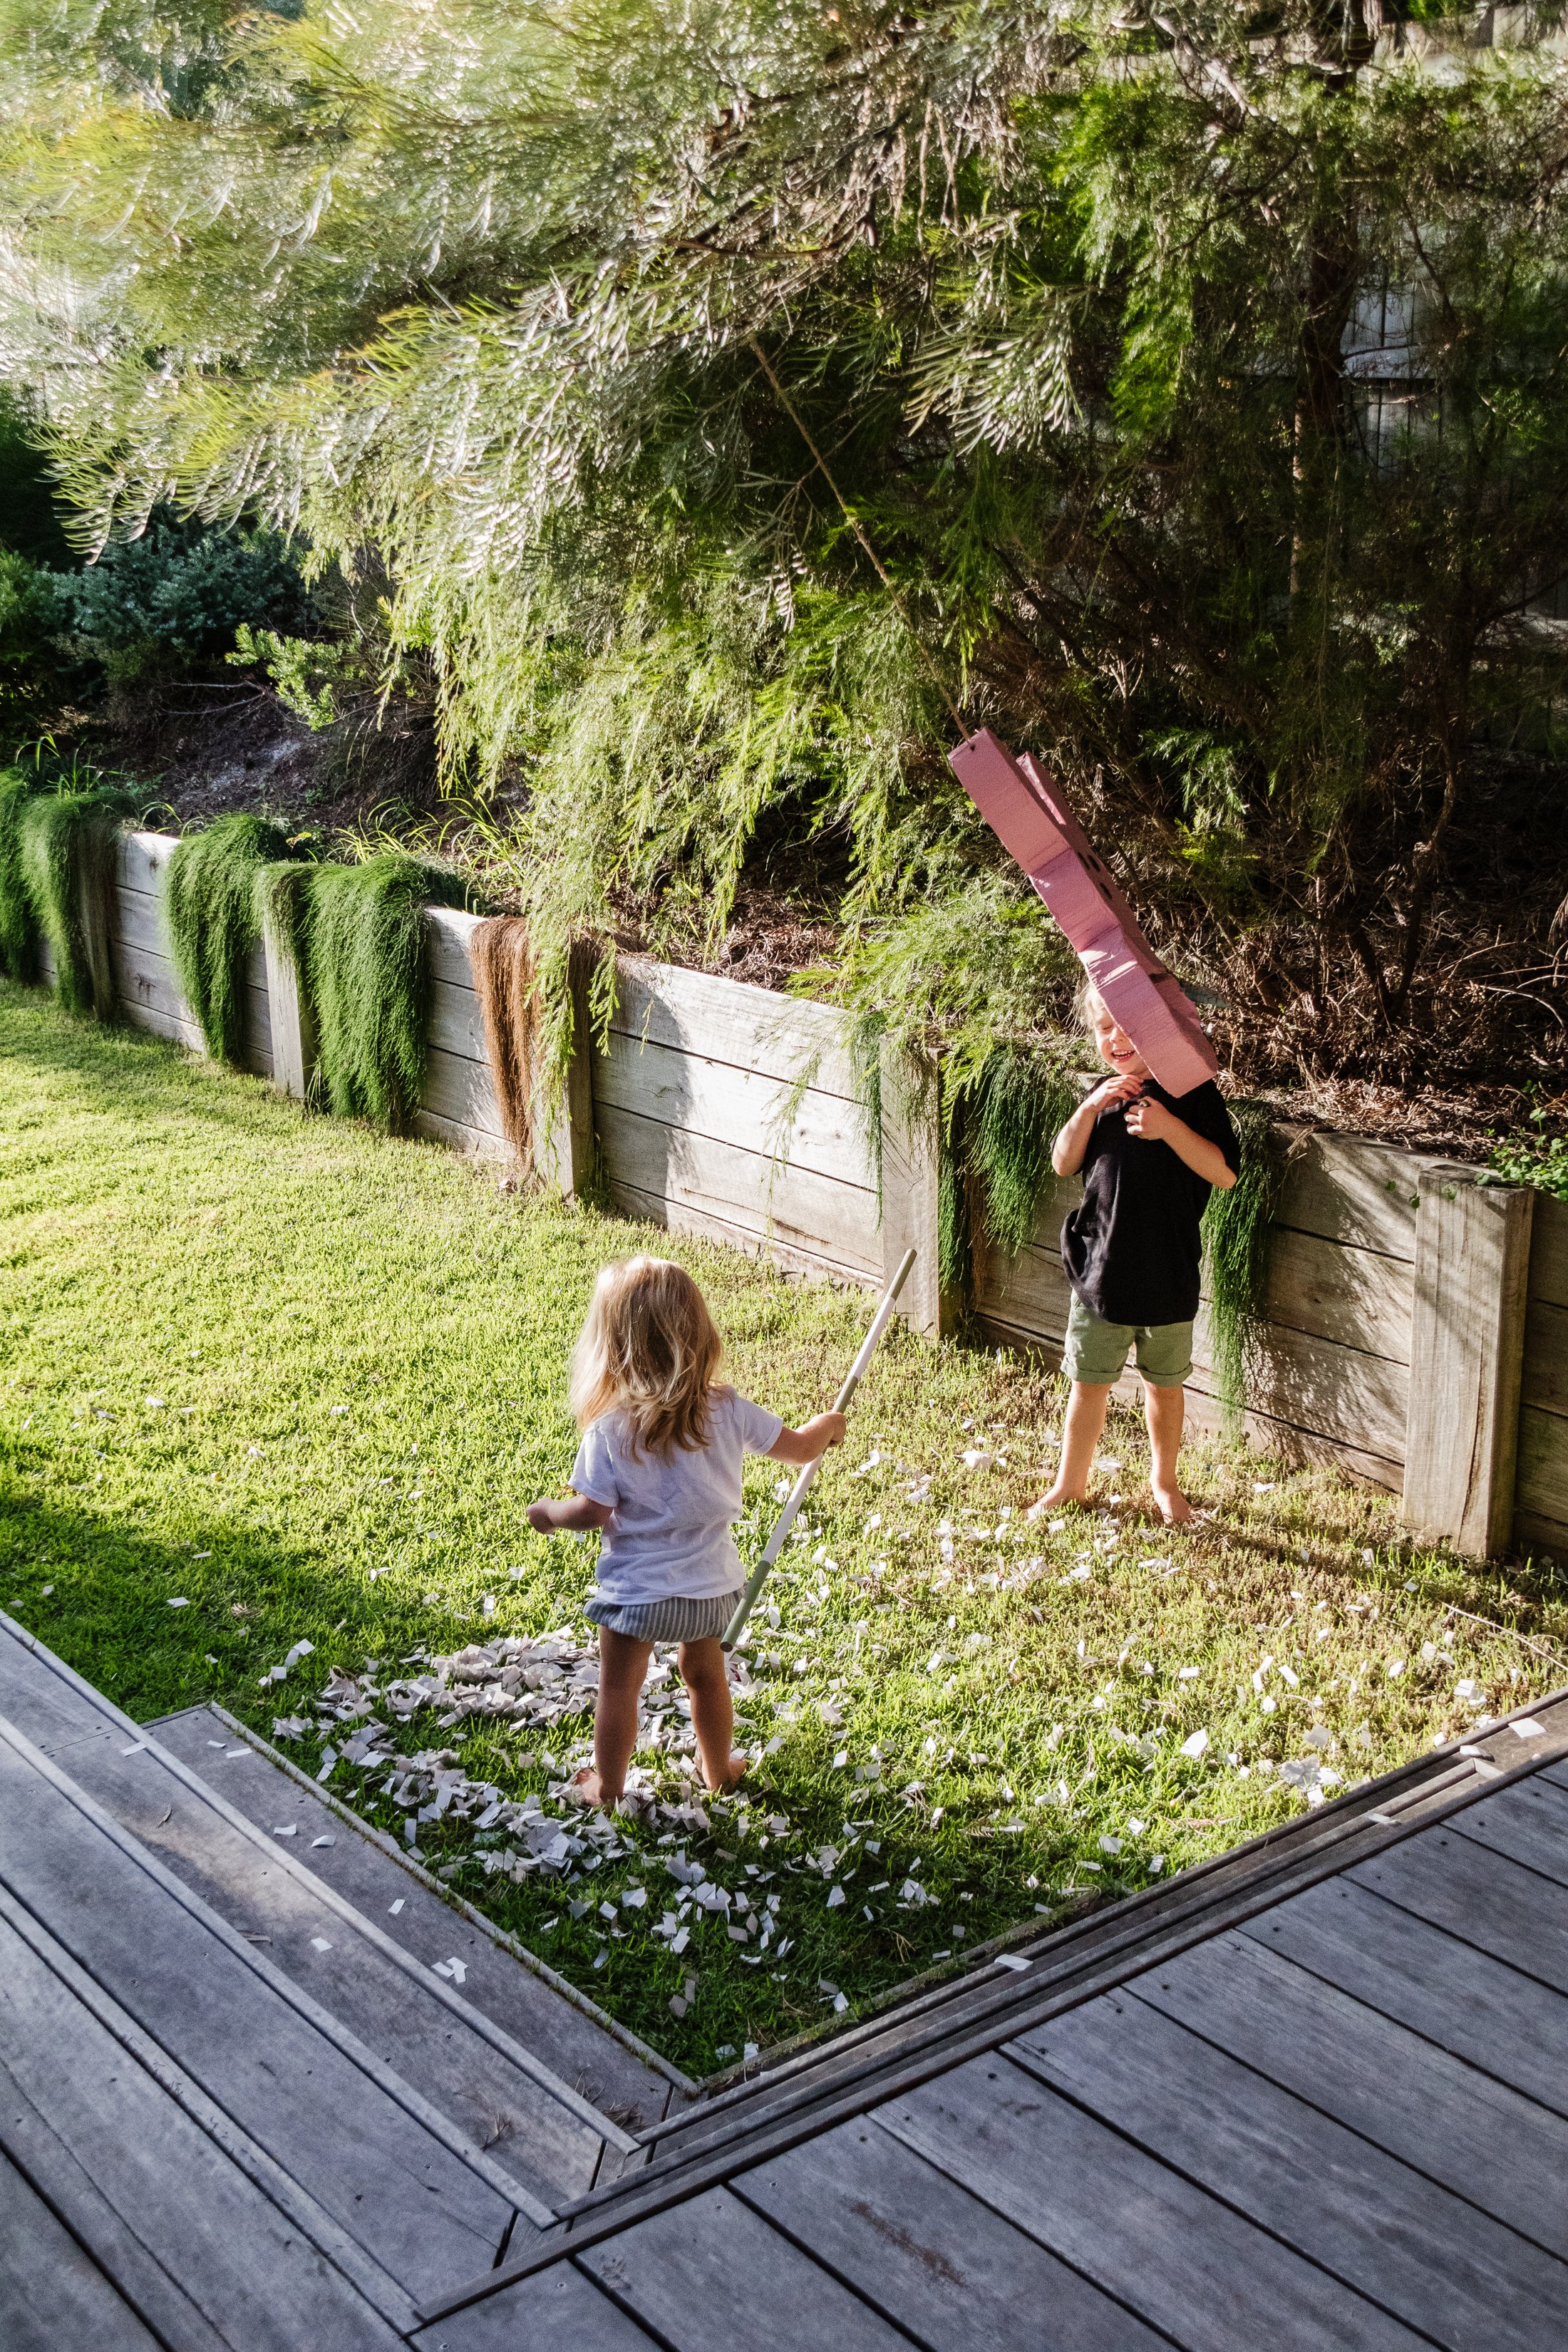
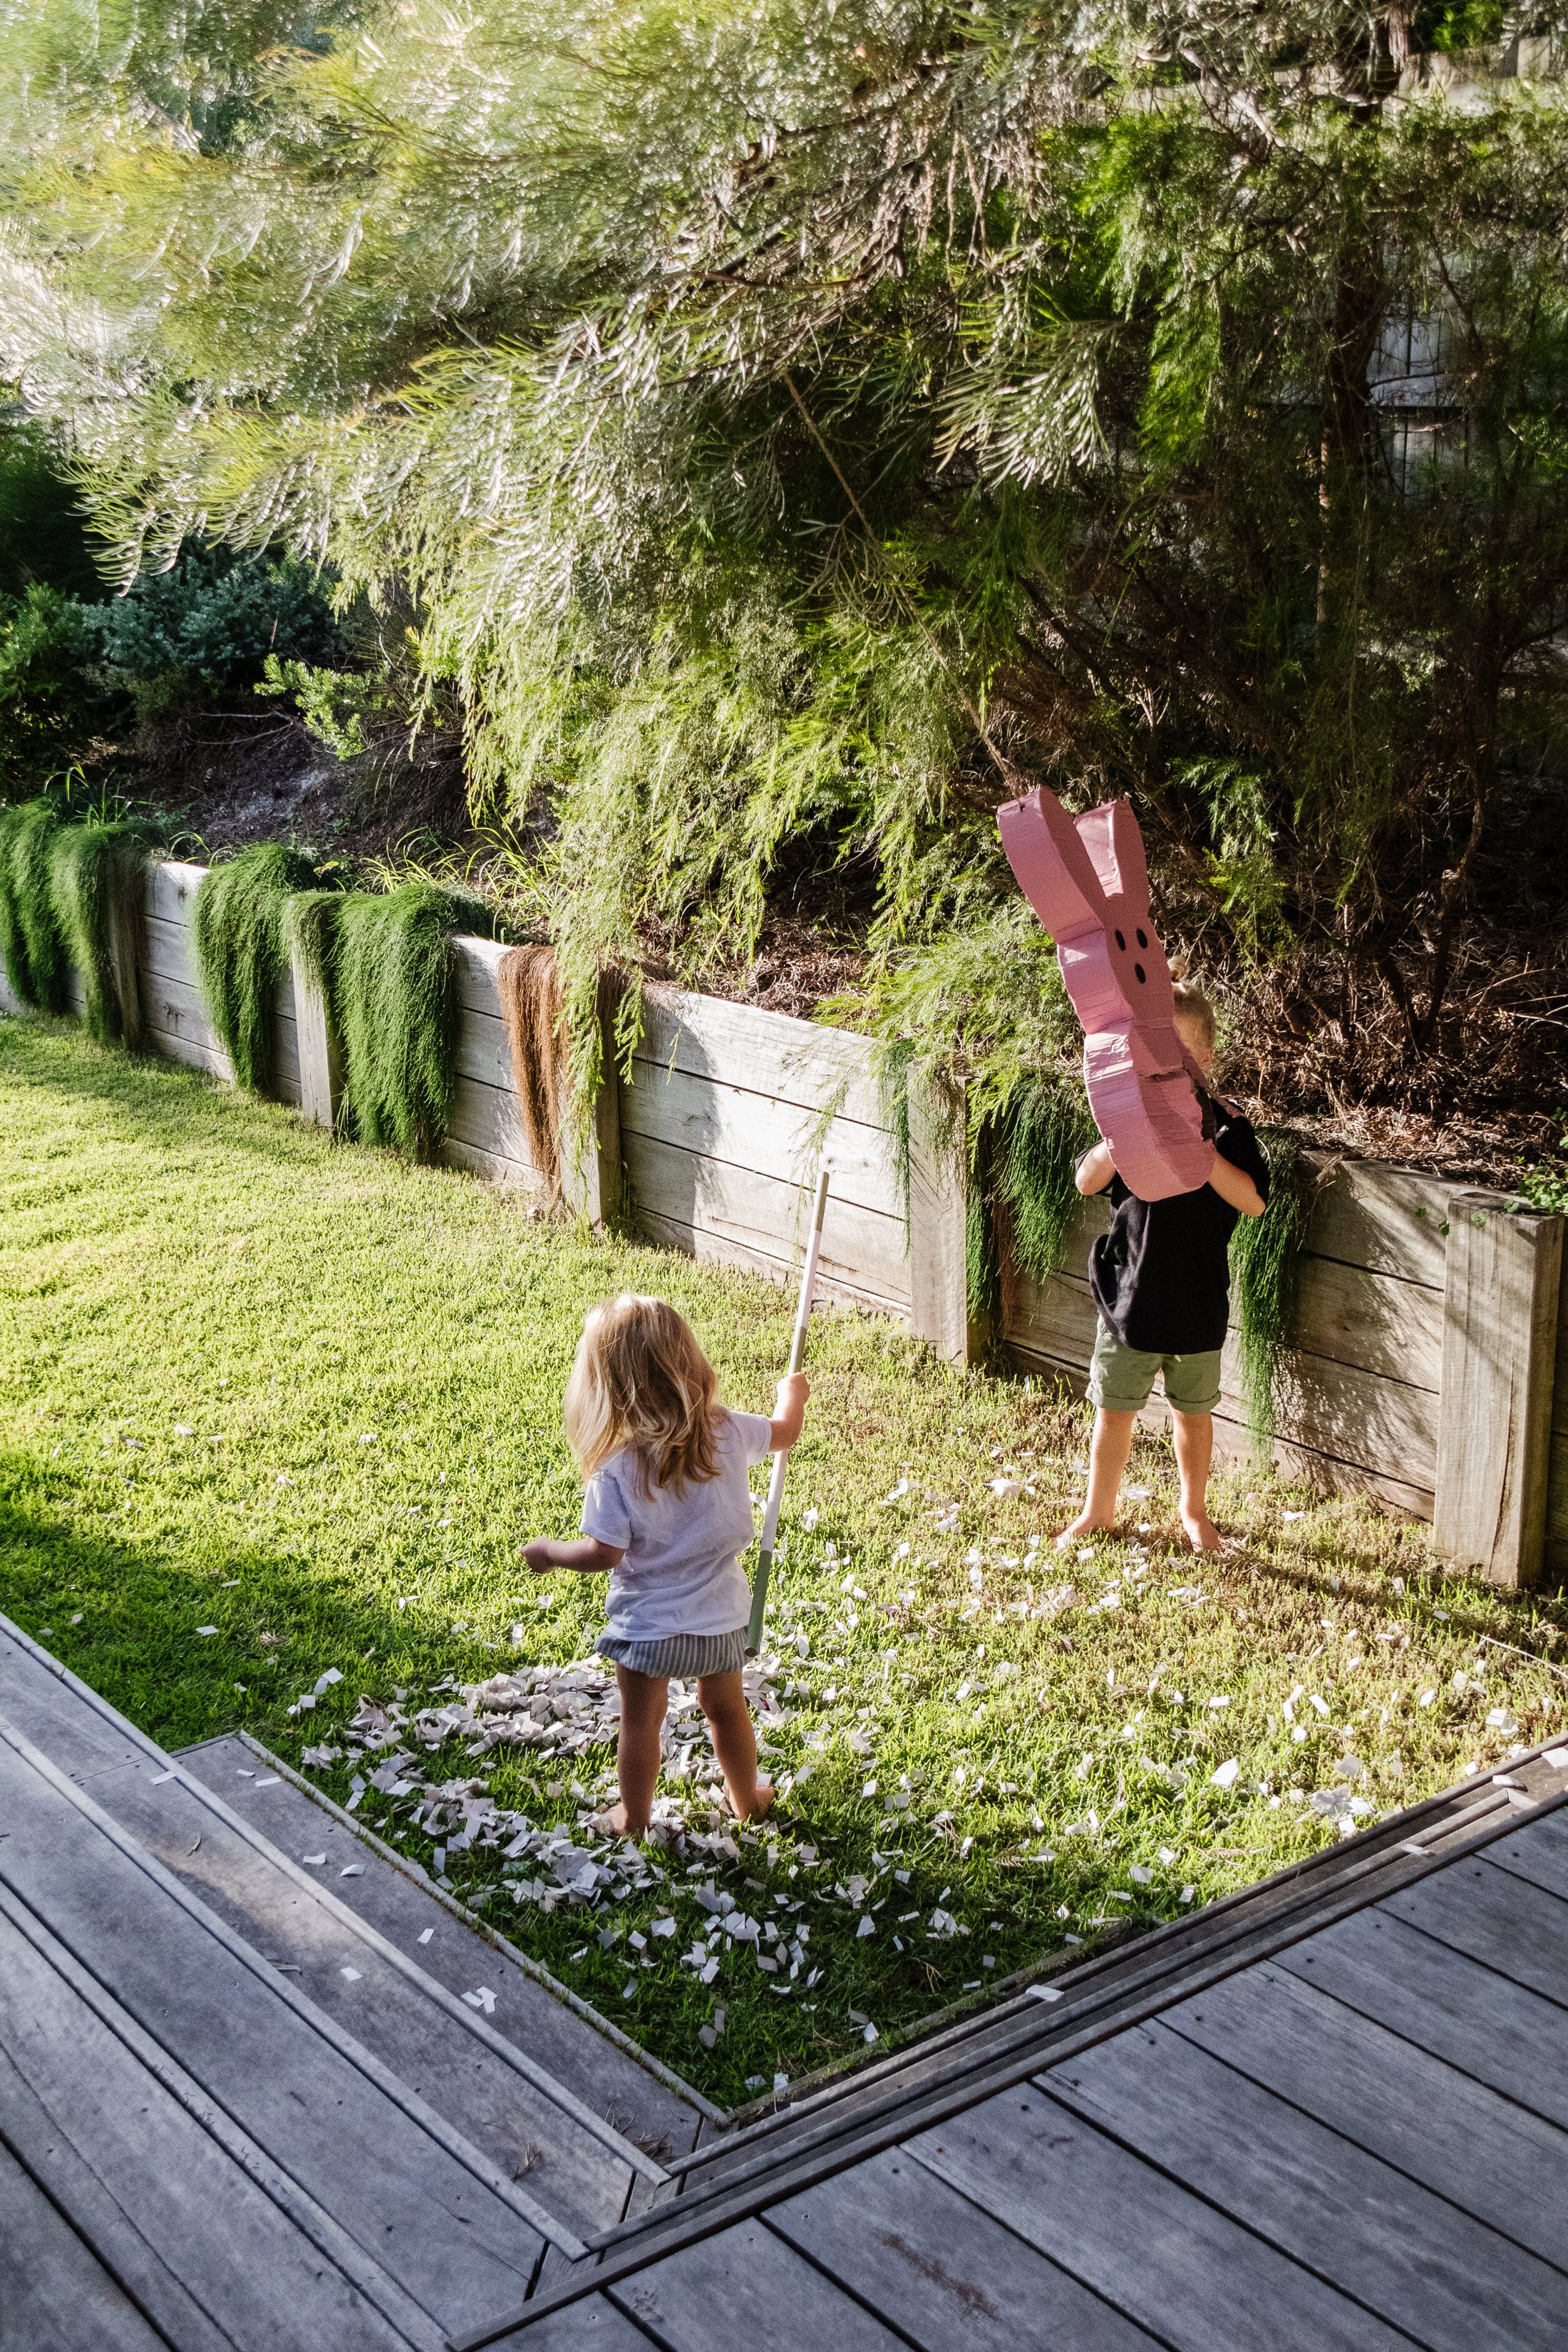
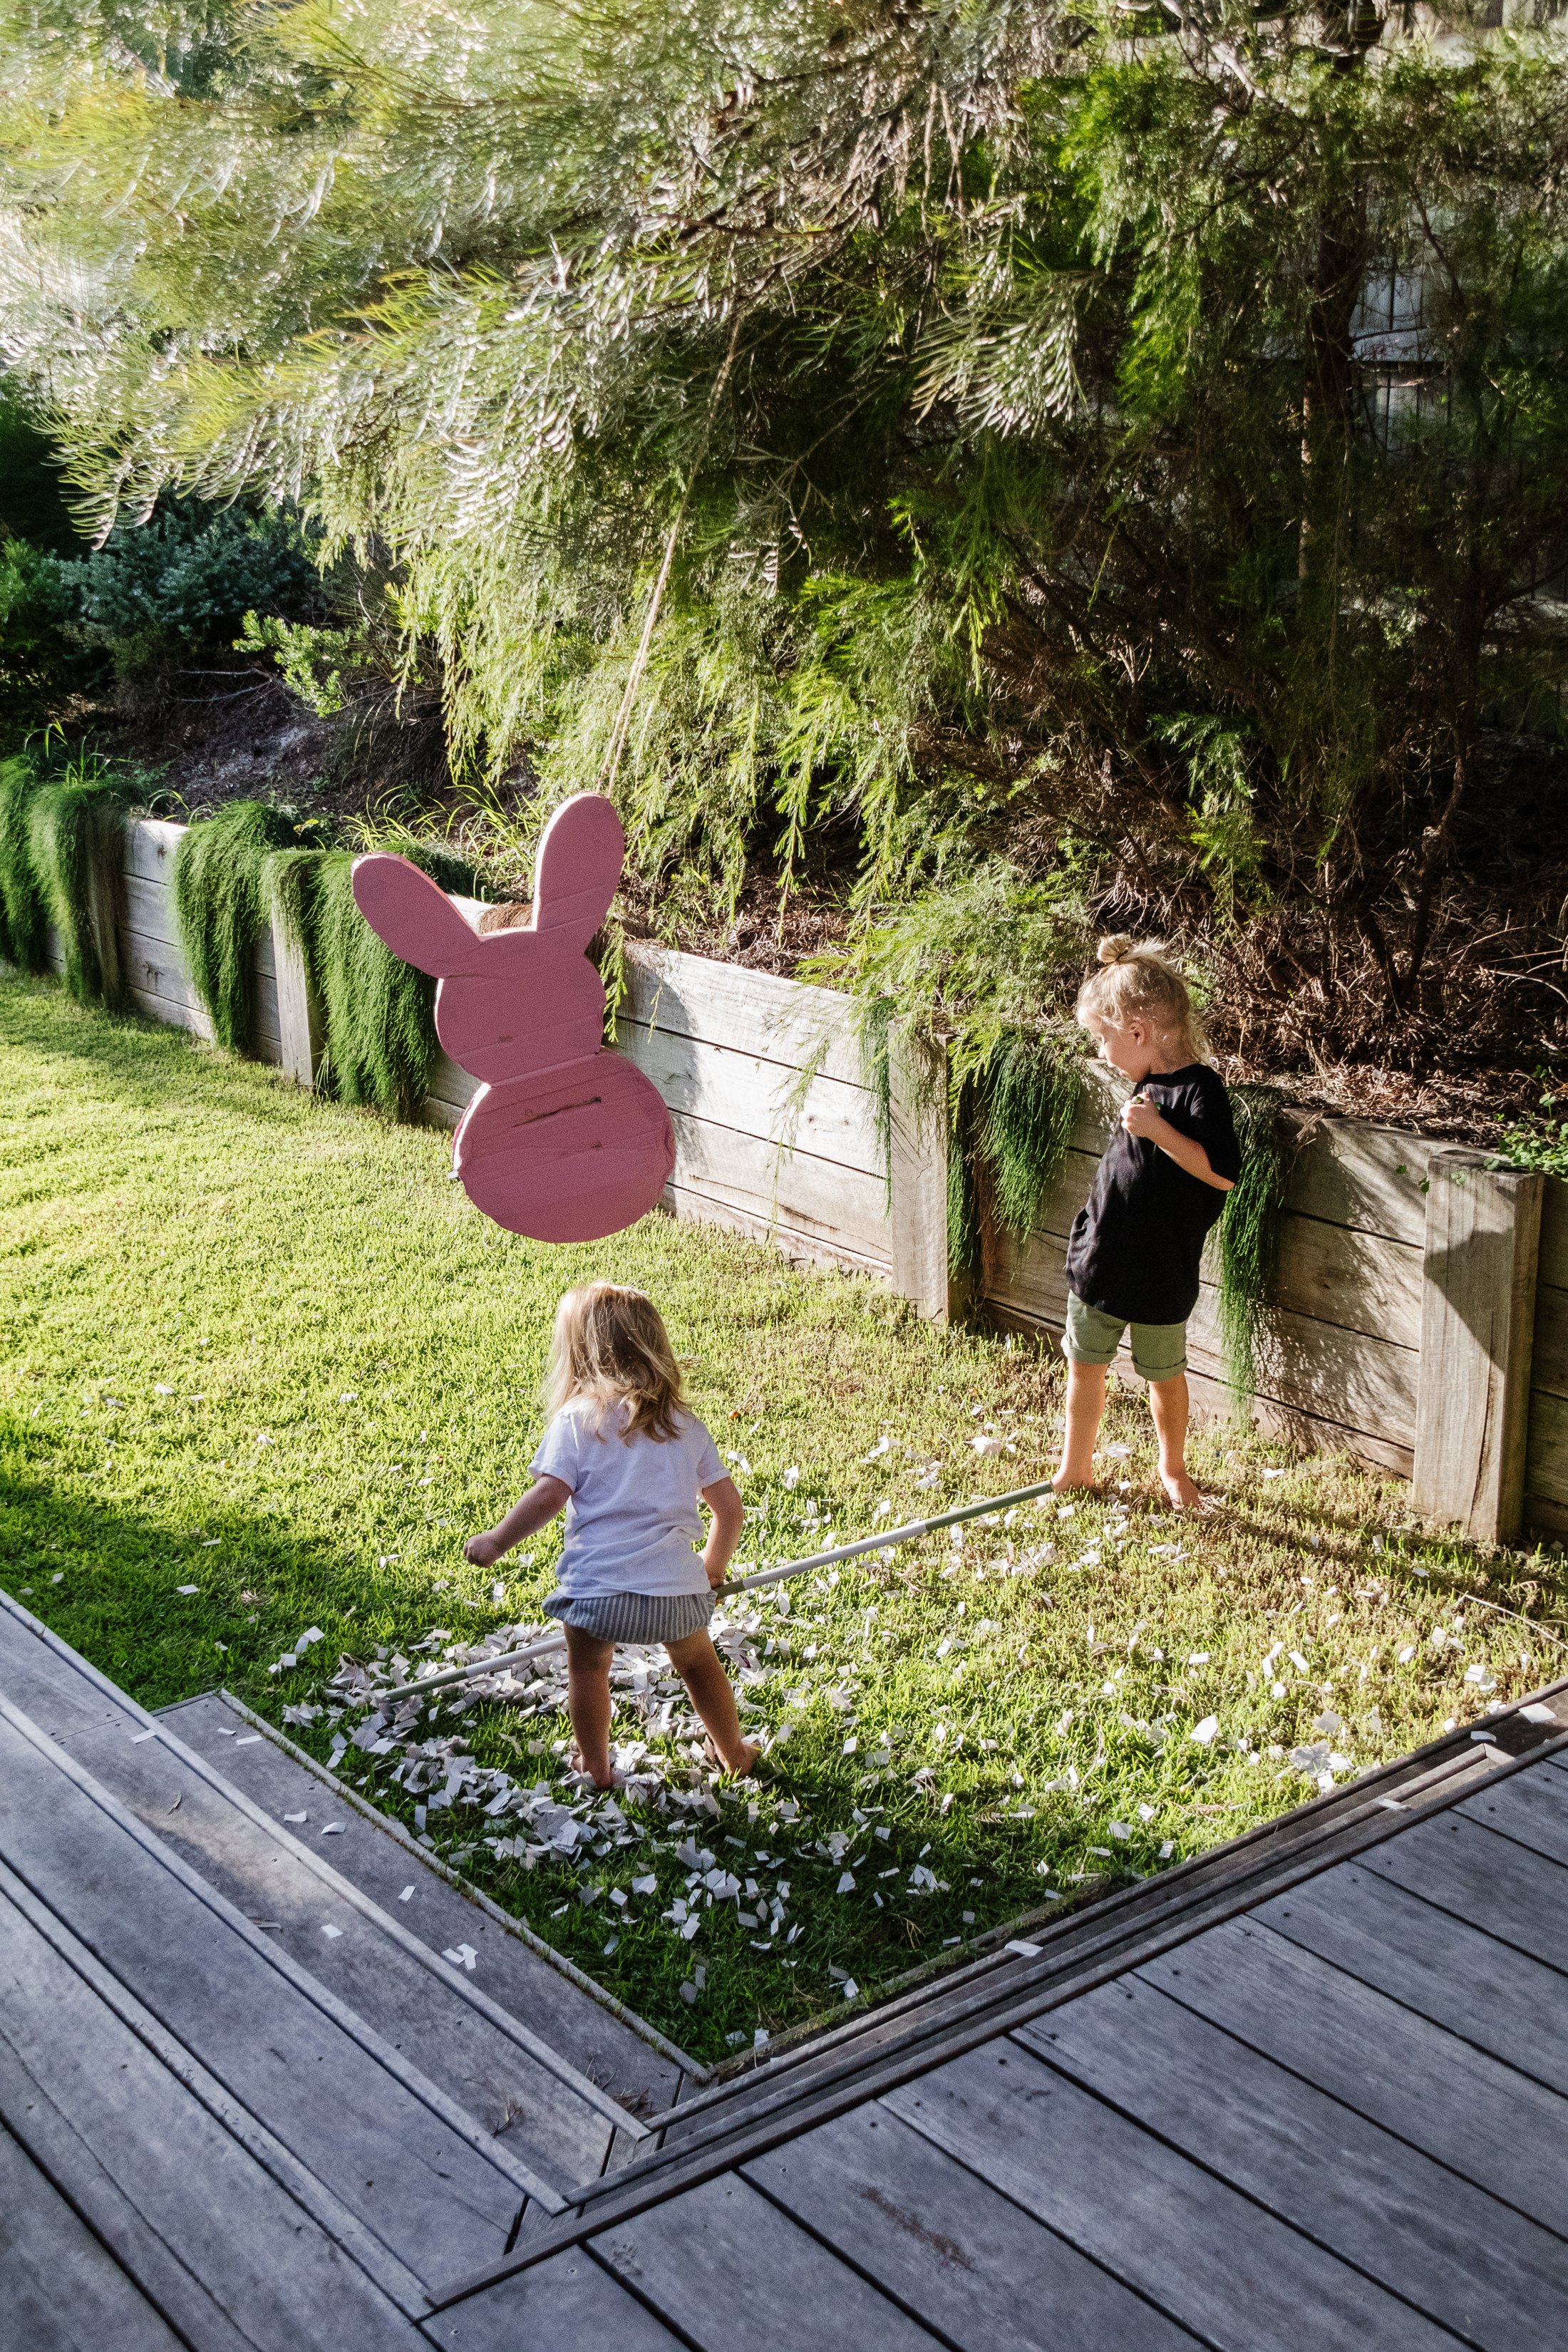
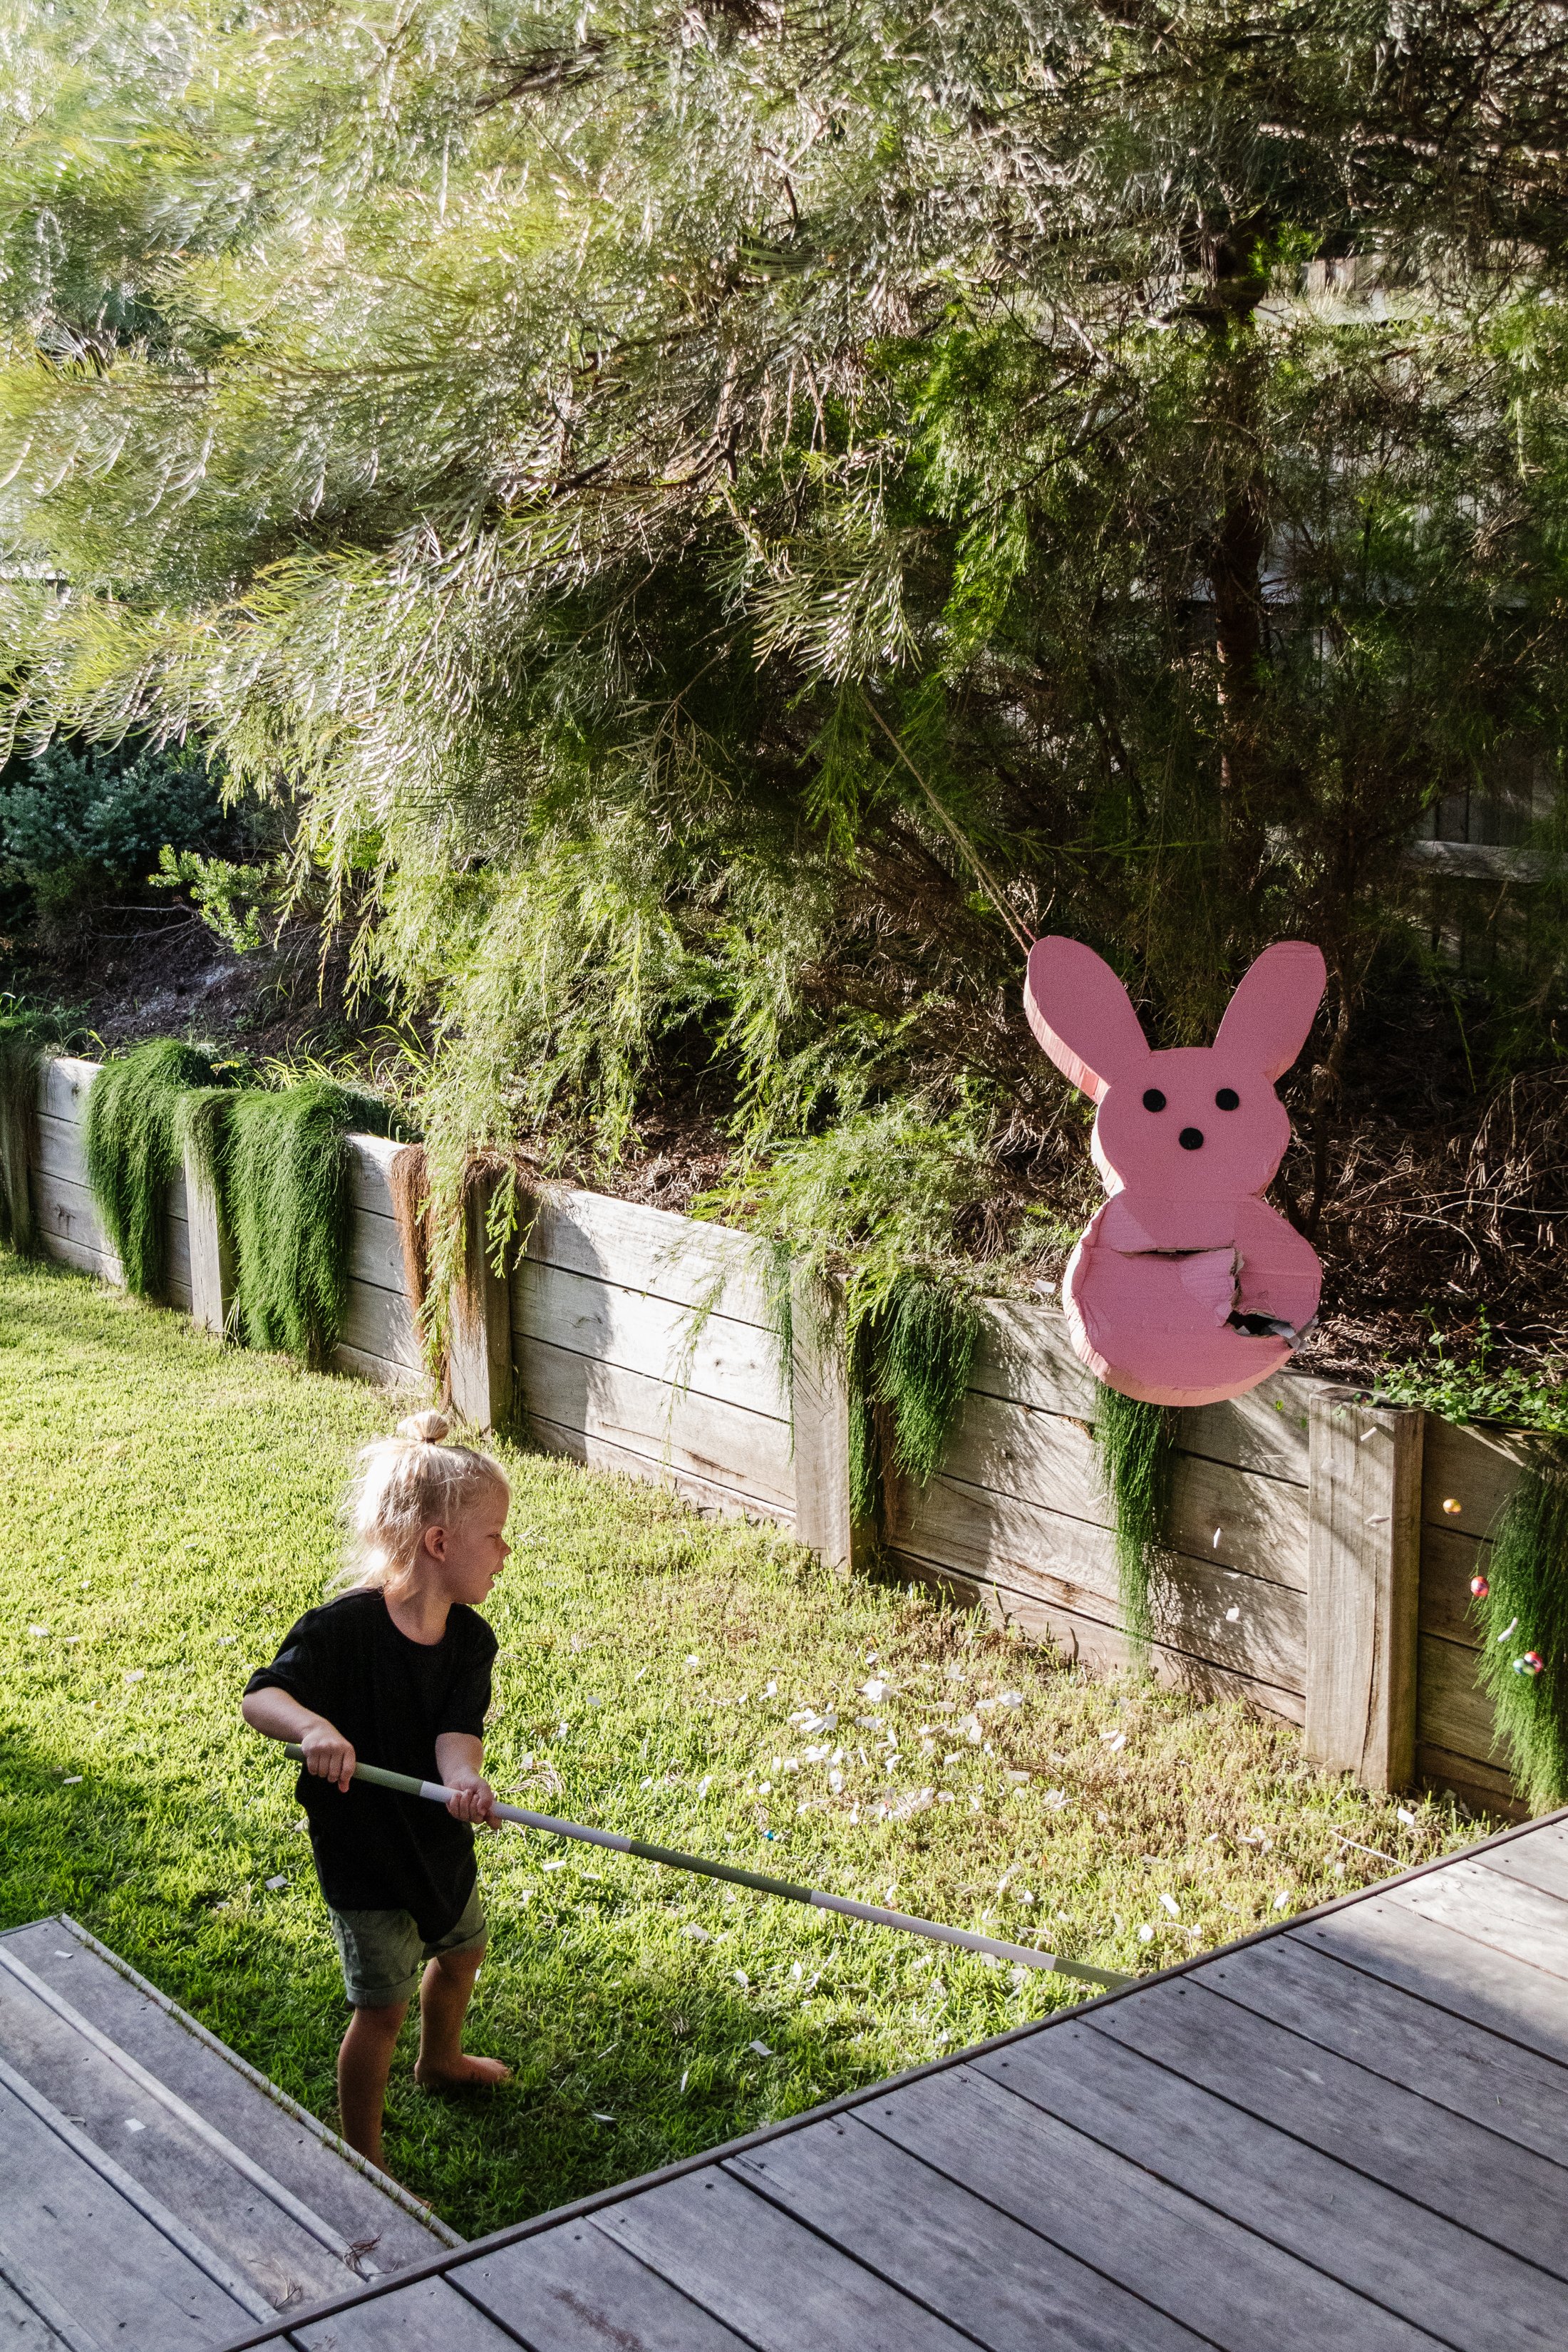
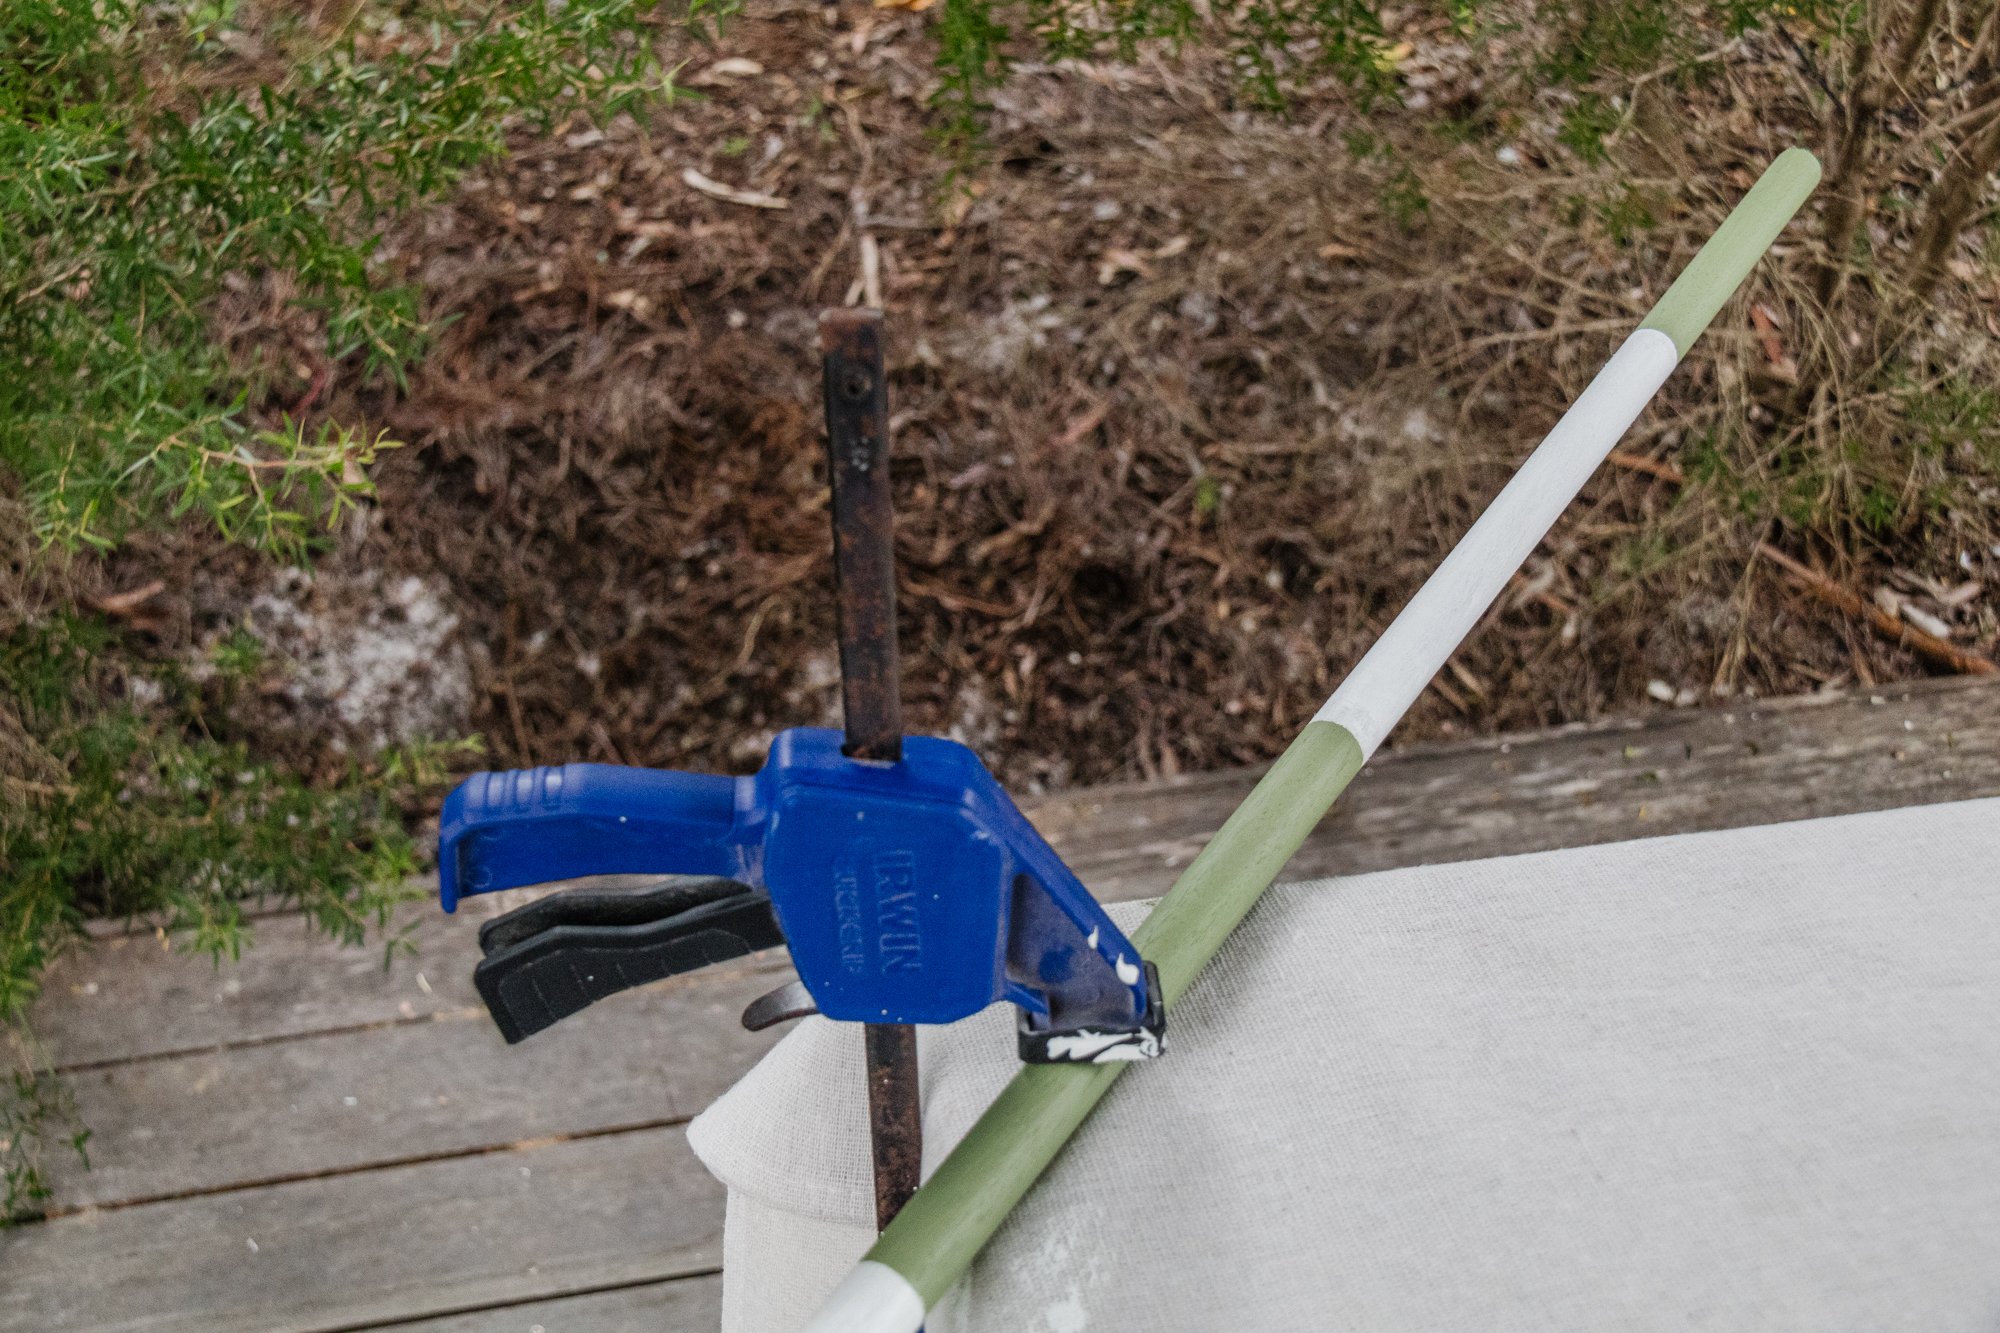
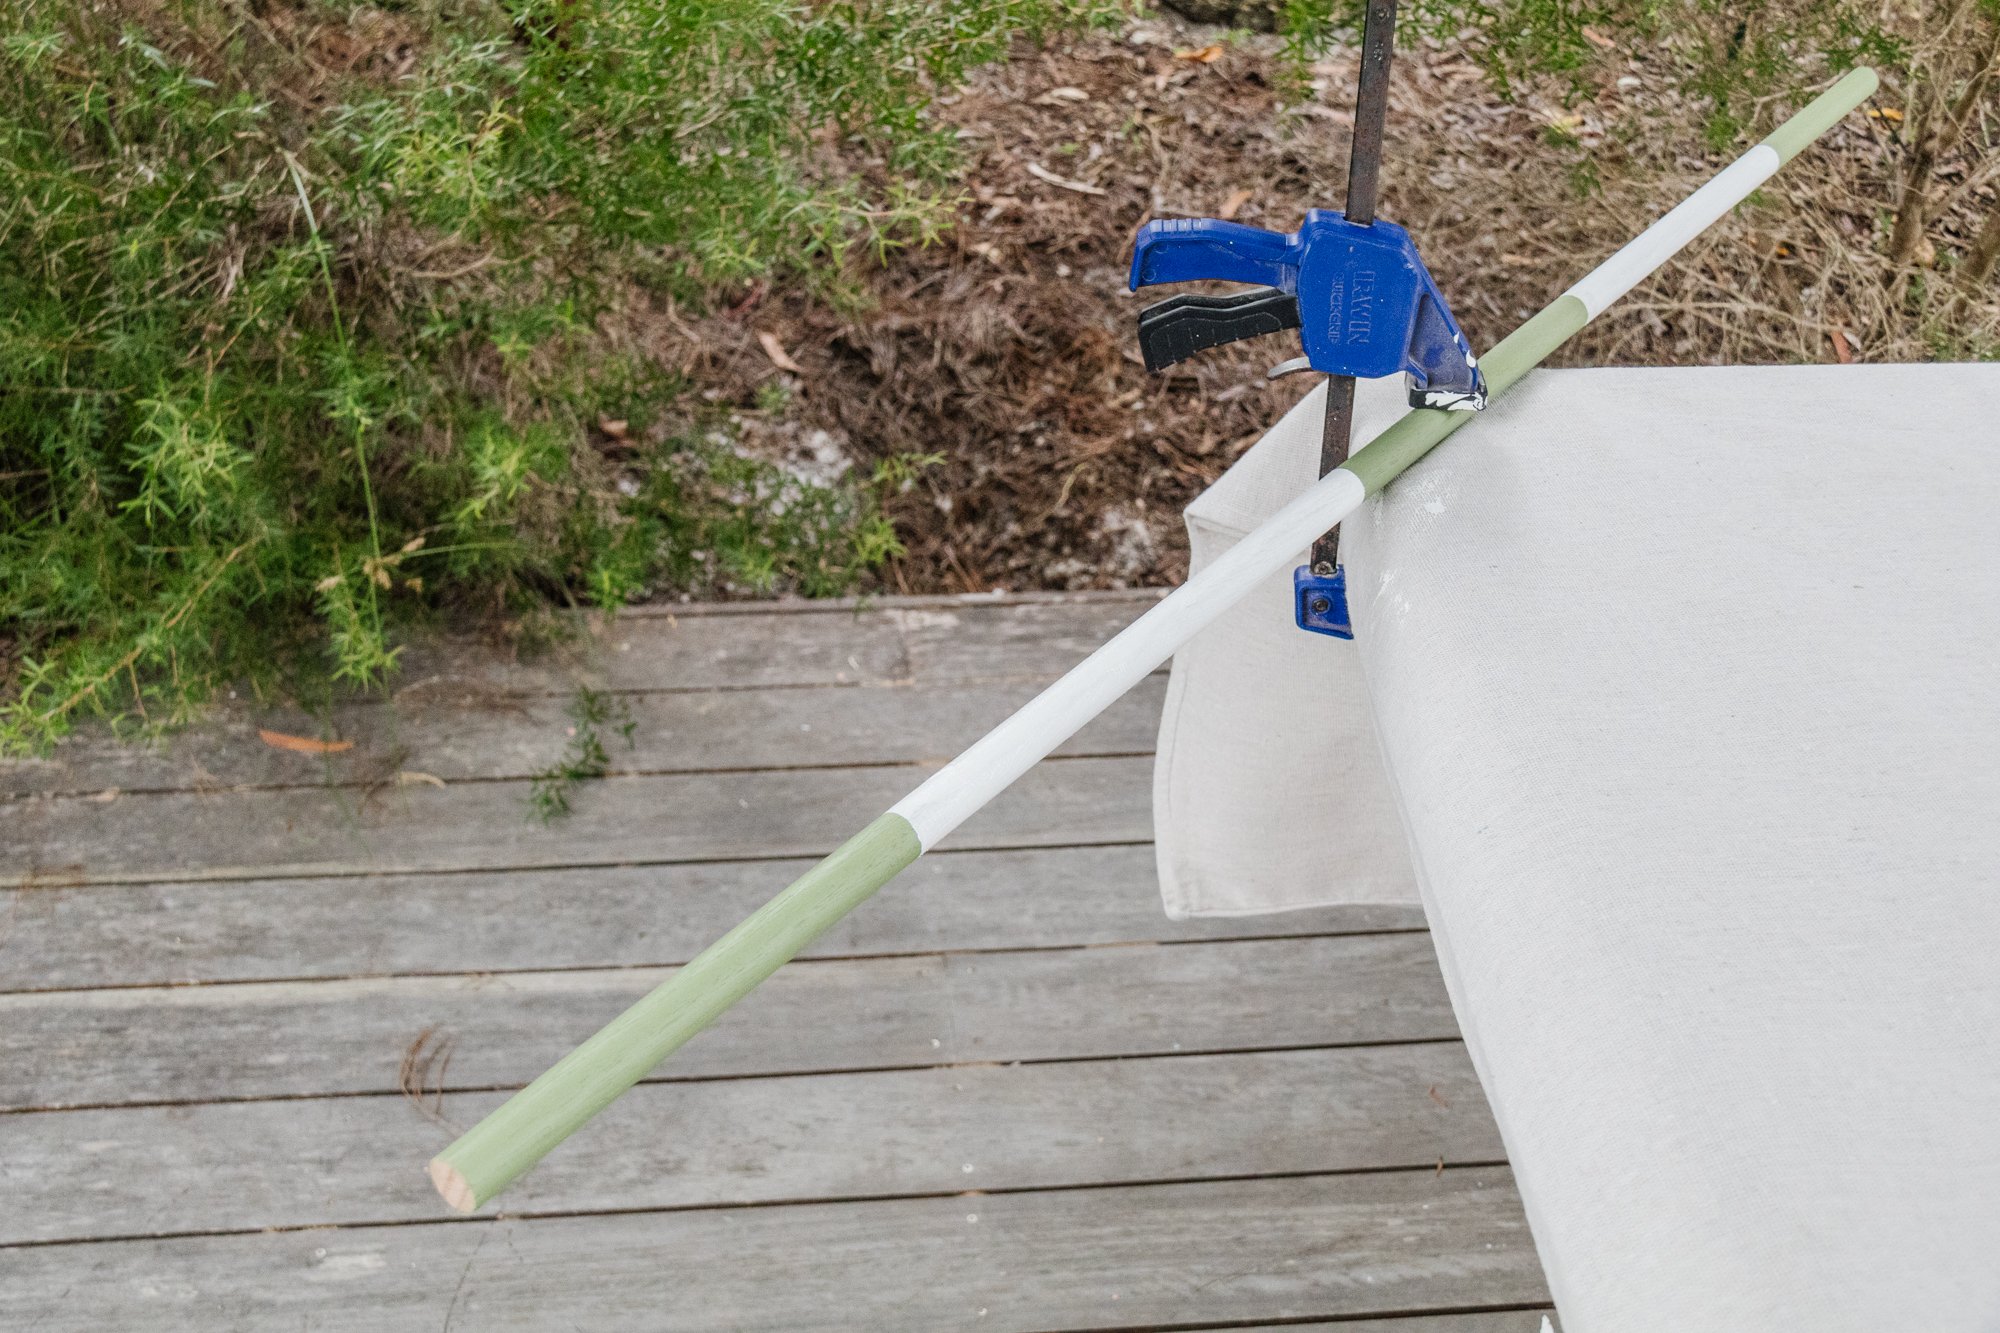
Paint the dowel in the colours and pattern you like! We painted green and white stripes. Hang the Easter Bunny Pinata in a safe and secure location. Have lots of fun and ake turns hitting the Easter Bunny Piñata until the chocolates and confetti fall out! Happy Easter!
Ta daaaa! A cute Easter craft project everyone in the family will love making together.
This super cute Easter Bunny Pinata was so fun and easy to make together! The kids had an absolute blast selecting the materials at Bunnings and of course, they proudly walked around Bunnings with their materials in the cute kids trolleys. This project only took a half a day to make (most of the time went to waiting for the paint to dry) and when the kids went to smash the pinata open, it was so much fun!
This is also the kind of craft project your kids can participate in whenever they have the excitement and energy. Celeste is only 2 years old and wasn’t able to help much, and Dusty’s interest levels went up and down depending on the task and his personal interests. That’s the reality of crafting with kids! They come and go depending on how they feel and what interests them. And this is why we all found this project so enjoyable. Plus, who doesn’t love hitting a pinata!
This DIY project was in collaboration with Bunnings. I hope you enjoyed the making of this Easter Bunny Piñata as much as we did! And remember to watch this little video to see how it all came together.