DIY Wavy Mirror (using DIY Coloured Texture Paint!)
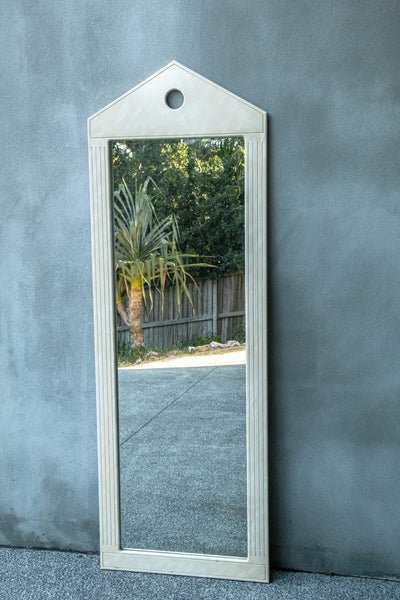
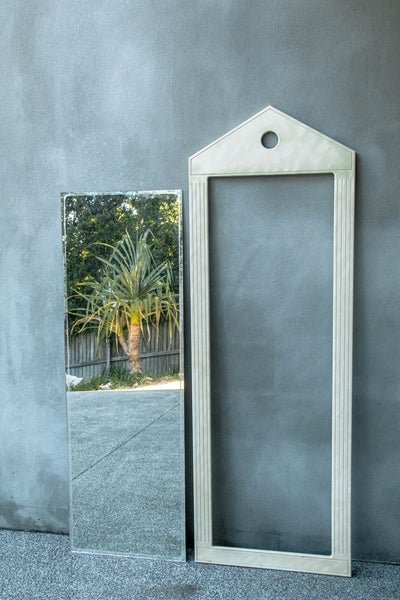
It's here! I am so excited to be able to finally share the tutorial for my DIY Wavy Mirror. I have been wanting to make this for a long time and last month, I struck gold when I found a tall, free standing framed mirror at my local tip shop for a steal. I had intended on sourcing a smaller desk mirror for this project, but I couldn't resist this mirror when I saw it - it had so much potential! Upon inspection I realised it would be very easy to create my own wavy frame by removing the mirror from it's existing art deco frame using a screwdriver. So I promptly paid for the mirror and took it home.
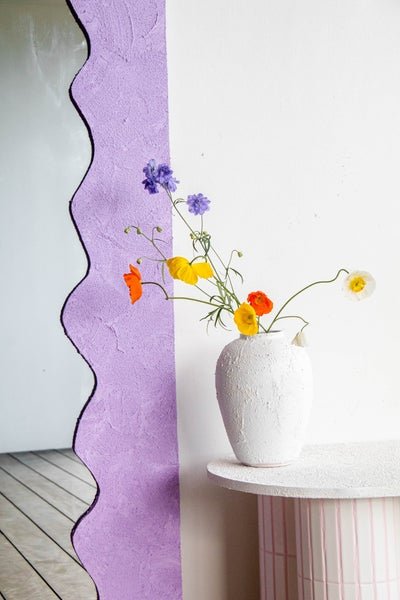
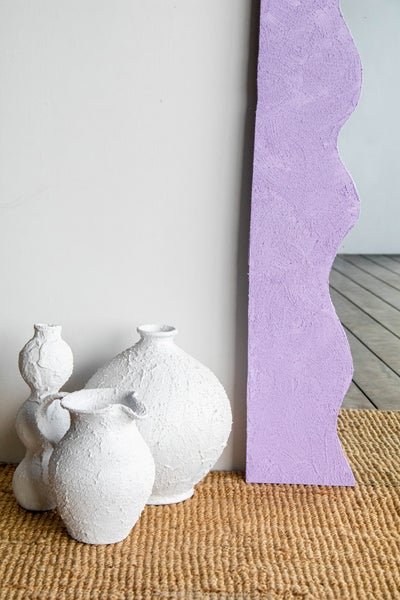
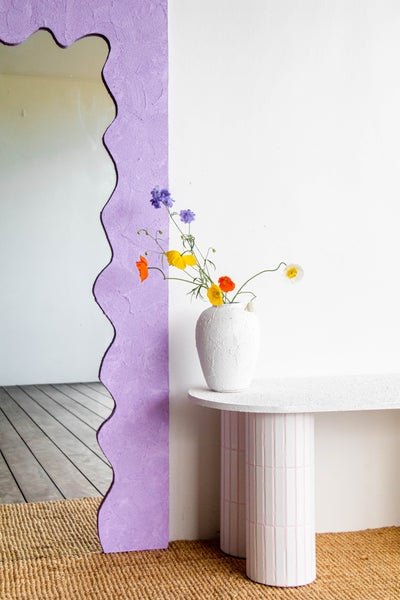
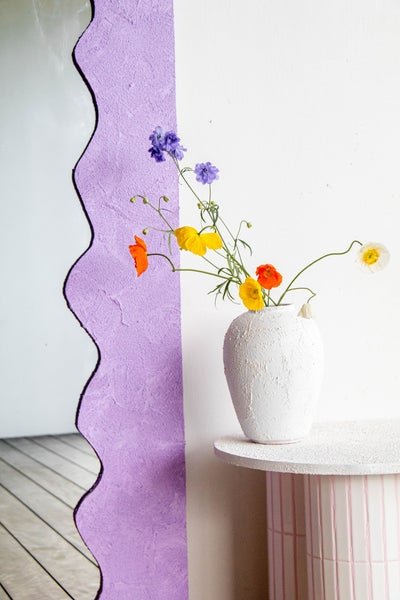
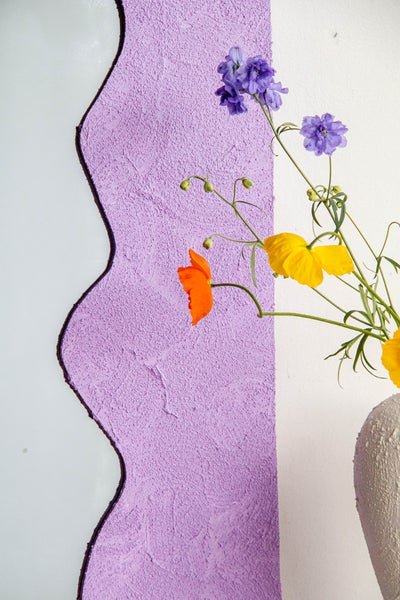
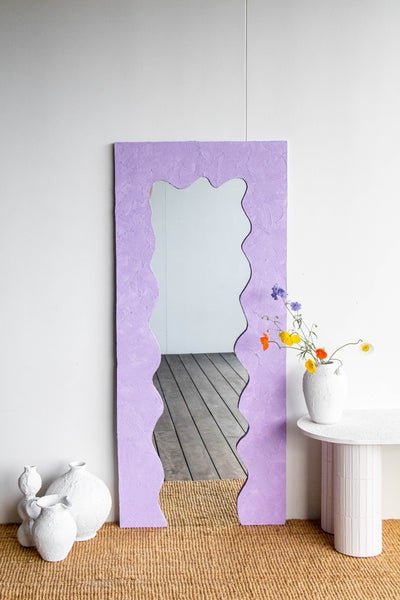
I am inspired by all things wavy at the moment, so when it came to thinking about the finishes for this project, I knew I wanted to create a wavy frame but also a pastel moment filled with texture. Injecting drops of colour into our minimalist interiors at home has been really fun and exciting, and if you have been following along on Instagram, then you'll know I recently stumbled across Dulux's Texture Paint. It's literally the best thing I have ever found. I used it for my DIY Tiled Chubby Side Table and I have been using it on a range of ugly secondhand vases I picked up at my local charity store for $2 a pop (which you can also see in my final images below). Basically, nothing is safe from this texture paint anymore. Since then I have been testing and adding coloured acrylic paint to the texture paint to see if the drying time would be affected (or the formula) and I can confirm, it doesn't! What then followed was a quick trip to Bunnings for materials and here we are. Read on to find out how you can take a mirror from drab to fab in as little as a day.
BEFORE & AFTER
Materials
A secondhand mirror - a new one is also totally fine!
Screwdriver
Windex and cloth
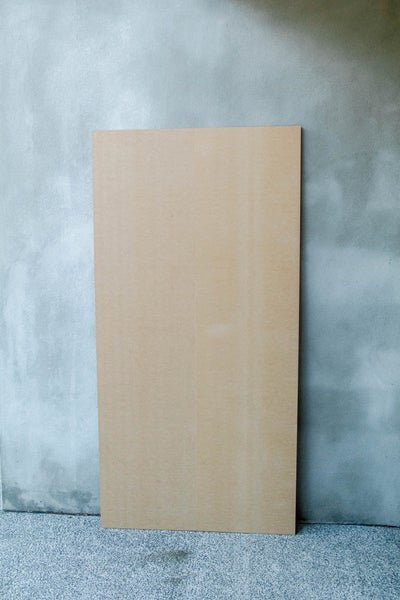
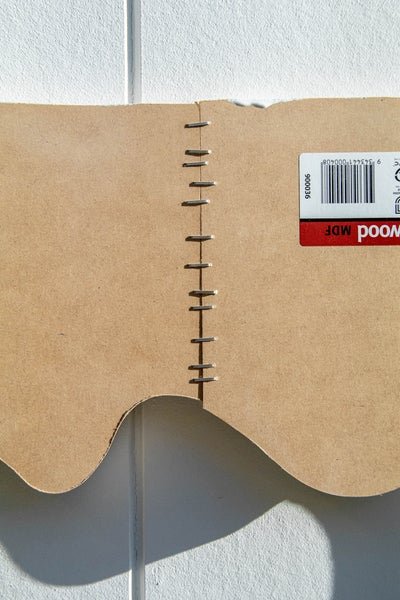
MDF sheet - they need to be bigger than your mirror and I needed to get two sheets from Bunnings
Measuring tape
Ruler
Pencil
Jigsaw - available from Bunnings
Powerful All Purpose Jigsaw Blade 24TPI - available from Bunnings
Staple gun and staples - available from Bunnings
White spray paint
Container and mixing stick (or spoon)
My DIY Texture Paint or Dulux Medium Texture Exterior Paint
Acrylic paint of your choice - I chose purple so I could create a beautiful lilac
Paint brush
Liquid Nails - available from Bunnings
How To
If your mirror has a frame, remove it using a screwdriver. Clean the mirror with windex and a clean dry cloth.
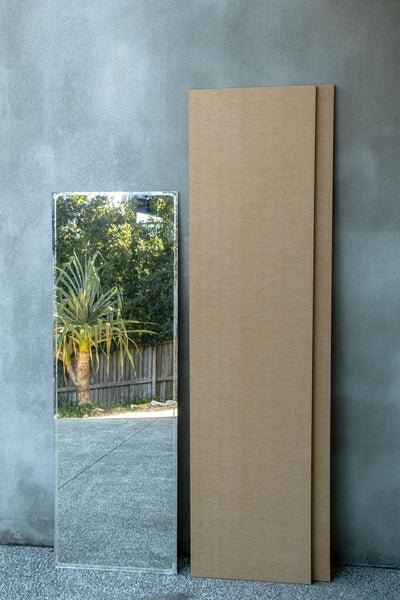
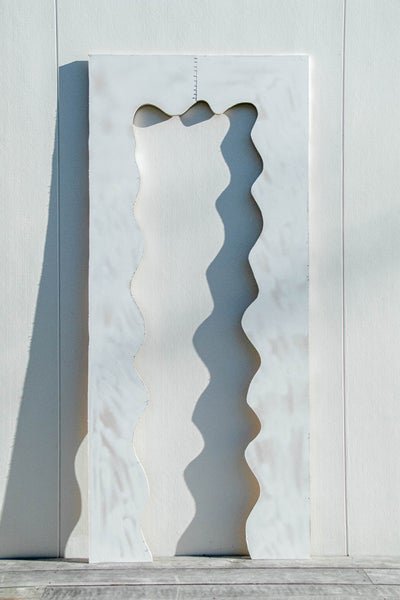
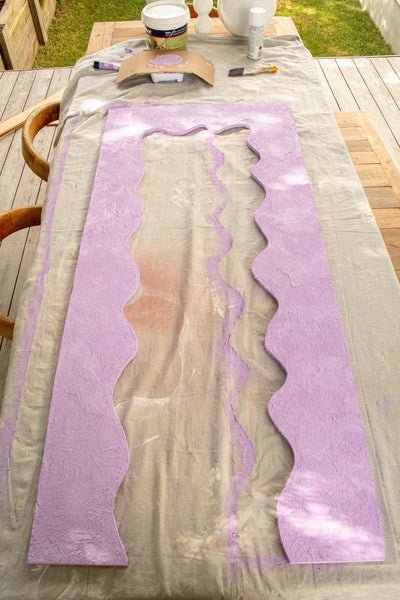
Trace the outside of the mirror onto the MDF sheet with a pencil. Using a measuring tape and a ruler, draw another outline in pencil wider than the outline of the mirror with a width/distance of at least 10cm. Freehand draw the wavy edge on the inside of the mirror on your MDF sheet.
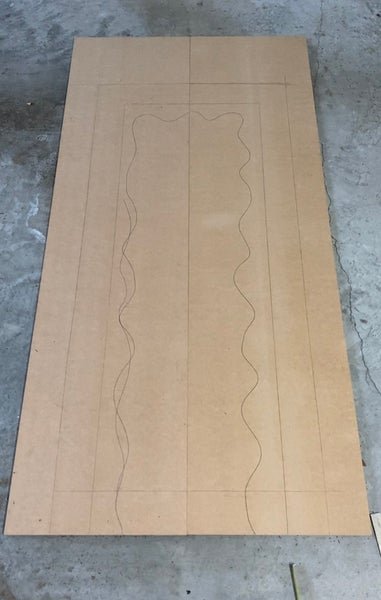
Cut the wavy edges with the jigsaw, and then cut the straight edges. If you have two sheets of MDF like I need, staple the sheets together where they join at the top. Spray one side with white spray paint and let it dry.
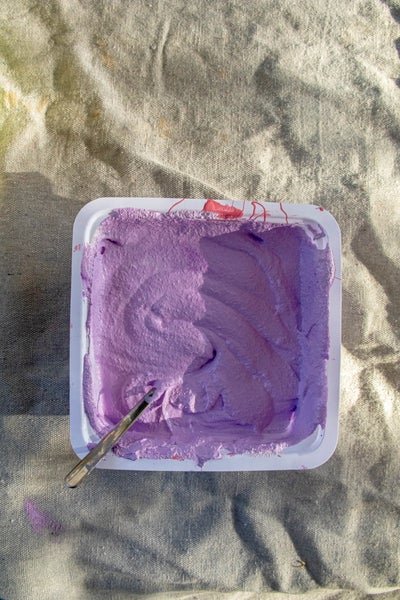
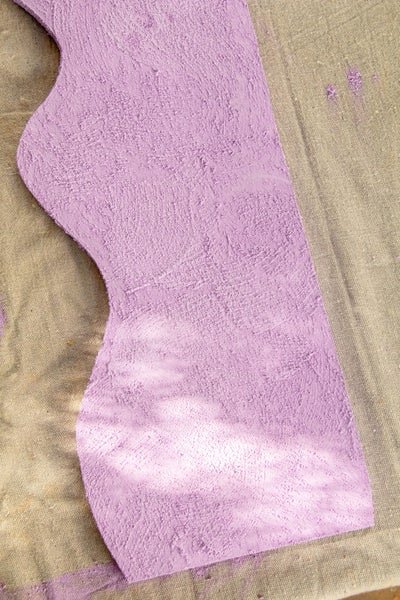
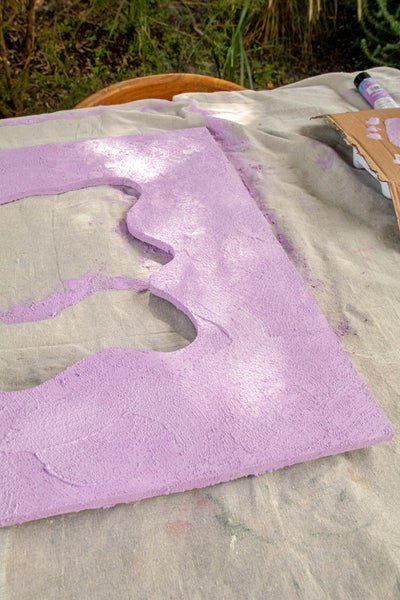
Pour approximately 5 to 7 cups of Dulux Texture Paint into a container. Slowly add the coloured acrylic paint and stir until you have the colour you desire. Paint the frame and use different brush strokes to create even more texture. Paint the edges as well. Set aside to dry.
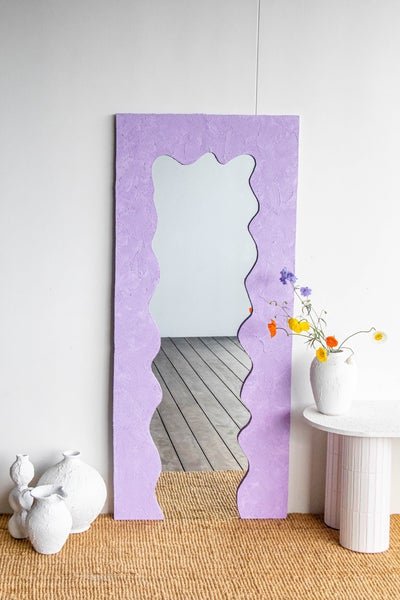
Turn the frame over, and apply glue on the inside (where the mirror will be placed). Place the mirror into position and place some heavy books on top. Set aside to dry for 24 hours. And that's it!
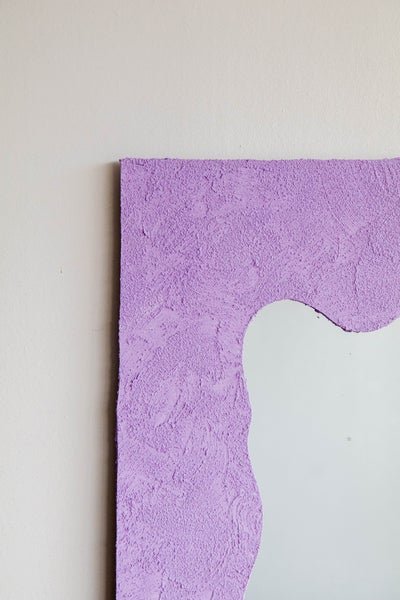
Here it is!
I'll be sharing a video soon of the entire process so you'll be able to see how simple and surprisingly fast this project is to complete from start to finish. I am so proud of this project because I used a jigsaw again, and have become really confident with this tool. It's such a nice feeling! And it's making me look at furniture in a whole new way. Gotta love that!