
How To Paint Checker Print Fabric
Coming to you to day with a new project - How To Paint Checker Print Fabric! If you have been following along over on Instagram, then you'll know over a month ago I shared my idea for painting fabric - both checker and striped prints. I was at Lincraft sourcing fabric to make some DIY Cushion Covers (tutorial is coming soon!) and crafty things for Celeste and Dusty. I was admiring the gingham fabric and went looking for some checker fabric inspired by checkerboards, but unfortunately I couldn't find any. Checker print is definitely having a moment and I love how fun it is! When I was in the paint section, I discovered acrylic paint that's perfect for painting fabric and then an idea struck - if I can’t buy checker fabric that I love, why not DIY it? I shared my idea on Instagram to paint a checker and a stripe print, and here we are. Read on to find out how you can paint your own checker print fabric.


Materials
Drop sheet
Cotton fabric
Measuring tape
Acrylic paint suitable for fabric - I got this brand from Lincraft
4.8cm Painters tape from Bunnings
Scissors
High density foam roller from Bunnings
Something to note
This tutorial is for painting a checker print on fabric before you make or sew something out of the fabric. As I mentioned earlier, I used this technique on DIY Cushion Covers I had already made but you can use the same technique on any piece of cotton fabric. I have yet to test other fabrics like linen, but I think for this to yield the best result, use a natural fabric like cotton or linen.
How To
1. Cut your fabric to size. I used my DIY Cushion Covers for this project.
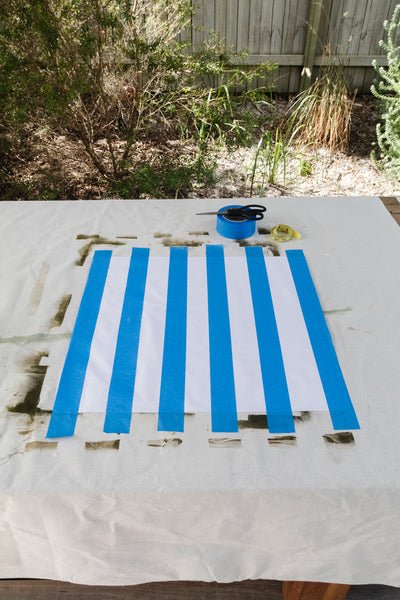
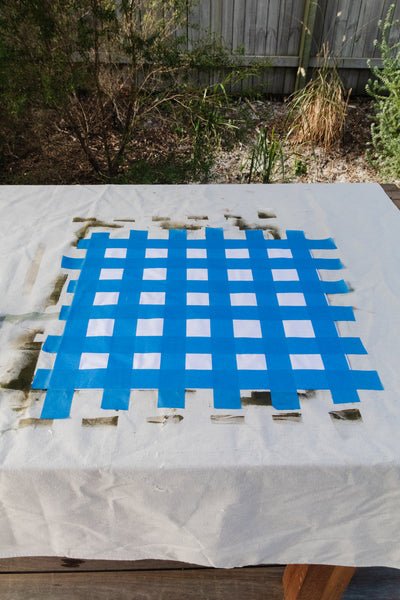
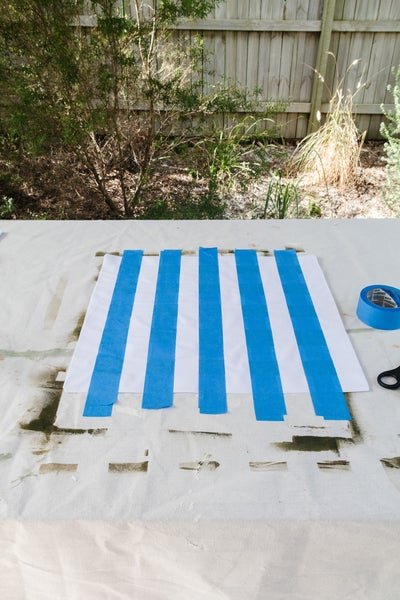
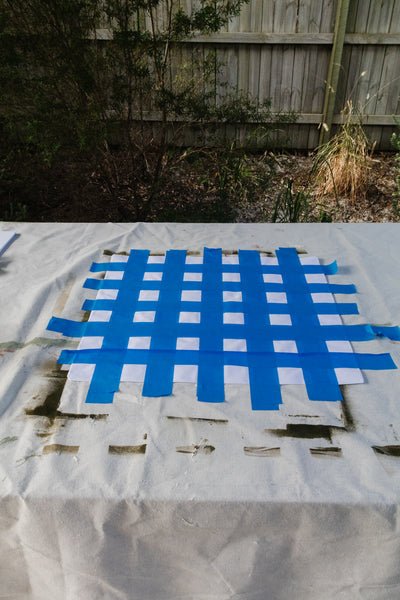
2. Using the measuring tape, evenly space out and apply the painters tape vertically onto the fabric from one side to the other. Carefully press down the edges to ensure paint doesn't seep in underneath the painters tape. Repeat by applying the painters tape horizontally across the fabric. Make sure the tape is longer than the fabric so you can anchor your fabric down by pushing the tape down at the ends.
3. Paint the entire surface using the roller. Set aside to dry.
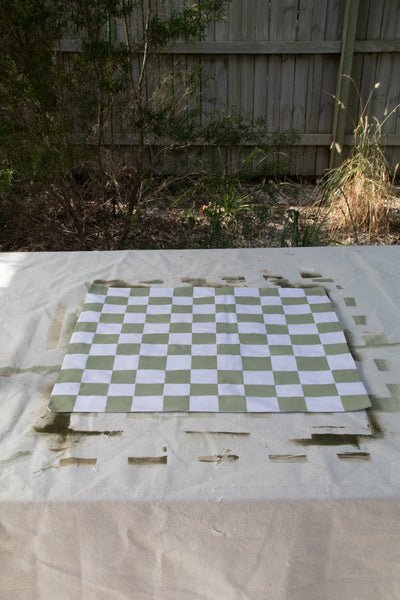
4. When dry, carefully peel the painters tape off the fabric and lots of small painted squares will be revealed. This part is so satisfying!
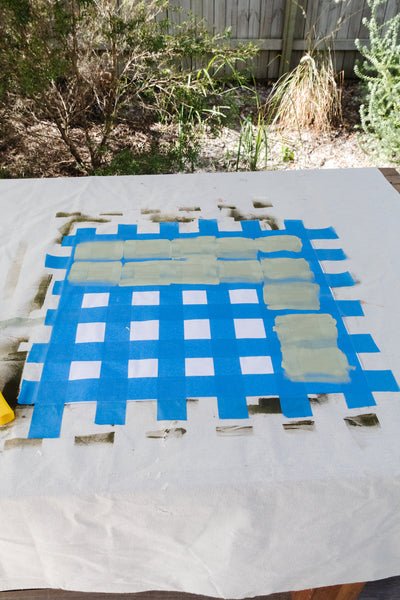
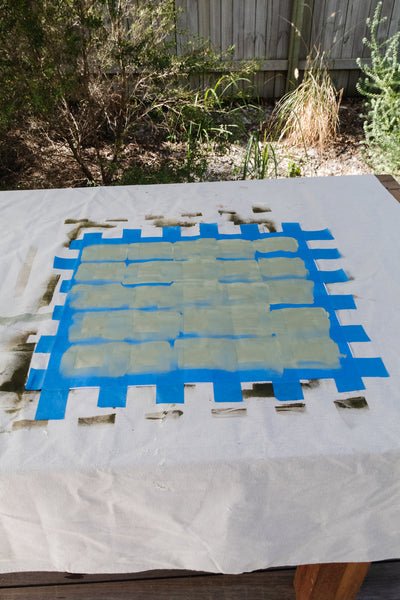
5. Carefully apply the painters tape vertically onto the painted squares from one side to the other. Carefully press down the edges to ensure paint doesn't seep in underneath the painters tape. Repeat by applying the painters tape horizontally across the remaining painted squares. Basically you are covering up all the painted squares. It looks a little confusing I know, but stick with me.
6. Paint the entire surface using the roller. Set aside to dry.
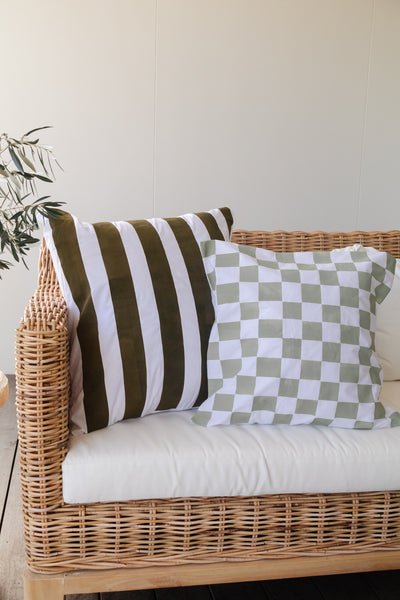
7. When dry, carefully peel the painters tape off the fabric and the checker print will be revealed.
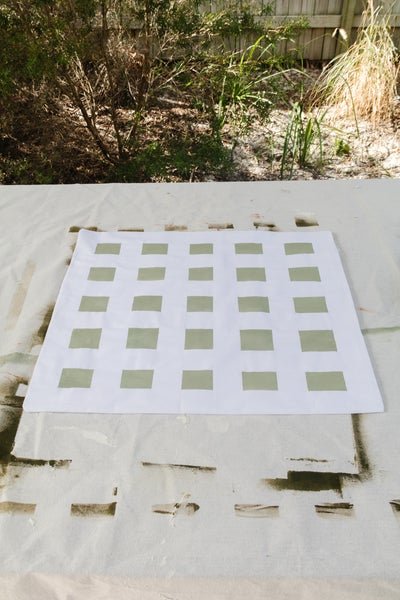
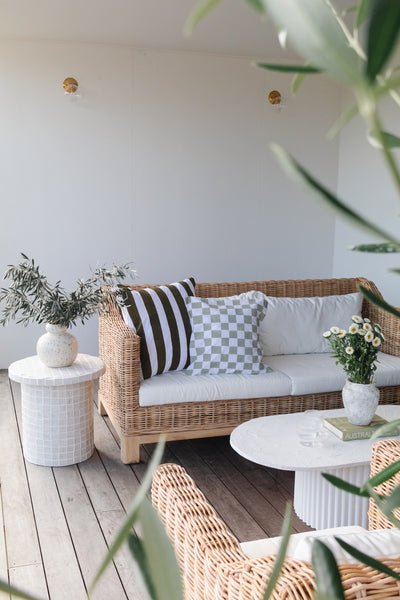
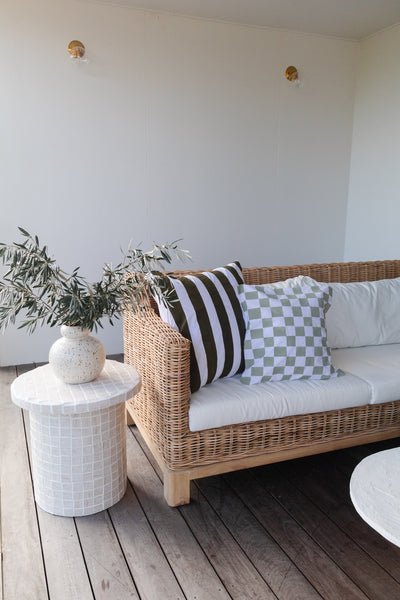
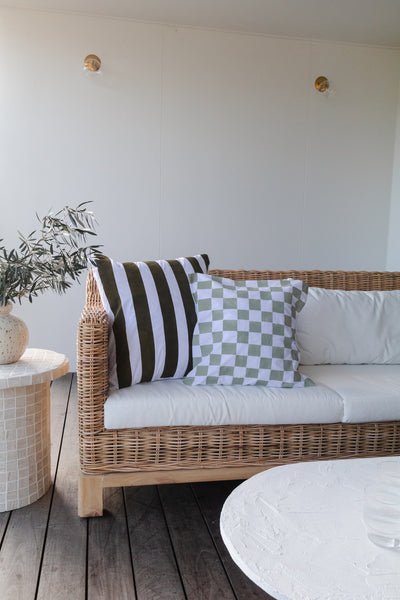
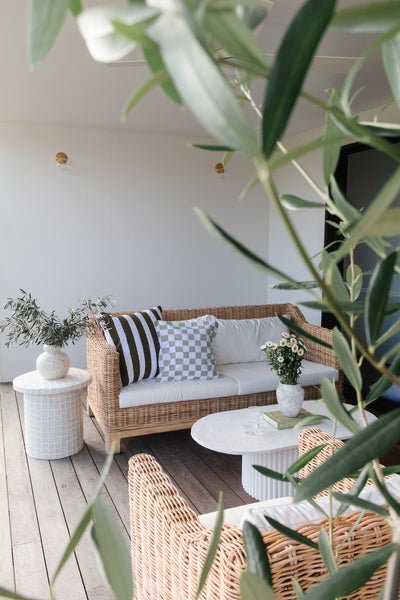
Ta daaaa!
Don't the cushions look absolutely beautiful! As you know I shared my idea for this project over on Instagram last month. I offset the painted checker print with painted stripes as well. Painting stripes was so easy that you don't need a tutorial for that. But if you are wondering, simply apply the painters tape evenly and vertically onto your fabric. Paint the entire surface using the roller and set aside to dry. When dry, carefully peel the painters tape off the fabric to reveal painted striped fabric!

A little note from me
Thank you so much for taking the time to read through this tutorial. I hope you enjoyed reading it and feel inspired to paint your own checker print fabric! I know a lot of you are doing it tough in lockdown, so I hope this provides some much needed comfort and distraction.
If you love this recipe, you can also stay in touch with me by following along on Instagram and Pinterest where I share lots of recipes and DIY projects every week. If you have any questions about this recipe or any of my DIY projects, or if you just want to say hello, I'd love to hear from you. Write to me at jaharn@smorkitchen.com. Happy cooking, happy DIY'ing!


