
Before & After: The DIY Chubby Tiled Side Table
My love affair of all things tiled it still going strong. If you've been following along here for a little while, then you'll know I recently made this DIY Tiled Chubby Table from scratch using a sheet of MDF, PVC pipes, tiles and pink DIY Coloured Grout. We needed a side table in our lounge room and it was such a fun project to create! It was the first time I used a jigsaw and I haven't stopped thinking of all the things I can make using this excellent tool!
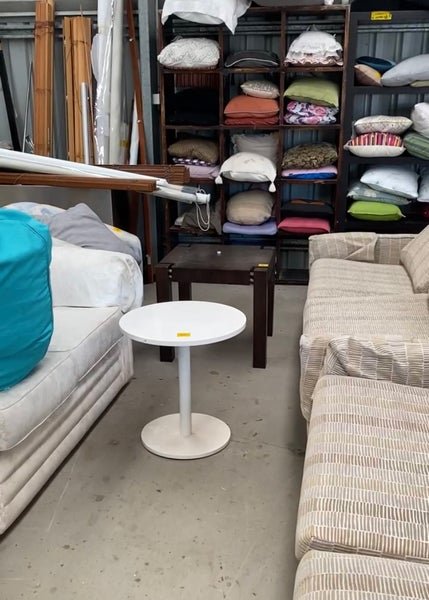
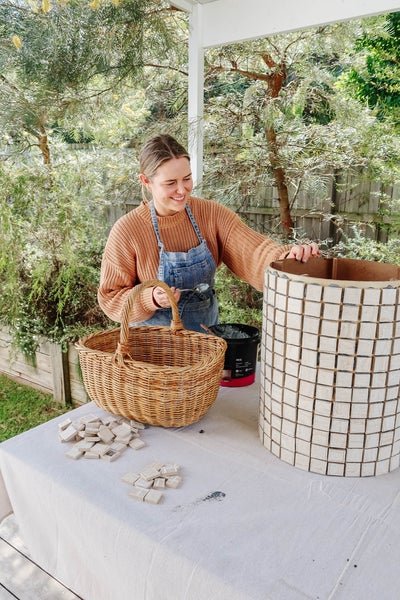
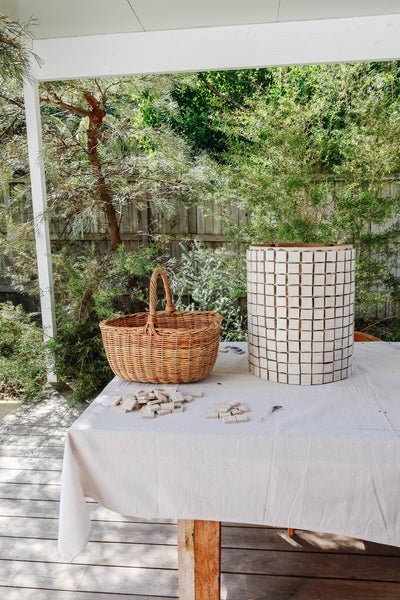
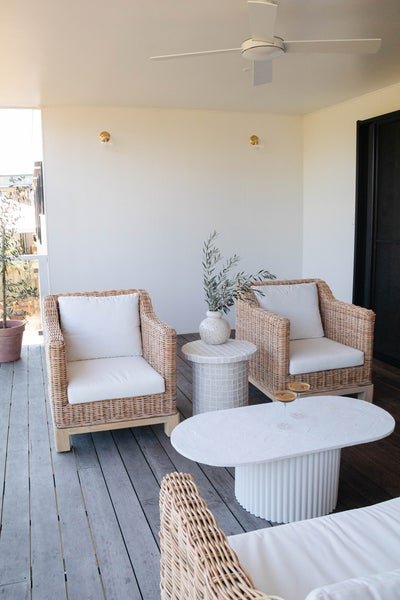
But even before this, about two months ago, I was at my local Tip Shop and picked up two boxes of travertine style tiles for only $20. They were made in Japan and the quality of the matt finish was heavenly. On the same trip to the Tip Shop, I also picked up a round side table. I actually saw it the day before but decided not to get it, but typically, as soon as I got home I couldn't stop thinking about it so I raced back to the Tup Shop the next morning and was so relieved it was still there - and for only $8! I always knew I wanted to make a chubby tiled table for our new Outdoor Kitchen and knew I could make something pretty special with the thrifted circle table and tiles. When I was speaking to my dear friend Maddy from The Essentials Club last month, I asked her if she wanted to come over and help me. Of course she said yes! And as they say, the rest is history. Read on to find out how we made this DIY Chubby Tiled Side Table. And if you haven't already, make sure you watch our tutorial over on Maddy's YouTube Channel here.
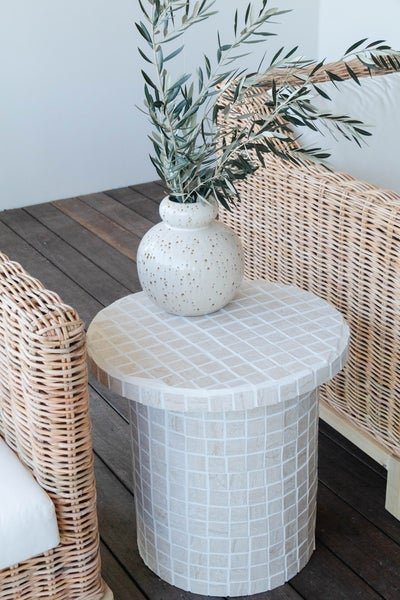
Before & After
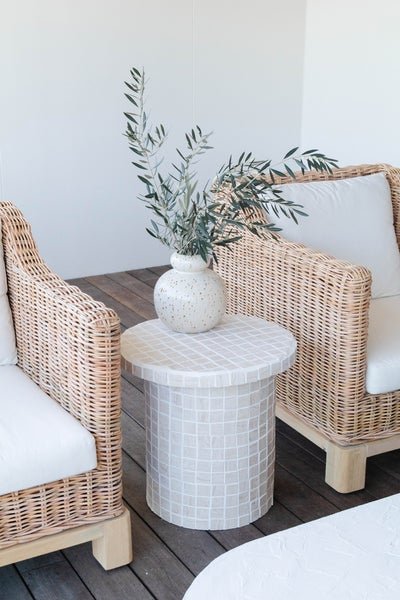
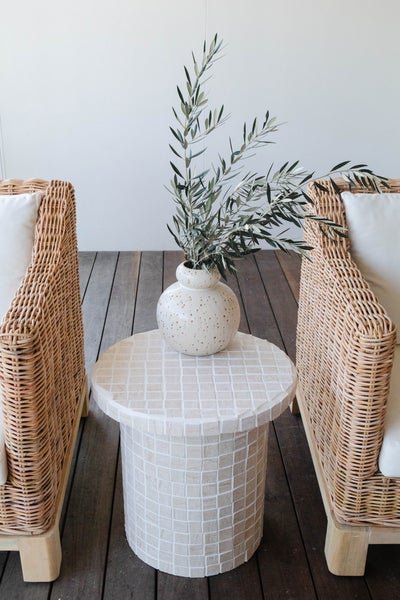
The DIY Chubby Tiled Side Table
This has to be one of my favourite projects to date! I love chubby tables (make sure you check out my DIY Wavy Chubby Table here) and was really inspired by this vintage round terracotta coffee table I saw on Pinterest, which I had pinned ages ago. With the circle table in one hand and my boxes of tiles in the other, I started to get thinking:
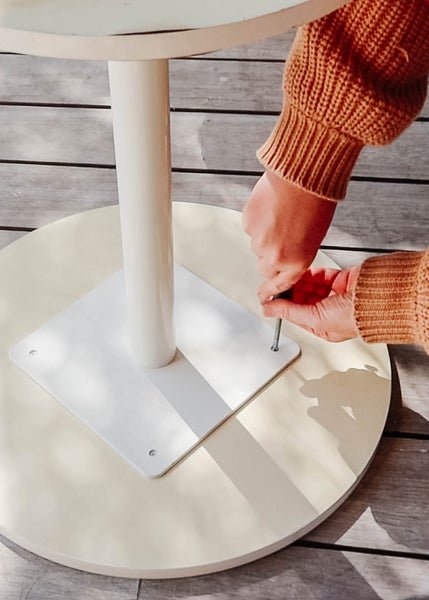
I wanted to remove the top from the circular table and use this for my DIY Tiled Side Table. It had screws underneath and was easily removed.
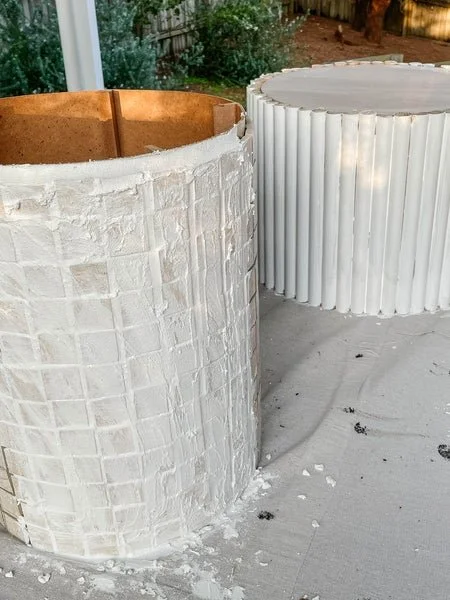
I wanted to create a really chubby stand and I remembered I had a circular pillar collecting dust in the garage, so I decided to use that. But it wasn't tall enough. As fate would have it, I jumped onto Kmart's website and they were still selling it! I had bought mine almost two years ago and I couldn't believe my luck. I grabbed an extra one and cut it in half to place on top of the other one, and therefore create the perfect height for my DIY Tiled Side Table.
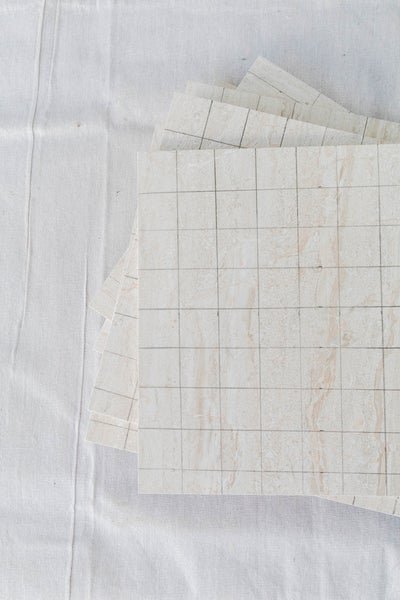
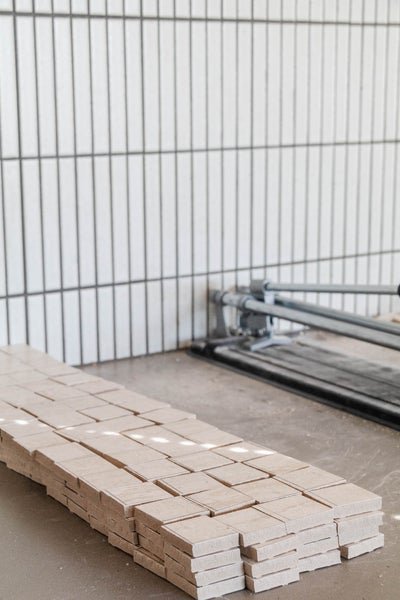
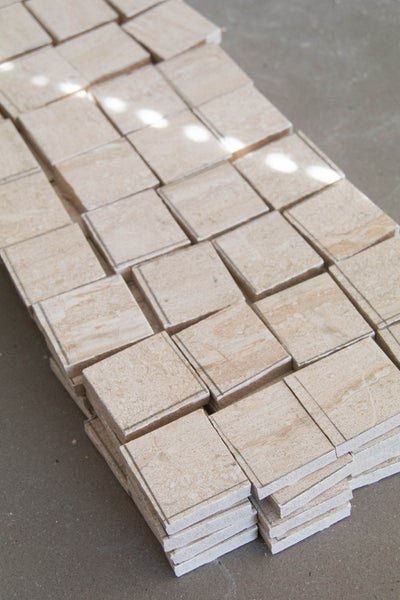
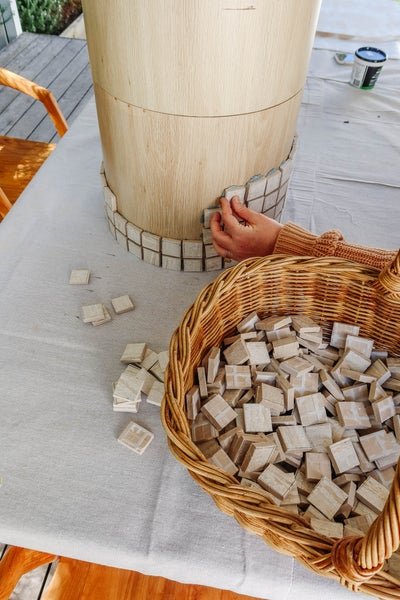
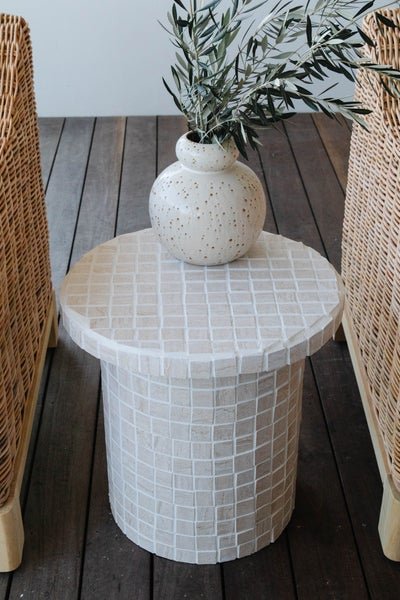
The tiles I picked up from the Tip Shop were 30cm x 30cm, but I really wanted them to be smaller. I measured the height, diameter and circumference of the table to work out how small I would need the tiles to be, which was around 3cm x 3cm. I picked up a tile cutter from Bunnings and spent an afternoon measuring and cutting tiles while listening to a podcast. In the end I cut 615 small square tiles - a huge effort but so worth it.
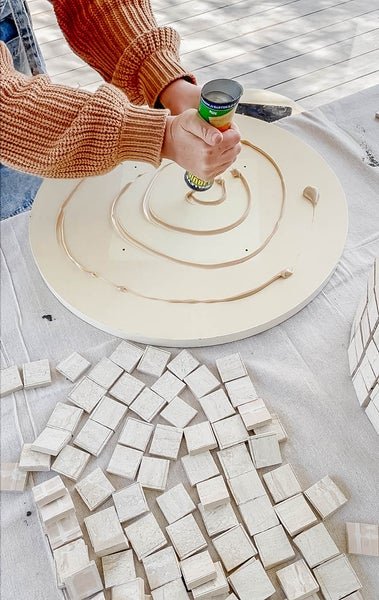
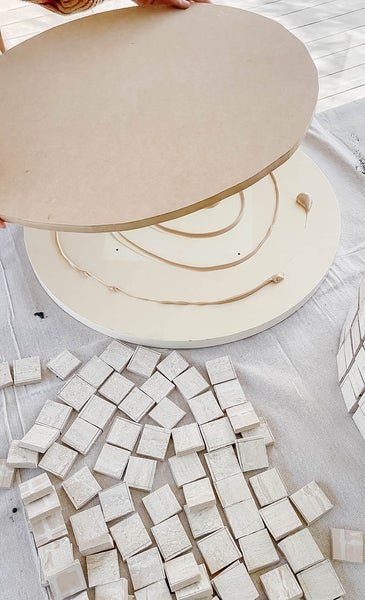
I also realised that the height of the tabletop needed doubling, so I picked up a sheet of MDF from Bunnings and cut it to the same size as the tabletop using a jigsaw.
All of the above may sound a little complicated, but it truly wasn't. I really love the creative problem solving aspect of DIY home decor. It pushes you to think differently and to come up with creative solutions. From here, it was as simple as gluing the structure together, applying the tiles and grouting. What I love about this project is that you can knock it off in as little as two days!
Materials
2 x small circular tables from Kmart
Hack saw from Bunnings
Selley's High Strength Liquid Nails from Bunnings
Thrifted circle tabletop (if you don't have this or can't find one, you can measure and cut a circle tabletop using a sheet of MDF and a jigsaw)
Sheet of MDF from Bunnings
Jigsaw from Bunnings
PowerFit 24TPI Fine Cut All Purpose Jigsaw Blades from Bunnings
How To
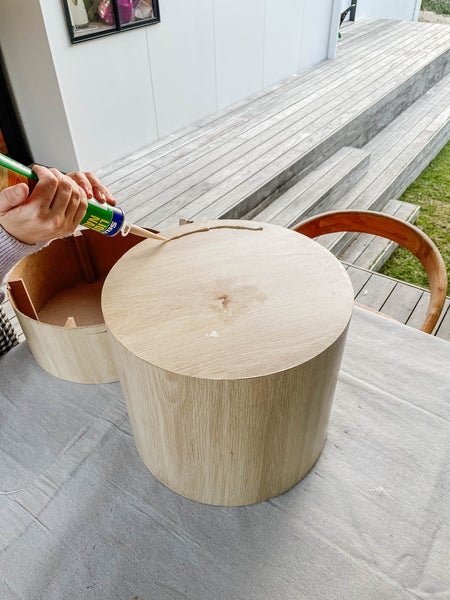
Prep the structure of your table first. Cut and glue the base of your table together using Selley's Liquid Nails. Wait 15 minutes for the glue to cure.
Measure and cut the sheet of MDF using a jigsaw and clamps to the same size as the tabletop. Glue the tabletop and MDF circle together using Selley's Liquid Nails. Wait 15 minutes for the glue to cure.
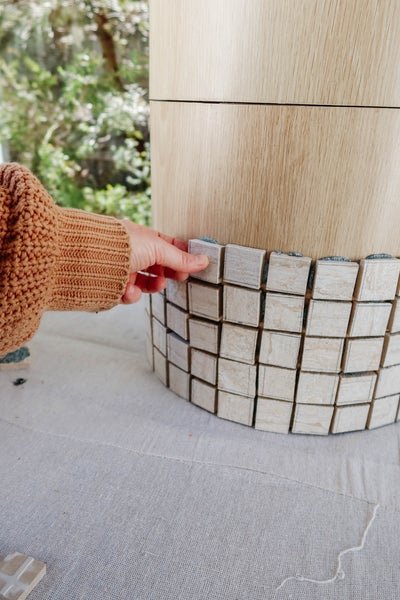
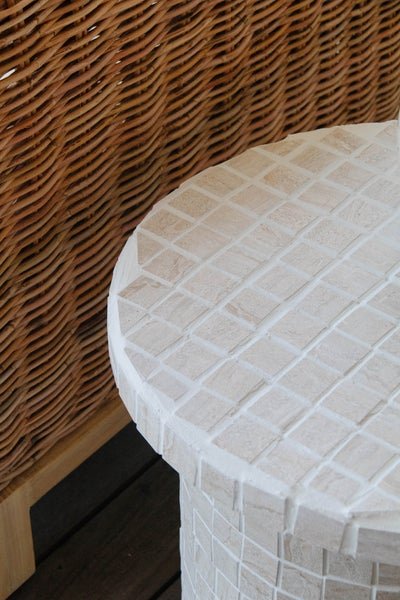
Measure the base of your table and calculate the size of the tiles that will best fit - I cut my tiles 3cm x 3cm and added 0.5cm per tile for the grout to calculate how many tiles would fit on each row around the base of the table. Measure and the cut the tiles accordingly using a ruler, pencil and a tile cutter.
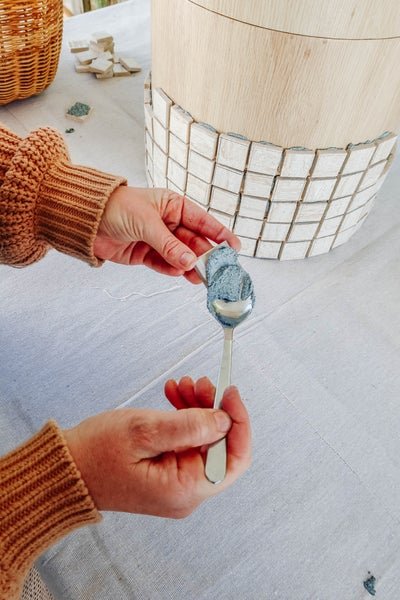
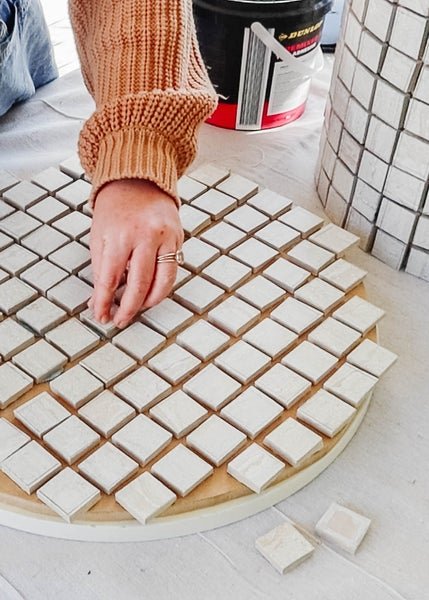
Tile the base of the table. Apply each tile using tile adhesive row by row to ensure you get a straight line each row you complete. I used a spoon to coat the back of the tile and then placed it firmly onto the base of the table for a few seconds; this helps the tile adhesive cure. Tile the entire base of the table row by row.
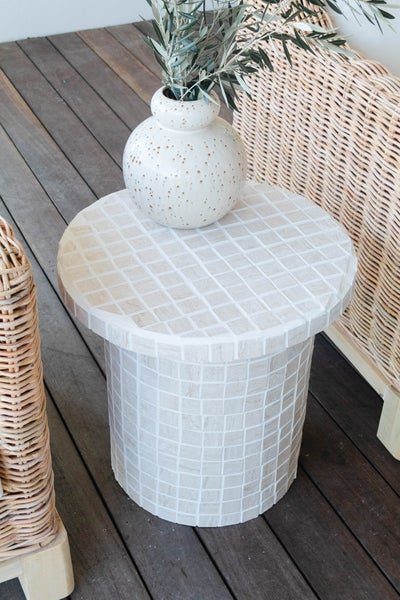
Tile the top of the table. Have fun coming up with a pattern. We matched the pattern of the top to the straight lines on the base of the table. But you could go for a more Mediterranean look like the Pinterest photo this project was inspired by.
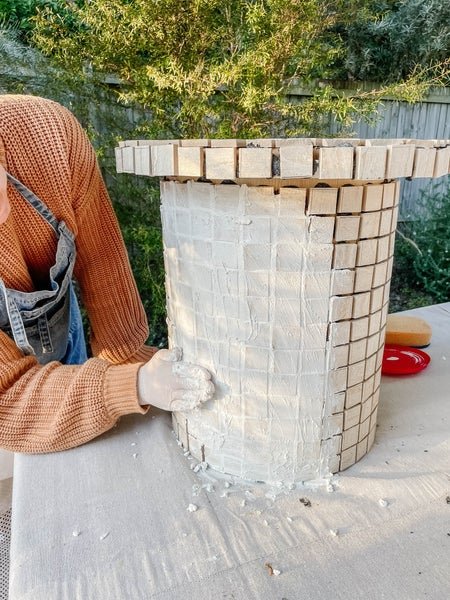
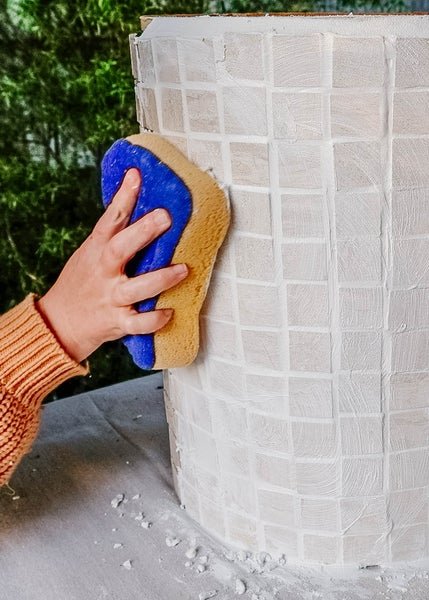
Grout the base of the table. Wearing disposable gloves, grout the base of the table in sections. Work the grout in between the tiles by applying in a diagonal direction. You must work in sections otherwise the grout will begin to set and it'll be hard to remove. I worked the base in four sections, starting by grouting one section and waiting 10 minutes before I removed the excess grout using a damp tiling sponge in circular motion. Then I moved onto the next section until the base was complete.
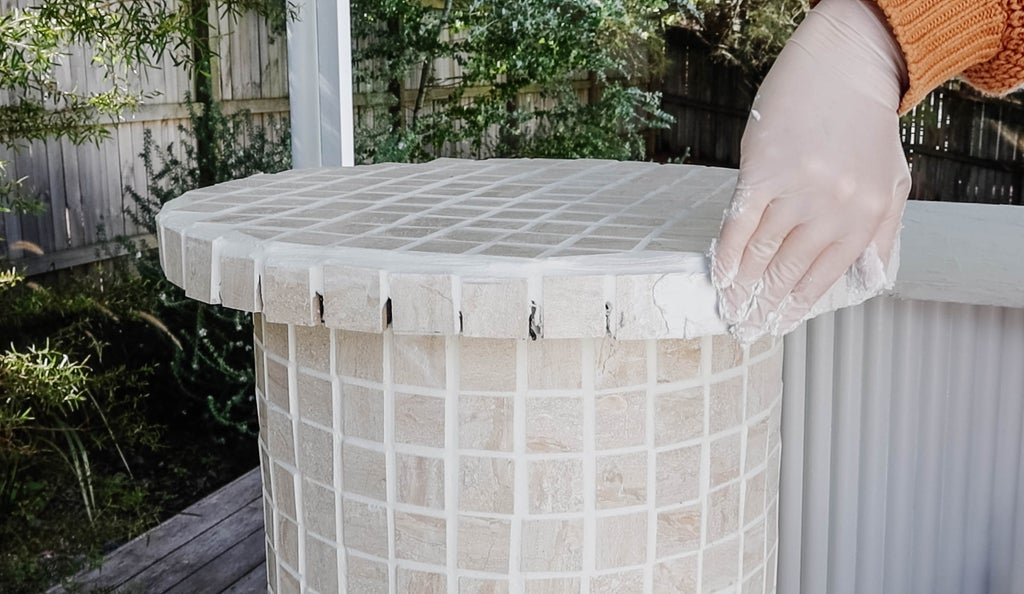
Grout the top of the table. Wearing disposable gloves, grout the top of the table first then the sides. Repeat the grouting application in the previous step. Remember to remove any excess grout by using a damp tiling sponge in circular motion.
Leave the table to dry overnight.

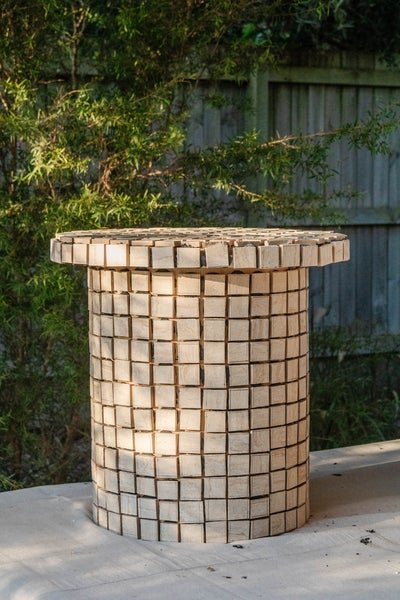

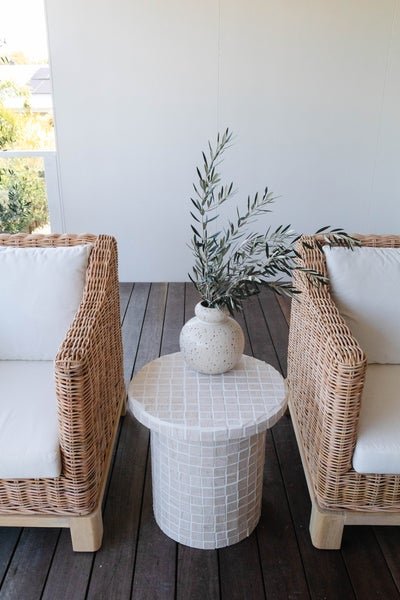
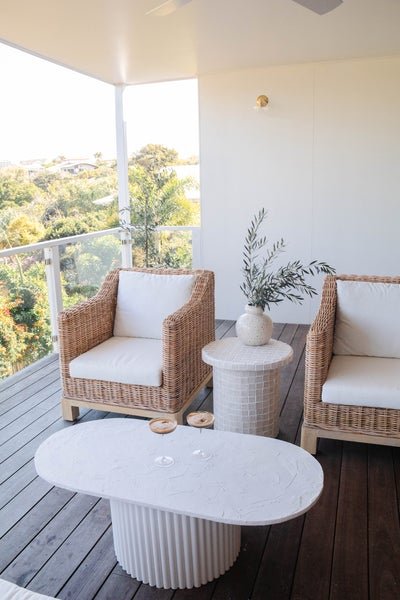
And it's done!
I hope you loved watching this project come to life over on Instagram. It was so fun making this with one of my best friends. Maddy and I were laughing the whole time and celebrated the completion of this table over margaritas, ceviche and churros from our local fave, Paradise Arcade. If you haven't already, make sure to watch our tutorial over on Maddy's YouTube Channel here and follow her. You can also find her on Instagram, Pinterest and she also has a wonderful website filled with fun and sustainable DIY projects that will keep you busy and your heart content.


A little note from me
Thank you so much for taking the time to read through this tutorial. I hope you enjoyed it and feel inspired to give it a go! If you have any questions about the process, please get in touch by sending me an email at jaharn@smorkitchen.com. You can also stay in touch with me by following along on Instagram and Pinterest. Happy cooking!


