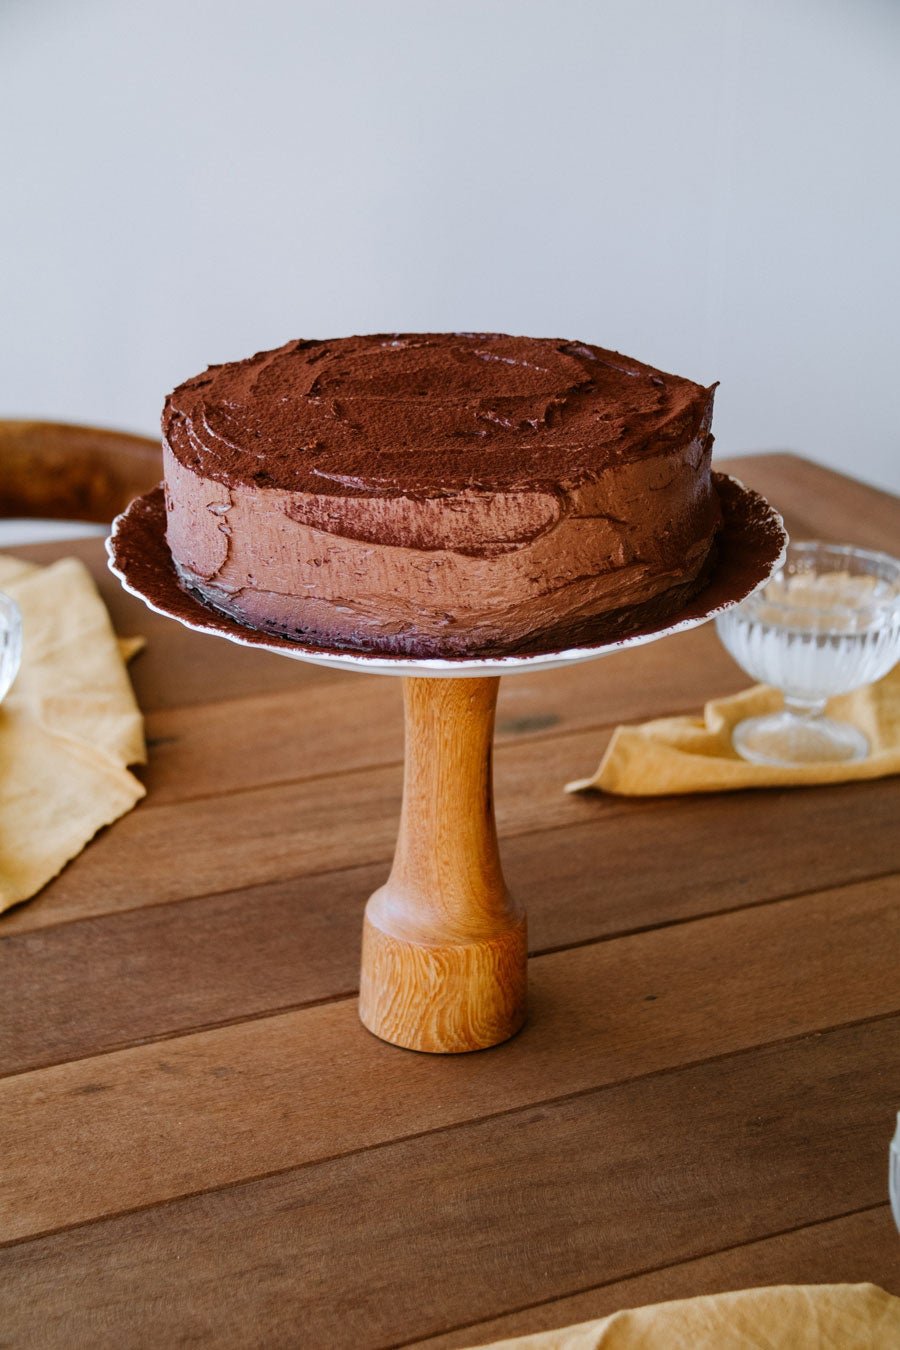
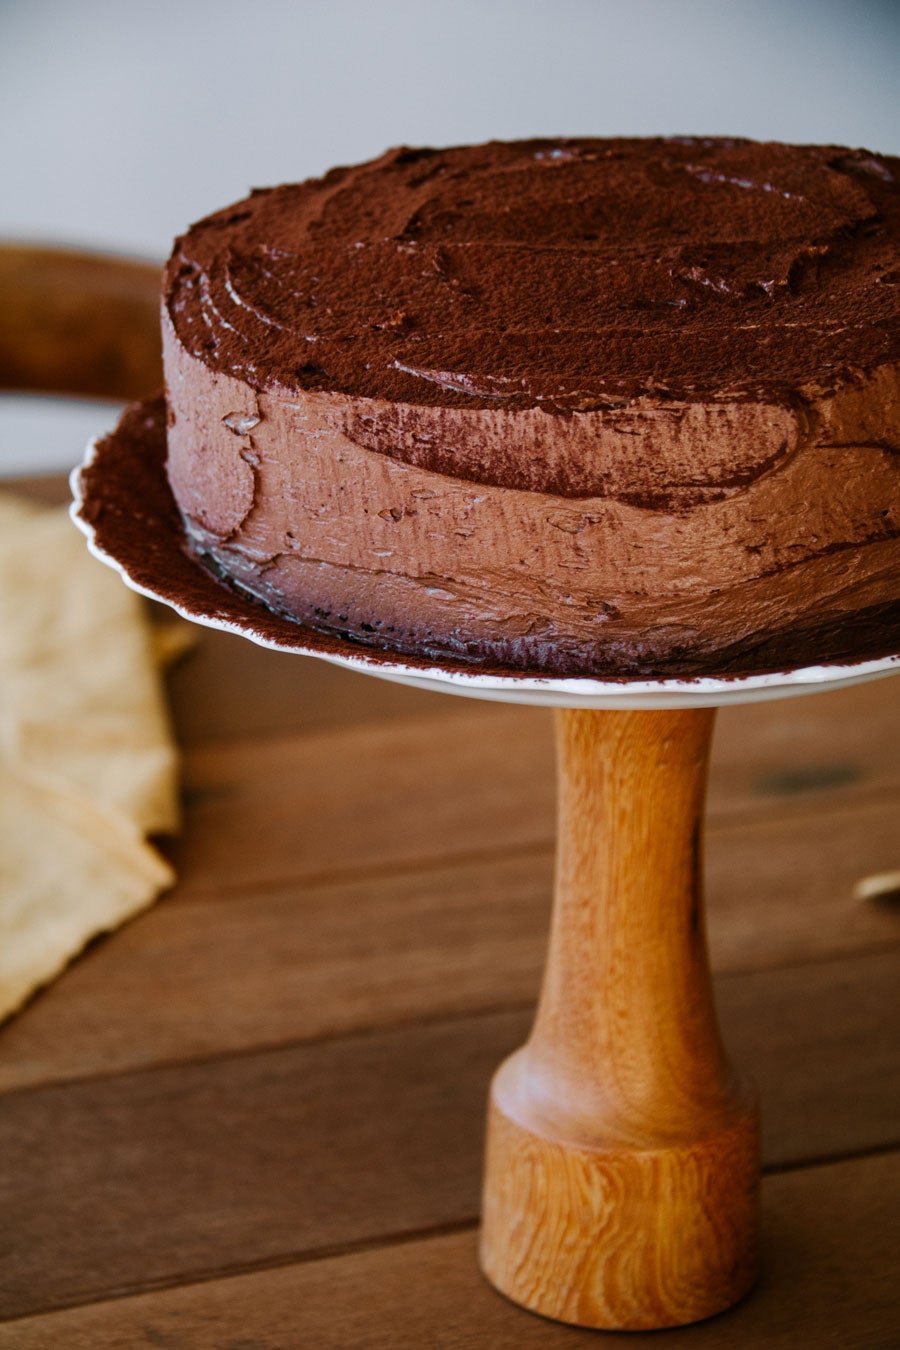
DIY Cake Stand
I don't know what it is at the moment but I love making cakes. Thankfully I don't have a huge sweet tooth otherwise I don't think I'd fit out the front door. But using the same cake stand over and over again was getting very boring. One day an idea clicked, why not make my own cake stand! Celeste and I had a spare morning the other week so I decided to head down to our local charity shop to see if I could find what I needed. I had a good feeling in my bones I would find something perfect. At the first shop we walked into I found a beautiful timber candle stick holder for $2 and a white ruffle edged plate for $1. Win! For this project, you can use what you may have lying around at home and instead of a plate, you could use a small chopping board, a platter, a piece of timber, or some marble. This DIY Cake Stand is super simple. Read on for the steps.

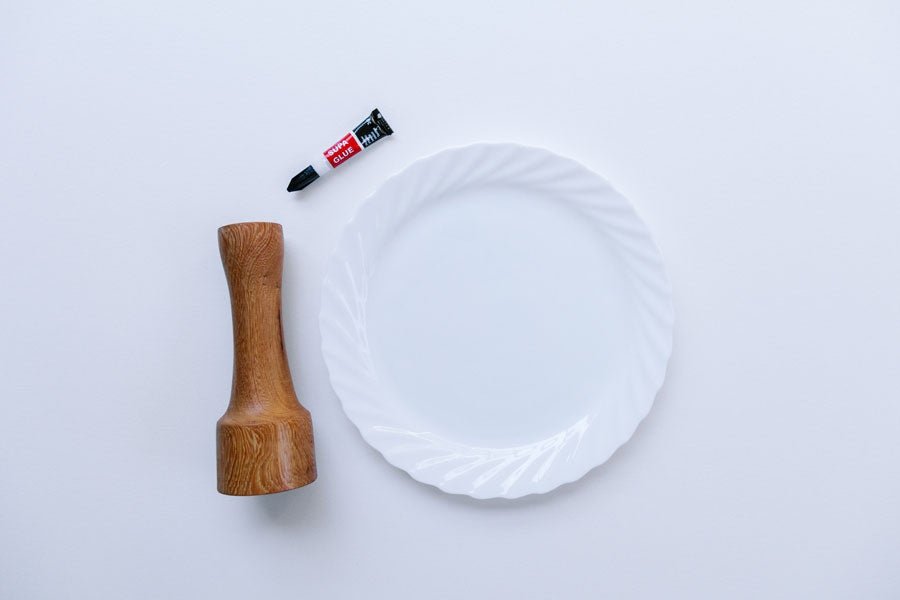
MATERIALS
Second hand candle stick holder
Second hand plate
Super glue
Sharpie or pencil
STEPS
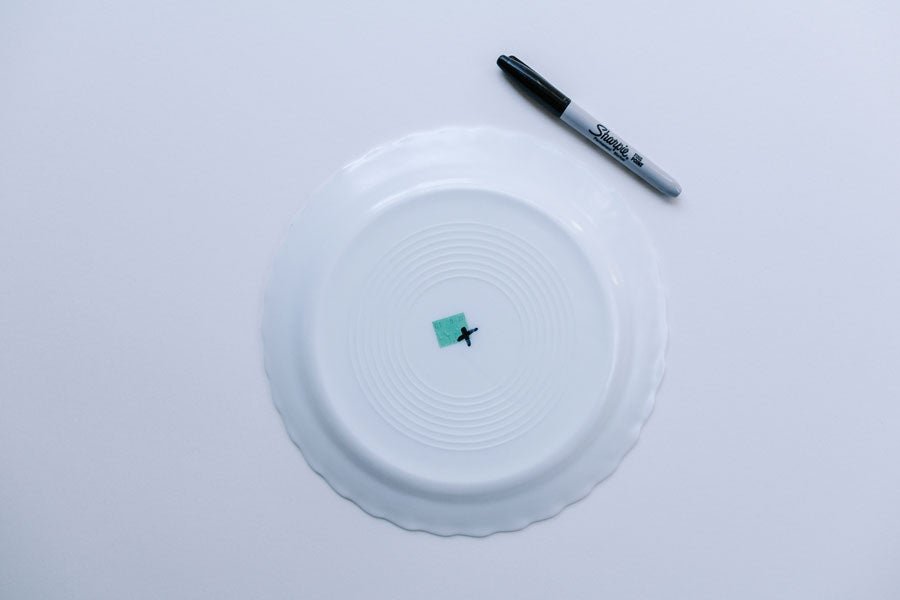
Turn your plate over and using your Sharpie or pencil, mark an x in the very middle of the plate. If you want to be precise, use a ruler to measure out the middle. Leaving a mark on the underside of your plate will help you position the candle stick holder perfectly in the middle.
Apply super glue all over to the top end of your candle stick holder (the end of the candle stick holder where you want the plate to stick) then firmly press down the candle stick holder on top of the x on the plate. It will feel a bit slippery at first but wait a few seconds for the super glue to get tacky. Leave the glue to dry overnight. Super glue obviously dries quickly, but I think it's best to wait overnight for it to dry.
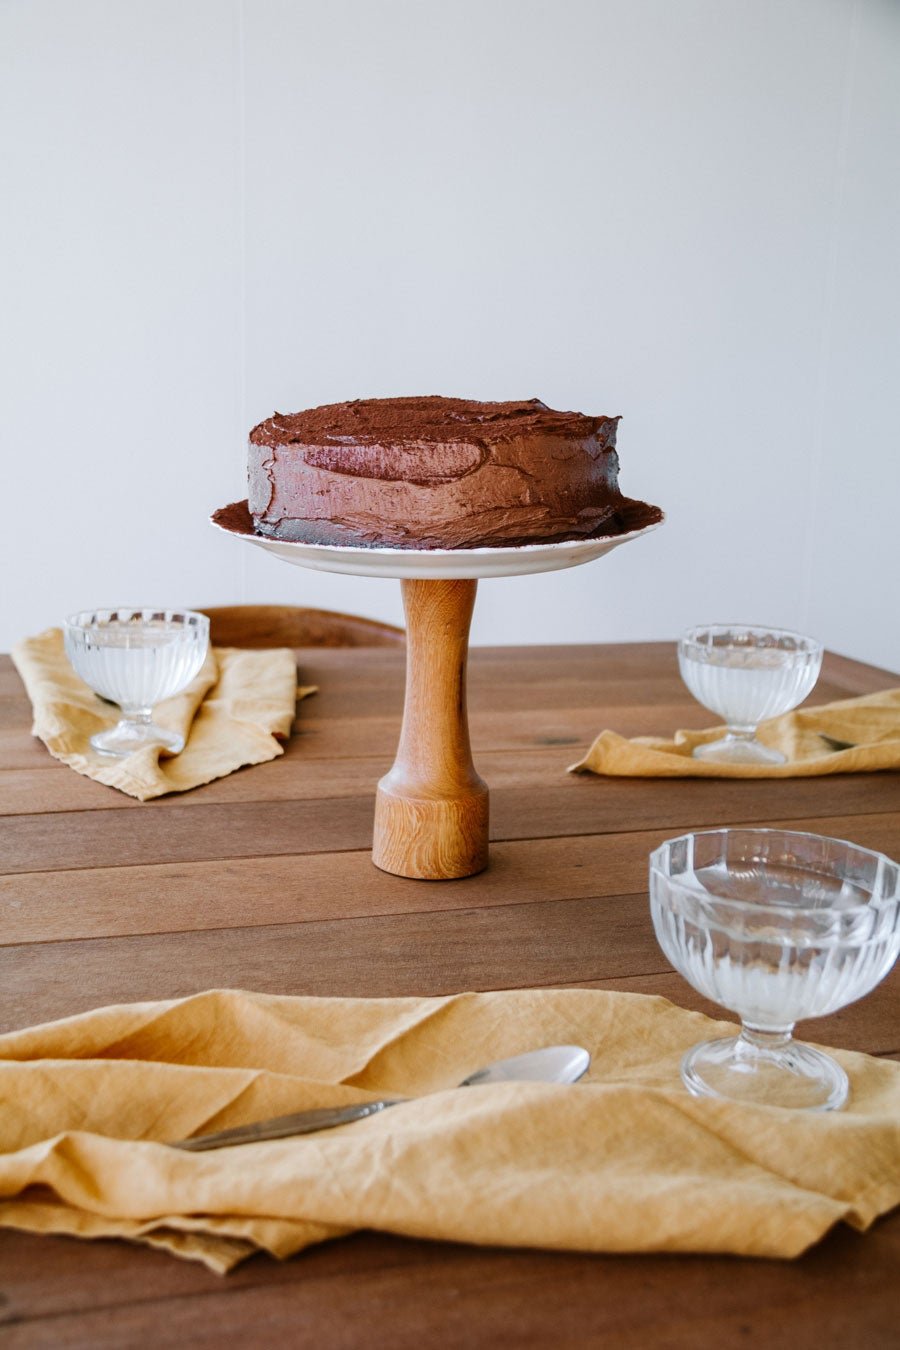
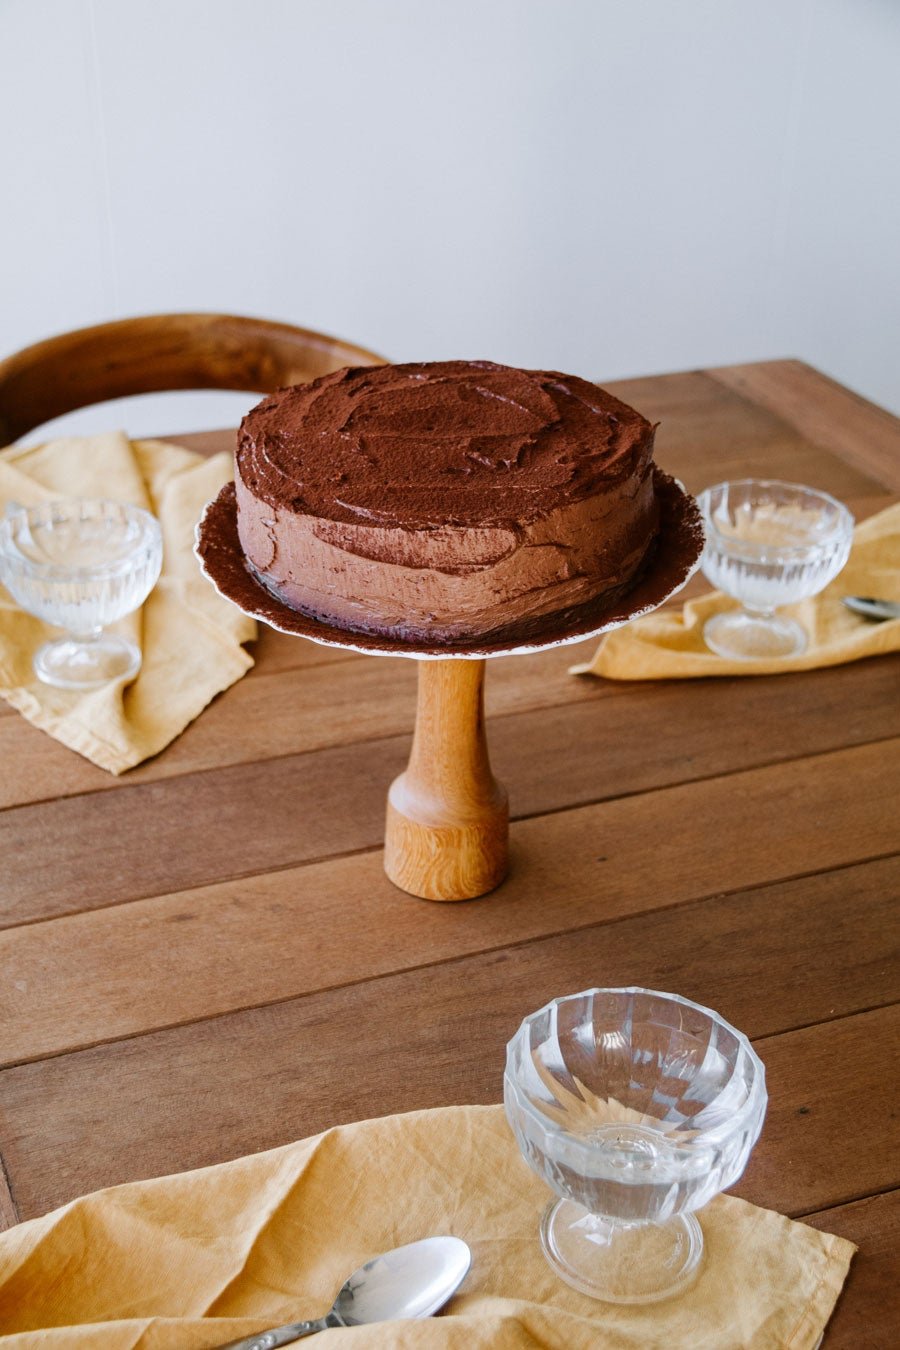
And that's it! Your cake stand is ready!
Oh! The recipe for my delicious Double Layer Chocolate Birthday Cake is coming soon. It's fluffy, and light, and delicious, and super easy to make. Stay tuned. I'll leave a link here for you guys once it's up. Just wait till you try the chocolate buttercream...oh my goodness it's gooooood.