DIY Fluted Perspex Vases
Make your own transparent vases using unexpected materials!
OMG I am so excited to finally share this project with you! A few months ago I was looking at perspex for a plinth project (believe me, my perspex plinth project is coming so soon!) and I discovered it was possible to bend and fold perspex by heating it up using a heat gun. As you can imagine my mind went wild with all the possibilities and I recently found the time to create vases using this technique! But then a plot twist happened when I was shopping for materials. When I was at Bunnings I stumbled across a fluted sheet of polycarbonate, which is typically used for roofing or wall cladding. I knew straight away I could use this for A LOT of projects and that it would also be perfect for this project. And here we are. Read on to find out how to make your own DIY Perspex Fluted Vases.


Project Details
🕒 Project Time Estimate: 1 hour of making, and at least 3 hours for the glue to set (and 24 hours to completely dry).
💰 Materials Cost: $115 (this may be on the higher end but the future projects possible with these materials are endless!)
👷♀️ Skill Level: Beginner to Intermediate DIYer (depending on your experience with a jigsaw)
⚒️ Tools: Table clamps, craft knife, jigsaw and heat gun
Materials
White board marker, bowl and ruler
Face mask and earplugs for safety
2 pieces of timber
Craft knife
Baby wipes
For this project I used clamps, heat gun and a jigsaw - go on, get one! If you’re feeling intimidated or nervous using a jigsaw, have a look at my How To Use a Jigsaw Guide here. It’ll make you feel empowered and confident, I promise!
How To
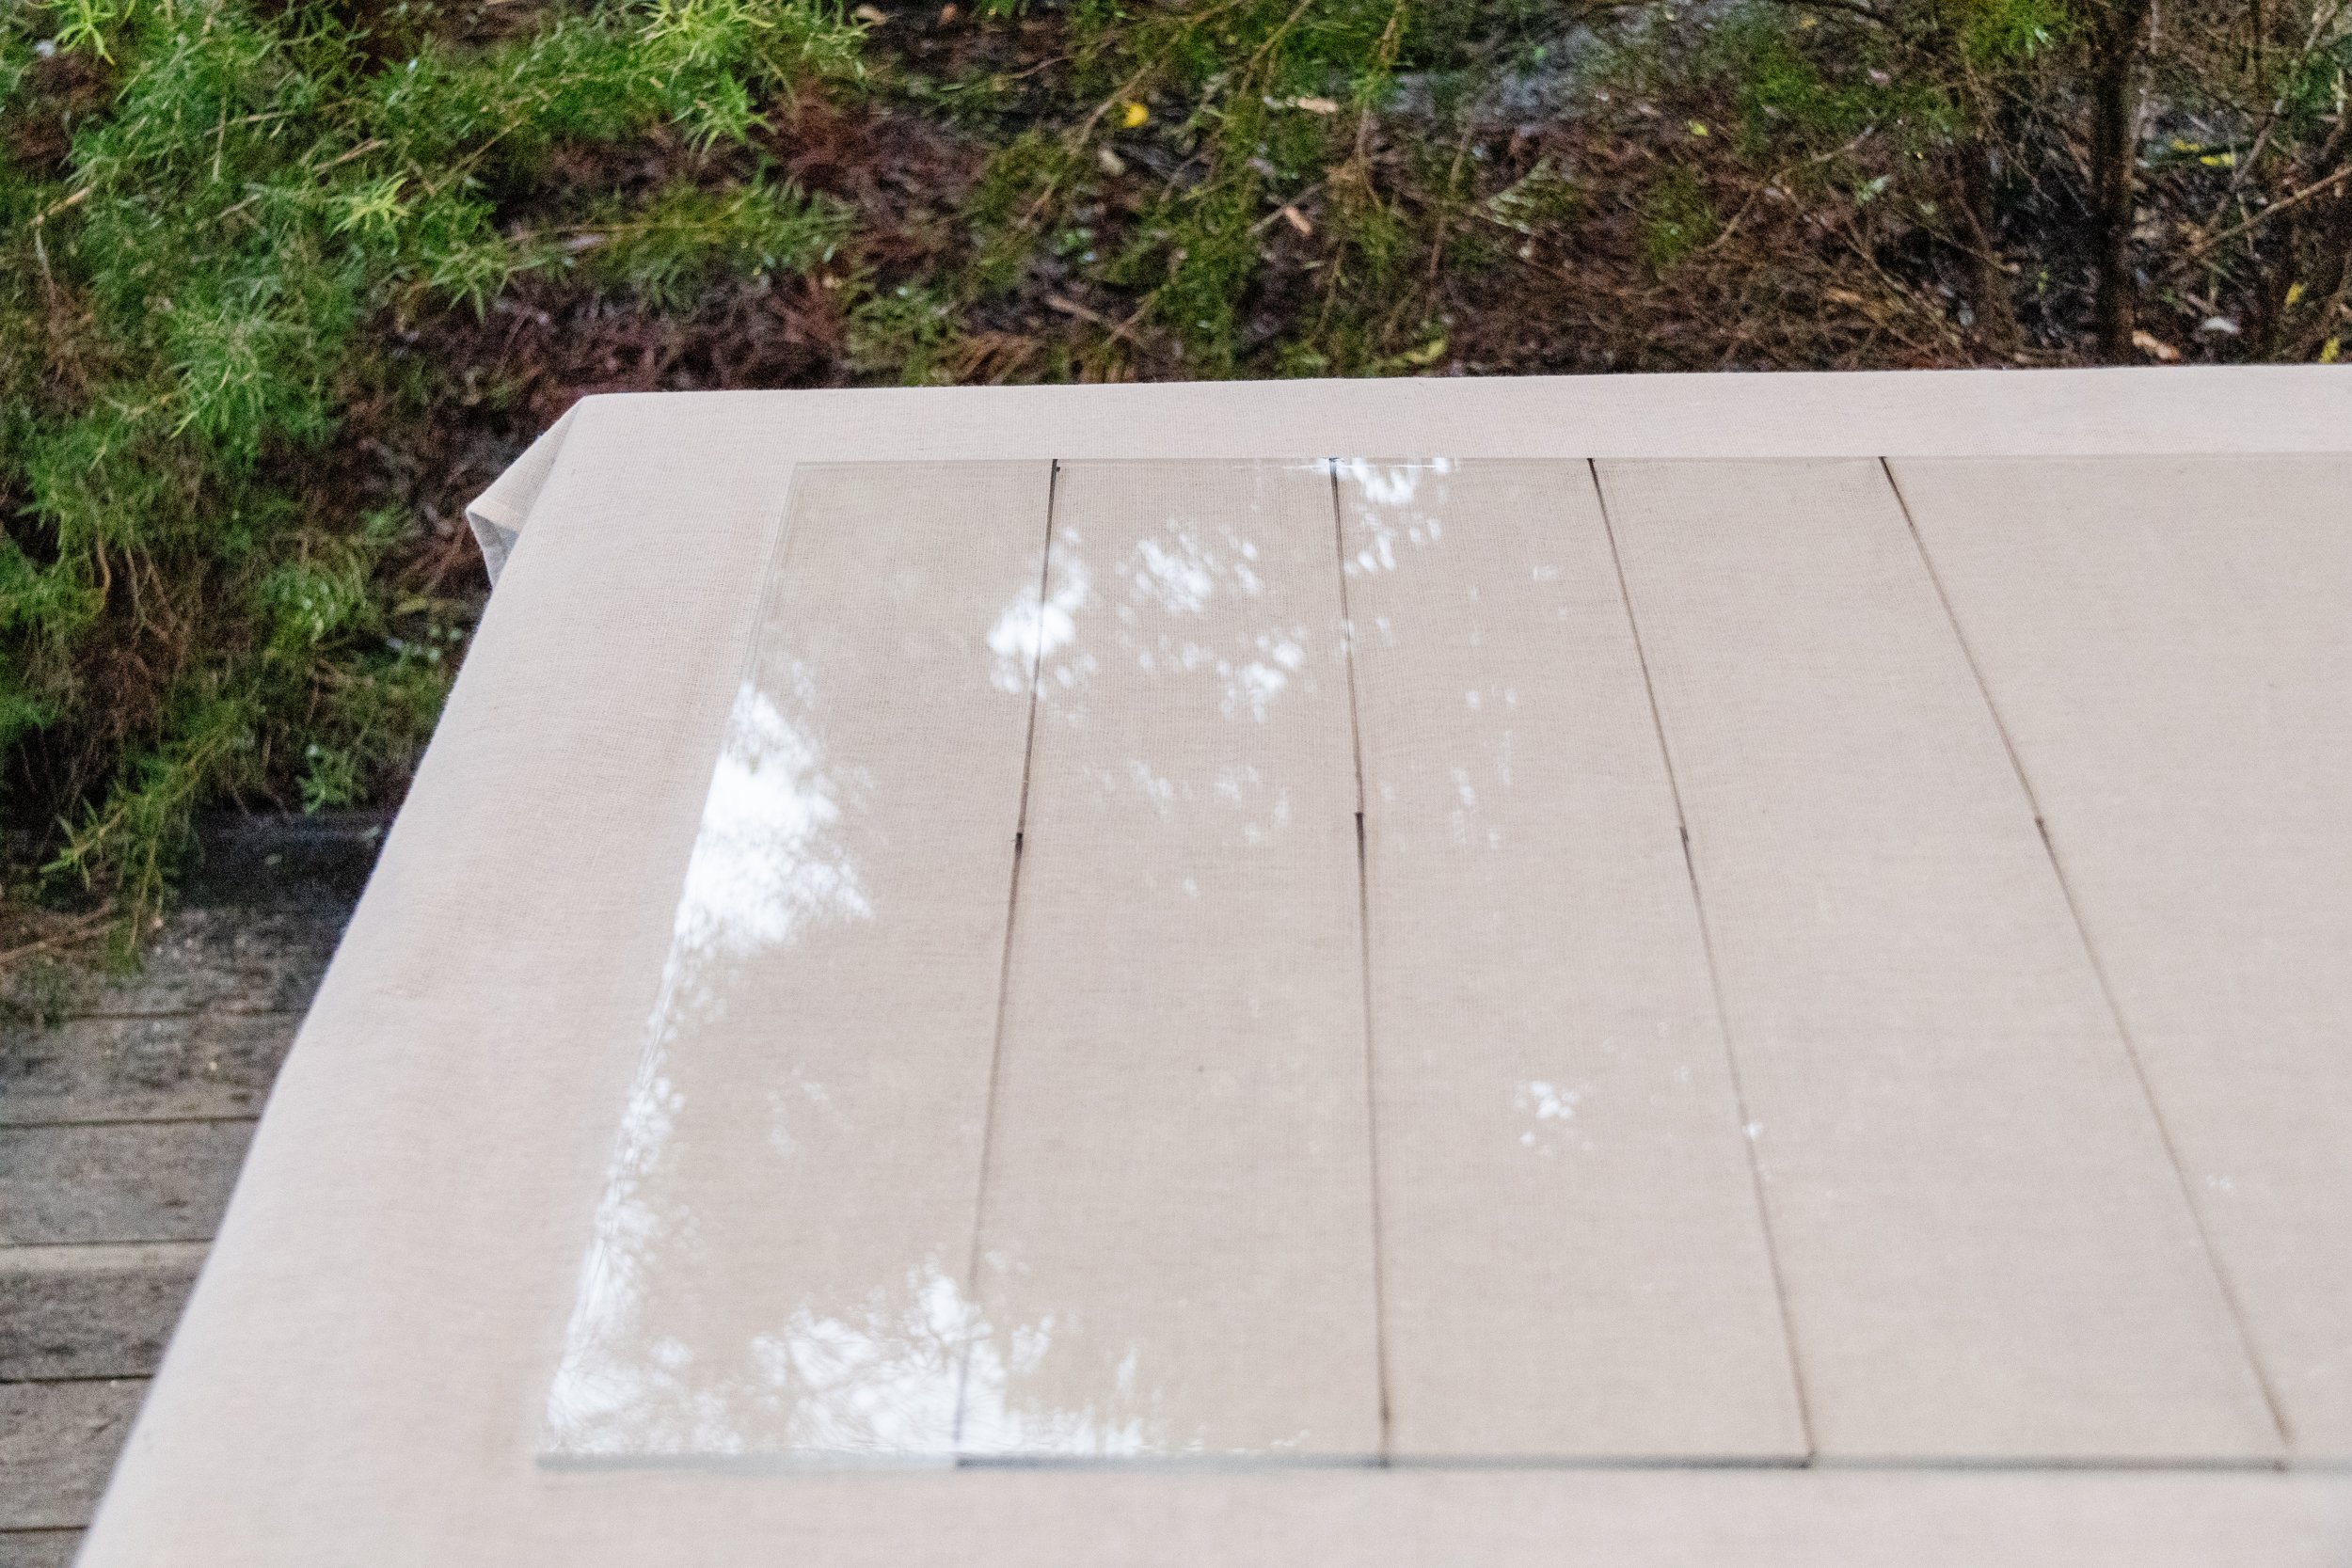
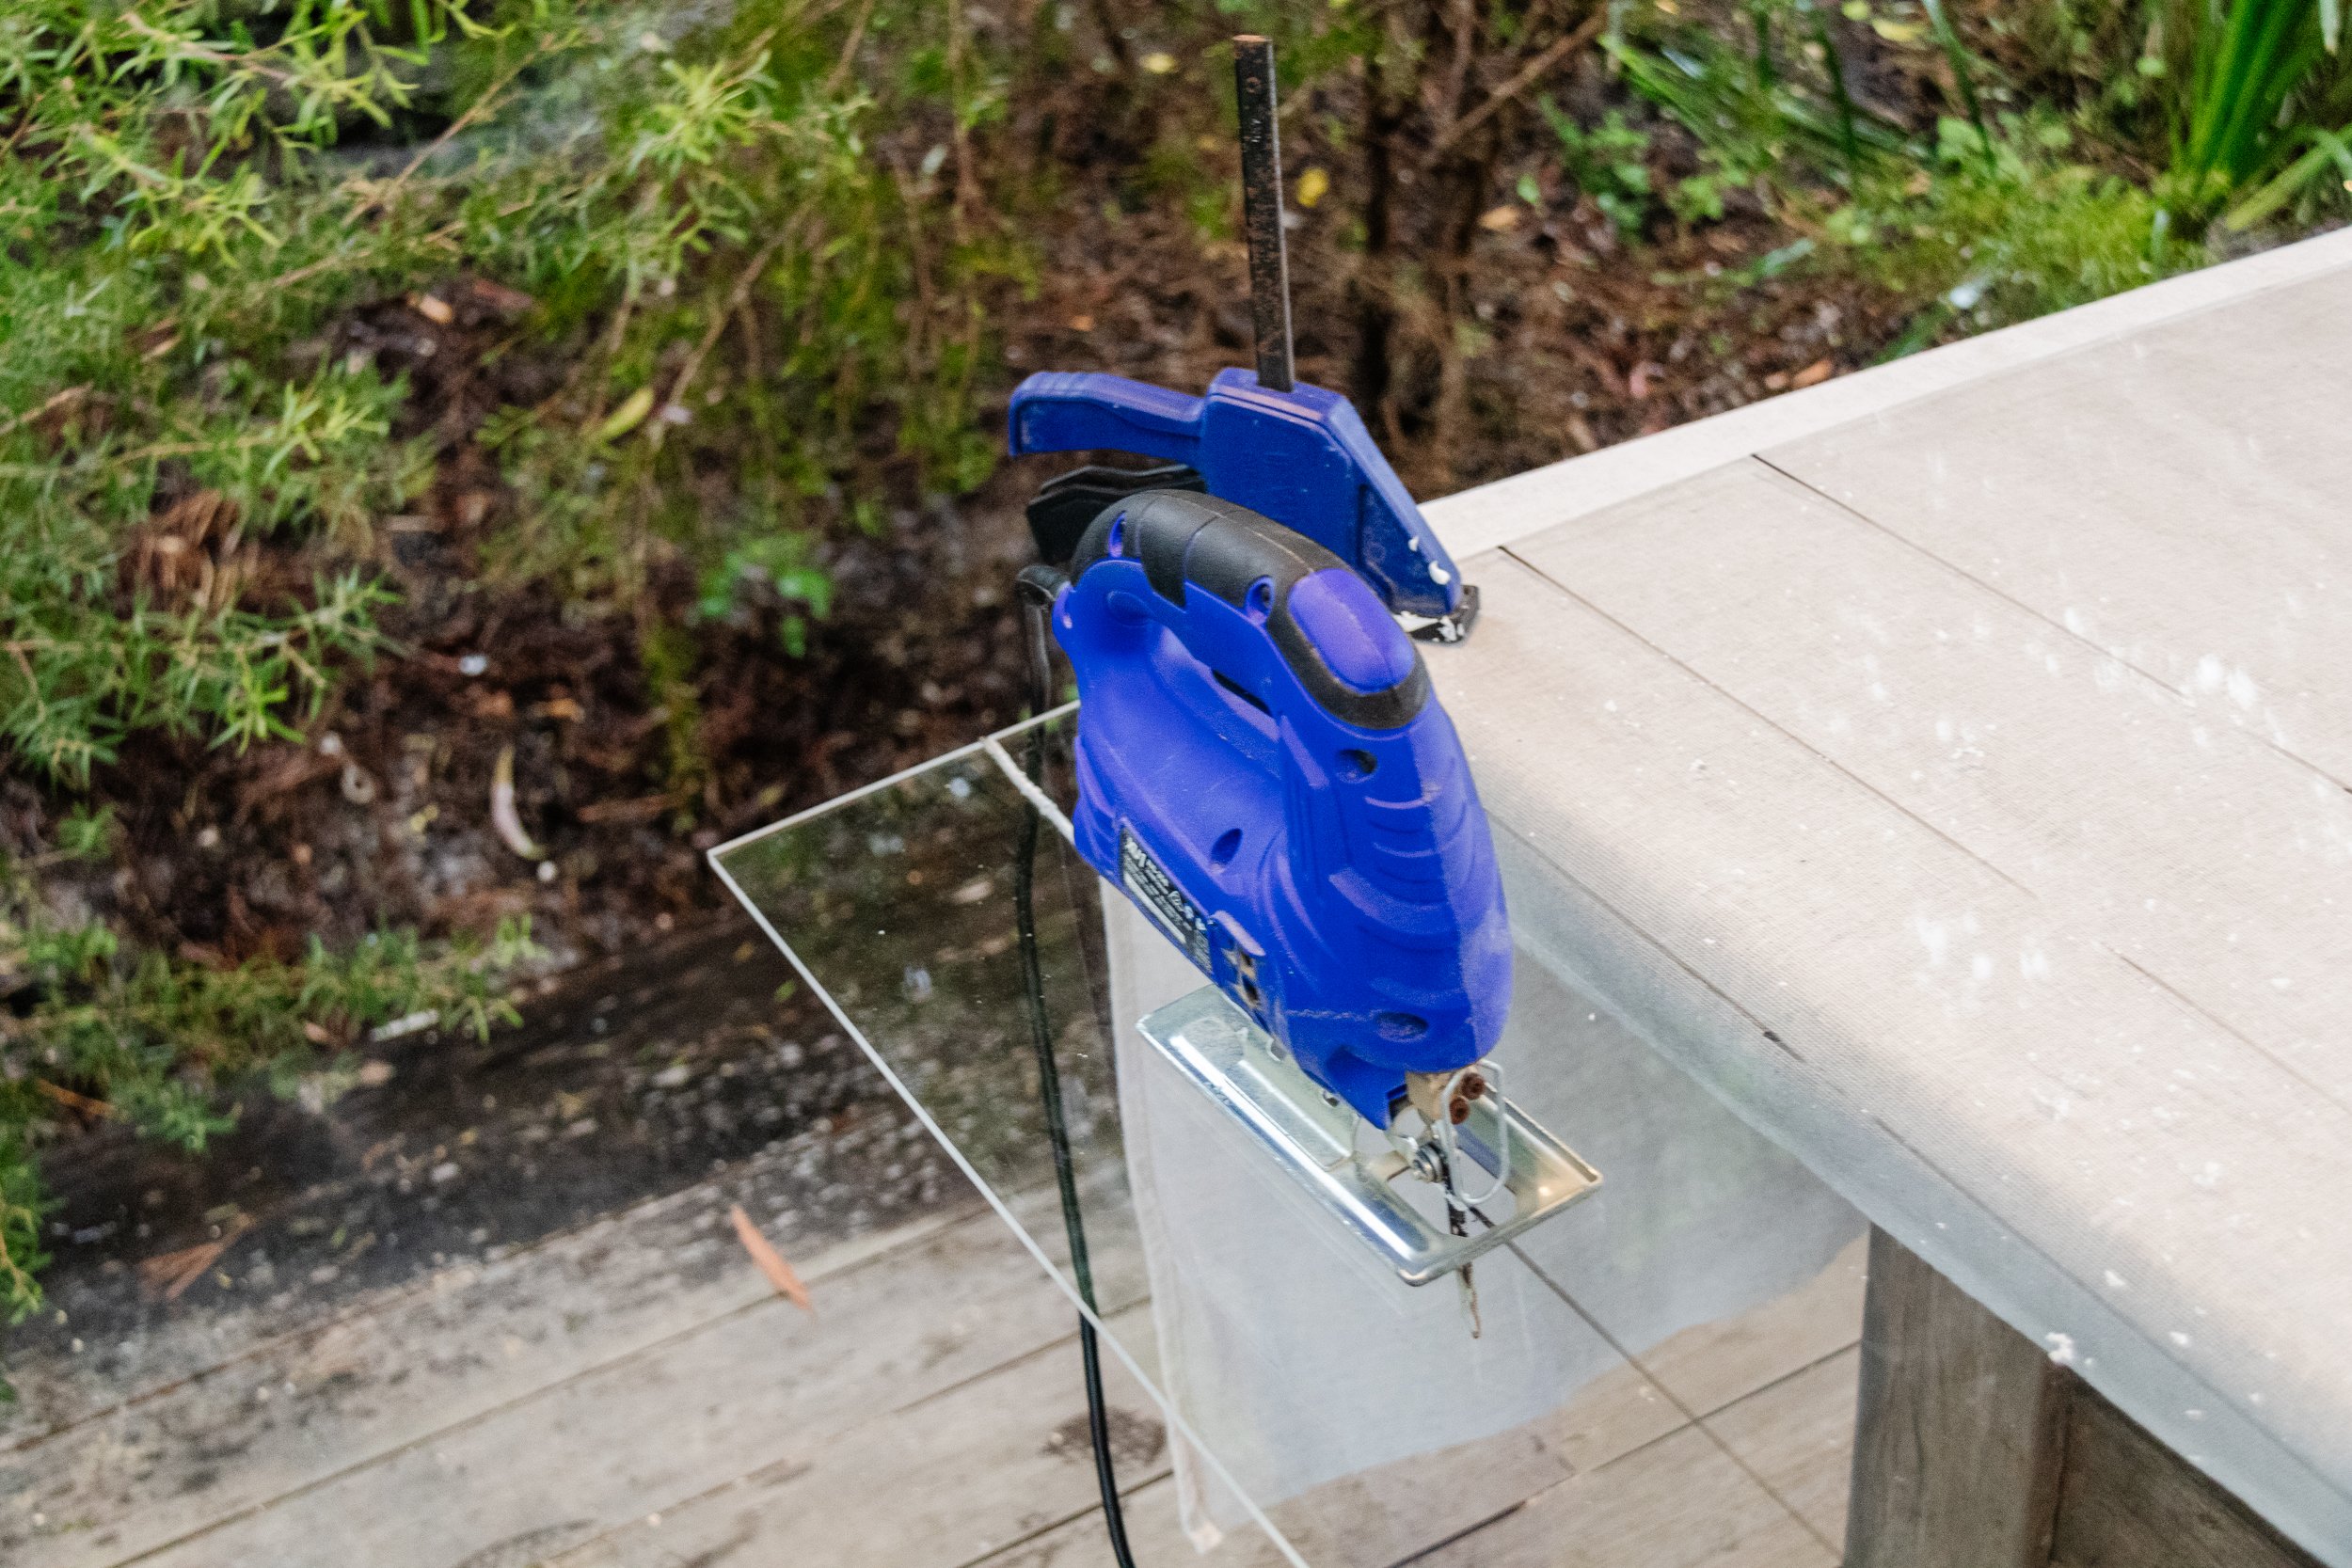
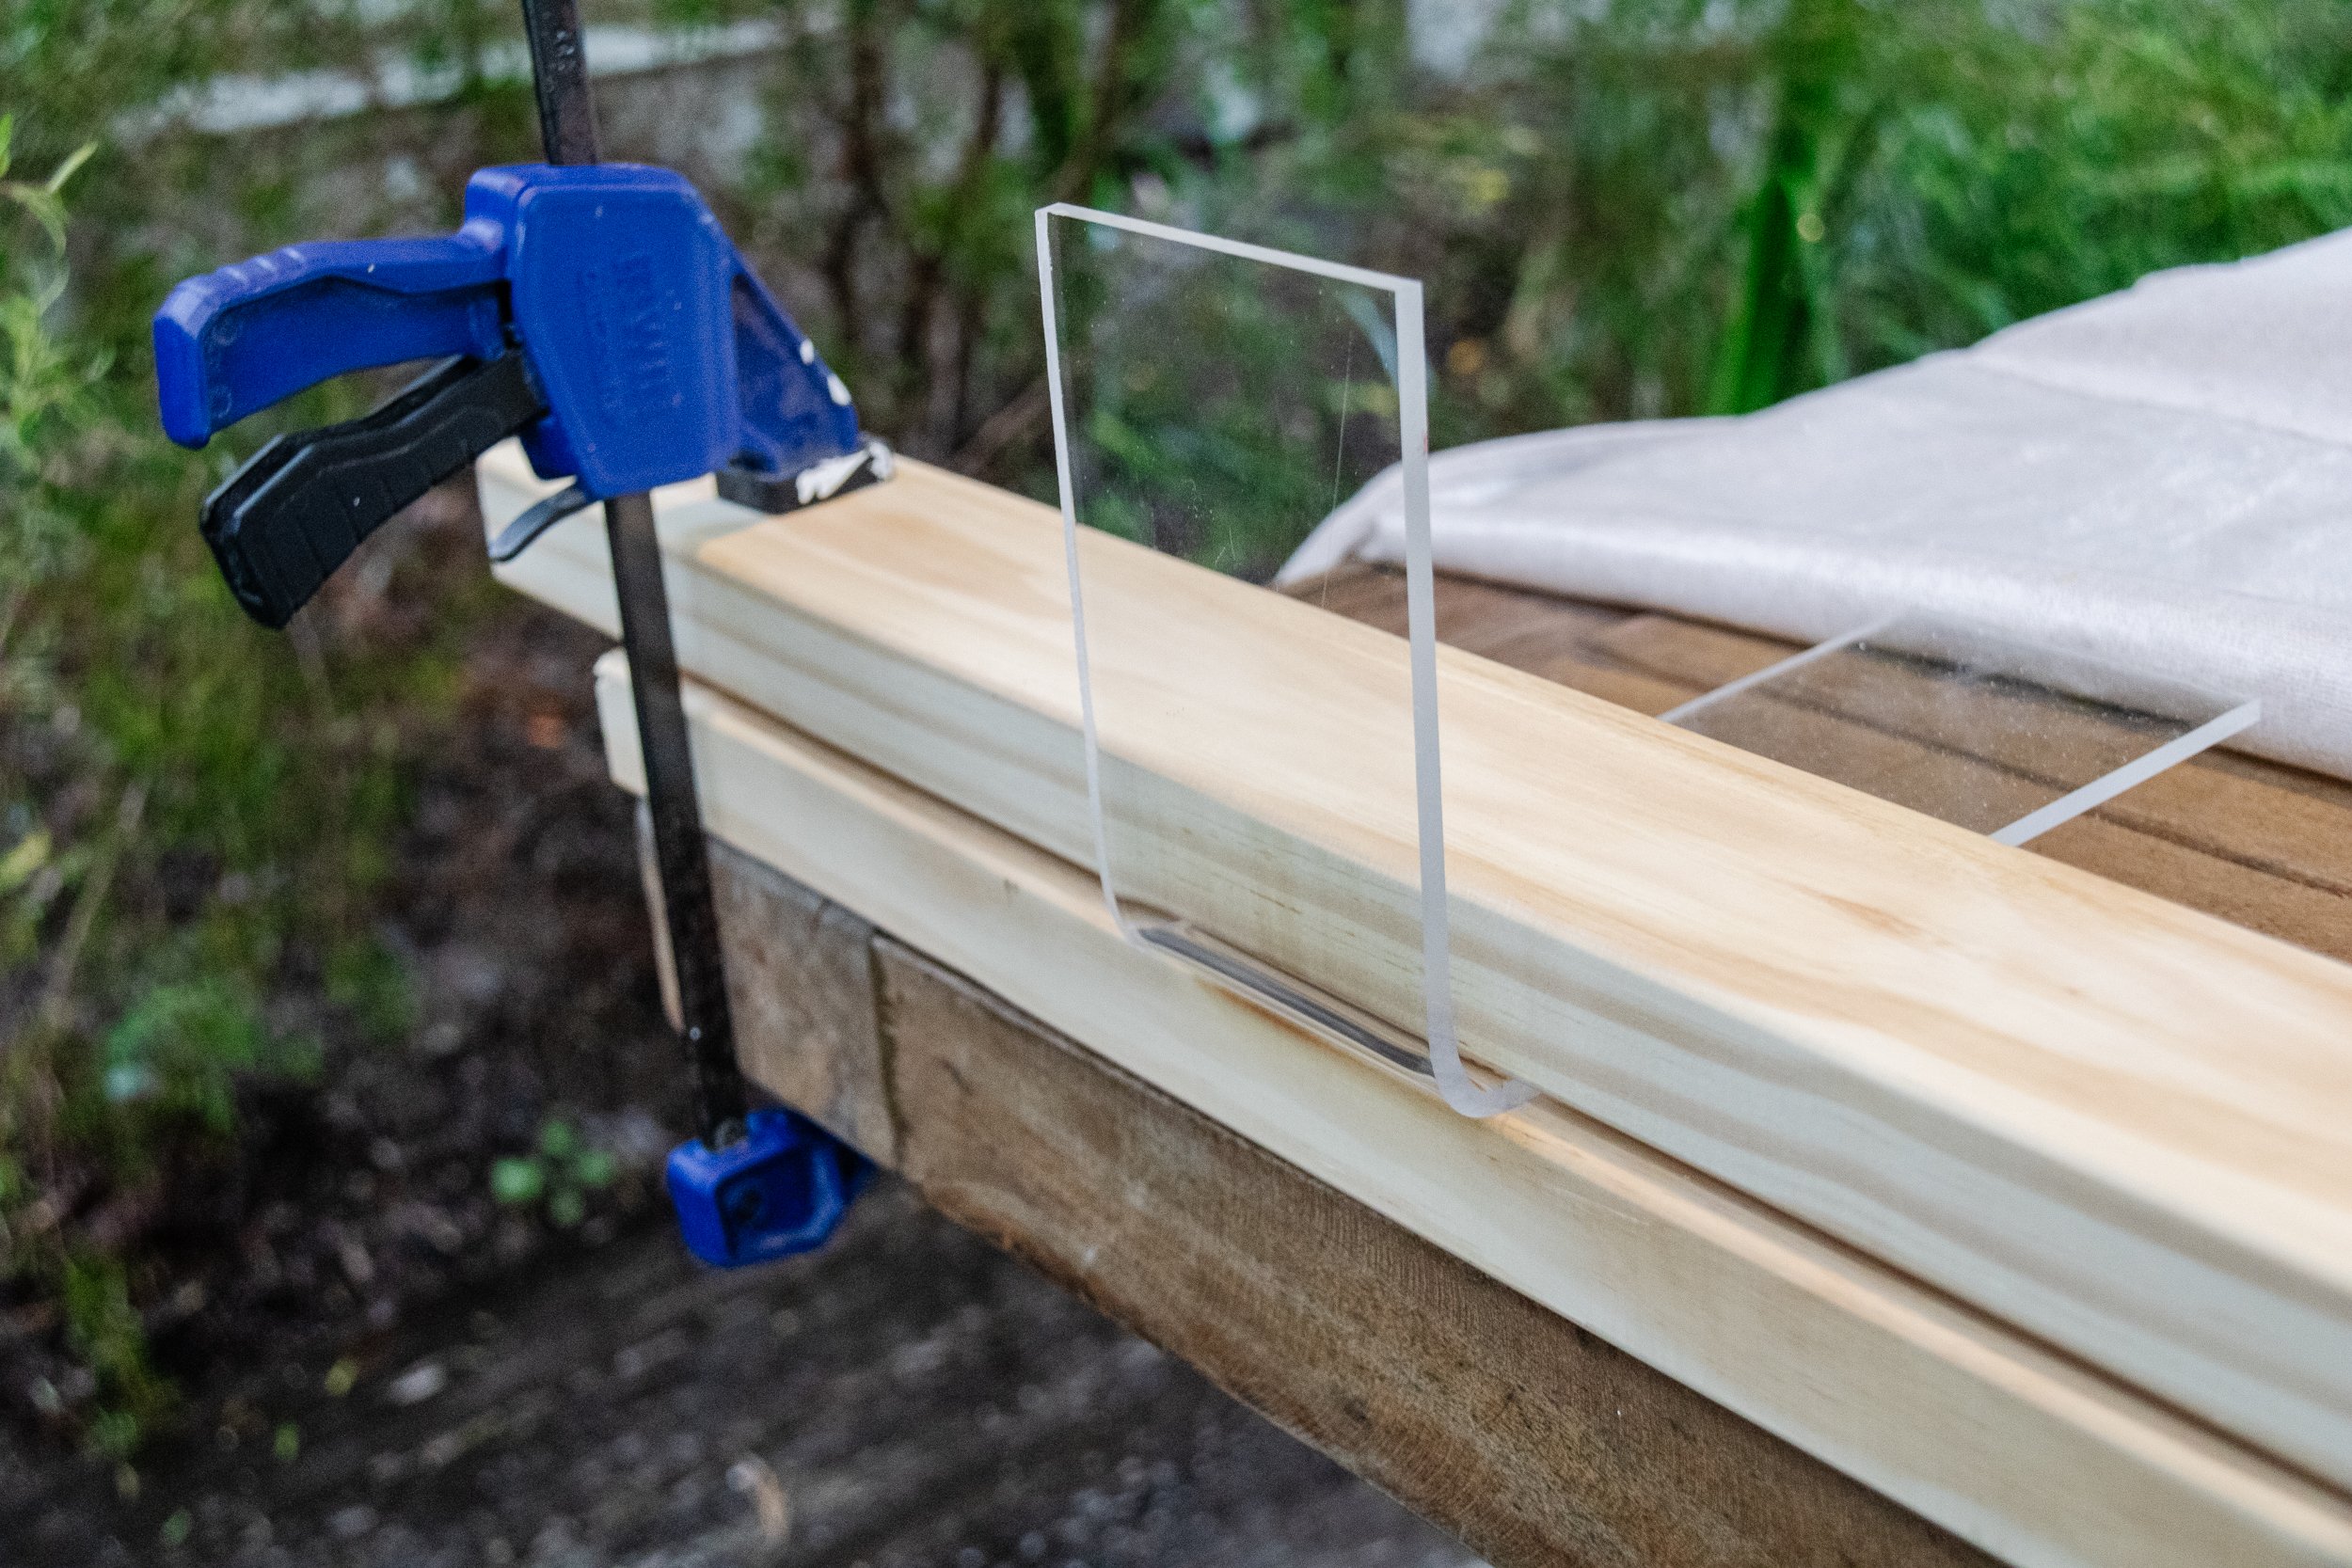
Start by marking 5cm to 10cm lines along the width of the perspex with the whiteboard pen. Clamp the perspex sheet to your work surface (the closer you position the cutting line to your work surface the more stale the perspex will be and therefore easier to cut). Cut along the lines using a jigsaw; you may need to run the jigsaw back and forth every 5cm or so to recut the perspex. Why? I found my jigsaw melted the perspex as it made the initial cut and after a few goes, this technique worked best to rid the perspex edges of the melted perspex.
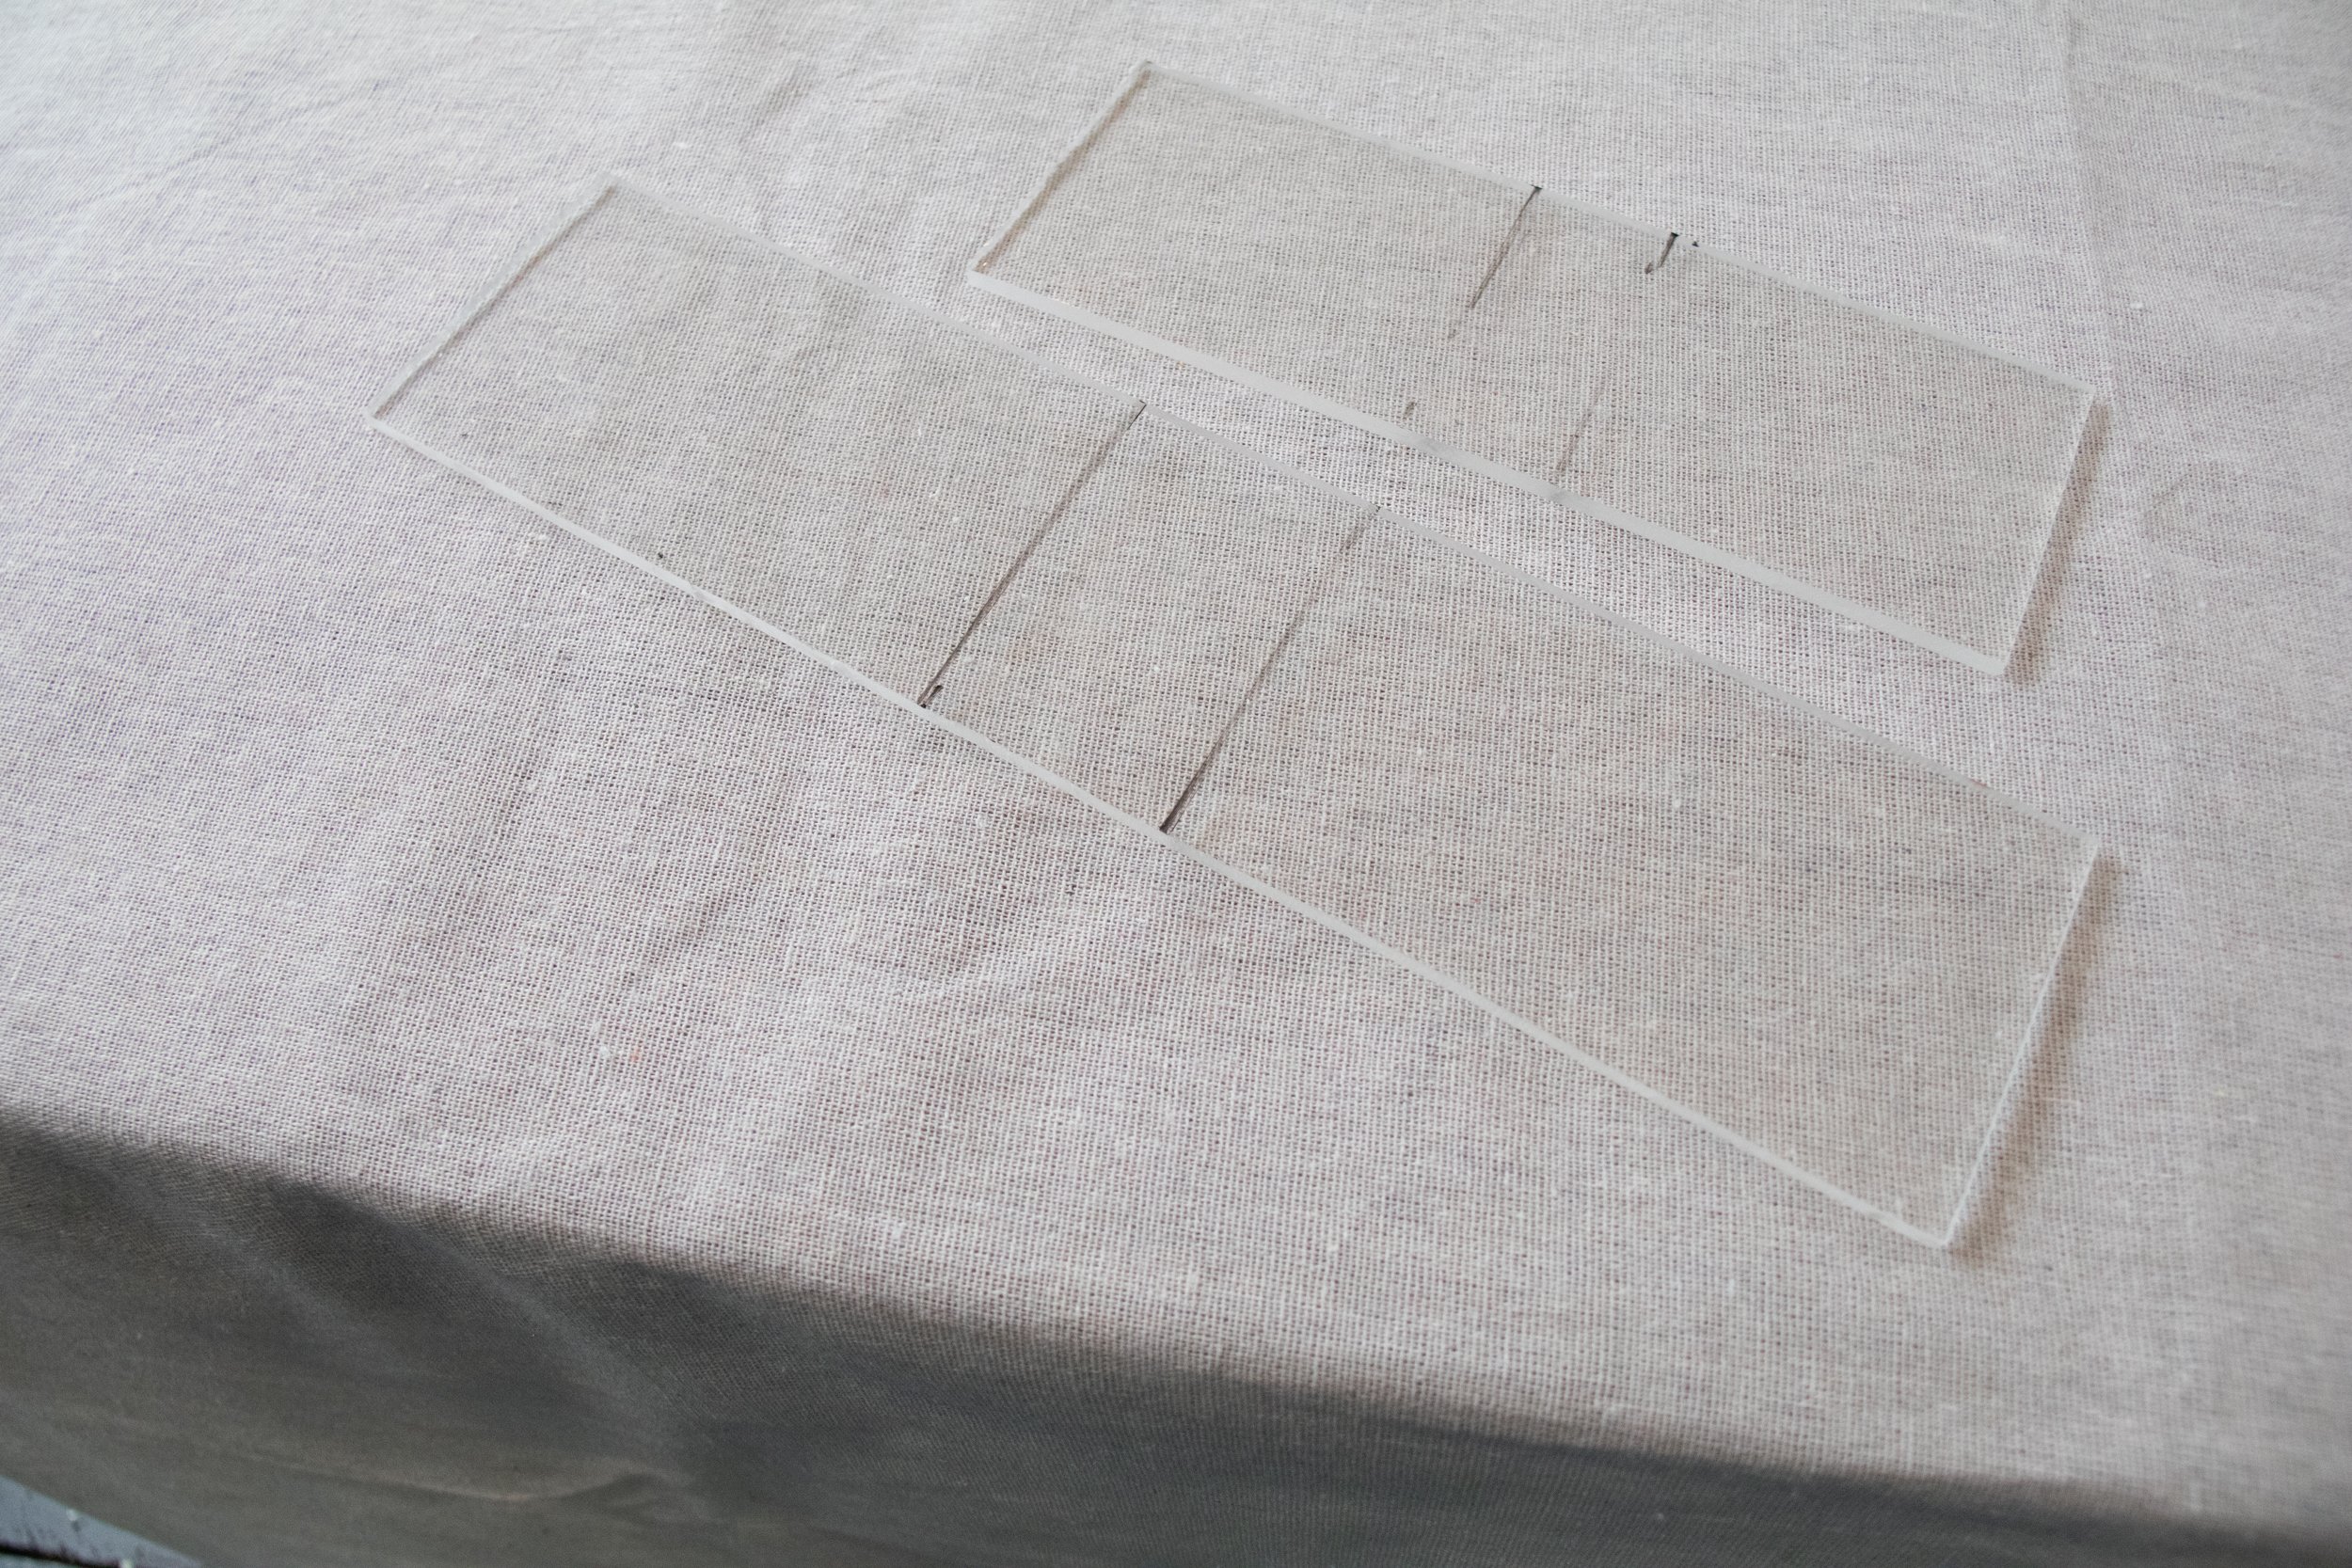
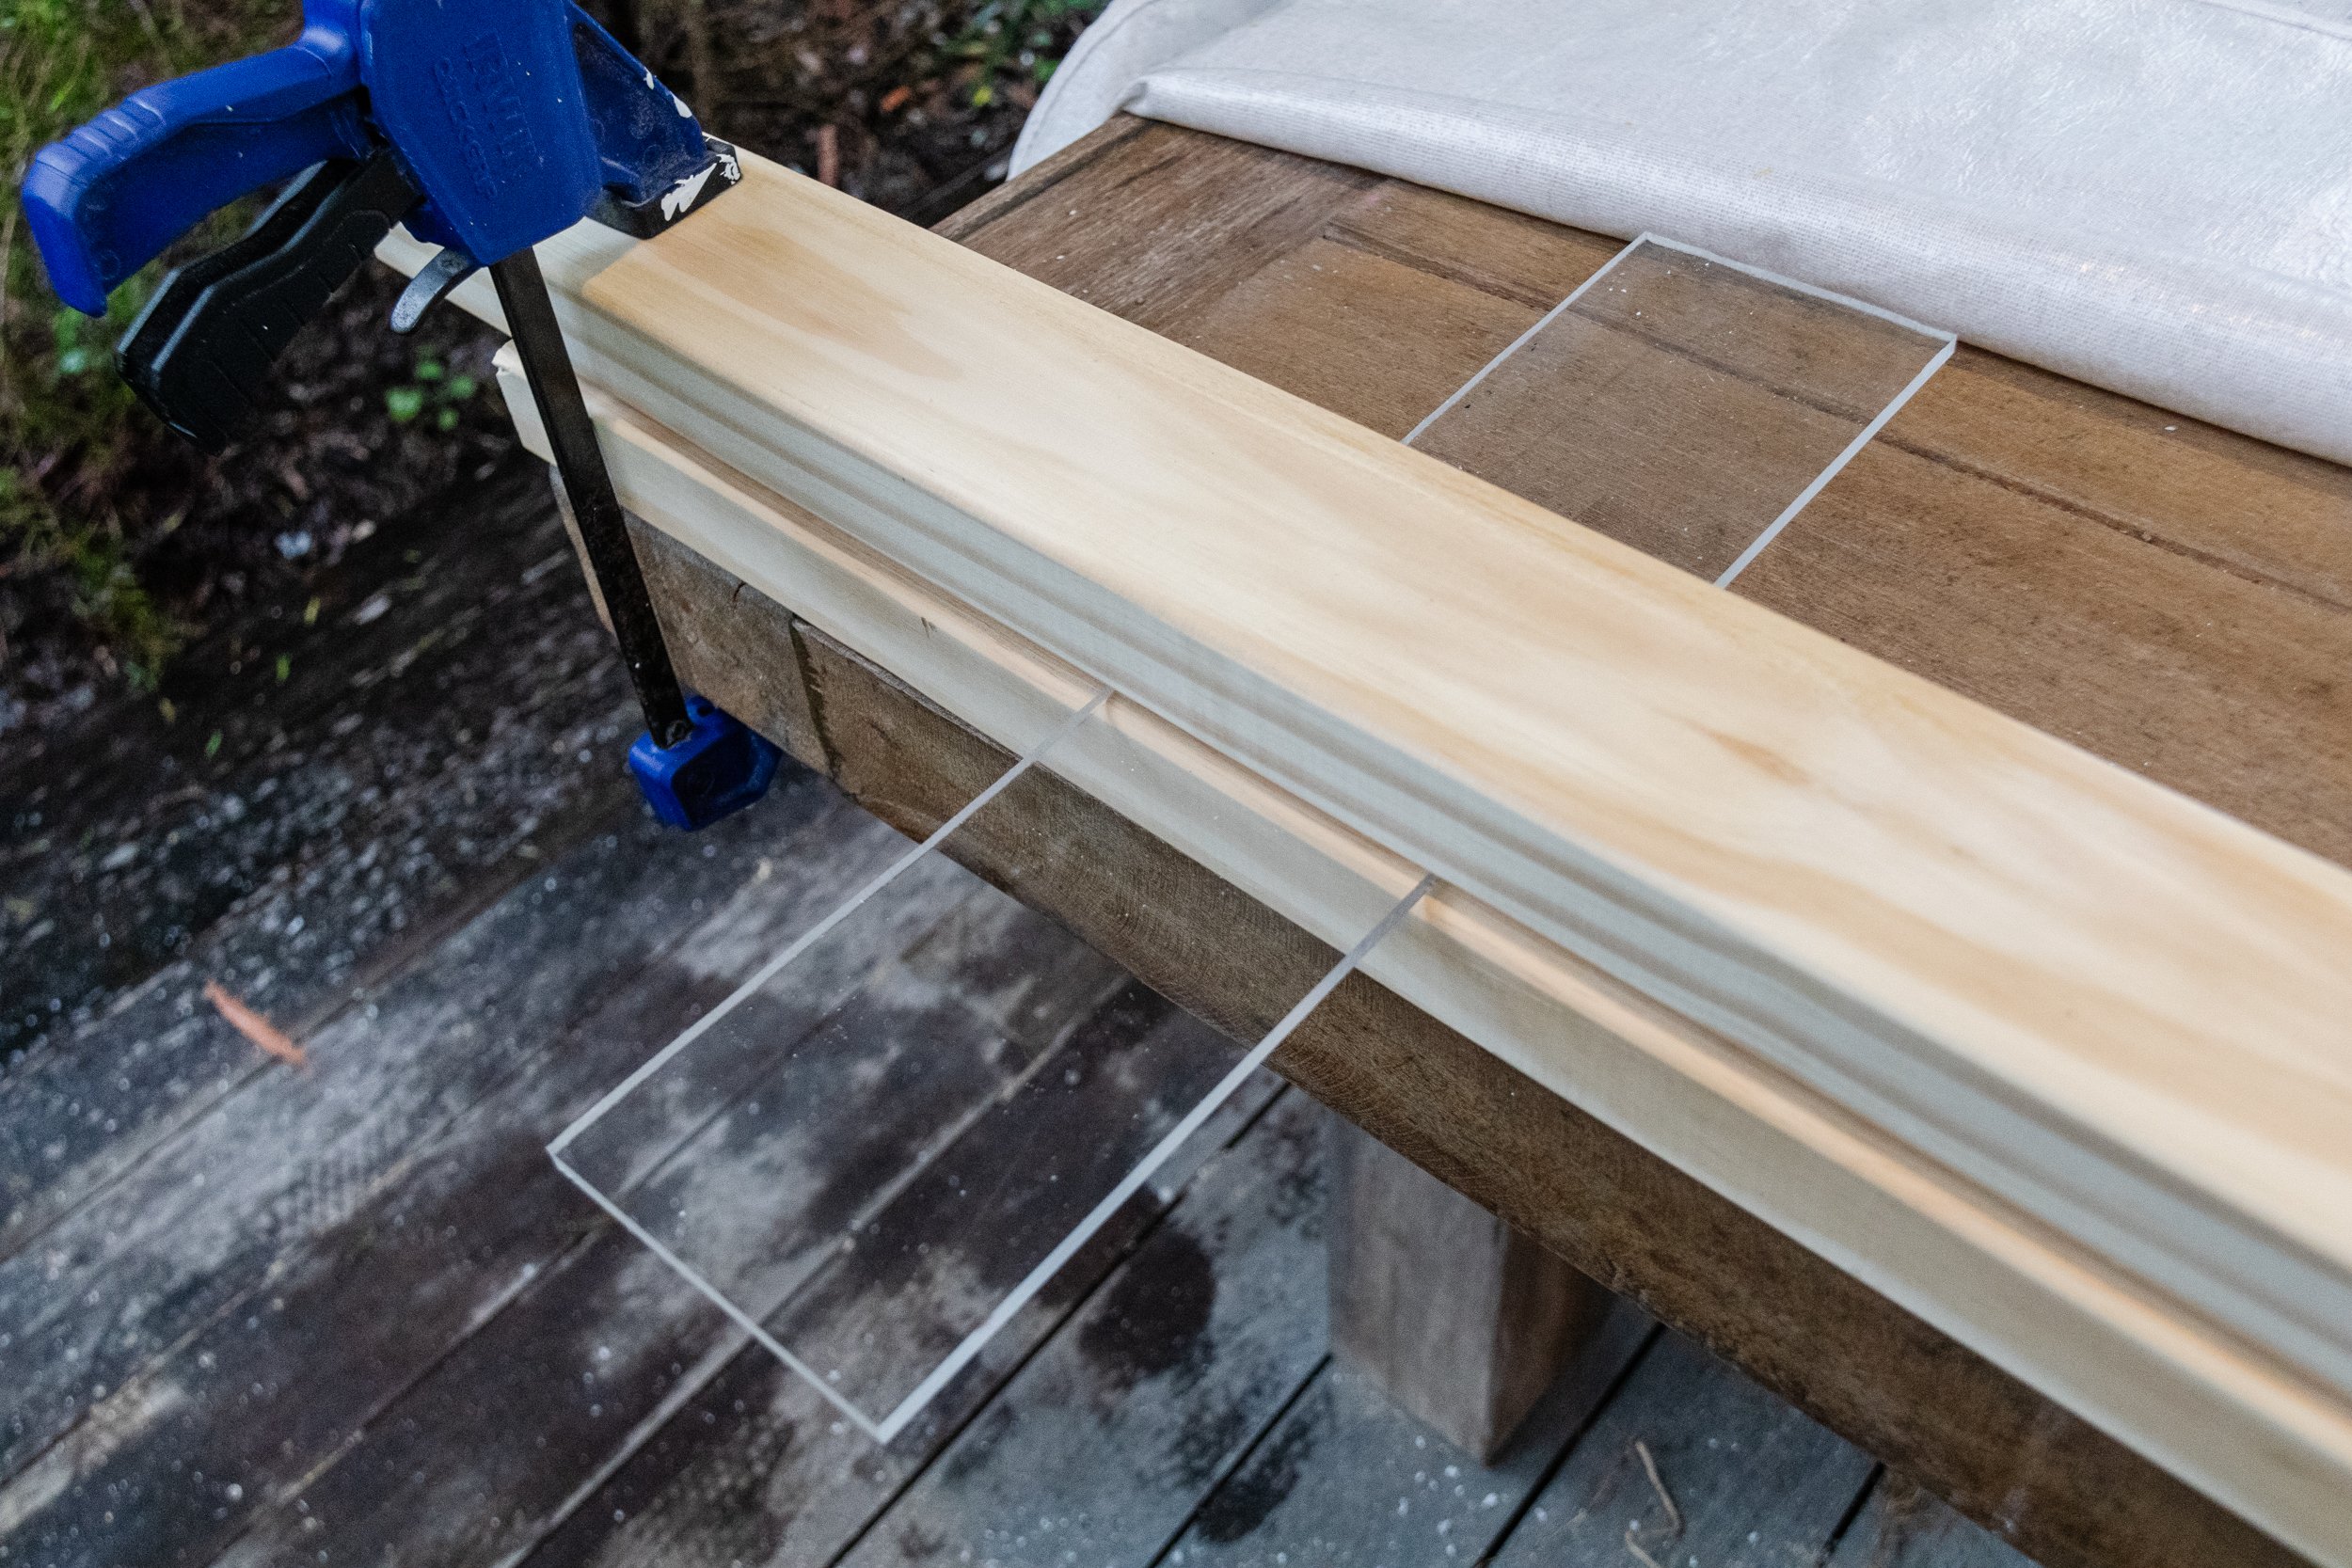
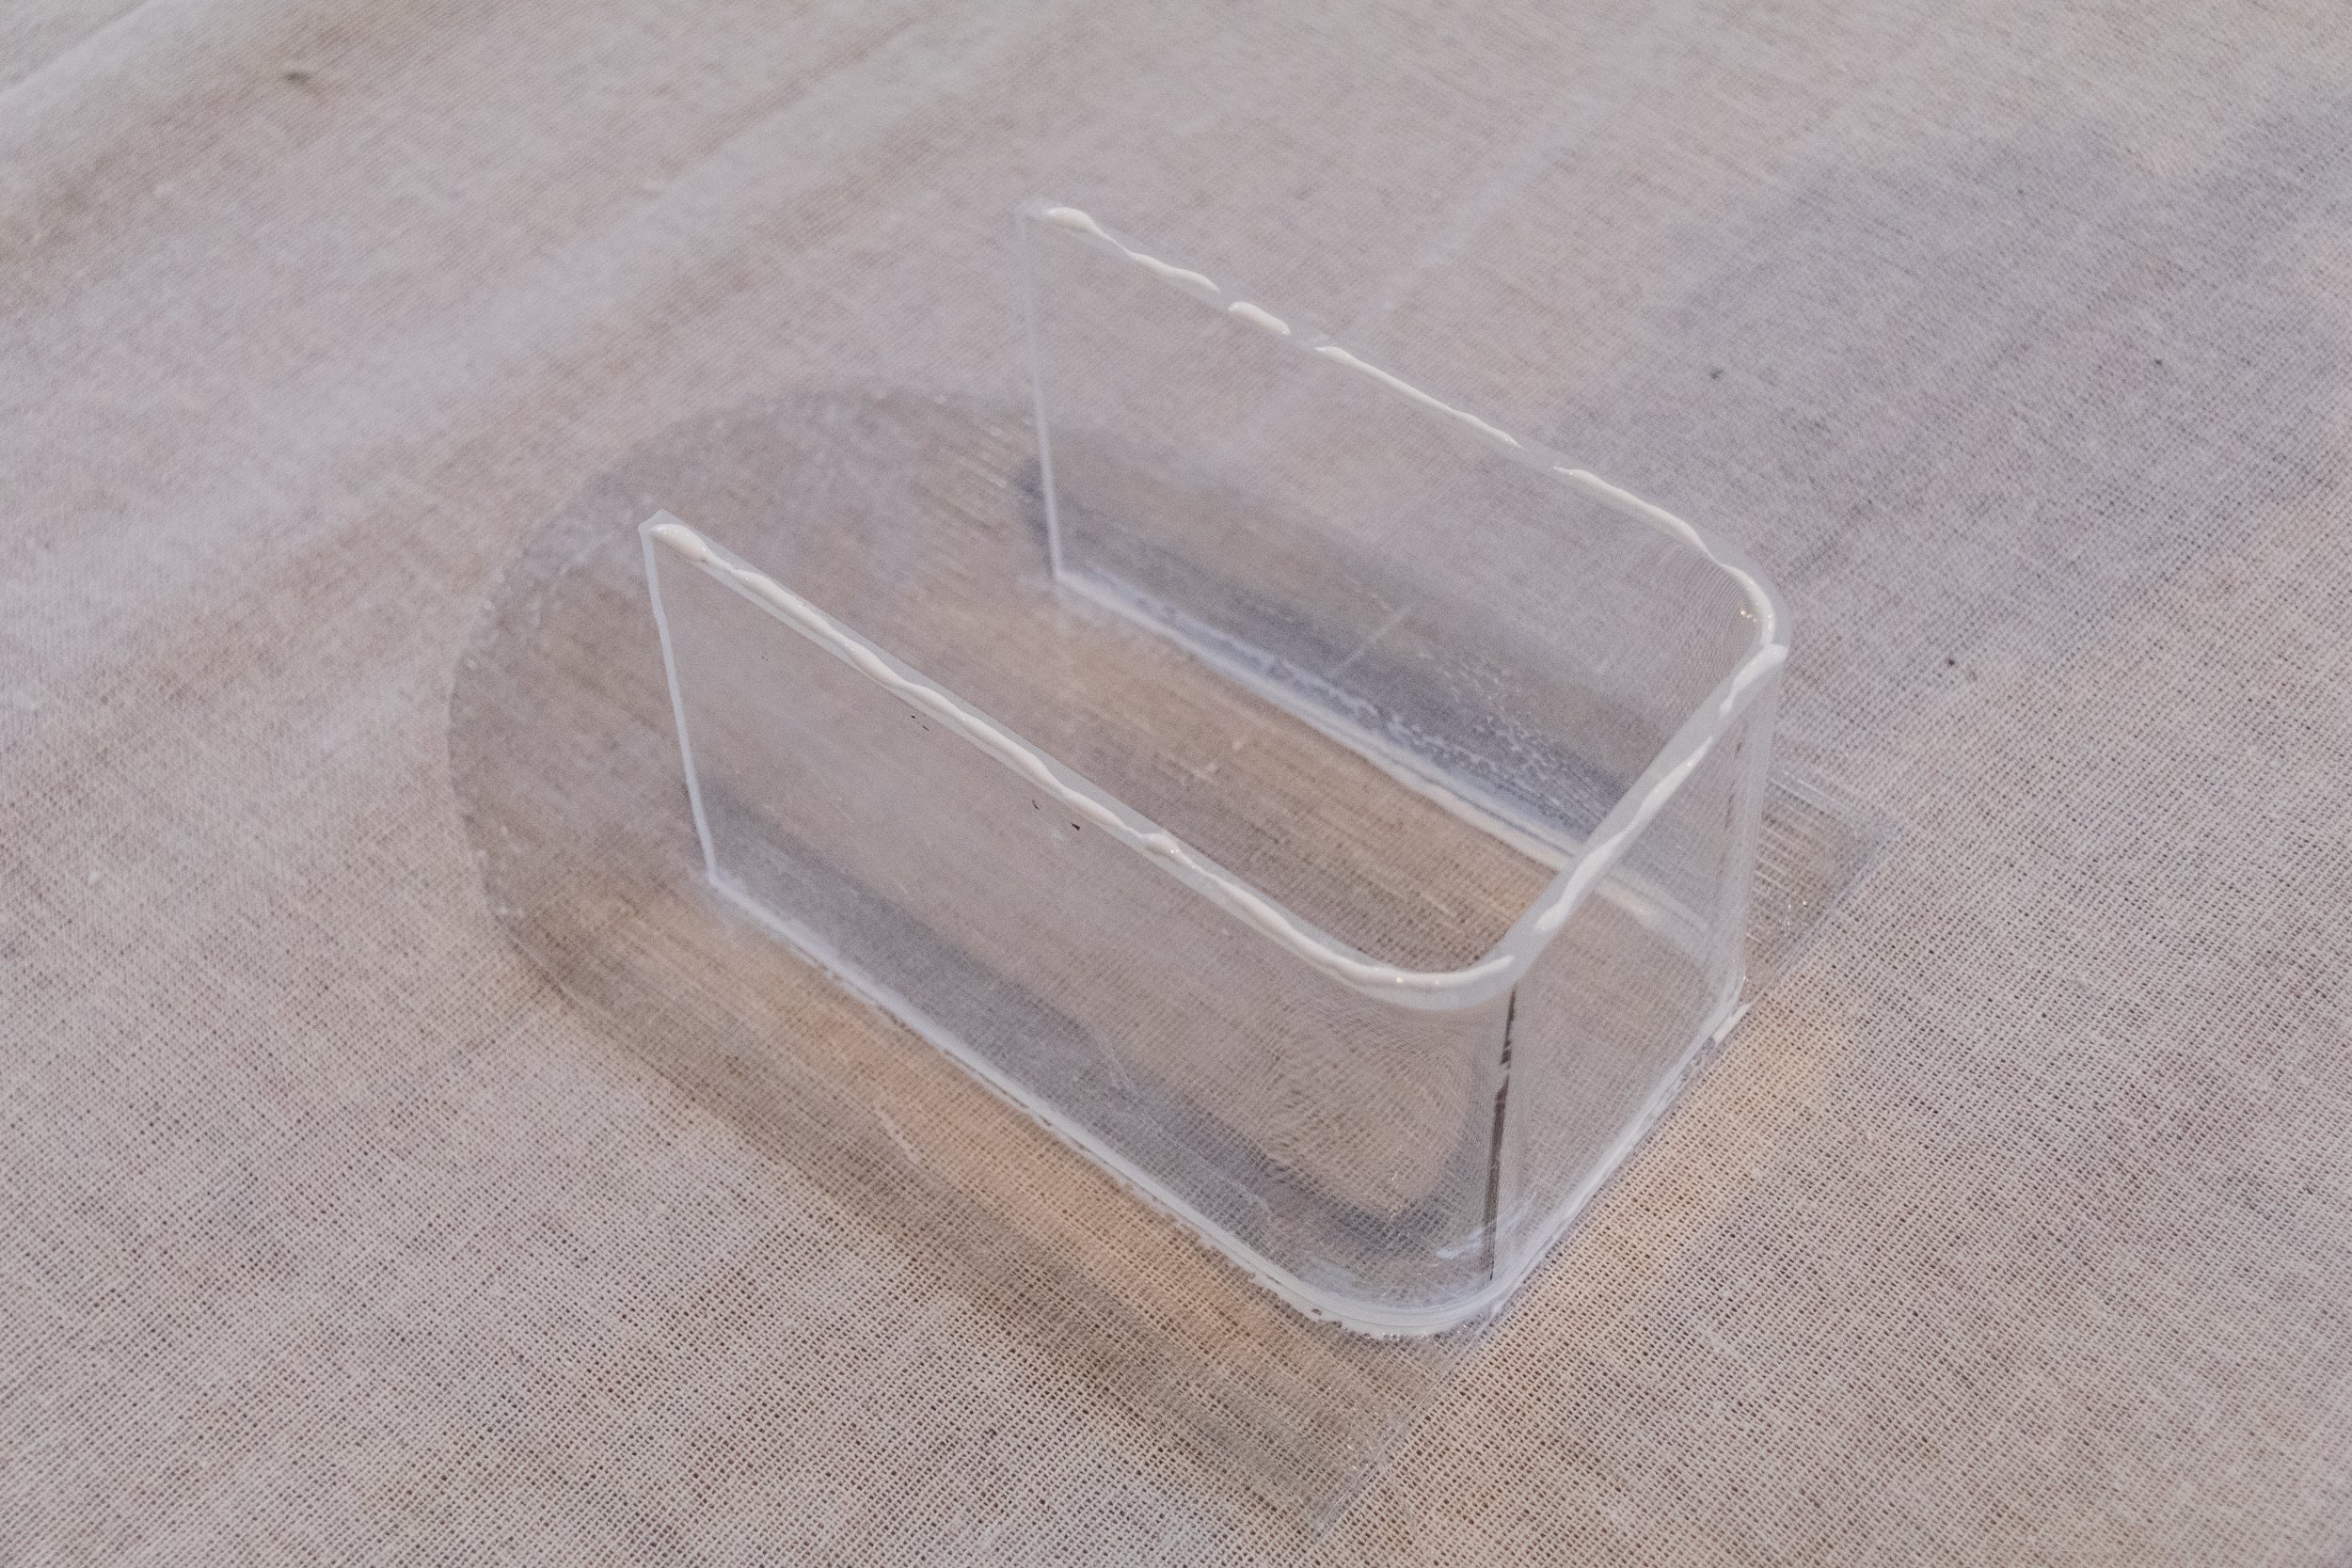
Using the whiteboard pen, mark where you want to heat and fold the perspex. Lay one piece of timber onto your work surface and line the the cut perspex on top, then add the second piece of timber. VIP: Please make sure your work surface is made from timber - you will be using a heat gun and therefore your surface must not be flammable. Rub the whiteboard marker off (otherwise it’ll be heated permanently into the perspex after you use the heat gun - something I learned while doing this!), turn the heat gun on and warm the perspex where you want to fold it. It took just over a minute for the perspex to soften and when it does, turn the heat gun off and stand it safely away from you, then fold the perspex up and hold it for about a minute until it cools and sets. Repeat with the other side of the perspex and then you will have the internal structure of your transparent vase. Set aside to cool. Play with different heights and widths, and make as many as you like!
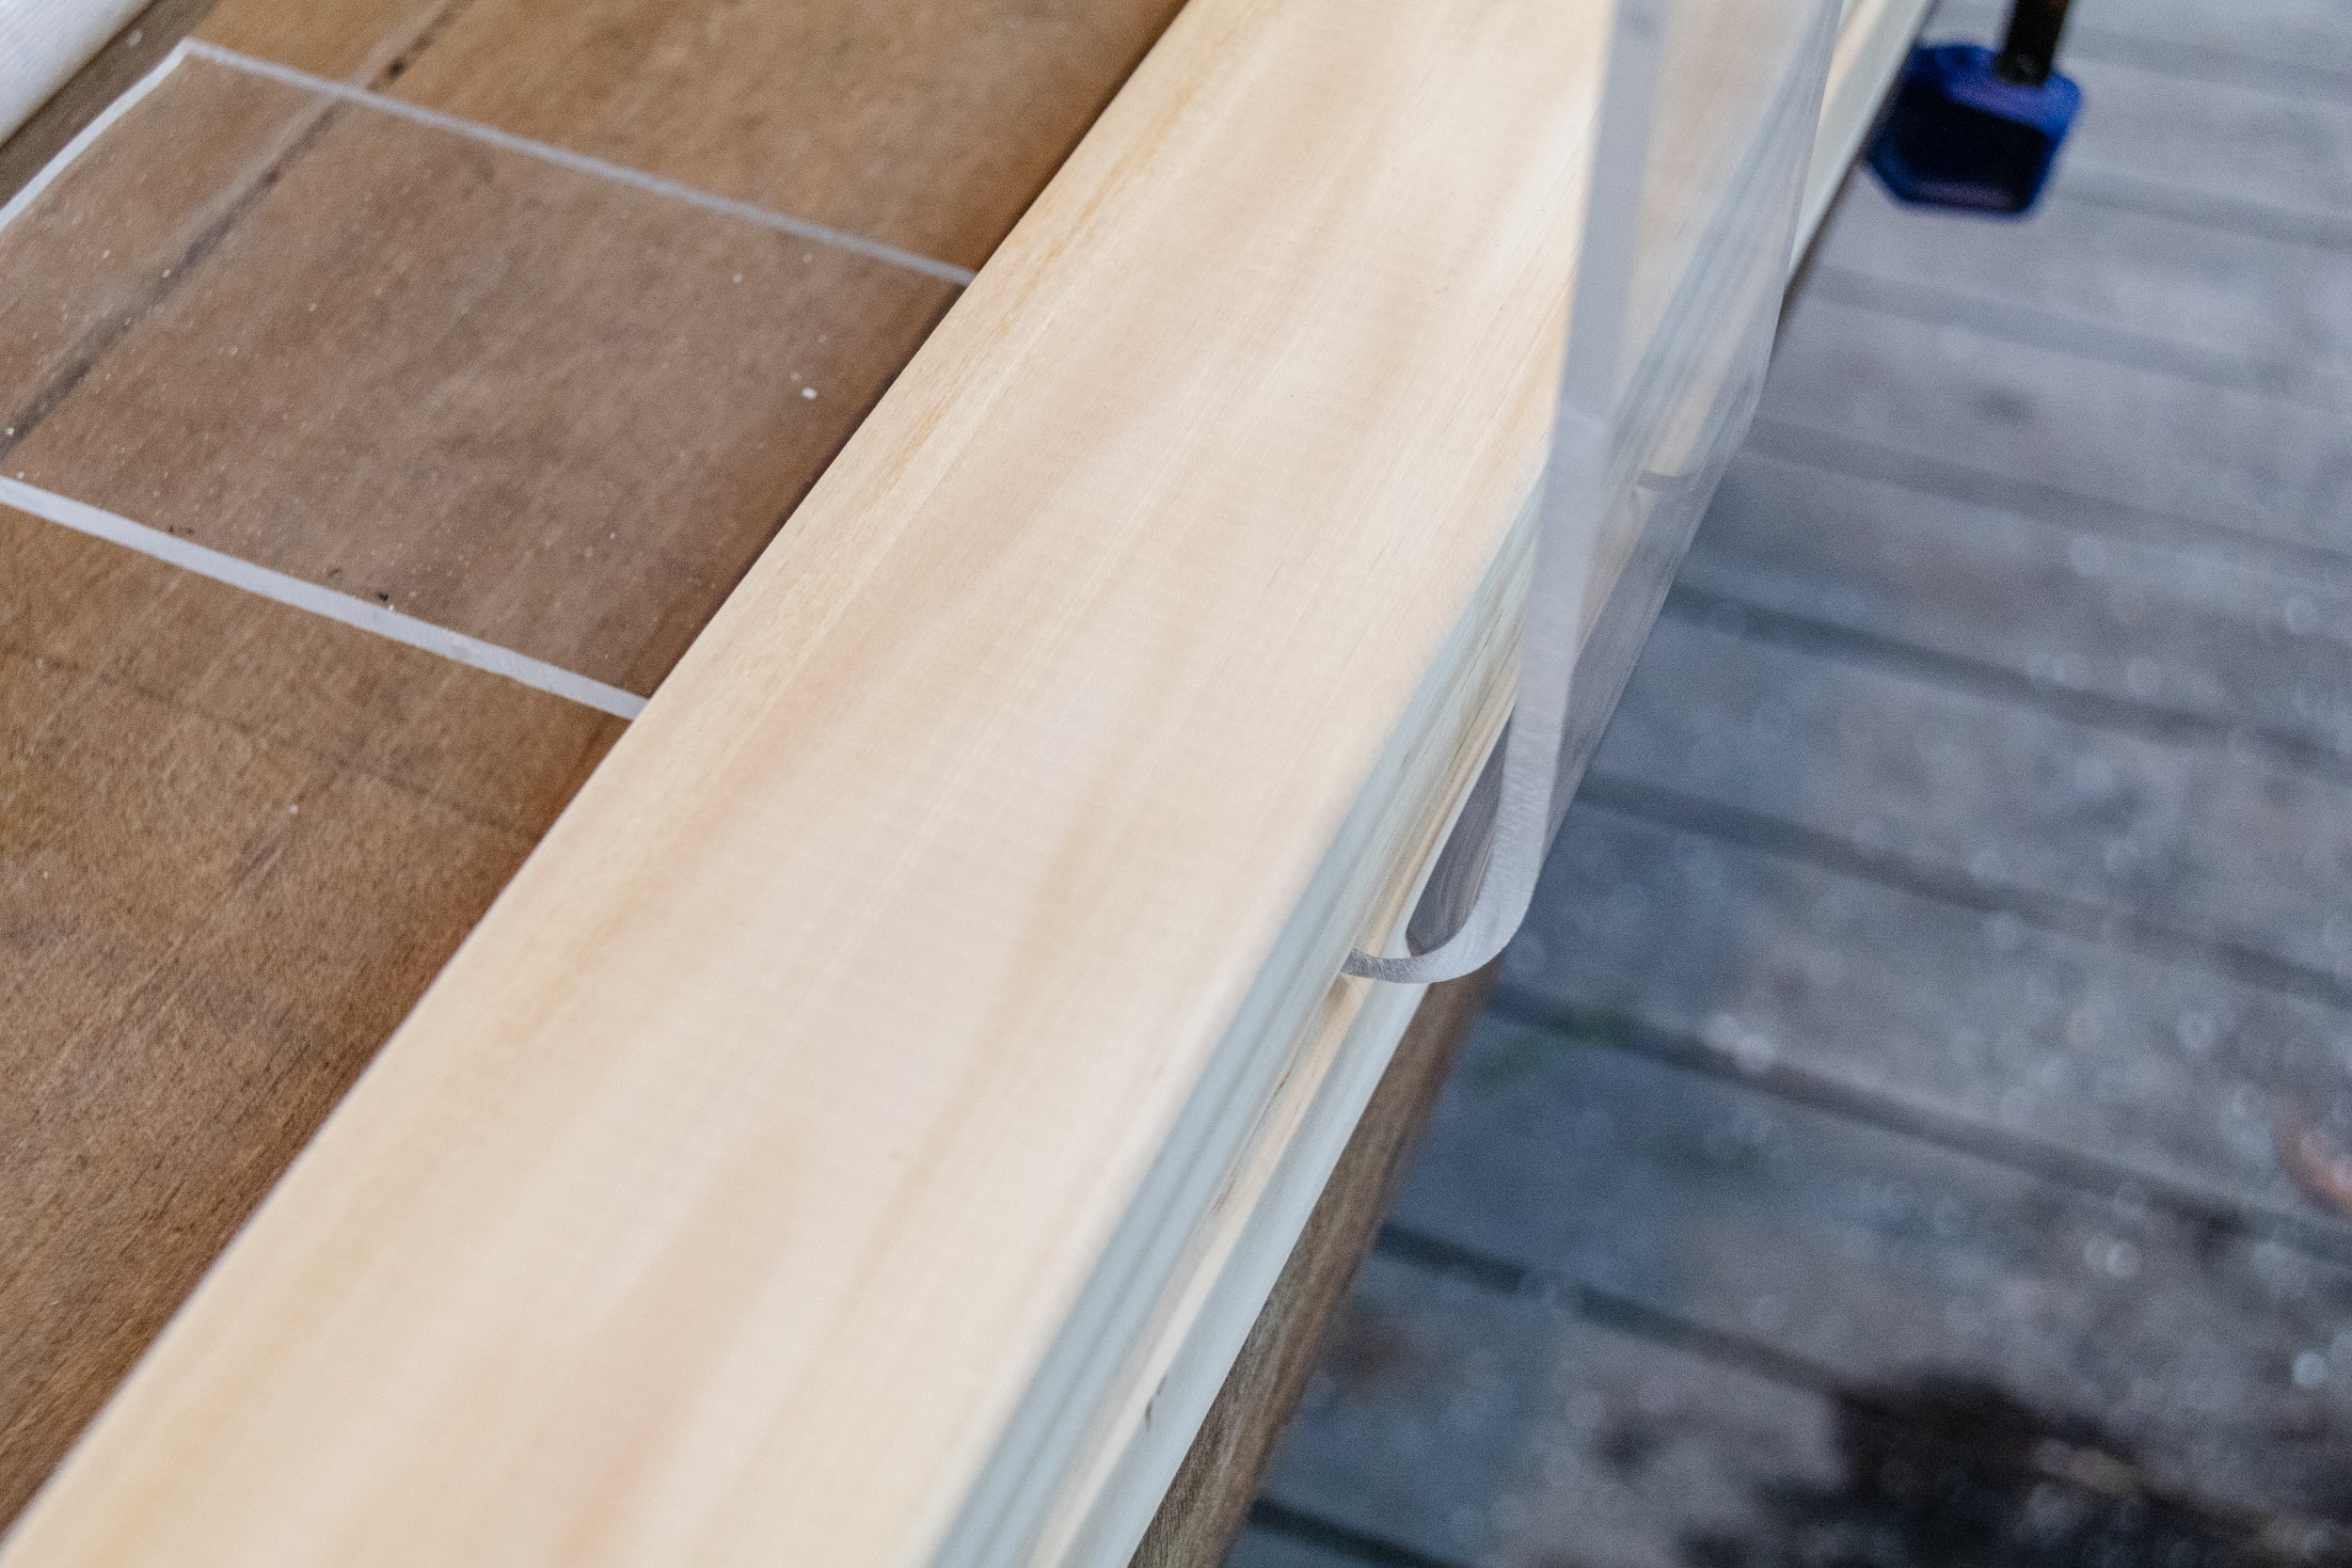
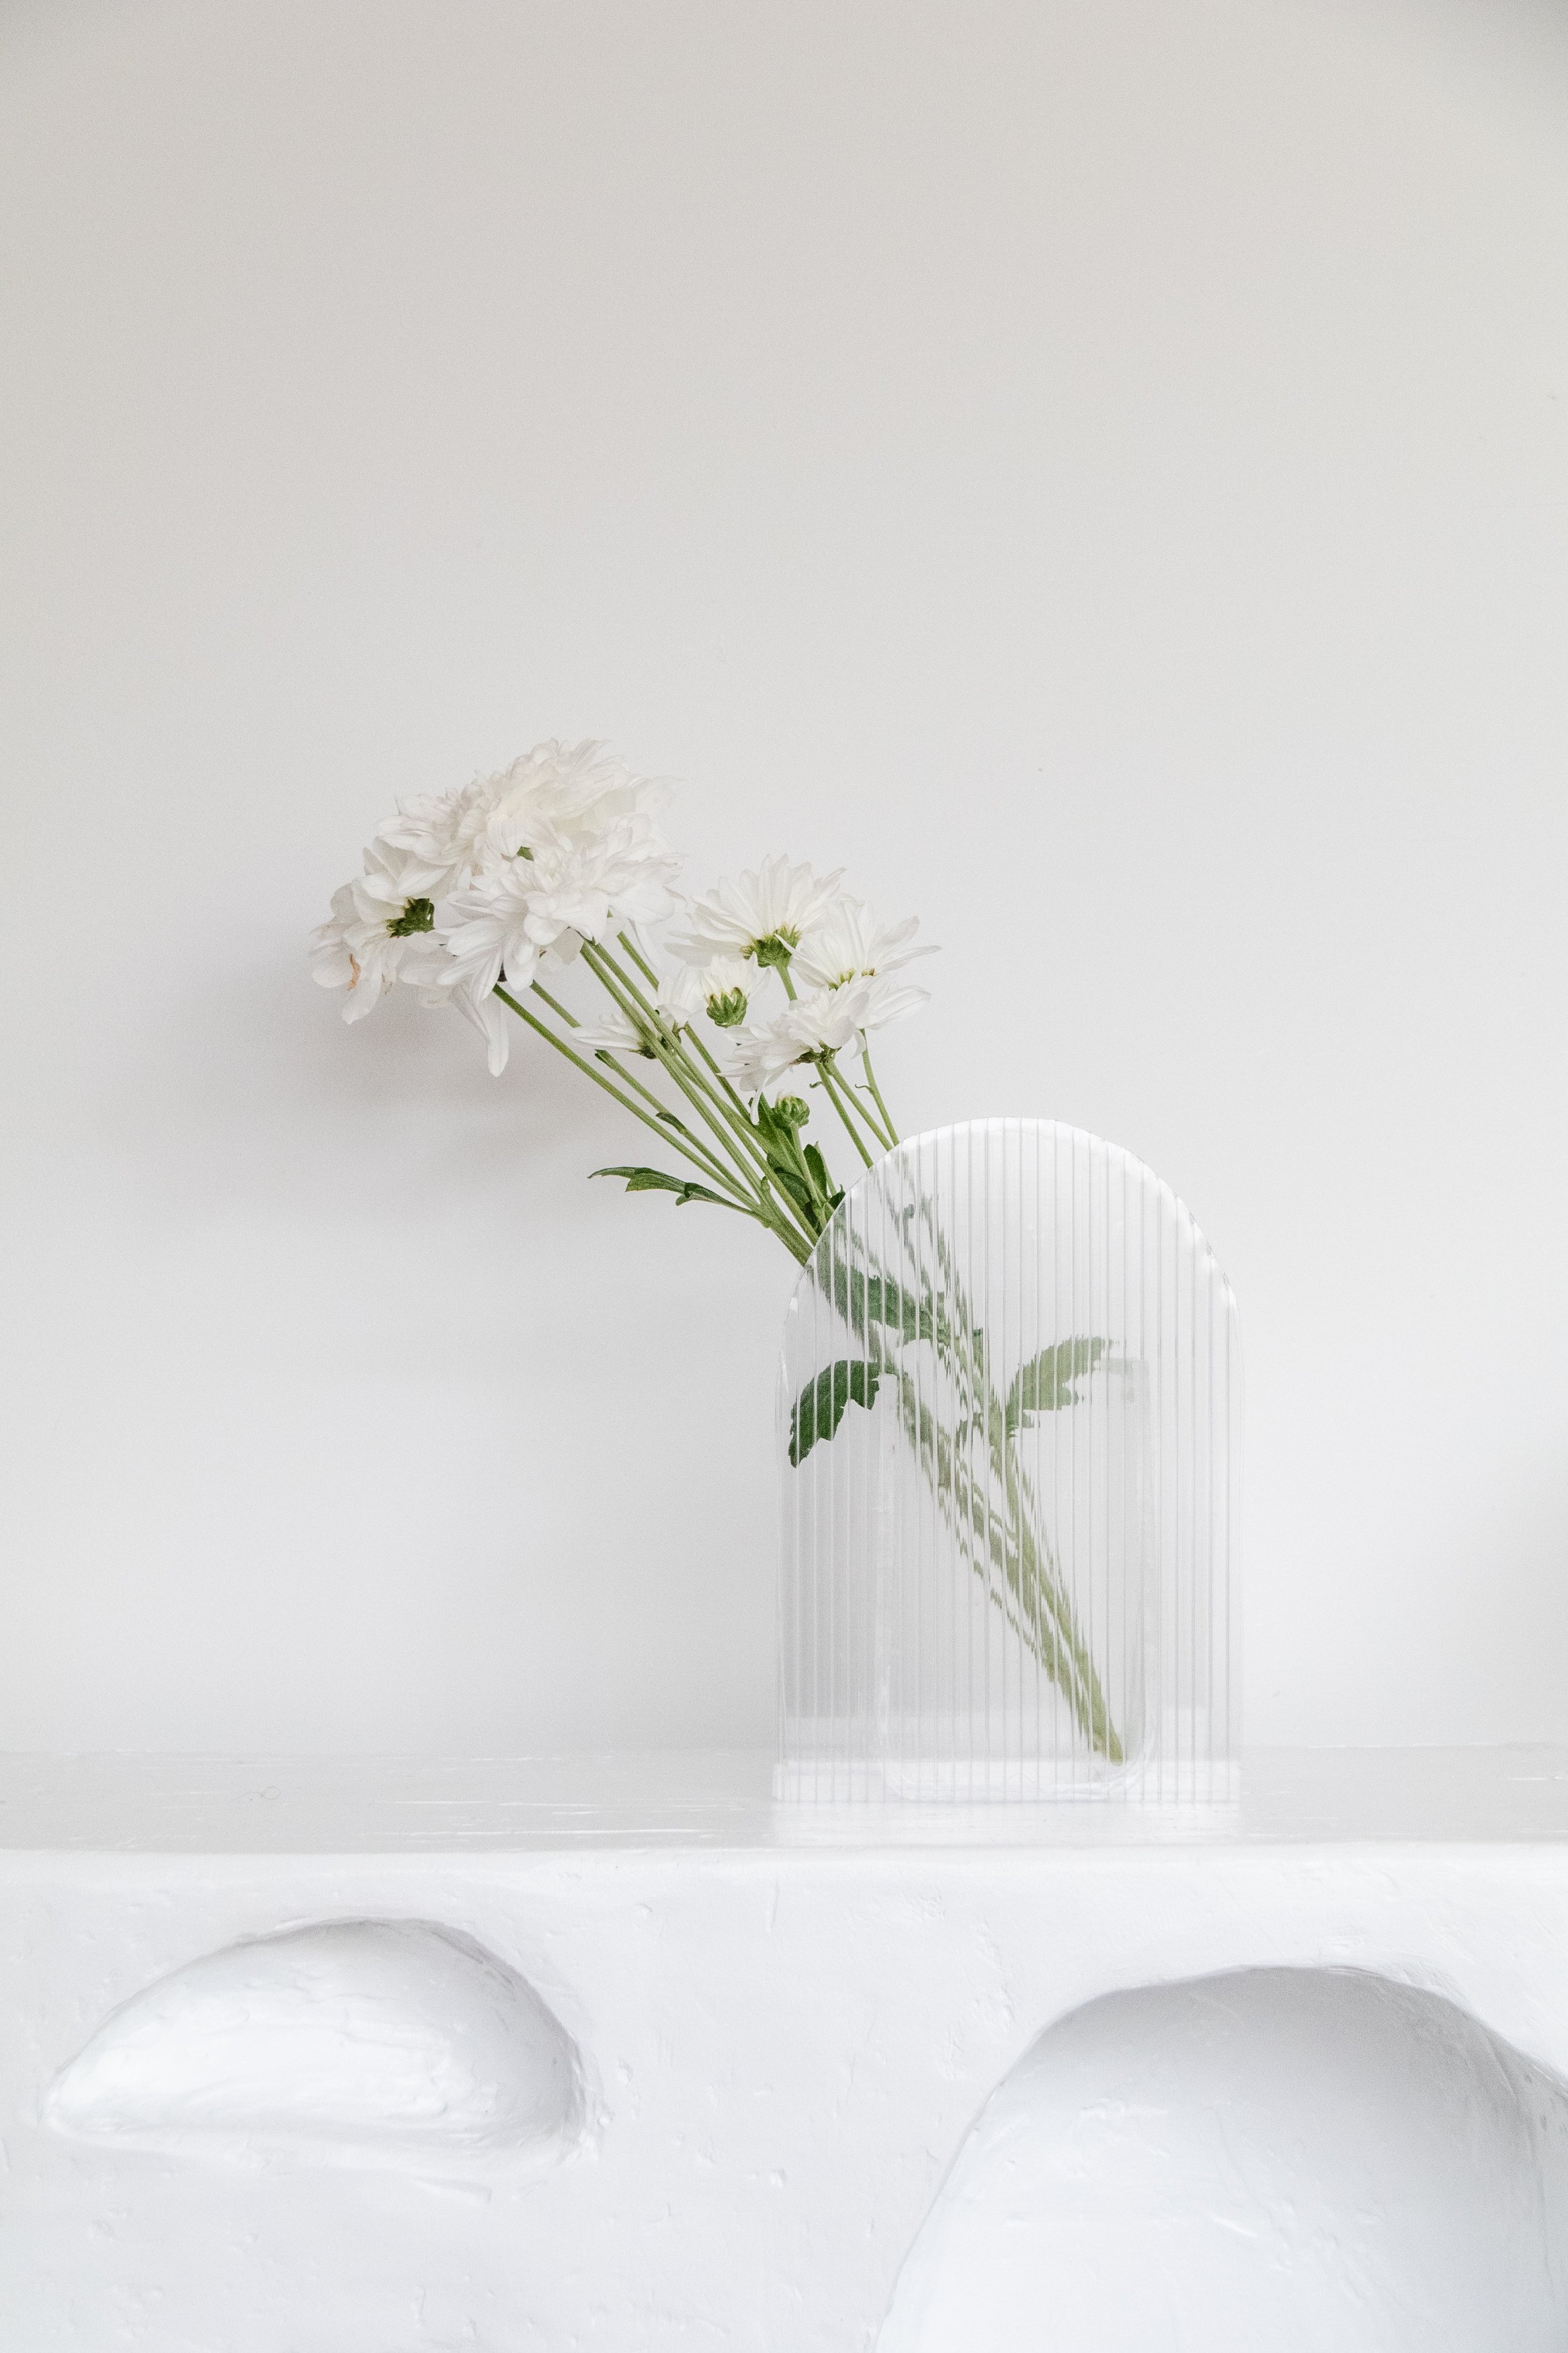
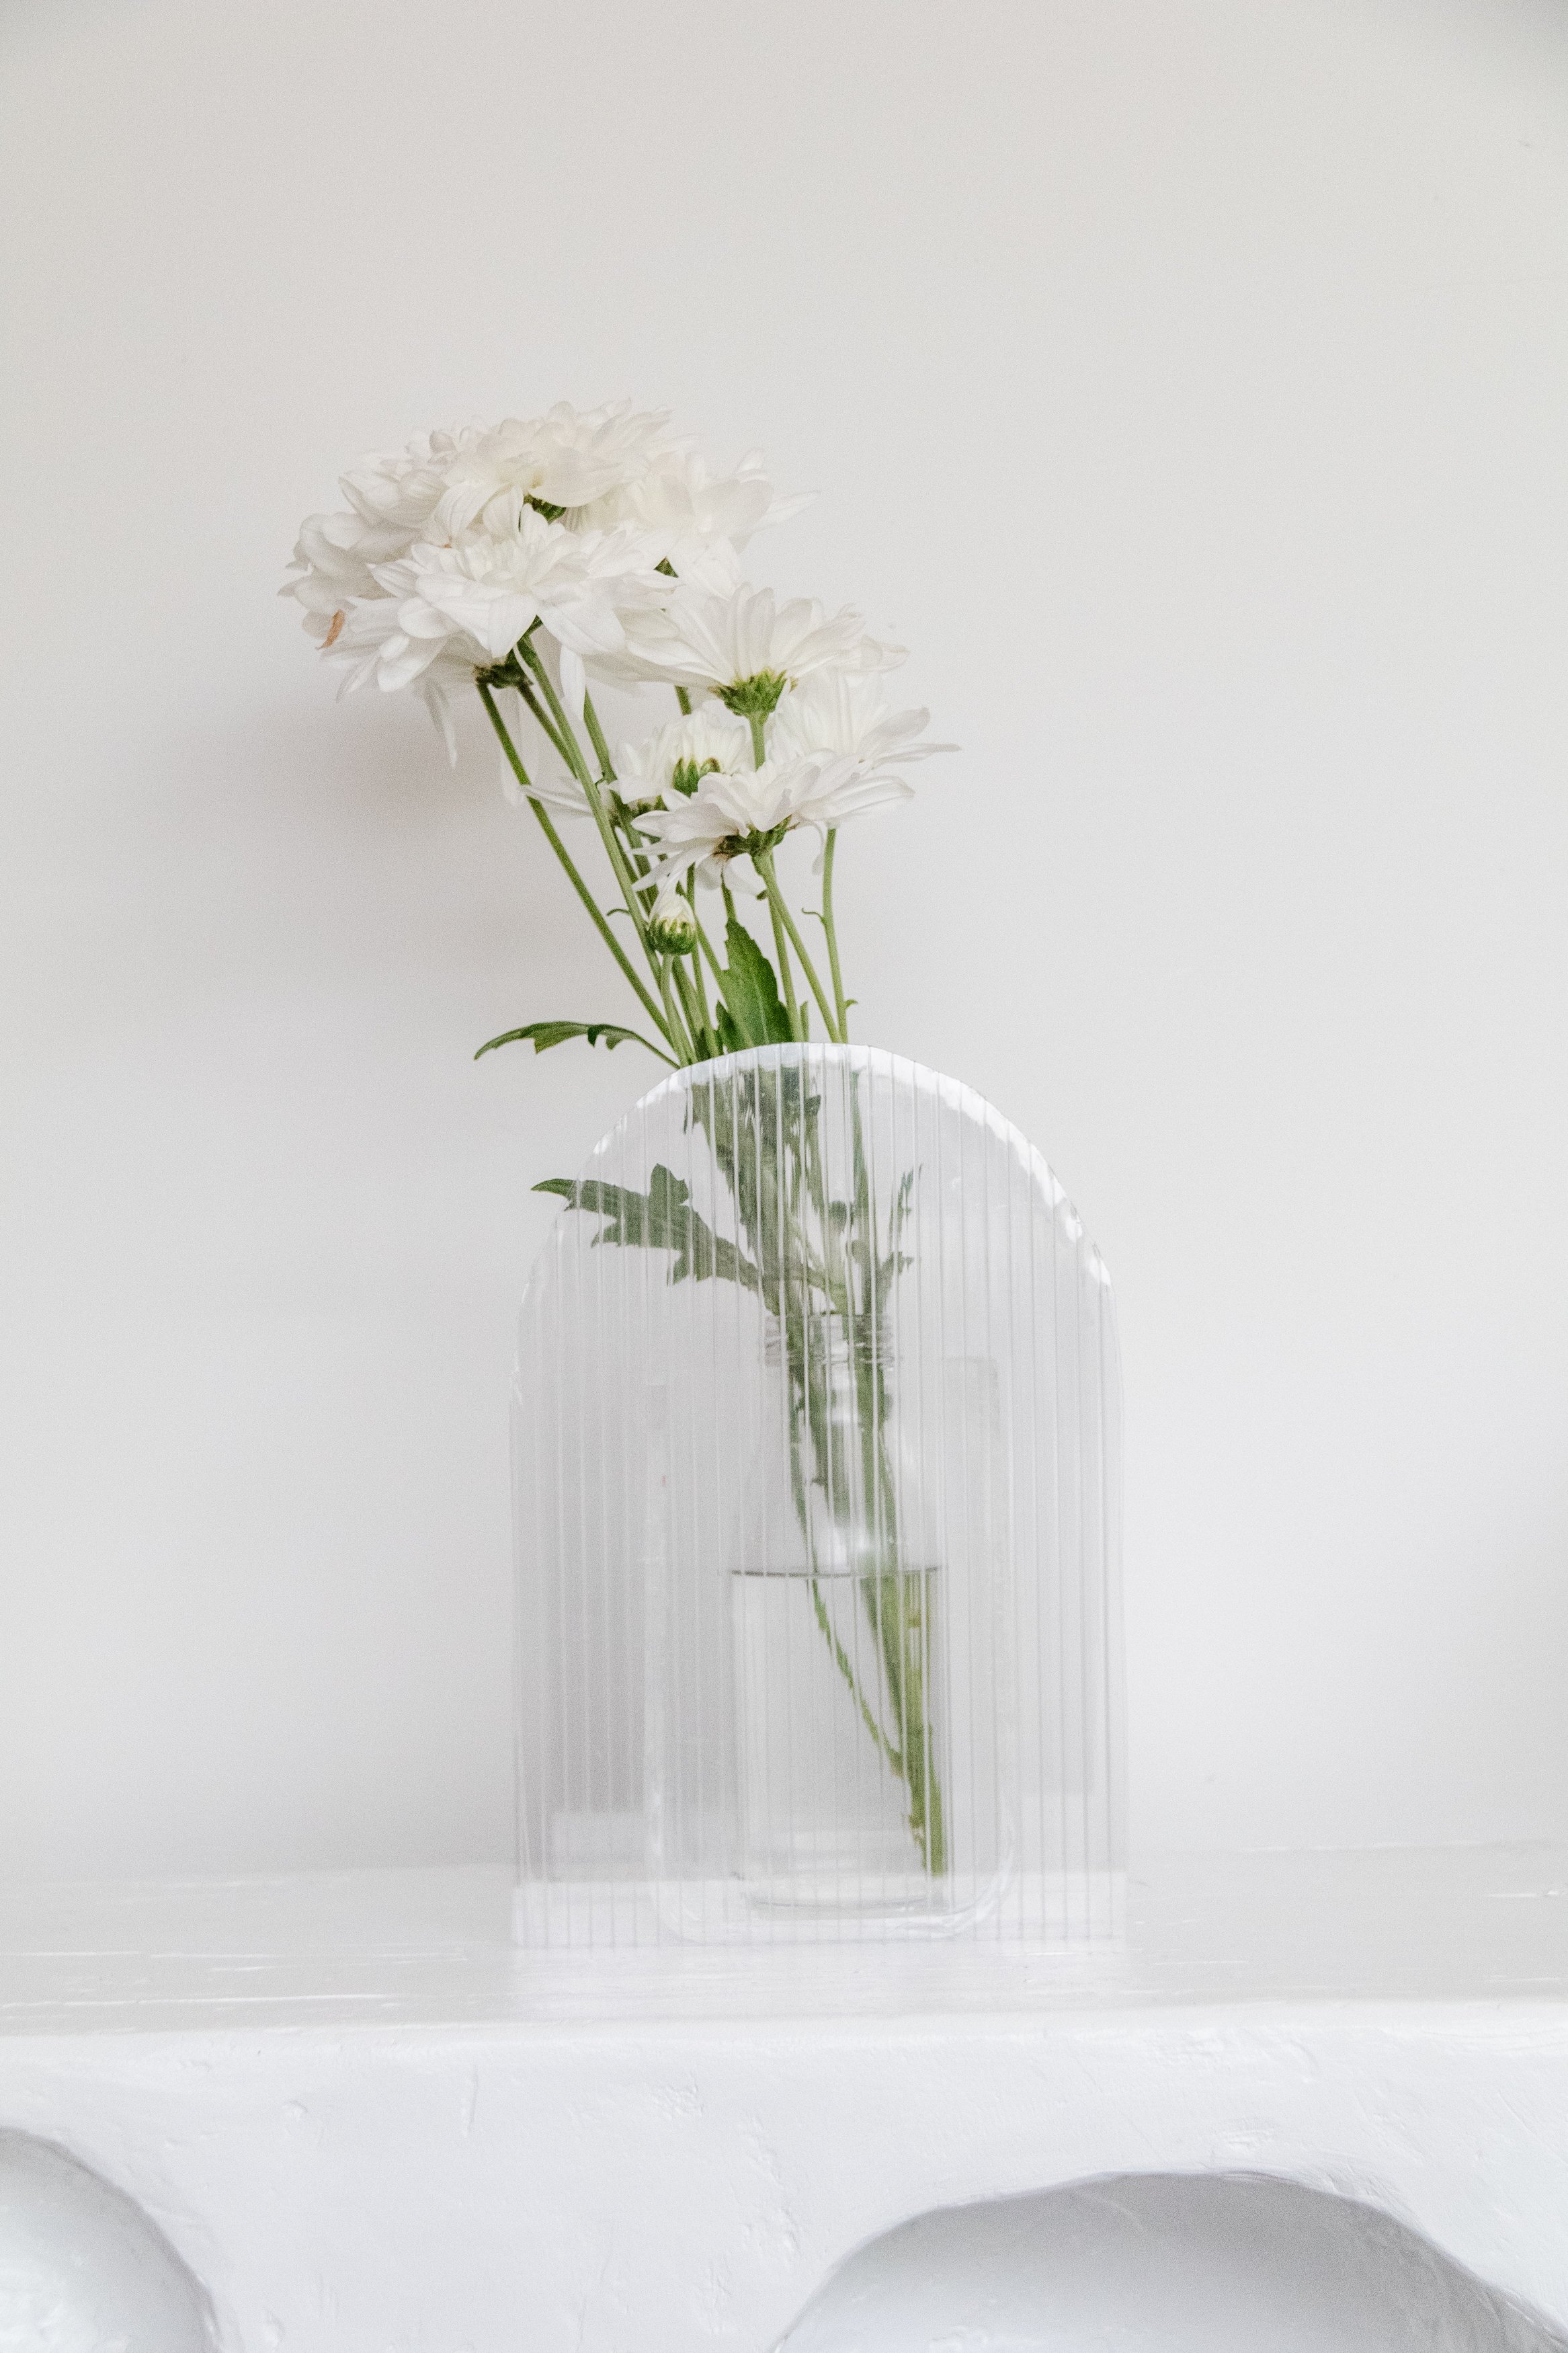
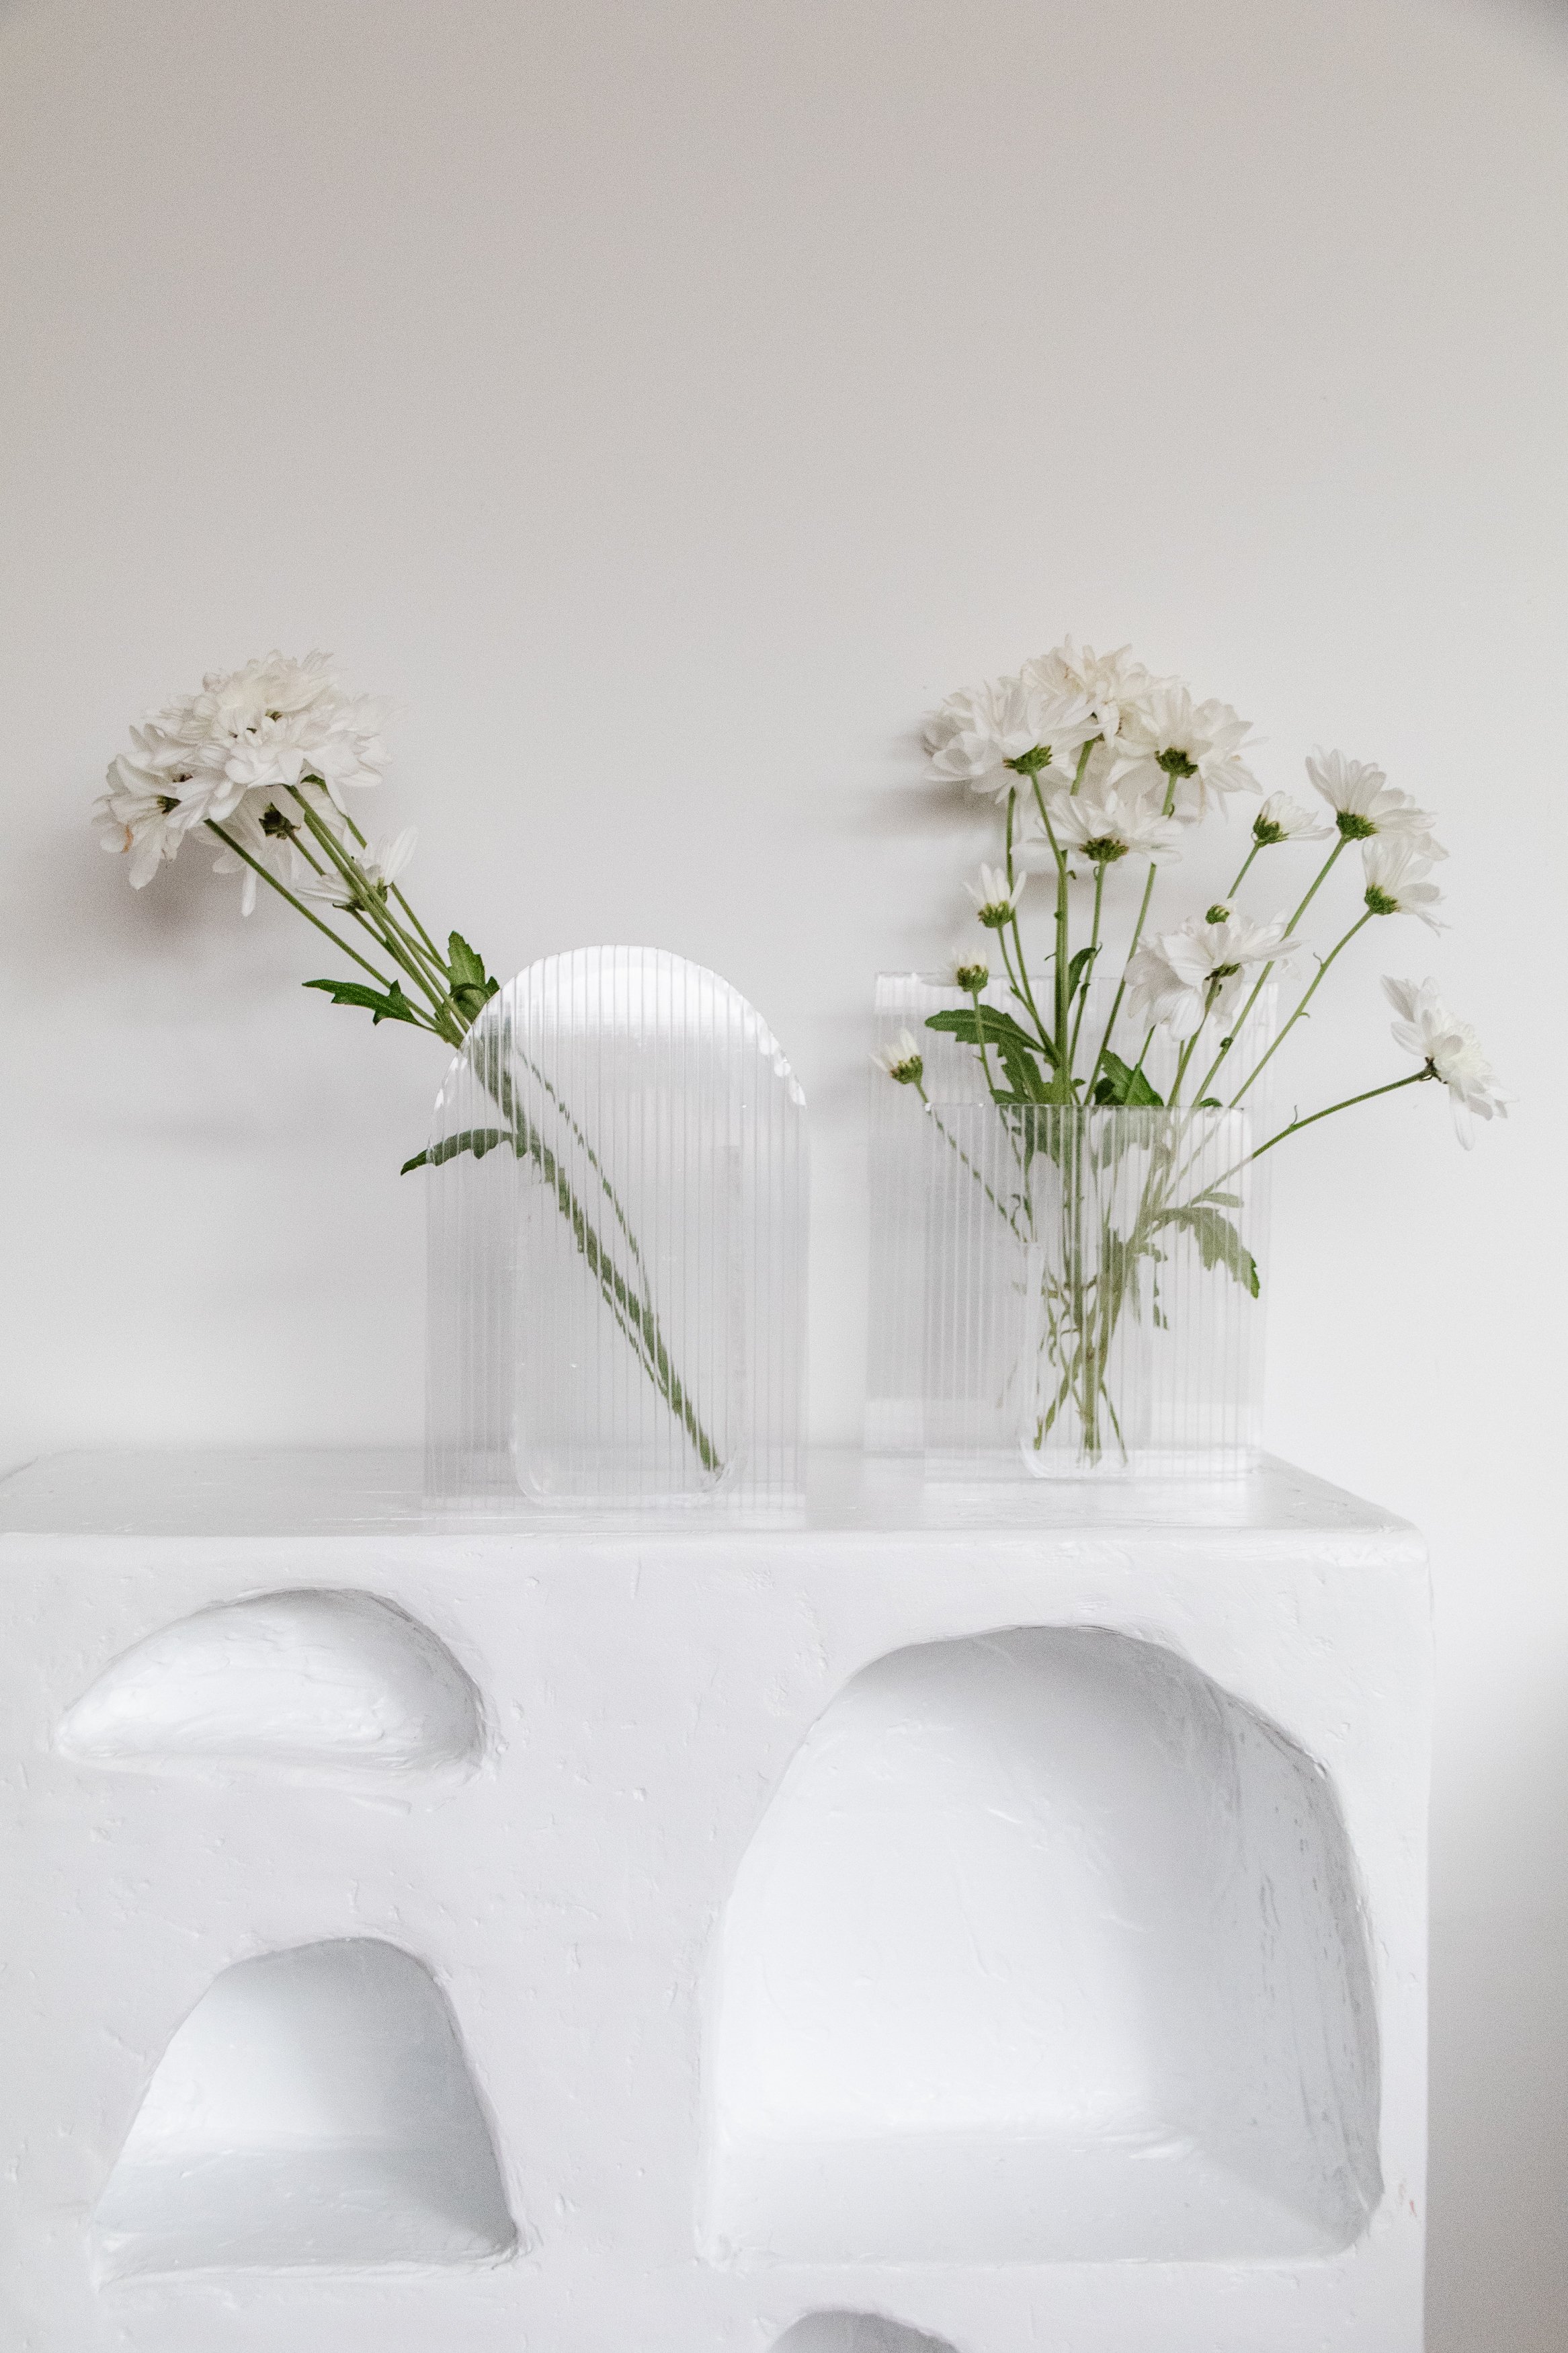
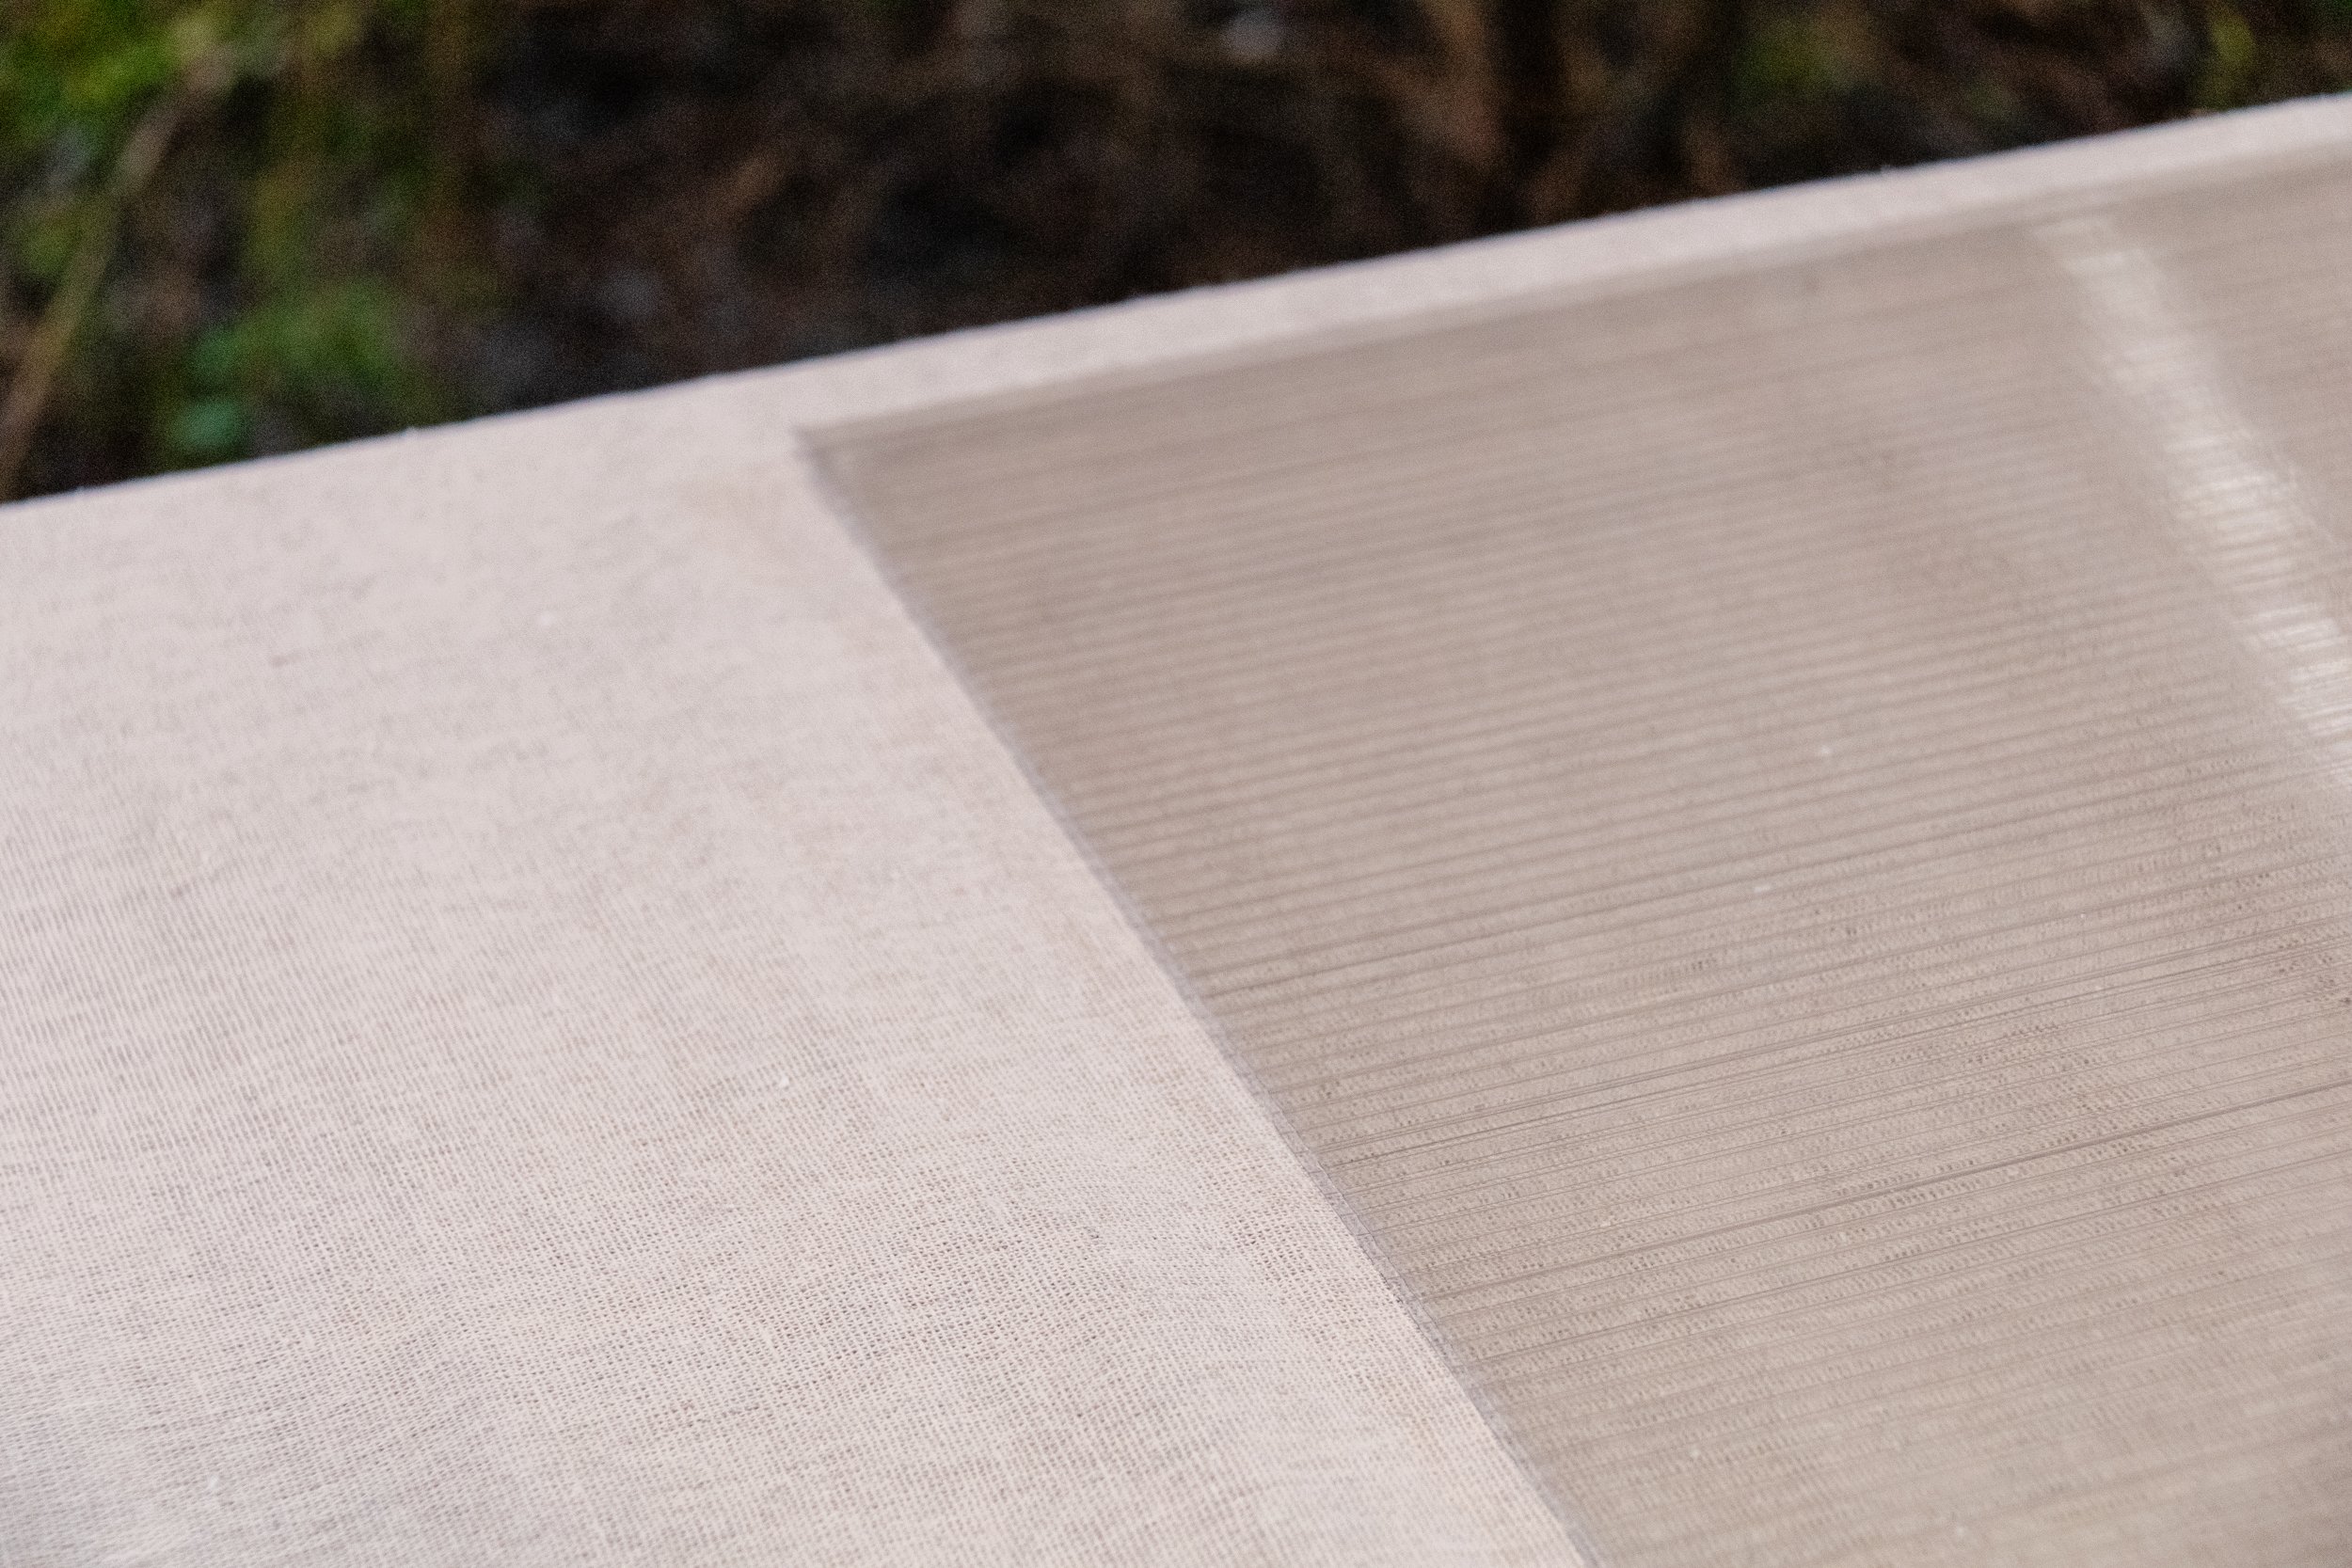
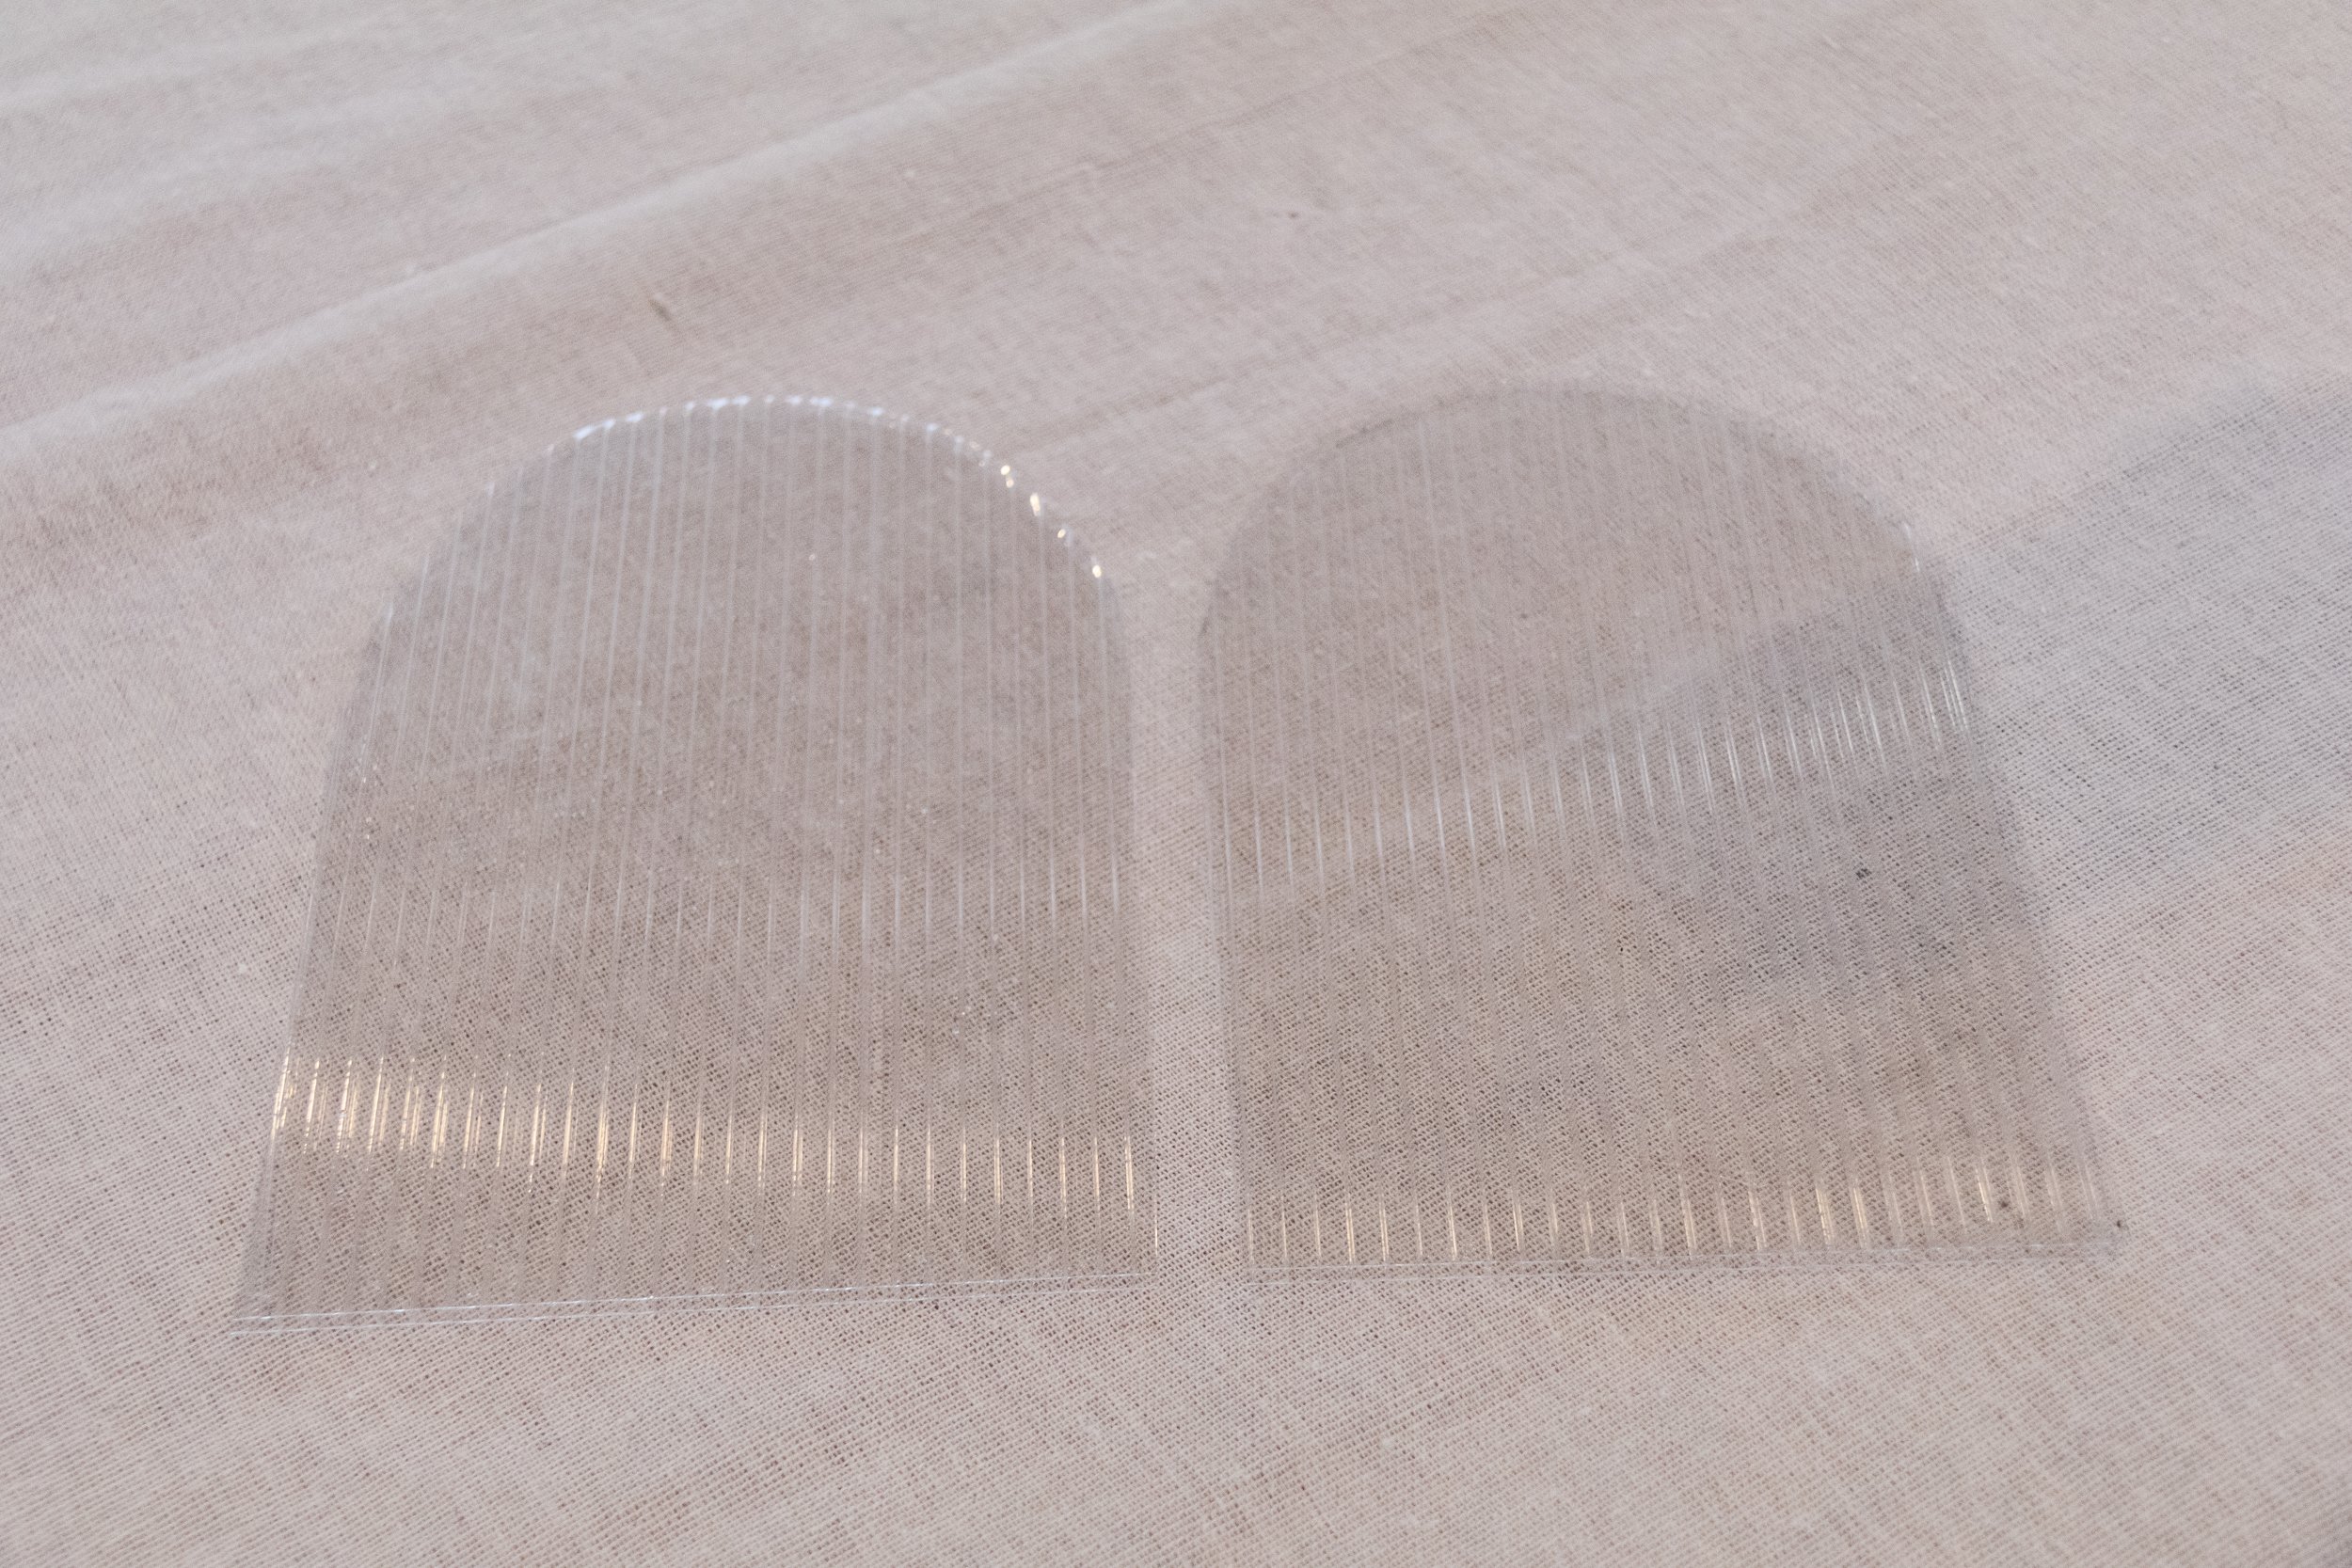
Use the whiteboard pen, a small bowl and a ruler to draw a shape onto the fluted polycarbonate sheet. Cut out the shape using the craft knife. ay the folded perspex down, apply a thin layer of glue onto the edge and place the cut fluted polycarbonate on top making sure the bottom is straight. Carefully flip it over and glue the second shape onto the vase. The shape and glue will slip, but don’t worry as it dries crystal clear. Carefully place a few coffee table books on top of the vase (while it’s laying flat on your work surface) to help bond the glue to the perspex and polycarbonate. Leave it overnight to dry and the after about 24 hours or so, the glue will dry crystal clear. And there you have it, a beautiful arched DIY Fluted Perspex Vase!
EXTRA TIPS & TRICKS
Glue: As I mentioned above, make sure you stack a few books onto the vase while it’s drying to help the glue bond to the perspex and polycarbonate.
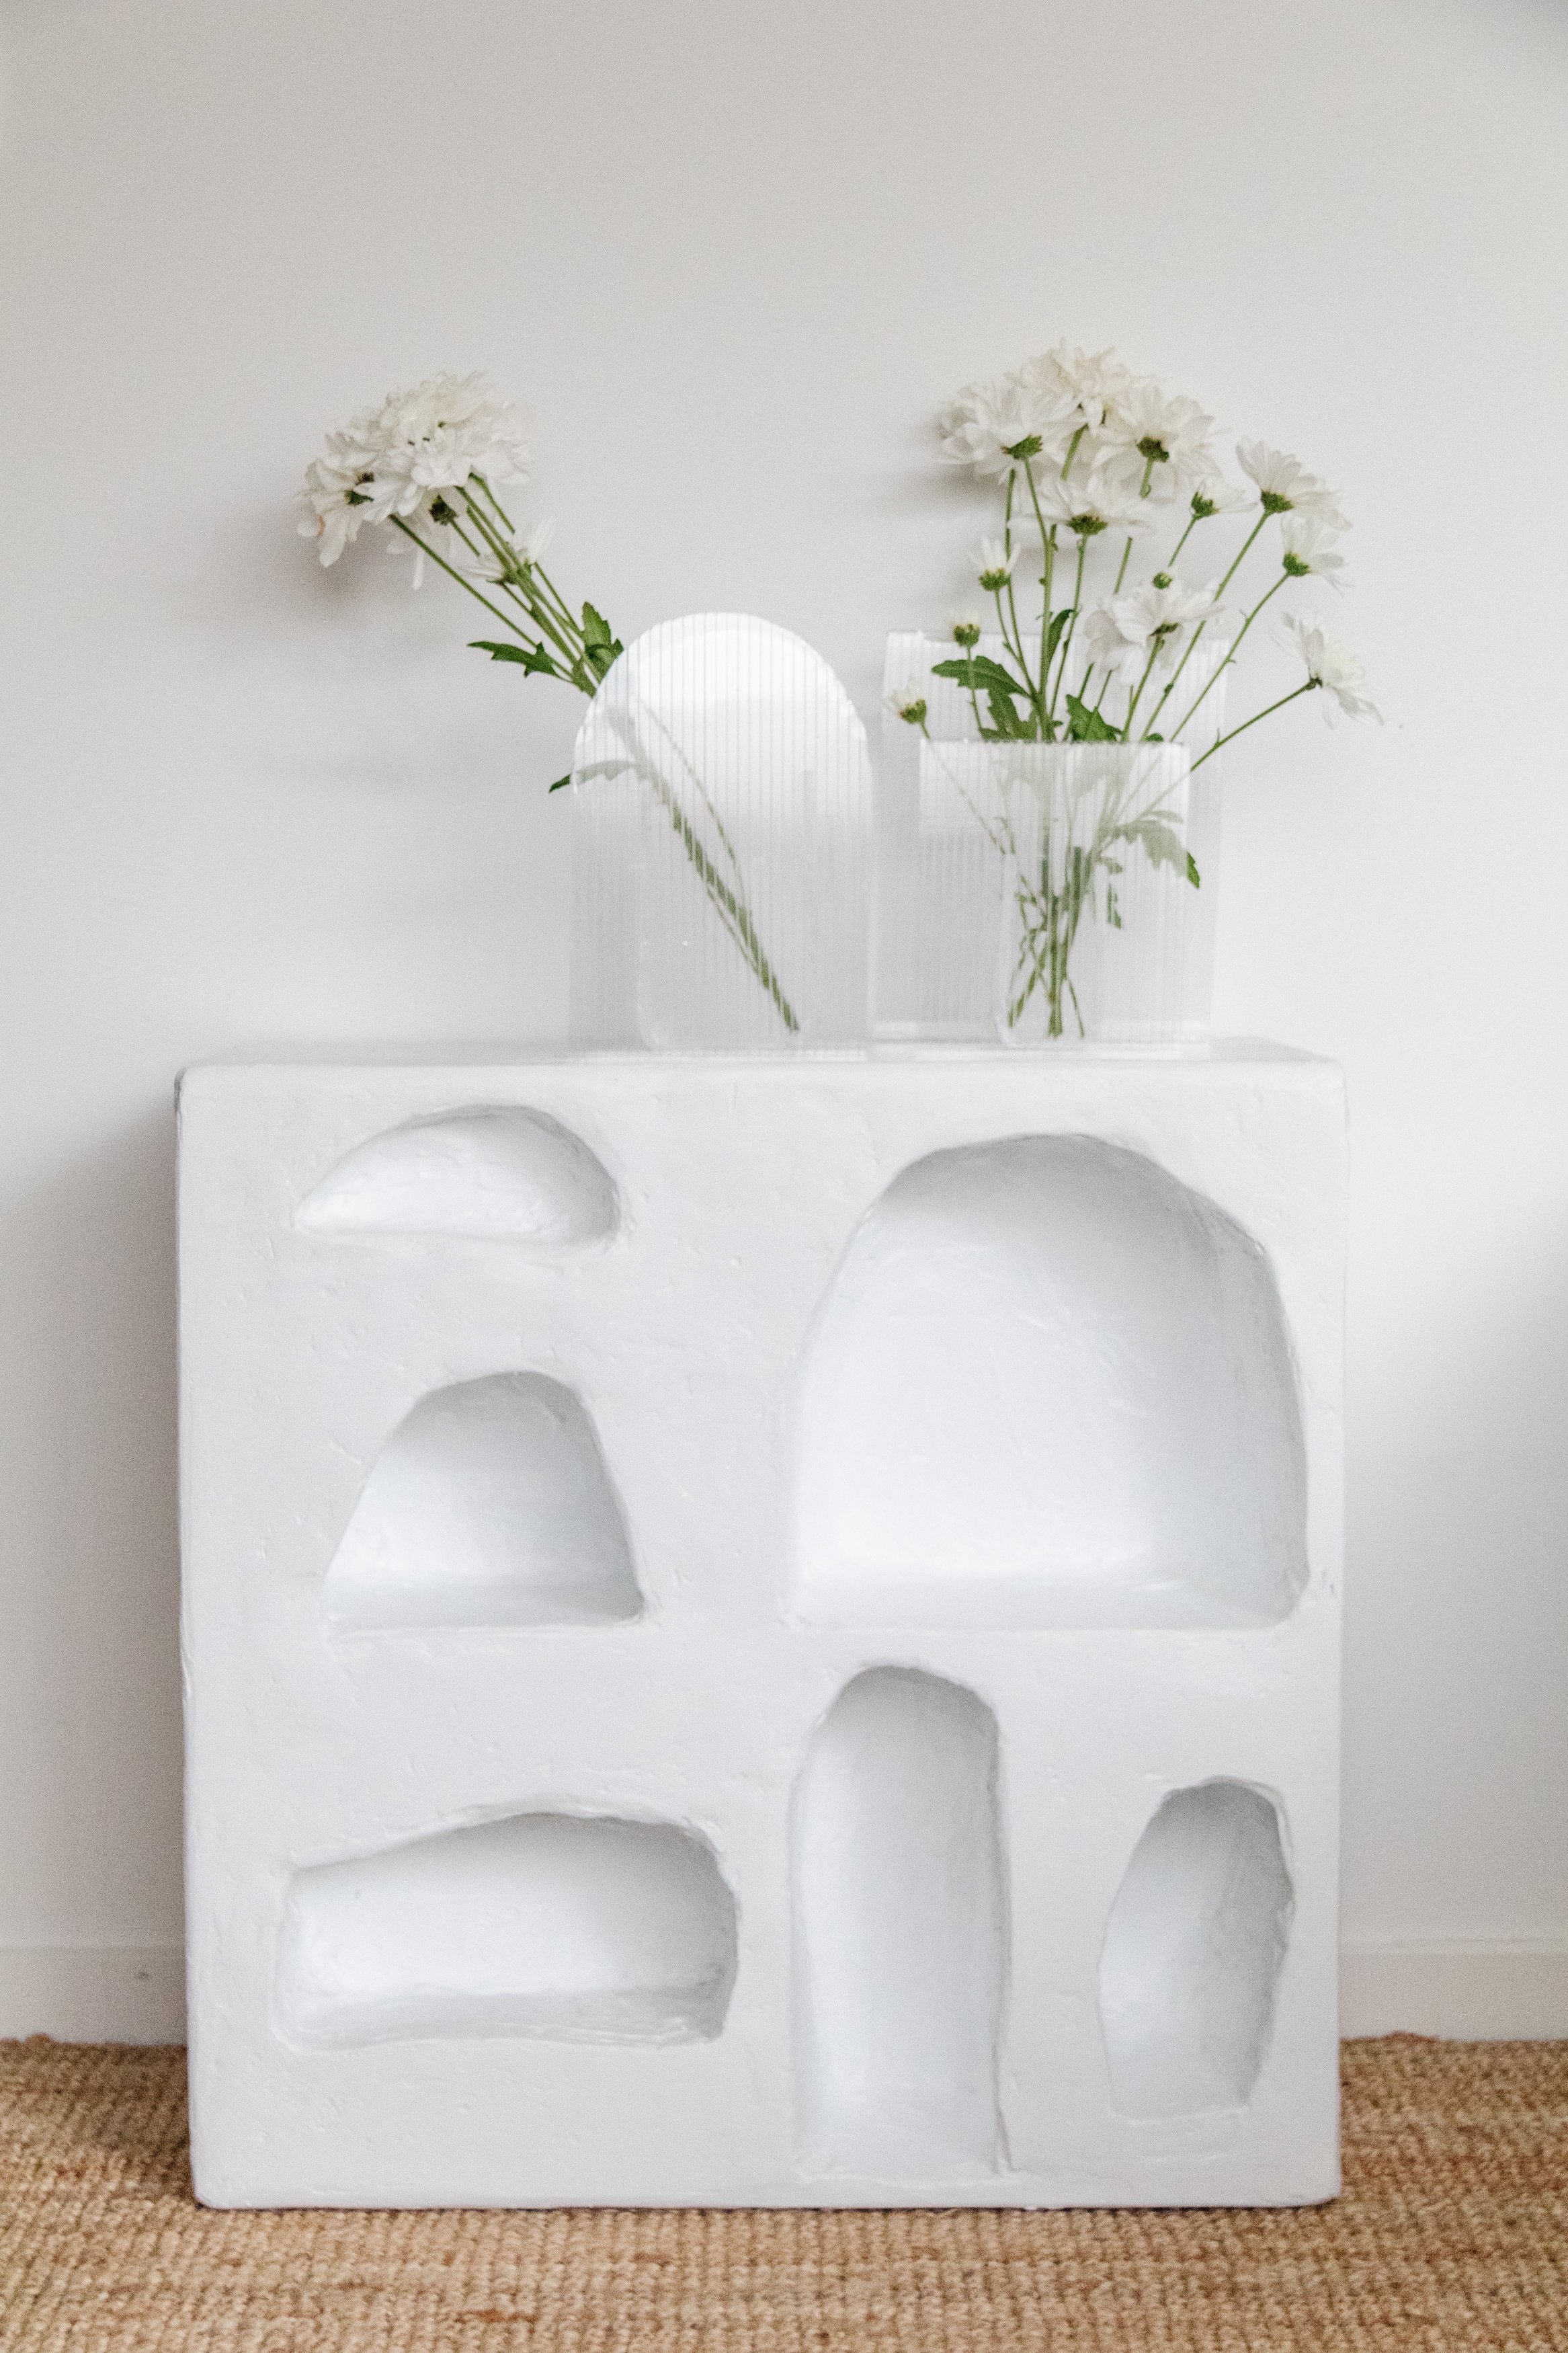
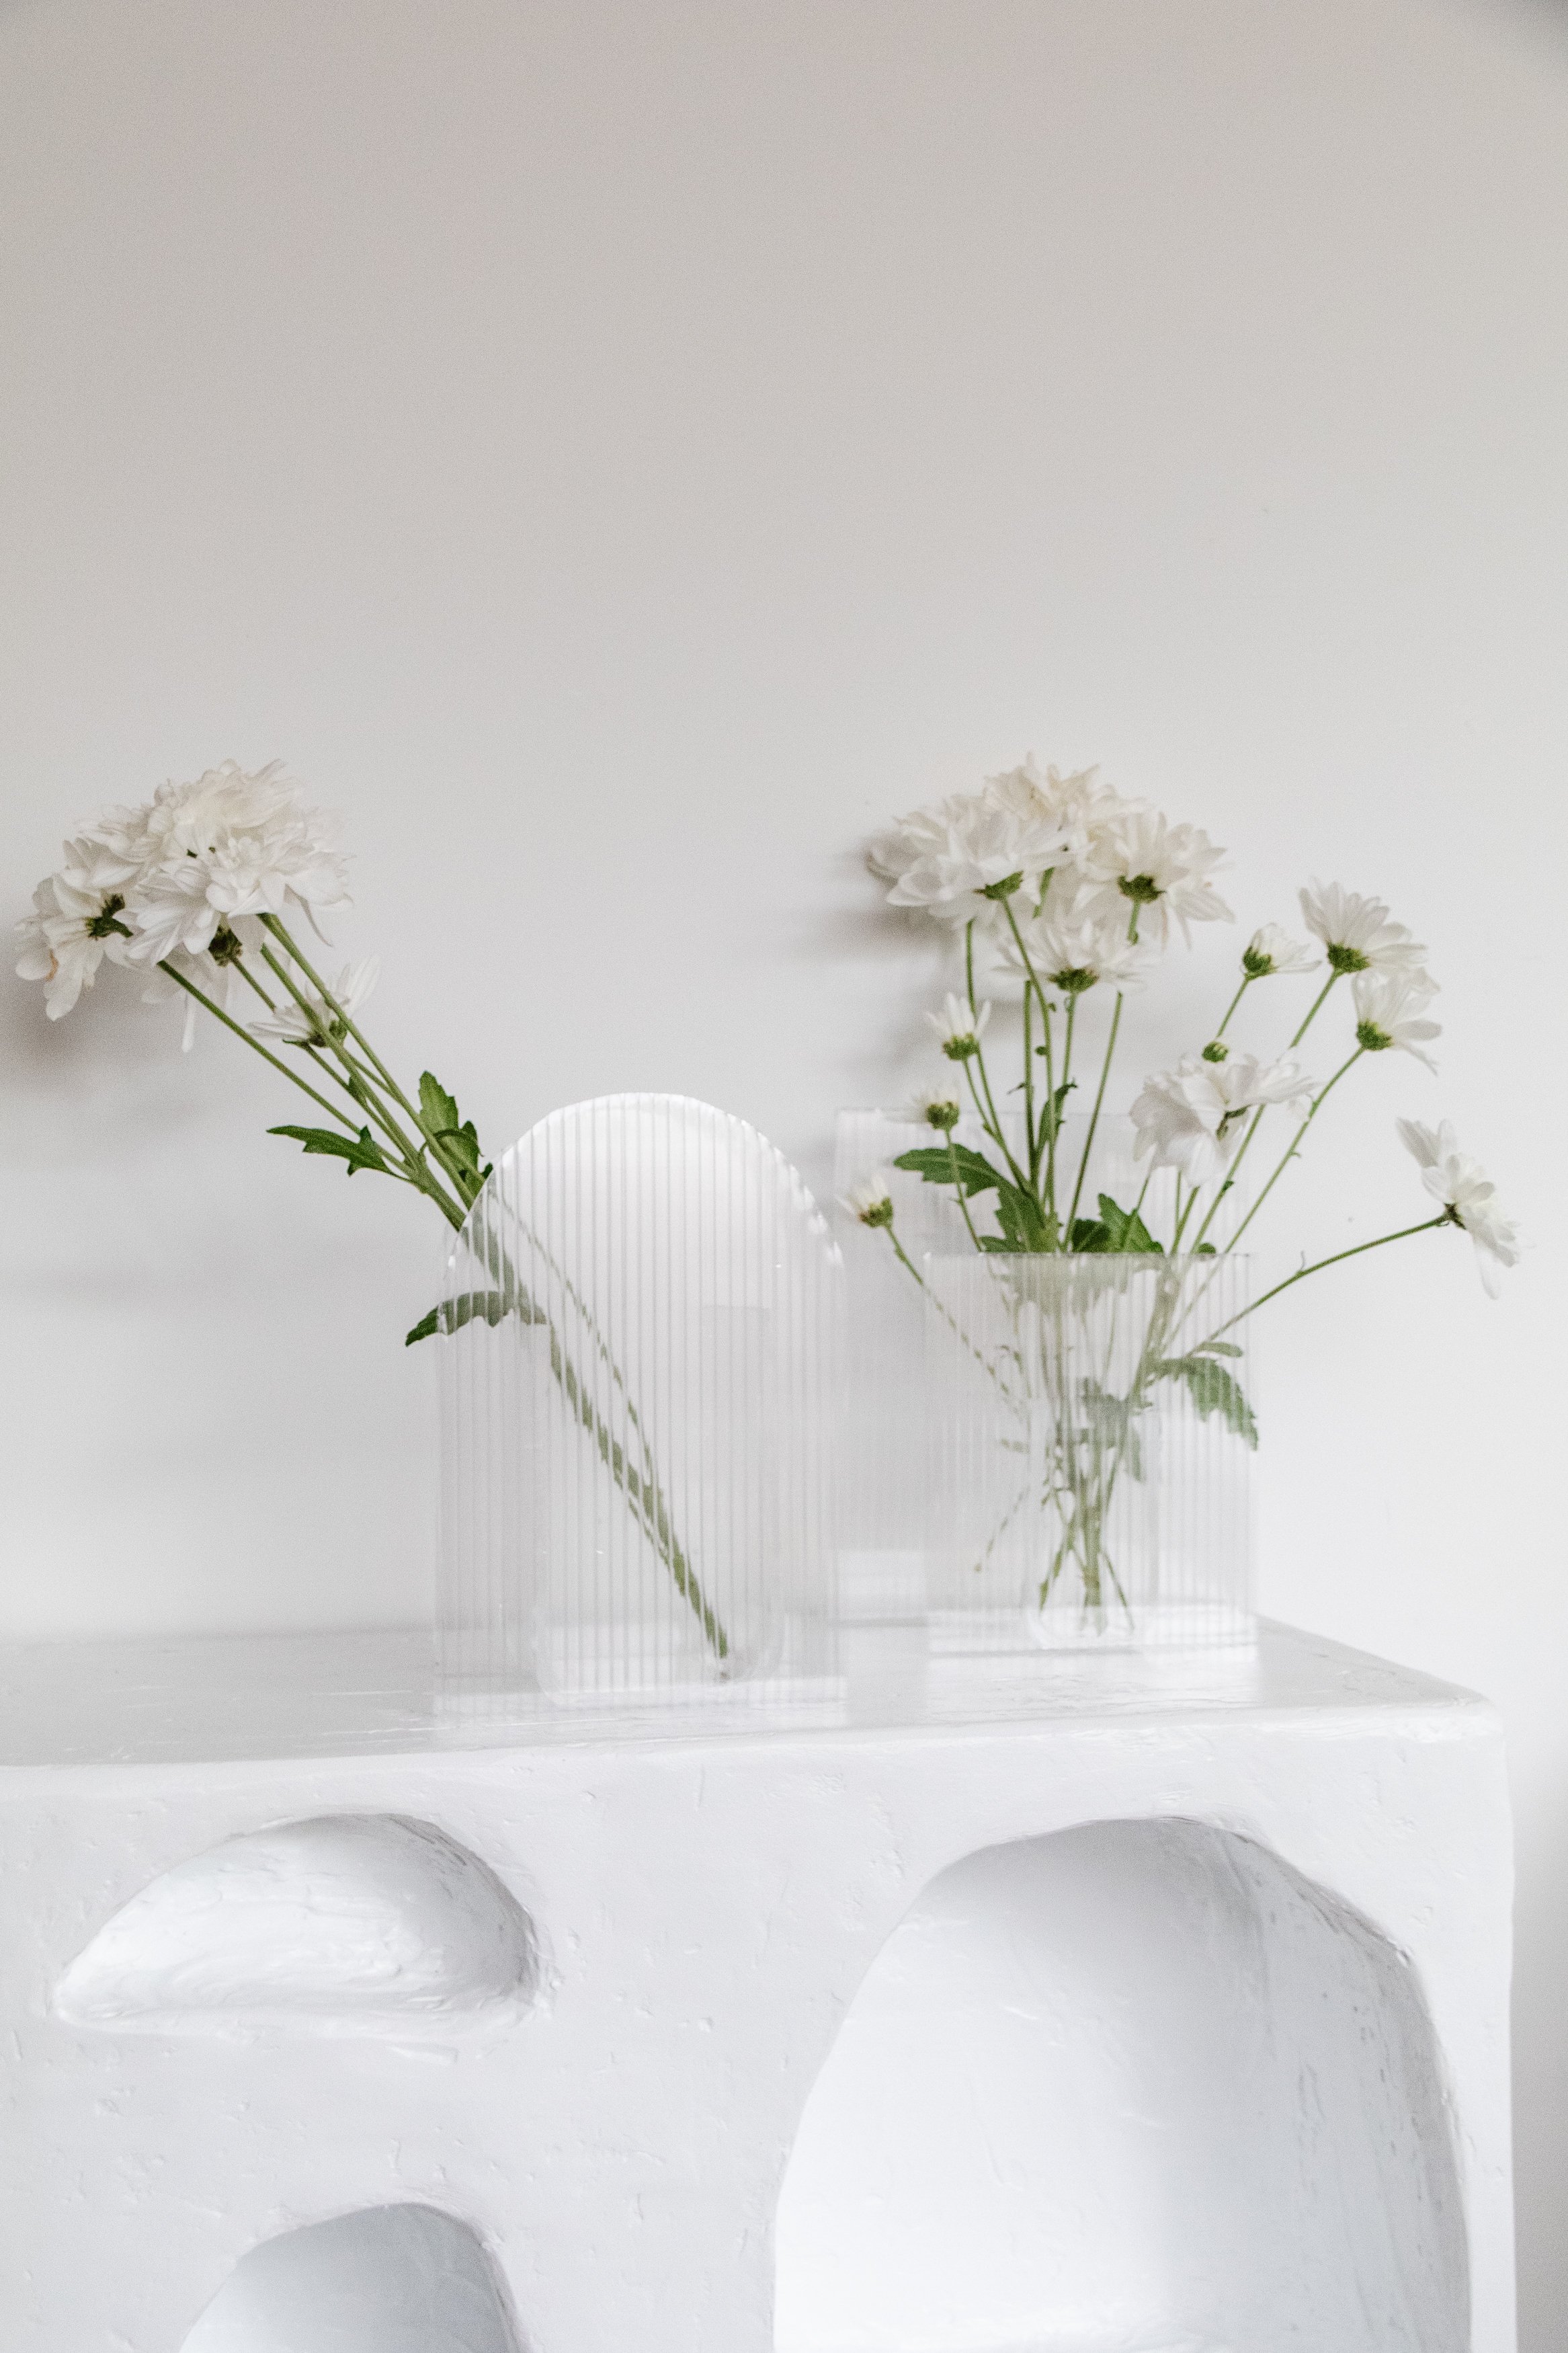
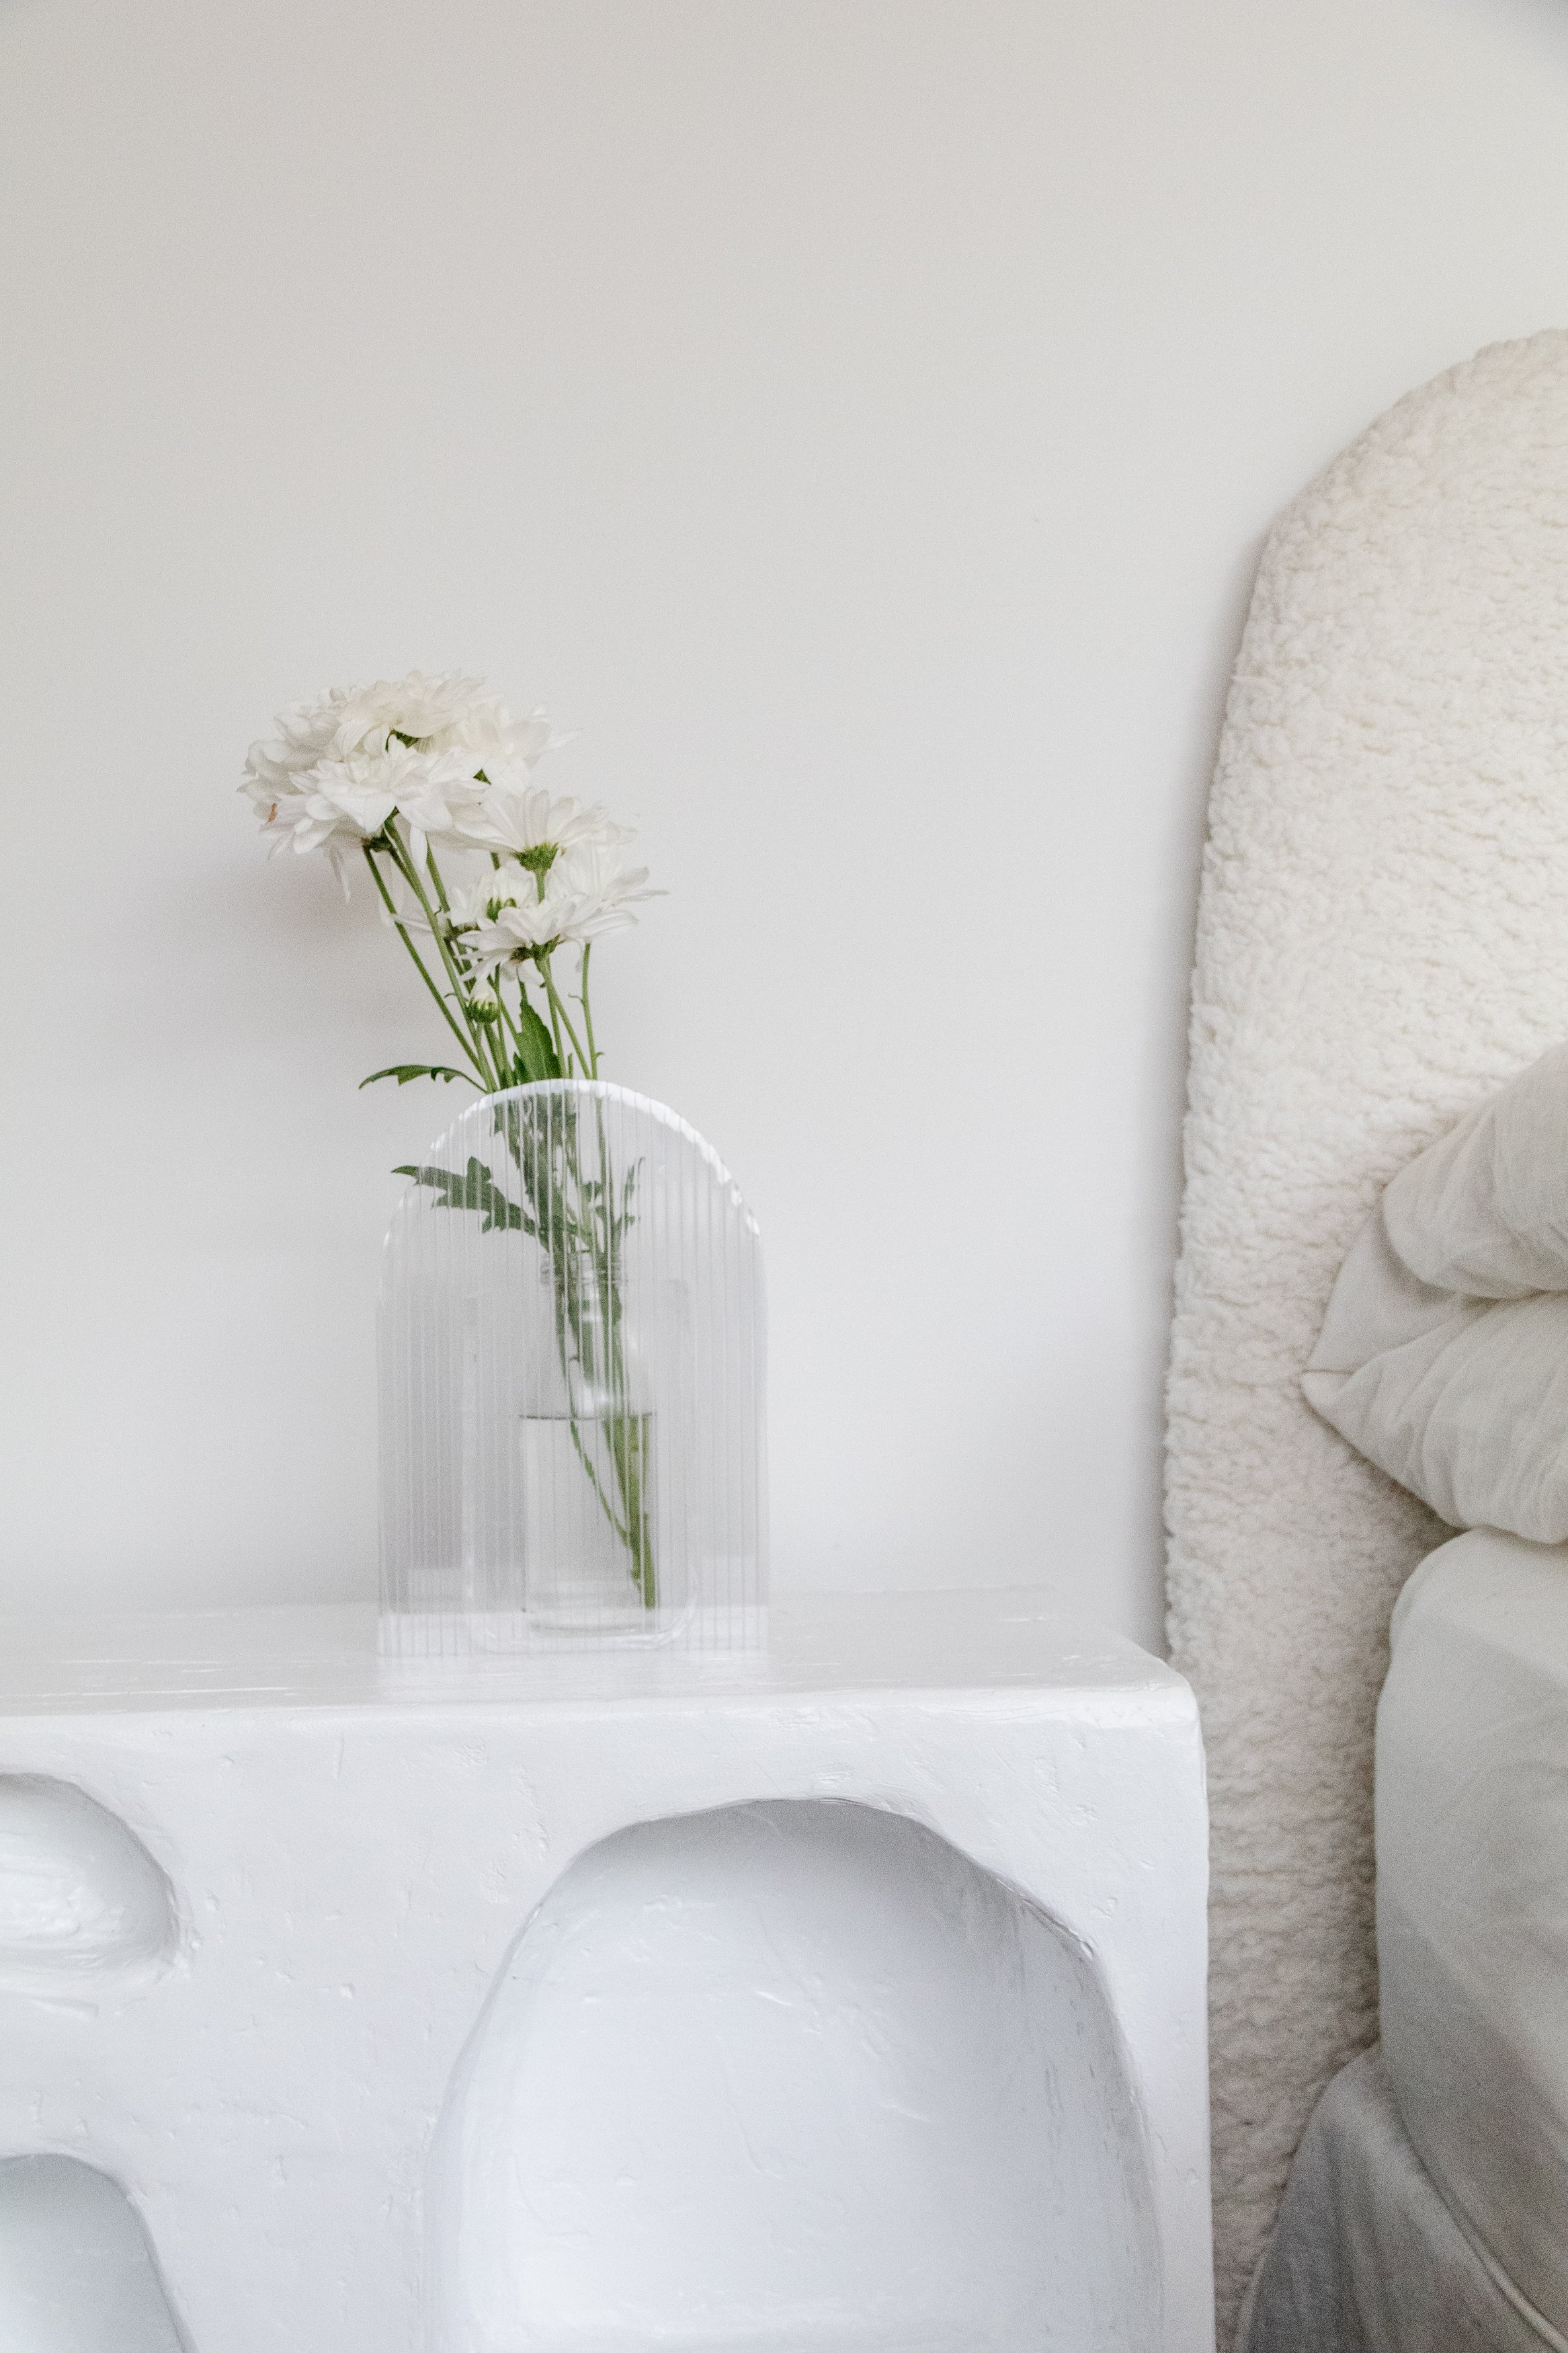
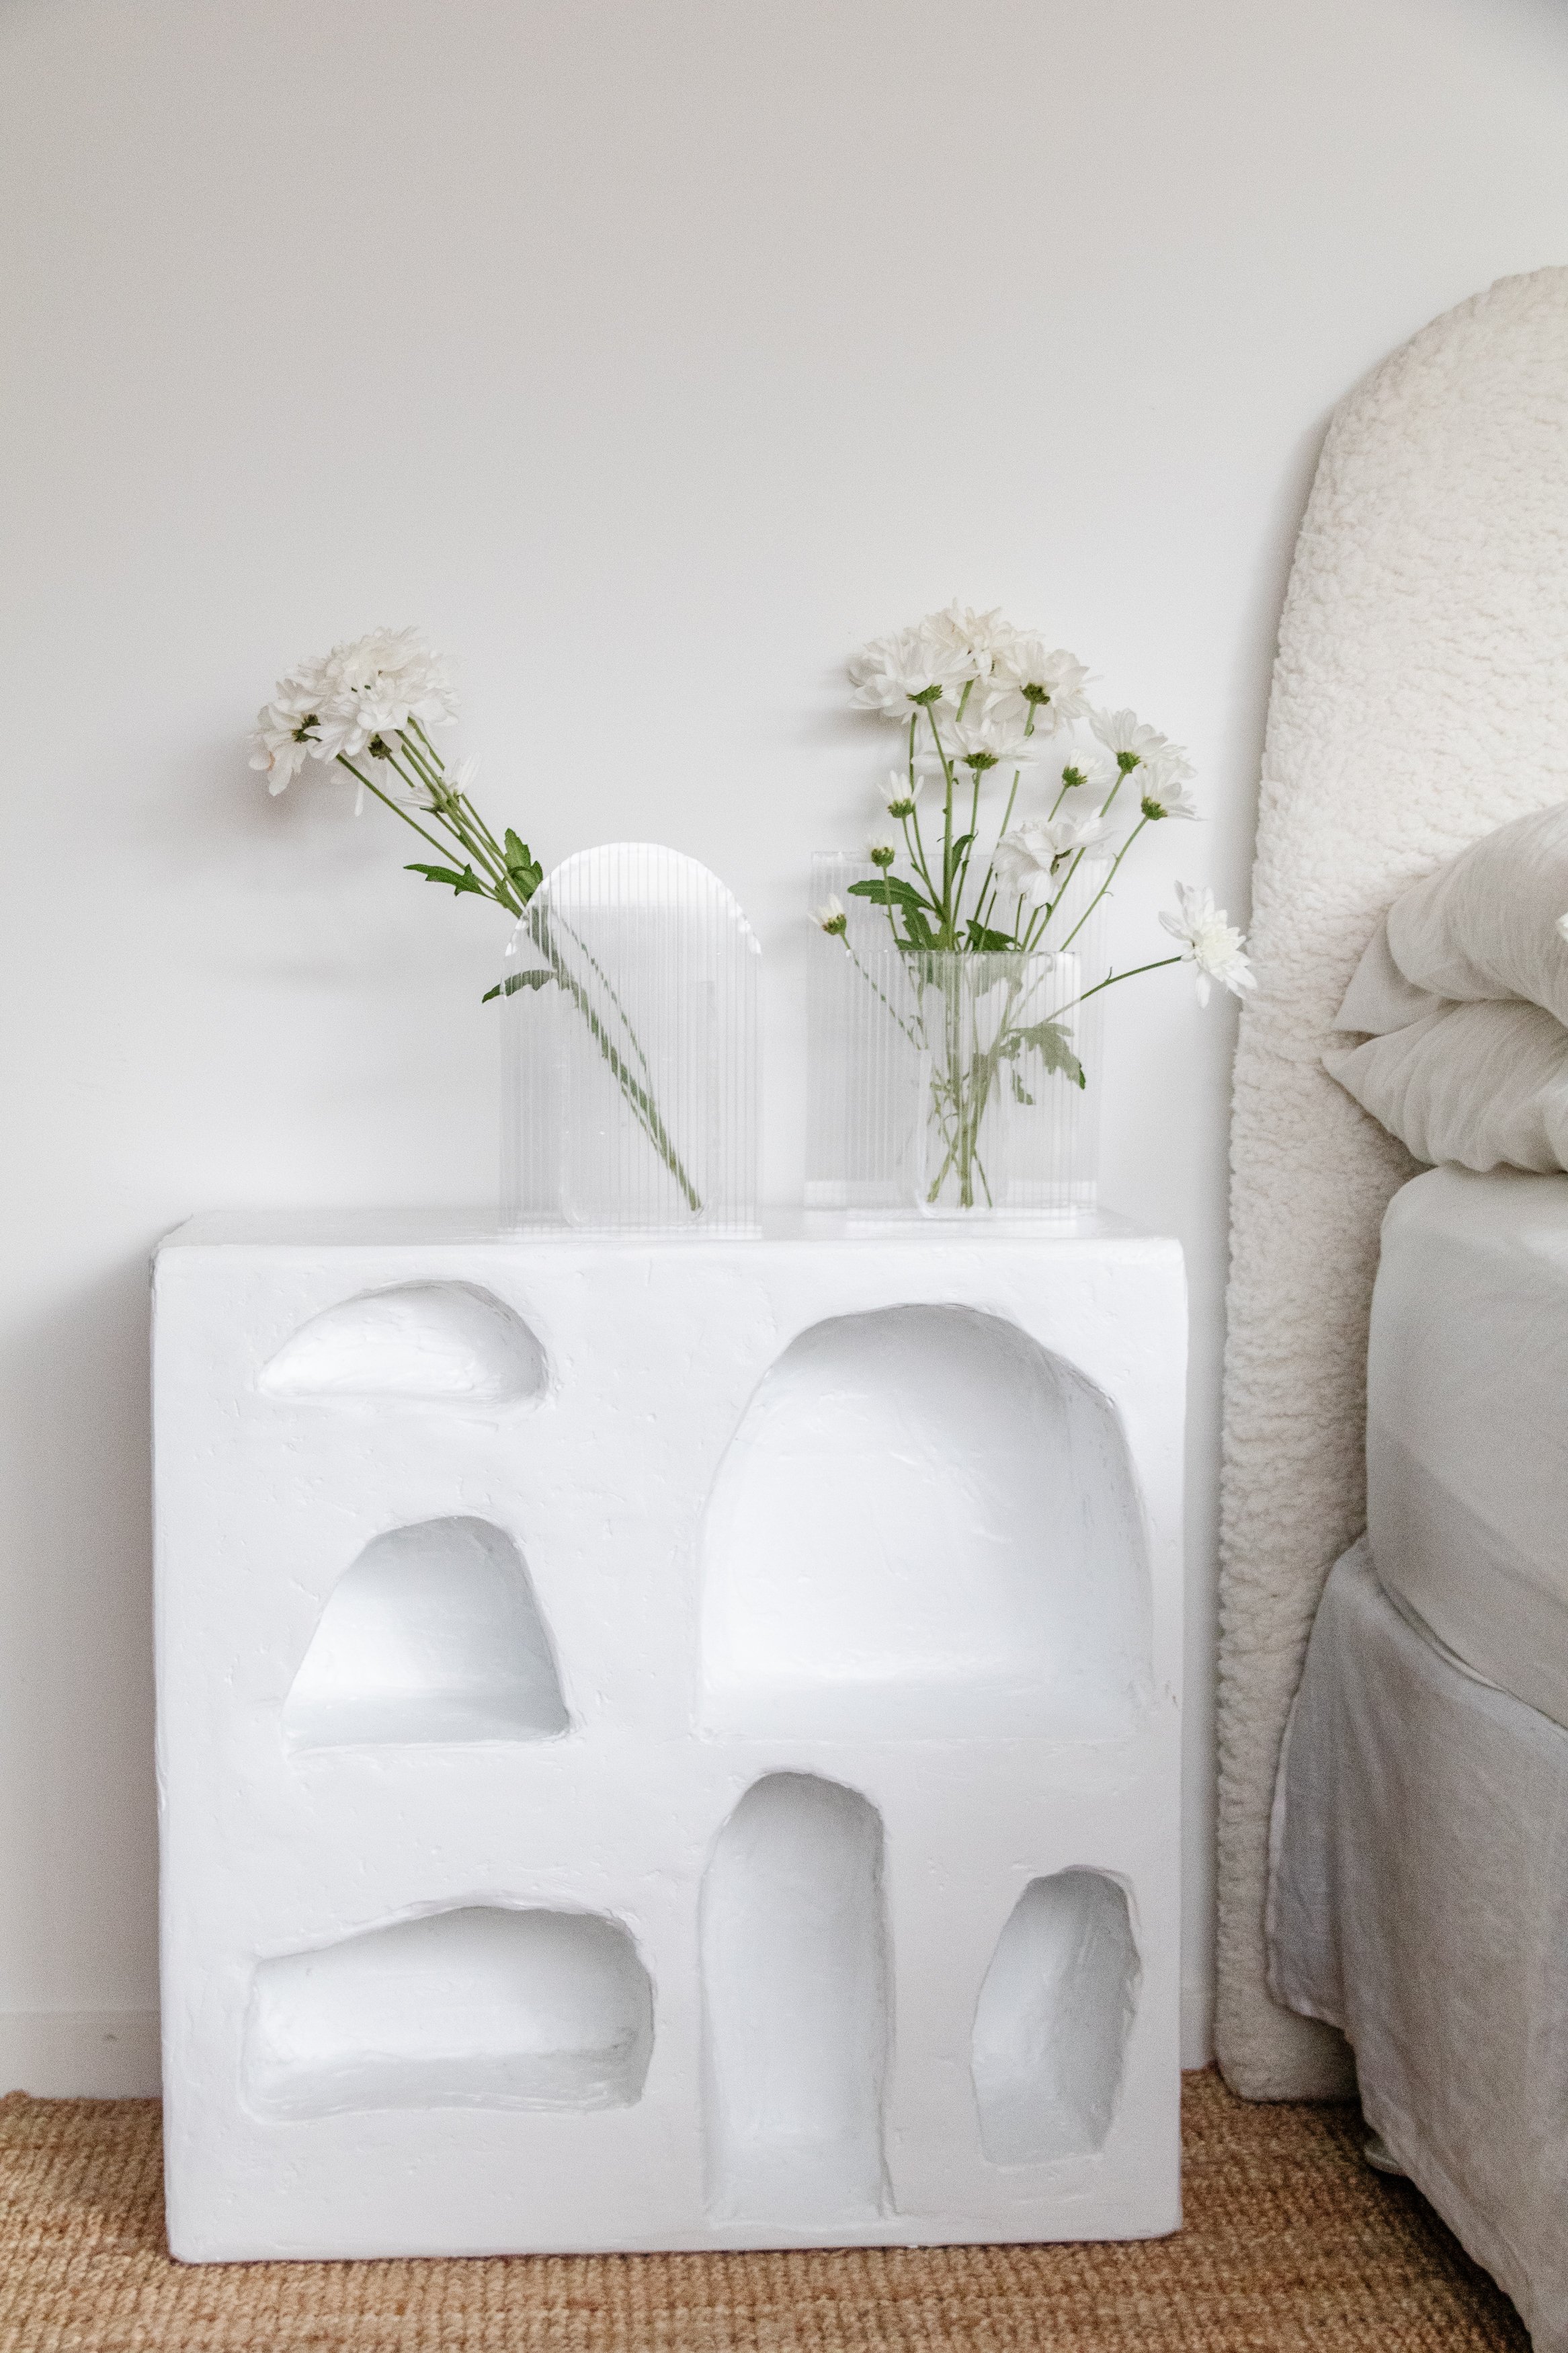
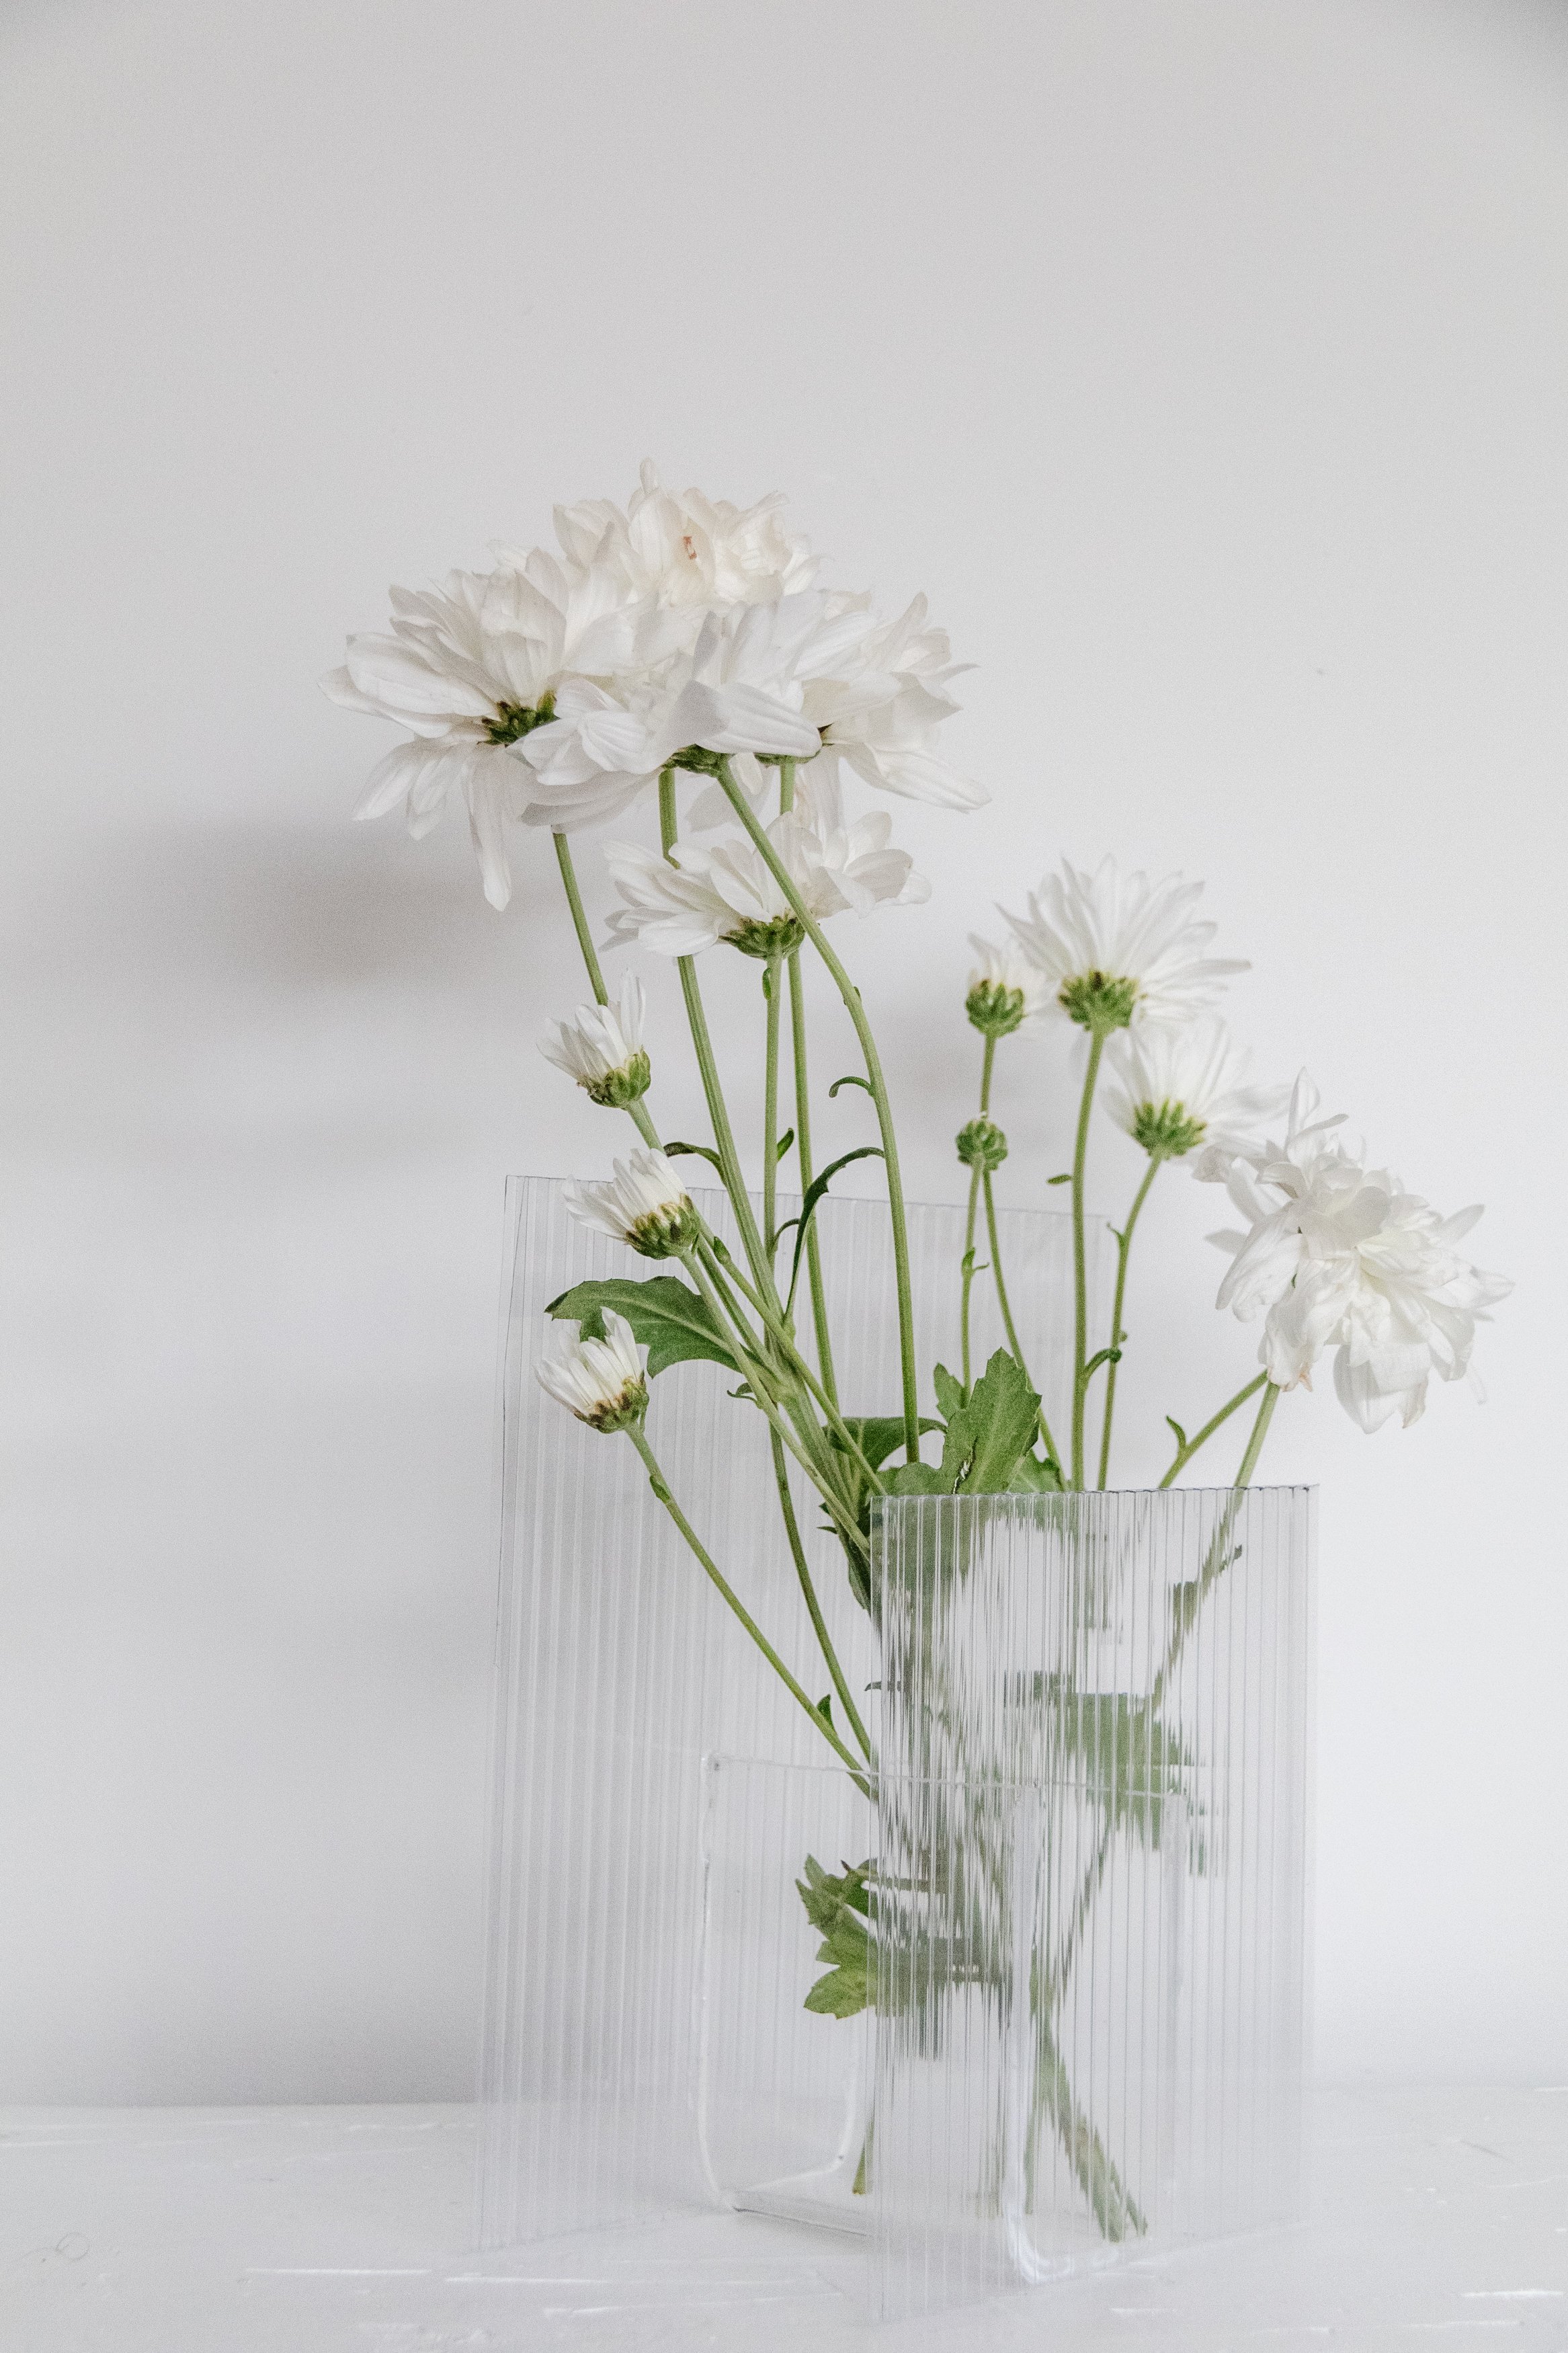
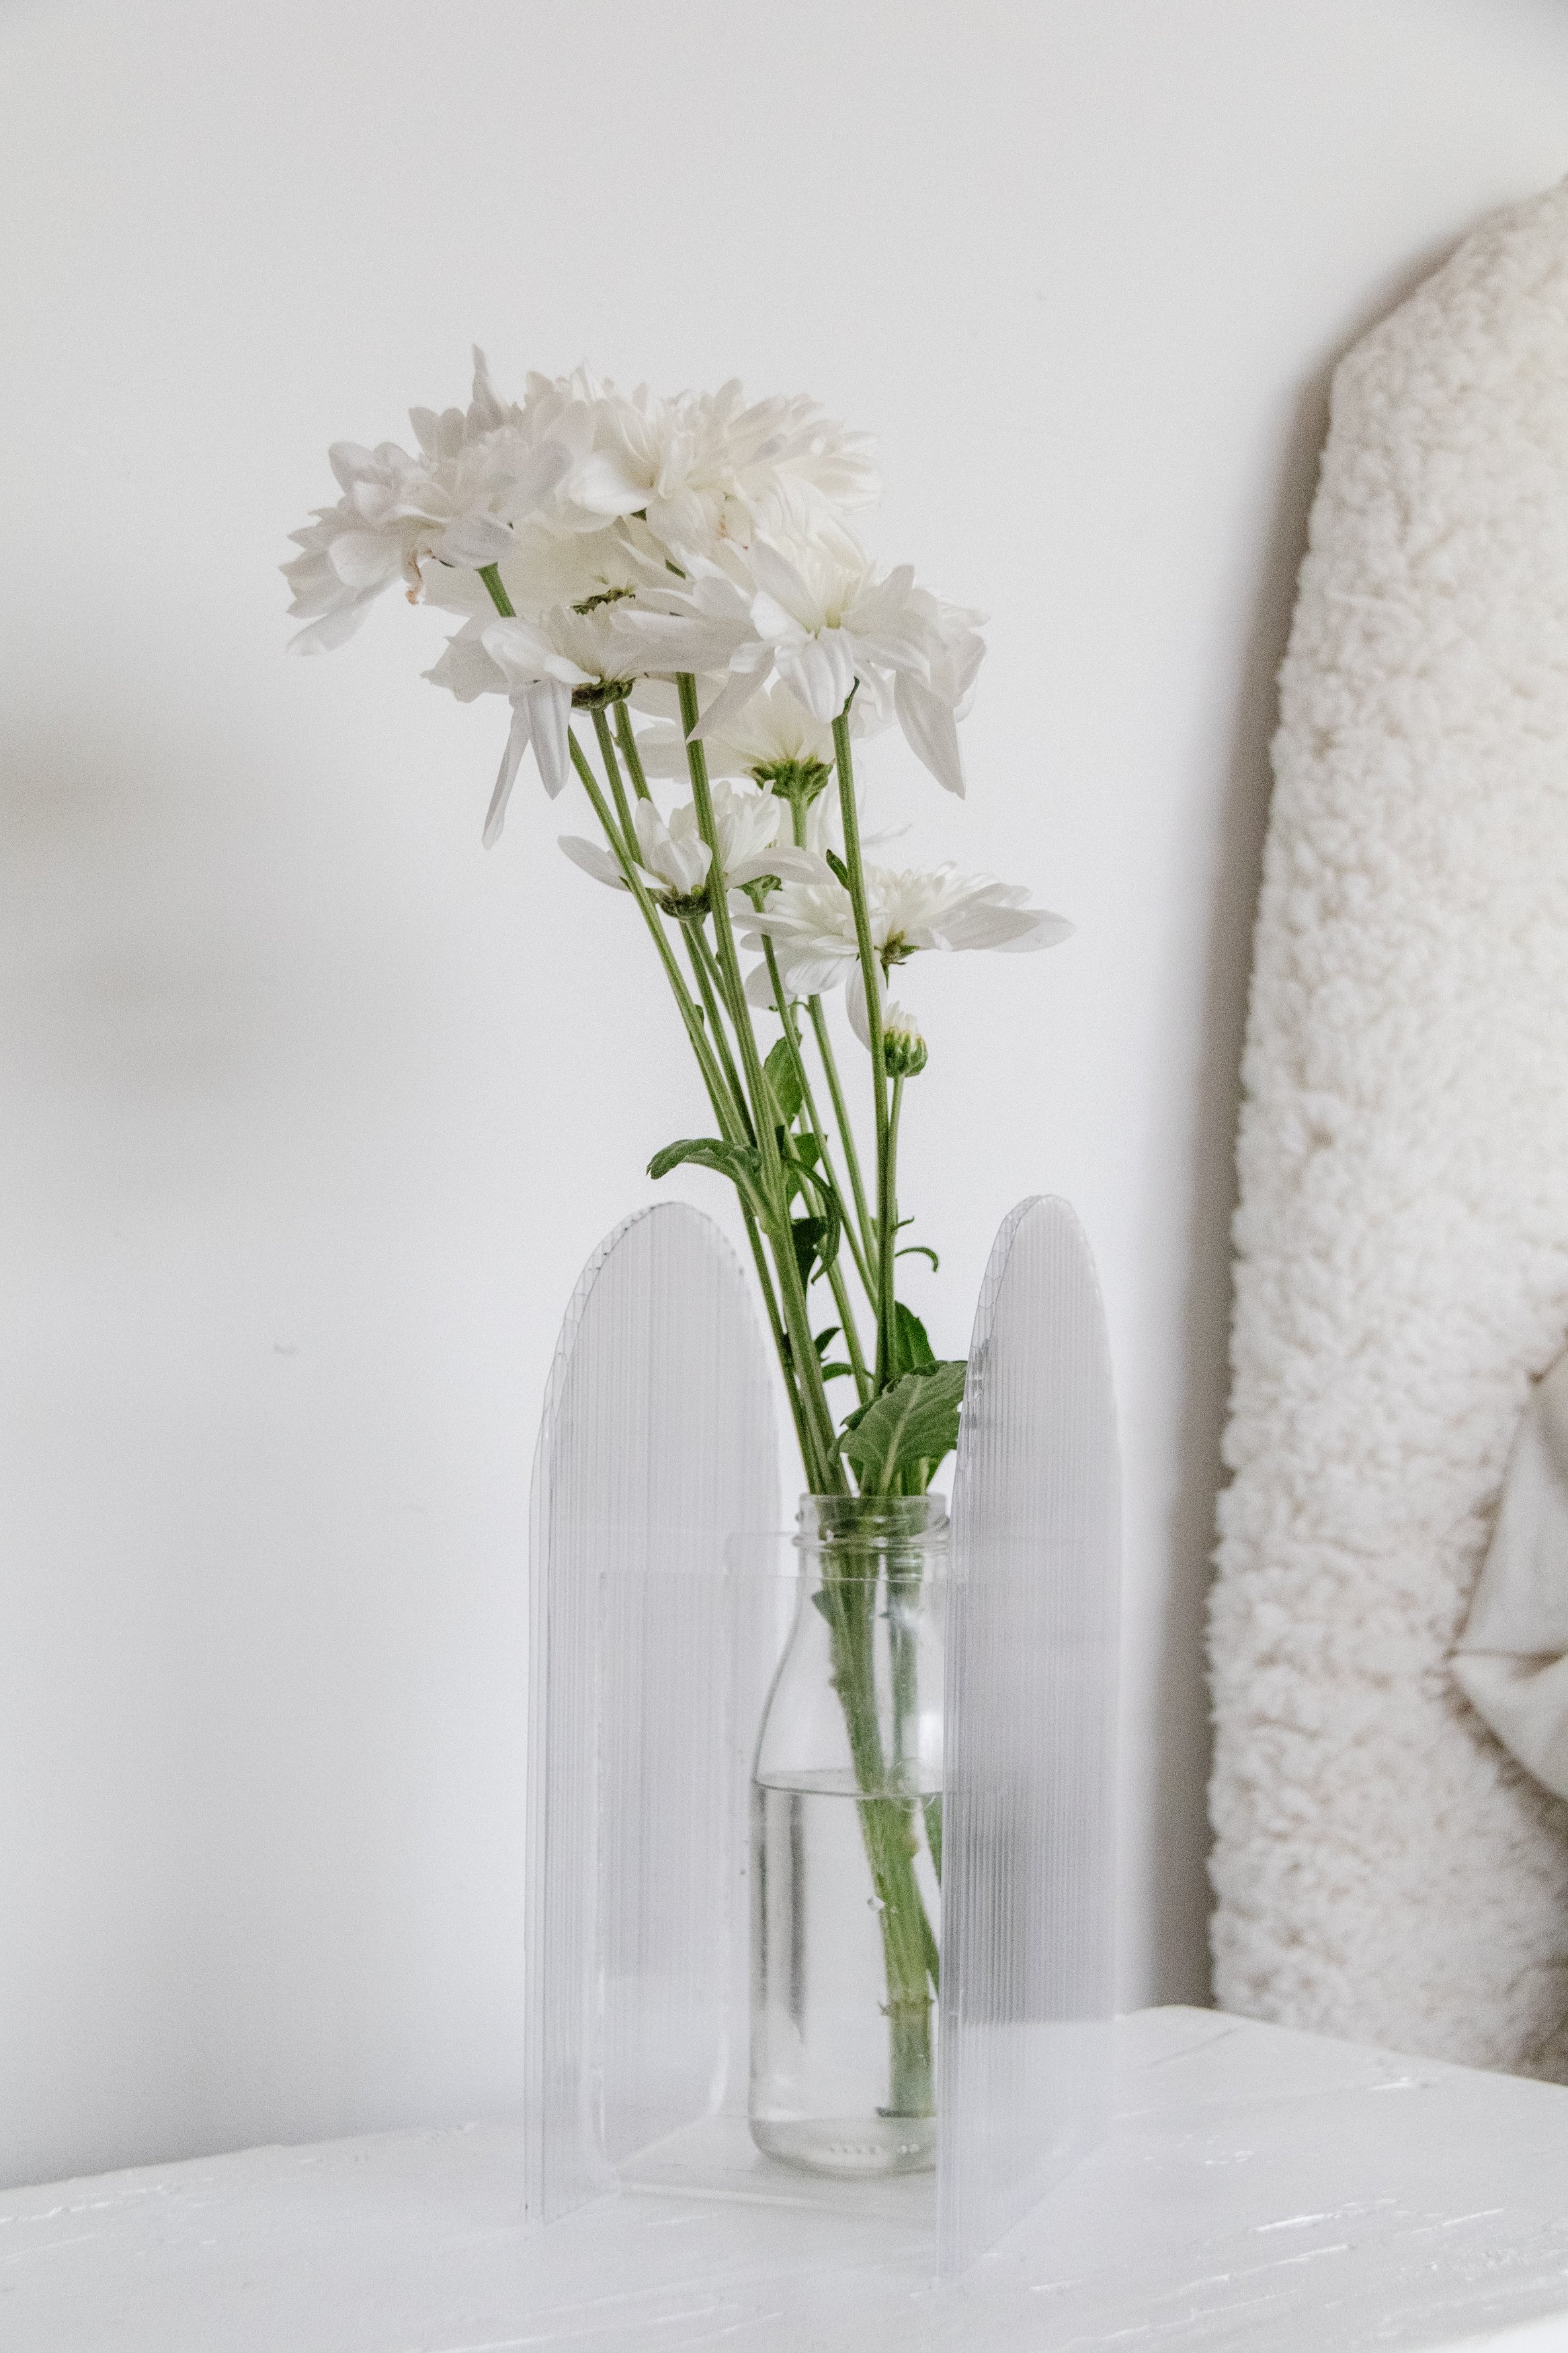
Water: I really wanted these vases to hold water, but I couldn’t get the vase watertight as my cuts weren’t laser straight. Obviously standing any flower or leaves in a vase without water isn’t kind, so I use small jars and bottles filled with water and then I put them into the Fluted Perspex Vases, which you can see below.
Perspex: As I mentioned earlier, you can cut perspex to make the shapes but I struggled with getting the shapes cut to a high standard. I have order some thinner perspex and I’ll be trying this again later in the week.

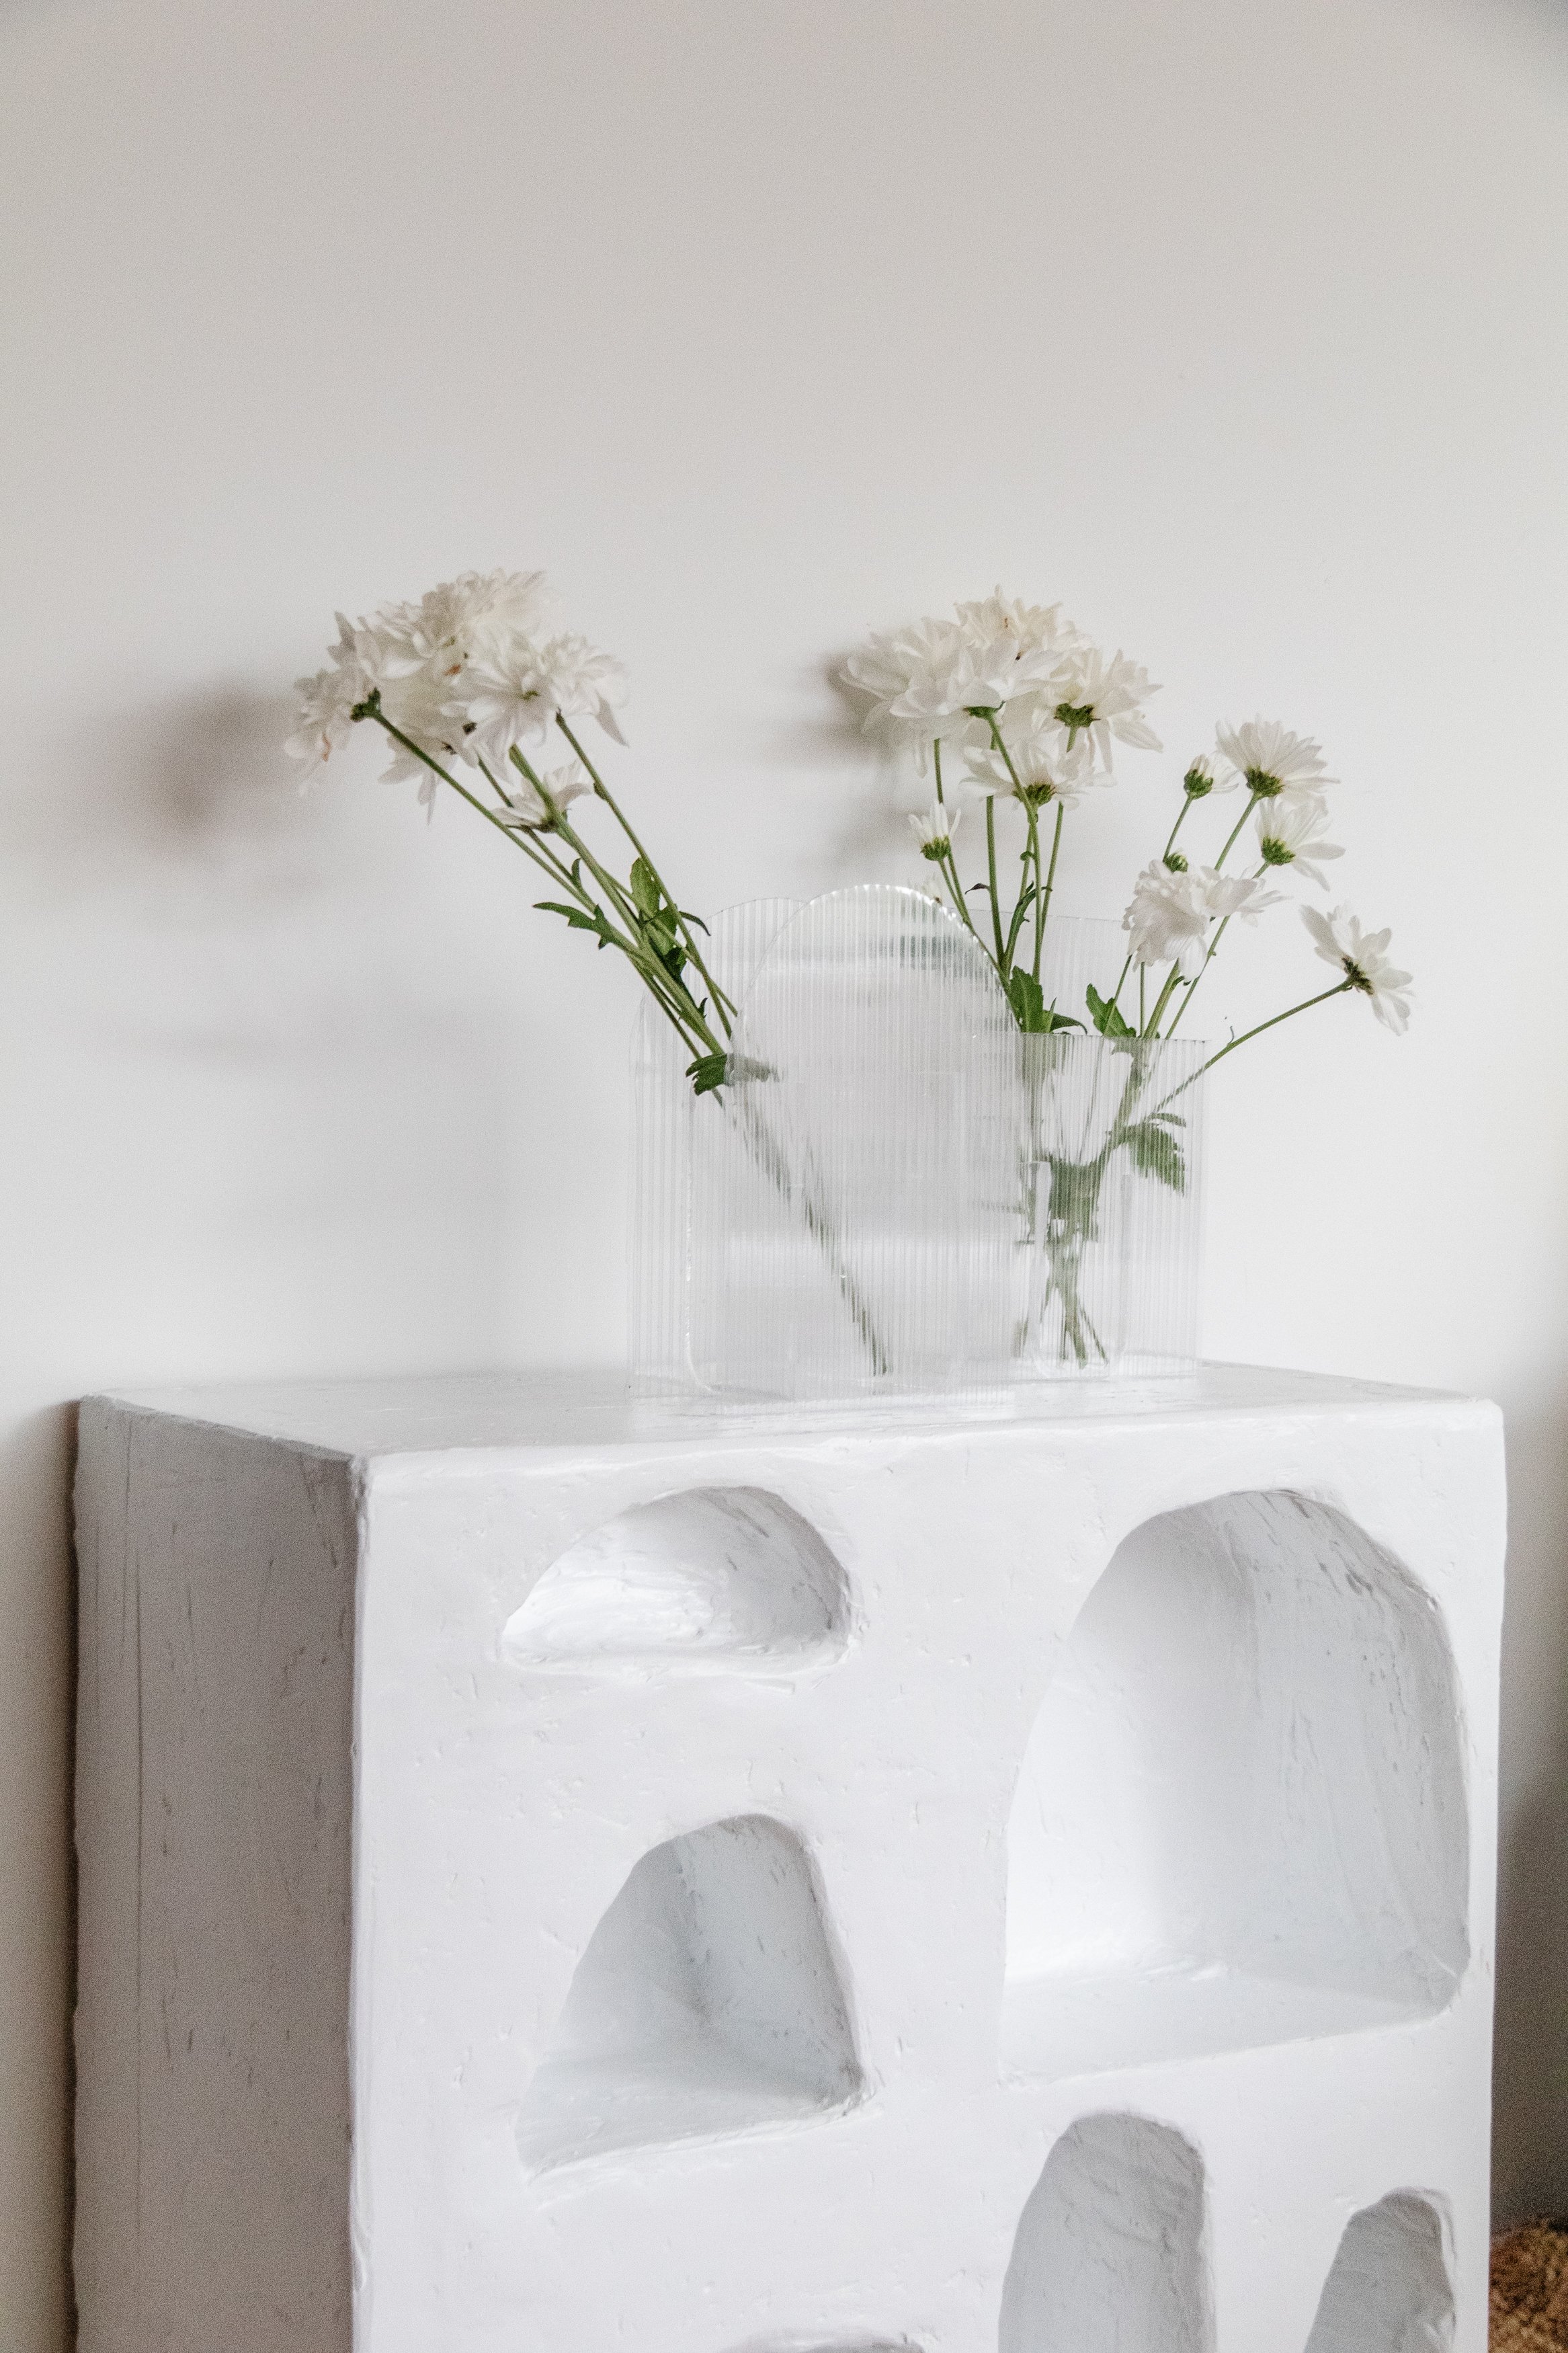
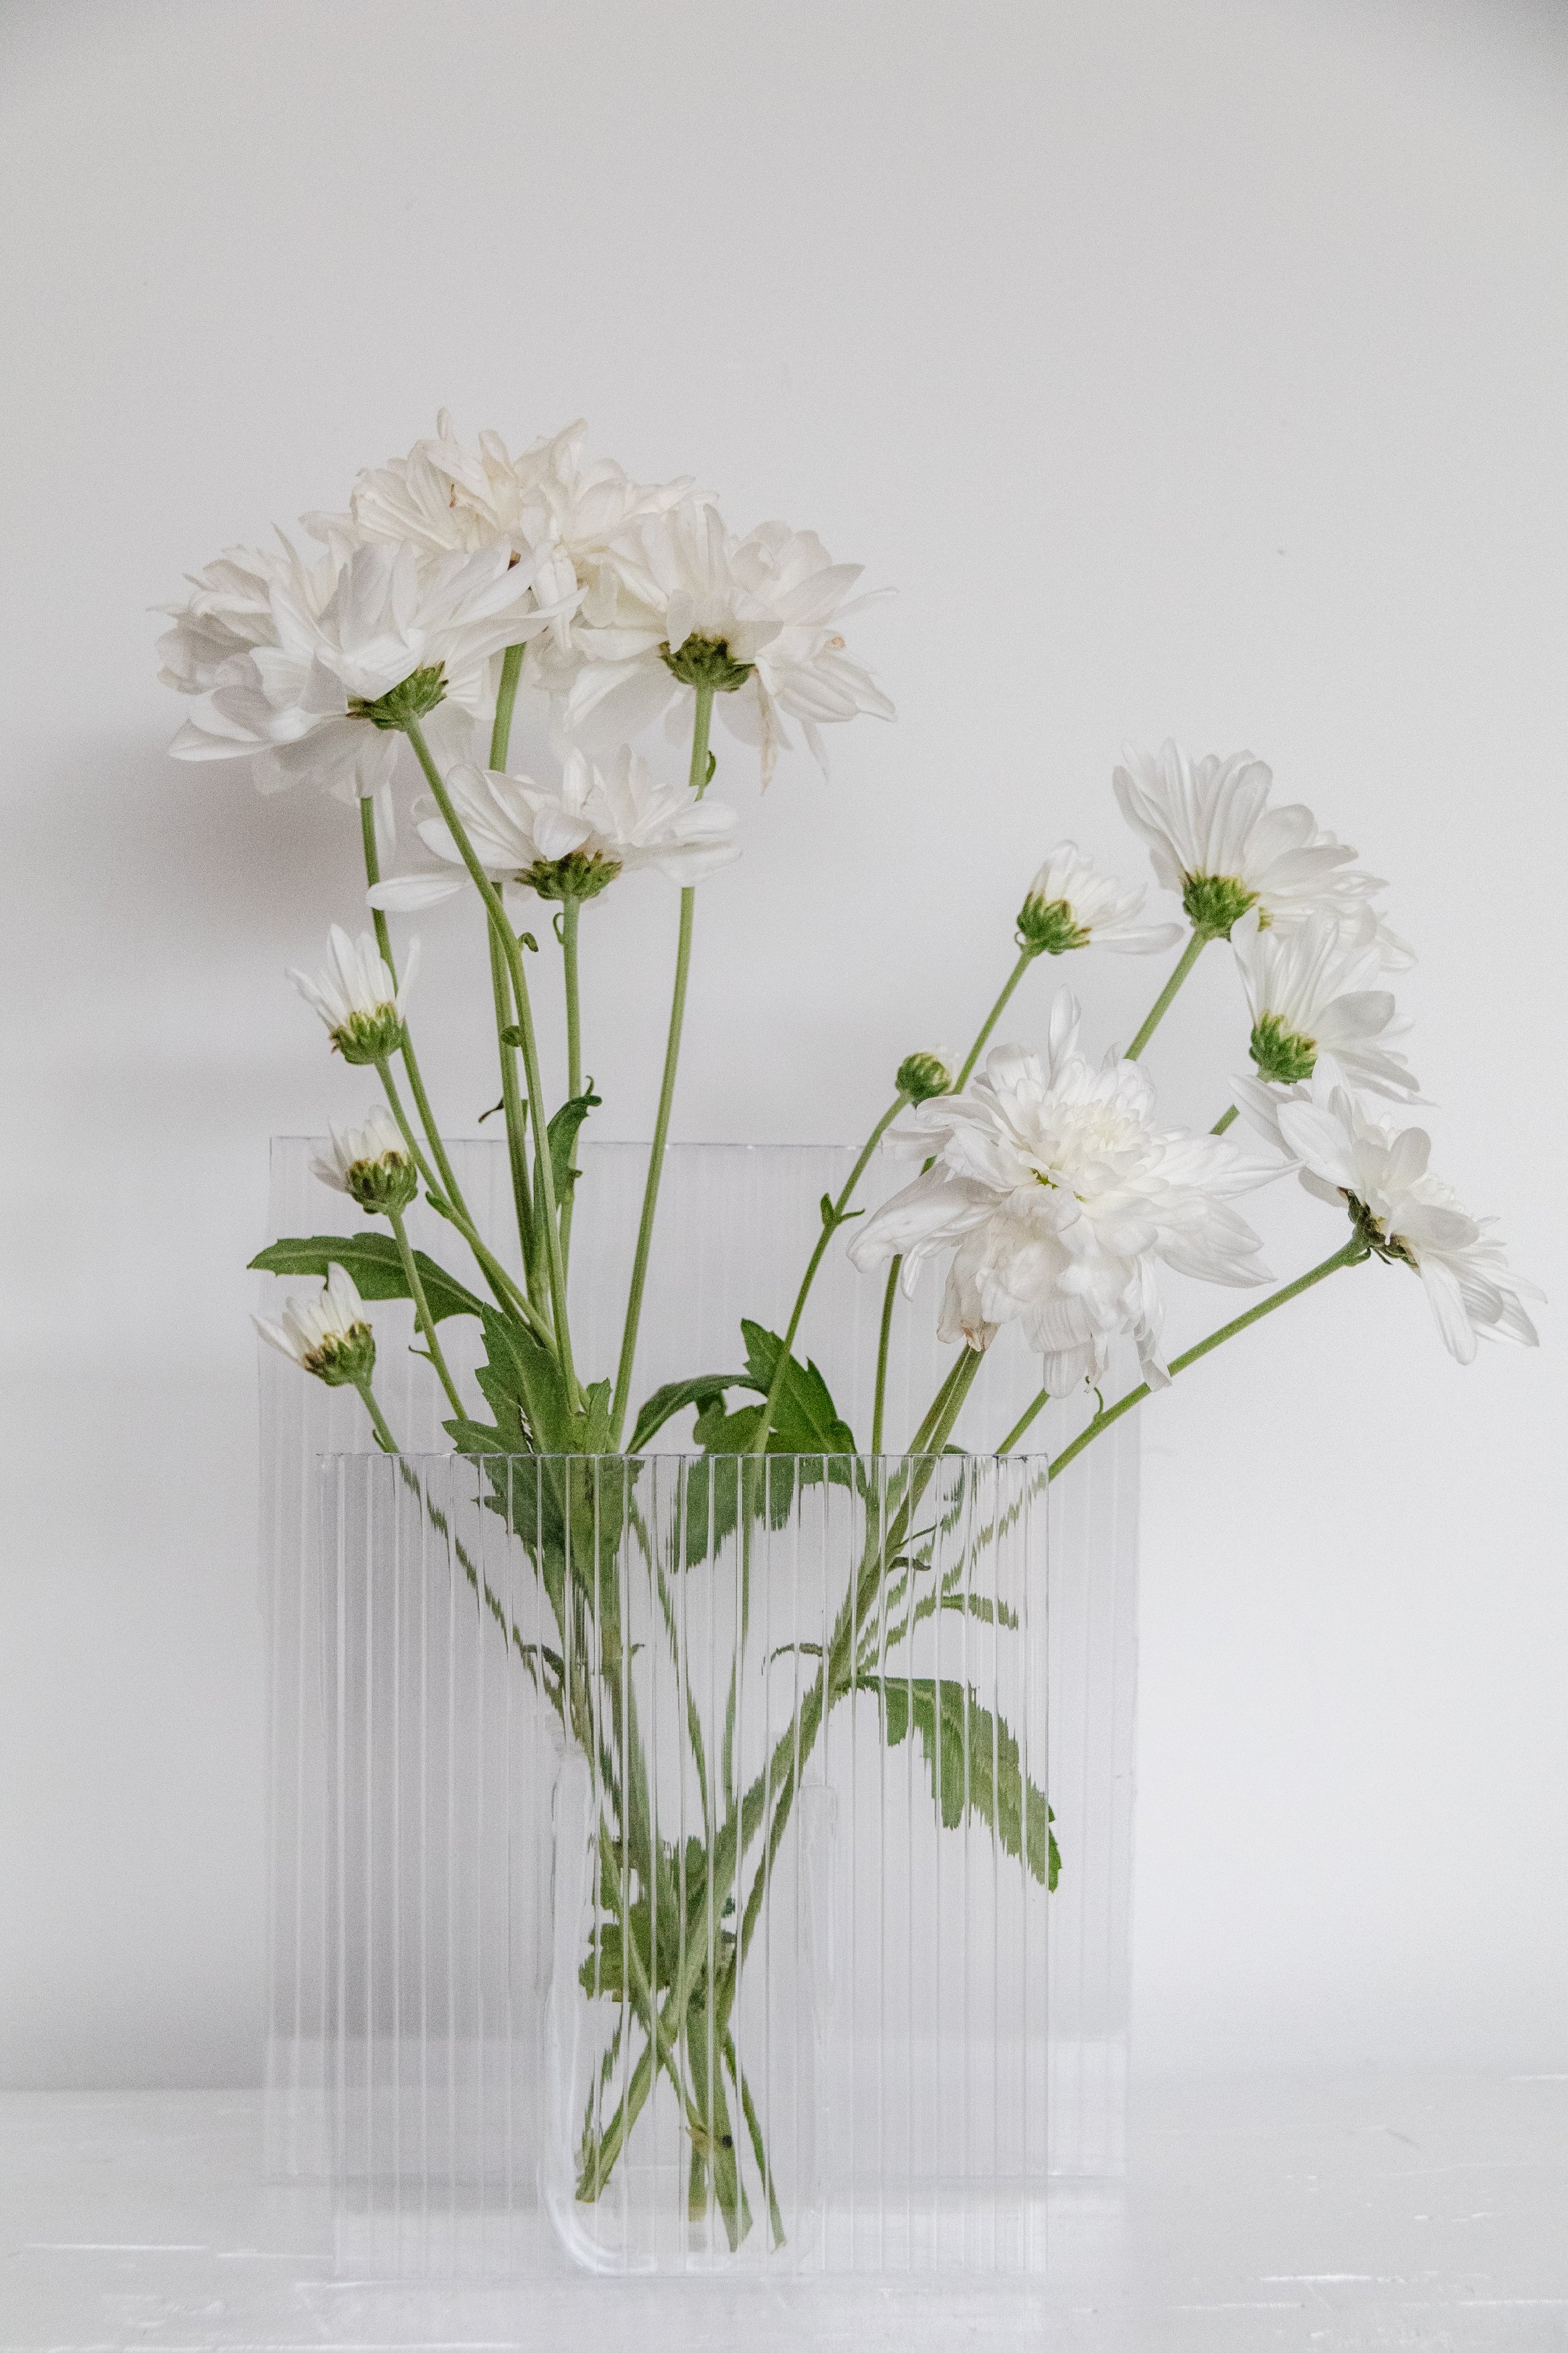
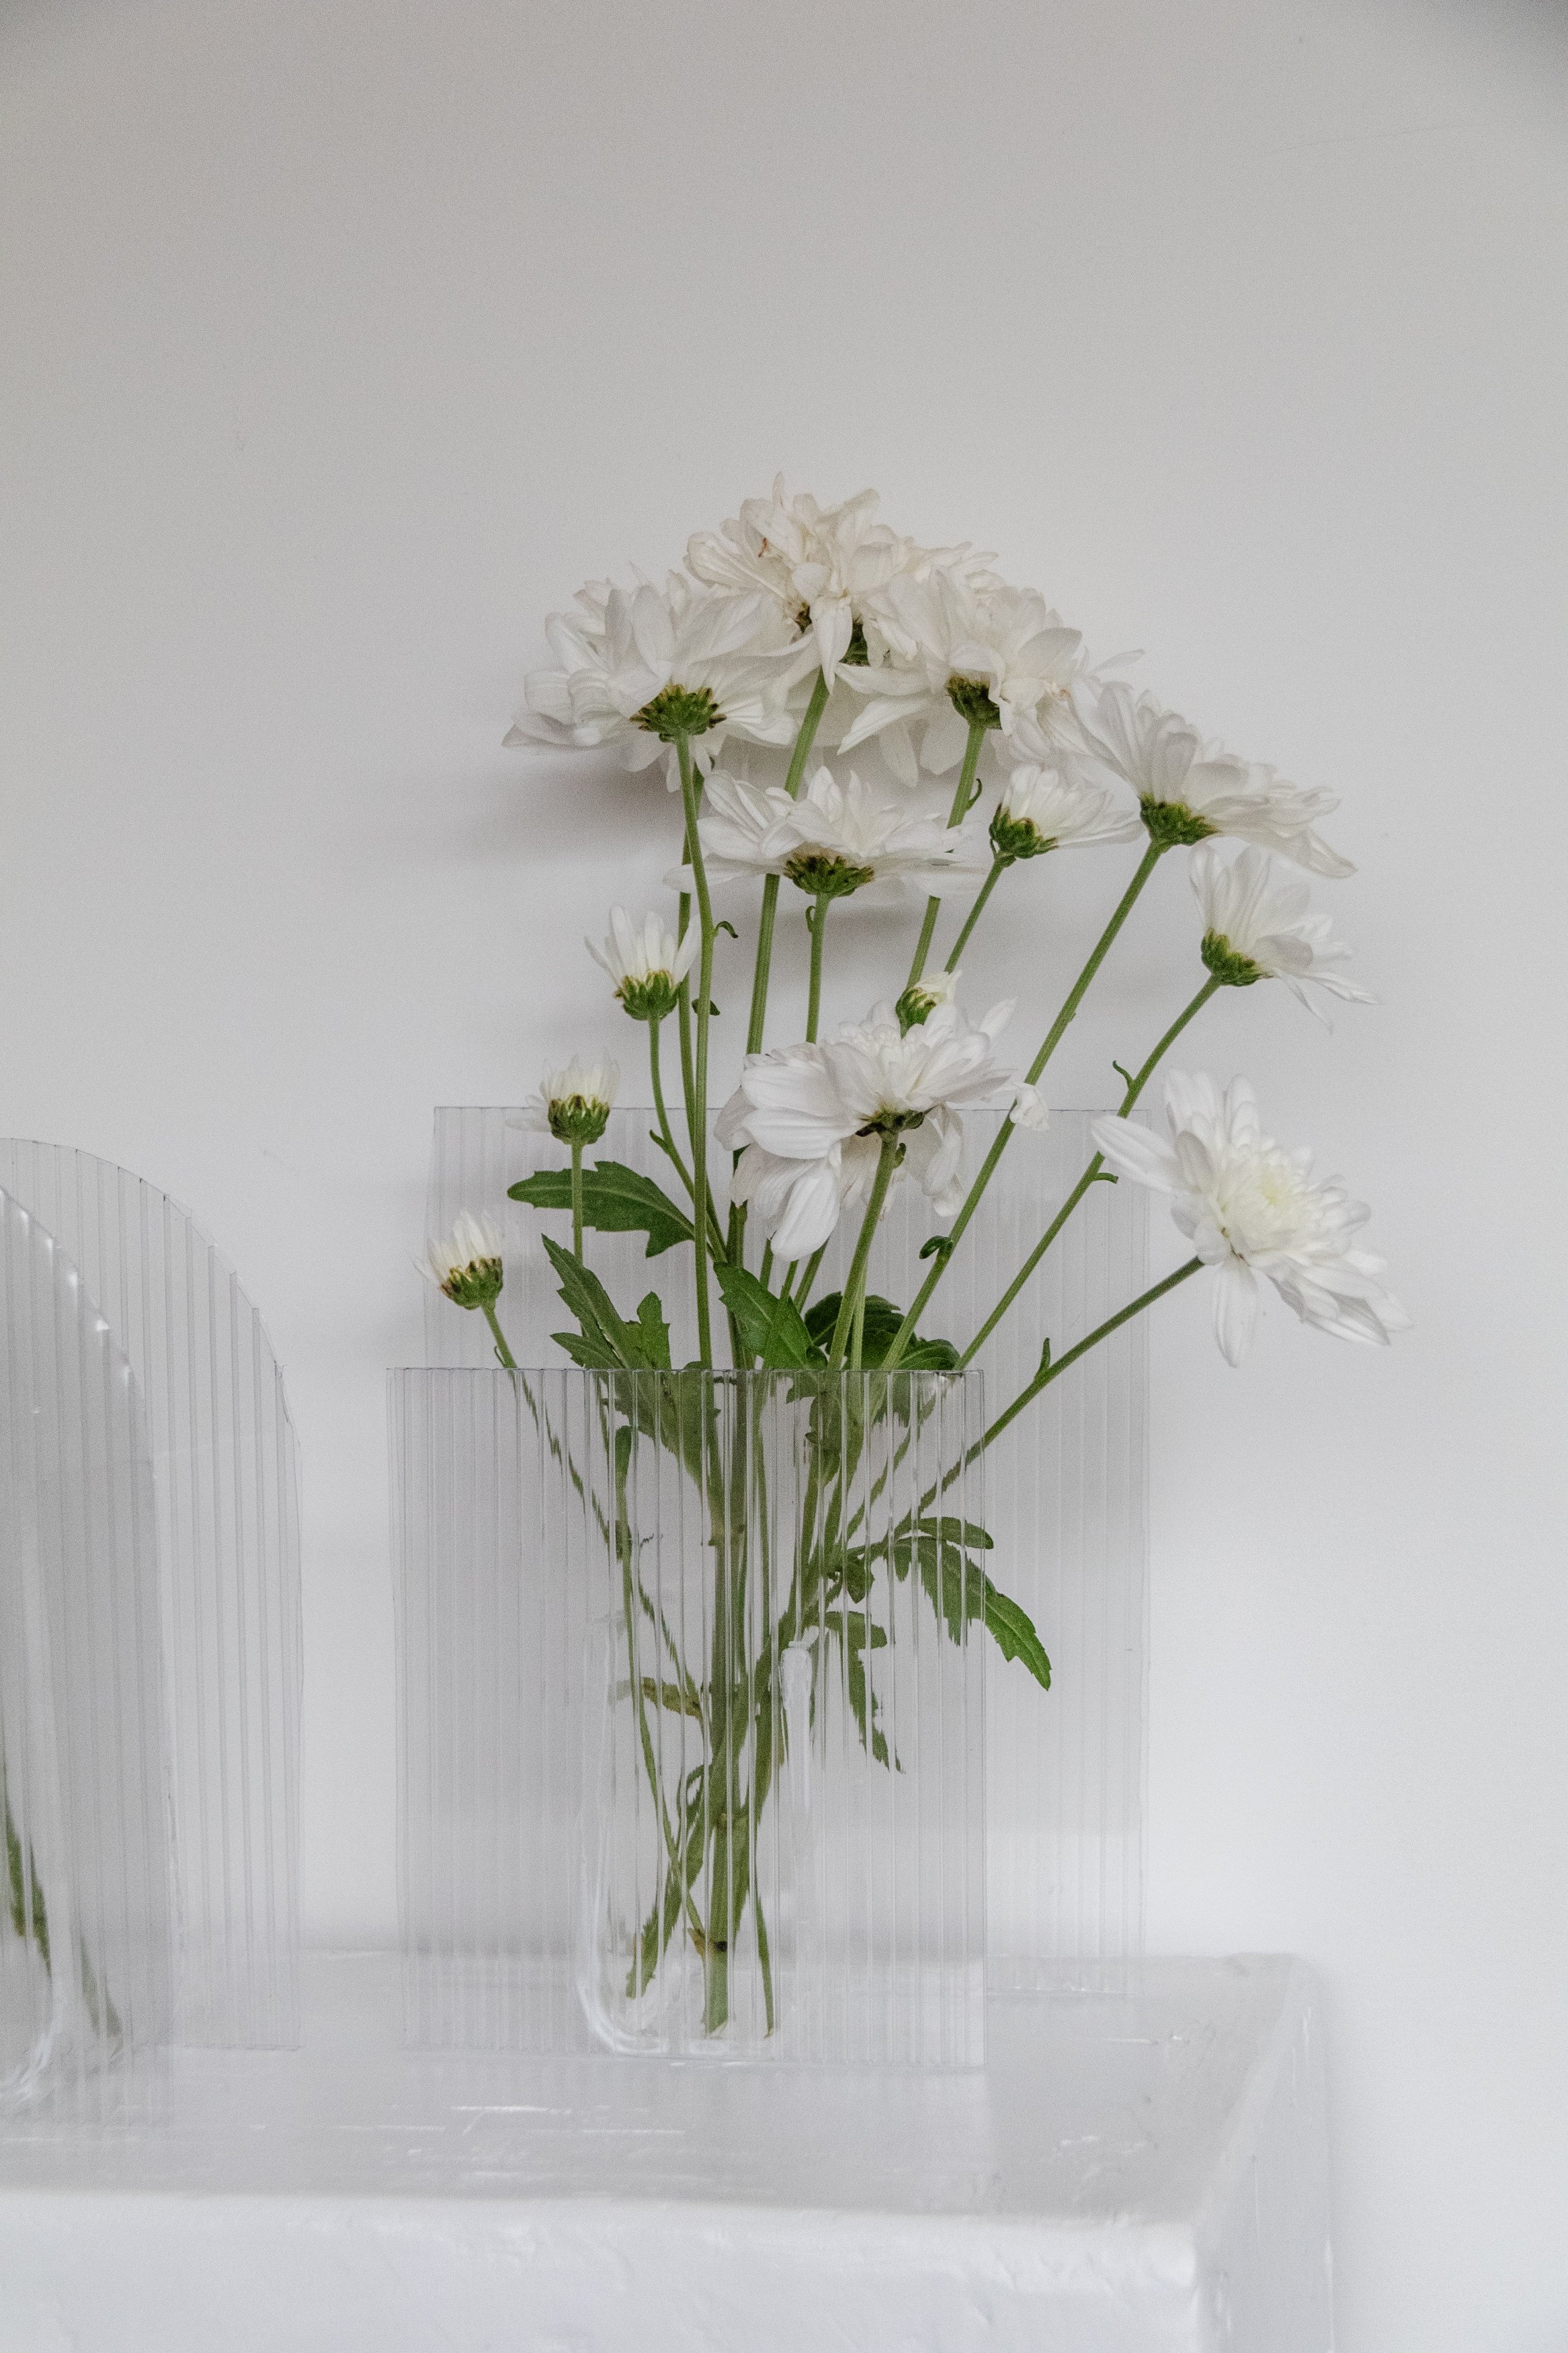
Ta daaaa! How gorgeous are these Fluted Perspex Vases…
This is one of those projects where it all begins when you have an idea, source materials and end up stumbling across an unexpected material that makes your project even more unique! I am SO happy I found the fluted polycarbonate for this project. My original plan was to only use perspex, however after some trial and lots of error, I found it’s really difficult to cut shapes with symmetry. I still want to have another try this week but the fluted polycarbonate turned out to be even better than I had expected! I am so looking forward to experimenting with this material more. I have plans to make a plinth, use it as a replacement for fluted glass, and other pieces of home decor and furniture. And at $24 per sheet, its affordable - which I loooove! Anyway, I hope this project has inspired you to pick up a jigsaw and a heat gun, and make your very own DIY Fluted Perspex Vases.