DIY Painted Timber Coffee Table
What do you do when you can’t find the perfect coffee table? You make it!
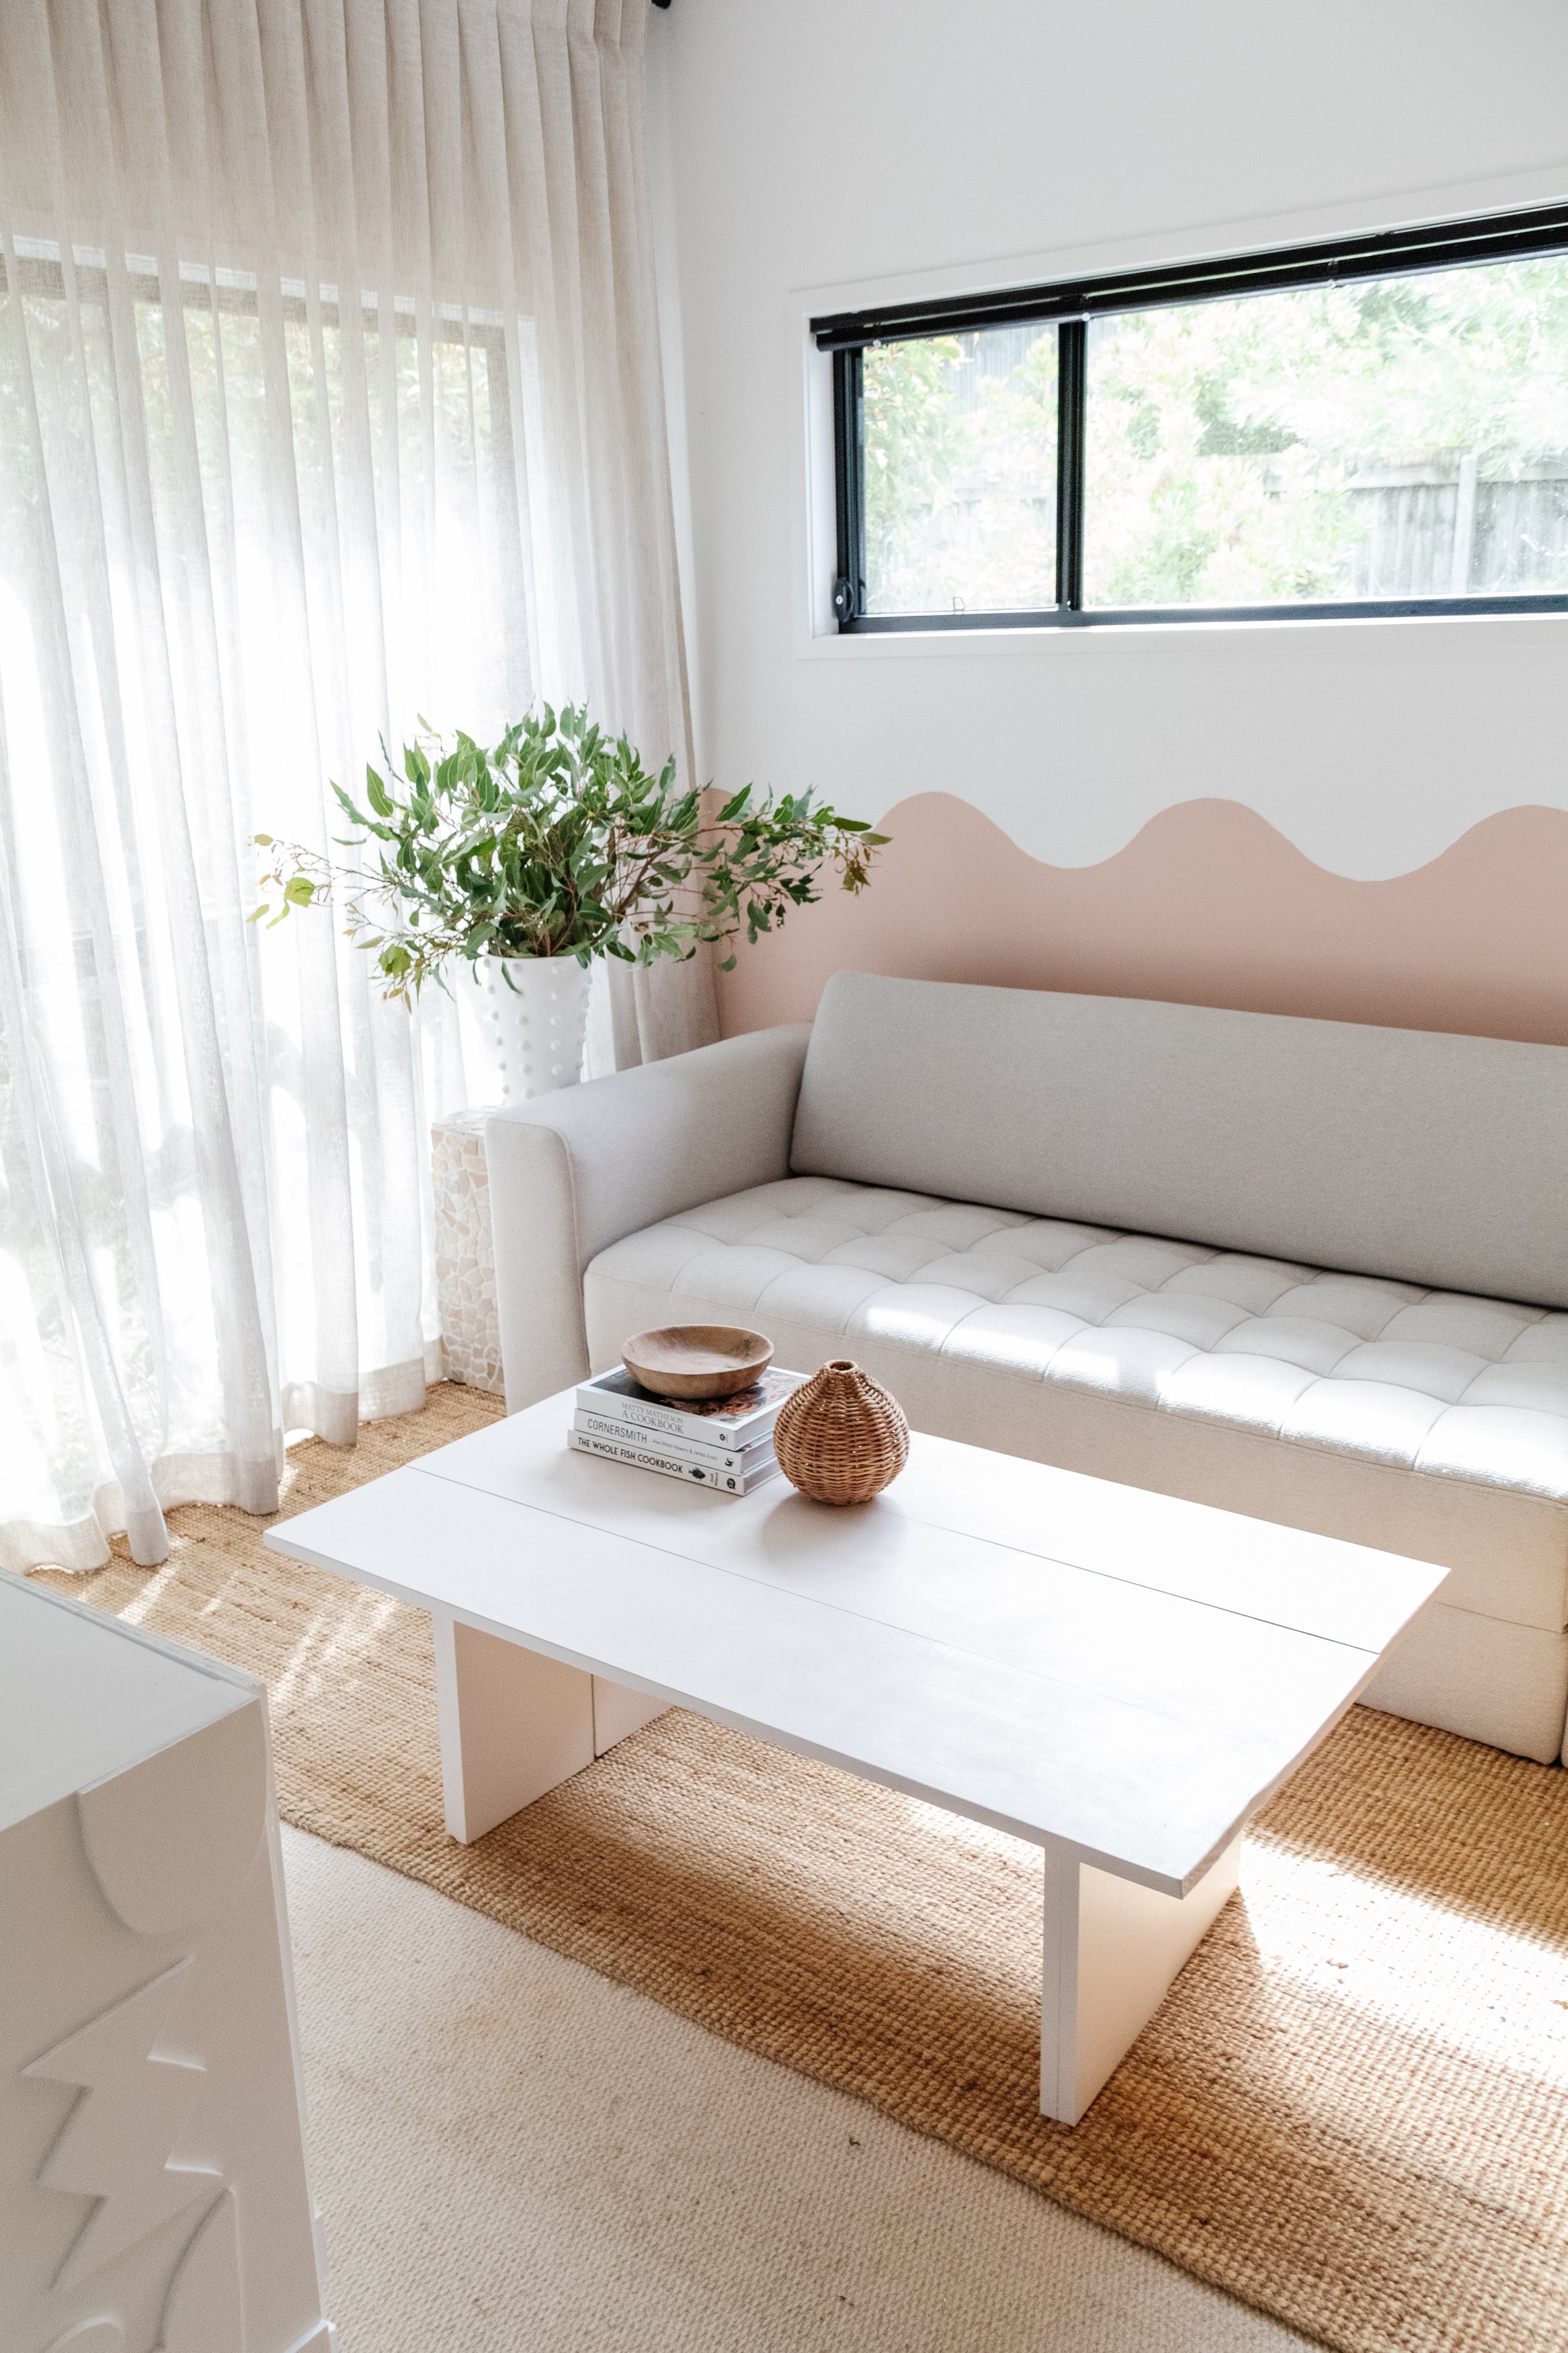
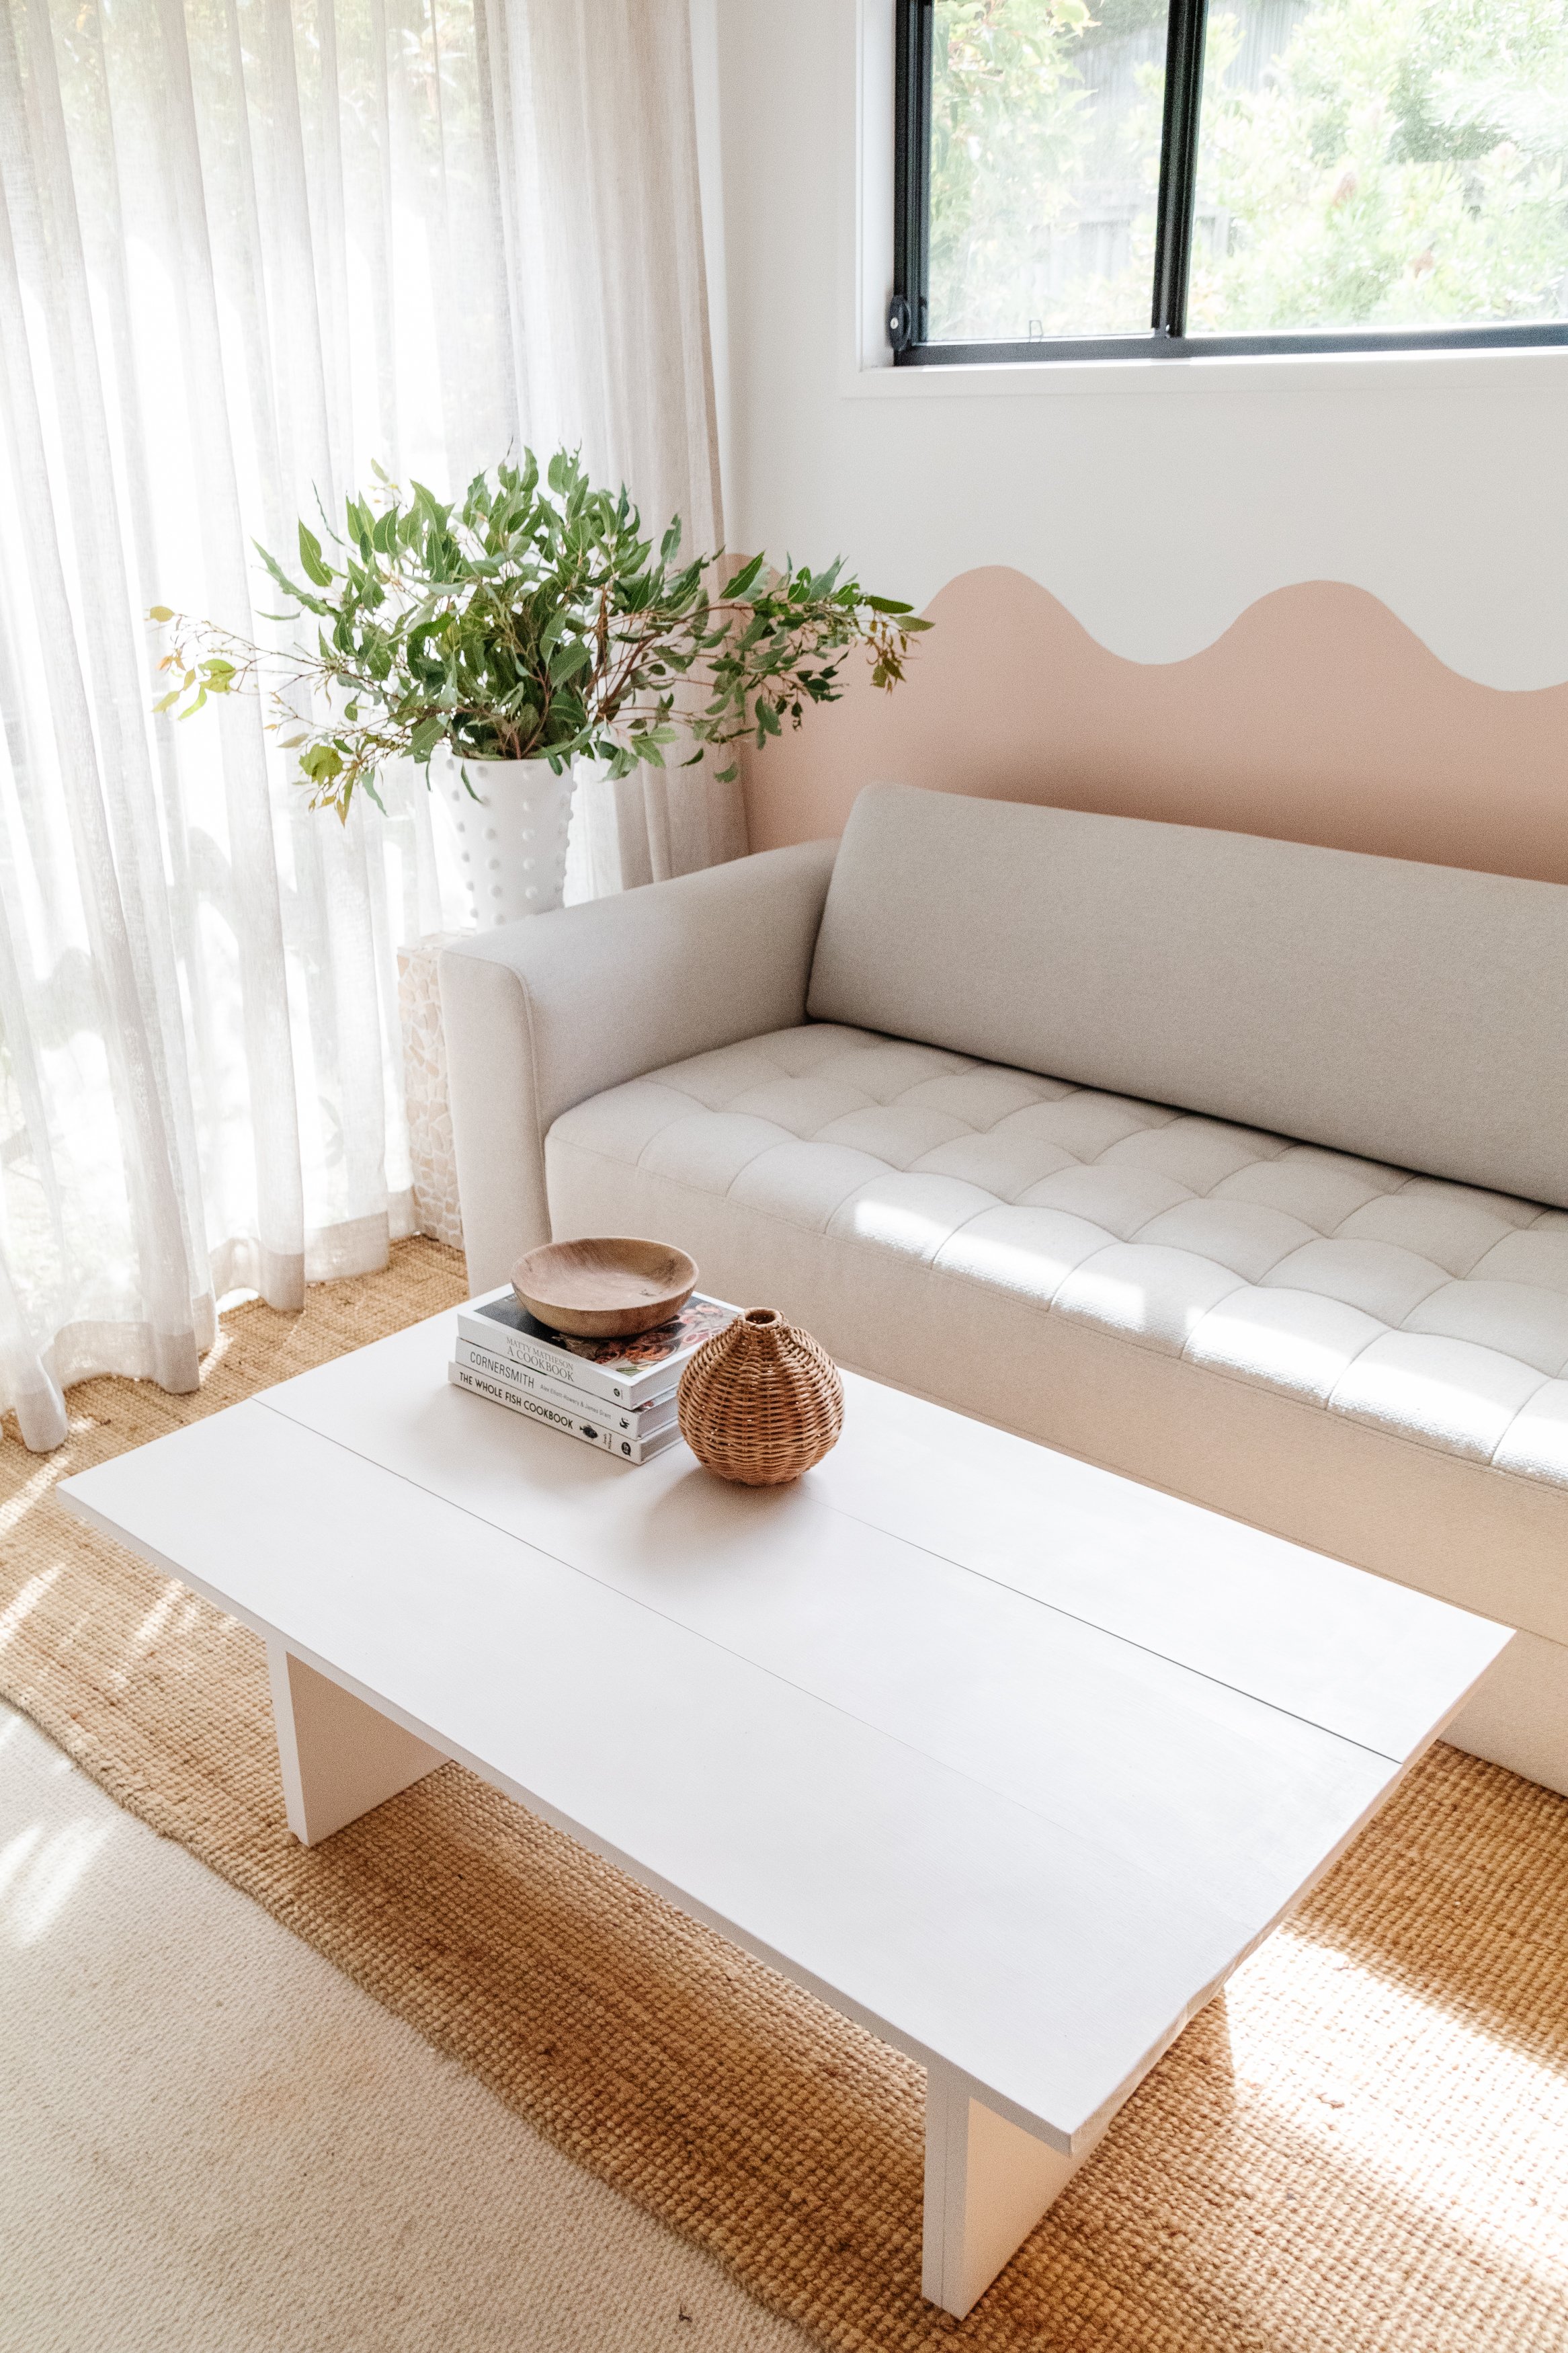
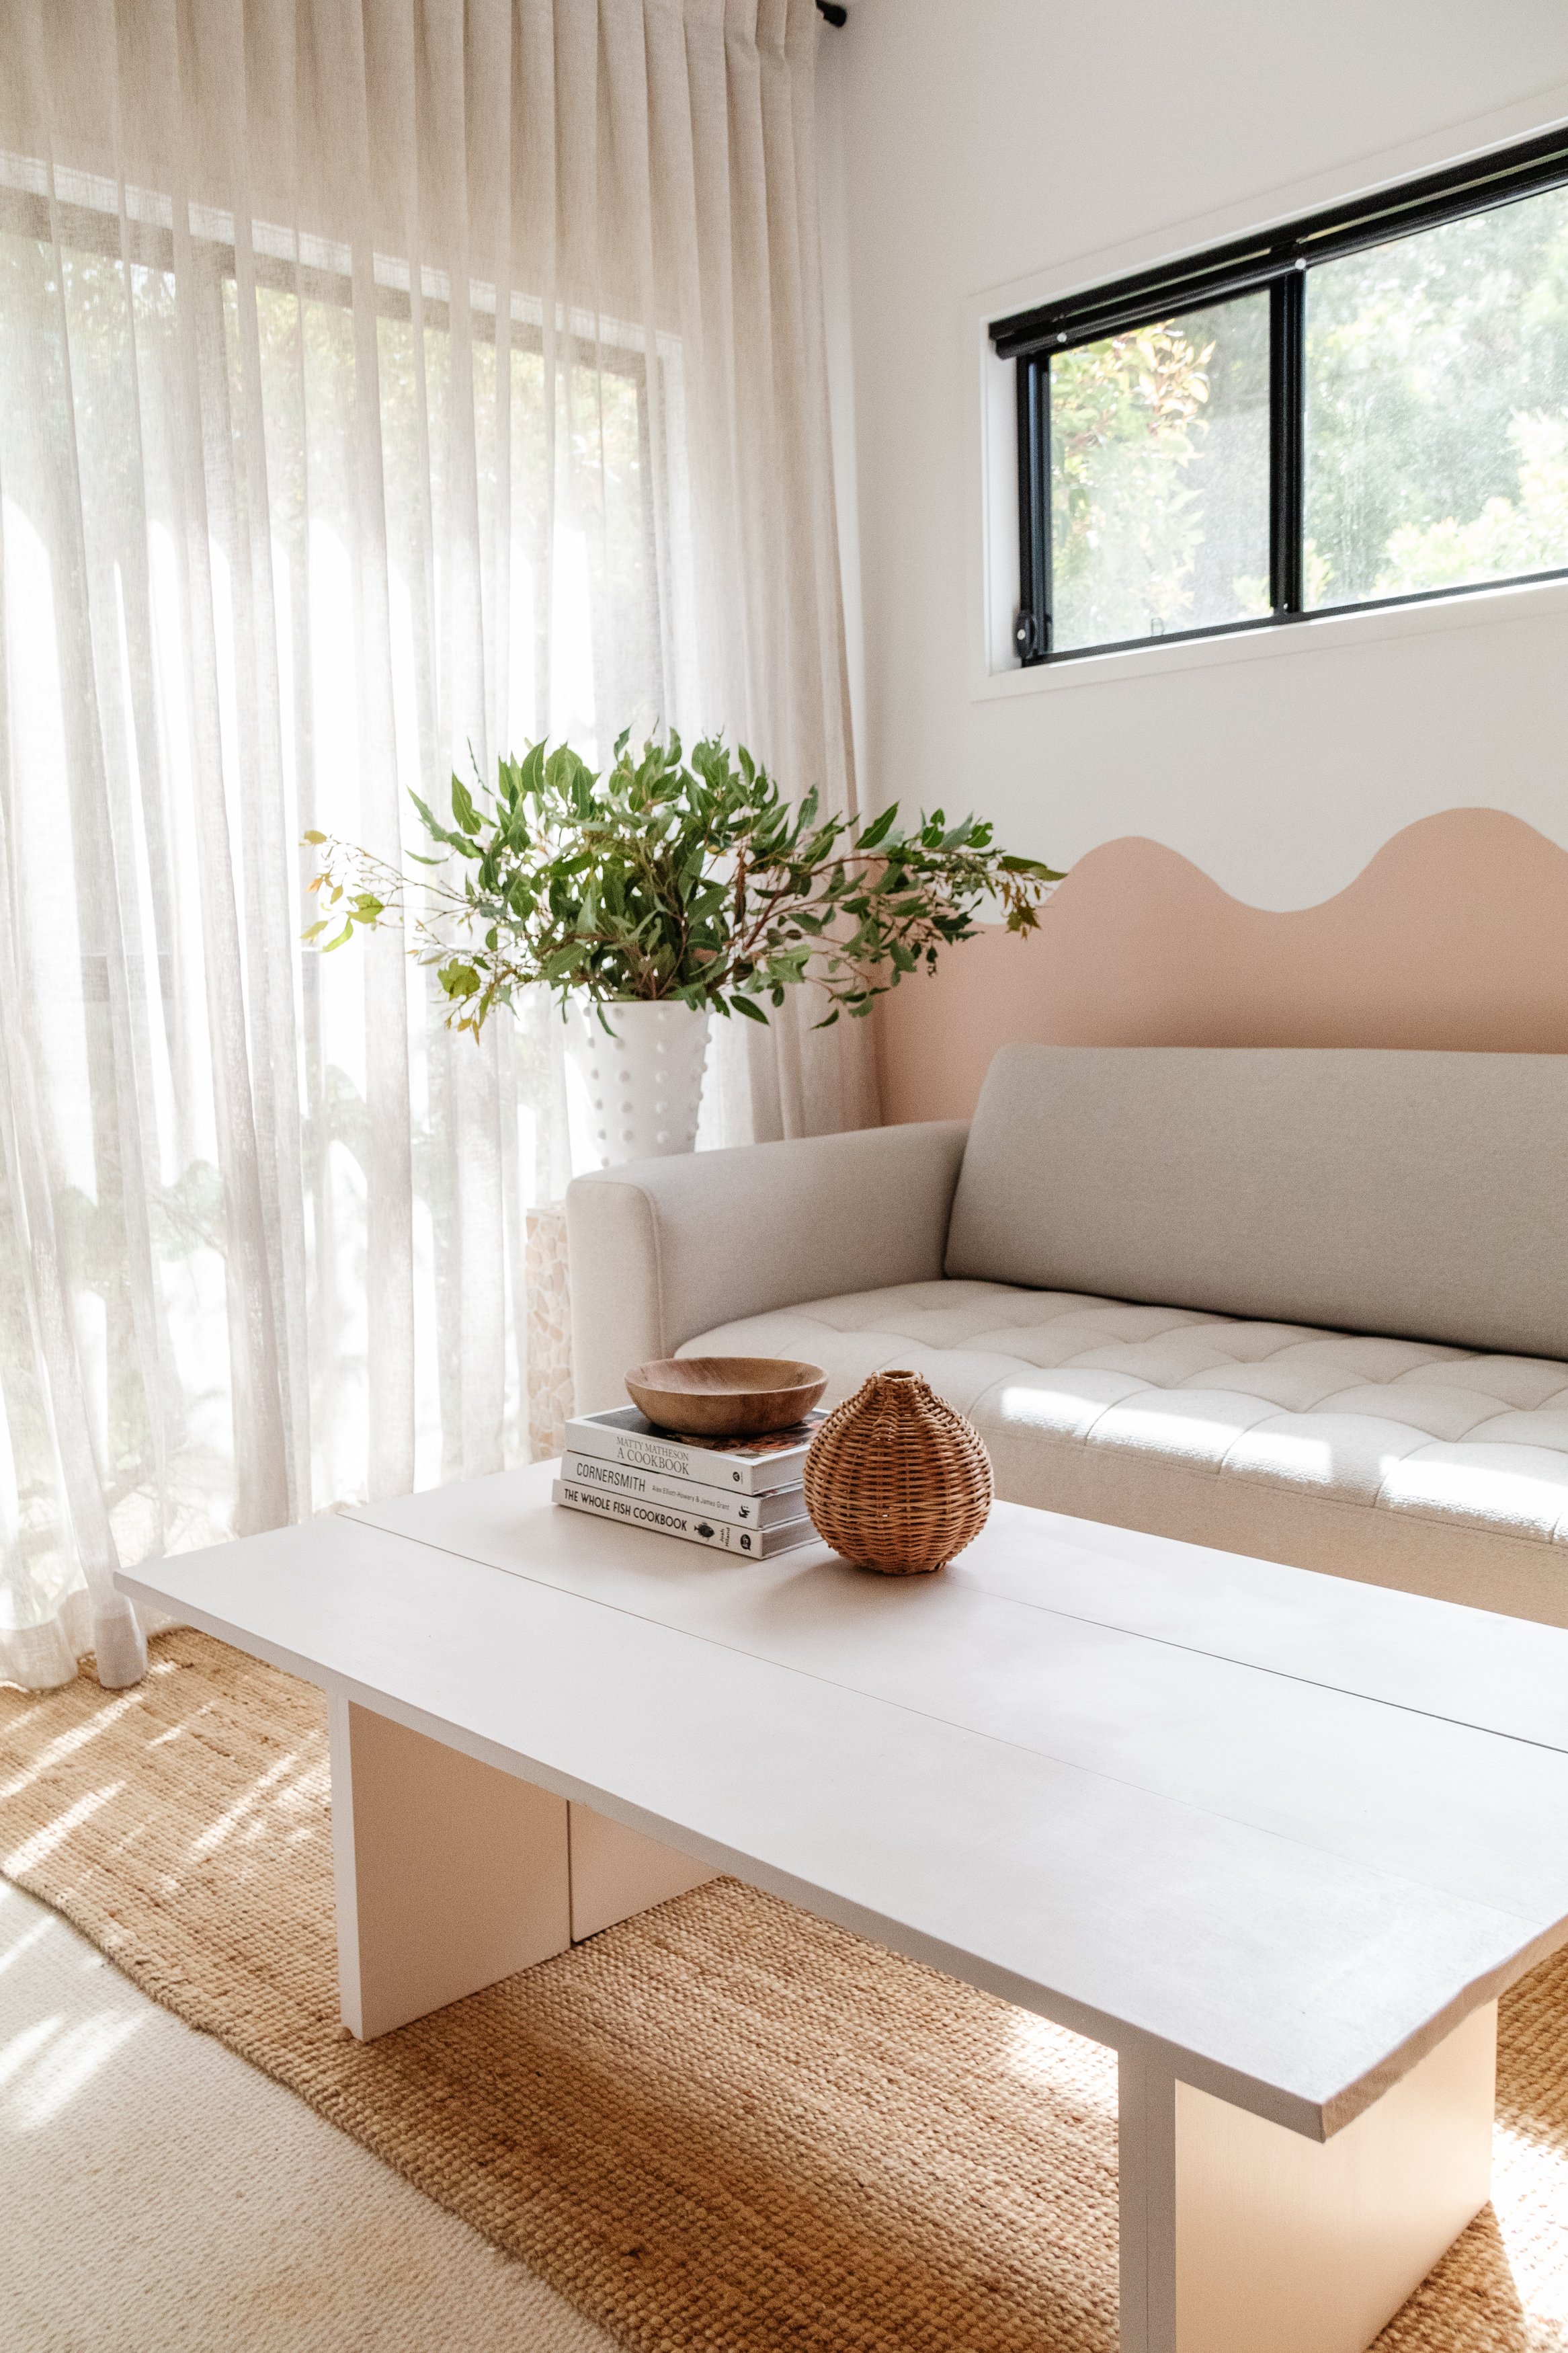
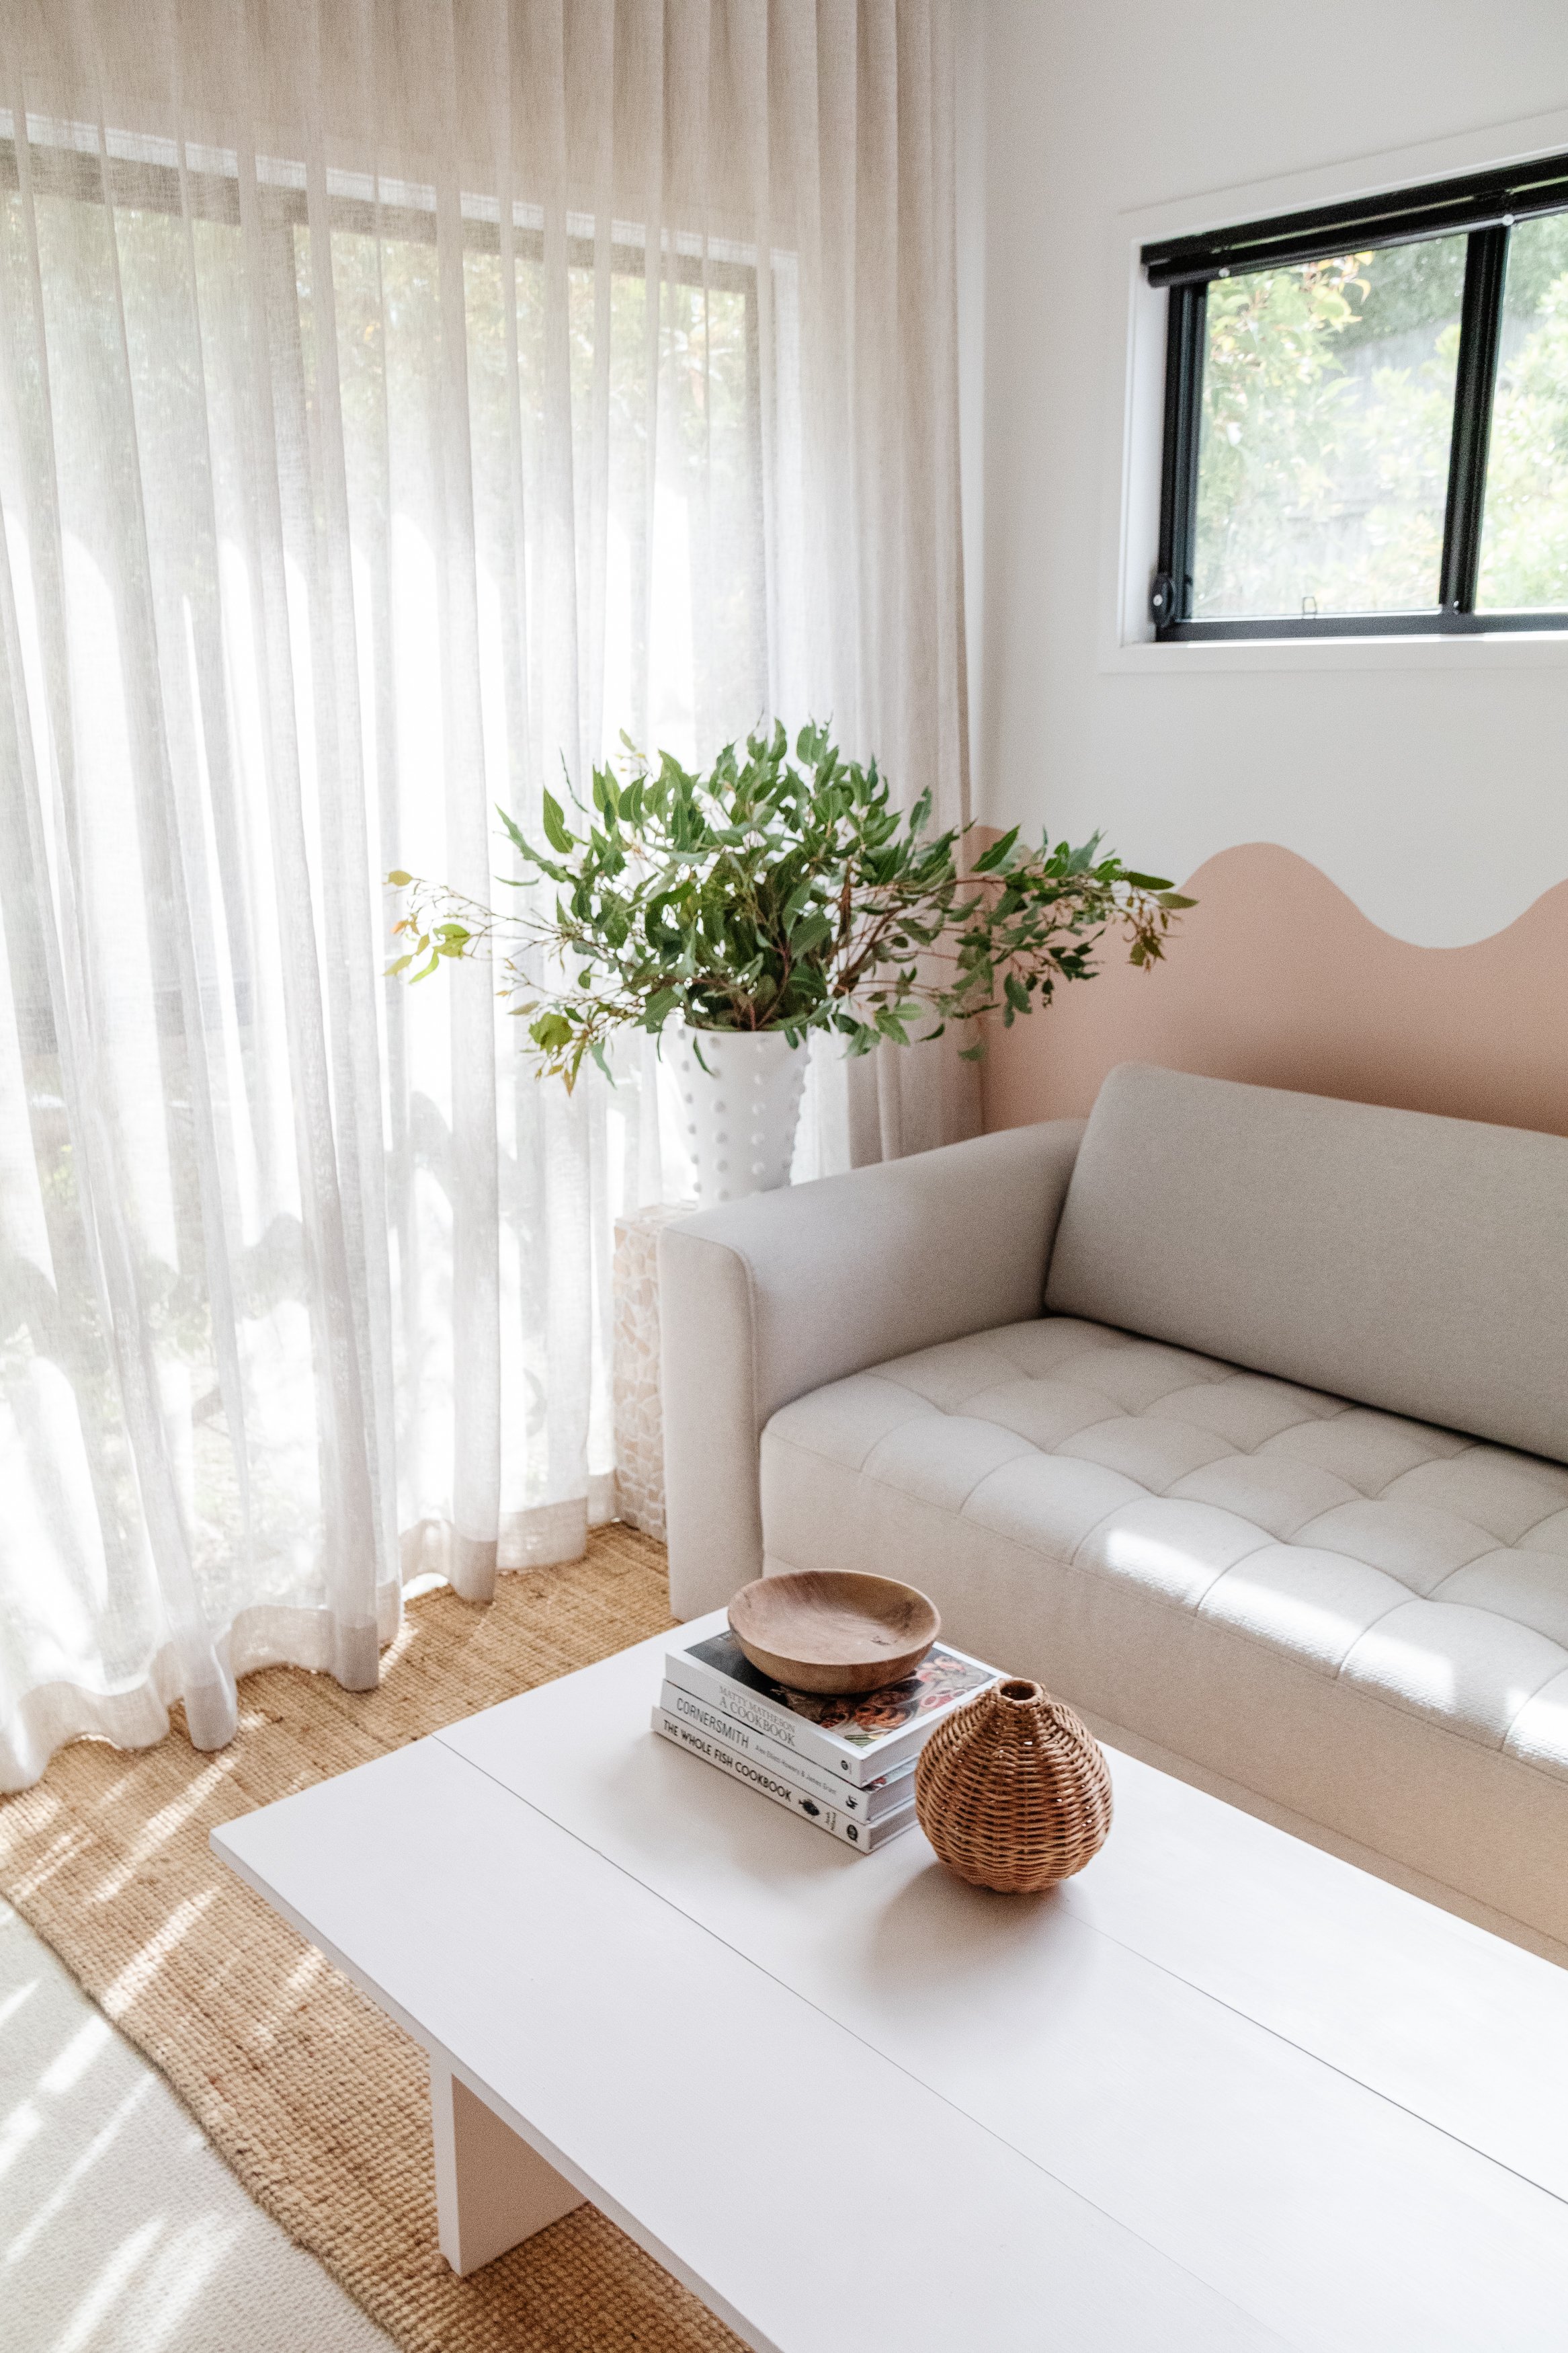
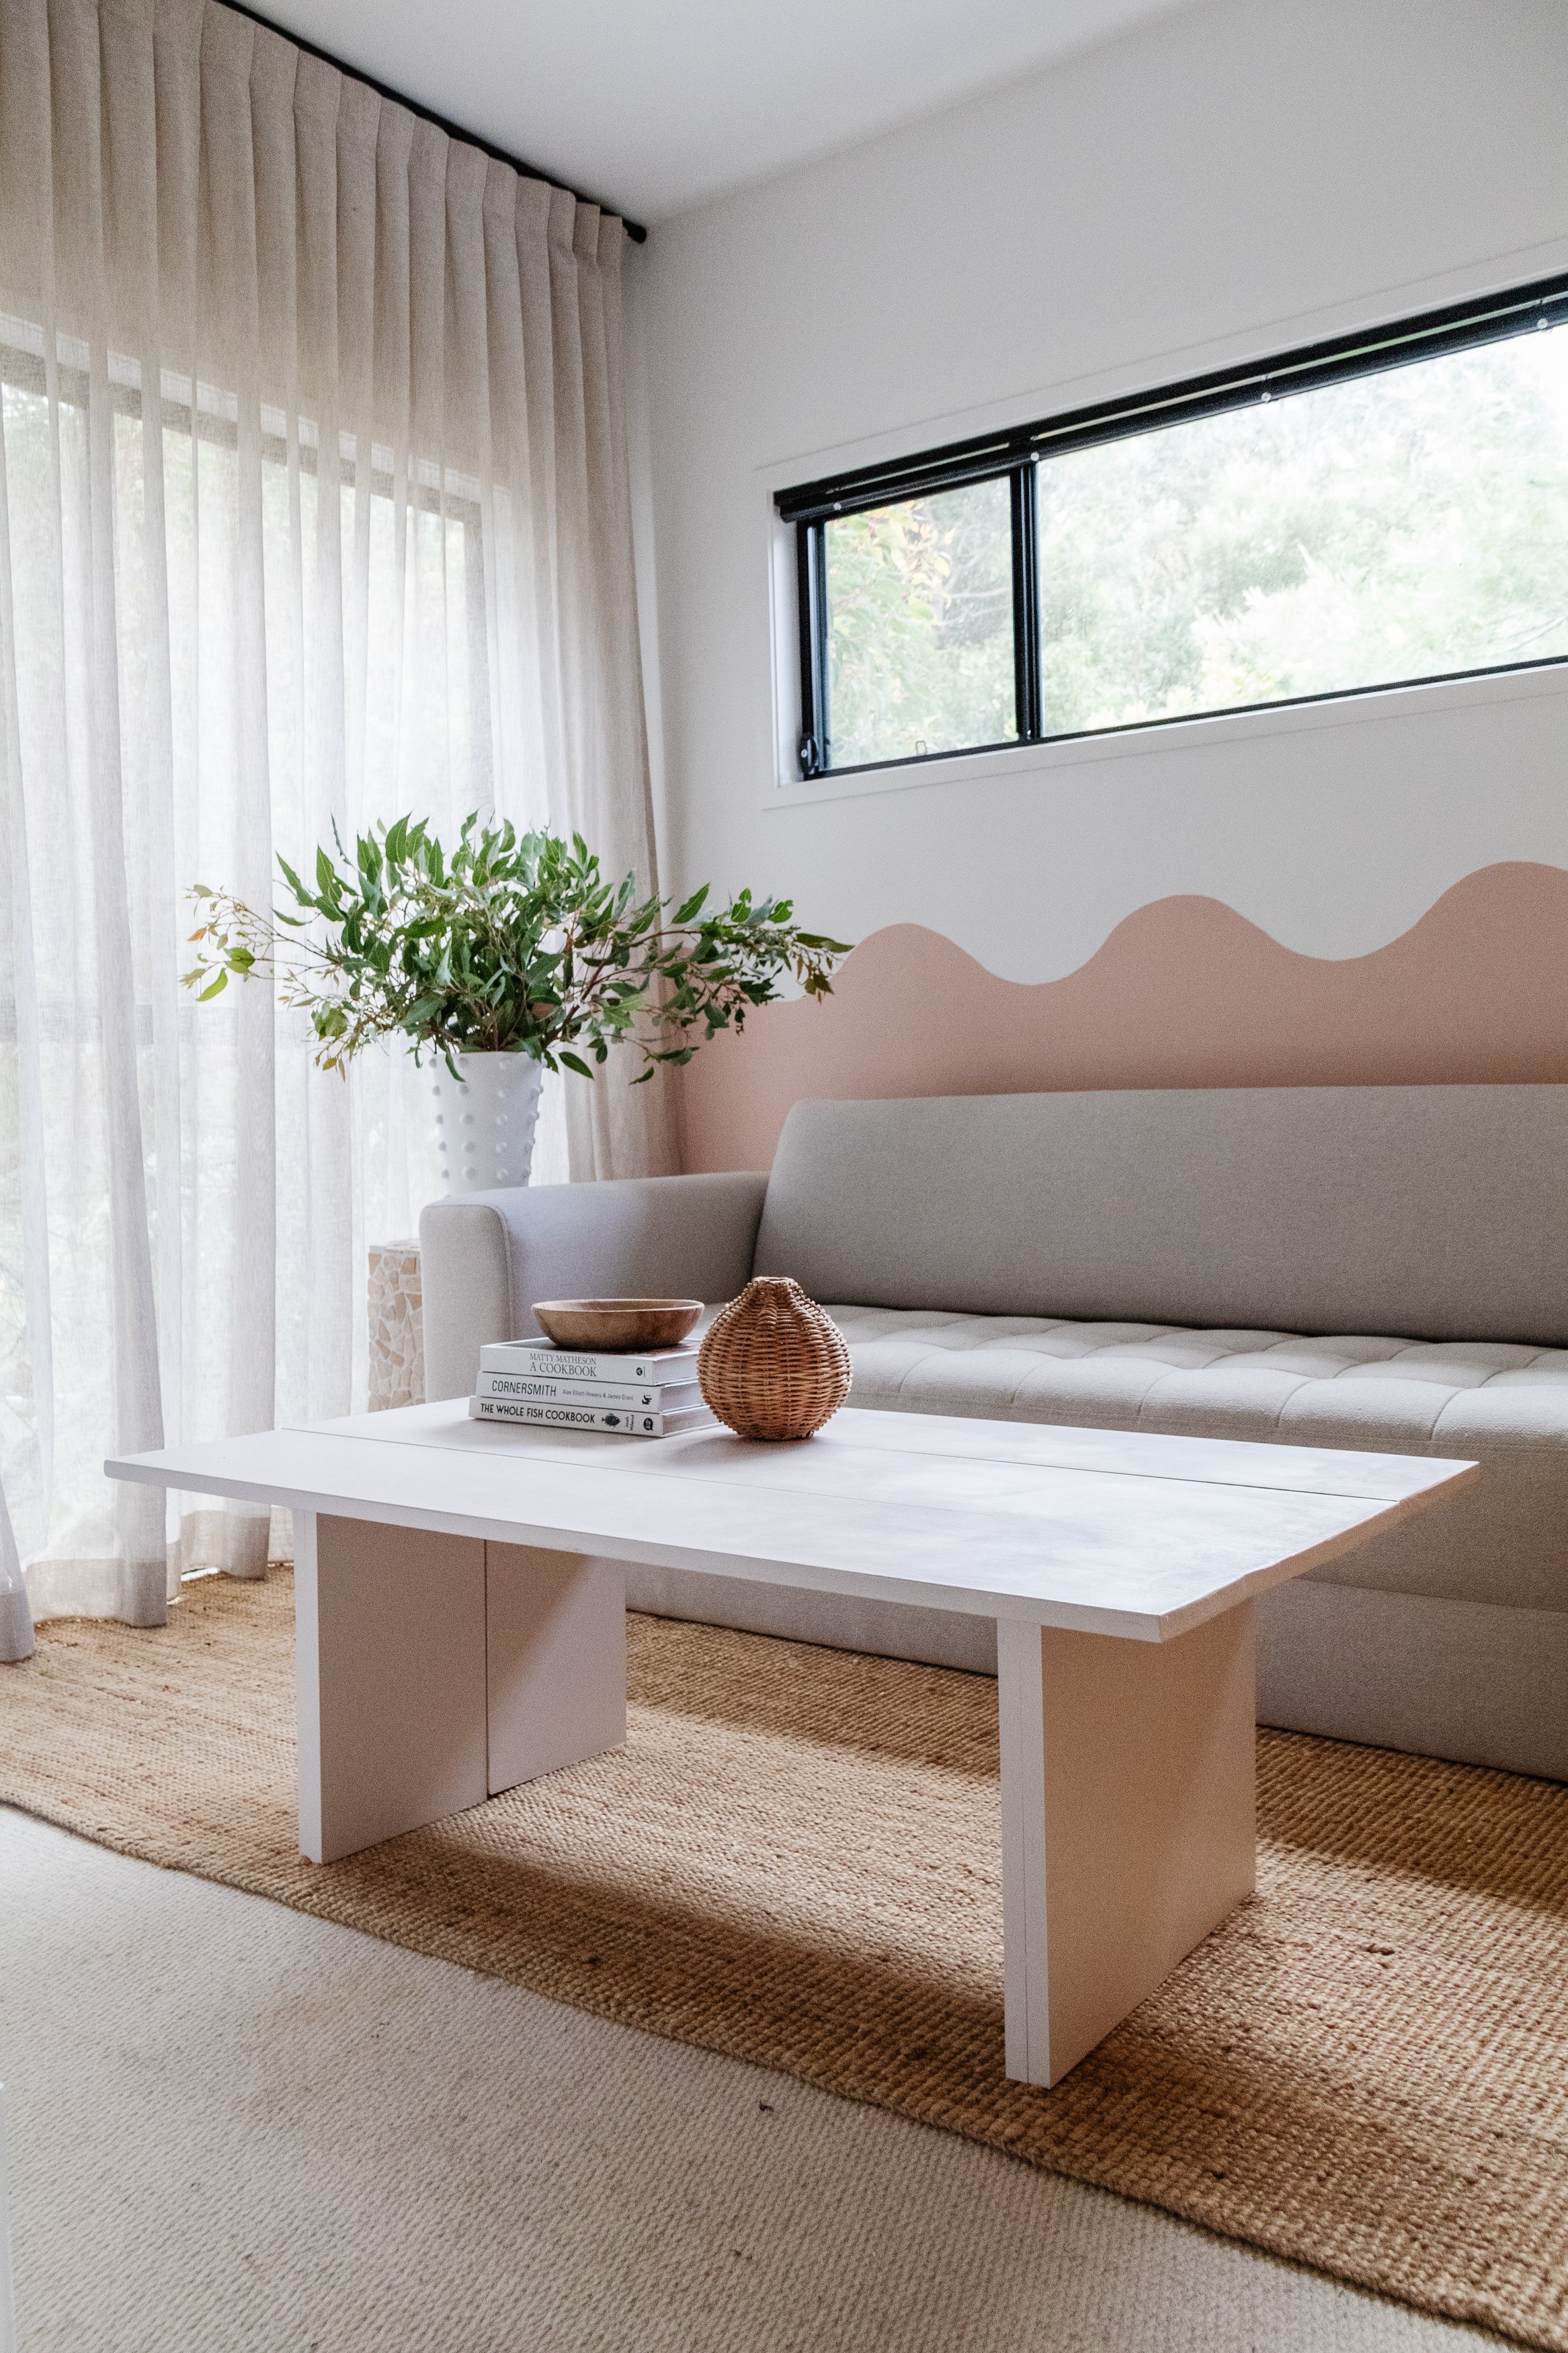
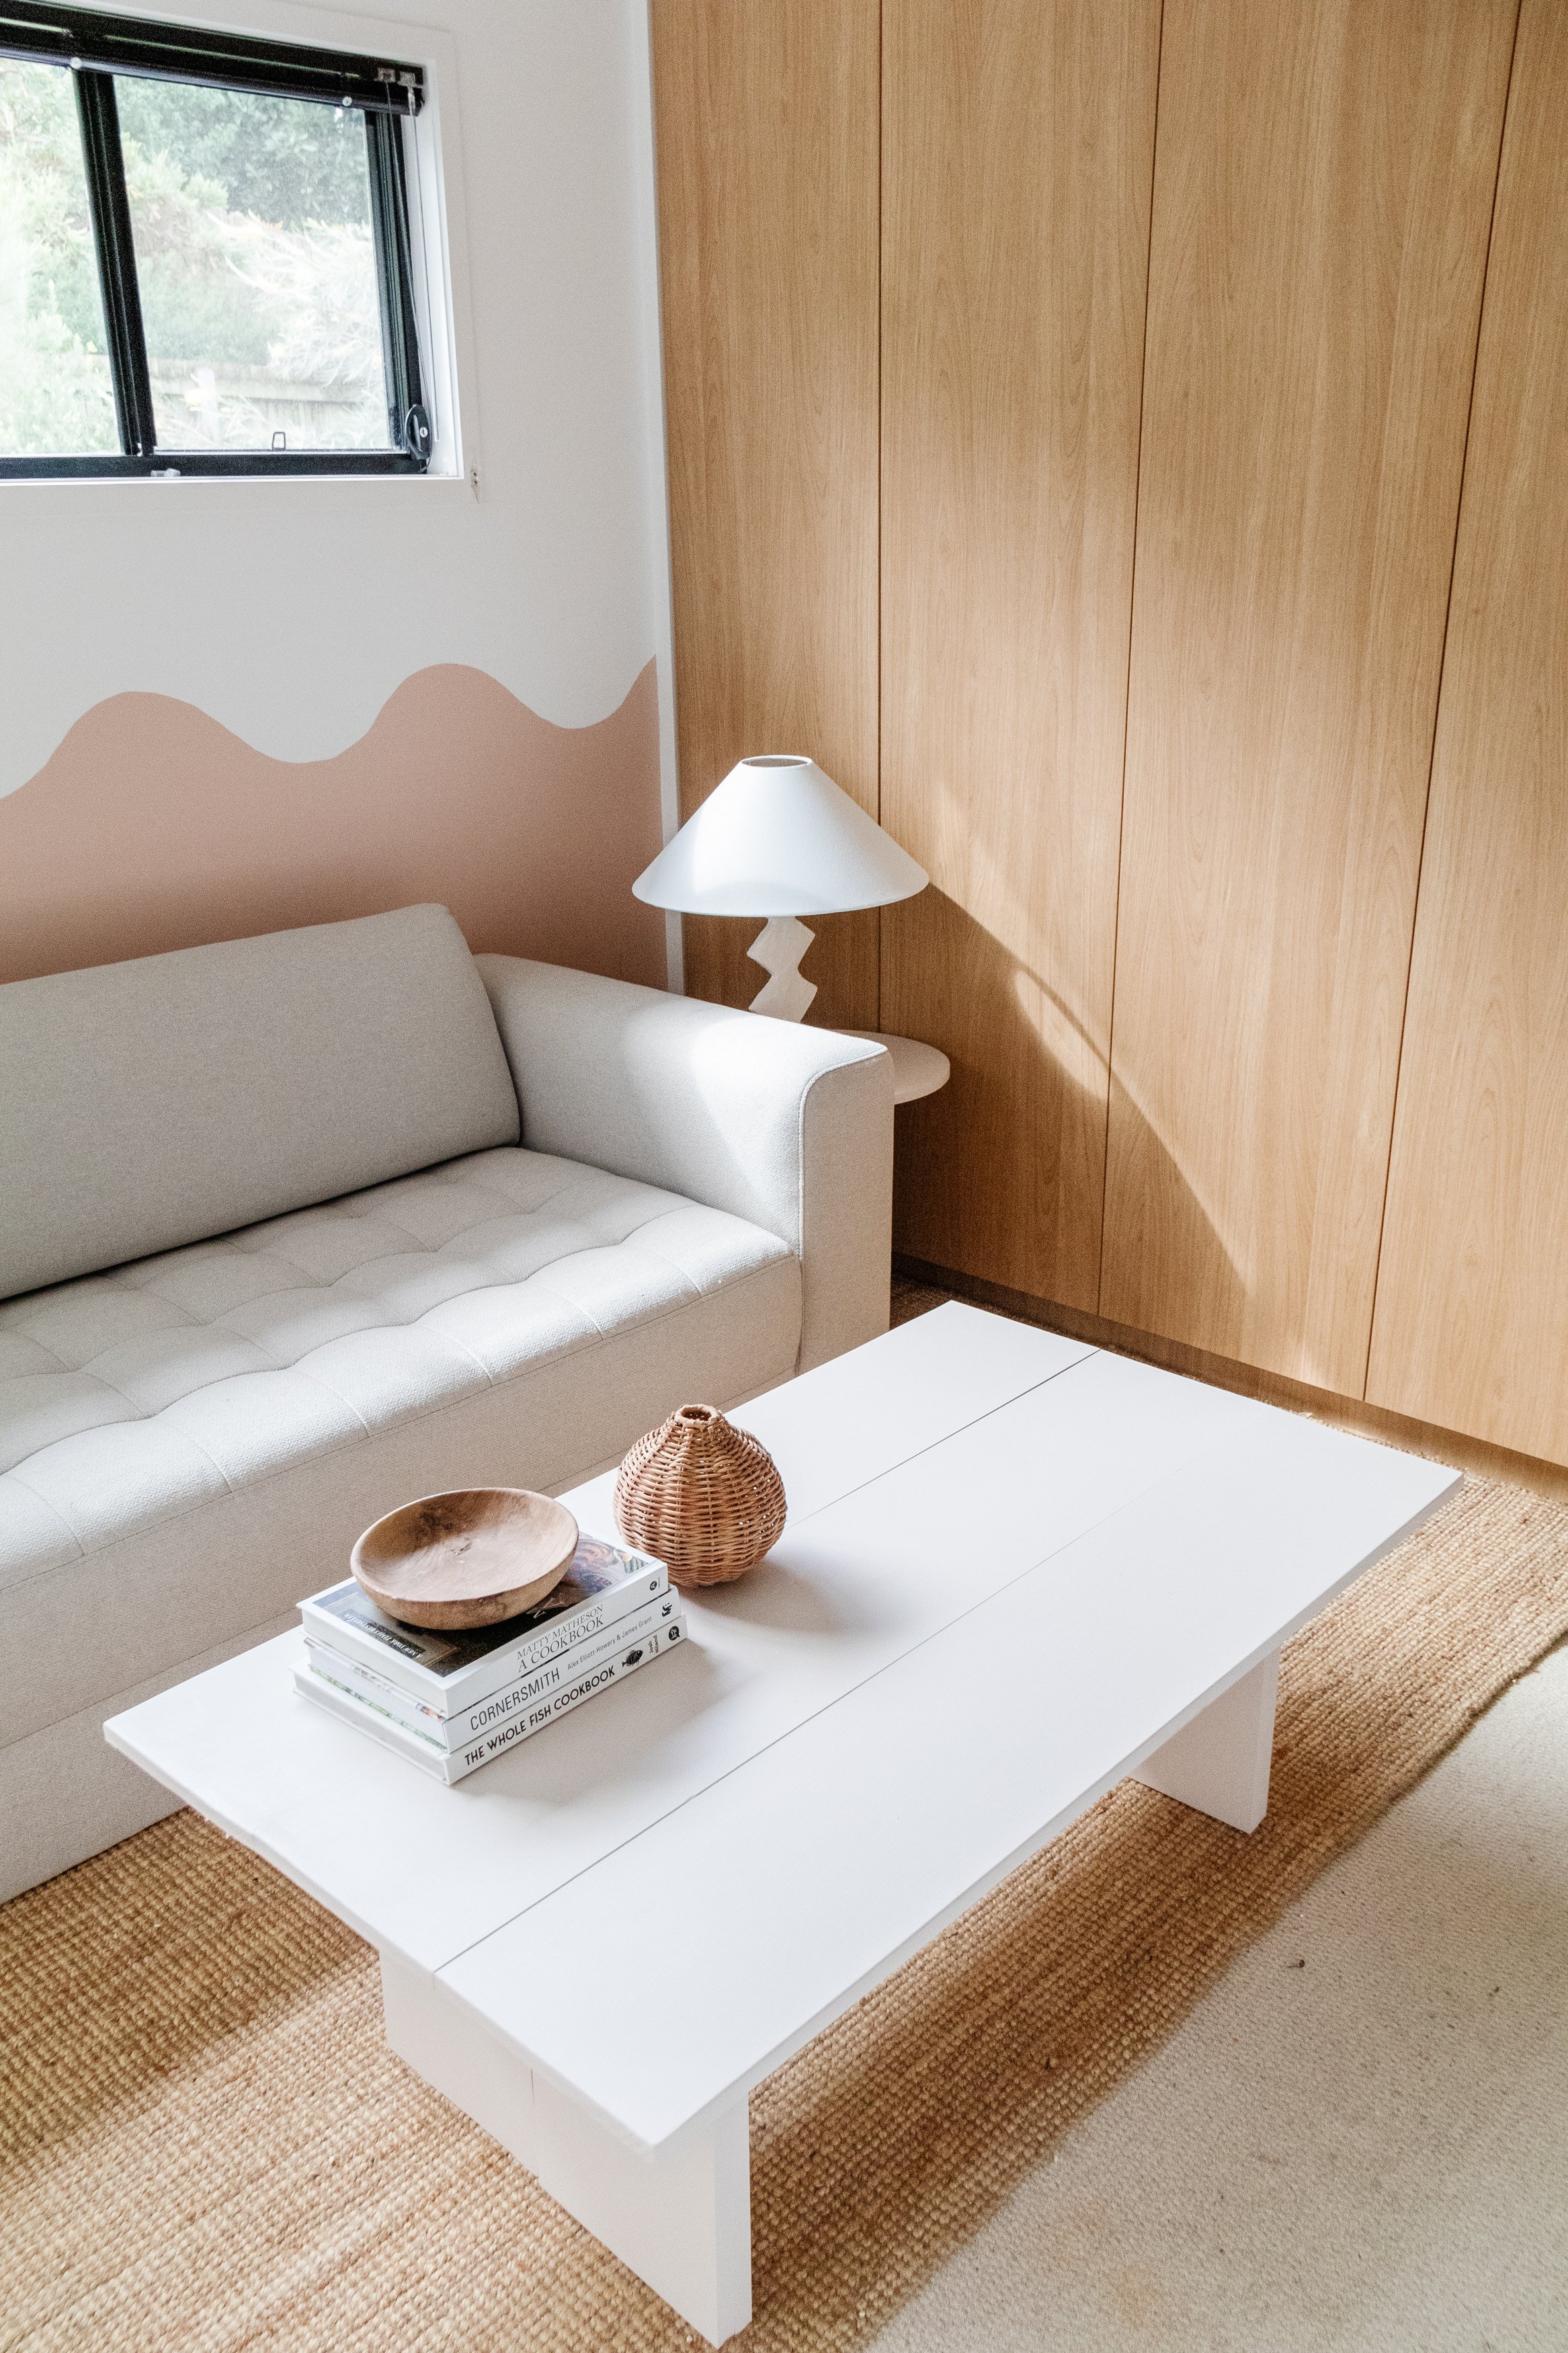
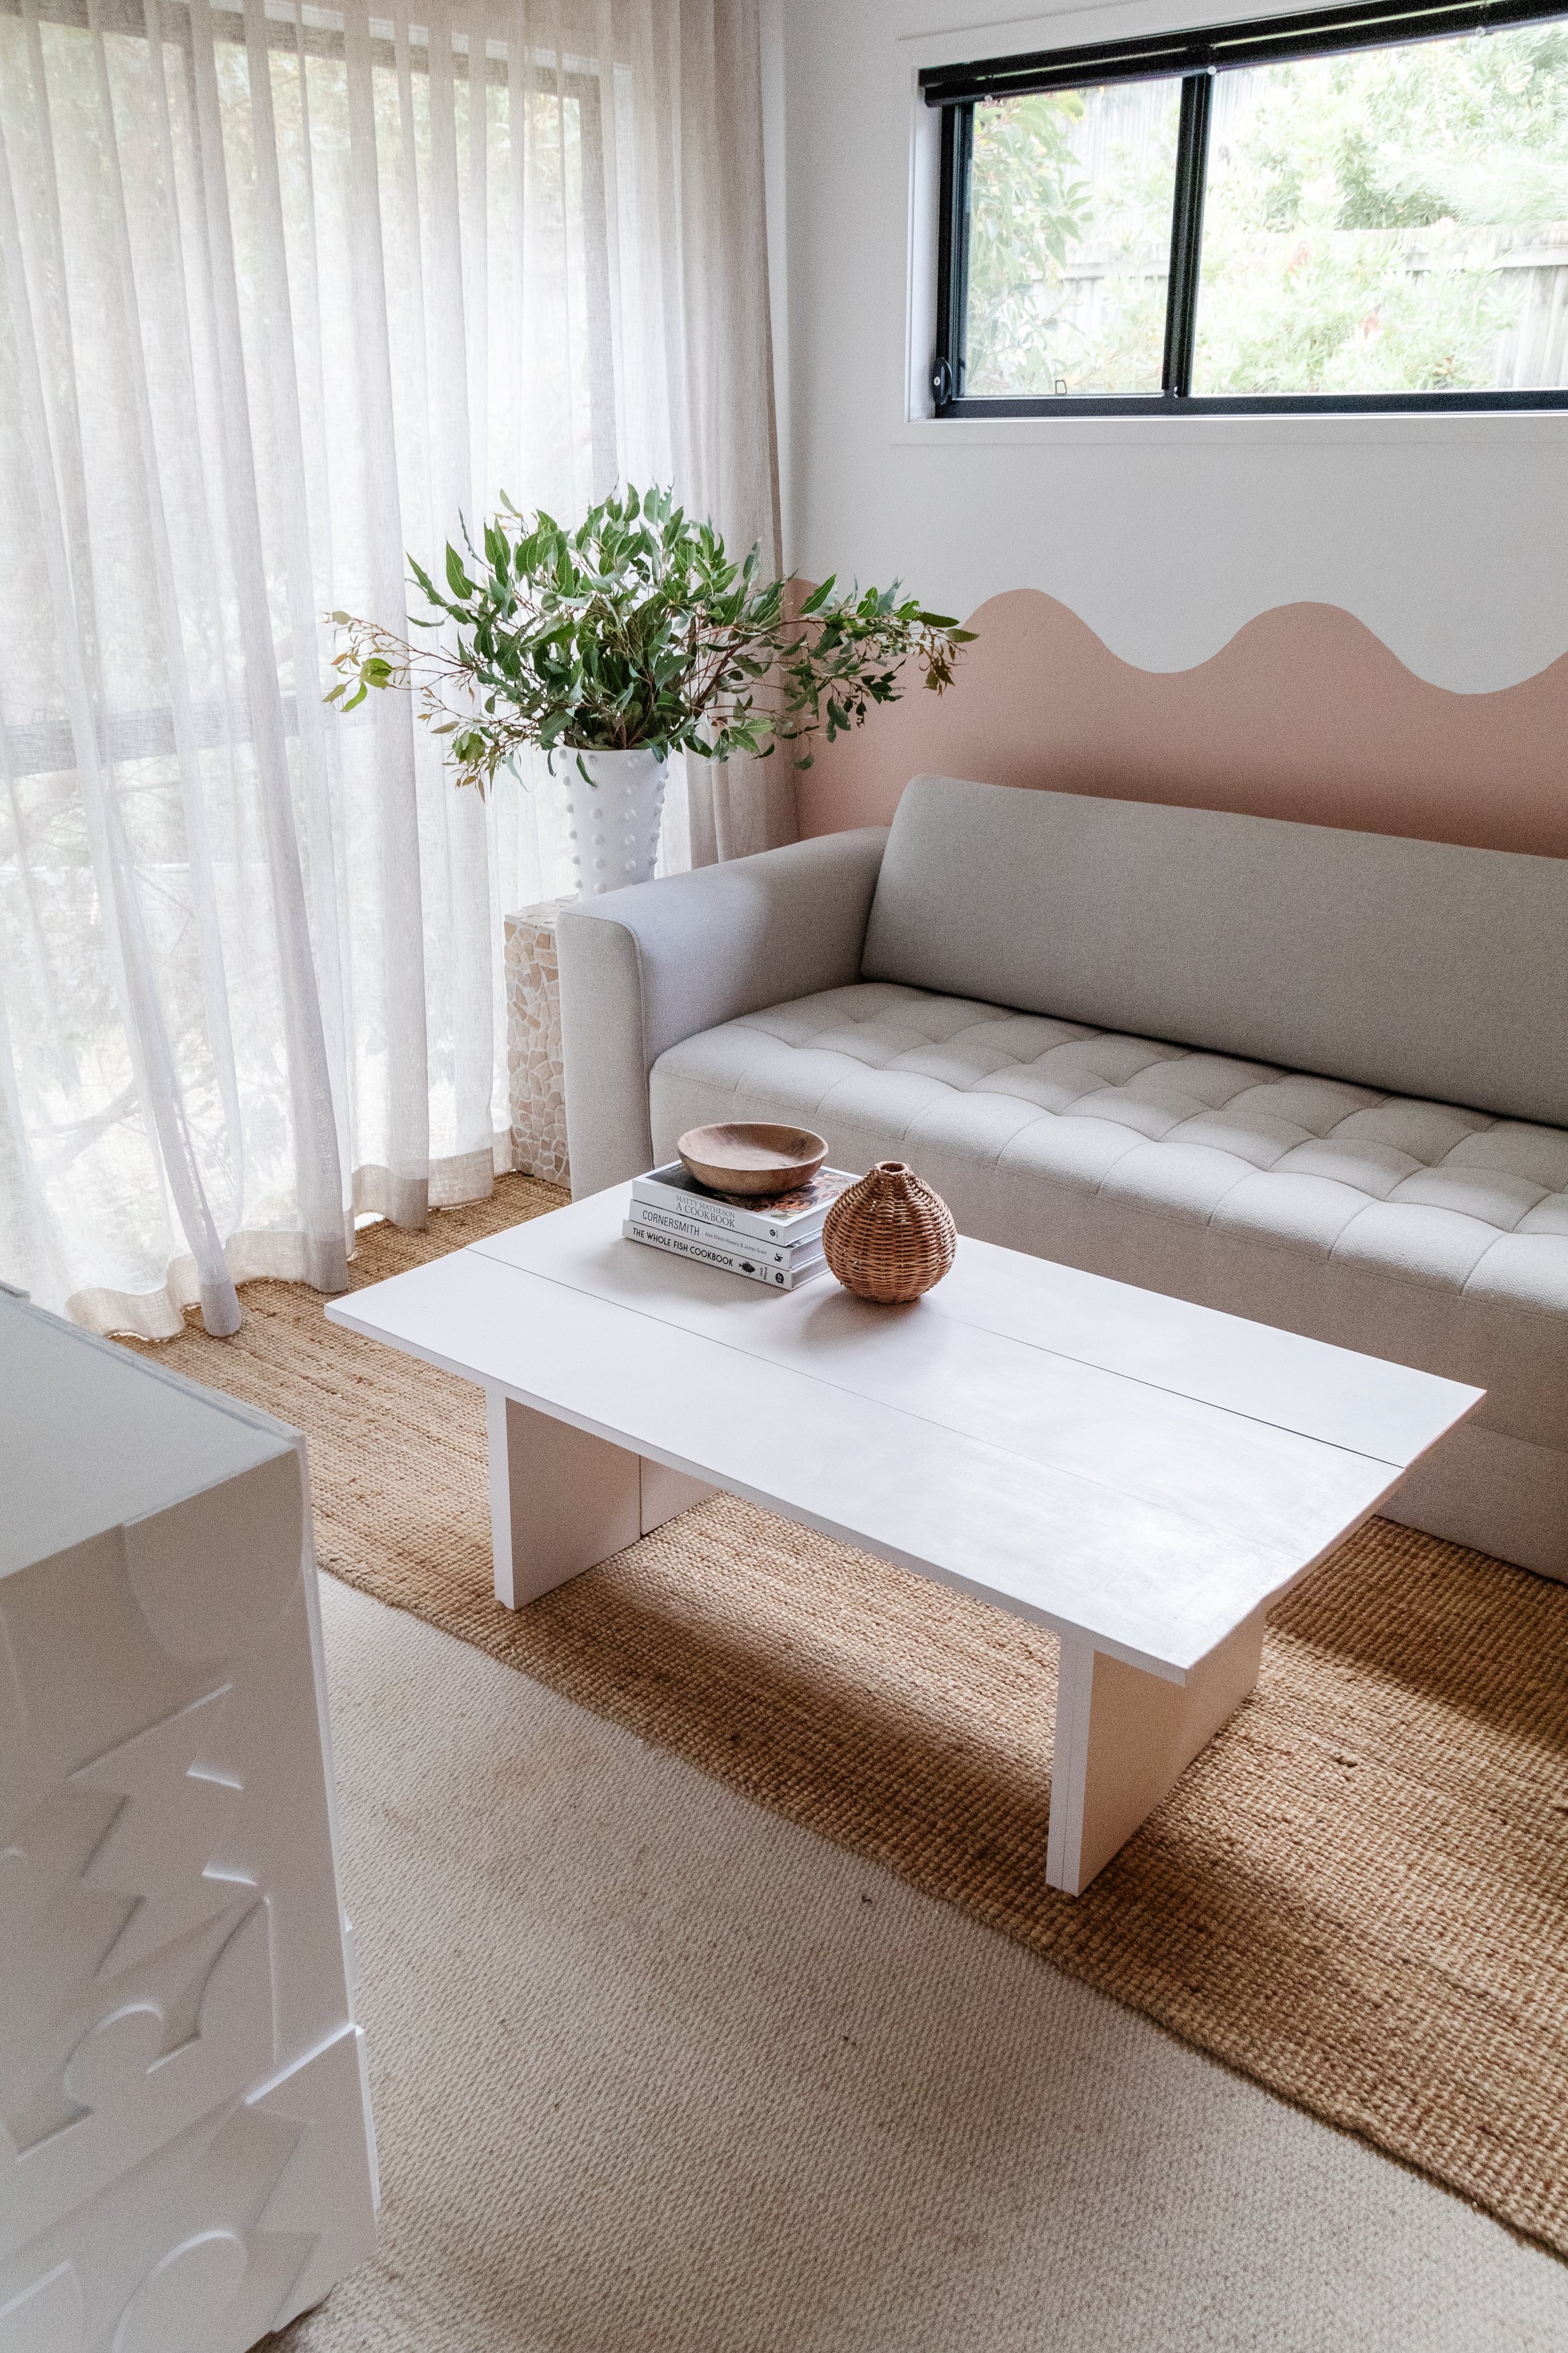
If you’ve been following along over on Instagram, you’ll know I am currently giving our guest room a total makeover. It’s that room in our home that we have neglected for the last few years and instead, regarded it as a messy refuge for the kids to play and a space for guests to stay (that we hurriedly clean whenever we have people stay). The space has not been working at all for us, so a couple of months ago we decided to start making plans to give it a makeover. I painted a DIY Wavy Wall, I built a DIY Abstract Cabinet and upcycled a Sculptural Lamp. The final piece in this room makeover was a coffee table! I originally put my DIY Fluted Coffee Table in the room, but I felt that it washed the room out a little bit so I put on my thinking cap and realised the room needed something warm, like a stained timber coffee table.
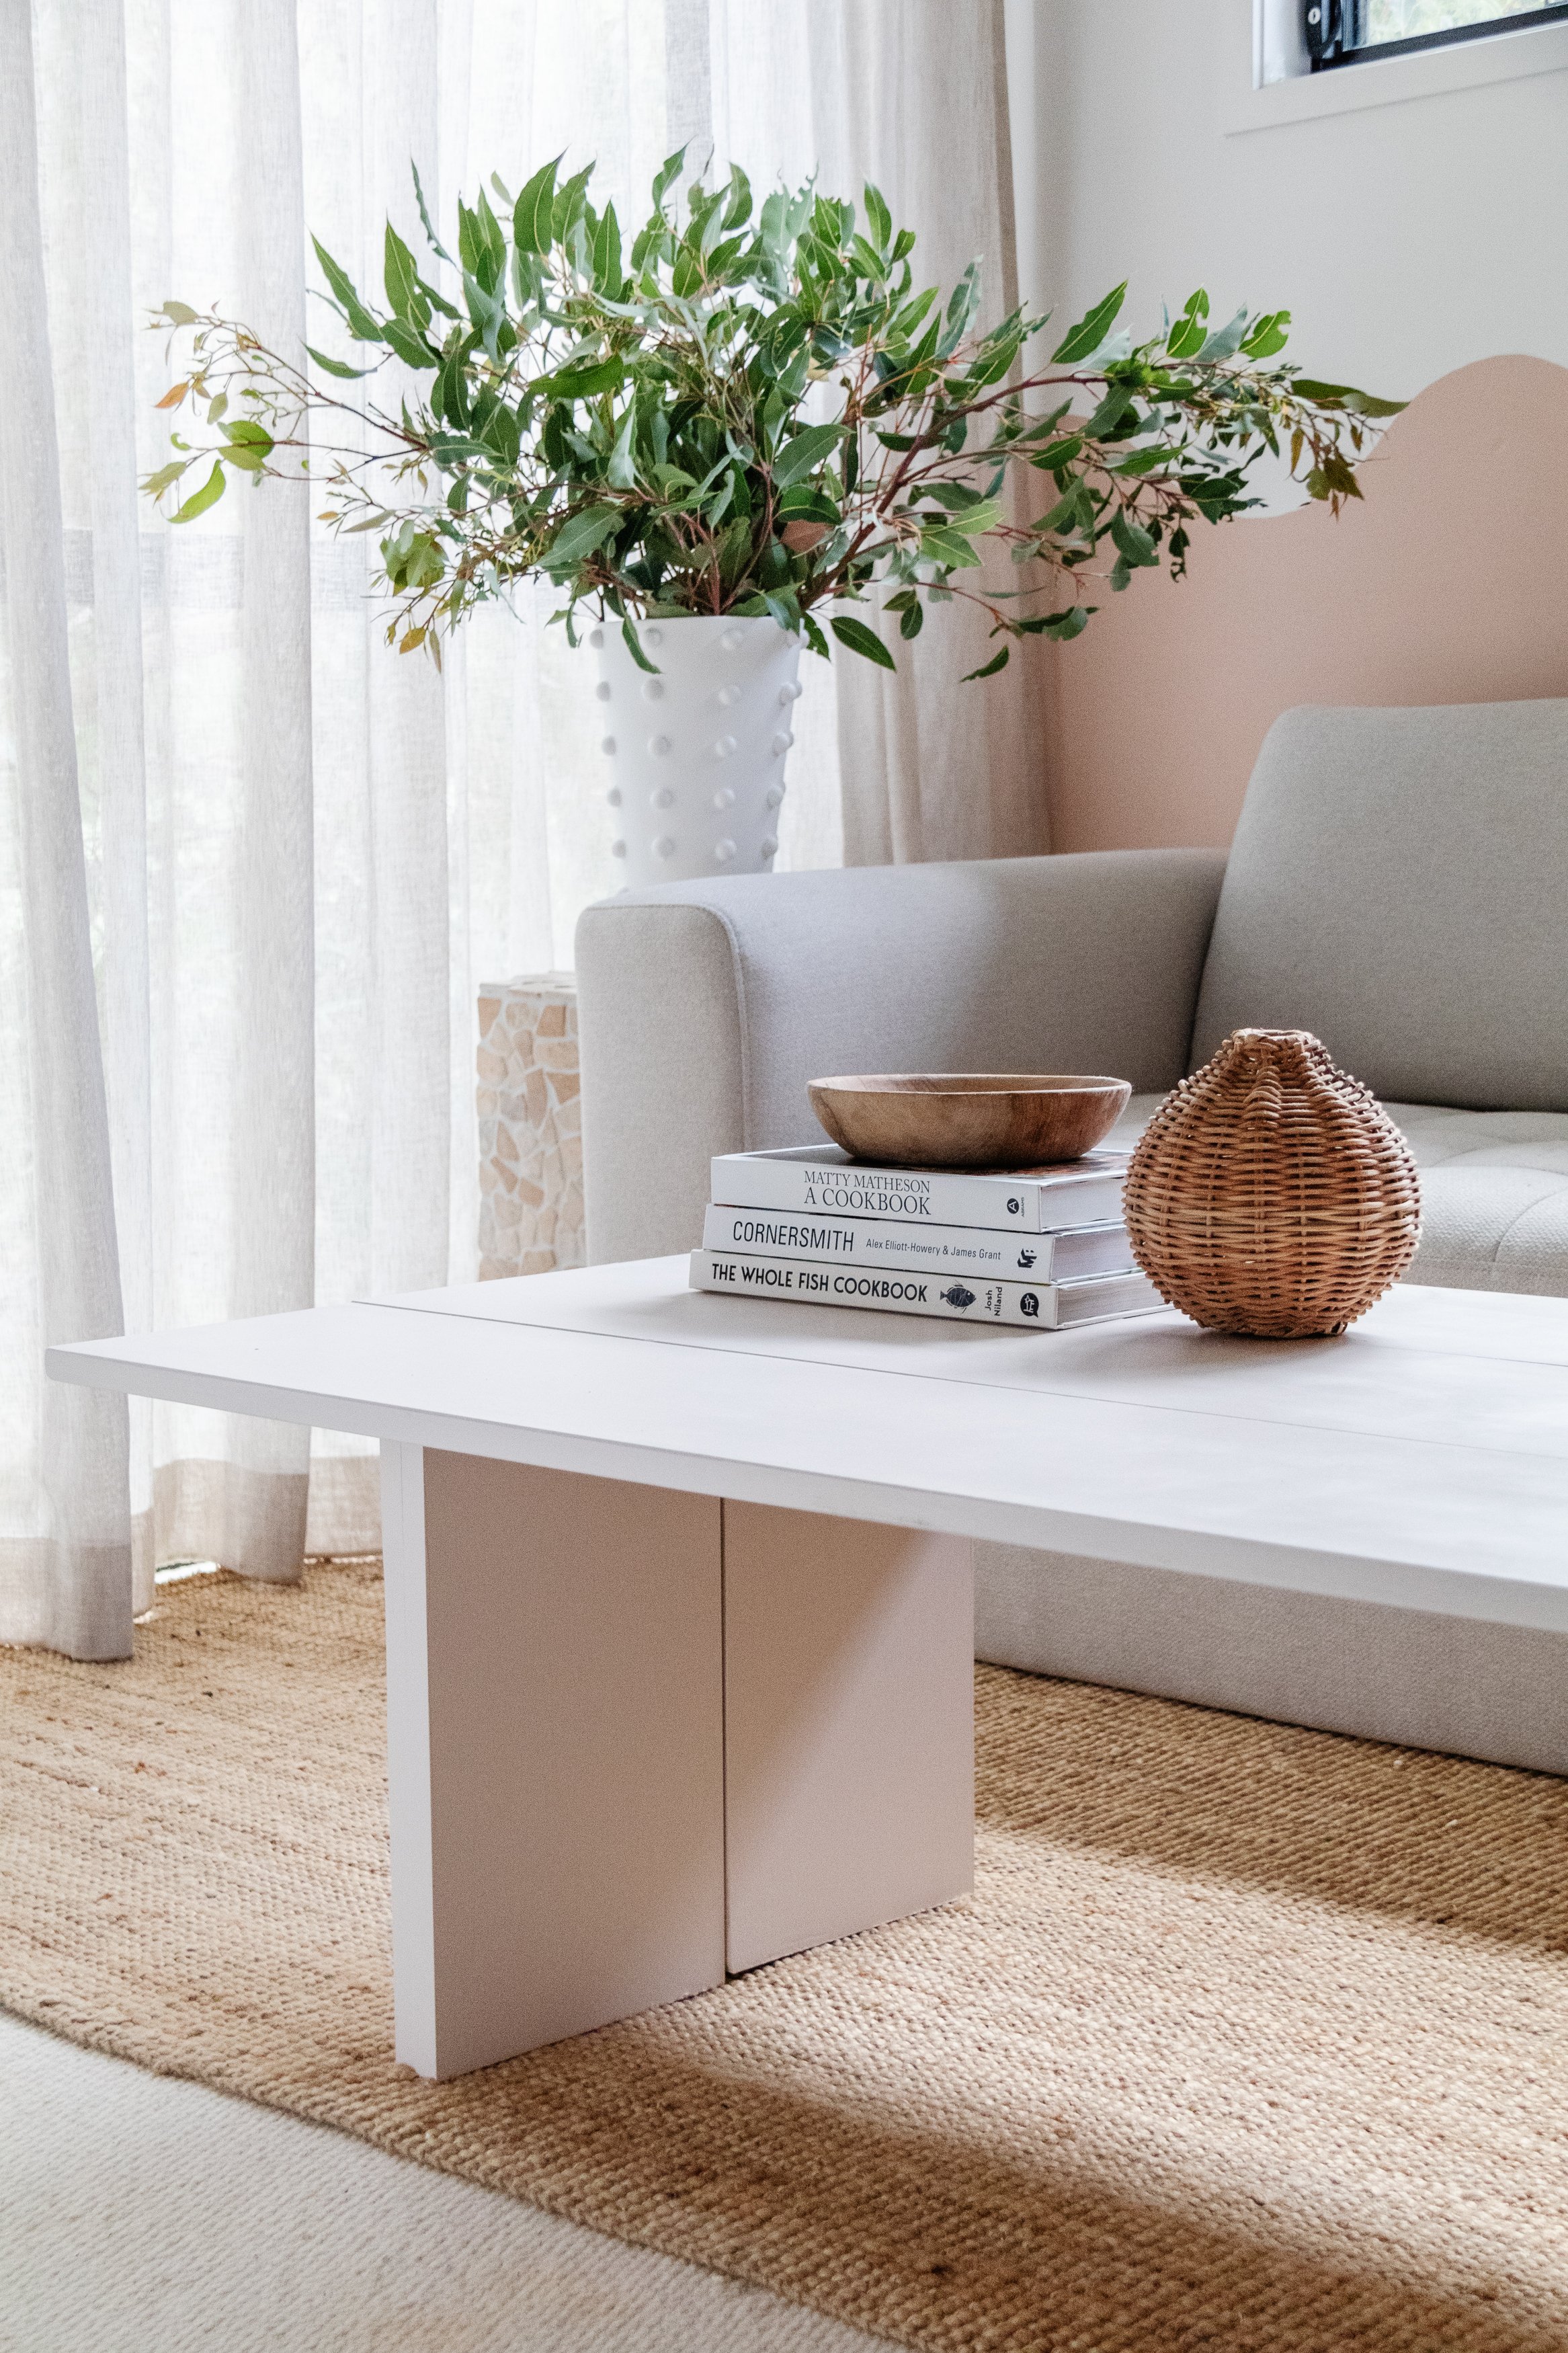
I set about making a timber coffee table using pine planks but when I went to test the stain I had chosen, I didn’t love the “rustic” look. The room is quite fun and modern with the wavy wall and abstract cabinet so I decided to paint it using my favourite Porter’s Paint colour “Himalayan Salt” and I couldn’t be happier! The colour, straight lines and exposed brass detailing looks beautiful in this space. Stay tuned for the room reveal, which is coming oh so soon! And for anyone wondering the couch in this space is actually a 3 Seater Sofa Bed from Ecosa and the colour is “Beige”.
Project Details
🕒 Project Time Estimate: 4 hours of making over two days (to allow for glue and paint to dry)
💰 Materials Cost: $250 for all materials
👷♀️ Skill Level: DIY Intermediate & Enthusiast
⚒️ Tools: Drill and hand sander
🏡 Table Measurements: 1200mm L x 705mm W x 420 H
Materials
Pine timber planks from Bunnings (1200mm length x 235mm width x 19mm thick)
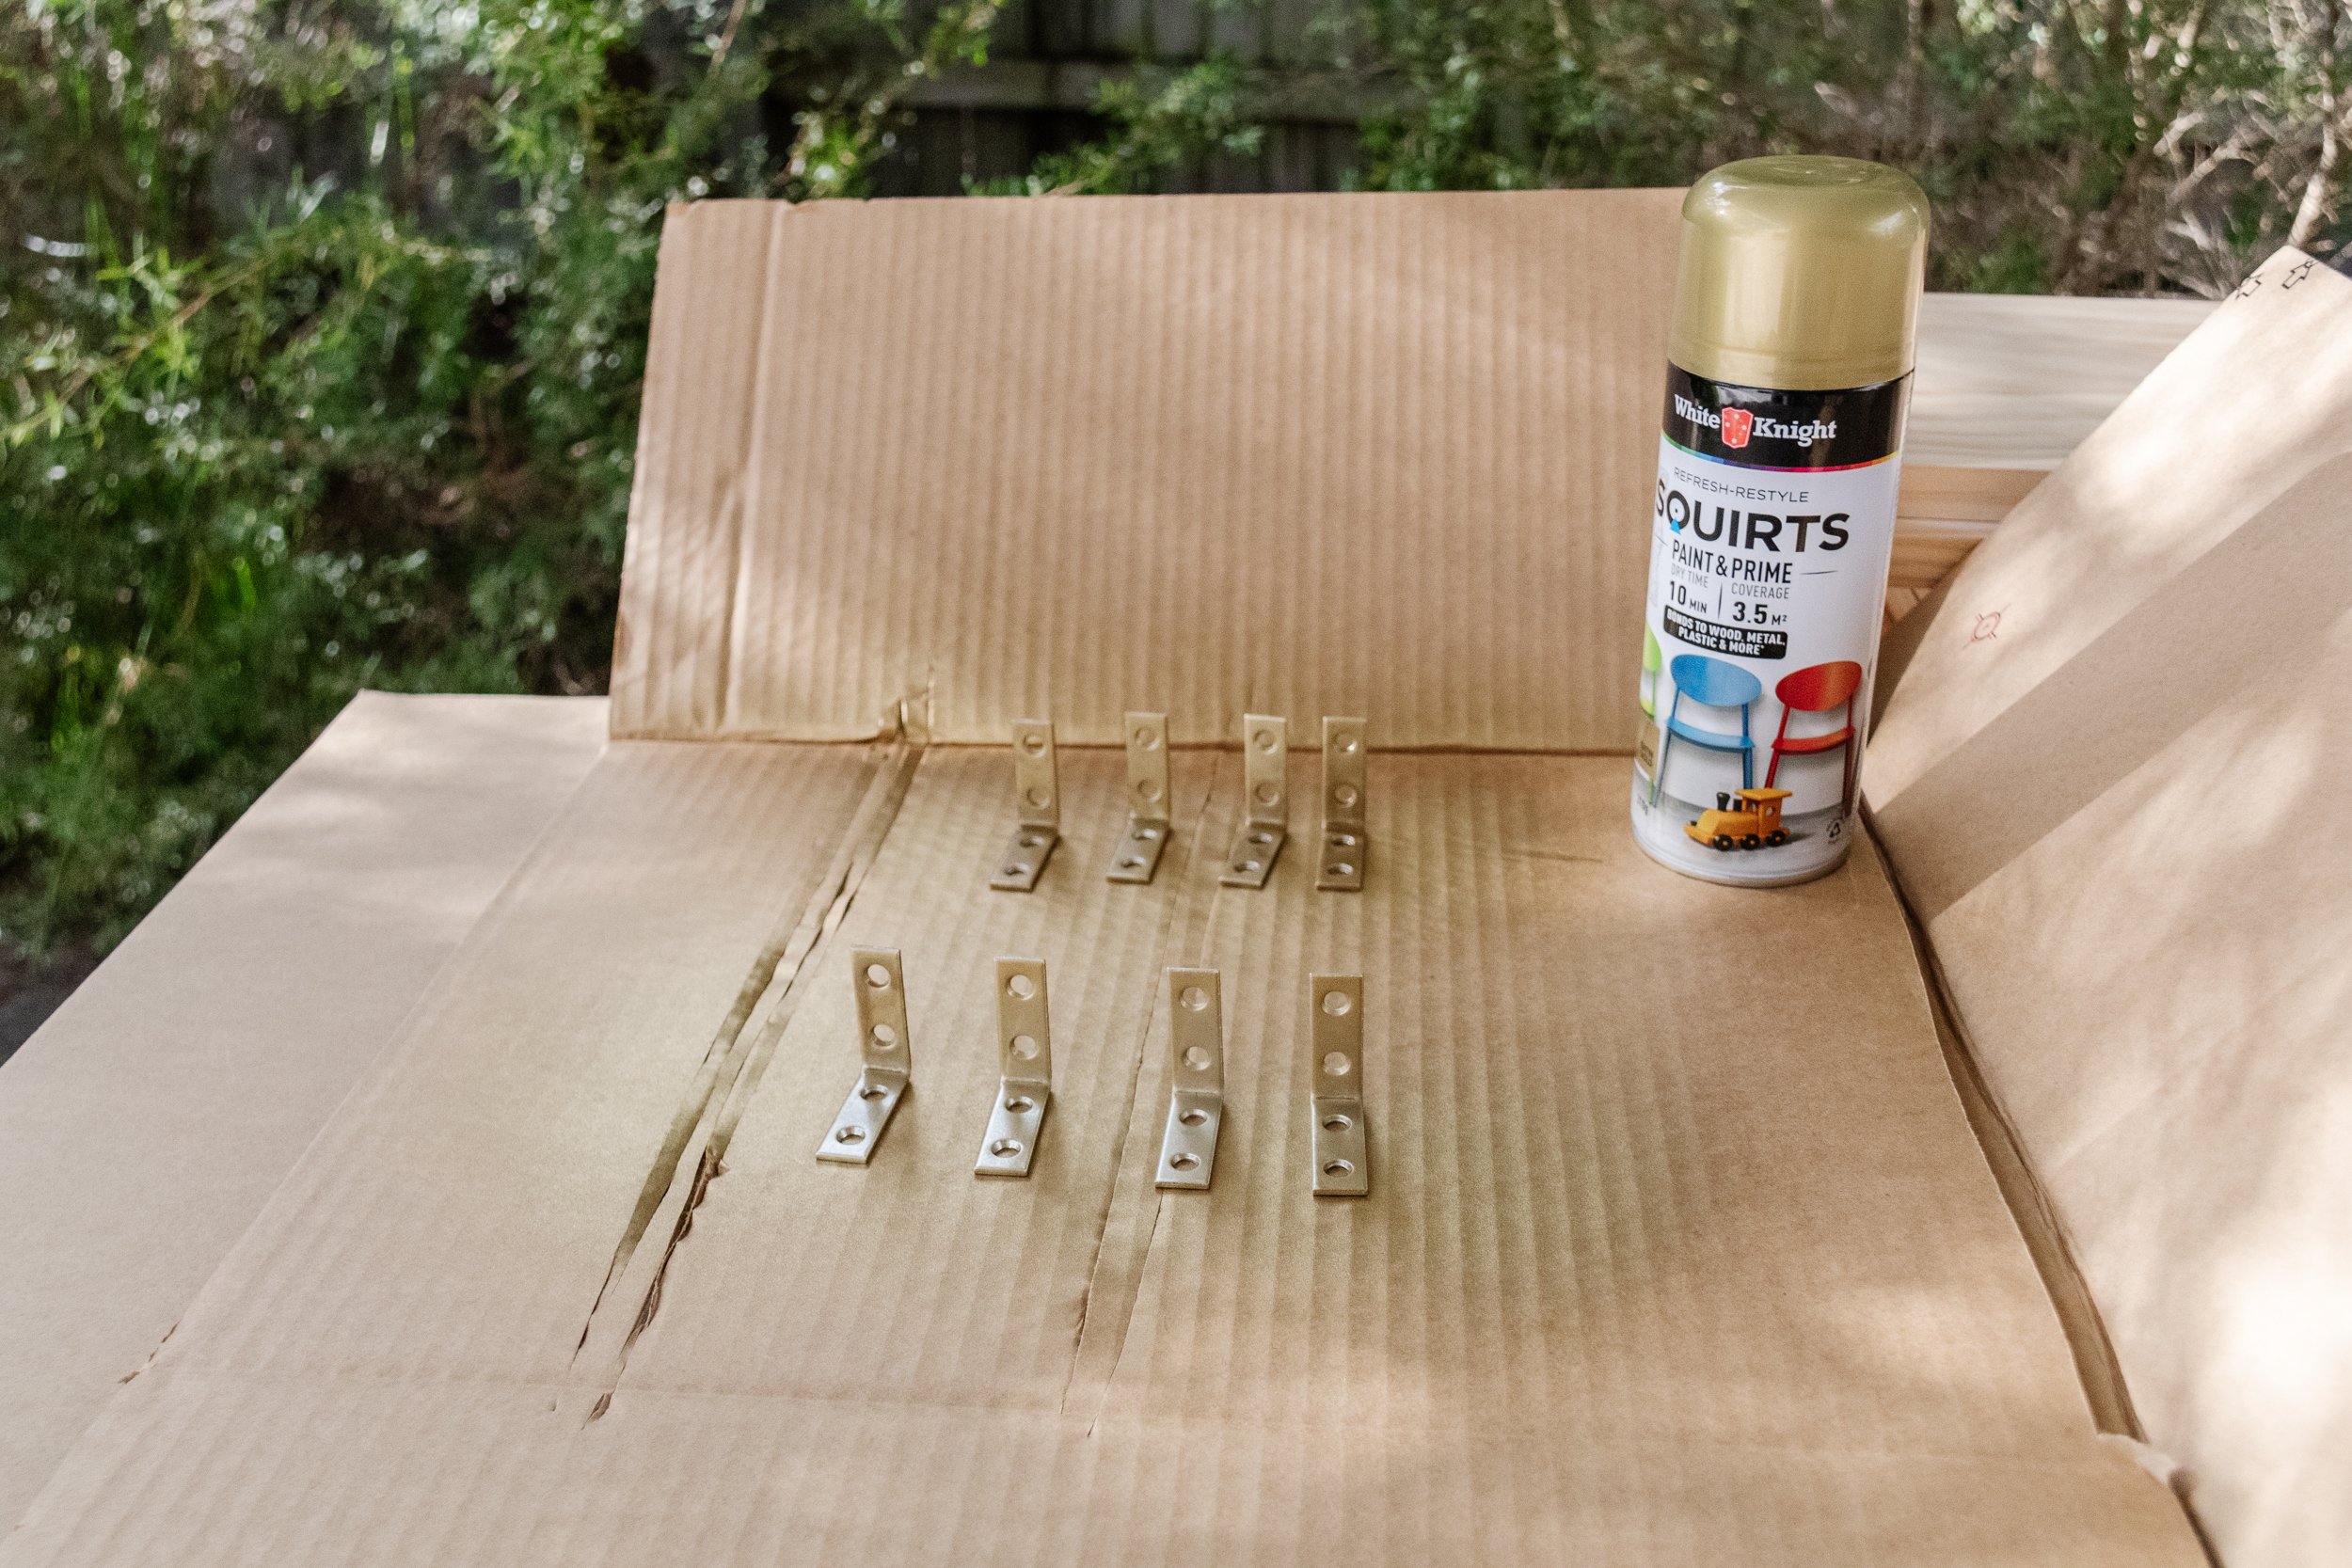
2 packs Angle Brackets (8 total) with screws
3 x Flat brackets
Measuring tape
Pencil or pen
White primer paint
Porter’s Paint Aquasatin in “Himalayan Salt”
Paint brush
Muslin cloth
I also used a drill to make holes and screw nails into the timber, and a sander to smooth the corners and edges of the tabletop.
Extra tip: When selecting the timber for the tabletop, make sure the pieces are even in length. Mine were not so I had to cut one piece with a jigsaw, which is totally fine but not ideal if you don’t have any tools to cut timber with.
How To
DAY ONE
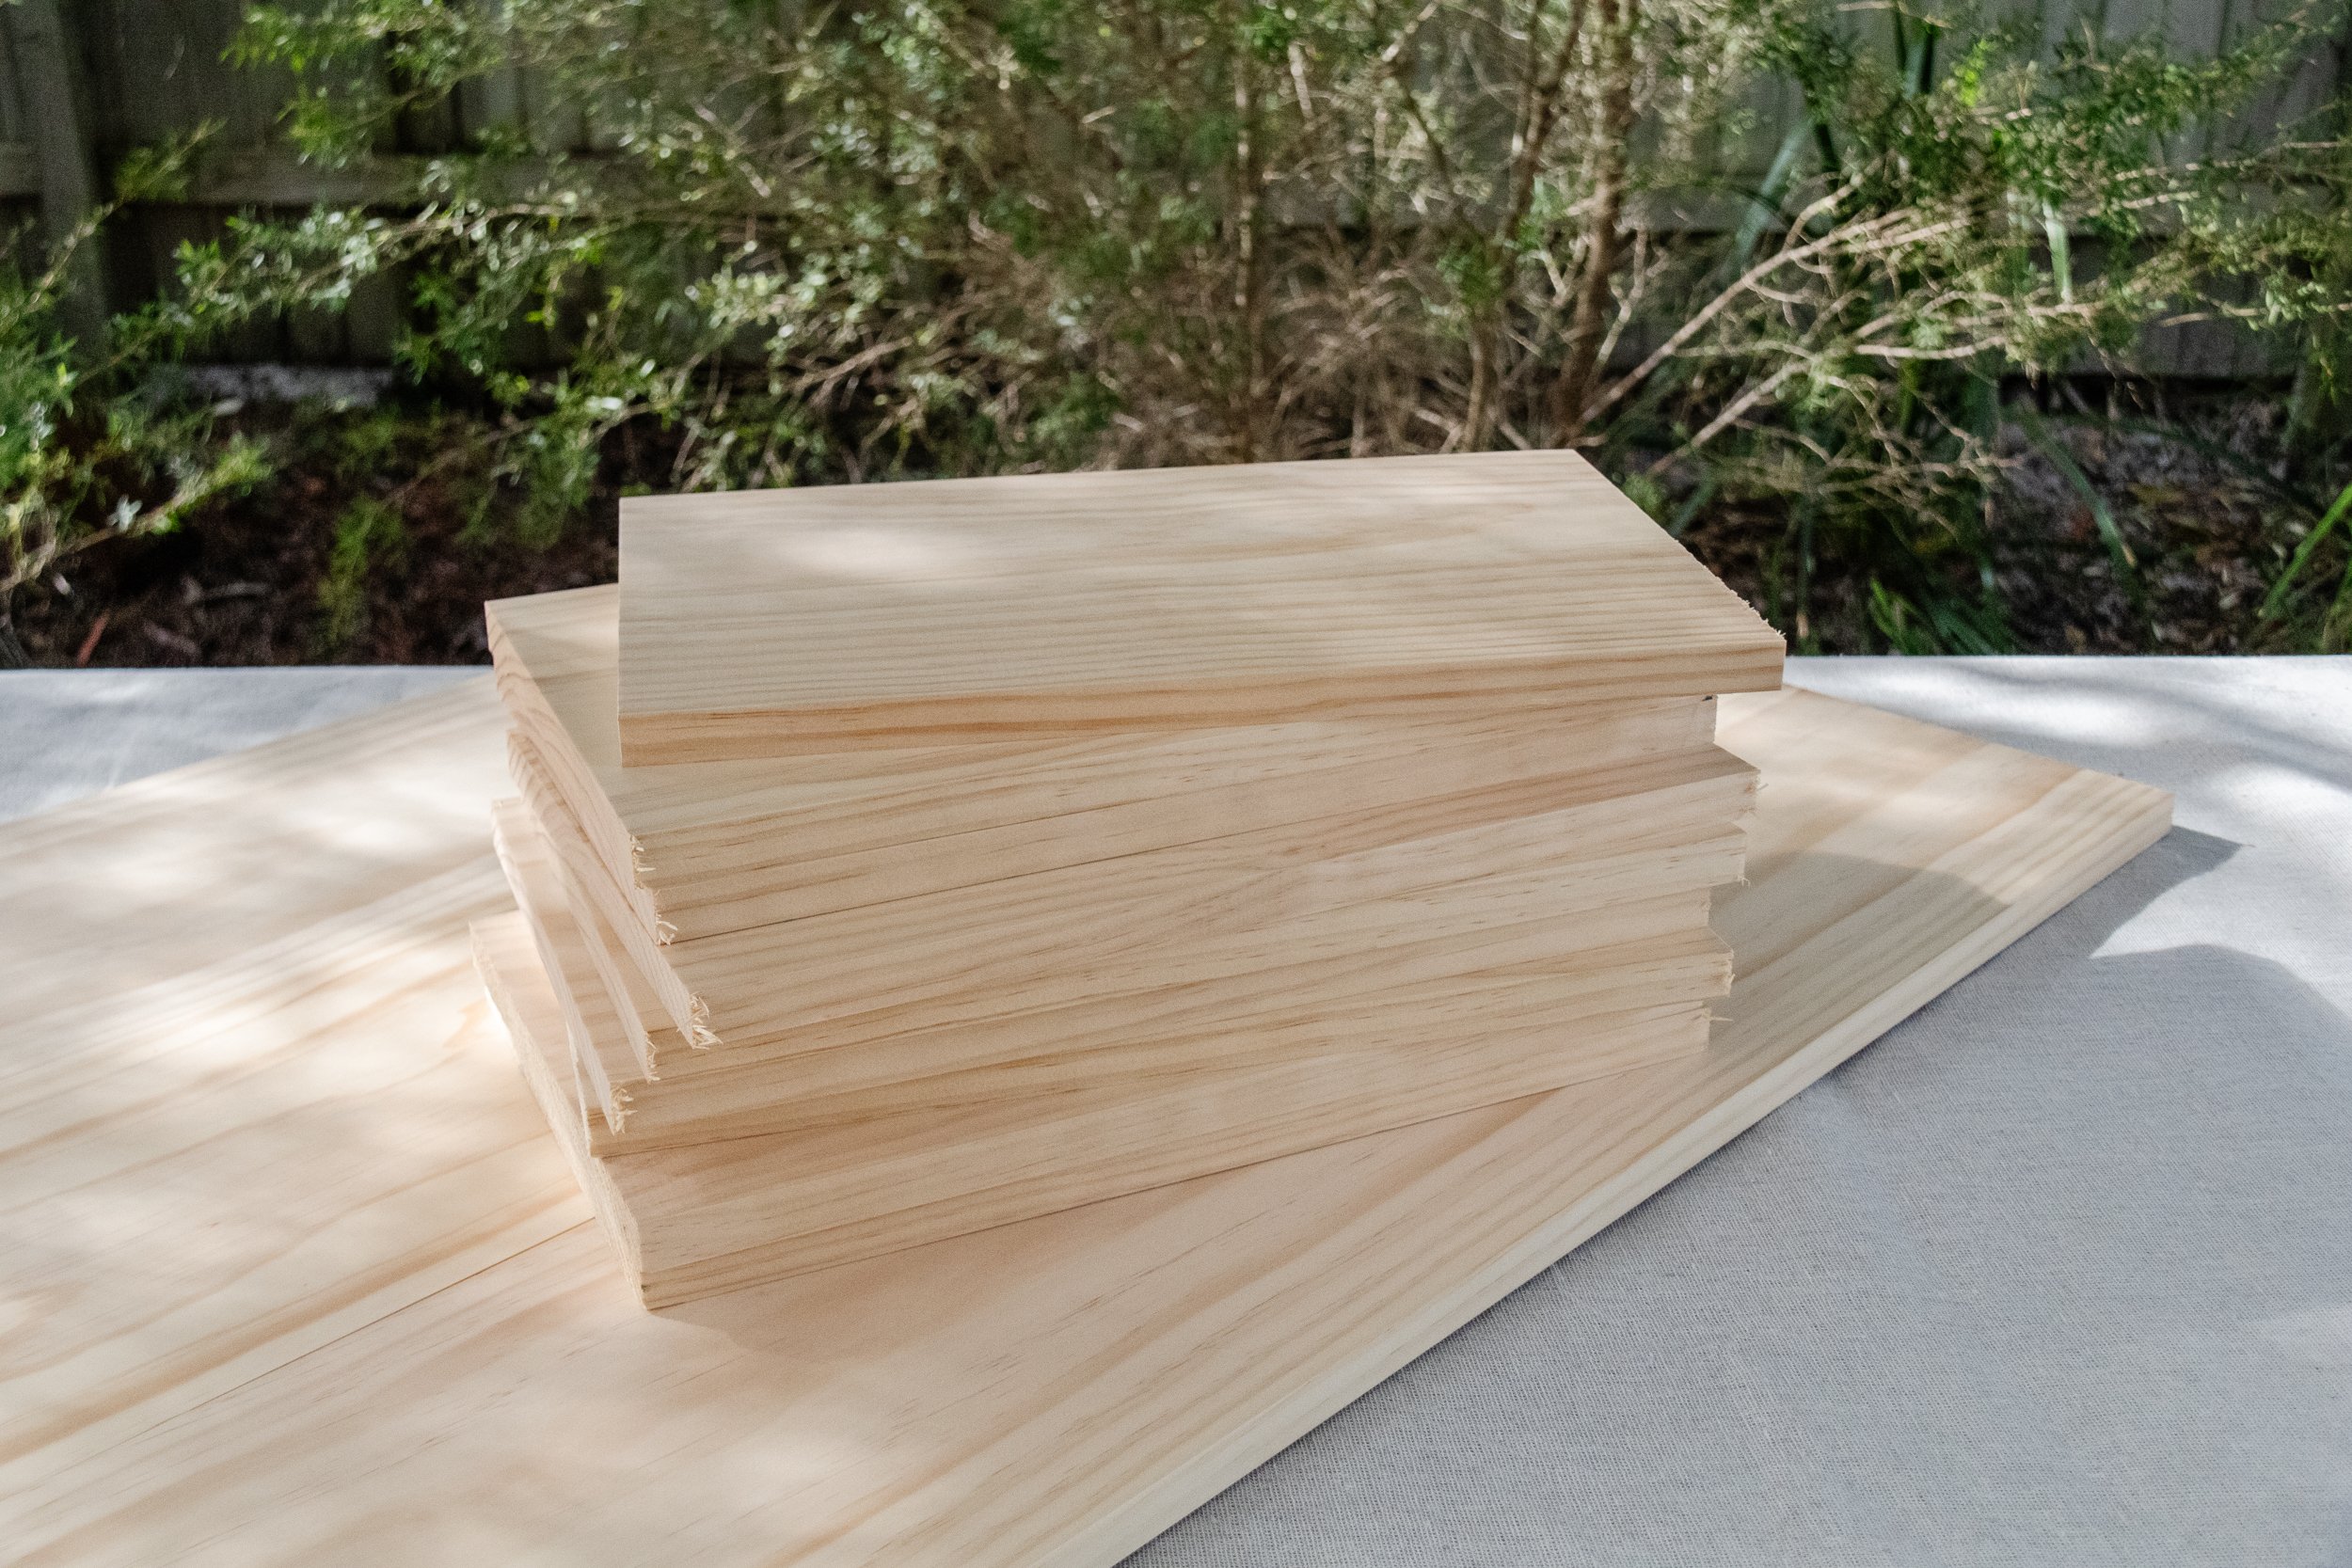
Start by getting the timber legs cut to size at Bunnings. I wanted to coffee table to be approximately 40cm high so I got 3 pieces of pine individually cut into 3, which meant I had 9 legs. I only needed 8 legs for this project so save the remaining piece of timber for another project.
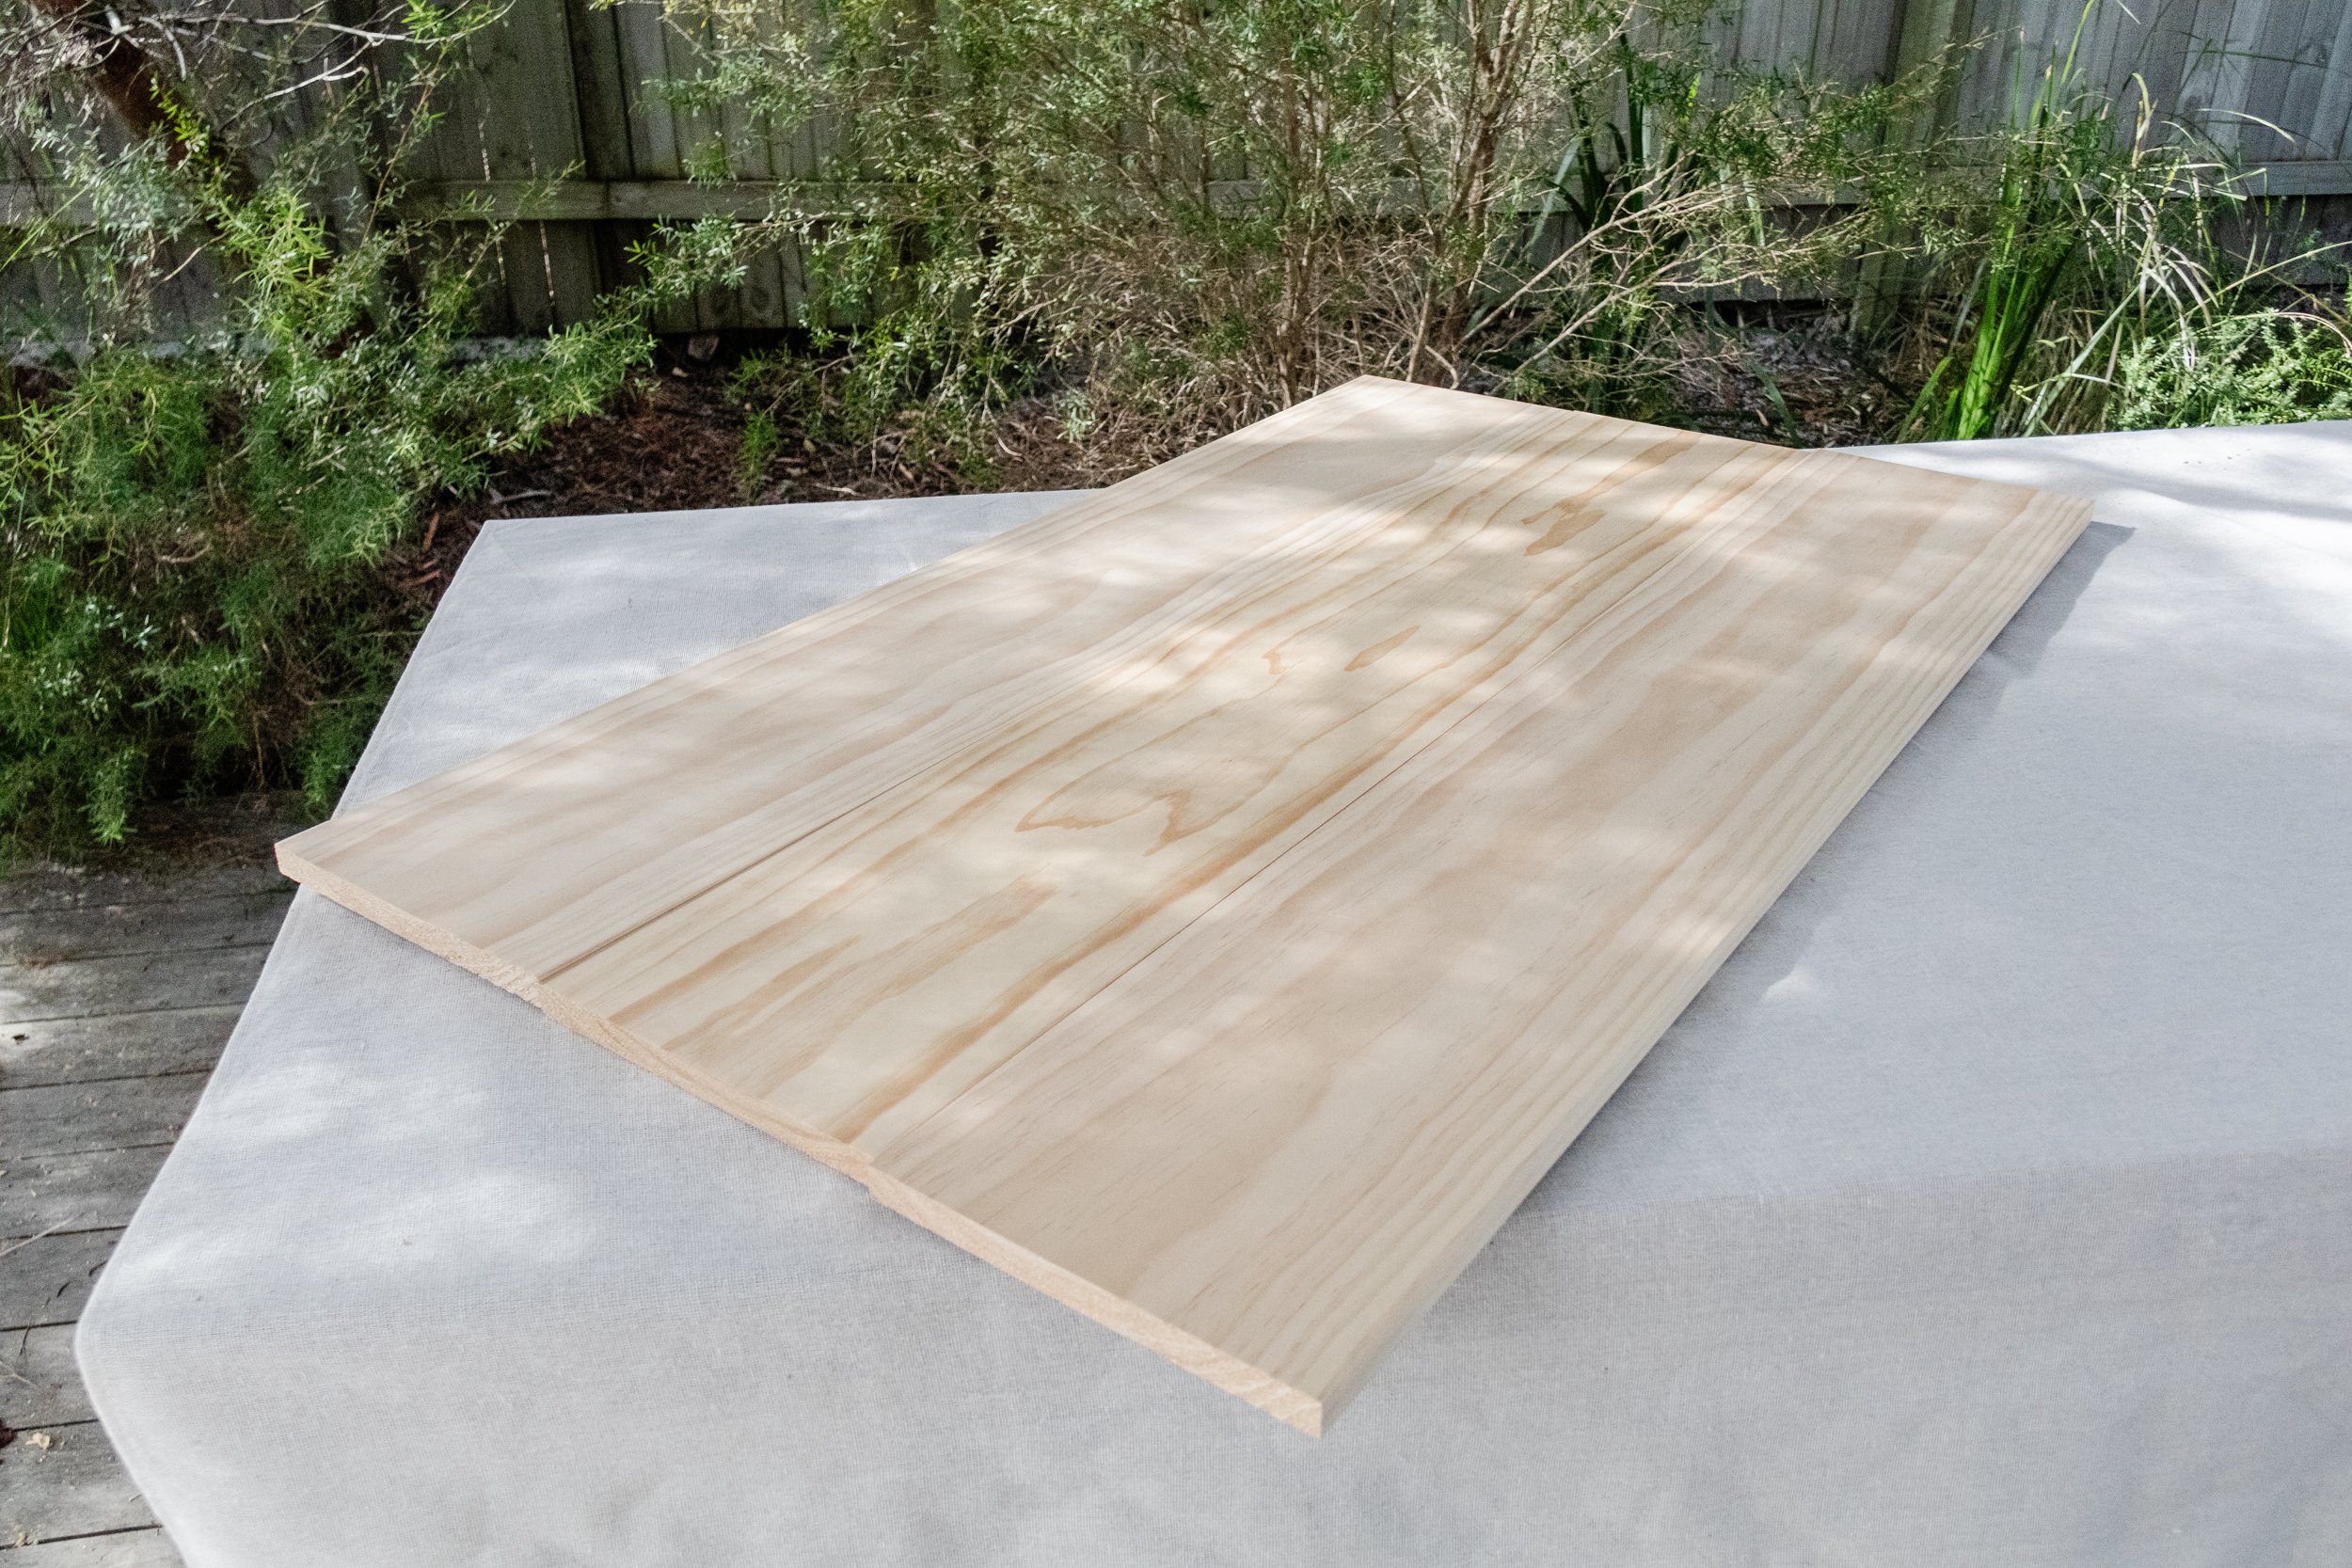
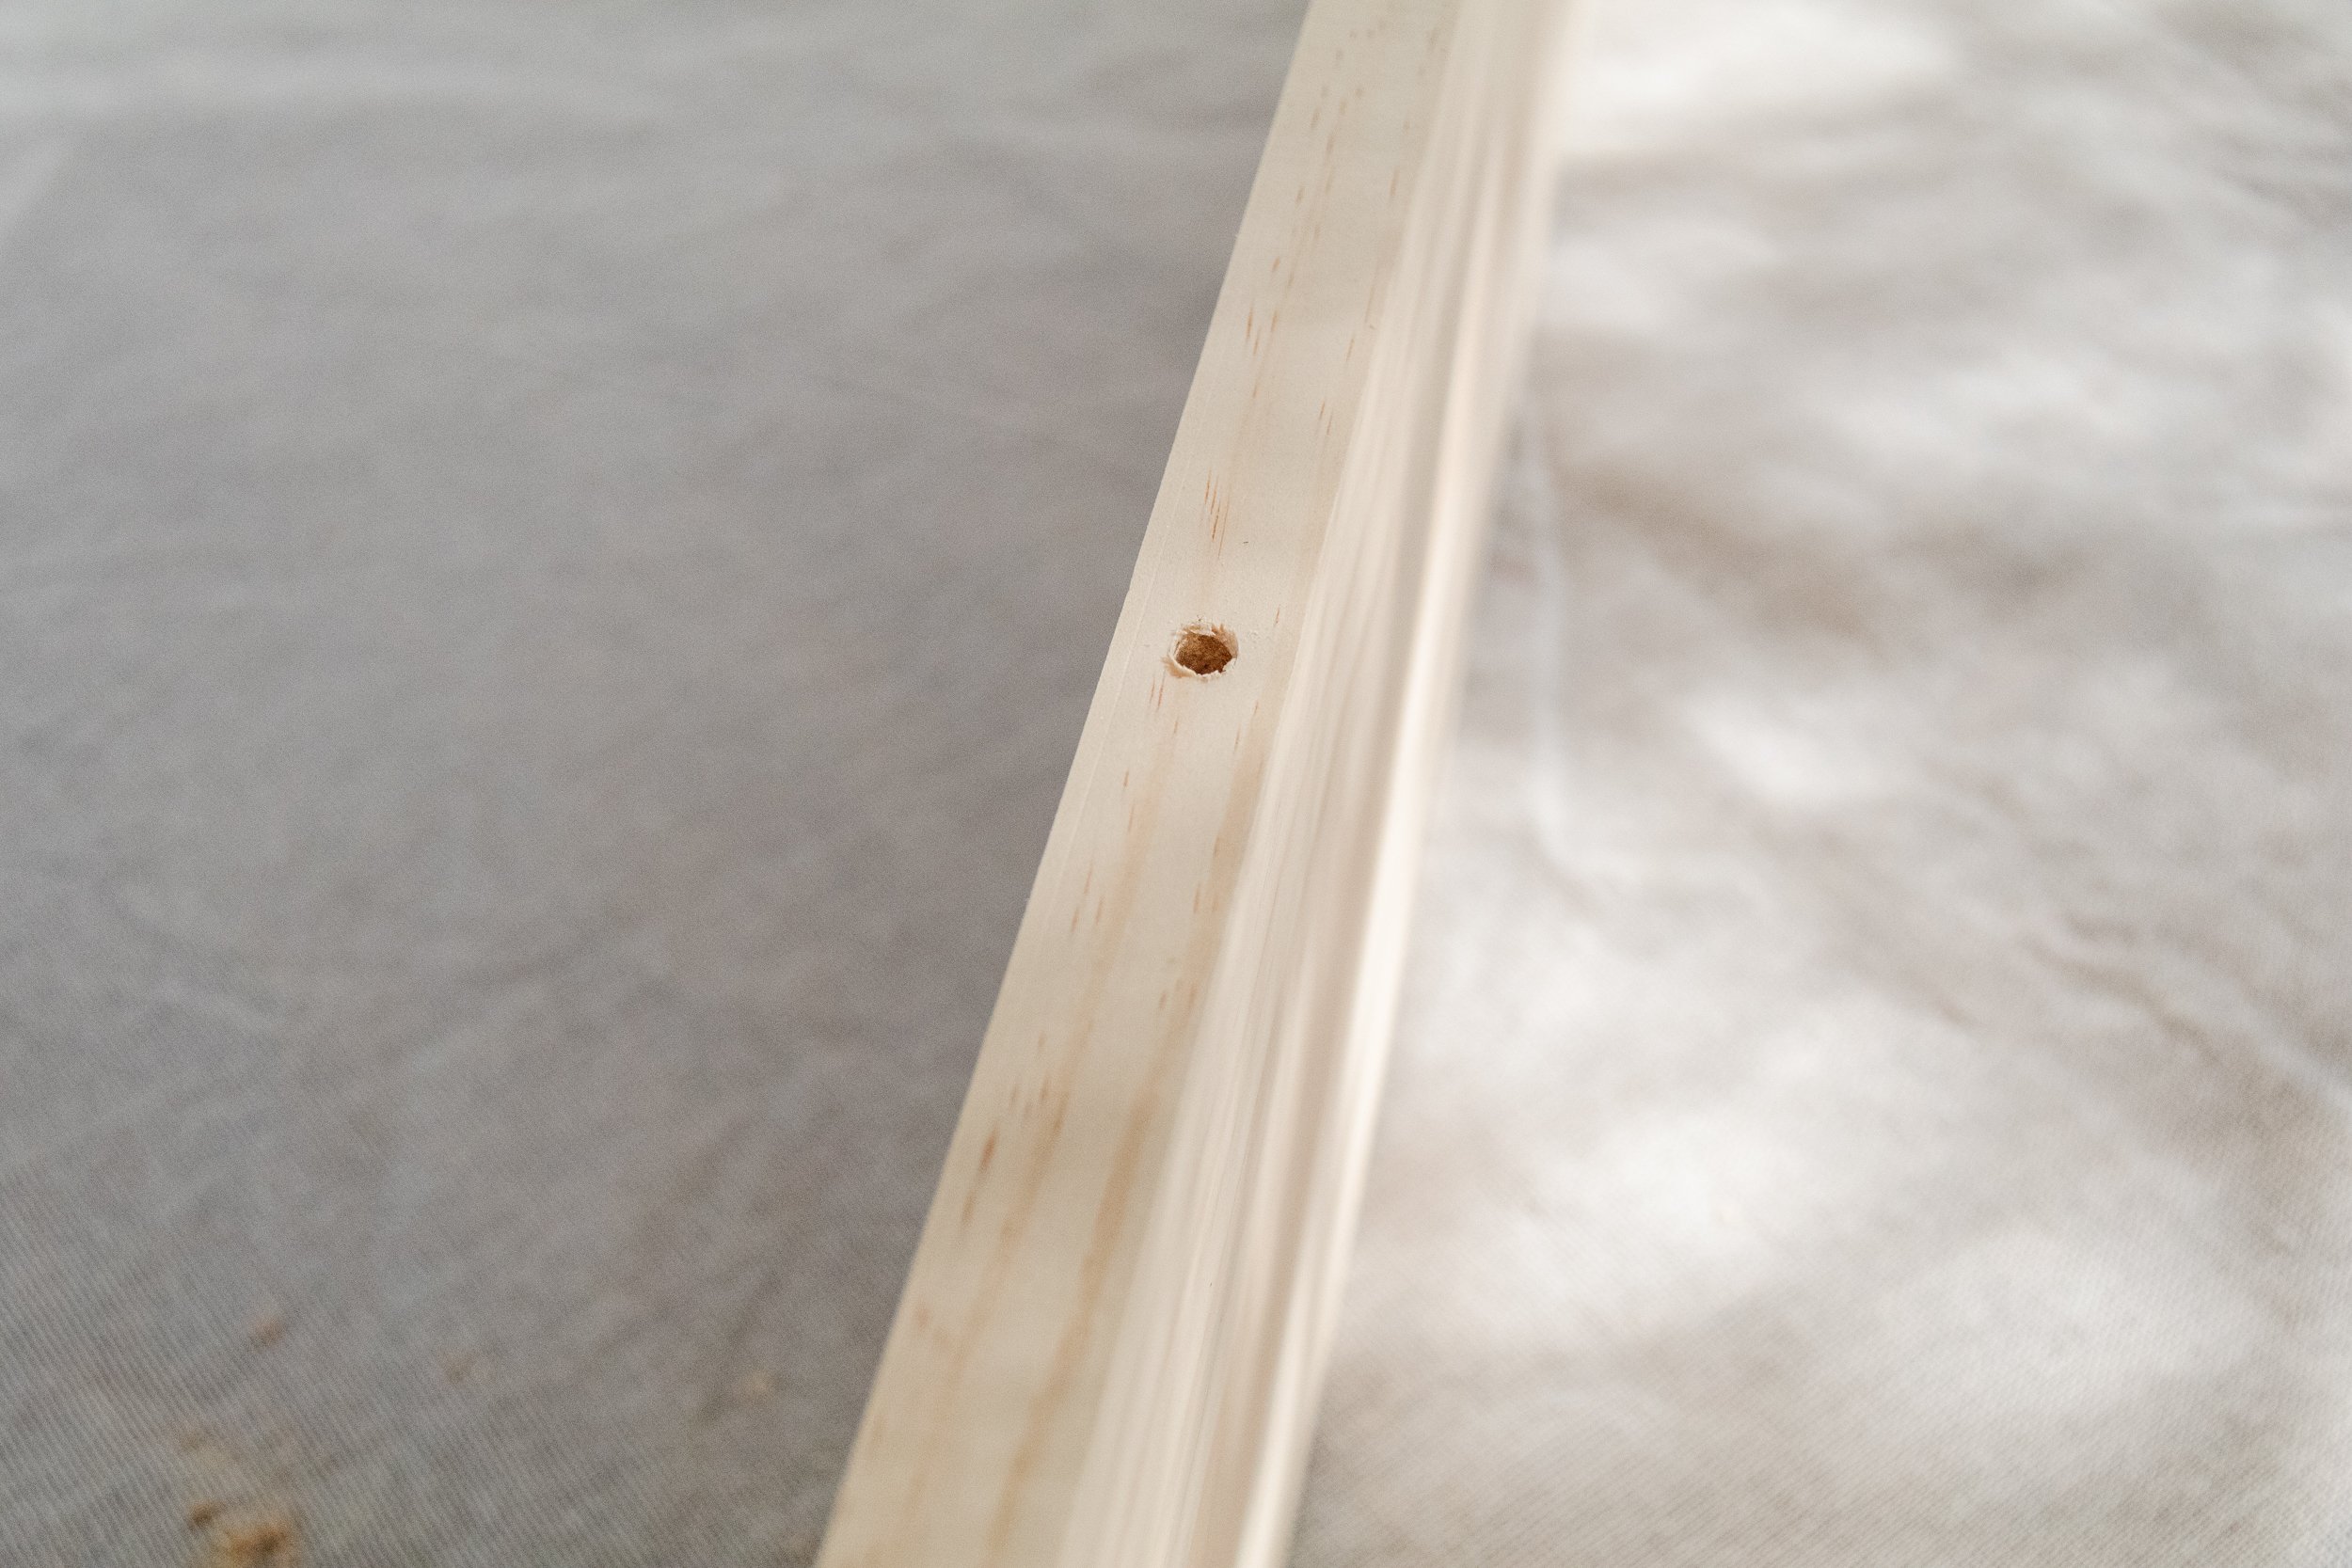
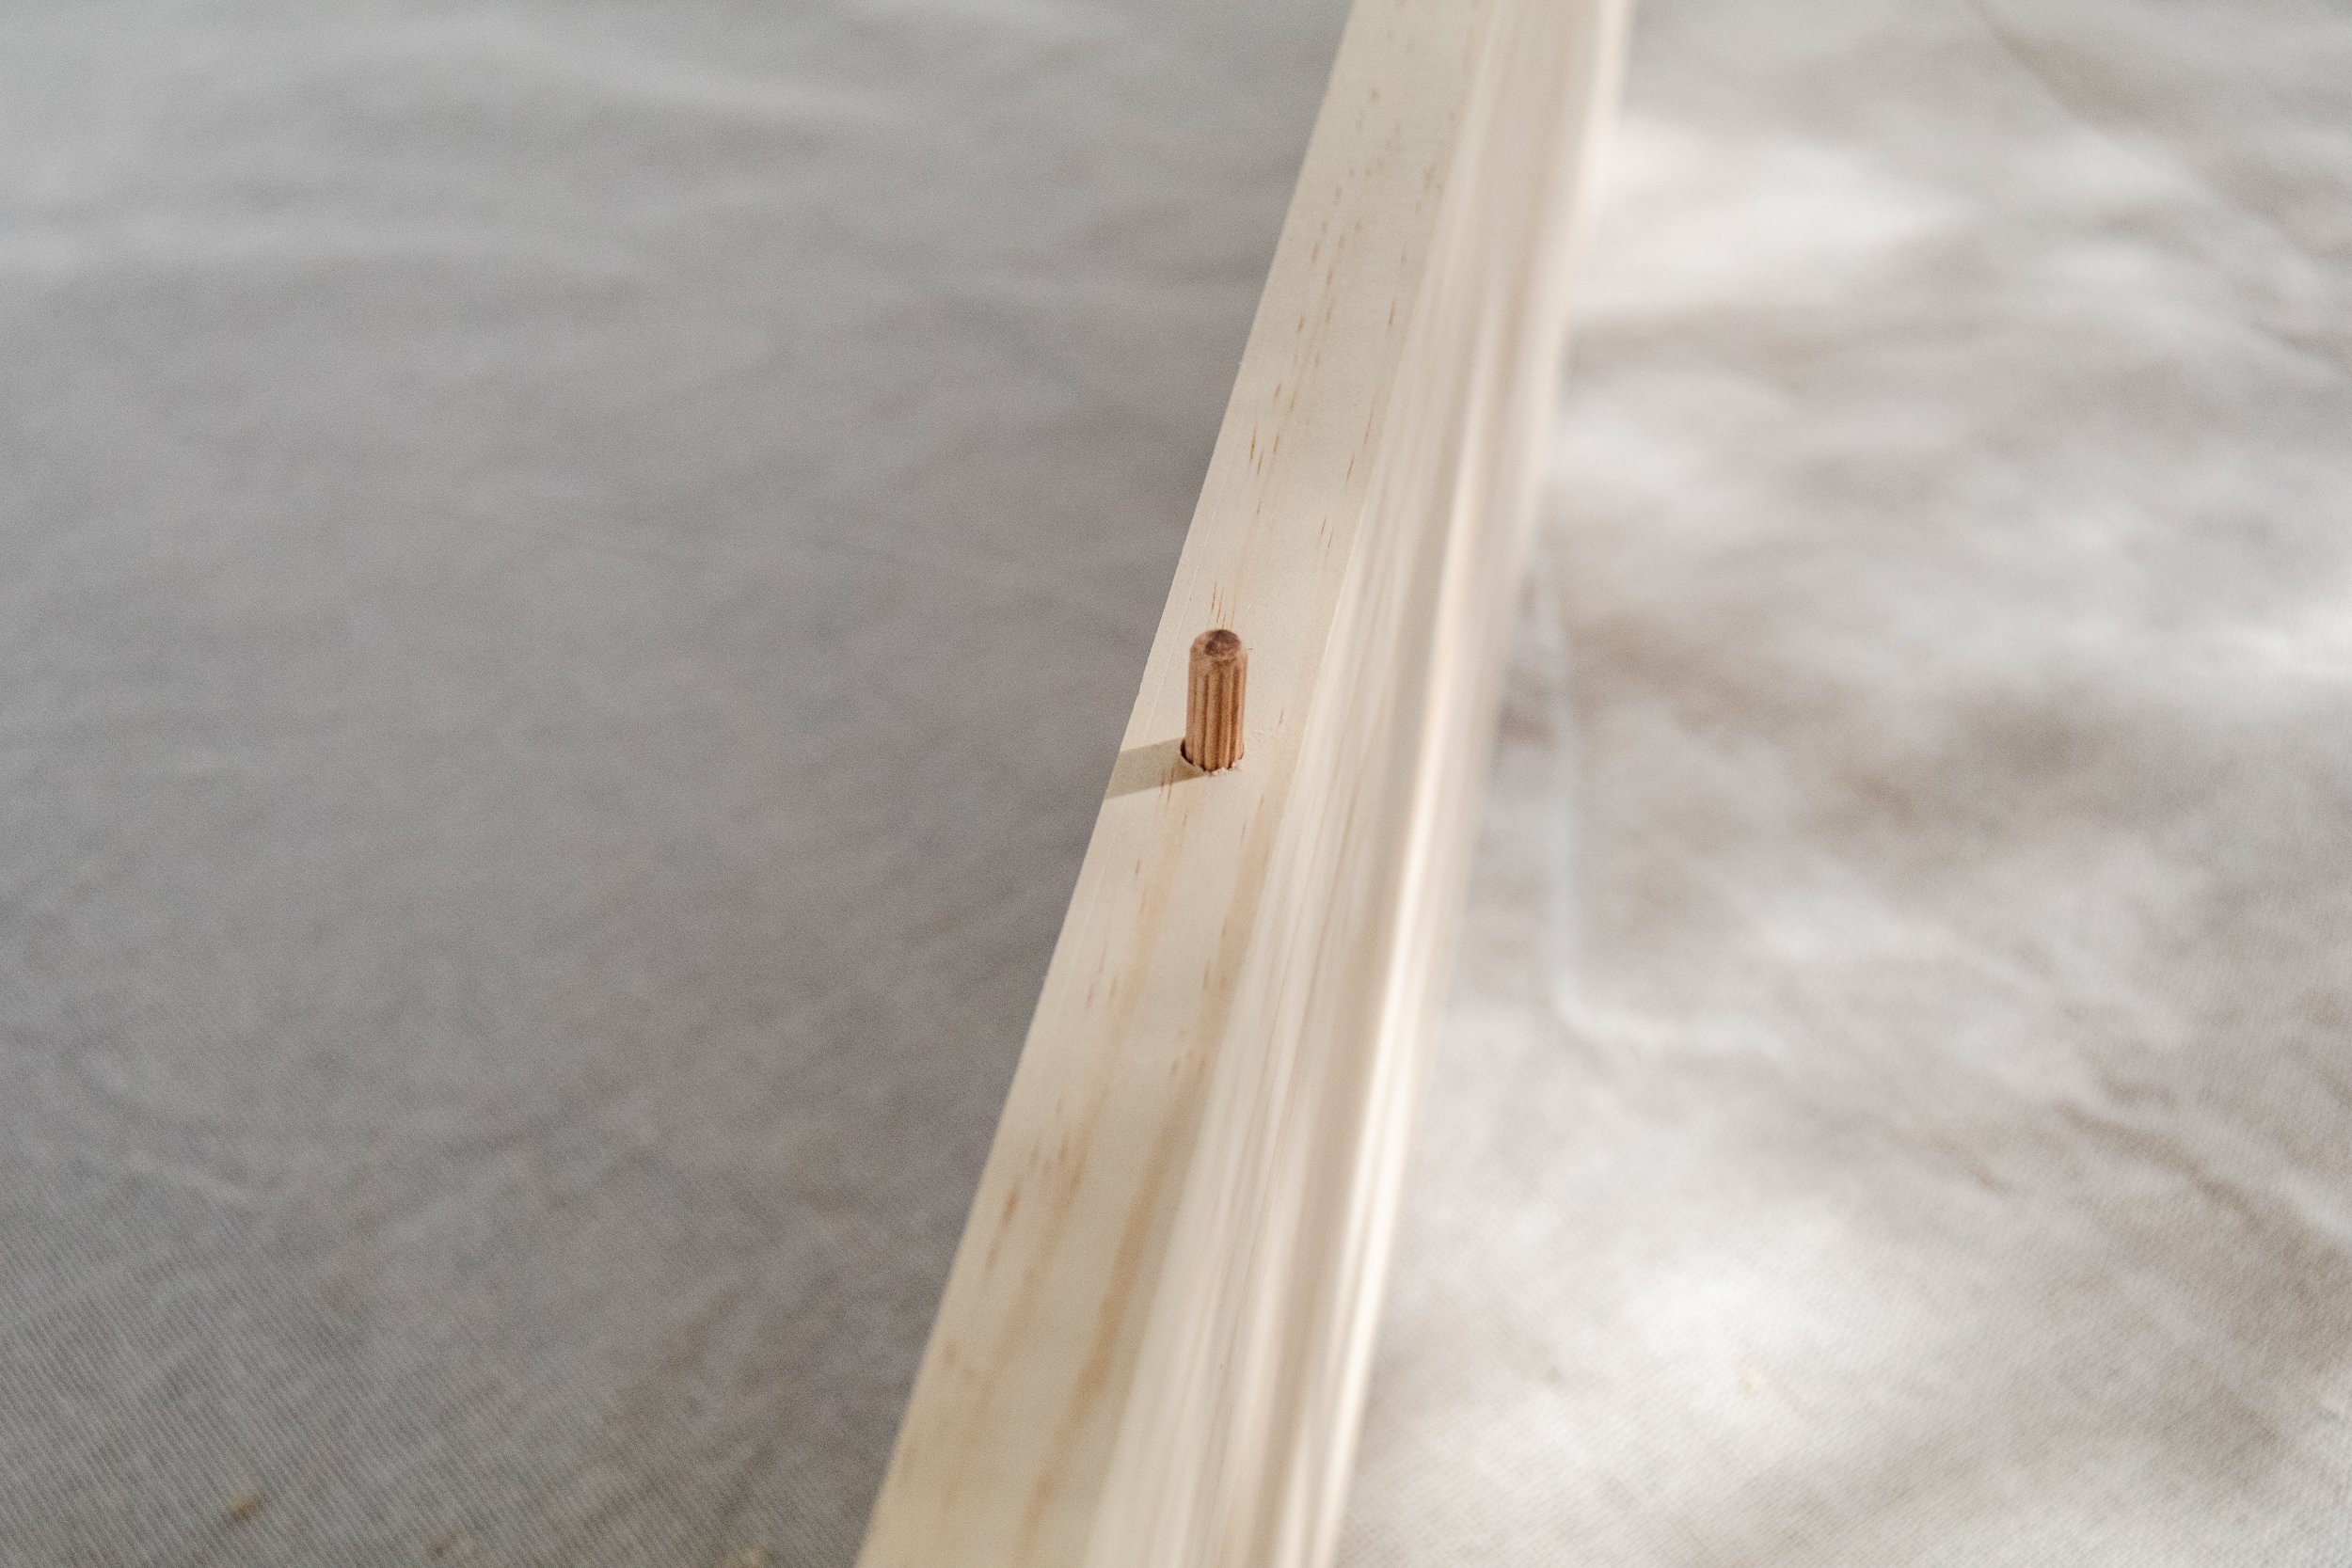
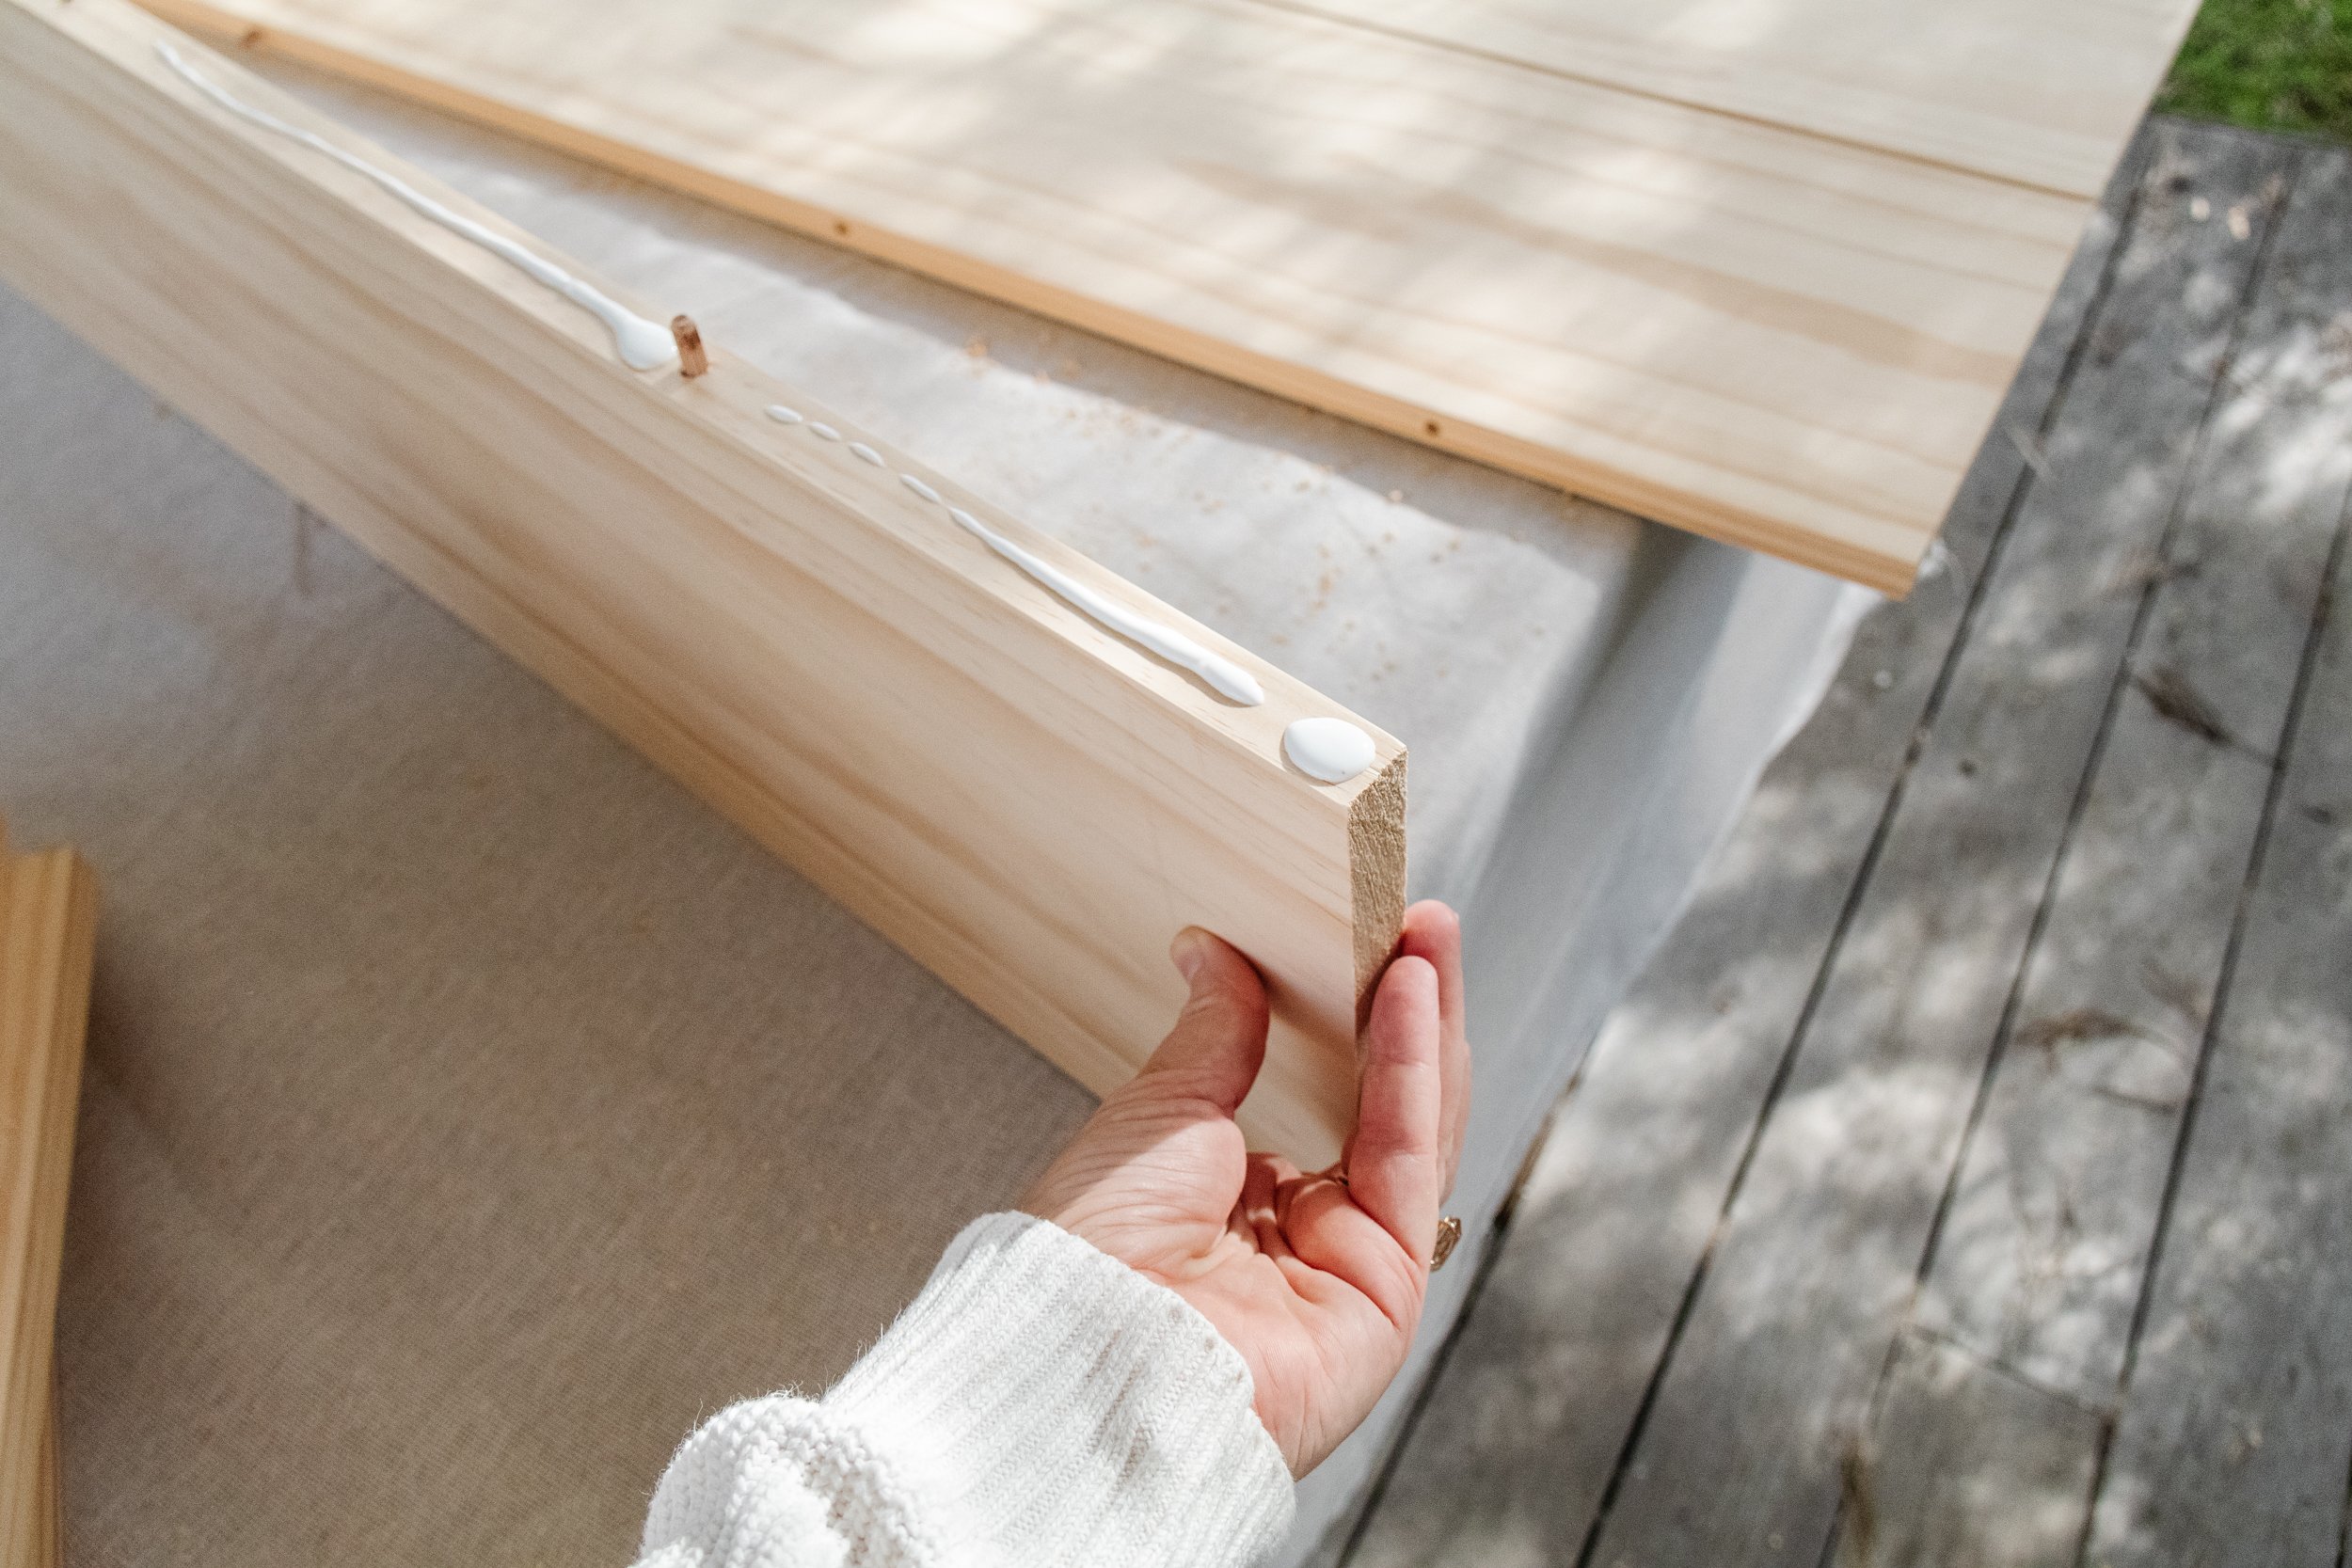
Measure and drill four holes along the side of one piece of timber. Insert the fluted dowels and mark the same spots onto the side of a second piece of timber. Drill holes into those marks and push the second pieced of timber onto the dowels to piece the two pieces of timber together. Repeat with the remaining timber until you have a tabletop.
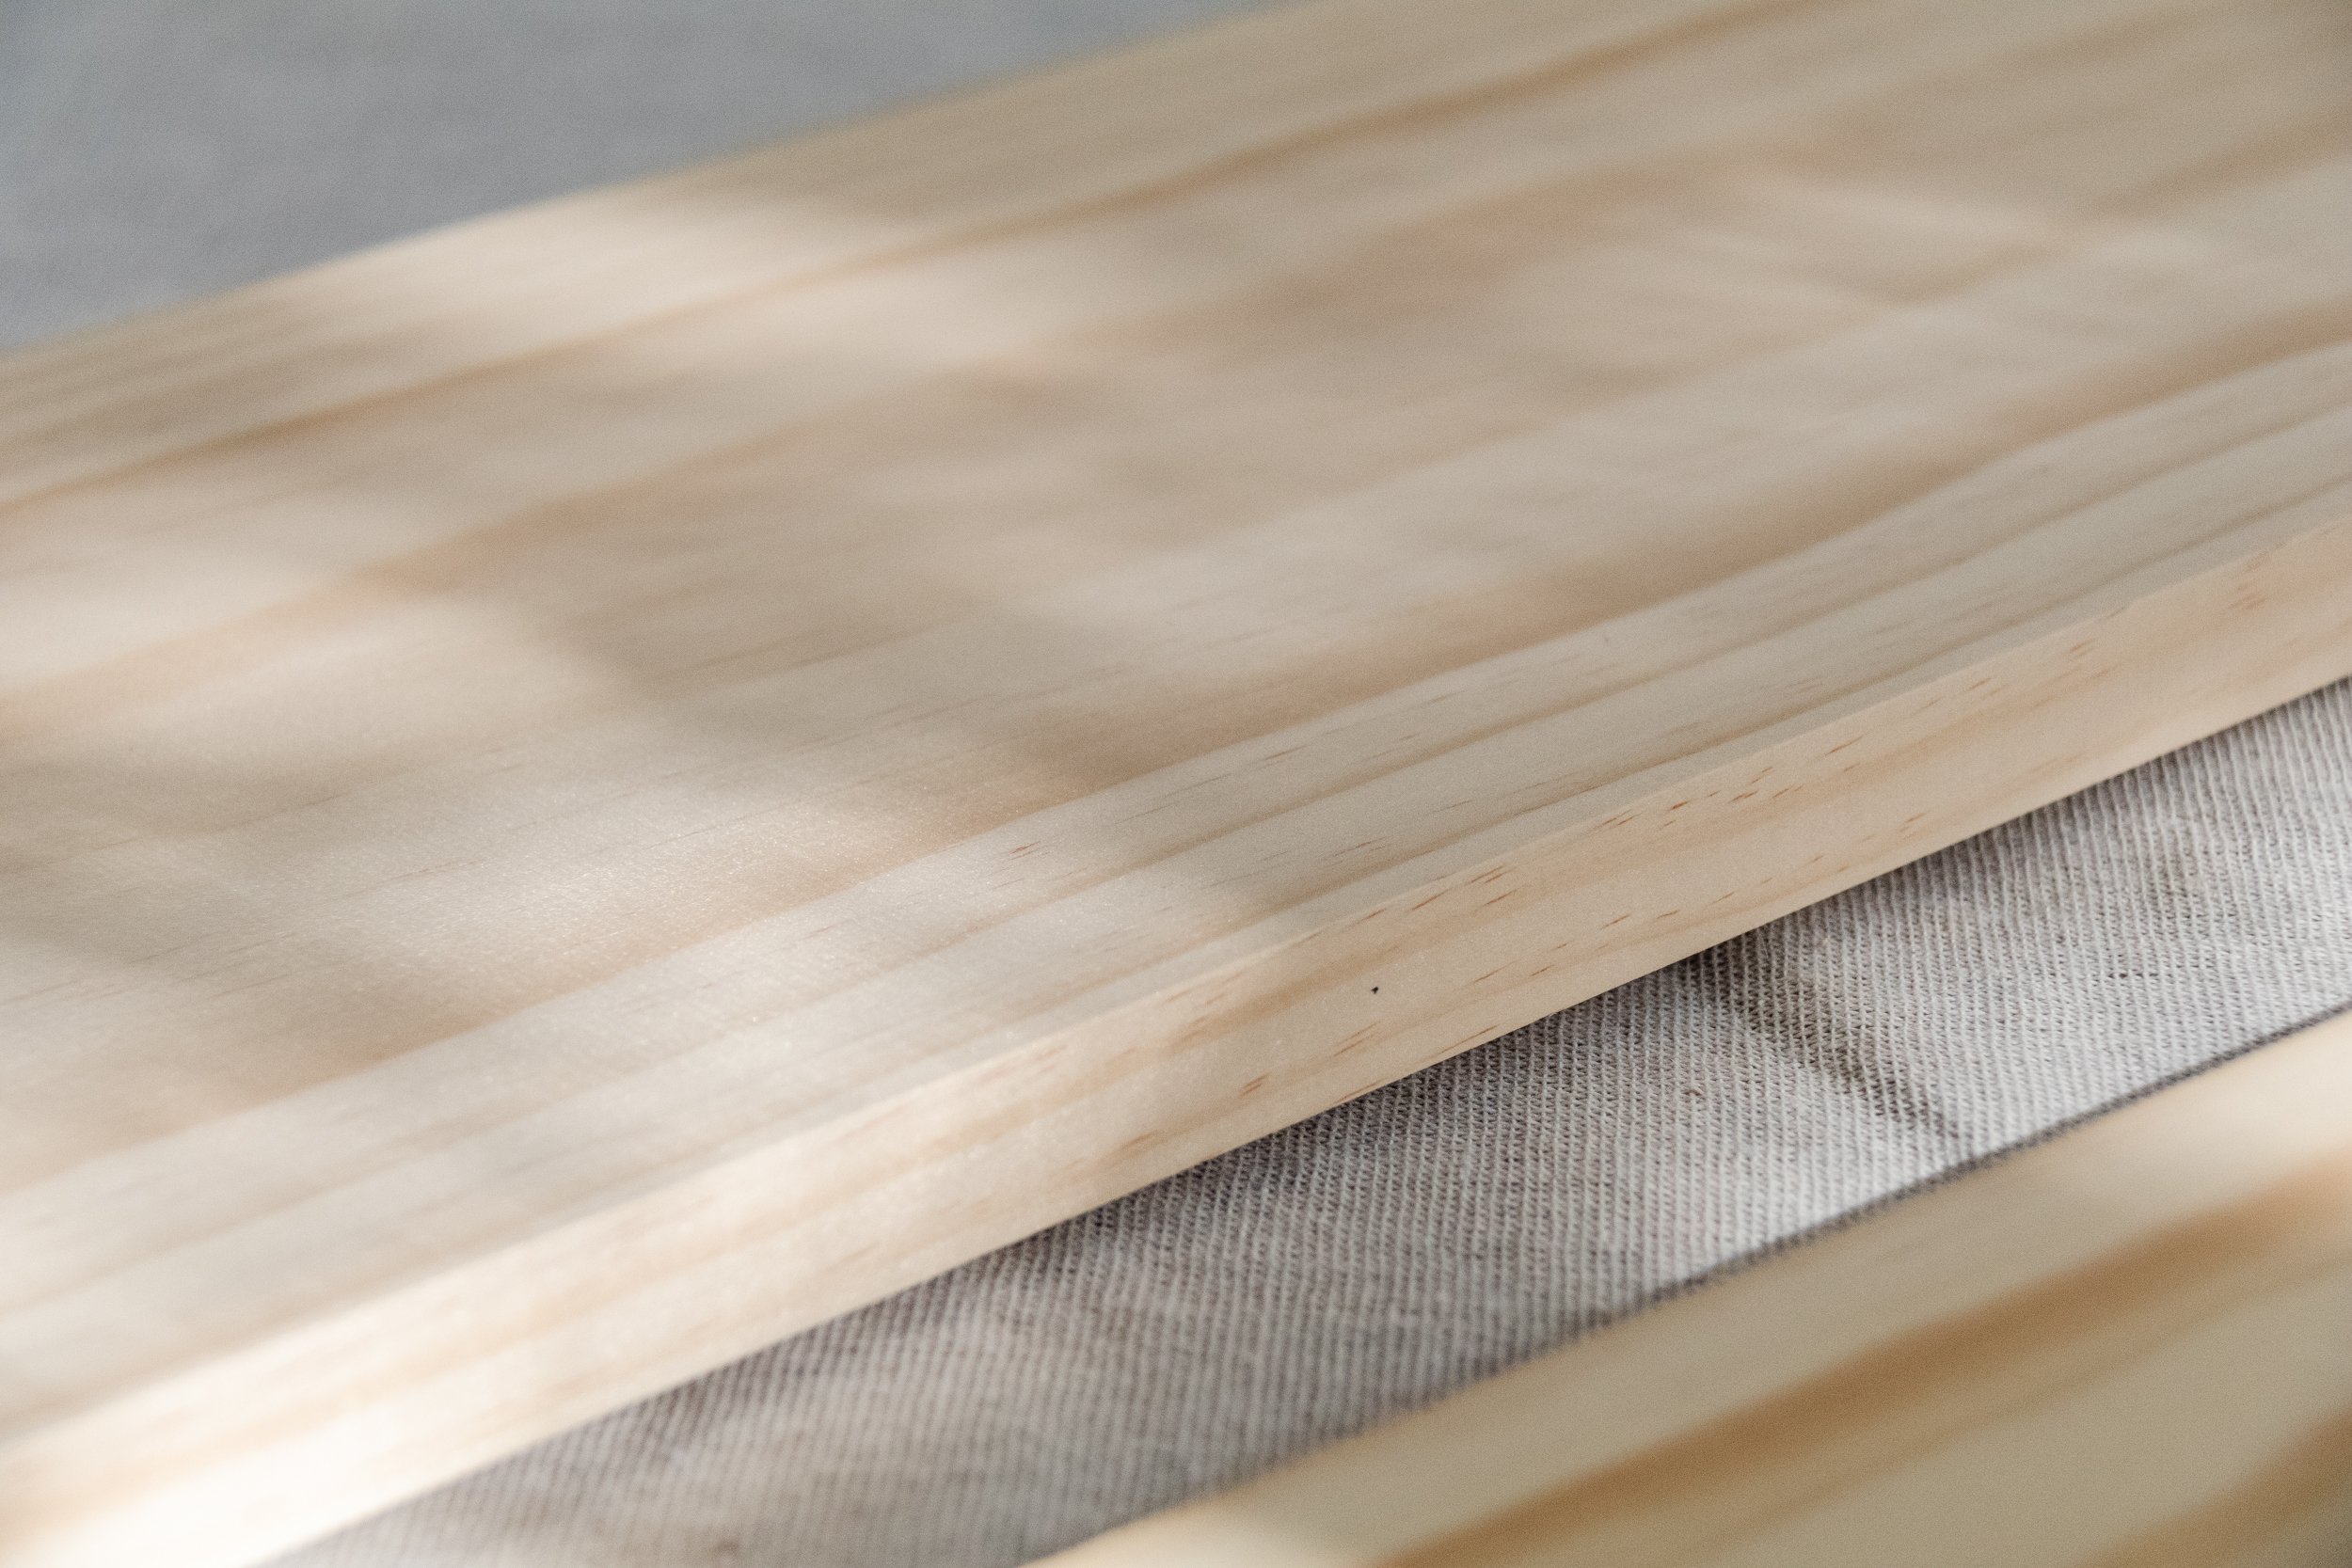
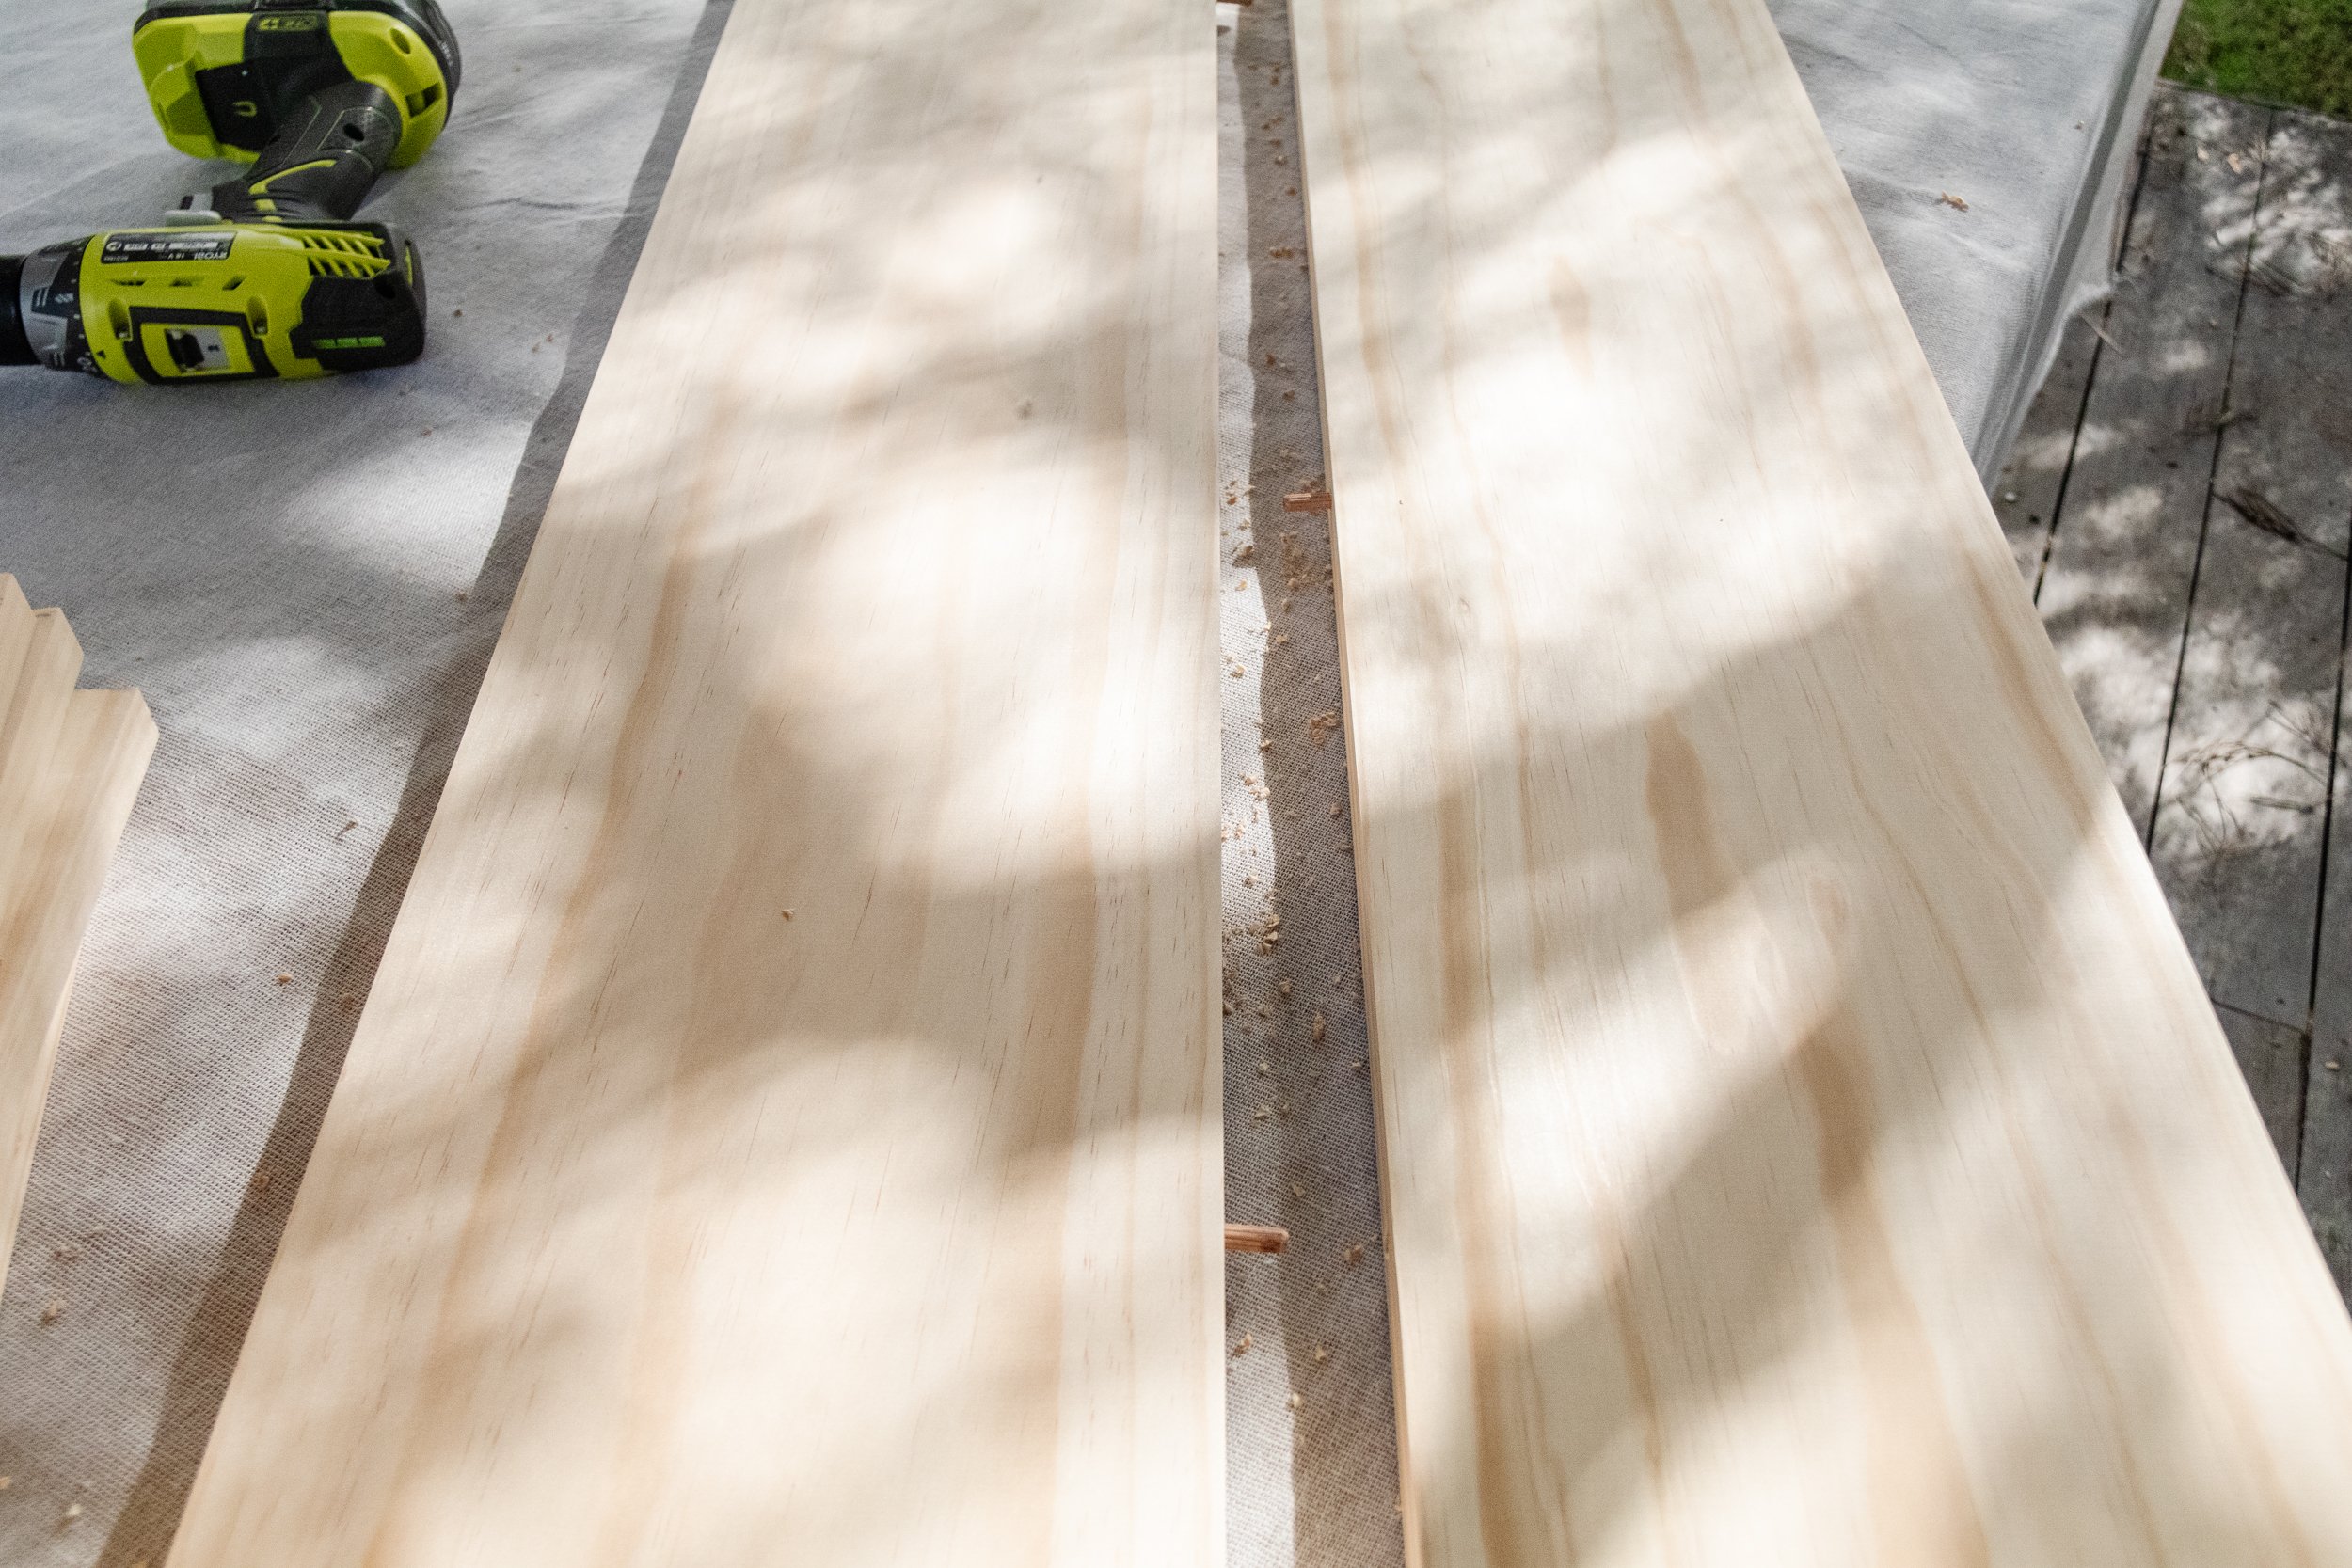
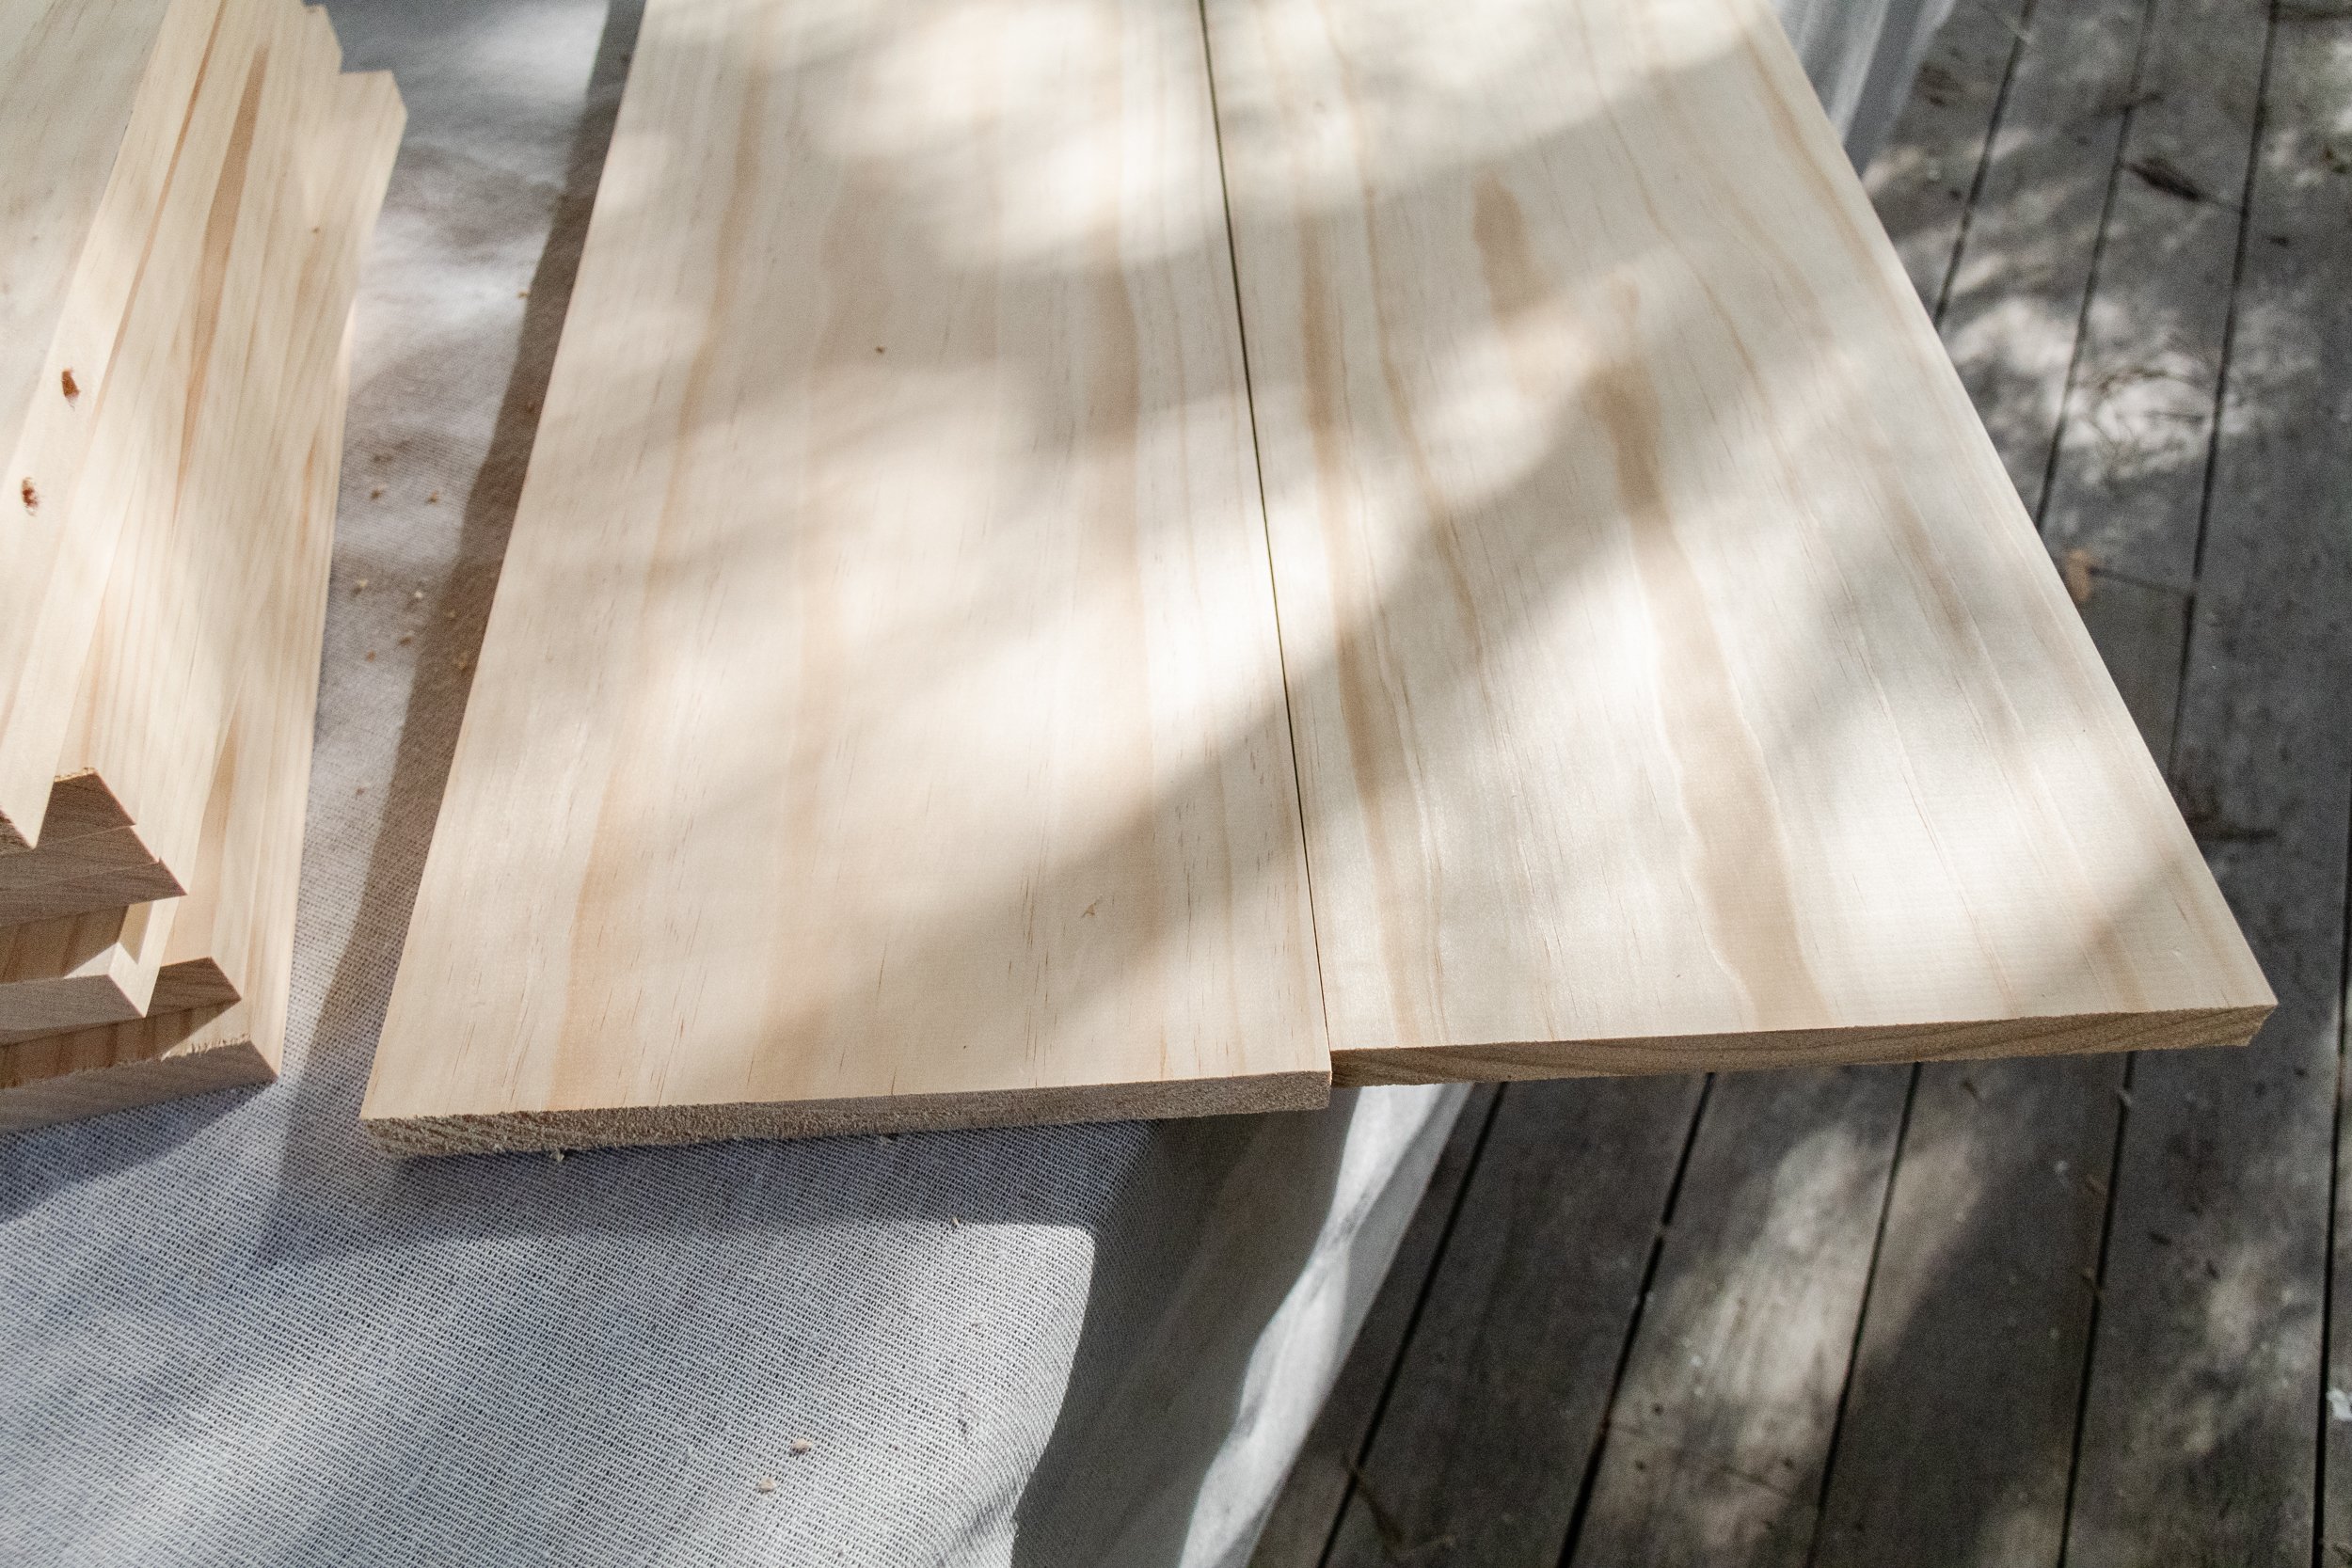
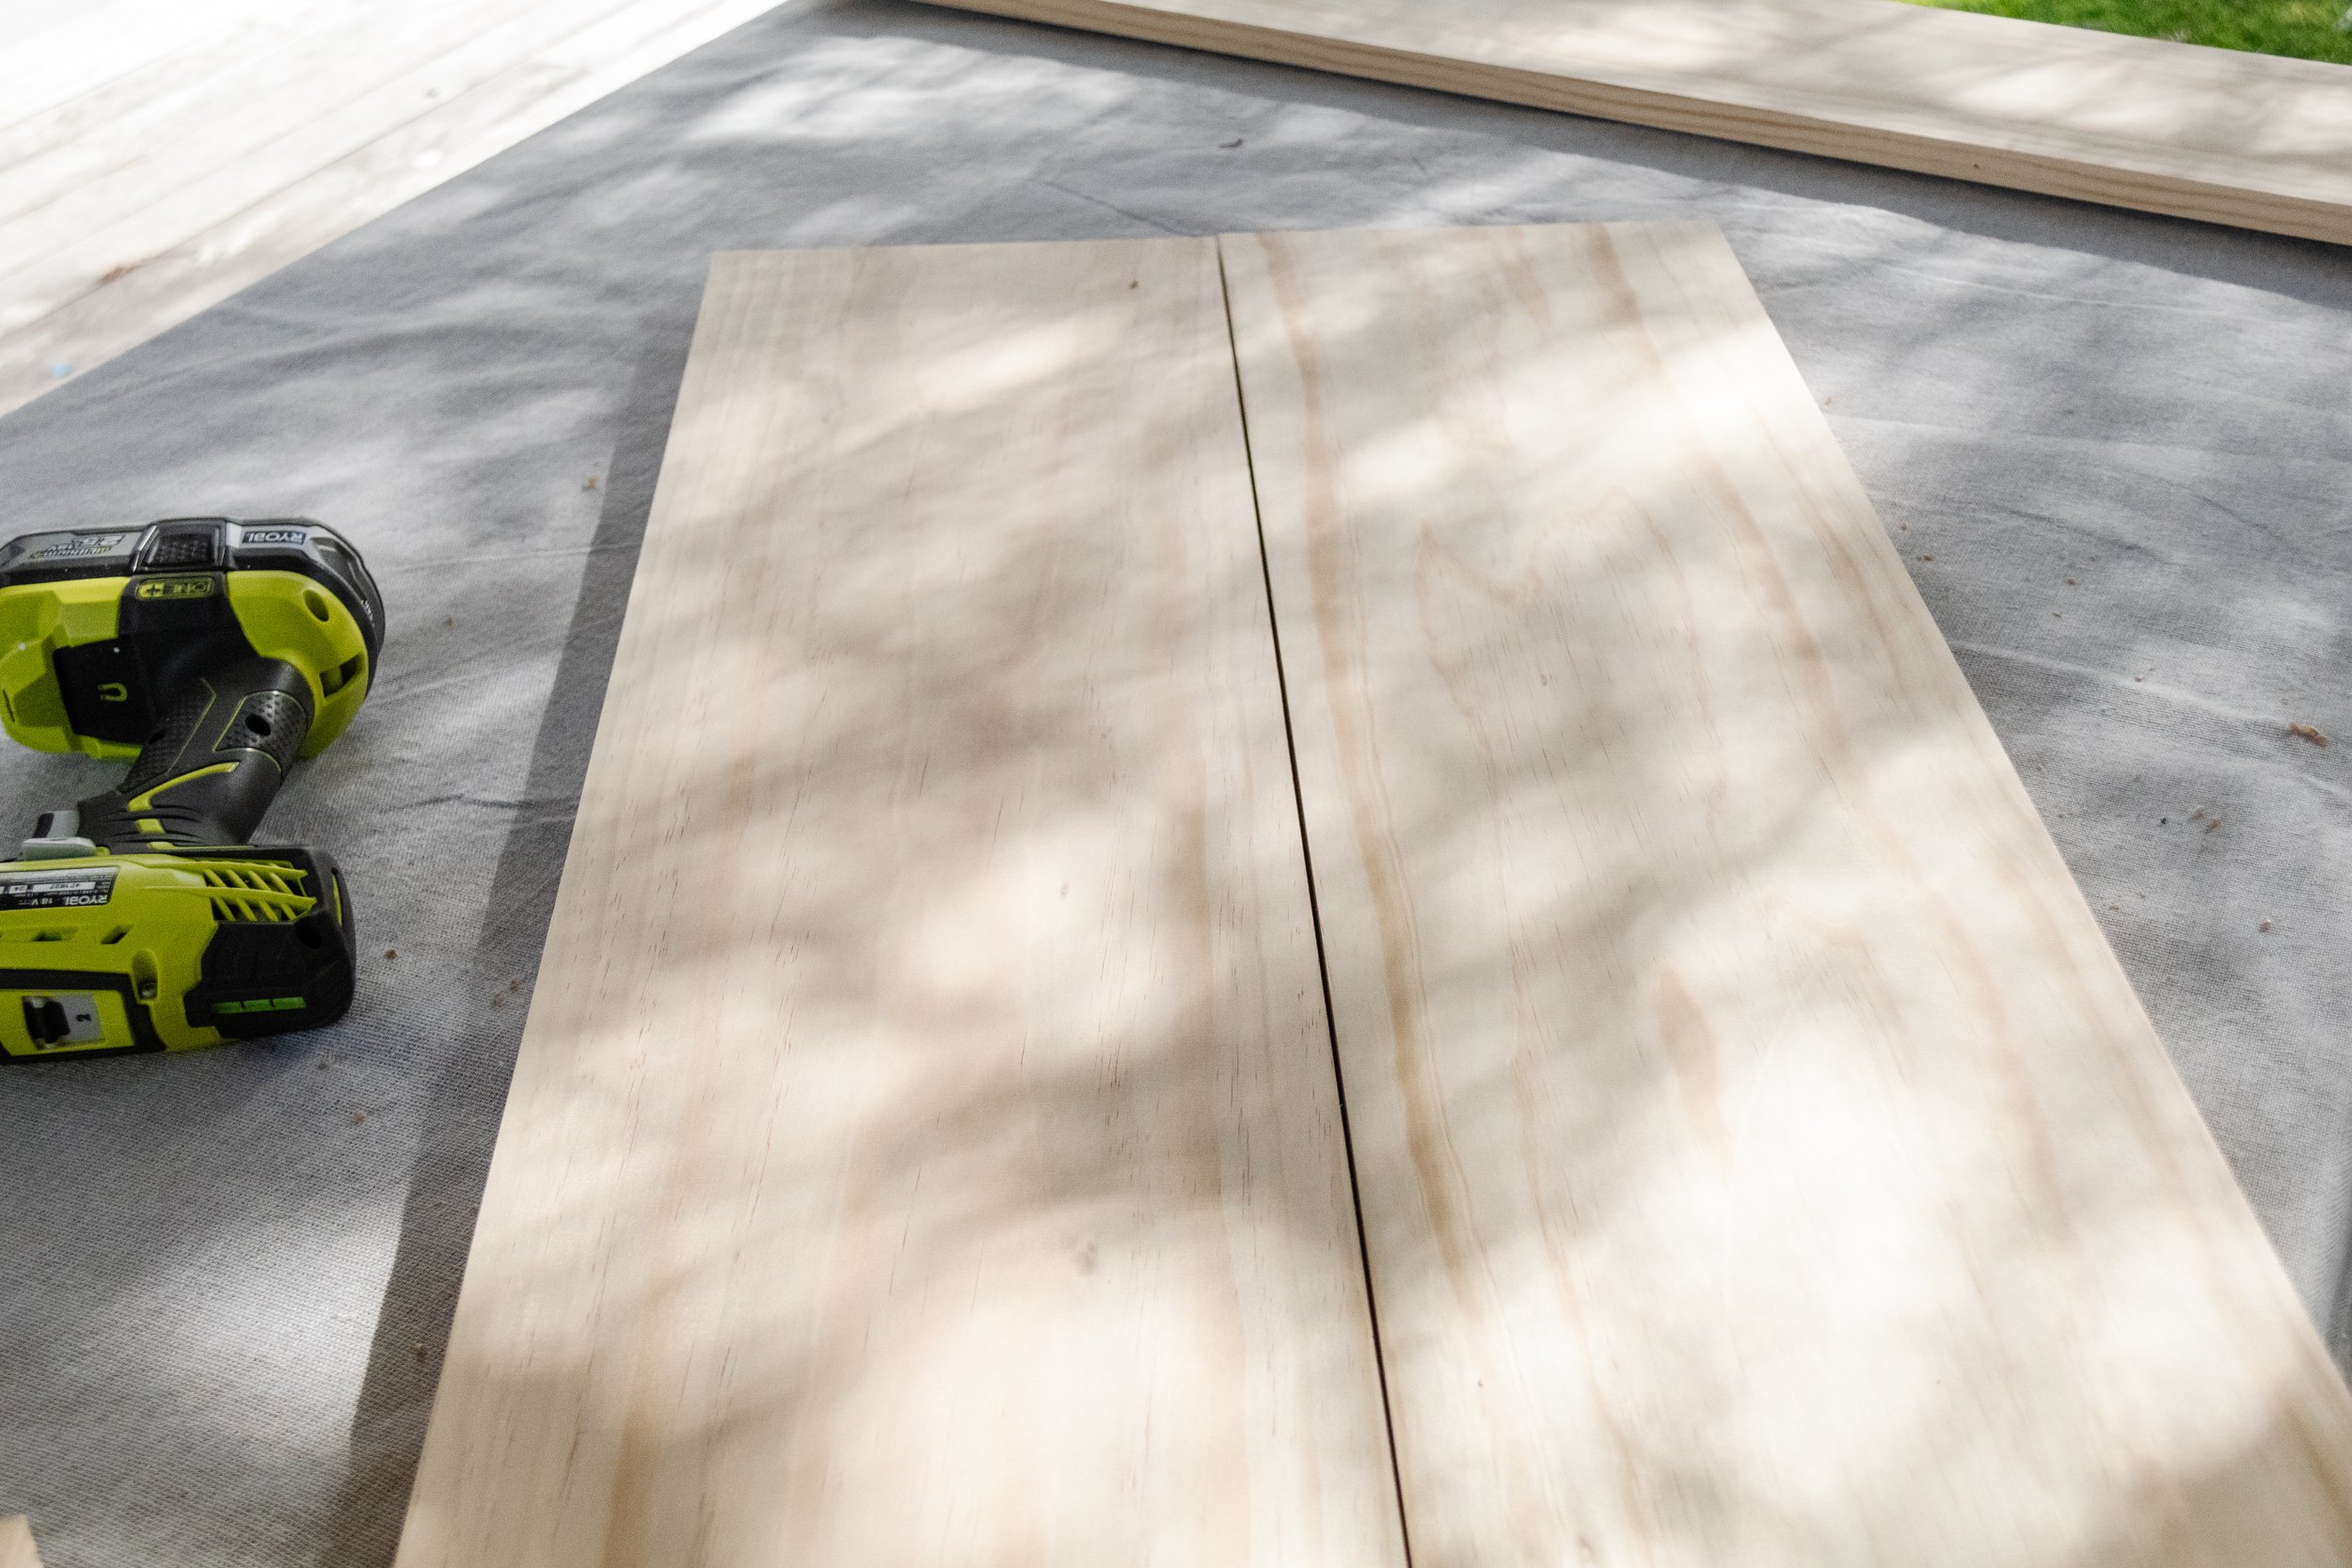
Pull the tabletop apart and apply wood glue down the sides of each piece of timber and put the tabletop back to together. Wipe off any excess glue from the tabletop with a baby wipe or a clean wet cloth. Set aside to dry overnight. For the table legs, apply the wood glue onto one piece of timber and place another piece on top. Make sure the sides are lined up perfectly, then set aside to dry overnight.
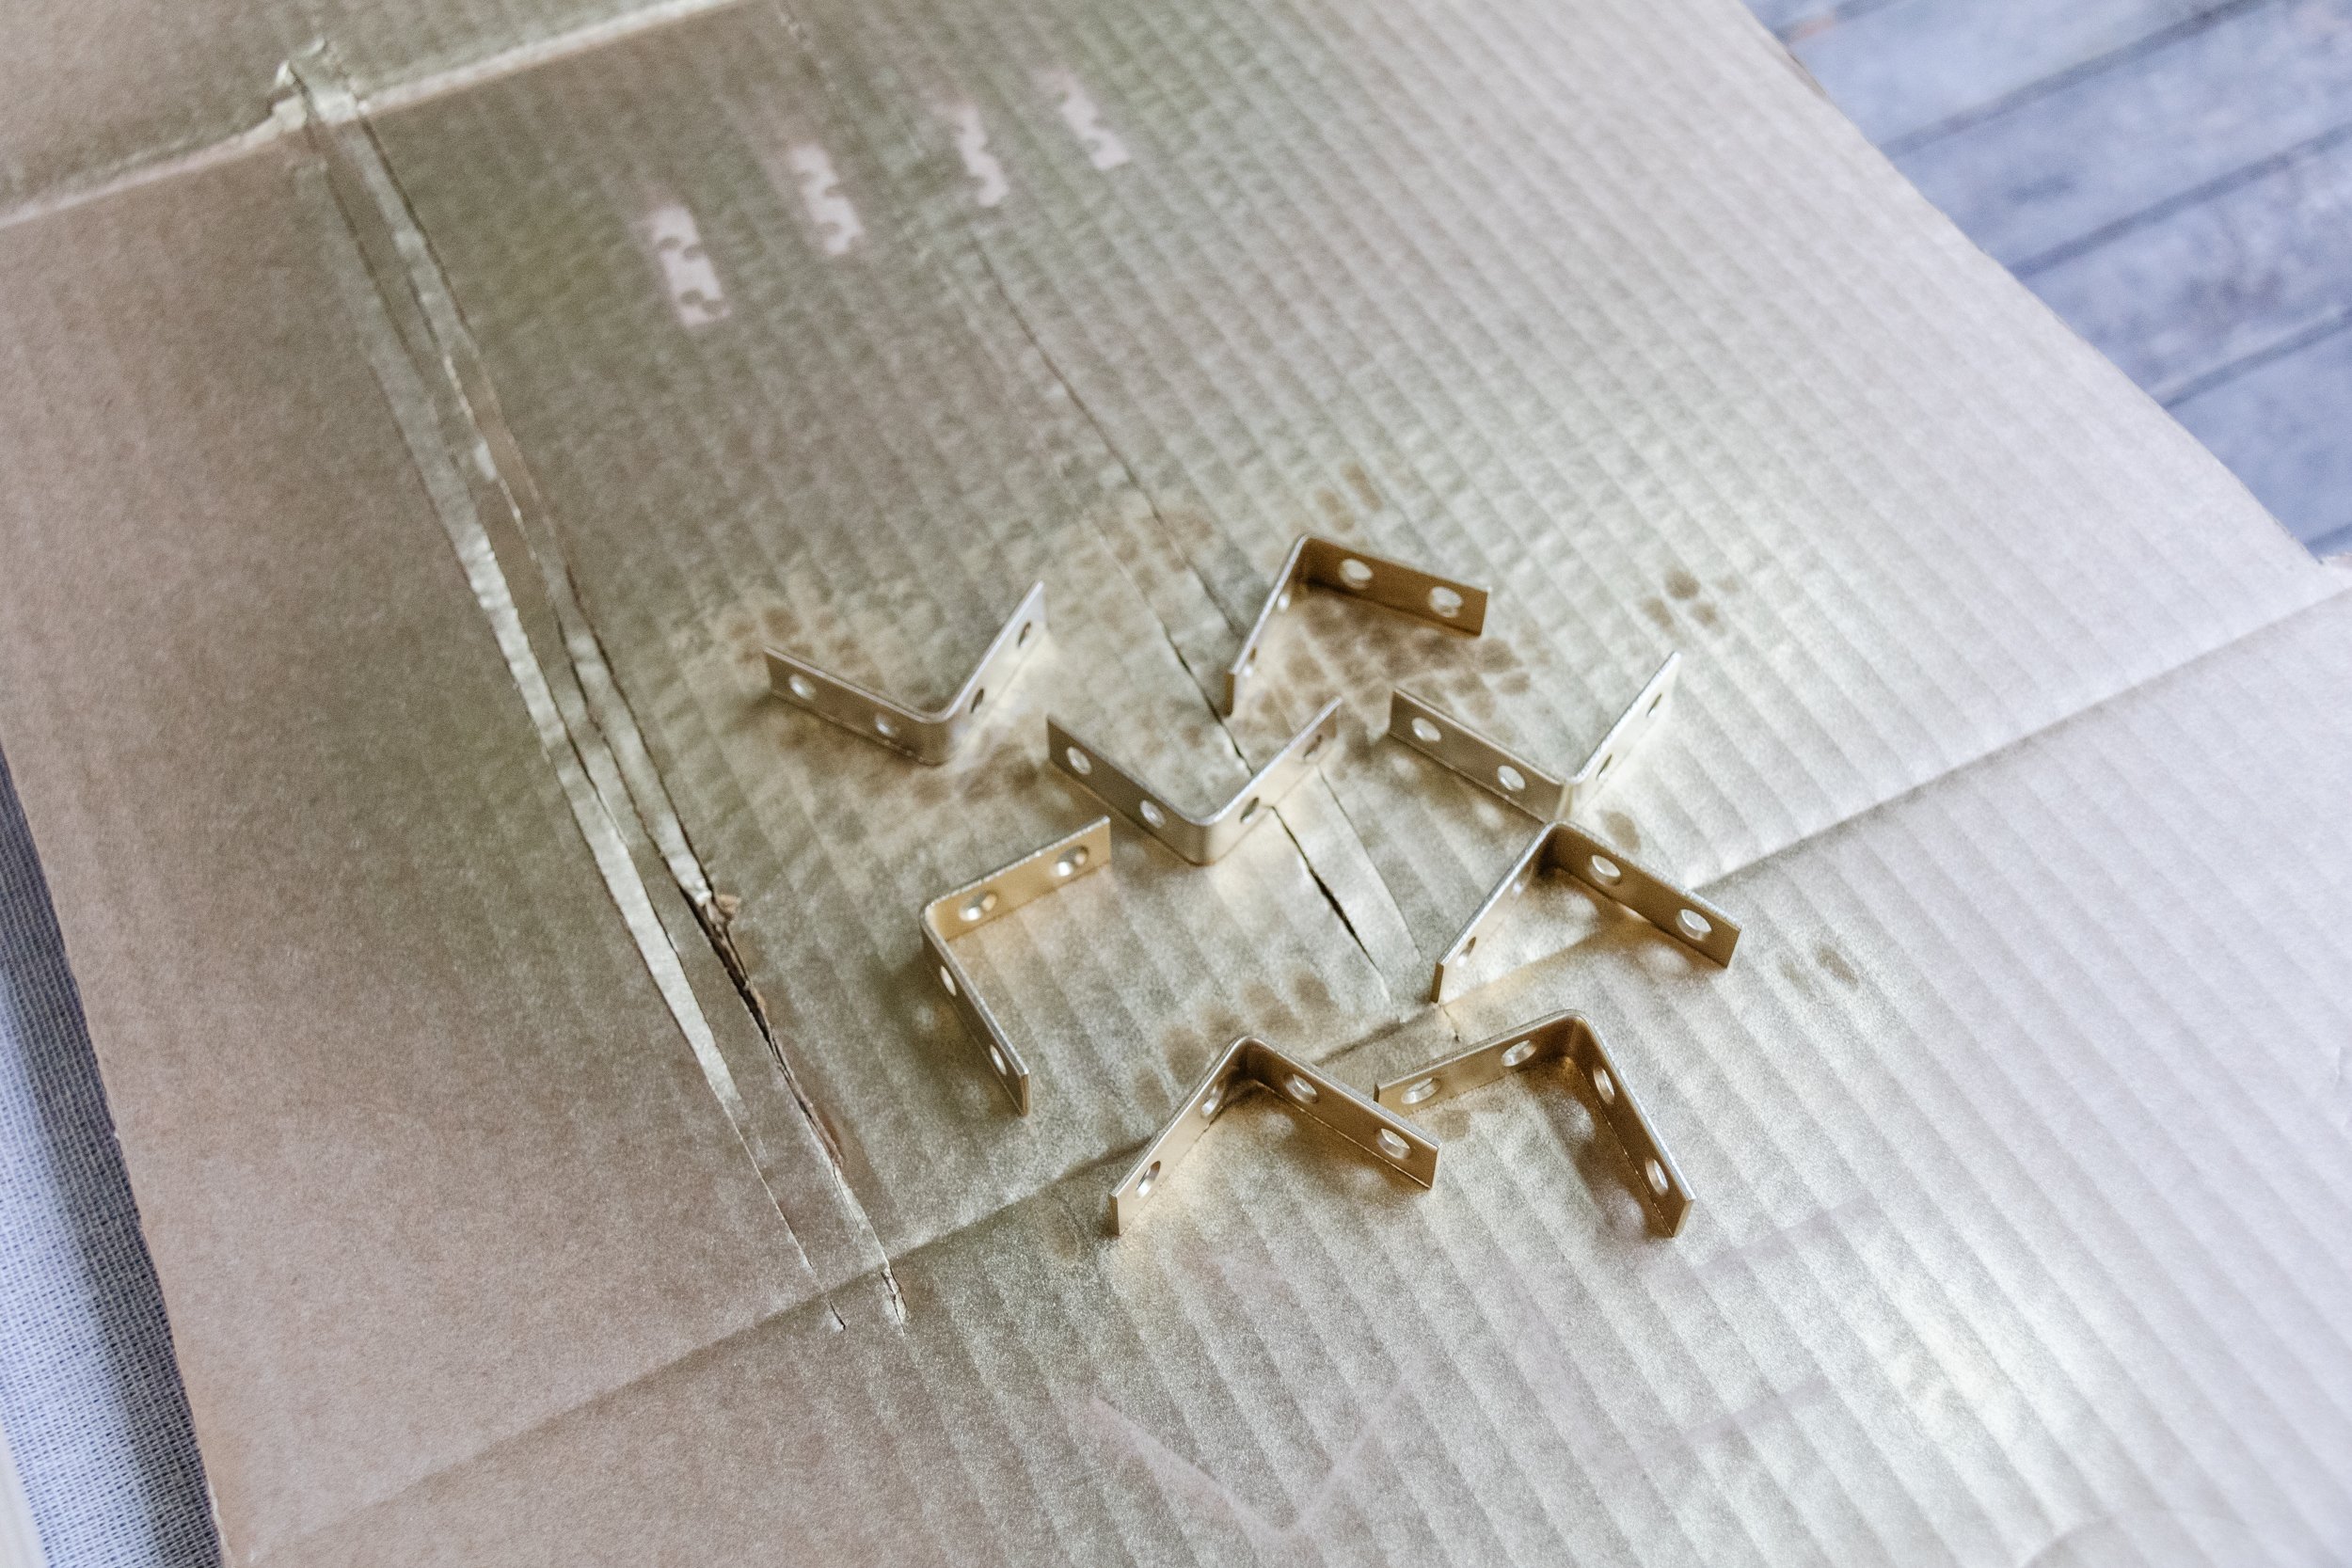
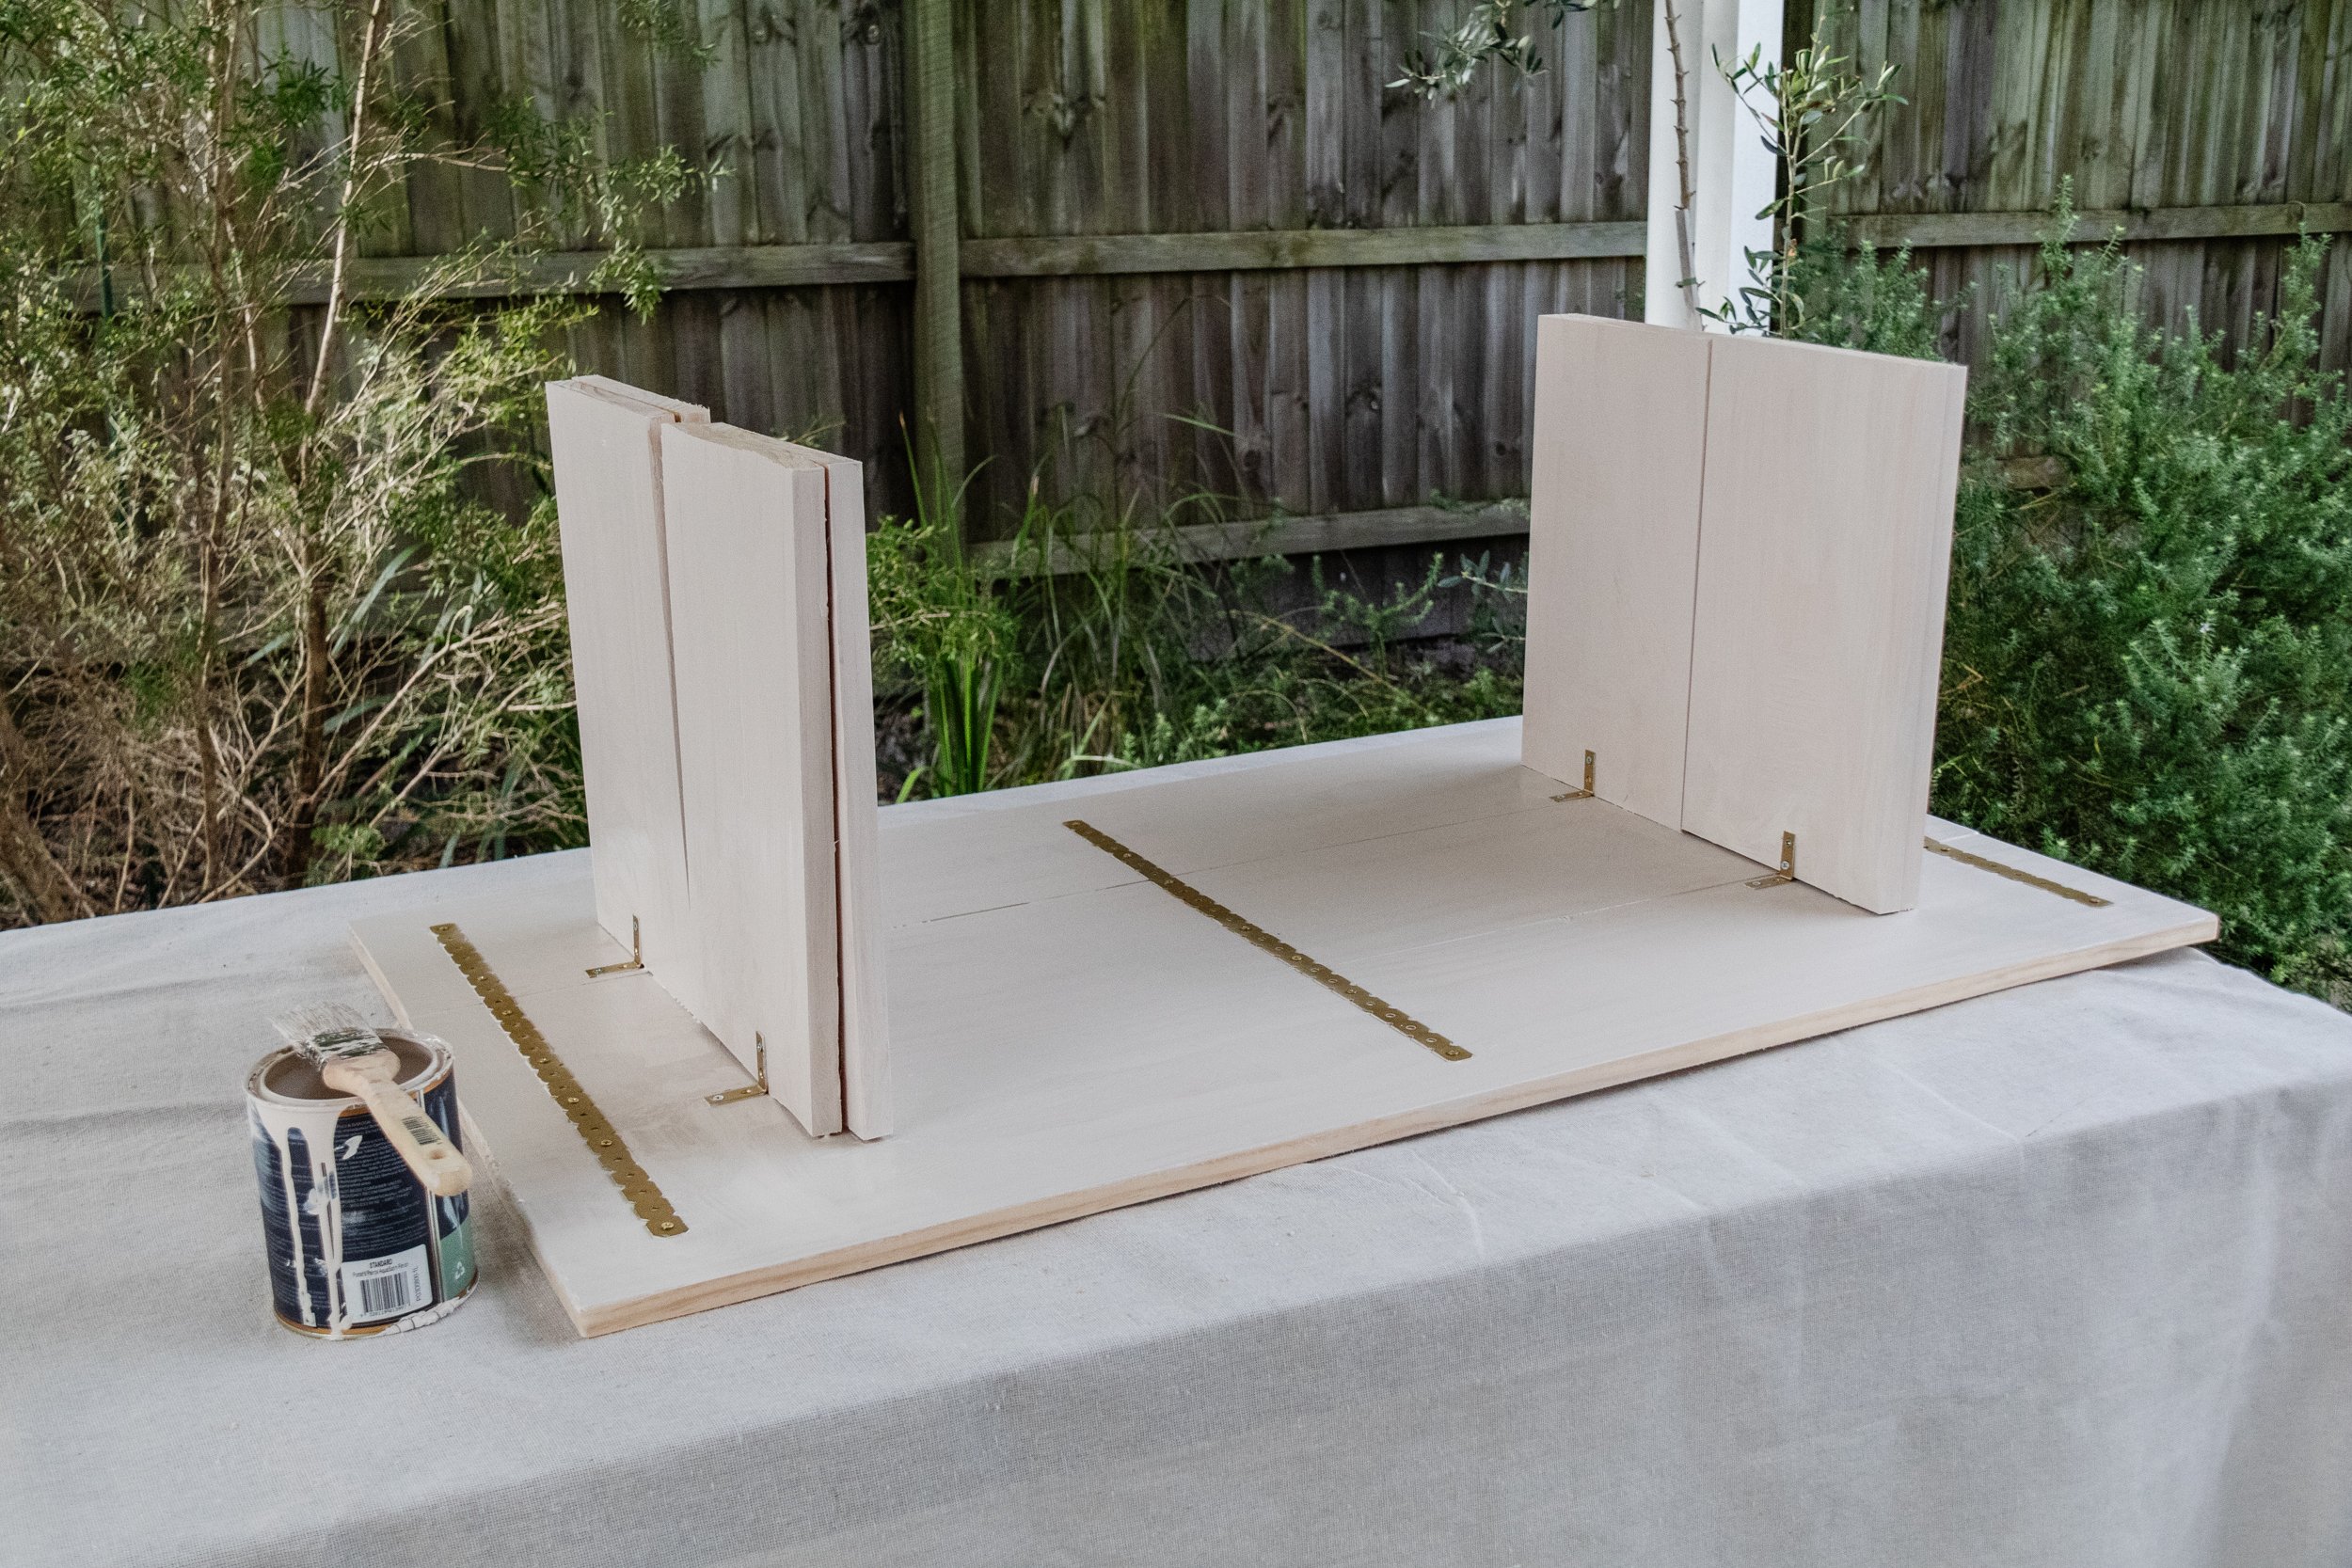
Spray the angle brackets and flat brackets with gold spray paint and set aside to dry.


DAY TWO
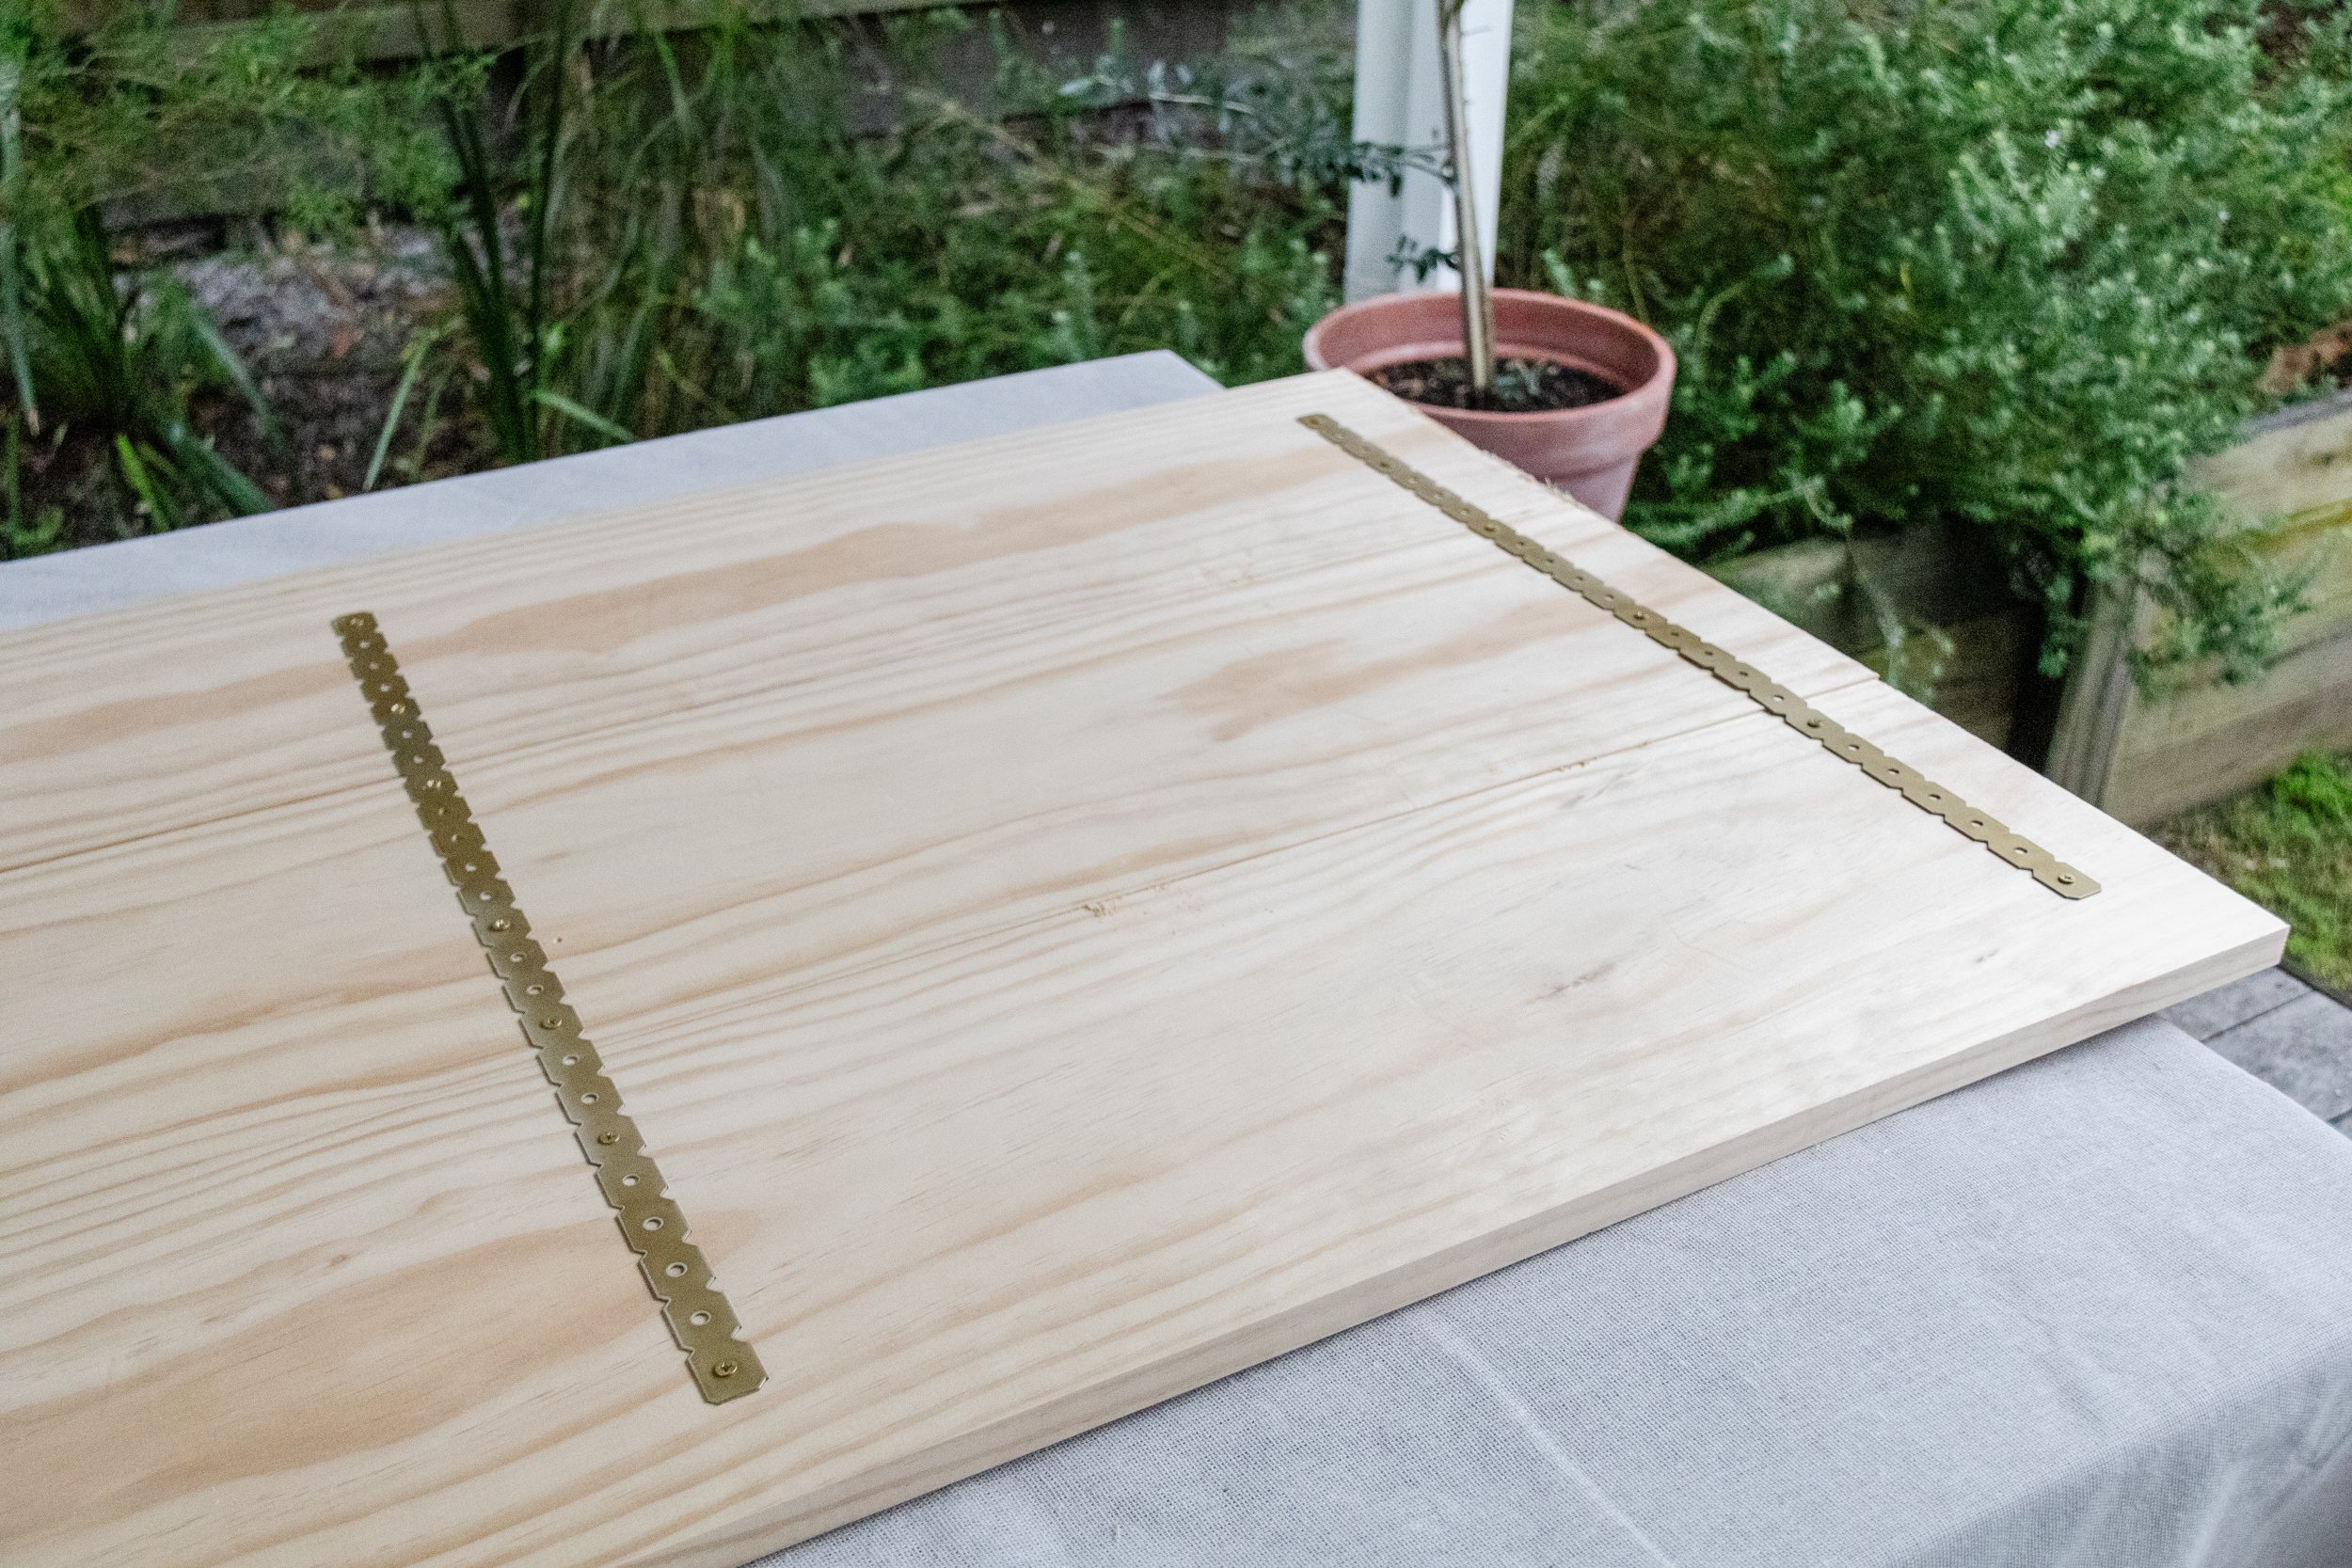
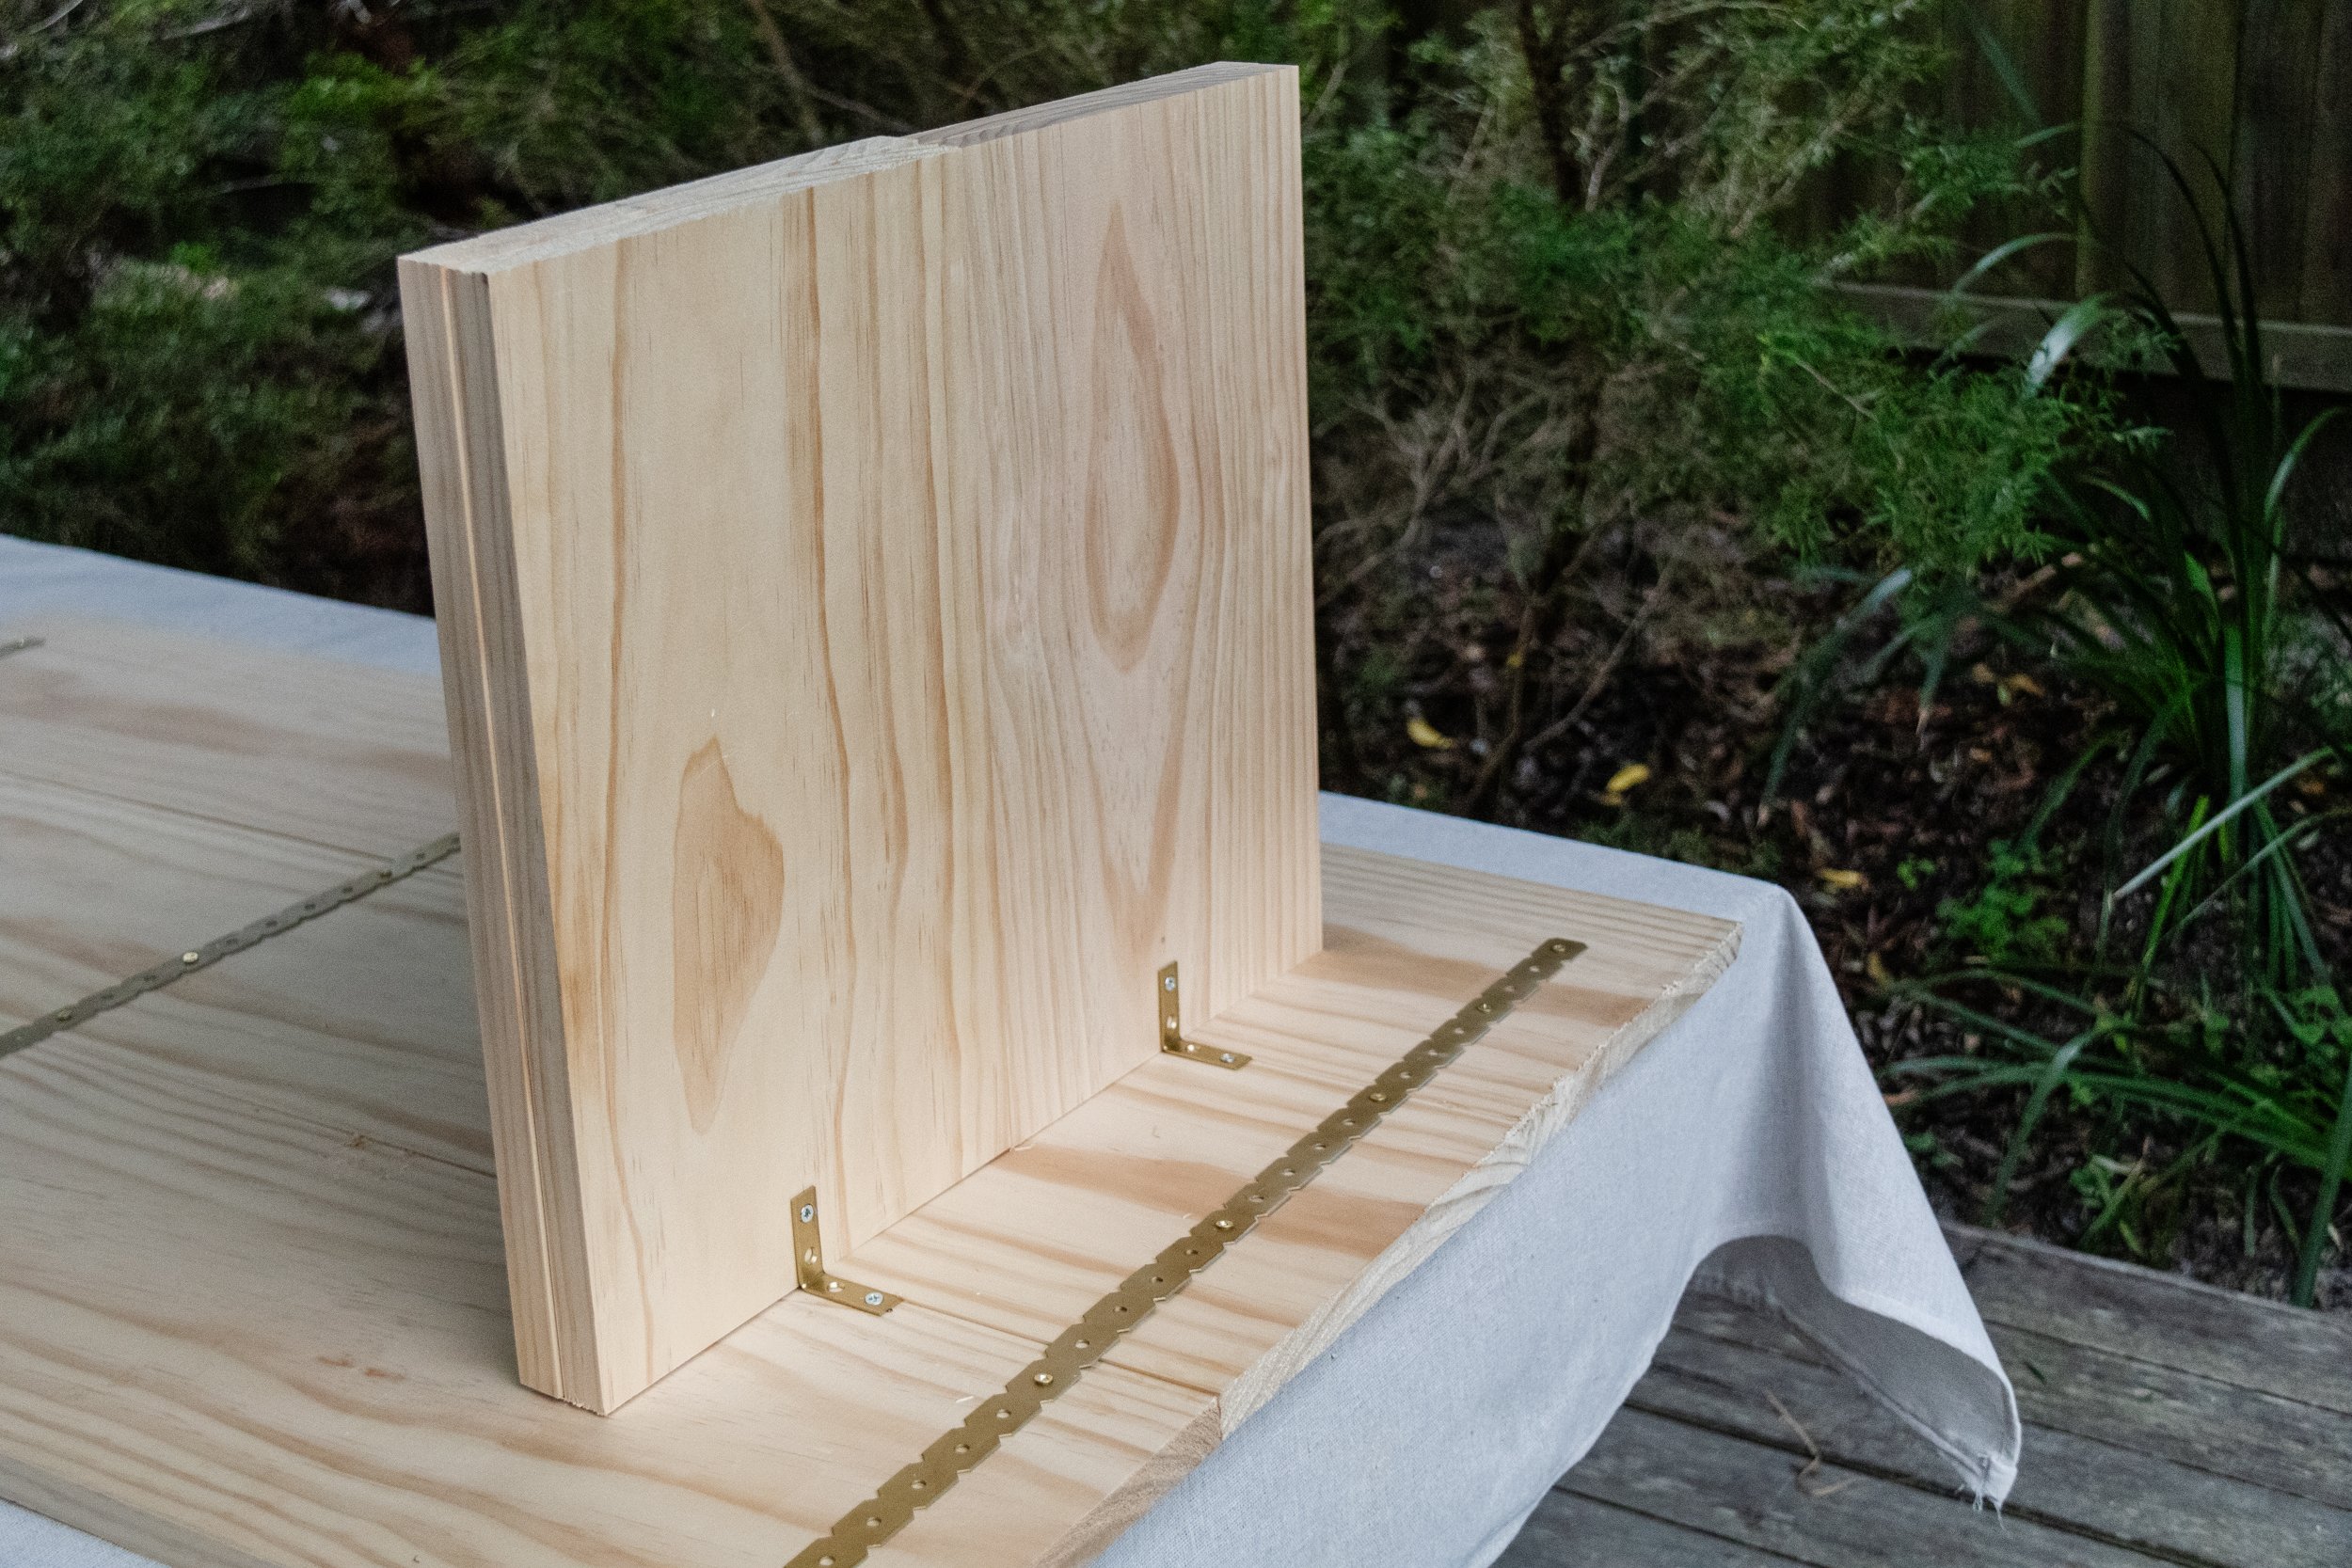
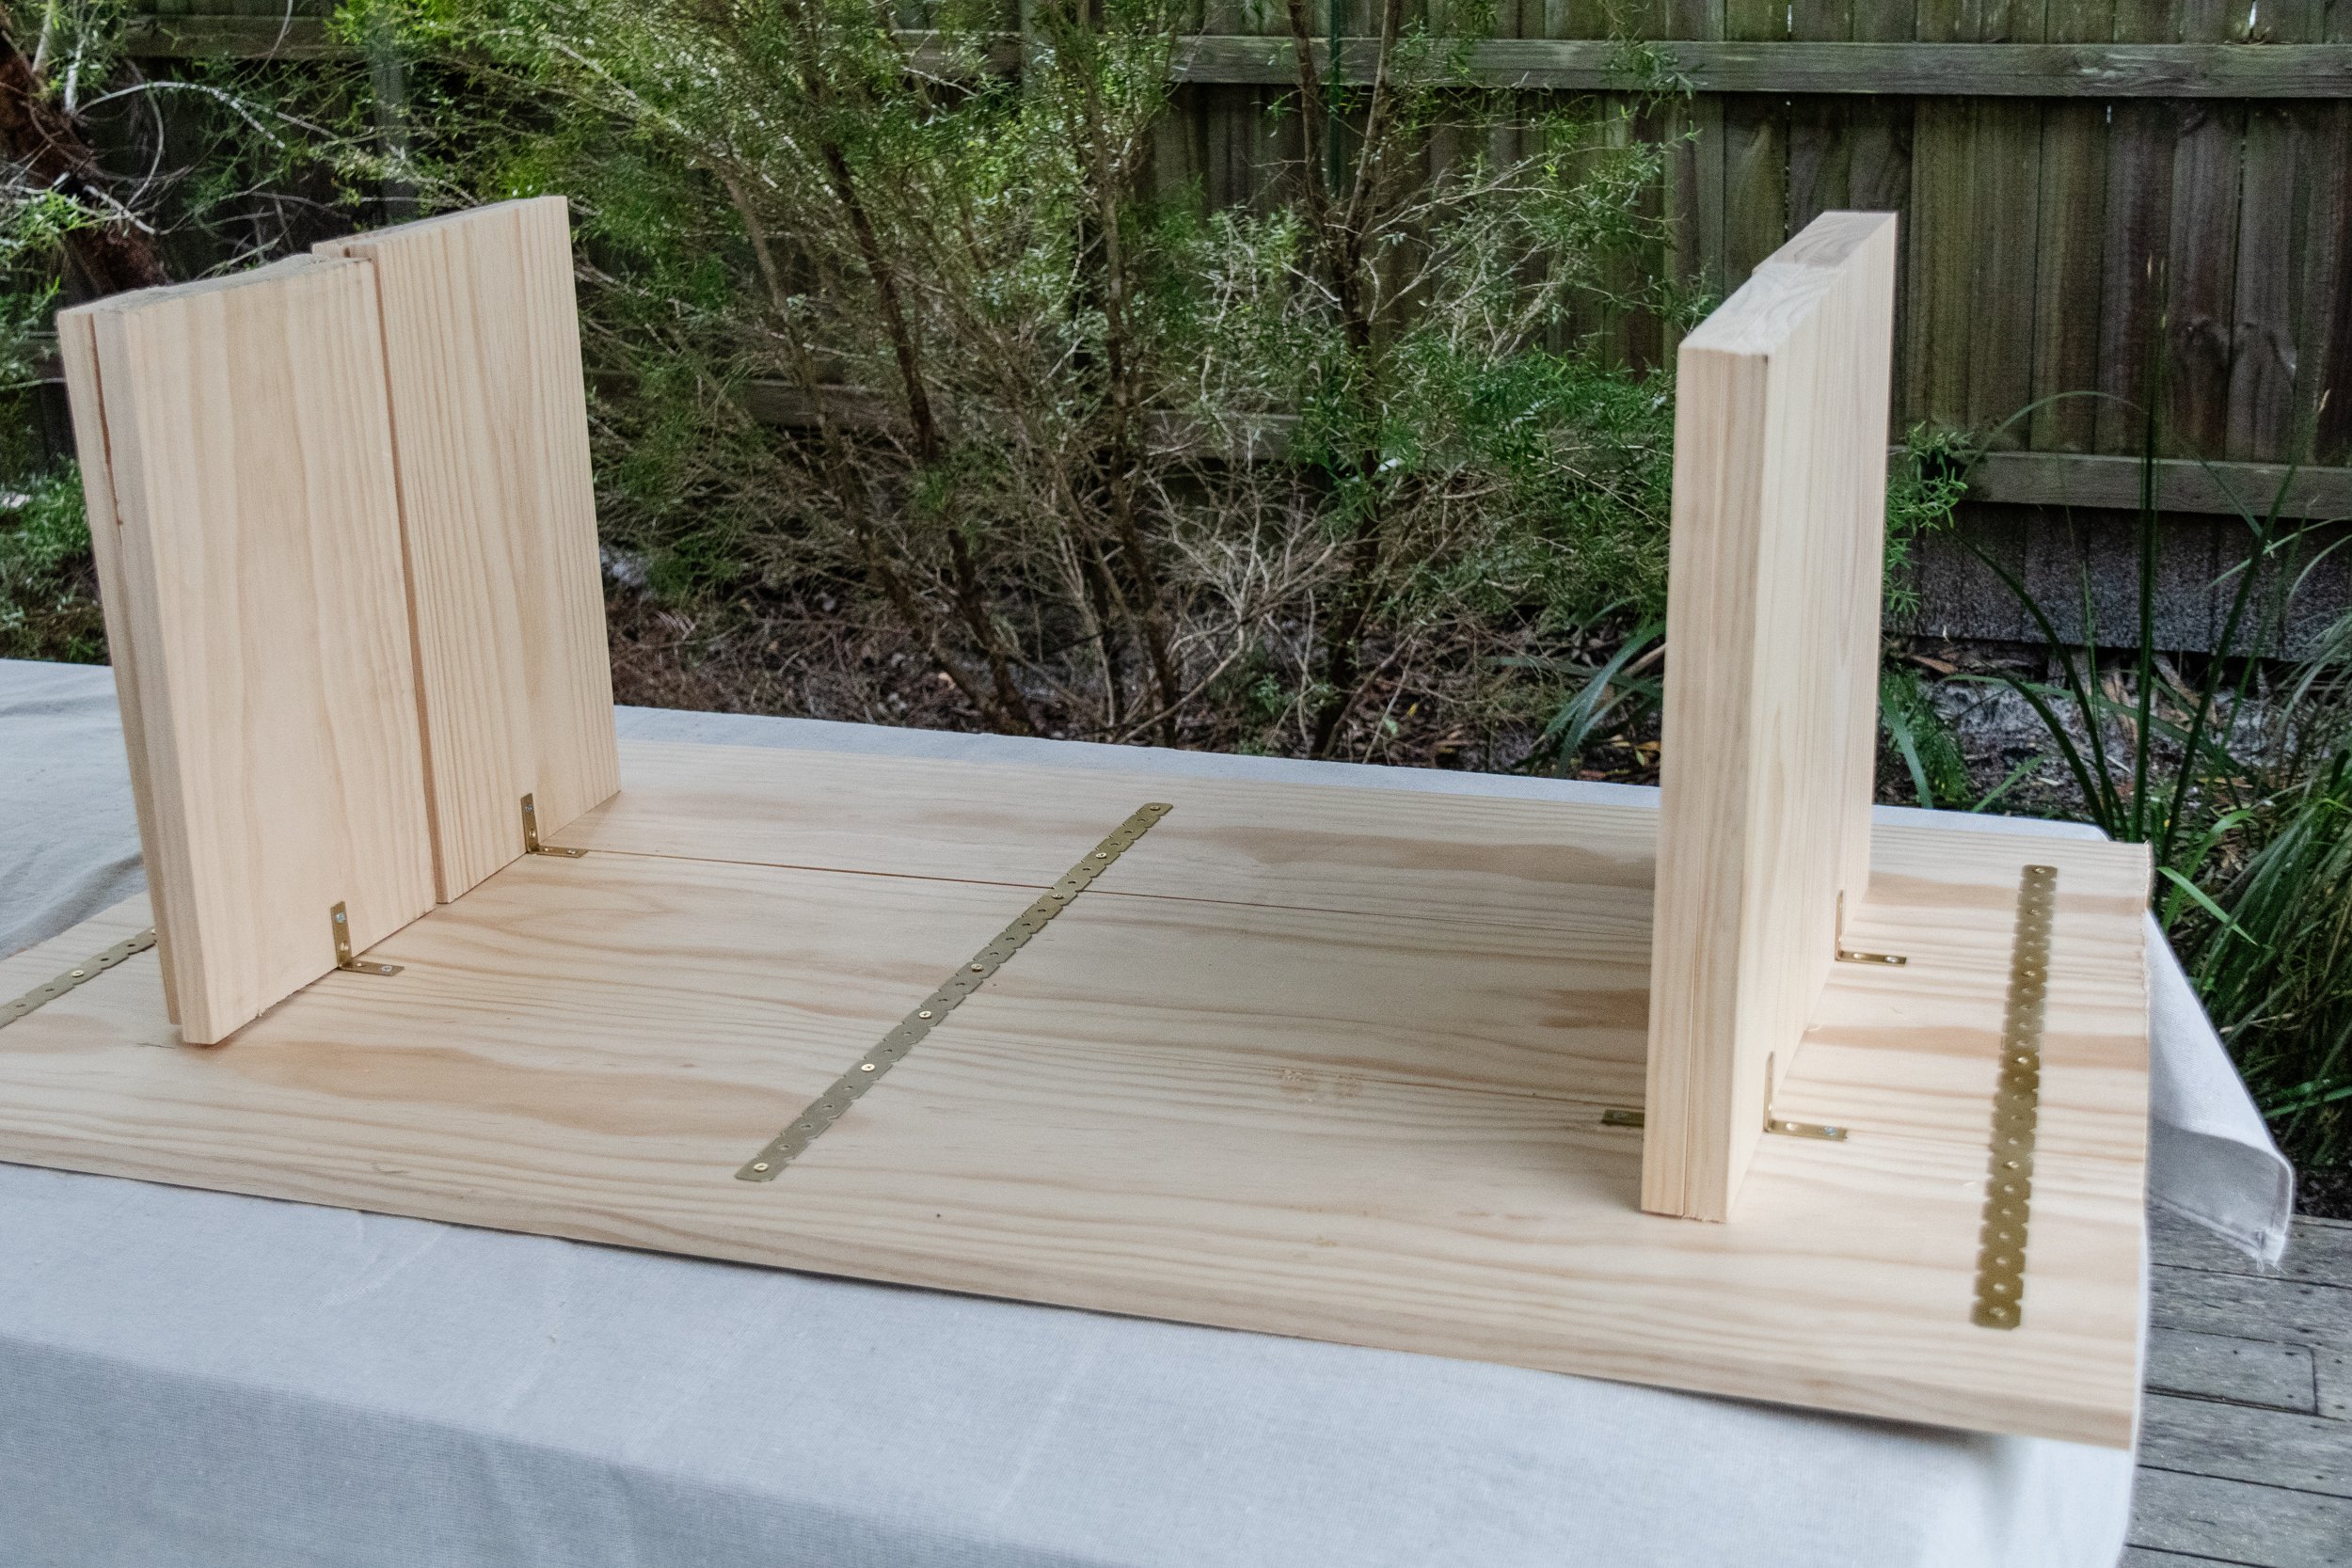
Start by screwing the flat brackets into the underside of the tabletop; I placed two closer to each edge and one in the middle. Work out where you want the legs to go. You may want them close to the edge or closer to the middle - this is totally up to you. I chose to place mine closer to the edge as I like that style. Using a pen and a measuring tape to mark out where the legs will go and screw the angled brackets into the timber on the underside of the tabletop and into the legs. Refer to the photos below to see how I did this. You need one angled bracket on either side of each leg.


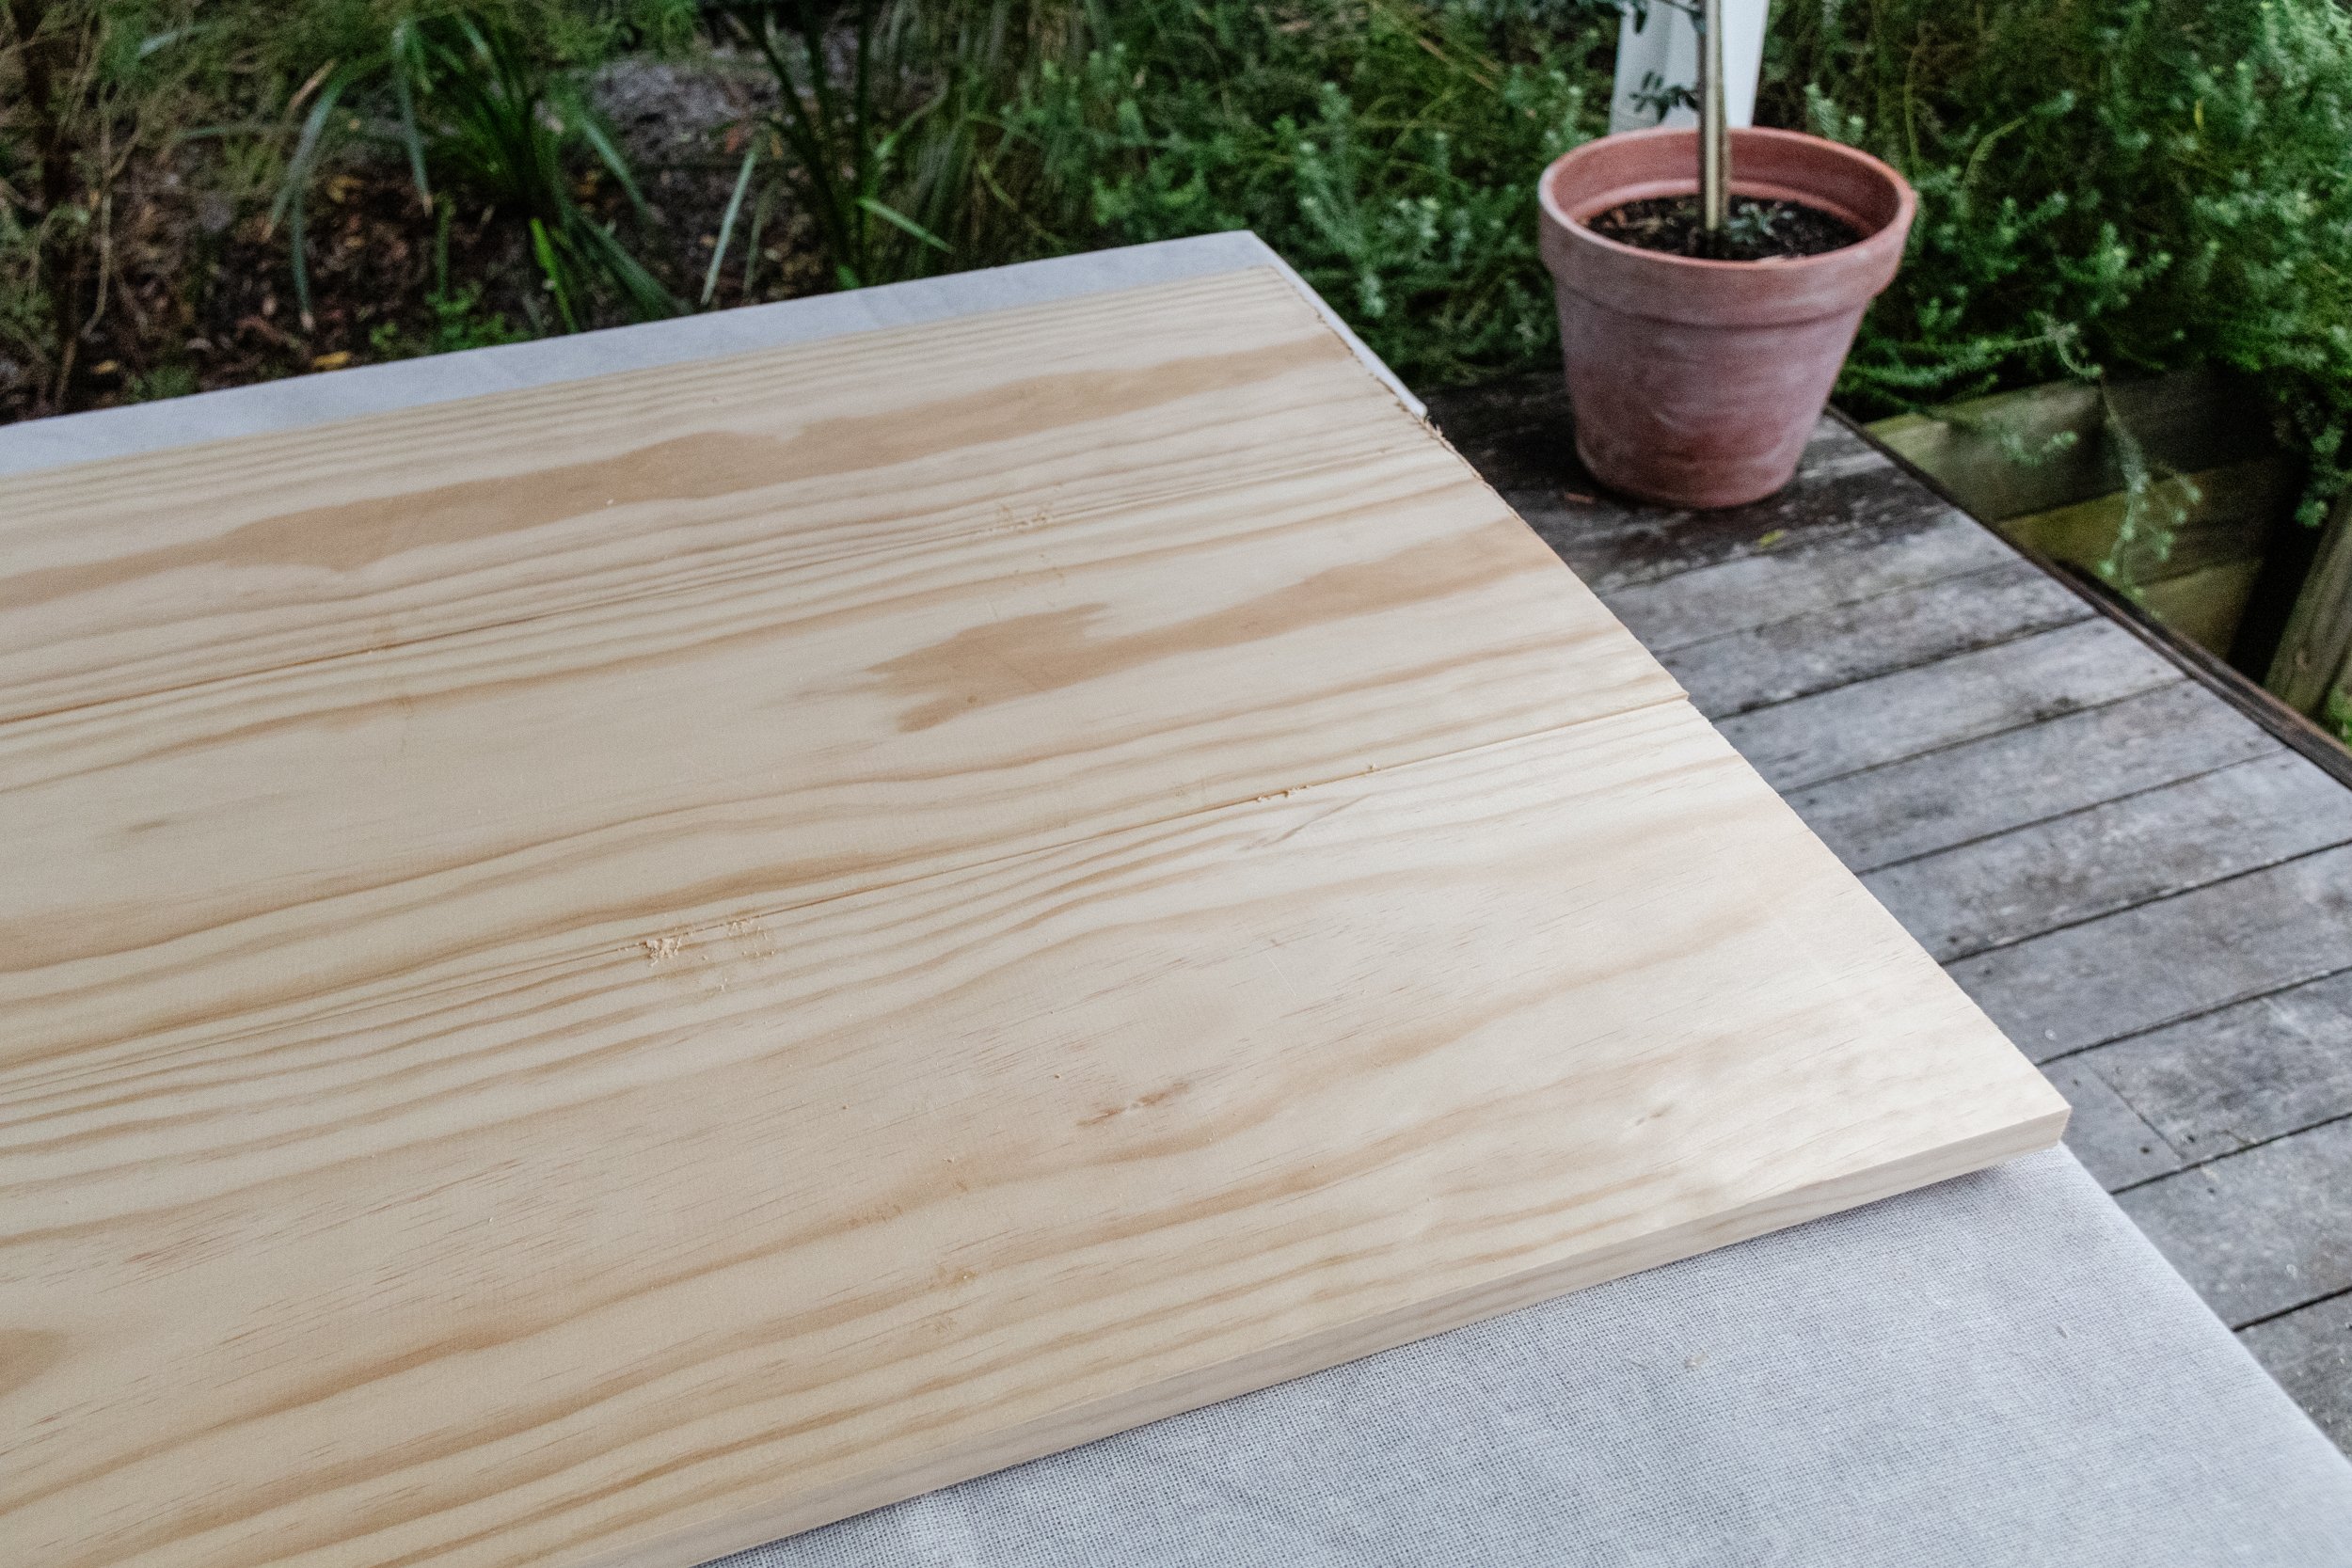
It’s now time to paint! Apply one thin coat of white primer paint to the underside of the table and the legs (but not the side edges of the tabletop - I will explain why further on). I didn’t have any white primer paint at home so I had to use my beautiful Porter’s Paint for the first coat, which is totally ok; it’s just not the most cost effective practice. When the first coat of paint has dried (it should dry quite quickly), apply a thicker second coat and leave it to dry. Depending on the paint you use (some are thinner and thicker than others), you may need to apply a third coat. When the underside and legs have been painted, flip the table over and use a sander to soften the timber corners, edges and ends.
Paint the tabletop and side edges'; I applied two coats. When you paint the edges, make sure you run your paint brush underneath the sides of the tabletop so you don’t get any paint drips. This is why I never paint the edges when a table is turned upside down; it’ll leave unwanted paint marks on your tabletop, which means more work for you (like sanding the tabletop) before applying the paint.


It's now time to seal the table with wax! It’s so simple and easy to use, and beautiful! All you need to do is apply a small amount onto the table using a muslin cloth and rub it into the table. Working in small sections is best and before the wax settles and dry (within 15 minutes), buff it in circular motions using a clean section of muslin (not the section you used to apply the wax) to achieve your desired glass. Just make sure you buff before the wax completely dries, otherwise it'll look flat and unattractively matt (like, not the good kind). This is a little detail that will make your coffee table look professional, but also protects it from wear and tear (like kids!). And now your DIY Painted Timber Coffee Table is finished - woo hoo!
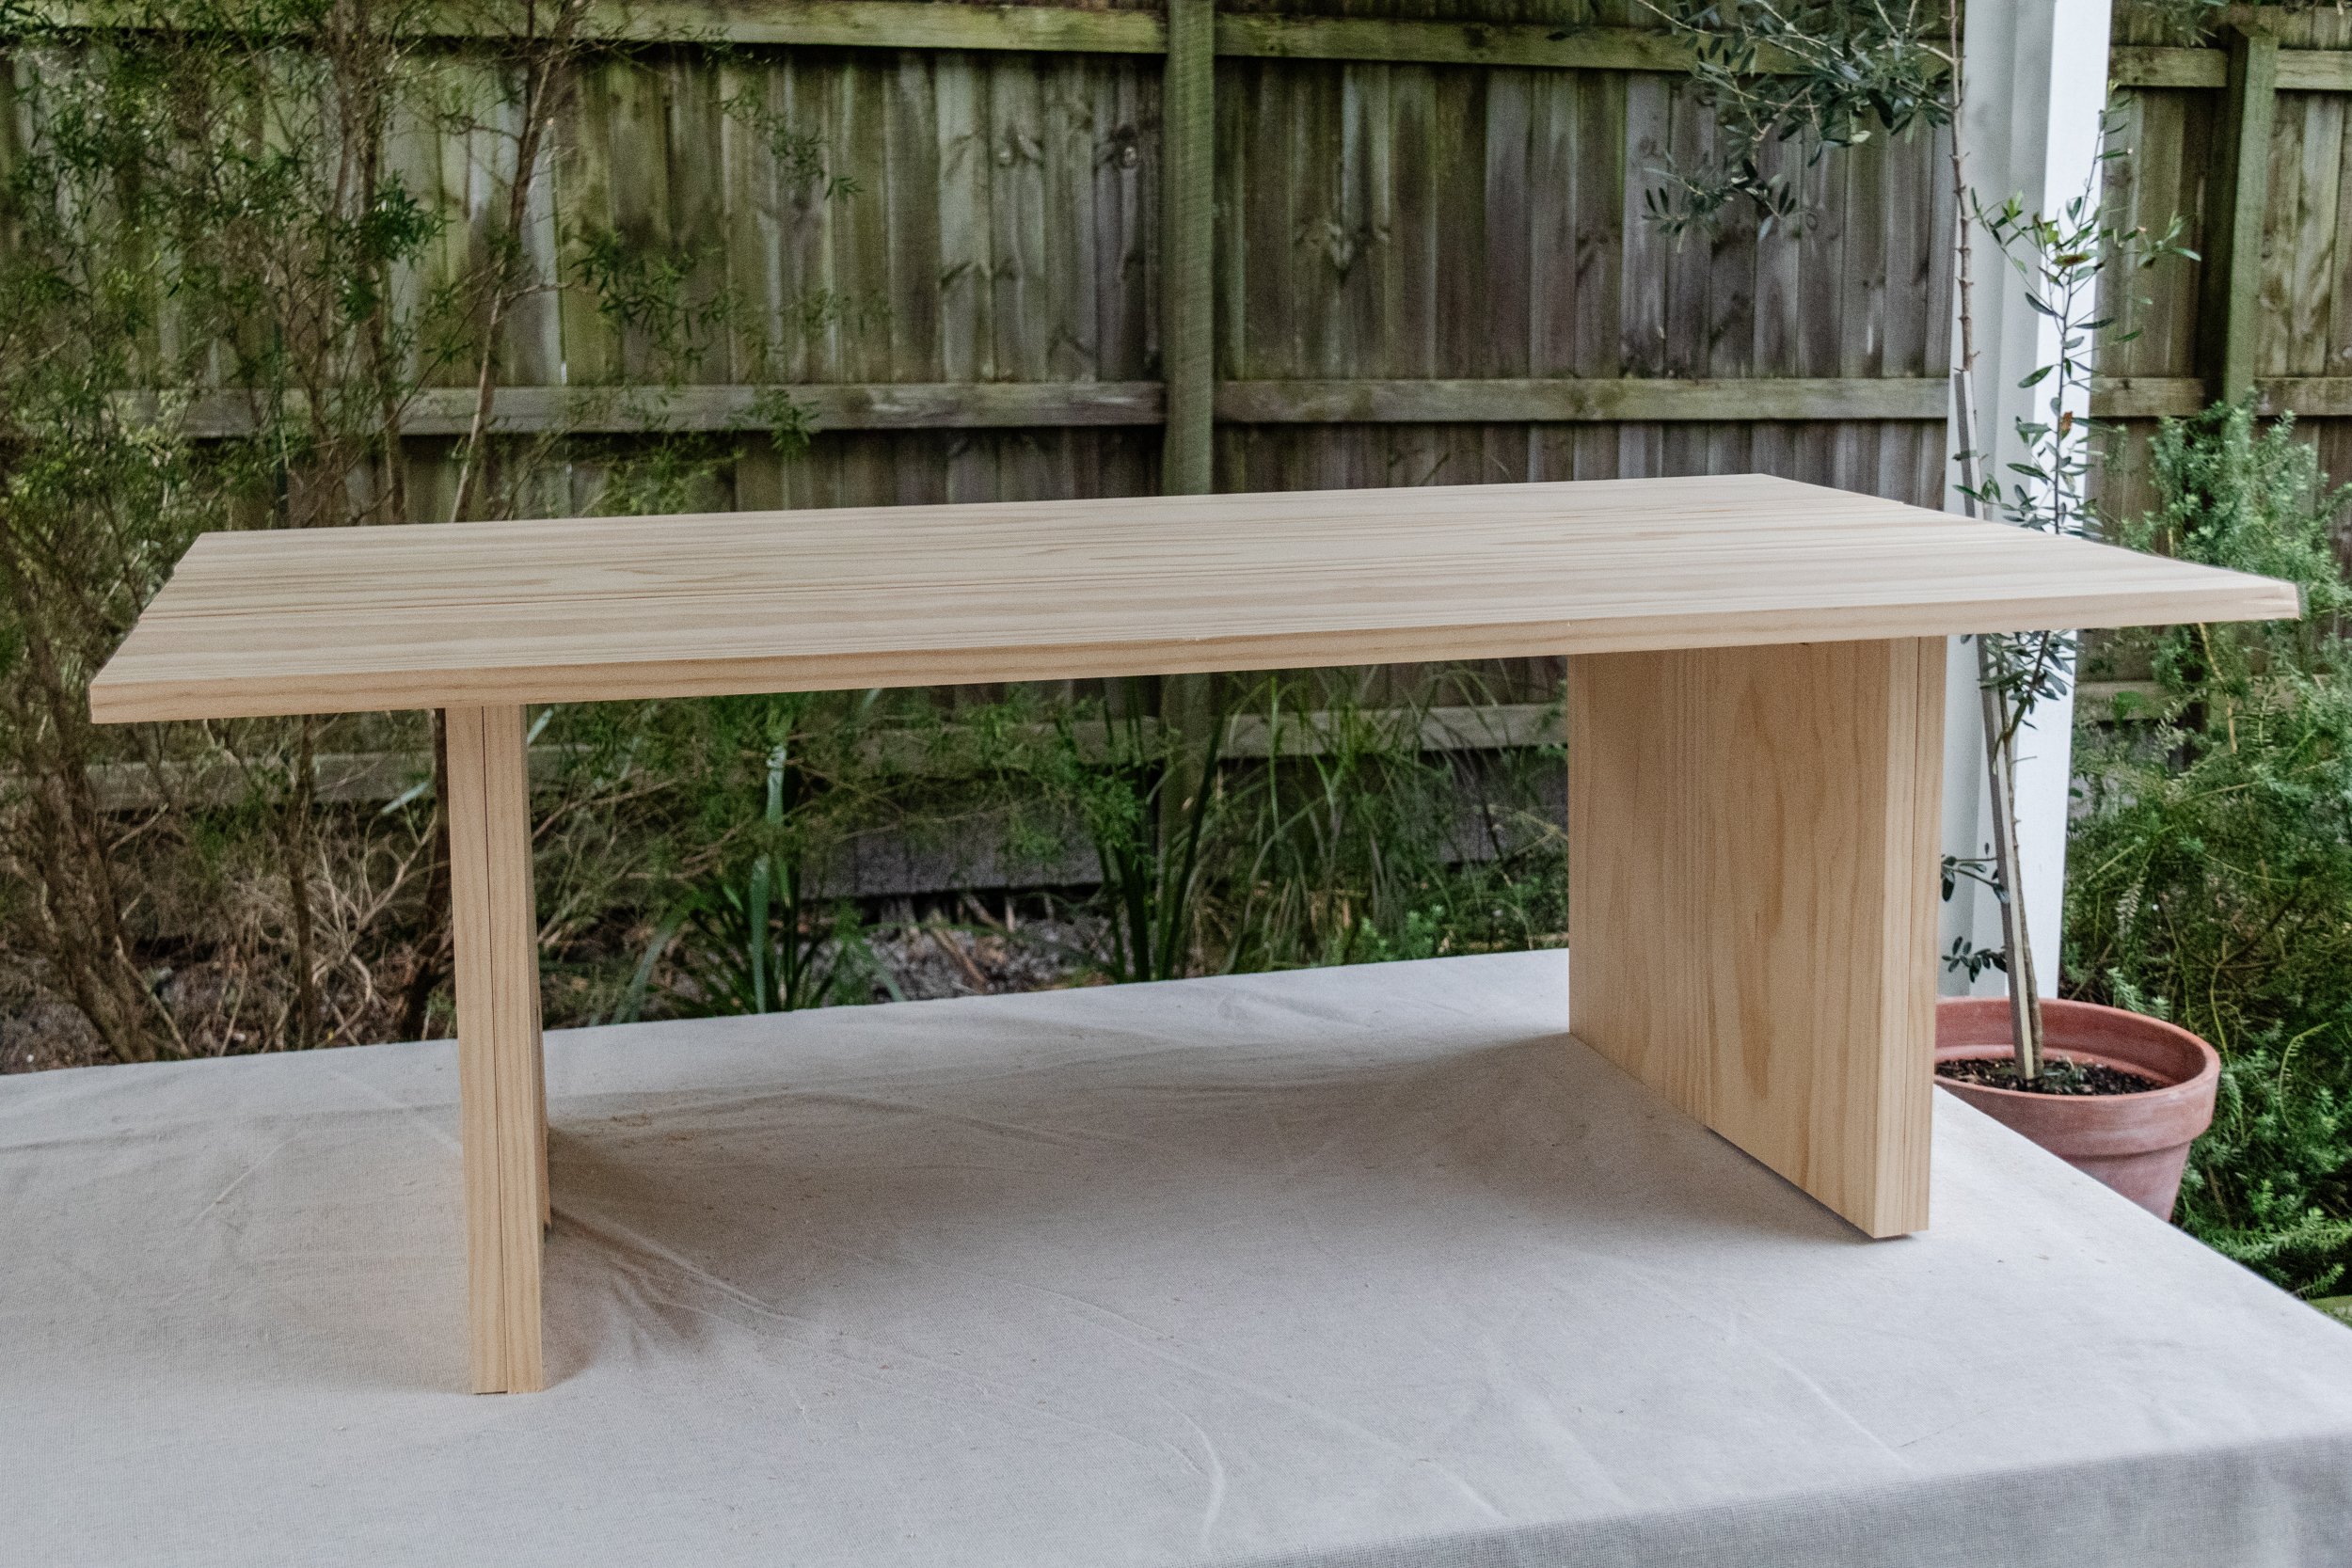
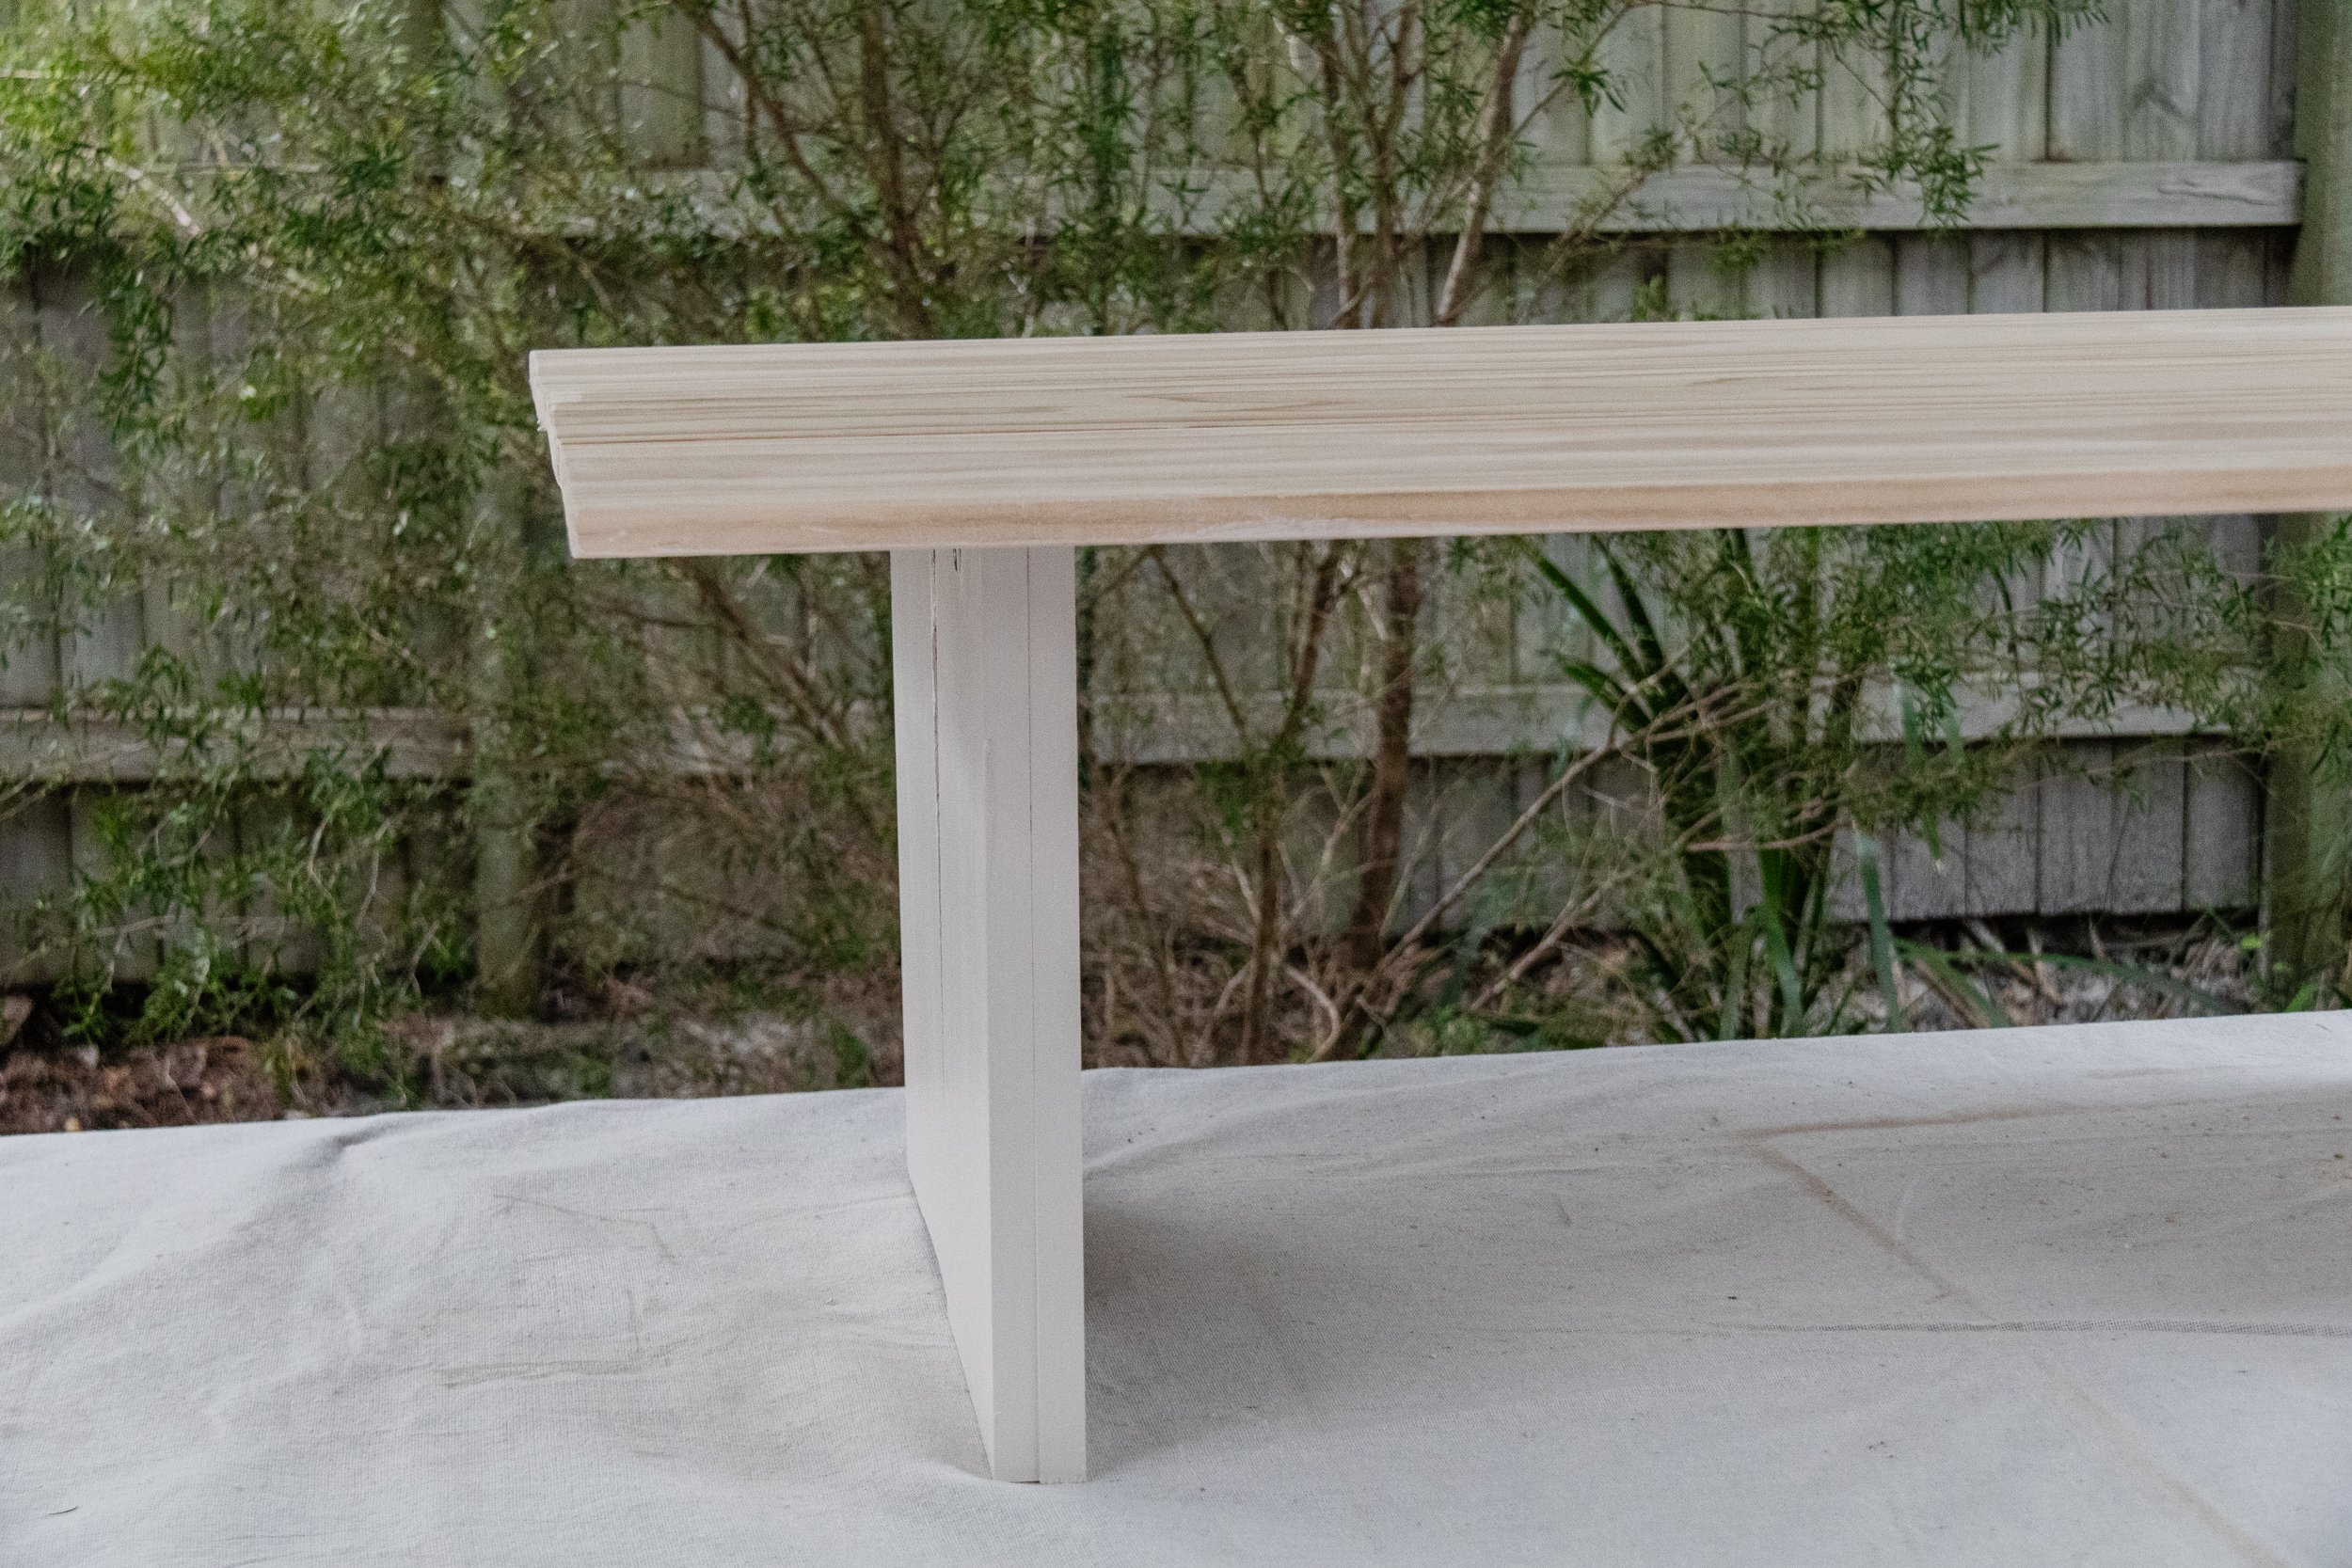
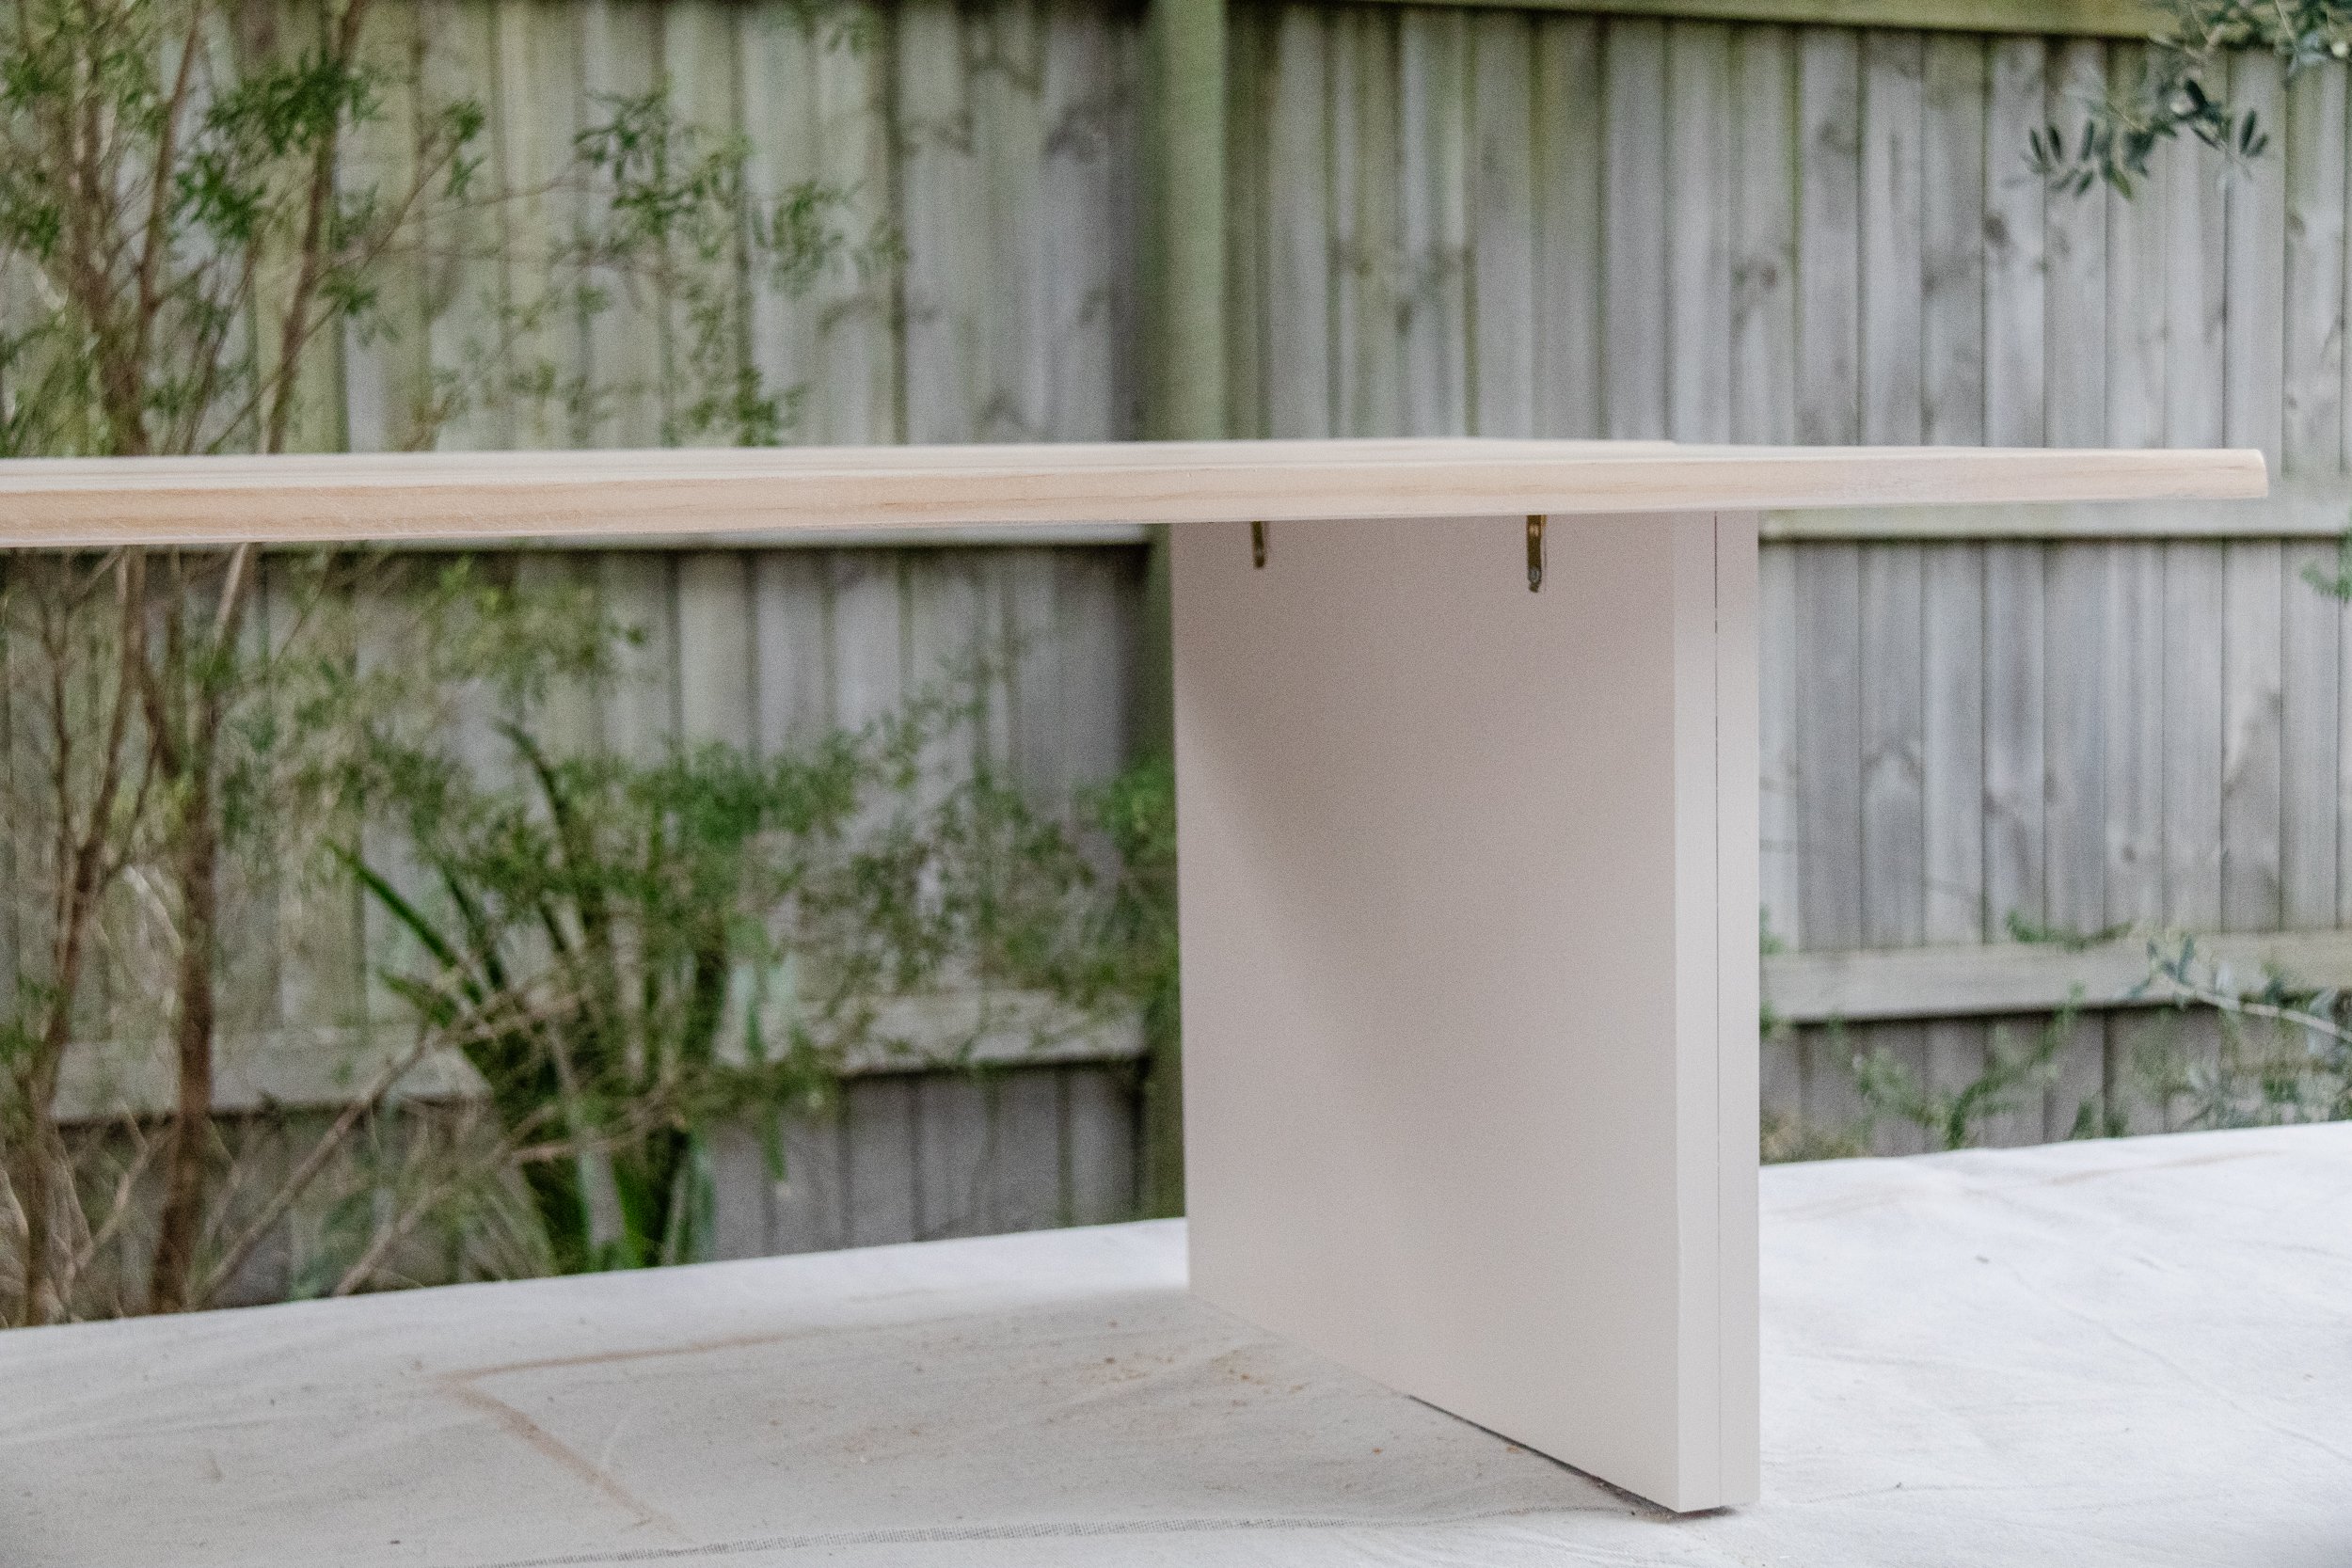
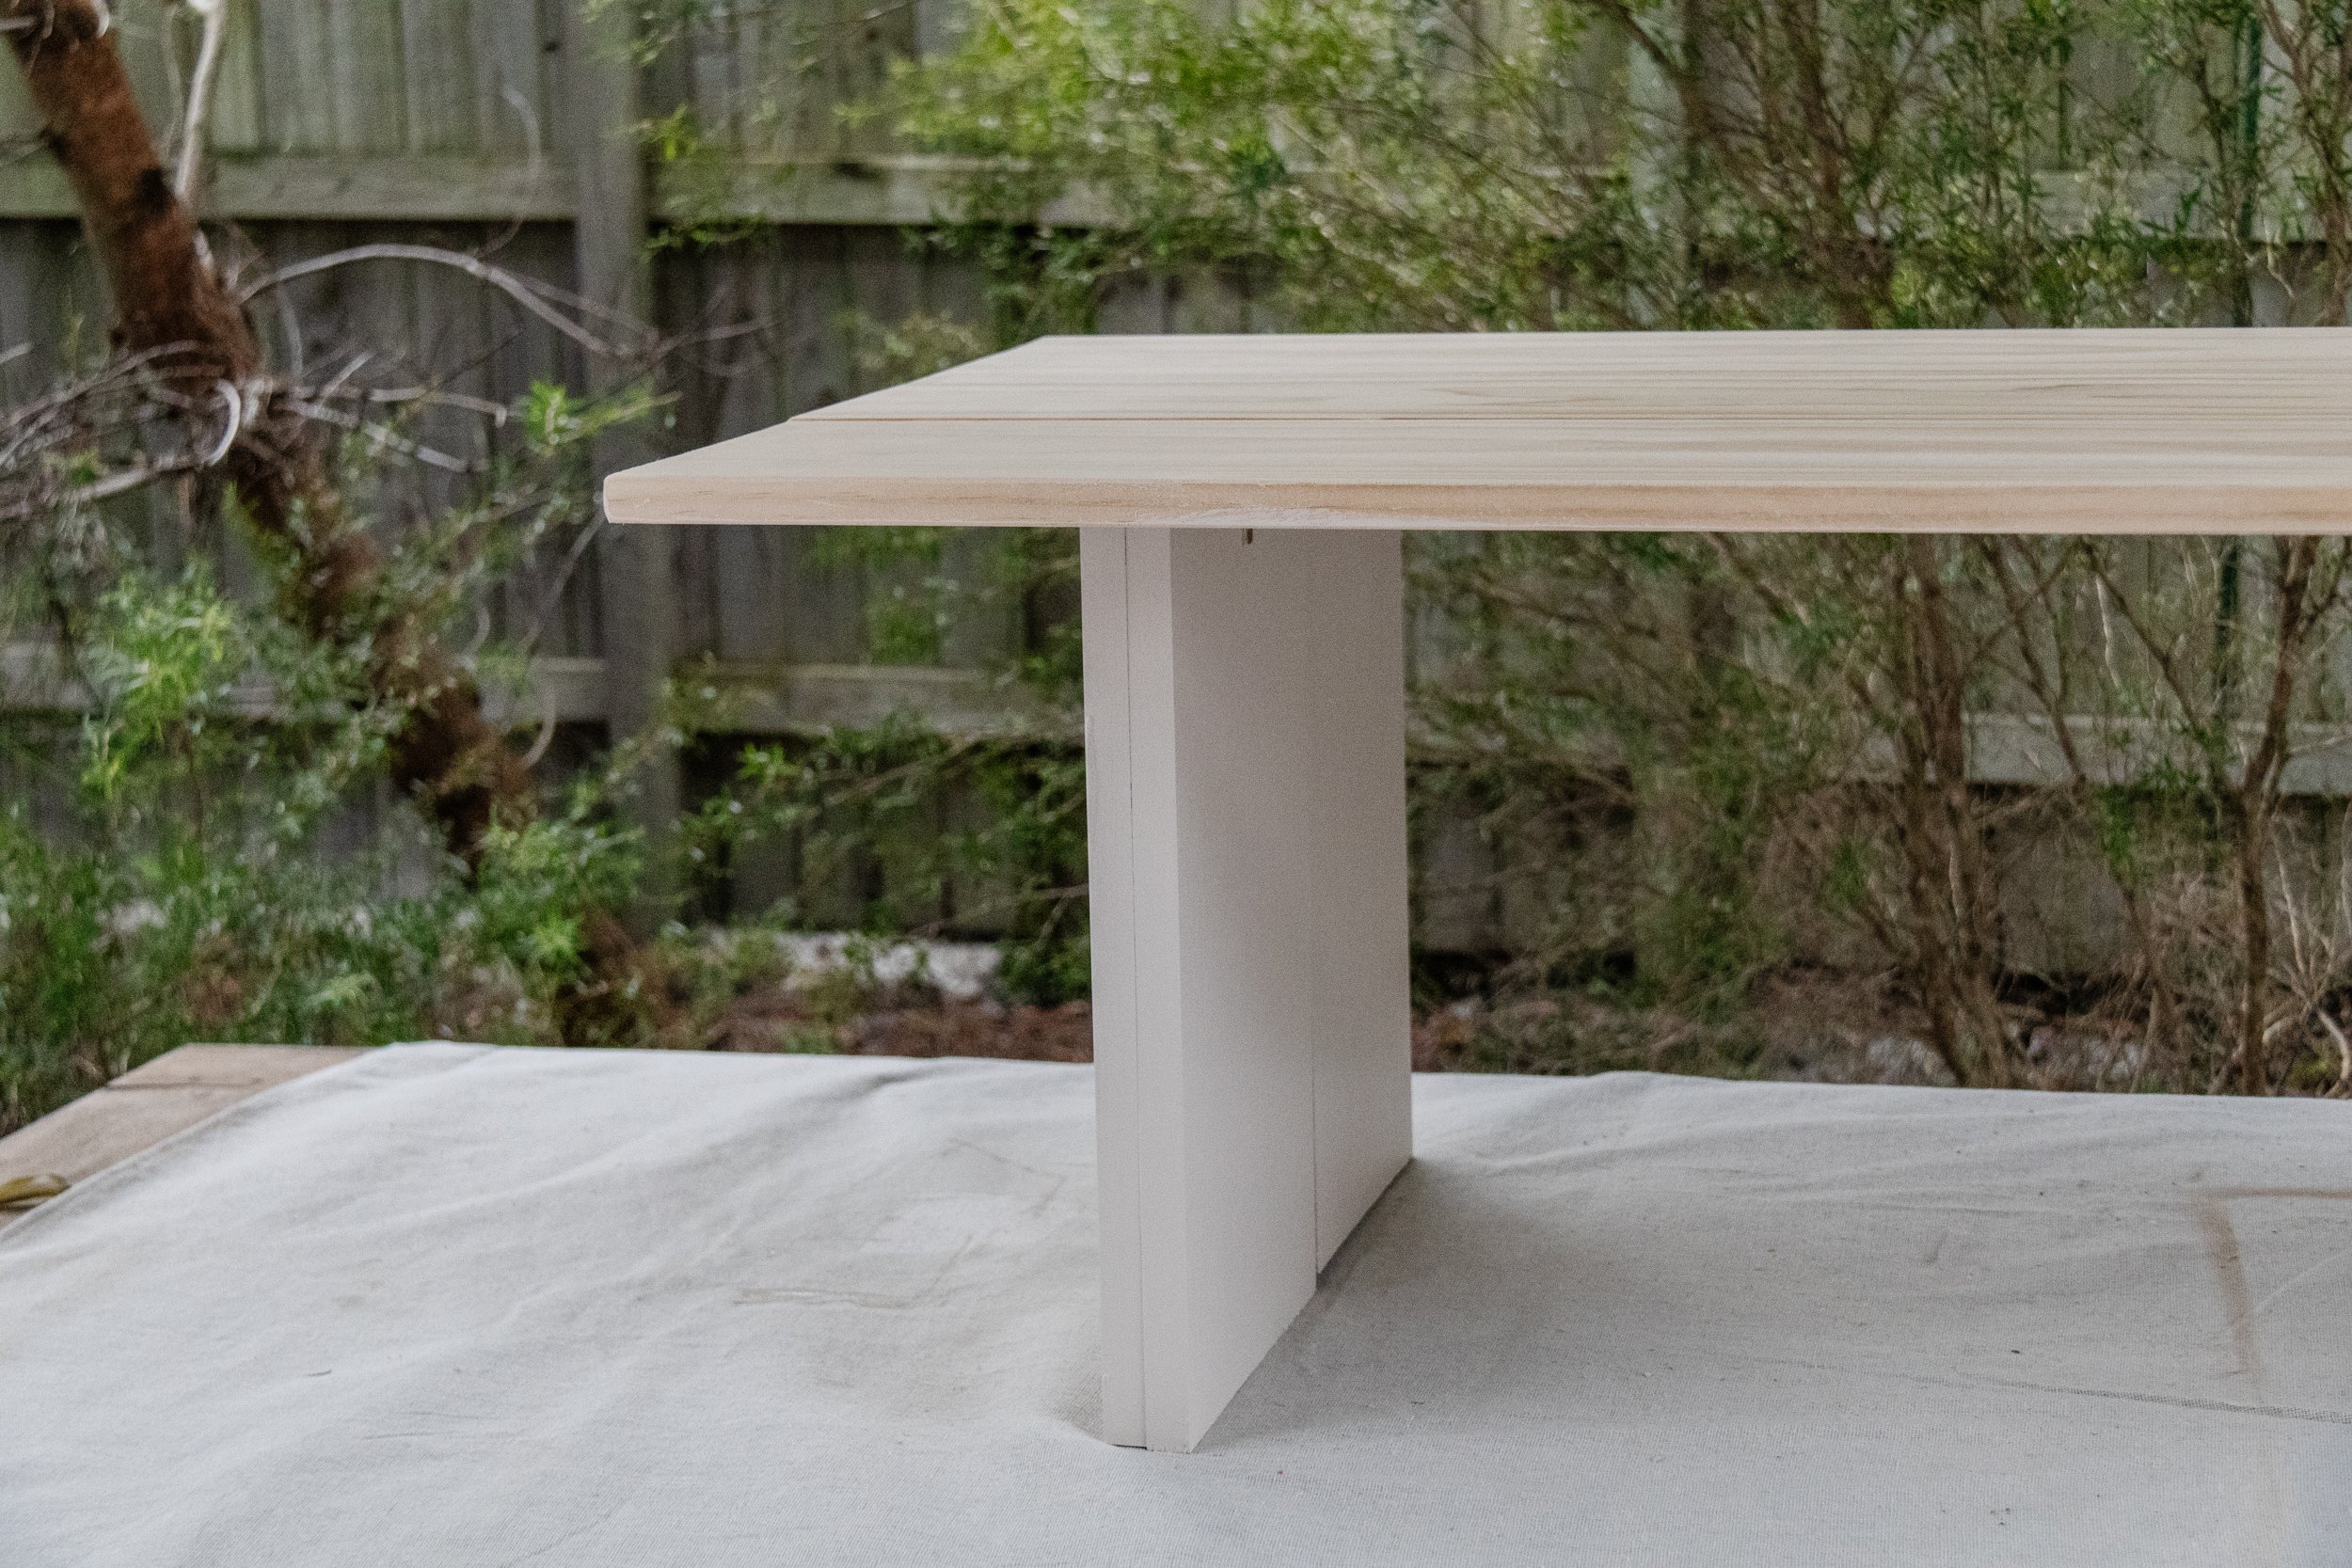
Ta daaaa! A gorgeous painted timber coffee table you made from scratch.
I cannot tell you how amazing it feels knowing you have just made a painted timber coffee table - all by yourself! It’s an incredibly empowering feeling and while this DIY had a few twists and turns along the way, I am really happy with the result. The style, colour, straight lines and brass detailing suits this space and I can’t wait to see the kids use it to craft and colour on, and our guests to put their belongings on it. Stay tuned for the final room reveal!