How To Make DIY Round Scalloped Trays
A festive project for your home and table
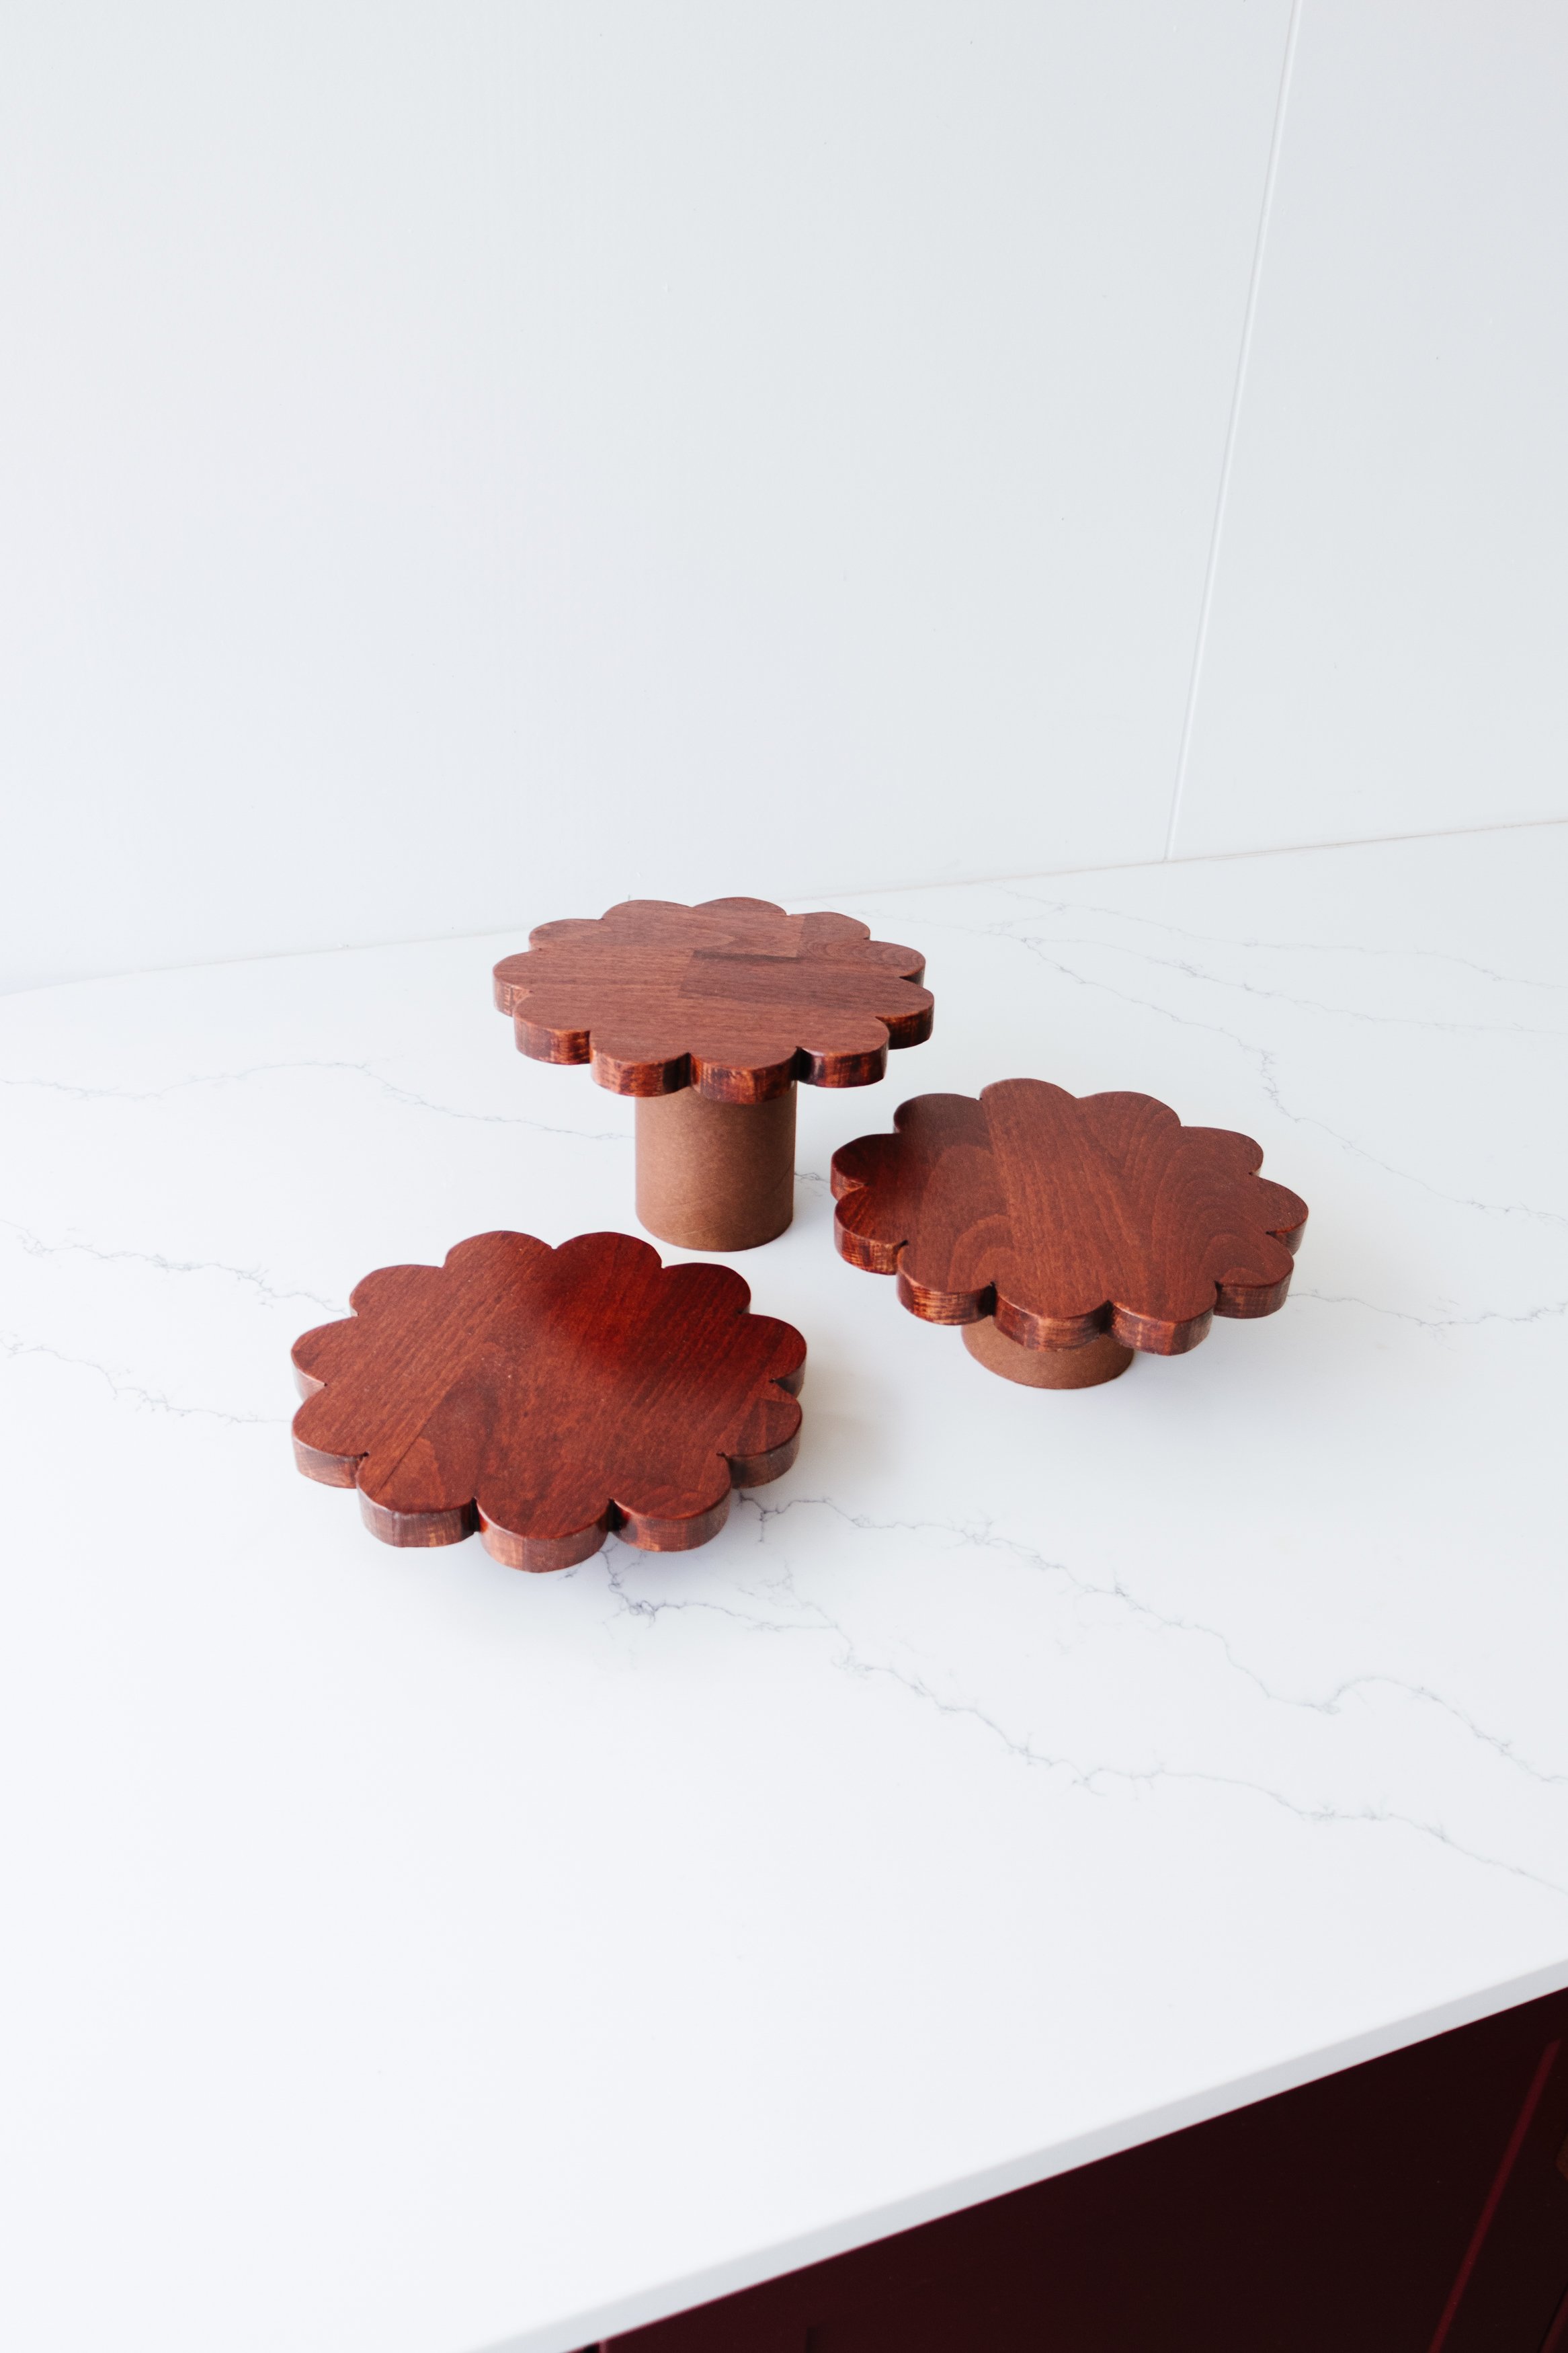
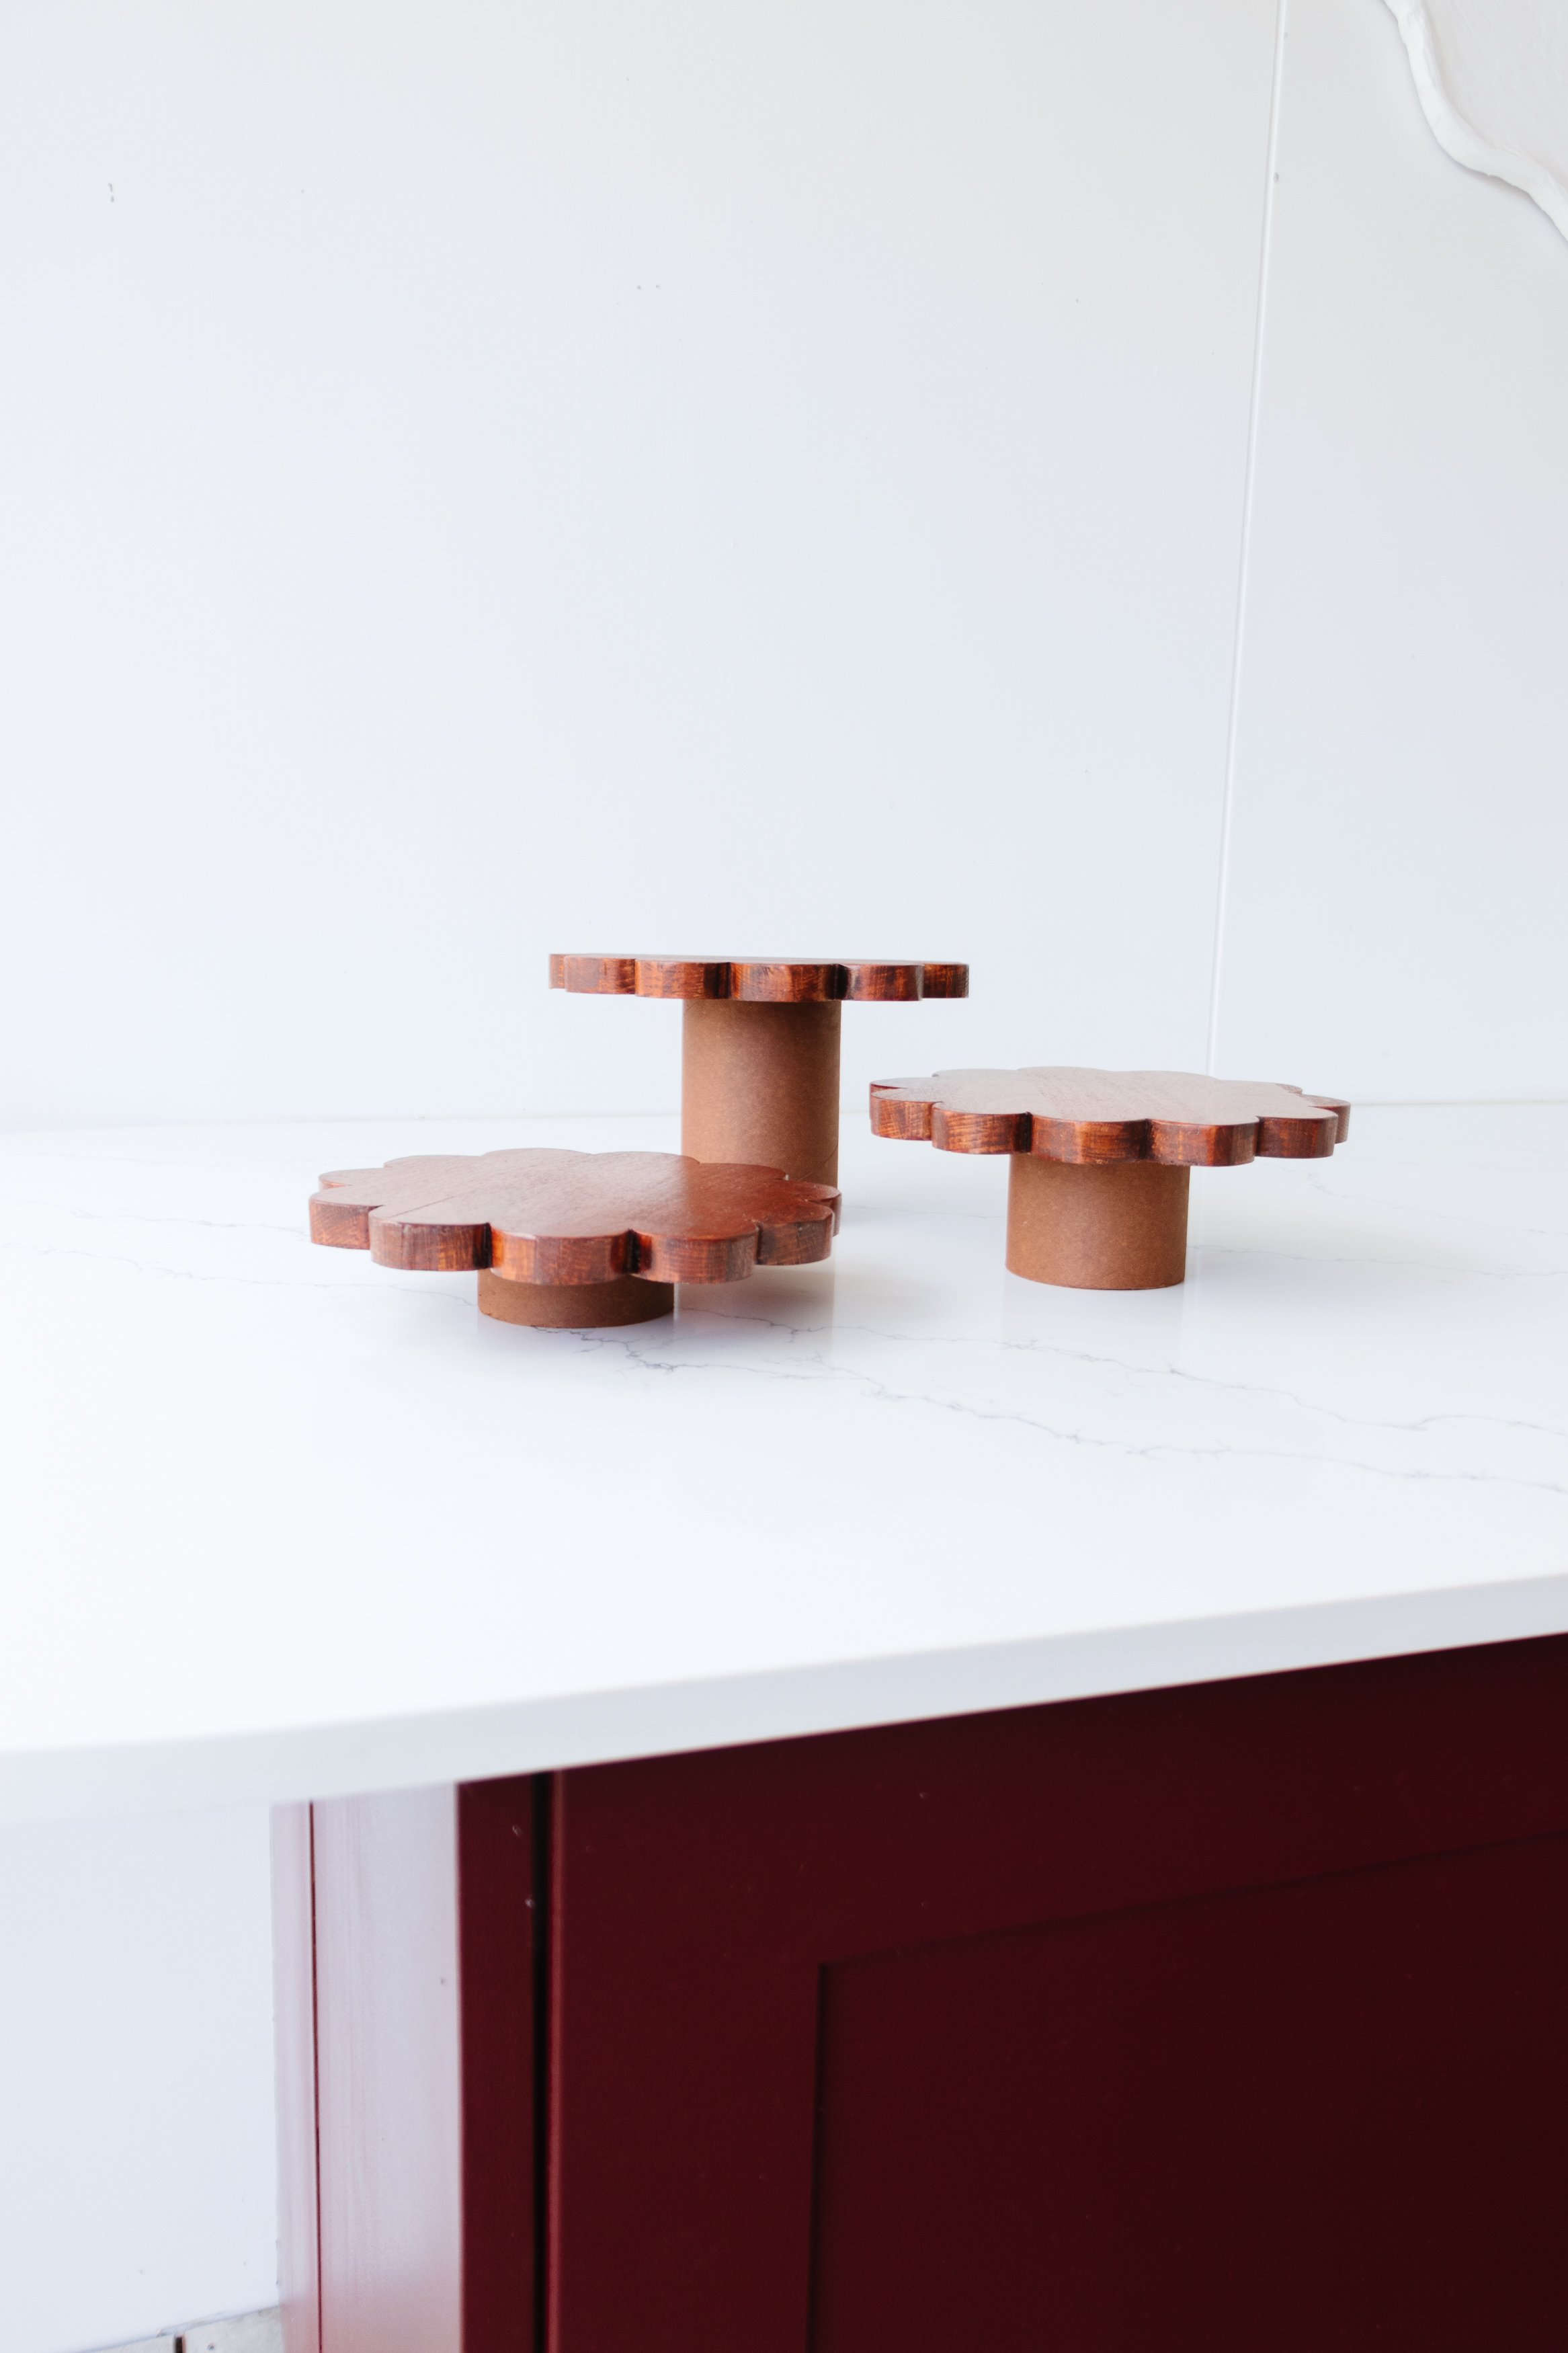
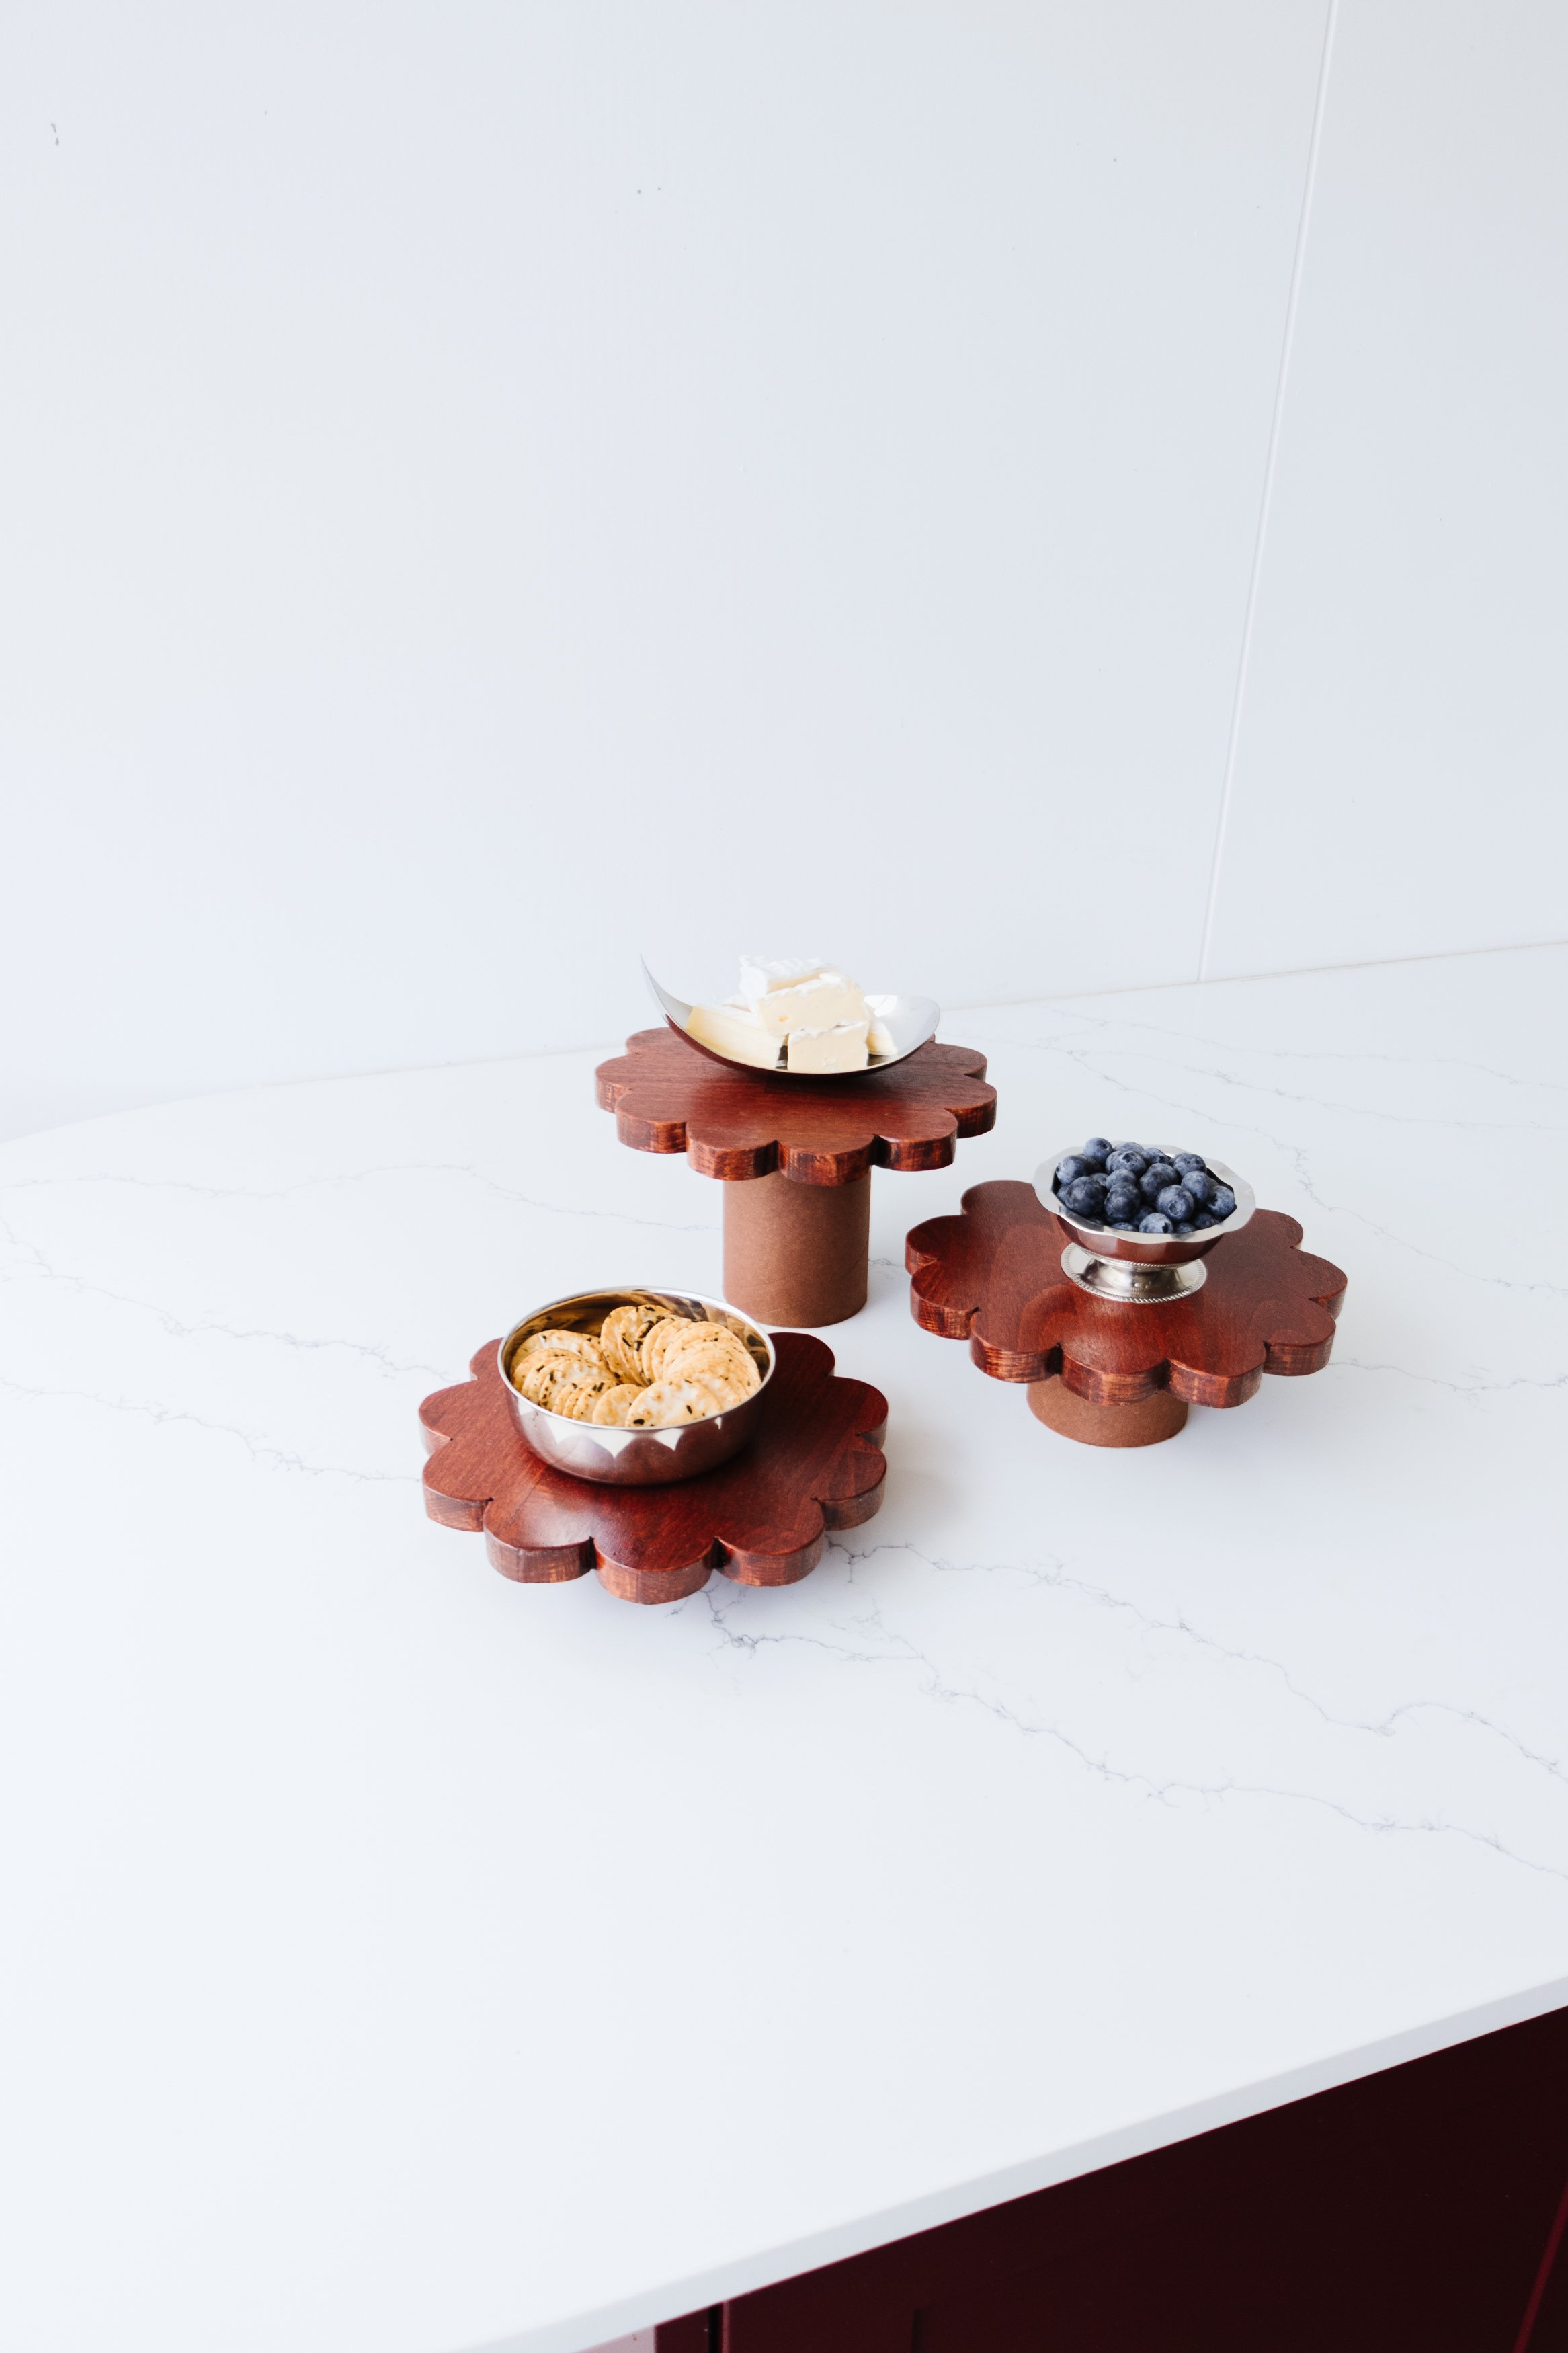
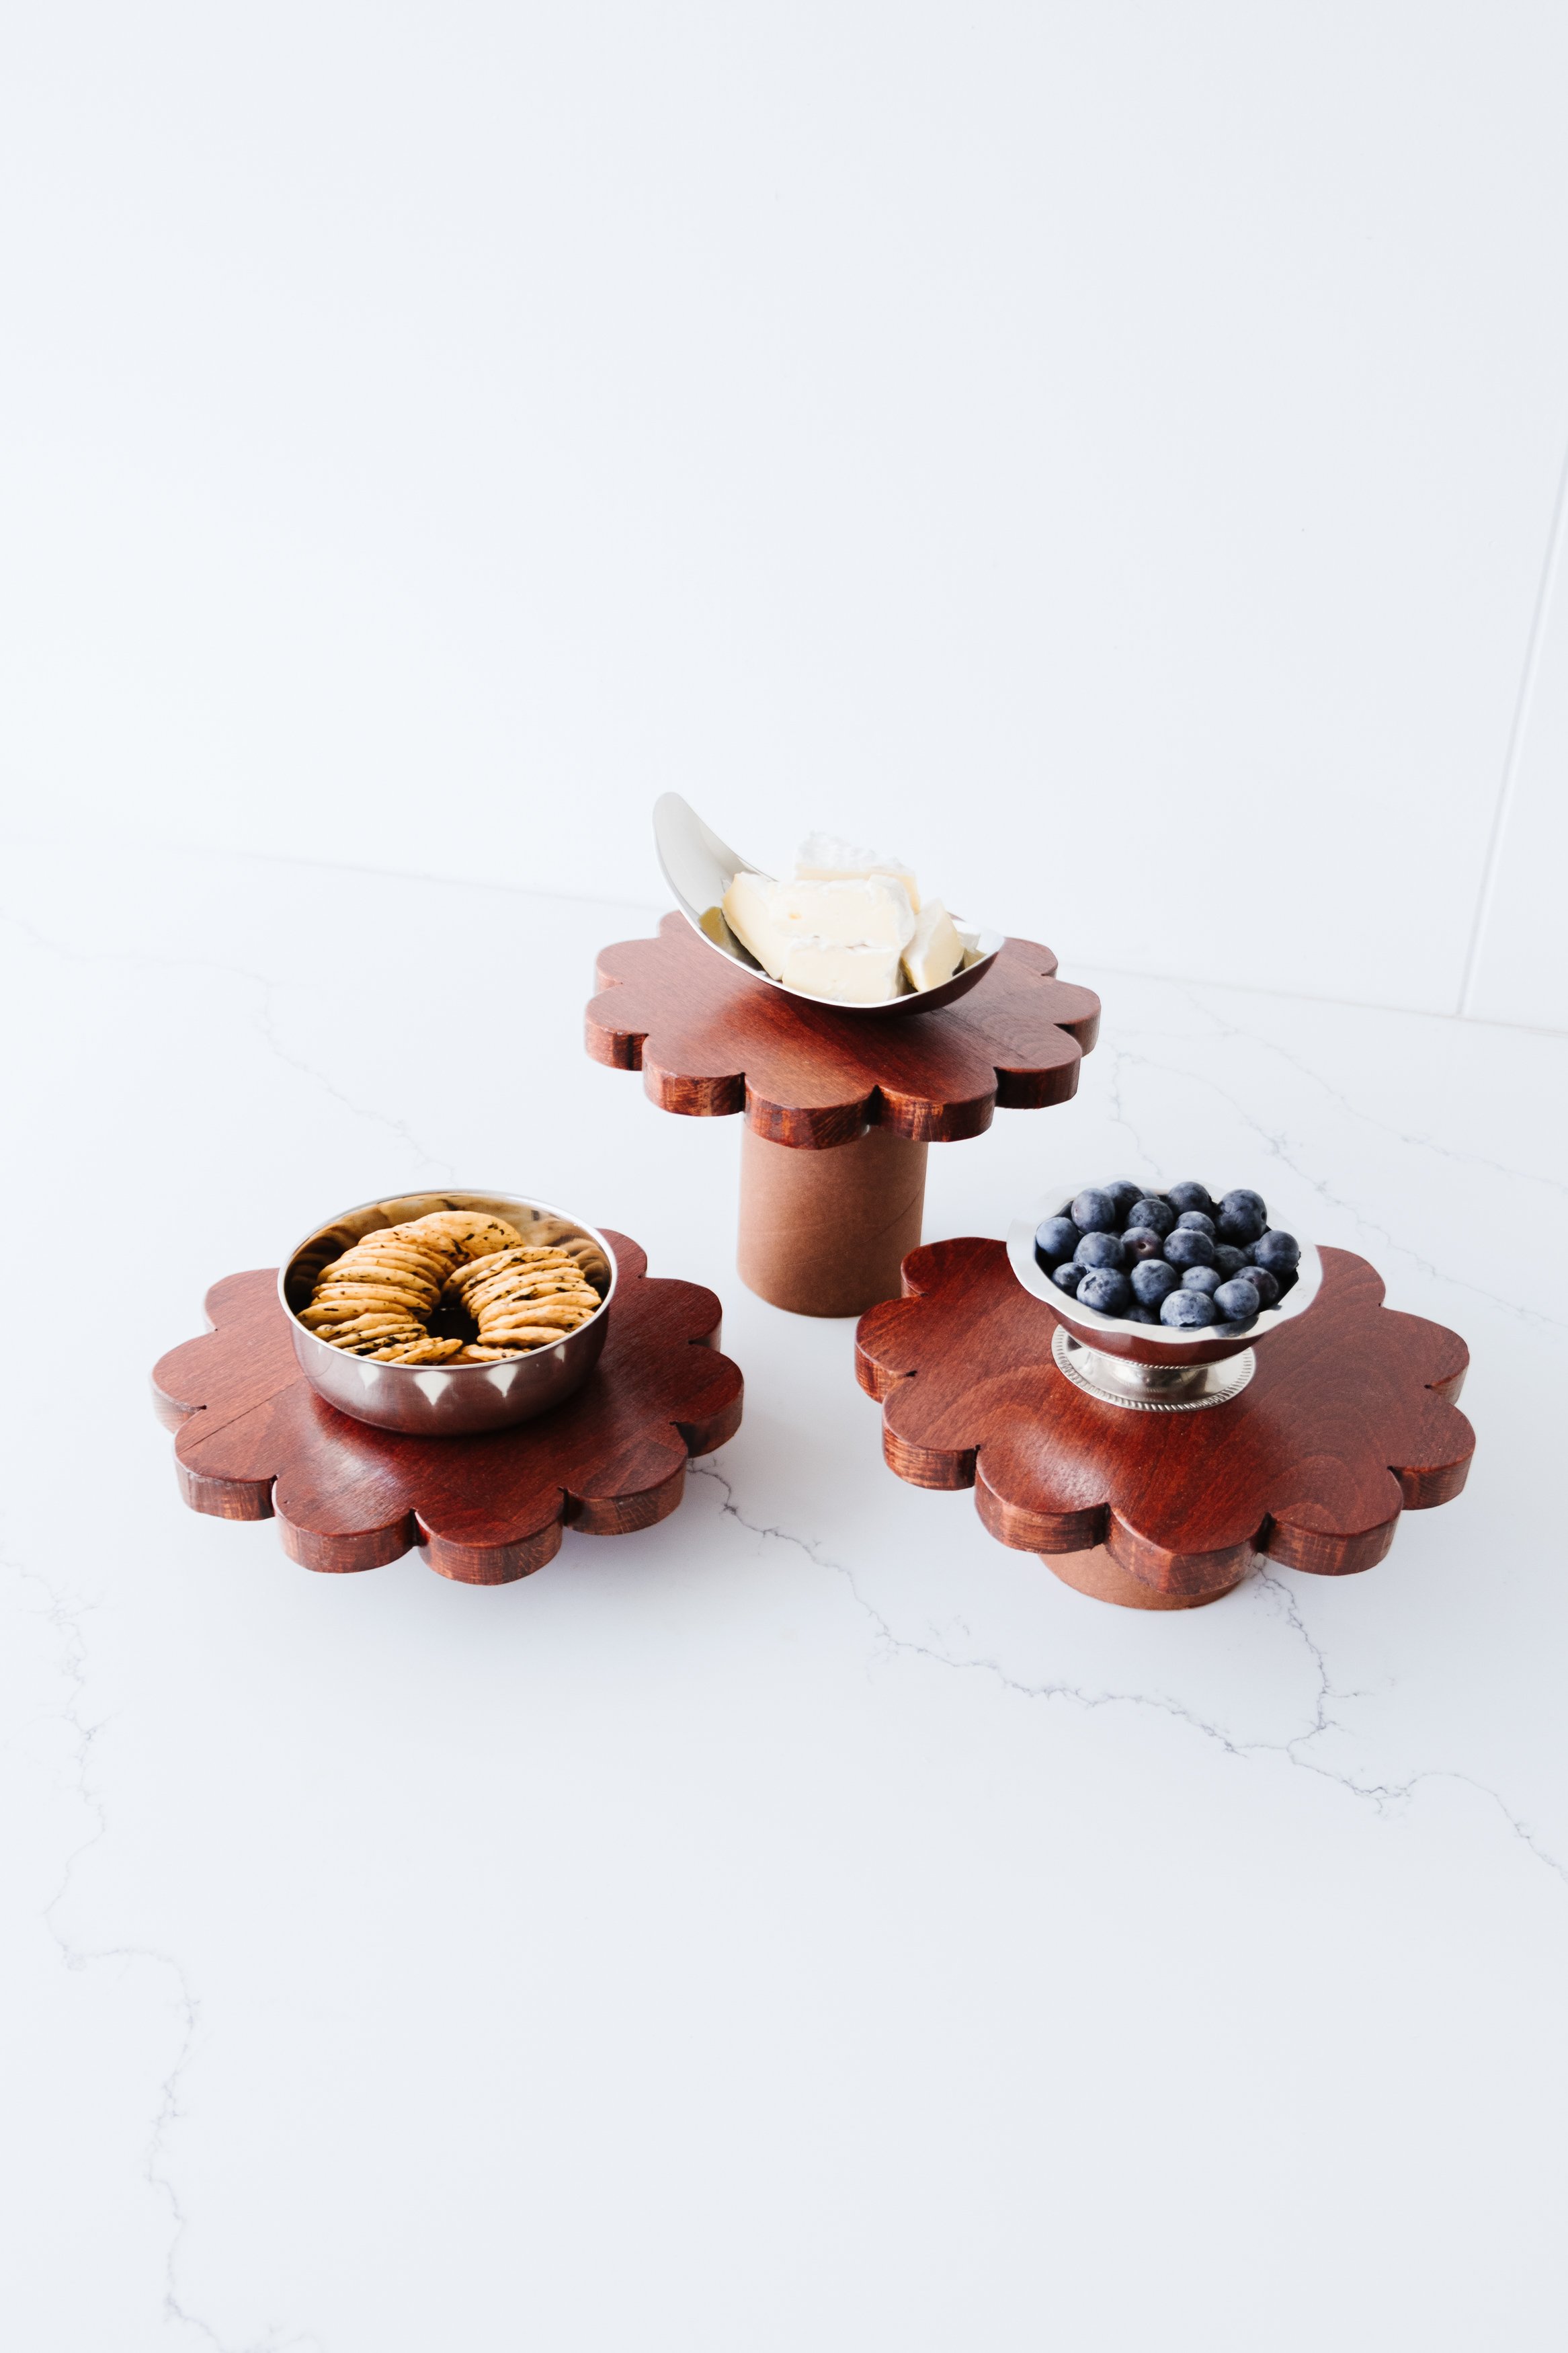
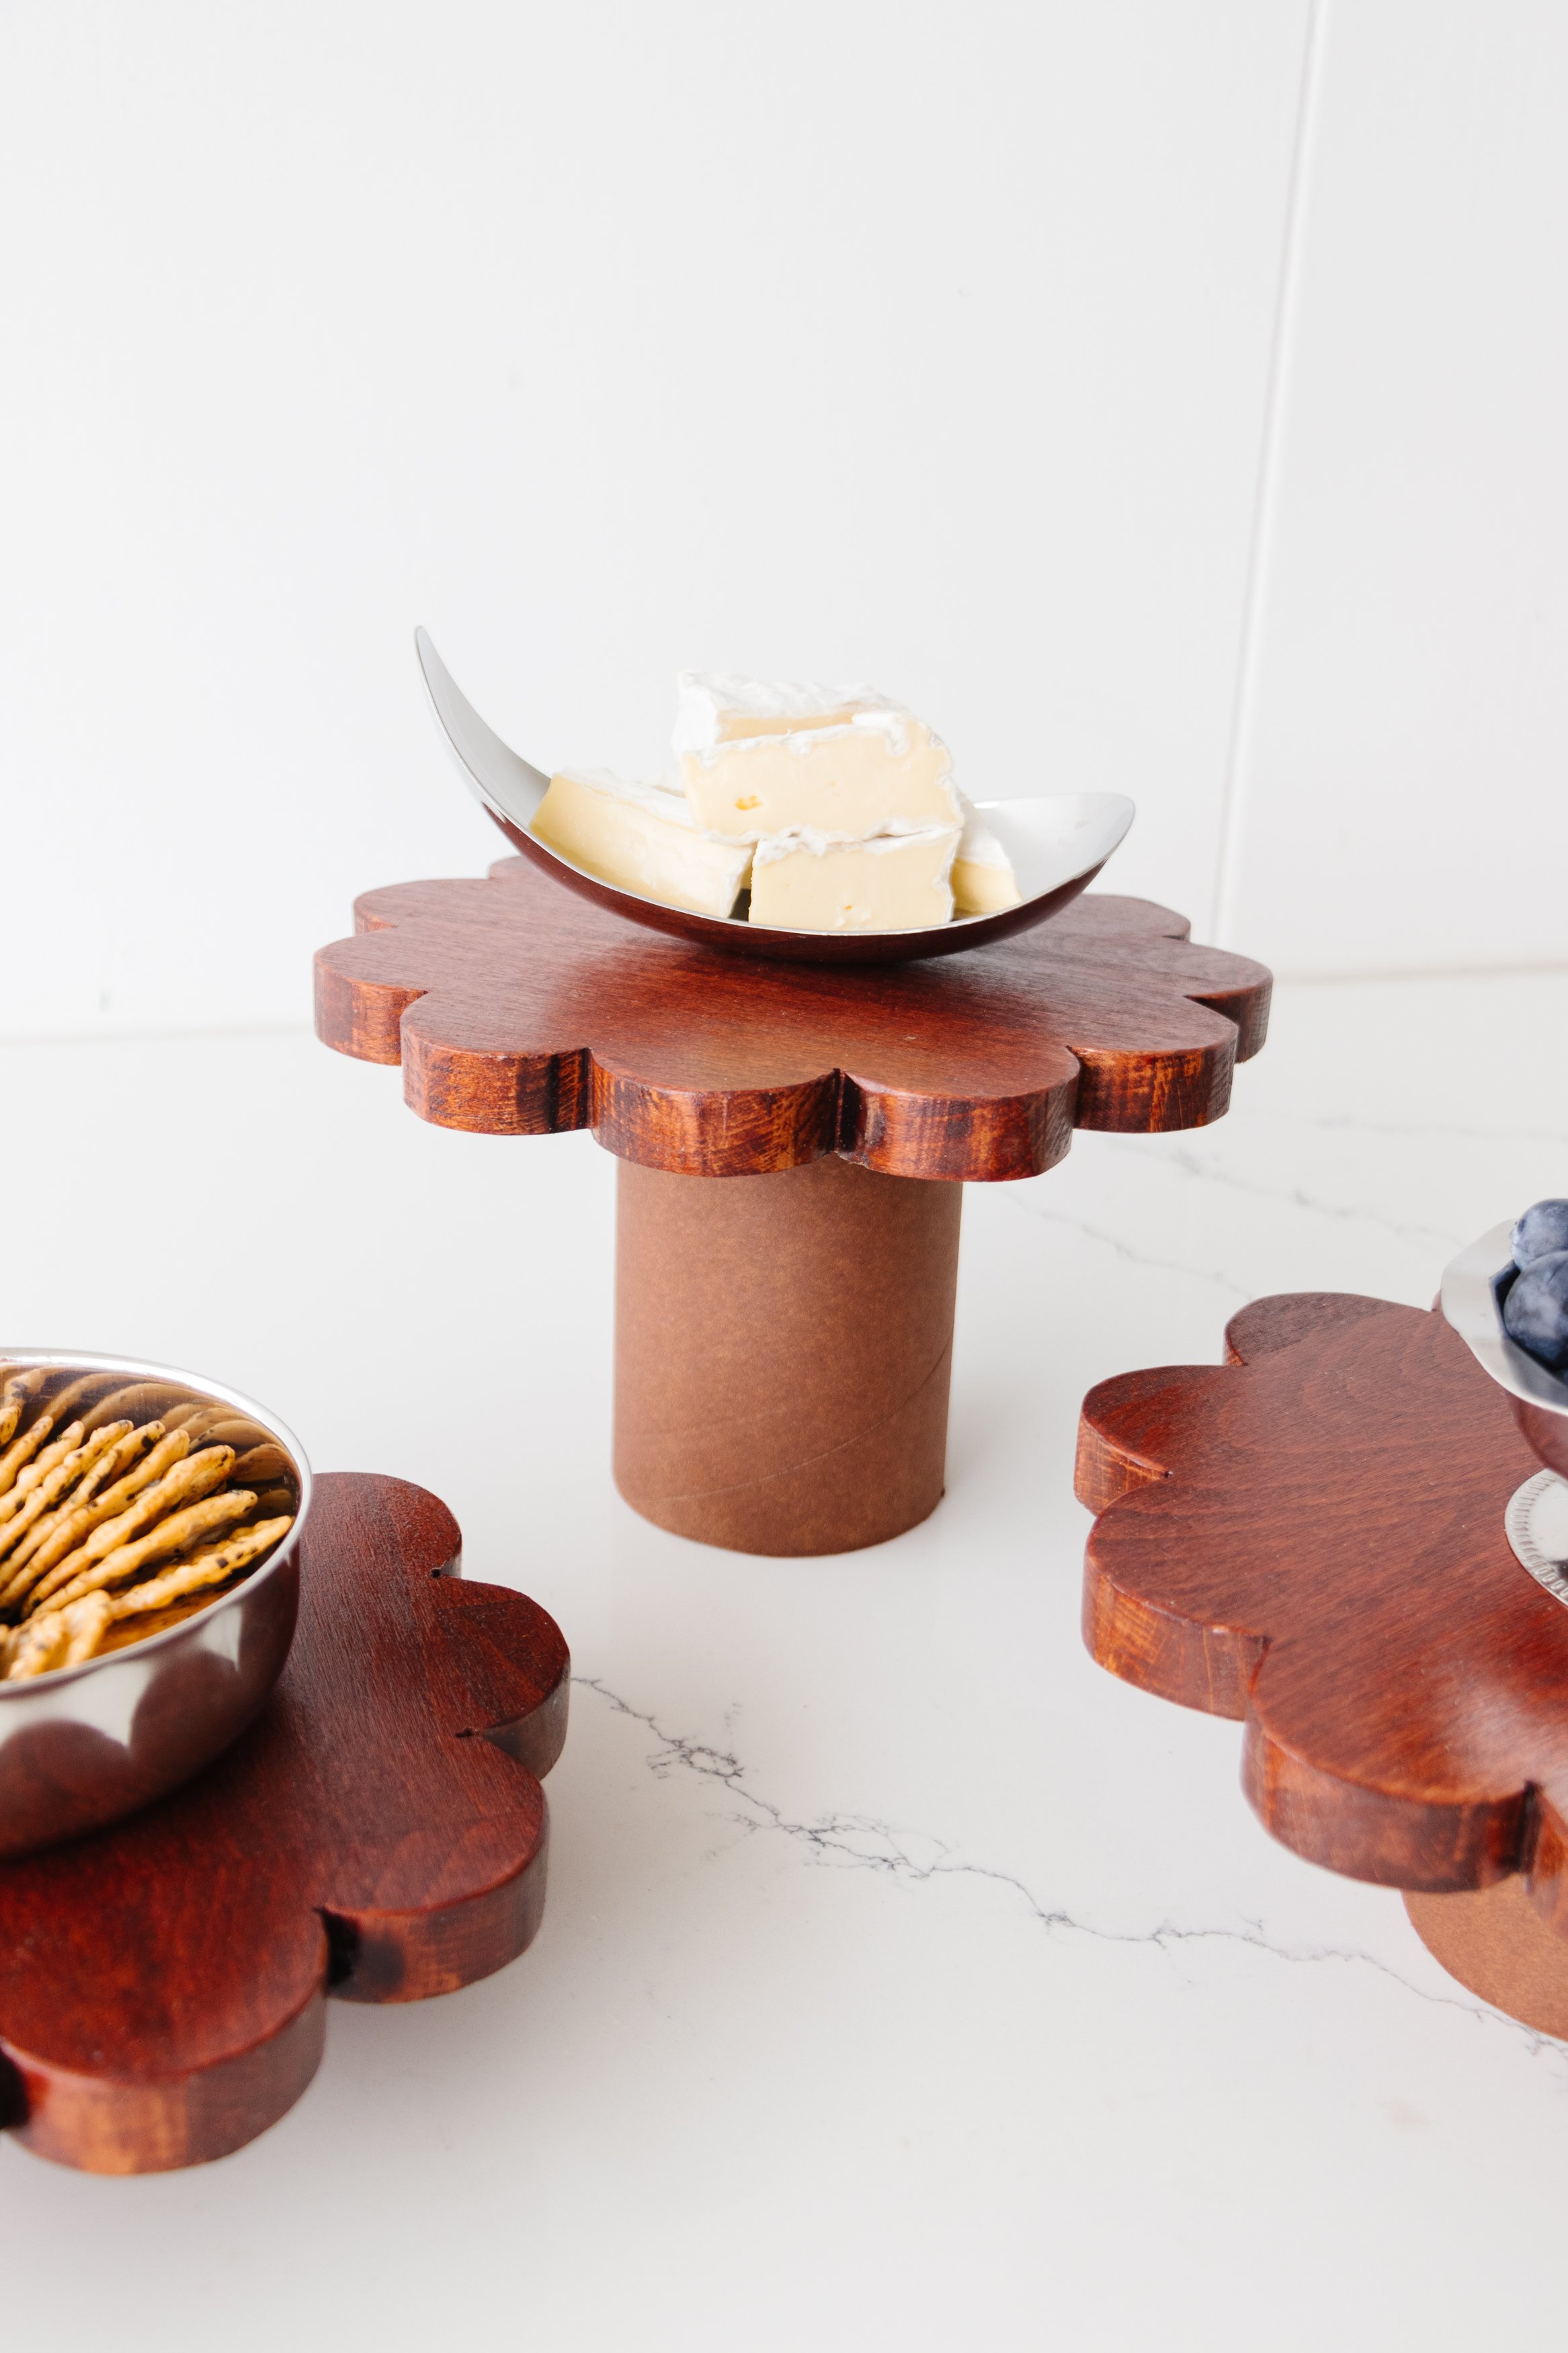
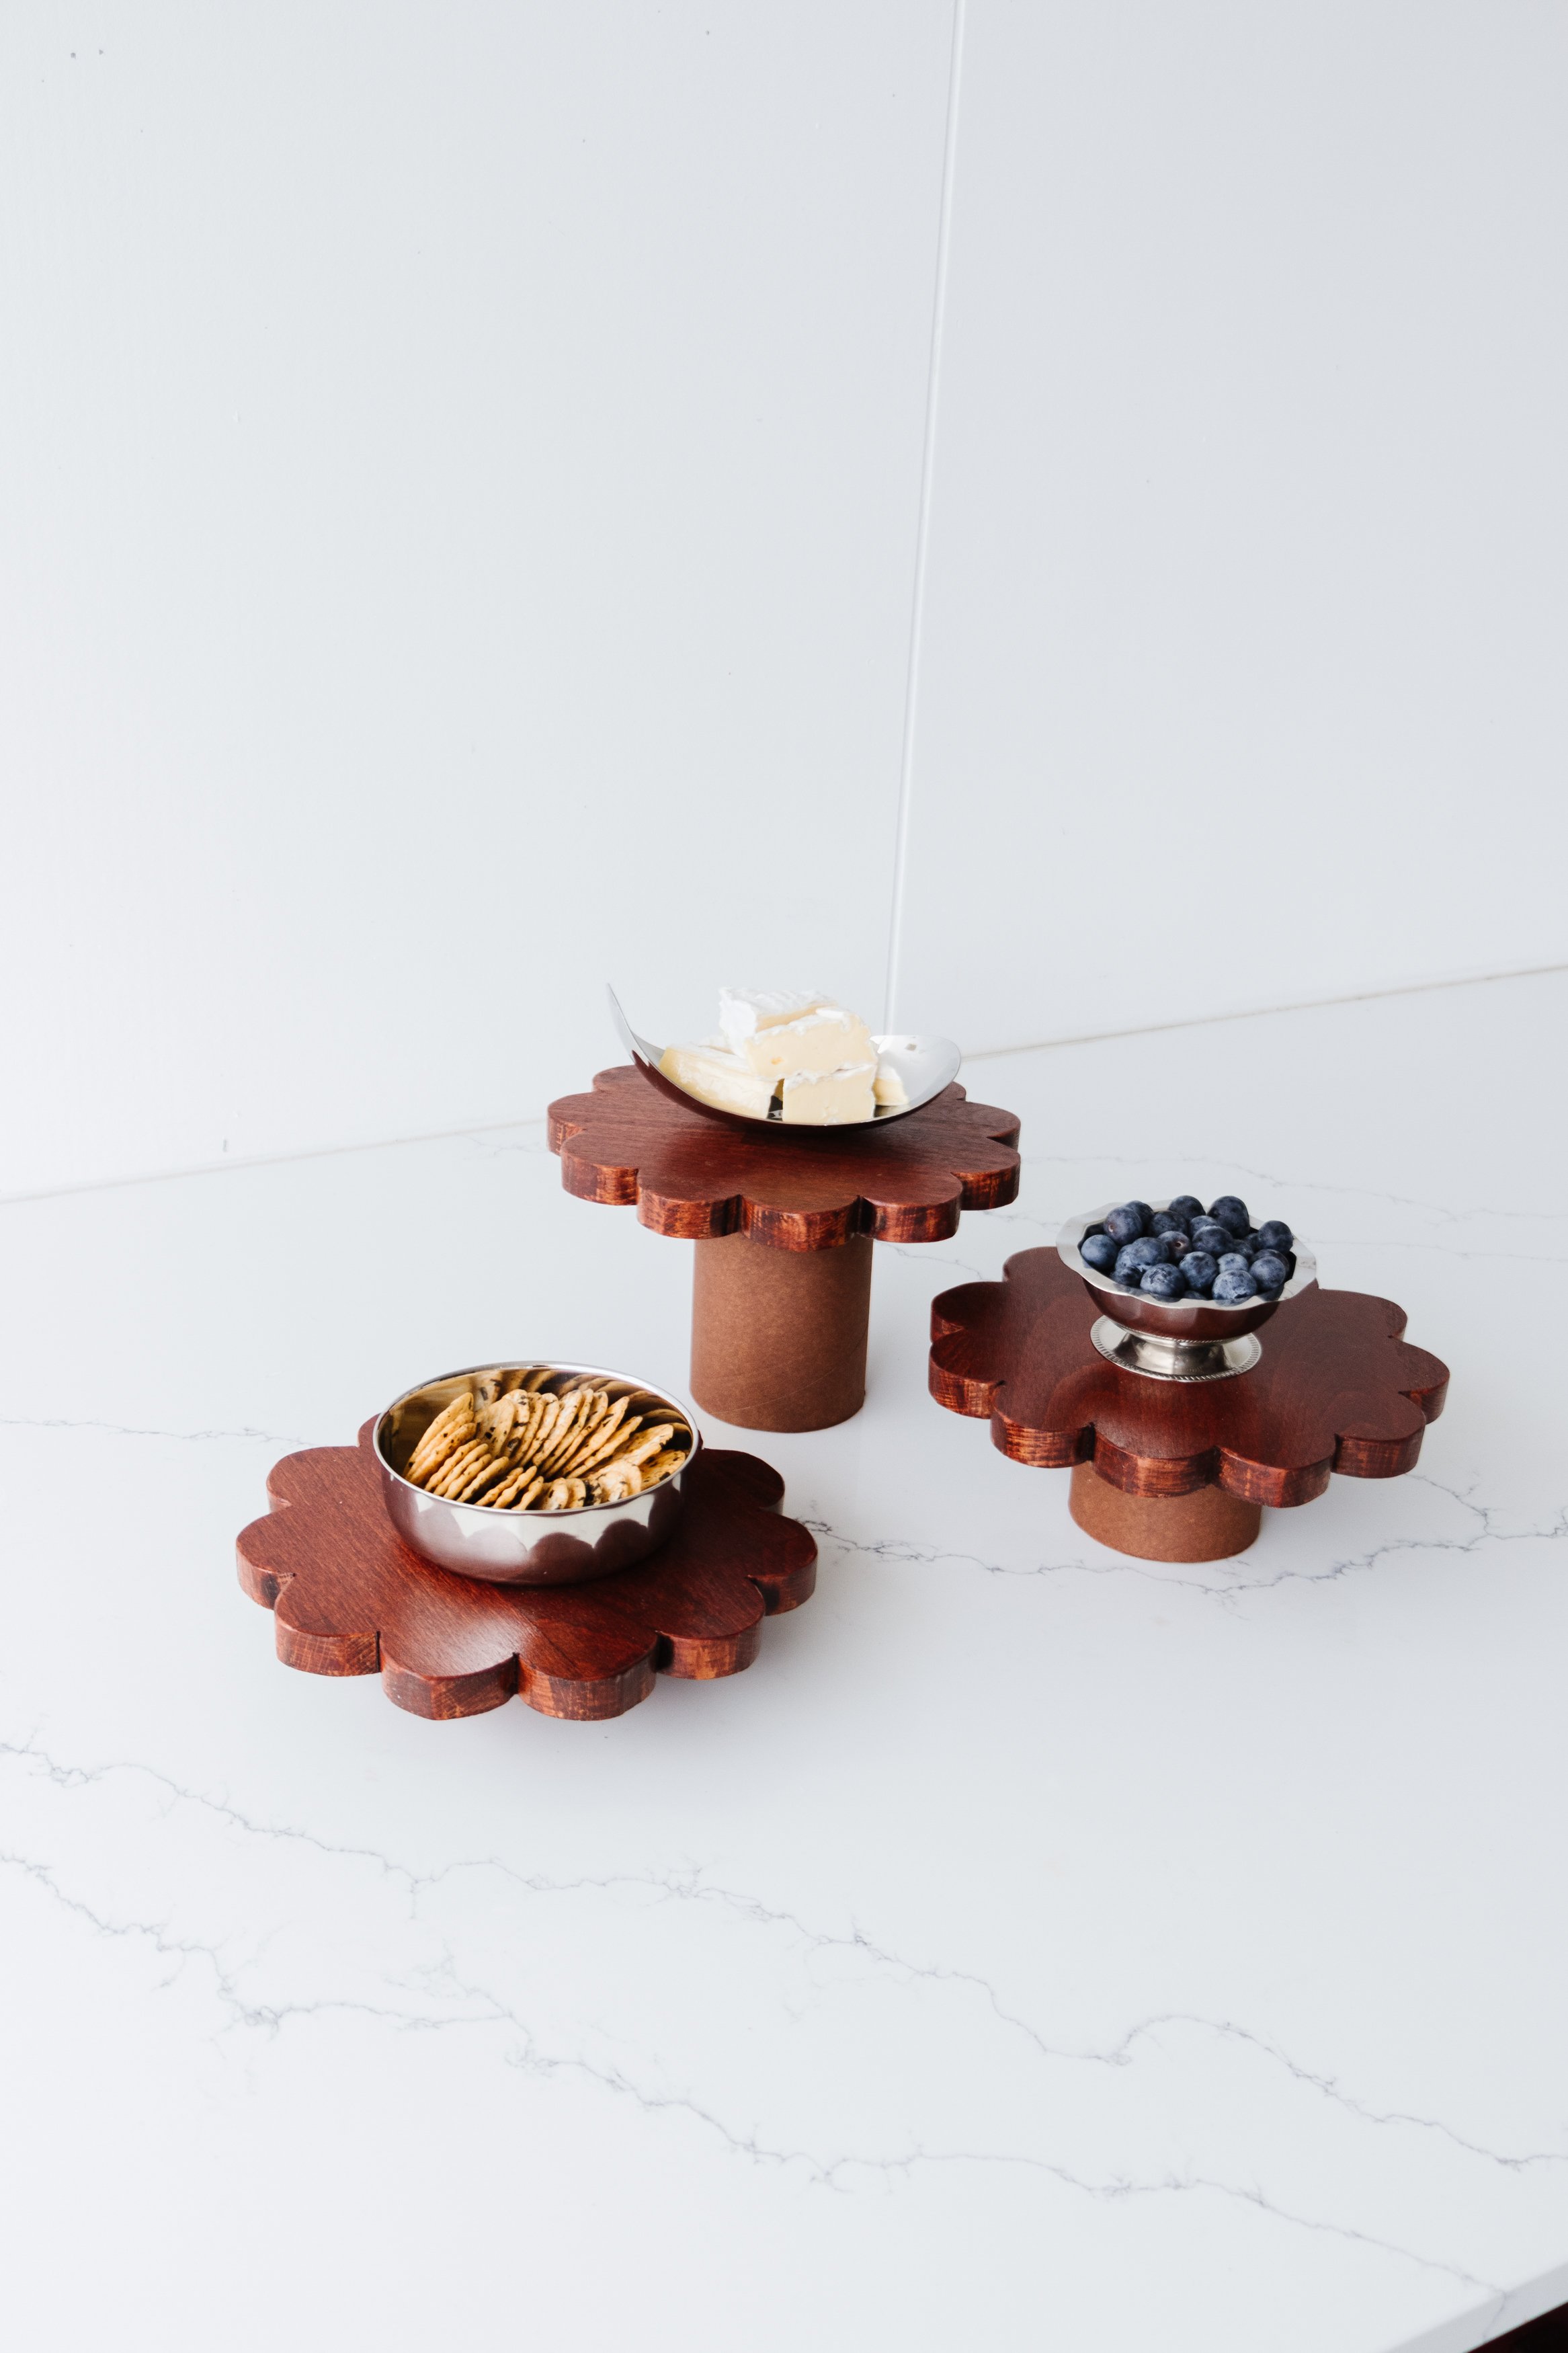
A couple of years ago I made these DIY Wavy Platters, which you loved so I thought I would make some new ones using a scrap piece of timber I found in my studio. As you know I've always loved a scalloped detail and for the upcoming entertaining season I wanted to make round scalloped trays. I also wanted them to have varying heights for a more dramatic effect, so I decided to reuse an old cardboard tube and got a very random idea to stain the cardboard - and it actually worked! Read on to find out how this project came together.
And make sure to watch this quick step by step video
Before & After


Project Details
♻️ Making: DIY Scalloped Serving Trays
🕒 Project Time Estimate: 2 hours (not including stain/varnish drying time)
💰 Materials Cost: Under $50
🪑 Skill Level: Beginner to intermediate
👷♀️ Protective Gear: Safety eyewear, ear plugs
Materials
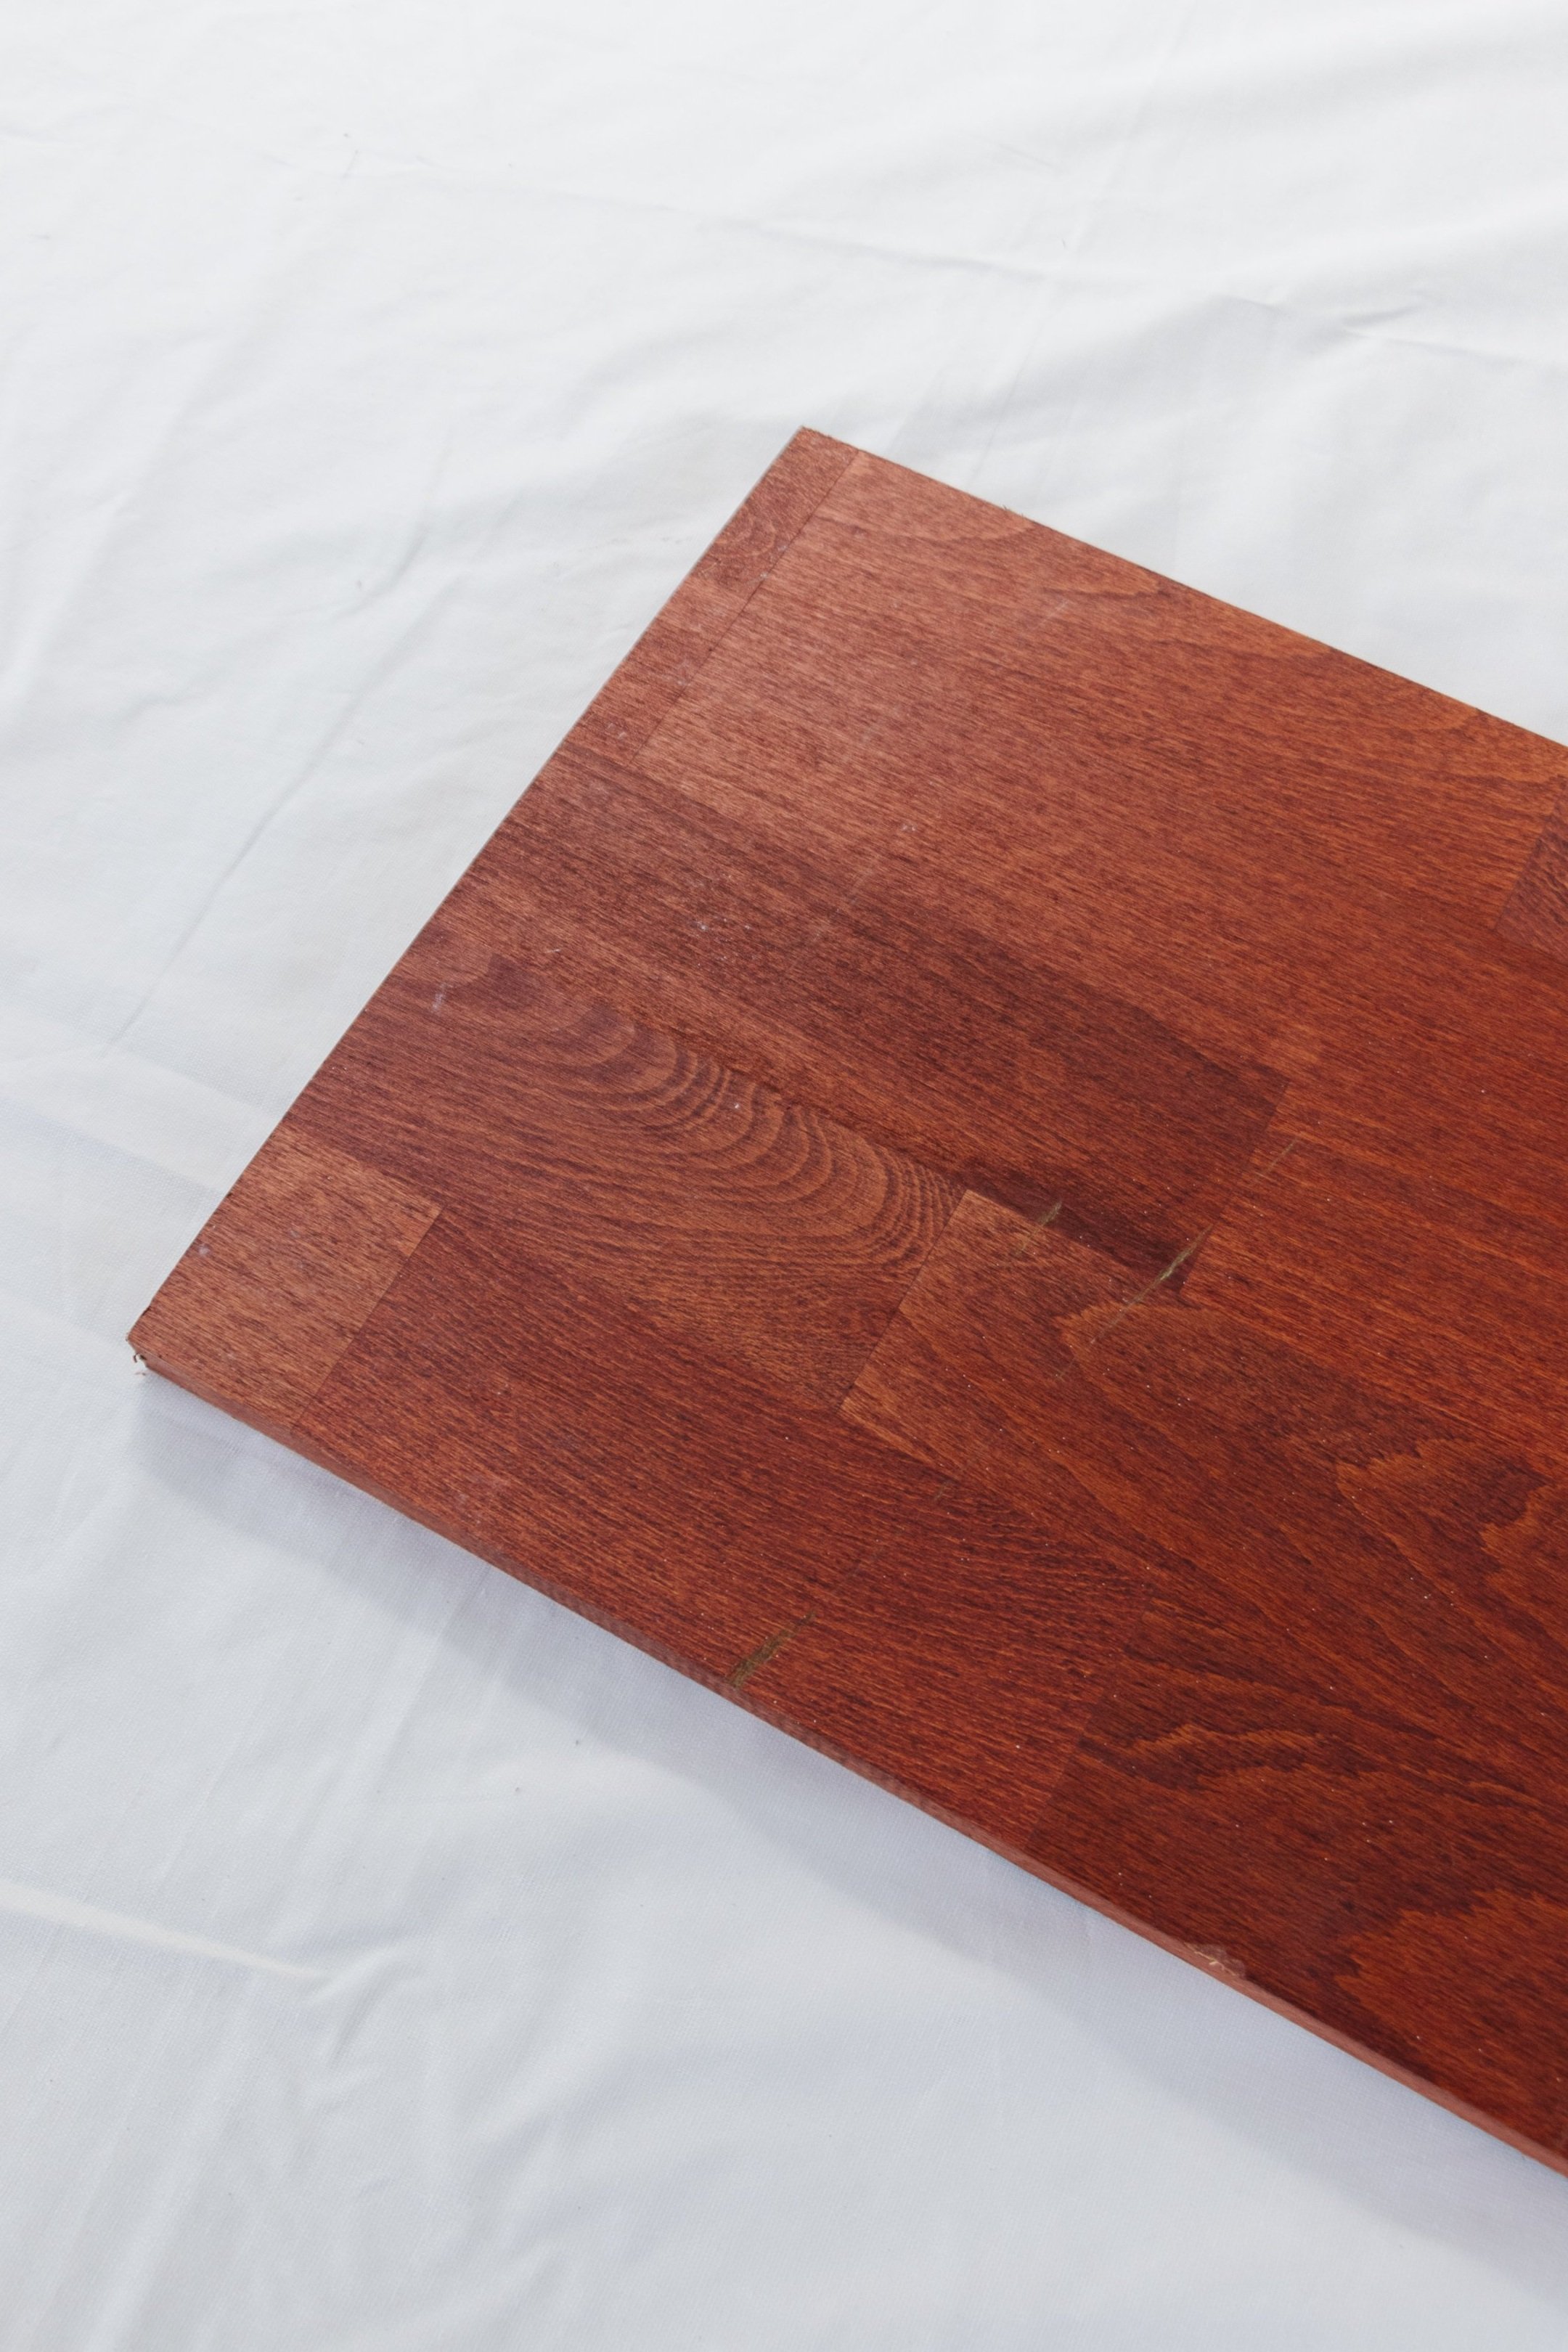
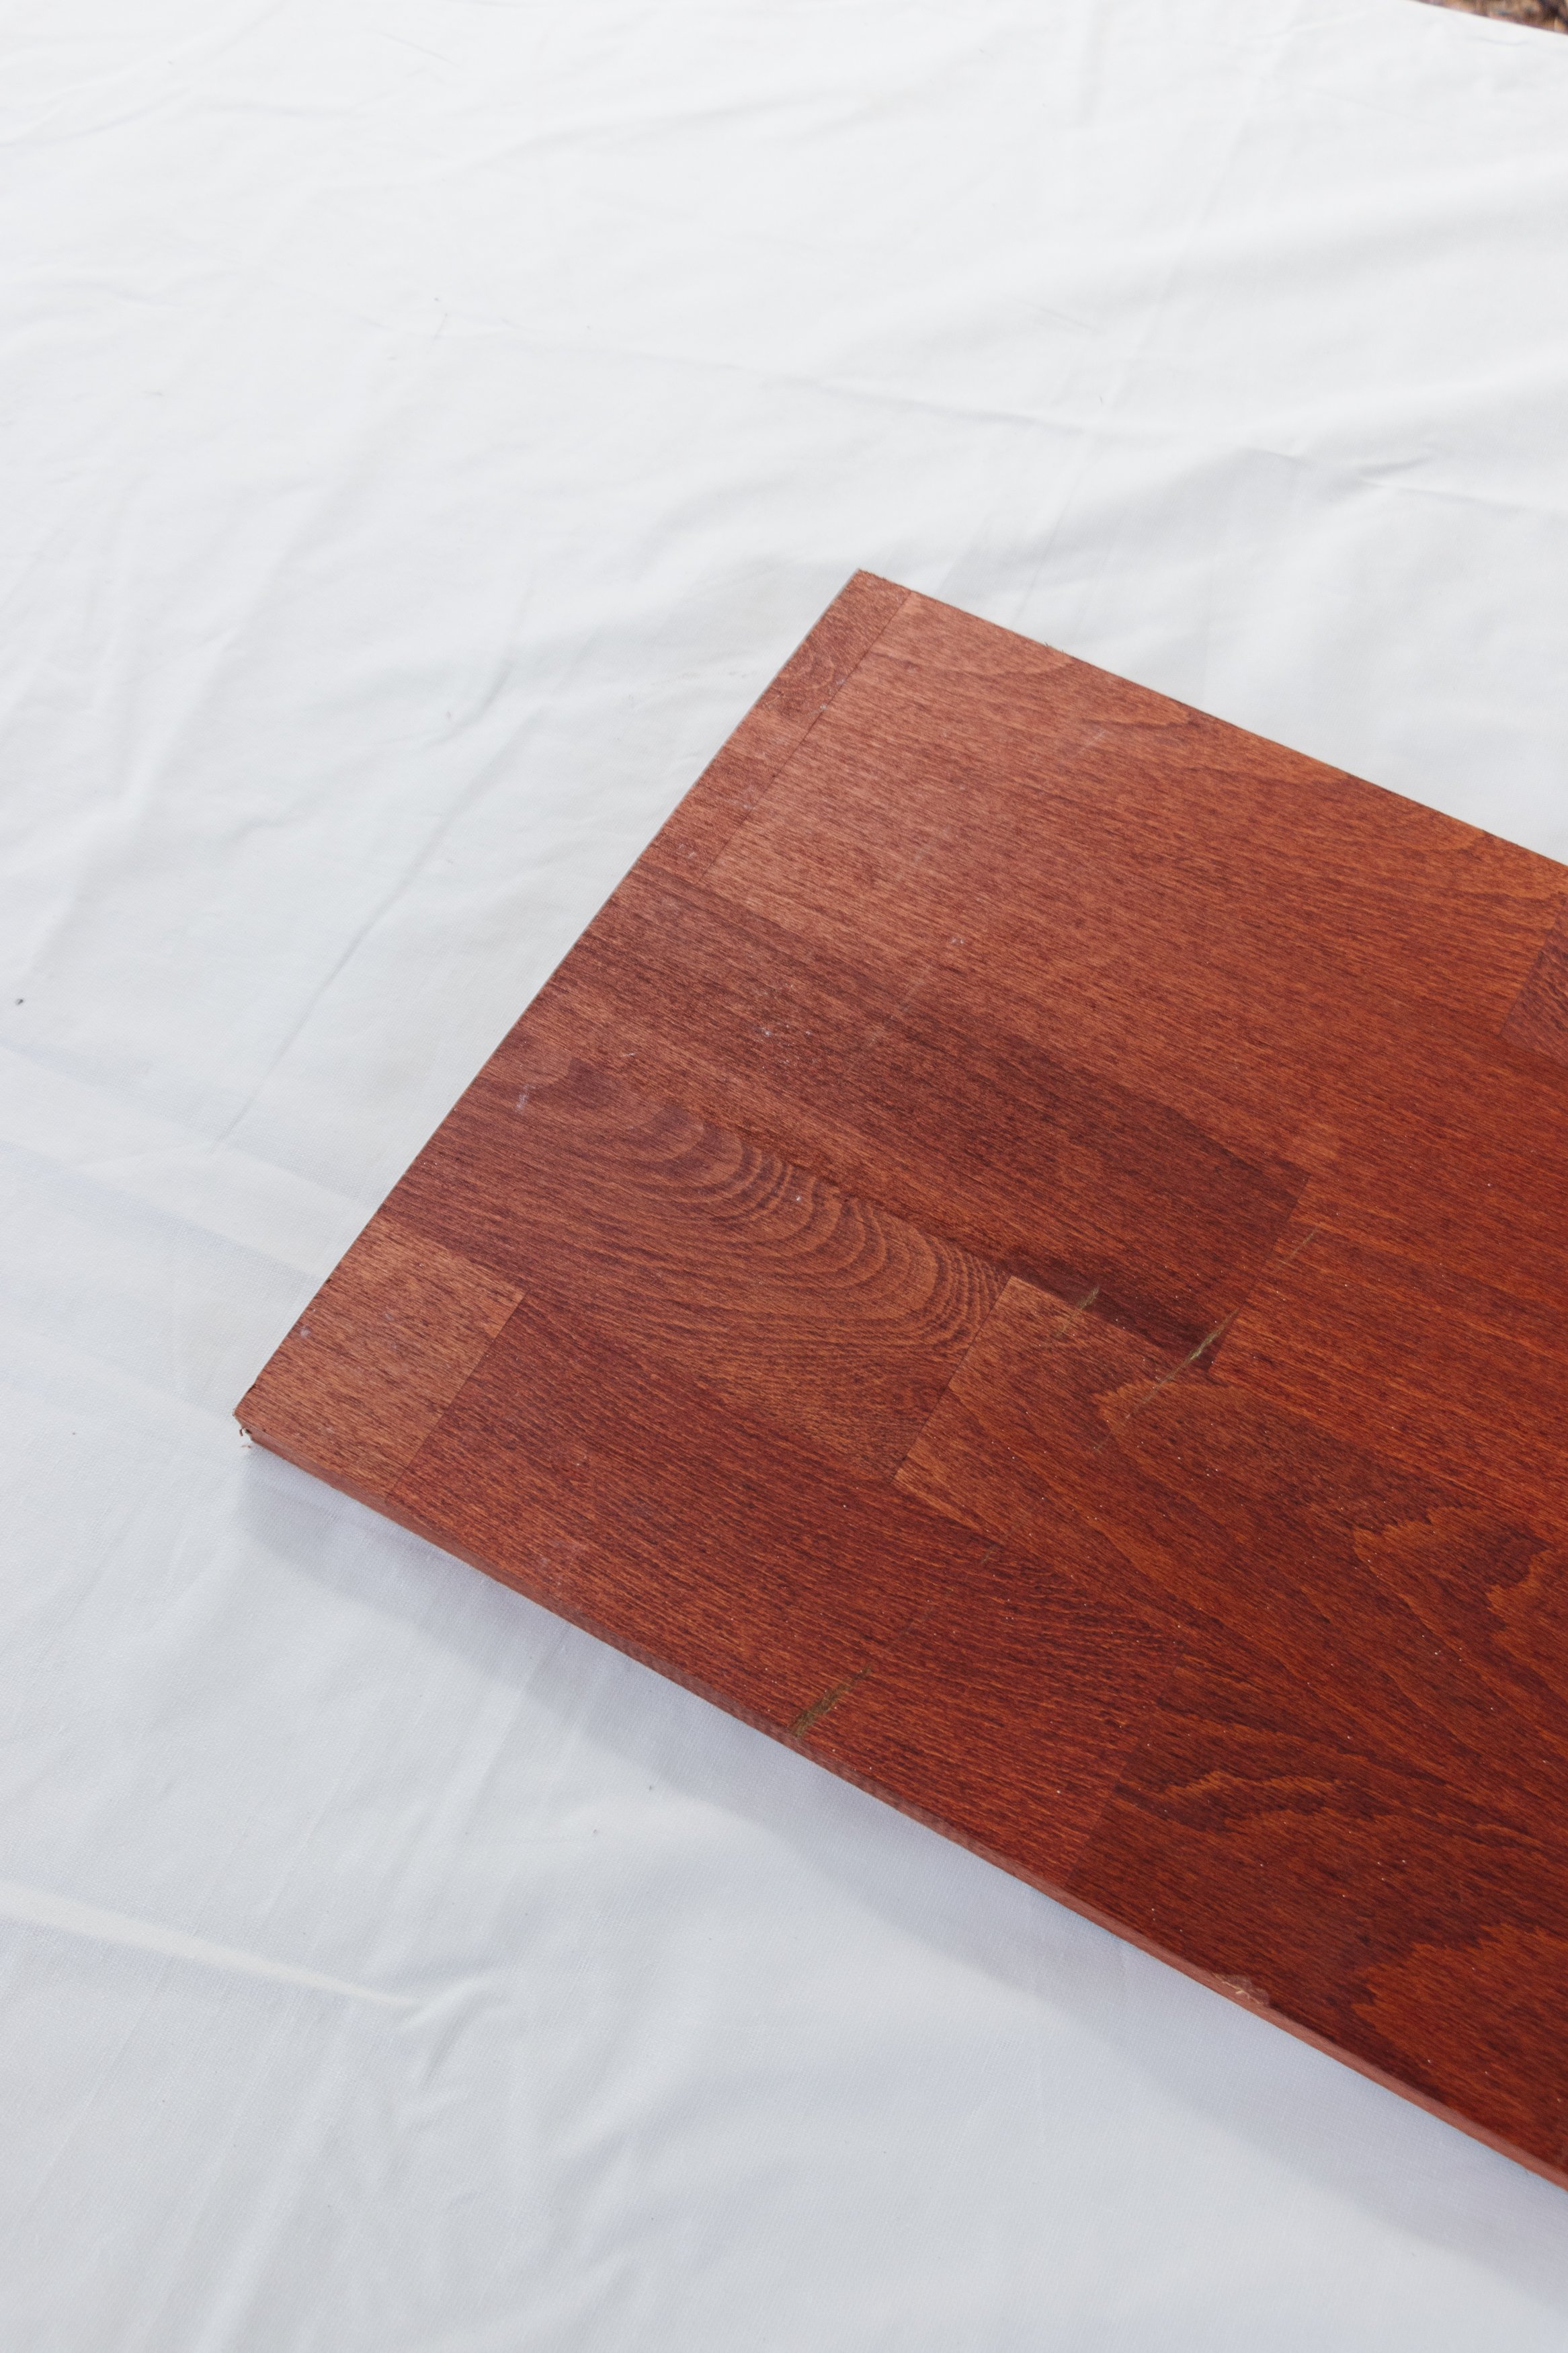
1 x Wood Plank
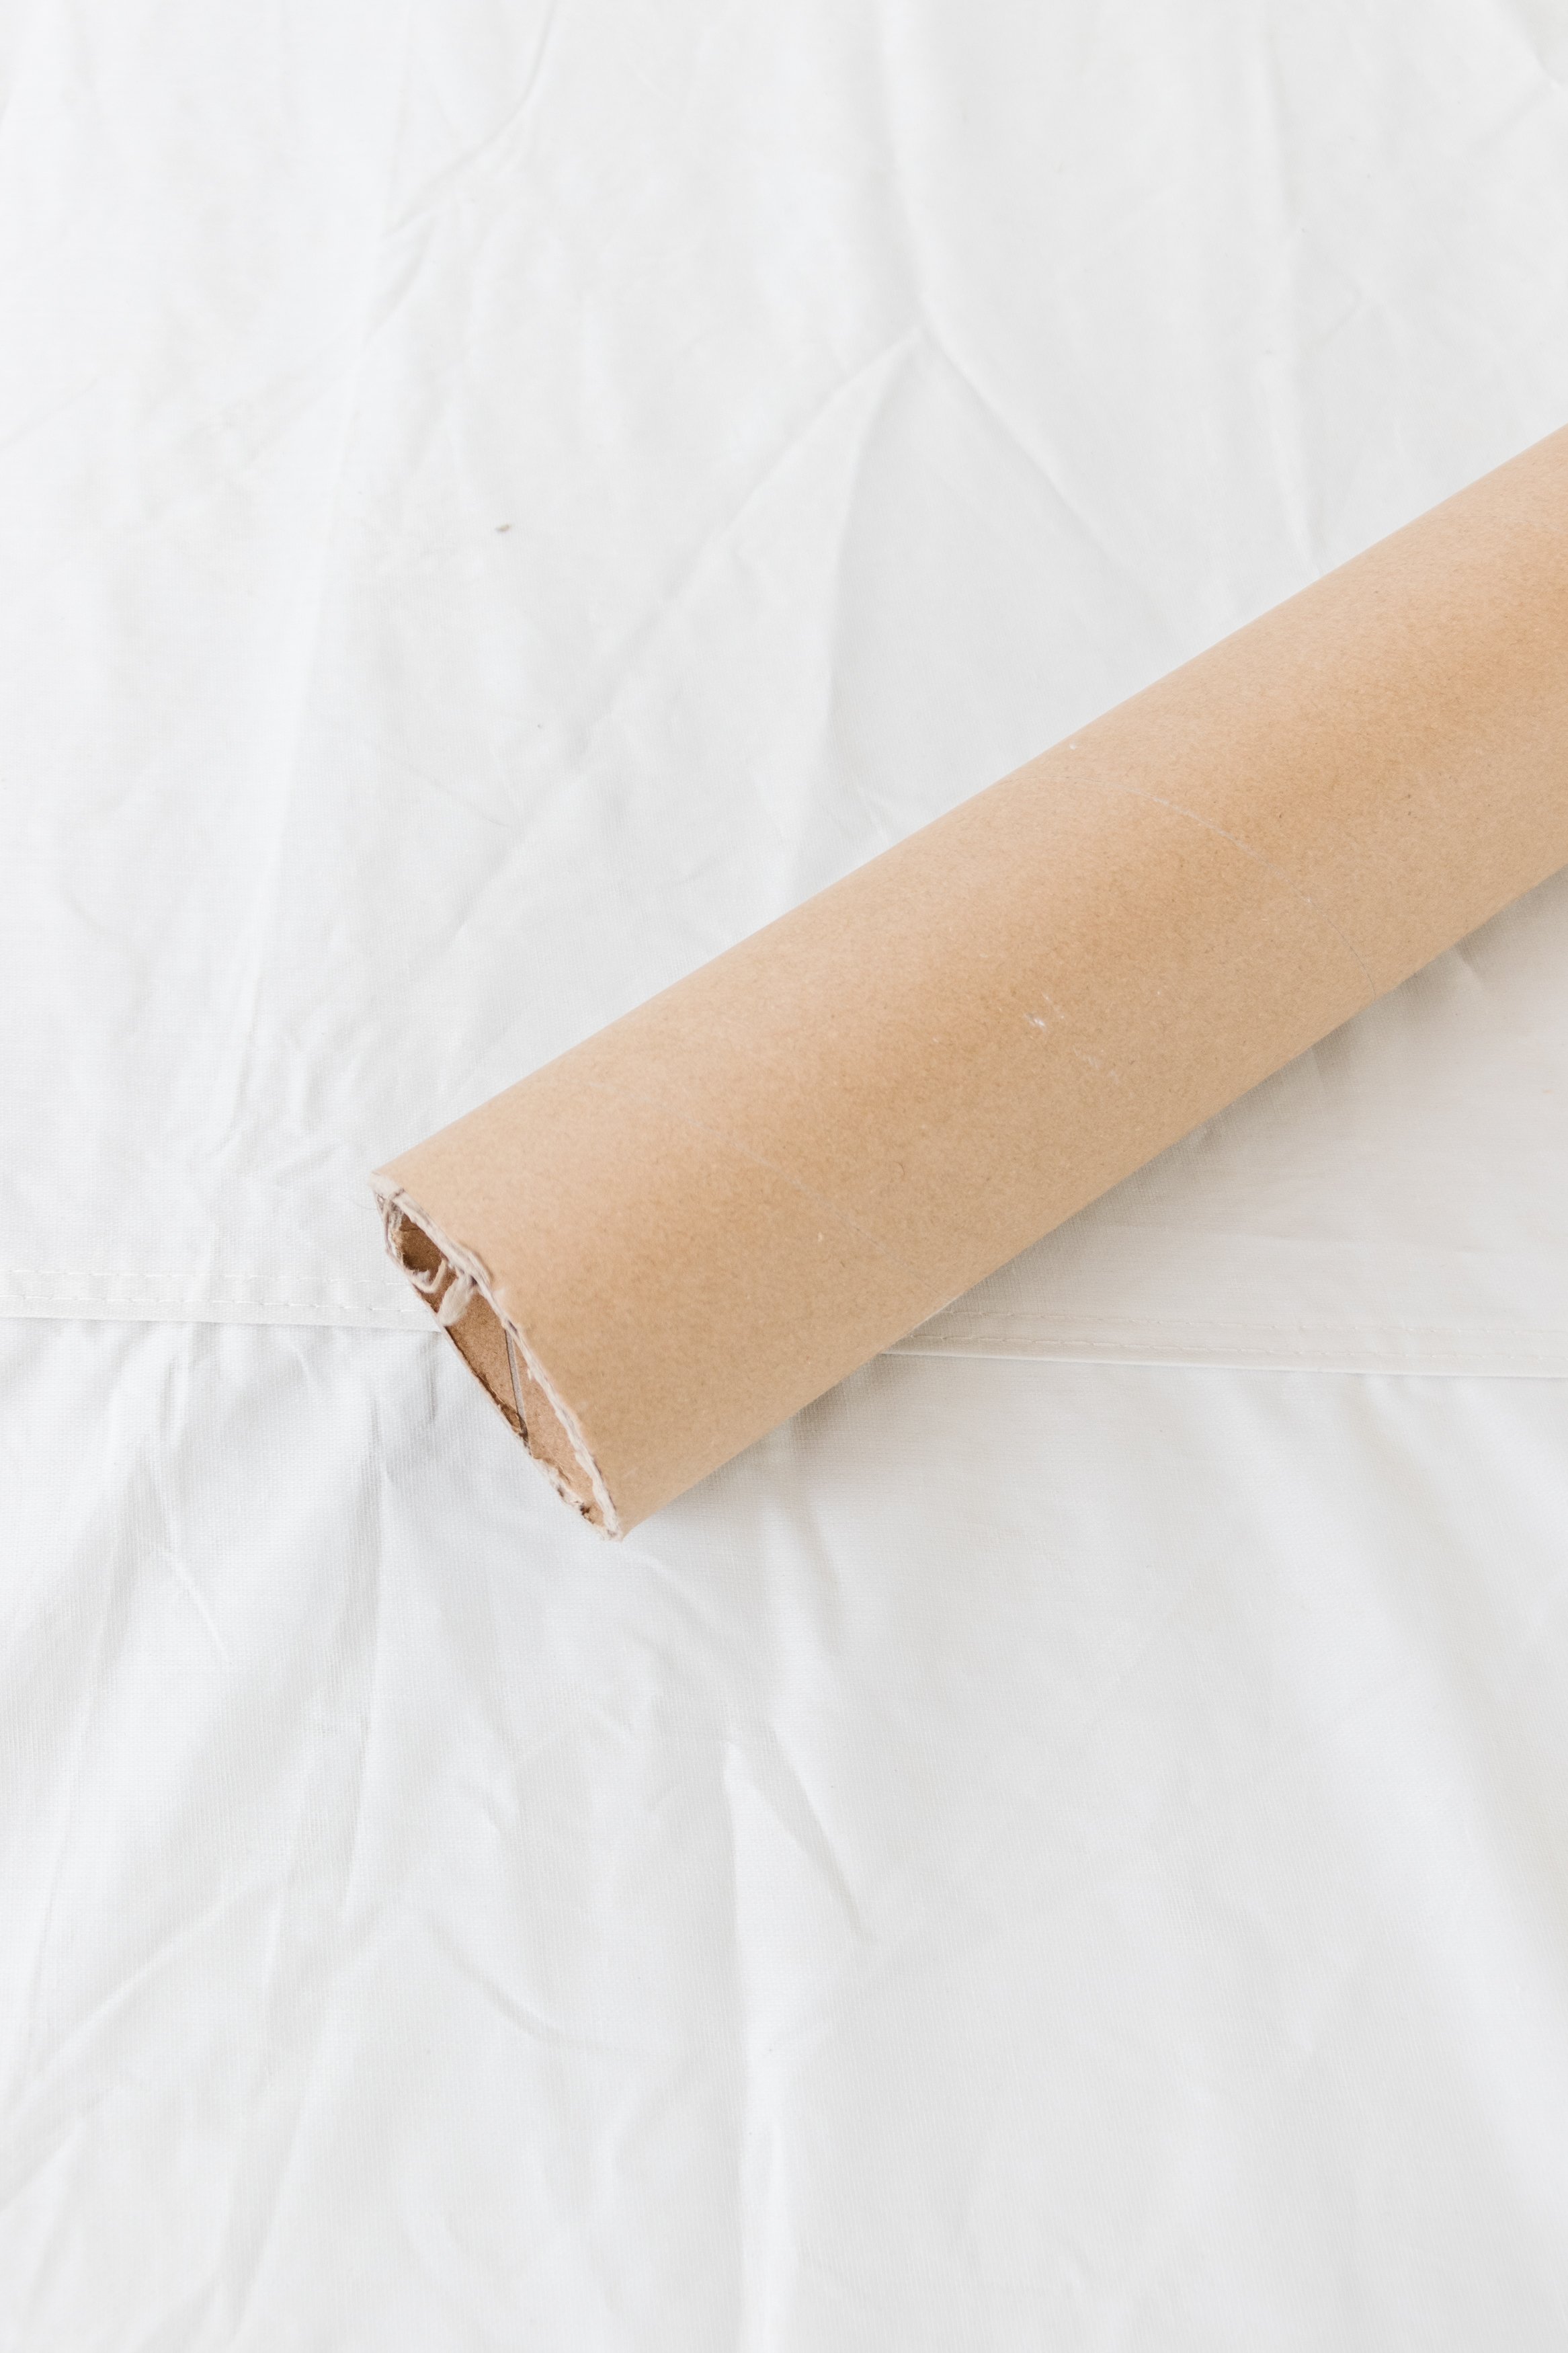
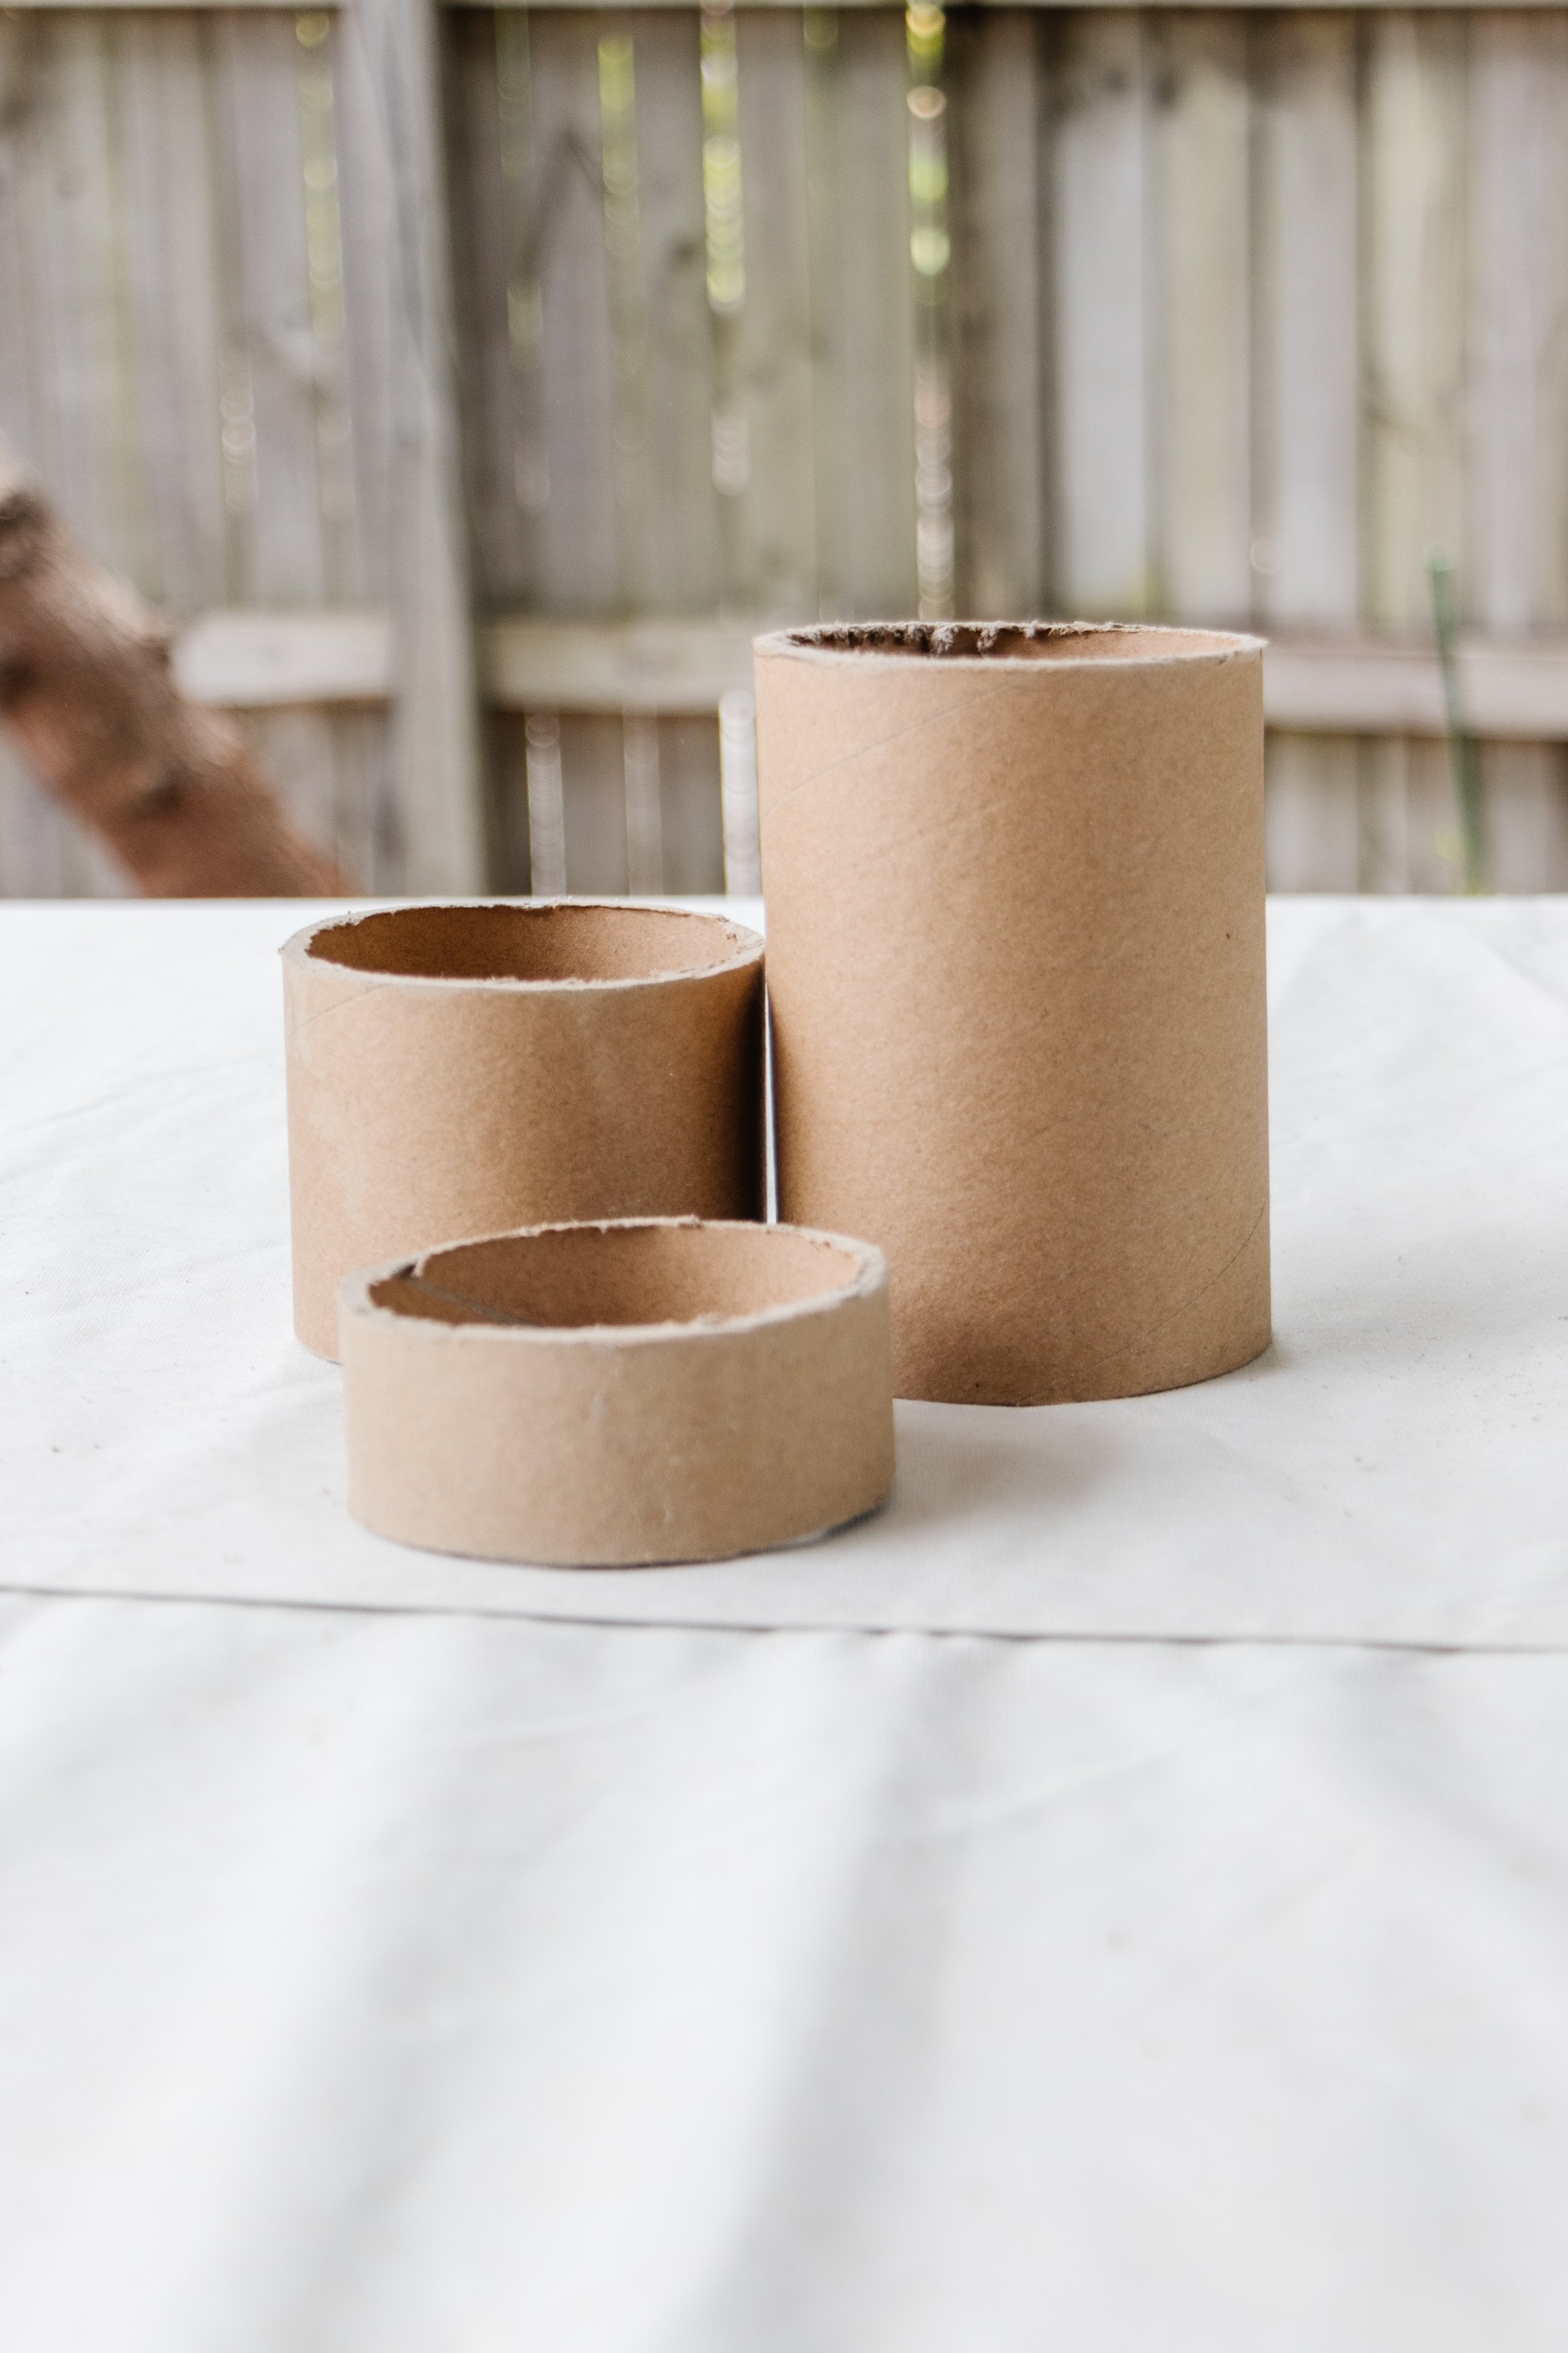
Cardboard tube
Timber stain
Satin timber varnish
Tools
Pencil, ruler and string
Glass (or something round)
Clamps
Jigsaw
Detail sander
Microfibre cloth
How To
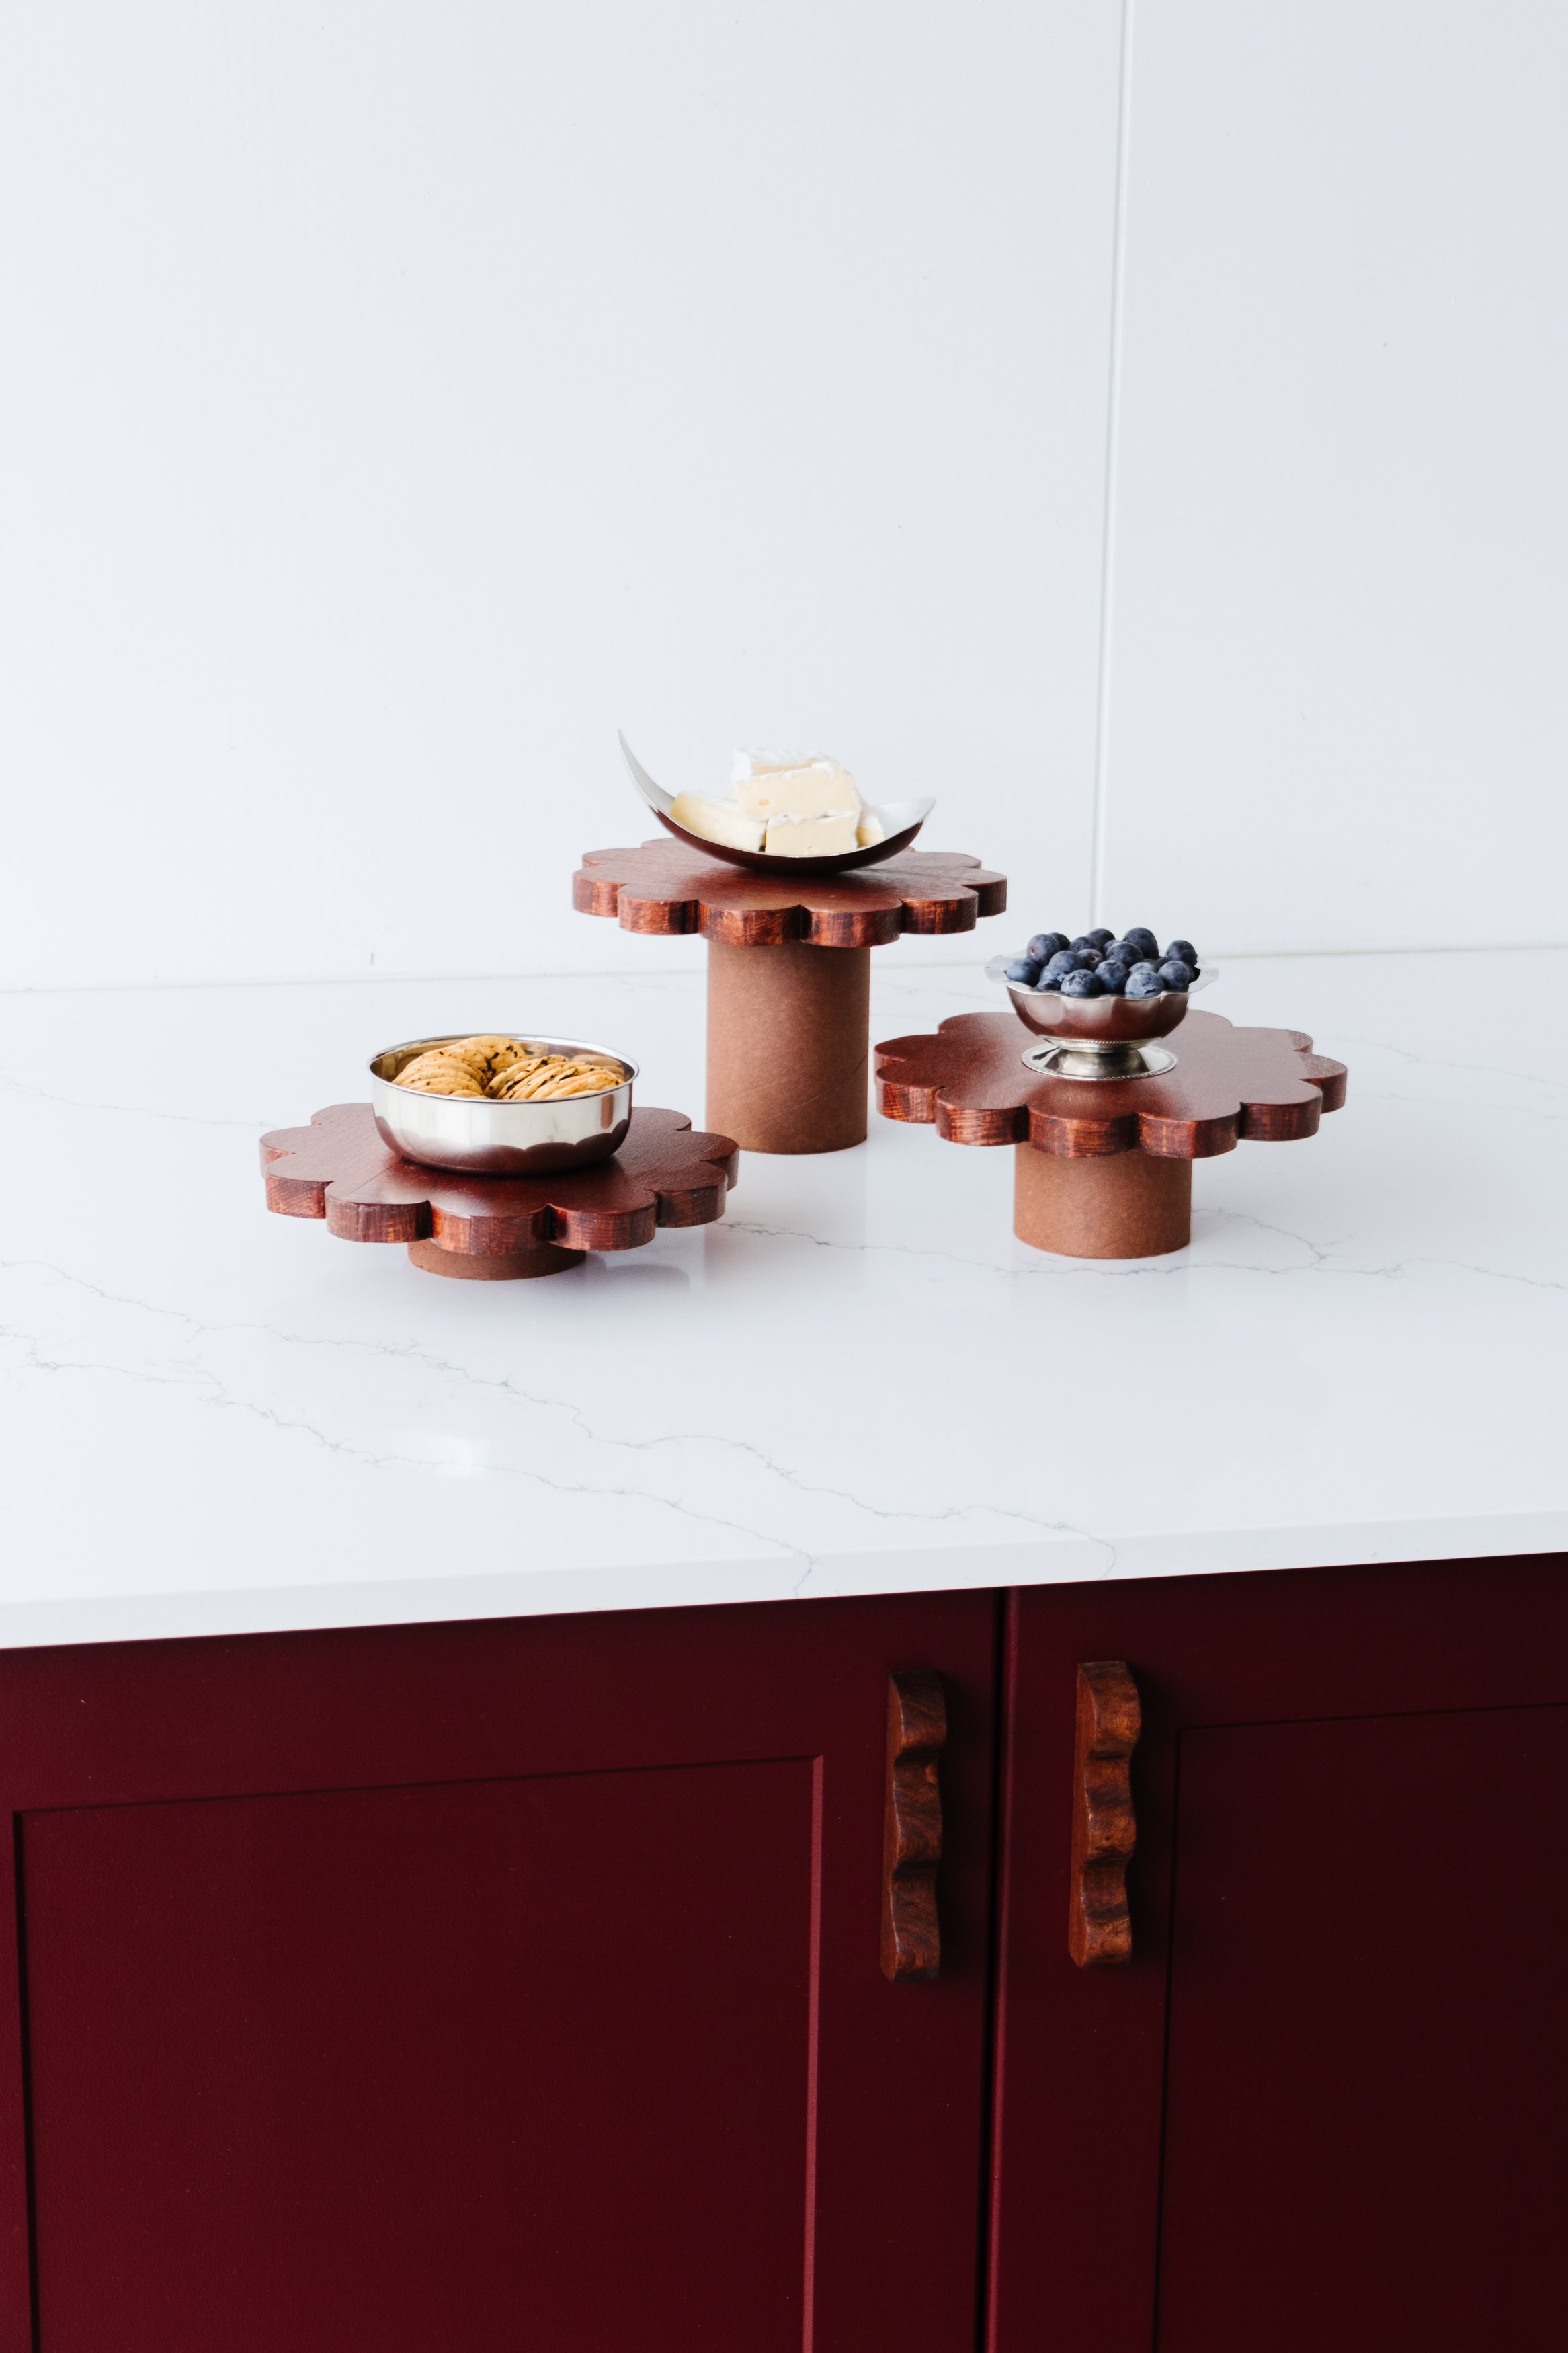
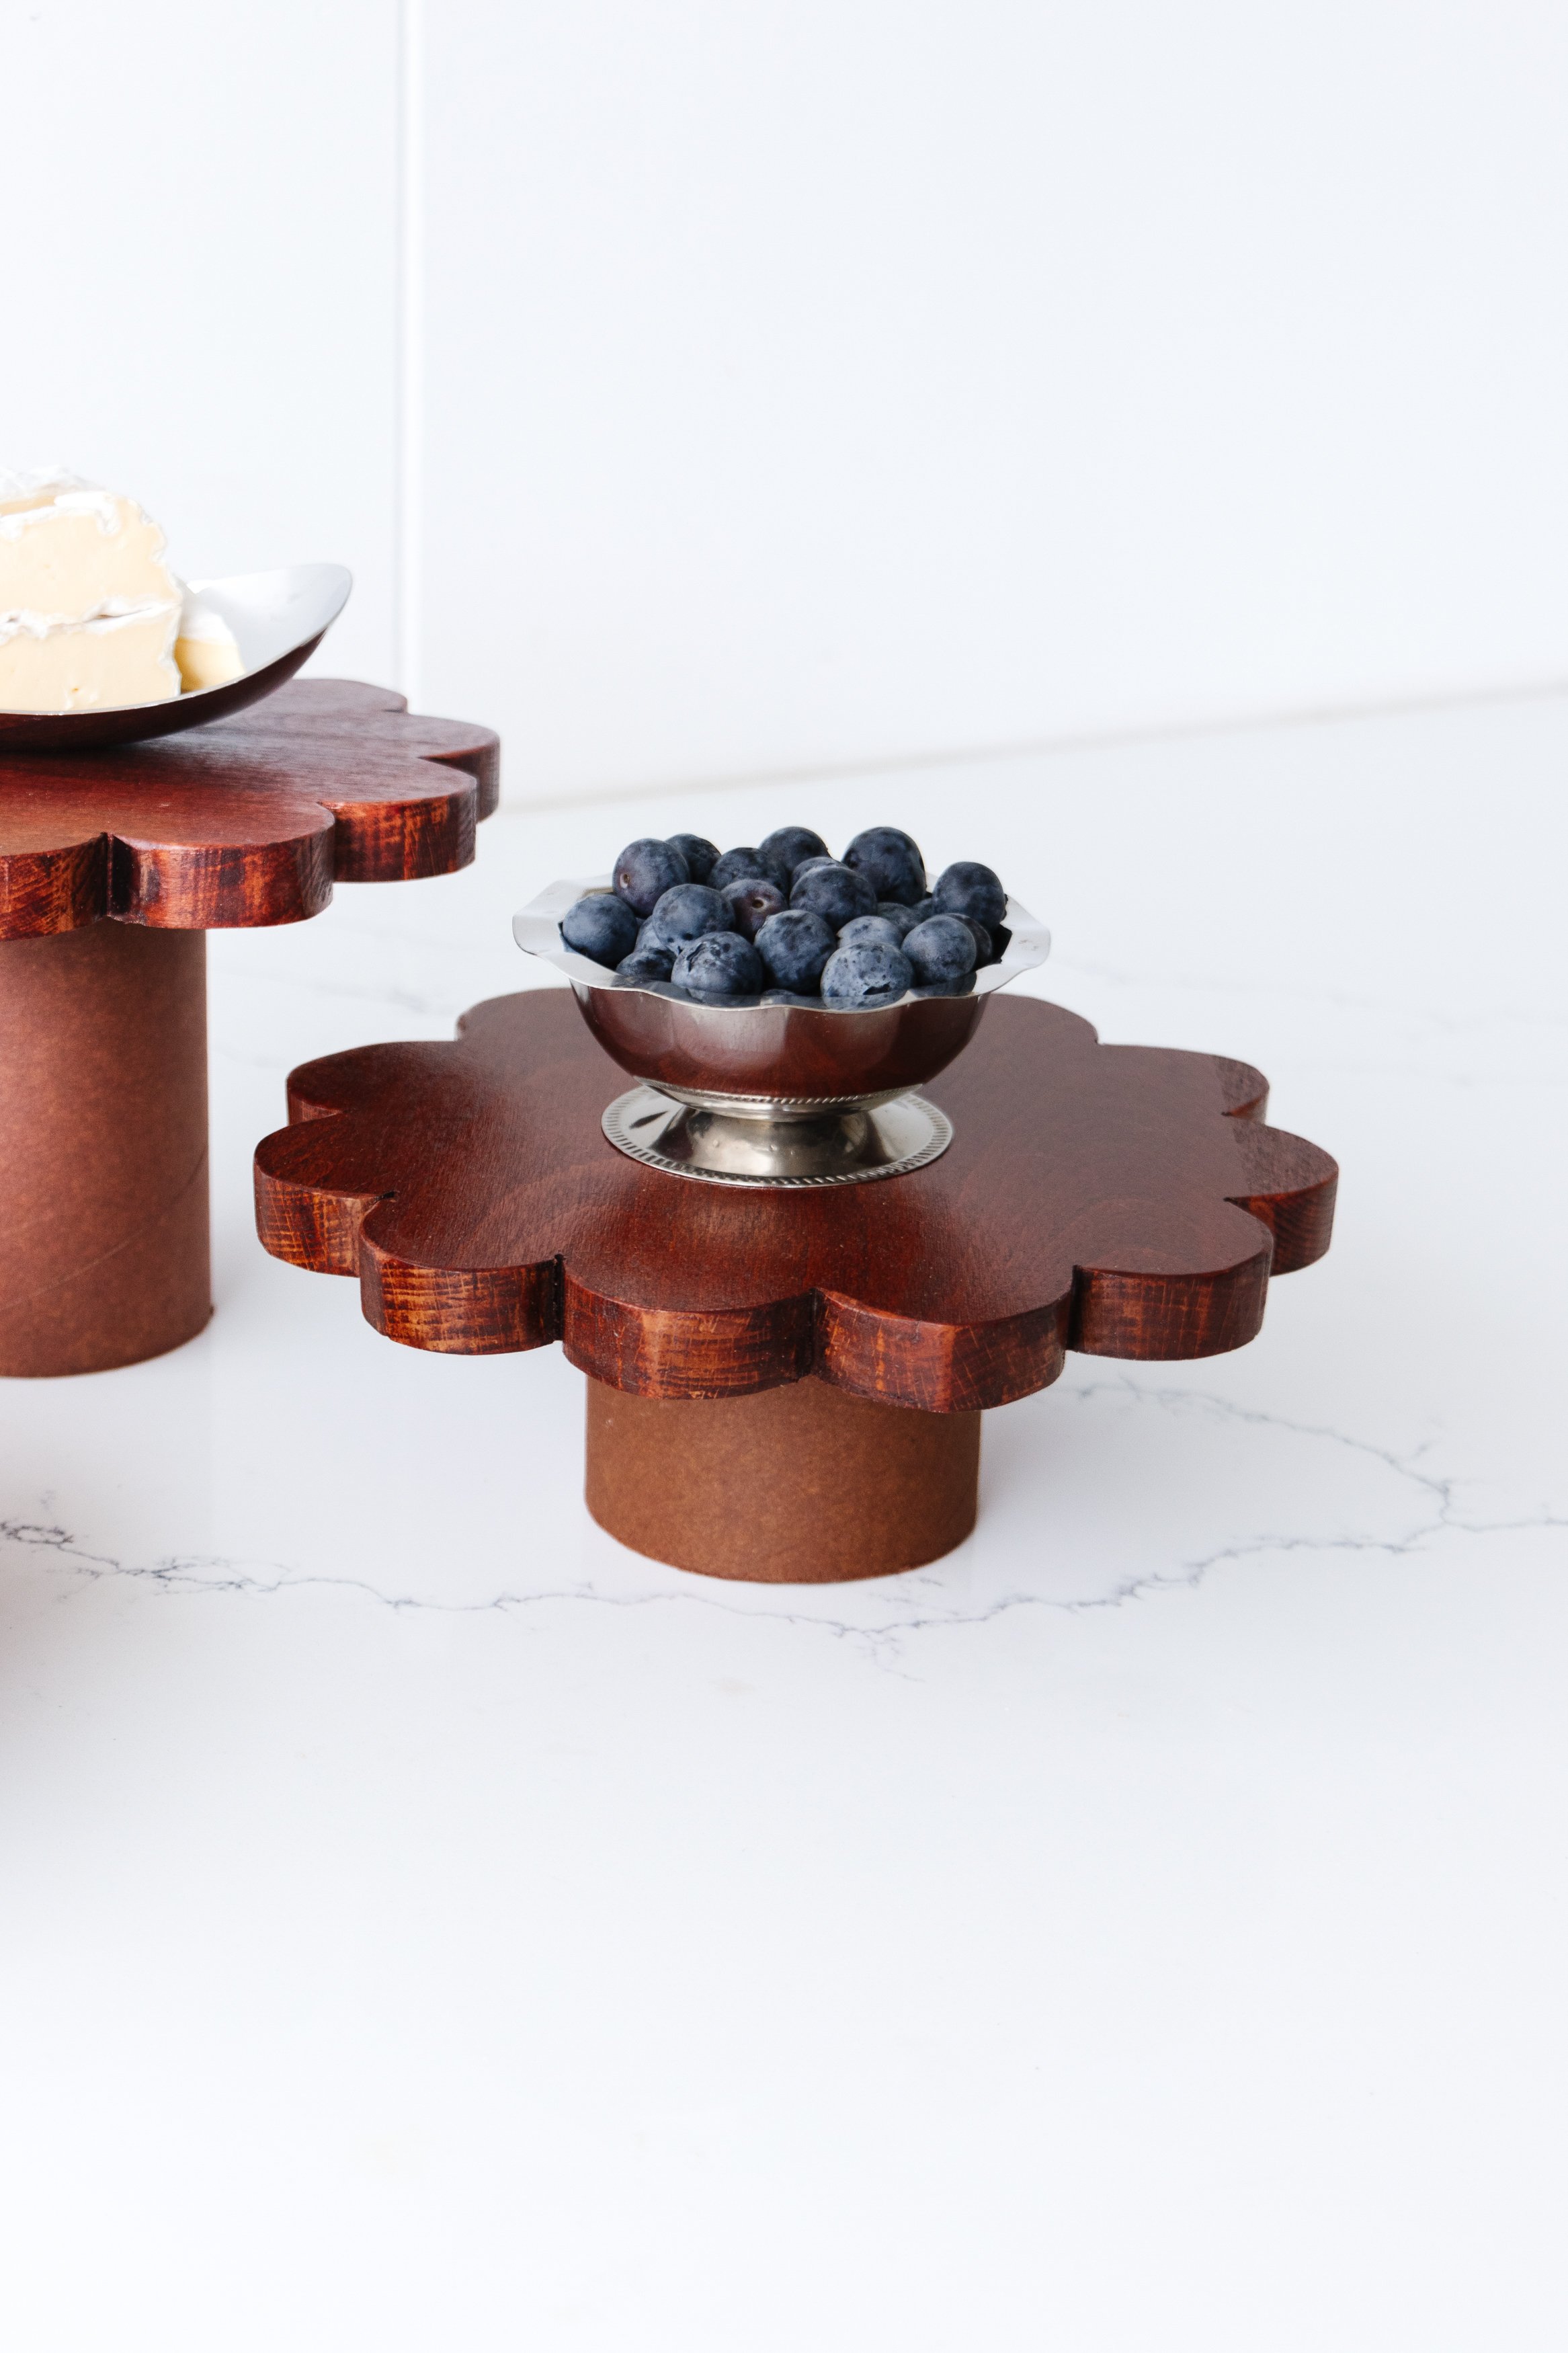
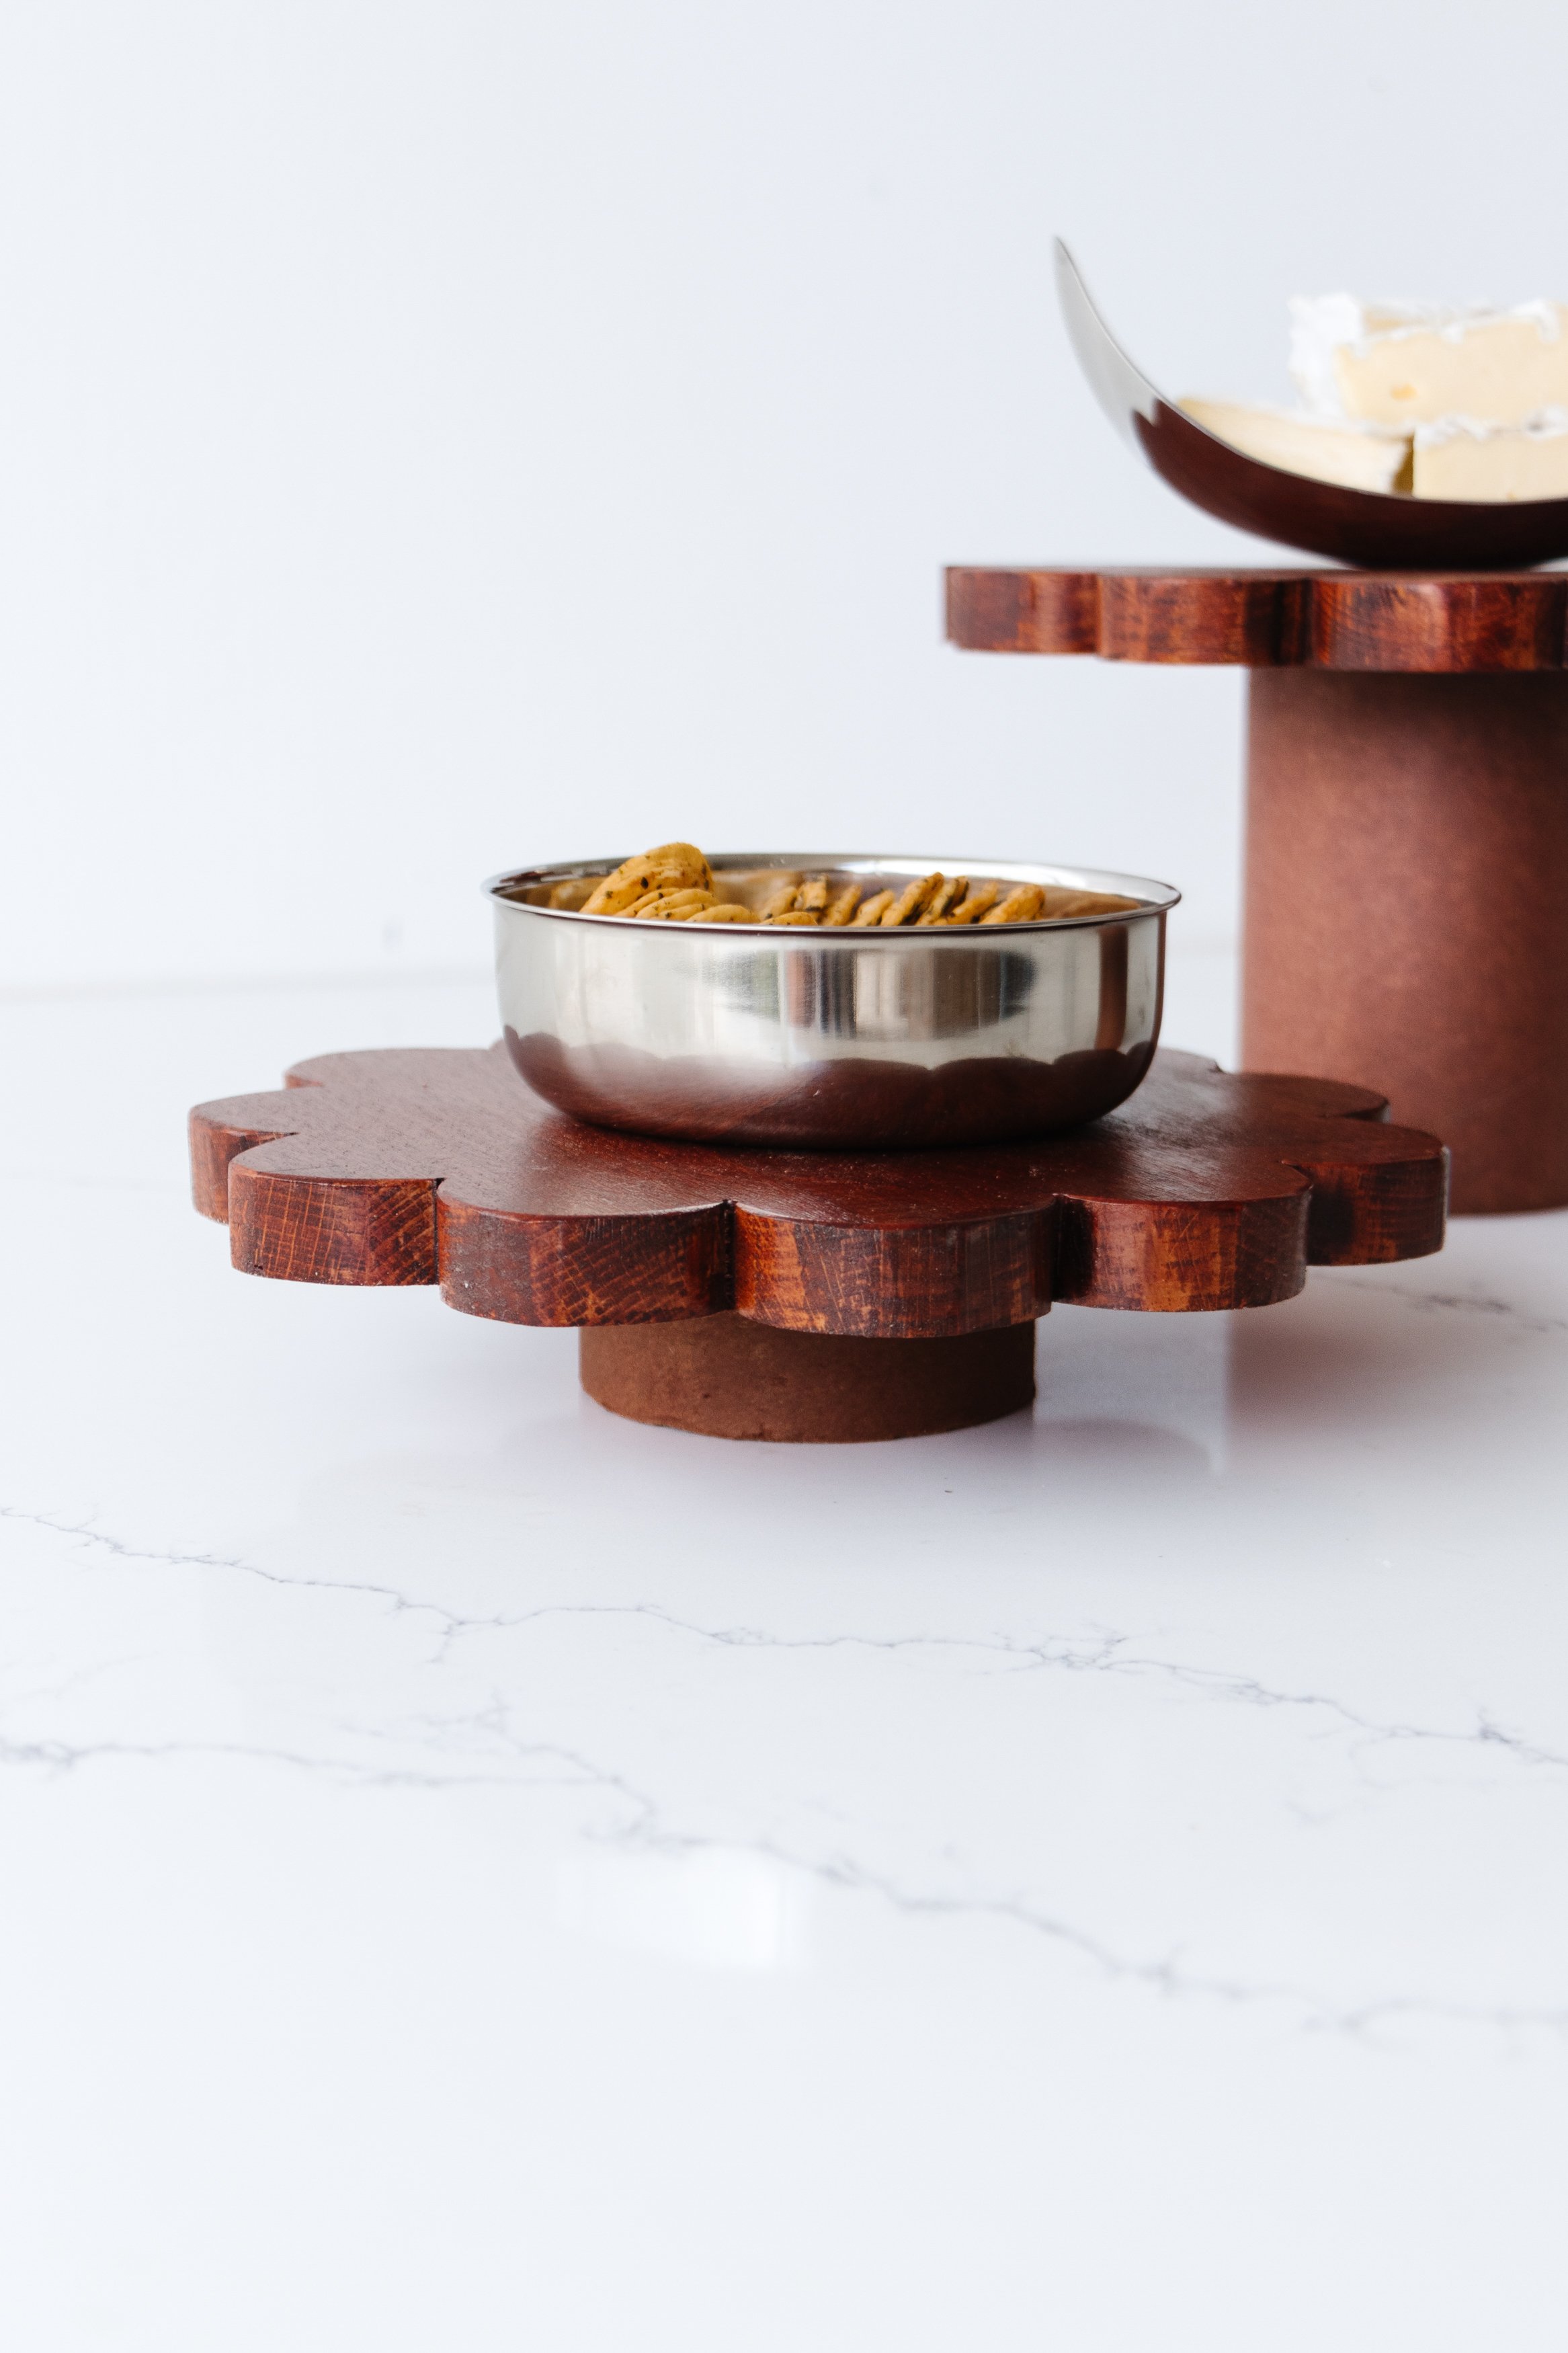
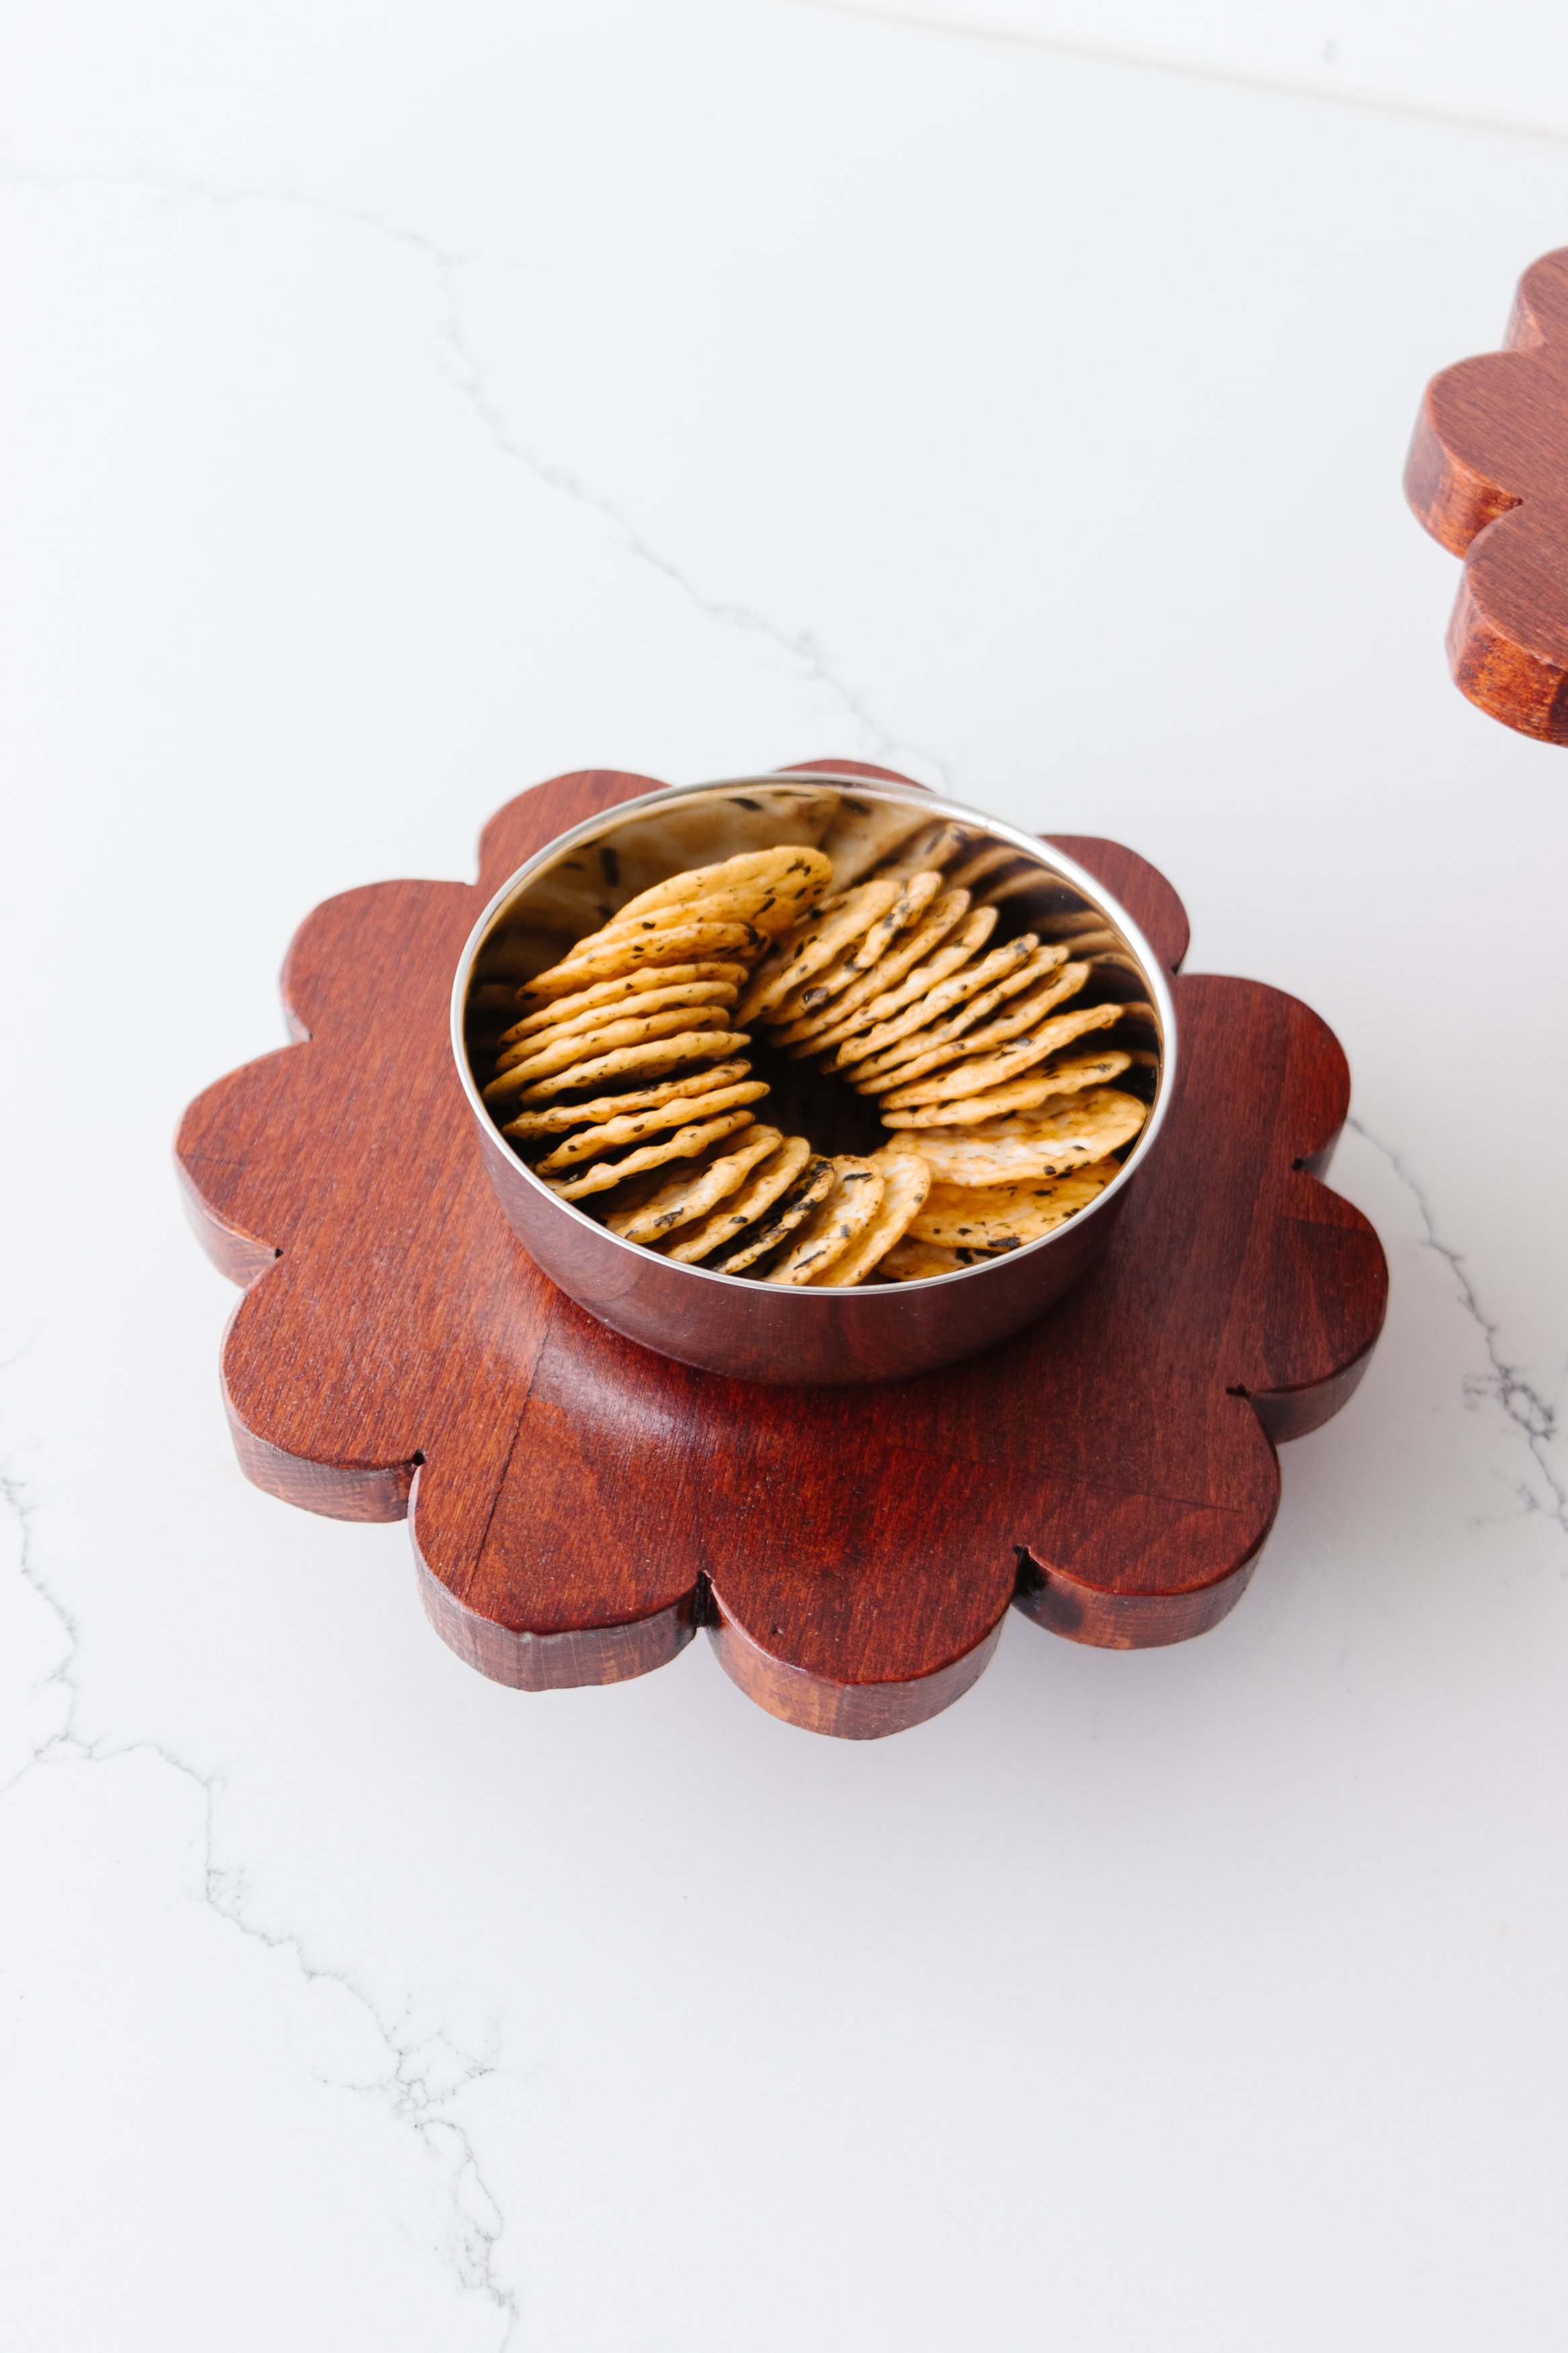
Before getting started please note these serving trays are not food safe. If you intend to serve food on them, please place food on small bowls and plates as photographed, and then place them onto the trays.
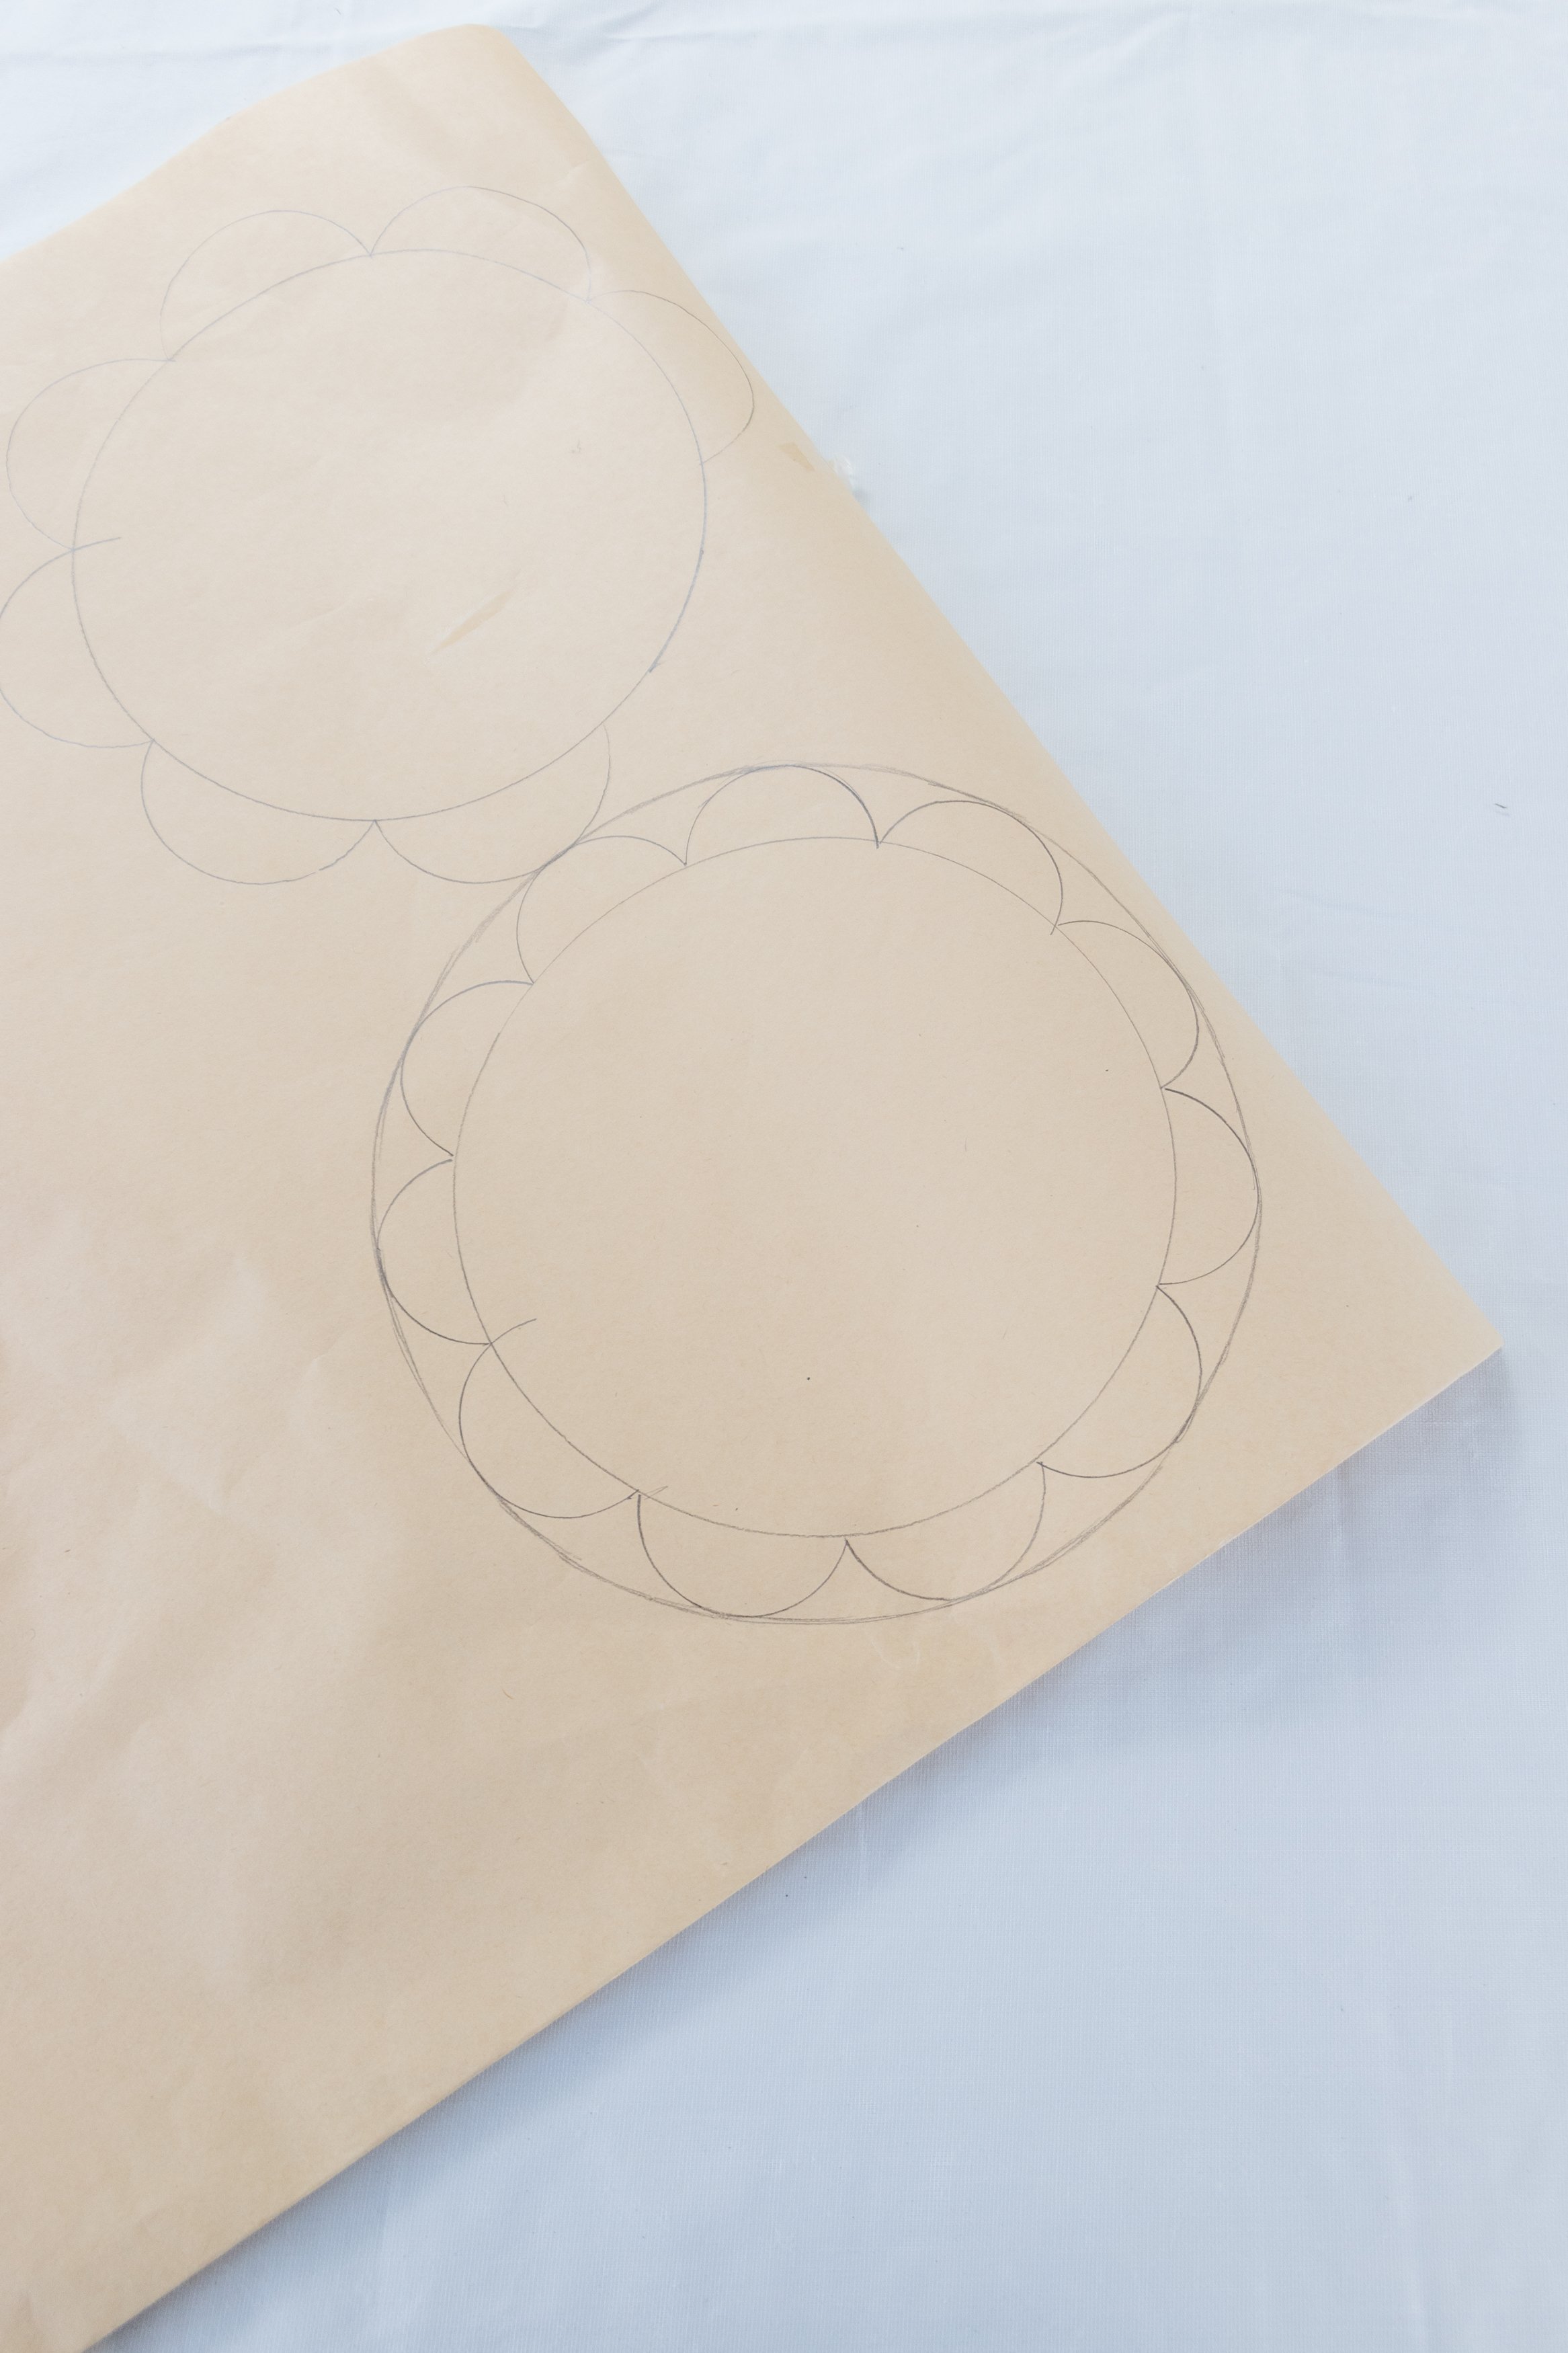
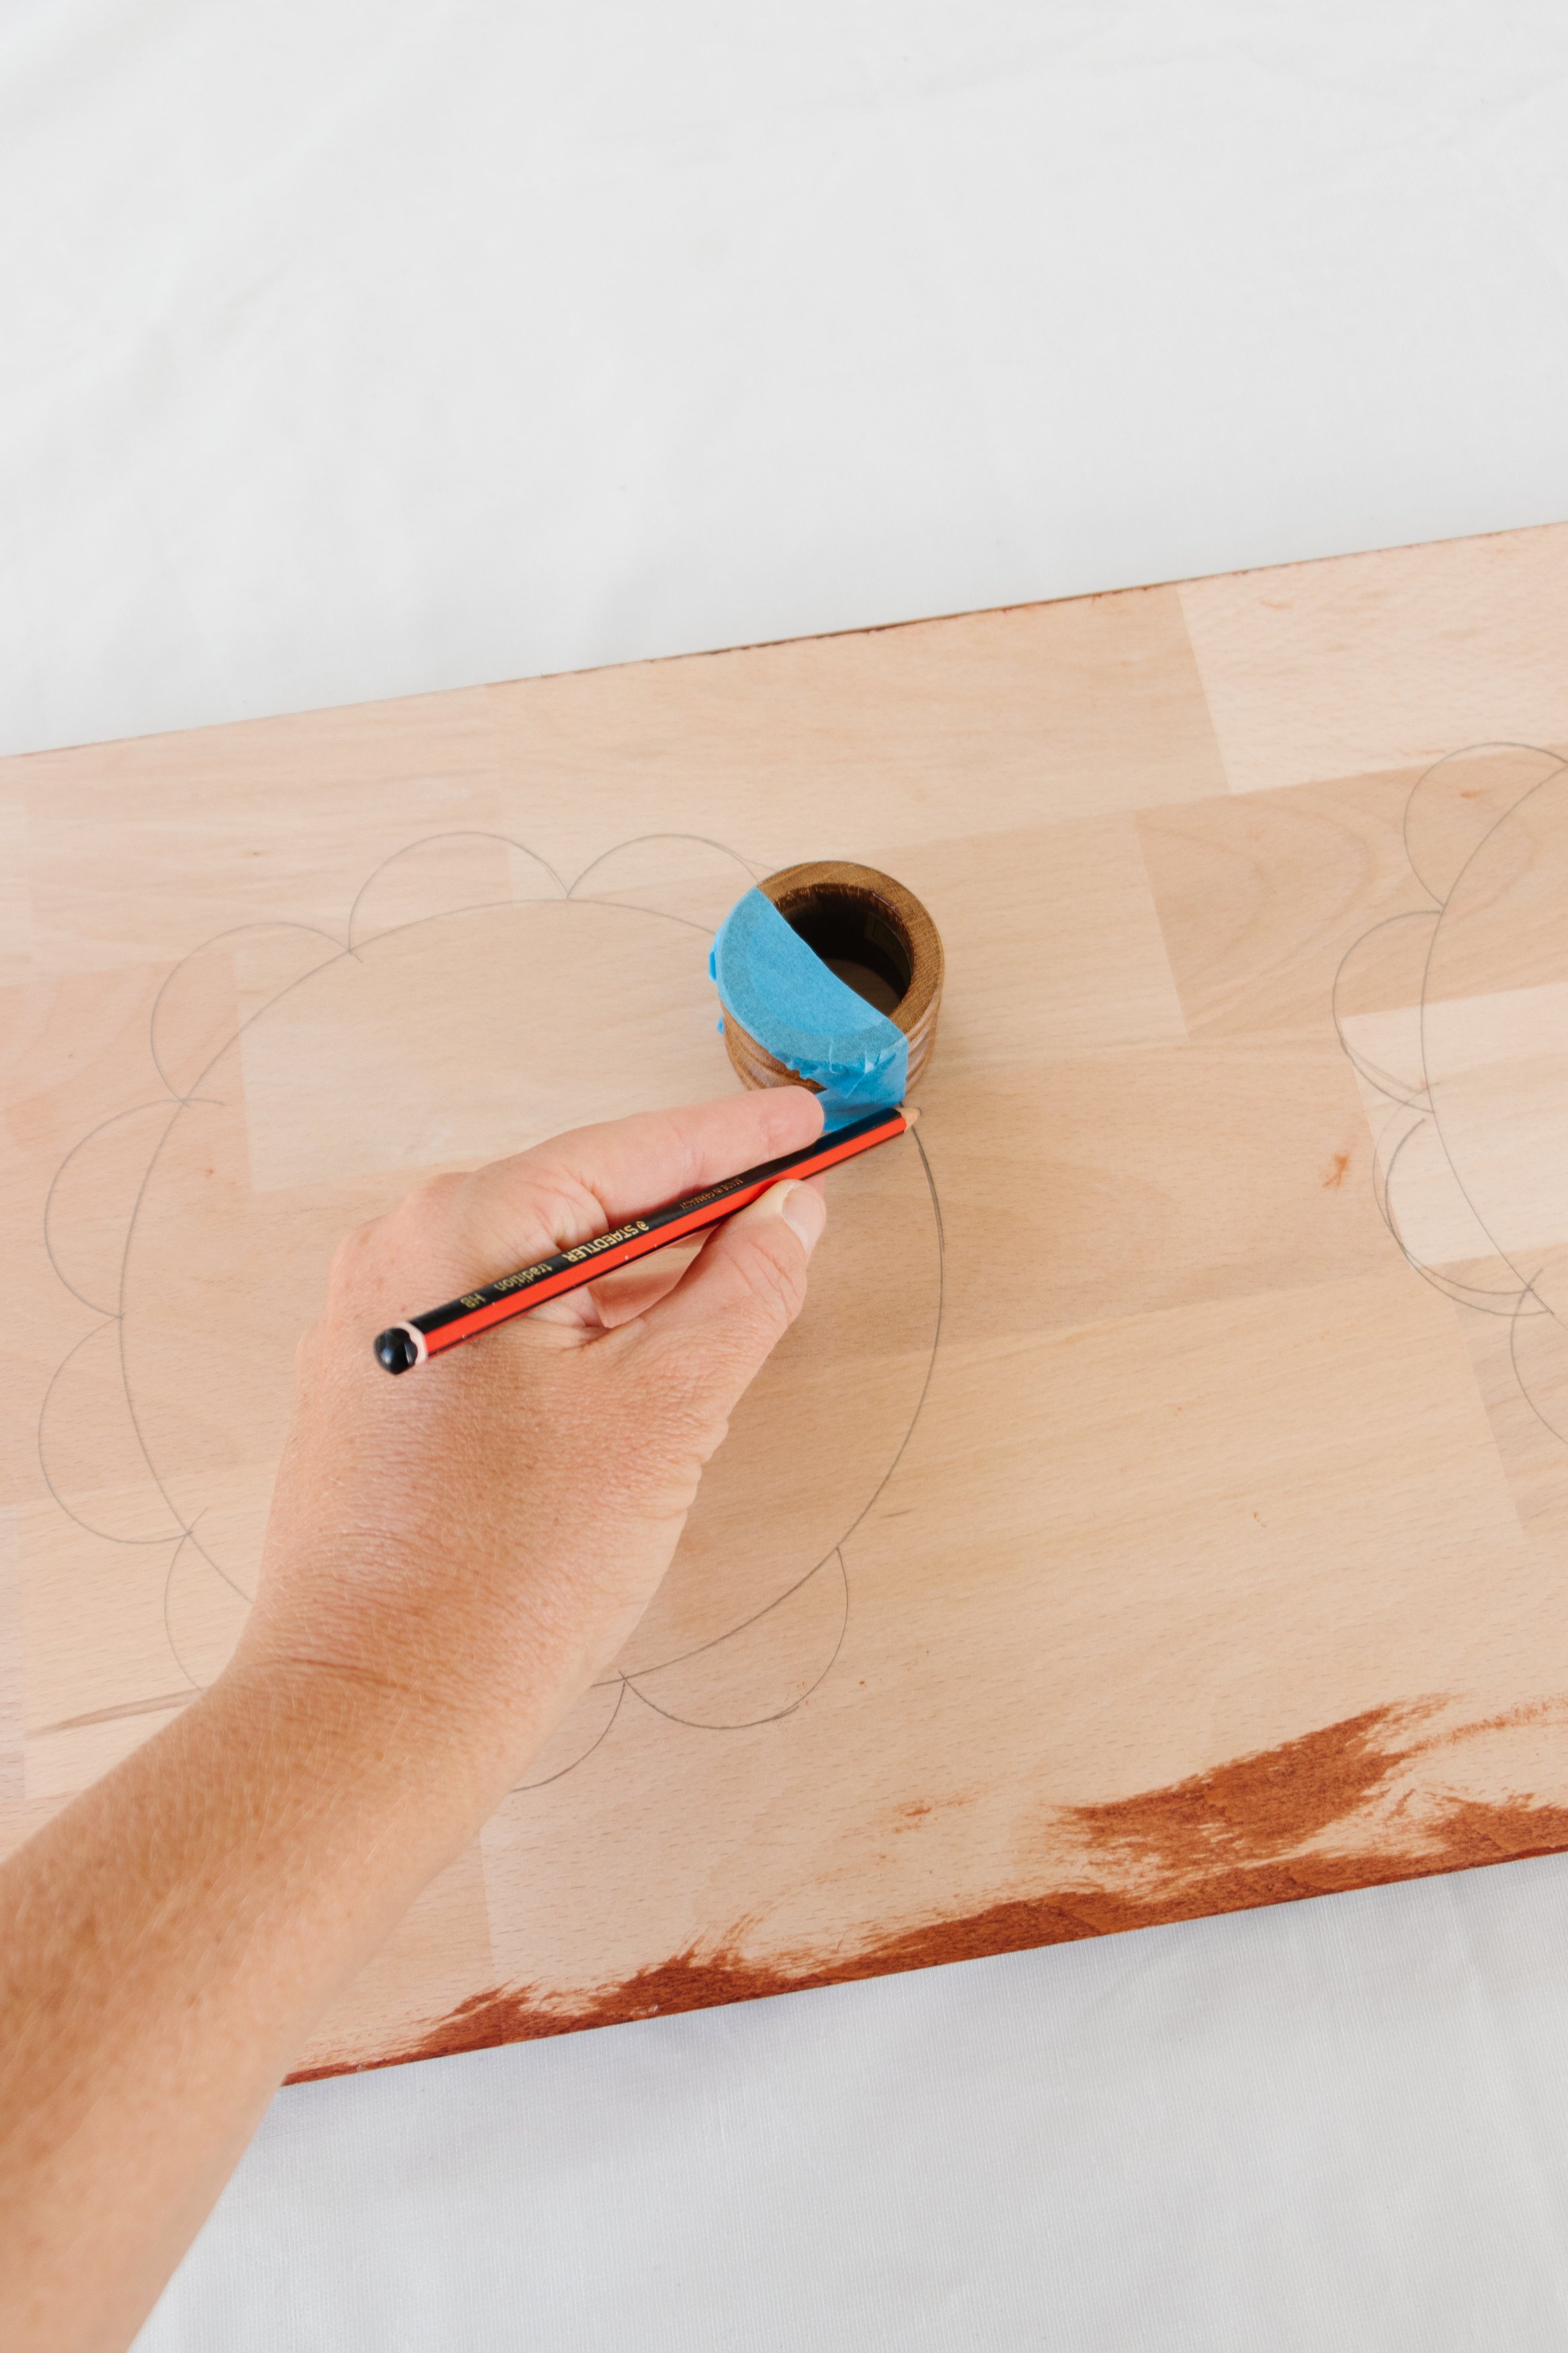
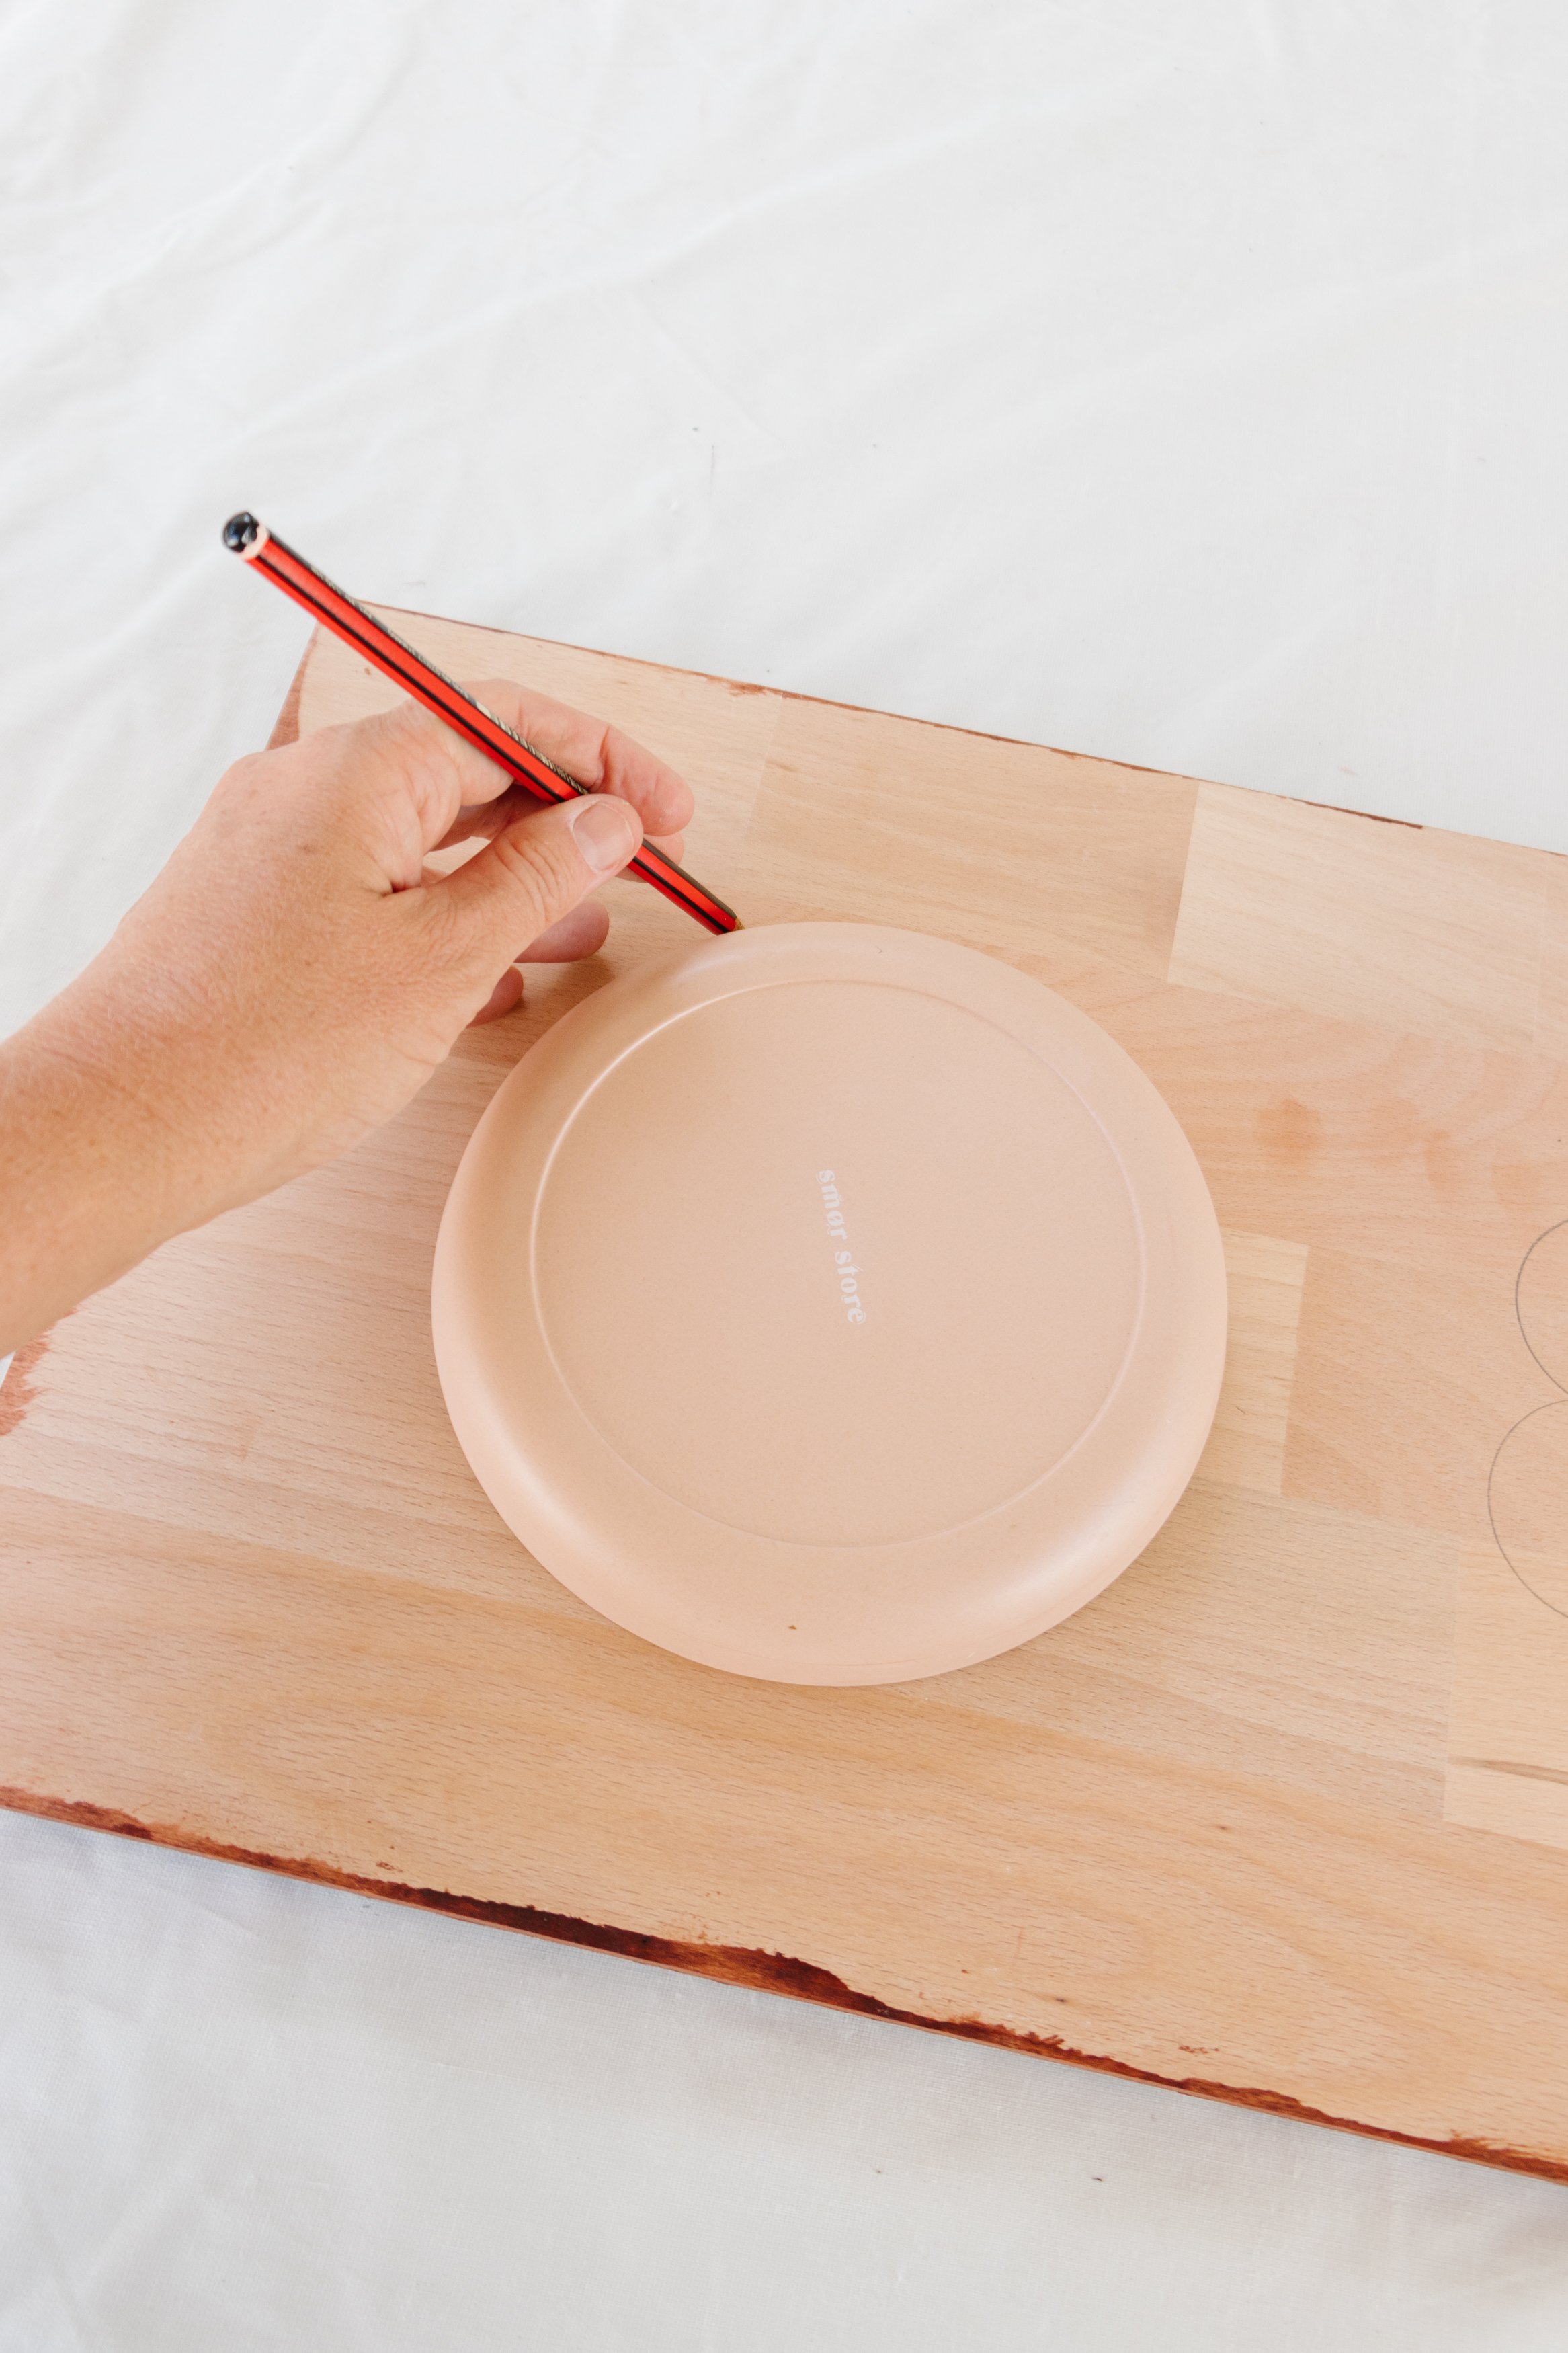
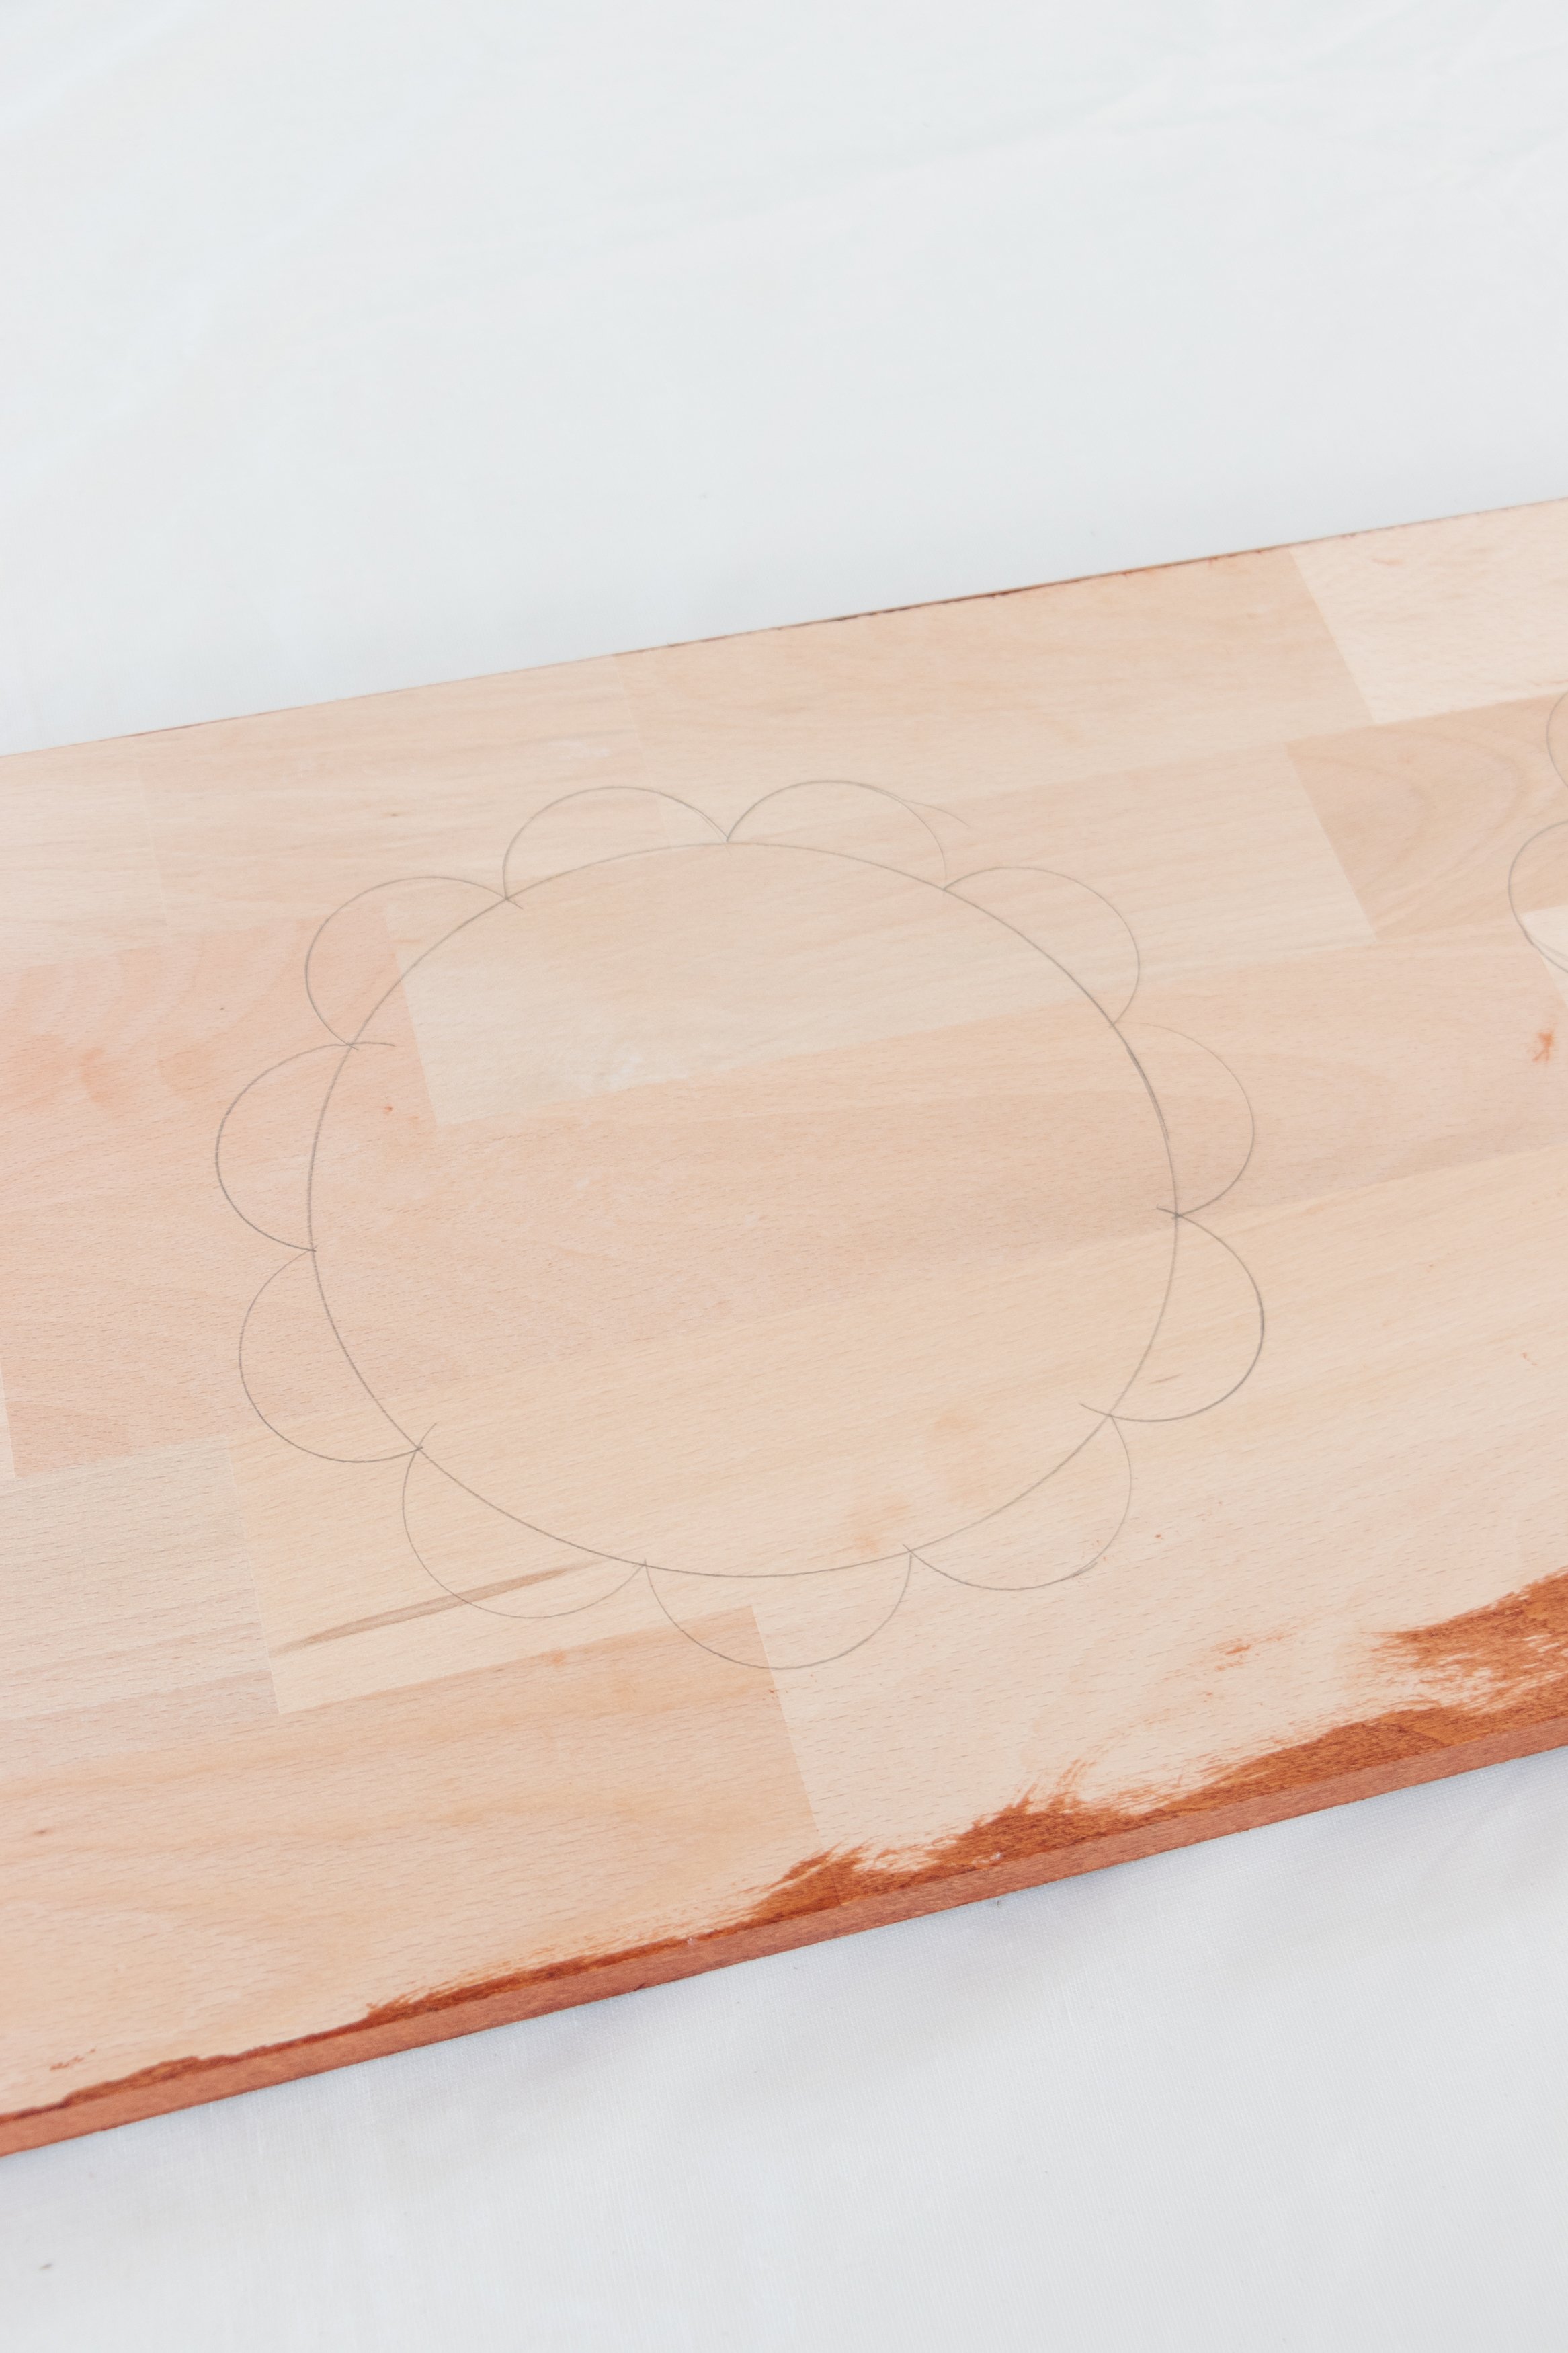
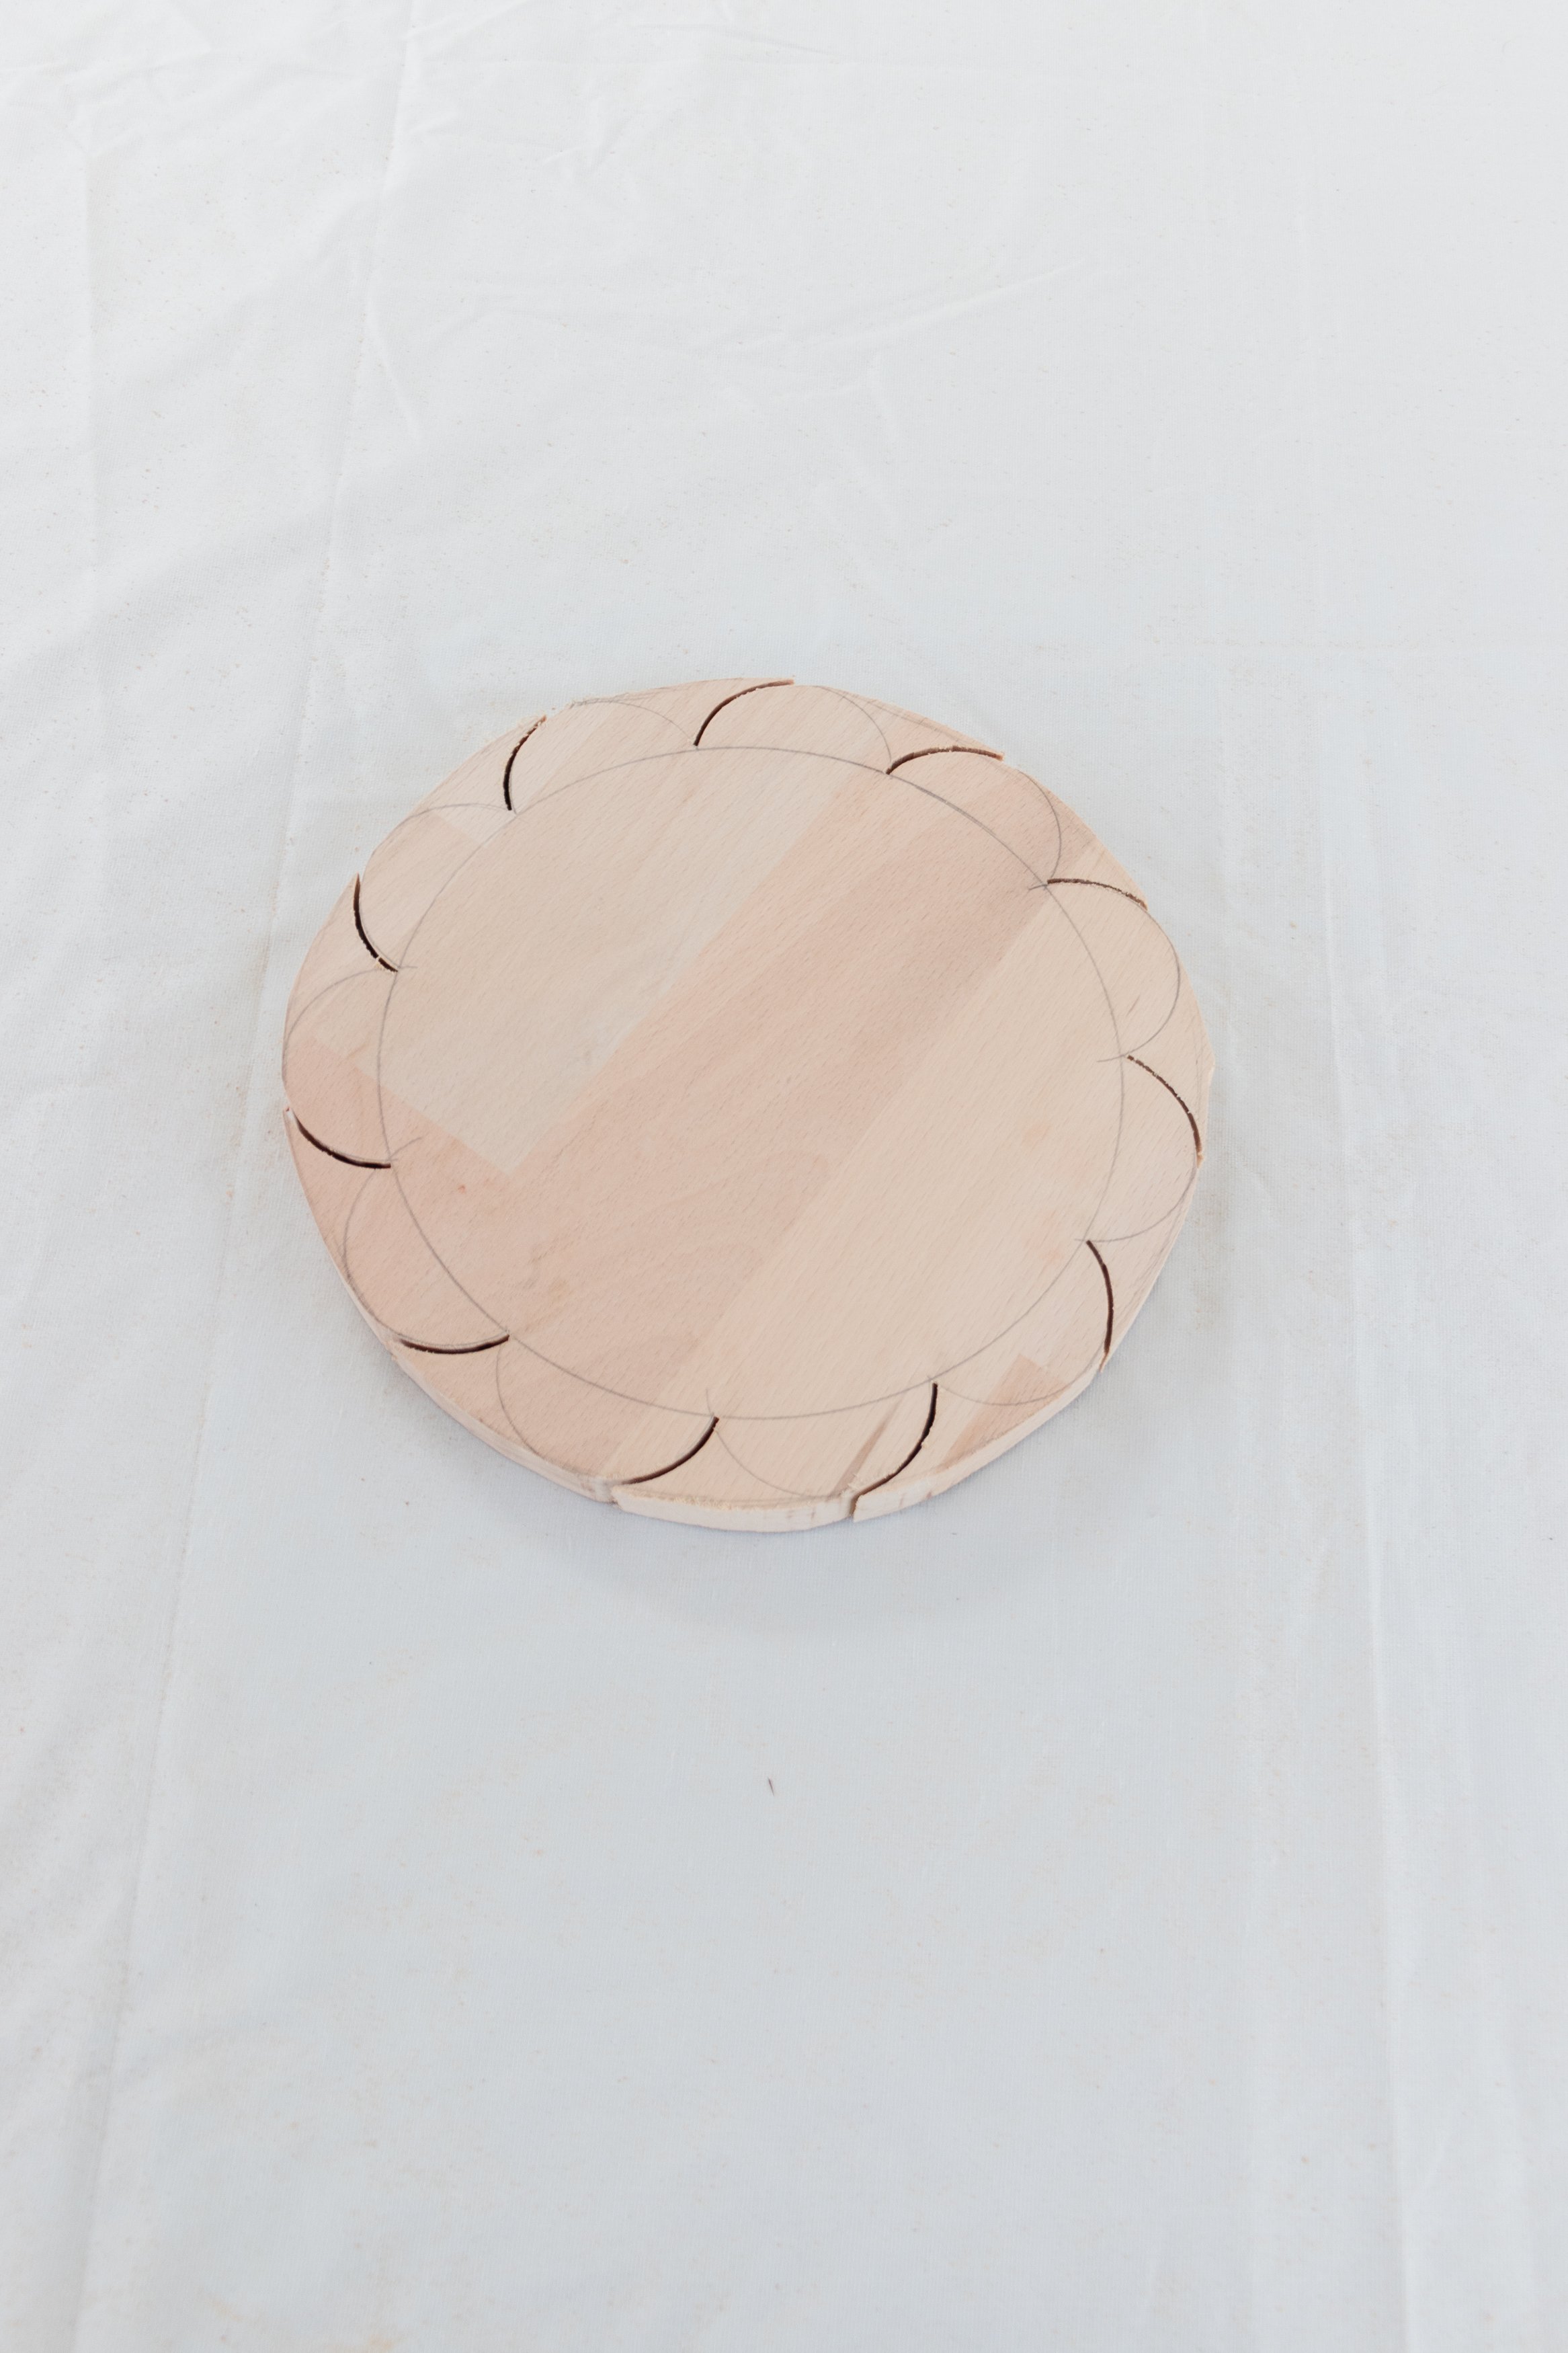
Step 1: Start by drawing a circle onto the wood using a pencil and a piece of string. You can also trace around a plate if you like. Measure the circumference to work out how many scallops you can draw around the circle. Use a glass or an circular object to draw the scallops around the edge of the circle.


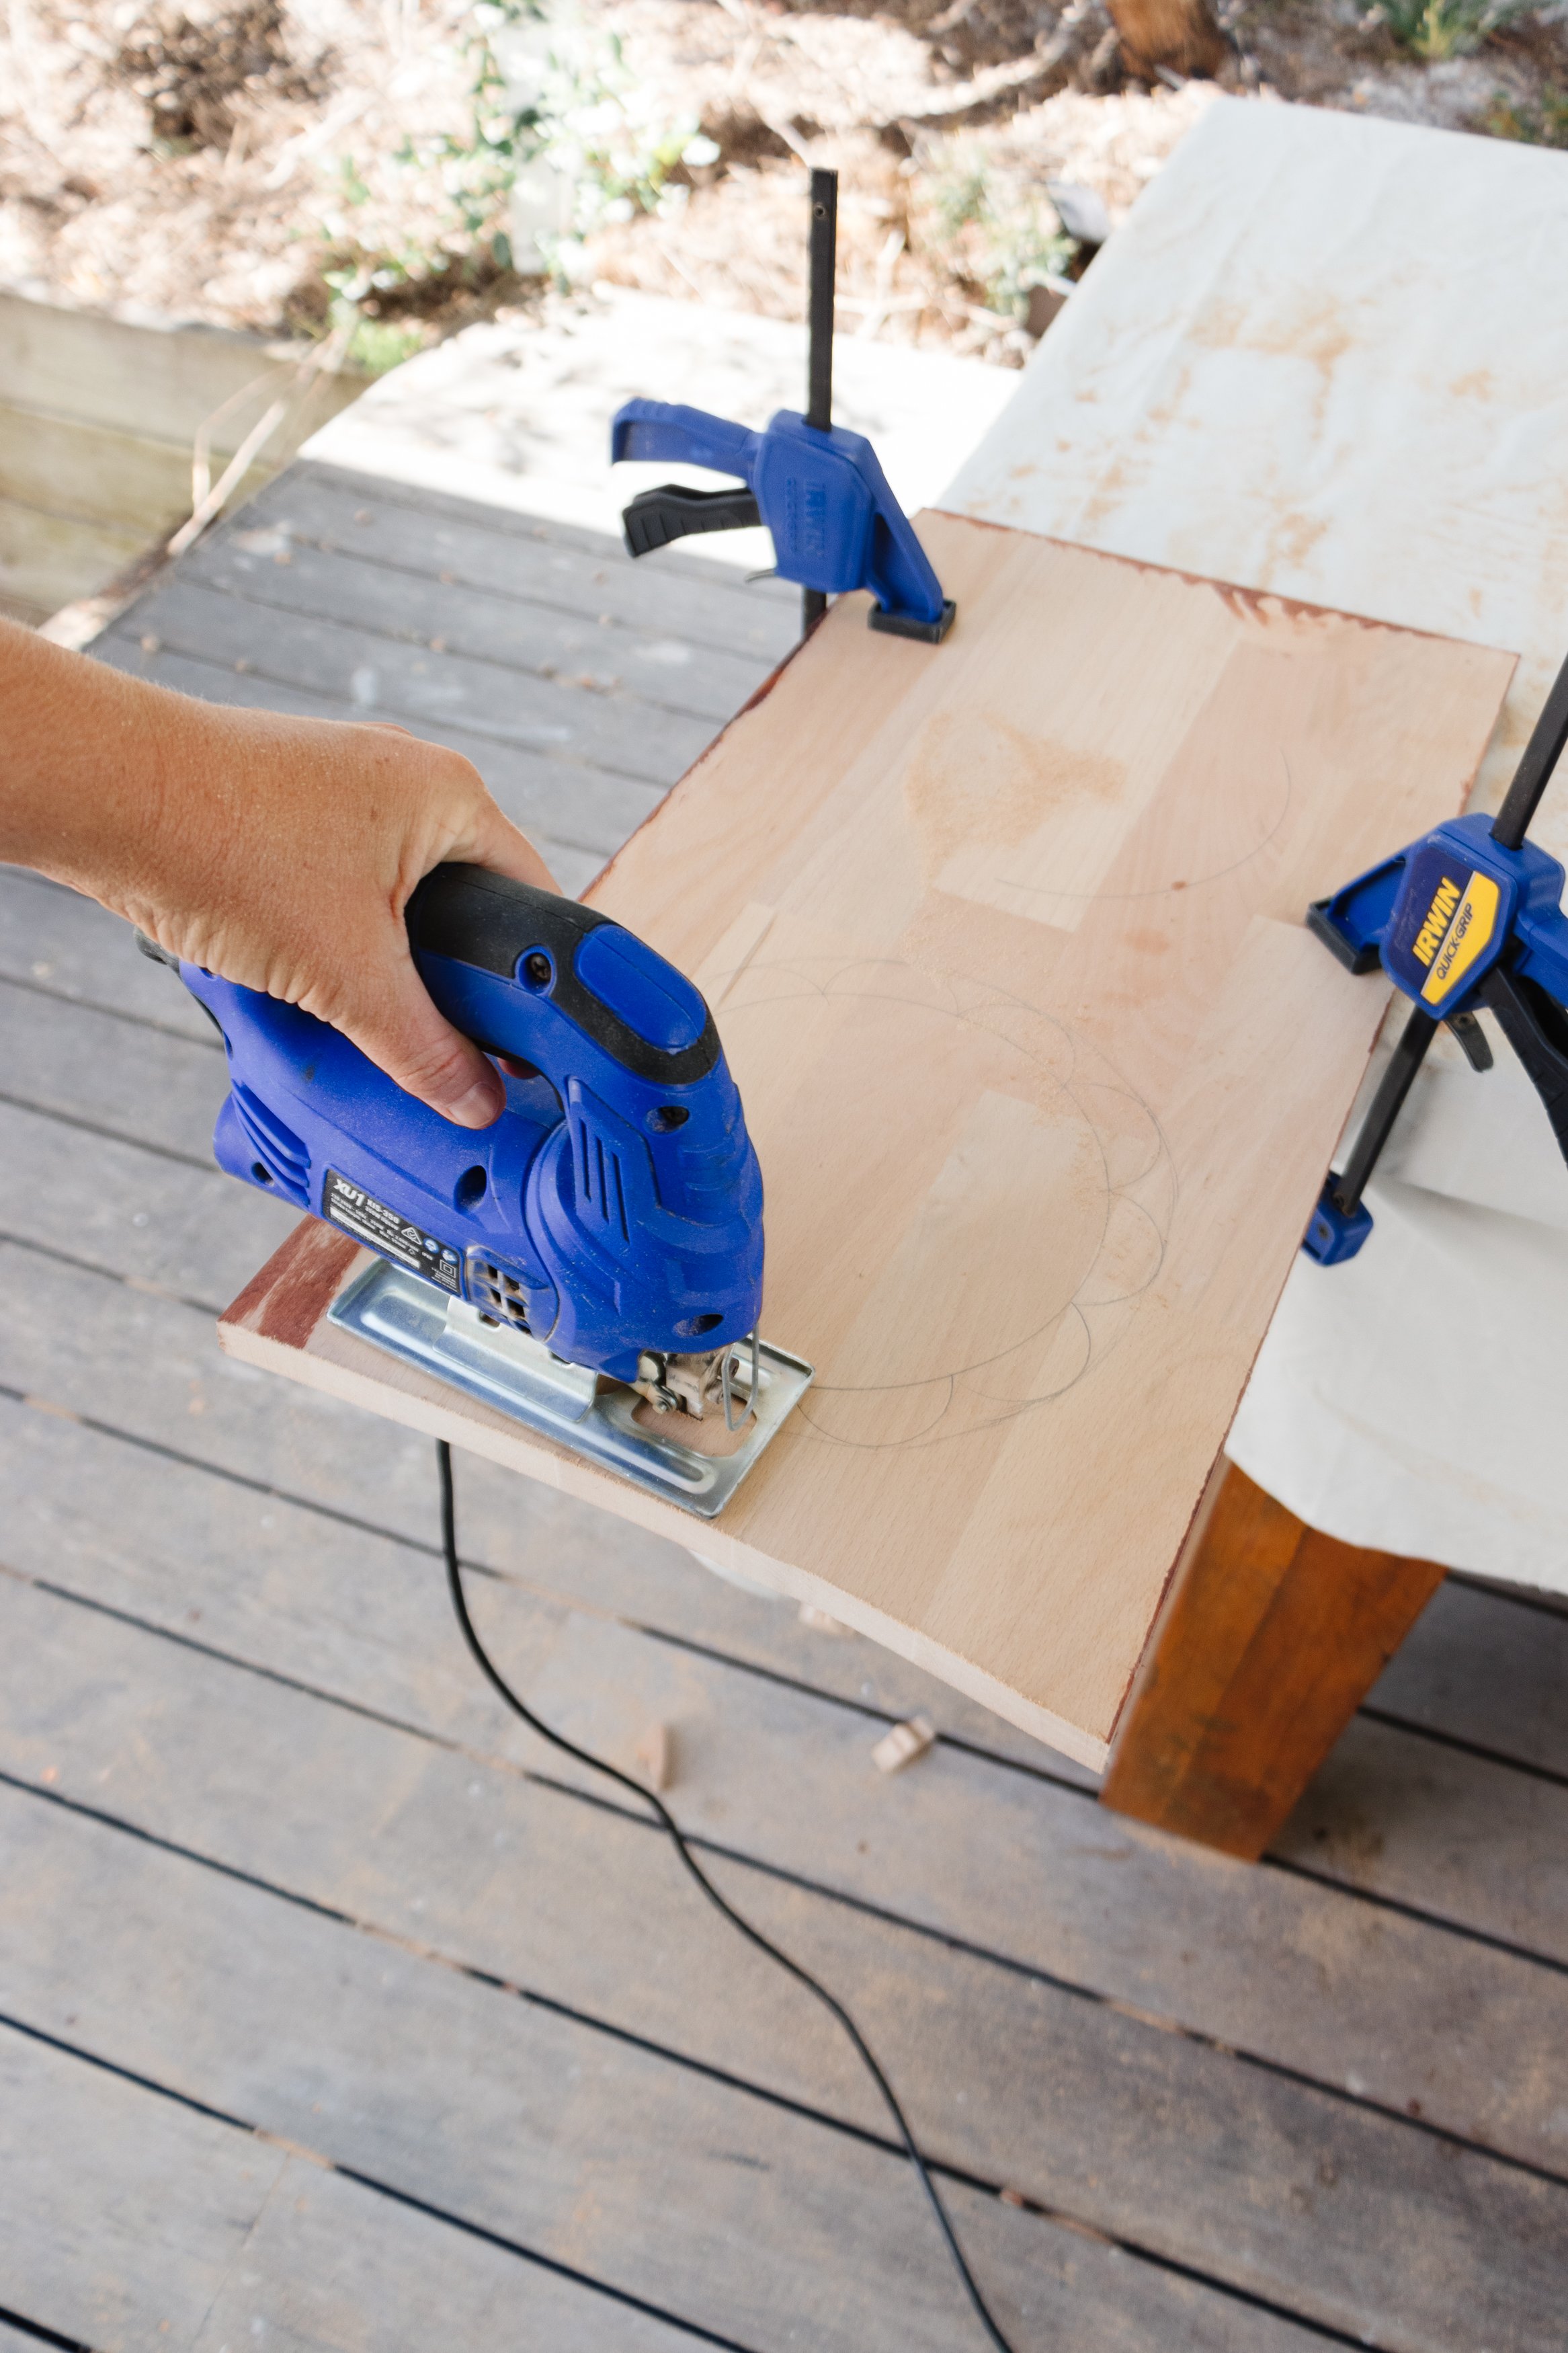
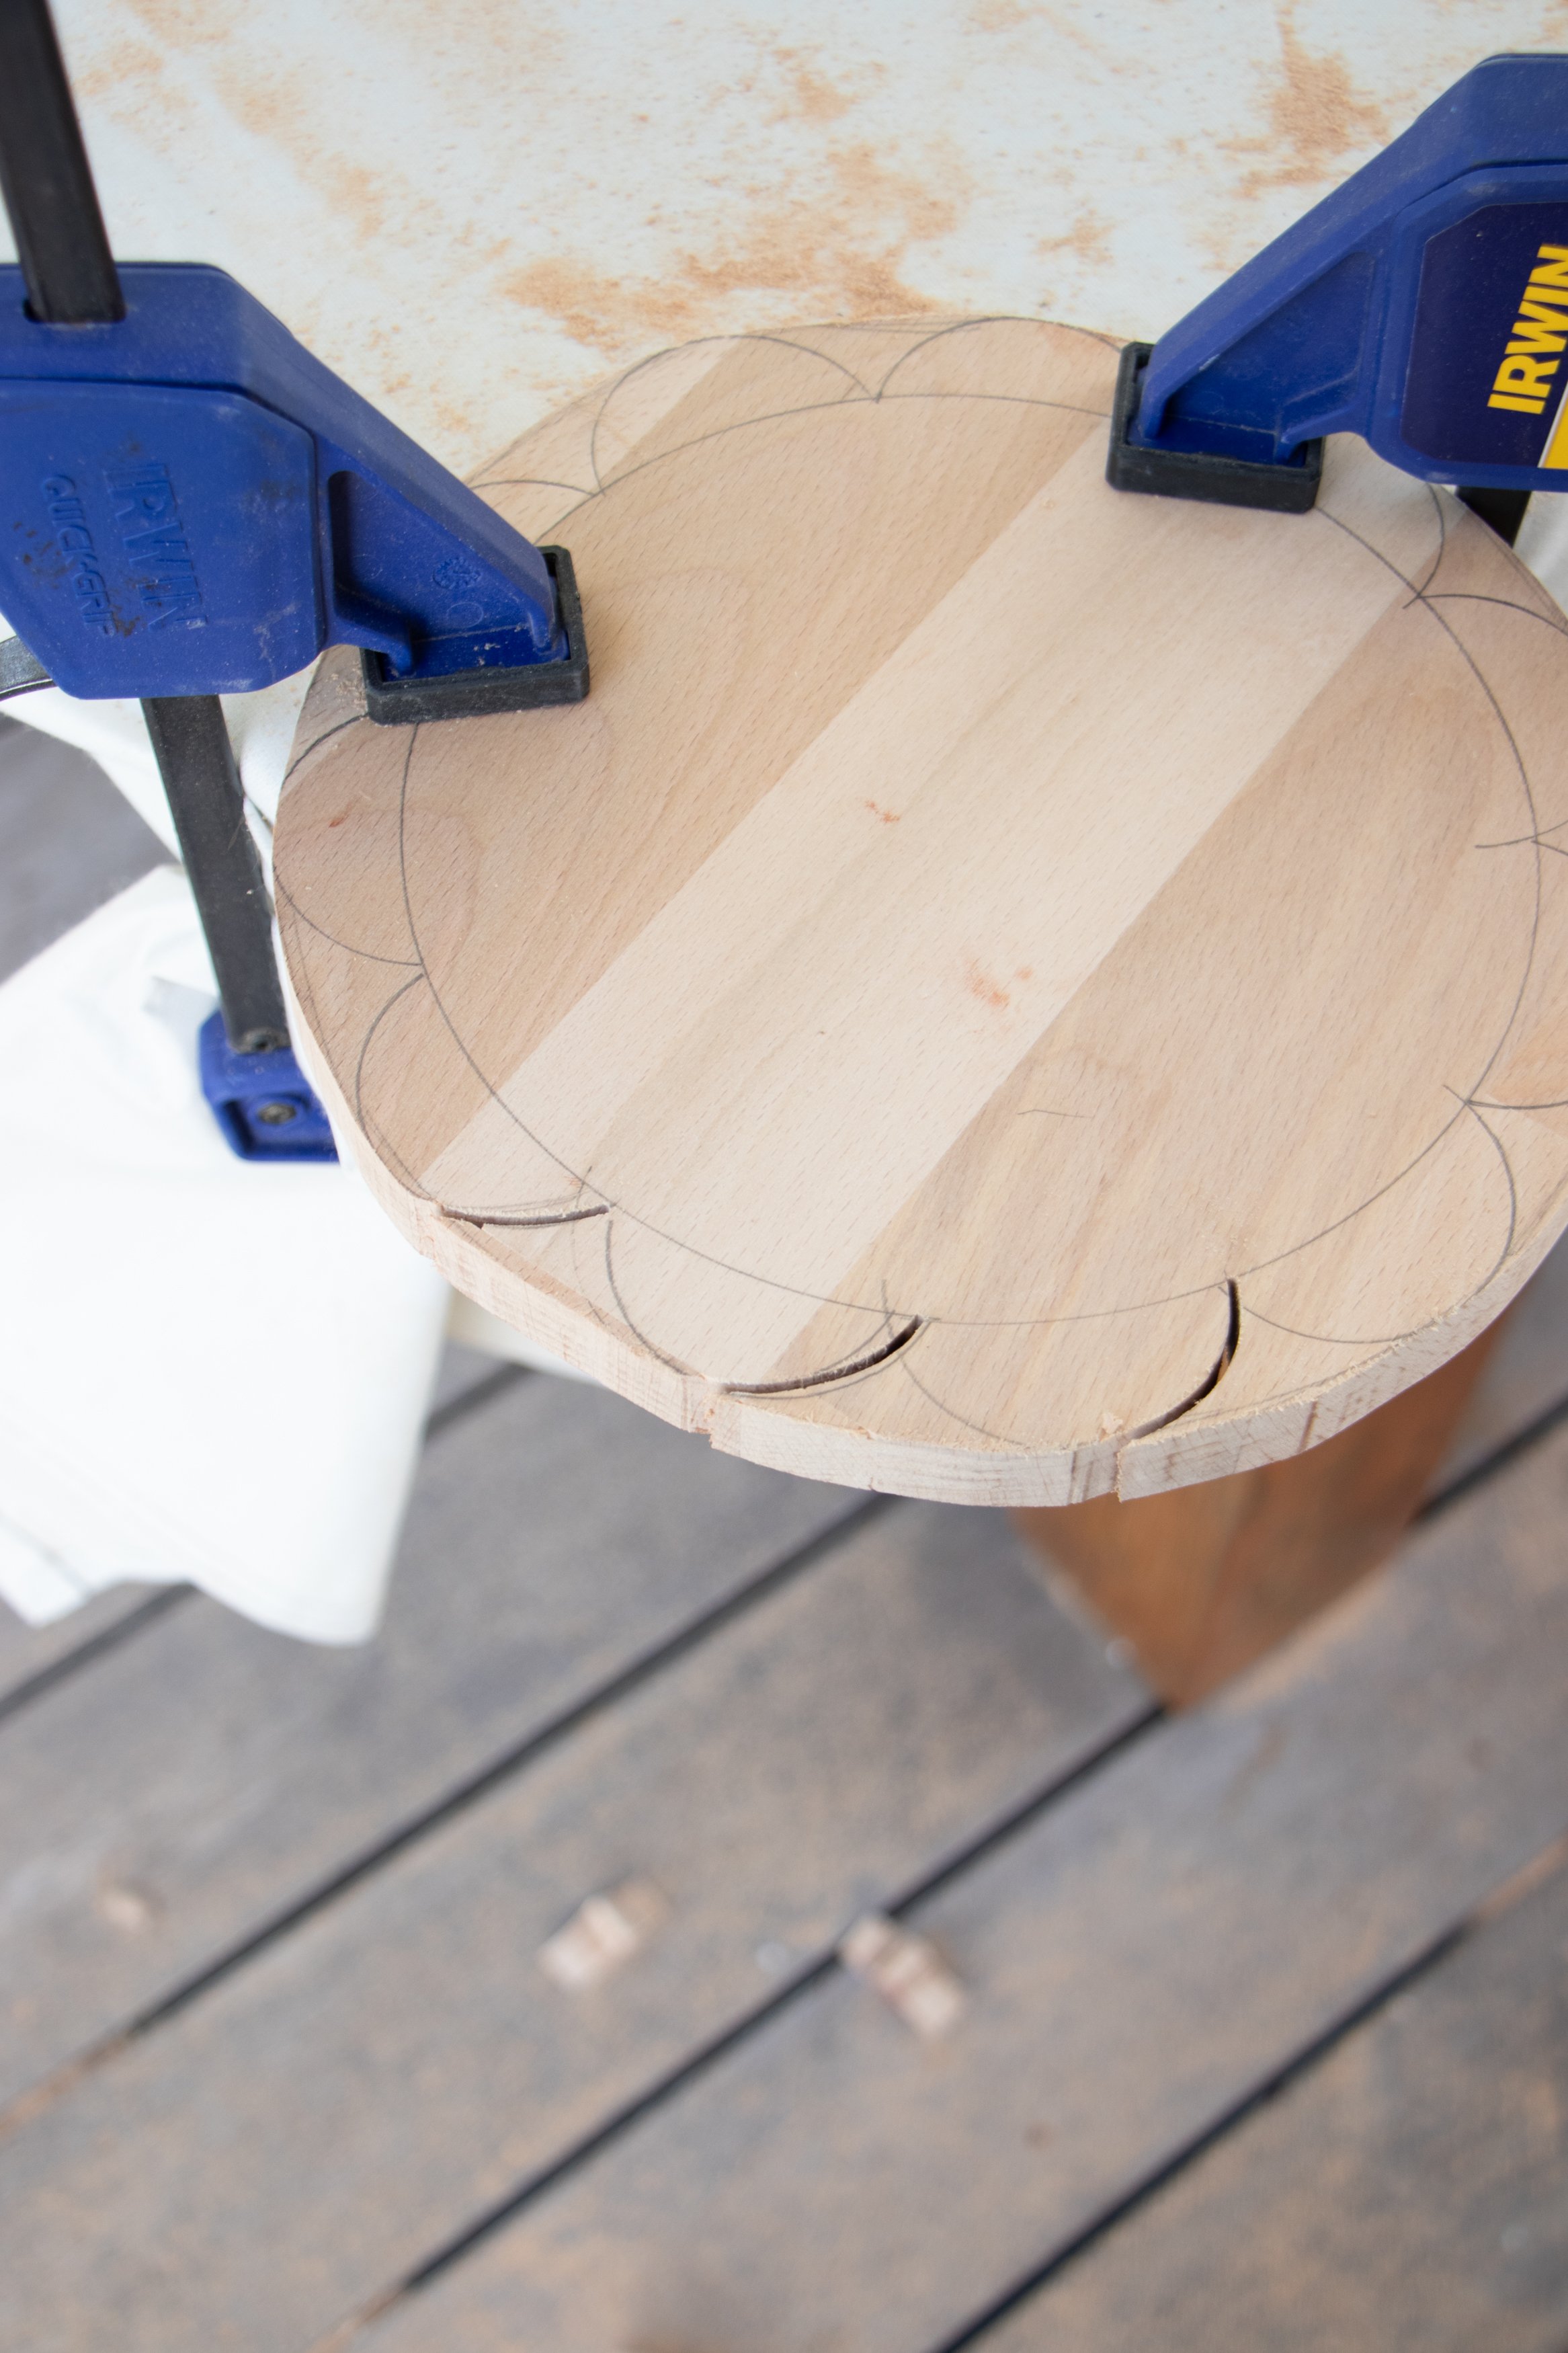
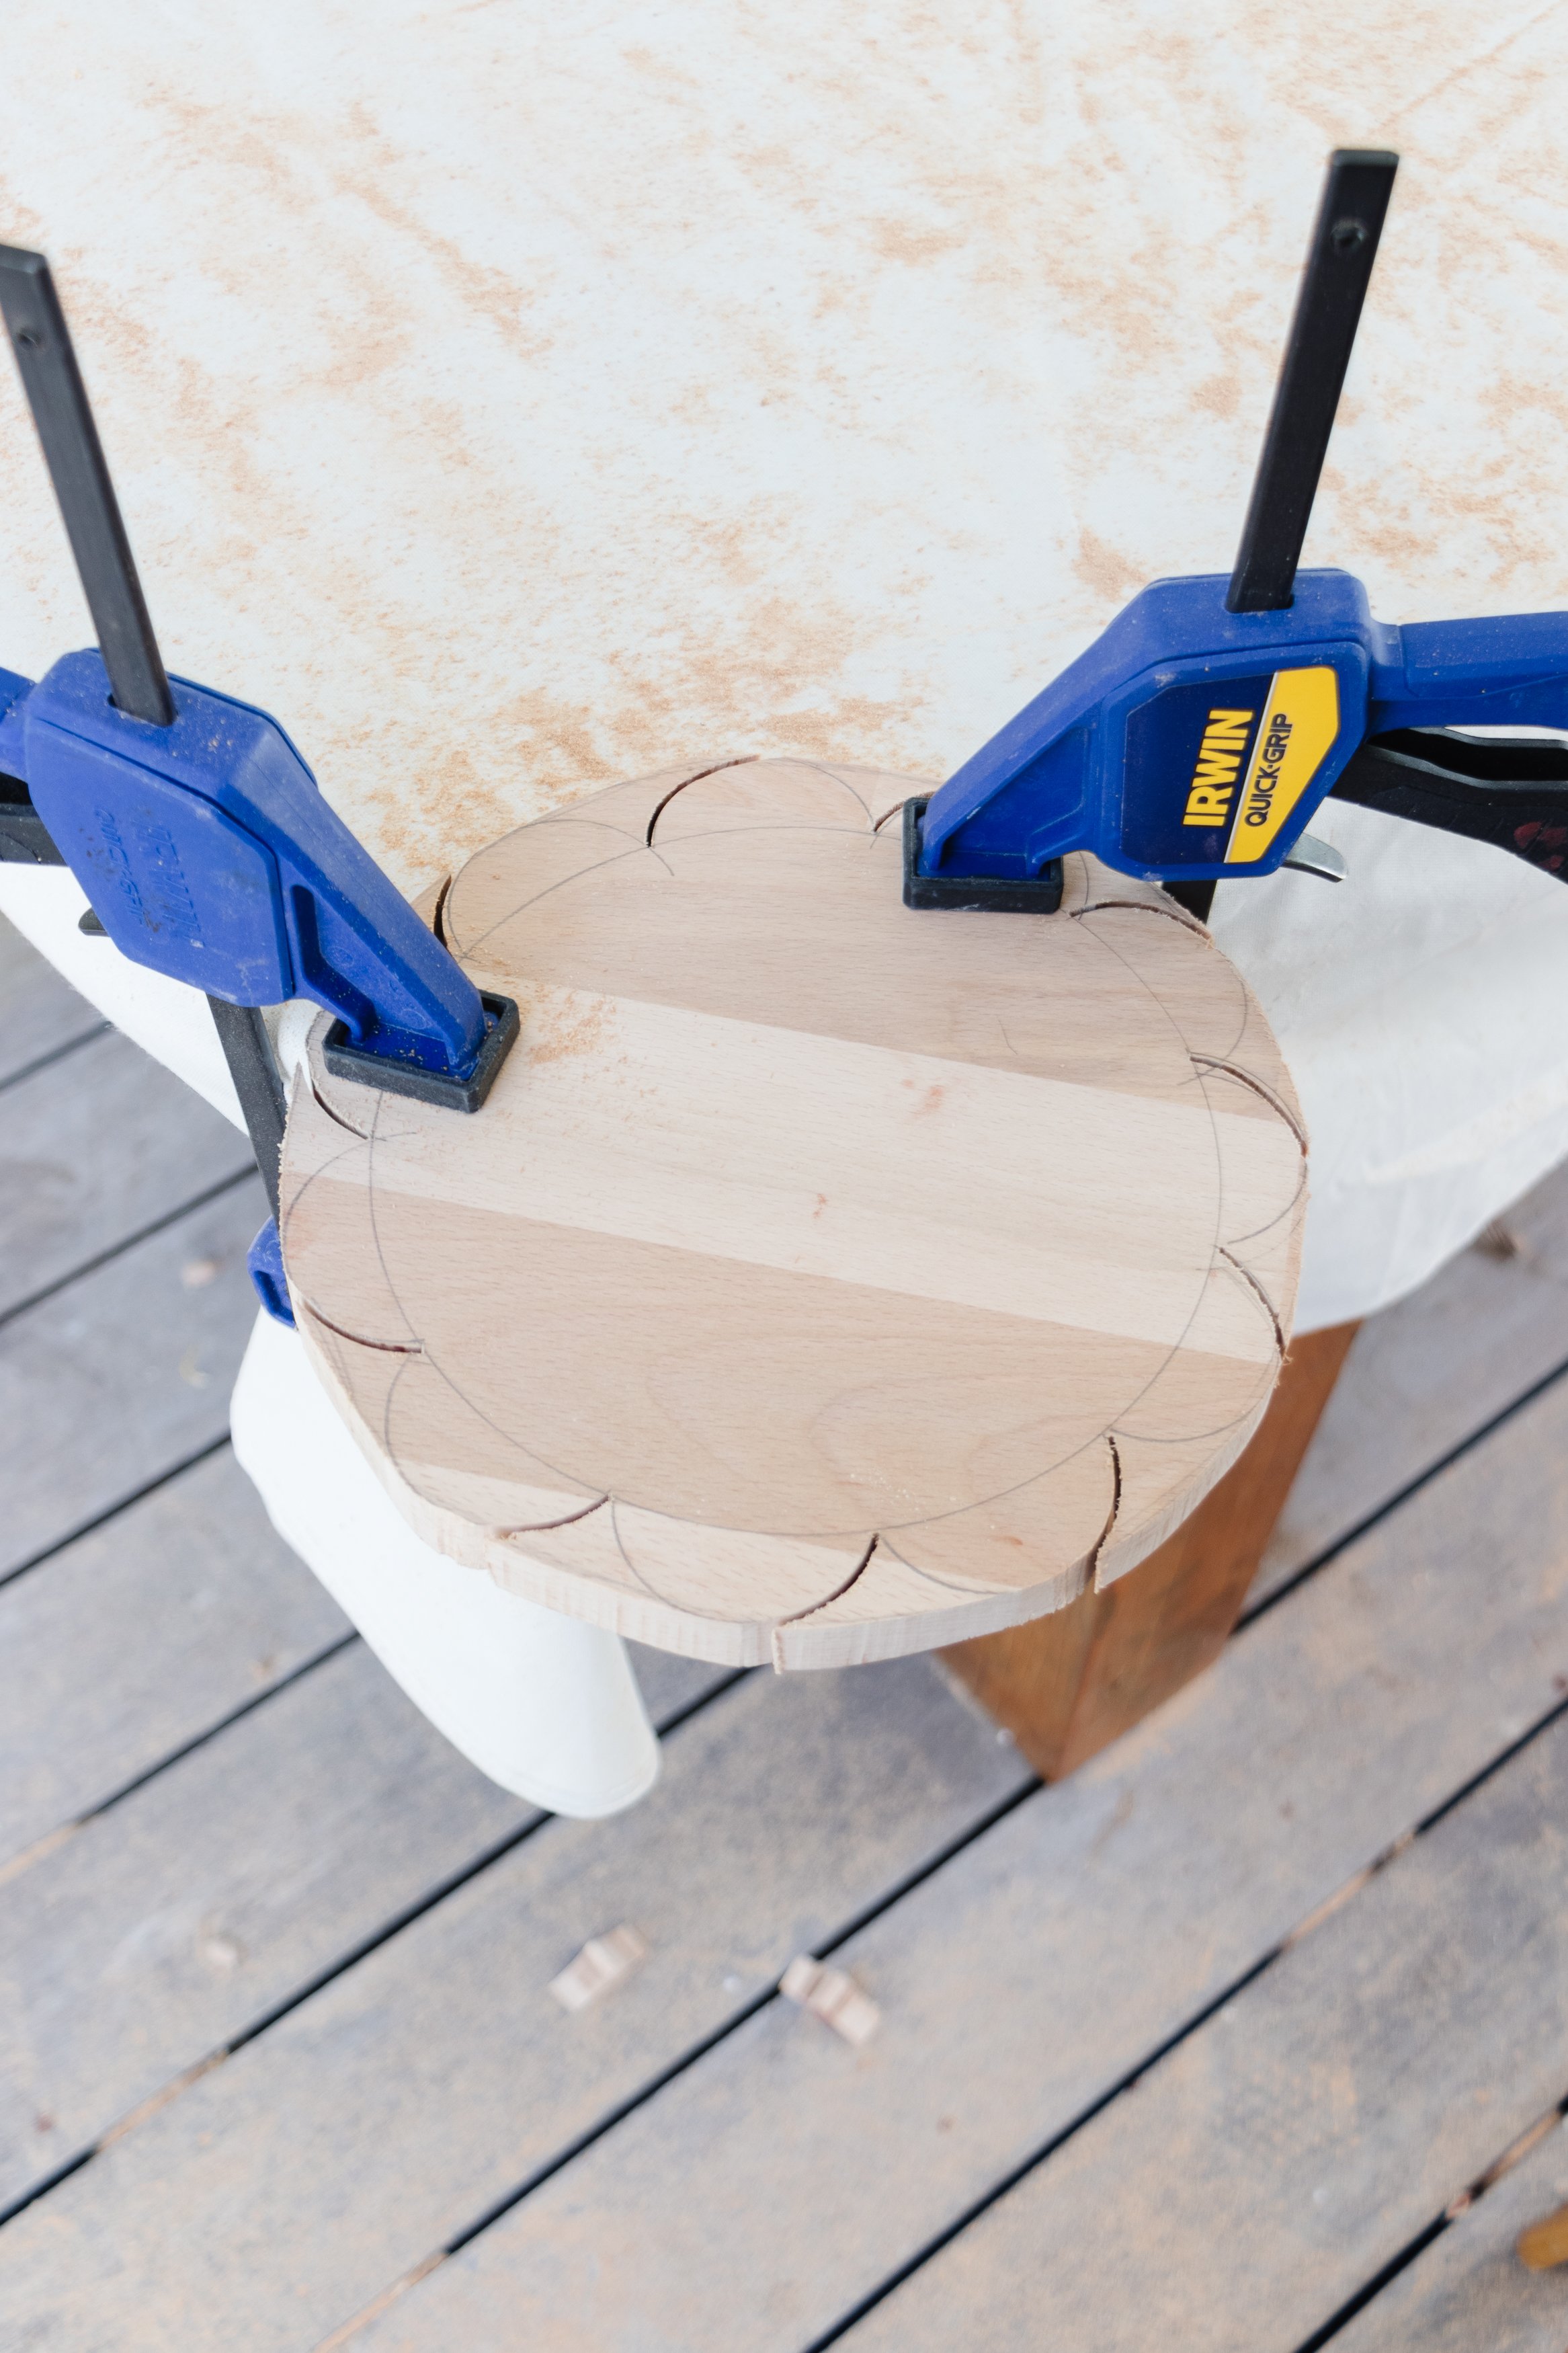
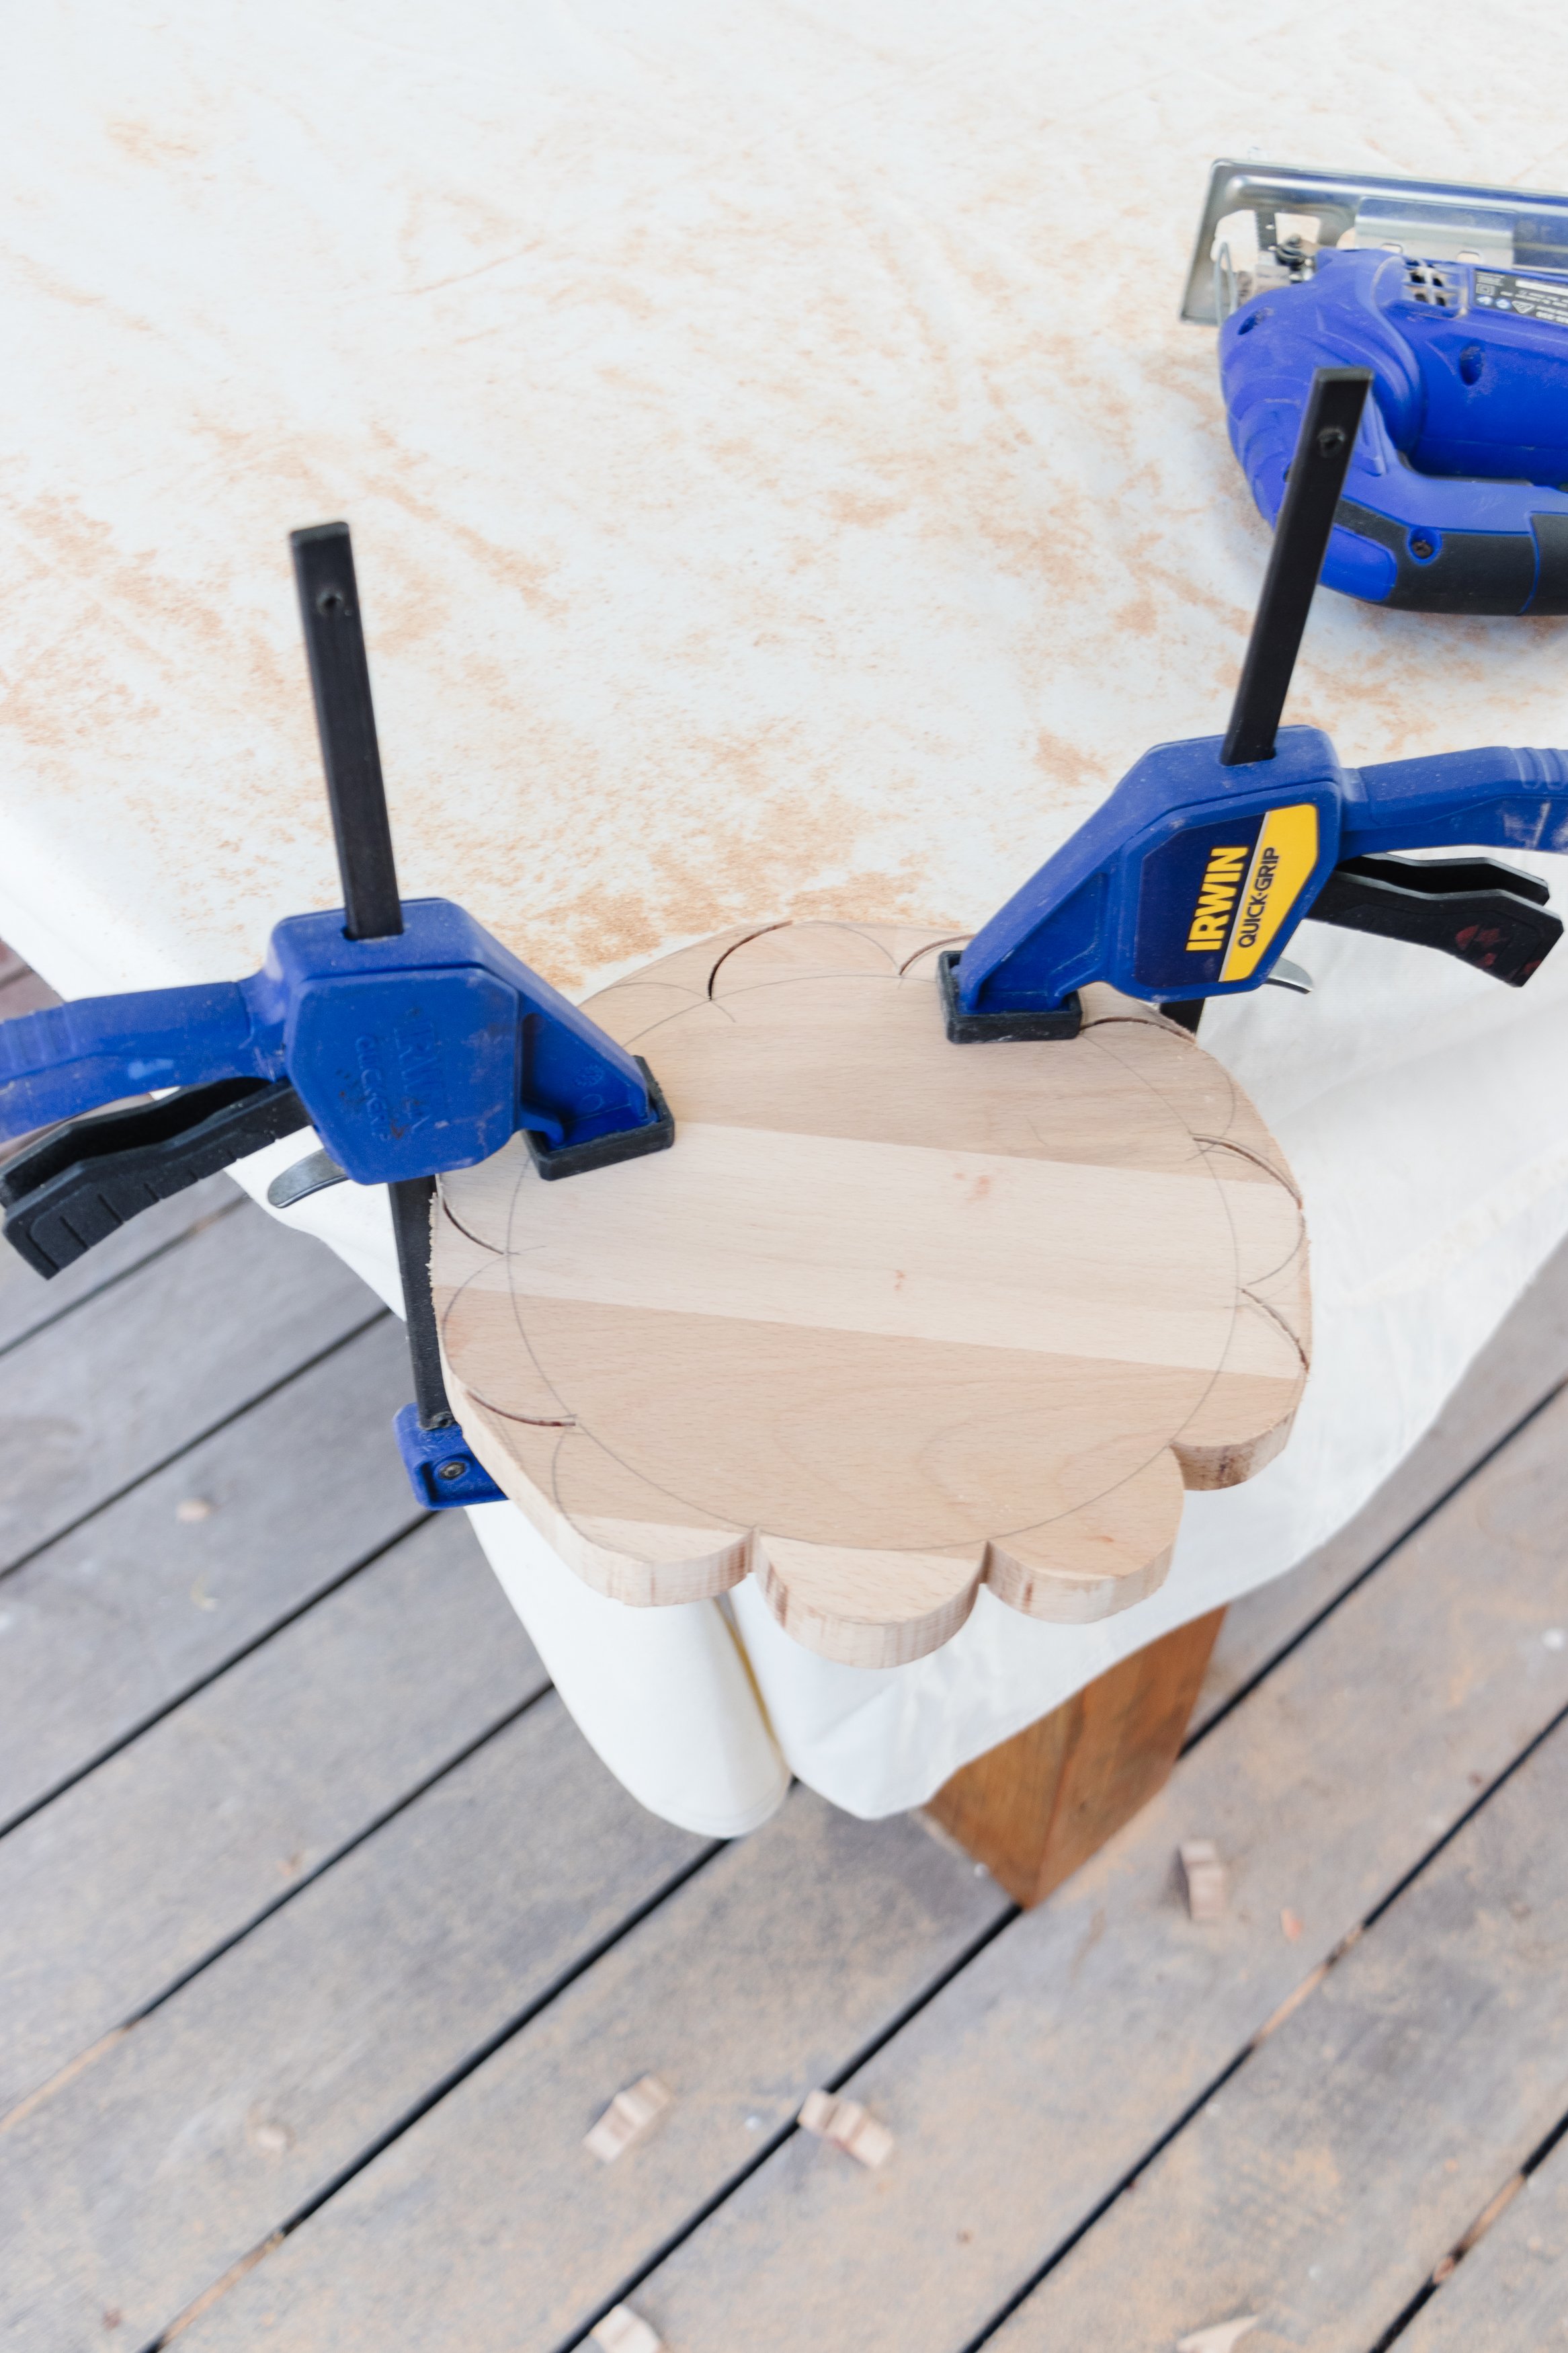
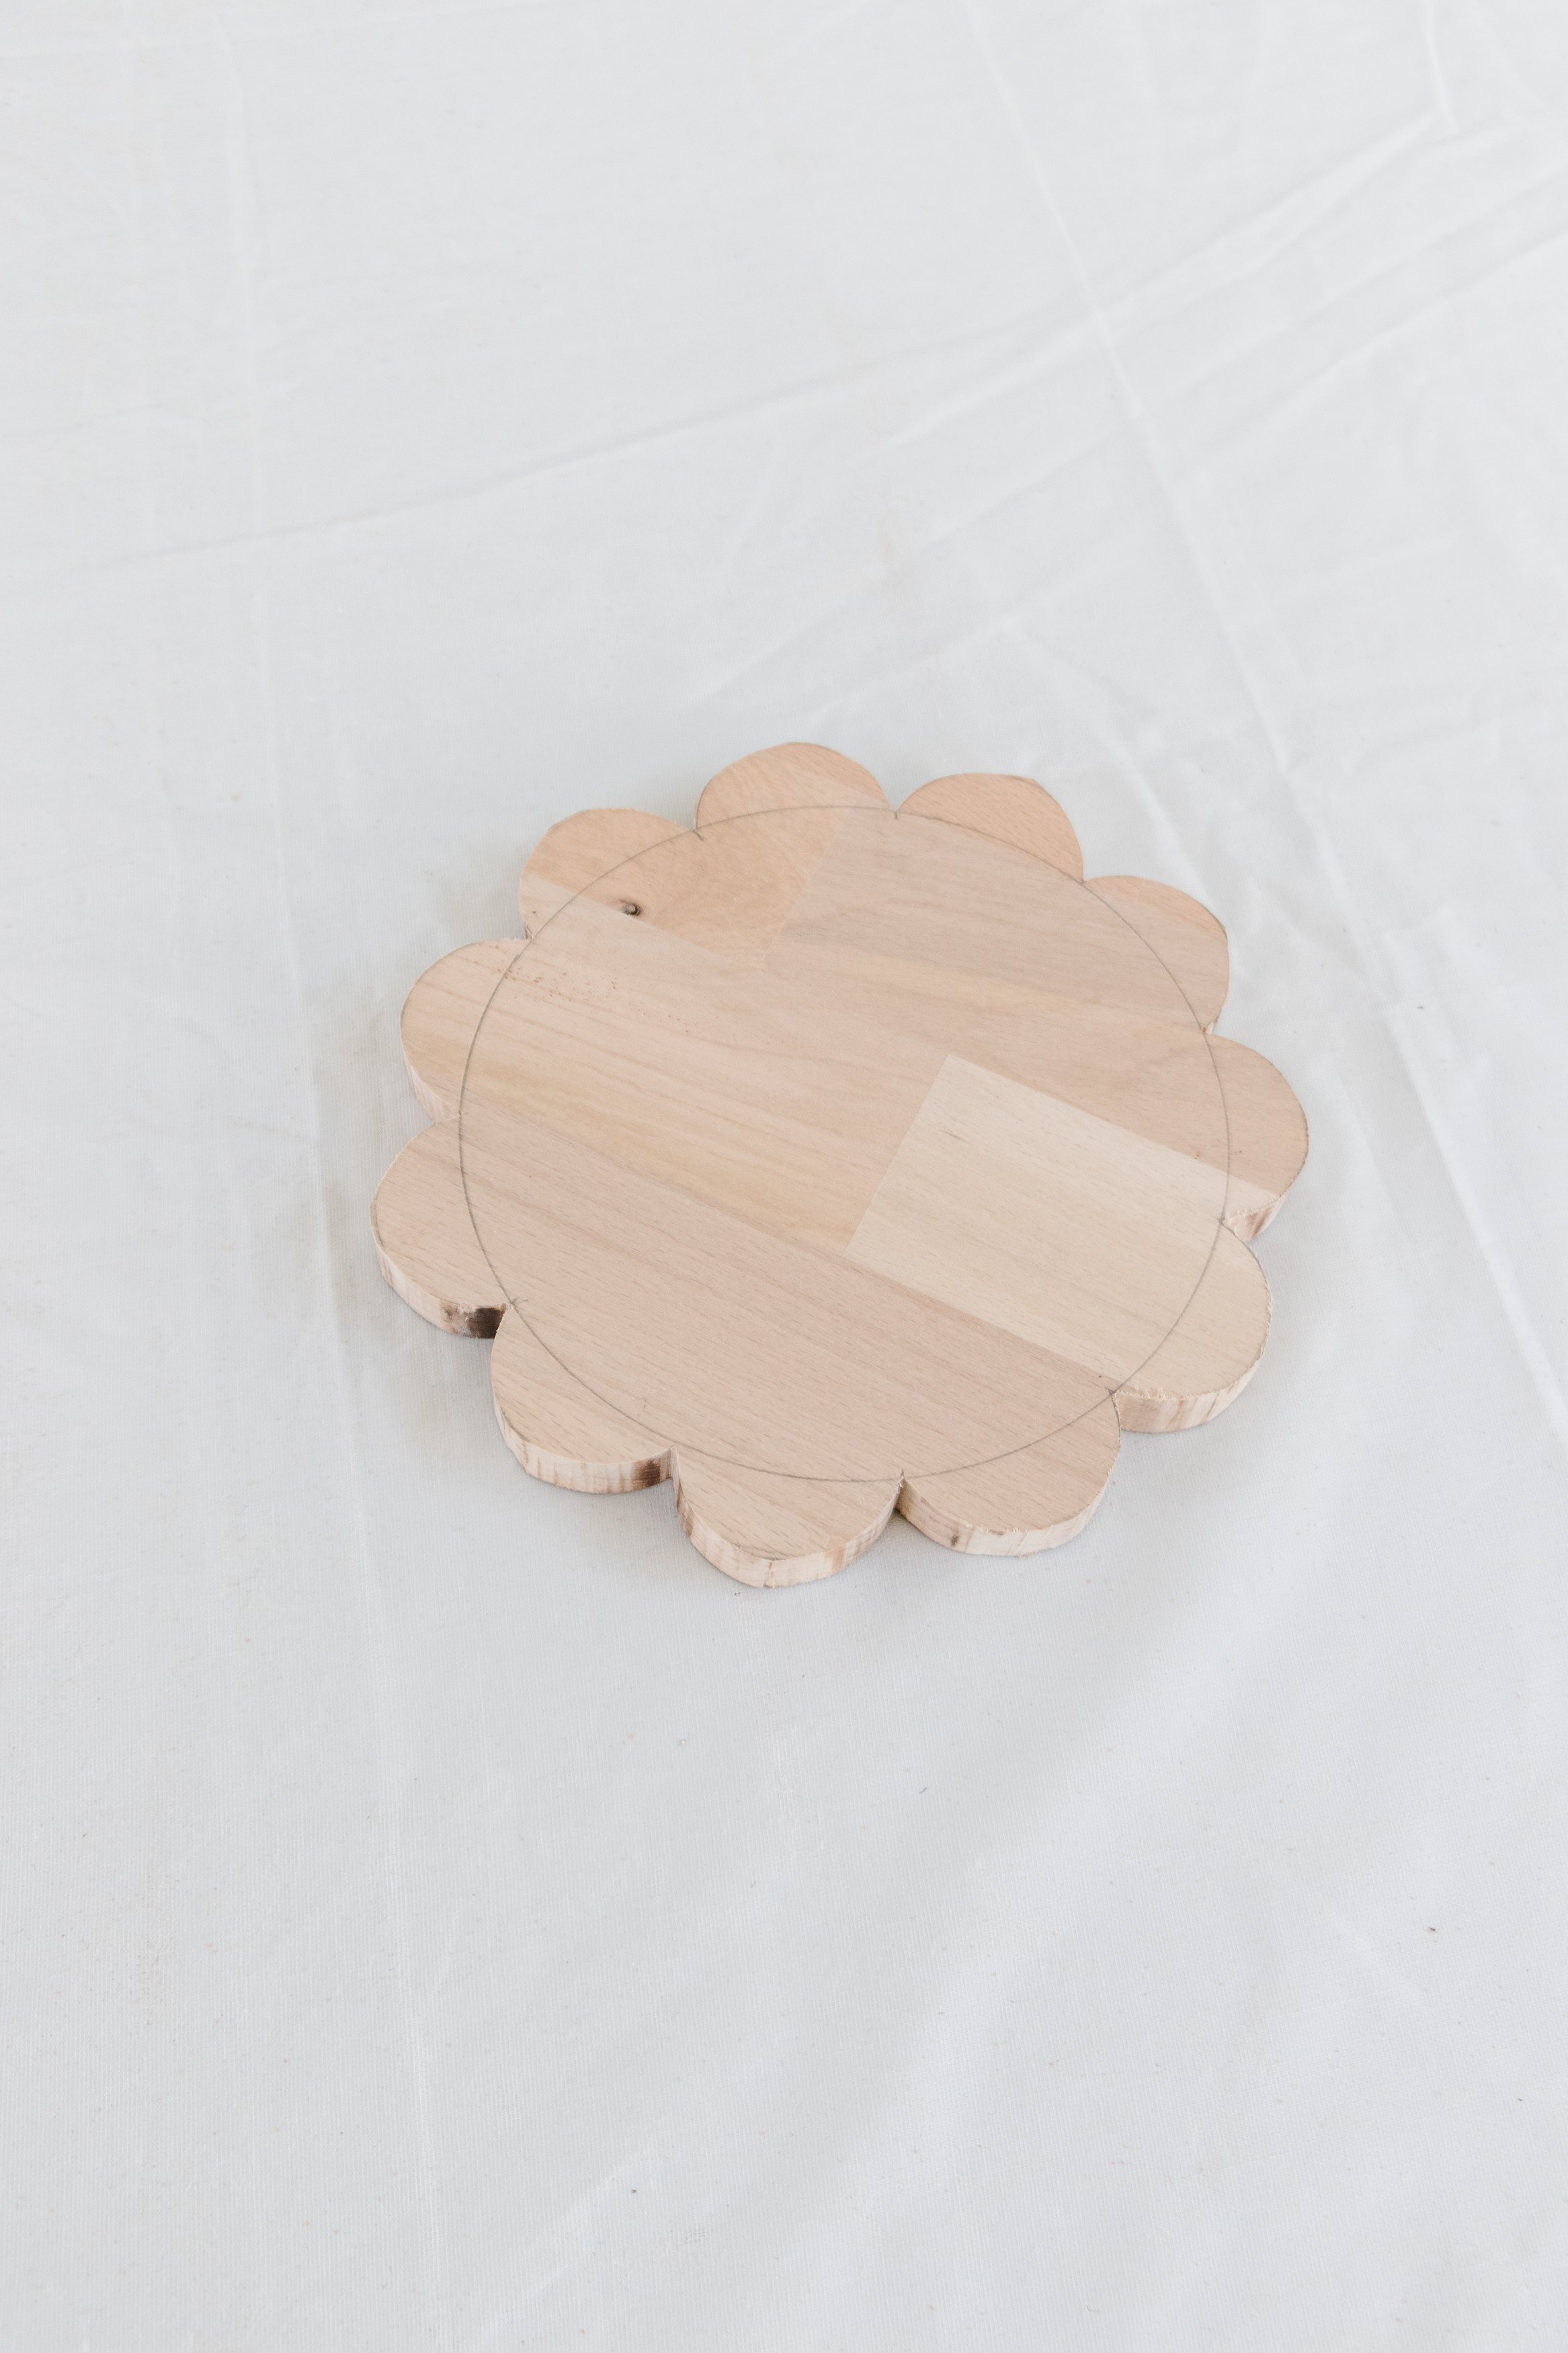
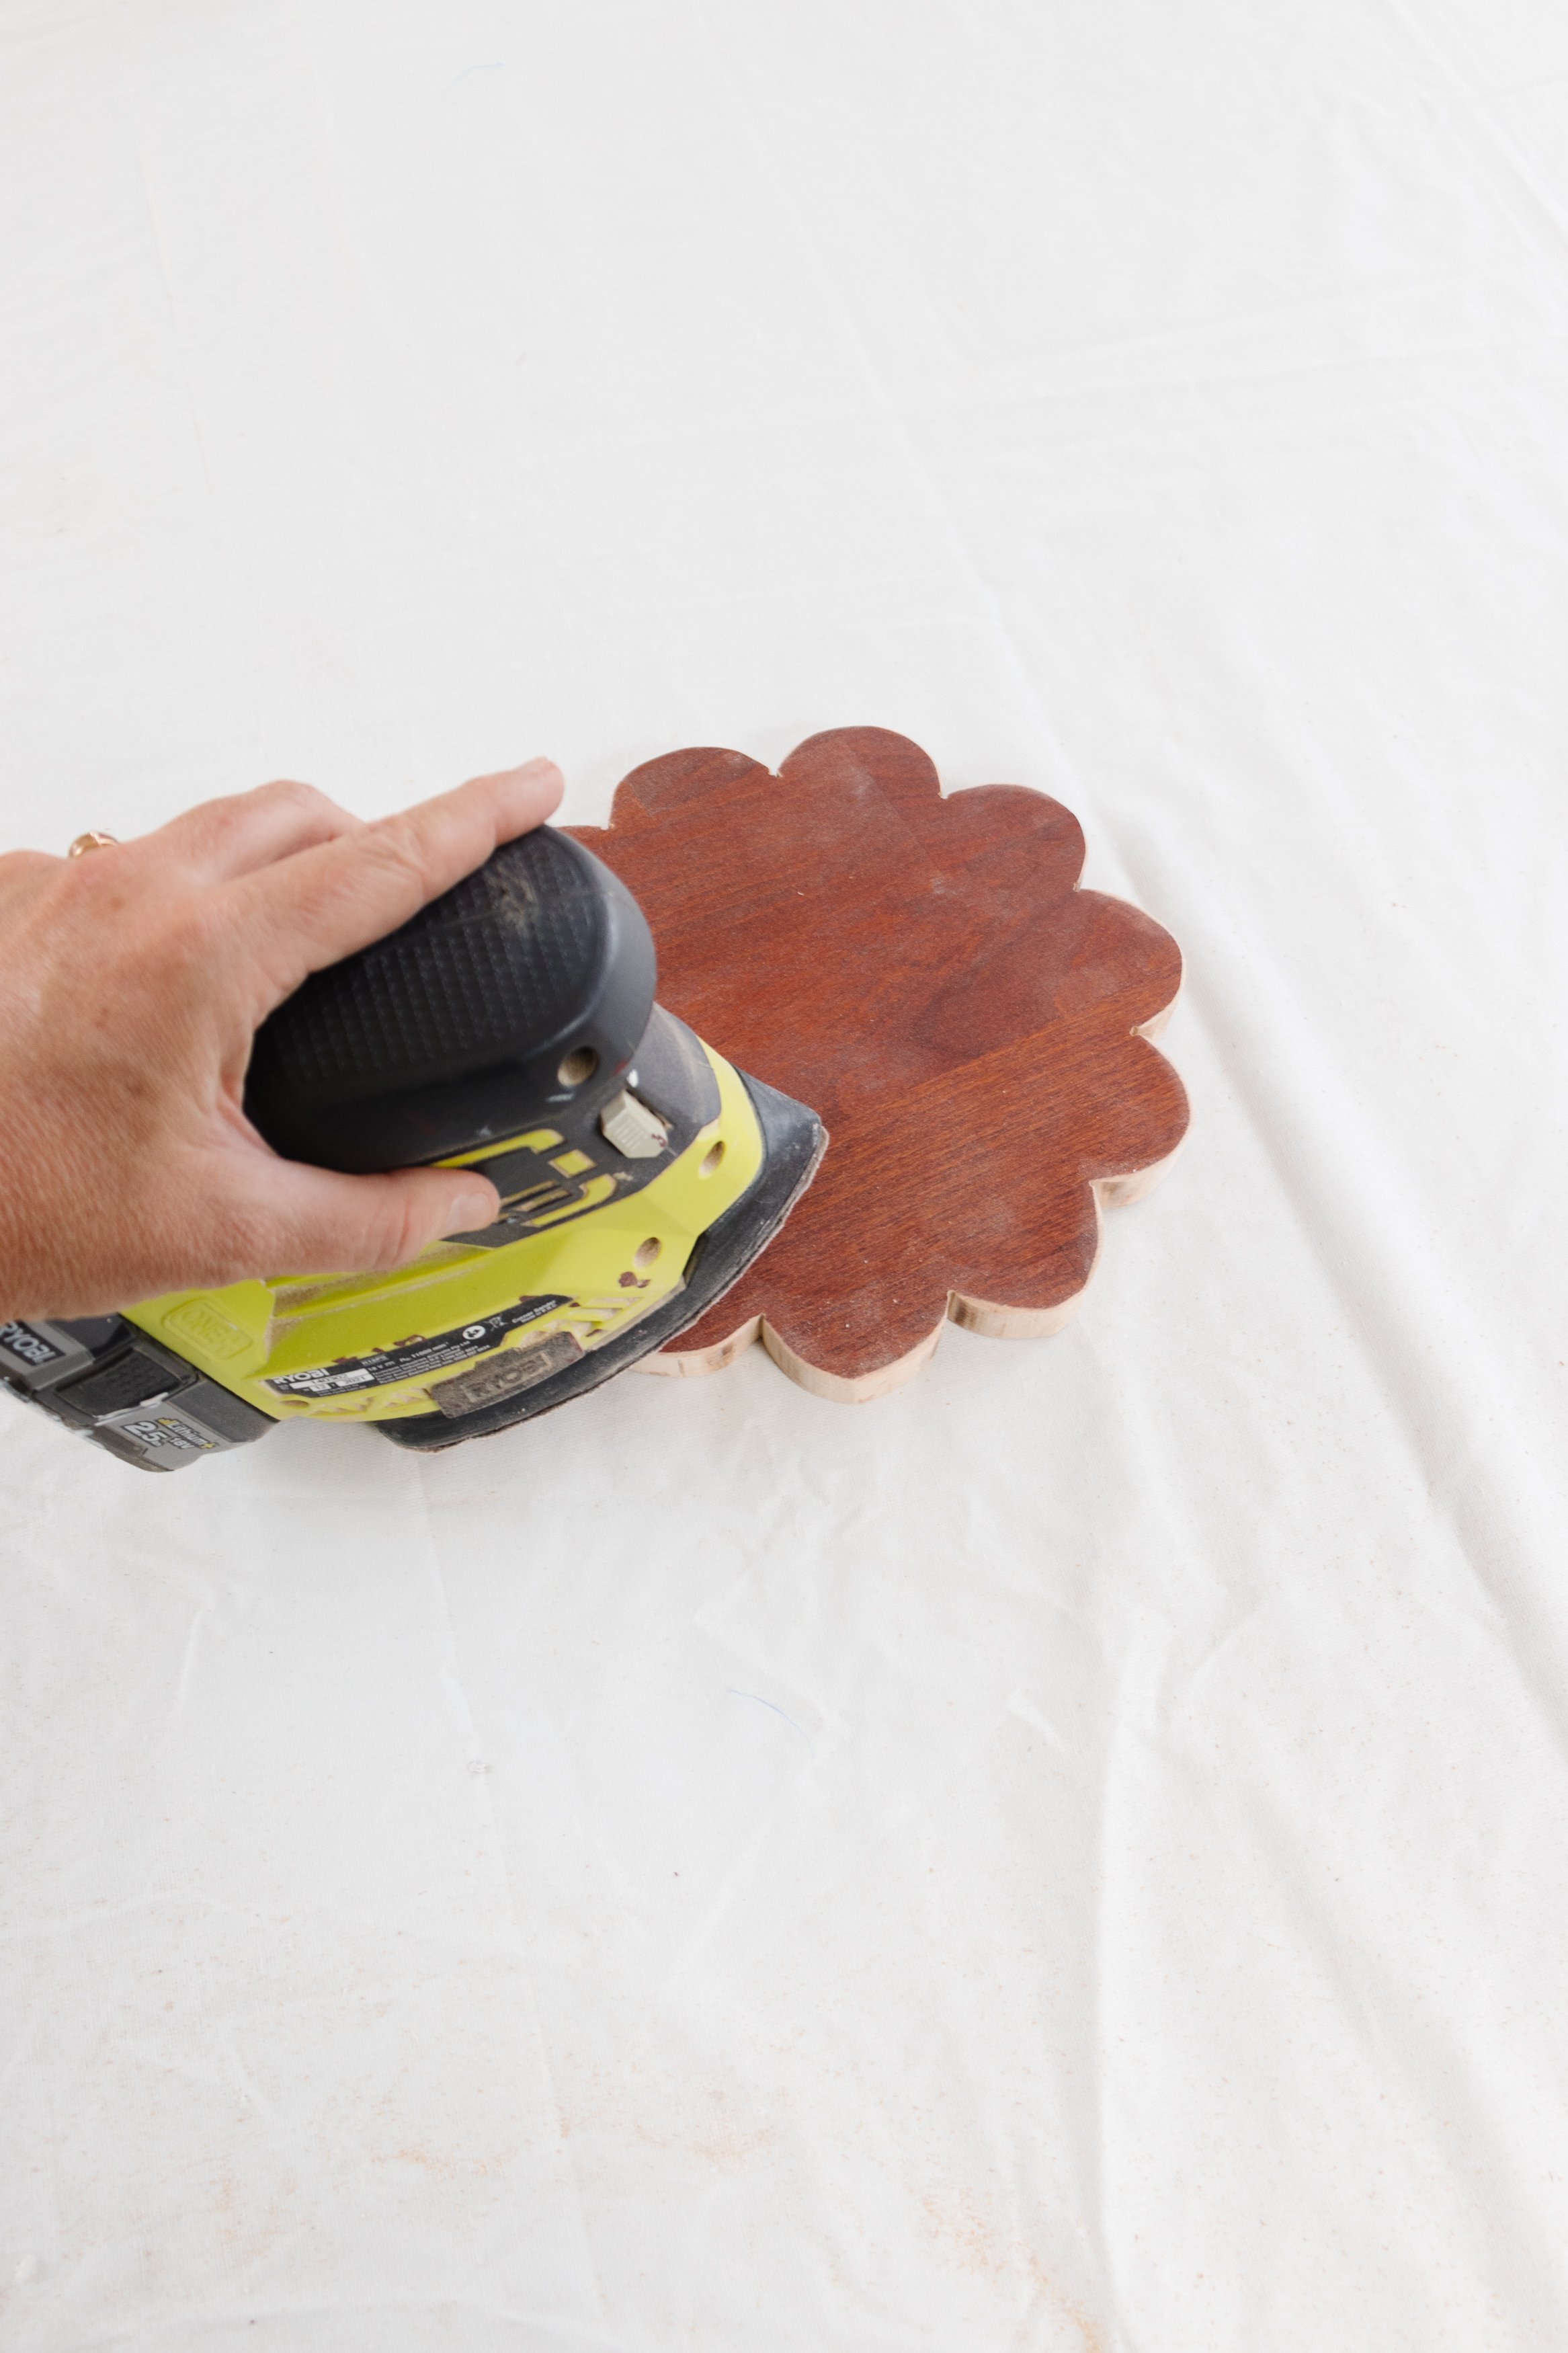
Step 2: Securely attach the wood to your workbench using clamps. Wearing safety gear cut around the scallops using a jigsaw. I find it easy to cut around one side (half of each semi-circle) and then the other, as you can see in the photos below. When you have finished cutting, use your detail sander to soften the edges and create a beautiful finish.
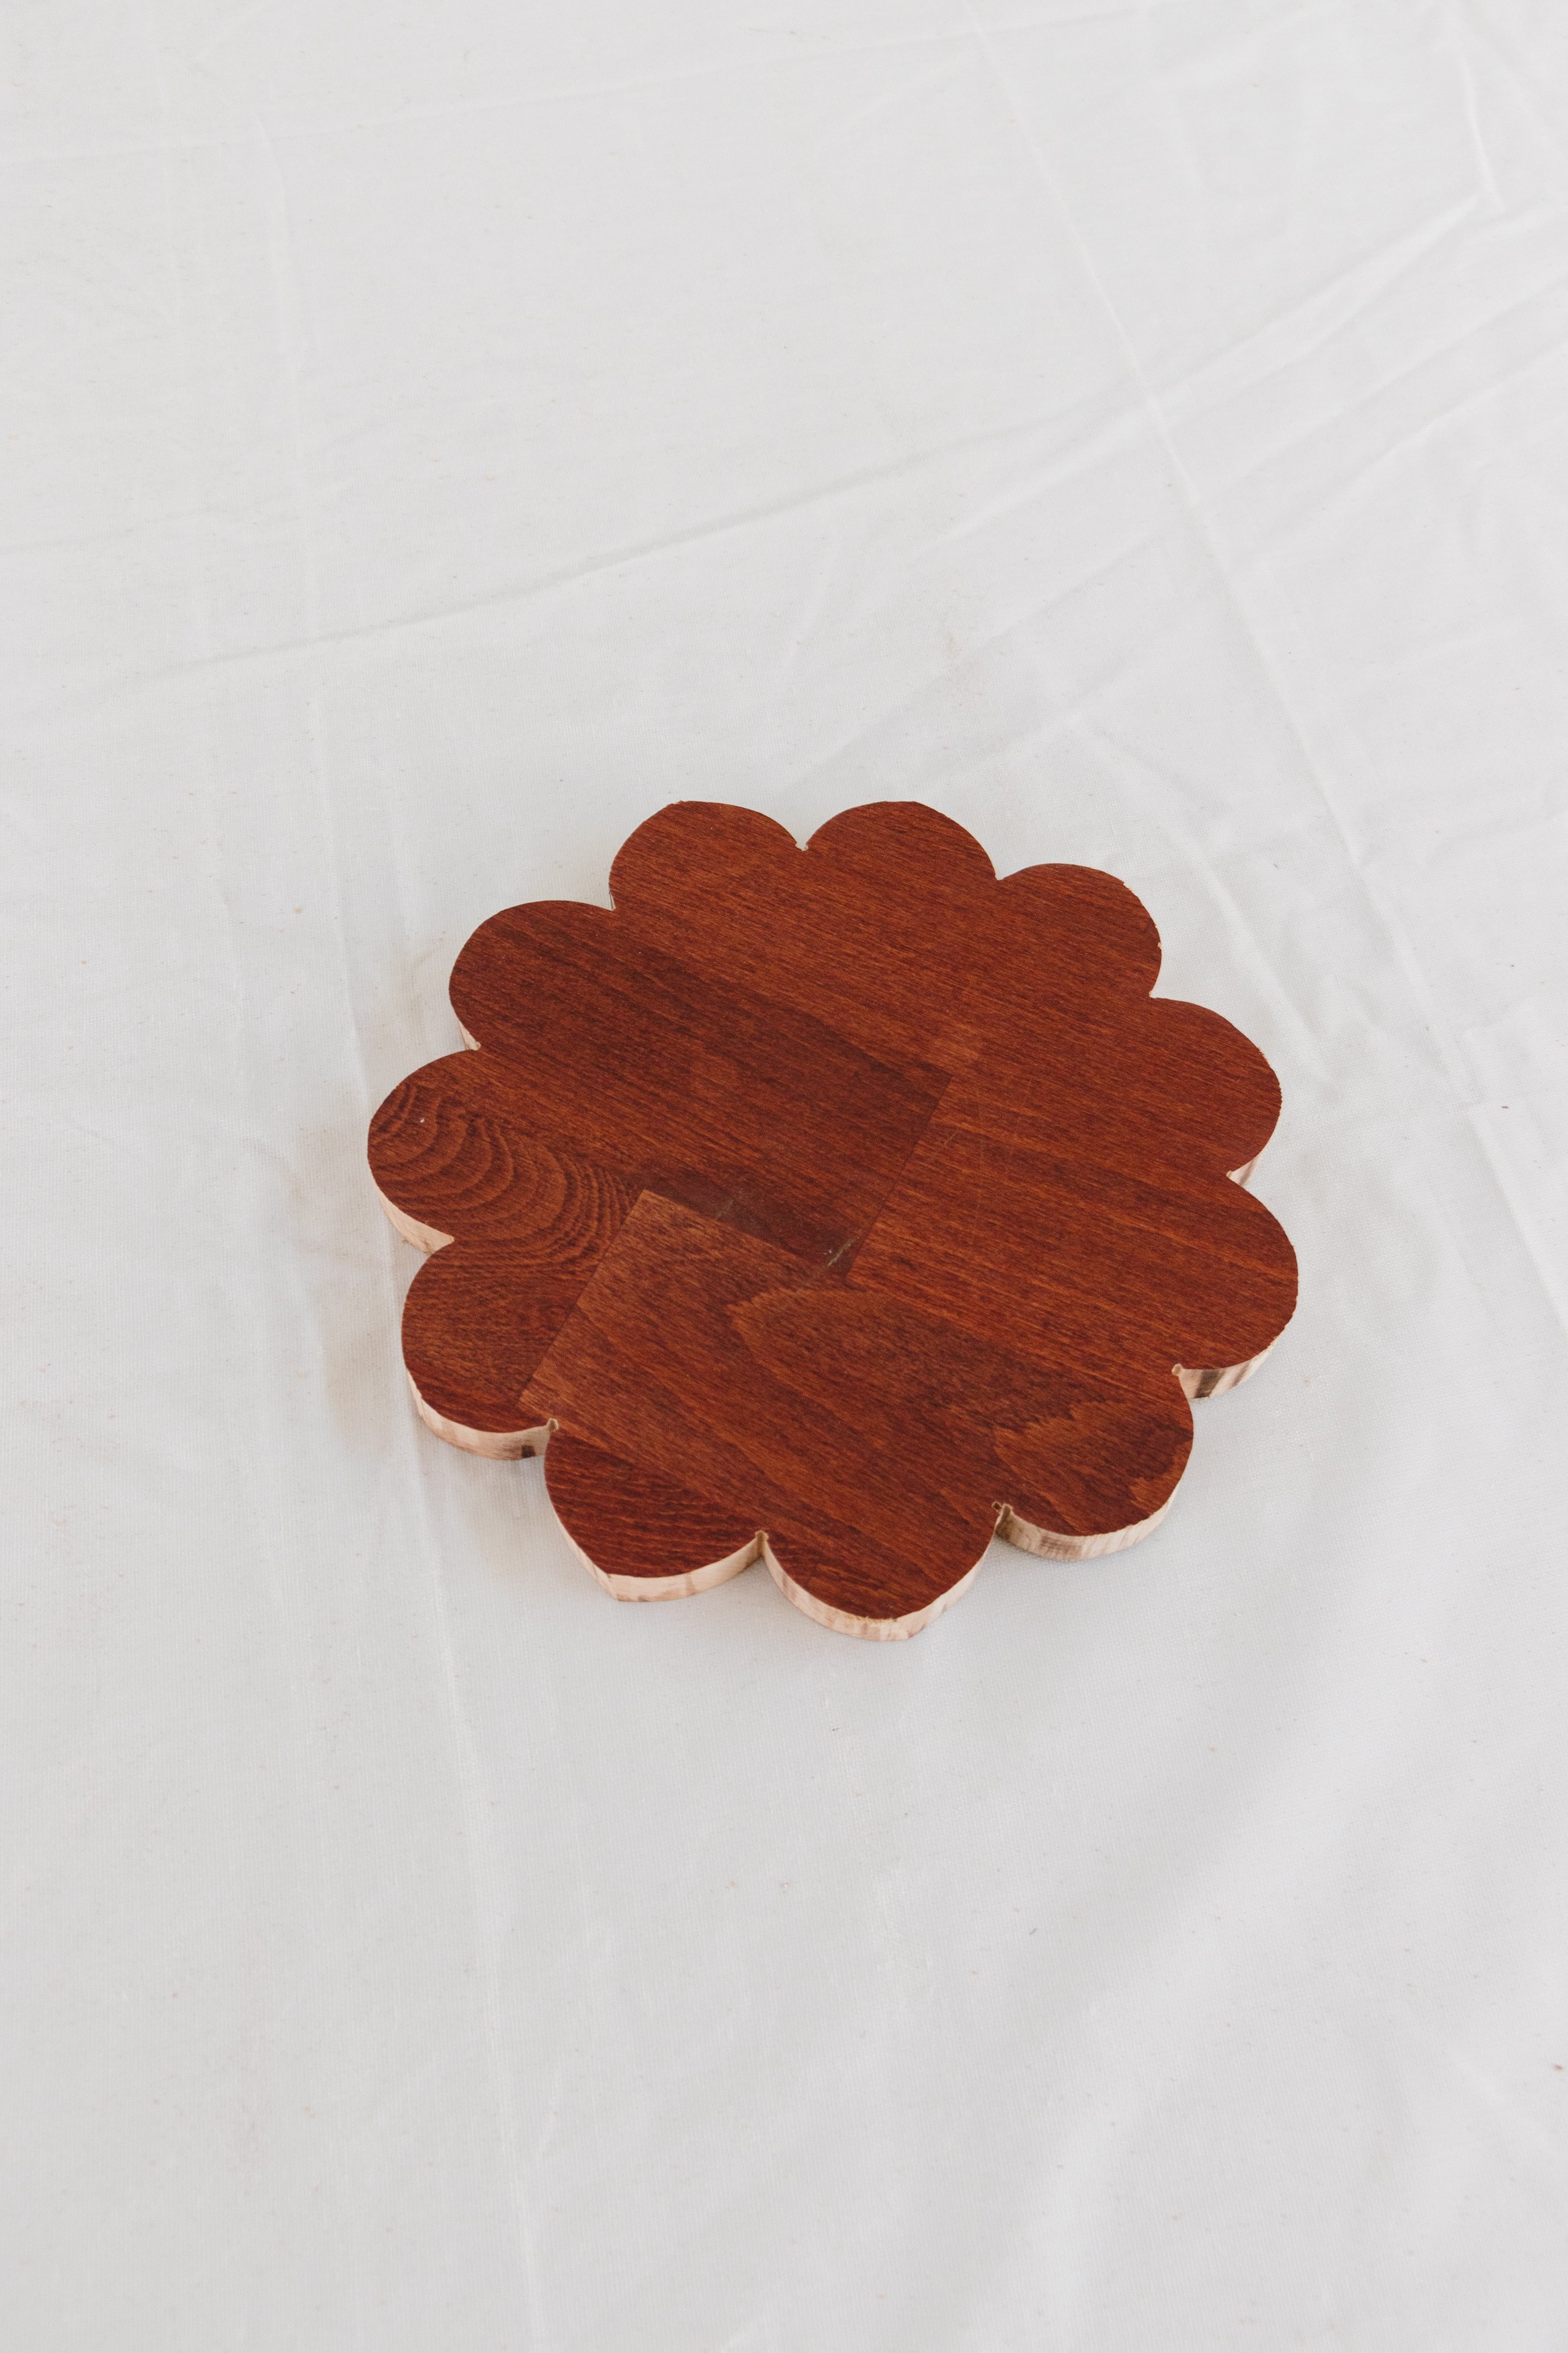
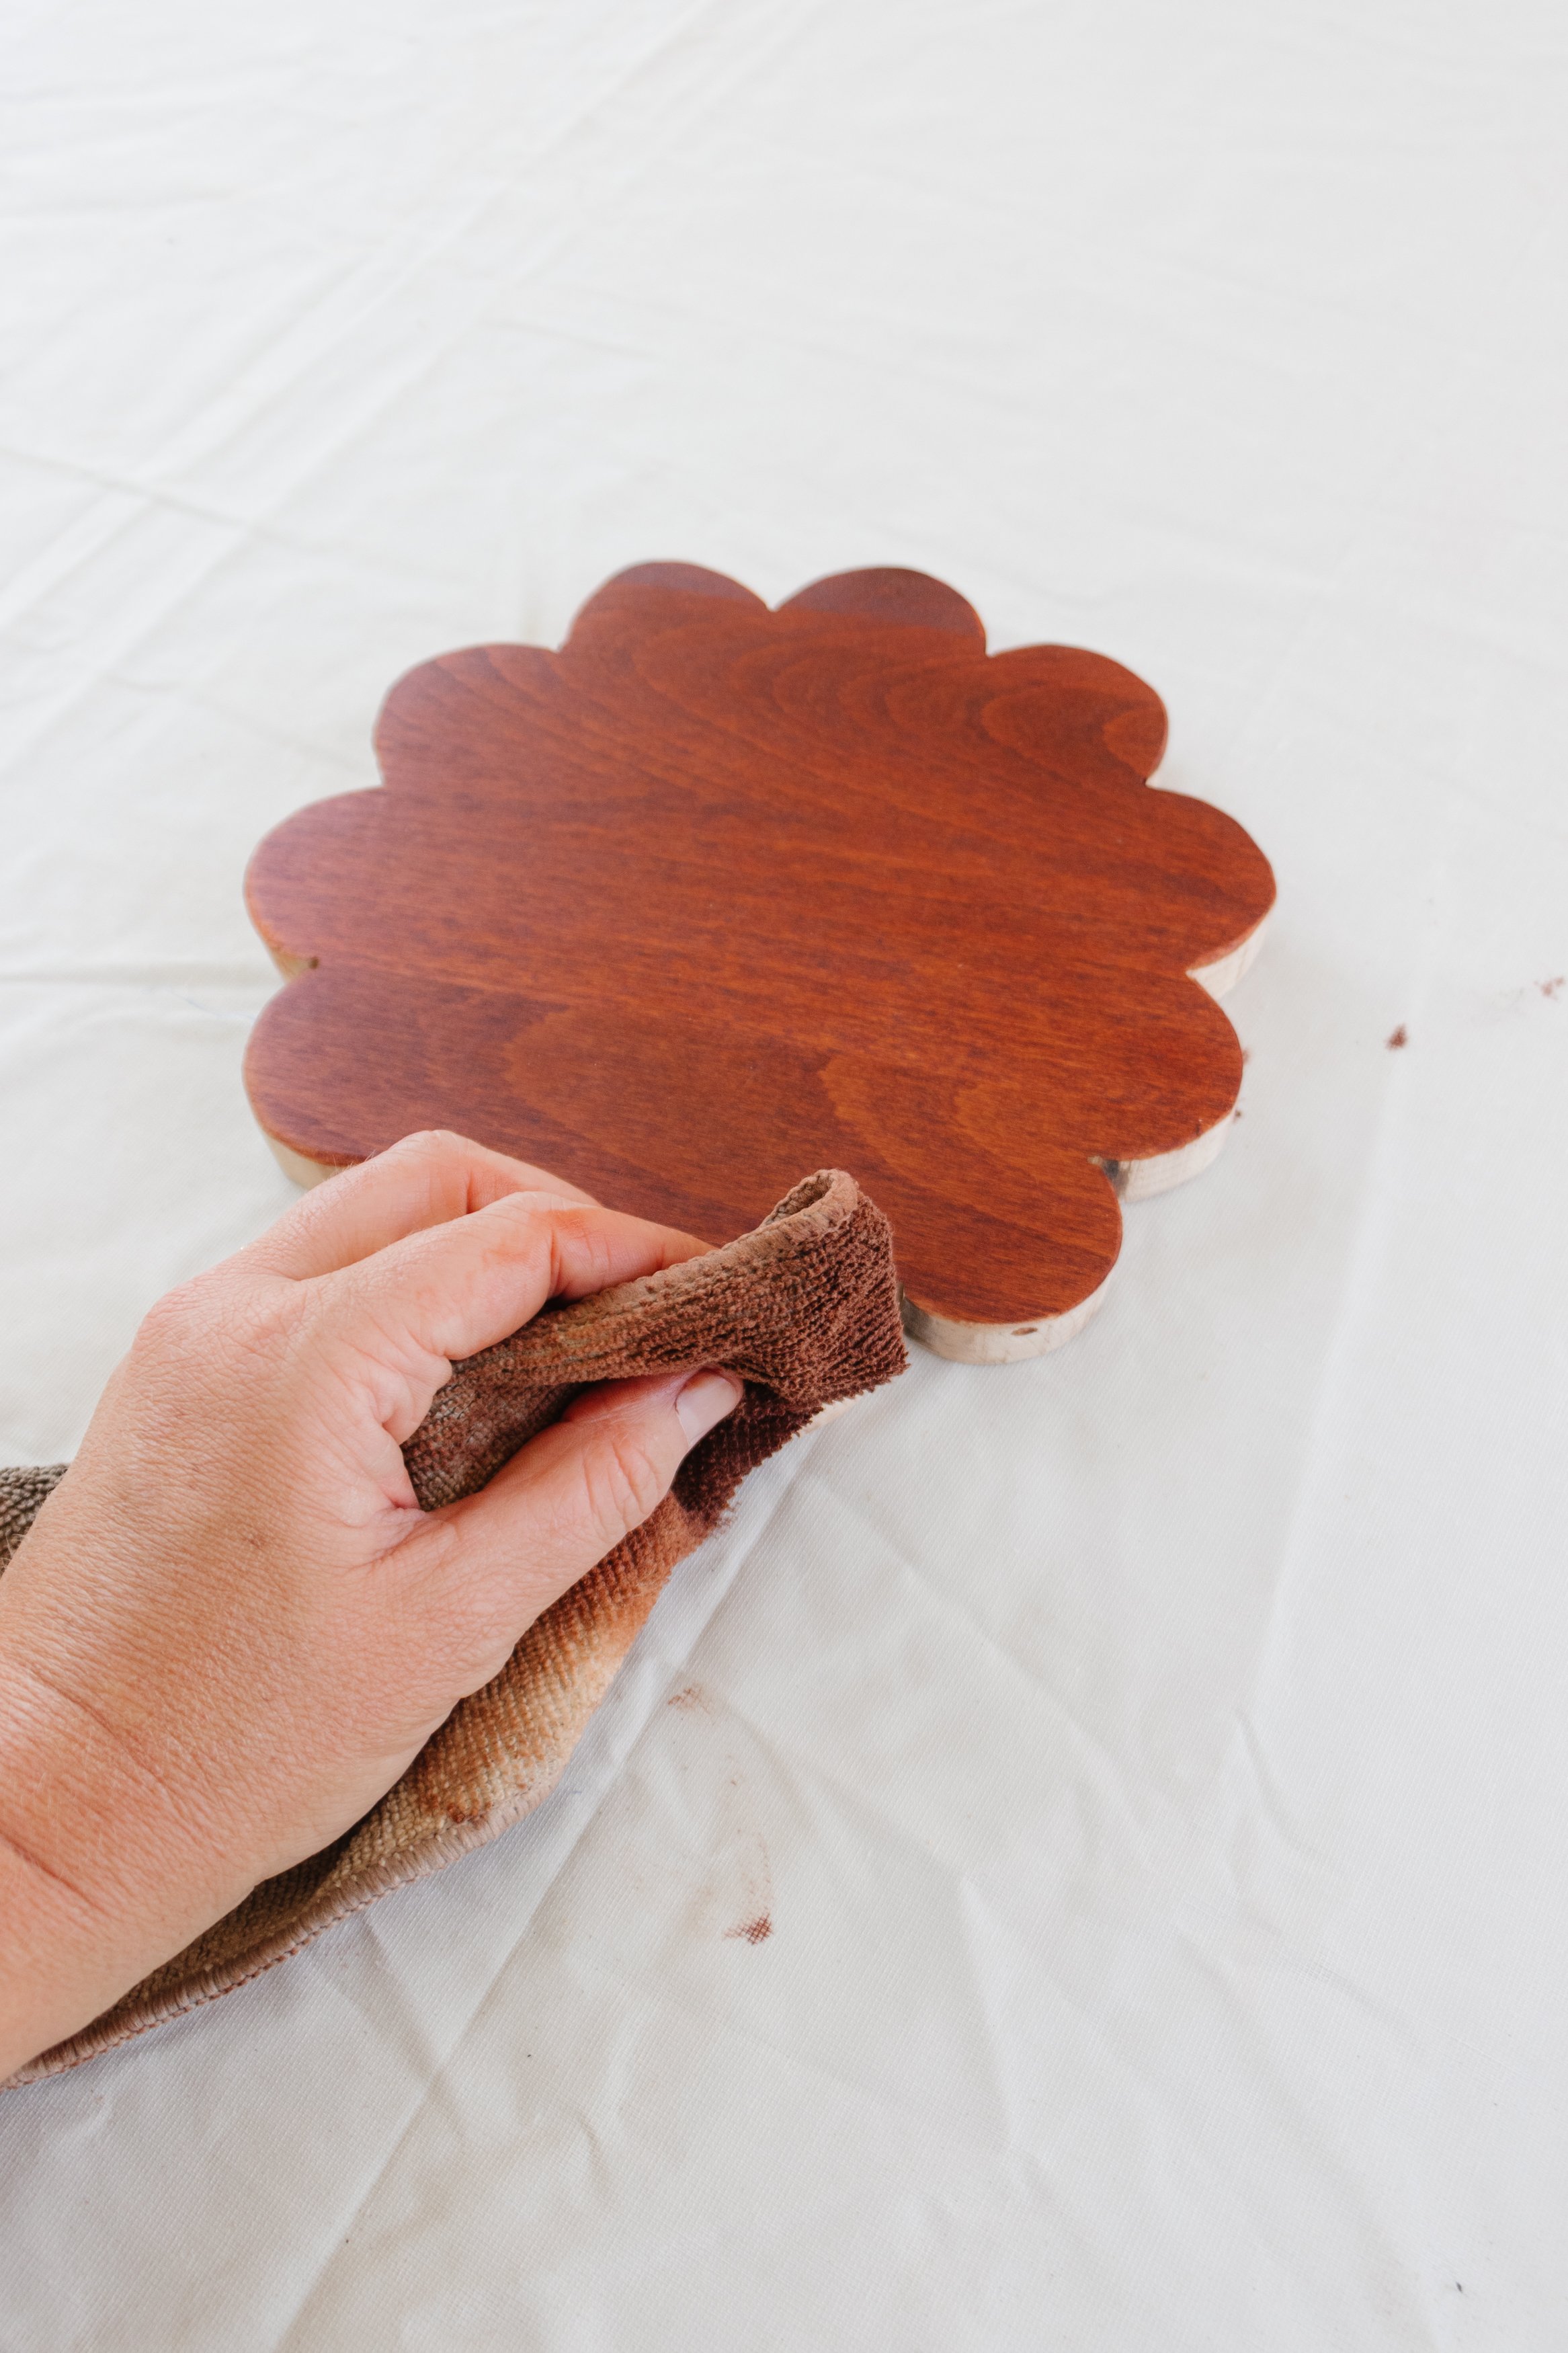
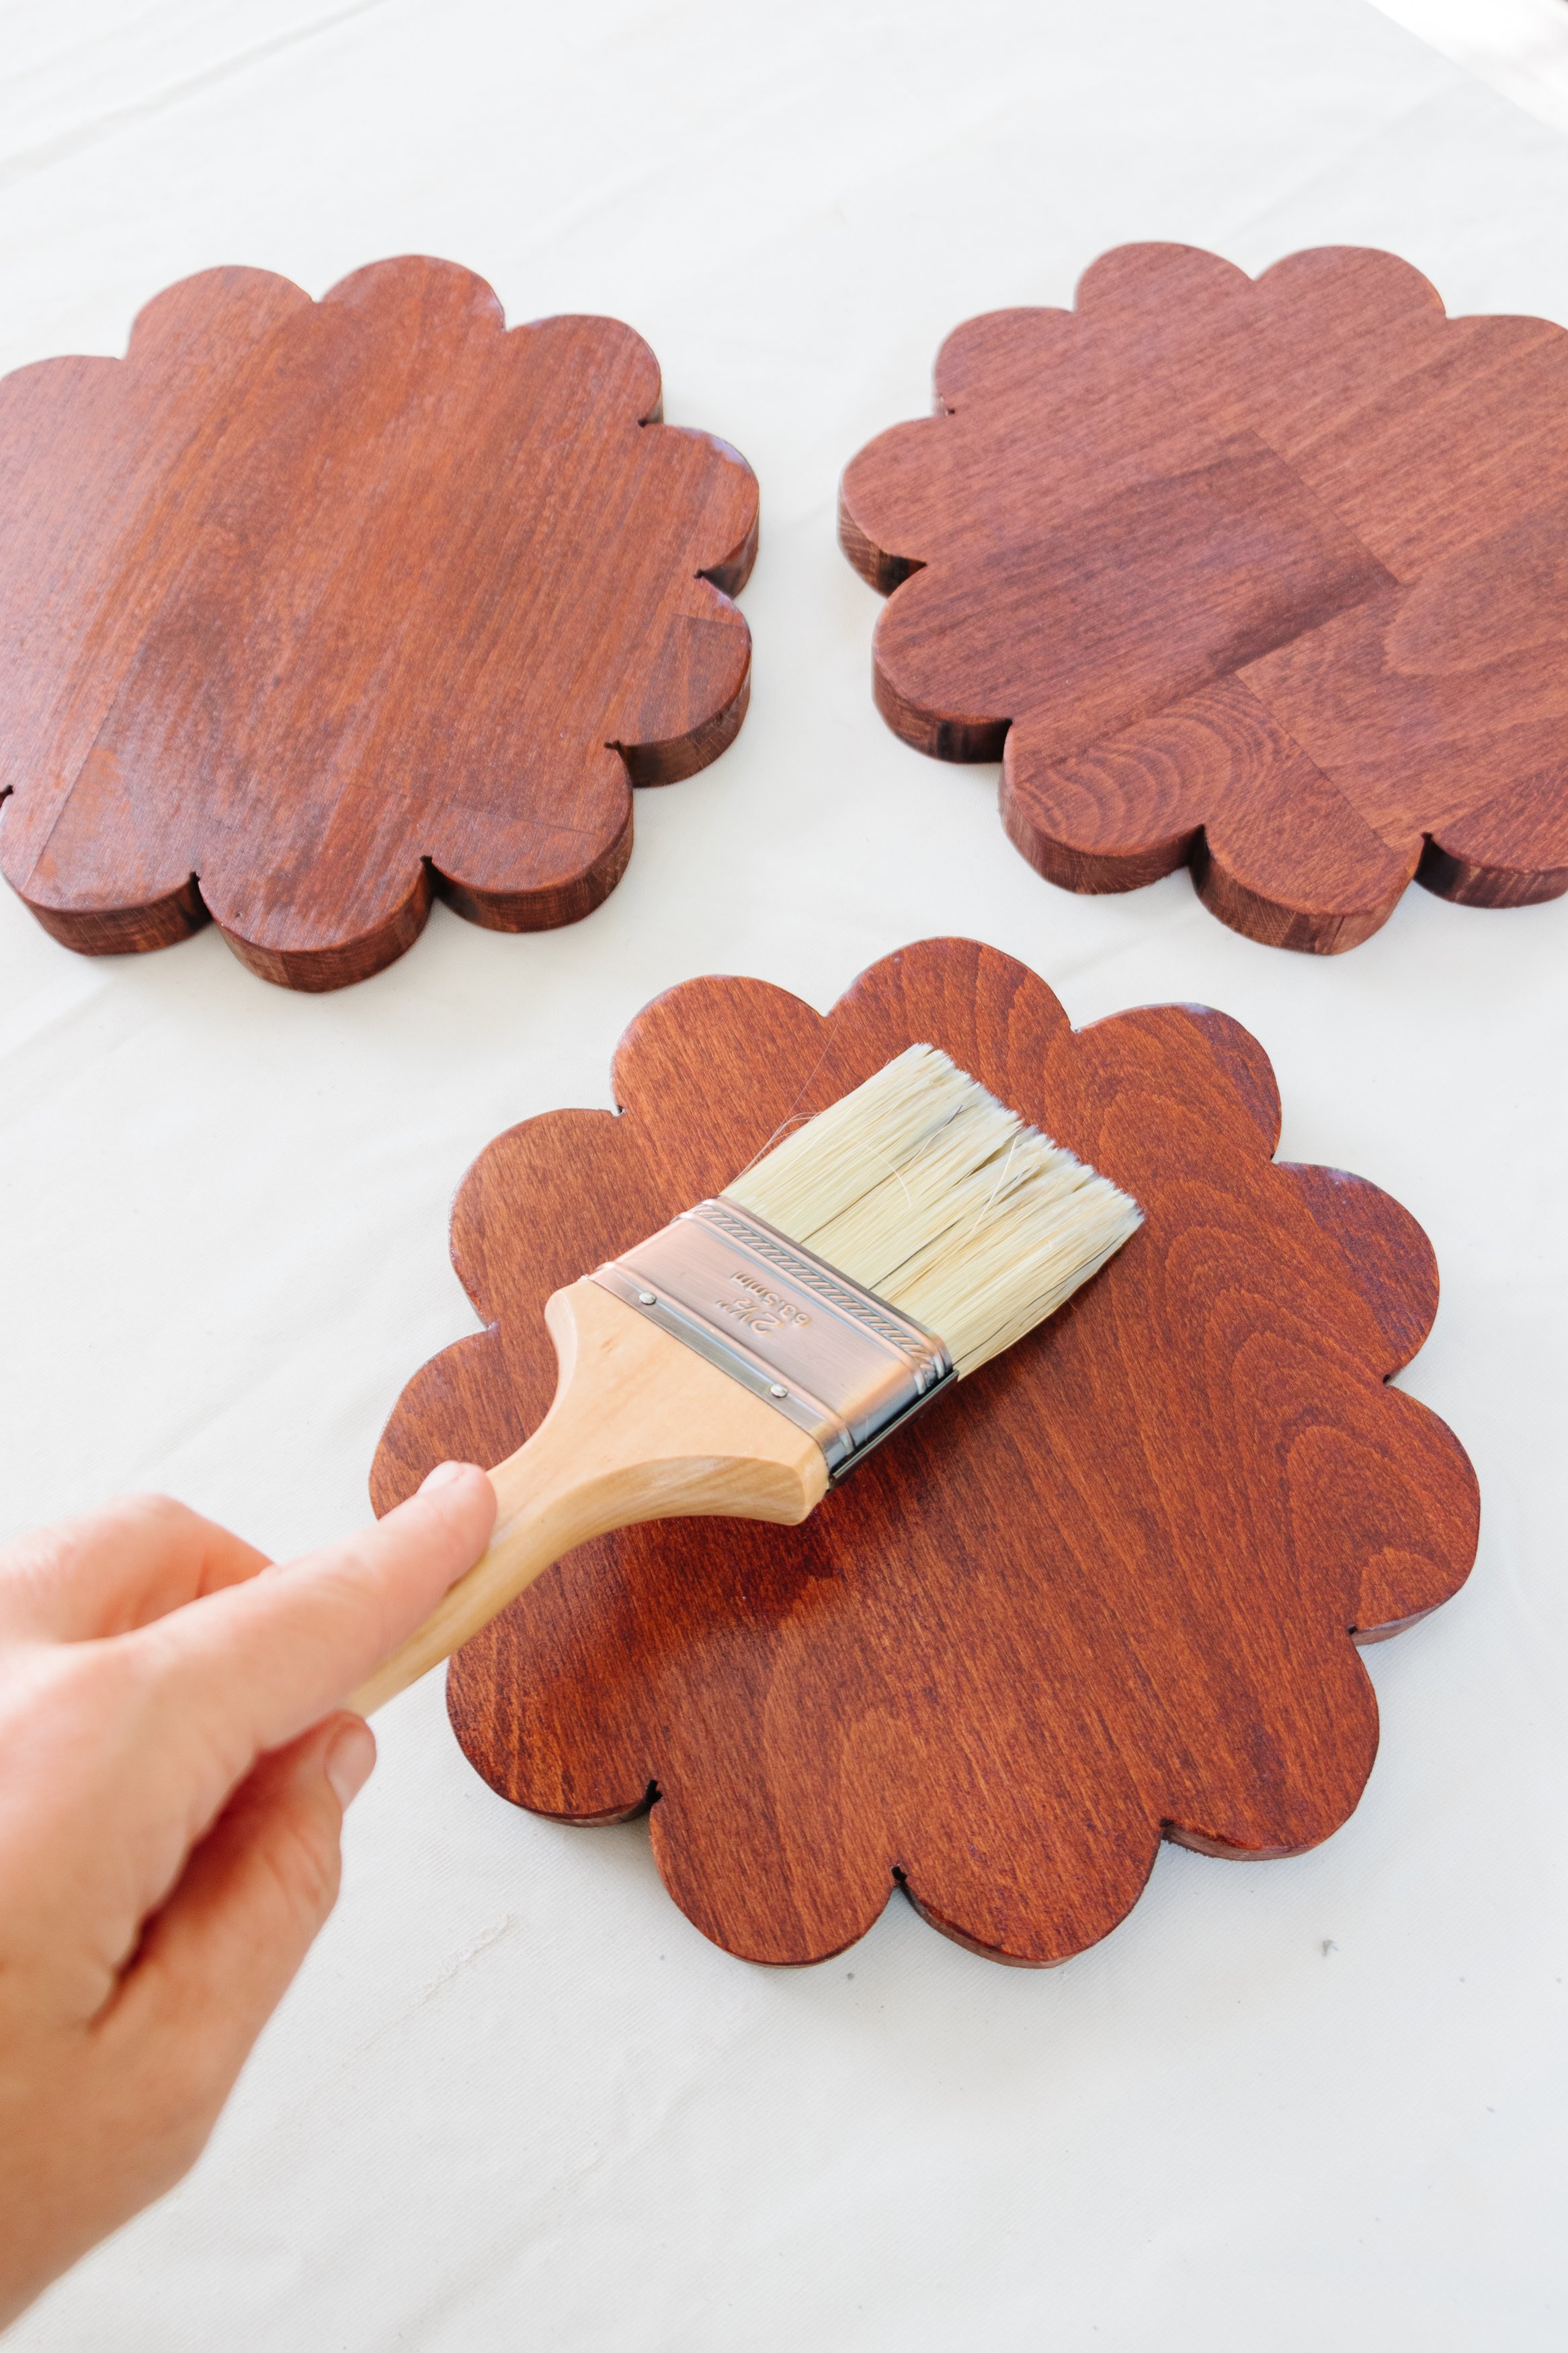
Step 3: Apply 1 to 3 coats of timber stain to the scalloped timber (more coats will make the stain darker - it’s totally up to you). Apply one coat of stain to the cardboard tube. Set aside to dry. When dry, apply 2 coats of satin varnish all over the scalloped timber and cardboard tube making sure to wait for the varnish to dry in between coats.
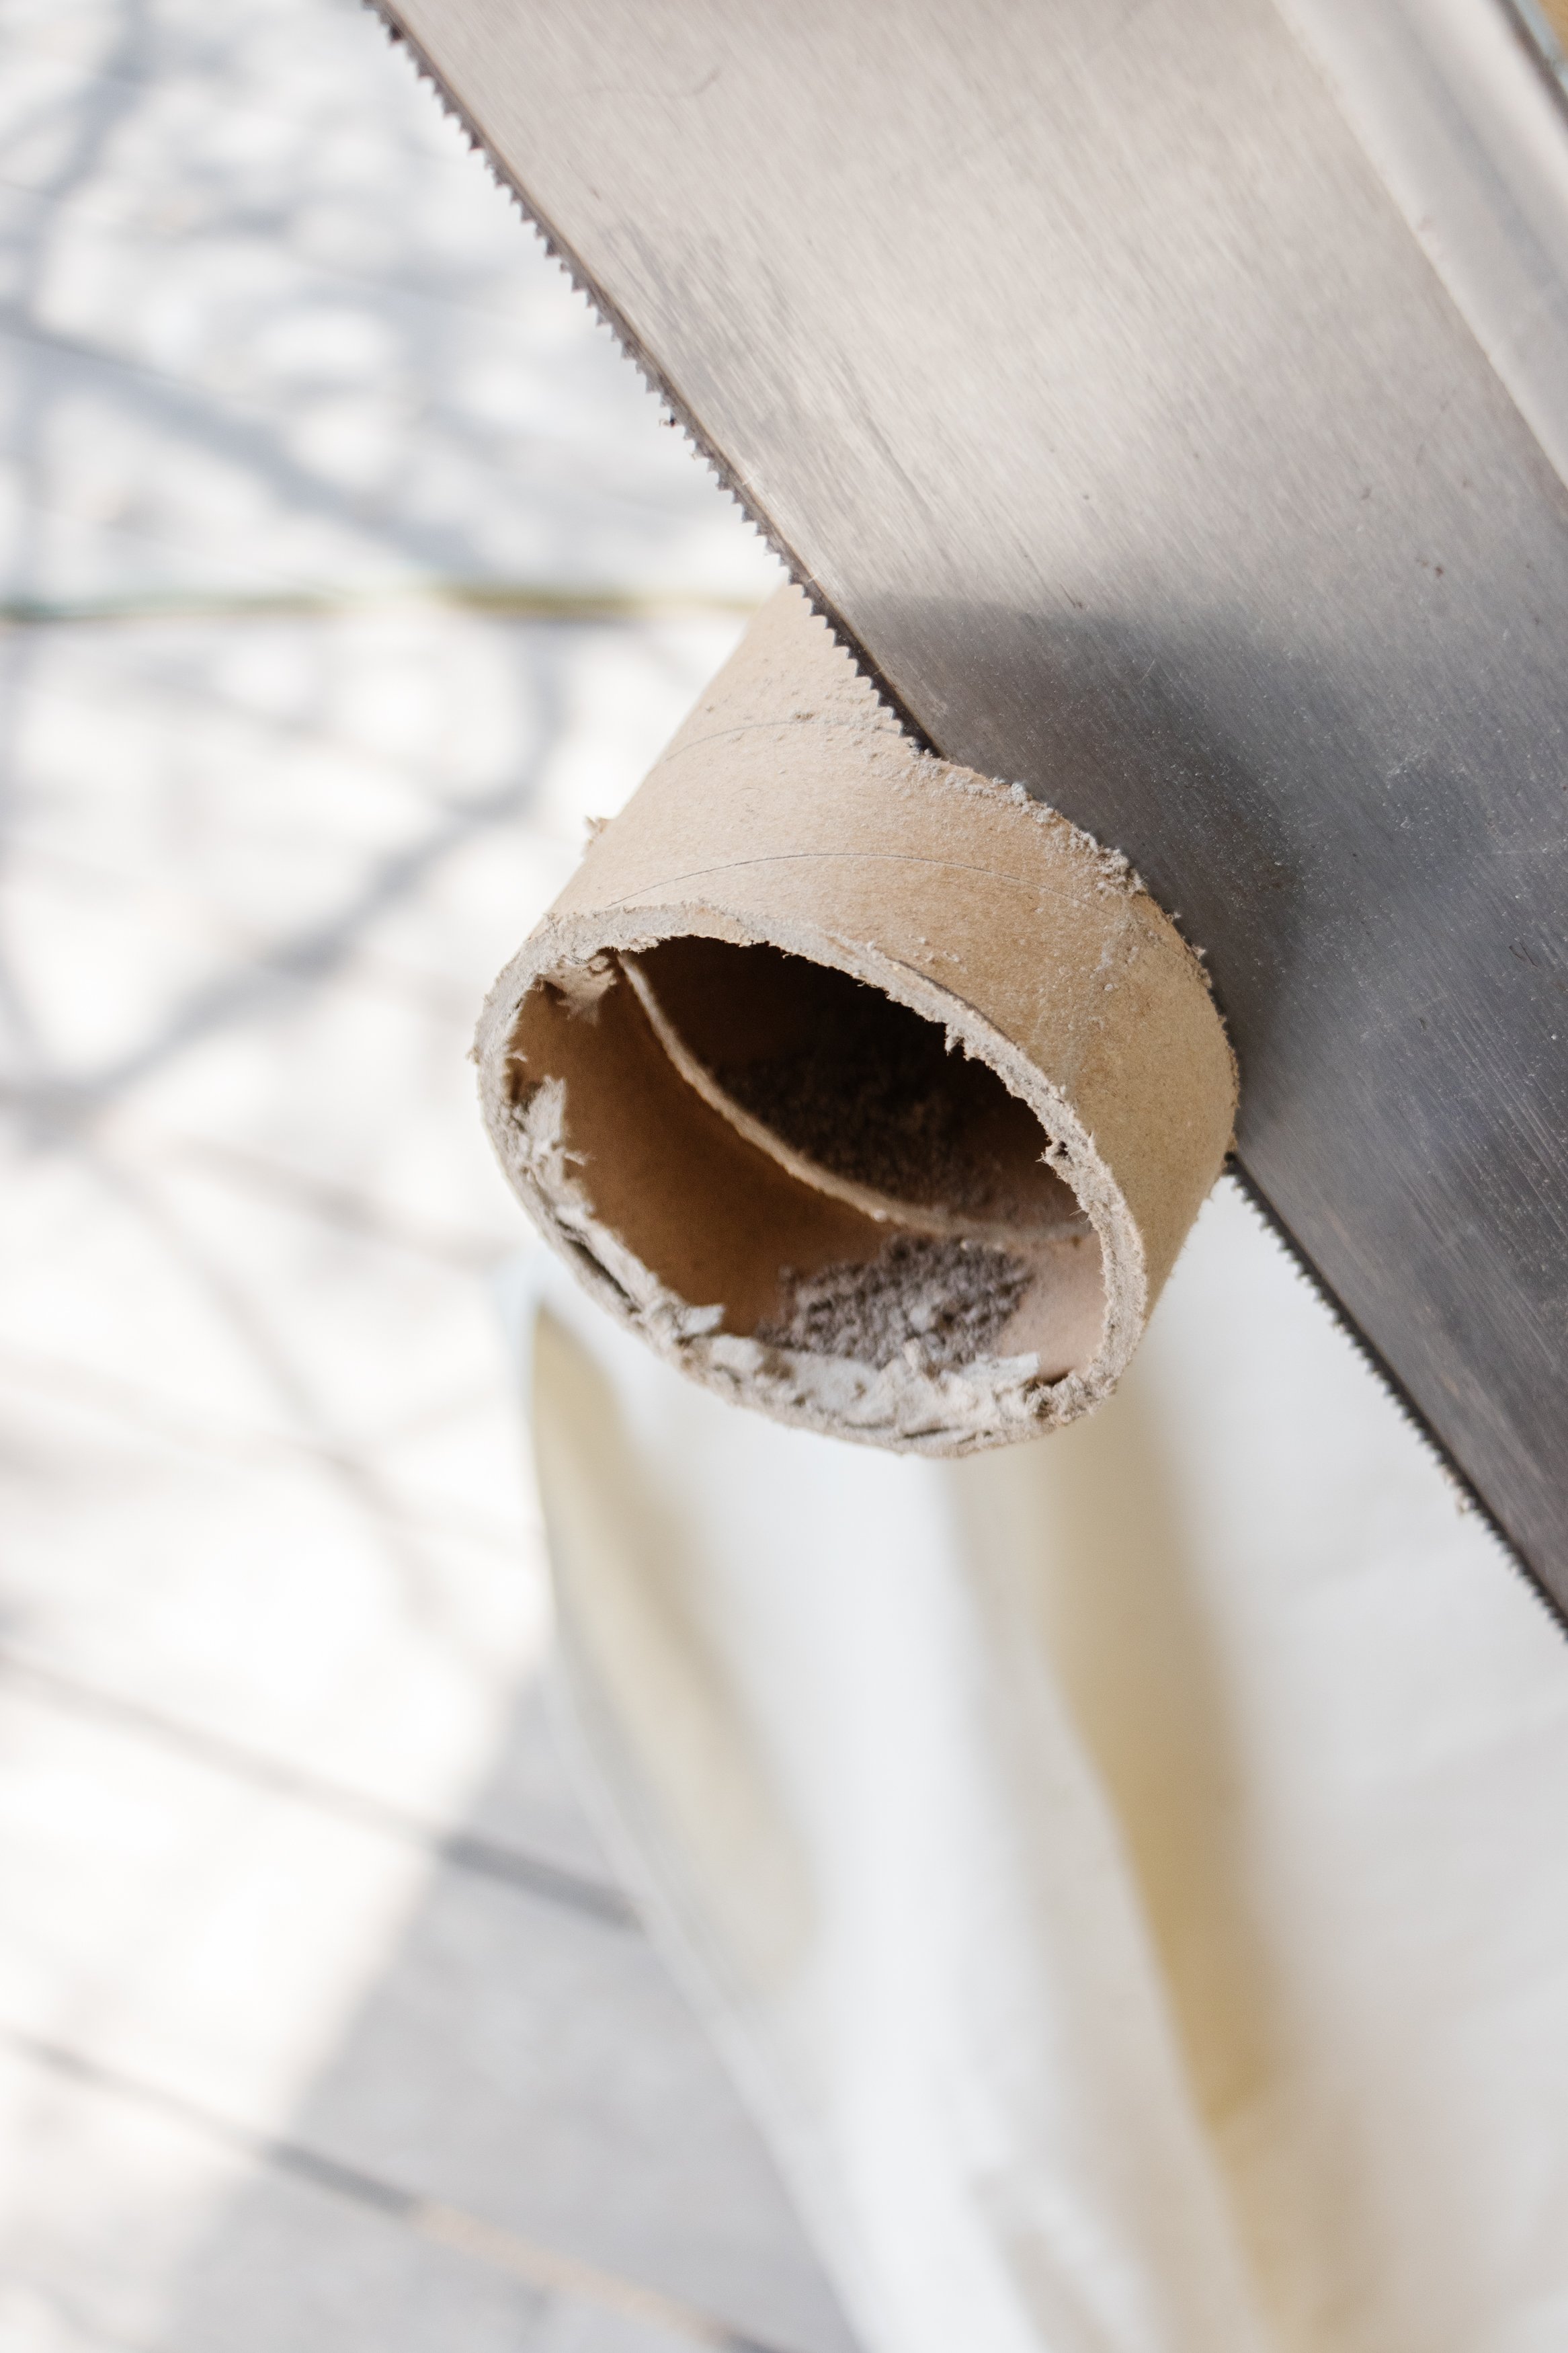
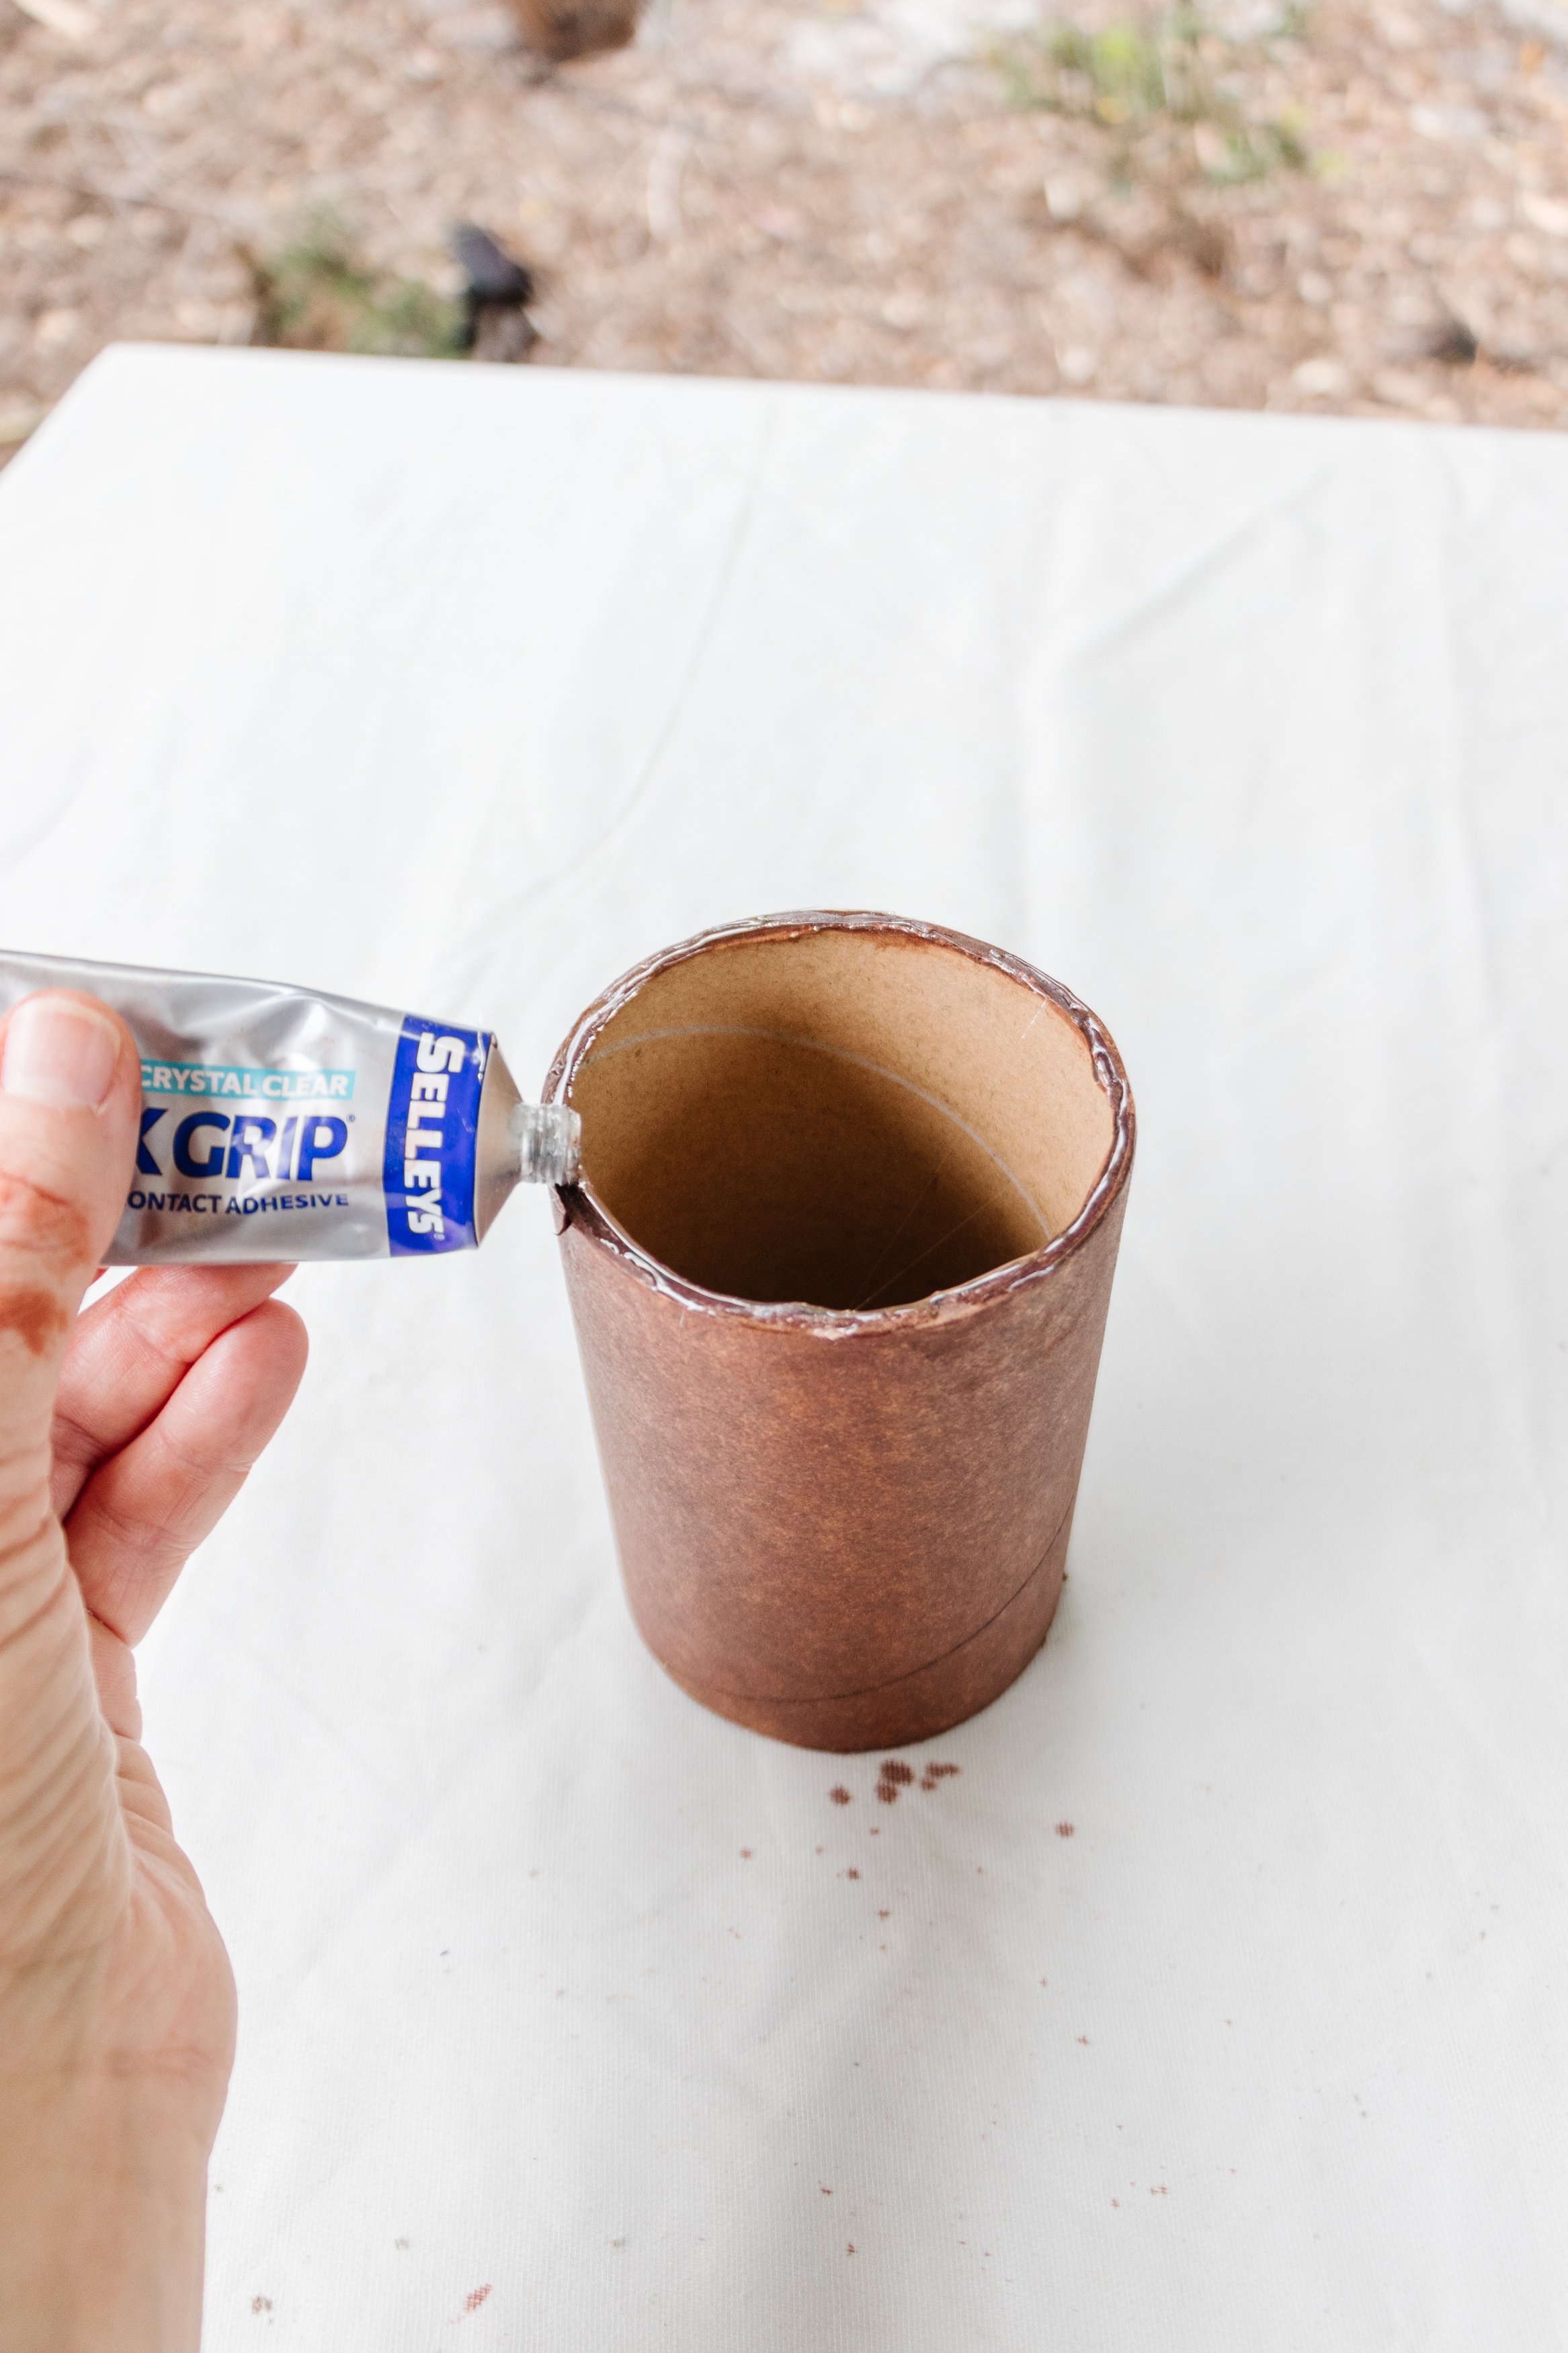
Step 4: Work out how tall you would like the trays to be, secure the cardboard tube to your workbench using clamps and cut the cardboard tube using the jigsaw. Glue the cardboard tube to the underside of the scalloped timber and that’s it!


The Reveal
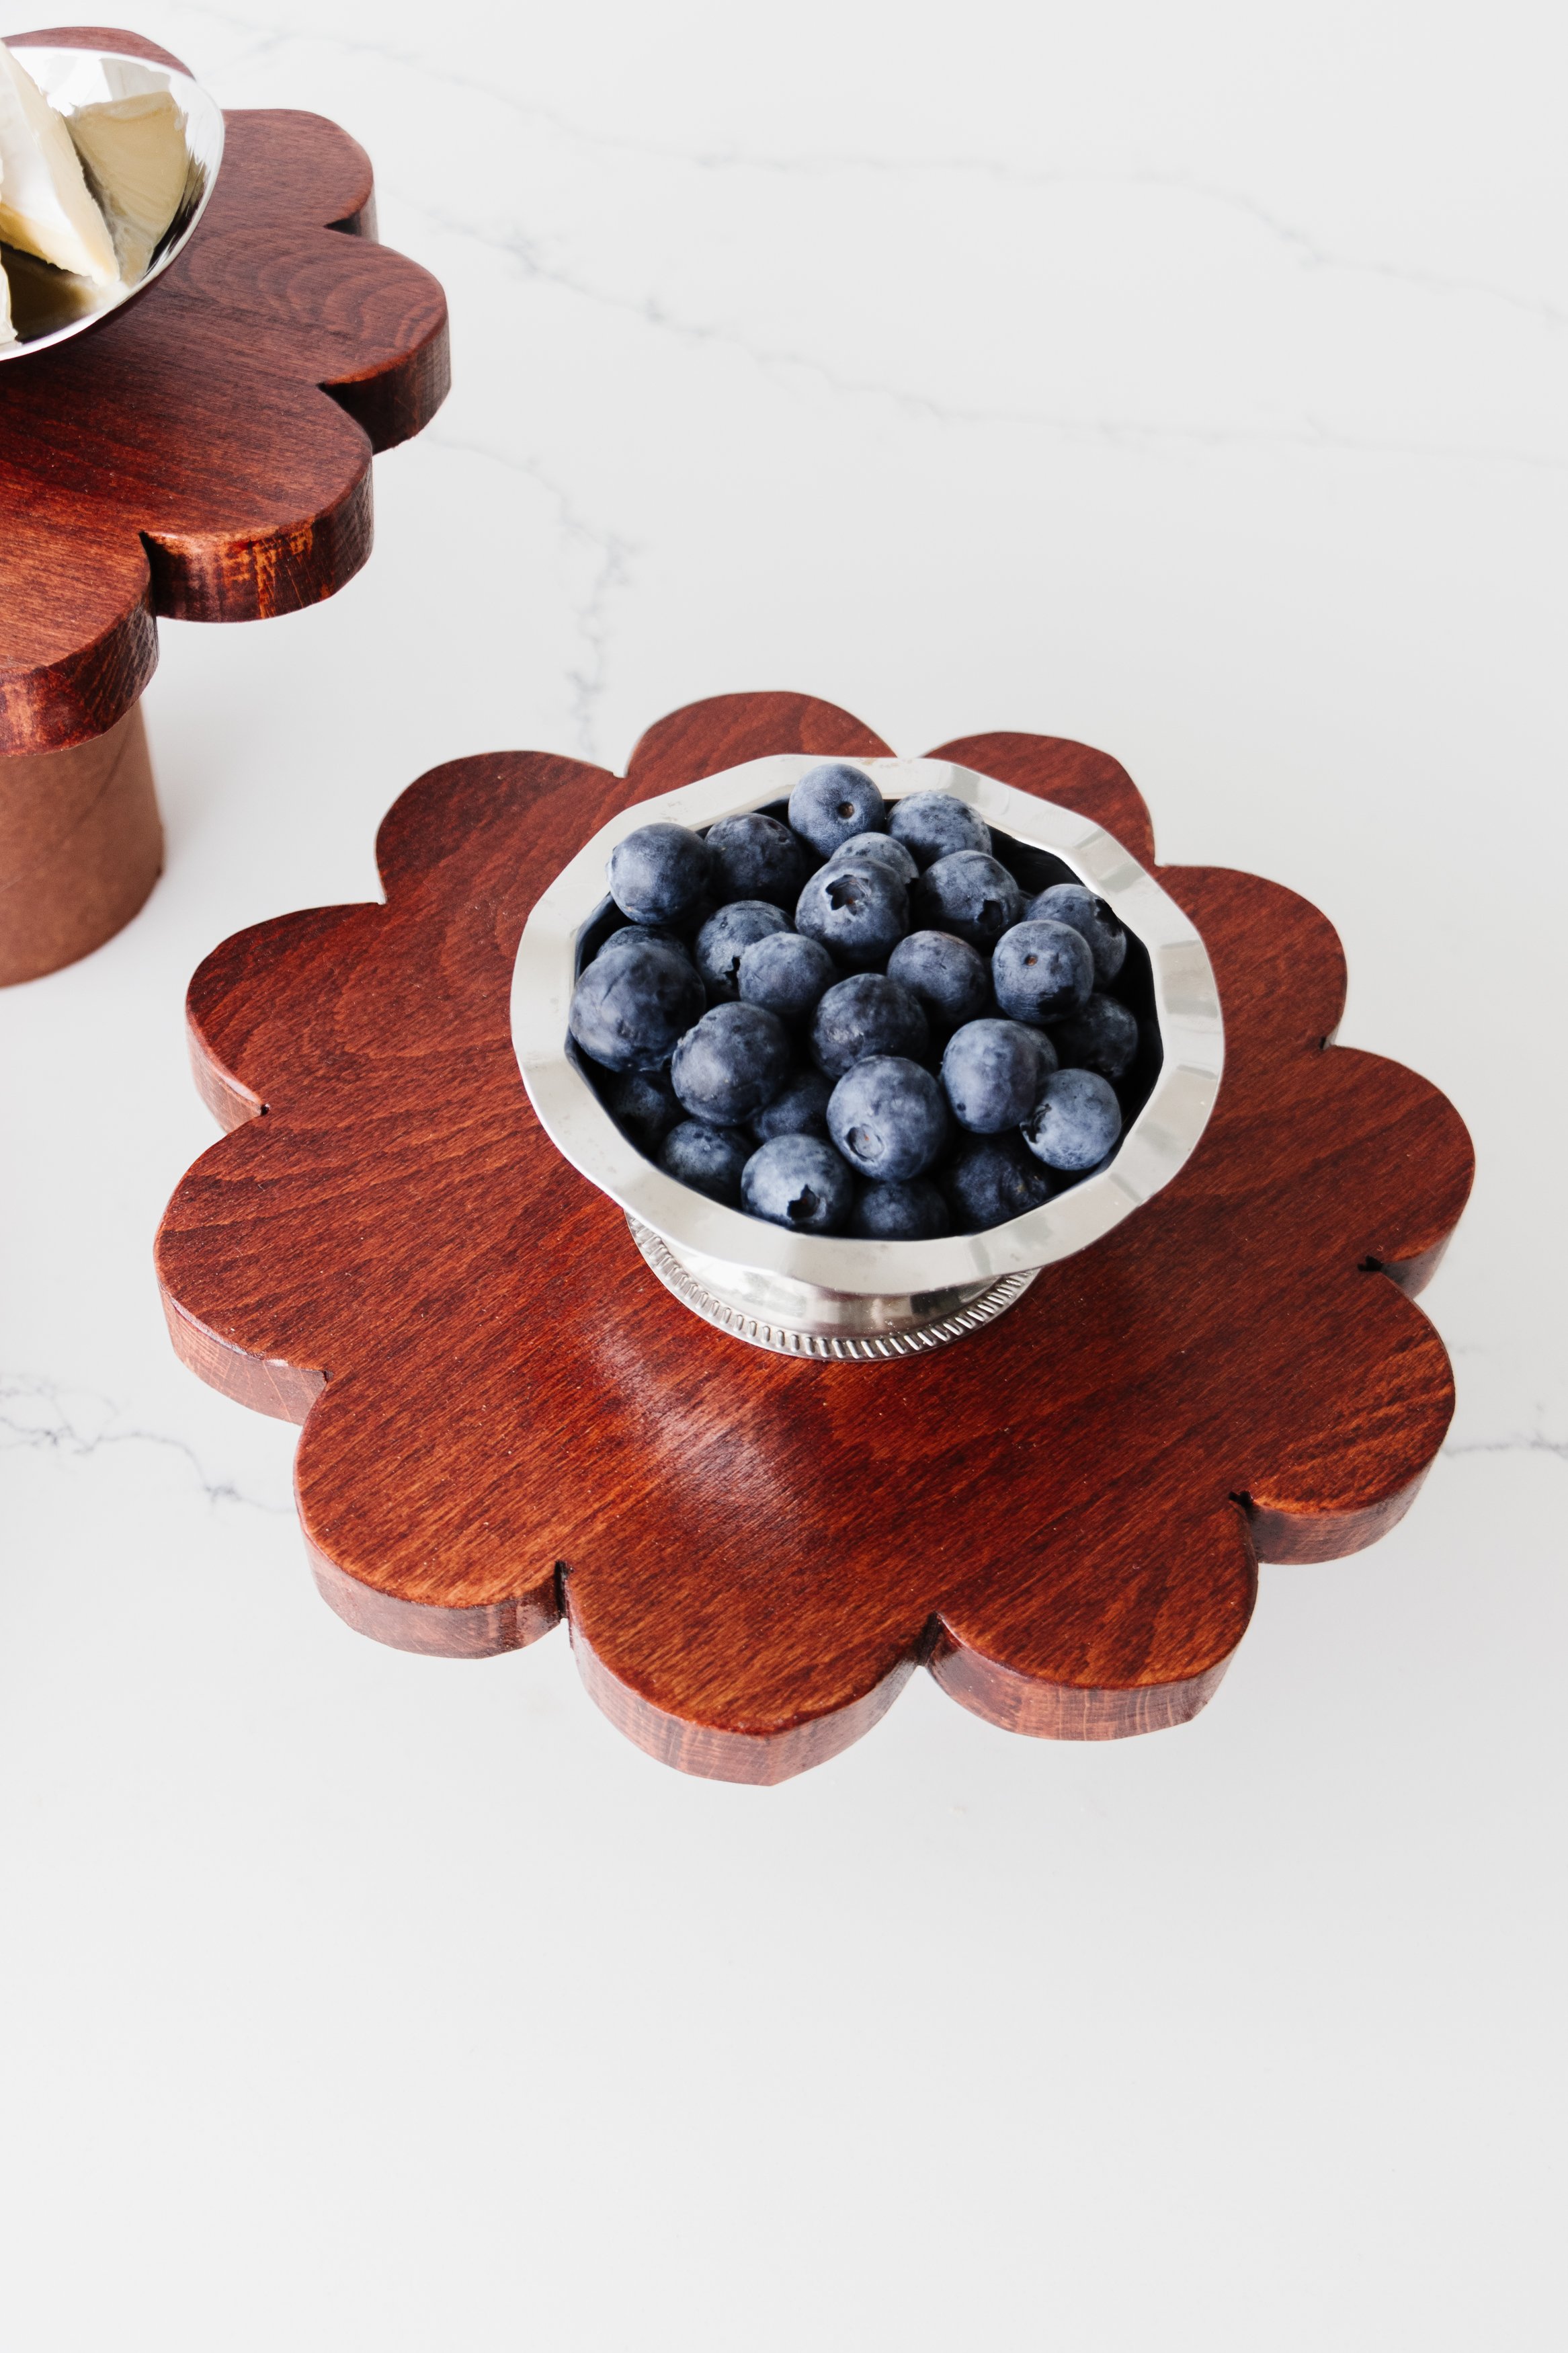
I am so happy with how these DIY Scalloped Serving Trays turned out! I found it was easiest to cut a circle around the scalloped edge first using the jigsaw, then cutting into one side of the scallops all the way around, followed by the other side. As with using a jigsaw, the scallops aren’t going to be perfect so that’s why using a detail sander to soften the edges helps to hide the imperfections but also make the trays look more bespoke. What I love about this project is that you can really make it your own. You can paint the timber instead of staining it, and you can adjust the height of the cardboard tube to make the trays taller or shorter depending on how dramatic you want them to look on your tables and in your home. Best of all? You can knock this project over in a couple of hours. Now who doesn't love that?!