Making A DIY Ladder Christmas Tree
Christmas is around the corner and that means…
It’s time to make an alternative Christmas Tree! I’m back with another alternative Christmas Tree project after millions of people went crazy over my DIY Wooden Christmas Tree last year. In case you missed it, you can check it out here and here. This year RYOBI asked me to get festive with their power tools again, so naturally I decided to make a DIY Ladder Christmas Tree. I’ve had the idea for this since last Christmas and it’s been SO exciting being able to bring it to life and give it to Jason as a surprise for his classroom, because Christmas is all about spoiling your loved ones. Read on for the tutorial and Merry Christmas!
And to see how this DIY Ladder Christmas Tree came together, take a look at this video!
DIY Ladder Christmas Tree


Project Details
♻️ Making: DIY Ladder Christmas Tree
🕒 Project Time Estimate: 4 hours
💰 Materials Cost: $150
👷♀️ Safety Equipment: Mask, ear and eye protection
💡 Bonus Idea: You can truly make this DIY Ladder Christmas Tree your own by staining or painting the wood, and or changing the colours of the decorations depending on your own Christmas style.
Materials
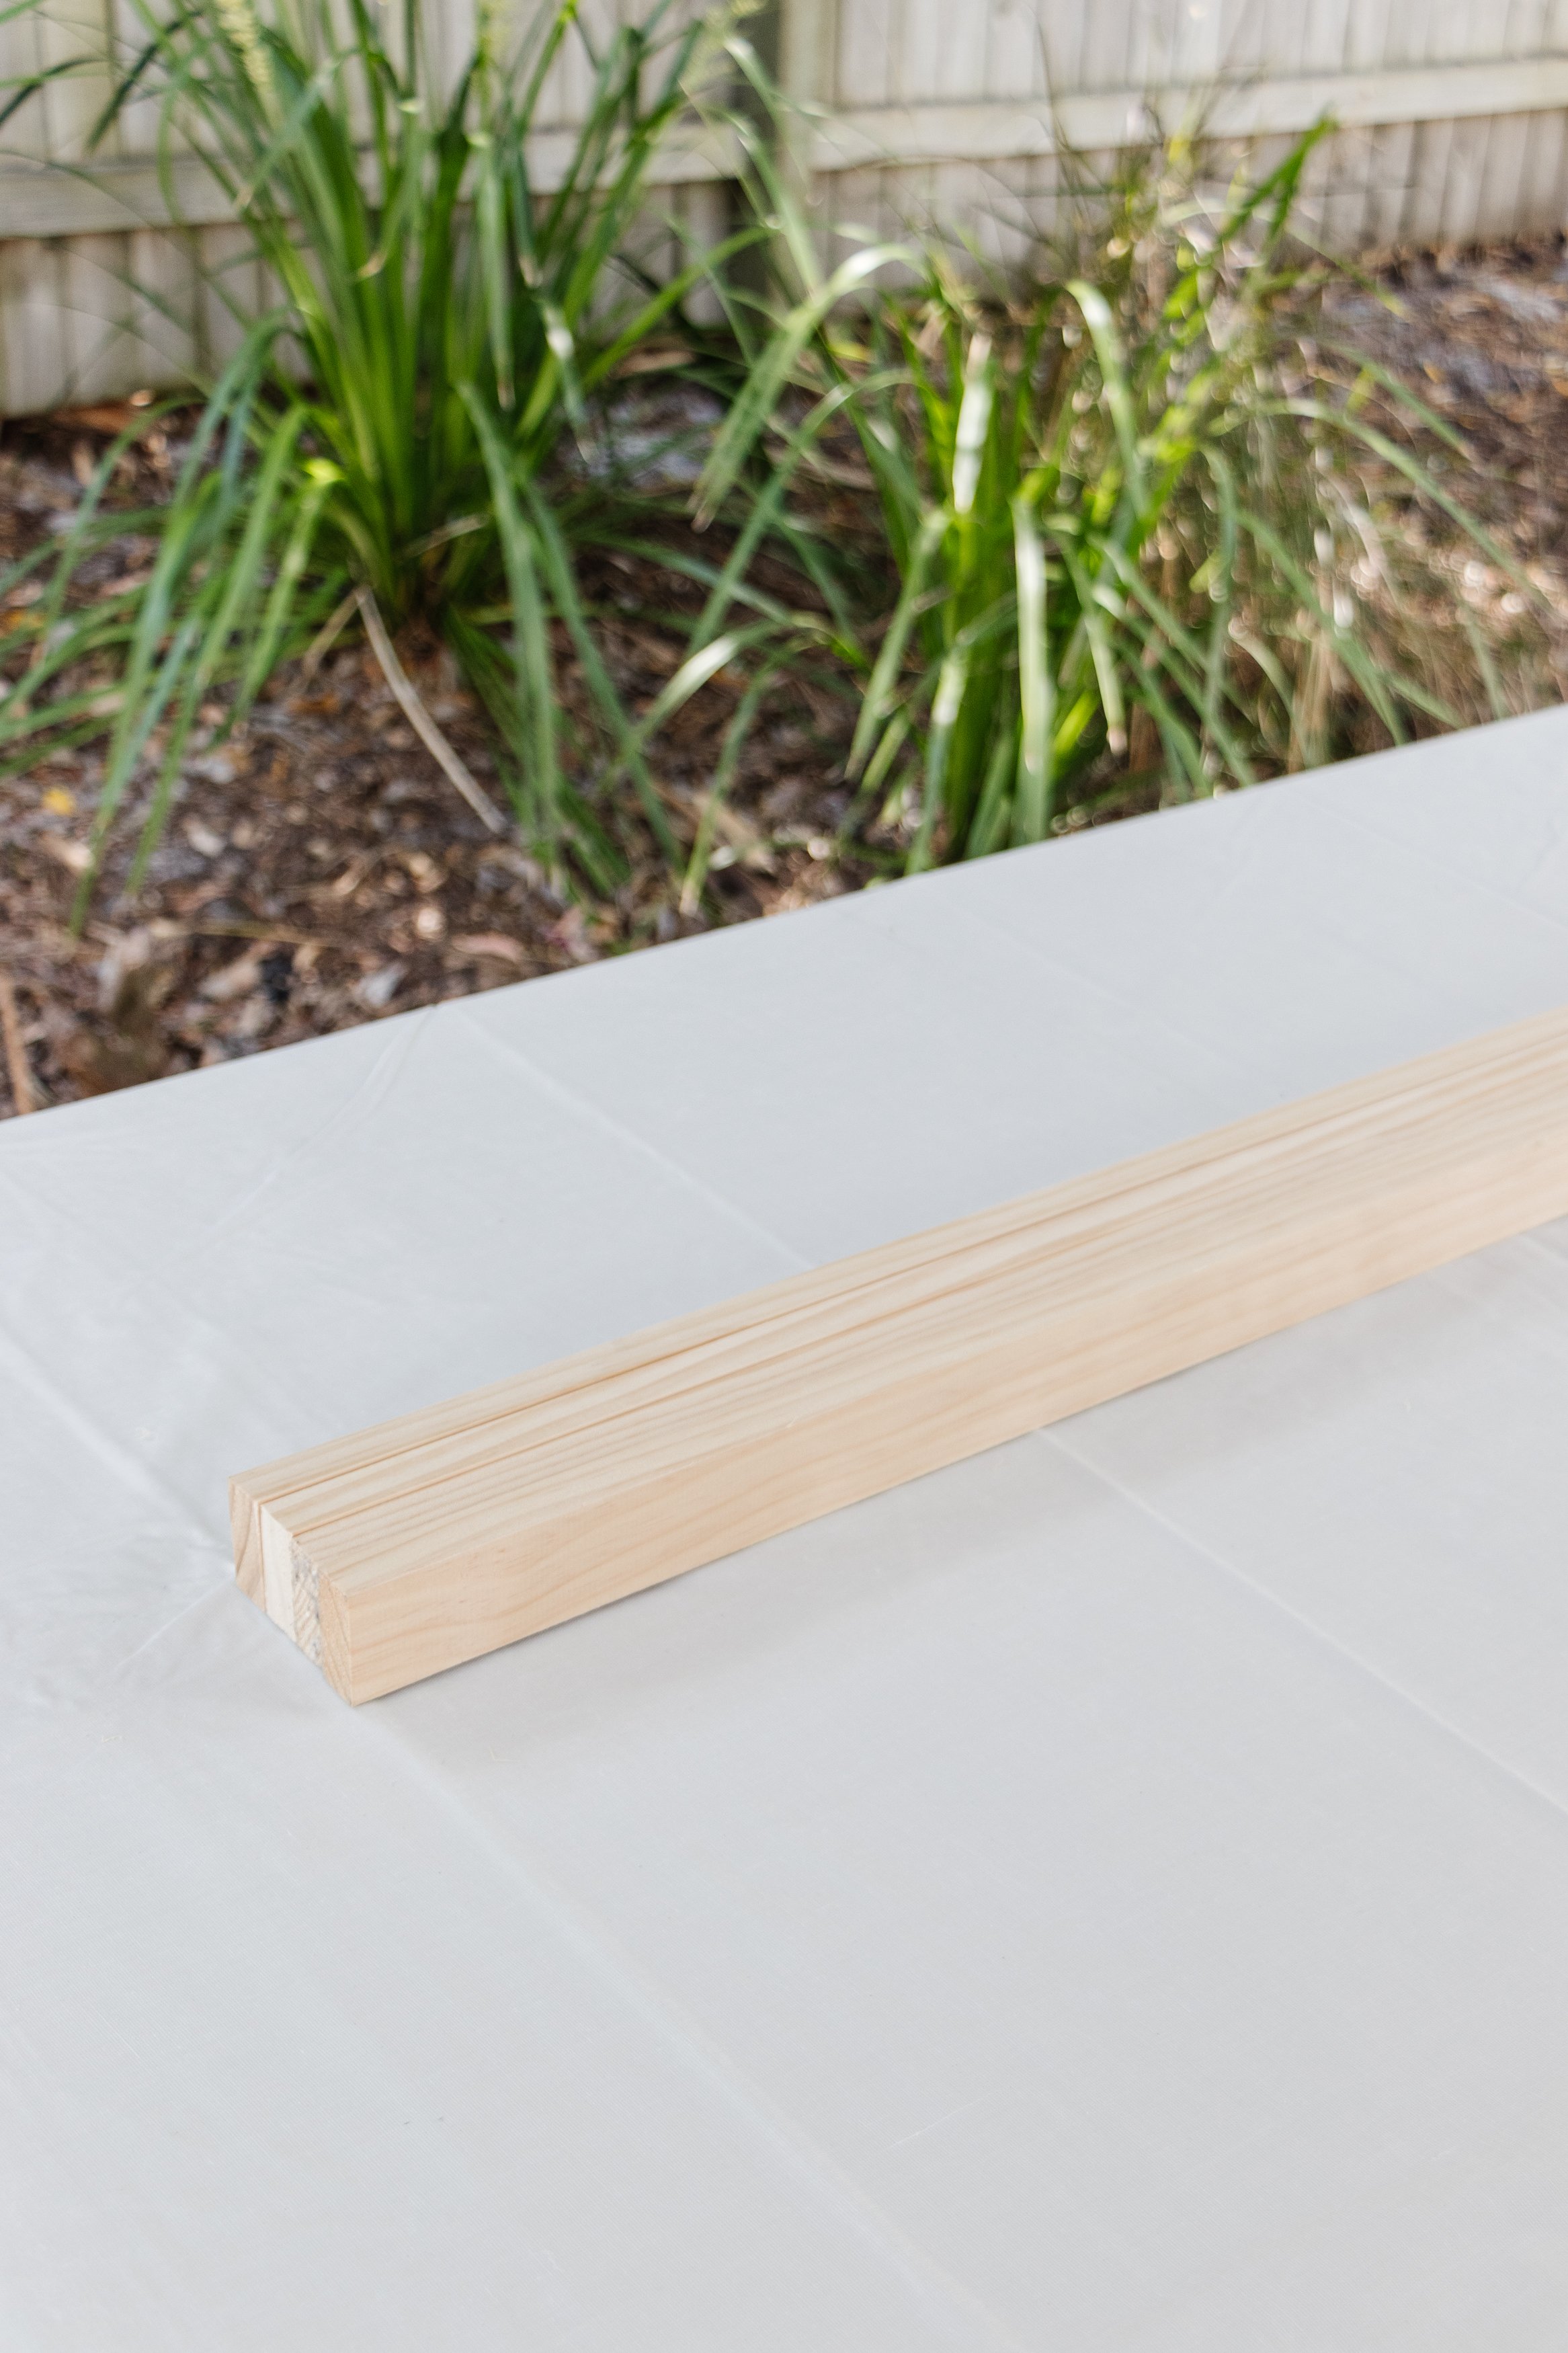
2 x 2400mm dowel
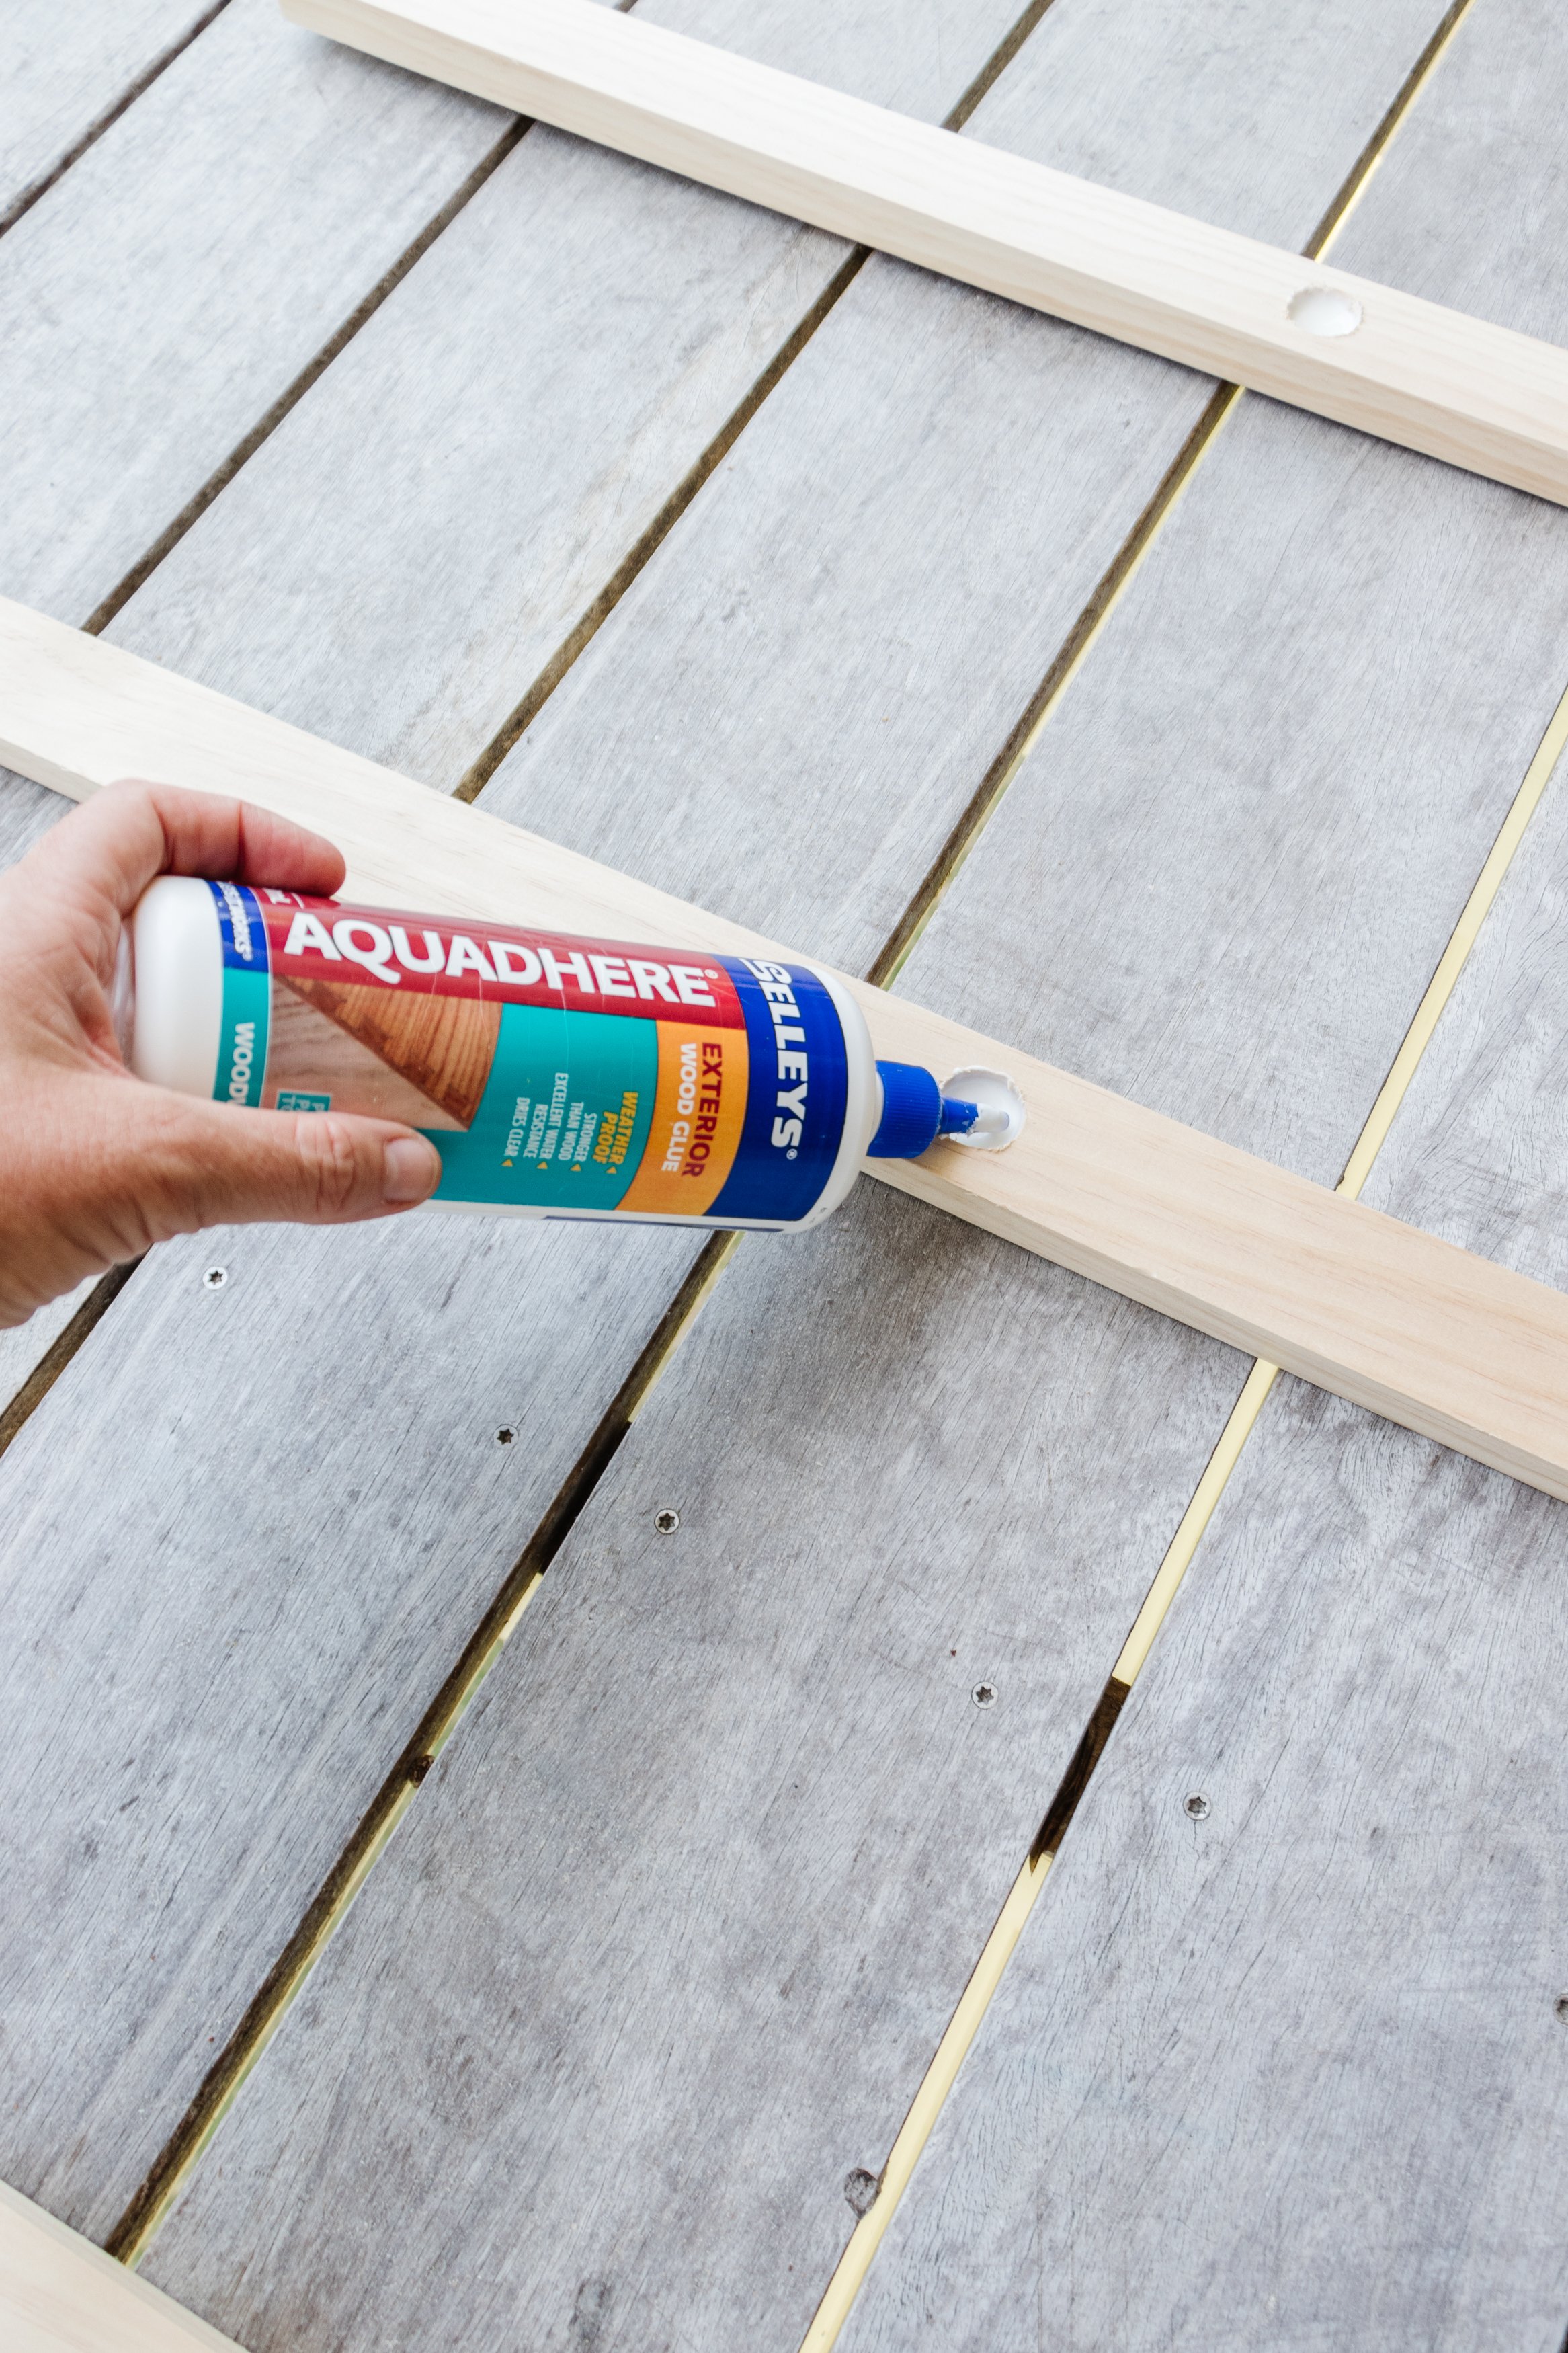
Wood glue
4 x 30mm-40mm timber screws
2 x Brass hinge
Fabric and ribbon
Tree topper/star
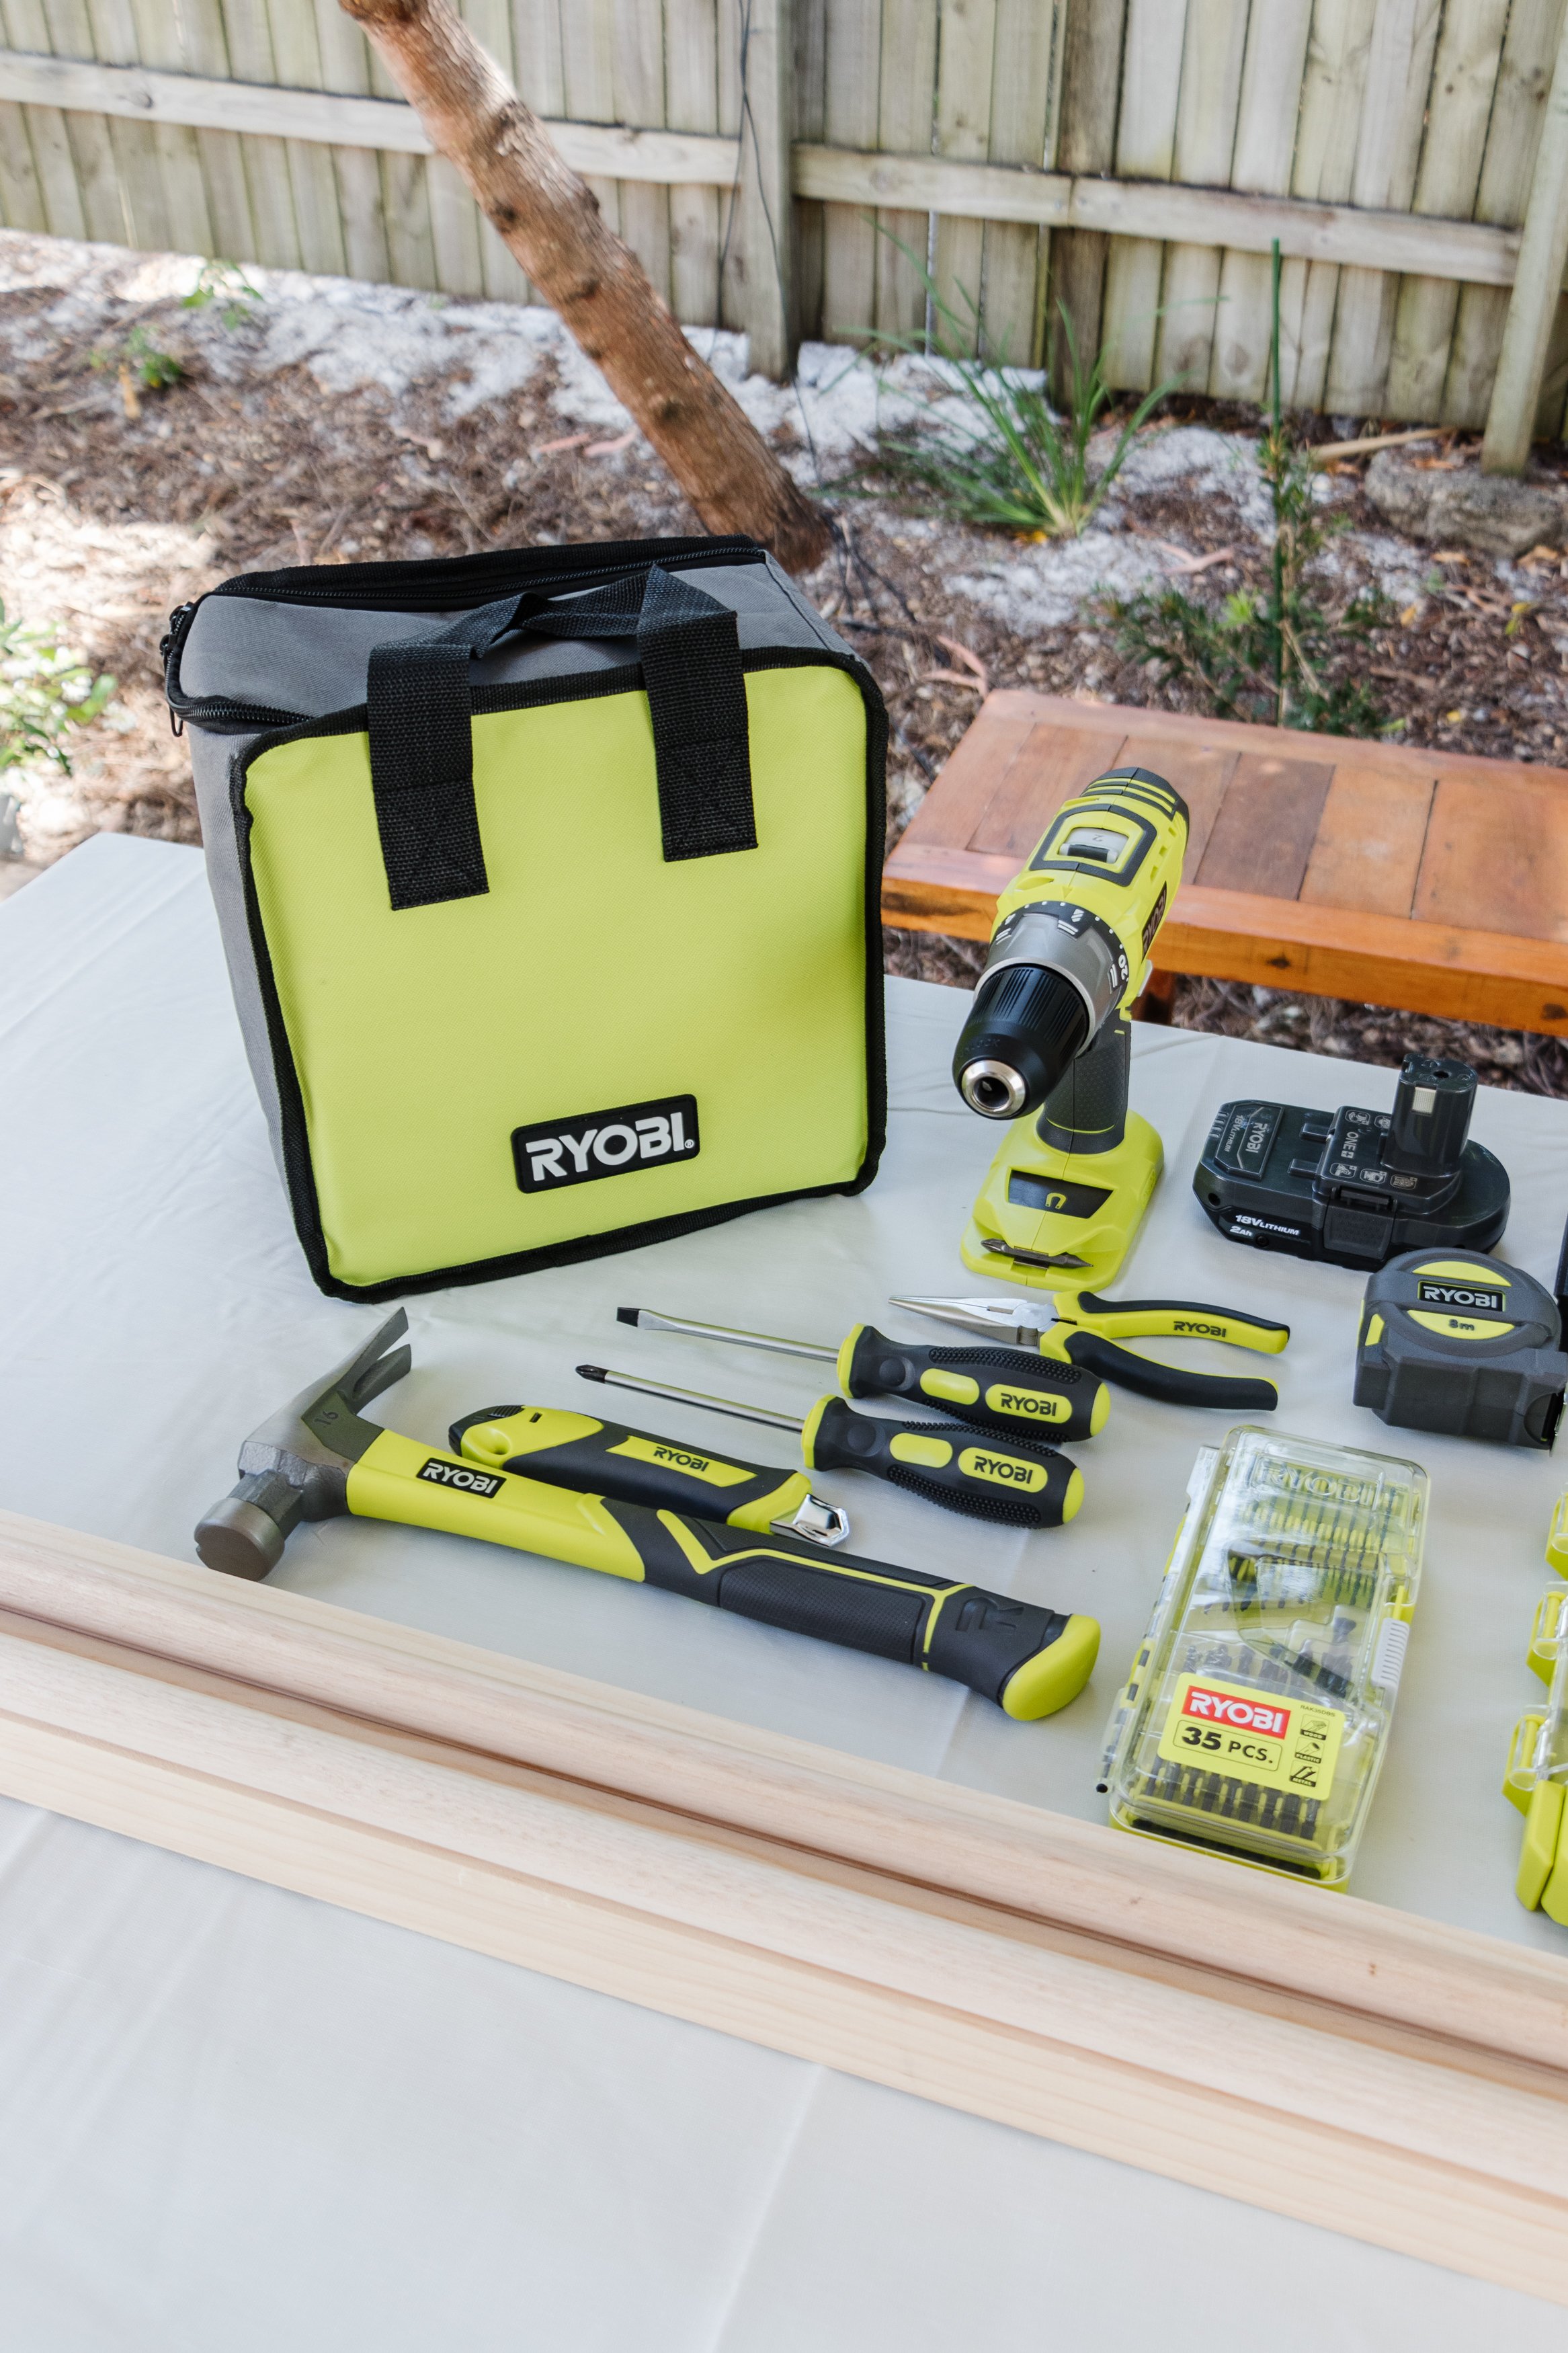
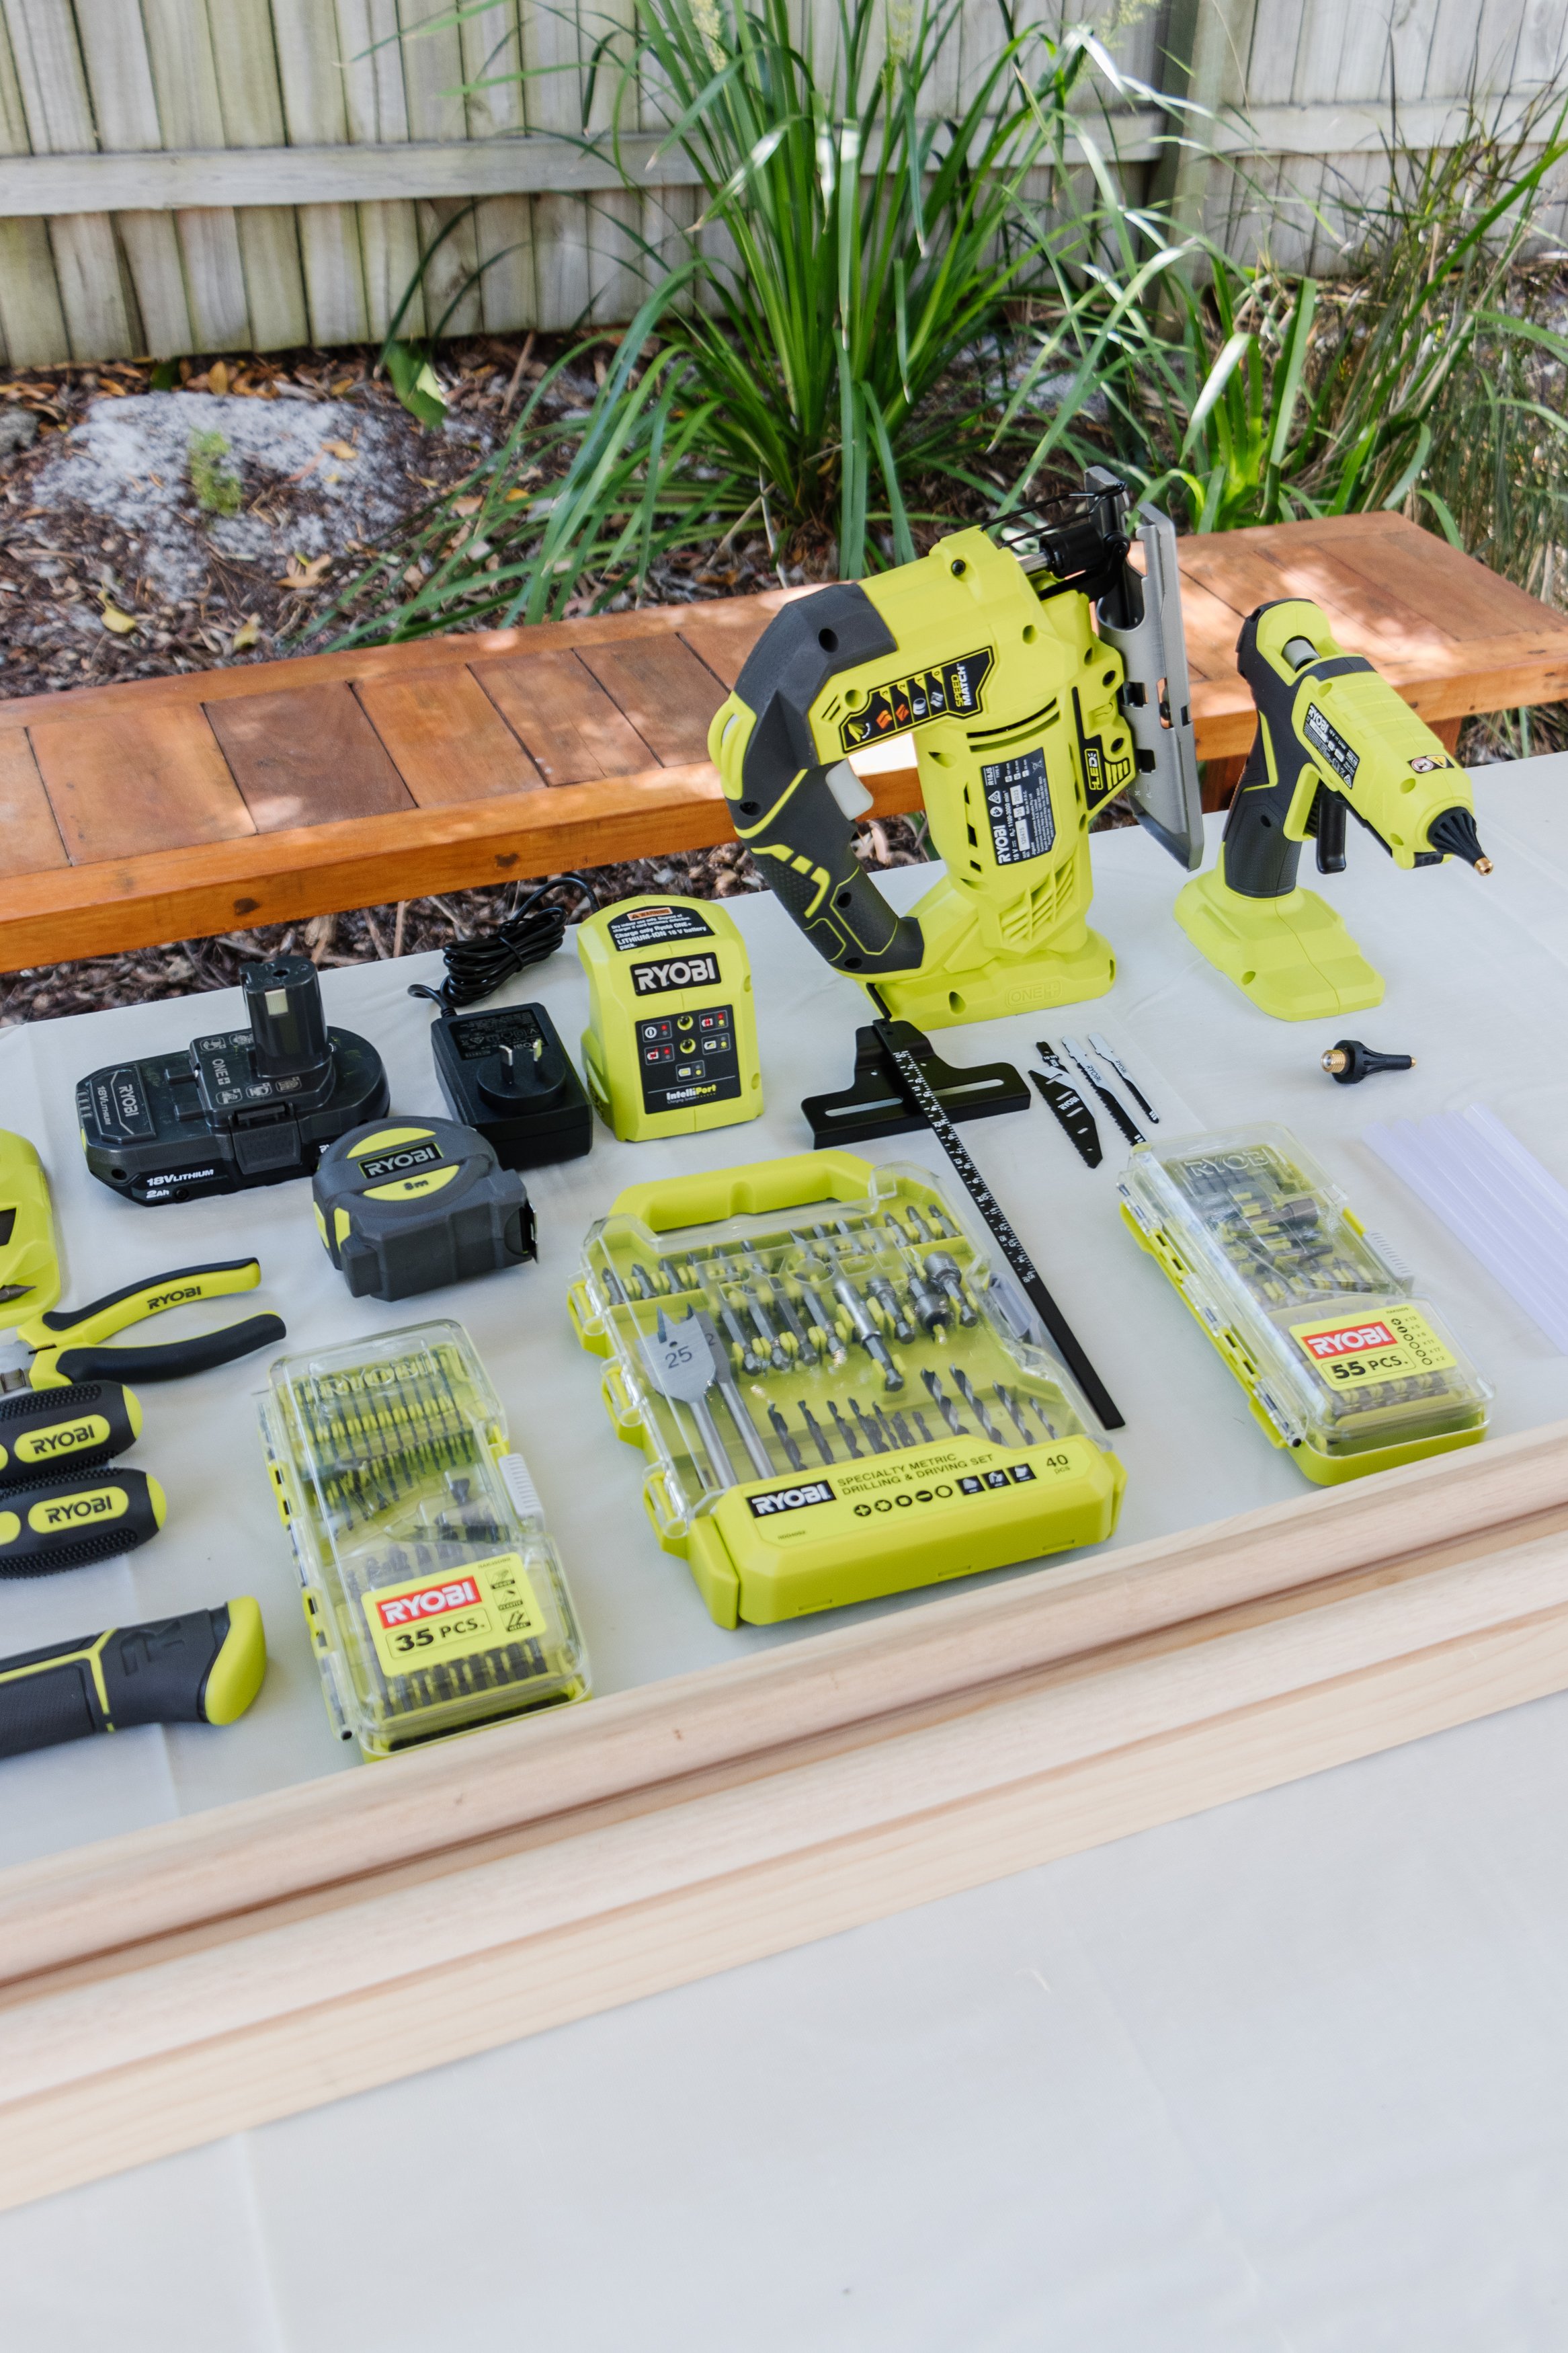
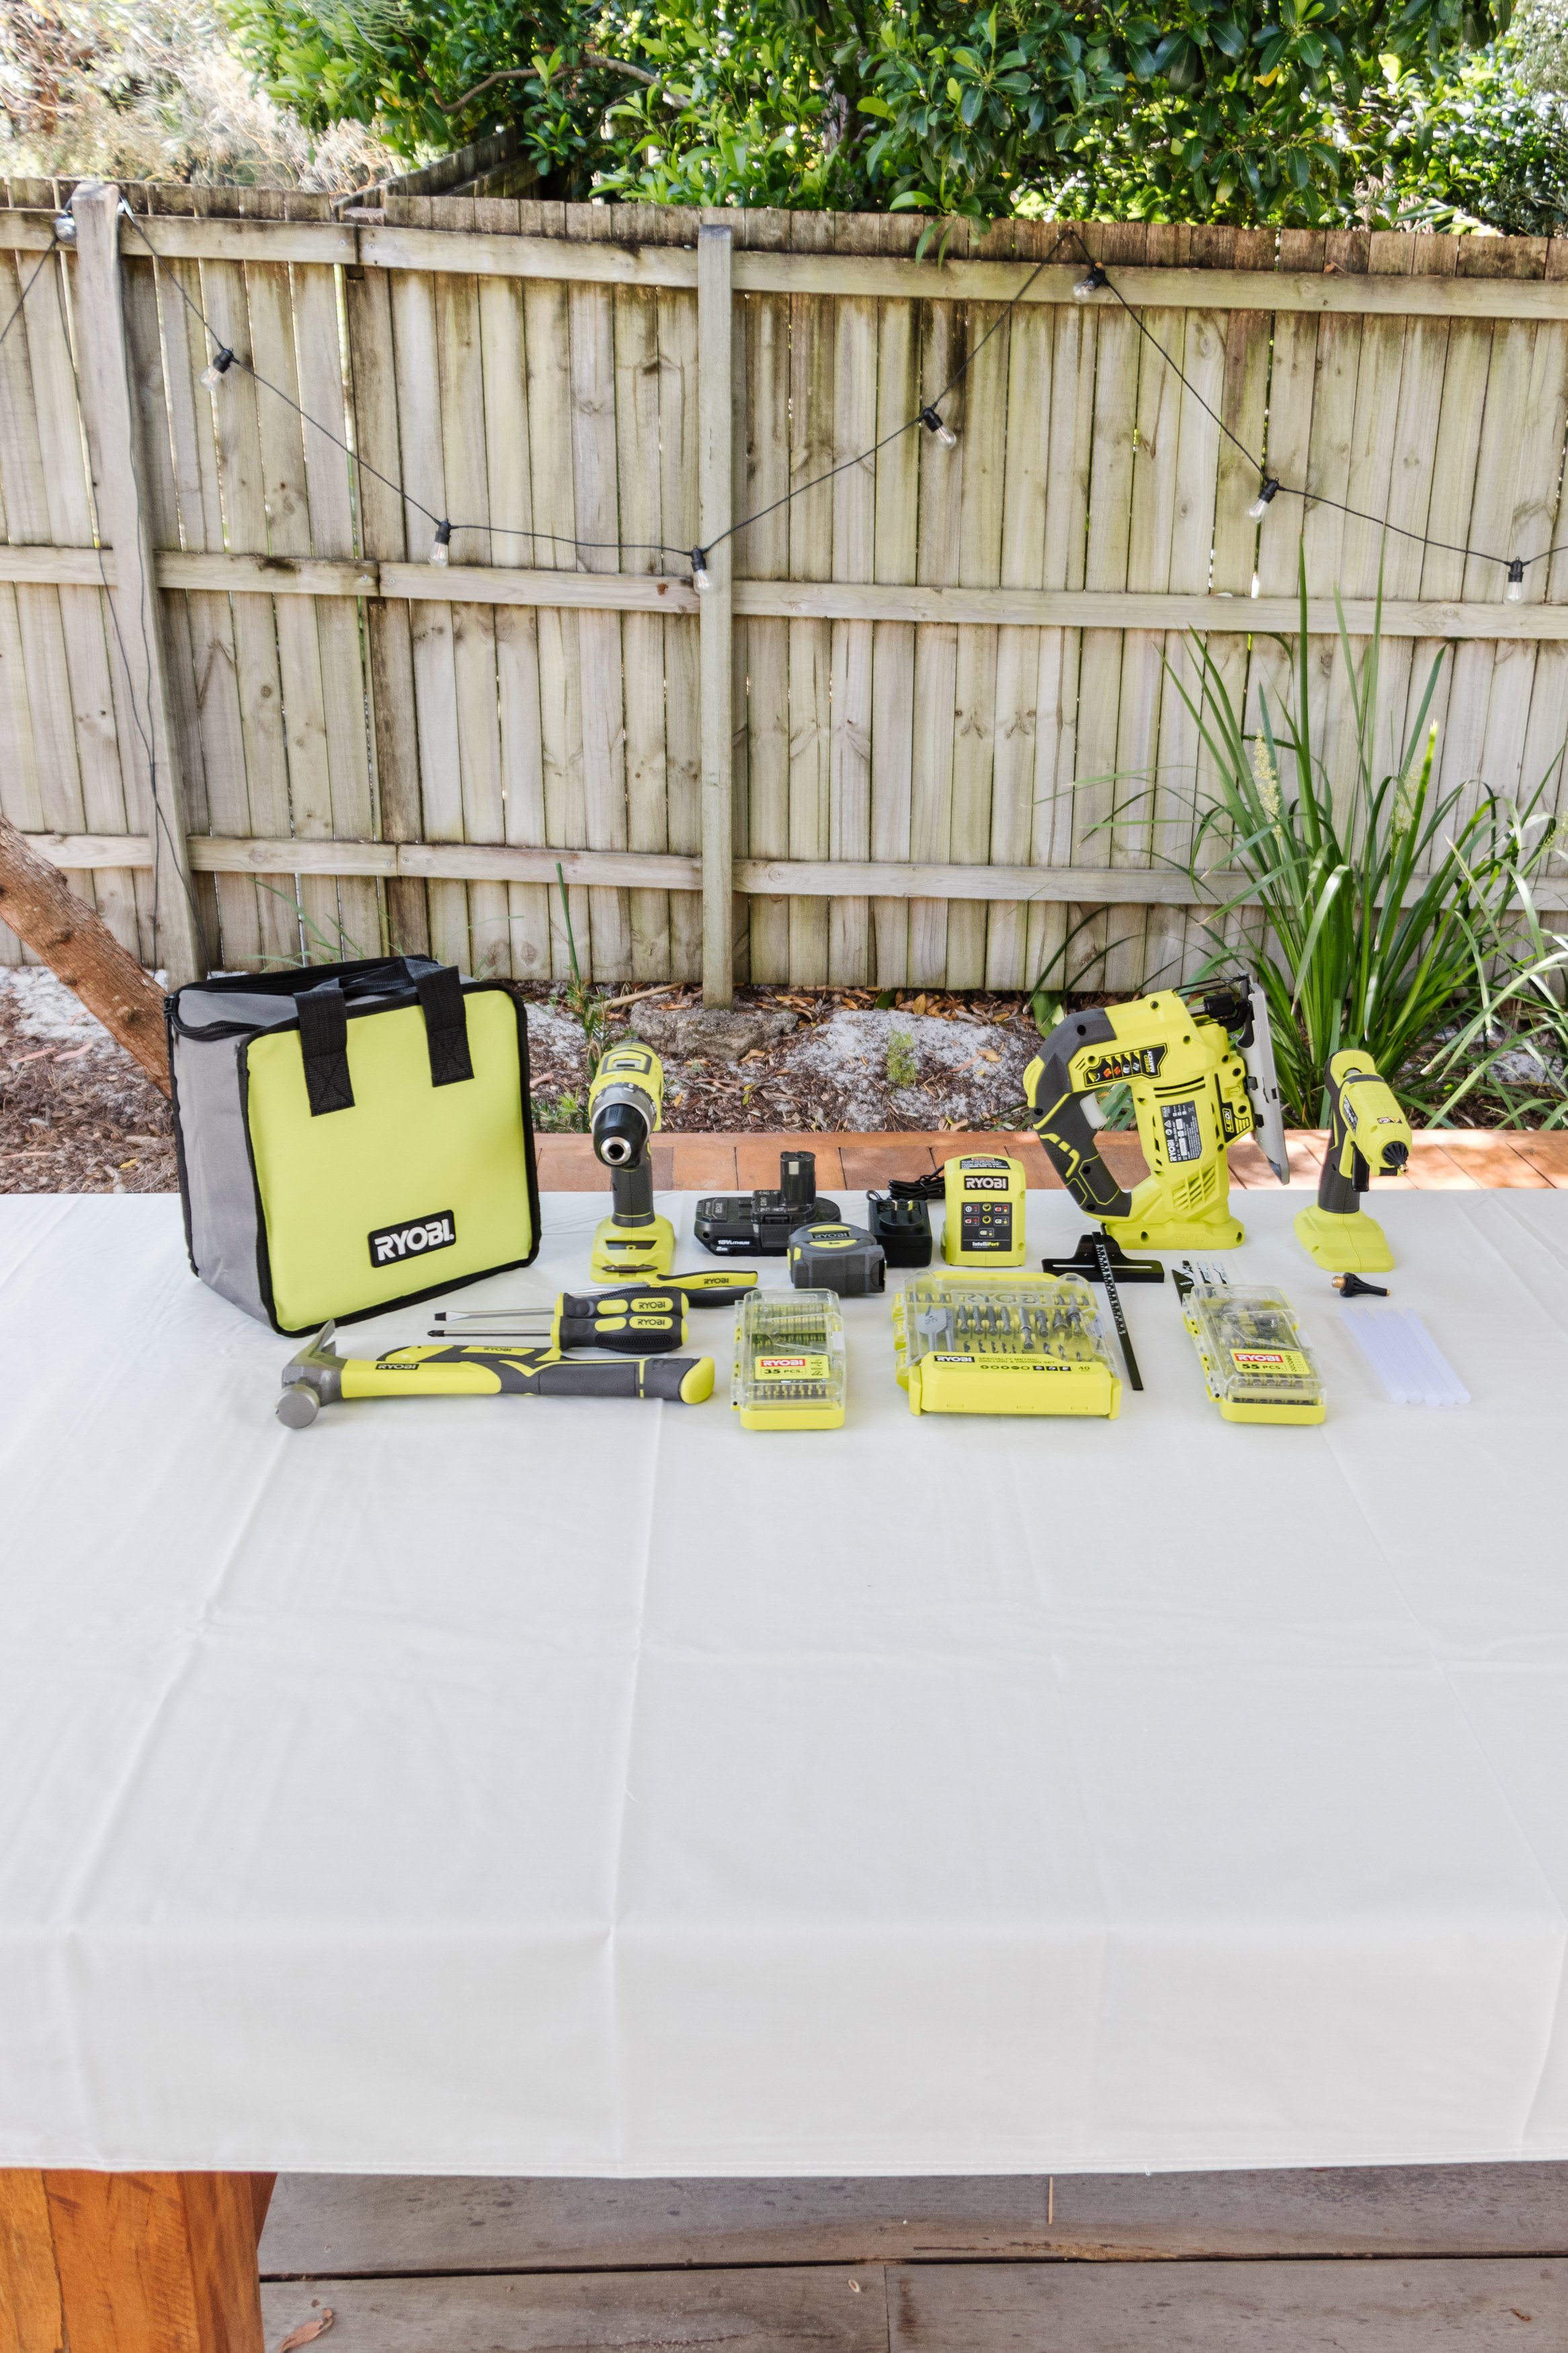
Tools
RYOBI ONE+ Home Essentials Kit (drill, measuring tape, screwdriver, snap off knife, battery, charger)
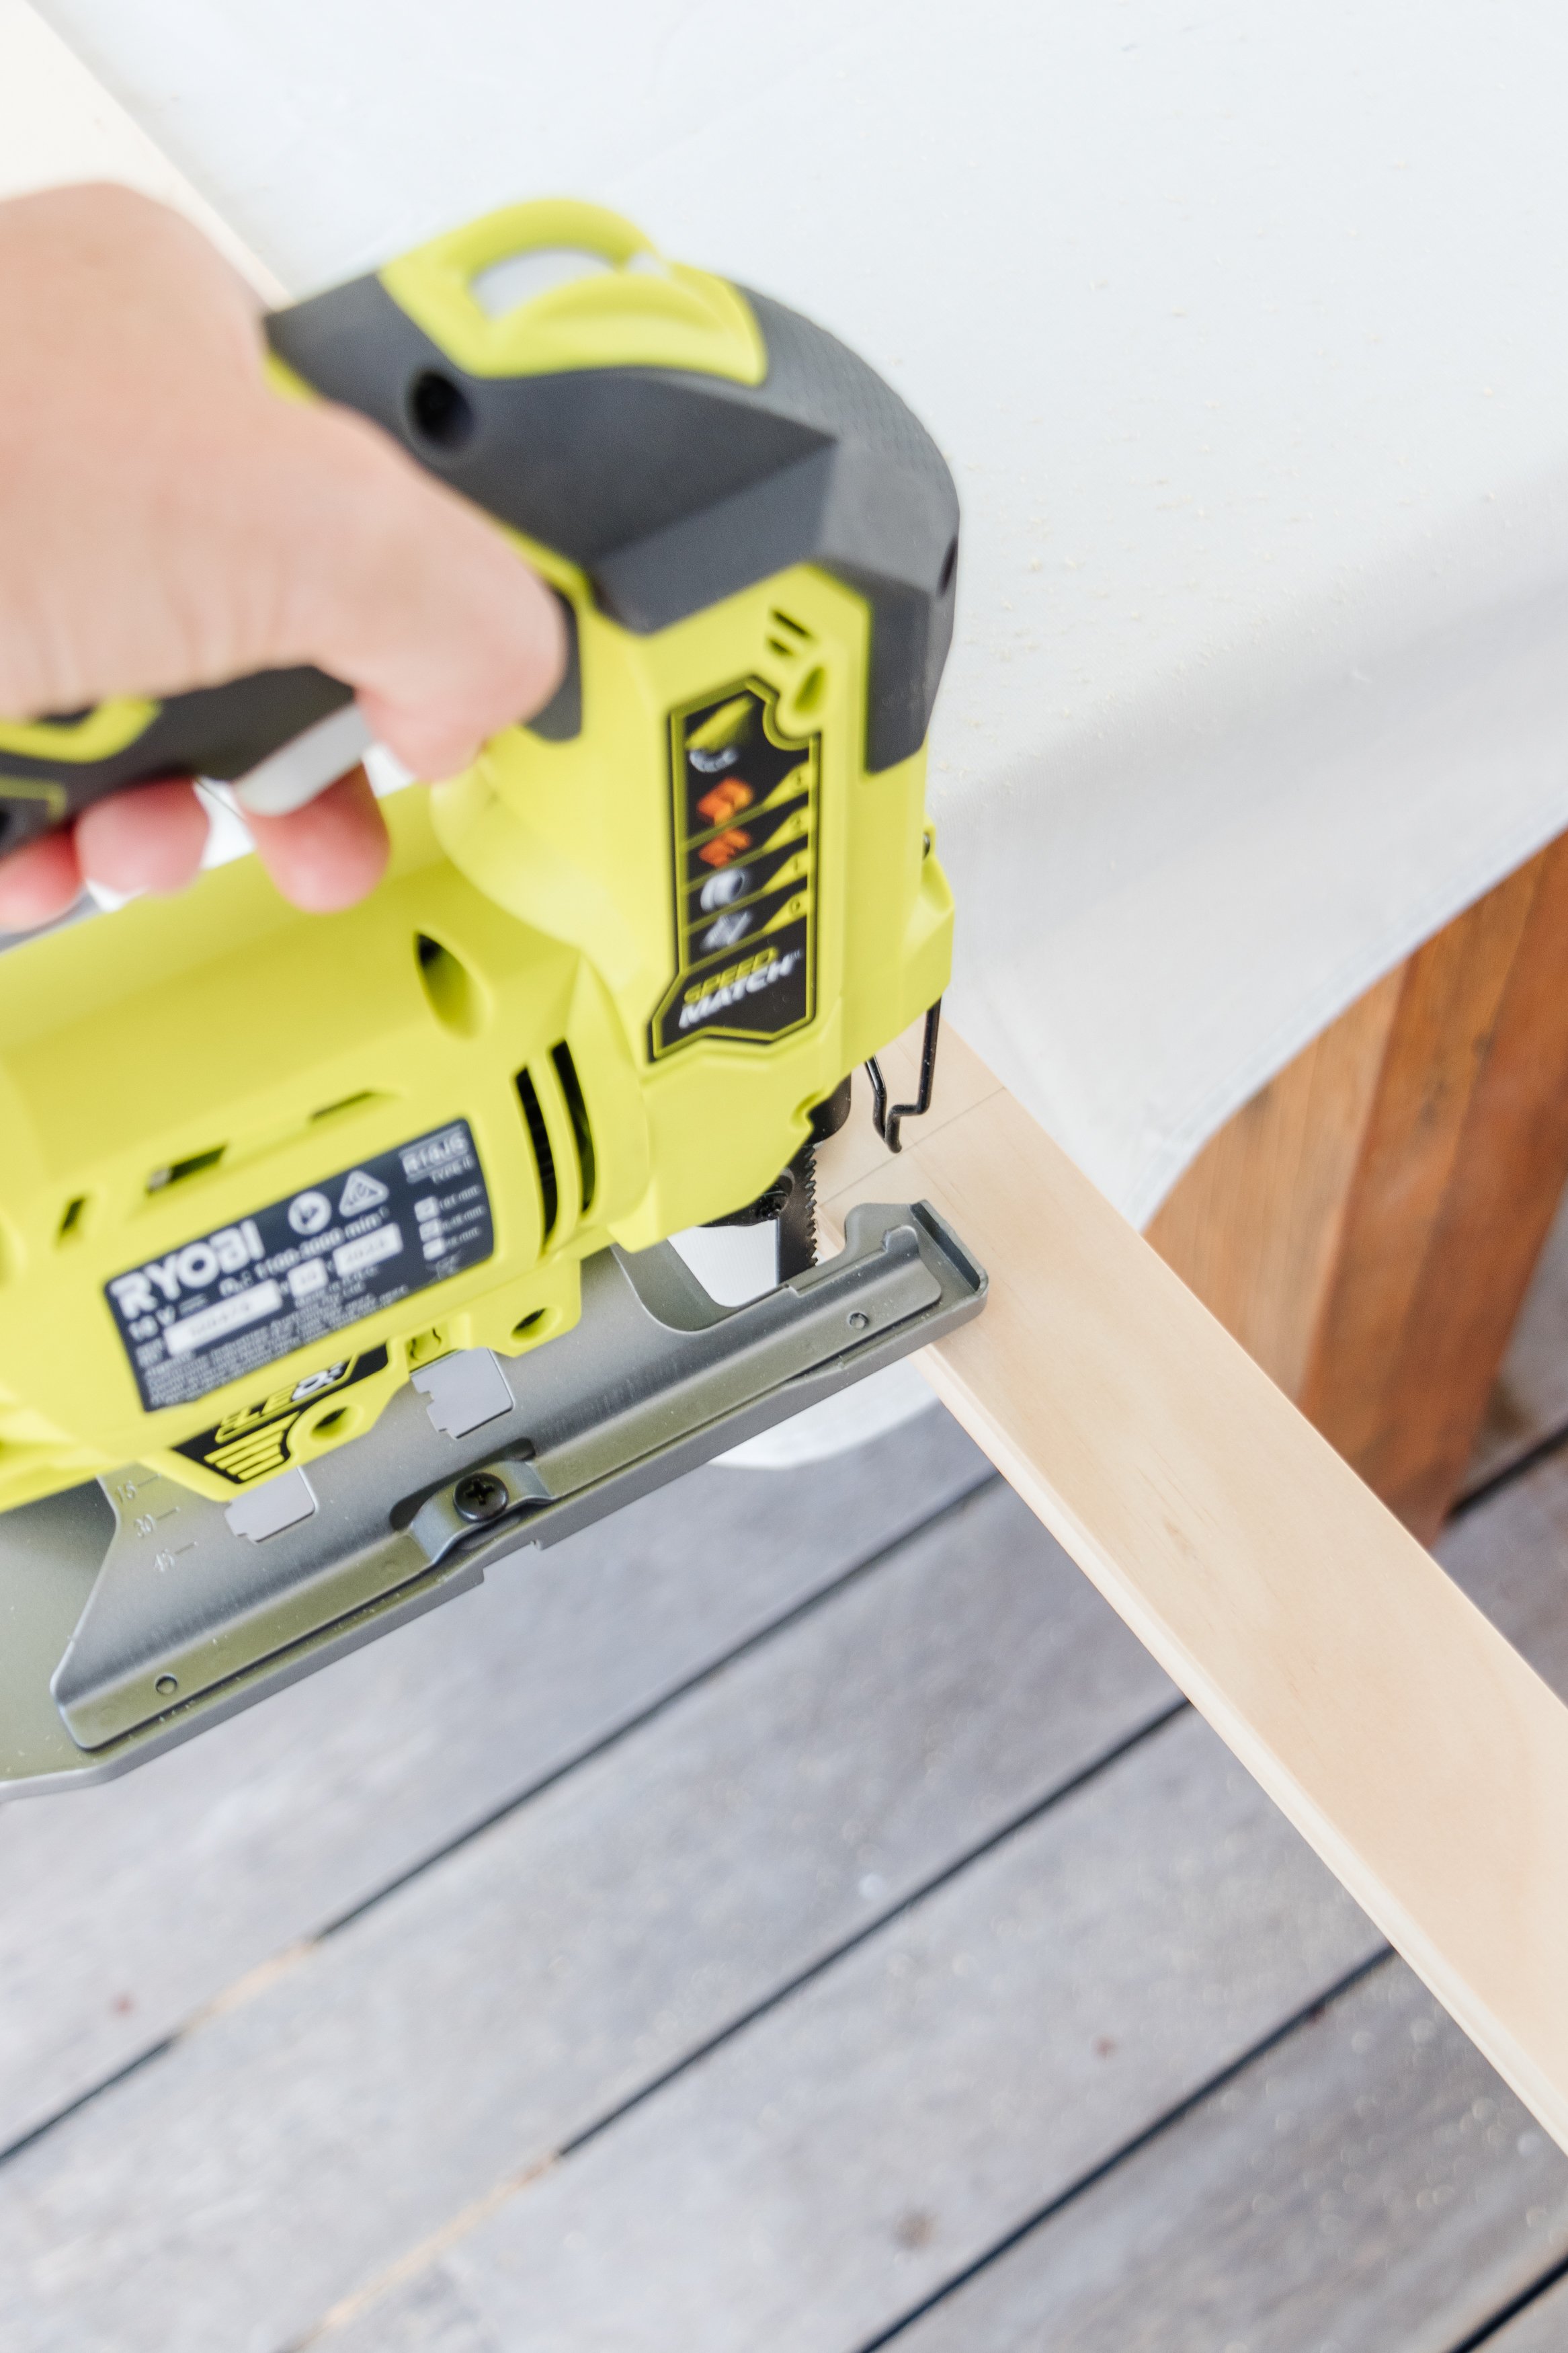
Ryobi Jigsaw
Pencil
Clamps
RYOBI 40 Piece Specialty Metric Drill & Drive Set (drill bits and spade bit)

How To
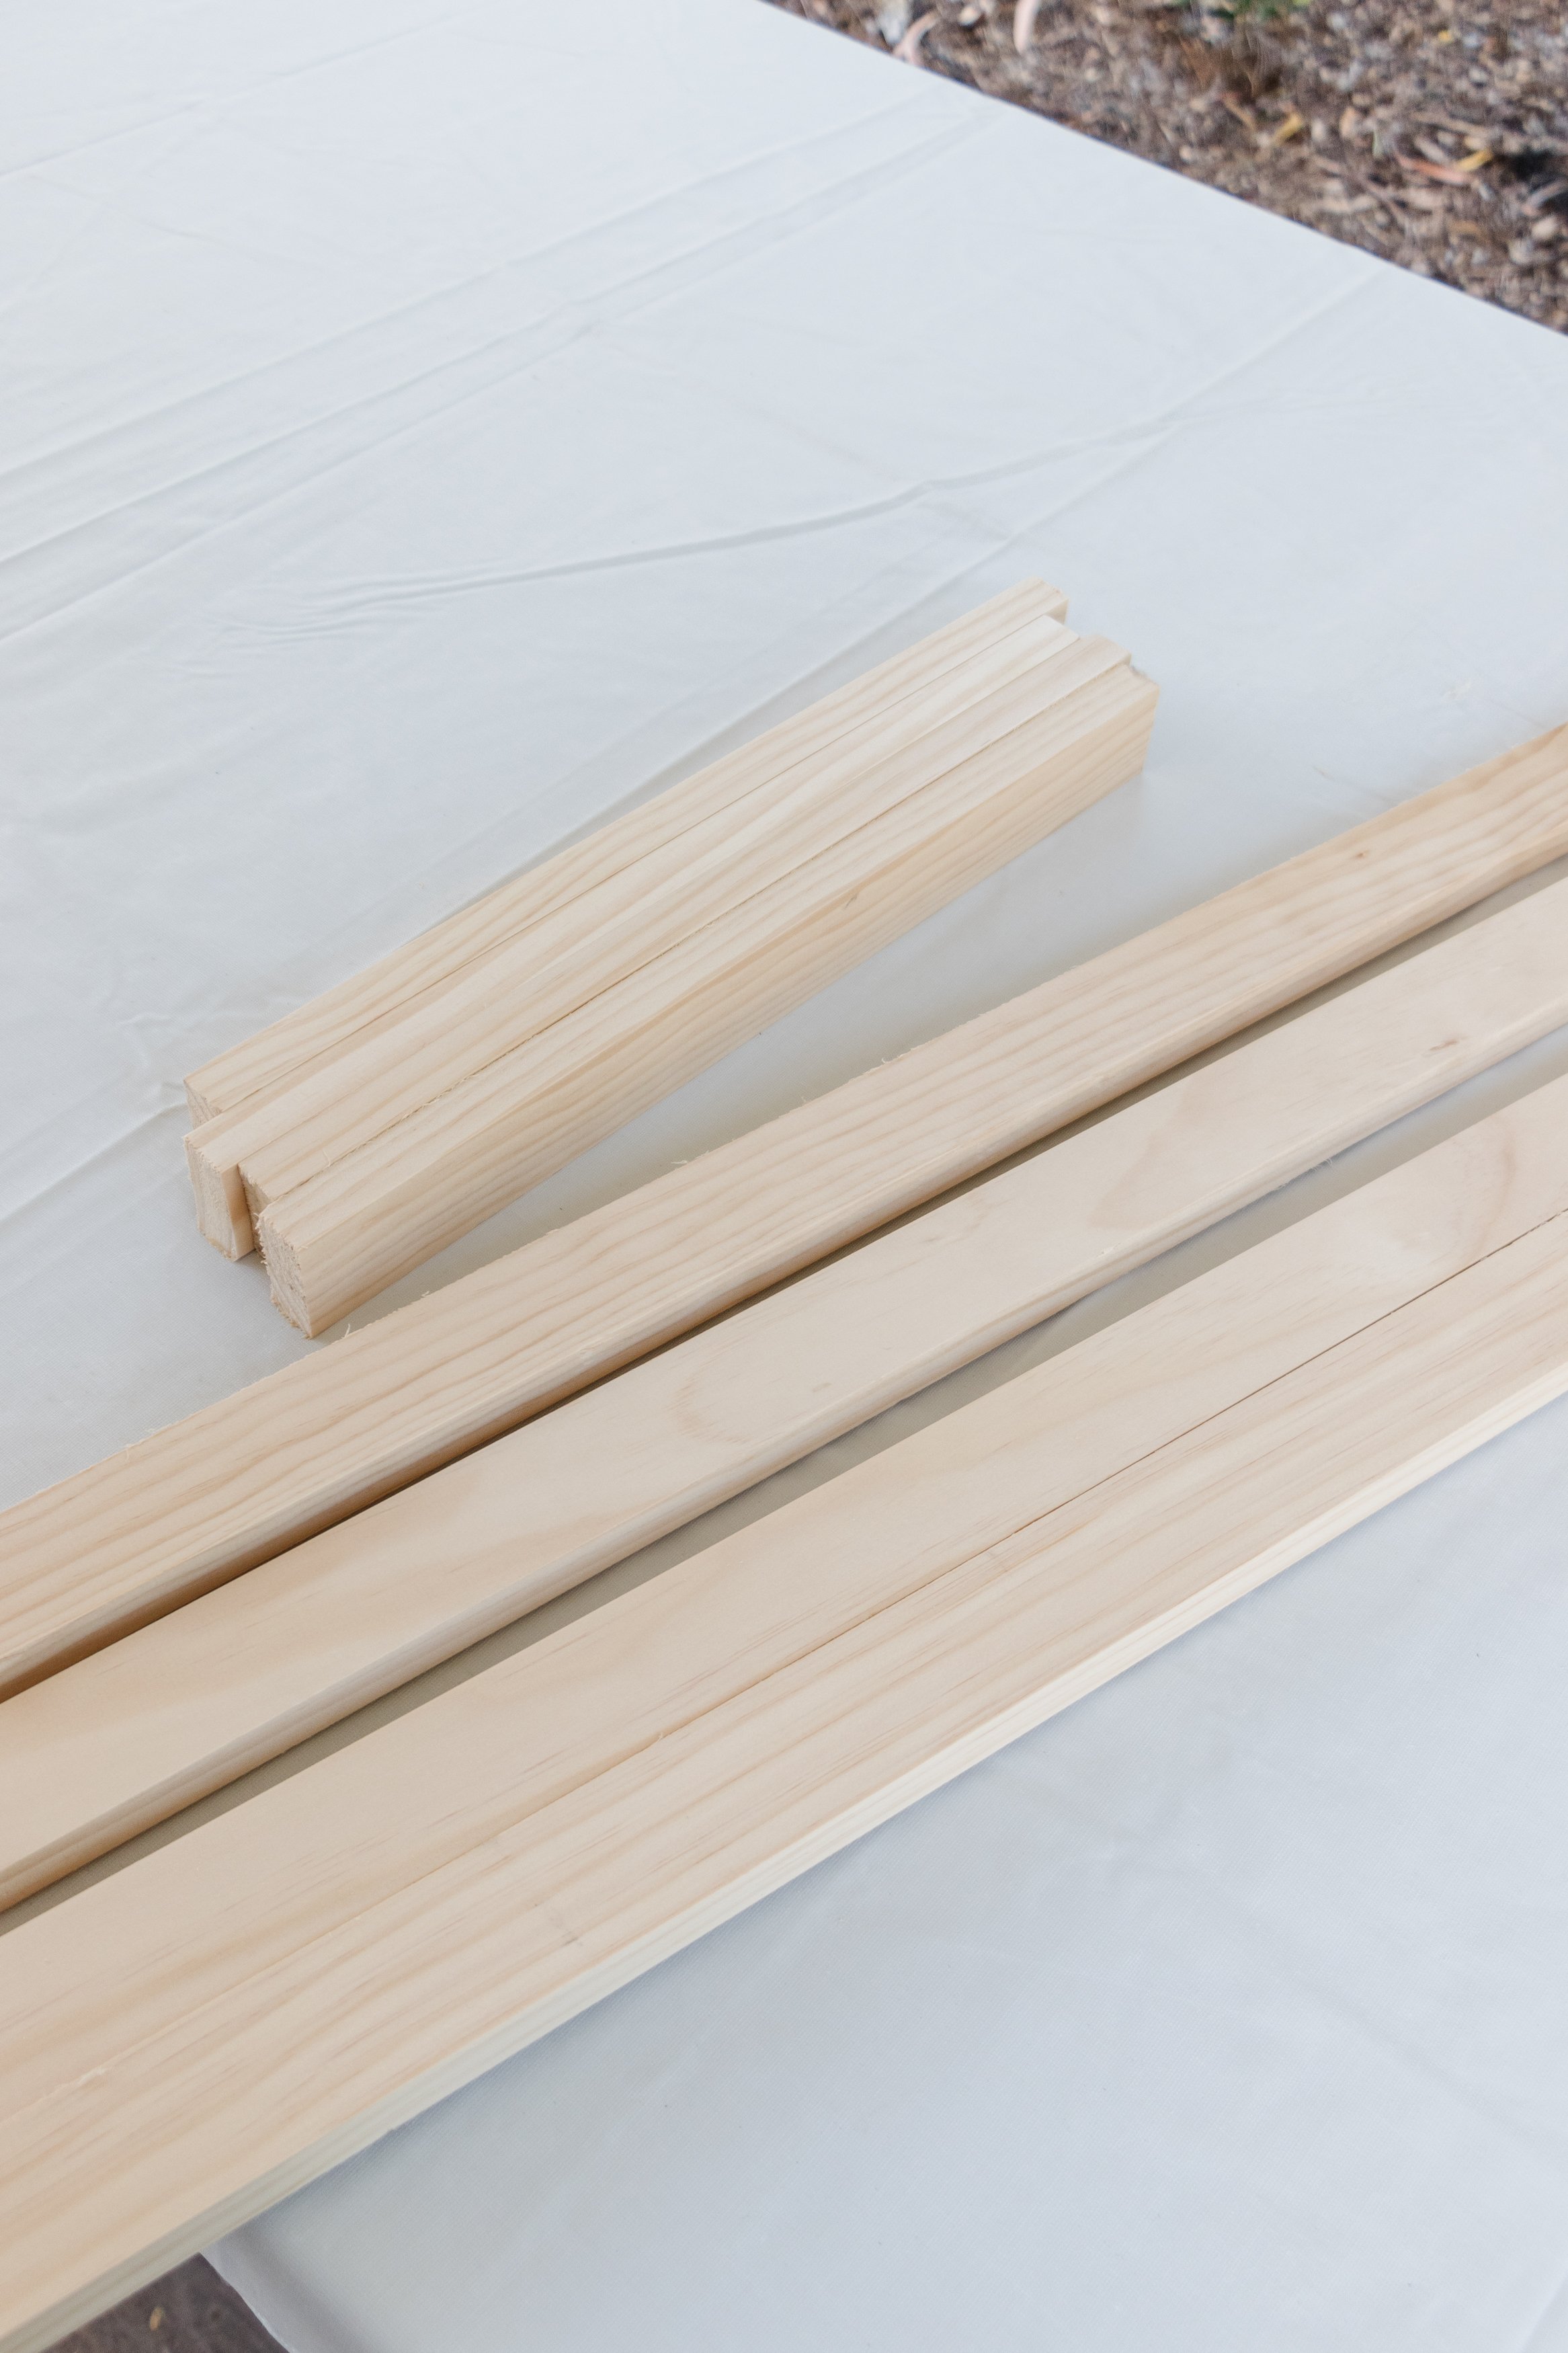
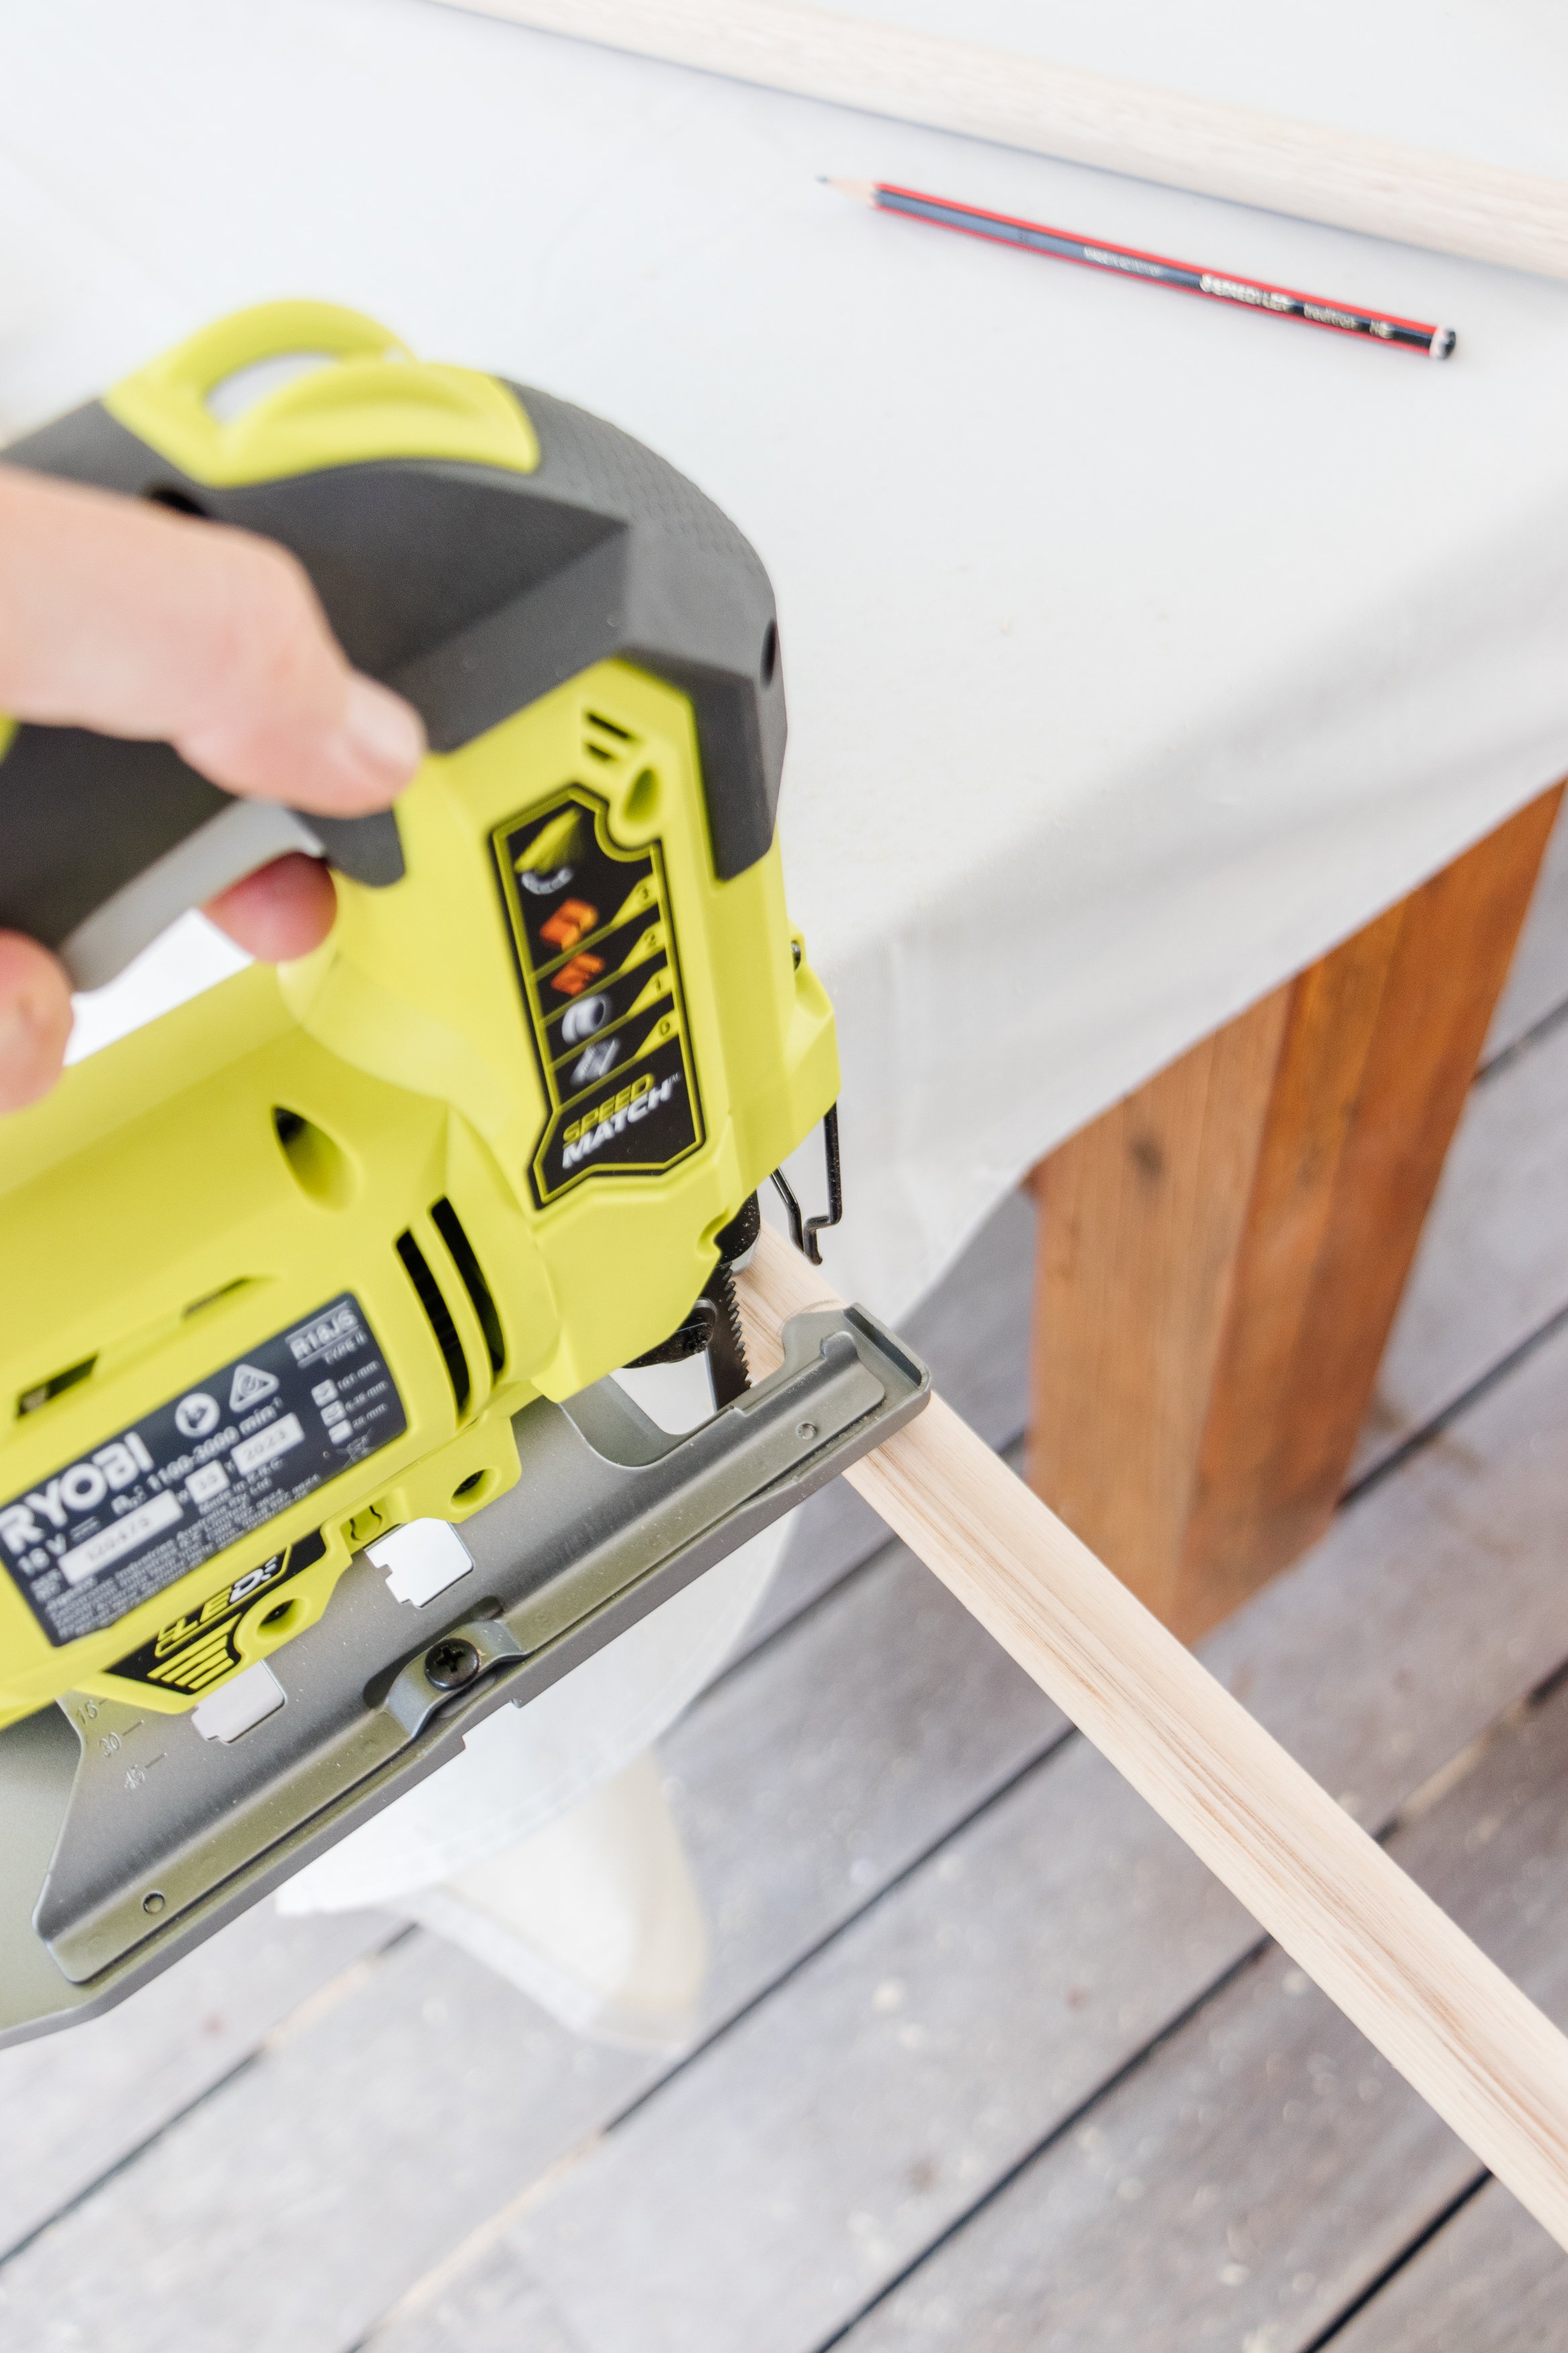
Step 1: Start by measuring and cutting 400mm from each piece of pine with the jigsaw. You’ll need to wear safety gear for this step and secure each piece of pine to your work bench using clamps. Set the 4 x 400mm pieces aside.
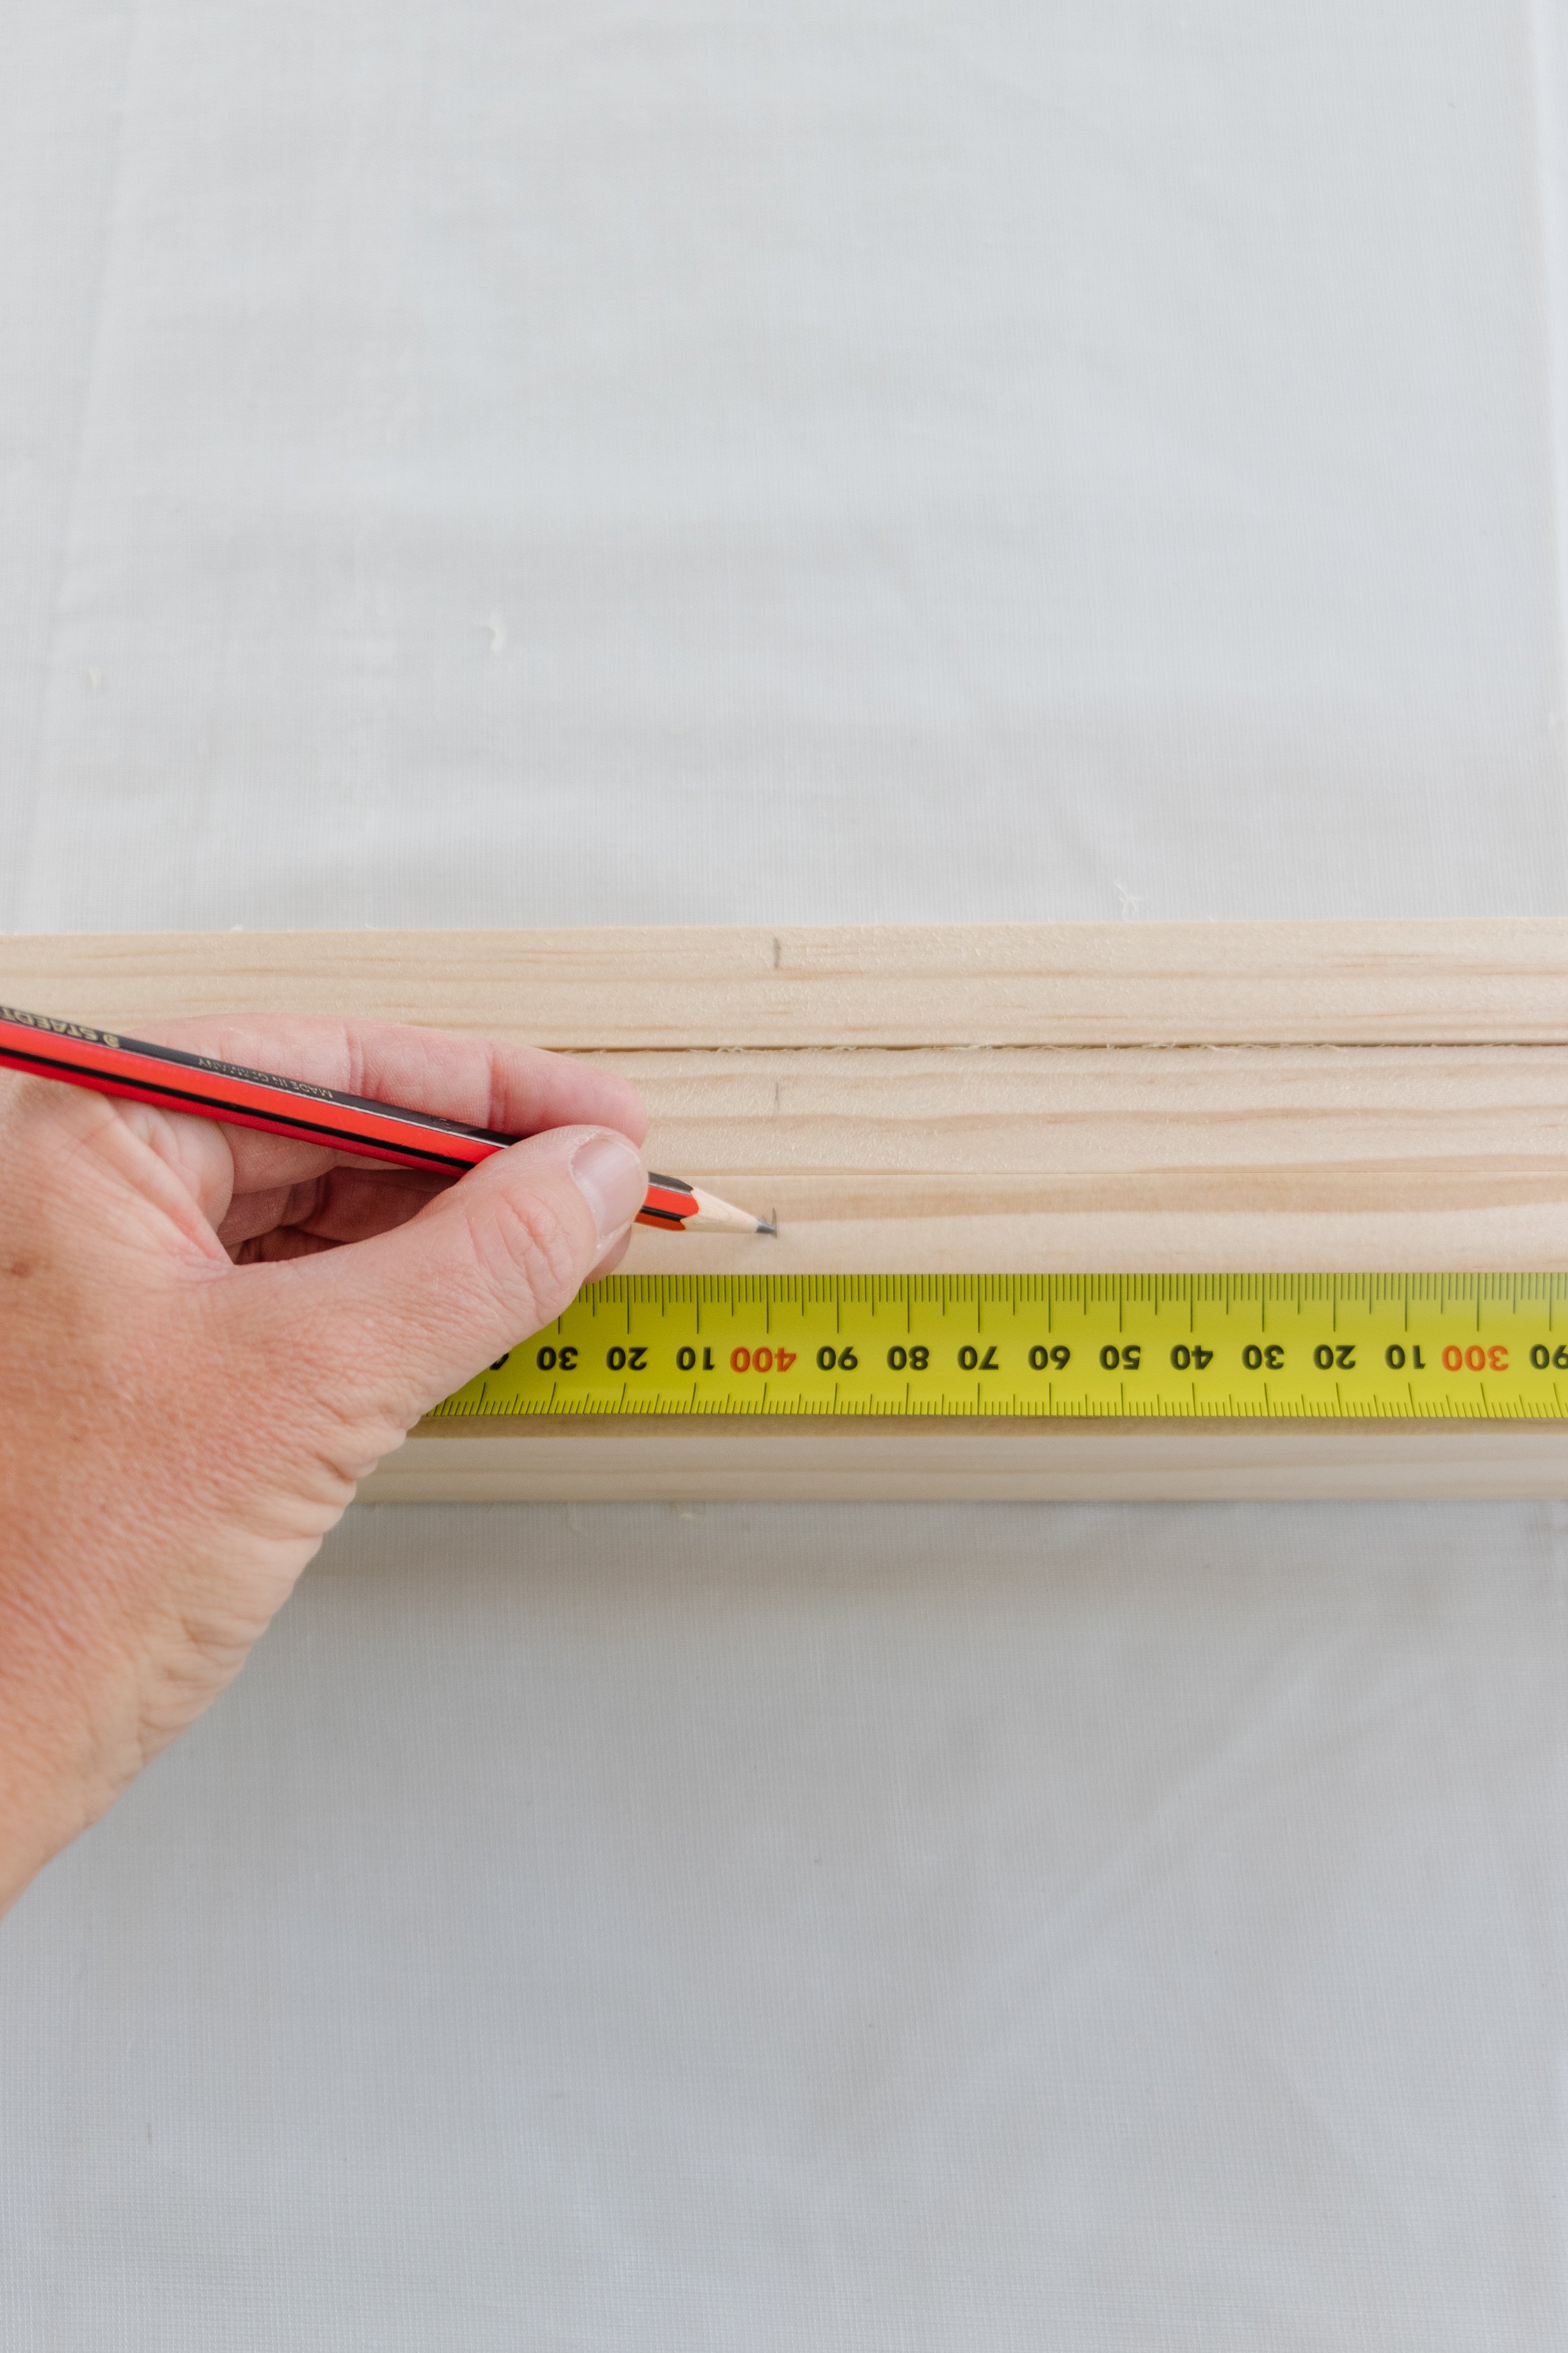
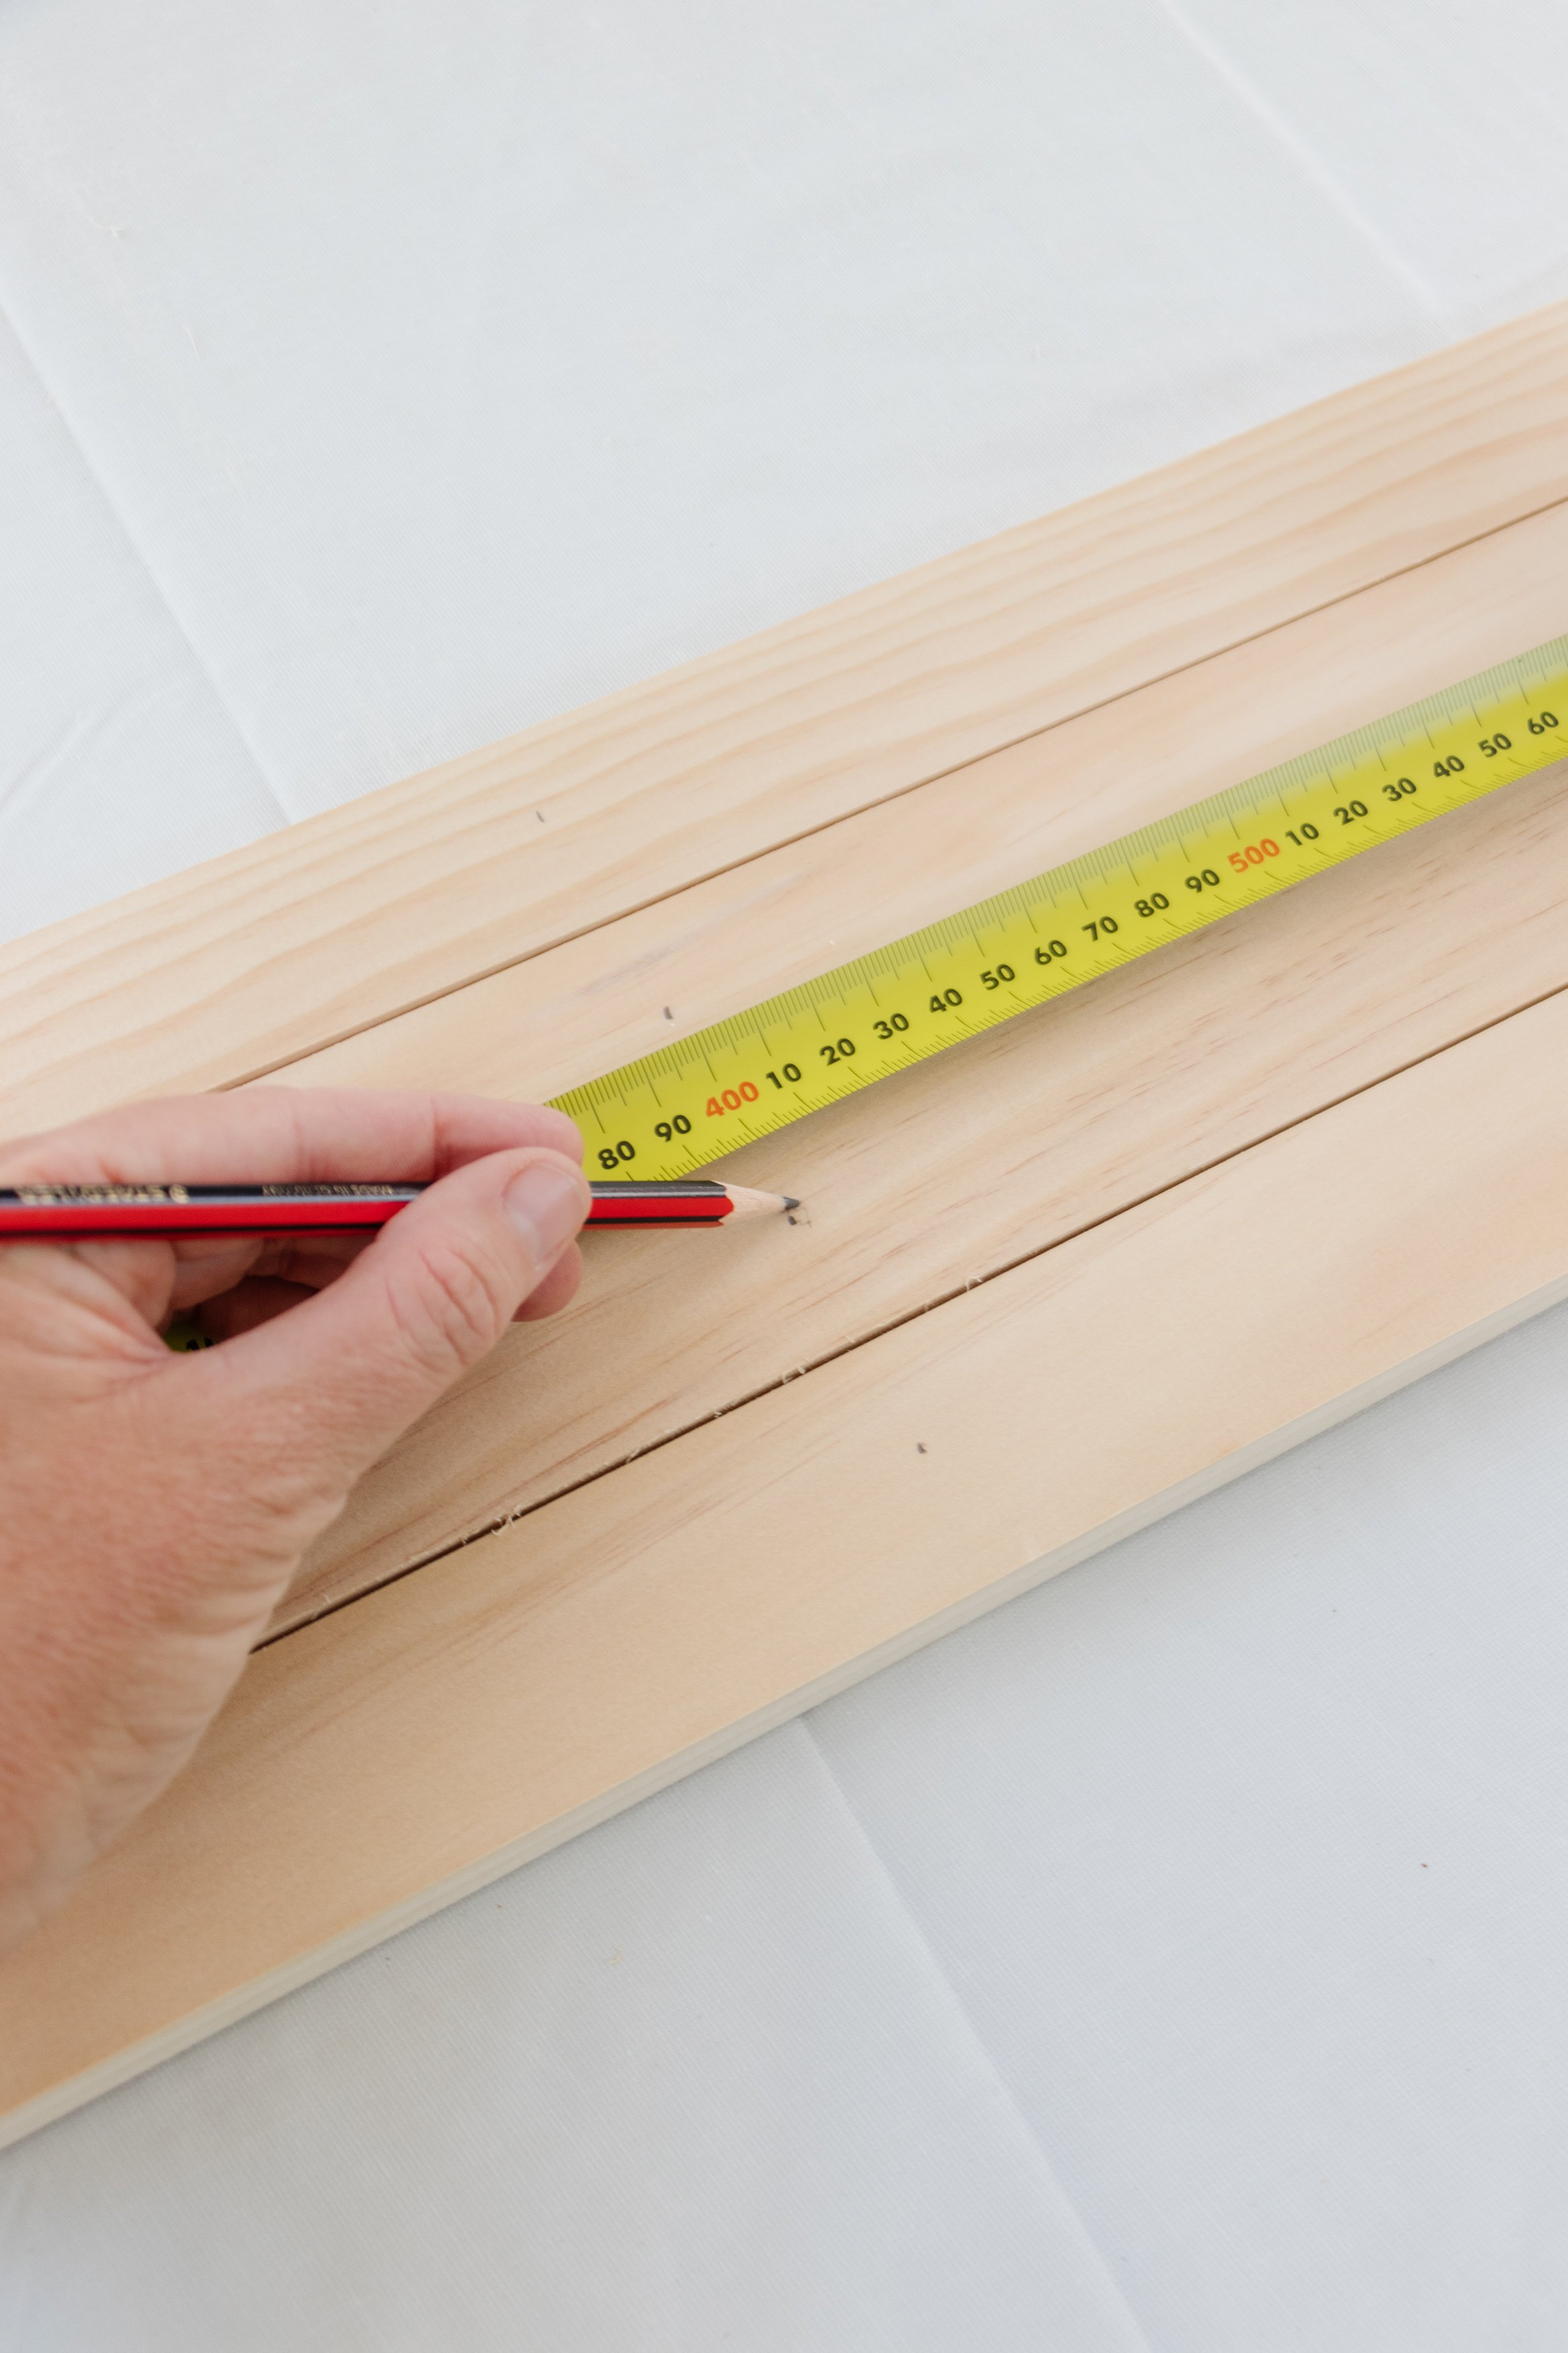
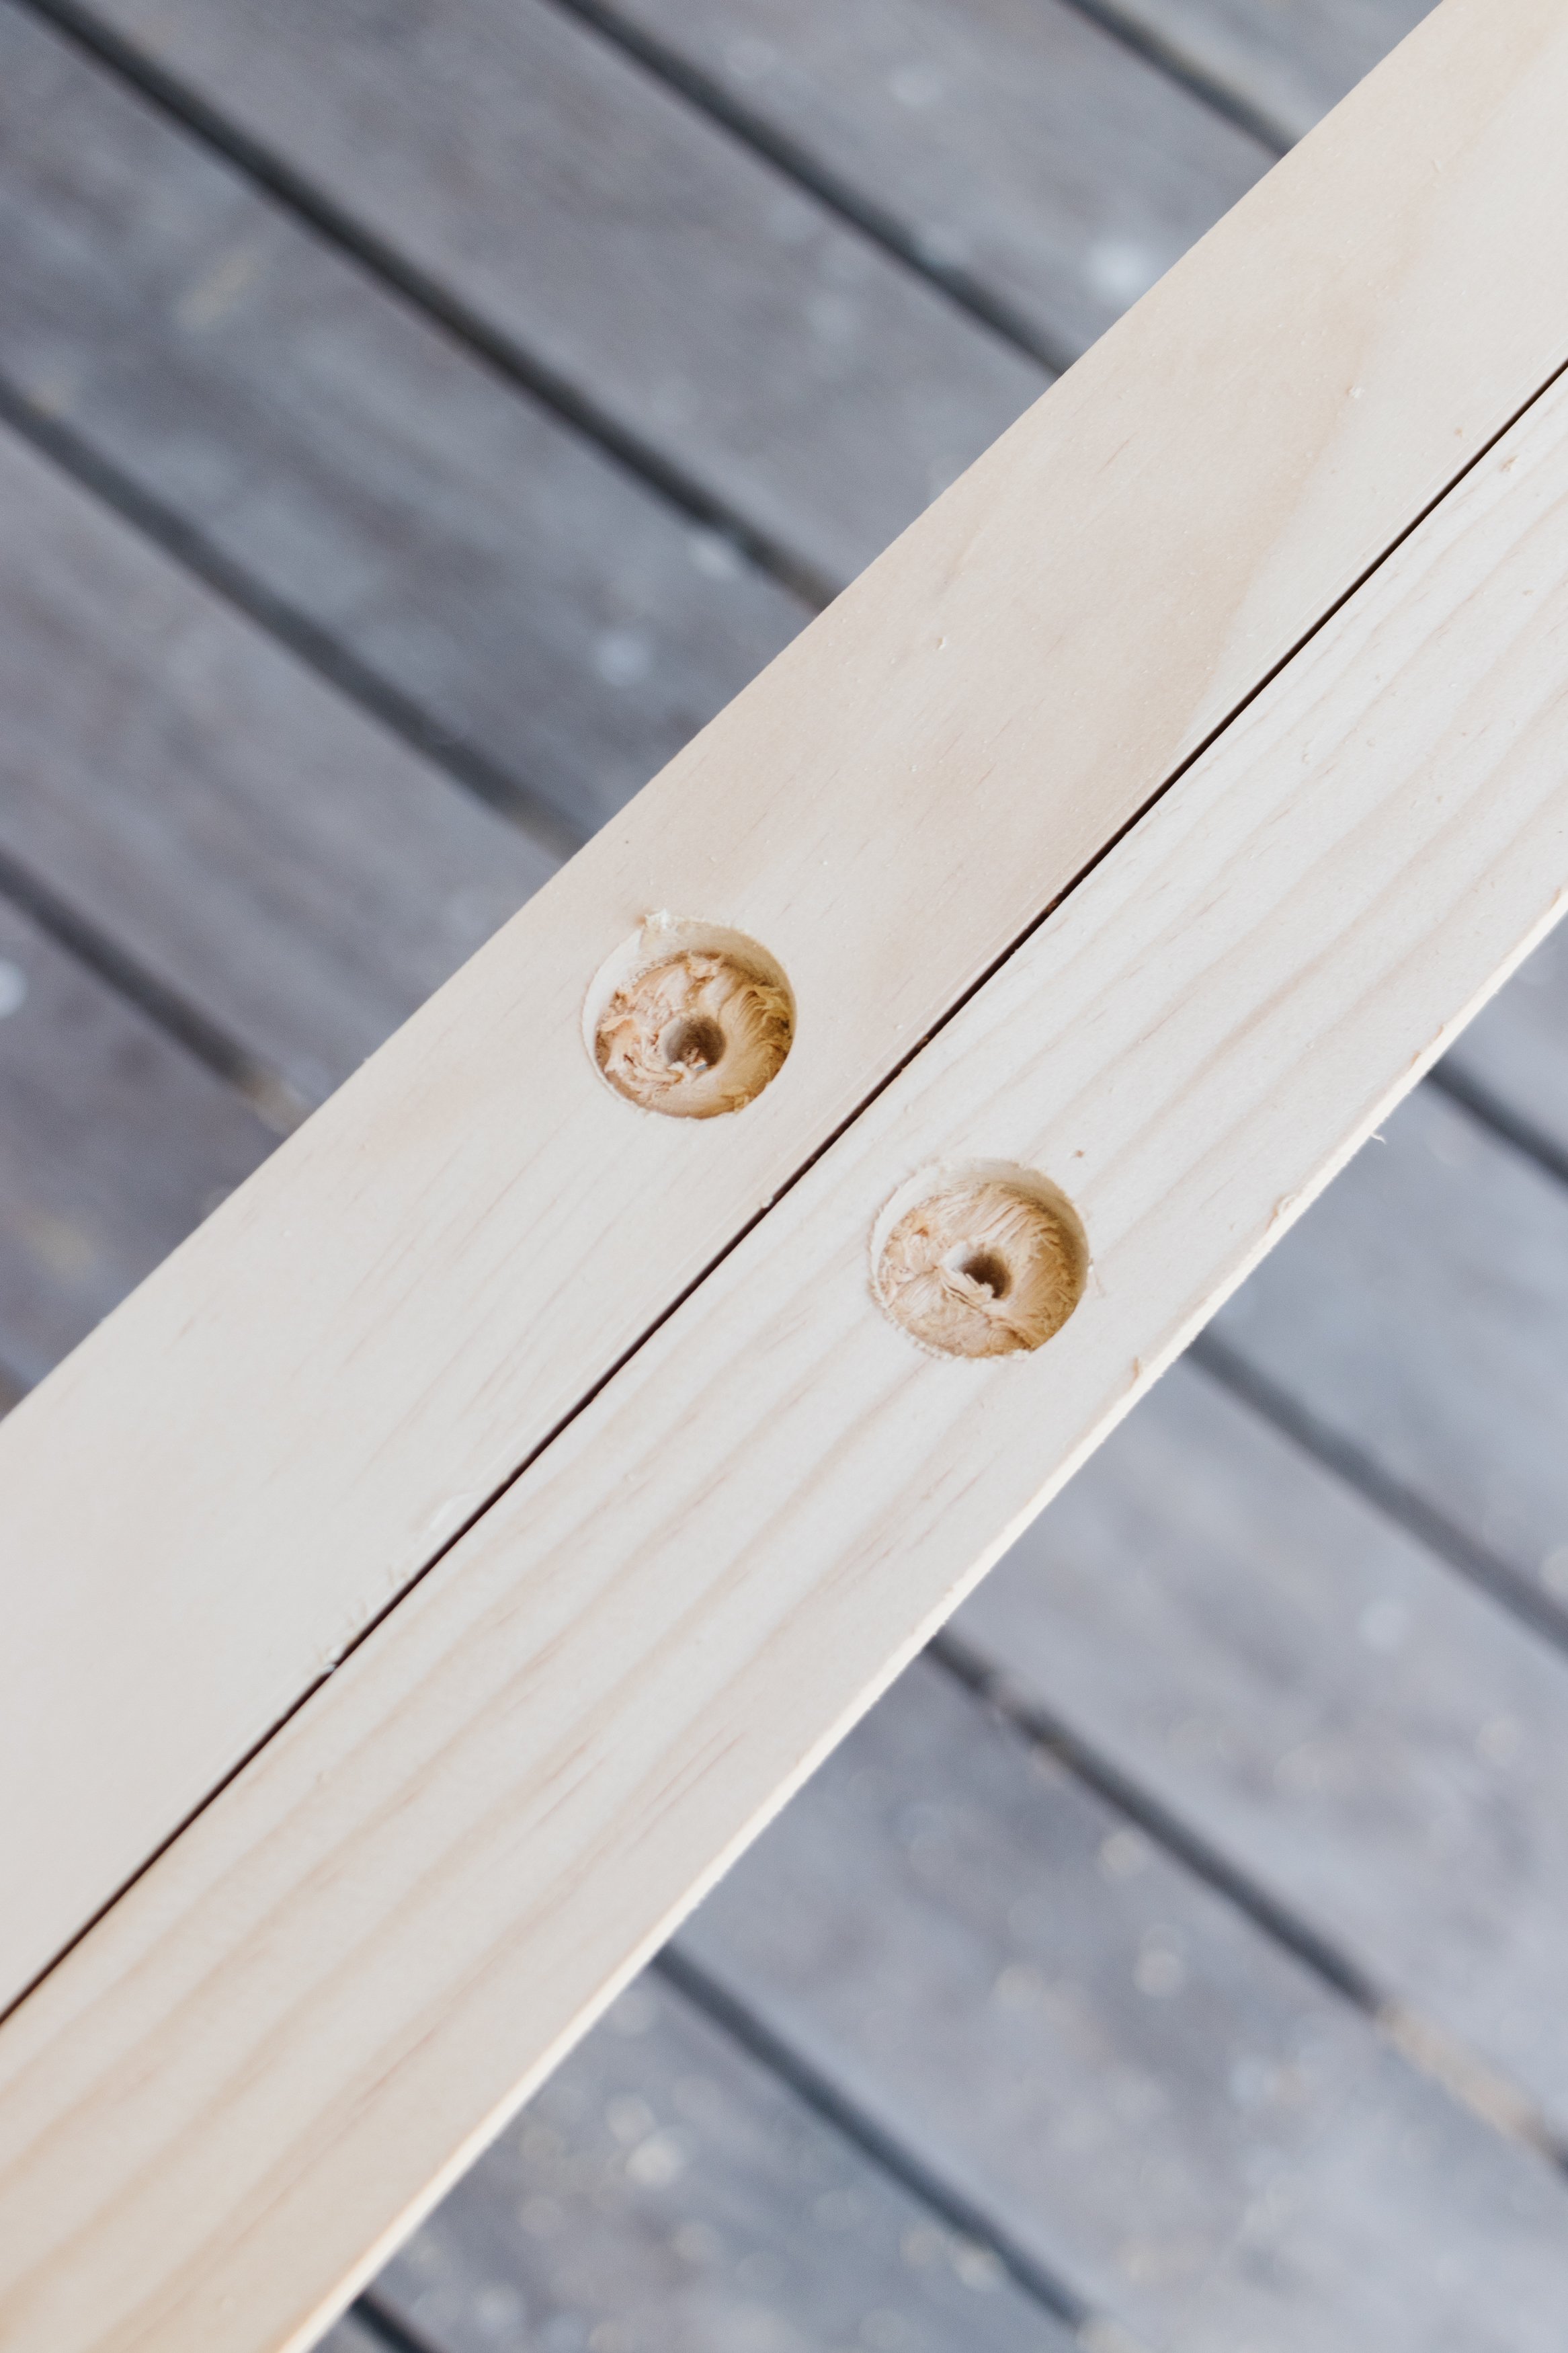
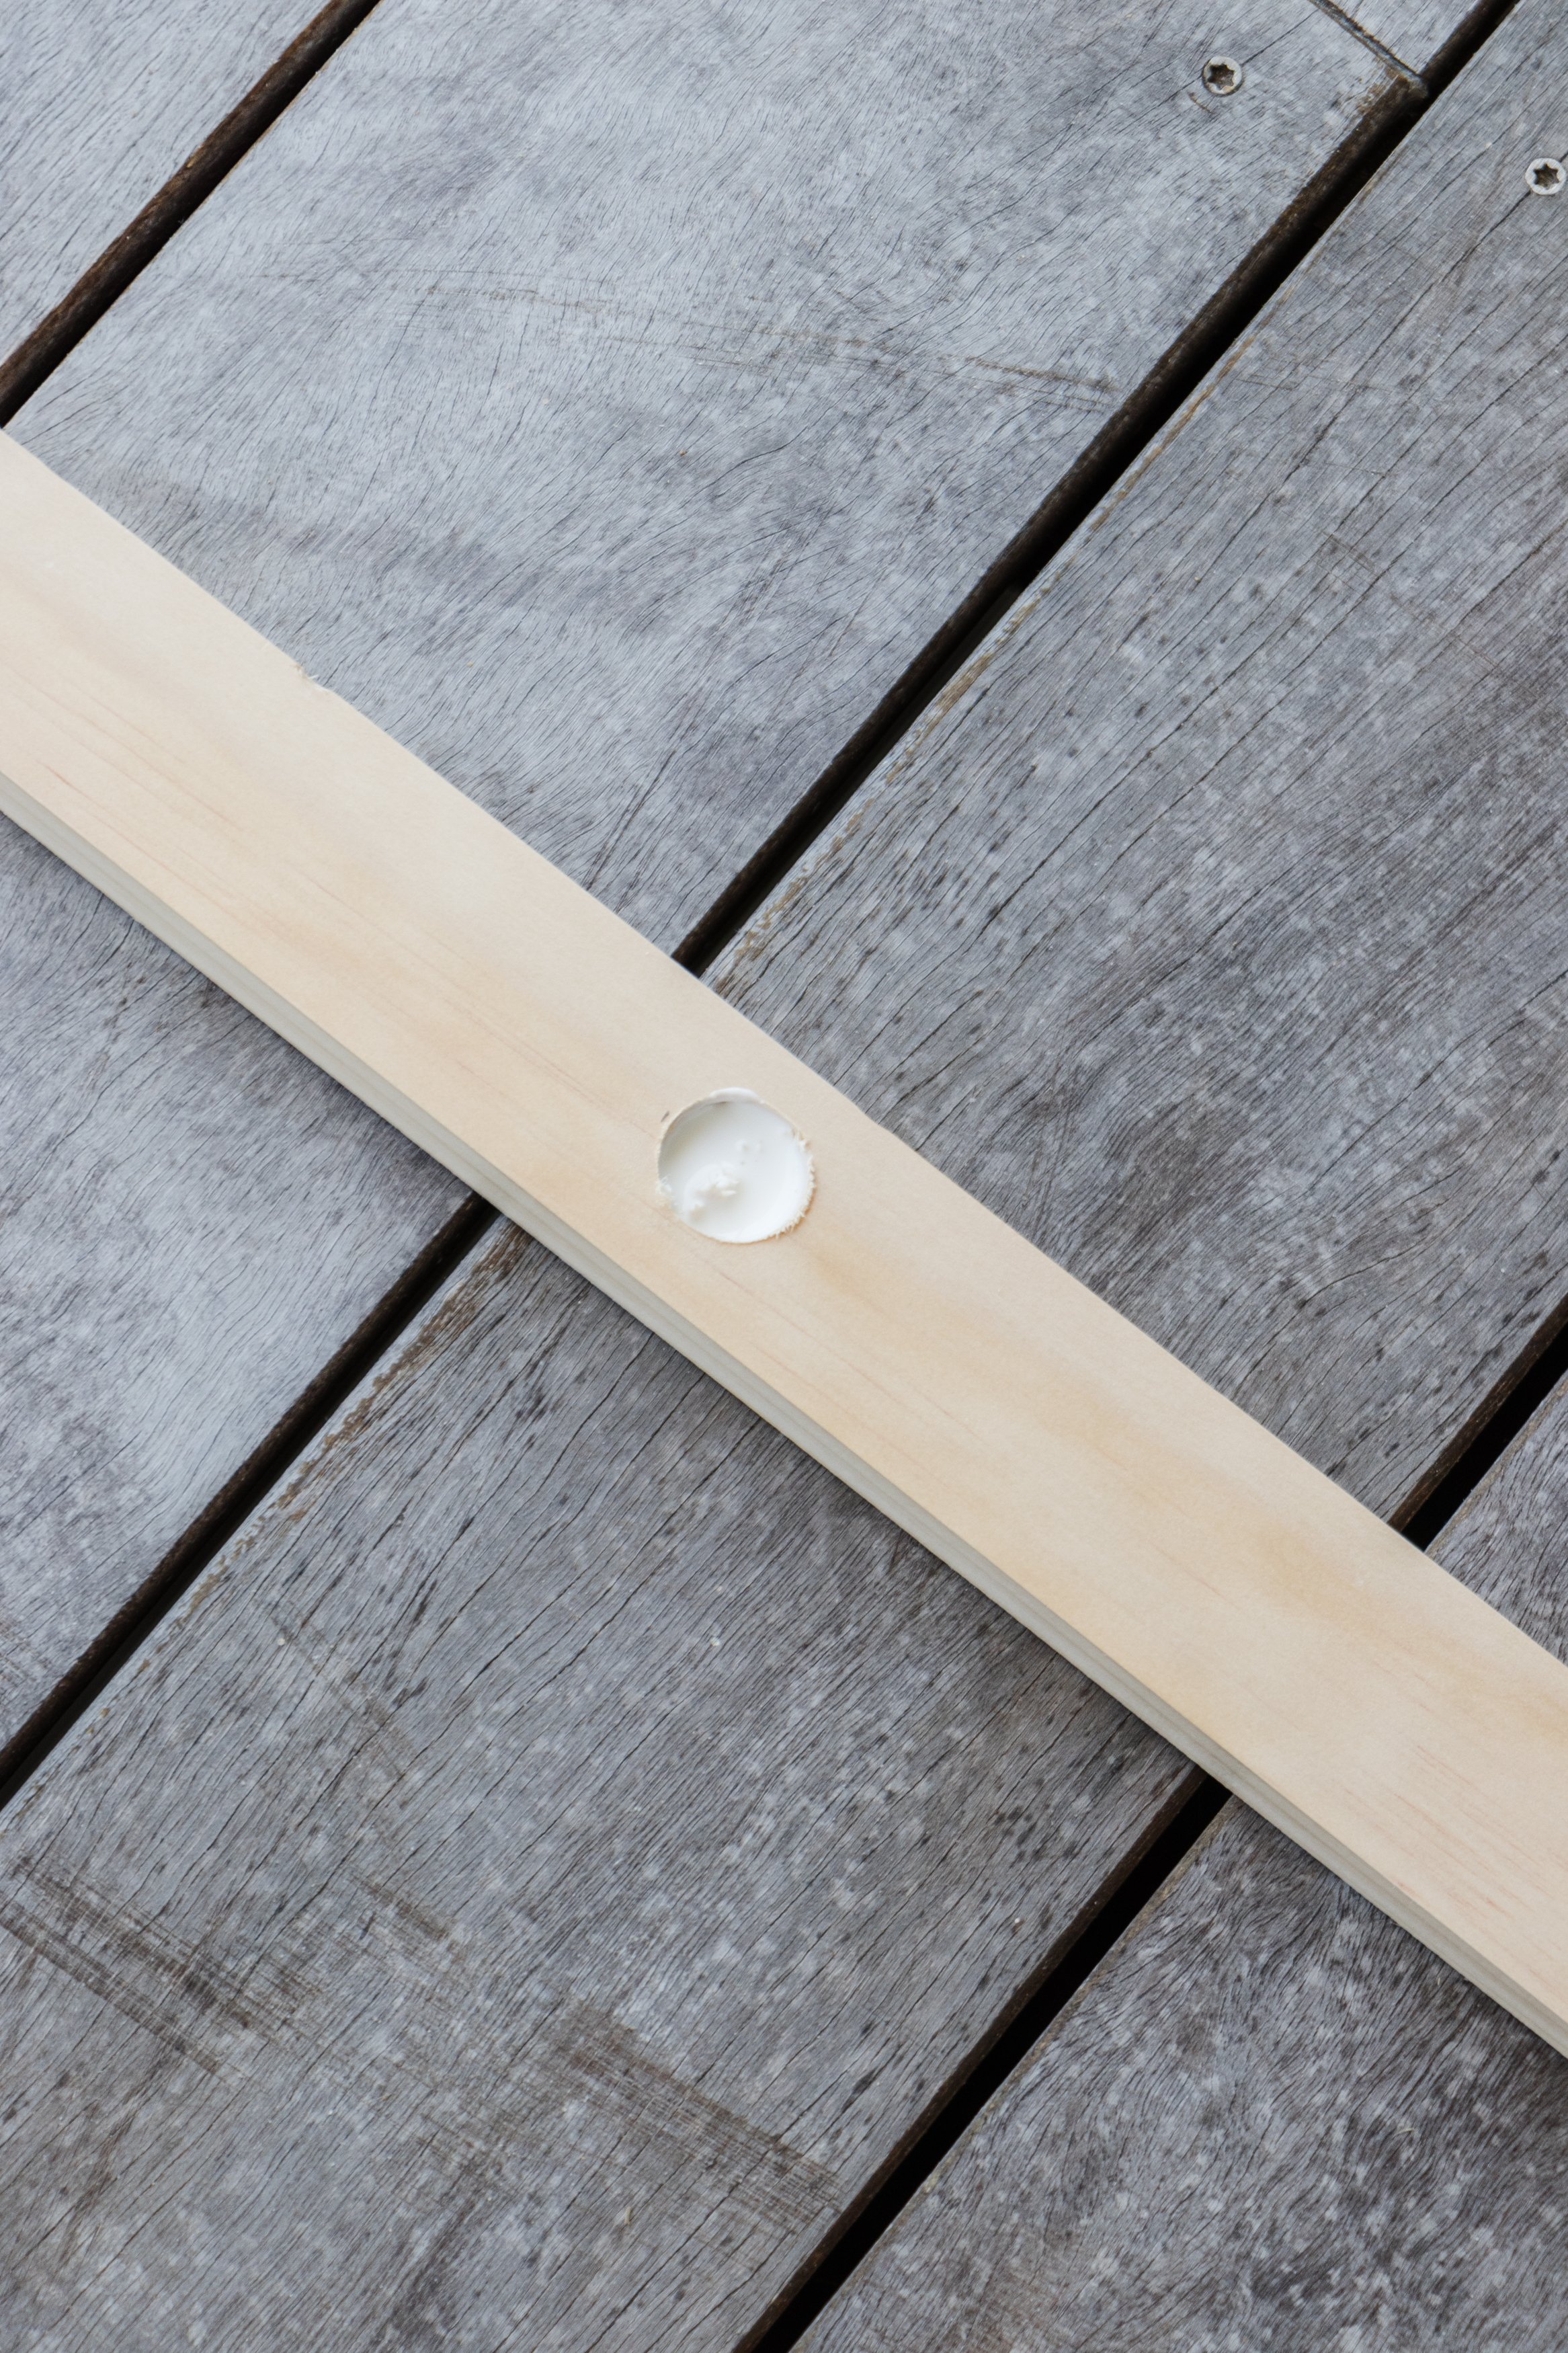
Step 2: At 400mm intervals, make a mark using a pencil on the 4 x 2000mm pieces of pine. Clamp one piece of pine to your work bench then drill a hole at each mark 100mm down (but not all the way through) using the drill and spade bit. Repeat for each mark per piece of pine. Set the pine pieces aside.
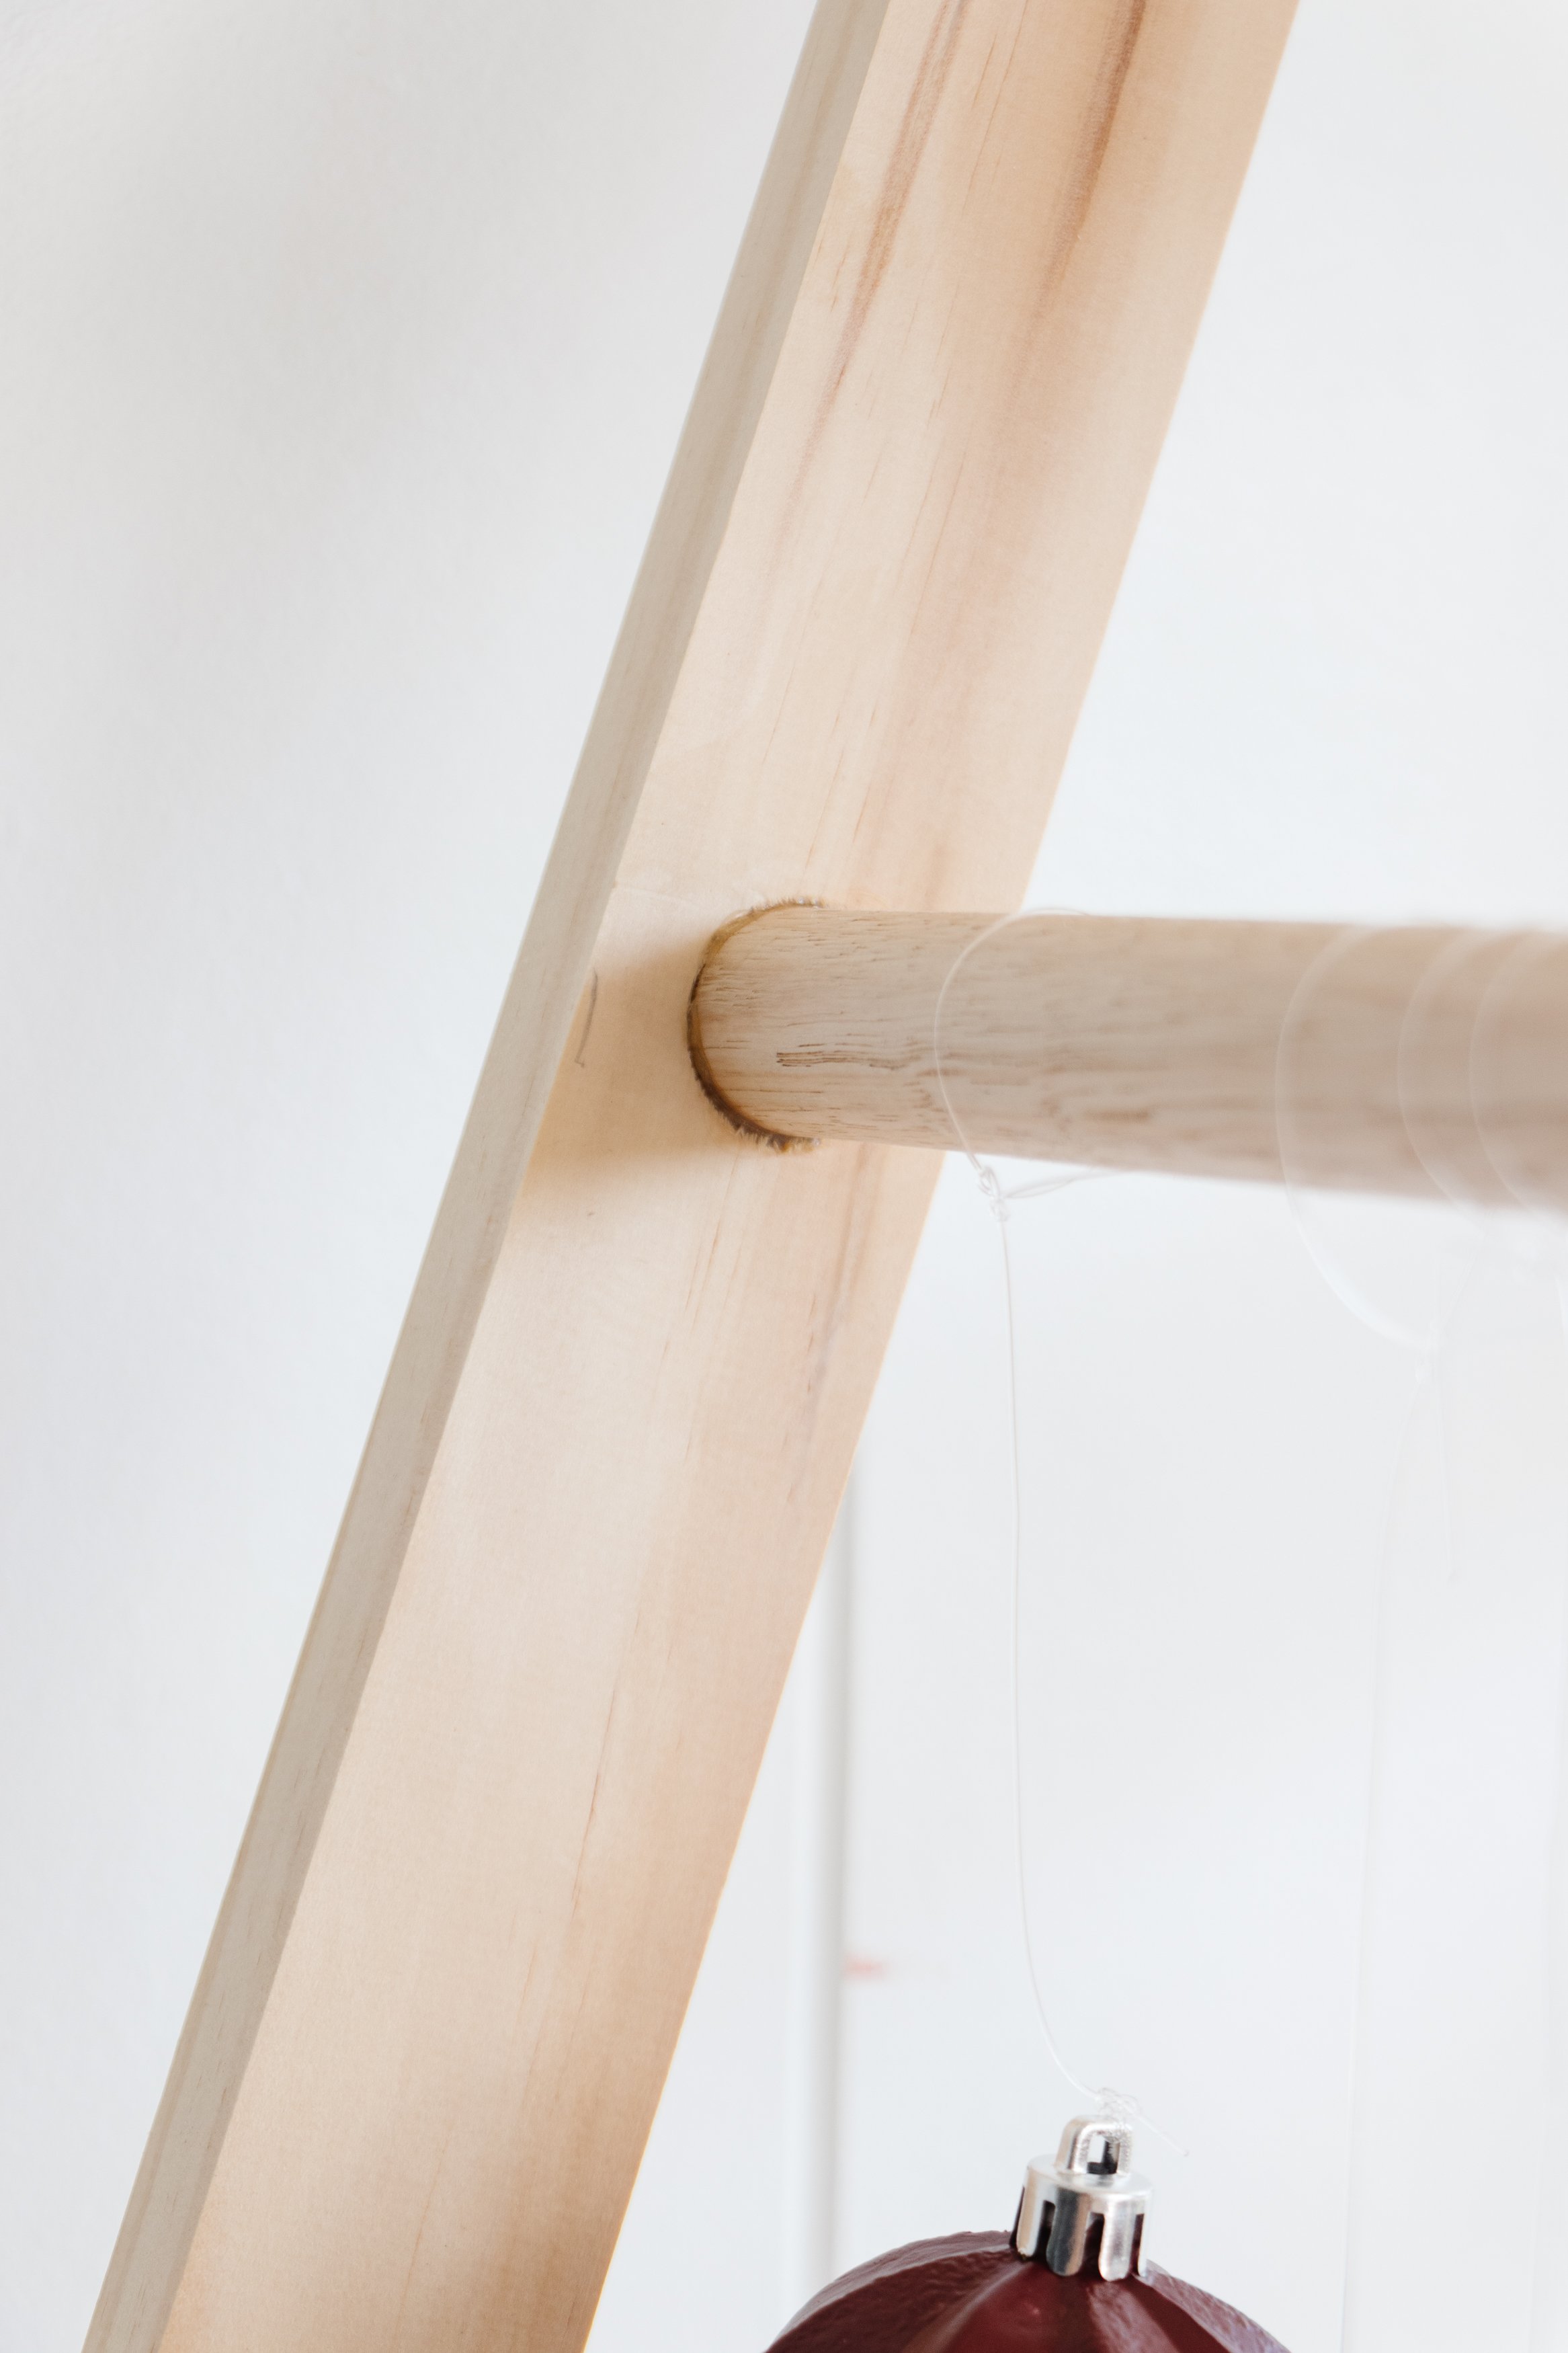
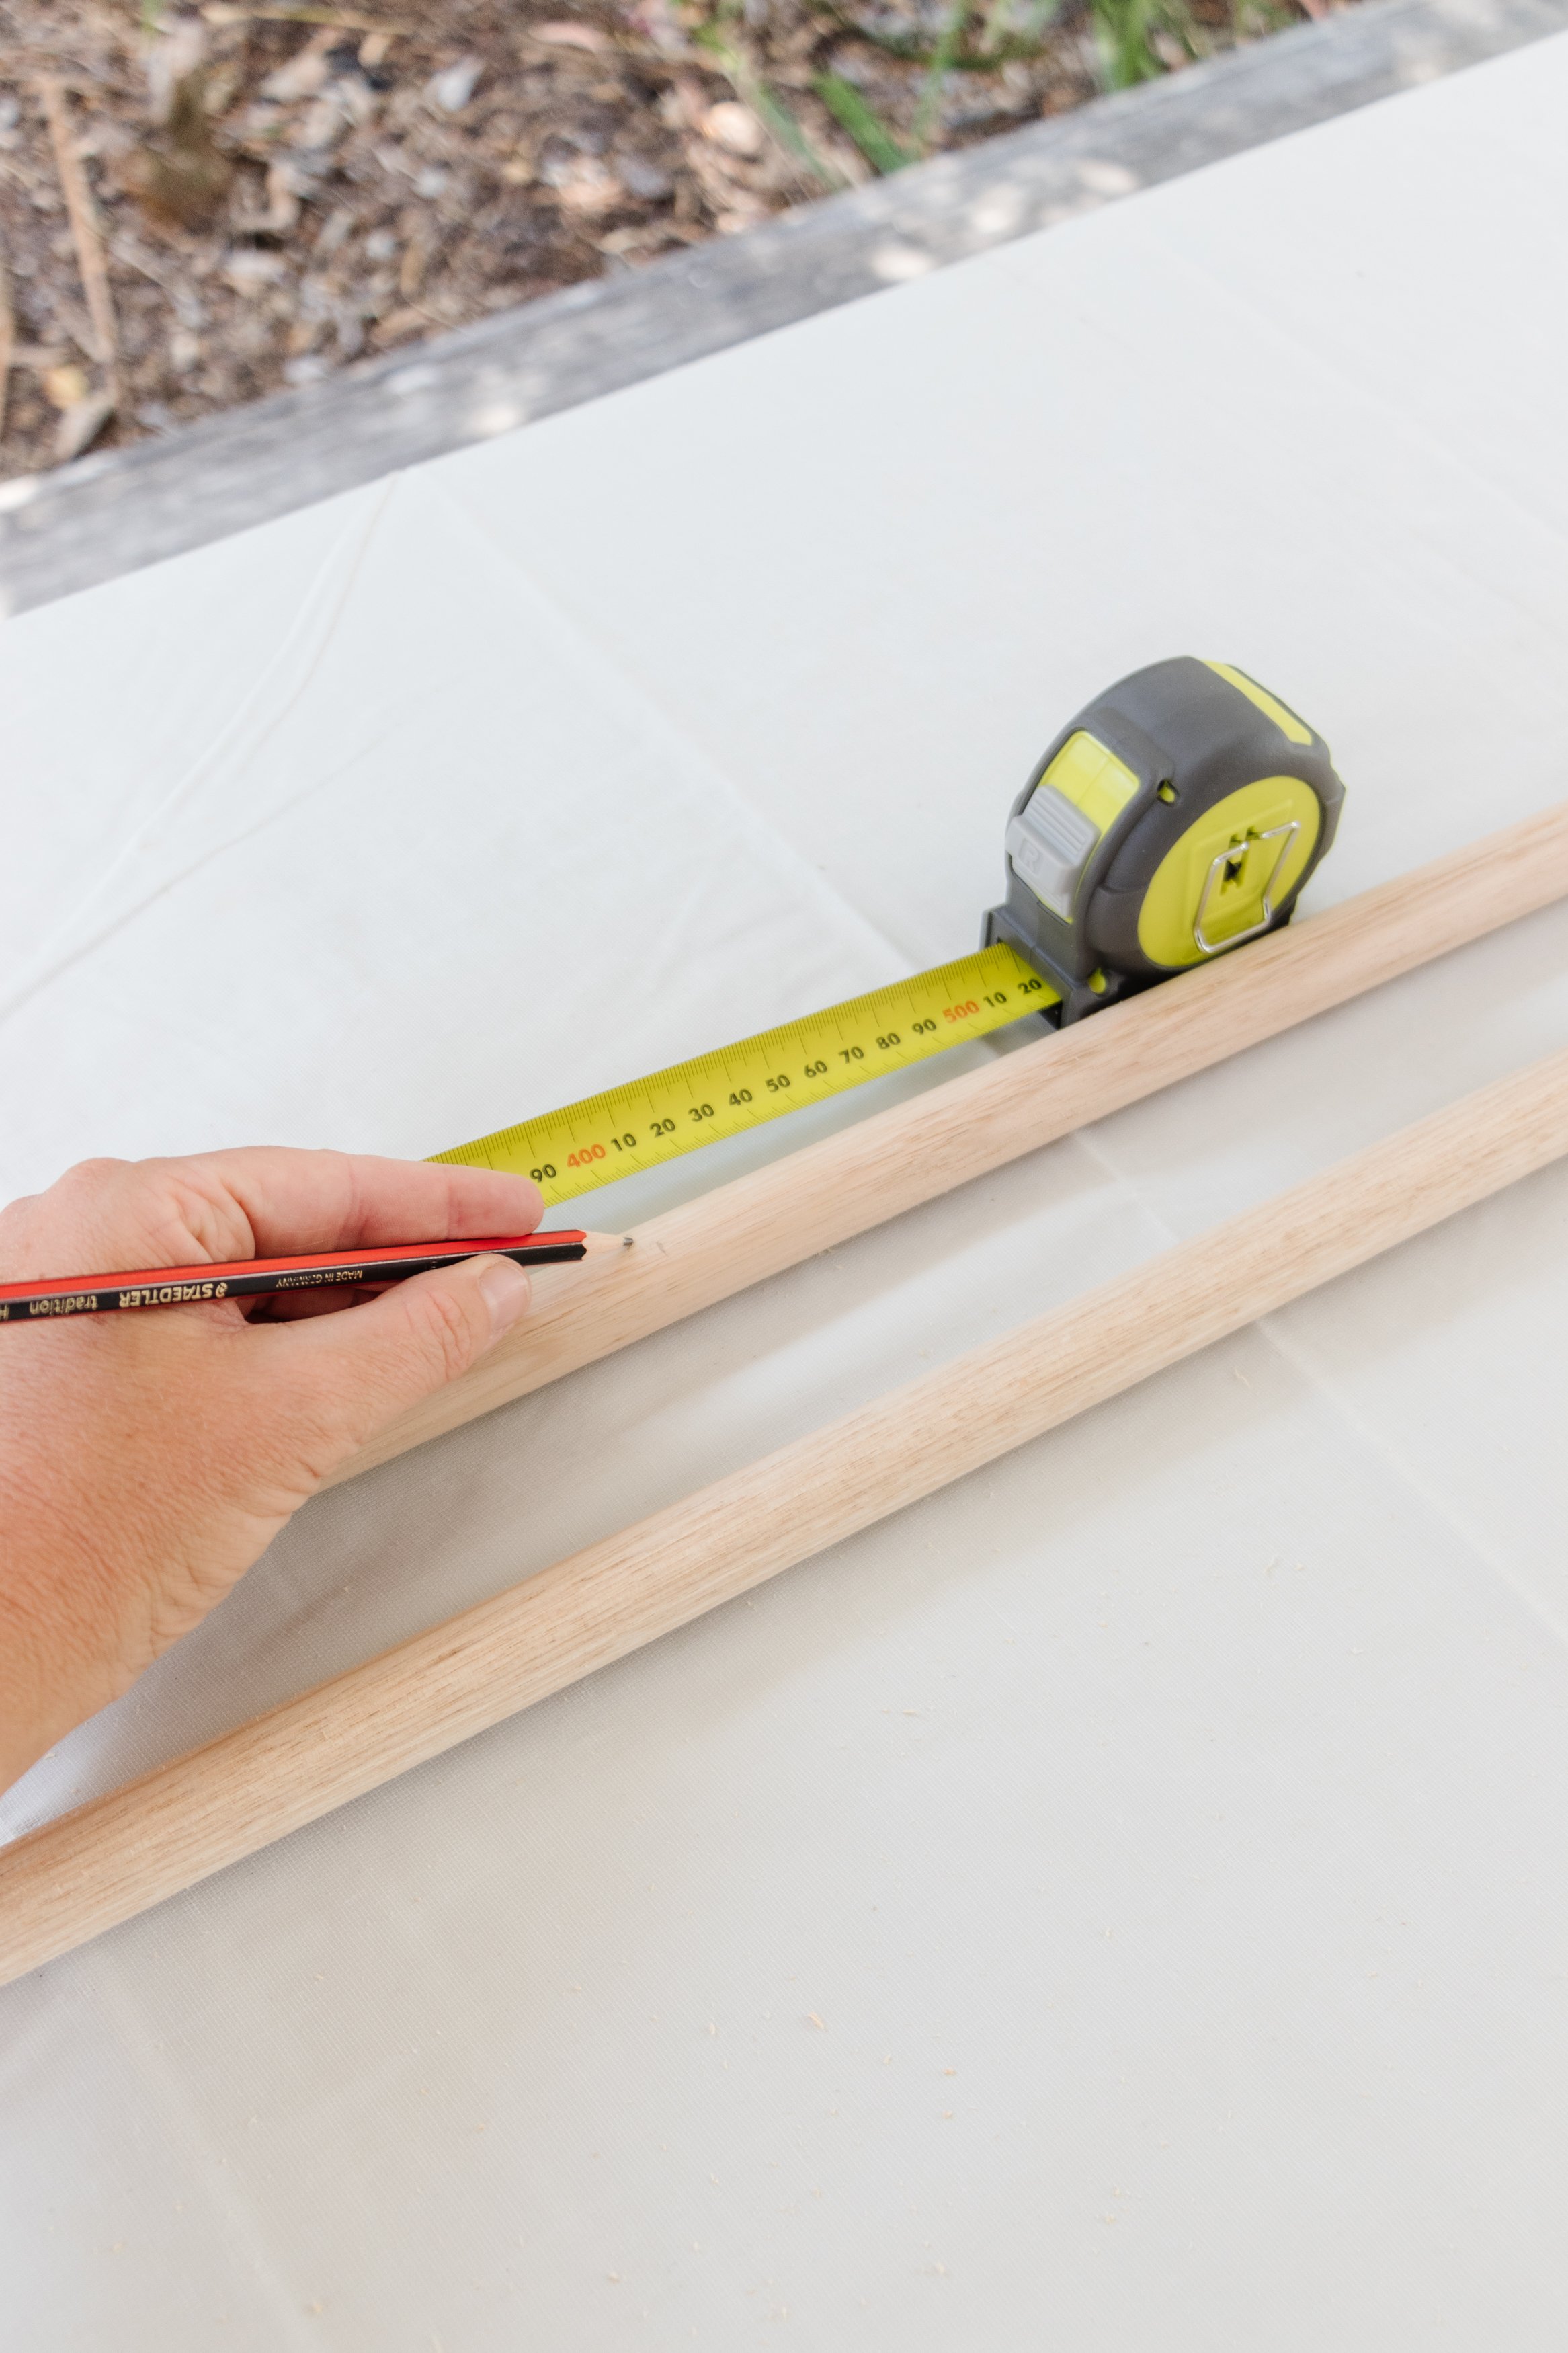
Step 3: At 400mm intervals, make a mark using a pencil on the dowels. Clamp one piece of dowel to your work bench and cut the dowel at the 400mm mark. Repeat until you have 8 pieces of cut dowel.

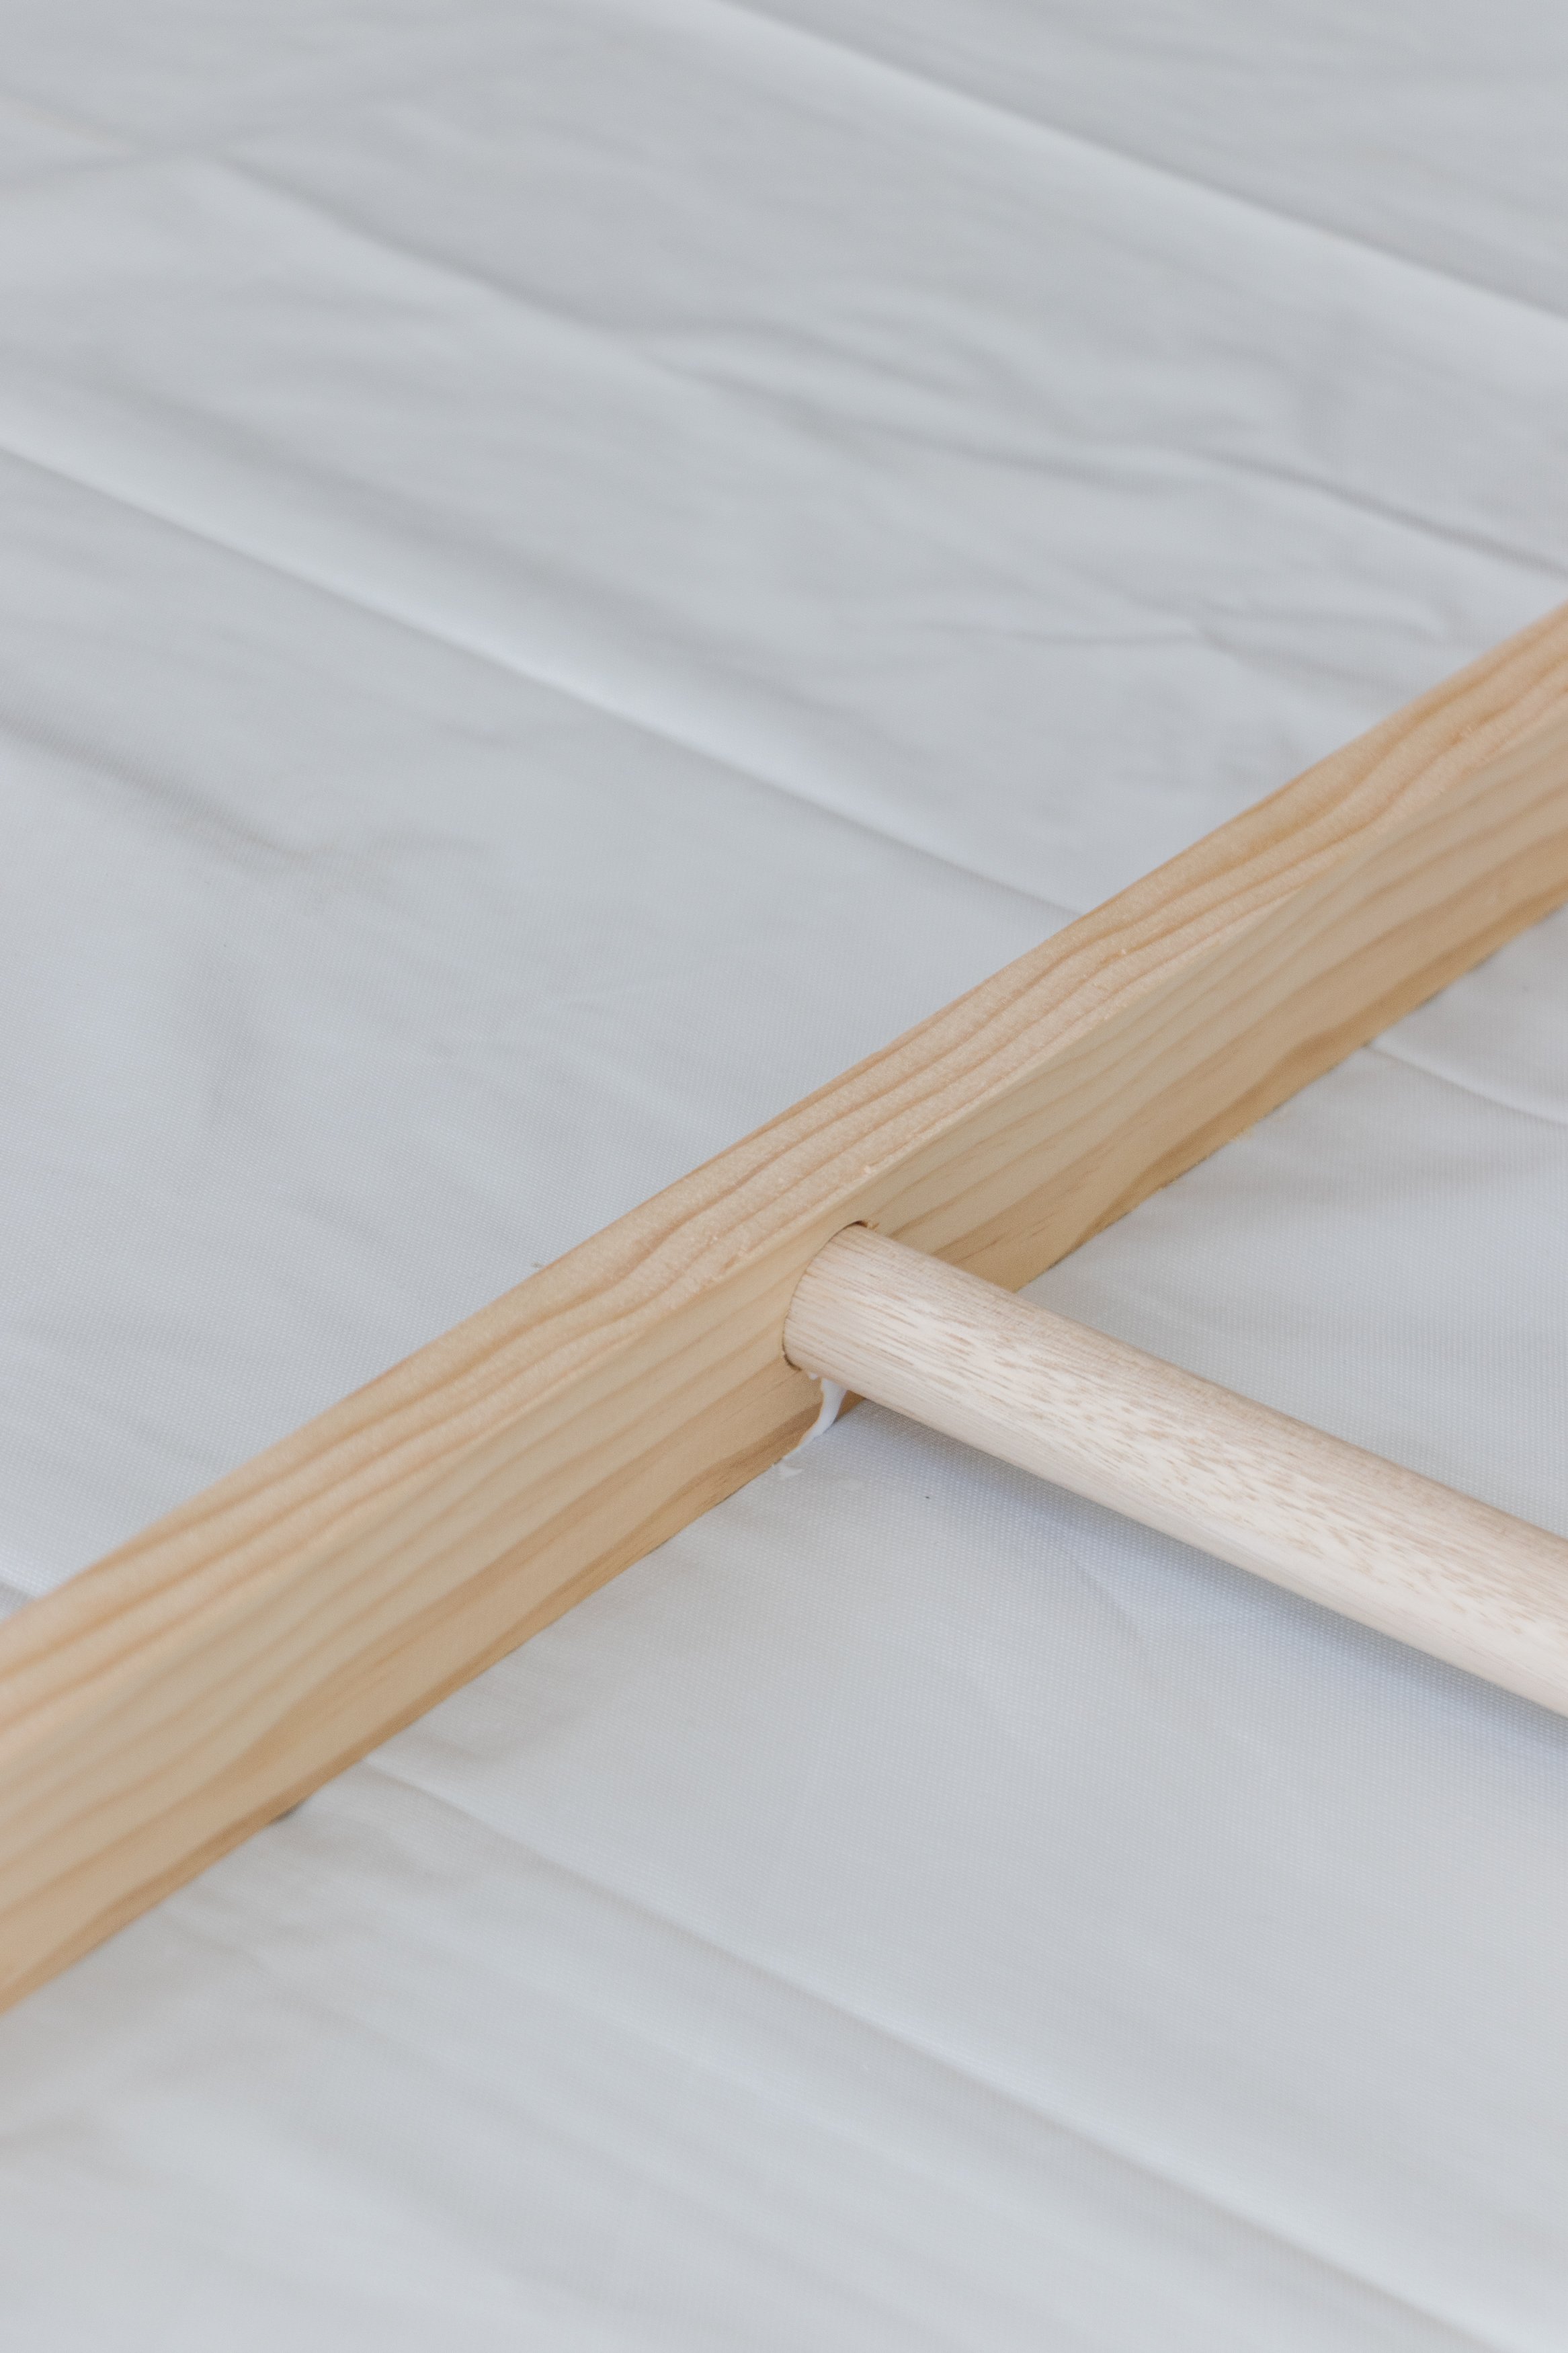
Step 4: Lay the pine pieces down on a flat surface (work bench or the ground) with the holes facing up. Fill the holes with wood glue then place a piece of dowel into each hole standing up and twist the dowels in. Lay the half ladder on the ground then push the second piece of pine onto the dowel rungs. Set aside to for the glue to cure for about 30 minutes.
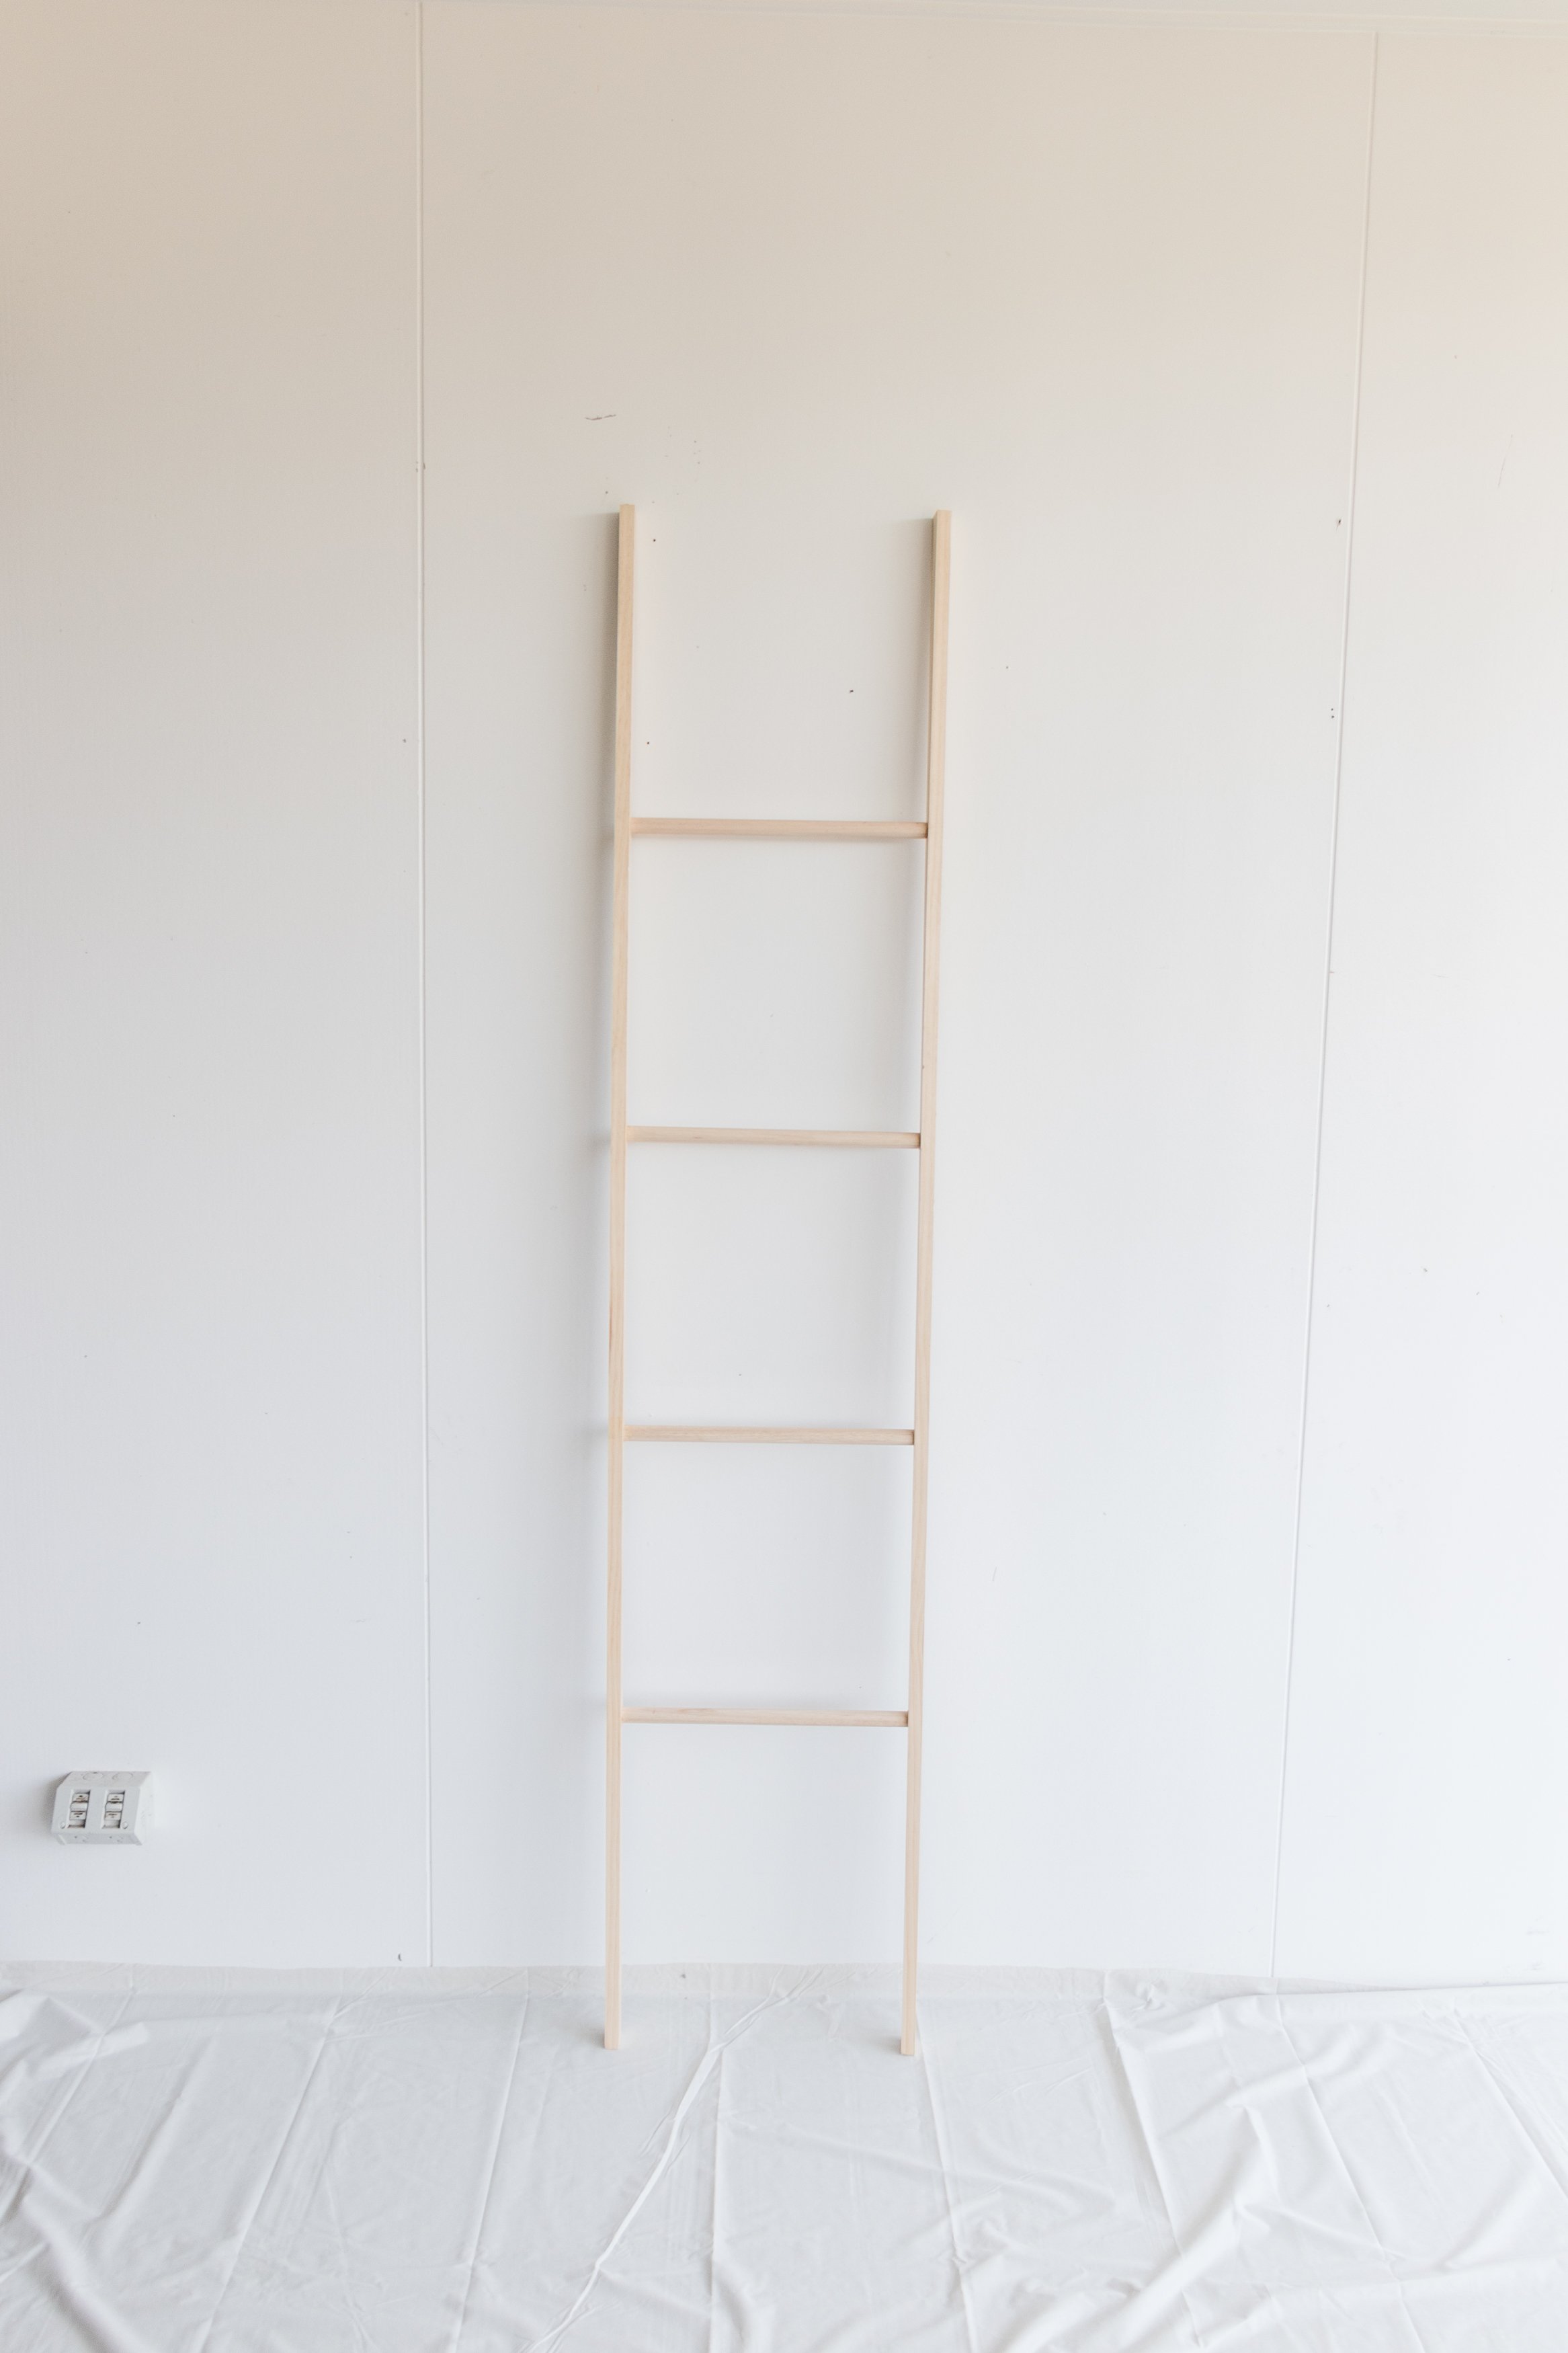
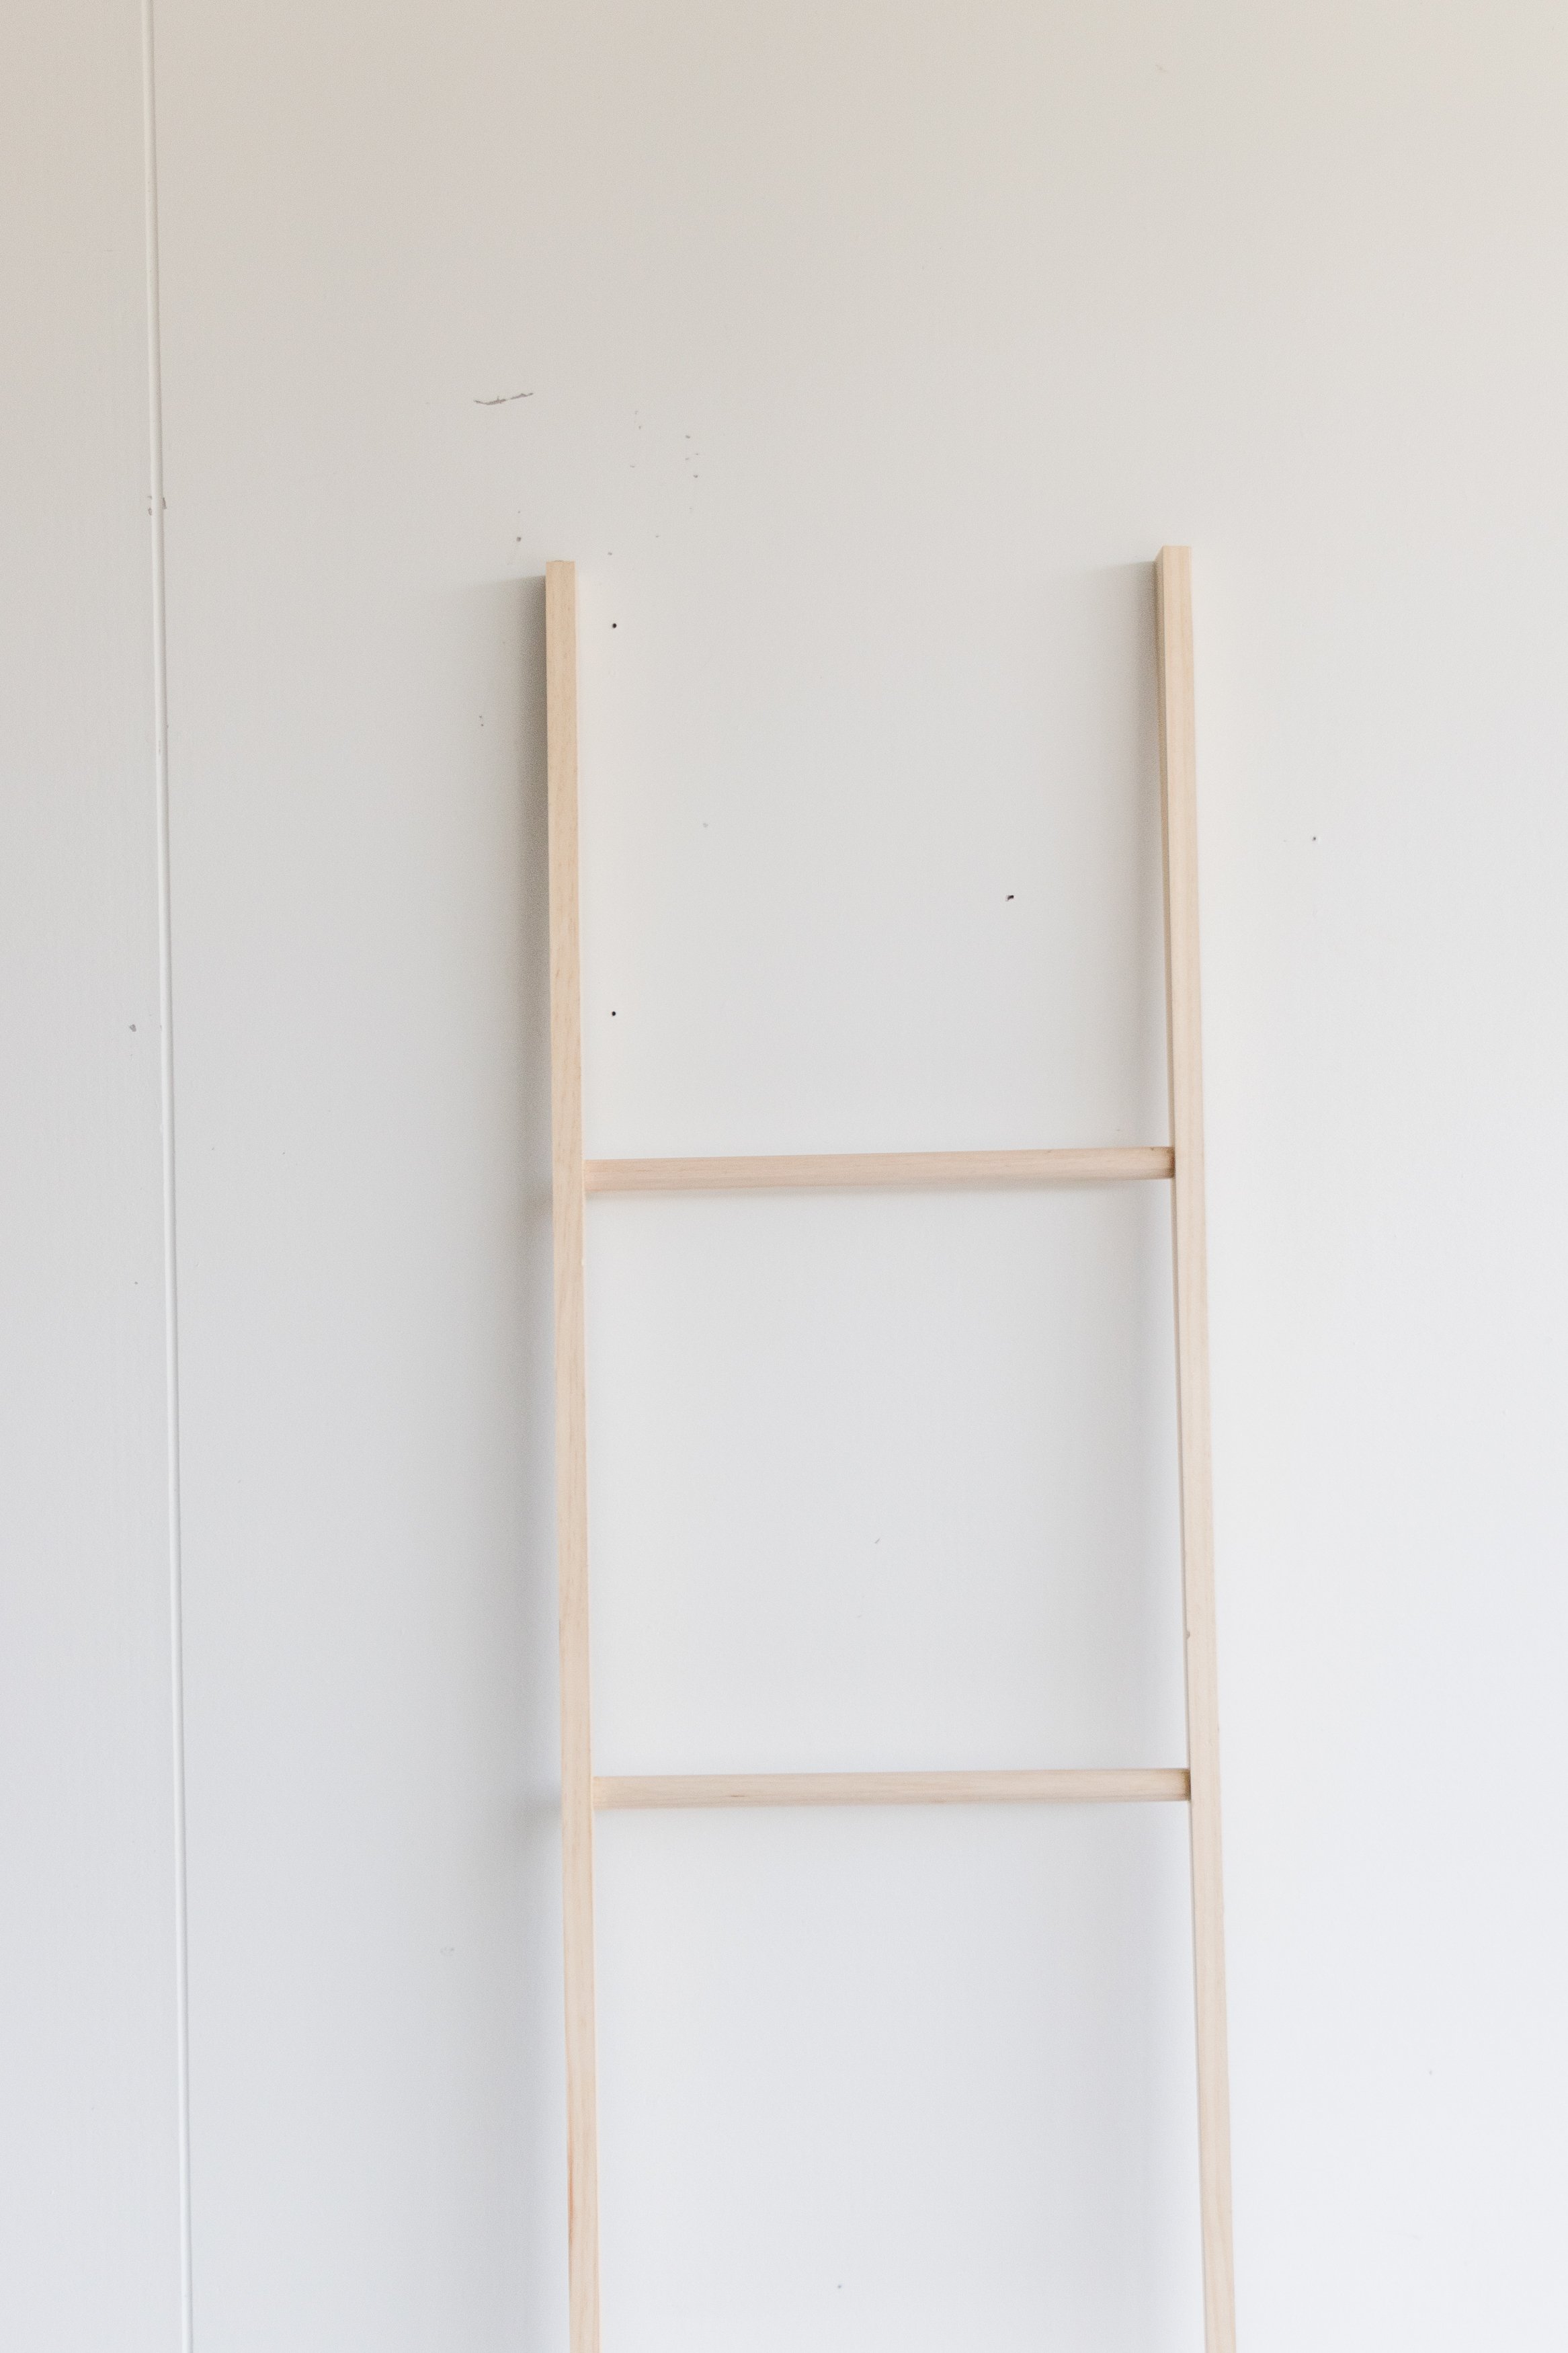
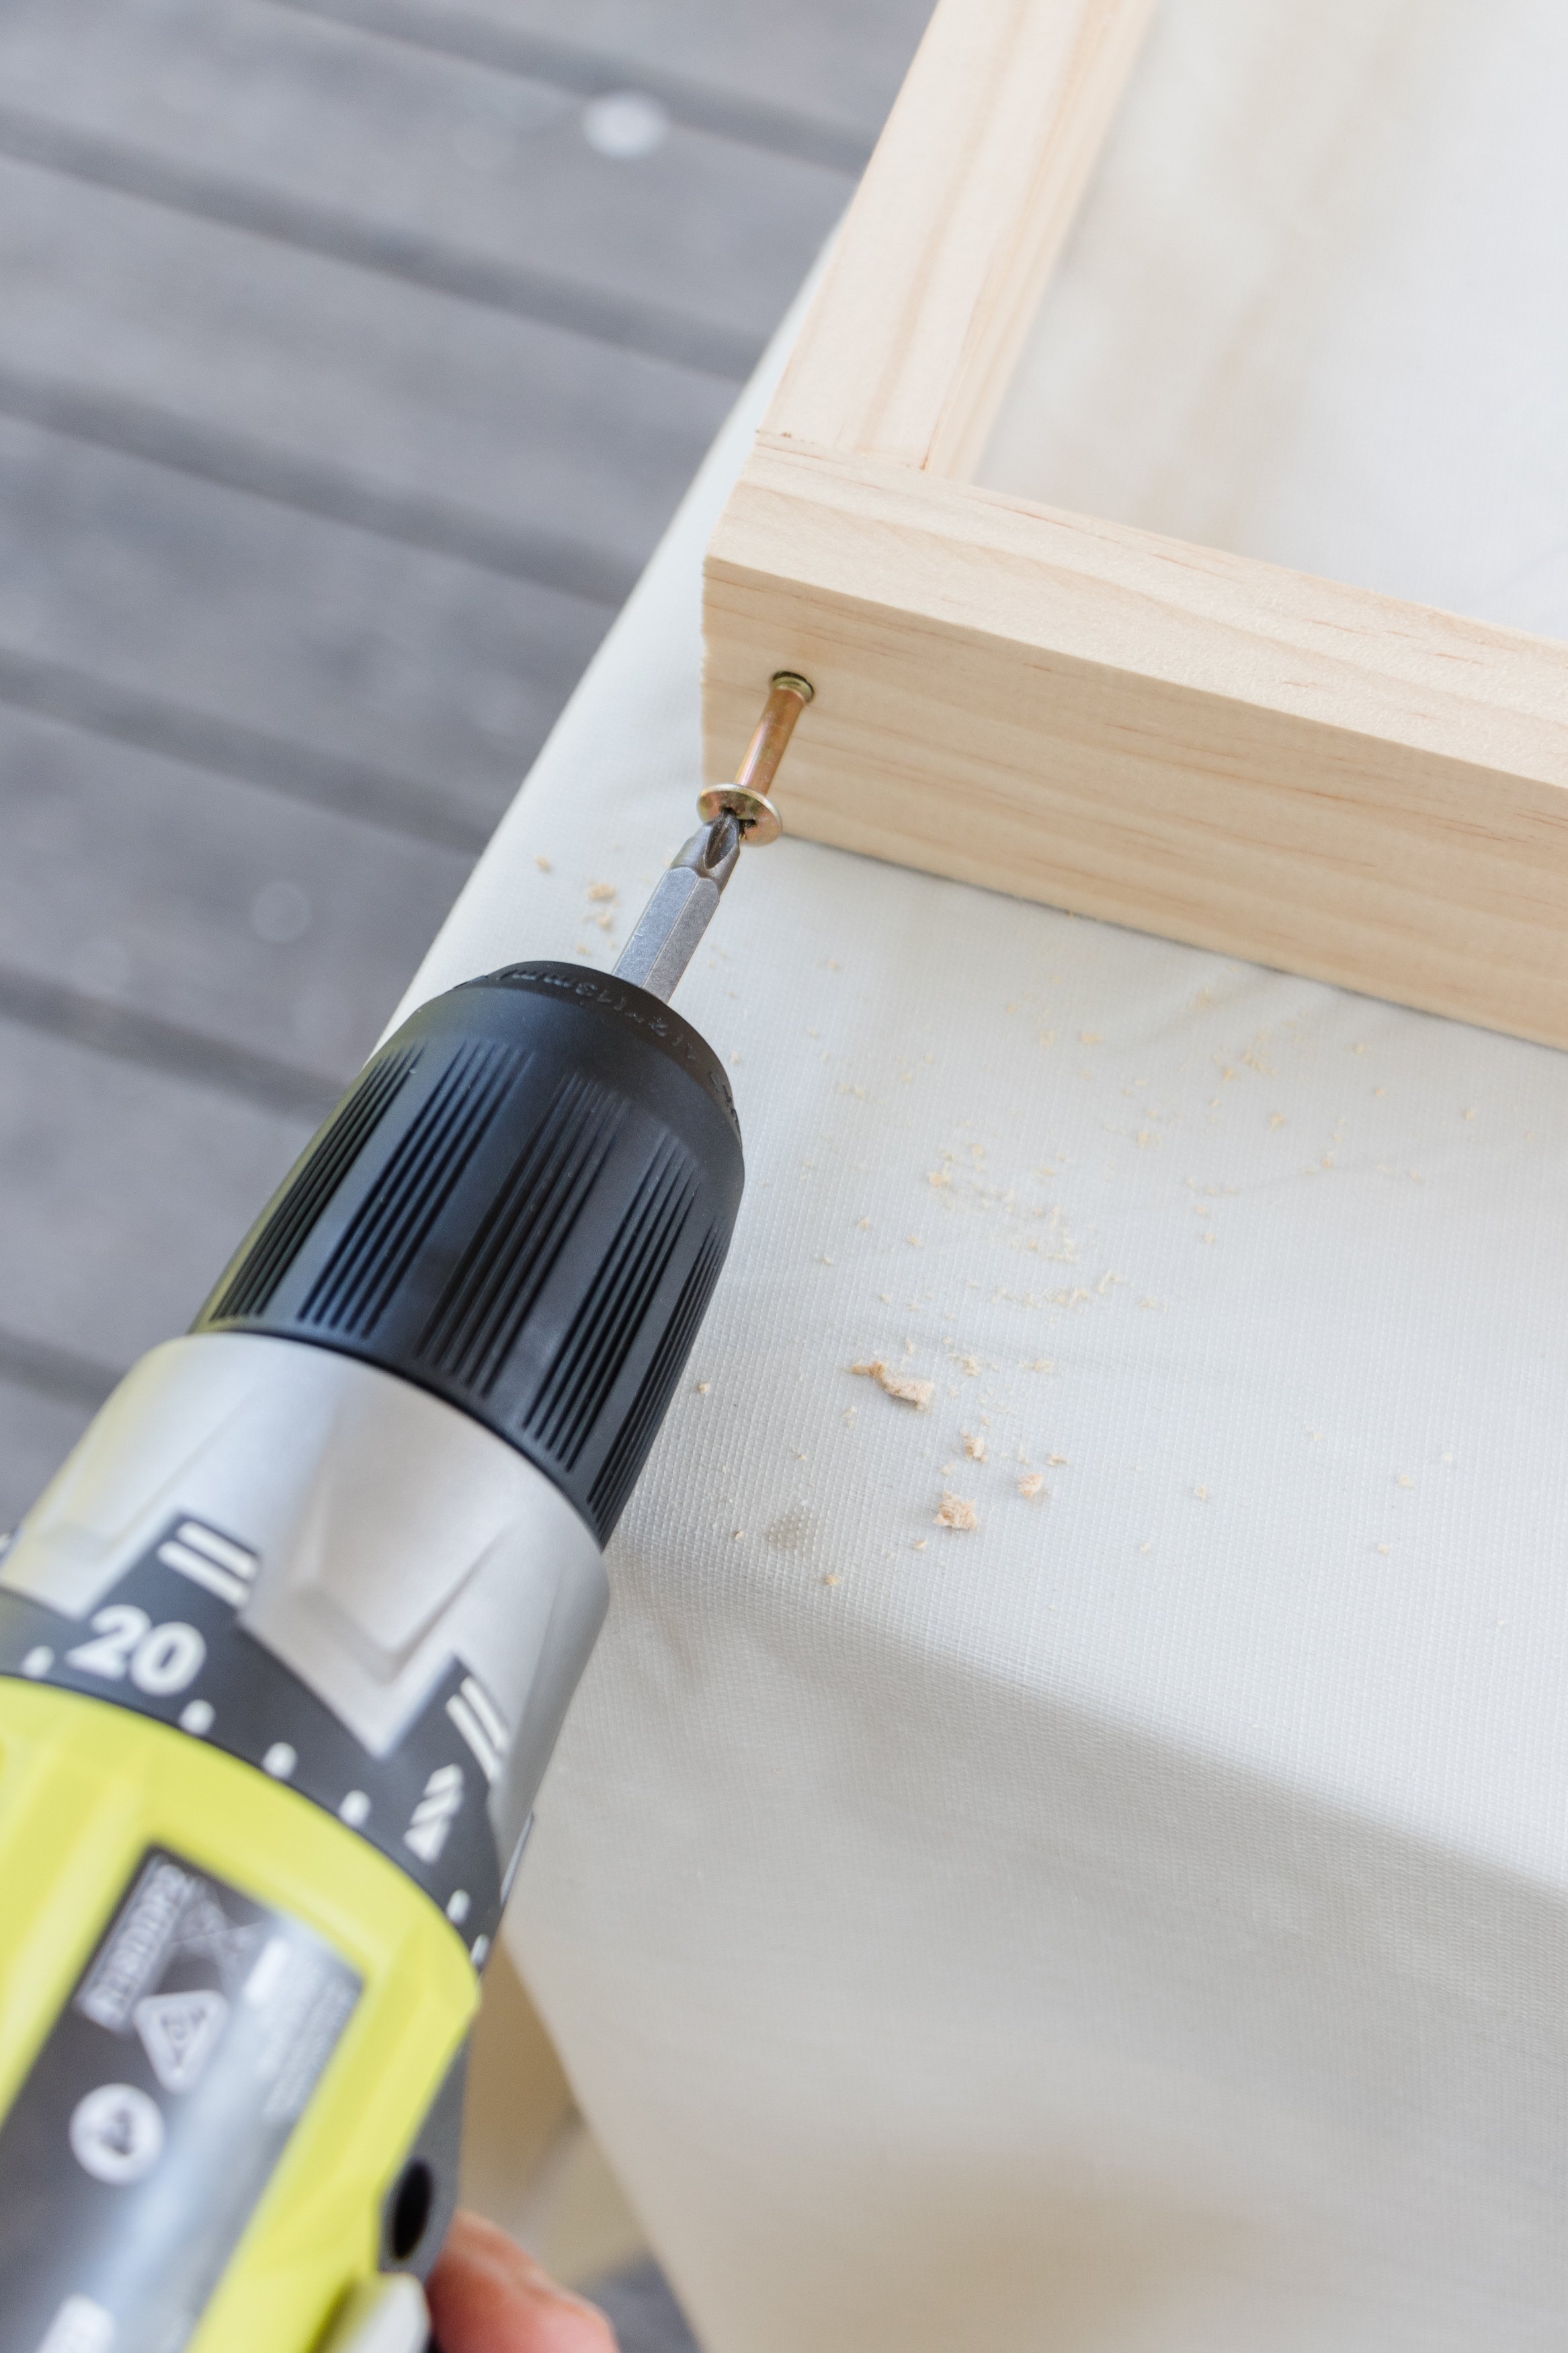
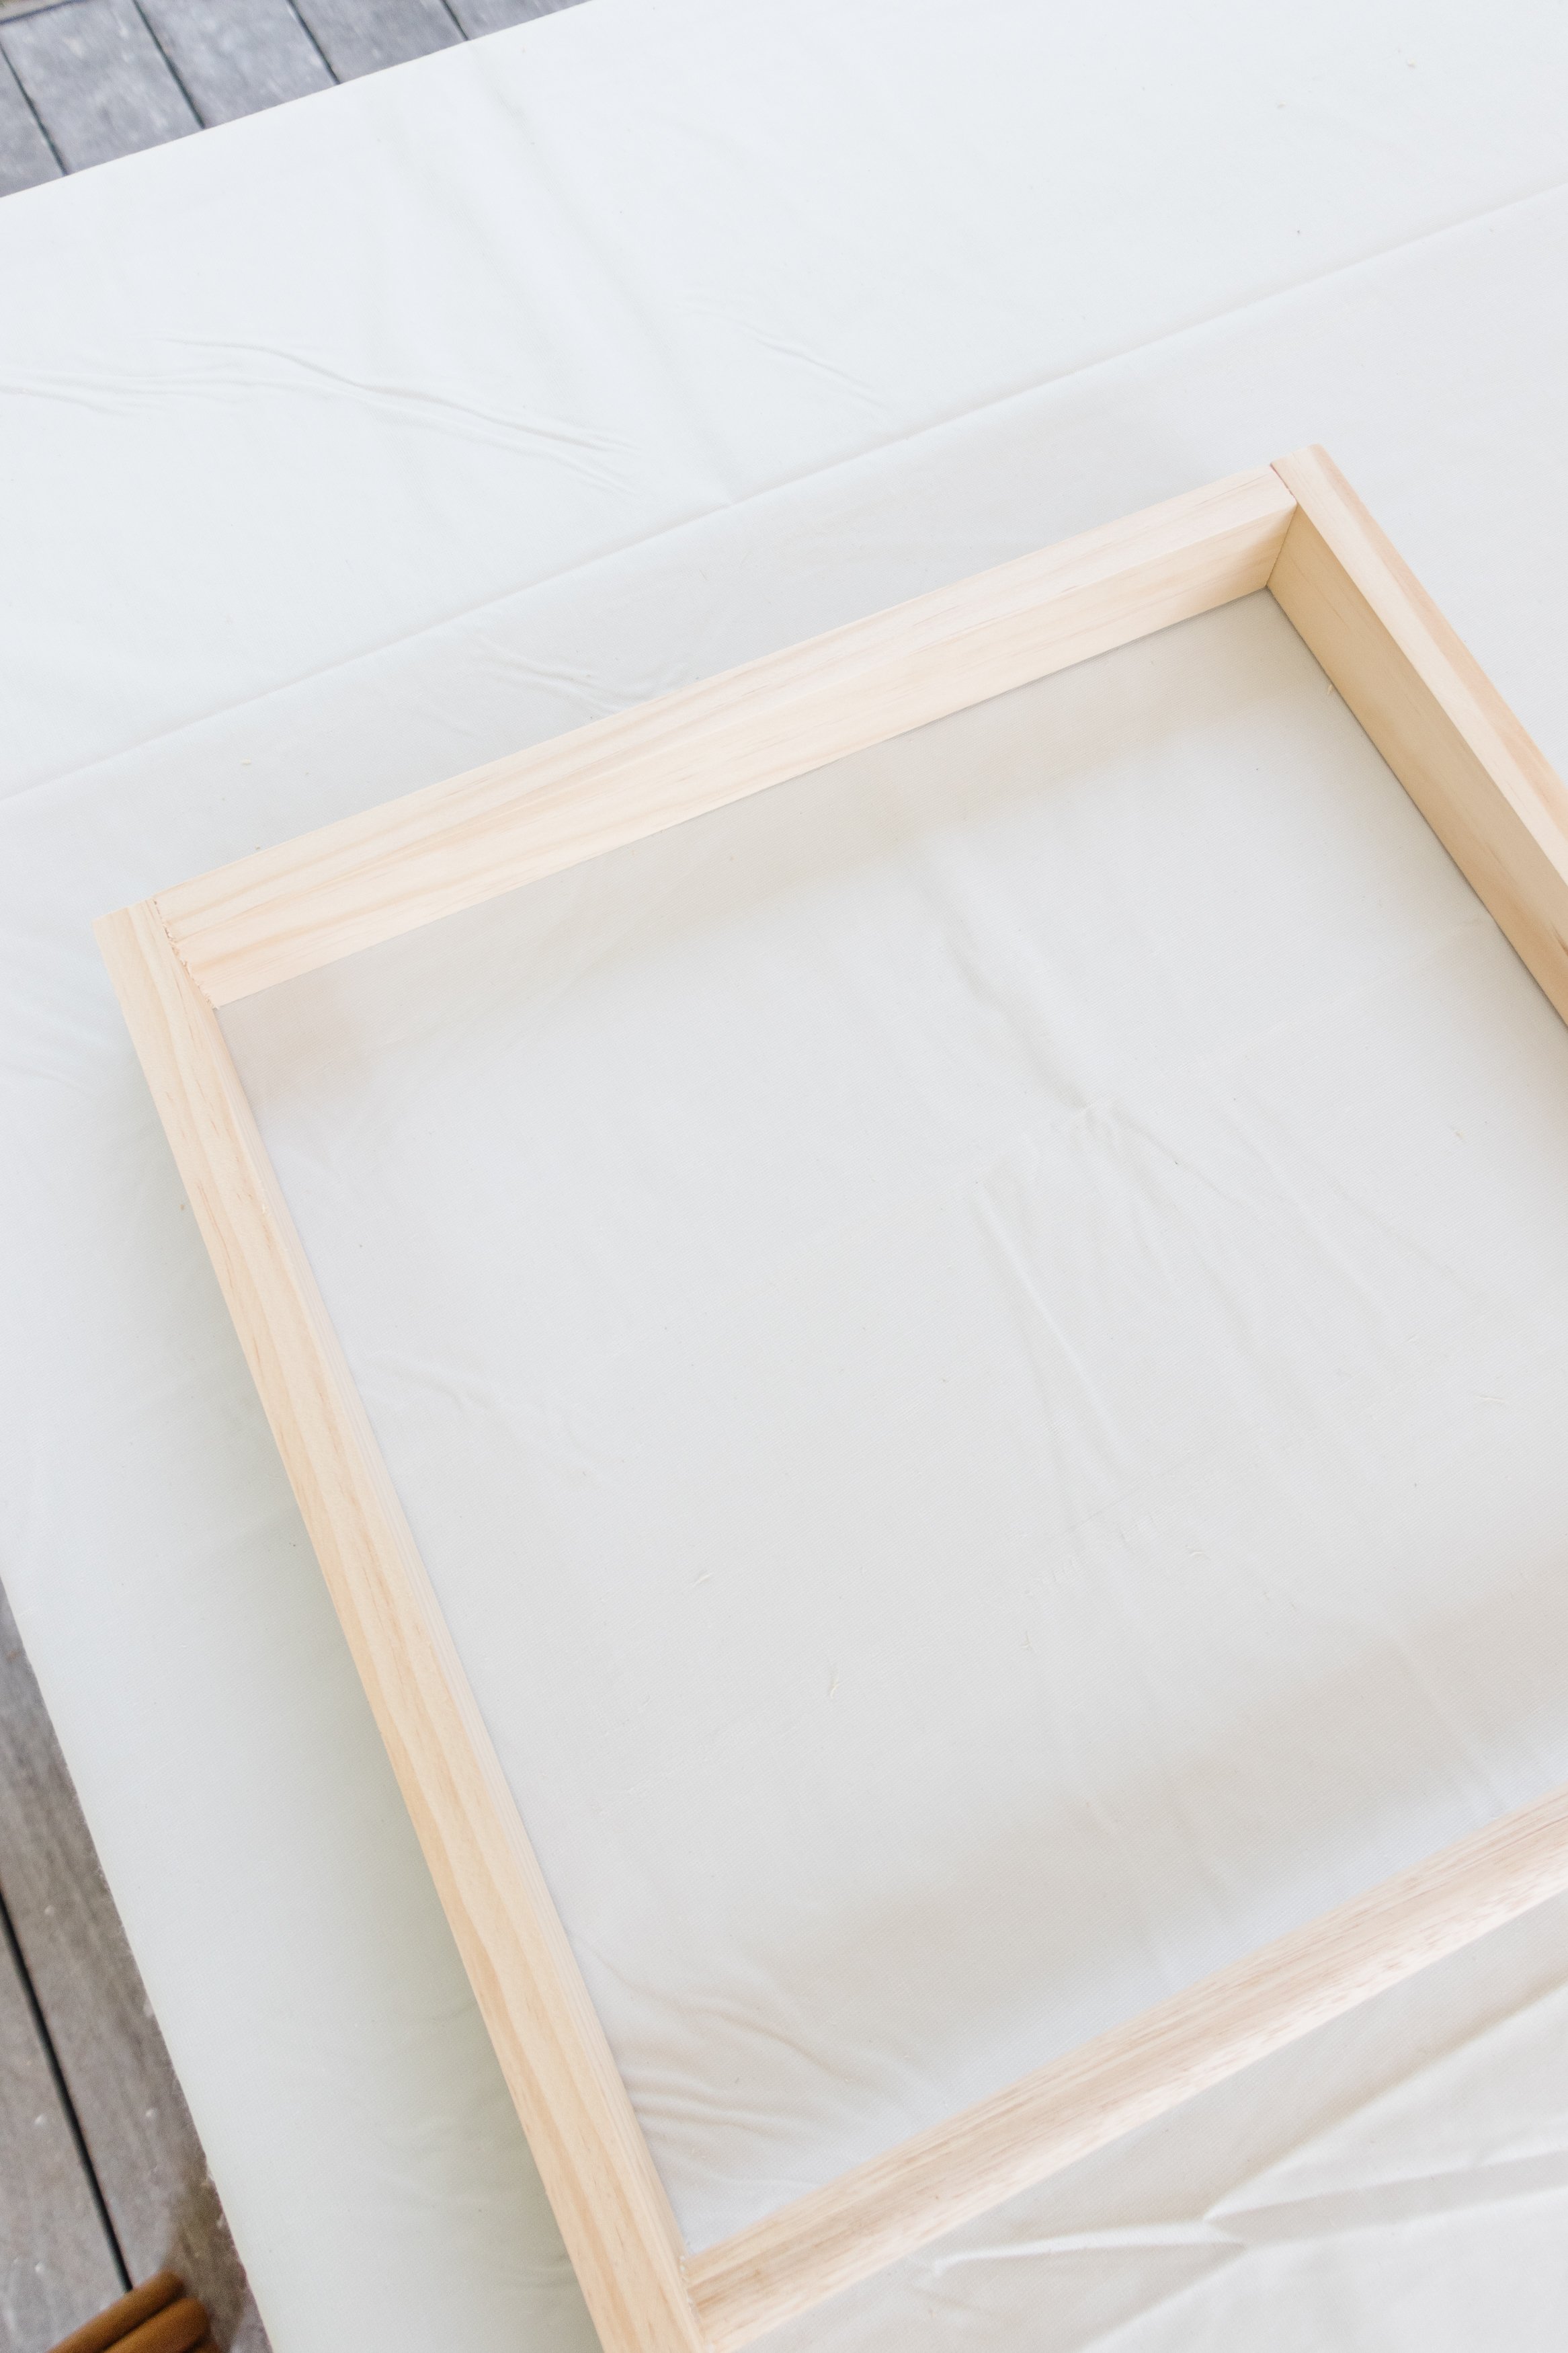
Step 5: At the top end of each ladder, secure one of the cut pieces of pine from Step 1. You’ll need to drill a pilot hole first followed by the screw. Repeat for the 4 ladder sections.
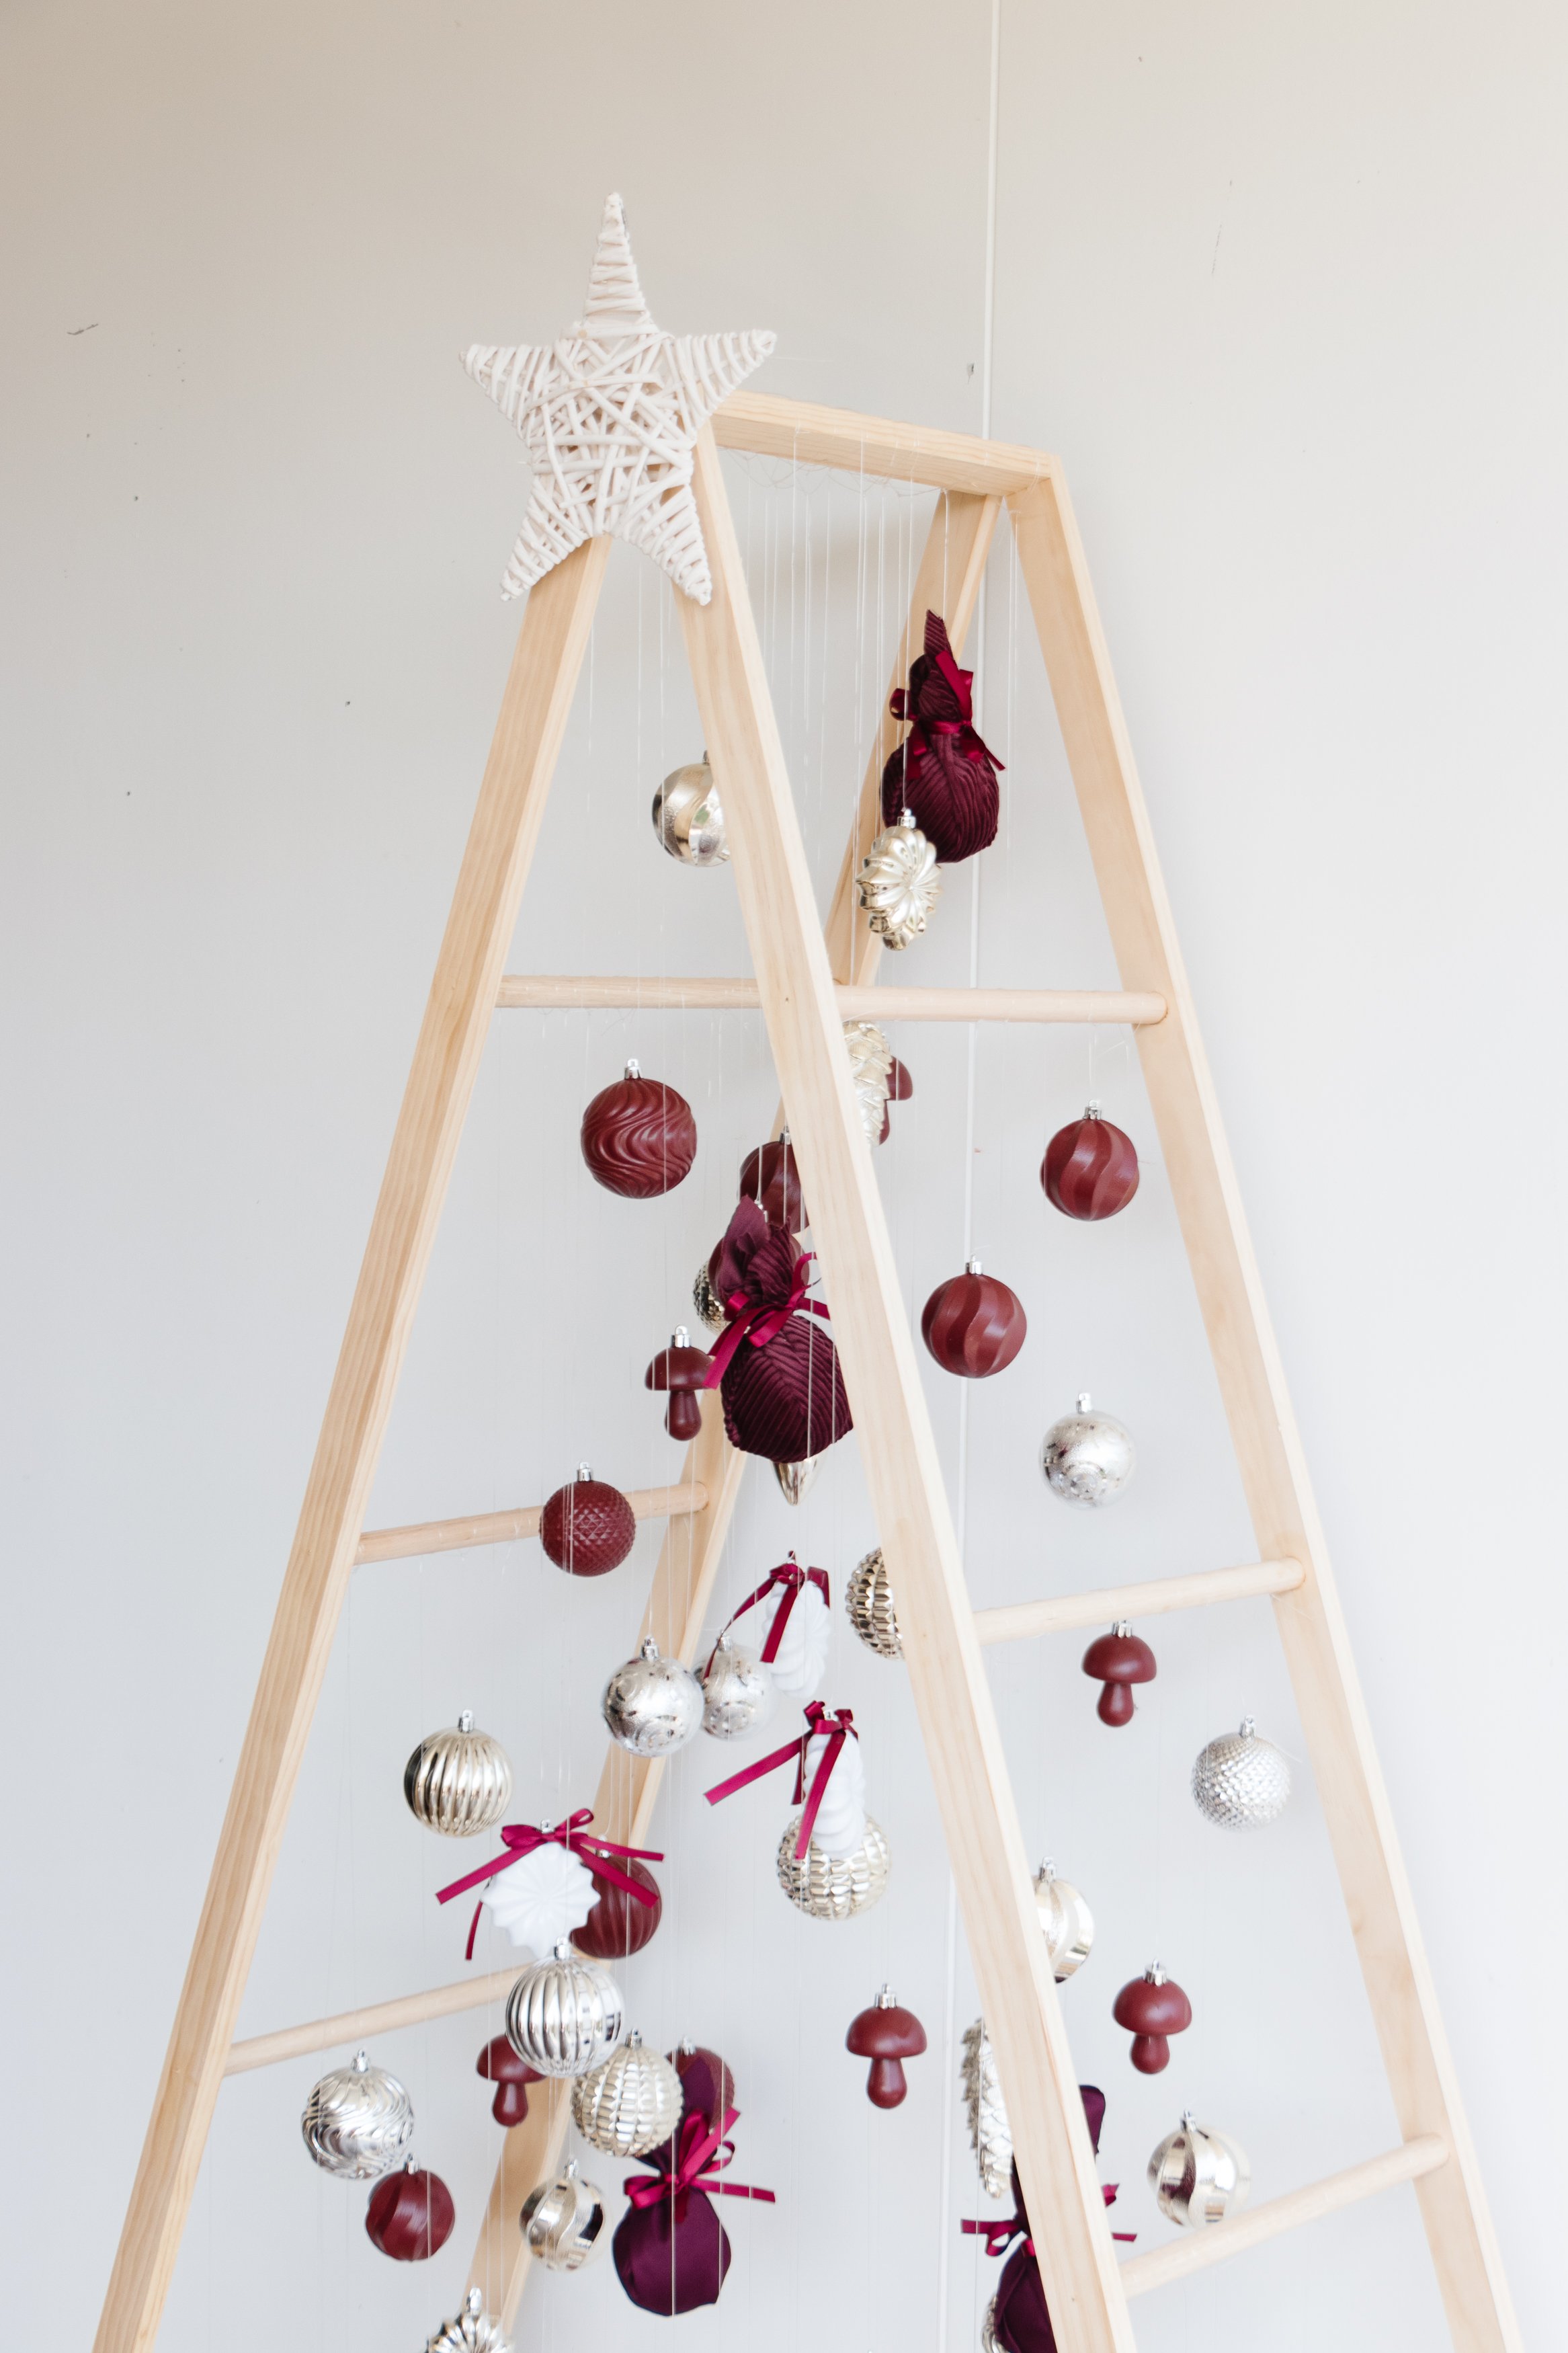
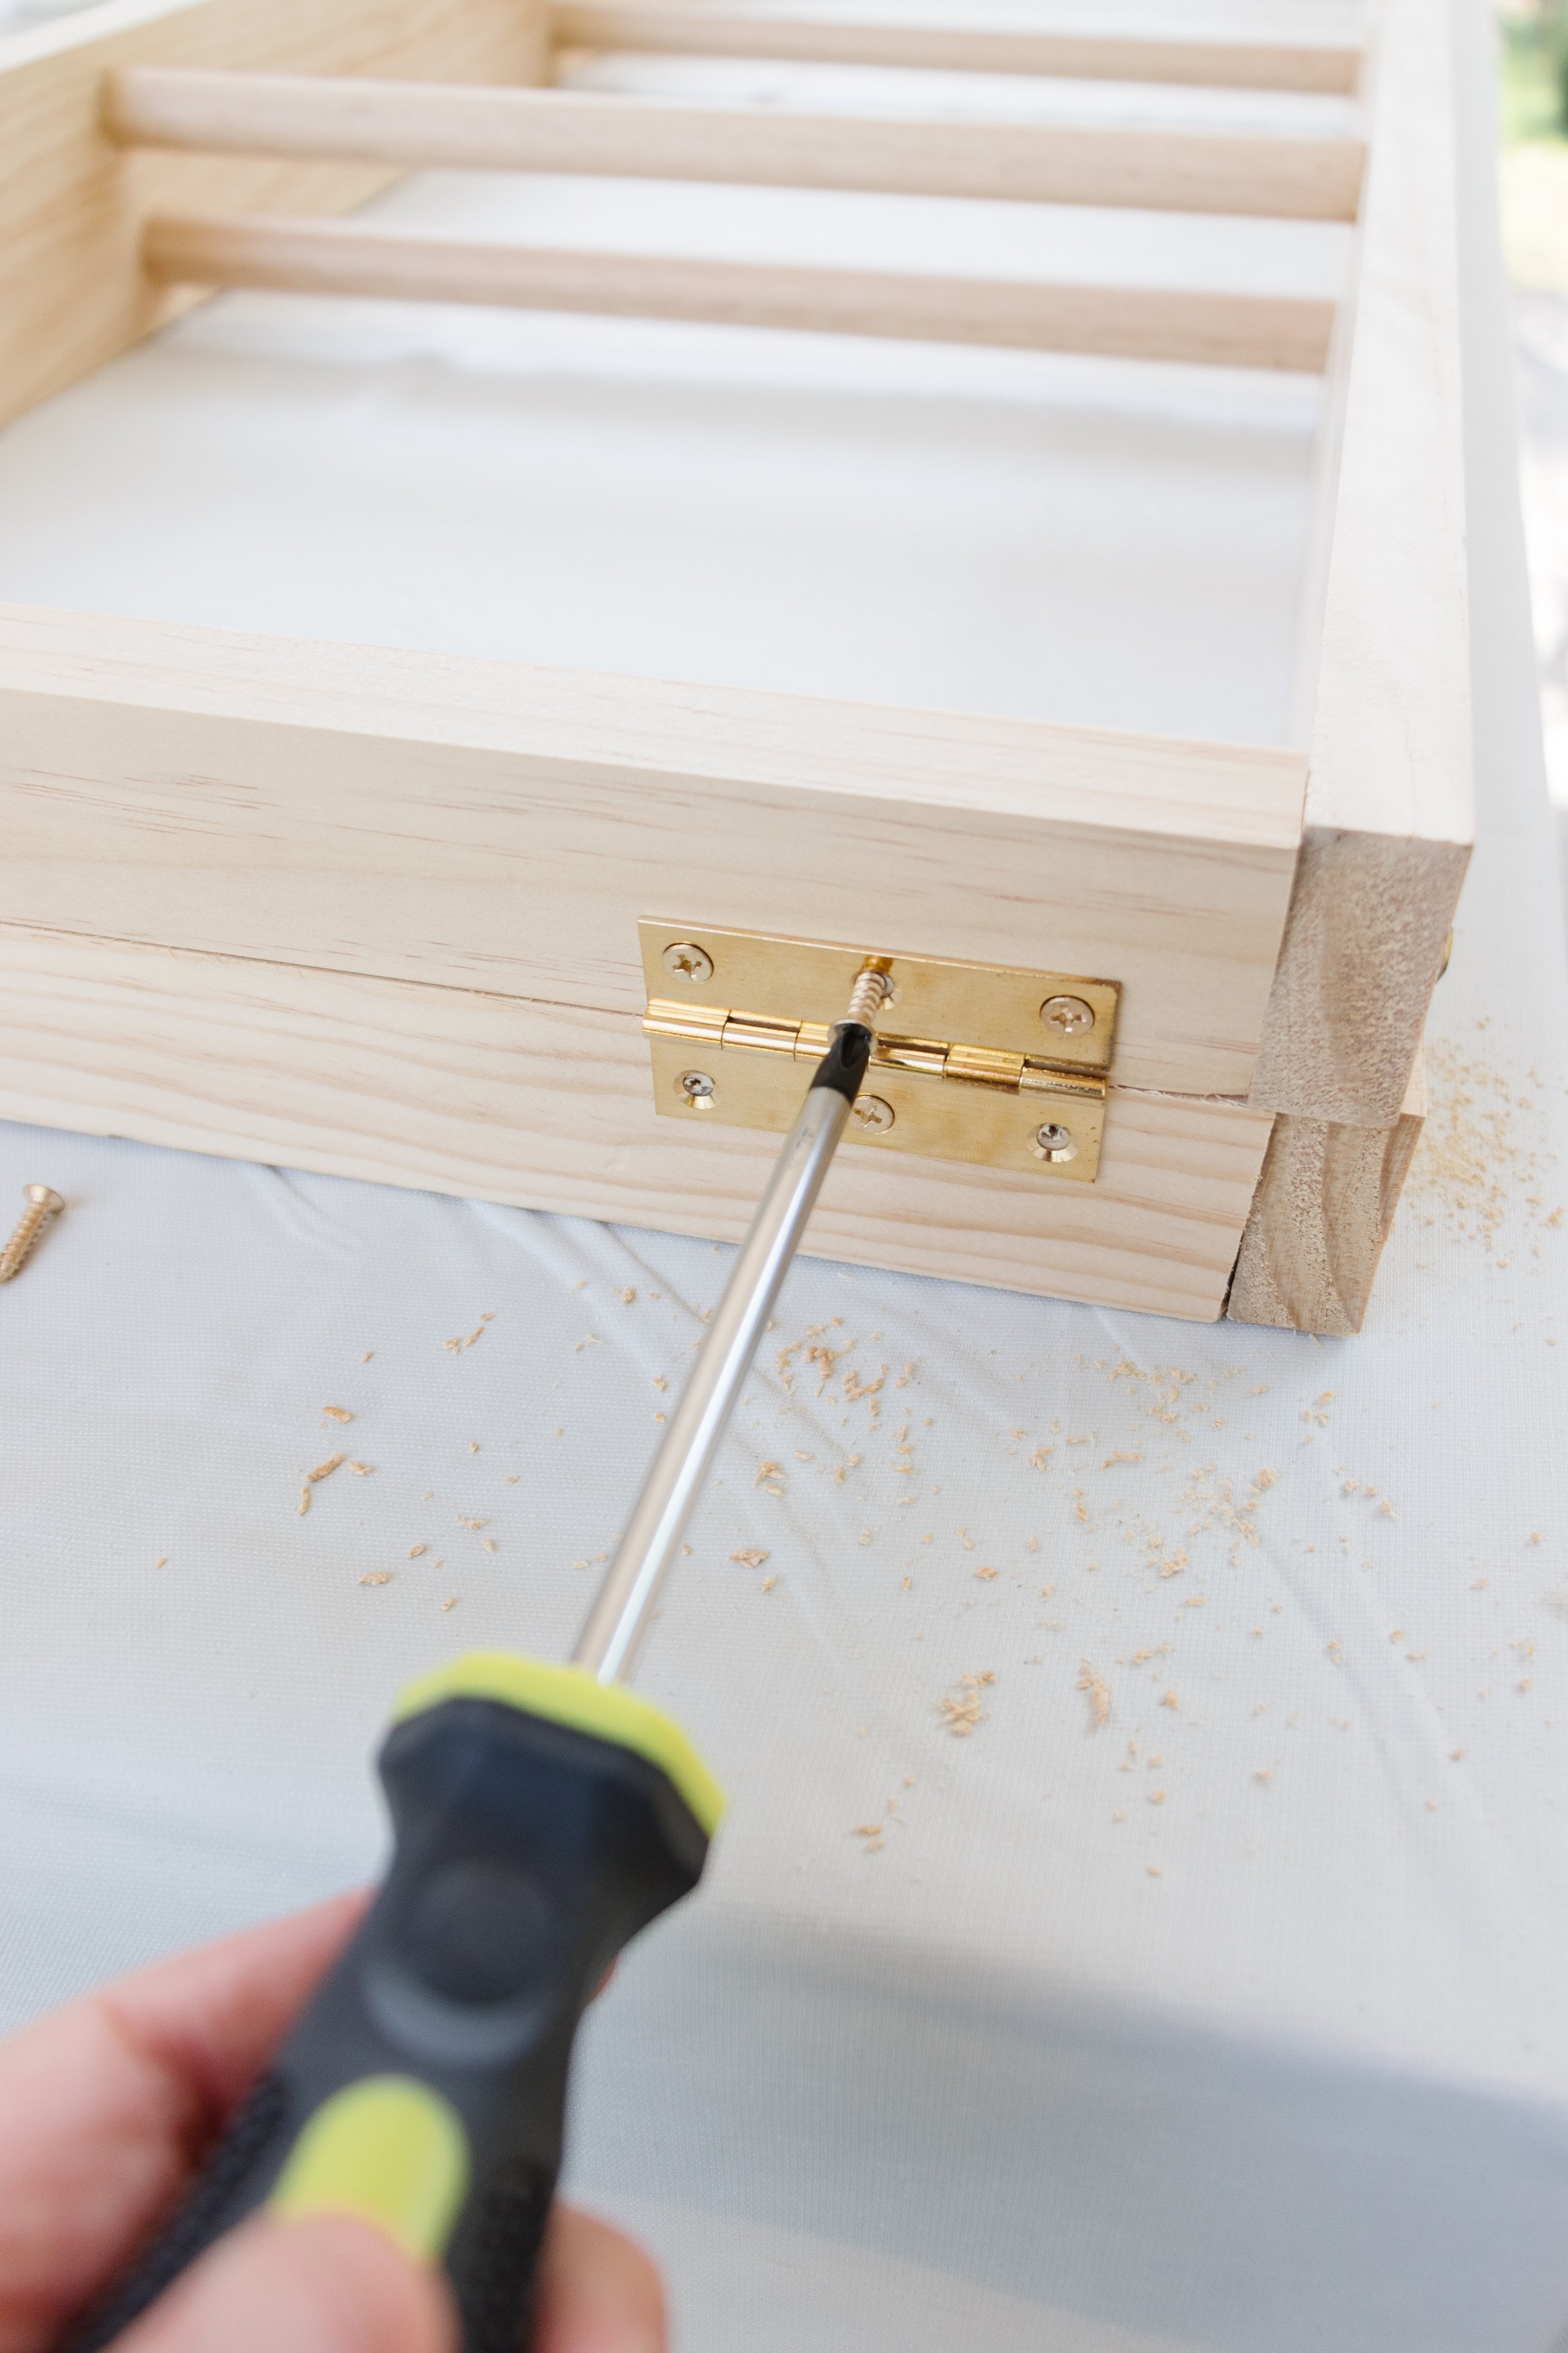
Step 6: Place one ladder on top of the other, then secure together by installing the hinges. You’ll need to drill pilot holes first followed by the screws. When complete, stand the ladder upright and seperate the frame. Voila! You now have an a-frame ladder.

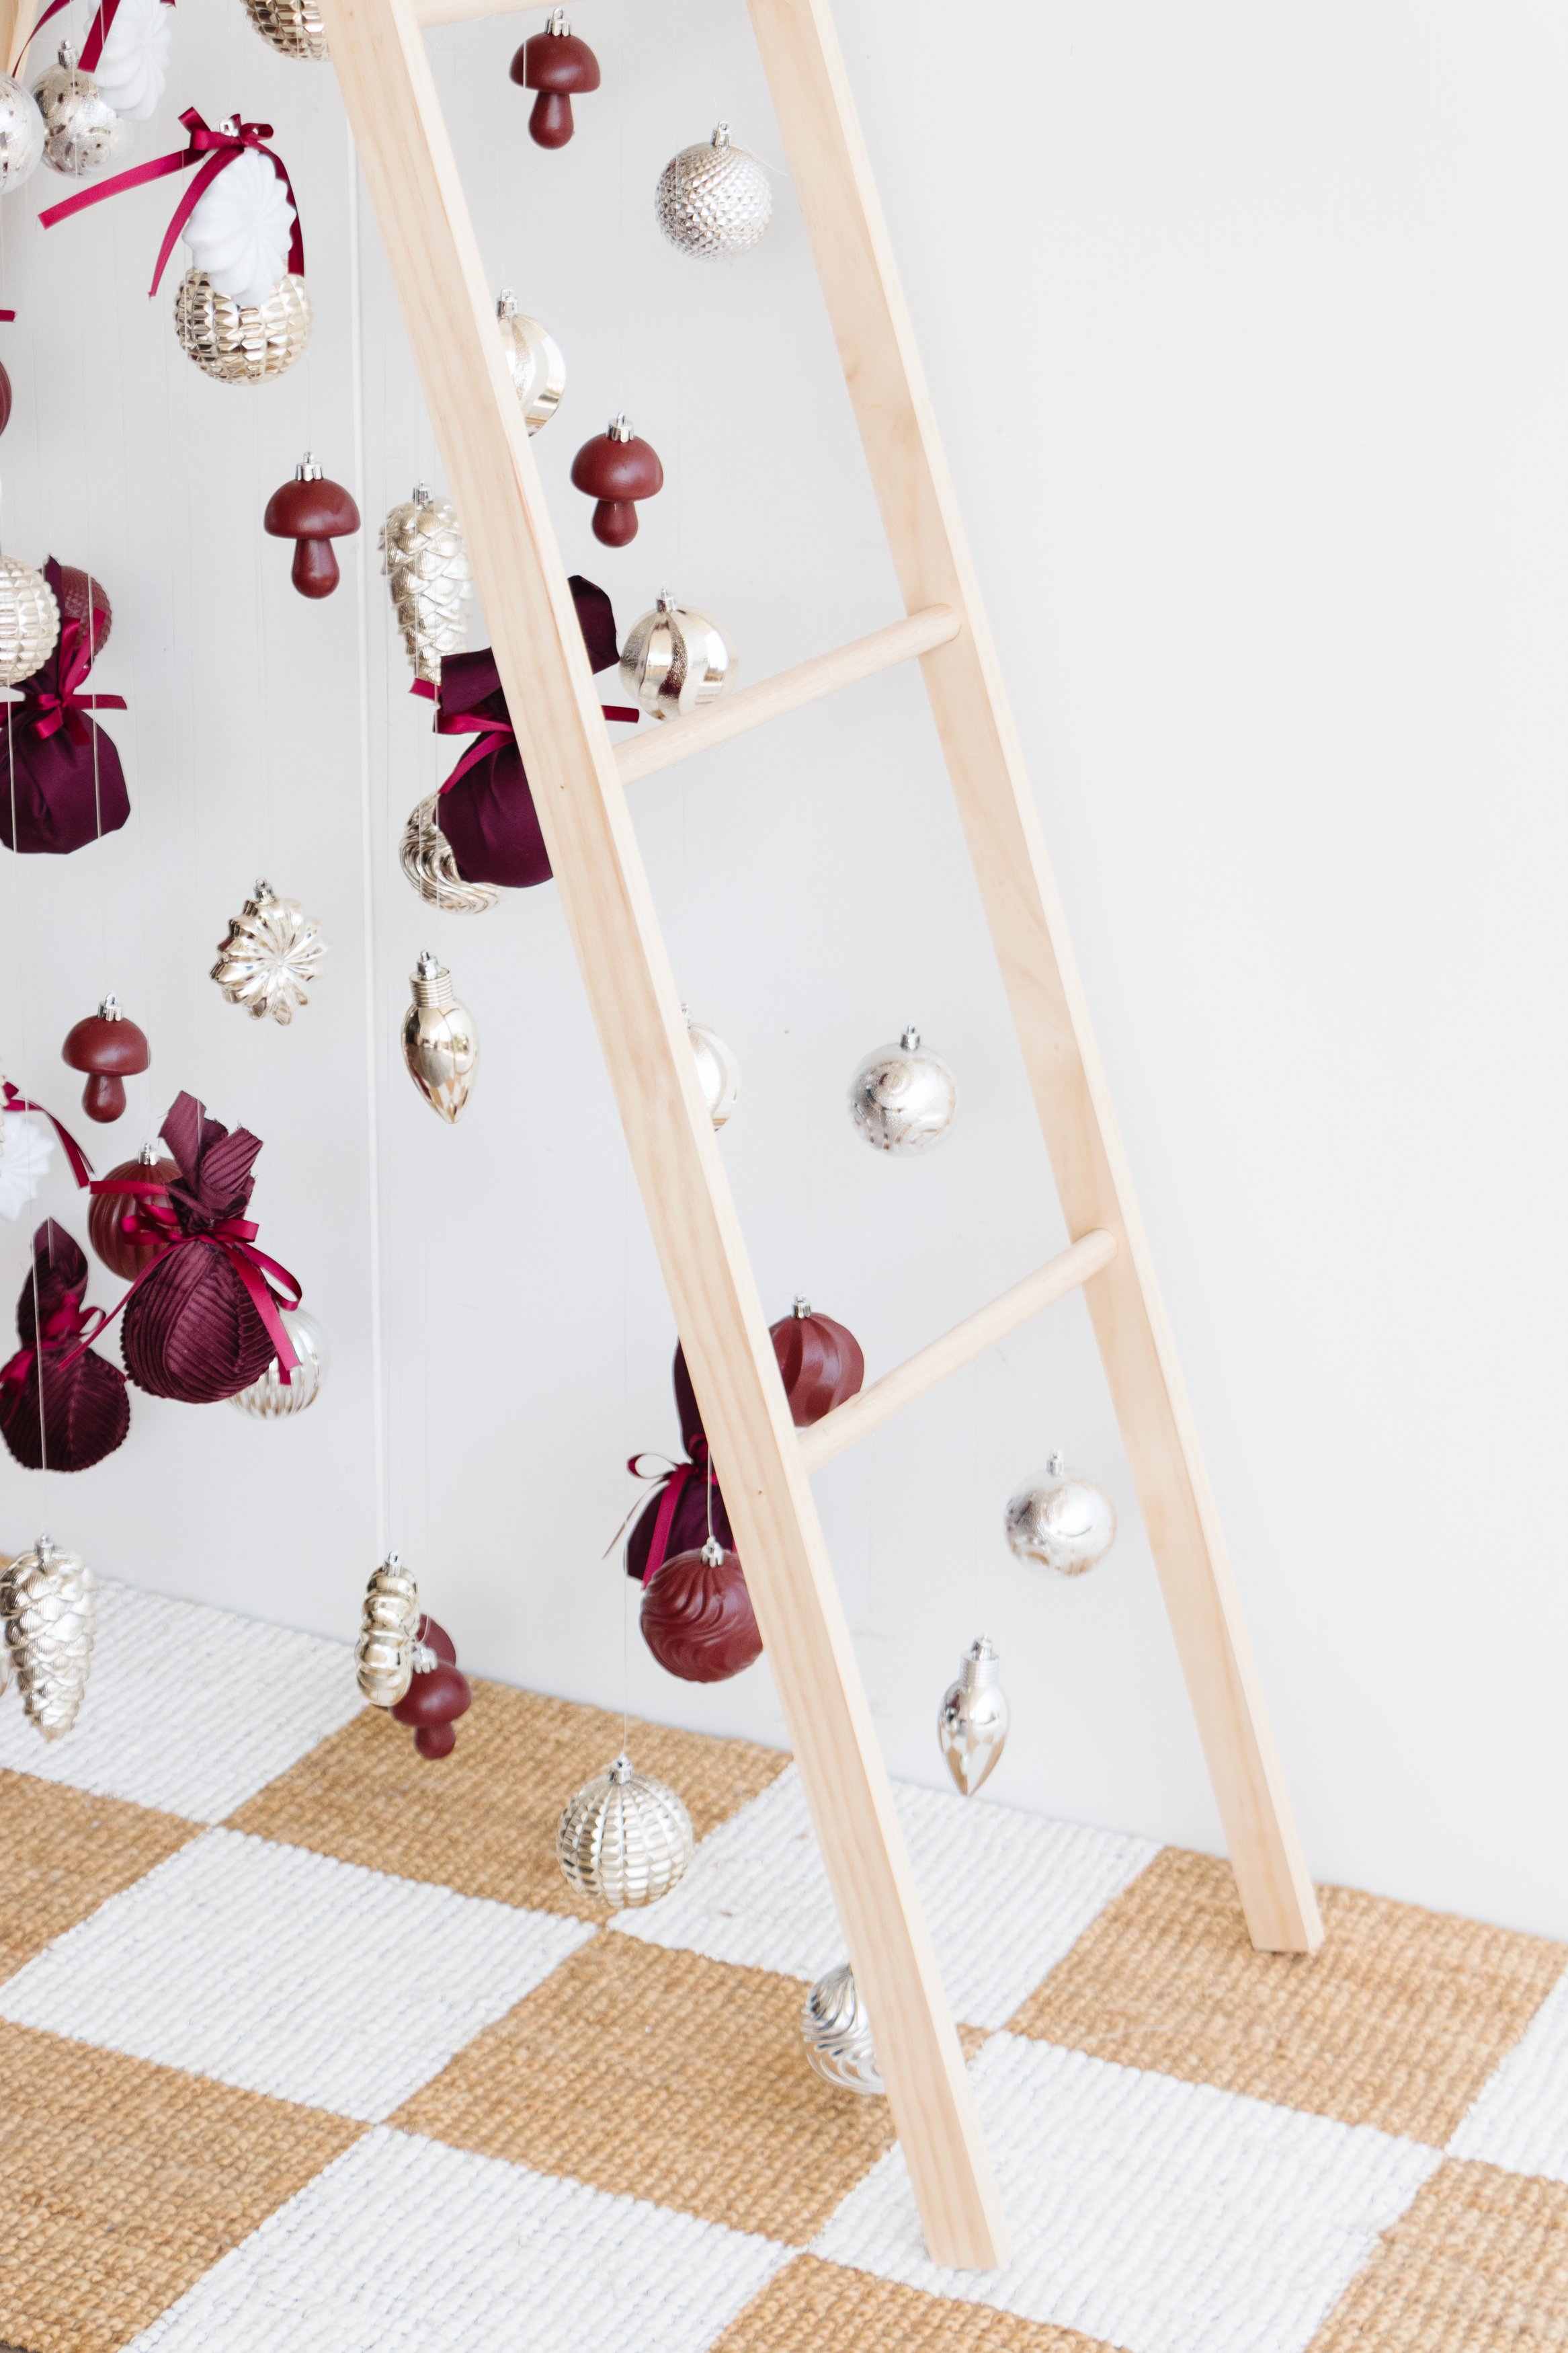
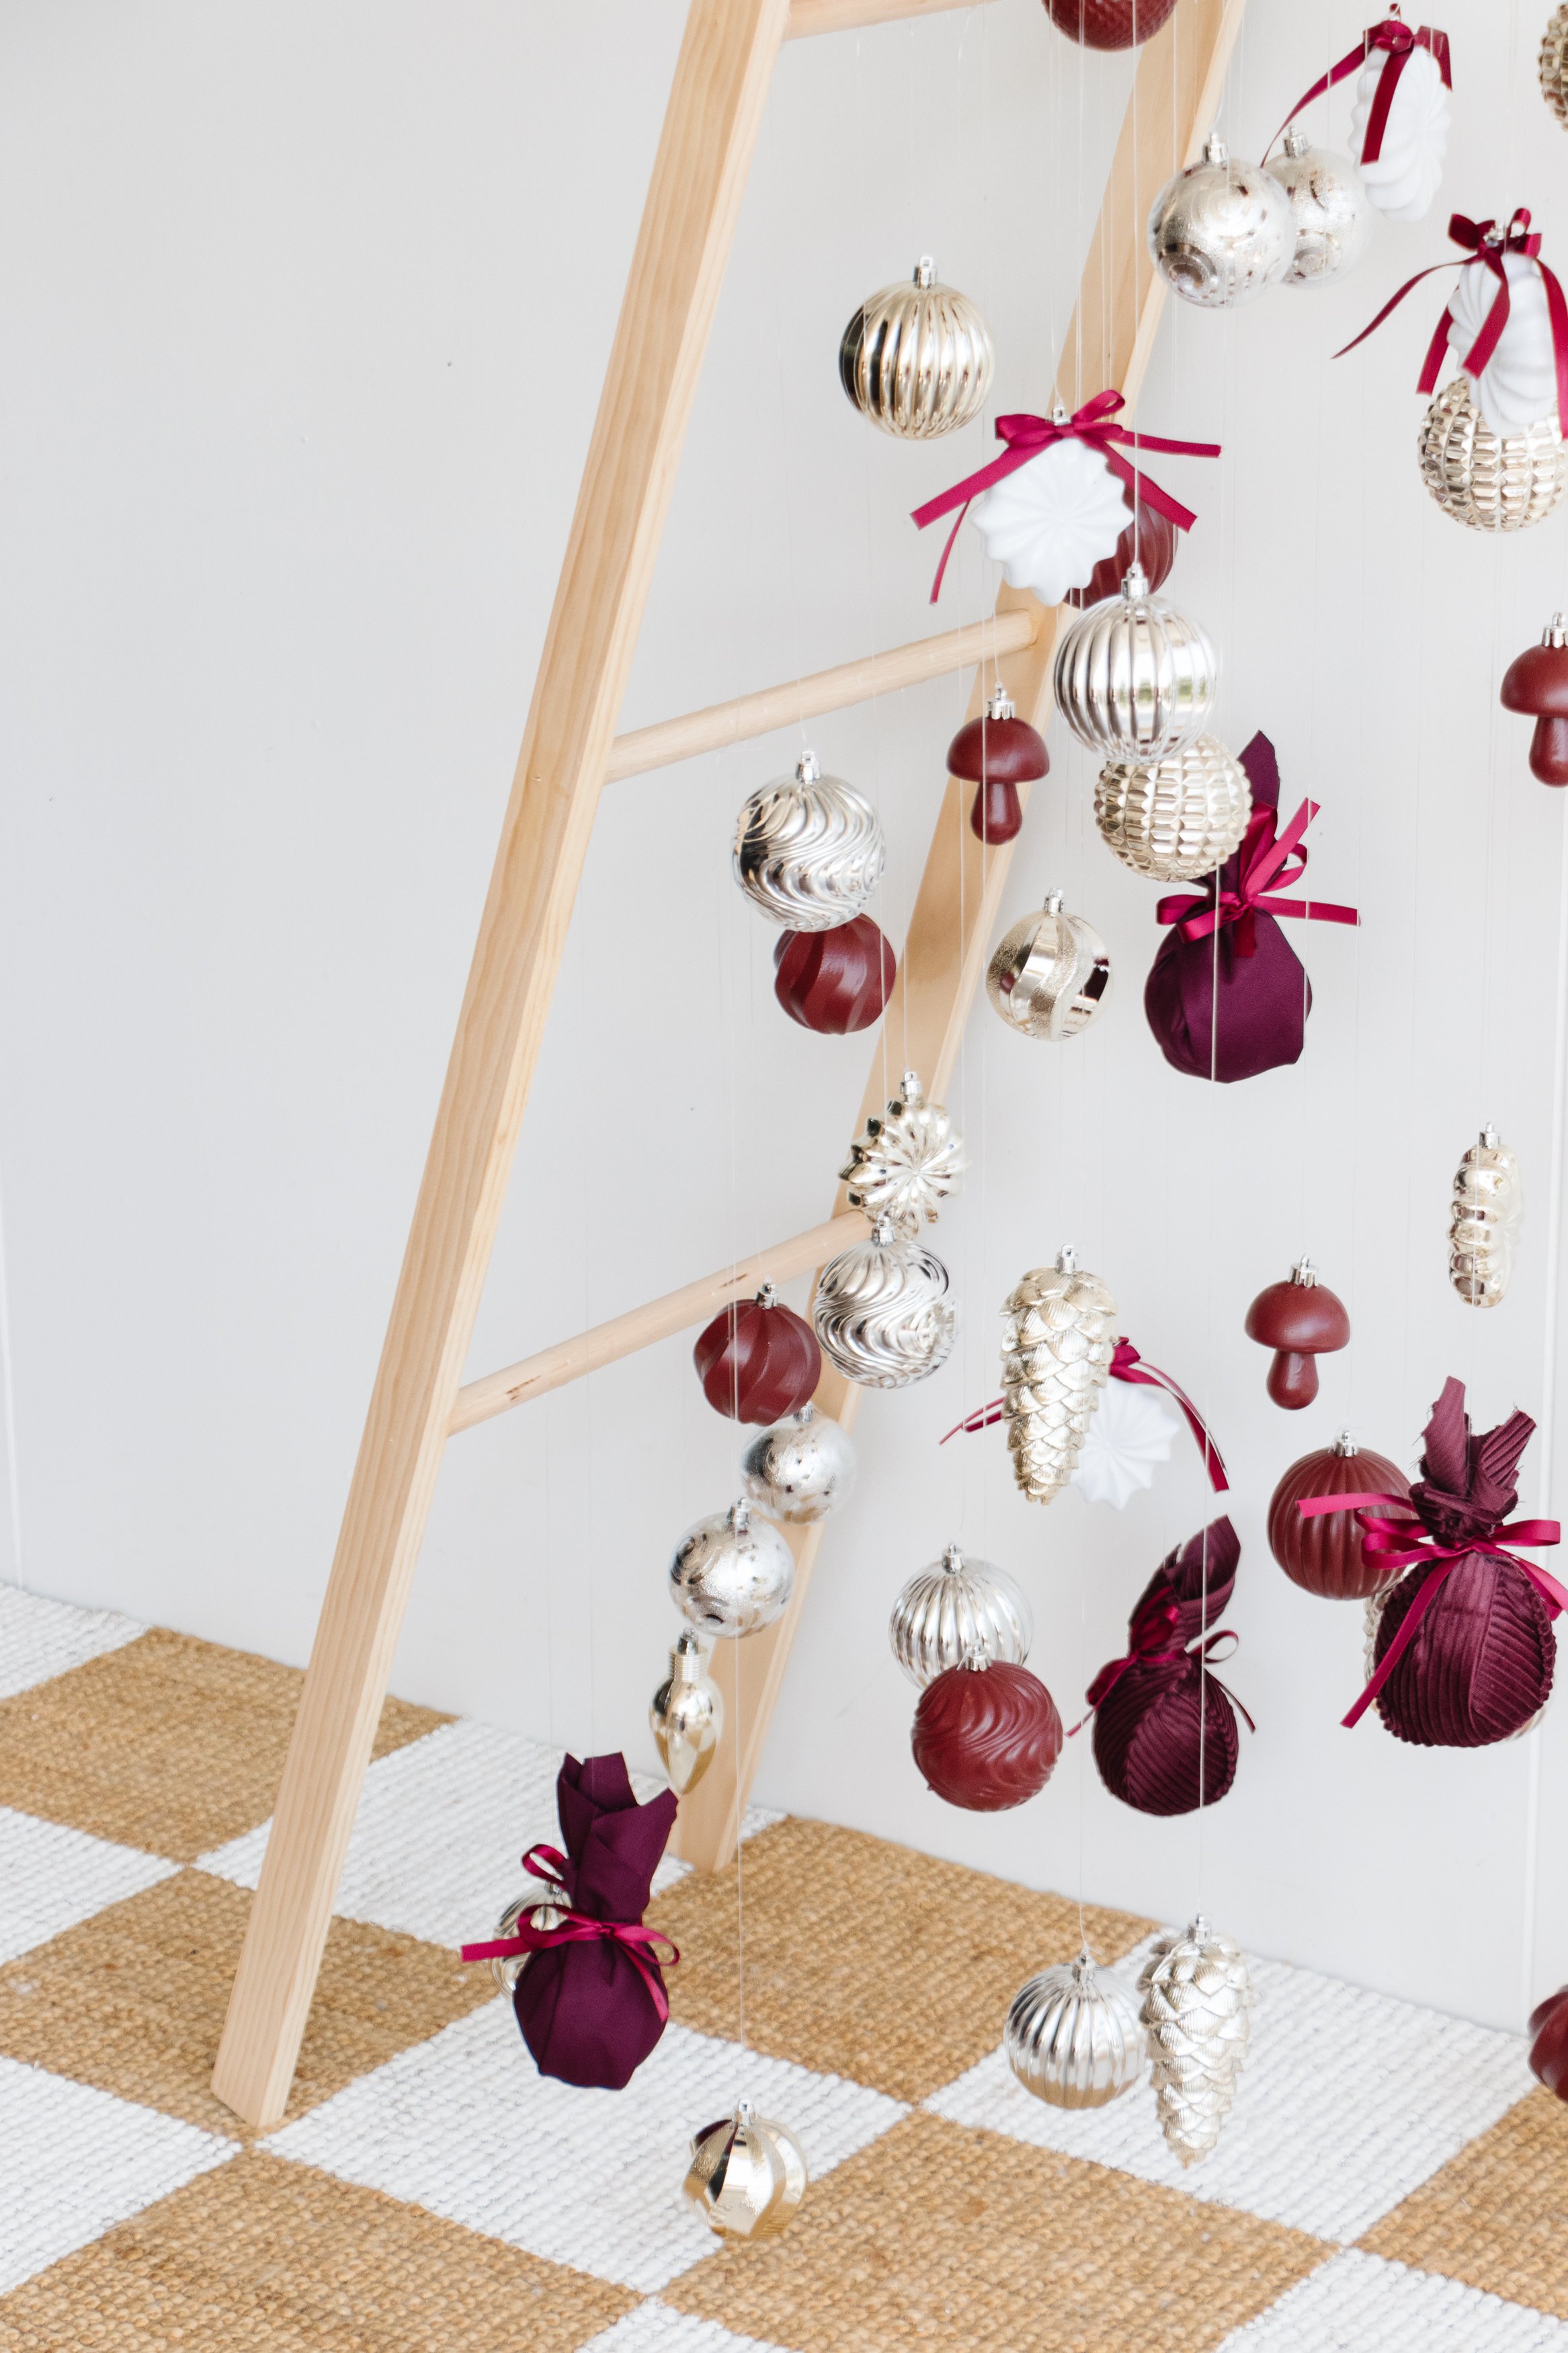
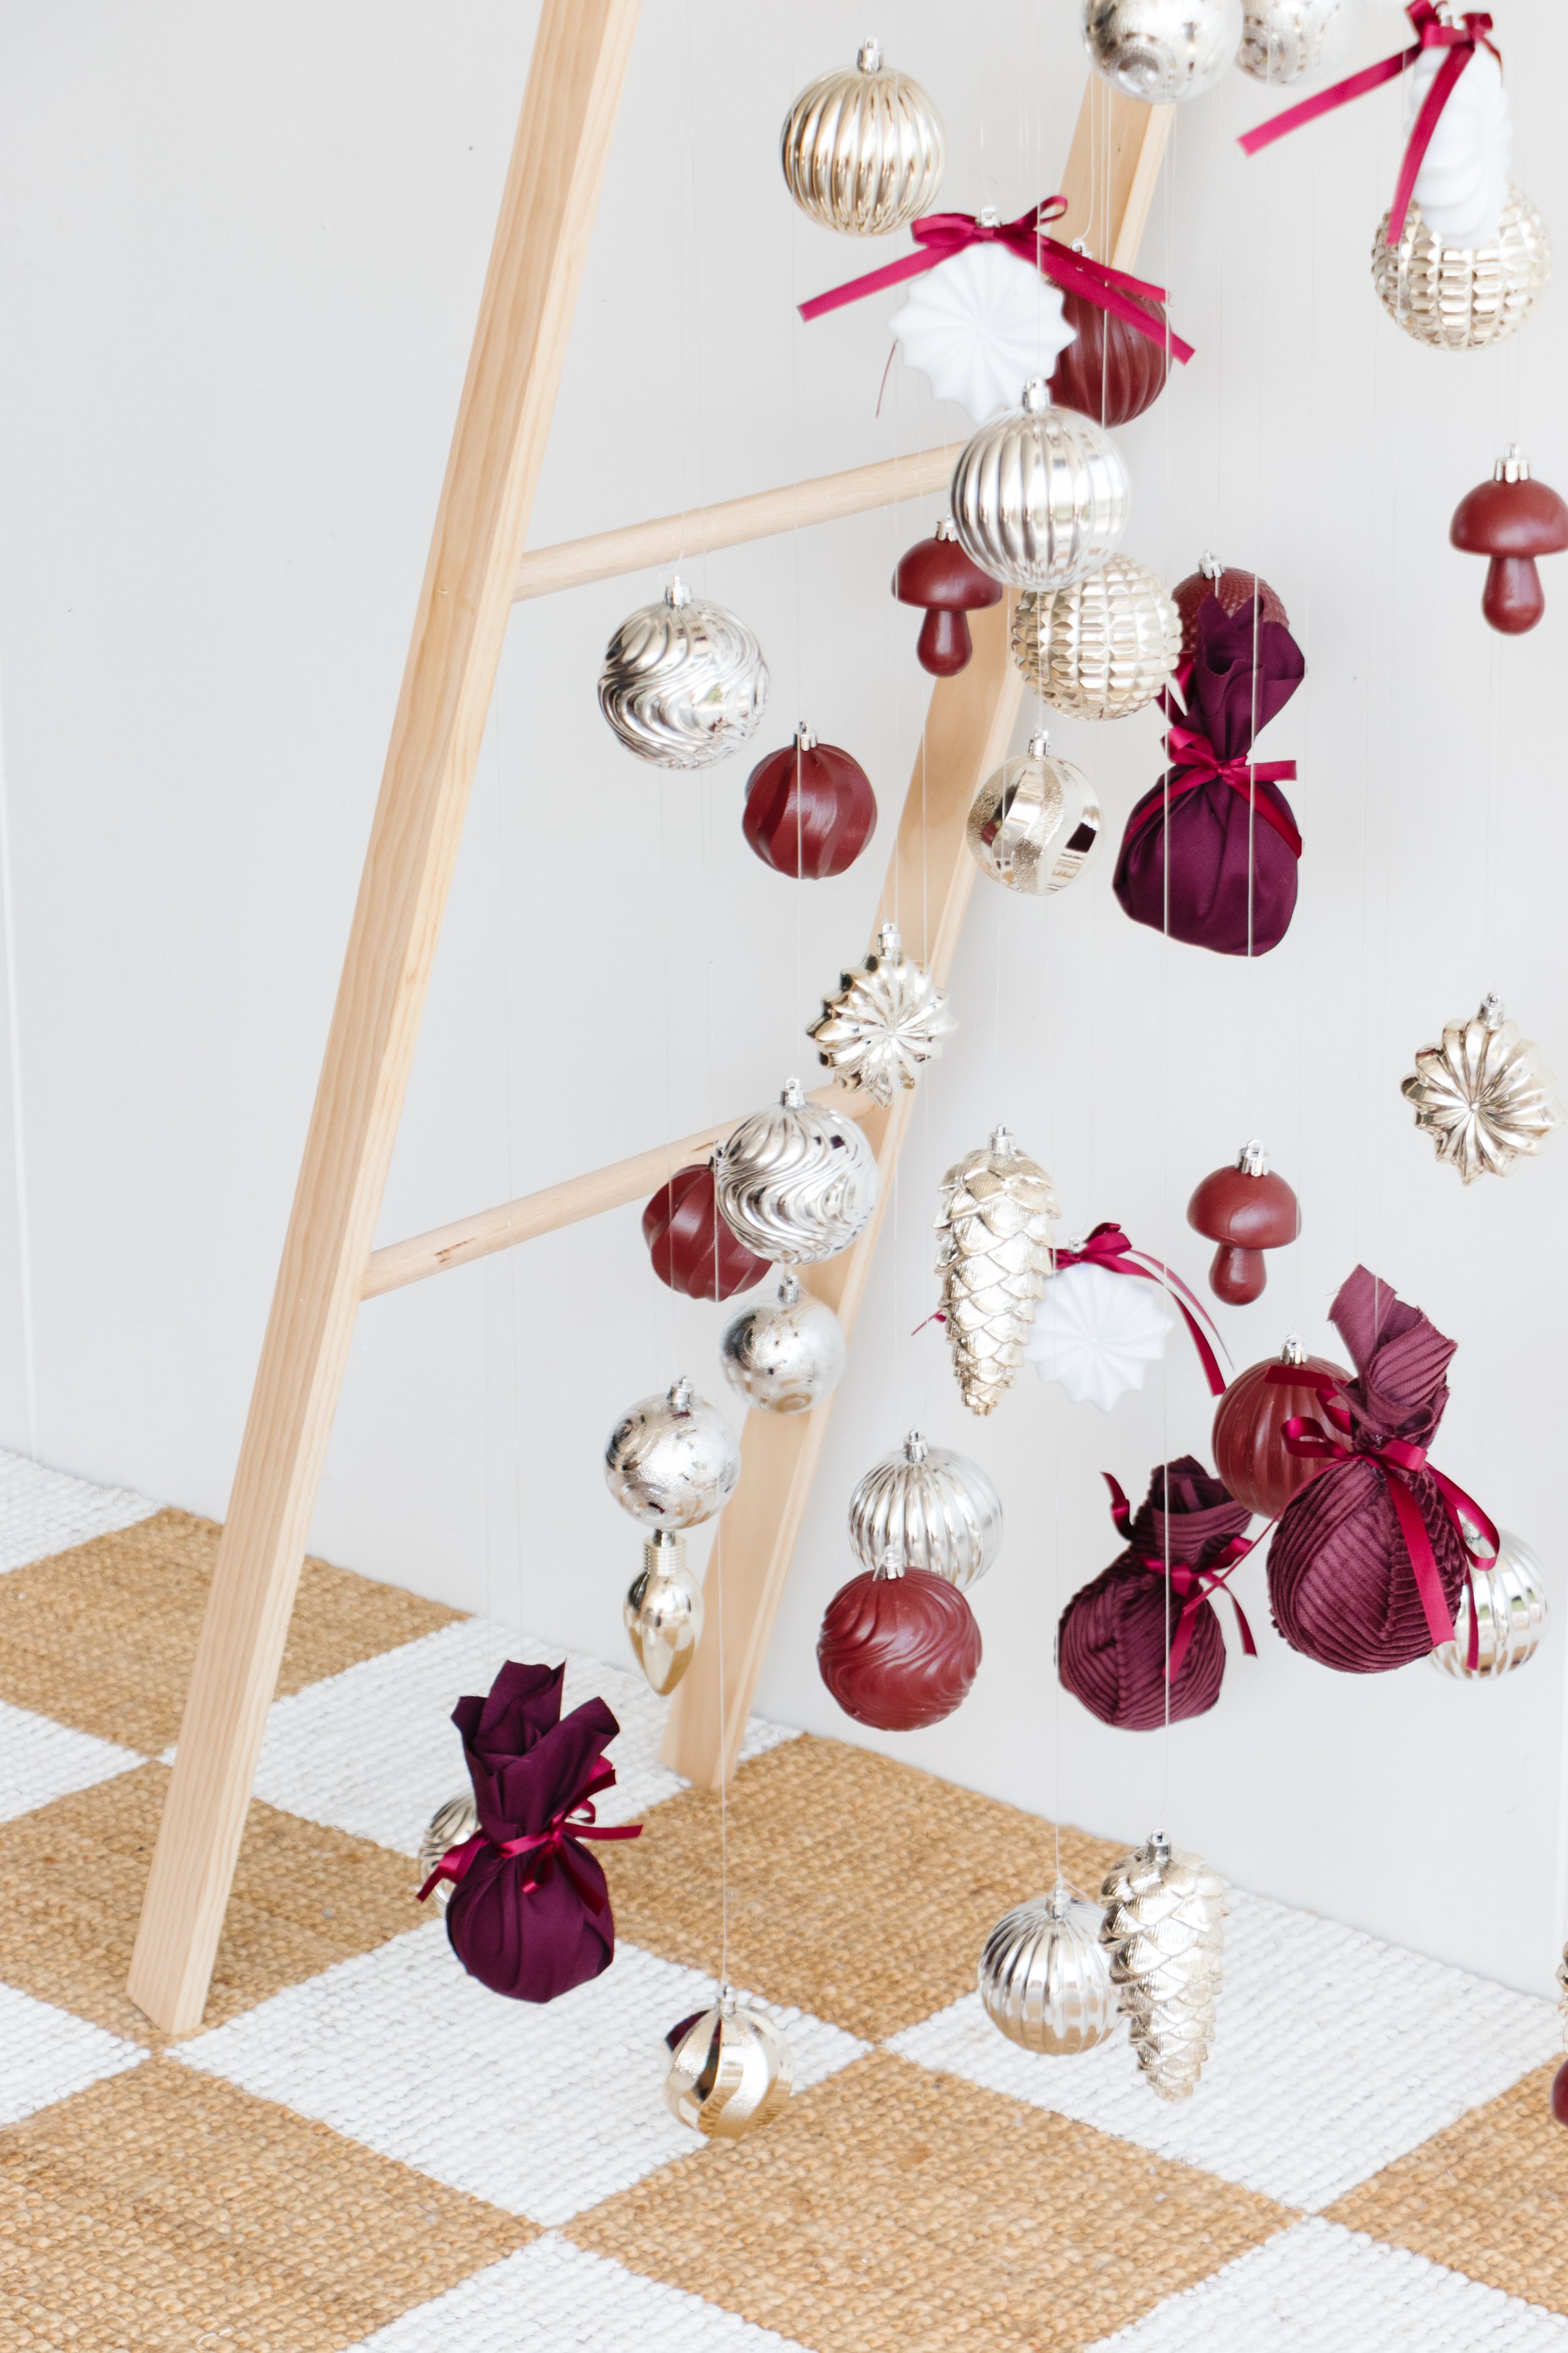
Step 7: And now it’s time to add the decorations! You can hang any baubles you may already have at home using fishing line. Add a tree topper and all that’s left to do is start piling gifts underneath your new DIY Ladder Christmas Tree. If you wish to DIY or upcycle baubles, below is what I did:
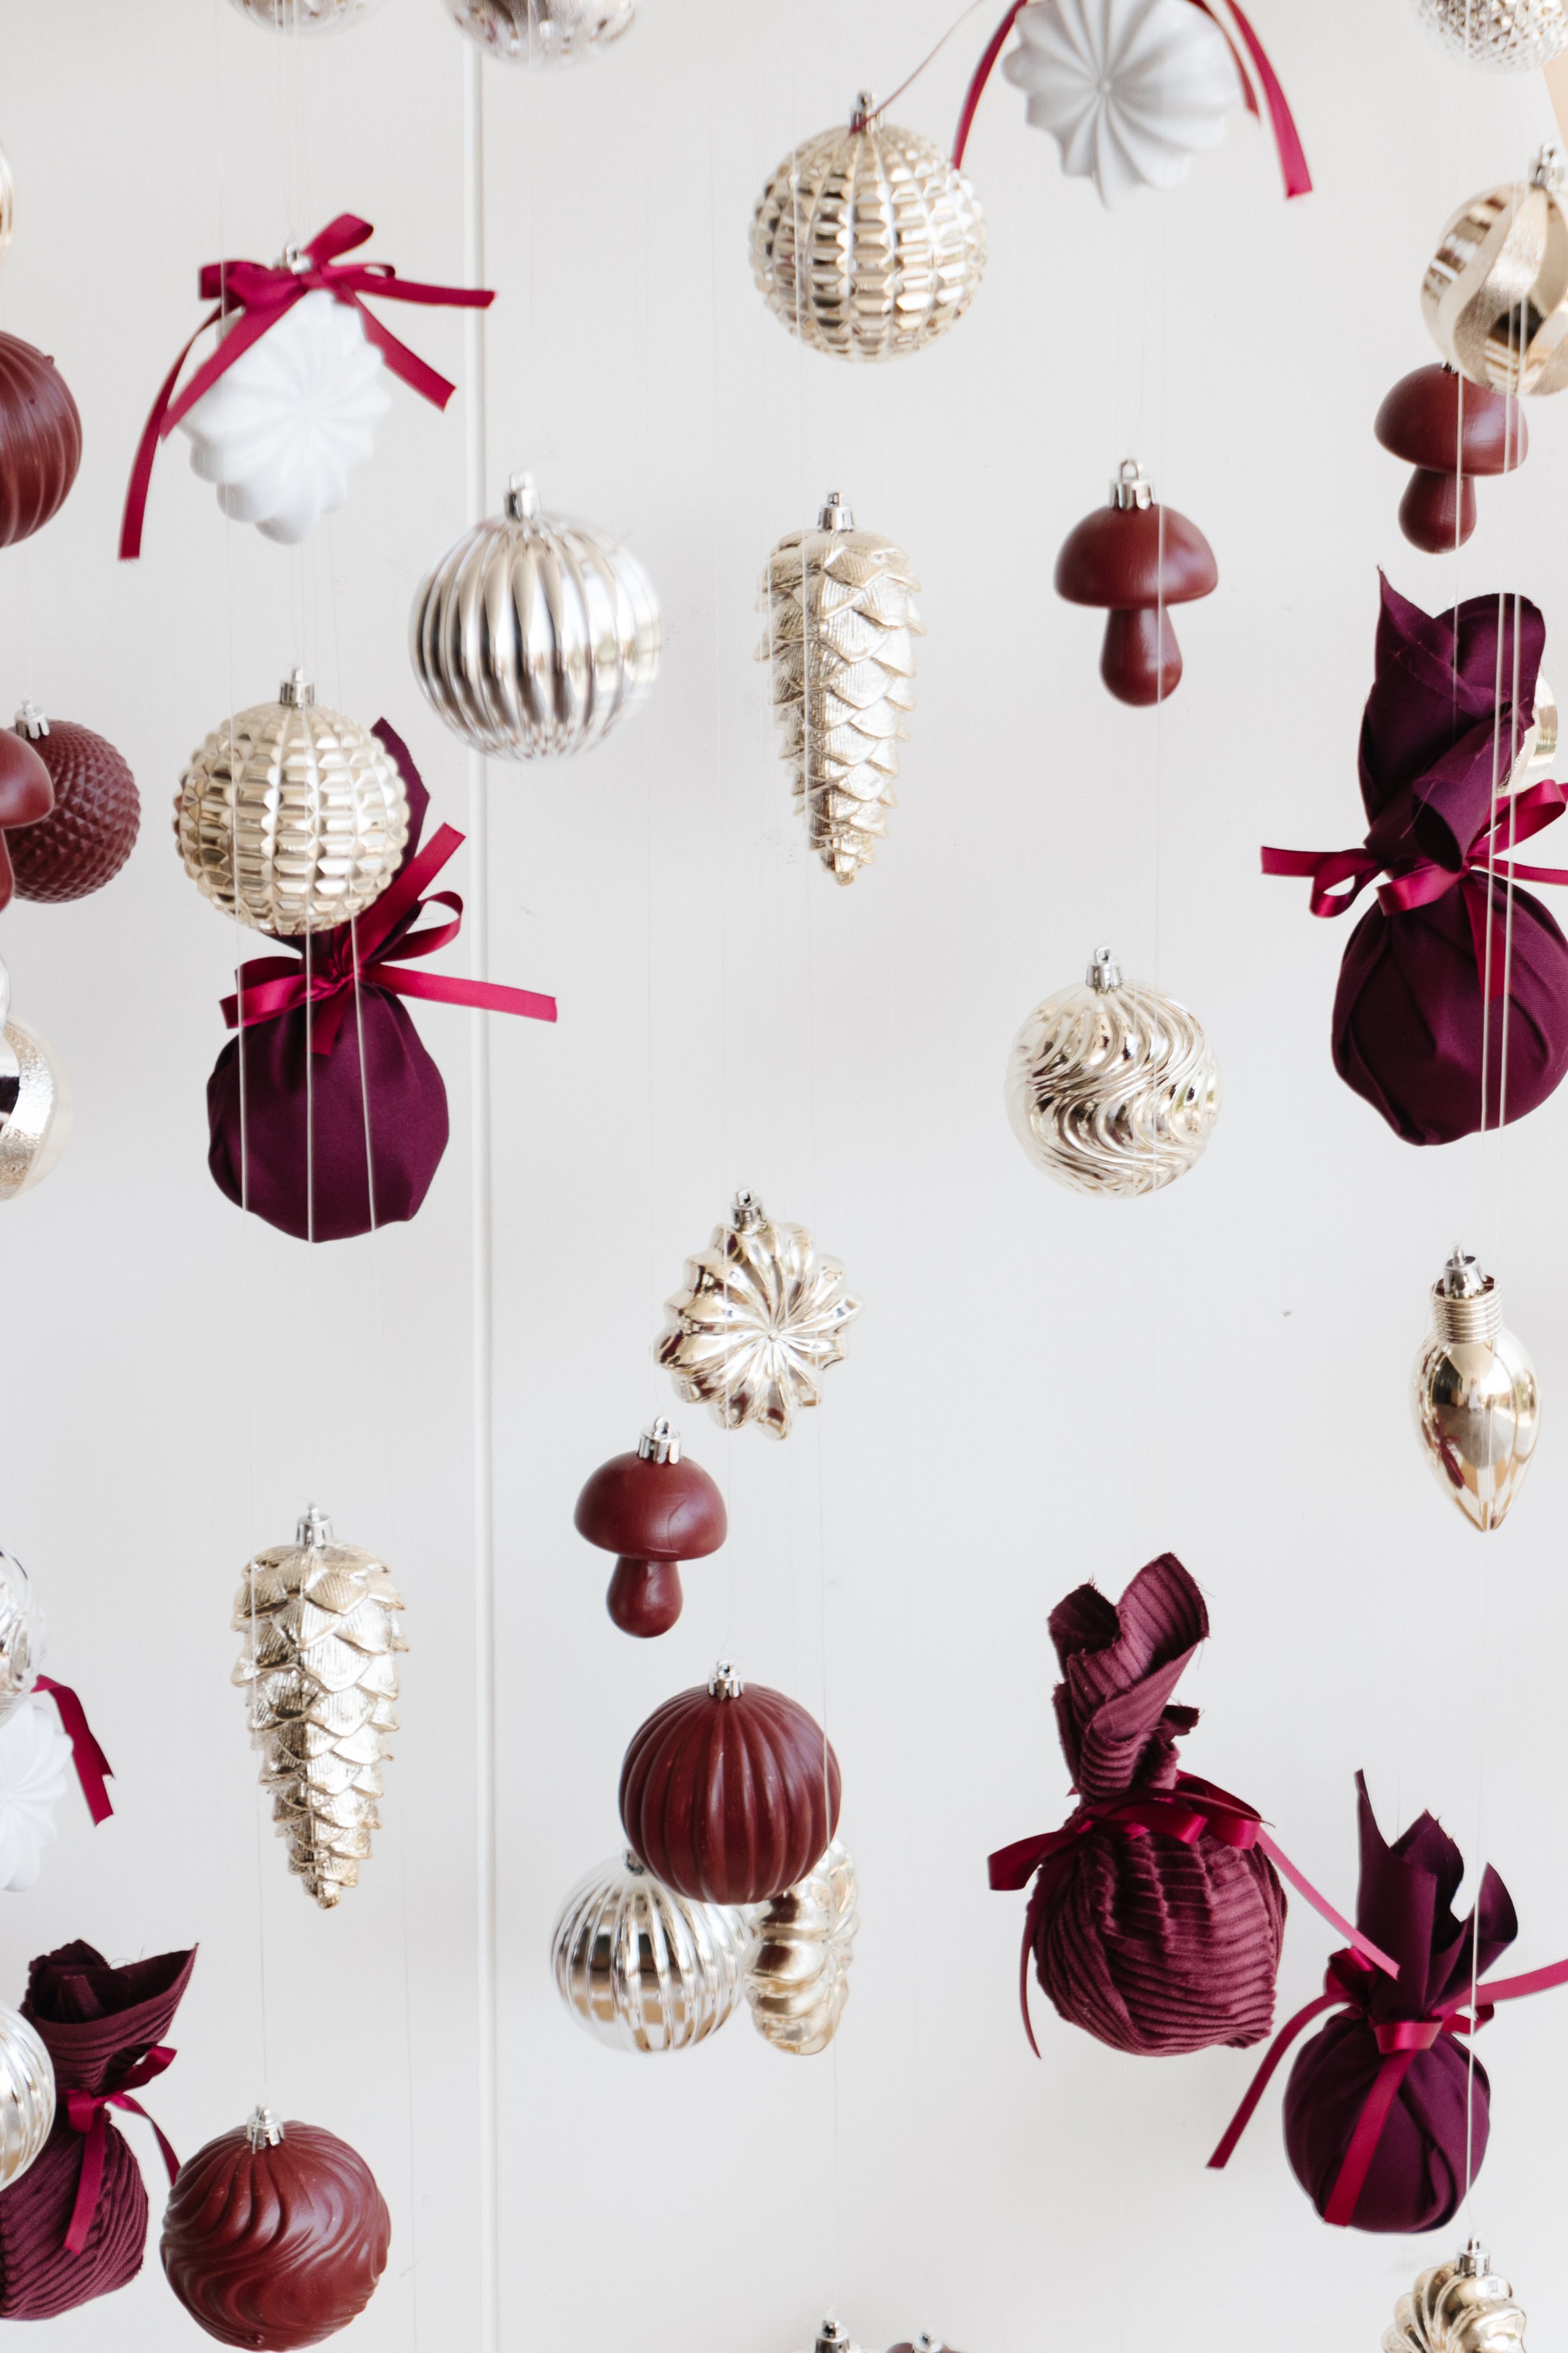
DIY Baubles
DIY Fabric Baubles: To make these gorgeous fabric wrapped baubles, check out my tutorial here.


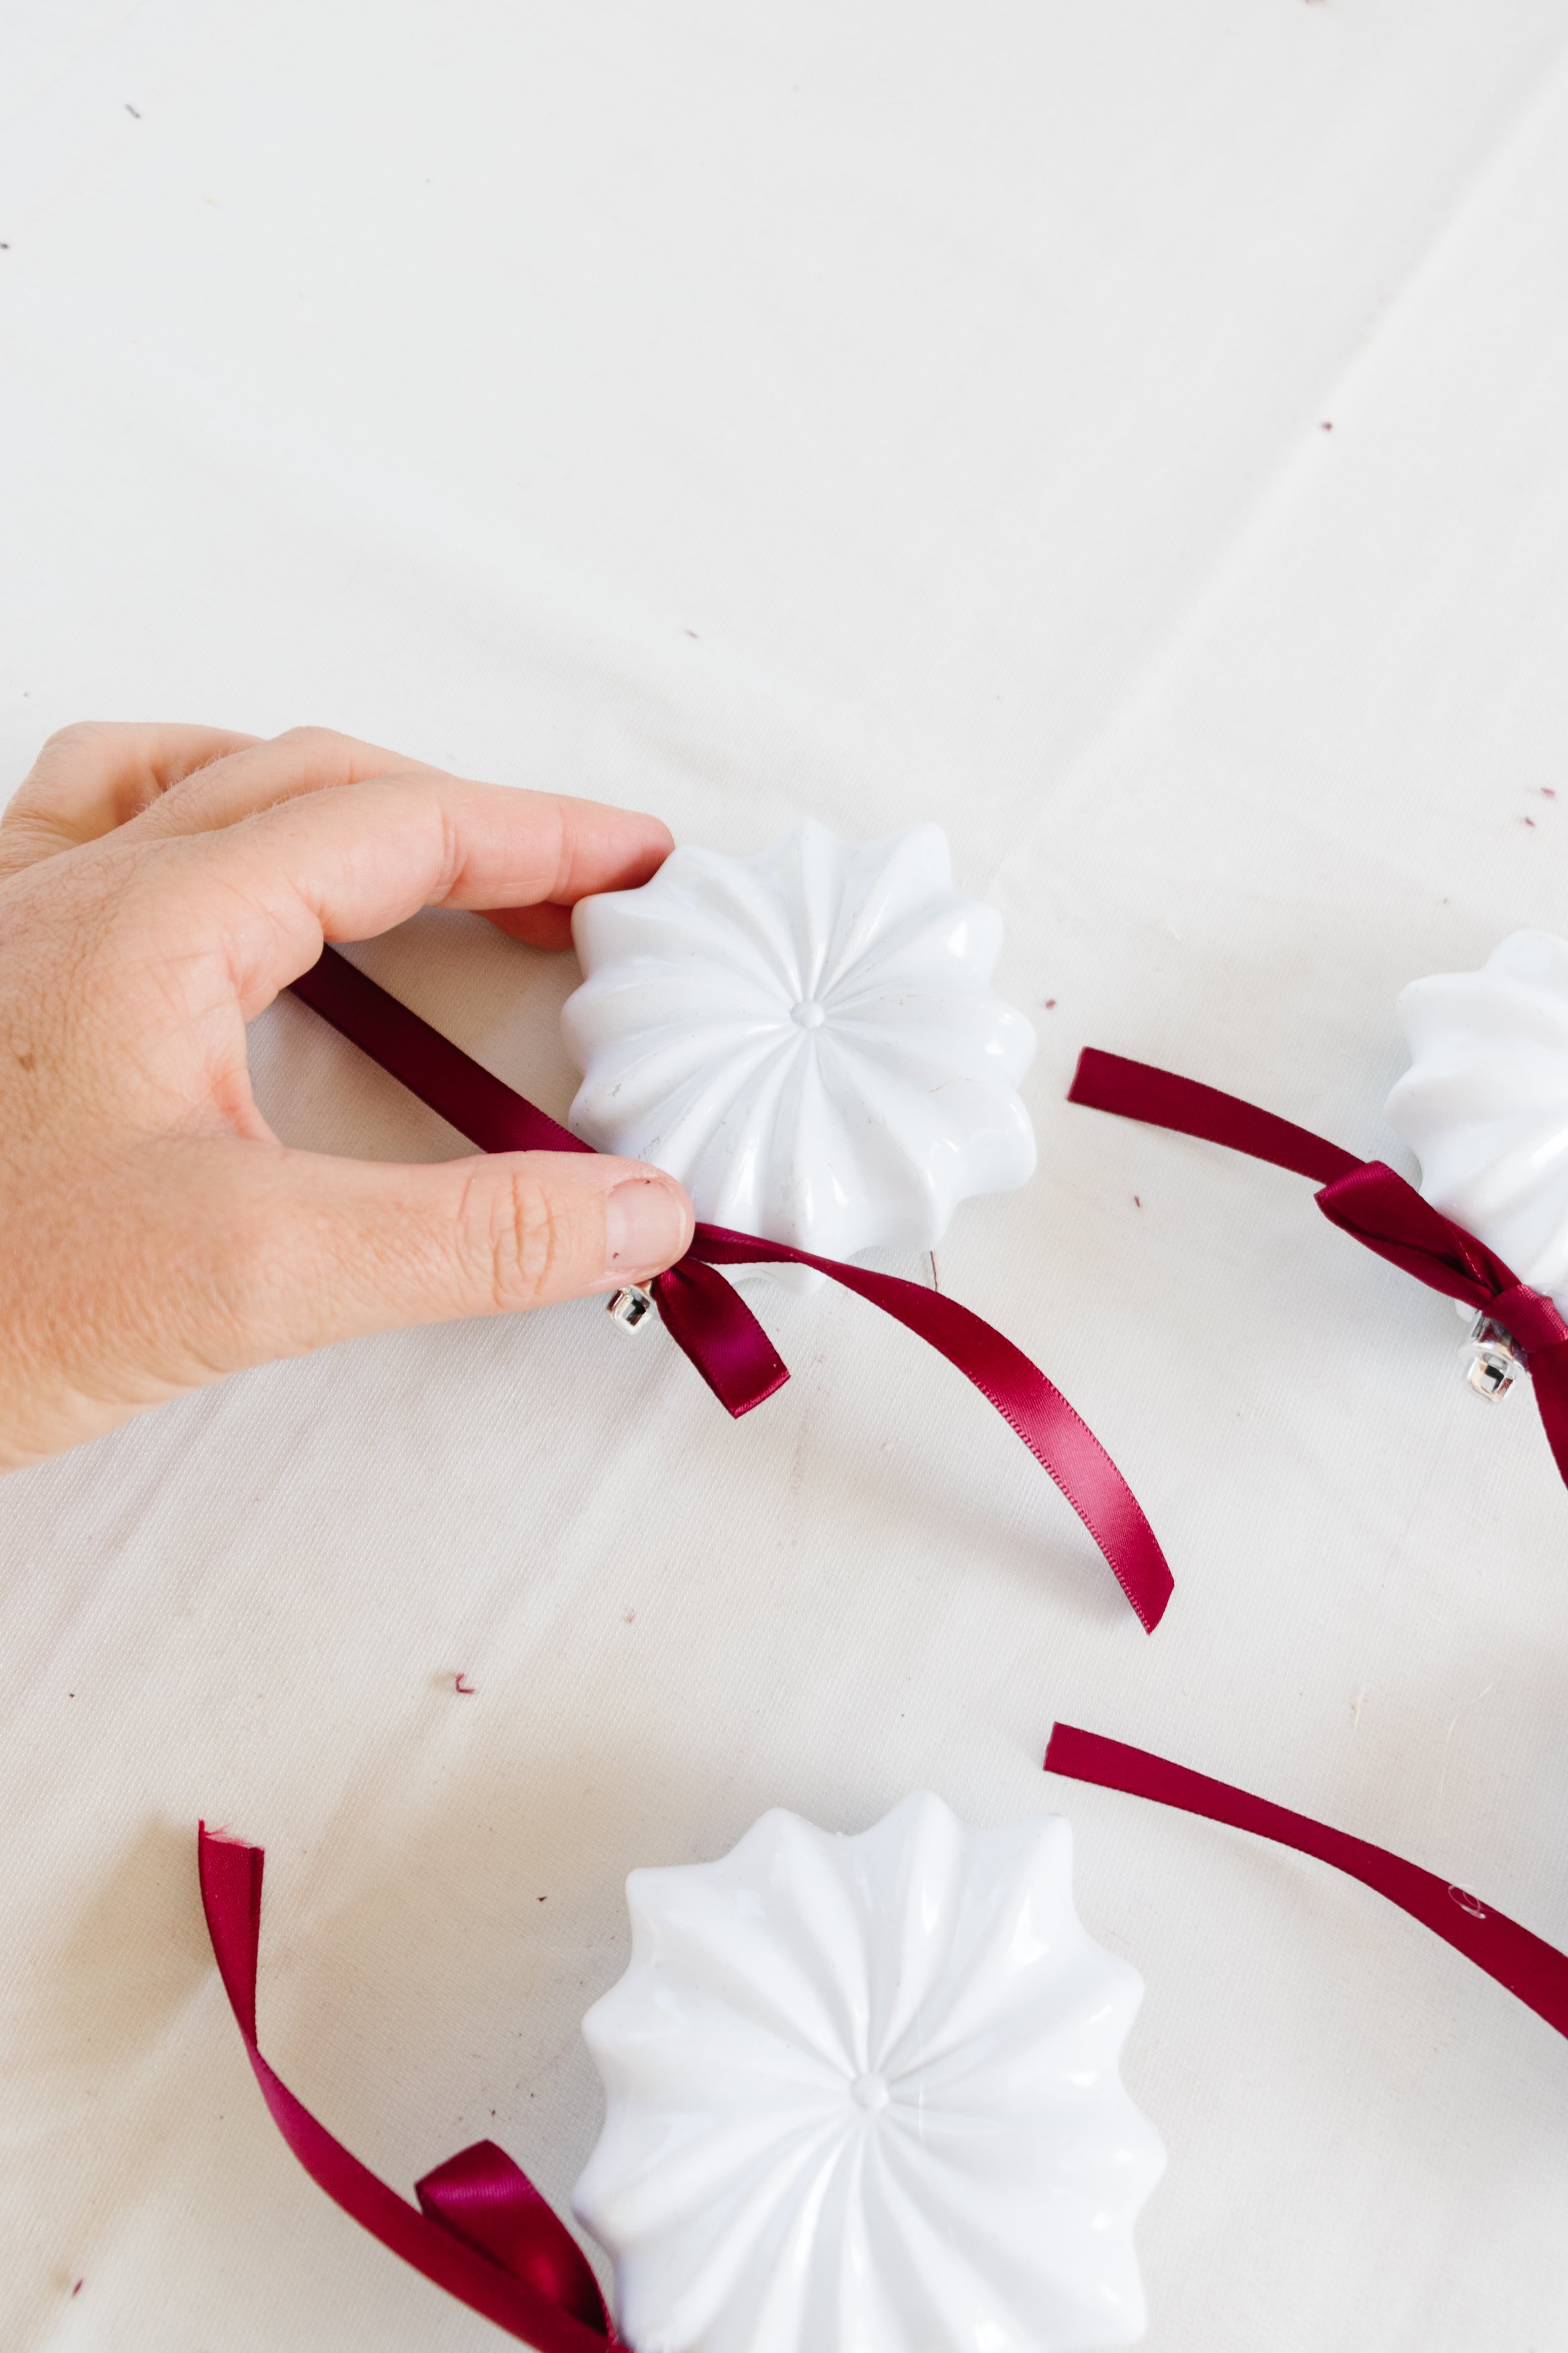
DIY Bow Tie Baubles: Grab some ribbon and tie several pieces into bows. Use the Ryobi ONE+ Hot Glue Gun to glue two bow ties to the top of each side of each bauble.
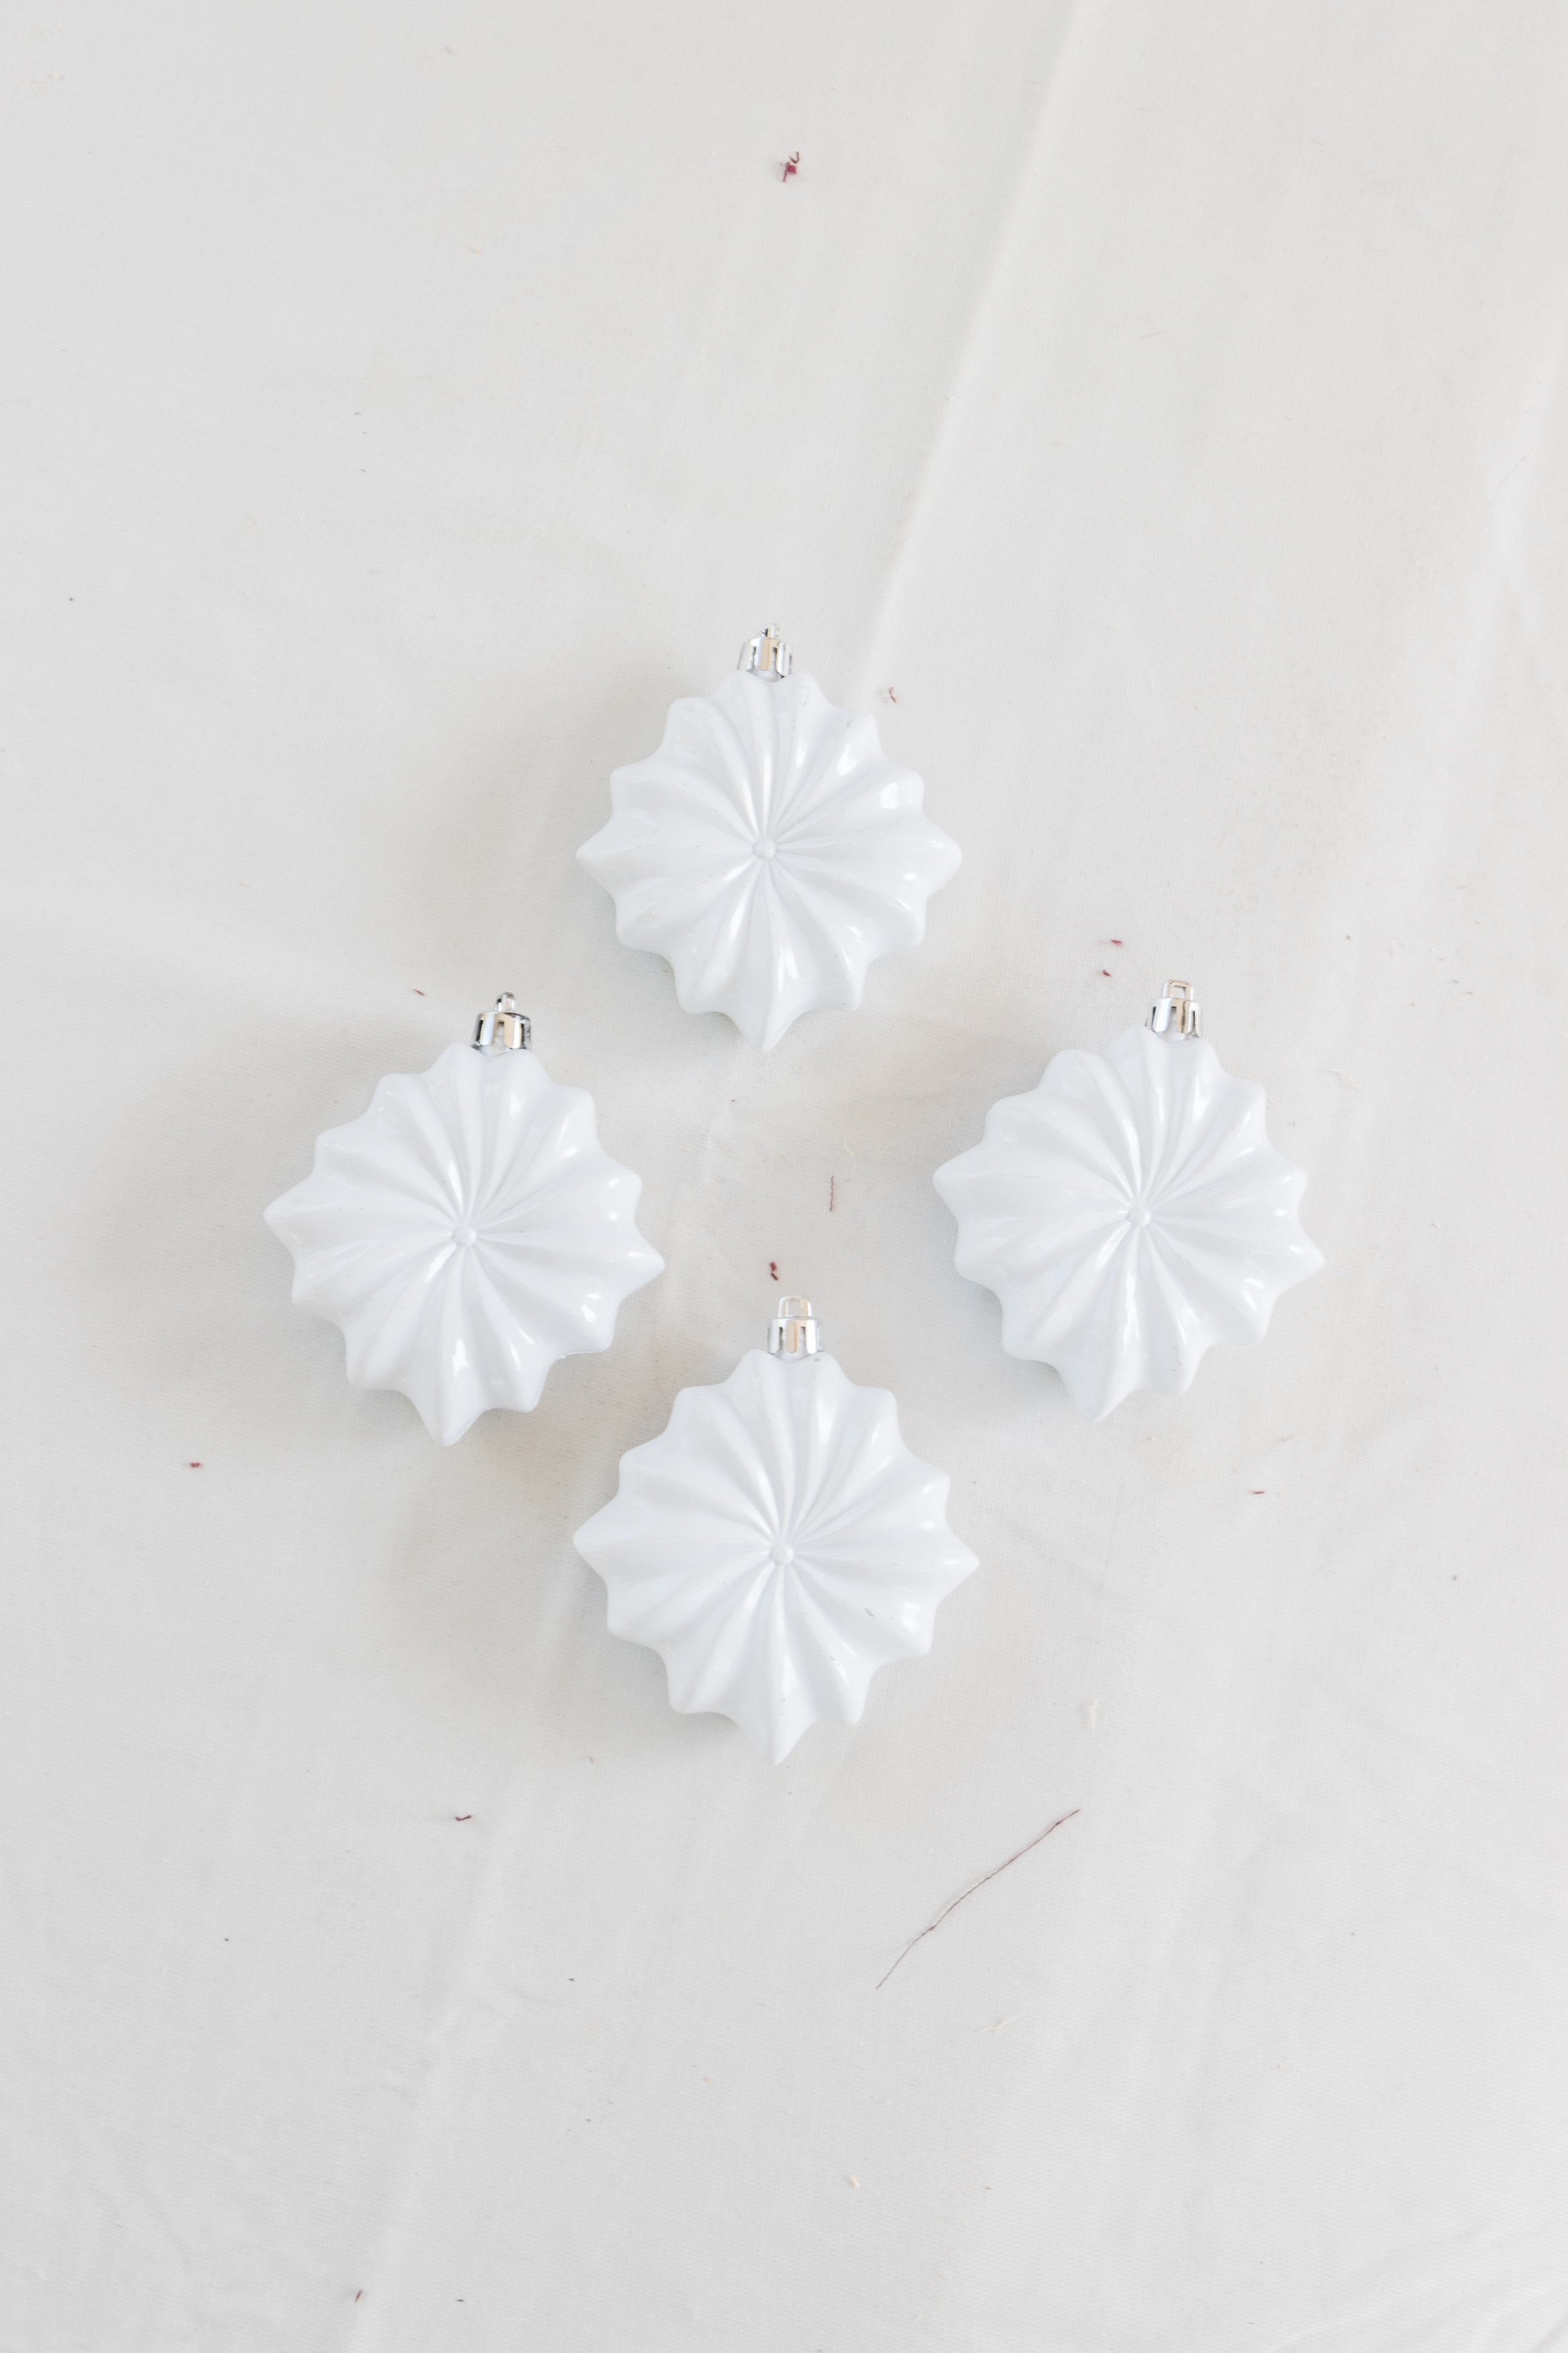


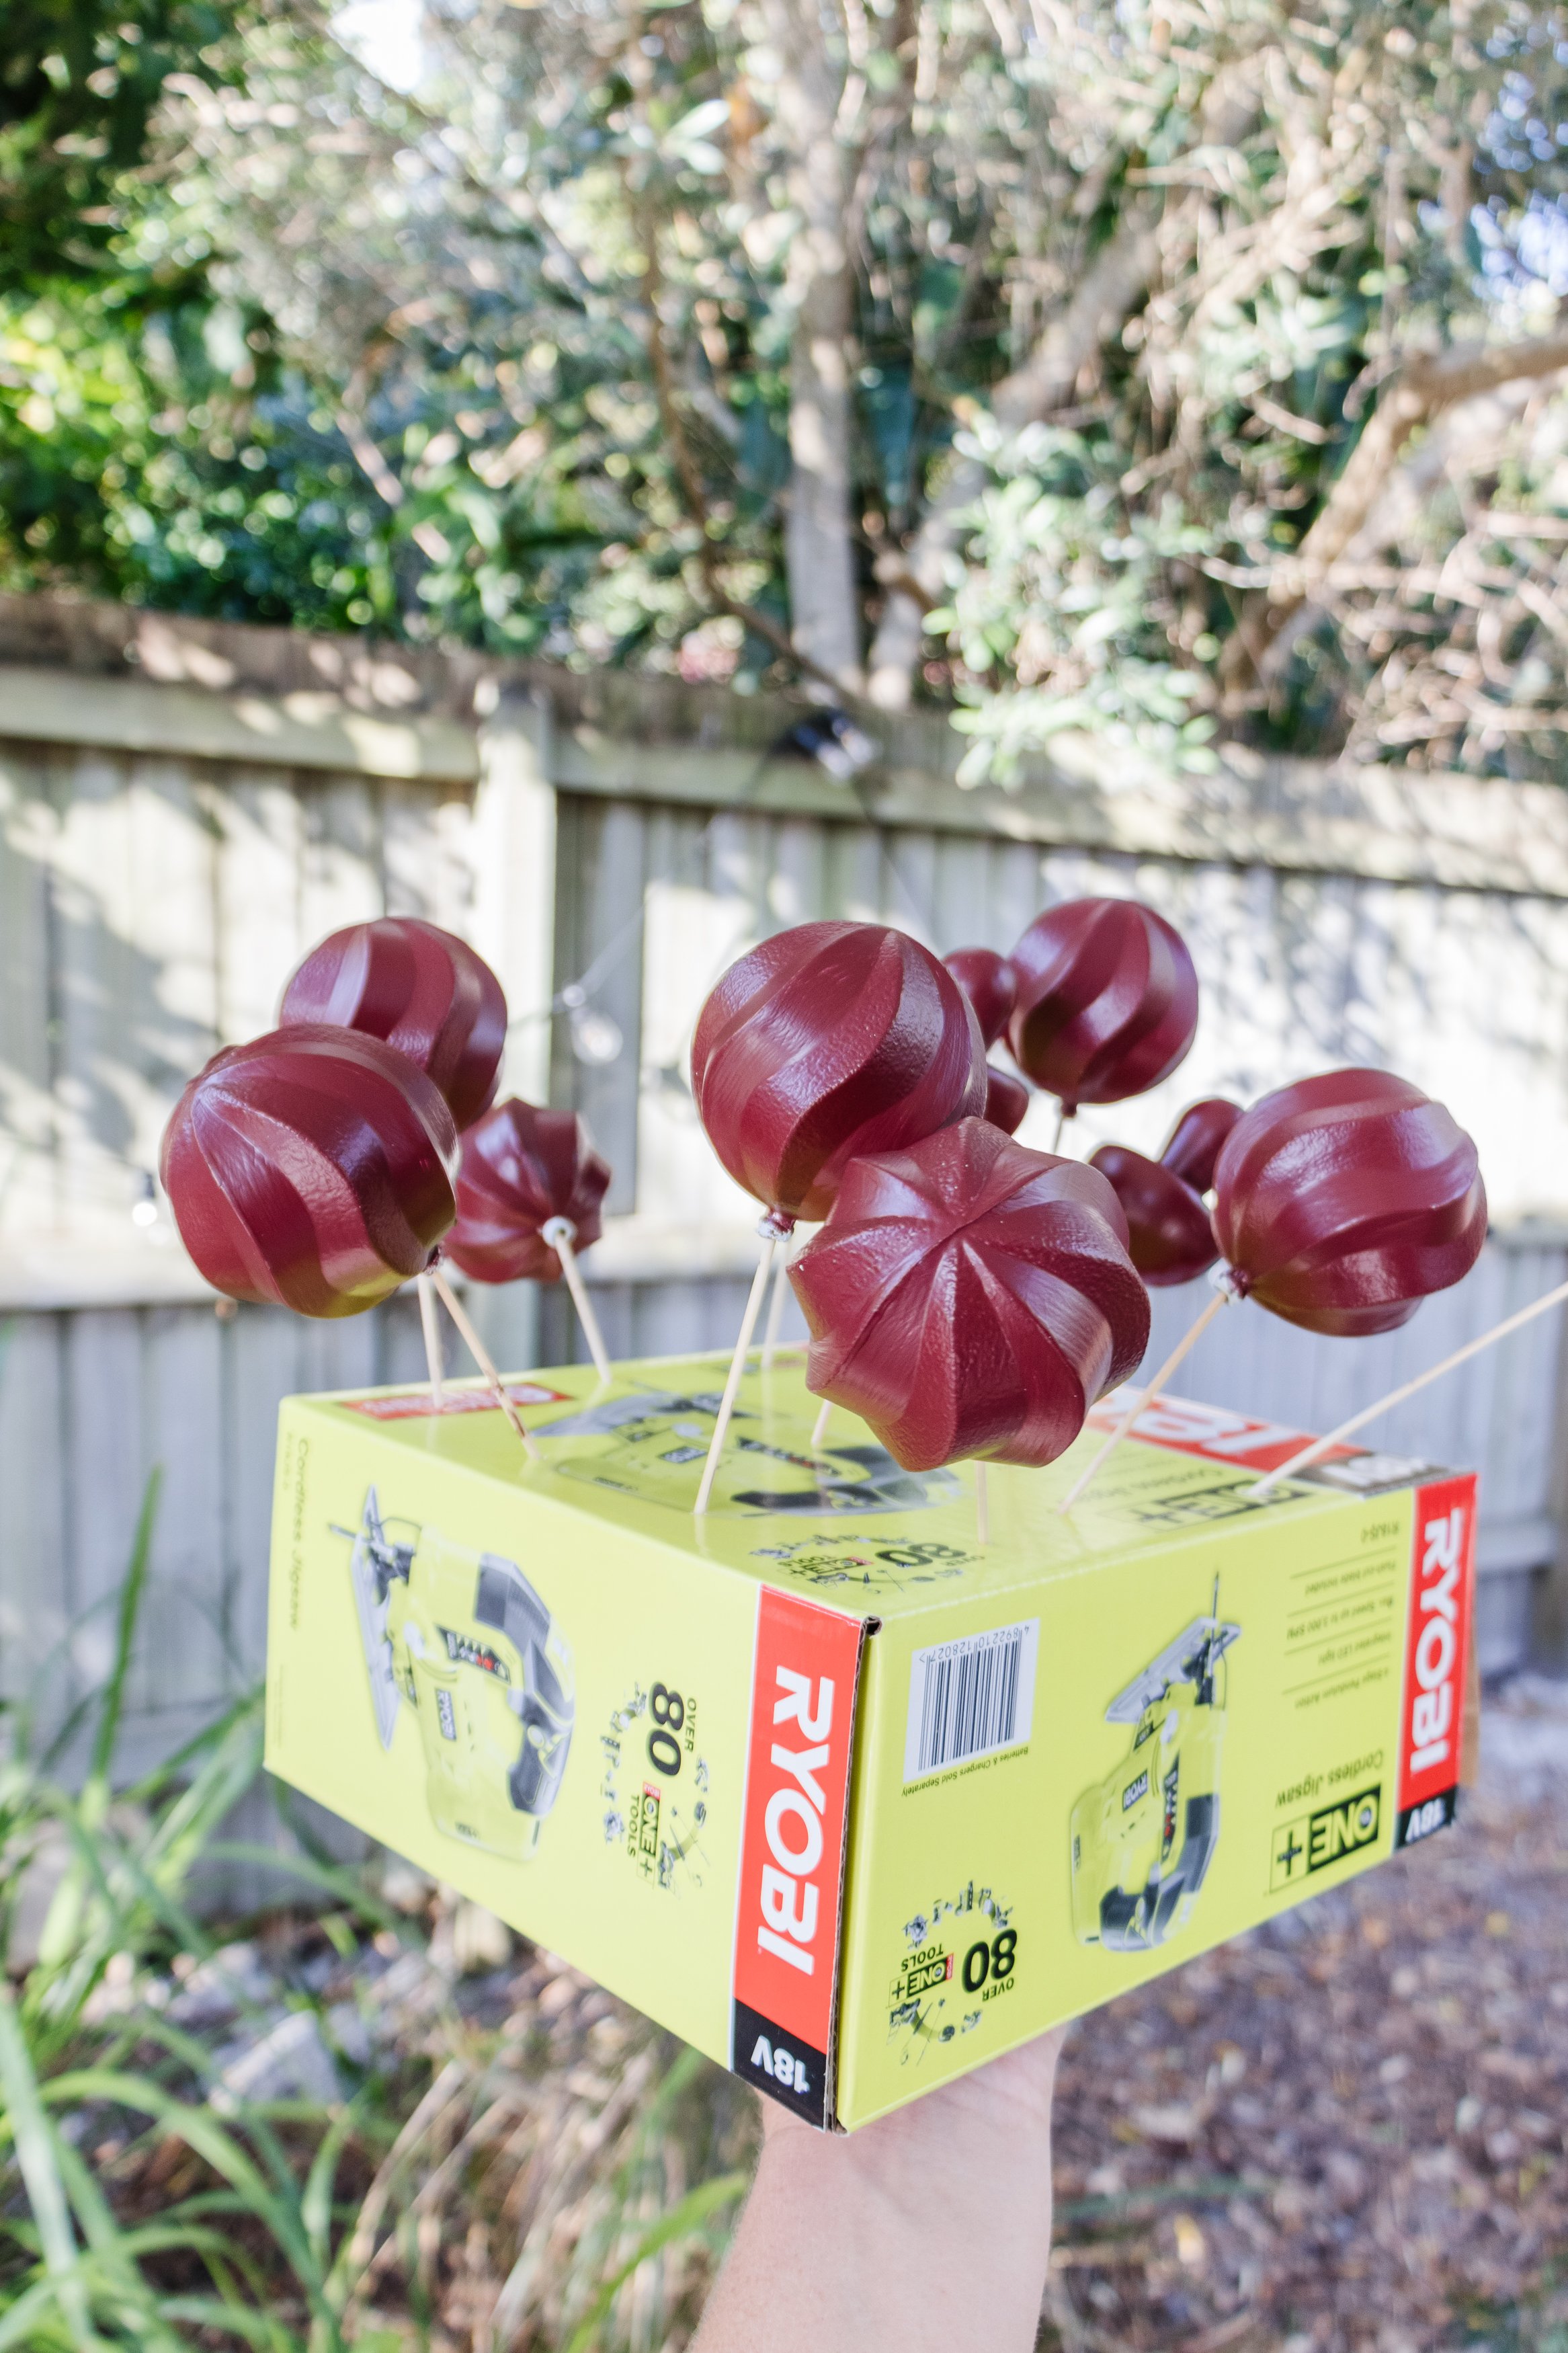
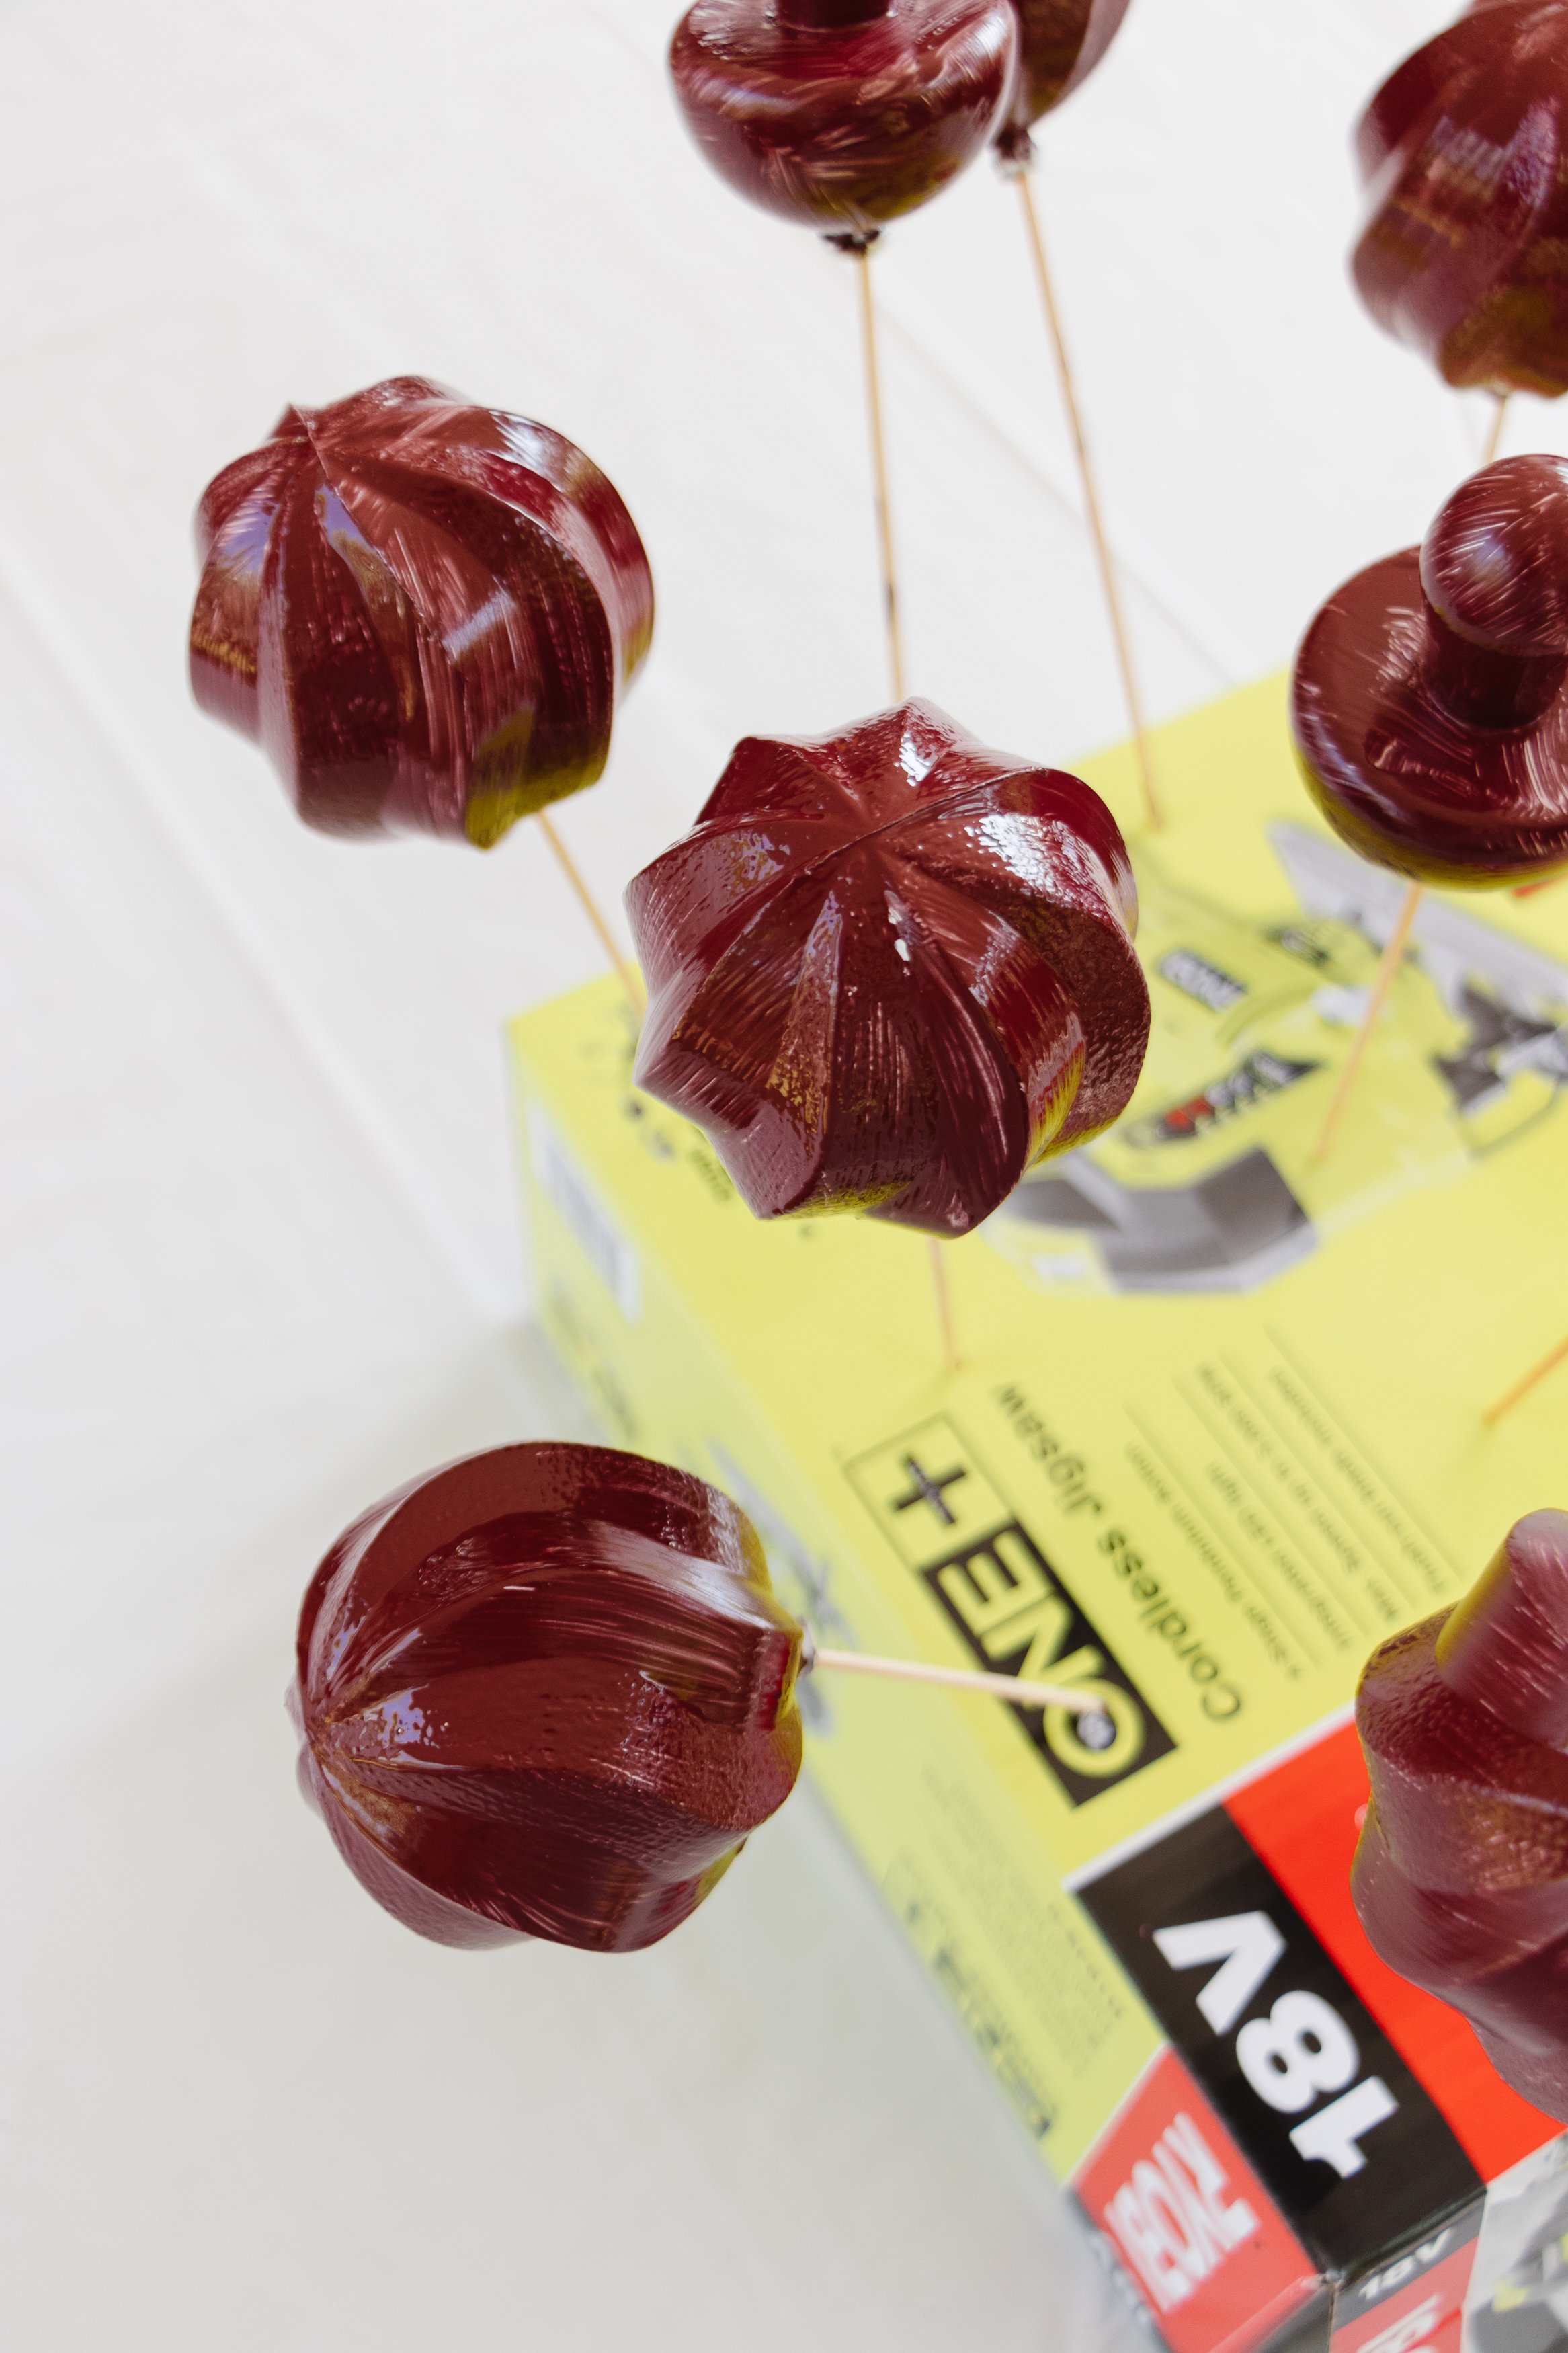
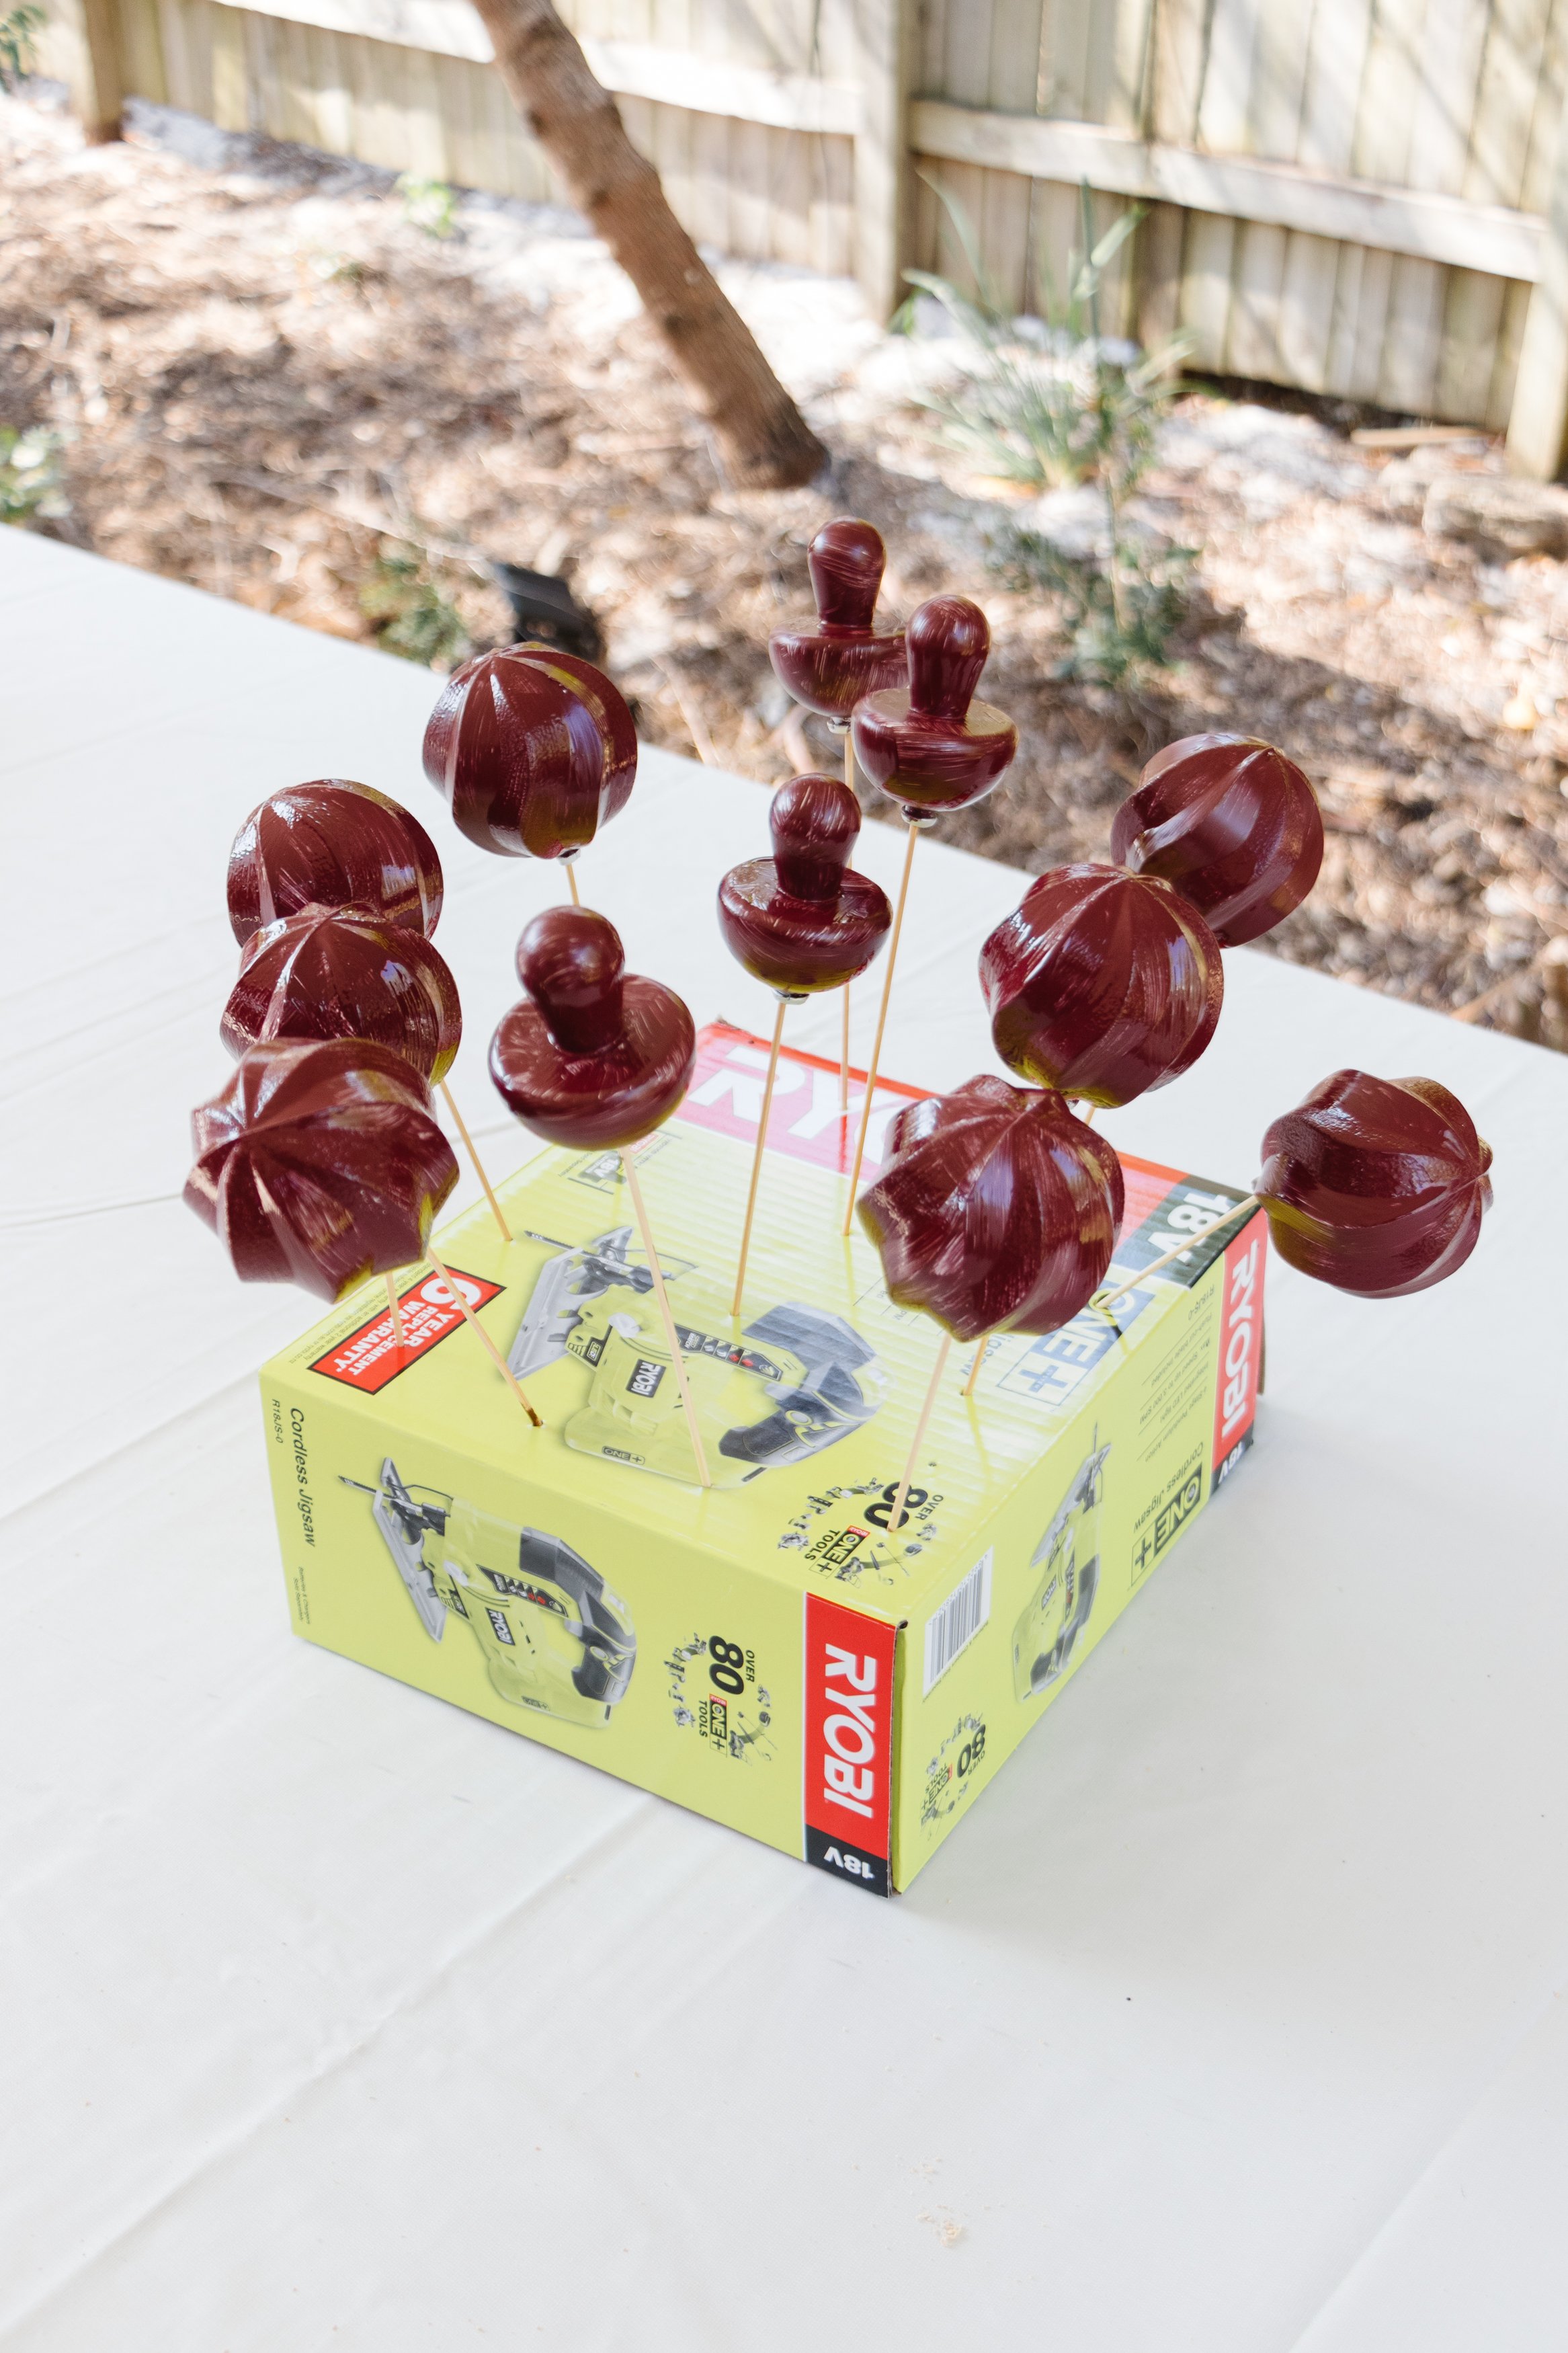
DIY Painted Baubles: Grab a cardboard box and some skewers. Using one of the skewers, pierce lots of holes into the cardboard box. Remove the attachment from the bauble and insert a skewer into the bauble. Apply two coats of water based interior paint directly onto the baubles using a paint brush and place the skewer into one of the holes in the cardboard box to allow for the paint to dry in between applications. Replace the attachment to the bauble when dry.

The Reveal
I am so happy! This tree looks absolutely gorgeous and I love that you can truly make it your own by staining or painting the wood, and changing the colours of the decorations to suit your own festive style. I love it so much I wish we could have kept it at home! But I know Jason’s students will absolutely love it, so that makes me smile.
The RYOBI ONE+ range is available from Bunnings Warehouse In-store, Online or through Click and Collect. Merry Christmas!
This project is in partnership with RYOBI Australia.