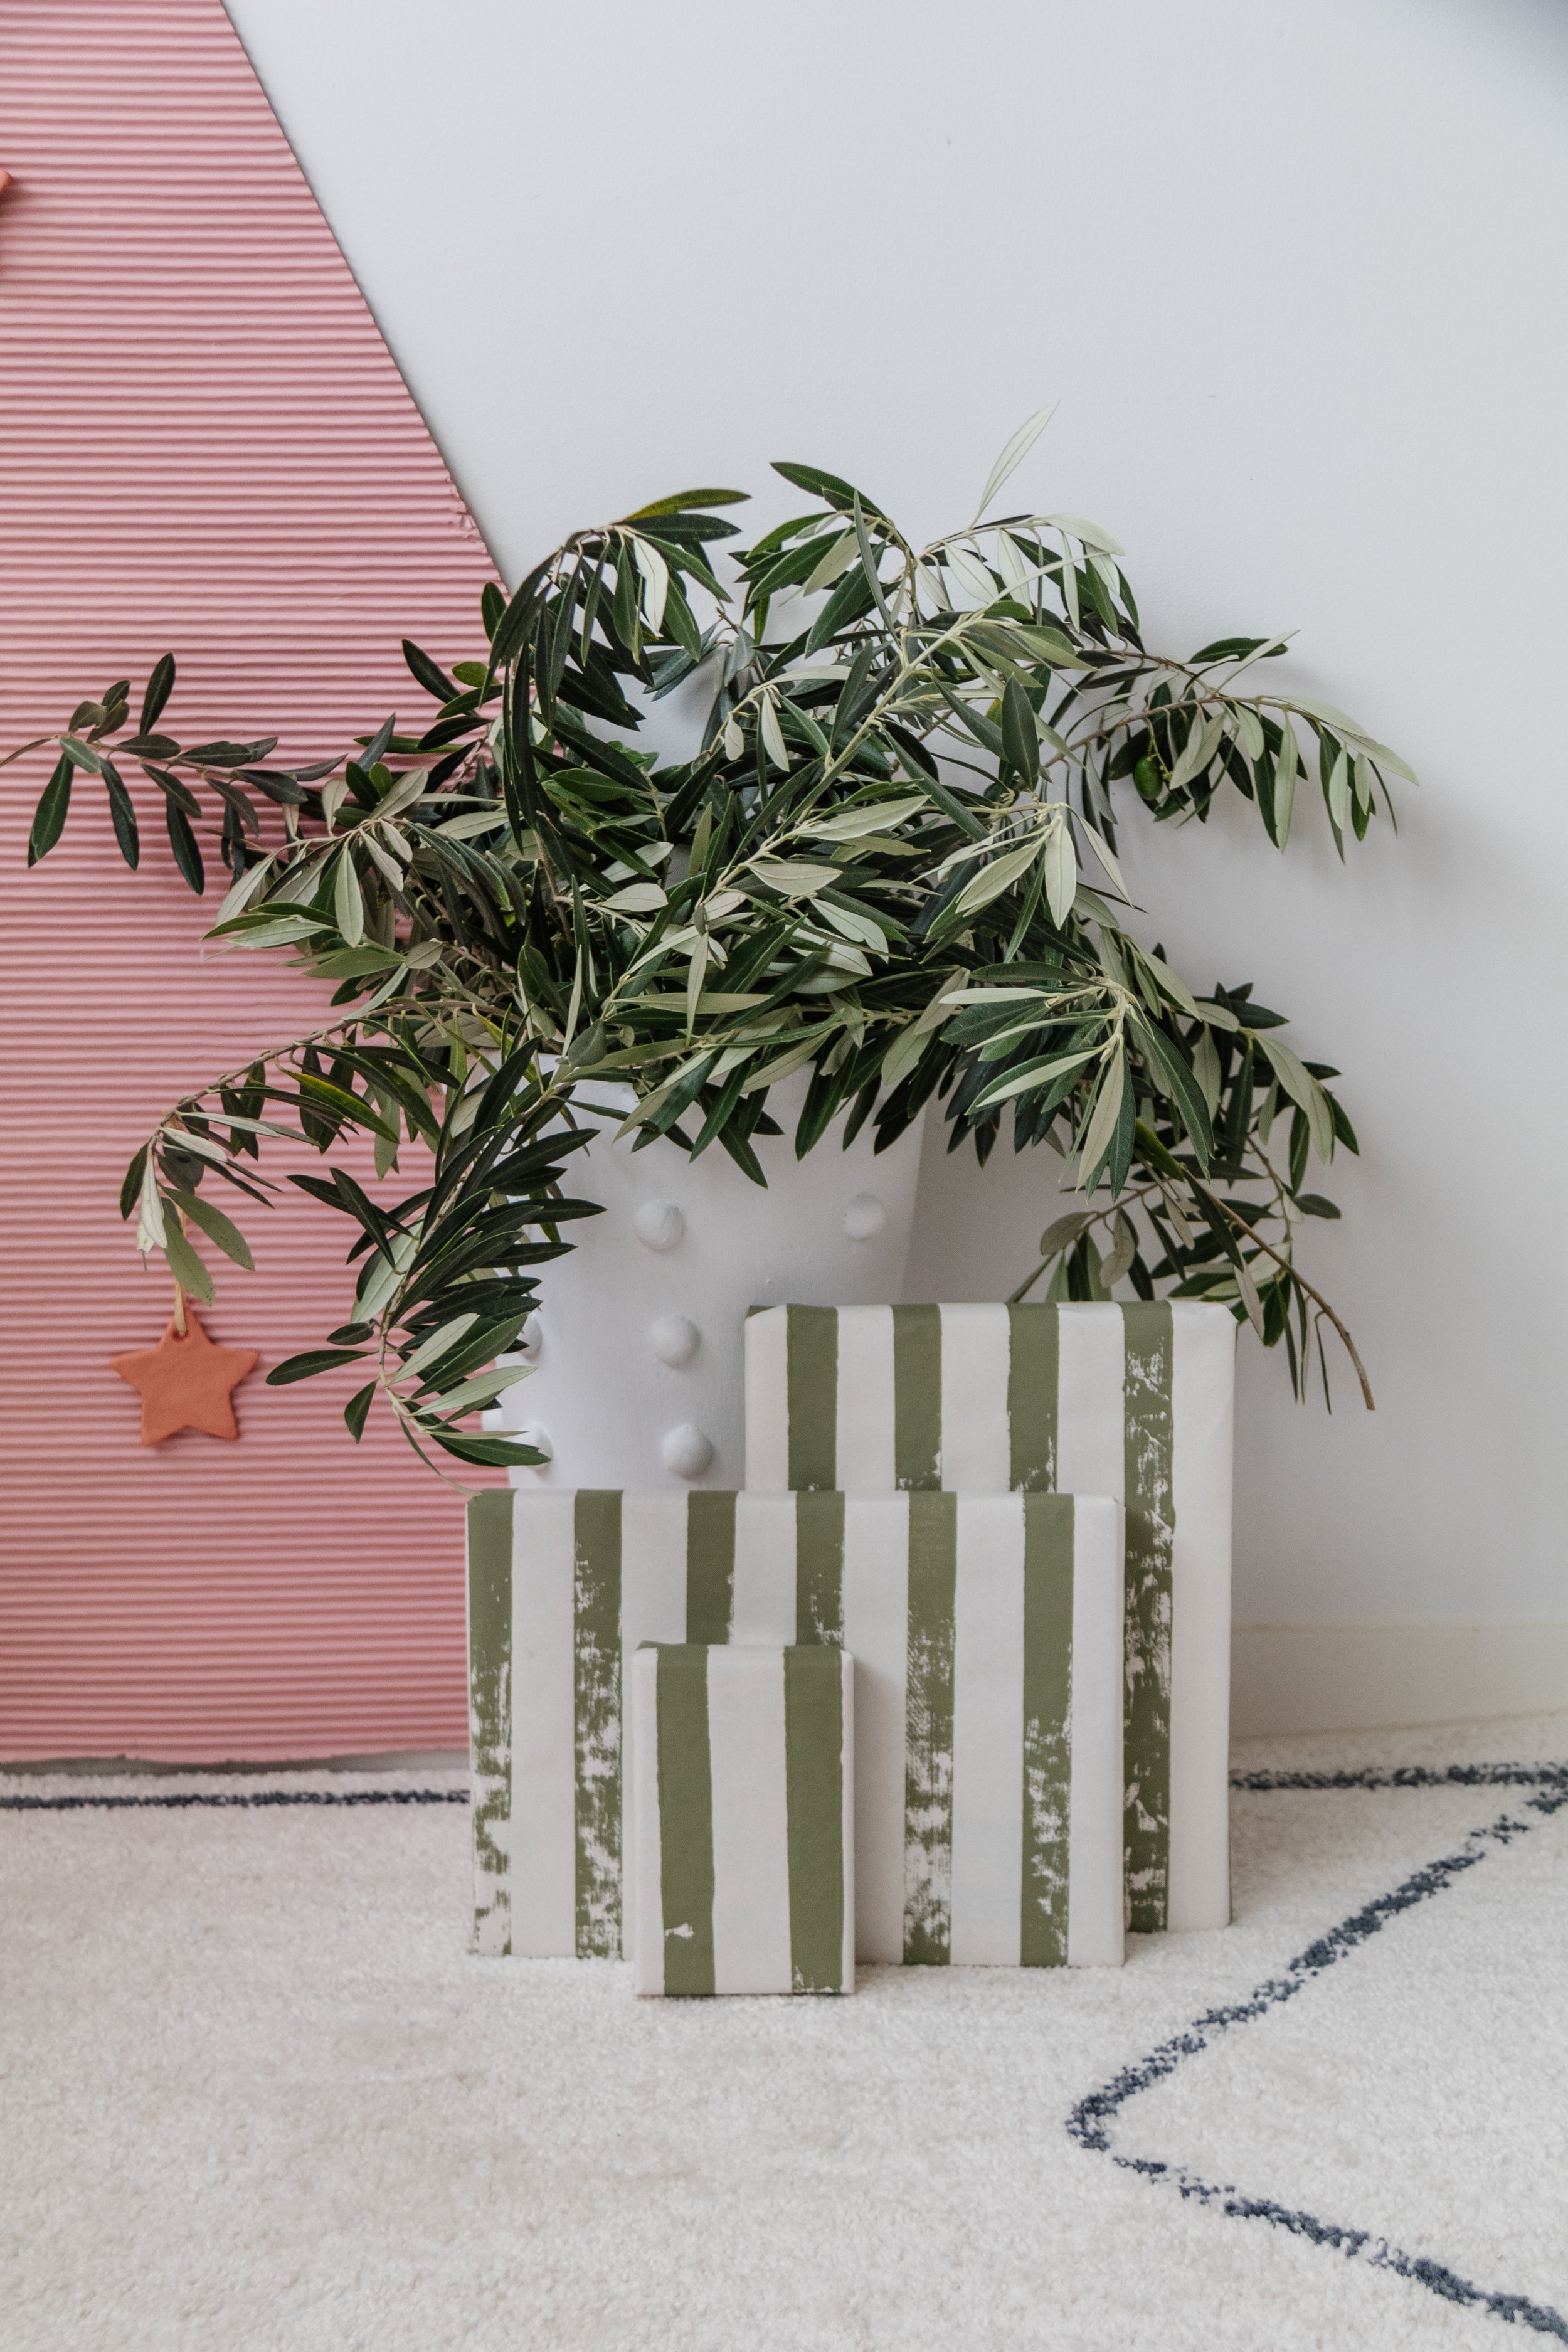
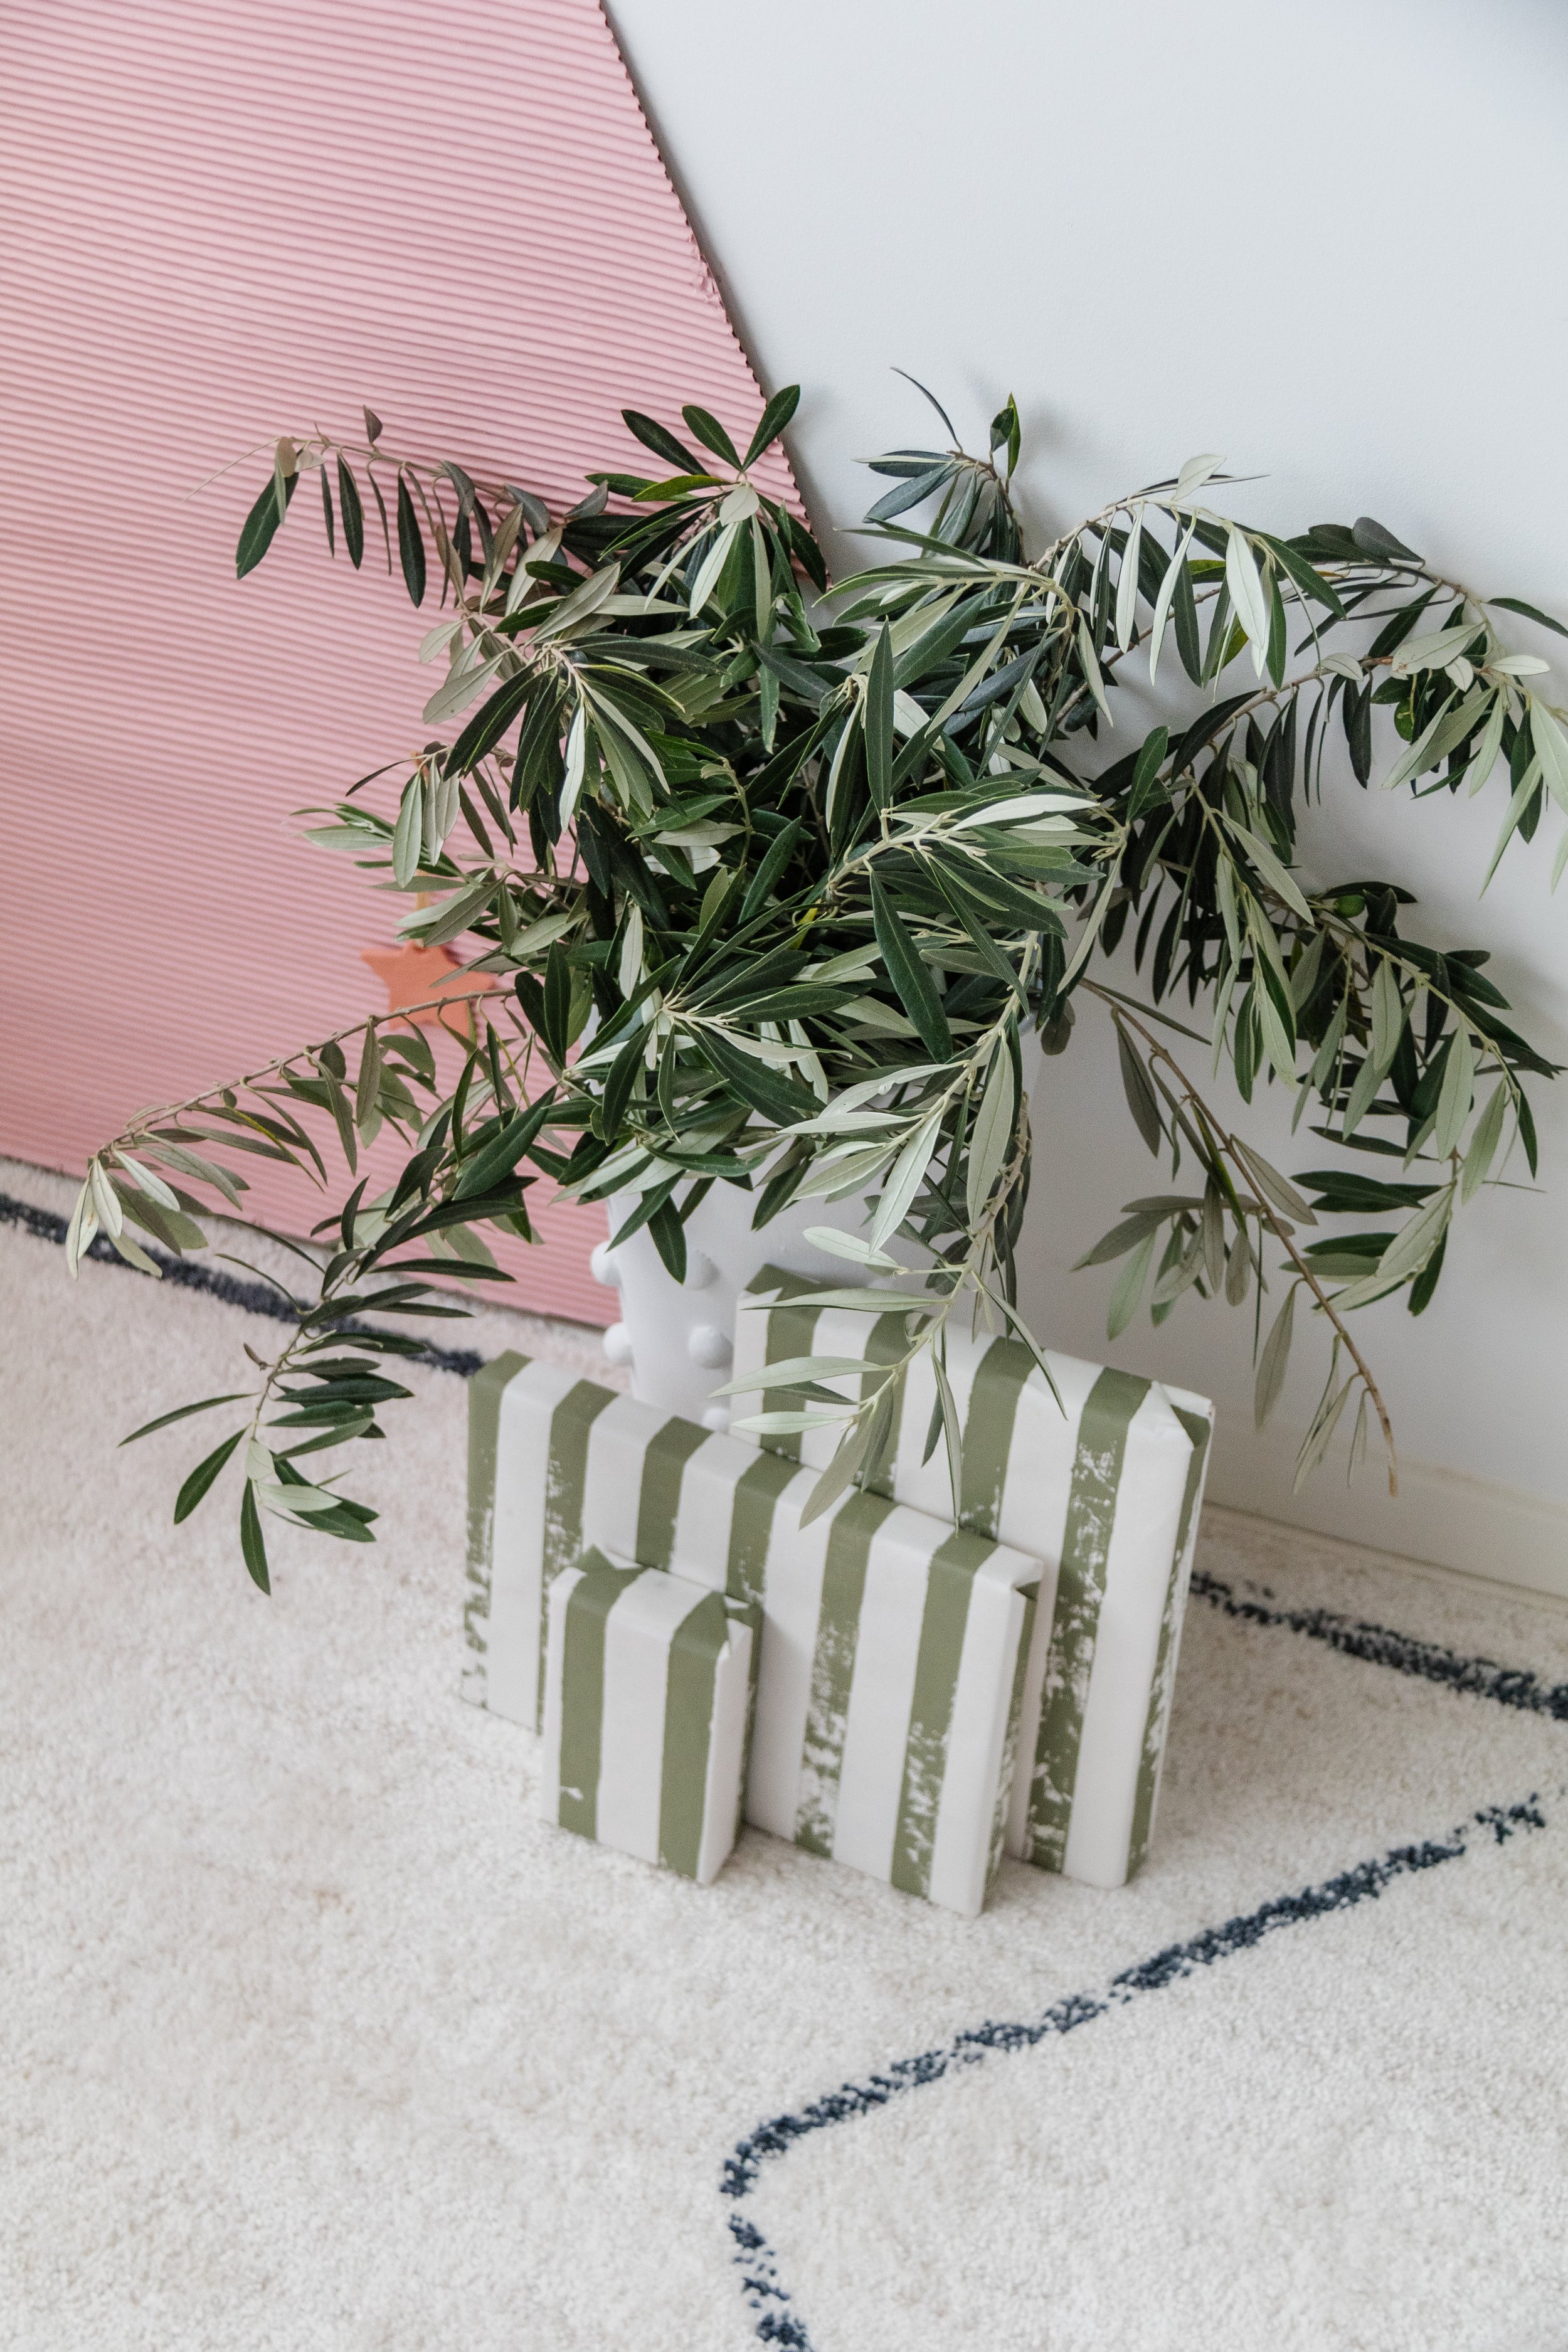
DIY Striped Wrapping Paper
Can’t find the perfect Christmas wrapping paper? Make it!
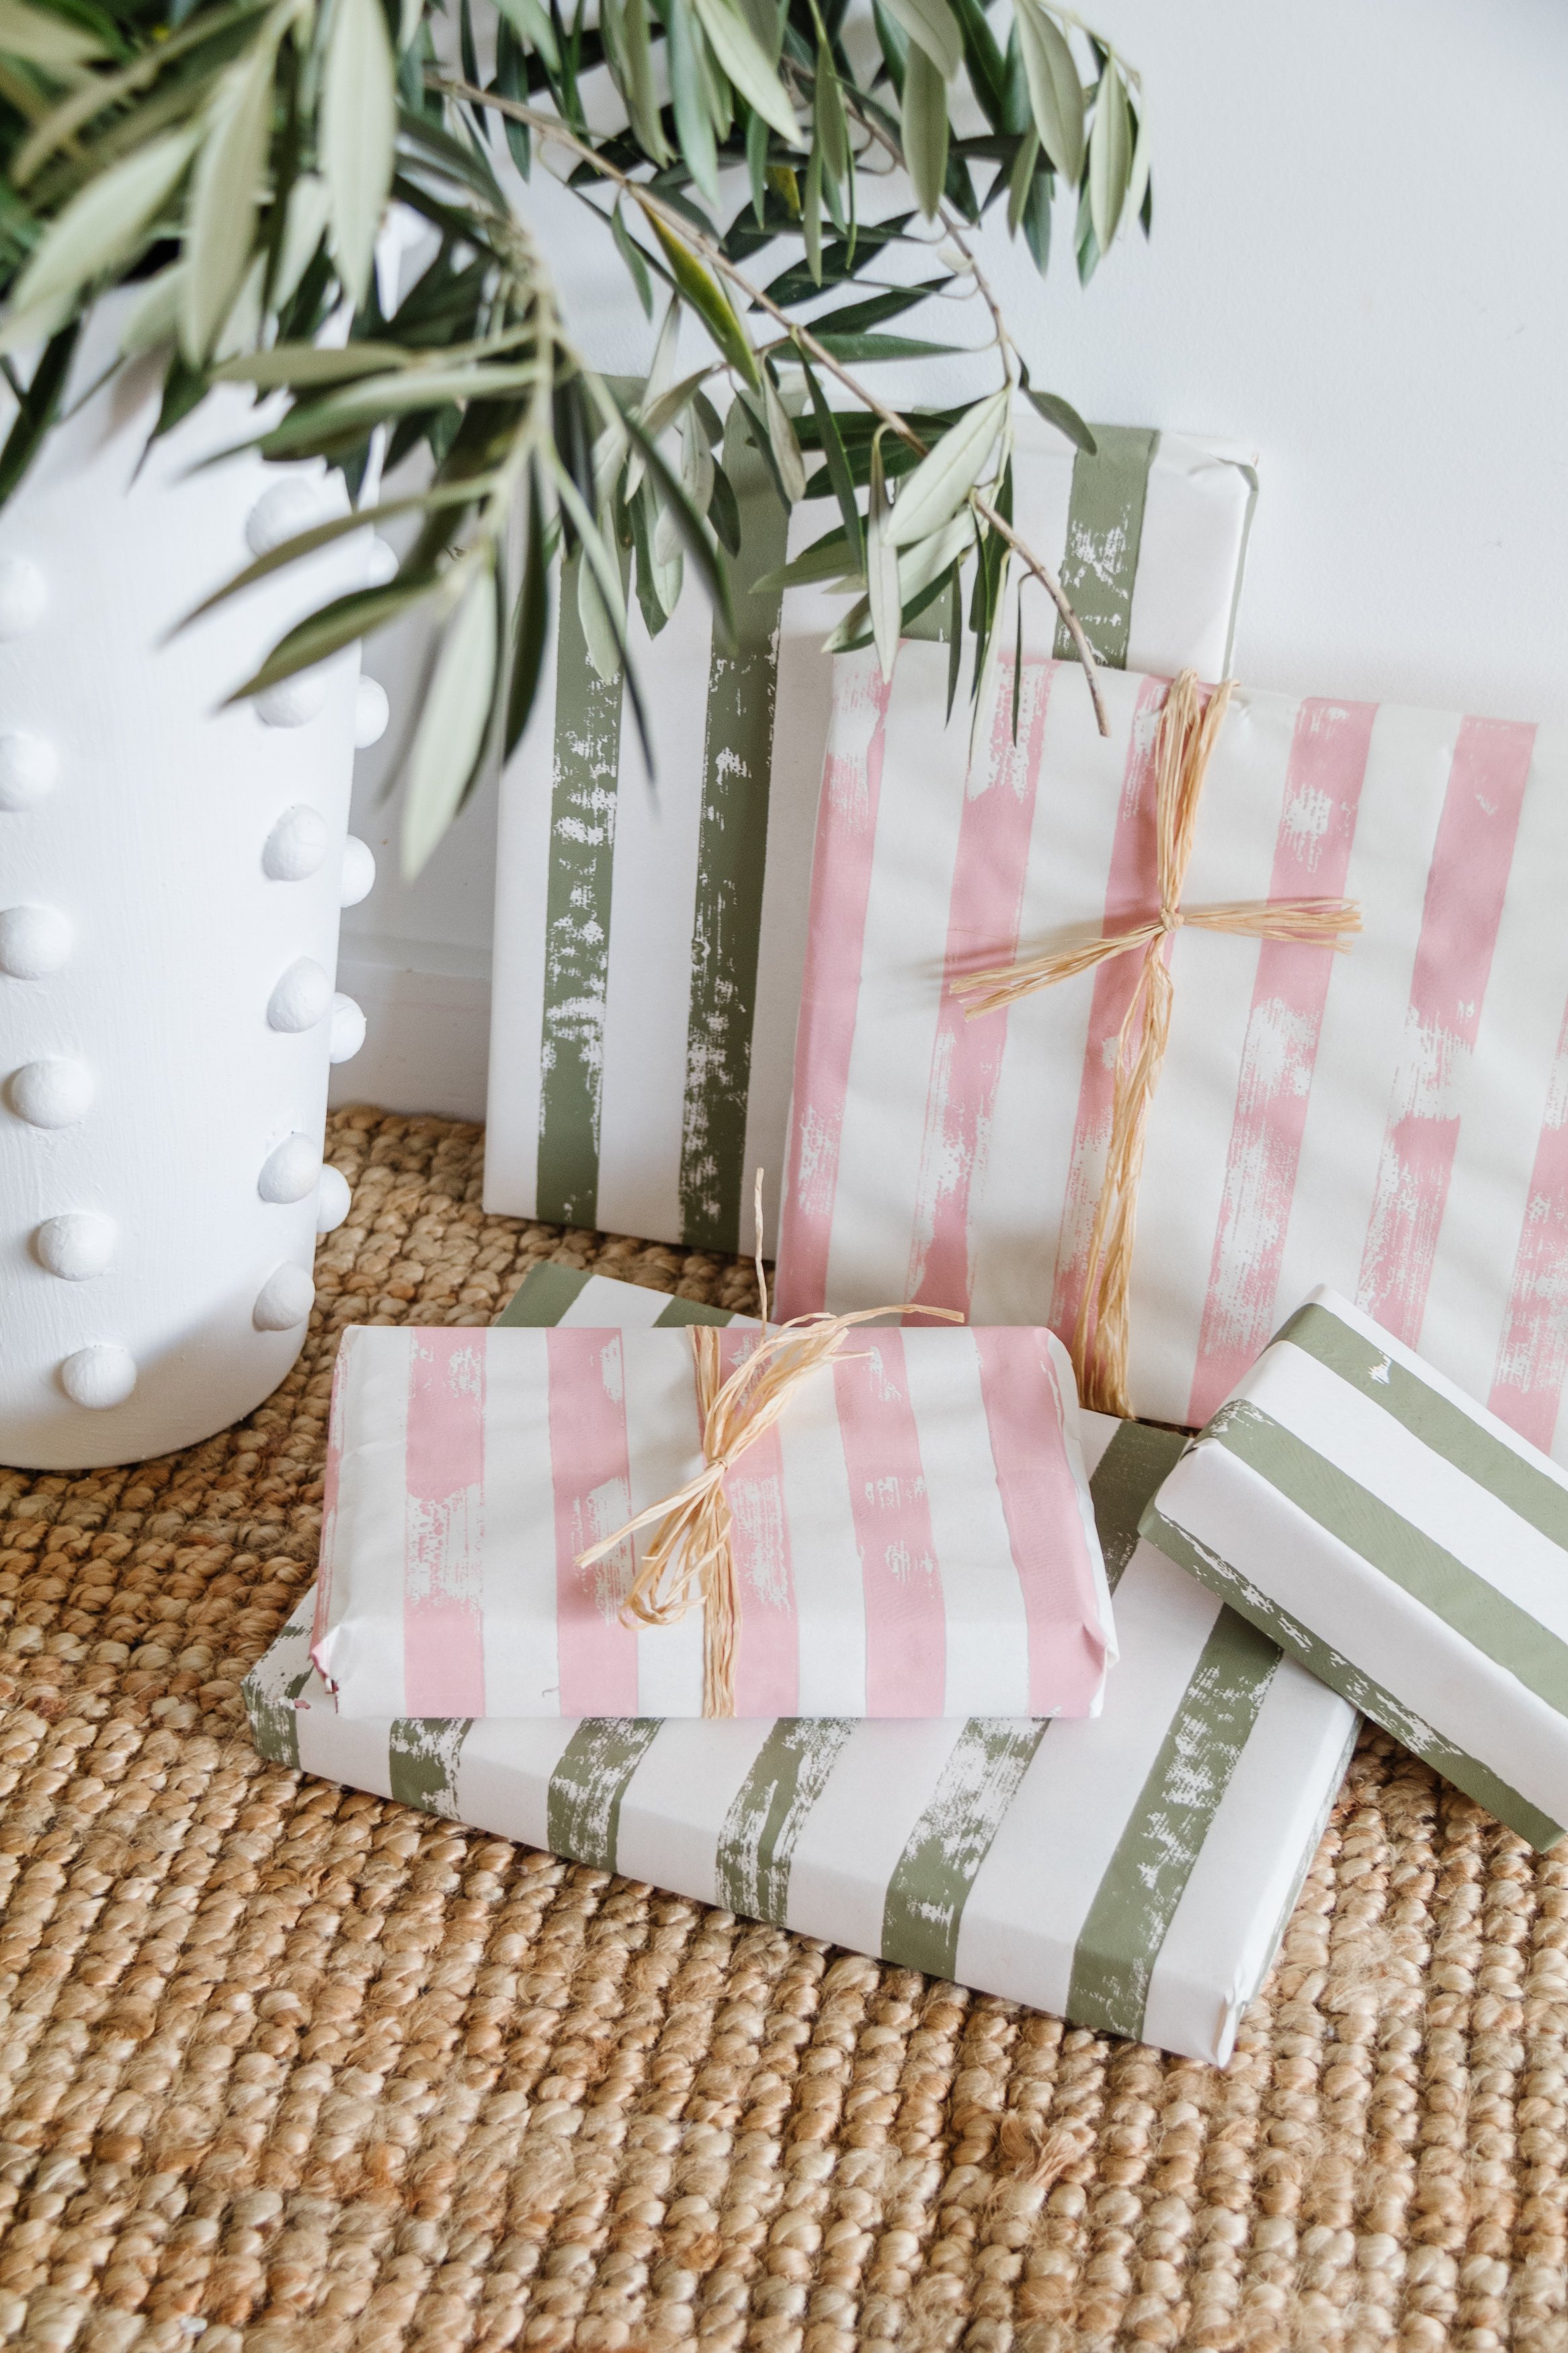
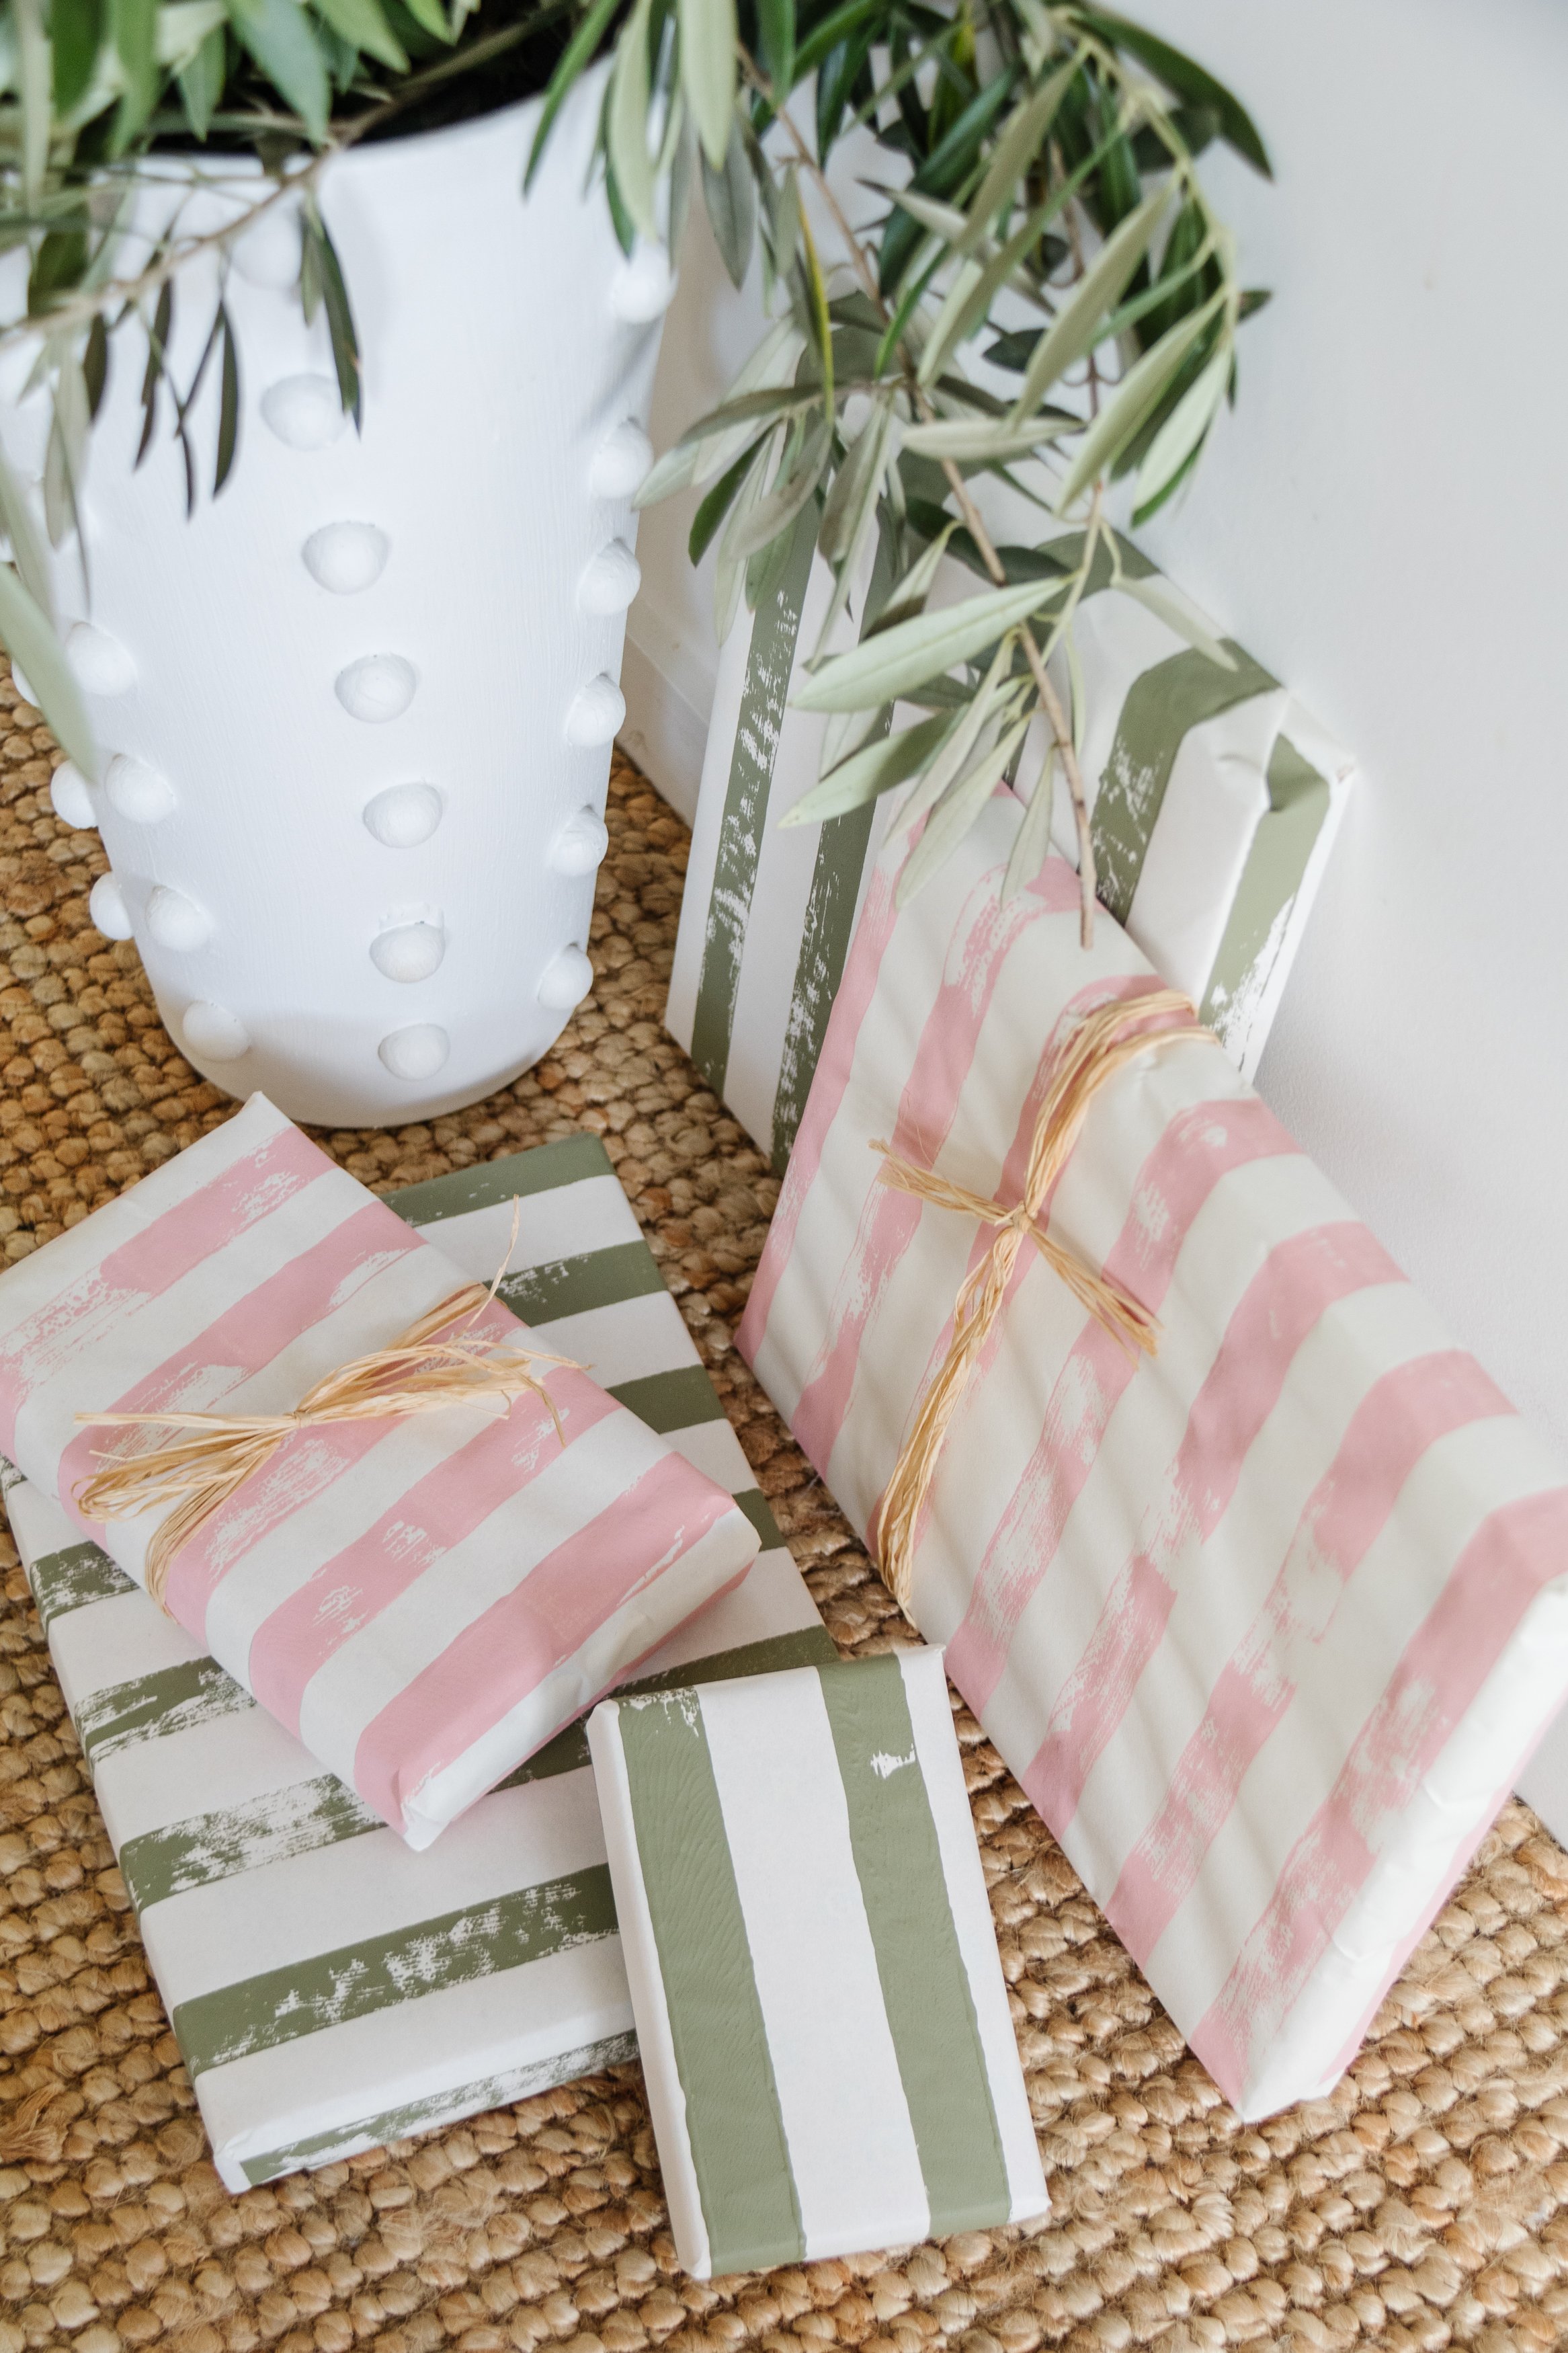
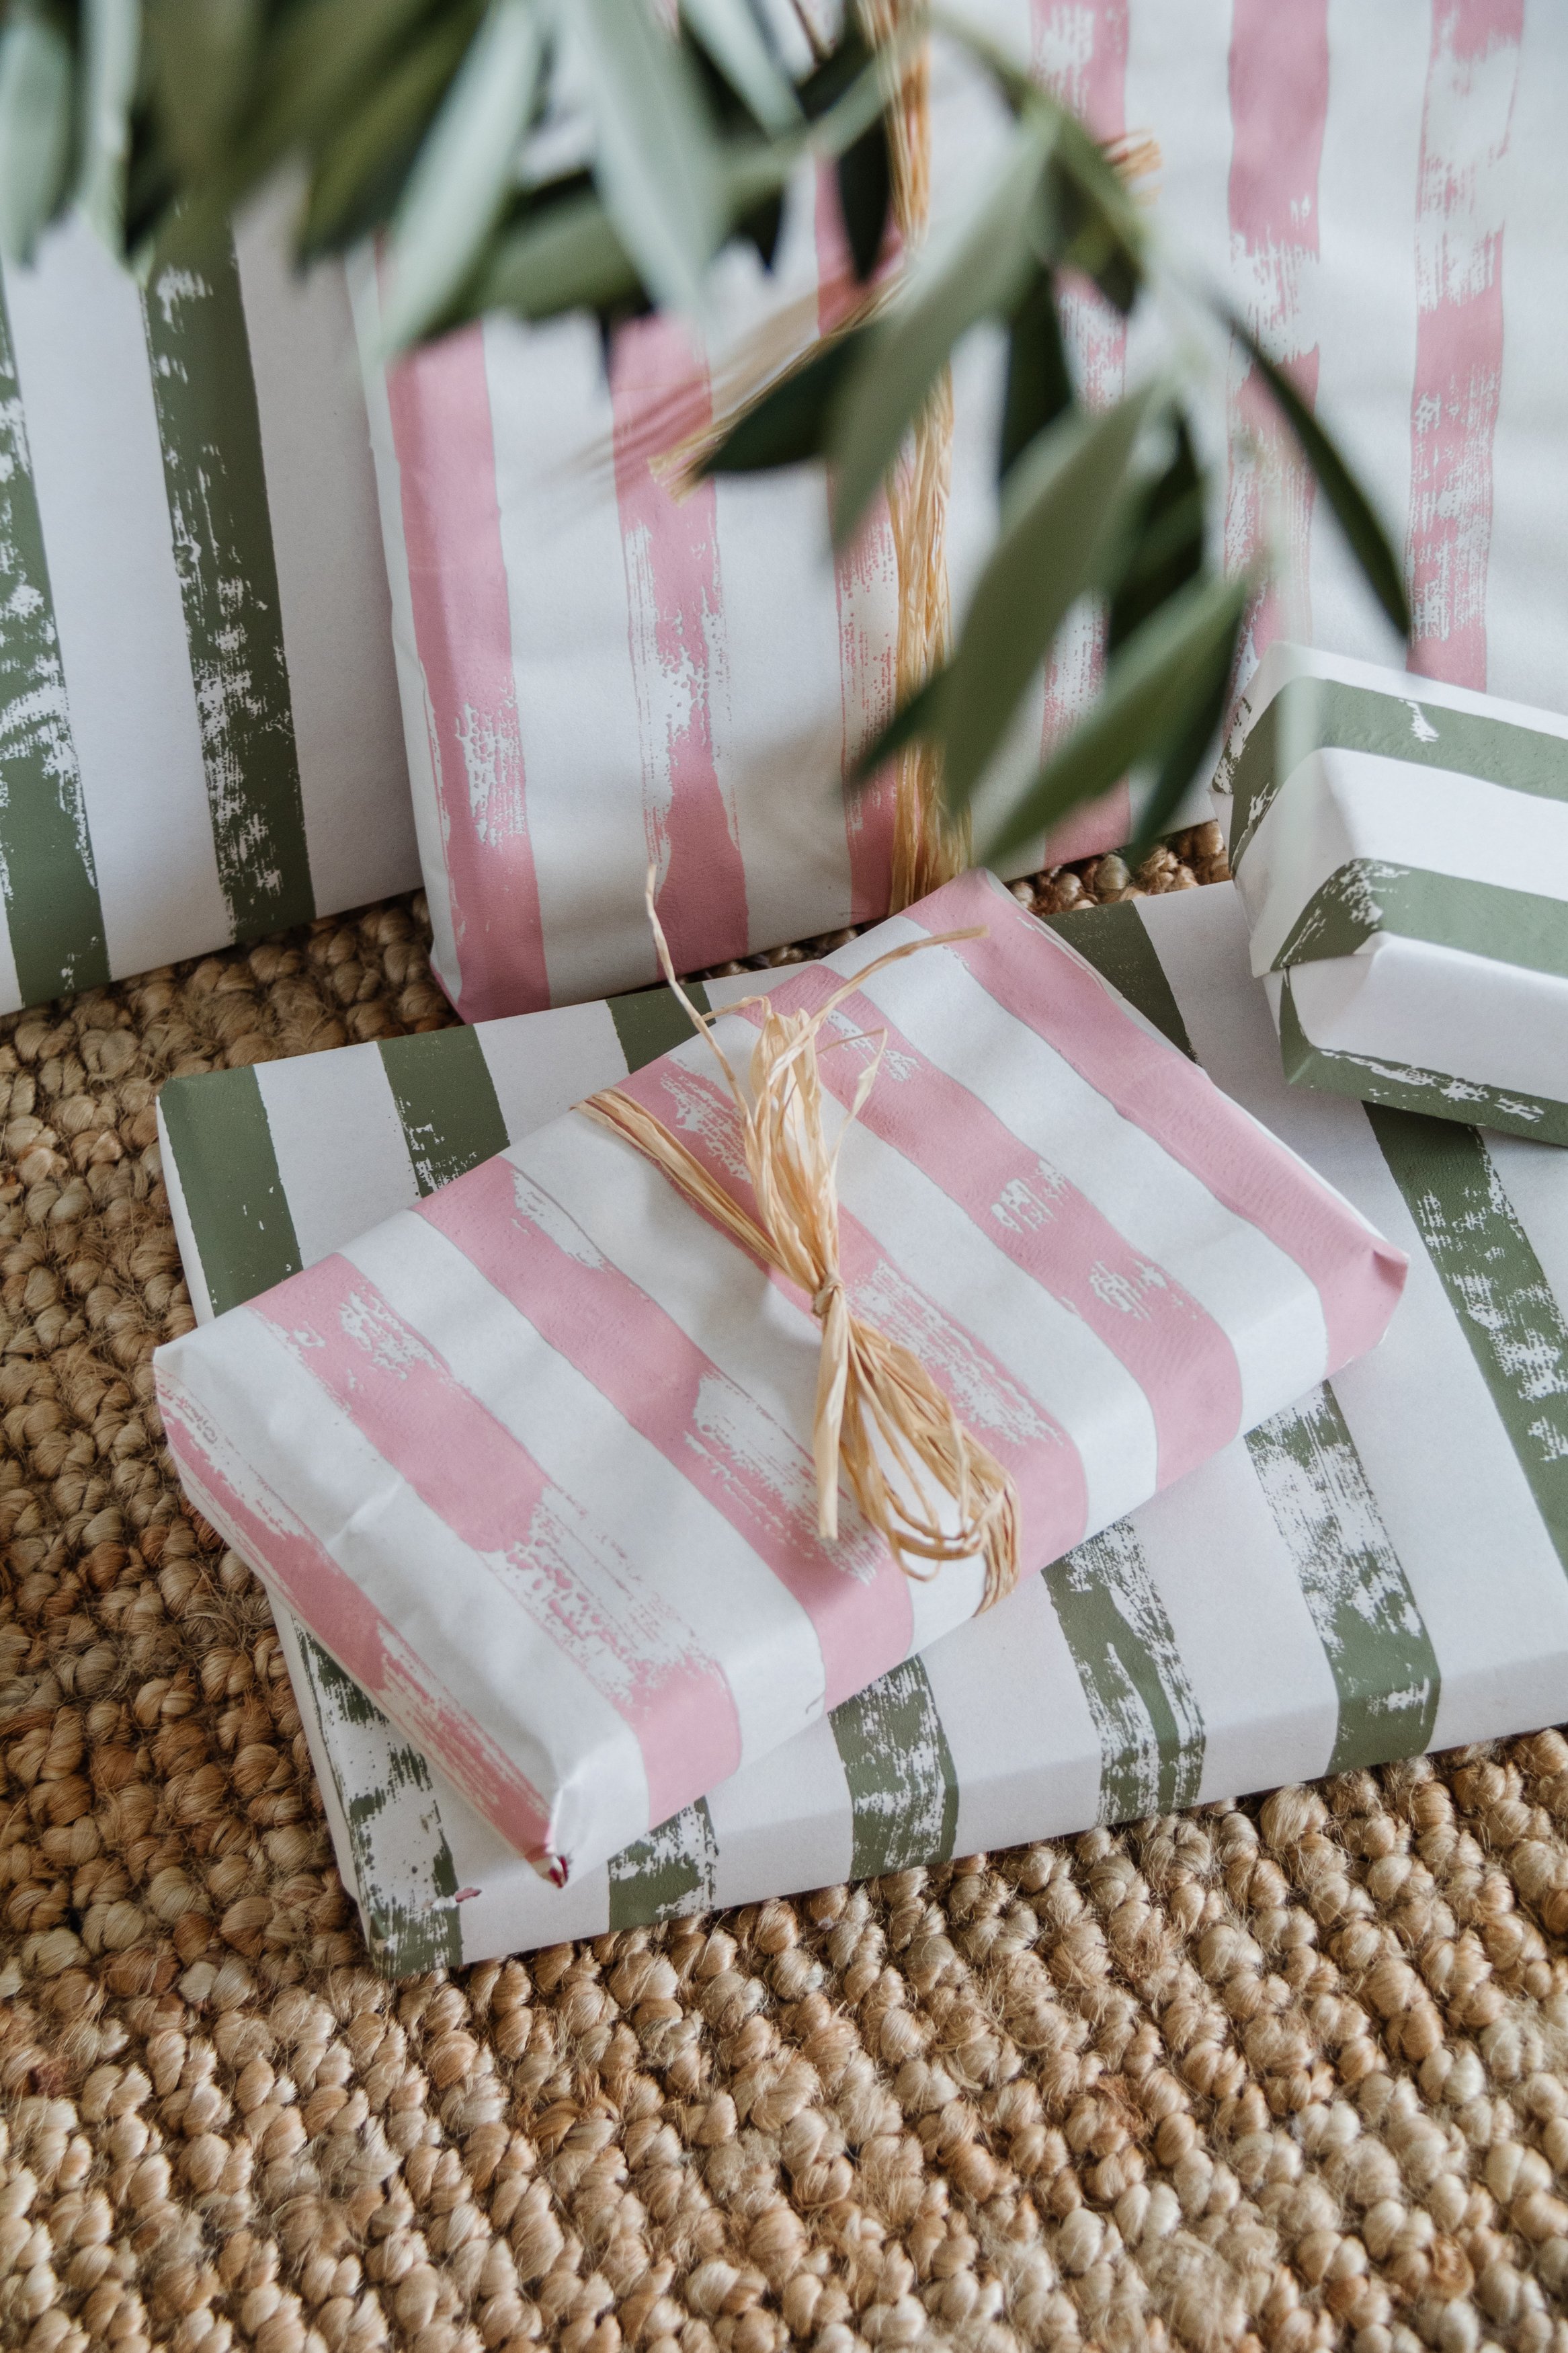
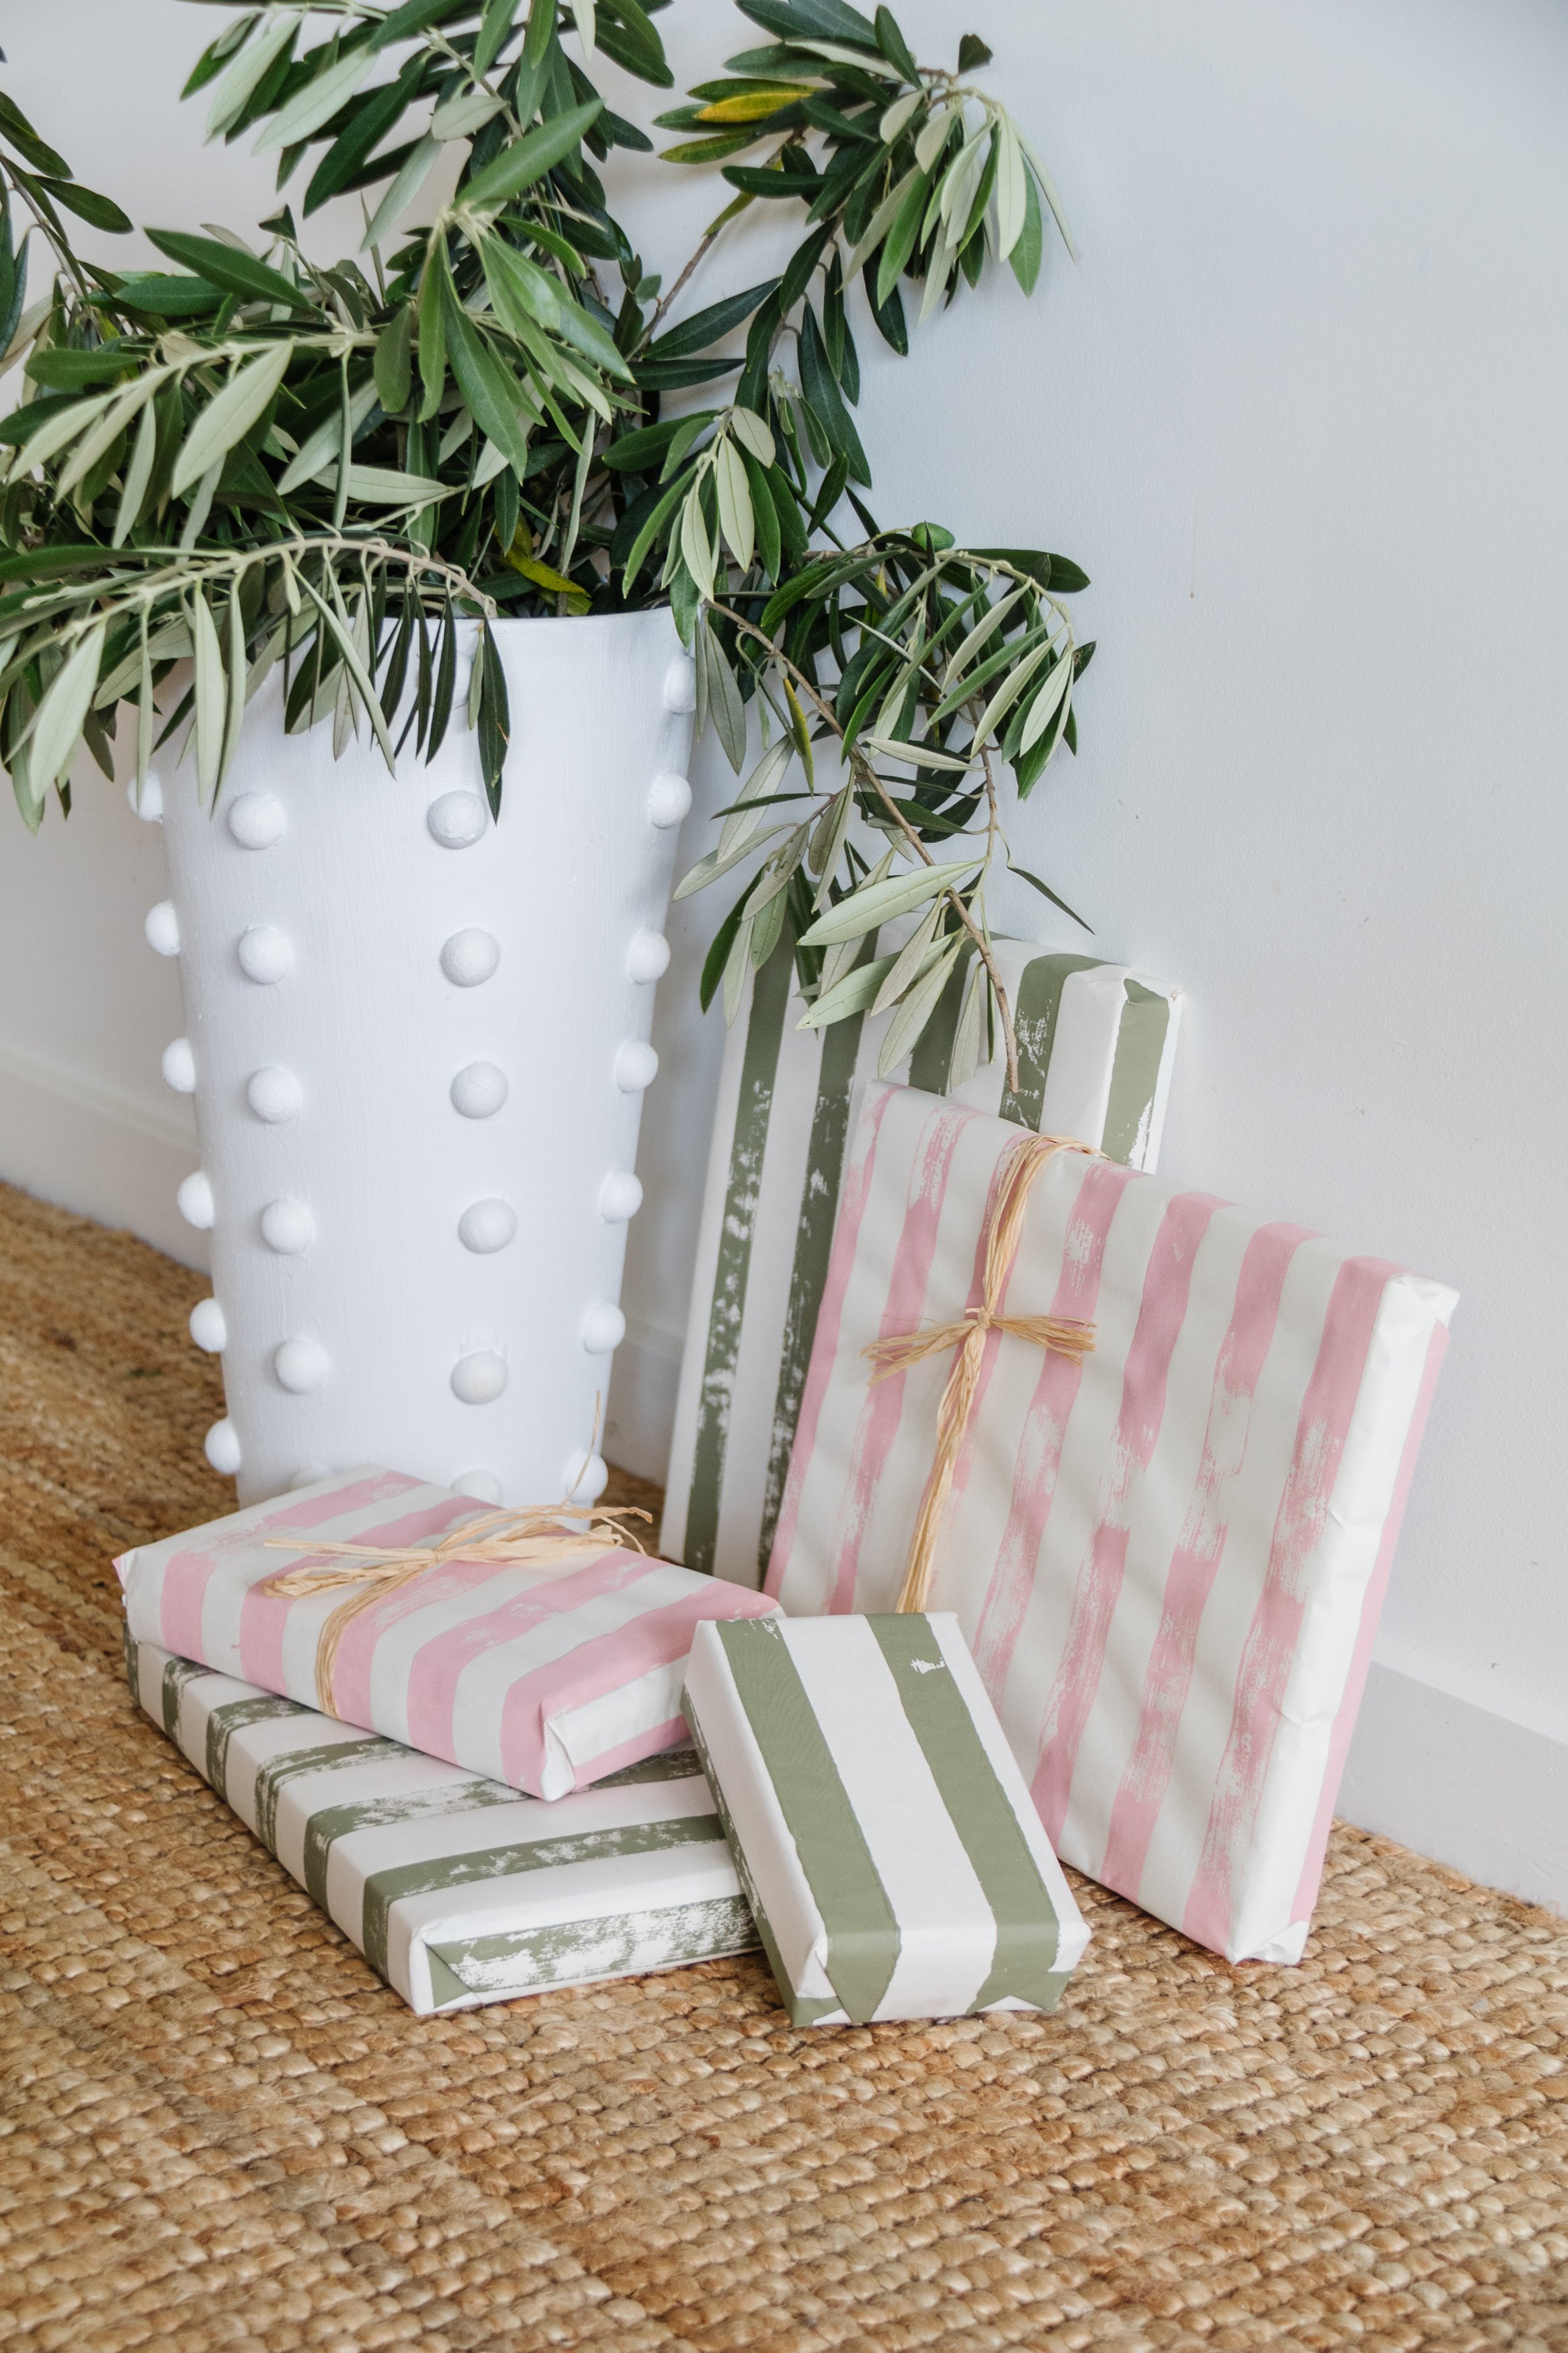
And that's what I did. As you know I love stripes and I wanted to incorporate them into my gift wrapping for Christmas this year, but I couldn’t find anything I liked. I had some timber off cuts leftover from my DIY Wooden Christmas Tree project, so I wondered if I could use this as a stamp to paint stripes onto butcher's paper. I decided to experiment with my idea by thoroughly painting one side of the pine, then pressing it firmly onto the paper. And it worked! Honestly, I am so surprised how good this wrapping paper looks! And even though our outdoor table is a little wonky and the stripes aren’t perfect, I kind of like the striped rustic look. And I hope you do too. Read on to learn how to make your own DIY Striped Wrapping Paper. And of course, Merry Christmas!
Watch this video to see how to make my DIY Striped Wrapping Paper
DIY Striped Wrapping Paper

Project Details
🕒 Project Time Estimate: Under 30 mins, including paint drying time (it took me about 7 minutes to finish stamping one big piece of paper)
💰 Materials Cost: Under $15 (and you’ll be able to make plenty of wrapping paper year round!)
⚒️ Power Tools: None!
👷♀️ Skill Level: Beginner DIYer
Materials
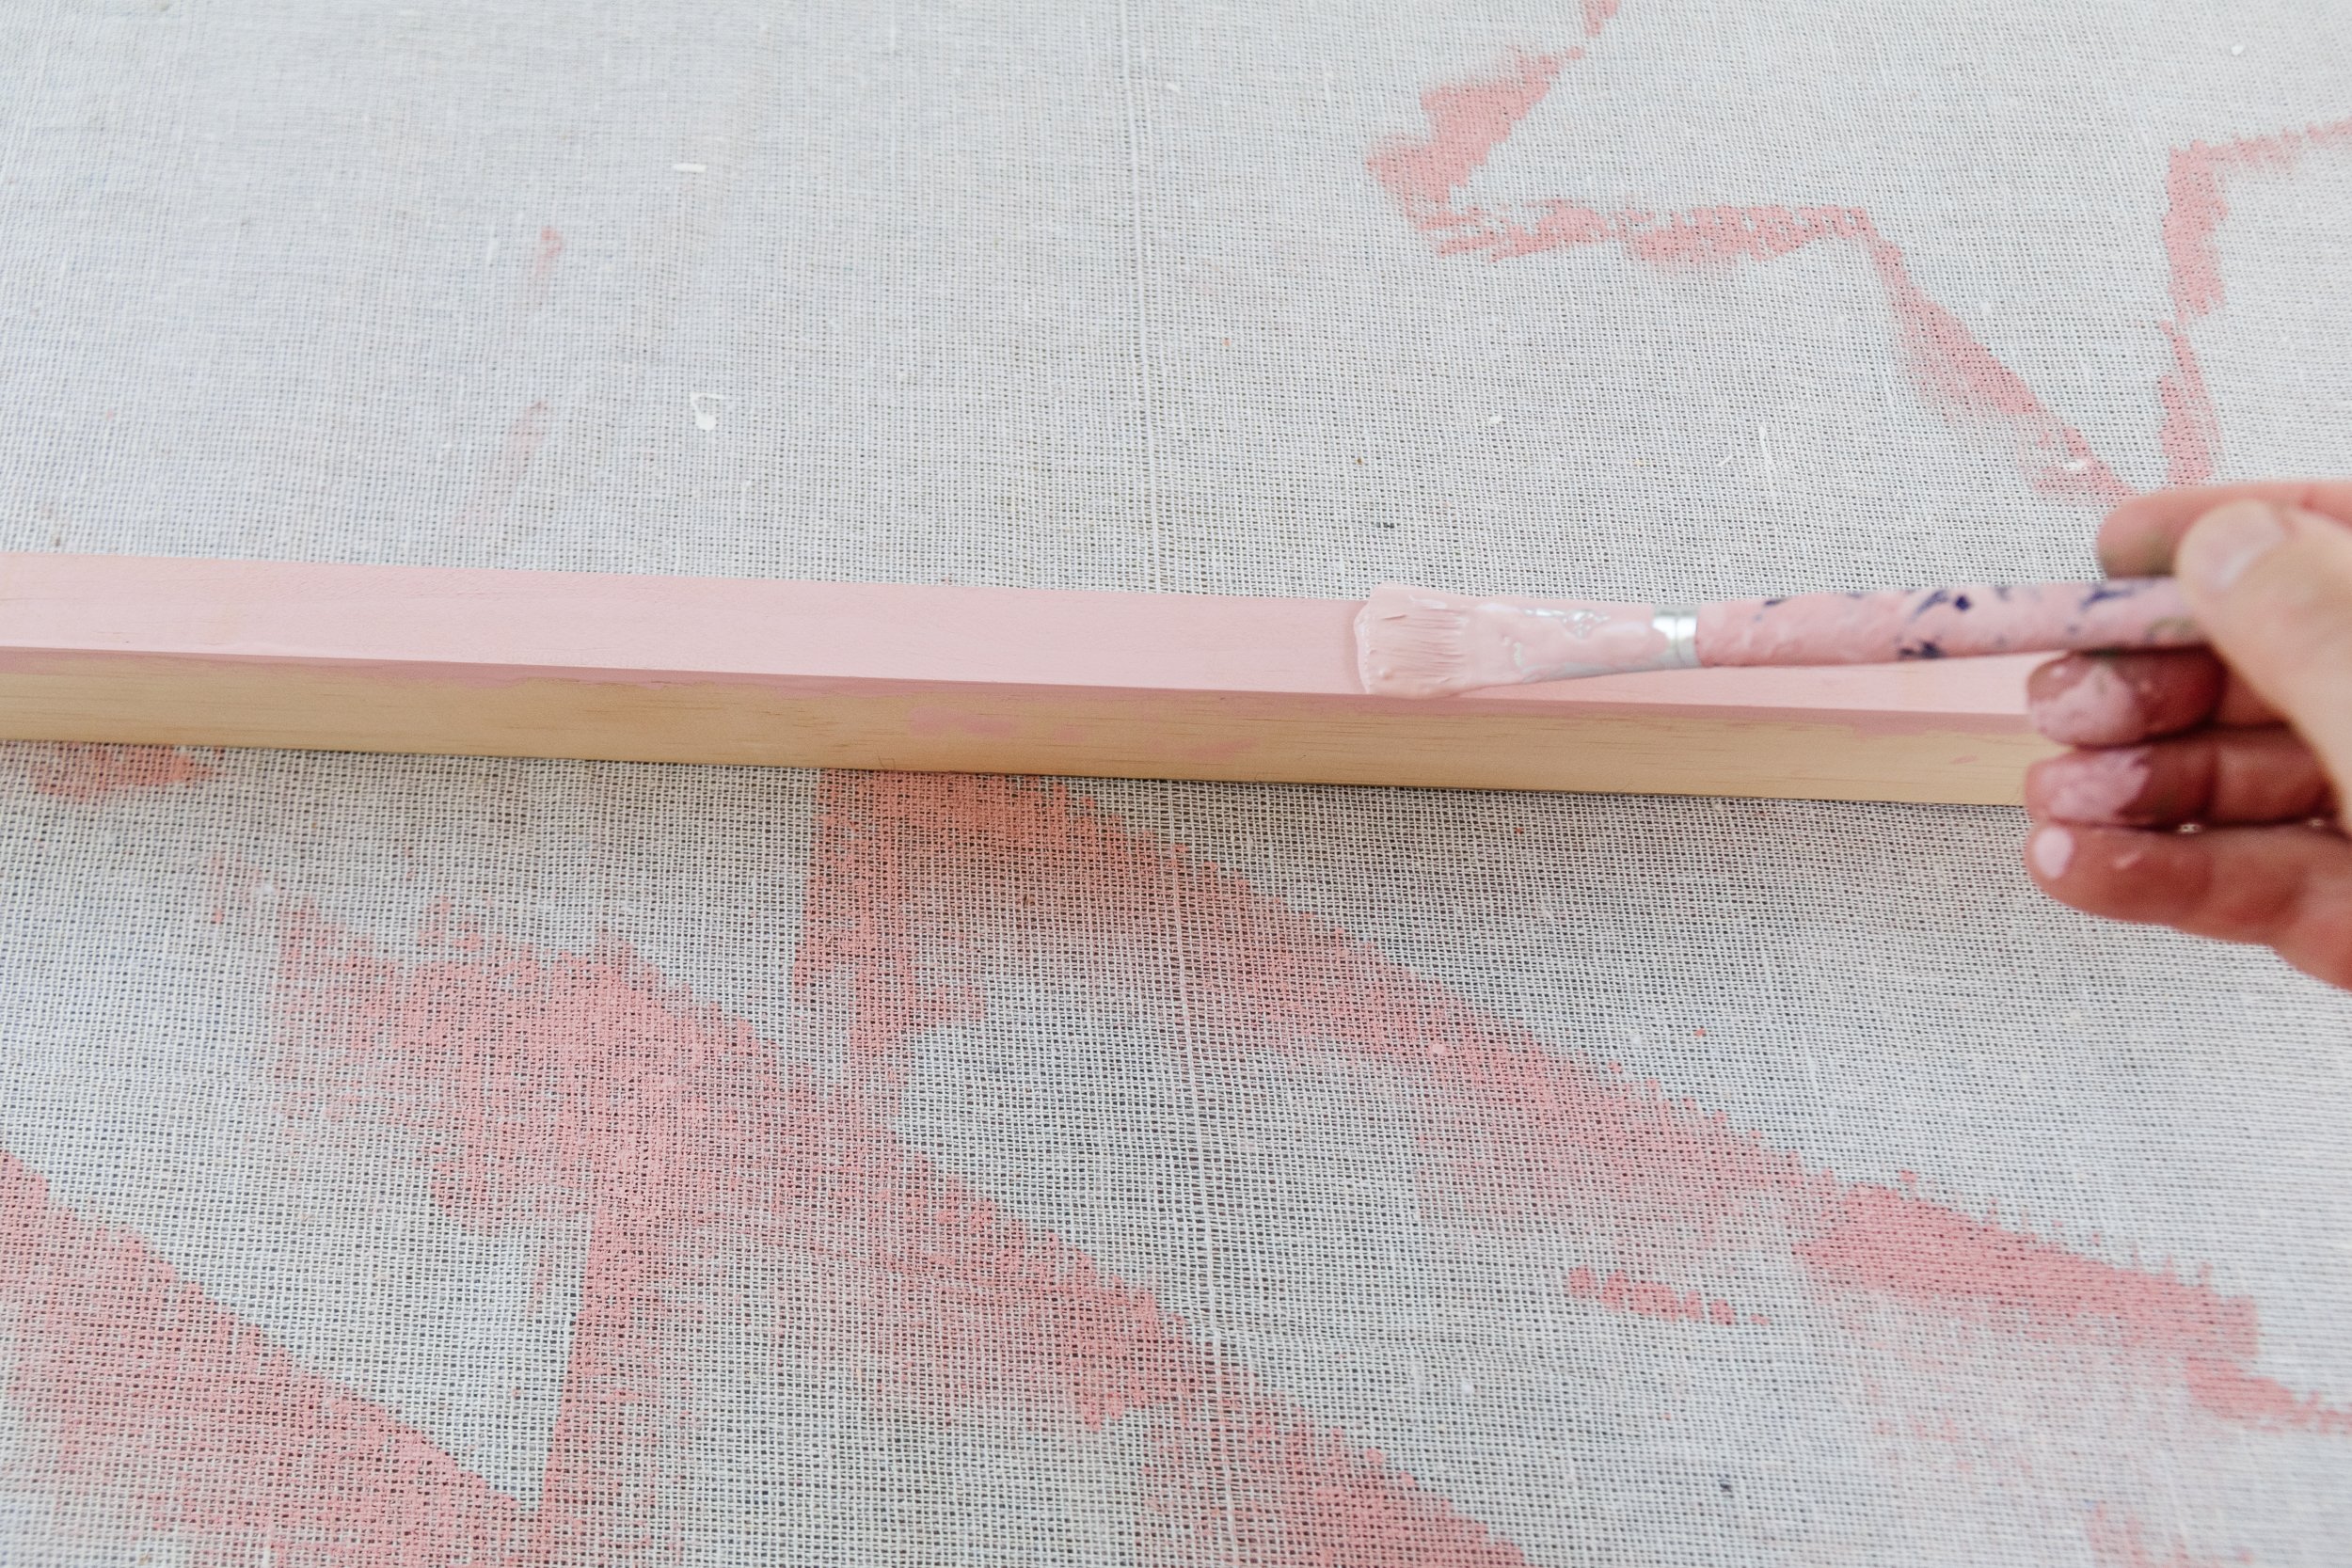
Paint - I used Dulux “Flinders Green” and a mix of Dulux “Lexicon Quarter” with “Morocco”
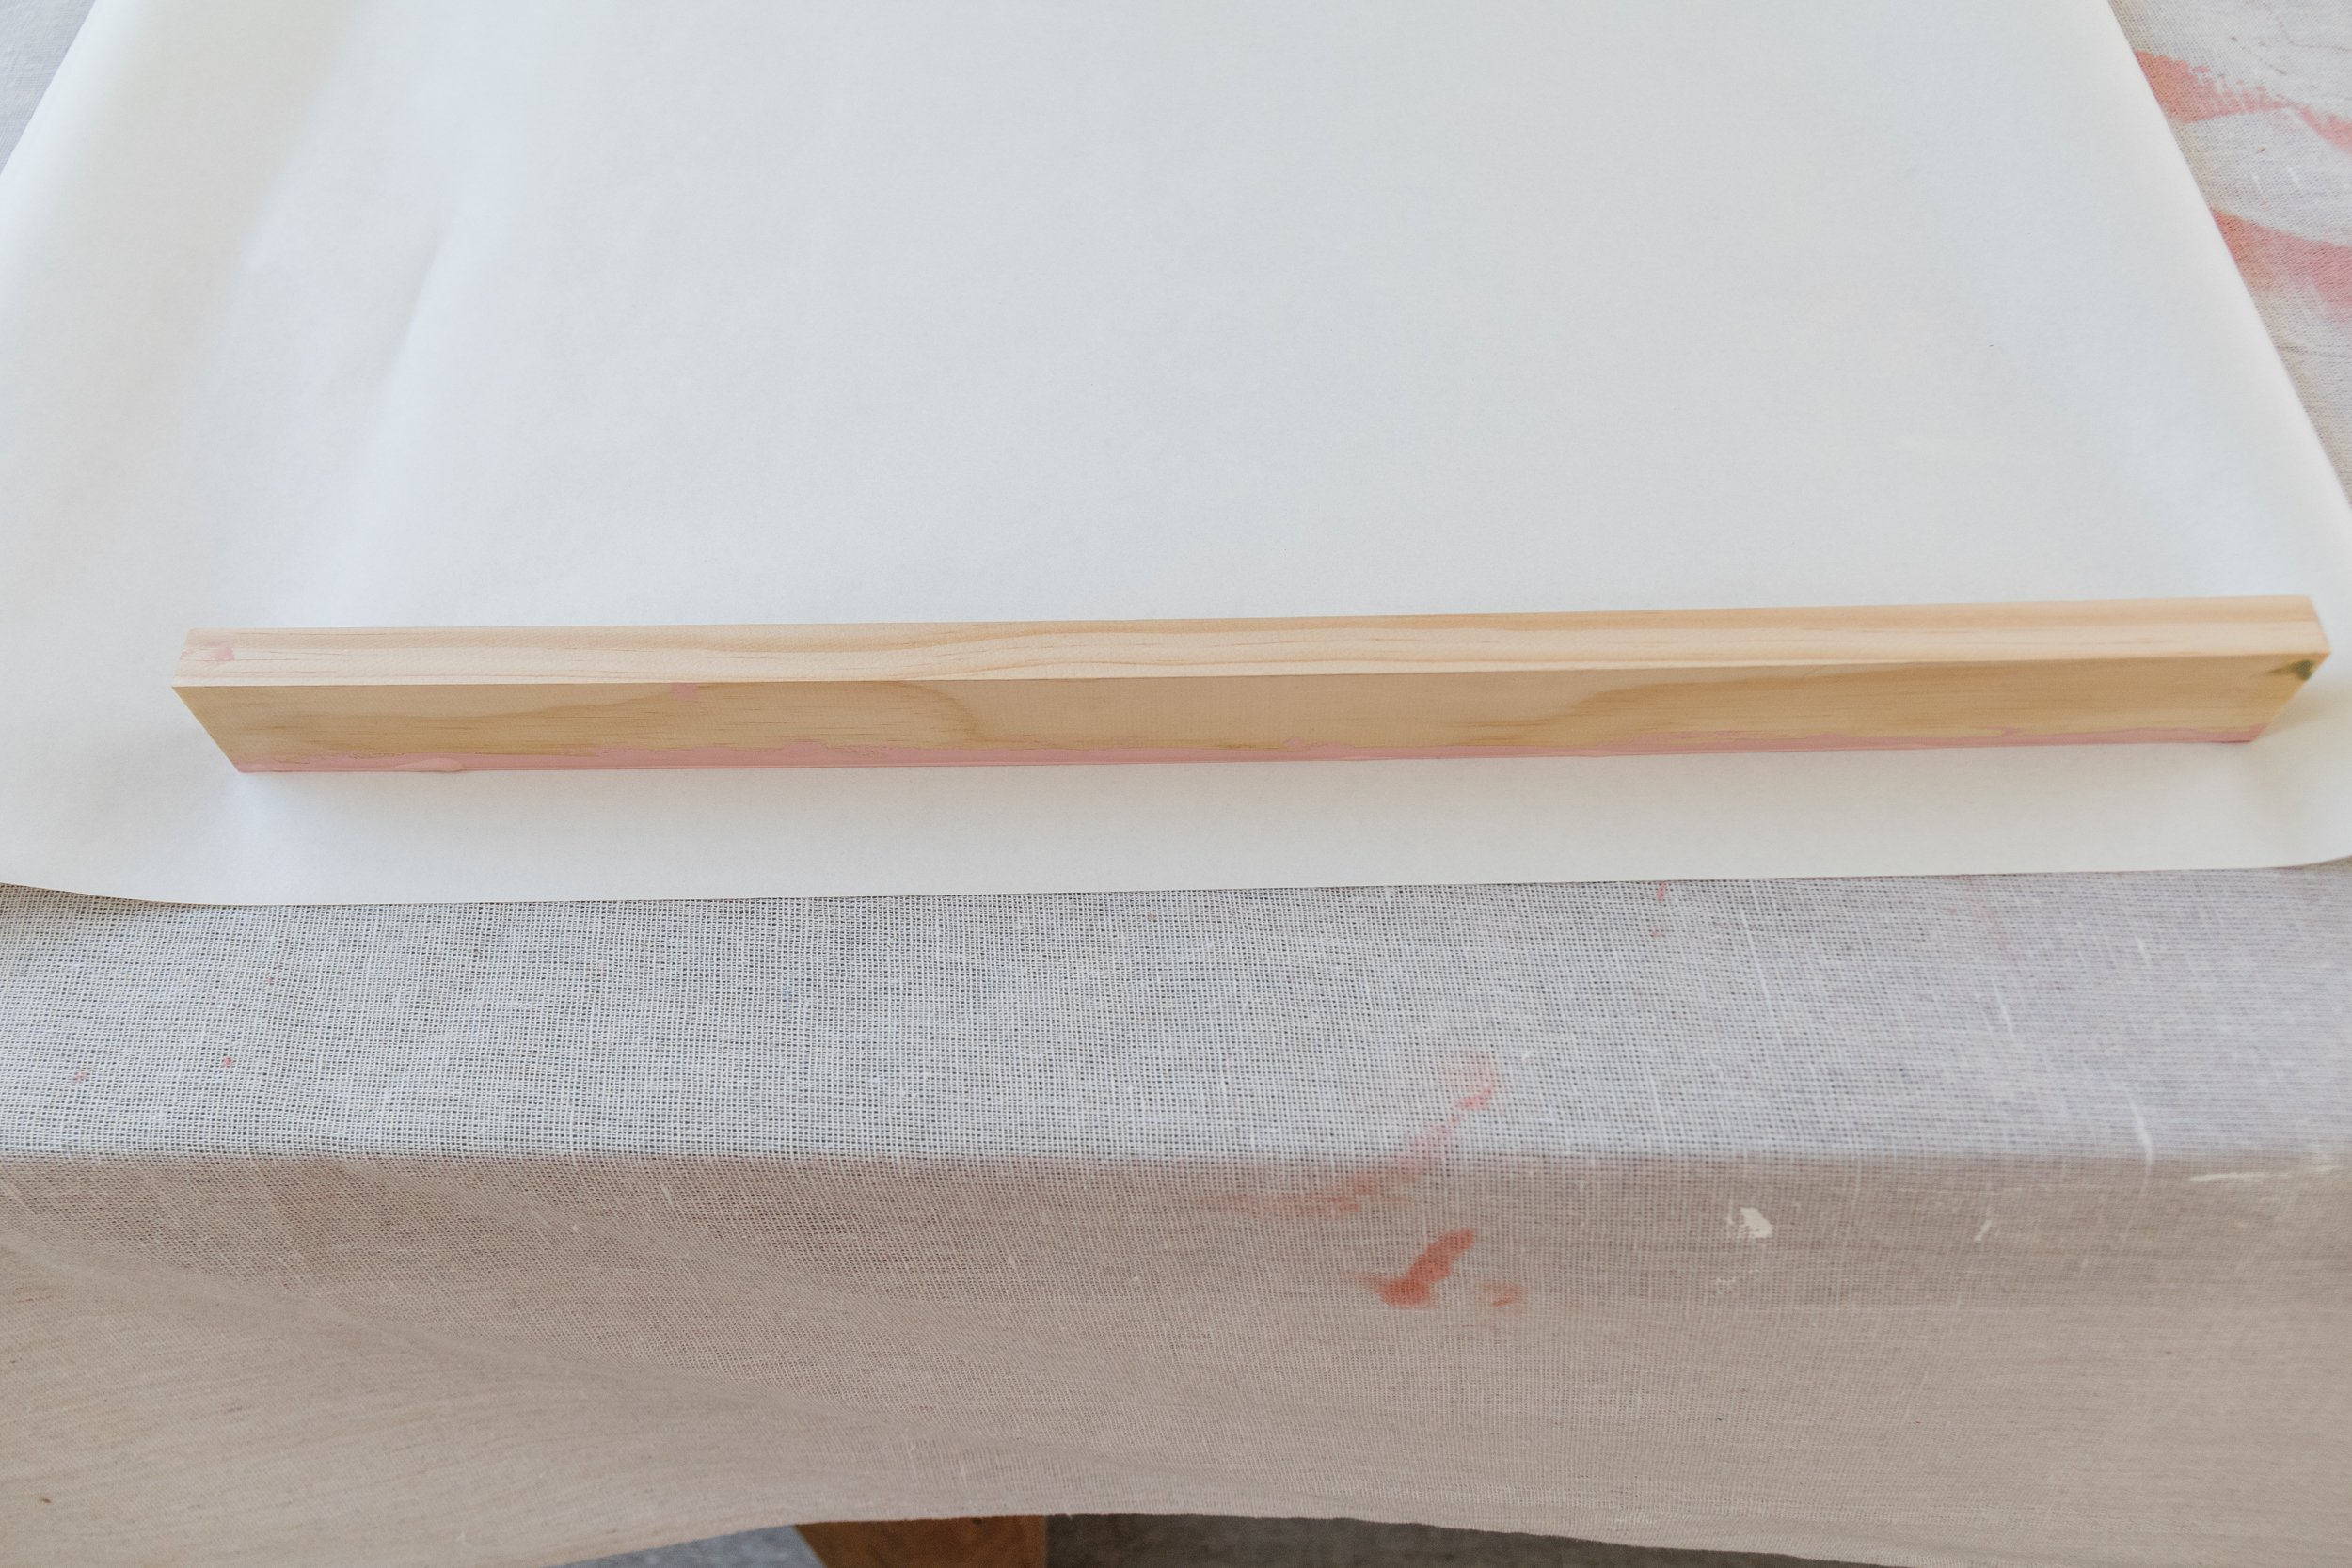
Piece of pine from Bunnings - ask them to cut it in half for you, or you can use a handsaw or mitresaw
How To
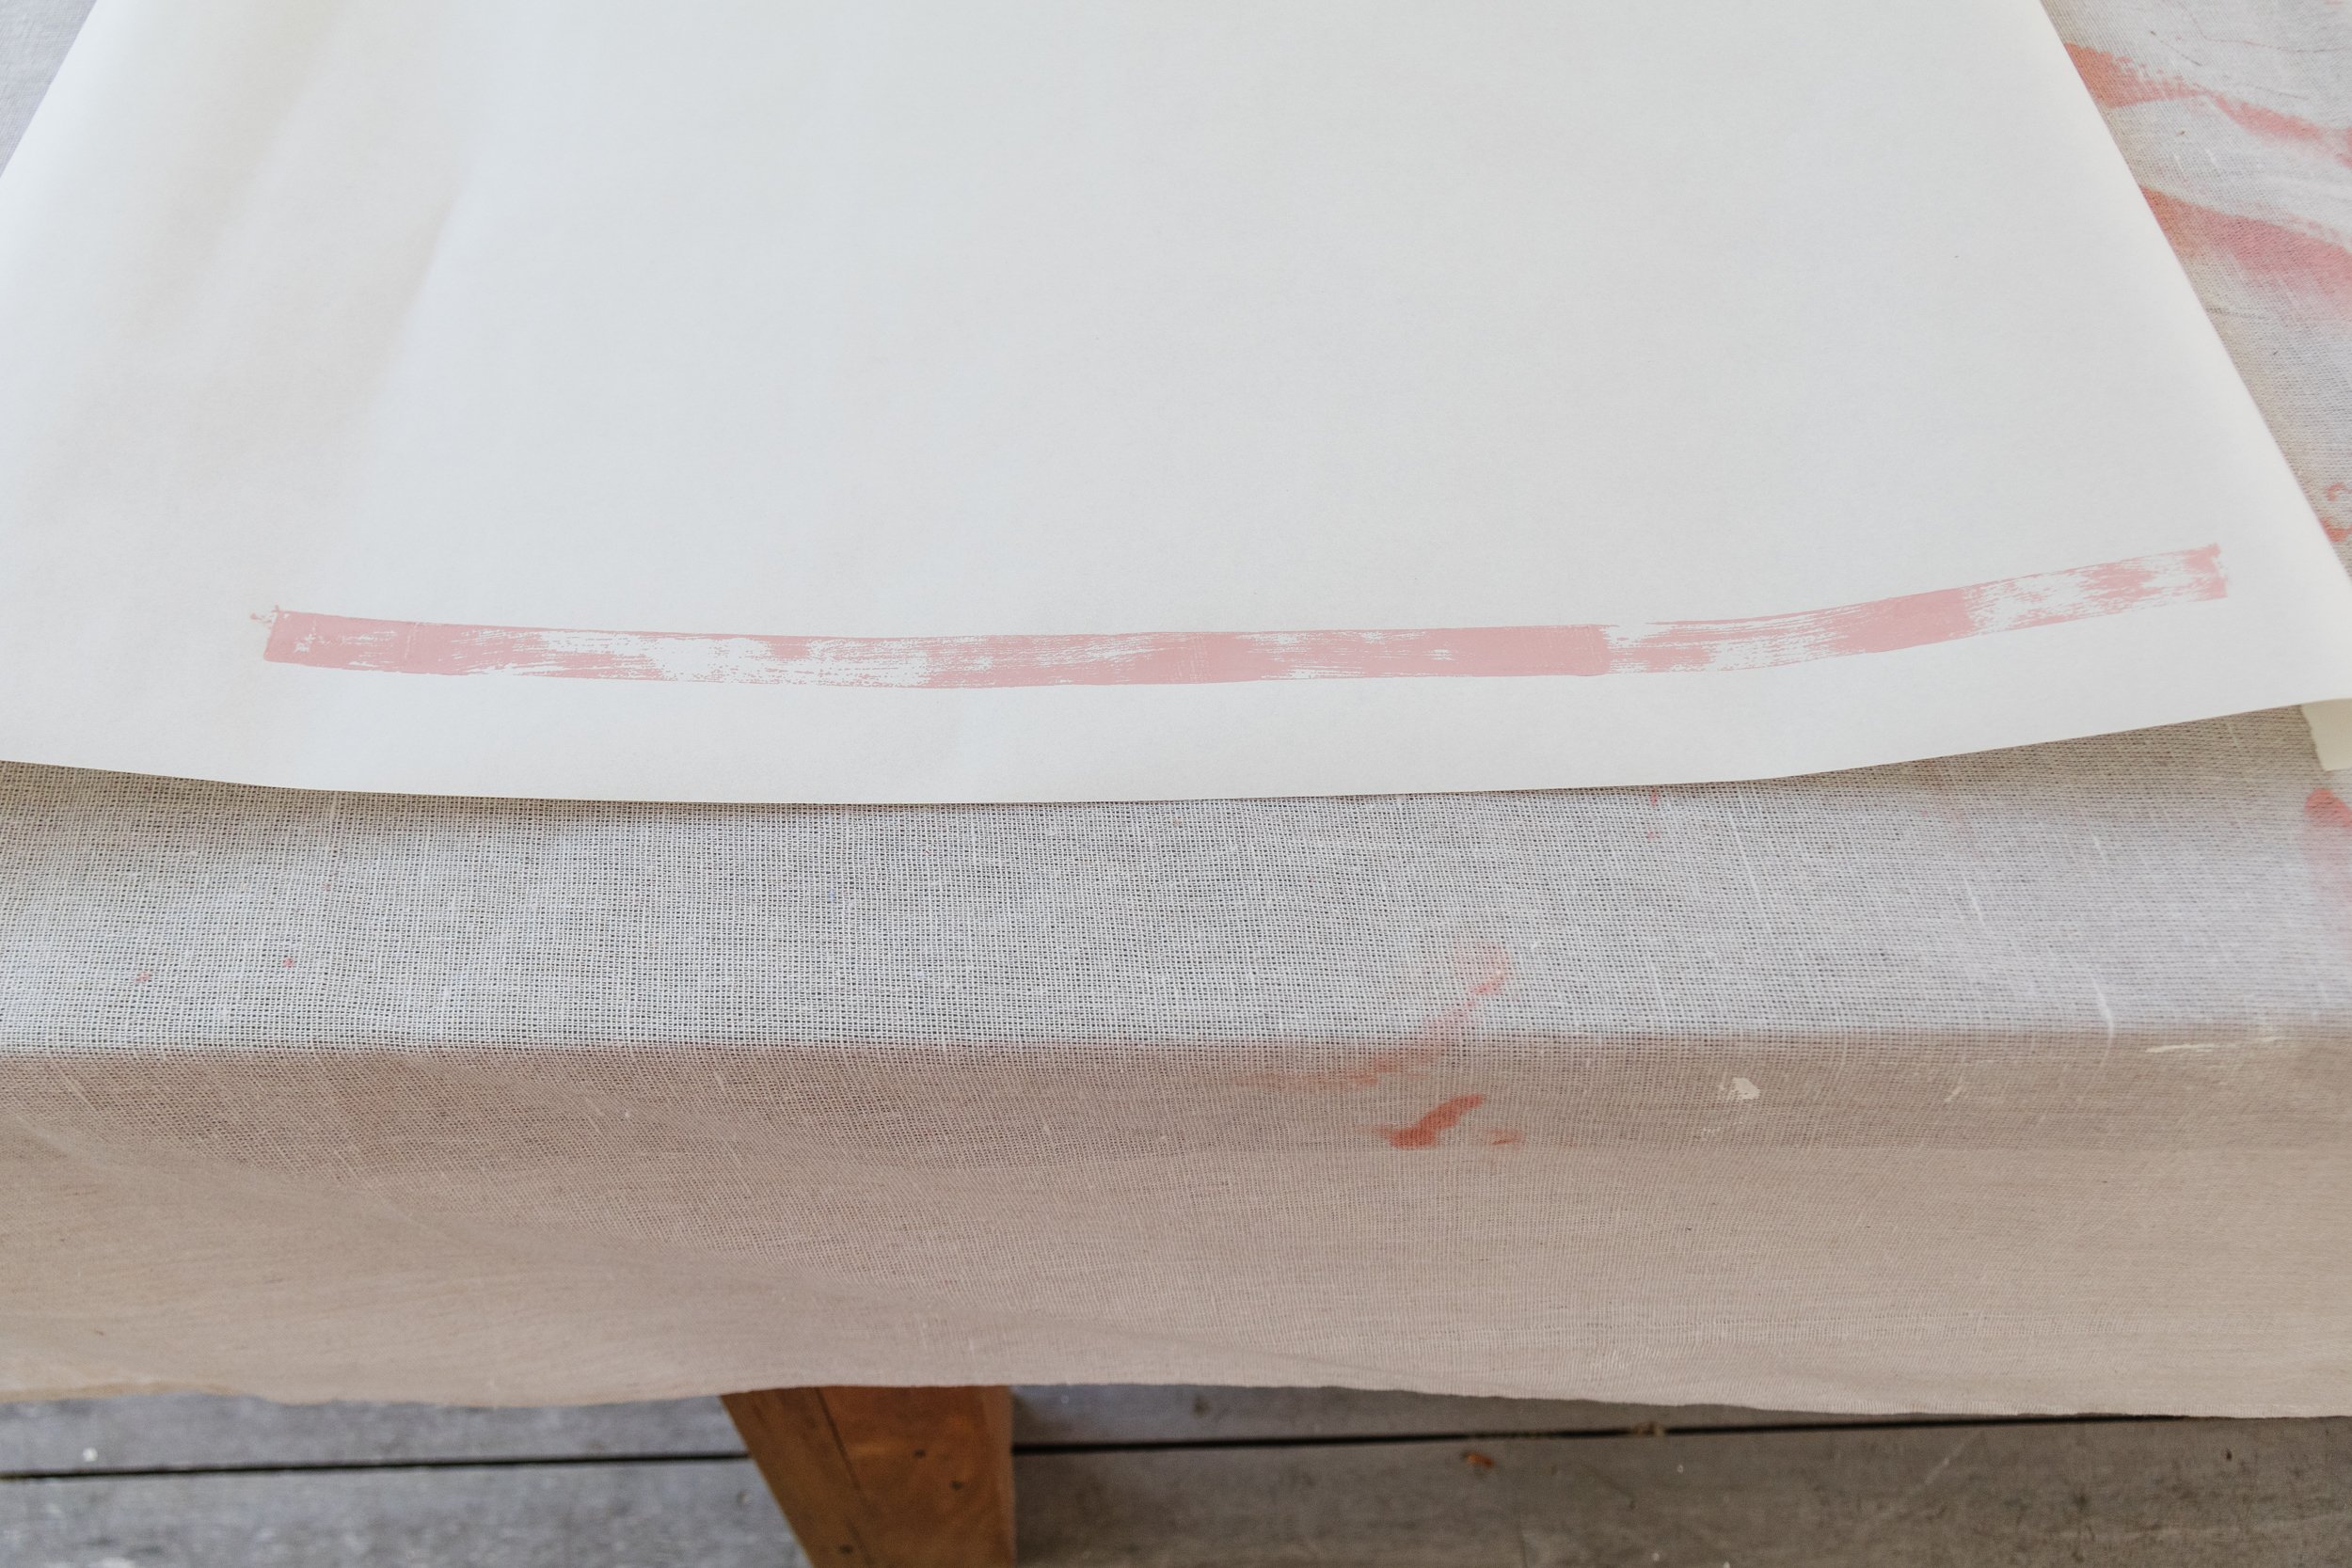
Step 1: Start by rolling out the butchers paper at approximately 80cm width, then tear it off the roll.
Step 2: Apply a thick coat of paint onto the thin side of the pine, then stamp it onto a sheet of butchers paper. Firmly press the pine down from side to the other a couple of times. Holding the paper with one hand, carefully lift the timber off the paper.
Step 3: Repeat to create a striped pattern. Set aside to dry, then wrap your gifts.
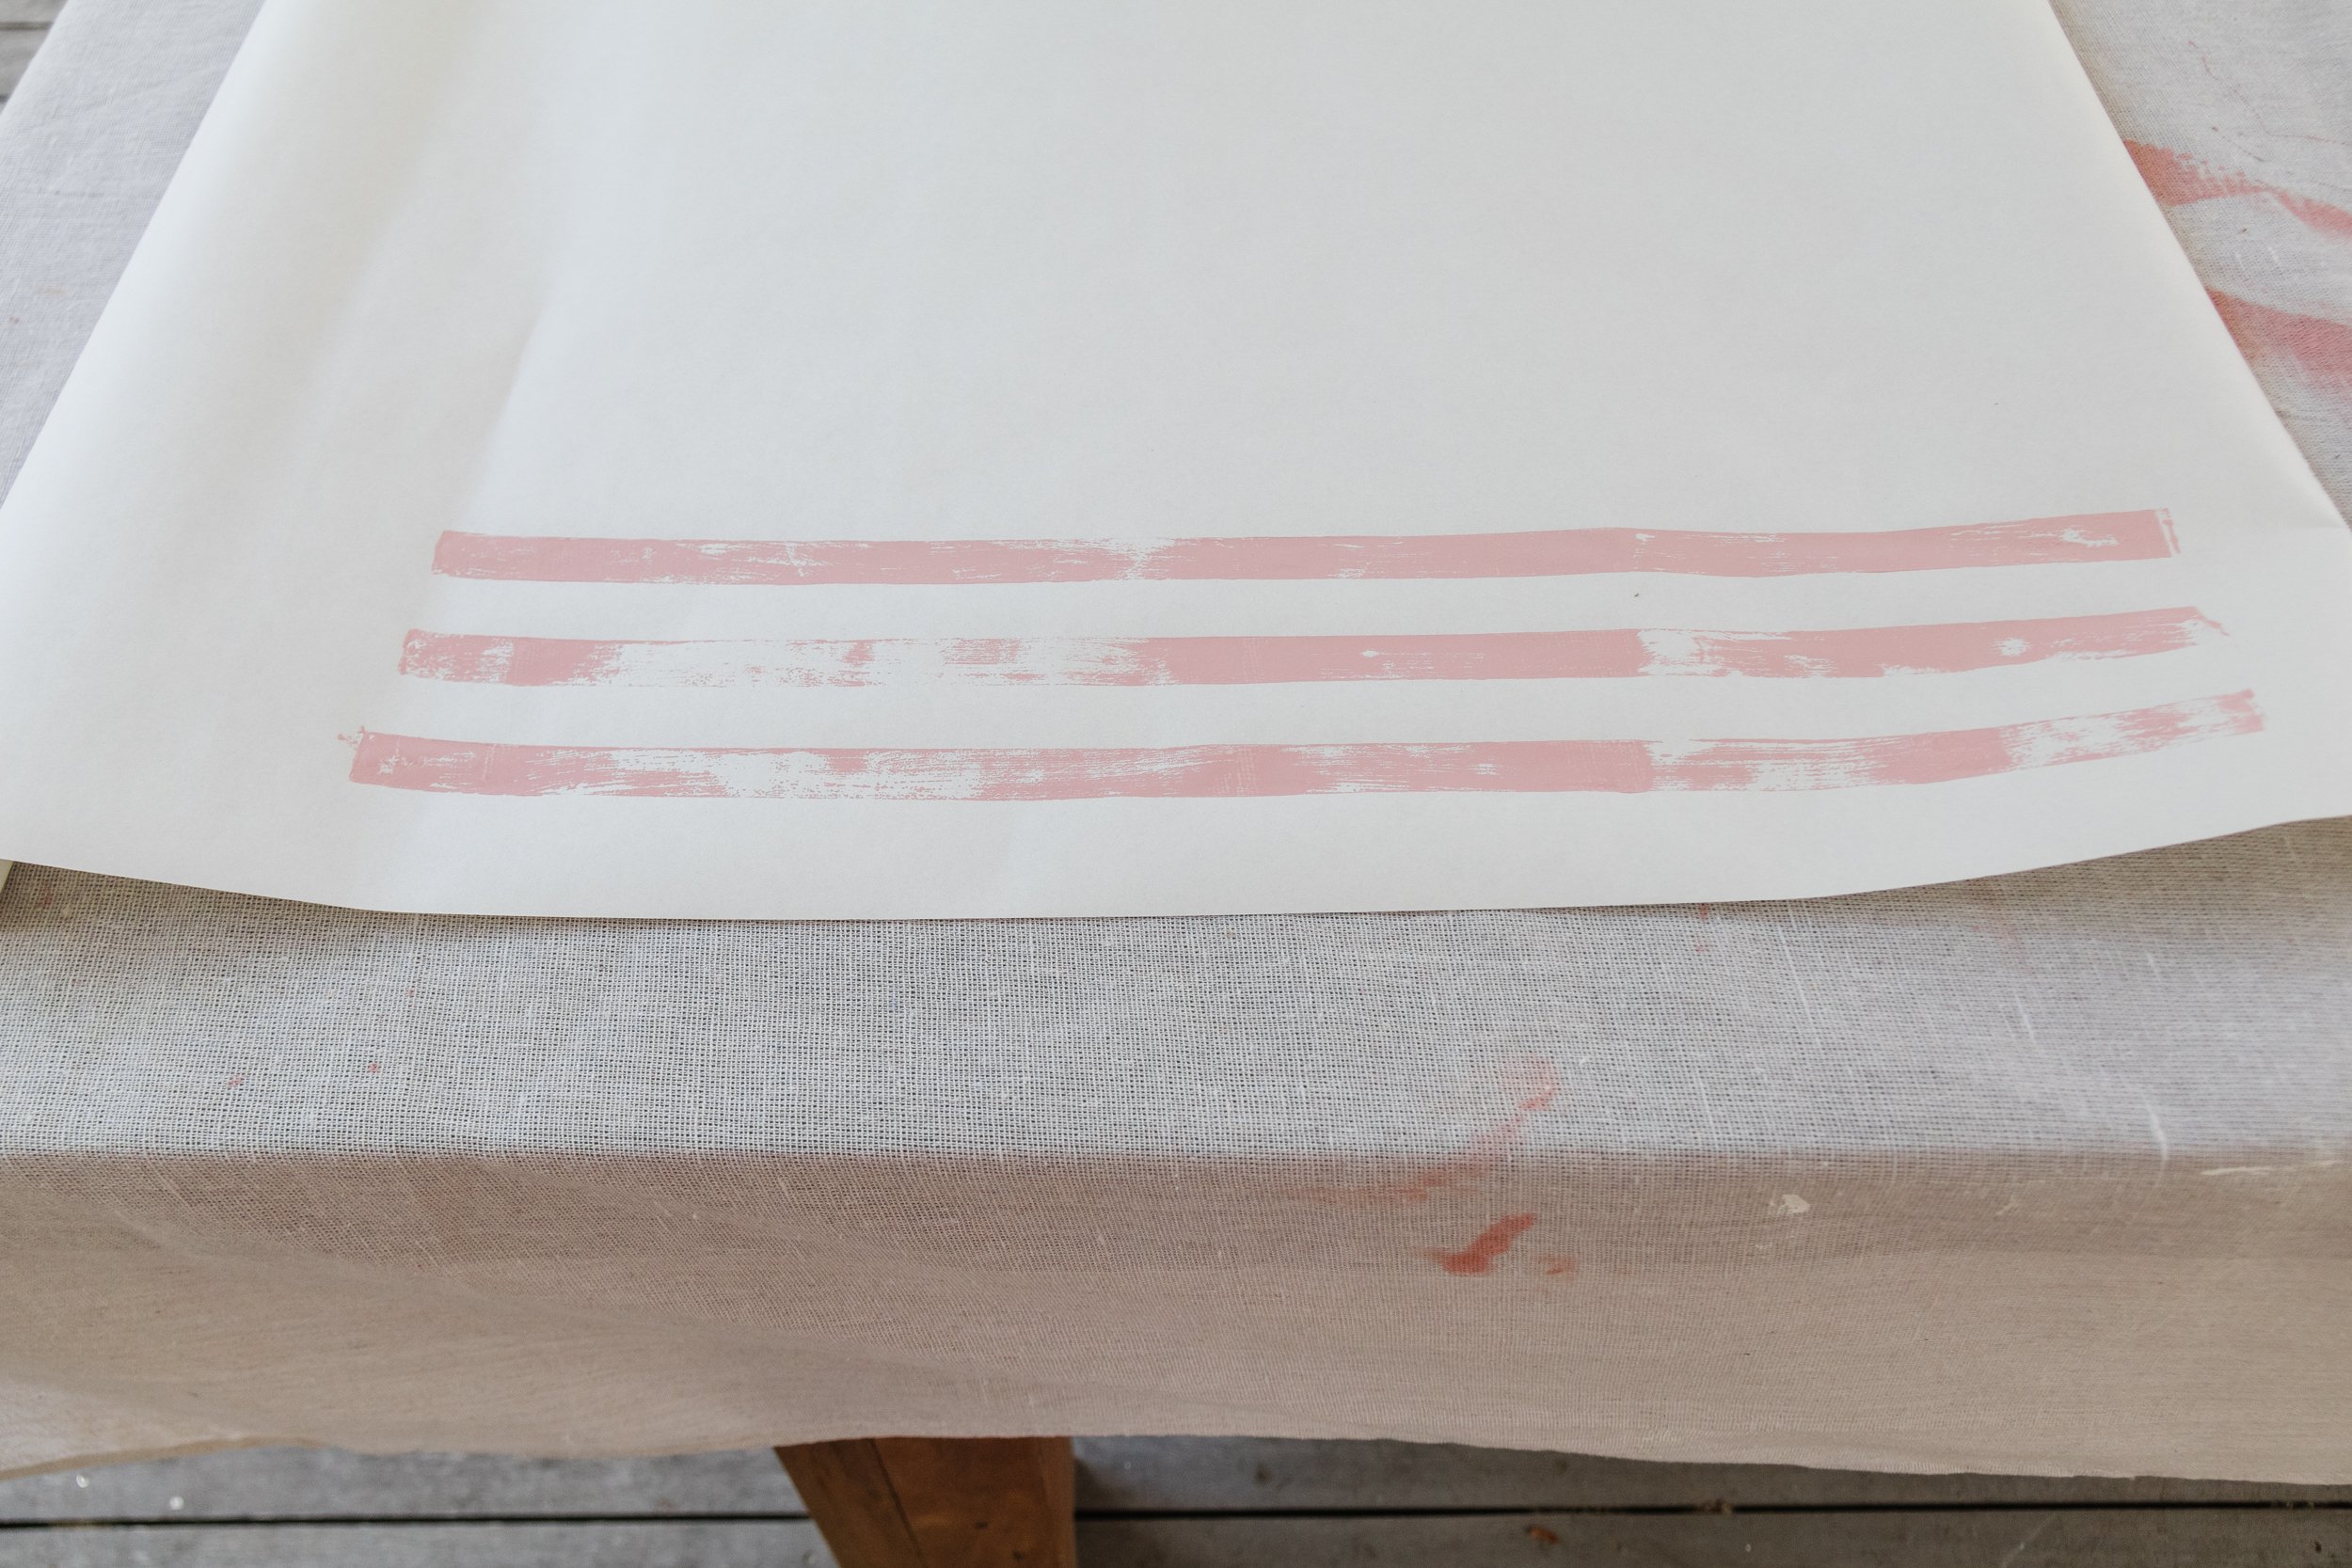

Ta daaaa!
How EASY is that! Seriously. I’ve shied away from making my own wrapping paper over the years because it just seems so labour intensive. Cutting intricate patterns into potatoes, not to mention the food waste, just didn’t appeal to me. But this does because it’s so easy and I can still use the timber from this project for a myriad of other projects, therefore making it sustainable and affordable. And that’s what I’m allllll about. Merry Christmas guys!