DIY Terracotta Clay Star Ornaments
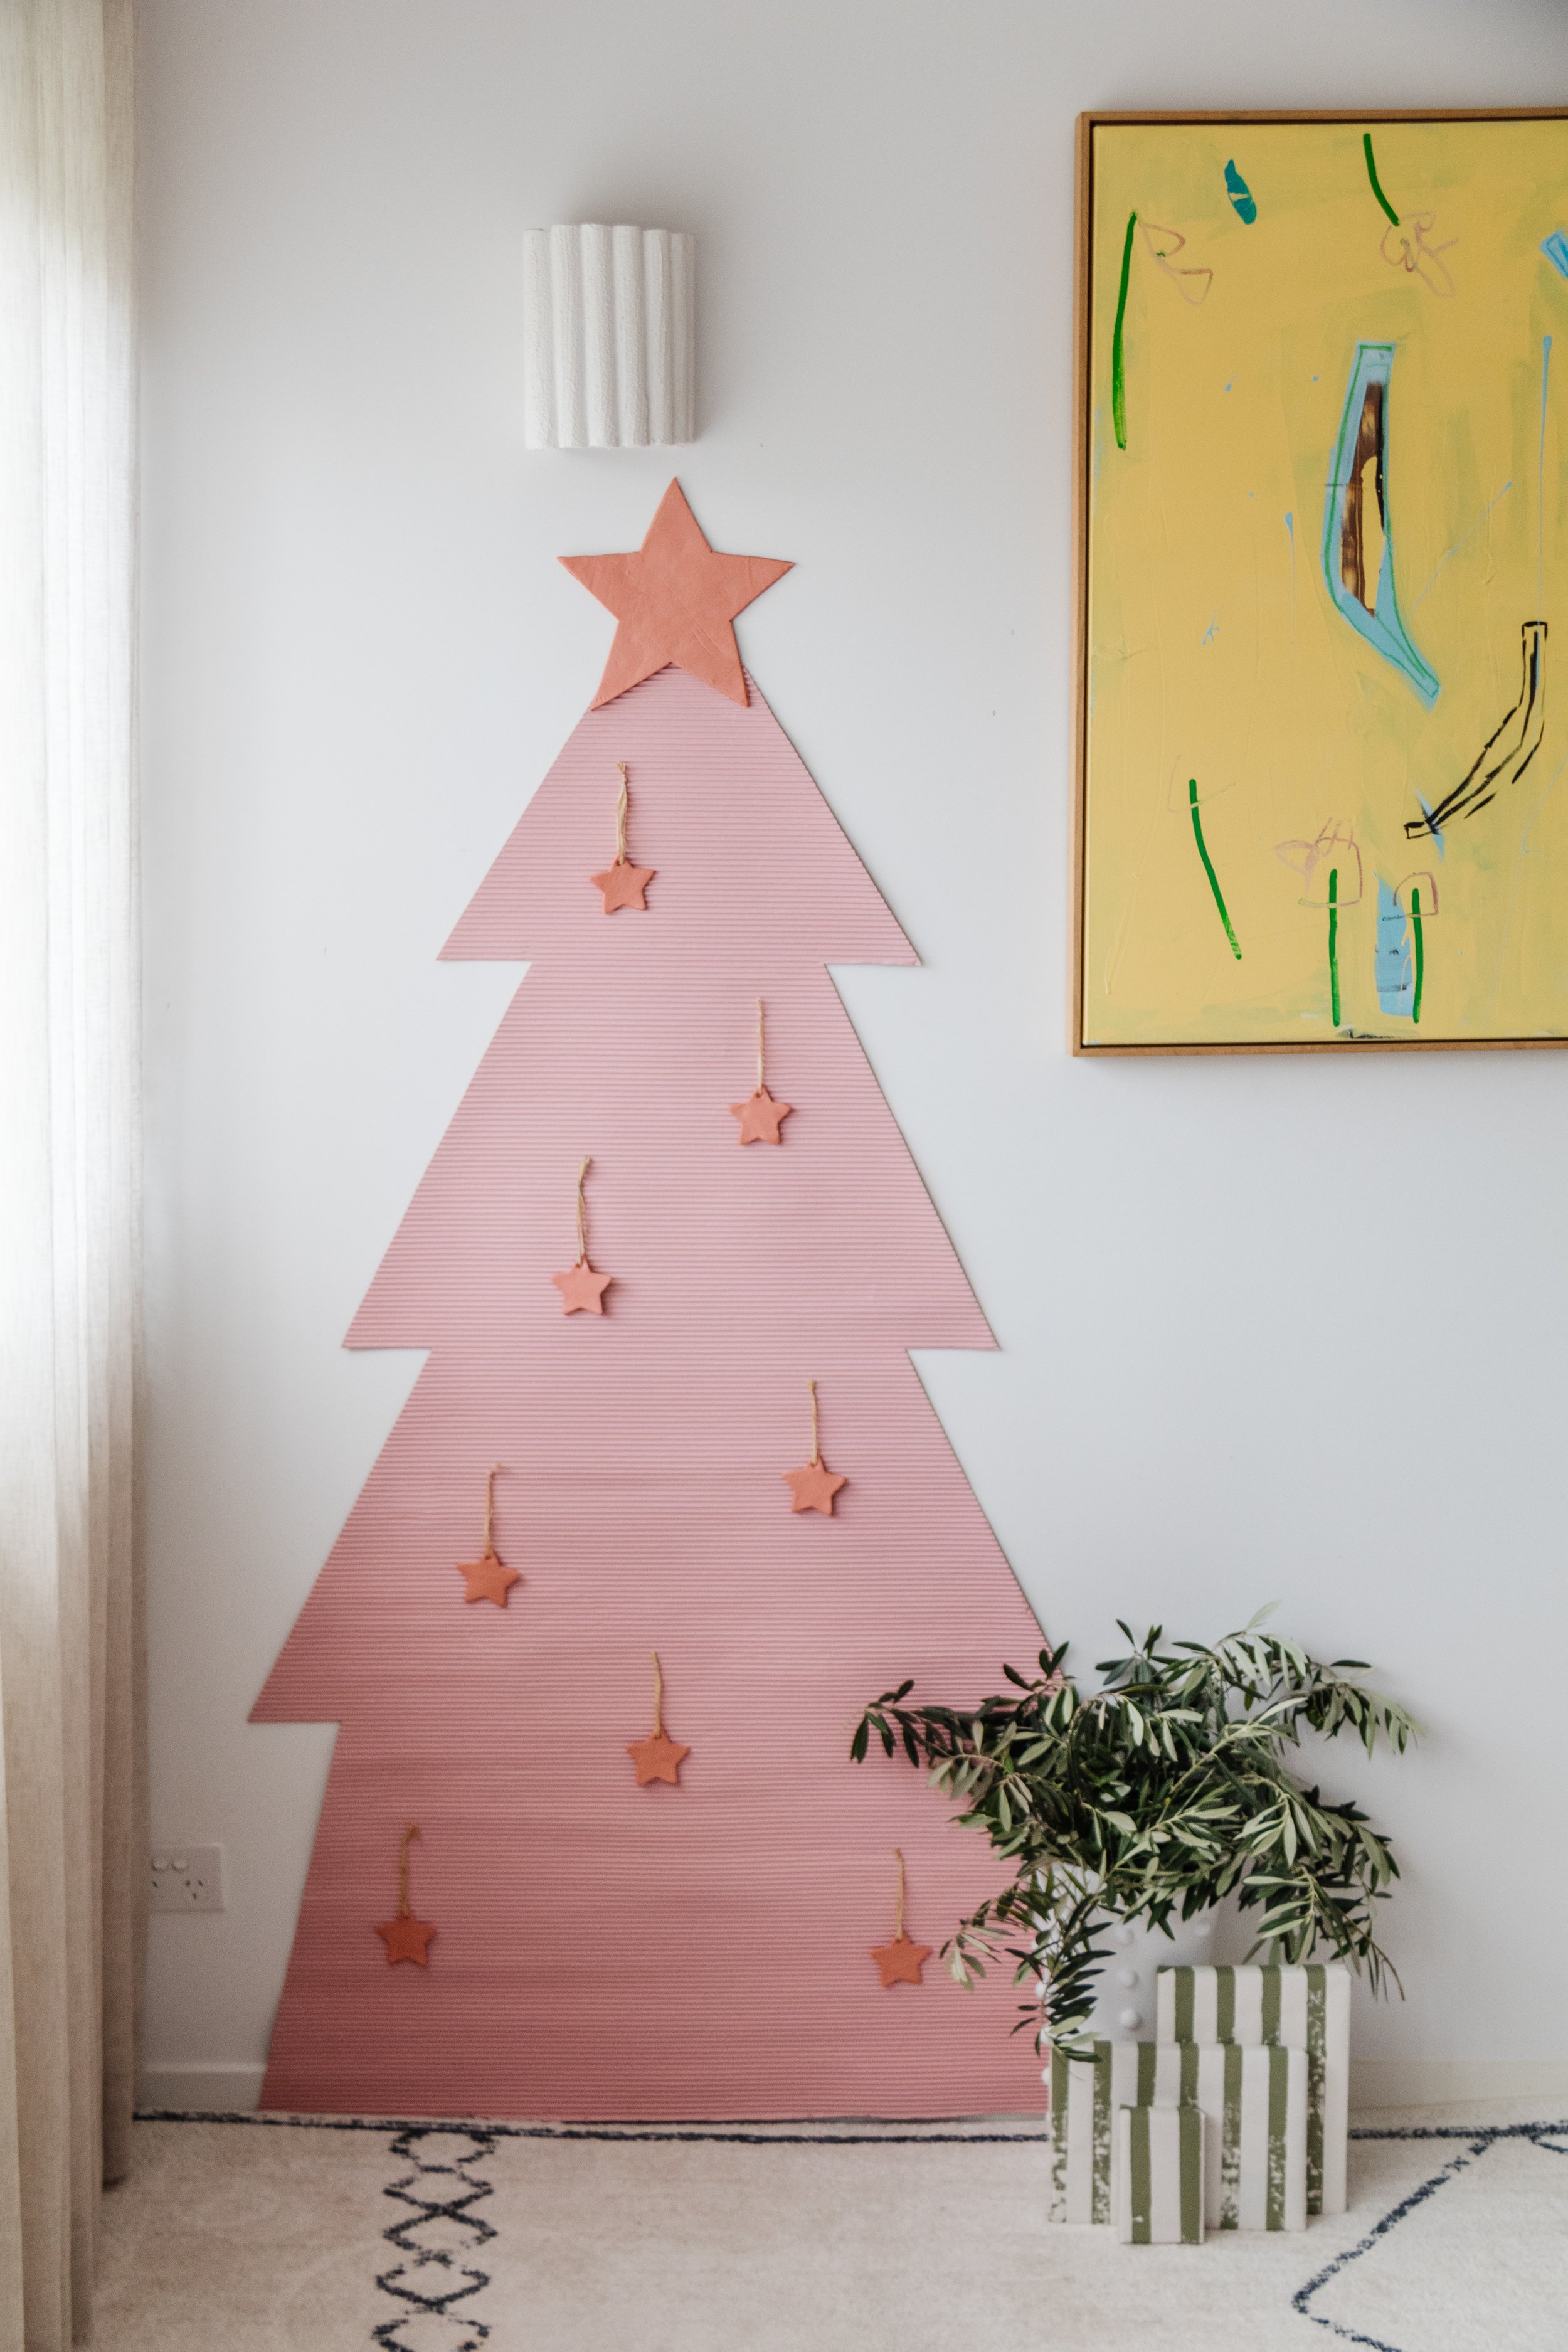
Want to add clay ornaments to your Christmas Tree? Make these!
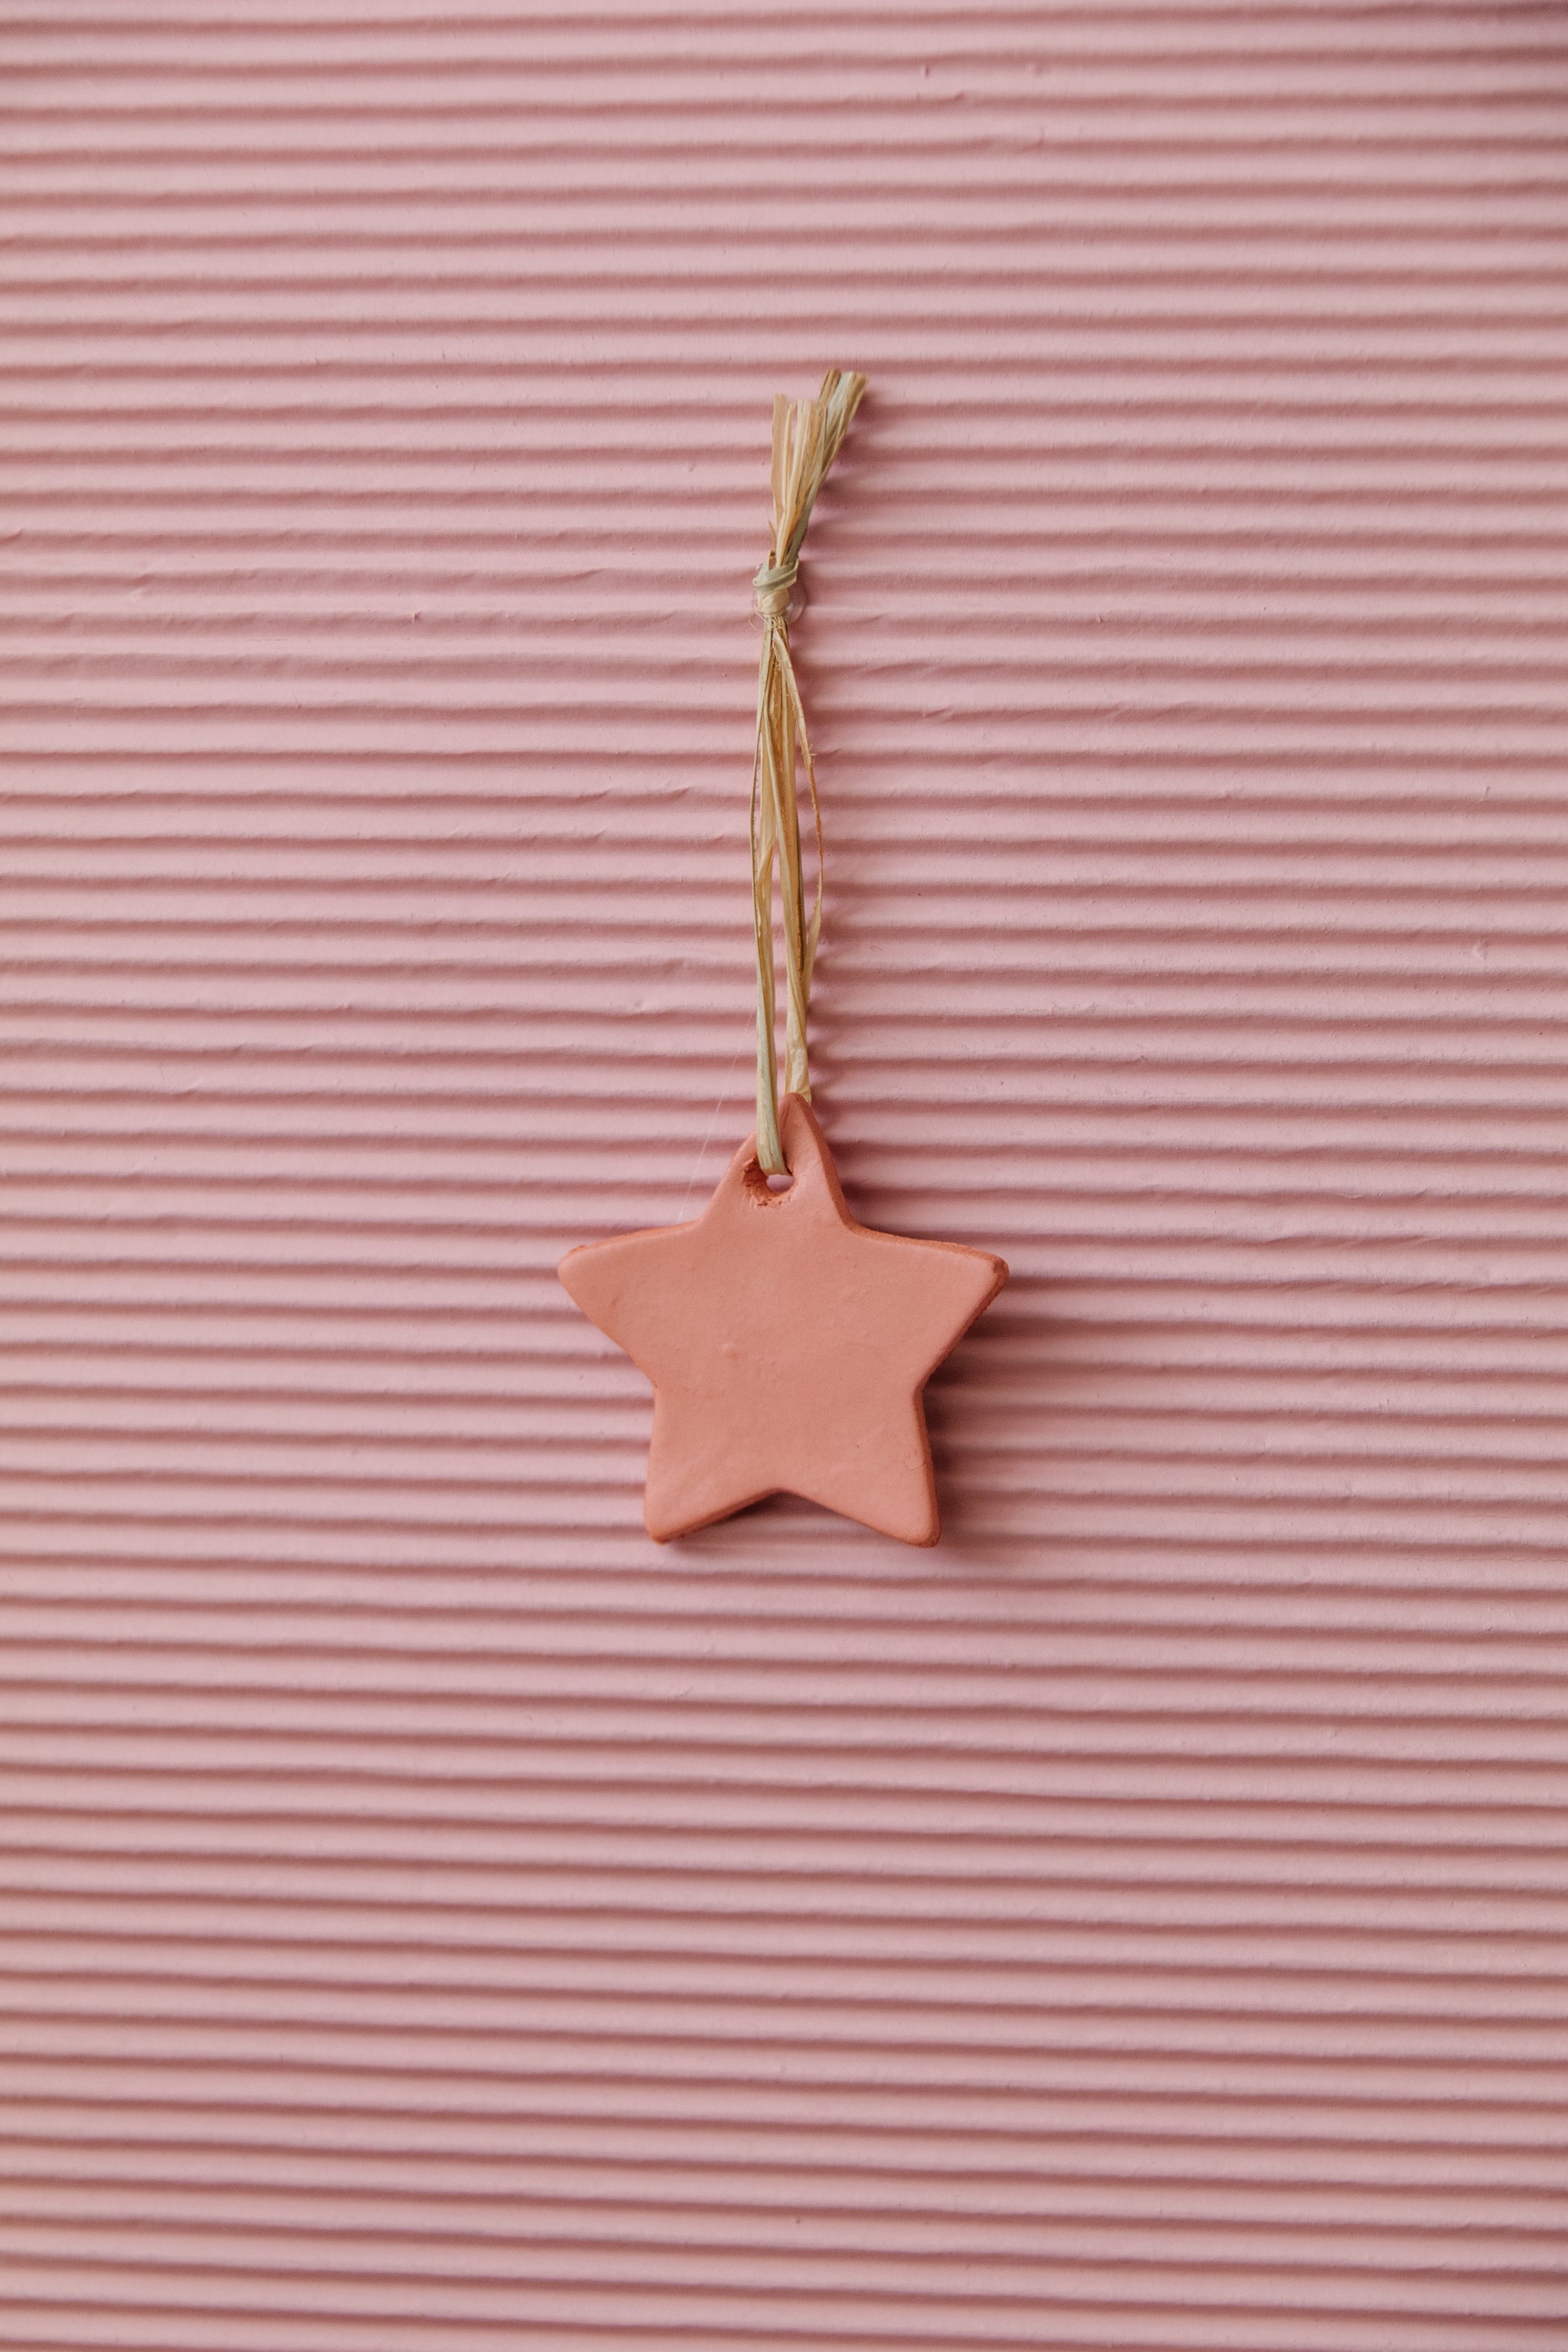
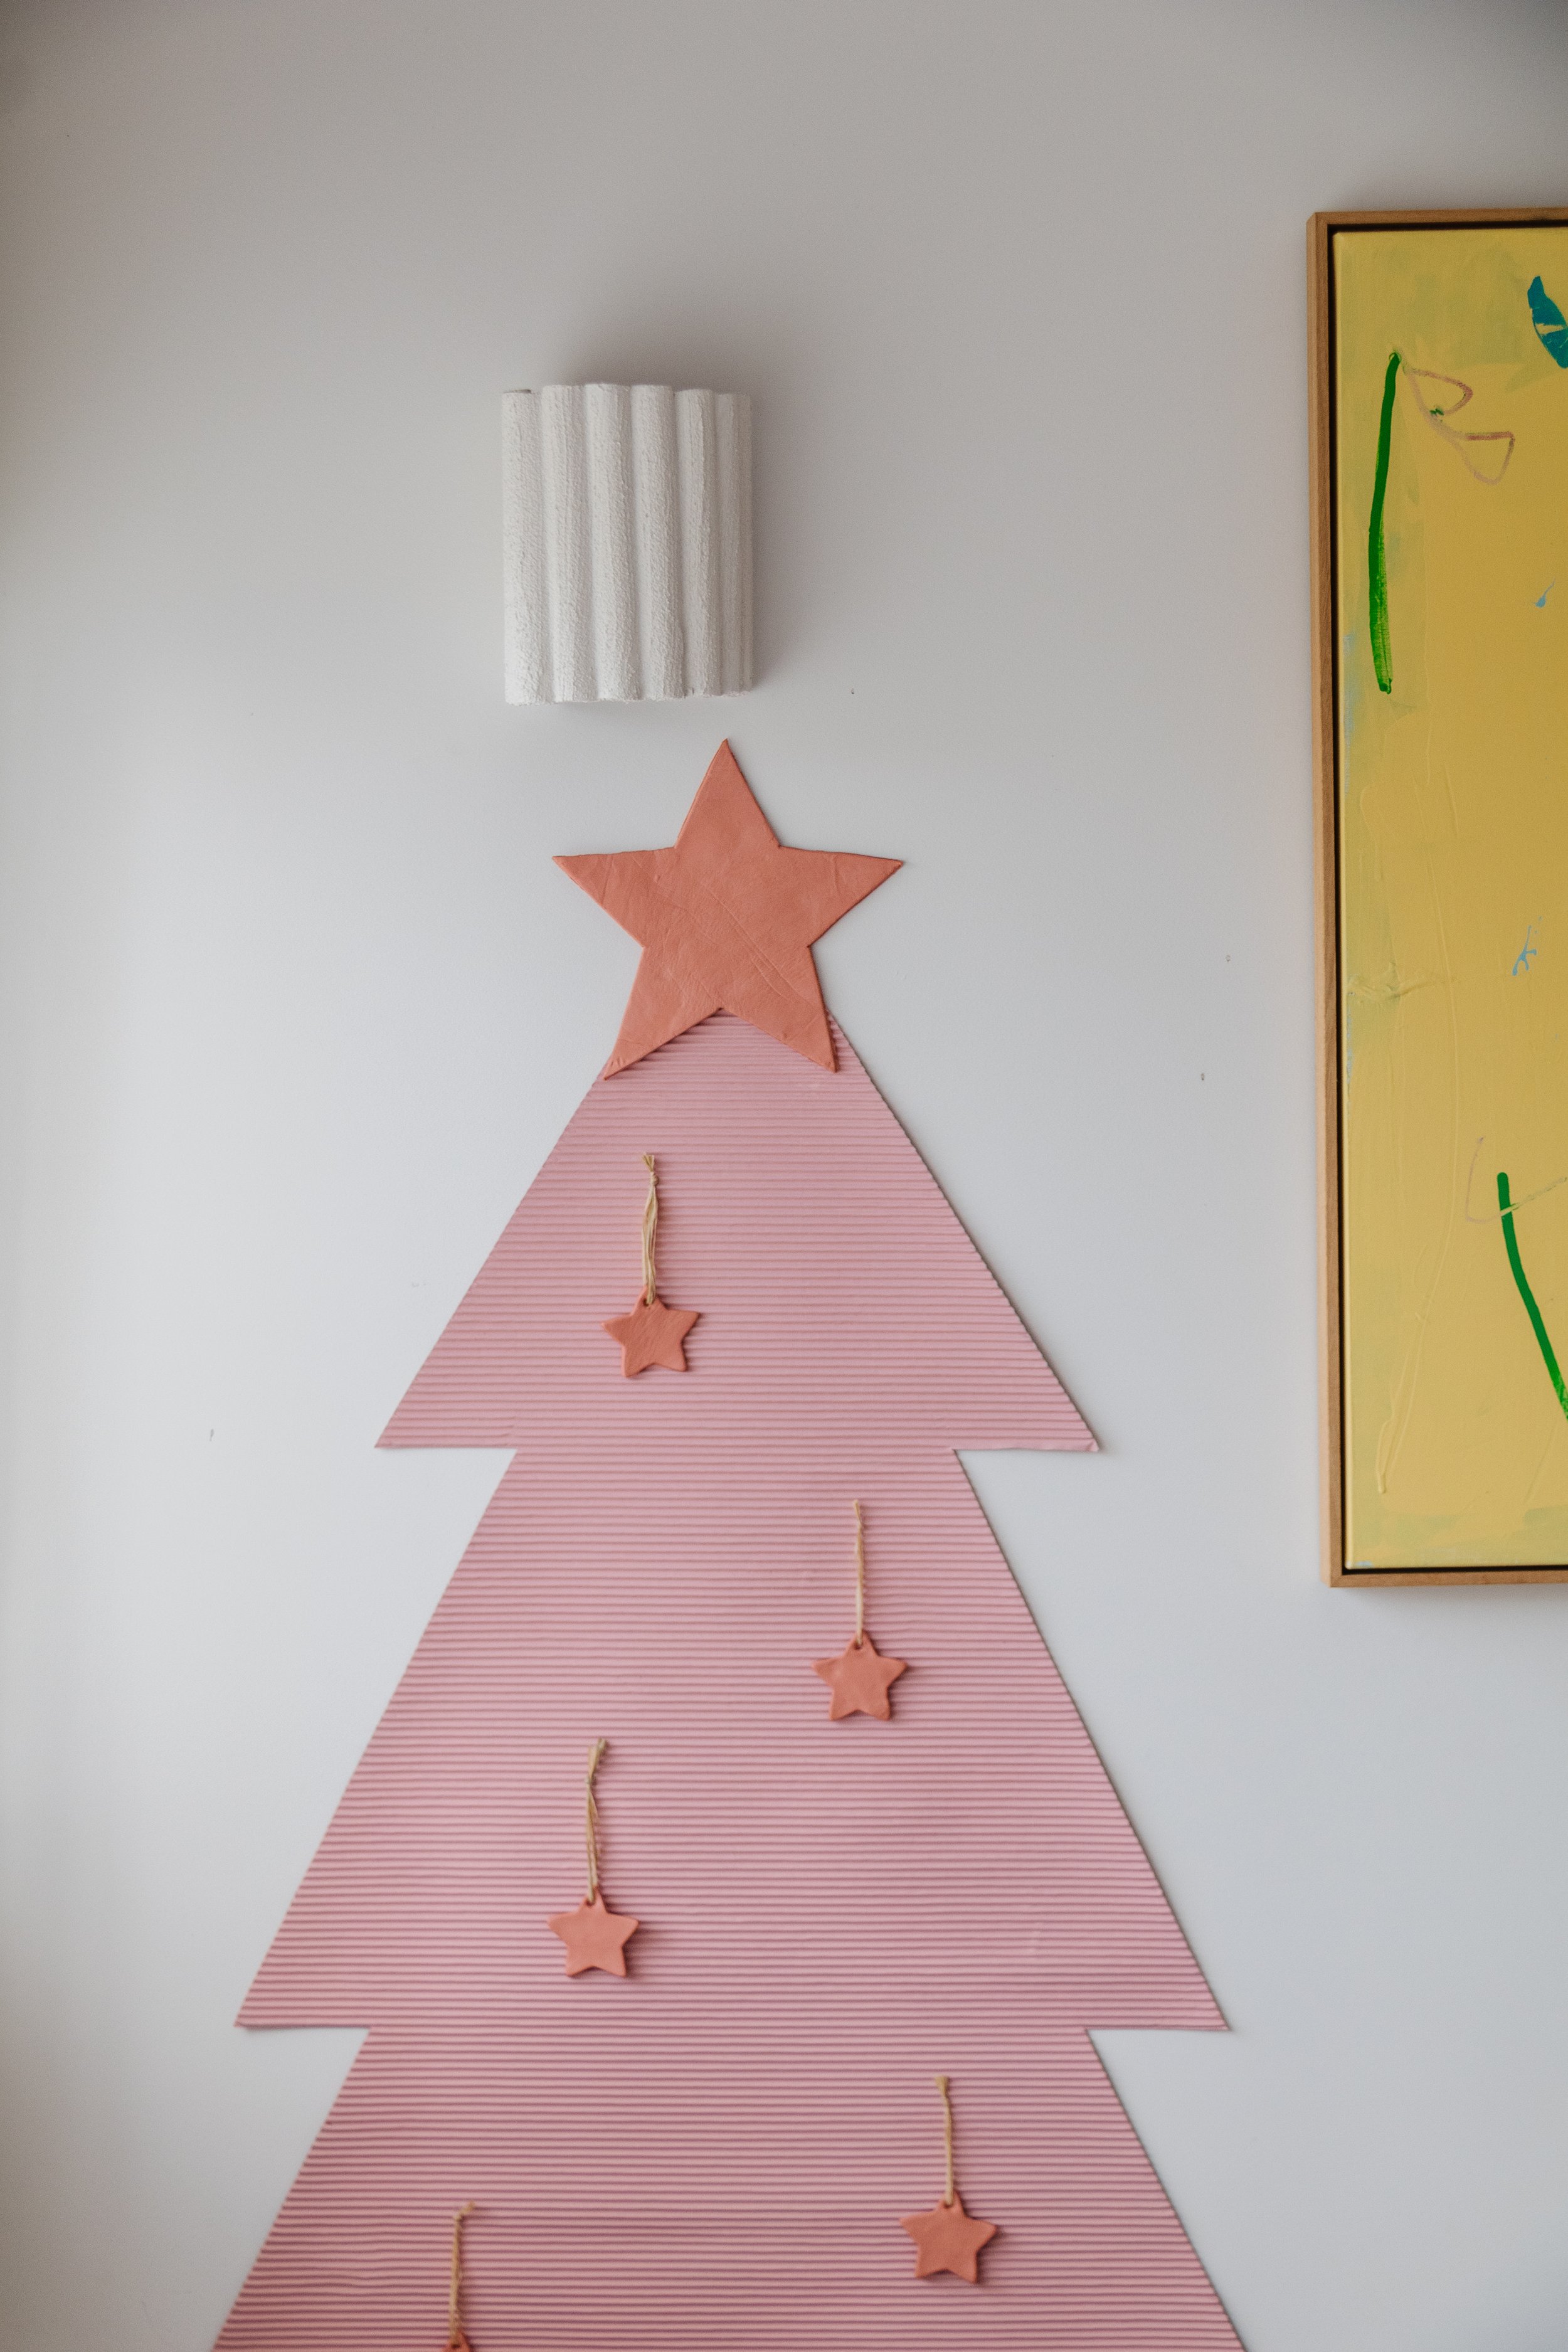
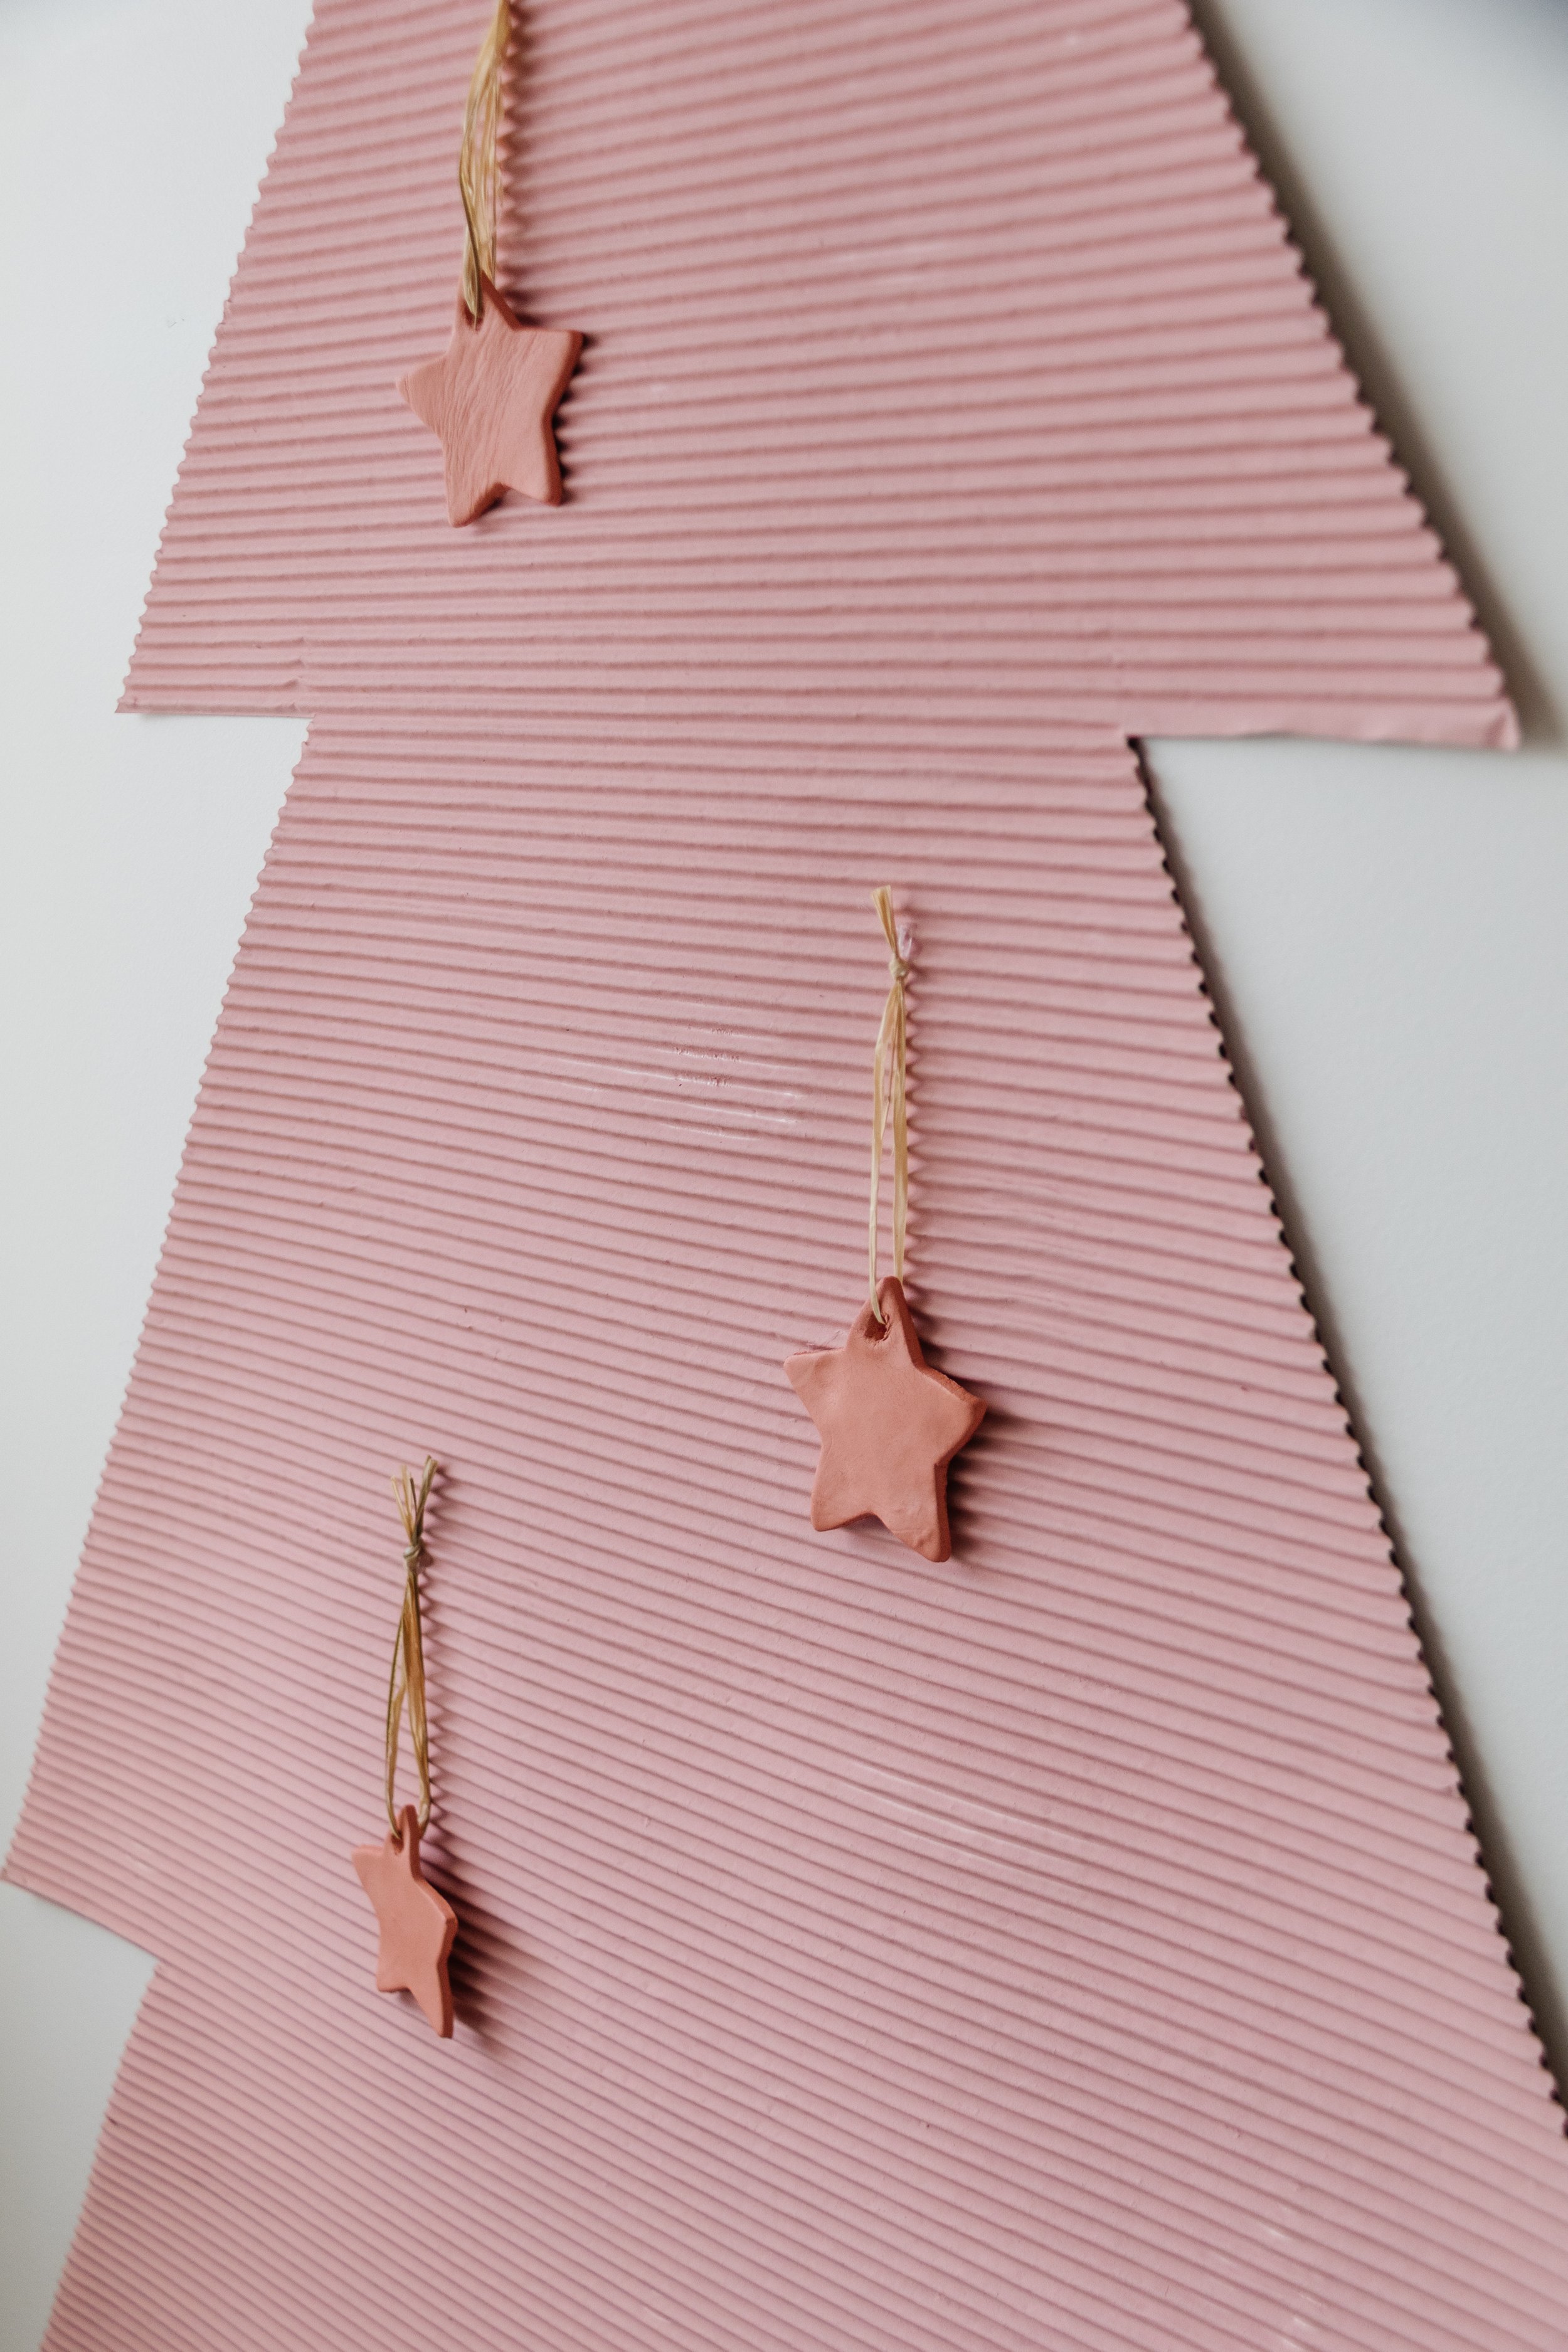
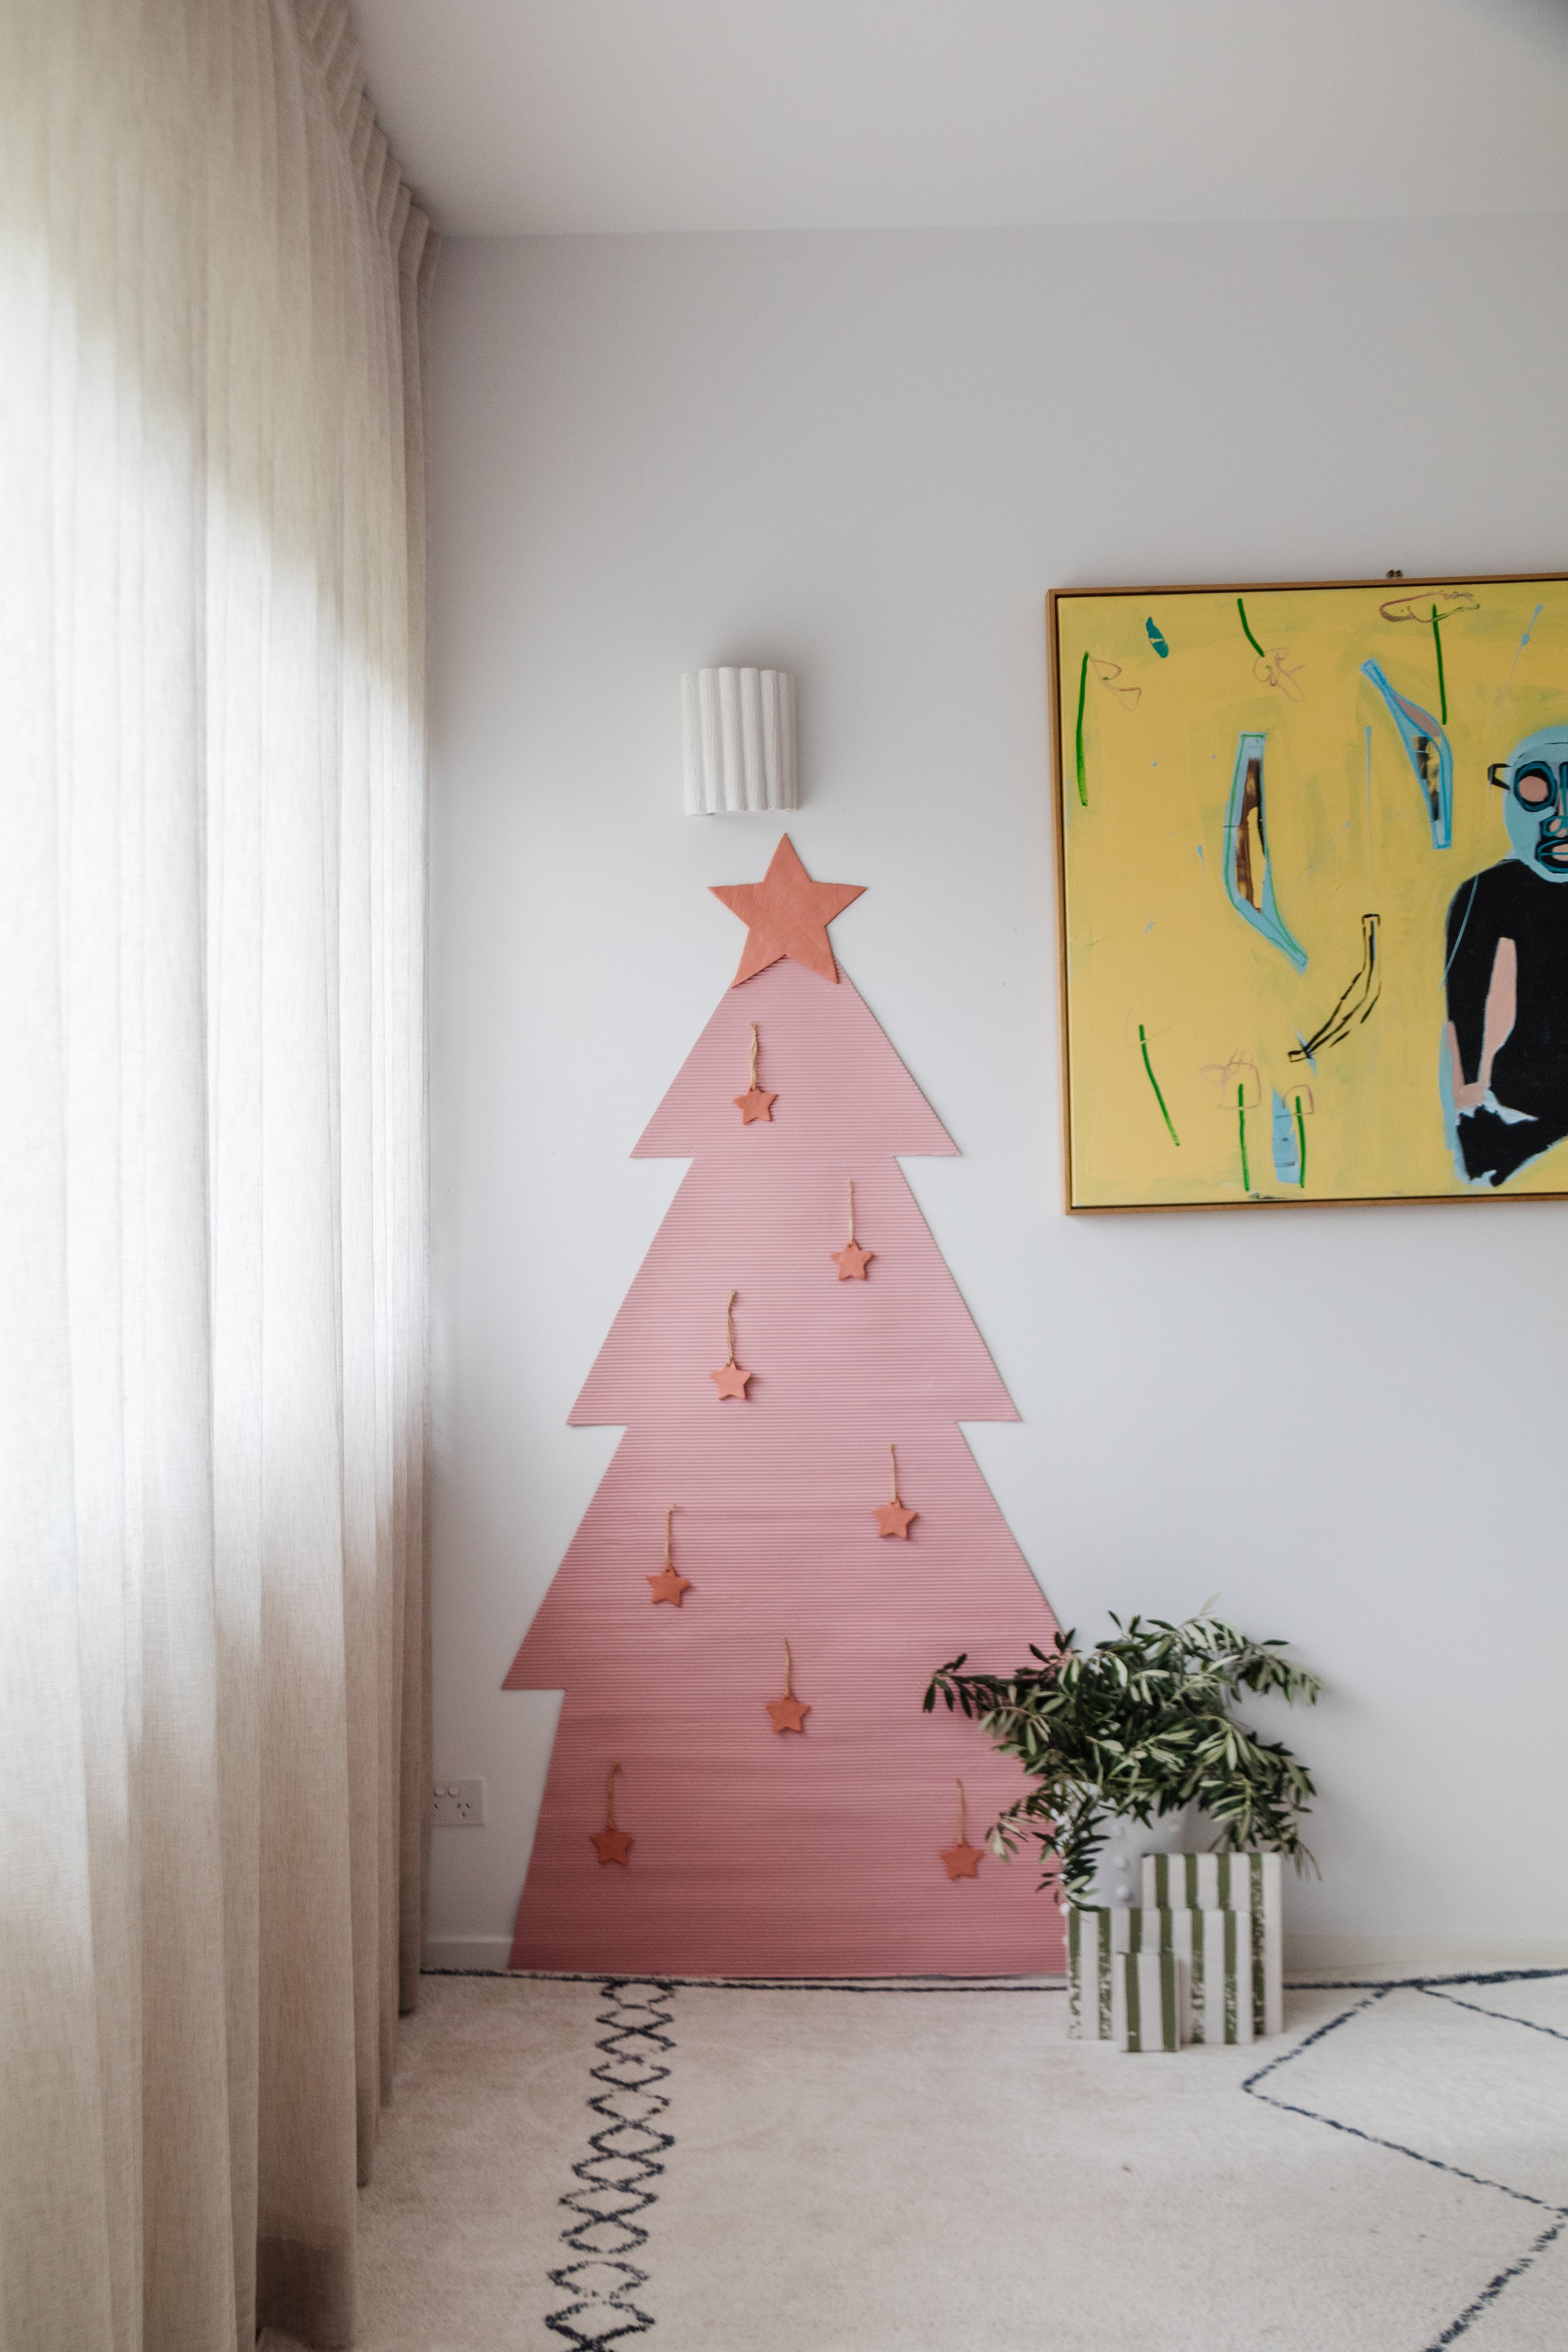
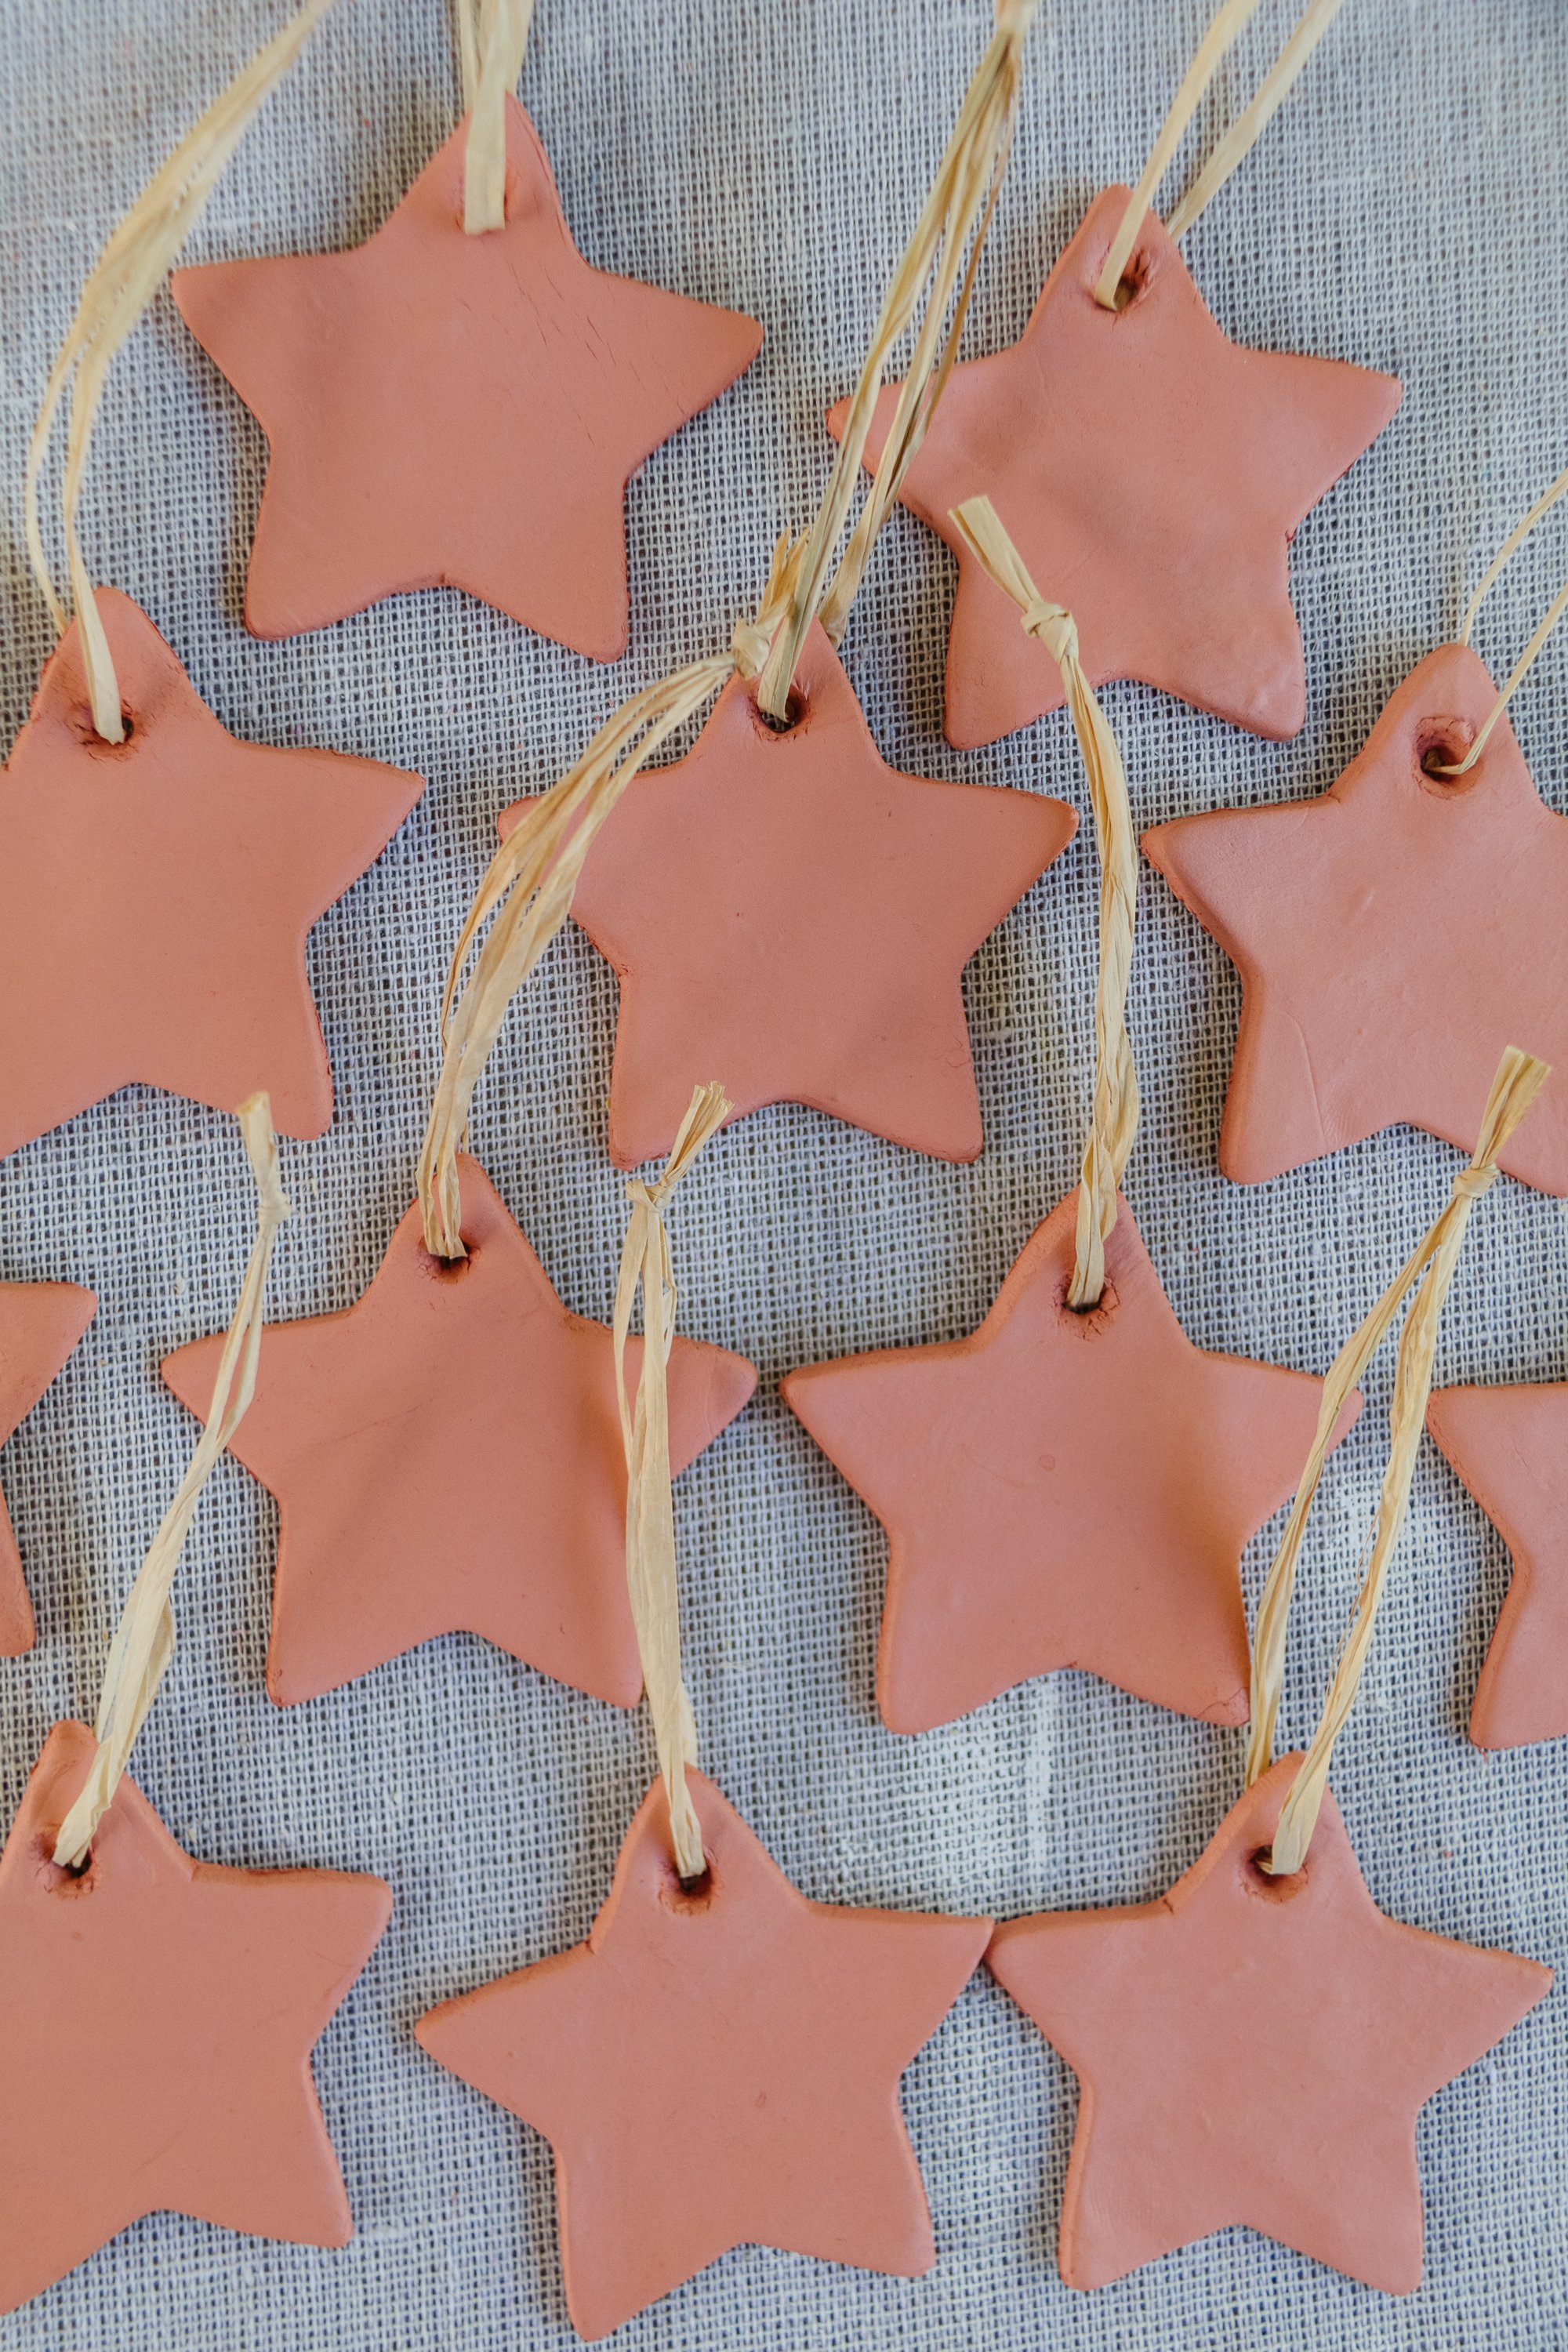
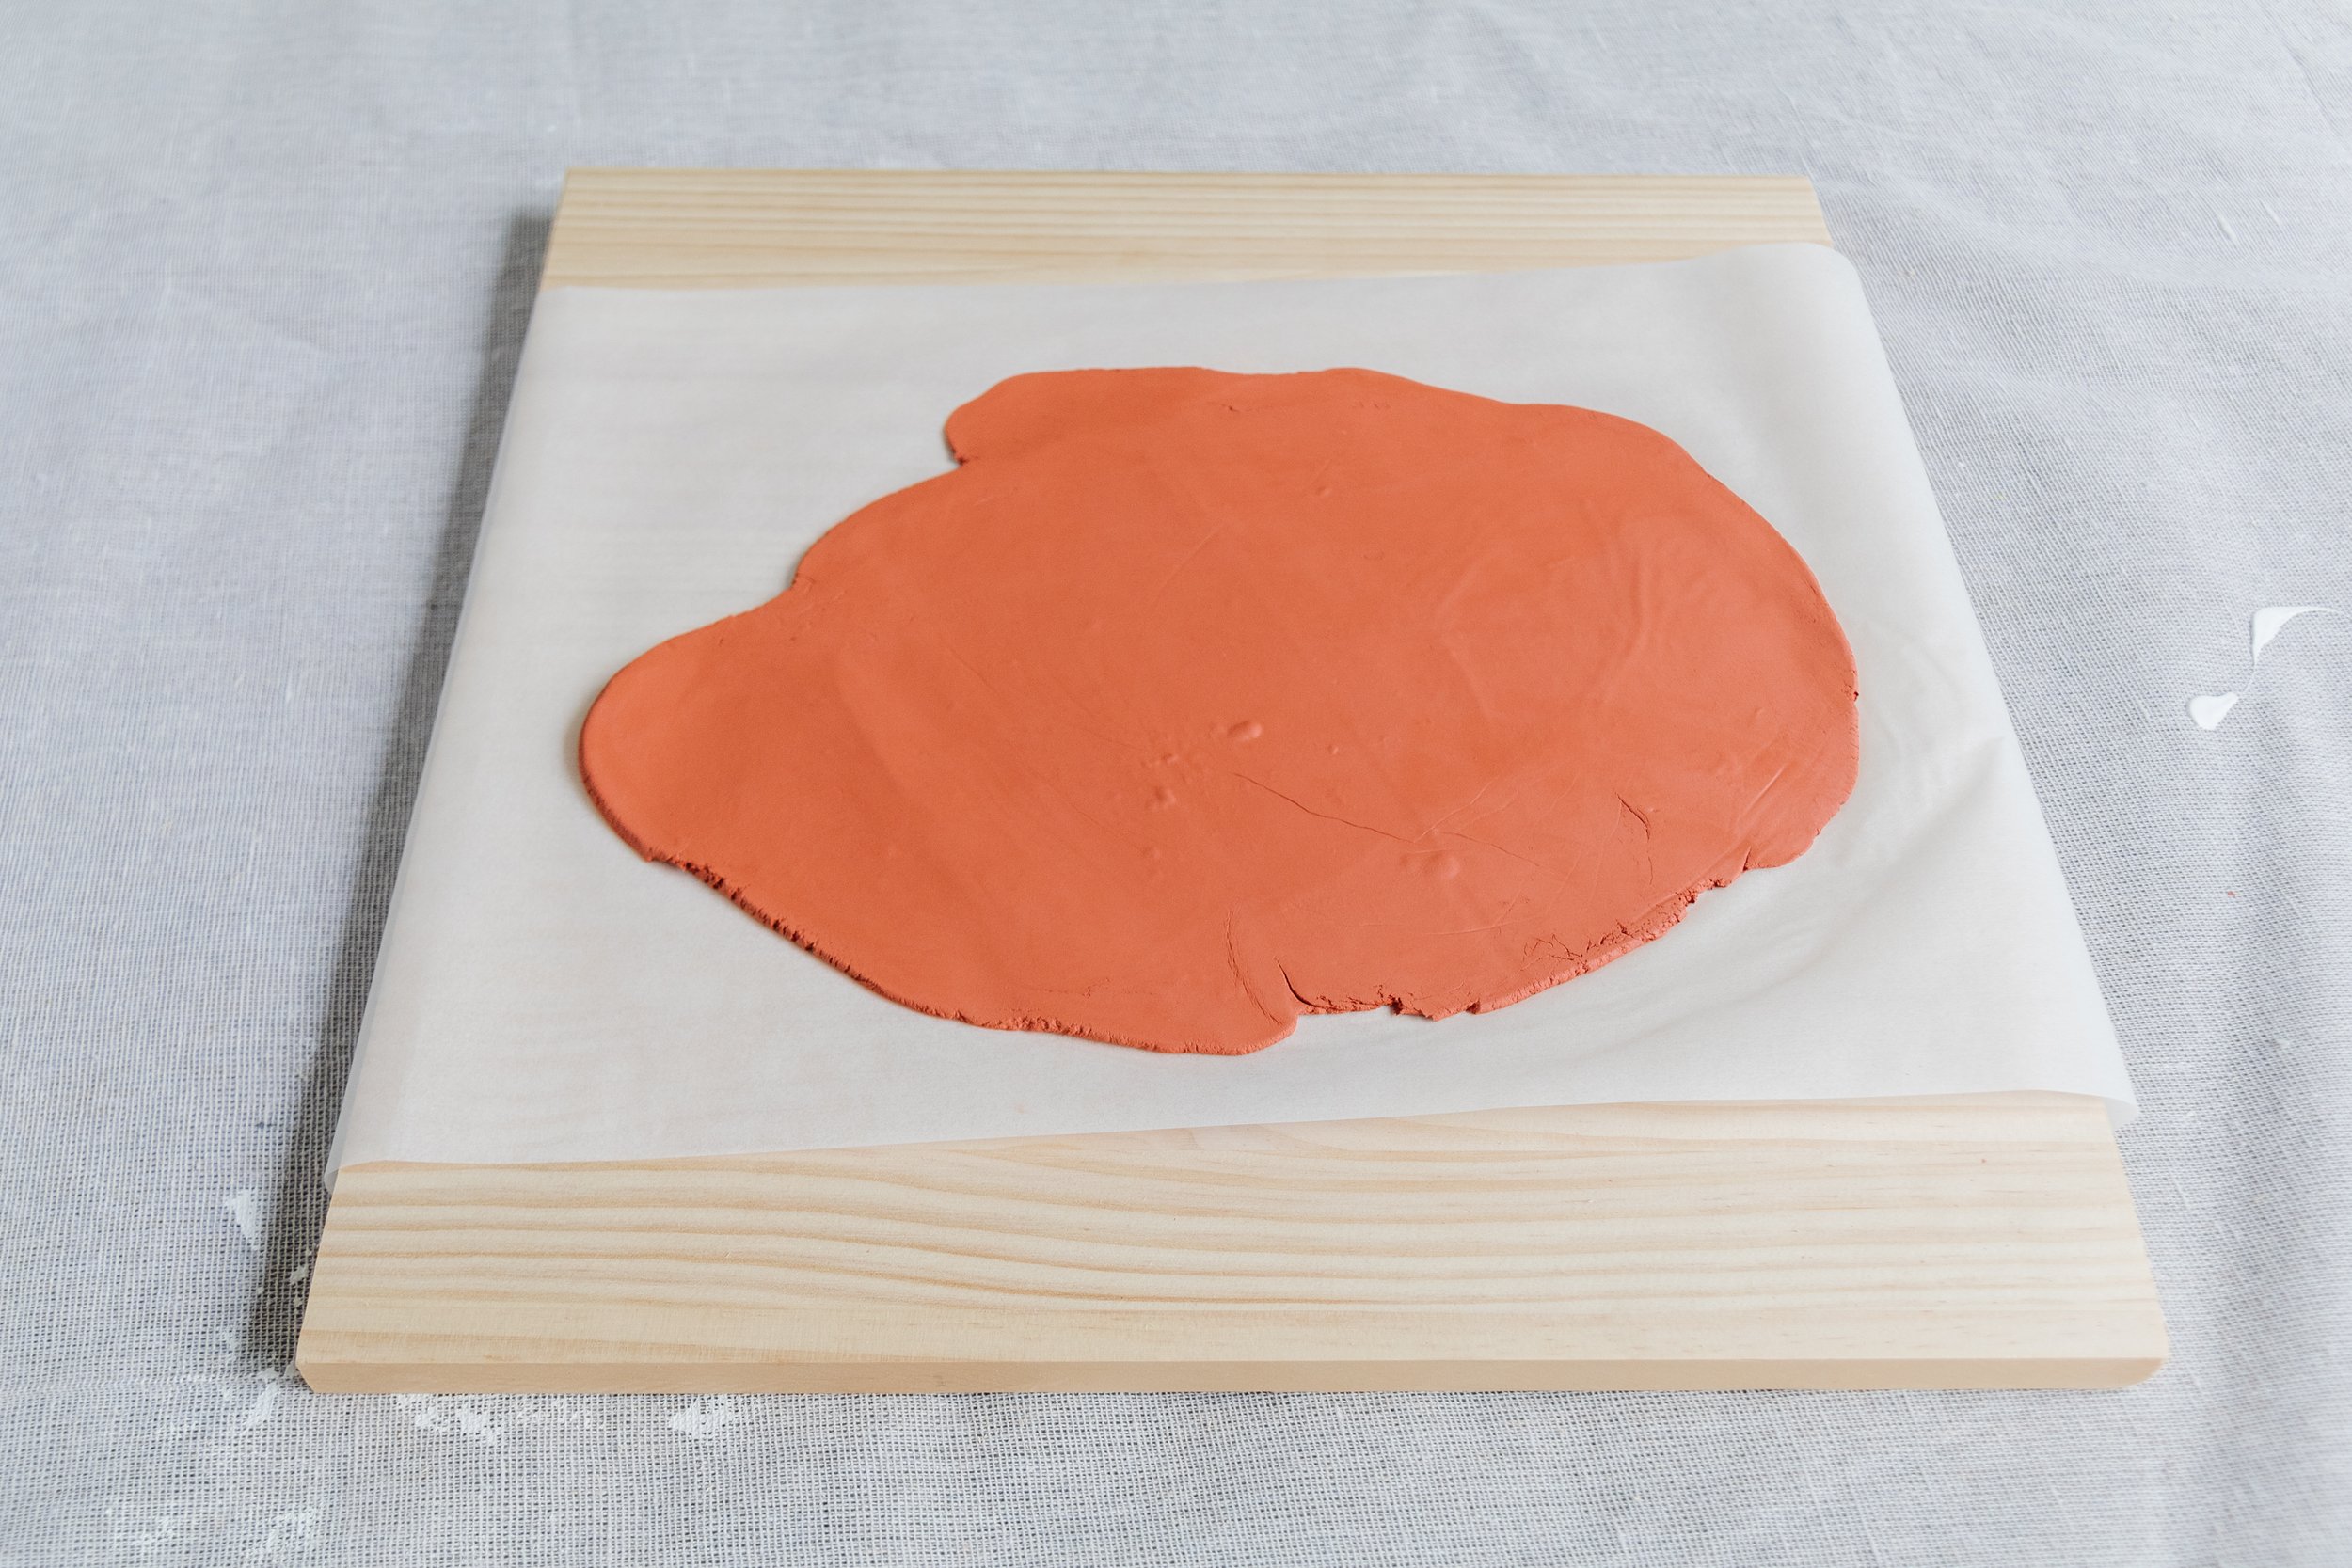
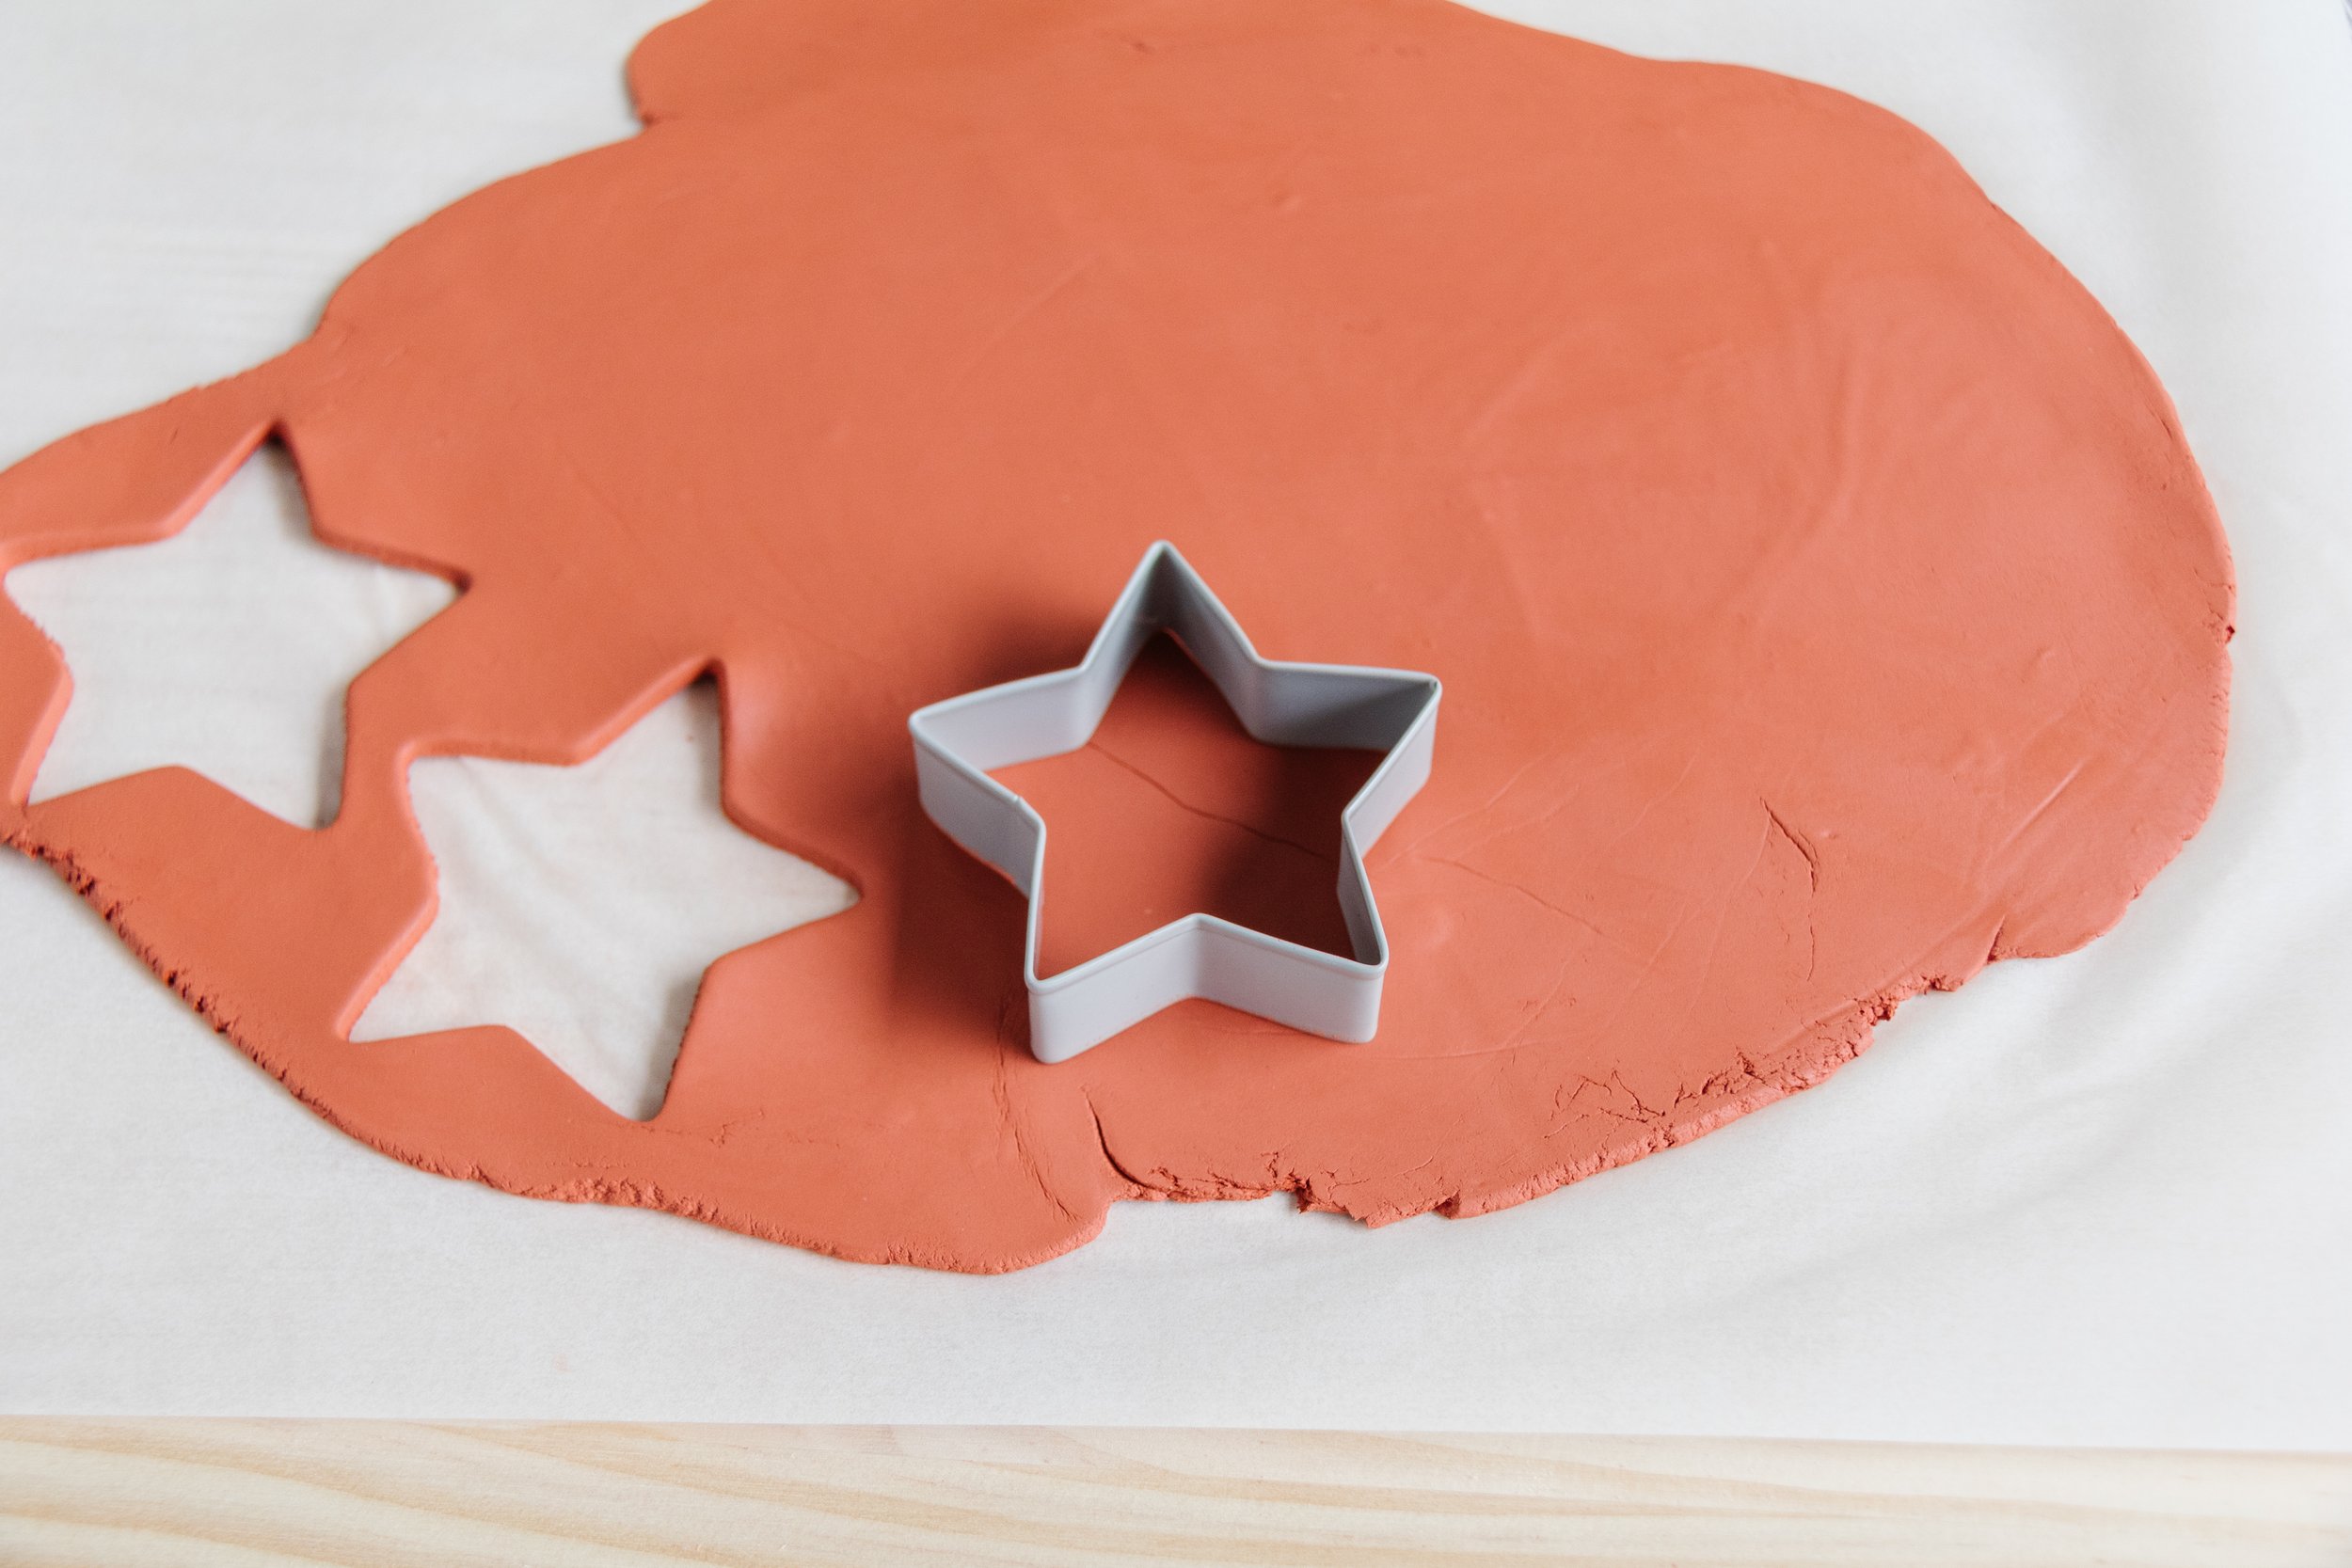
The festive season is upon us and I am so excited to share a few beautiful and simple DIY Christmas Ornaments you can make this year. Introducing my DIY Terracotta Clay Star Ornaments! I’ve had some packets of terracotta clay sitting in my craft cupboard for the last year or so (true story) and some cookie cutters in our kitchen, so I decided to make some star ornaments. The process couldn’t have been more simple. I rolled out the terracotta till it was about 5mm thick, pressed the star cutter into the clay, made a hole using a clay tool (but a pencil would also do a great job), let the clay stars dry in the sun and then I threaded some raffia into the holes. And here we are. Read on to find out how you can make your own DIY Terracotta Clay Star Ornaments for your Christmas Tree this festive season.
DIY Terracotta Clay Star Ornaments

Project Details
🕒 Project Time Estimate: Under 30 mins, not including clay drying time (to speed up the drying time place the clay stars in direct sun, if possible)
💰 Materials Cost: Under $15
⚒️ Power Tools: None!
👷♀️ Skill Level: Beginner DIYer
Materials
Flat chopping board
Non stick Baking paper
Rolling pin
Pencil

How To
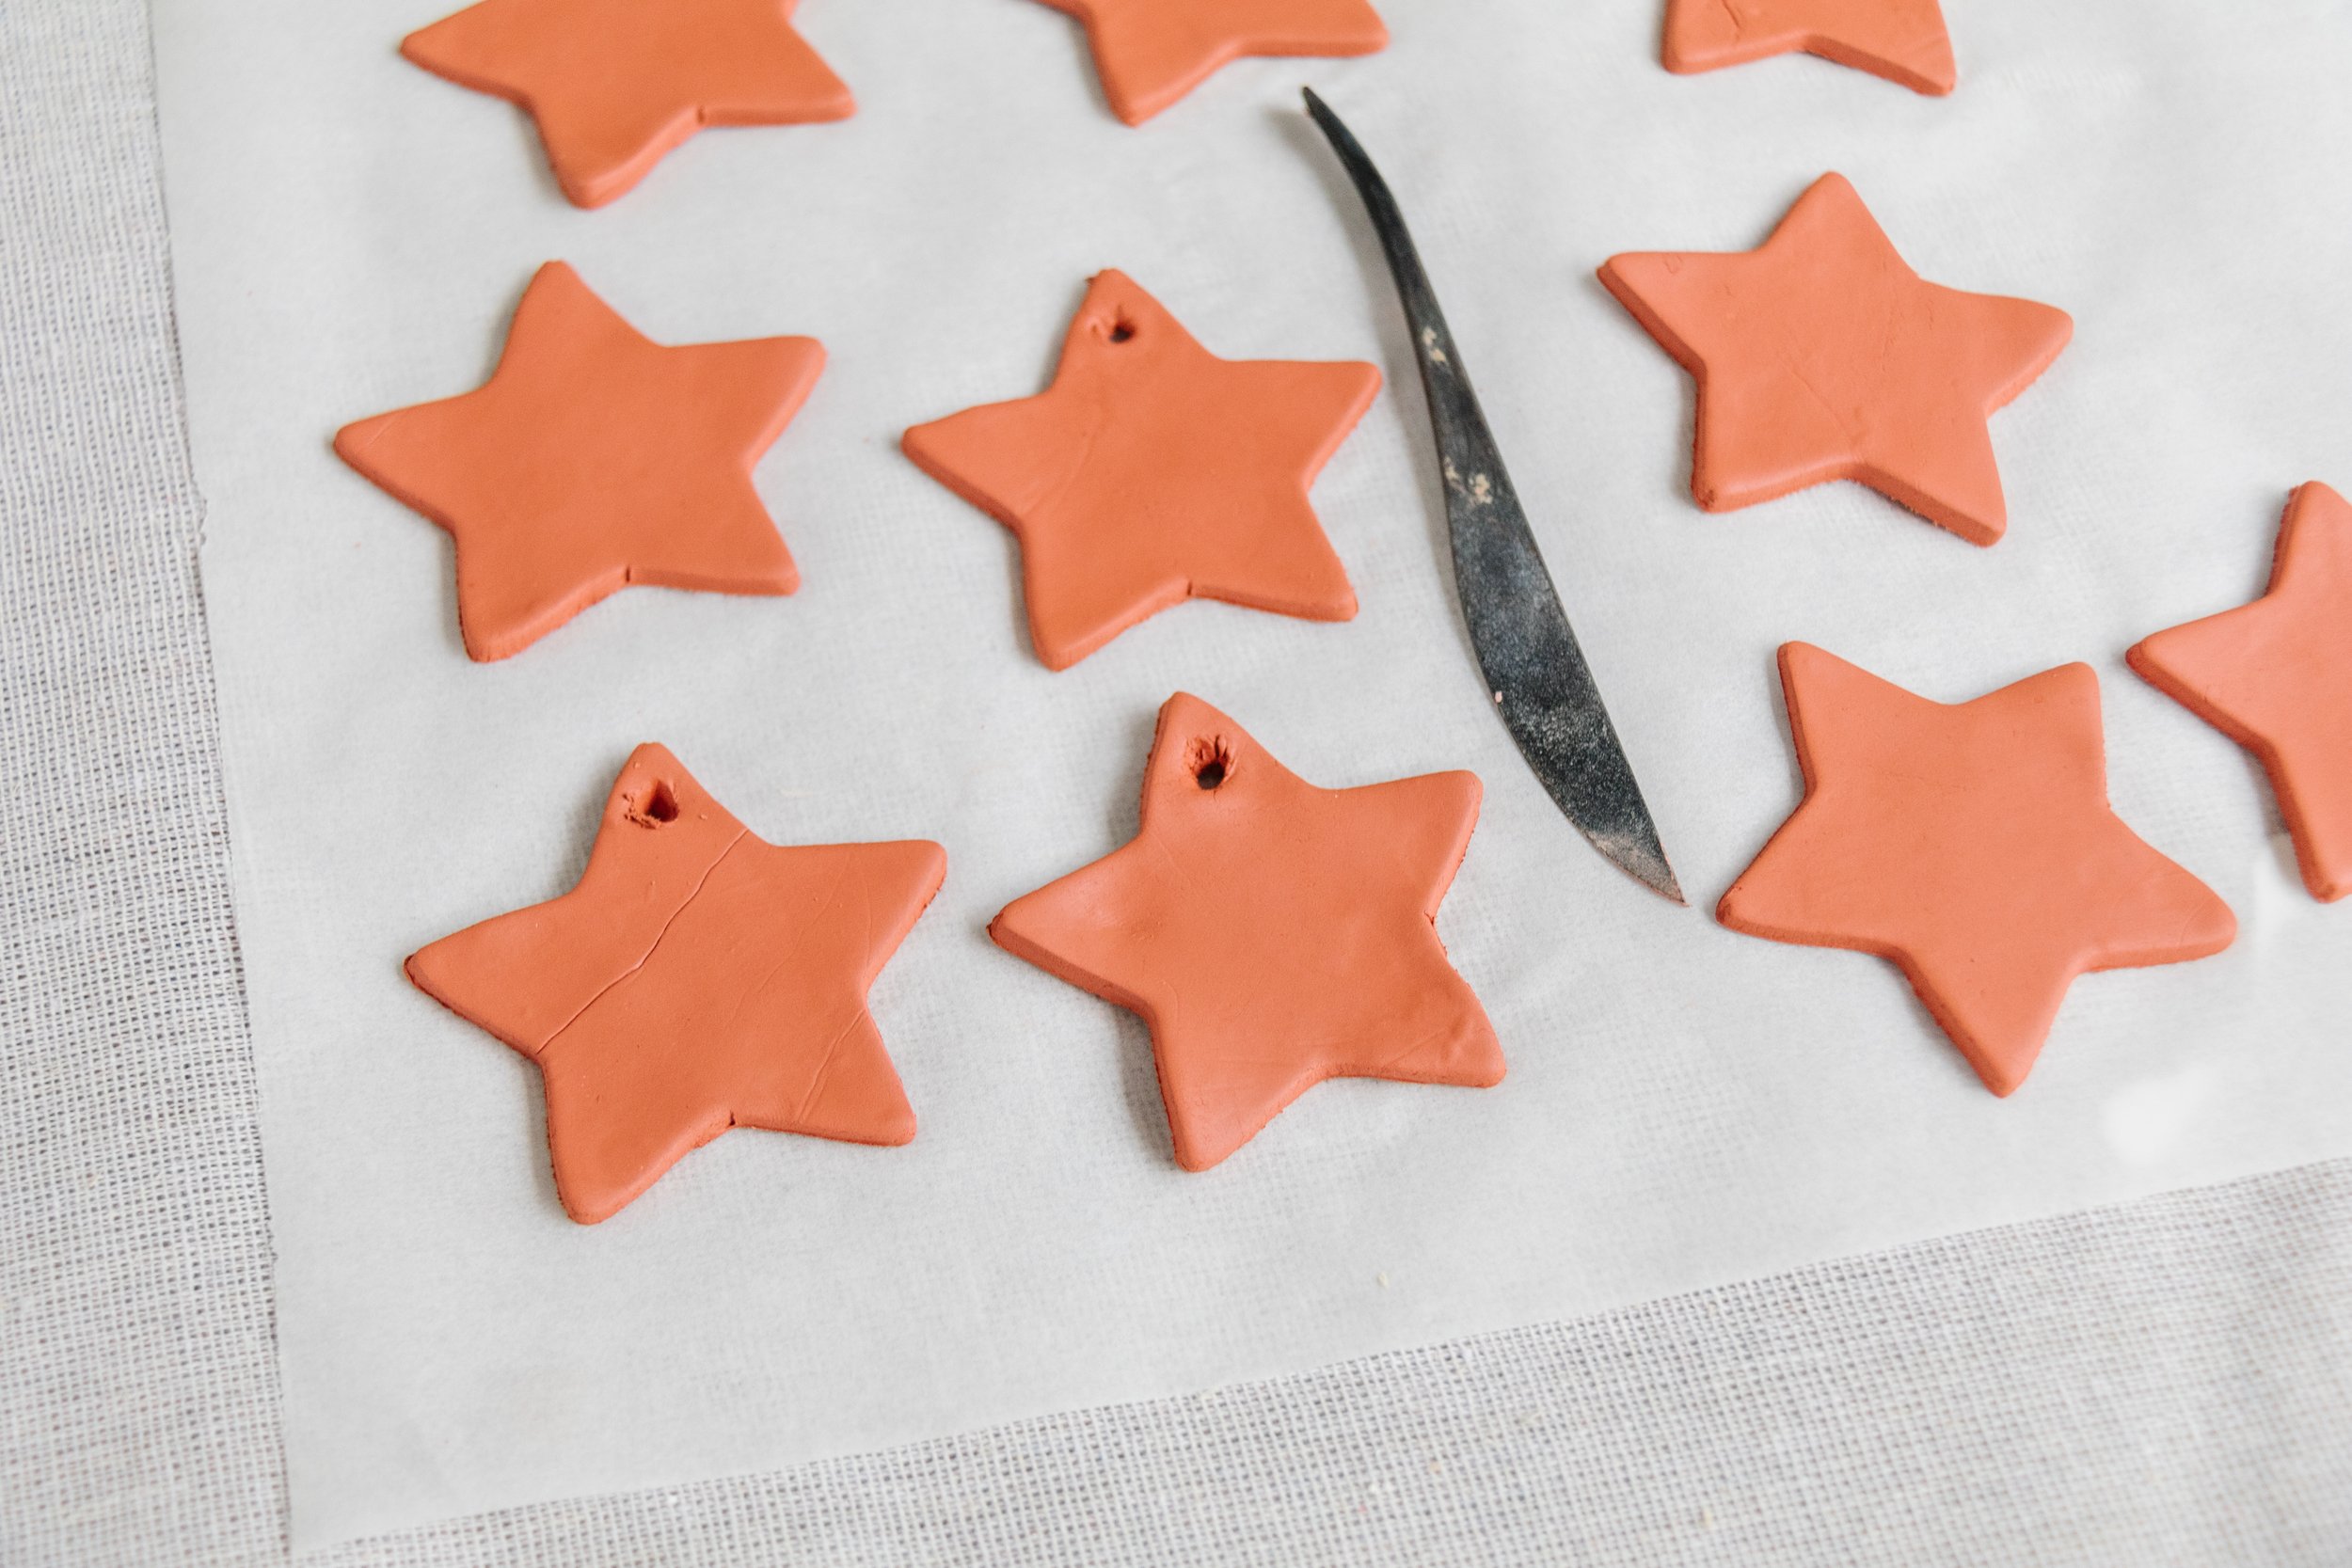
Step 1: Start by rolling out the terracotta clay onto a flat chopping board that has been lined with non-stick baking paper. Keep rolling the clay until it’s about 5mm thick.
Step 2: Using the star shaped cookie cutter, cut out the clay stars and set them aside on a cooling rack. Pierce the top tip of the star with a pencil to make a hole. Ensure there is enough room to thread a piece of raffia through (when the clay has dried) and set aside to dry.
NB: A cooling tray is perfect to dry clay ornaments because it allows air to flow underneath the ornaments while they’re drying. You can dry the clay in direct sun for a few hours, or in the shade/indoors for up to 24 hours.
Step 3: When the star ornaments have dried, thread a piece off raffia through the hole and tie a double knot. Cut off excess raffia with scissors.
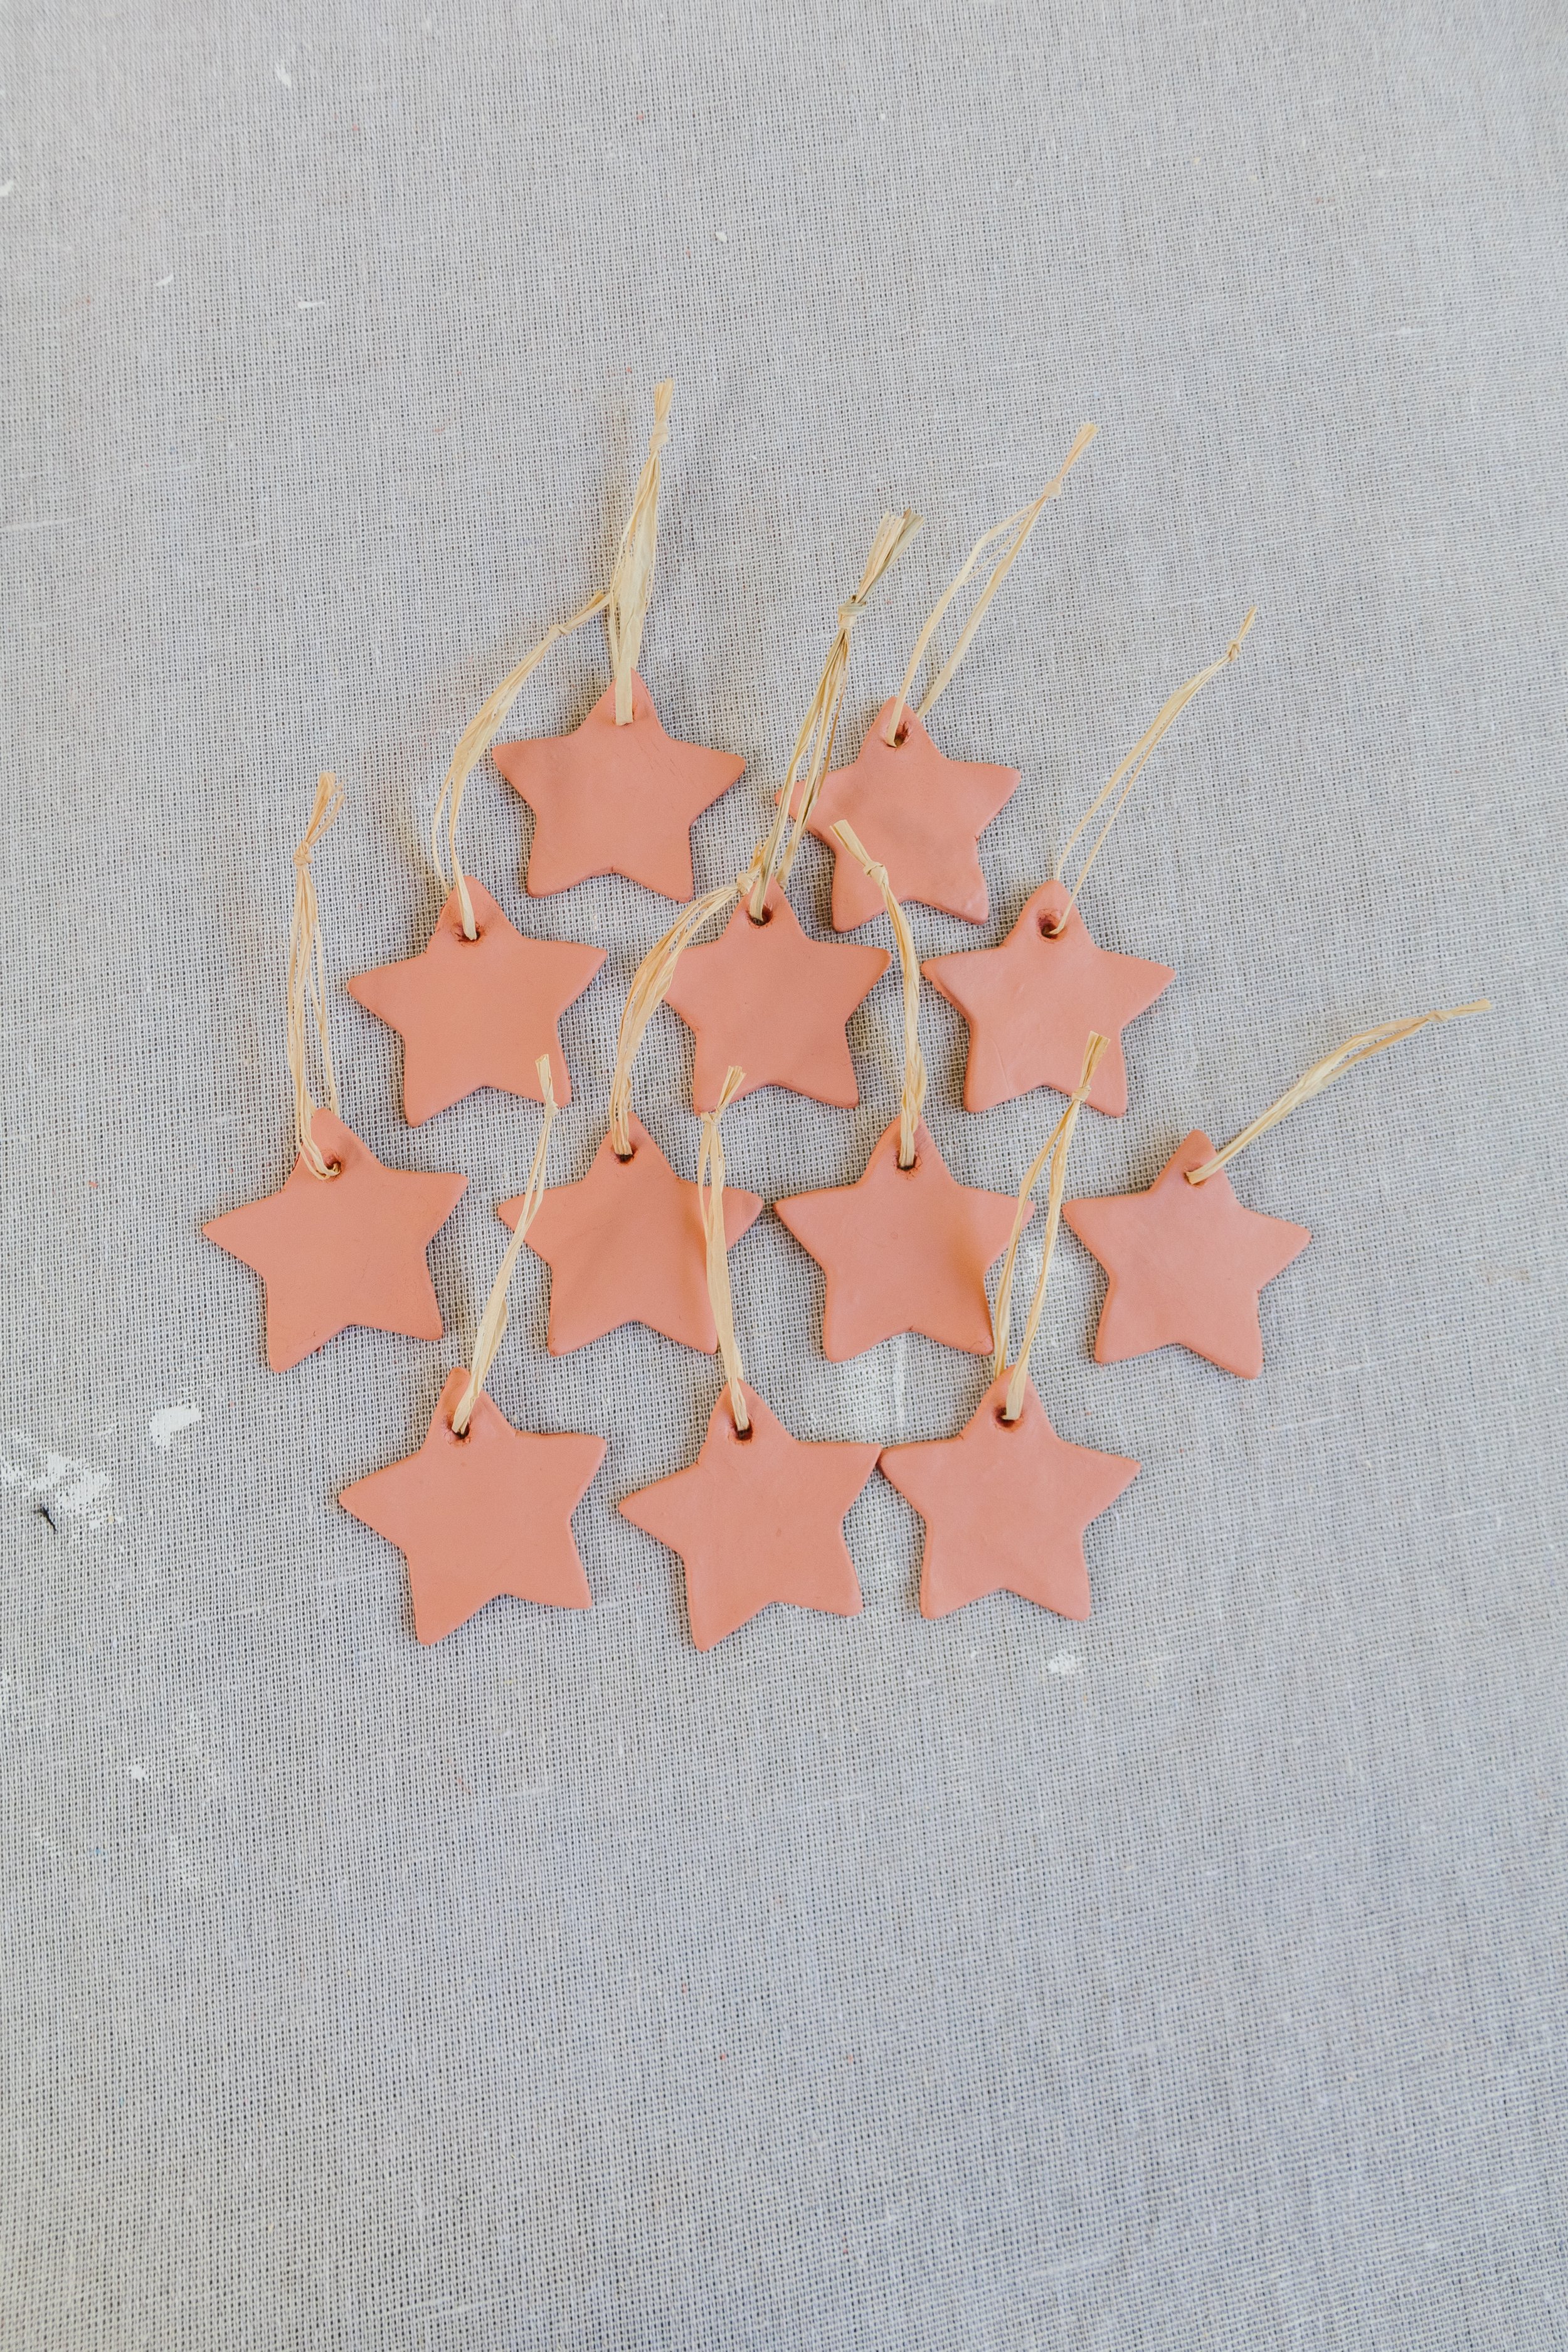
Ta daaaa!
How EASY is that! Seriously. I have to admit, when I first rolled out the terracotta clay I was a little worried because it was so dark, but it turned out I had nothing to worry about because it dries a lot lighter - to the most perfect terracotta clay colour I’ve ever seen. I also think these star ornaments would look beautiful with pink and green ribbon, instead of raffia. There are so many options! Anyway, I hope you enjoyed this project as much as I did. Merry Christmas!