DIY Fluted Cardboard Christmas Tree
Can you have a Christmas Tree when you have limited space?
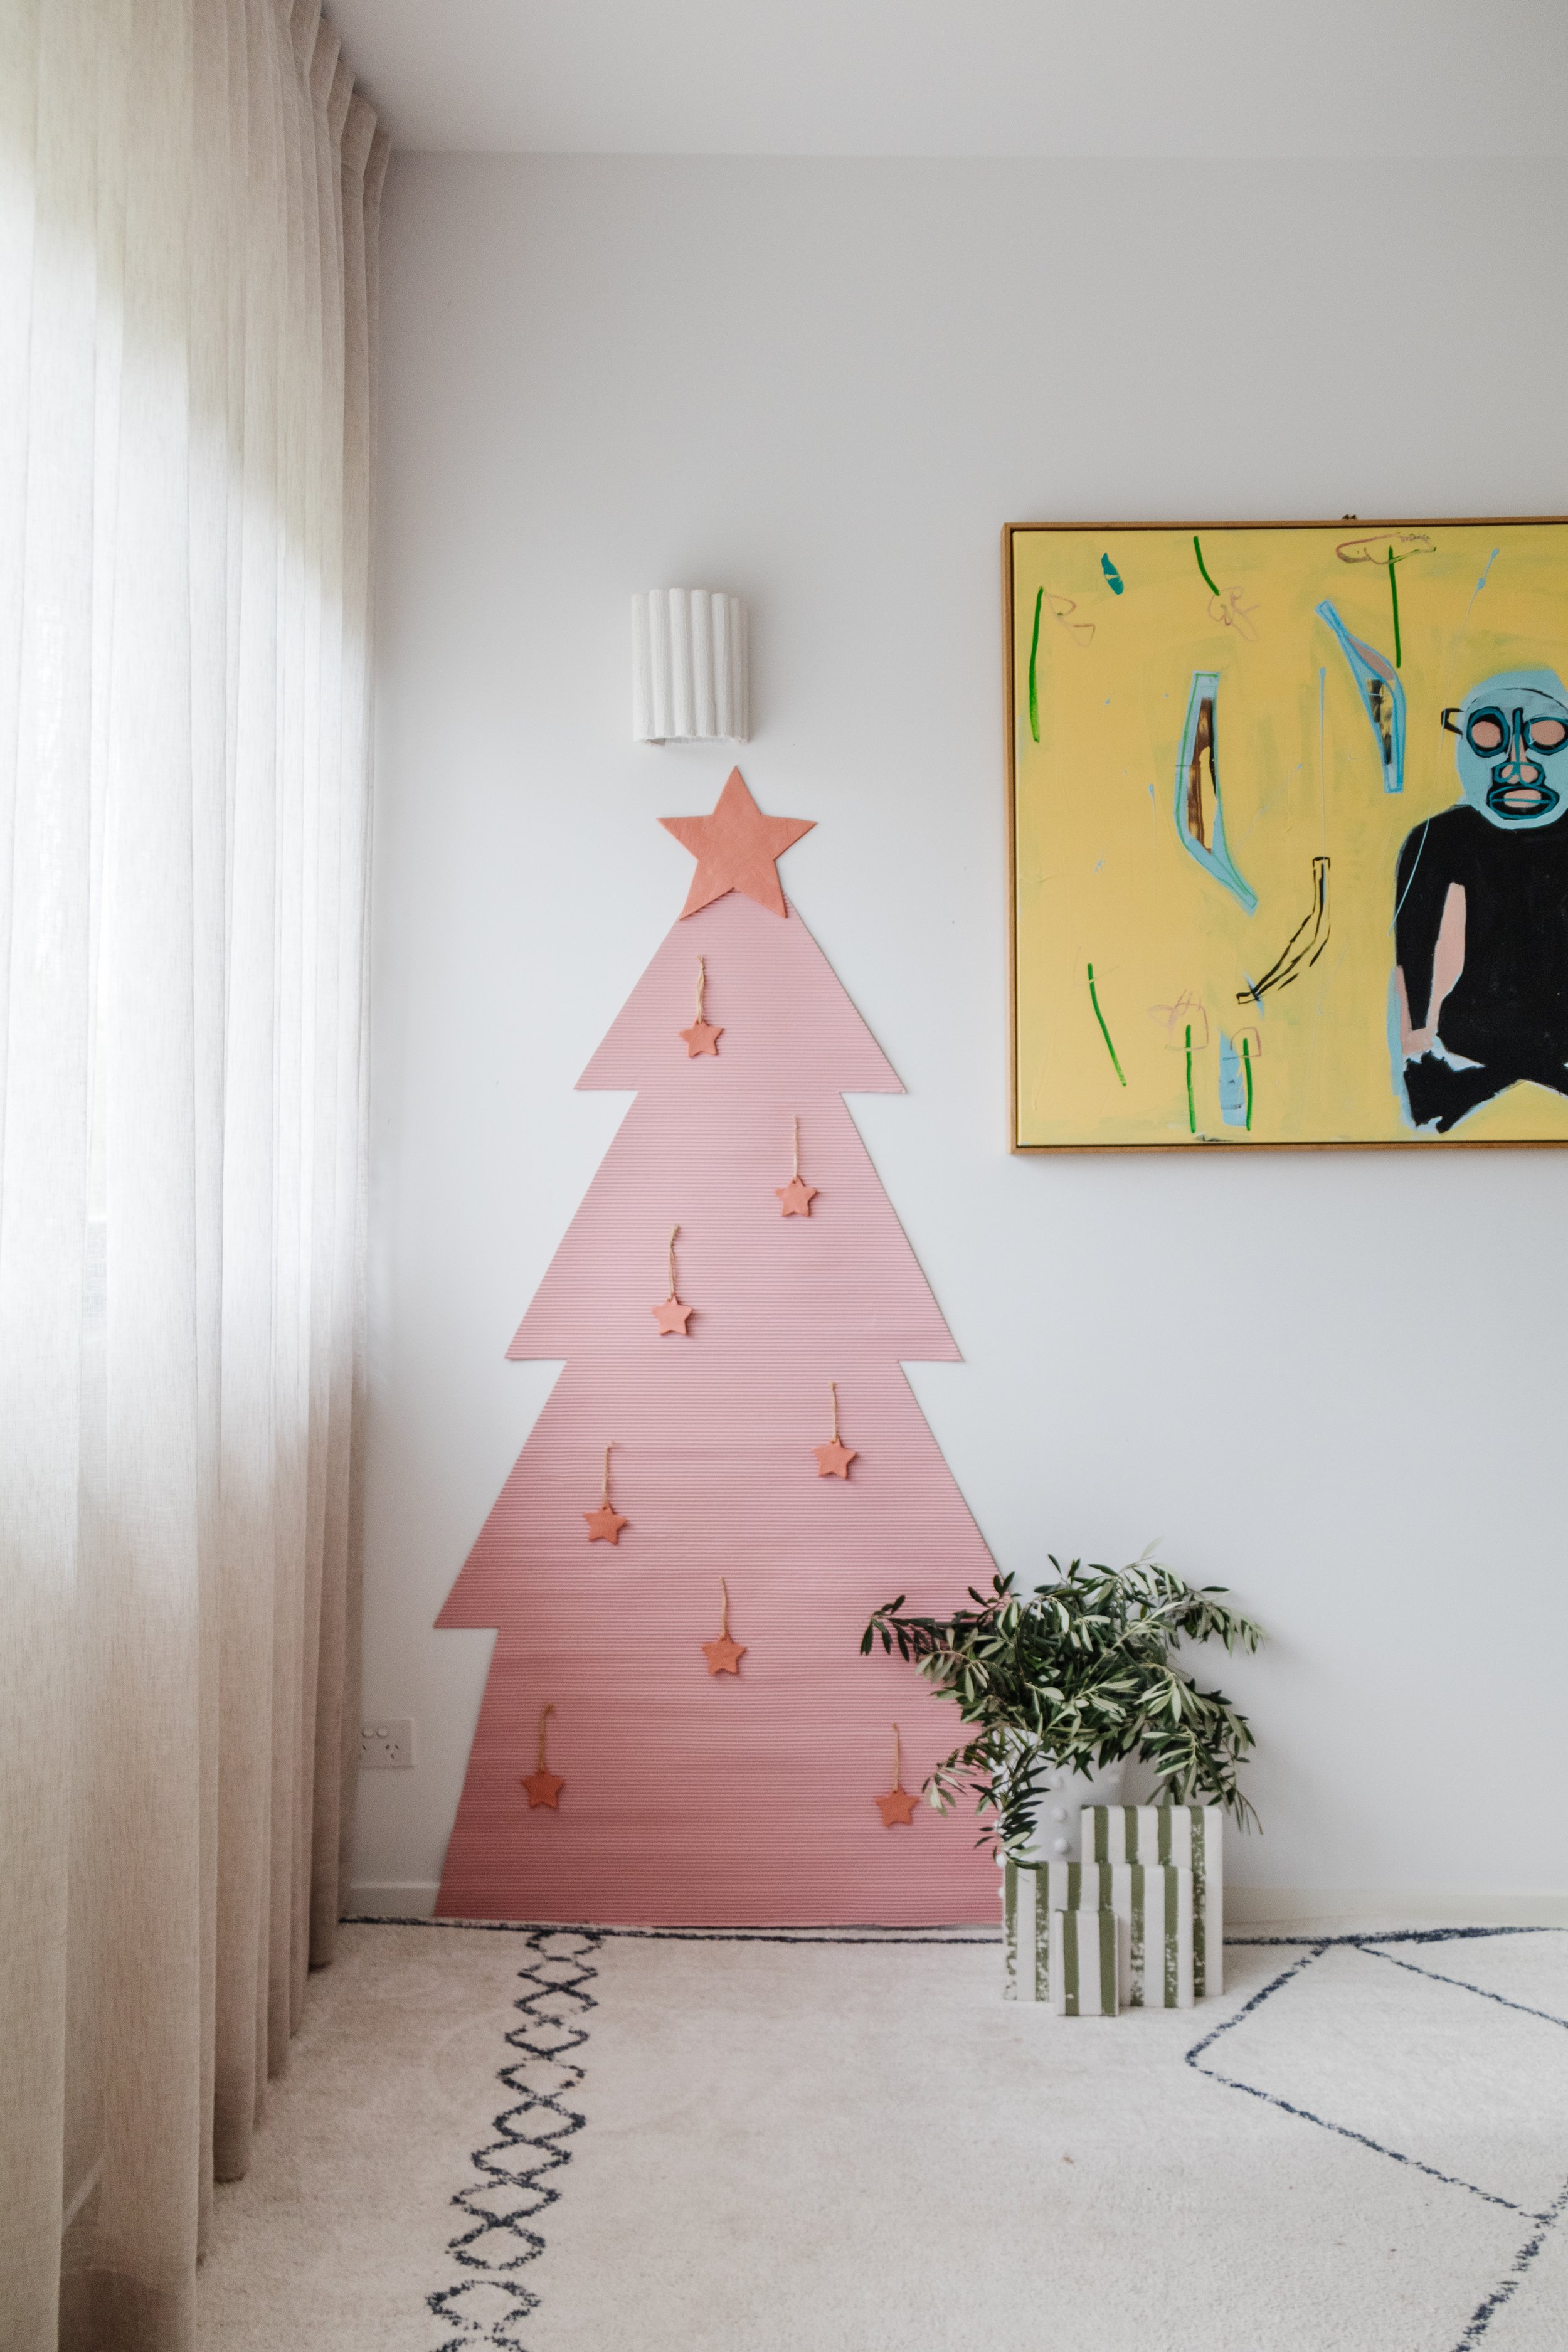
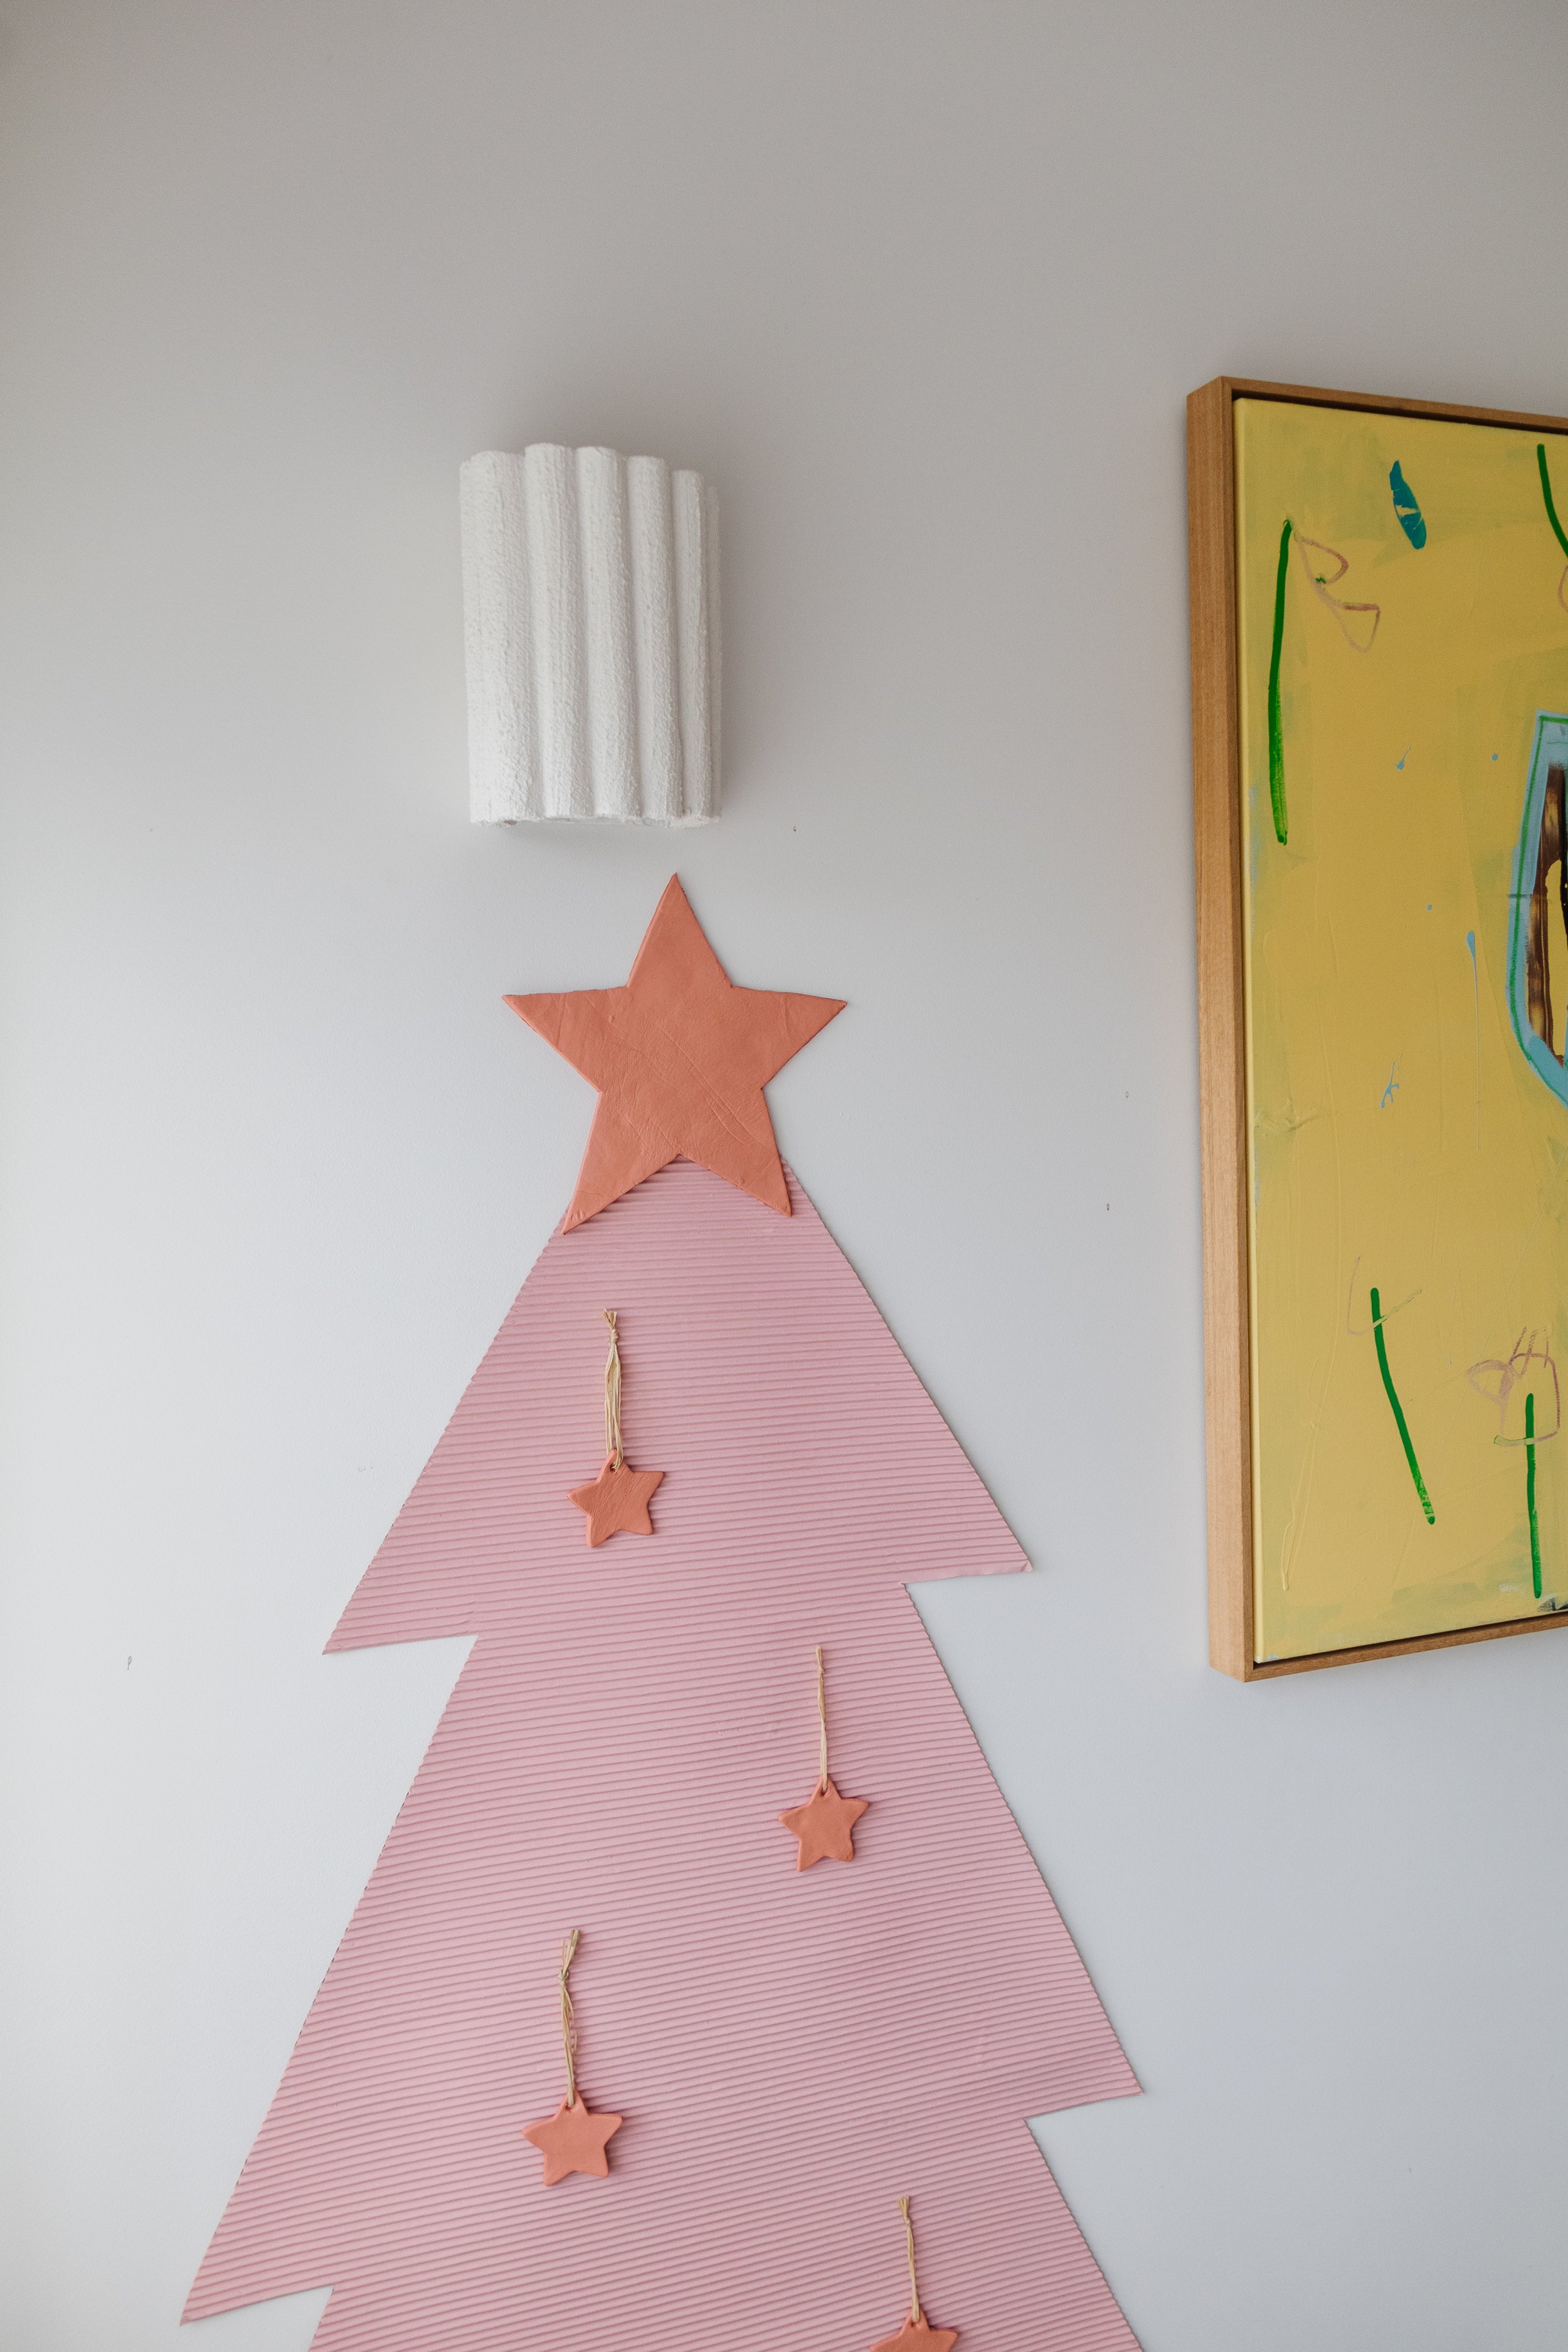
Of course you can! My parents are staying in a unit on Hastings Street over the Christmas holidays and I felt sad knowing they wouldn’t be able to bring their Christmas Tree with them. But that was until I stumbled across a roll of fluted cardboard at Bunnings a couple of weeks ago! My mind instantly started thinking about the possibilities when an idea struck! Why not make a Christmas Tree using the fluted cardboard that I can easily tape to the wall using removable painters tape.
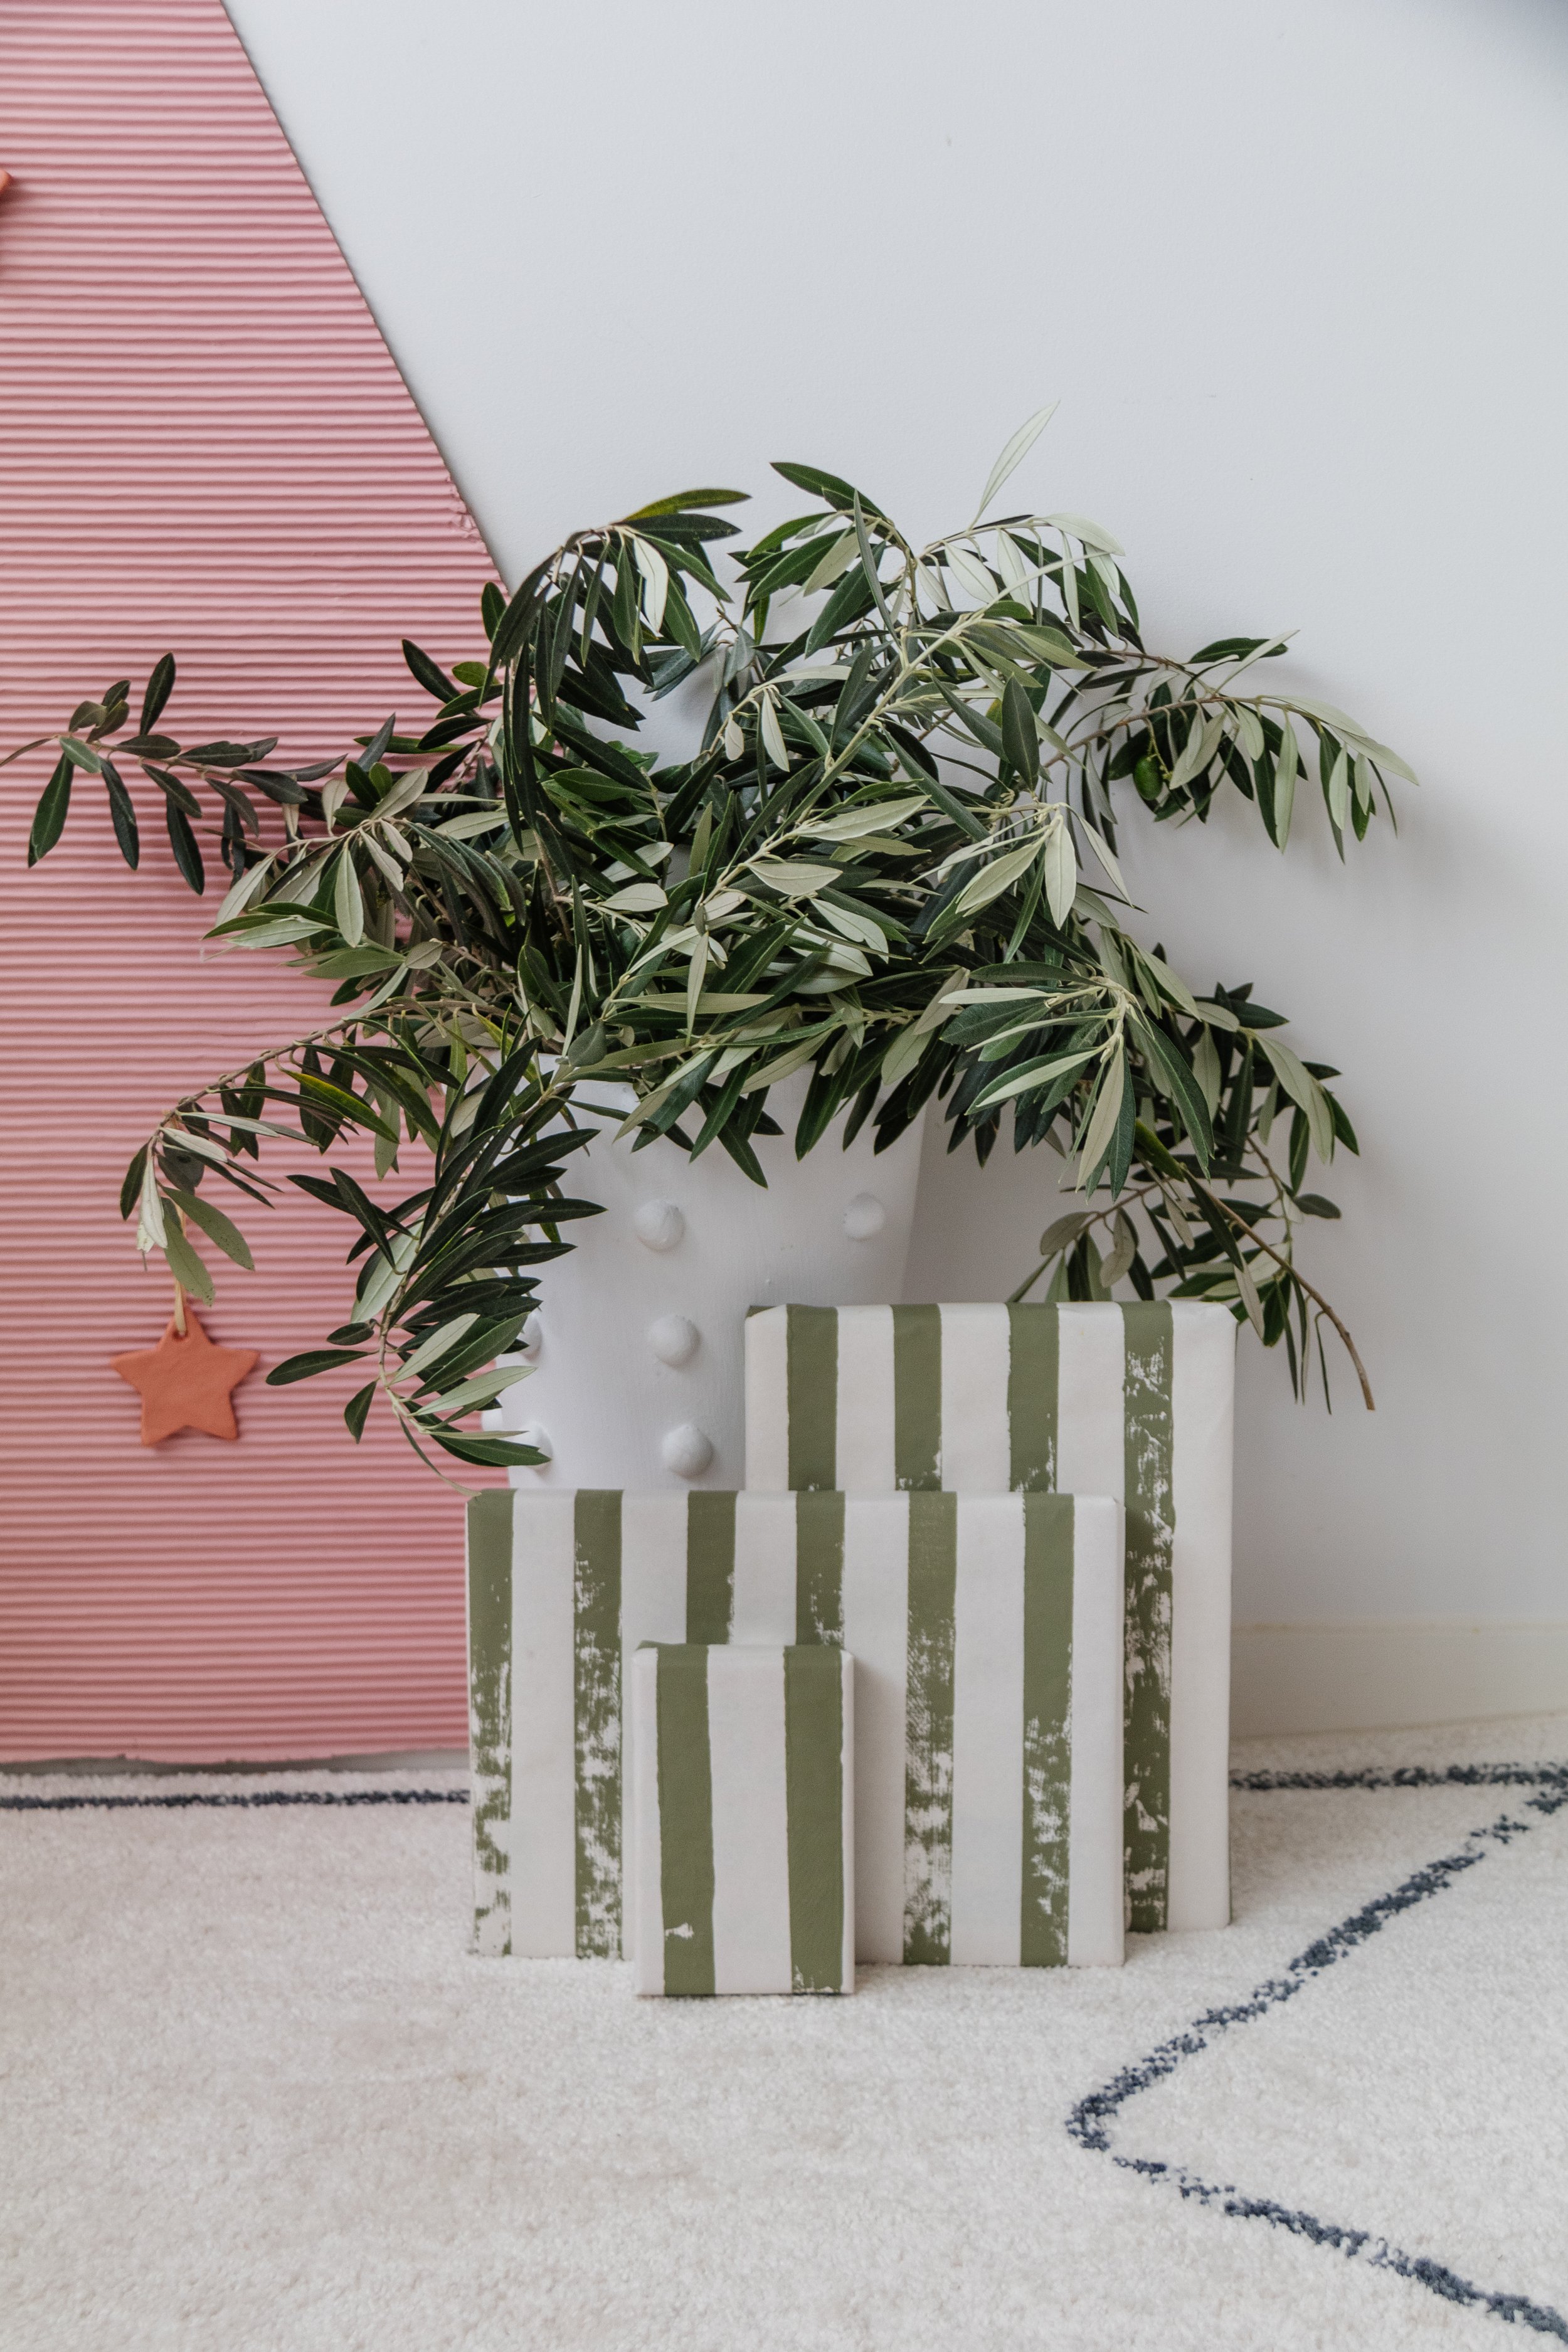
And off I went - woo hoo! I cut out the tree and painted it pink using my go-to combination of @duluxaus Morocco with Lexicon Quarter (luckily my parents like pink!). I taped it to the wall and added some DIY Terracotta Clay Star Ornaments for extra festive cheer. And at the last minute, I decided to make some DIY Painted Striped Wrapping Paper using a piece of leftover timber from my DIY Wooden Christmas Tree project to wrap their presents in. I am so excited to put this tree up in their unit when they arrive! But what I love most about this project is that it’s a total space saver. Total project cost? Under $40 - amazing, right? Read on for the tutorial. Happy Christmas!
And to see how this DIY Fluted Cardboard Christmas Tree came together, make sure you check out this video!
DIY Fluted Cardboard Christmas Tree


Project Details
🕒 Project Time Estimate: 1 hour, not including clay or paint drying time
💰 Materials Cost: Approximately $40 (and you’ll have plenty of fluted cardboard leftover for other fun projects!)
⚒️ Power Tools: None!
👷♀️ Skill Level: Beginner DIYer
NB: To make the same pink paint I used, mix 75% Dulux “Lexicon Quarter” with 25% Dulux “Morocco”.
Materials
Ruler, pencil and scissors
Pink paint and paint brush
Rolling pin
Non stick Baking paper
Flat chopping board
Dulux “Flinders Green” paint

How To
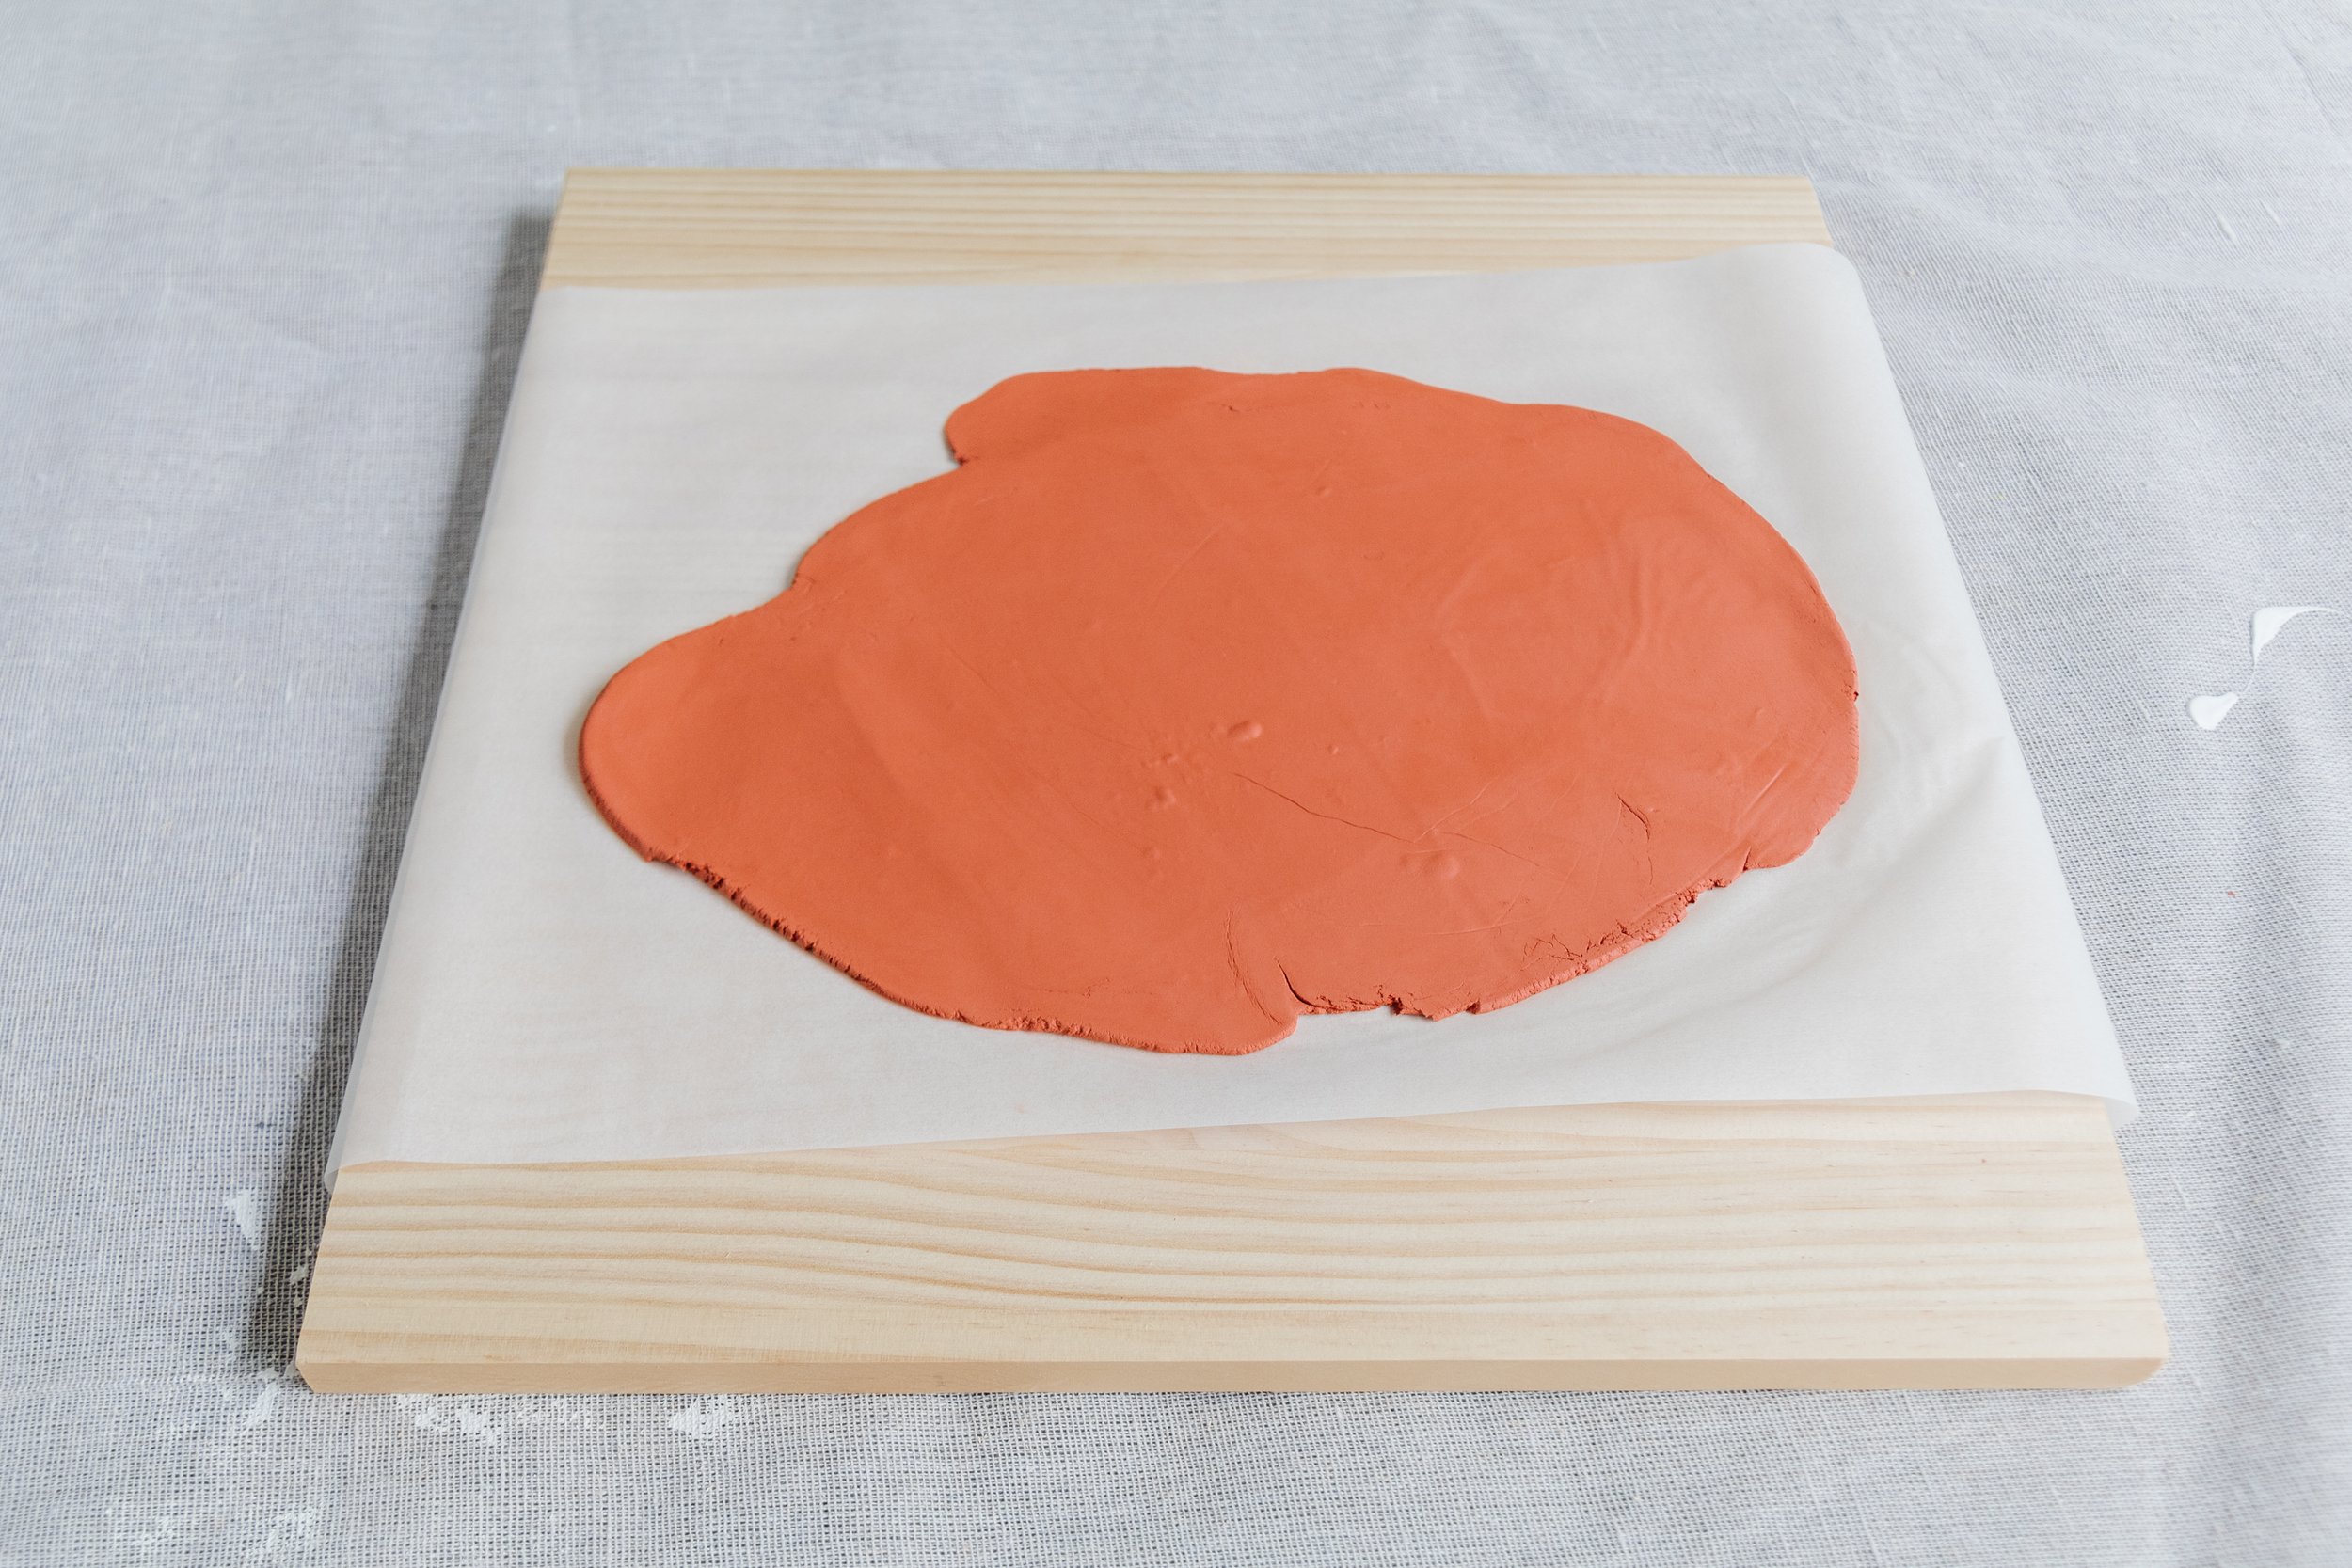
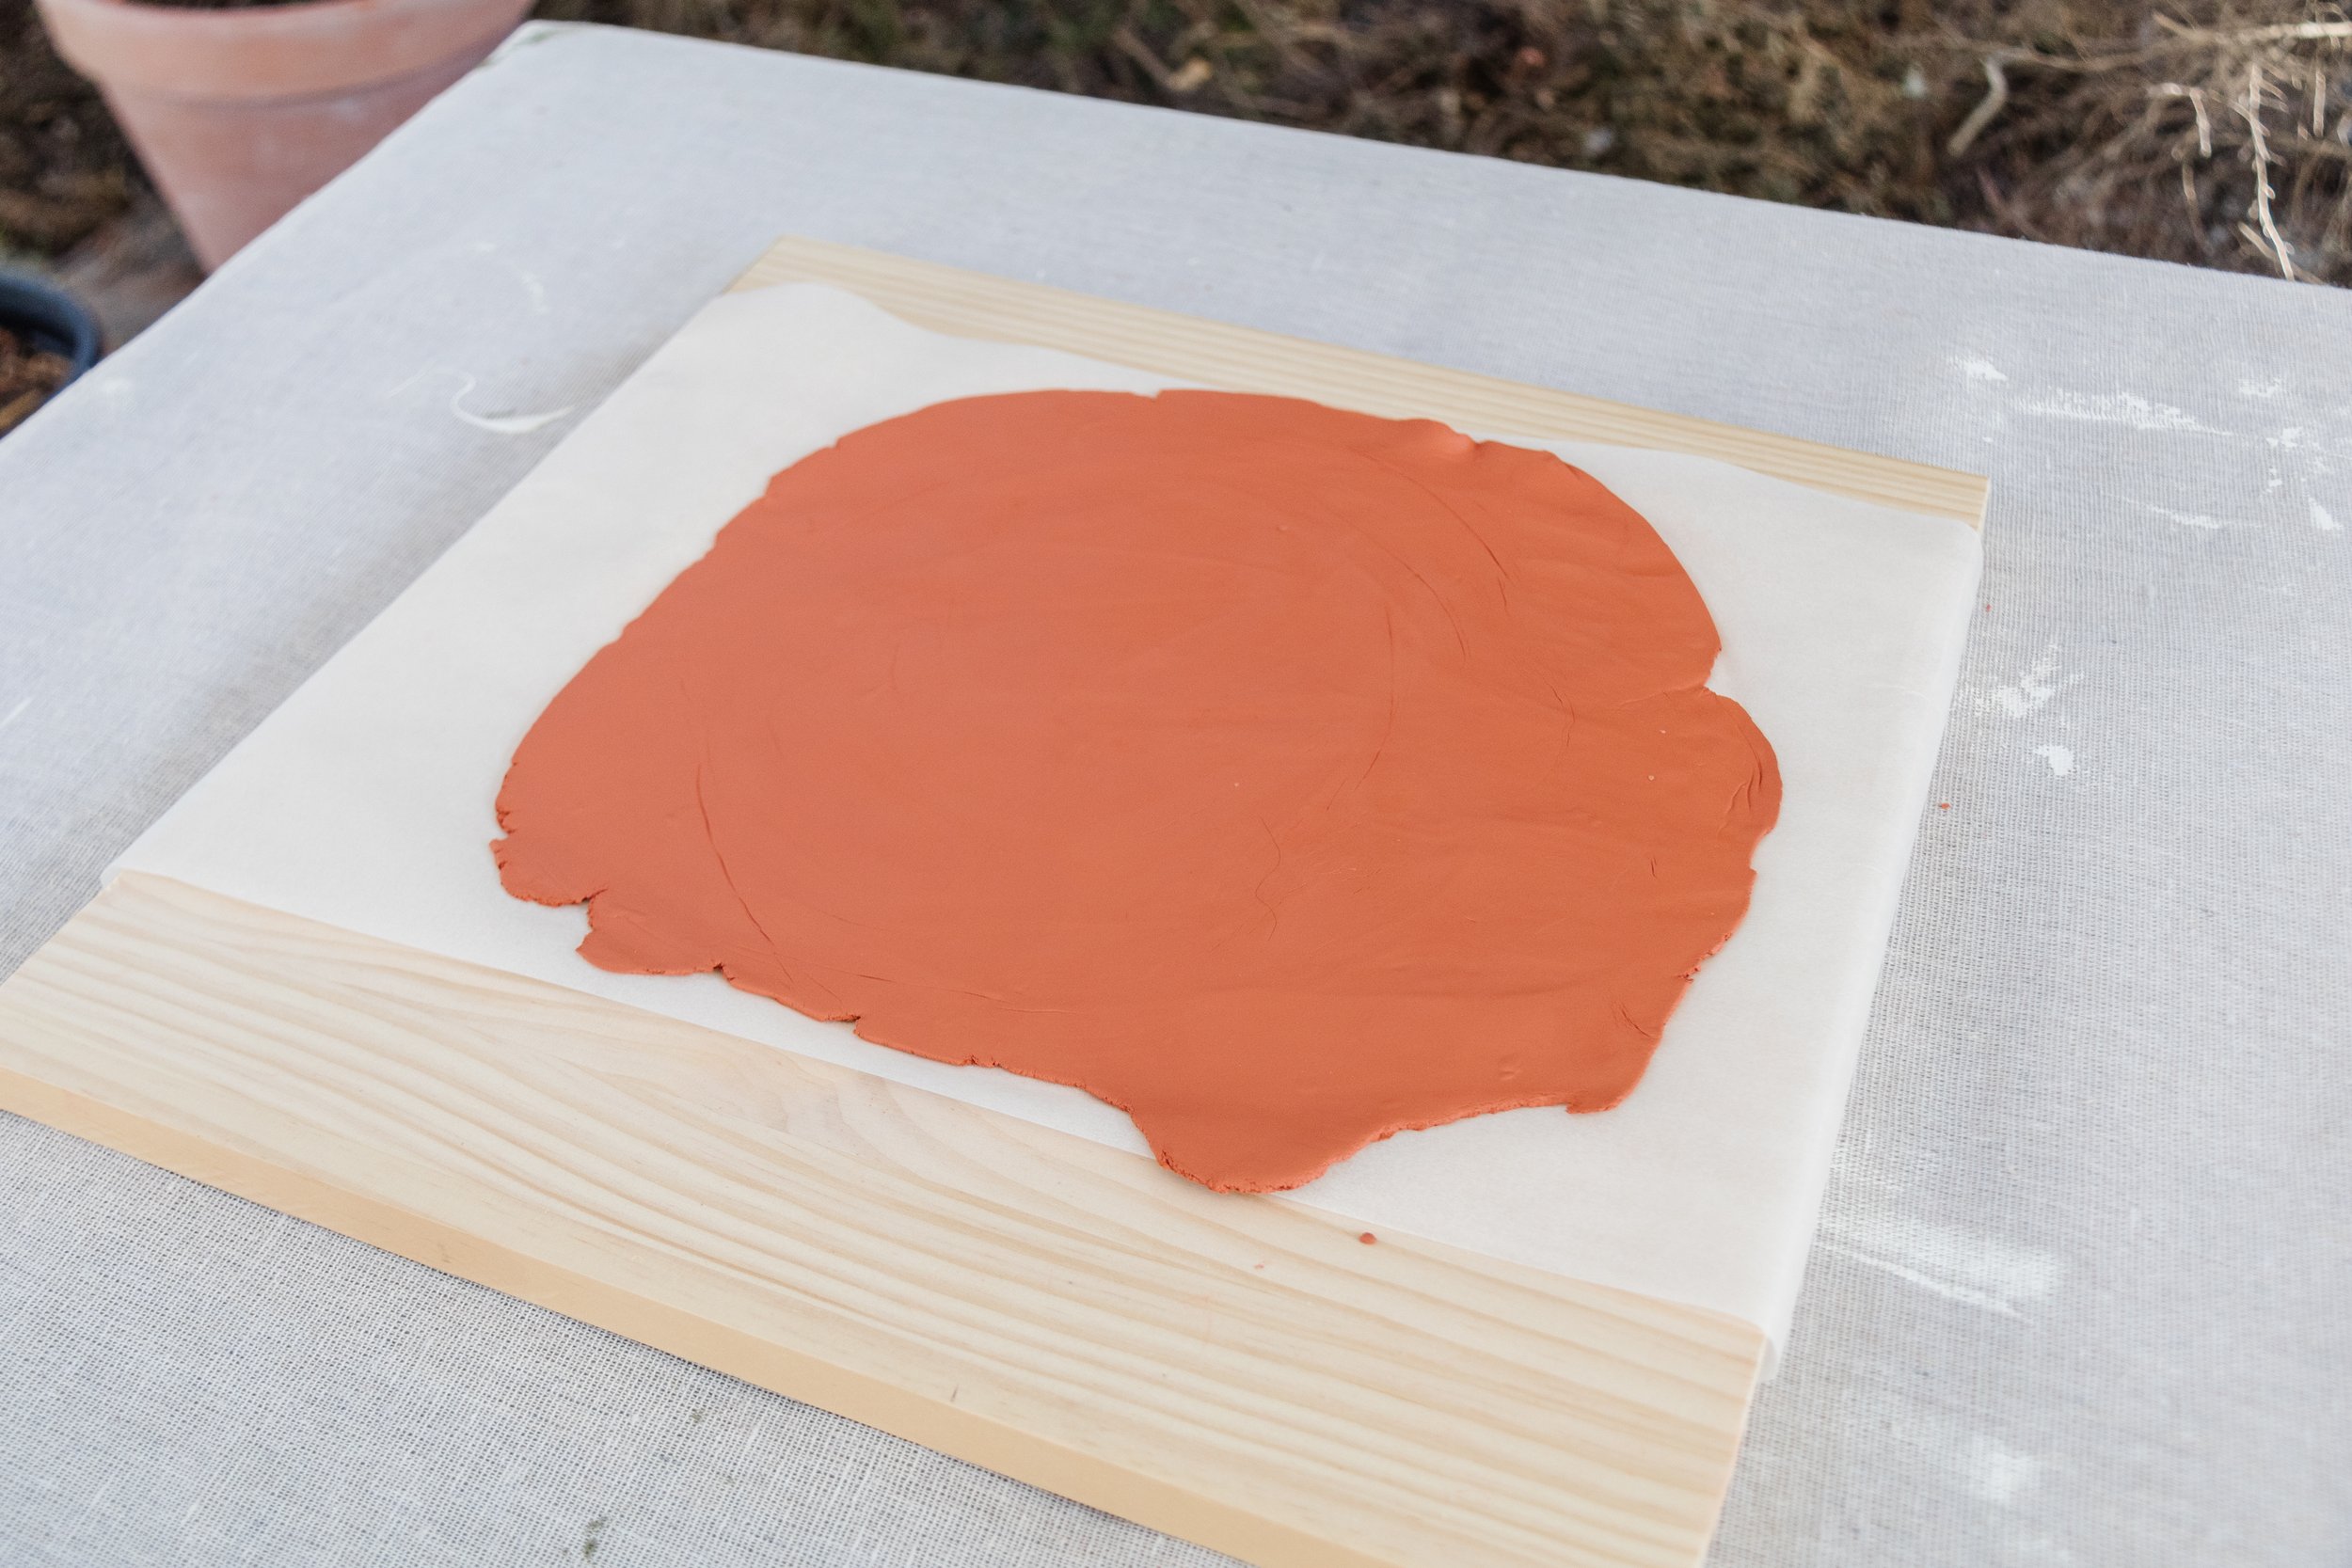
Step 1: Start by rolling out the terracotta clay onto a flat chopping board that has been lined with non-stick baking paper. Keep rolling the clay until it’s about 5mm thick.
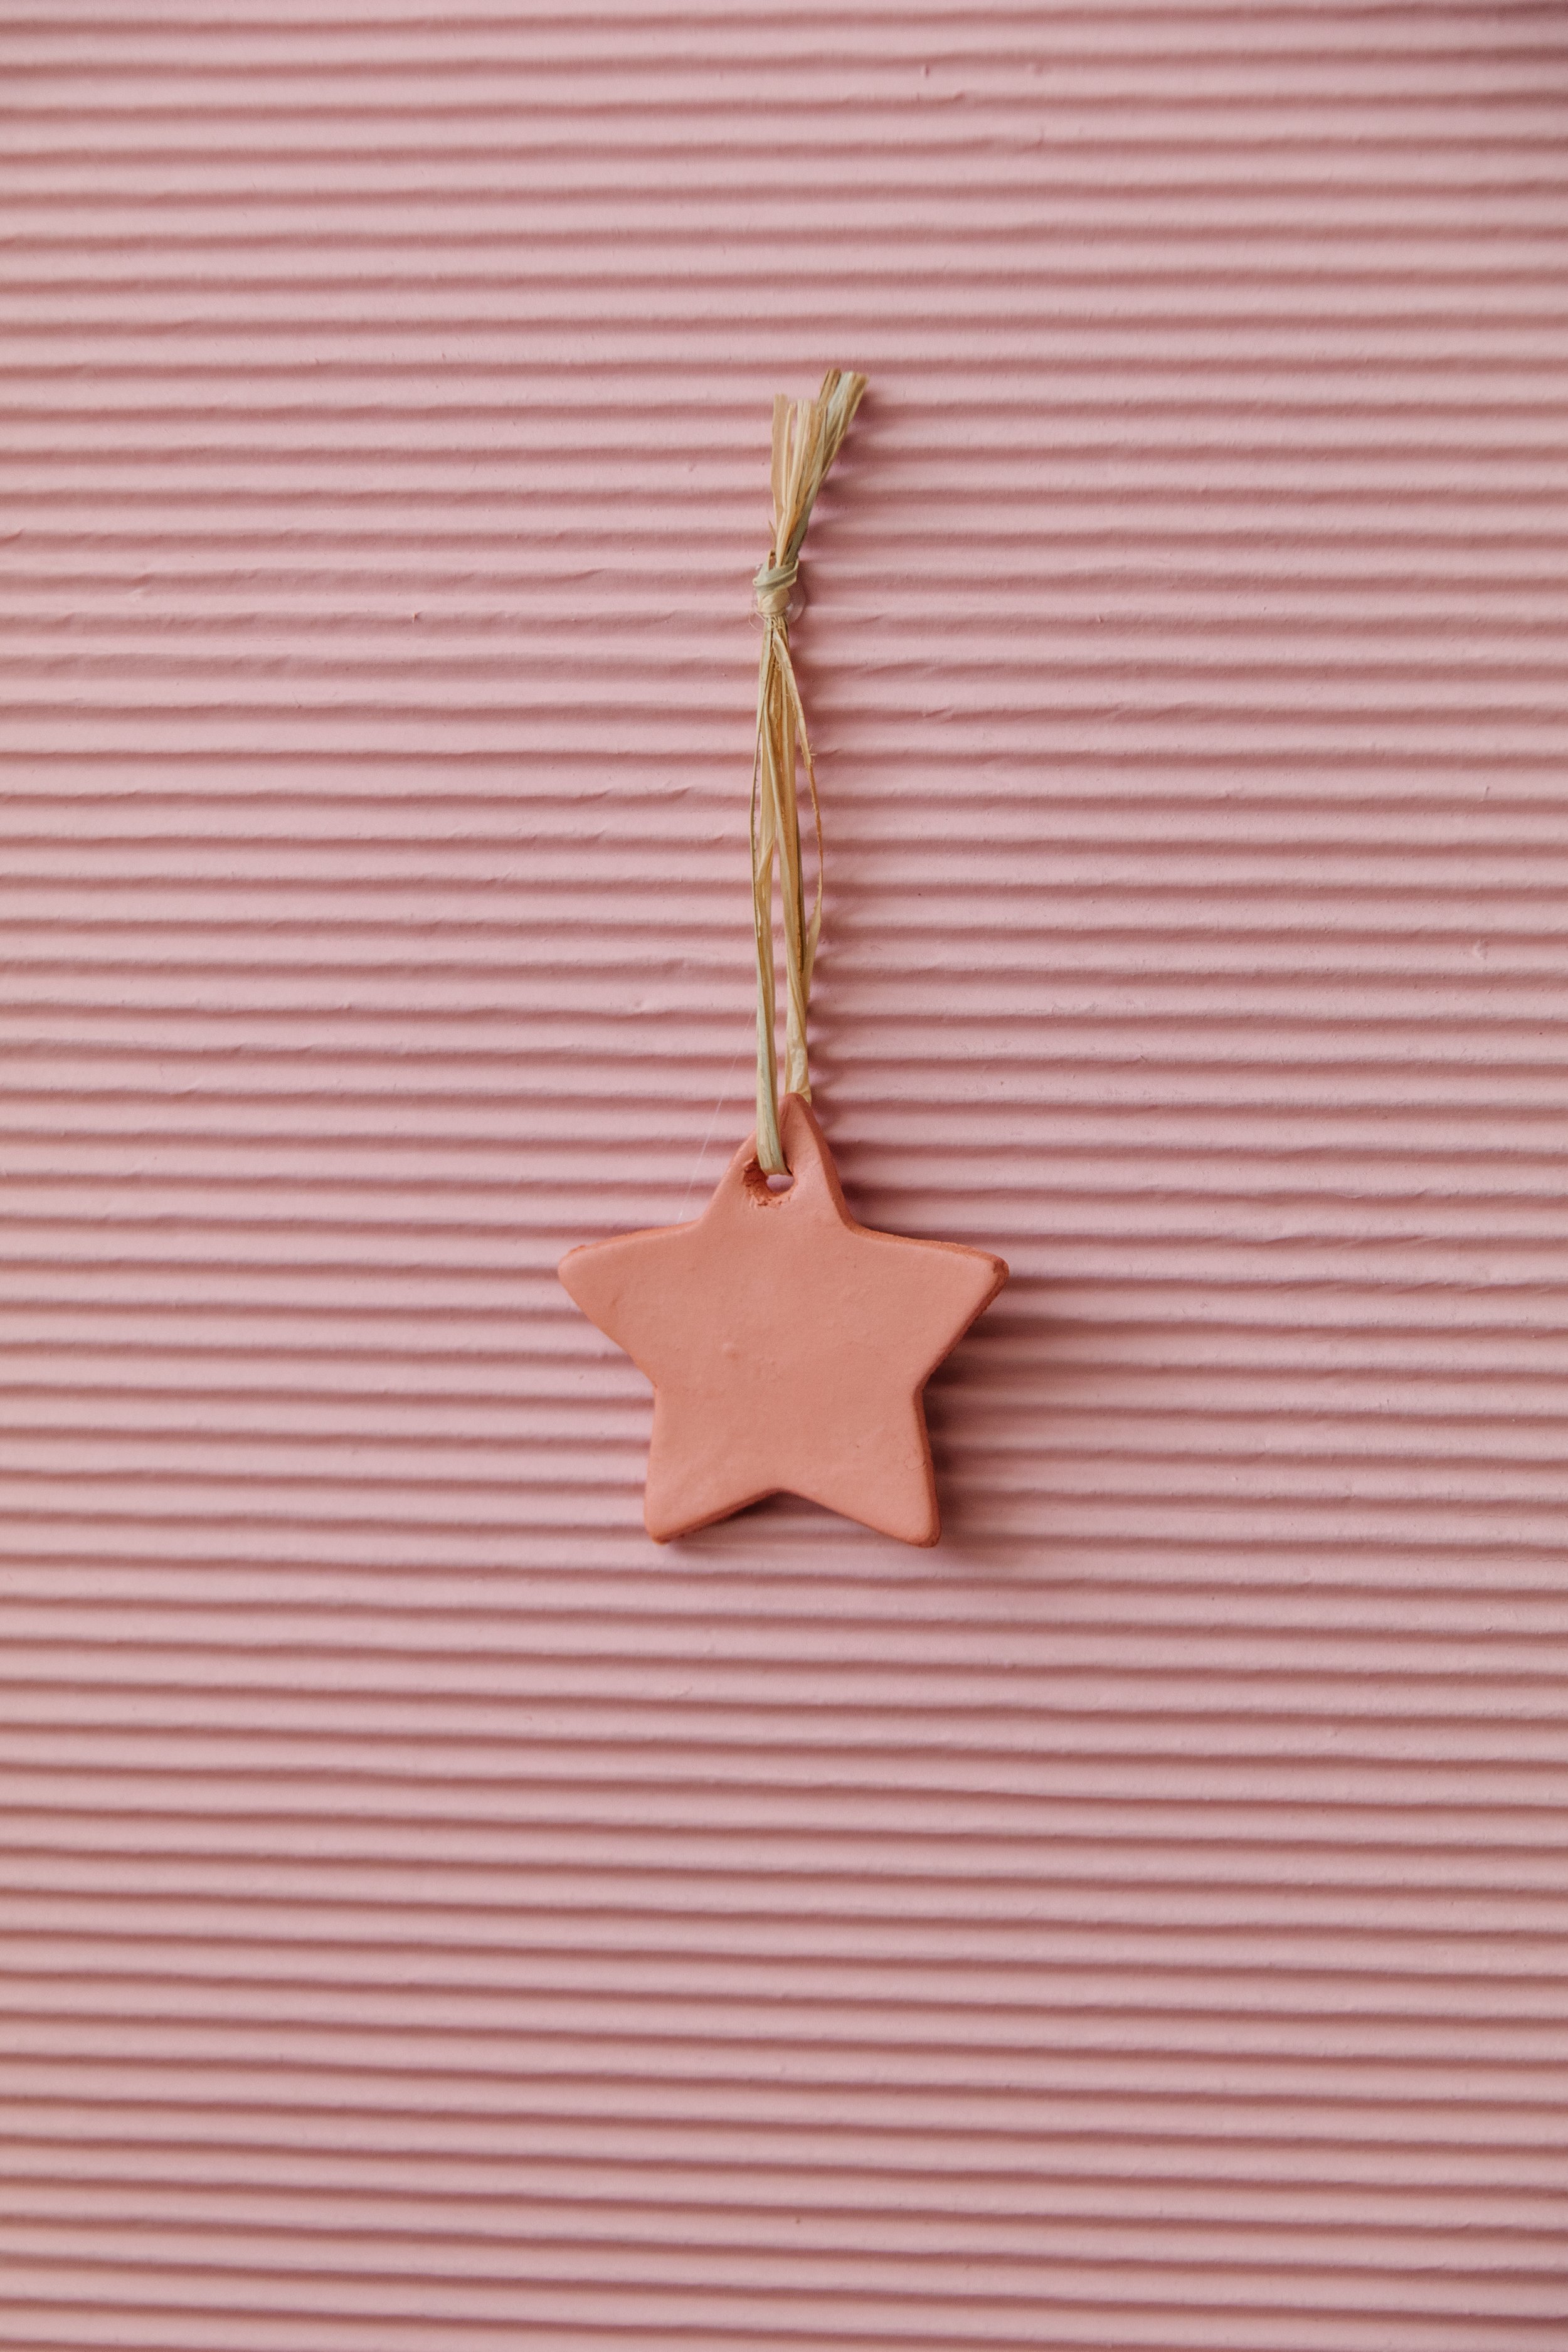
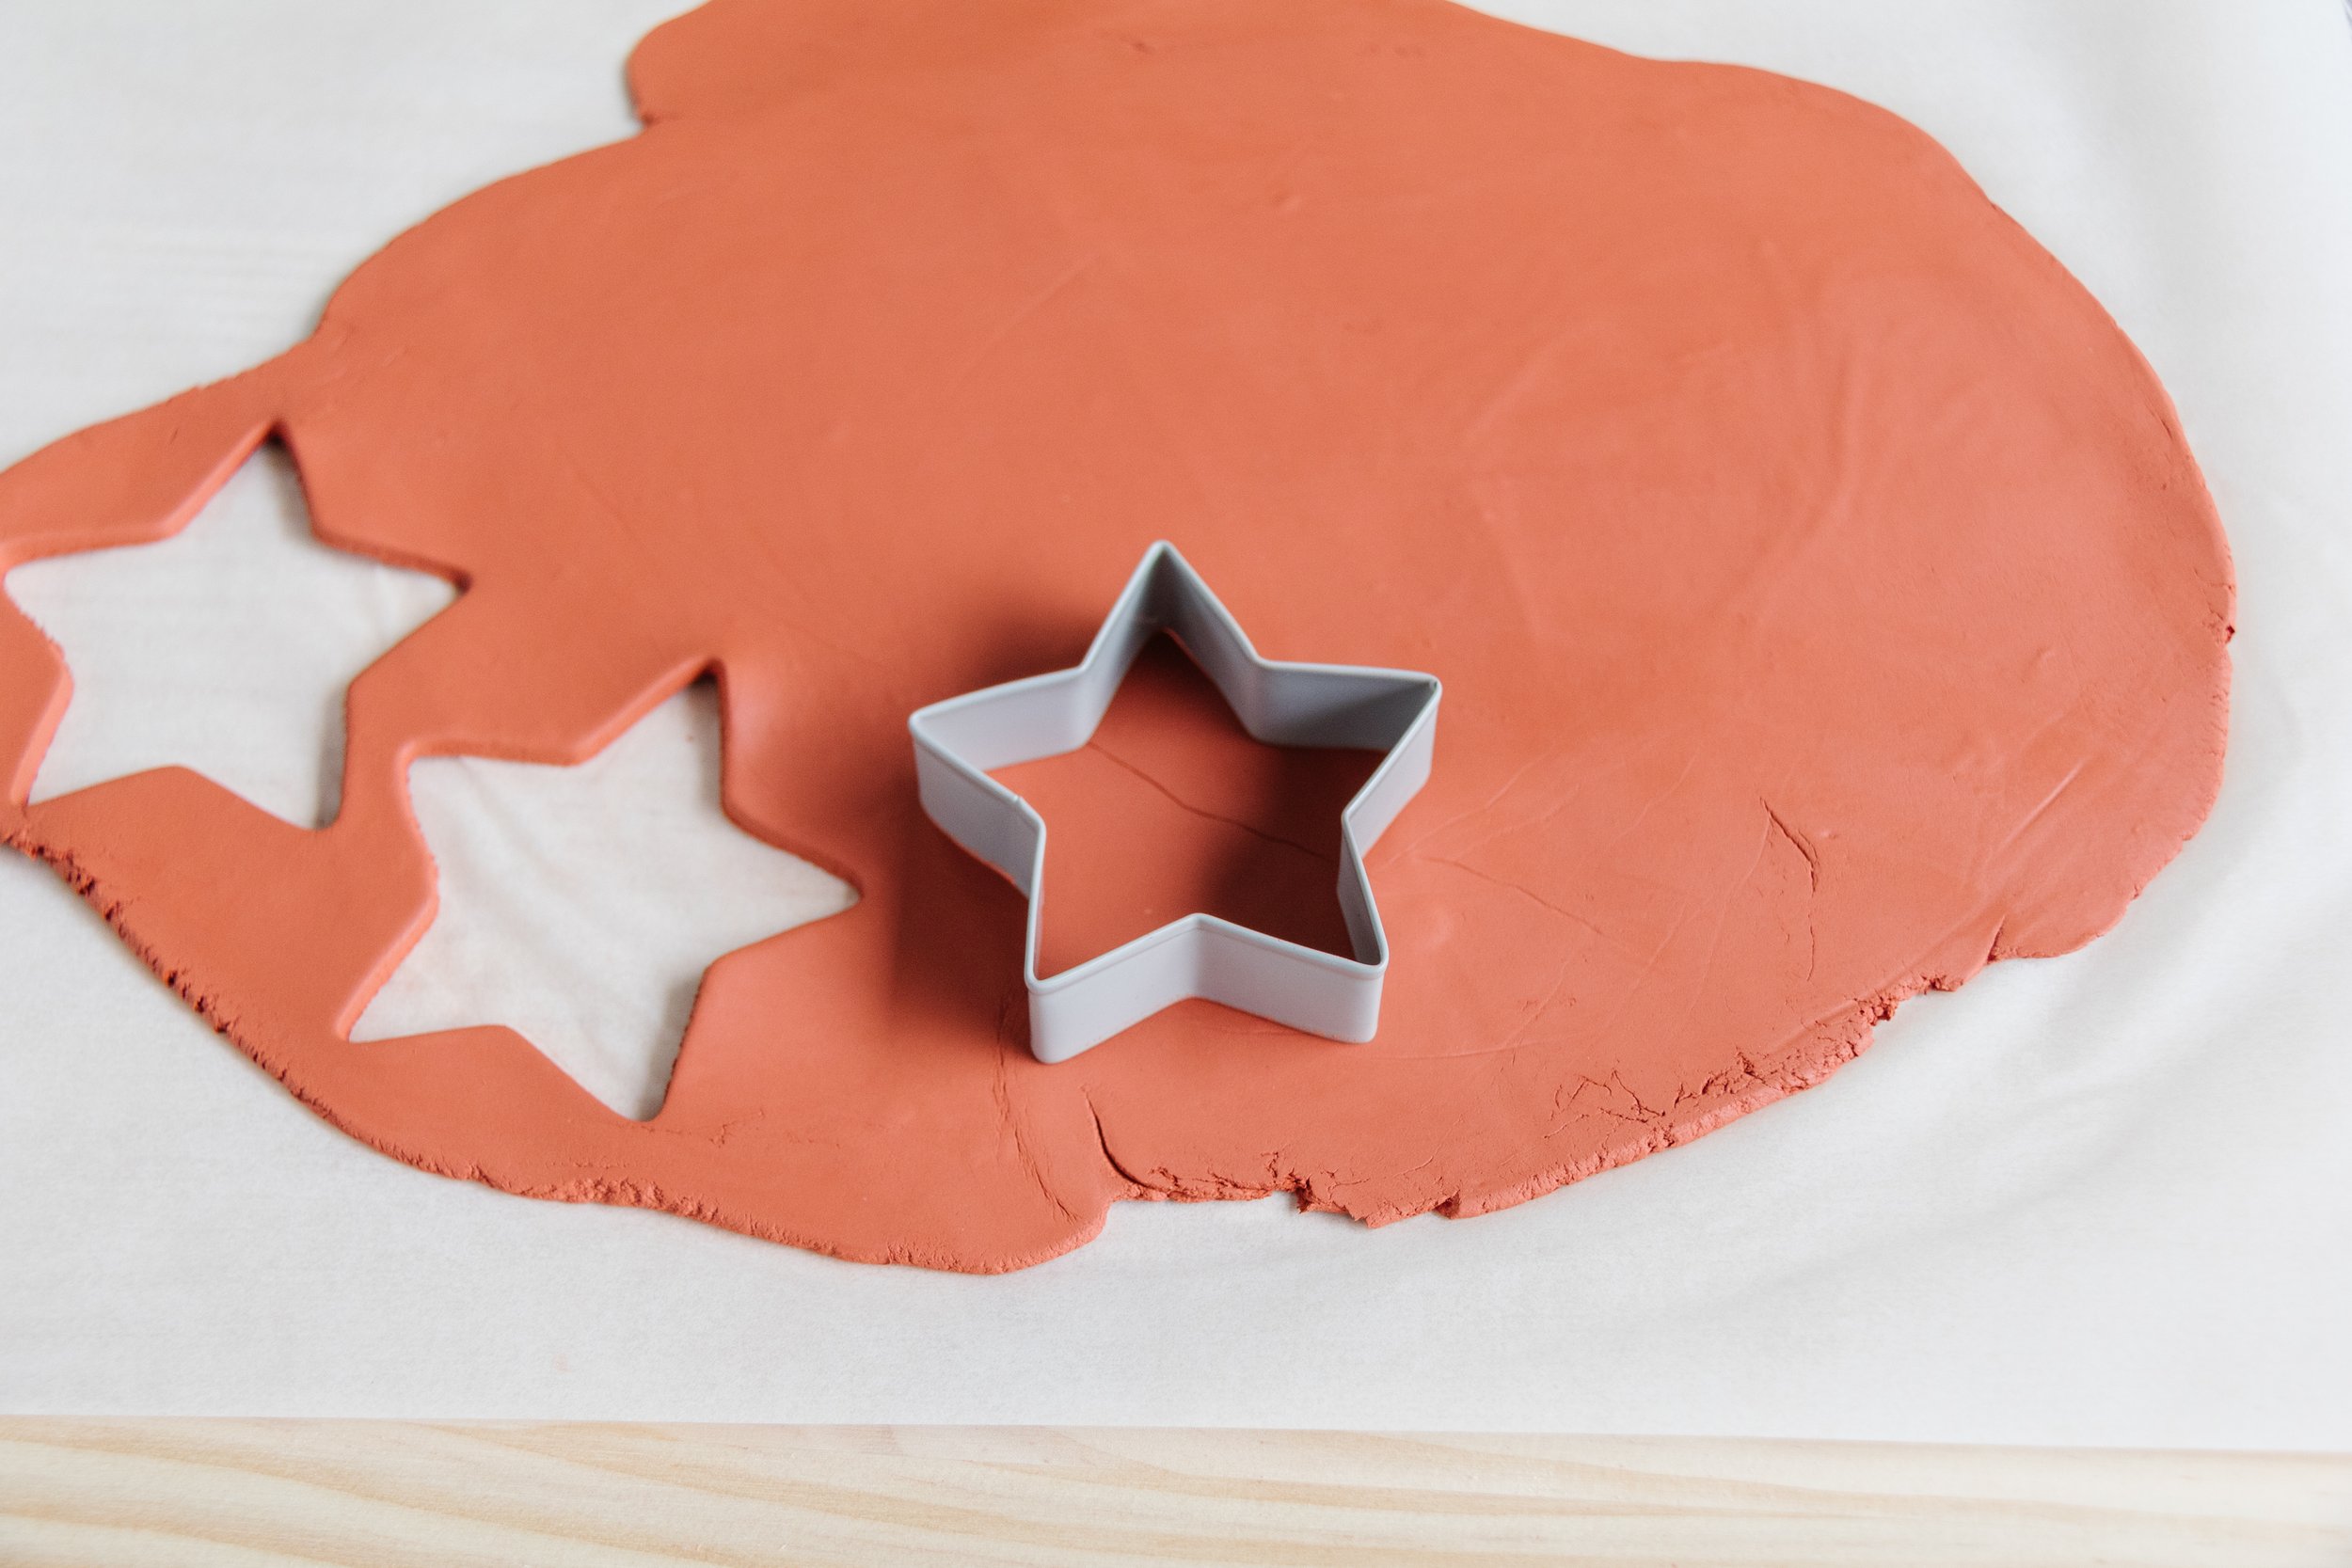
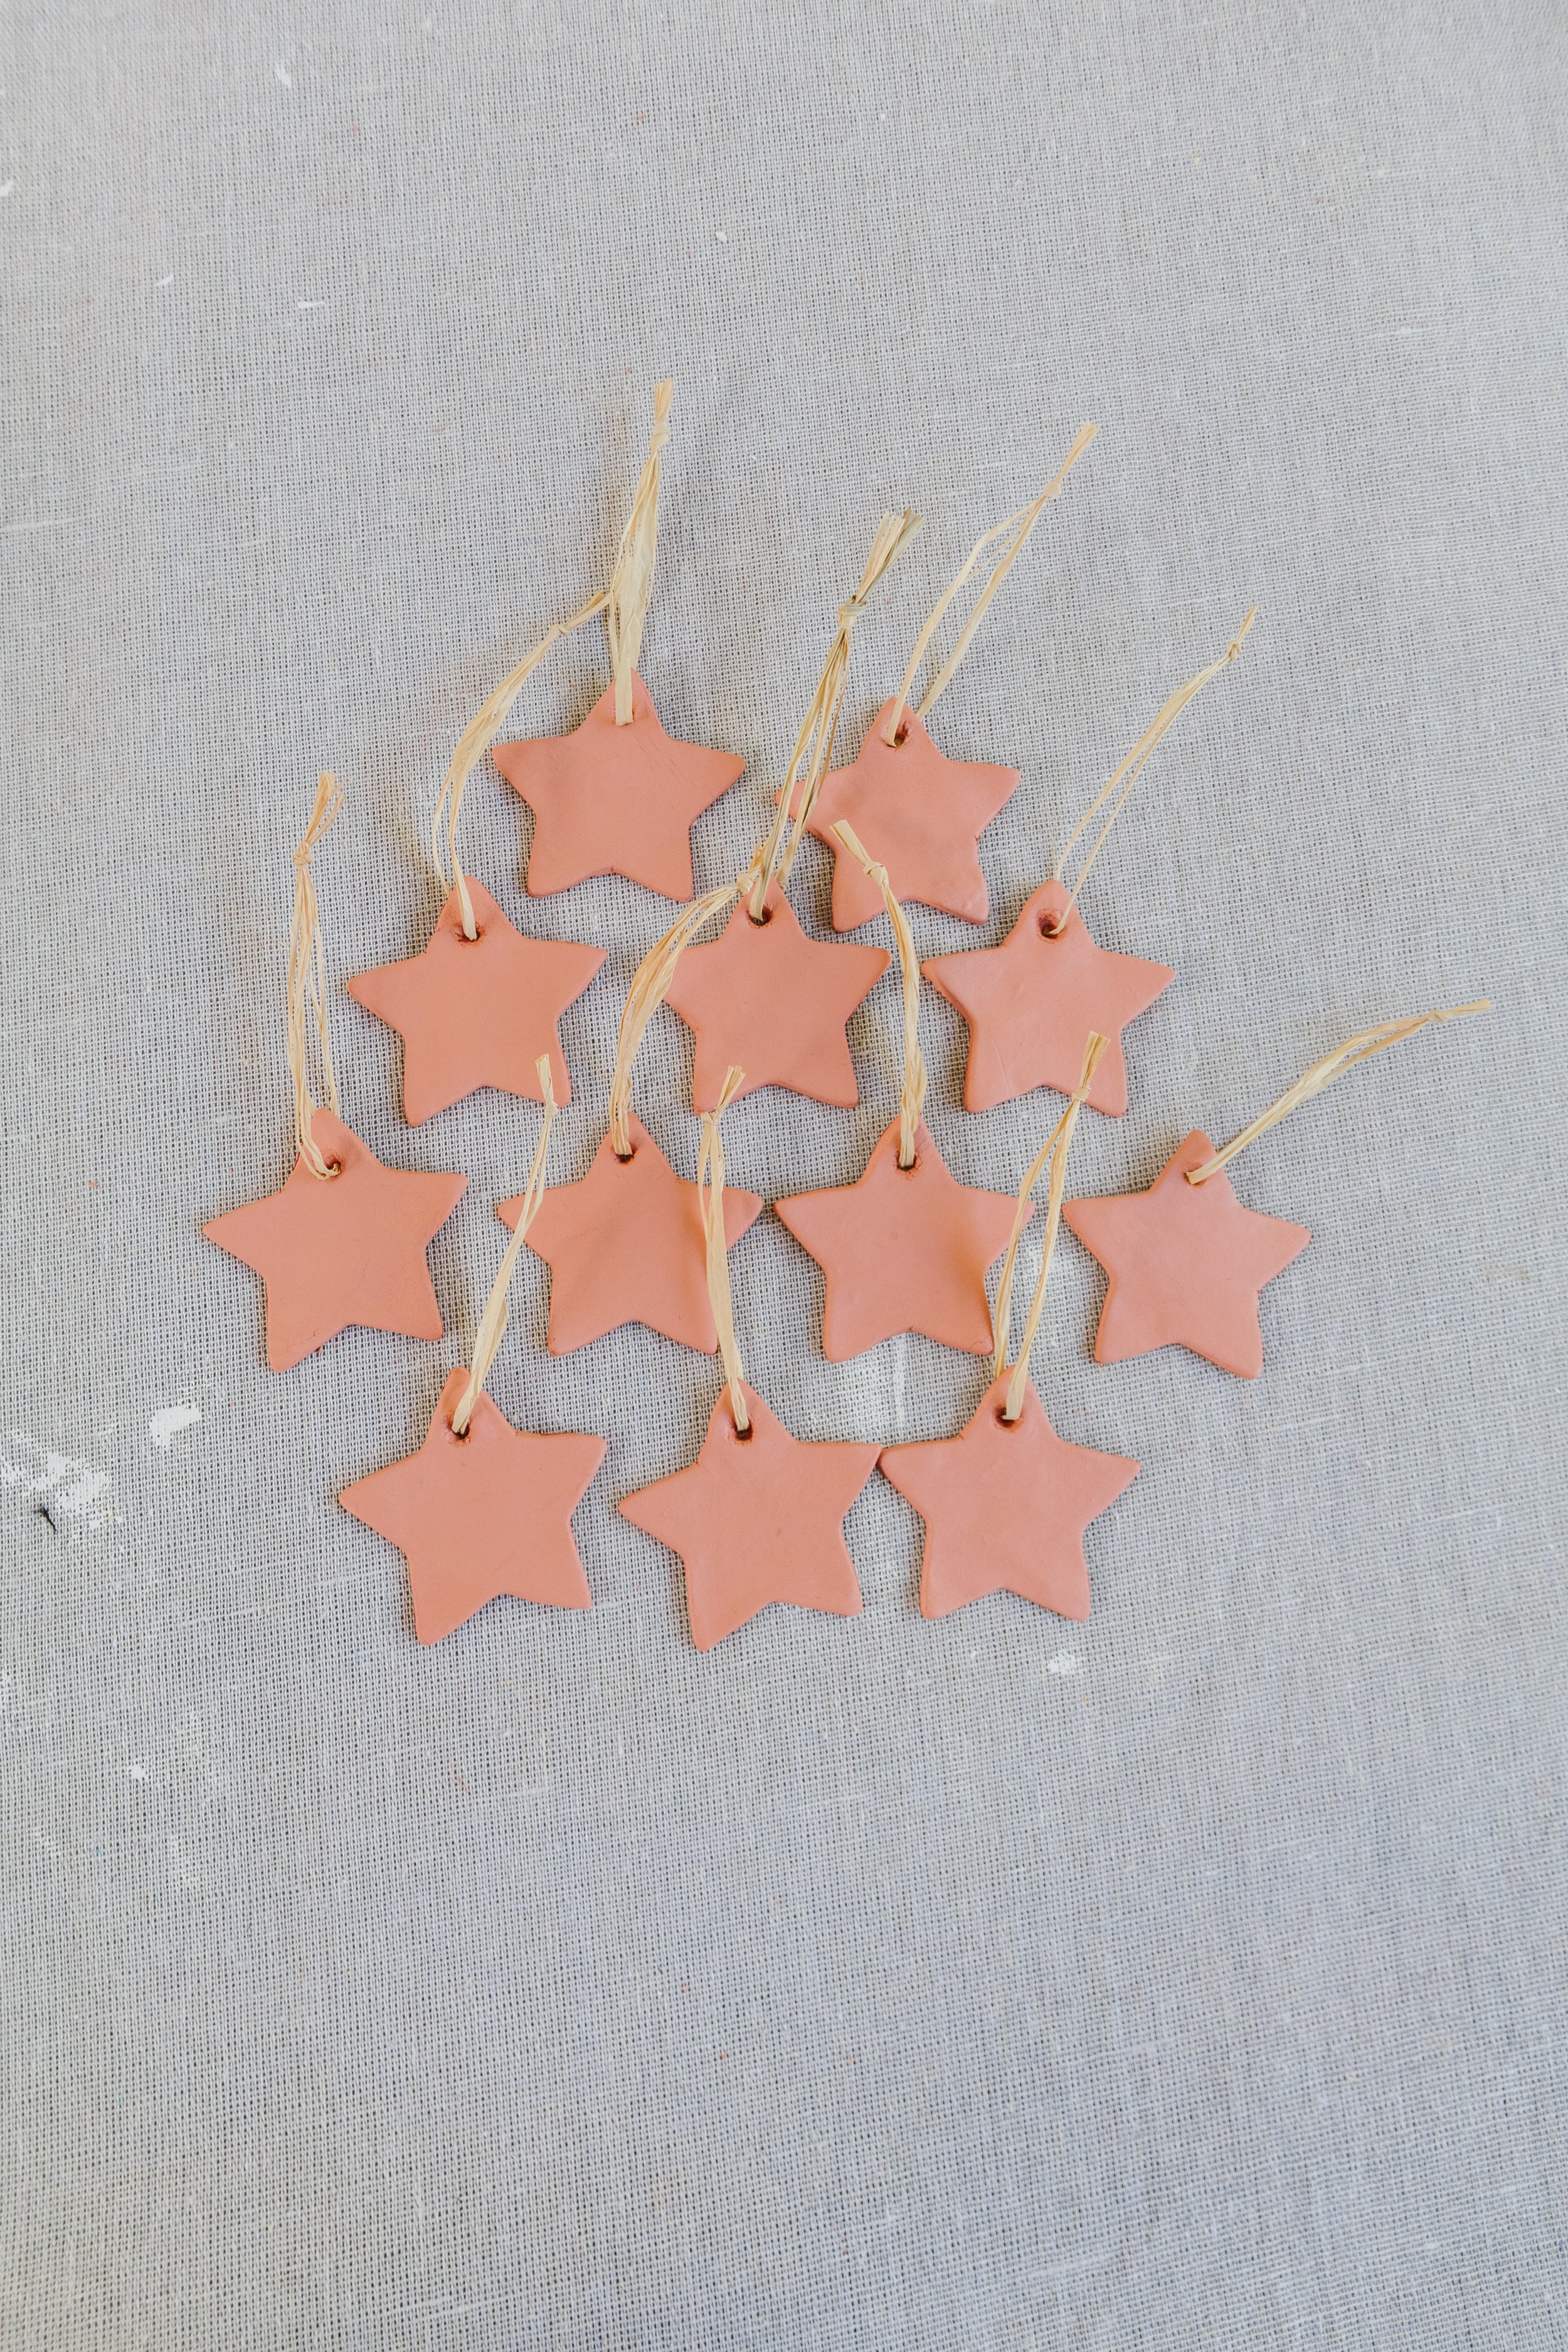
Step 2: Using the star shaped cookie cutter, cut out the clay stars and set them aside on a cooling rack. Pierce the top tip of the star with a pencil to make a hole. Ensure there is enough room to thread a piece of raffia through (when the clay has dried) and set aside to dry.
NB: A cooling tray is perfect to dry clay ornaments because it allows air to flow underneath the ornaments while they’re drying. You can dry the clay in direct sun for a few hours, or in the shade/indoors for up to 24 hours.
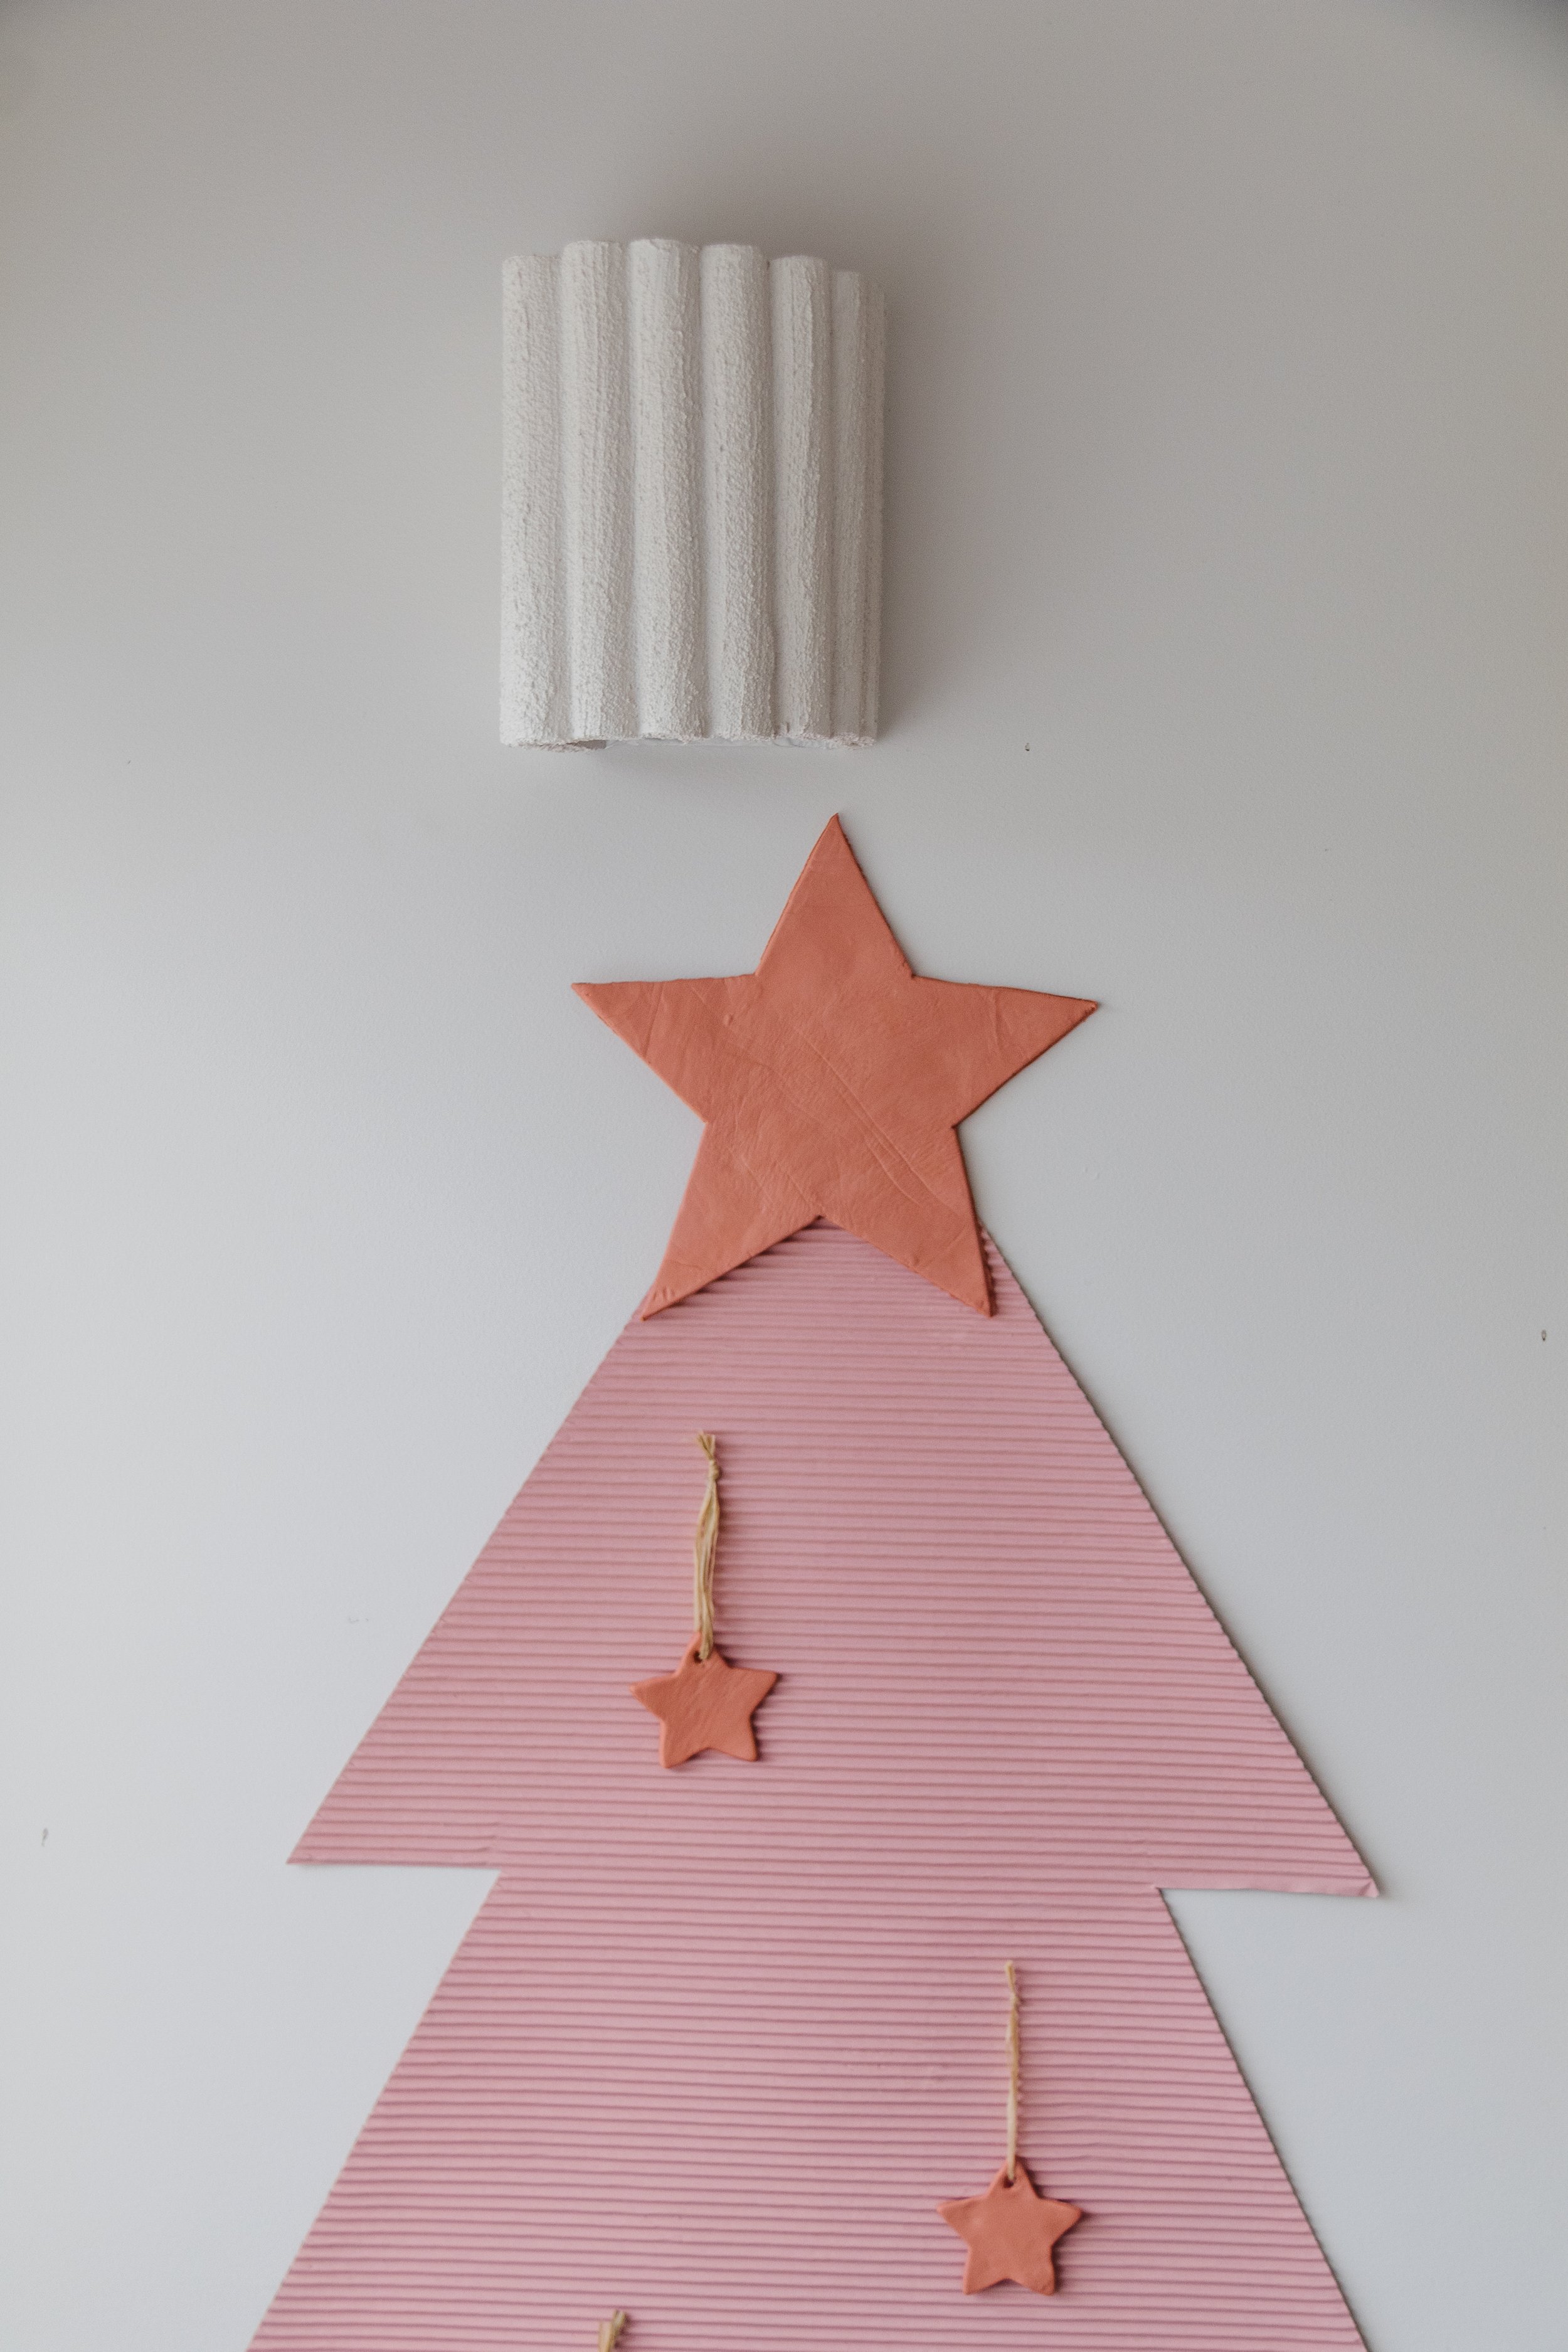
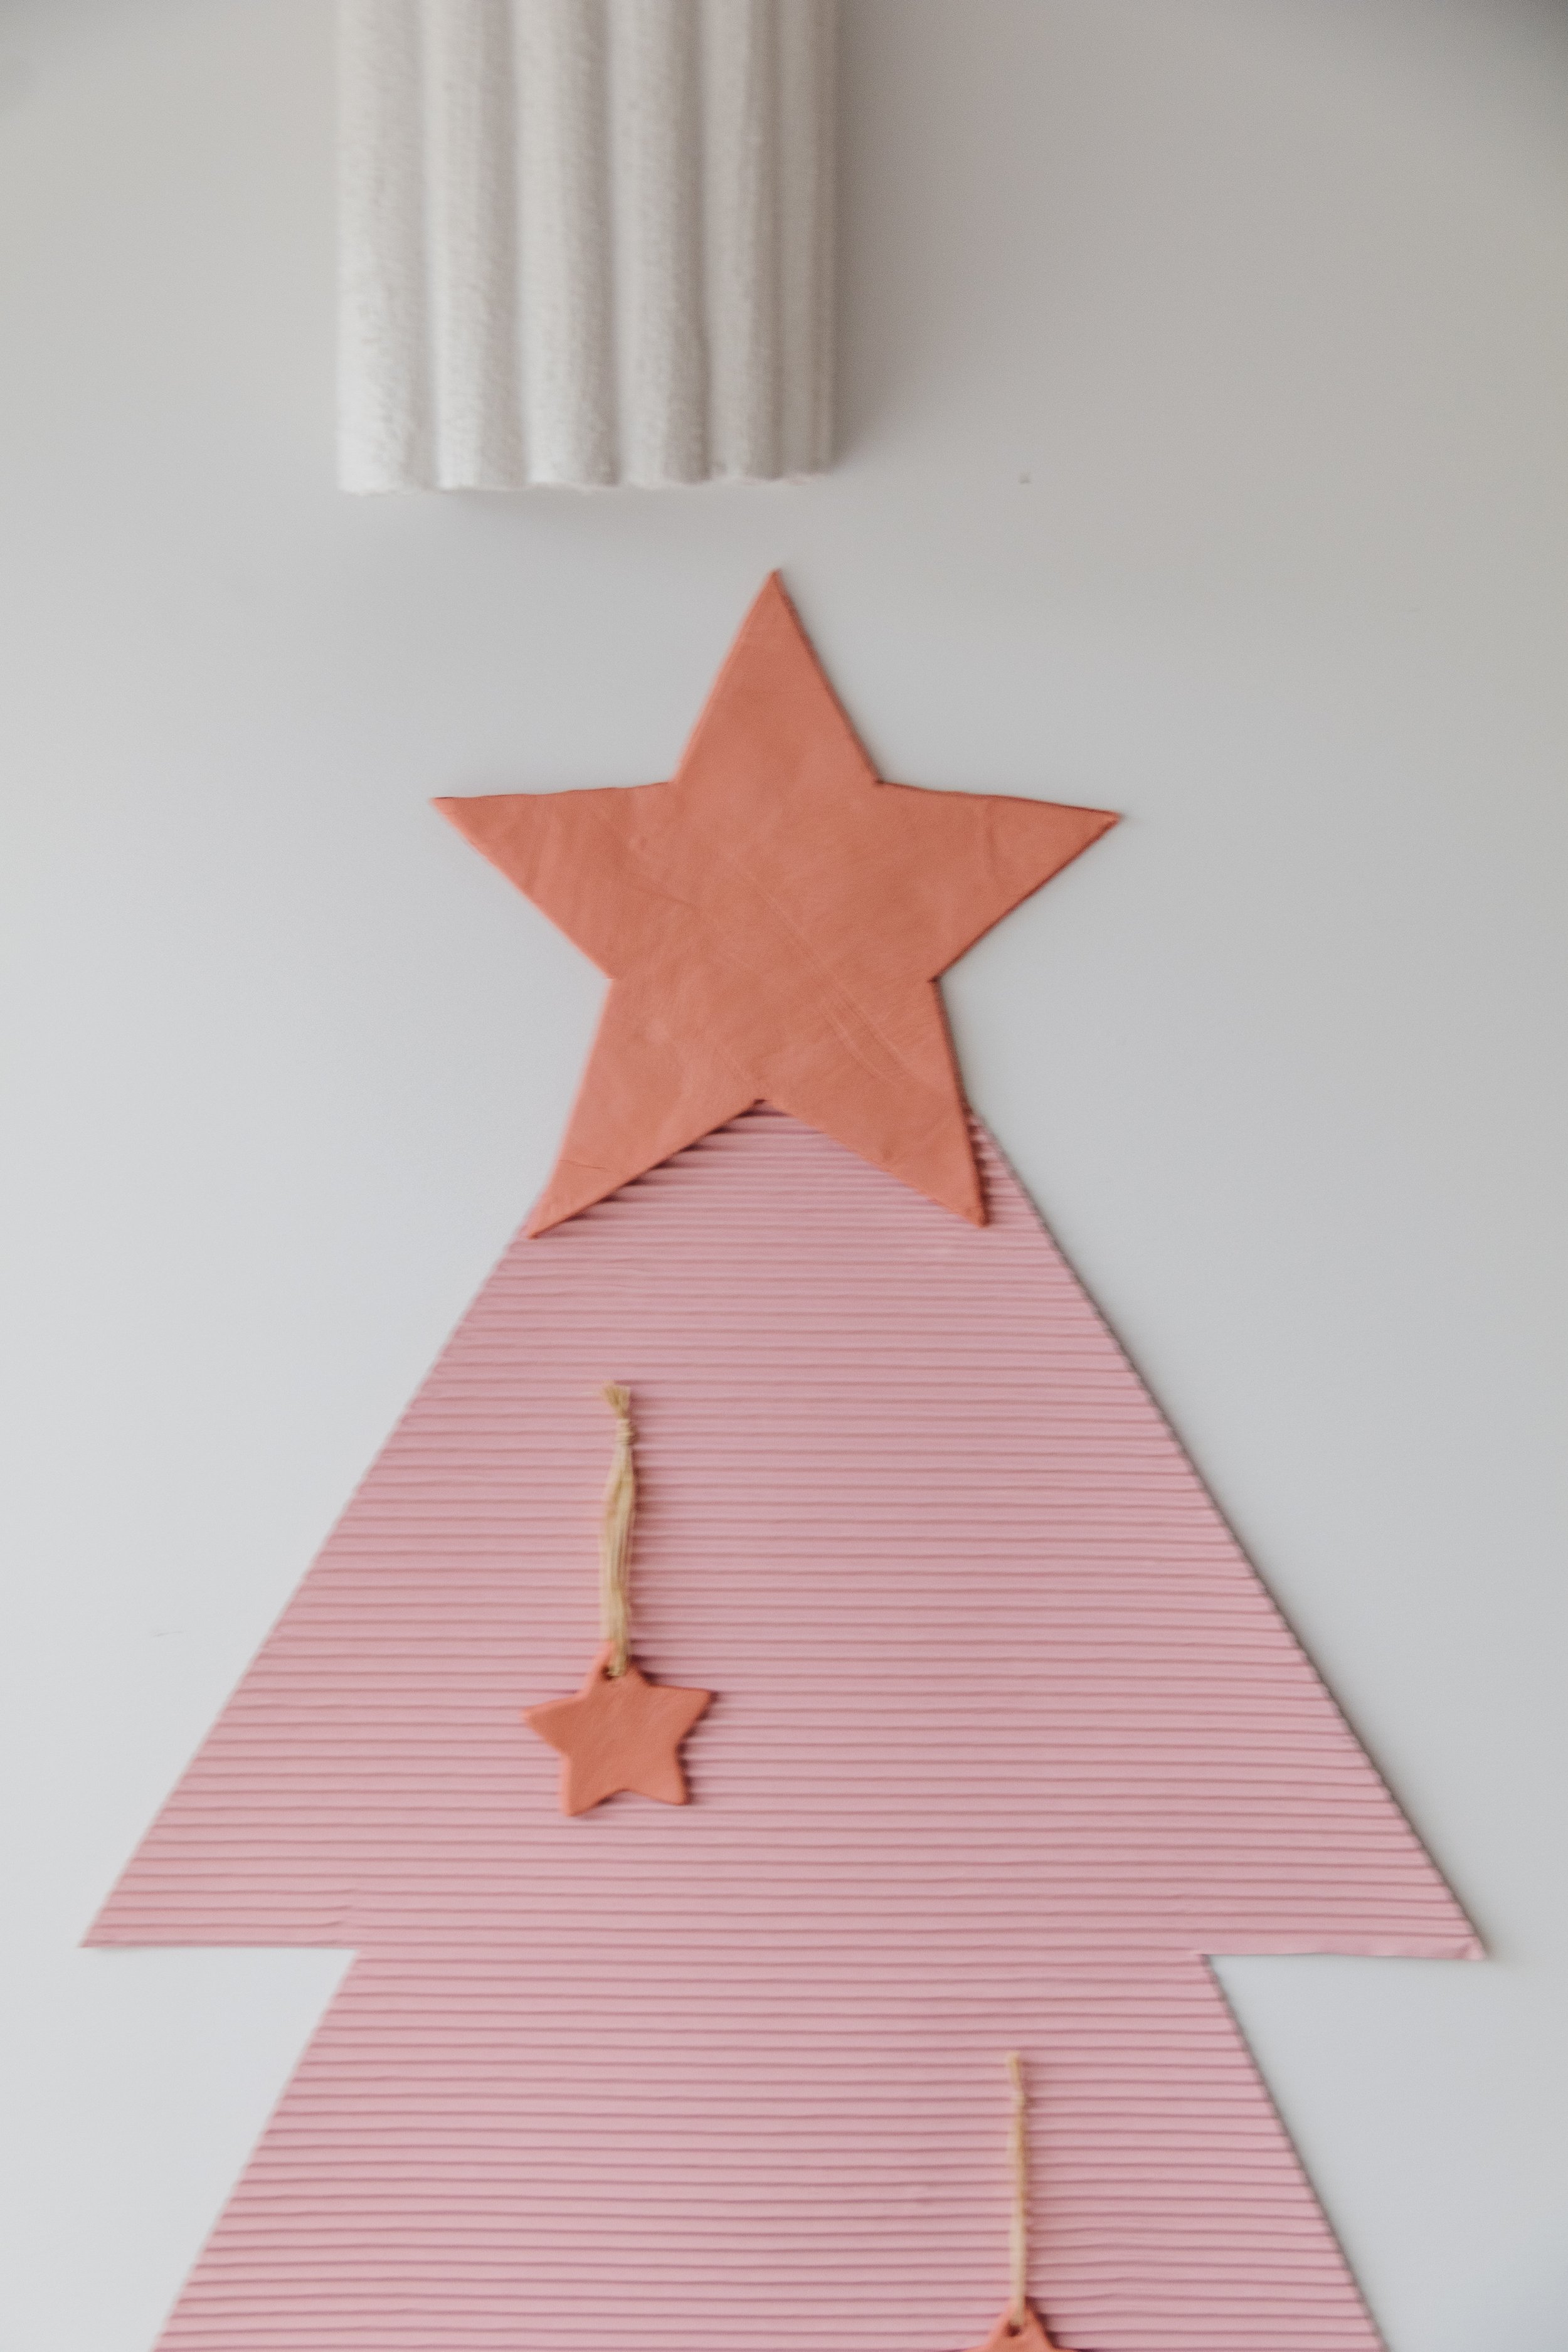
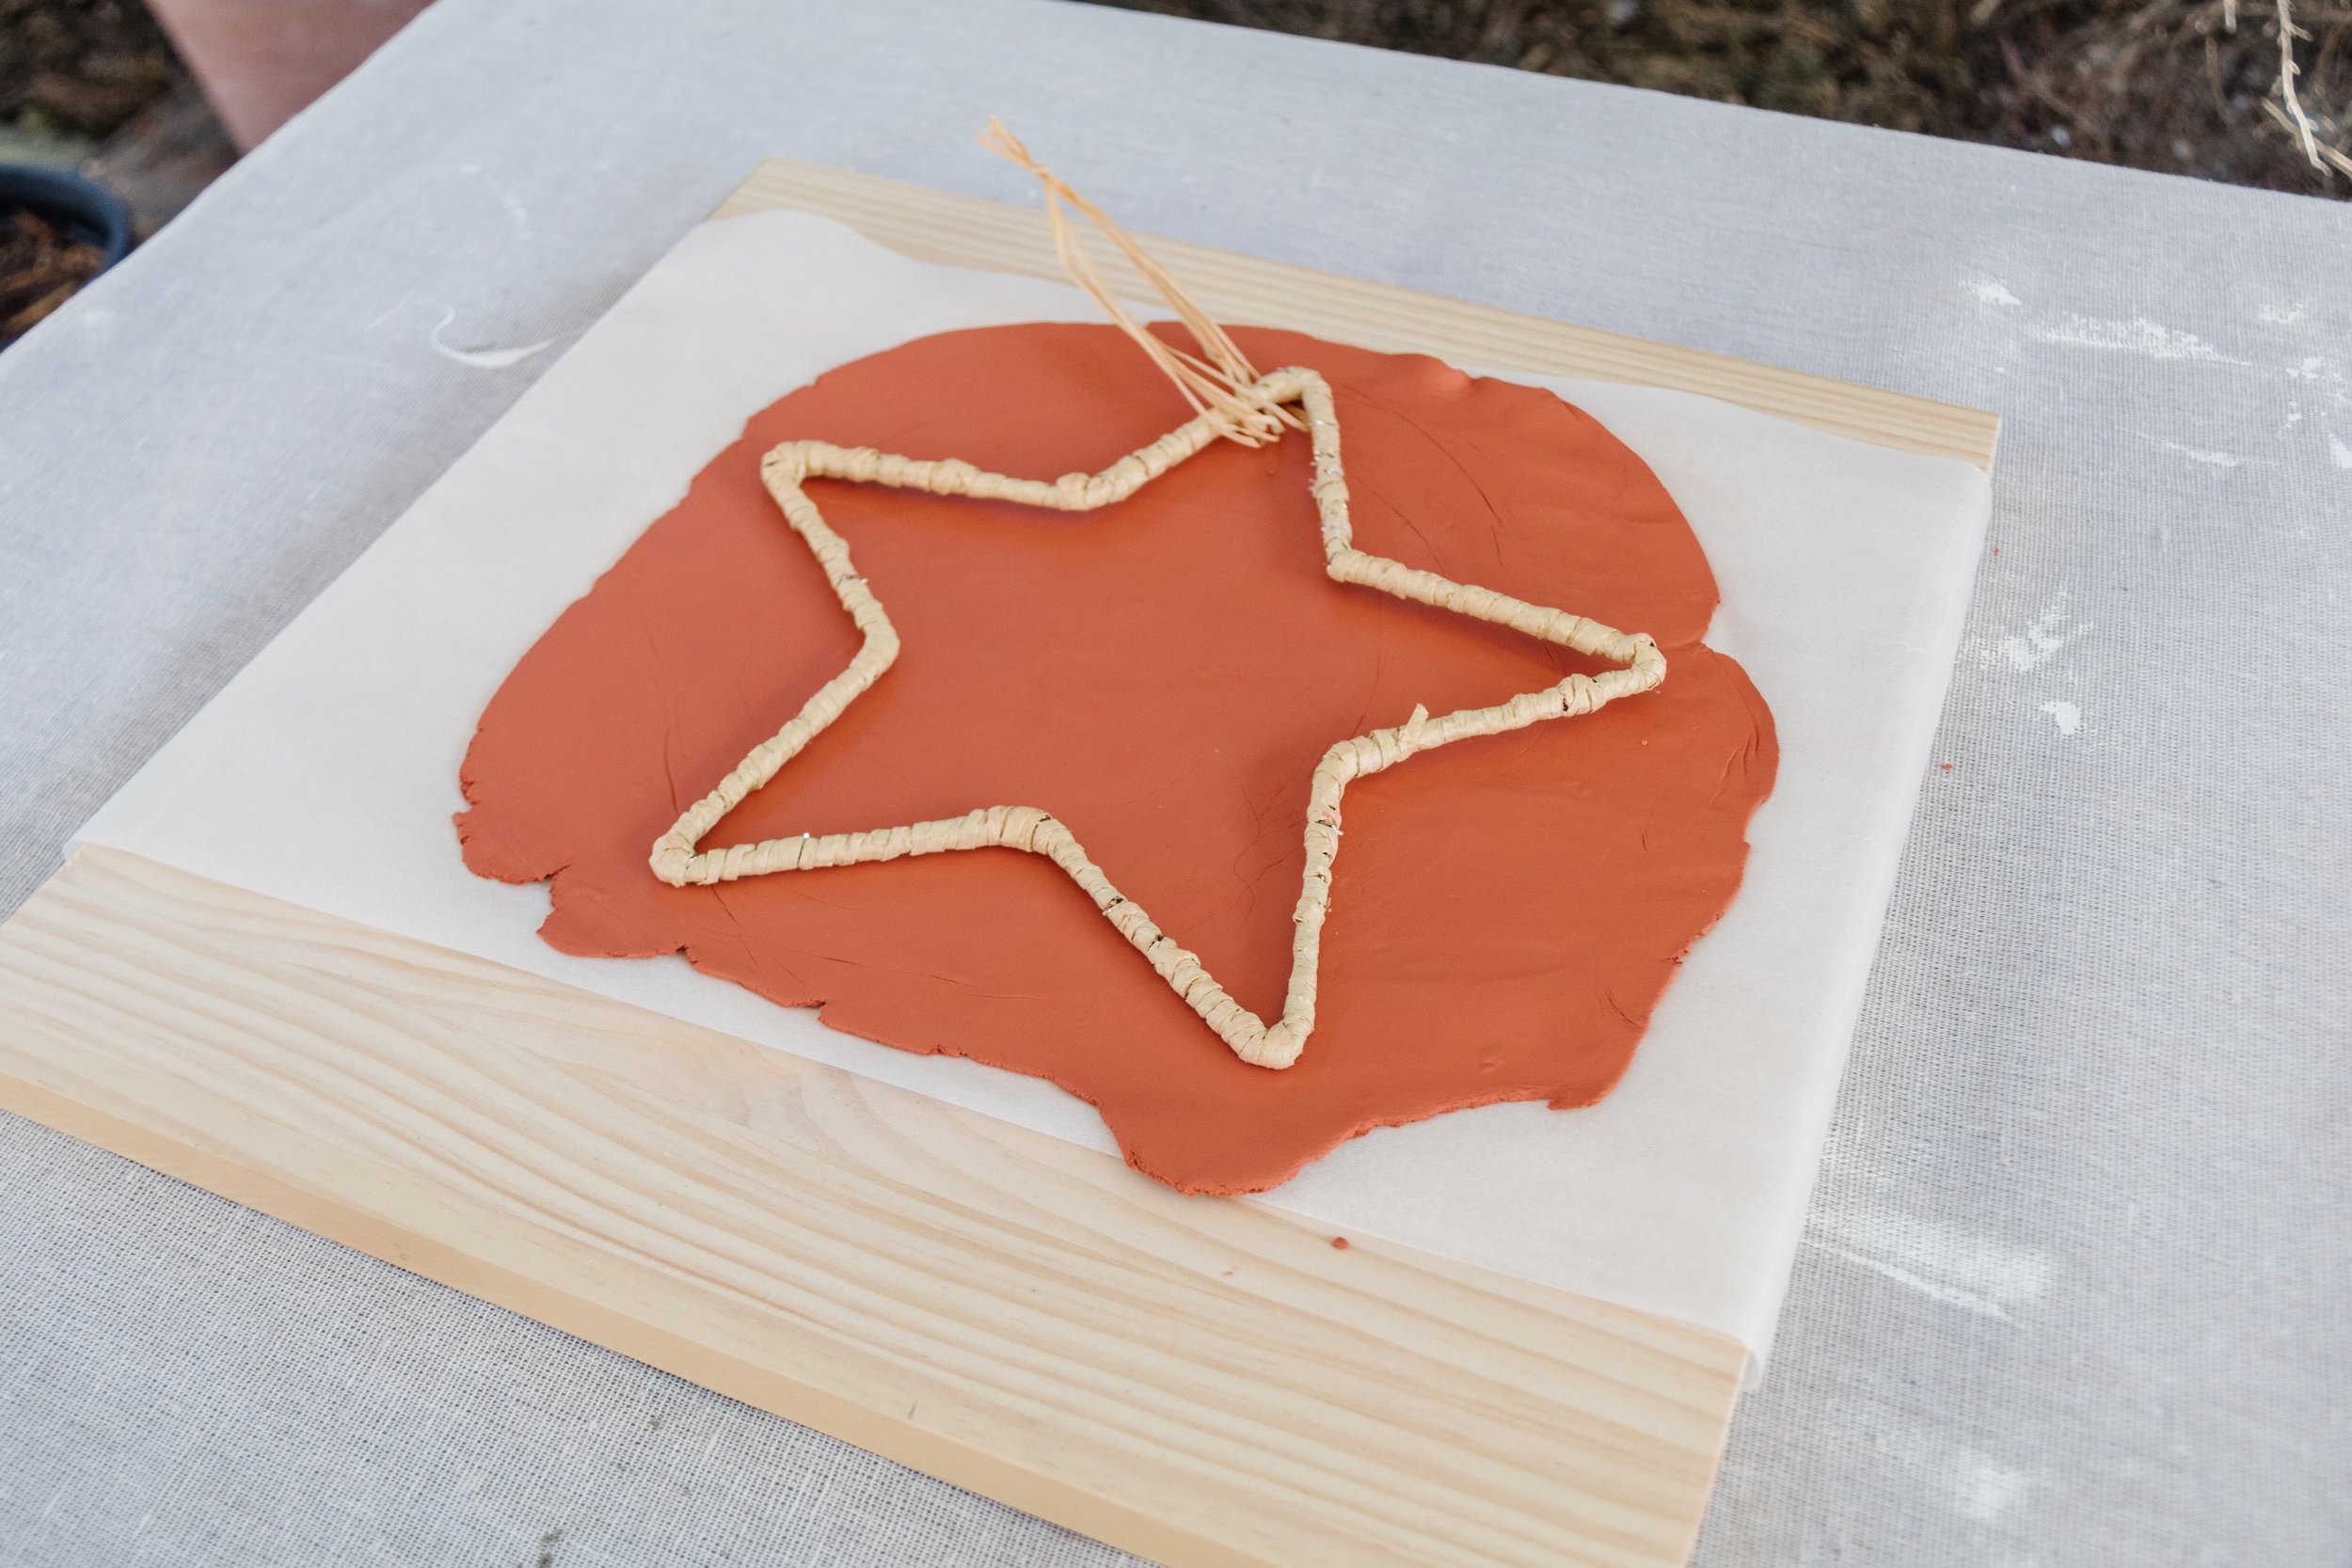
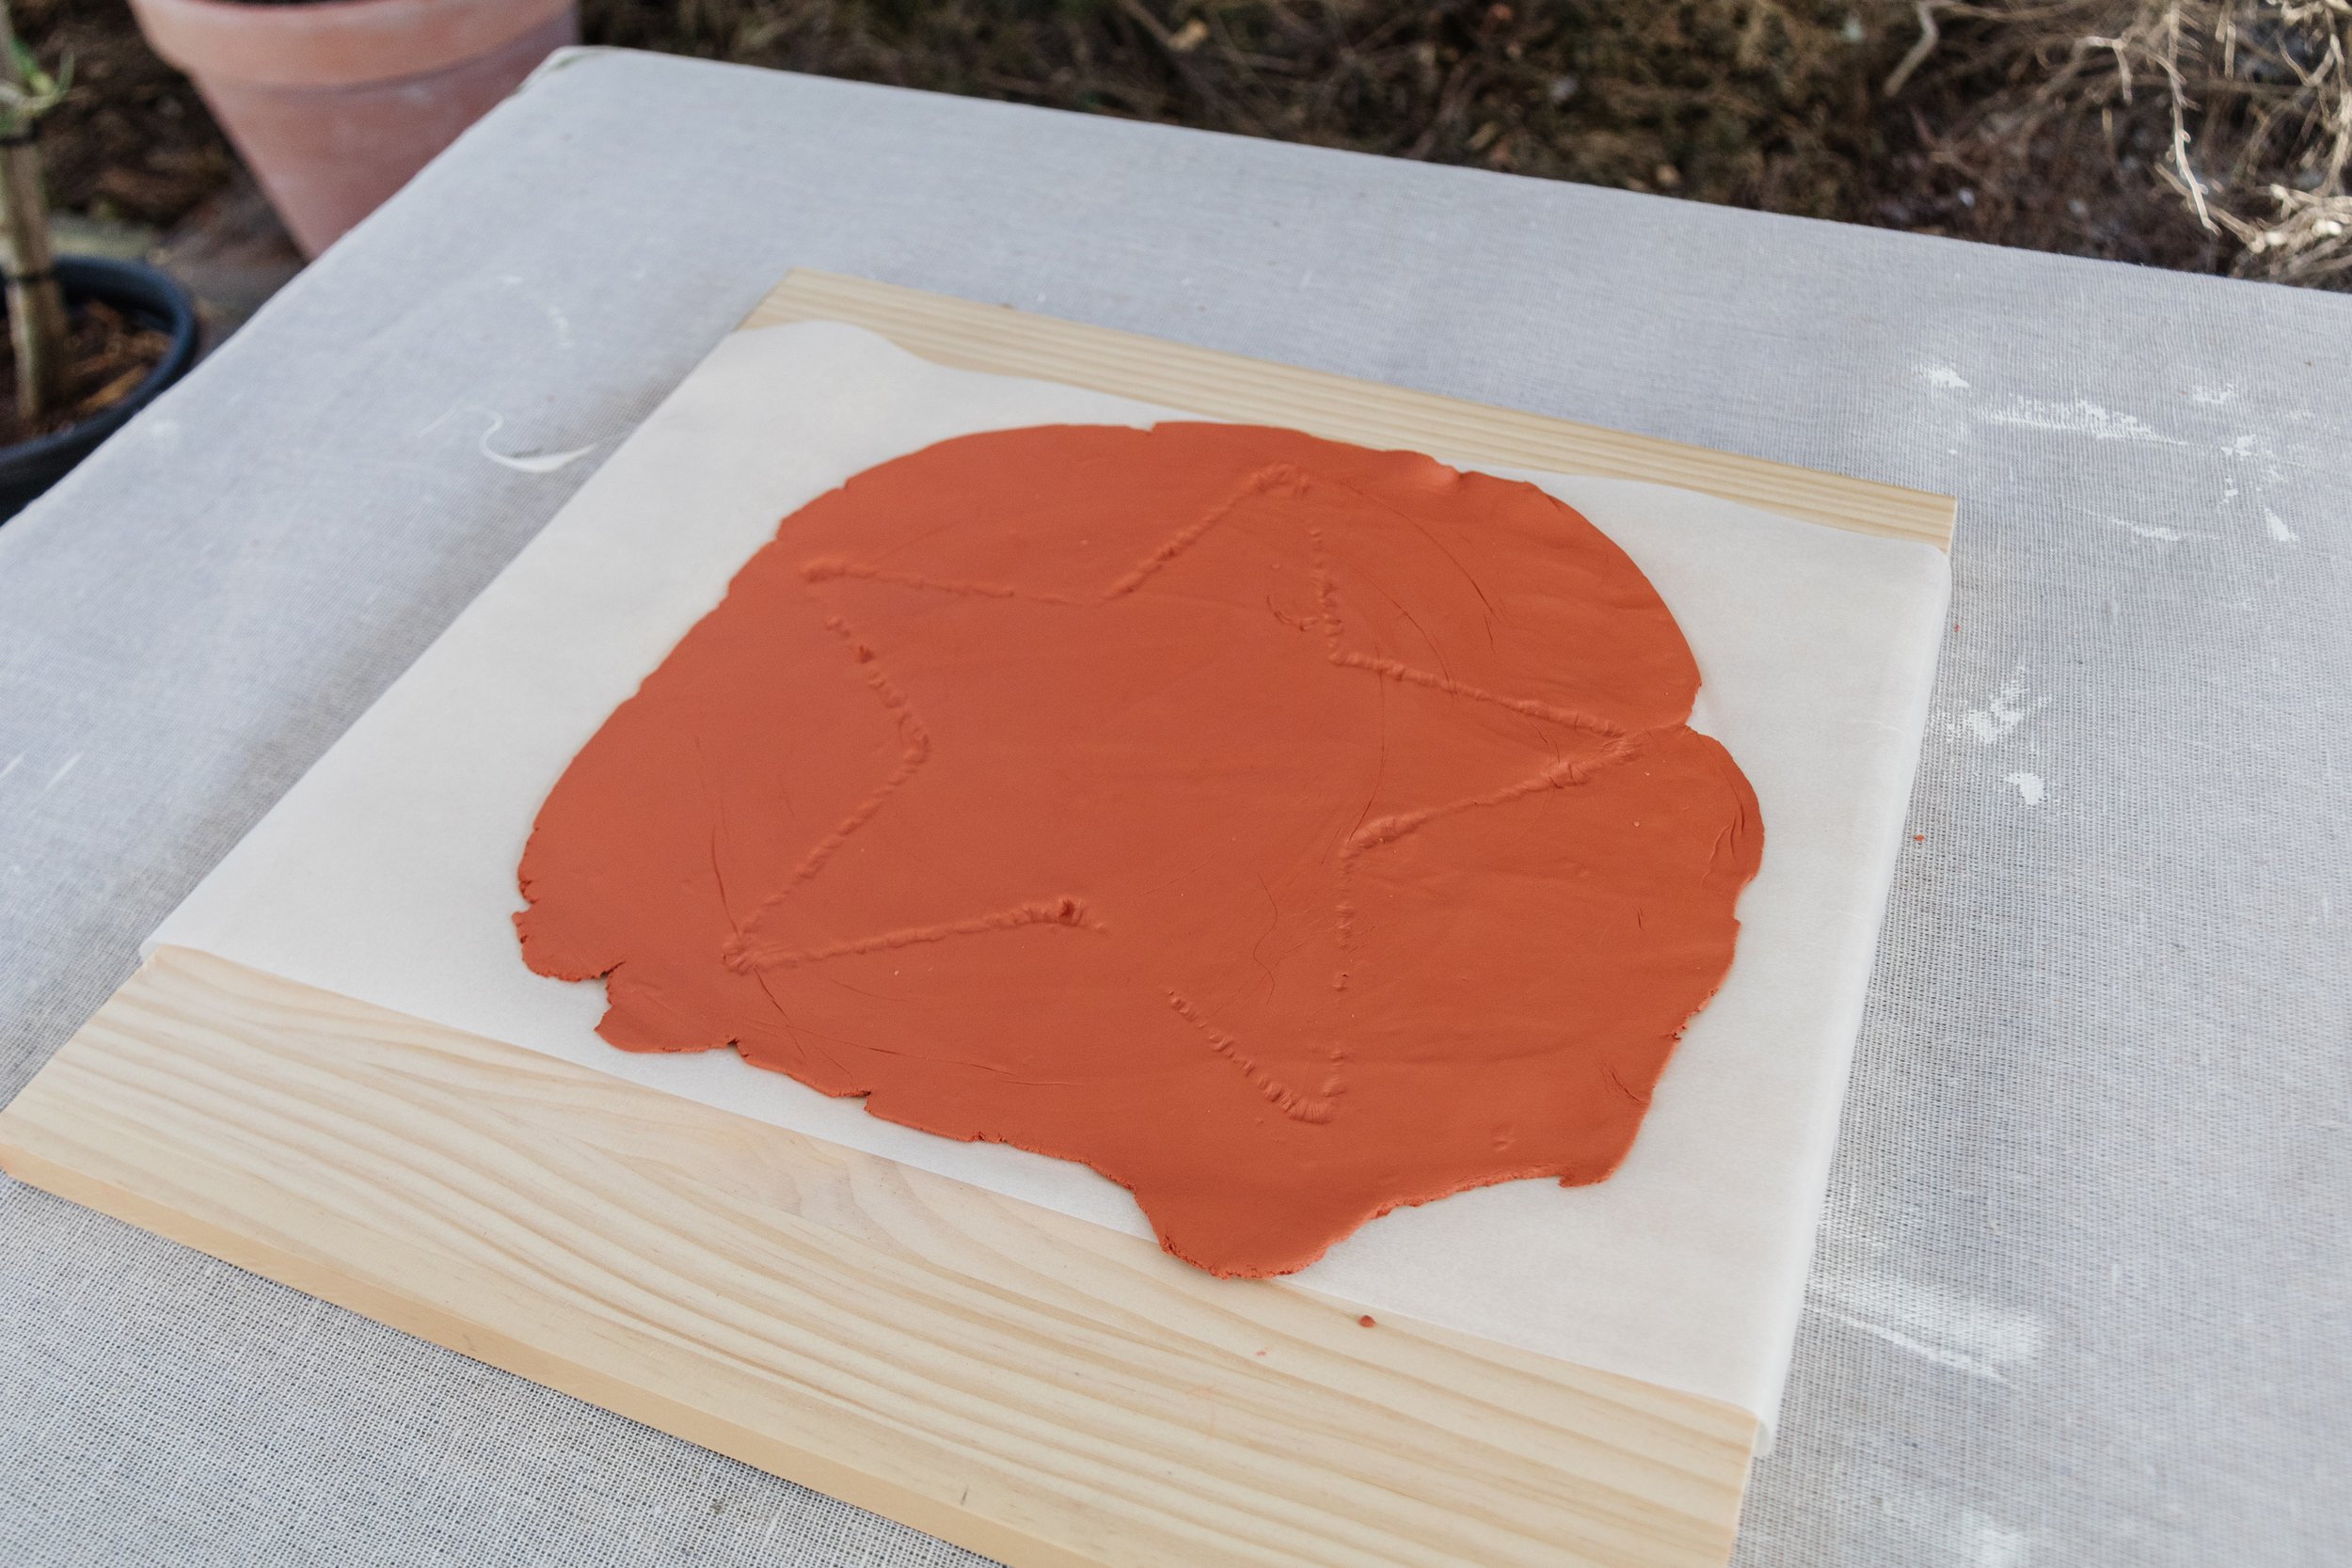
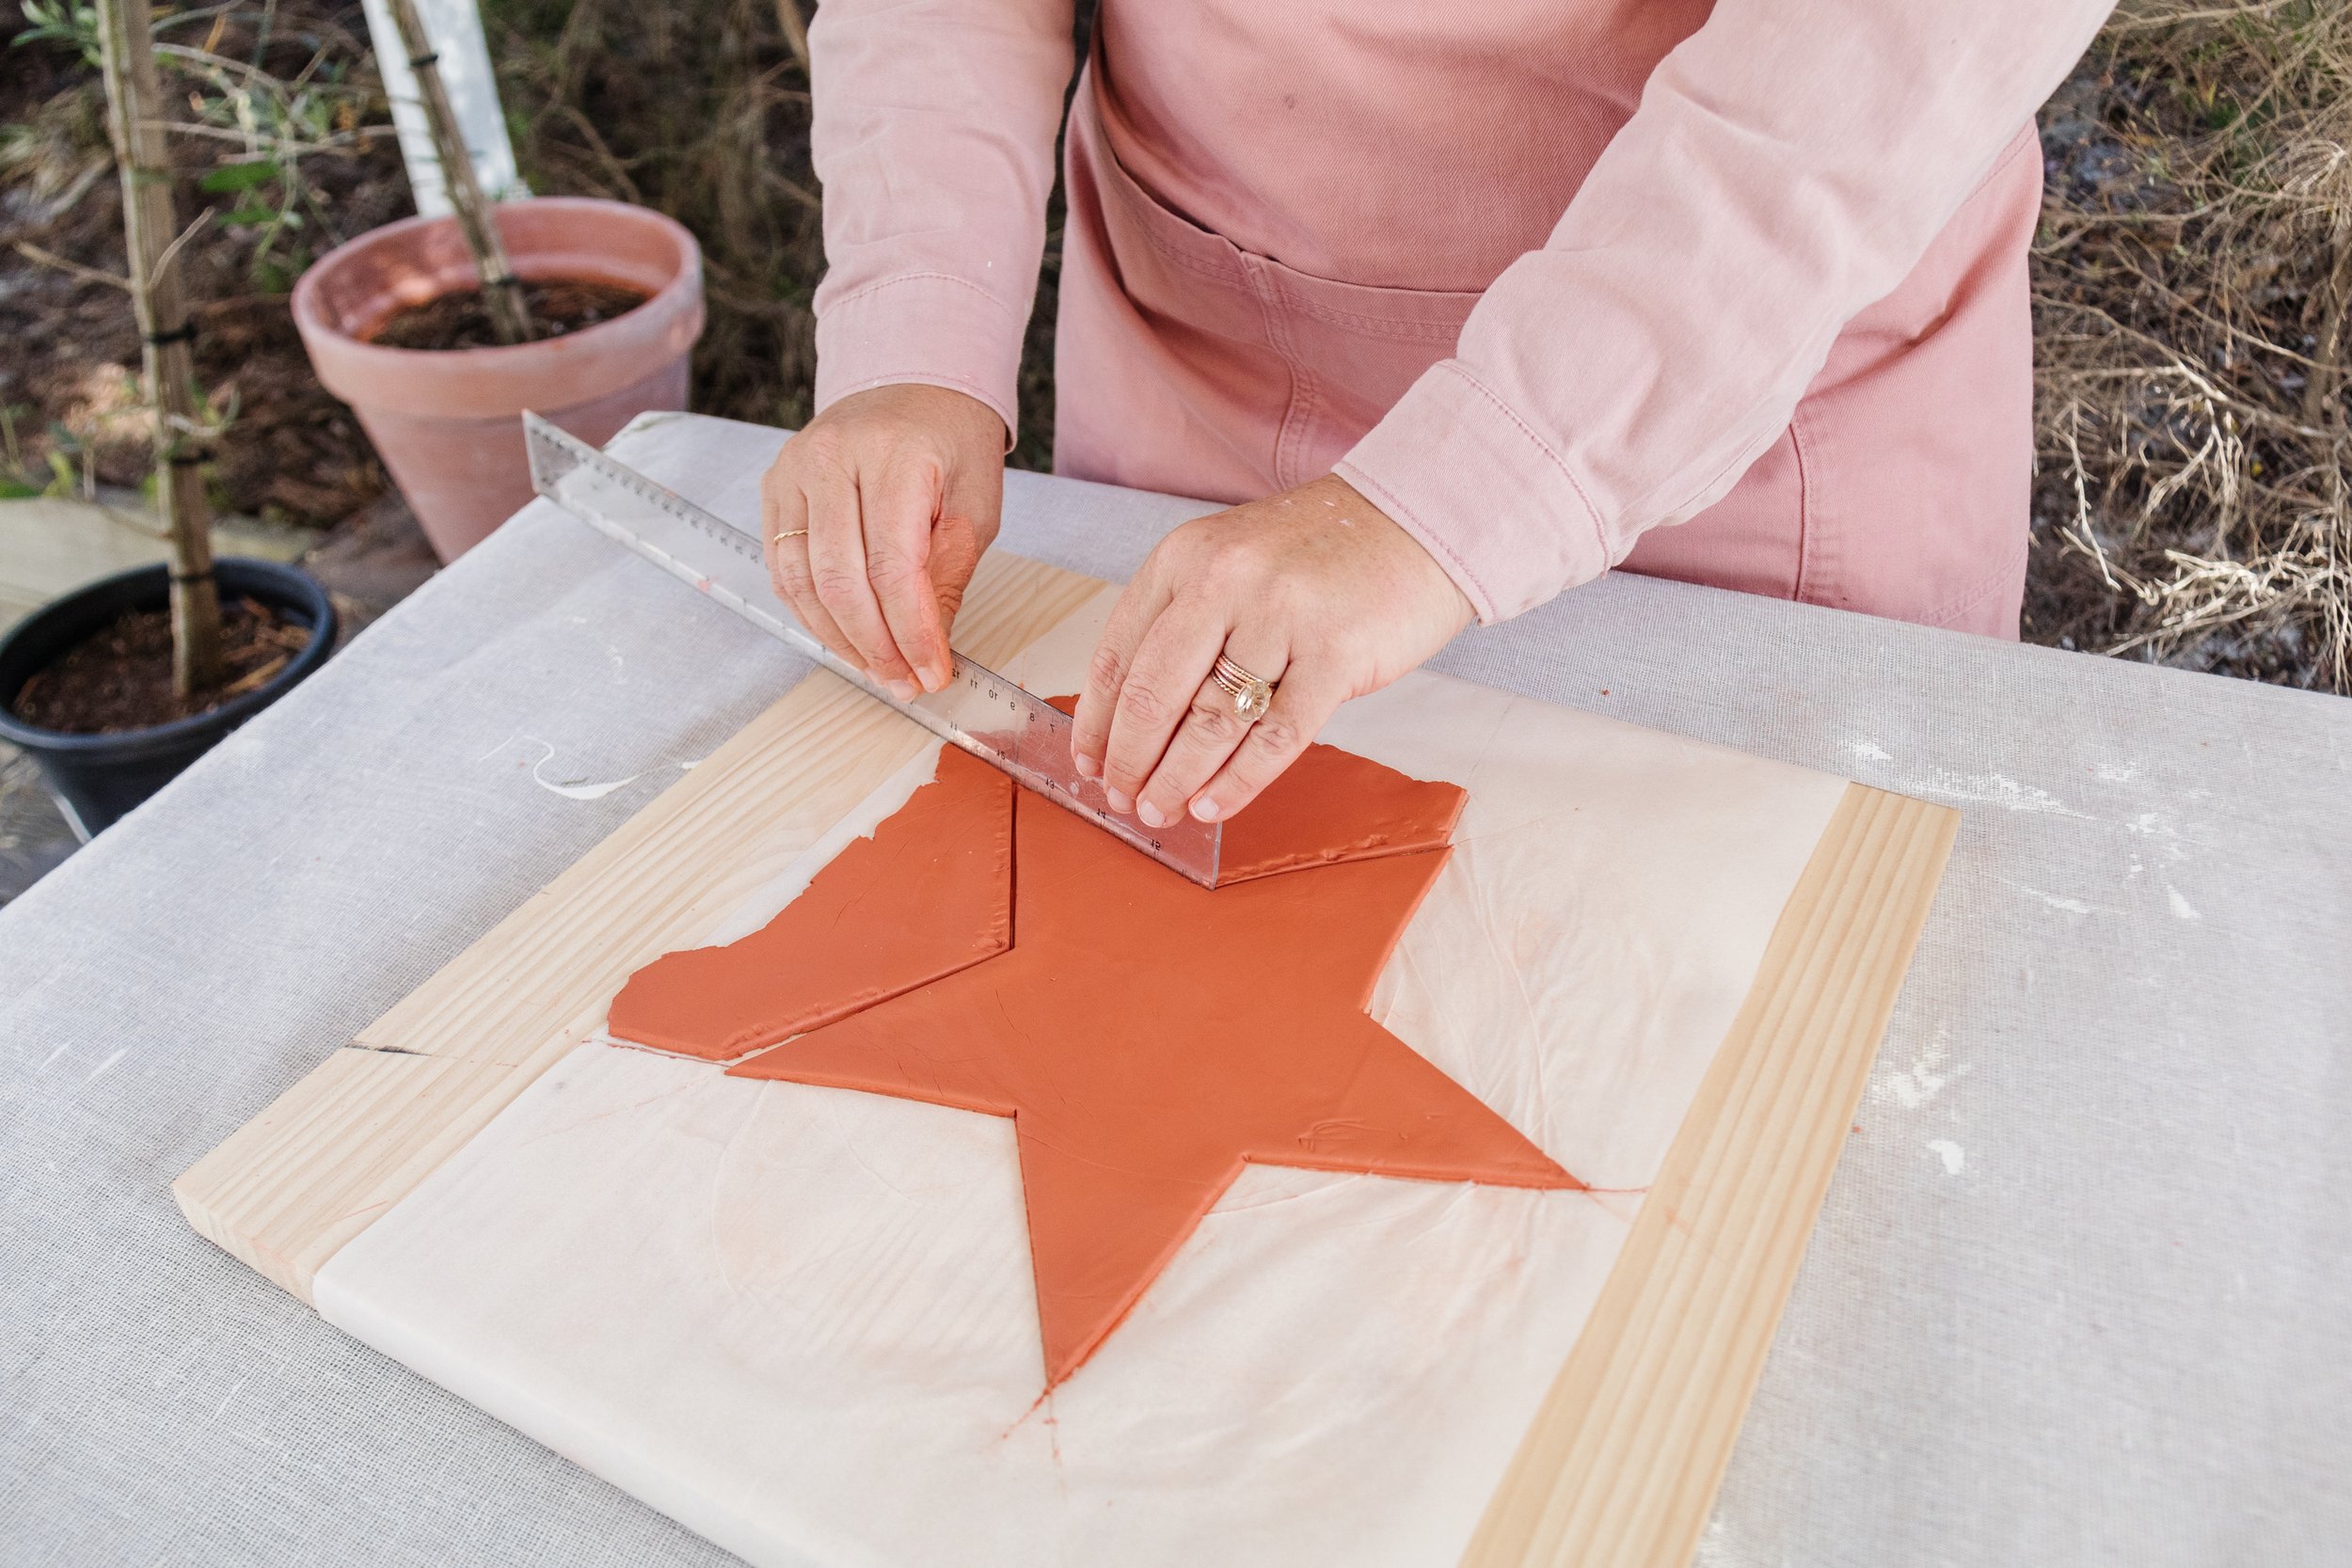
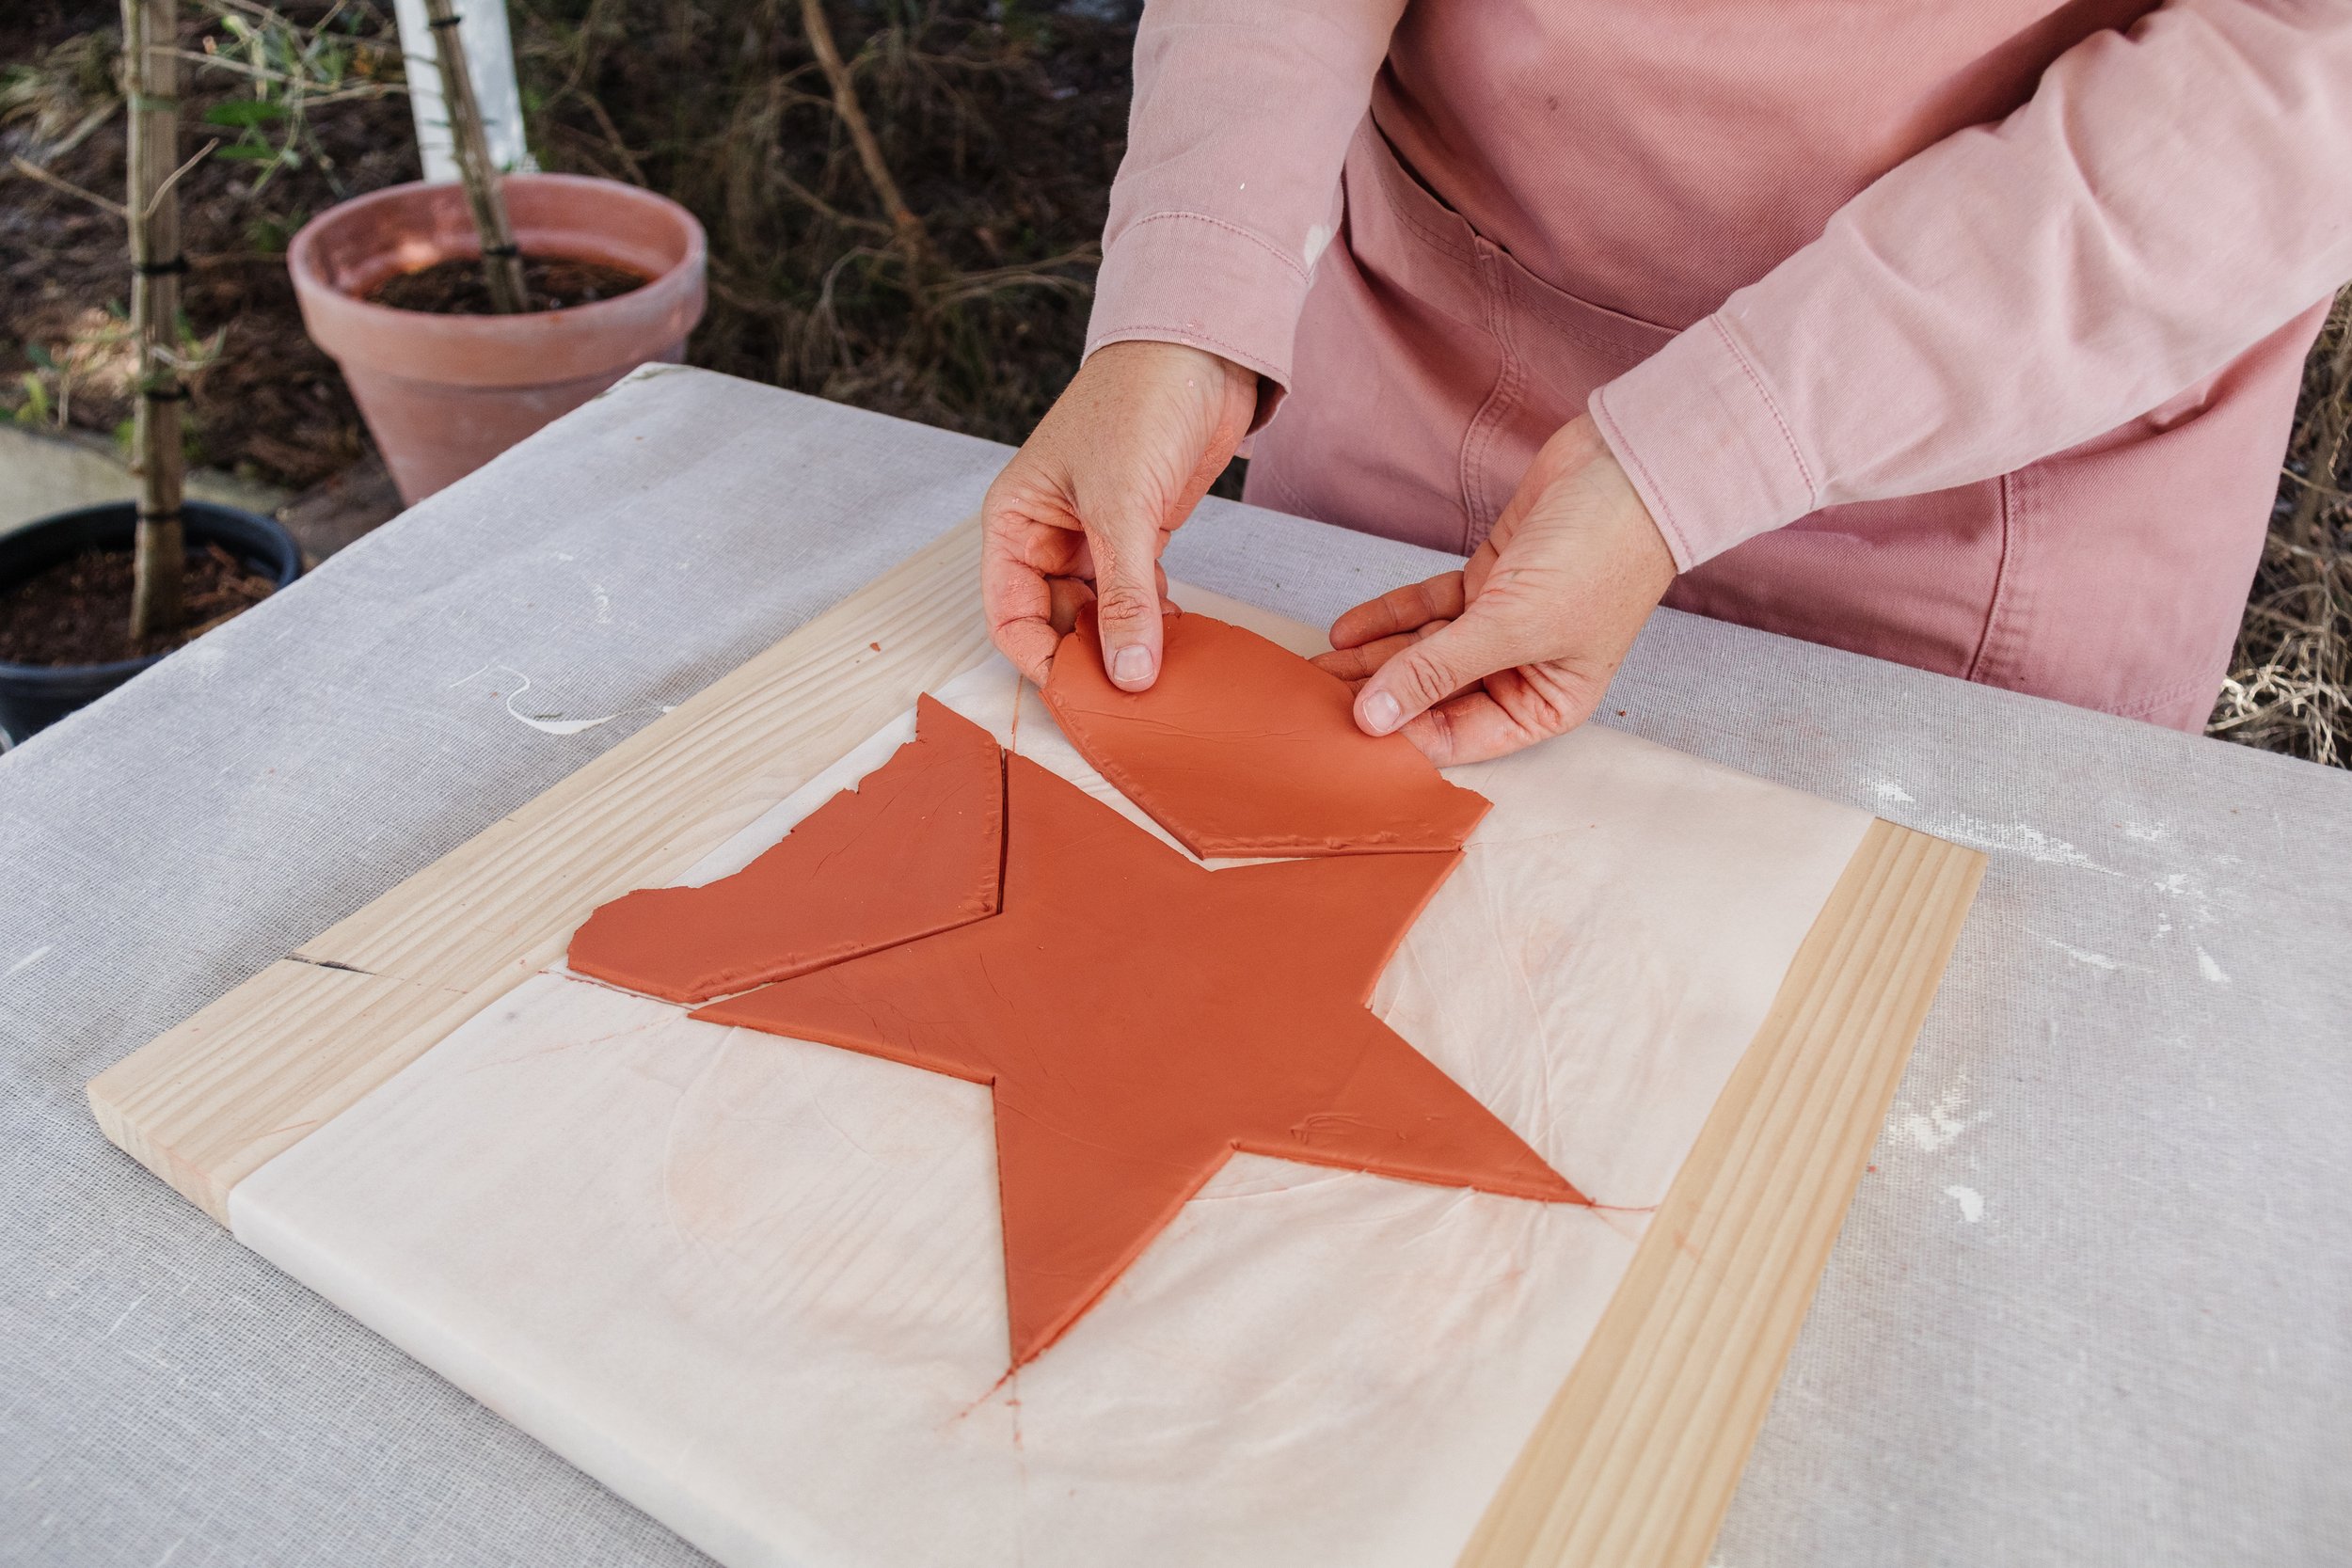
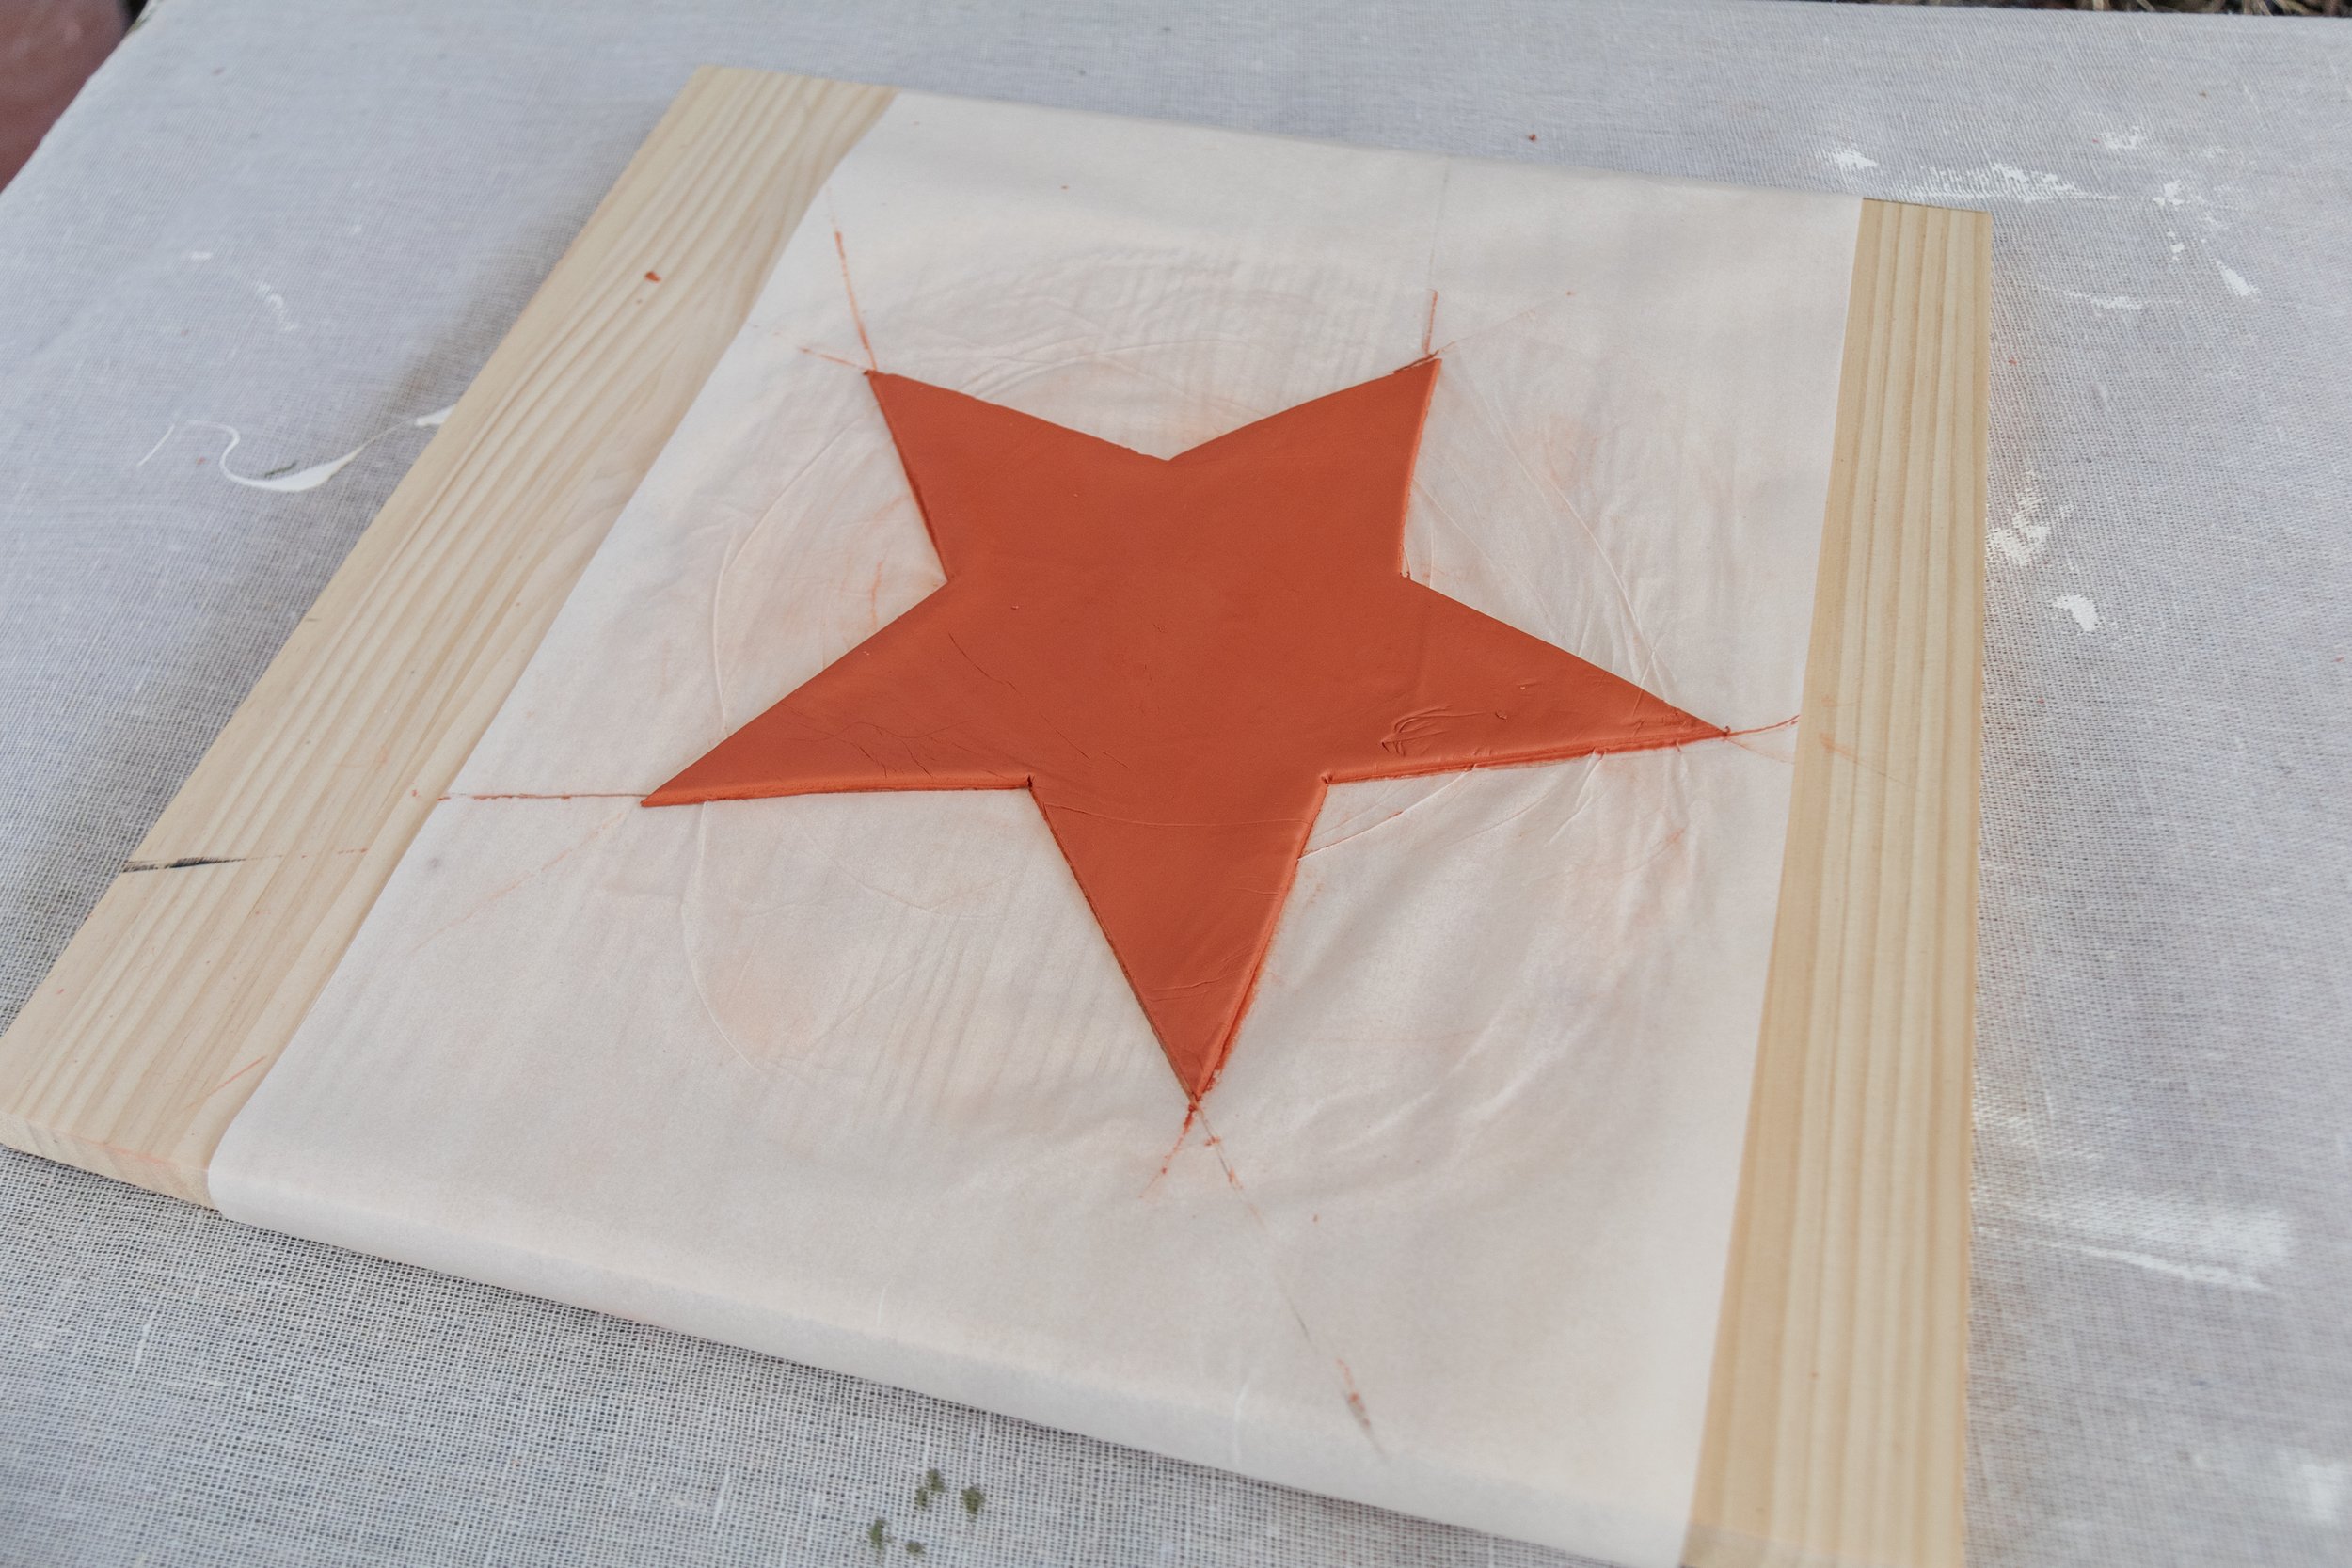
Step 3: Make a bigger star using a template you can print online or use another star you may already have as a stencil.
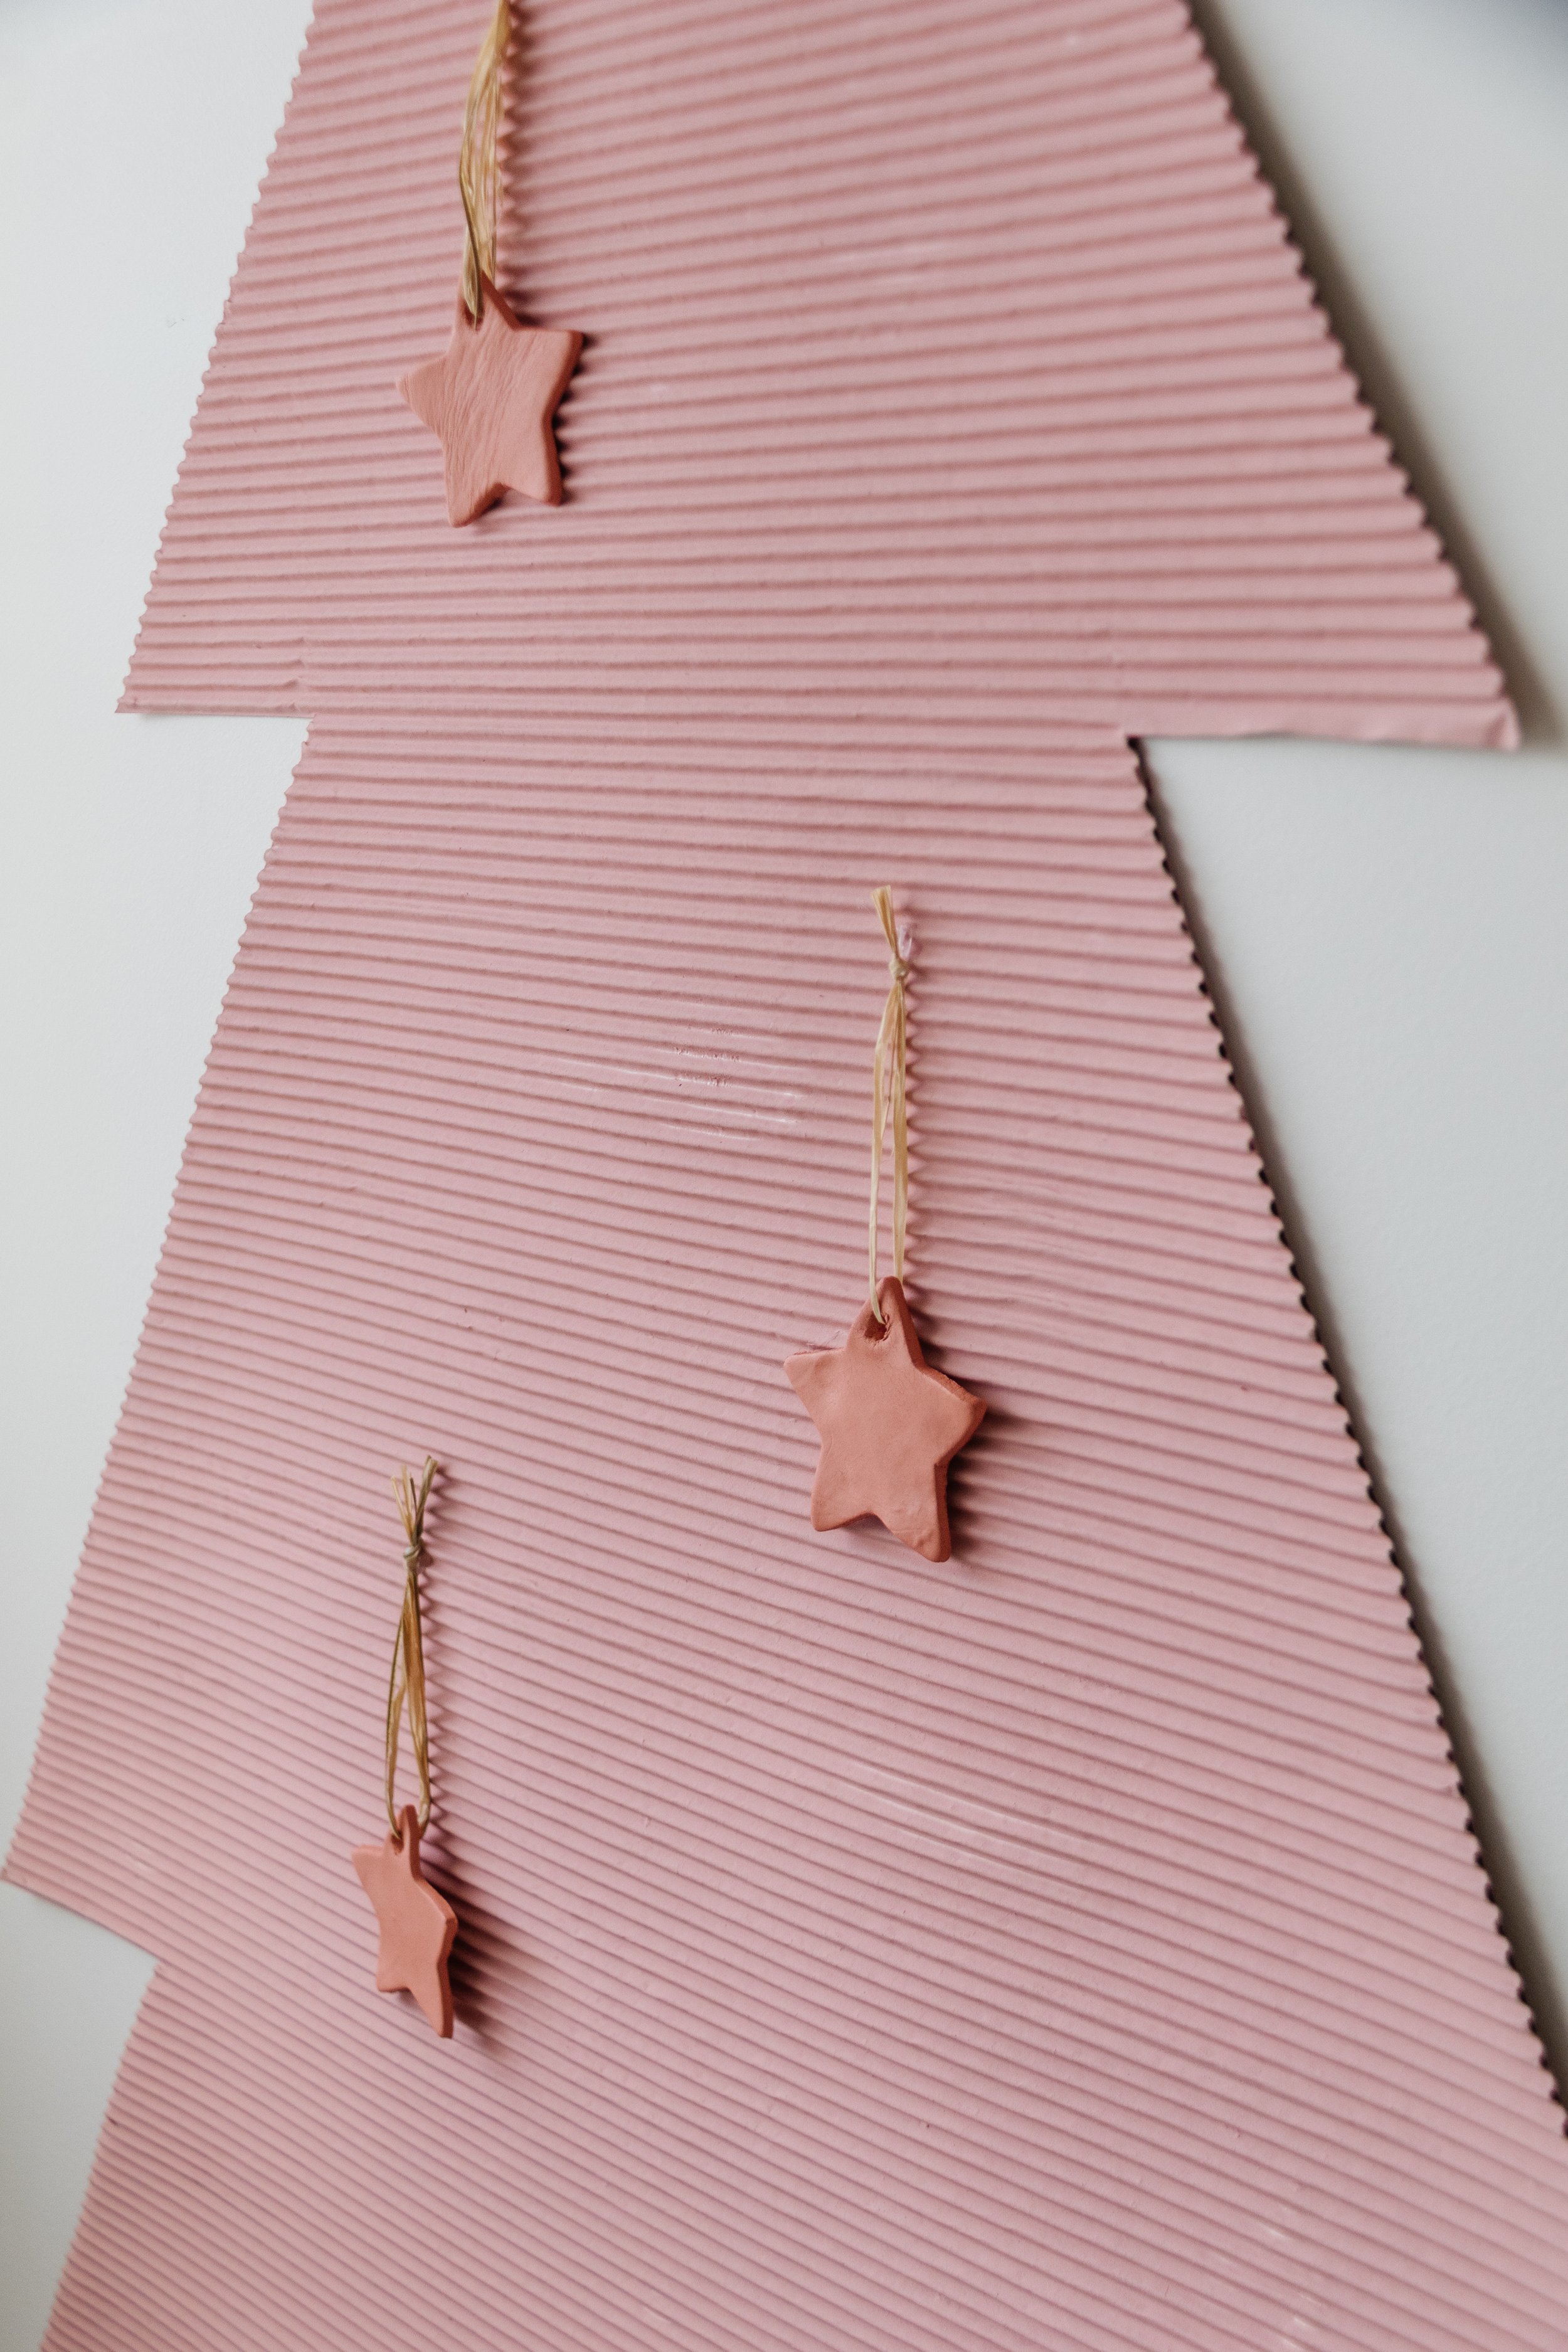
Step 4: When the star ornaments have dried, thread a piece off raffia through the holes of the smaller stars and tie a double knot. Cut off excess raffia with scissors. Set them aside with the terracotta clay star topper.

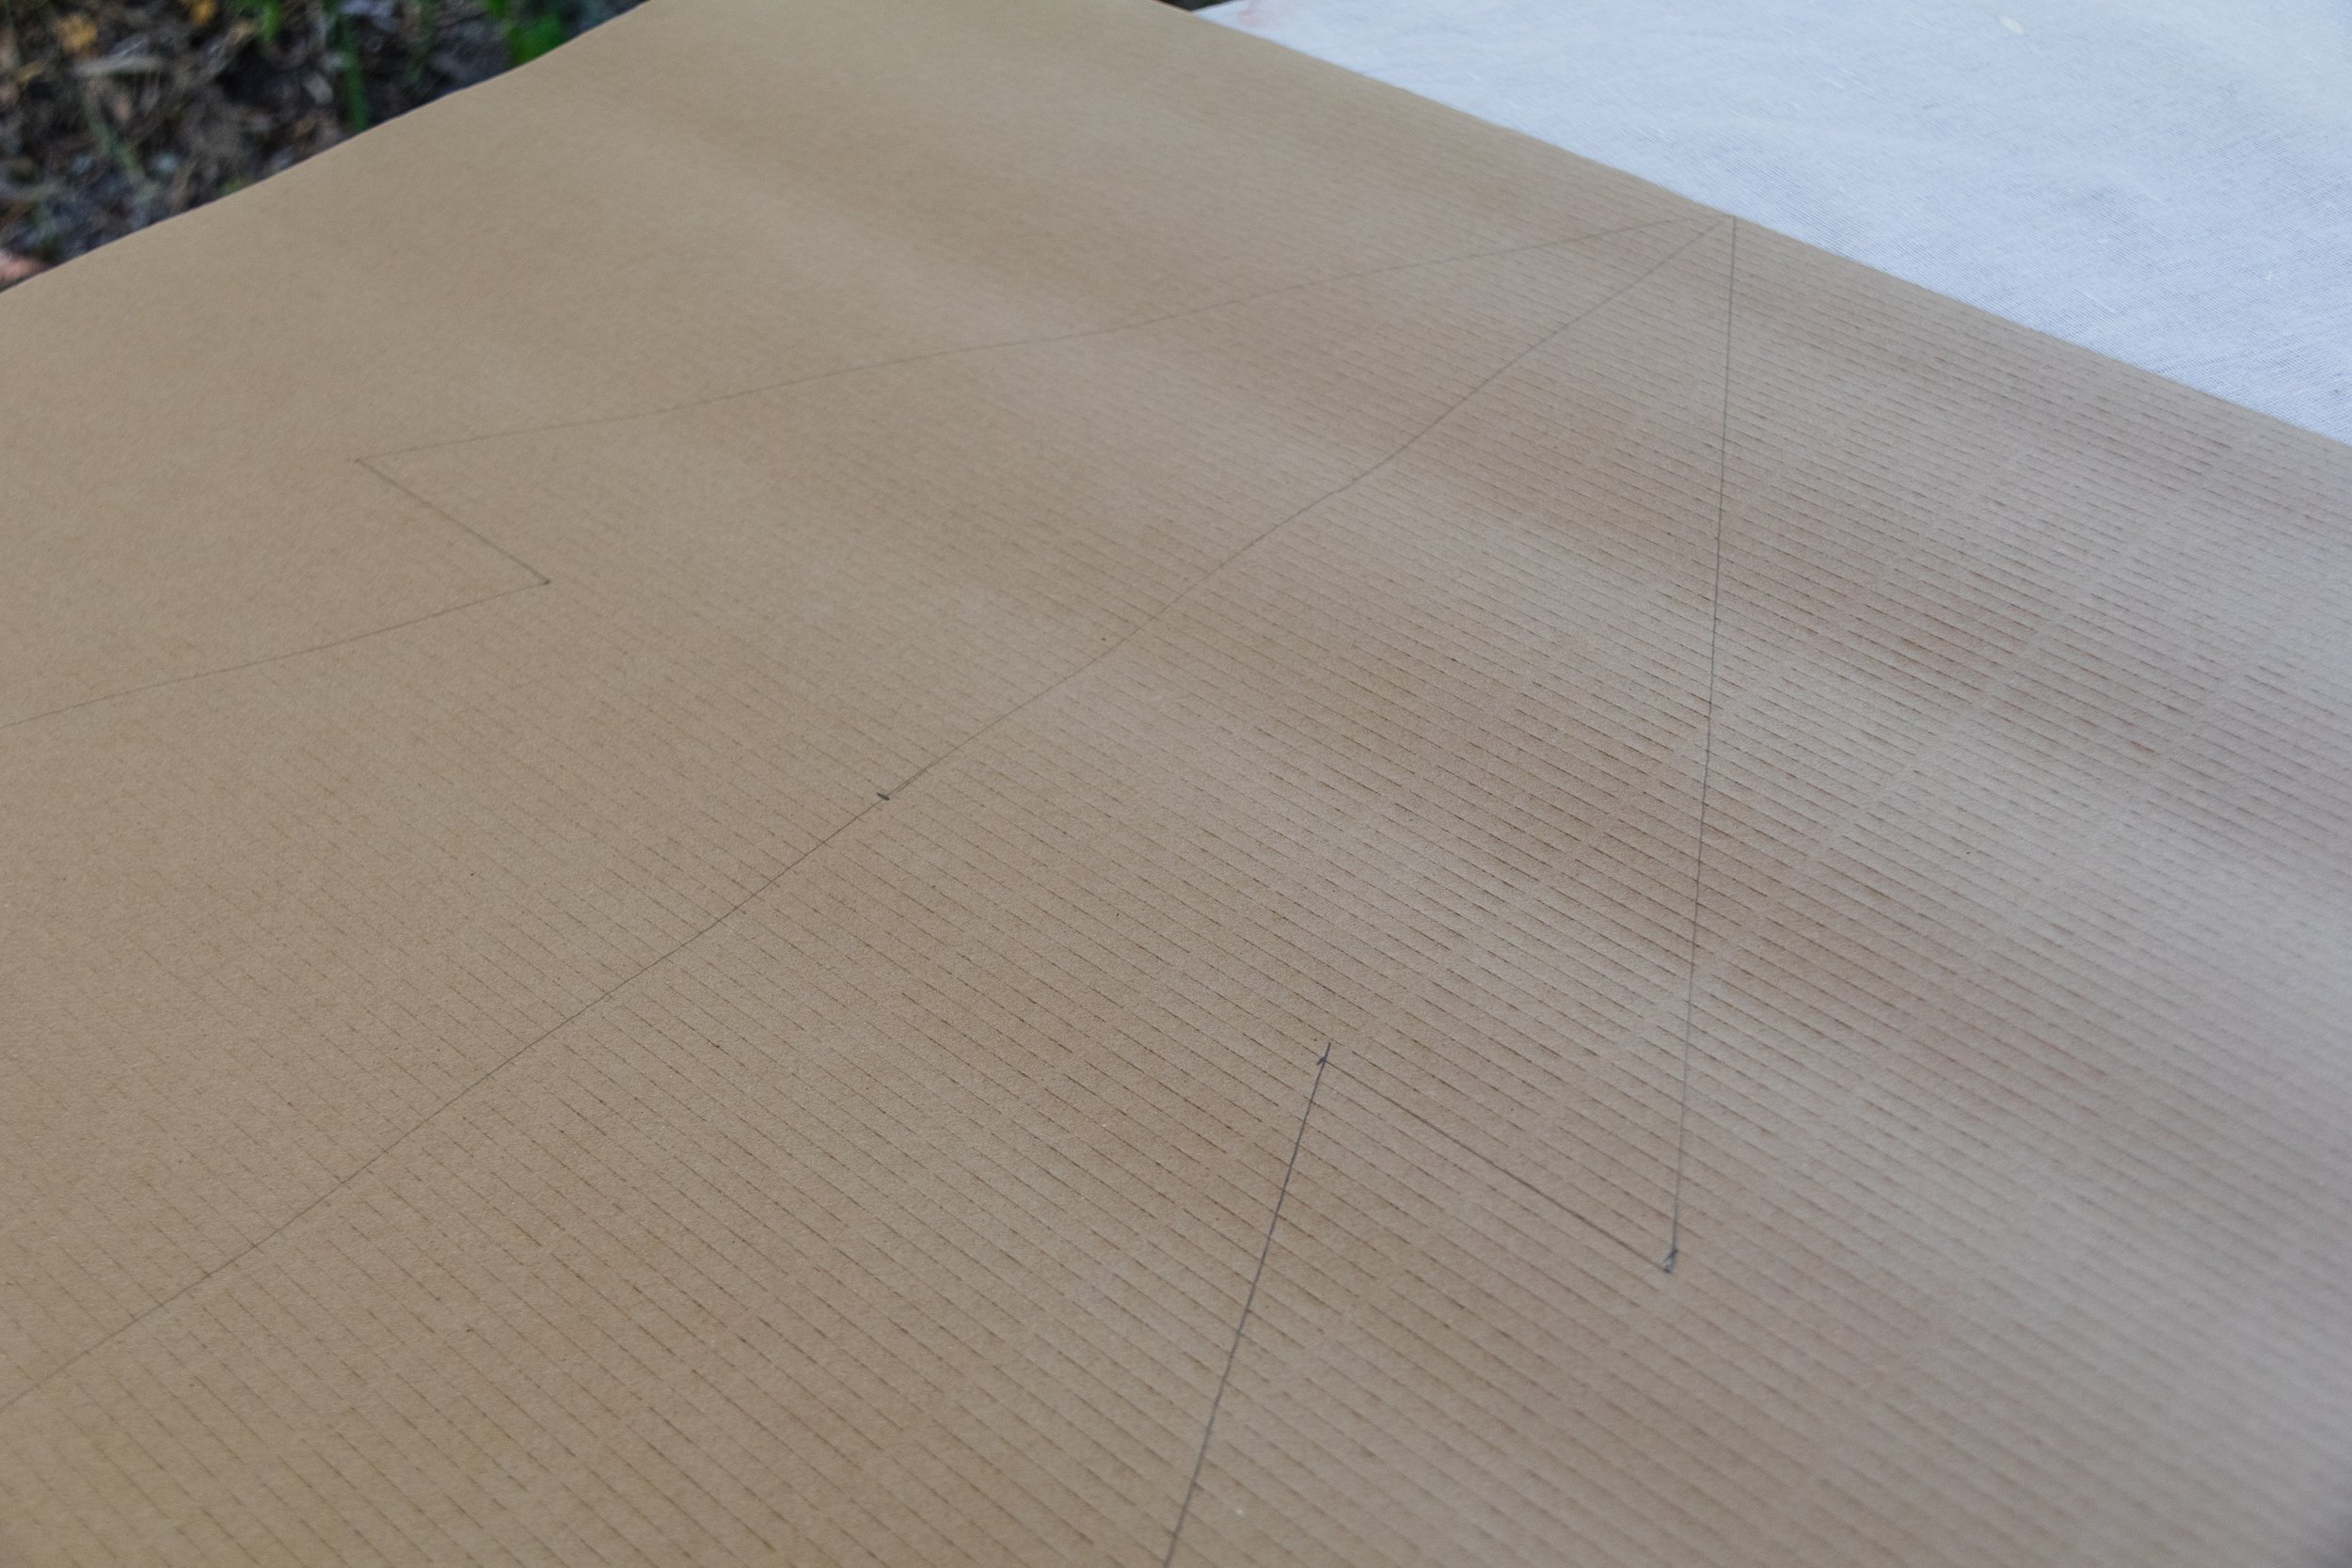
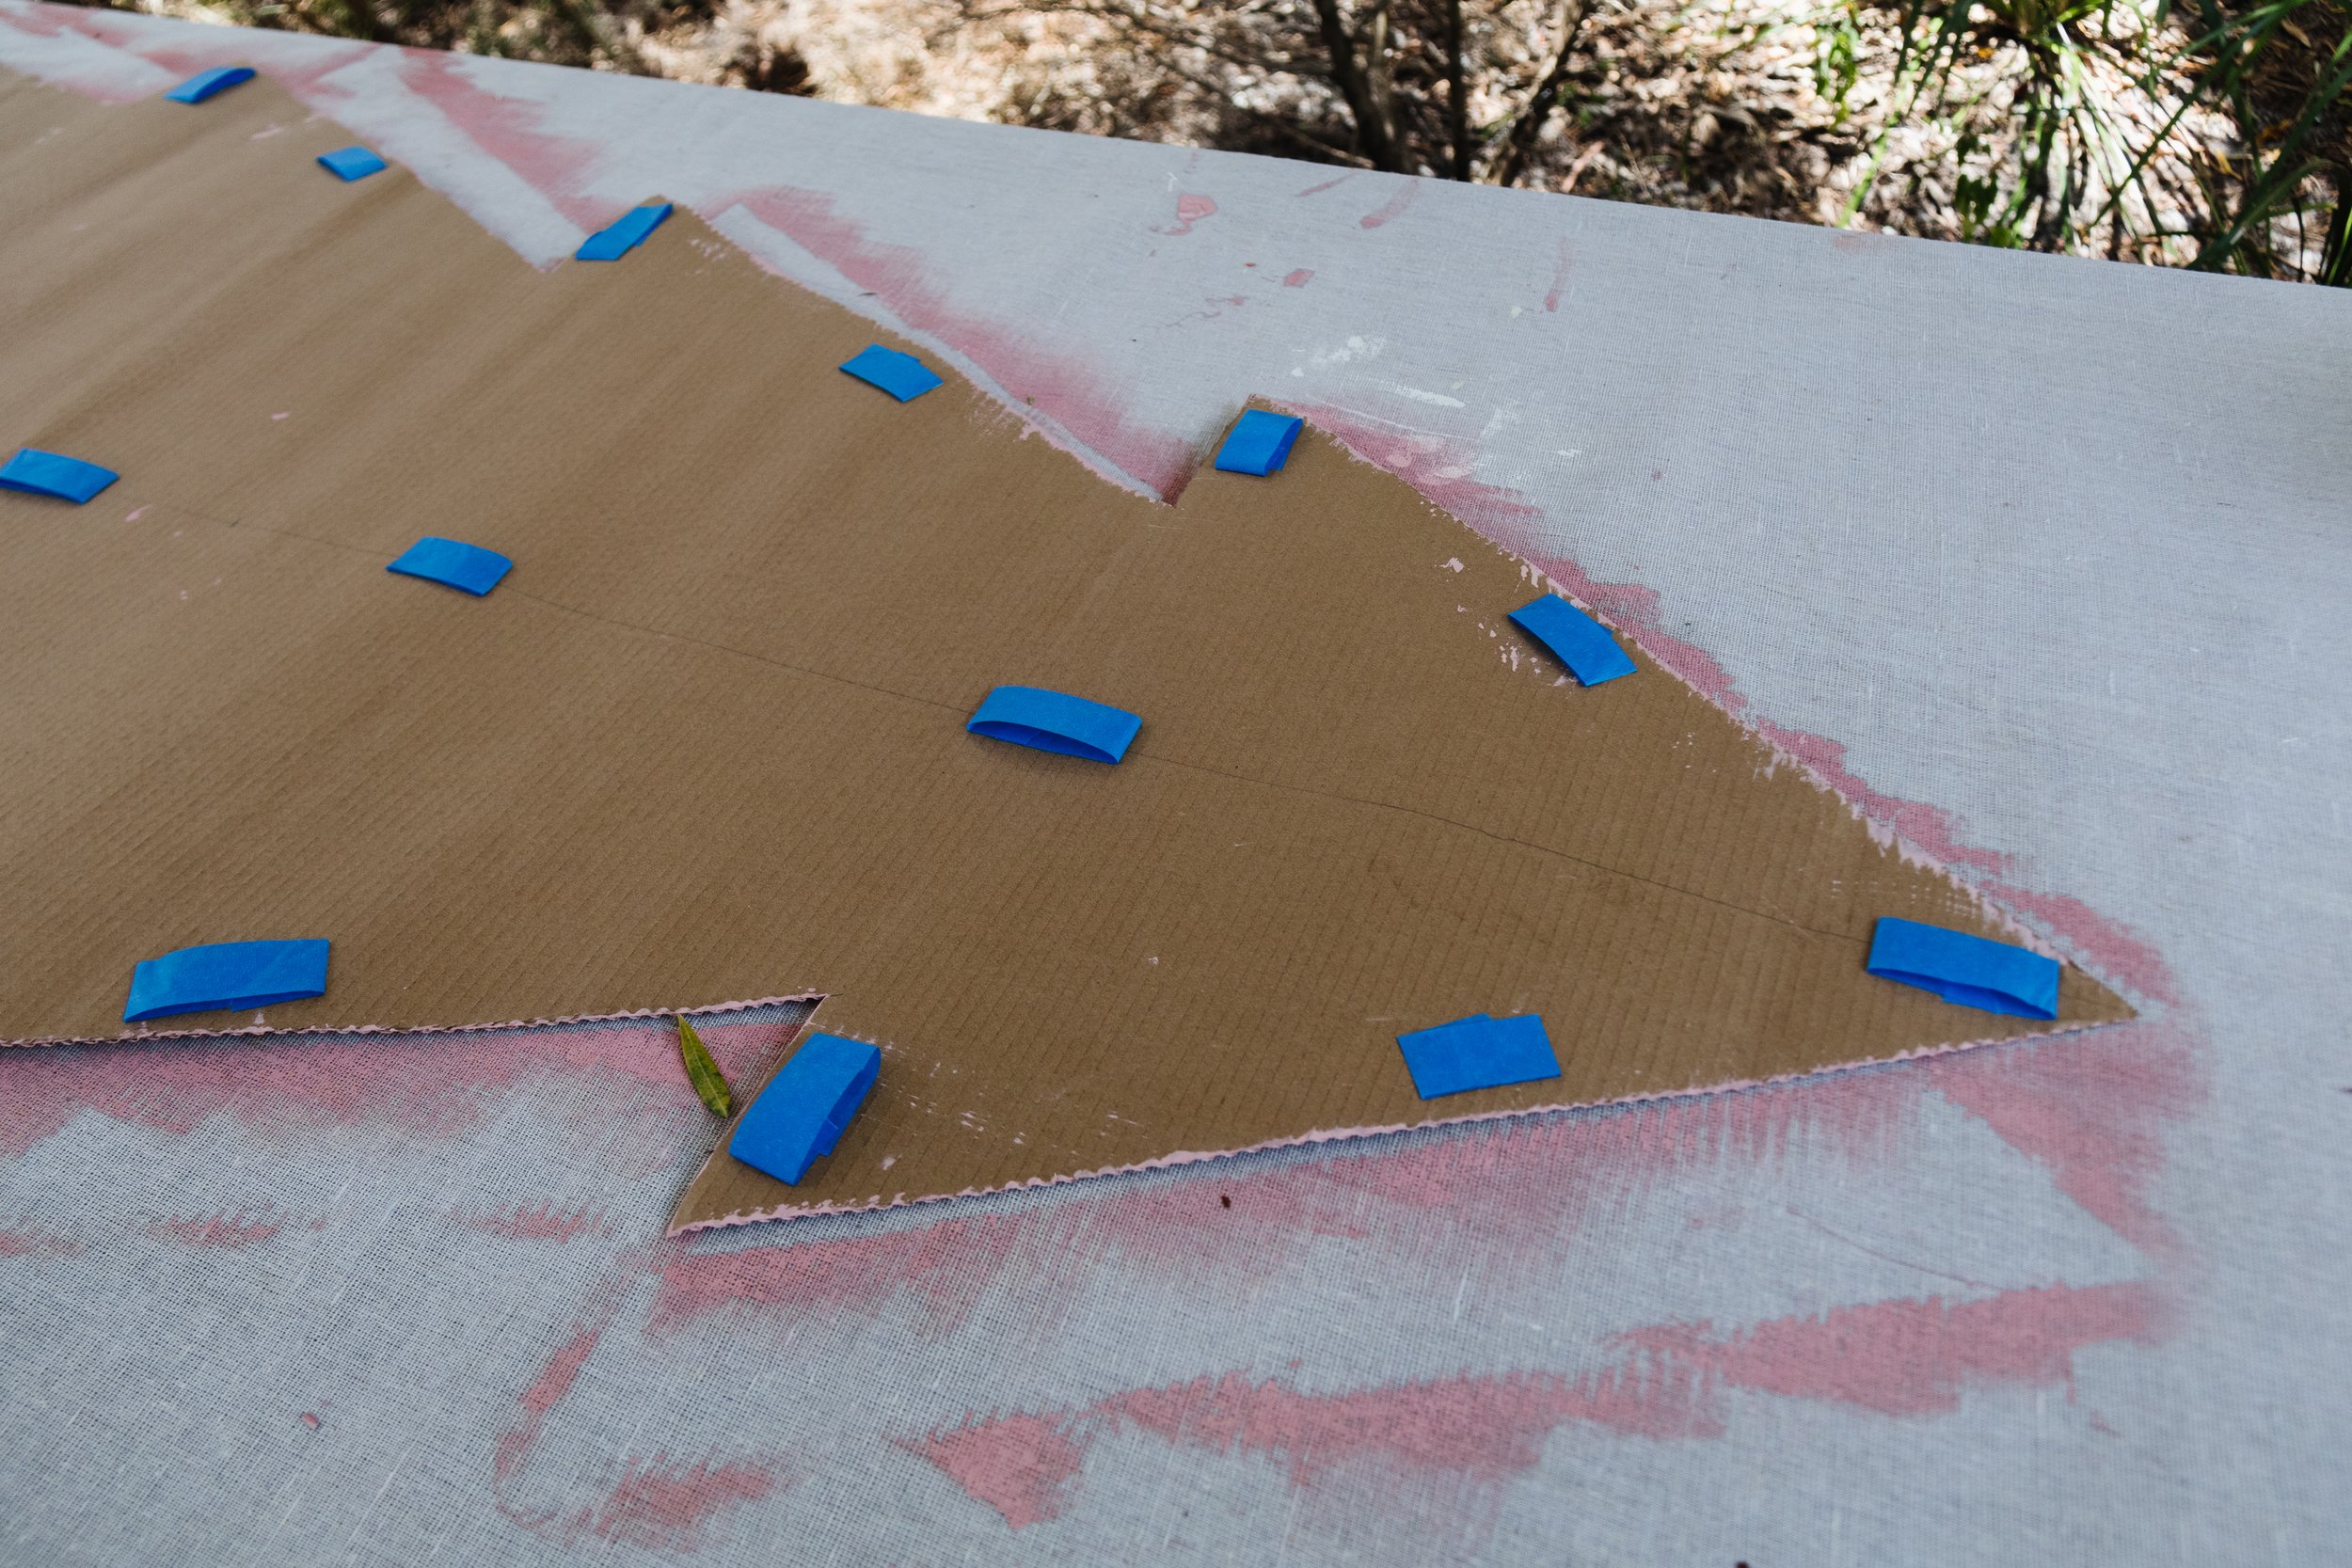
Step 5: While the clay is drying, roll the fluted cardboard out and cut out a rectangle to these measurements - 1650mm tall and 900mm wide. Flip the cardboard side over, with the fluted side facing down. Carefully measure and draw a line straight down the middle with a pencil, then follow these measurements as a guide to draw the lines (be as light as possible with the pencil and rule so you don’t crush the fluted cardboard) and then cut the tree out. My document is not drawn to scale but I have included all the measurements I used.
Step 6: Once the tree has been cut out, flip it over and paint the fluted side. Set aside to dry. You may need to apply two coats of paint, like I did. Once the paint has dried, flip the fluted cardboard tree over (fluted side facing down) and apply painters tape around the edges and down the middle. Then stick it to the wall.
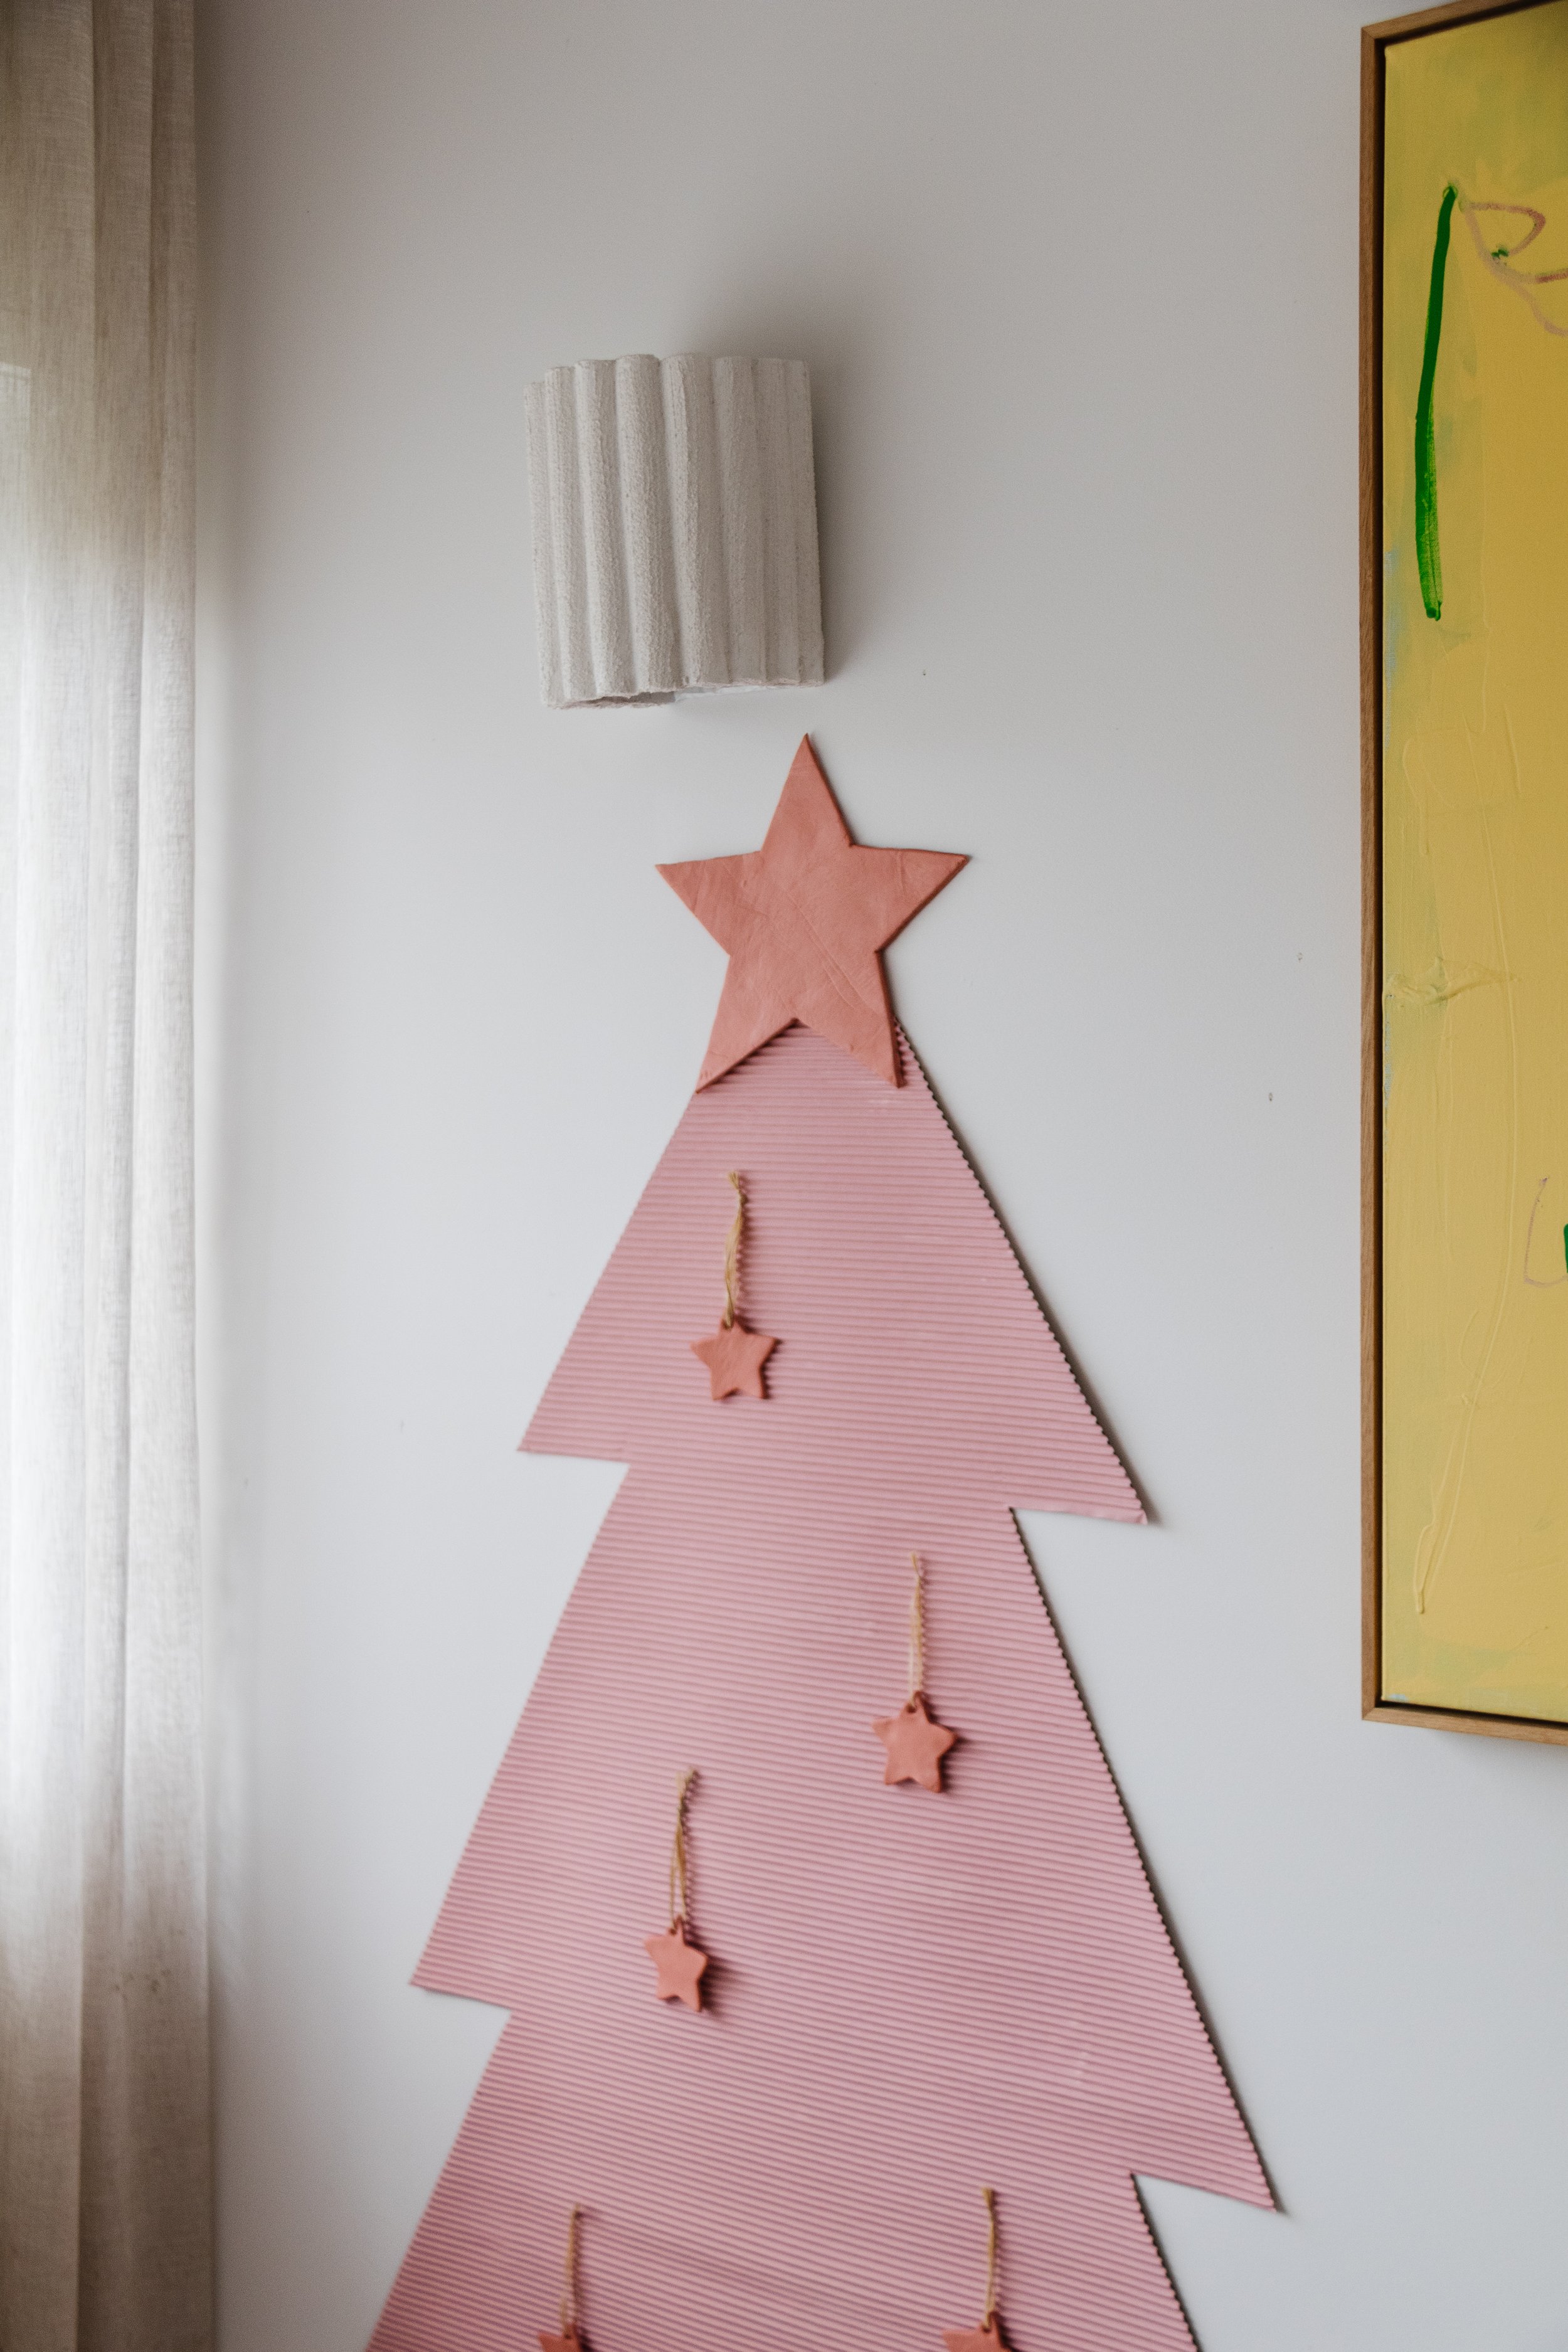
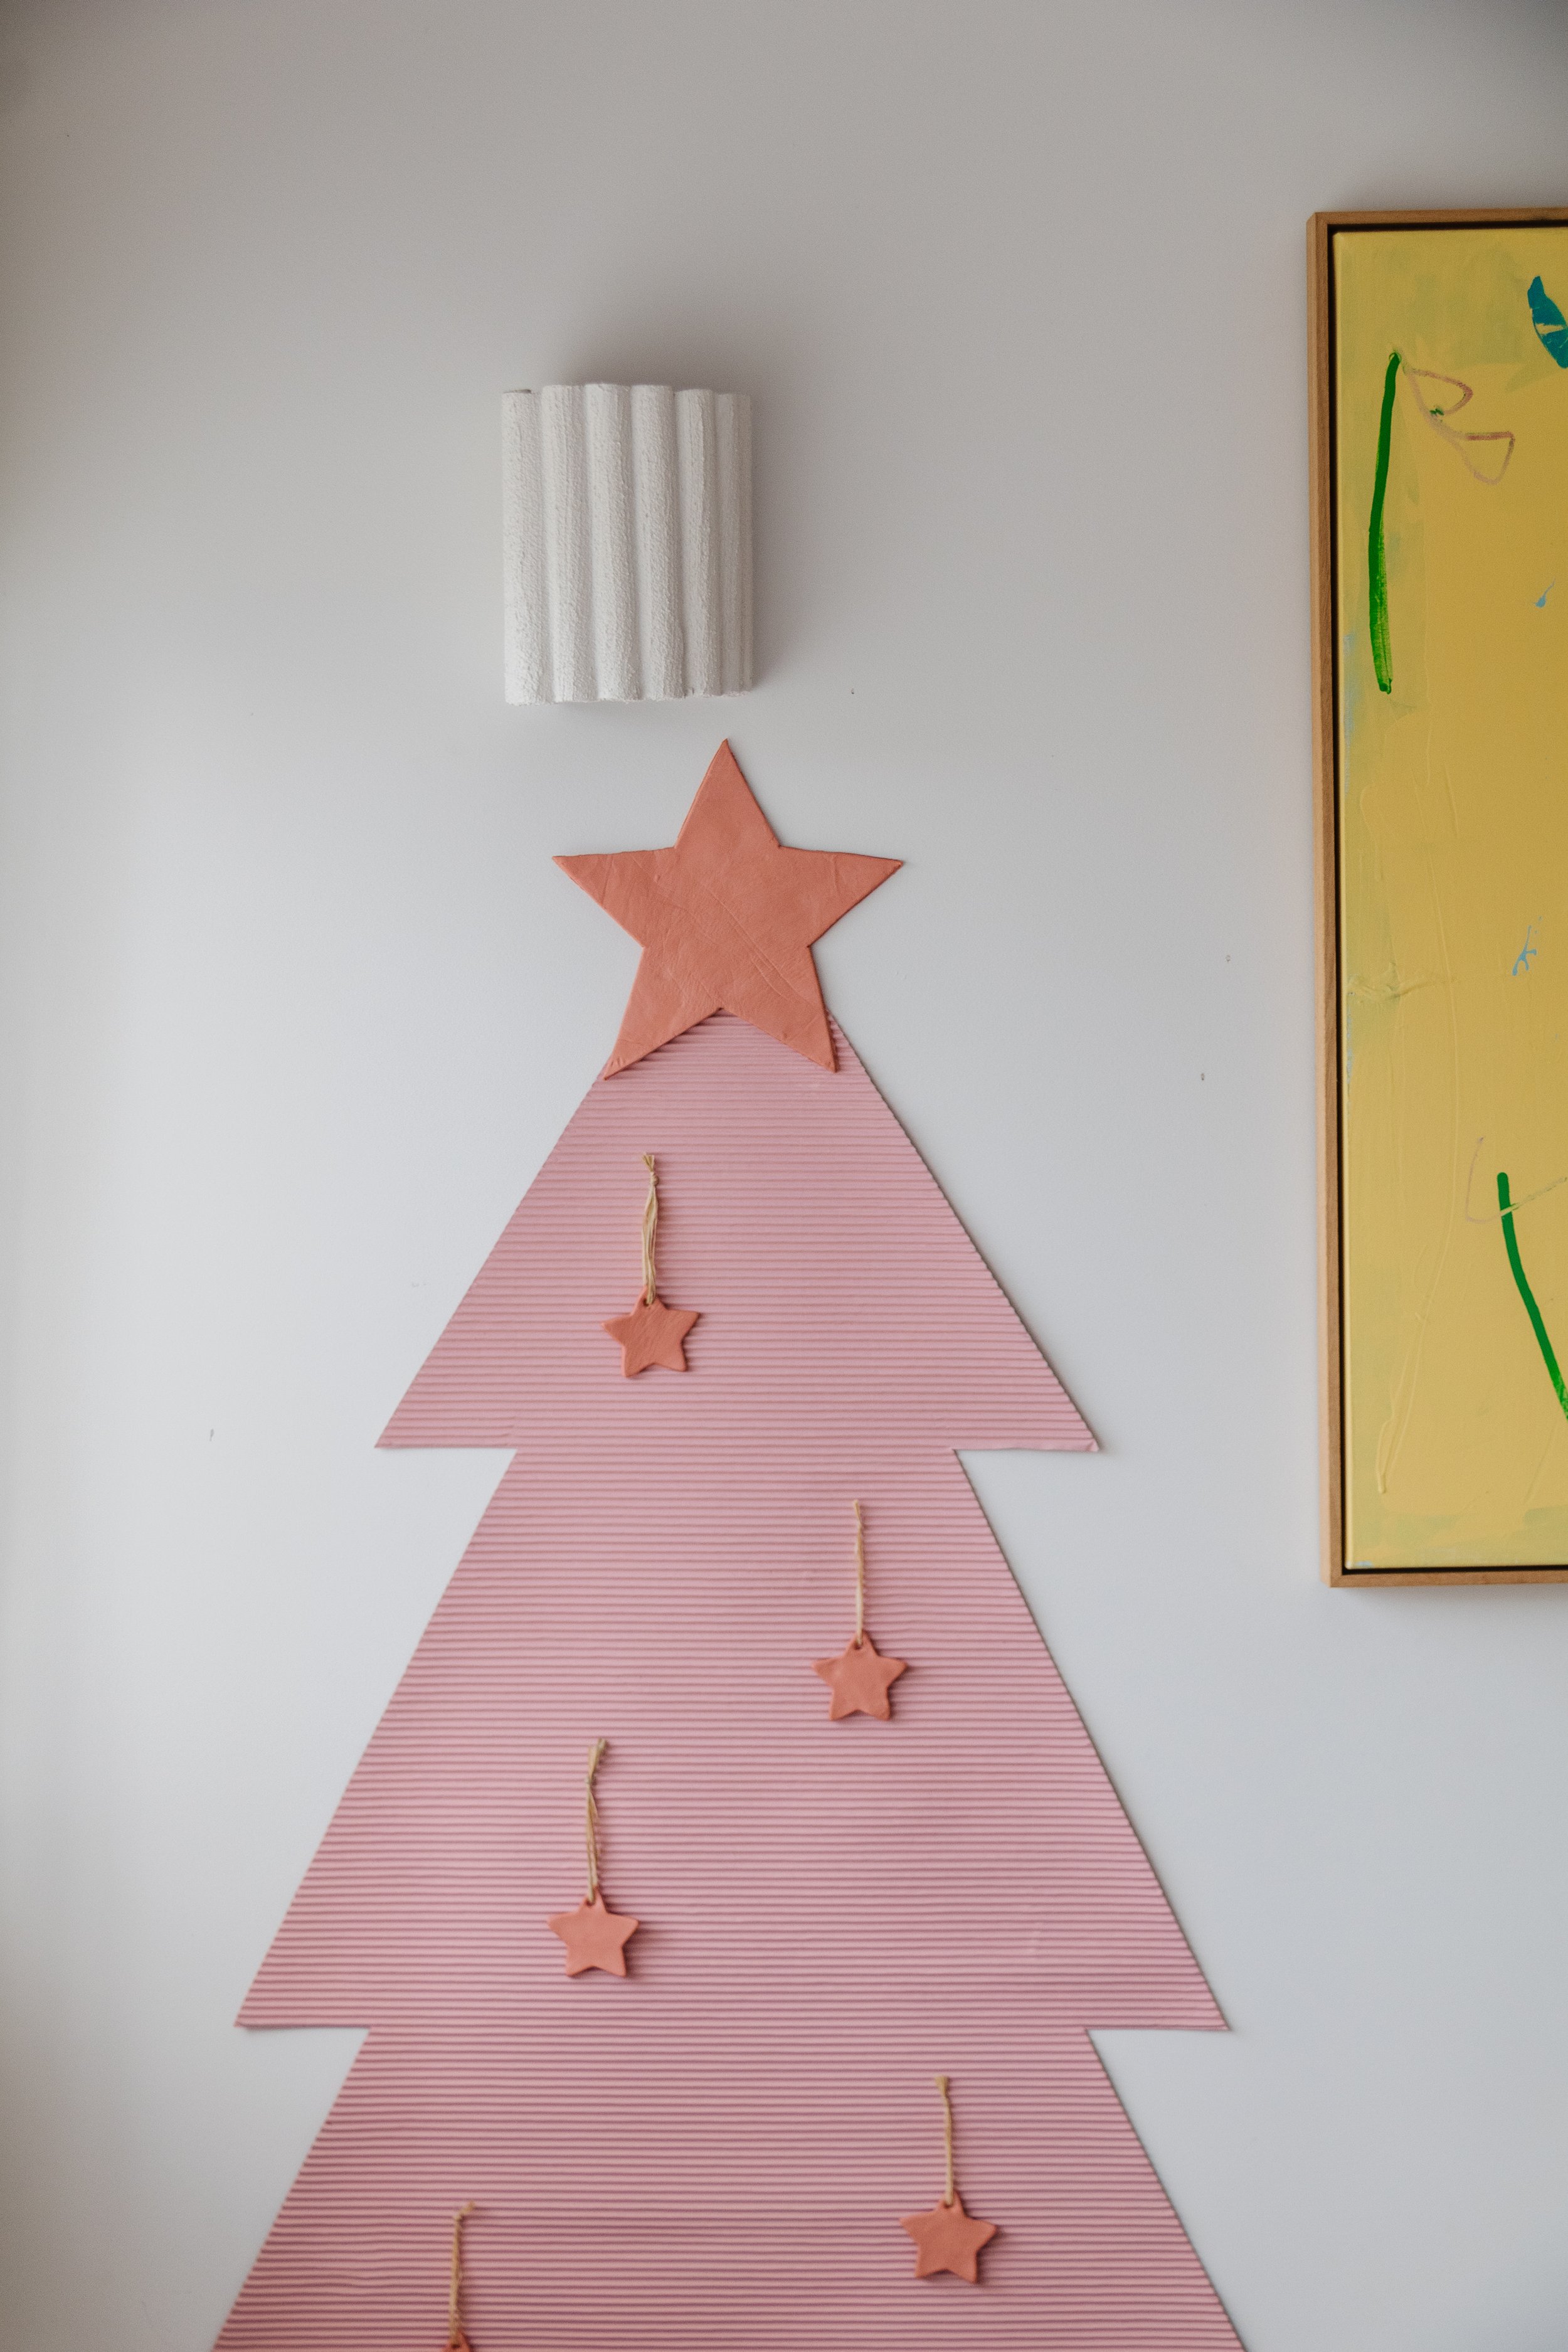
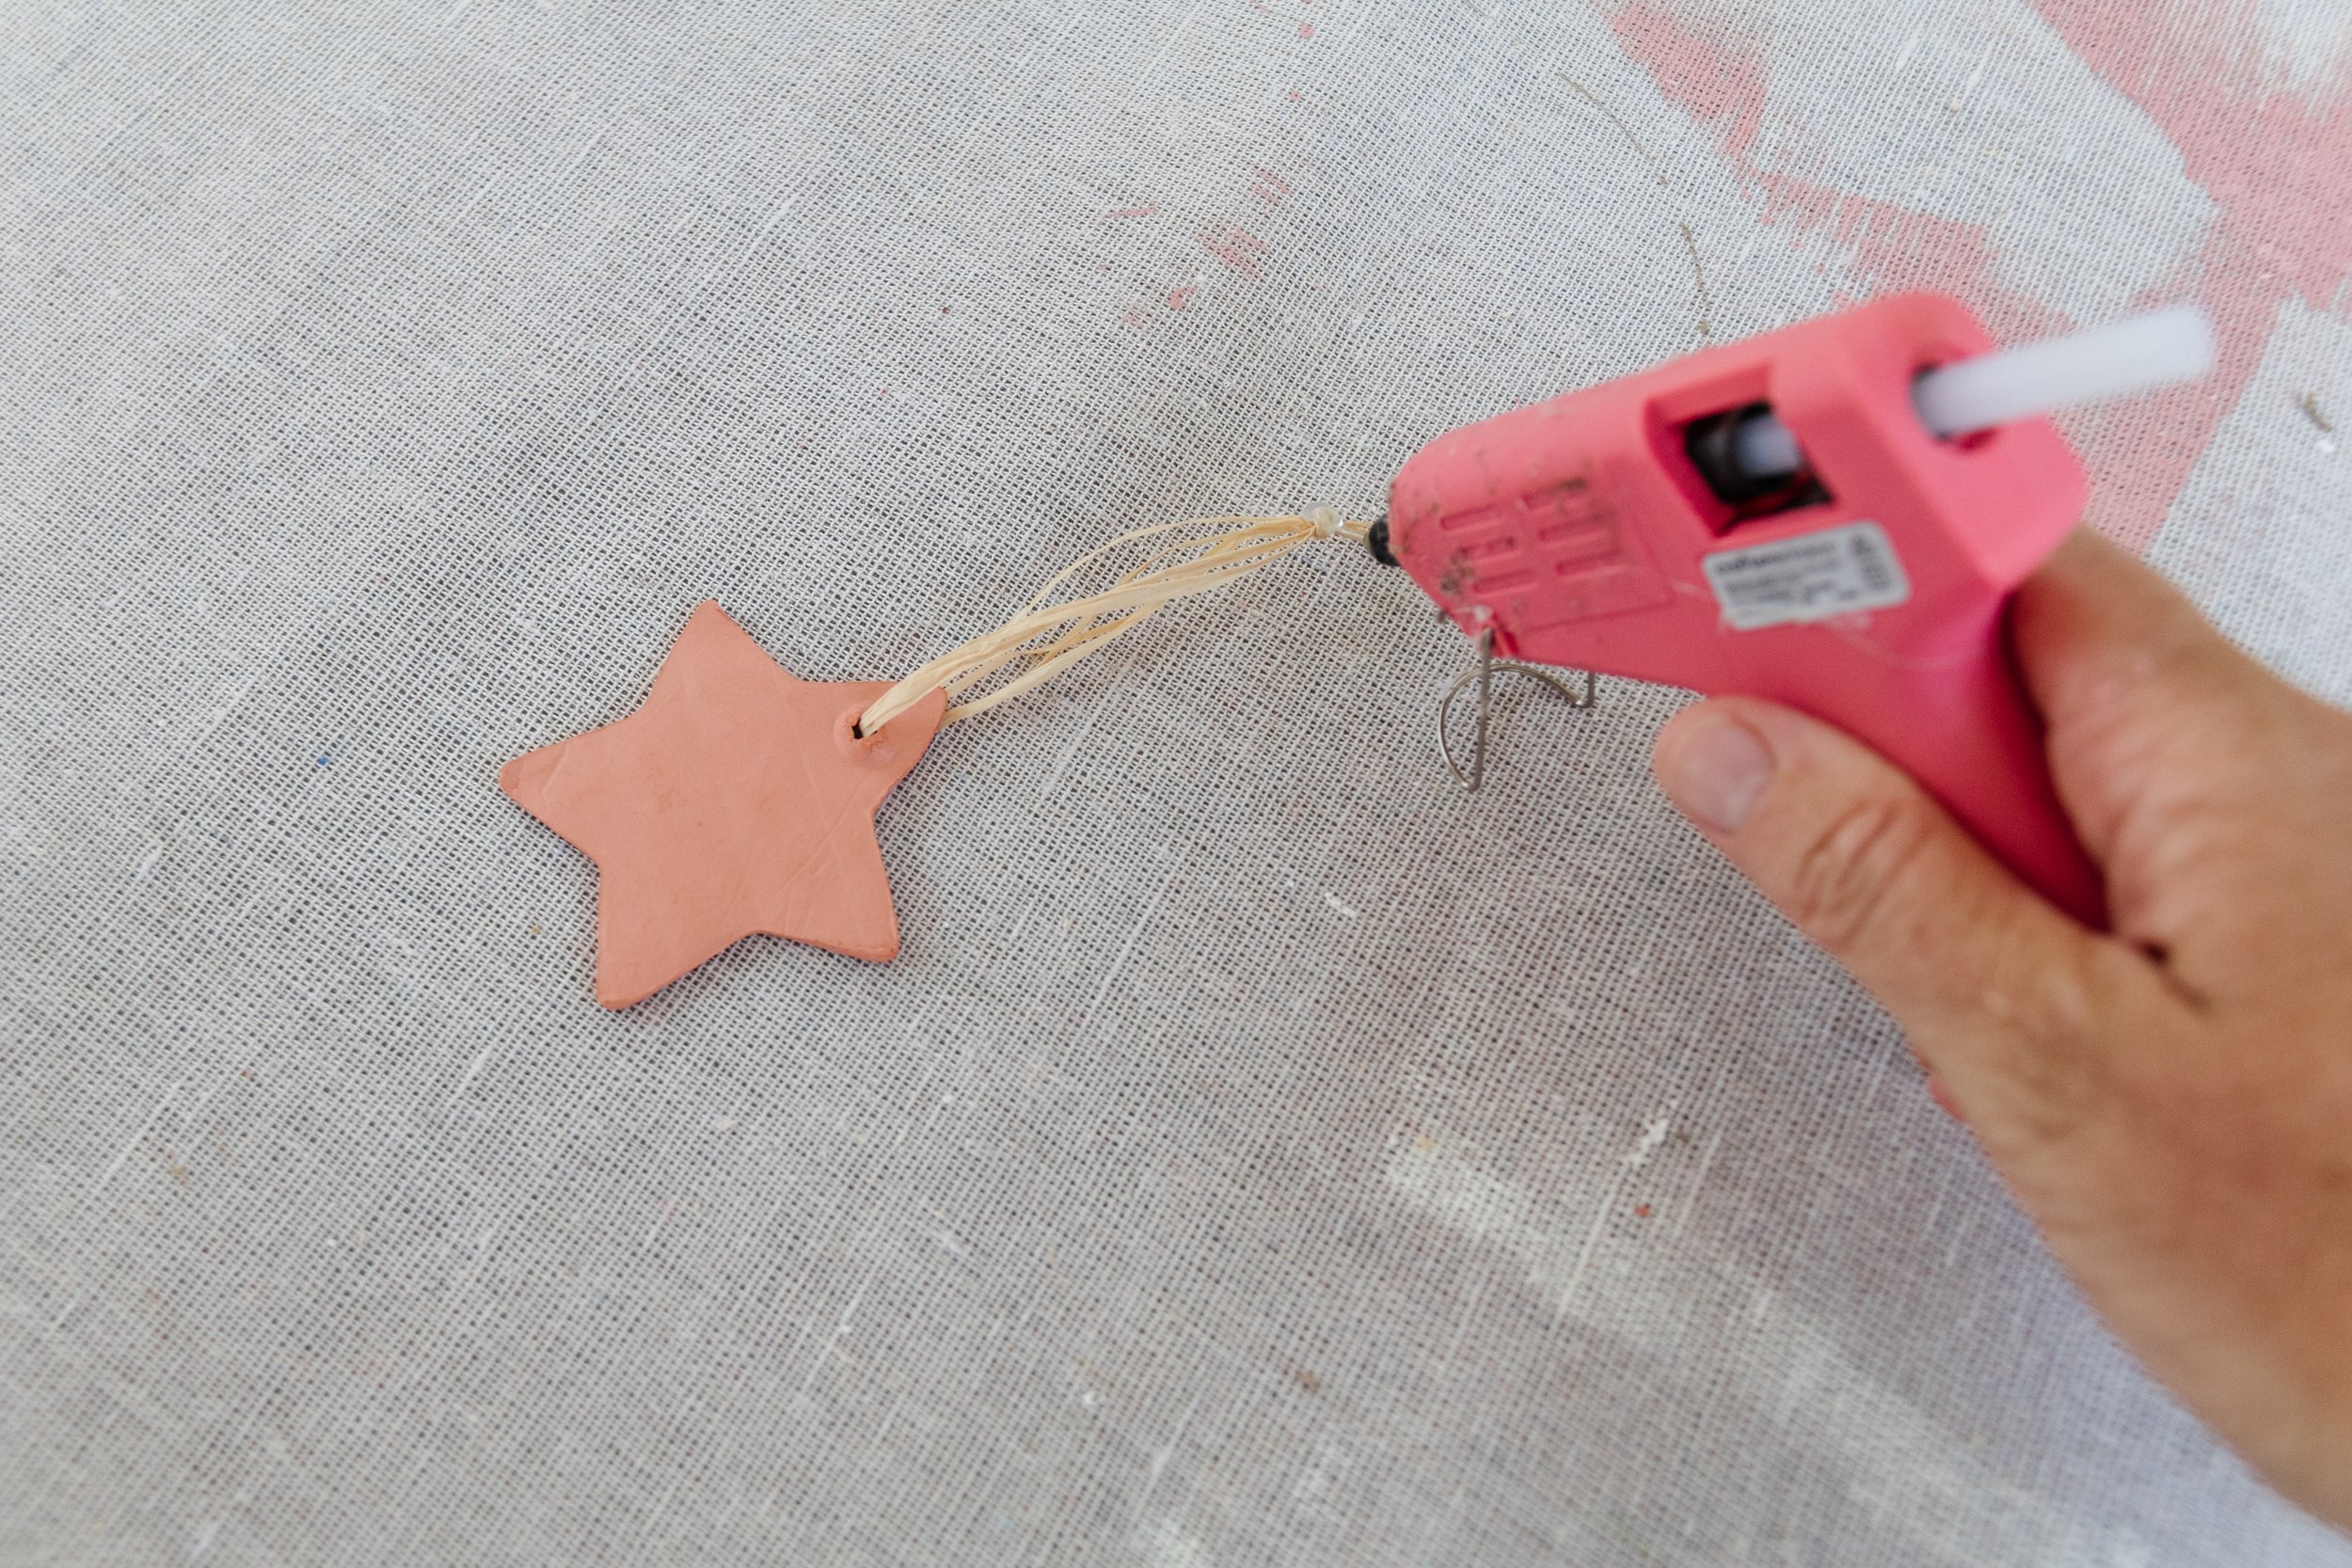
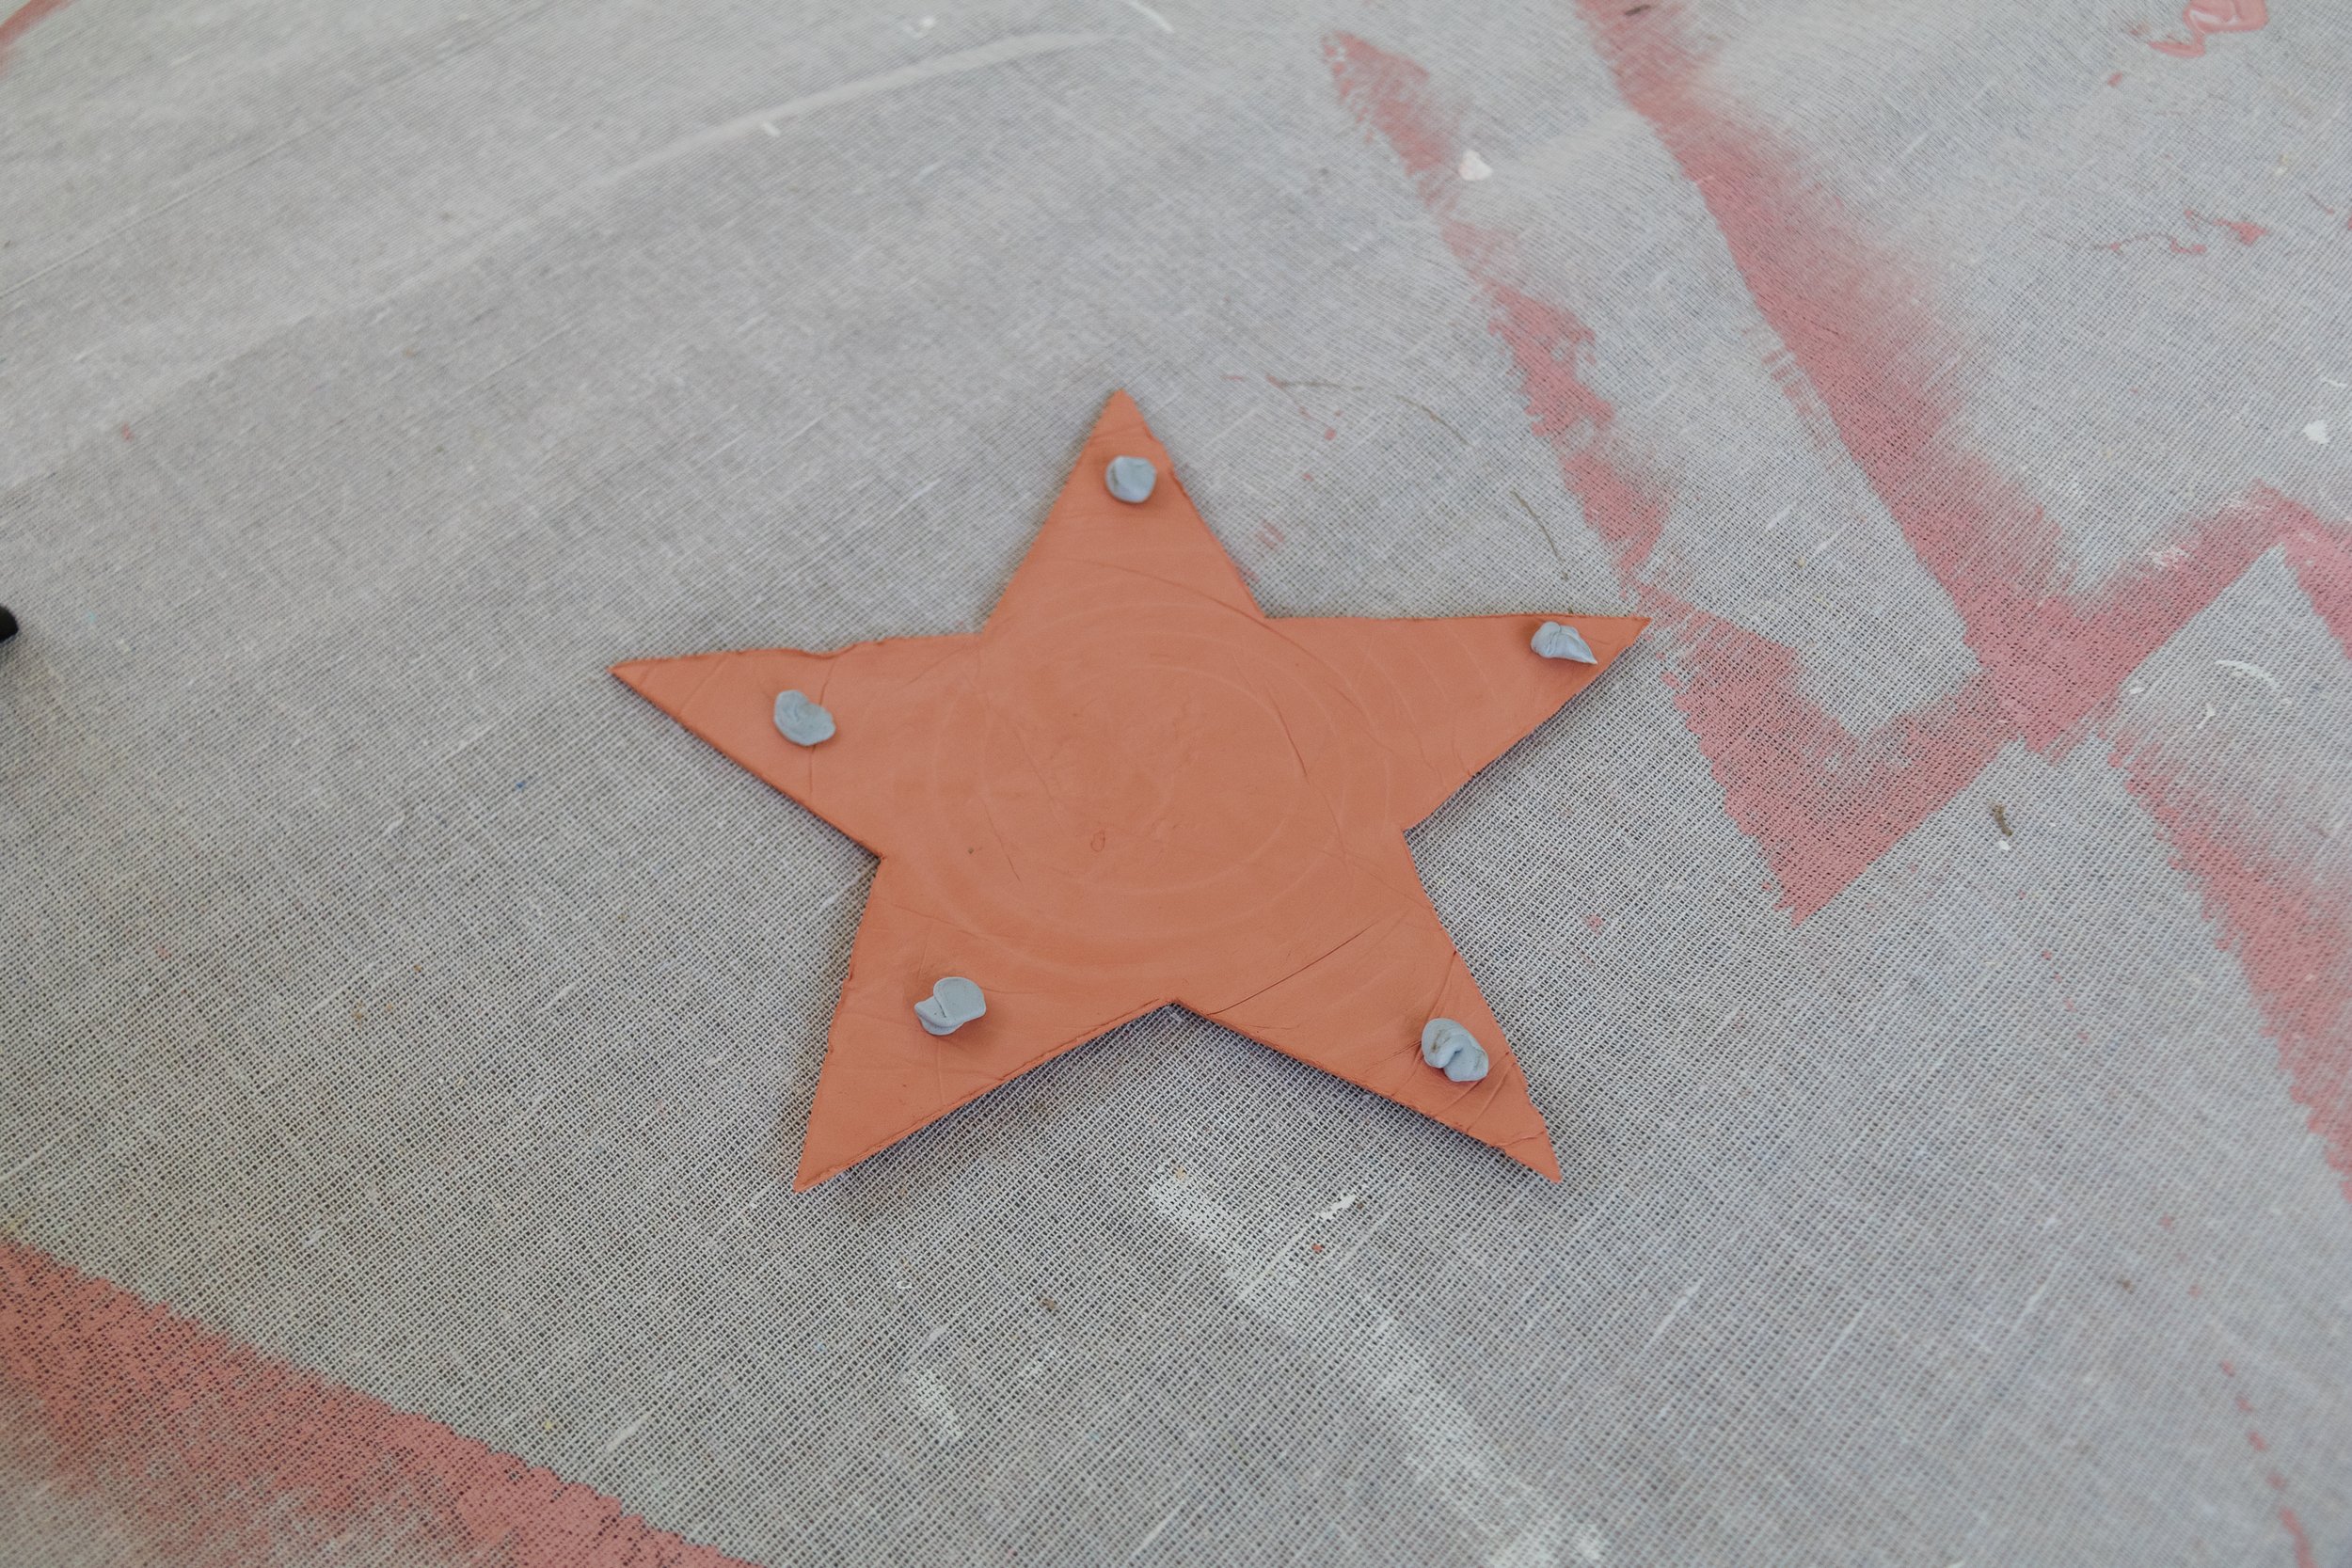
Step 7: Using a hot glue gun, squeeze some glue onto the knot of the raffia, and glue the star ornaments onto the tree. Then place Blu Tac onto the back of the star topper and stick it on top of the tree.
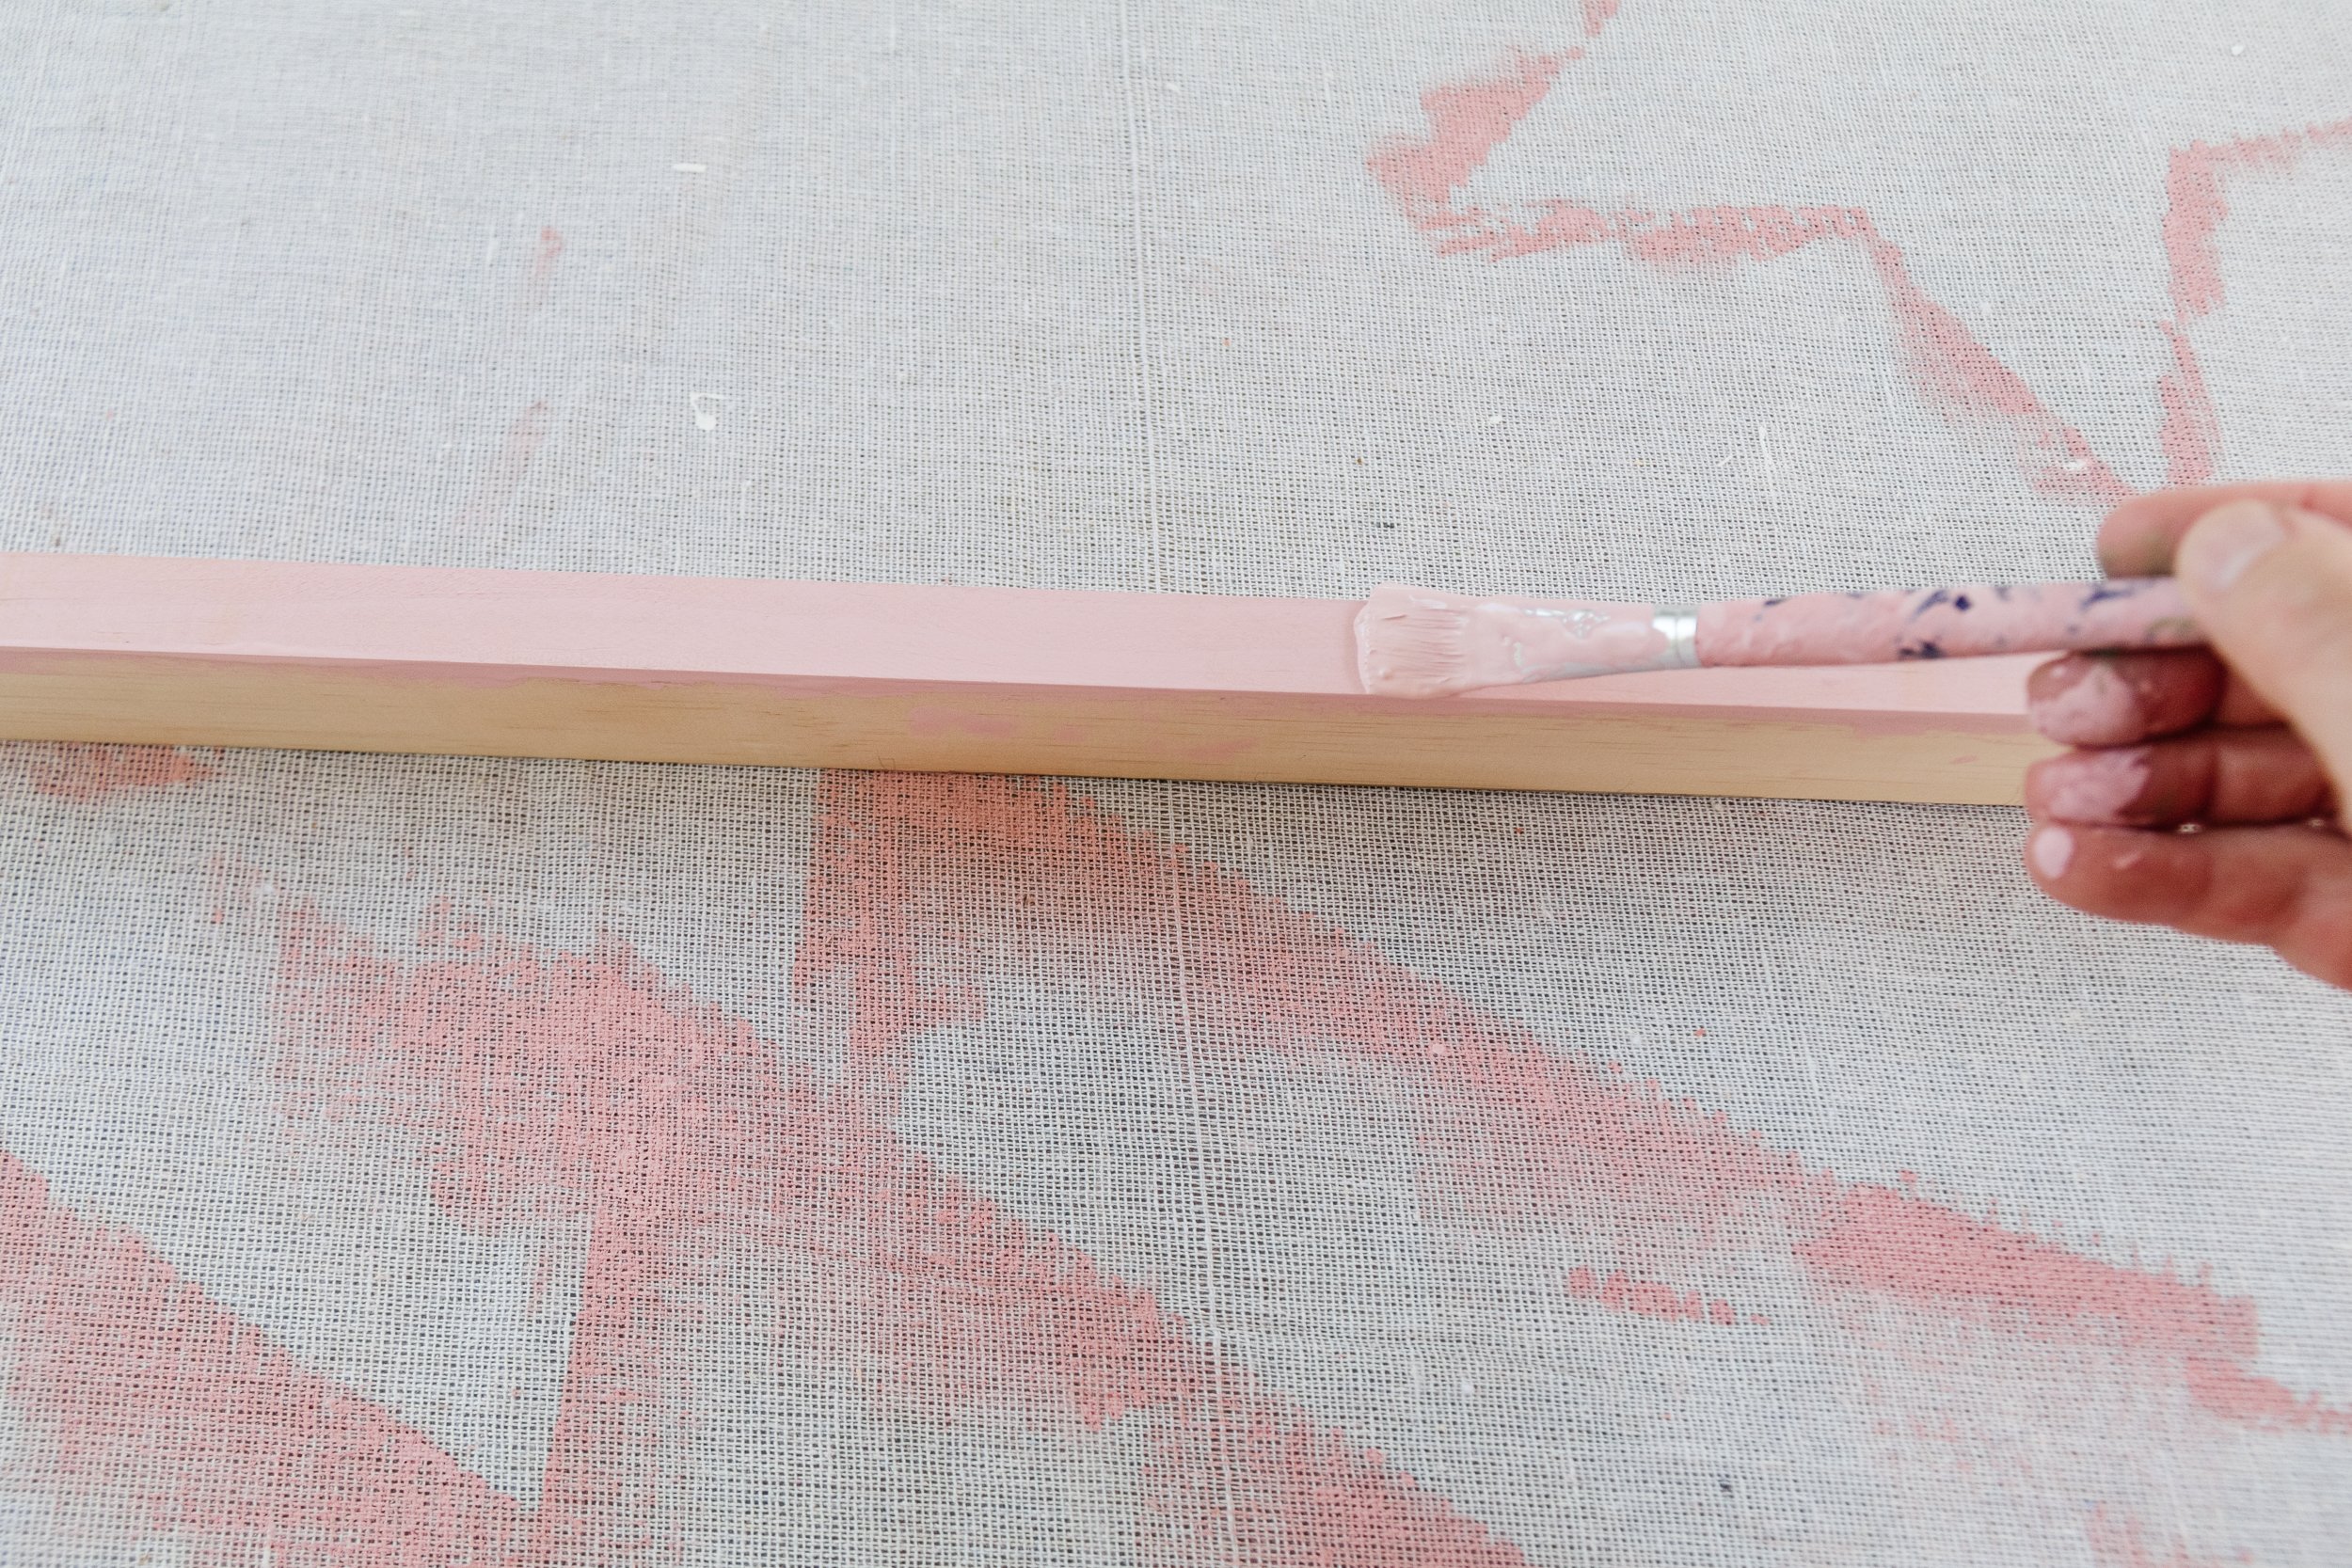
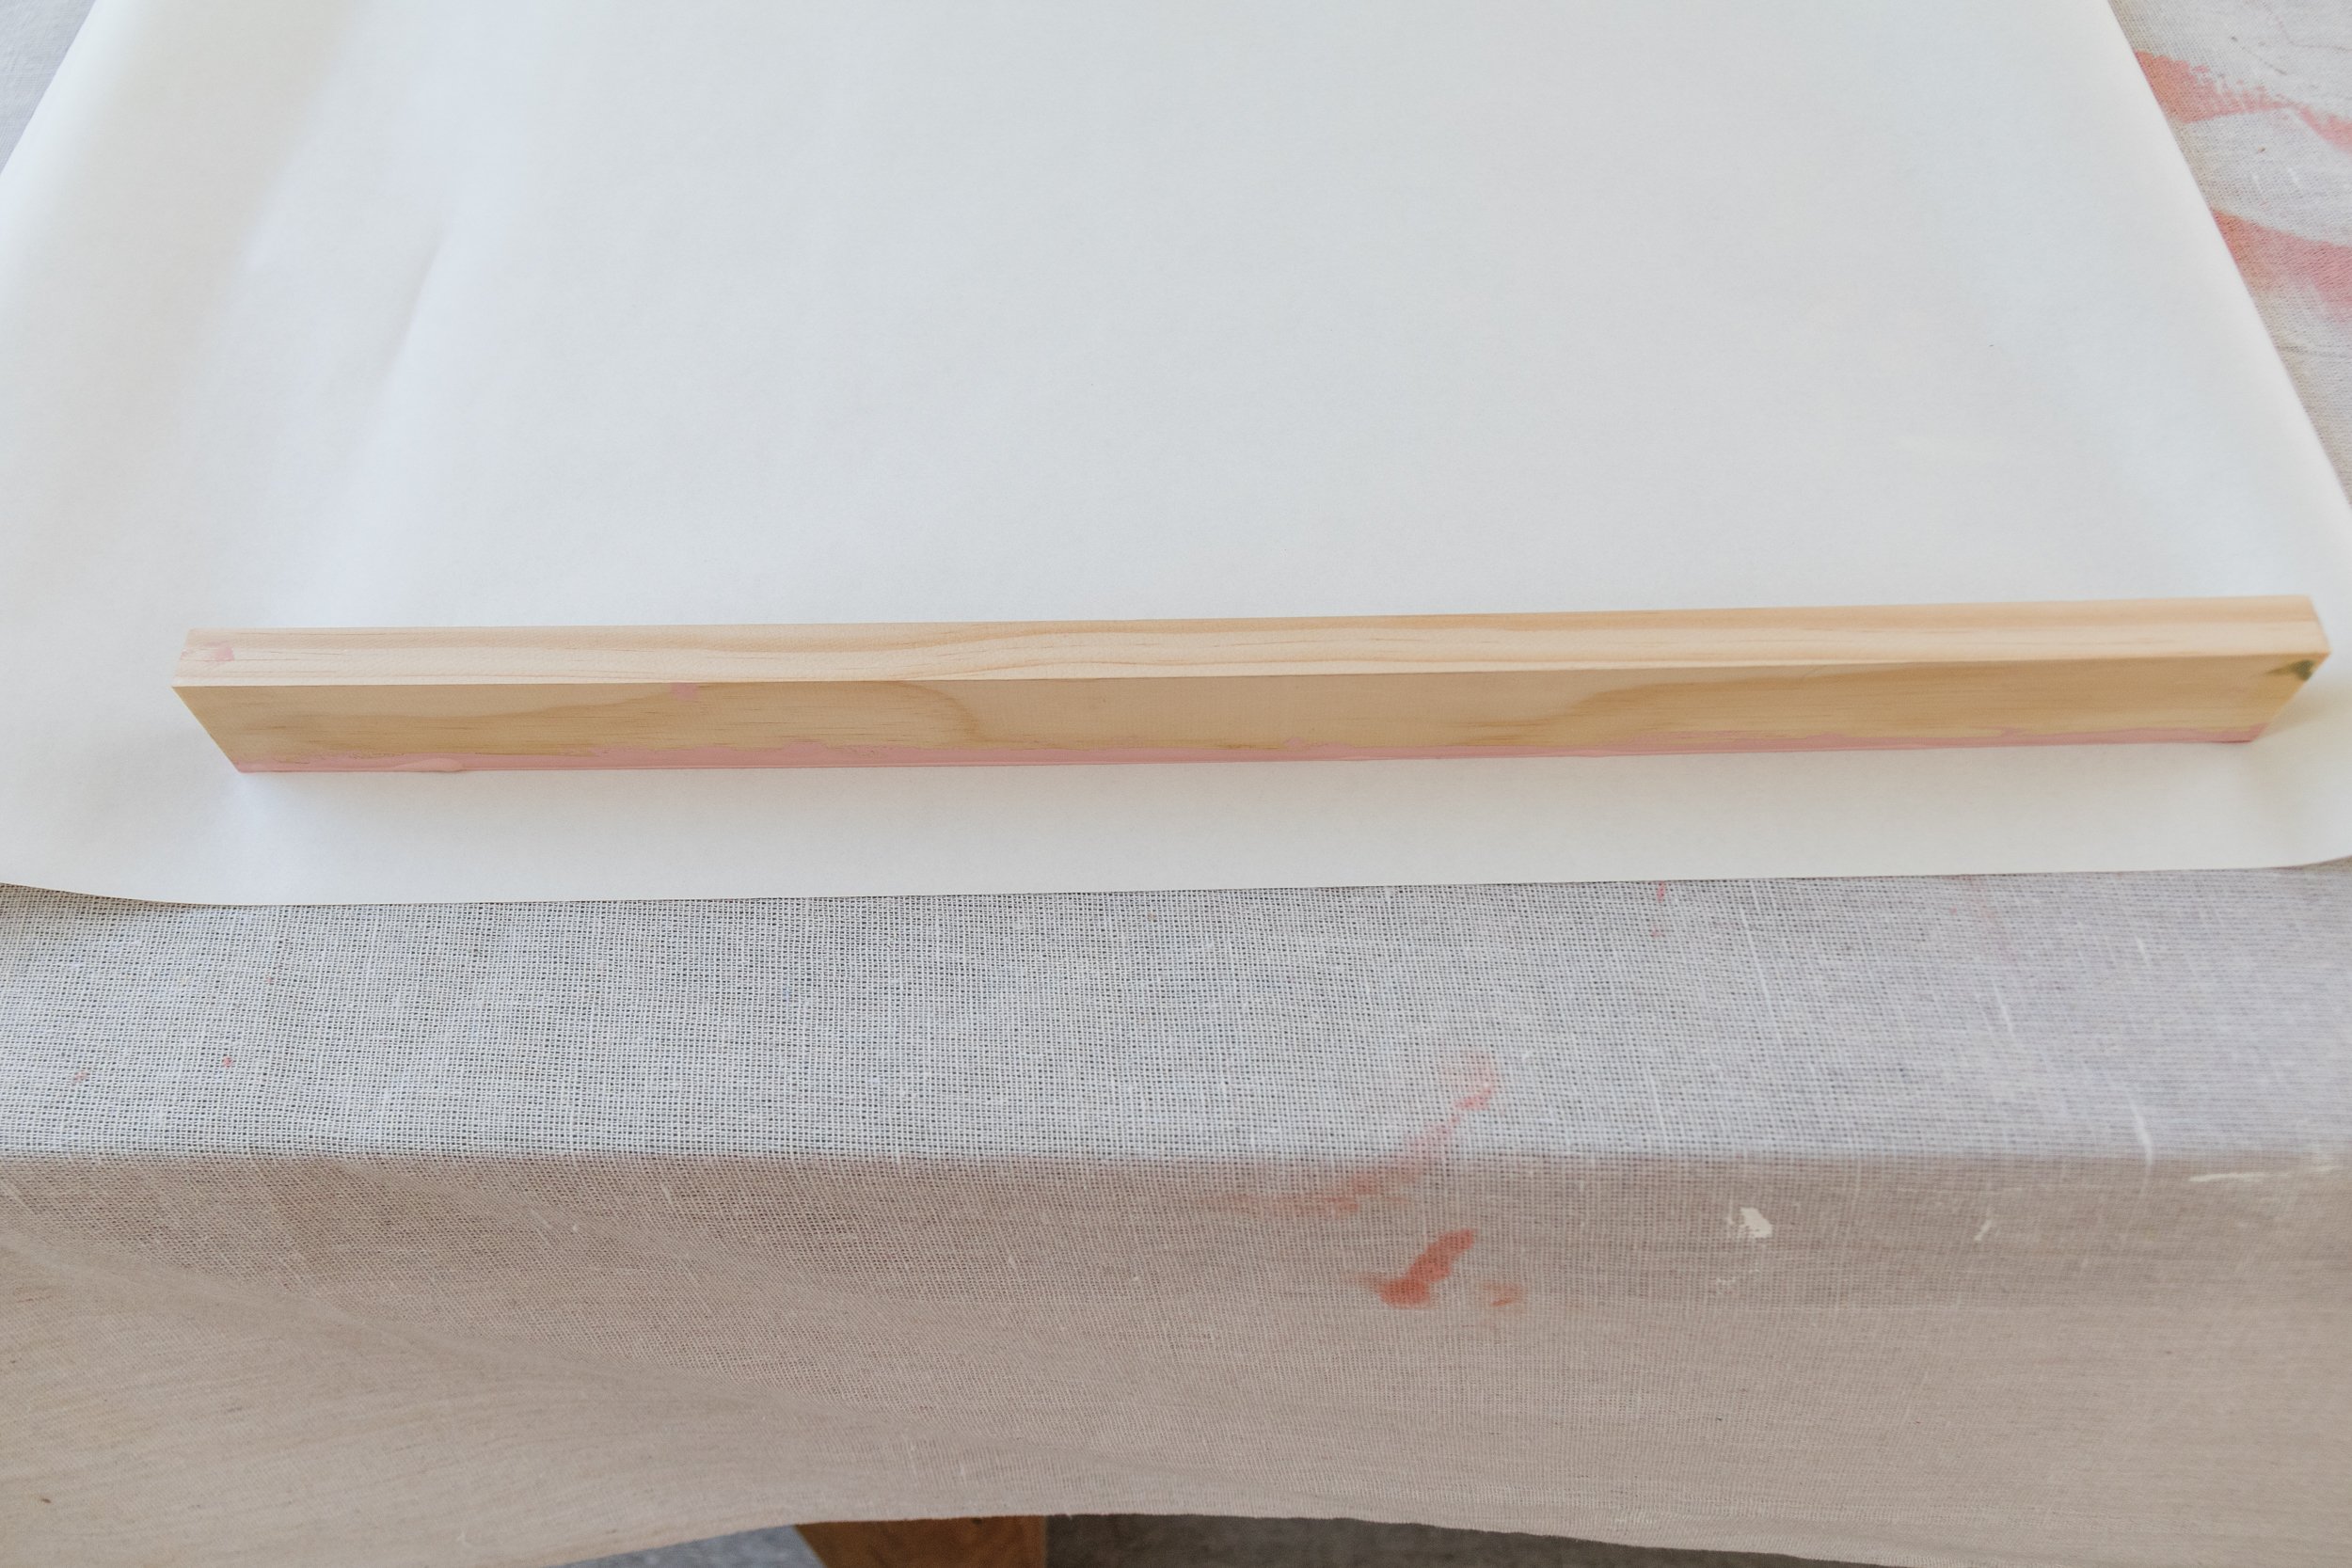
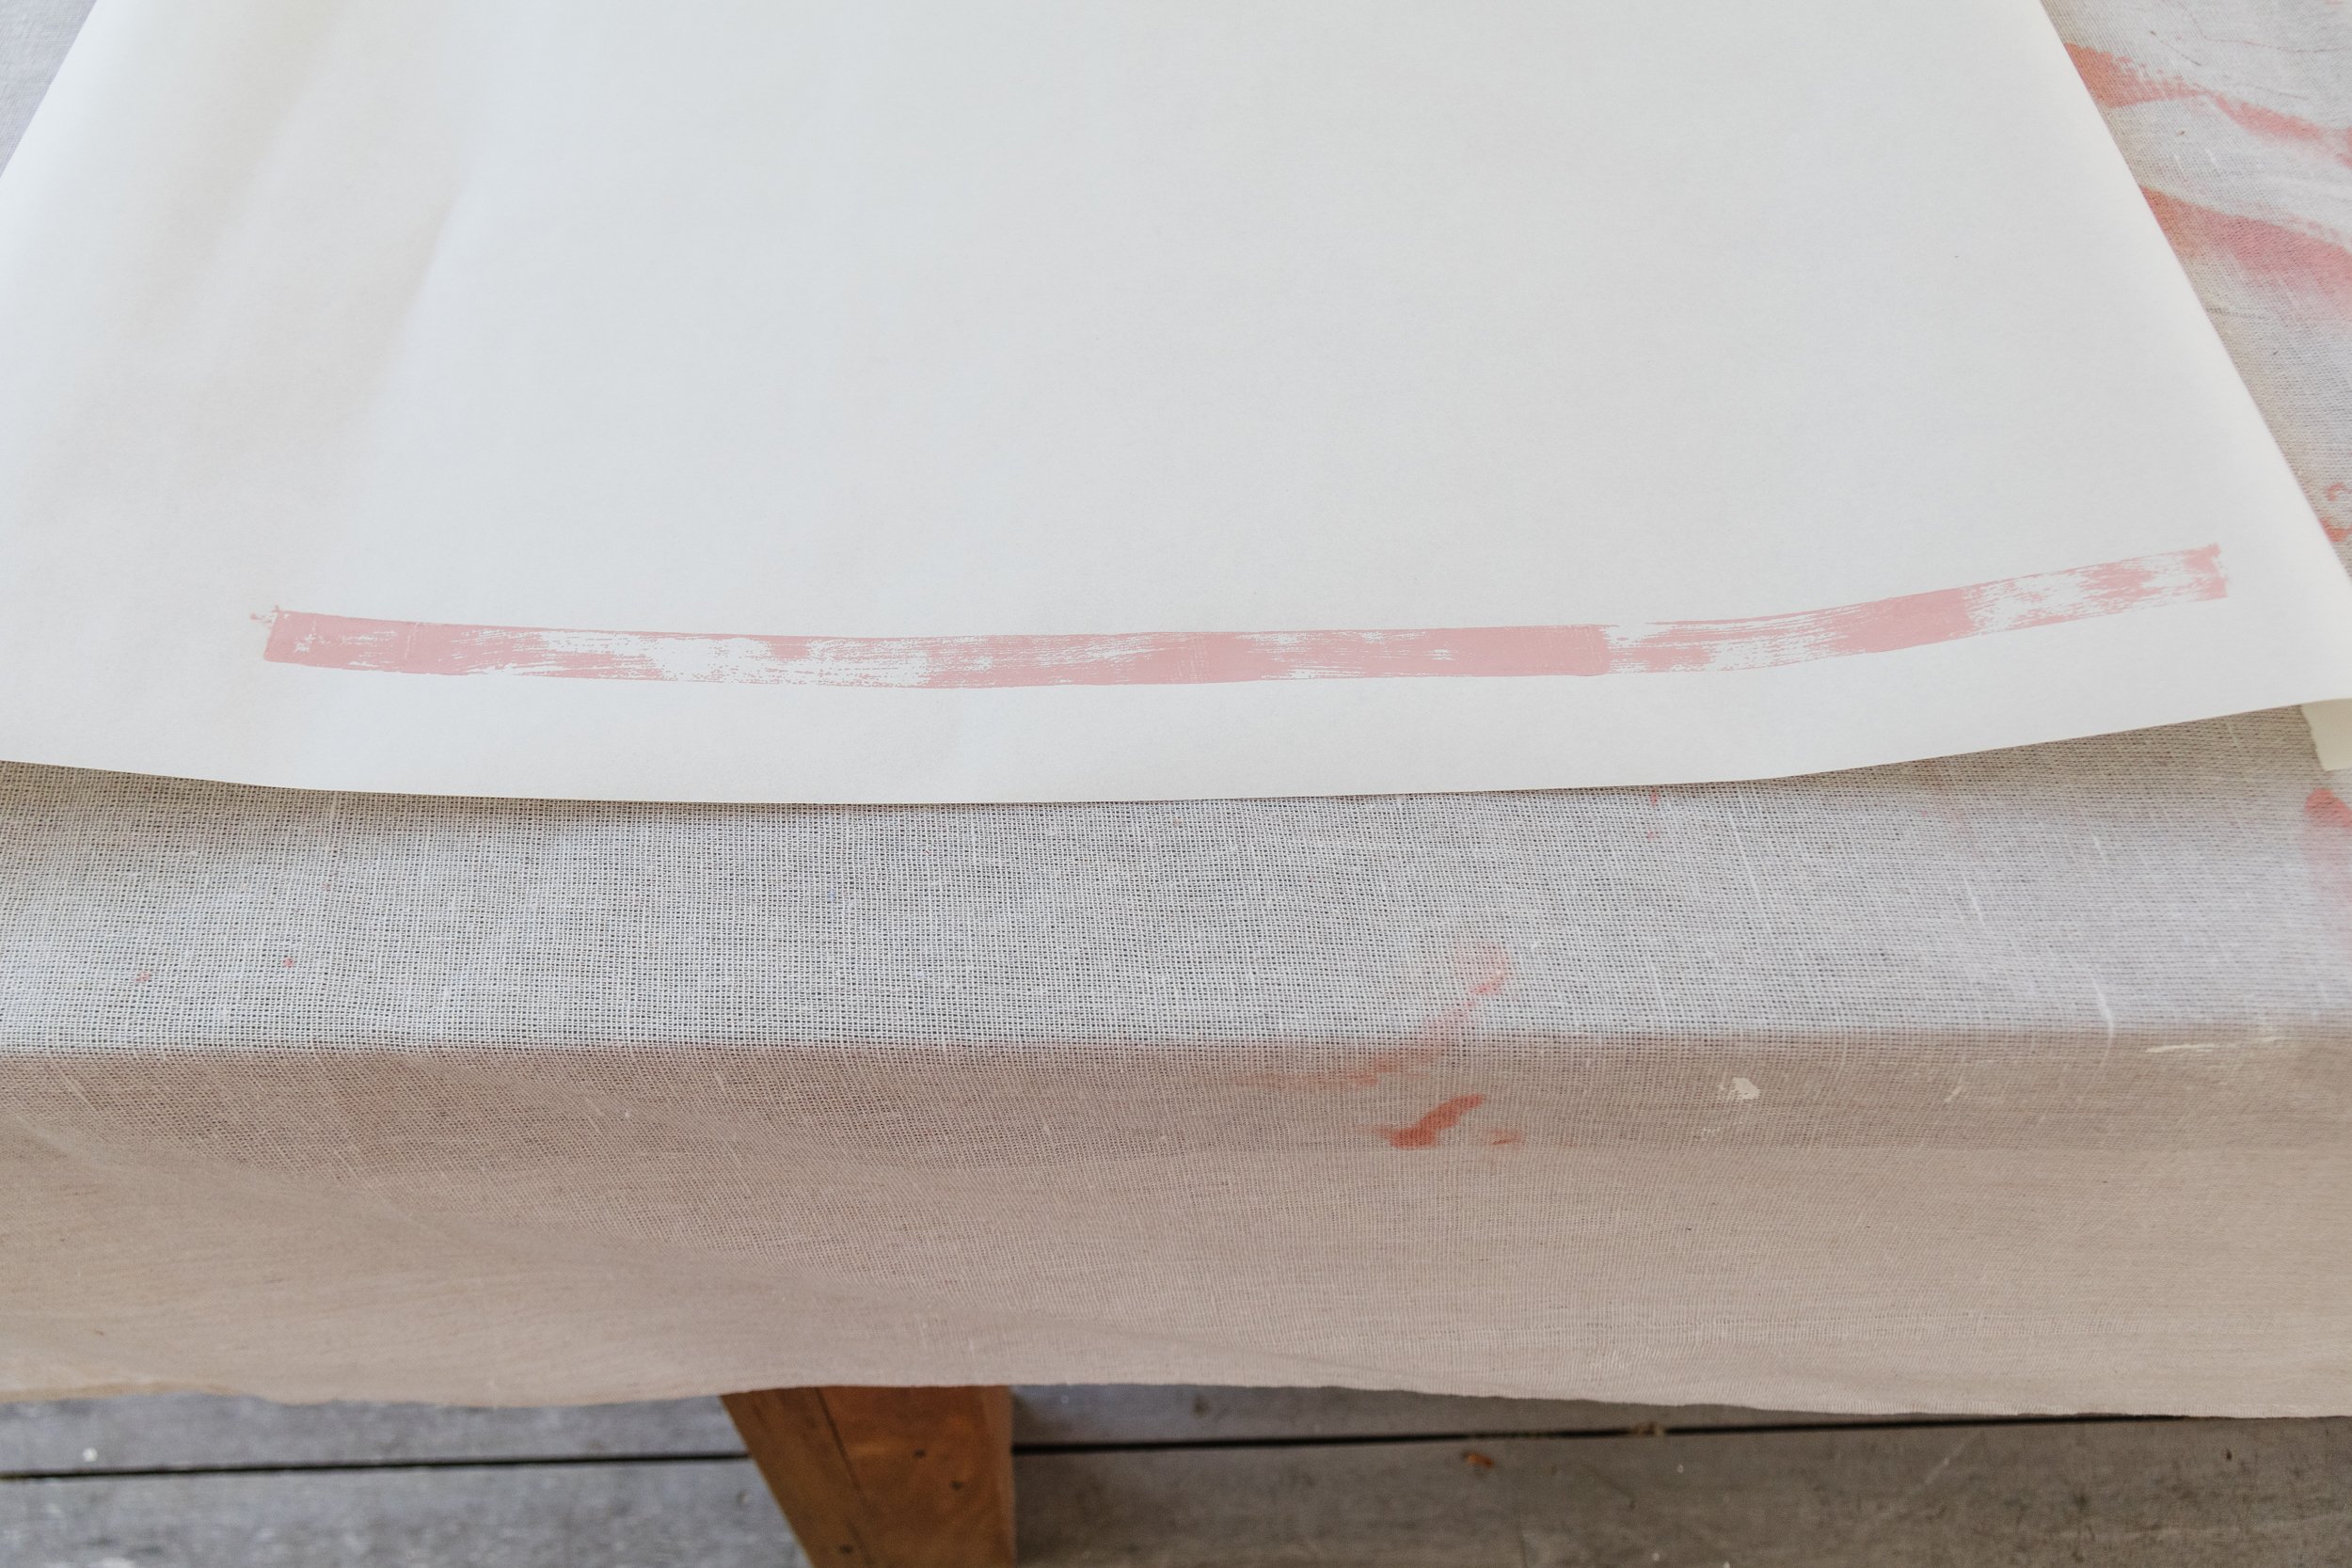
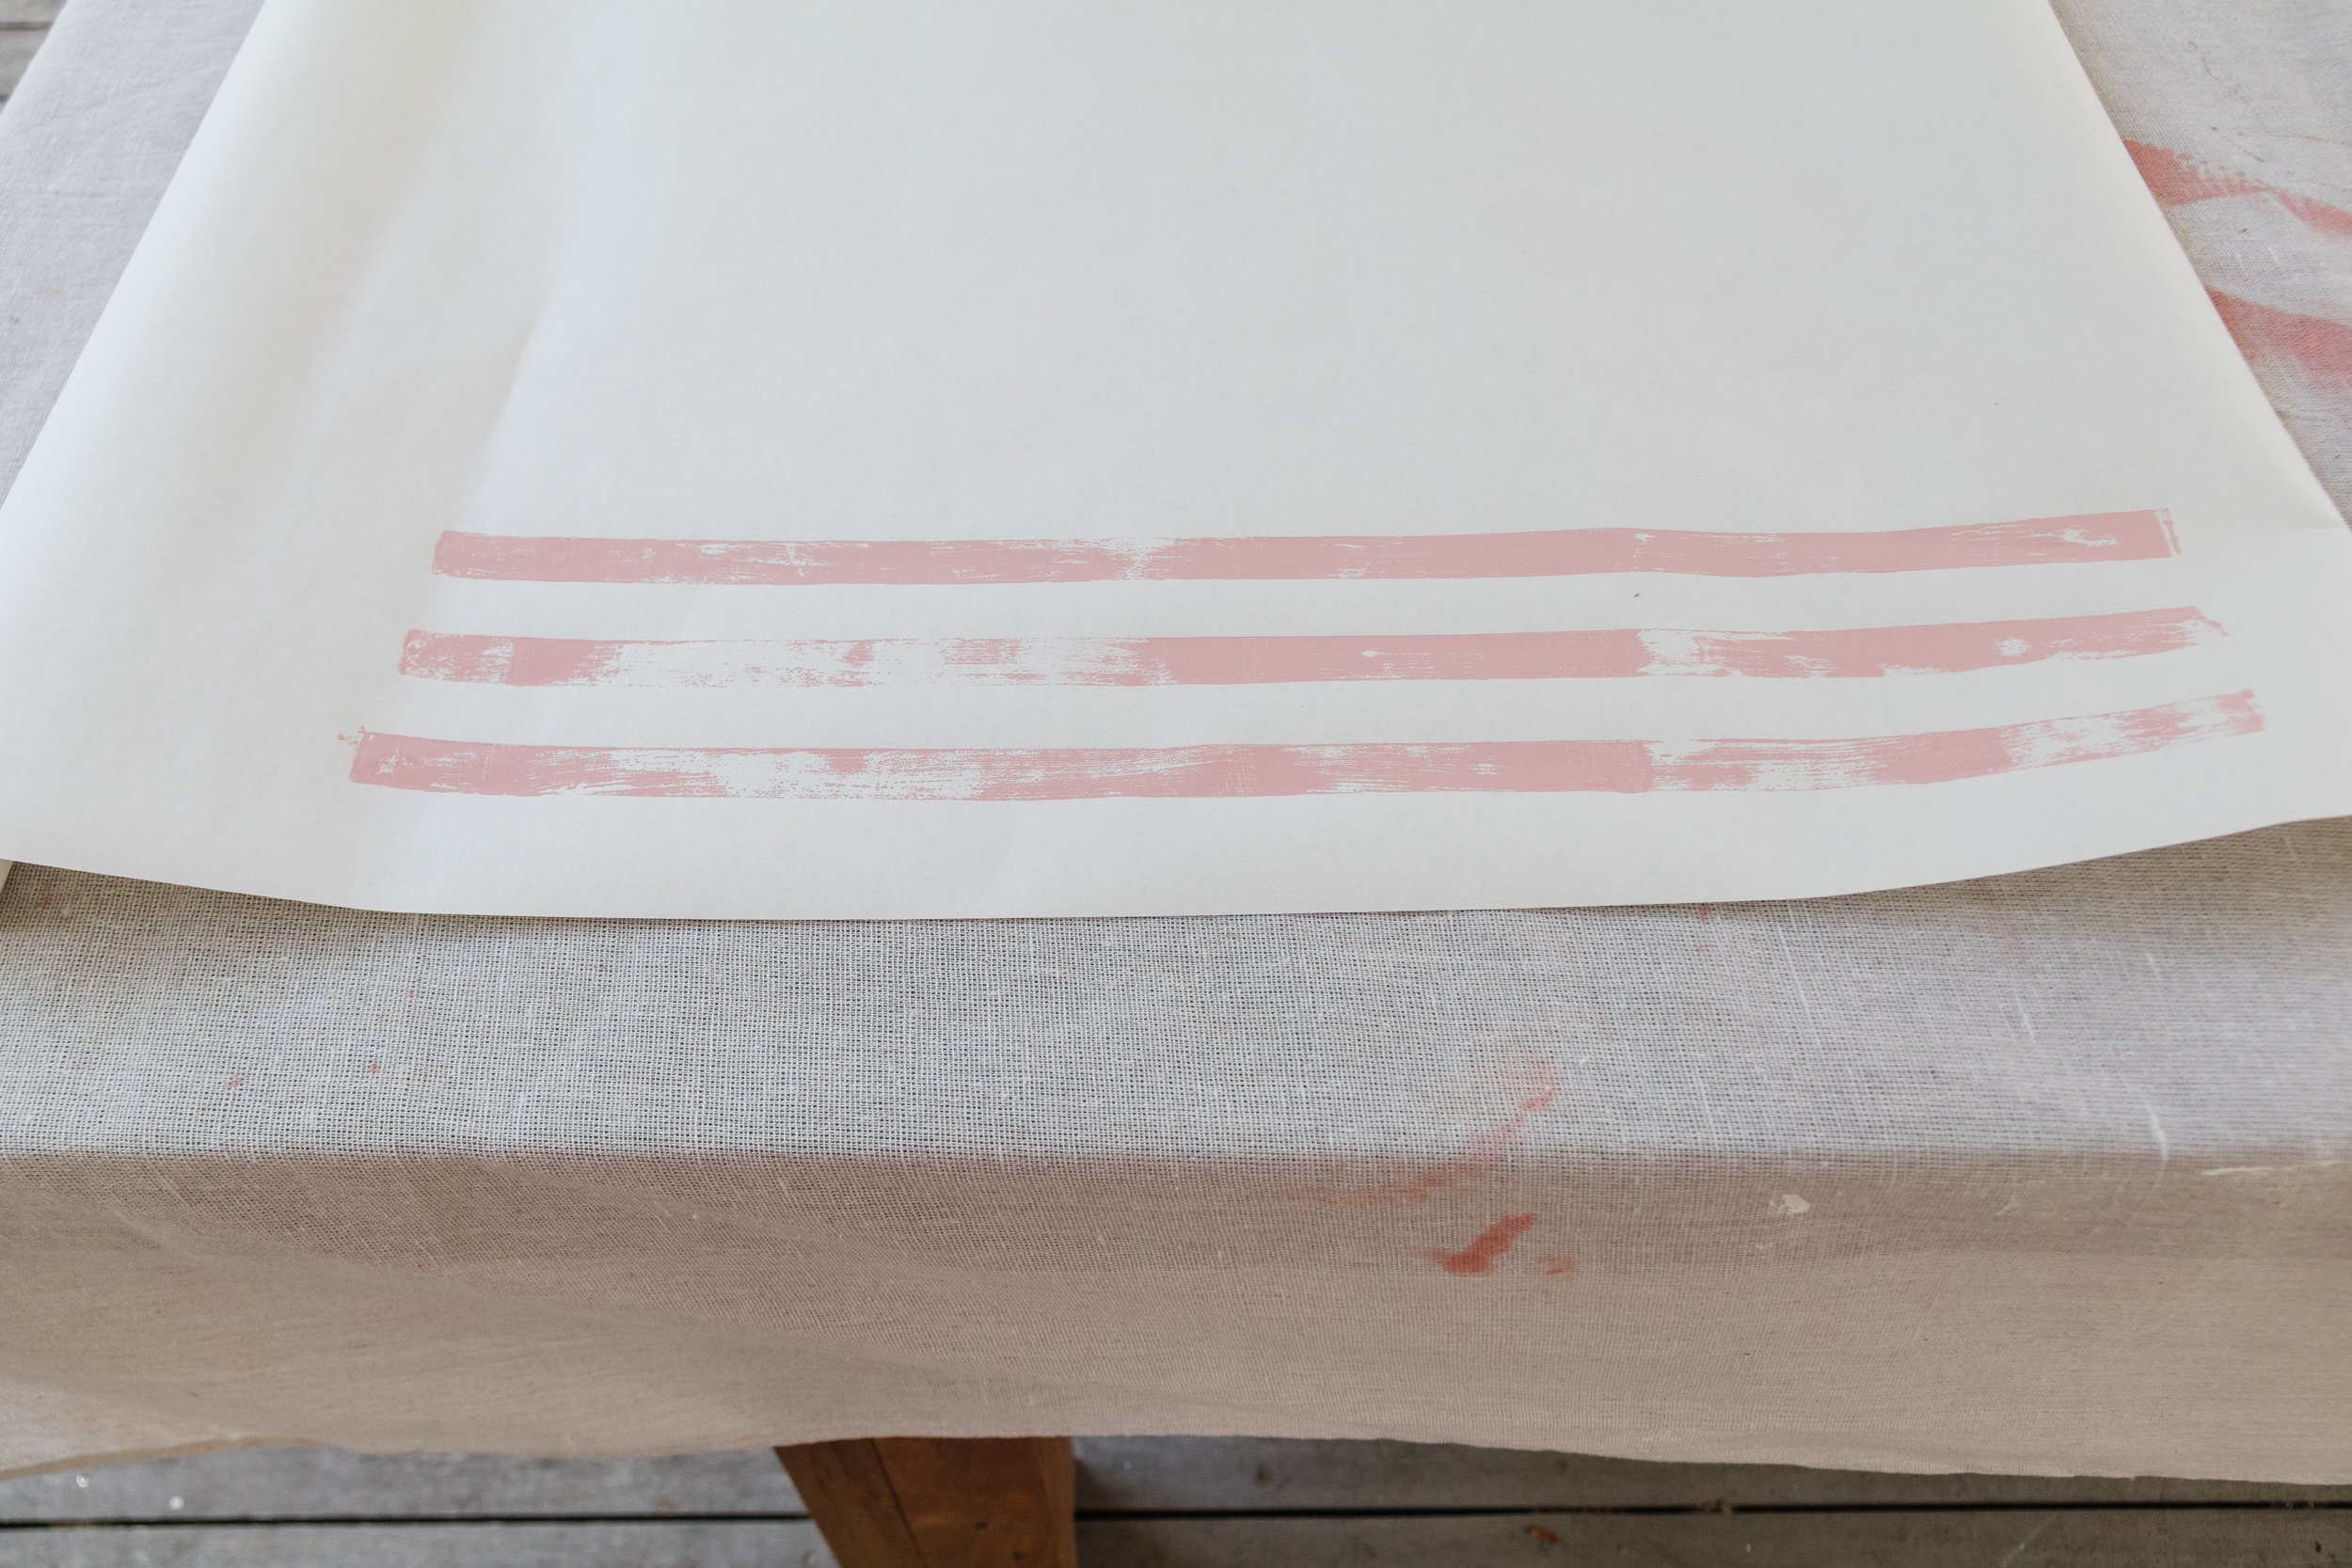
Step 8: To make DIY Painted Striped Wrapping Paper simply apply a thick coat of paint onto the side of a plank of pine, then stamp it onto a sheet of butchers paper. Repeat to create a striped pattern. Set aside to dry then wrap your gifts with it! I made pink striped paper too!
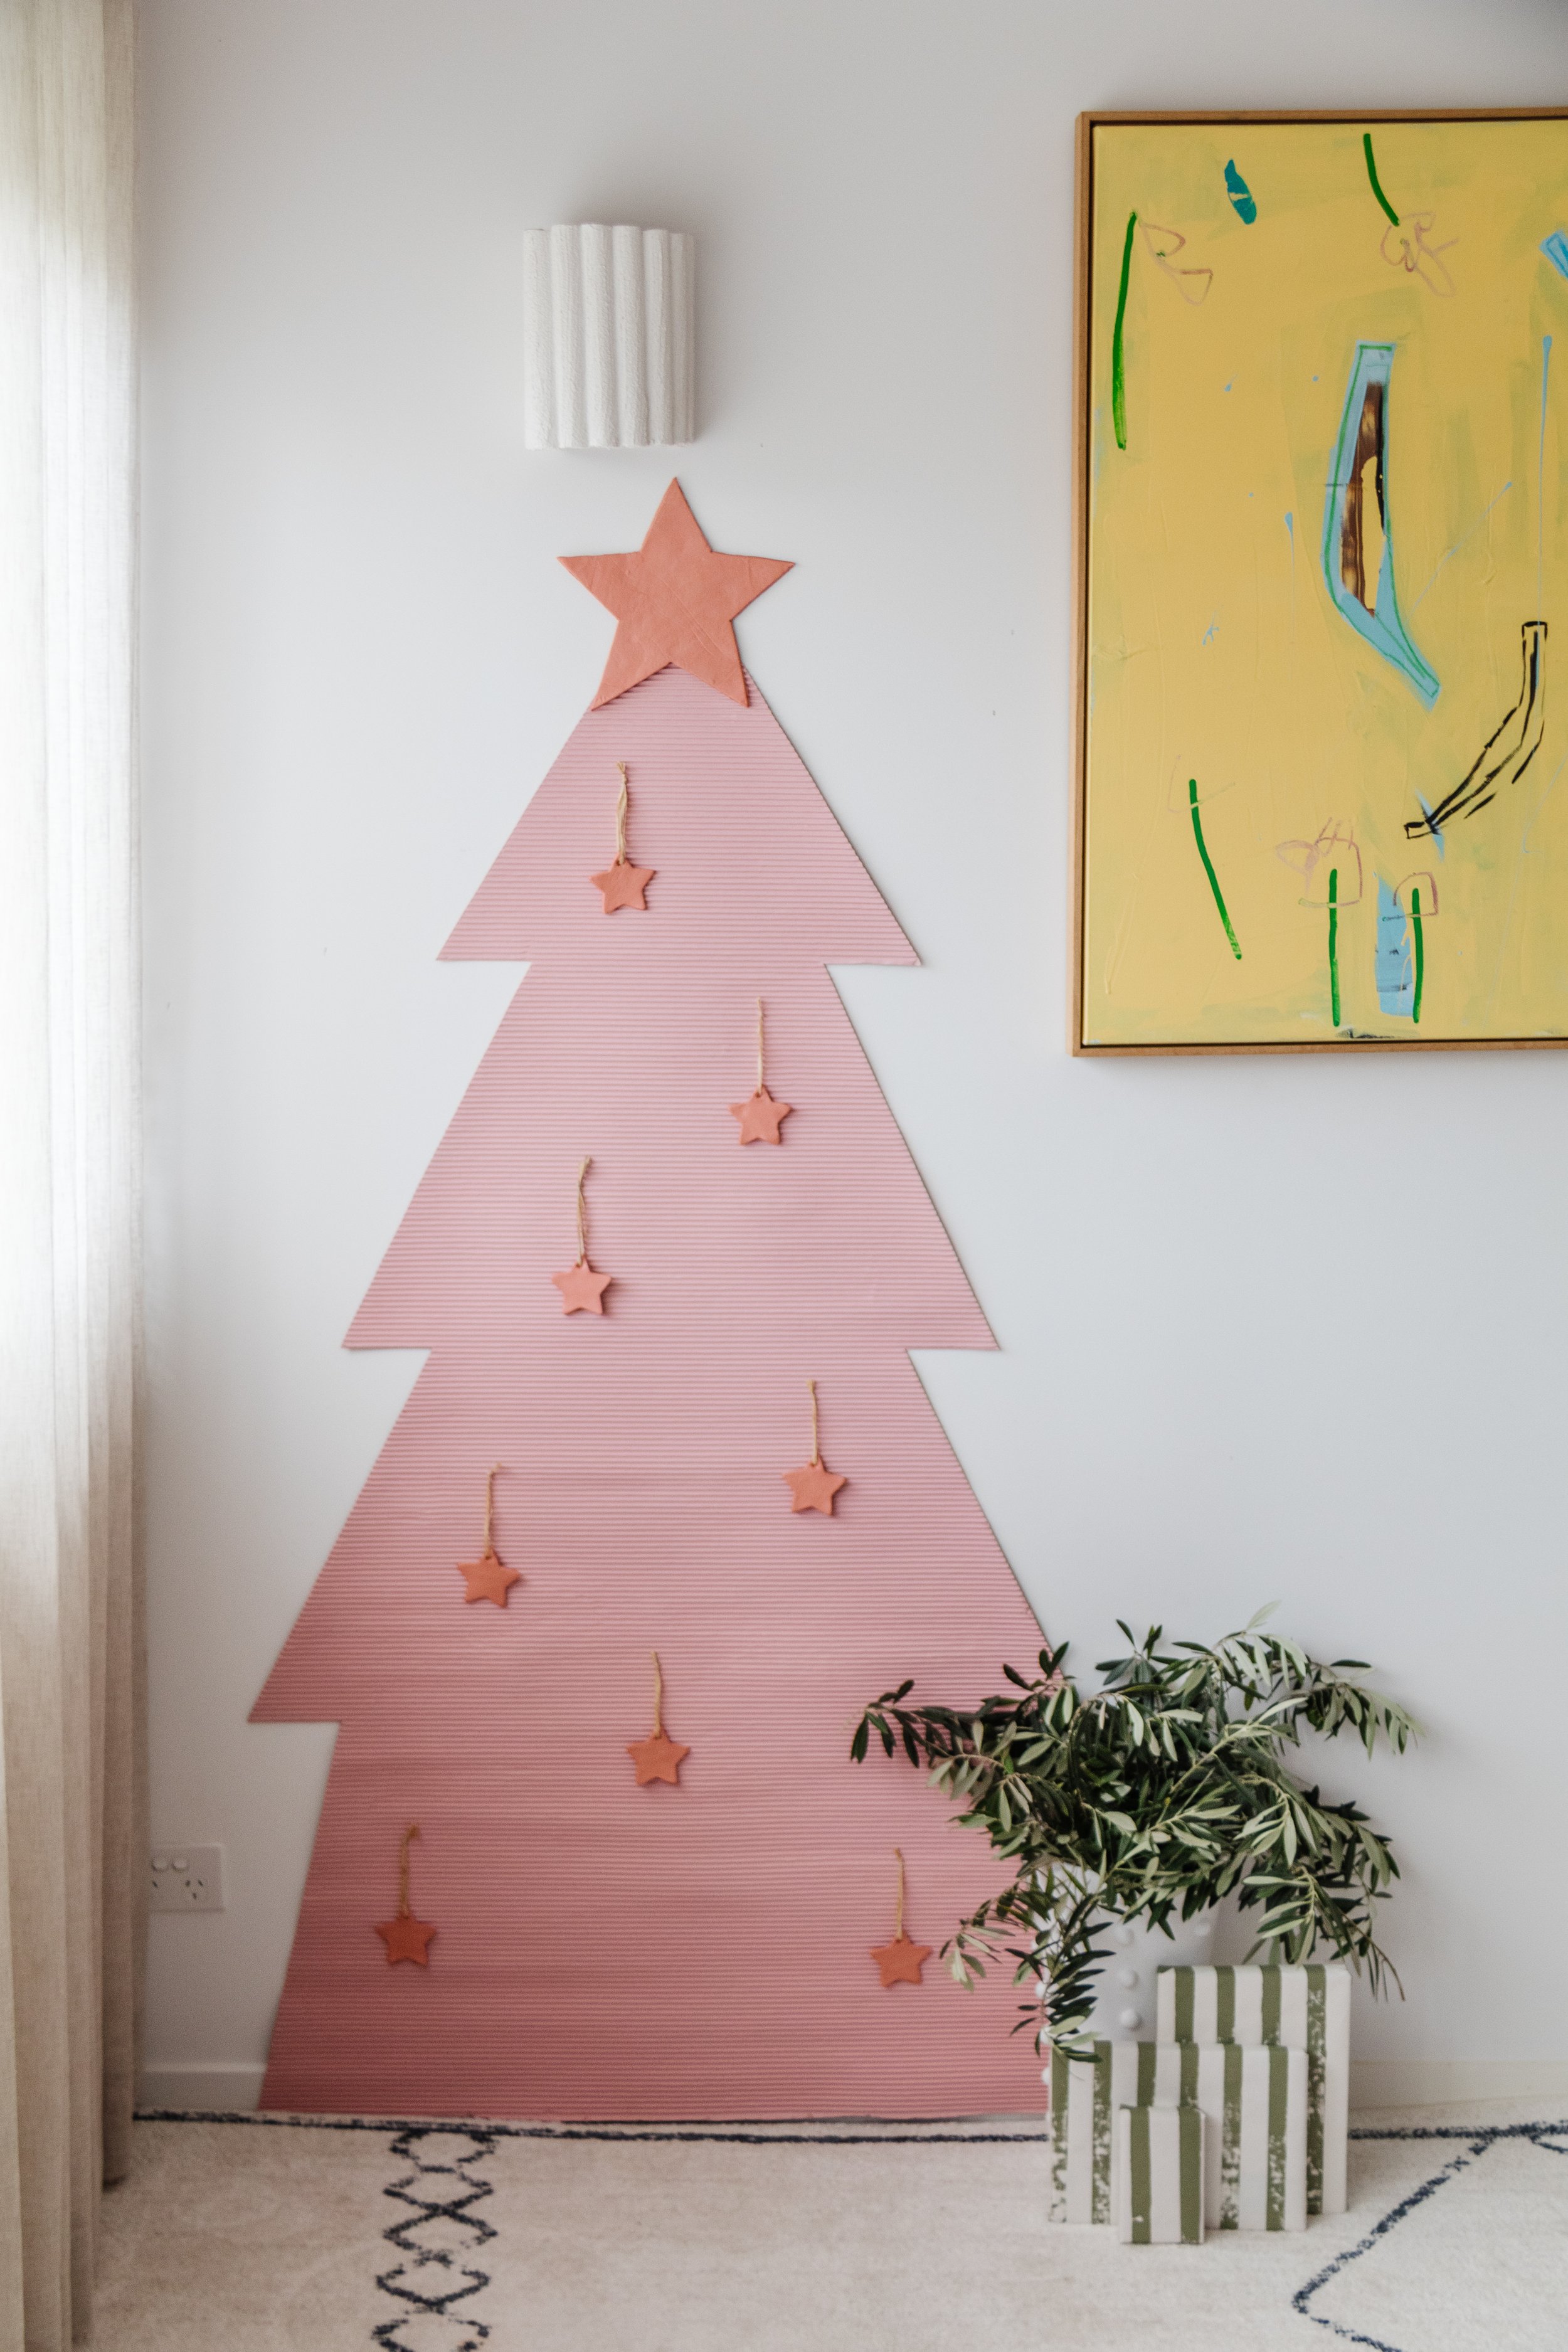
Ta daaaa!
And what I love most about this project is that it’s a total space saver. And you can easily take the star topper off, roll the tree up and store it away until next year. You don’t even need to remove the star ornaments - how good is that! And you won’t have to worry about cleaning up faux green bits and pieces, messy decorations or dried leaves, hurrah! So if you’re lacking space (or time) this Christmas, why not consider making this easy DIY Fluted Cardboard Christmas Tree. It’s so easy to make and oh so affordable.