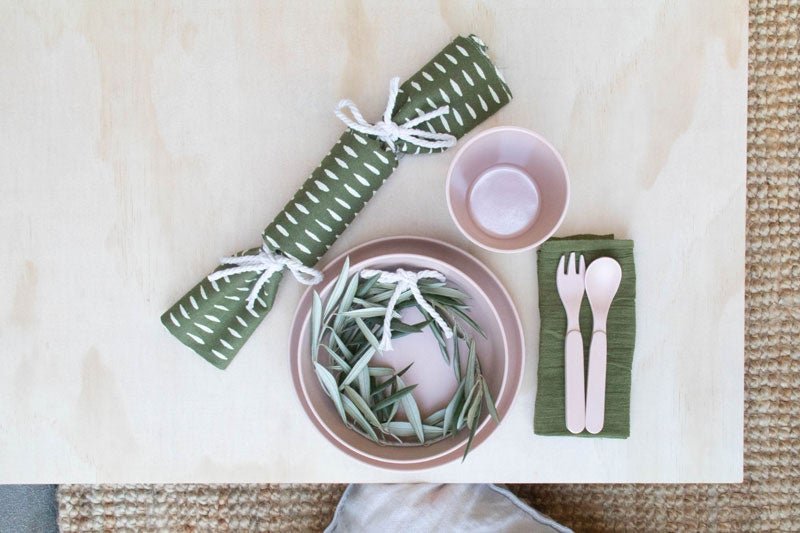
How To Make Fabric Bonbons
This would have to be the easiest DIY project ever, and it’s perfect for big kids and little kids! I absolutely love bon bons but I find them all the same – often expensive, filled with cheap plastic toys with no purpose or use and really, really bad (but sometimes funny) dad jokes. This year I wanted to try my hand at making some that were a little more sustainable. What I loved most about this project is that I used materials I already had at home, so good! Read on to find out how you can make these.
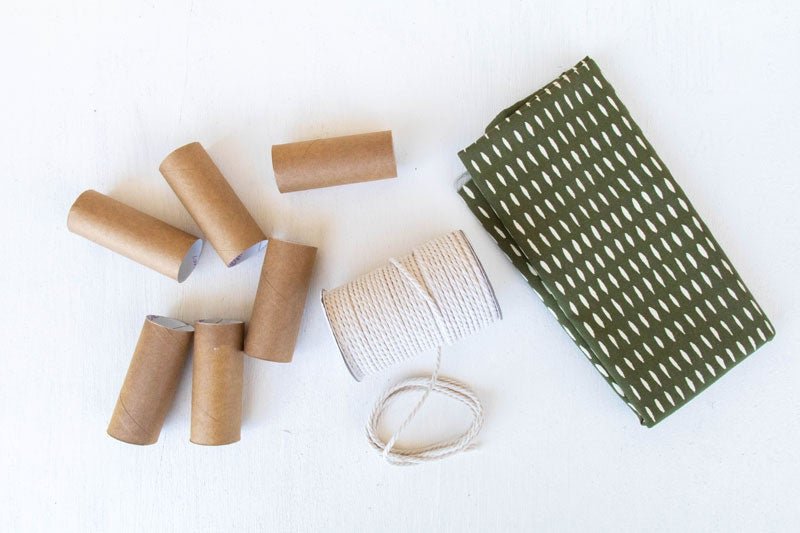
Materials
Fabric
Scissors
Rope
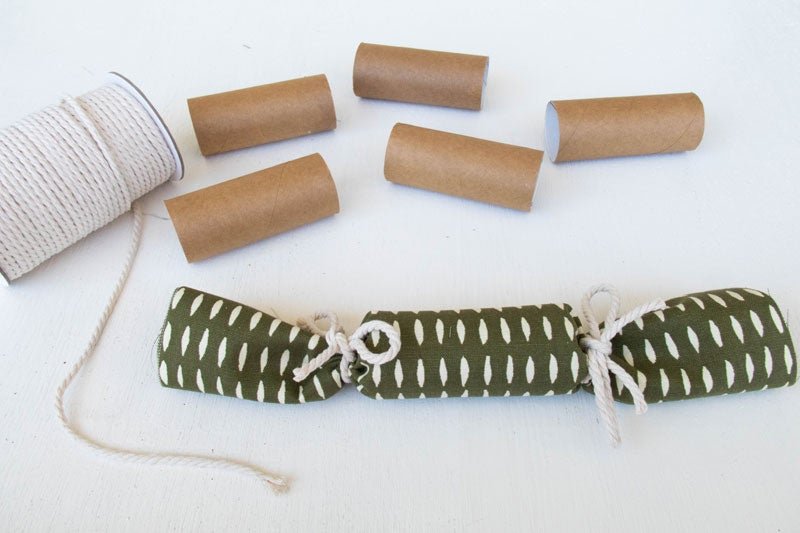
Toilet rolls
Bon bon fillings
How To
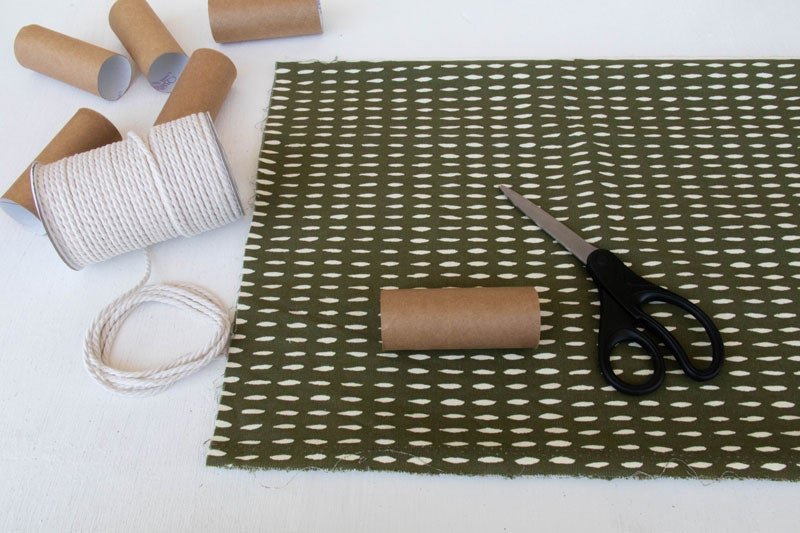
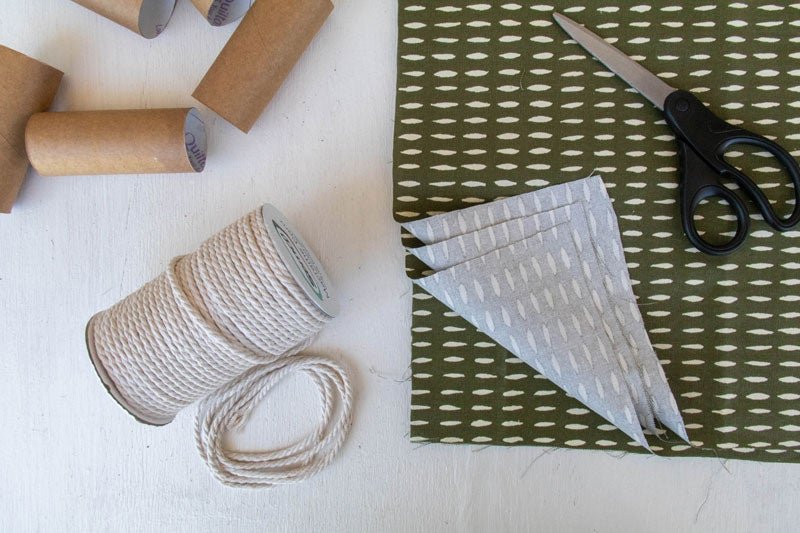
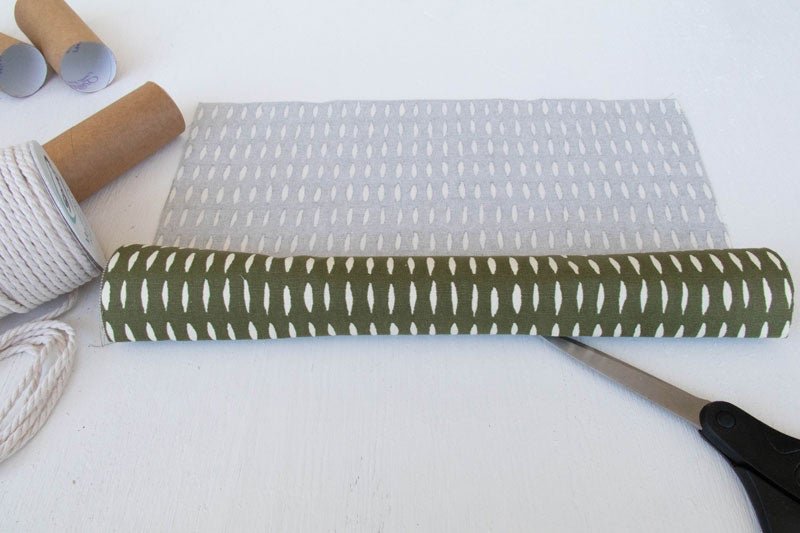
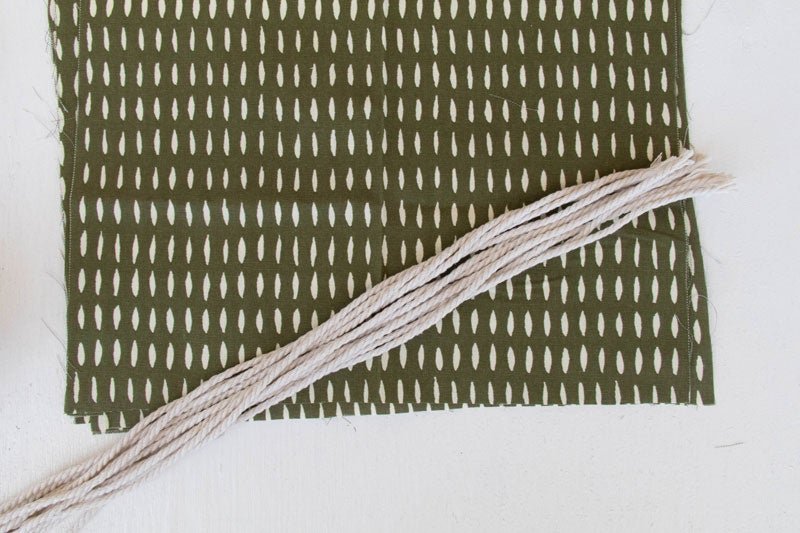
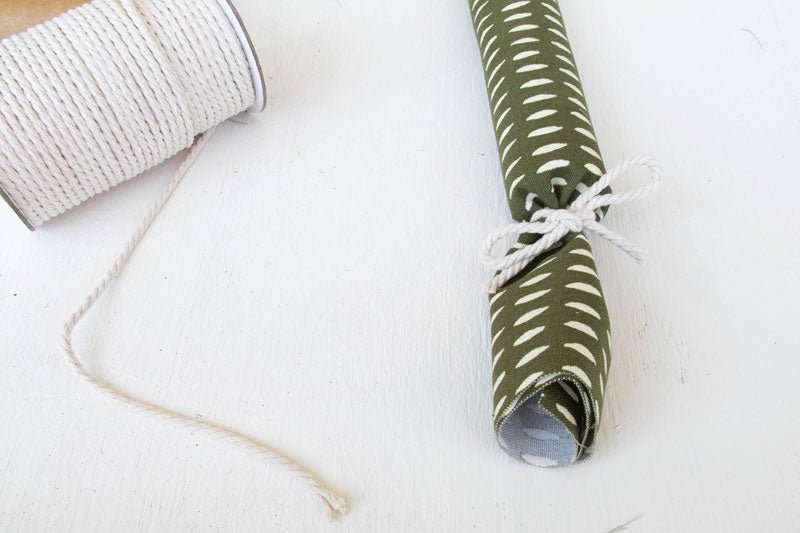
Cut your fabric to size. I went freehand with this, and you should too. Just make sure you have enough fabric for the ends of each bon bon.
Cut your rope to size; the longer the rope the better as you can cut off any excess after you tie a bow.
Place your fillings in the toilet roll. There is so much you can do here! IOU’s, love notes, wrapped lollies or chocolates, little toys, mini bottles of spirits, cookies – the options are endless!
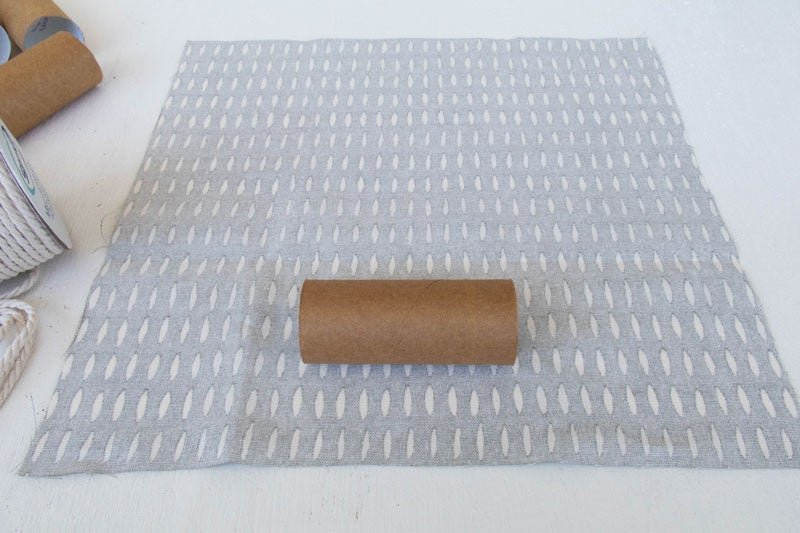
Place your toilet roll in the middle of your fabric and roll forward until all of the fabric is wrapped around the toilet roll. Make sure none of your fillings fall out.
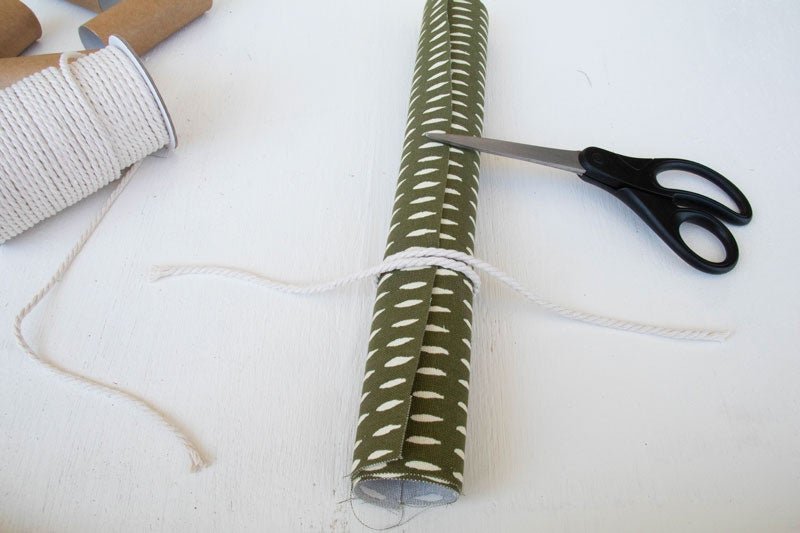
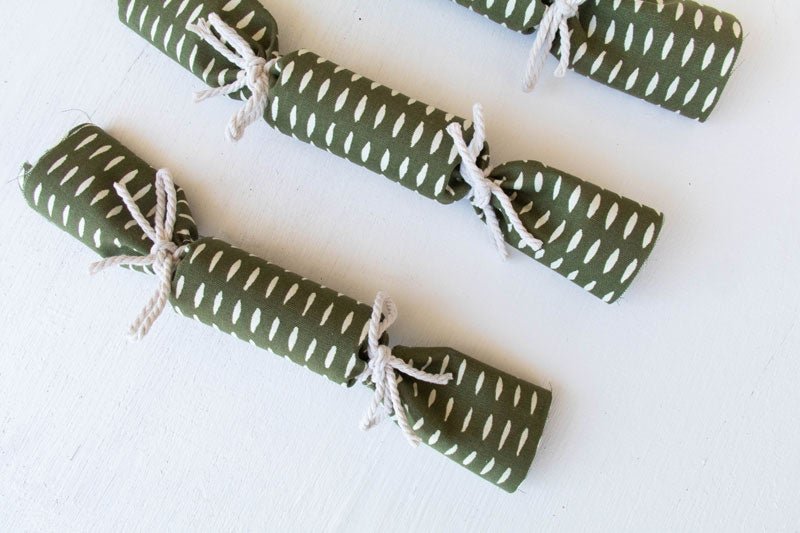
Using your scissors as a weight, place them on top of the middle of the toilet roll. Then tie a knot and bow around each end of the toilet paper using your cut rope.
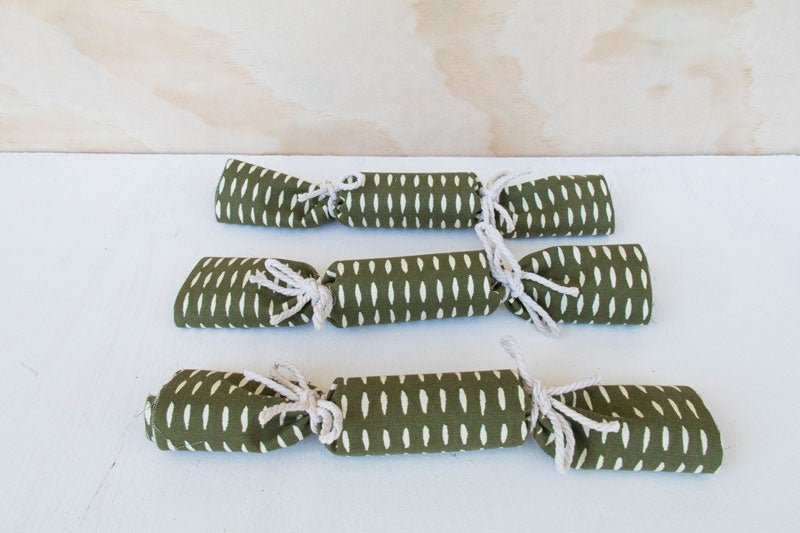
Ta daaaaa!
I haven’t included the little cracker that makes the bon bon famously pop when you pull it apart with a friend or family member, but that’s ok! It’s still a lot of fun untying the bows and seeing what surprise is awaiting inside. If you want the little cracker, Spotlight have them. Enjoy!