How To Make A Floating Timber Frame
Getting art framed professionally can cost hundreds of dollars, so I decided to make my own from just $20. True story!
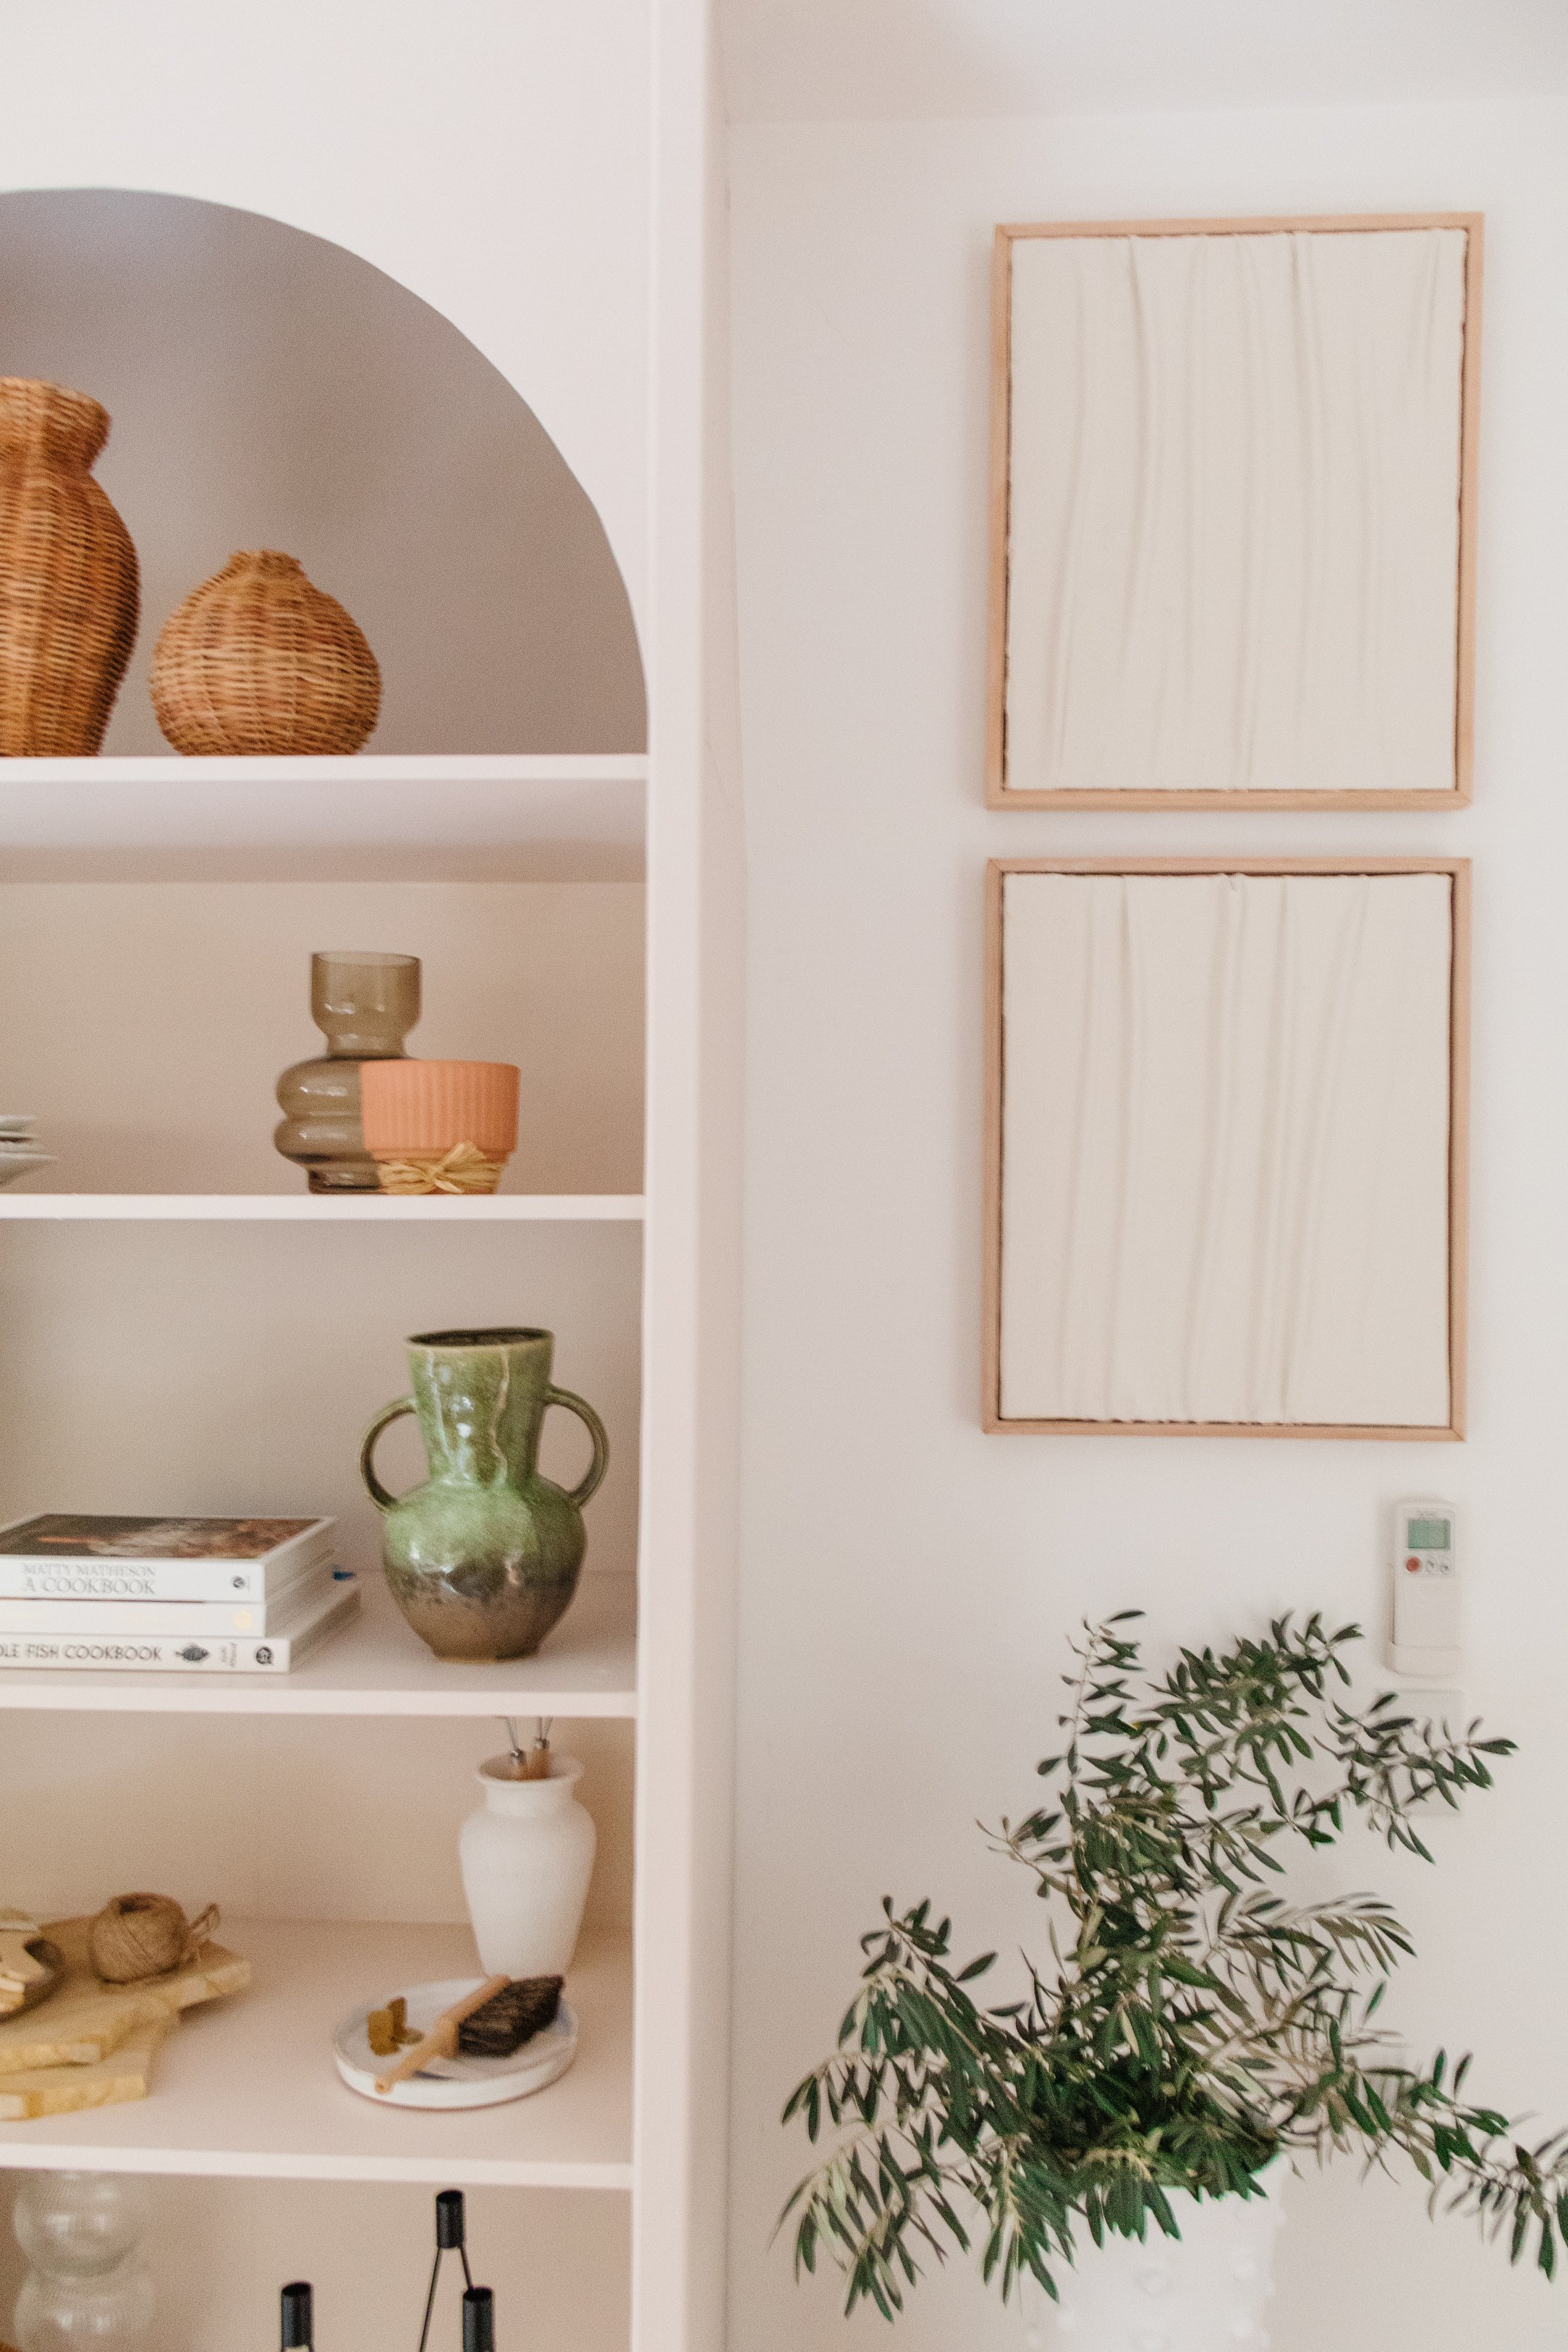
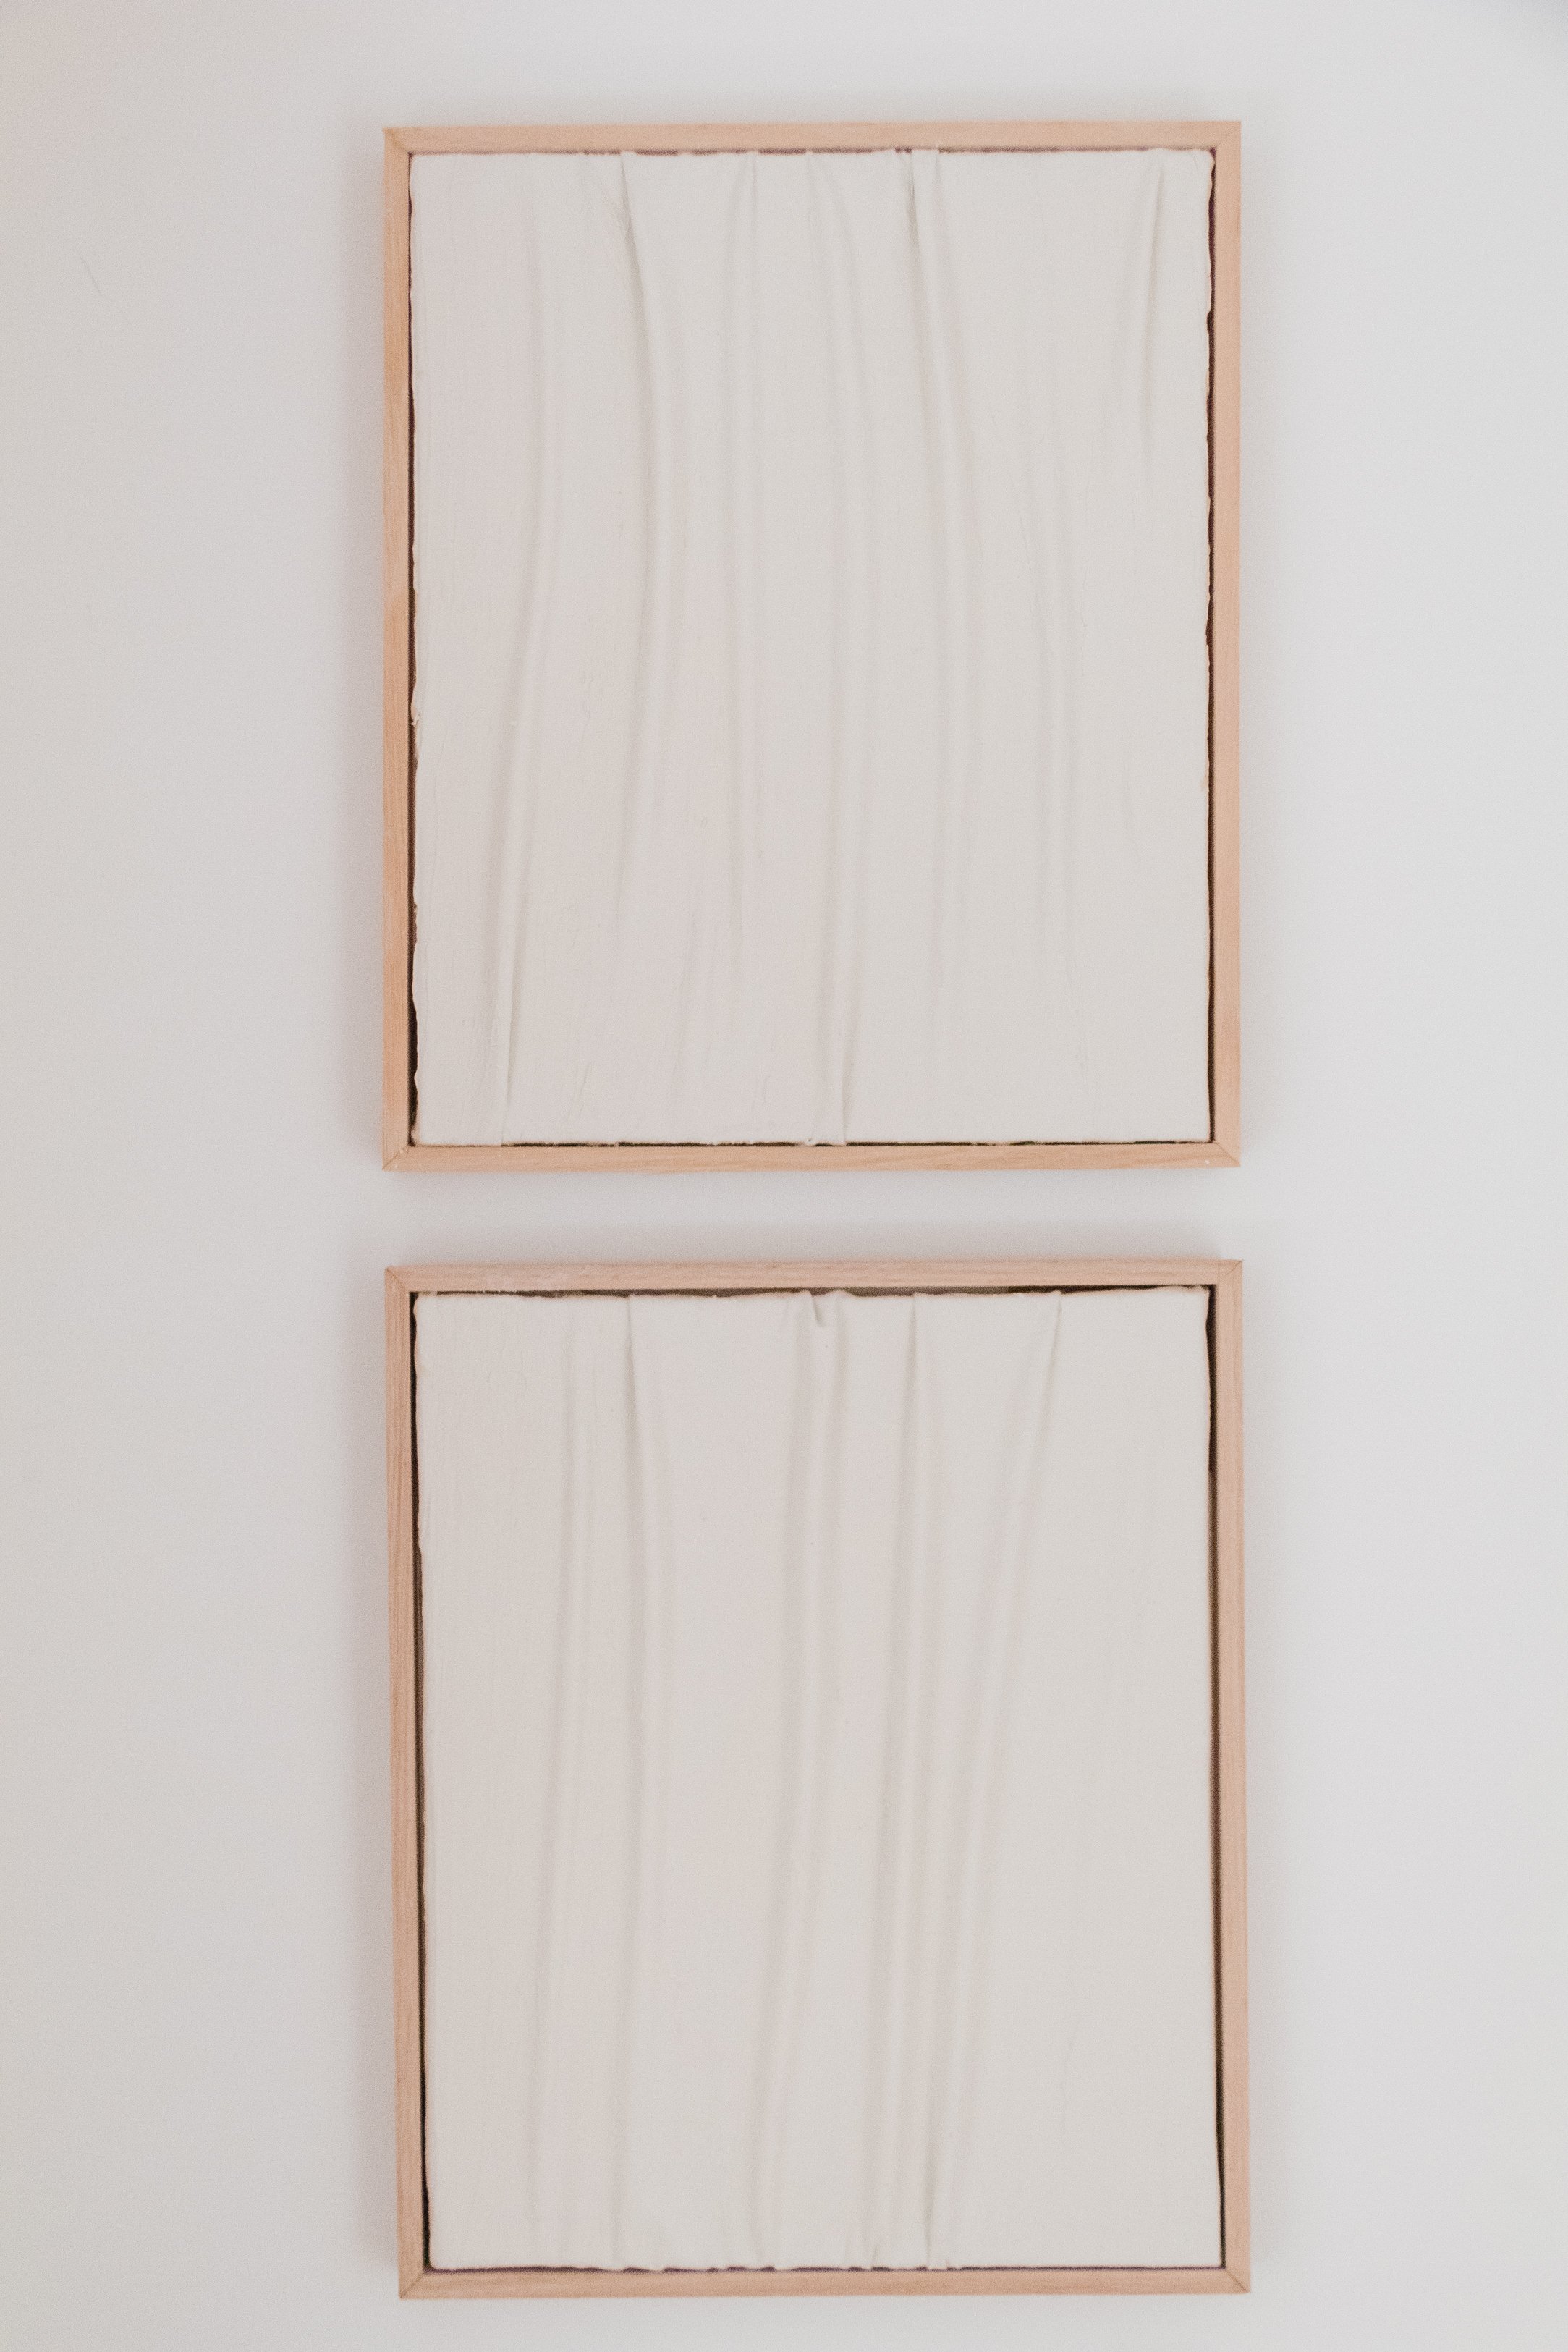
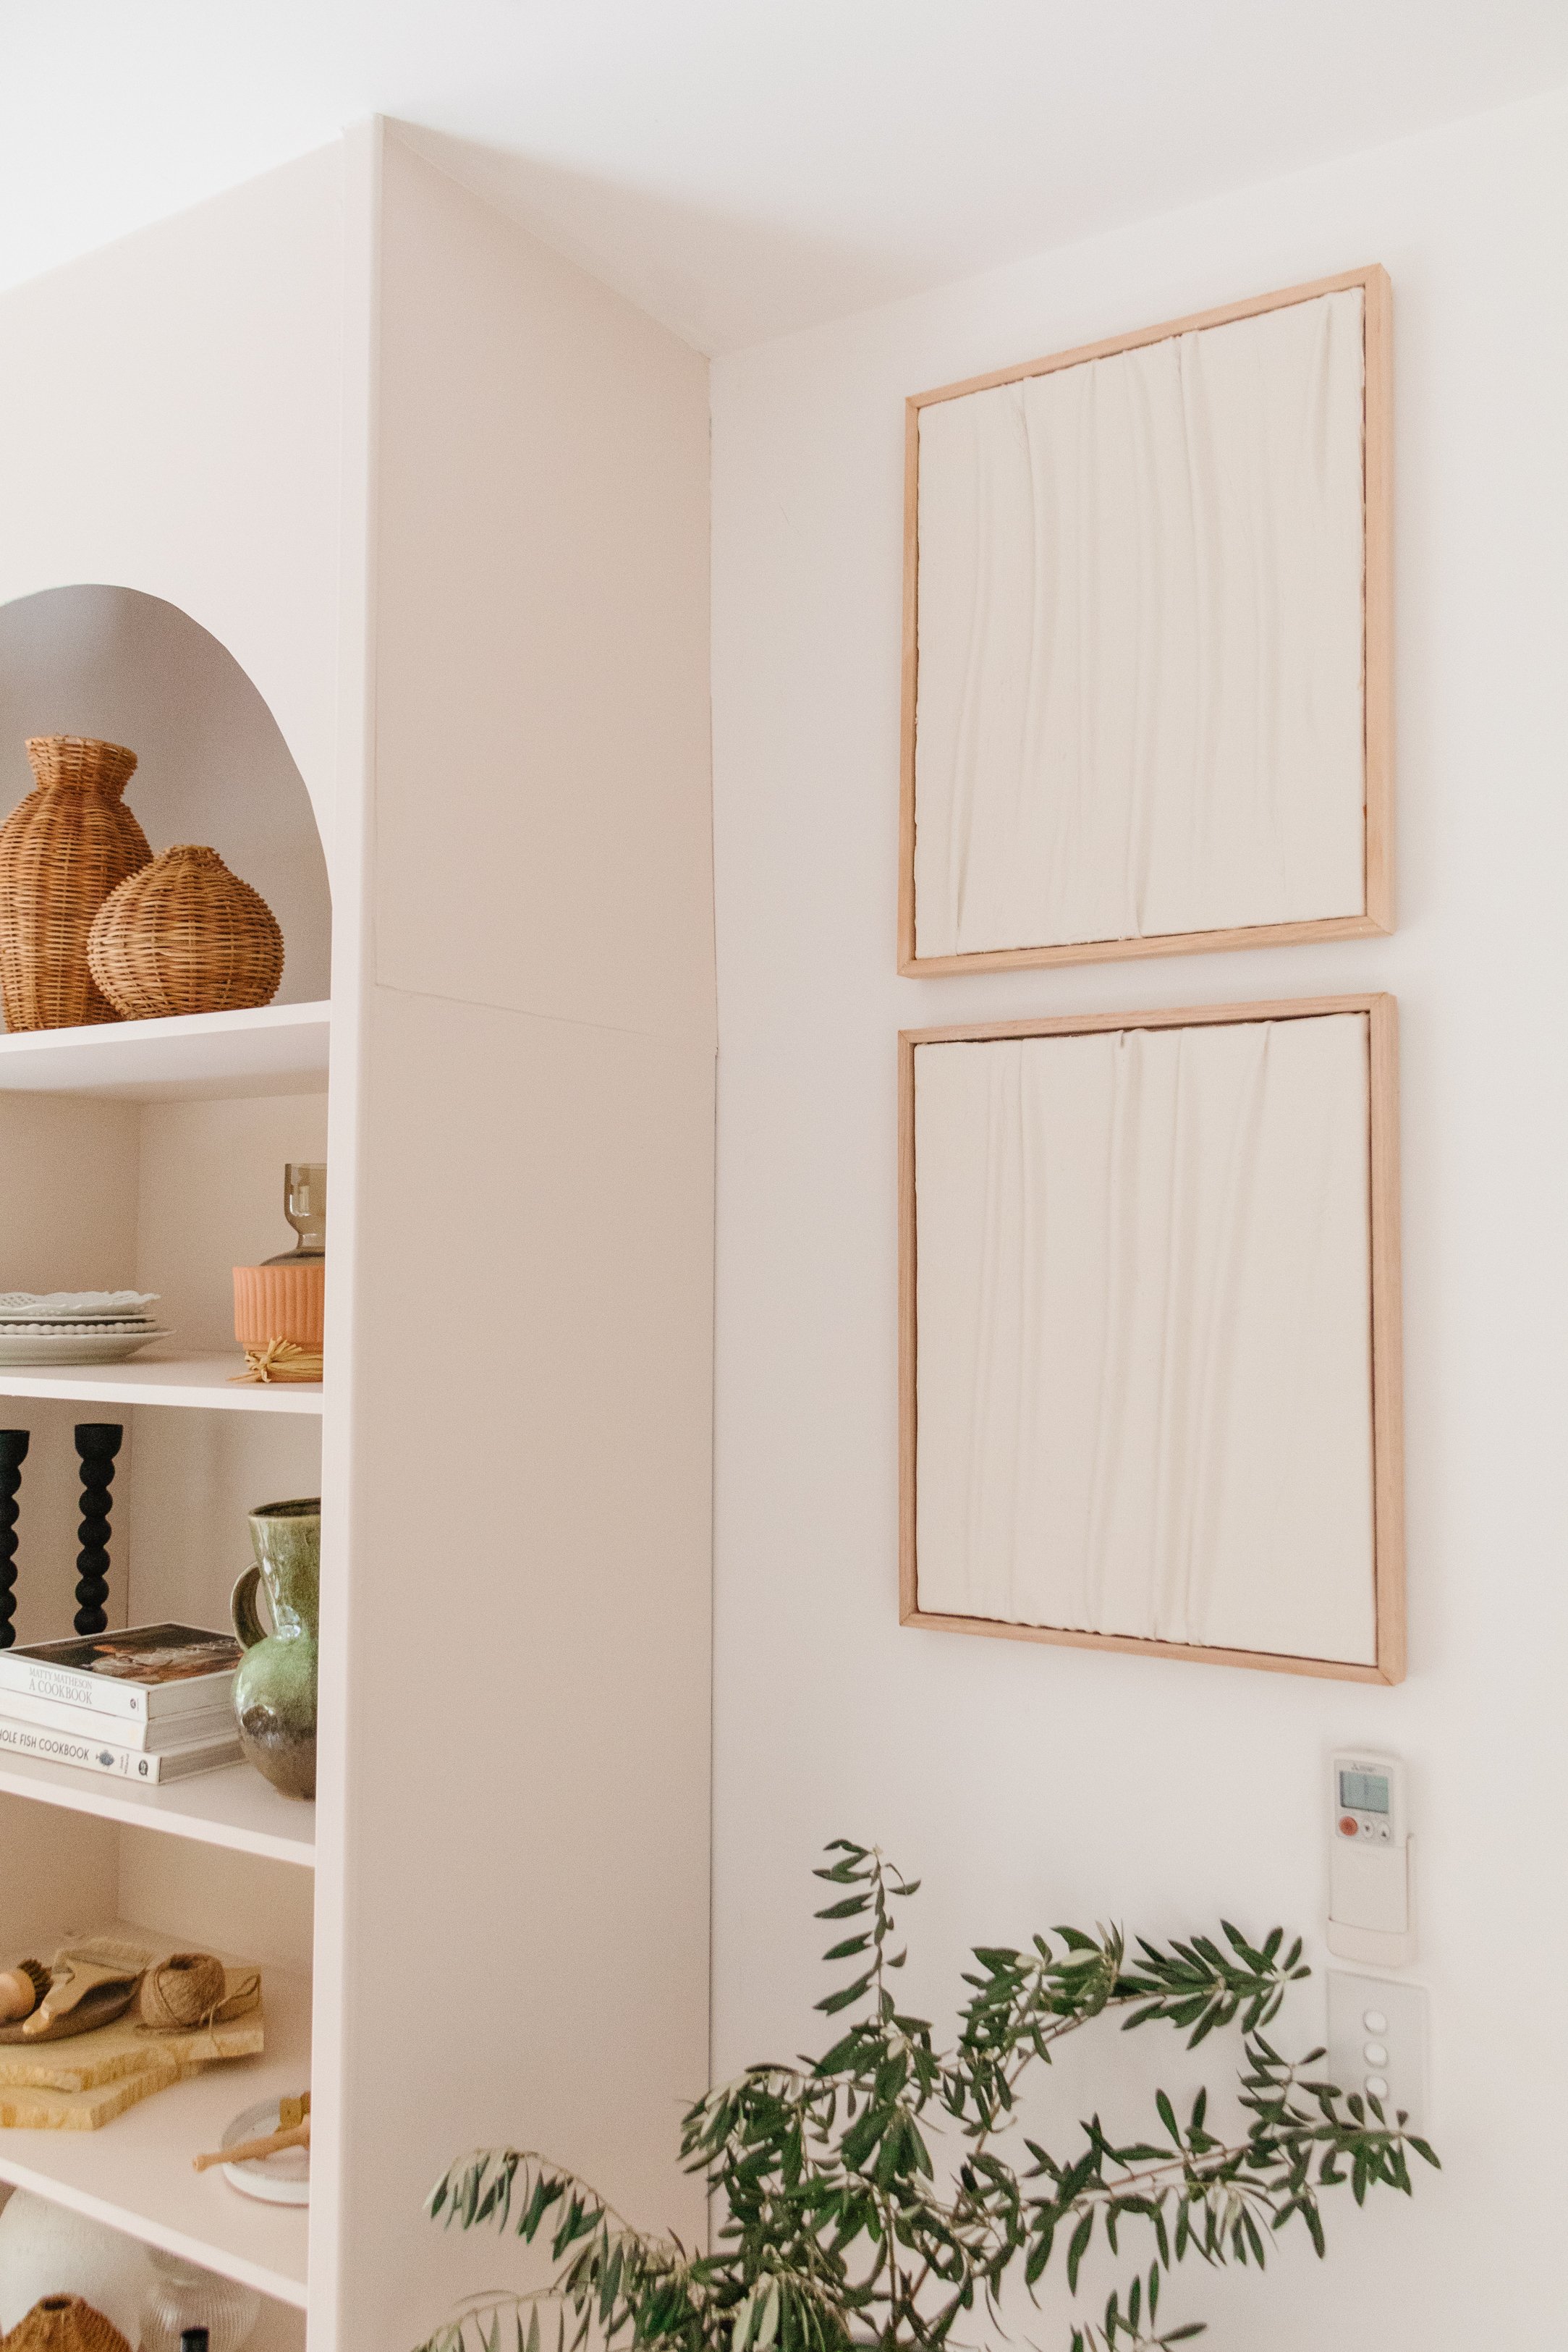
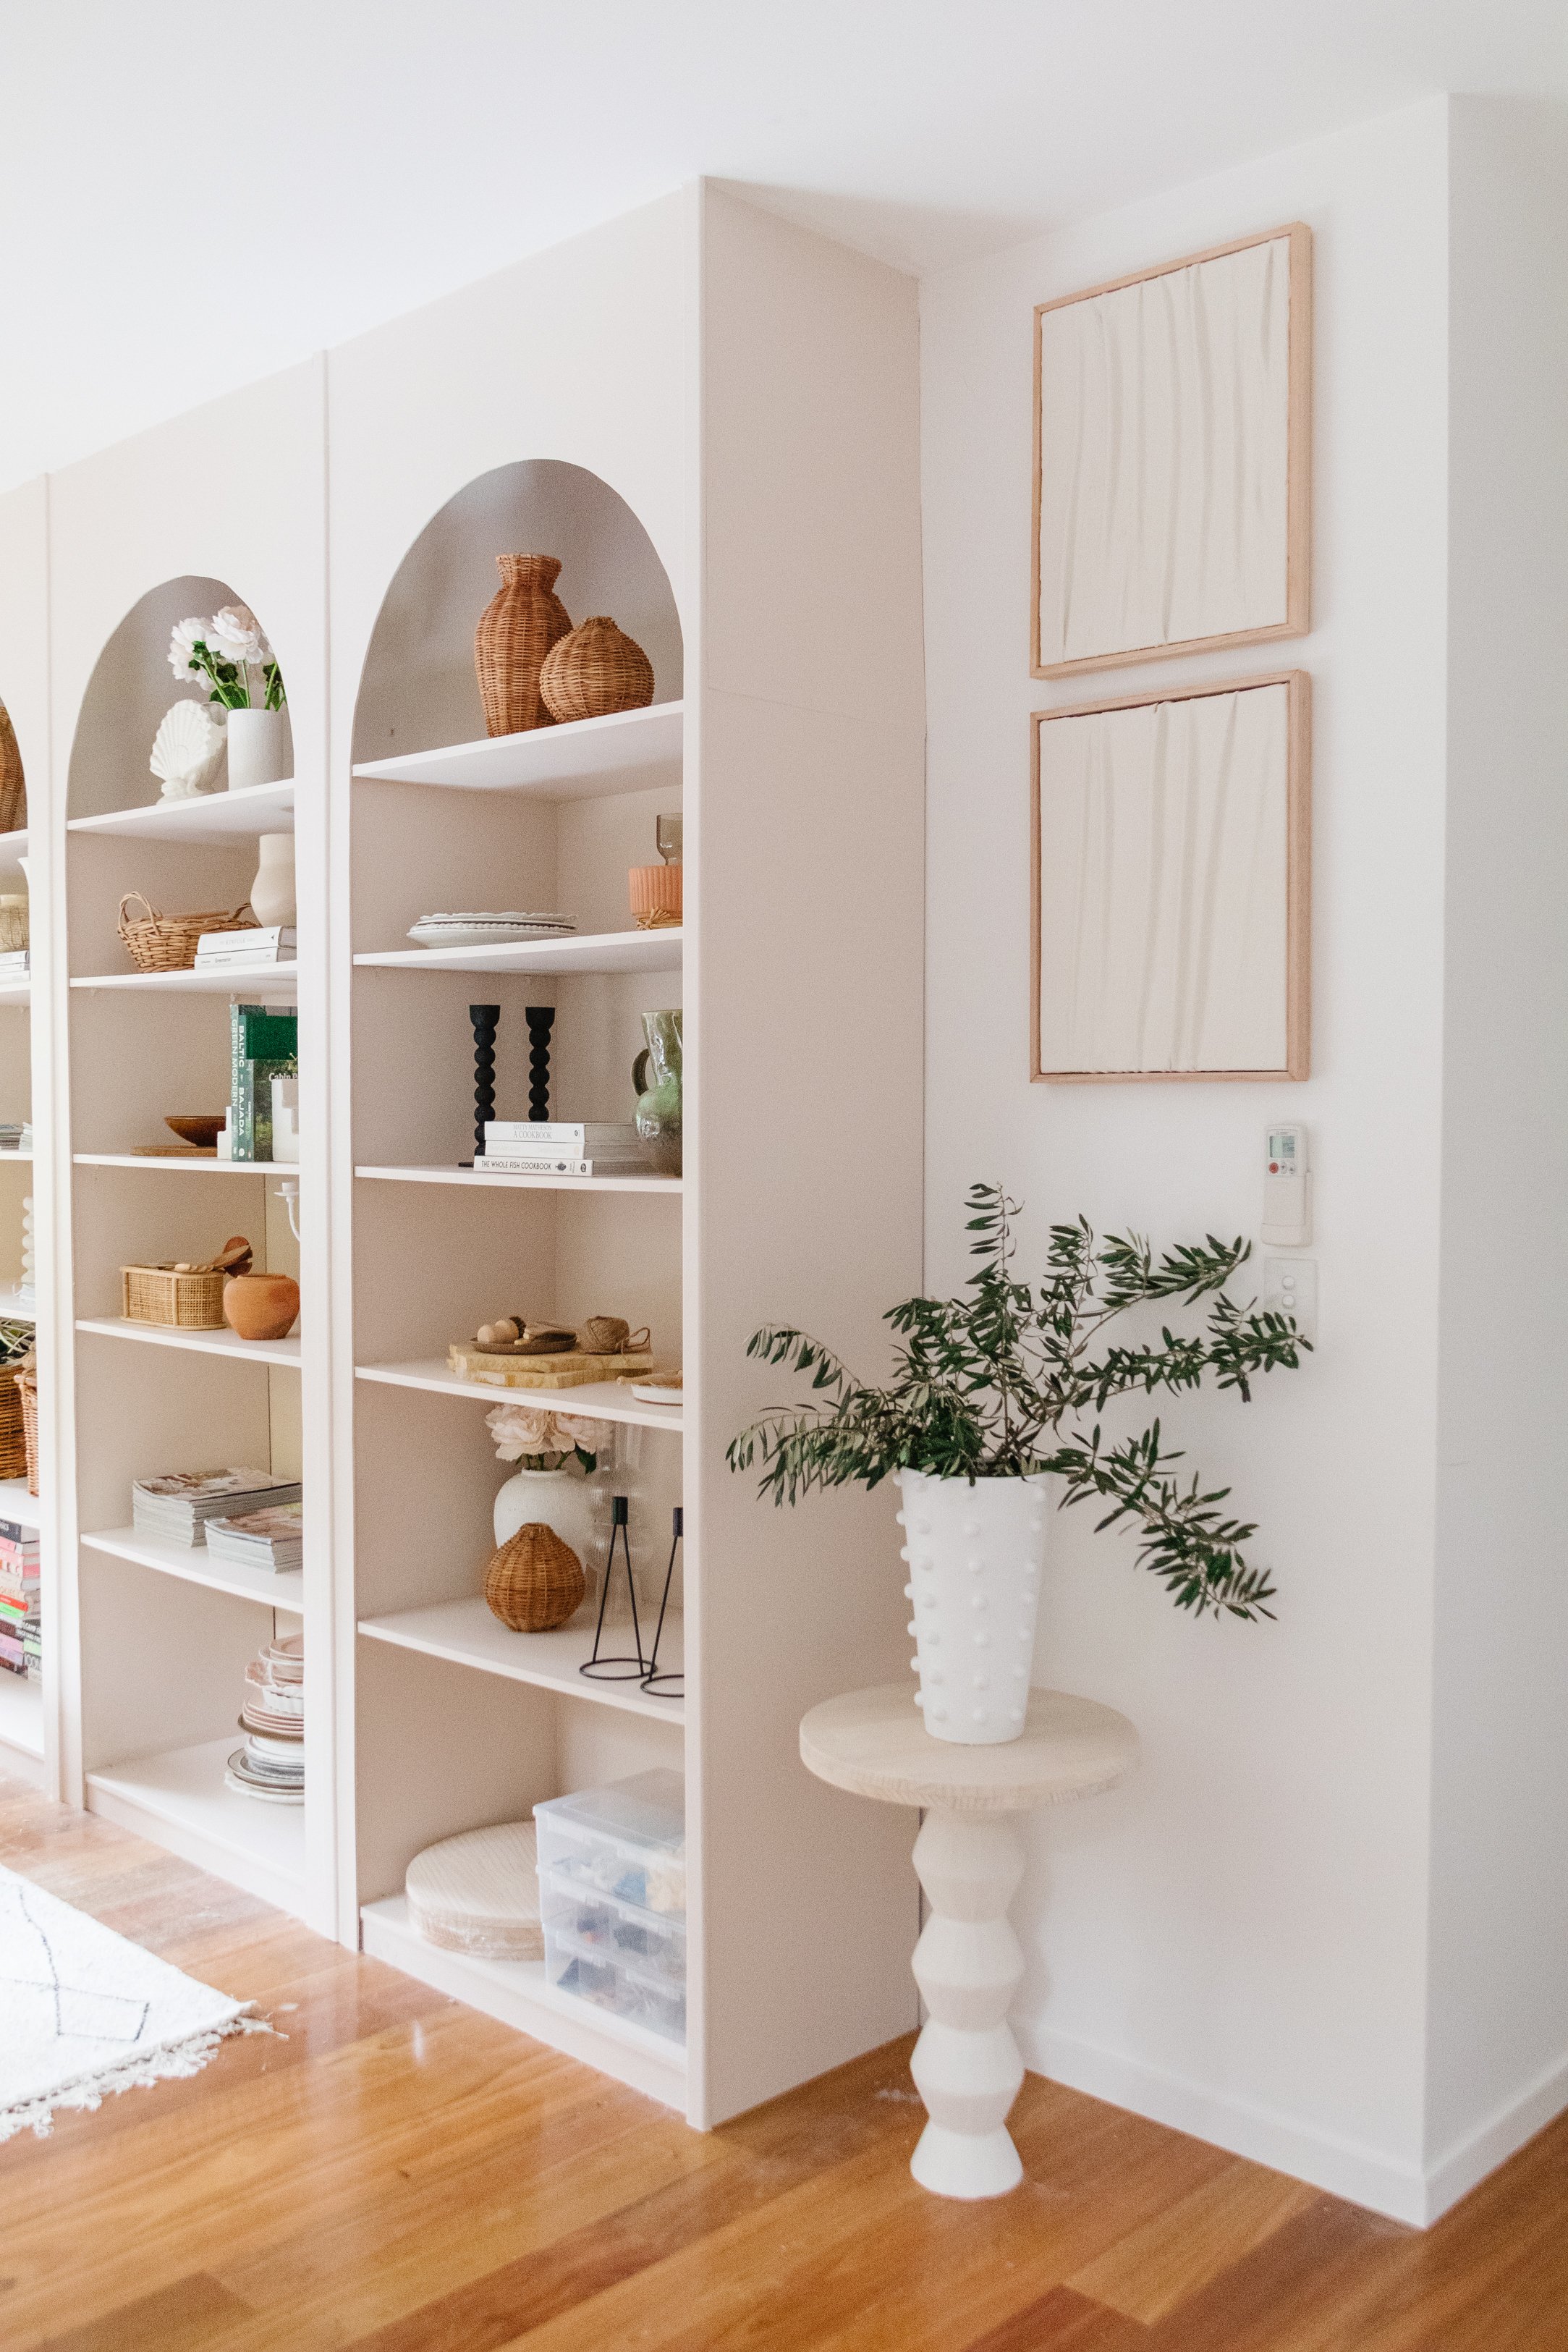
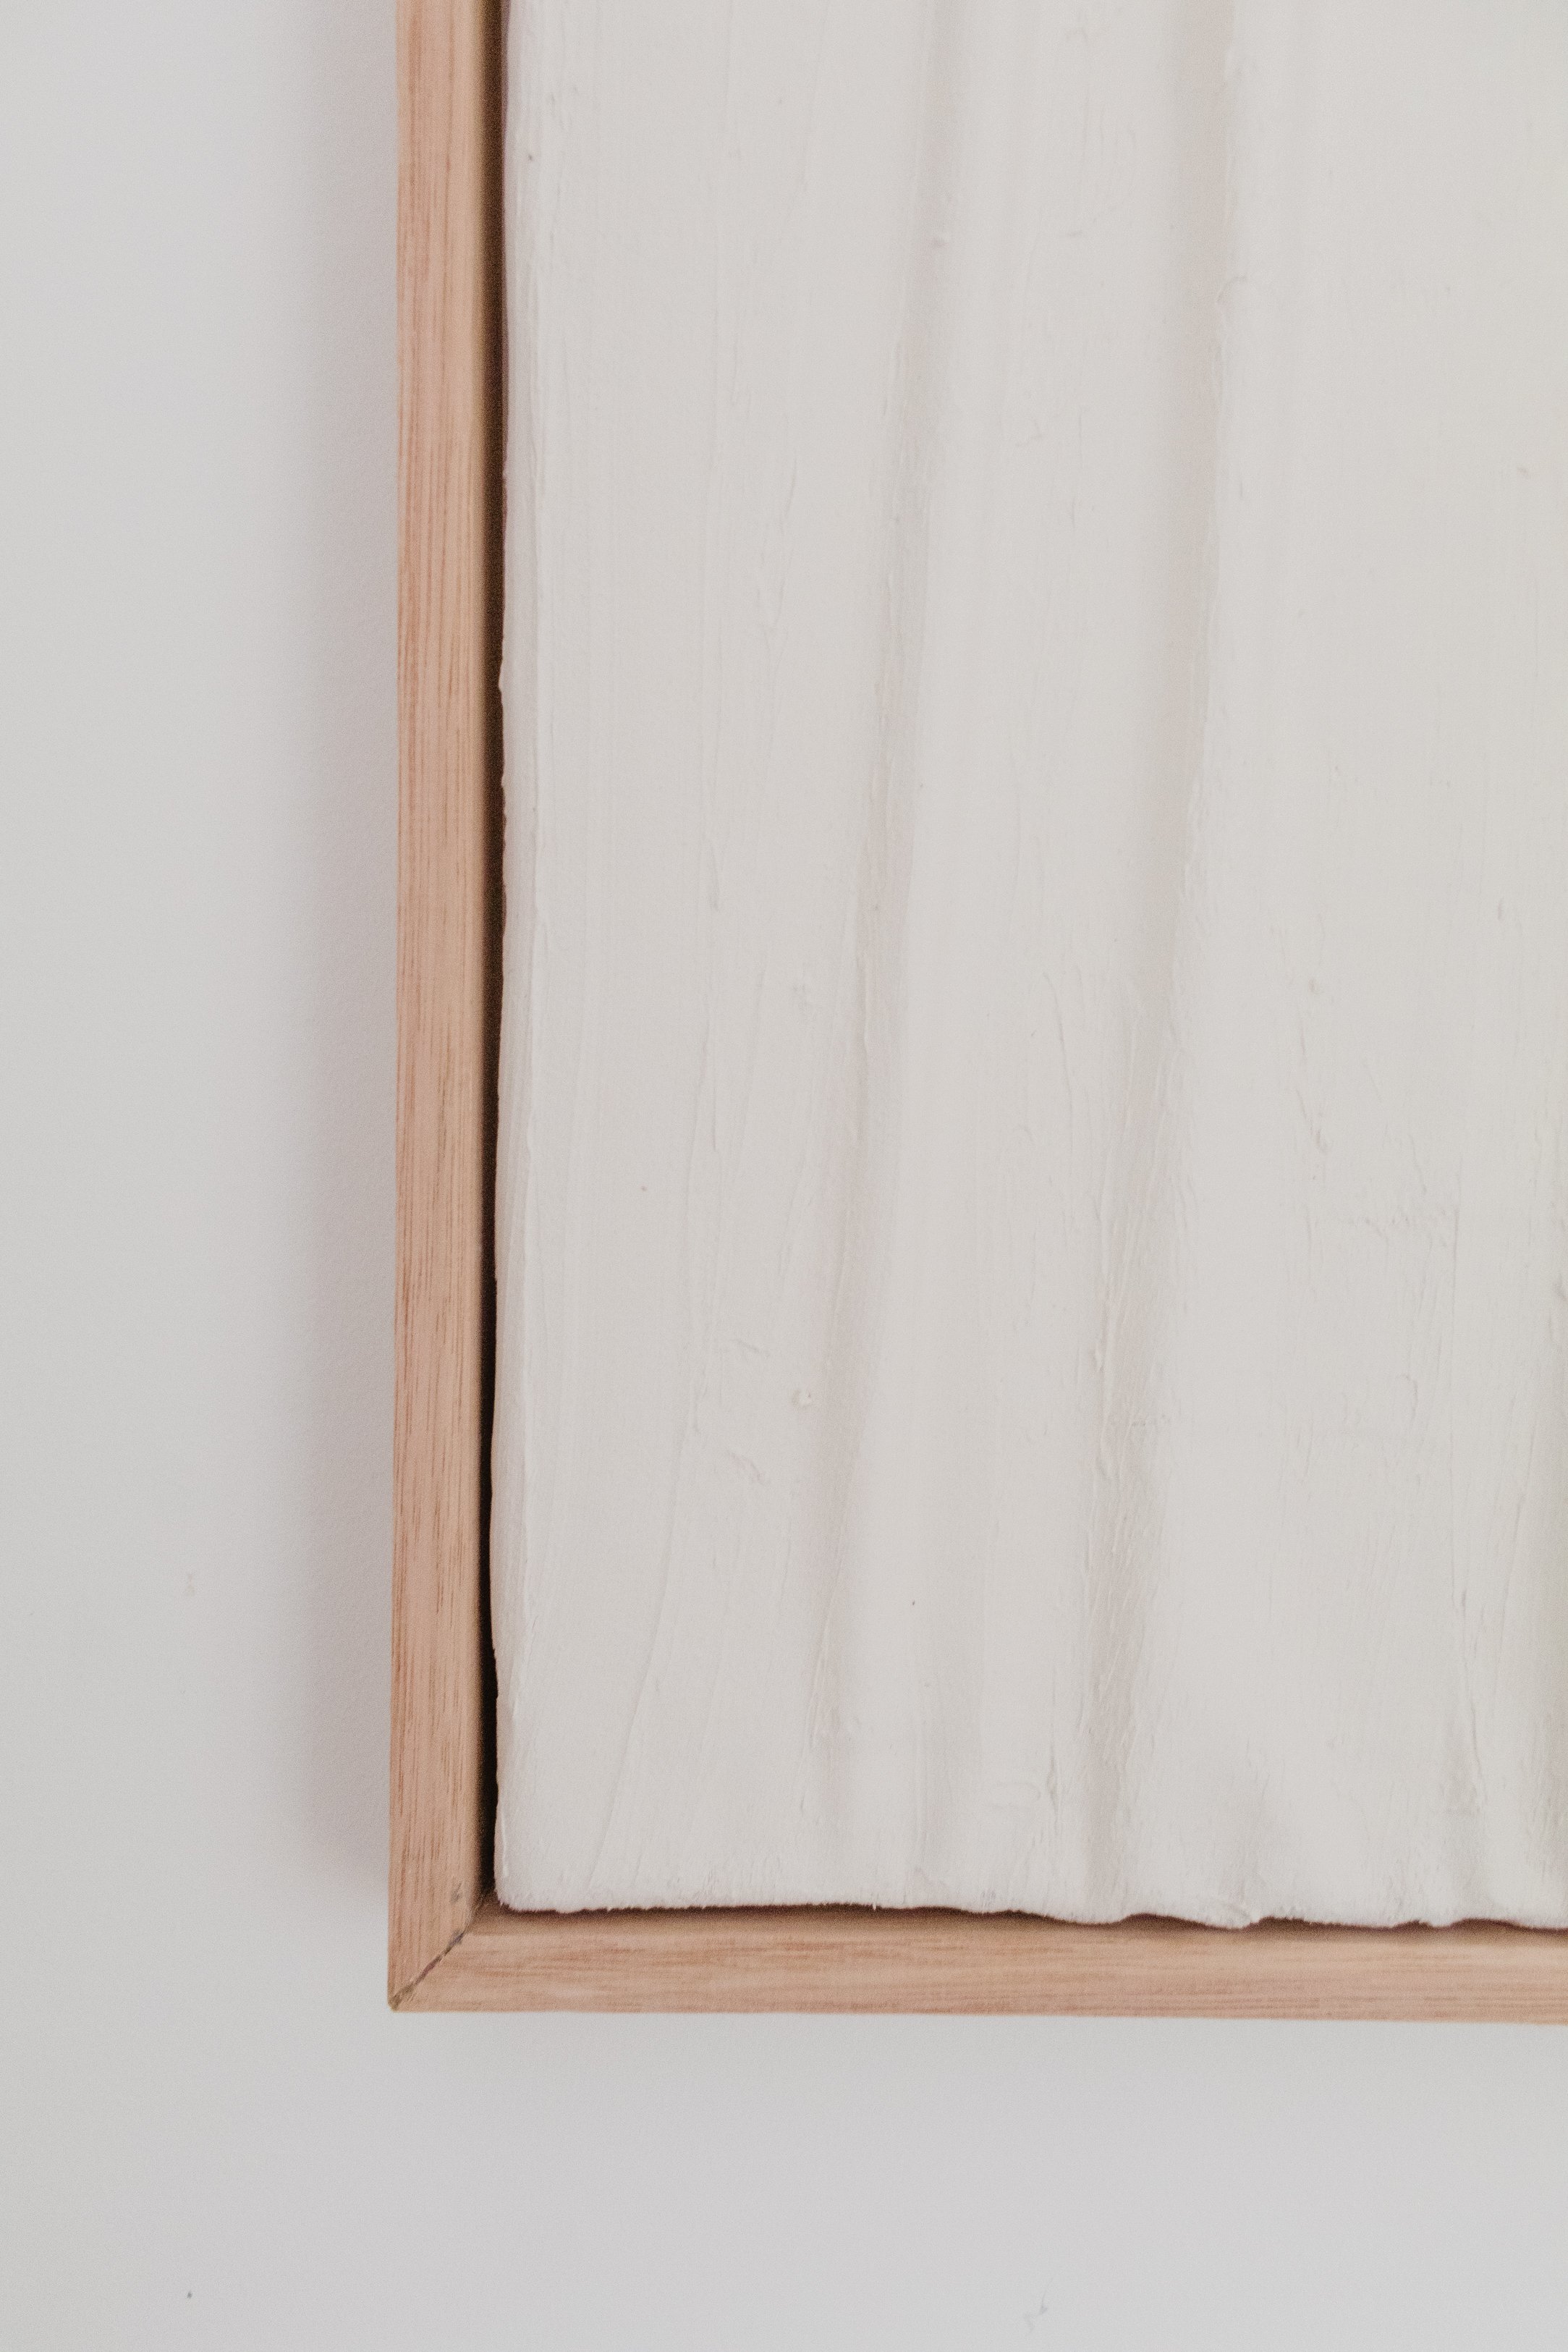
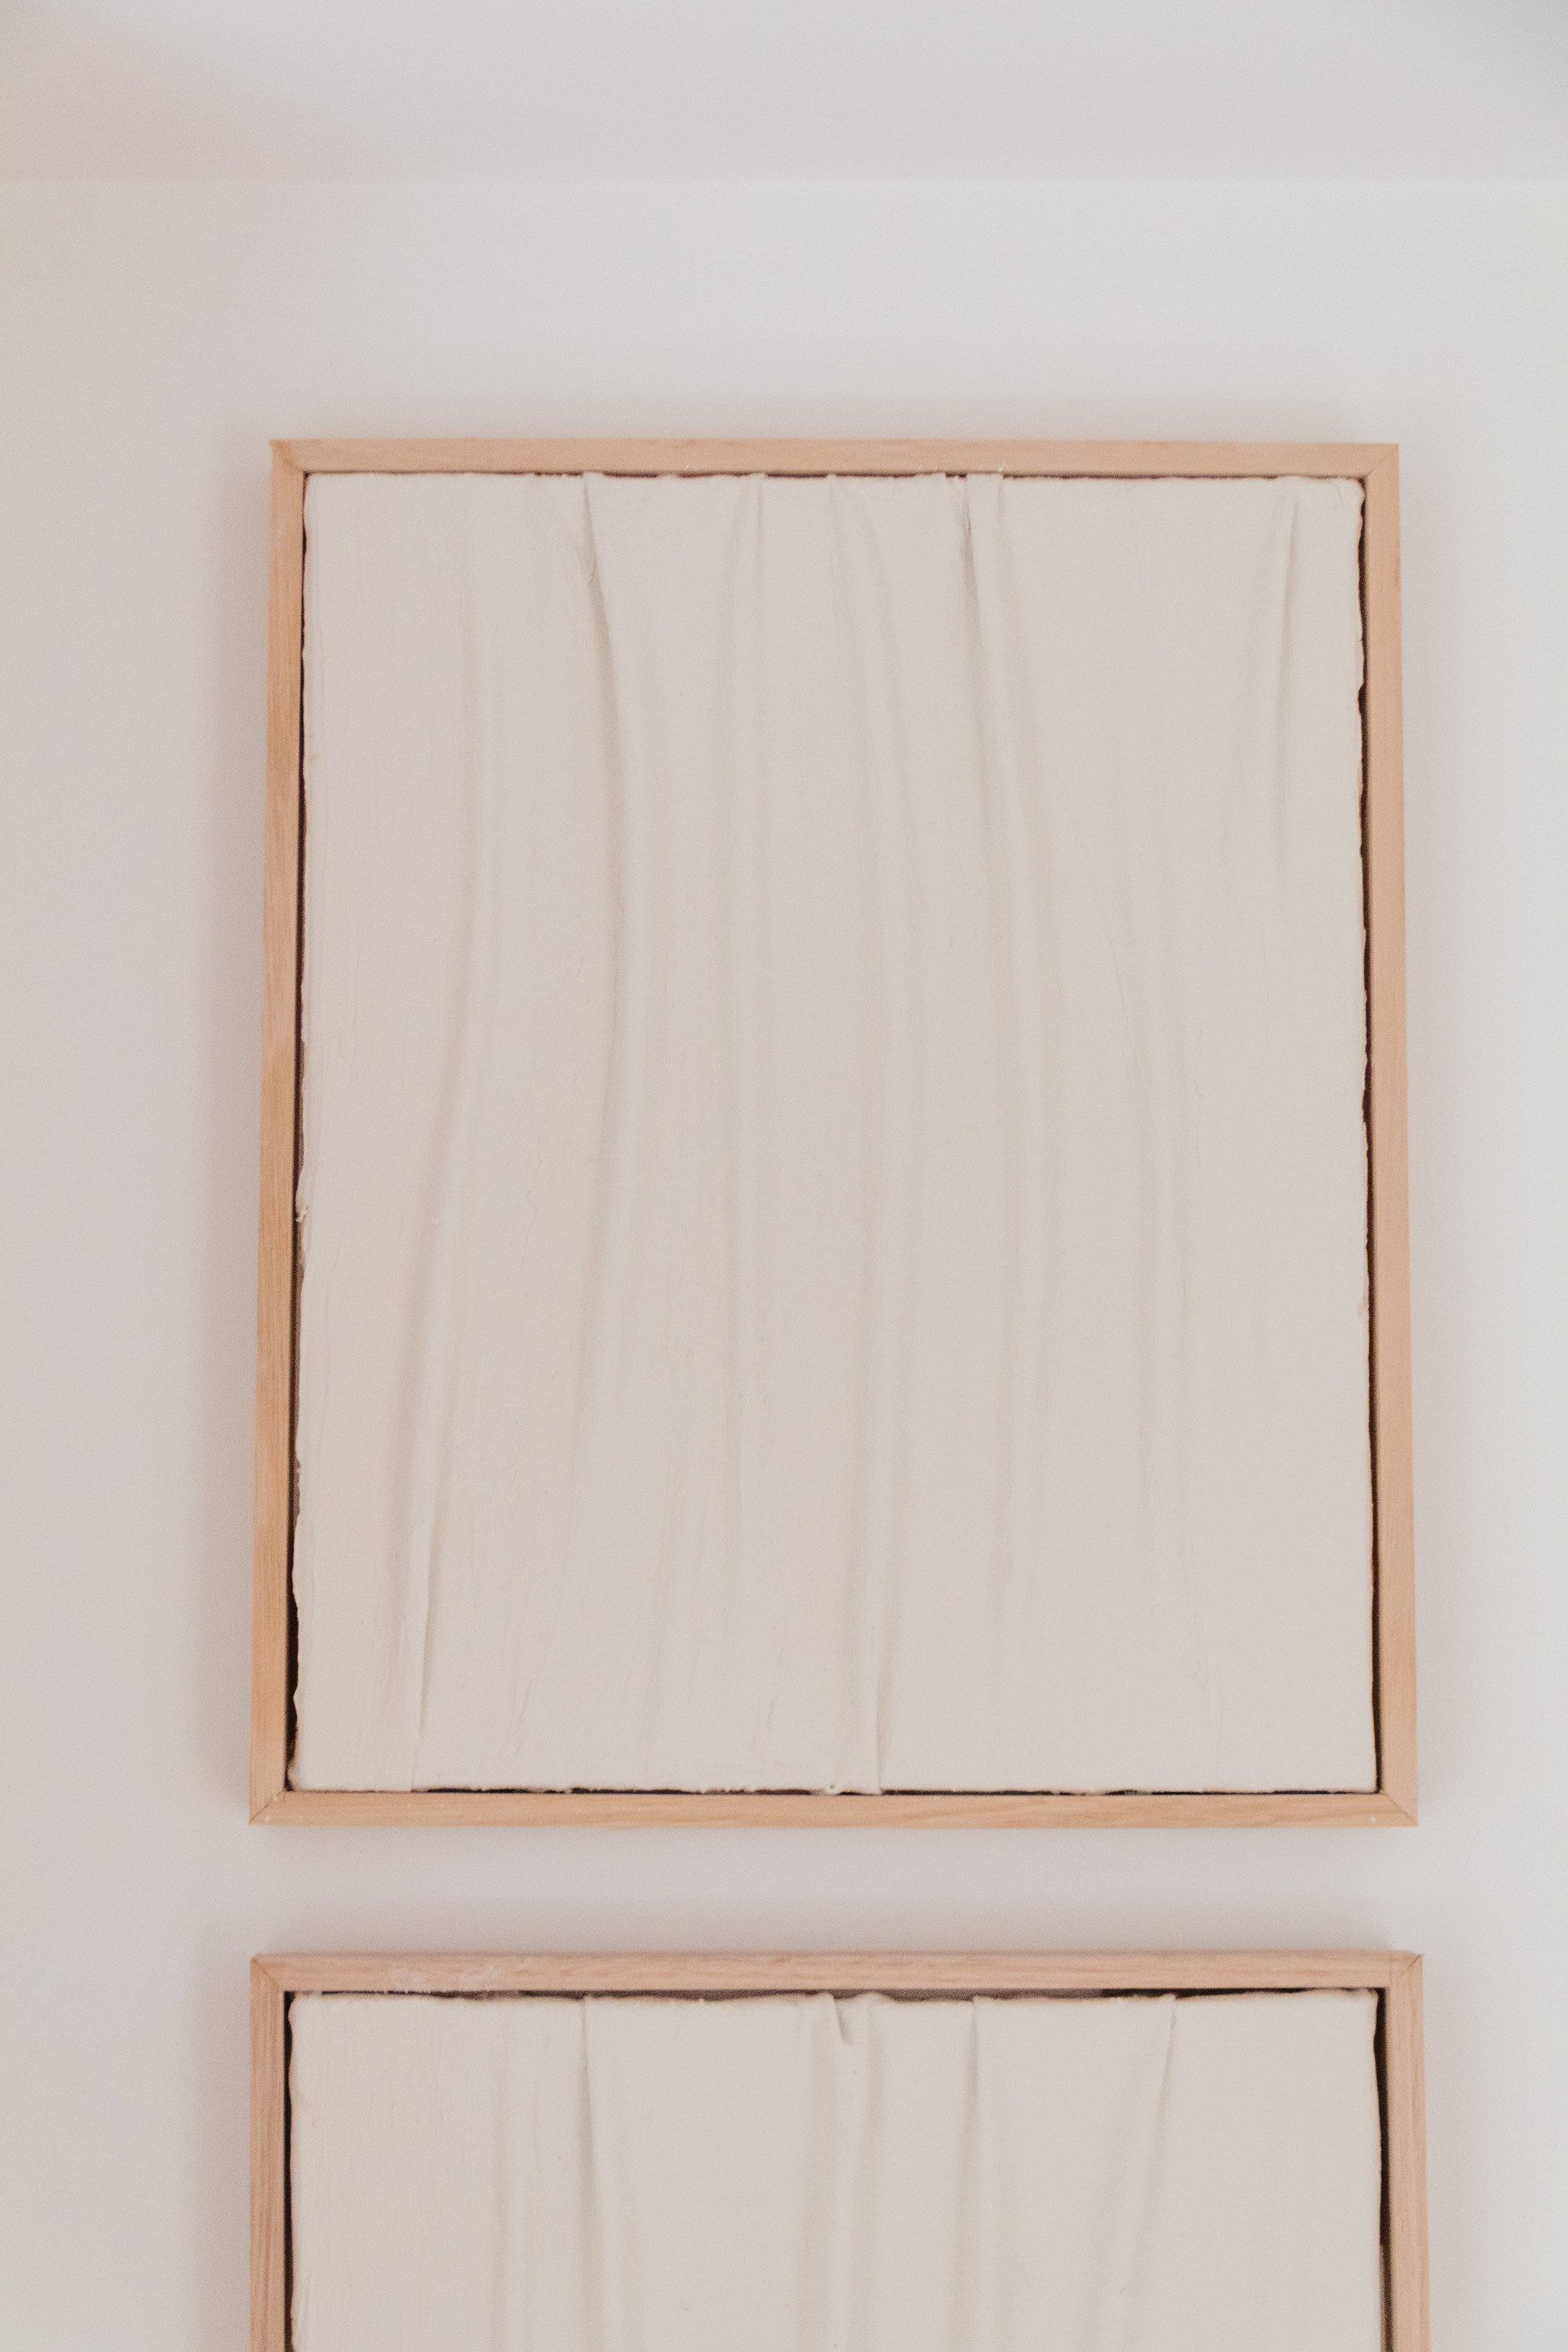
I recently upcycled two pieces of secondhand stretched canvas I picked up from a charity shop for $8 using fabric and plaster; if you haven’t seen my Upcycled Sculptural Plaster Wall Art make sure you check it out! I could have left it frameless, but I wanted to elevate my upcycled plaster wall art so I decided to make my own floating frames. I used two pieces of Tasmanian Oak moulding I had left over from another project, cardboard and glue - and that’s it! I know not everyone has a mitre saw at home and I'm all about giving you options, so not only did I make a floating frame using my mitre saw, I made the other one using my mitre box and tenon saw. Read on to learn how to make a floating timber frame and make sure to watch this step by step video as well.


Project Details
🕒 Project Time Estimate: 1 hour (not including glue drying time)
💰 Materials Cost: From $20 - depending on the size of your art and if you use pine or Tasmanian Oak for the frame
👷♀️ Skill Level: Beginner to intermediate DIYer
⚒️ Power Tools: Option #1: Mitre saw, Options #2: Tenon Saw and Mitre Box

Materials
Measuring tape and pencil
Option #1: Mitre saw and protective eyewear.
Option #2: Tenon saw, mitre box and two clamps
180 sanding sheet
Optional: Corner clamps, which are great for securing the corners of the frame while the glue is drying. It also make sure the corners have minimal gaps, if any!
Painters tape or masking tape
4 x Cardboard cut into 4 squares (don’t worry about the measurements as no one will see them but refer to my photos to see how big mine were)
Optional: You can seal the timber with wax, oil or varnish of your choice. I chose to leave the Tasmanian Oak raw.
How To
STEP ONE:
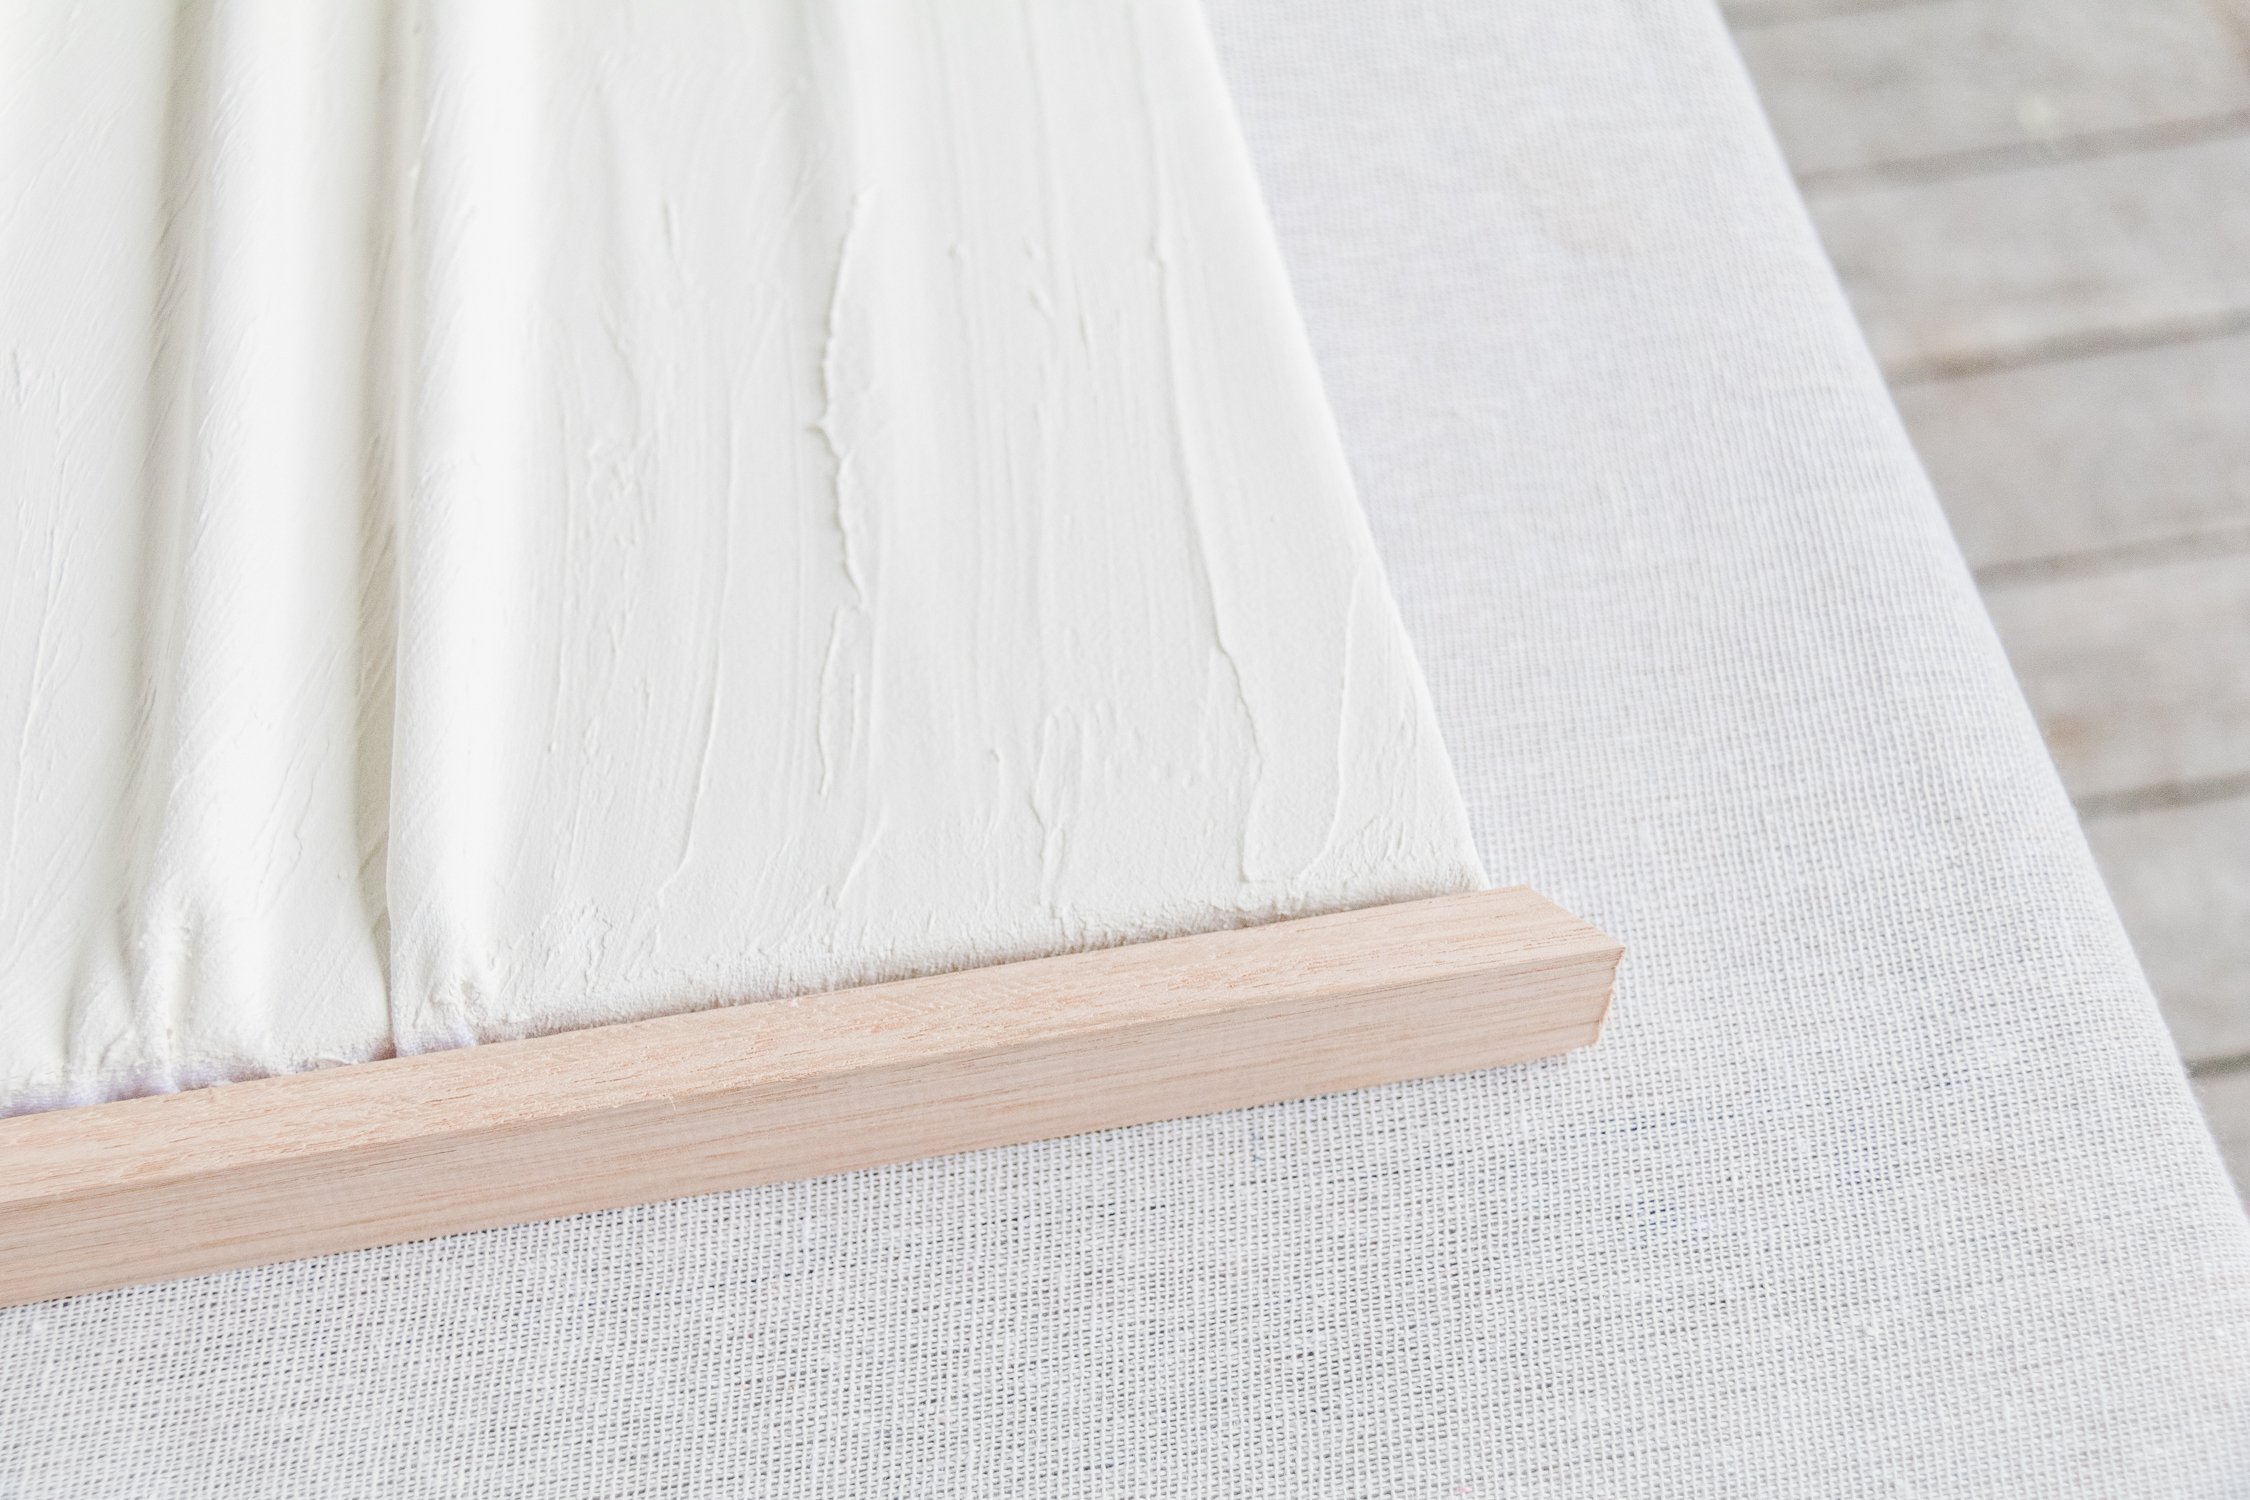
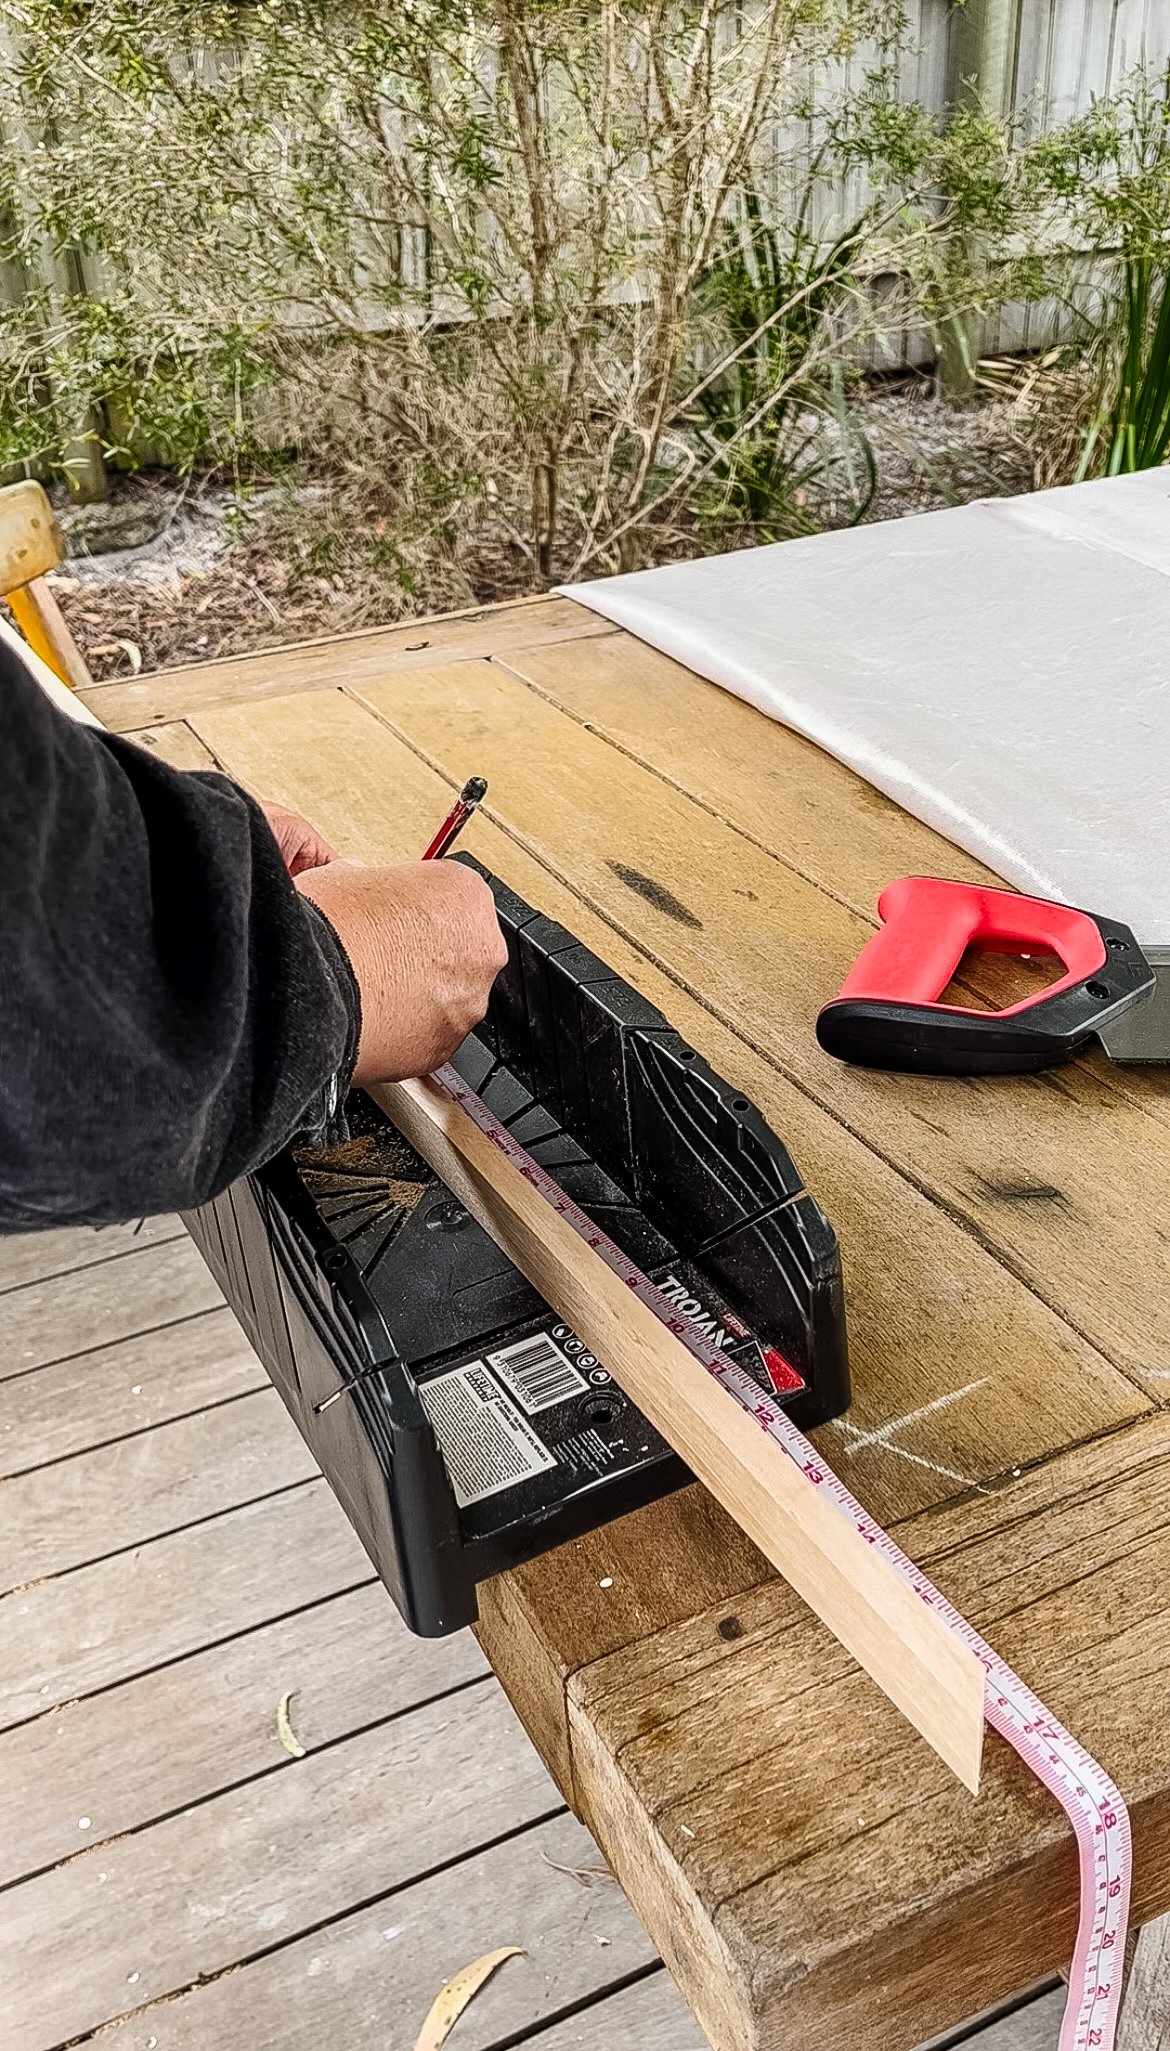
Start by measuring the length and width of the canvas, and note it down on a piece of paper. To create a floating frame, you’ll notice there is a gap between the canvas and the frame. This is what makes the canvas look like it’s “floating”. The first cut you’ll make is the bottom width, so add 0.5cm to either side of the width measurement. As an example, if the width of your canvas measure 40cm, you’ll need to add 1cm to ensure a 0.5cm gap between the canvas and the frame. I will use 40cm width as an example measurement for the next steps.
STEP TWO:
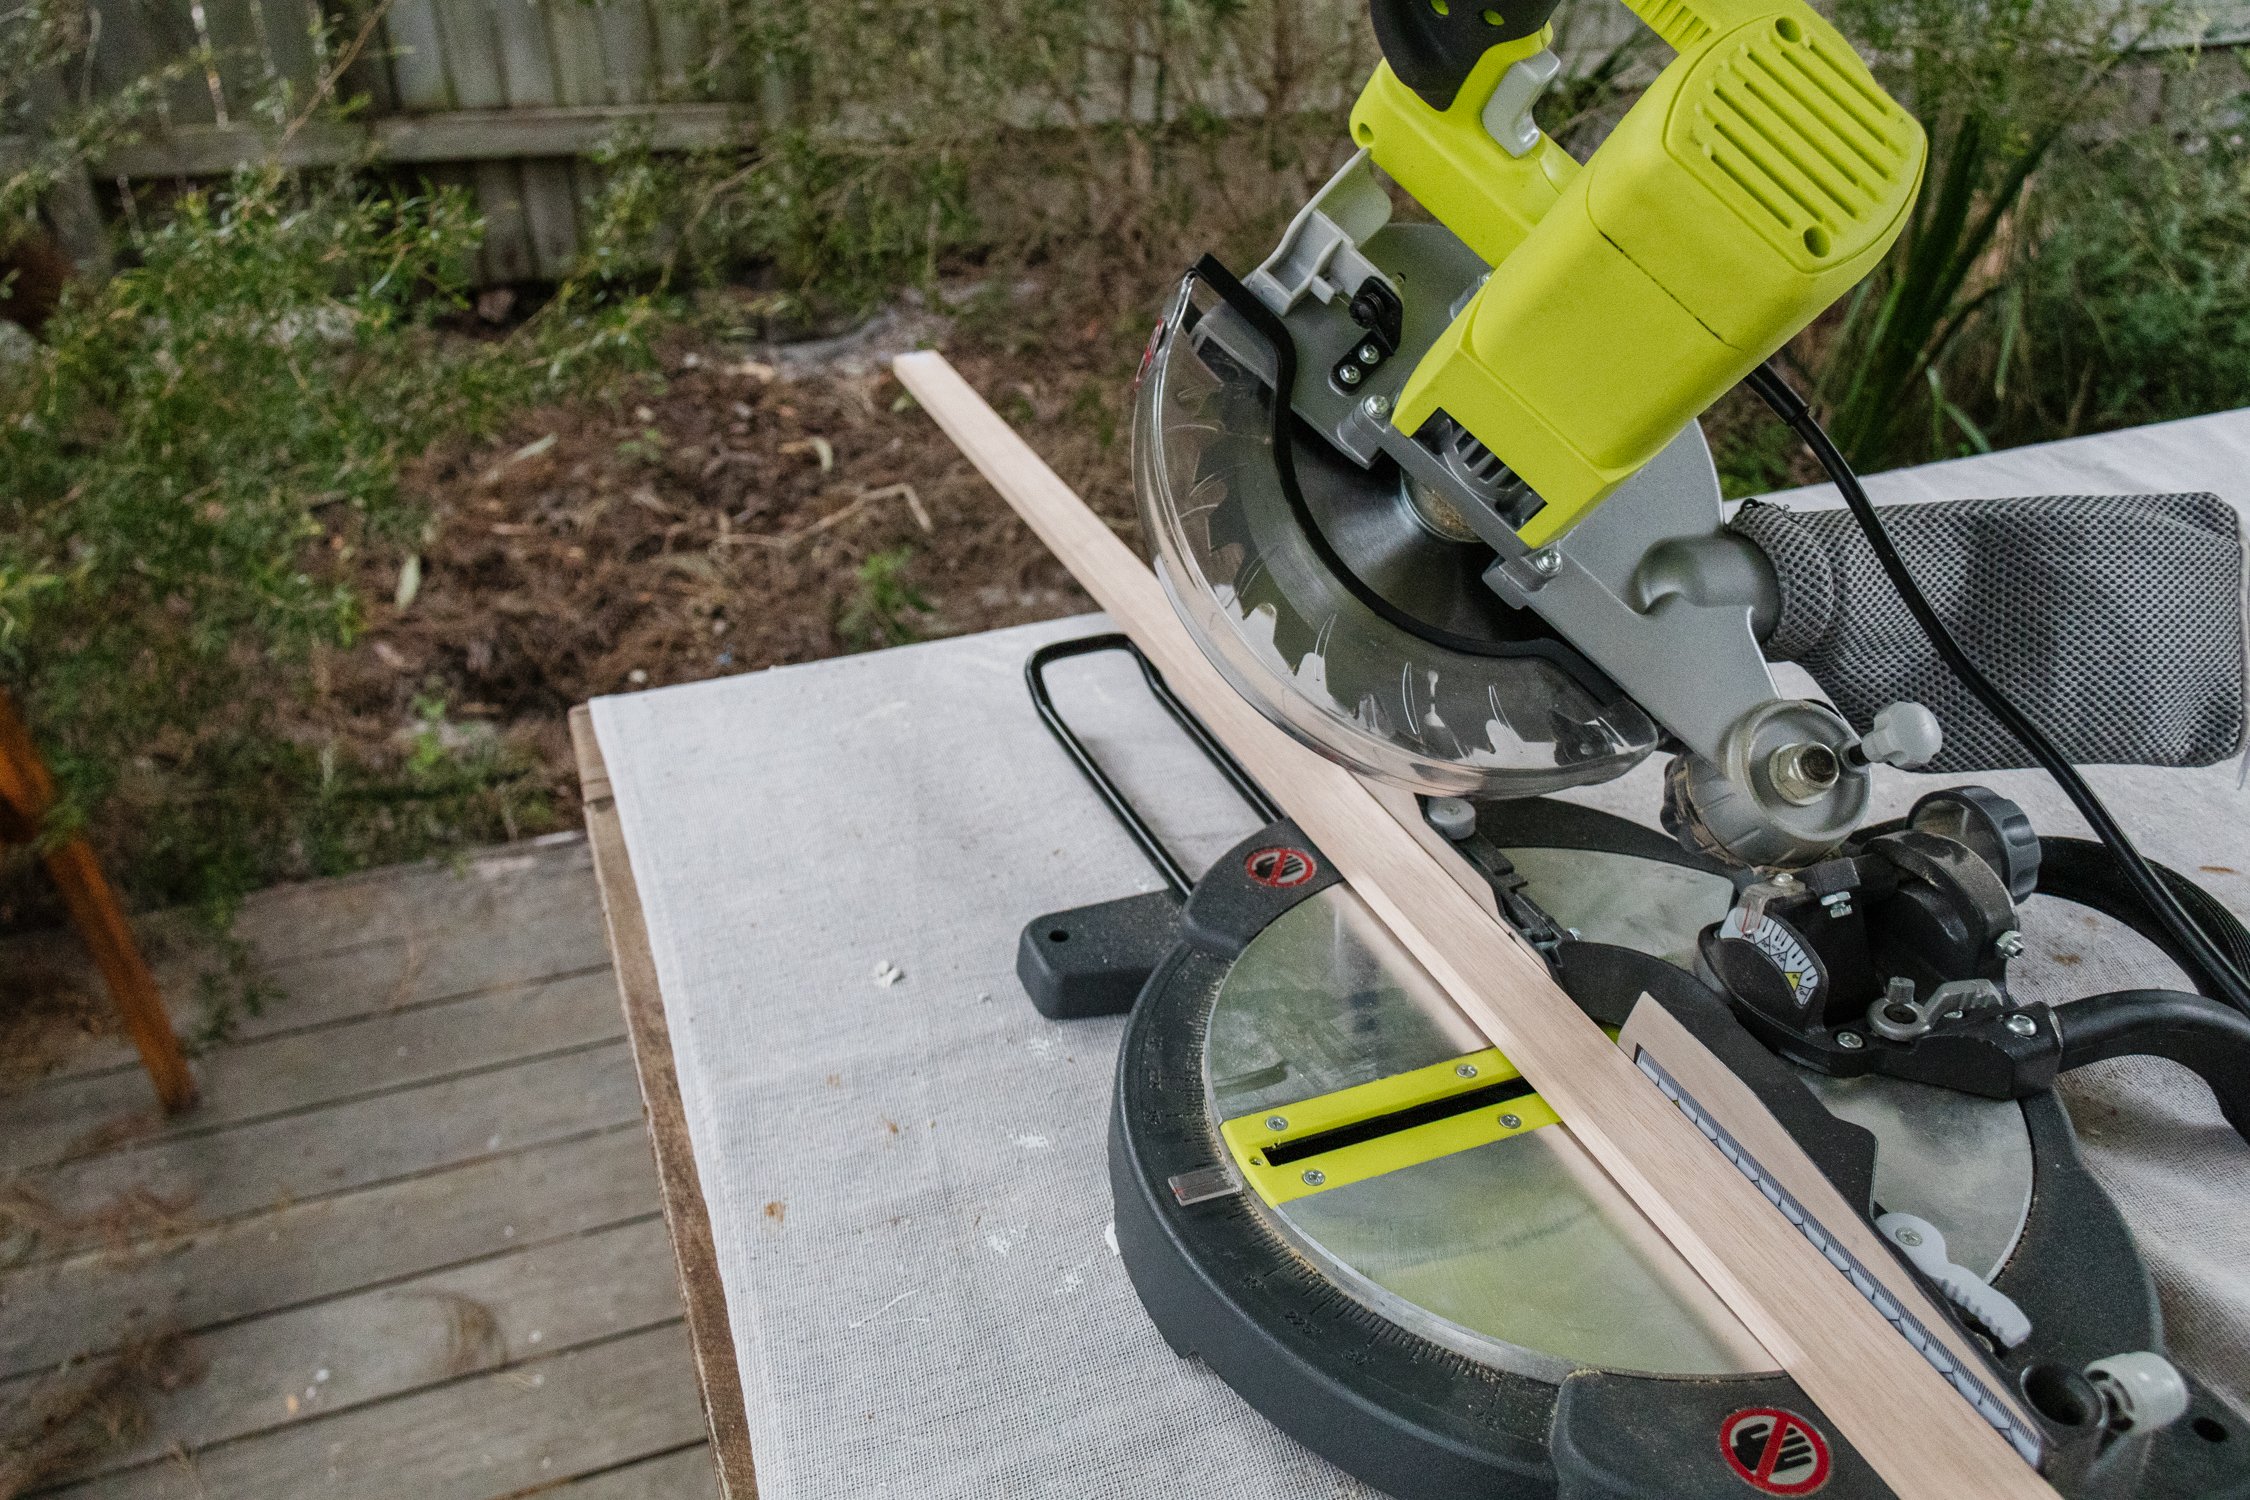
Option #1: Mitre Saw
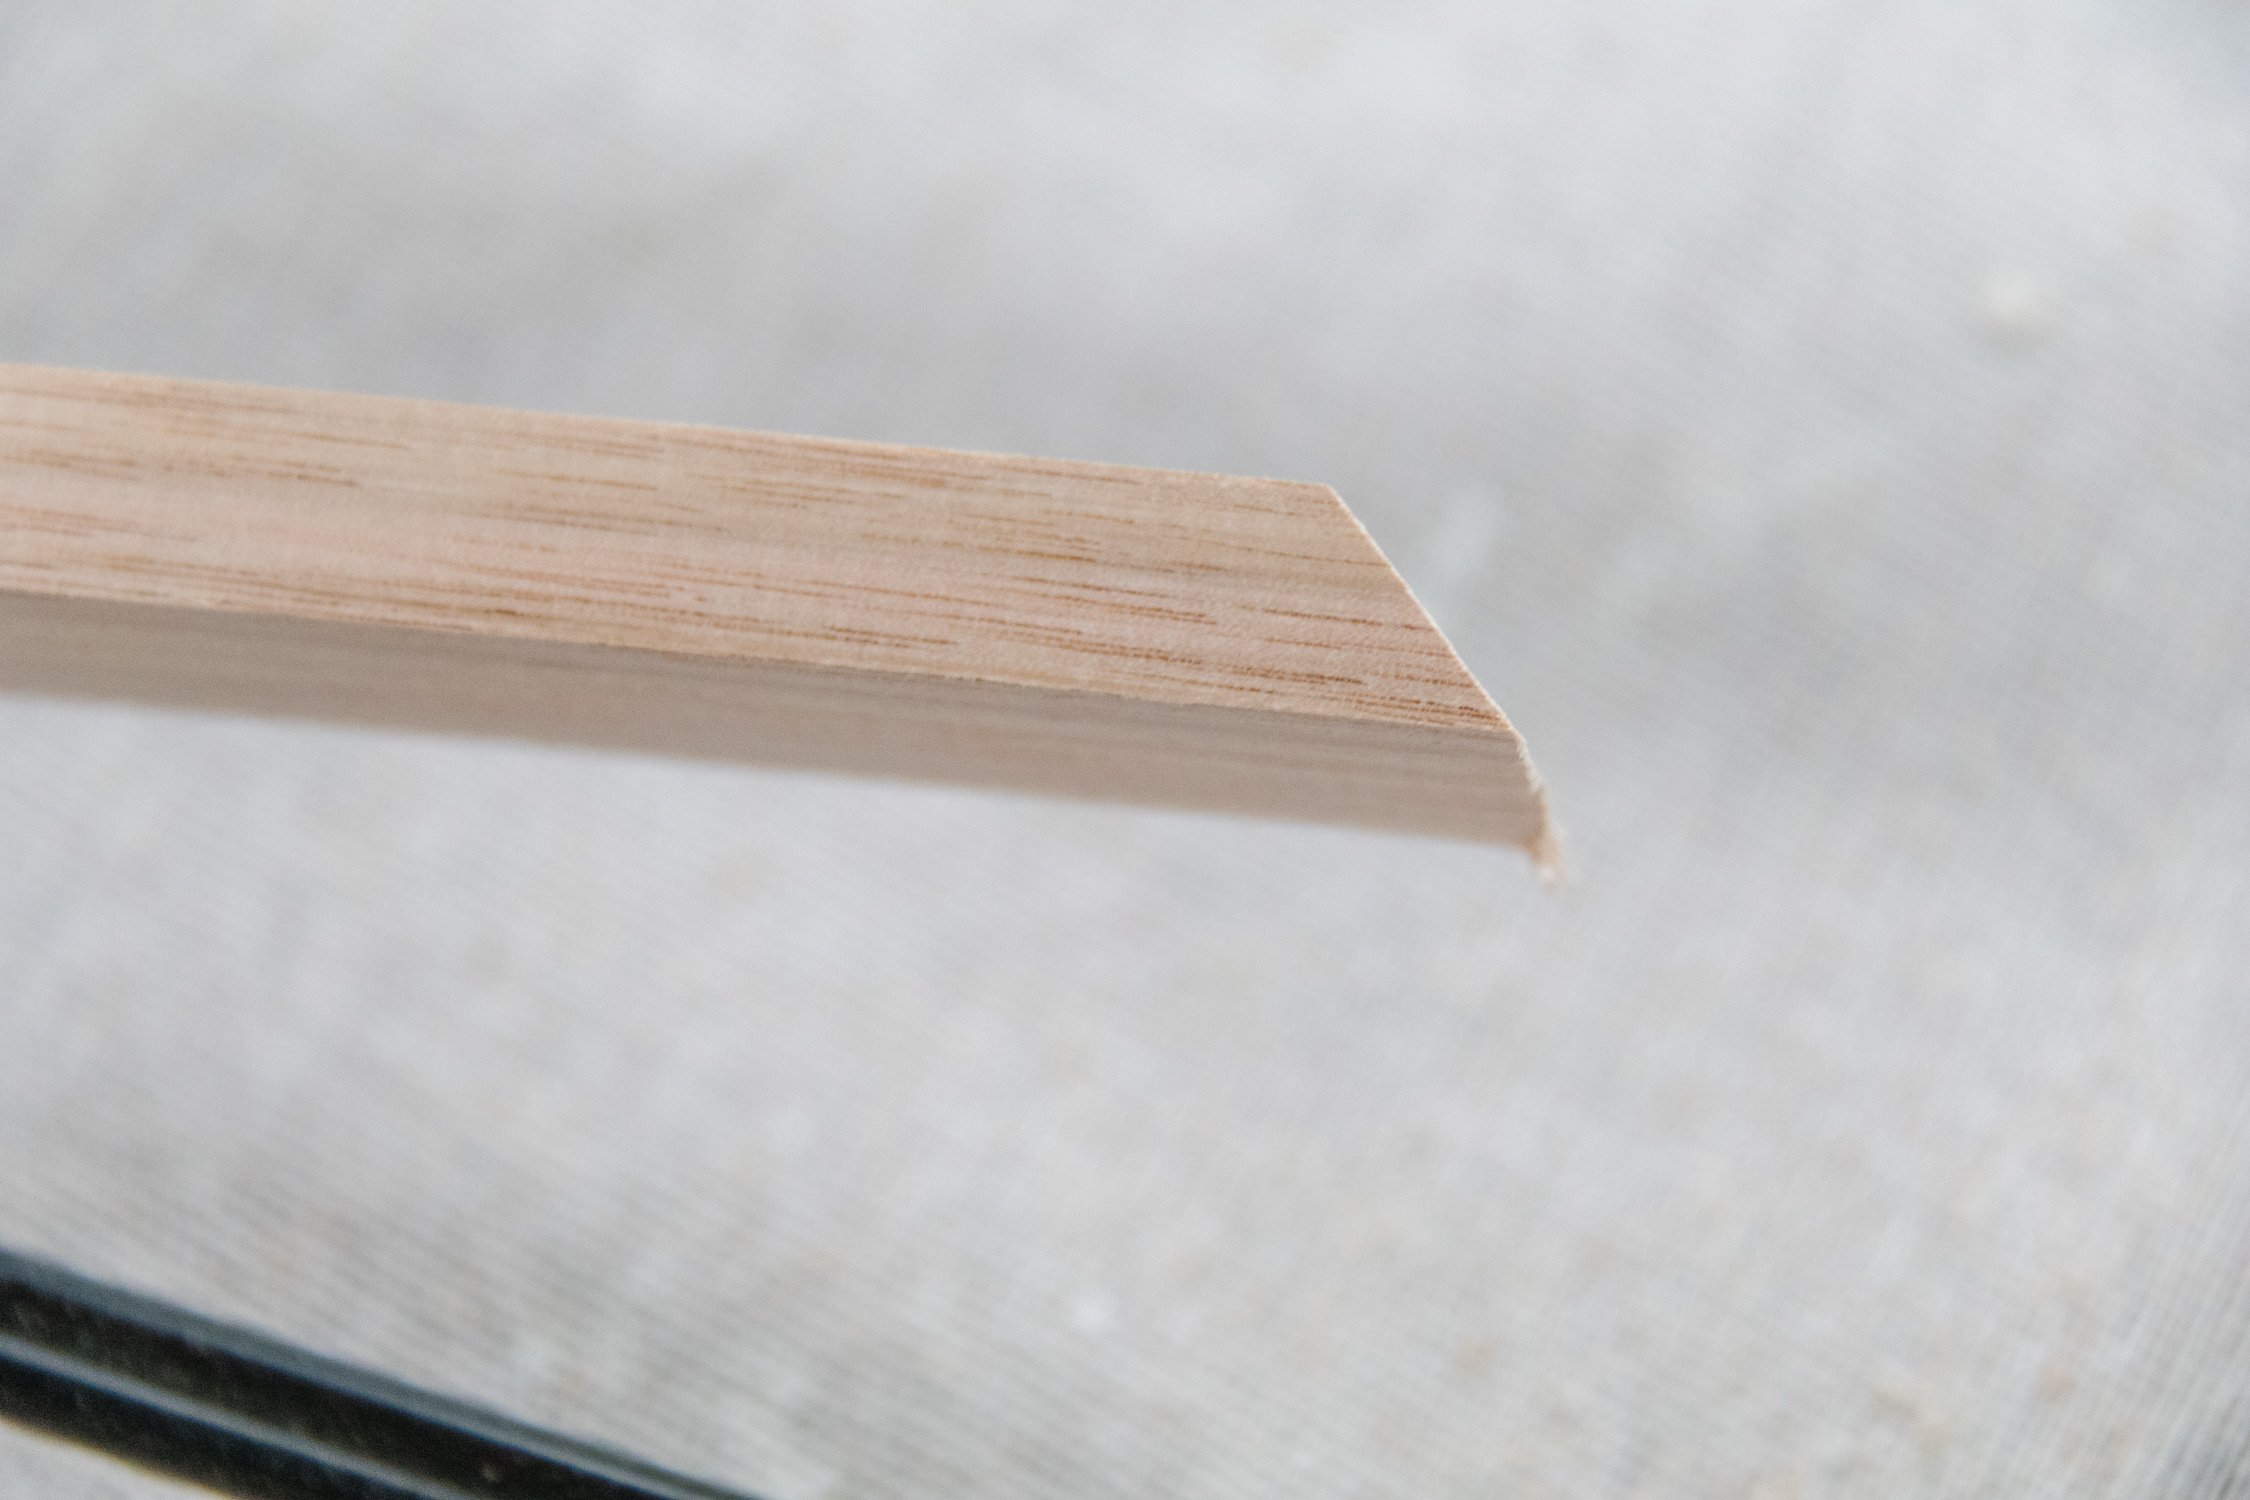
Set the mitre saw at 45°, line the timber flat and into position. The first cut is about trimming the very far end of the timber at 45°. Lock the timber securely and make the first cut. Make a mark at 40cm with a pencil directly onto the timber, flip the timber over and around and place it and make the second cut at 45°. Now you will have your first piece of timber. Repeat this step, check your measurements and then you will have your two widths. Repeat for the lengths and always check your measurements.
If you need further clarification, make sure you watch these Instagram Stories.
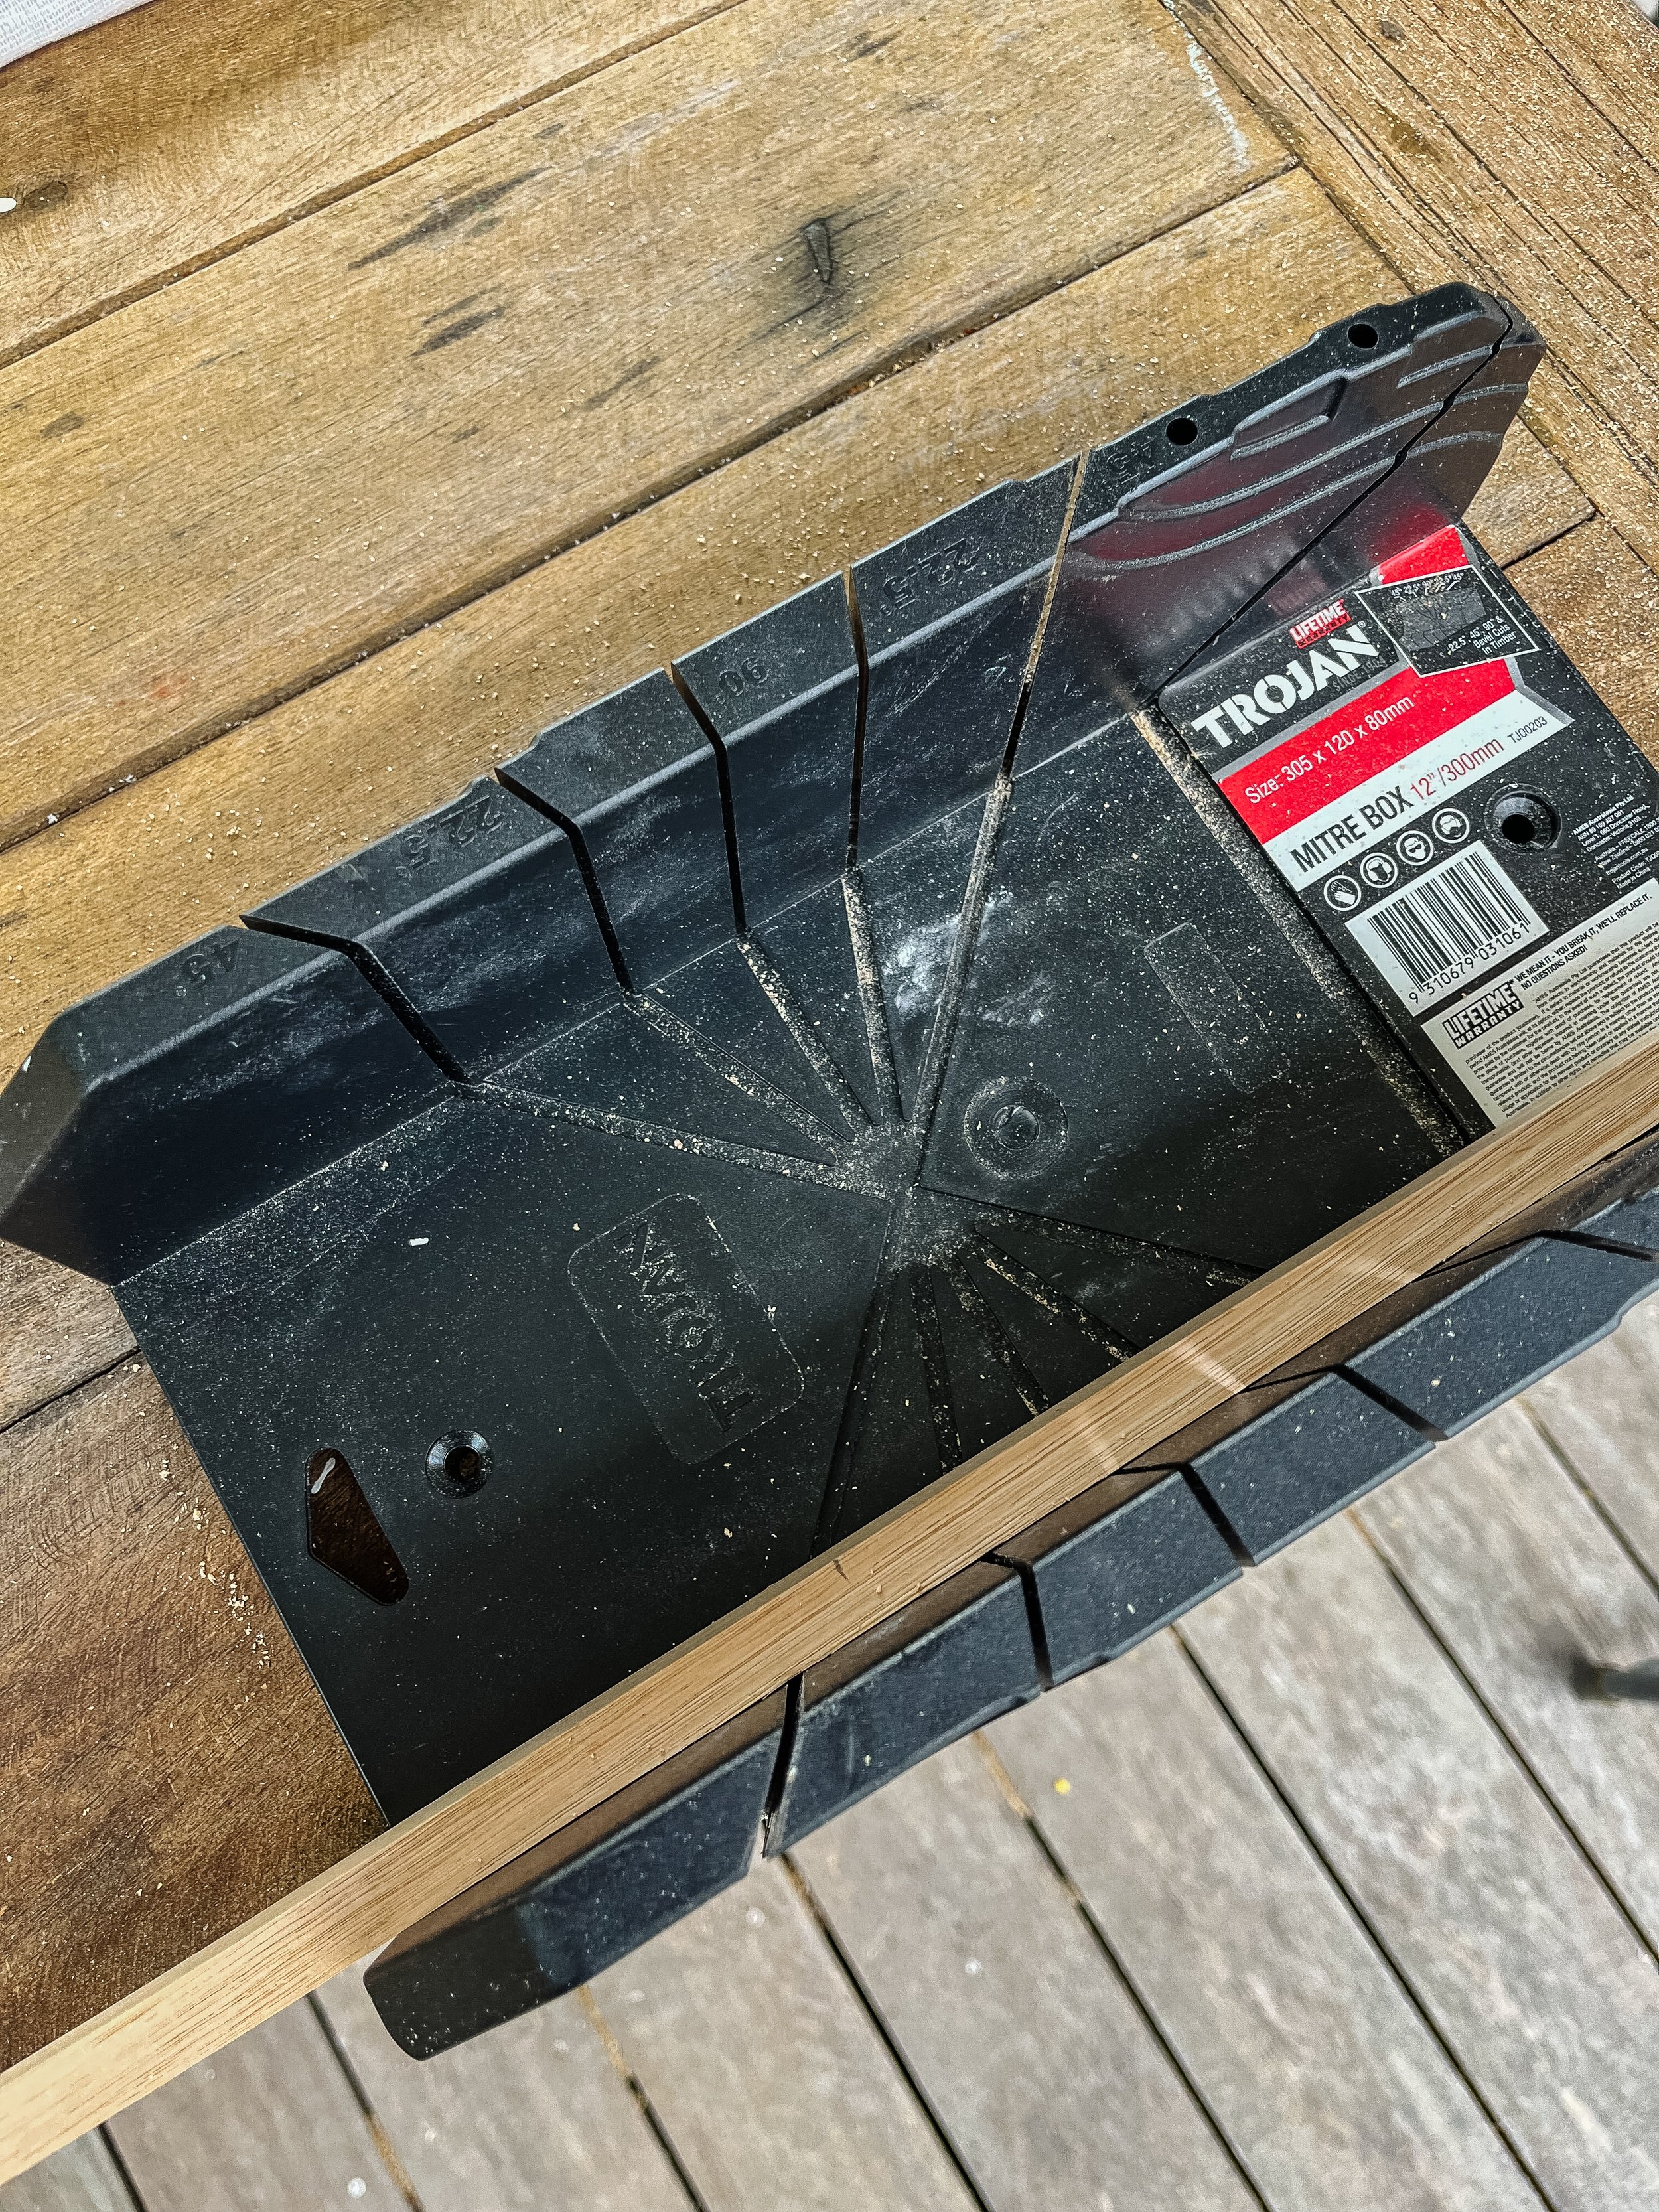
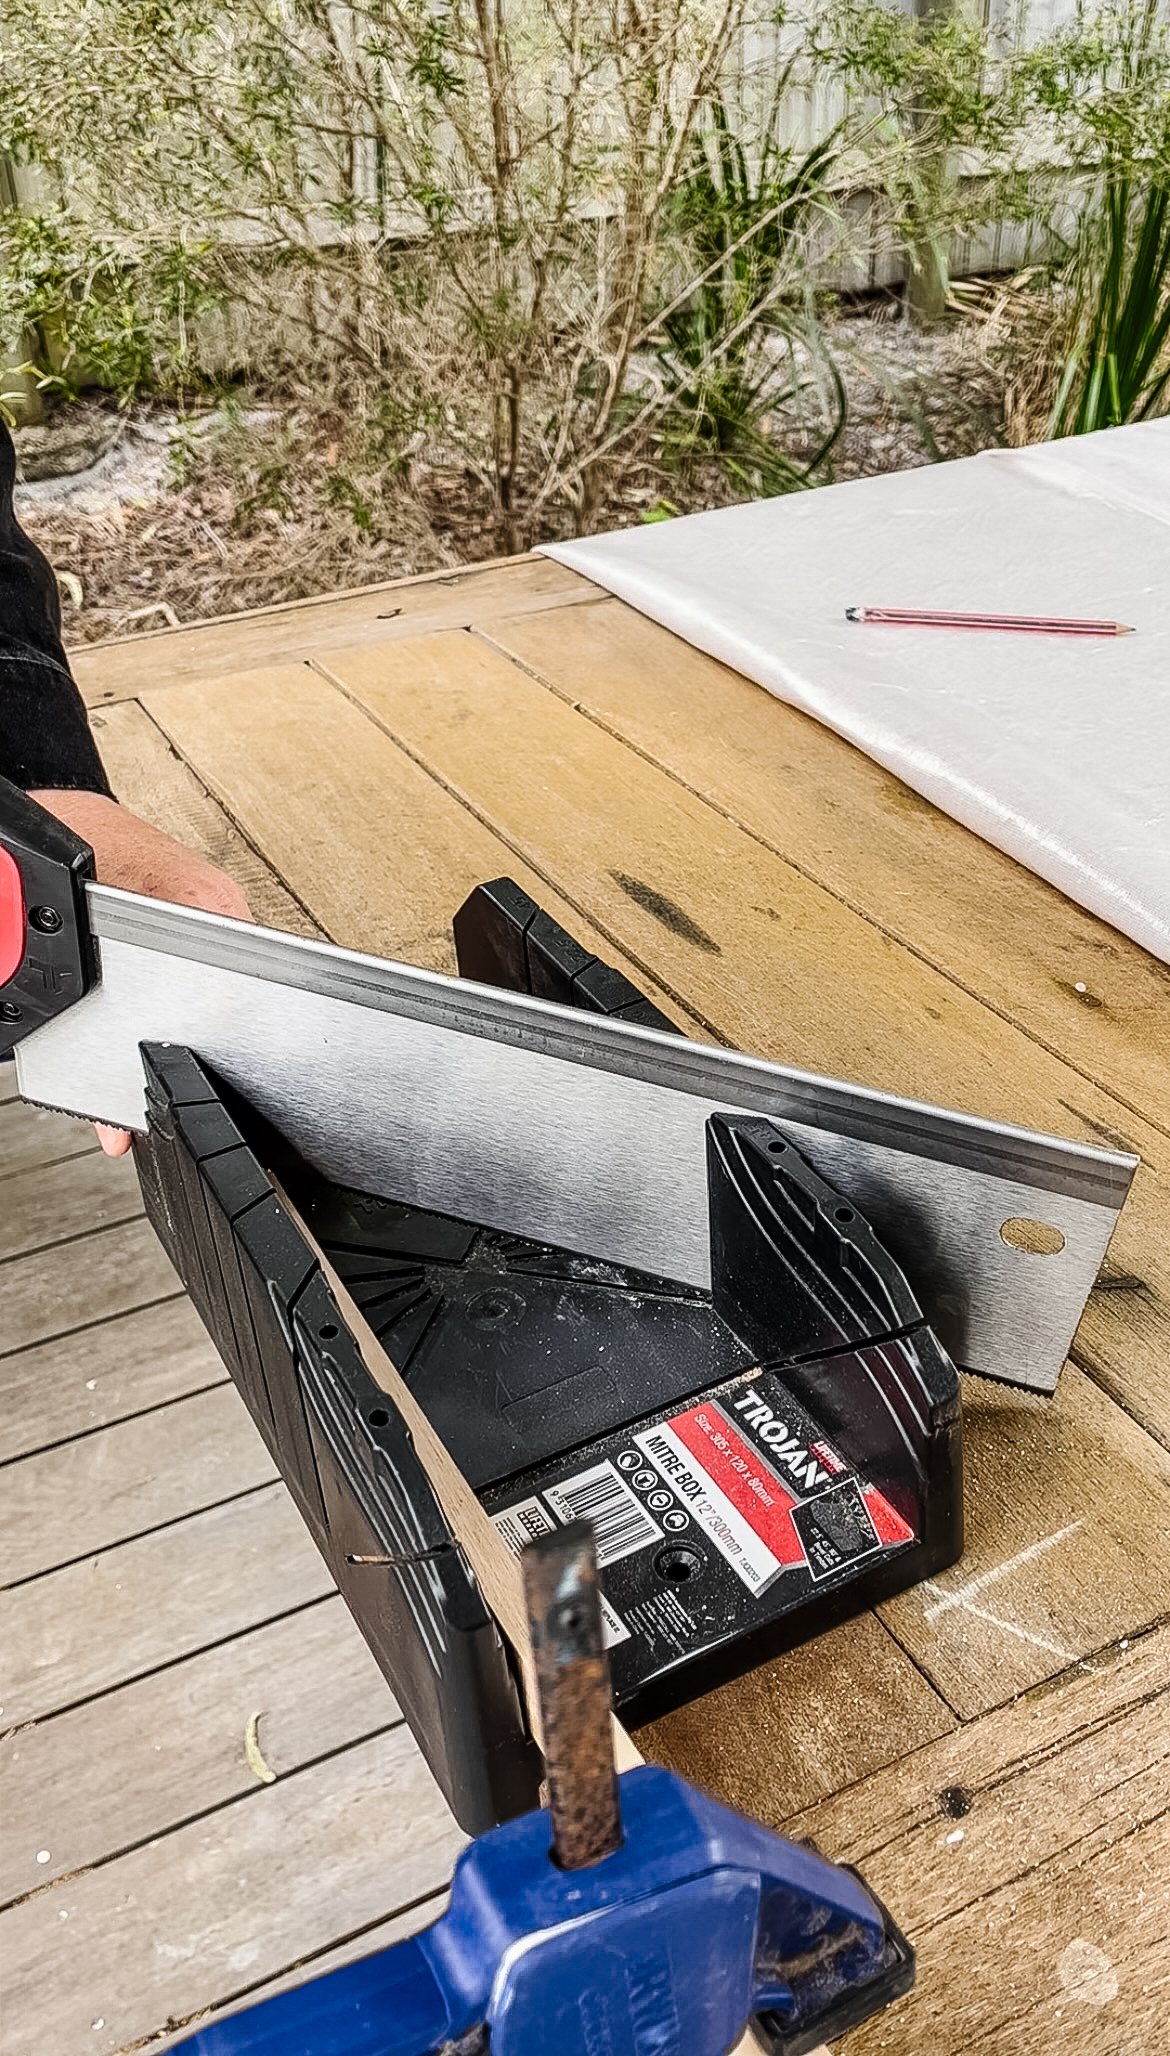
Option #2: Tenon Saw & Mitre
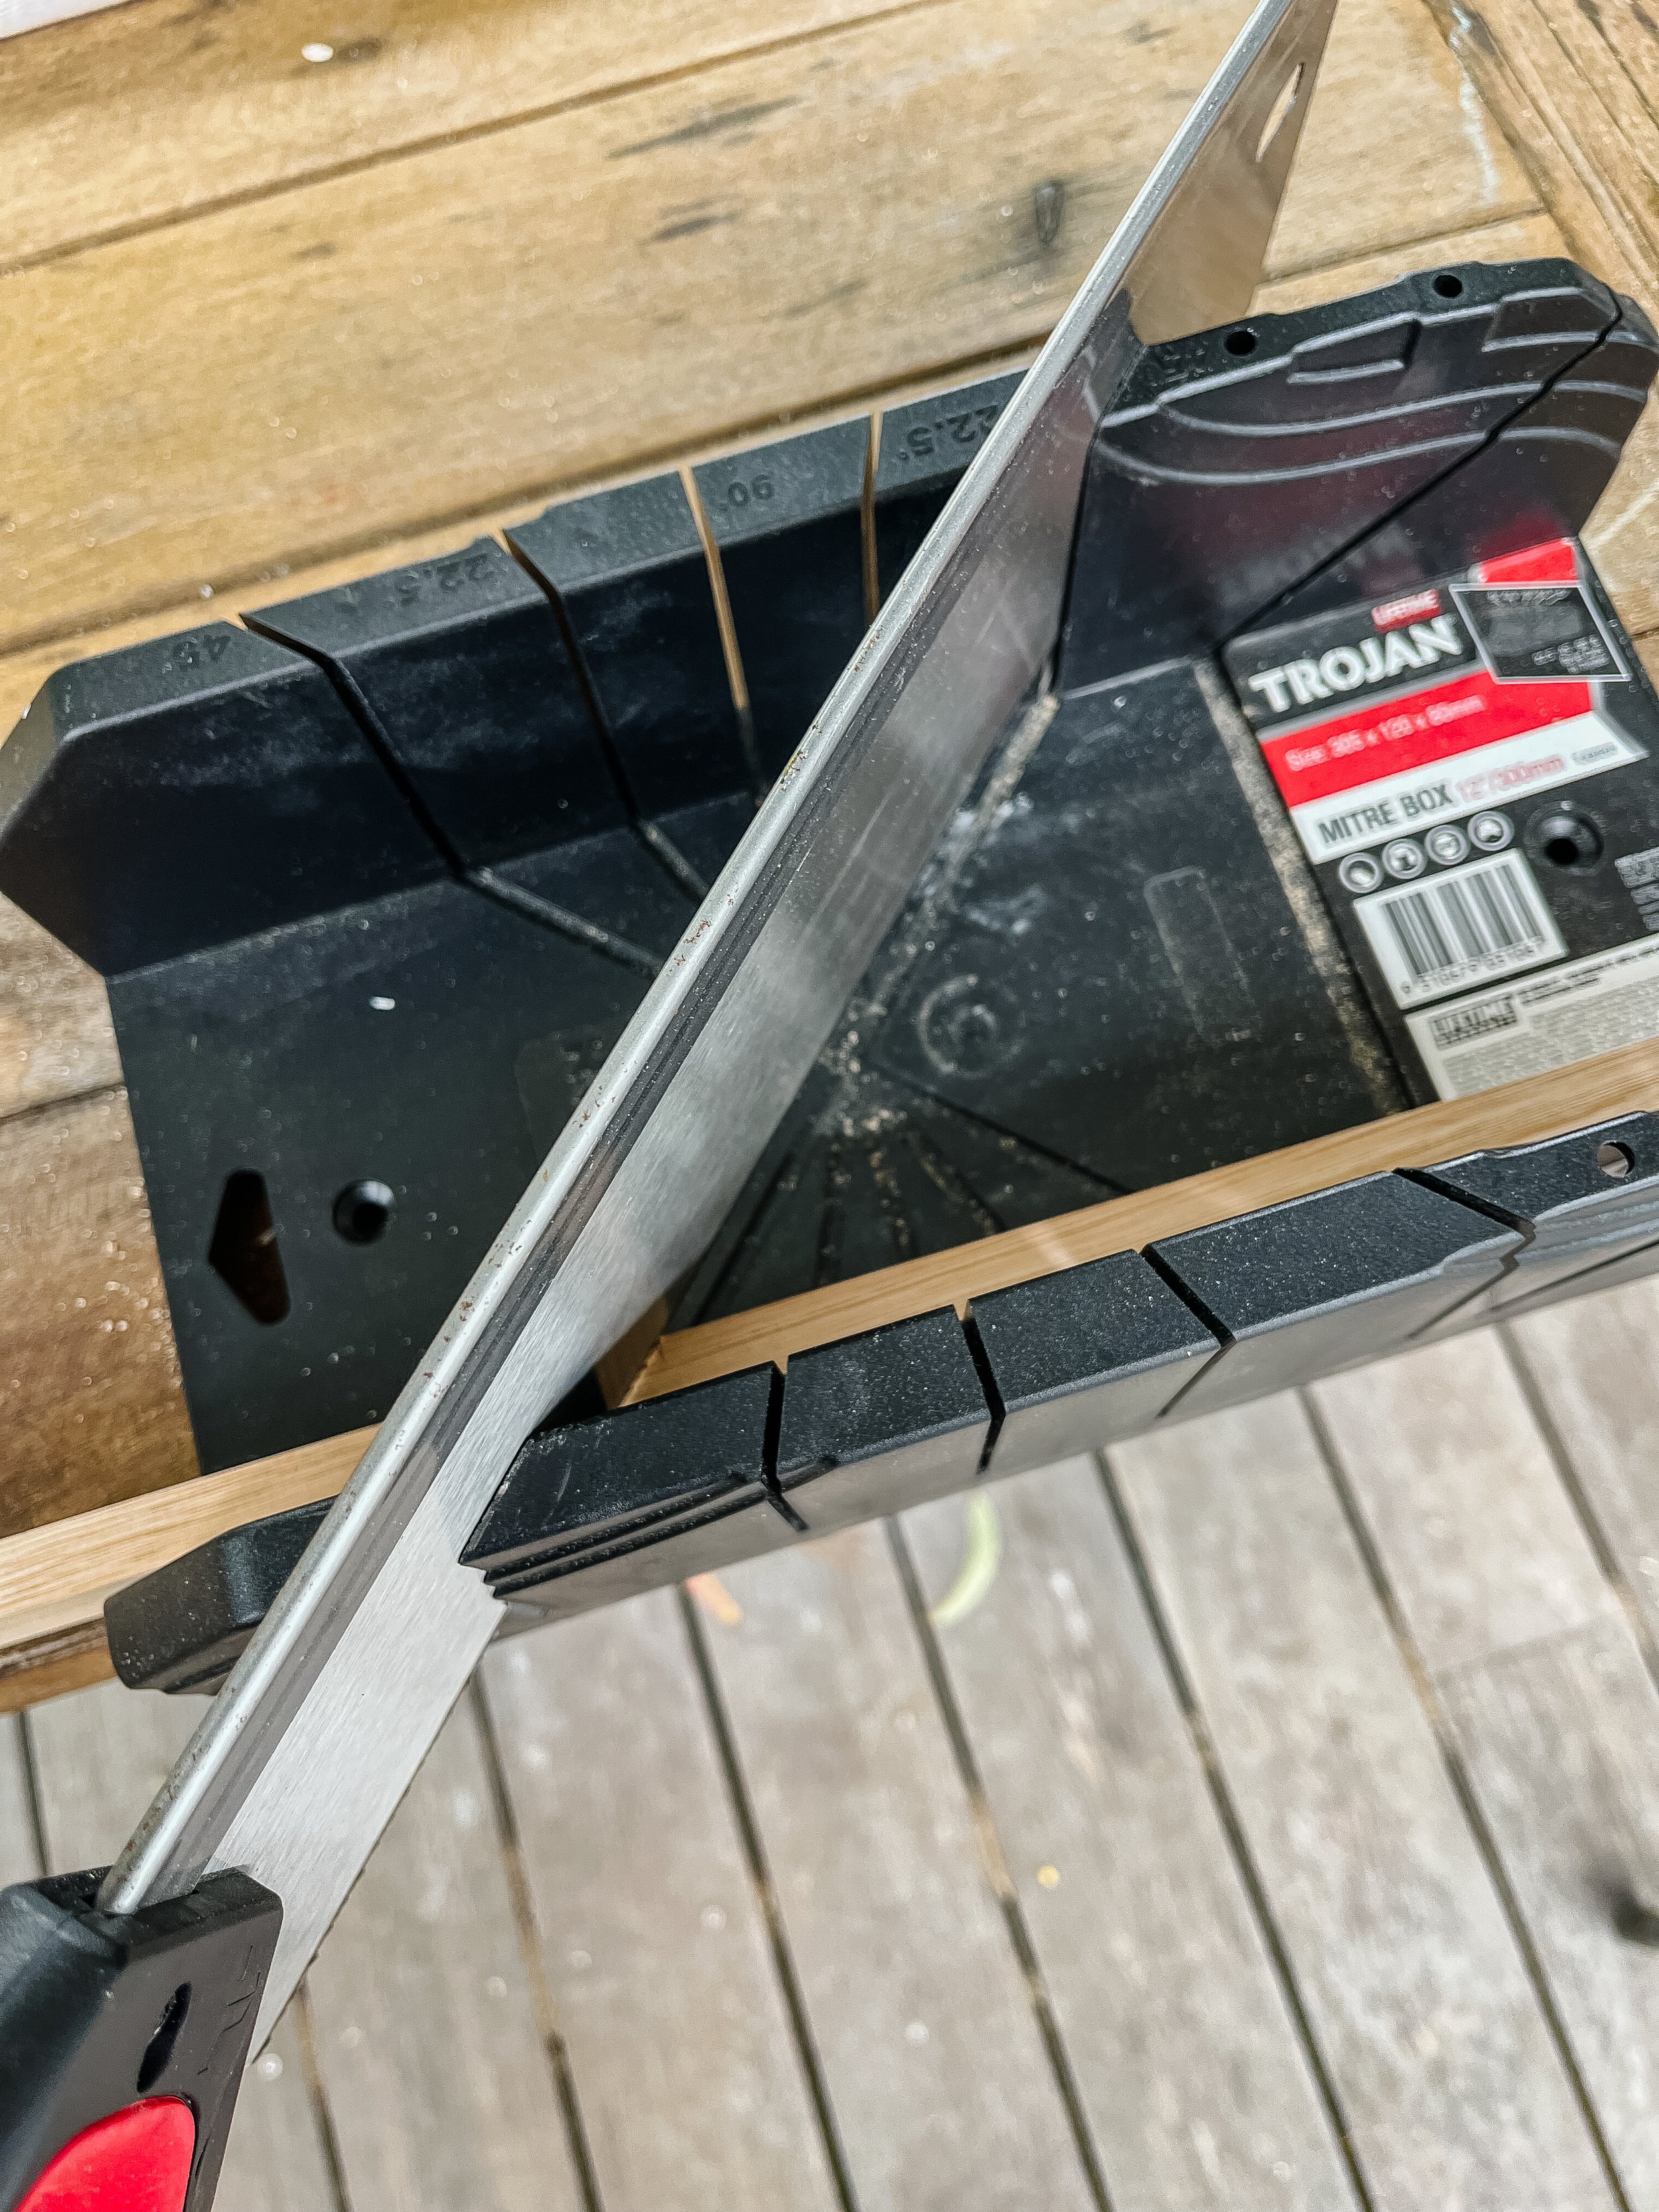
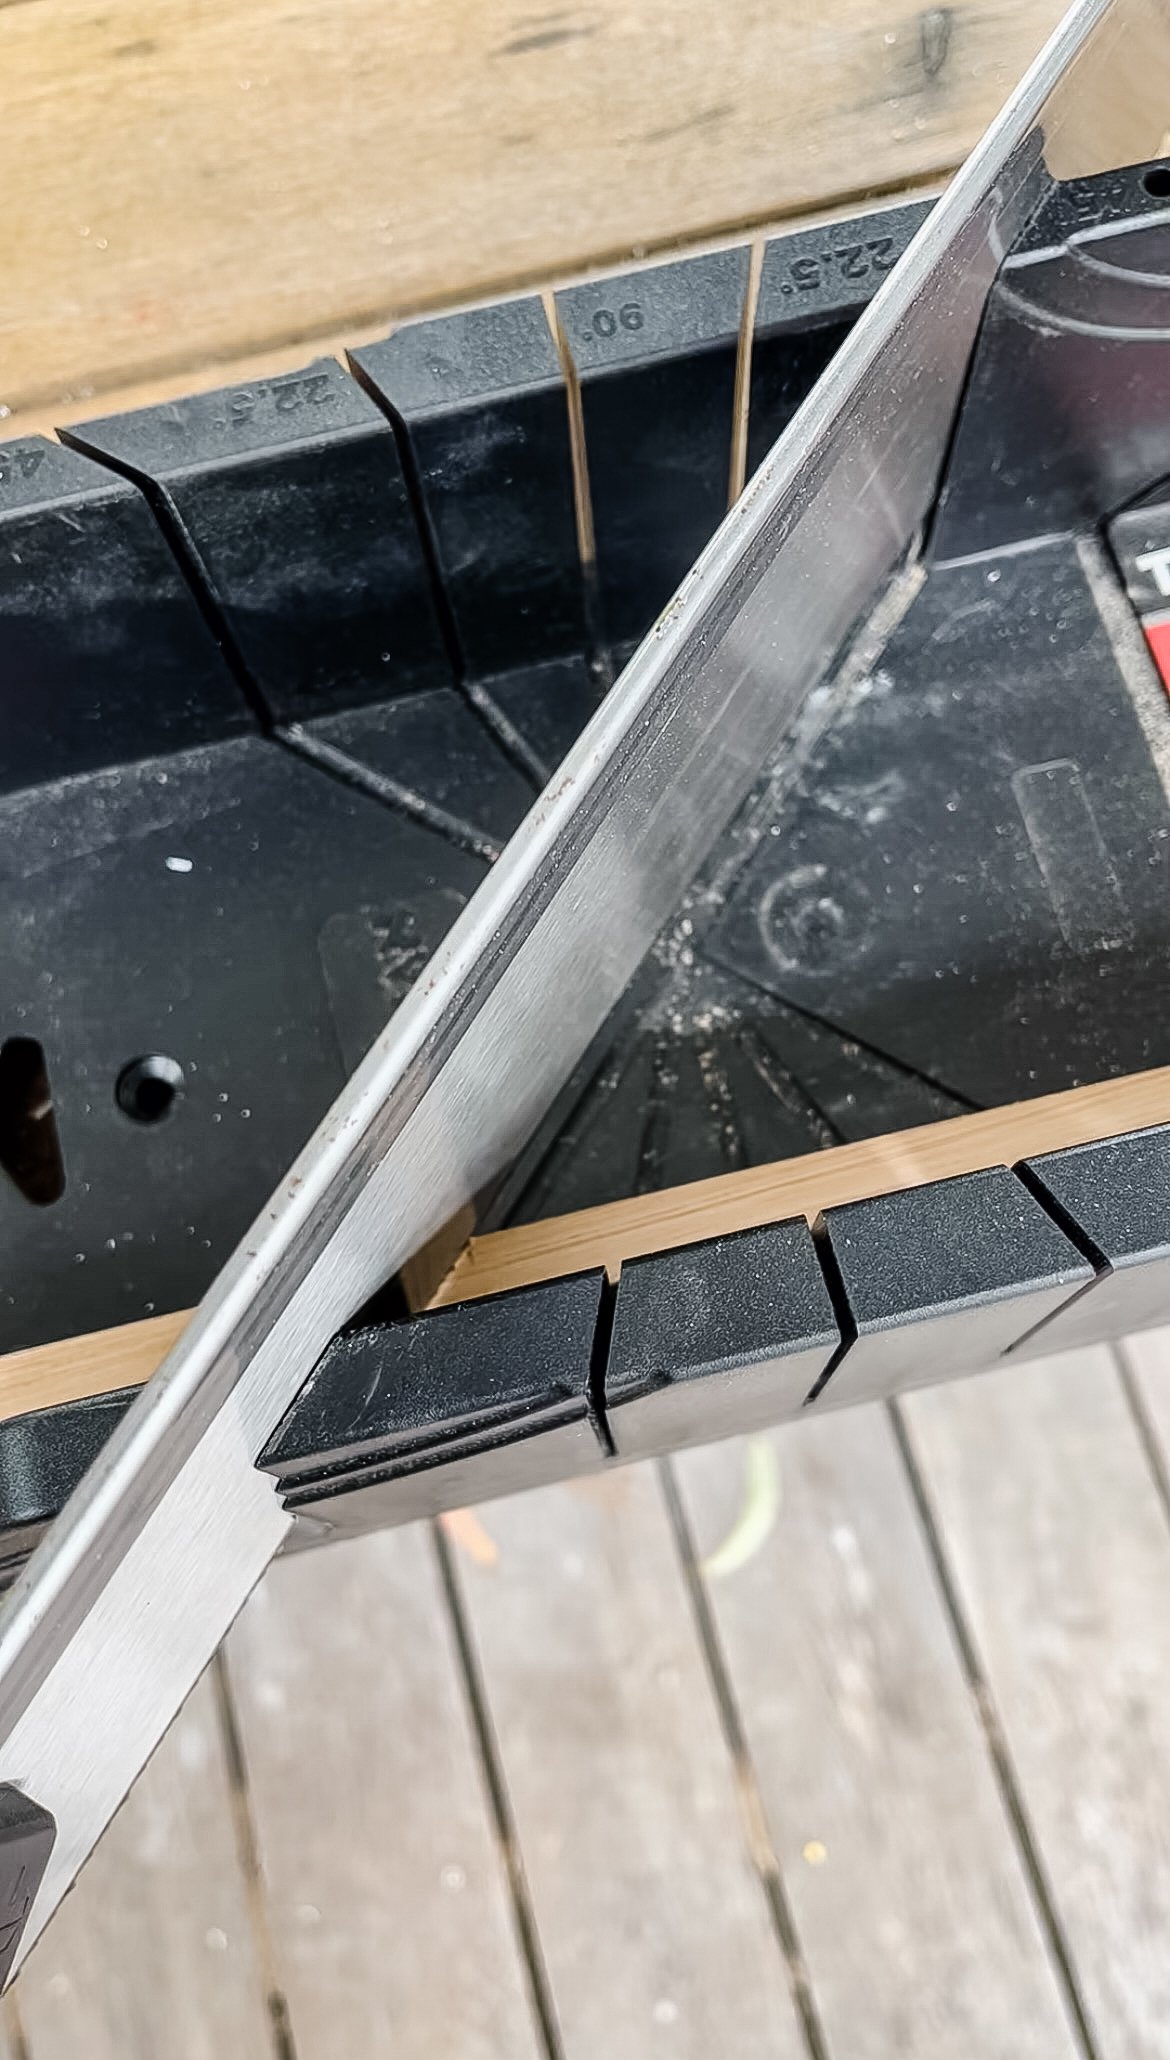
Set the mitre box to the edge of your work surface. The first cut is about trimming the very far end of the timber at 45°. Place the timber on it’s side and into to the mitre box, and line it up at the 45° mark. Secure the timber to your work surface with the two clamps; because the timer is 2.4m long you may need to rest the other end of the timber onto the top of a chair or get someone to hold it for you. Slide the tenon saw and lightly start sawing the timber in fluid movements, back and forth. Don’t use too much pressure as it actually makes it more difficult to cut the timber. Keep sawing until you have cut through the timber.
When the first cut has been made, flip the timber over onto it’s other side (this is a must!). Make a mark at 40cm with a pencil directly onto the timber, position the mark so it’s just in line with the top line of the 45° cutting line on the bottom of the mitre saw. This will ensure all your 45° cuts will line up when you glue the frame together. Make the second cut at 45°. Now you will have your first piece of timber. Flip the timber over again, measure again and cut again. Then you will have your two widths. Repeat for the lengths and always check your measurements.
If you need further clarification, make sure you watch these Instagram Stories.
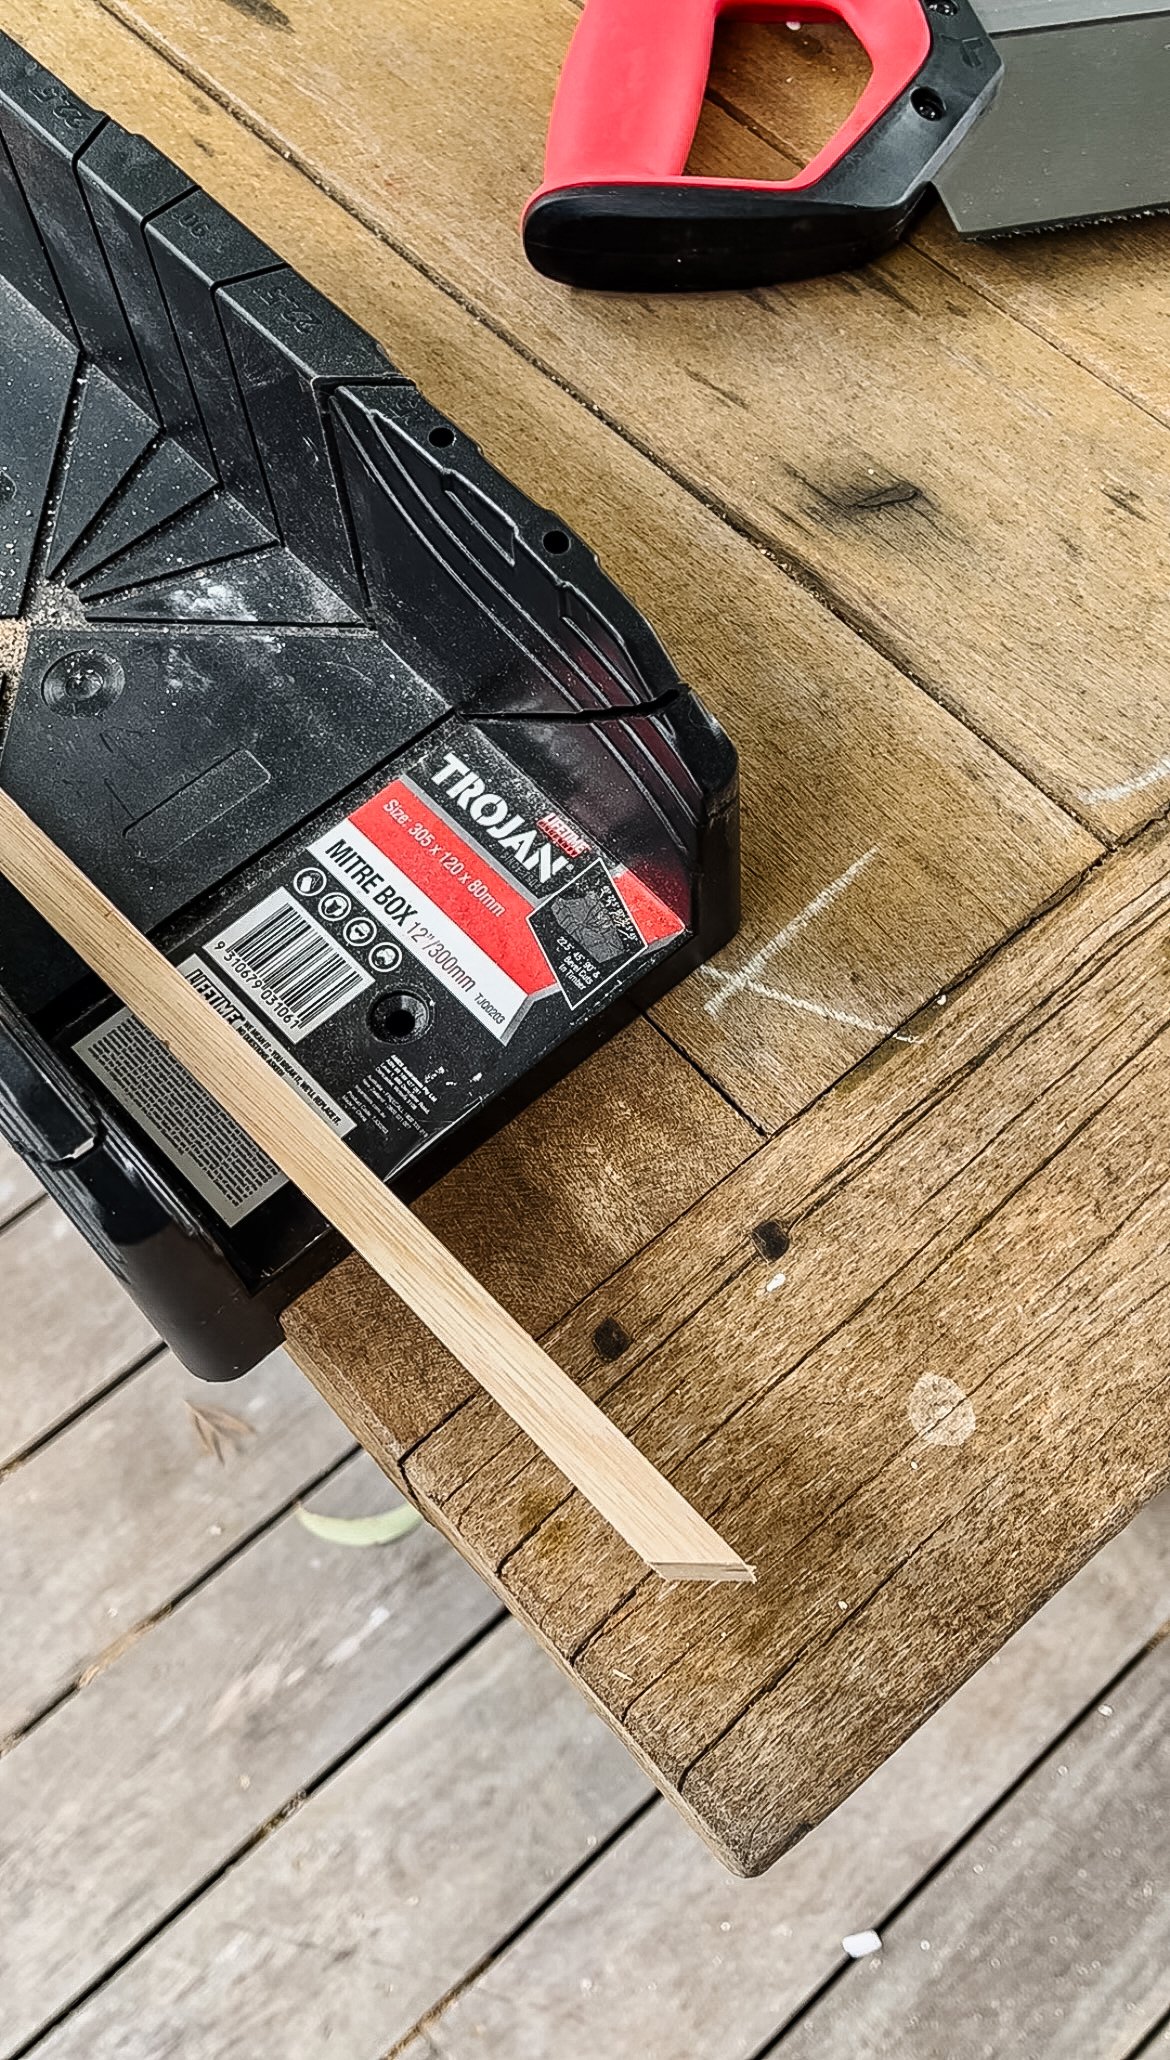
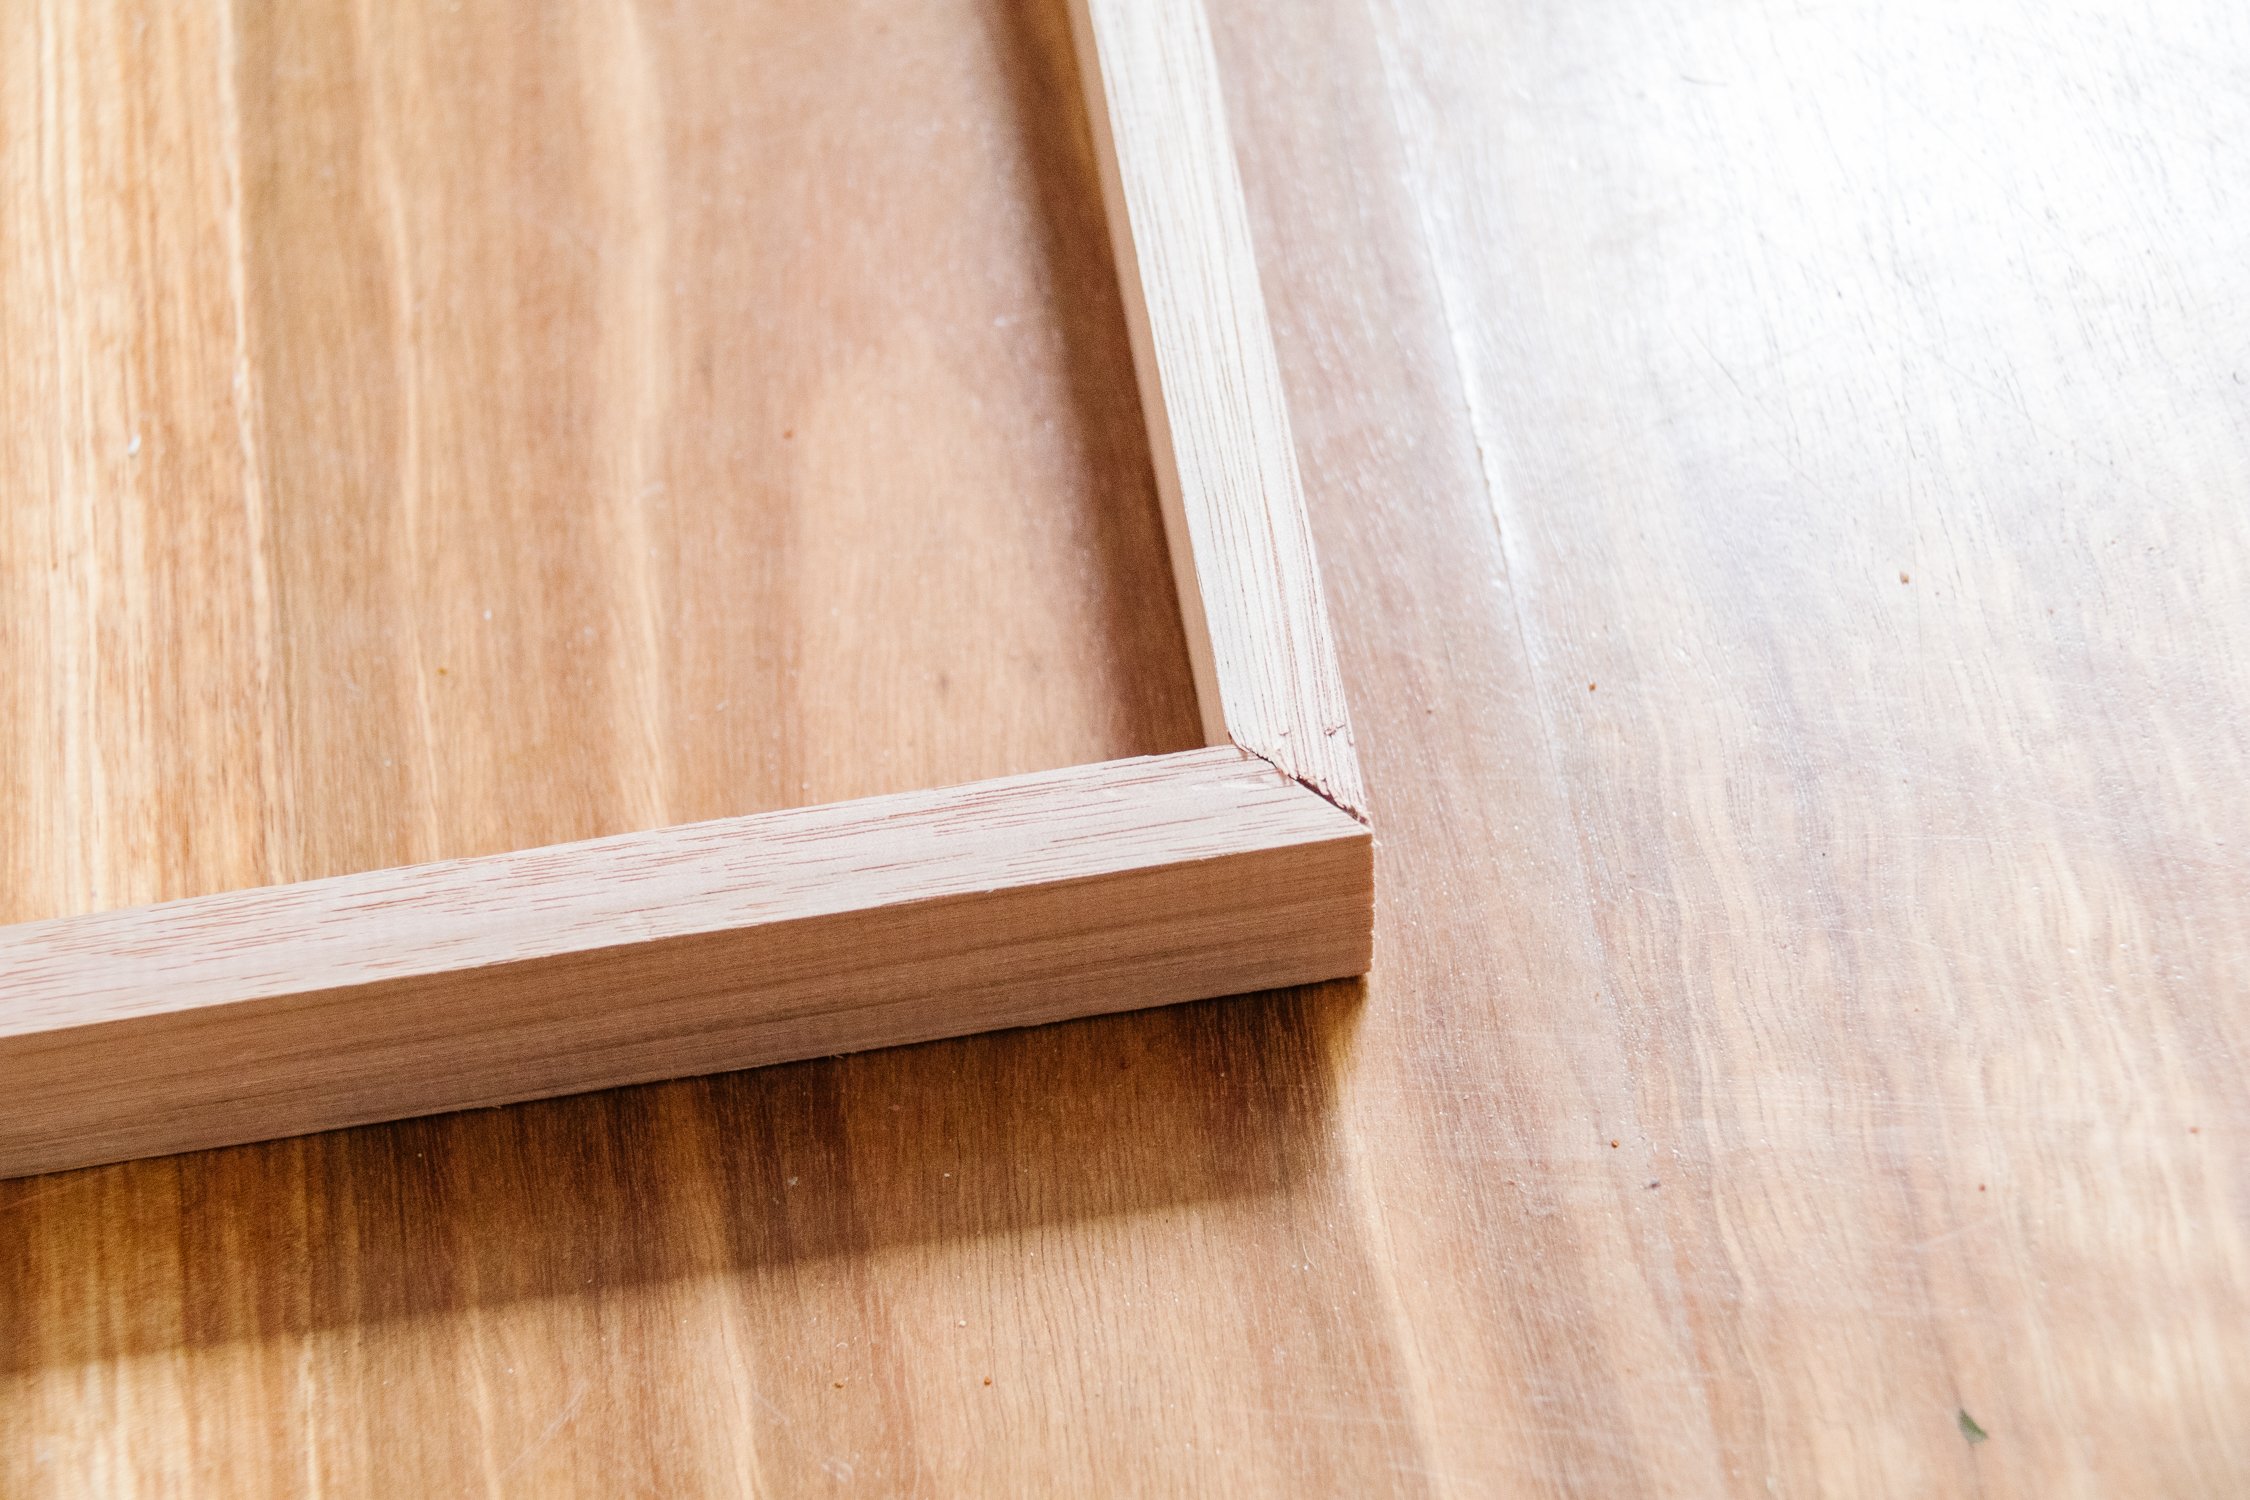
No matter which option you chose, you will now have 4 pieces of timber cut at 45° - two widths and two lengths. Sometimes the cut angles may not cut smoothly, which is ok. Simply use a sanding sheet to smooth the edges.
STEP THREE:
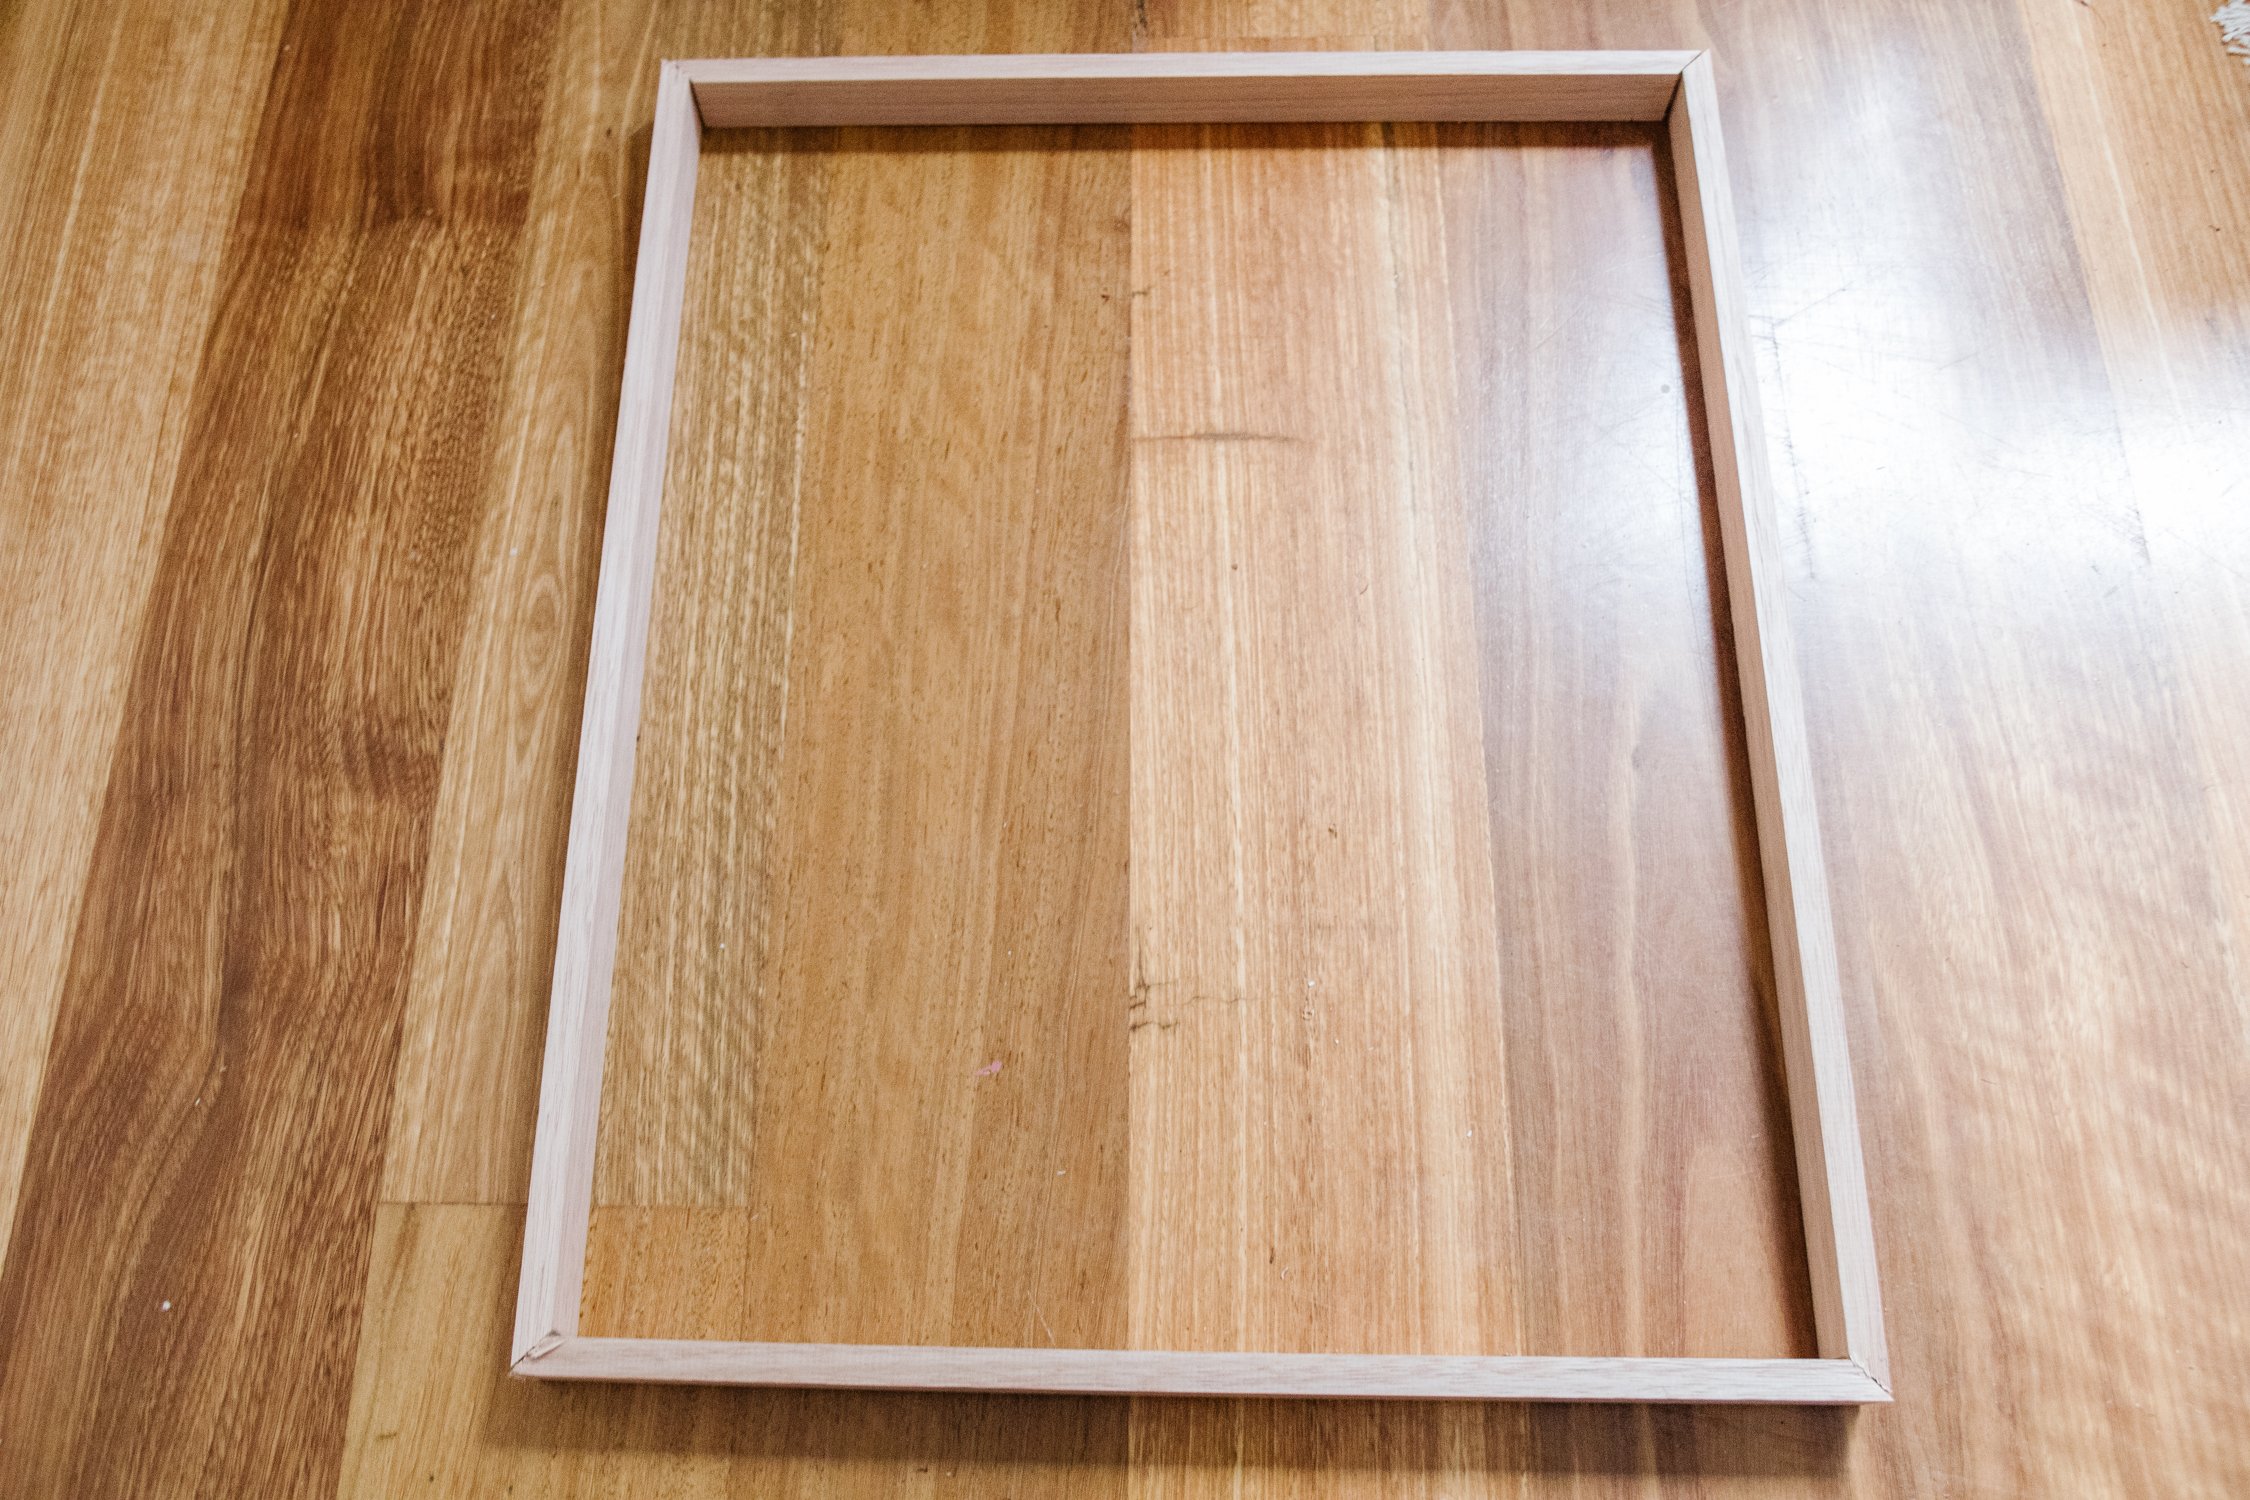
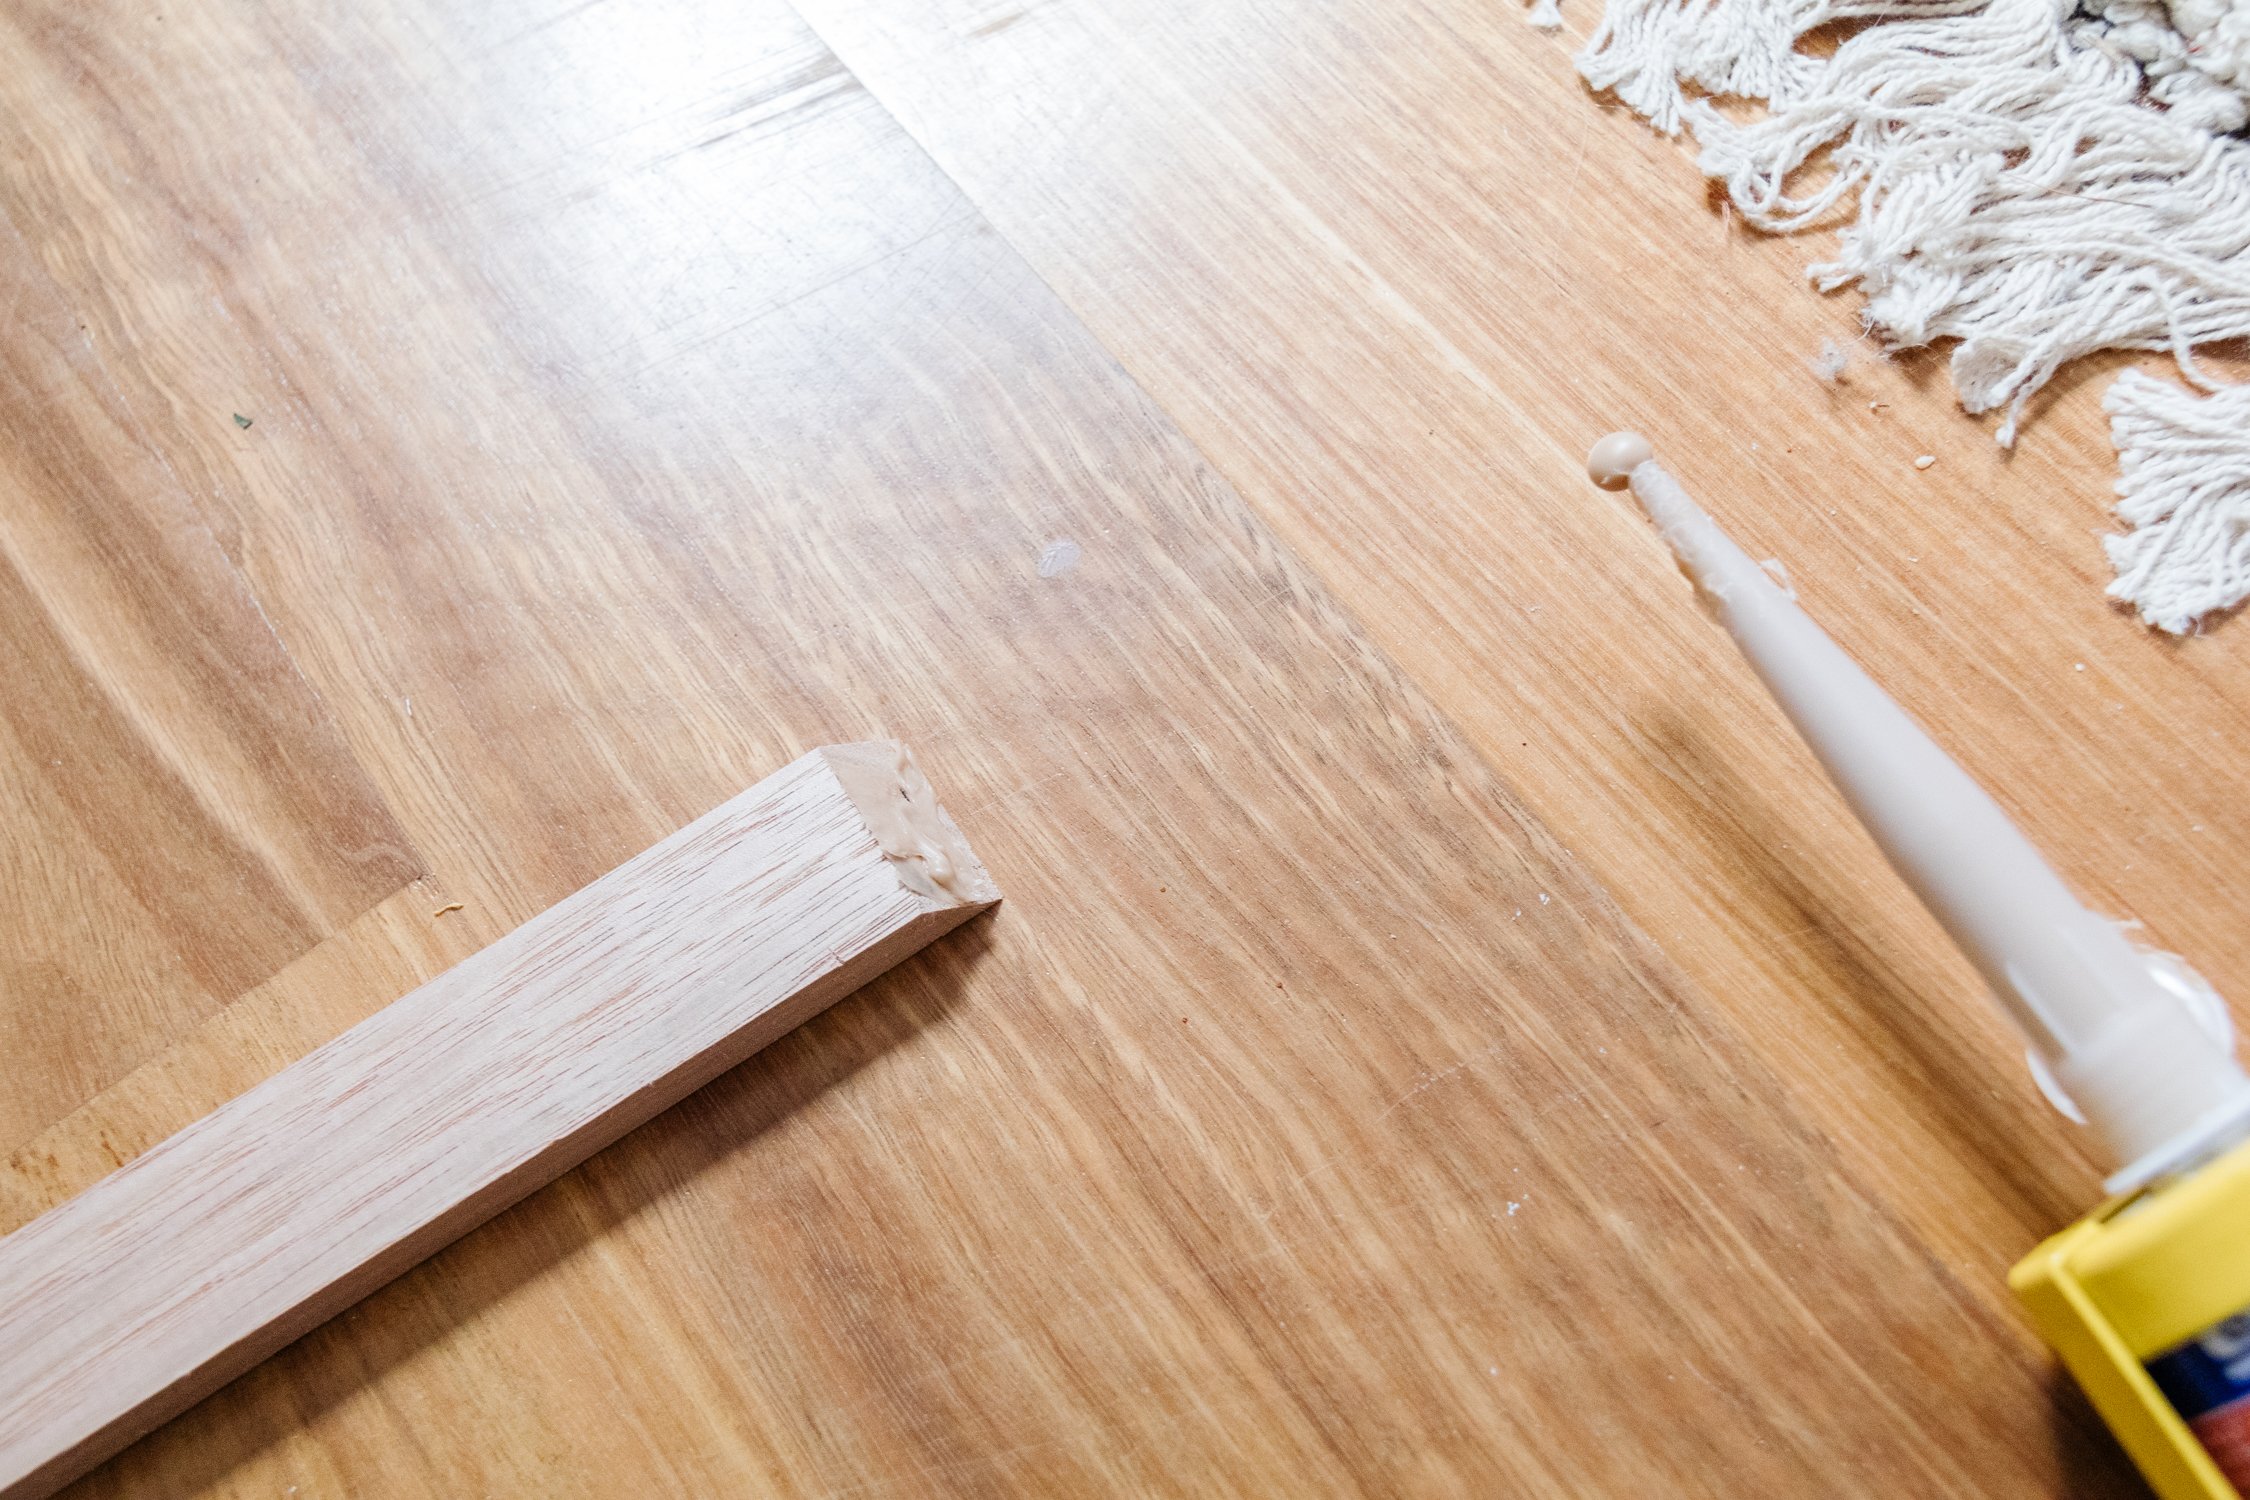
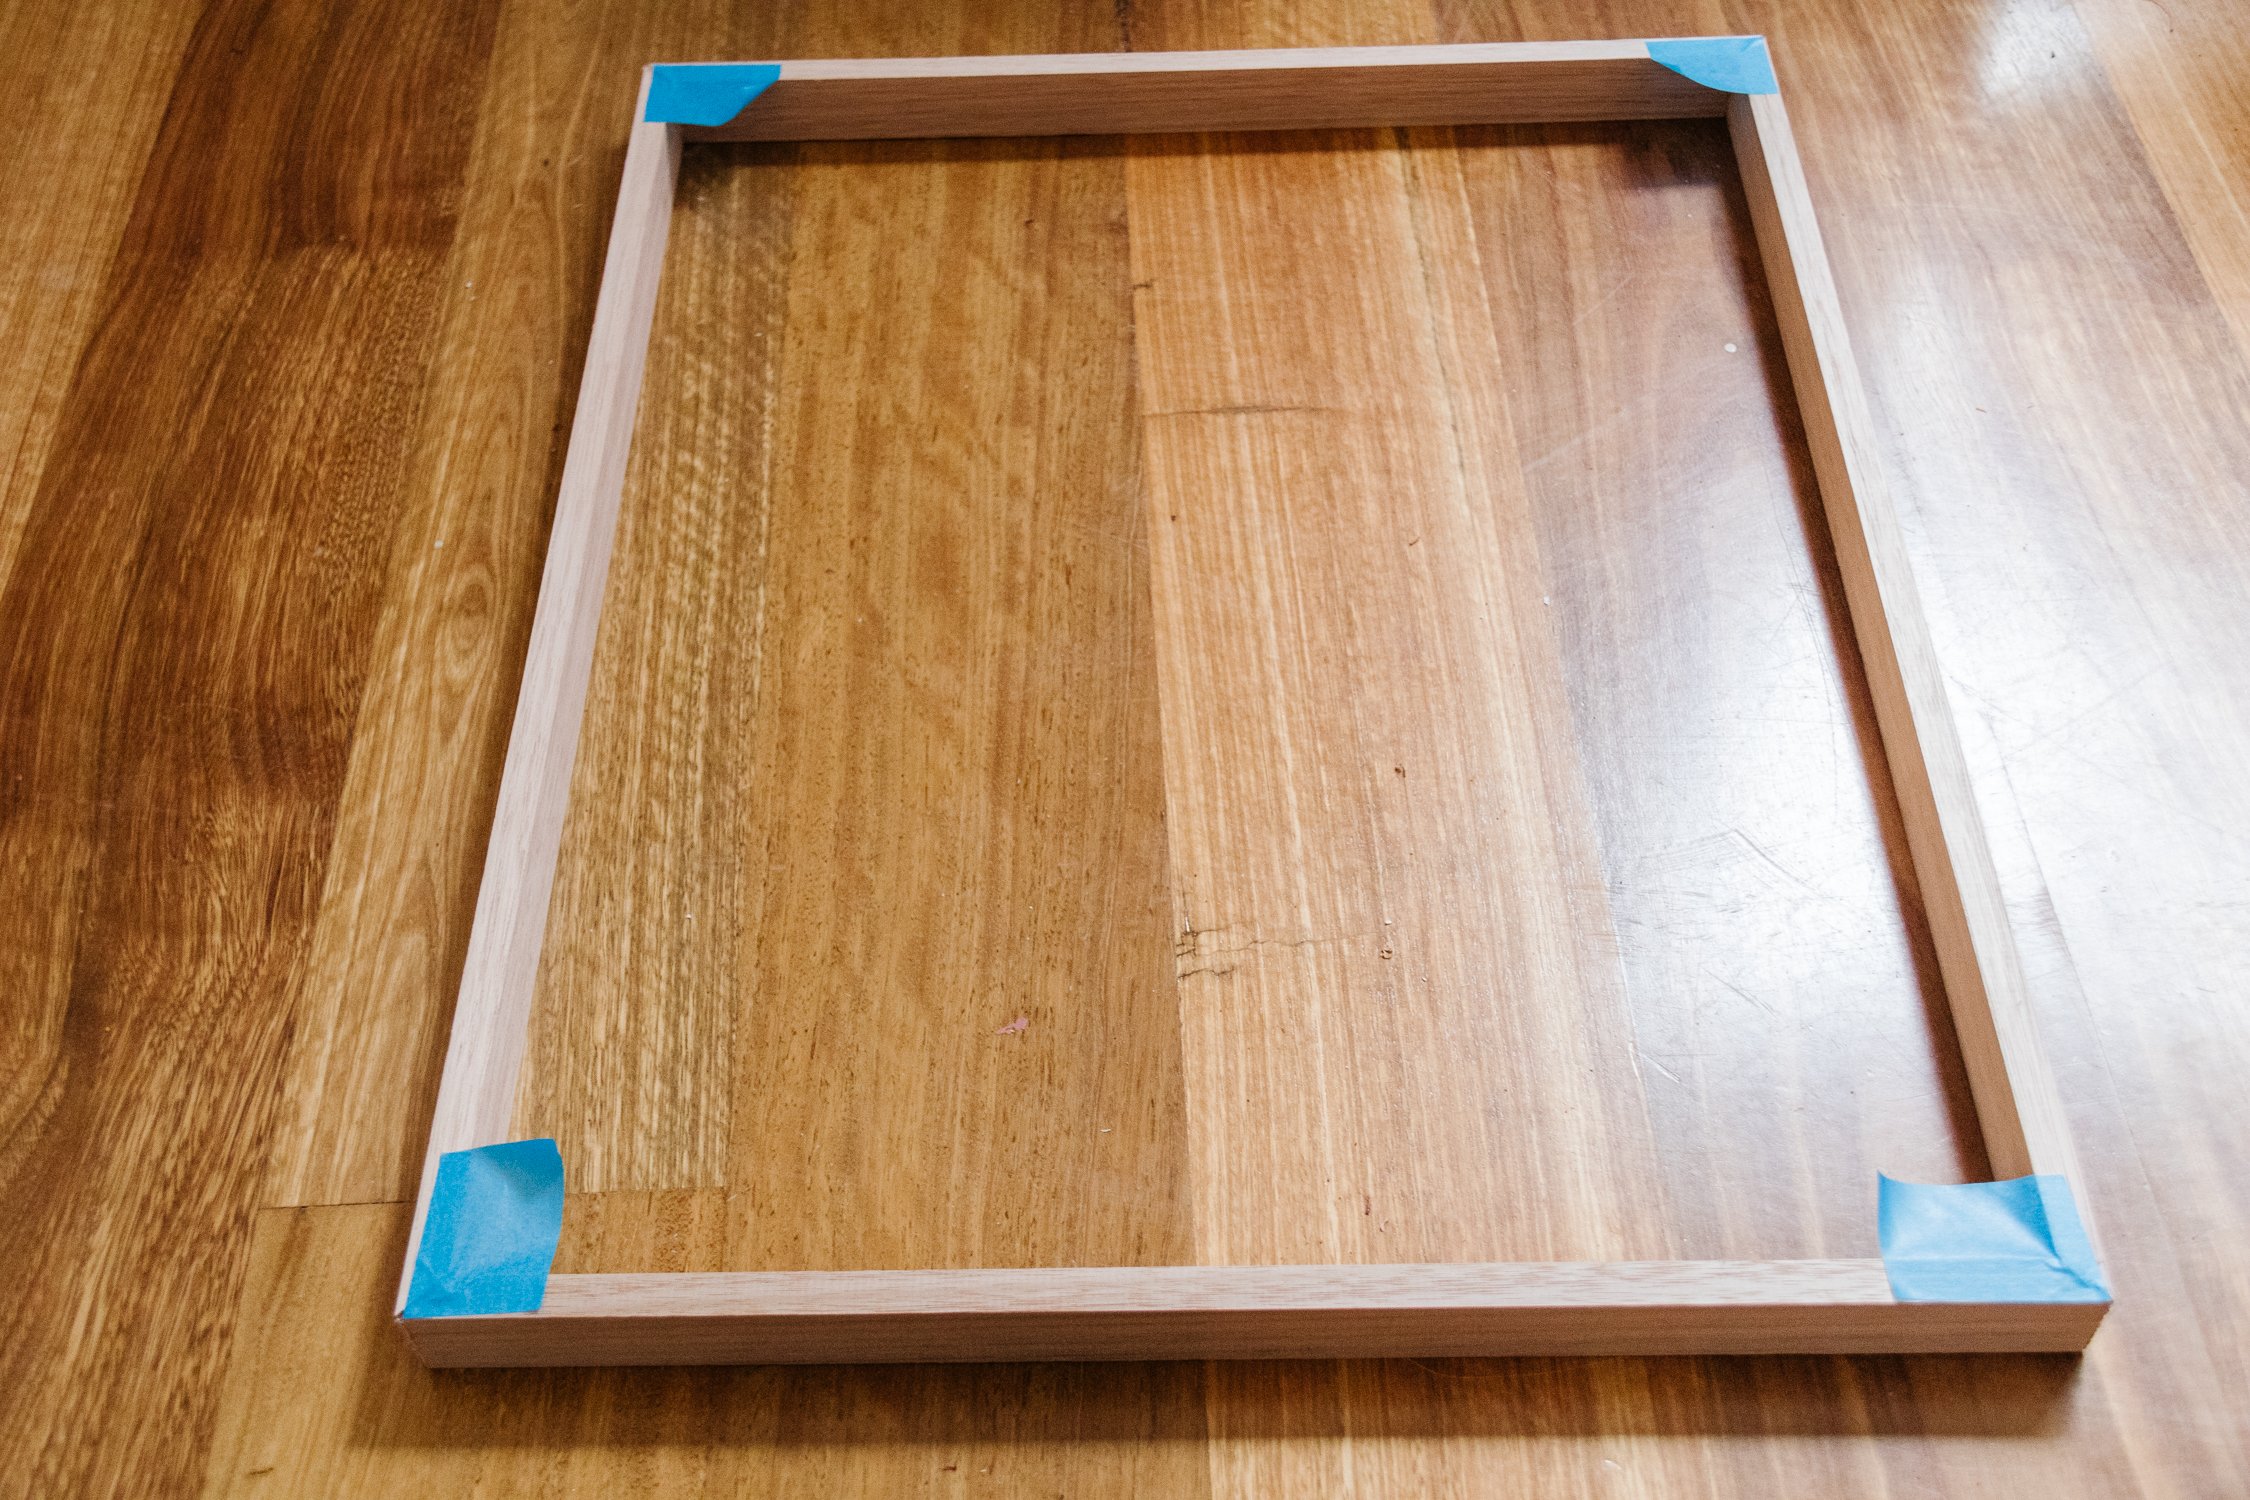
Lay the four pieces of cut timber onto a flat surface (I placed mine onto our timber floor) and position them together into a frame. Glue the corners together; I like to spread the glue first to avoid overspill when I squeeze the corners together. Your main focus is to make sure they meet as close to the outside corner as possible. If there are some gaps, don’t worry. Simply fill them with a bit more glue. Remember the glue is a wood colour, so if you don’t wipe any excess glue away with your finger, it will dry on the wood - and you want to avoid that. Once the corners are glued together, place a small [piece of painters tape on top of each corner for extra security while the glue is drying. Set aside for at least 2 hours.
STEP FOUR:
Carefully remove the painters tape. Depending on the canvas fitting into the frame, you can:
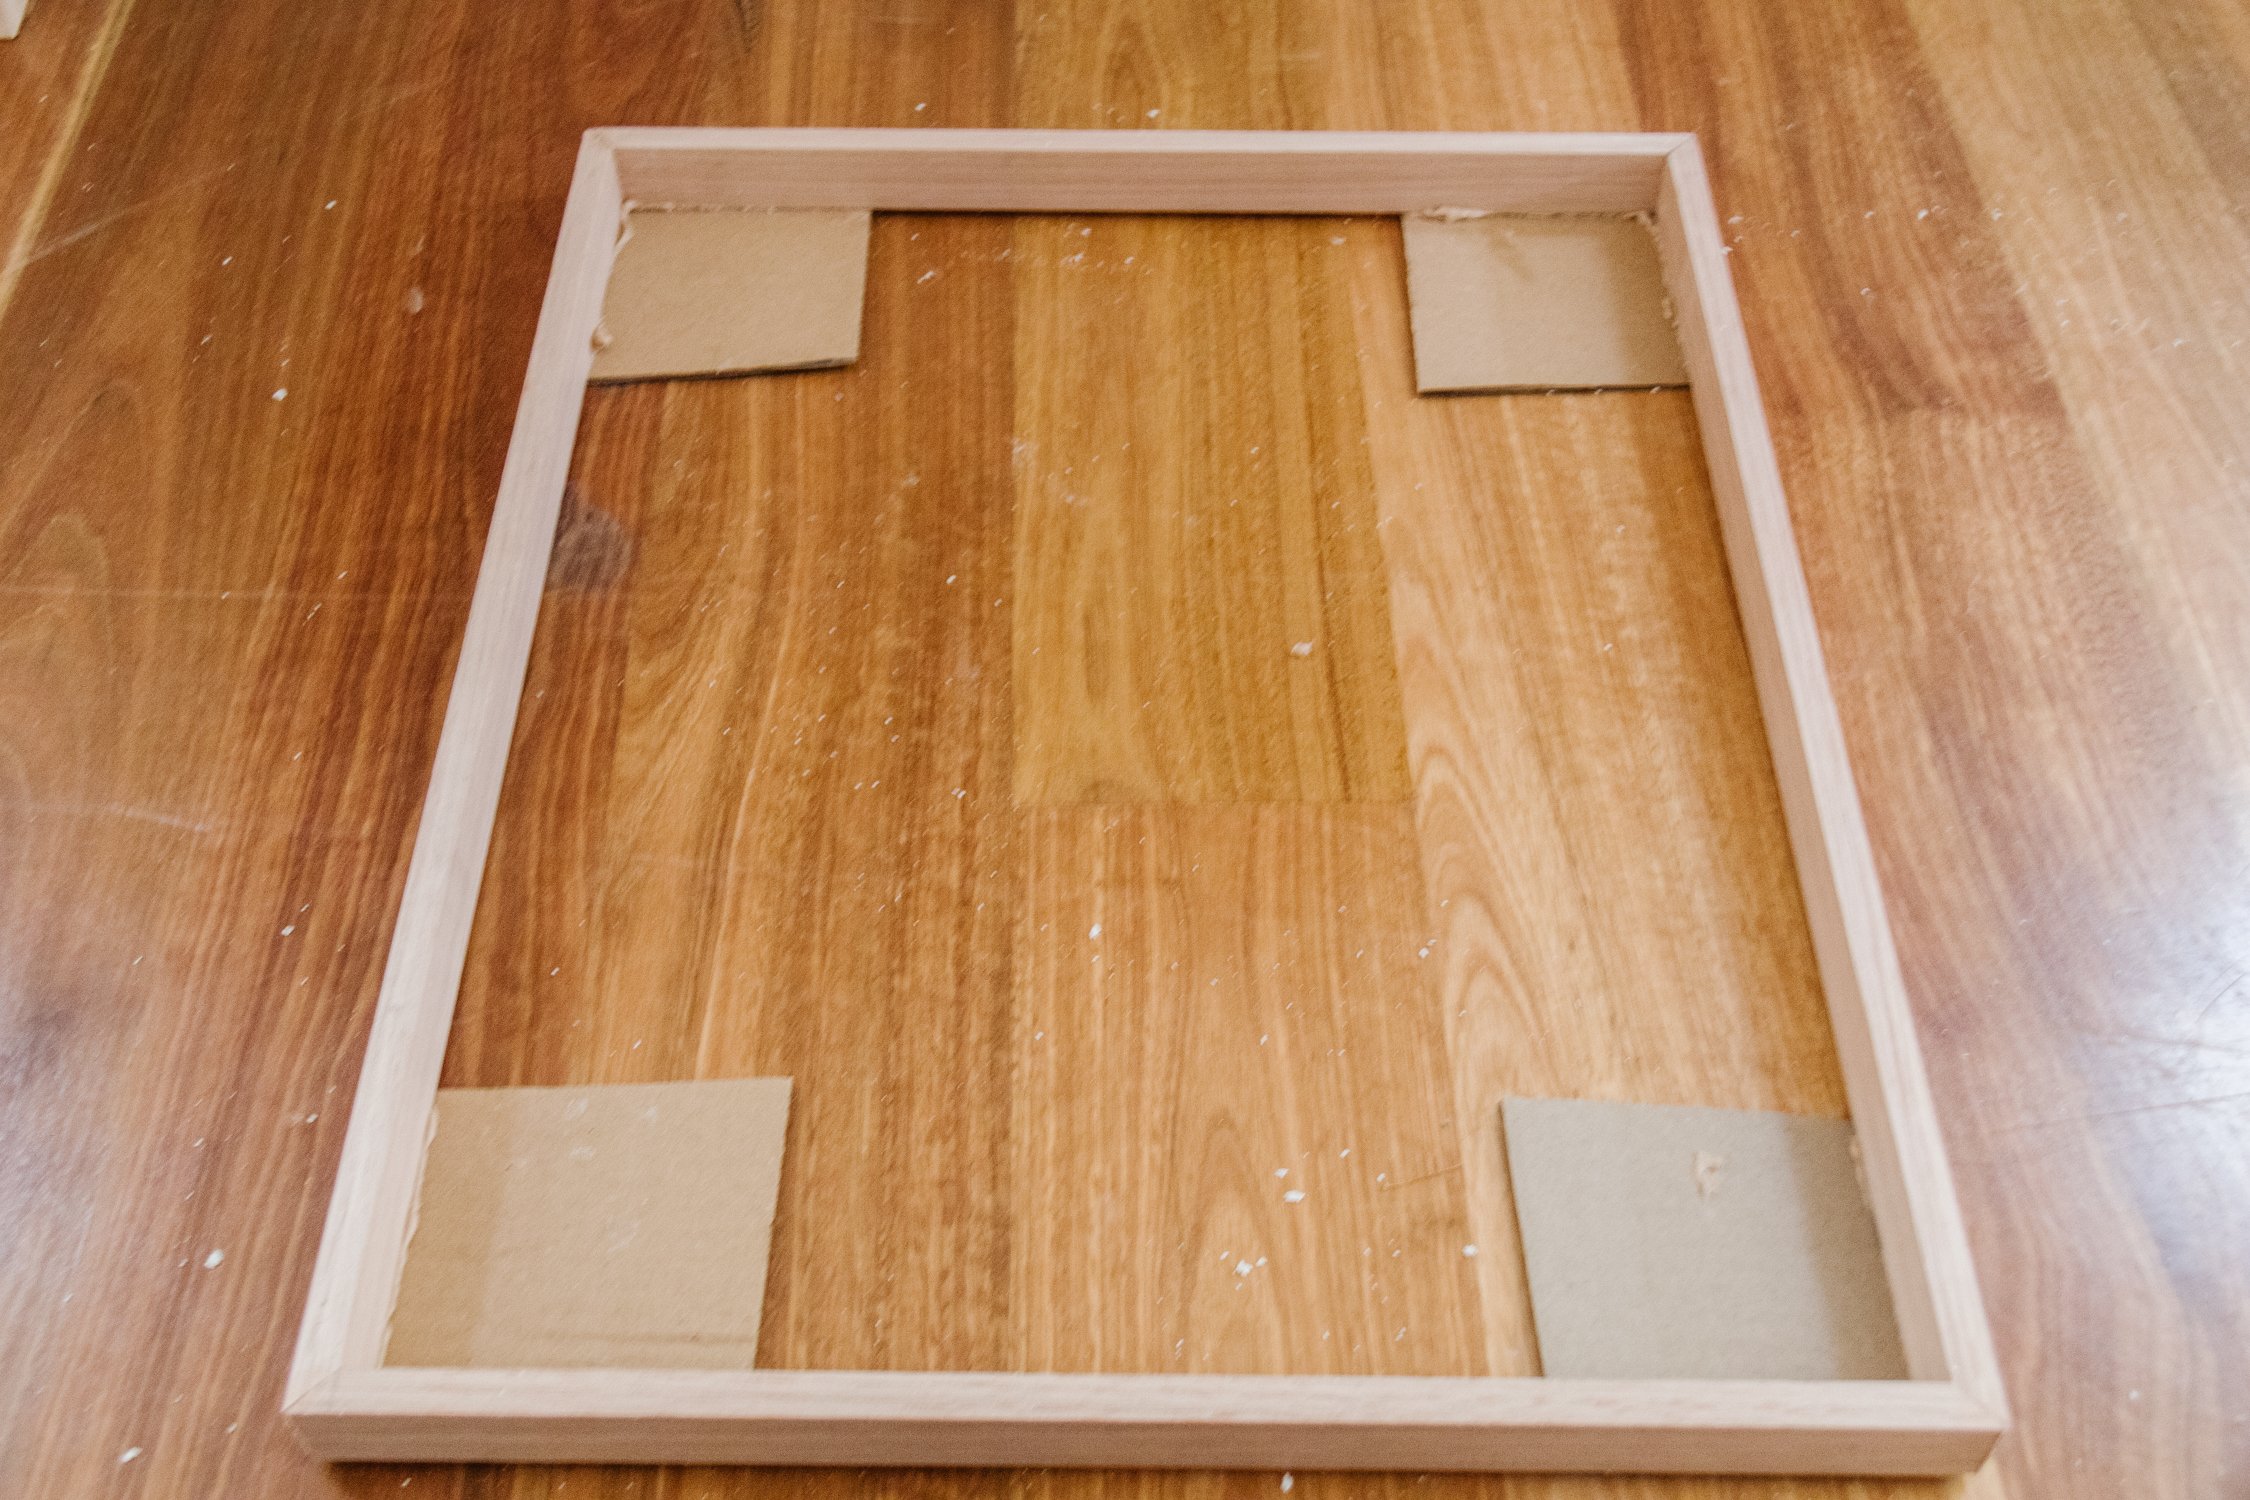
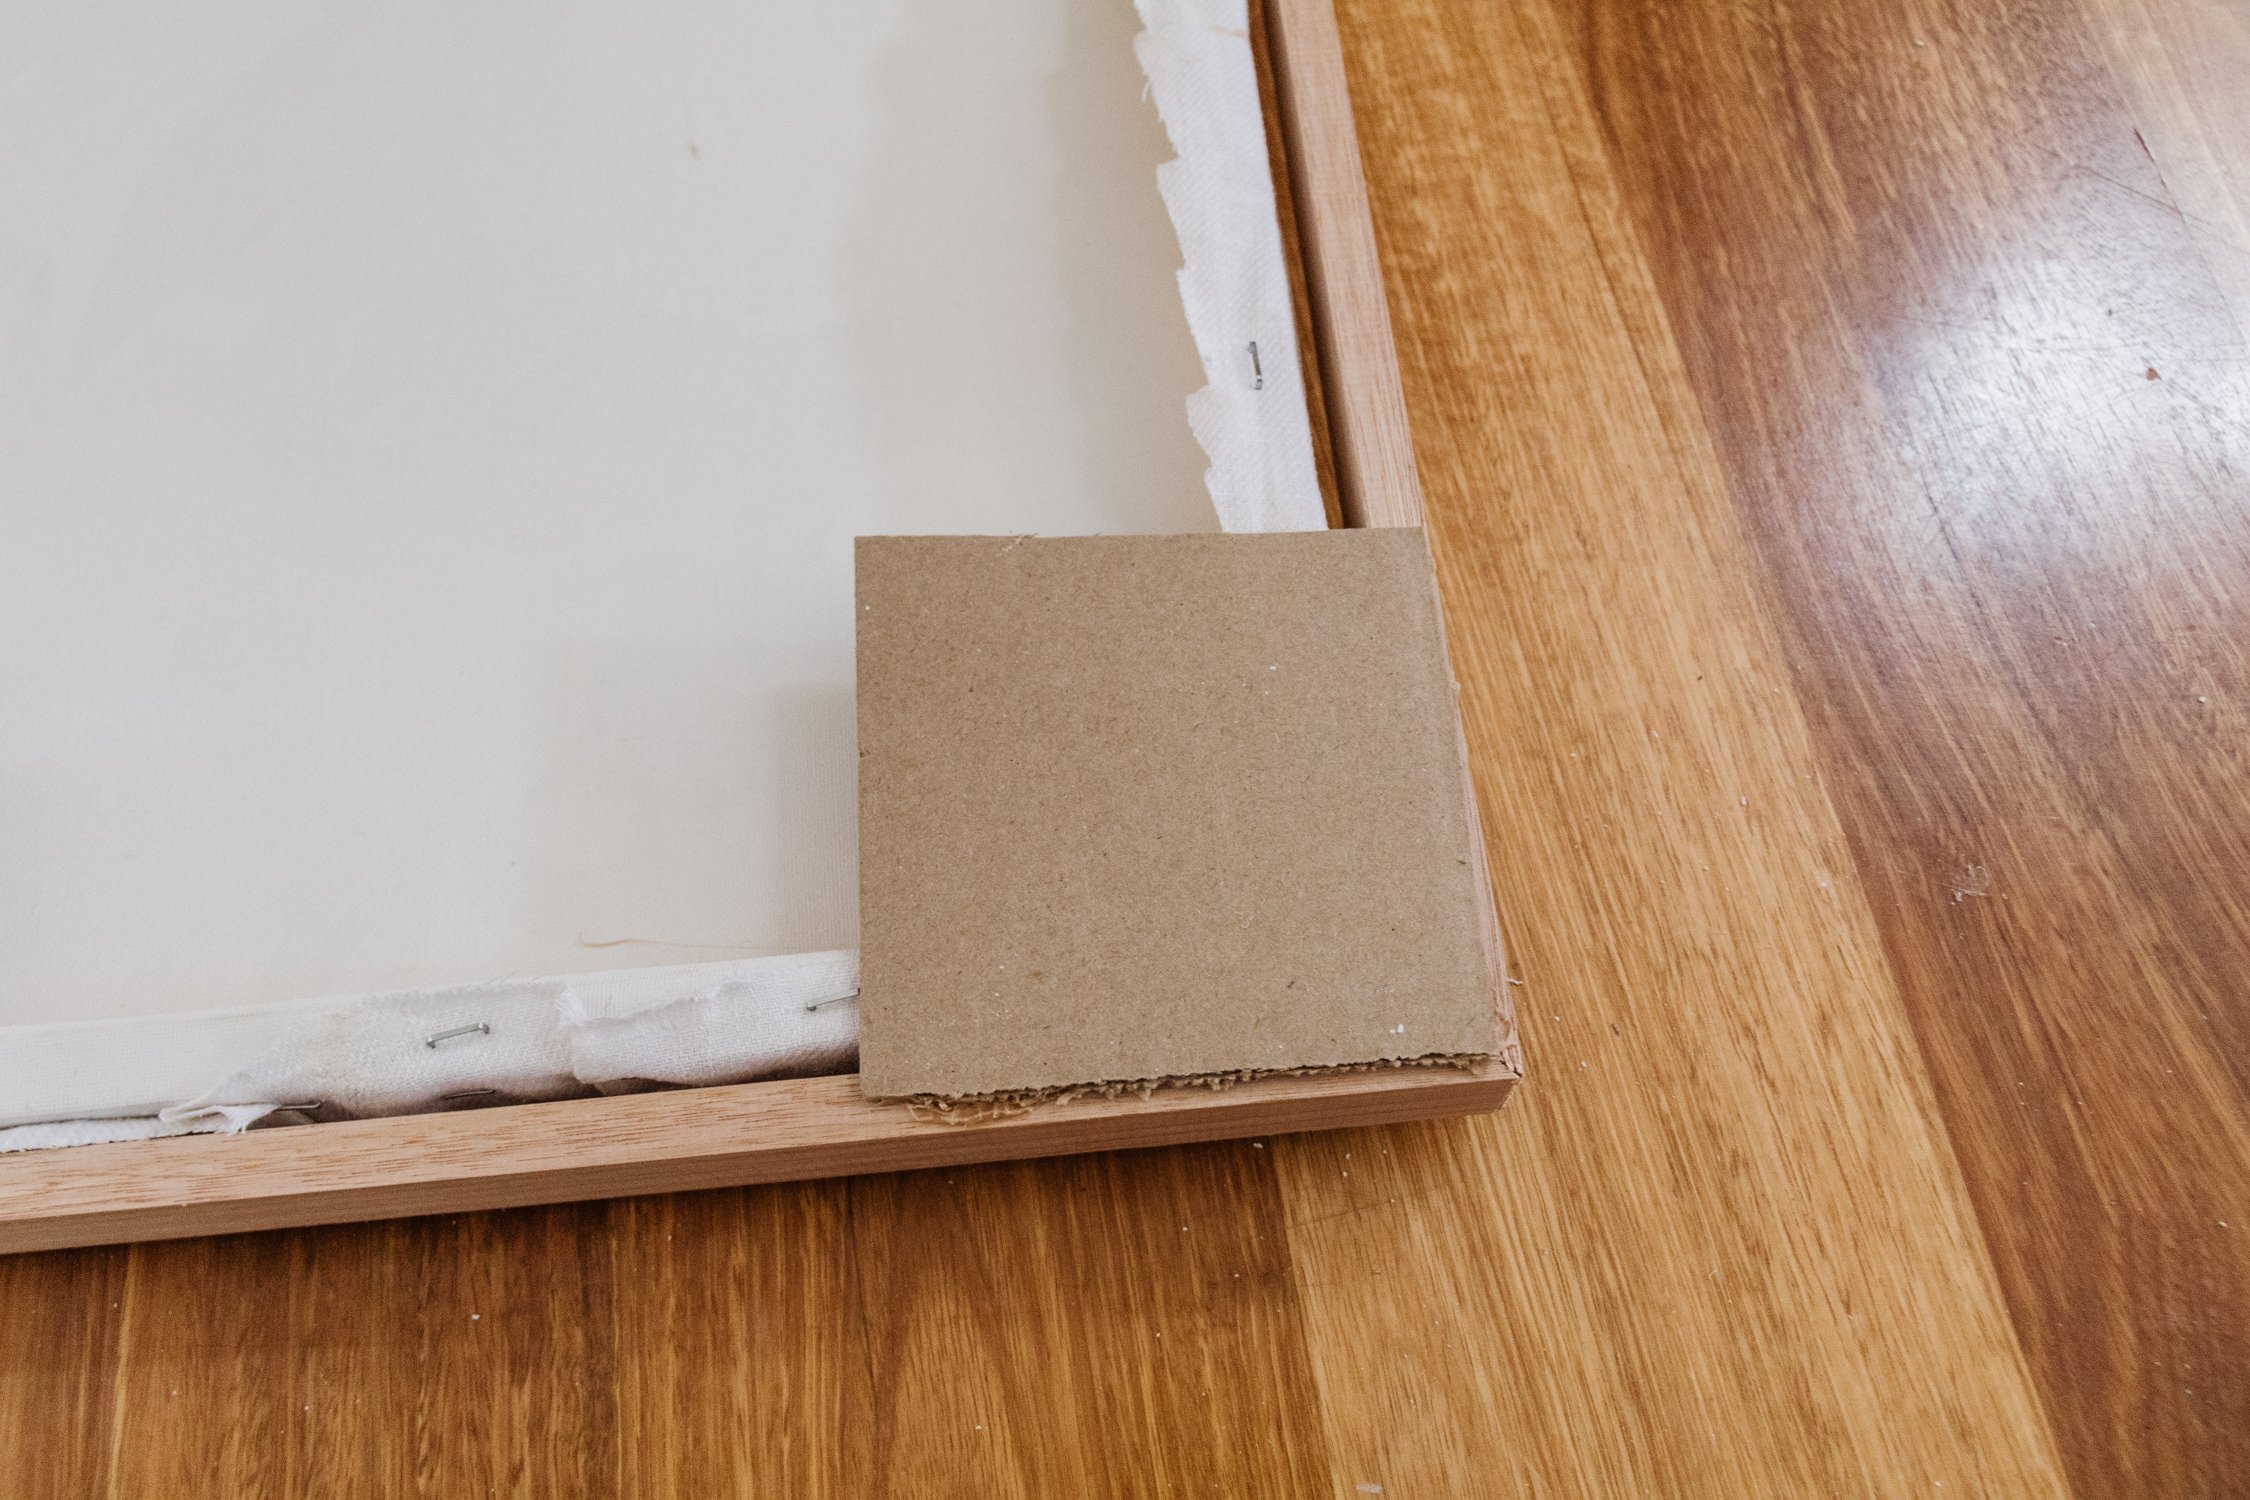
Option 1: Glue the four pieces of cardboard onto the corners, flip the frame over, add more glue to the inside edges of the cardboard and gently push the art into the frame. Then set aside to dry.
Option 2: Flip the frame over, gently push the art into the frame, flip the frame over again (making sure to keep the canvas in place, lay the framed canvas onto the floor, and glue the four pieces of cardboard onto the corners. Flip the framed canvas over again and set aside to dry.
After a couple of hours the glue will have well and truly cured, so place on set of picture velcro strips on the cardboard corners. Peel the other sticker off and then position your art on to the wall.
Ta daaaa! Making your own floating timber frame not only brings you joy and satisfaction, it also saves you lots of $$!
I honestly can’t believe how simple it is to make your own floating frame. And while I typically do as much research as I can when I am embarking on a new DIY project, I instead looked to a piece of art hung in a floating frame in our home and broke the process down myself with some creative problem solving. I’m so excited about this project as I’ve been able to give you two options that yield the same result. It all comes down to the tools you have at home, your budget and your skills, which makes this project so versatile and flexible depending on your skills. I can’t wait to see your own DIY Floating Timber Frames!