How To Paint Striped Patterned Tiles
Also known as the easiest and affordable way to elevate your tiled areas at home!
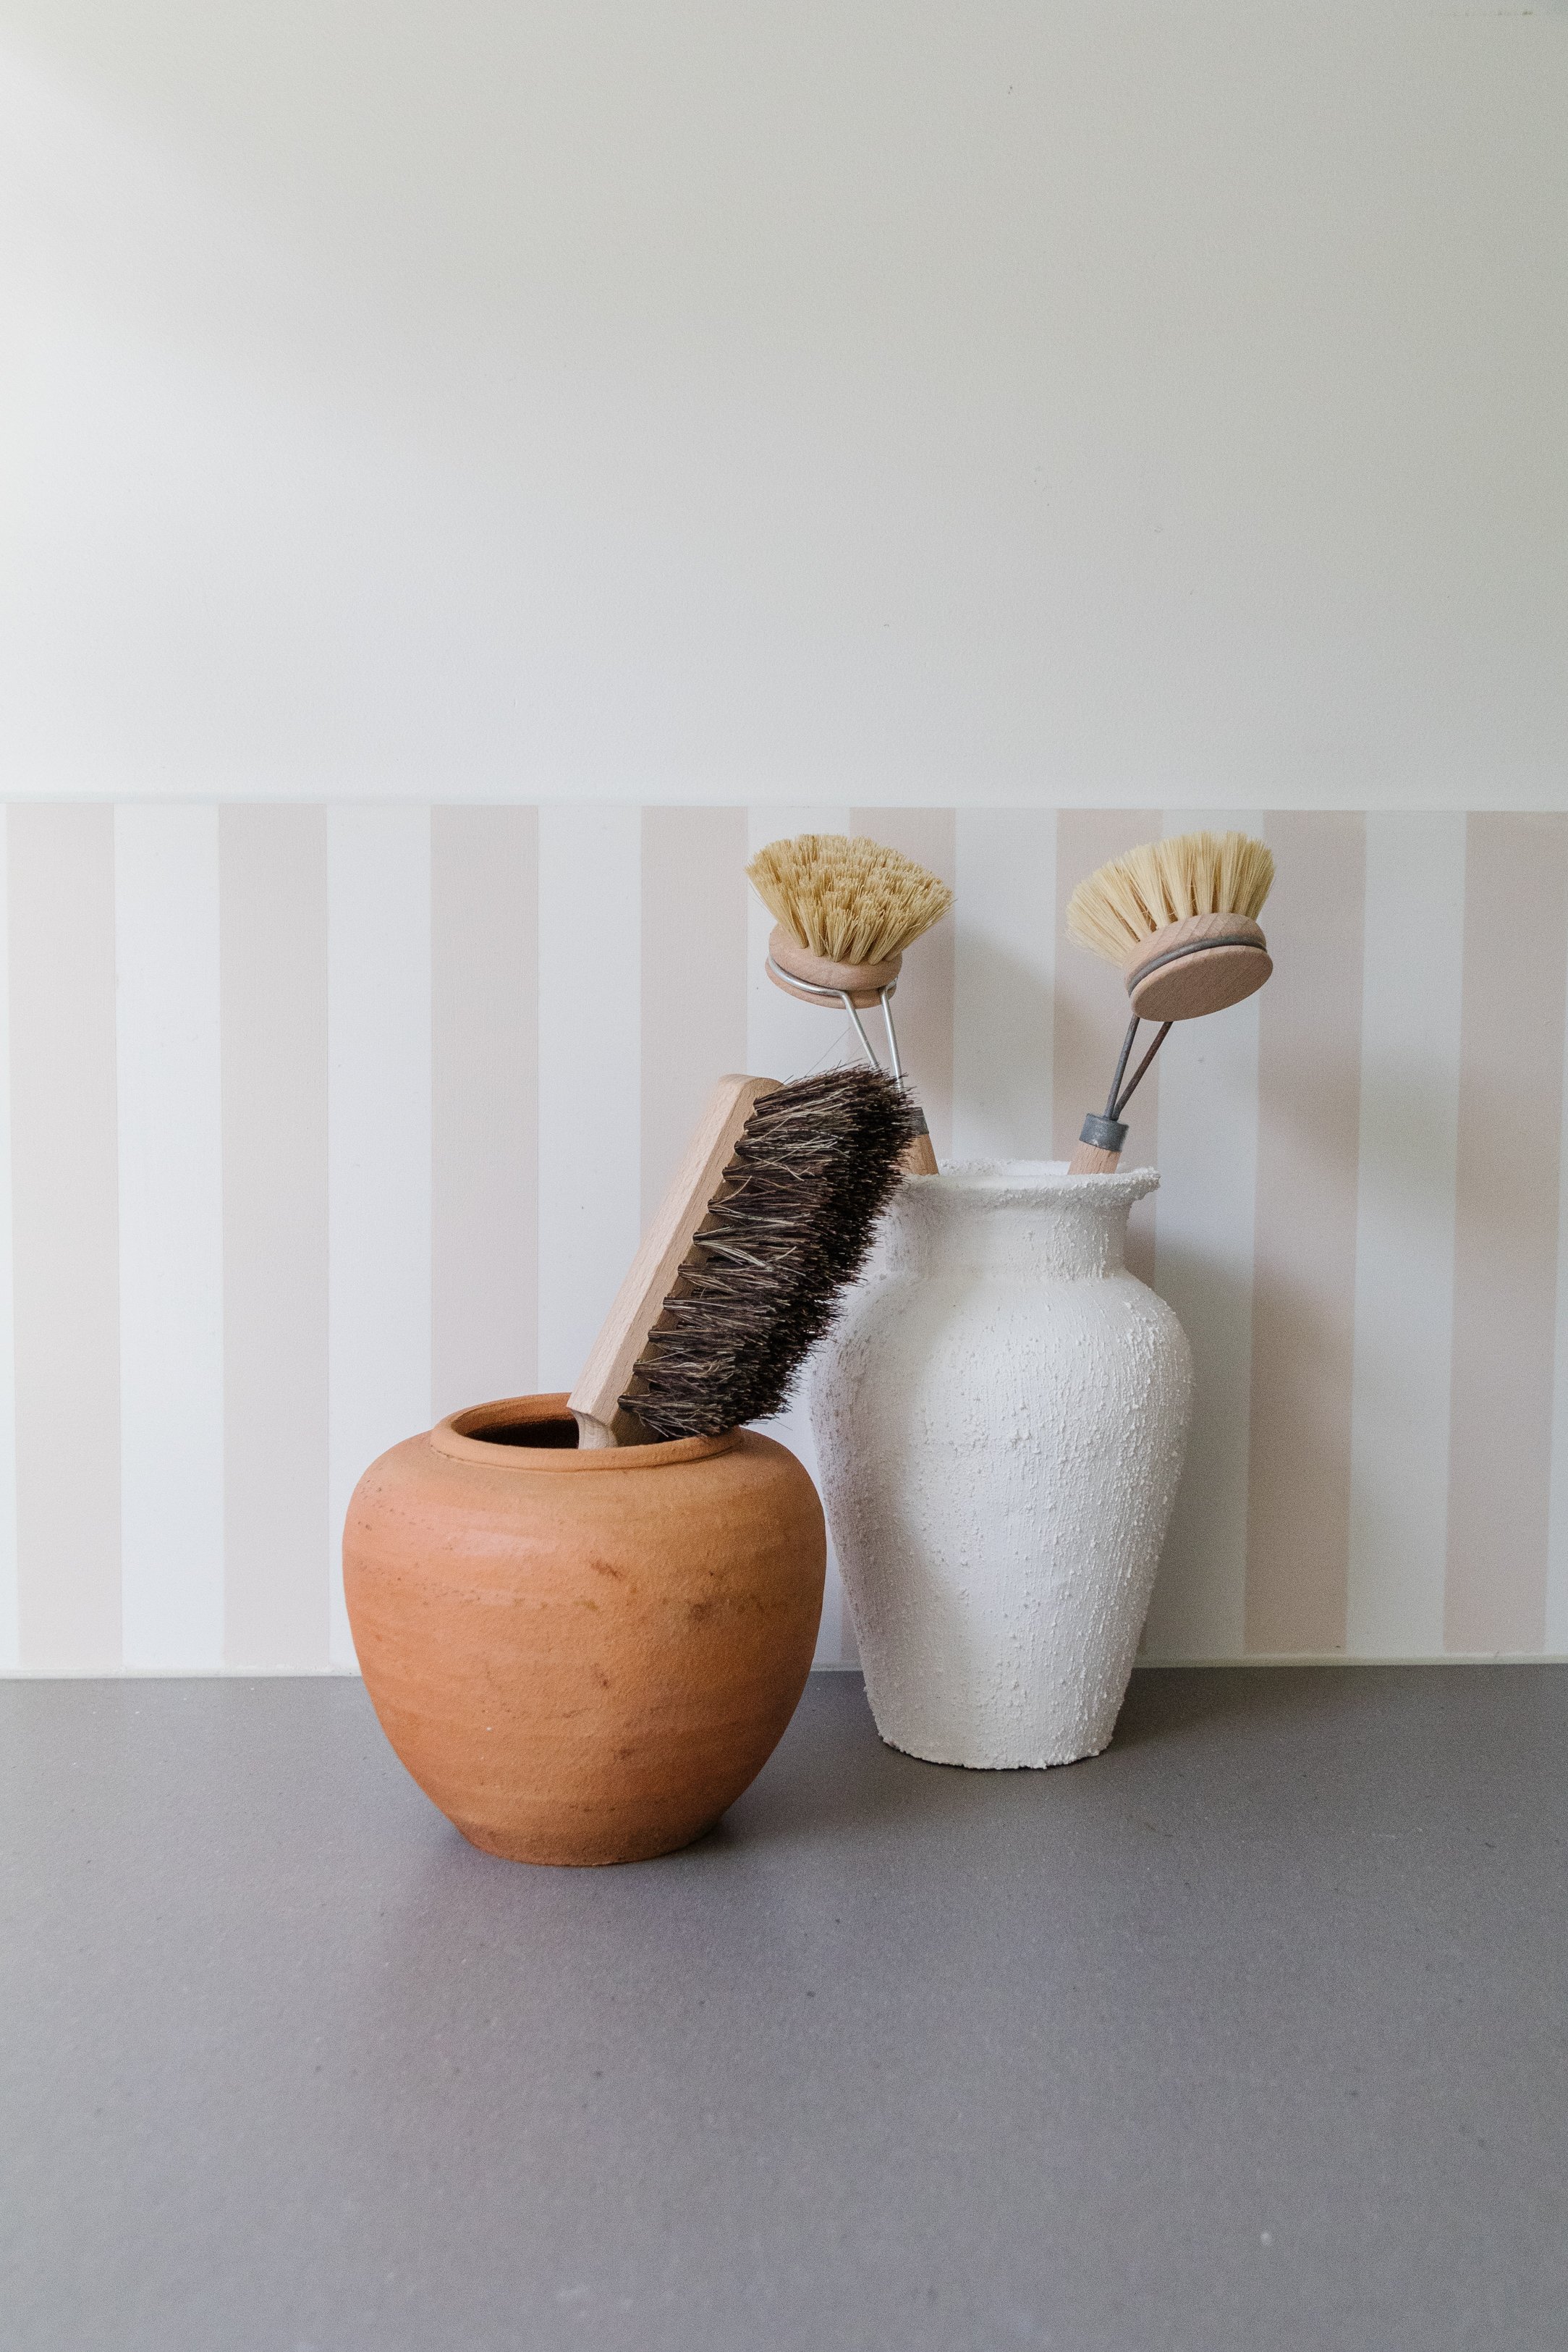
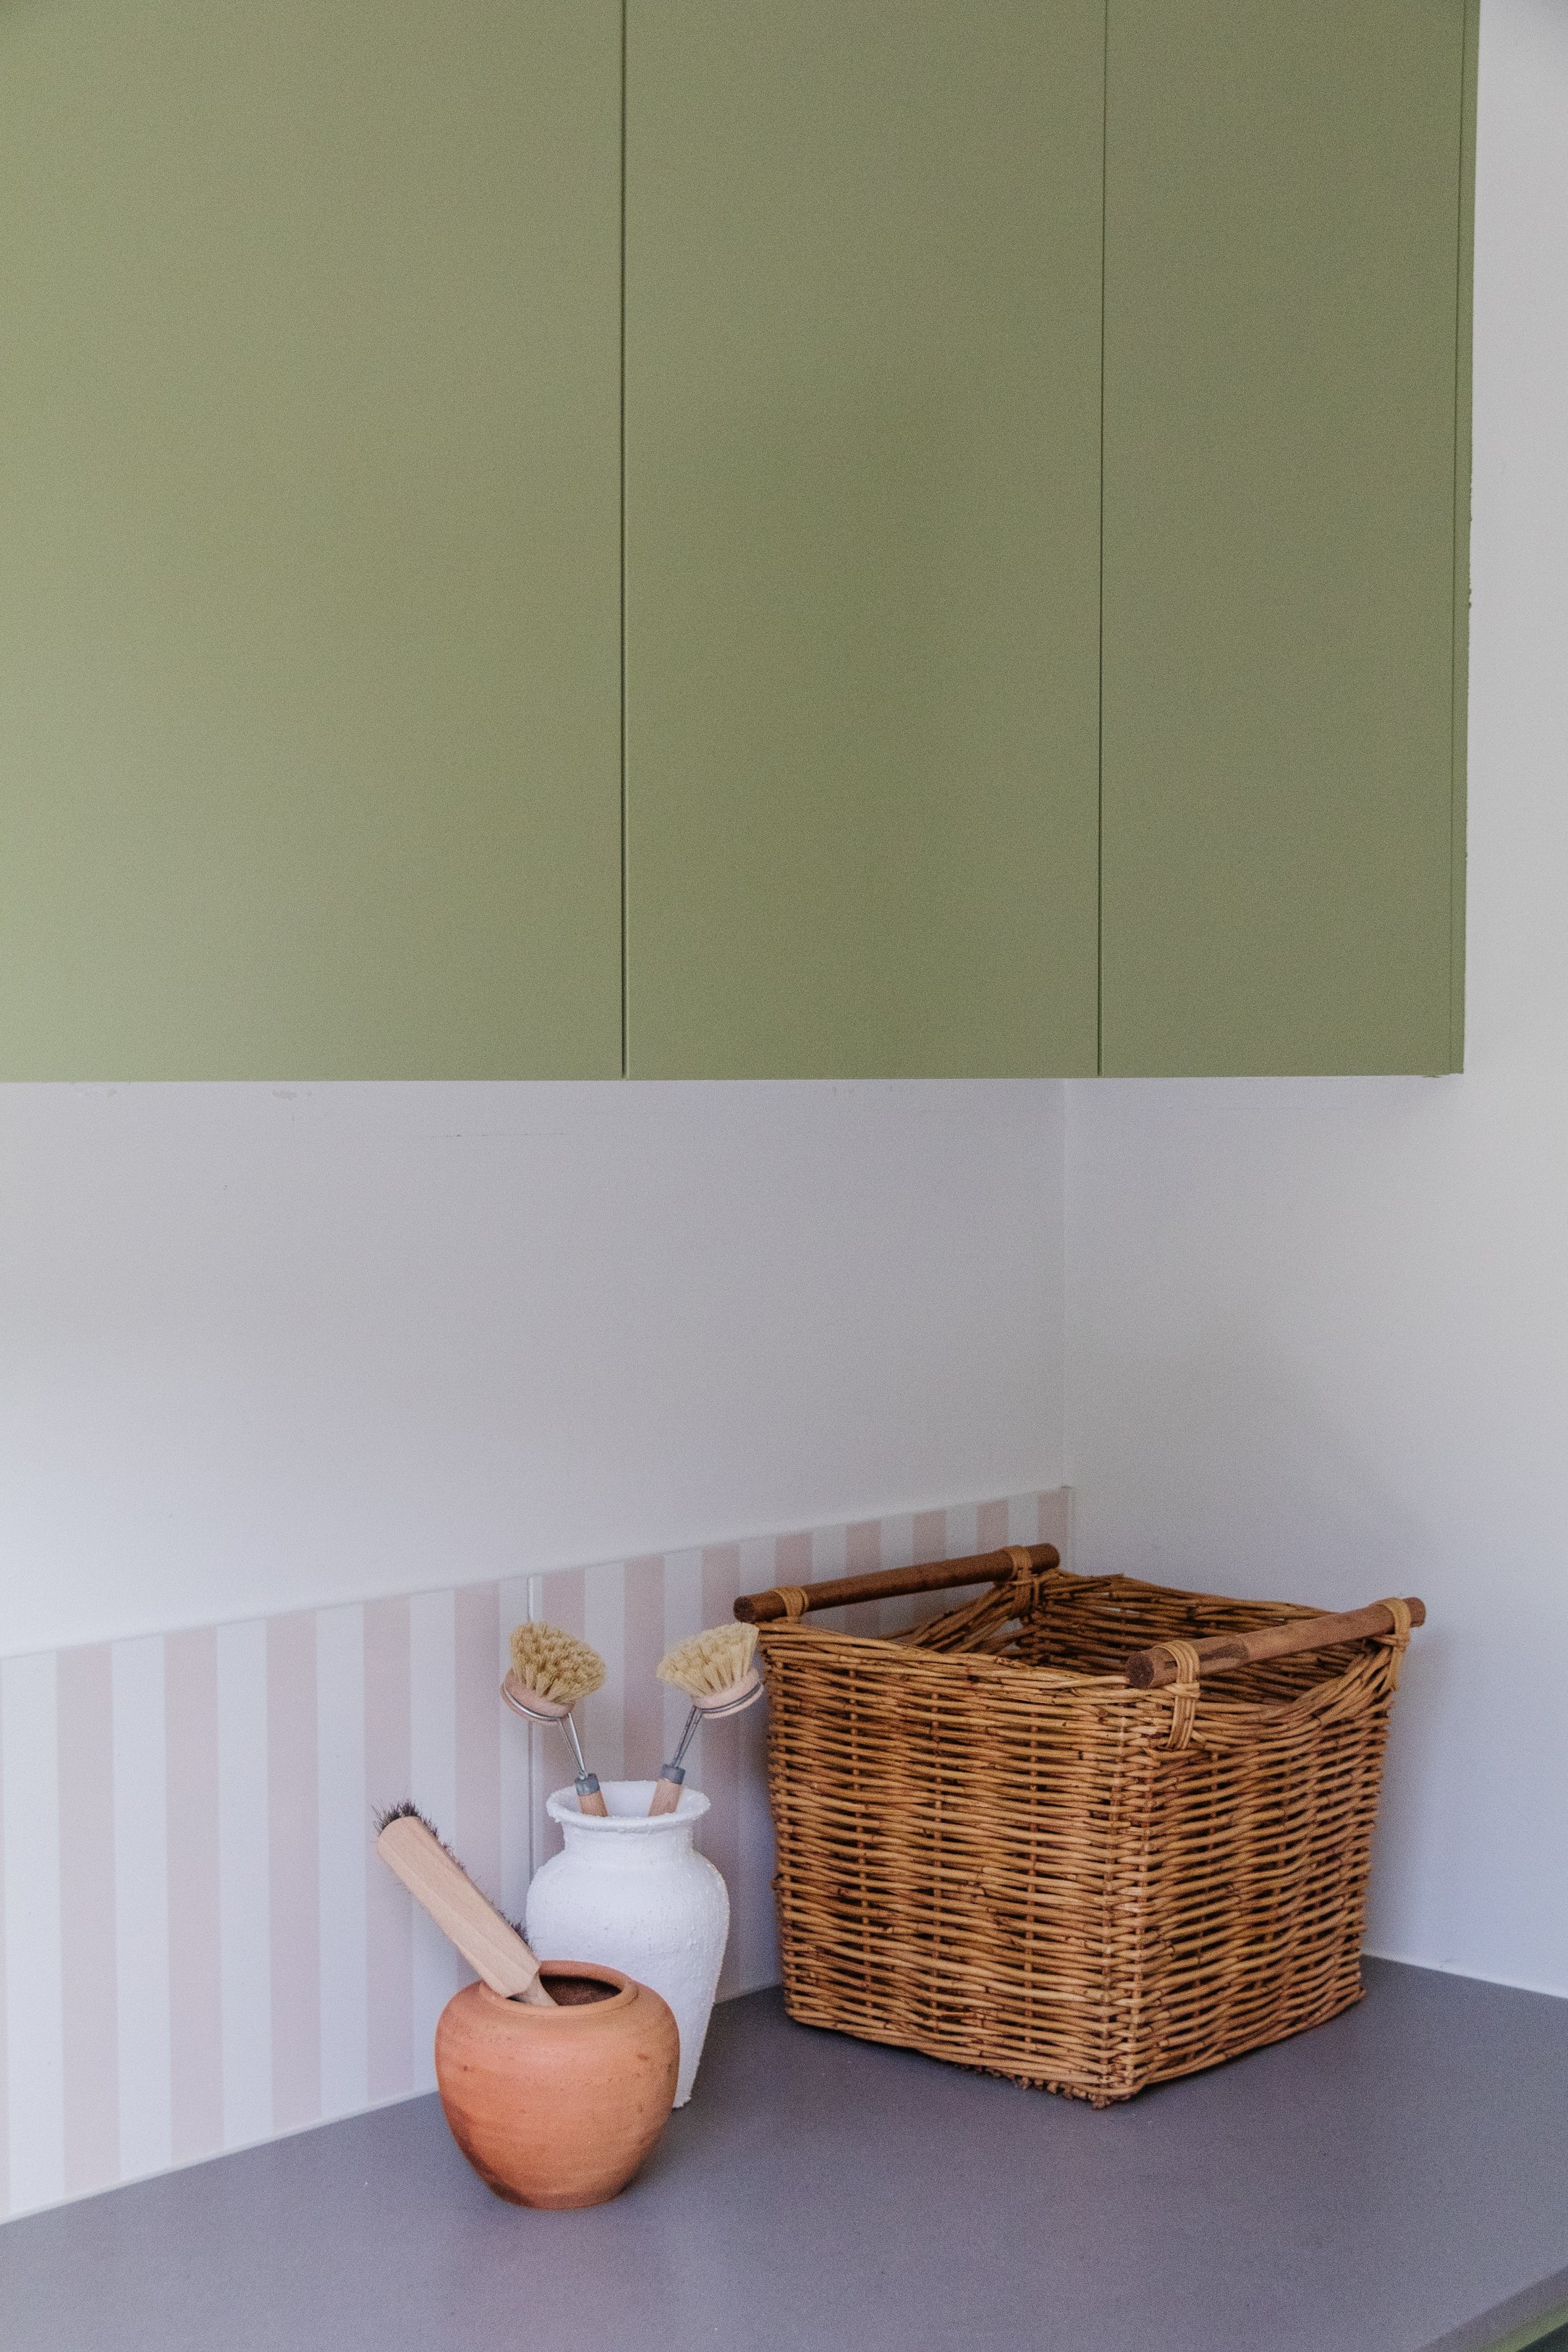
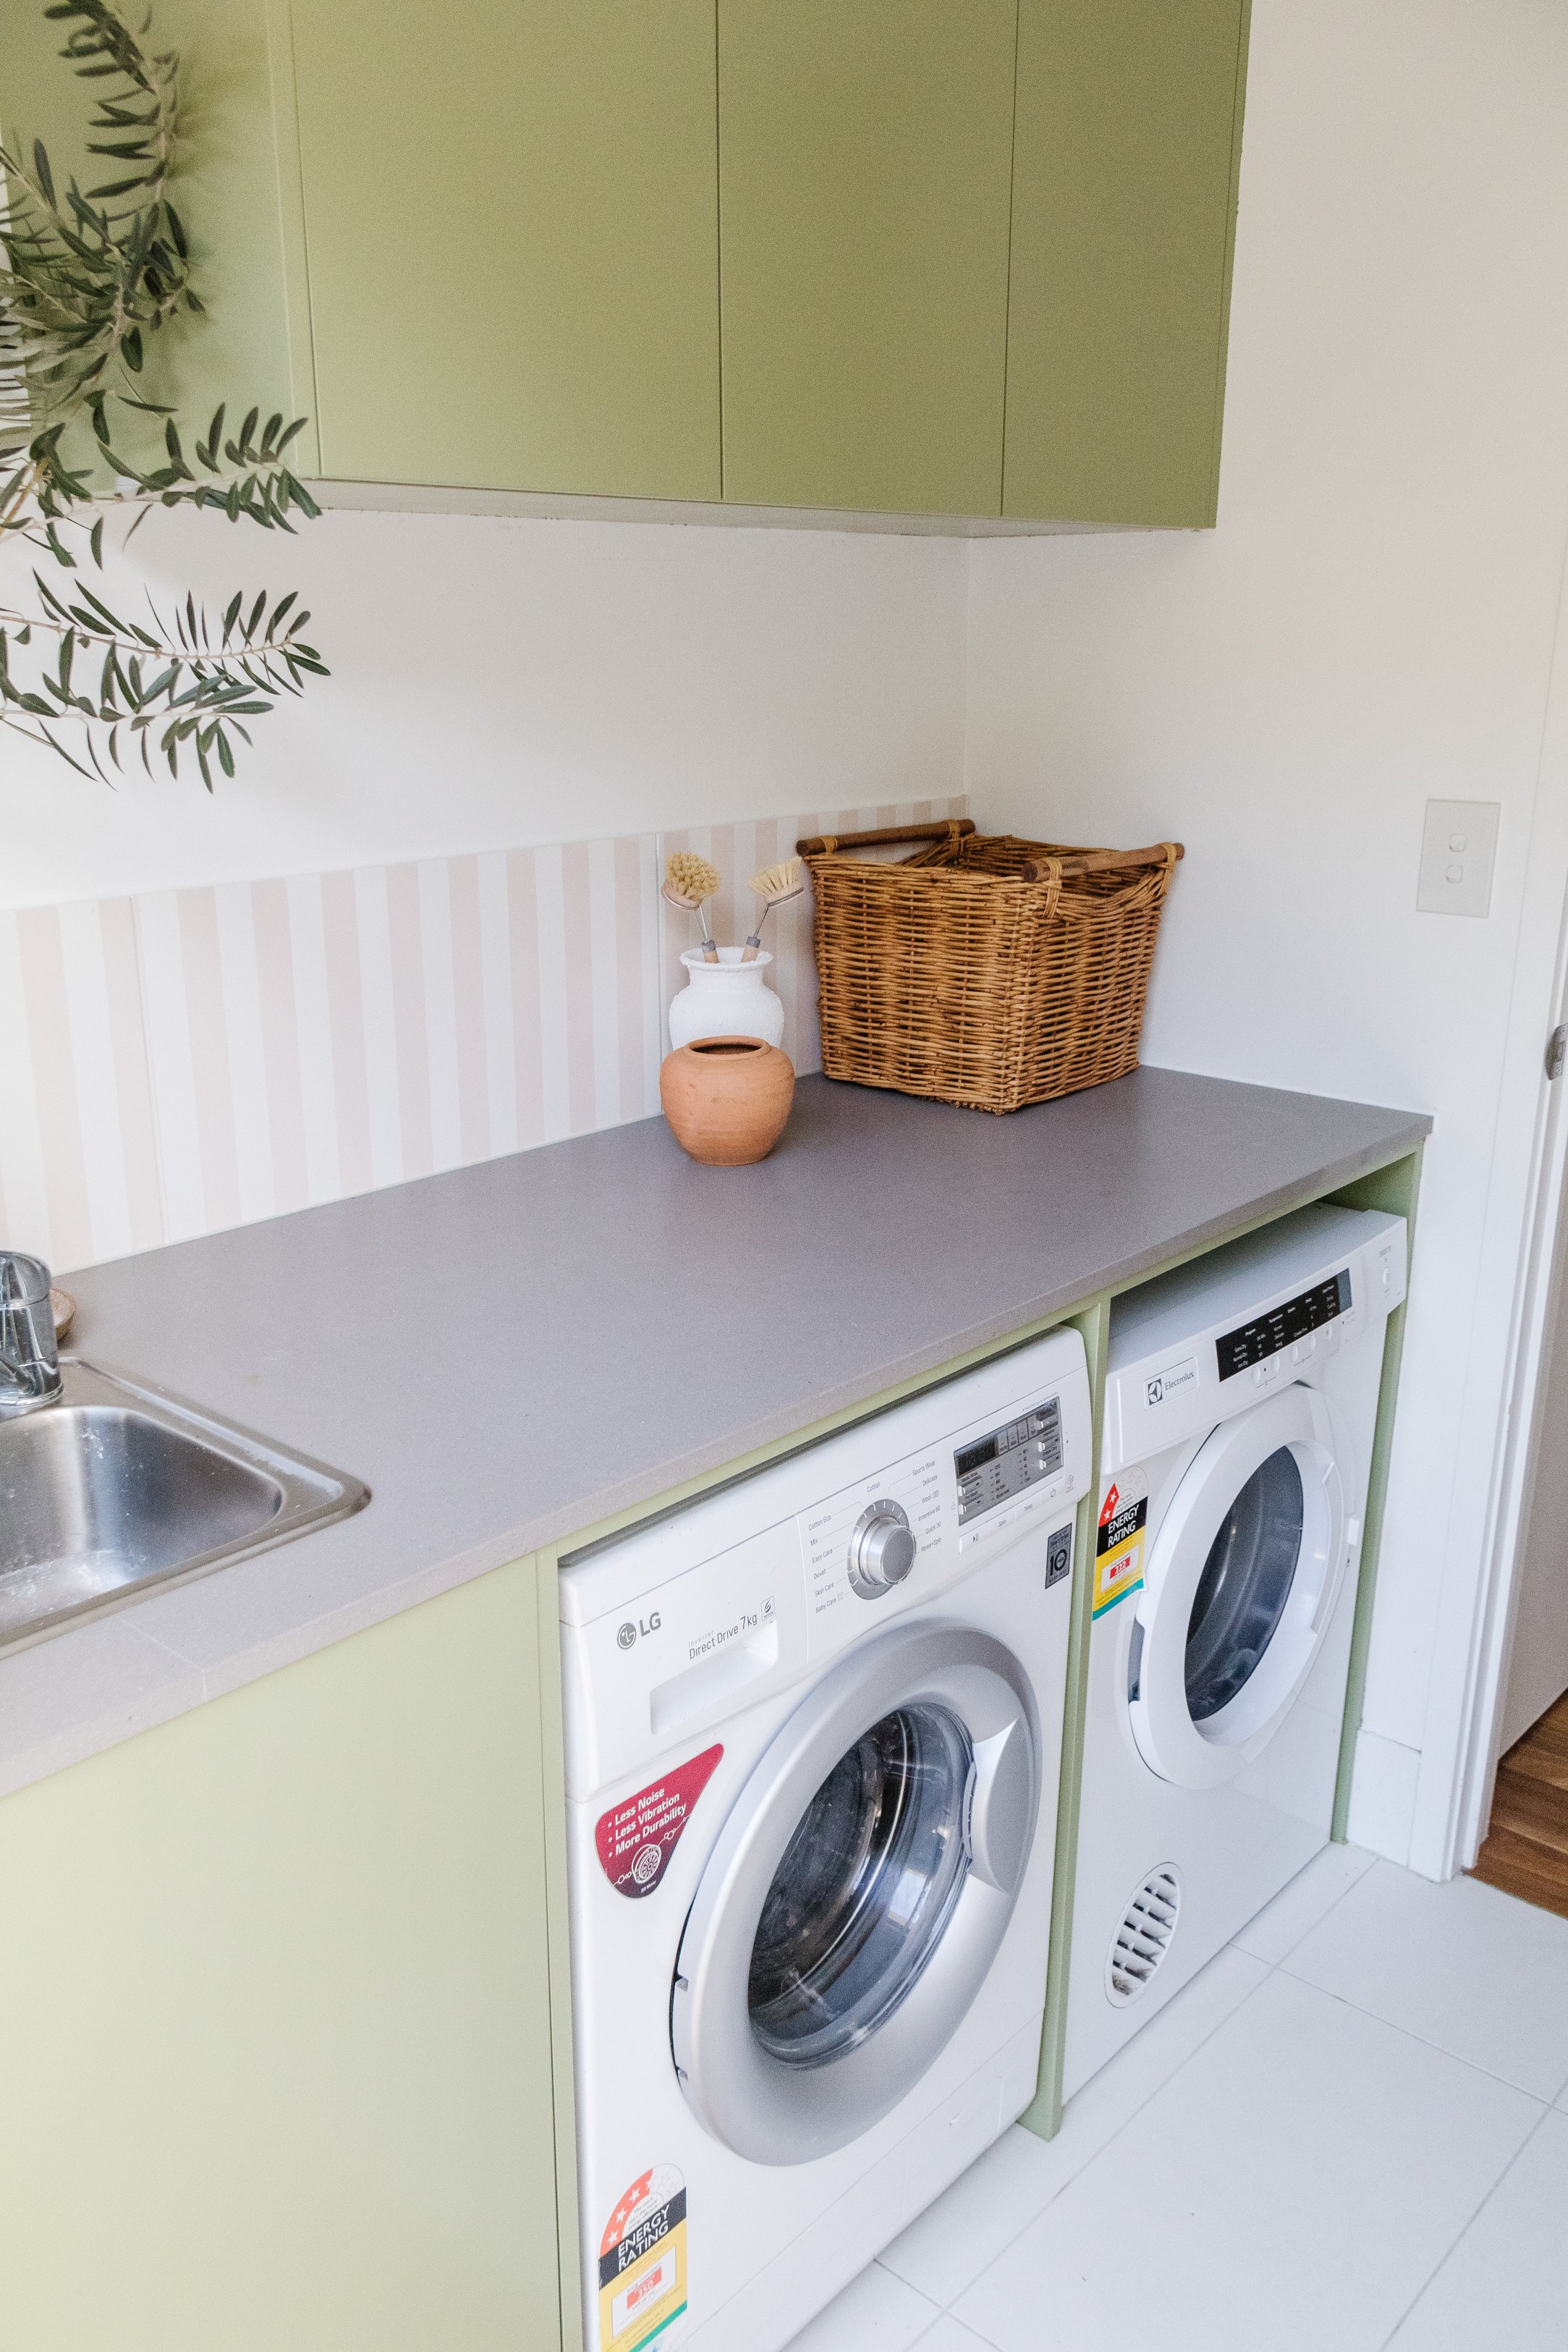
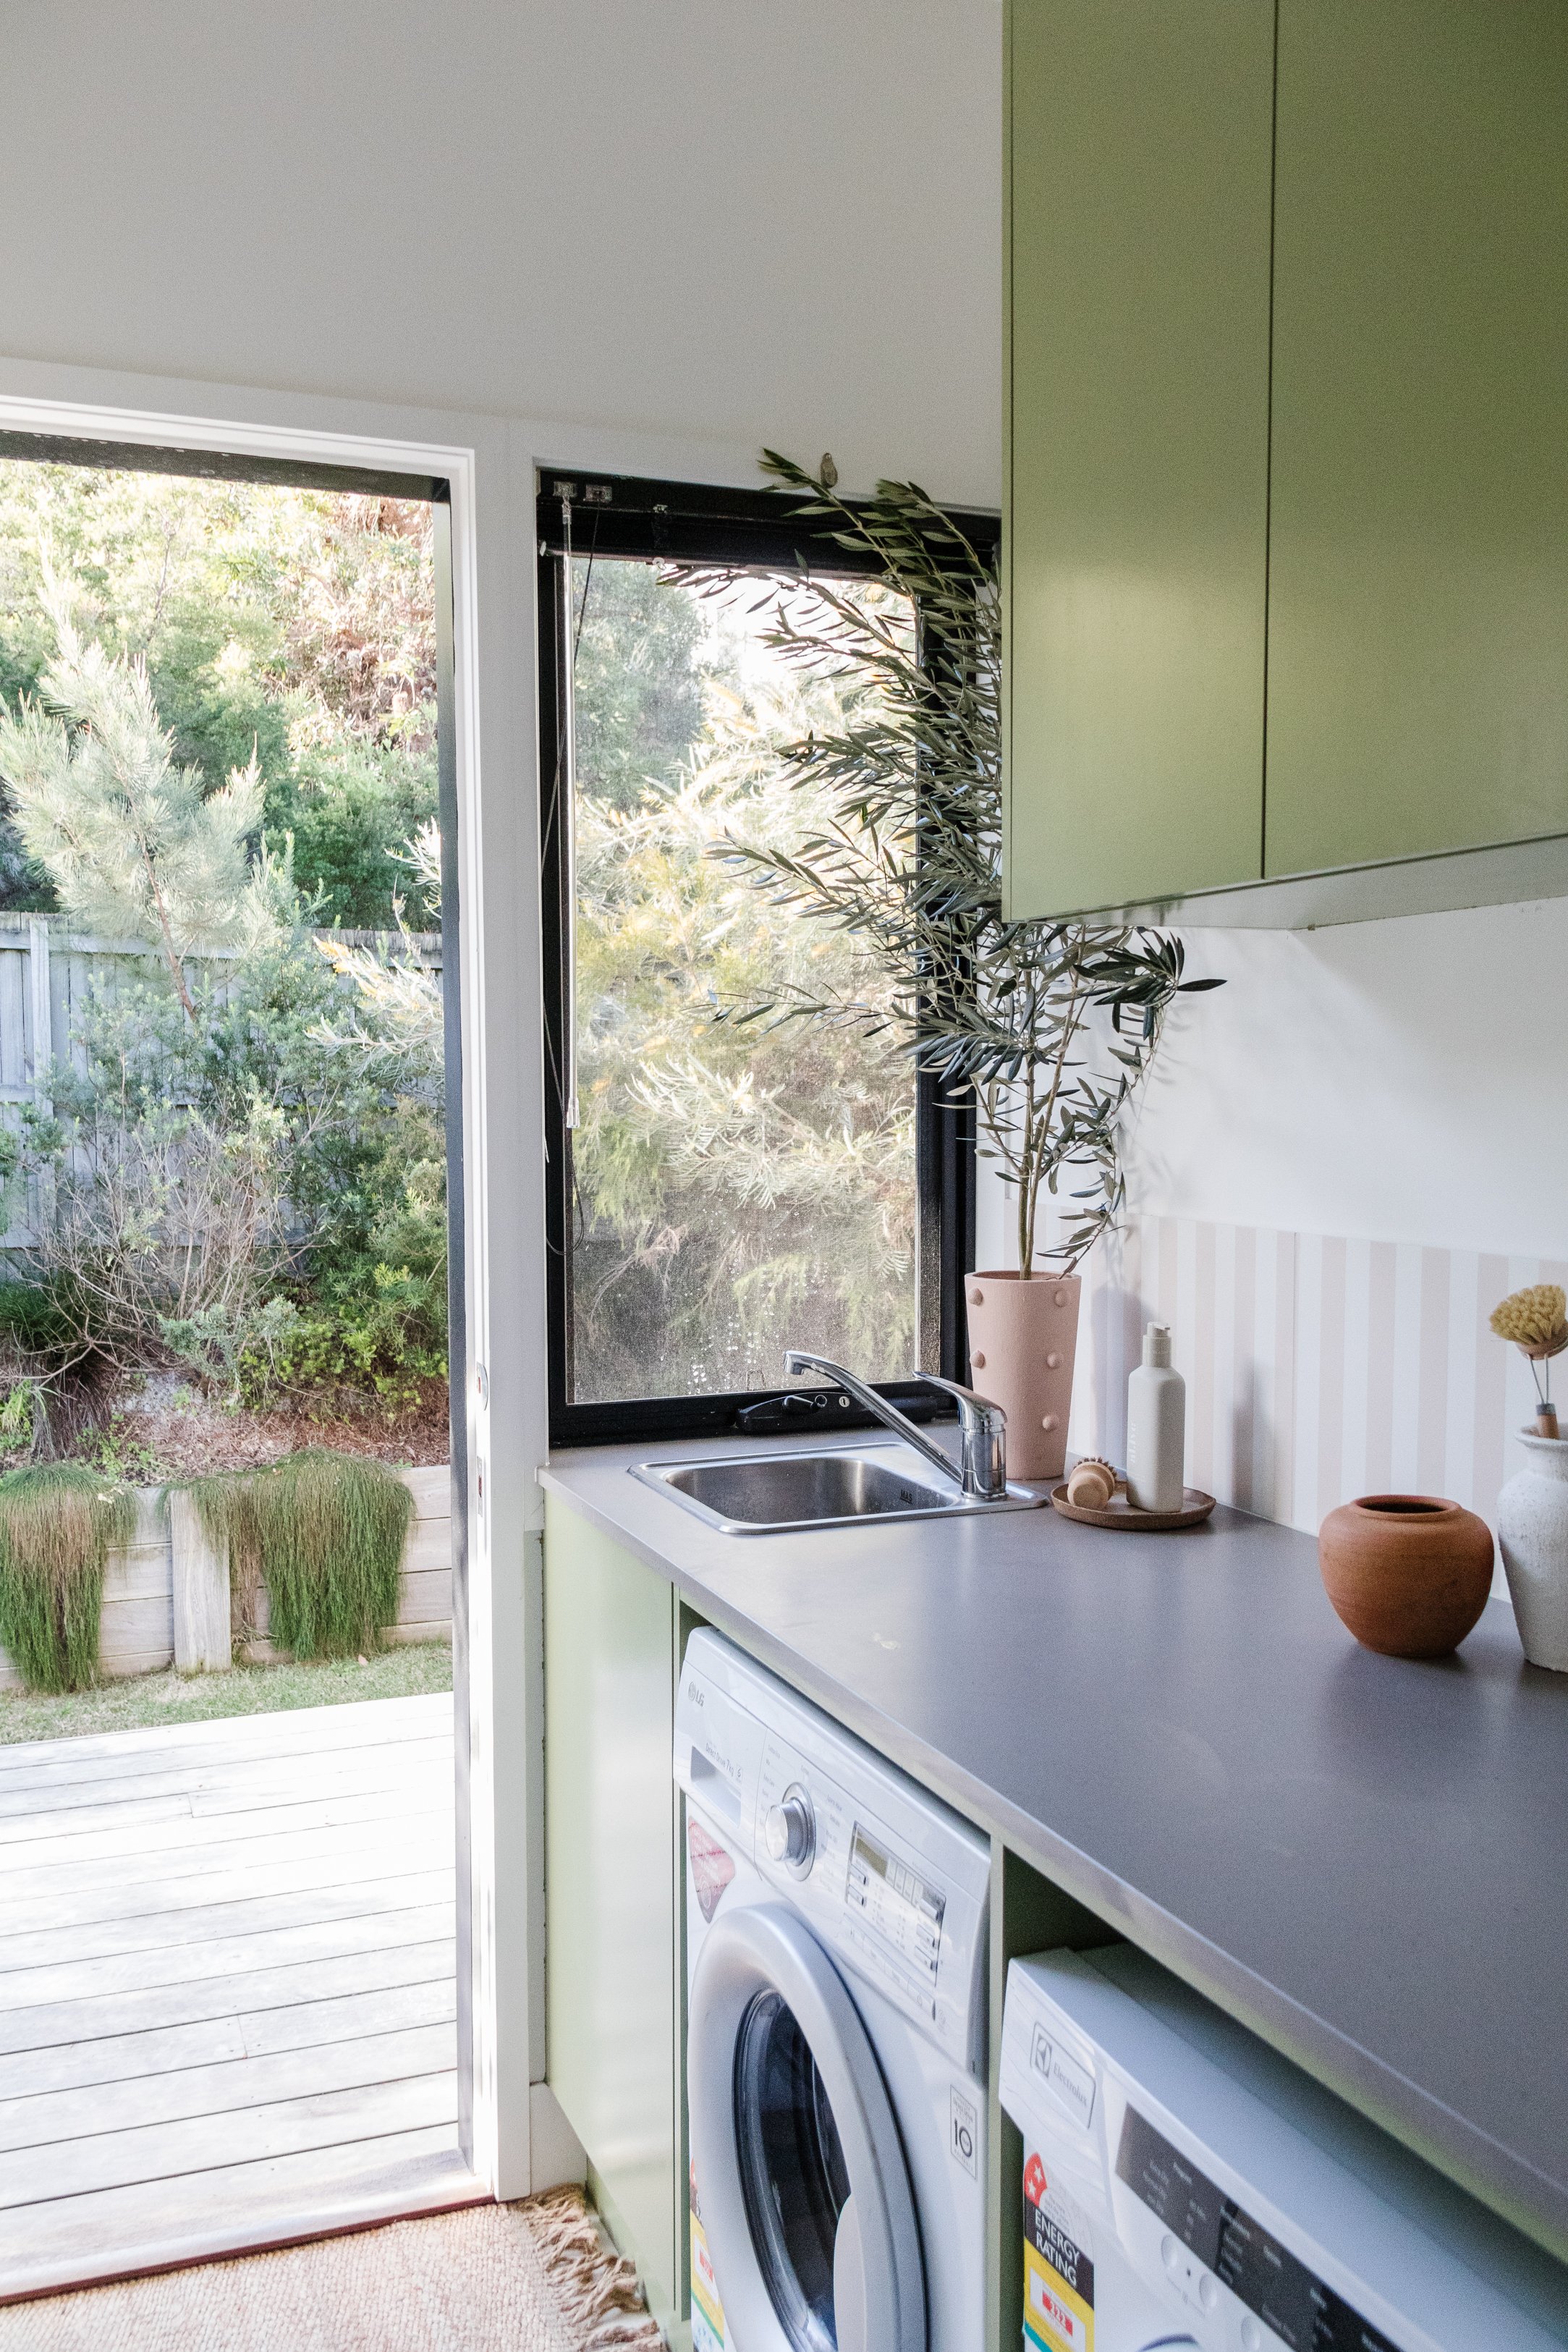
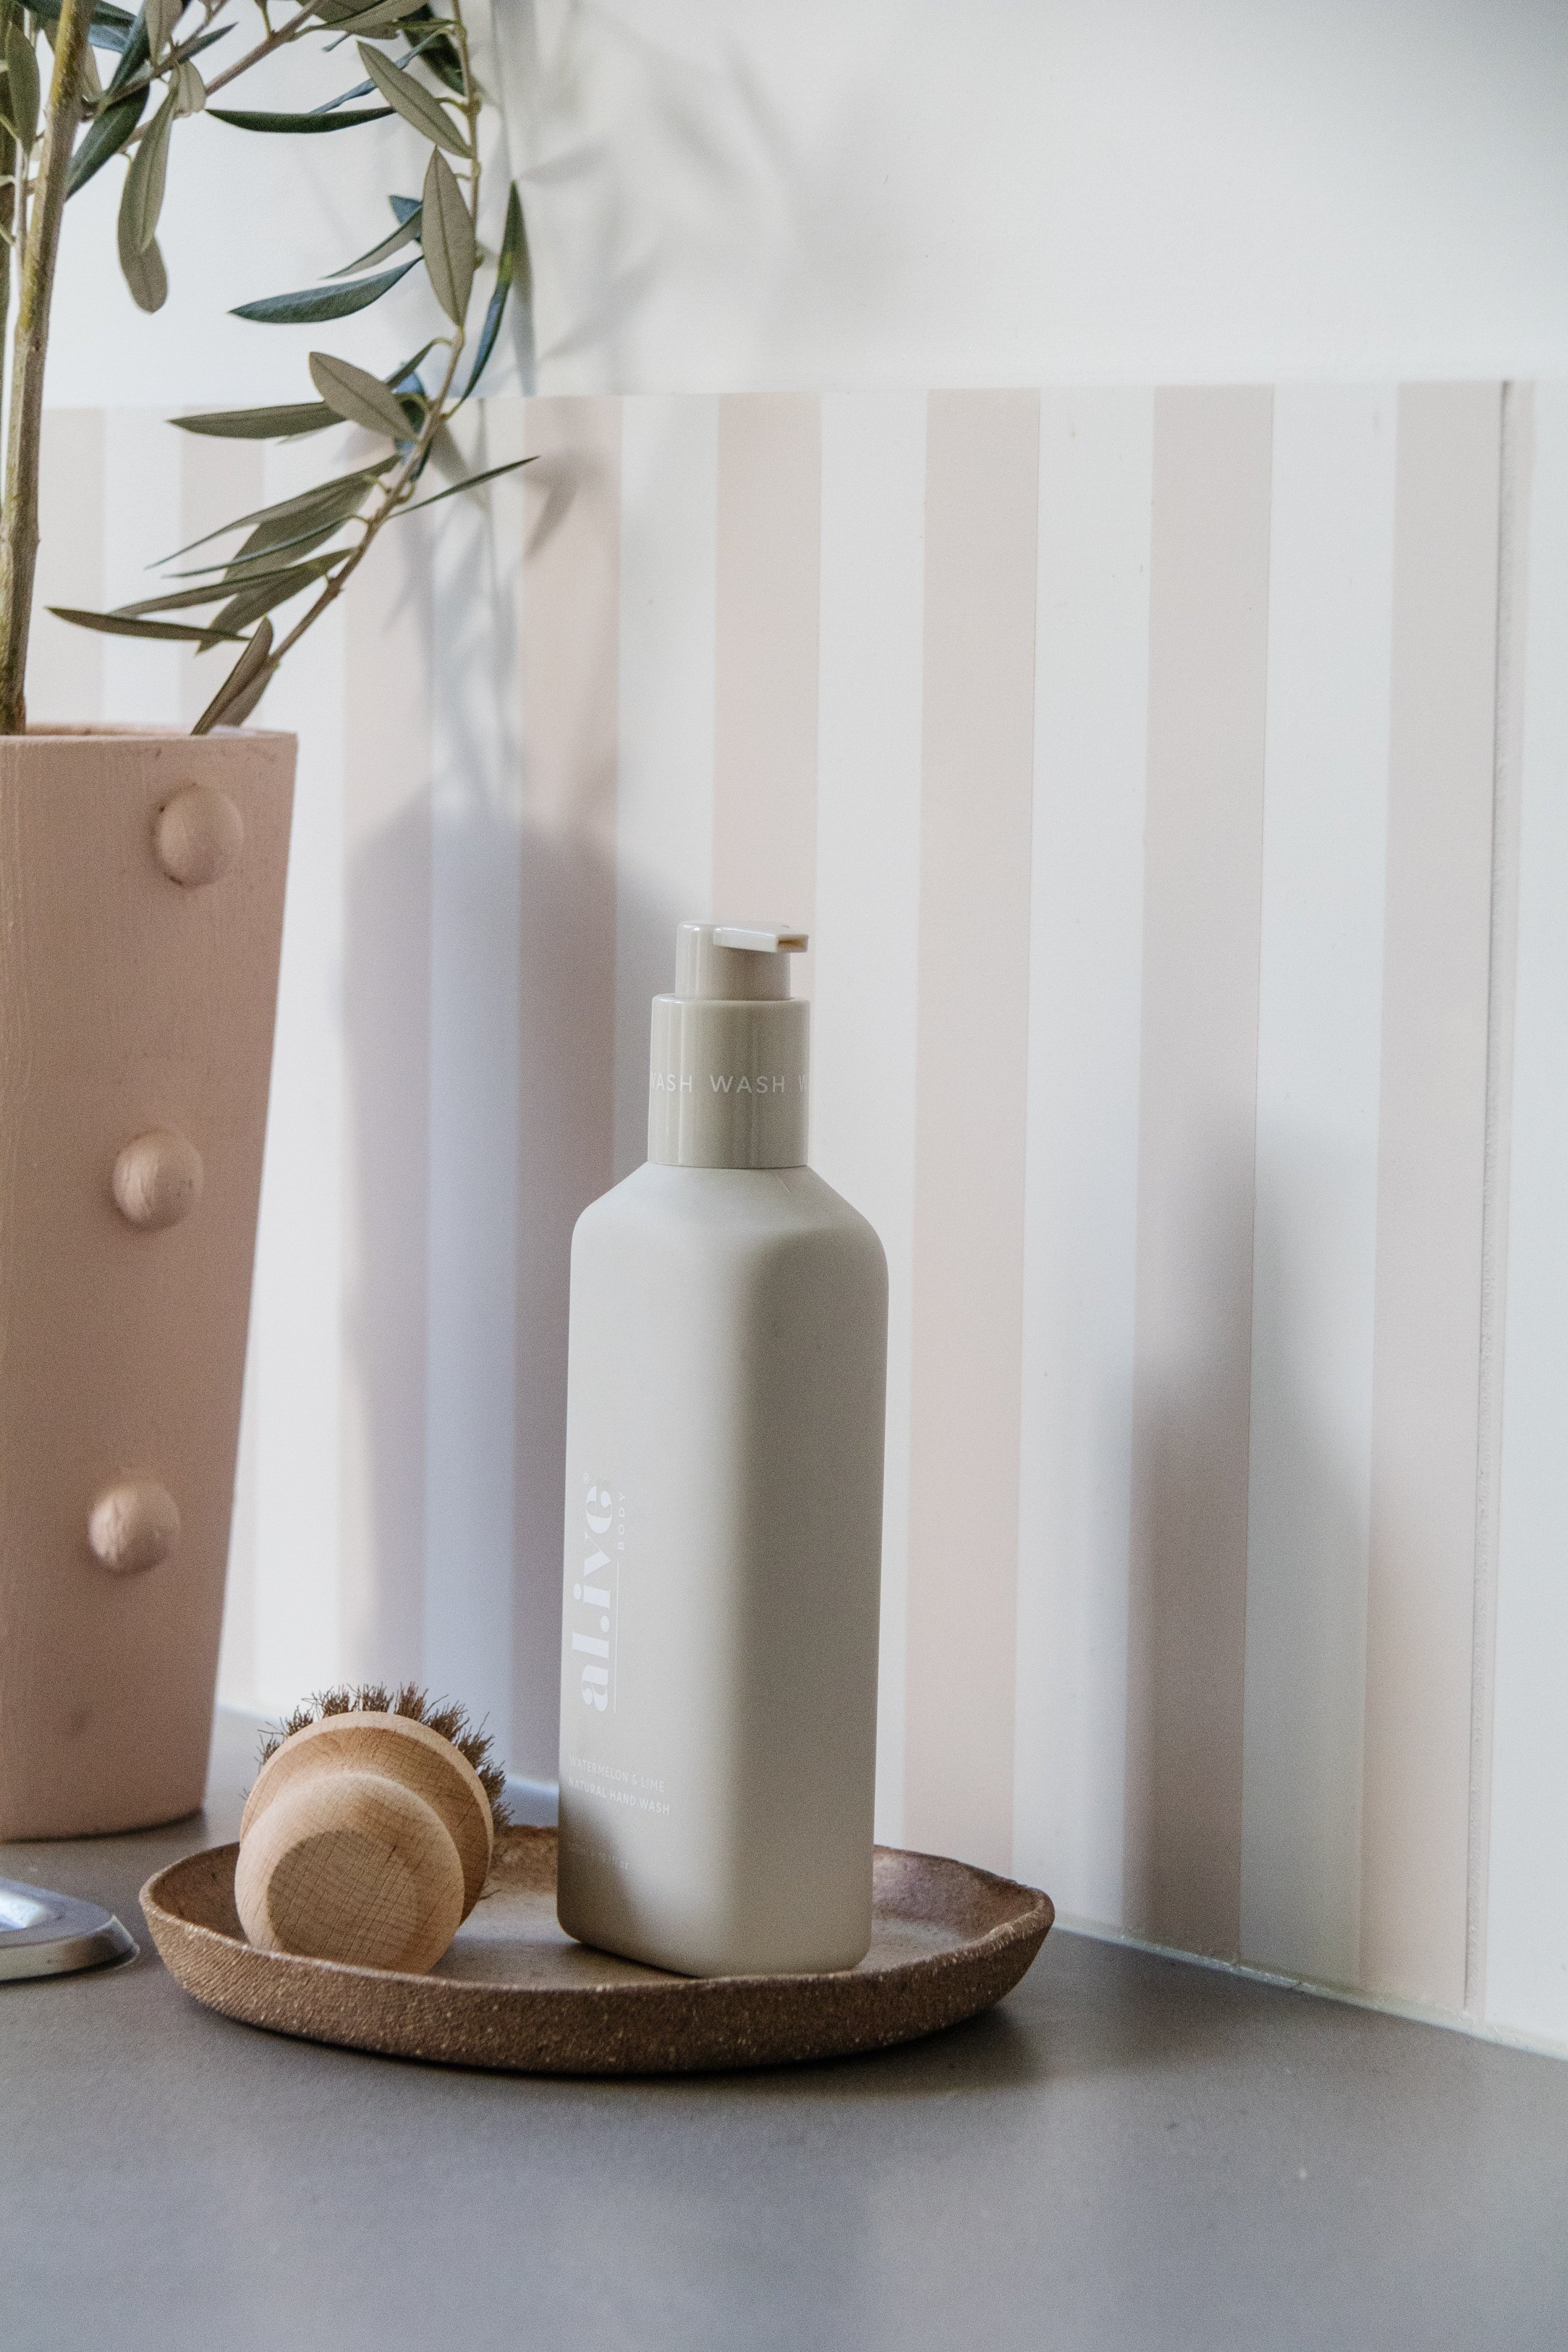
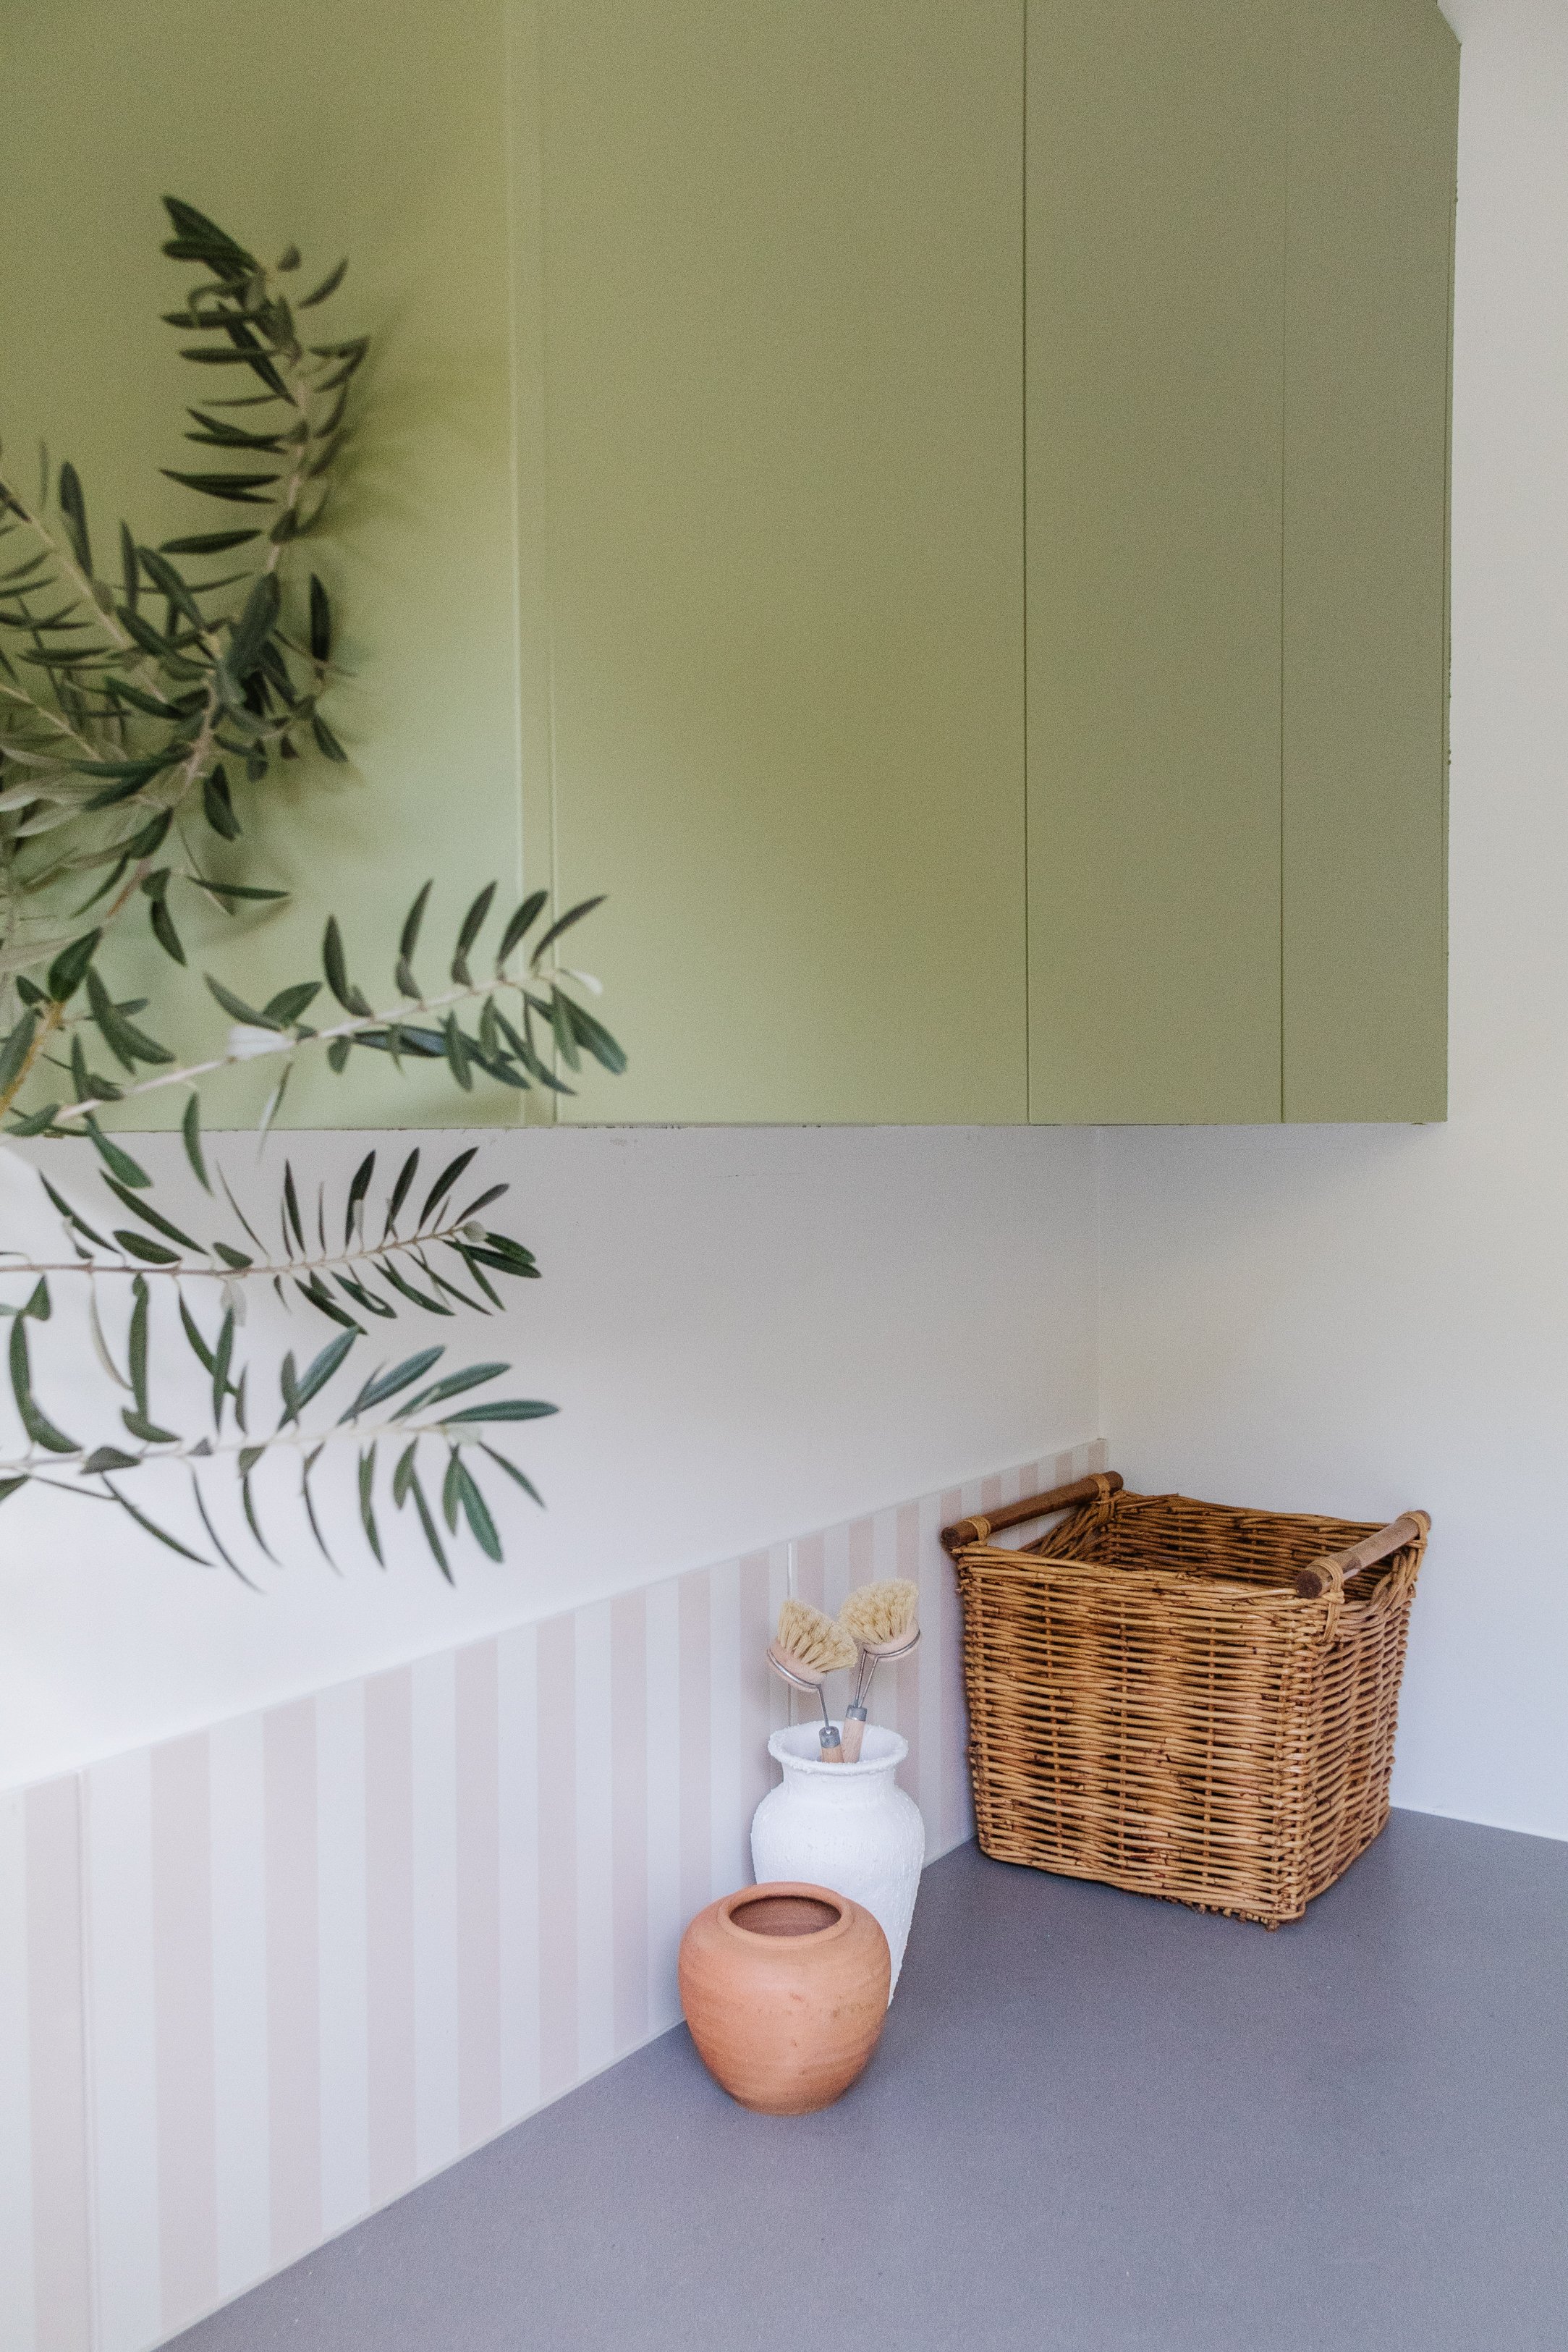
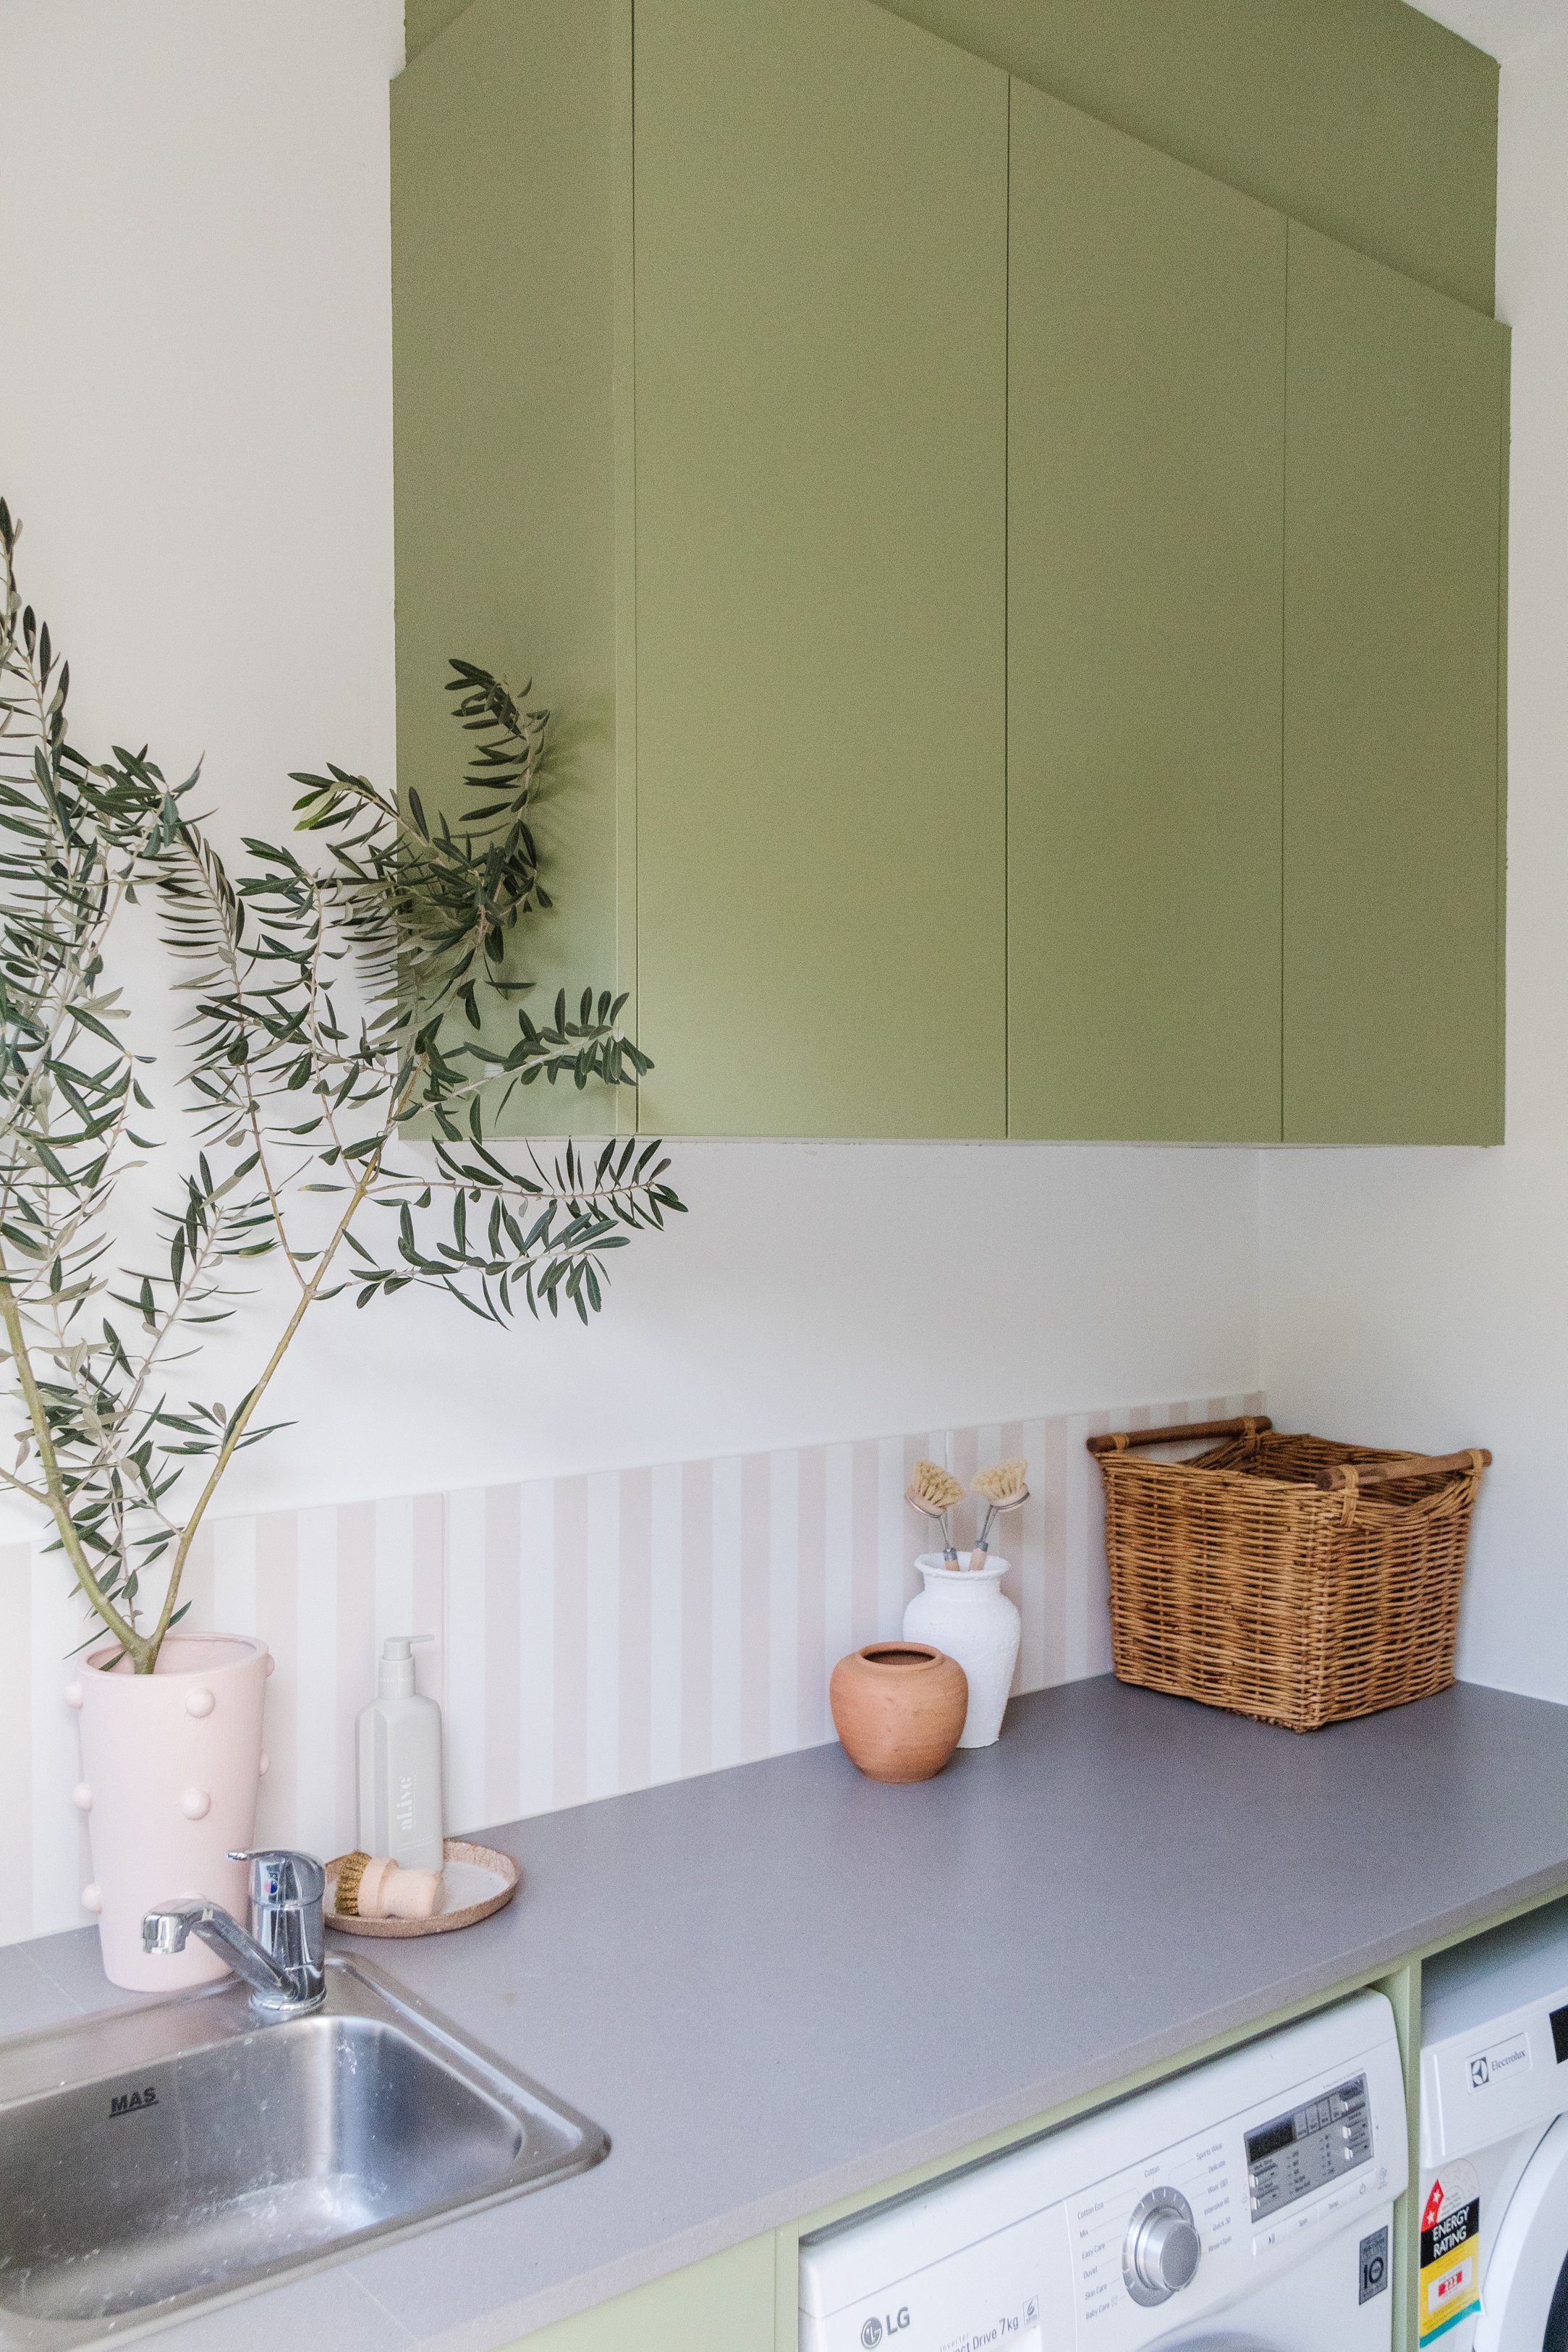
Transform your tiles at home using painters tape and paint! When I started planning our tiny laundry room glow up, I knew our wall tiles needed some love. I set about looking for inspiration for patterned tiles and I was very drawn to stripes! They’re not something you see everyday on tiles, but that’s why they appealed to me so much. I’m all about bringing your fresh and new ideas, so you know what happens next, I set about making it happen.
Thankfully I had Dulux Renovation Range by my side. Their products made this project so easy - I didn’t have to spend hours researching into preparing and sealing the tiles. Dulux has done all the hard work for us. Woo hoo! These DIY striped painted tiles are a delightful yet subtle statement in our tiny laundry room and I couldn’t be happier with the result! They’re chip proof, durable and thanks to their Dulux Renovation Range Clear Coat, the finish is professional. Read on to learn how to prepare, paint and seal your own tiles at home. I’ve also included links to all the Dulux Renovation Range products I used for this project. Happy painting!
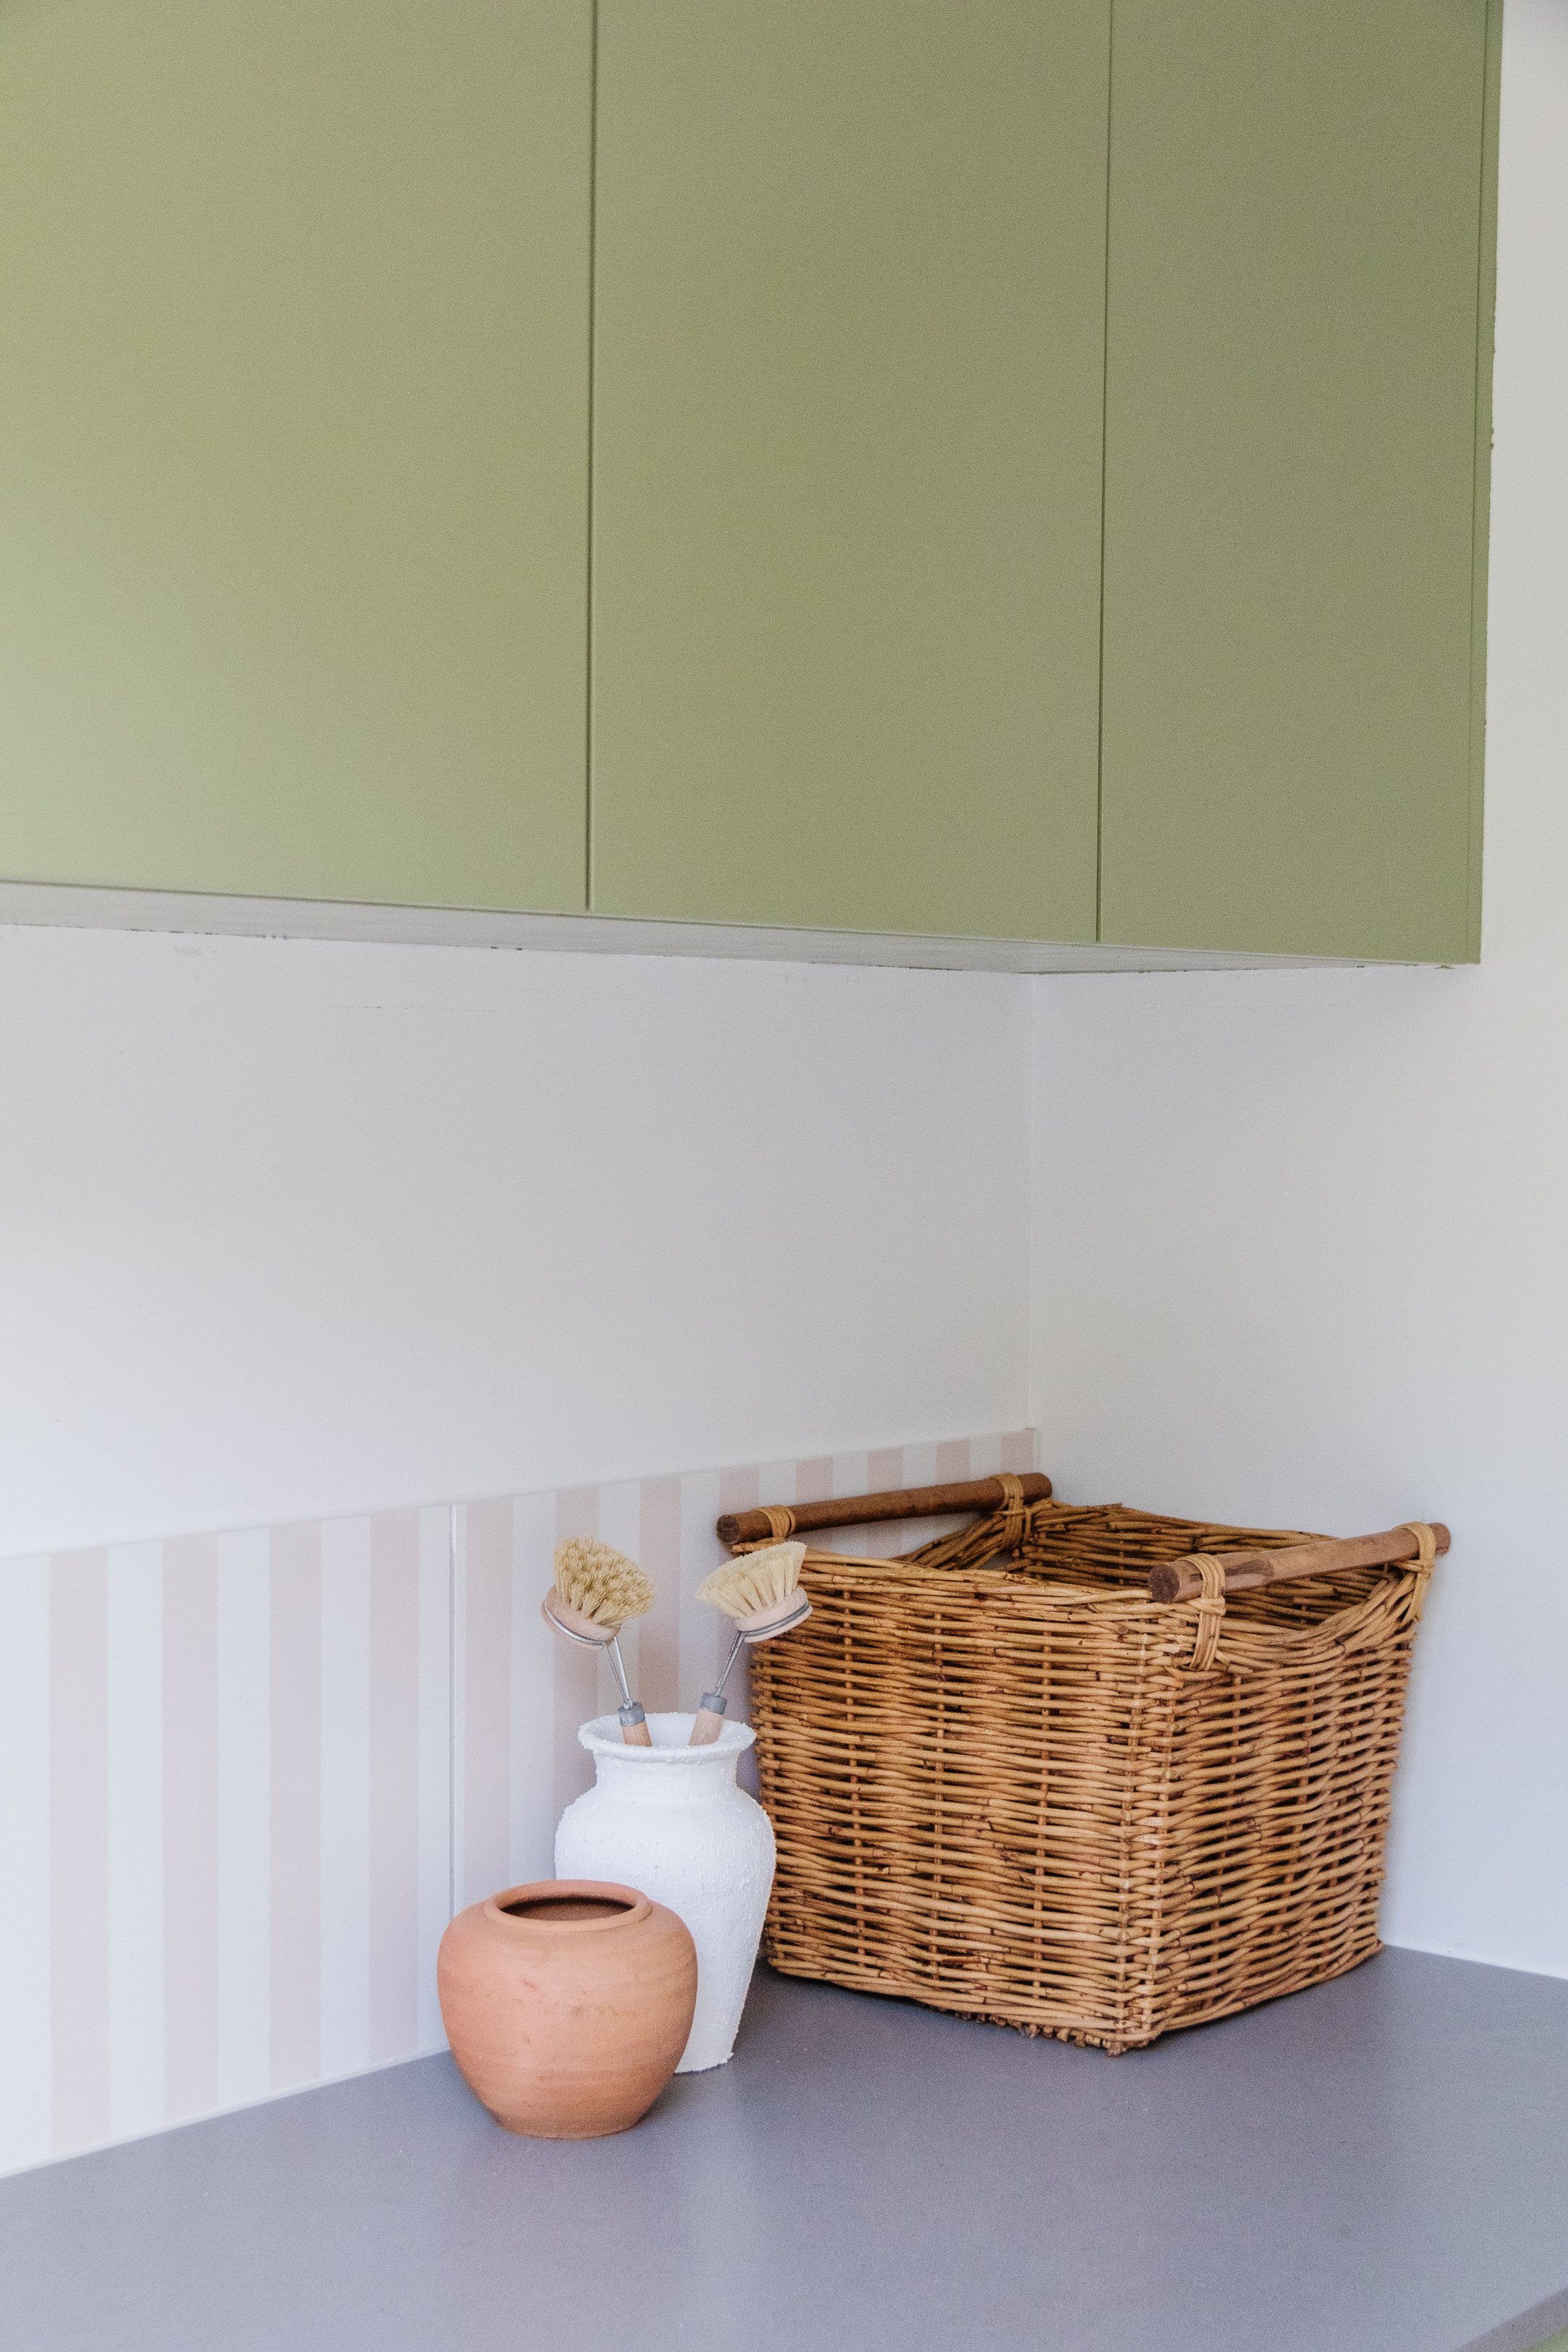
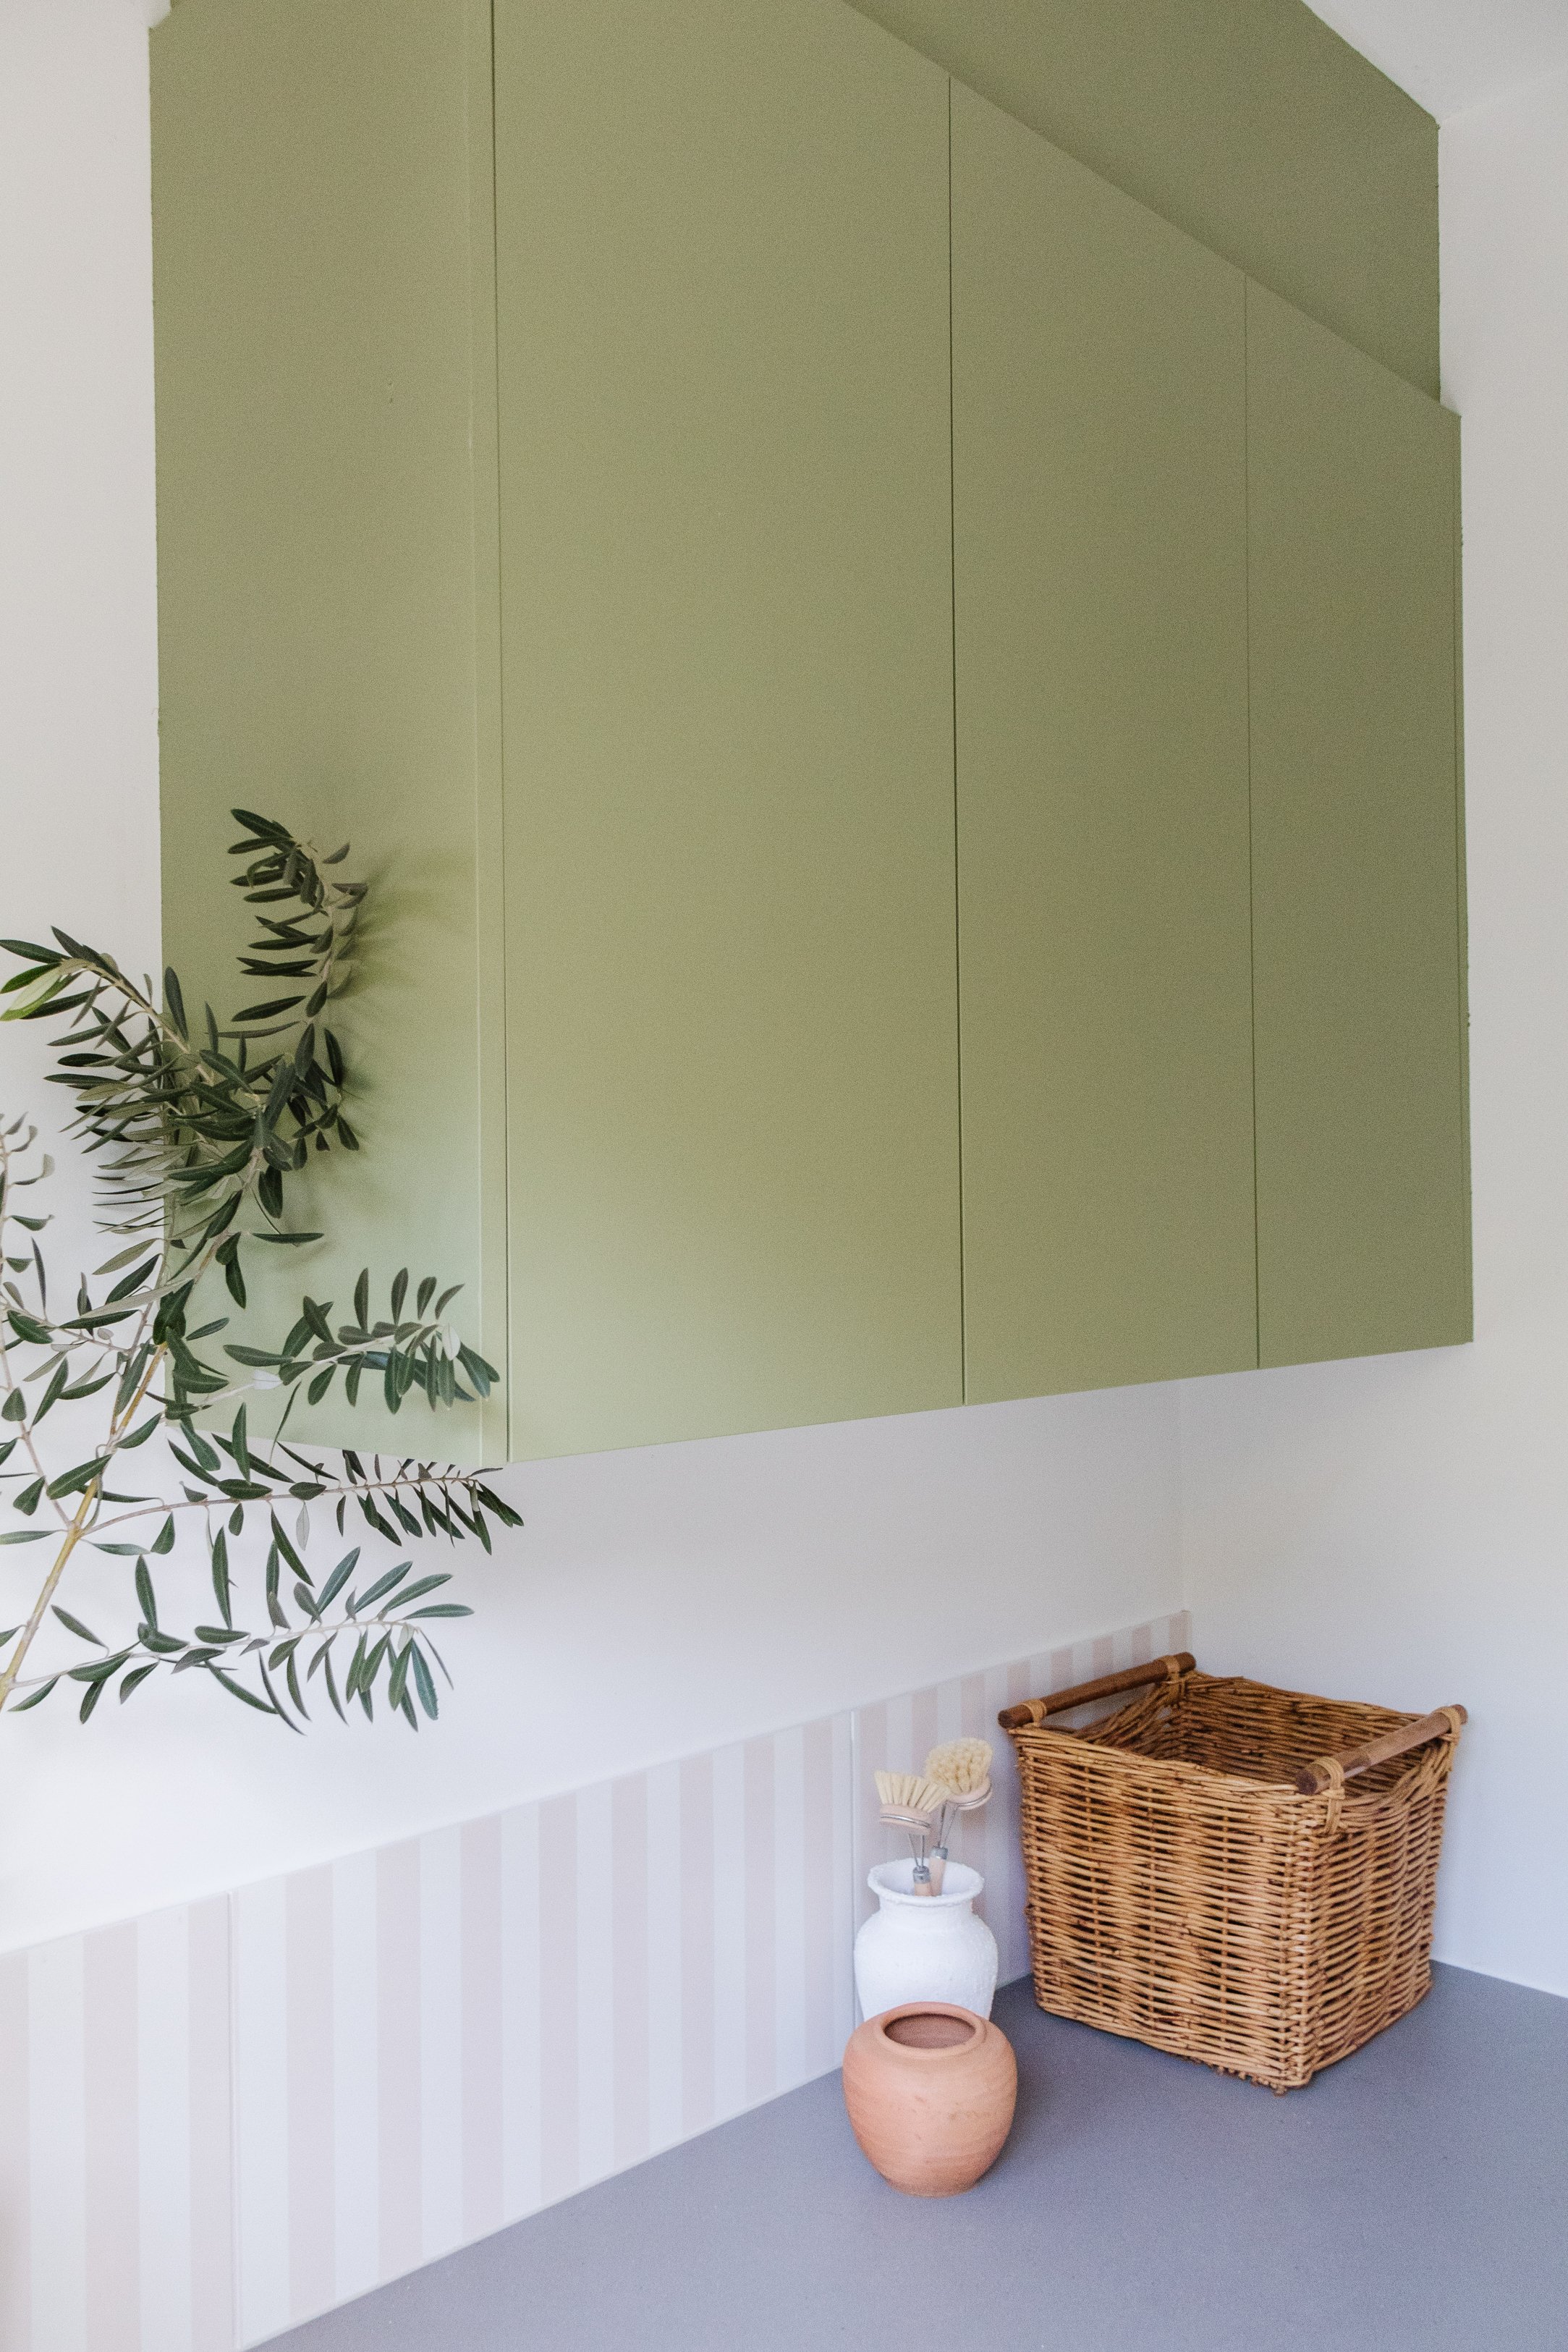
And if you’re loving the leafy green cabinets, I actually painted these myself using the Dulux Renovation Range. Learn how to paint cabinets over here!

Project Details
🕒 Project Time Estimate: 1 hour working time, 4 hours drying time
💰 Materials Cost: $250
👷♀️ Skill Level: Beginner DIYer
⚒️ Power Tools: None!

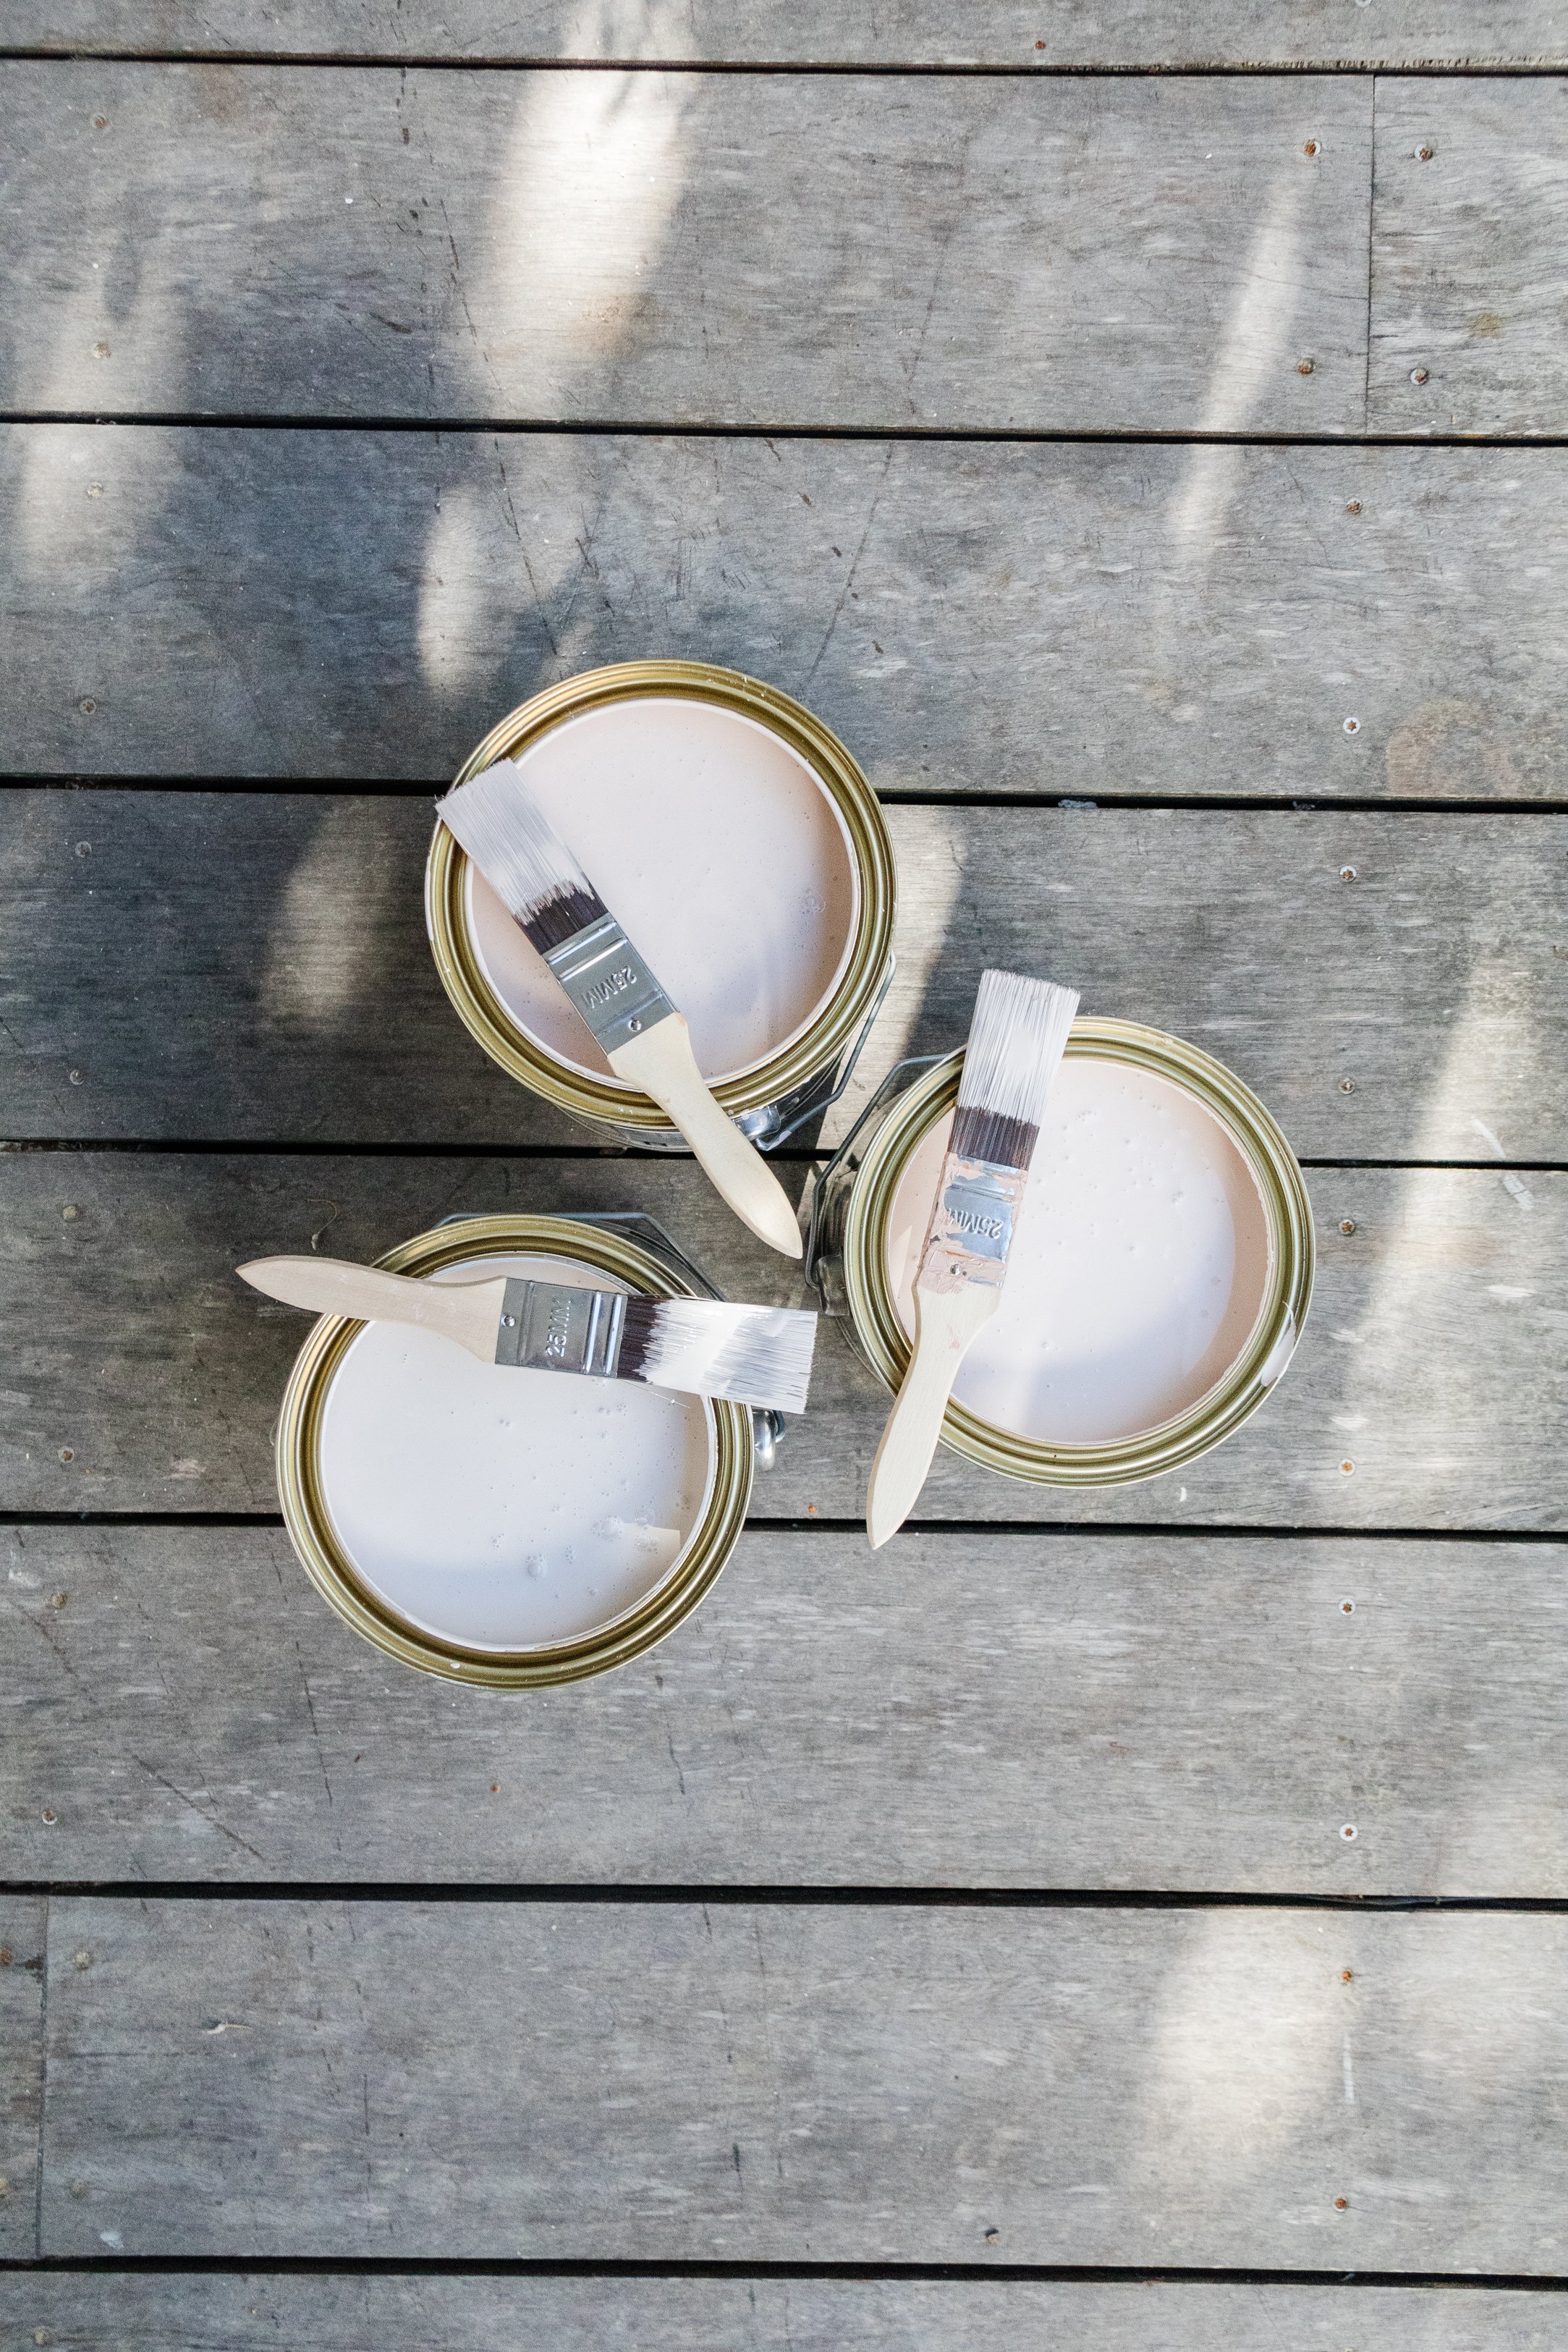
Materials
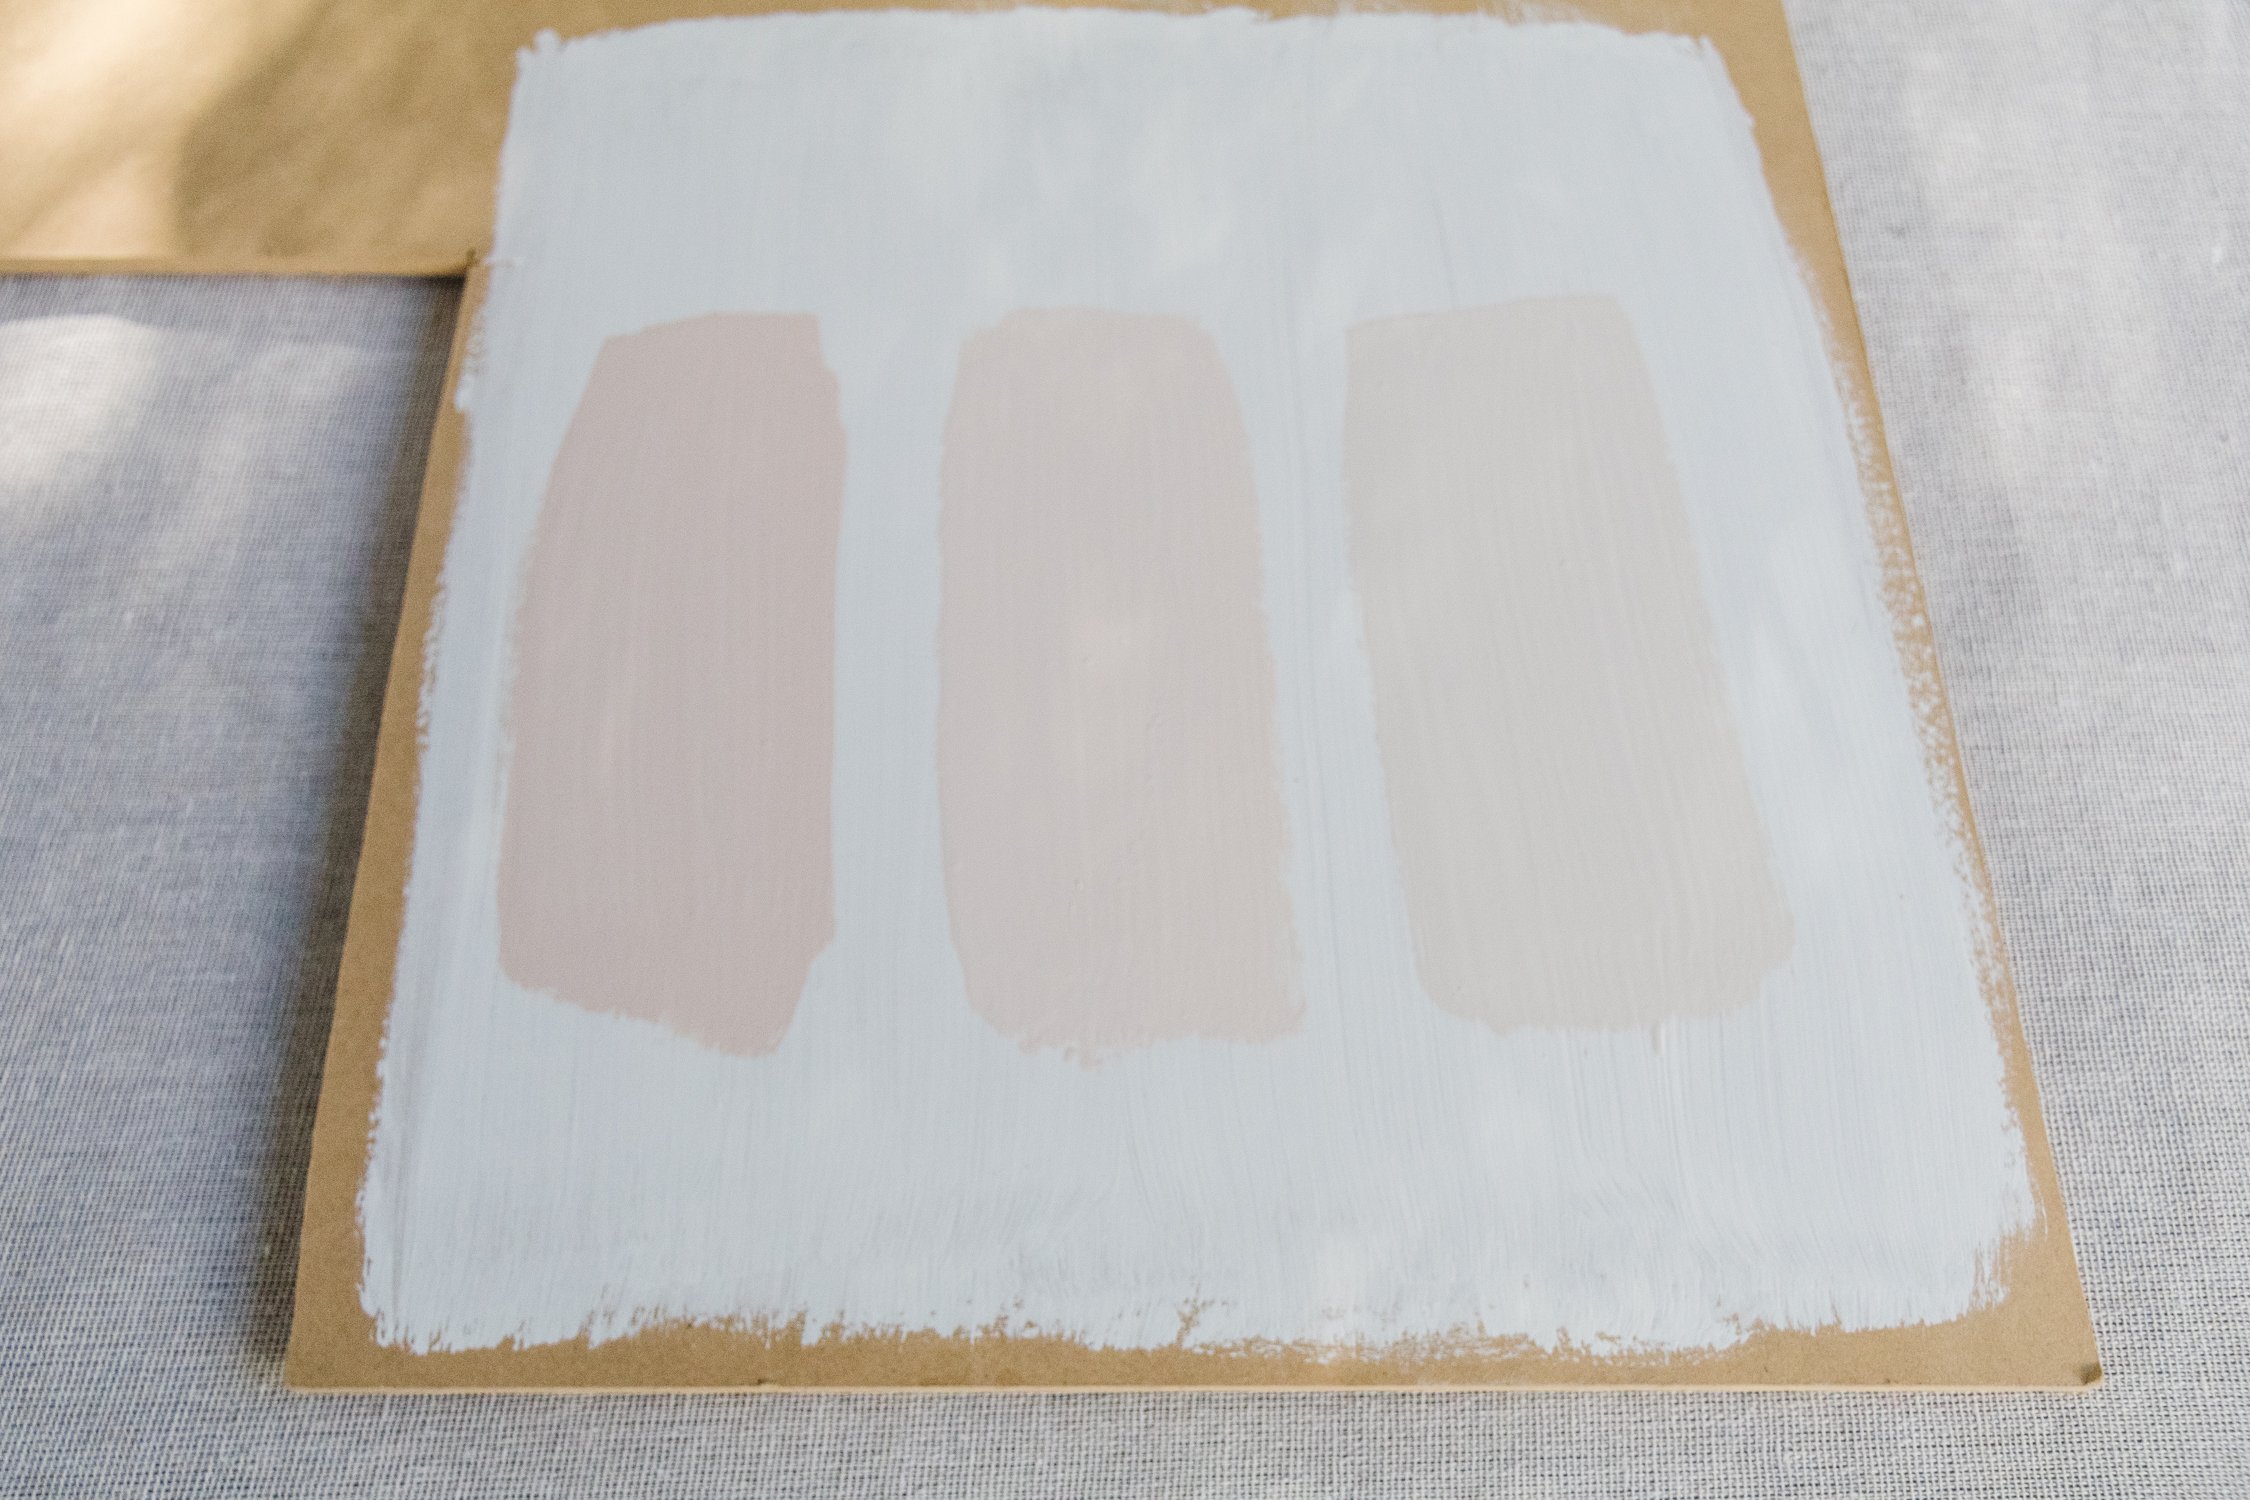
Dulux Renovation Range Tiles & Benchtops Satin paint in “Chintz Half”
Dulux Renovation Range Clear Coat in Satin
3 clean microfibre rollers (100mm 4mm nap)
How To
Start by cleaning the tiles using sugar soap and when the tiles are dry, apply one coat of Dulux Renovation Range Primer using a clean, dry microfibre roller. Let the primer dry for at least one hour before moving onto the next step. If the primer feels “tacky” to touch, wait for it to dry a little longer. In saying that though, it does dry quickly!
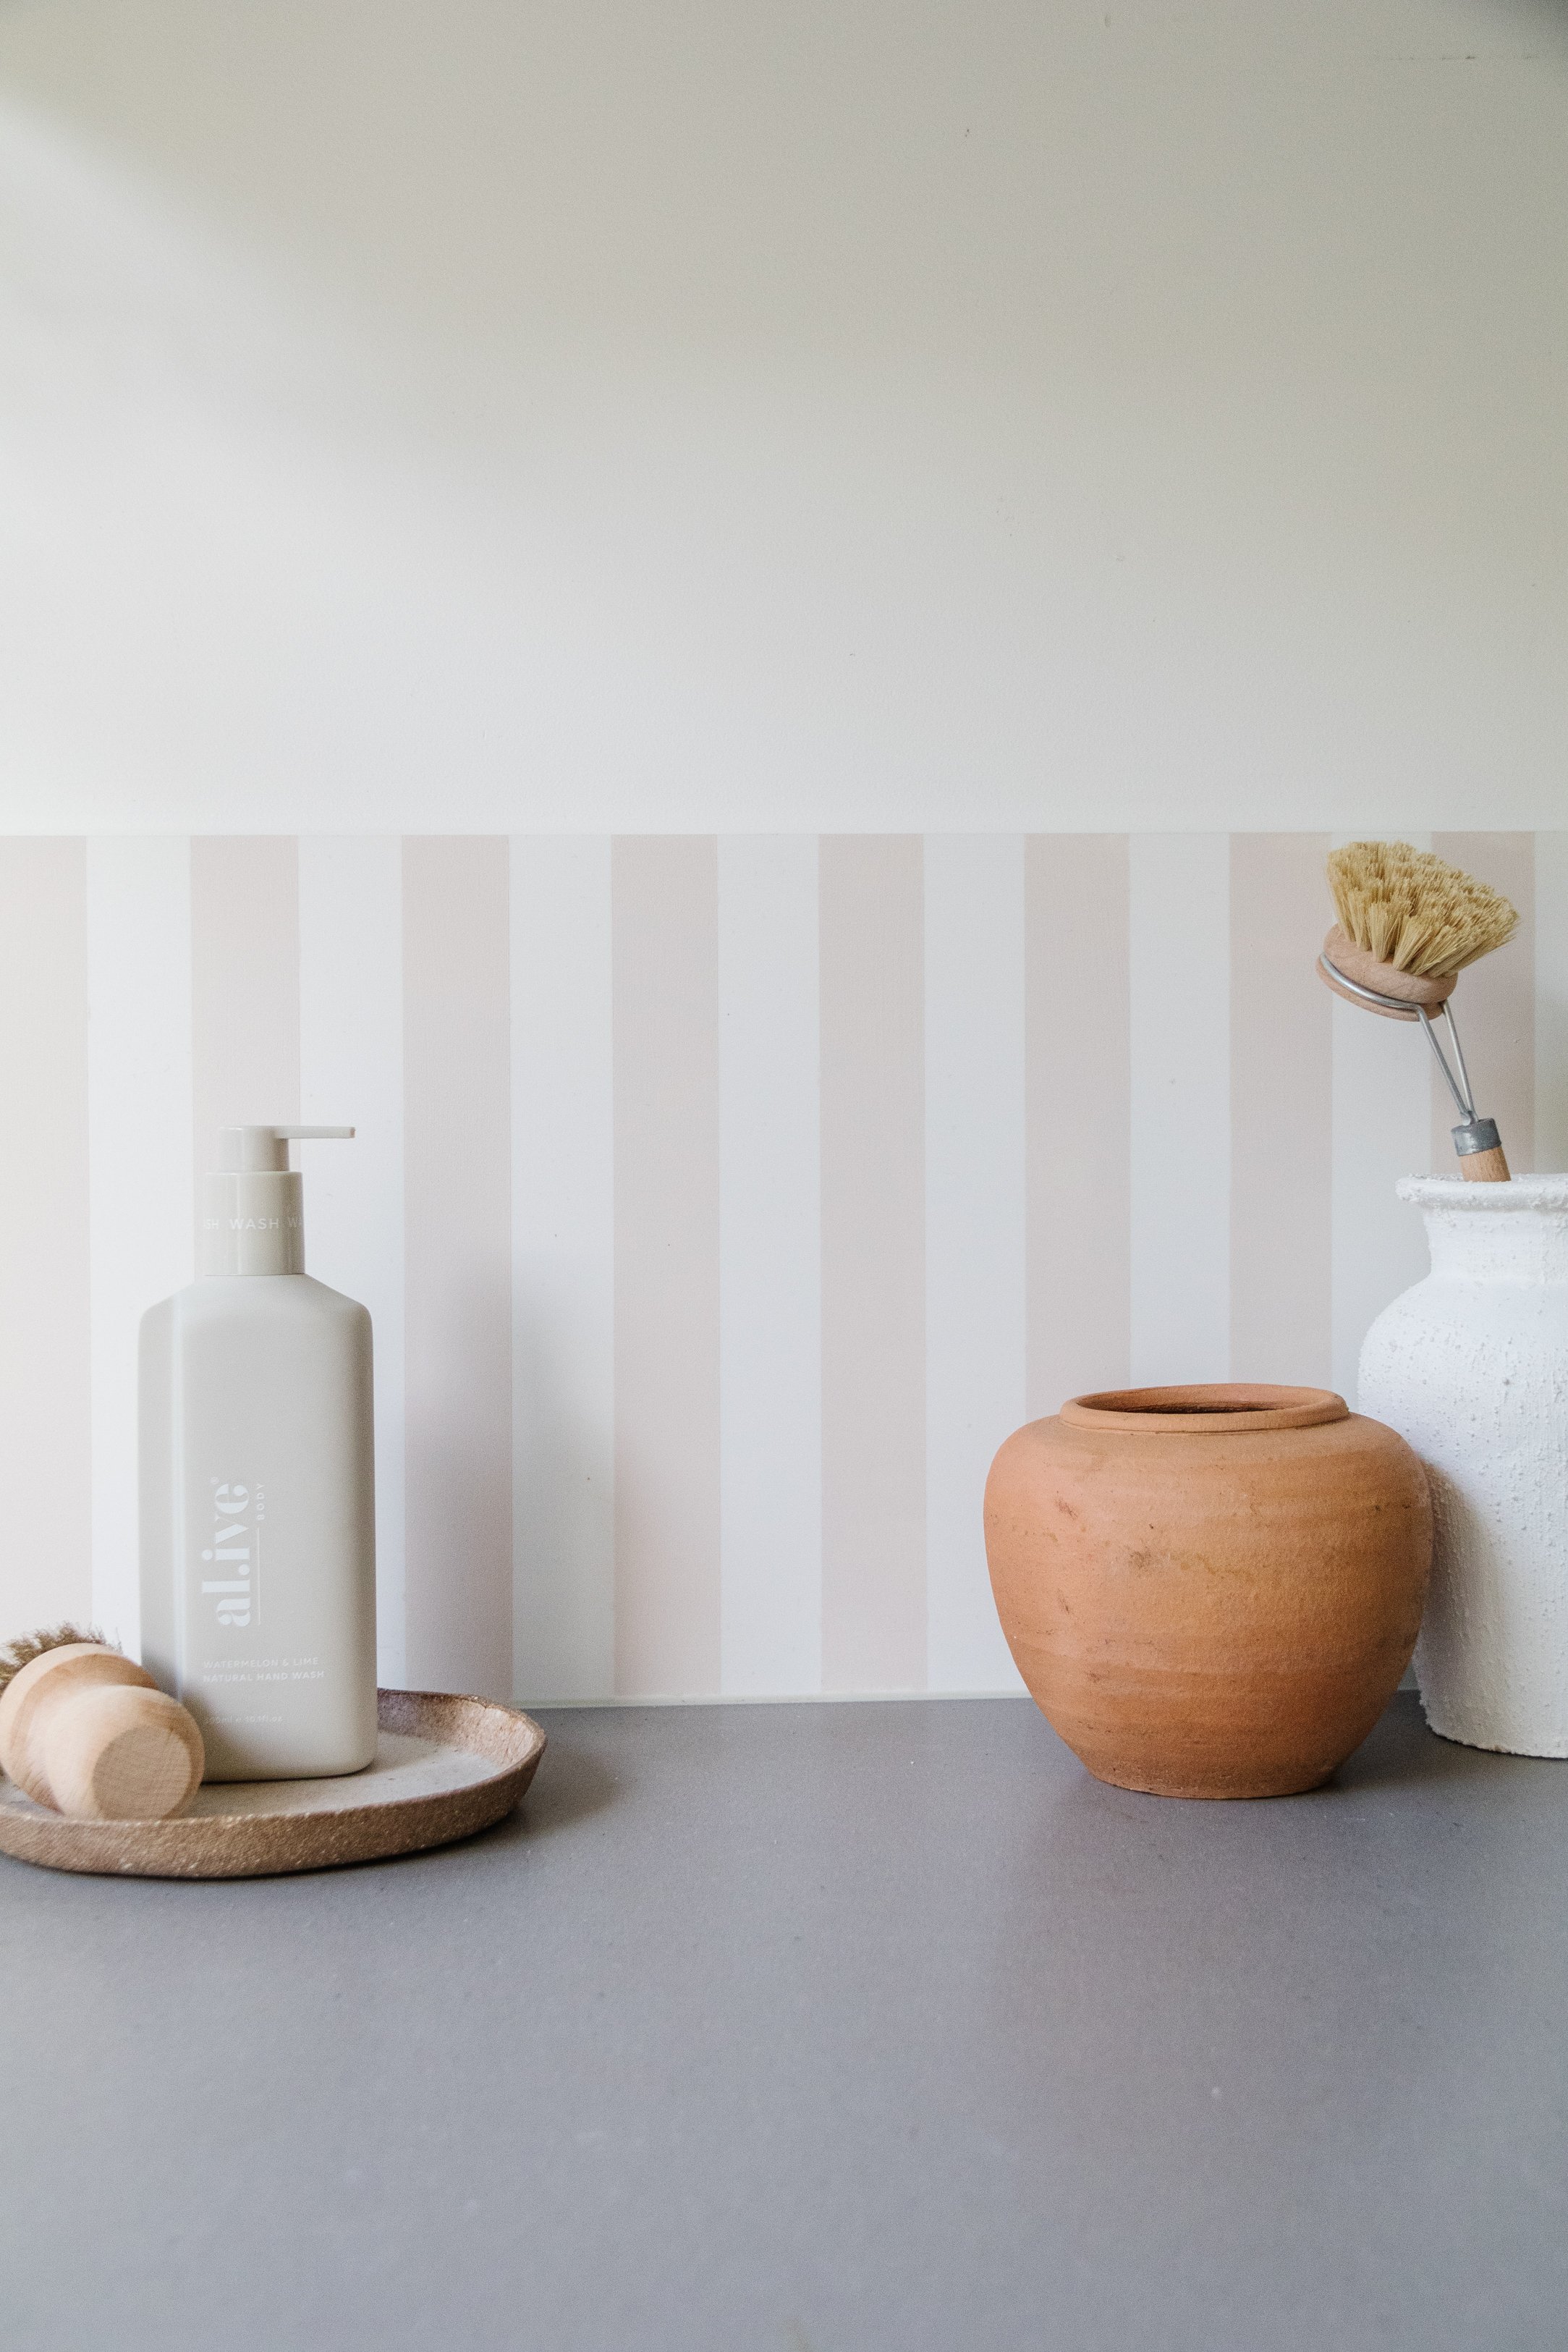
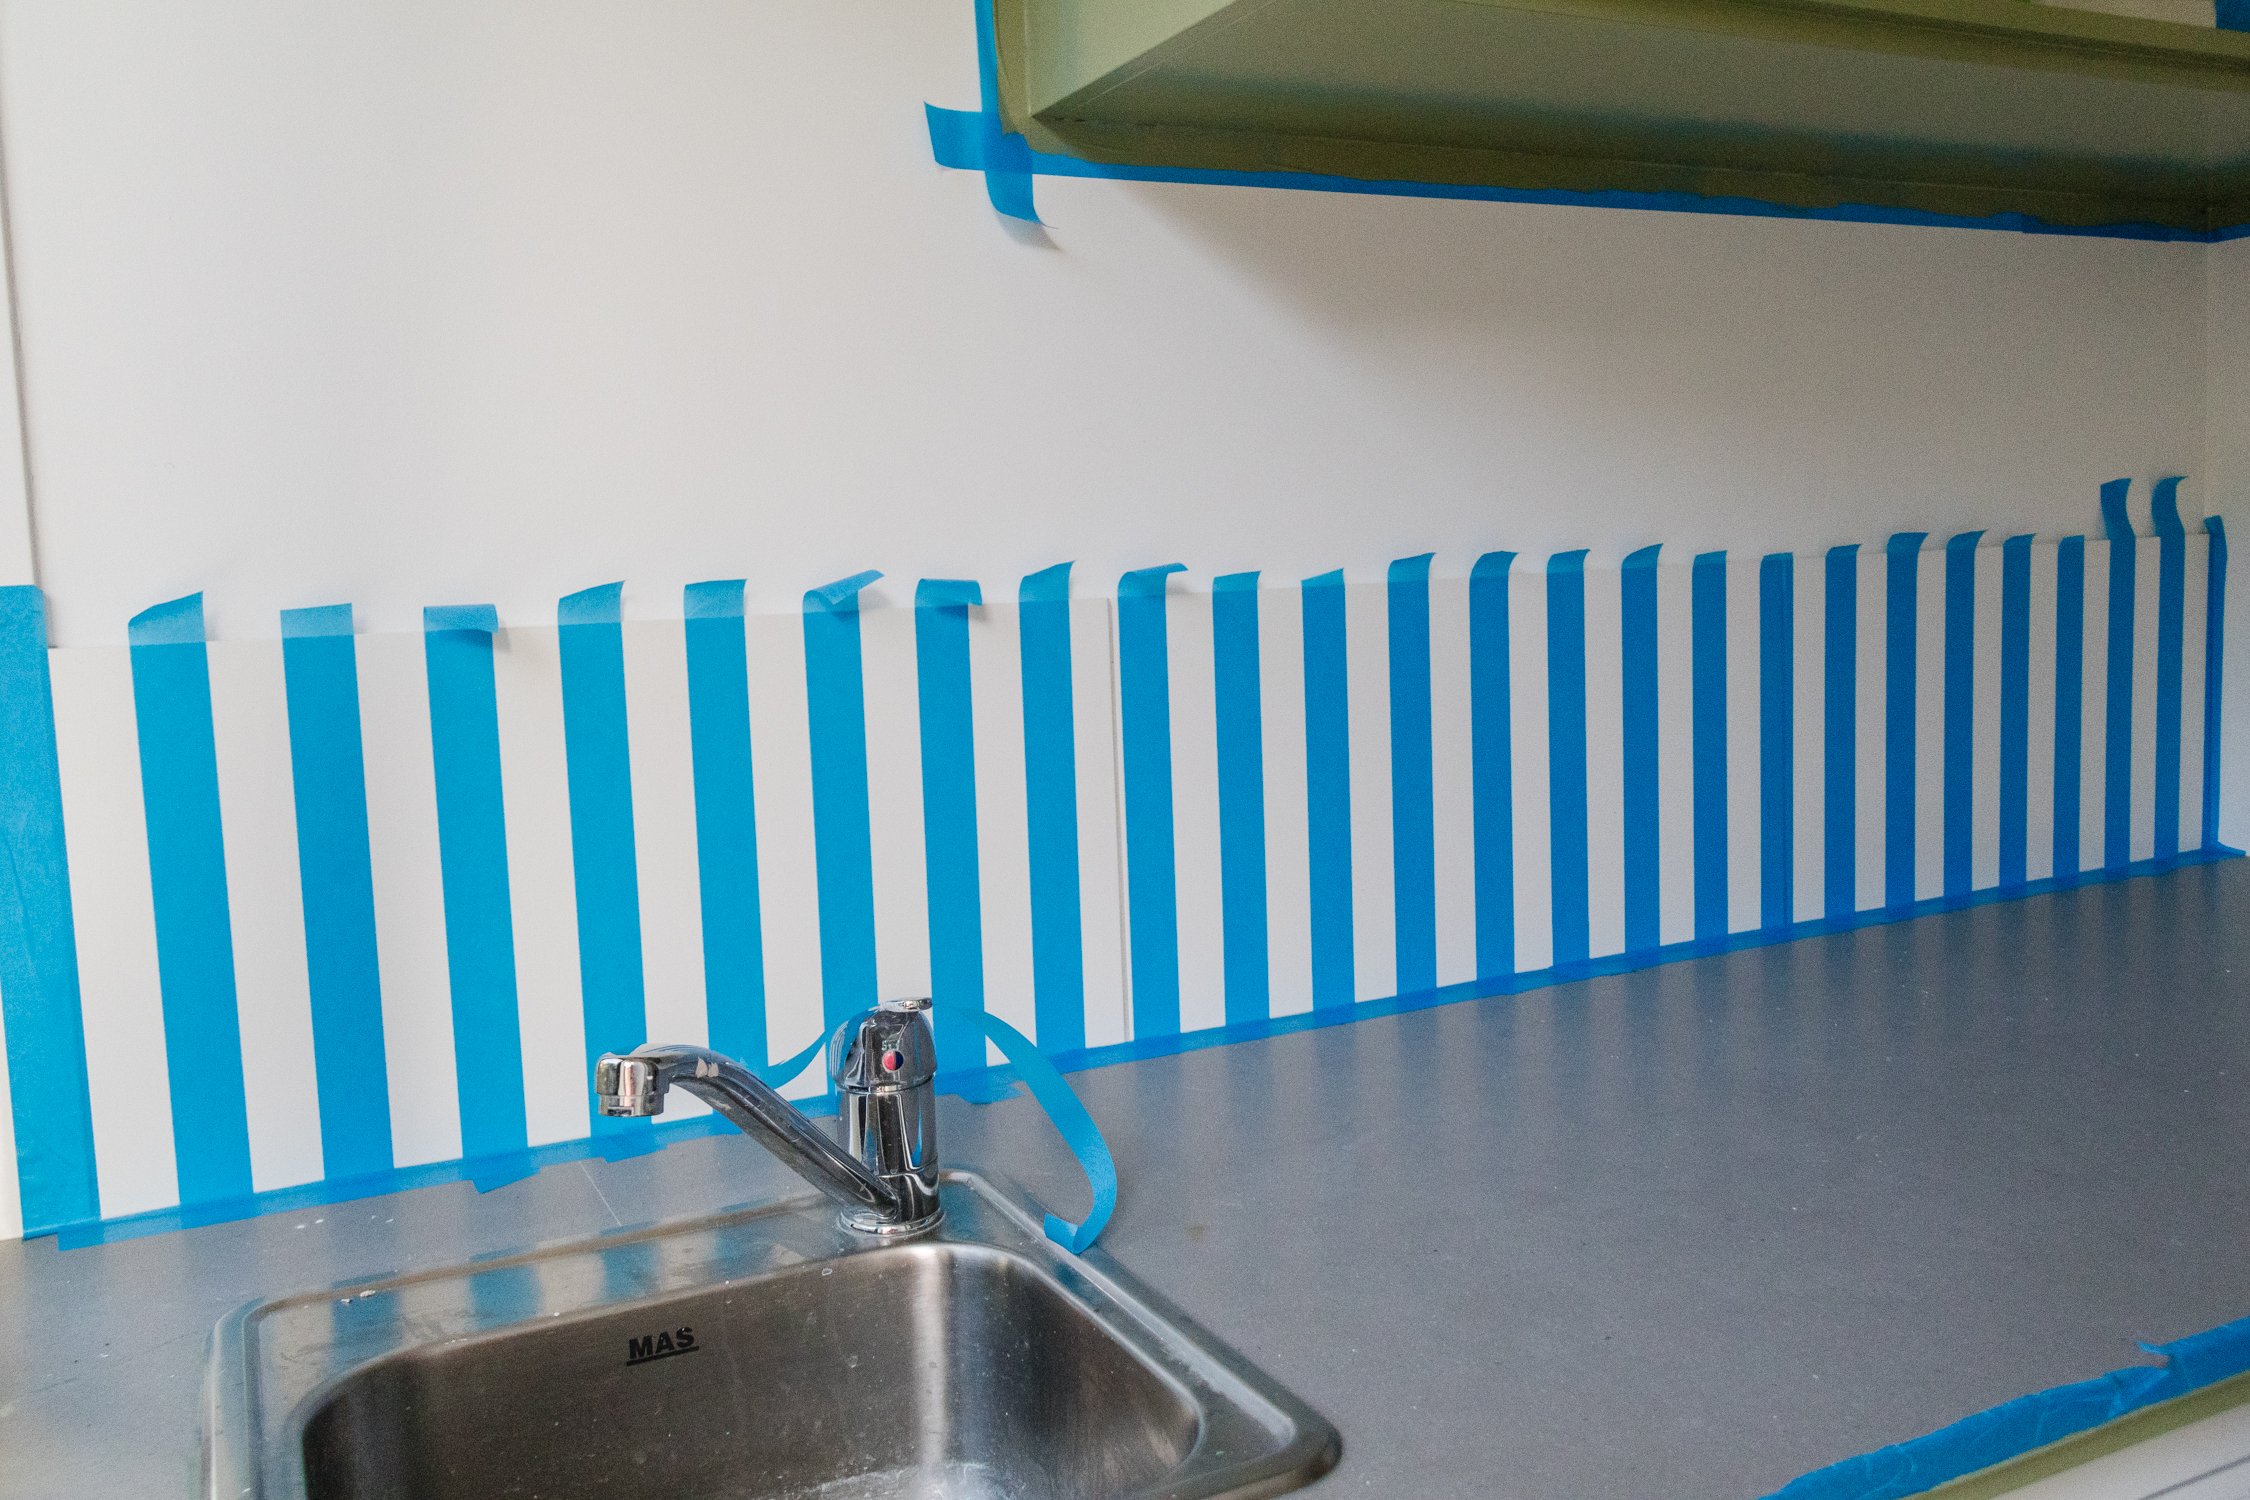
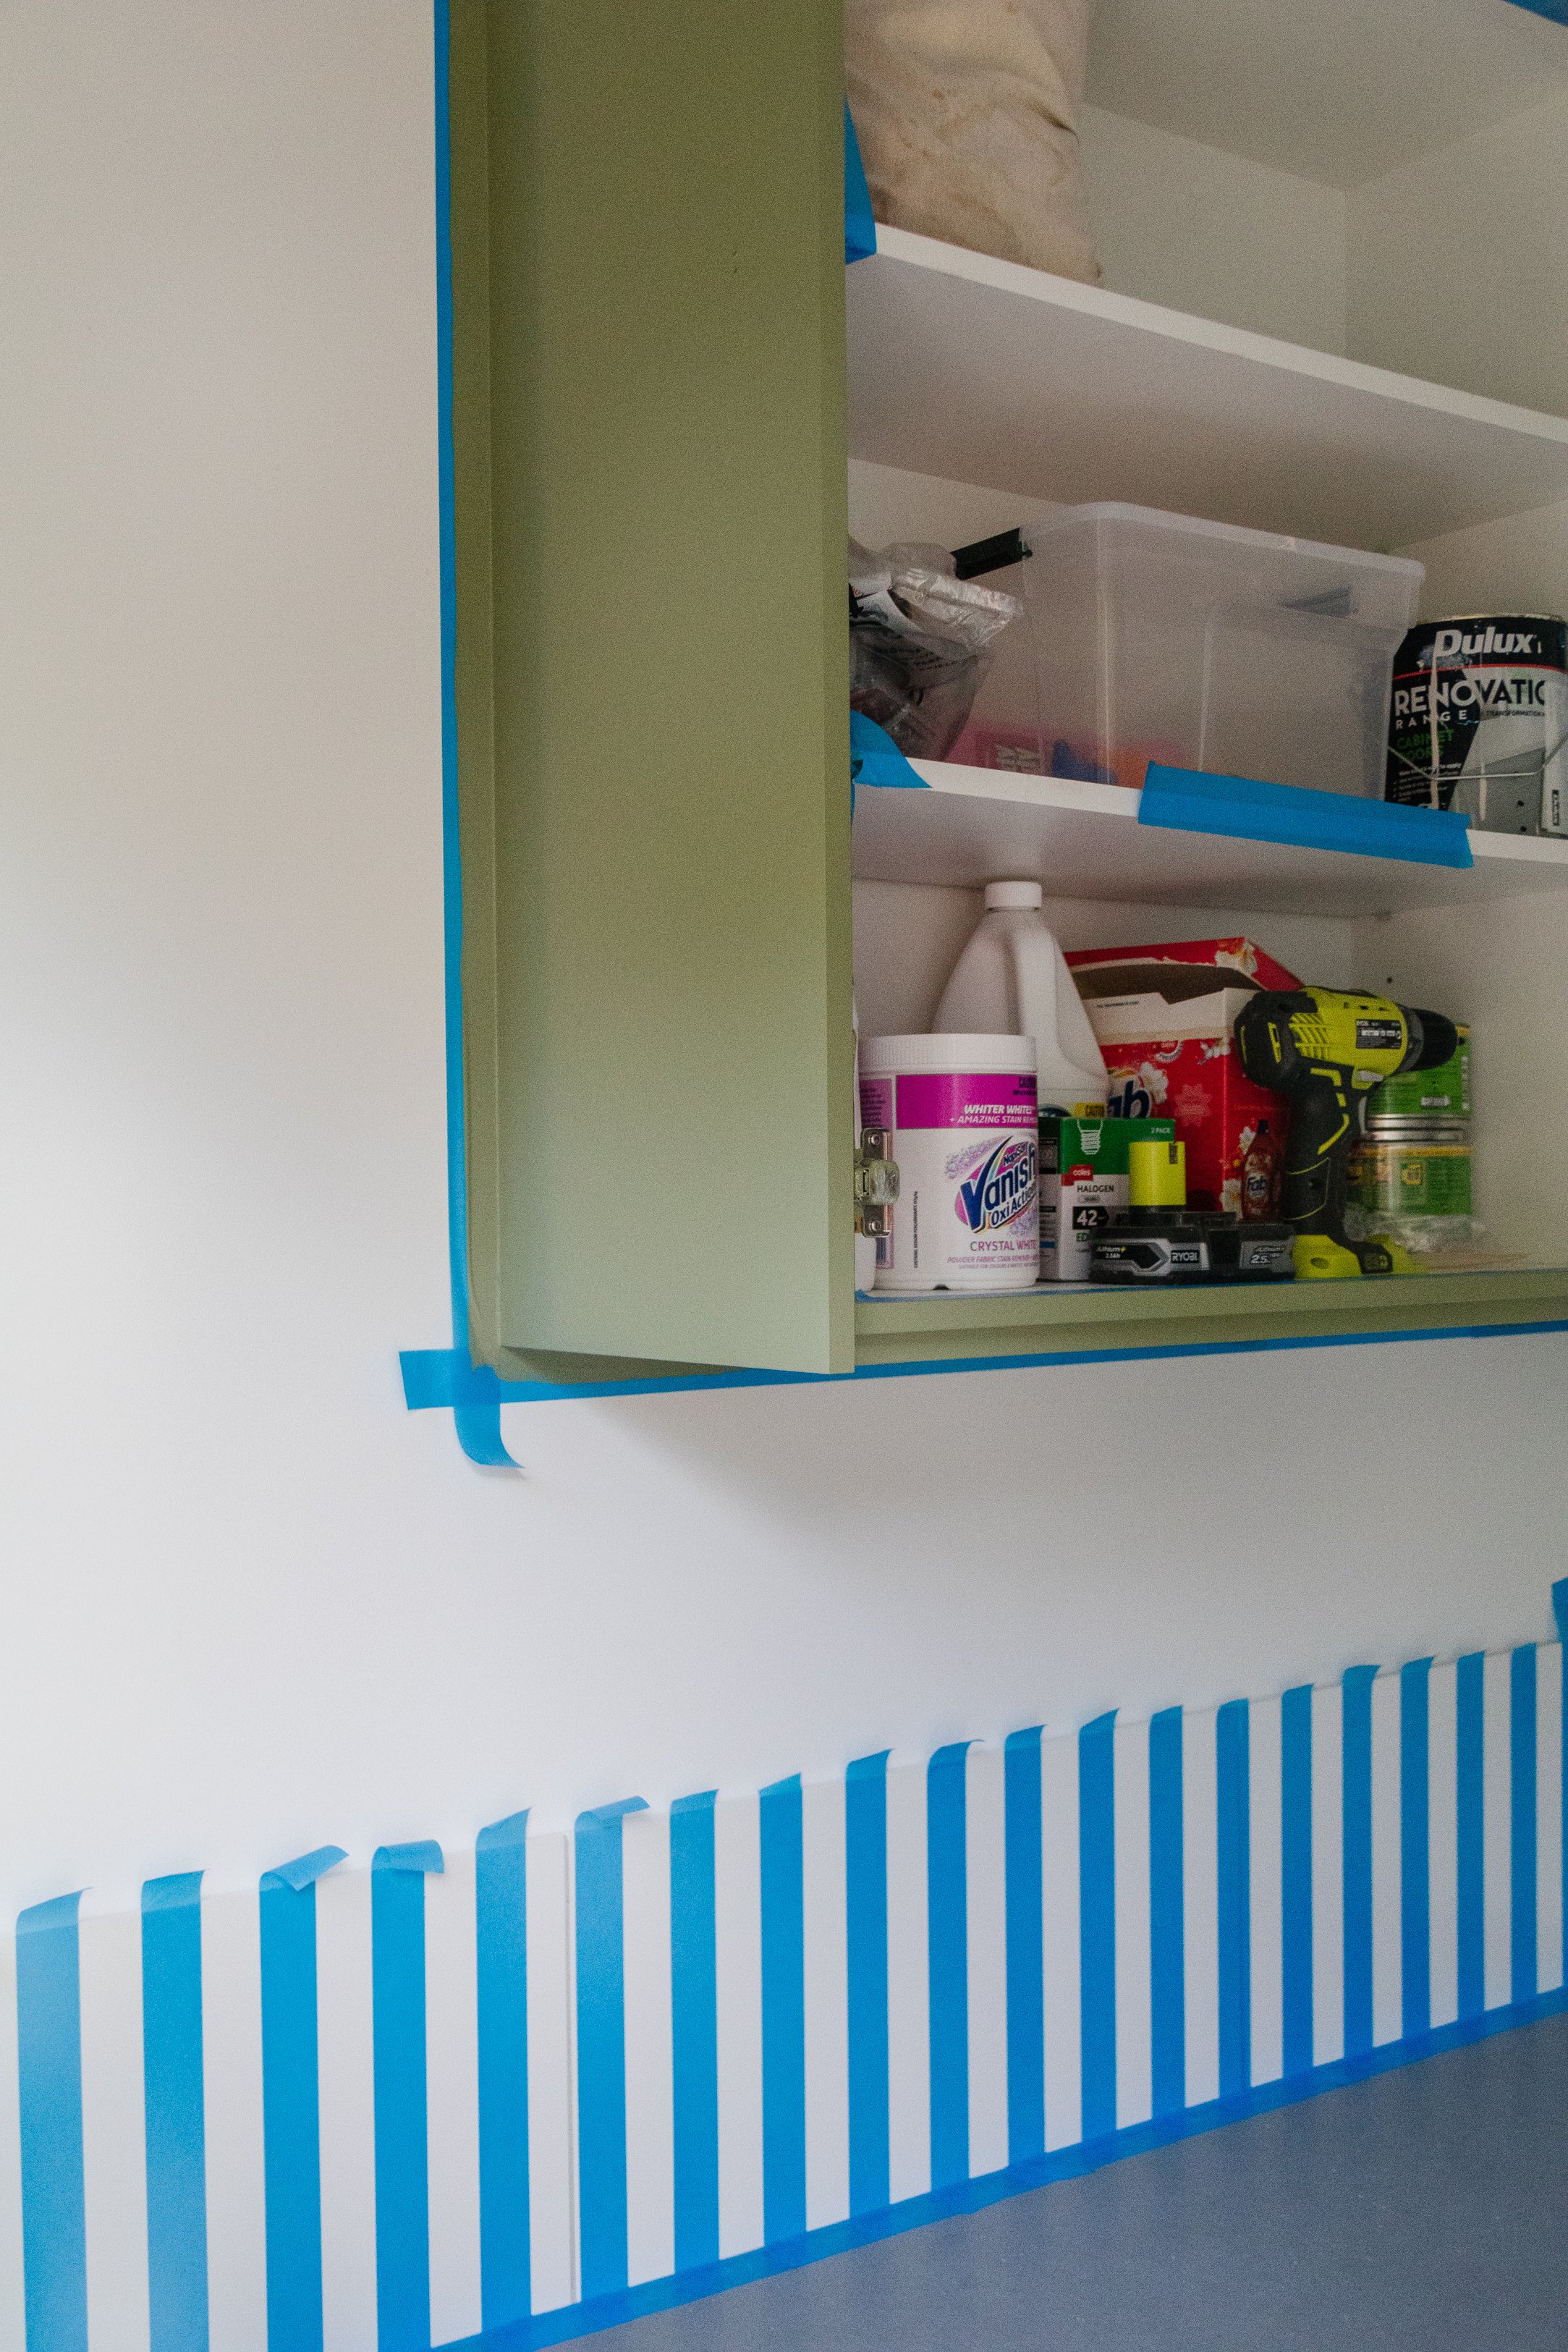
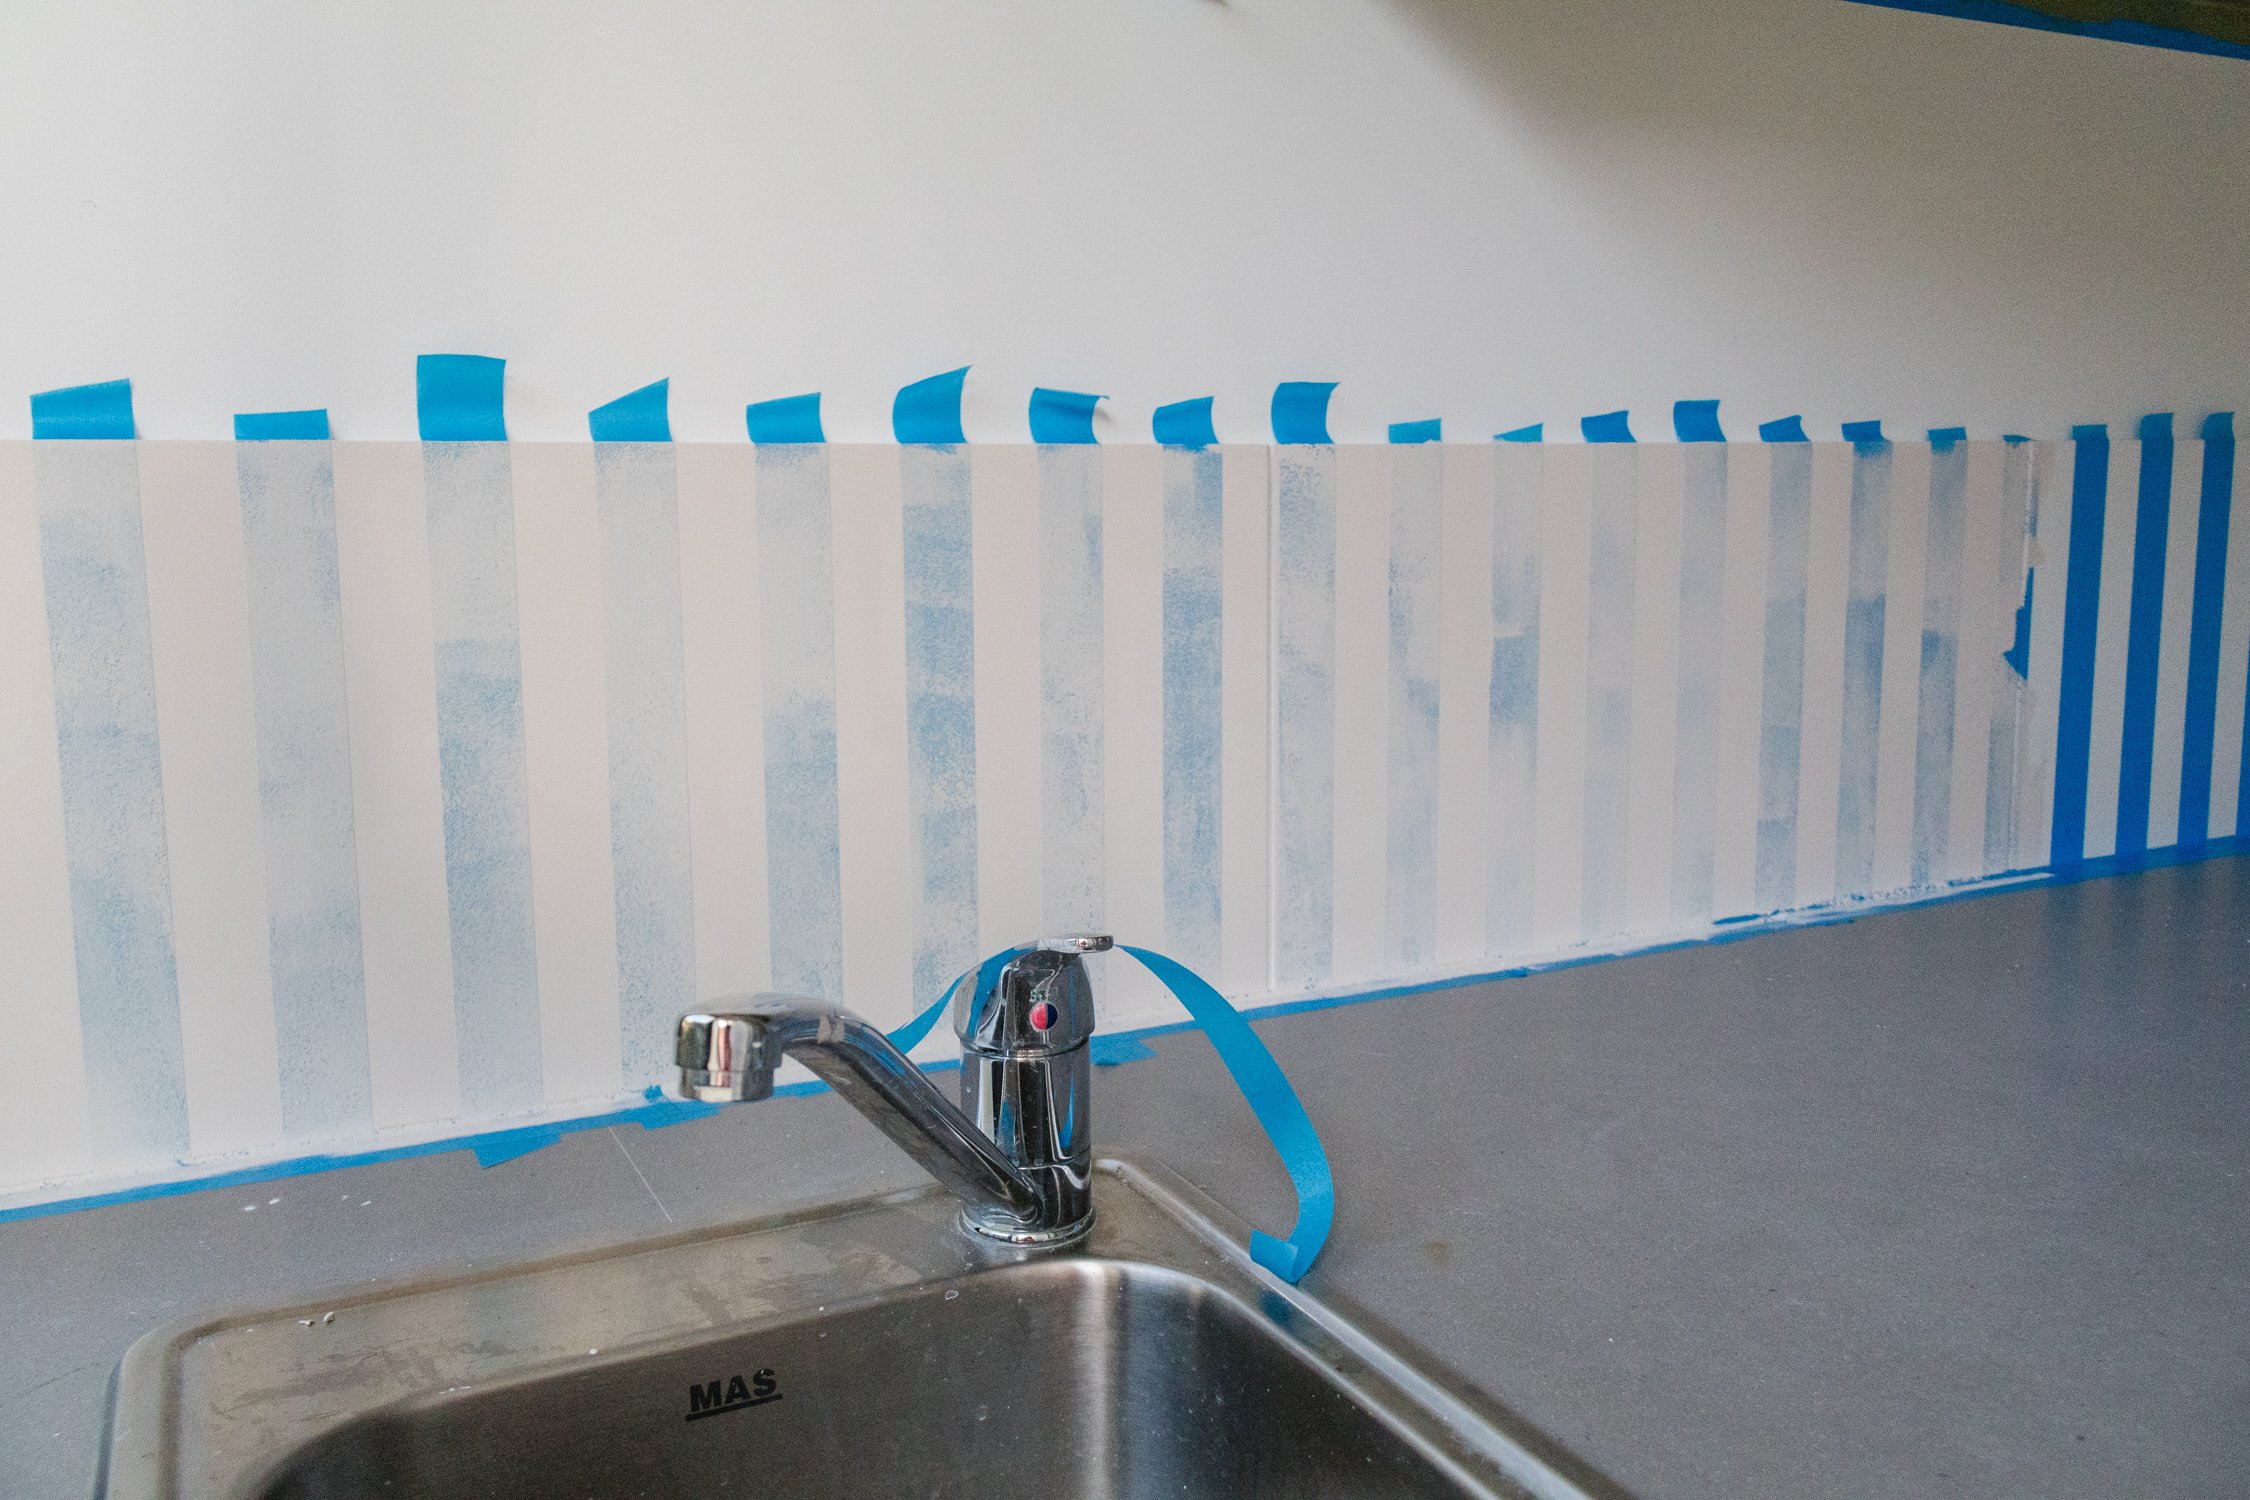
When the primer has completely dried, apply painter’s tape directly on top to form a striped pattern. Make sure the first piece is perfectly straight, which is easy if your tiles are straight edged, so start from one side of the tile and work your way across. Use another piece of painters tape to make sure the next piece of tape is equal distance apart and also just as straight; refer to my photos below. Make sure you use the painters tape to cover the walls (if needed) and silicone.
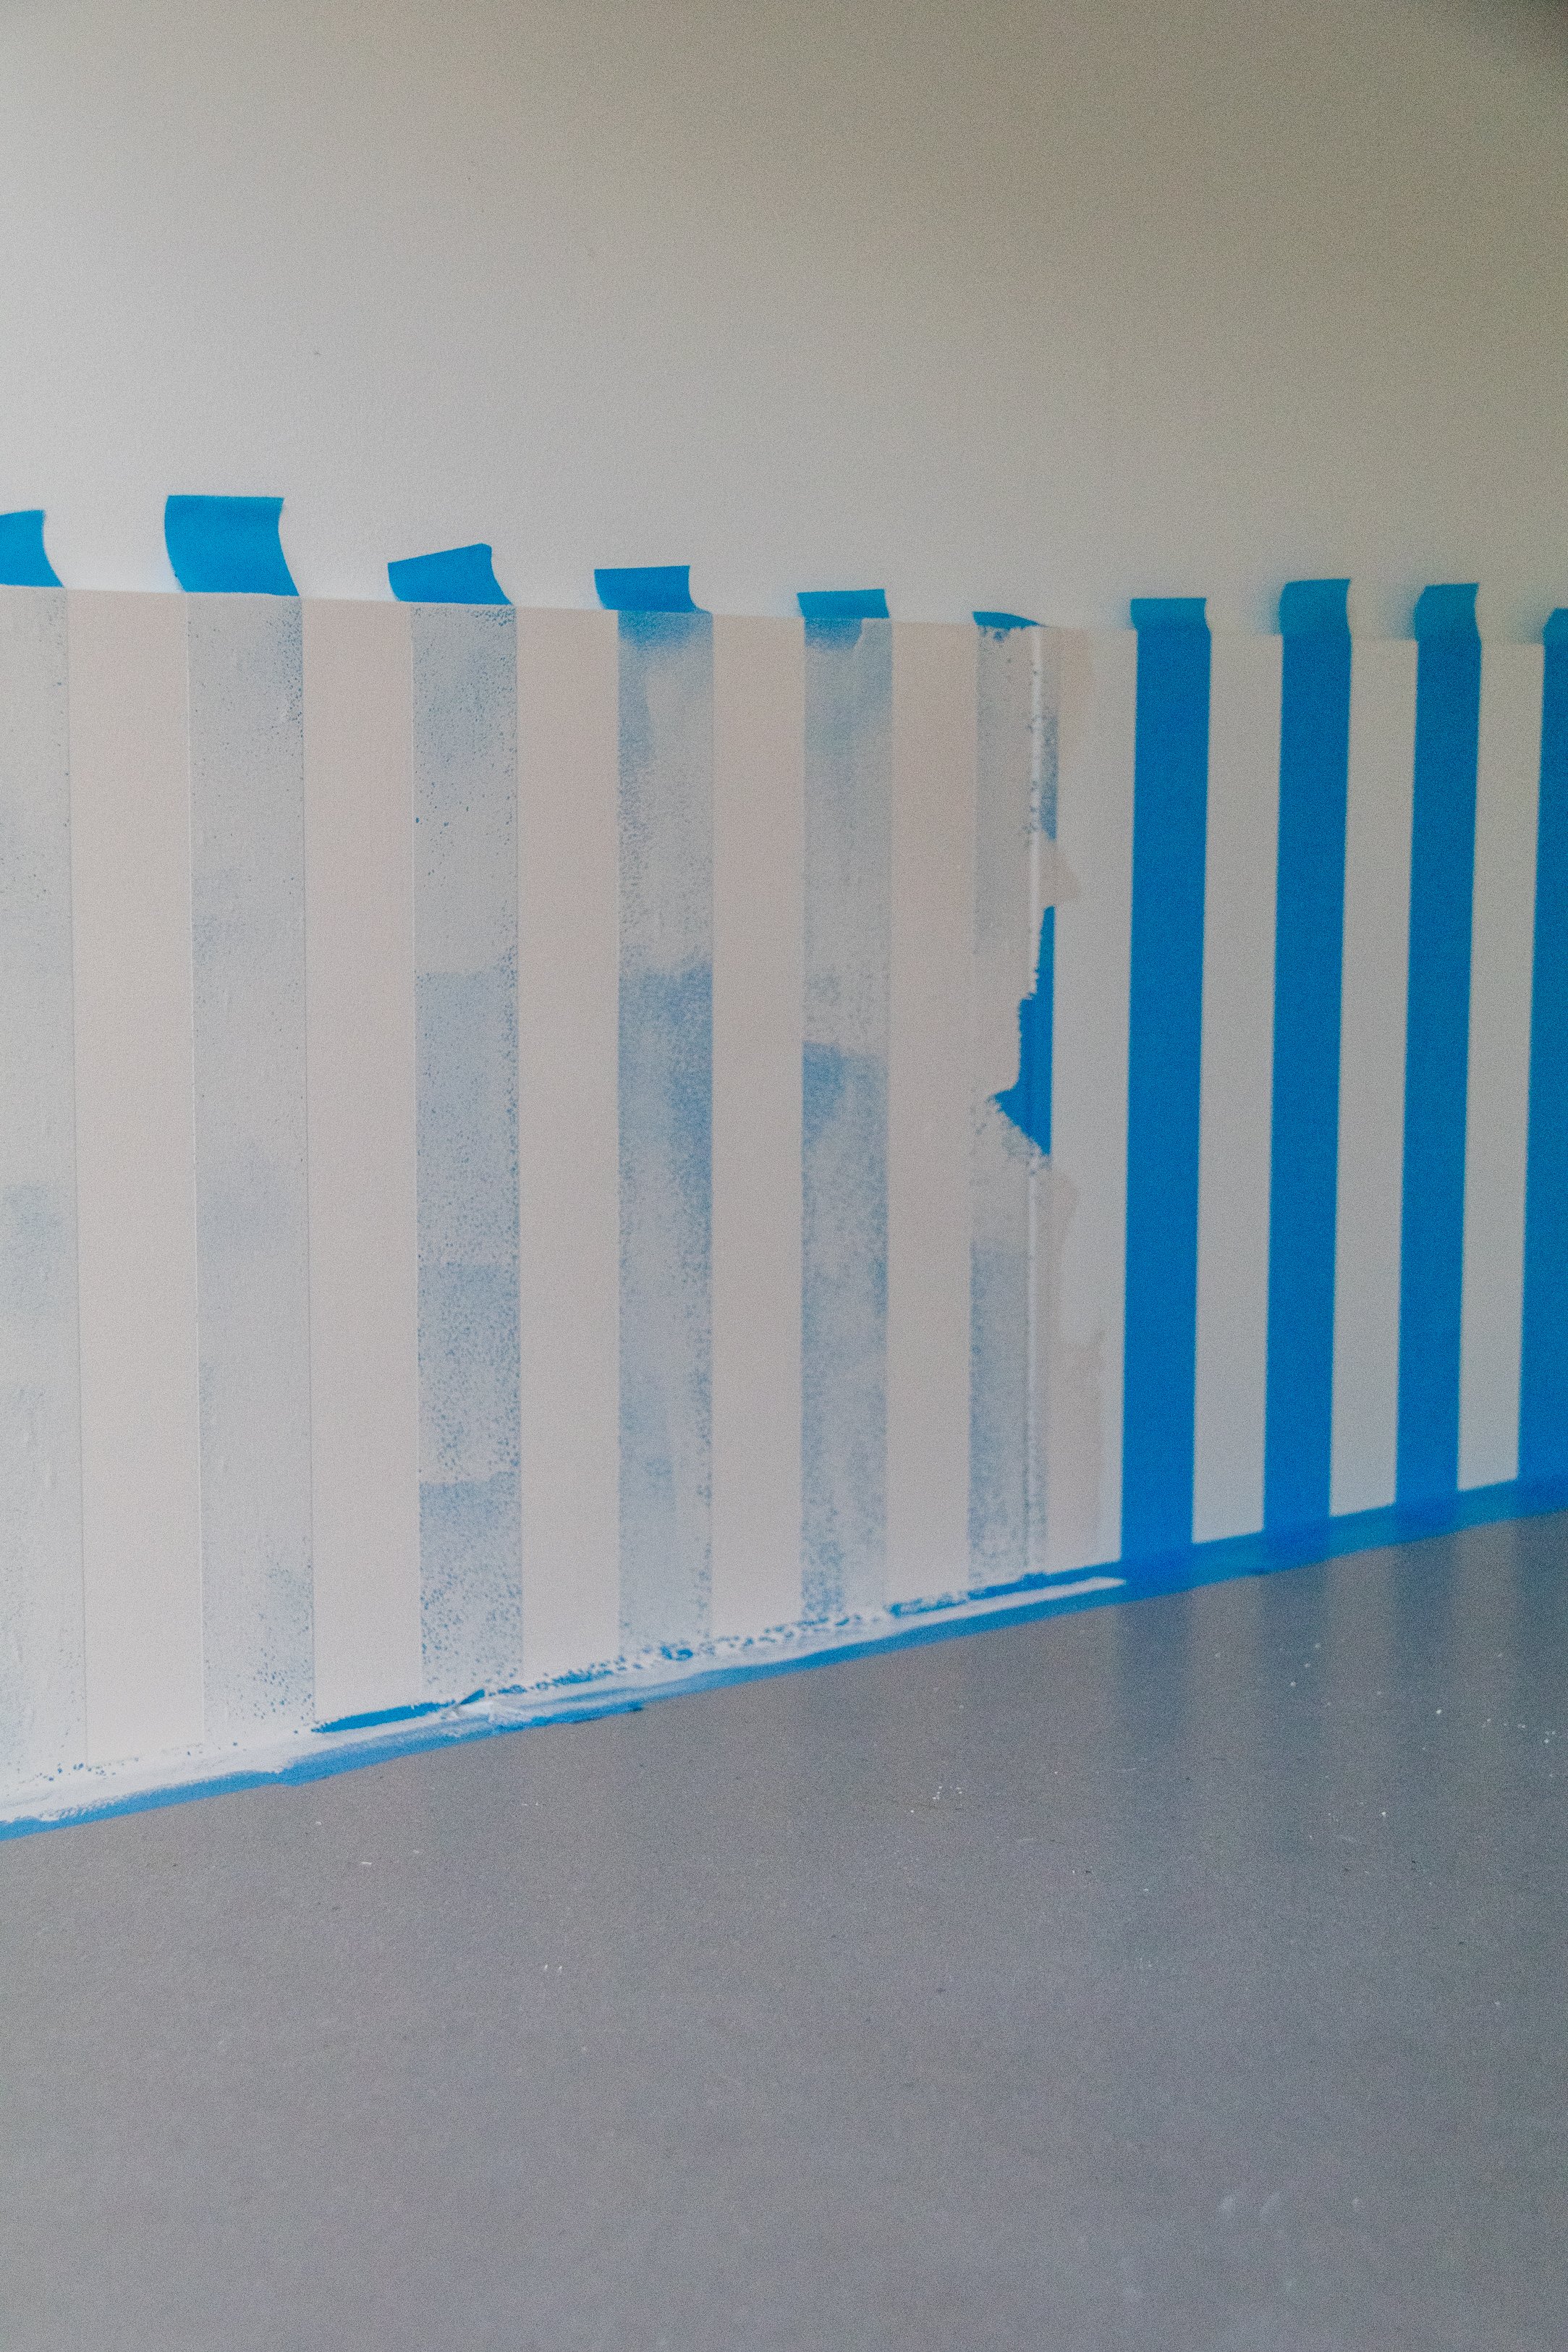
Using another clean, dry microfibre roller, apply one coat of Dulux Renovation Range Tiles & Benchtops. Then pretty much straight away, apply another thin coat. Wait a few minutes, and roll over the paint again just once - but not with more paint! Rolling over the paint one more time prevents the paint from pooling. Set aside to dry for at least 2 hours.
Once the paint has completely dried, make sure there is no dust on the tiles then seal the striped painted patterned tiles using one coat of Dulux Renovation Range Clear Coat Satin, which is a must if you don’t want your paint to scratch off. And I recoemmend using another clean, dry microfibre roller. The best part about using Dulux Renovation Range Clear Coat Satin is that it dries in a couple of hours so you can start enjoying them virtually right away. You don’t have to wait a long time for the sealer to dry, and that’s the actual best!

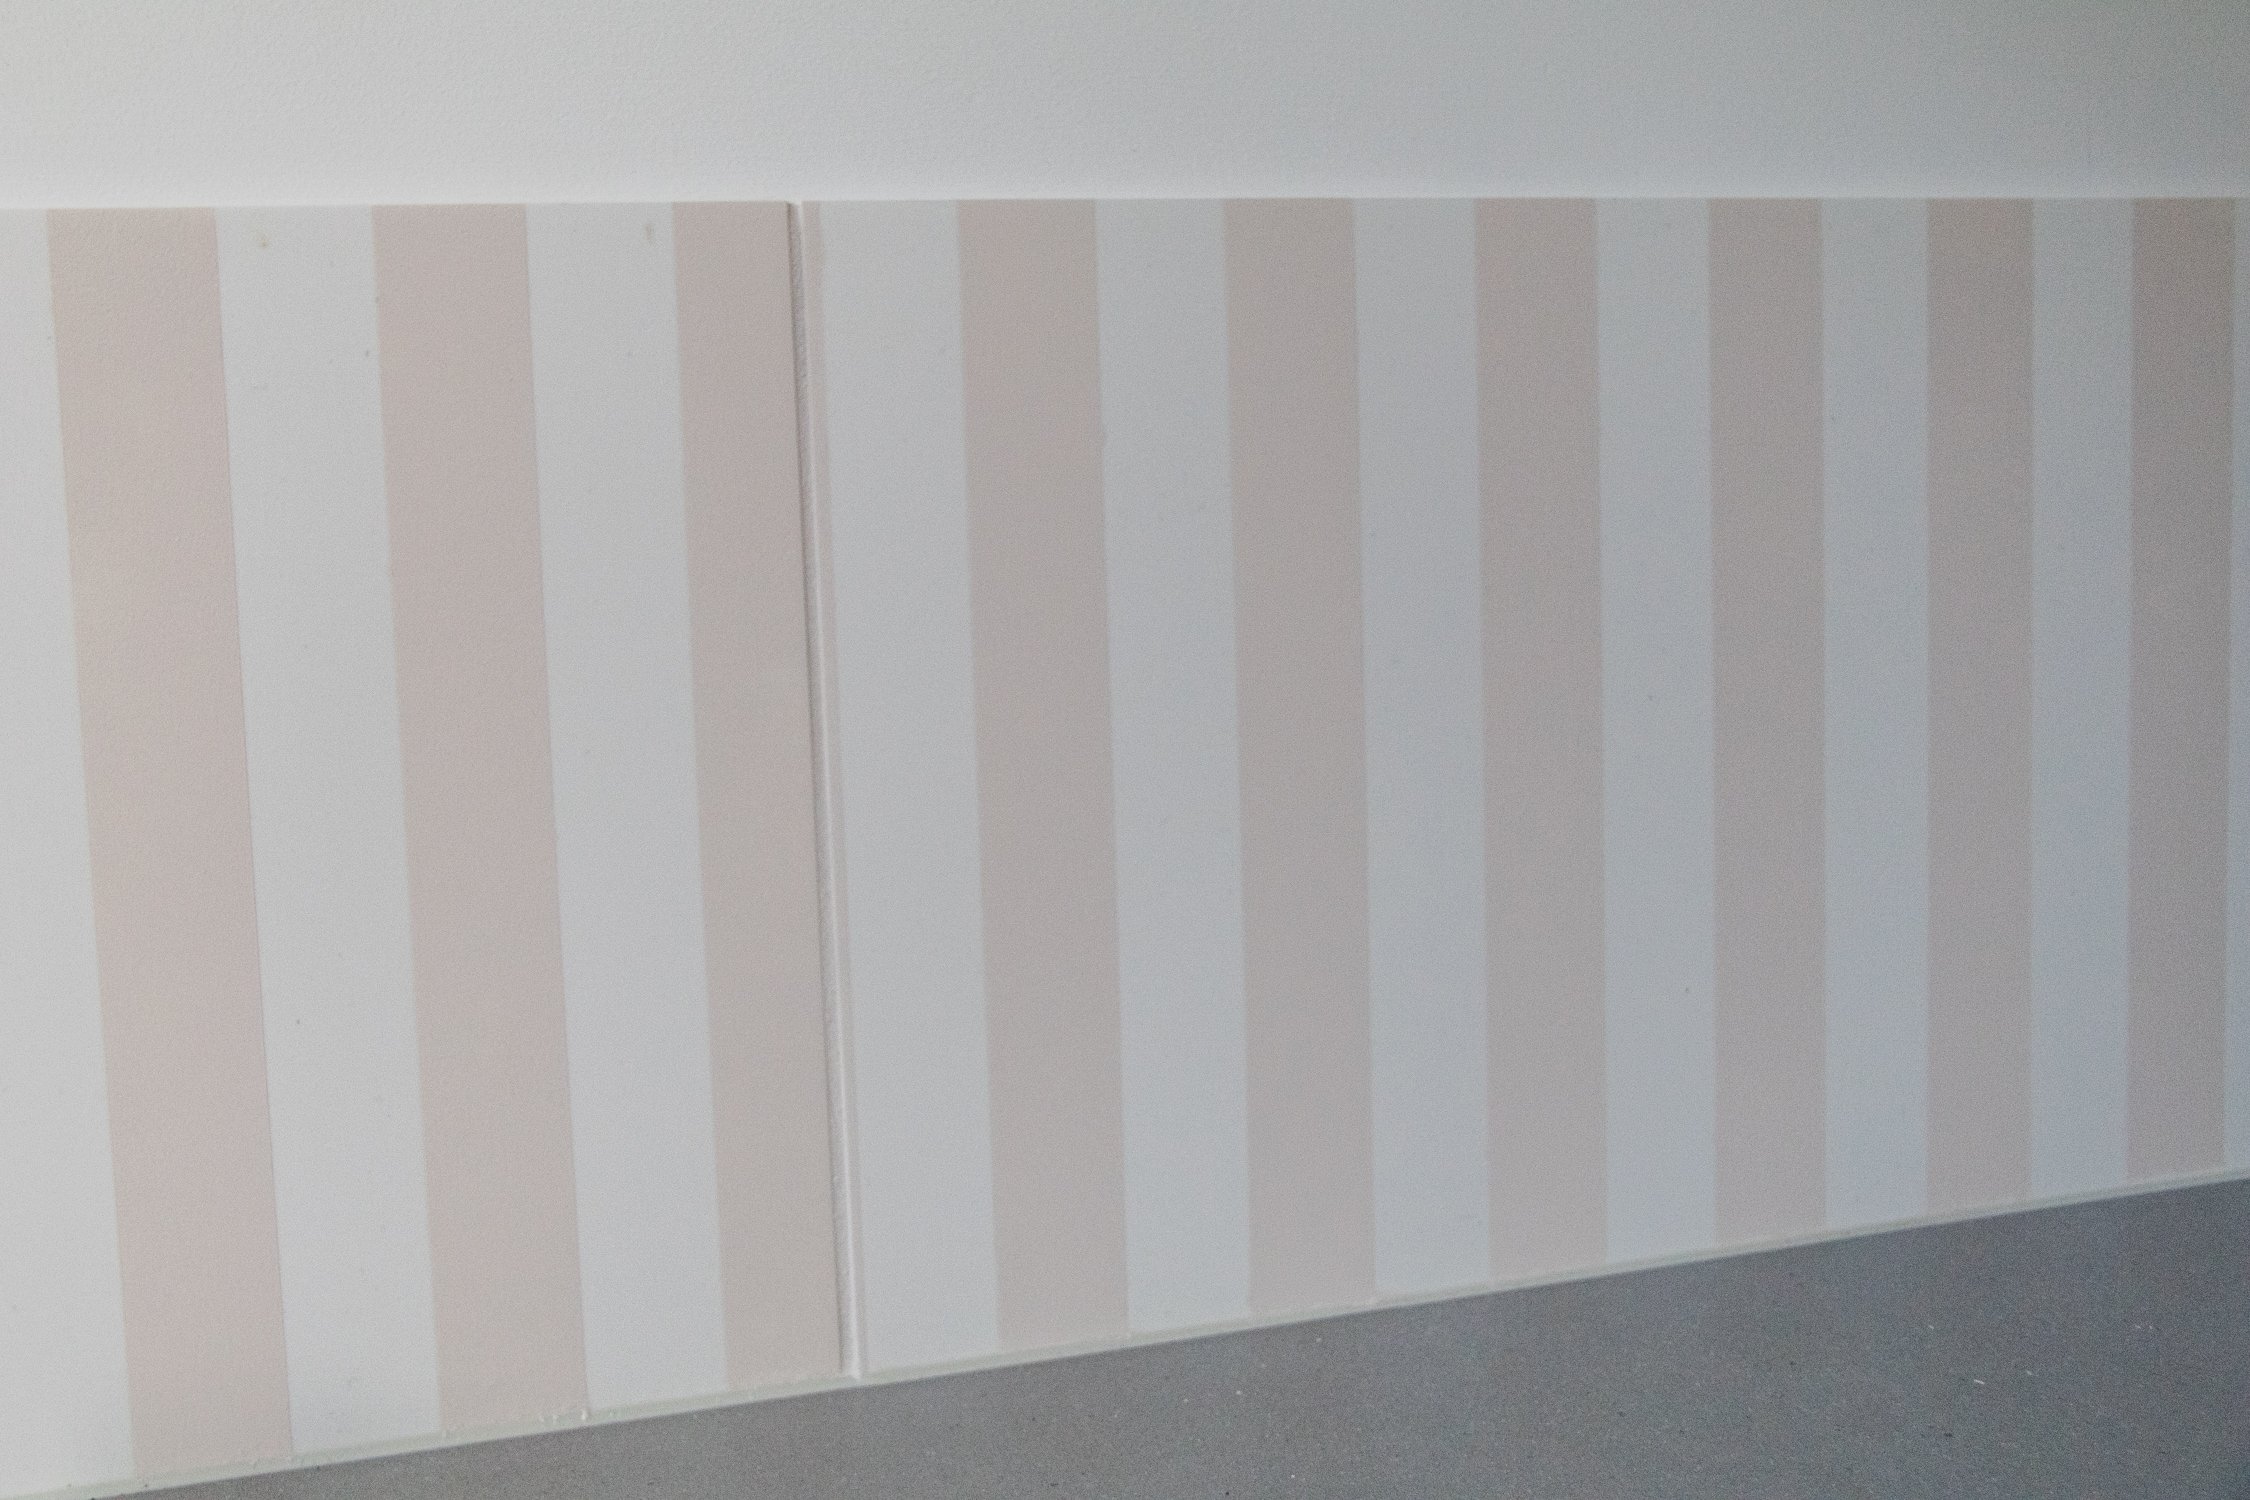
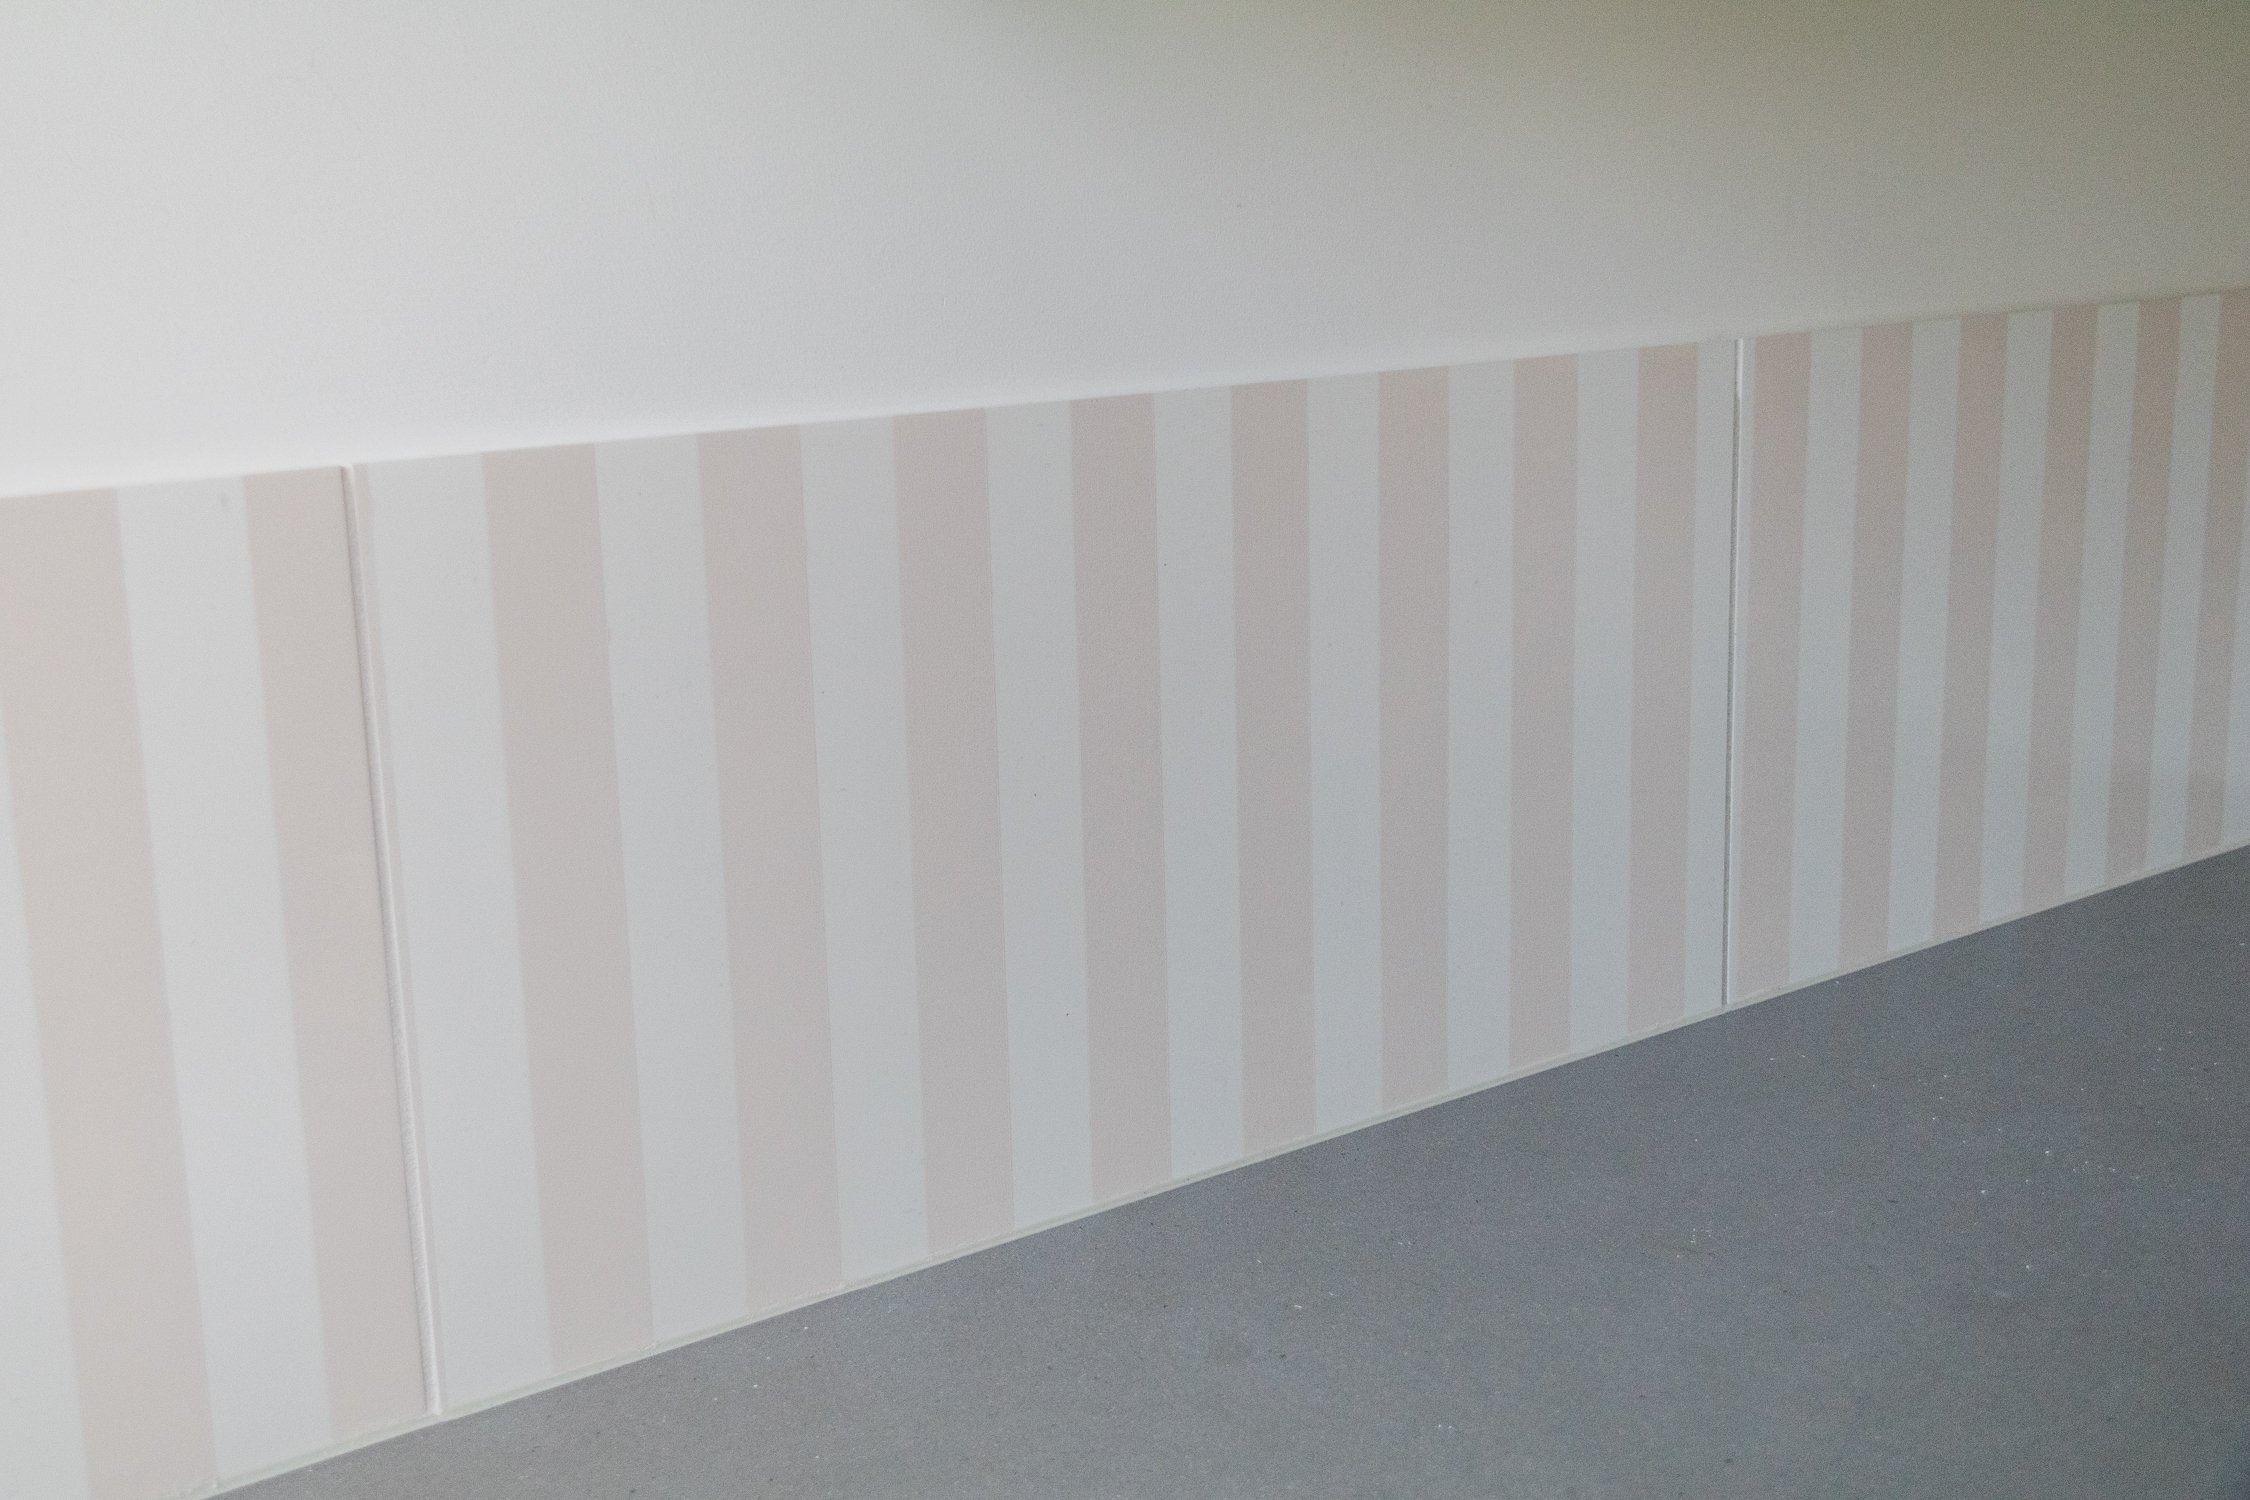
Ta daaaa! There’s nothing like painting your own tiles in a day to rejuvenate your tiled spaces at home.
I honestly can’t believe how easy this project is! Thanks to Dulux Renovation Range, the process of painting your own tiles at home couldn’t be easier or quicker! The result is professional, durable and reliable. Best of all? I love how these DIY striped painted tiles are a delightful yet subtle statement in our tiny laundry room. And I hope this little project inspires you to bring some magic into your tiled spaces at home!
This project is in collaboration with Dulux.