How To Paint Cabinets
Feeling apprehensive about painting your existing cabinets? Don’t be, here’s why.
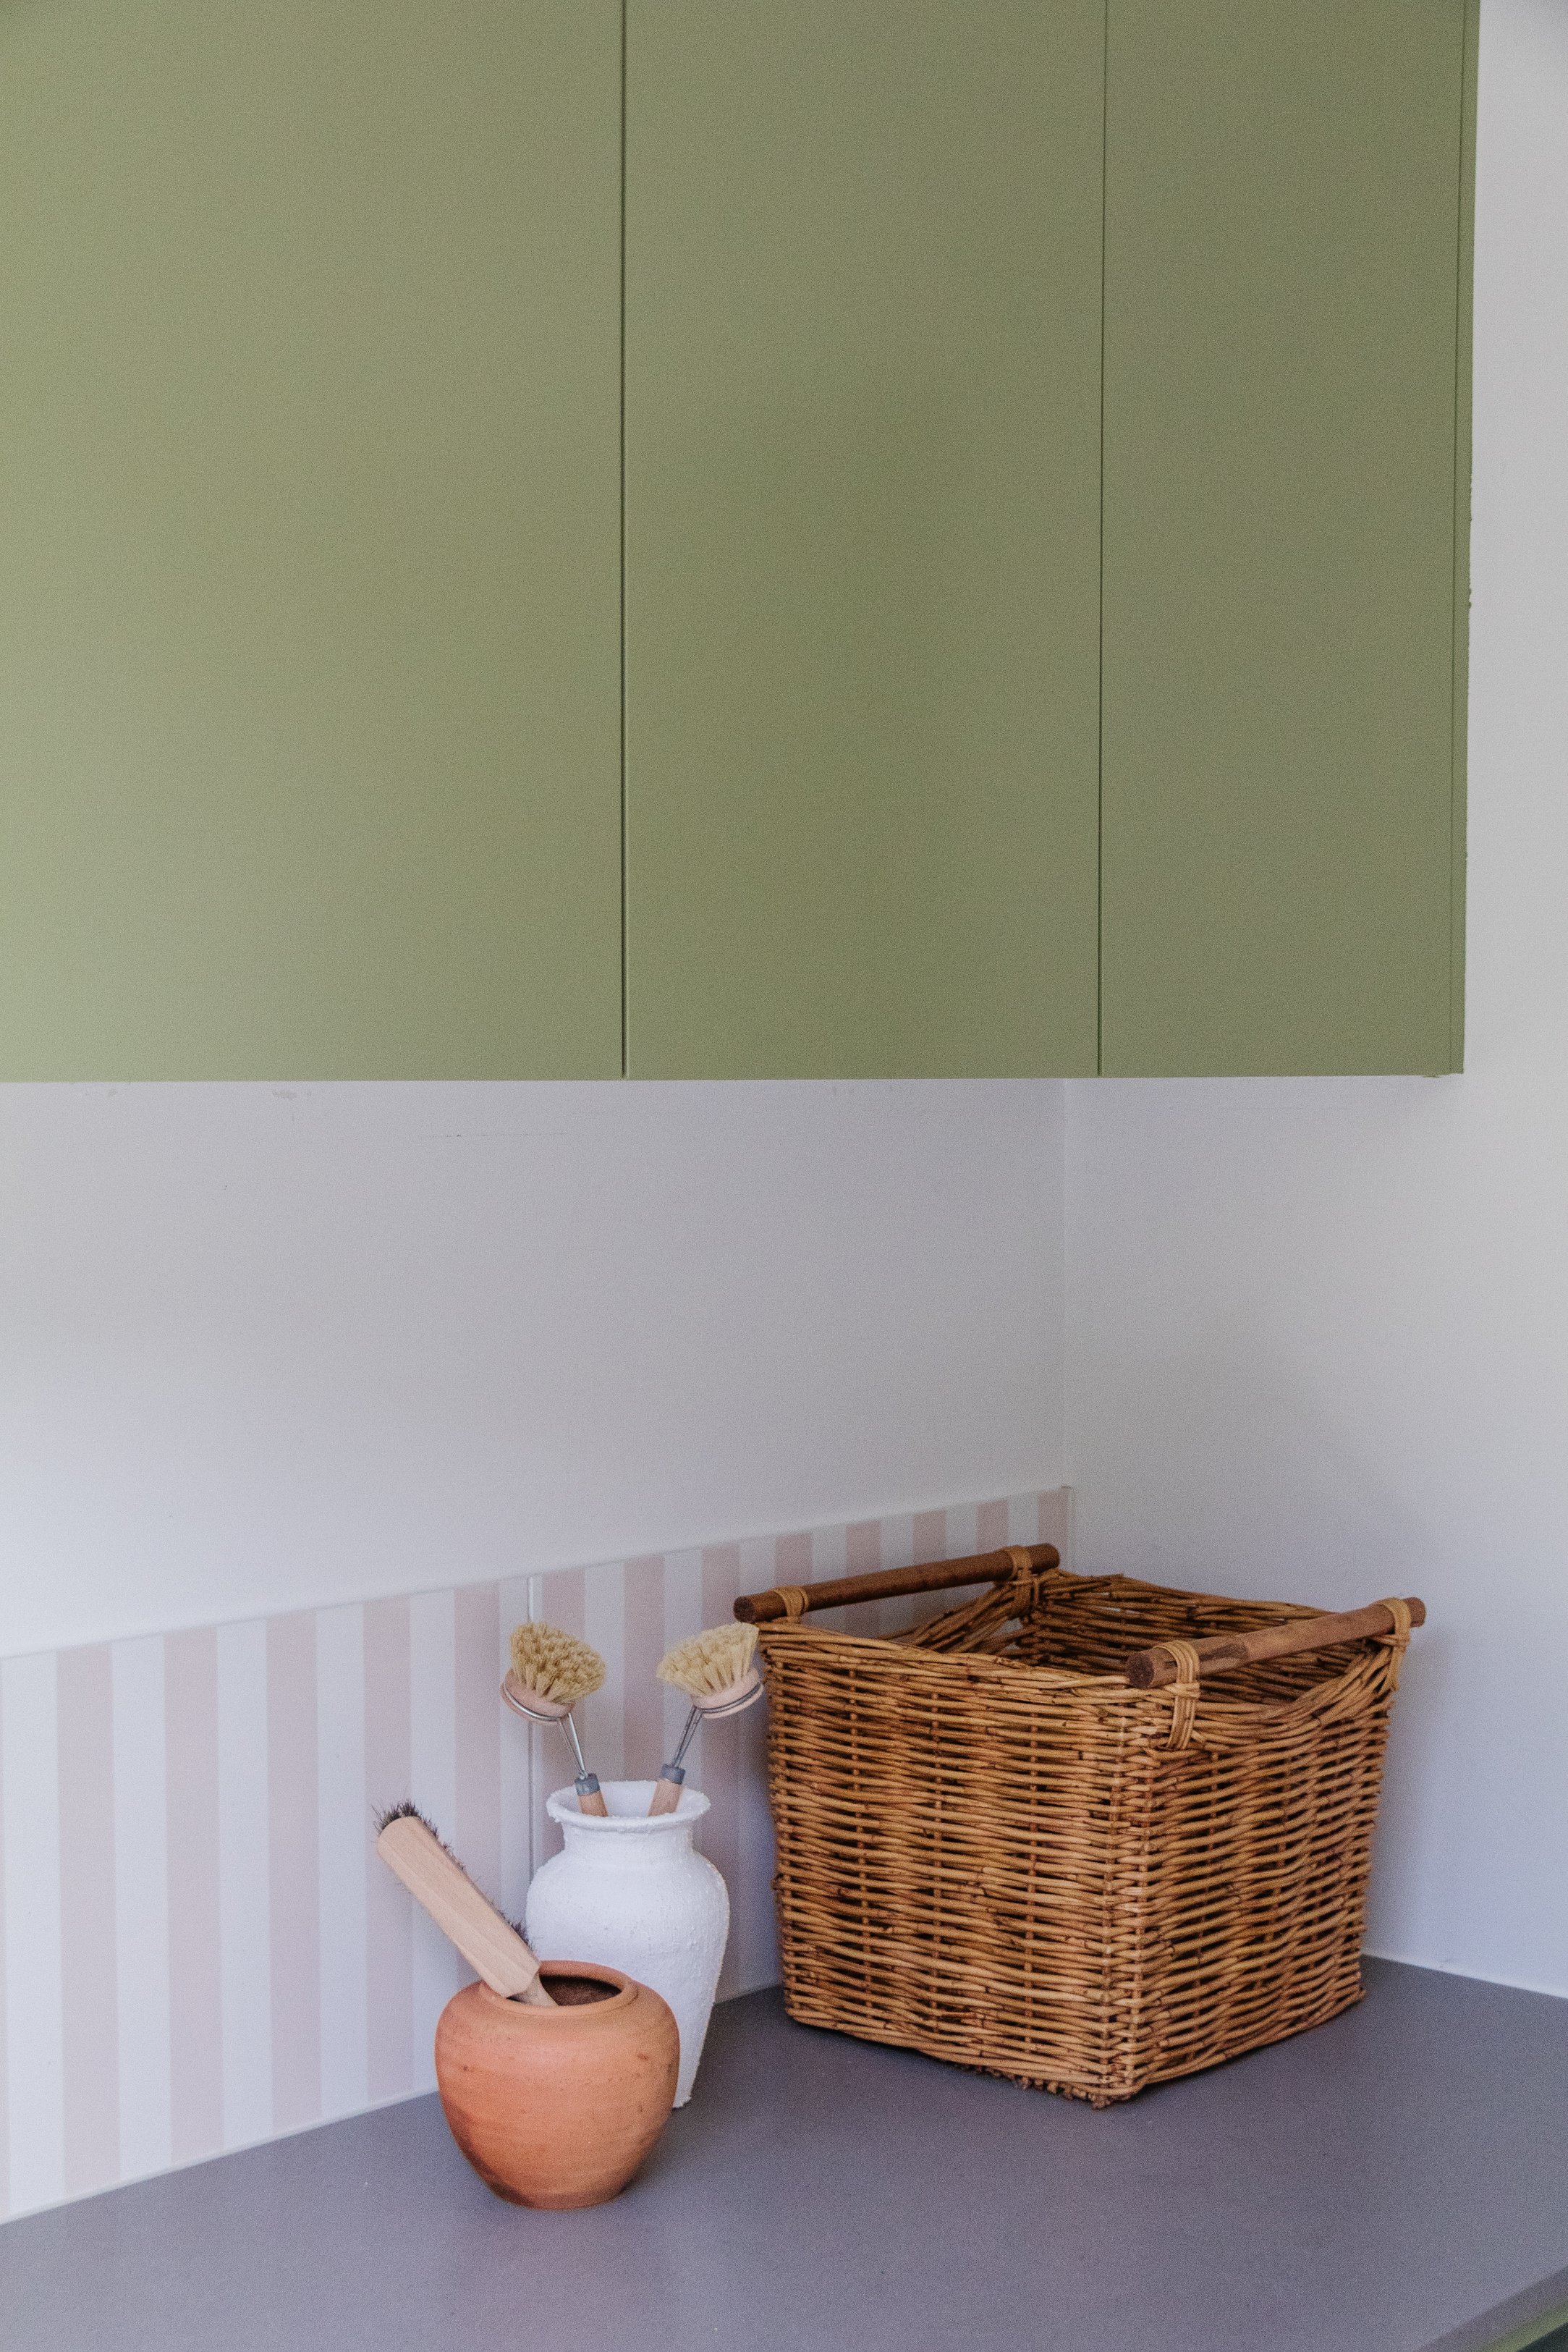
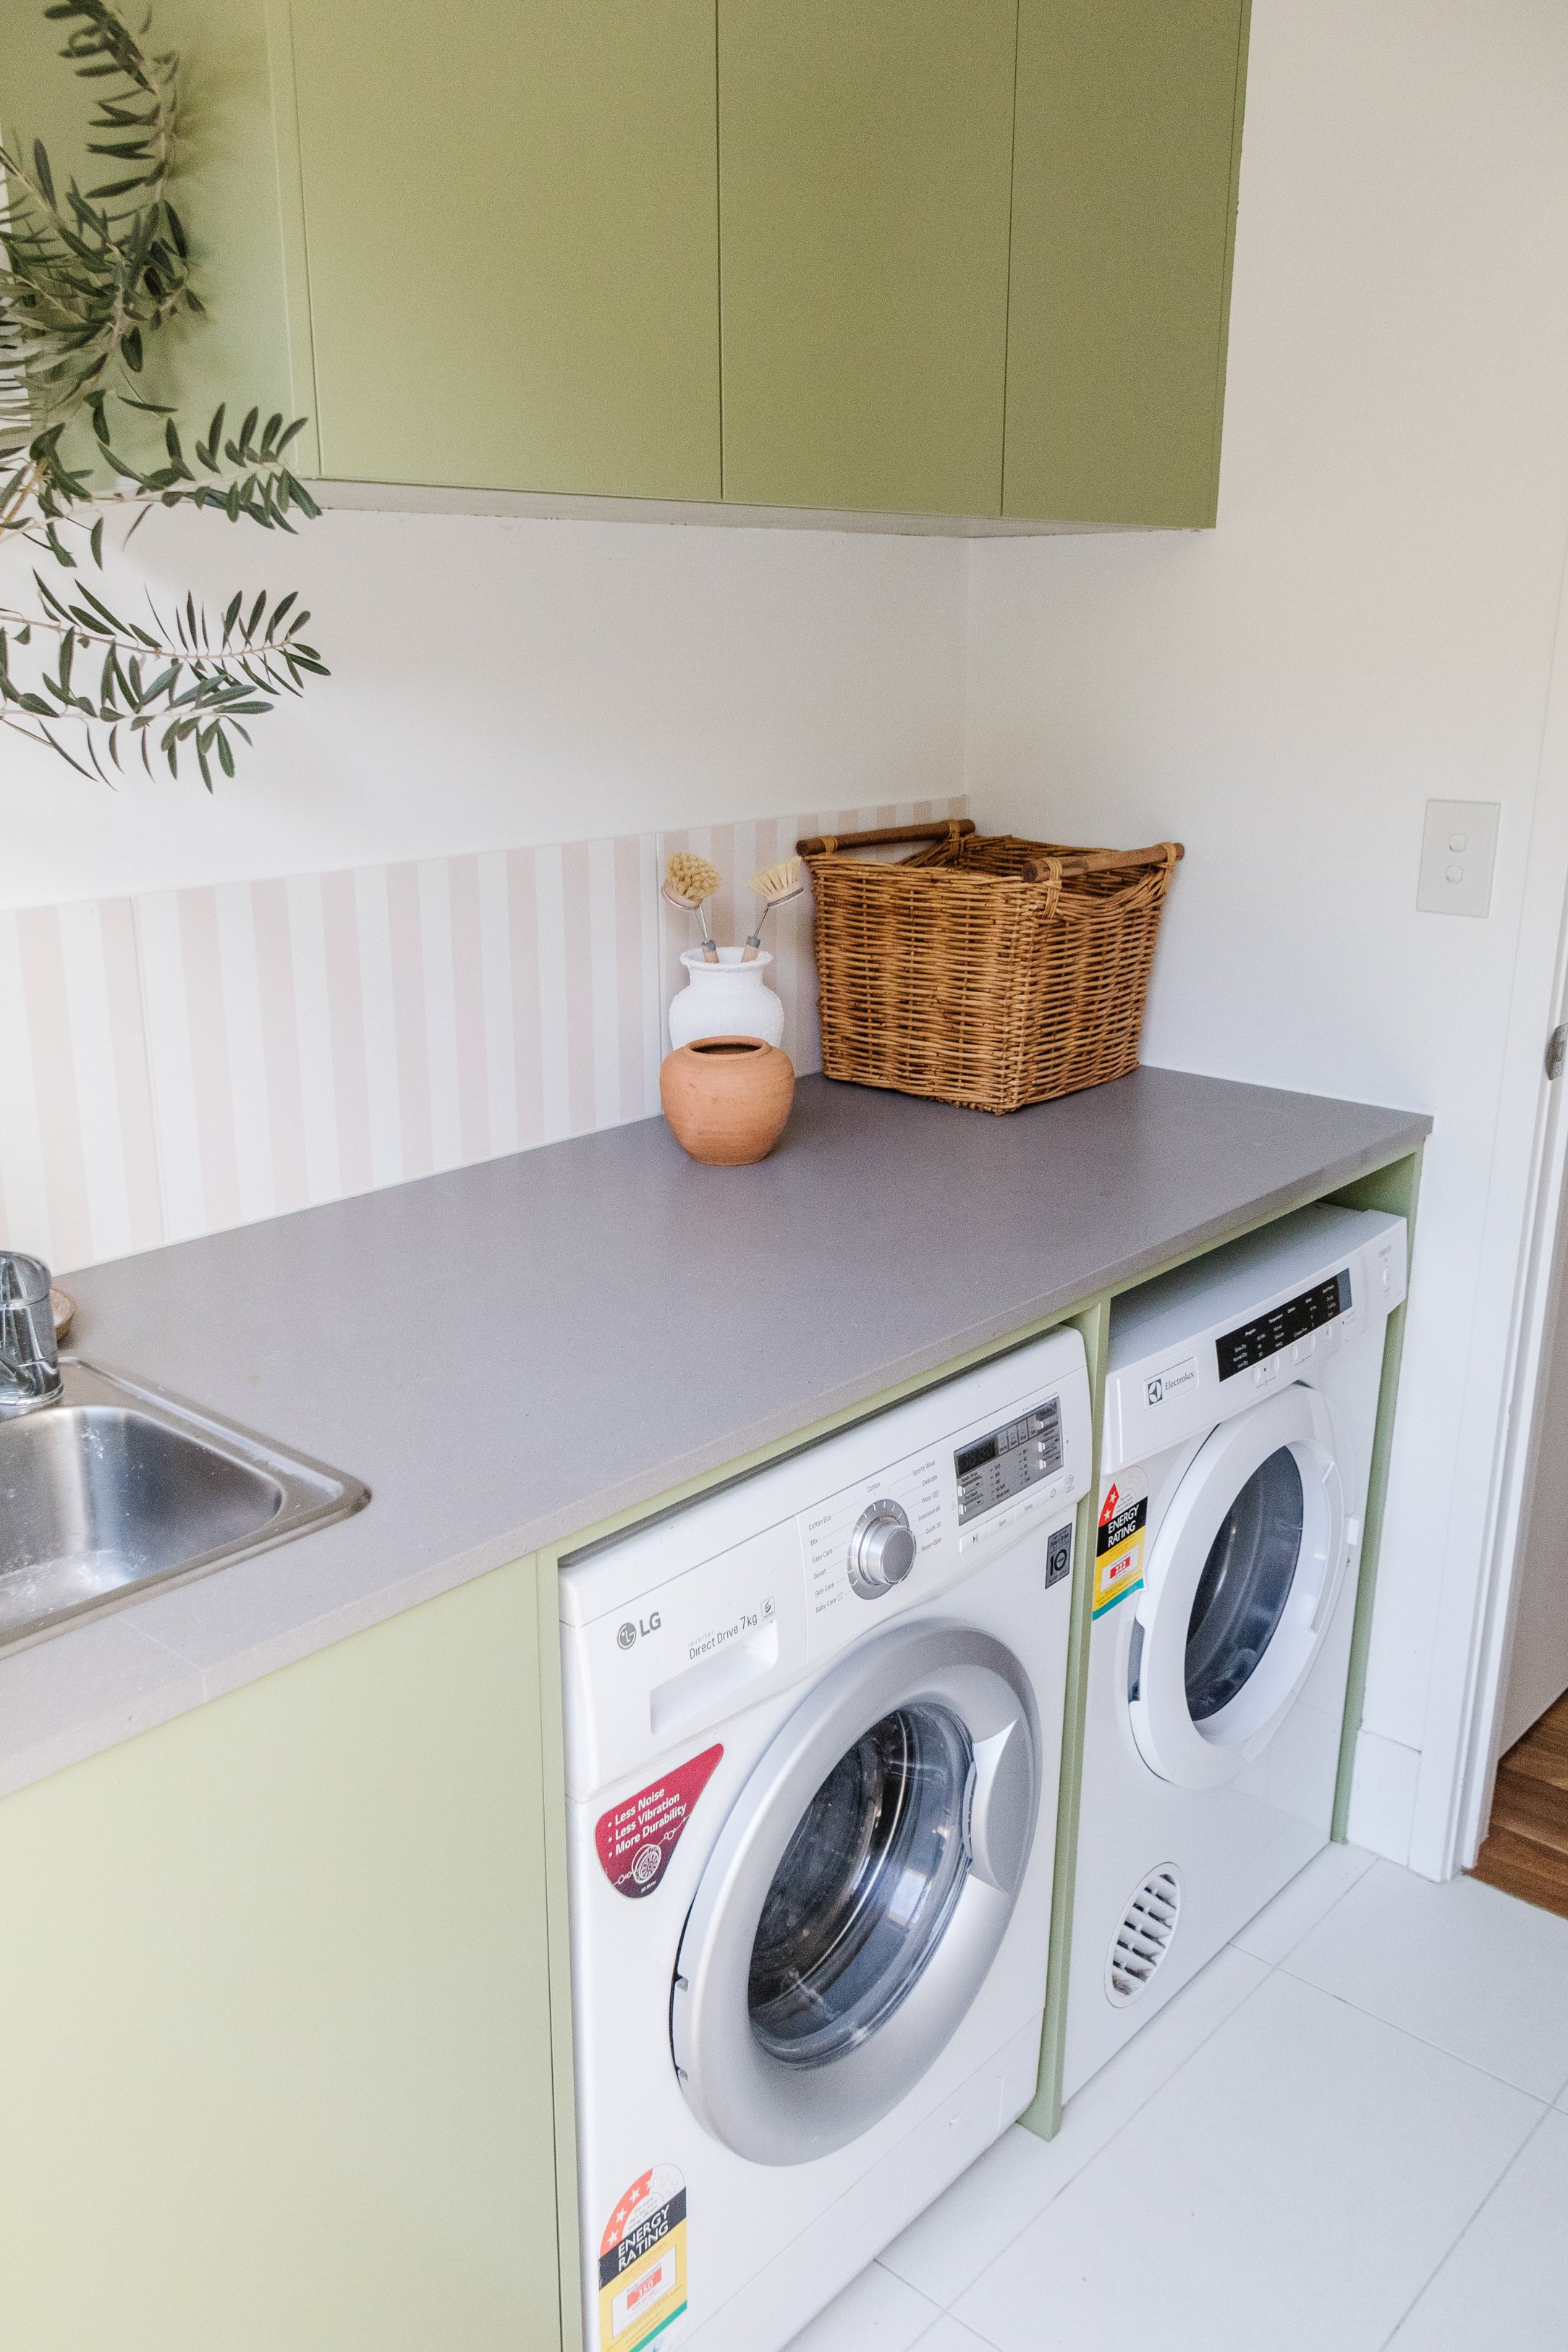
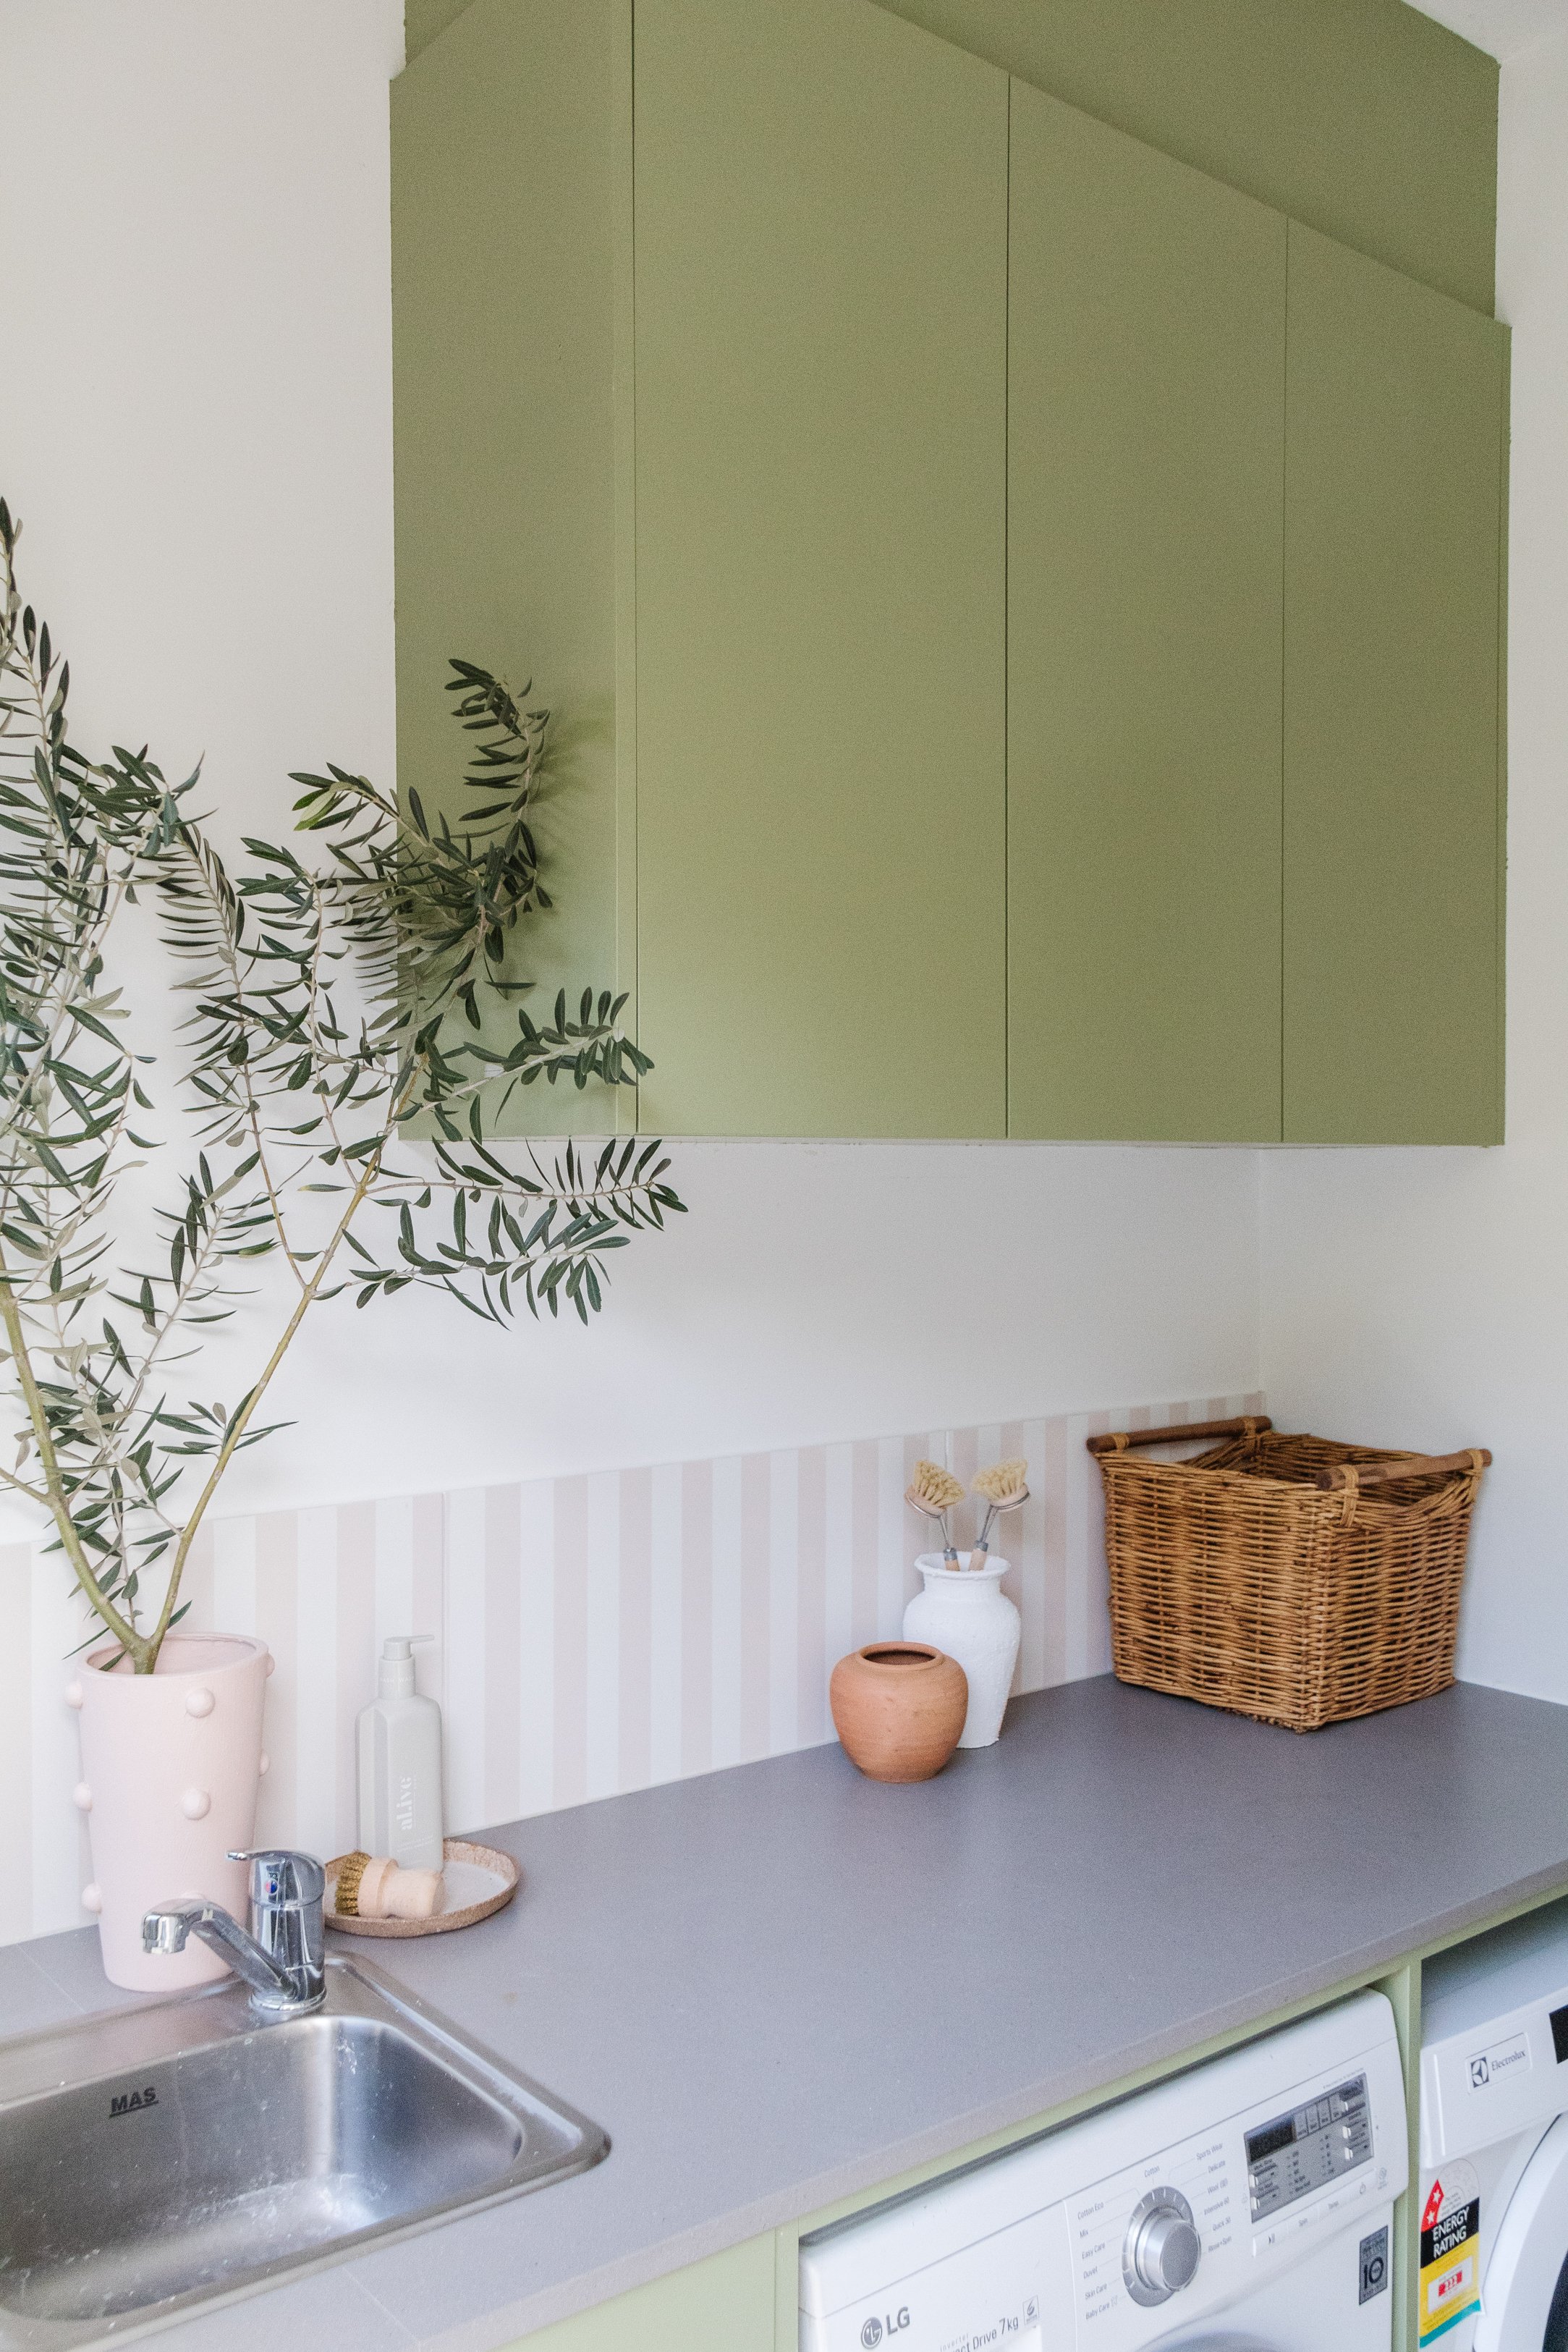
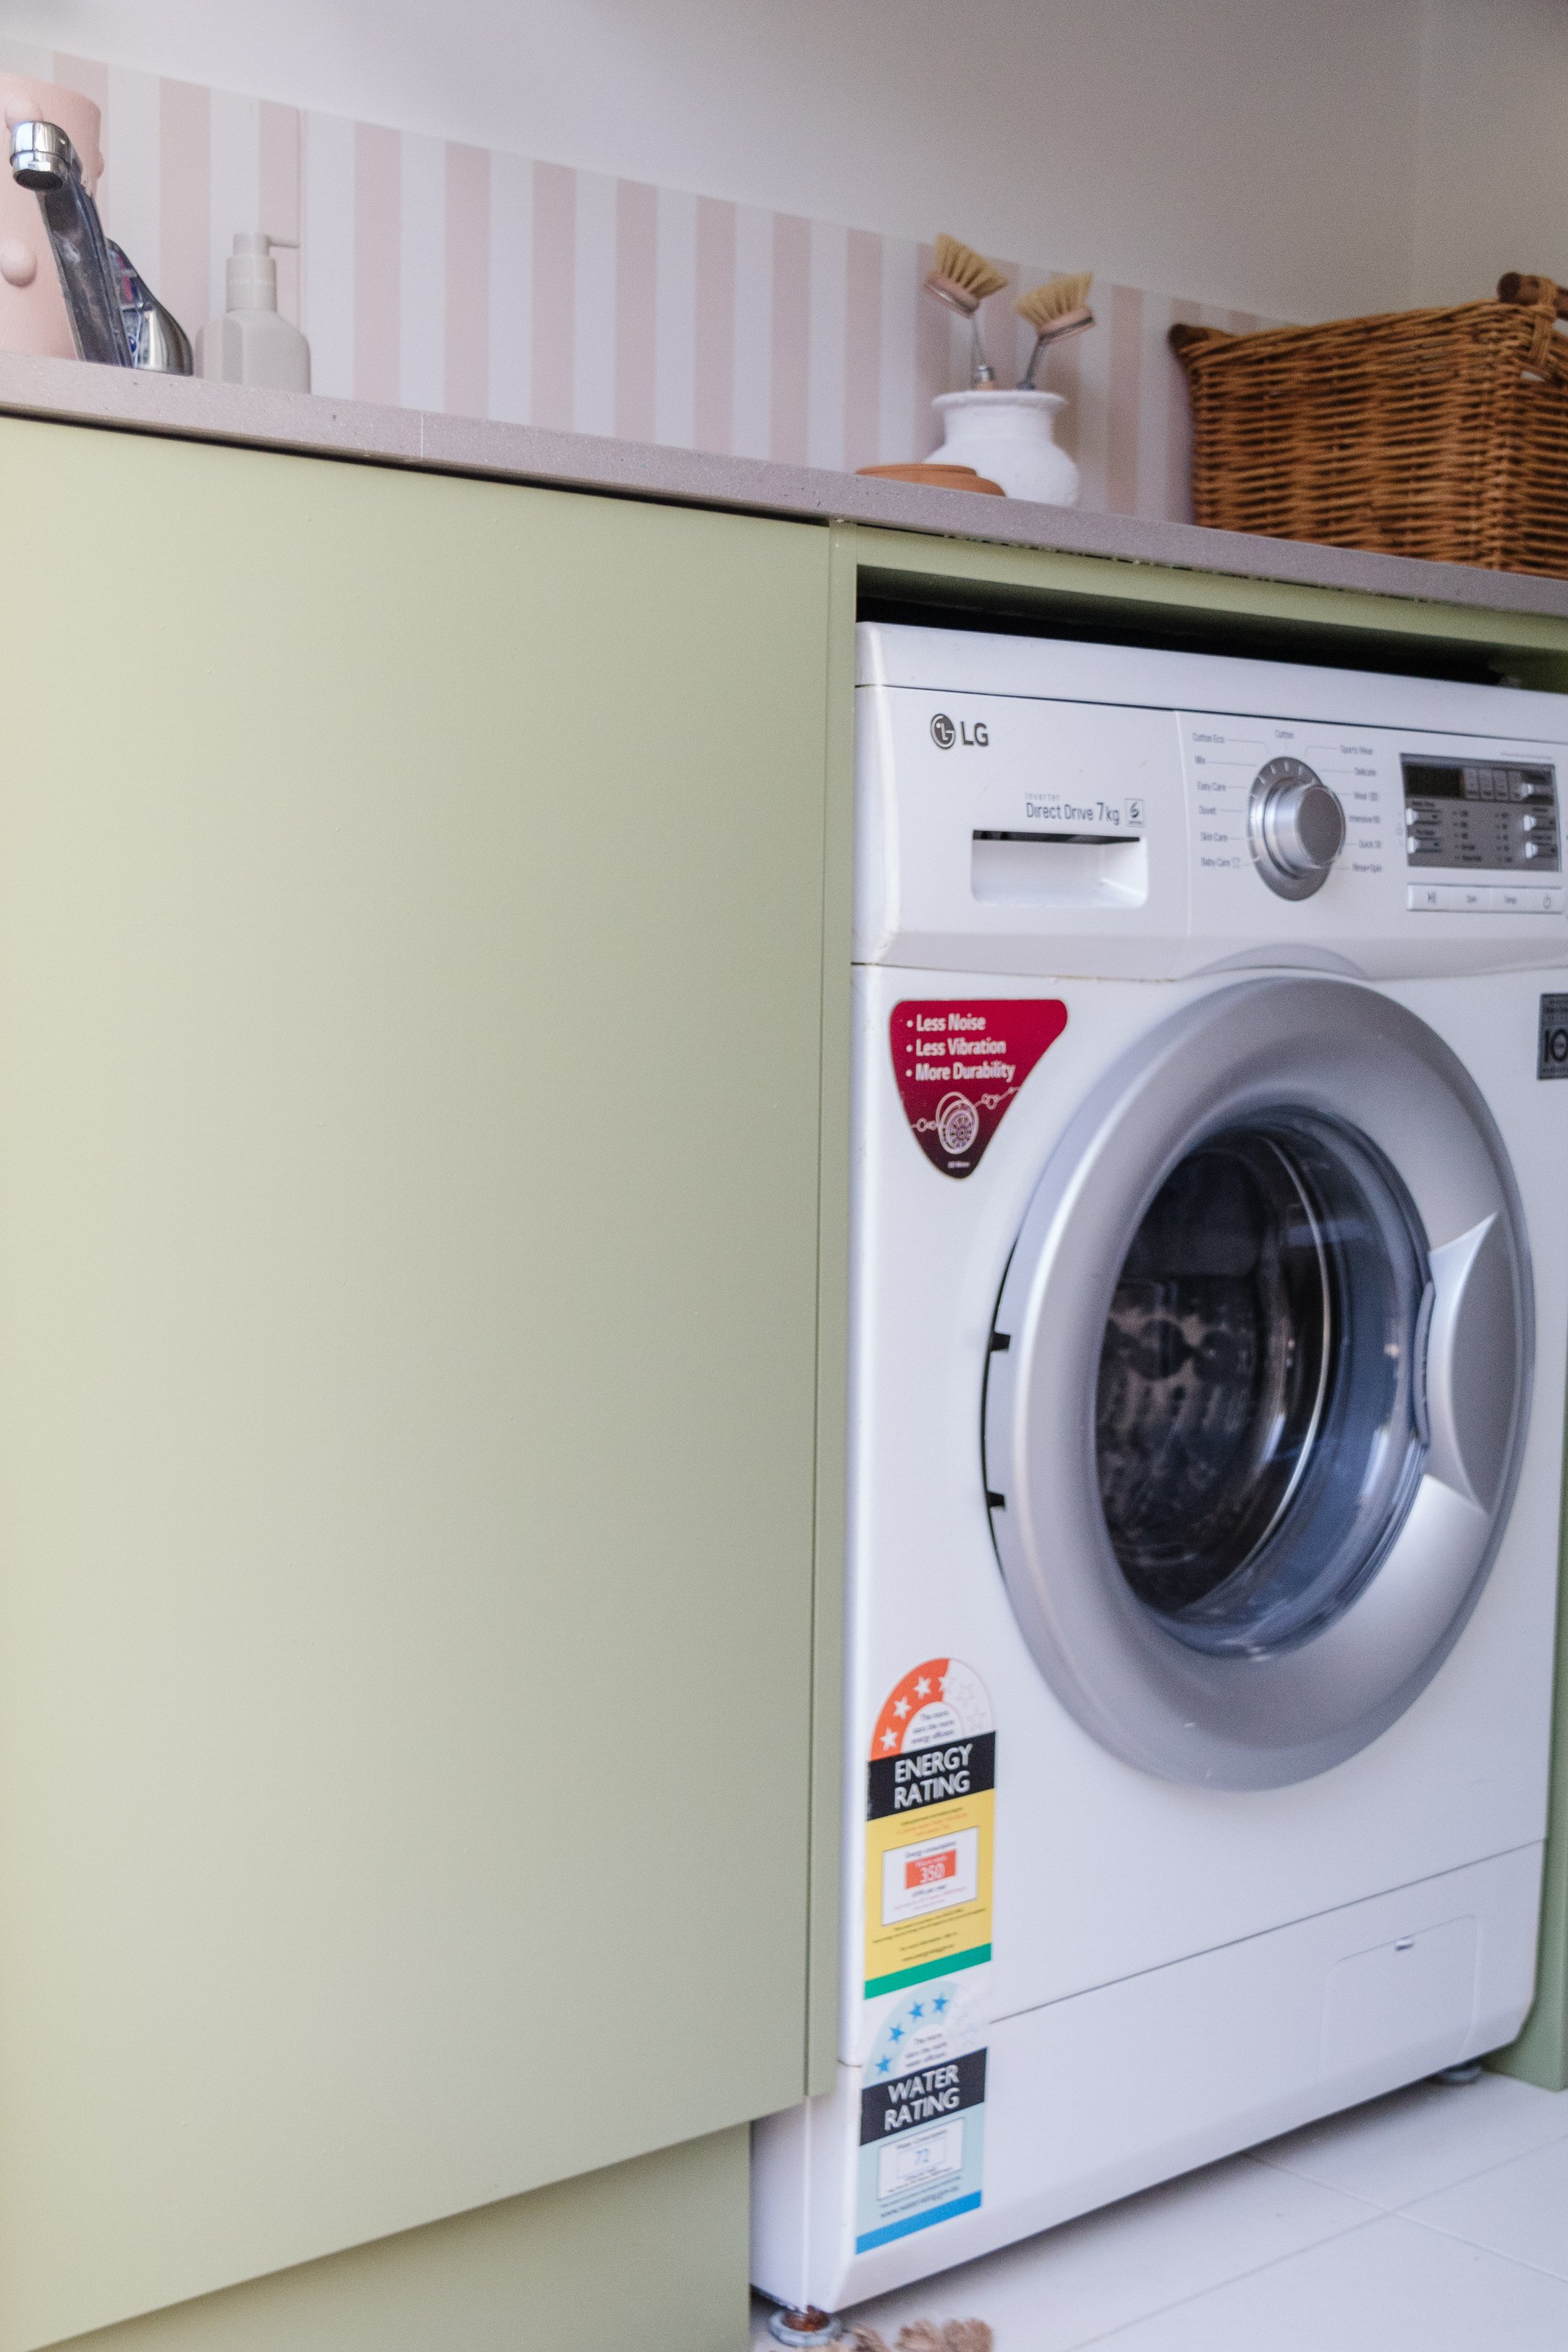
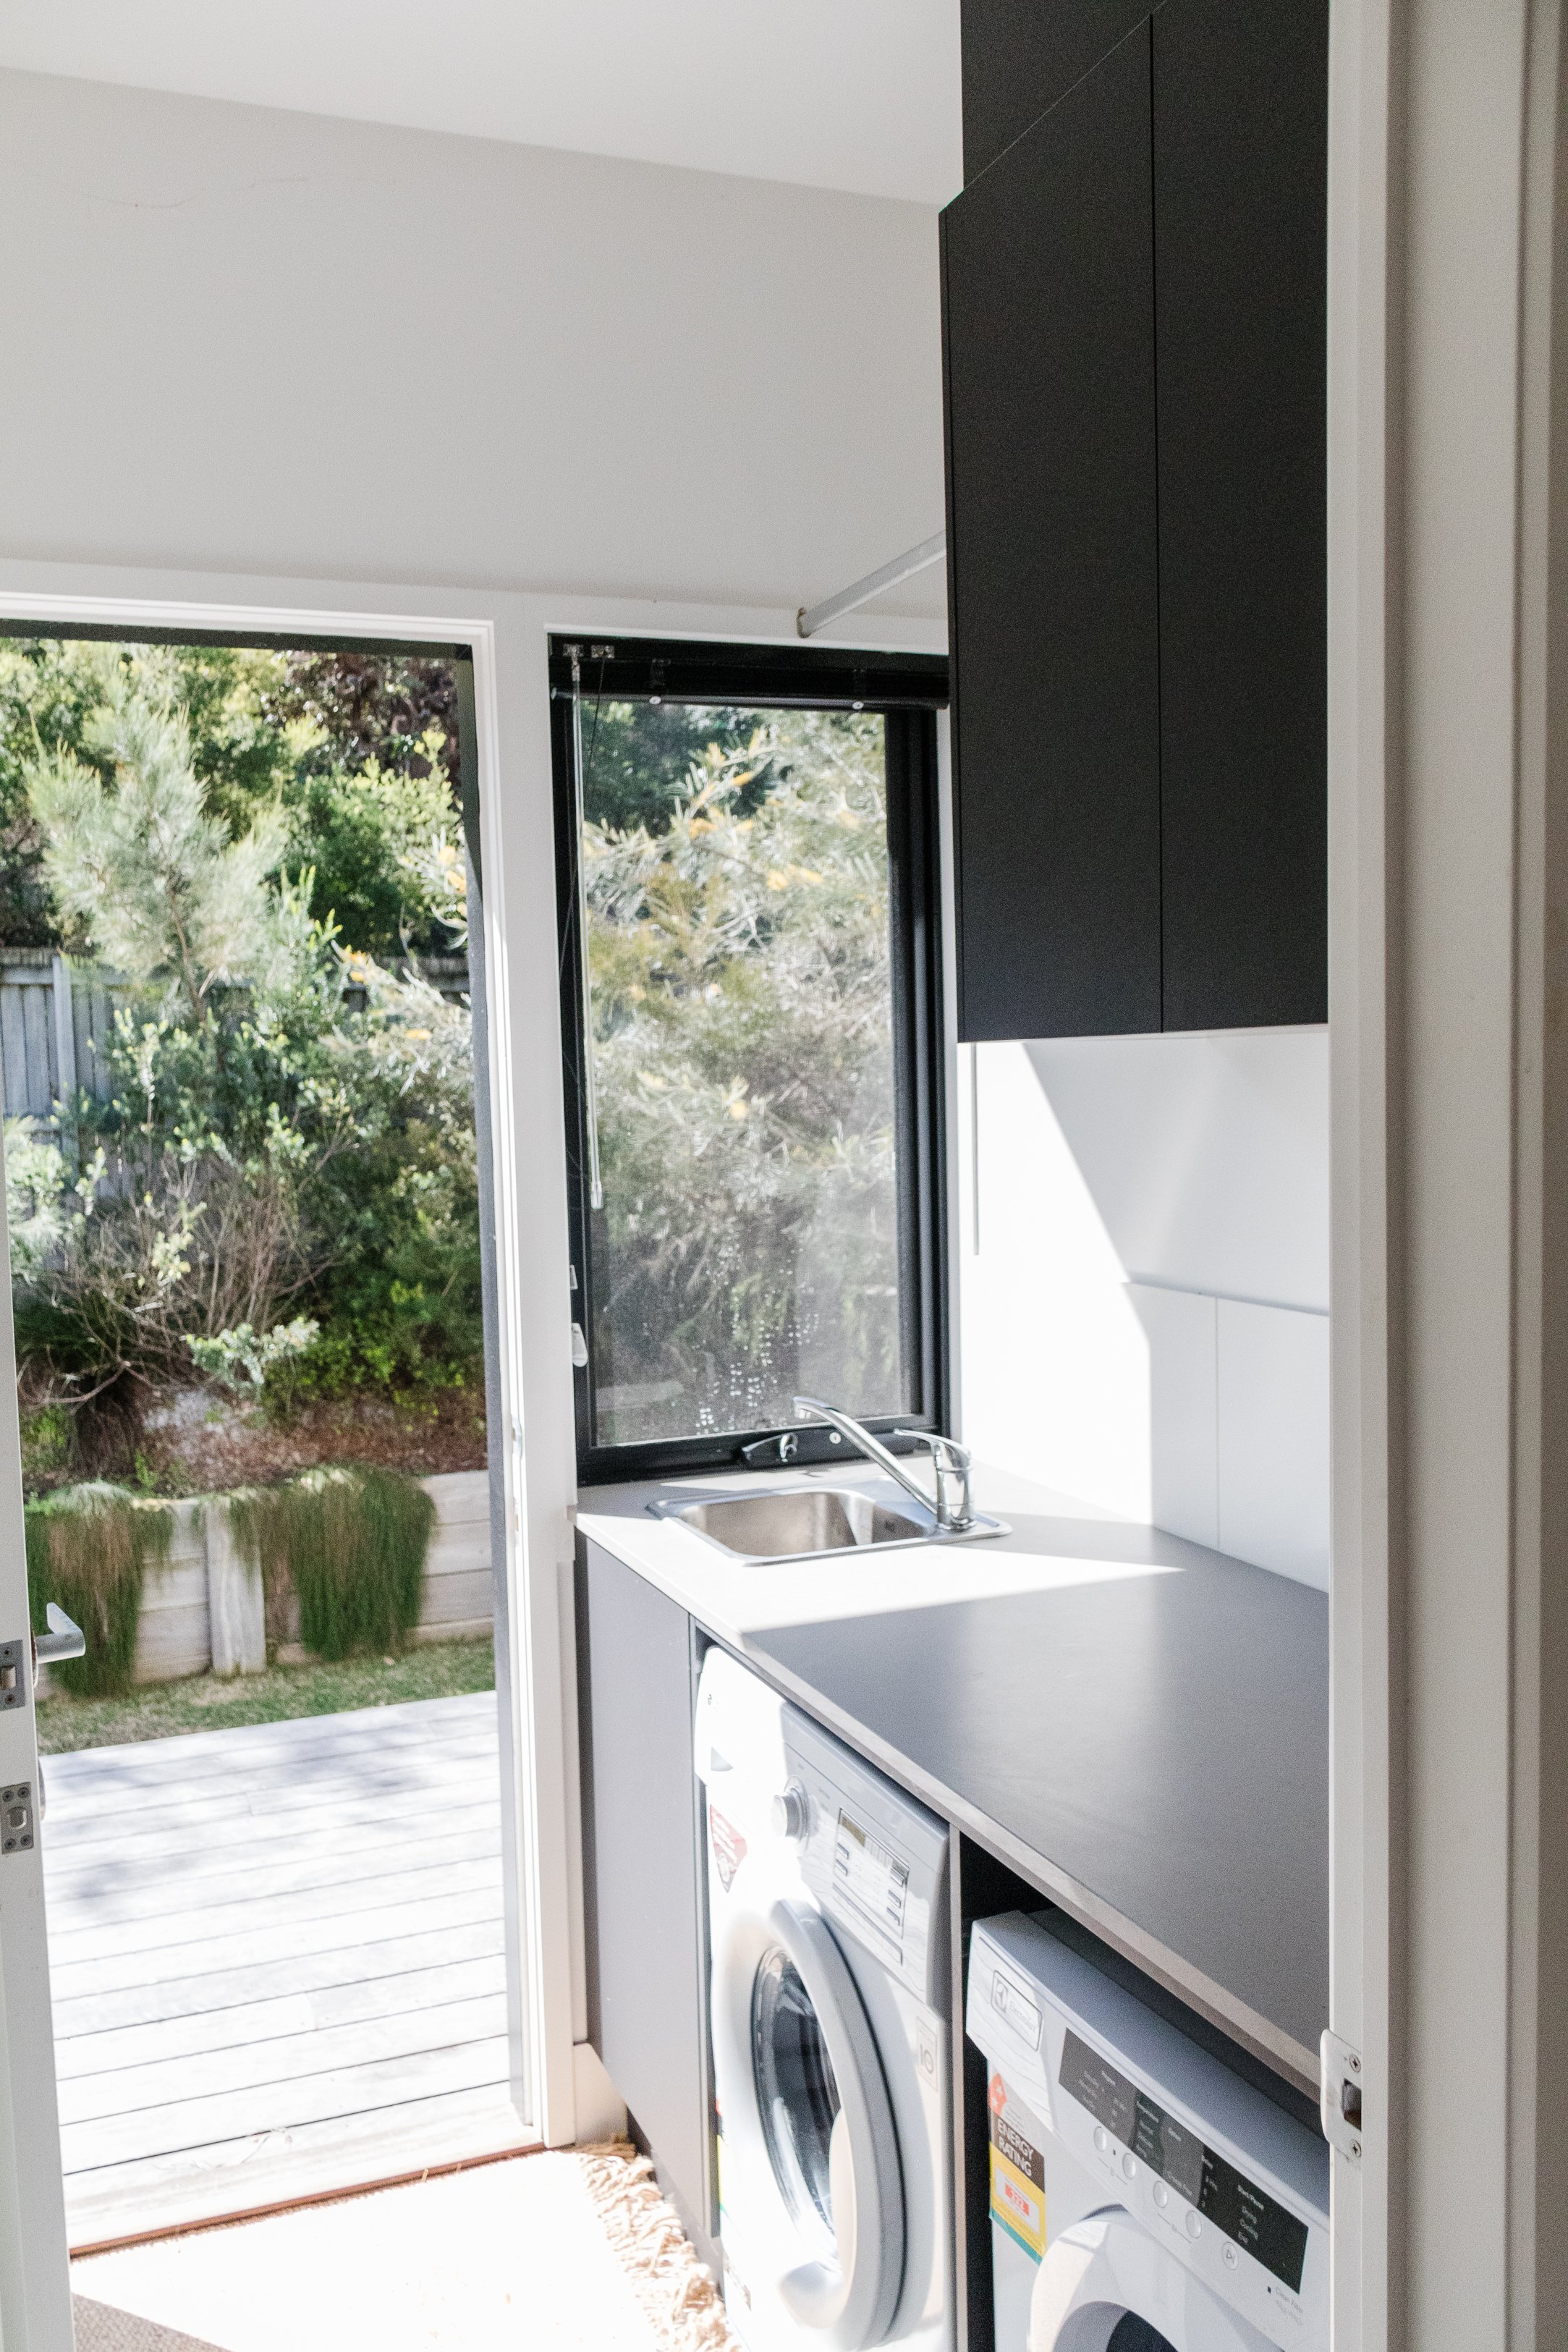
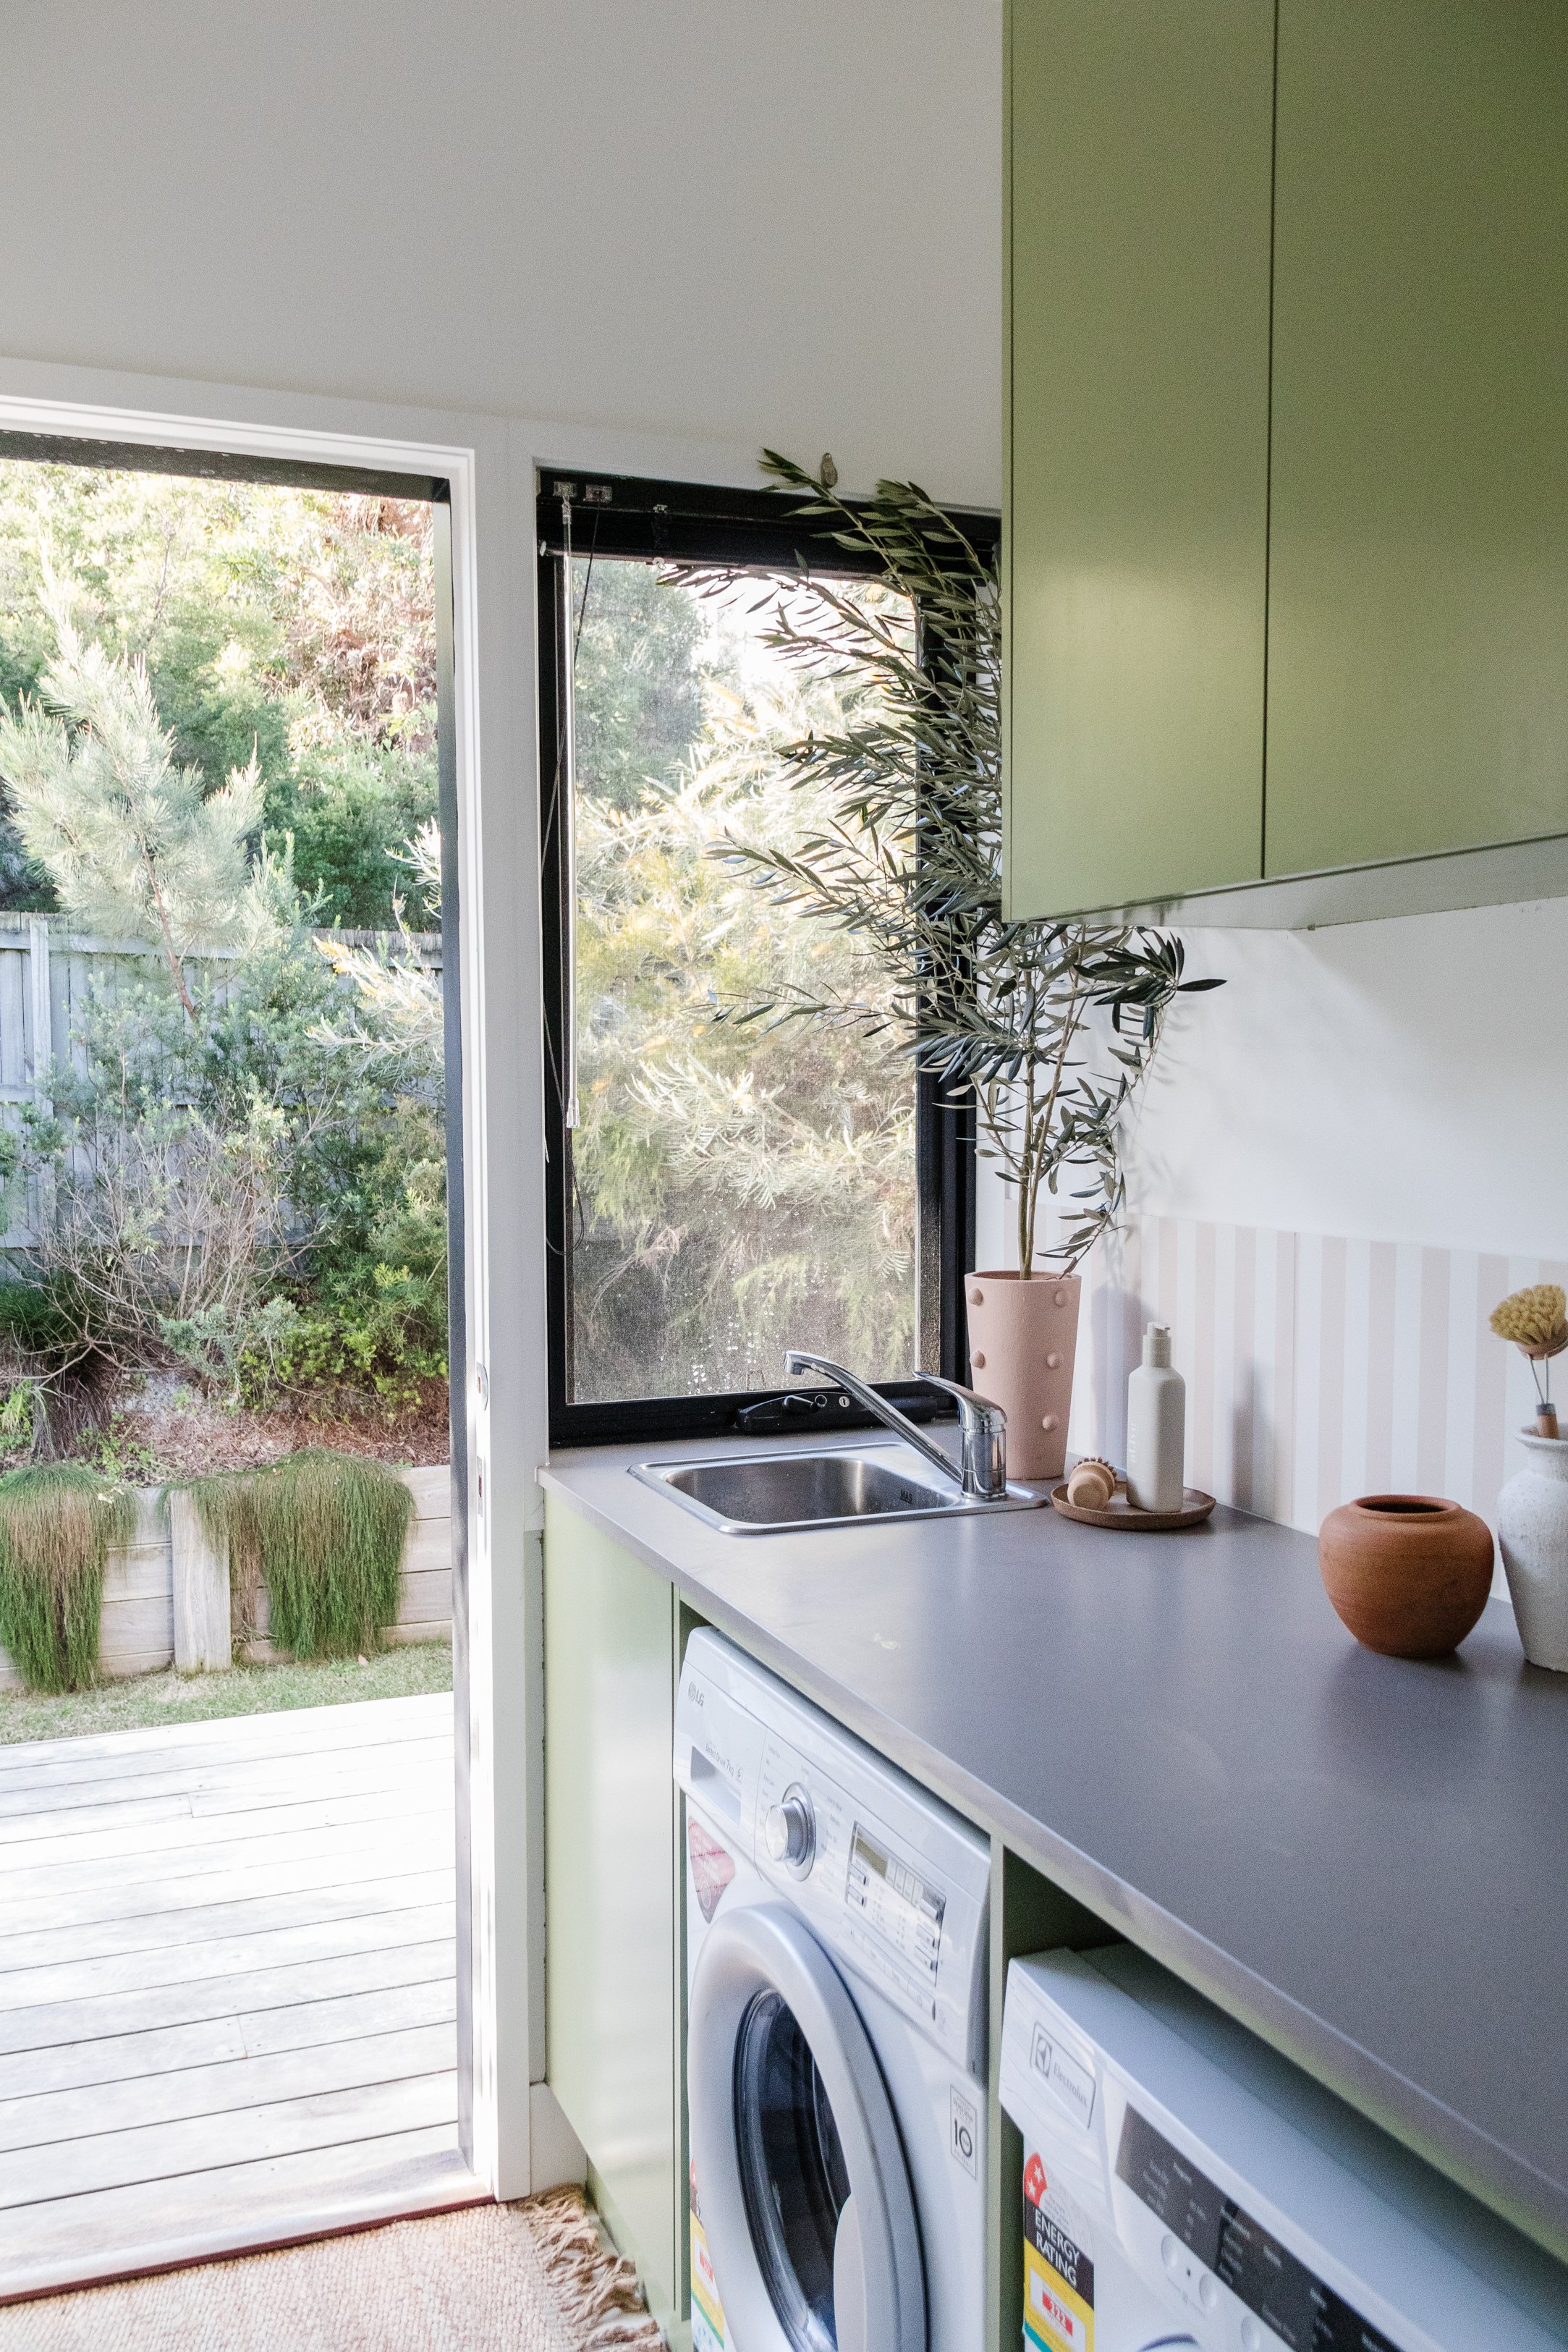
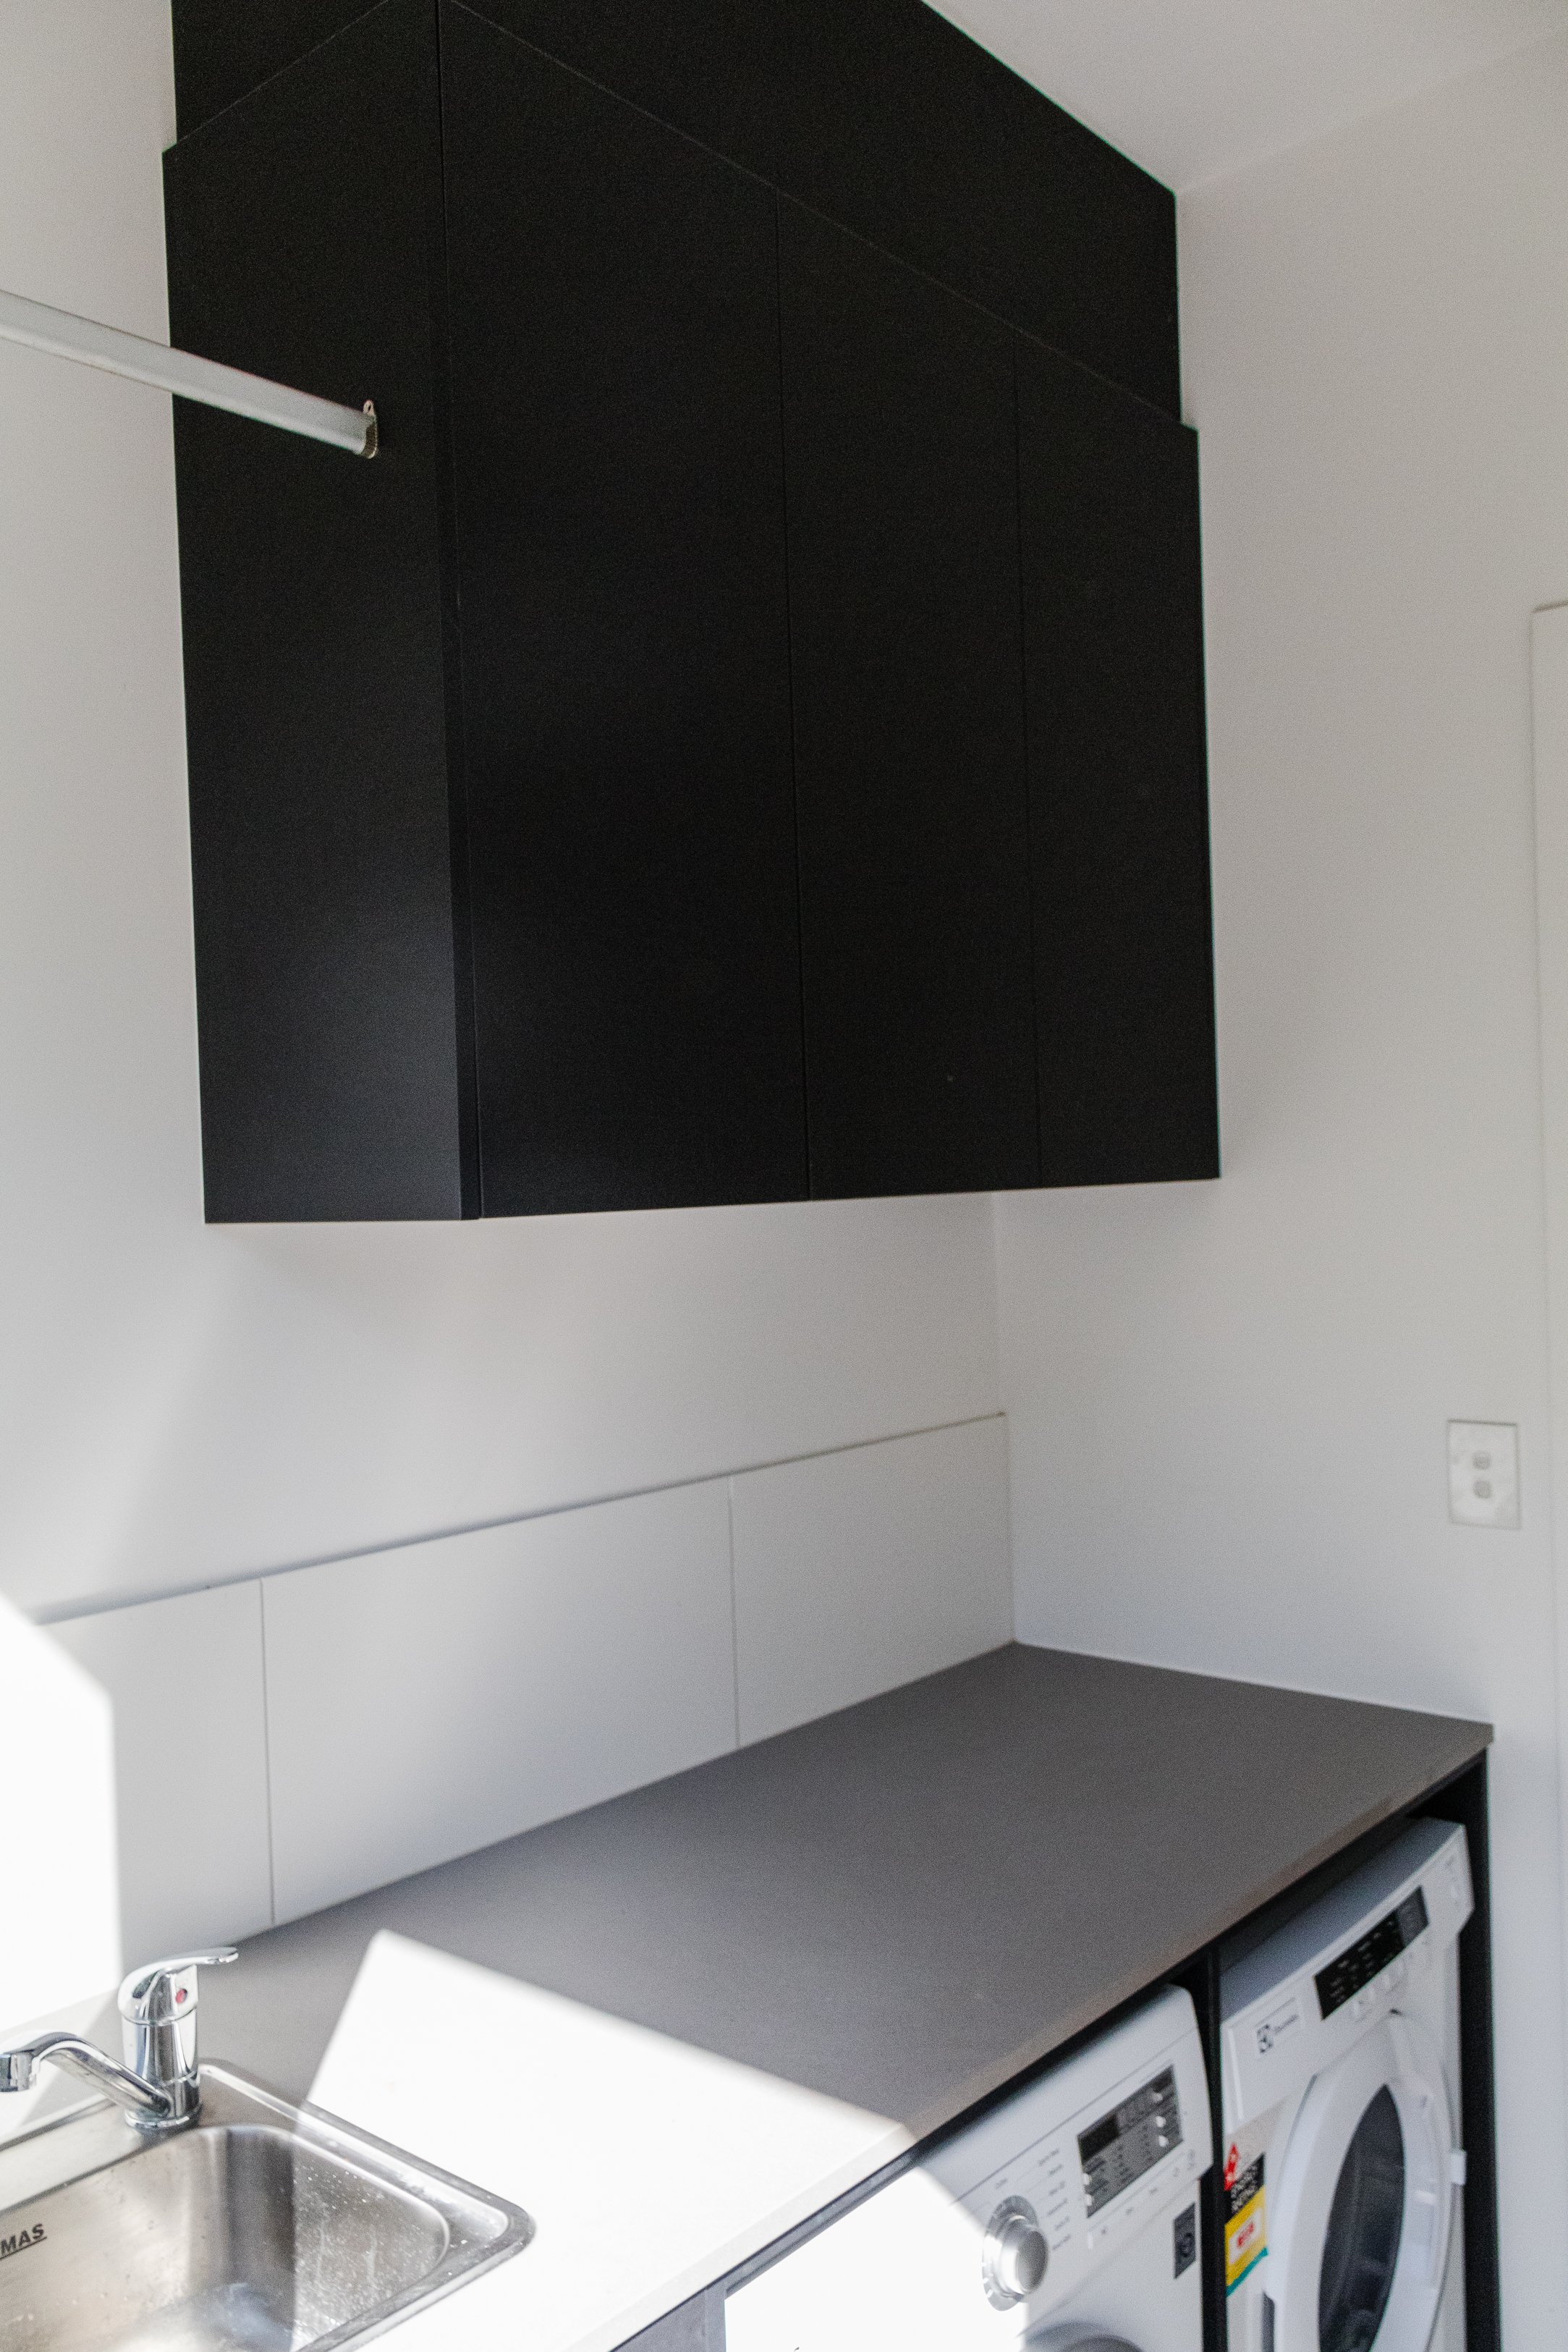
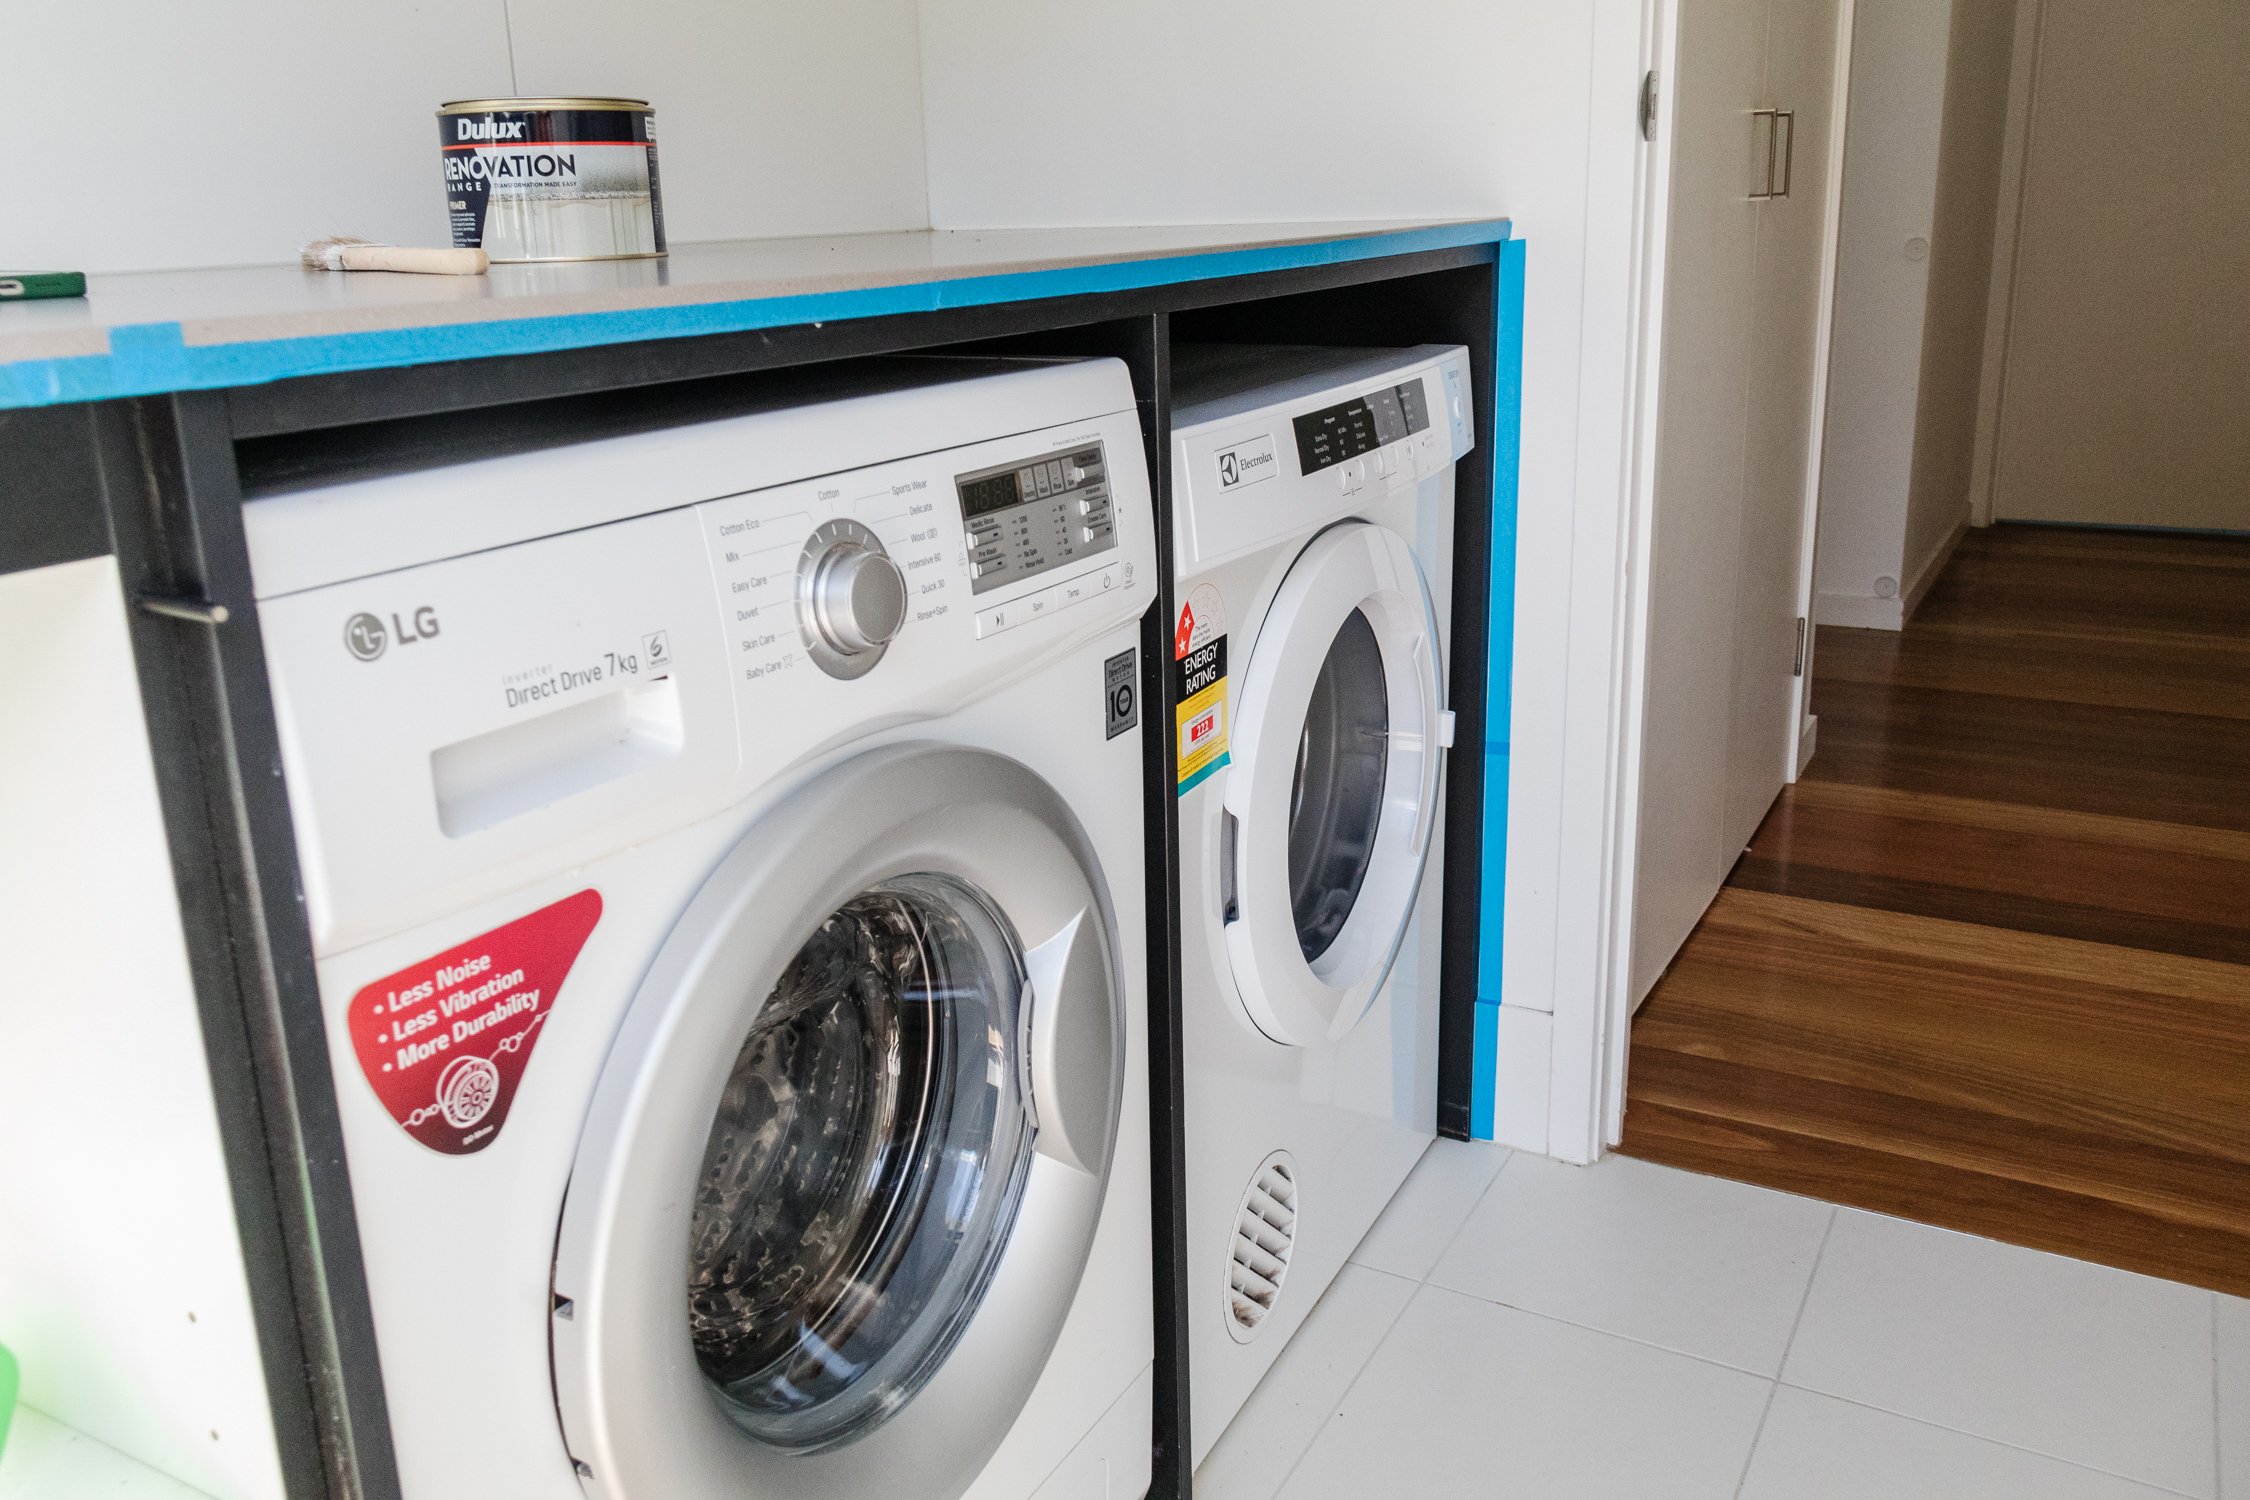
Say hello to the tiniest laundry ever, but also now the cutest thanks to this glow up! When we built our house, we didn’t want our laundry room to take up too much valuable space. We were on a tight budget so we worked hard to create a tiny laundry room that fulfilled our needs - a readily accessible washing machine and dryer, easy flow from indoors to outdoors, and ample bench space and storage. We definitely focused more on functionality than style, so for the last couple of years we have been thinking about painting the cabinets, you know, to lighten up the space. We even had a test patch of sage green paint underneath our bathroom cabinet a couple of years ago, but I could never commit. Why? Because I was too scared.
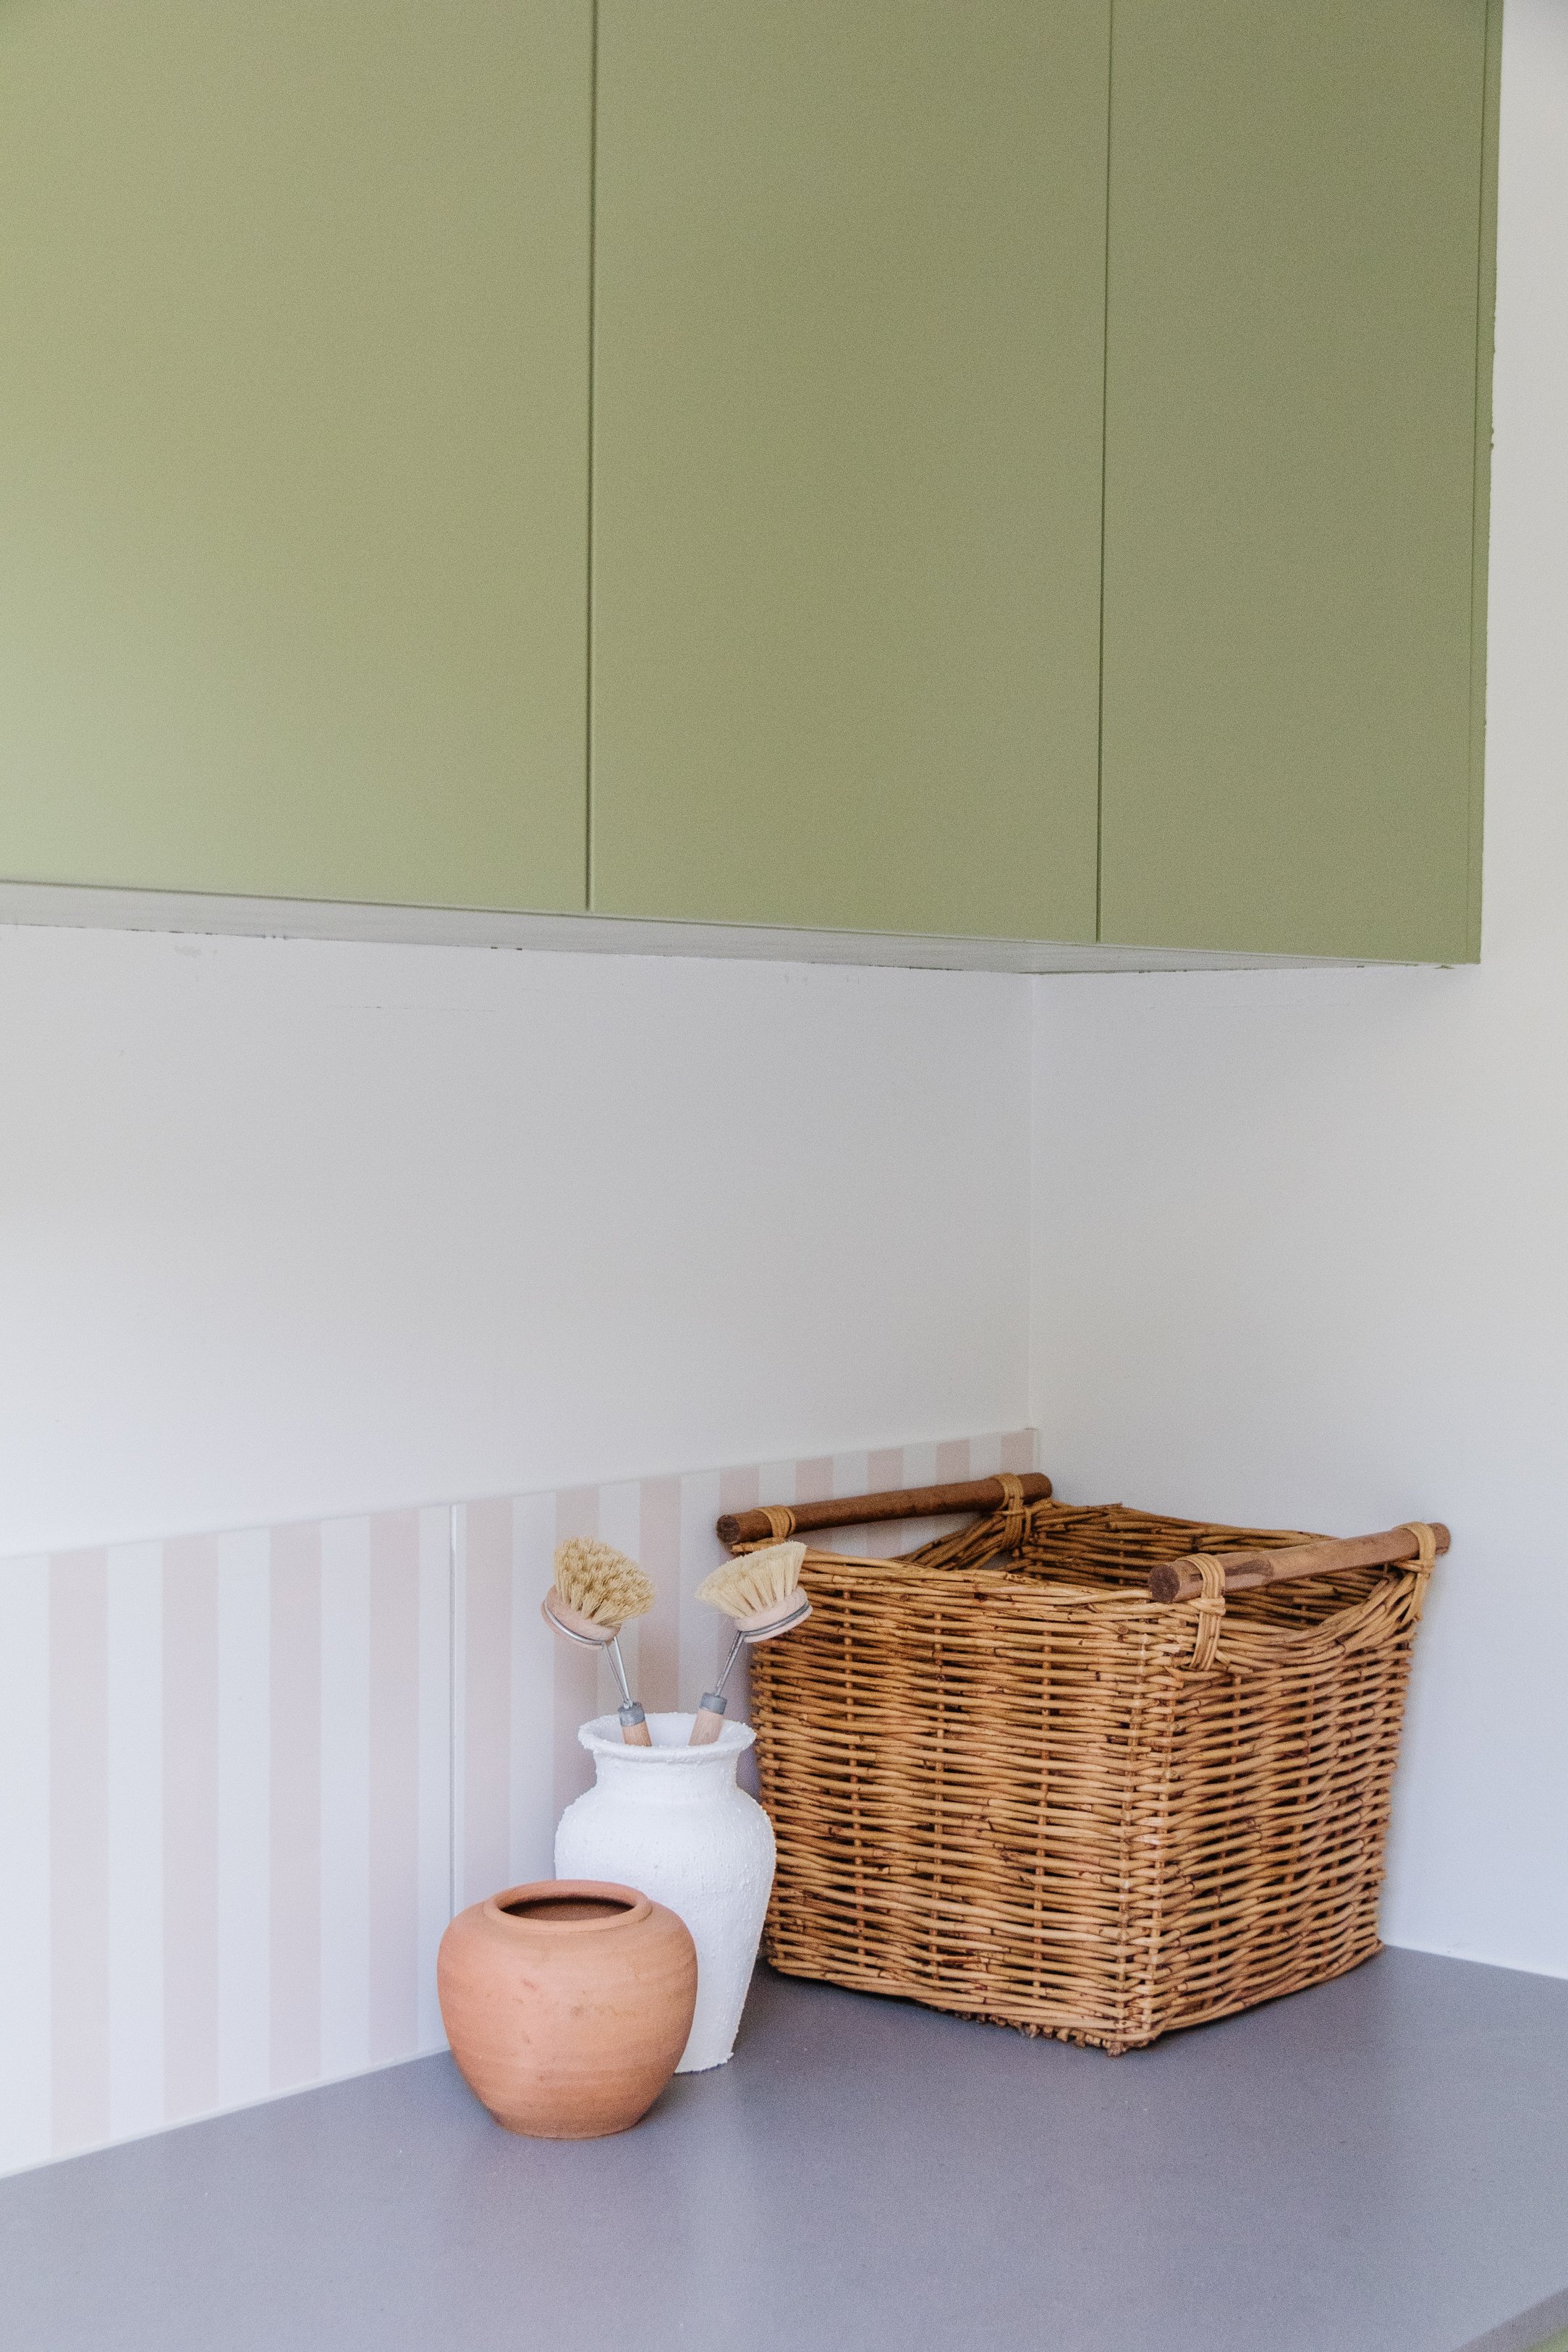
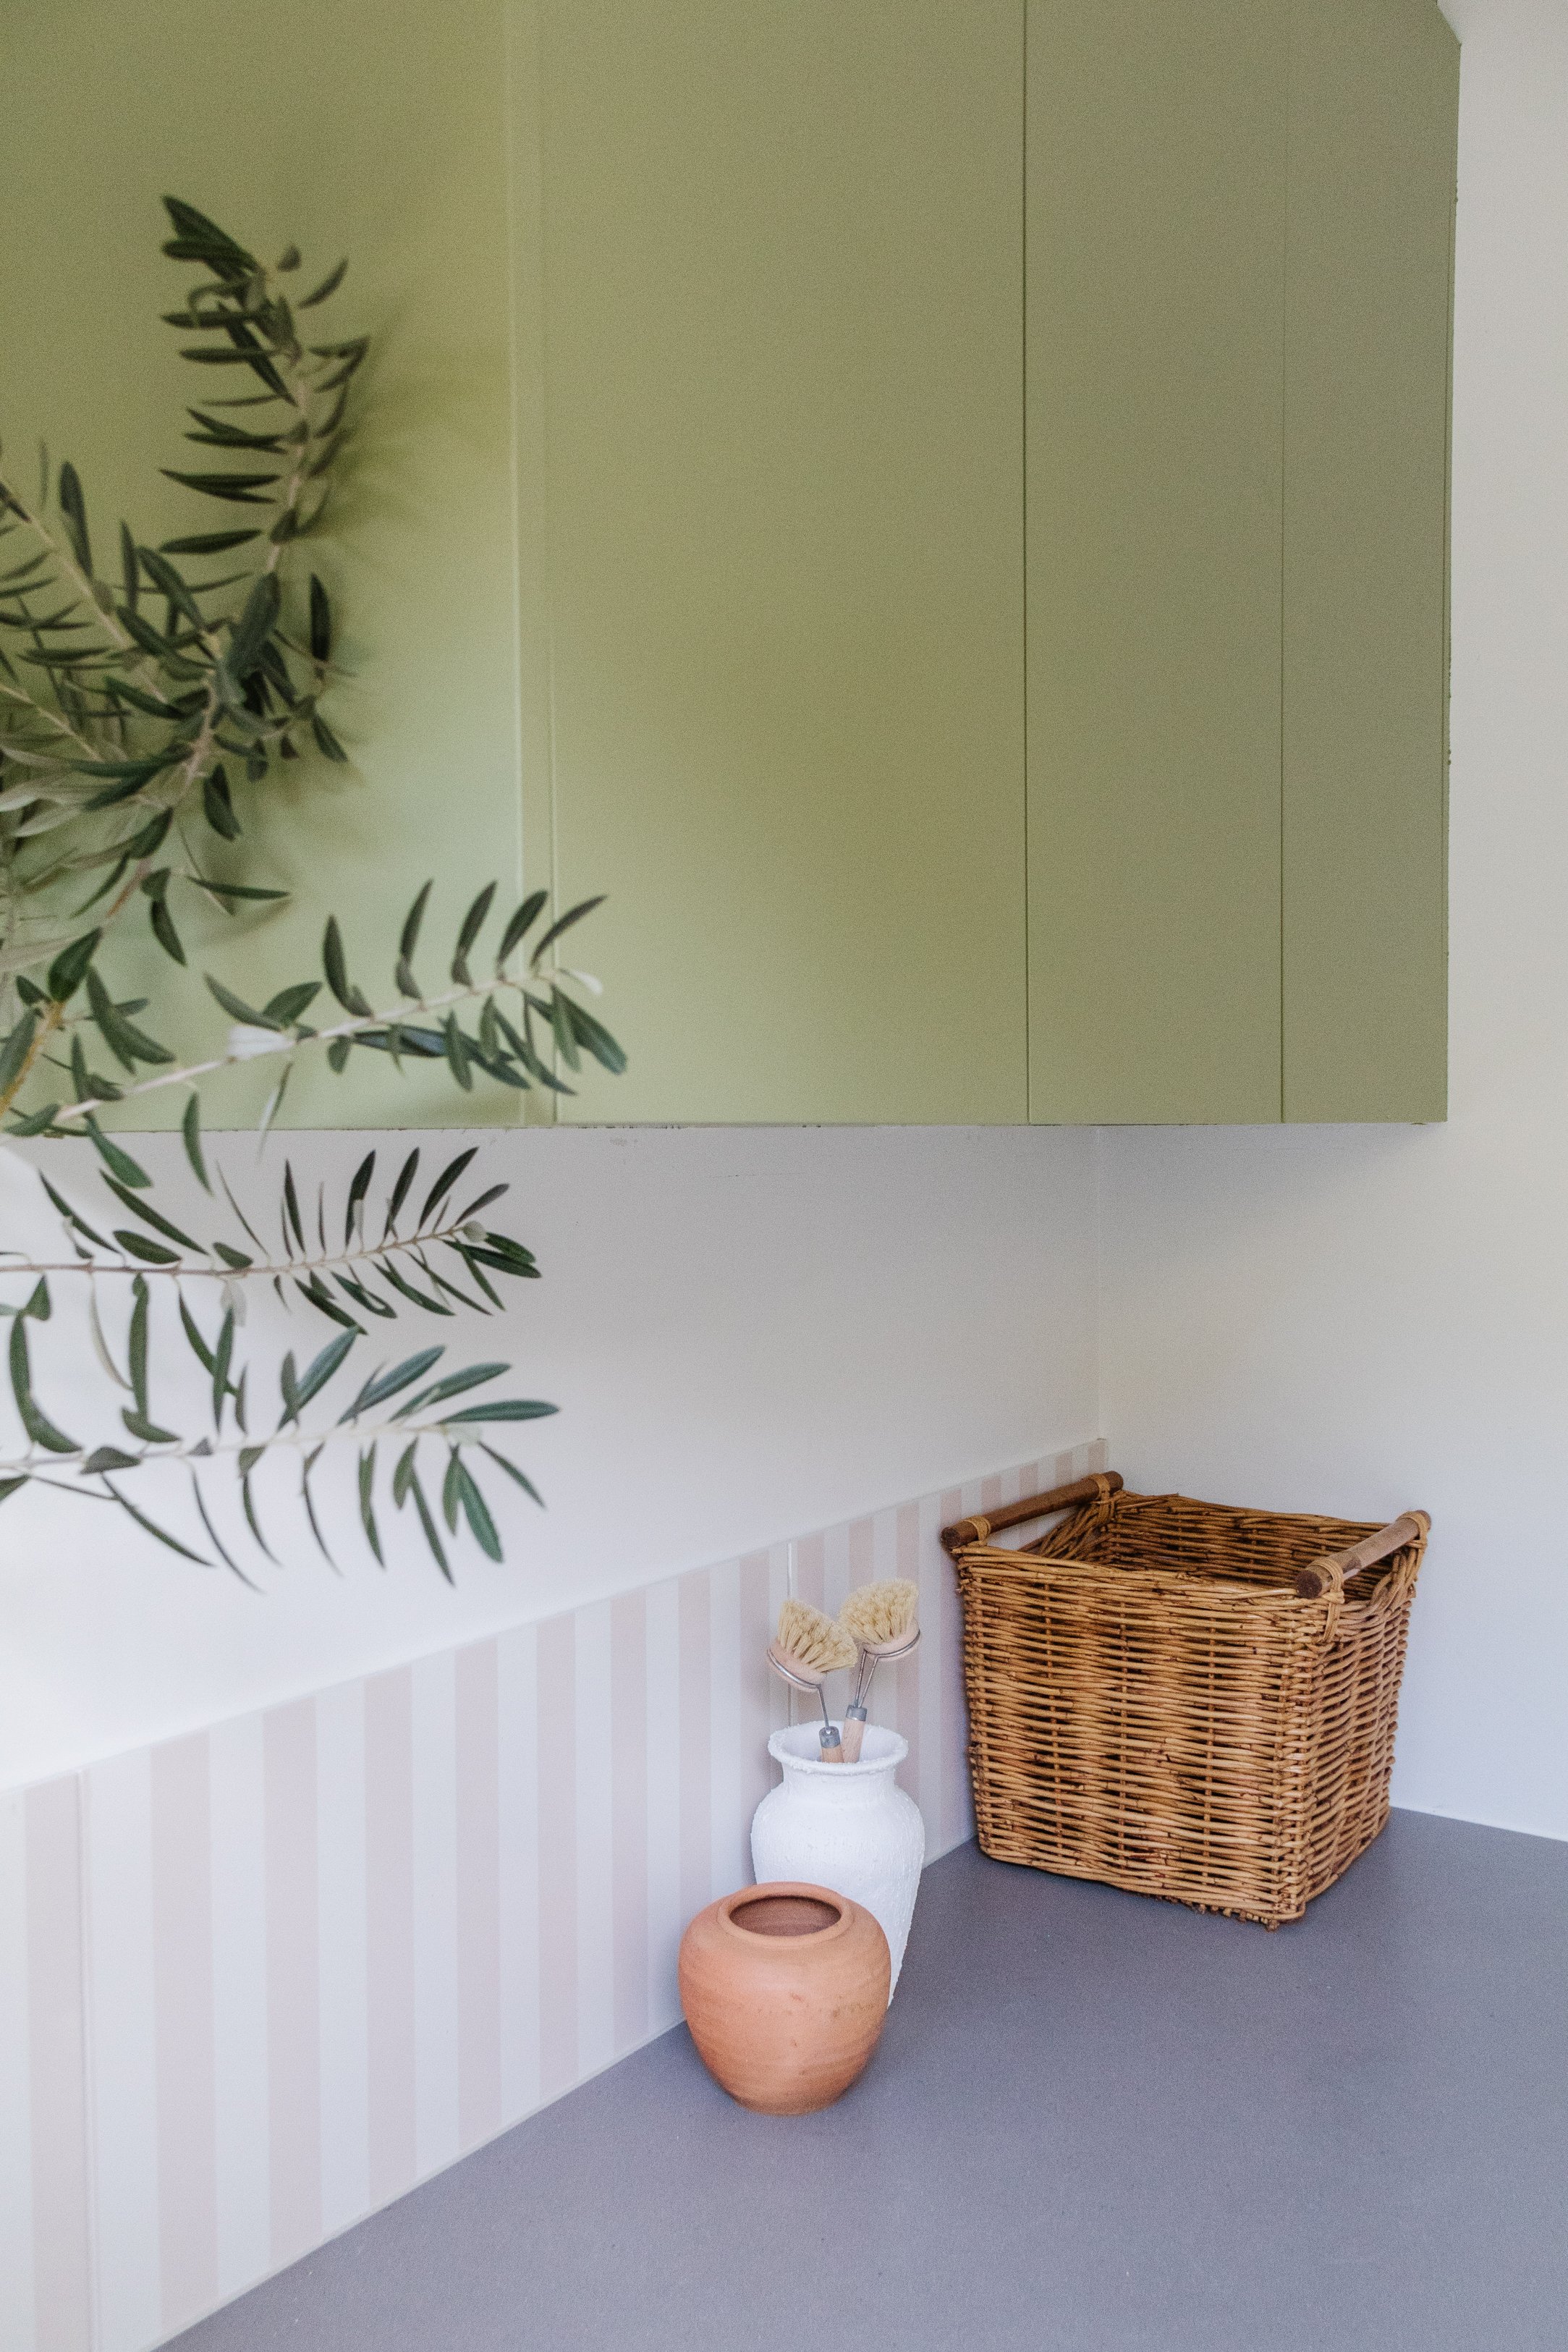
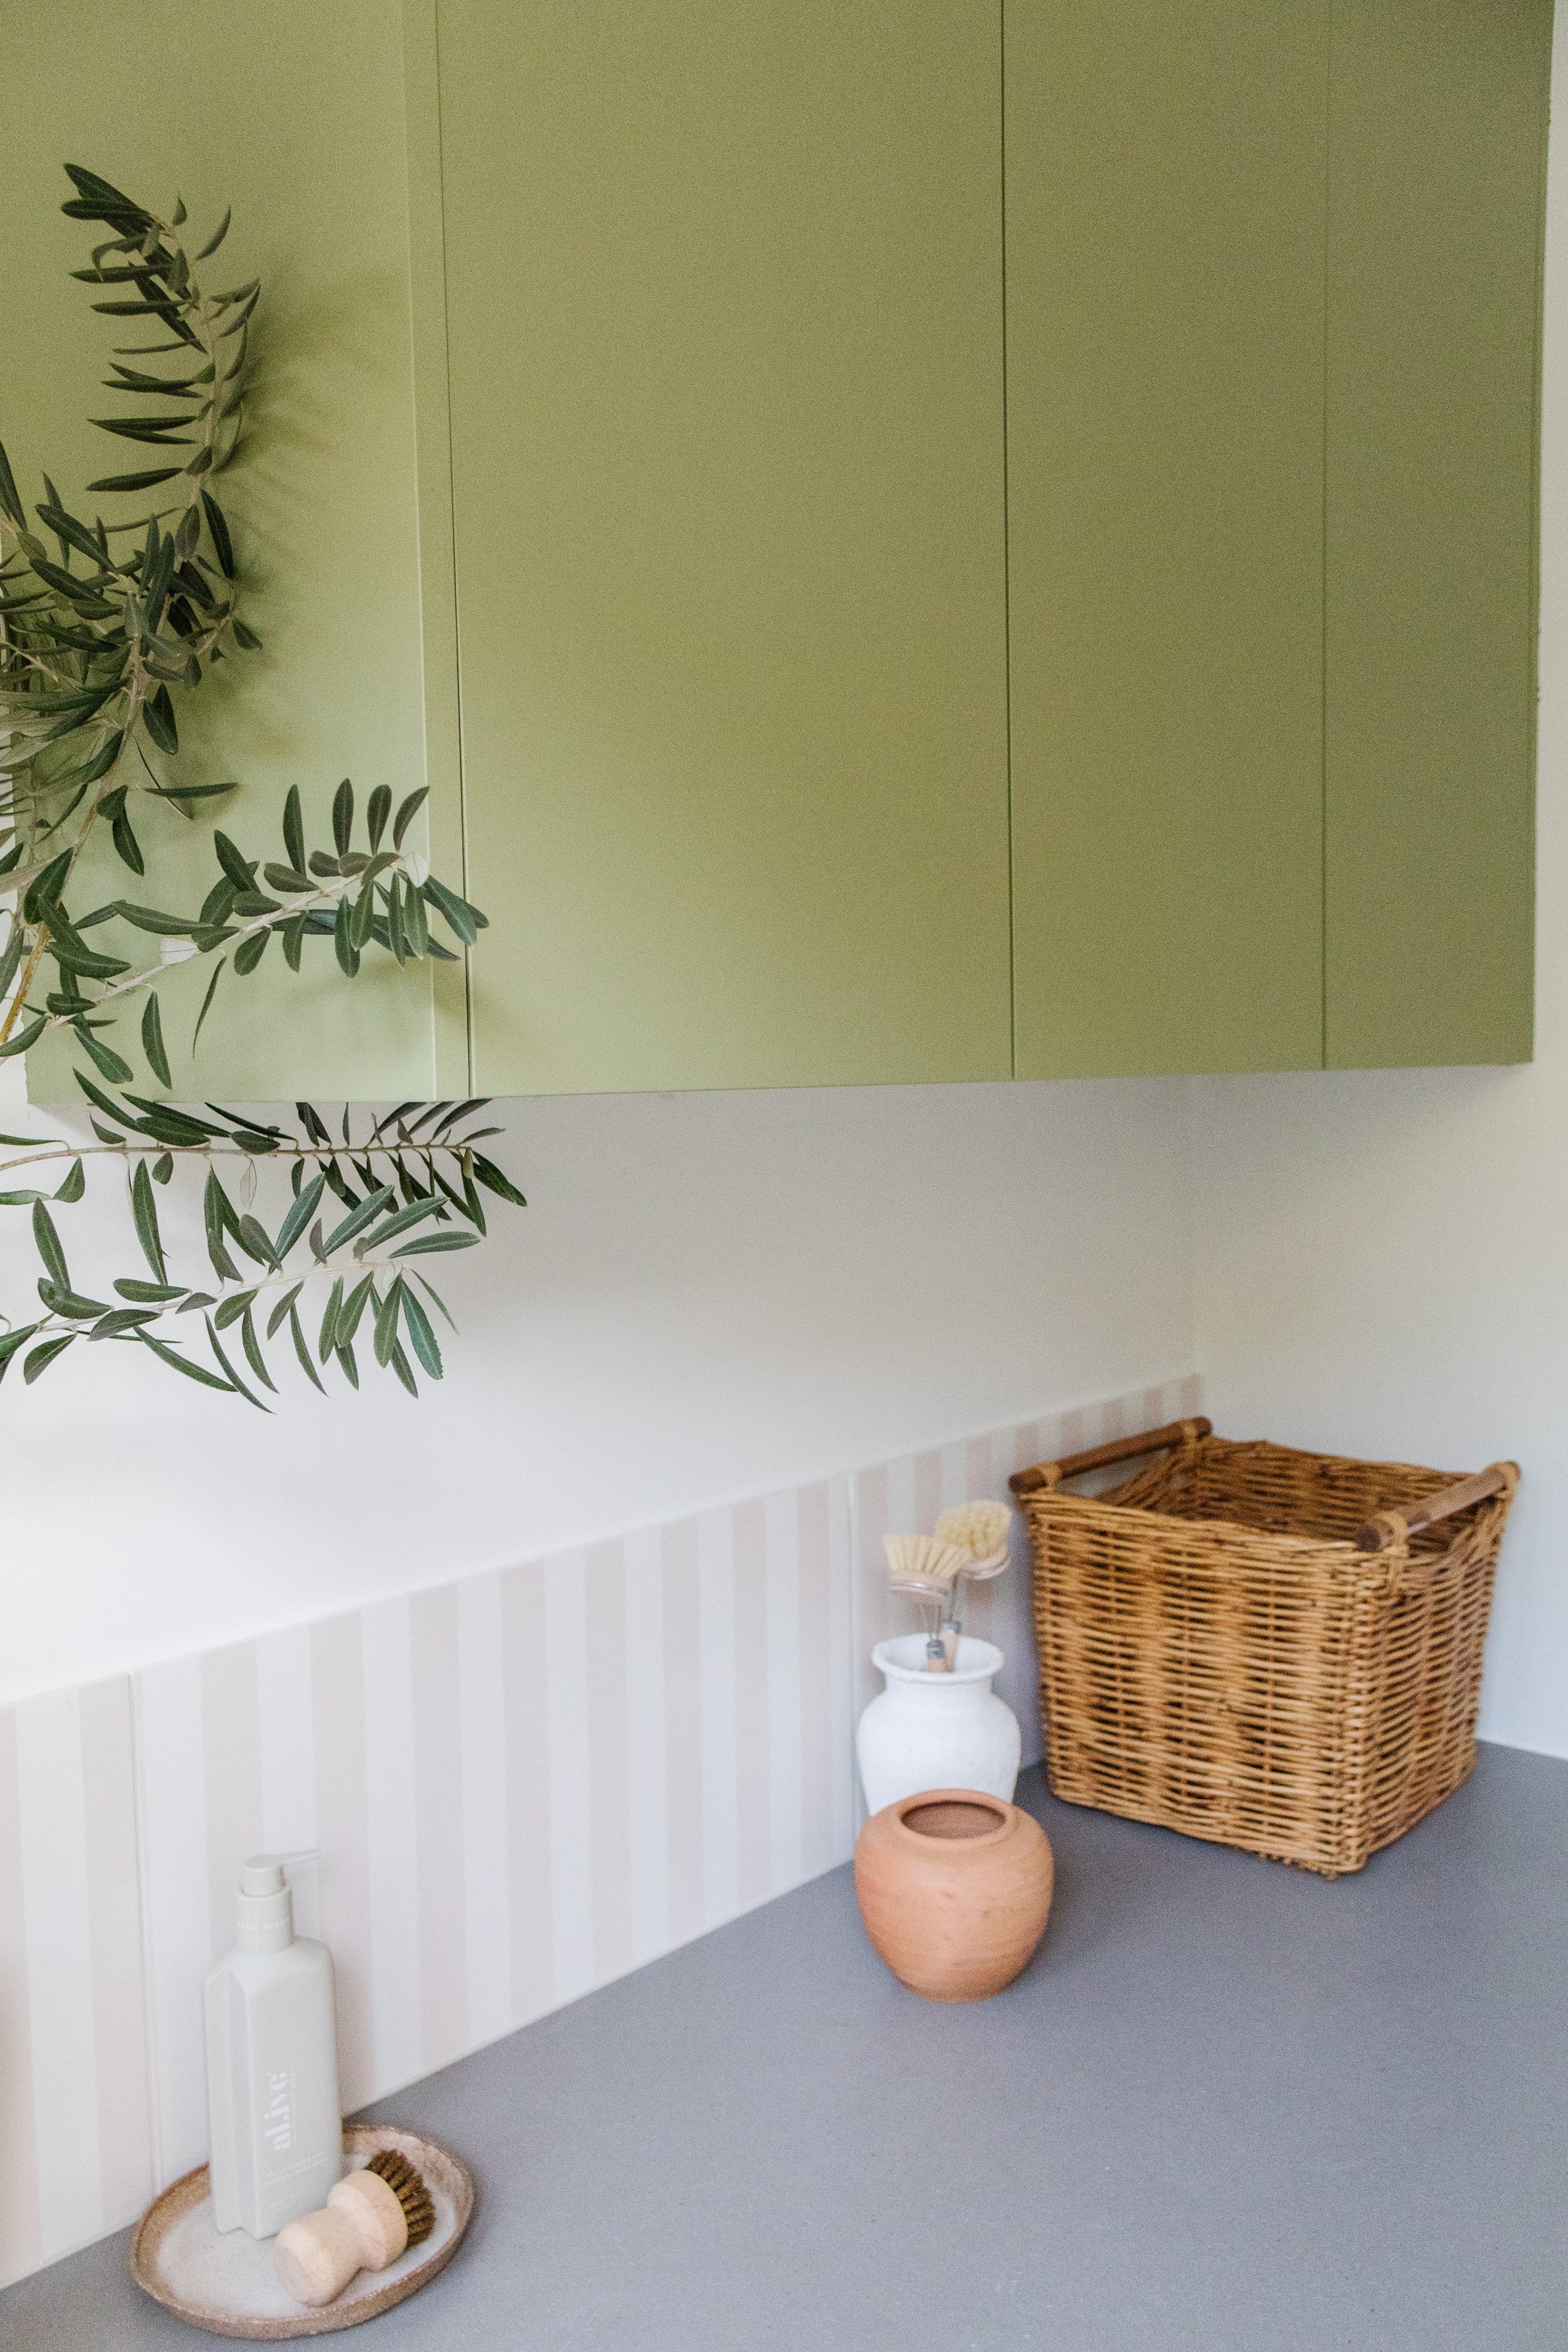
But that was until I discovered Dulux Renovation Range! I realised all I needed was the right primer, paint and sealer by my side. Even if it meant painting the cabinets twice just to get the right colour, it was worth it. We landed on Dulux Green Spruce in the end. And I hope you love my extra surprise - the DIY striped painted tiles! Stay tuned for the tile makeover. Read on to learn how to paint your cabinets and give them the ultimate glow up. I’ve also included links to all the Dulux Renovation Range products I used for this project. Happy painting!
Before & After

Project Details
🕒 Project Time Estimate: 3 days
💰 Materials Cost: $250
👷♀️ Skill Level: Beginner DIYer
⚒️ Power Tools: None!

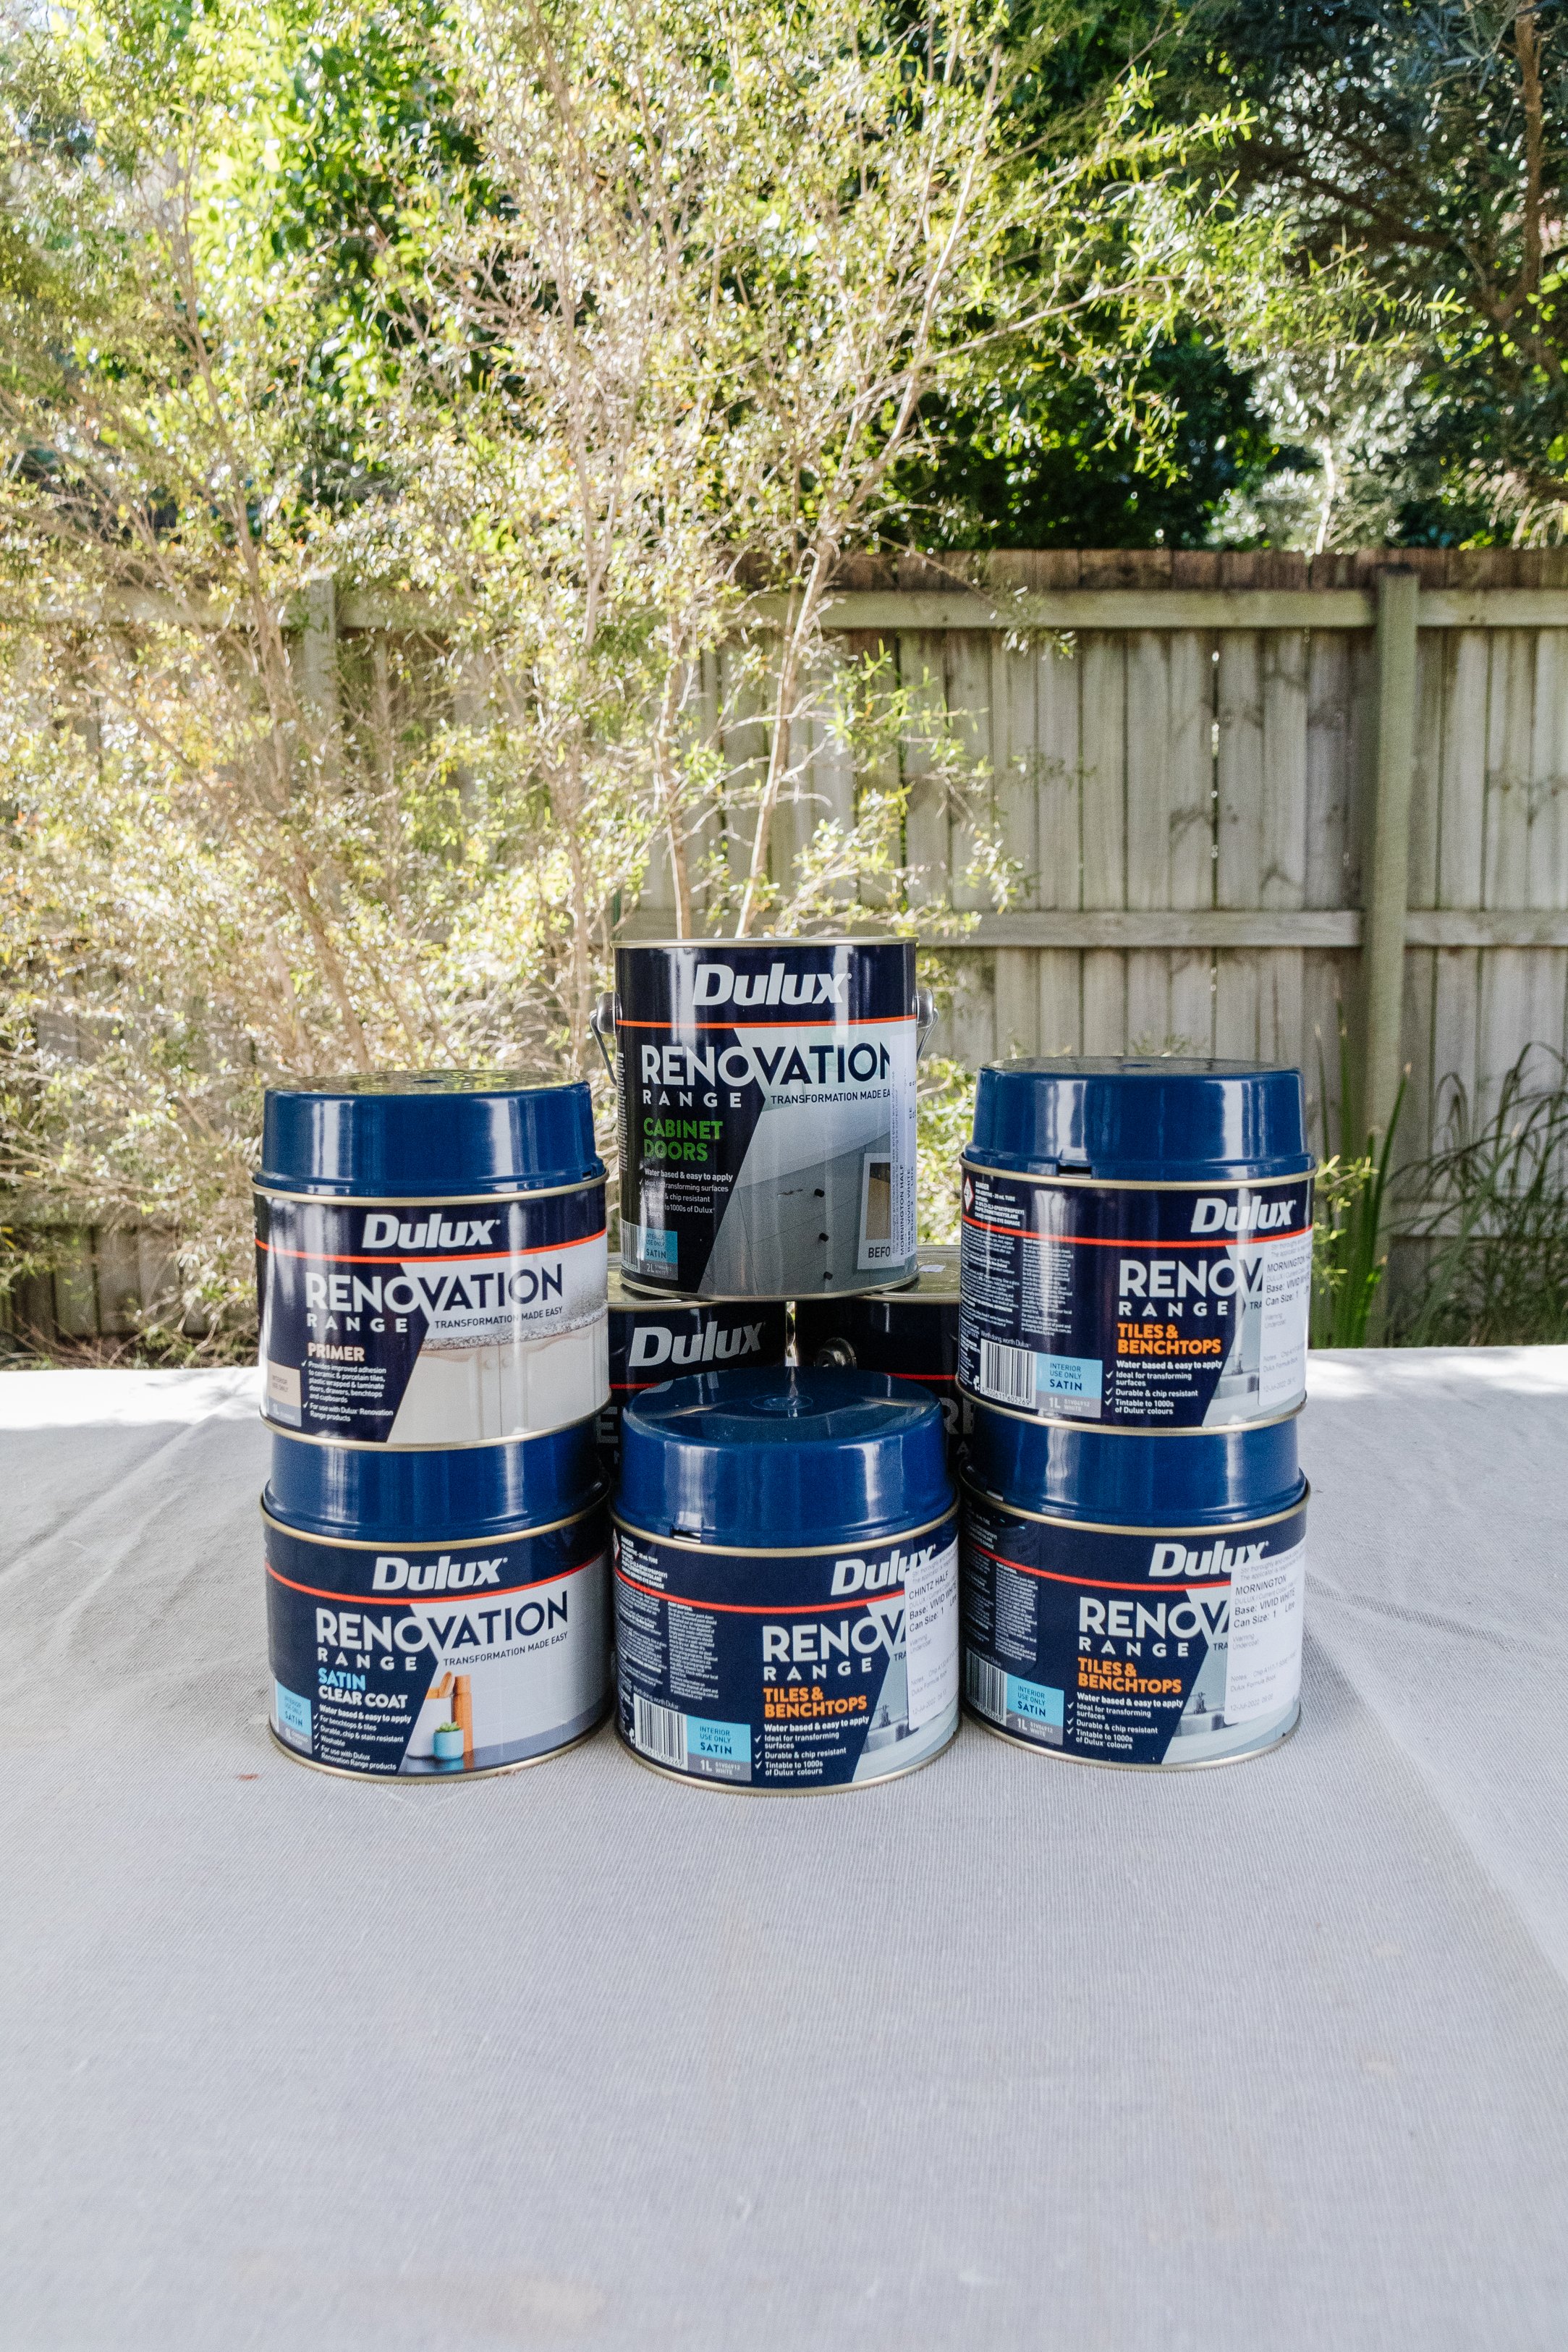
Materials
Dulux Renovation Range Cabinet Doors paint in “Green Spruce”
Dulux Renovation Range Clear Coat in Satin
Microfibre roller set plus a couple of extra rollers
NB: I changed my mind from Chintz Half to Green Spruce midway through this project so that’s why you’re seeing two different paint colours on our cabinets. Chintz Half is stunning, but we wanted to bring the outdoors in and felt Green Spruce had more depth with the existing Caesarstone “Sleek Concrete” bench top and Dulux Lexicon Quarter painted walls.
How To
DAY ONE & TWO - 4 to 6 hours work time, 8 to 12 hours drying time
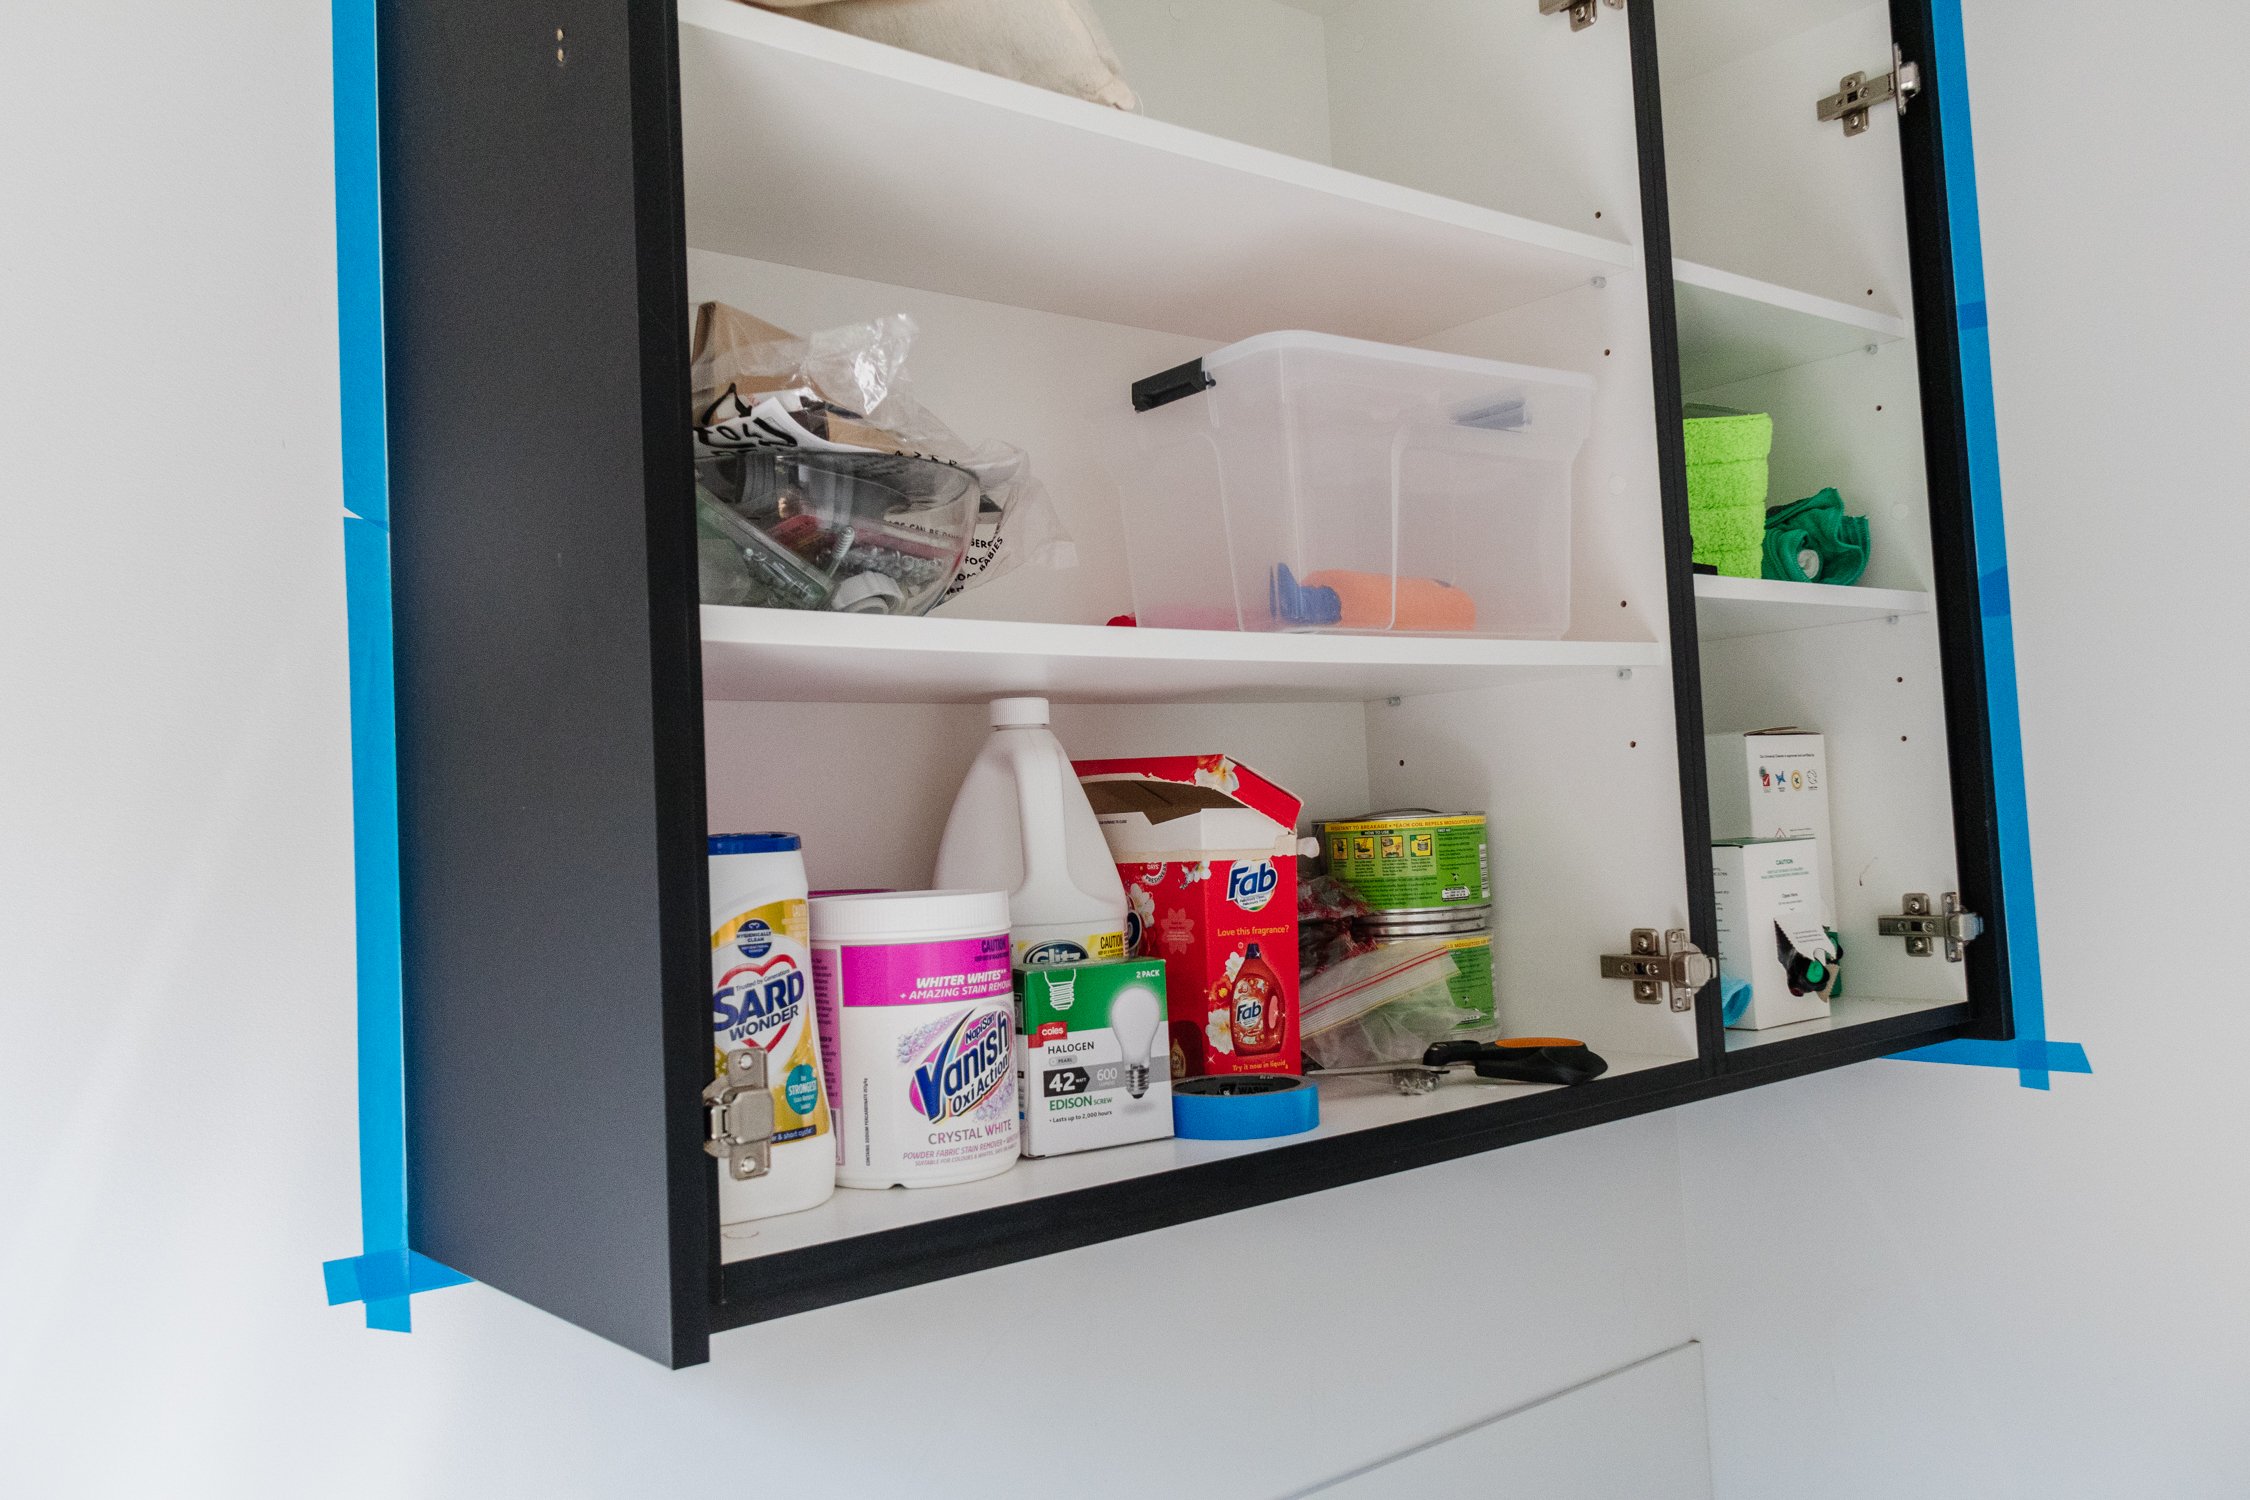
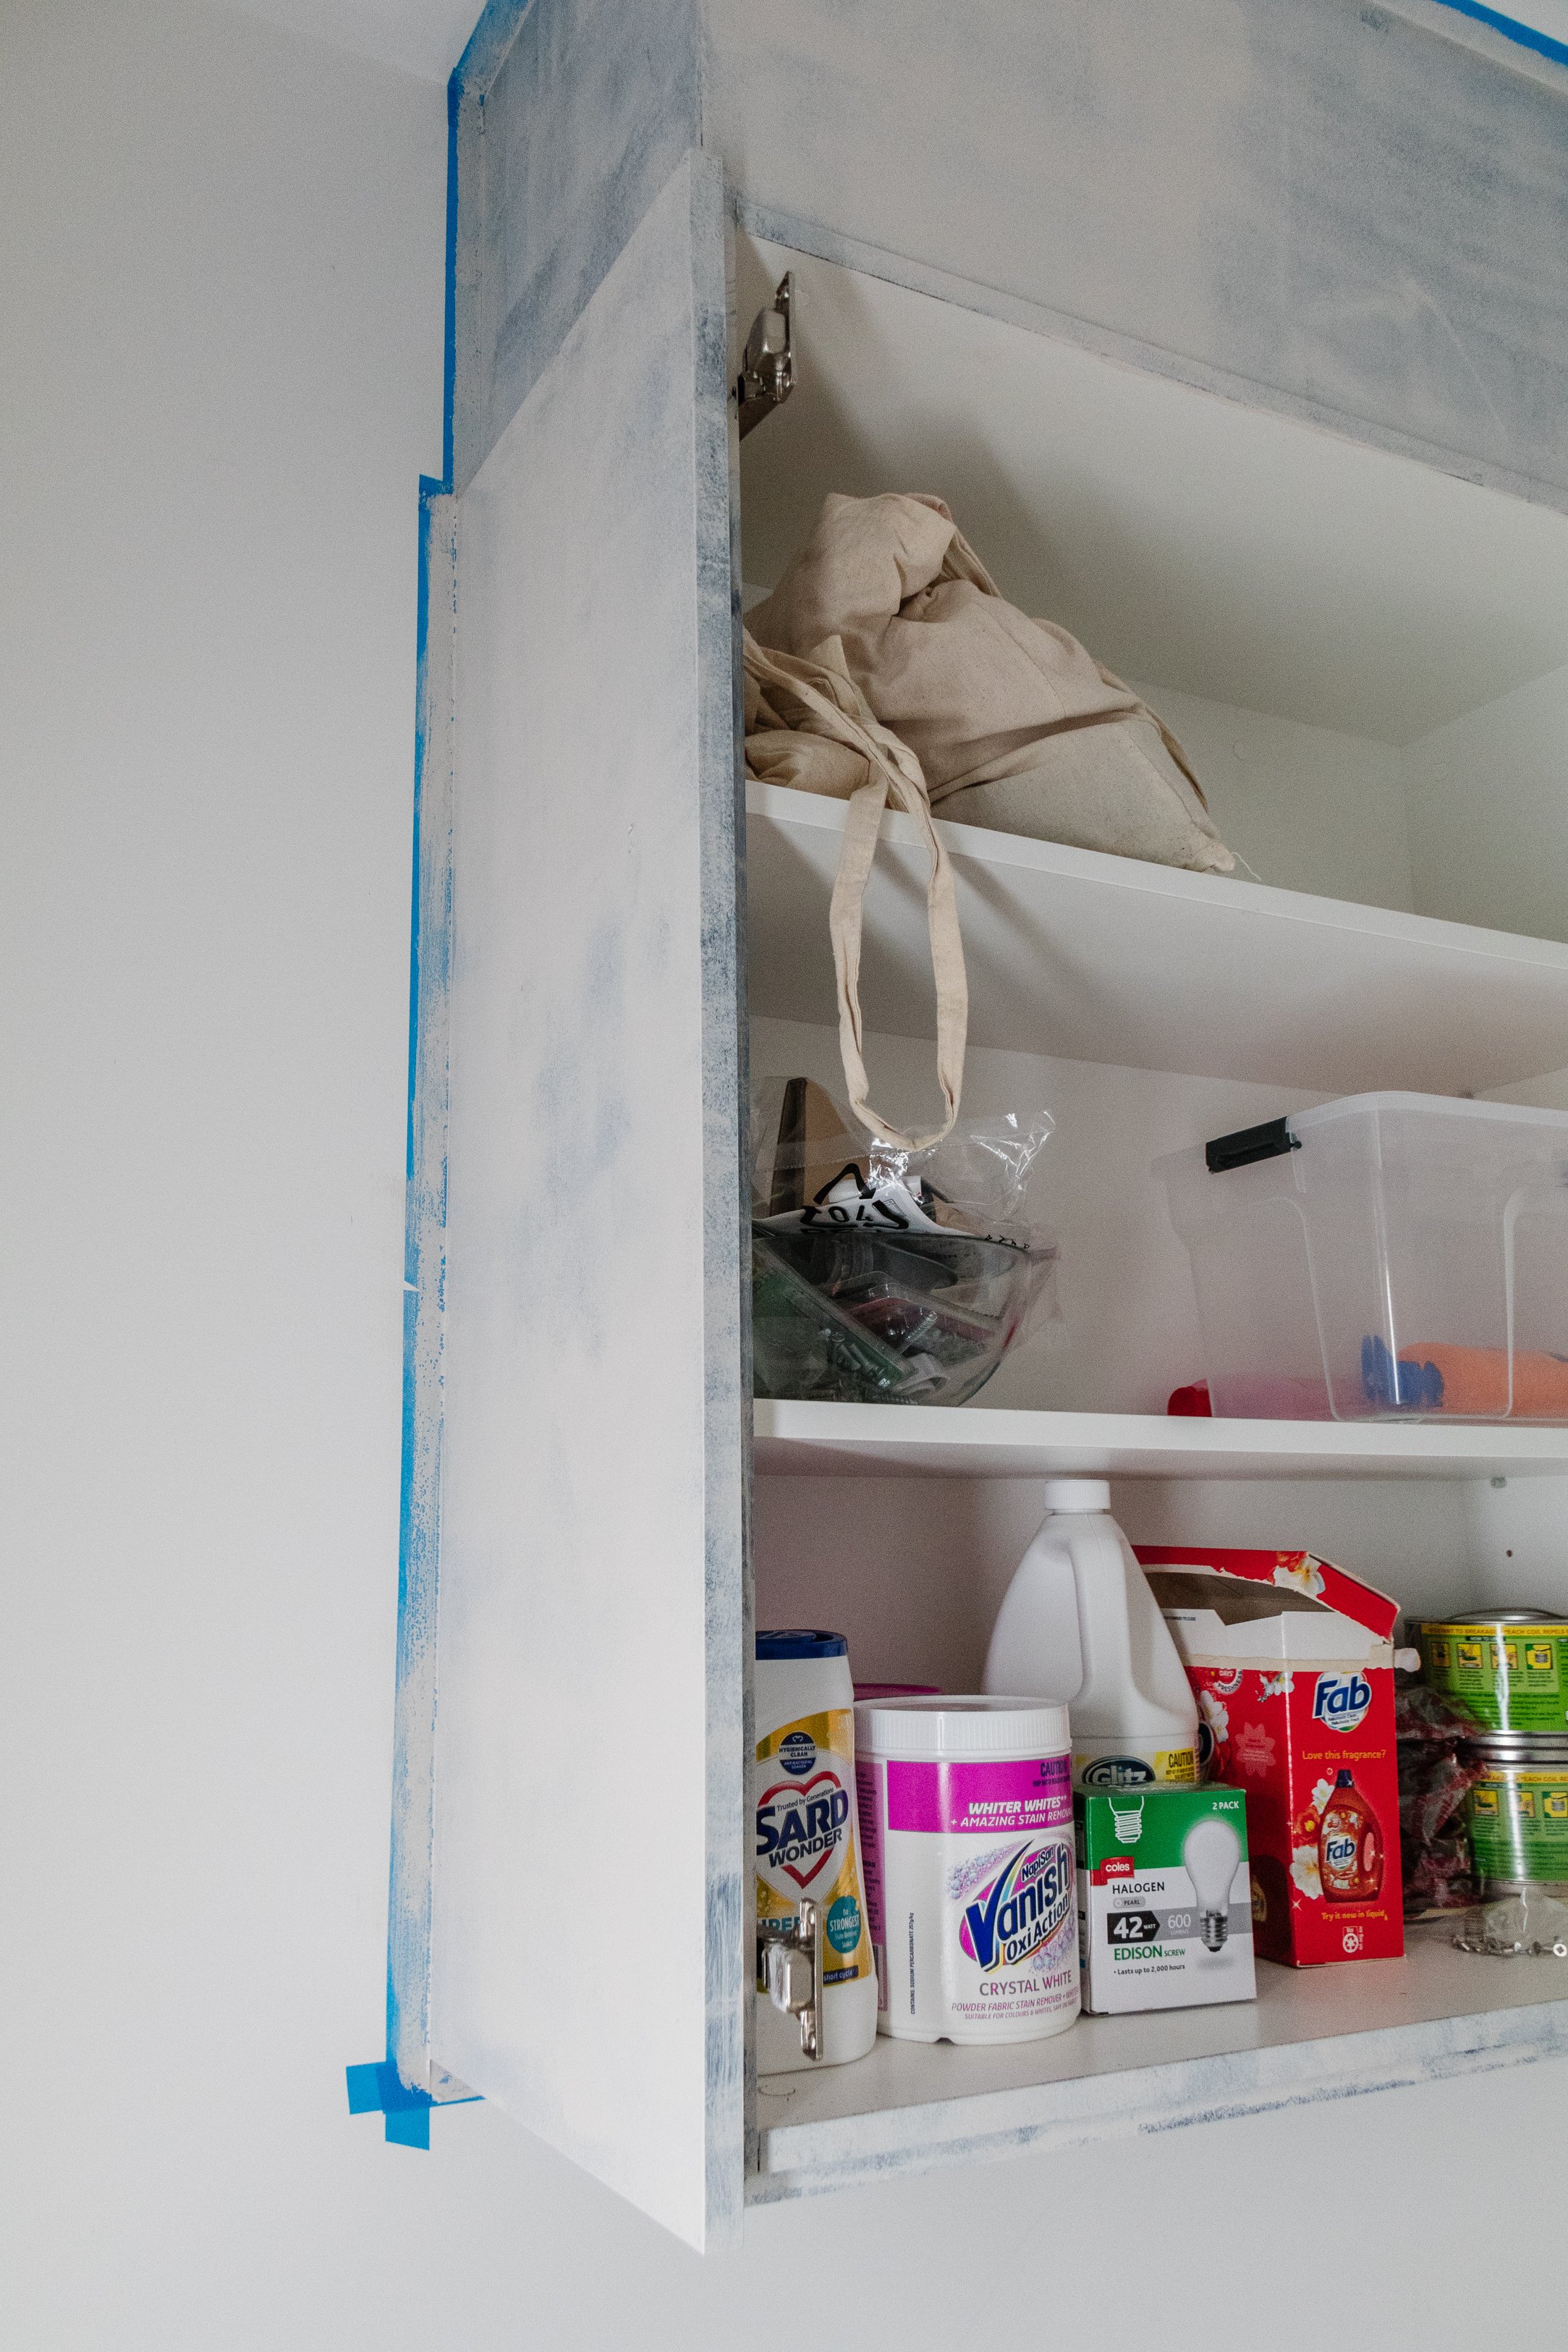
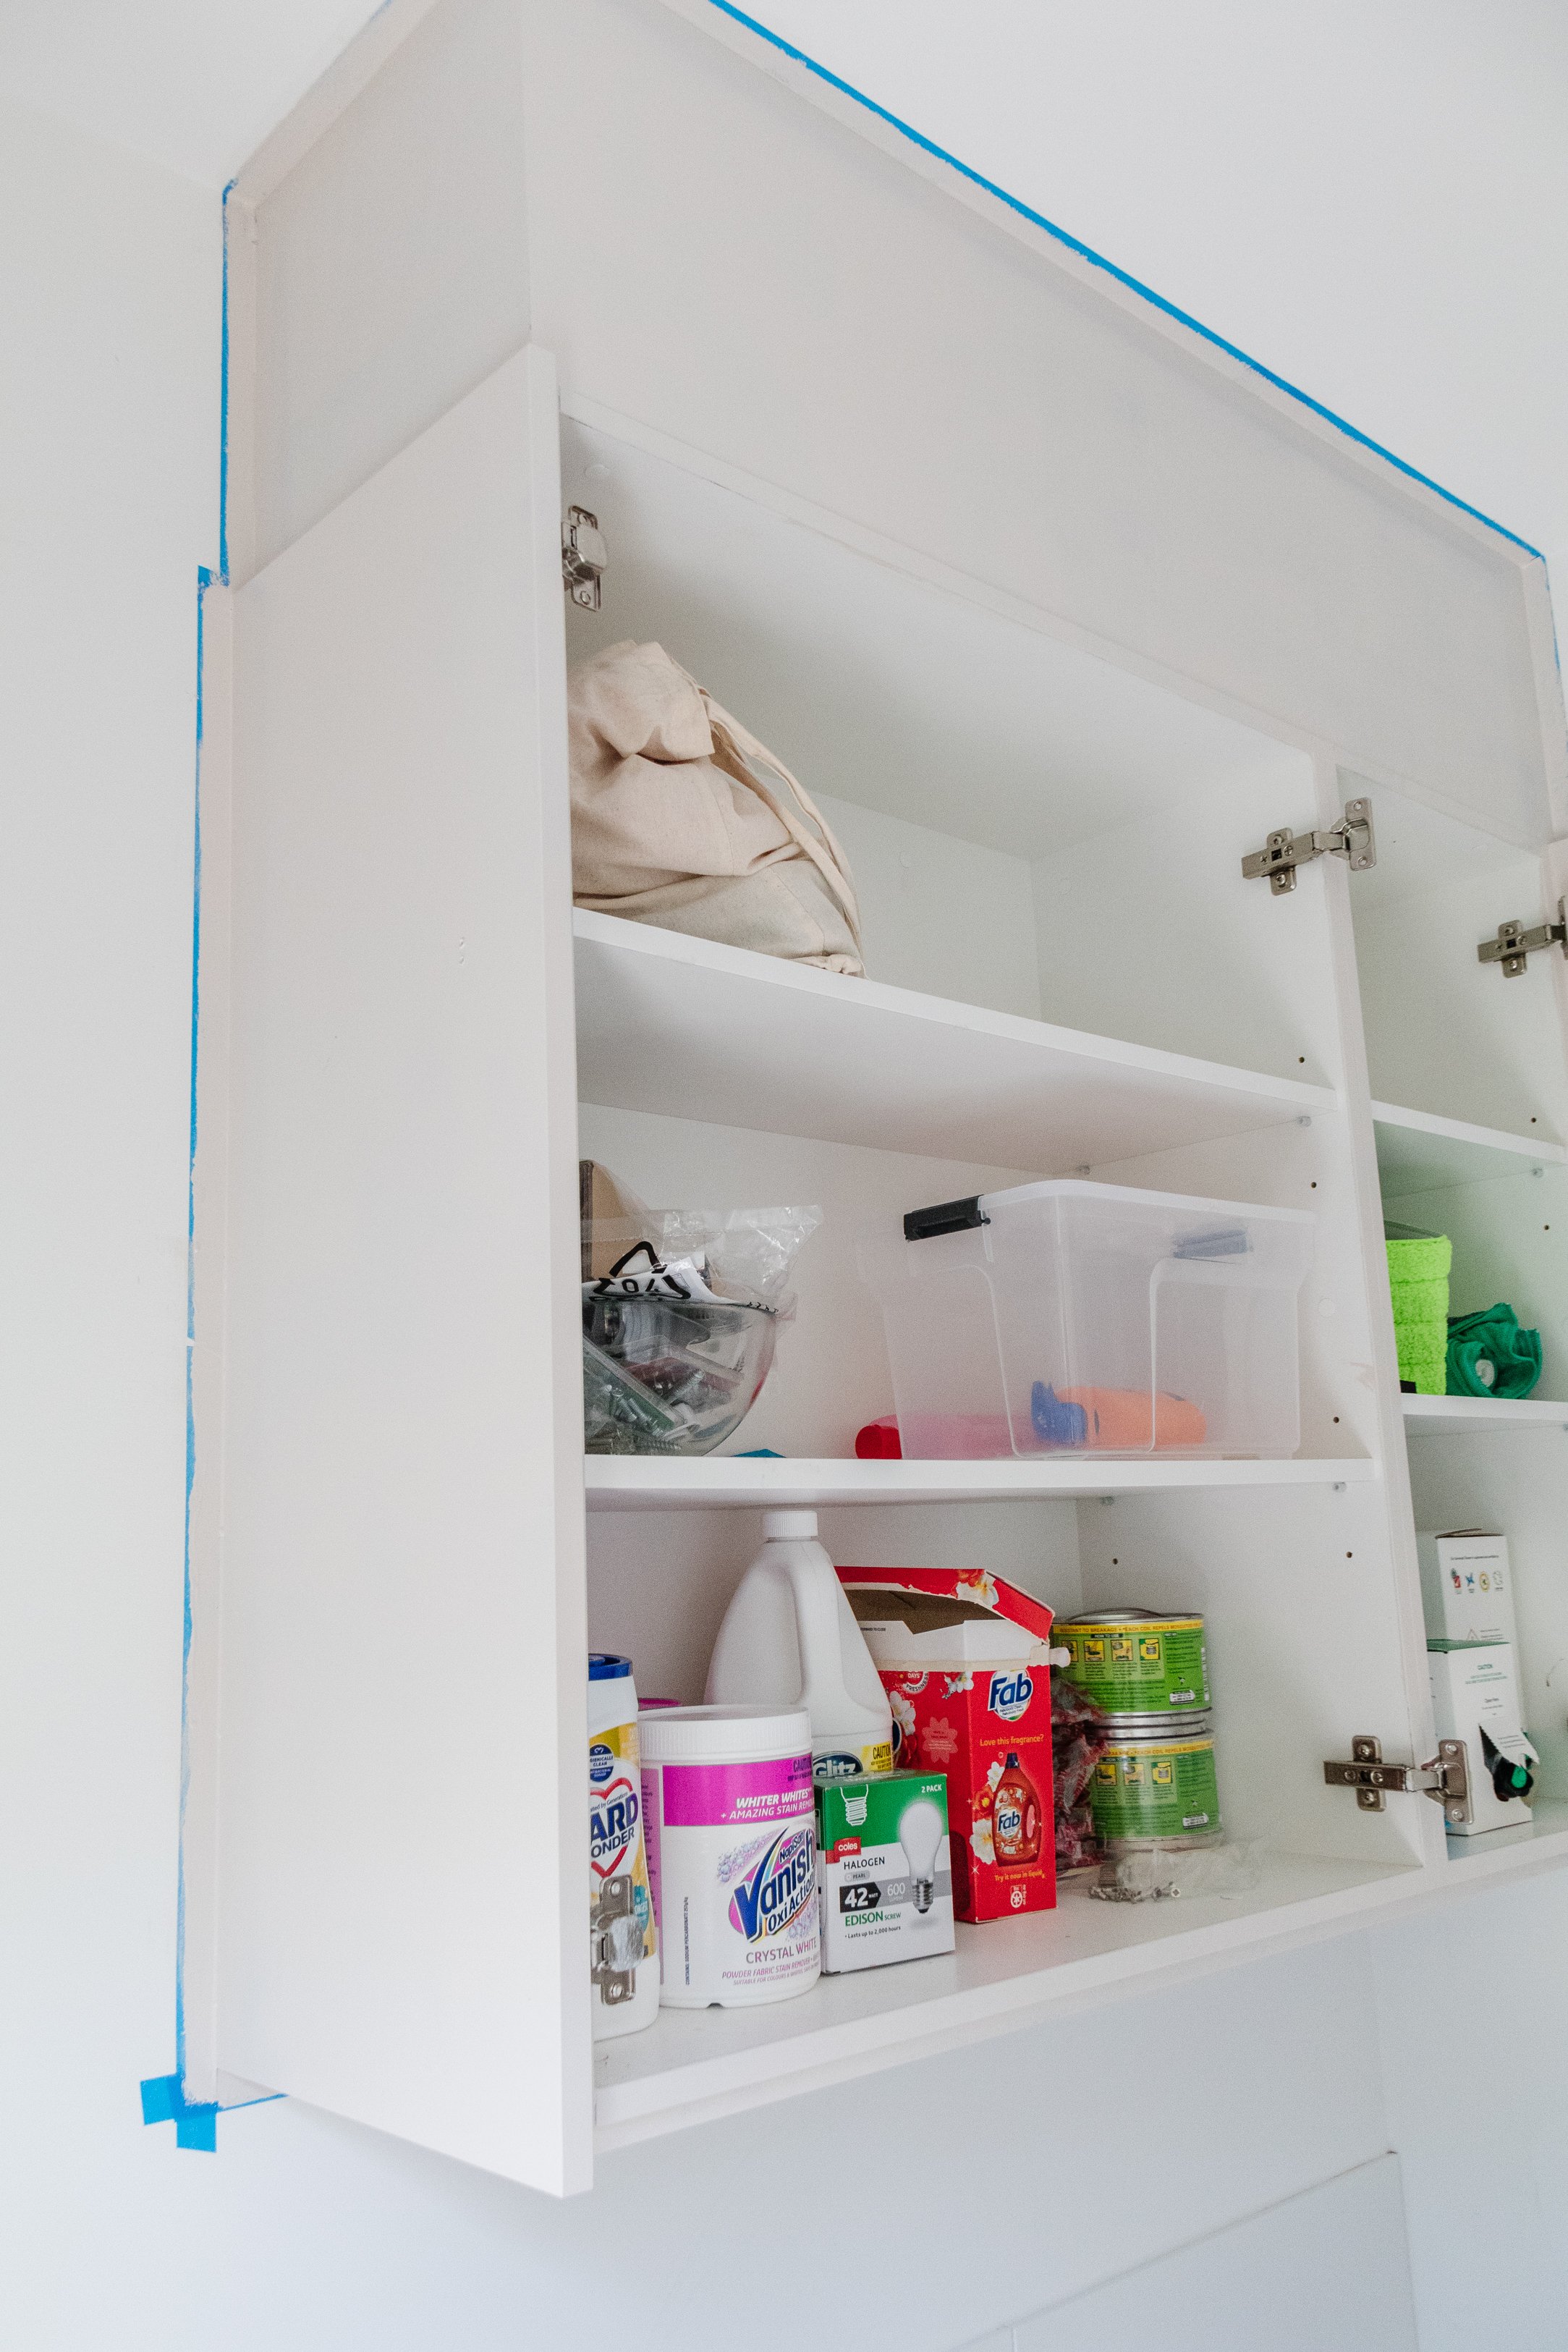
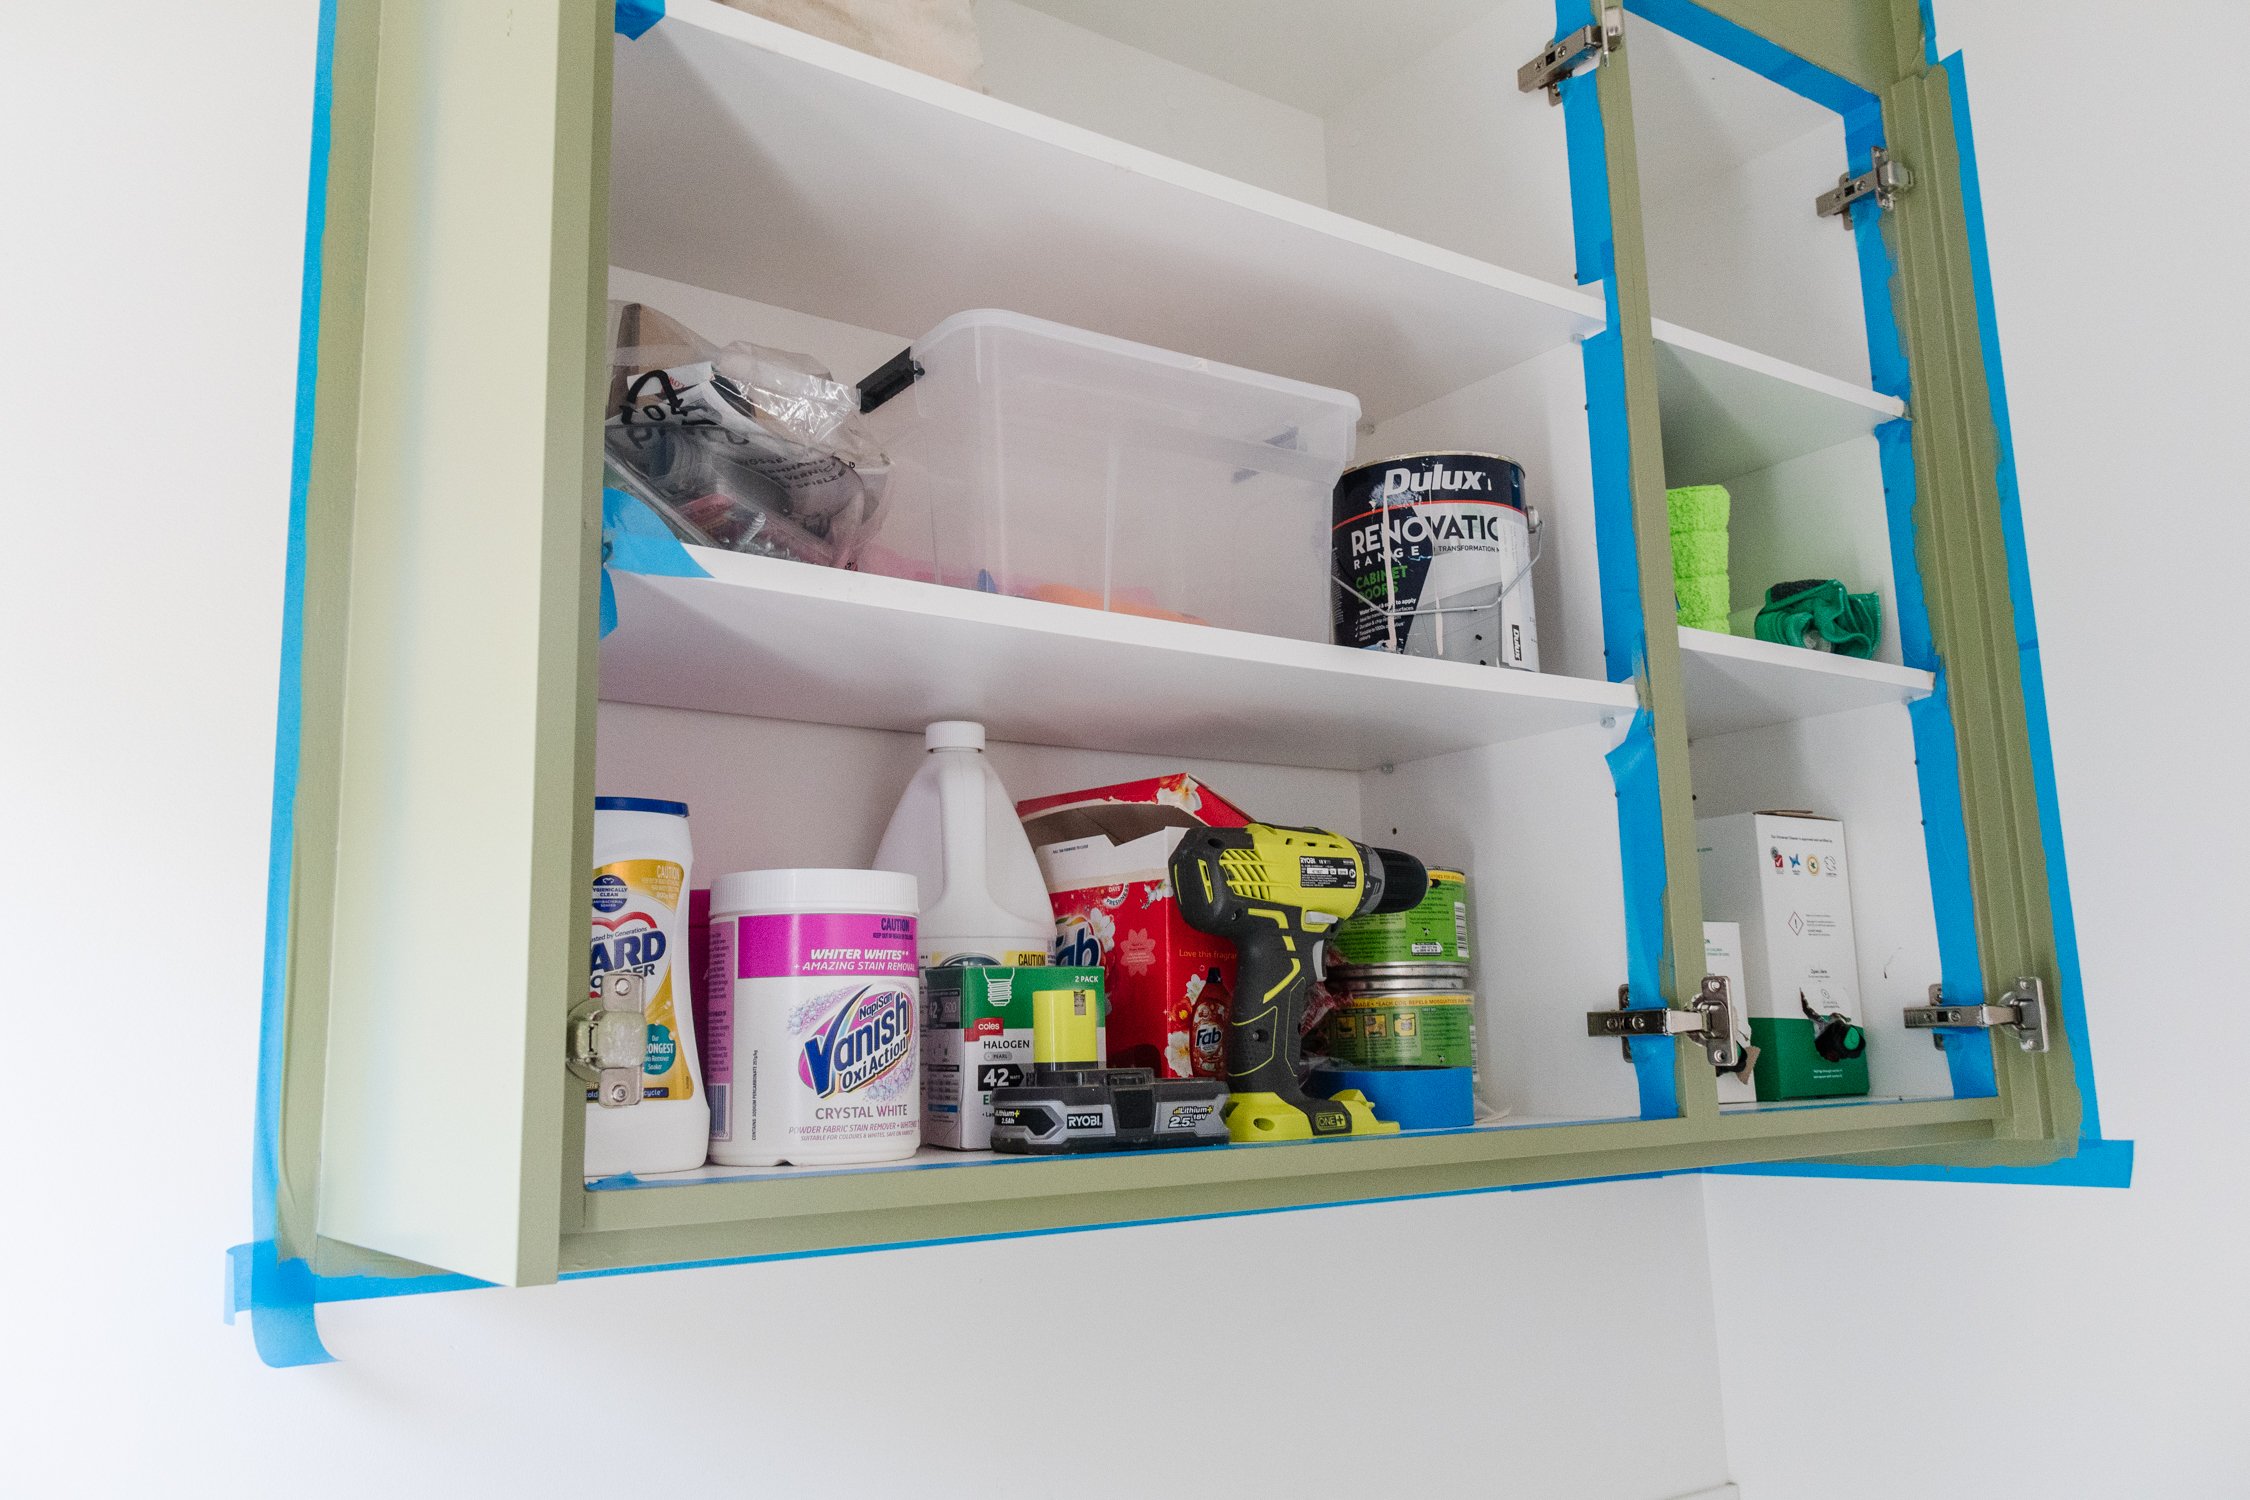
Start by removing the existing cabinet doors using a drill in reverse and keep the screws in a ziplock bag so you don’t misplace them. Clean the cabinets and doors (both sides) using sugar soap wipes and set aside to air dry. Prep the cabinet walls with painters tape.
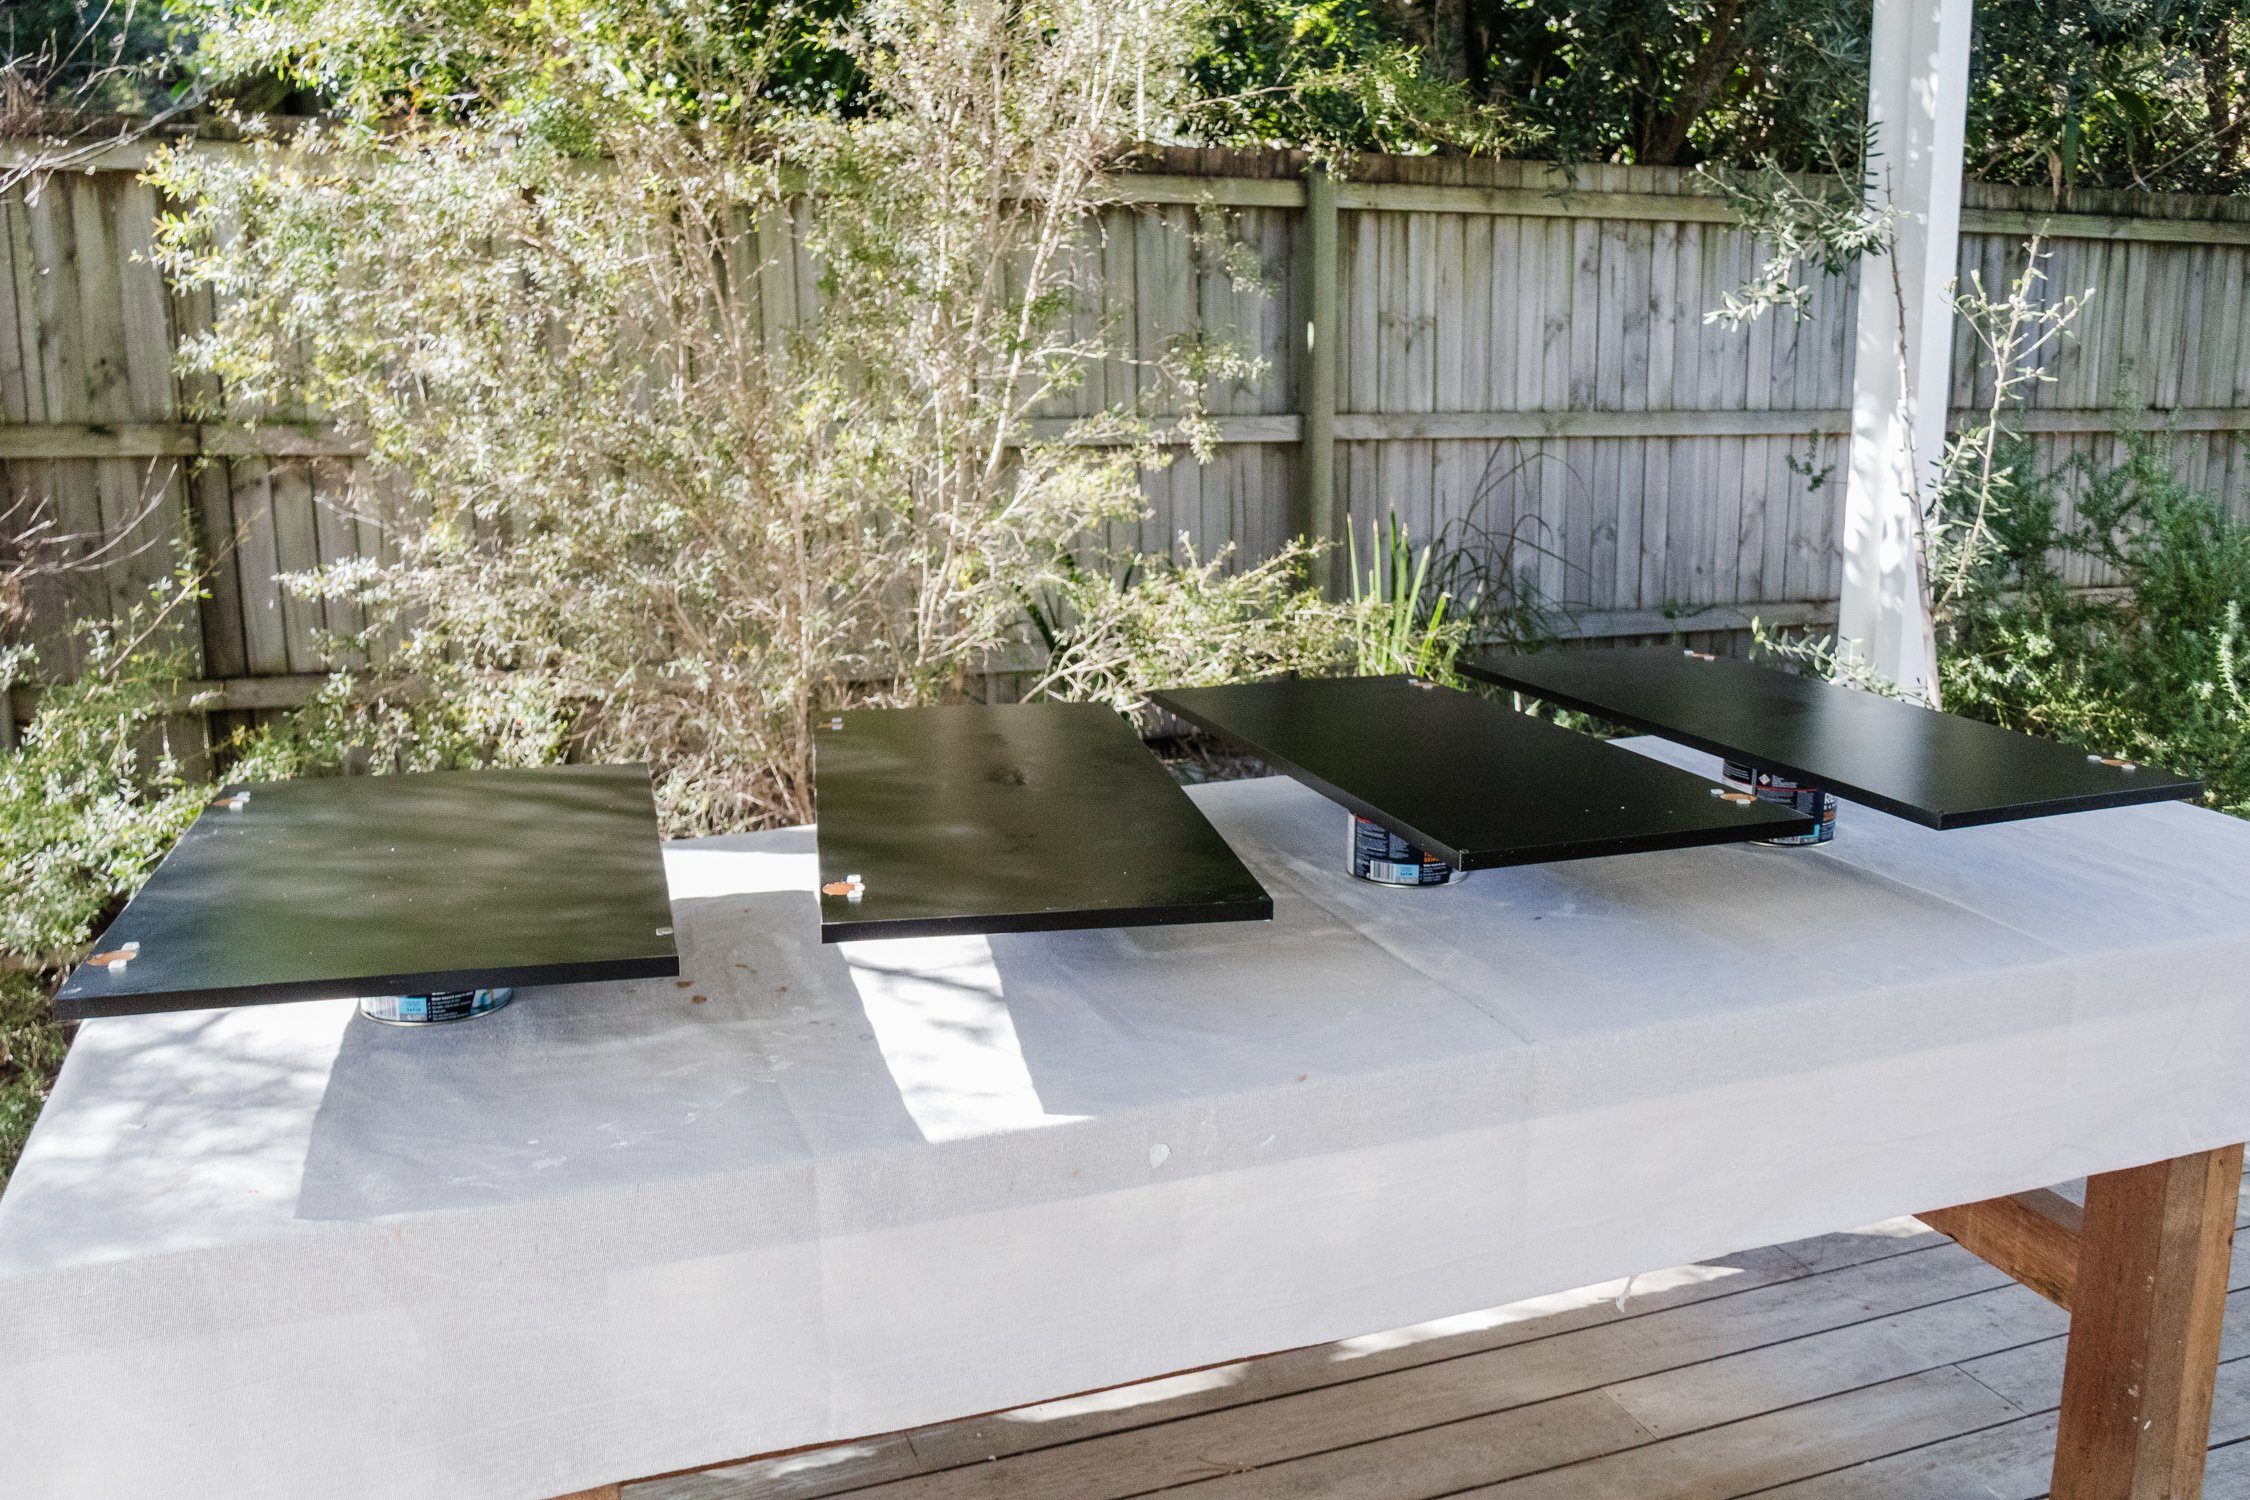
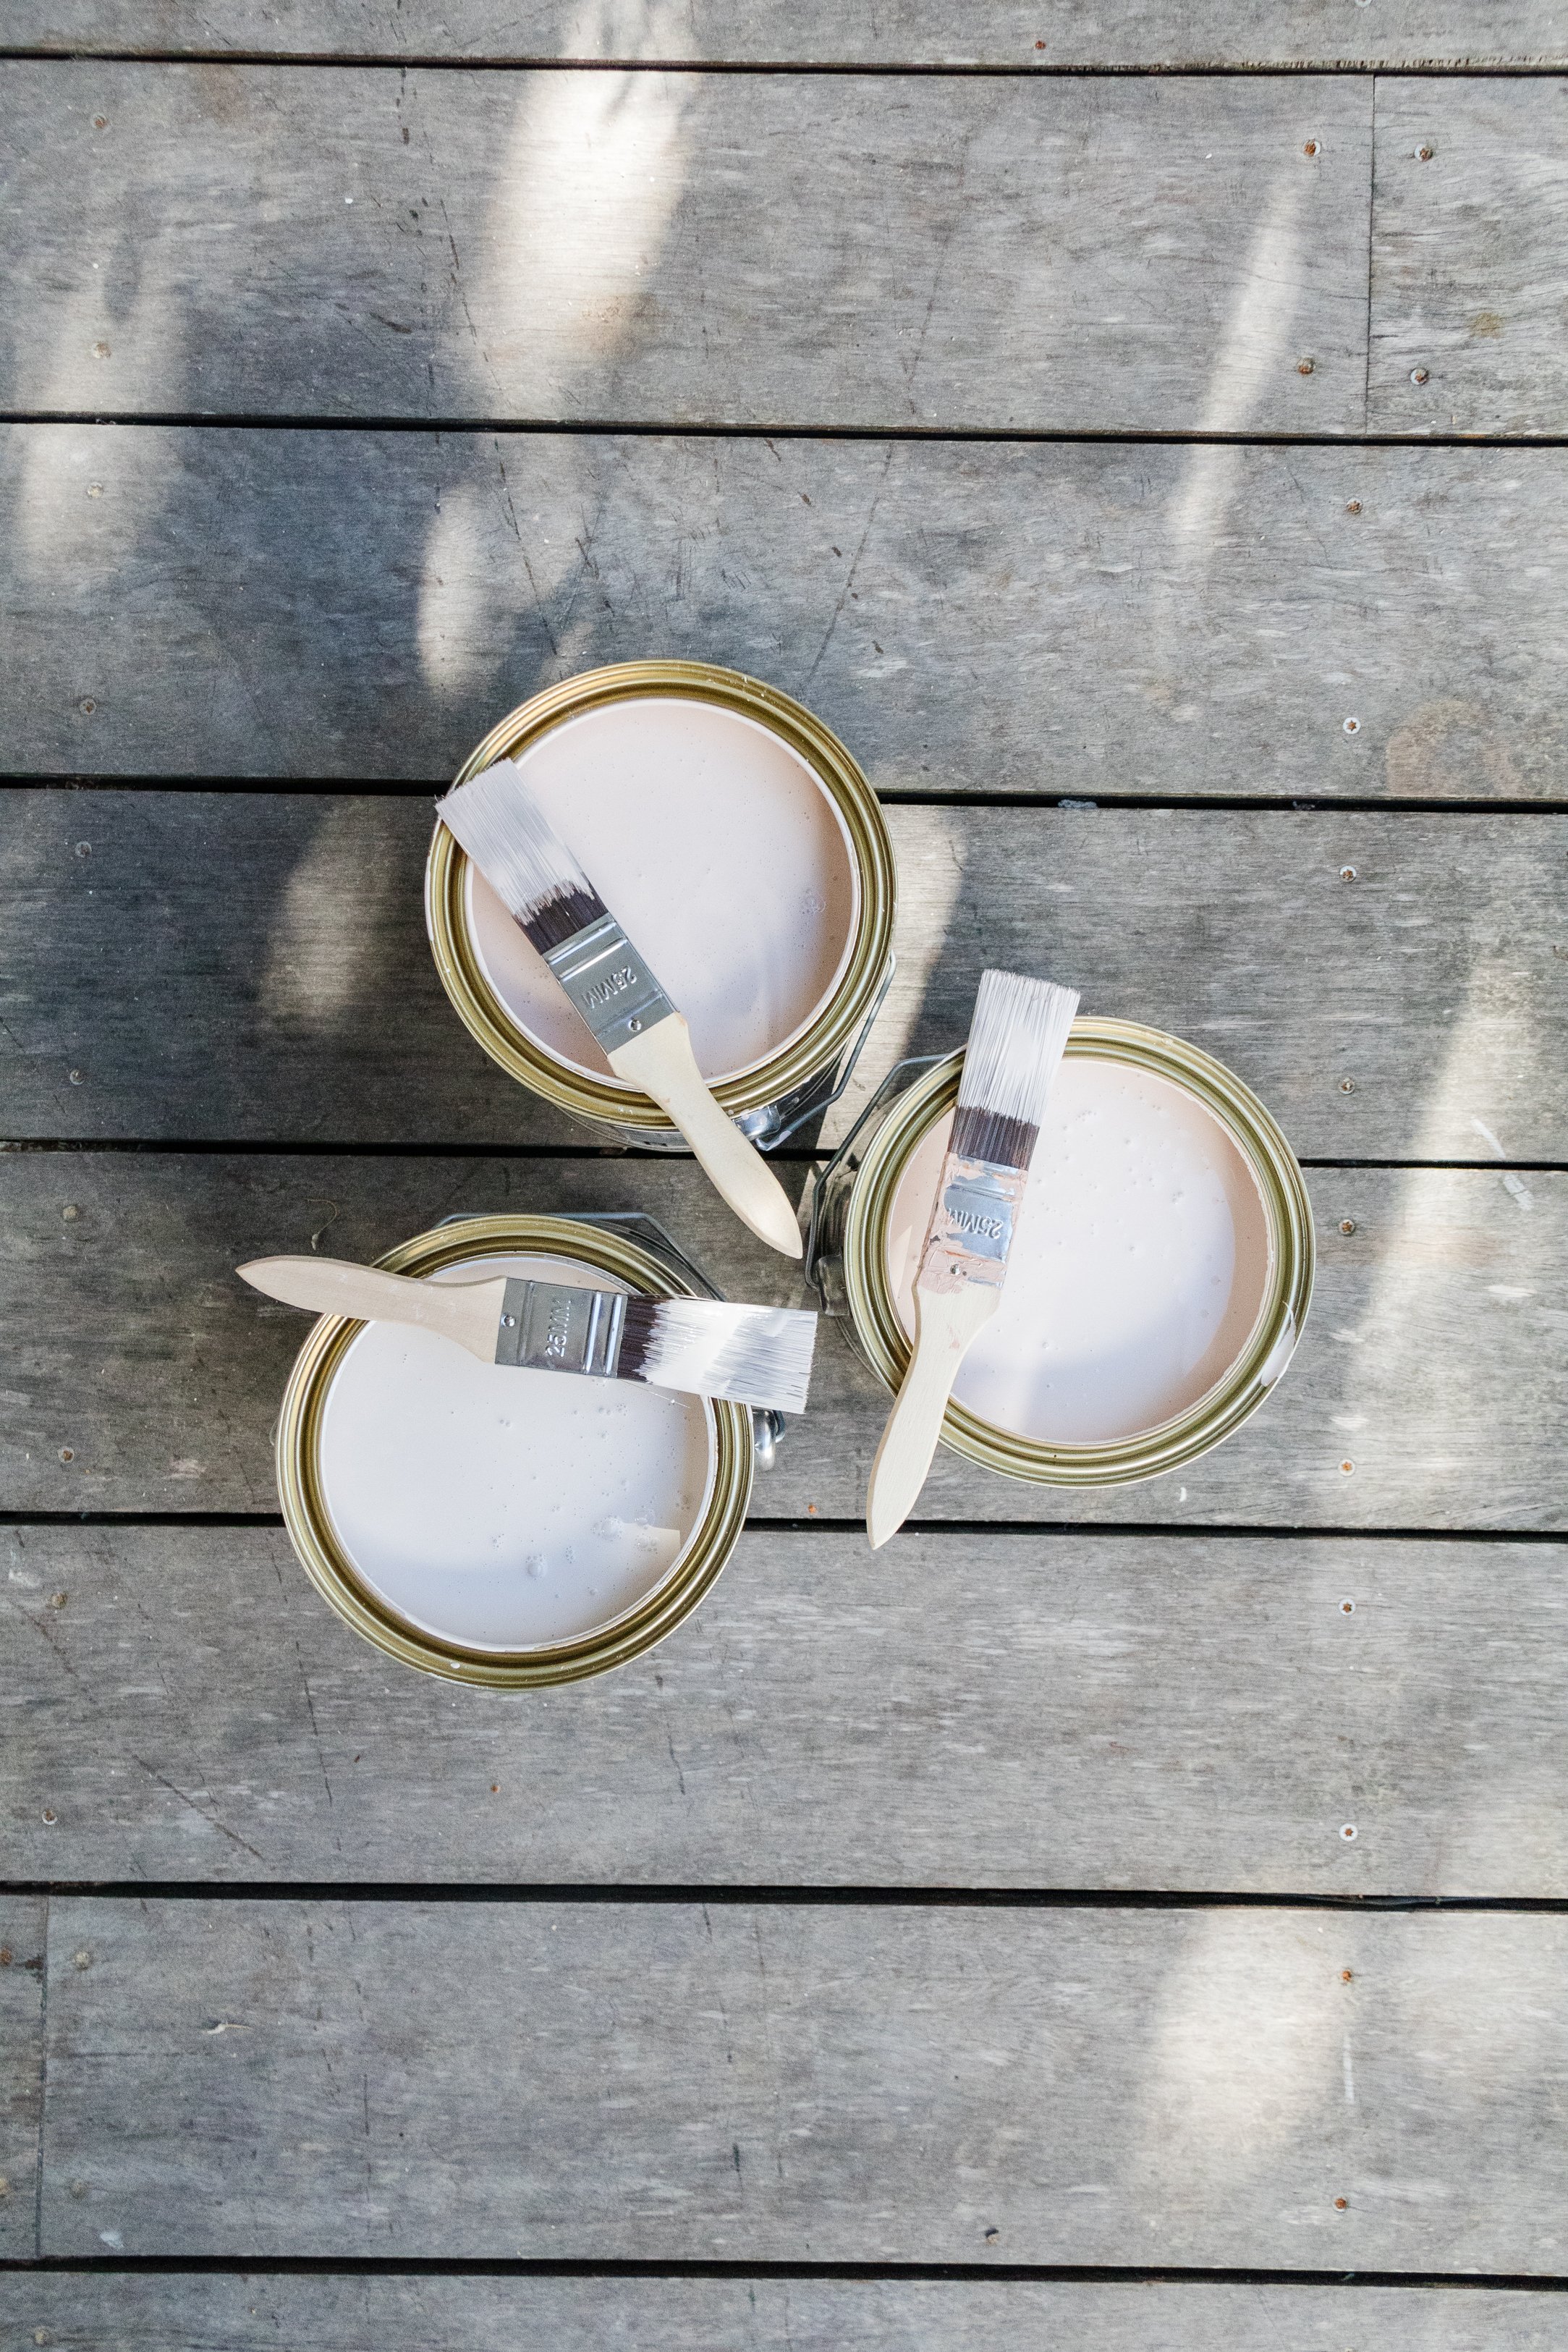
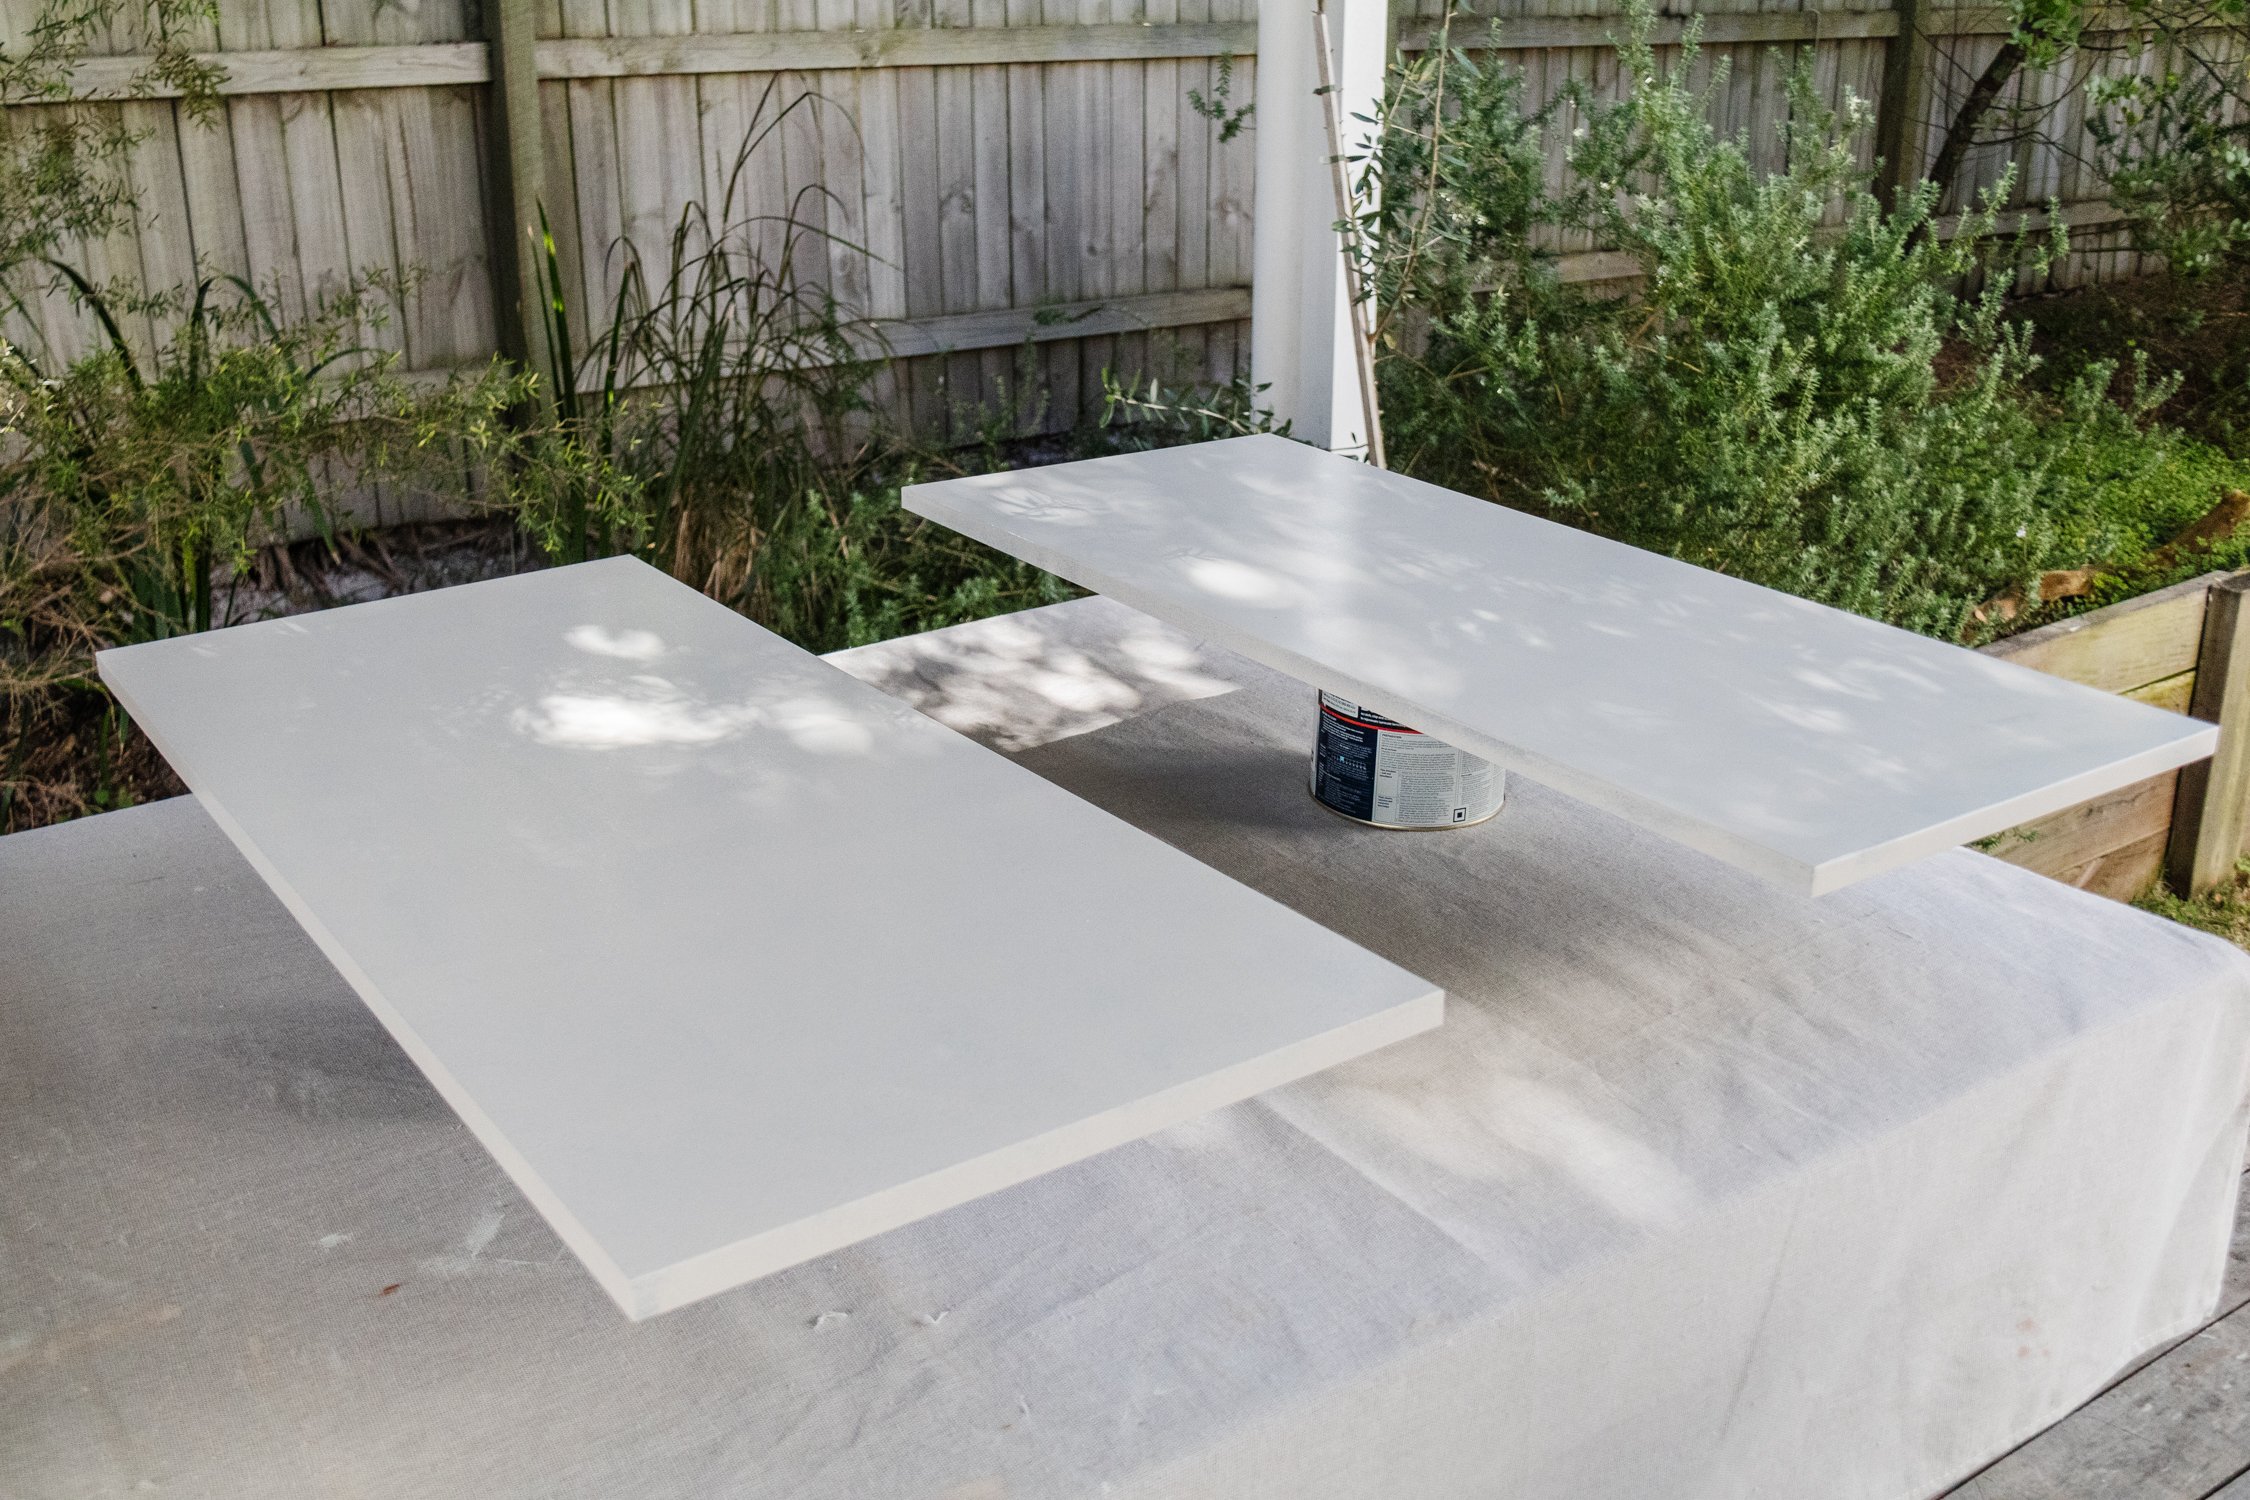
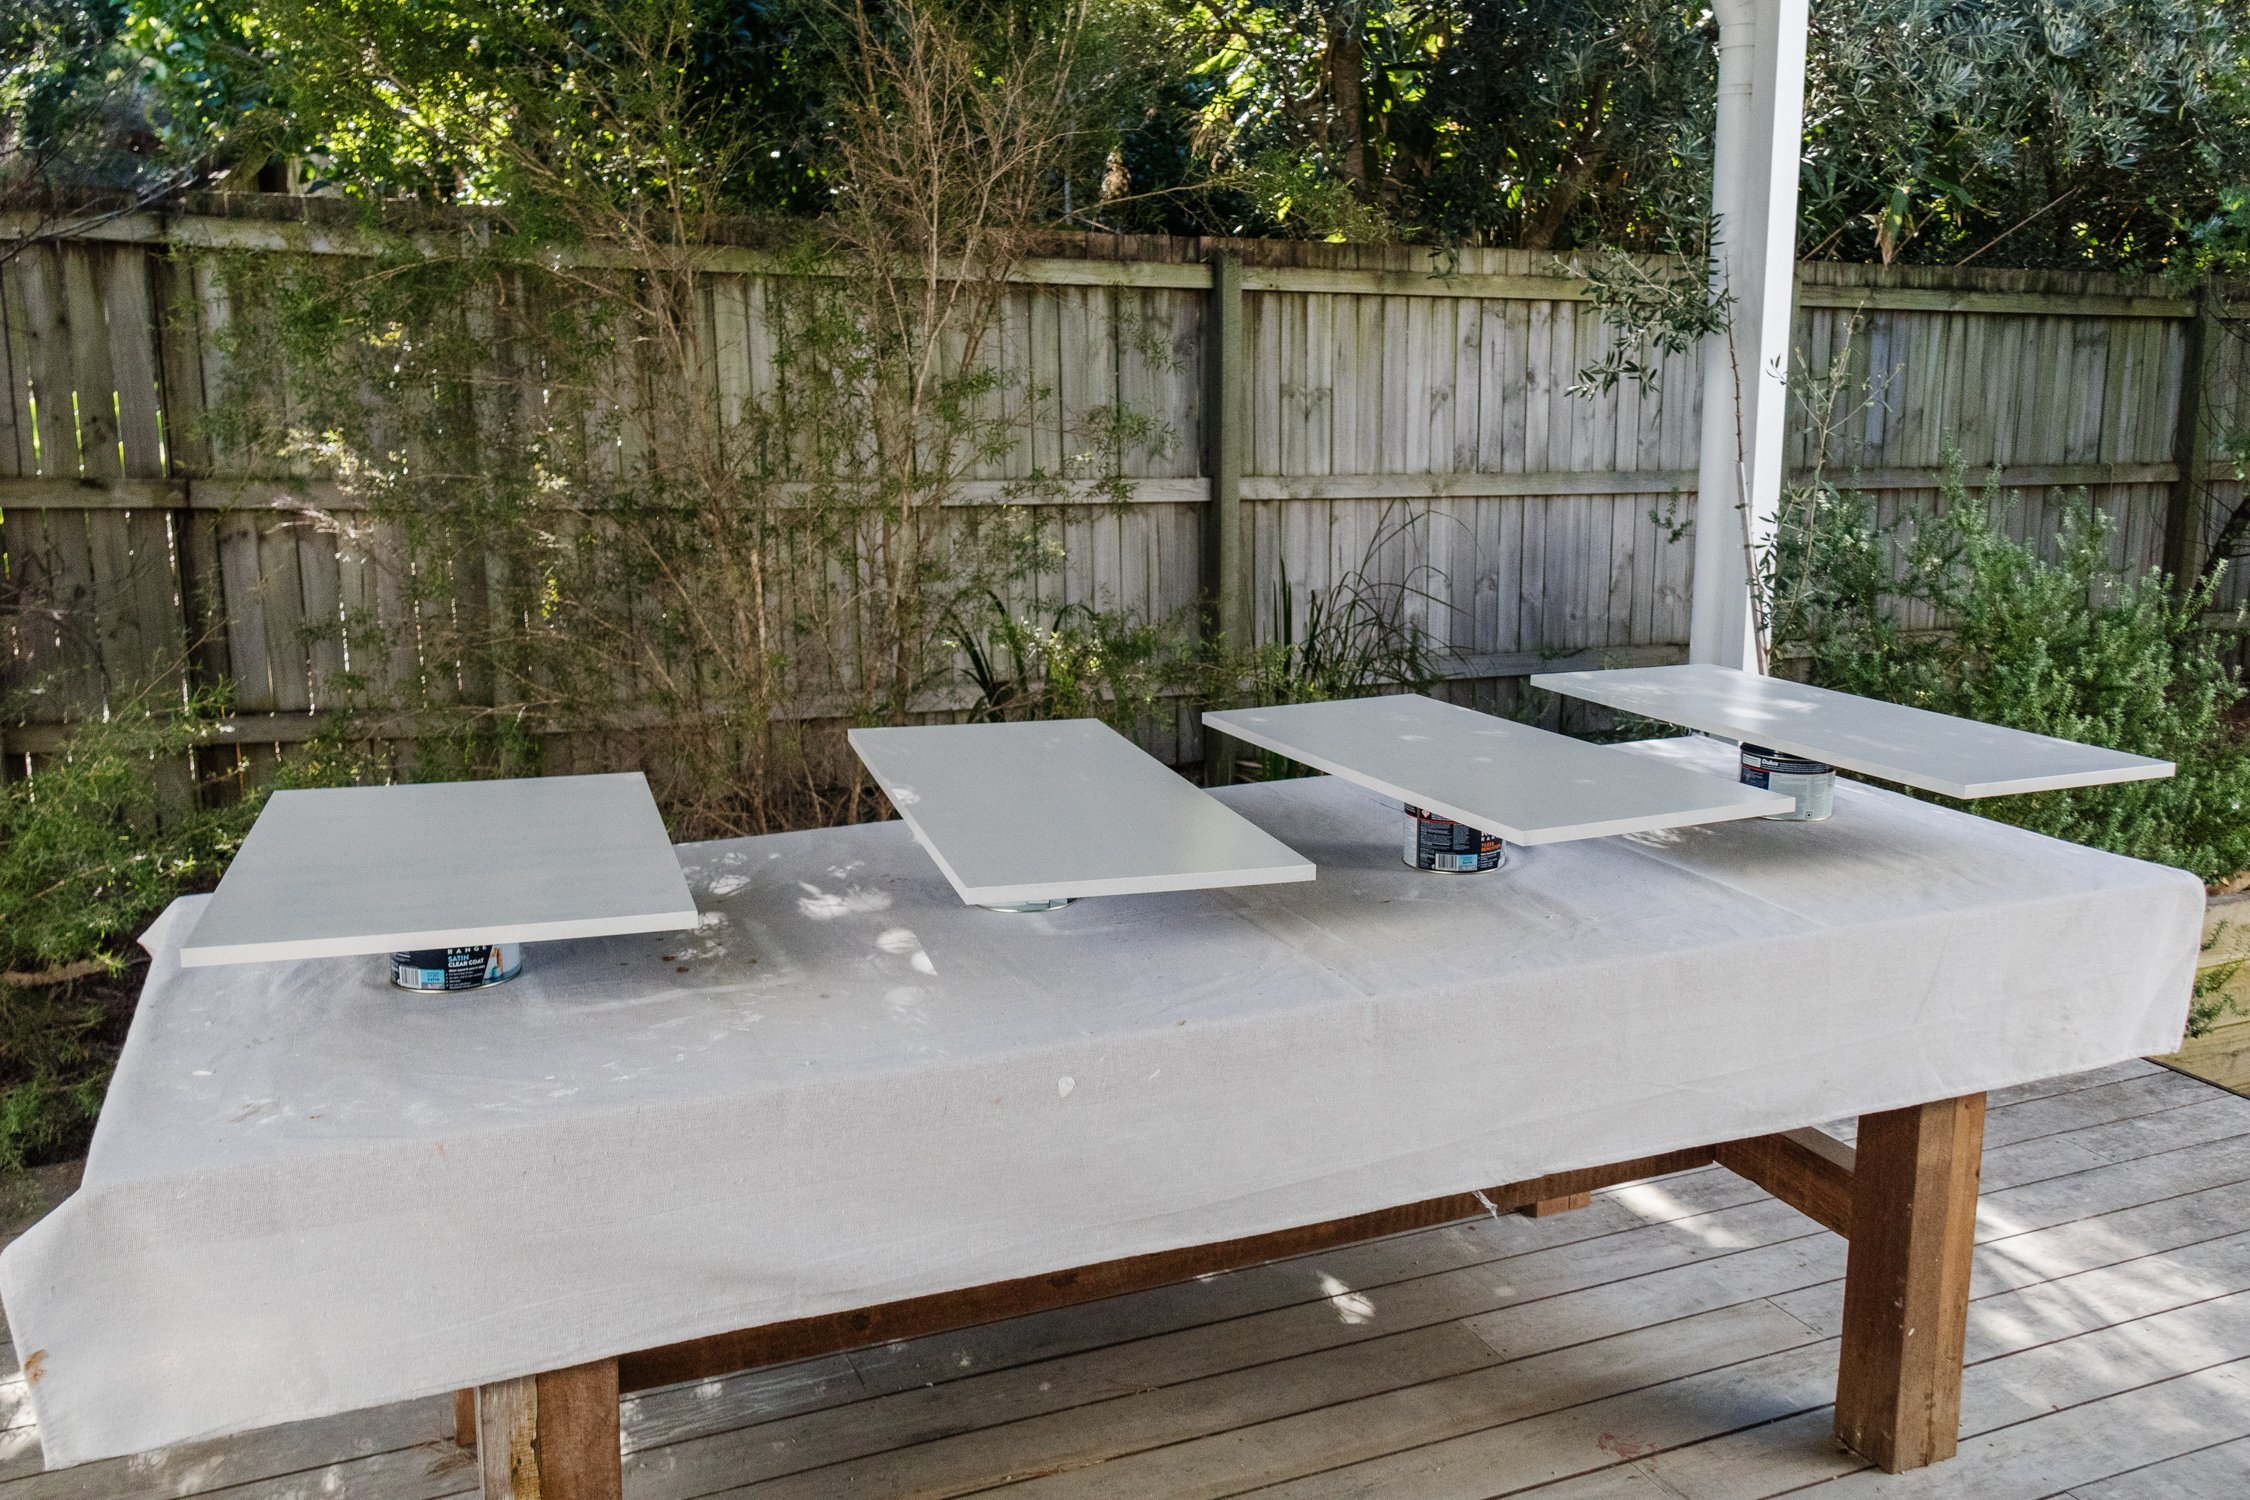
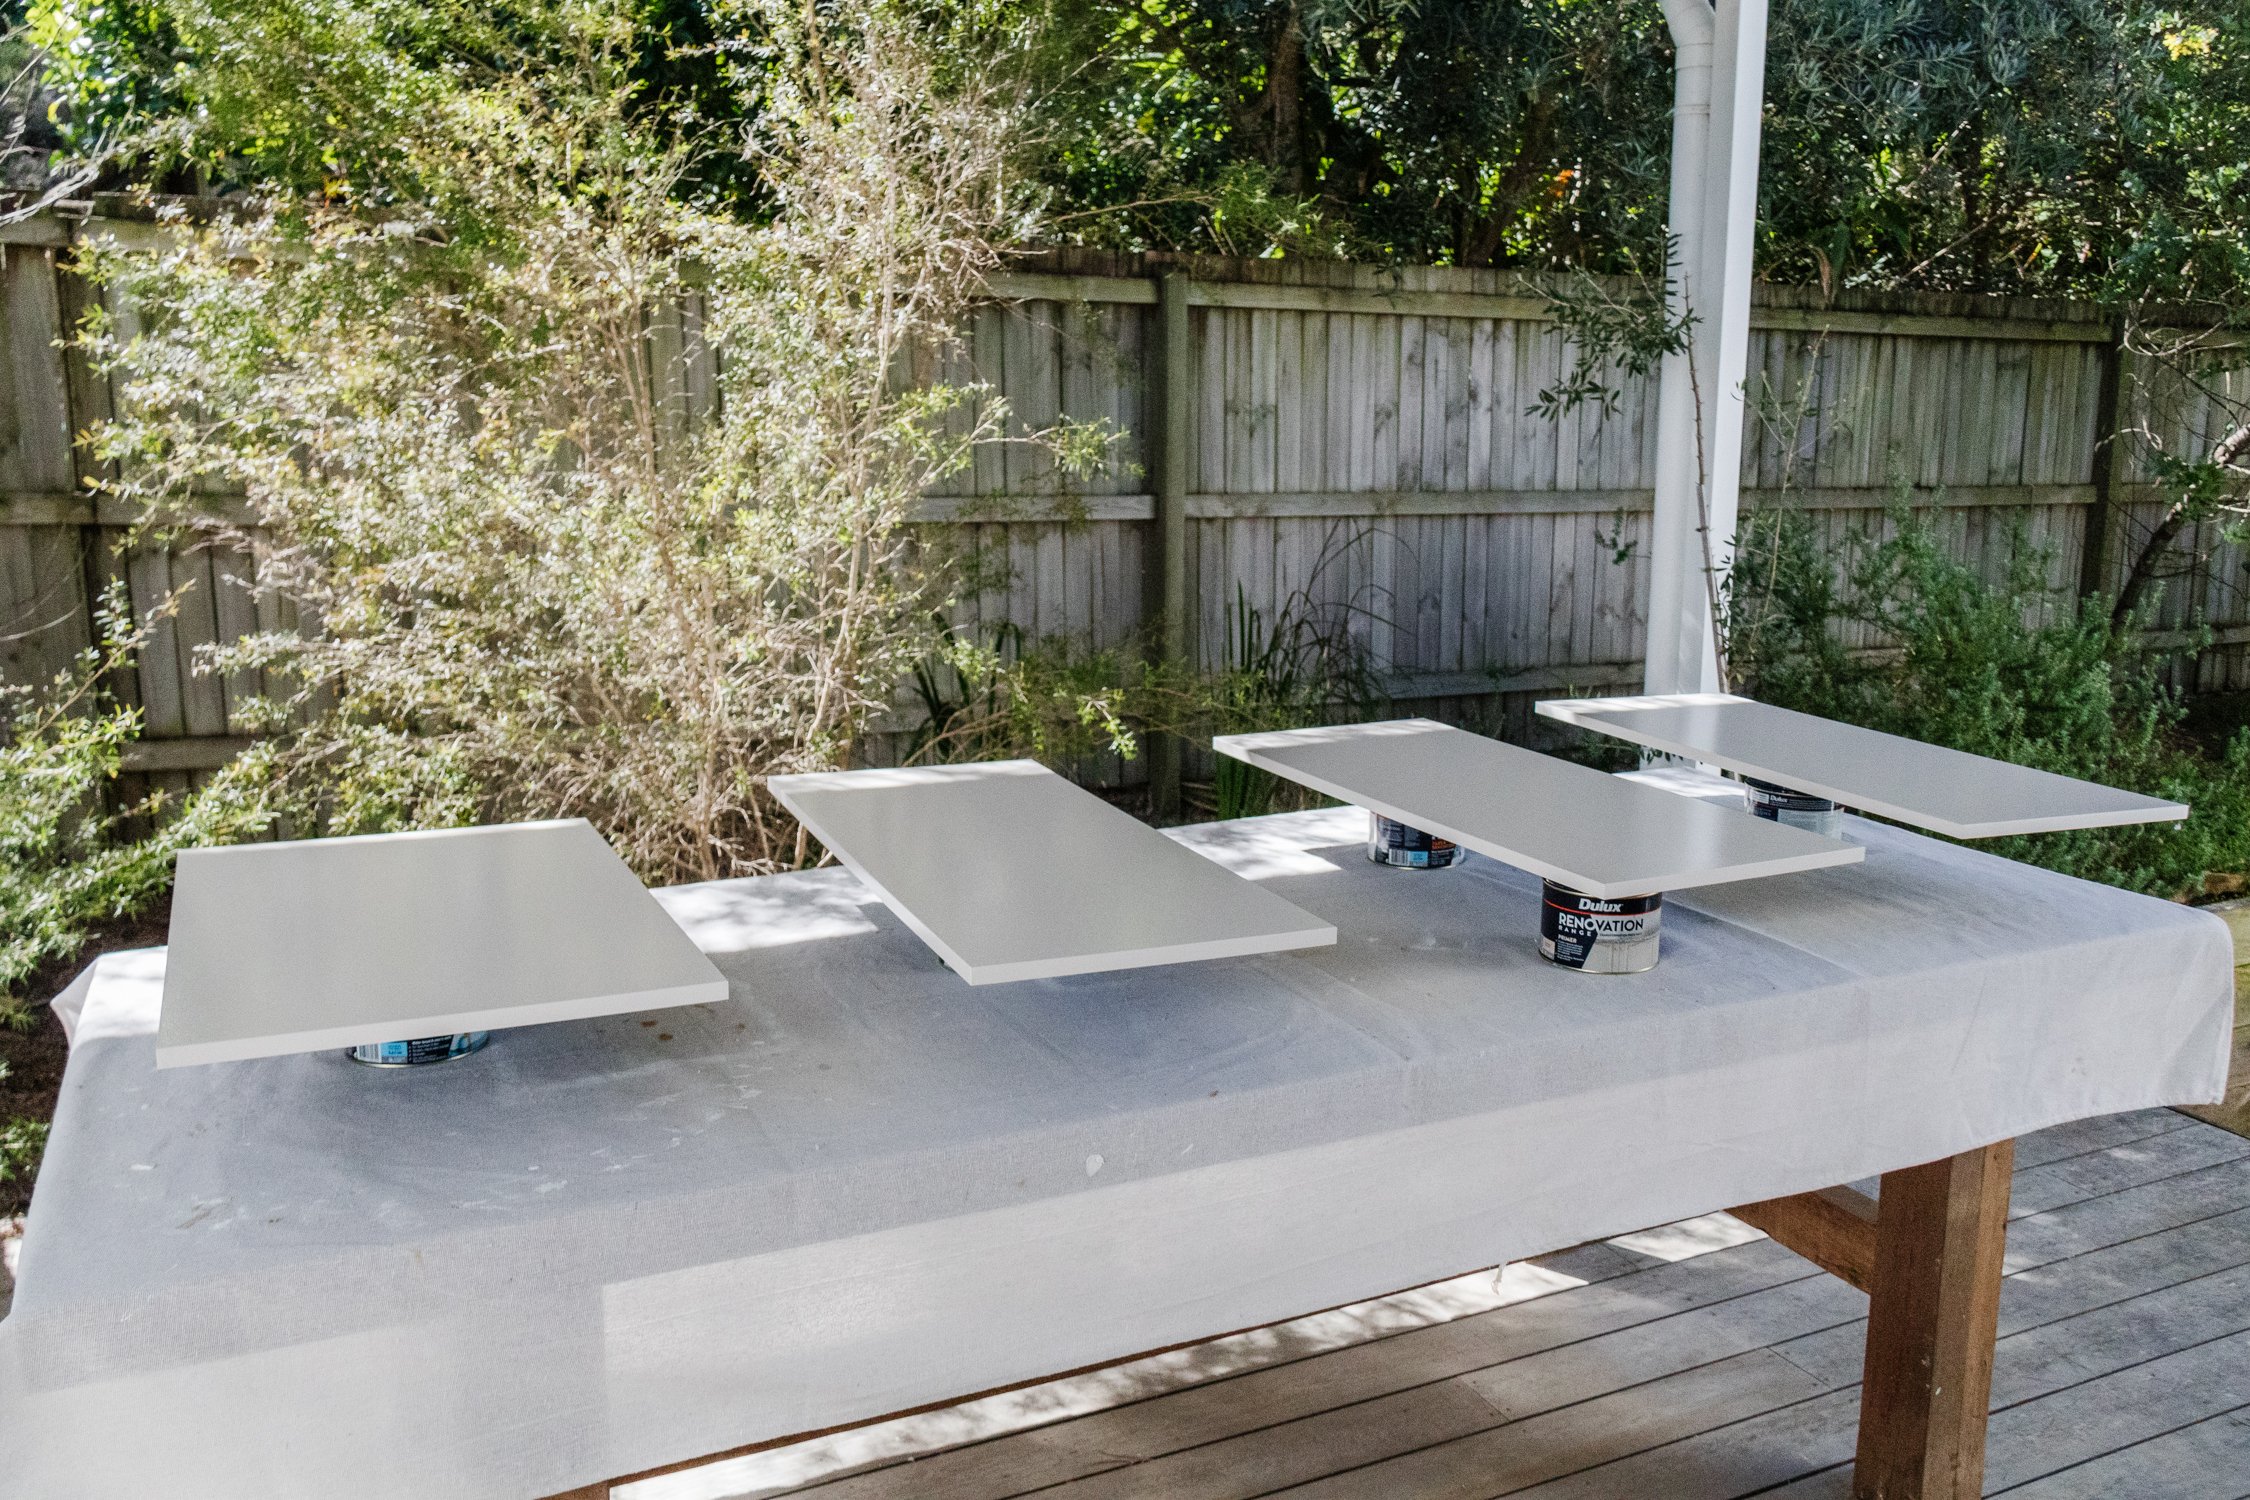
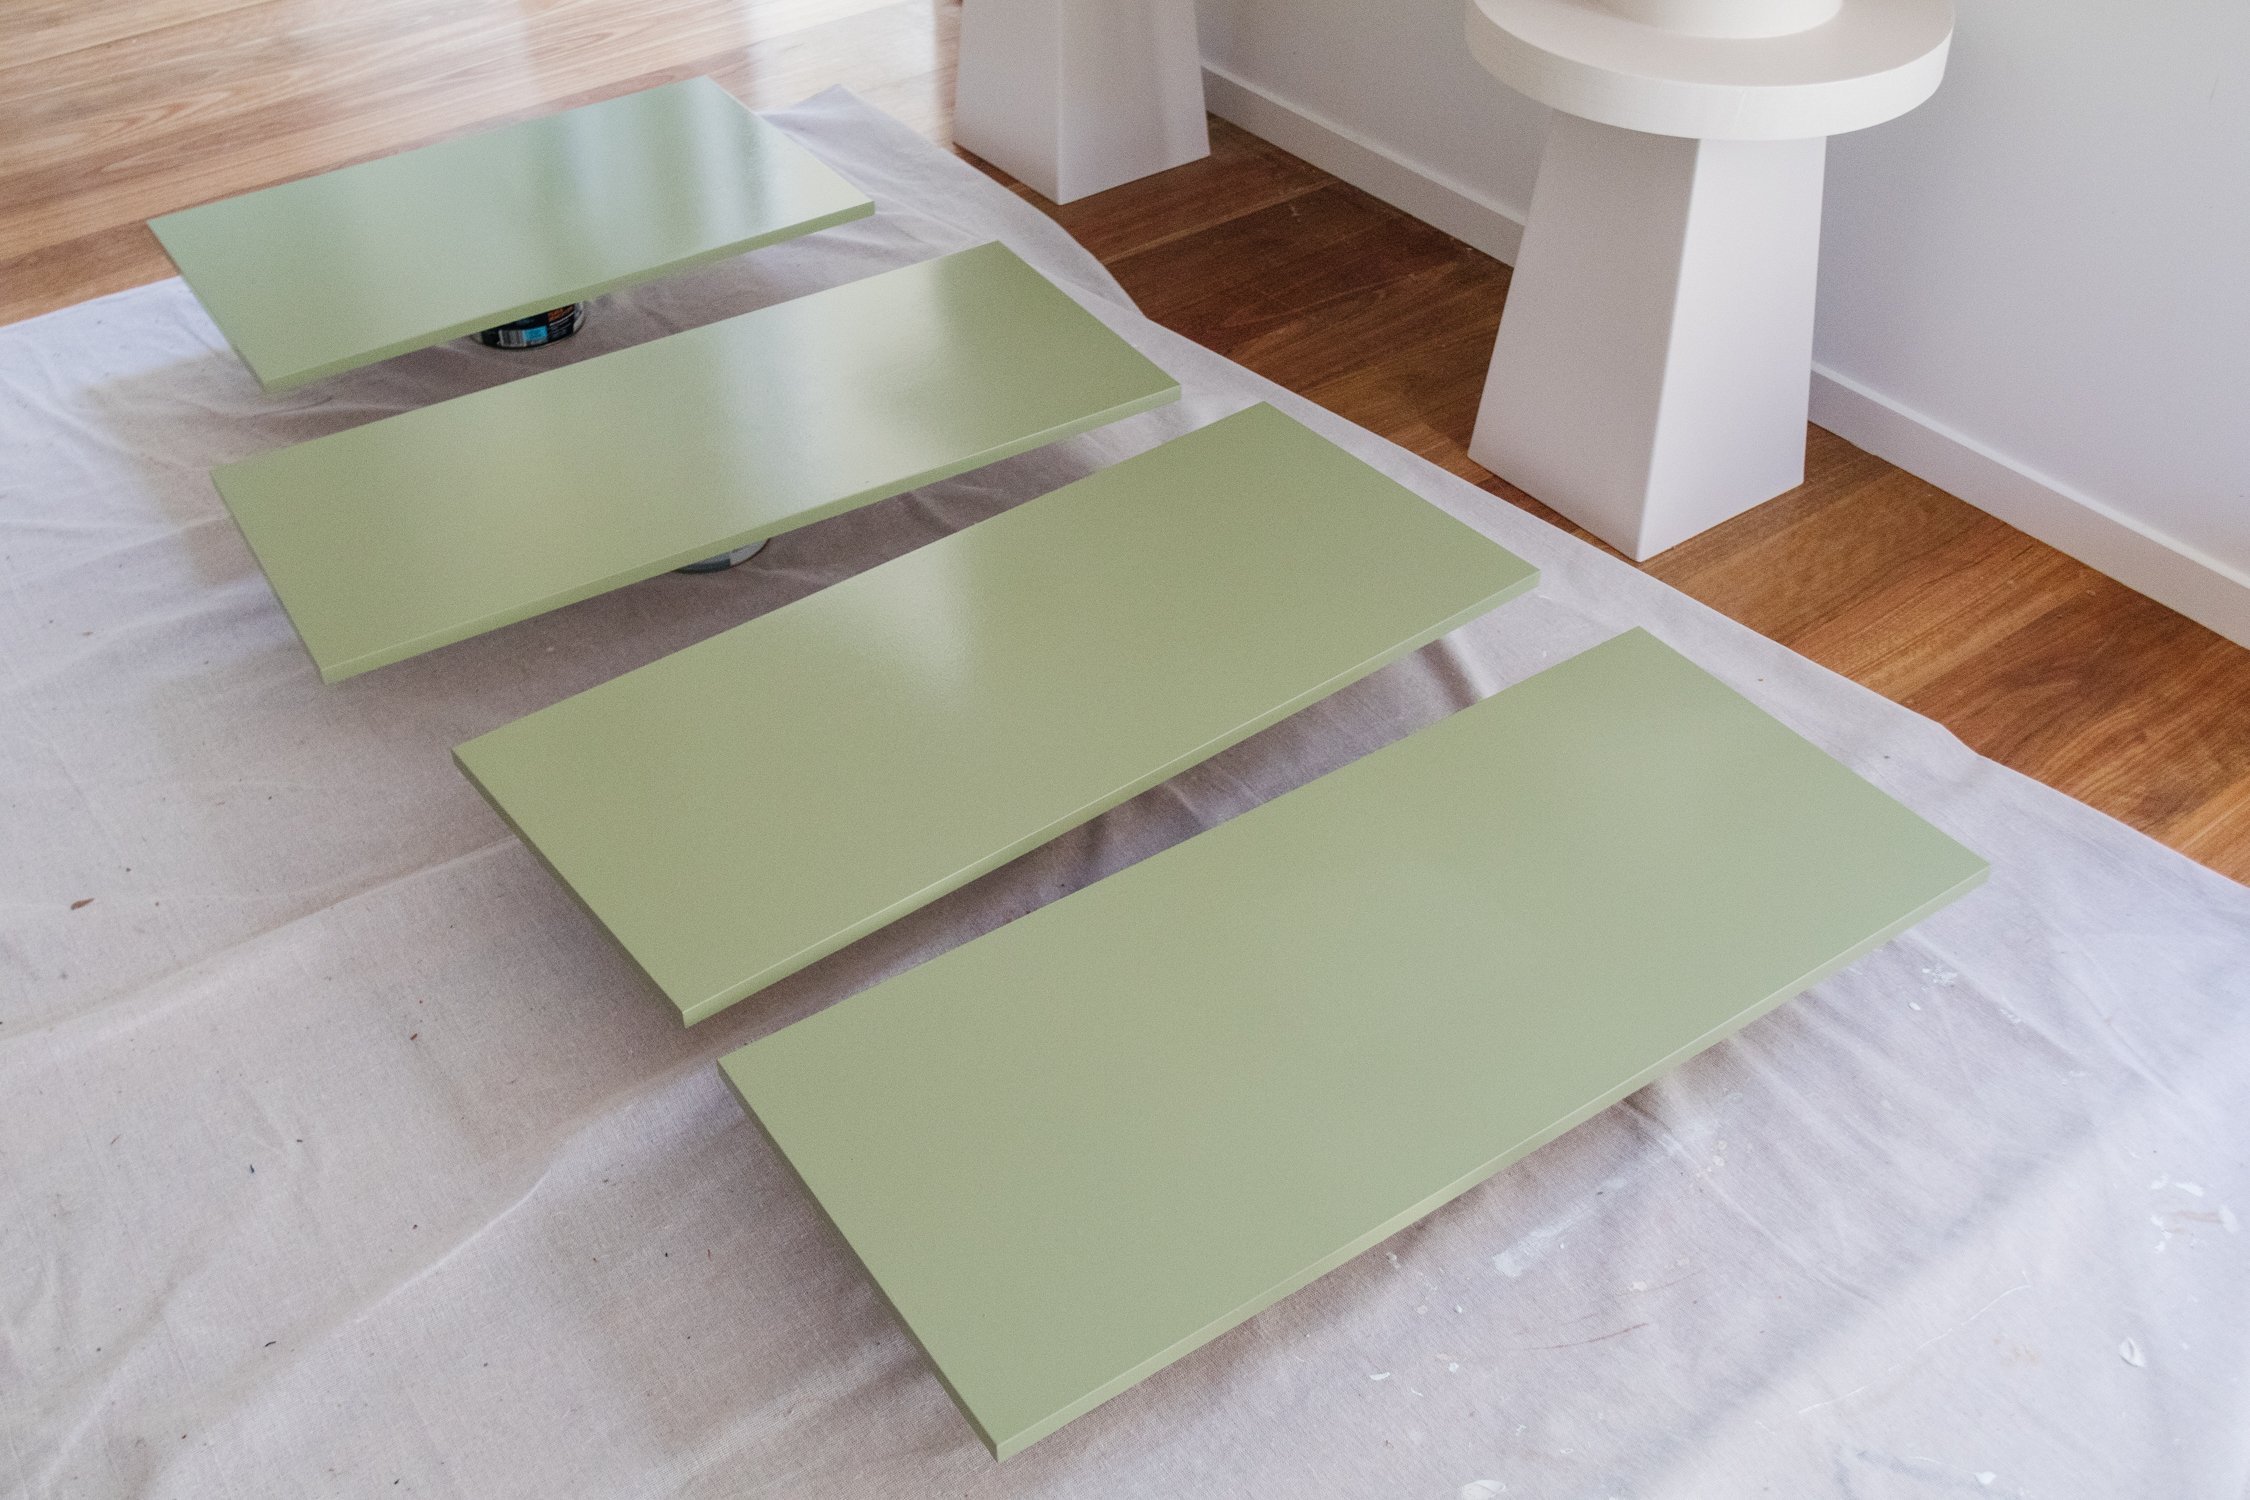
Place a drop sheet on your work surface and place each cabinet door on top of a paint tin or something similar; refer to photos below. It’s important to paint cabinet doors while they’re raised so paint doesn’t clump between your cabinet doors and drop sheet, which will happen if you don’t raise the doors while painting. Follow the instructions on the Dulux Renovation Range Primer tin; you will need to add an additive to the tin and stir for 2 to 5 minutes before use. Using a clean roller, apply one coat of Dulux Renovation Range Primer onto the cabinets and each side of the doors. Dulux Renovation Range Primer dries very quickly so an hour between coats is suffice.
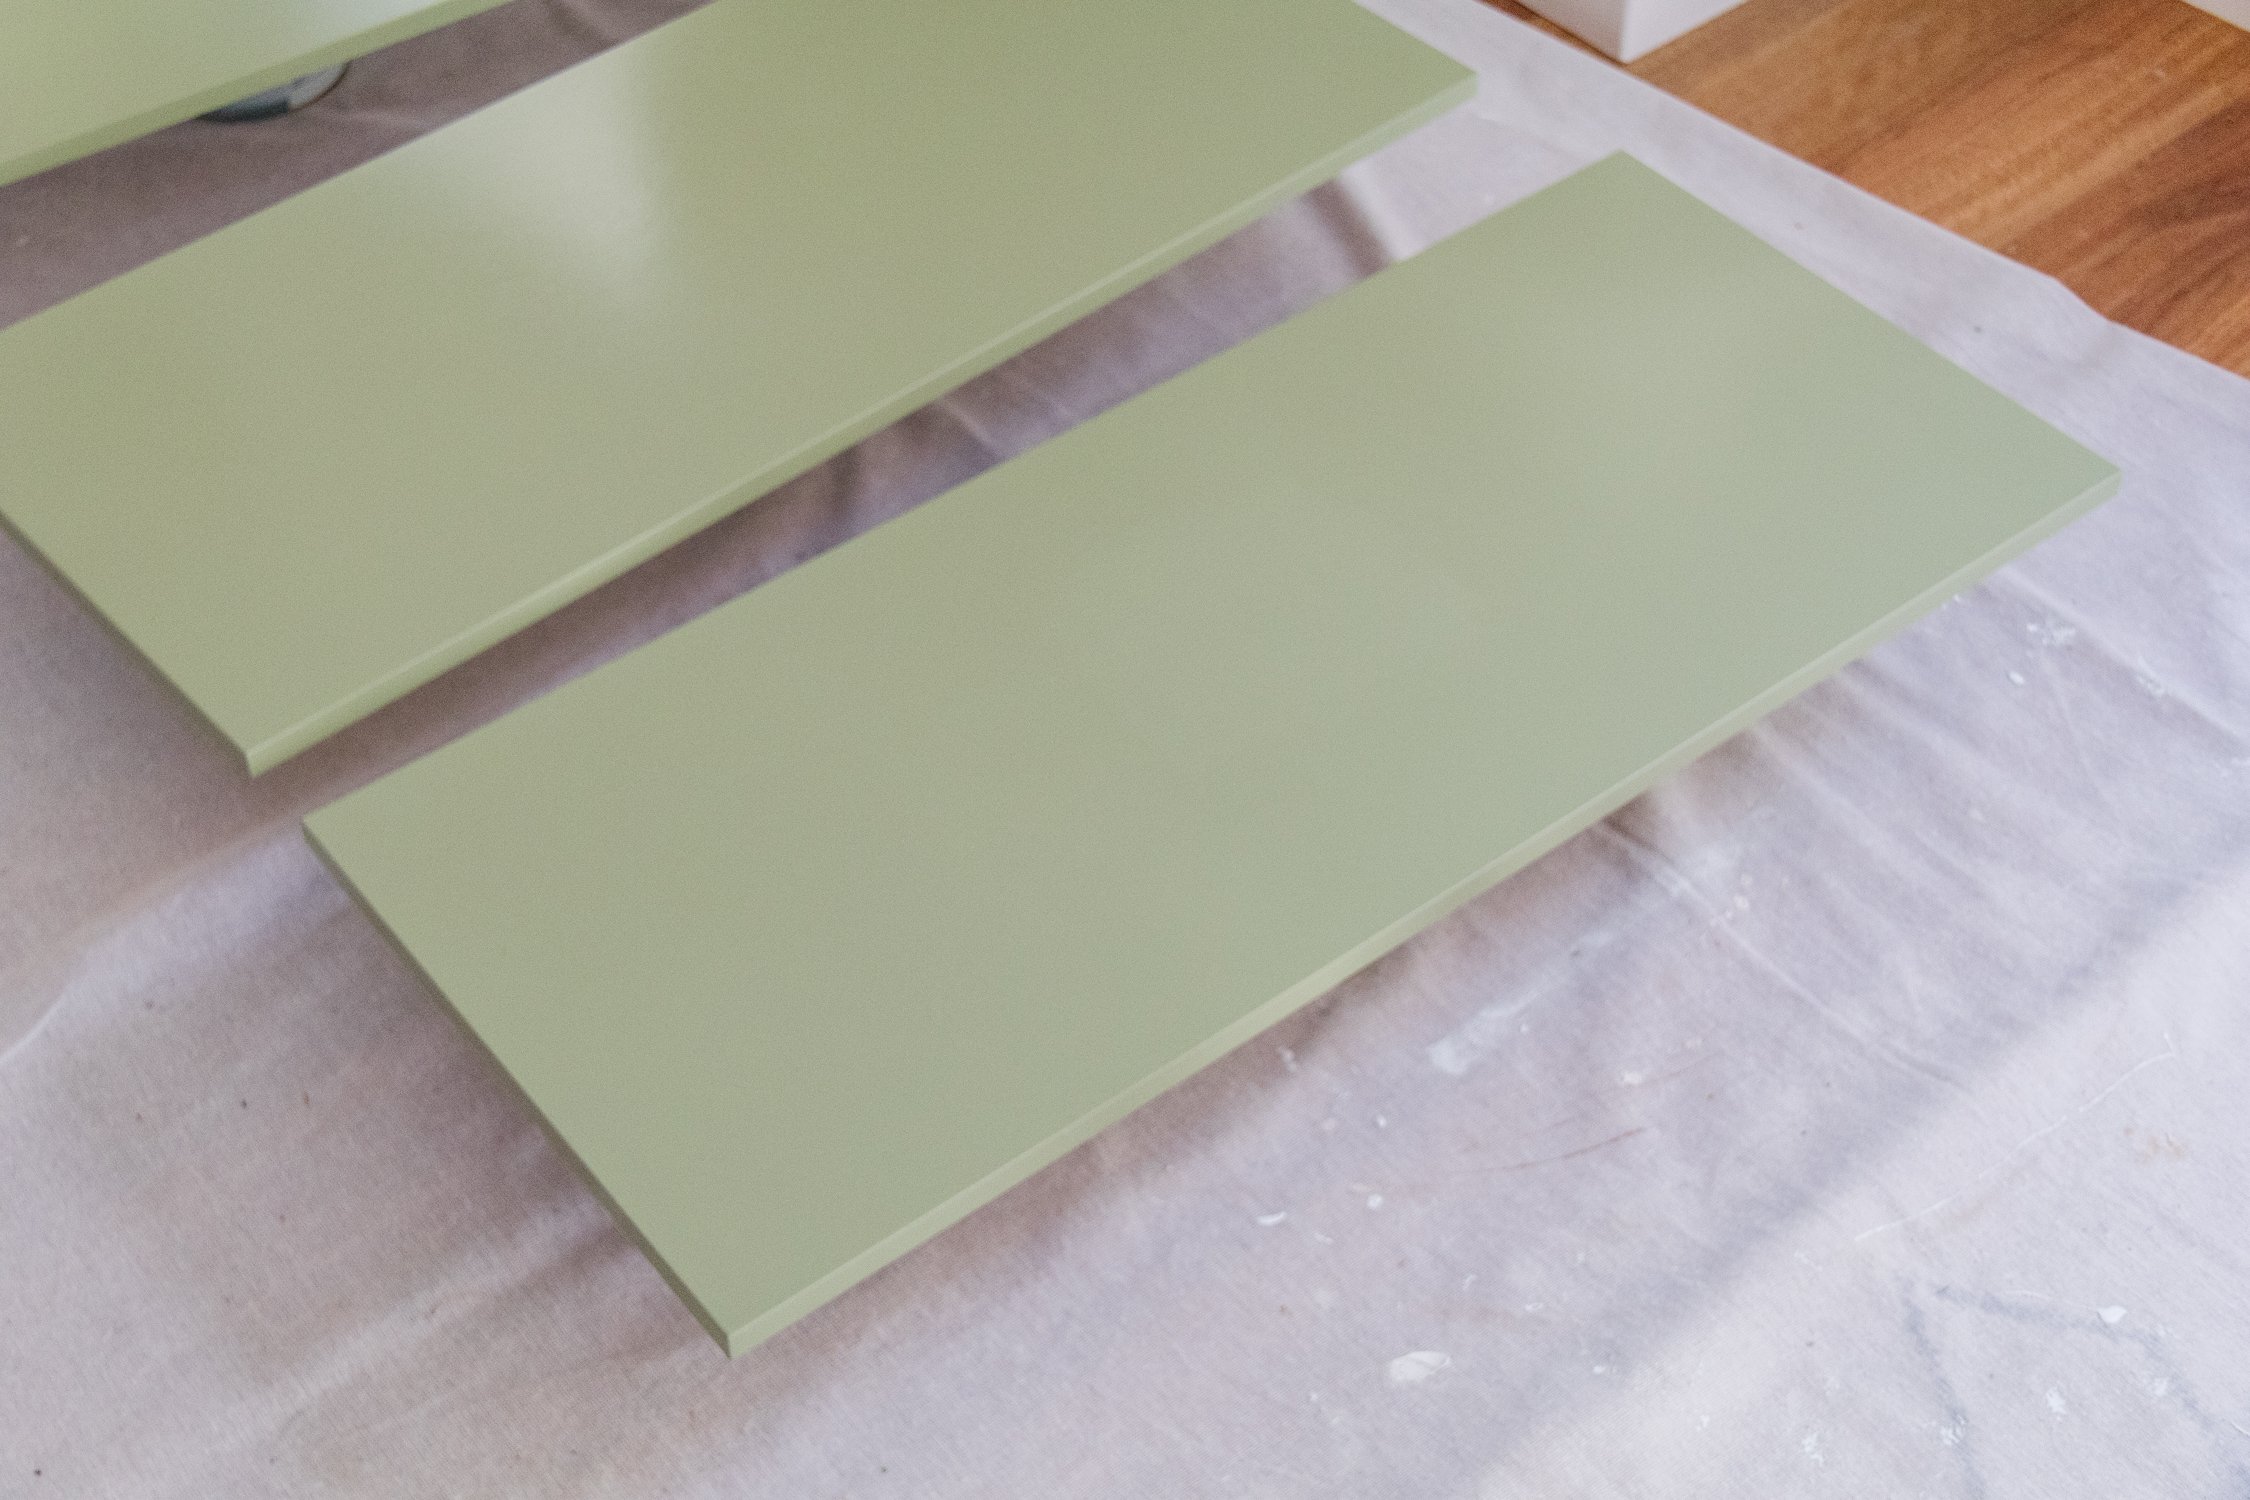
When the primer is completely dry, apply Dulux Renovation Range Cabinet Doors paint onto the cabinets and doors.
Always use a dry, clean microfibre roller.
After applying a coat of Dulux Renovation Range Cabinet Doors paint, wait a few minutes, and roll over the paint again just once - but not with more paint! Rolling over the paint one more time prevents the paint from pooling.
Depending on the climate you’re in, allow at least 2 to 8 hours for the first coat to completely dry before applying the next. Dulux recommends 8 hours but I found the paint completely dried a lot quicker, and it was ok to apply the next coat as long as the previous coat was completely dry.
If the cabinets and doors feel “tacky” to touch, the paint needs more time to dry.
You may need to paint 2 to 3 coats depending on the original colour. I changed my mind from Chintz Half to Green Spruce midway through this project, and I needed 3 coats of Chintz Half and 2 coats of Green Spruce.
If you are working outdoors, bring the cabinet doors inside overnight.
Wrap the roller in cling film when you’re not using it.
DAY THREE - 1 hour work time, 1 hour drying time
Today is about sealing the cabinets and doors, and putting the doors back in their spot! Start by applying one coat of Dulux Renovation Range Clear Coat with a clean roller onto the cabinets and doors. After applying one coat of Dulux Renovation Range Clear Coat, wait a few minutes, and roll over the paint again just once - but not with more primer! Rolling over the paint one more time prevents the primer from pooling and it gives a more professional finish. Keep an eye on drips and set aside to dry.
Once the Dulux Renovation Range Clear Coat on the cabinets and doors has completely dried, assemble the doors back in using a drill. And that’s it!

Ta daaaa! You have just painted your very own cabinets, how proud do you feel!
I have been thinking about this project for the last couple of years and all it took was discovering Dulux Renovation Range! Our tiny laundry room now feels cosy and inviting and I couldn't be happier! And it never ceases to amaze how much paint can transform a space, but how it can transform how you feel. It’s the best!
This project is in collaboration with Dulux.