Our Mini Makeover: Reading Nook
Transforming a chaotic mess into a calming grown-up sanctuary
What do you do when you have a spare room at home, taken over by kids, featuring rocks on the rug and texta art on the sofa? You give it a magazine-worthy glow-up and transform it into a cozy, grown-up reading nook.
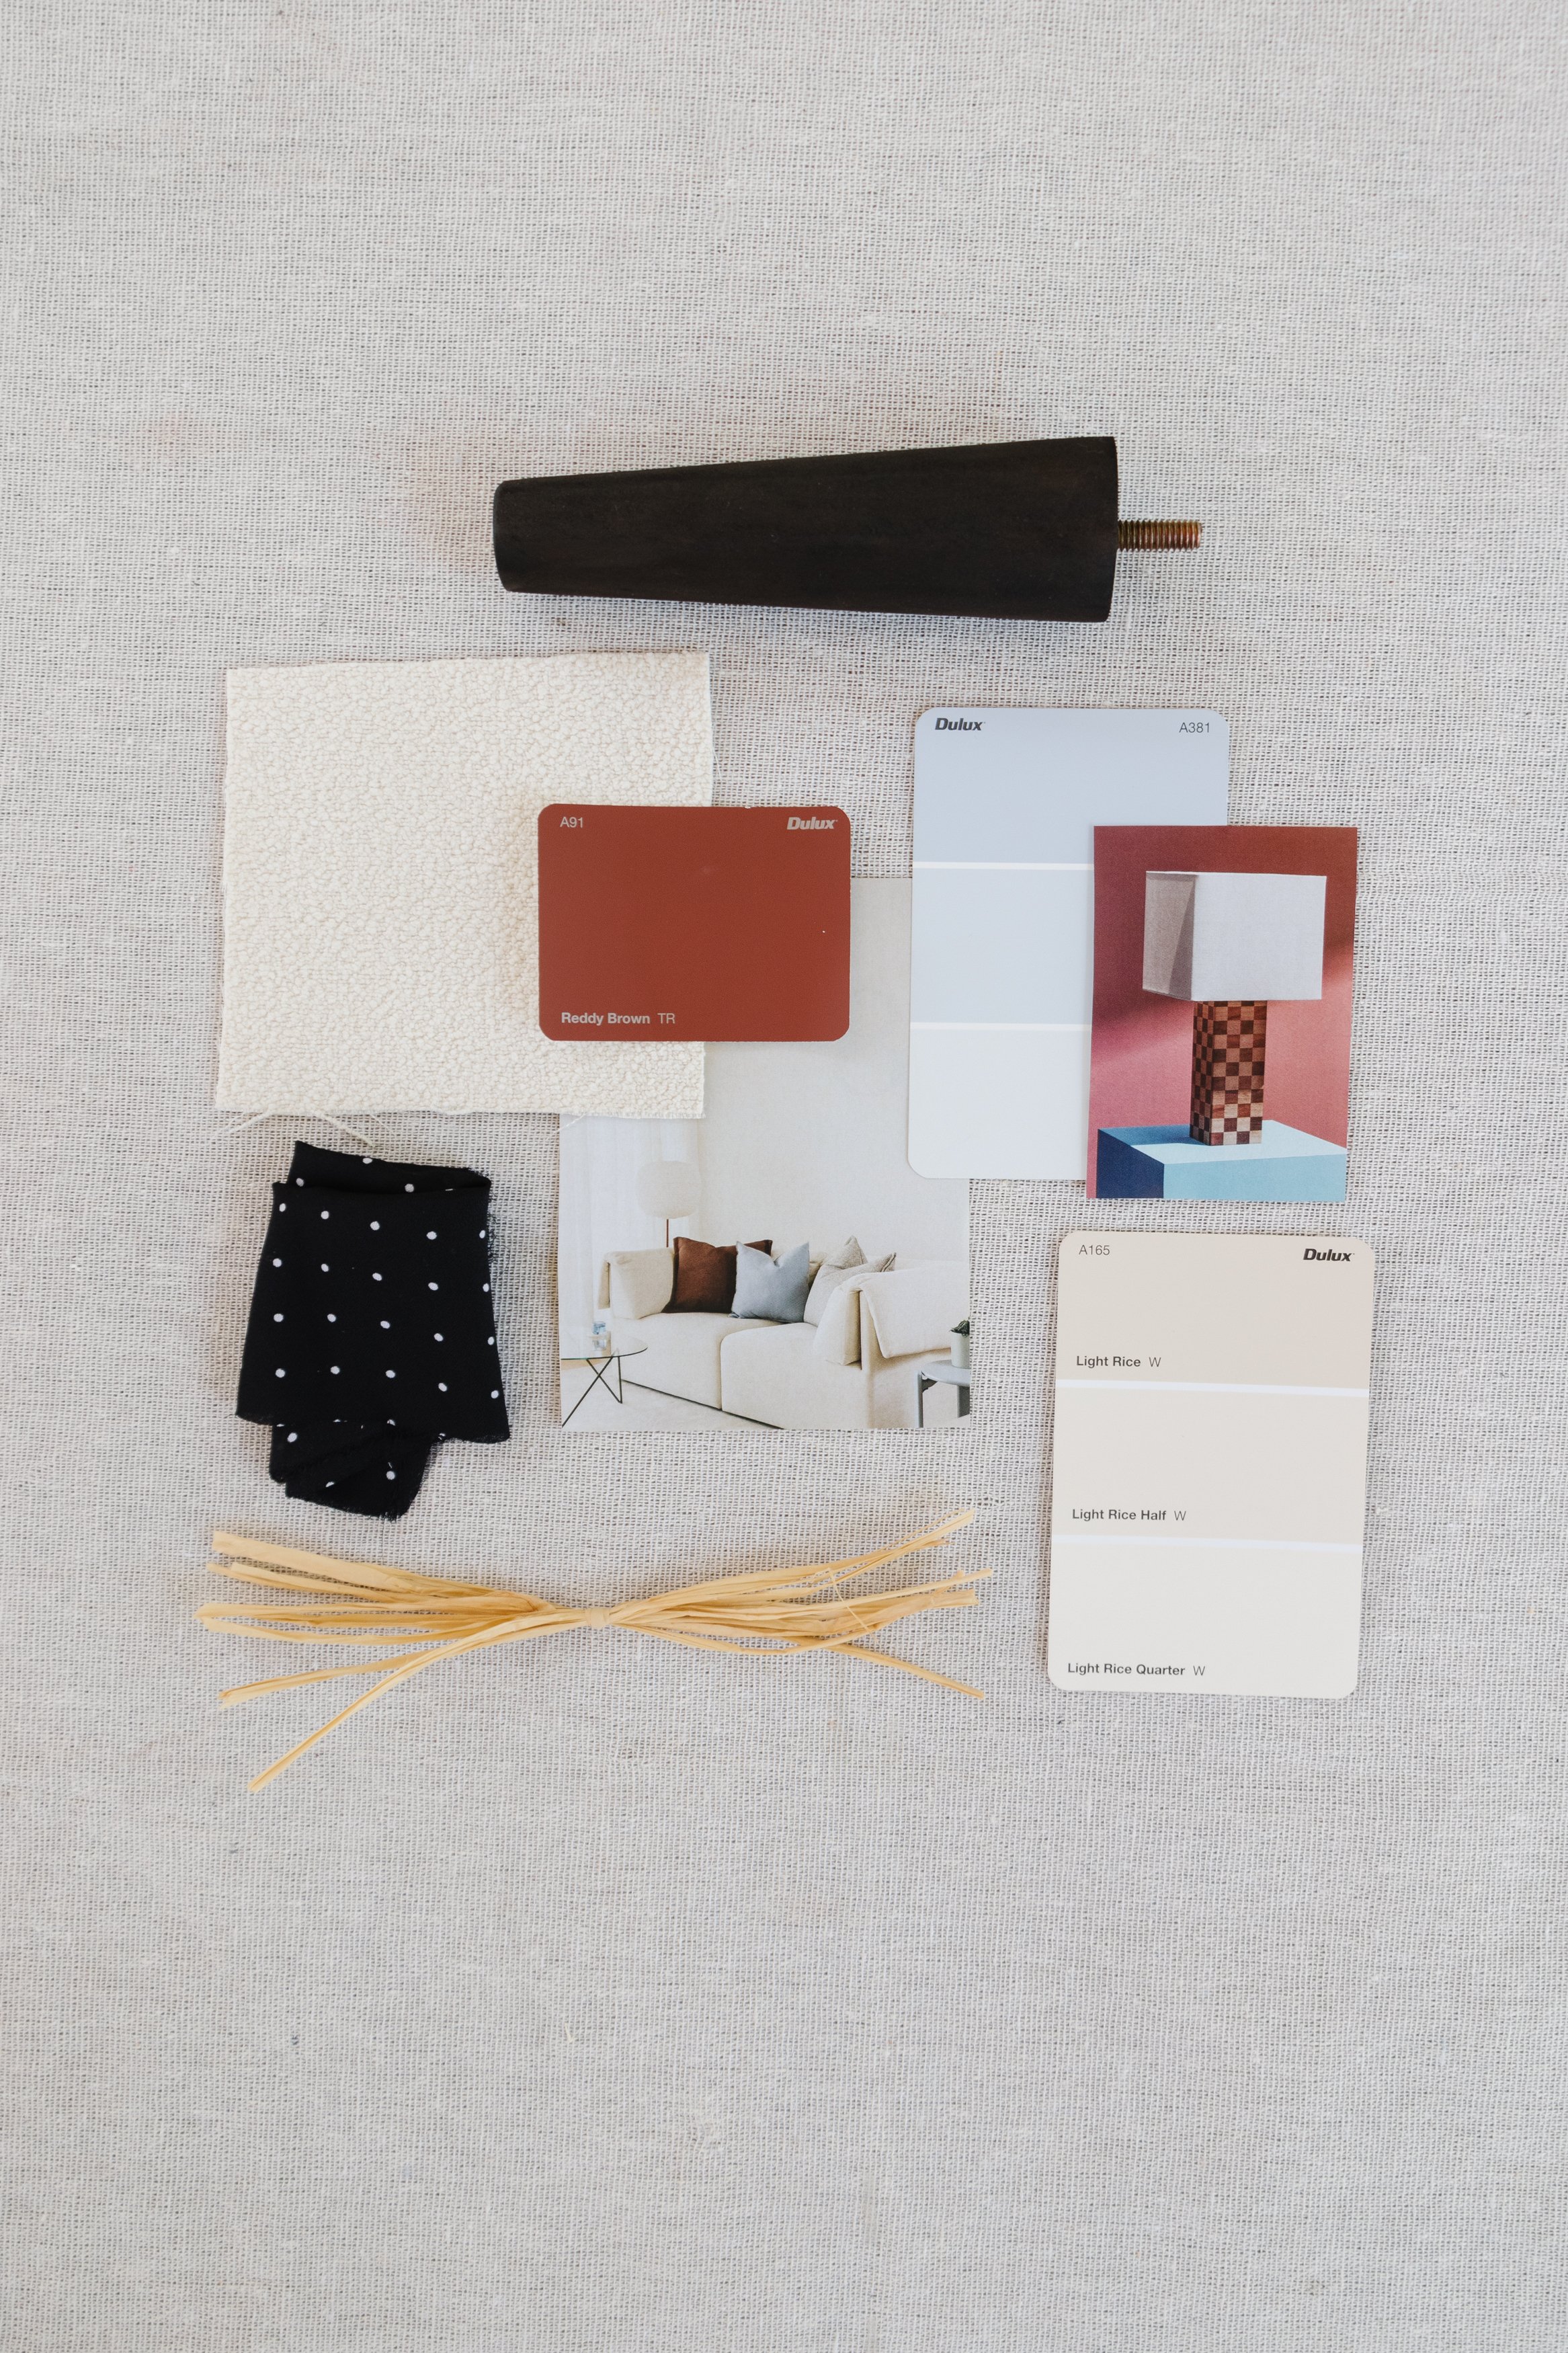
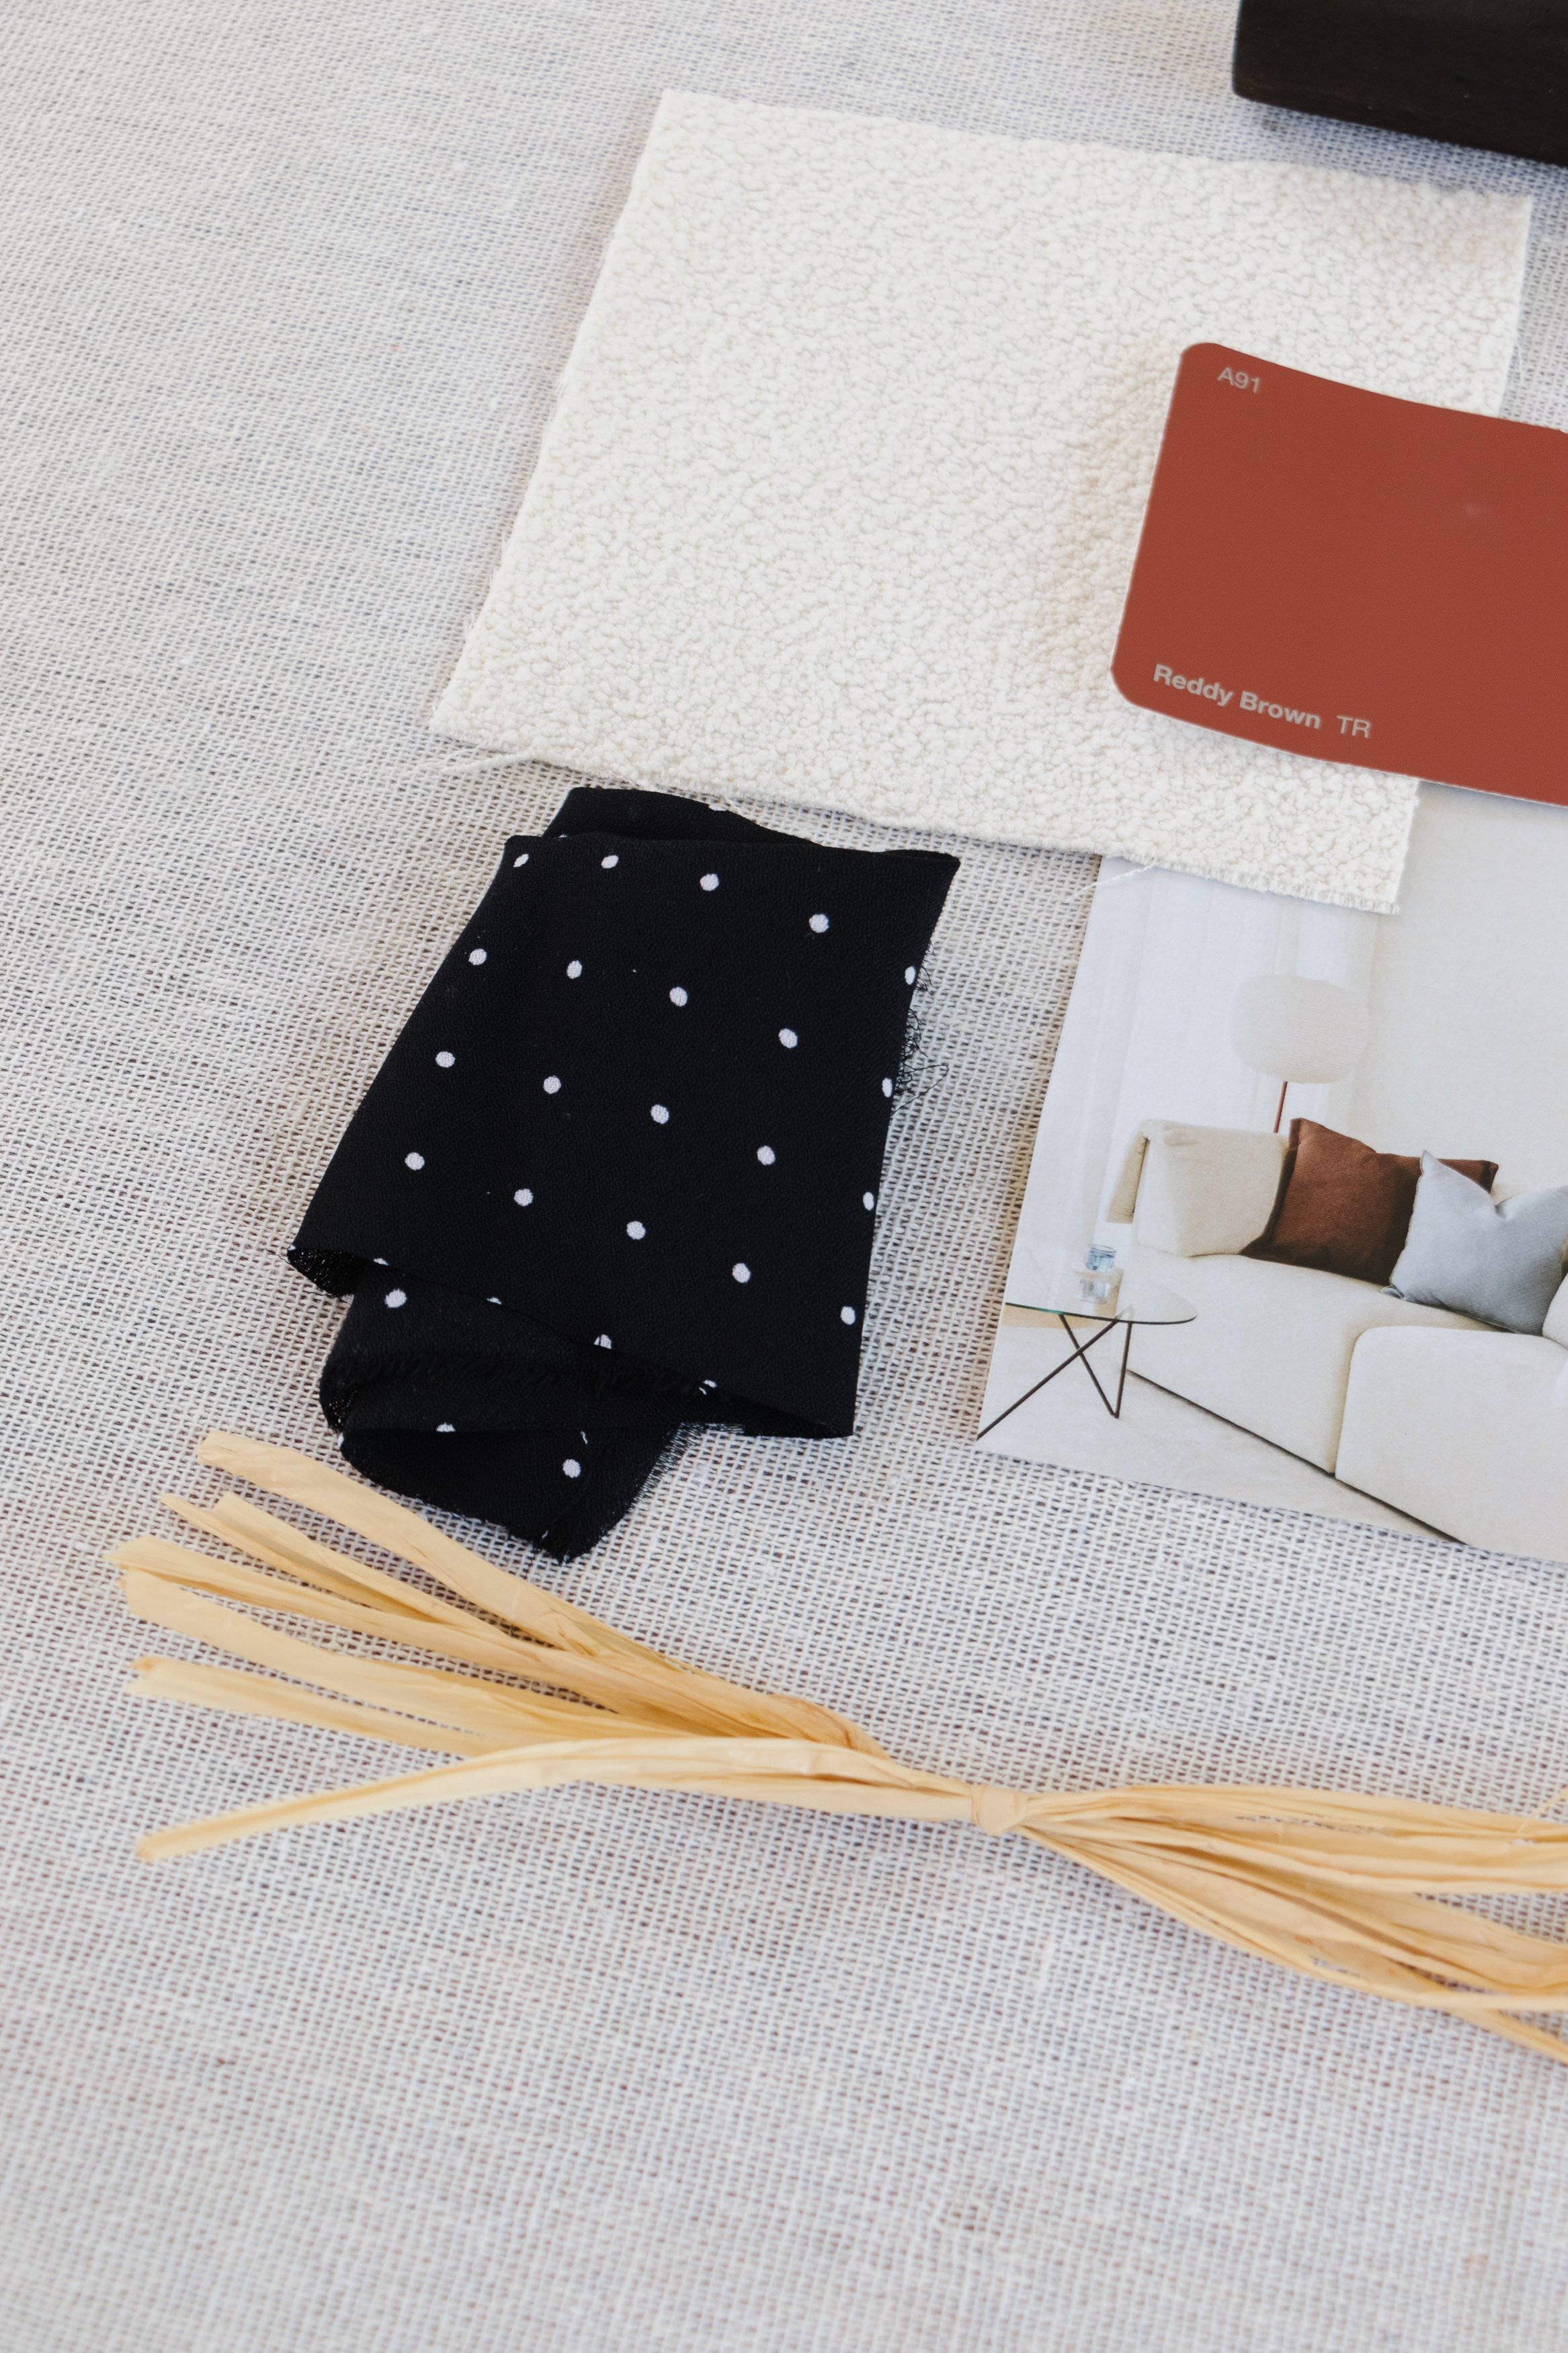
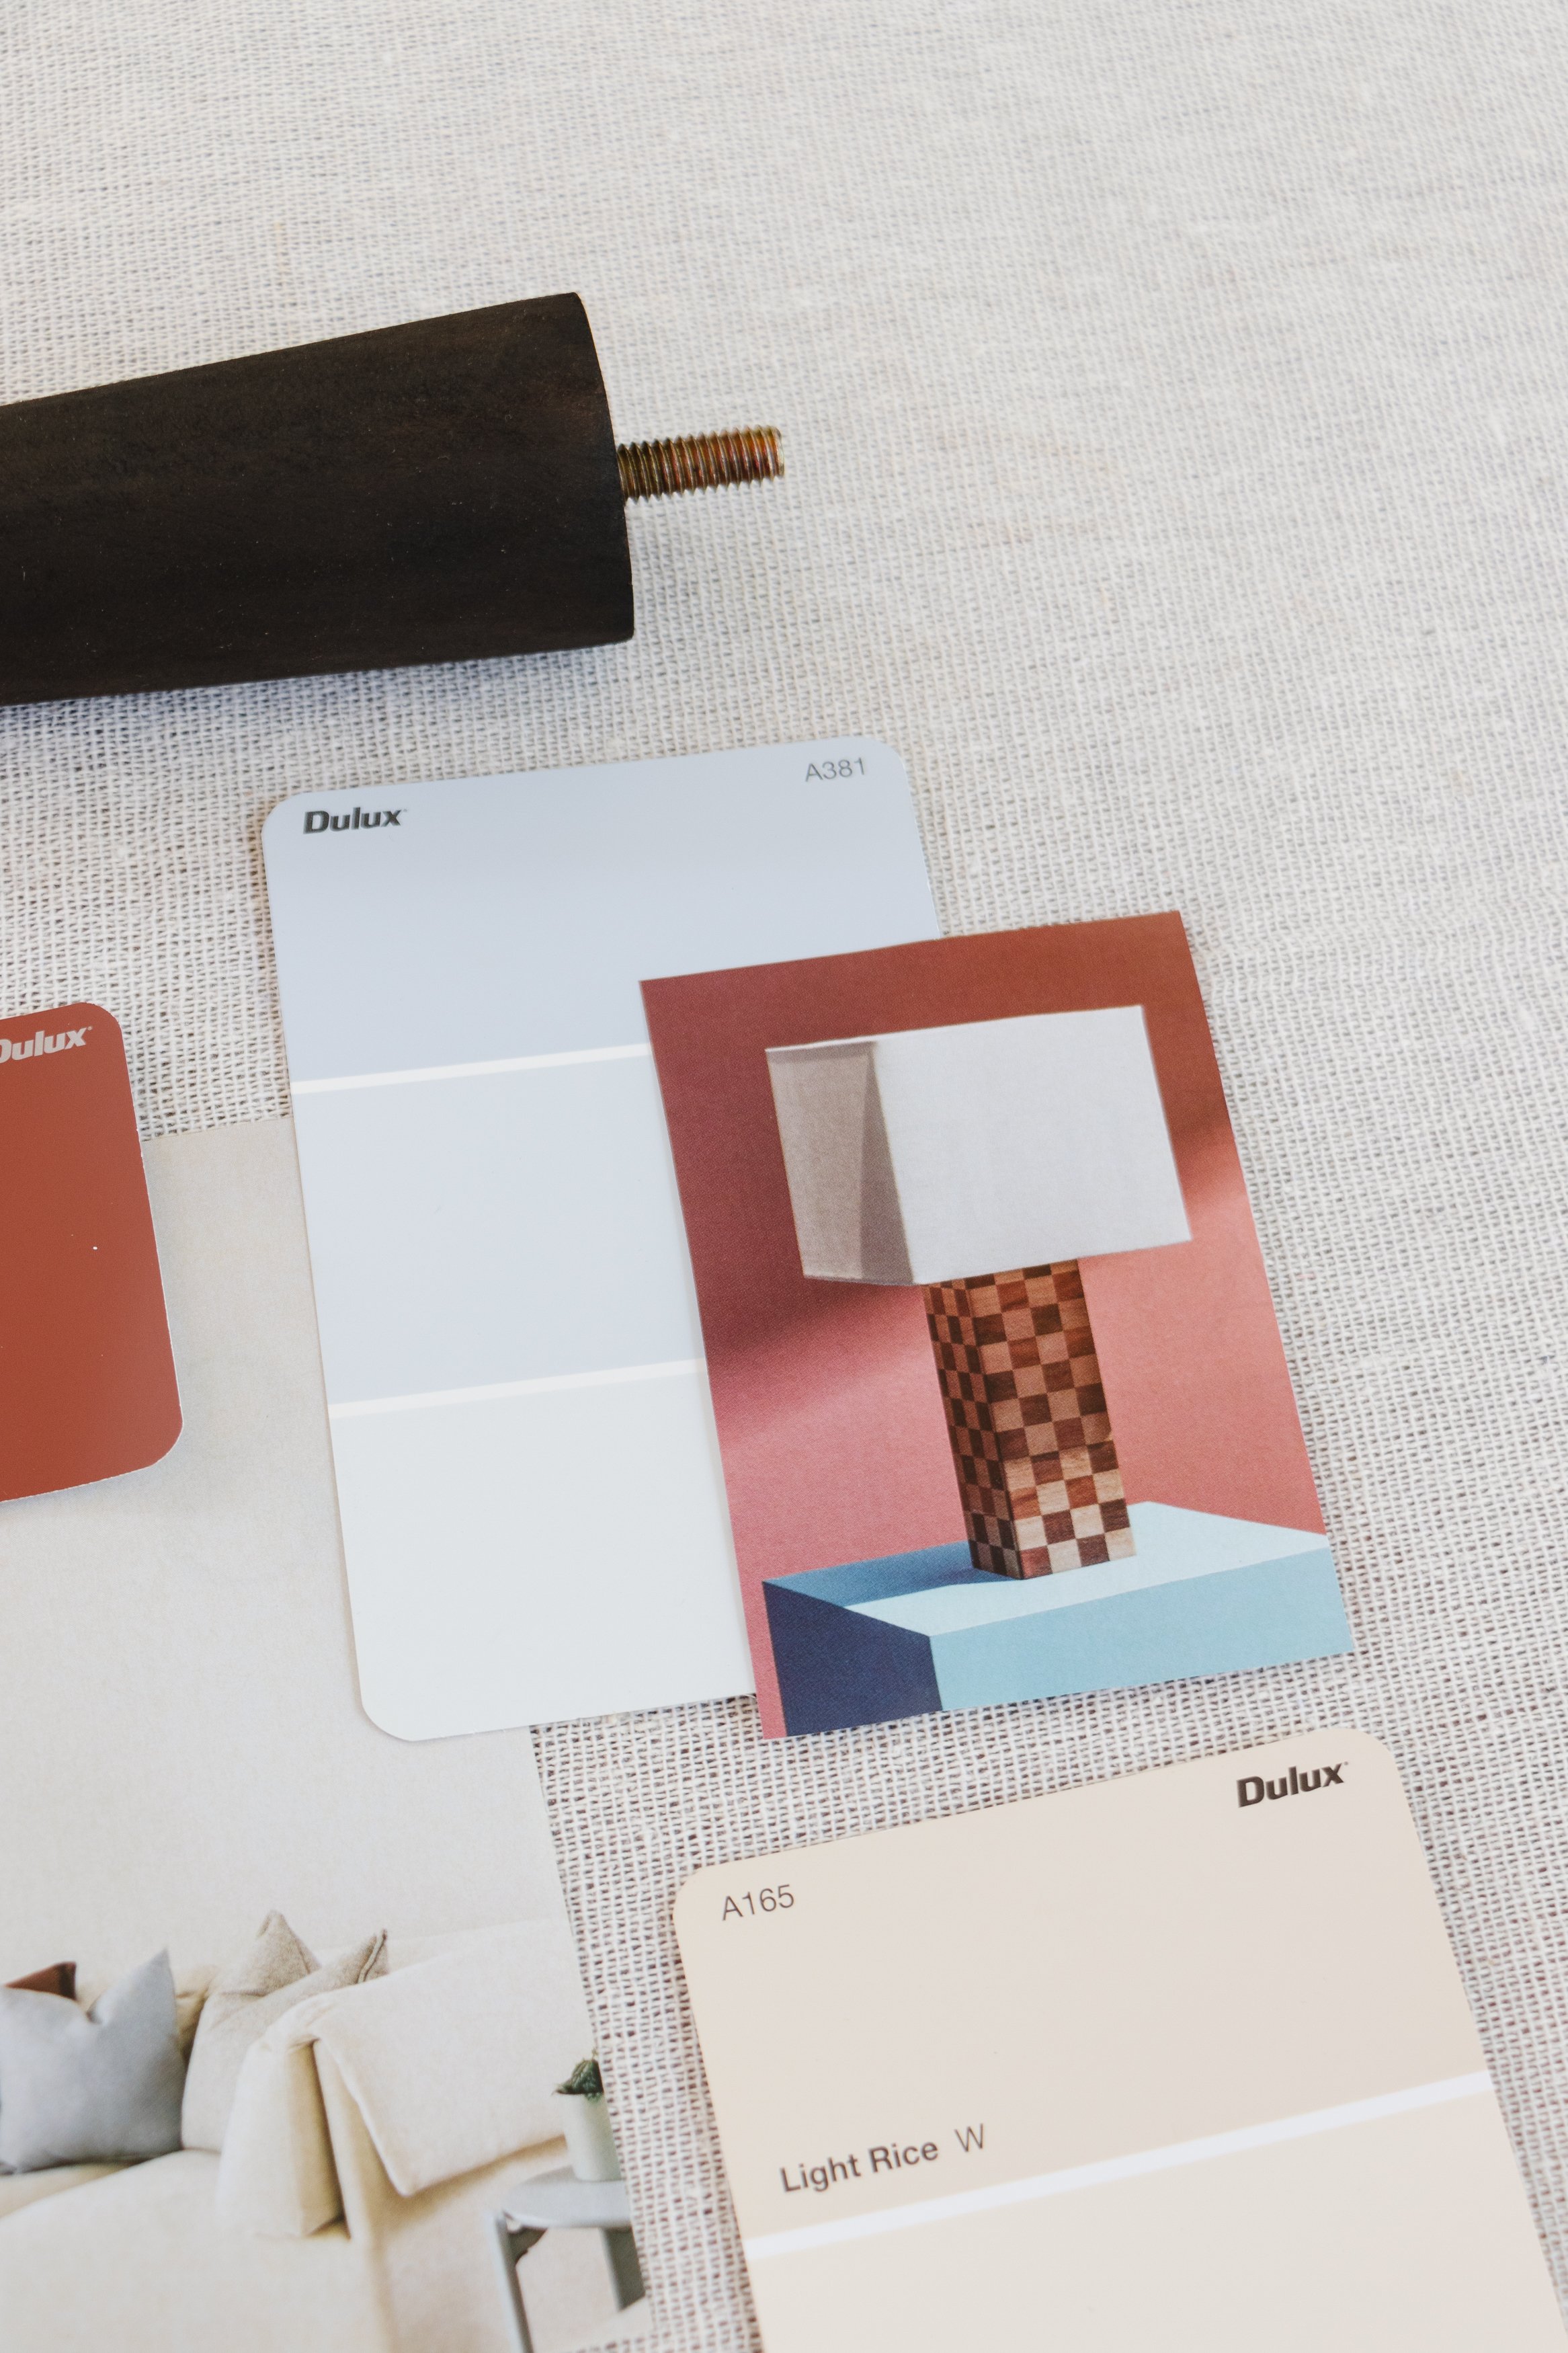
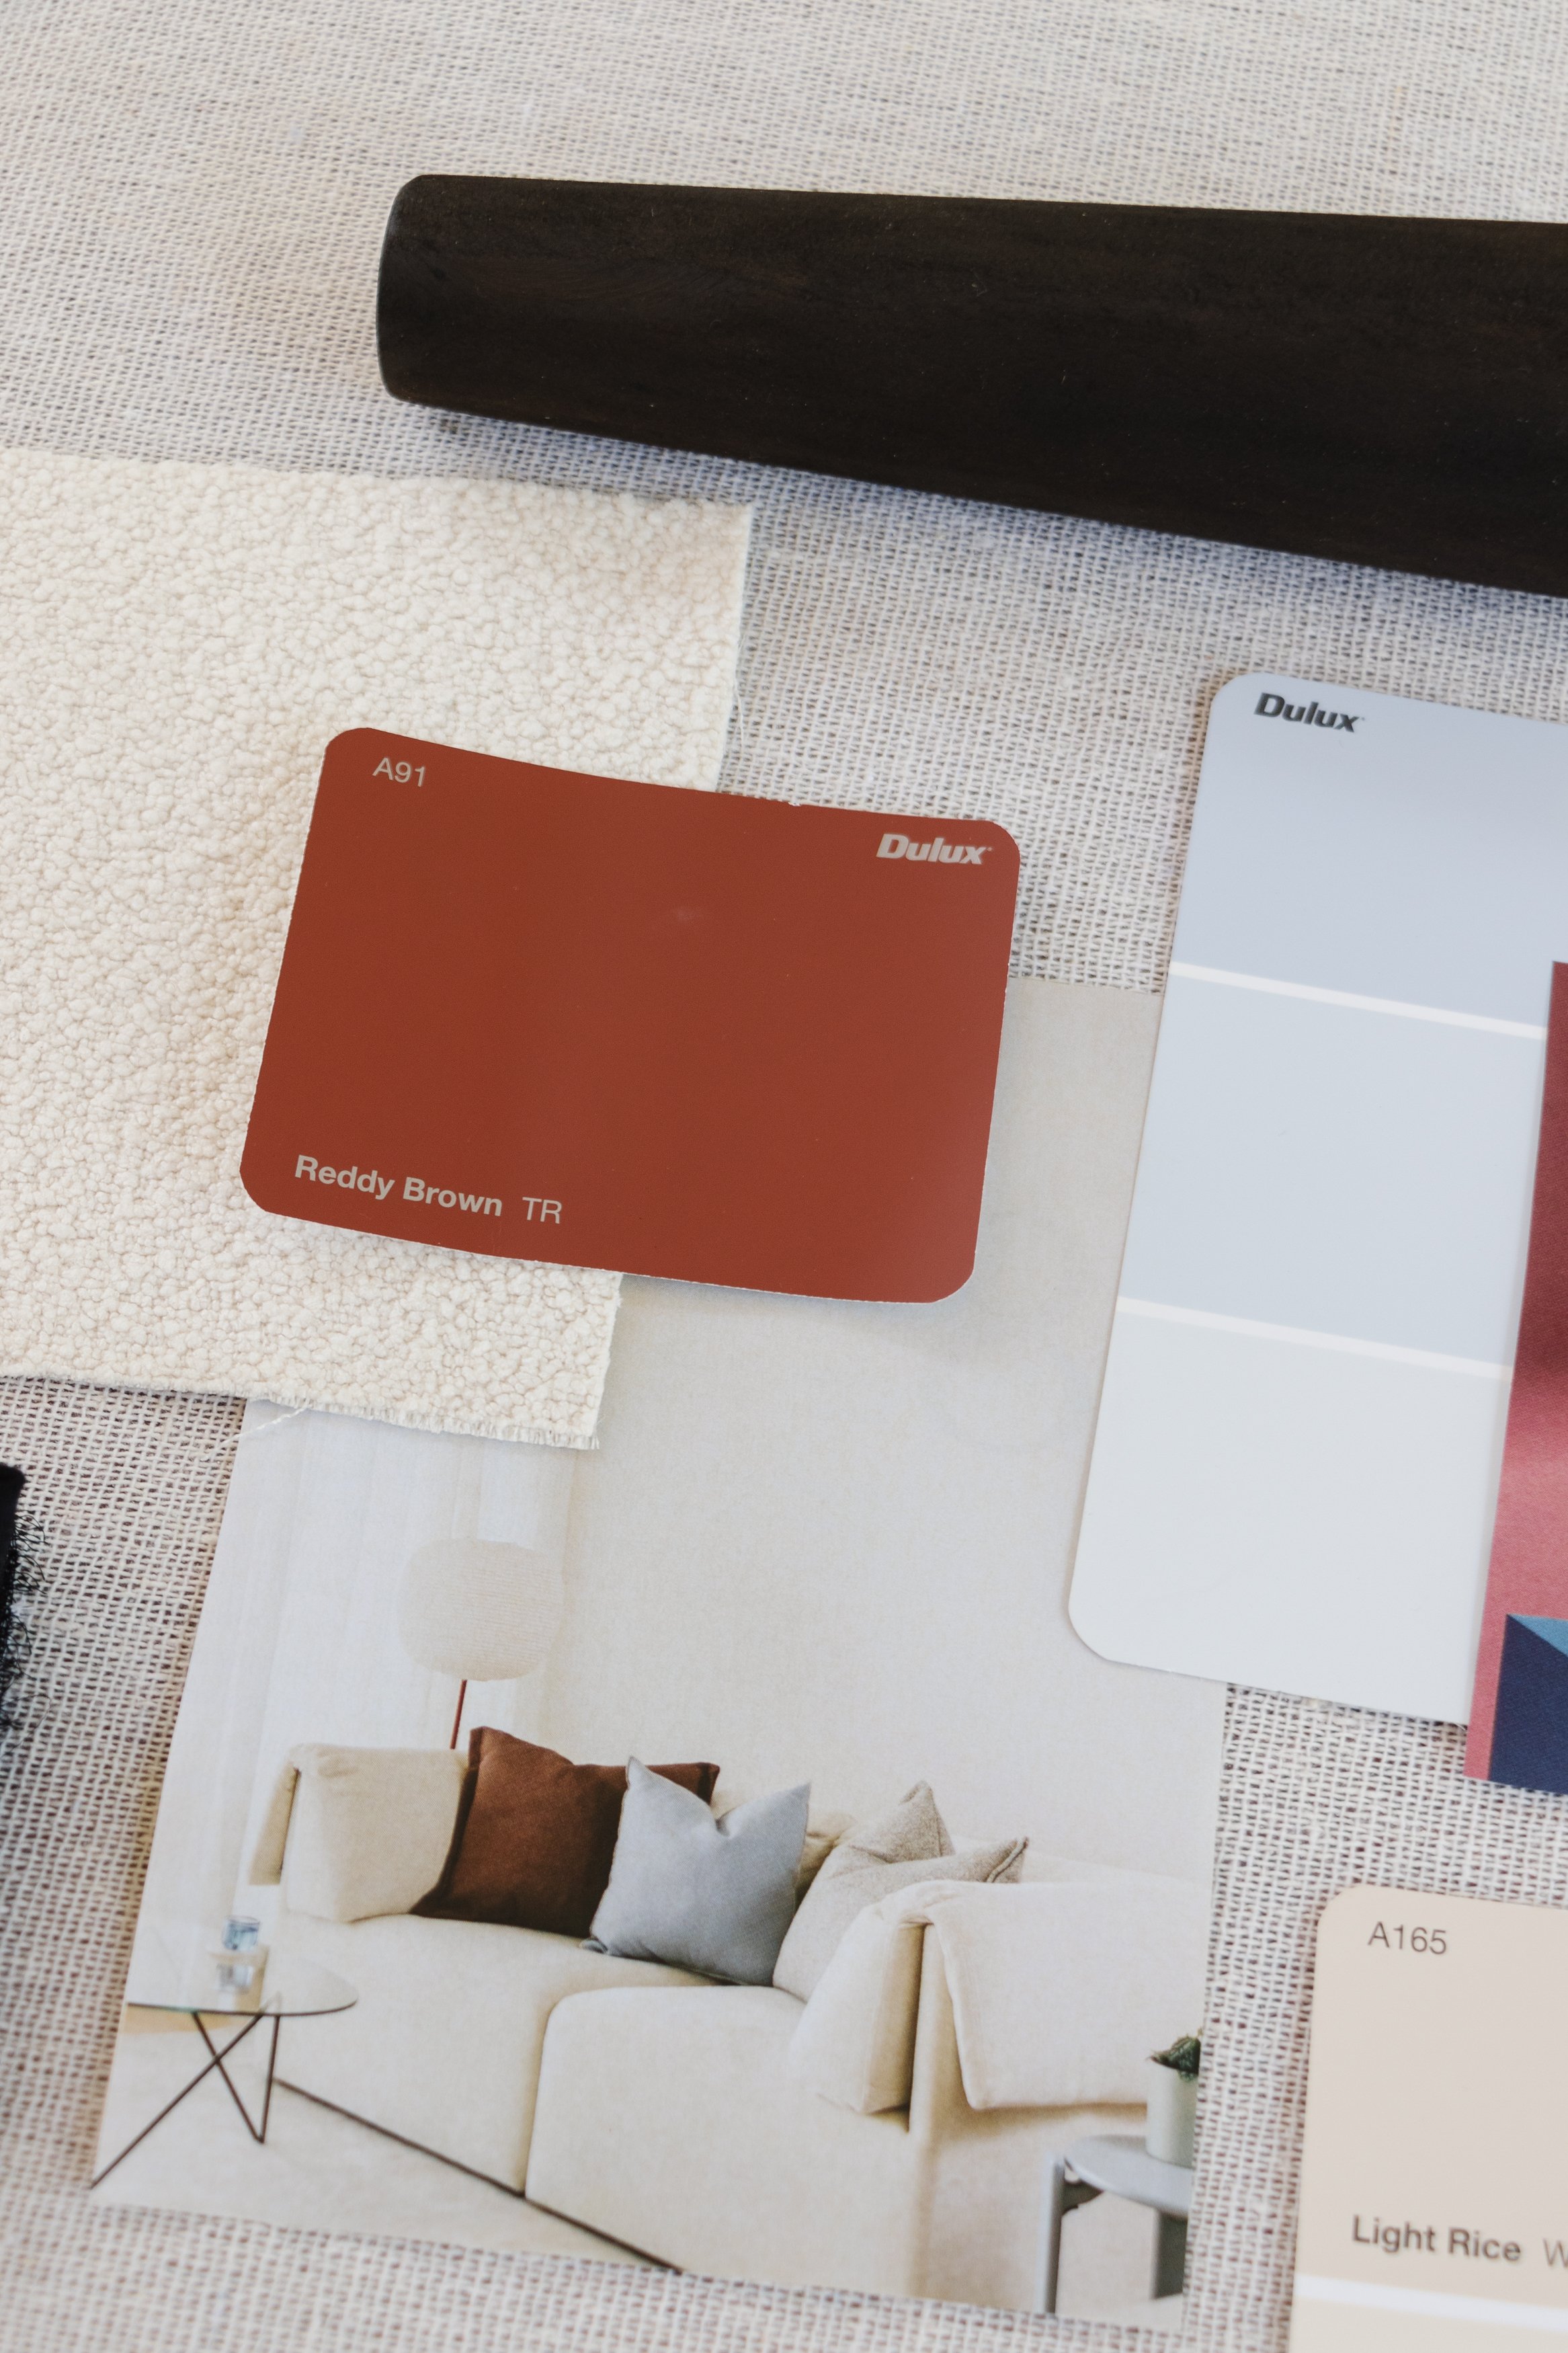
To begin this mini makeover, I looked at the Dulux 2024 Colour Trend Forecast and felt most inspired by the “Solstice” palette. I loved the warm, earthy tones (browns, creams and blues) in this collection and used this as a starting point. Following this I created a vibe tray featuring inspirational images, fabric, raffia and more. I’ve always created a vibe tray for my projects, but it was nice to share this with everyone here as well as more insight into my creative process. A lot goes into every project and I think this helps show you how I pull everything together.
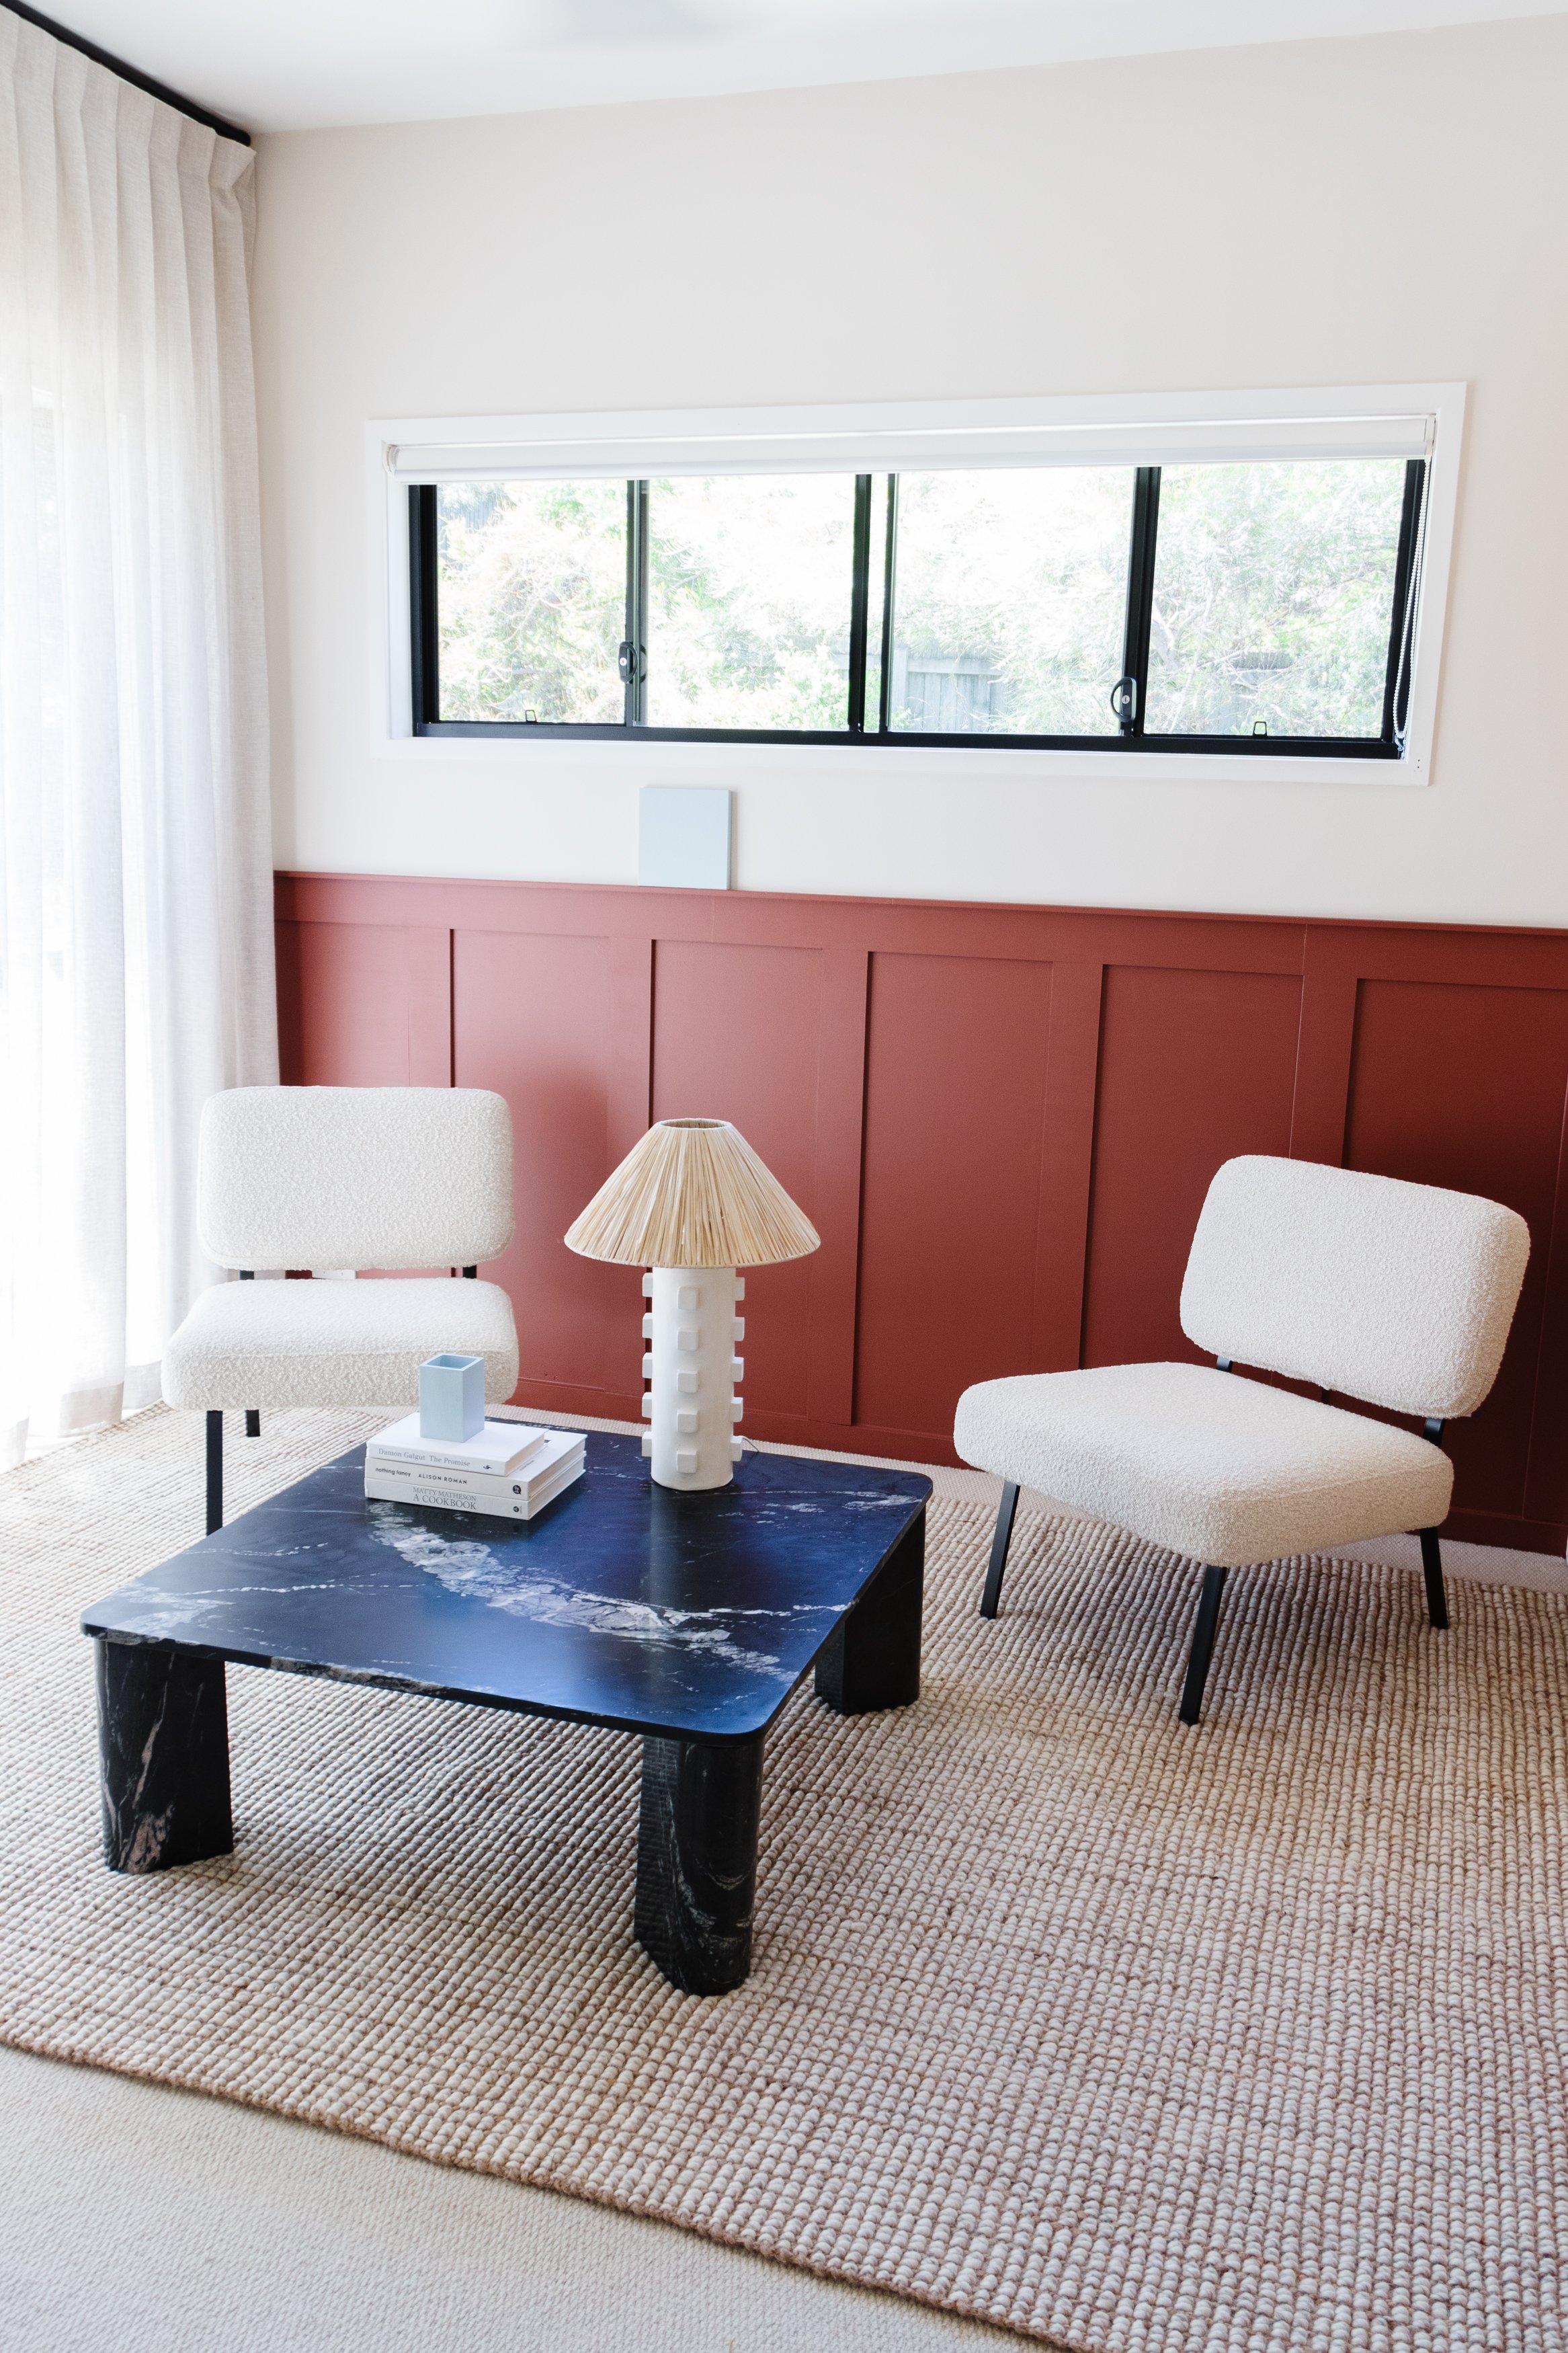
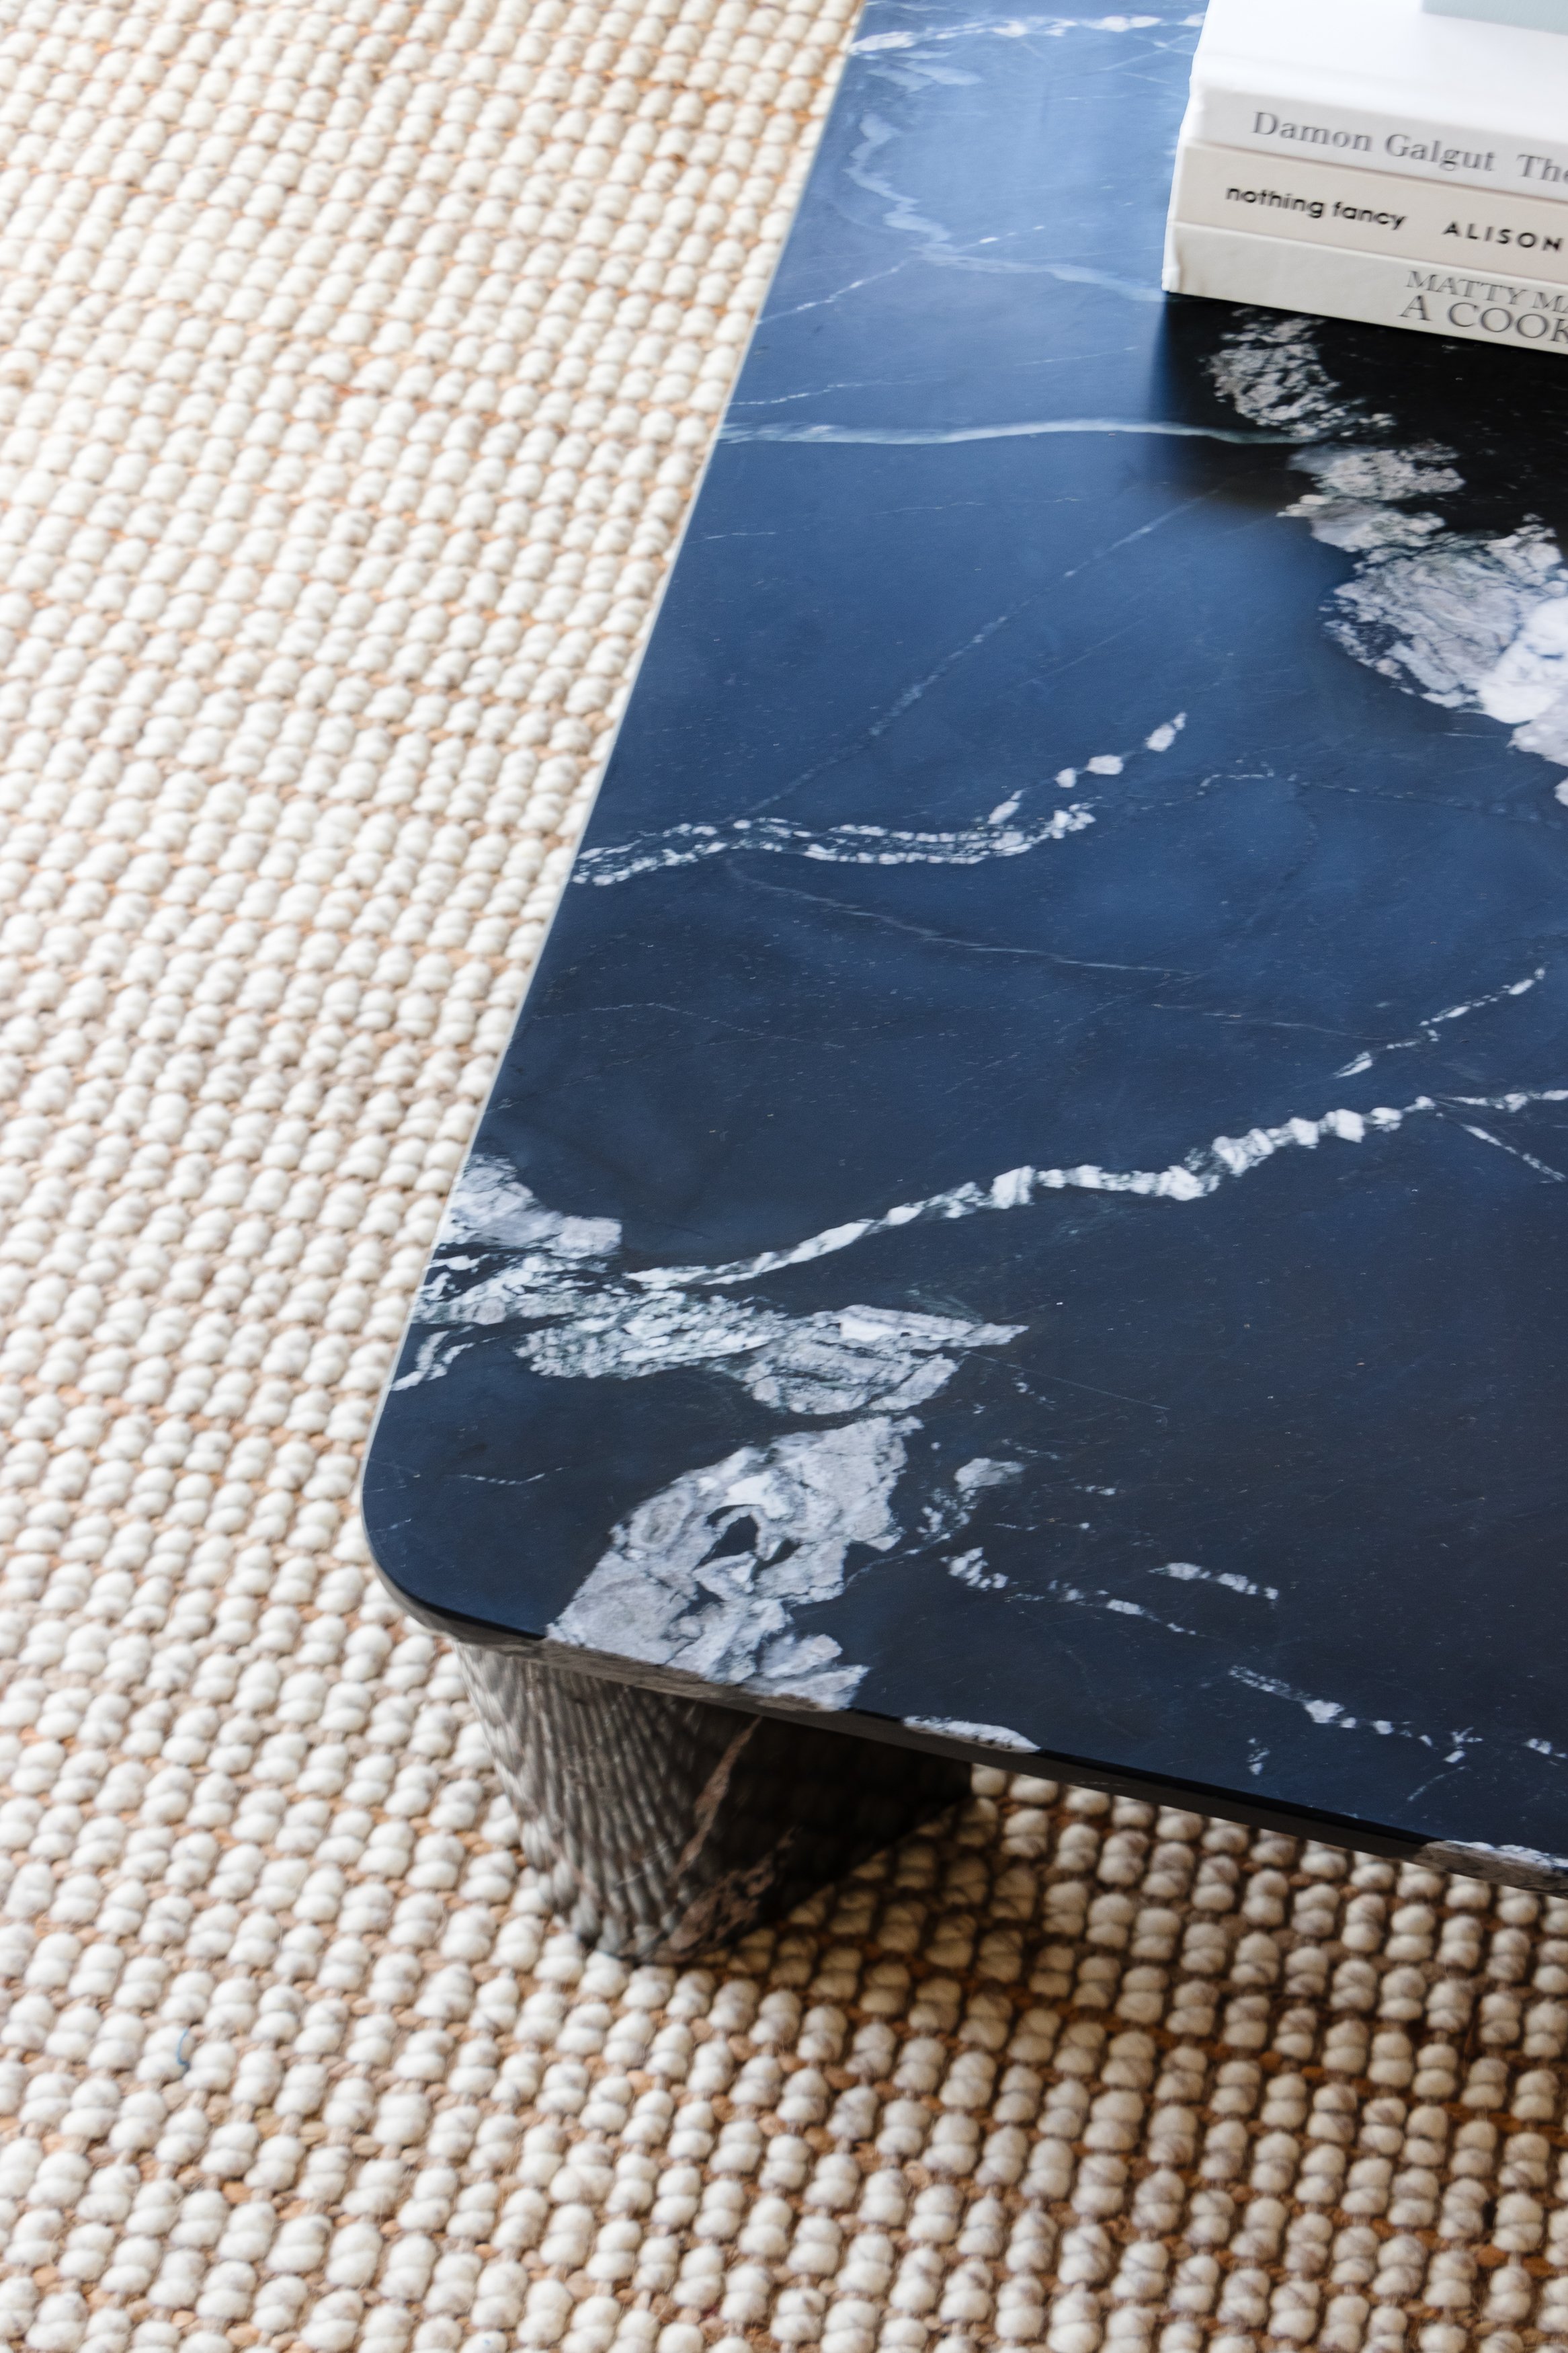
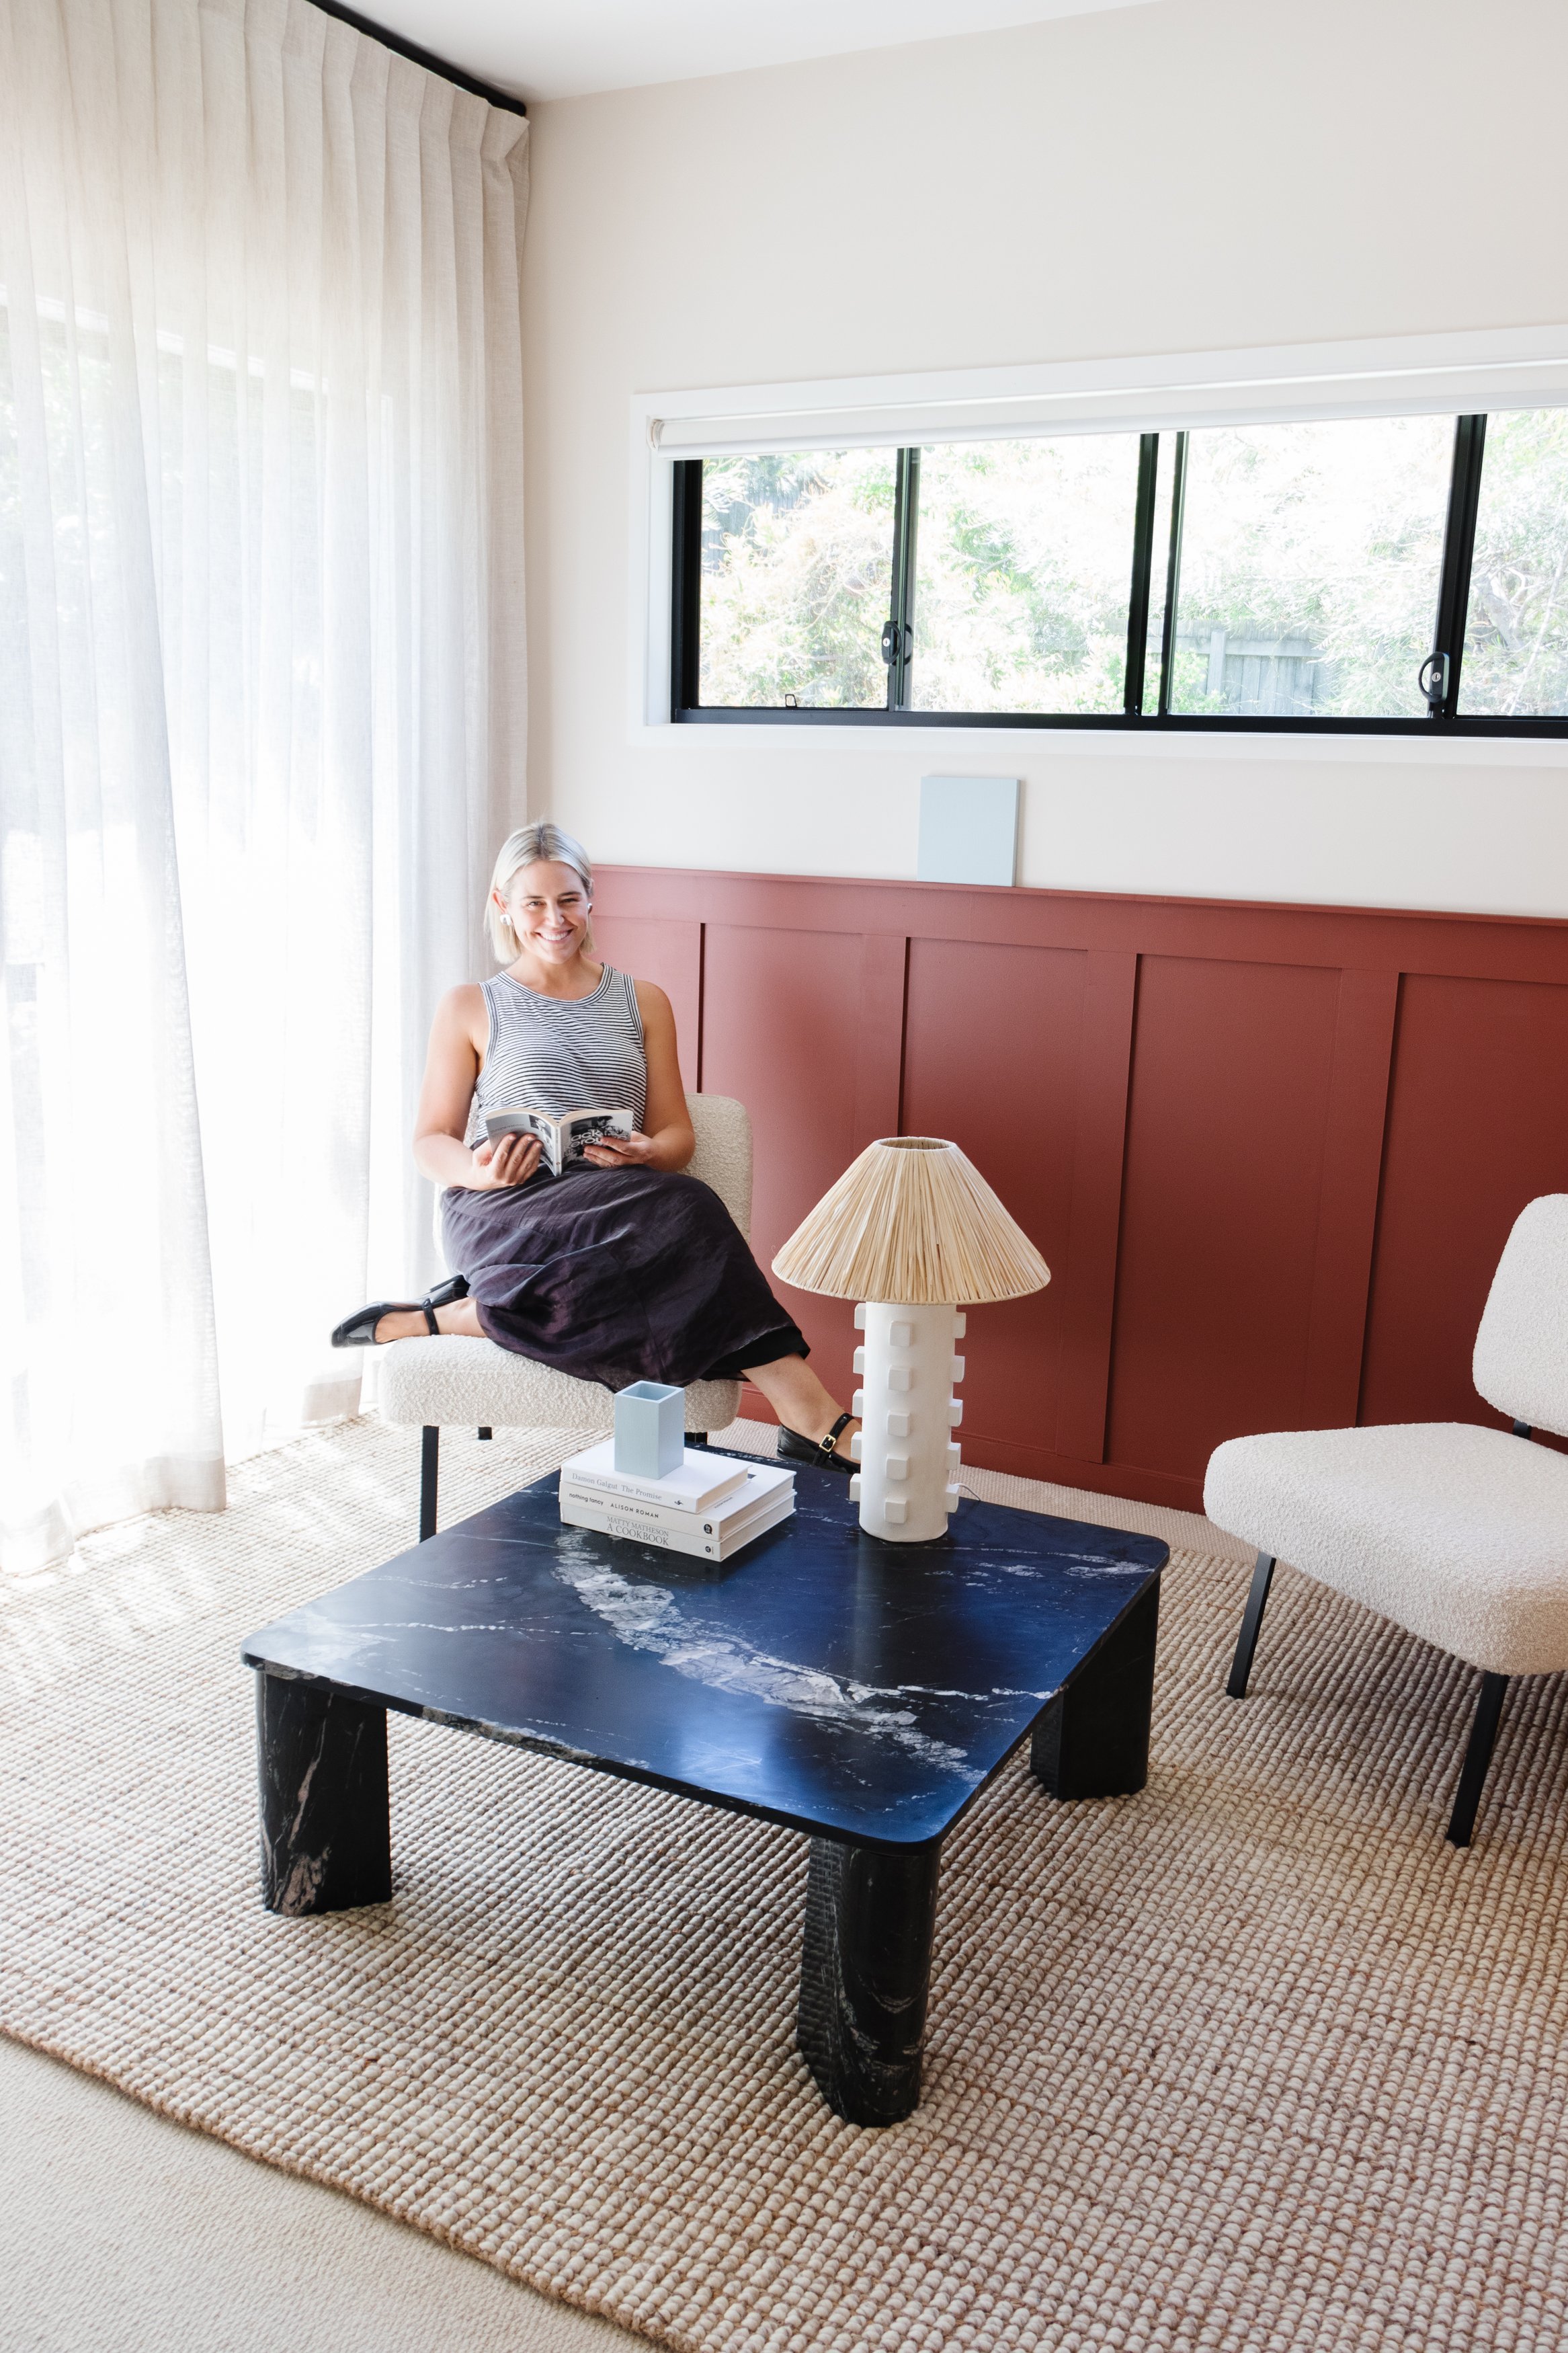
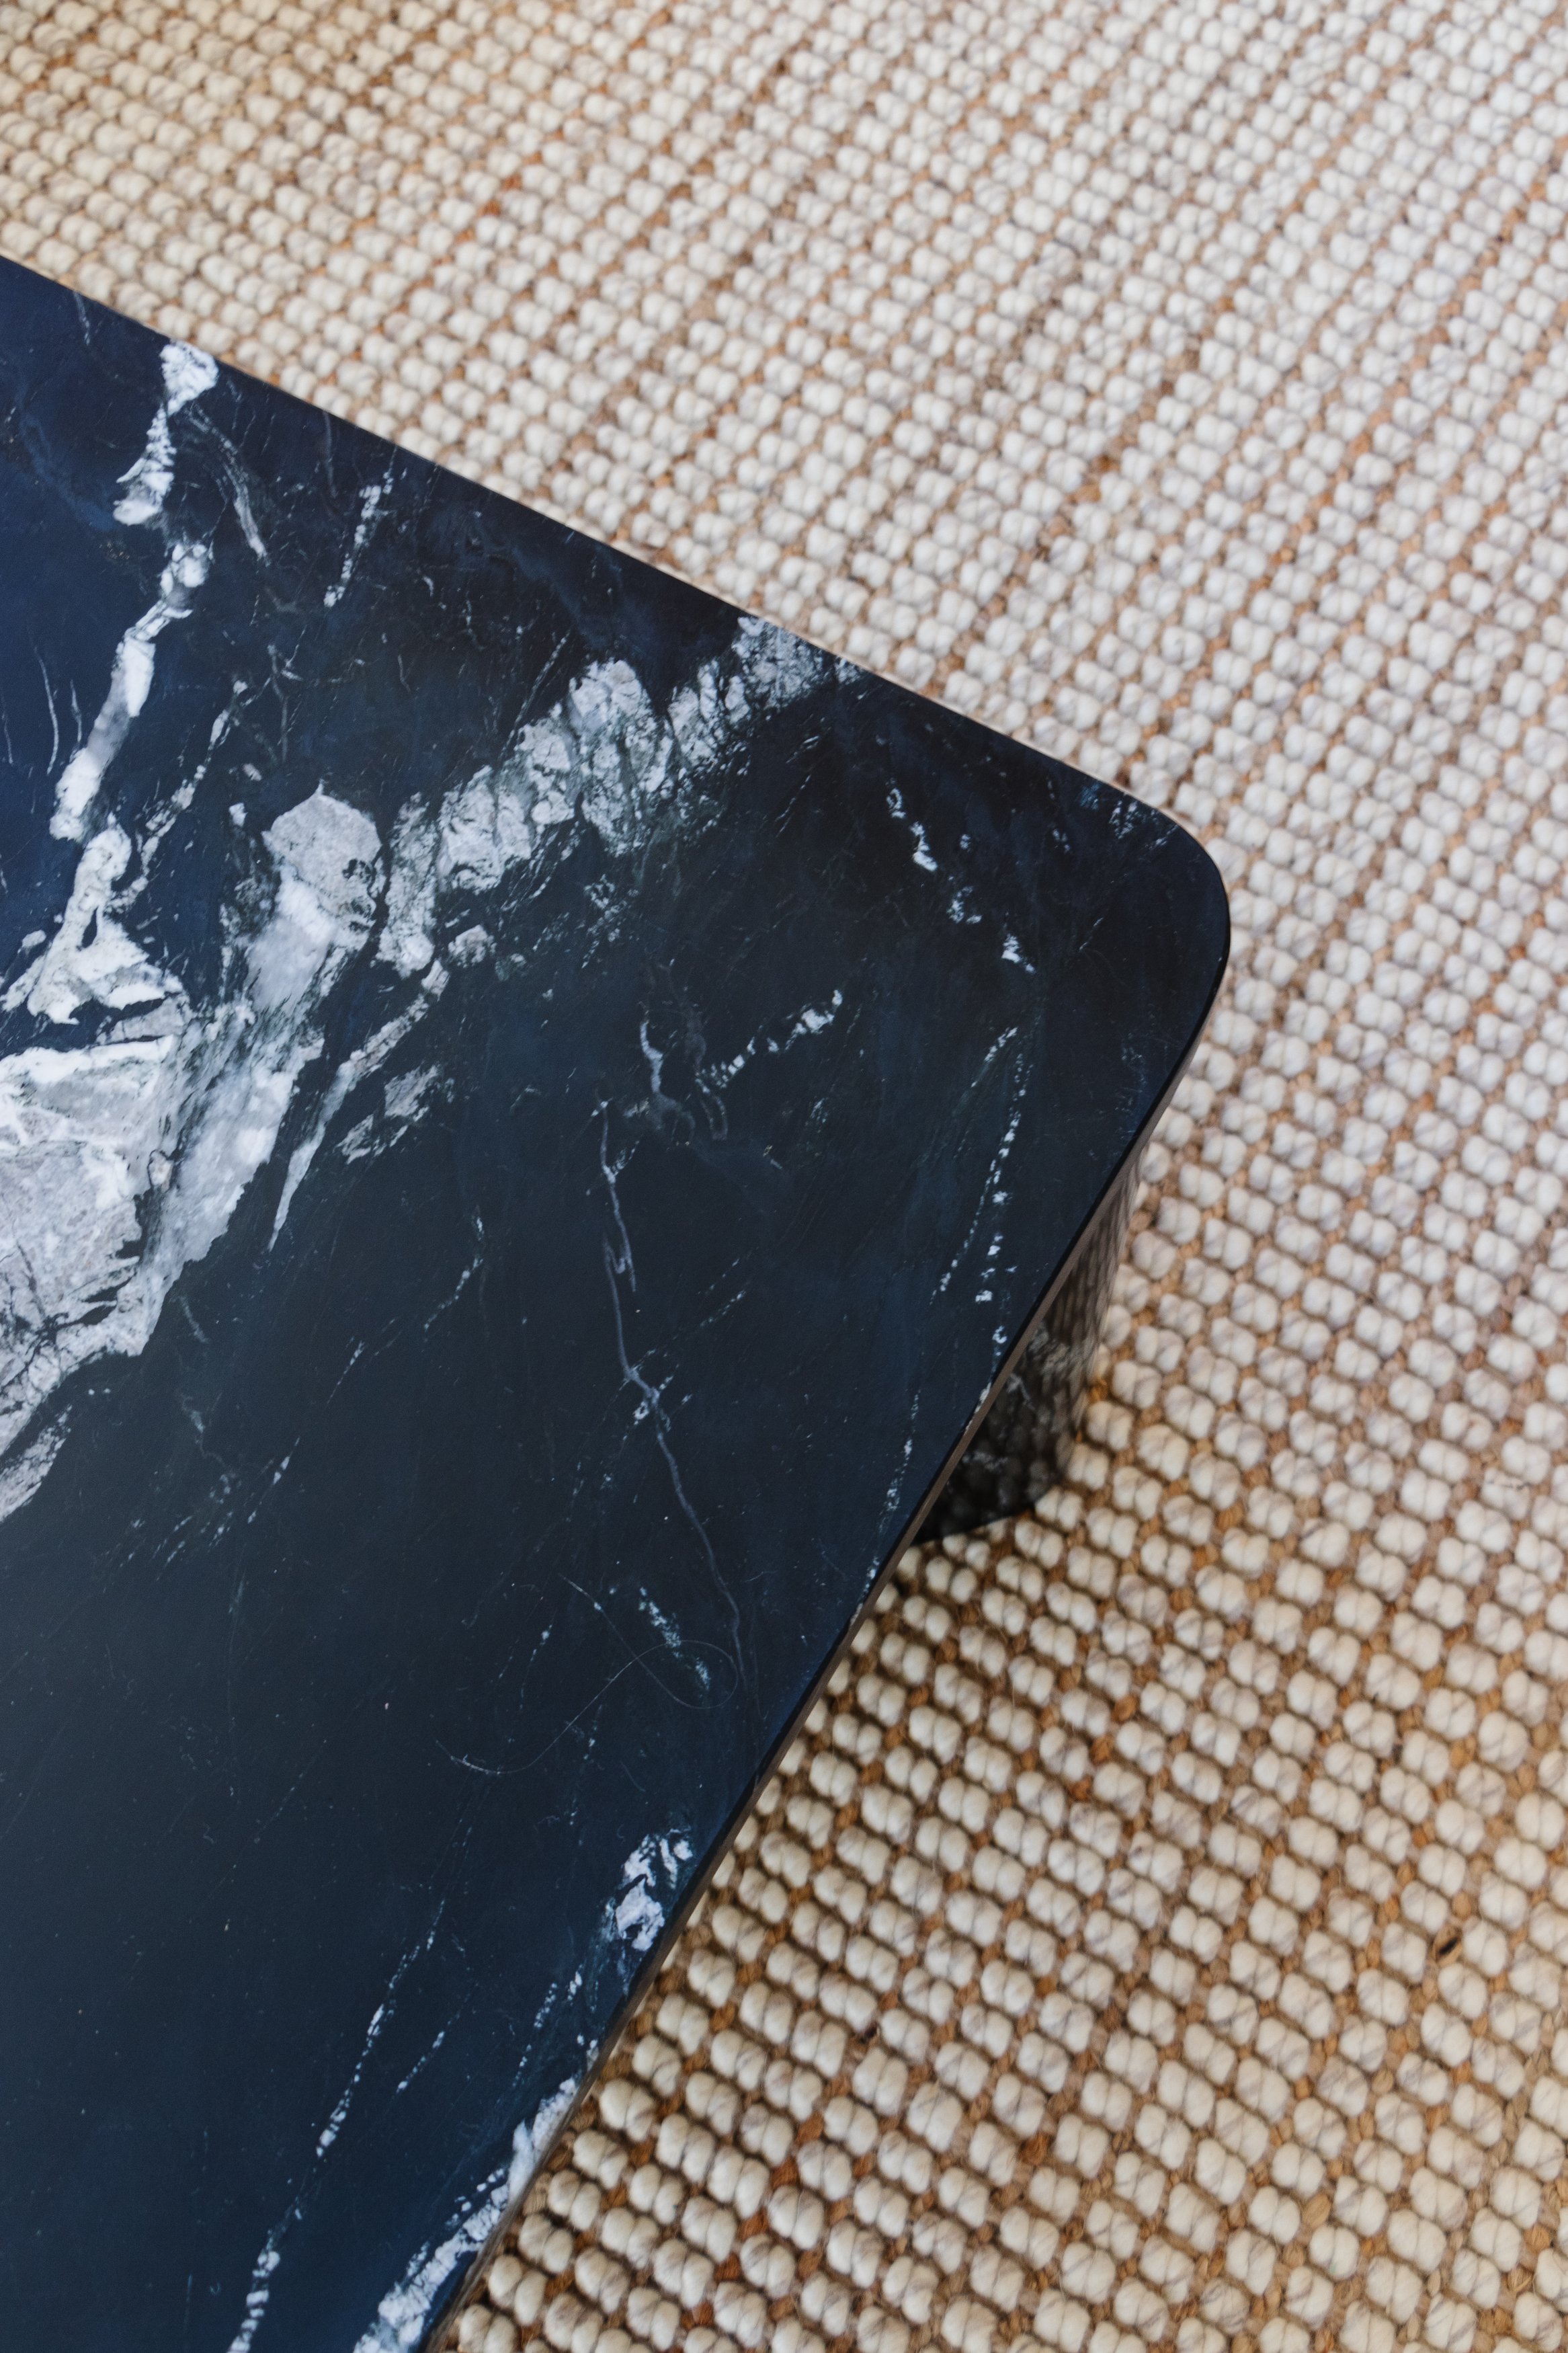
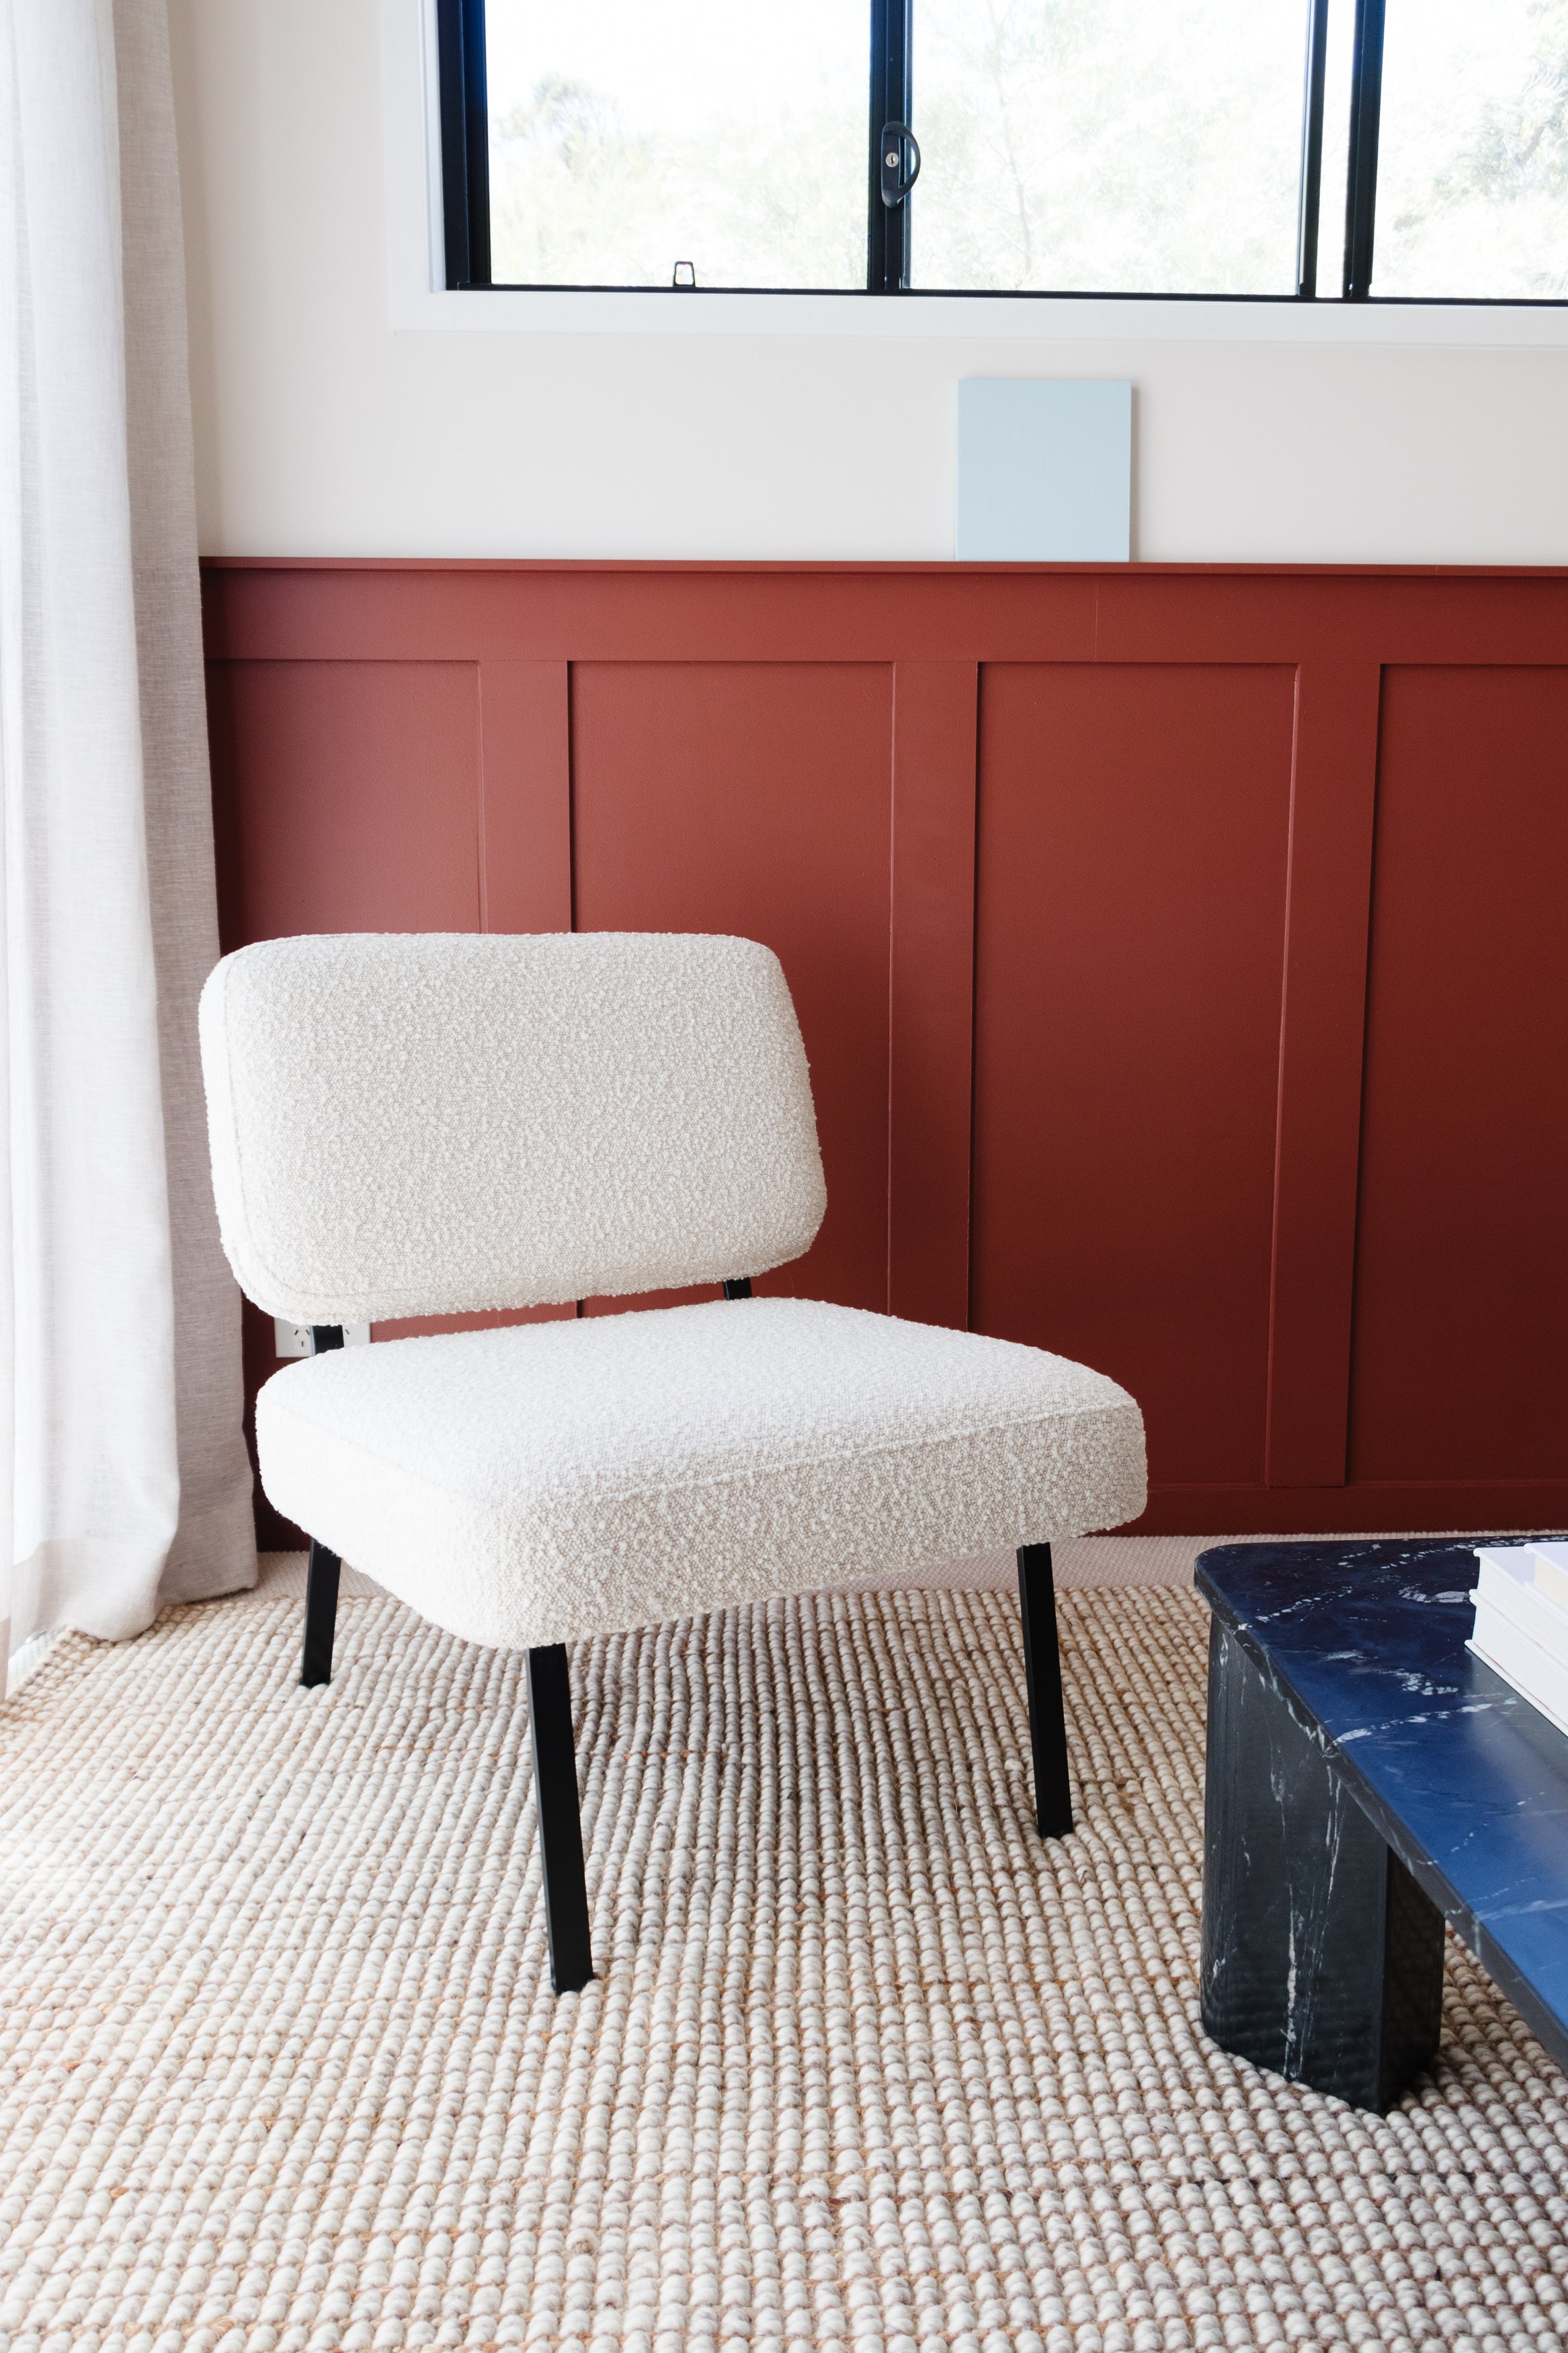
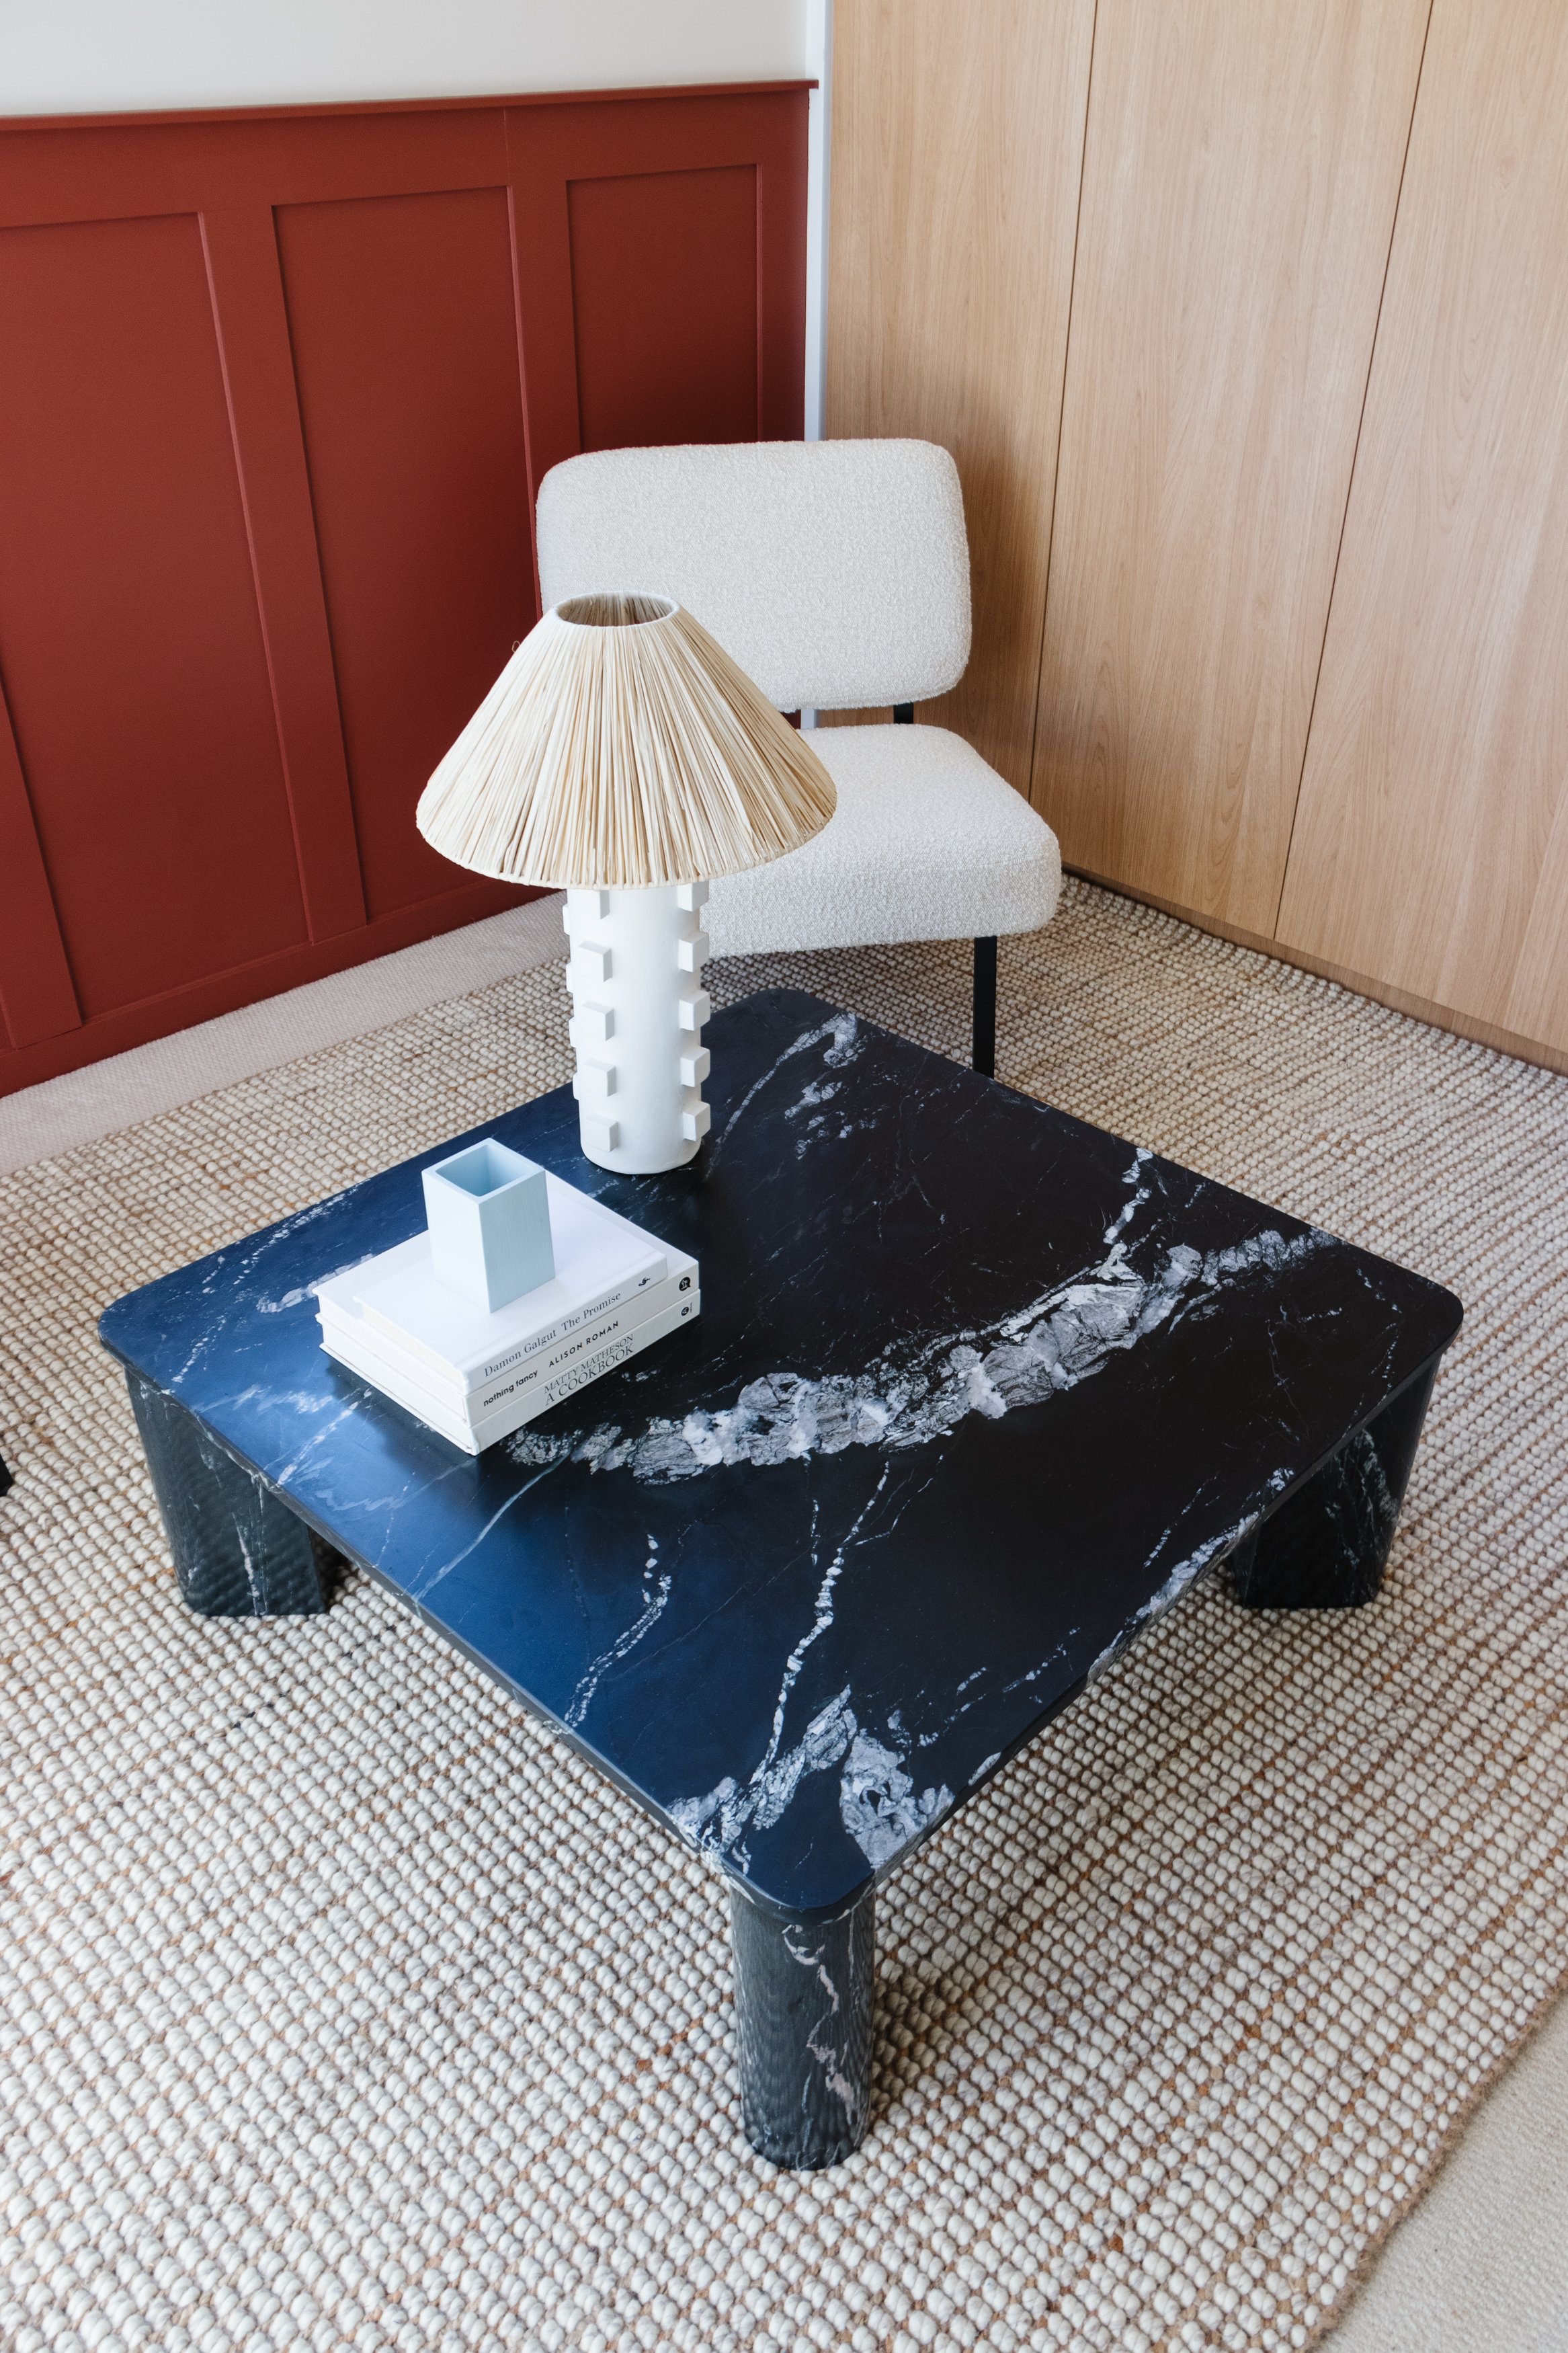
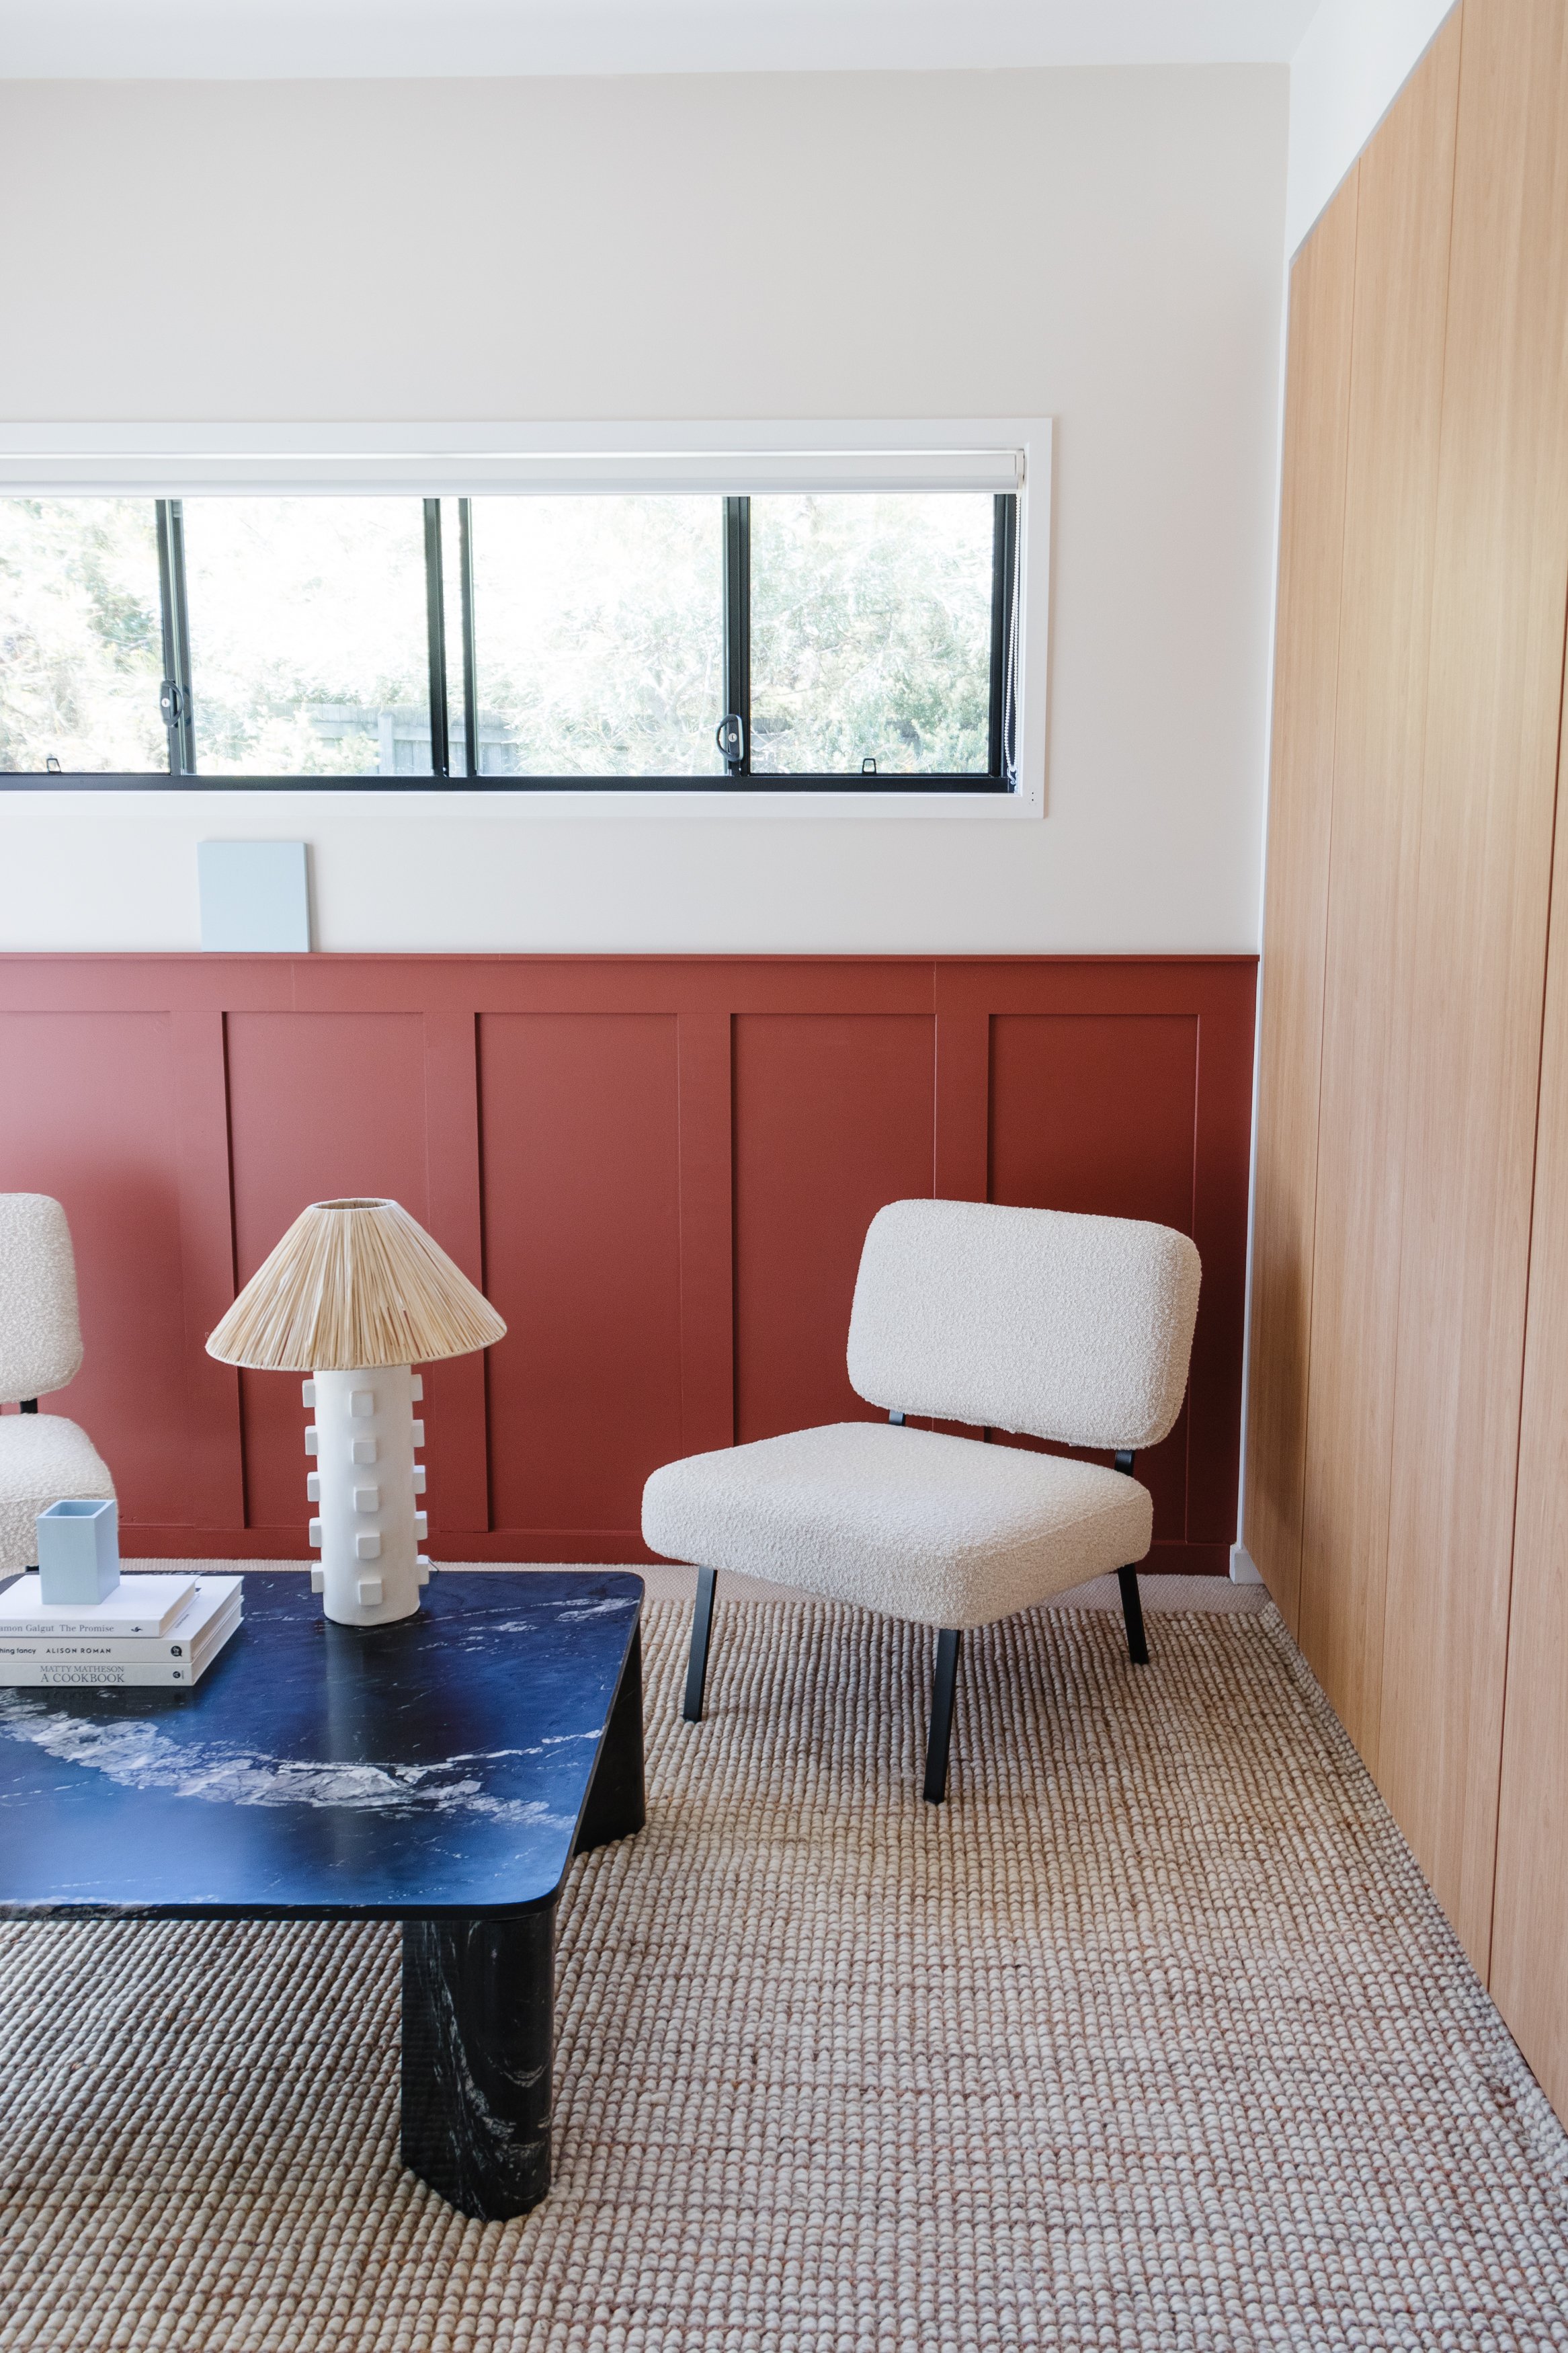
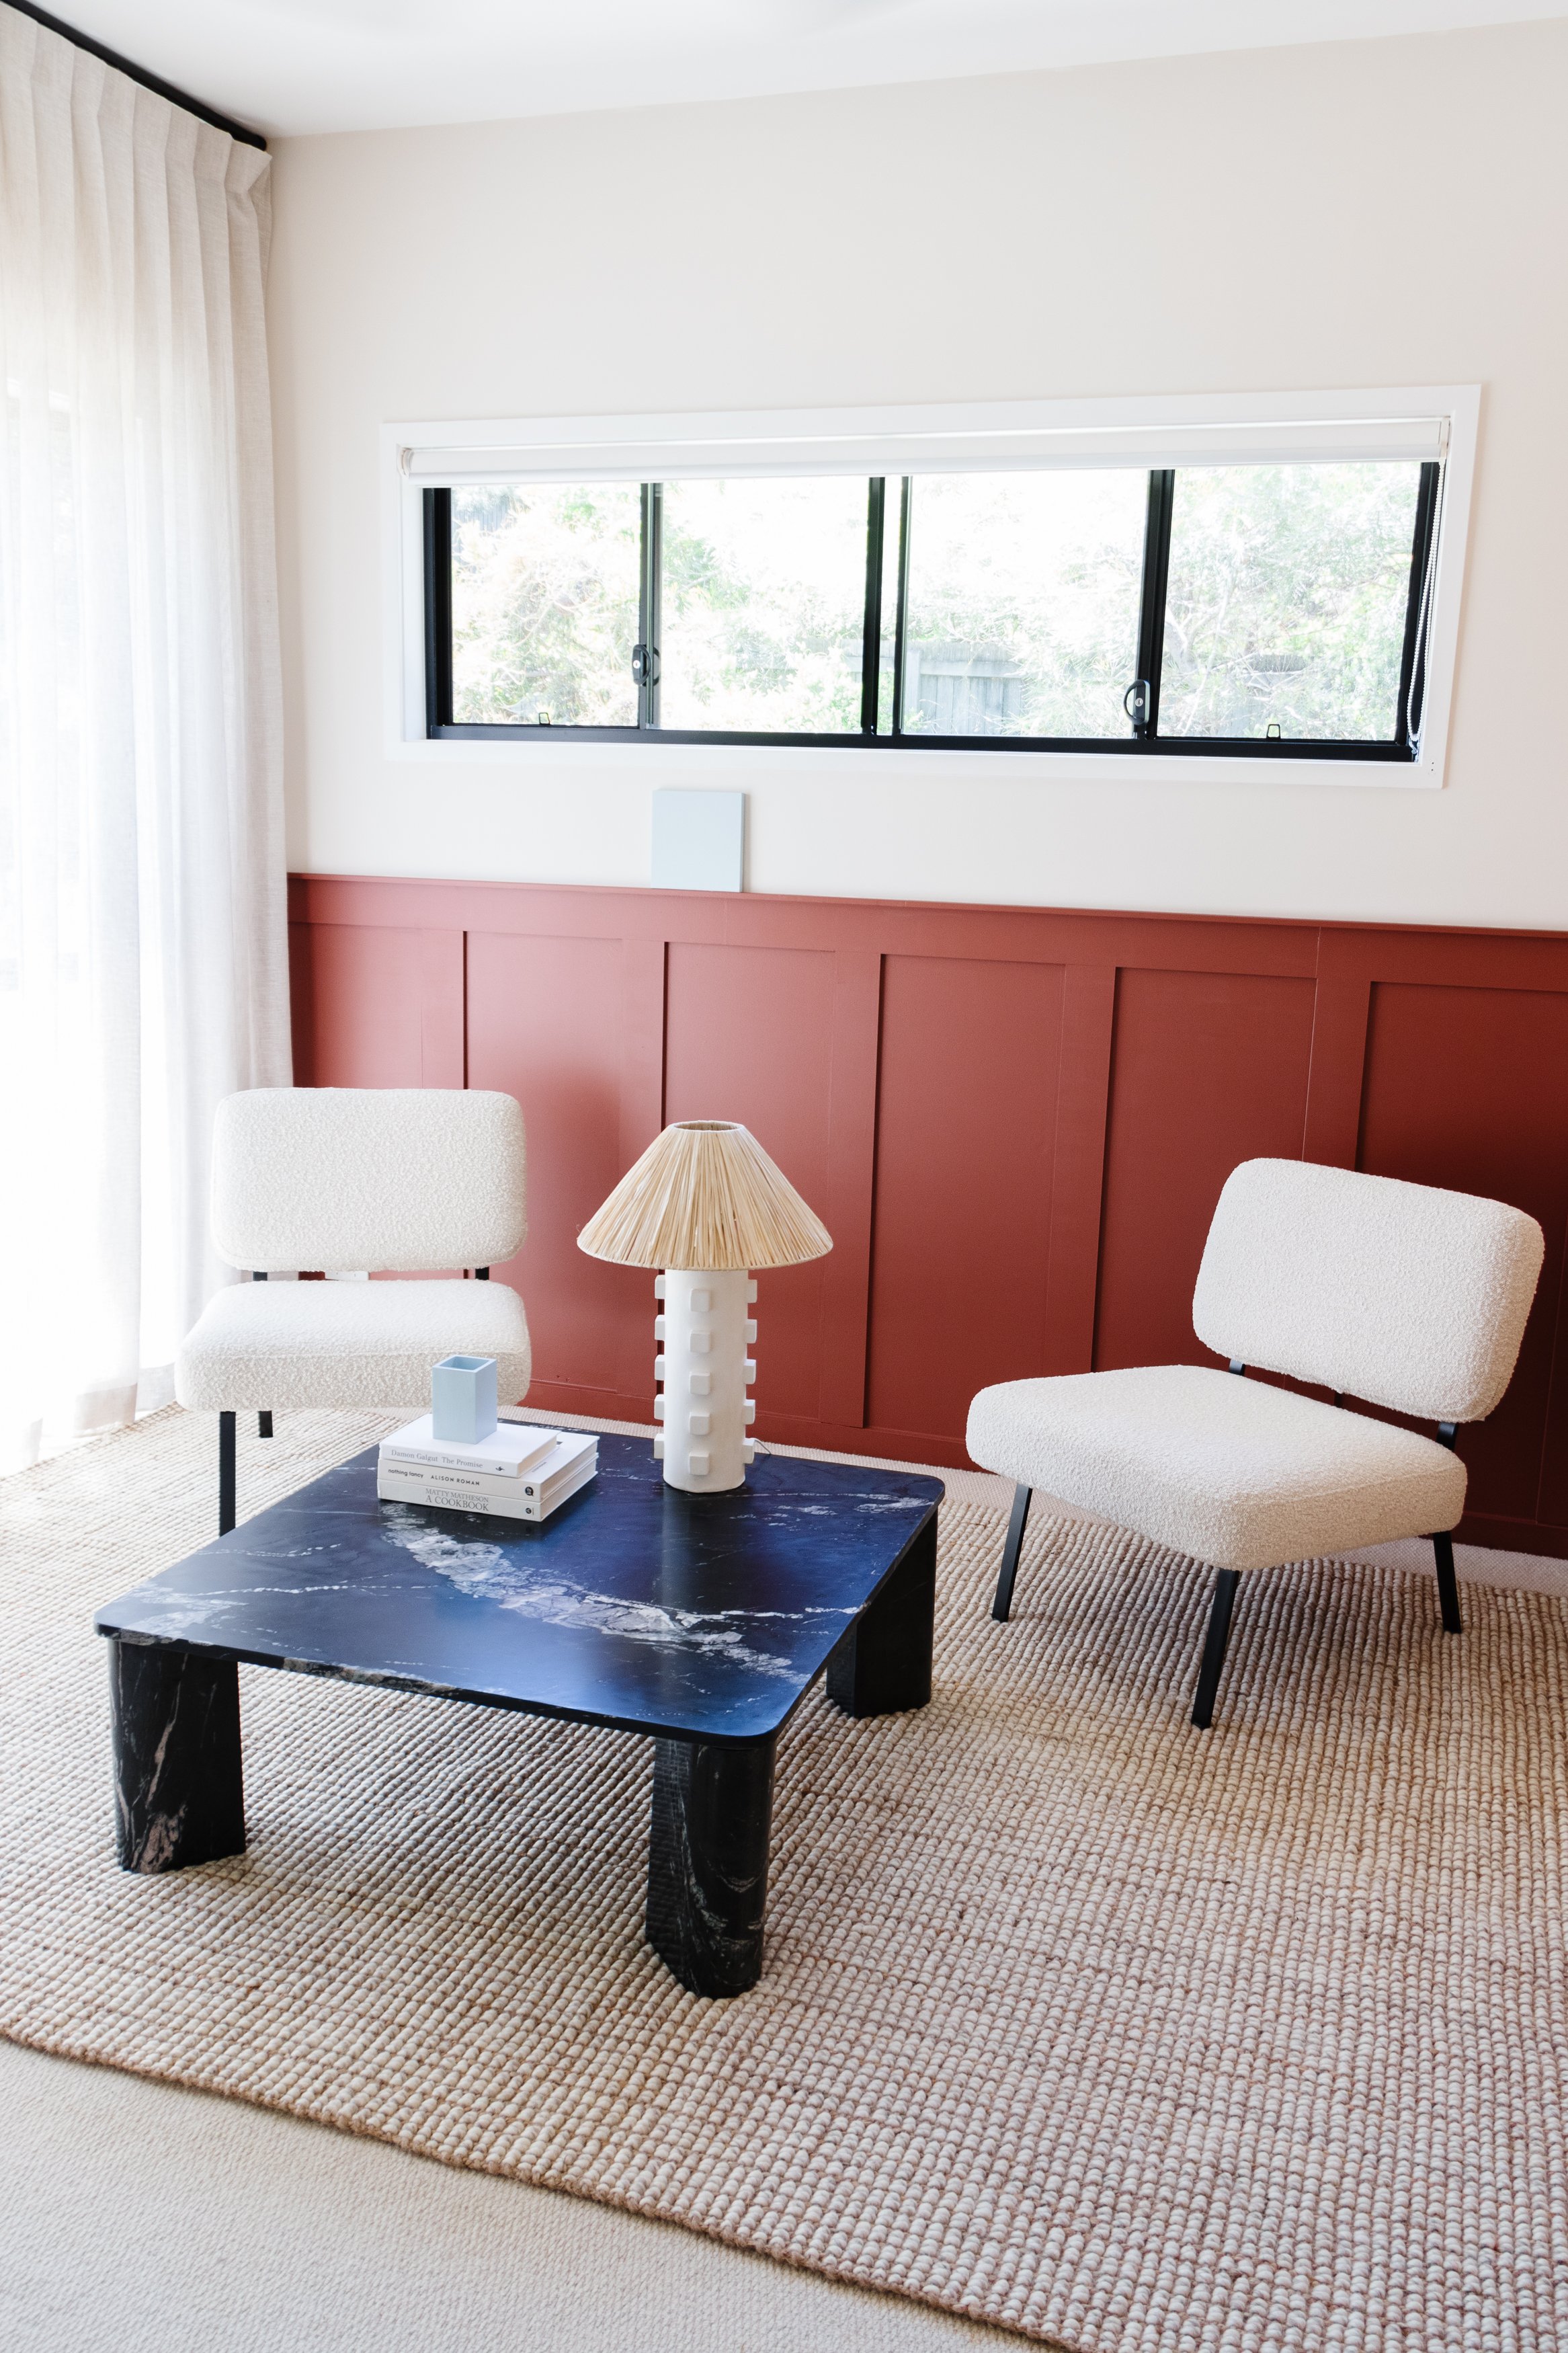
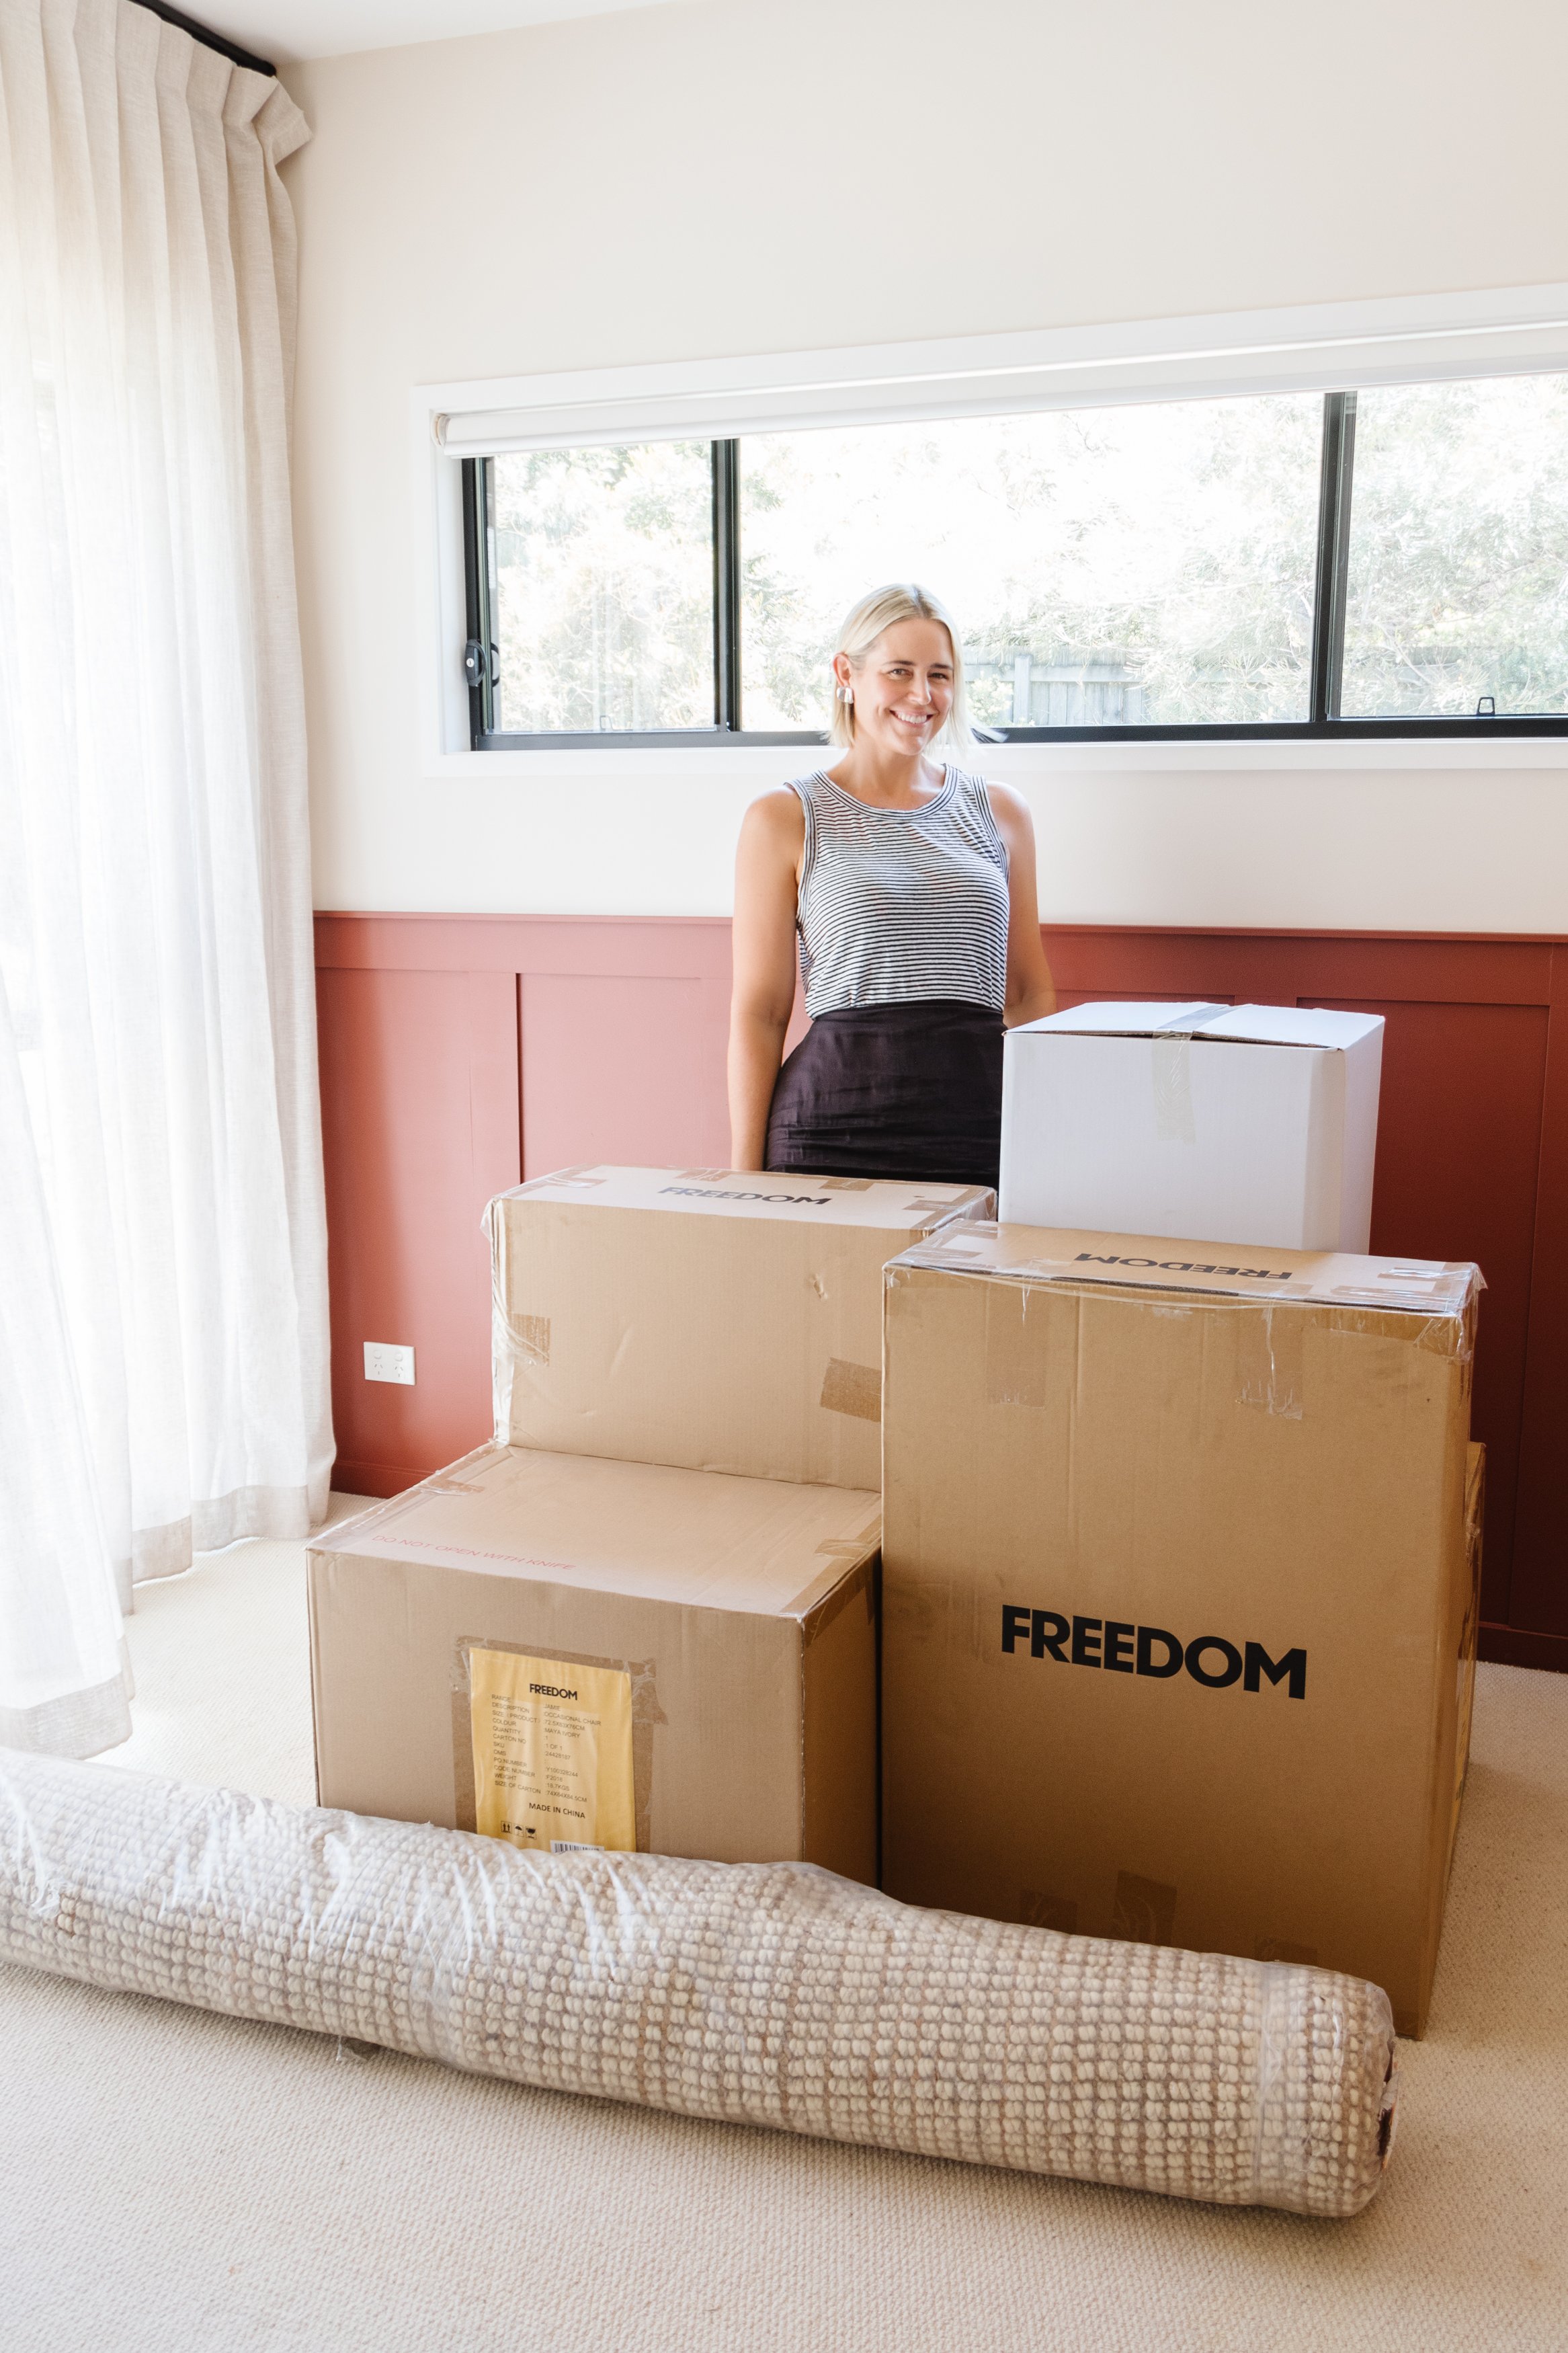
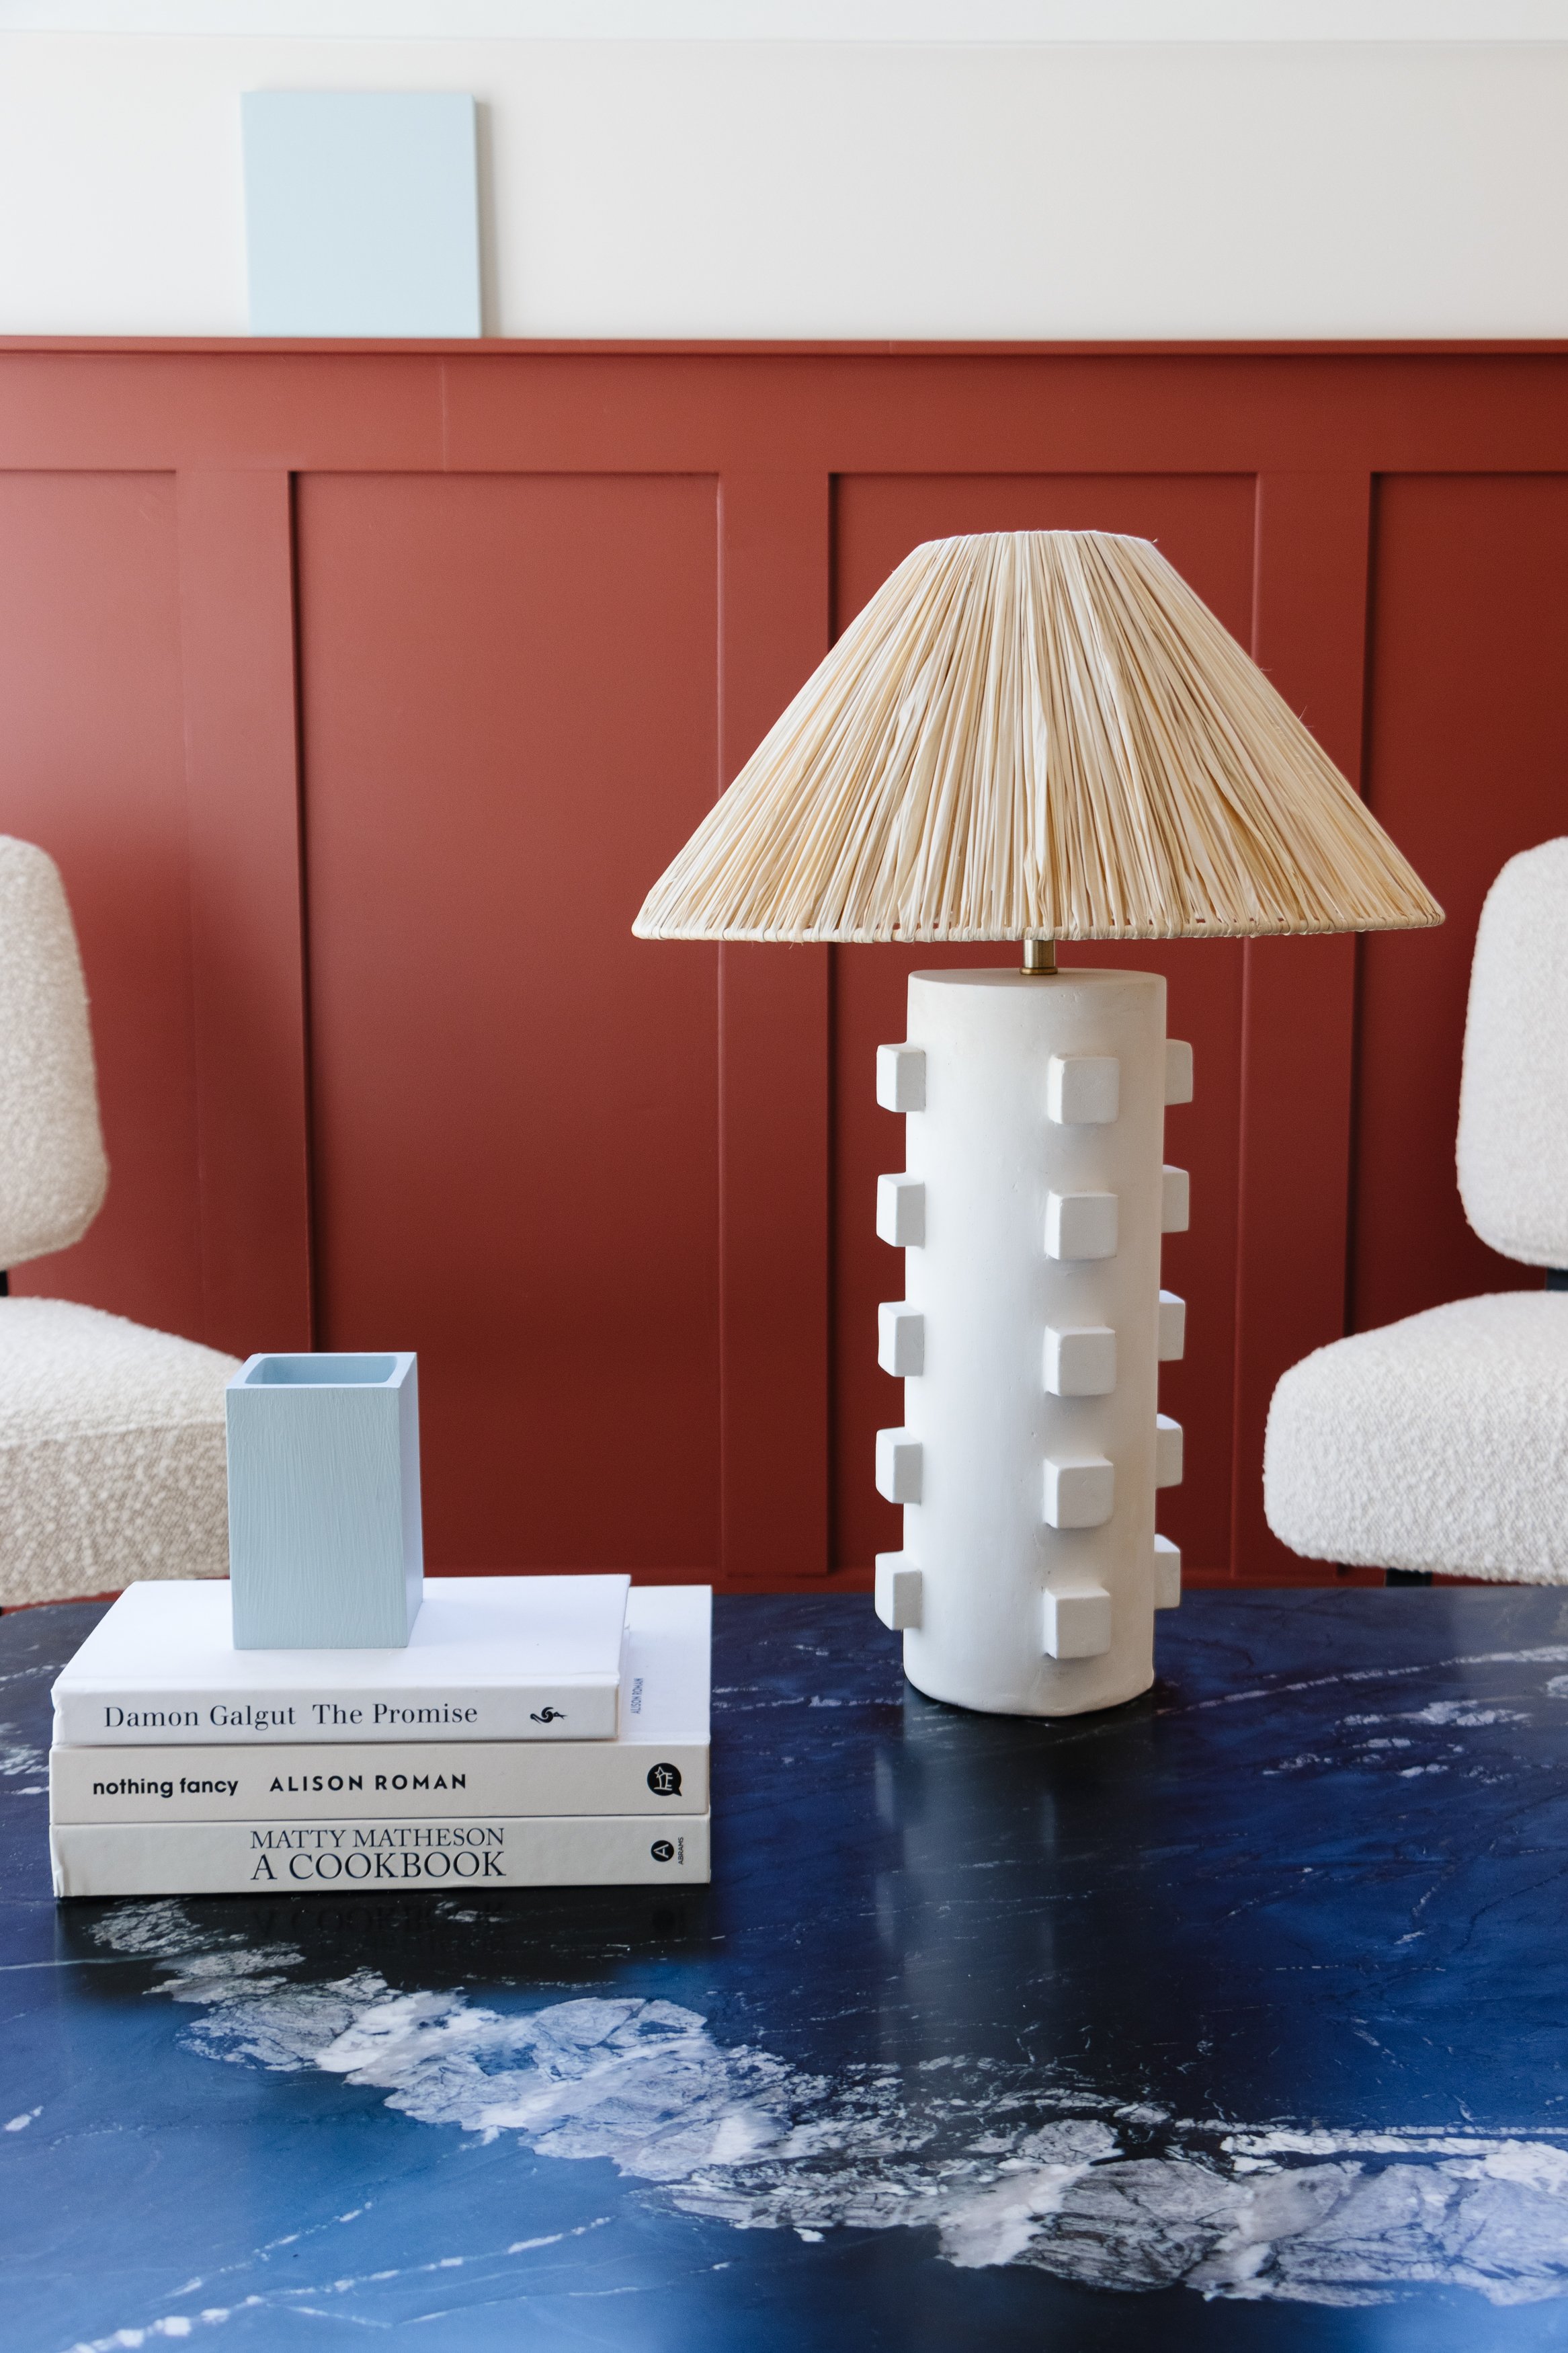
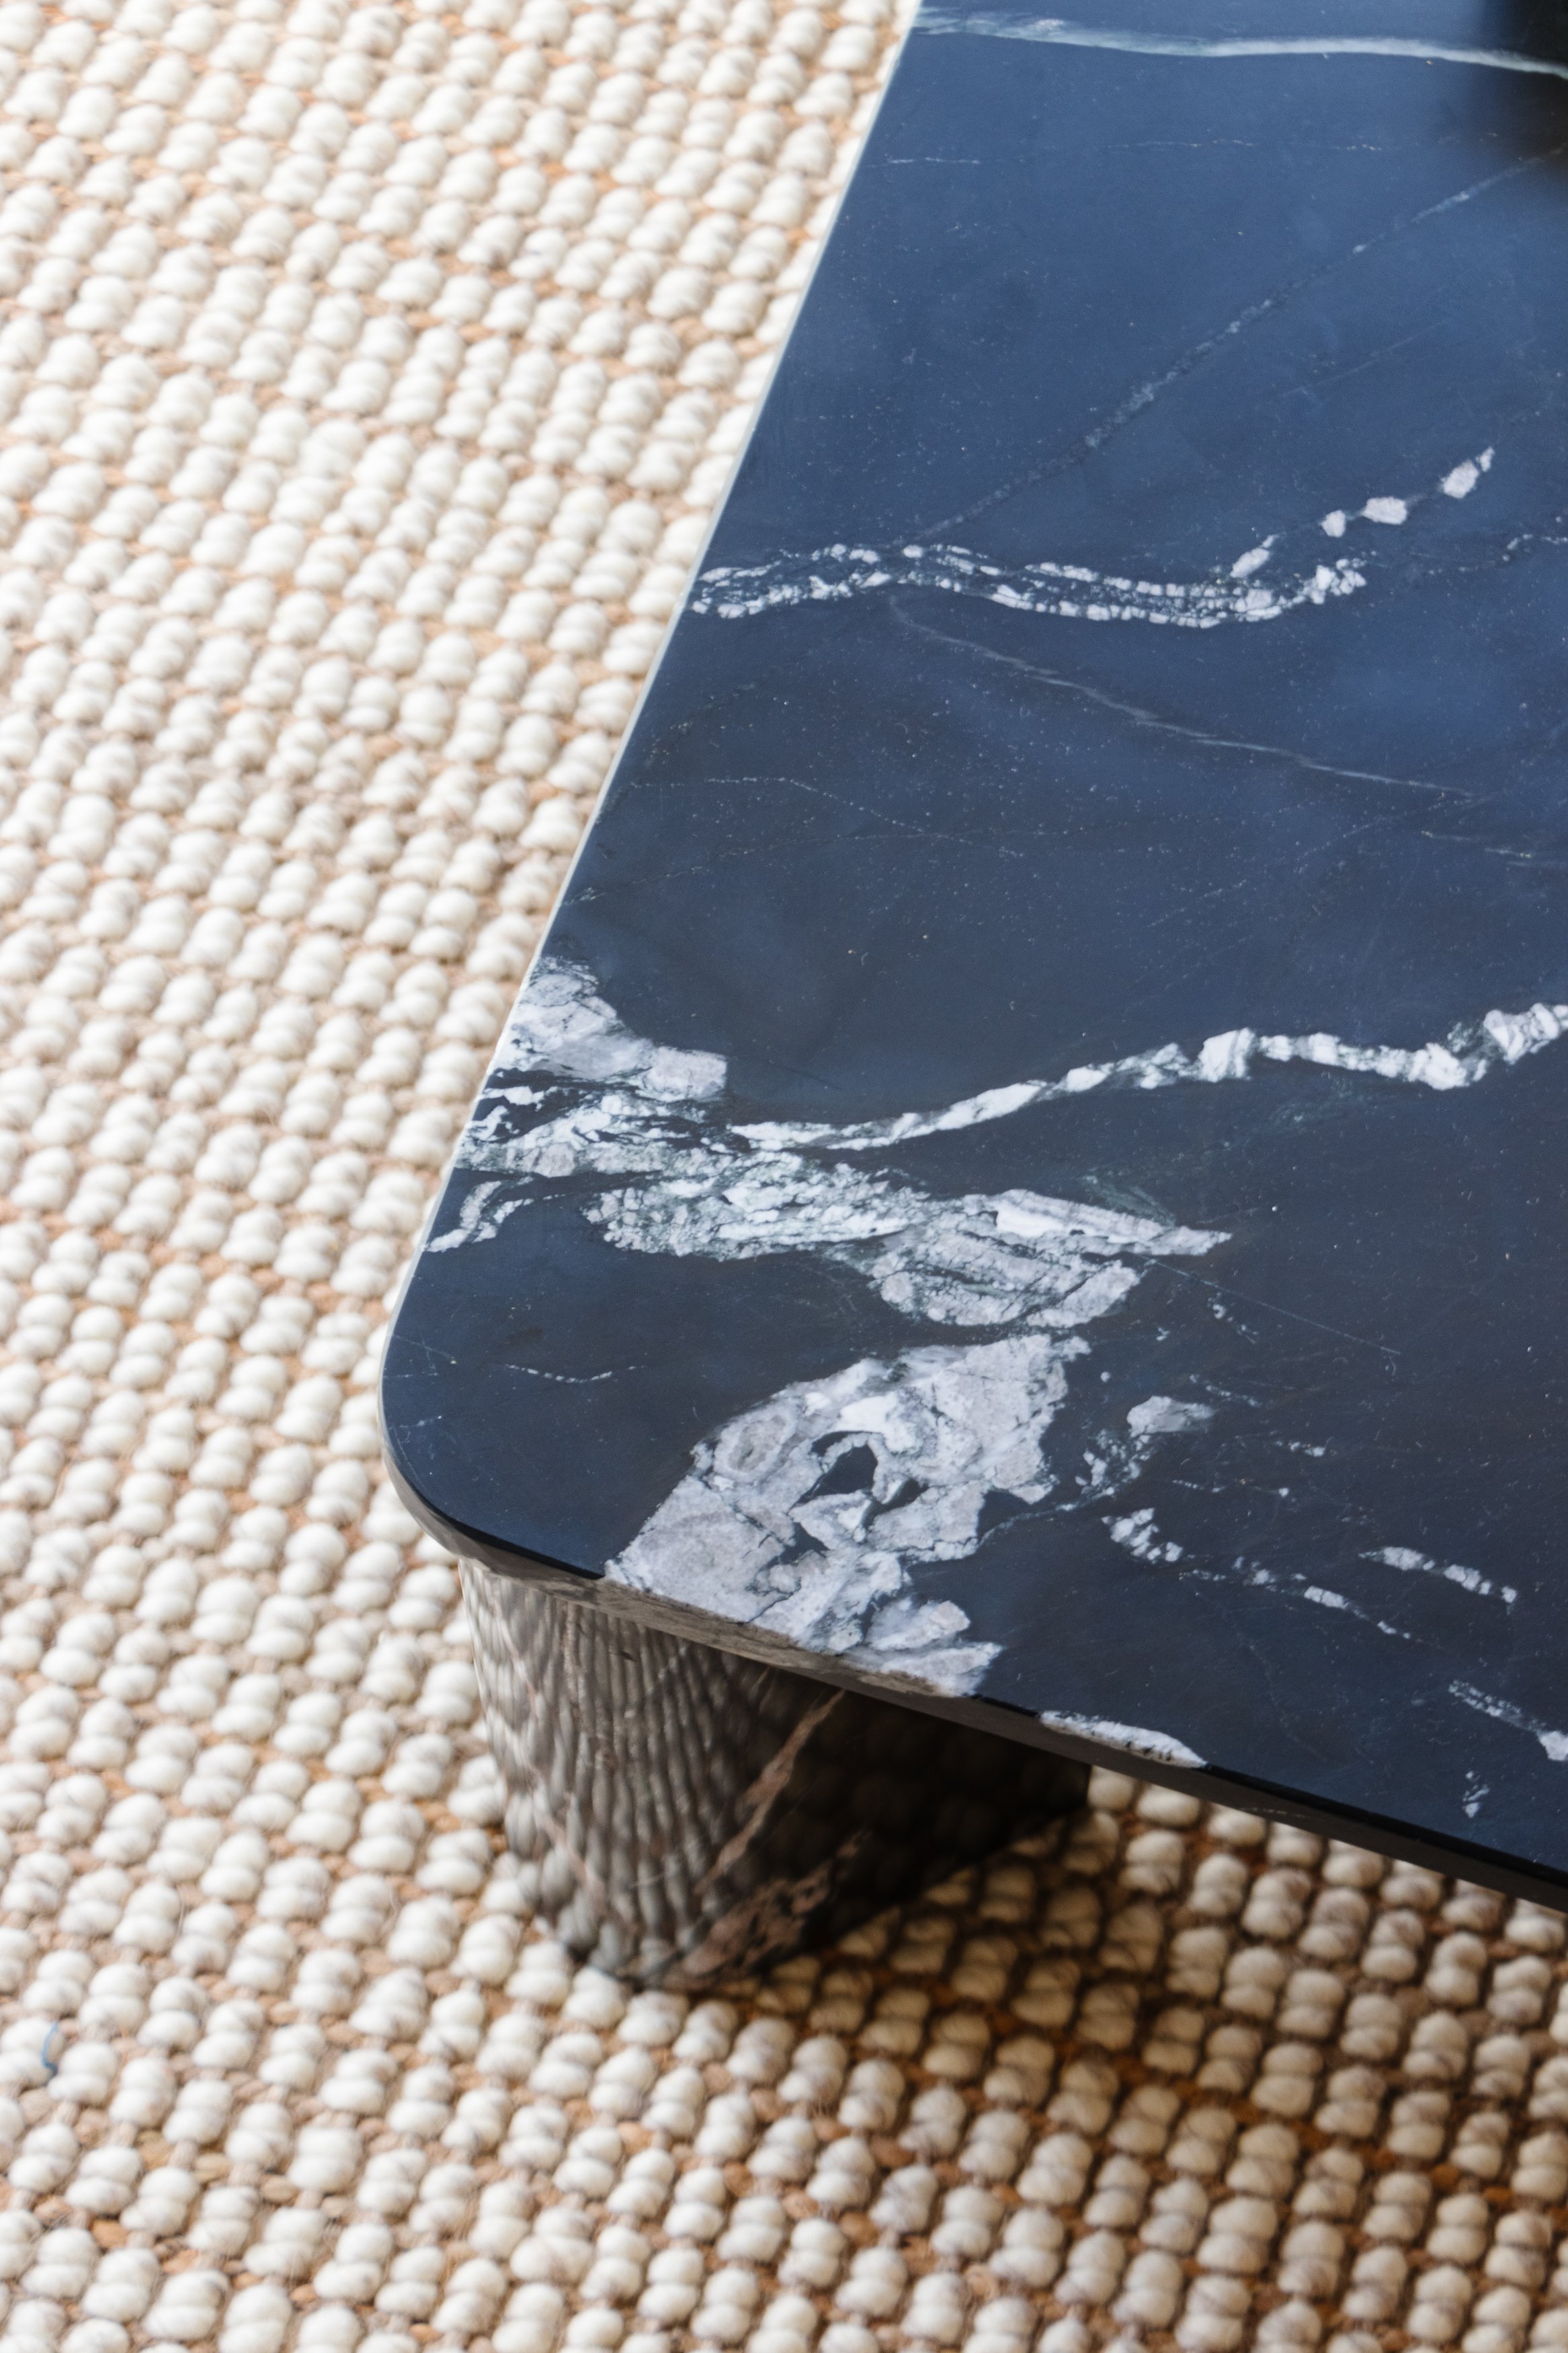
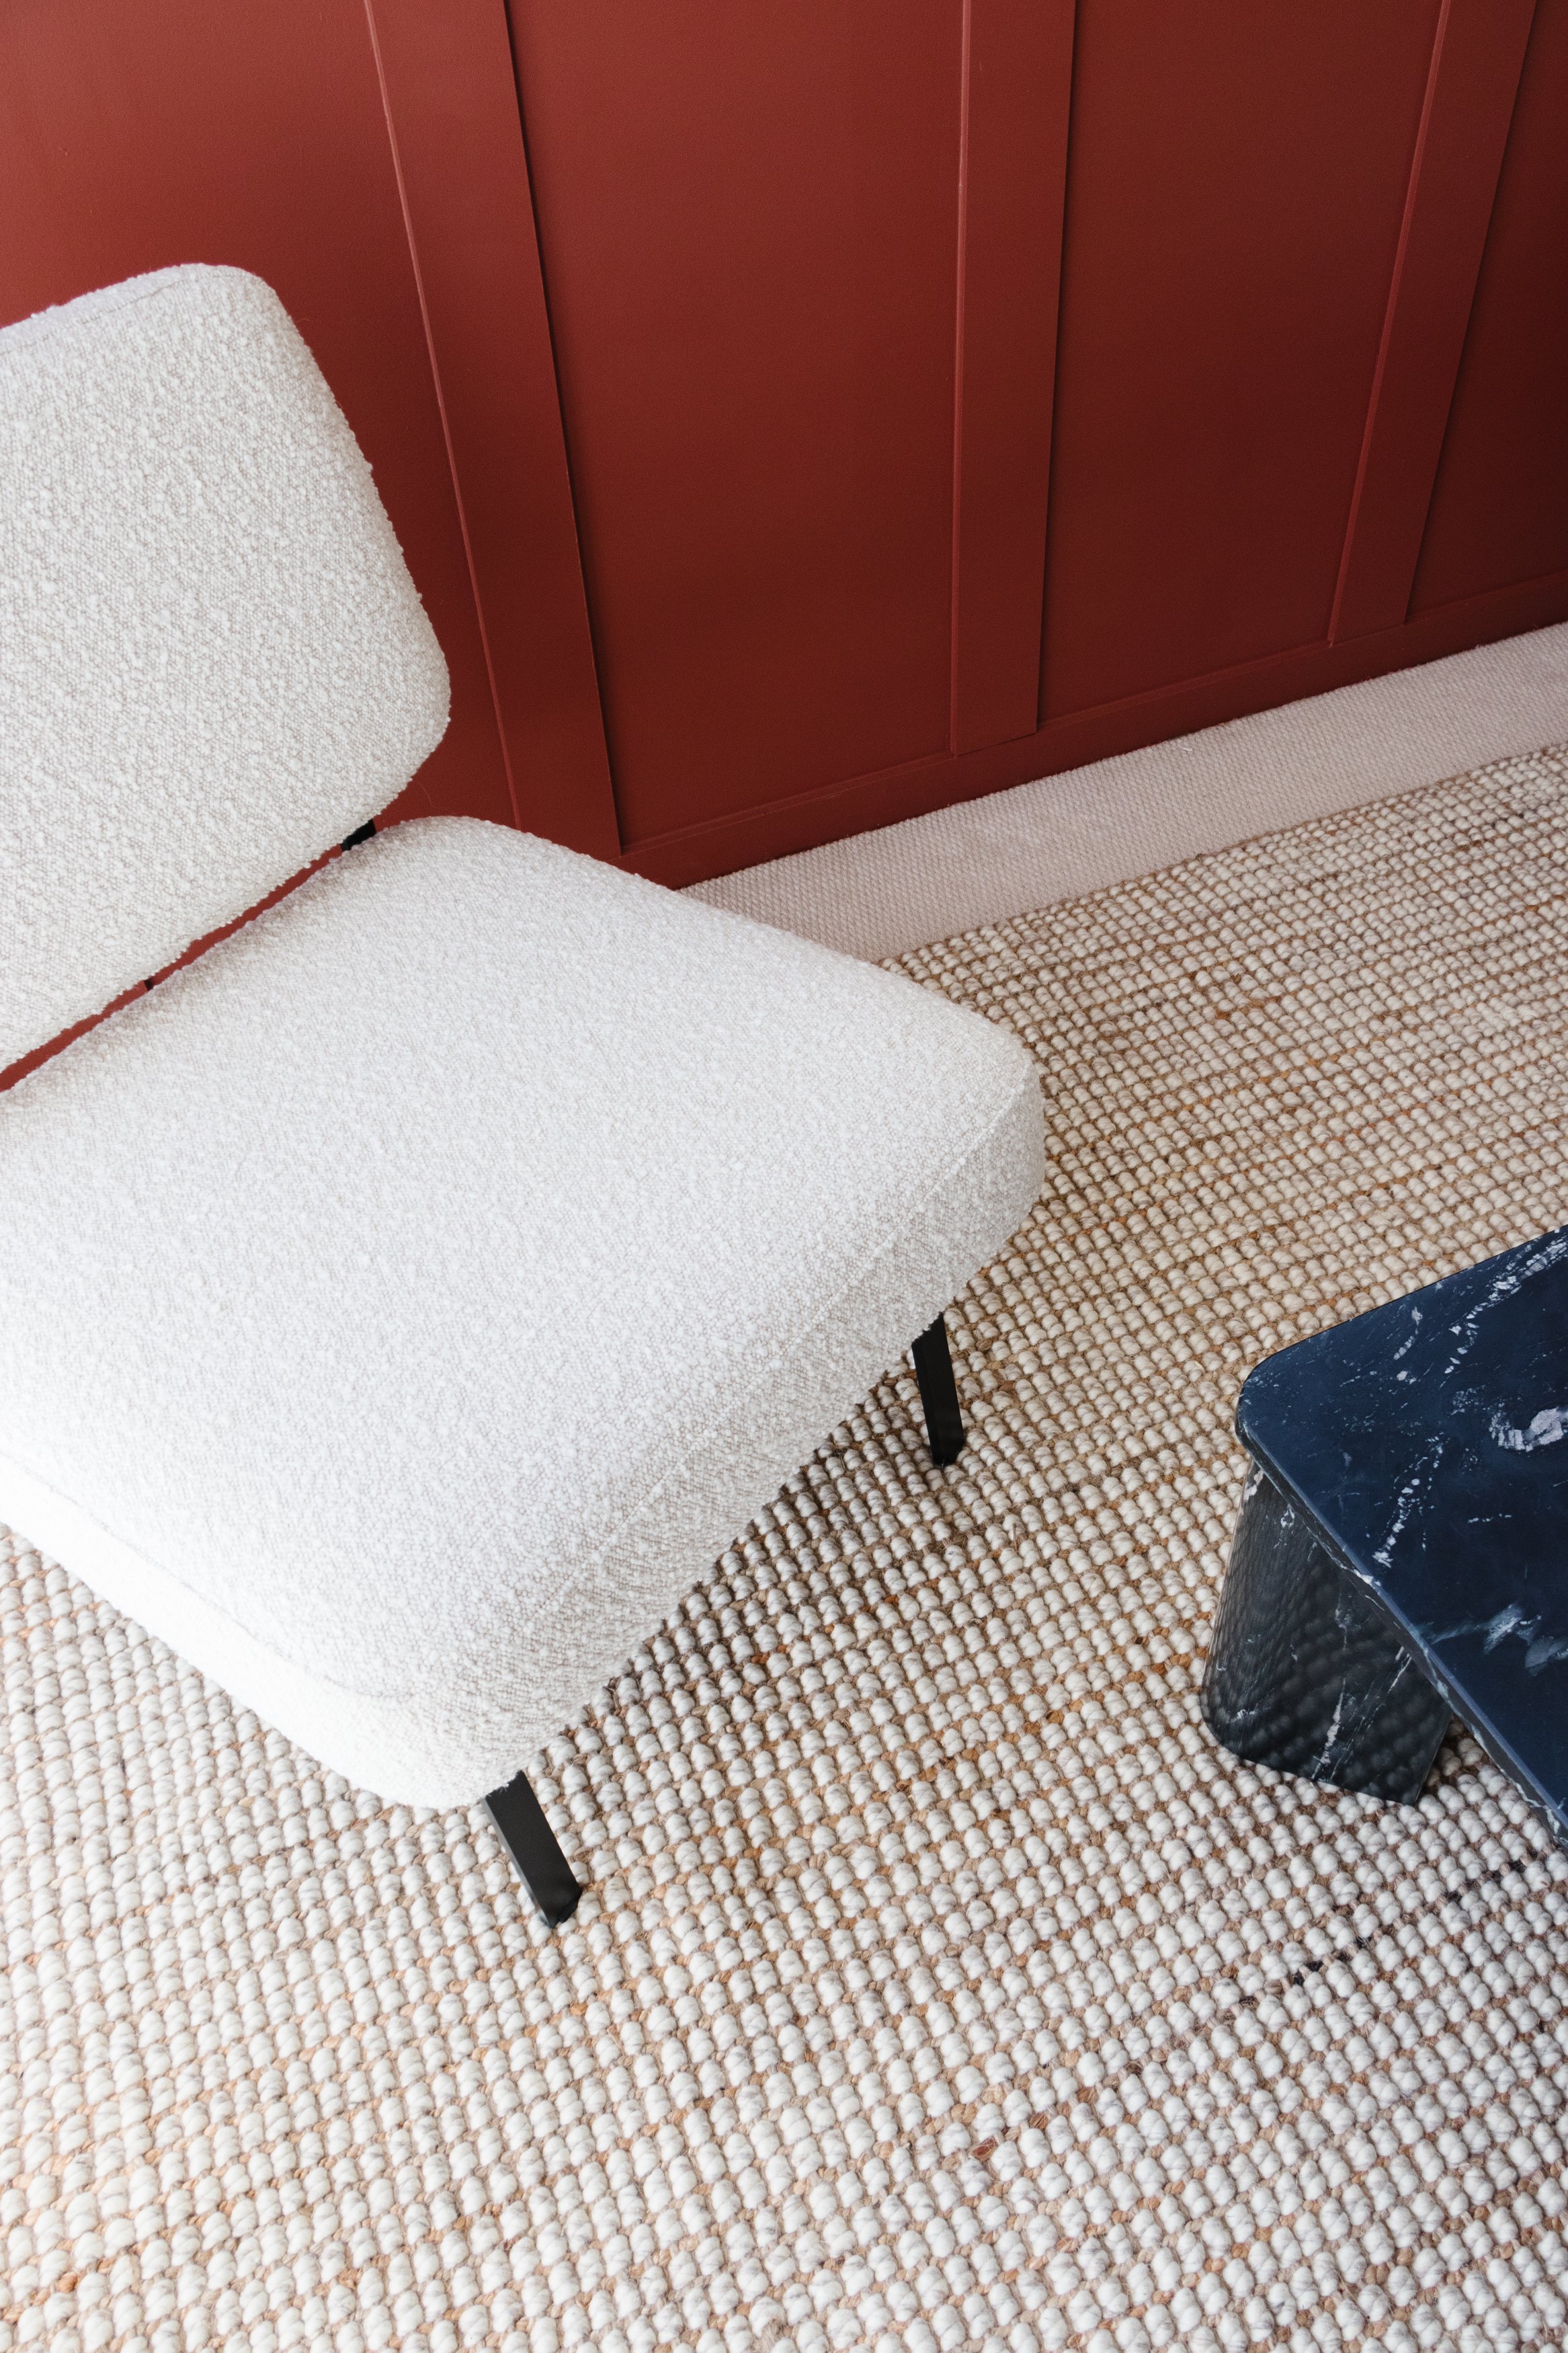
When thinking about styling the space, I wanted to pay tribute to the warm, earthy tones. I went to Freedom and felt immediately connected to their Scandinaivan design inspired pieces and quickly discovered a theme - natural materials and textures including marble, jute, raffia, and boucle. For this space it was important for me to invest in forever pieces that would stand the test of time and the cosy, calm retreat I was hoping to create. I chose a beautiful rug, two cosy armchairs, a stunning marble coffee table and a textured table light.
When I take a step back and look at the space now, our new reading nook, I can’t help but smile. It looks and feels so beautiful and grown up, which is exactly what I was hoping for.
To see how our mini makeover came together watch this video
Before & After


Project Details
🛠️ Makeover: Making over our chaotic spare room into a calm, light filled reading noook
🕒 Project Time Estimate: 1 day
Vibe Tray
How To
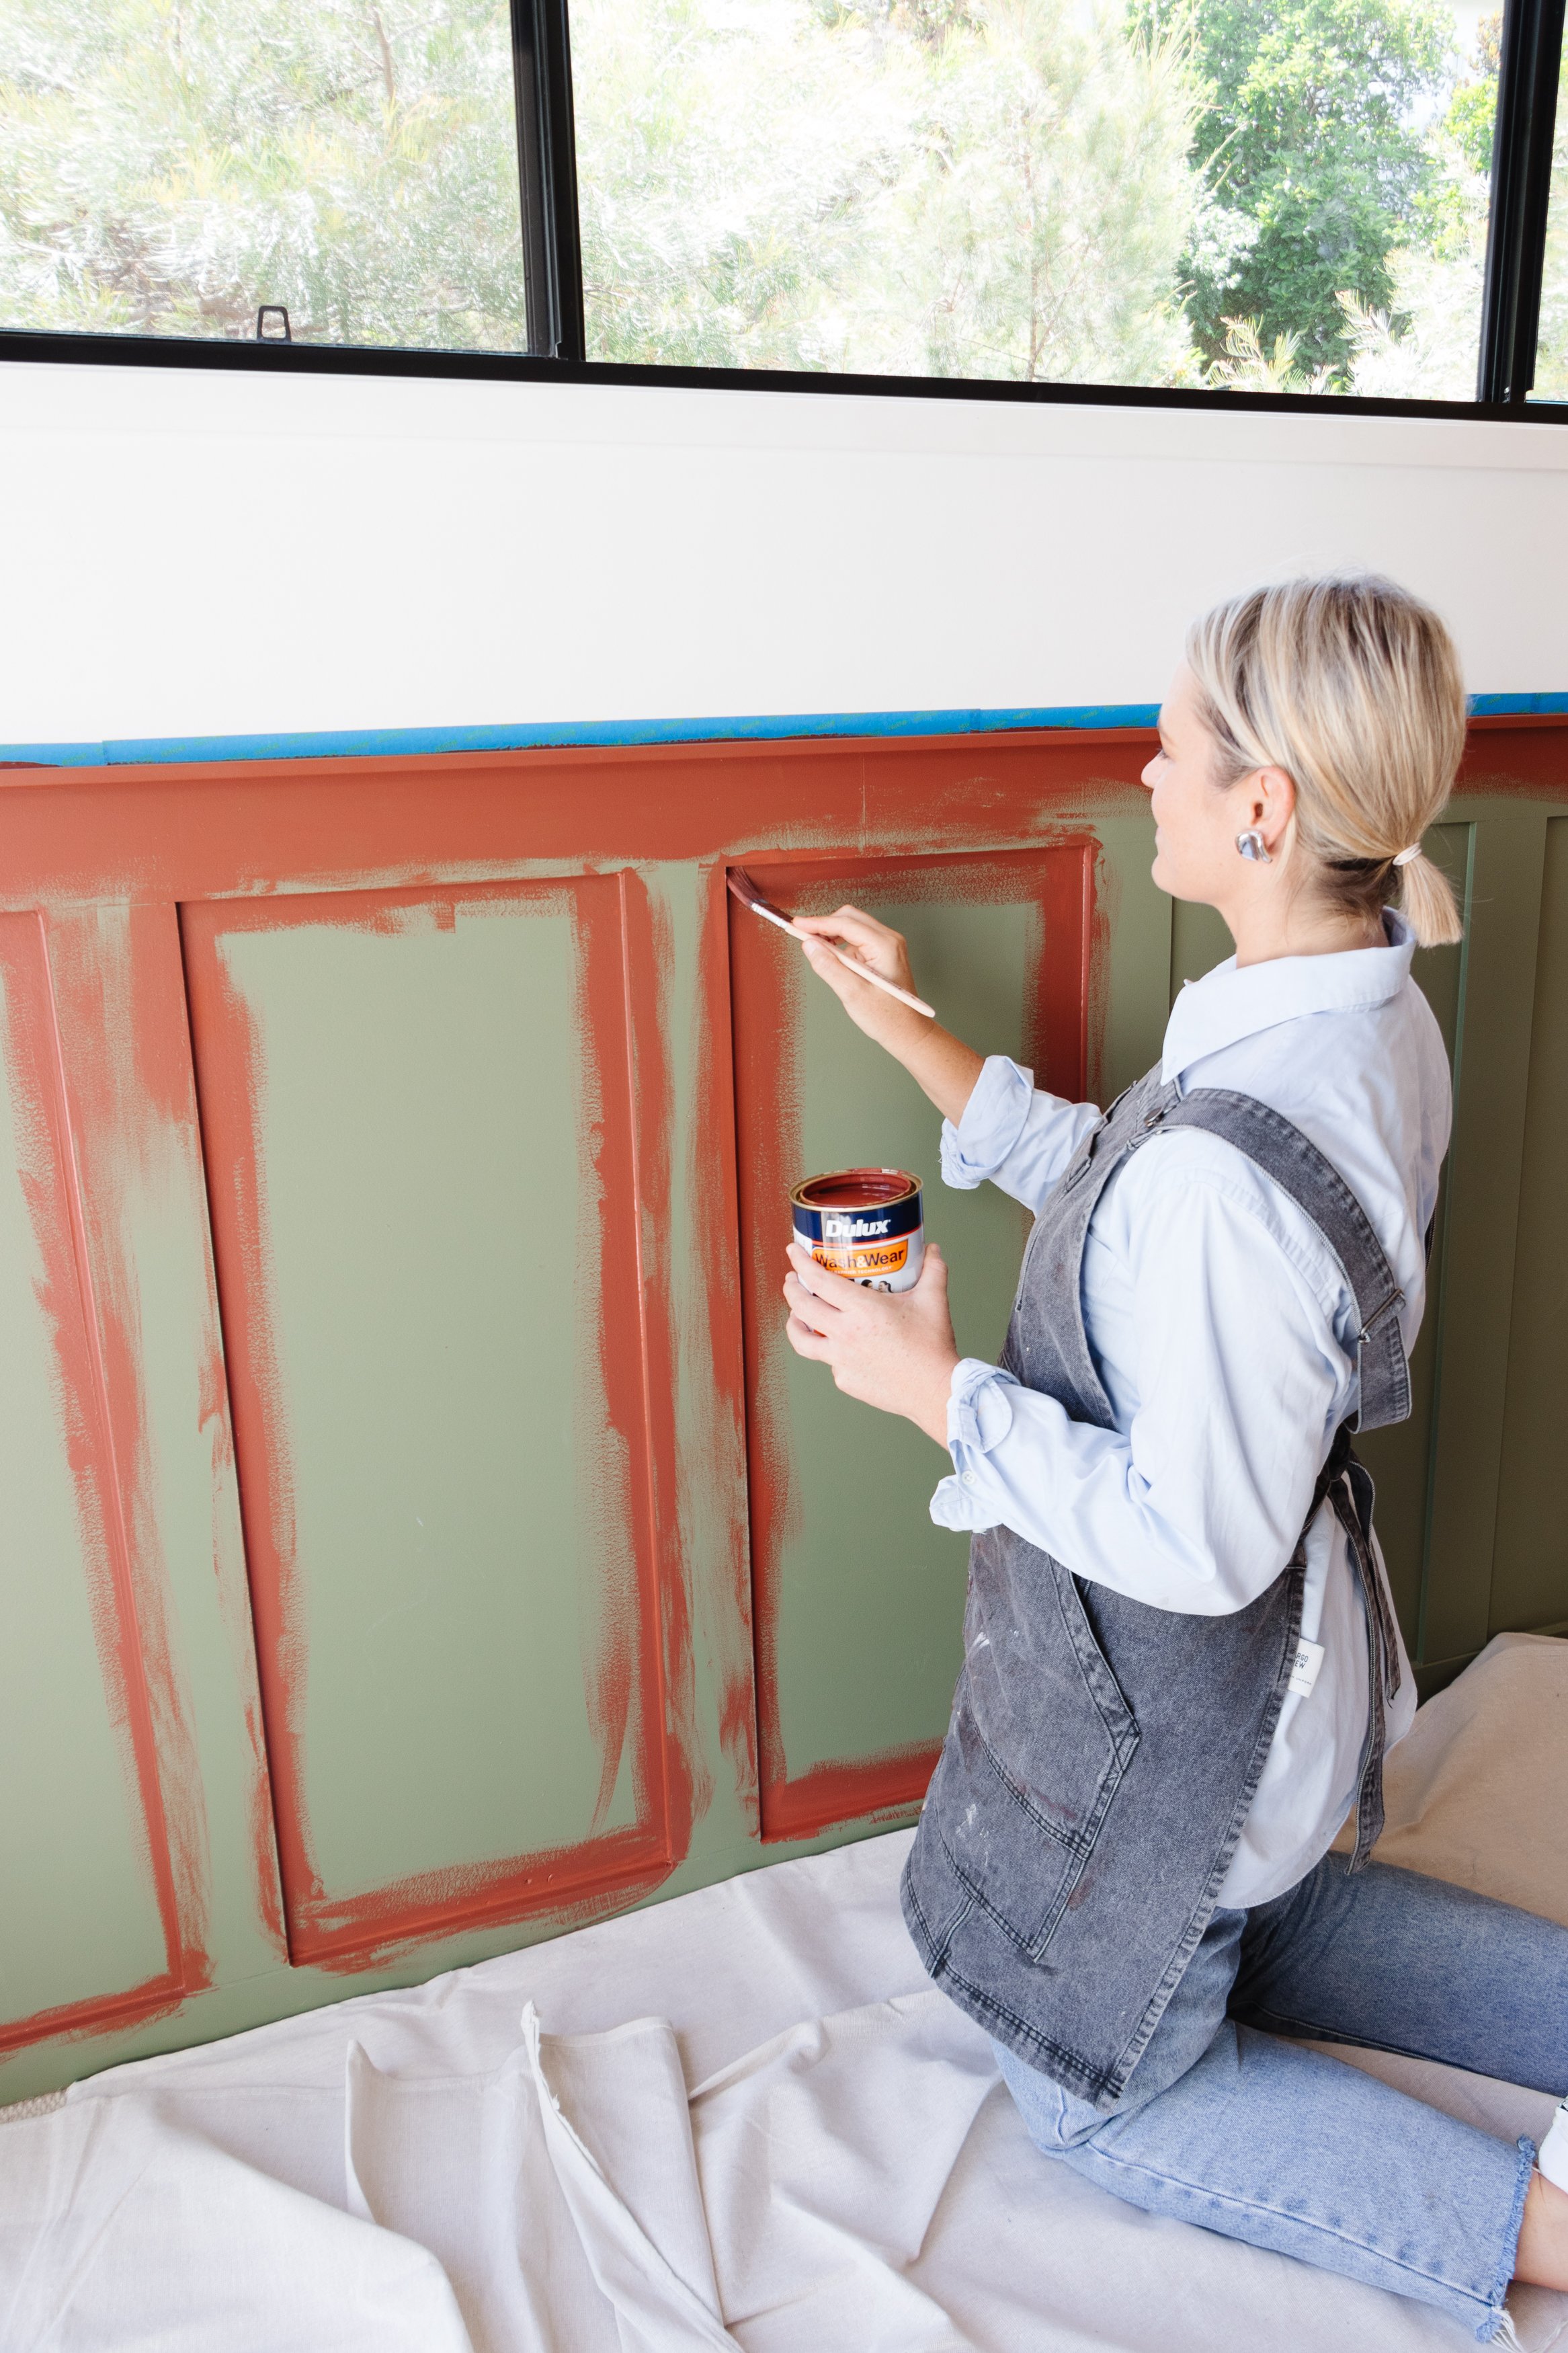
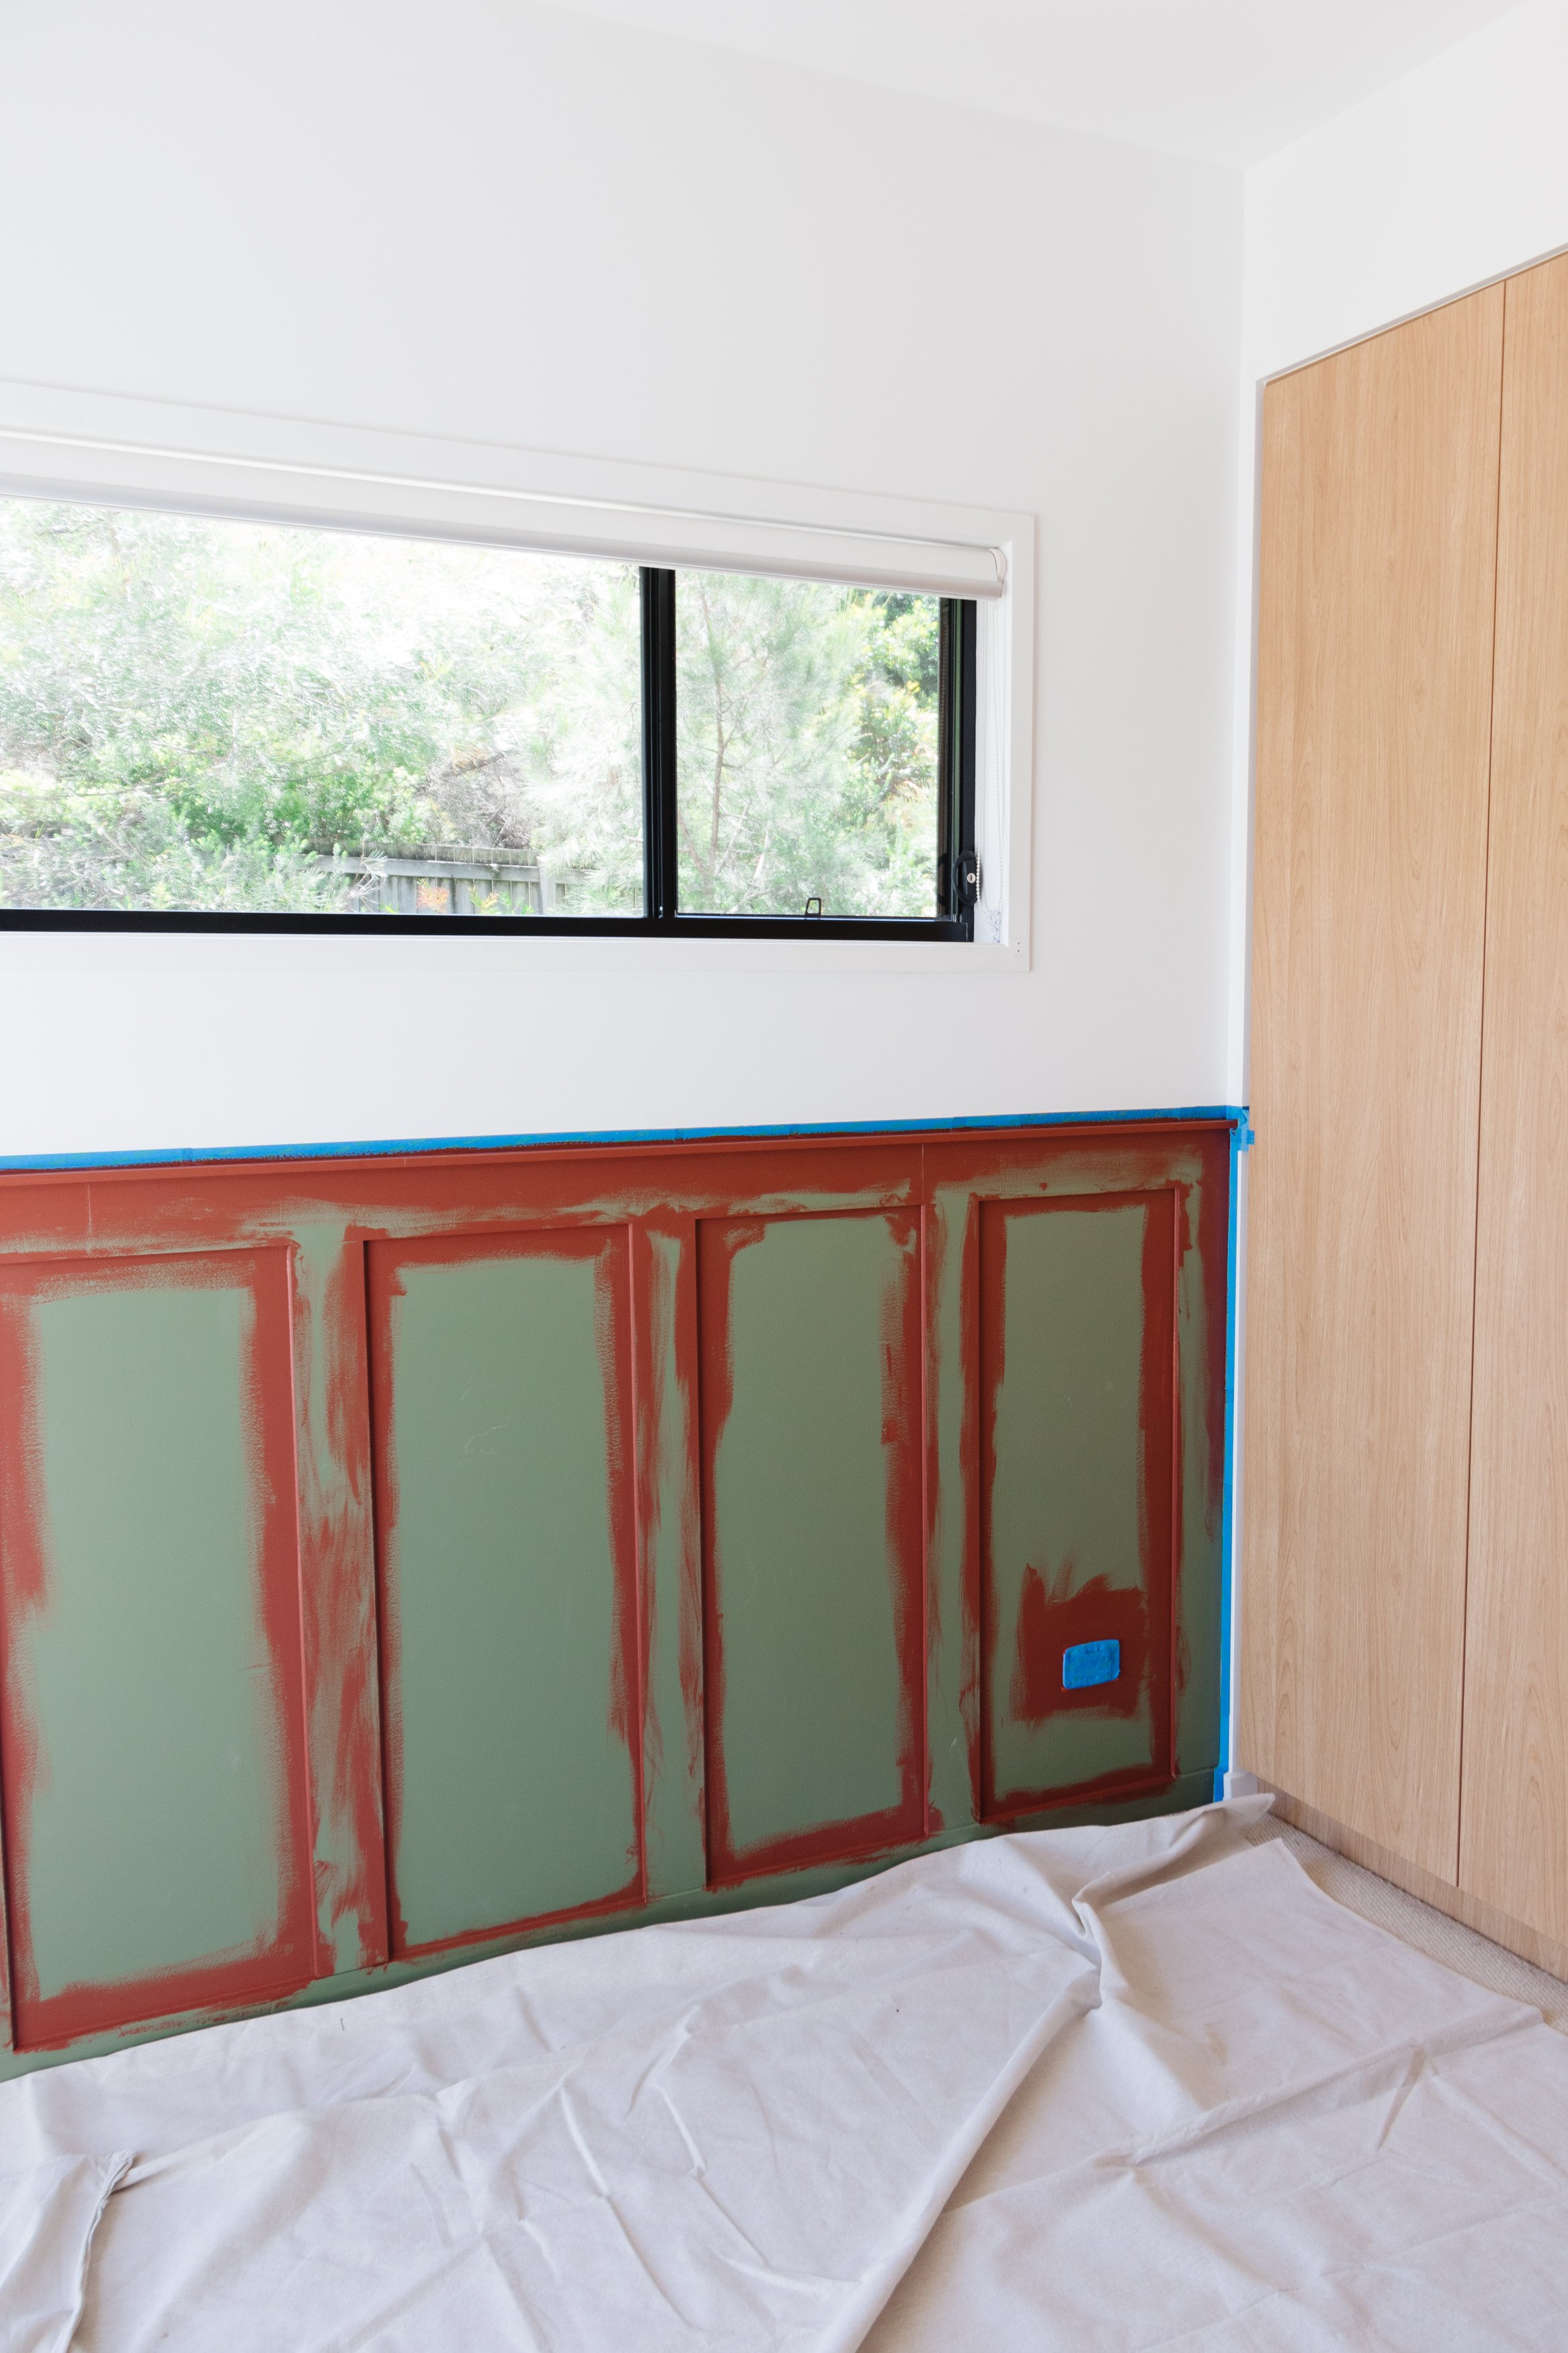
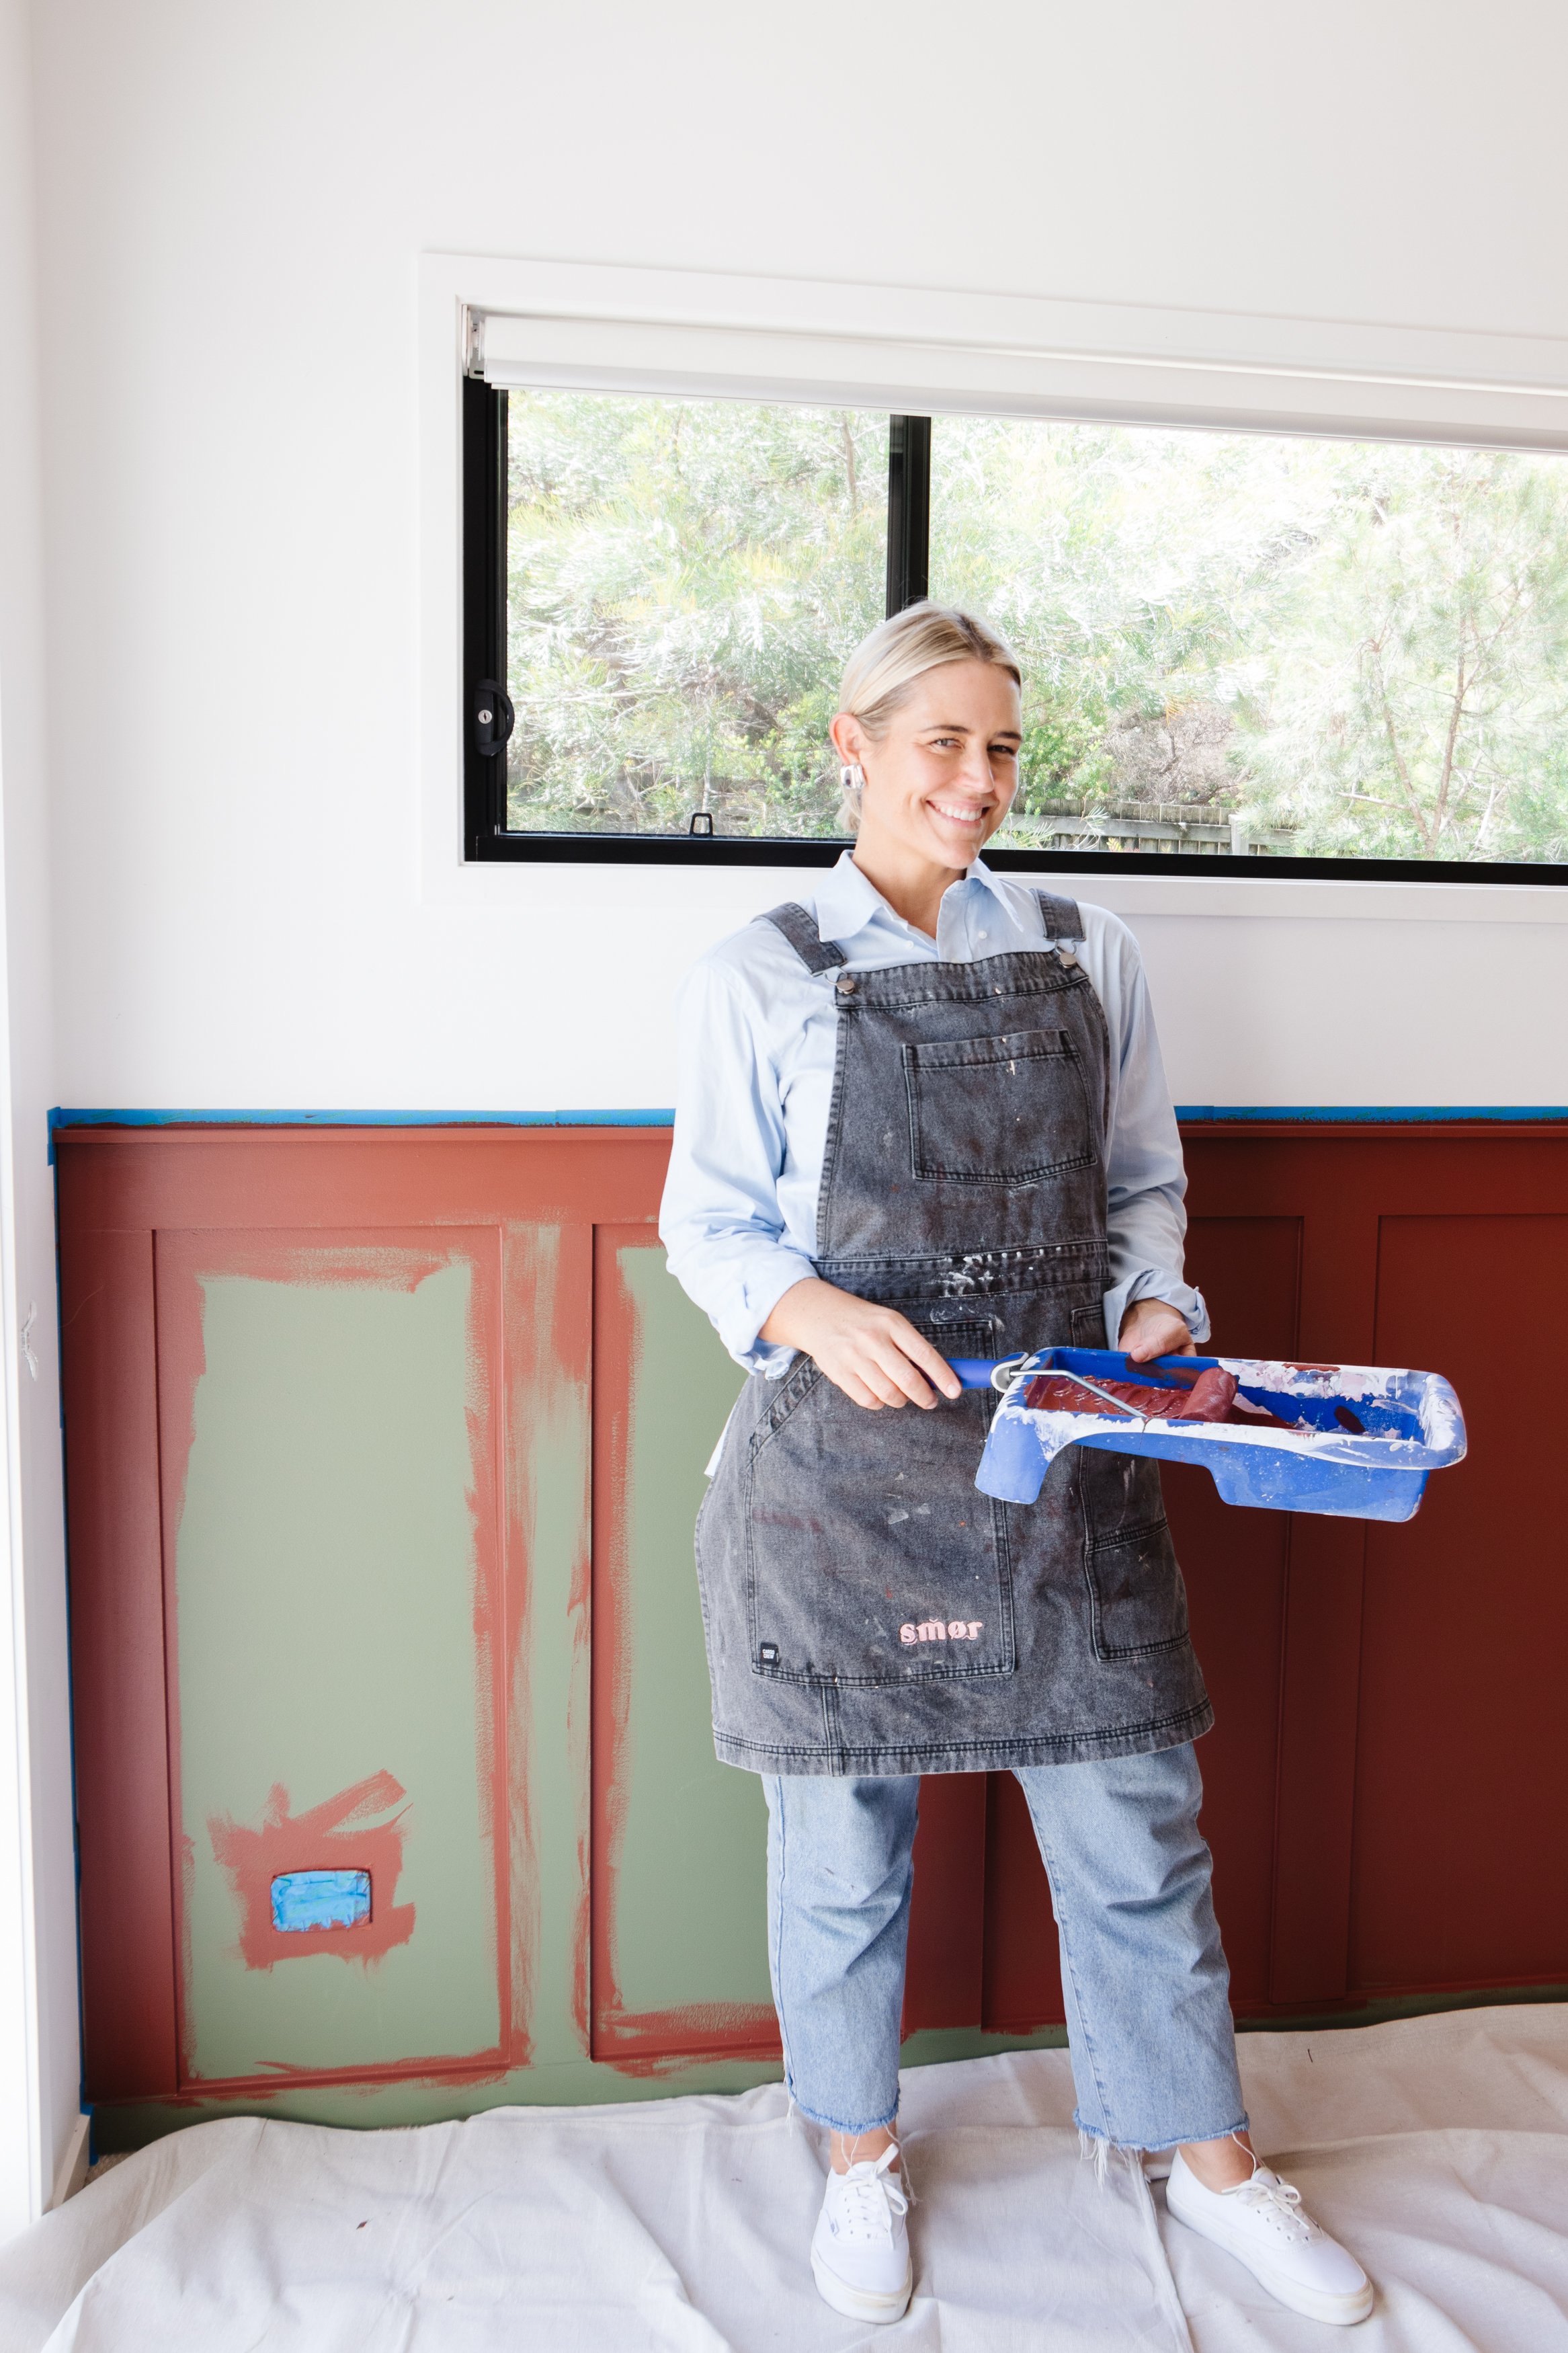
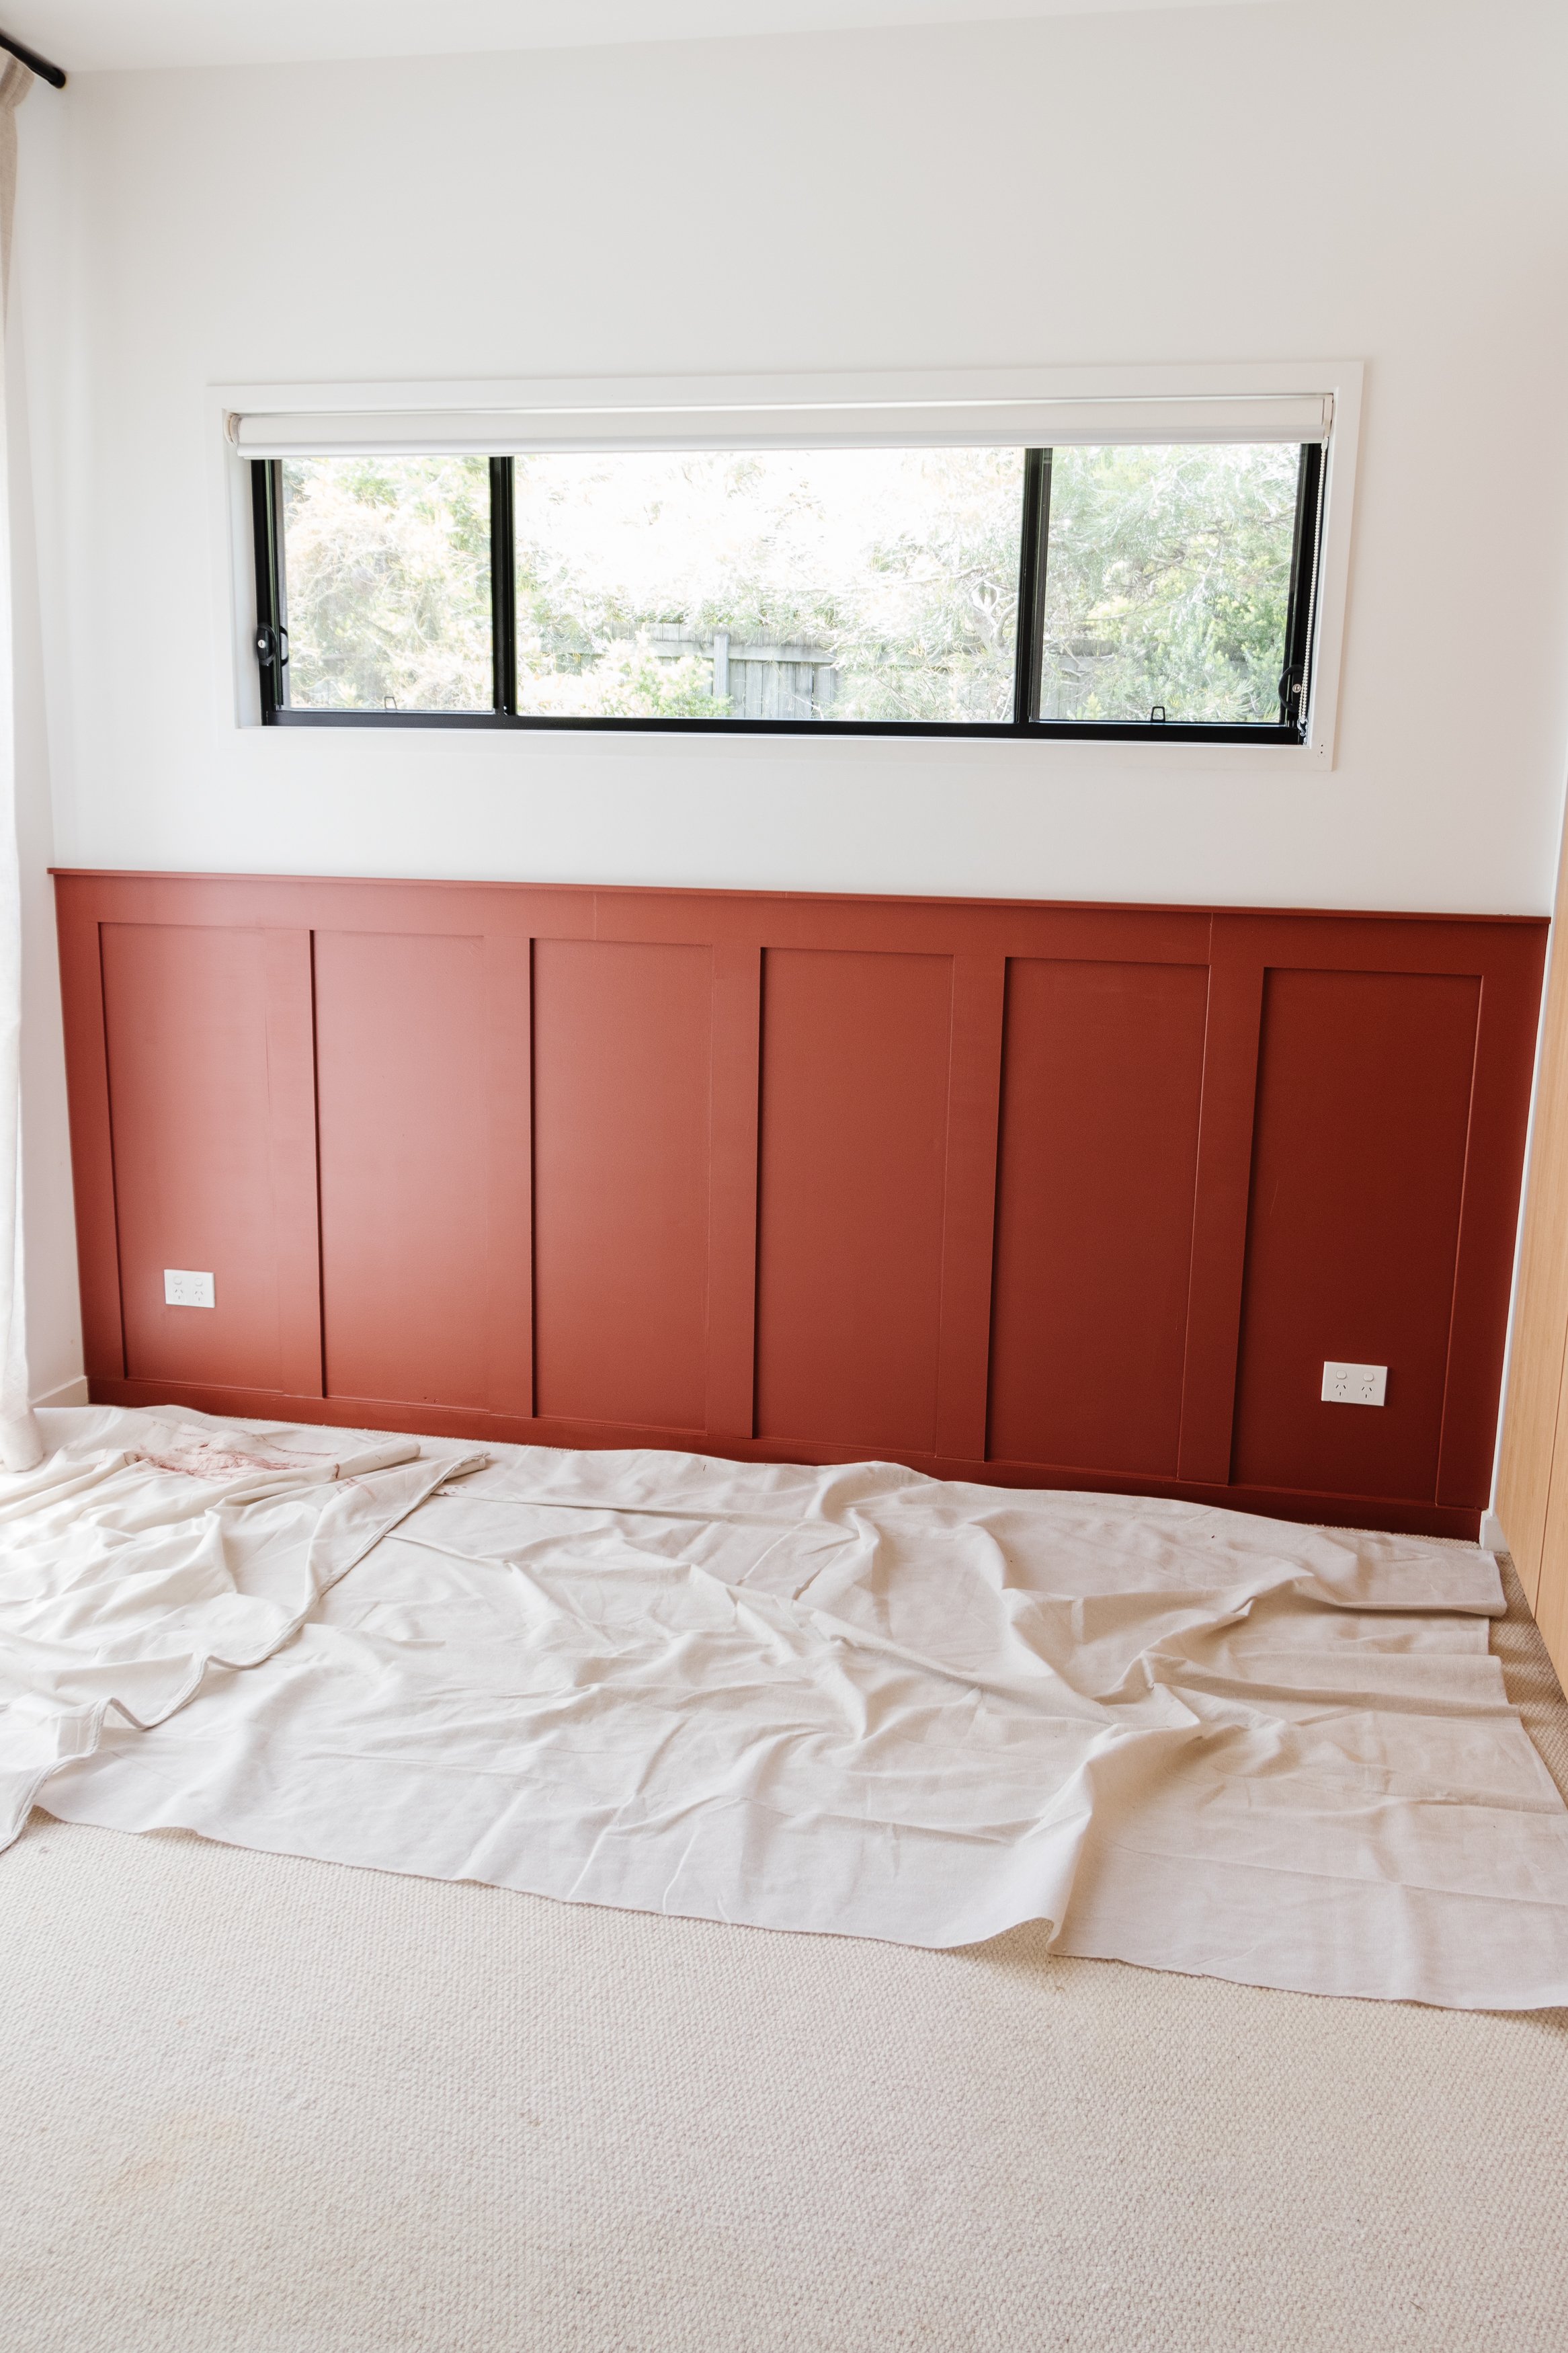
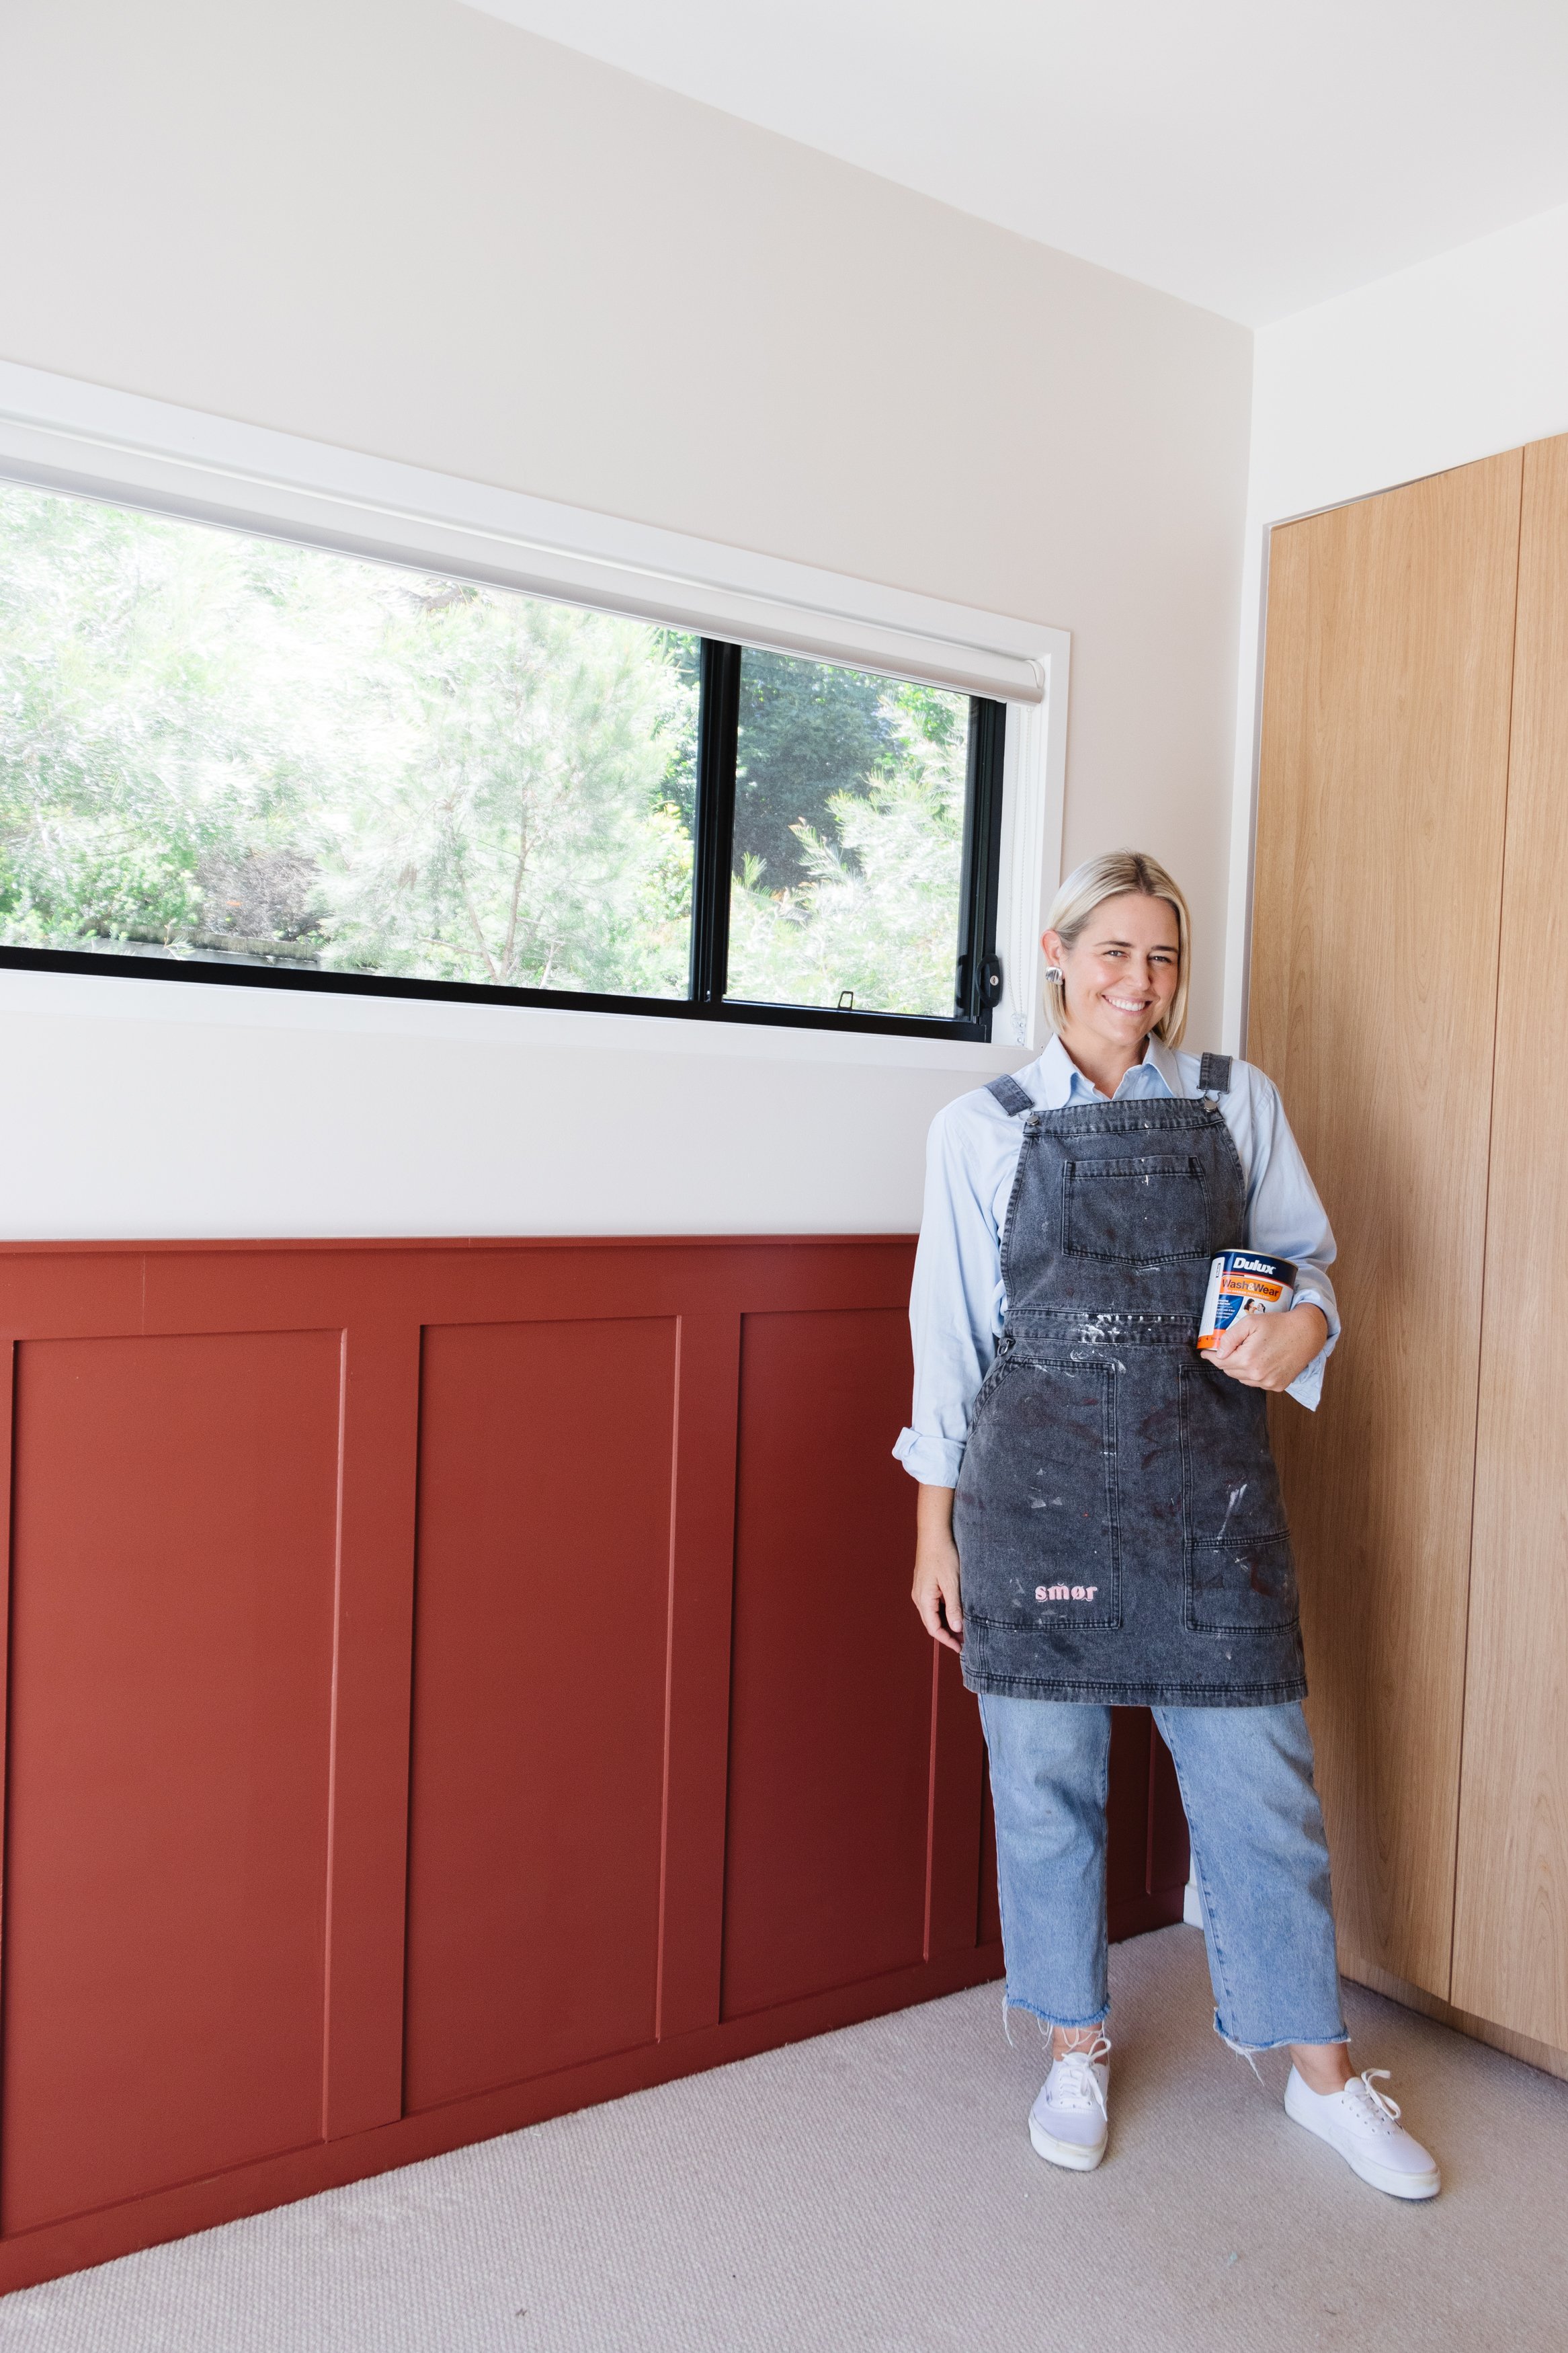
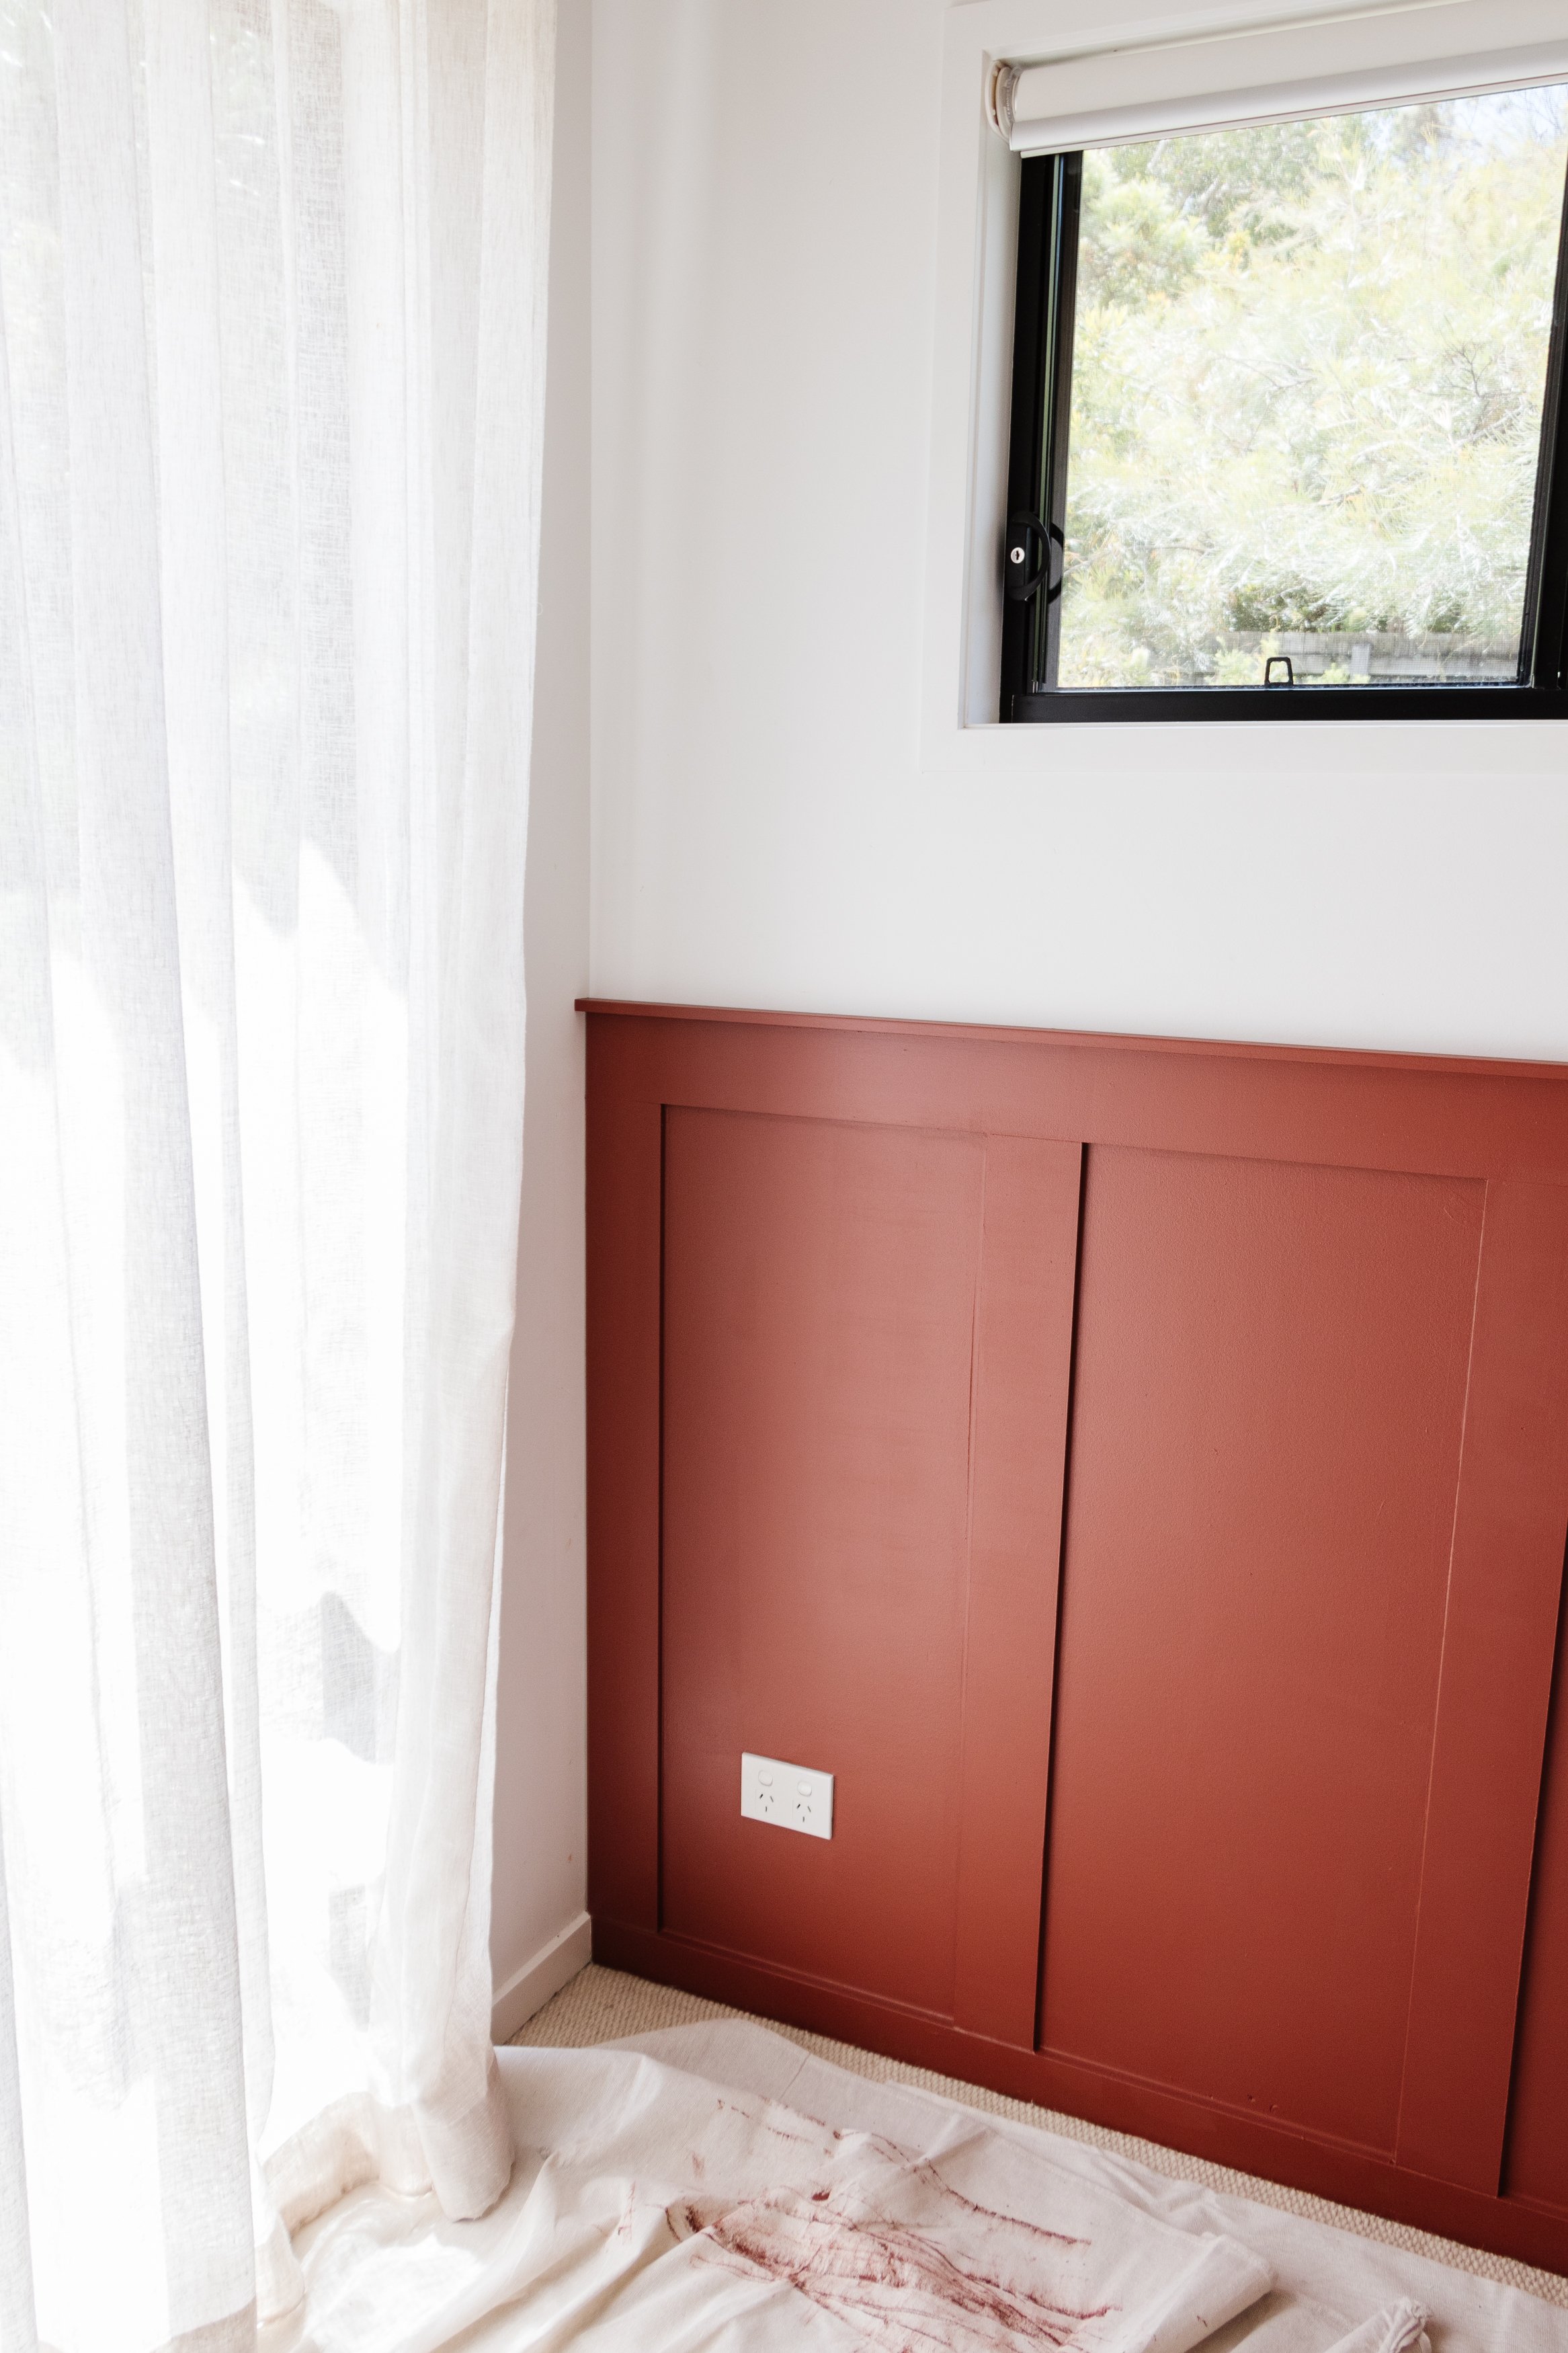
Step 1: I removed the furniture and rug from the spare room. I placed a drop sheet onto the carpet and lined the feature wall with painter’s tape. I applied two coats of Dulux Reddy Brown Using a cutting brush and a roller. I also used a piece of cardboard while painting the skirting board at the bottom. While the paint was still wet I removed the painter’s tape.
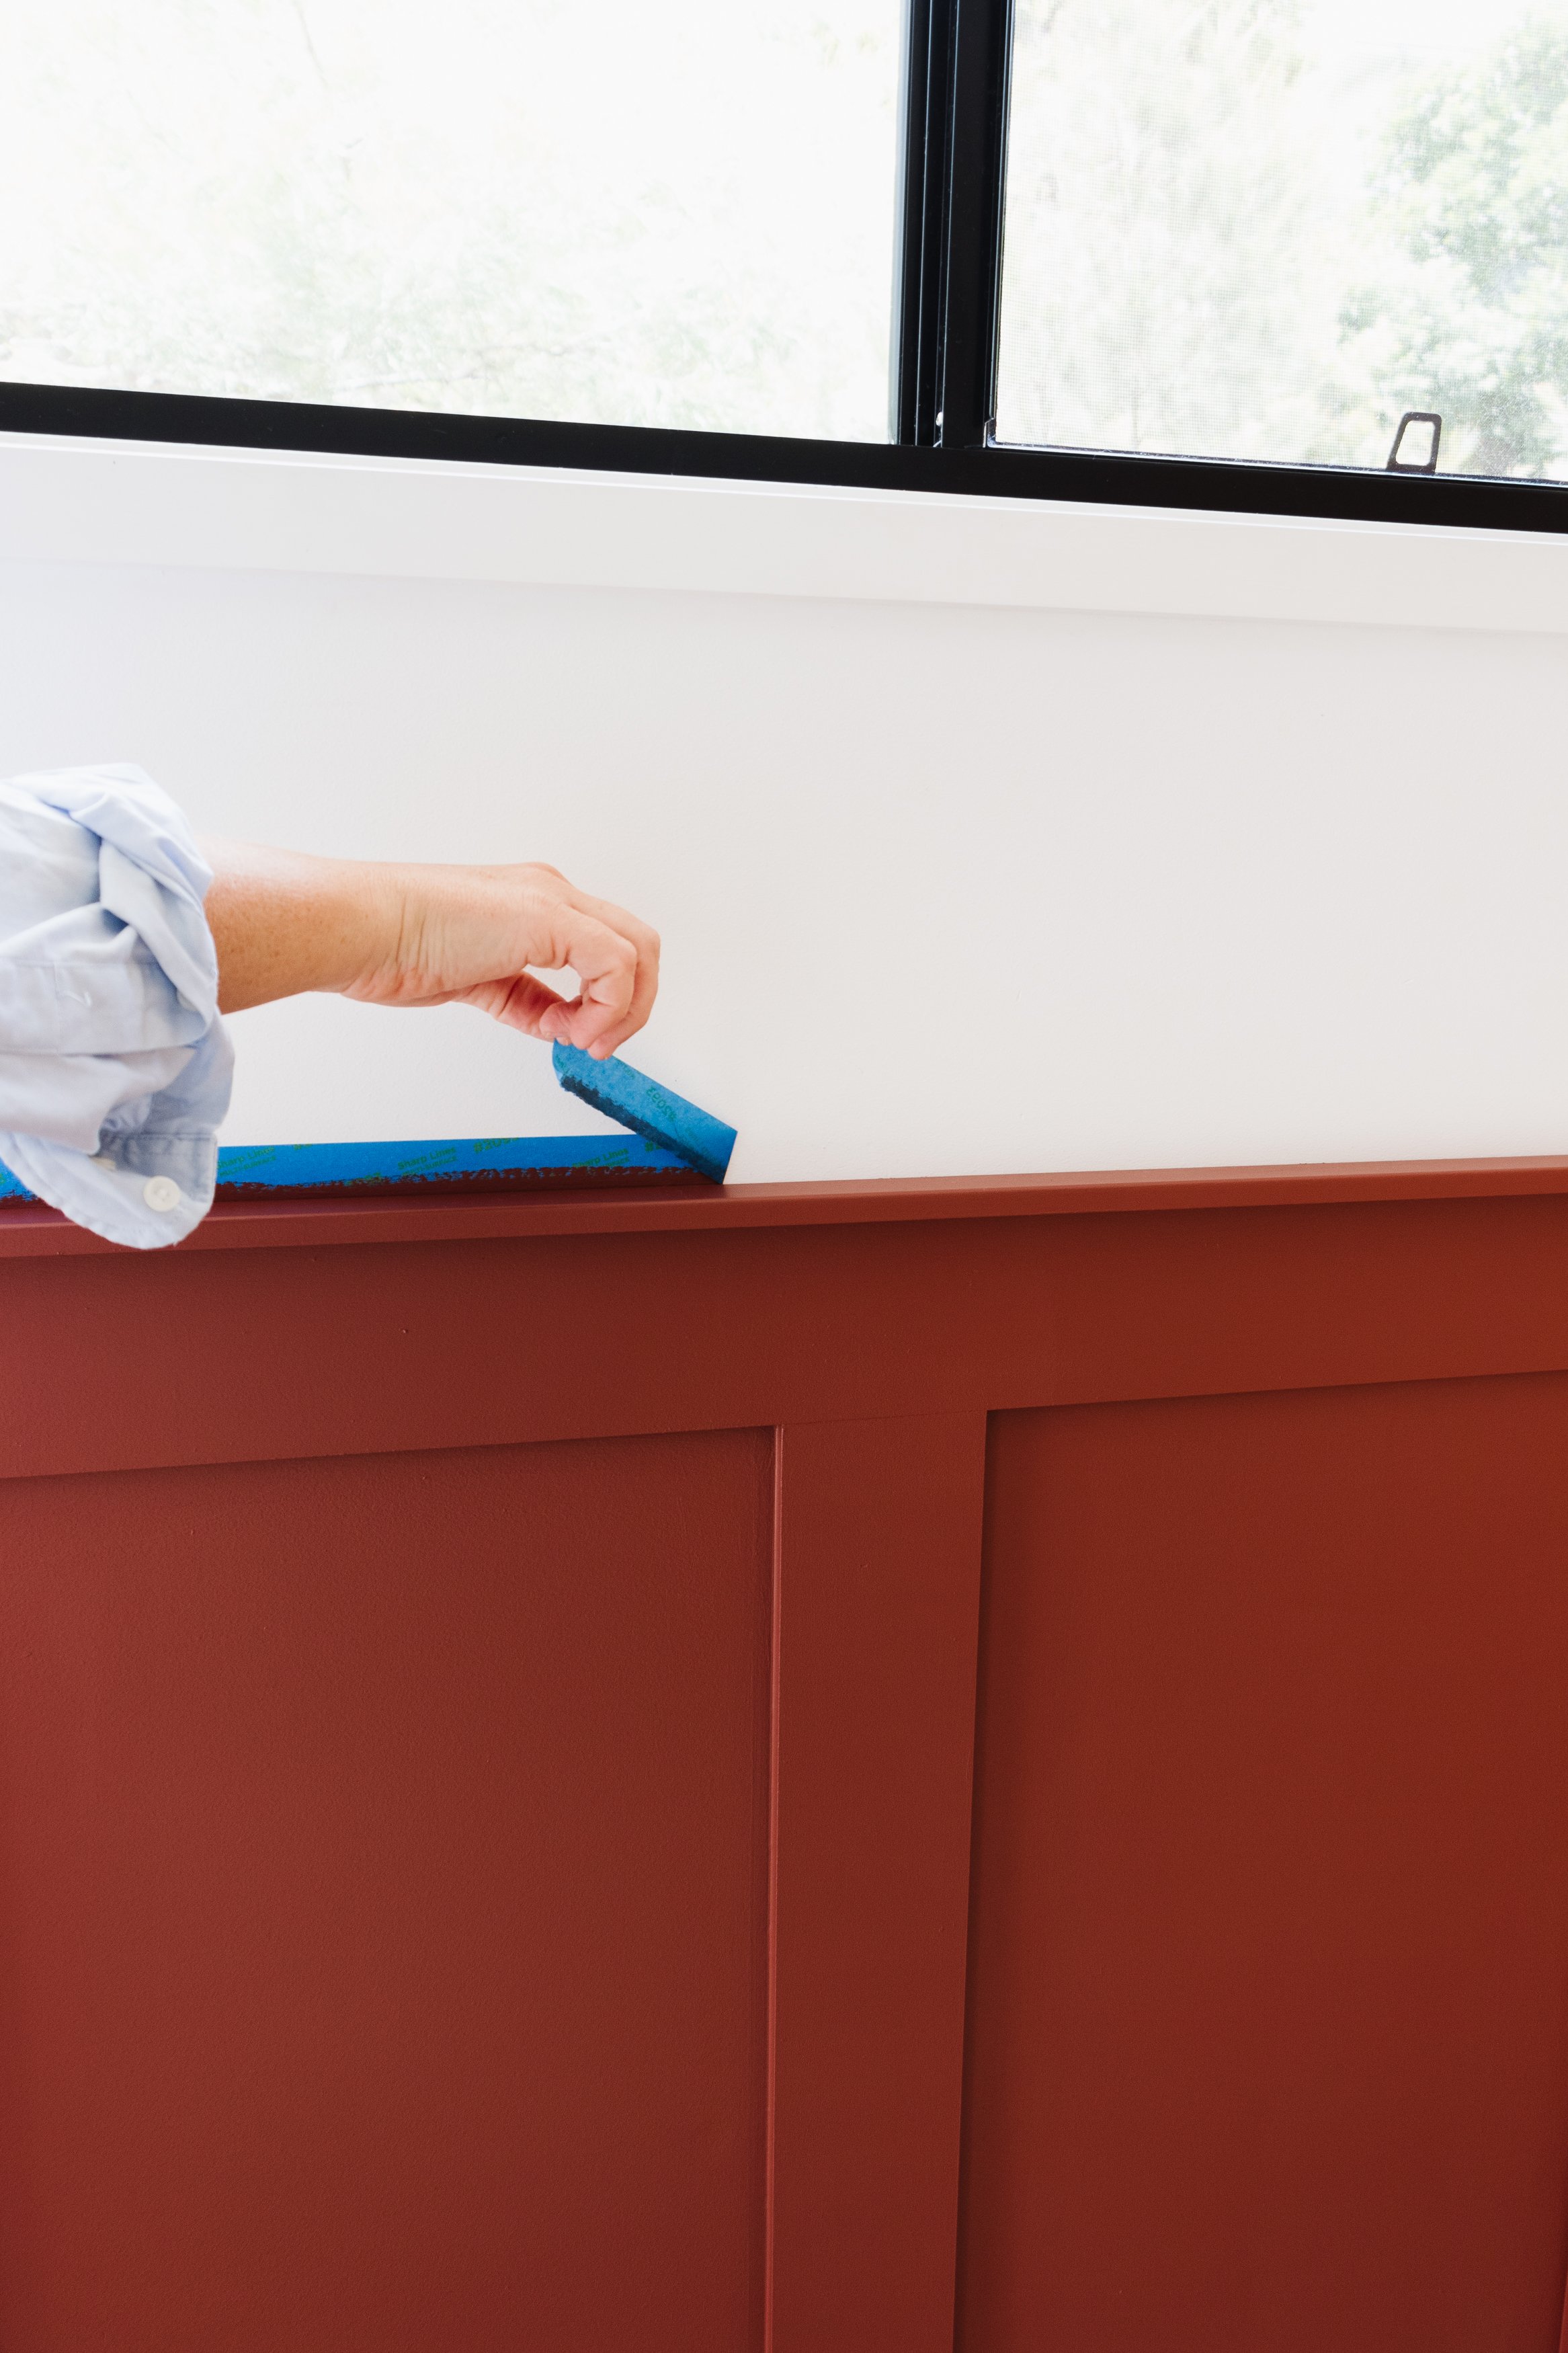
Step 2: When the Reddy Brown had dried I applied more painter’s tape onto the rest of the wall and repeated the same step as above. I spent a lot of time wondering if I should paint the window frame too, but in the end I decided not to and I think it was the best decision.
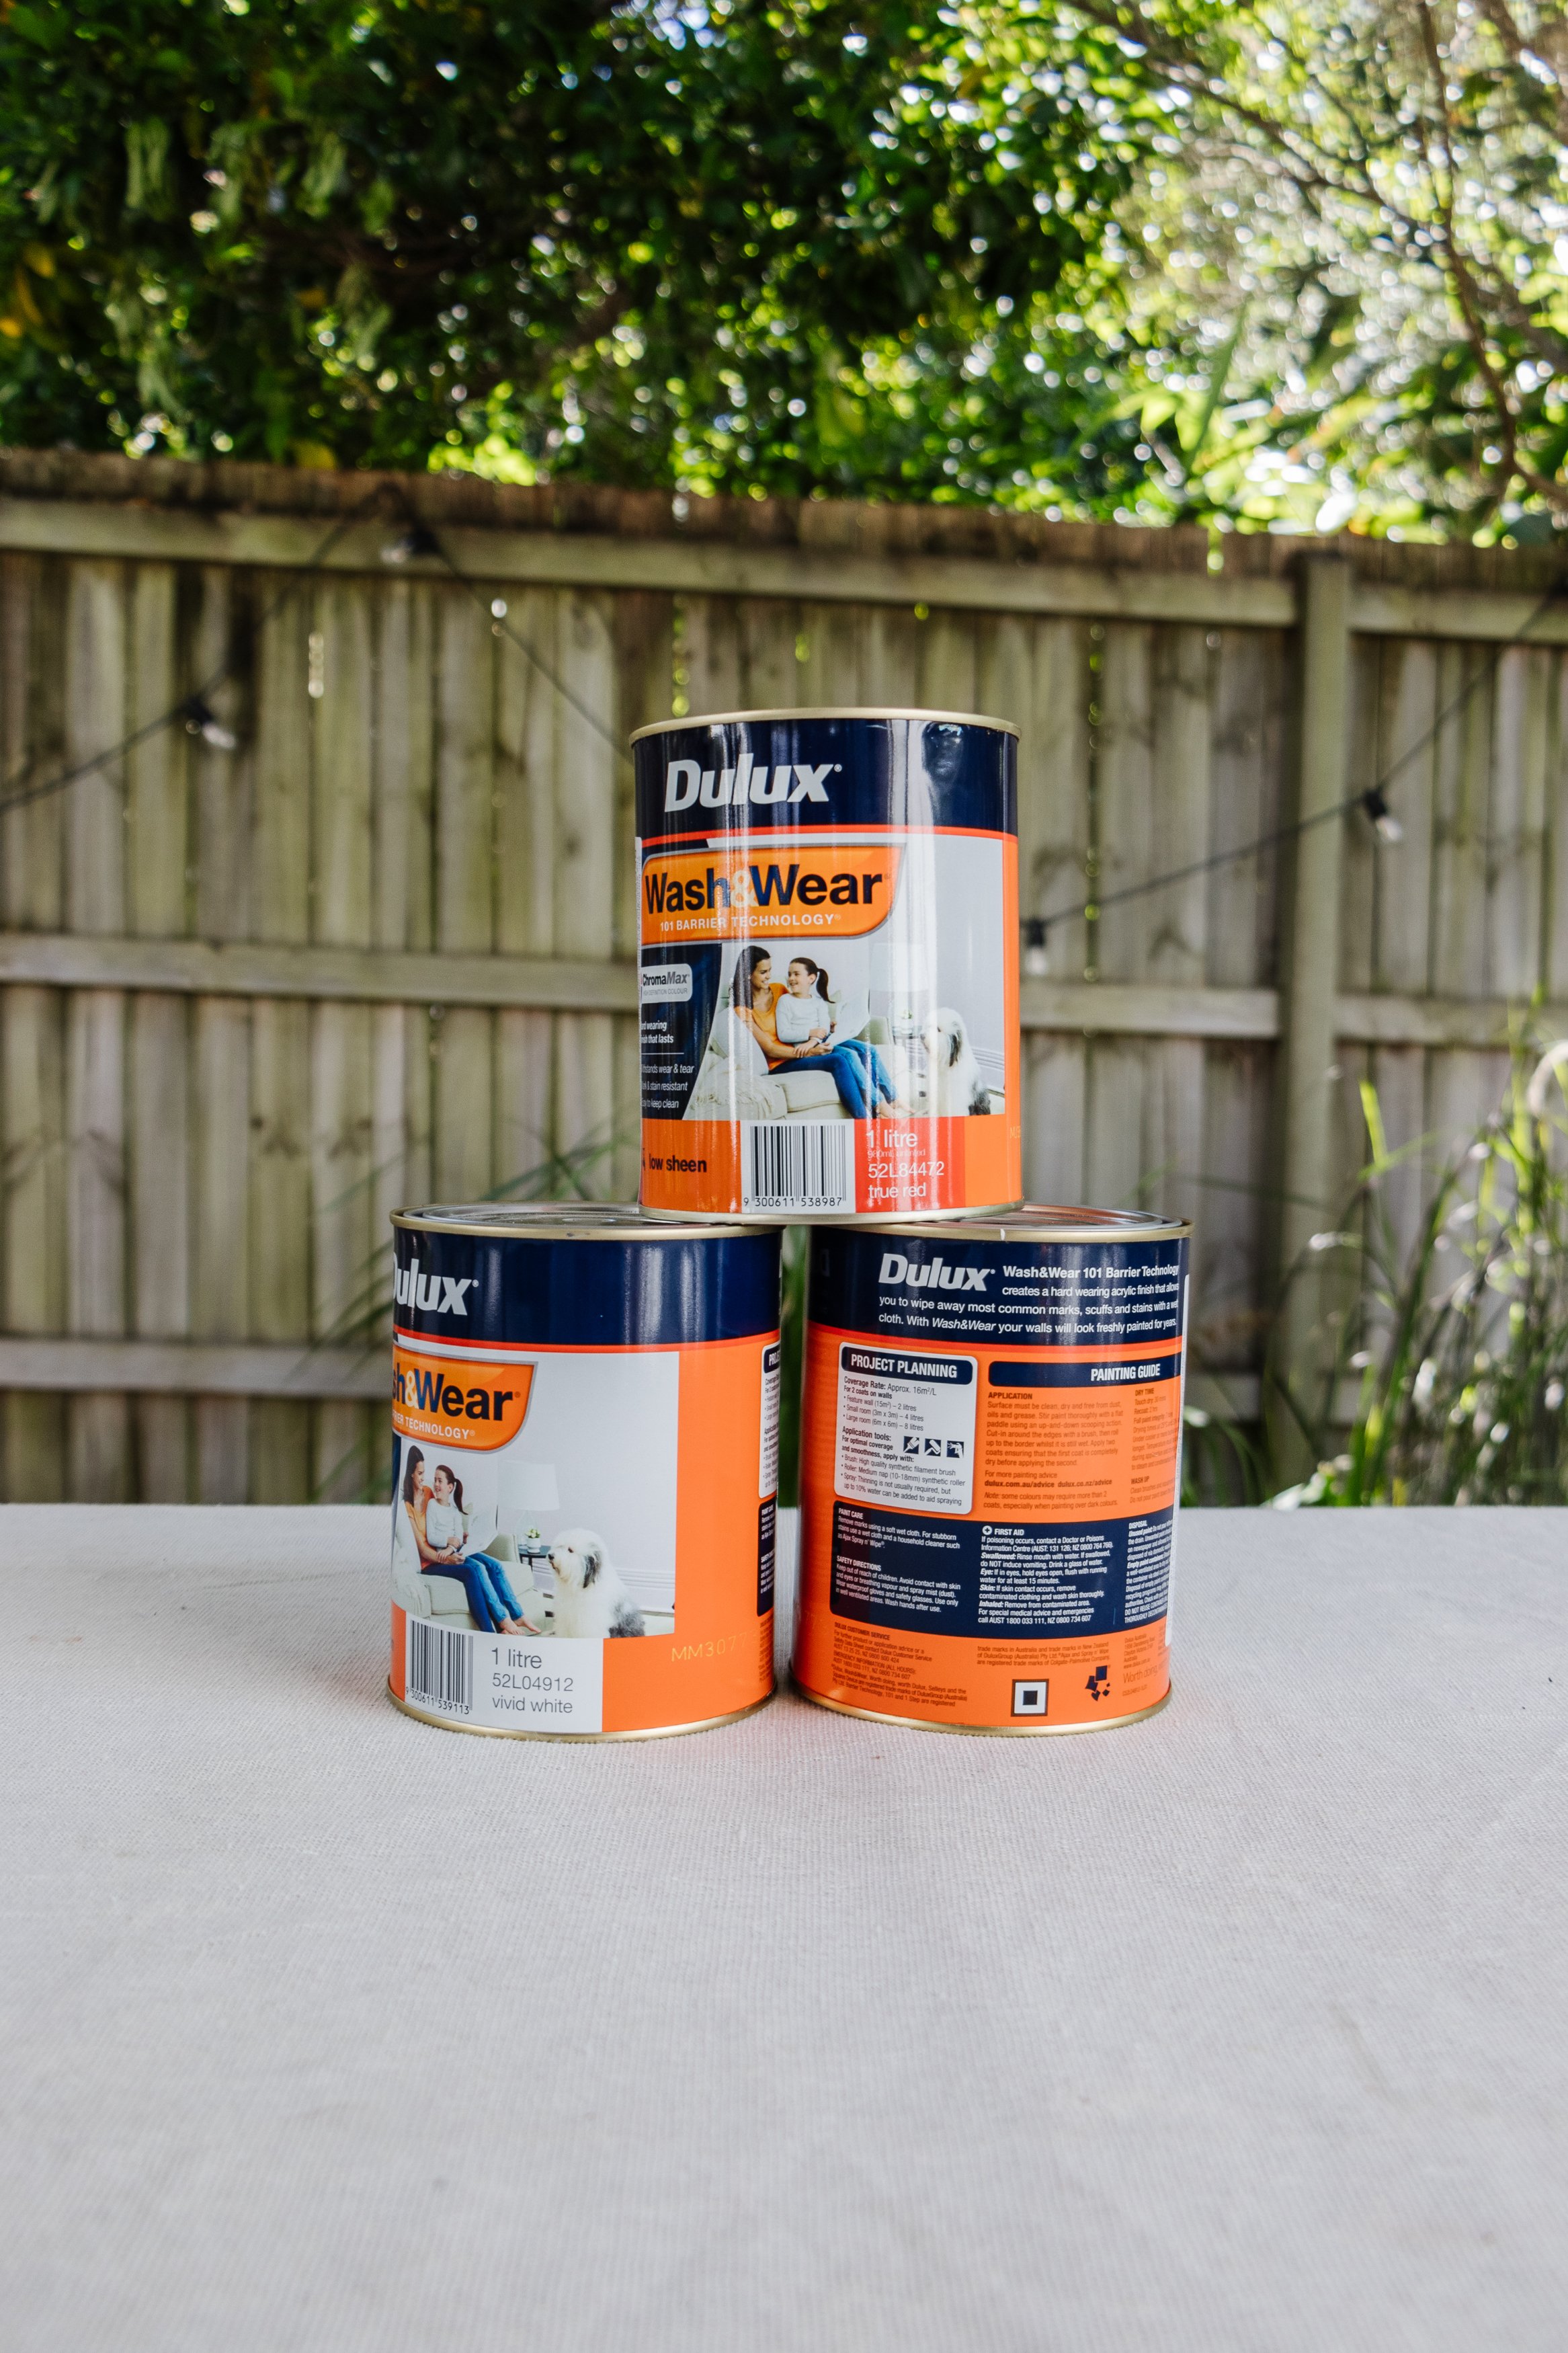

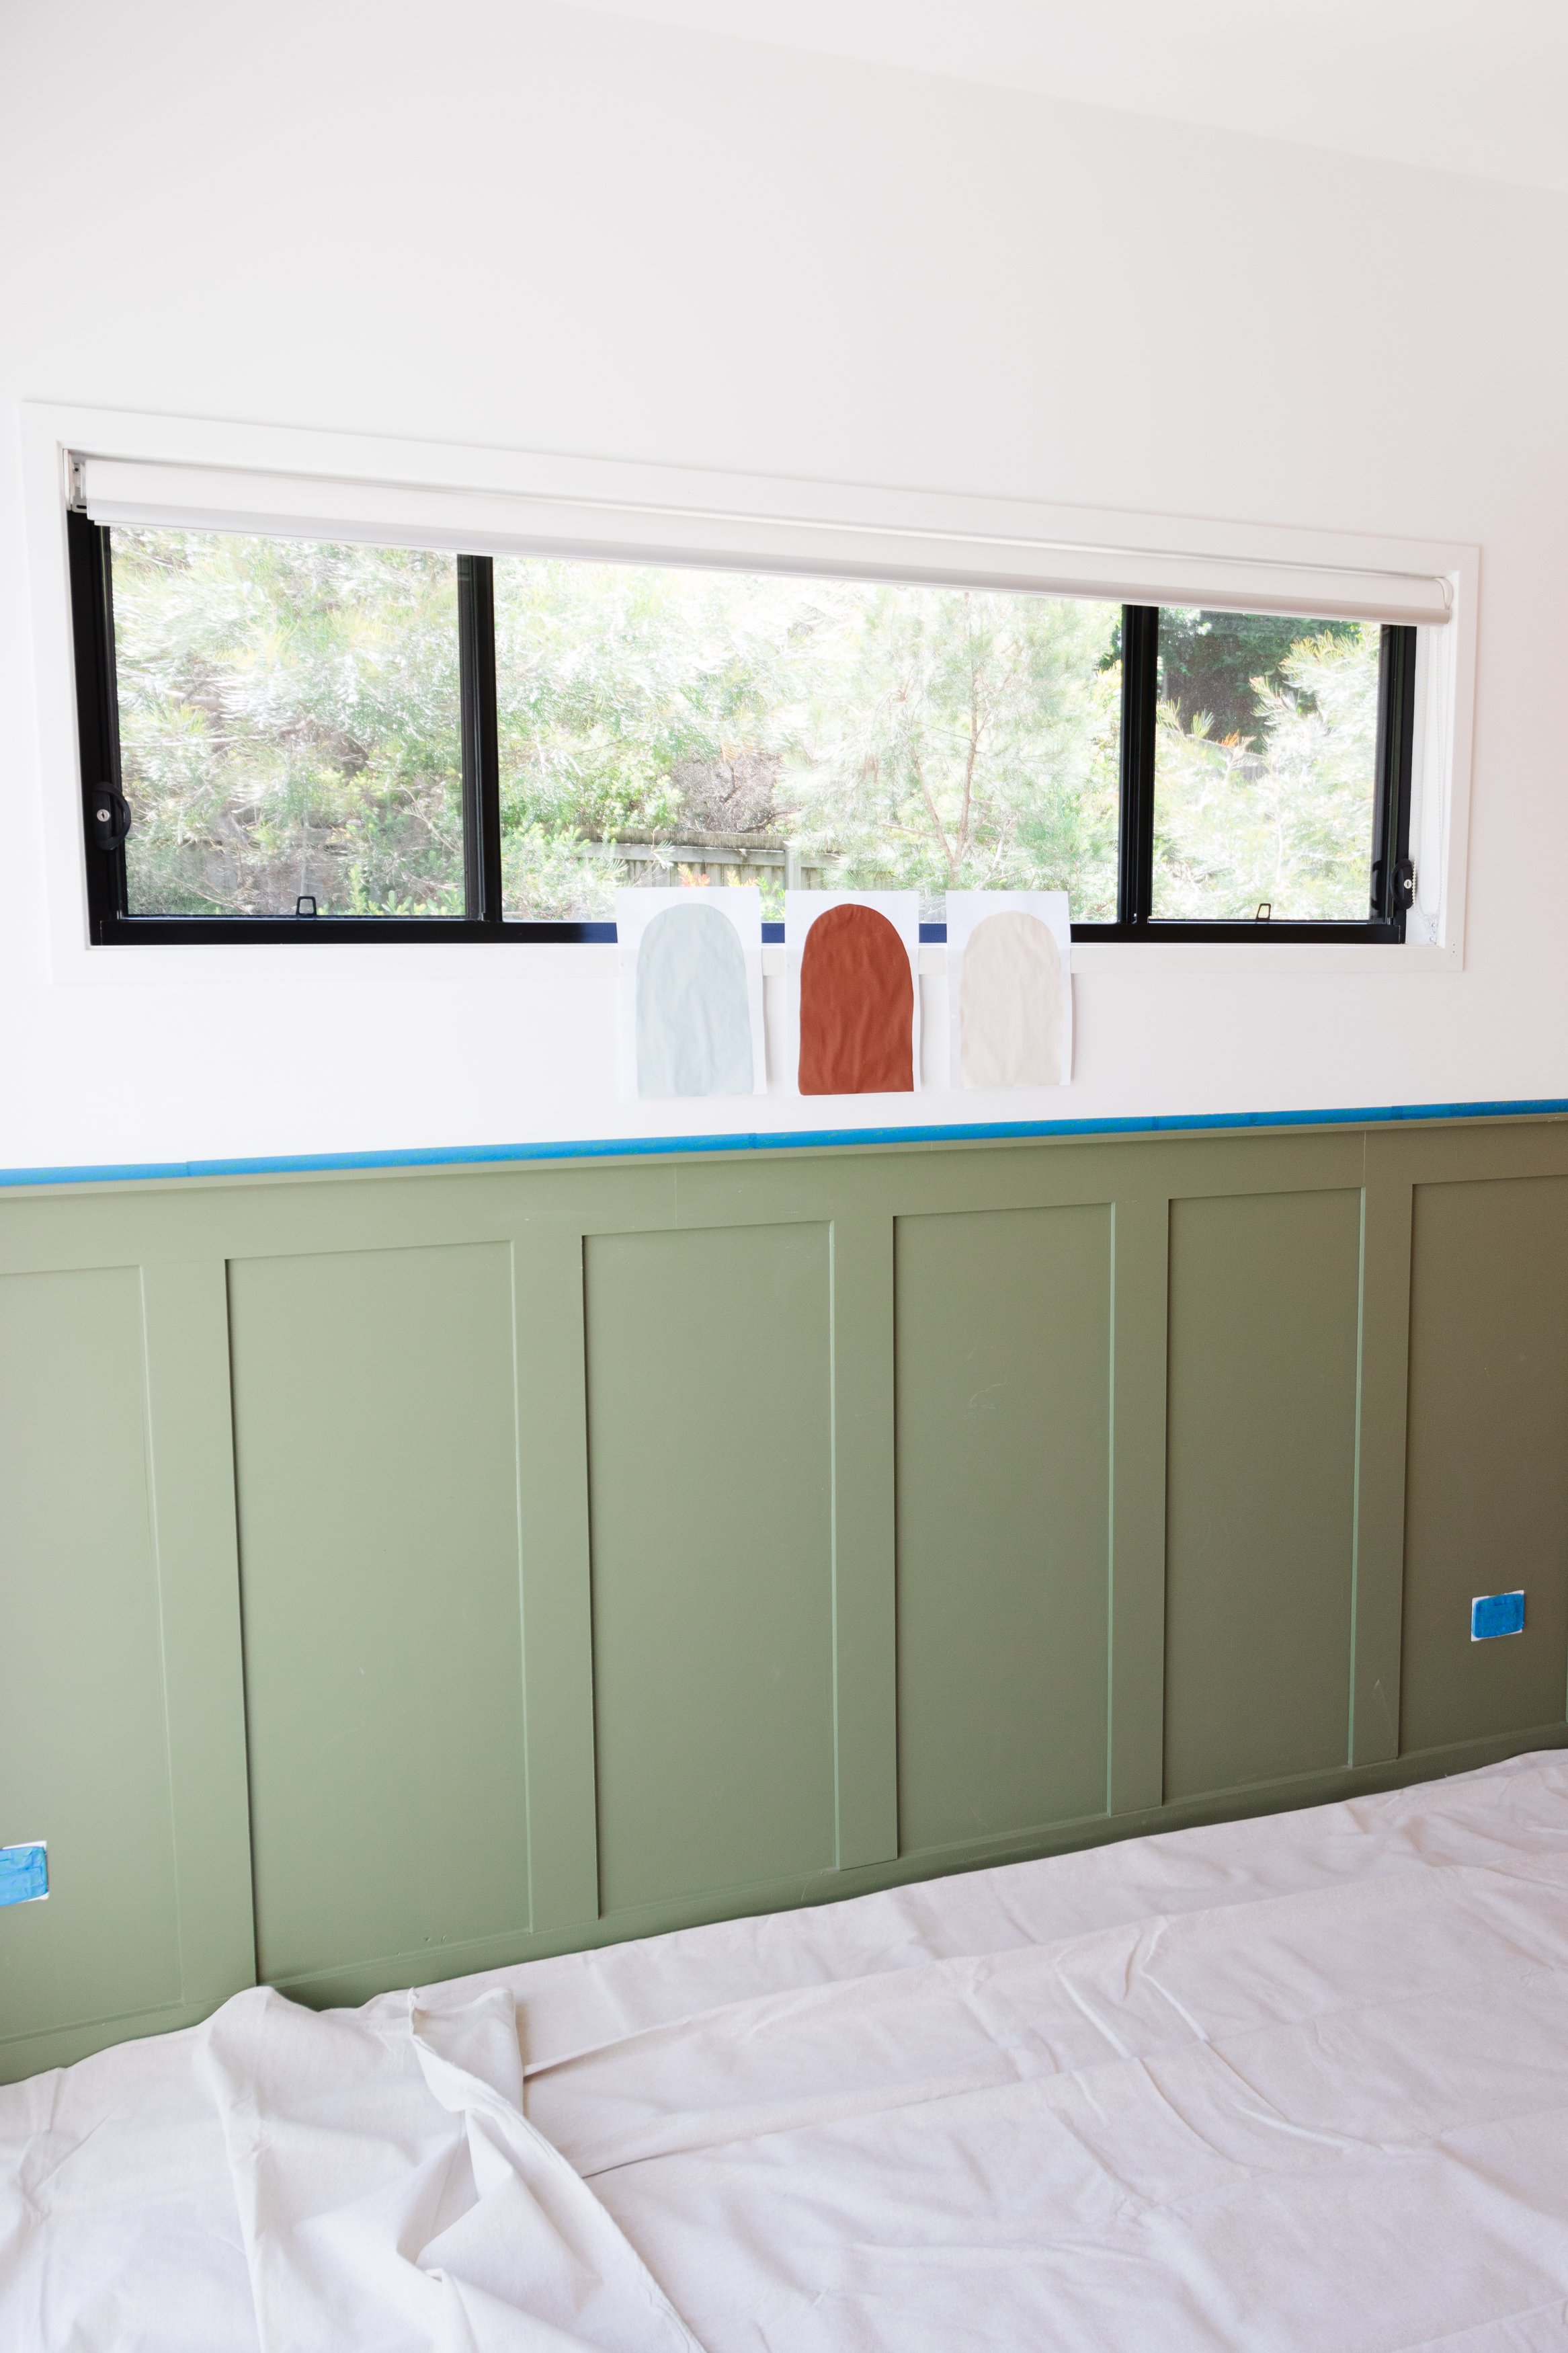
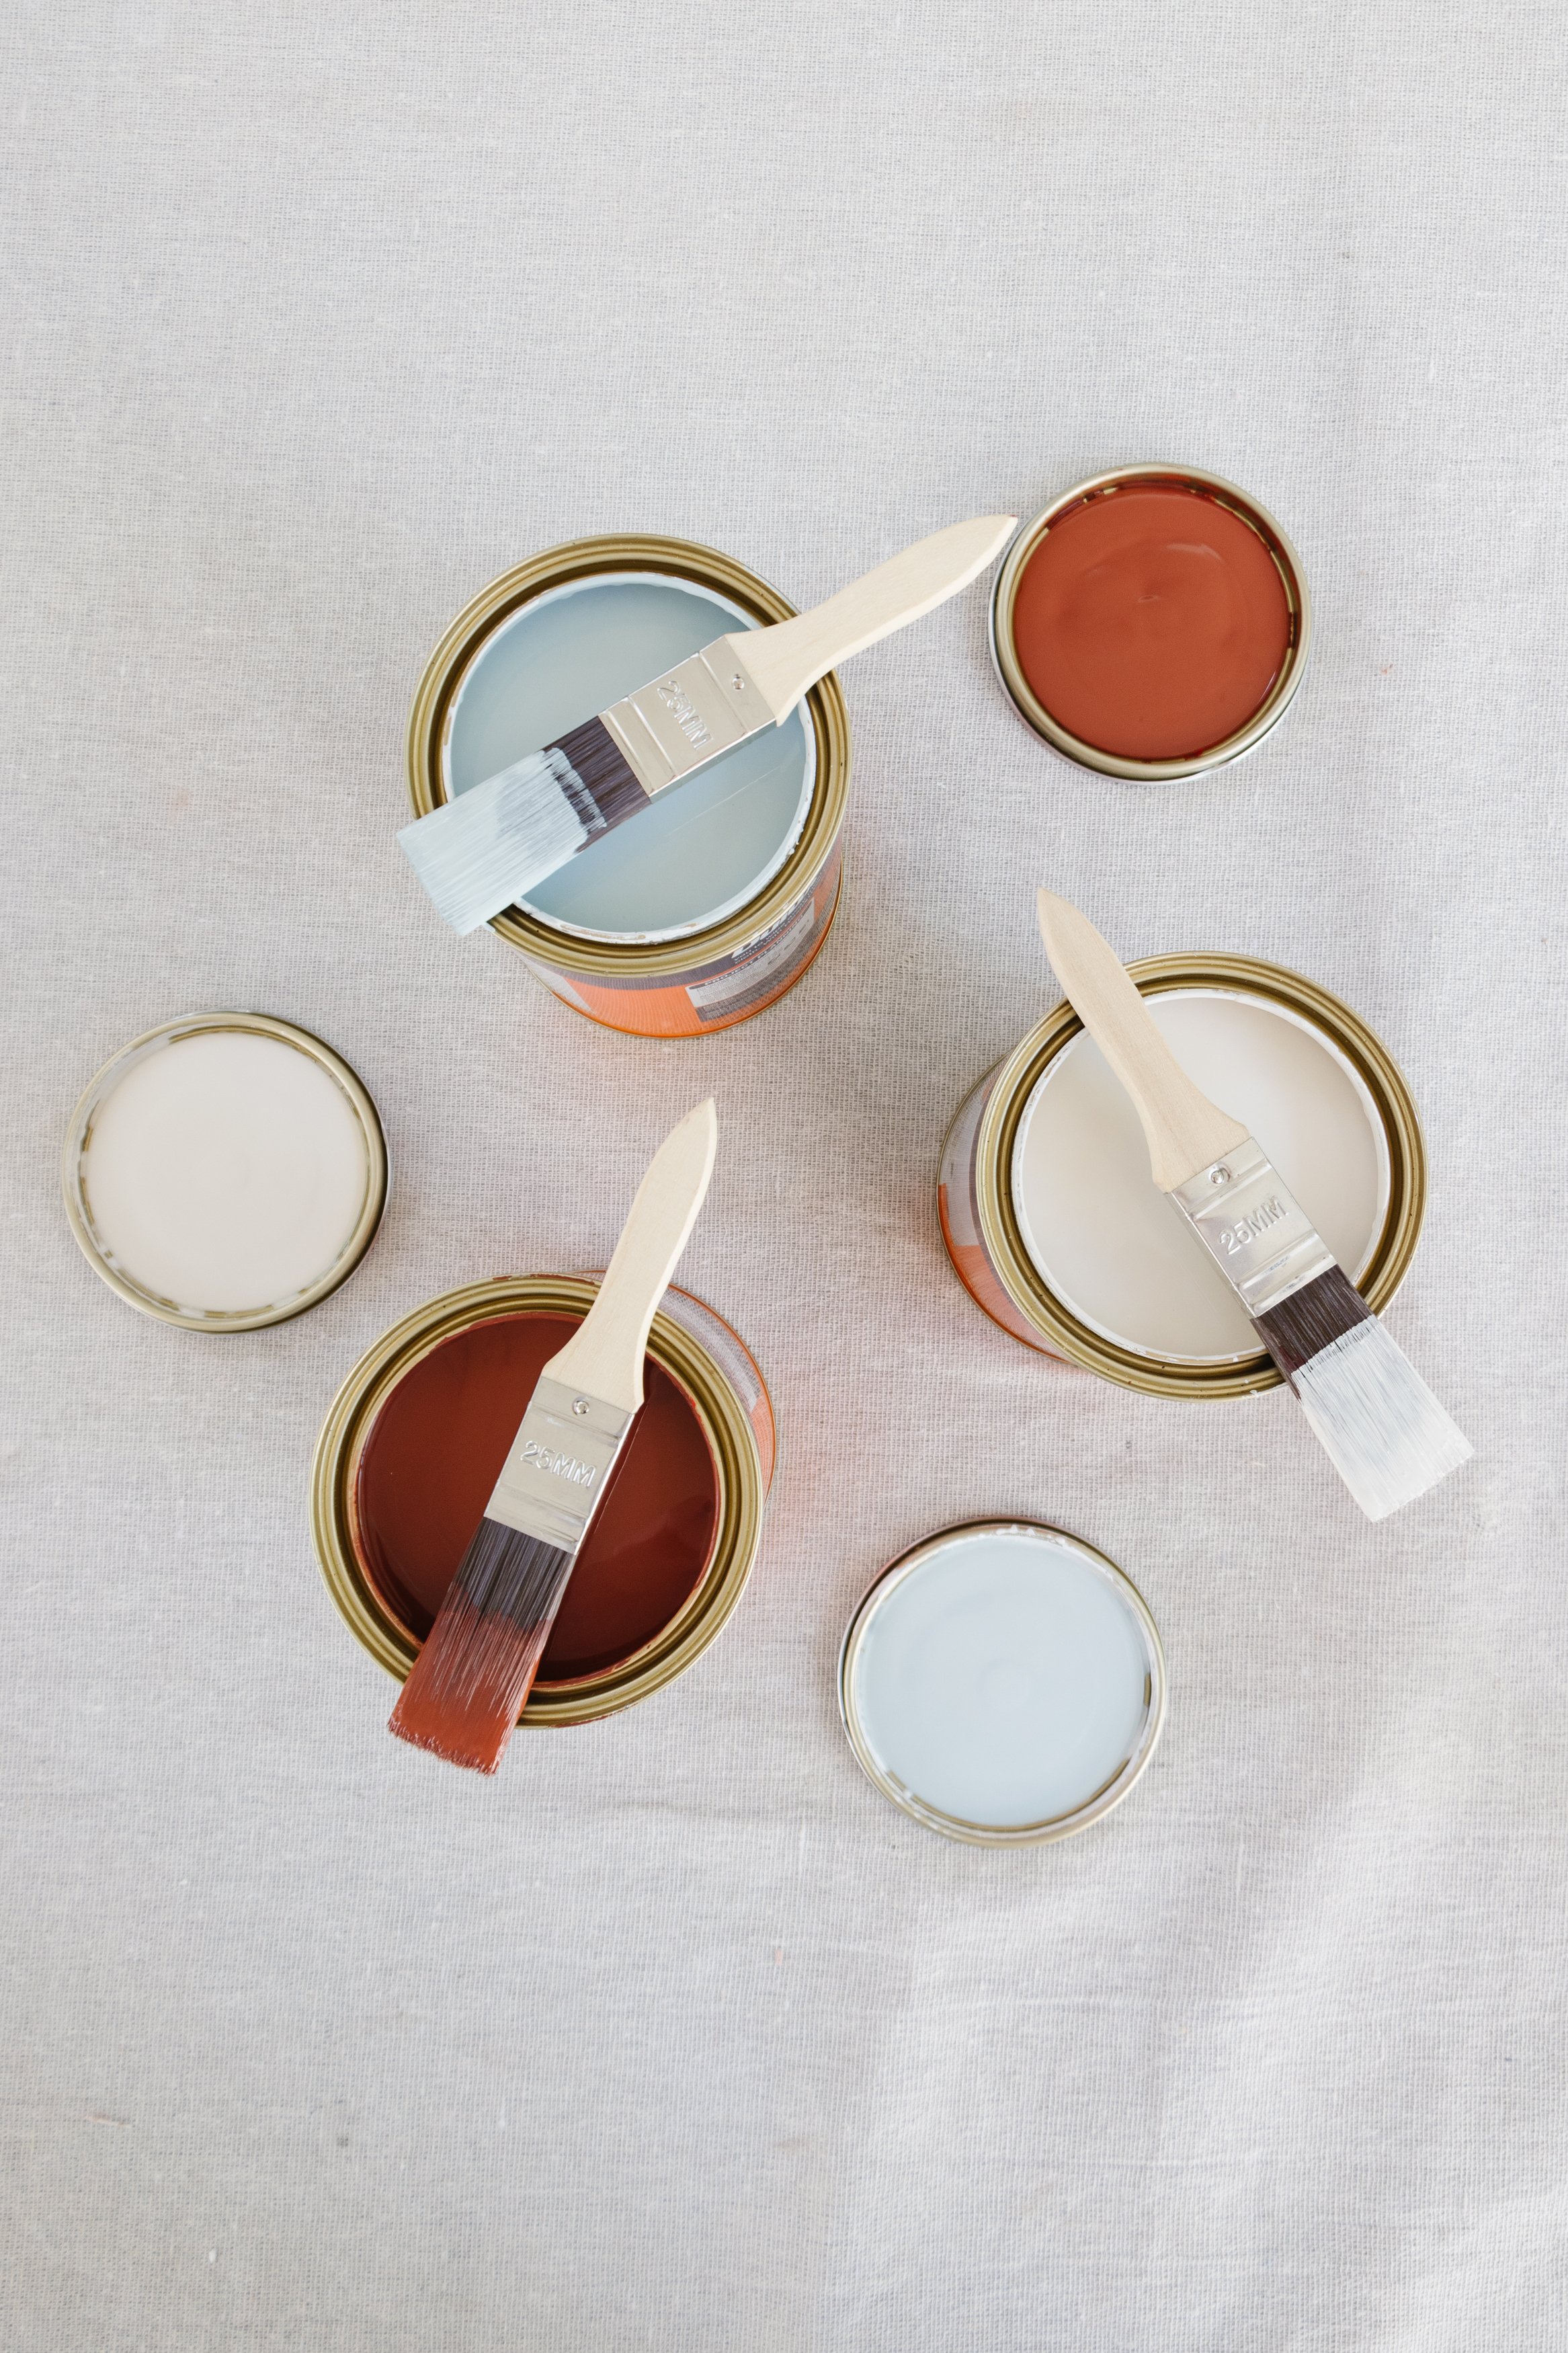
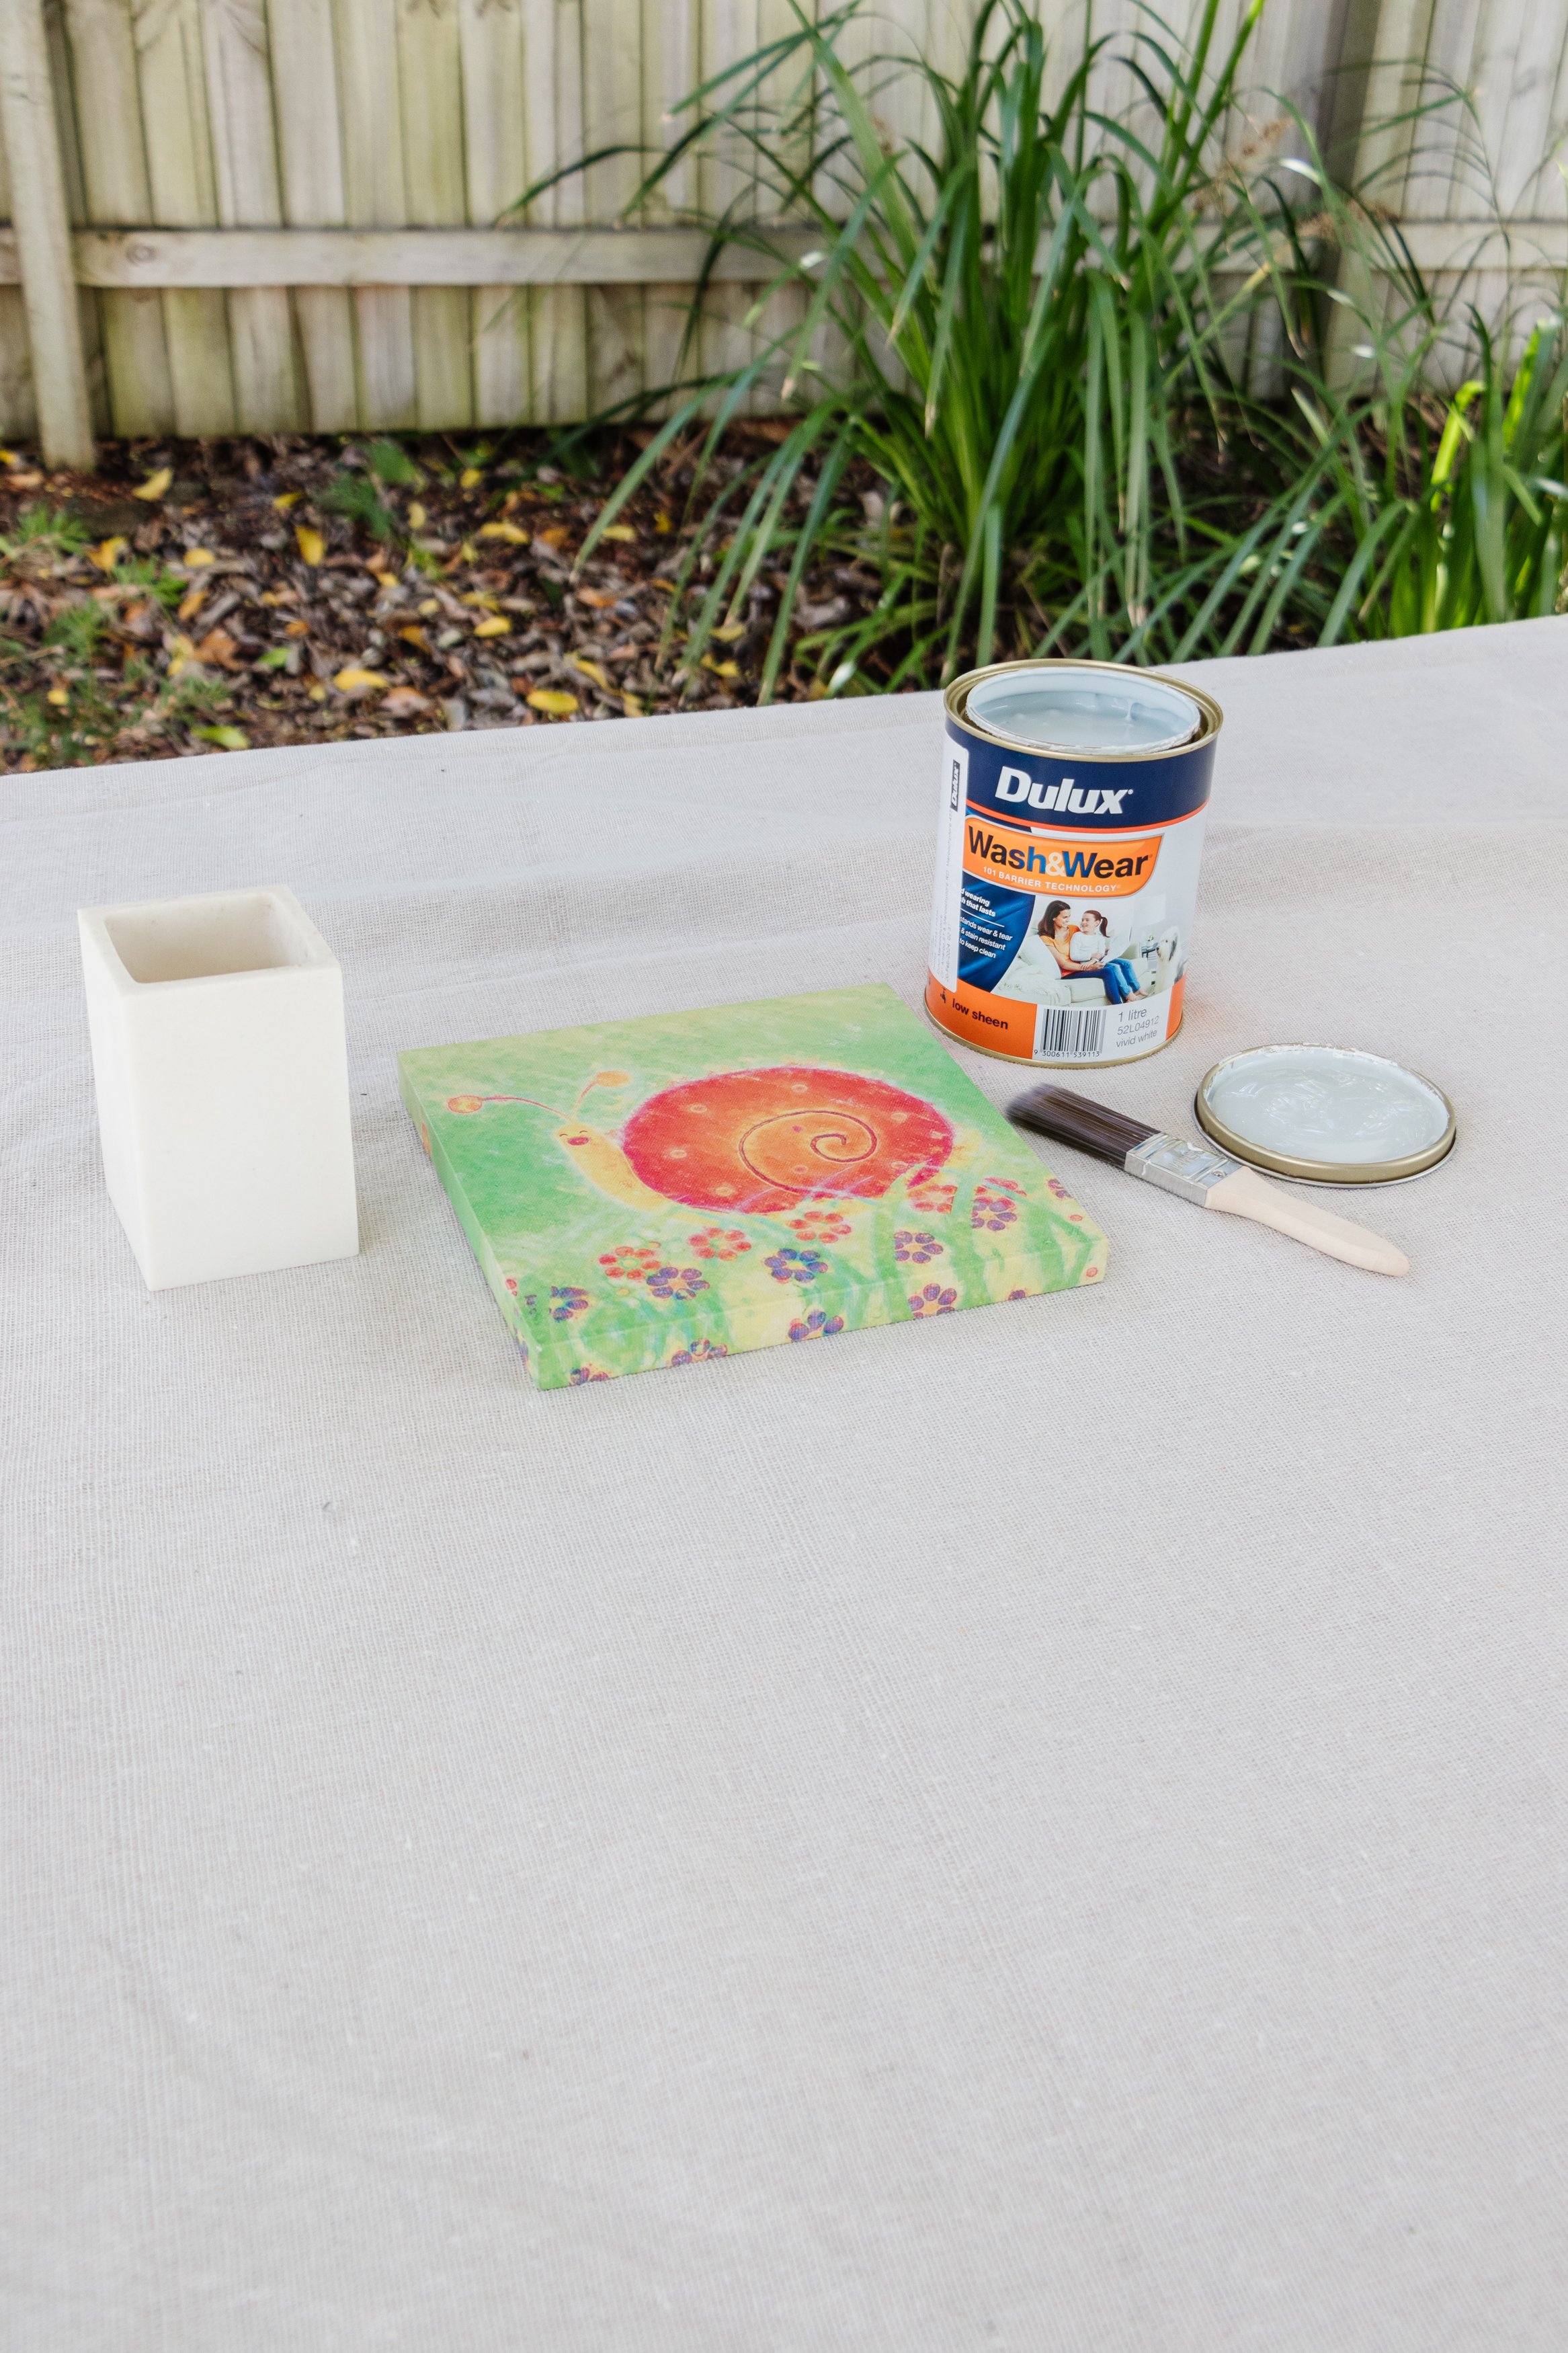
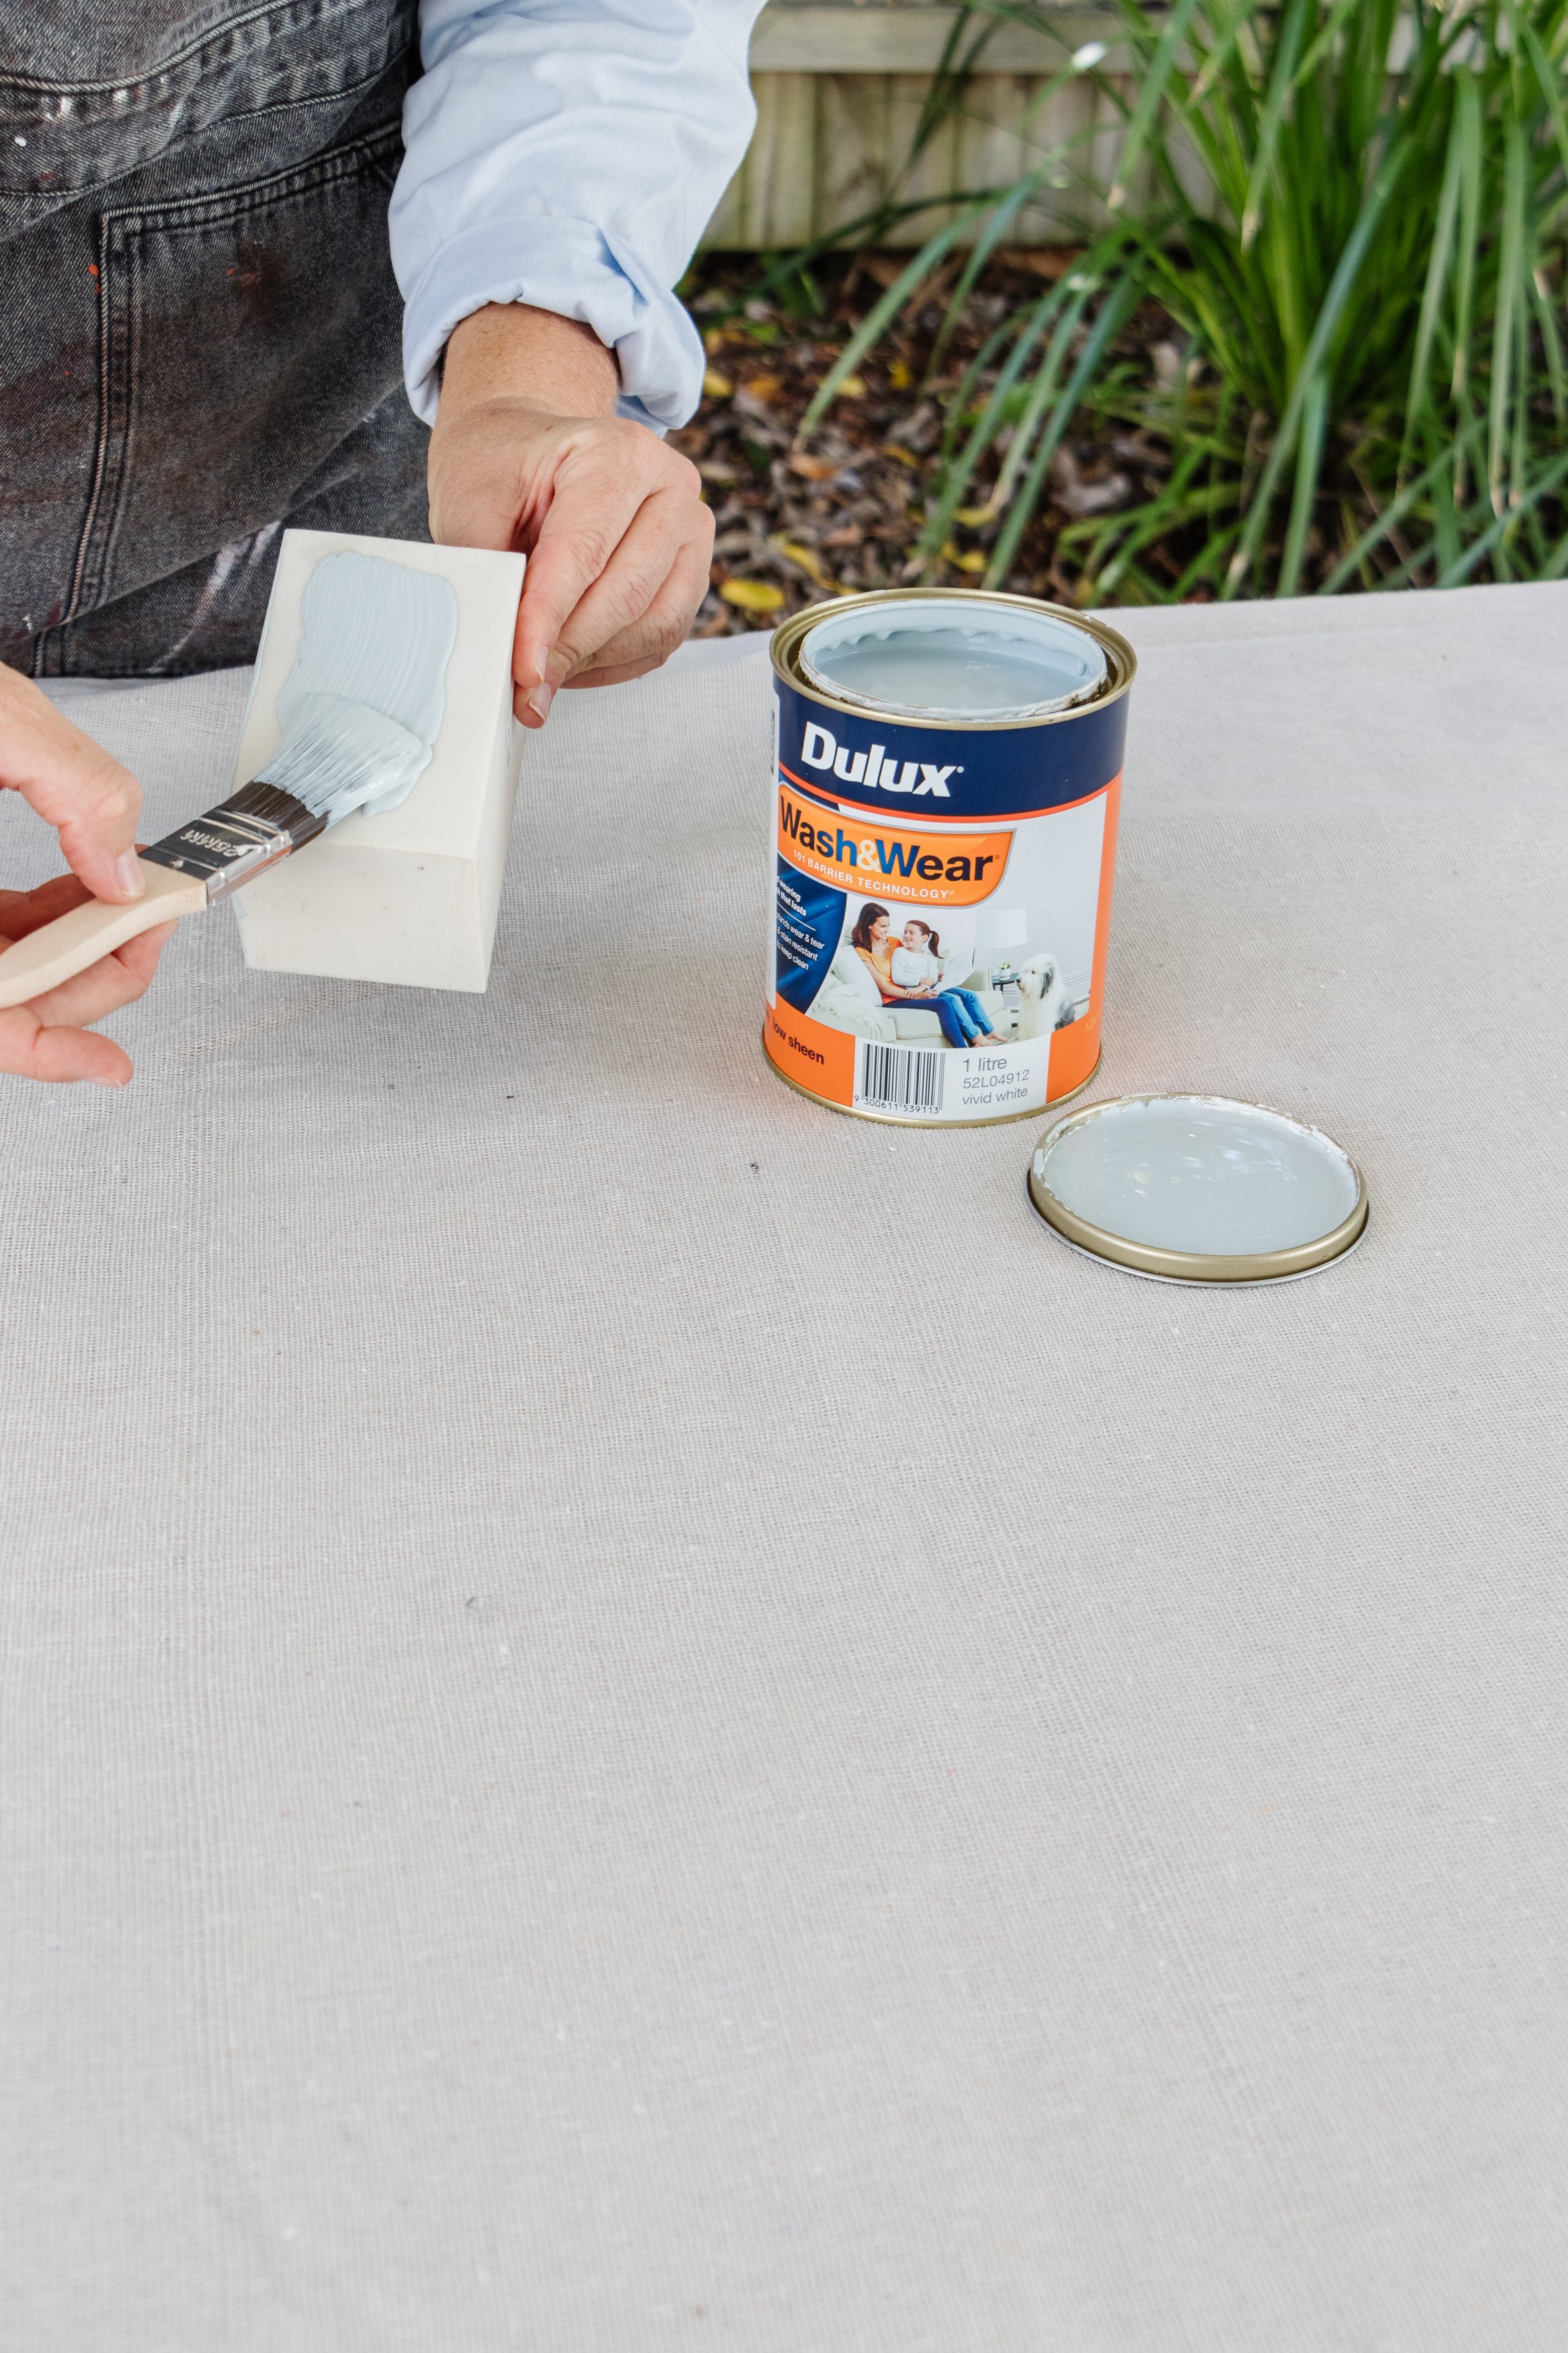
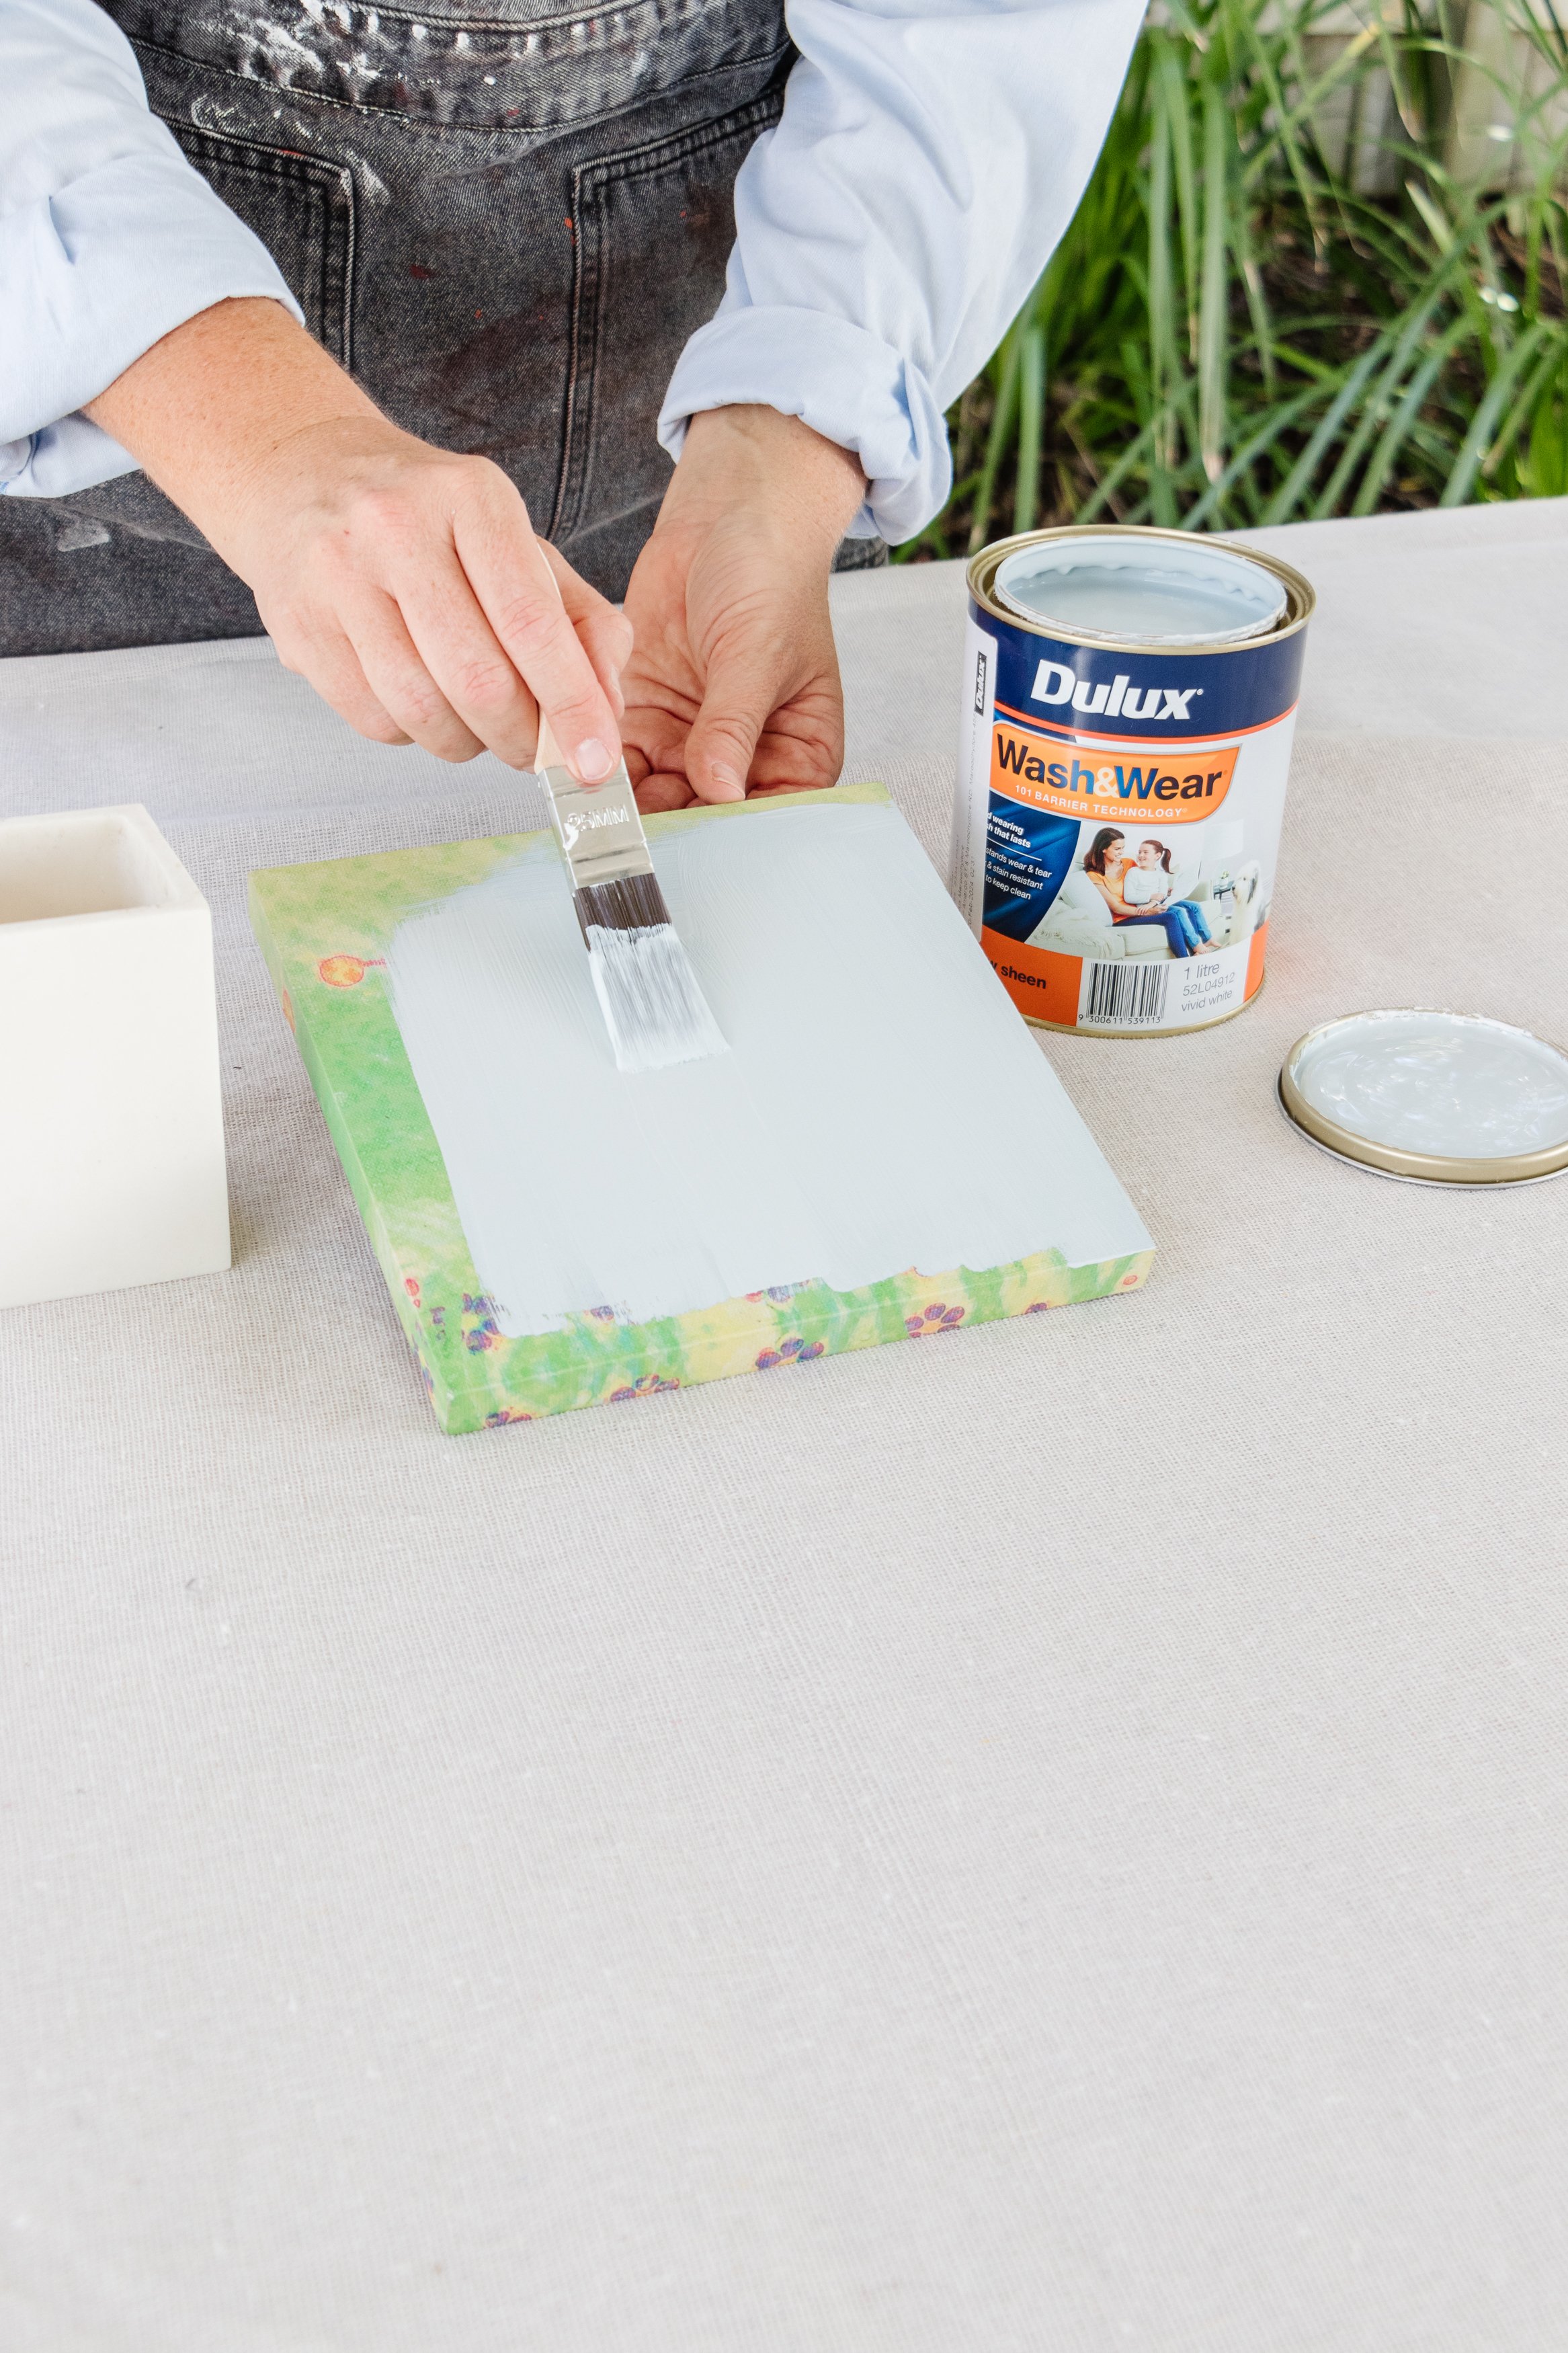
Step 3: I knew I wanted Dulux Pure Blue to be added into the colour palette in a small, yet beautiful way. I thrifted a small piece of canvas art, which I wanted to sit on top of the board and batten ledge, which I painted using Pure Blue. I had a thrifted vase in my studio, so I also decided to paint that too.

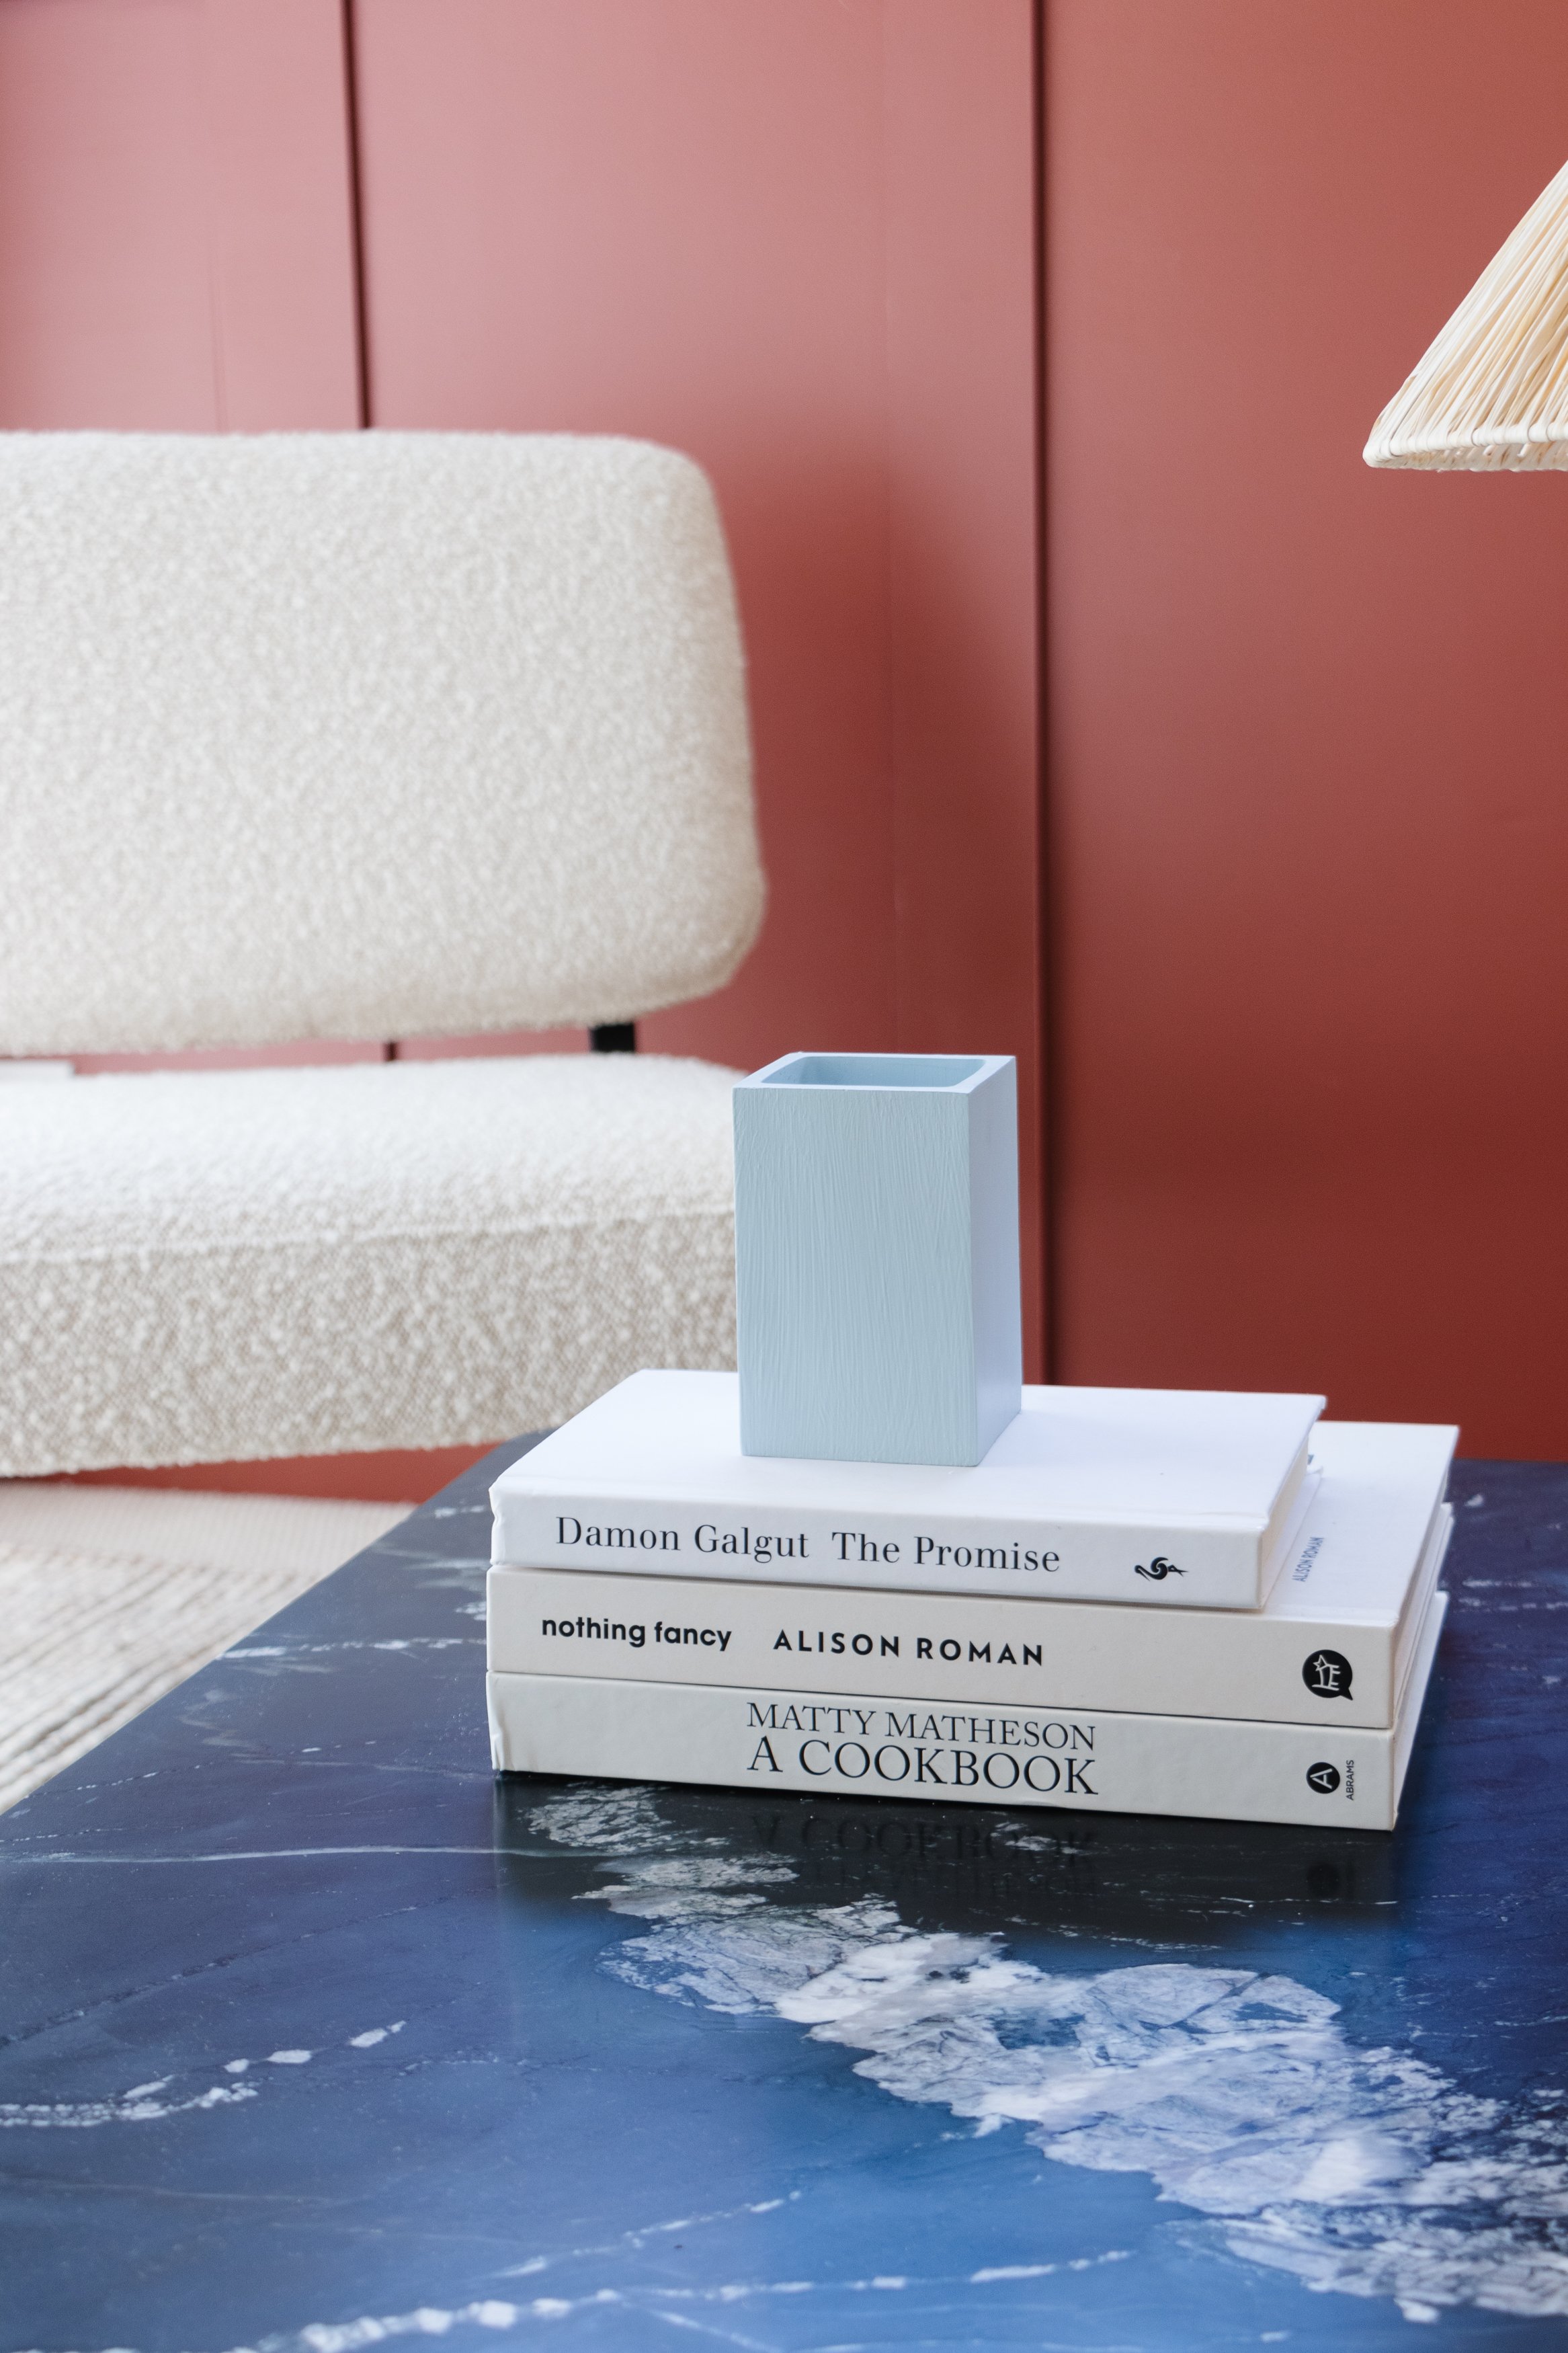
Step 4: Lastly, I styled the room. I started with the rug, followed by the chairs and spent a bit of time getting the coffee table into the right position before assembling it. It’s heavy, however I found it manageable to assemble it myself. I added the light, which I loved because it added so much texture and intrigue, before finishing the room with some of our b=favourite books and of course, my upcycled decor pieces.

The Reveal
The last couple of weeks have brought me so much joy thanks to Dulux and Freedom. I love creating bigger projects like this because it gives me a chance to get creative with color and texture, as well as furniture and decor. Being able to truly express myself in this space, our new reading nook has been a dream come true. I hope this fuss-free, no-experience-needed mini-room makeover has inspired you to tackle projects around your home. And if you’re curious about the paint colours I chose and the pieces from Freedom too, I’ve listed them below for you with links too. Enjoy!
DULUX
FREEDOM