Make This Upcycled Plaster Coffee Table
Technically I started this upcycle six months ago... I found a gorgeous coffee table at my local tip shop and fell in love with the chocolate glass top, which I was able to buy on it's own for $10. Since then, this has been an upcycling adventure full of ups and downs involving concrete, plaster of paris, PVC pipes, joint compound, pigments and sealer to get this upcycle just right.
The thing is, it was important to me to keep this upcycle as simple as possible for you to try. My original idea was to make coloured concrete chubby legs using oxide pigments. But it just felt too complicated as I would have needed to buy a concrete mixer and lot of other materials, something I didn't want you to have to do. I pivoted and tried using plaster of paris instead, but it's a very difficult material to work with and I didn't want that for you. Then I remembered I had picked up two PVC pipes from the tip shop for $5 a piece months ago. I decided to cut them to size and cover them in multipurpose joint compound instead. I still wanted to use the pigments, so I decided to use them to colour the joint compound. And I can't believe it worked! Honestly, I couldn't be happier with the end result! It may have taken six months to get here but it's been so worth it. Read on to learn how to make your own Chubby Plaster Coffee Table. And if you don't have a glass top, no worries! Bunnings have a few to choose from, or you can swap glass for another material, such as timber or MDF and get as creative as you like! And remember to watch this video to see how it all came together - from the tip shop to my home.
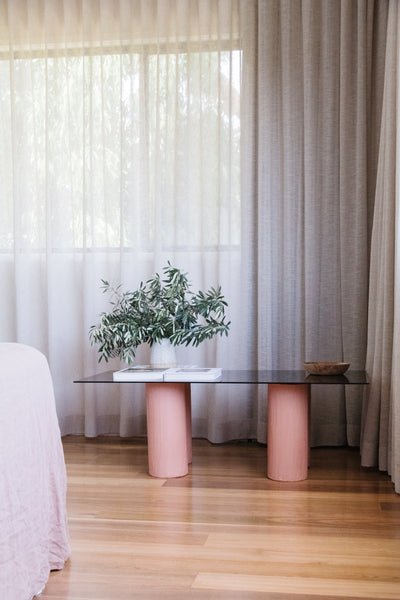
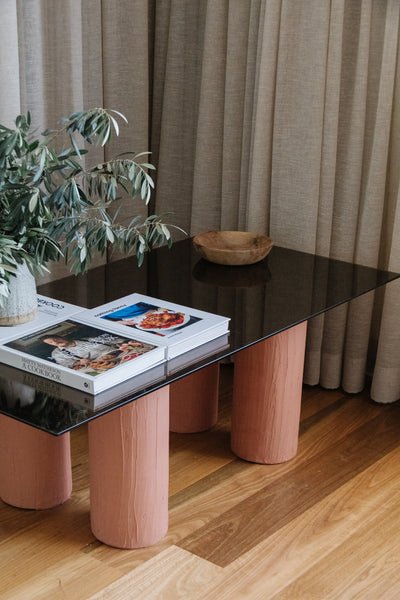
Before & After


The Story
As I mentioned above, I found a gorgeous coffee table at my local tip shop and fell in love with the glass top. I didn't get it when I first saw it, but I couldn't stop thinking about it. I spent all night fretting someone else bought it so I raced back the following morning and it was still there. Phew! I realised the glass top was not attached to the coffee table, so I tried my chances and asked if I could buy the glass. And I could. For $10. Hurrah! I brought it home with me and knew I wanted to create four concrete cylinder legs as I was inspired by Sarah Ellison's Tide Coffee Table. But I wanted to take it a step further and colour the concrete. I set about on testing pigments with concrete, and wanted to create the chubby concrete legs using PVC pipe. The thing is, concrete is really heavy. And to make a batch big enough for four legs and to ensure the colour was the same, I would have had to of bought a concrete mixer and a few other materials. And I have to admit, it just seemed to complex so I set the project aside.
While I ended up getting distracted by a tonne of other DIY projects, upcycles and recipes, I couldn't stop thinking about this project. I recently tried using plaster of paris instead. I tested one chubby leg, coloured the plaster using the pigments and it looked beautiful but it was impossible to remove from the PVC pipe and while I know I could have used a silicone spray before pouring in the plaster of paris, it just seemed too complicated again. Plus plaster of paris is notoriously difficult to work with and I just didn't want that for you. I went back to the drawing board and remembered I had picked up two PVC pipes from the tip shop for $5 a piece. I decided to cut them to size and cover them in multipurpose joint compound, which I ended up colouring using the pigments. I also sealed the joint compound plaster, something I hadn't done before either and I am so happy with the results!

Materials
Glass panel from Bunnings in your desired size
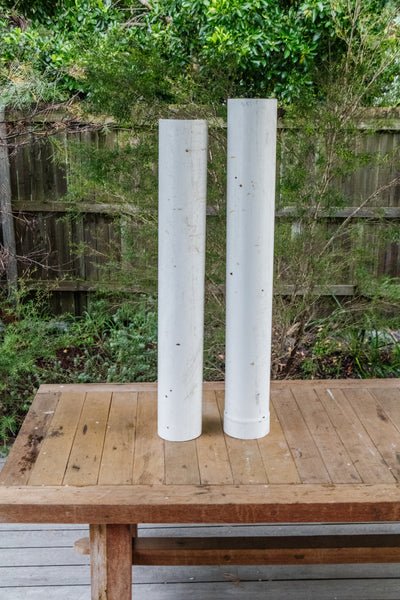
4 x PVC pipes at least 38cm high and the desired diameter of your choice (you can get PVC pipes from Bunnings)
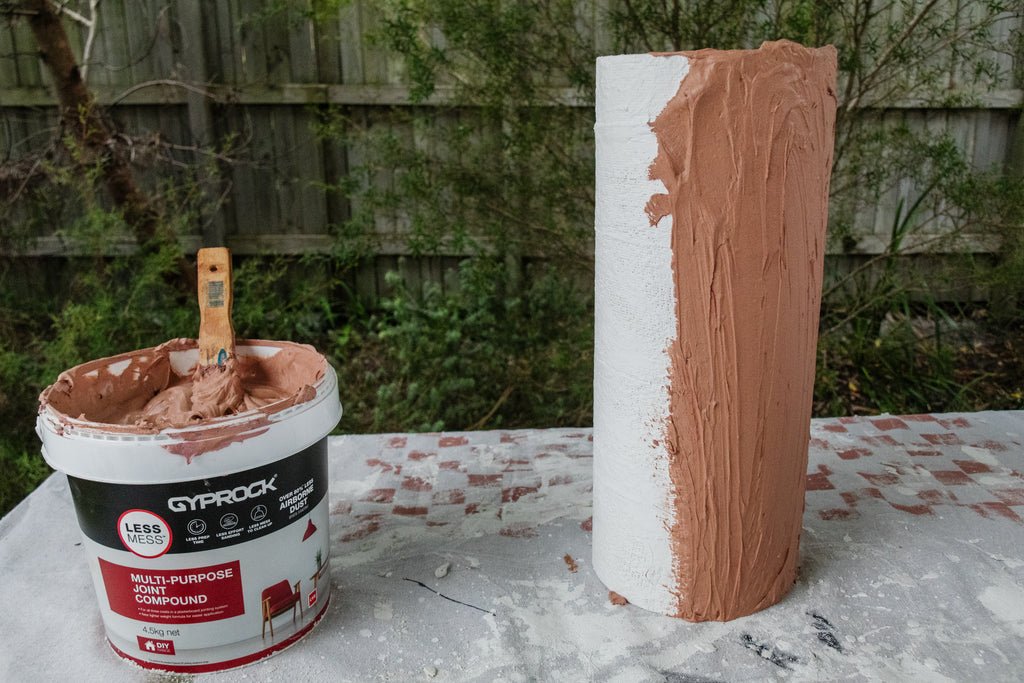
Multipurpose Joint Compound from Bunnings
Dulux Avista Colour Oxide from Bunnings - I used White, Brick Red, Chocolate and Sandstone
Sanding sheet or sponge
Cabot's Cabothane Clear Matt Sealer from Bunnings
Selley's Liquid Nails from Bunnings
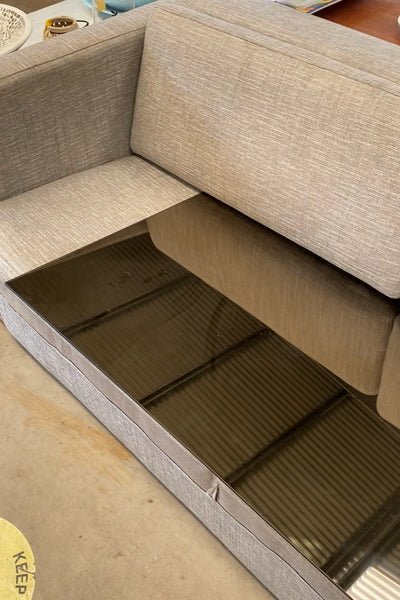
Note: If you are using a clear glass panel for your coffee table, you will not need glue for this project. Instead, you will need to cap the top of the PVC pipe using cardboard and painters tape before applying the plaster cloth and coloured plaster, which I have included additional steps for how to to this below. Then you will need to apply clear bumpers on top of each PVC pipe before placing the glass on top and into position. You can get clear bumpers in a range of shapes and sizes from Bunnings. Here are some options below:
How To
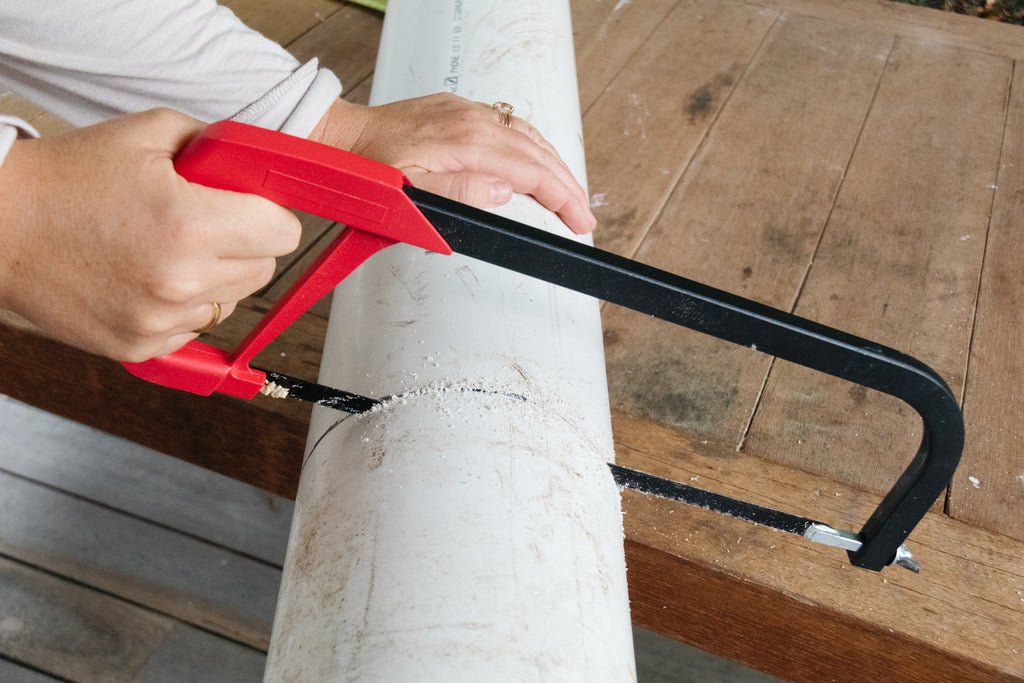
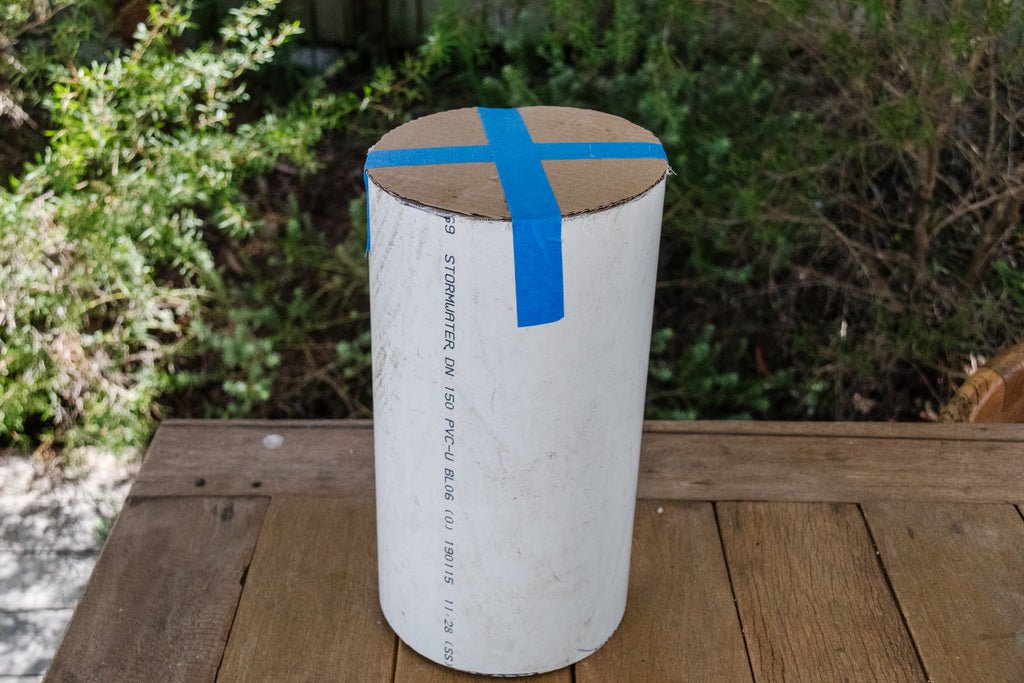
Cut your PVC pipe to size with a hacksaw if you haven't already. Wipe them clean with disinfectant wipes if they were dirty like mine, which I salvaged from my local tip shop for $5 each. Bargain!

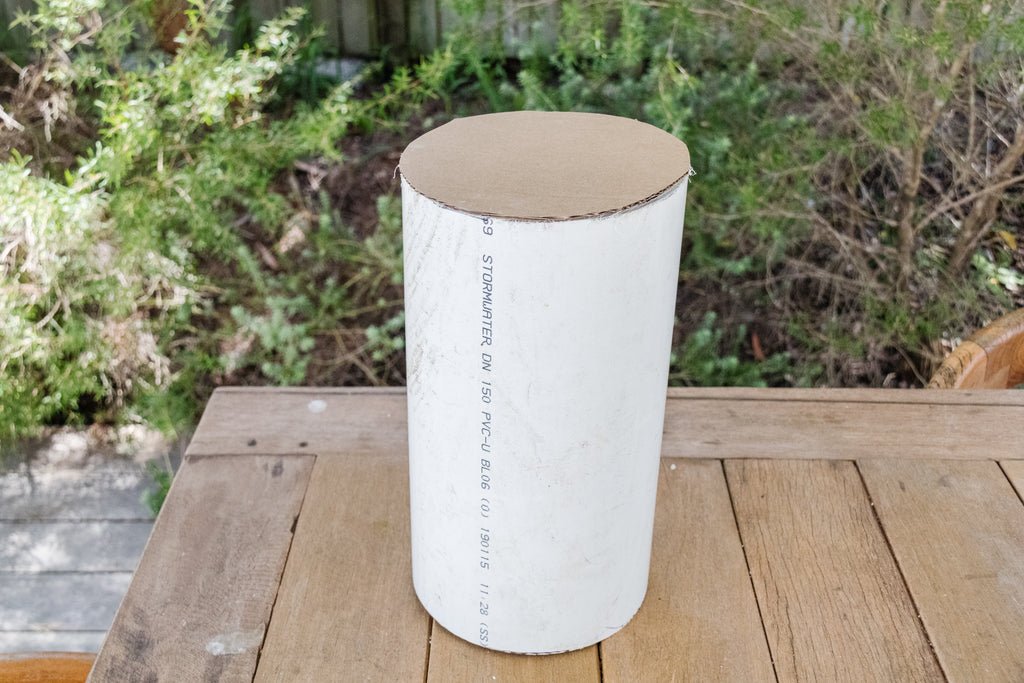
If you are using timber, MDF, metal, an opaque glass panel or another solid material for the tabletop, you can skip this step and move onto the next. If you are using a clear glass panel for this project, you will need to do this next step. Trace a circle around the pipe using a pen onto an unwanted piece of cardboard (from a cardboard box). Cut it out. Tape it onto the top of the PVC pipe and repeat until all the PVC pipes have been capped.


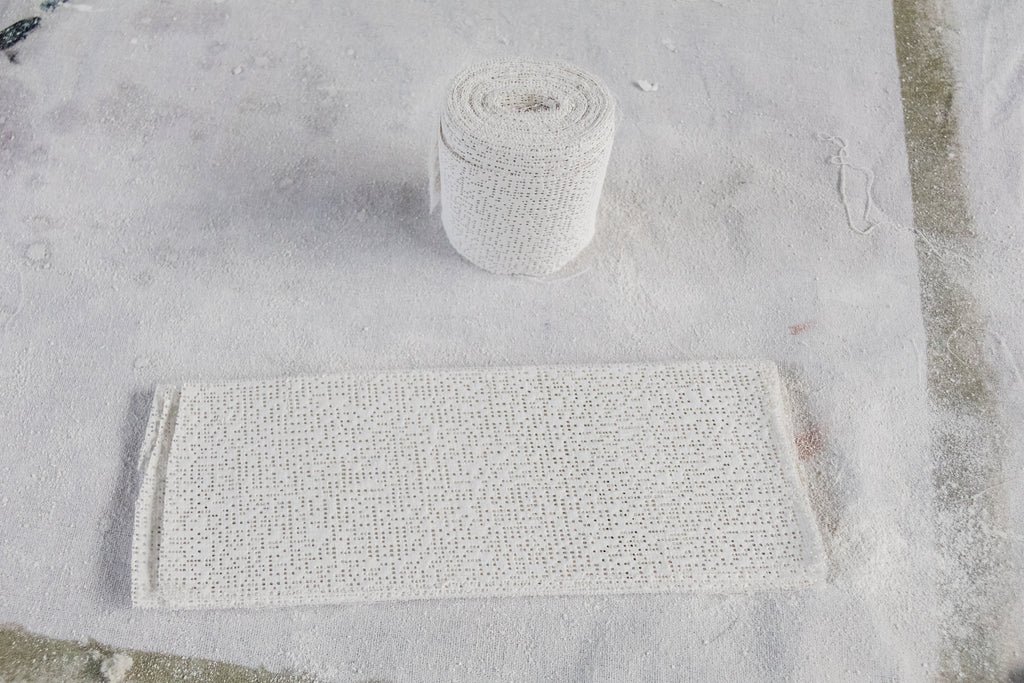
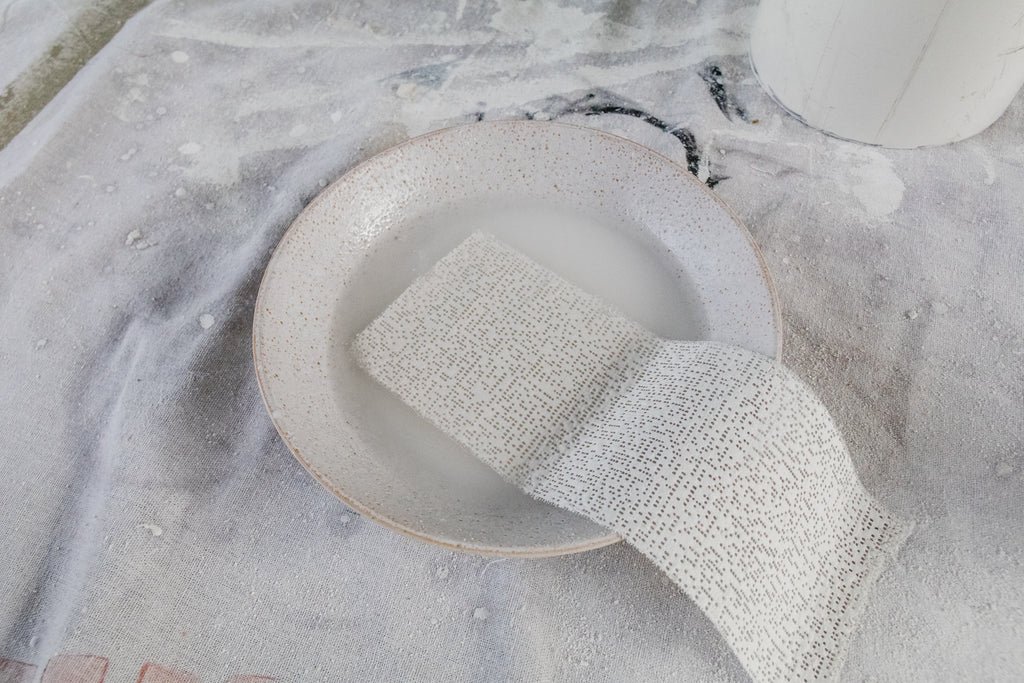
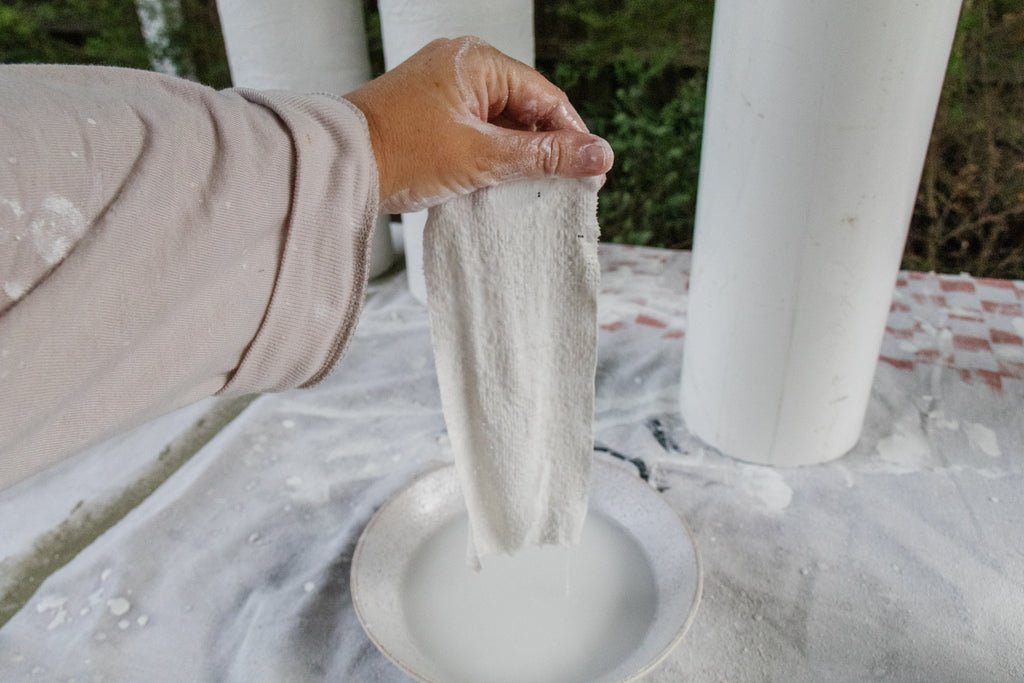
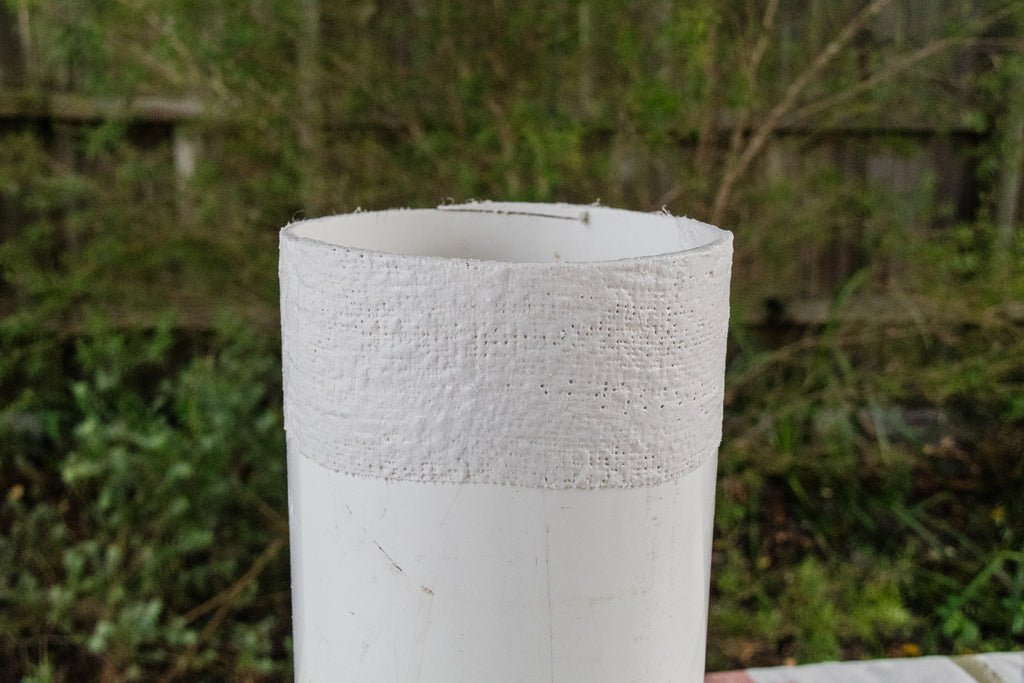
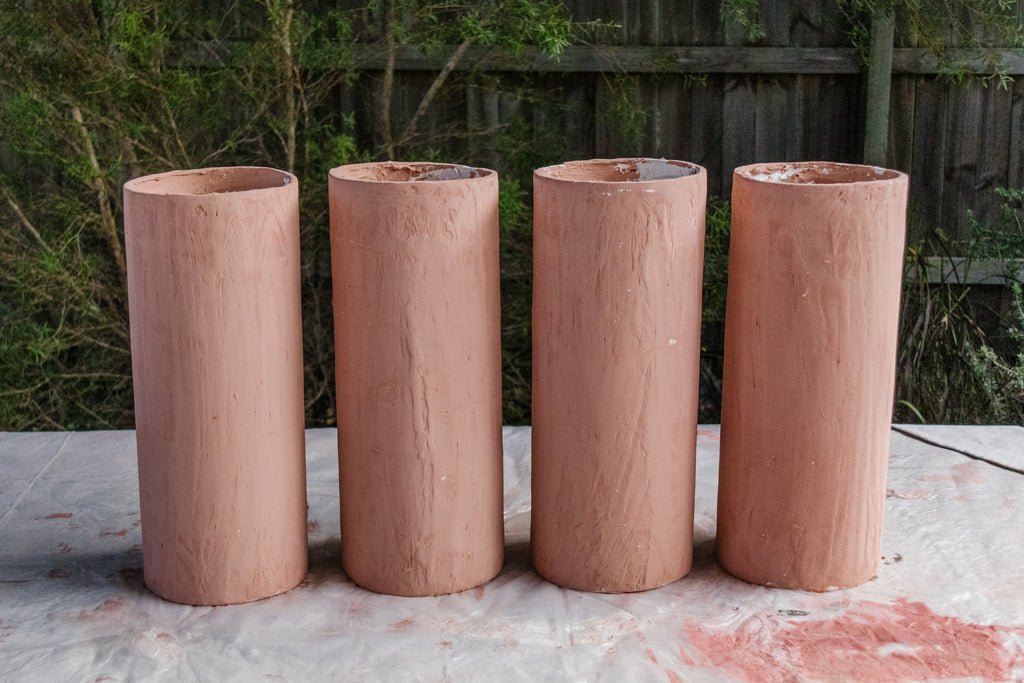
Cut the plaster cloth into small strips. Dip each strip into a shallow bowl of water and squeeze off excess water. Wrap each PVC pipe (which you have already cut to size) in plaster cloth. Set aside to dry. Careful not to overlap the cloth where possible.

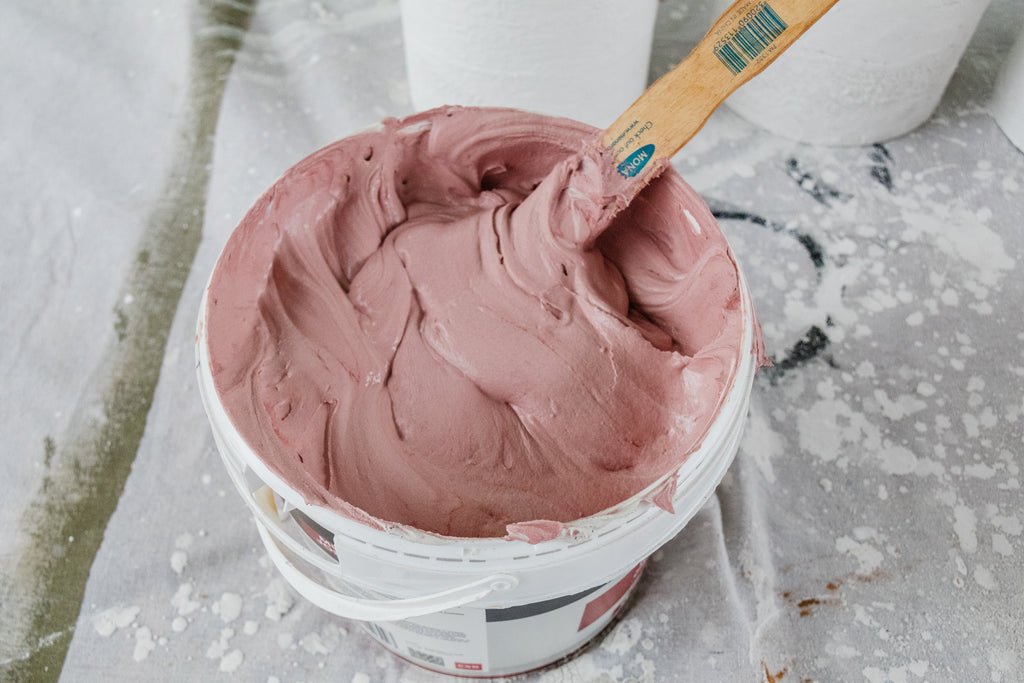
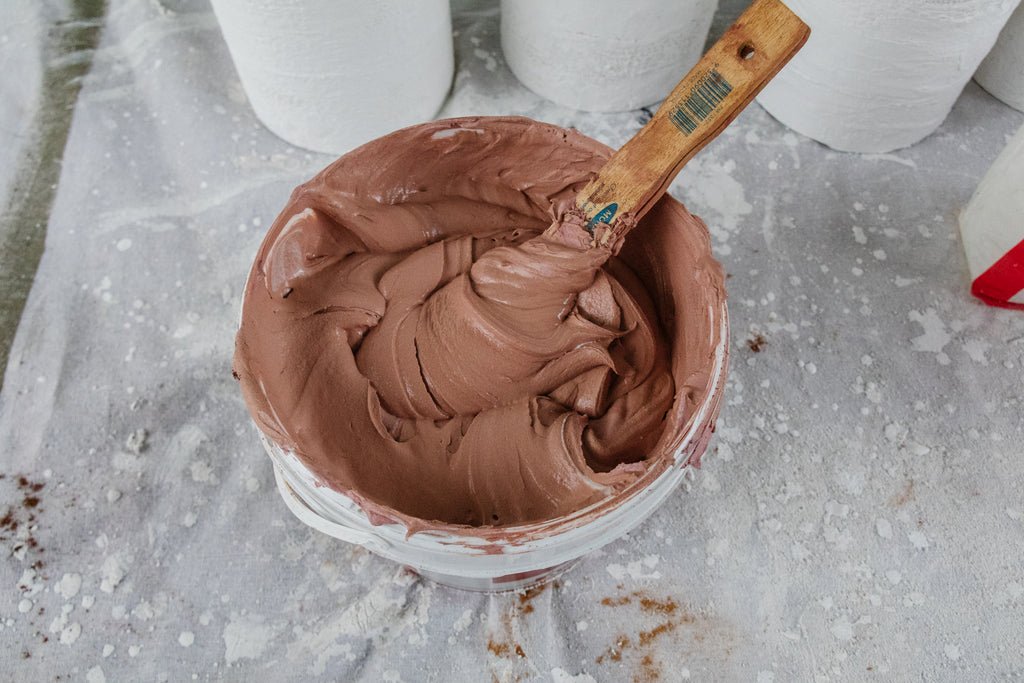
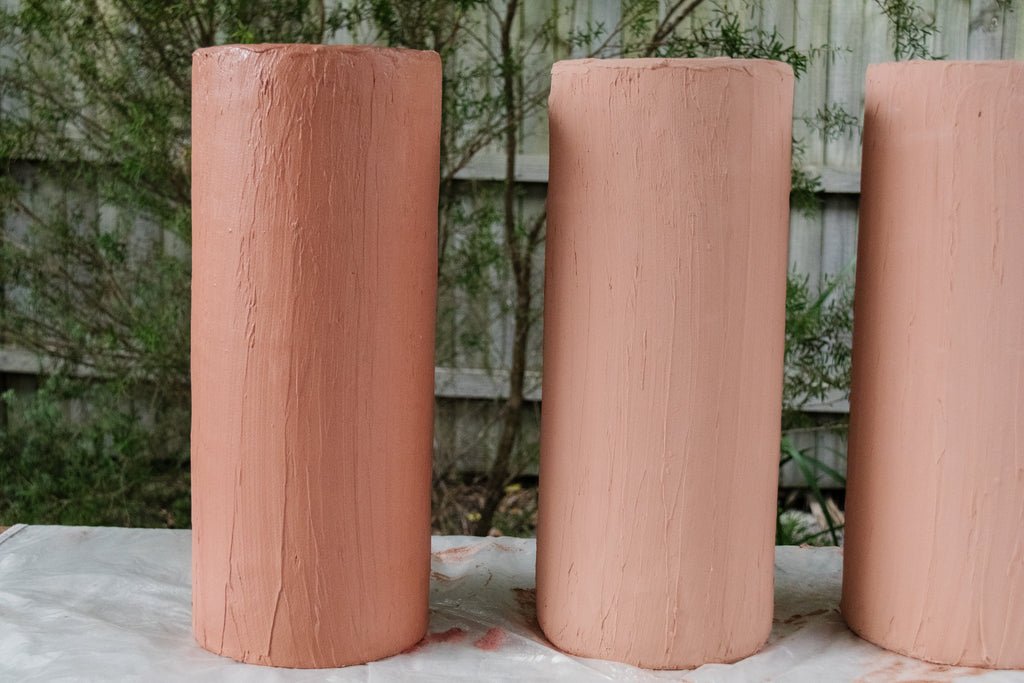
Add the colour pigments to the joint compound. I used 1/2 tablespoon Red Brick, 1/2 tablespoon Sandstone and 1 tablespoon Chocolate.


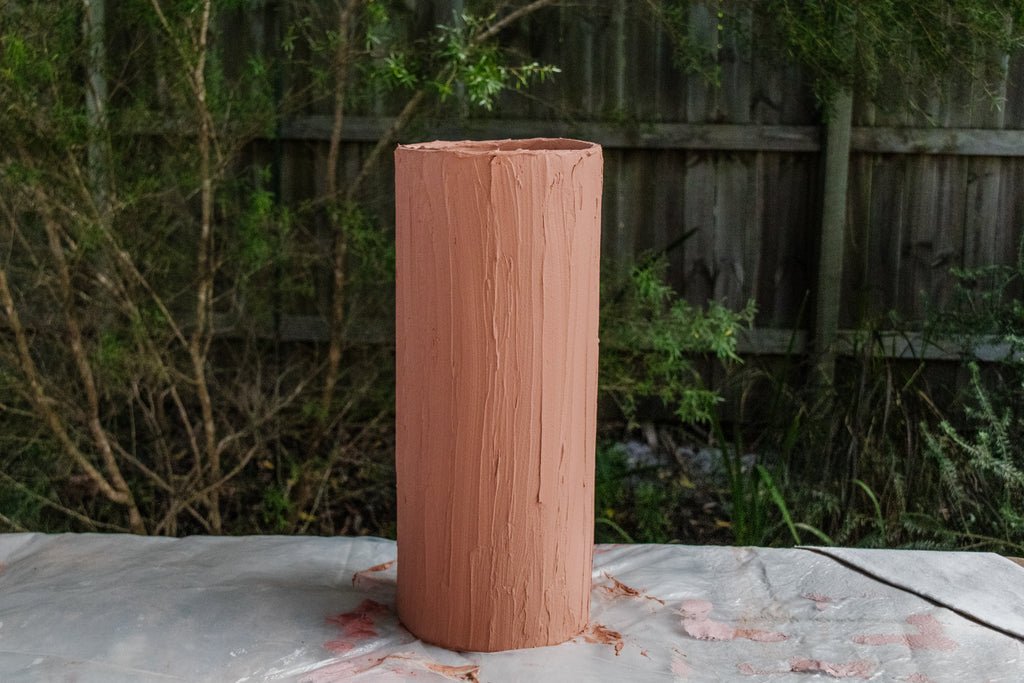
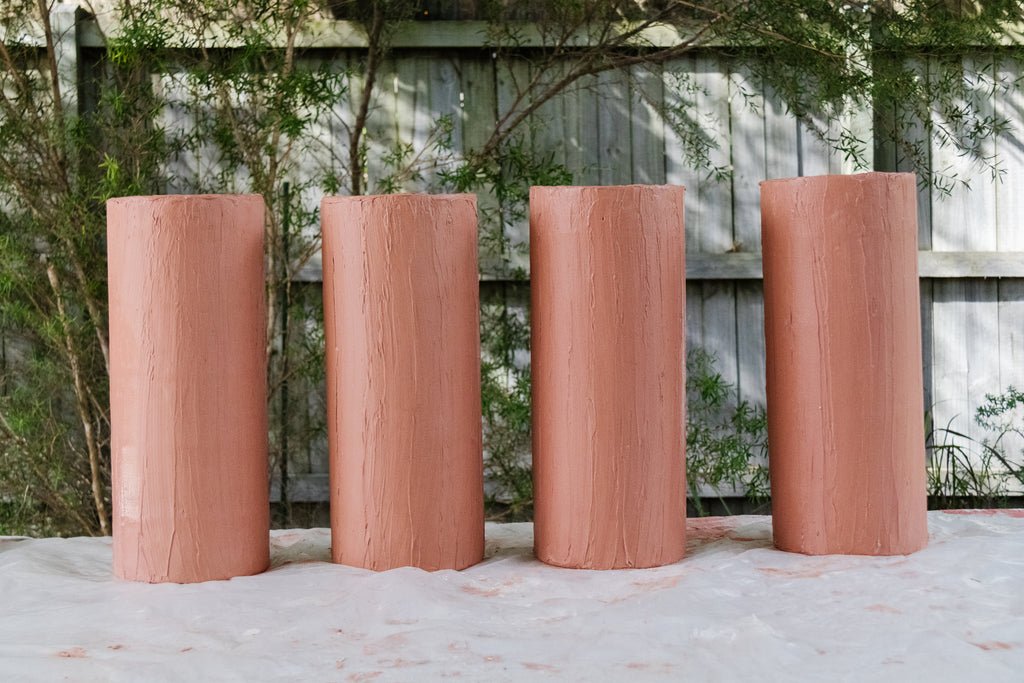
Cover the PVC pipes in the coloured joint compound. Set aside to dry for at least 12 hours. Depending on the weather, it may dry quicker.

Lightly sand the compound and apply another coat of the compound. Set aside to dry.
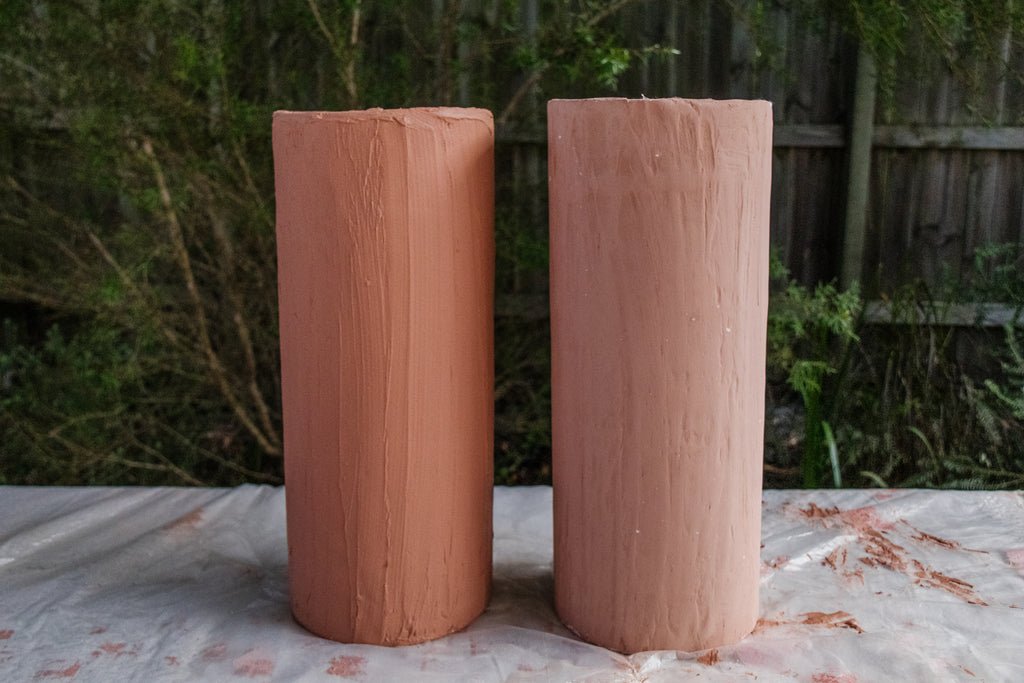
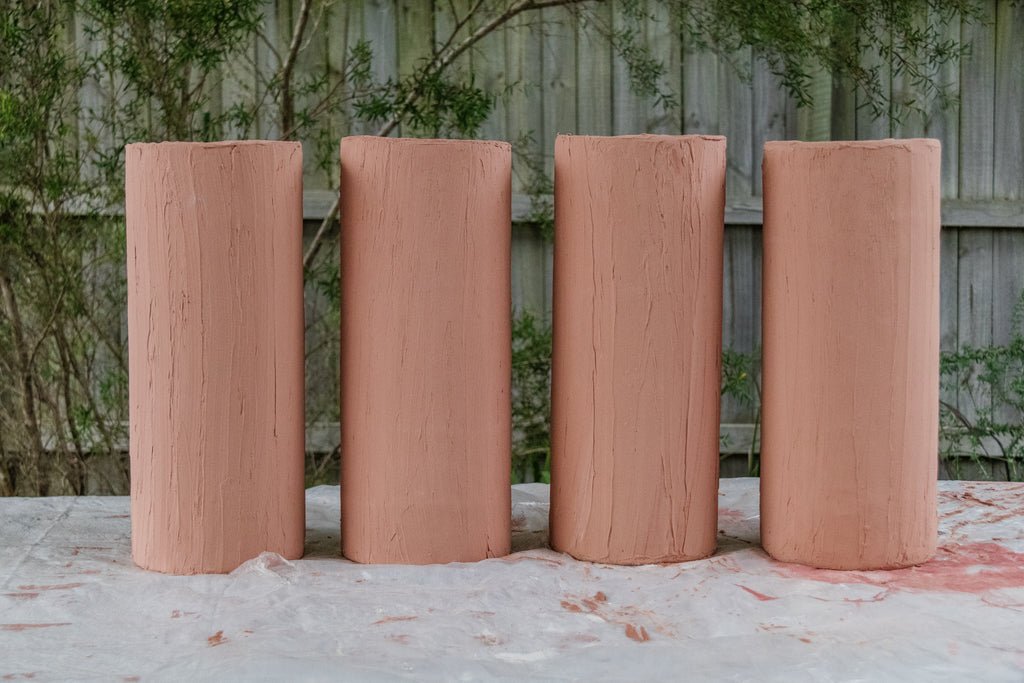
Seal the chubby legs and set aside to dry for 2 hours.
If you are using a clear glass panel for this project, please skip this step and move onto the next step. If you are using timber, MDF, metal, an opaque glass panel or another solid material for the tabletop, mark out where you want the legs to be positioned on the underside of the tabletop. You can position the legs wherever you like - close to the middle, edges or corners. Lay the tabletop onto your work surface, underside facing up. Glue the PVC pip legs onto the underside of the table. Set aside the dry for at least 24 hours. Carefully flip the table over.
If you are using a clear glass panel for this project, place one clear bumper on the top of each capped PVC pipe and simply position the glass on top. You can position the legs wherever you like - close to the middle, edges or corners.
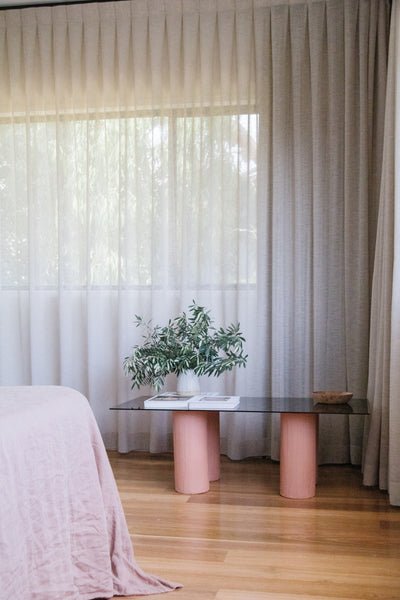
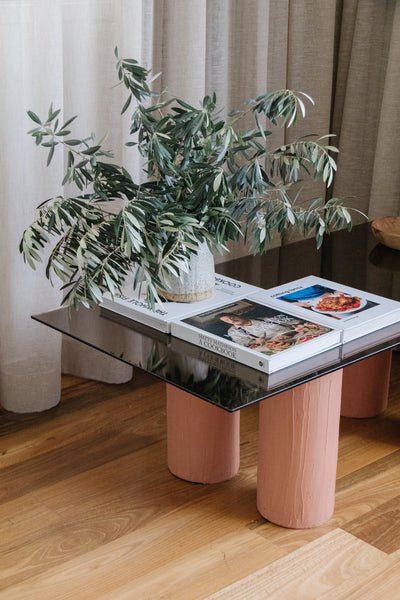
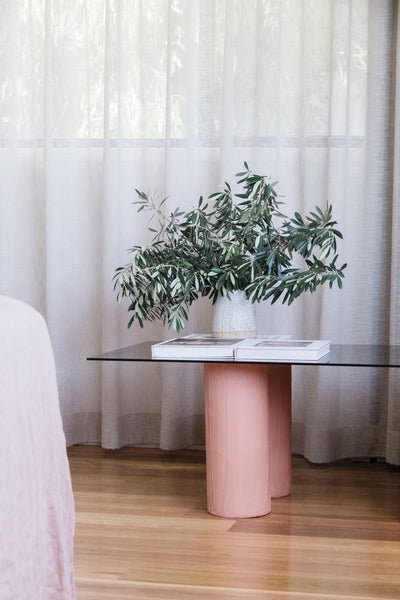
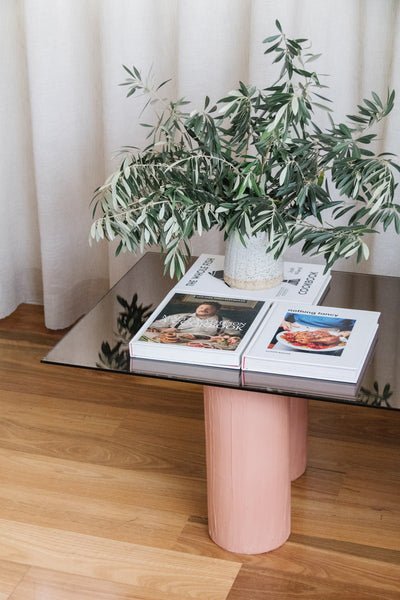
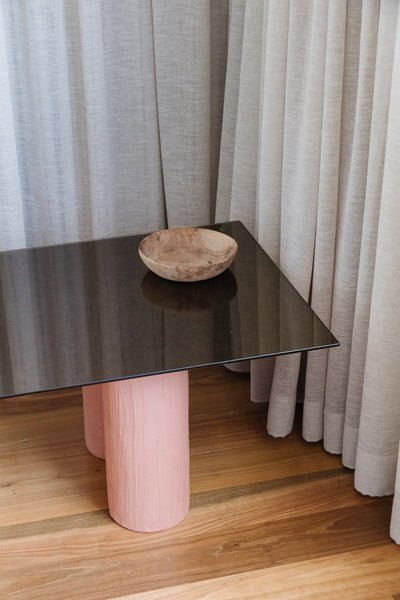
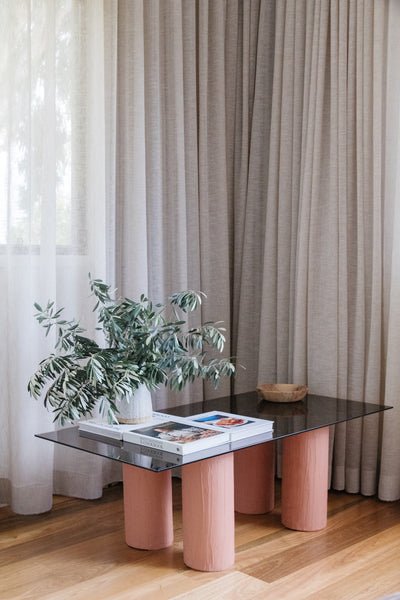
Ta daaaa! And you wouldn't even know this beautiful coffee table was made from glass and PVC pipes salvaged from the tip shop.
Even though my original plan was to use concrete to make the chubby legs, and even though I sat on this idea for six months, I am thrilled I was able to come up with a much easier (and physically lighter) solution while not losing the vision I always had in my mind - coloured chubby legs. This is a story where it's ok to stop, think and try new processes along the way in order to keep your idea as simple and authentic as possible. I am also thrilled I saved the glass and PVC pipes from ending up in landfill! But remember, you can buy PVC pipes and glass from Bunnings, so at least there's that option! I hope you love this upcycle as much as I do and that it inspires you to get creative and make your own. If you do, feel free to email me or to send me a DM on Instagram. I am always happy to help, share tips and advice, and answer any questions you may have along the way. Happy making!