Upcycled Bar Cart
Spring is around the corner and I’ve been looking for the perfect bar cart to upcycle…
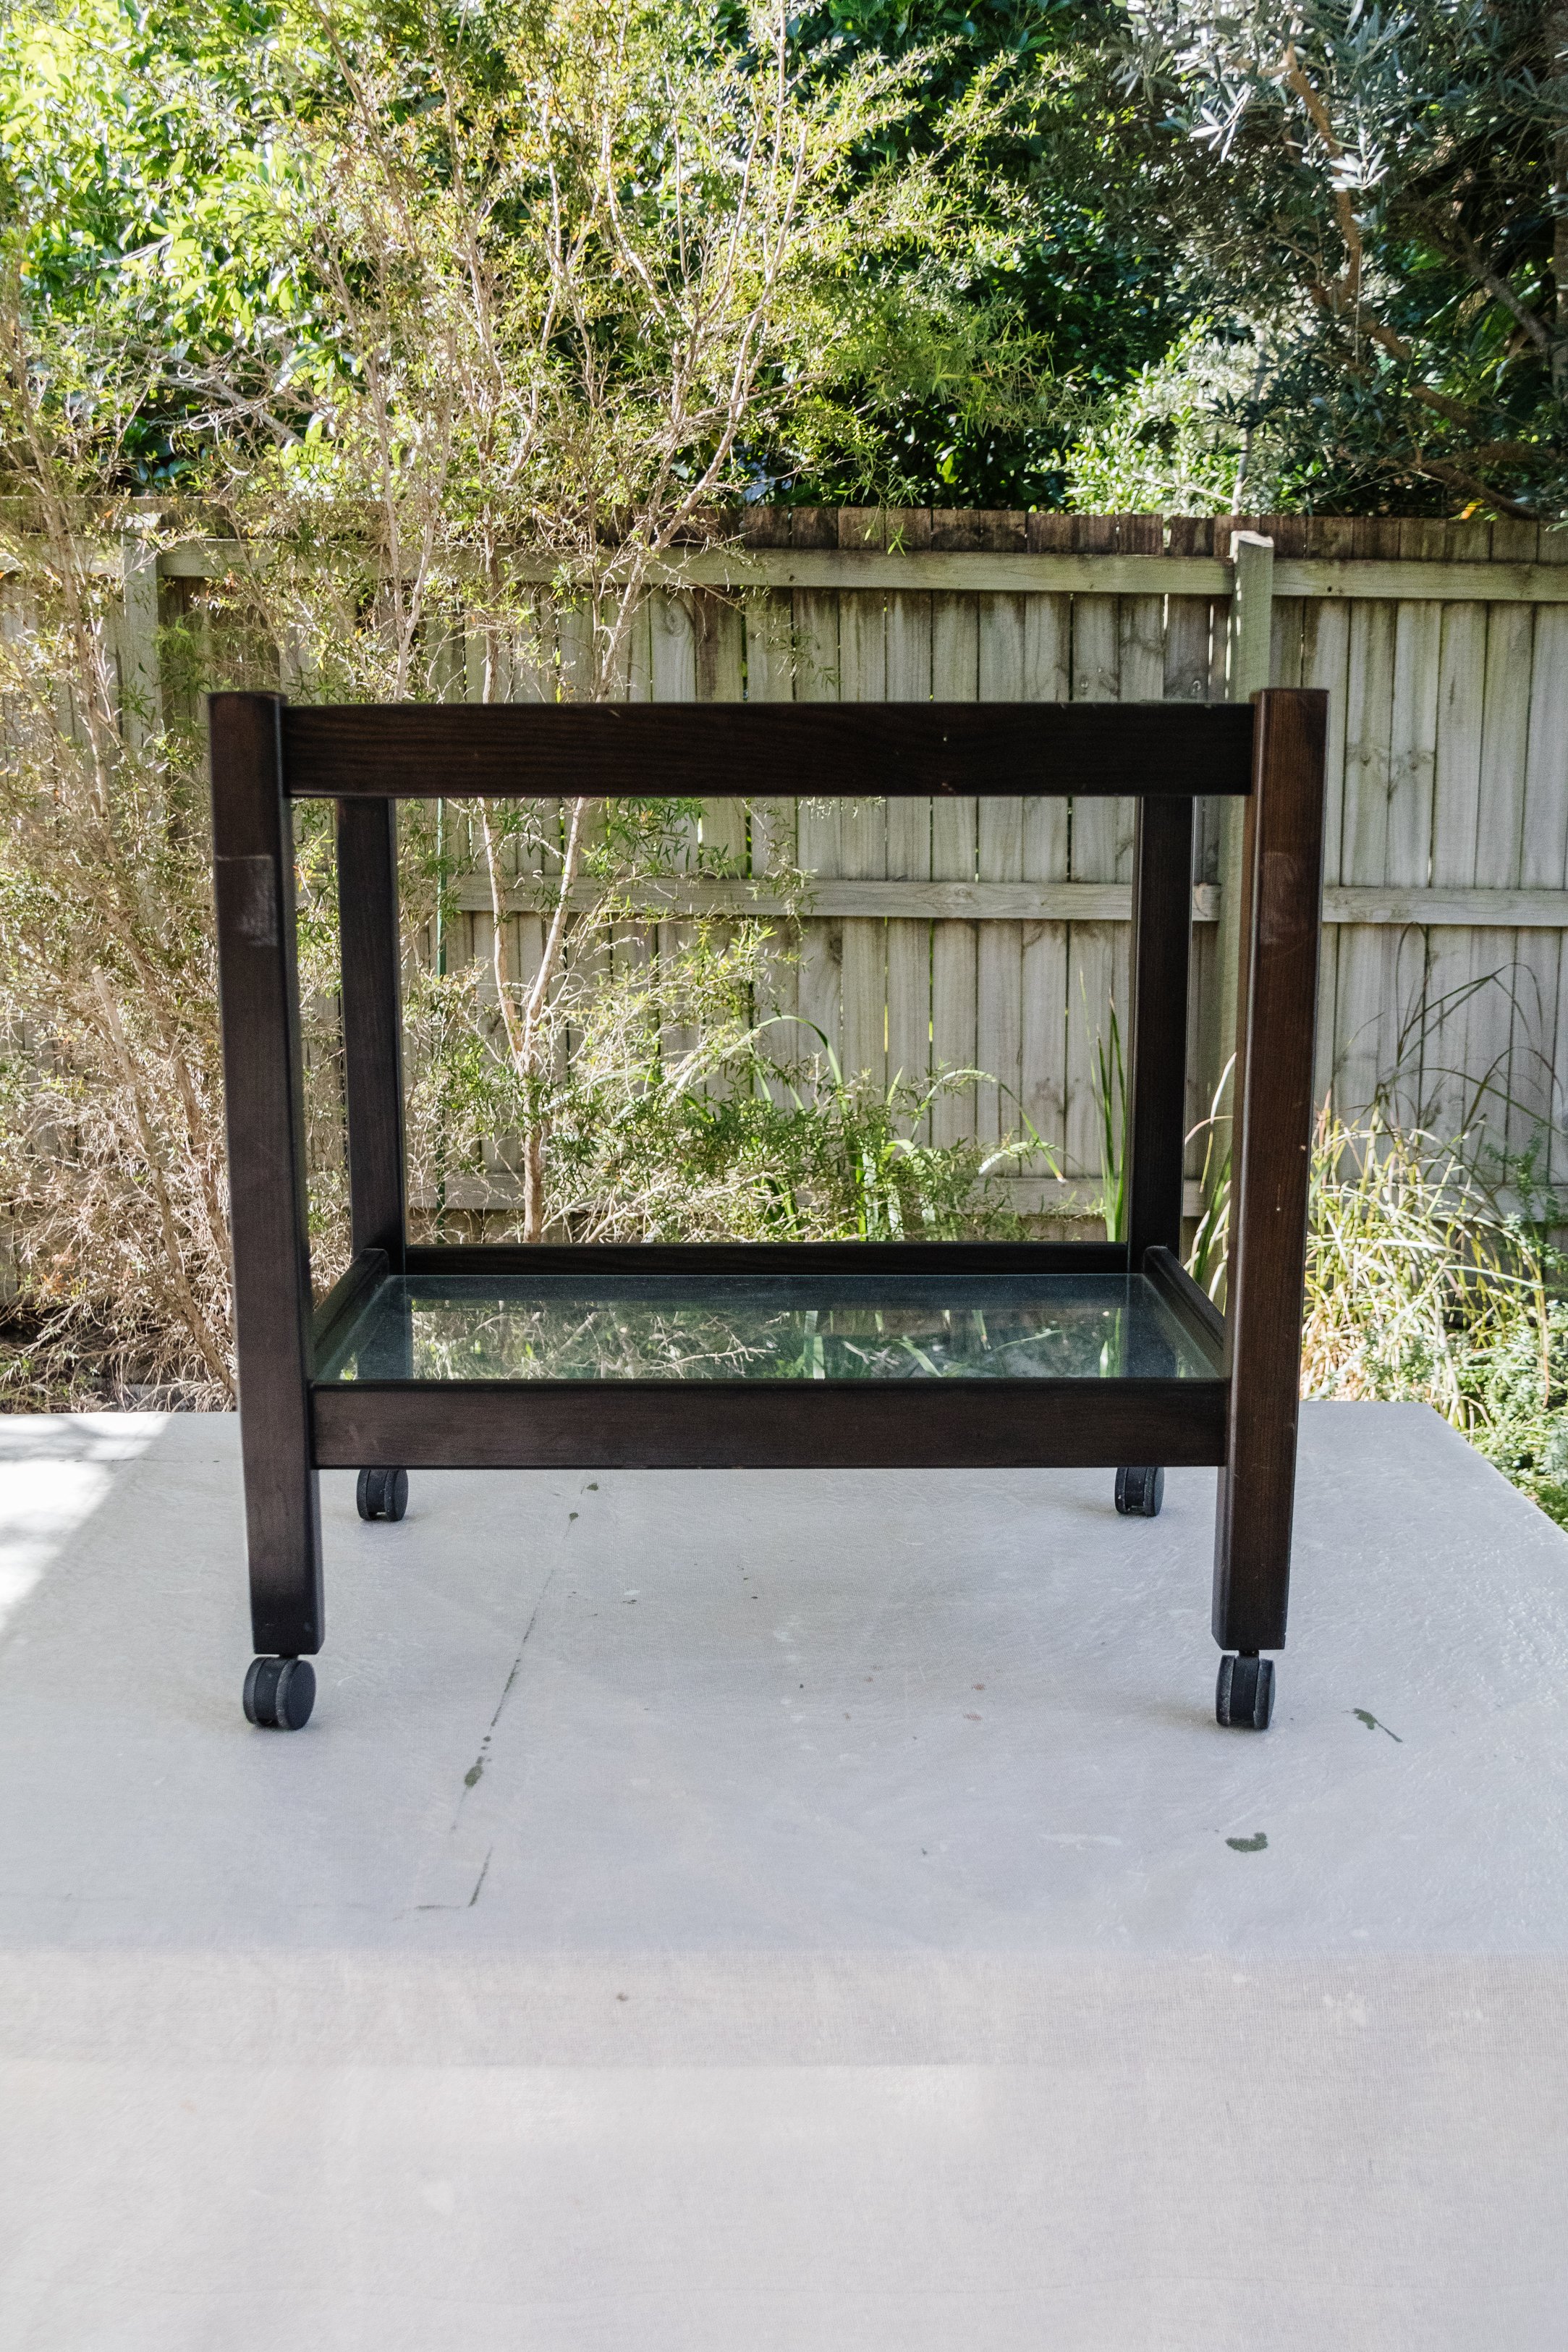
Entertaining season is upon us and I’ve been wanting a bar cart for so long. A new bar cart can retail anywhere from $100 to $500 and while I’ve seen plenty of lovely rattan and brass ones, I have been on the lookout for a secondhand bar cart that I can upcycle for less. I stumbled across a stained timber bar cart at a charity shop for $20 a little while ago and I knew straight away it would be perfect for an idea I’ve had in mind for ages - timber stained stripes!
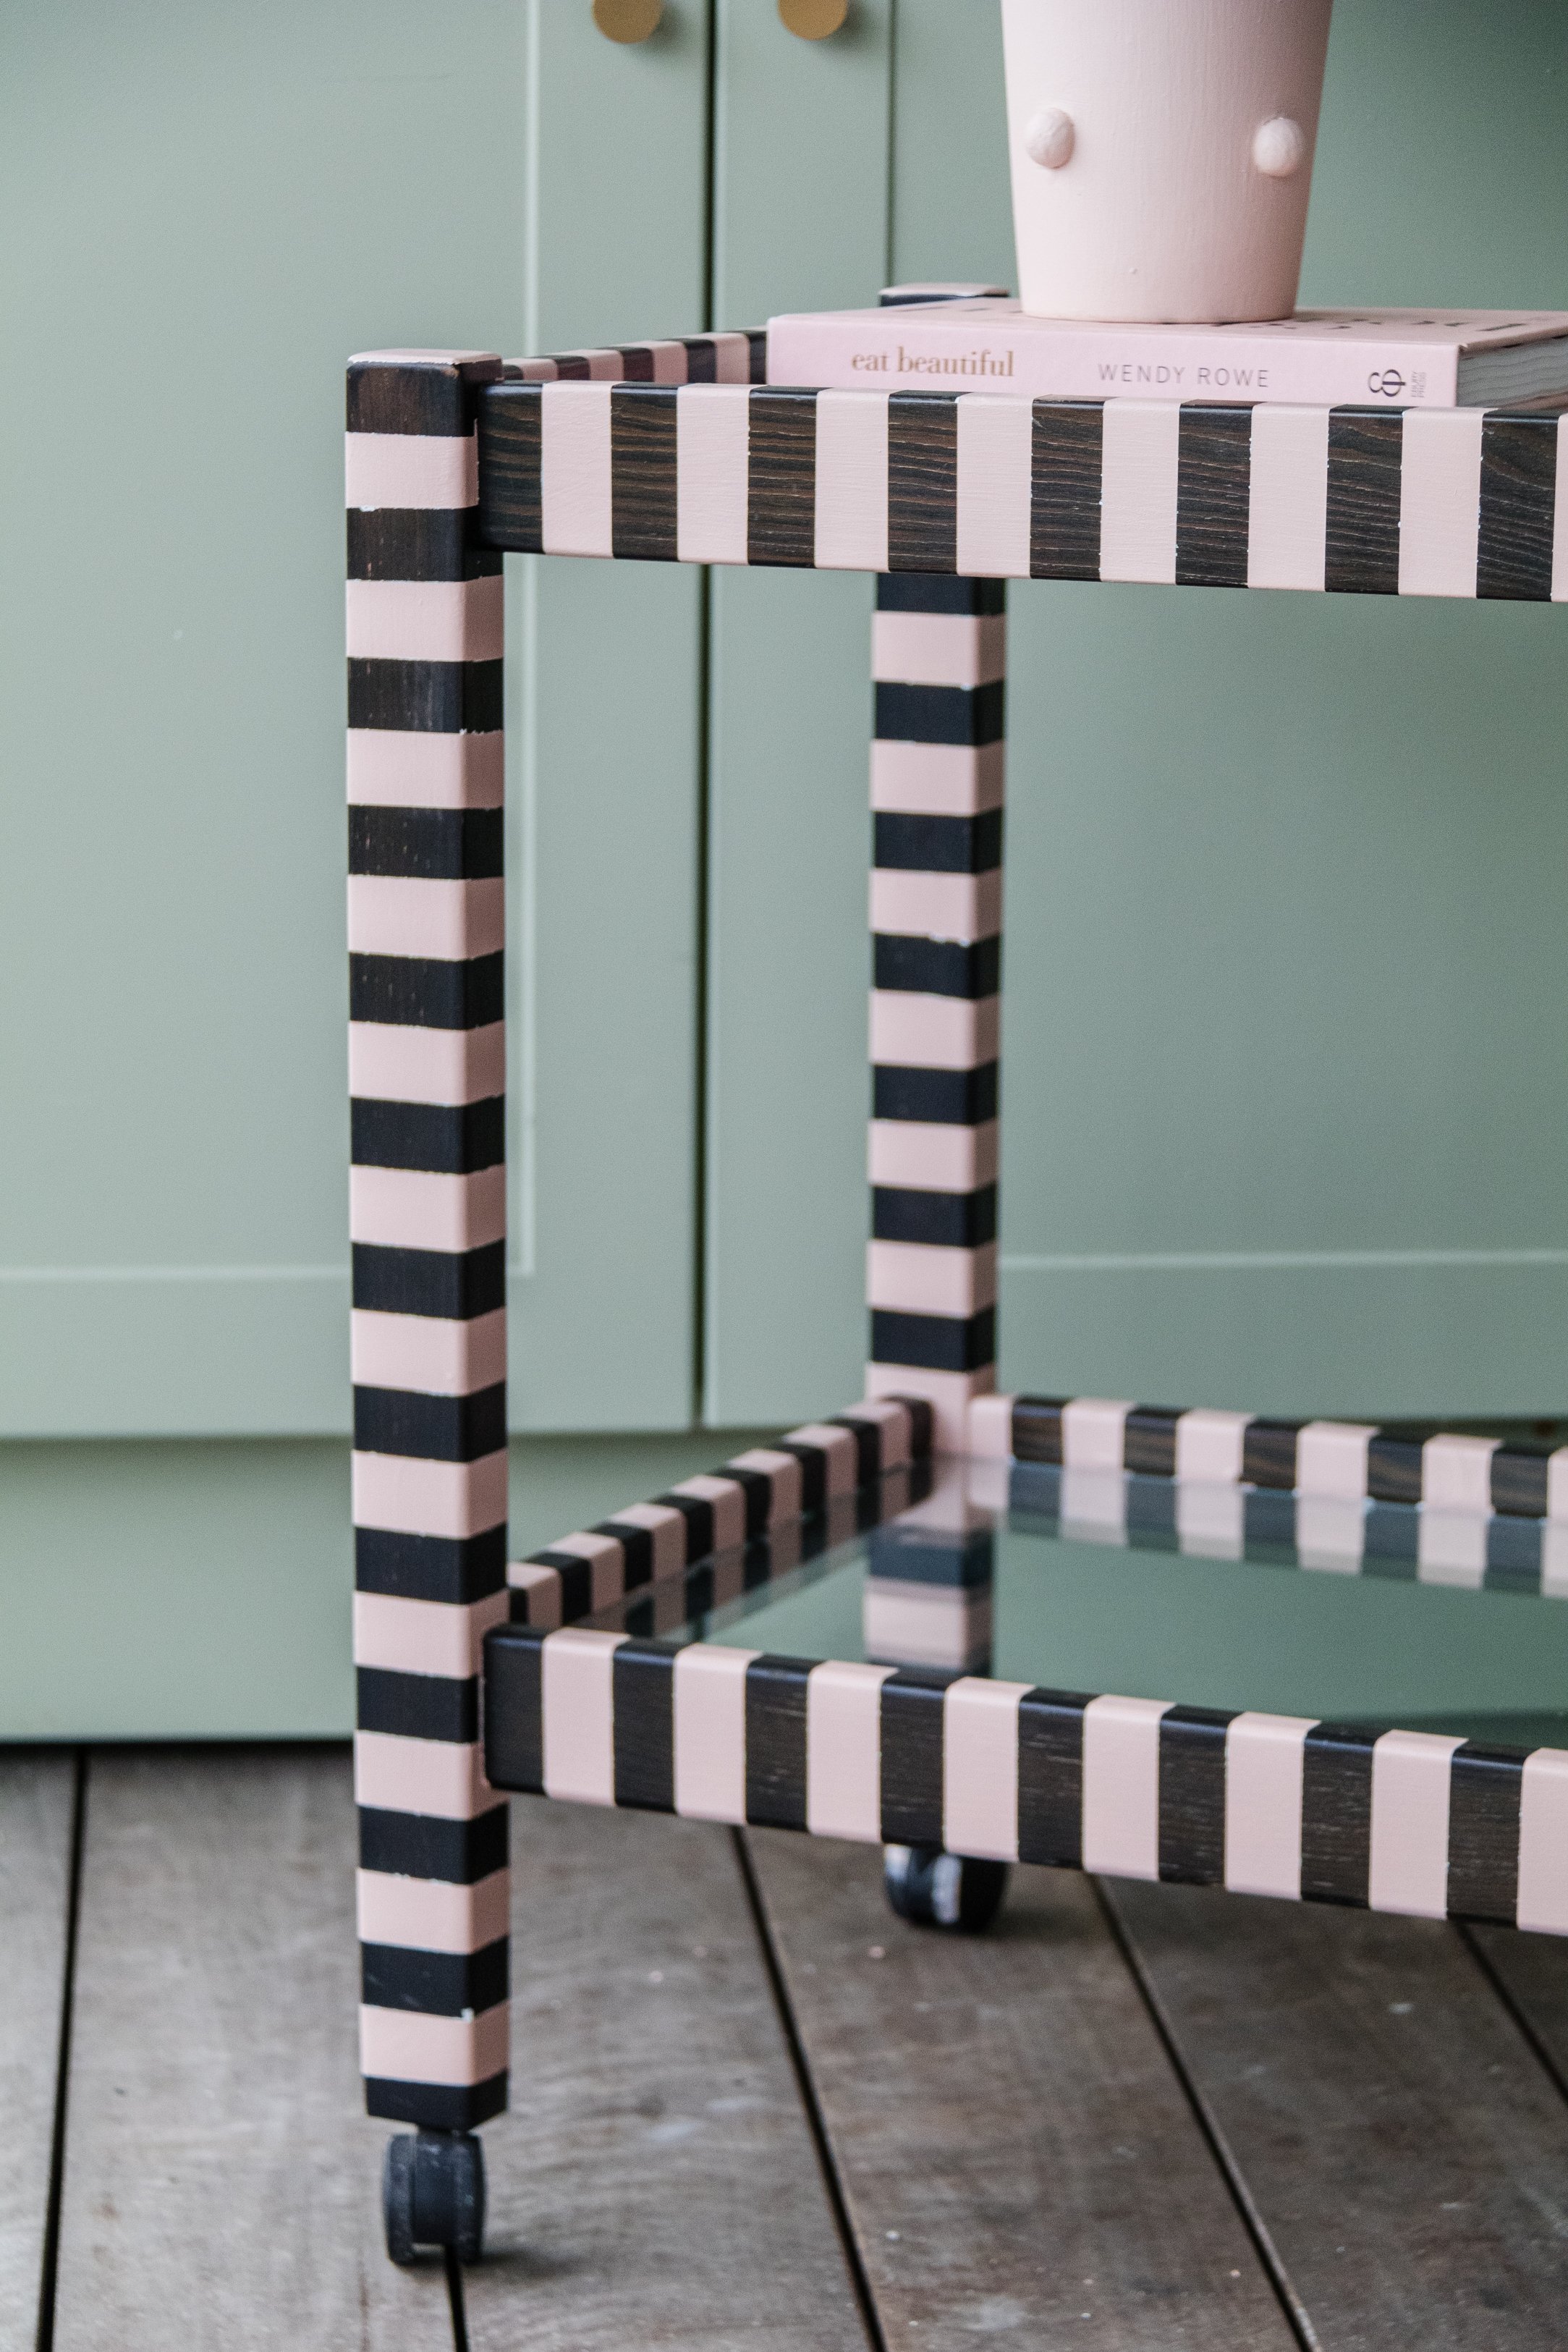
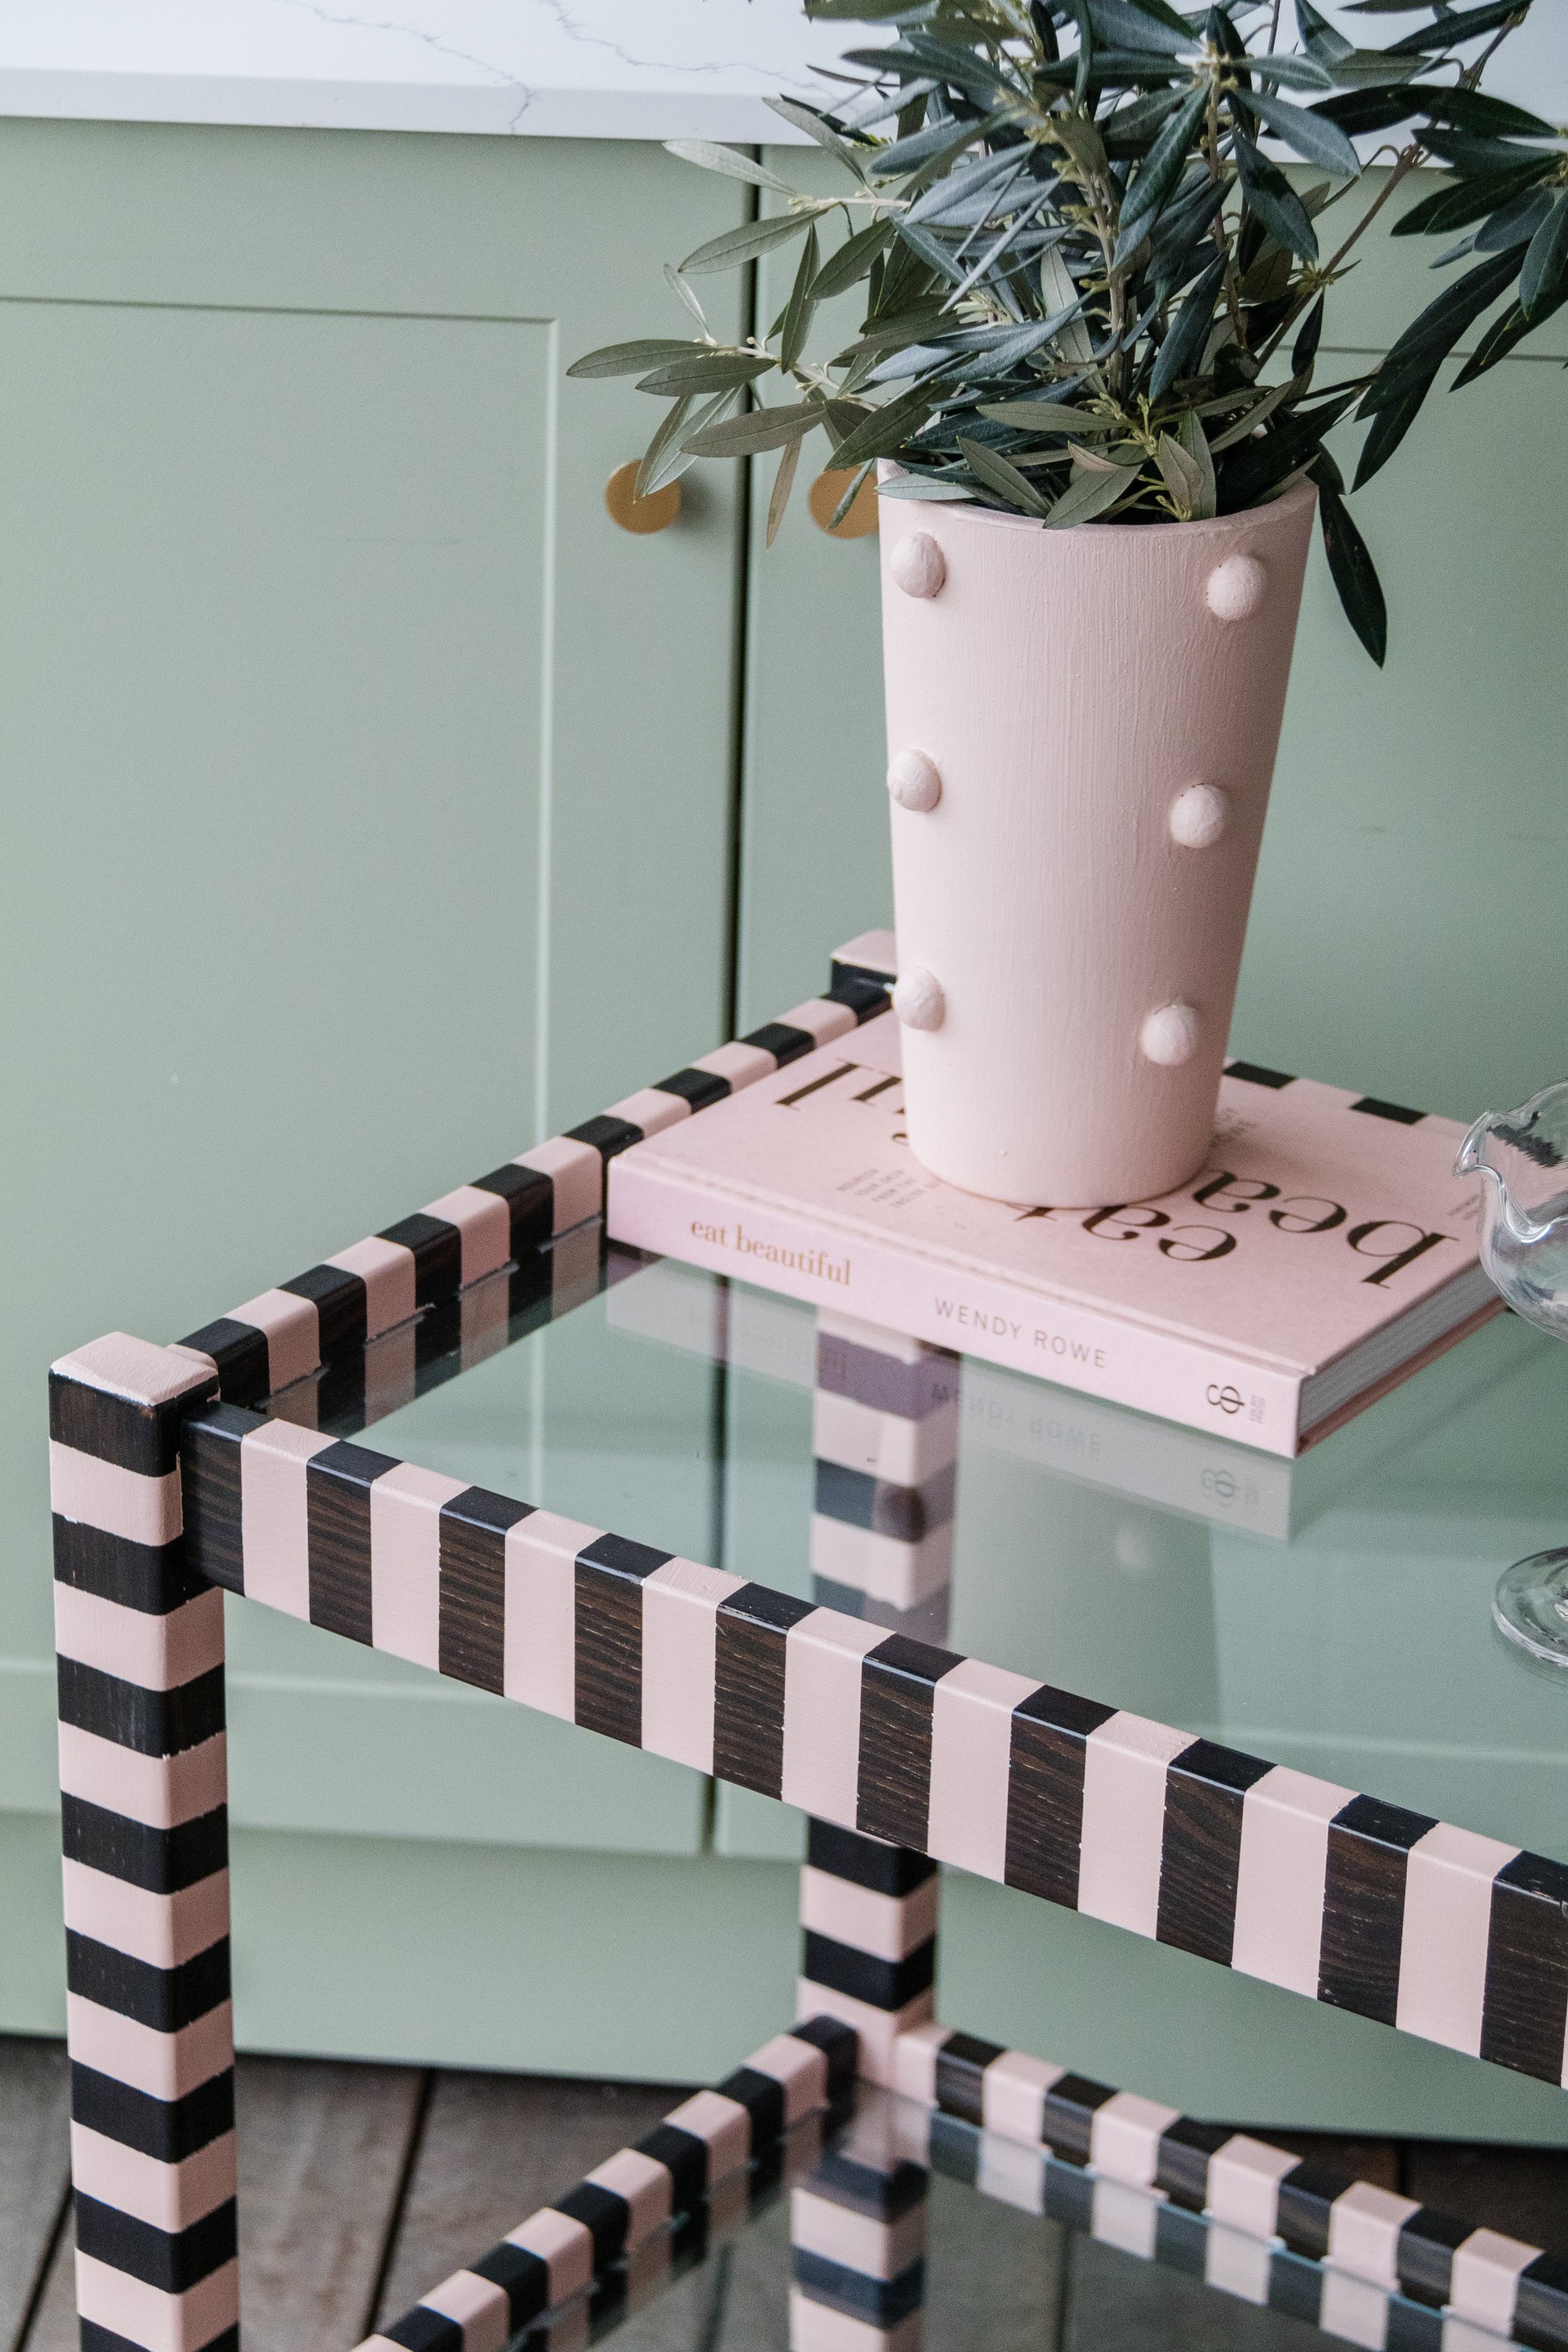
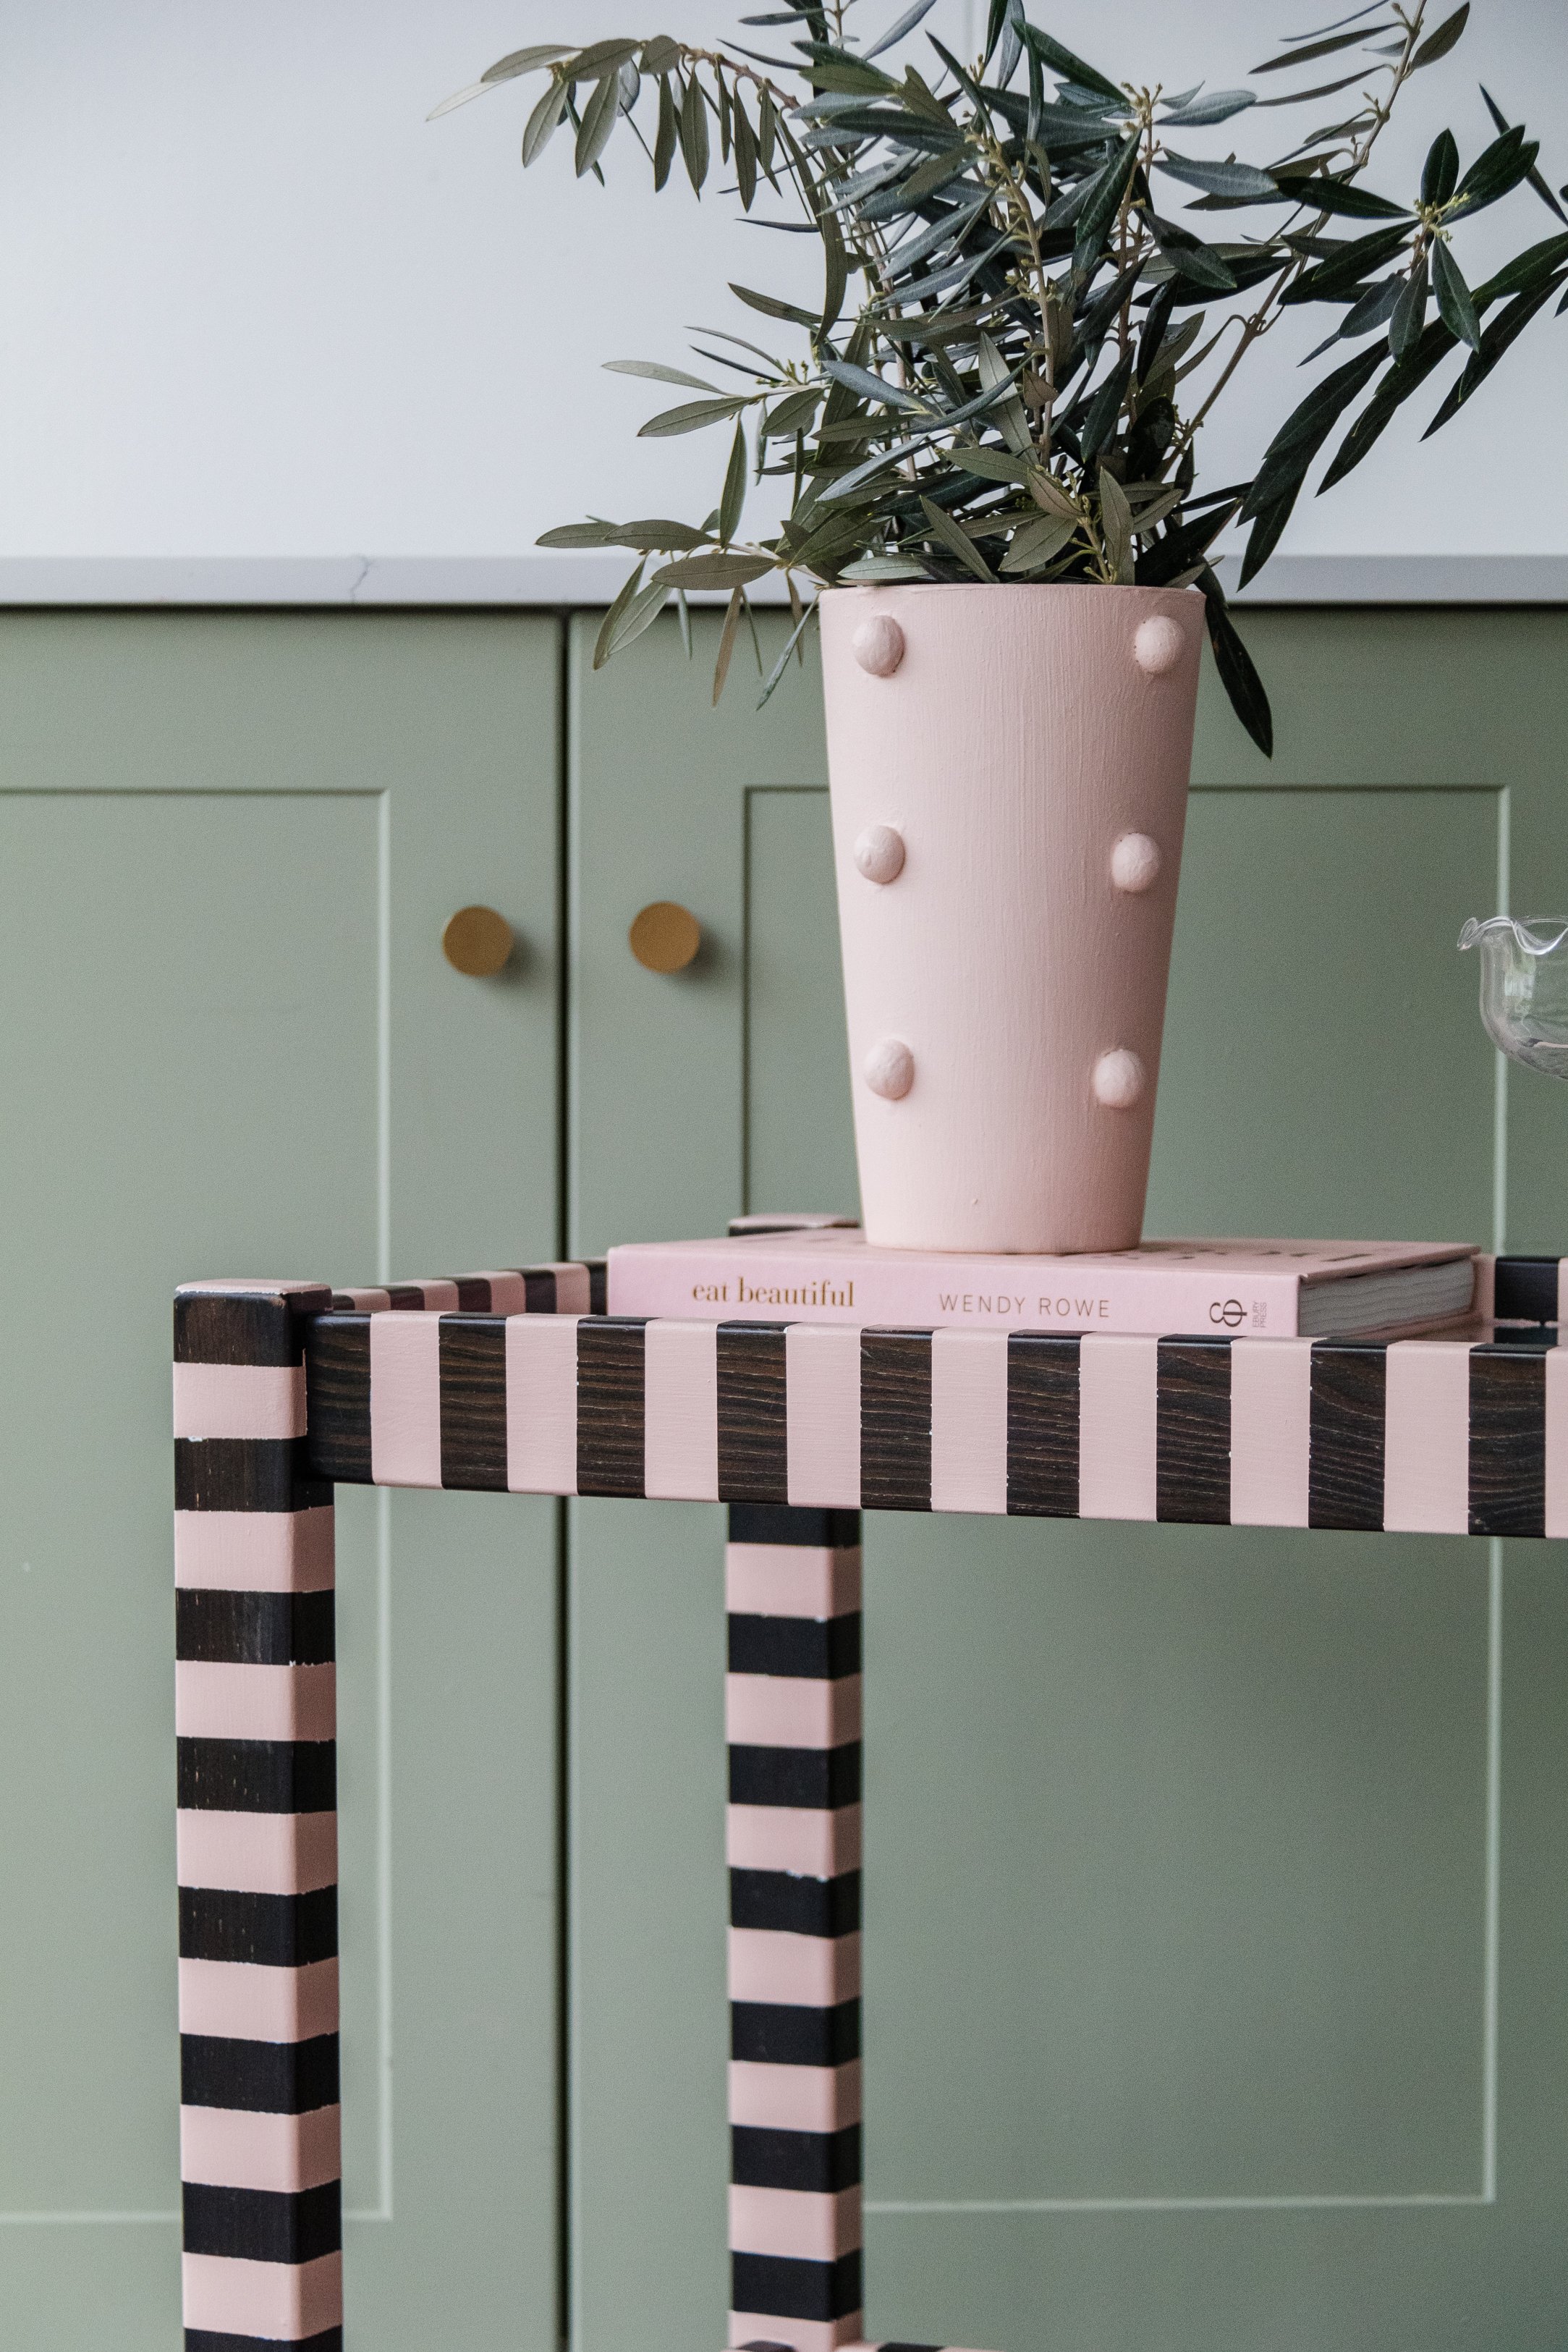
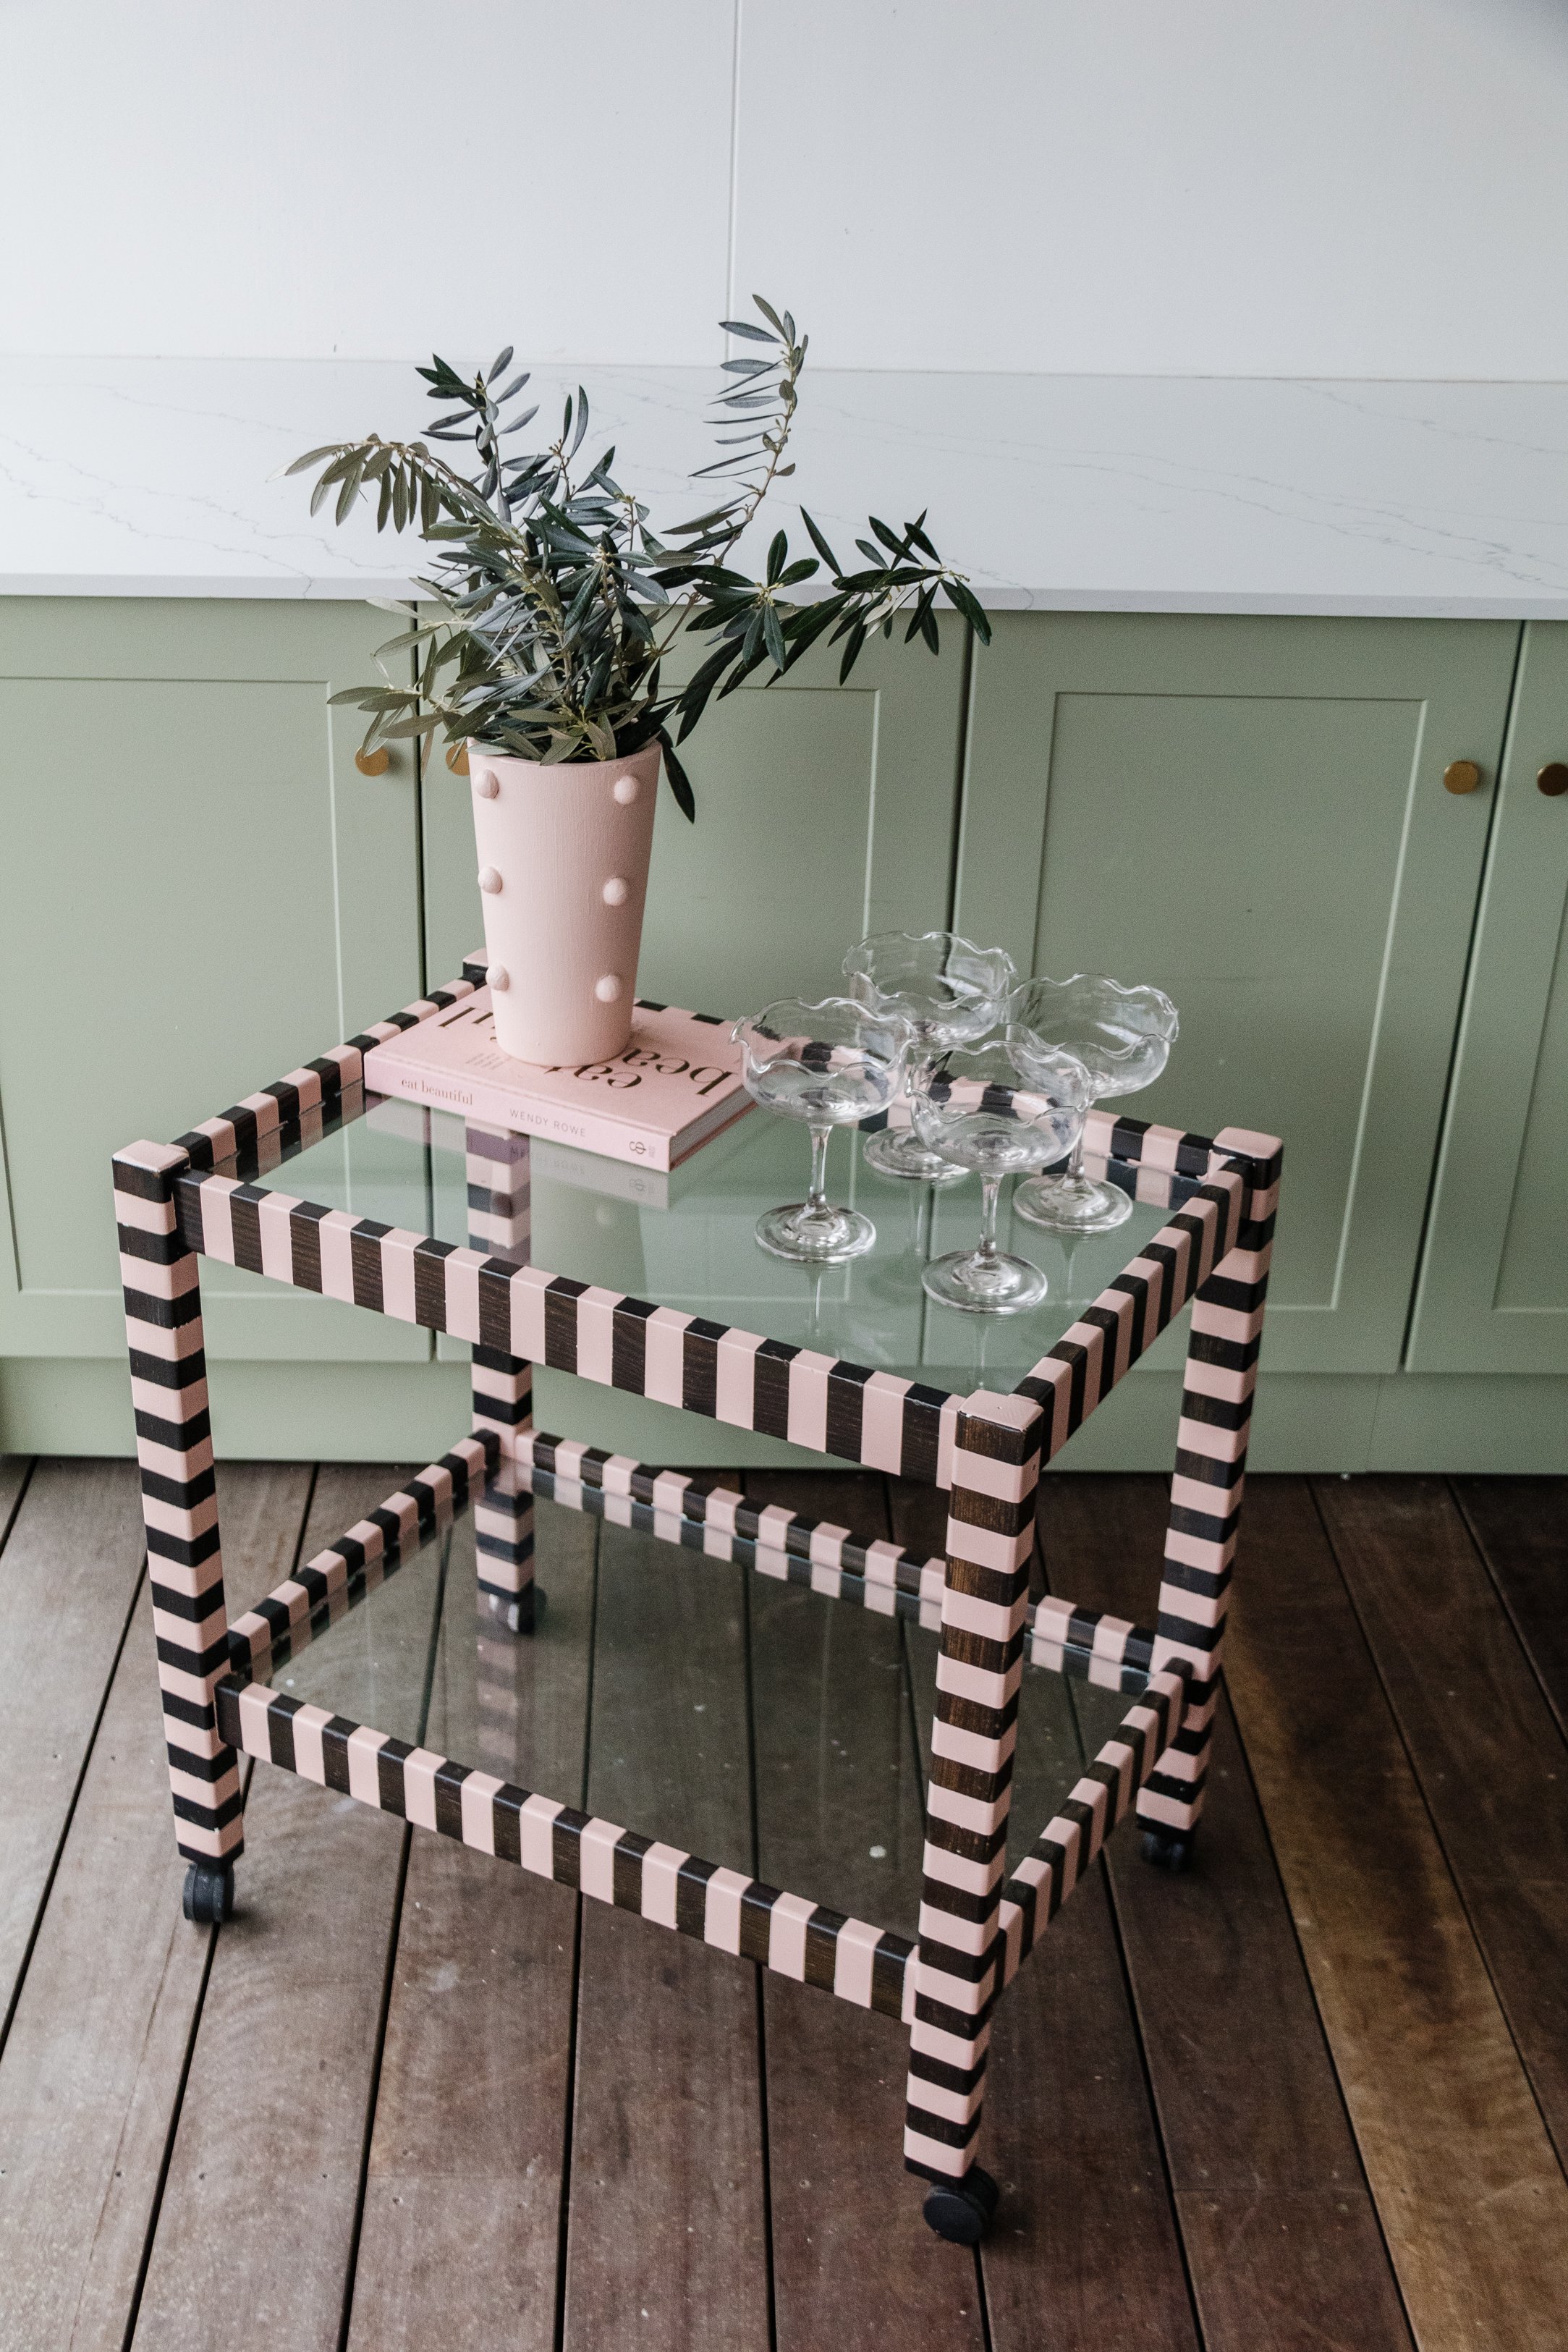
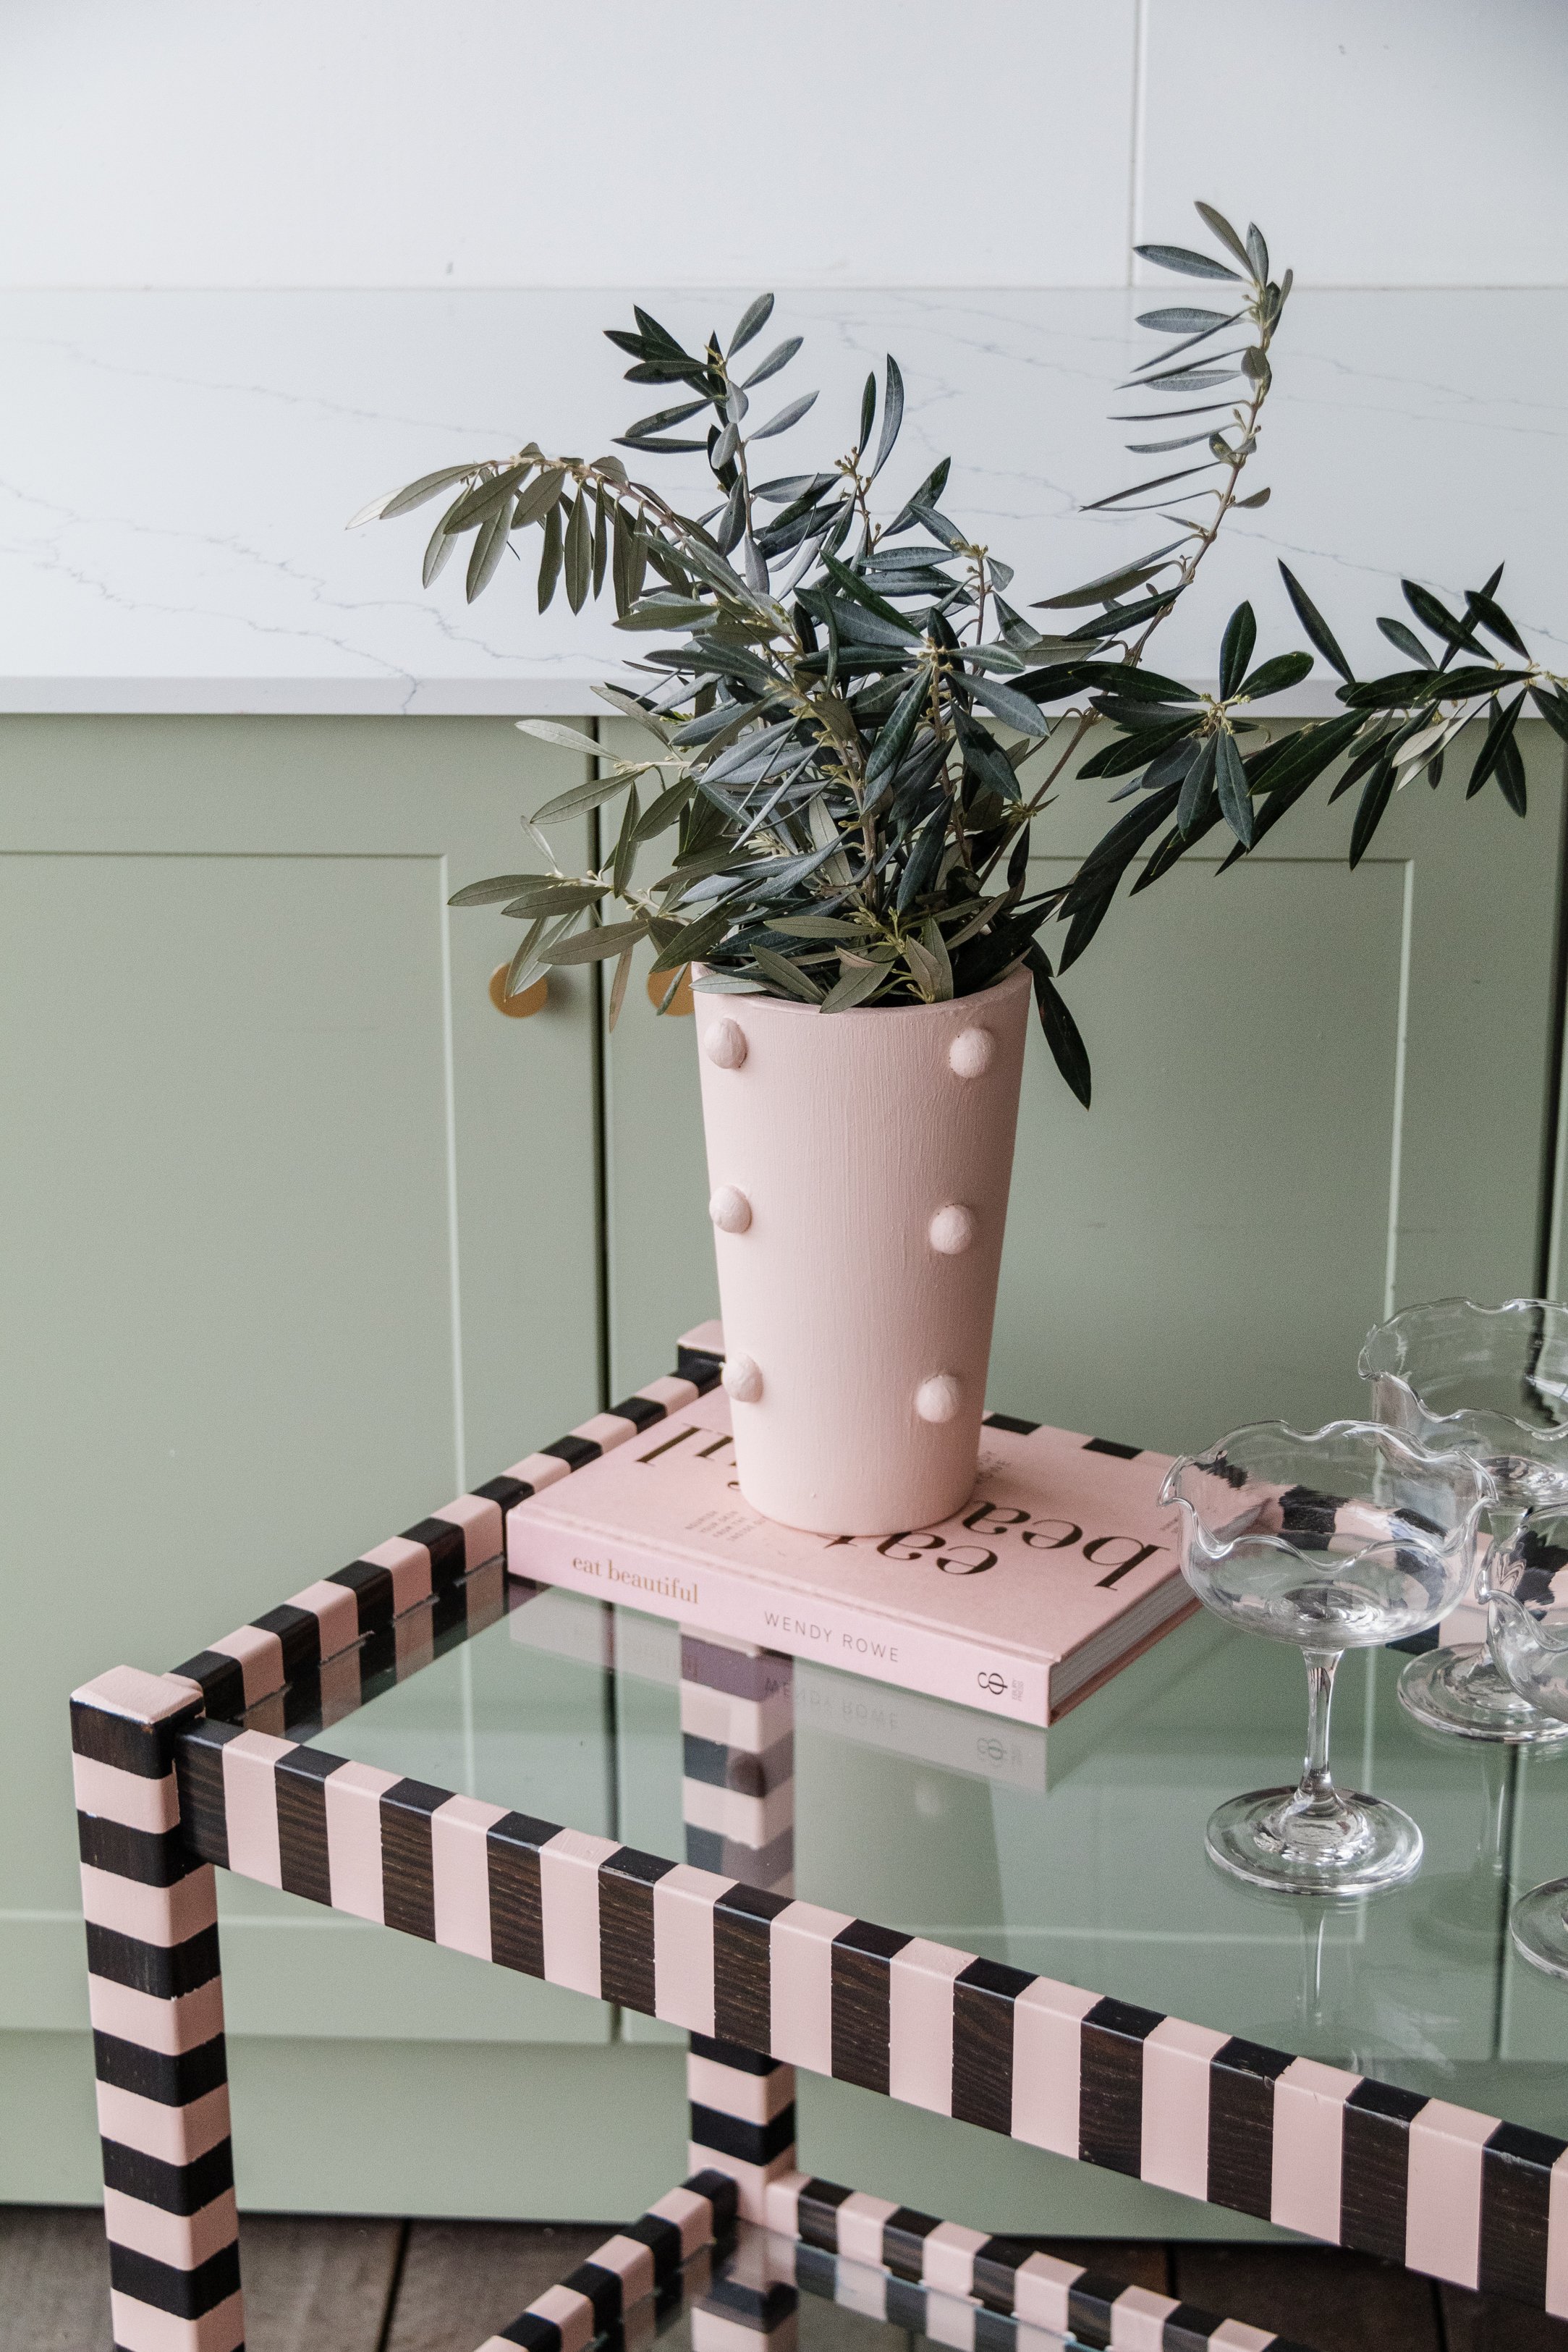
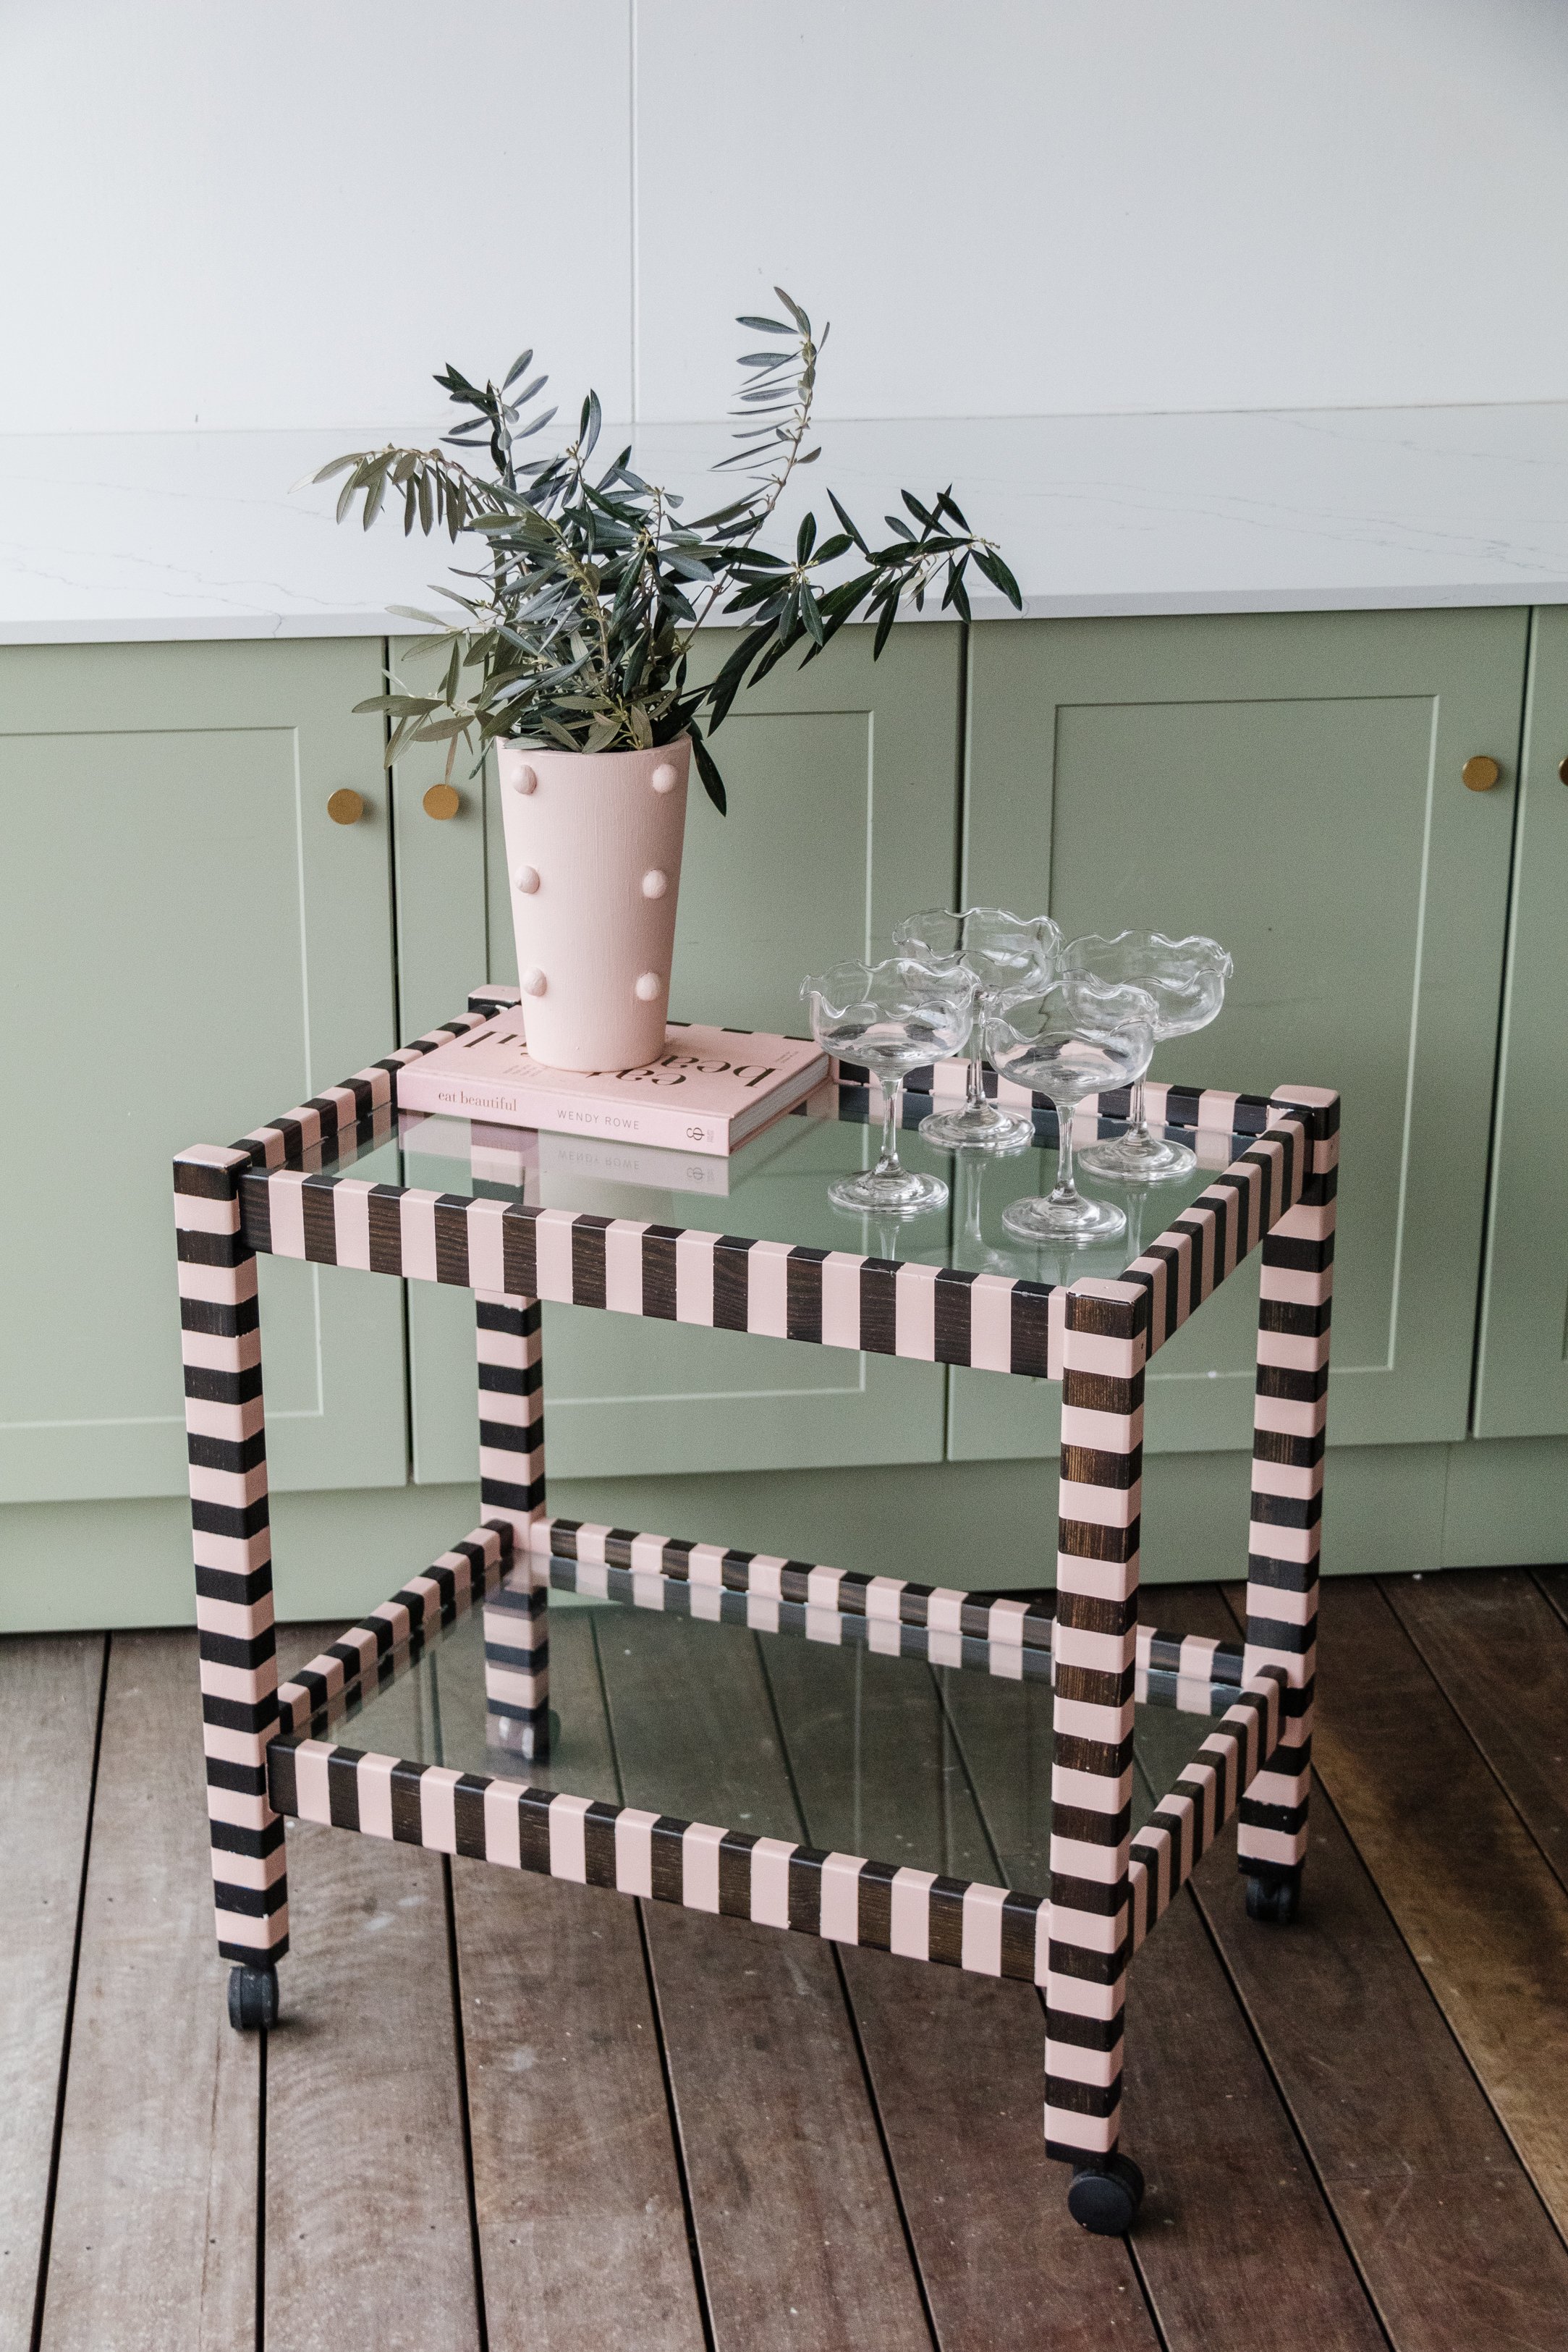
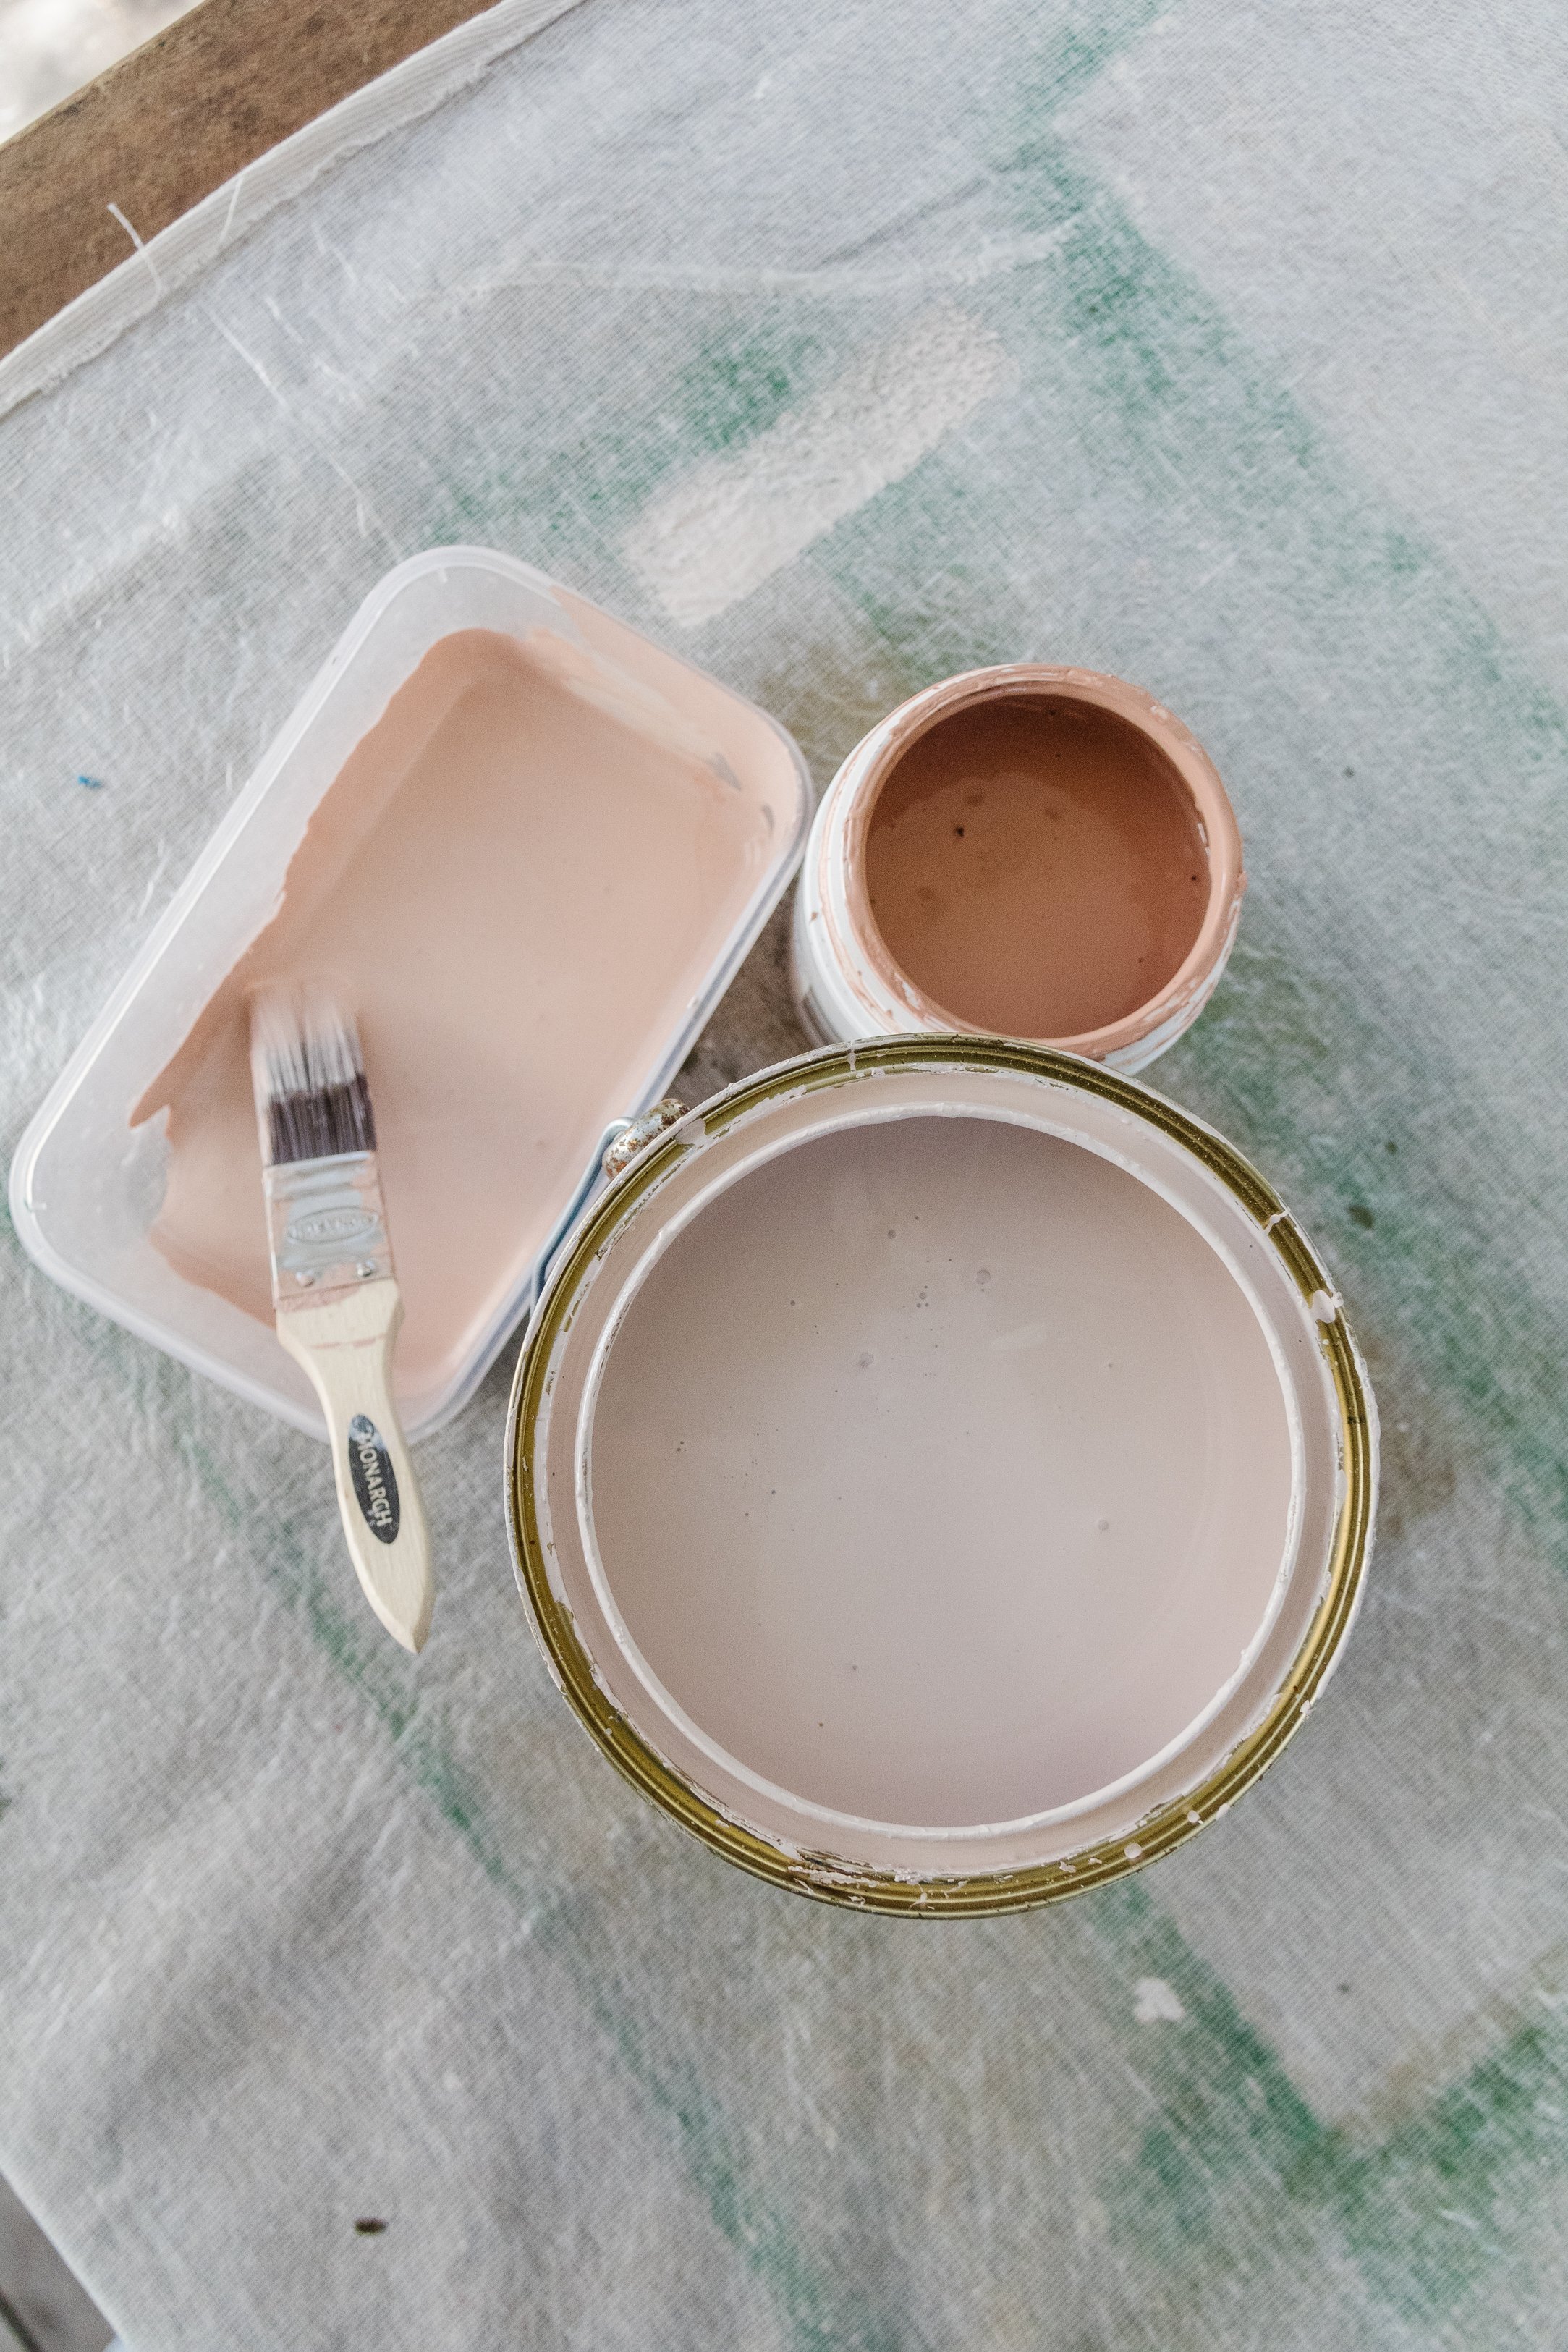
However, I couldn’t take the bar cart apart in order to remove the glass panels and sand the timber properly, so I changed plans and painted the stripes instead. The colour of the original timber stain is a beautiful chocolate brown, so I decided to compliment this warm tone by mixing a pink and brown paint by Dulux to create a bespoke paint for this project. Needless to say, I am thrilled with how it turned out. But, I still have my heart set on creating timber stained stripes, so stay tuned… Read on to learn how to upcycle and paint stripes on your very own bar cart (or you could use this technique on any piece of furniture!).
To see how this Upcycled Bar Cart came together in a day, make sure you check out this video!
Before & After

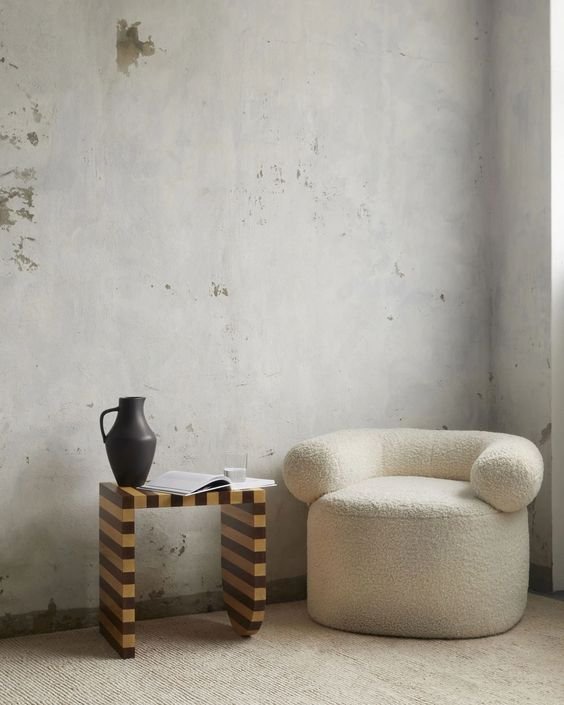
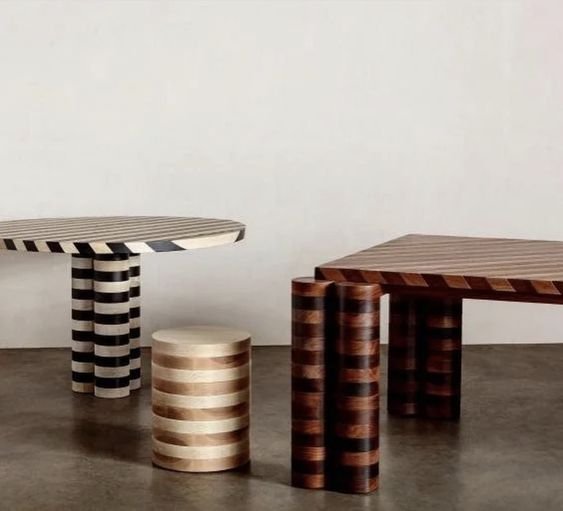
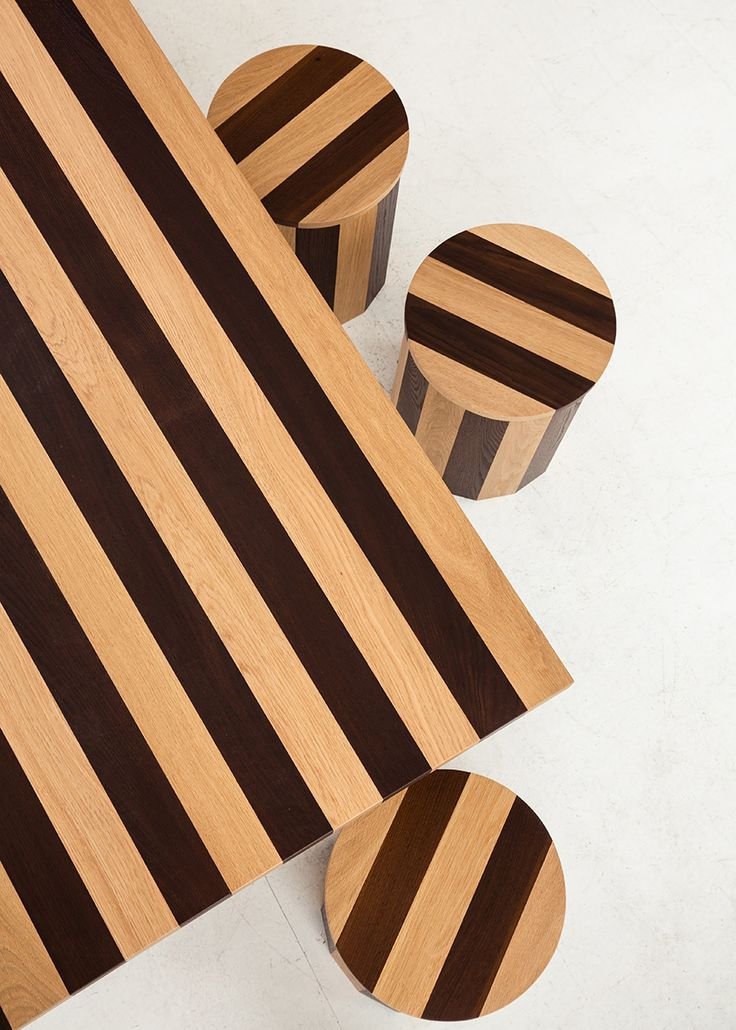
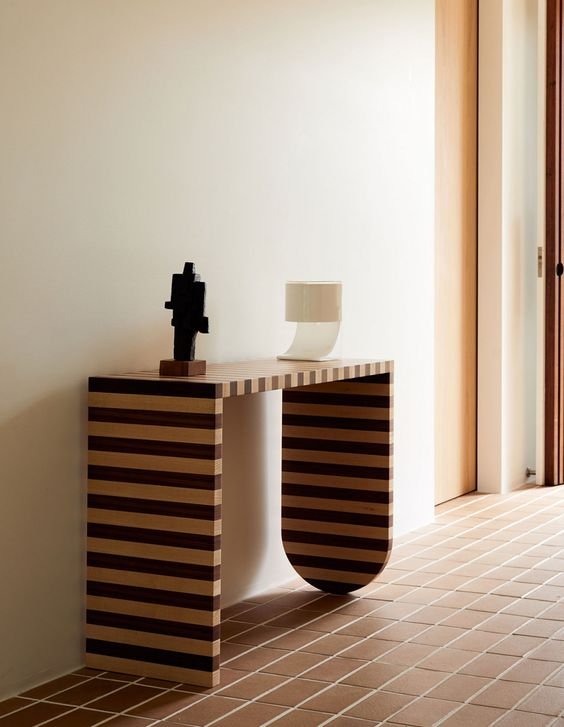
The Inspiration:
Project Details:
🕒 Project Time Estimate: 2 to 3 hours, not including paint drying time
💰 Materials Cost: $50
⚒️ Power Tools: None
👷♀️ Skill Level: Beginner DIYer
Materials:
Secondhand timber bar cart
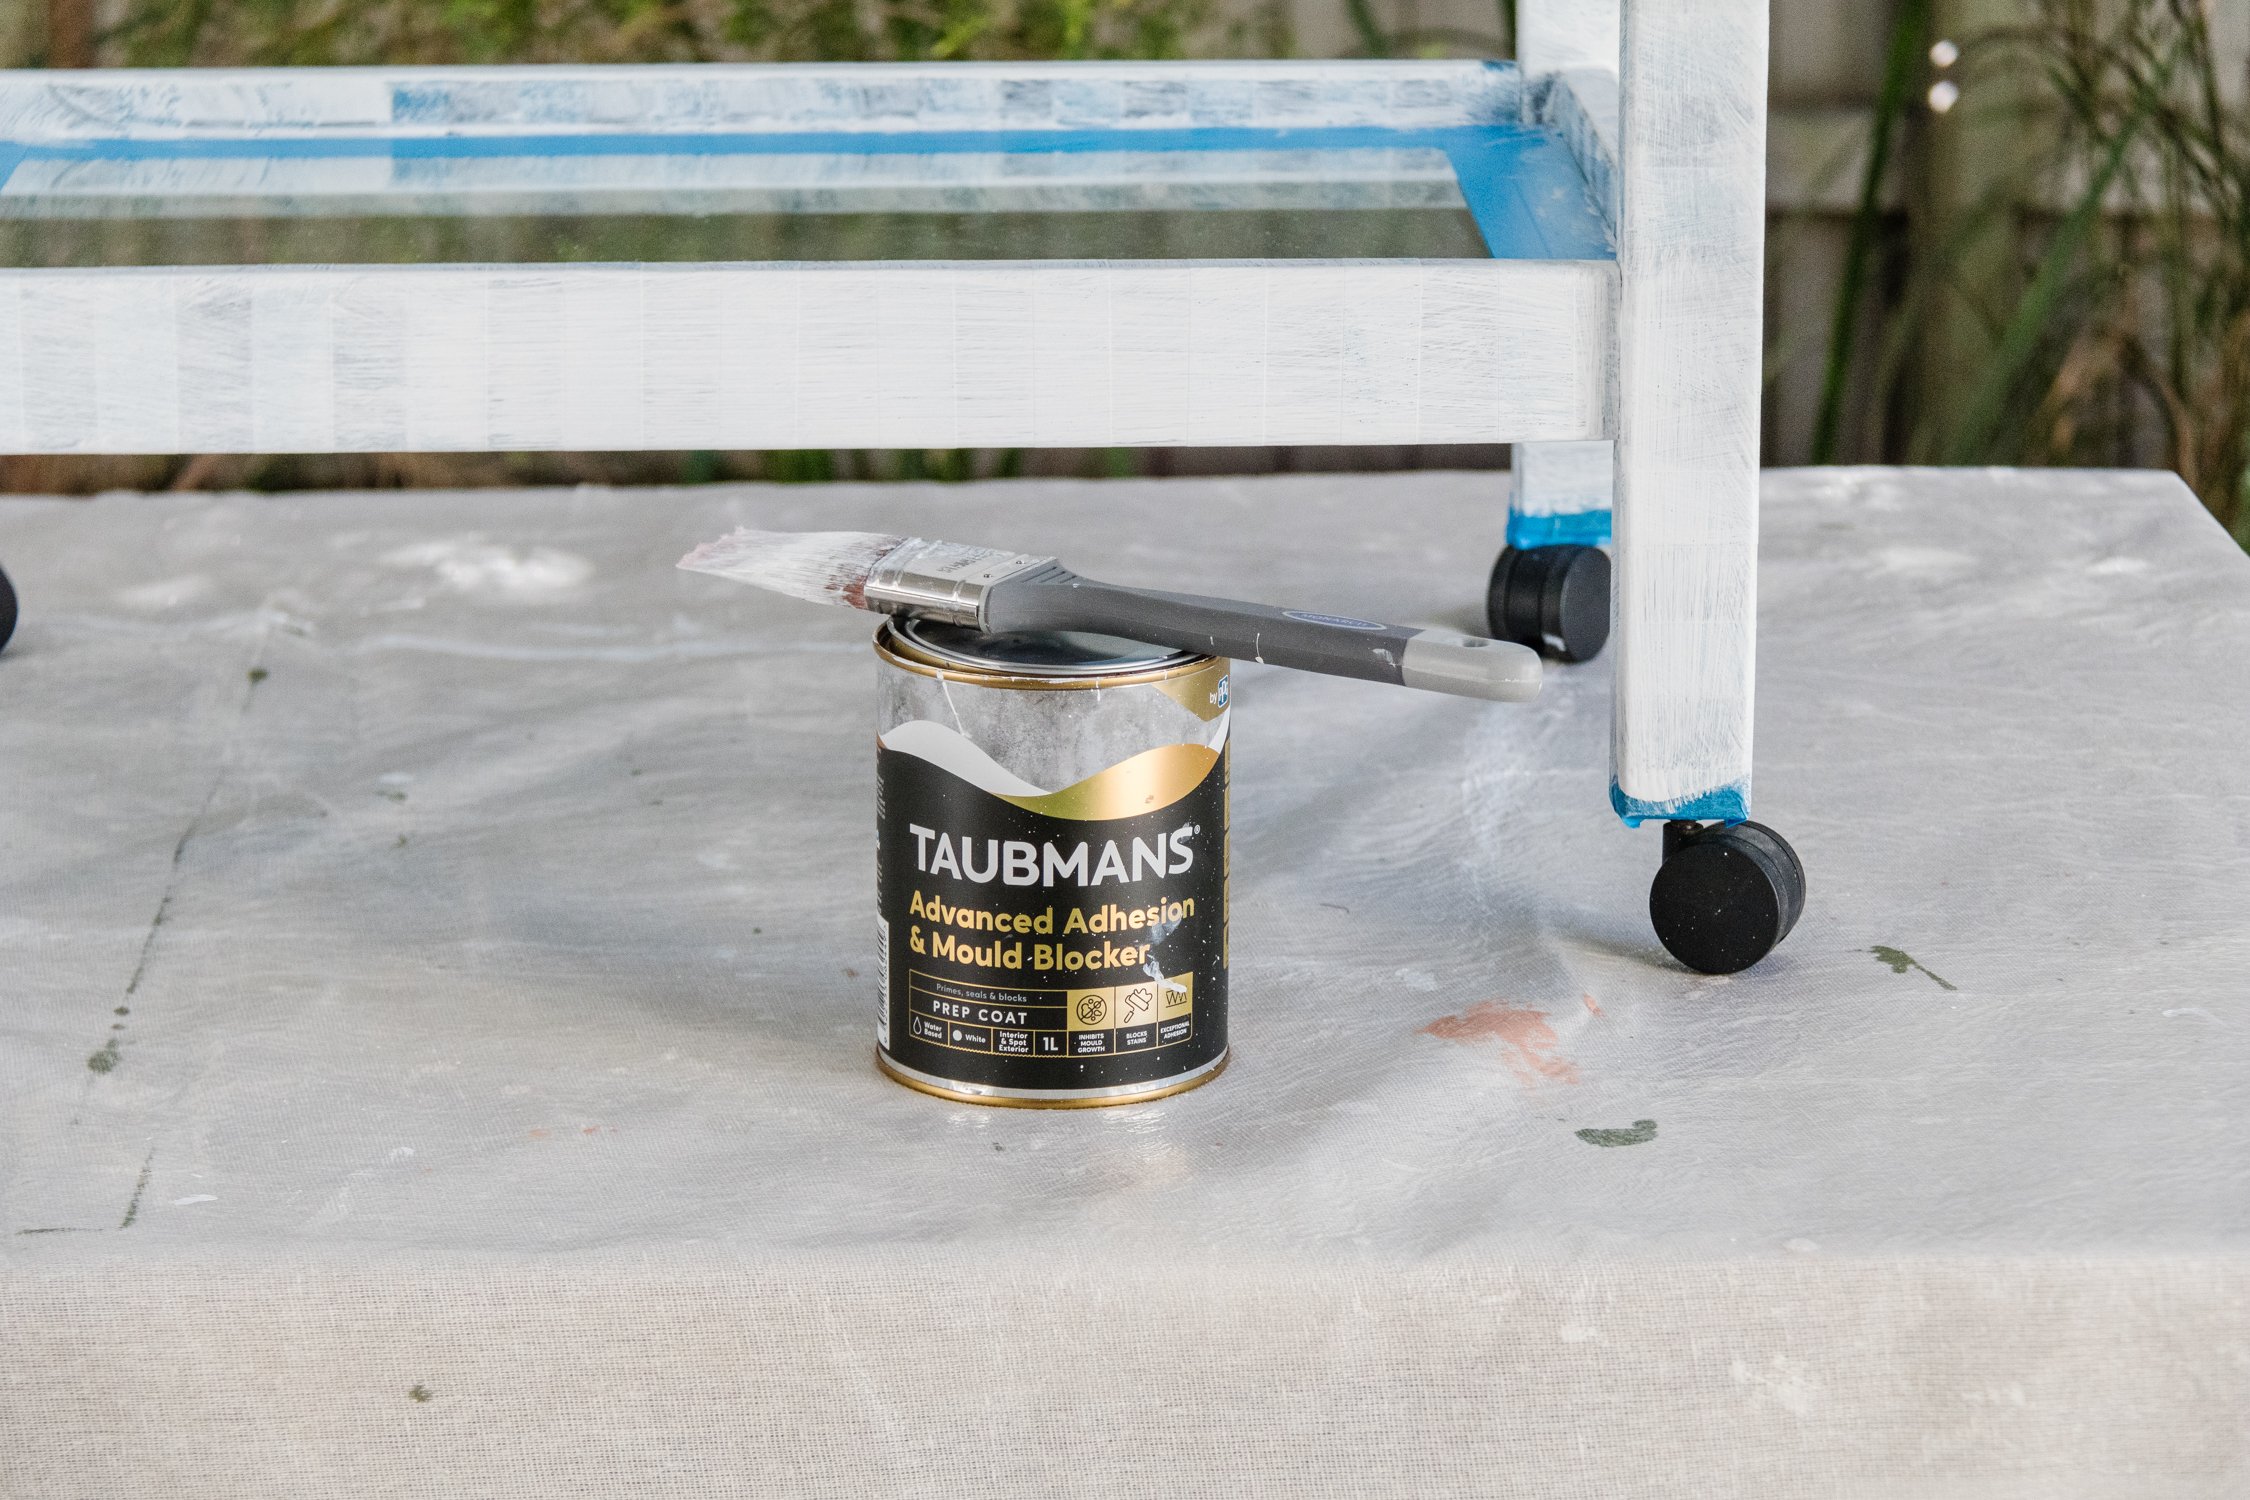
Taubmans Advanced Adhesion & Blocker from Bunnings. I couldn’t find it on their website to link to but you canalso use Zinsser Primer Blocker. It’s really important you use a “primer blocker” for this project.
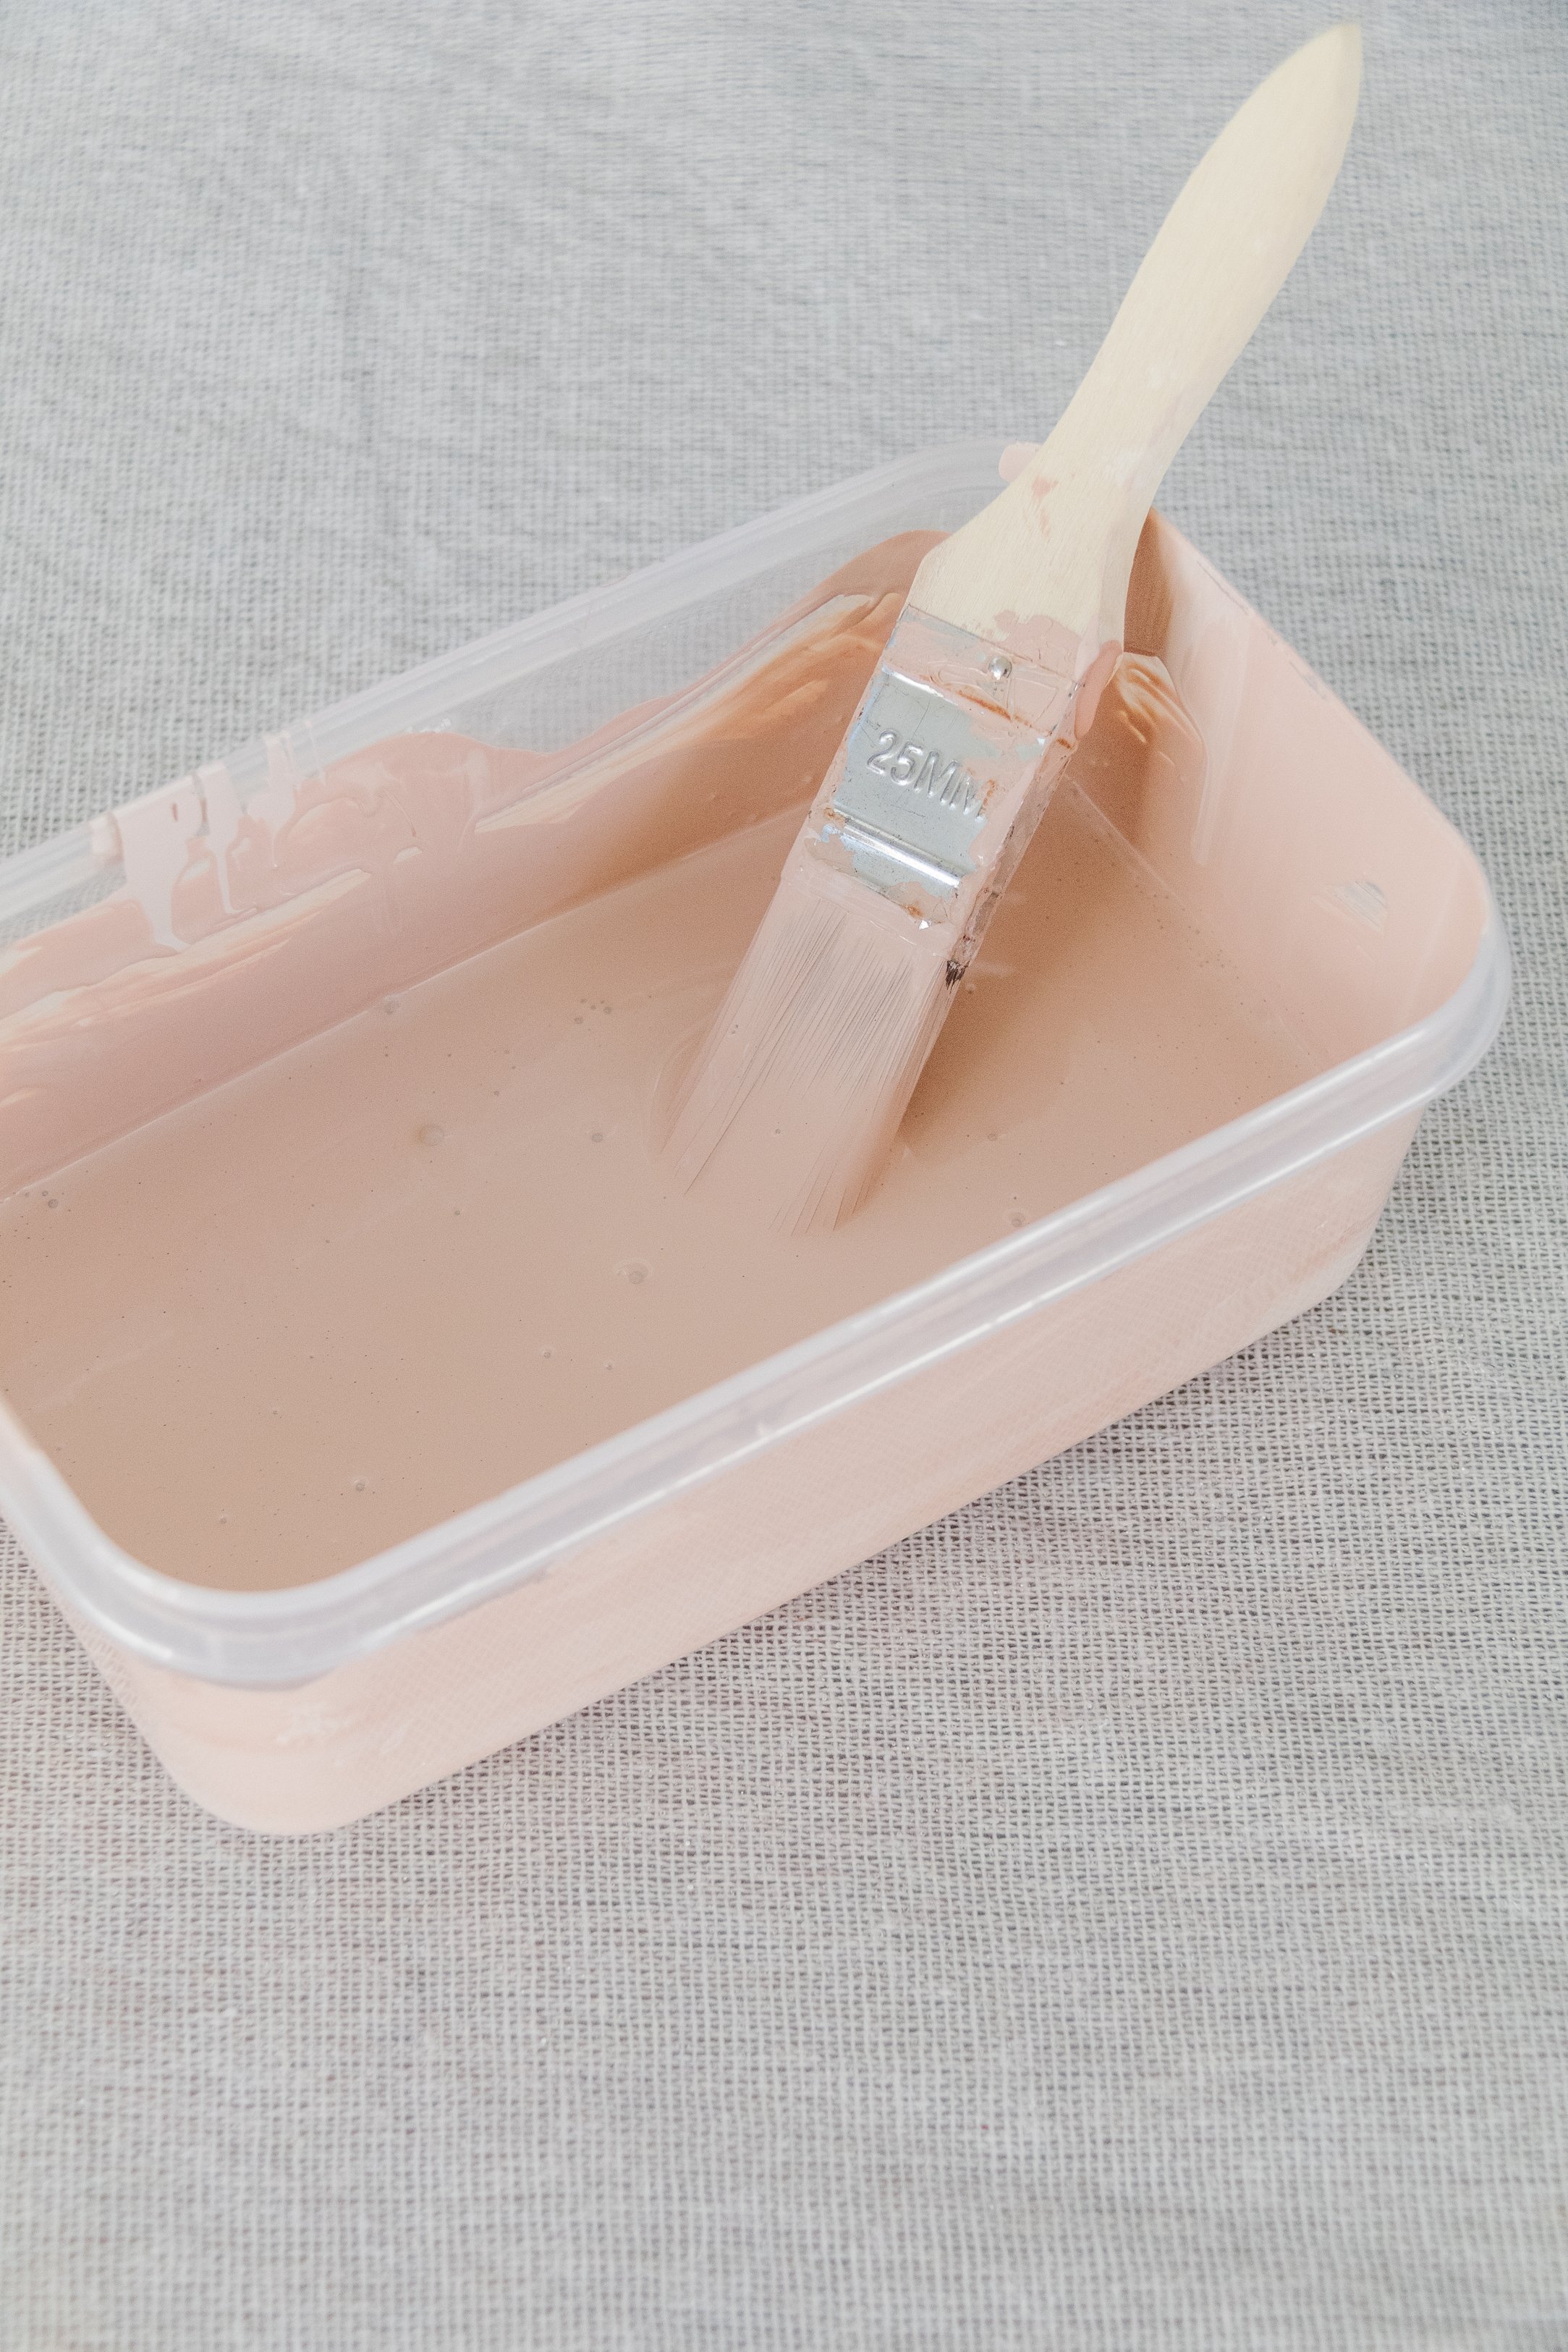
Paint in your colour of choice - I created a 50/50 mix of “Mornington” and “Potters Pink” by Dulux.
Paint brush
Microfibre paint roller
Optional: Safety pin or a Cricut Weeder (to help remove the painters tape)
Quick Note: This project was unique for the fact that I couldn’t prep the timber before painting it. Why? Because I was unable to take the bar cart apart in order to remove the glass panels and sand the timber properly first. I always recommend sanding any piece of furniture before painting or staining, so I took a gamble and didn’t prep the timber before painting it. And it paid off!
How To
Step 1: Start by cleaning the surface of the bar cart to remove any dust, dirt or residue.
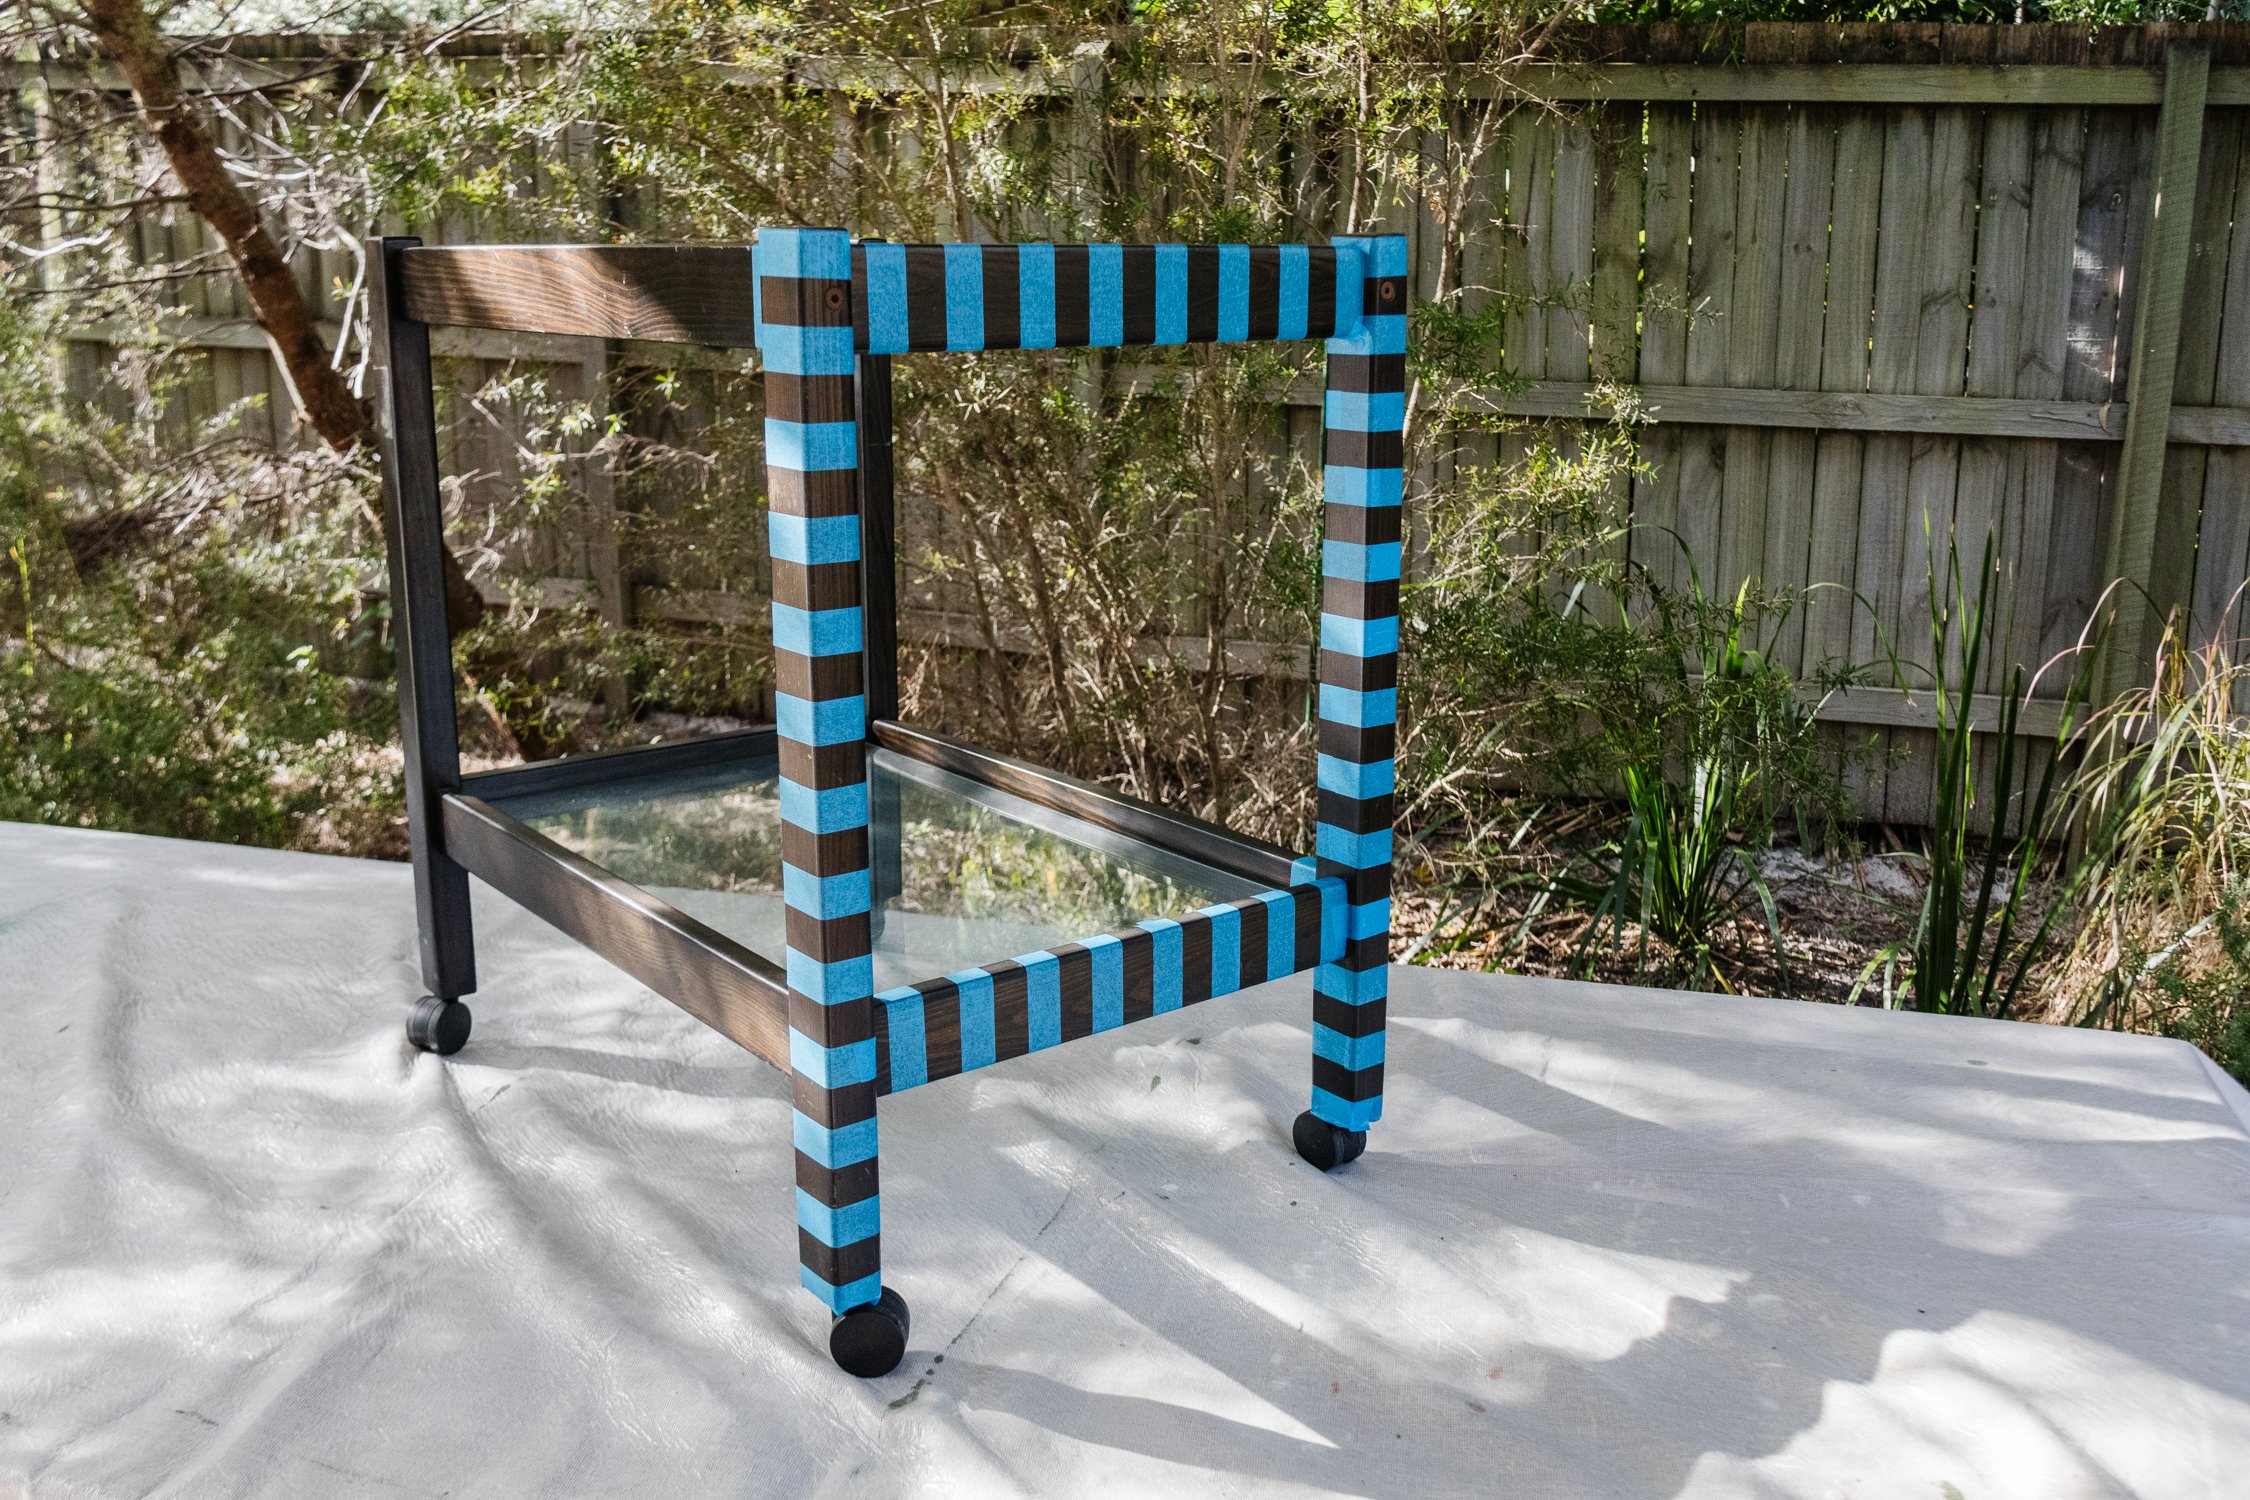
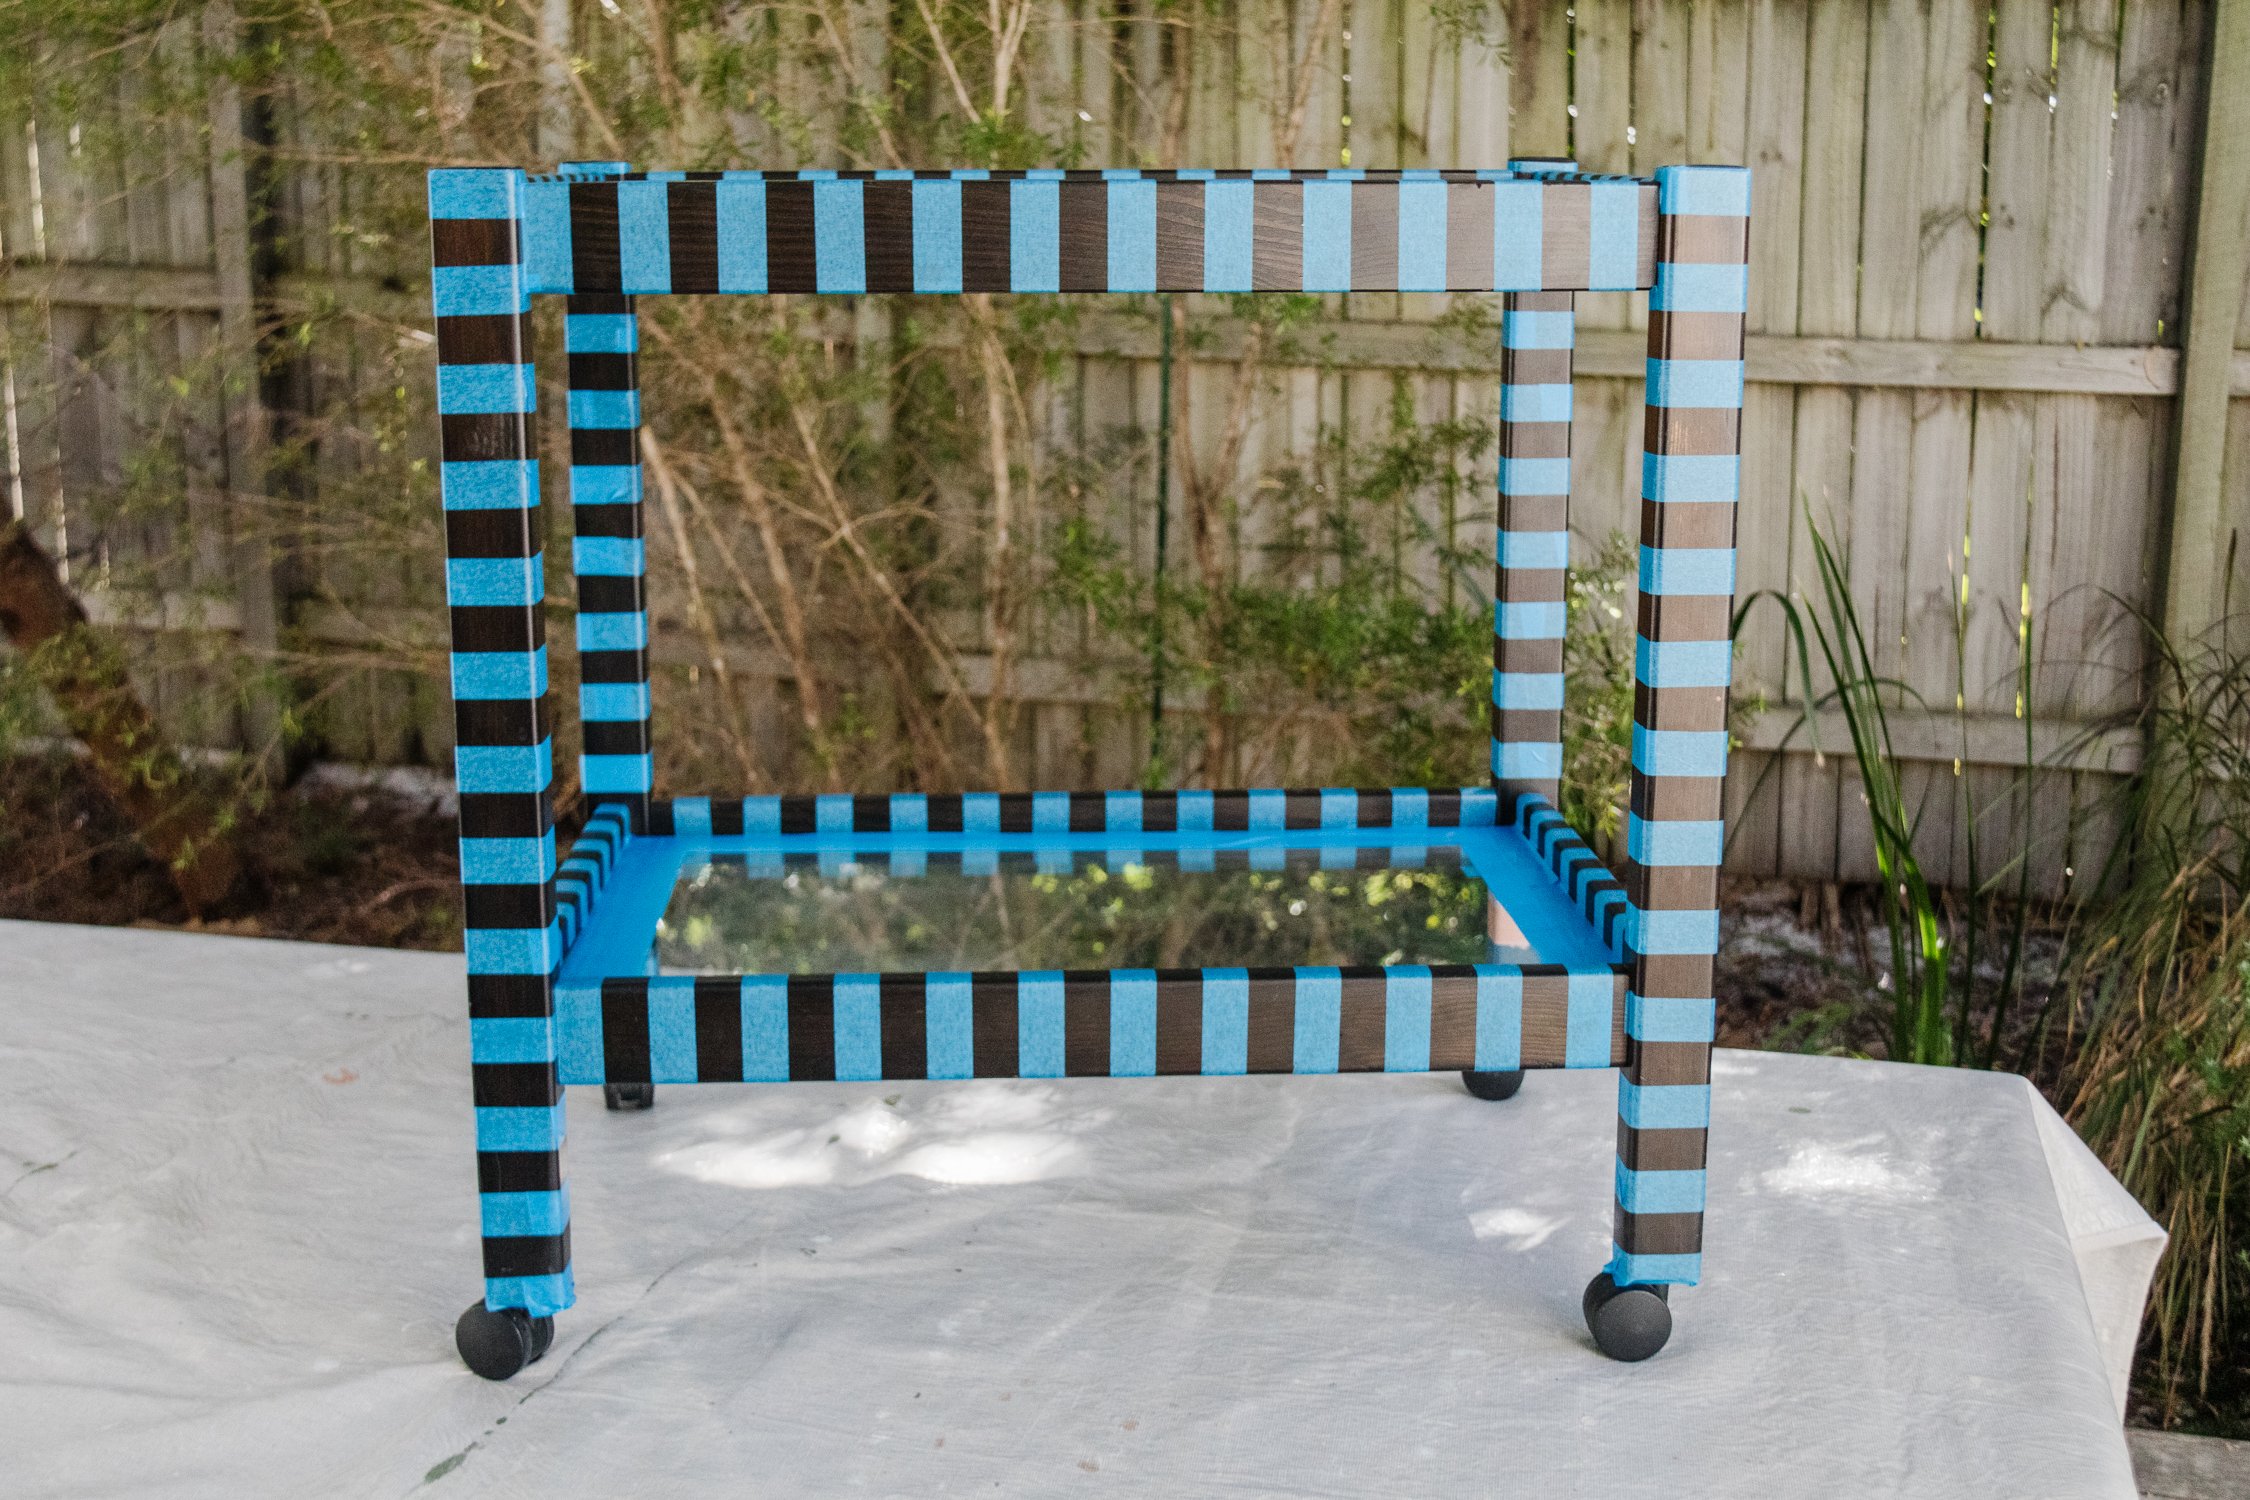
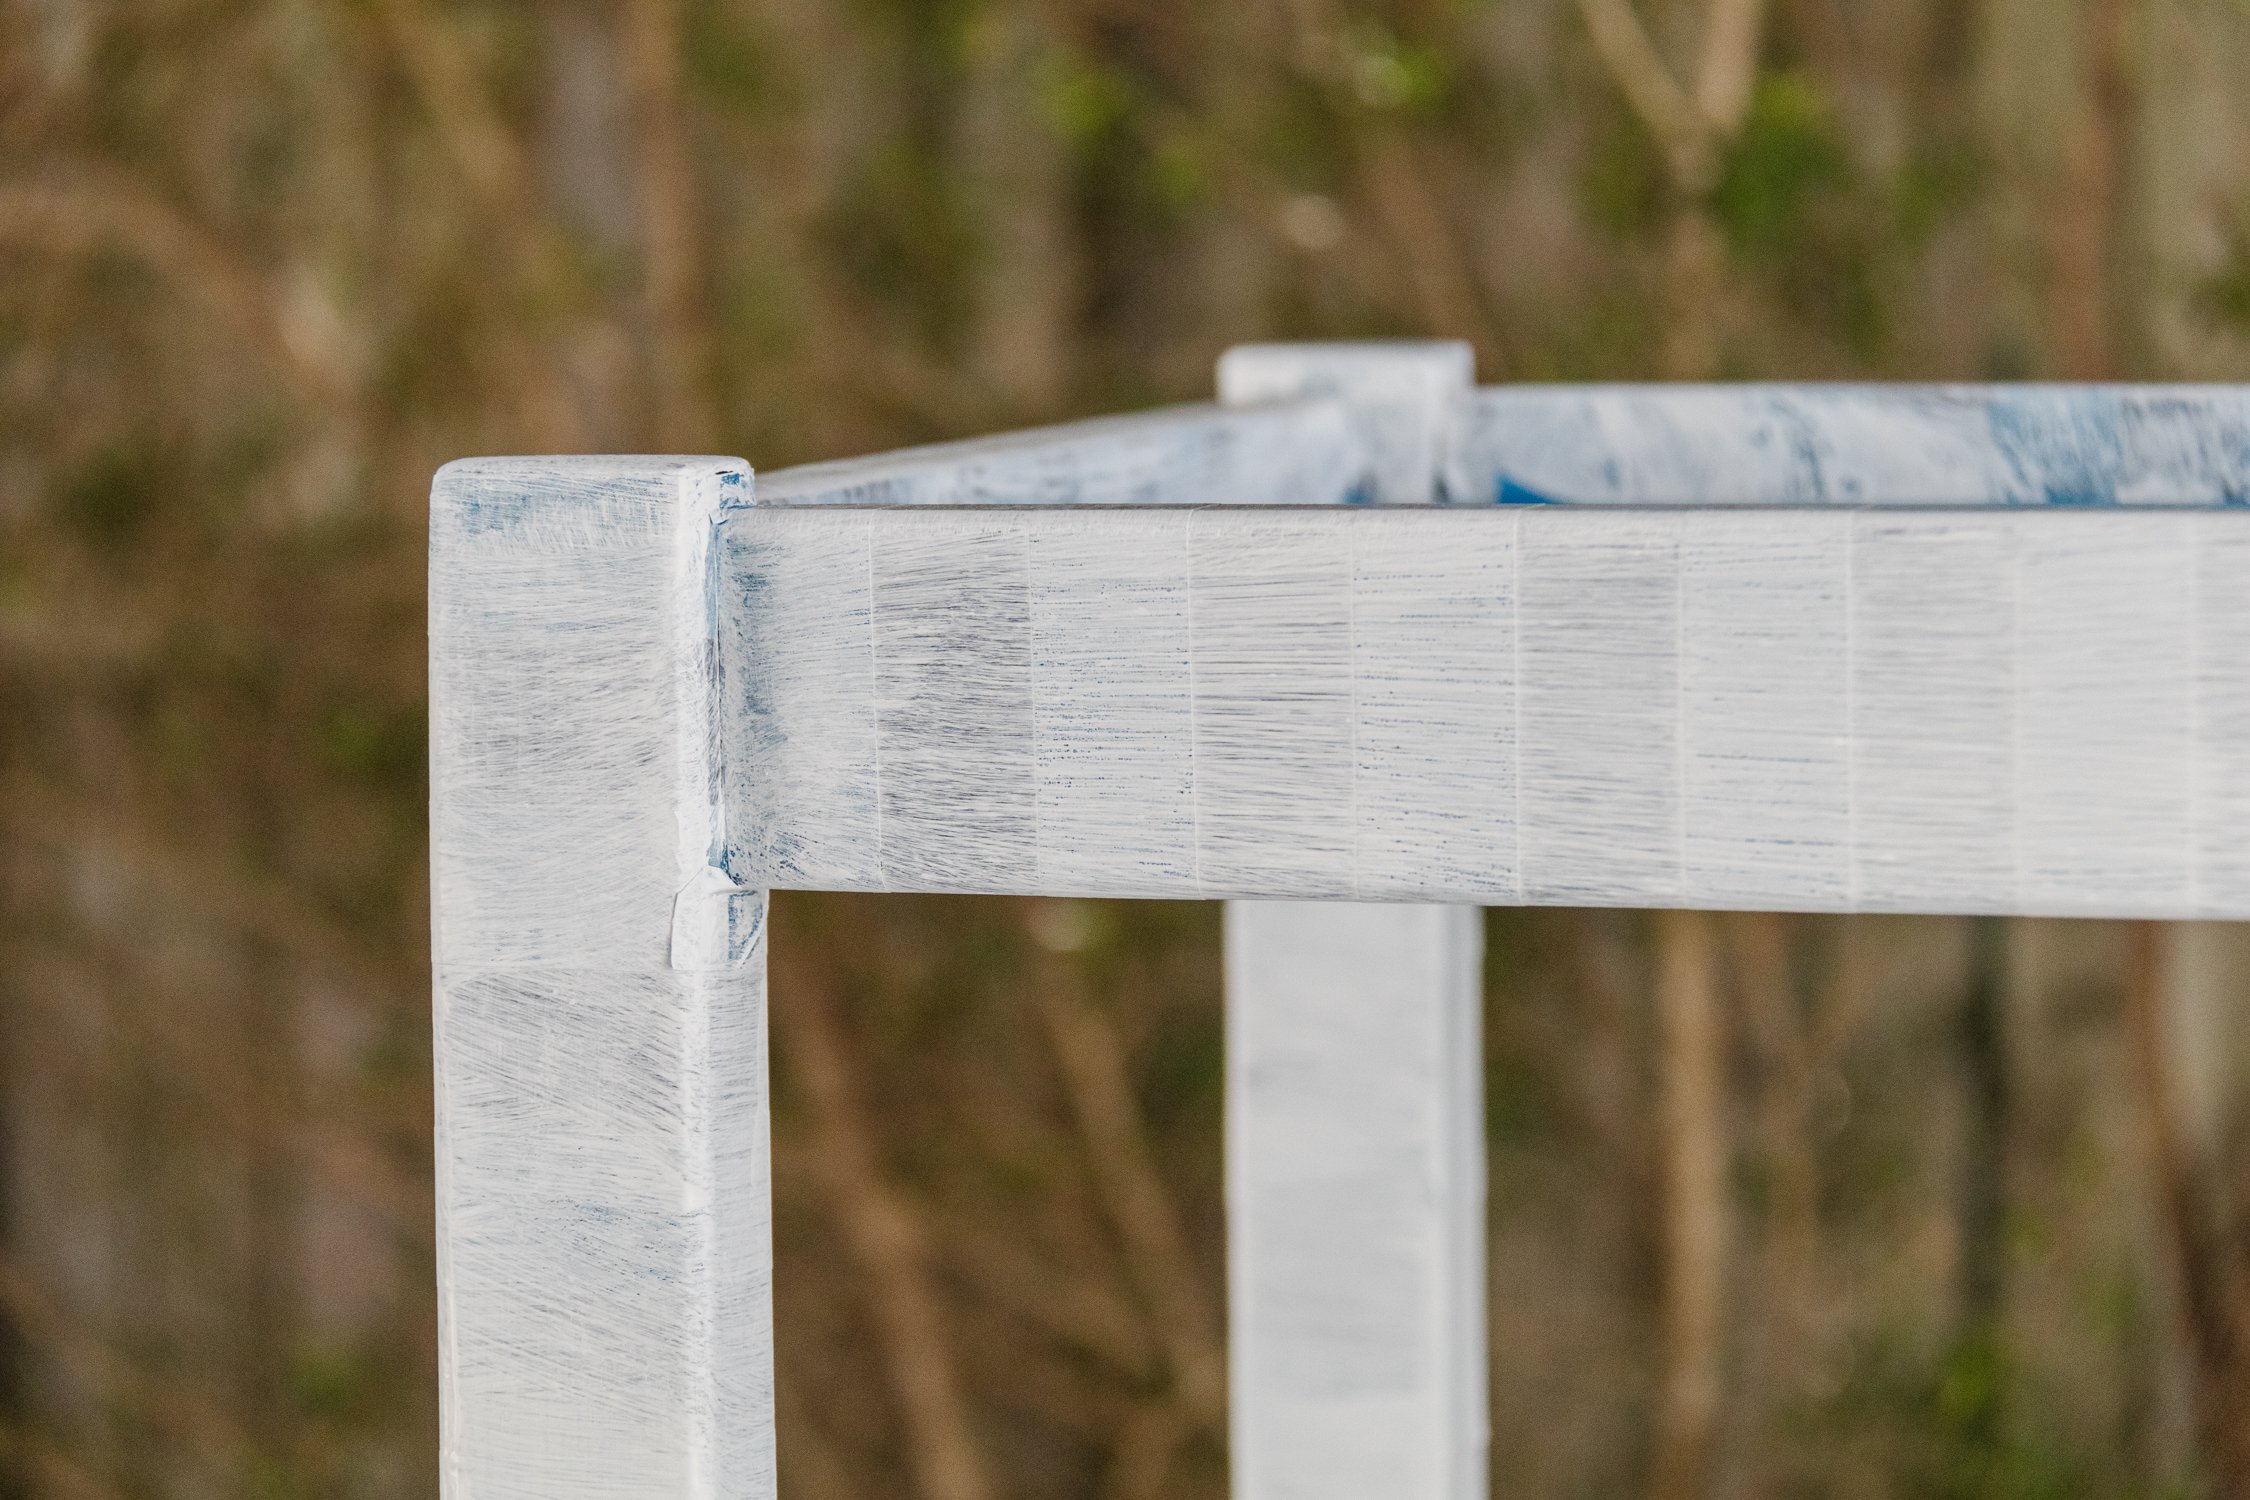
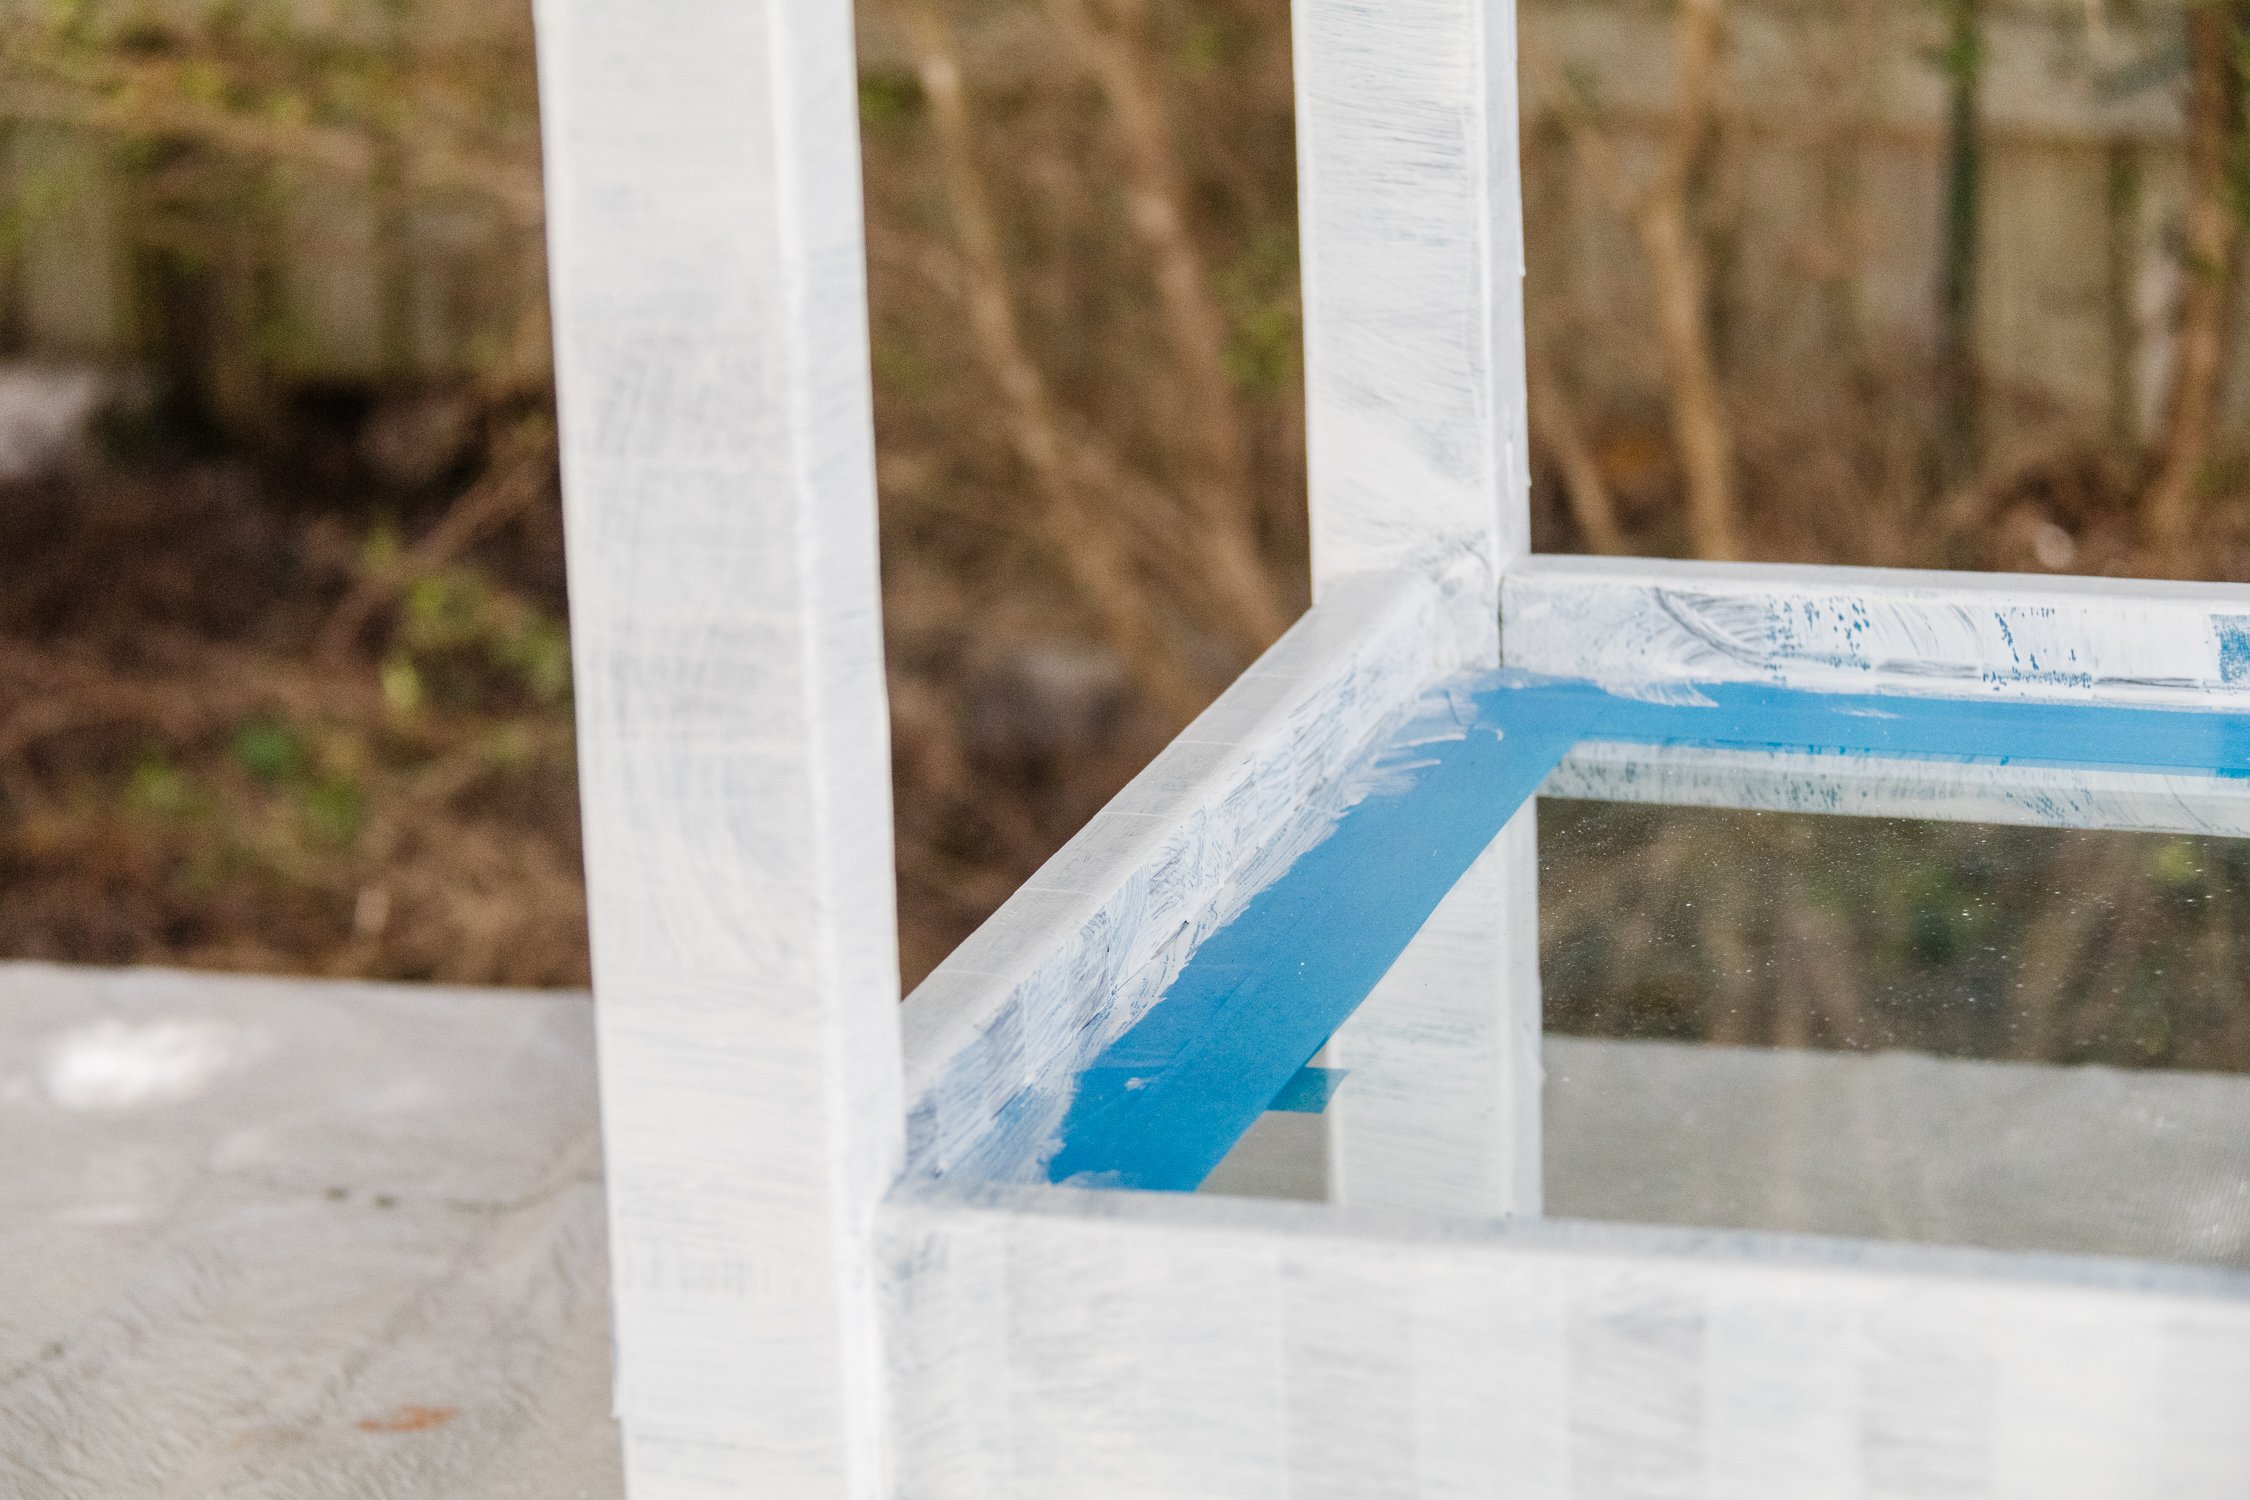
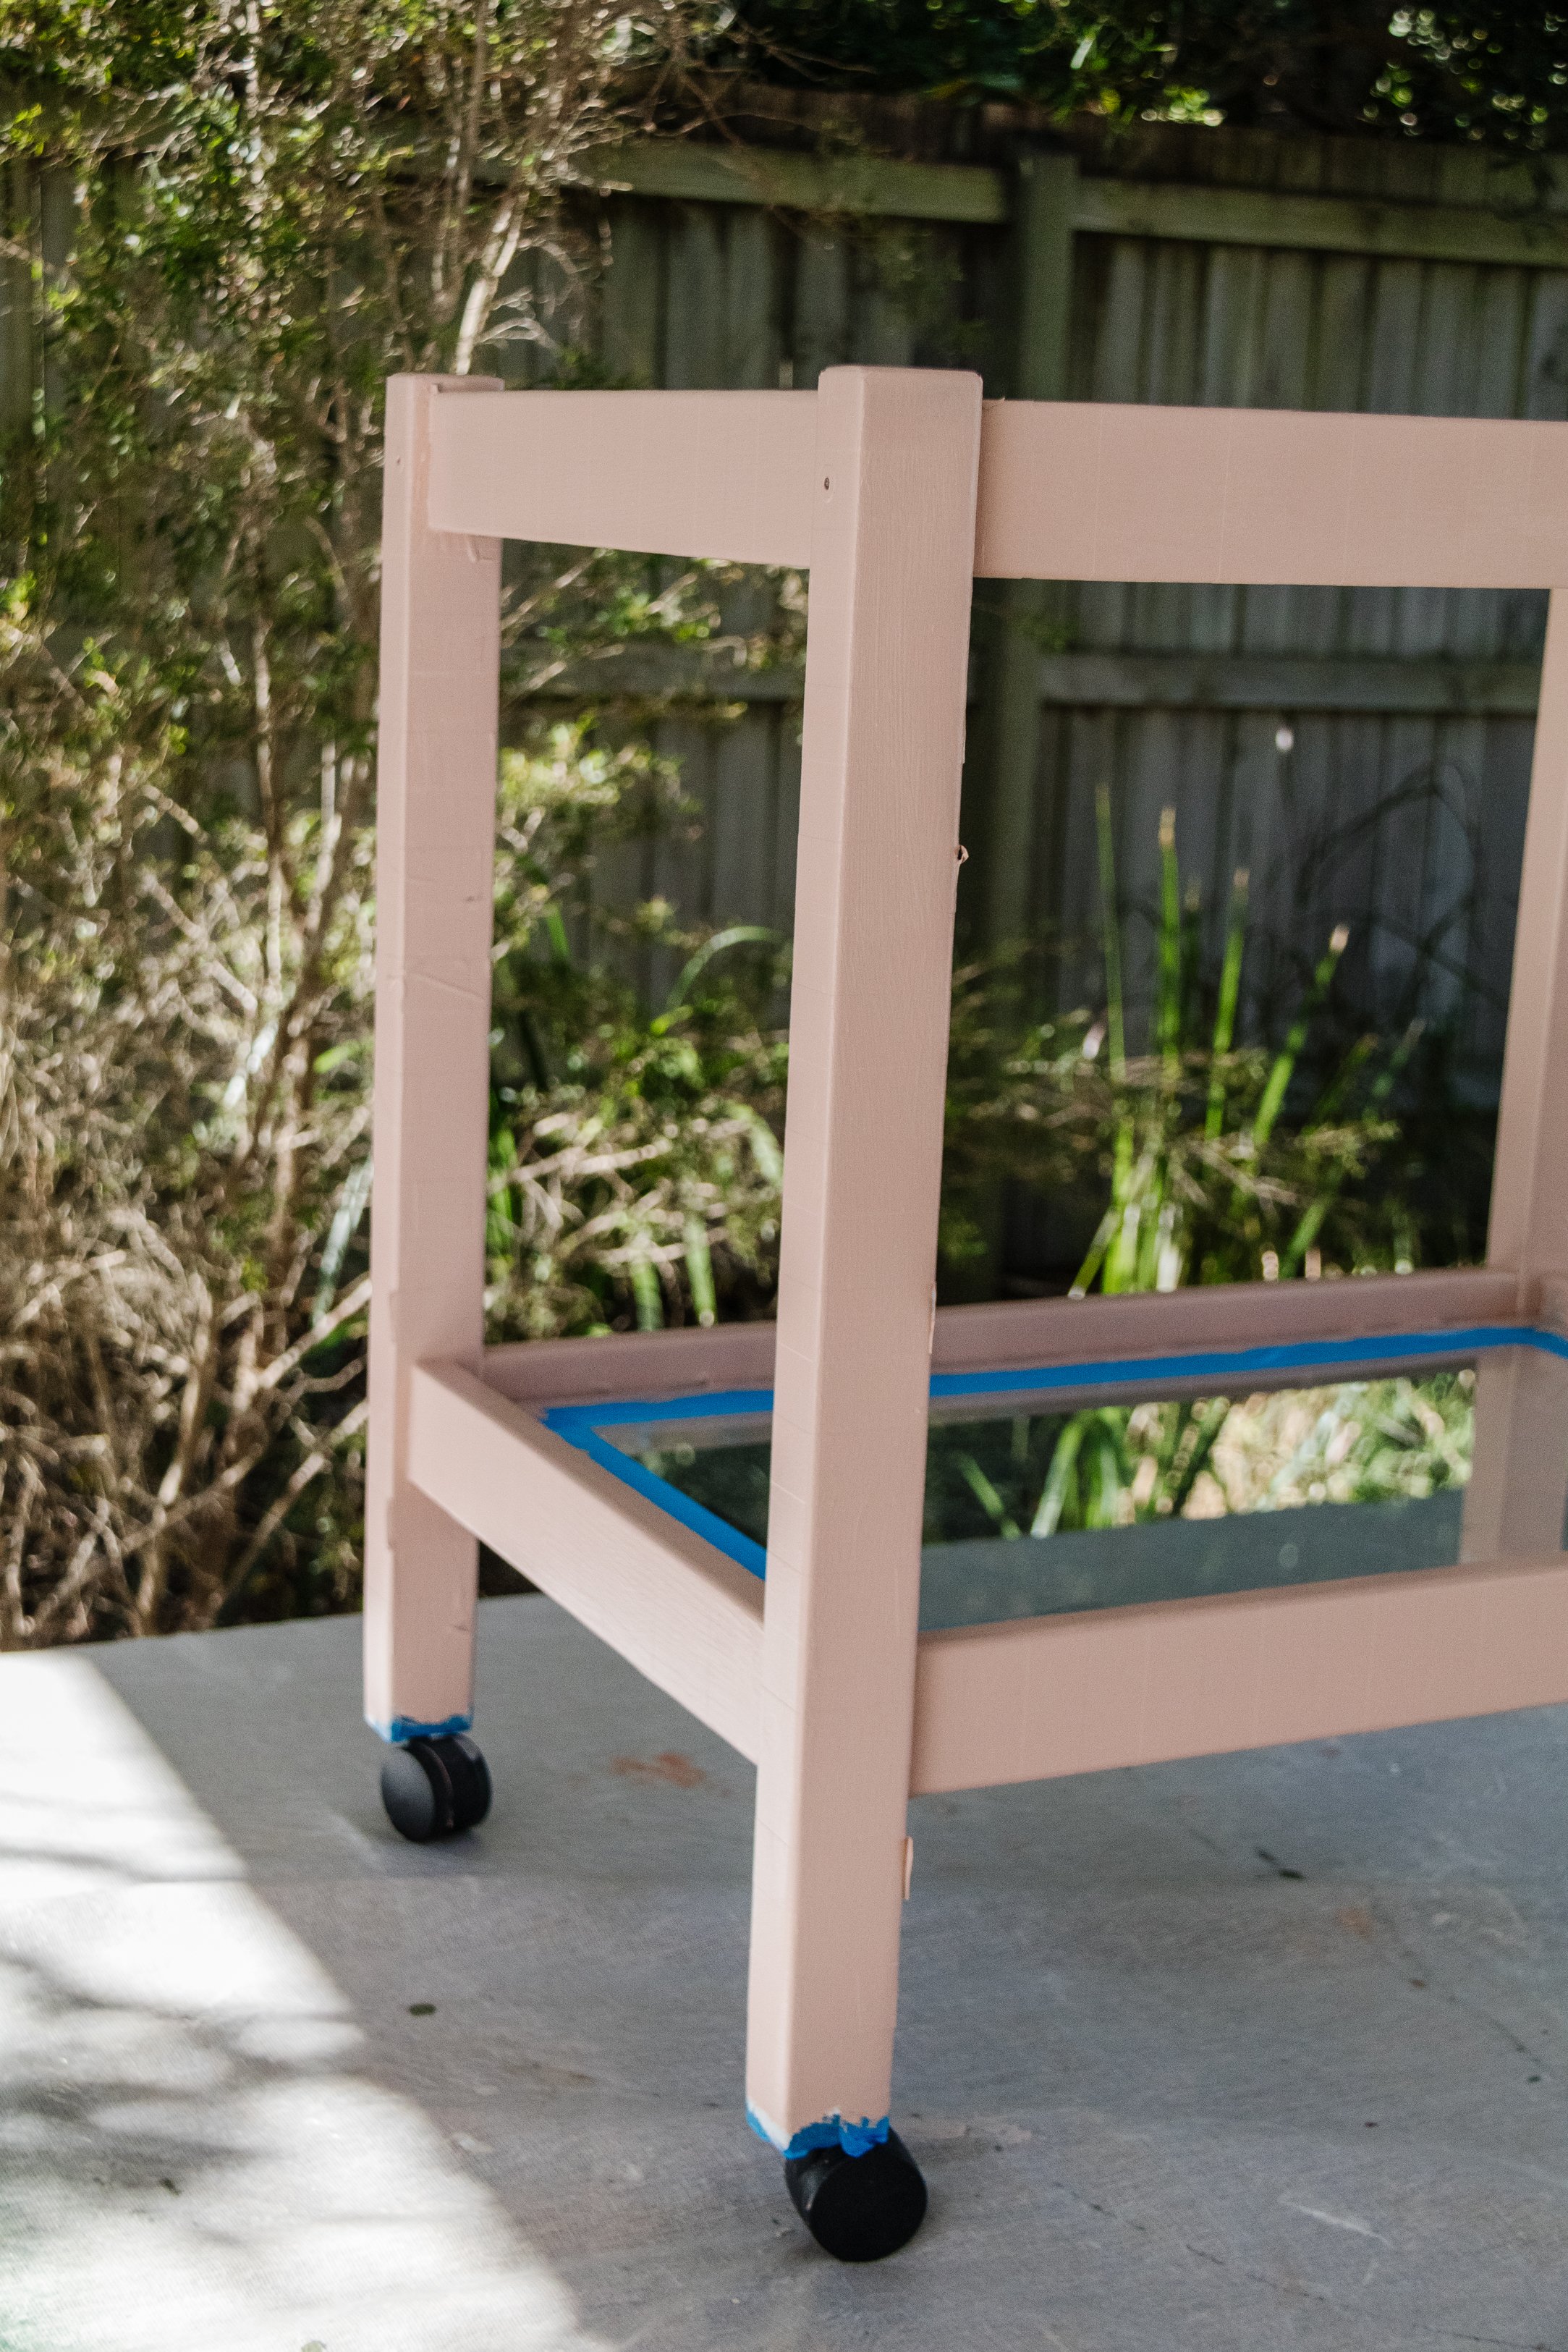
Step 2: Apply painters tape to the bar cart in a stripe pattern and use another piece of painters tape to ensure the painters tape is applied at equal intervals. You can refer to this video to see how I did this. Using a spare piece of painters tape is an old painters hack that’s been around for years and is so helpful because it helps you keep the distance between stripes even and straight. Applying the painters tape will take a while, so enjoy a good podcast while you’re making. The more time and care you put into applying the painters tape, the better the stripes will look when they’re painted.
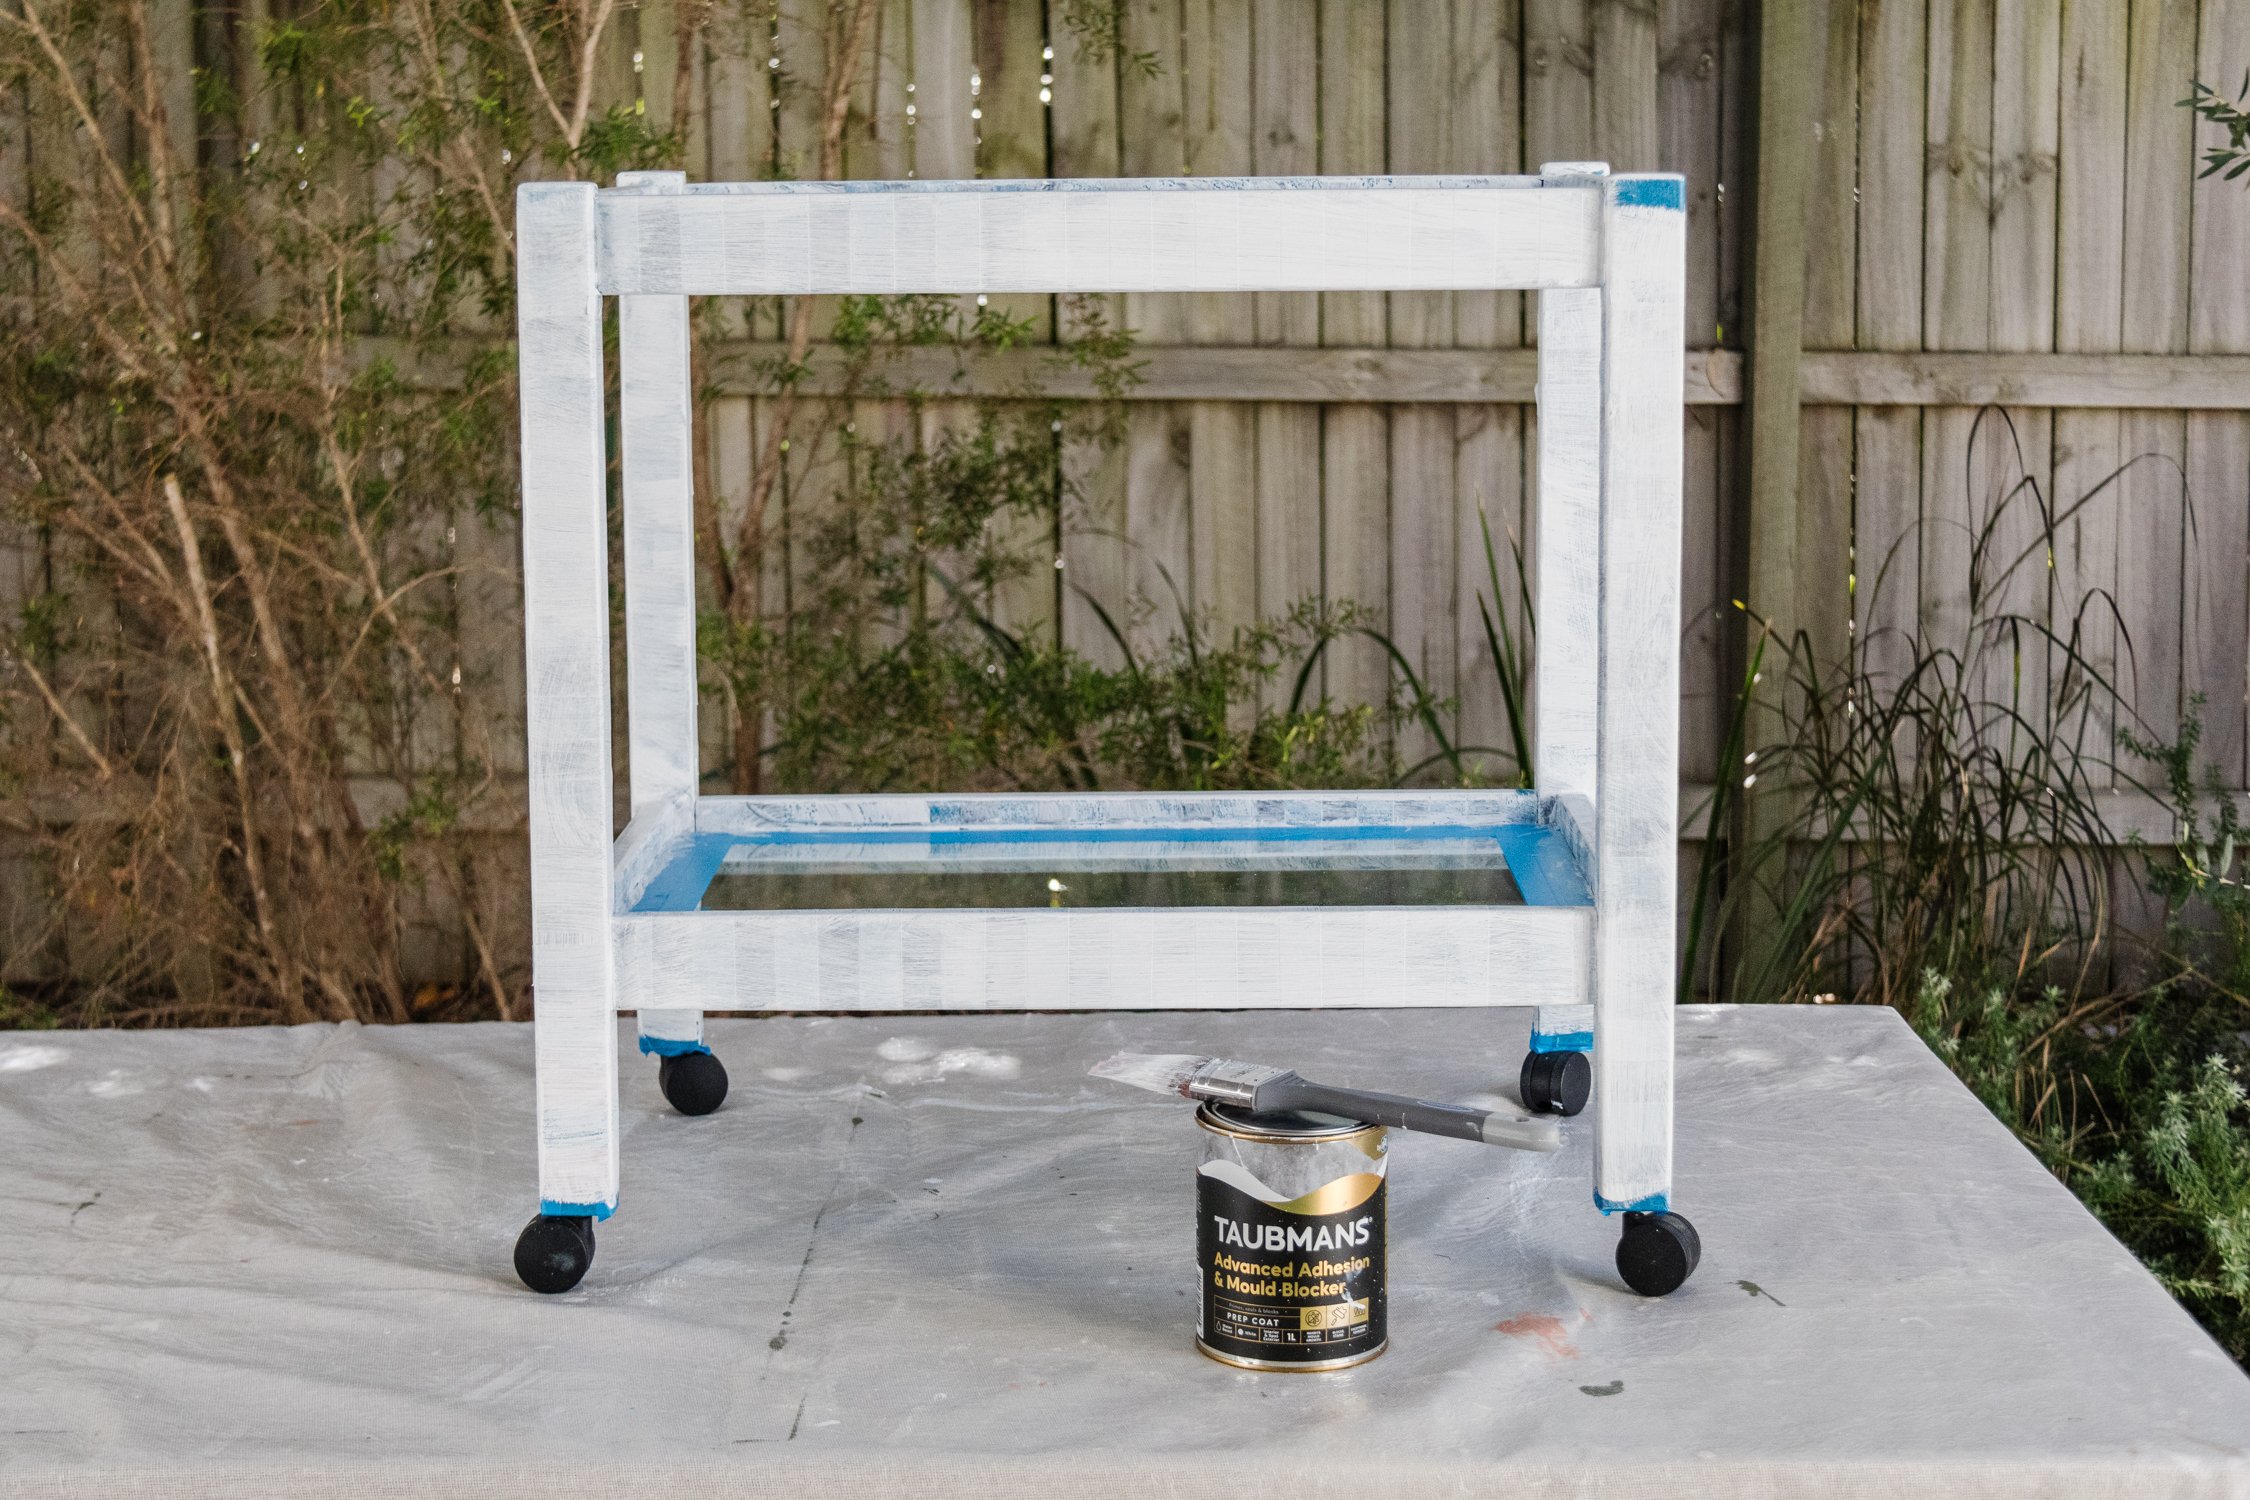
Step 3: Apply one coat of primer blocker using a paint brush. Don’t spend to much time on making it neat and perfect; it will look messy but do not worry. One tip however - ensure that the primer blocker is applied right up to the edges of the painters tape as this is another step in ensuring the paint itself won’t bleed when you apply it next. Set aside to dry for at least 30 minutes.
Step 4: Apply one light coat of paint using the paint roller.When the paint has dried, apply a second thicker coat using the paint brush. When finished, carefully remove the painters tape while the paint is still wet, which you can see in these videos here. You may need to use a safety pin to help you pick the painters tape off; I used a Cricut weeder. Set aside to completely dry.
Optional: You can seal the striped painted timber using Rust Oleum Clear Satin Spray Paint or Cabots Cabothane Clear Varnish.

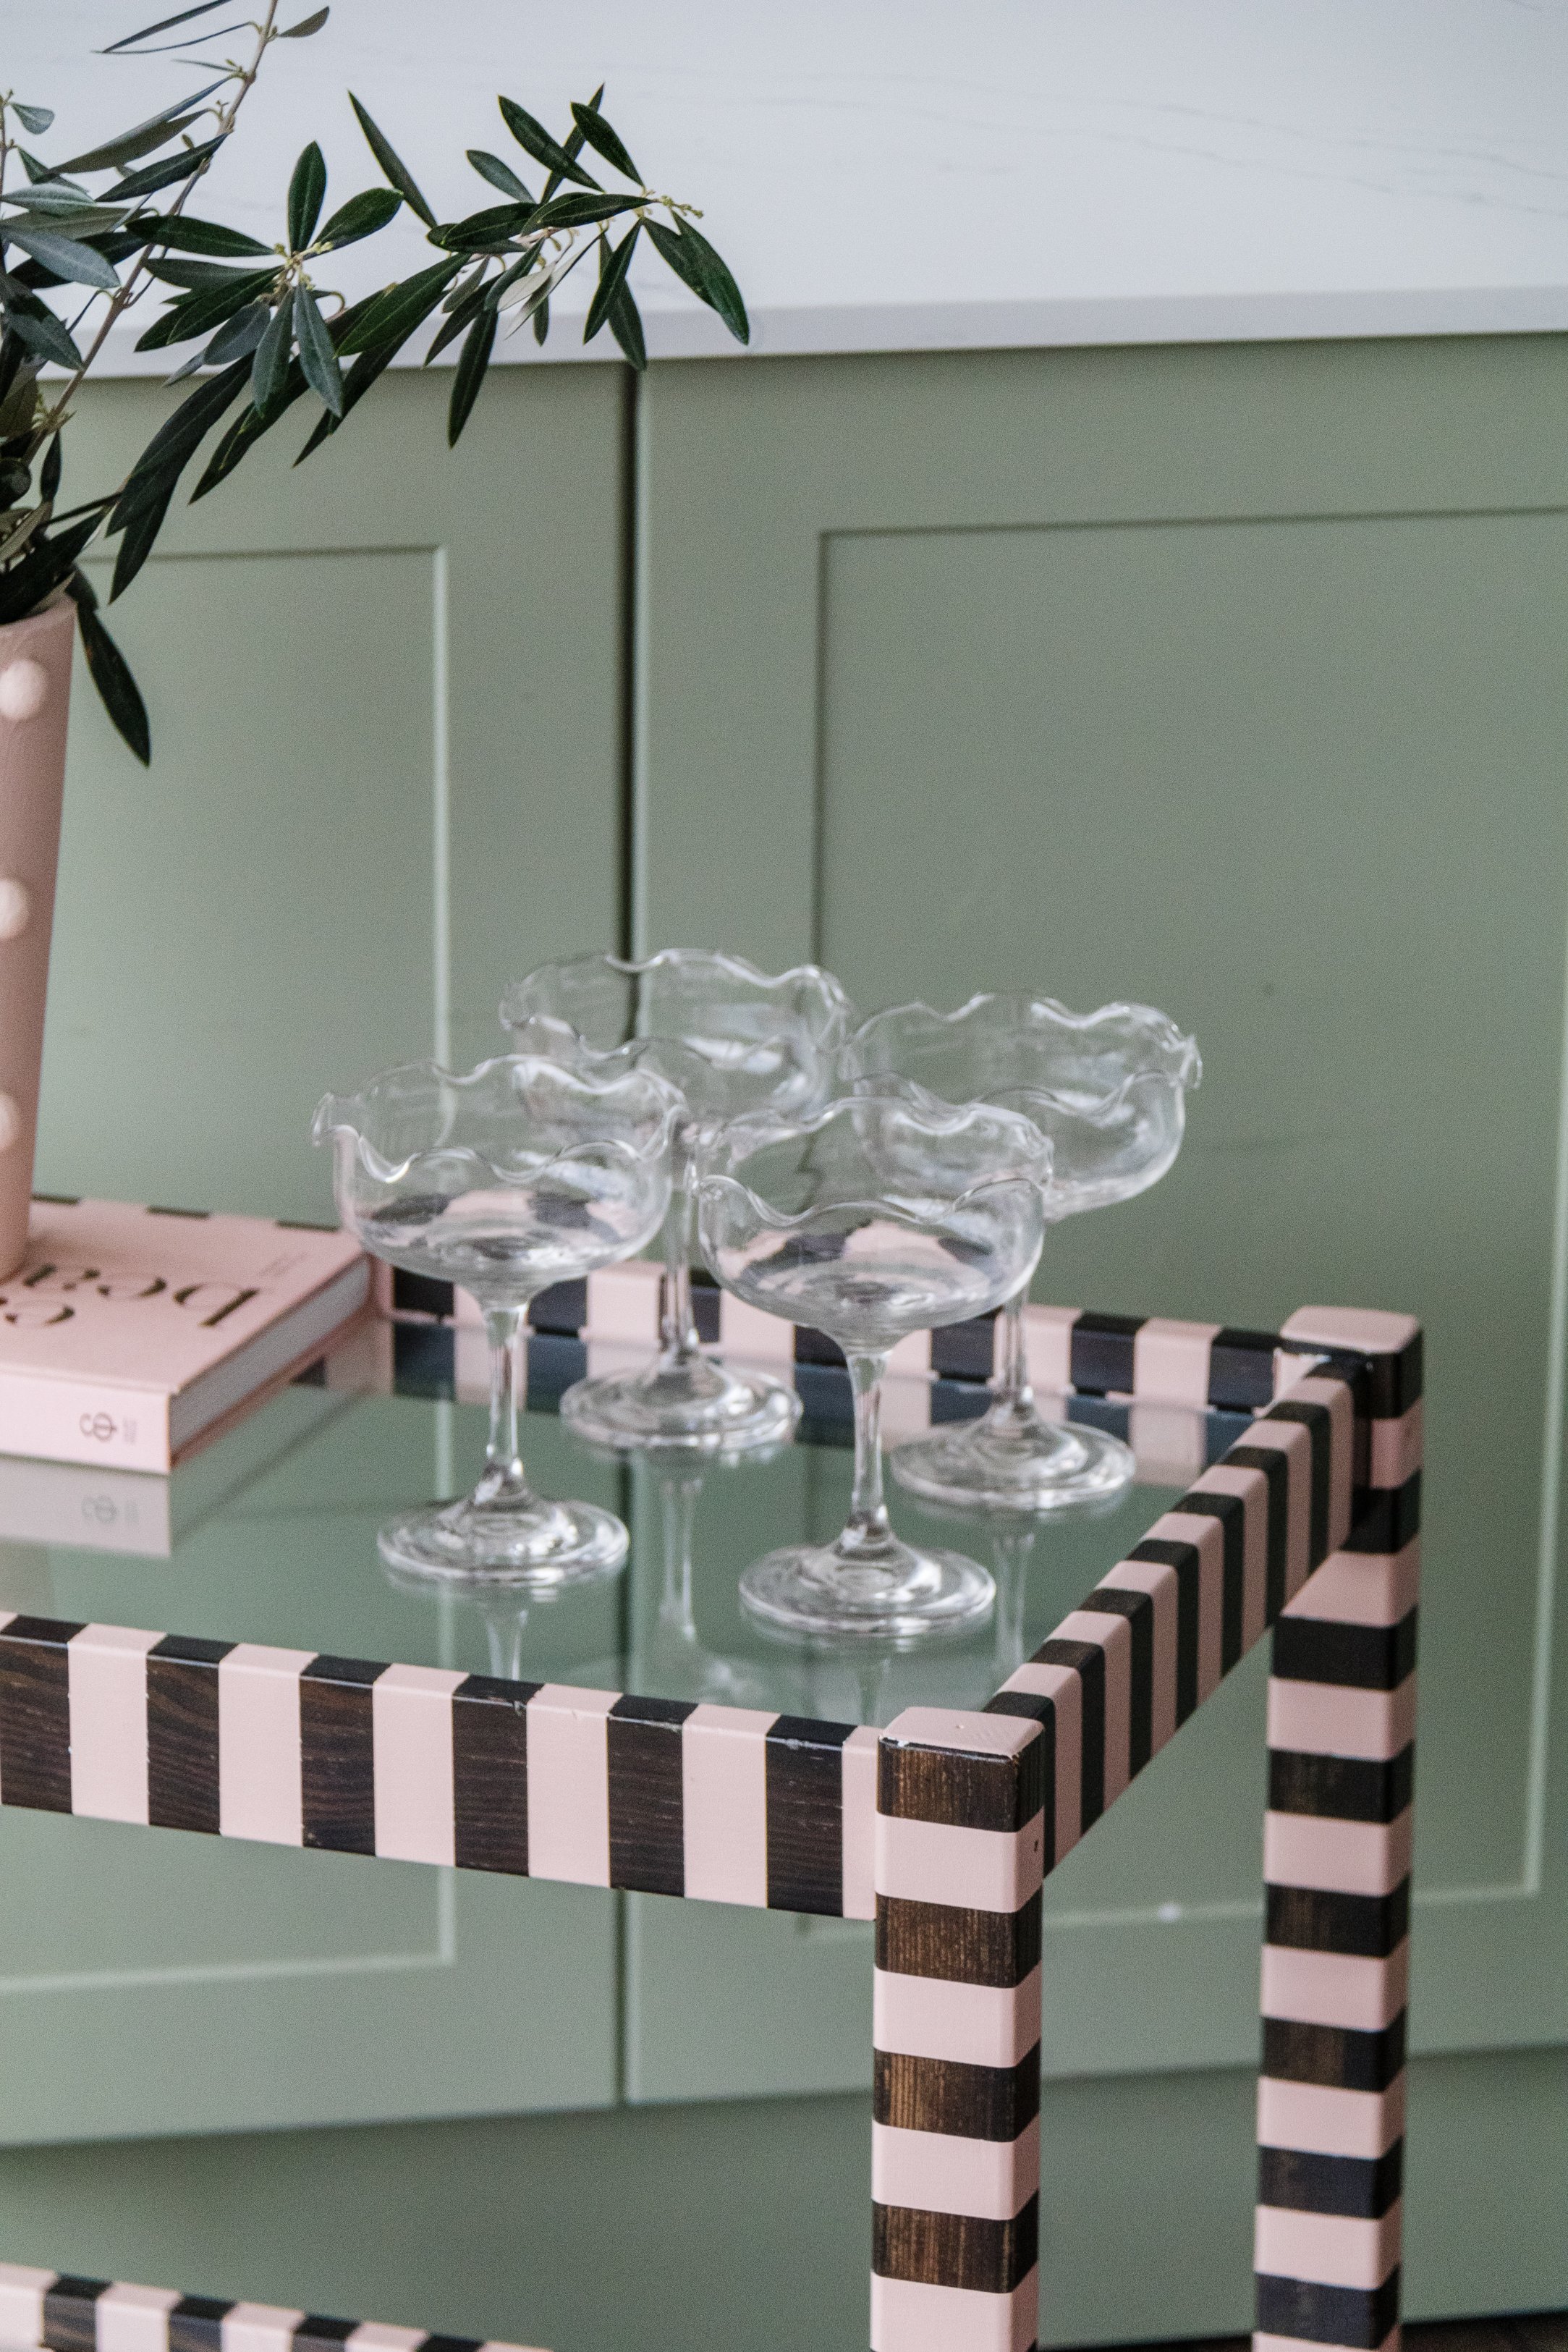
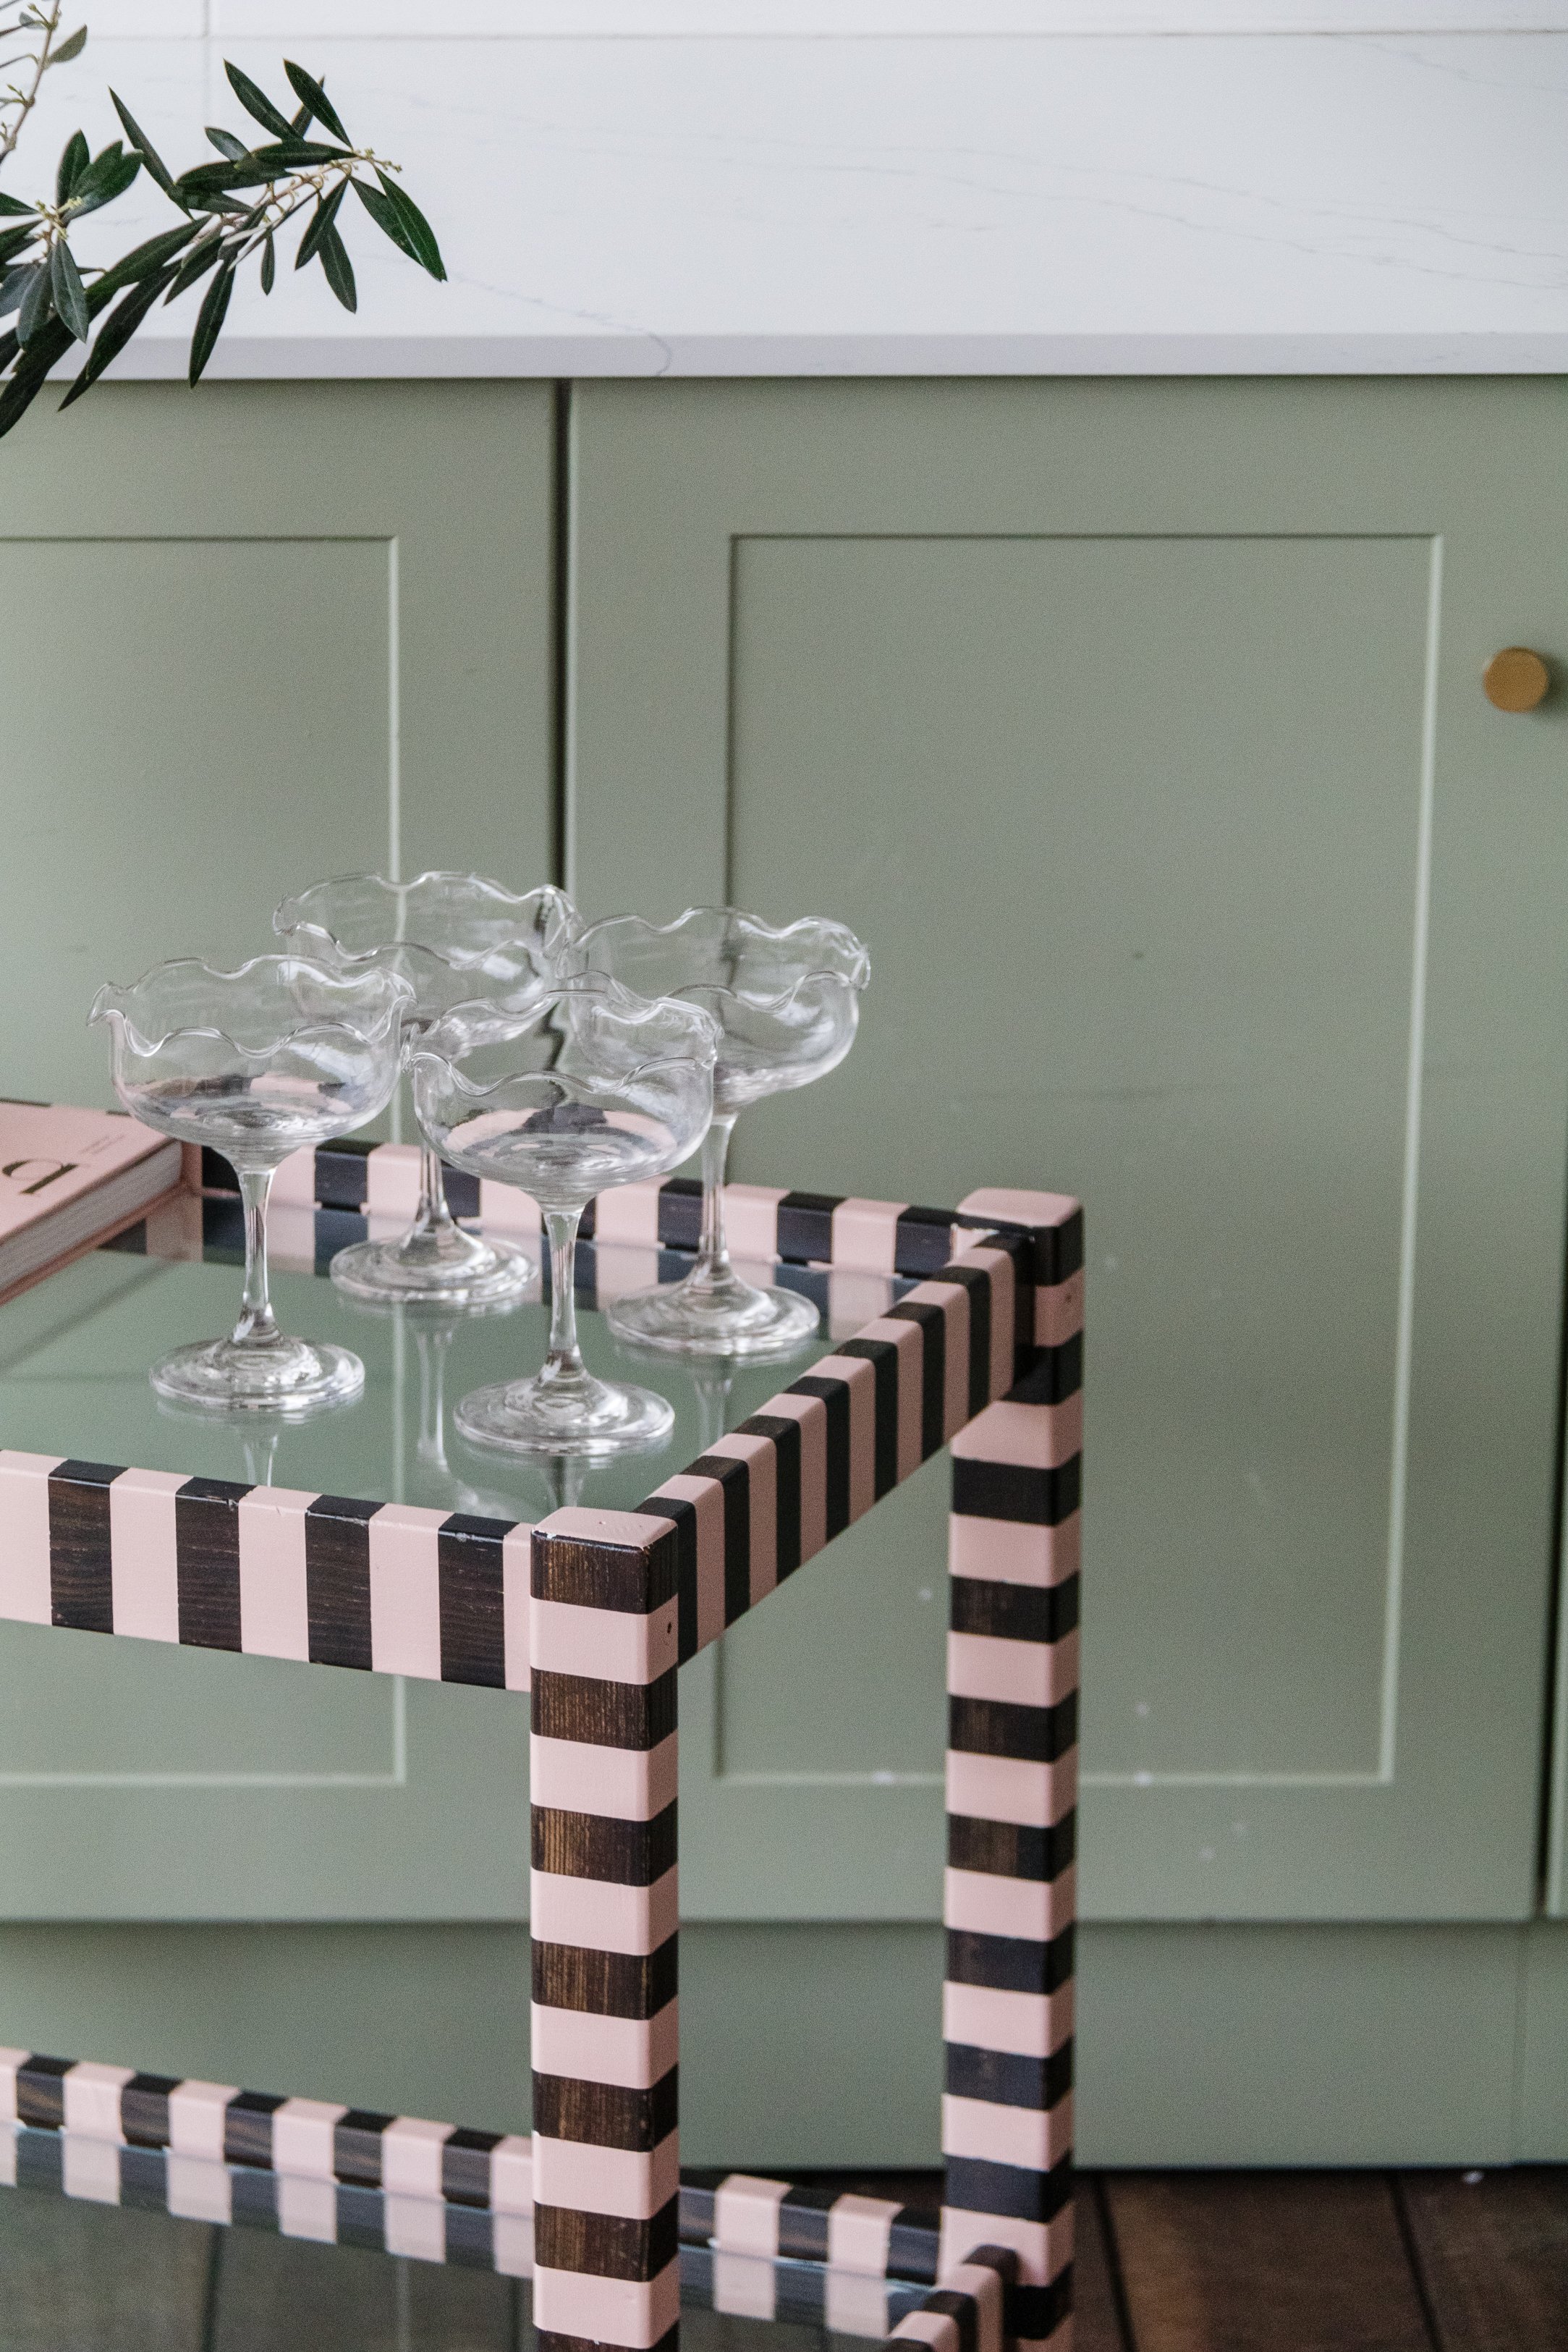
Ta daaaa! A beautiful upcycled striped painted bar cart!
This would have to be one of the easiest upcycles I have done in a long time and while it does take a little while to apply the painters tape, it’s worth the effort. Peeling the painters tape off the bar cart to reveal the stunning stripes is so satisfying. And while I was unable to execute my original plan to create timber stained stripes for this project, I am so happy with how it turned out! Creating a bespoke paint colour for this project was so much fun and now I can’t help but think, where else can I paint stripes?