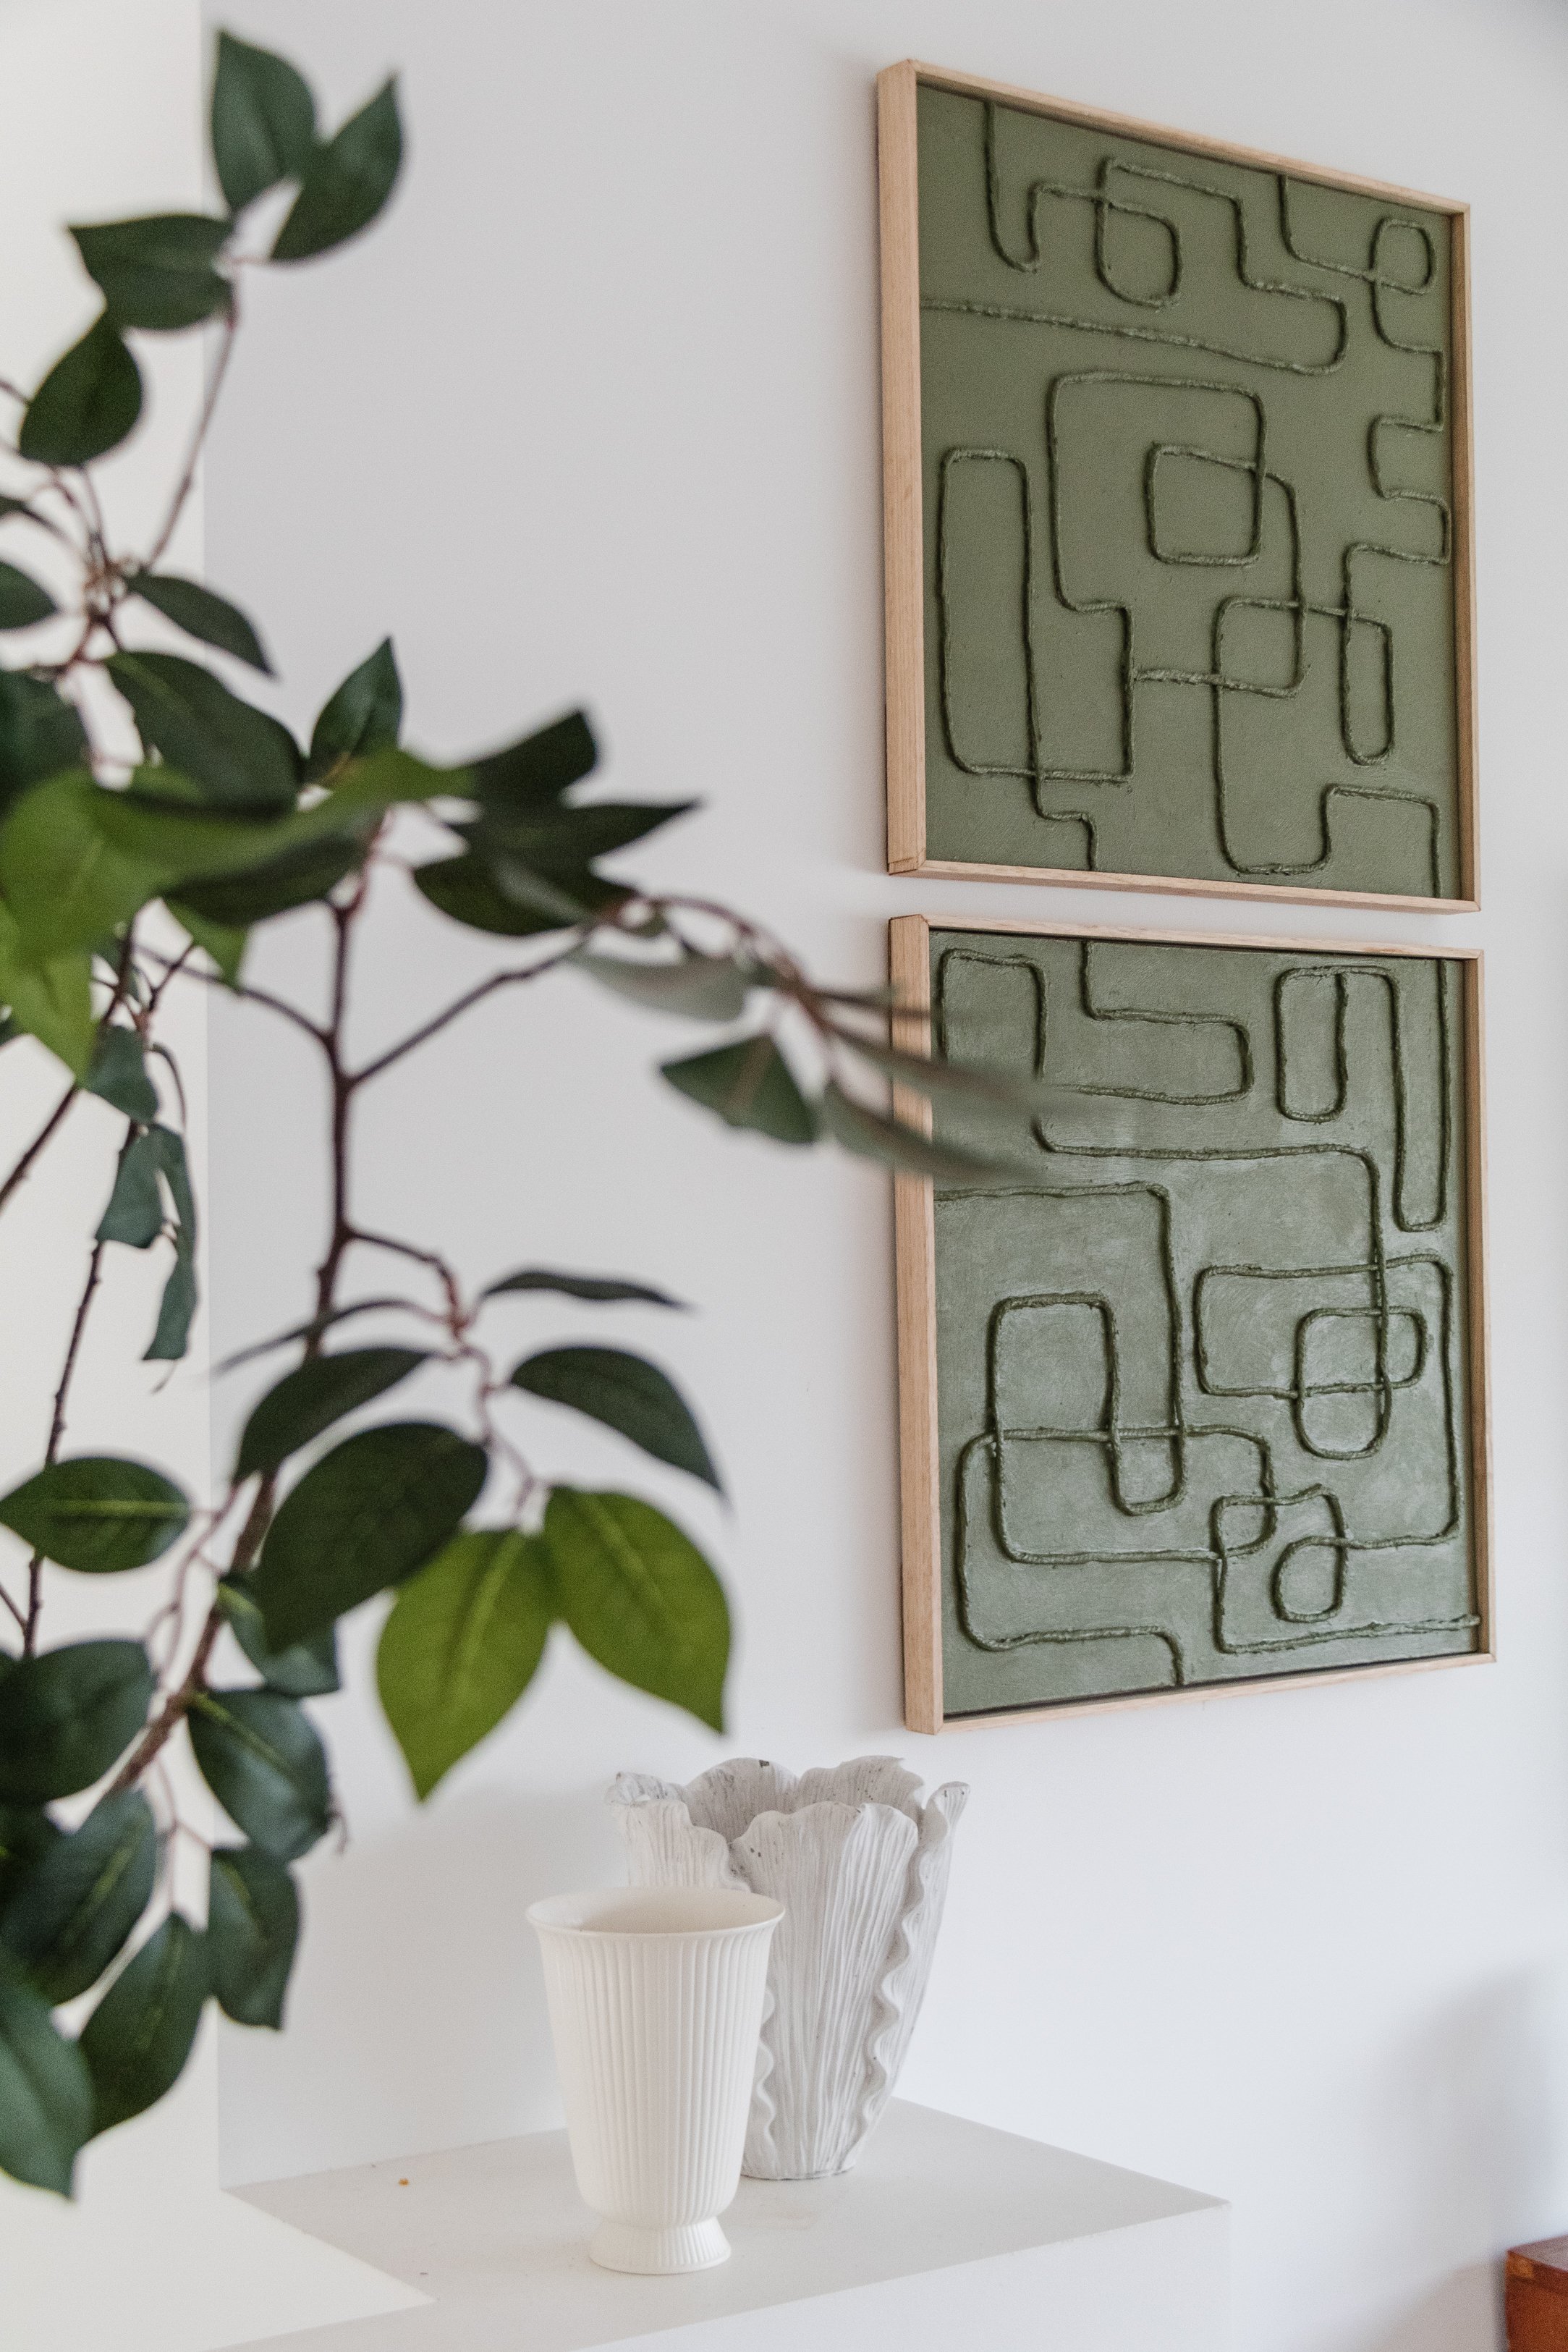
Upcycled Framed Rope Wall Art
Since figuring out how to create my own floating timber frames, I have become obsessed with upcycling art.
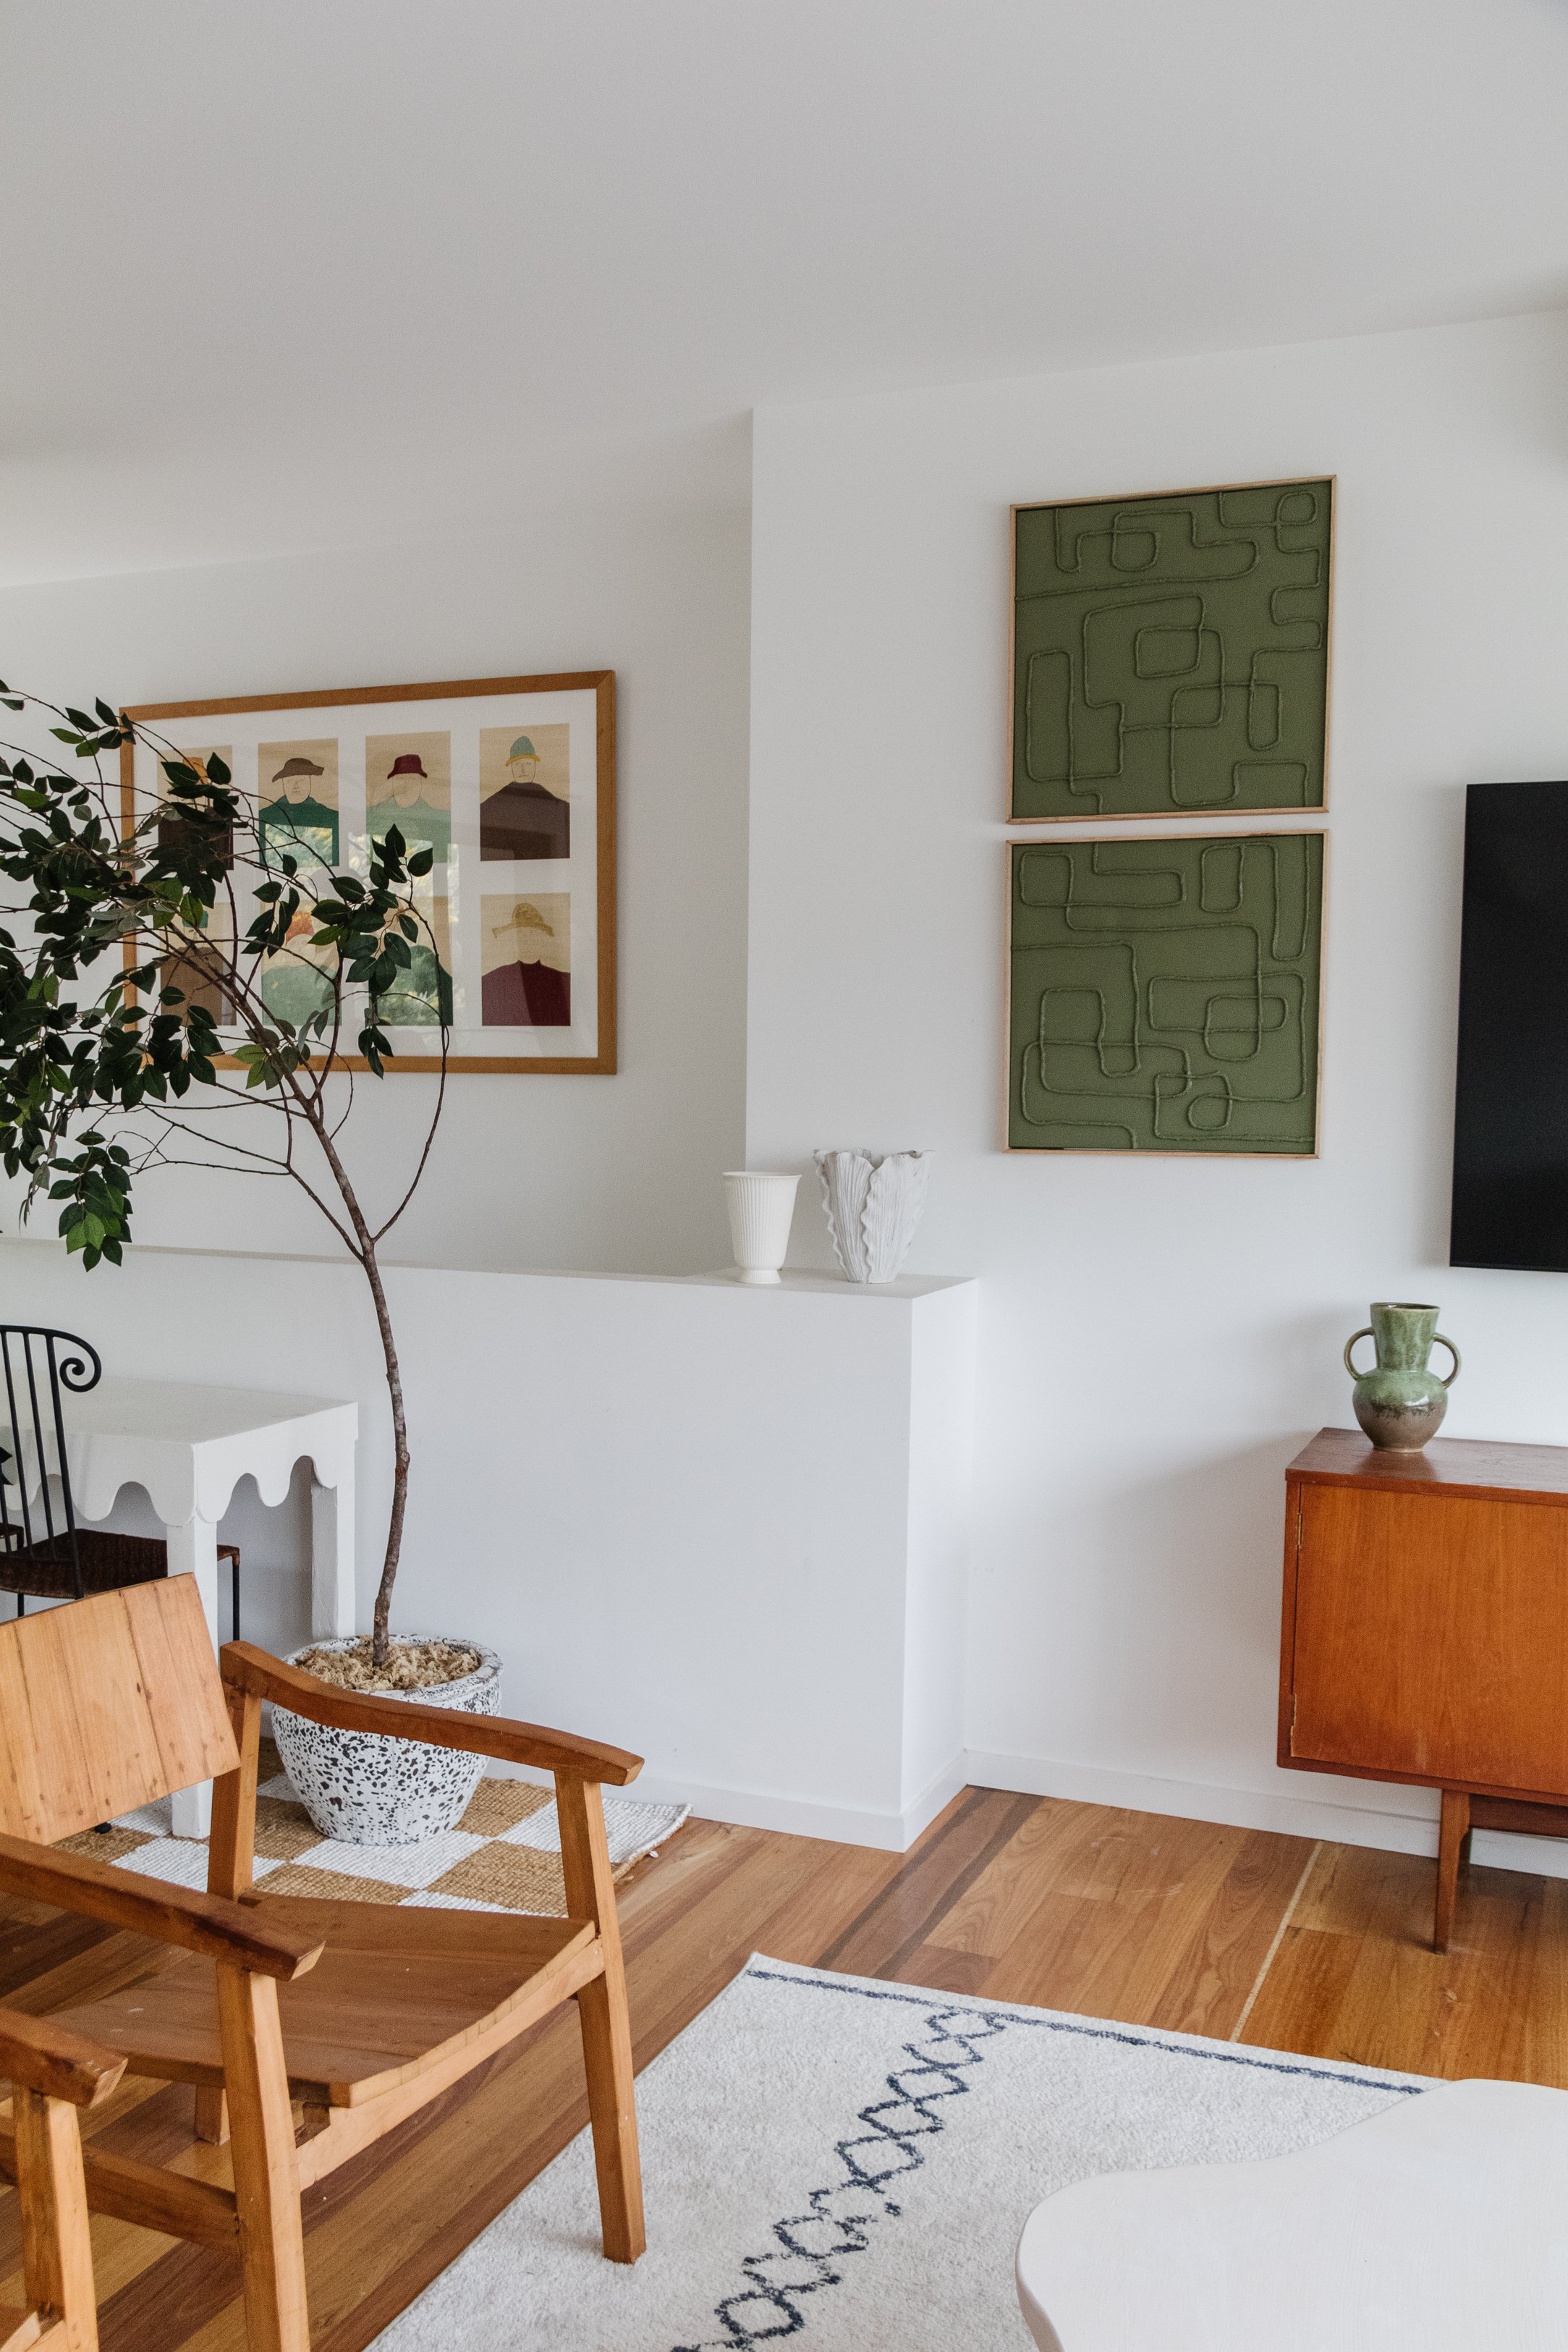
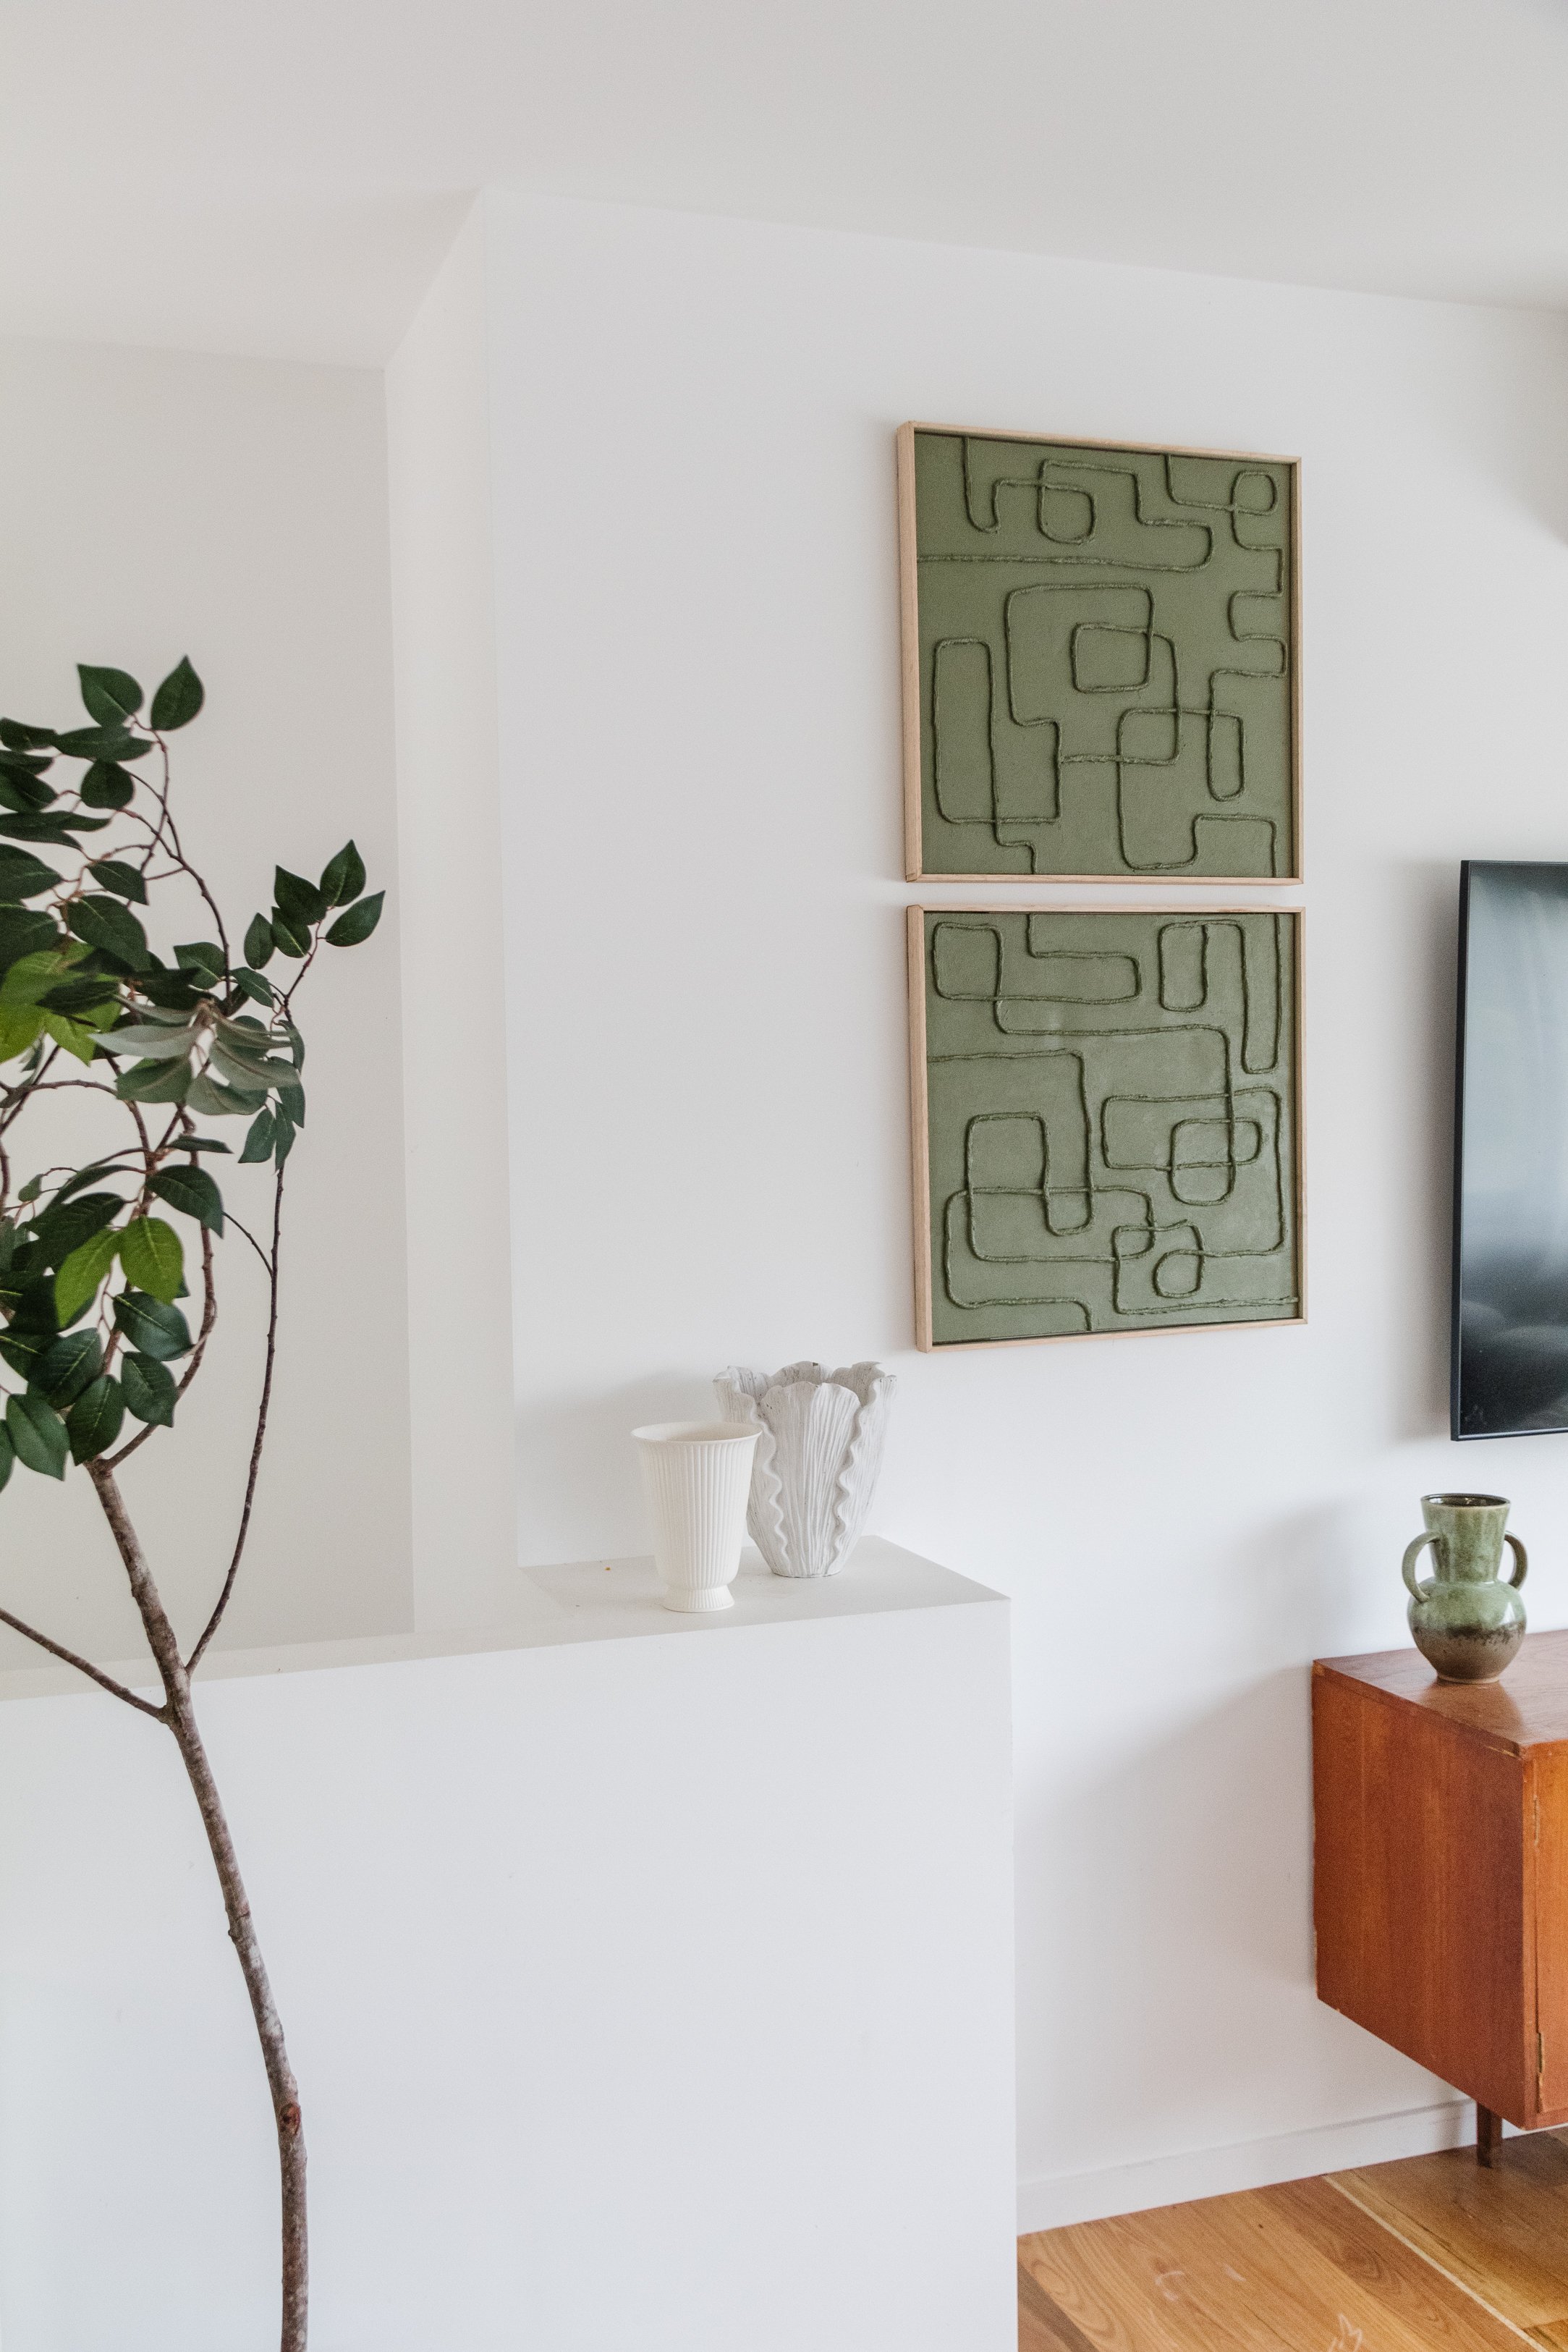
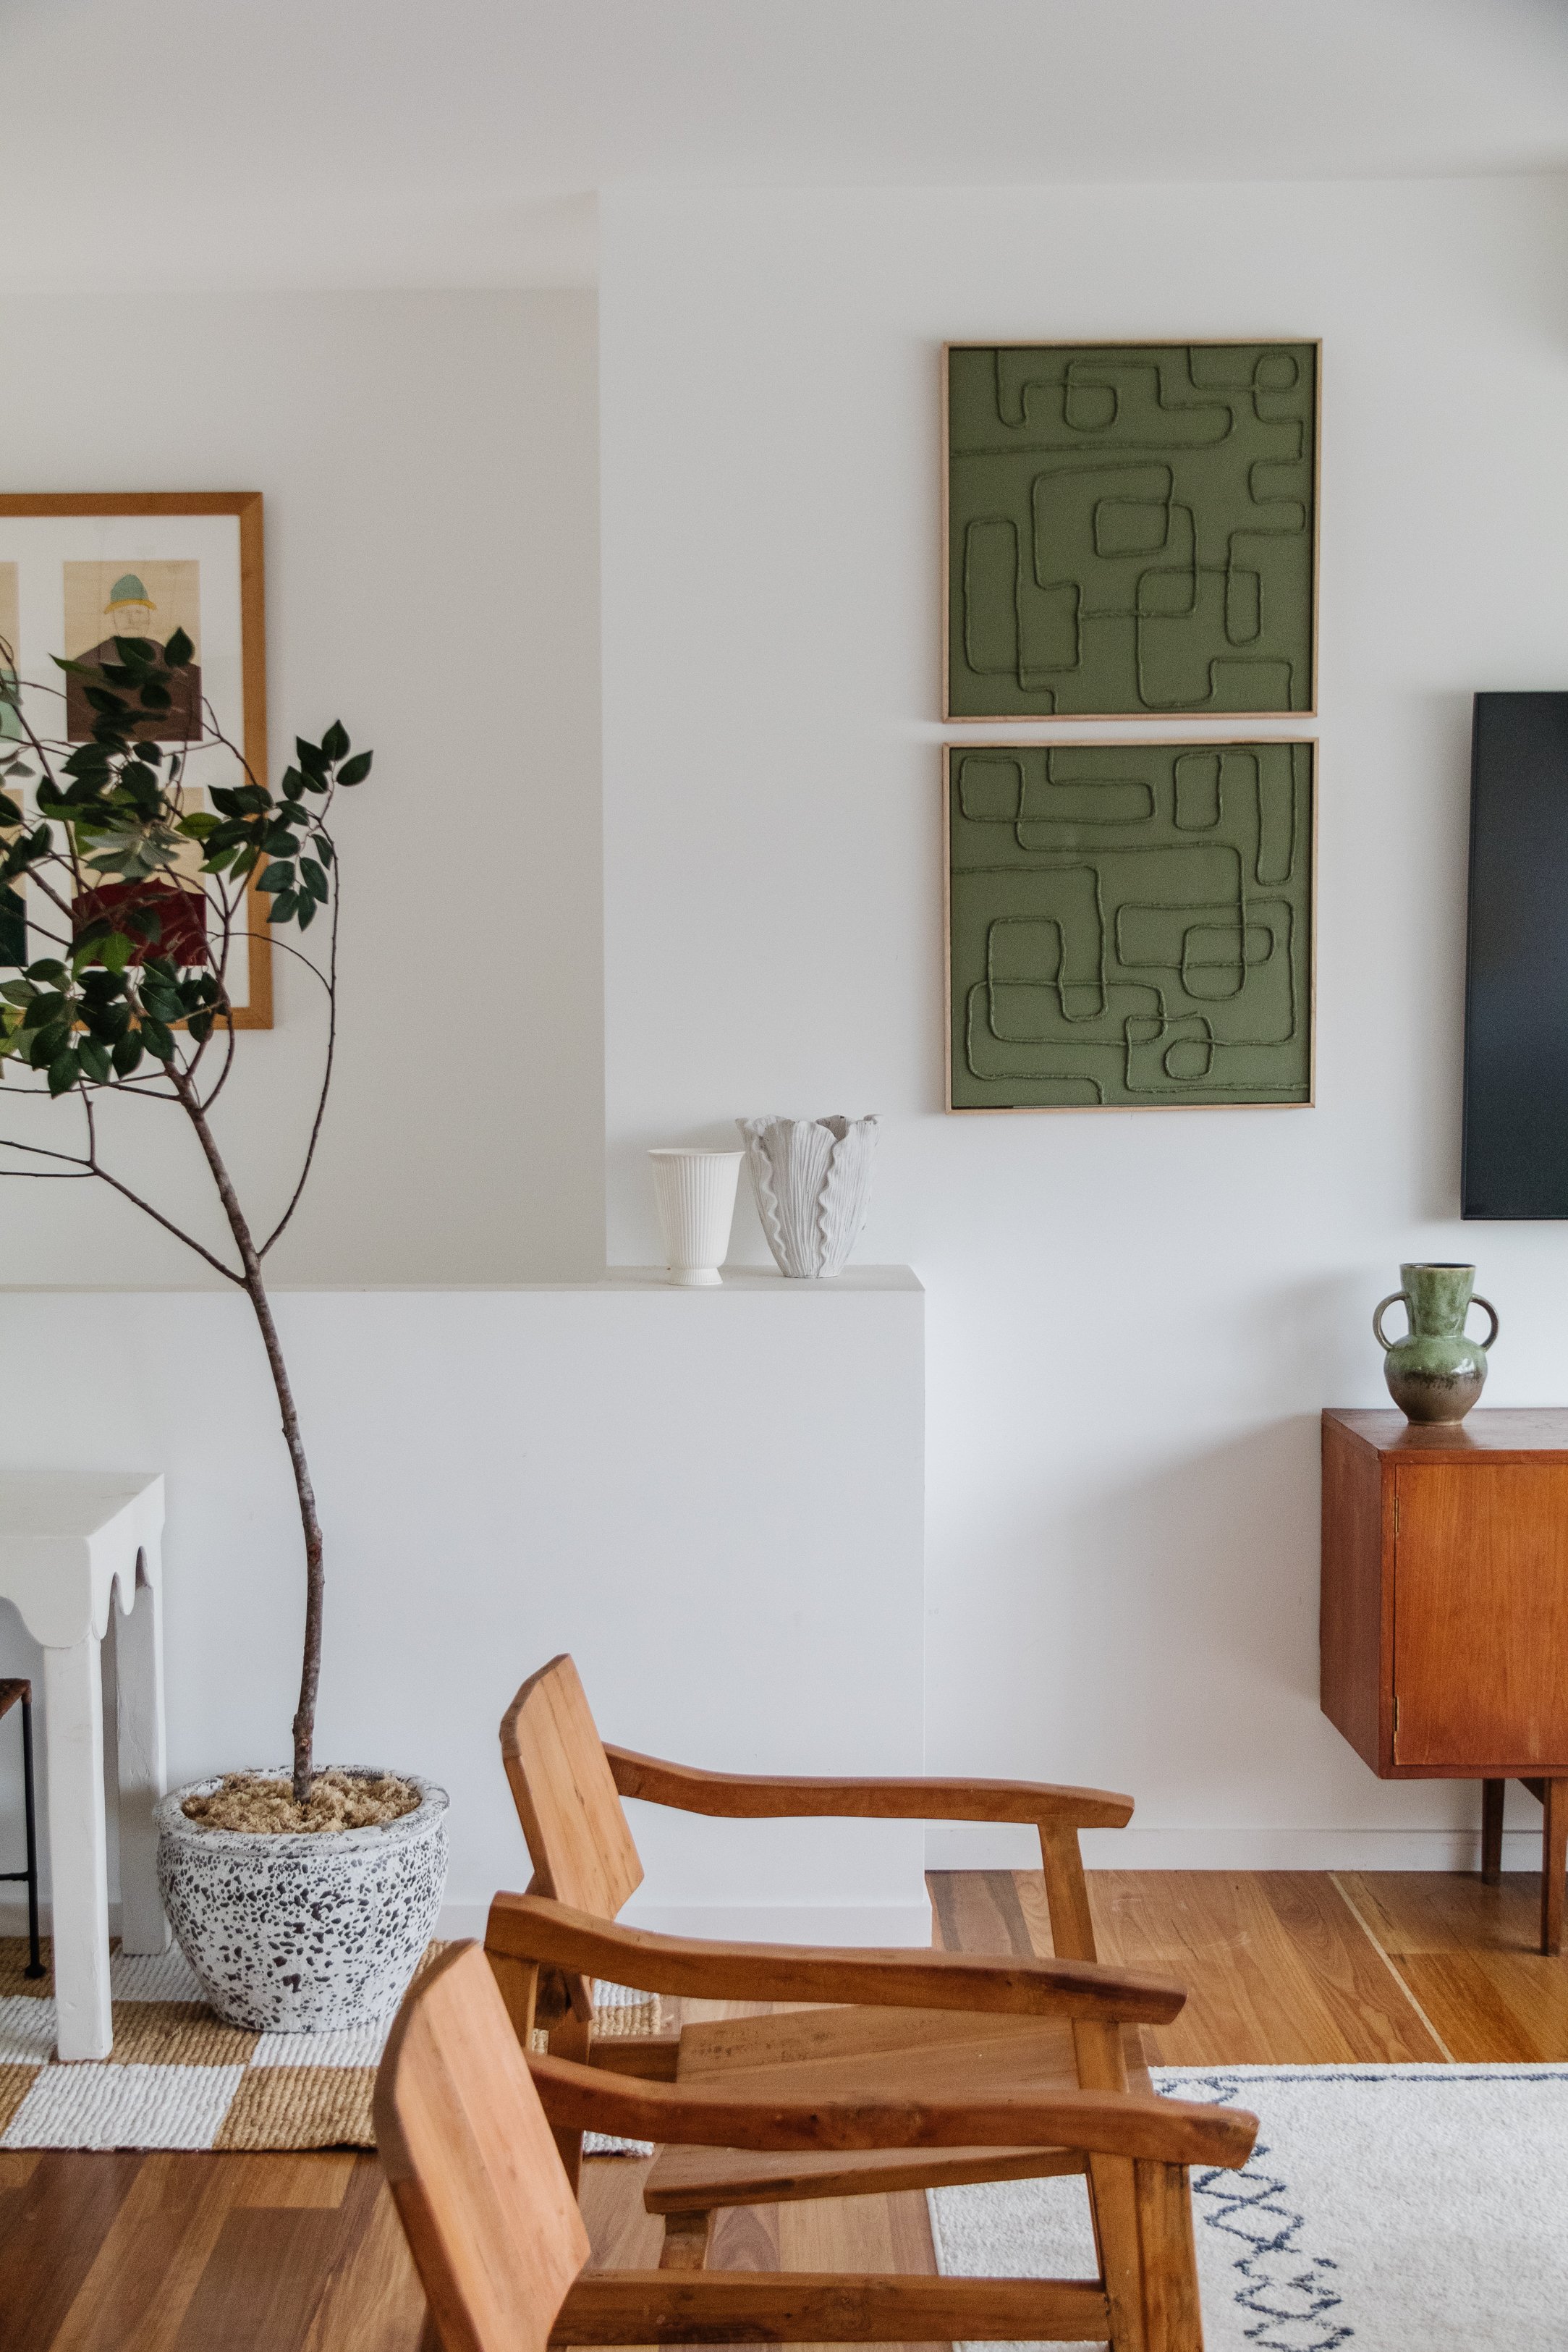
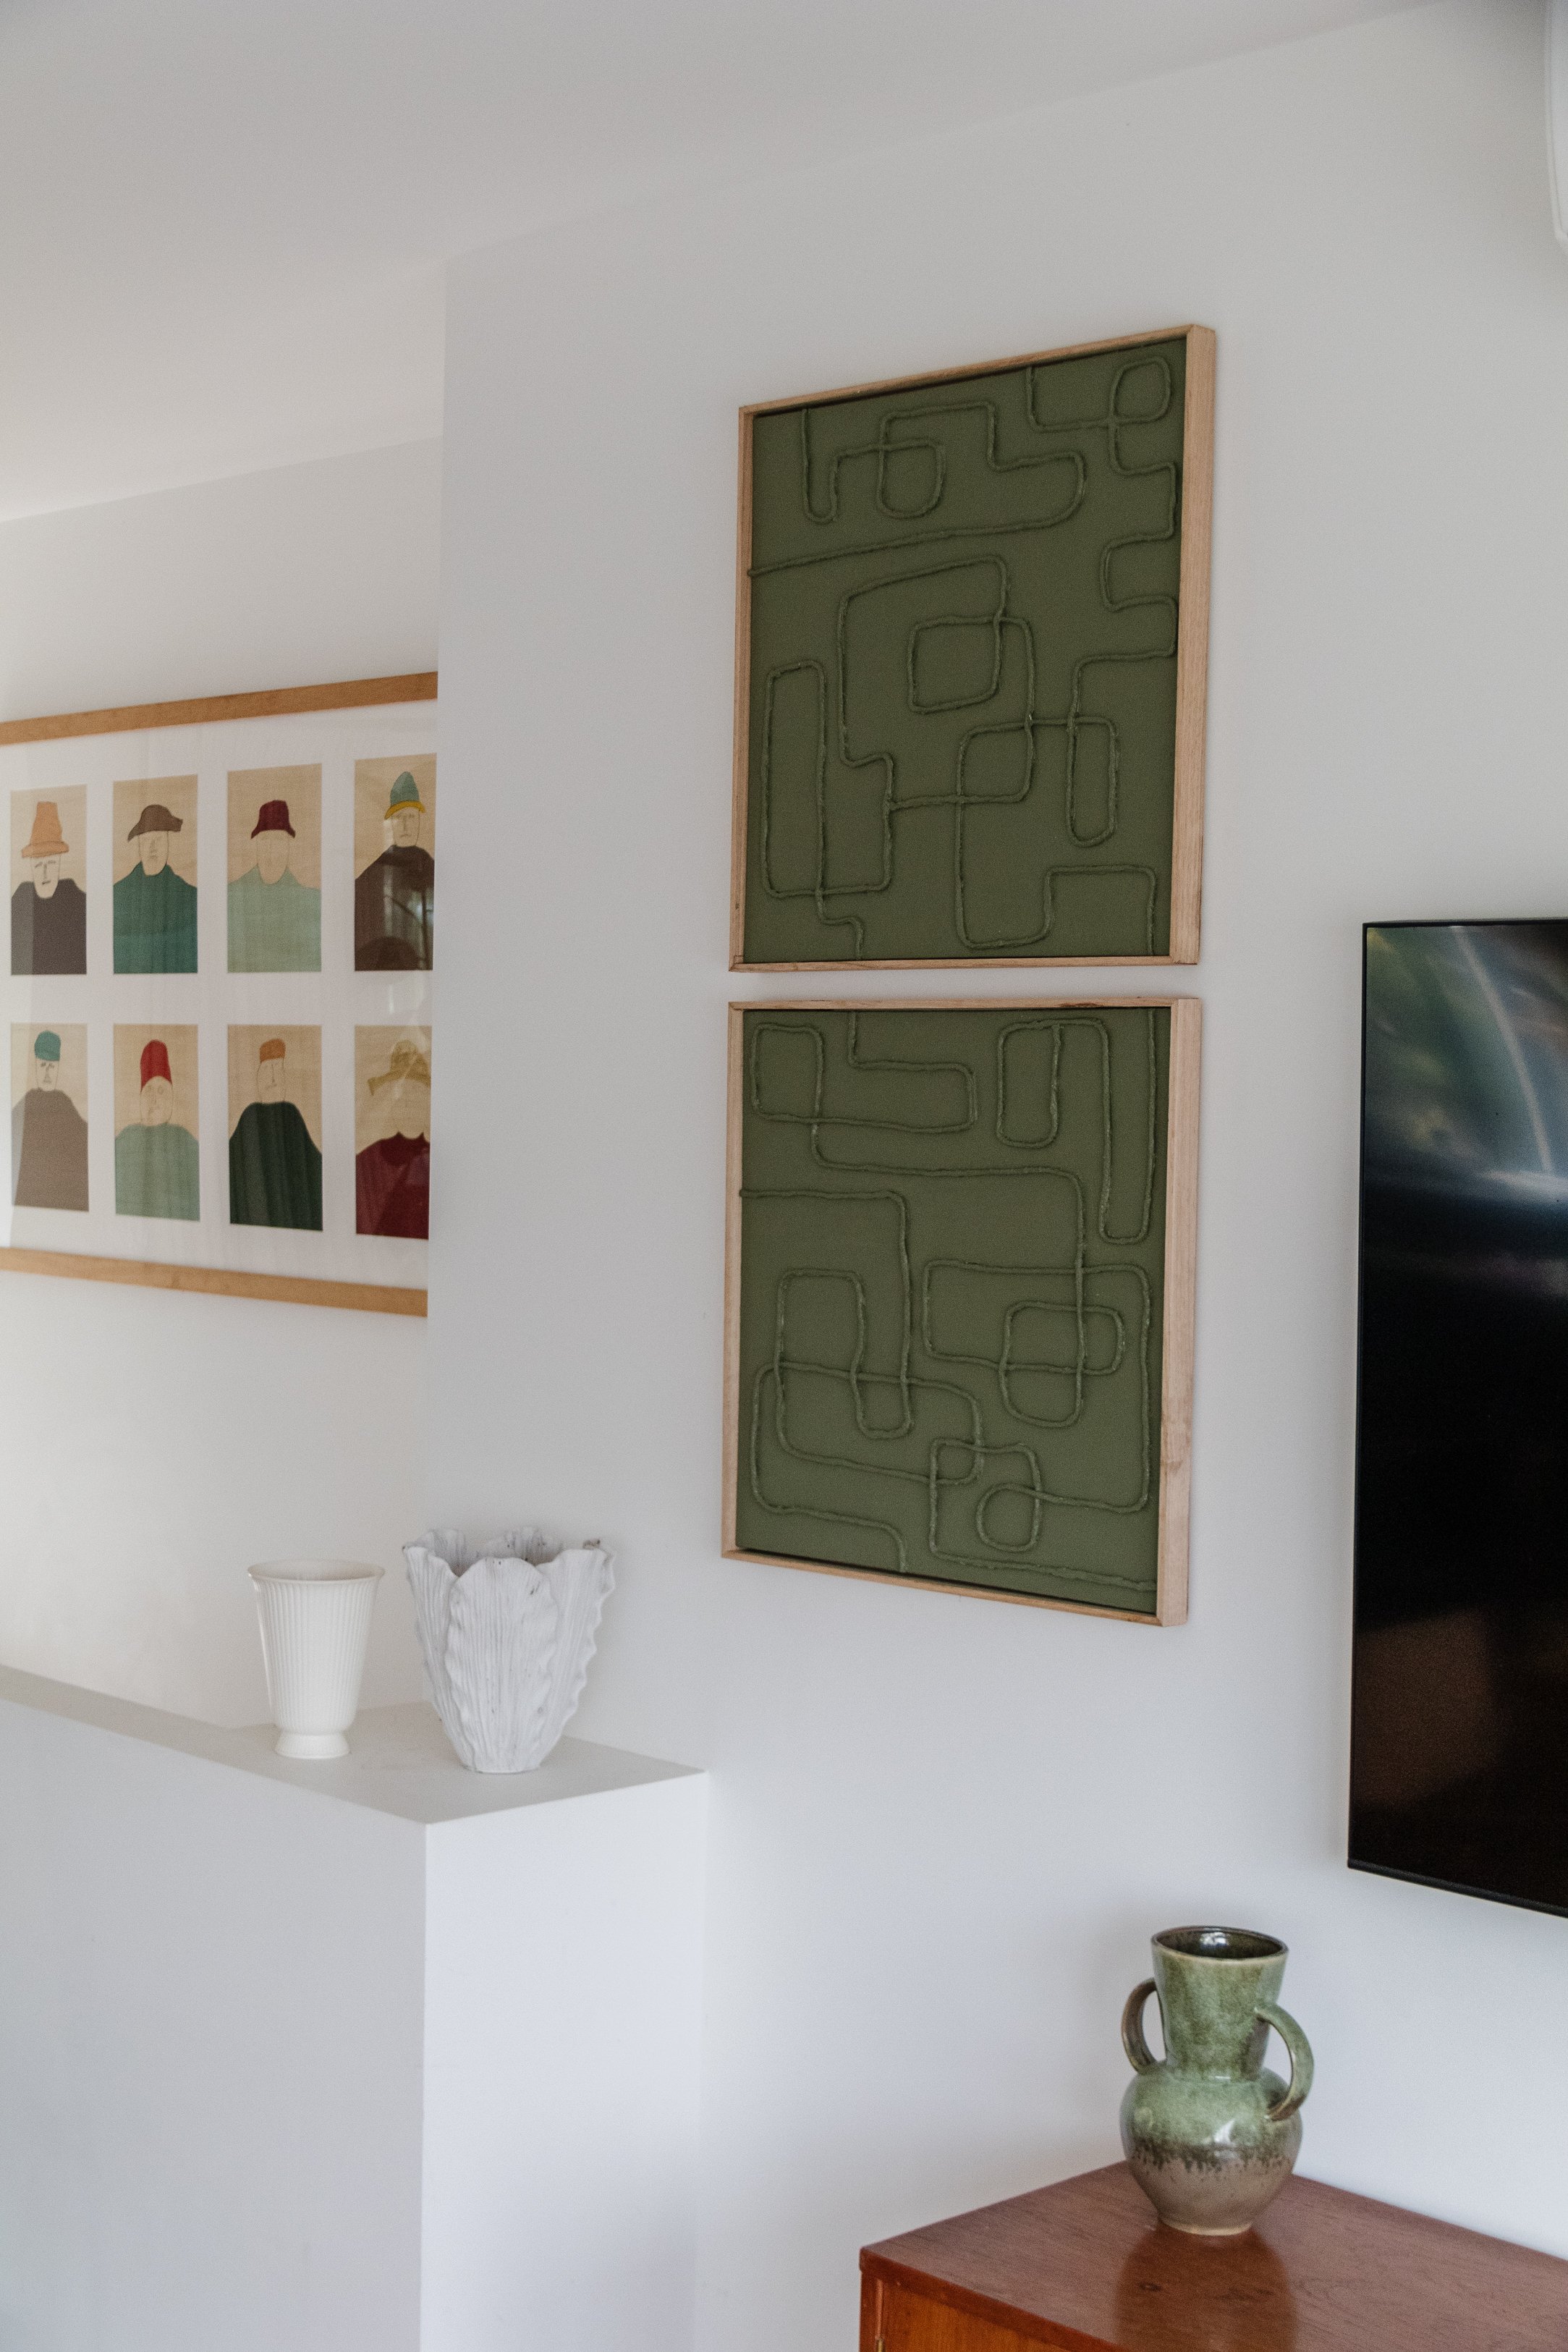
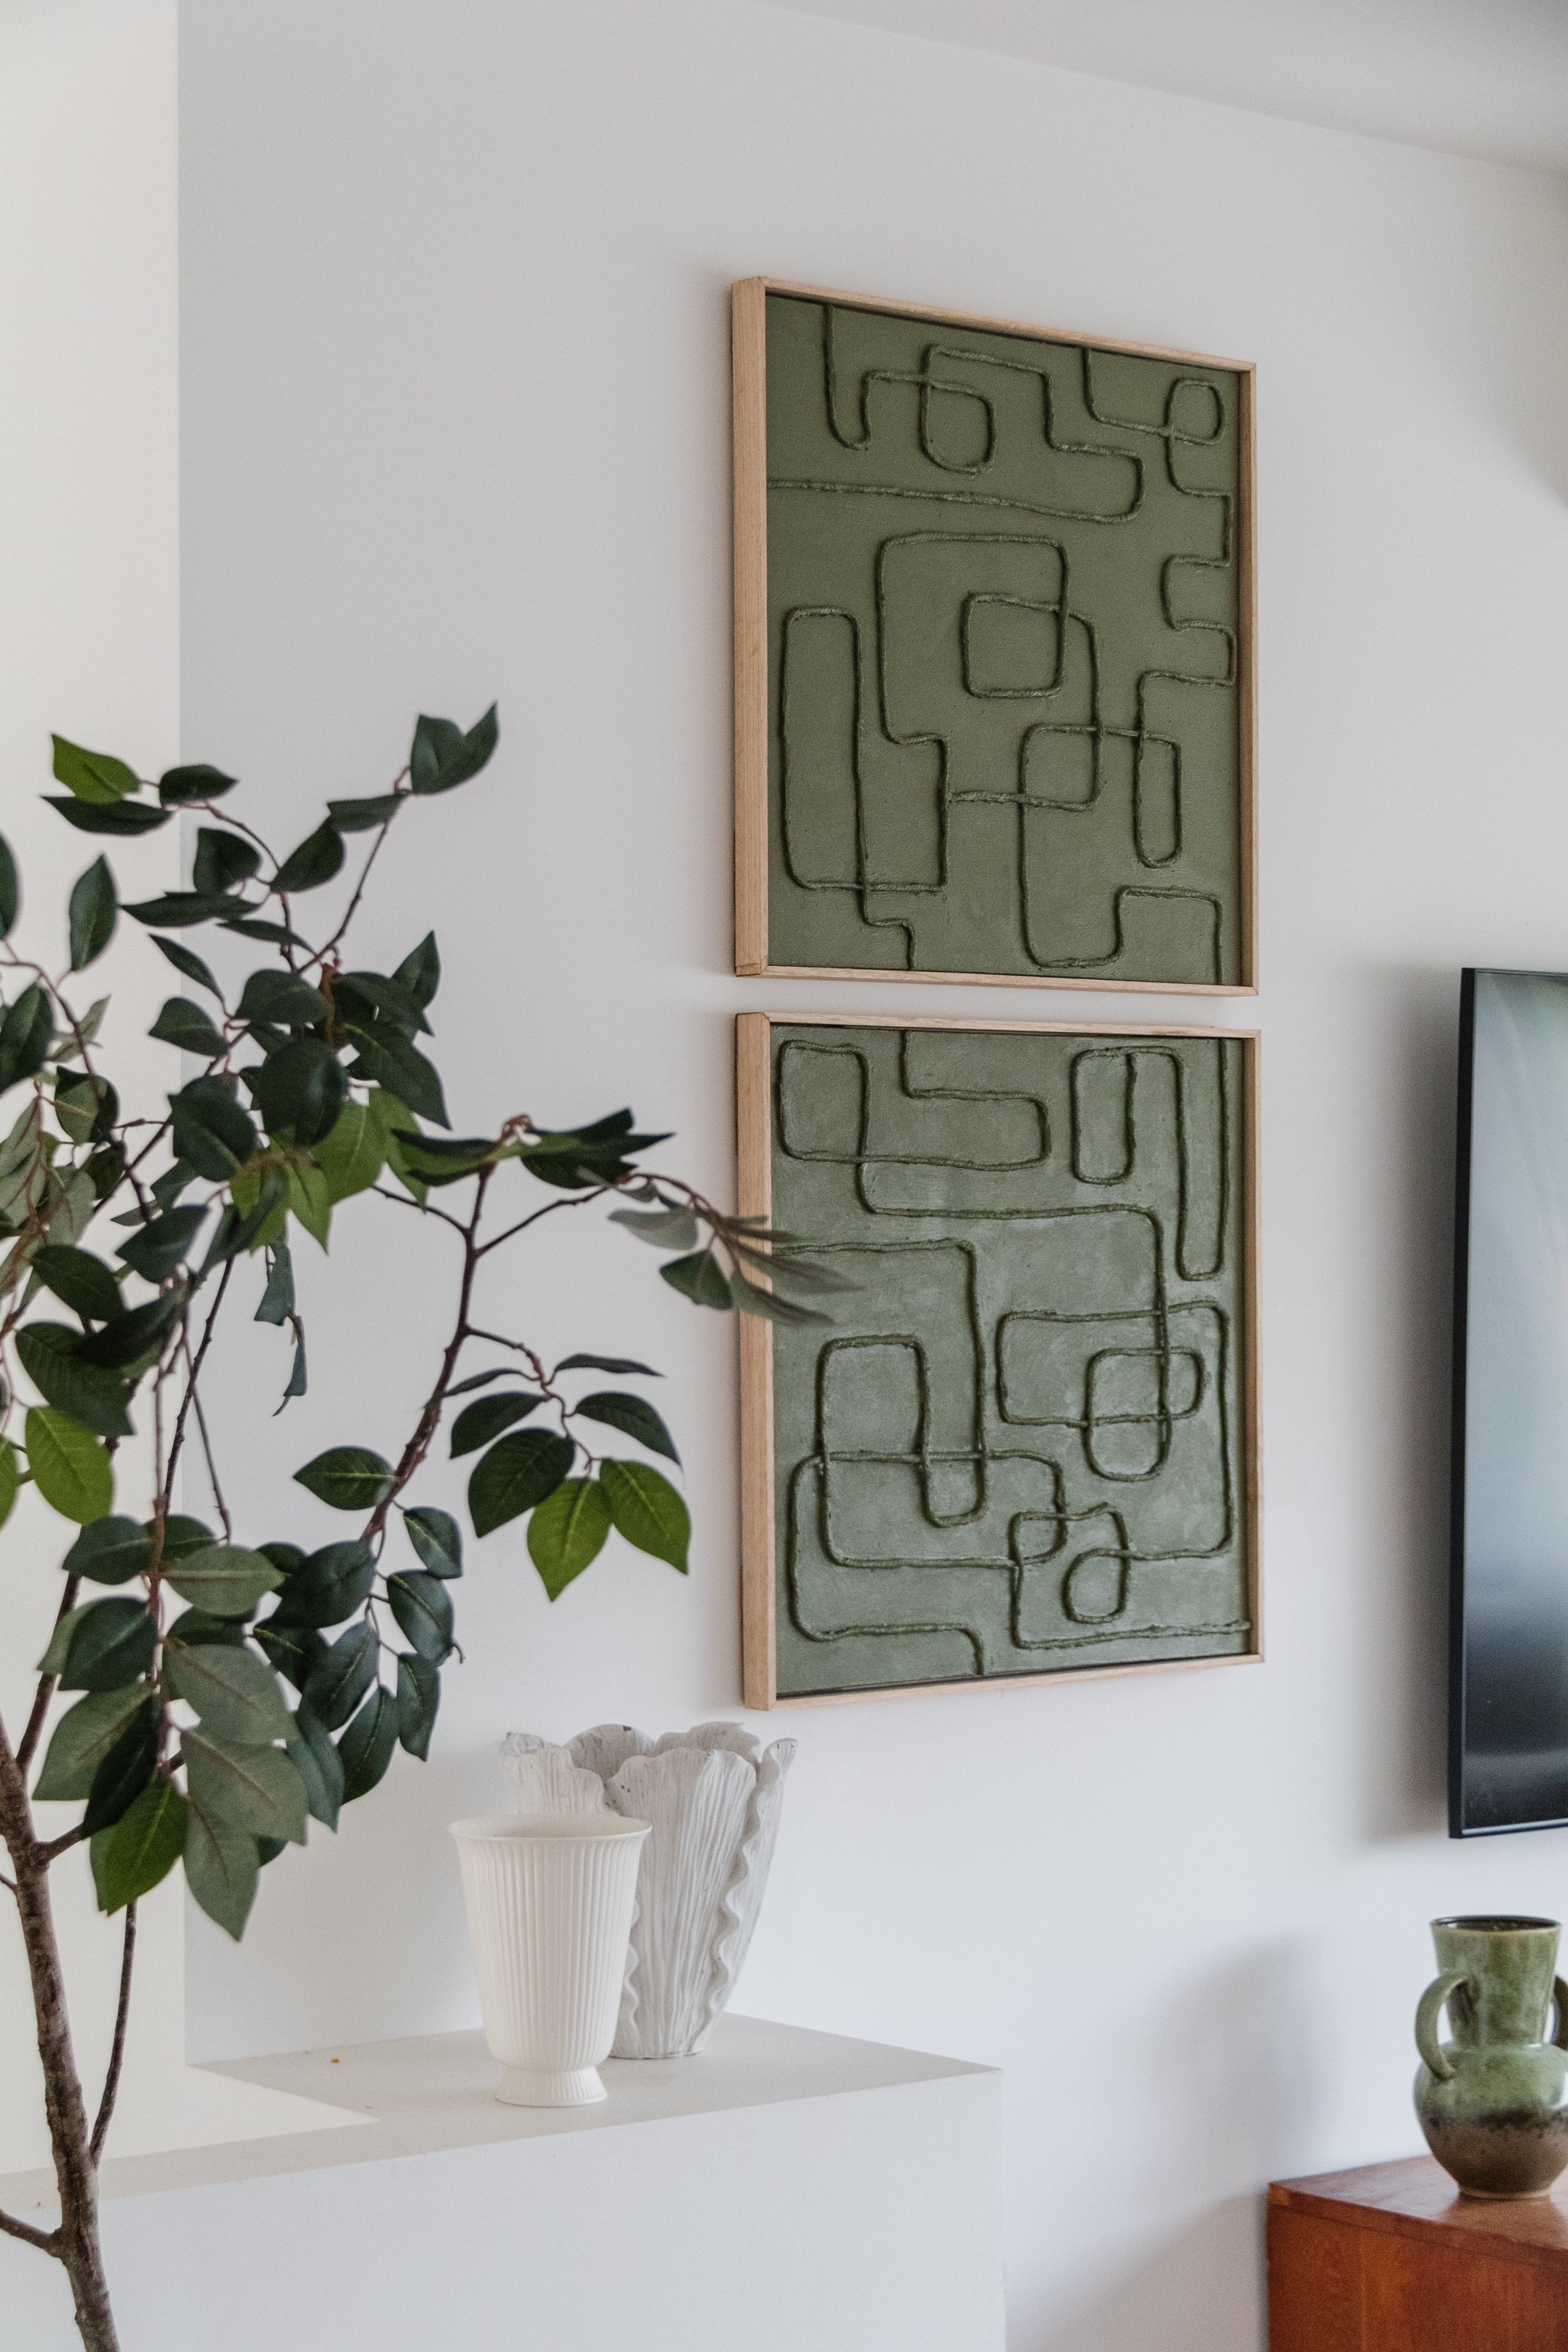
Our living room has a blank wall next to the TV, so when I discovered two used IKEA stretched canvas art pieces at a charity store for $4 each, I thought they would be ideal for a project I've been mulling over. I really enjoy seeing two distinct works of art combined in an abstract way and I wanted to experiment with this idea, so I raided my supplies for rope, plaster and paint. And I couldn't be happier with how cosy and welcoming our living room seems now that the art fits our mid-century modern meets contemporary aesthetic. Read on to learn how to make your own Upcycled Framed Rope Art. And as always, happy upcycling!
And to see how this upcycling project came together, make sure you check out this video!
Before & After


Project Details
🕒 Project Time Estimate: 1 to 2 hours, not including plaster and paint drying time
💰 Materials Cost: Under $40 (not including framing)
⚒️ Power Tools: None
👷♀️ Skill Level: Beginner DIYer
Materials
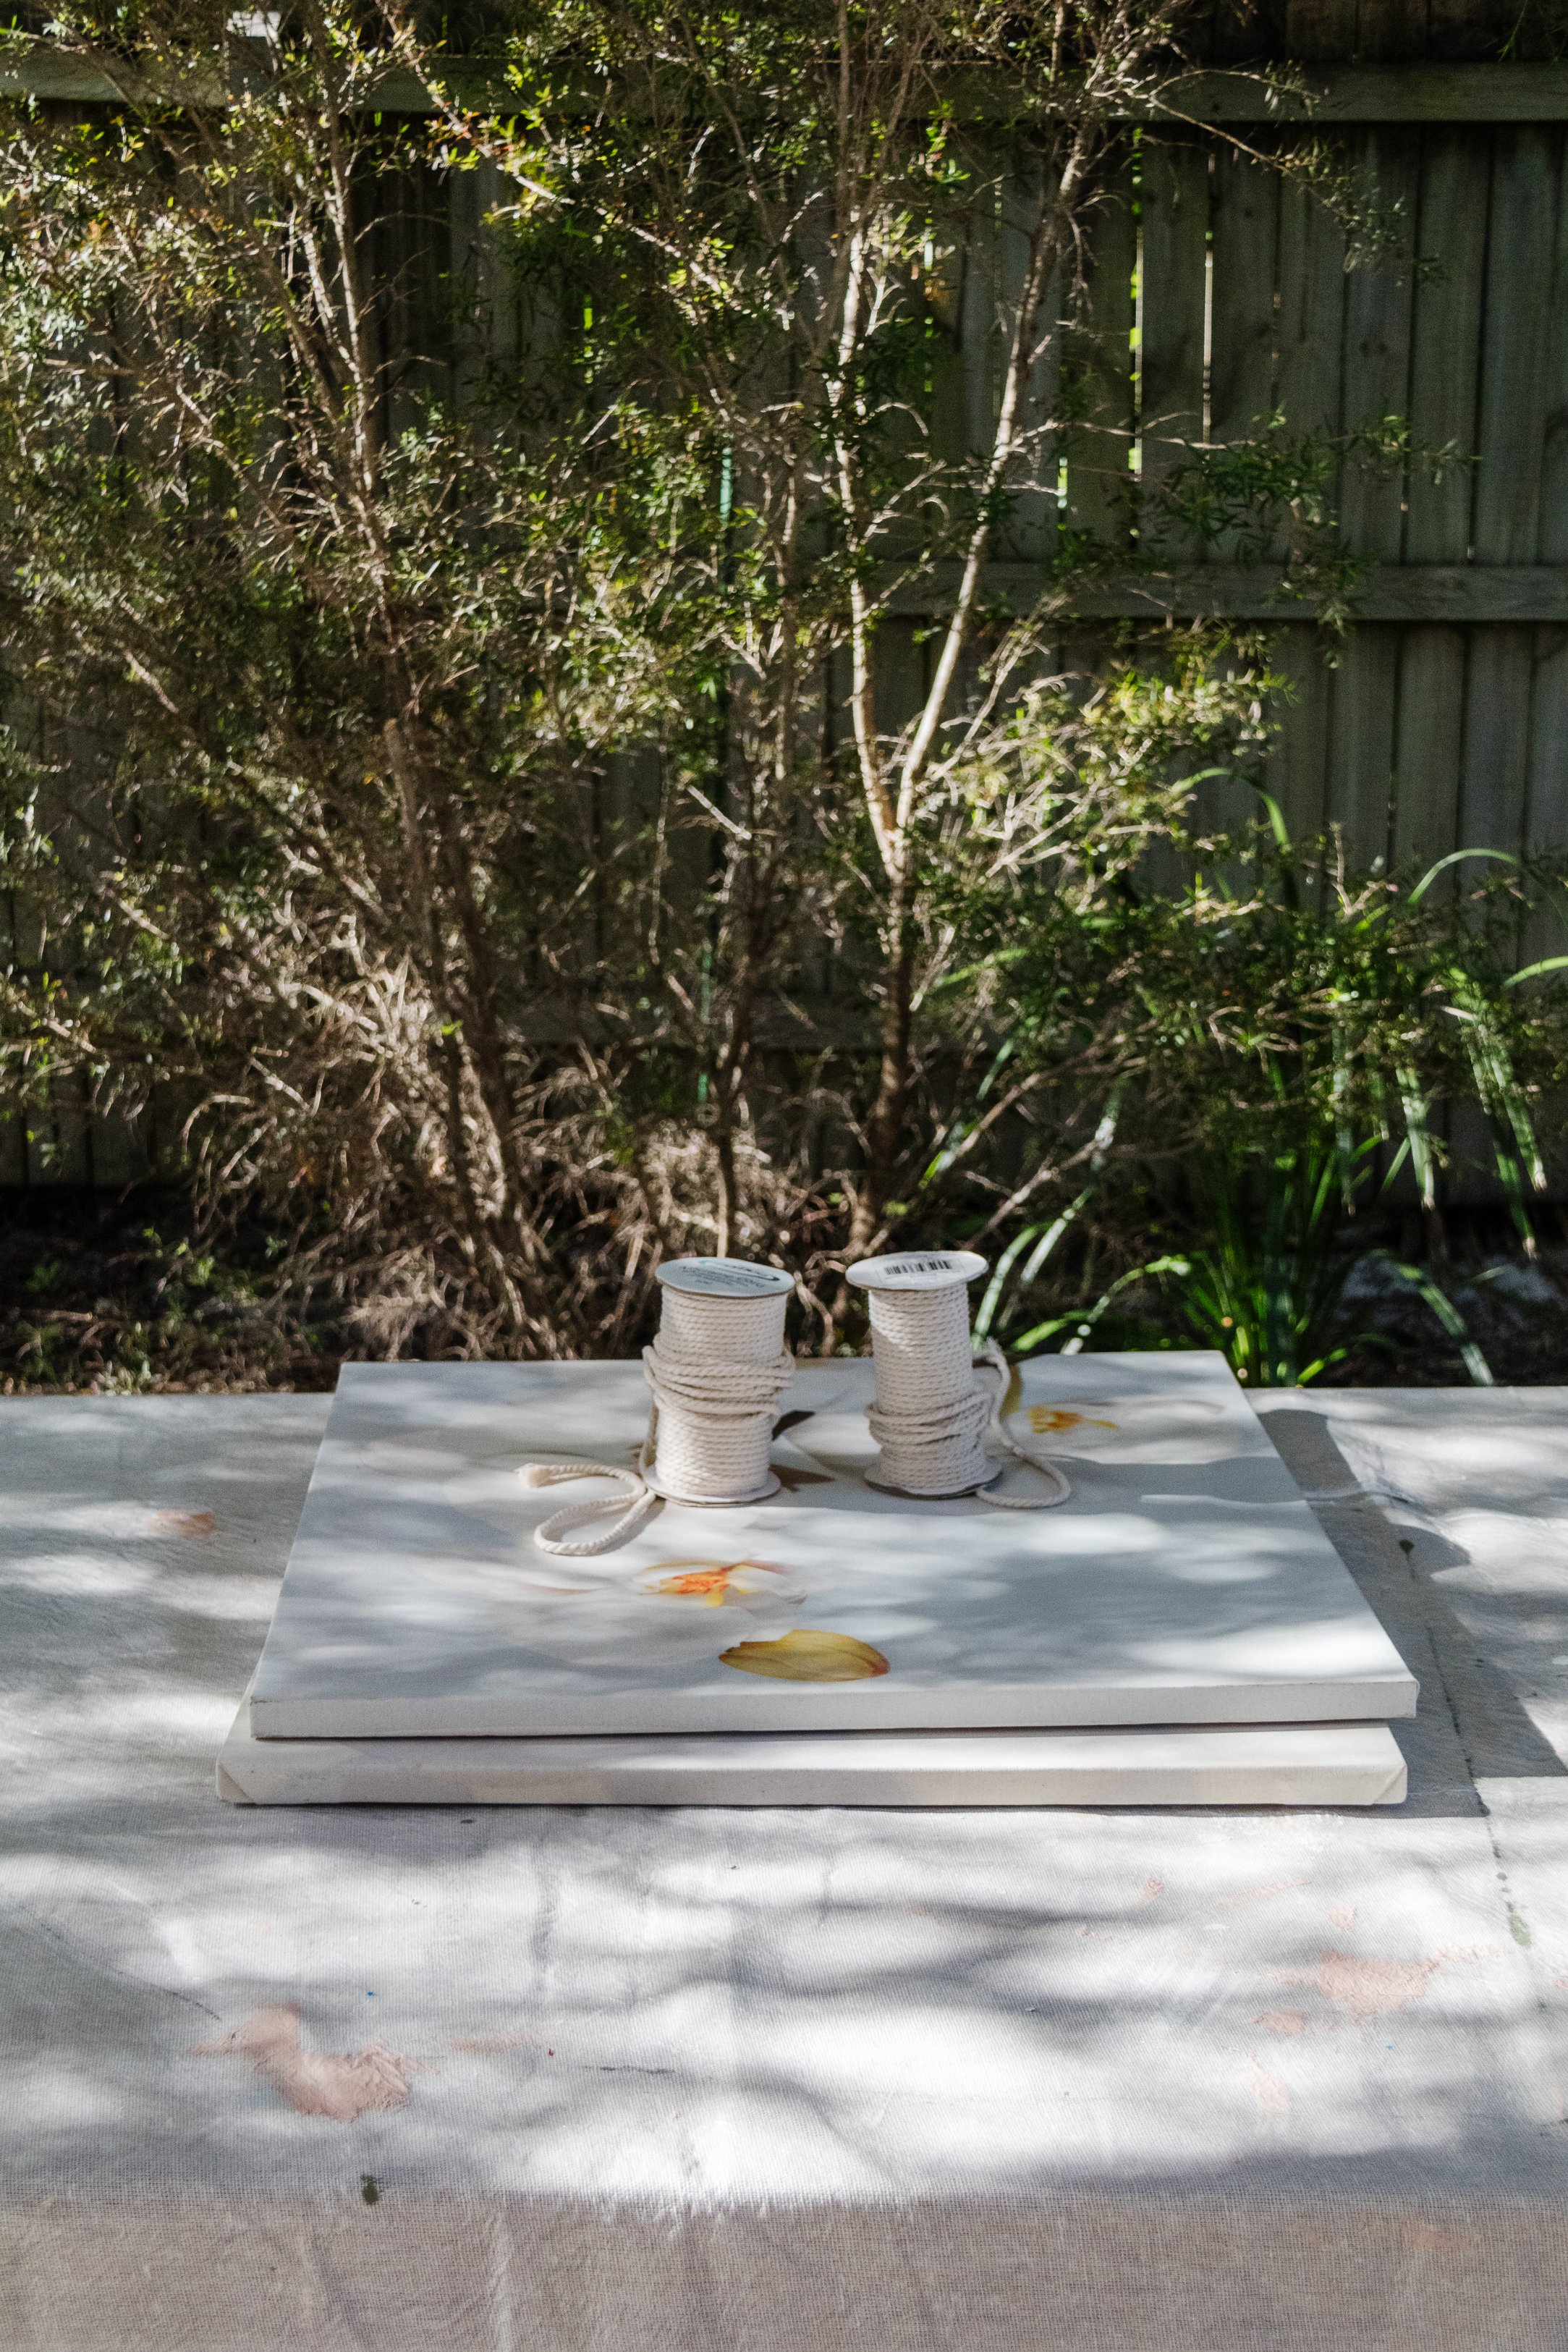
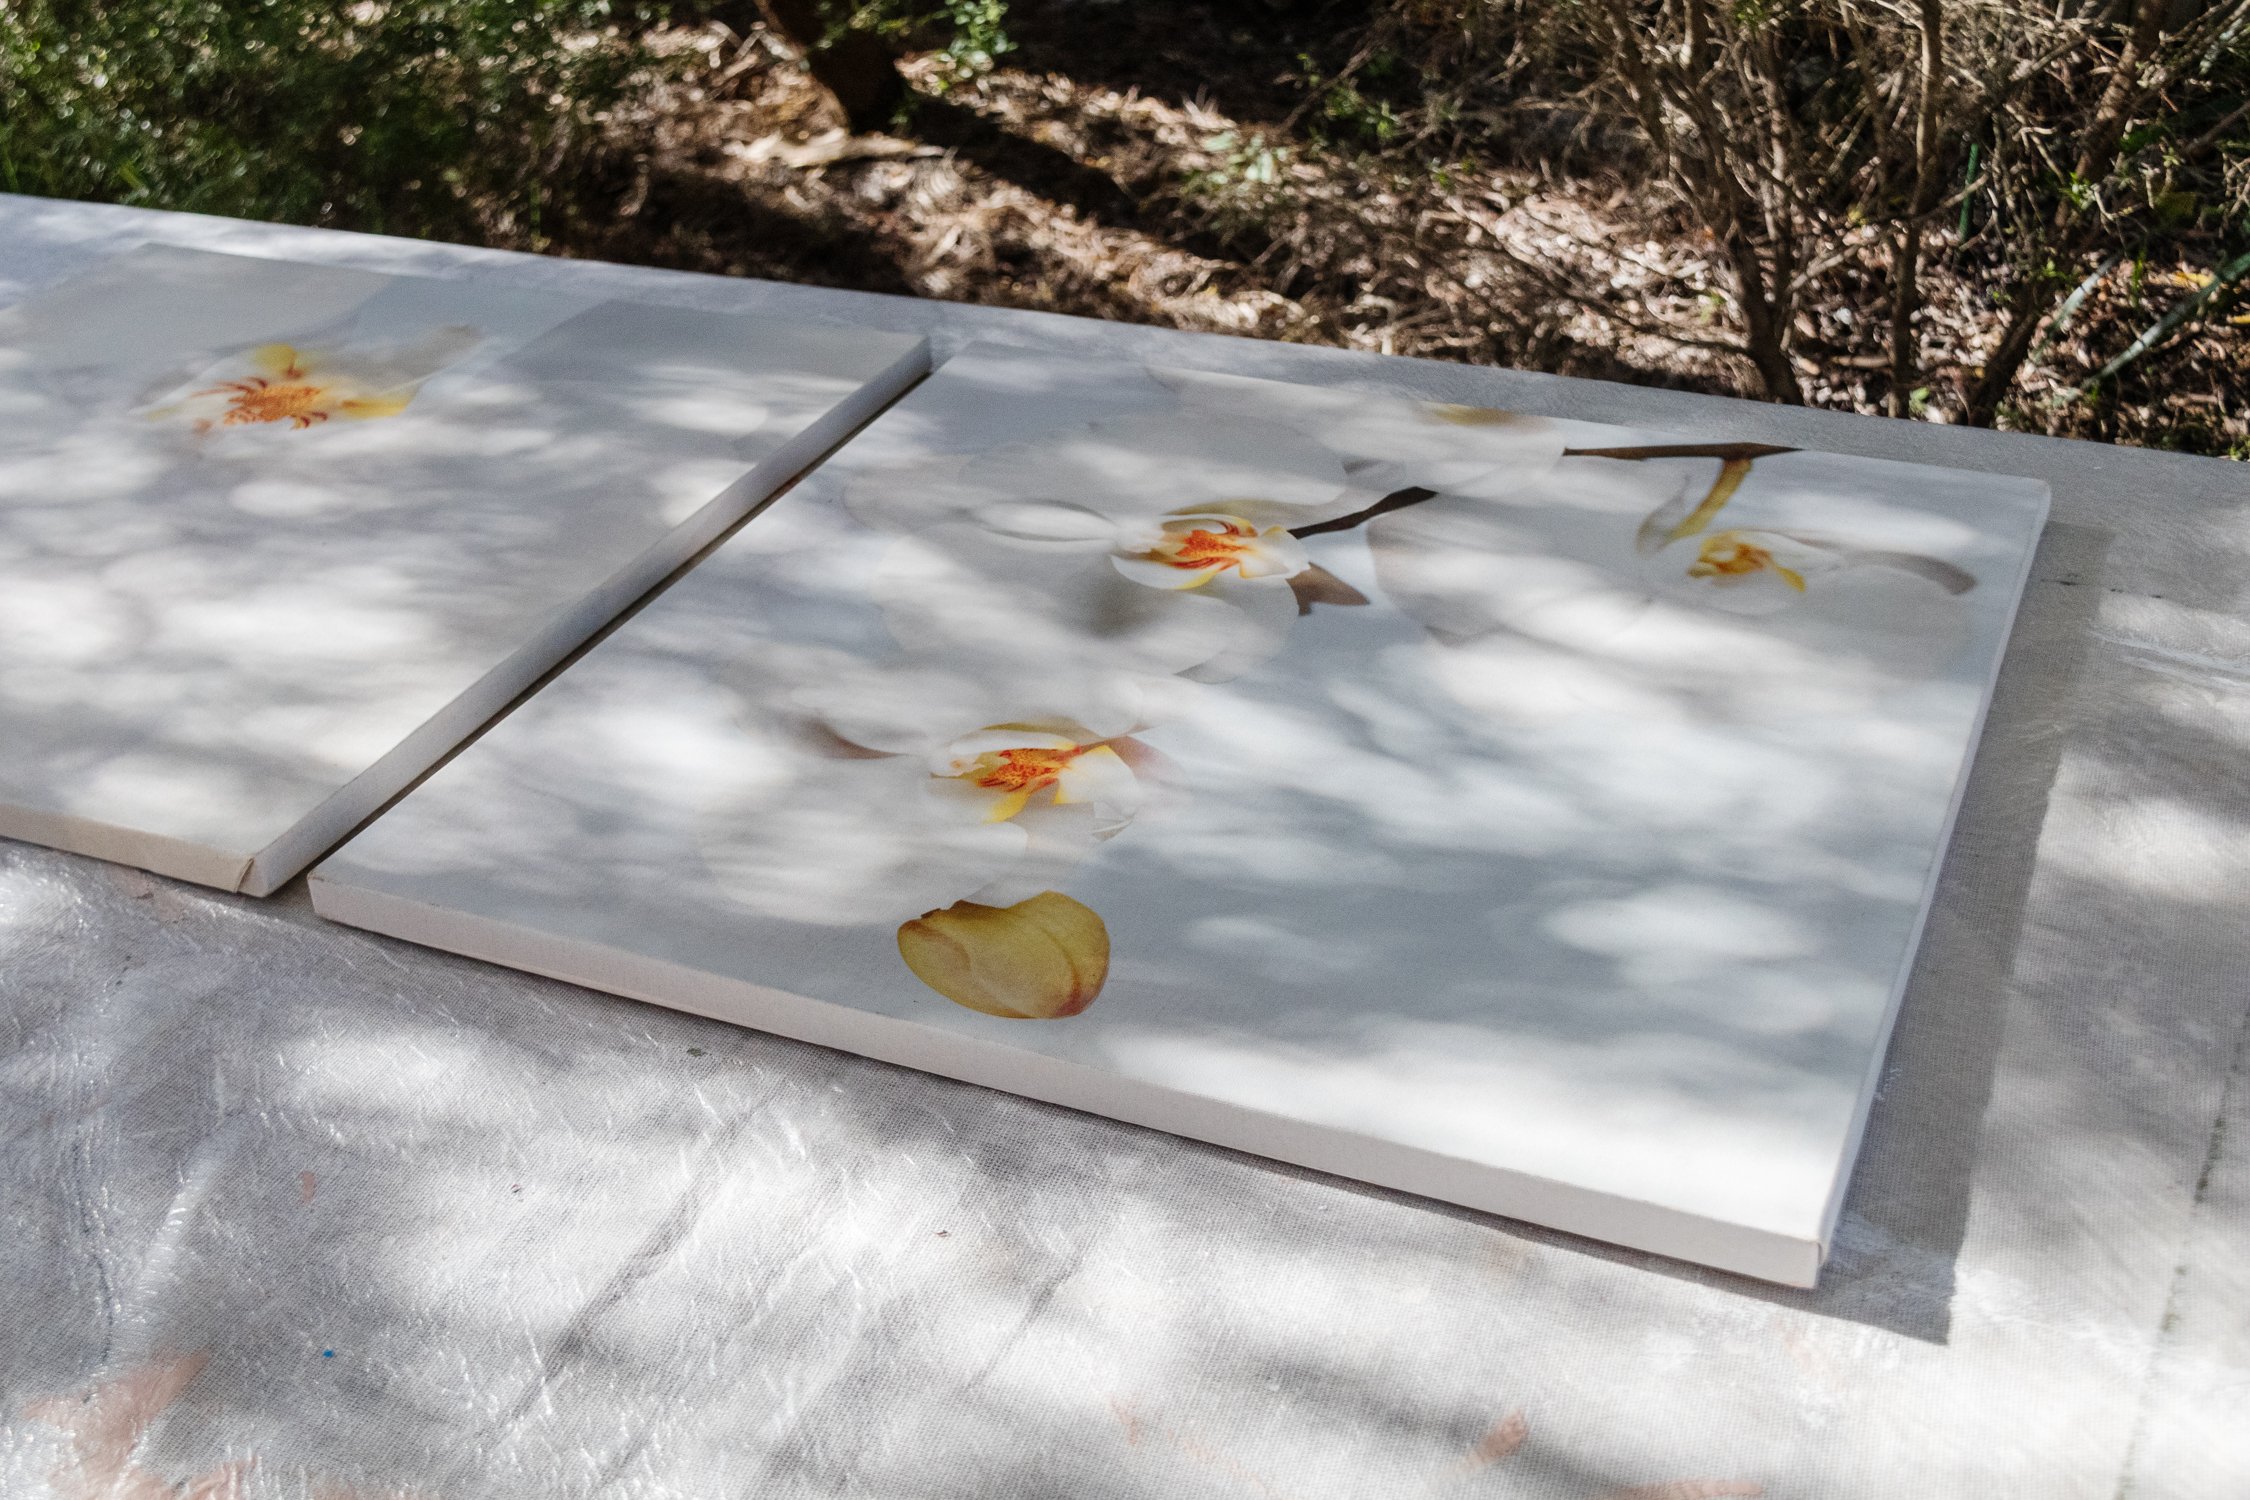
2 pieces of secondhand stretched canvas (unframed)
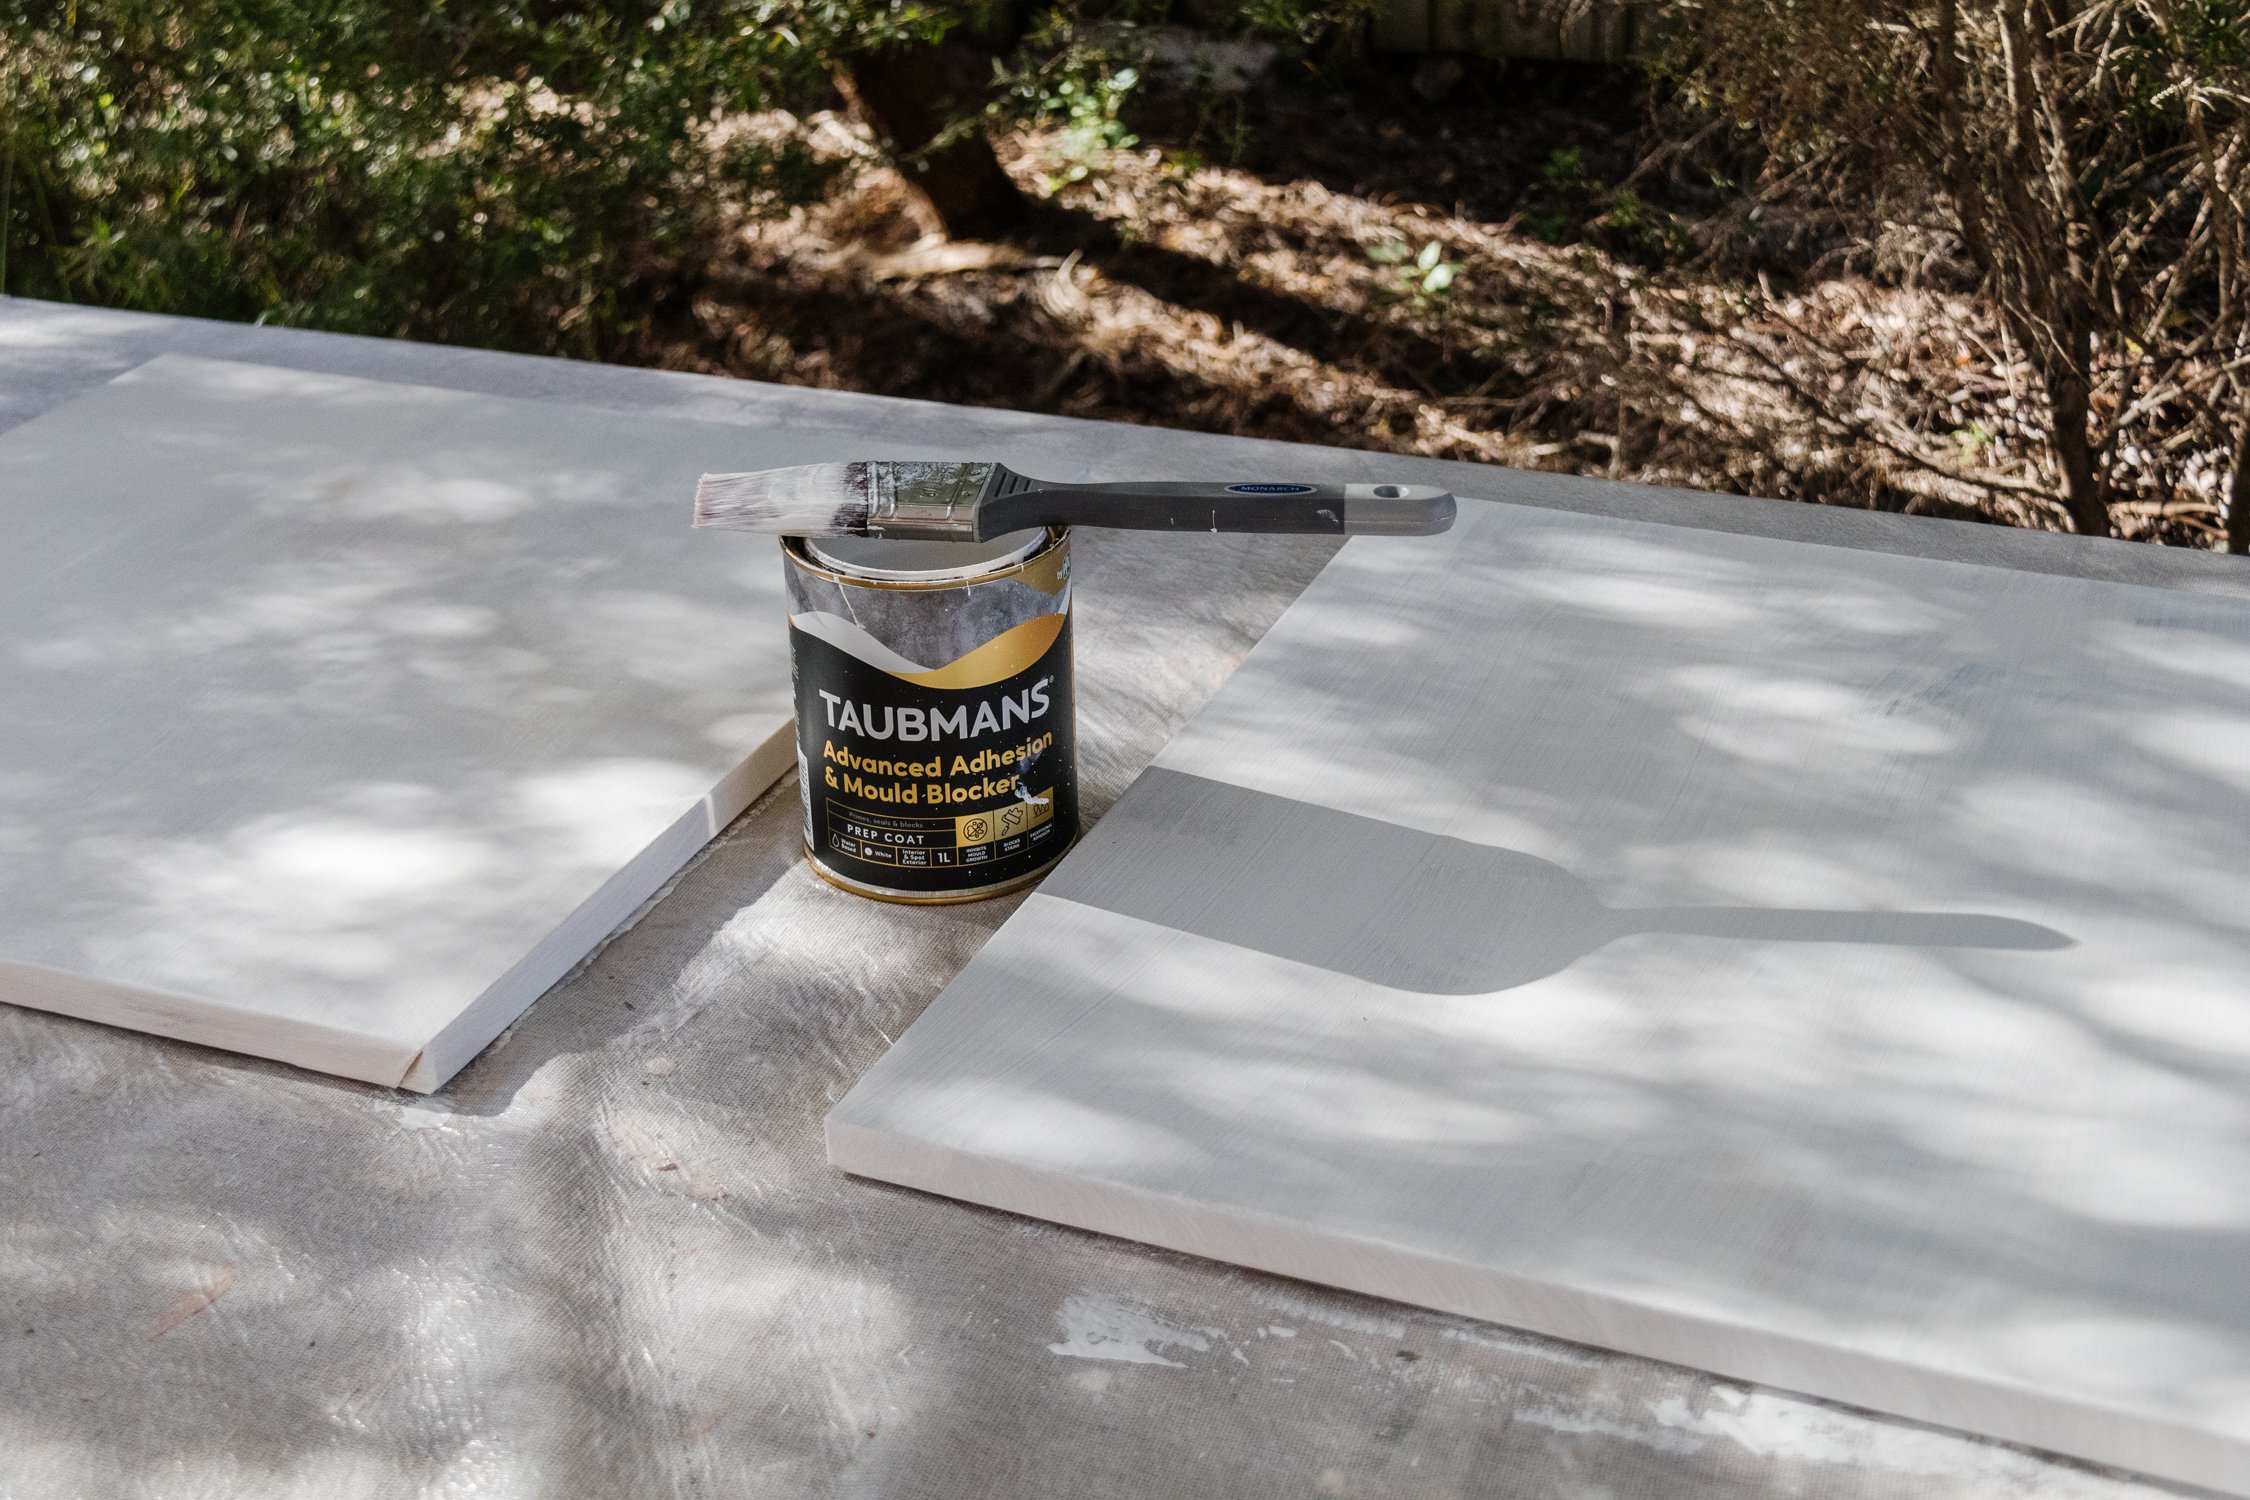
White primer paint
Scissors
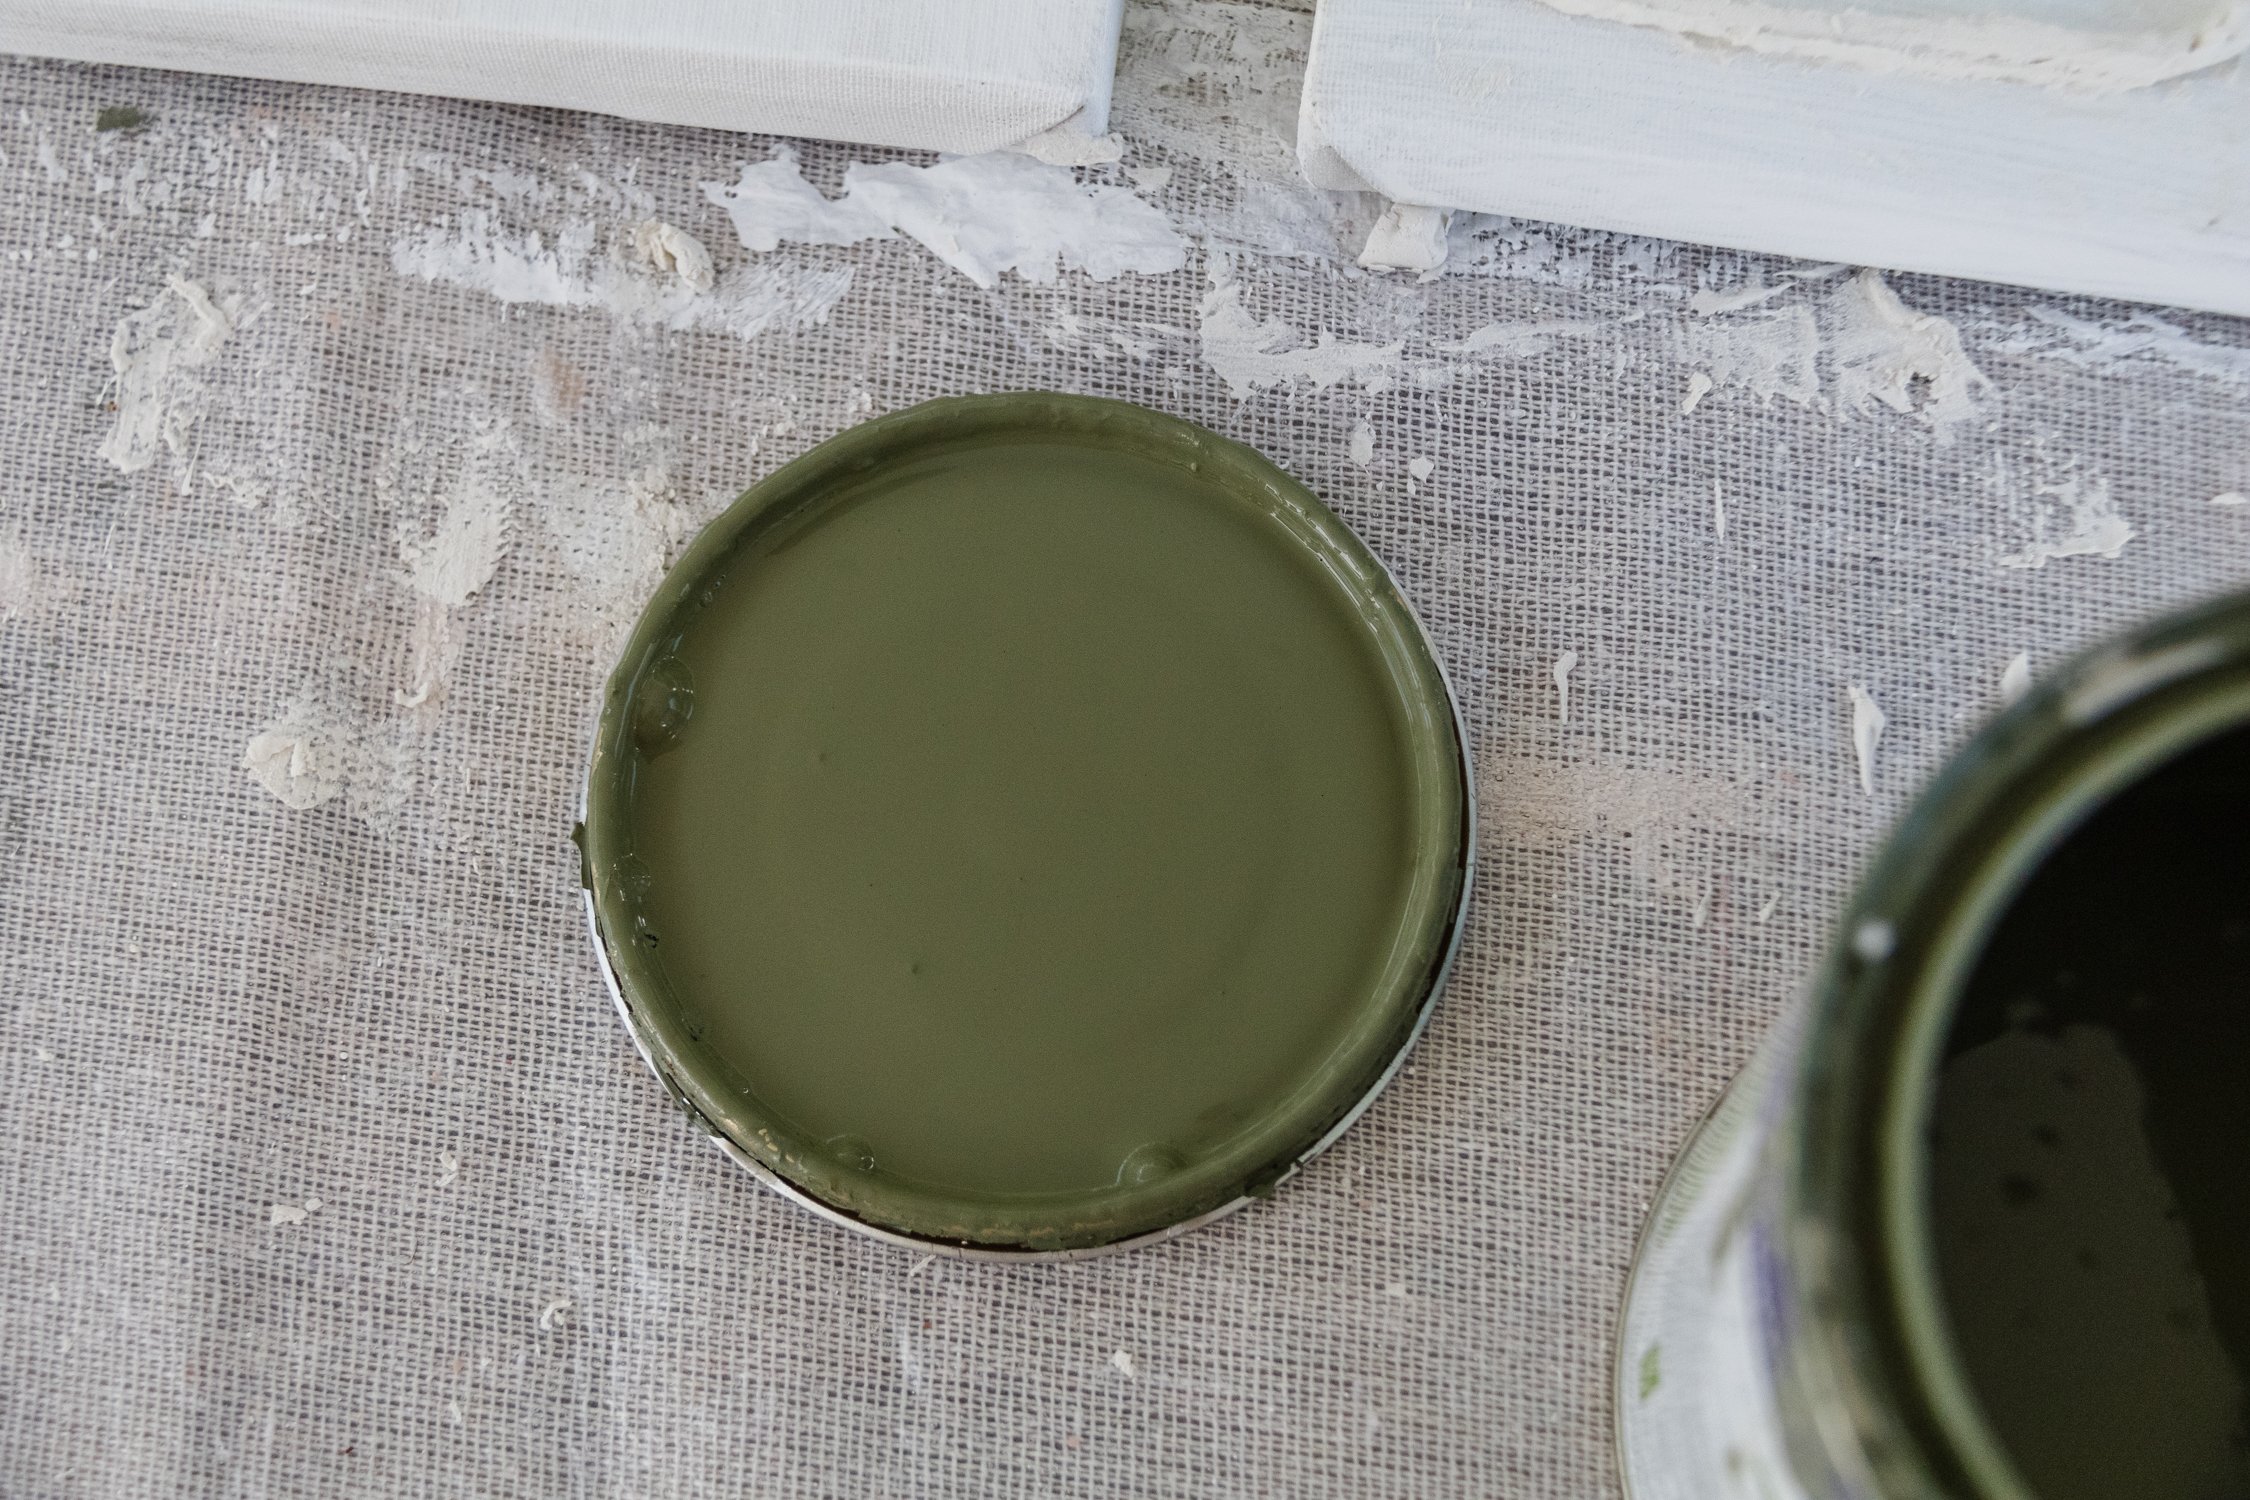
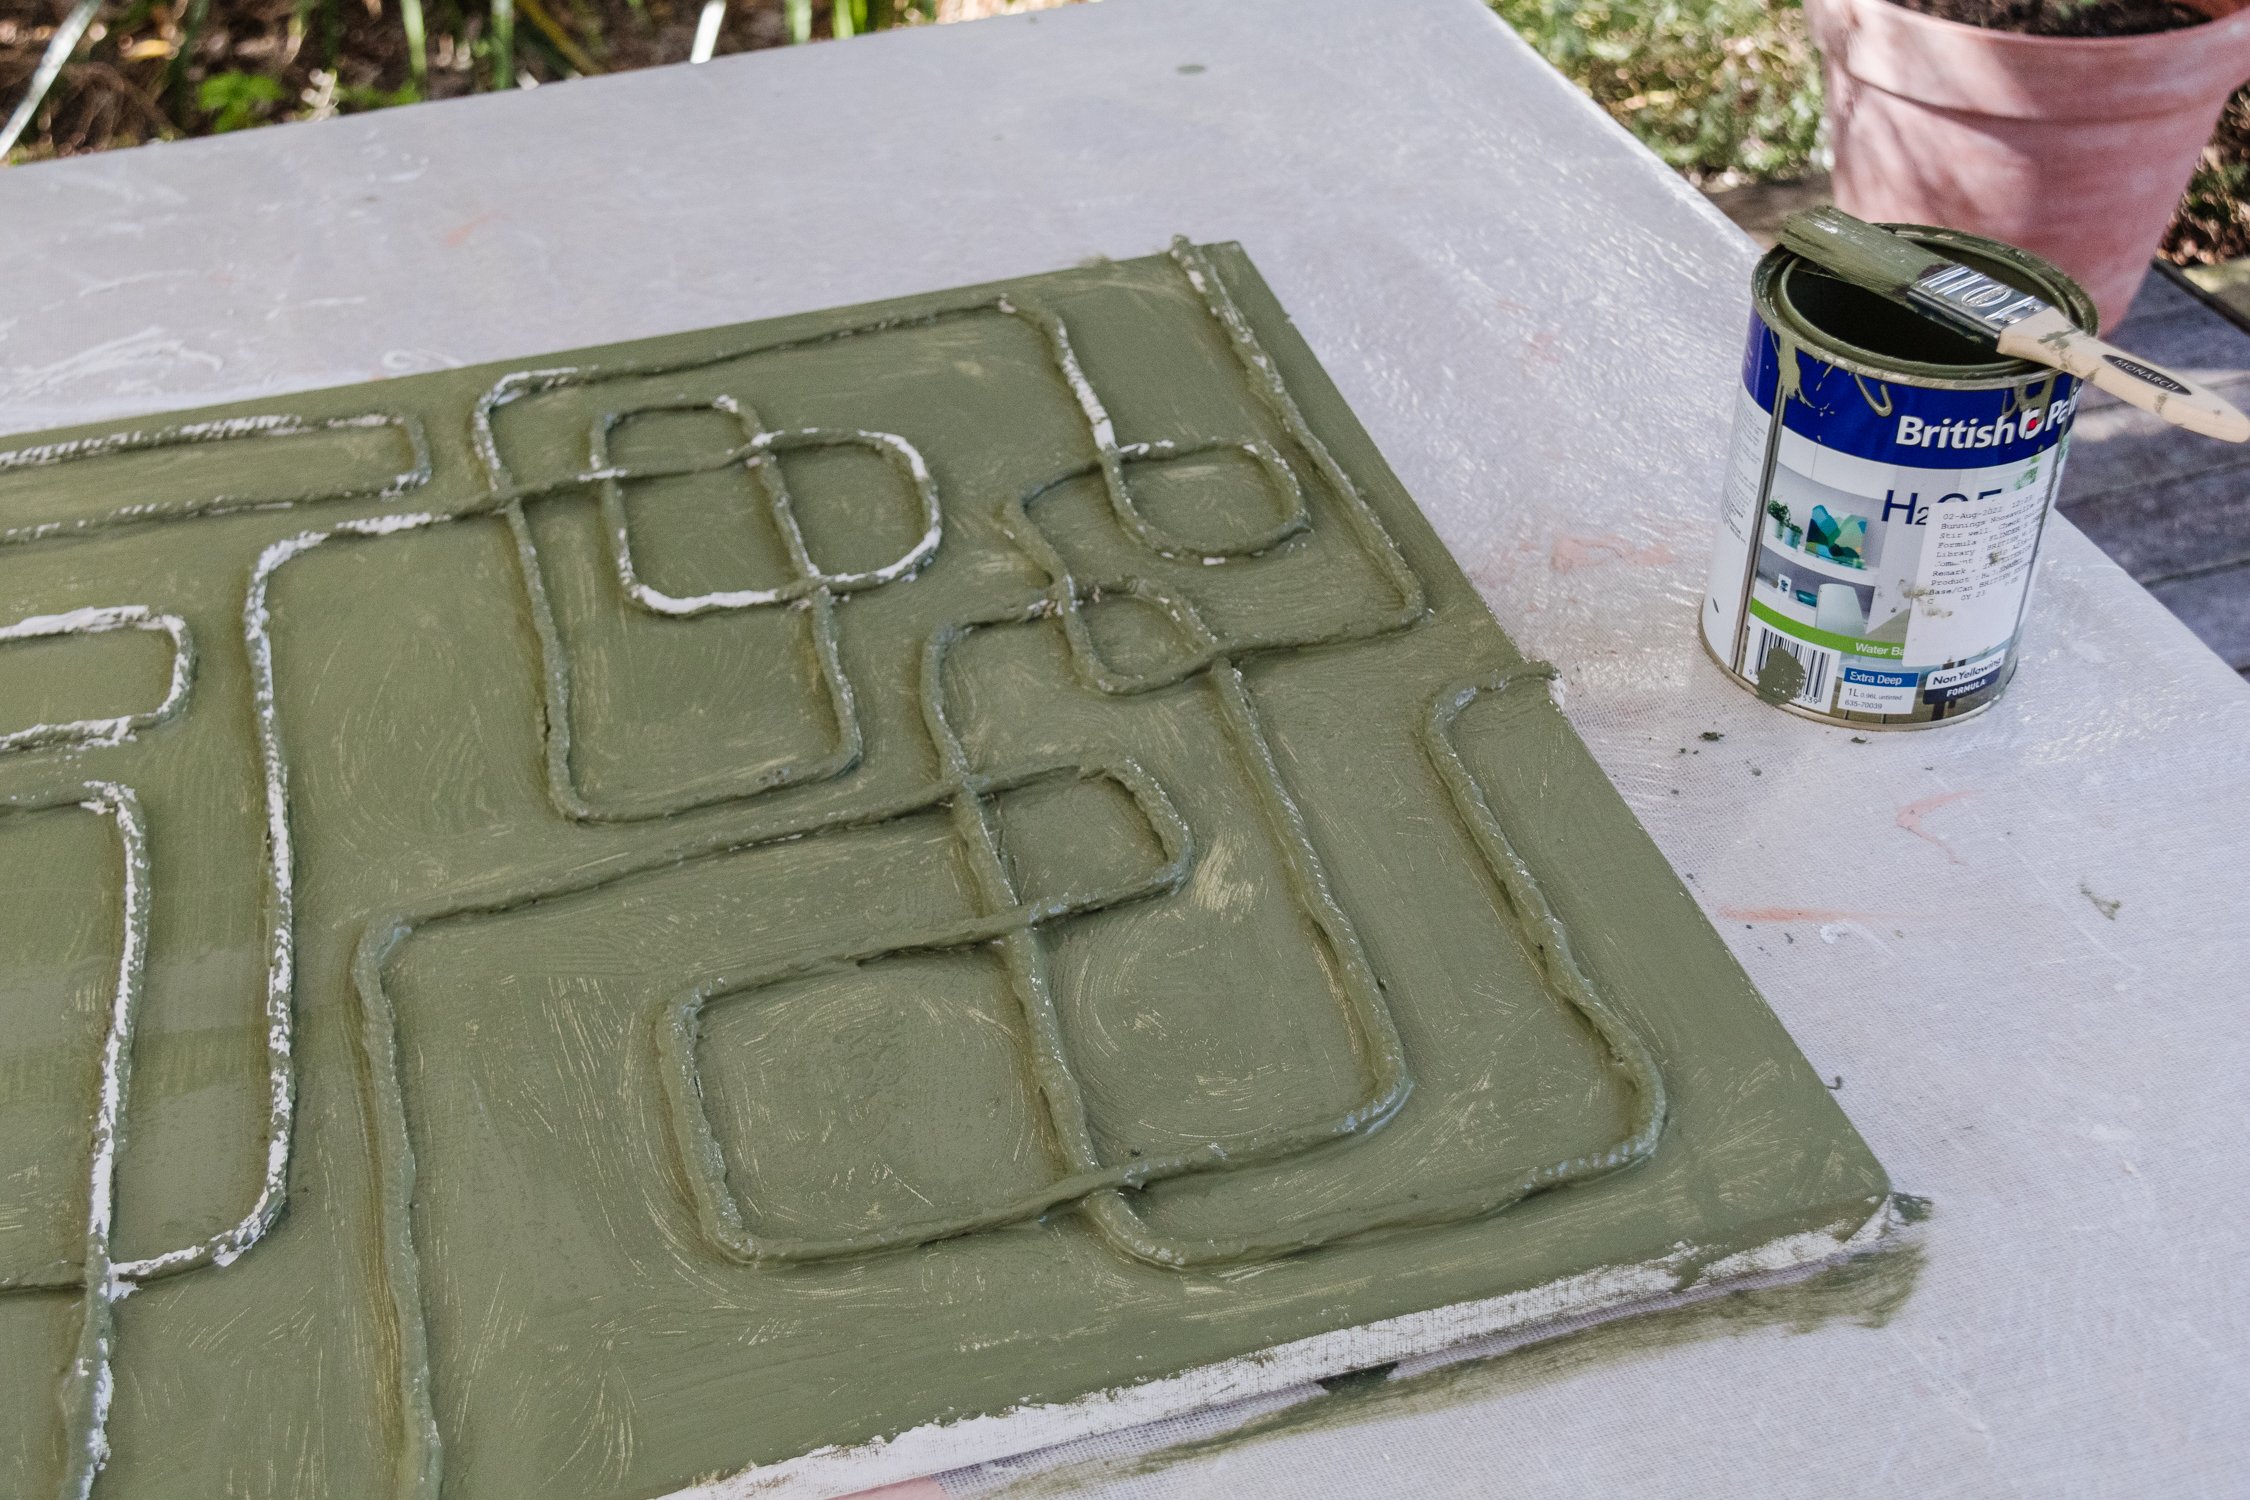
Paint in your colour of choice - I chose “Flinder’s Green” by Dulux
Paint brush
DIY Floating Timber Frames - click here for the materials and tutorial

How To
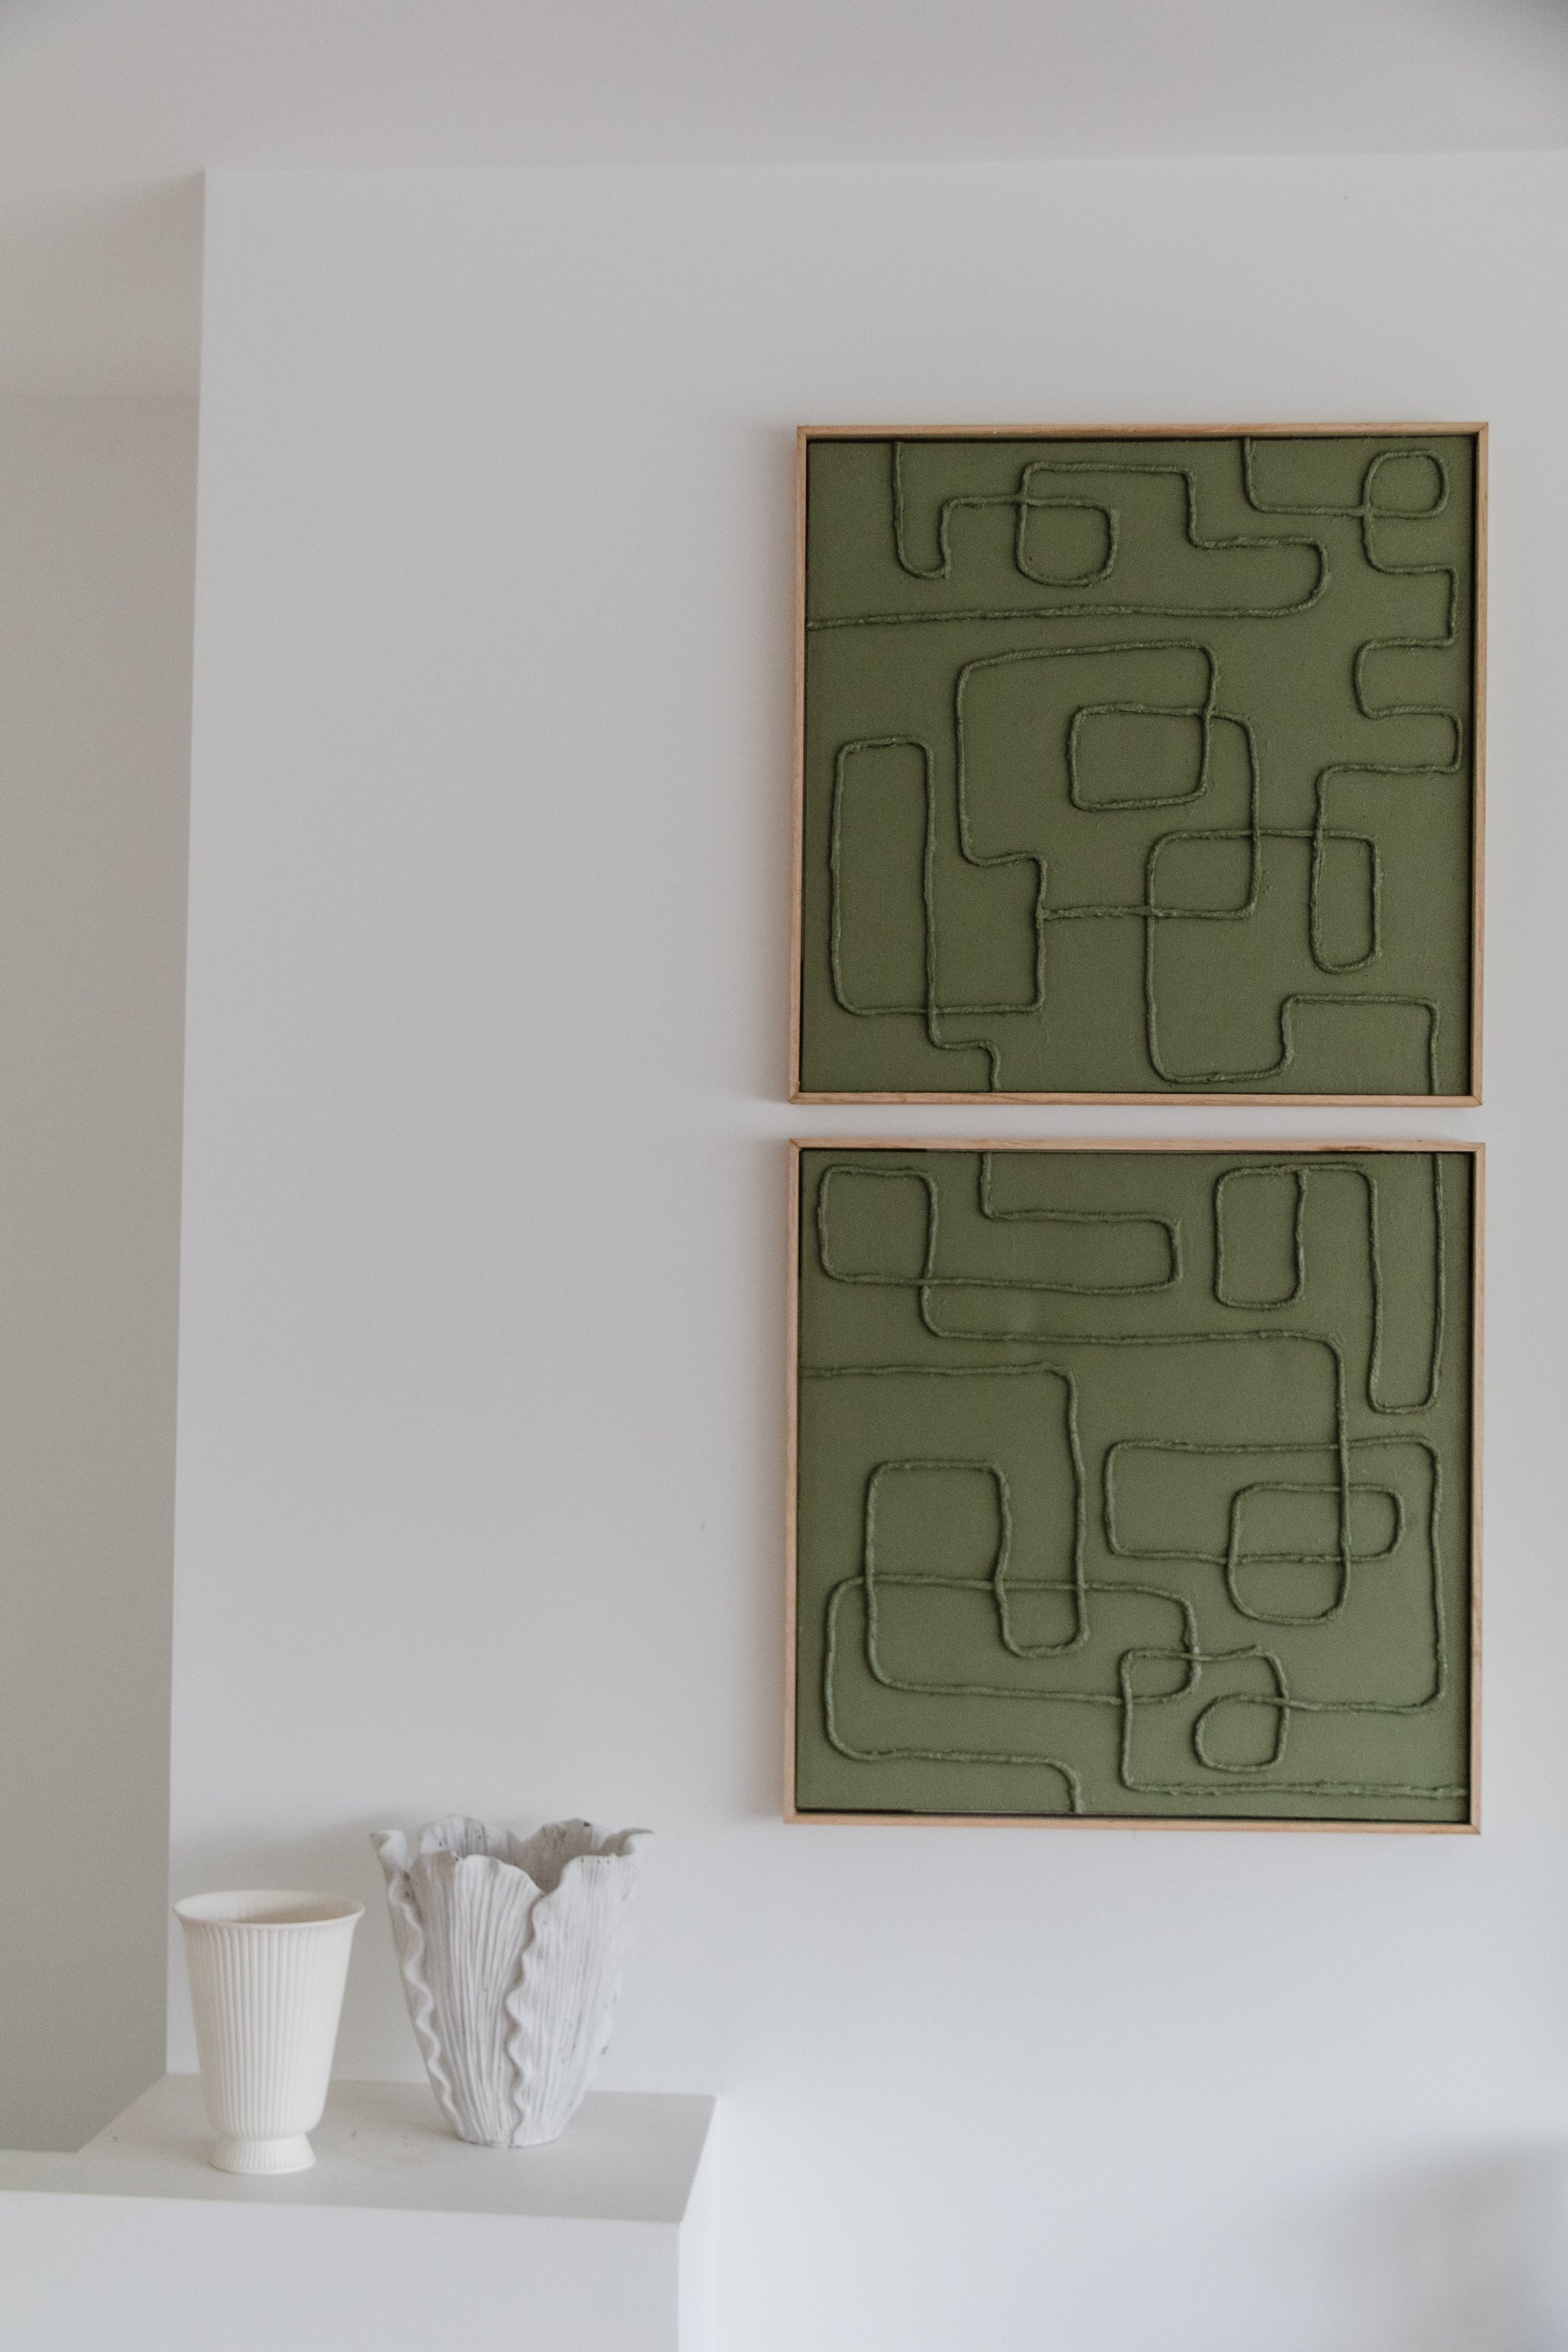
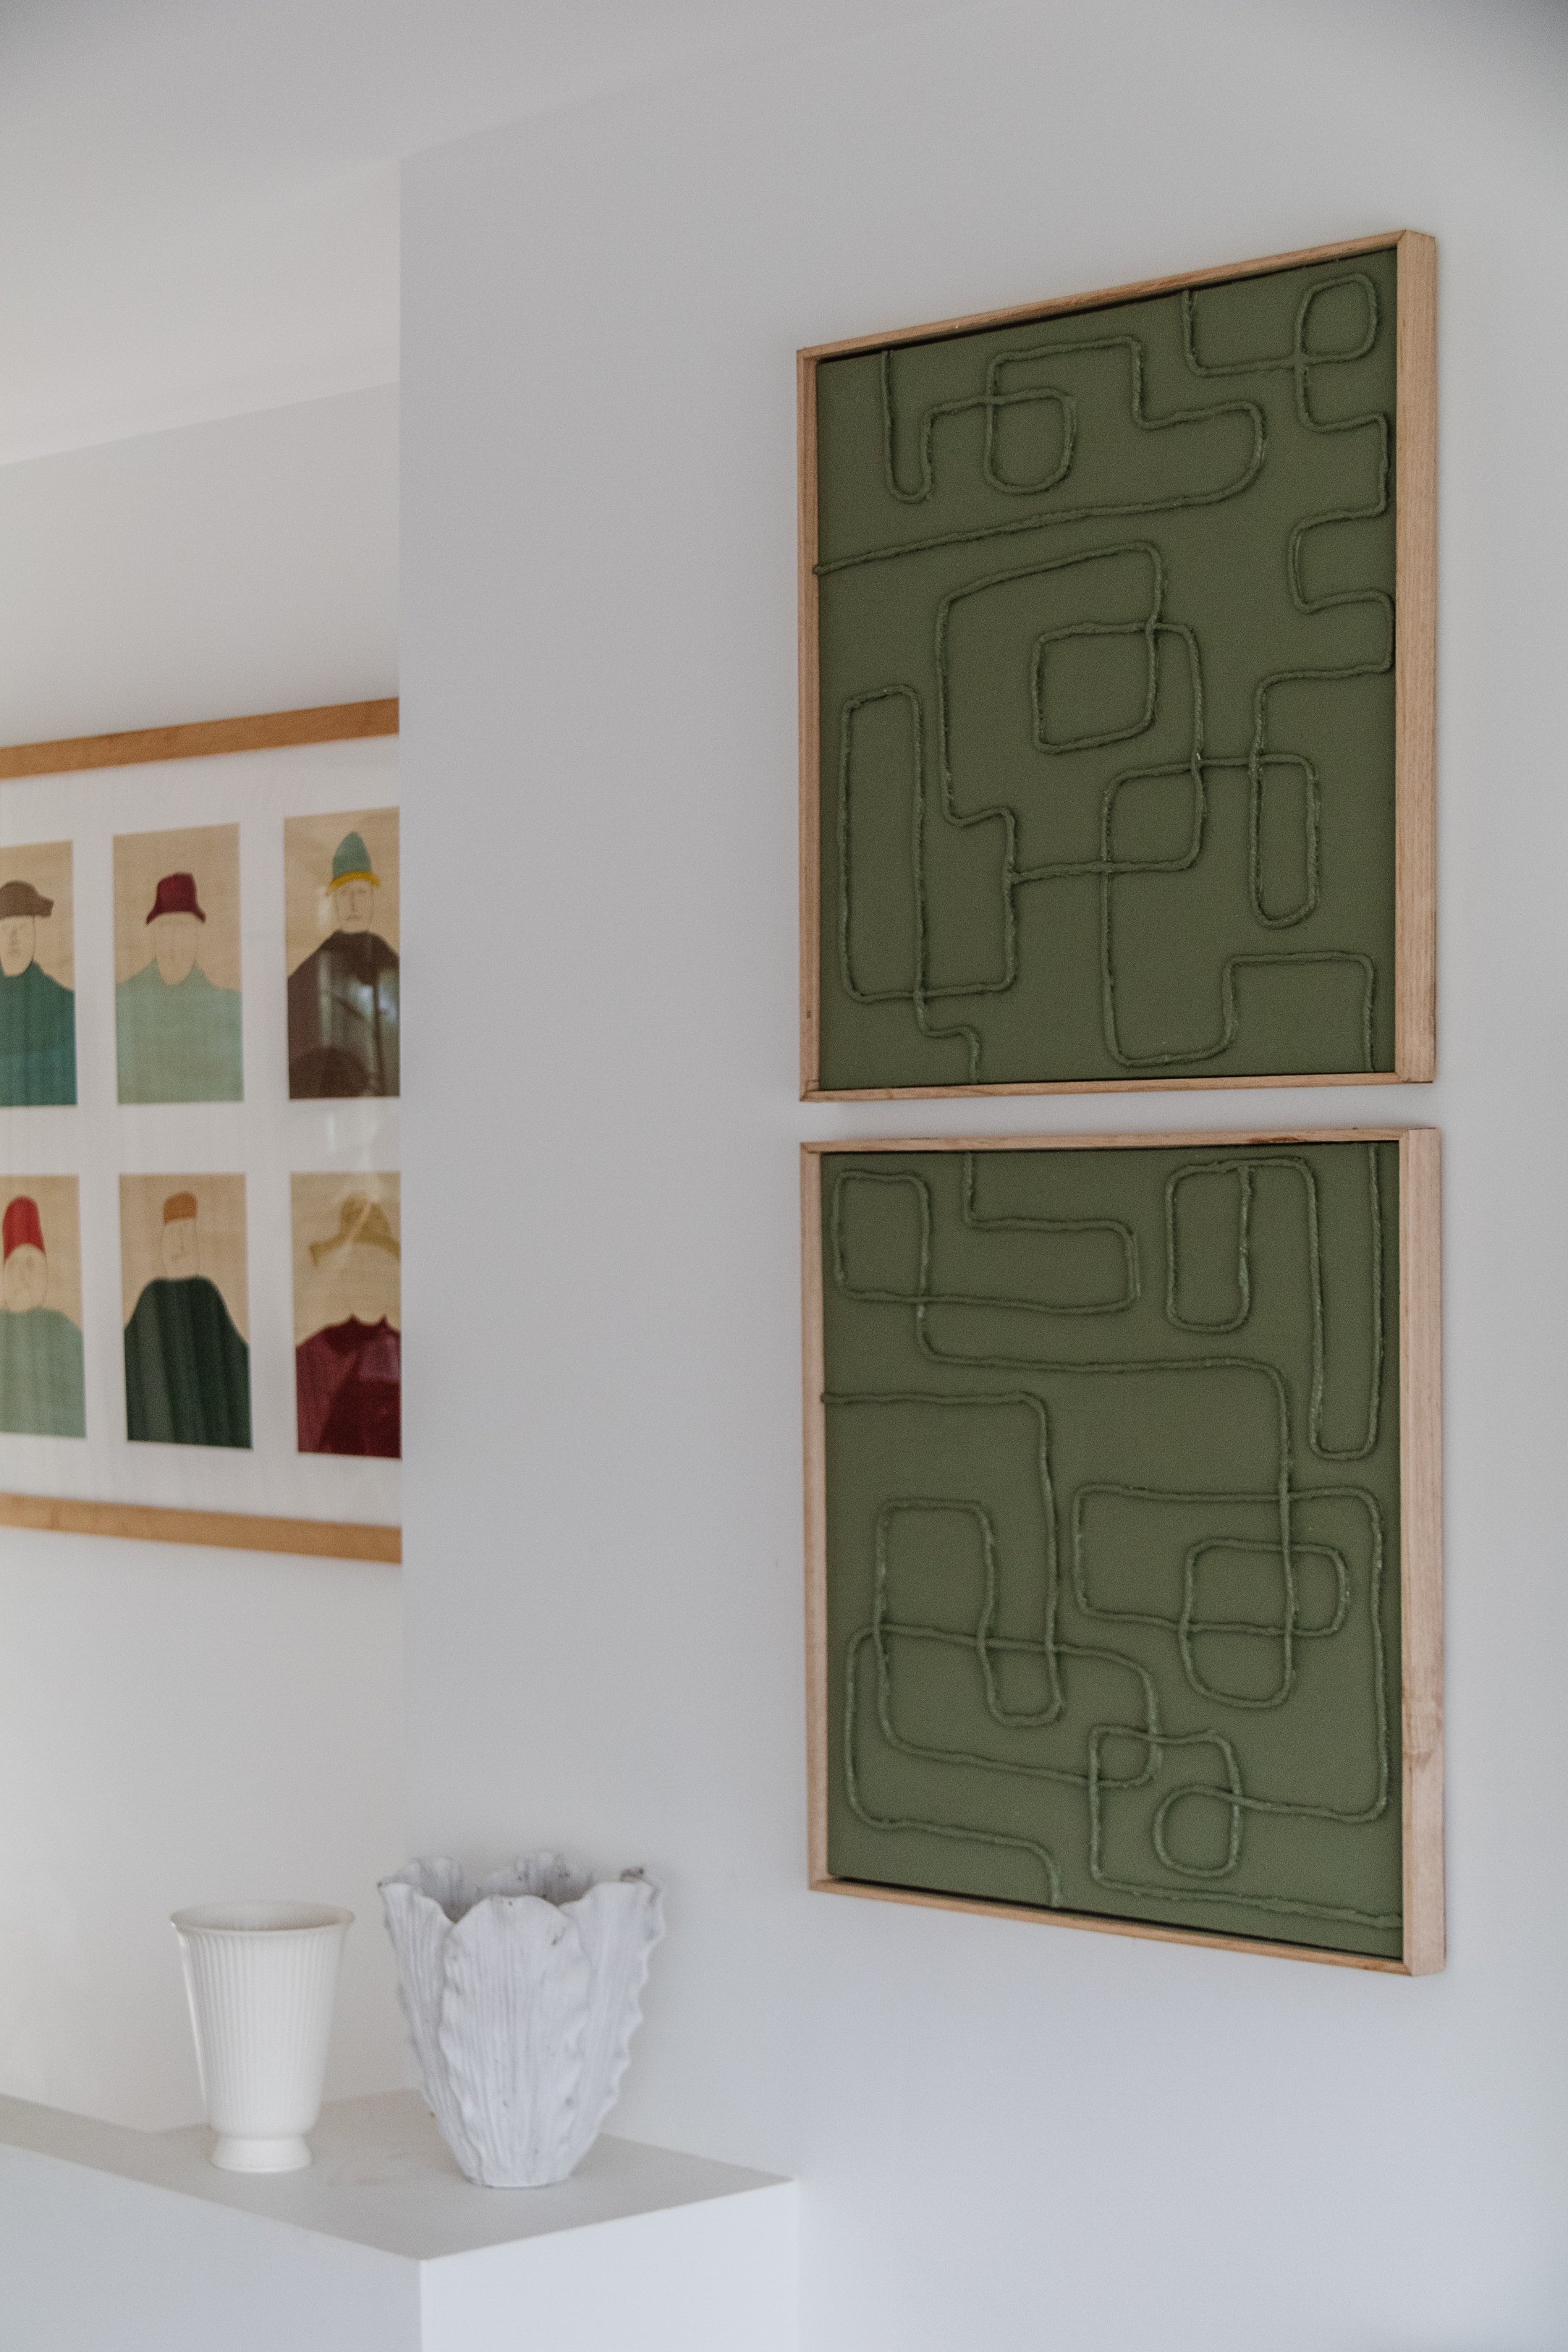
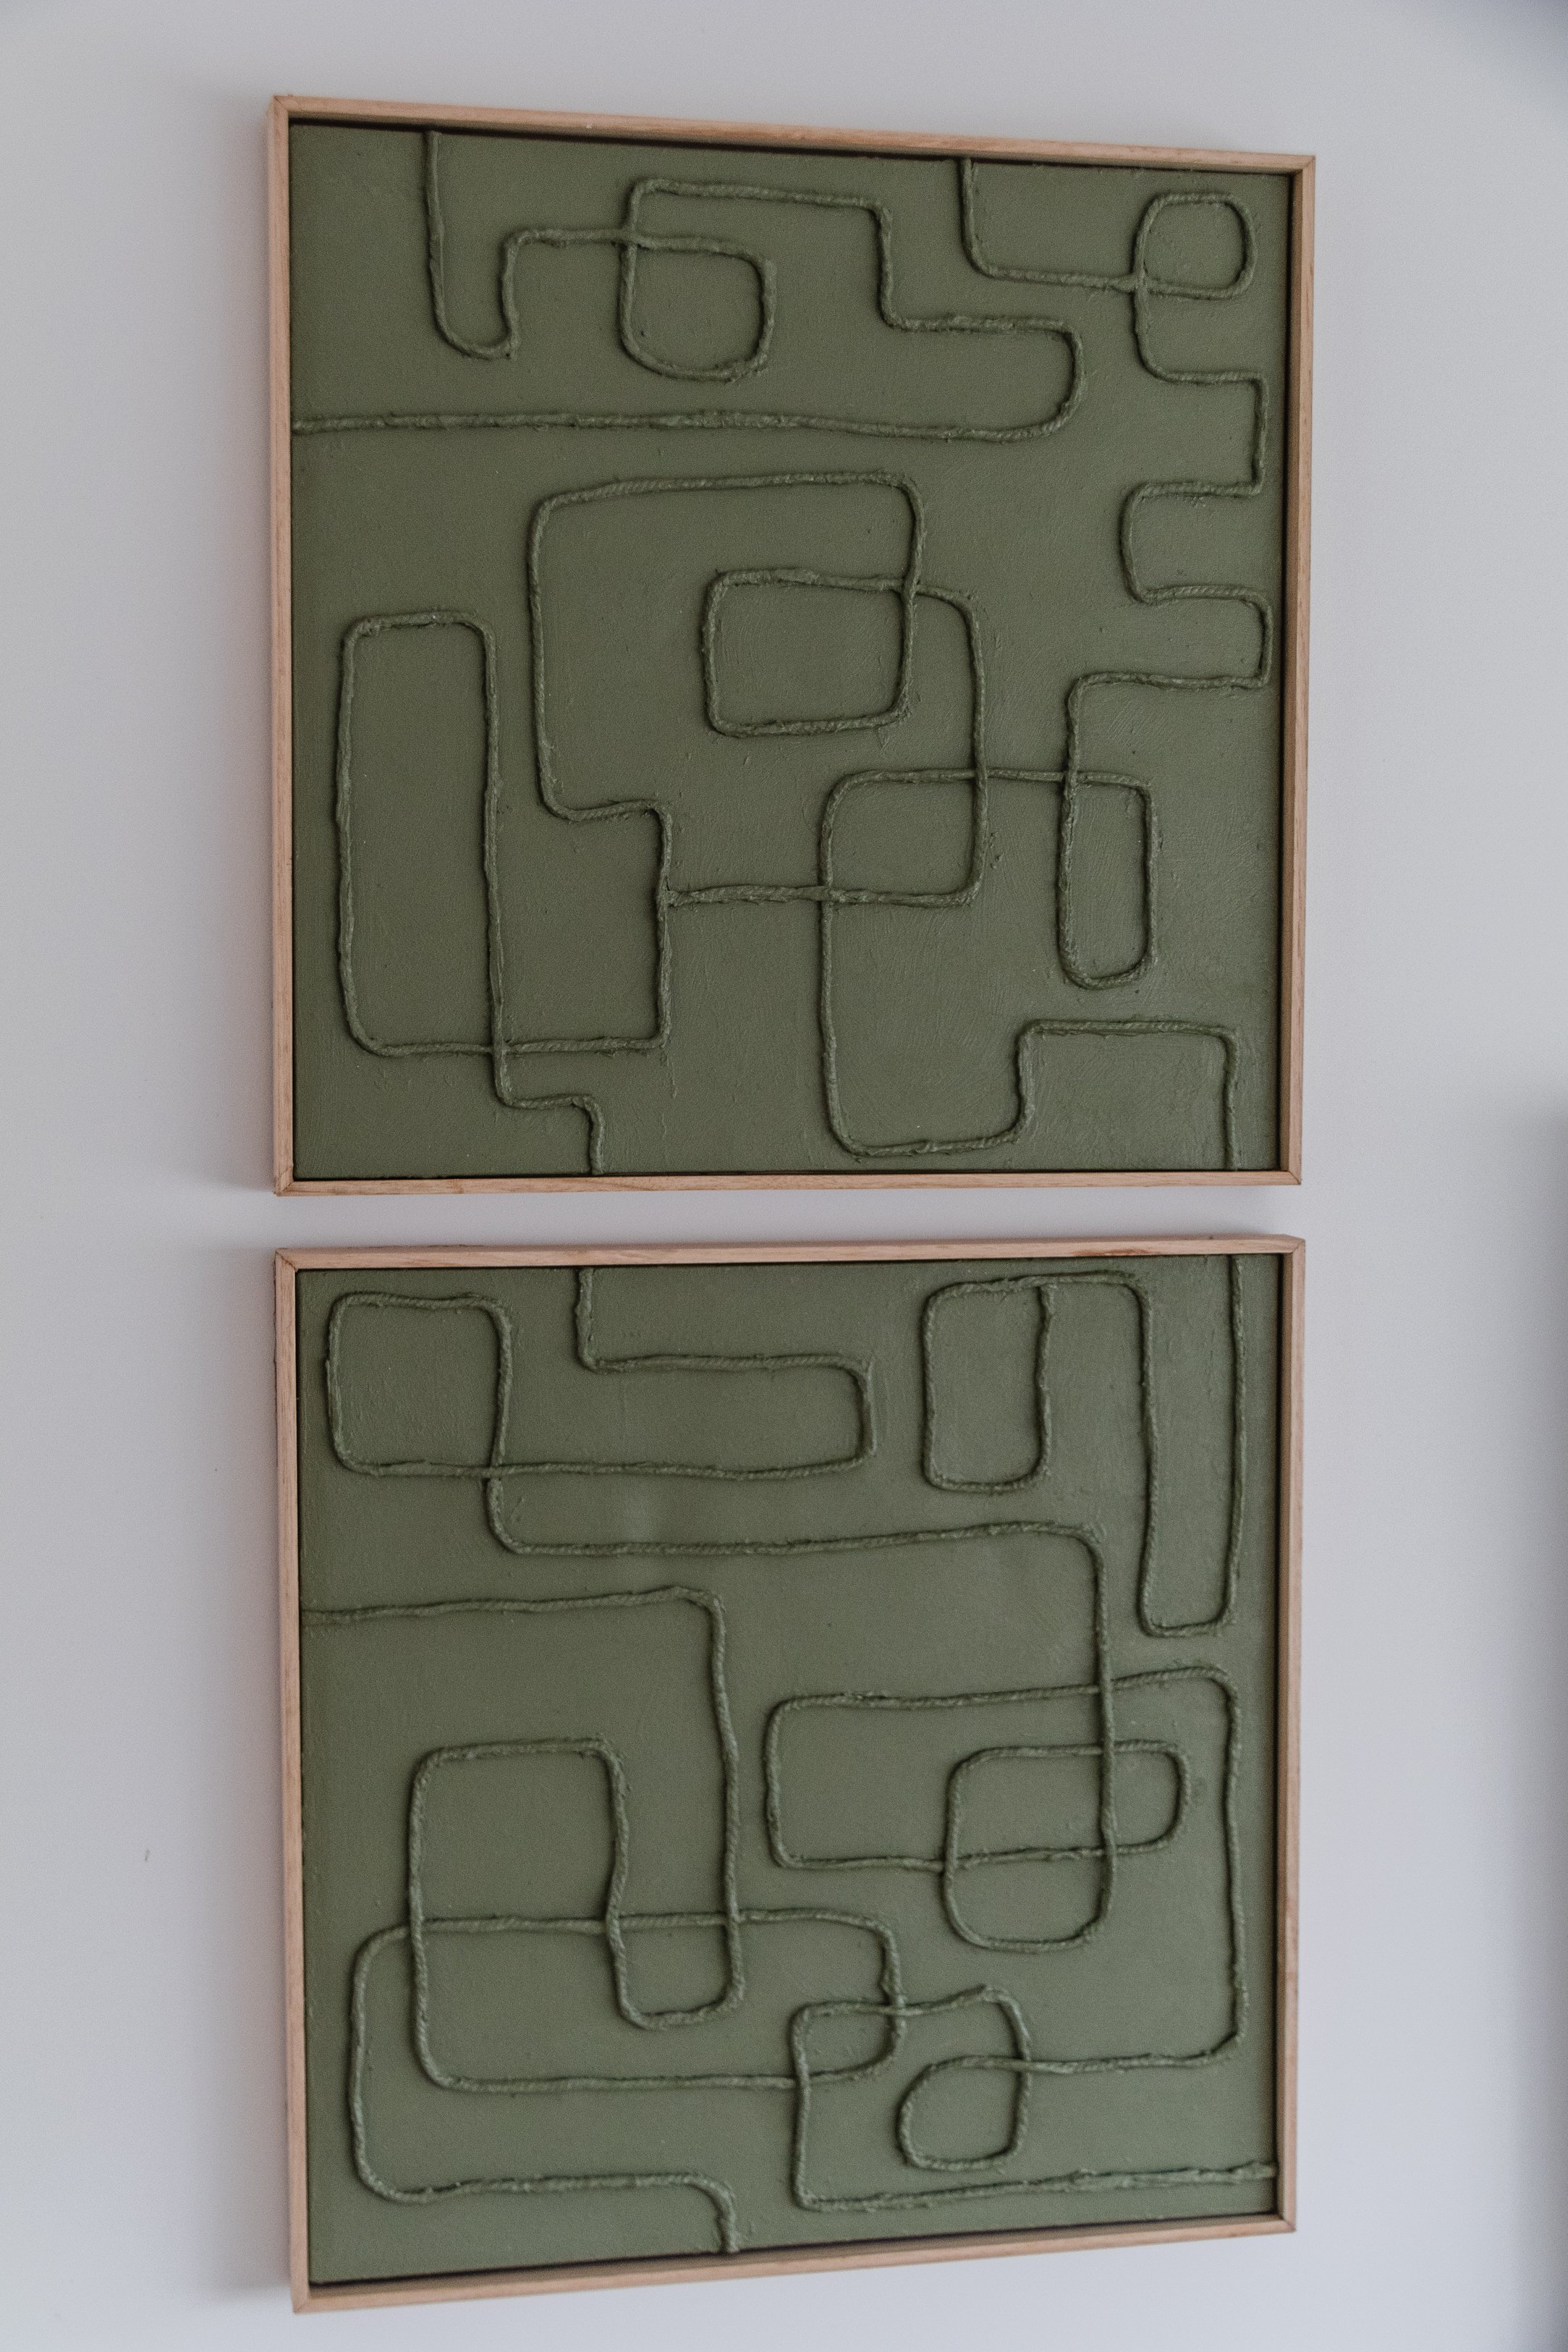
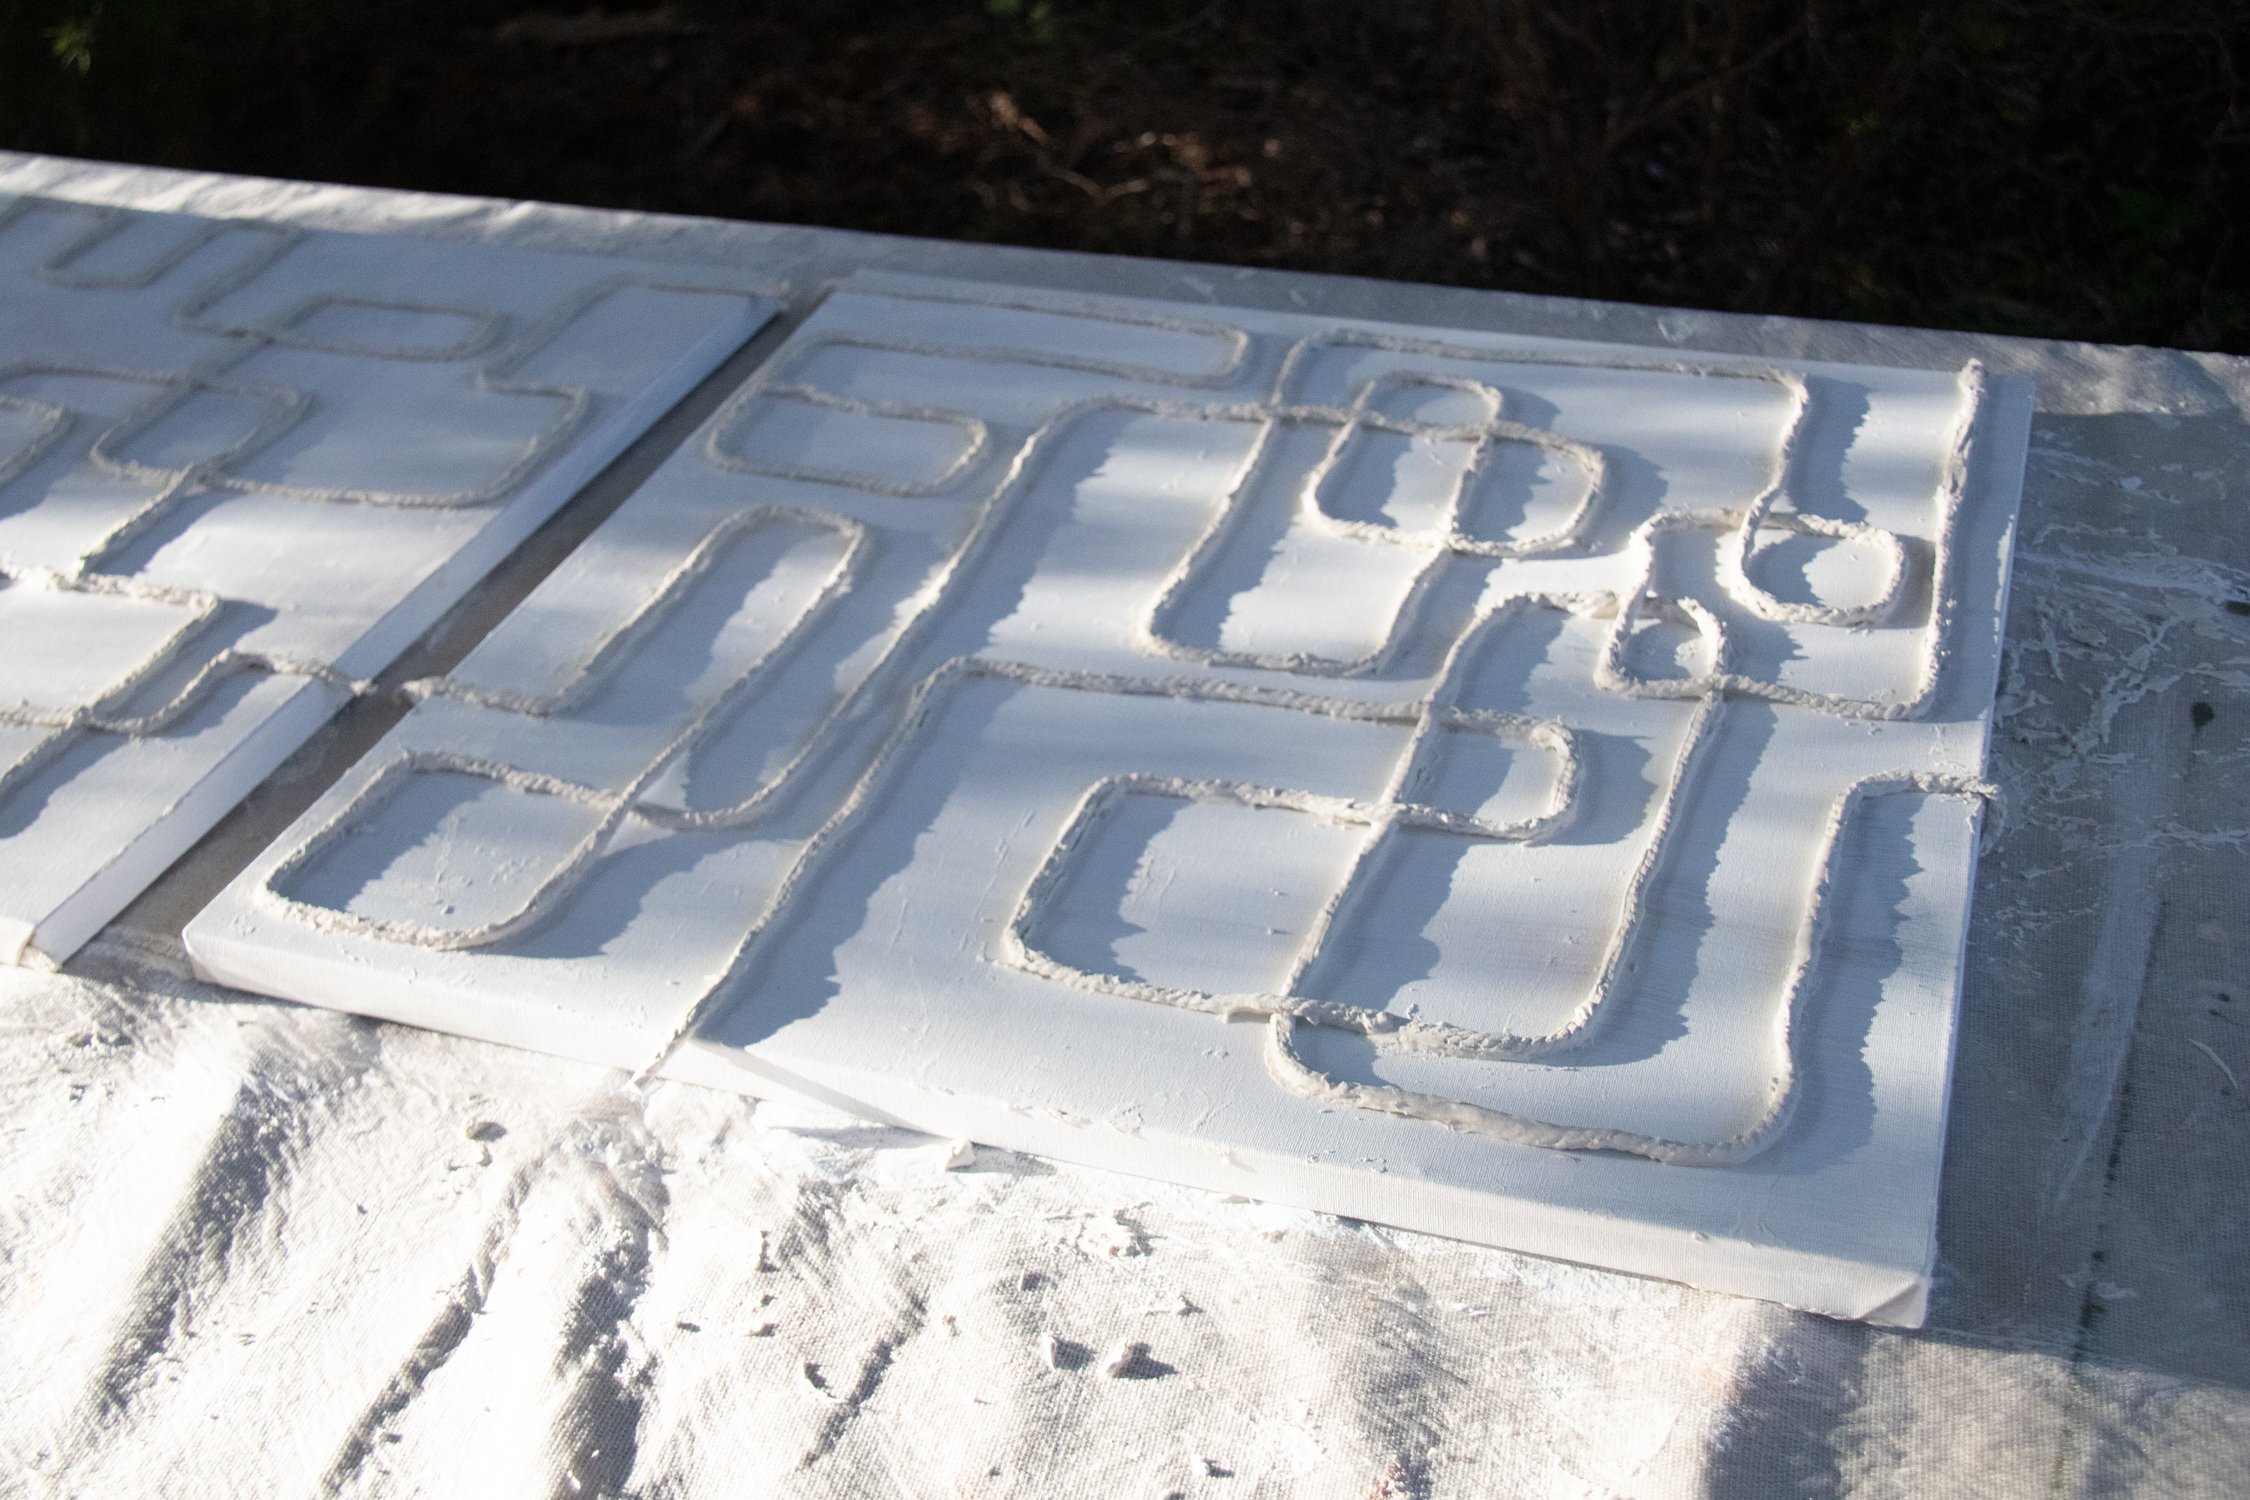
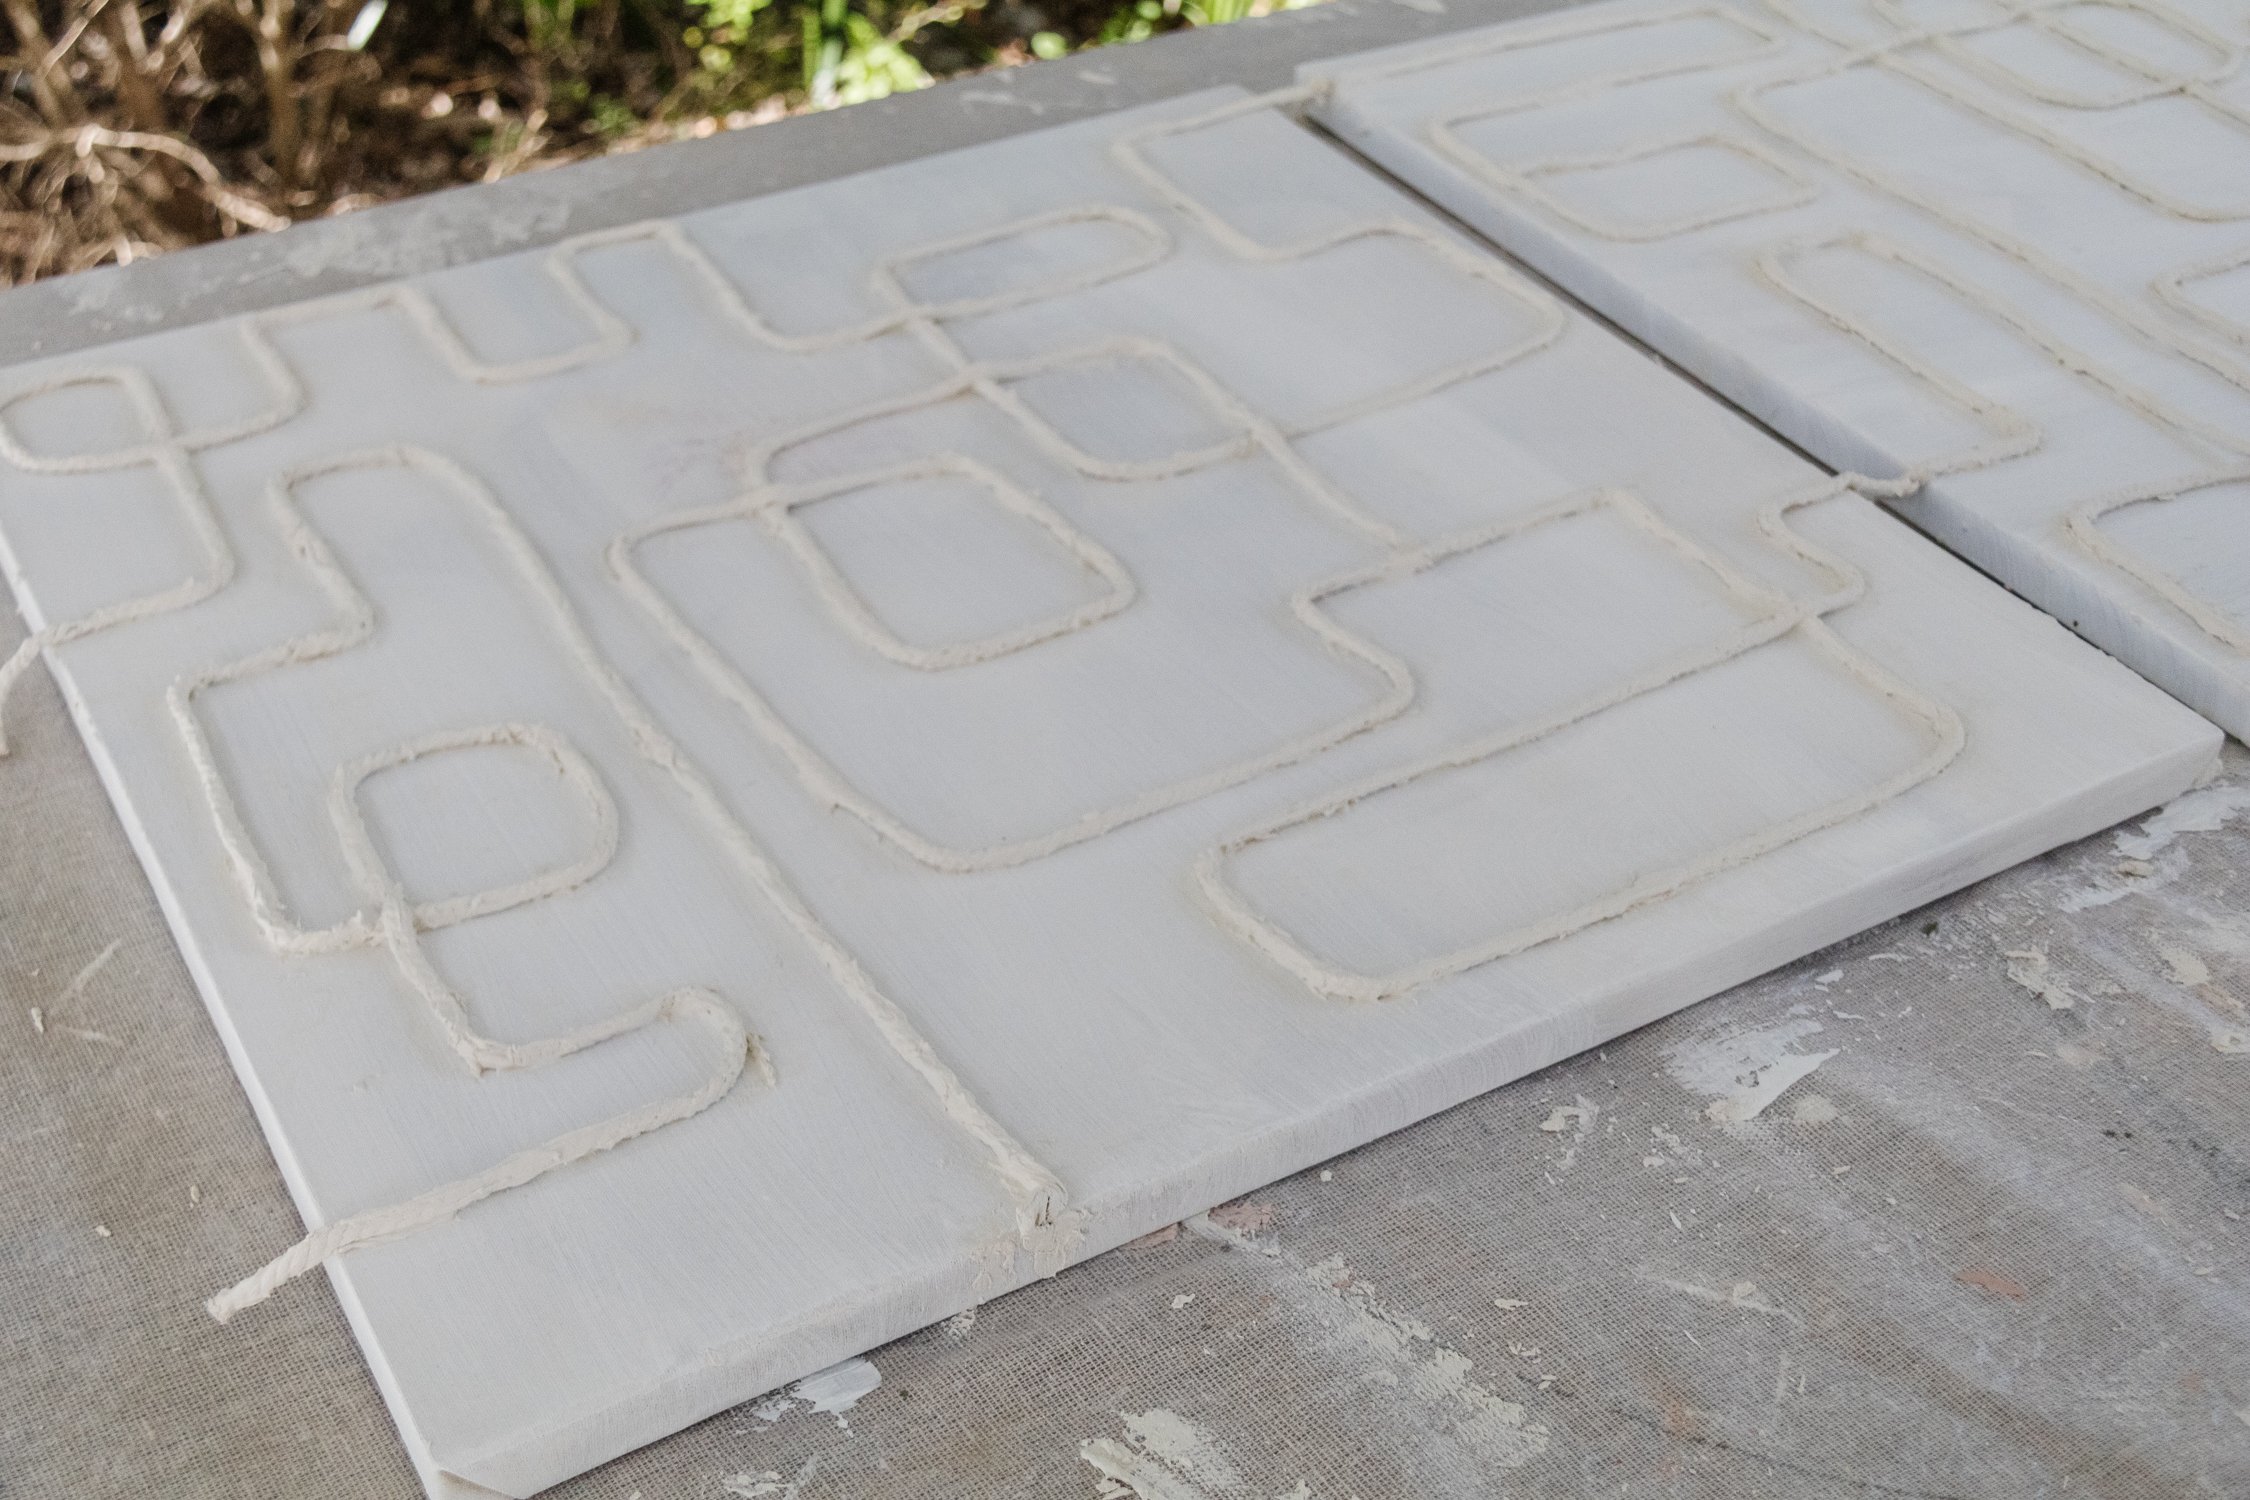
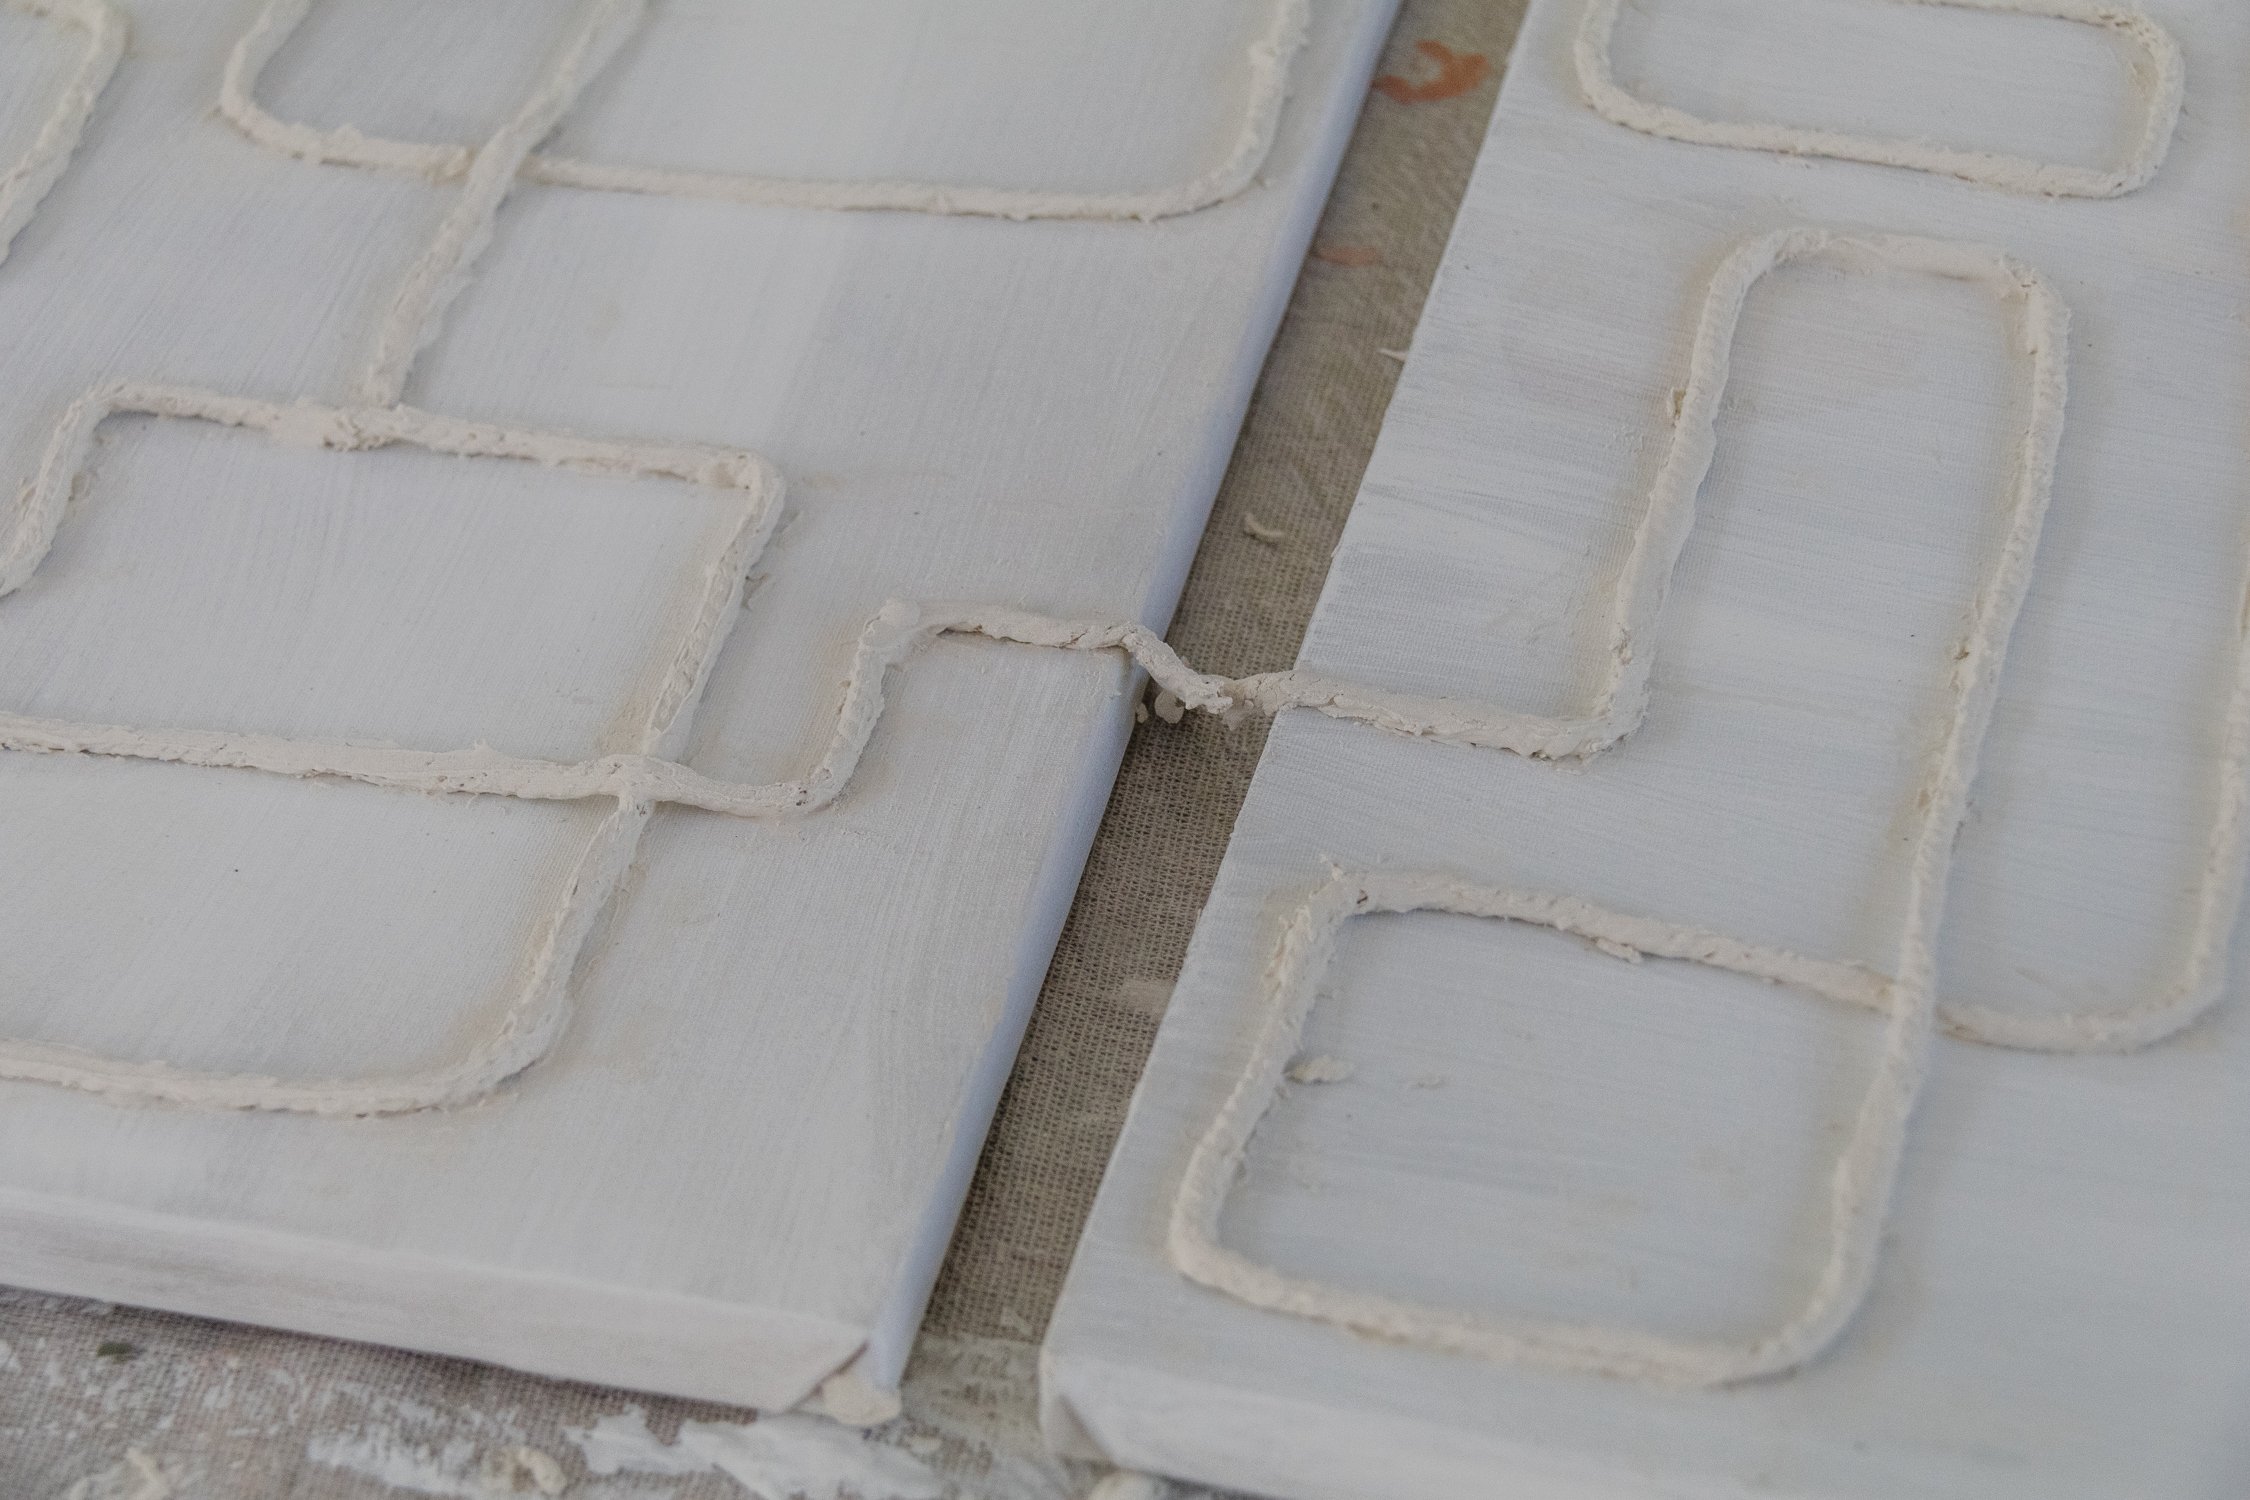
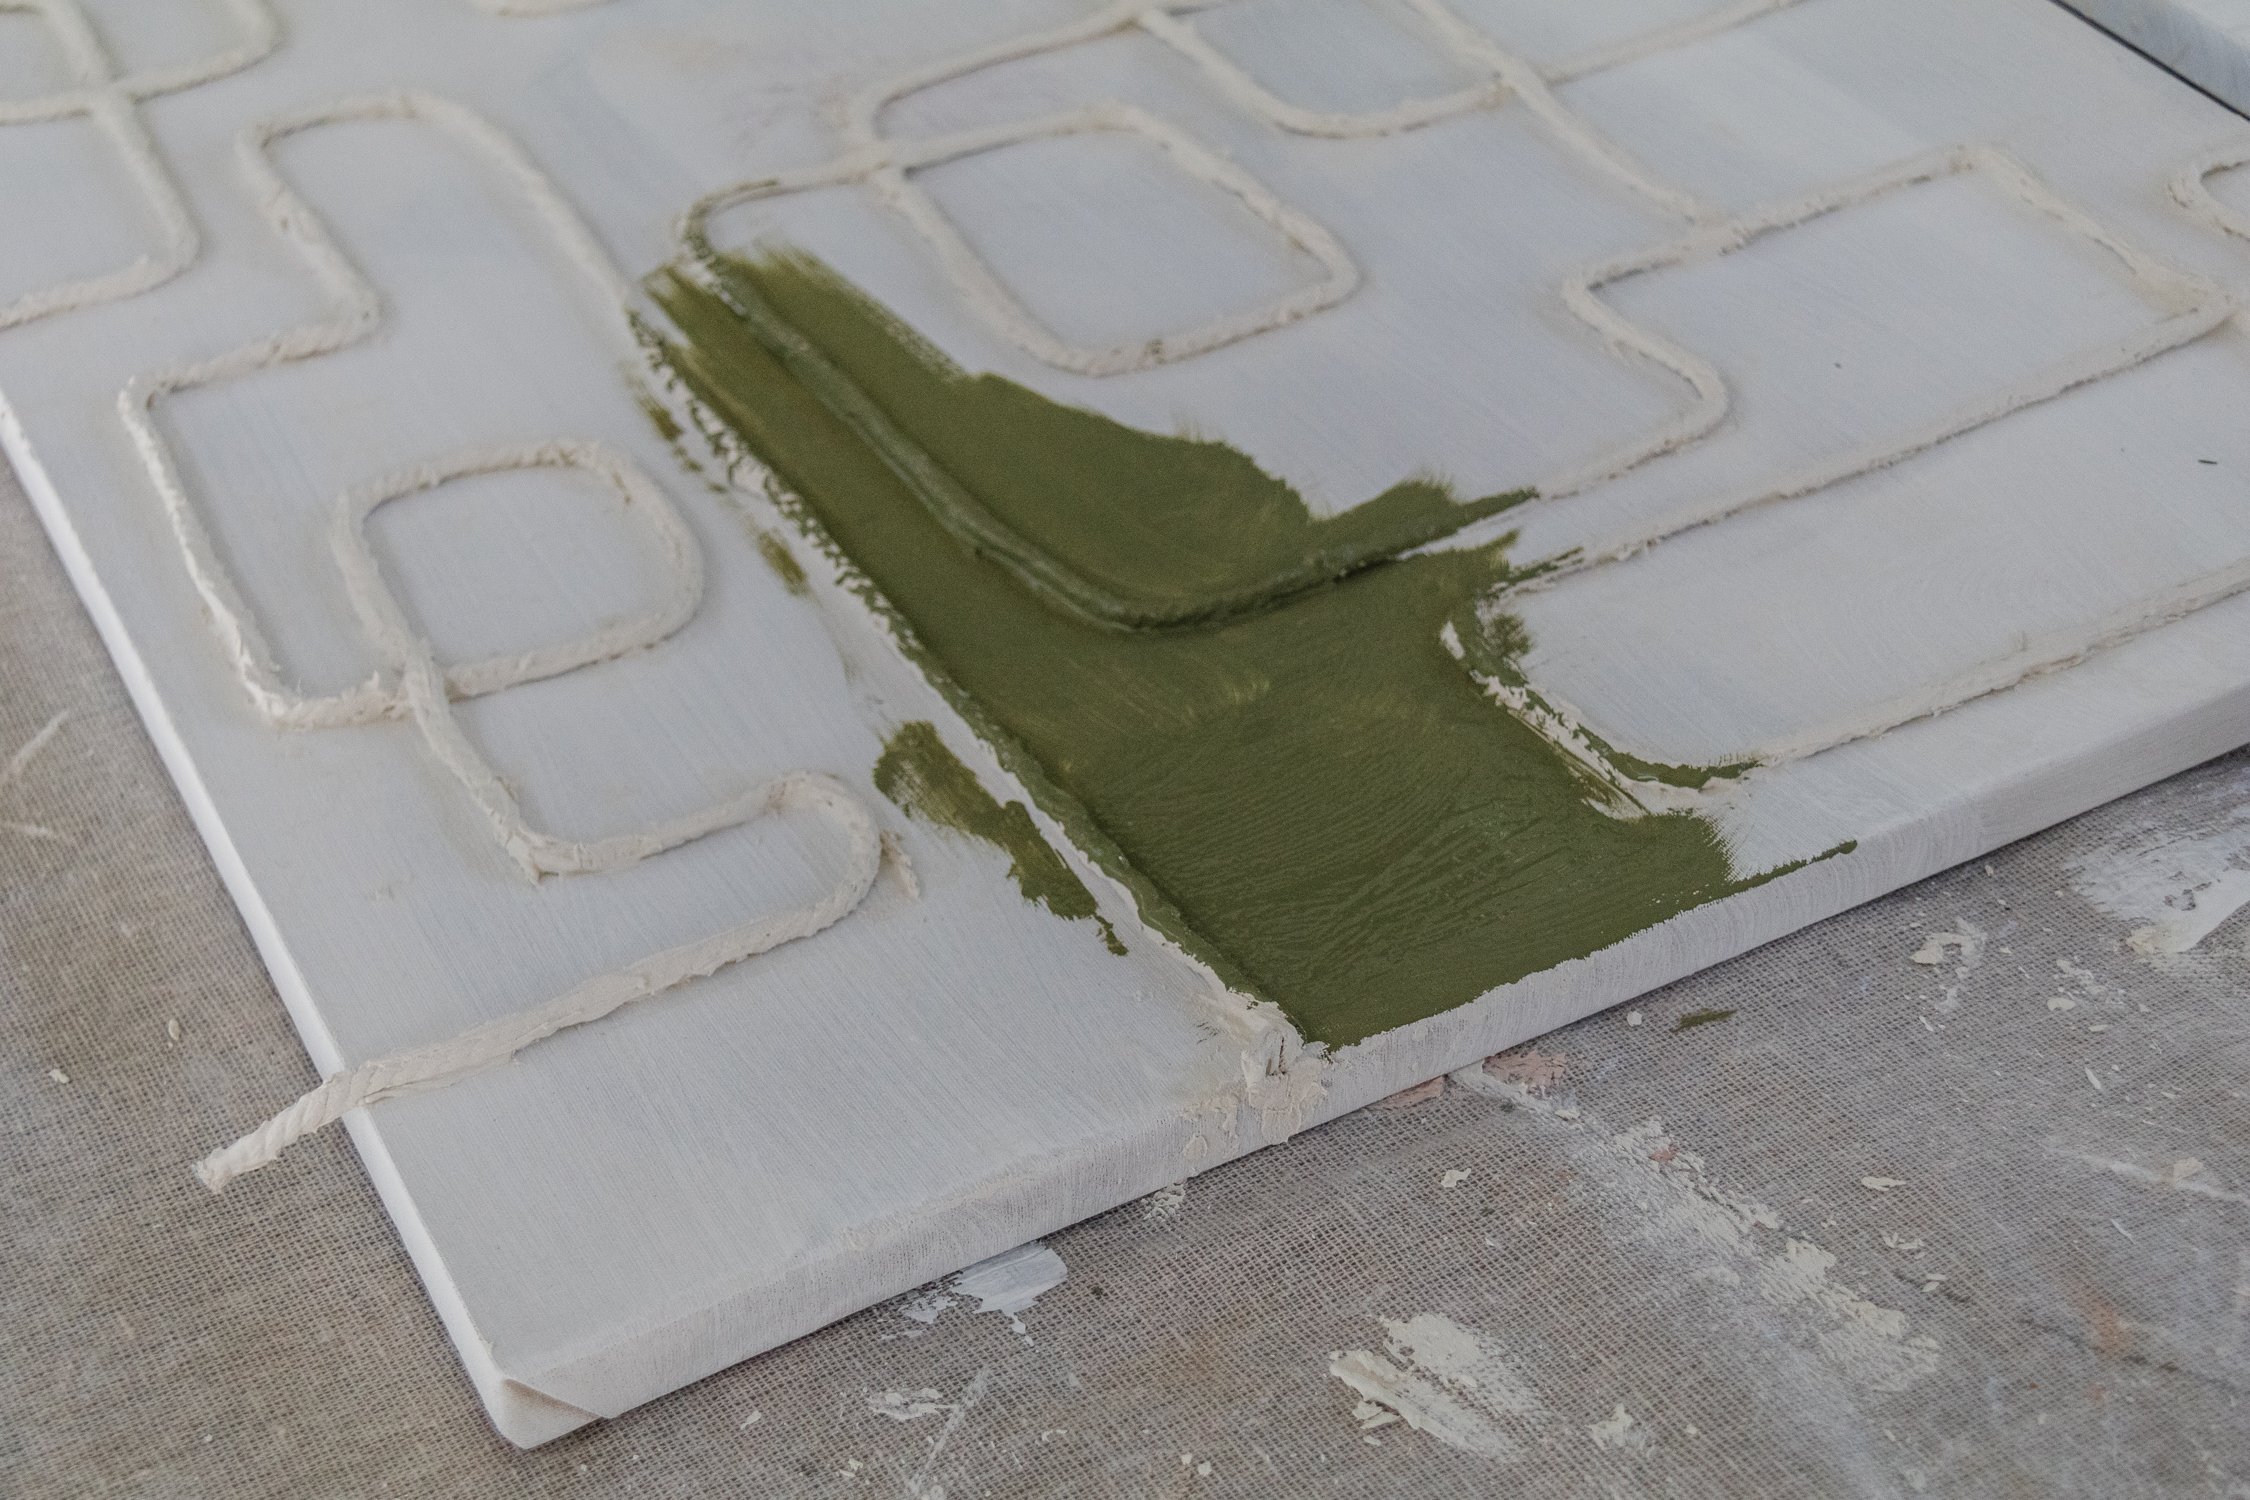
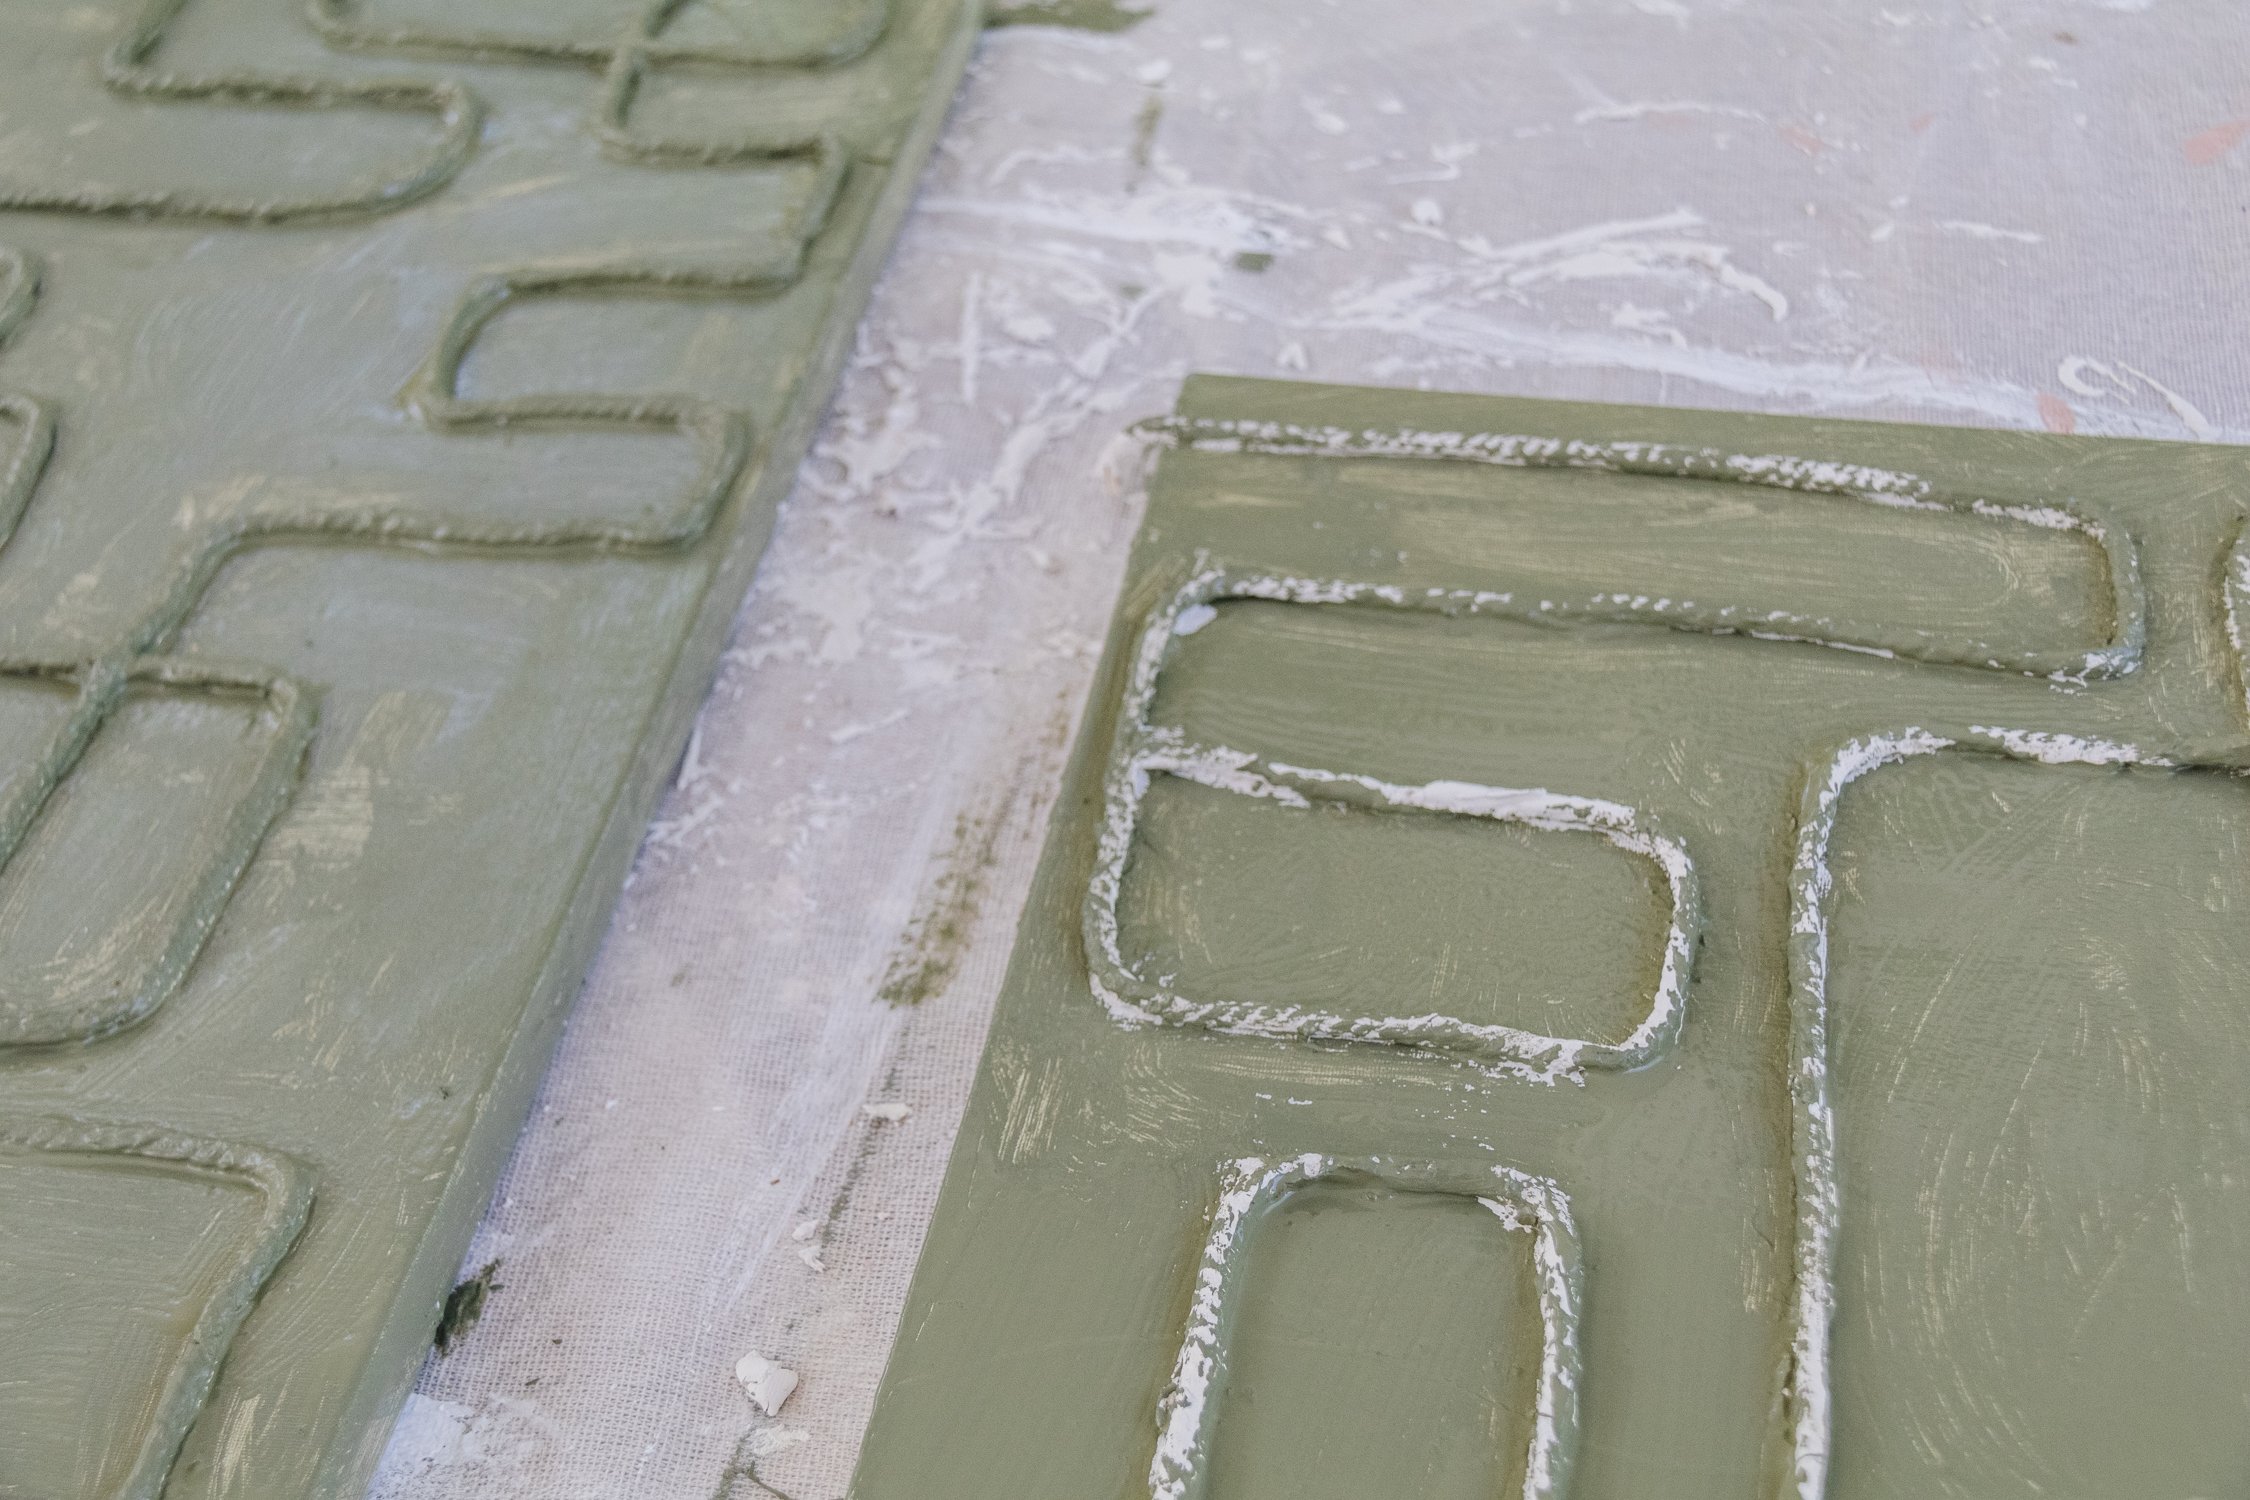
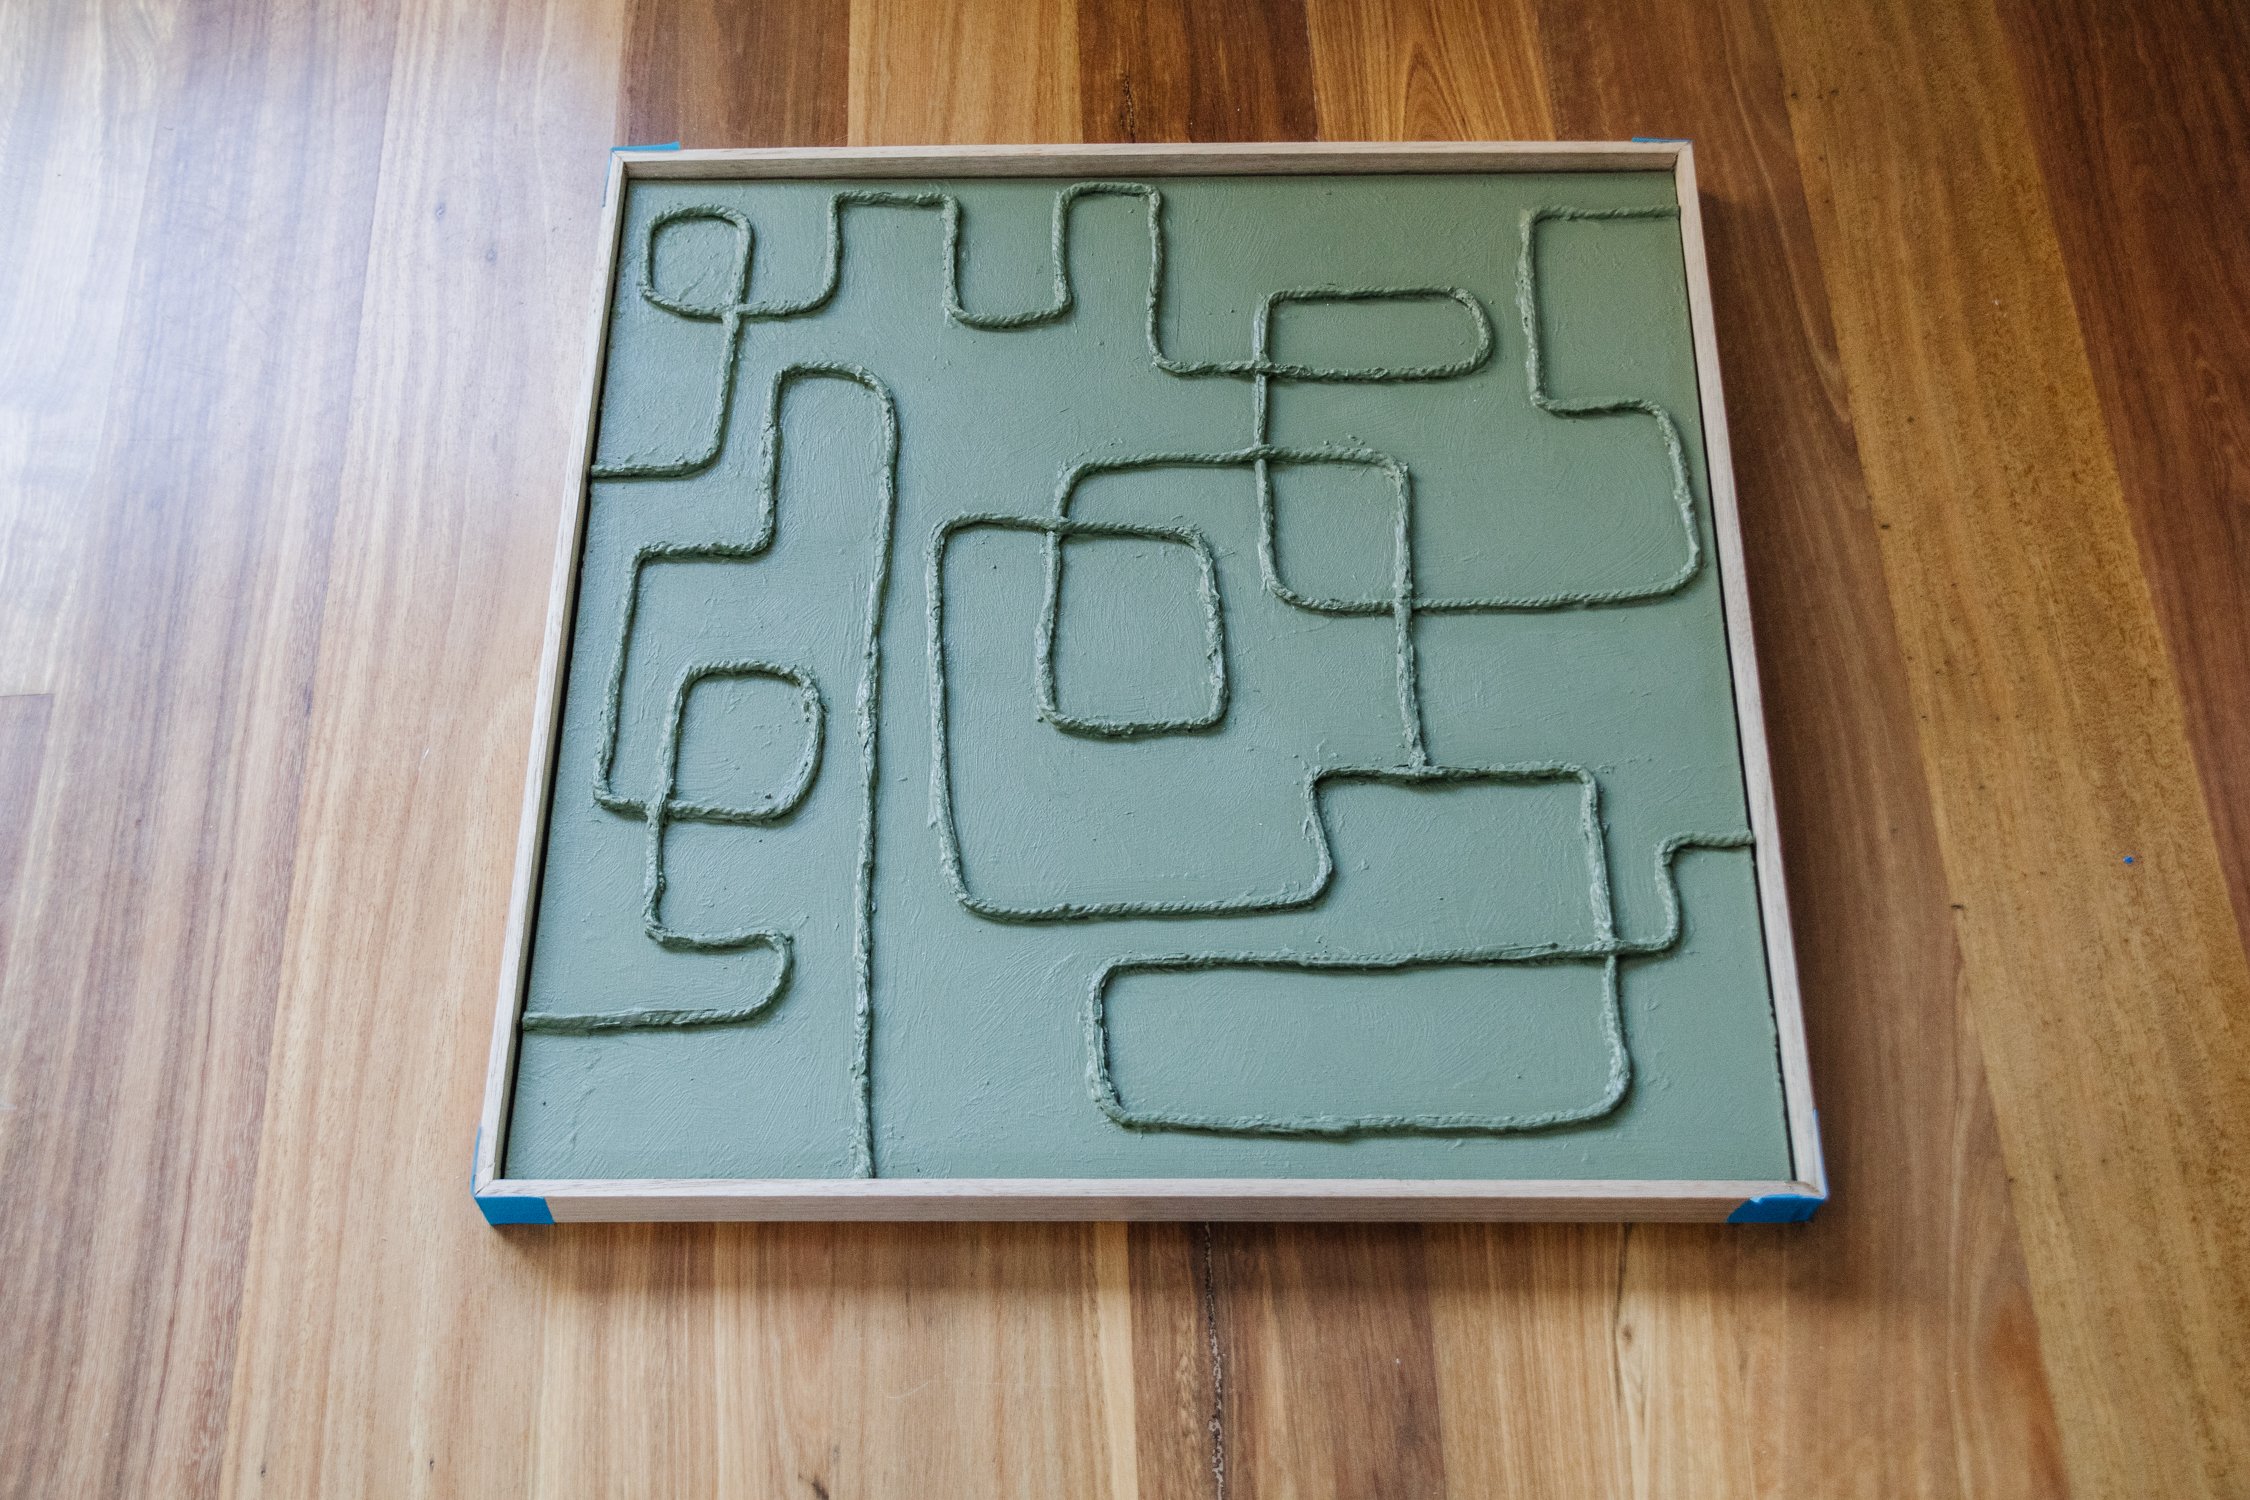
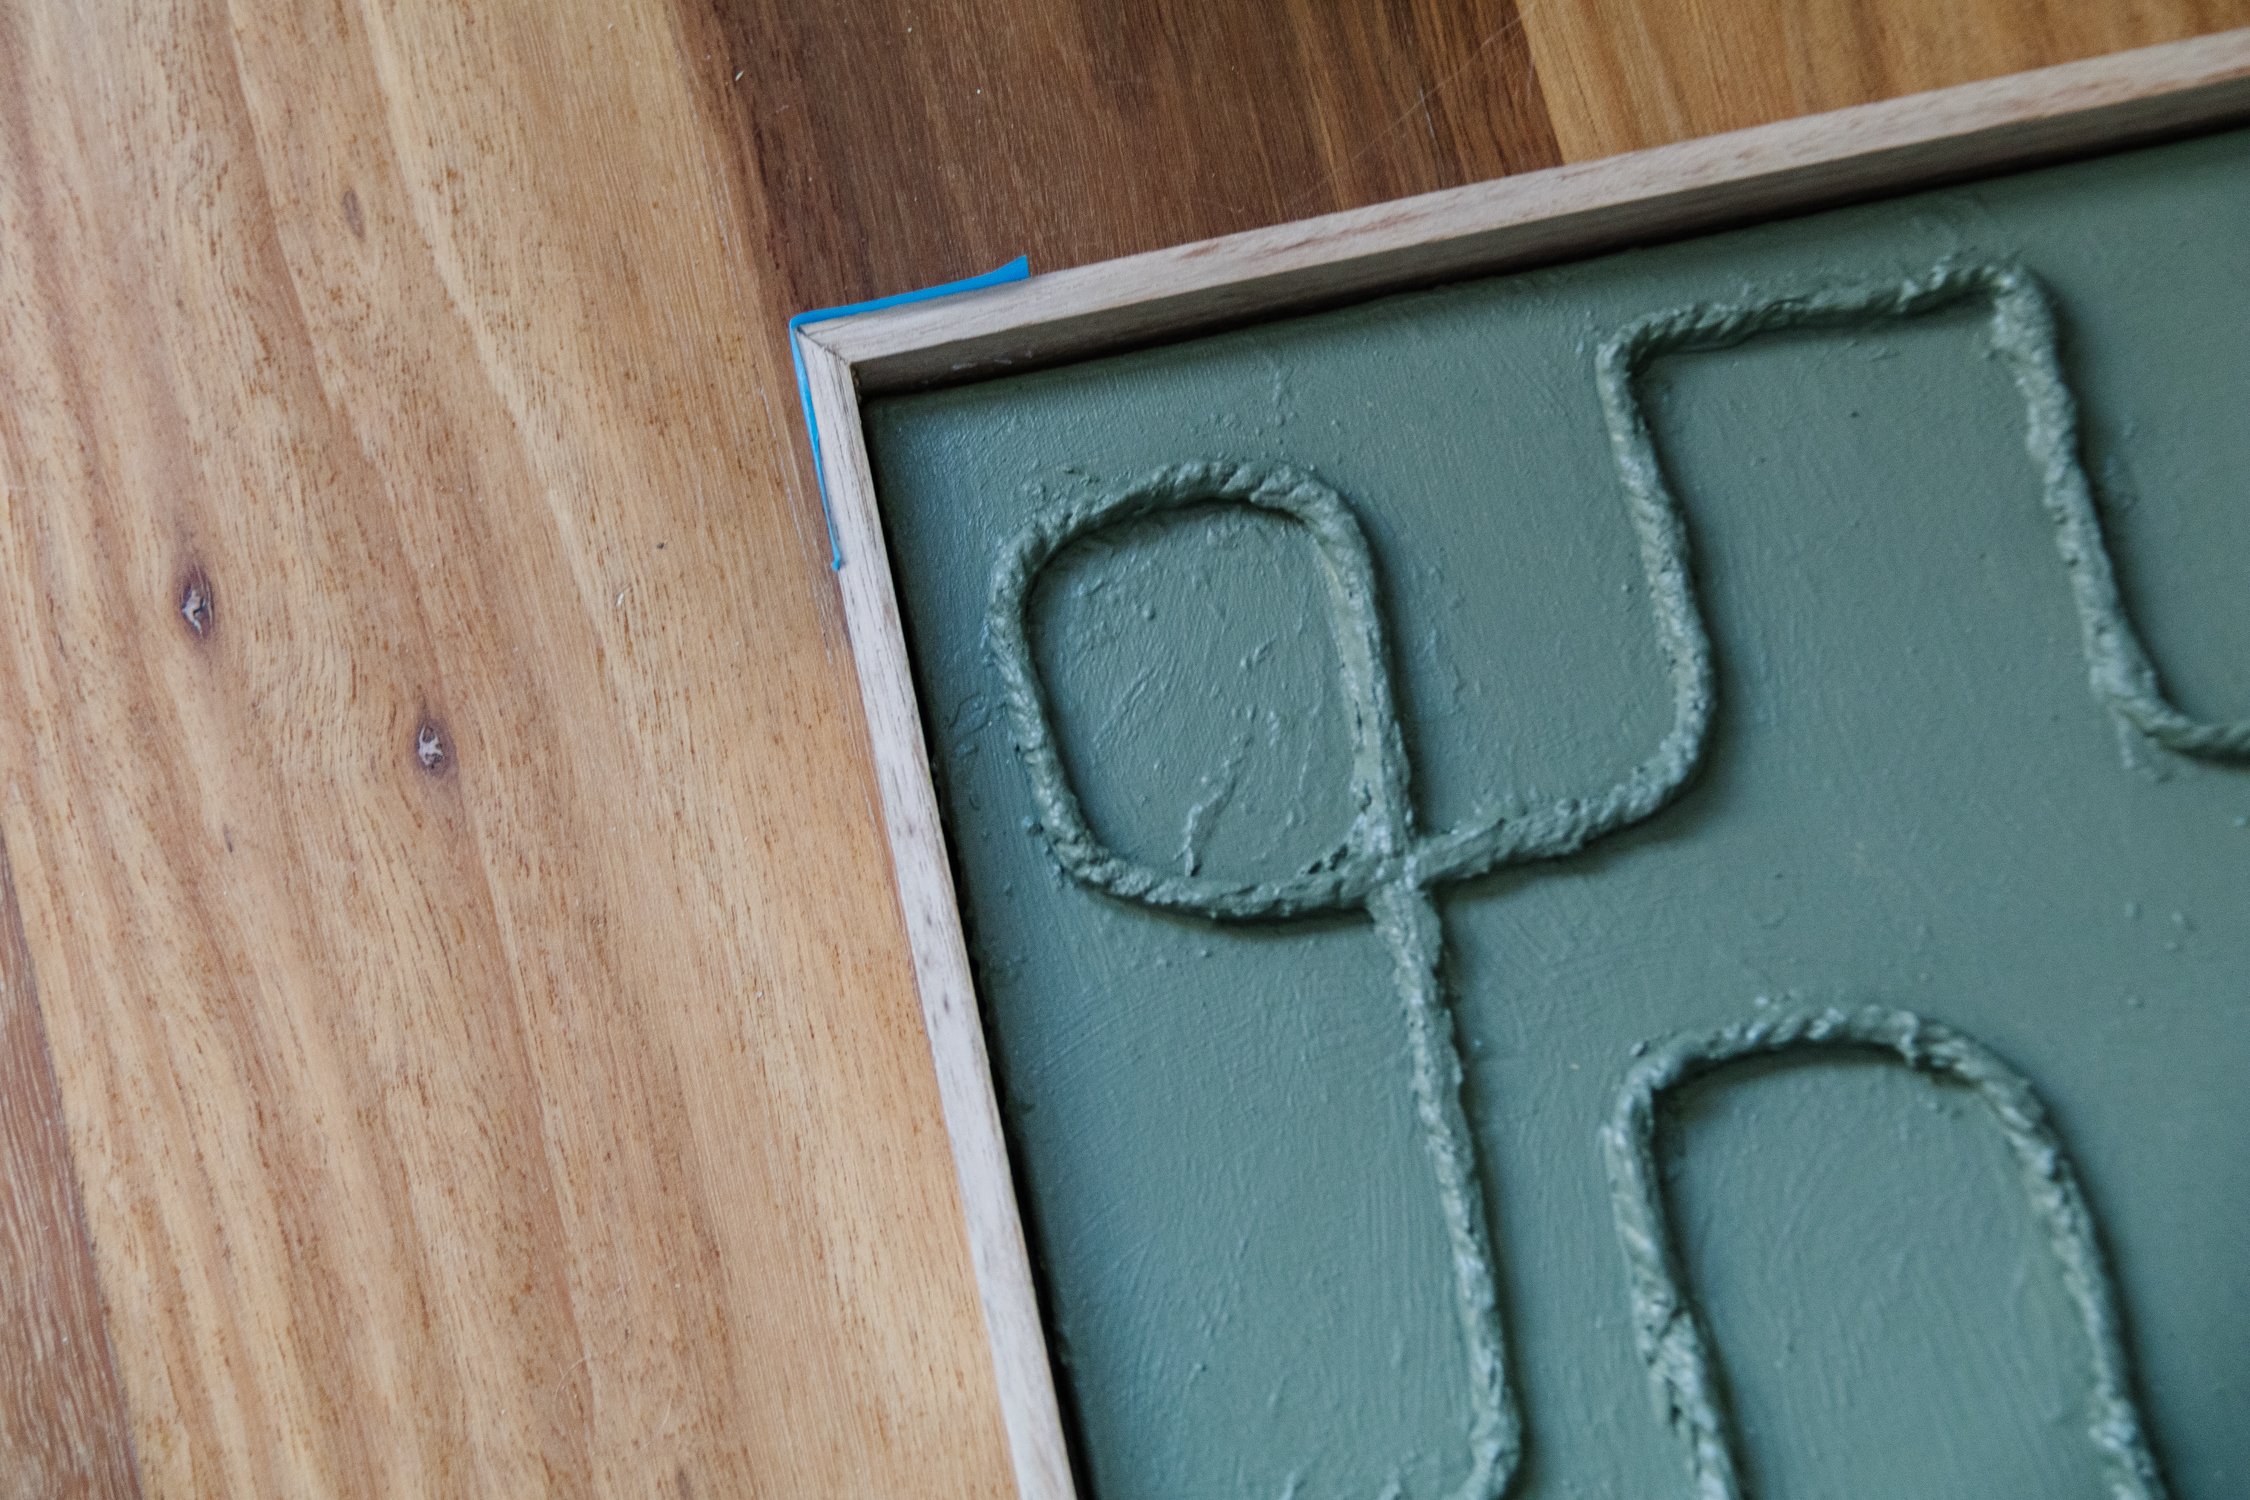
Start by applying one thick coat of white primer paint onto the stretched canvas and set aside to dry. When the paint is dry, soak a long piece of macrame rope (but don’t cut it) in plaster, then slowly create a pattern with it directly onto the painted canvas, and have fun! You can cut it if you need and make sure some of the macrame runs off the canvas. Snip the ends off and start on the second piece. Make sure to line up at least two pieces of cut plaster rope on both pieces of canvas. You can create similar patterns like I have, or something totally different. Set aside to dry, which shouldn’t take too long; the plaster will make the rope stick to the canvas.

When the plaster has dried, apply one coat of paint all over the rope art. Be sure to get the paint underneath the rope and around the sides of the canvas. This first coat doesn’t need to be neat, so consider it your crumb coat (that first application of icing on a cake to cement the crumbs). When the first coat of paint is dry, apply a thicker second coat of paint. And just when it starts to set, gently move the paint brush in opposite directions to create some additional texture. Set aside to dry.
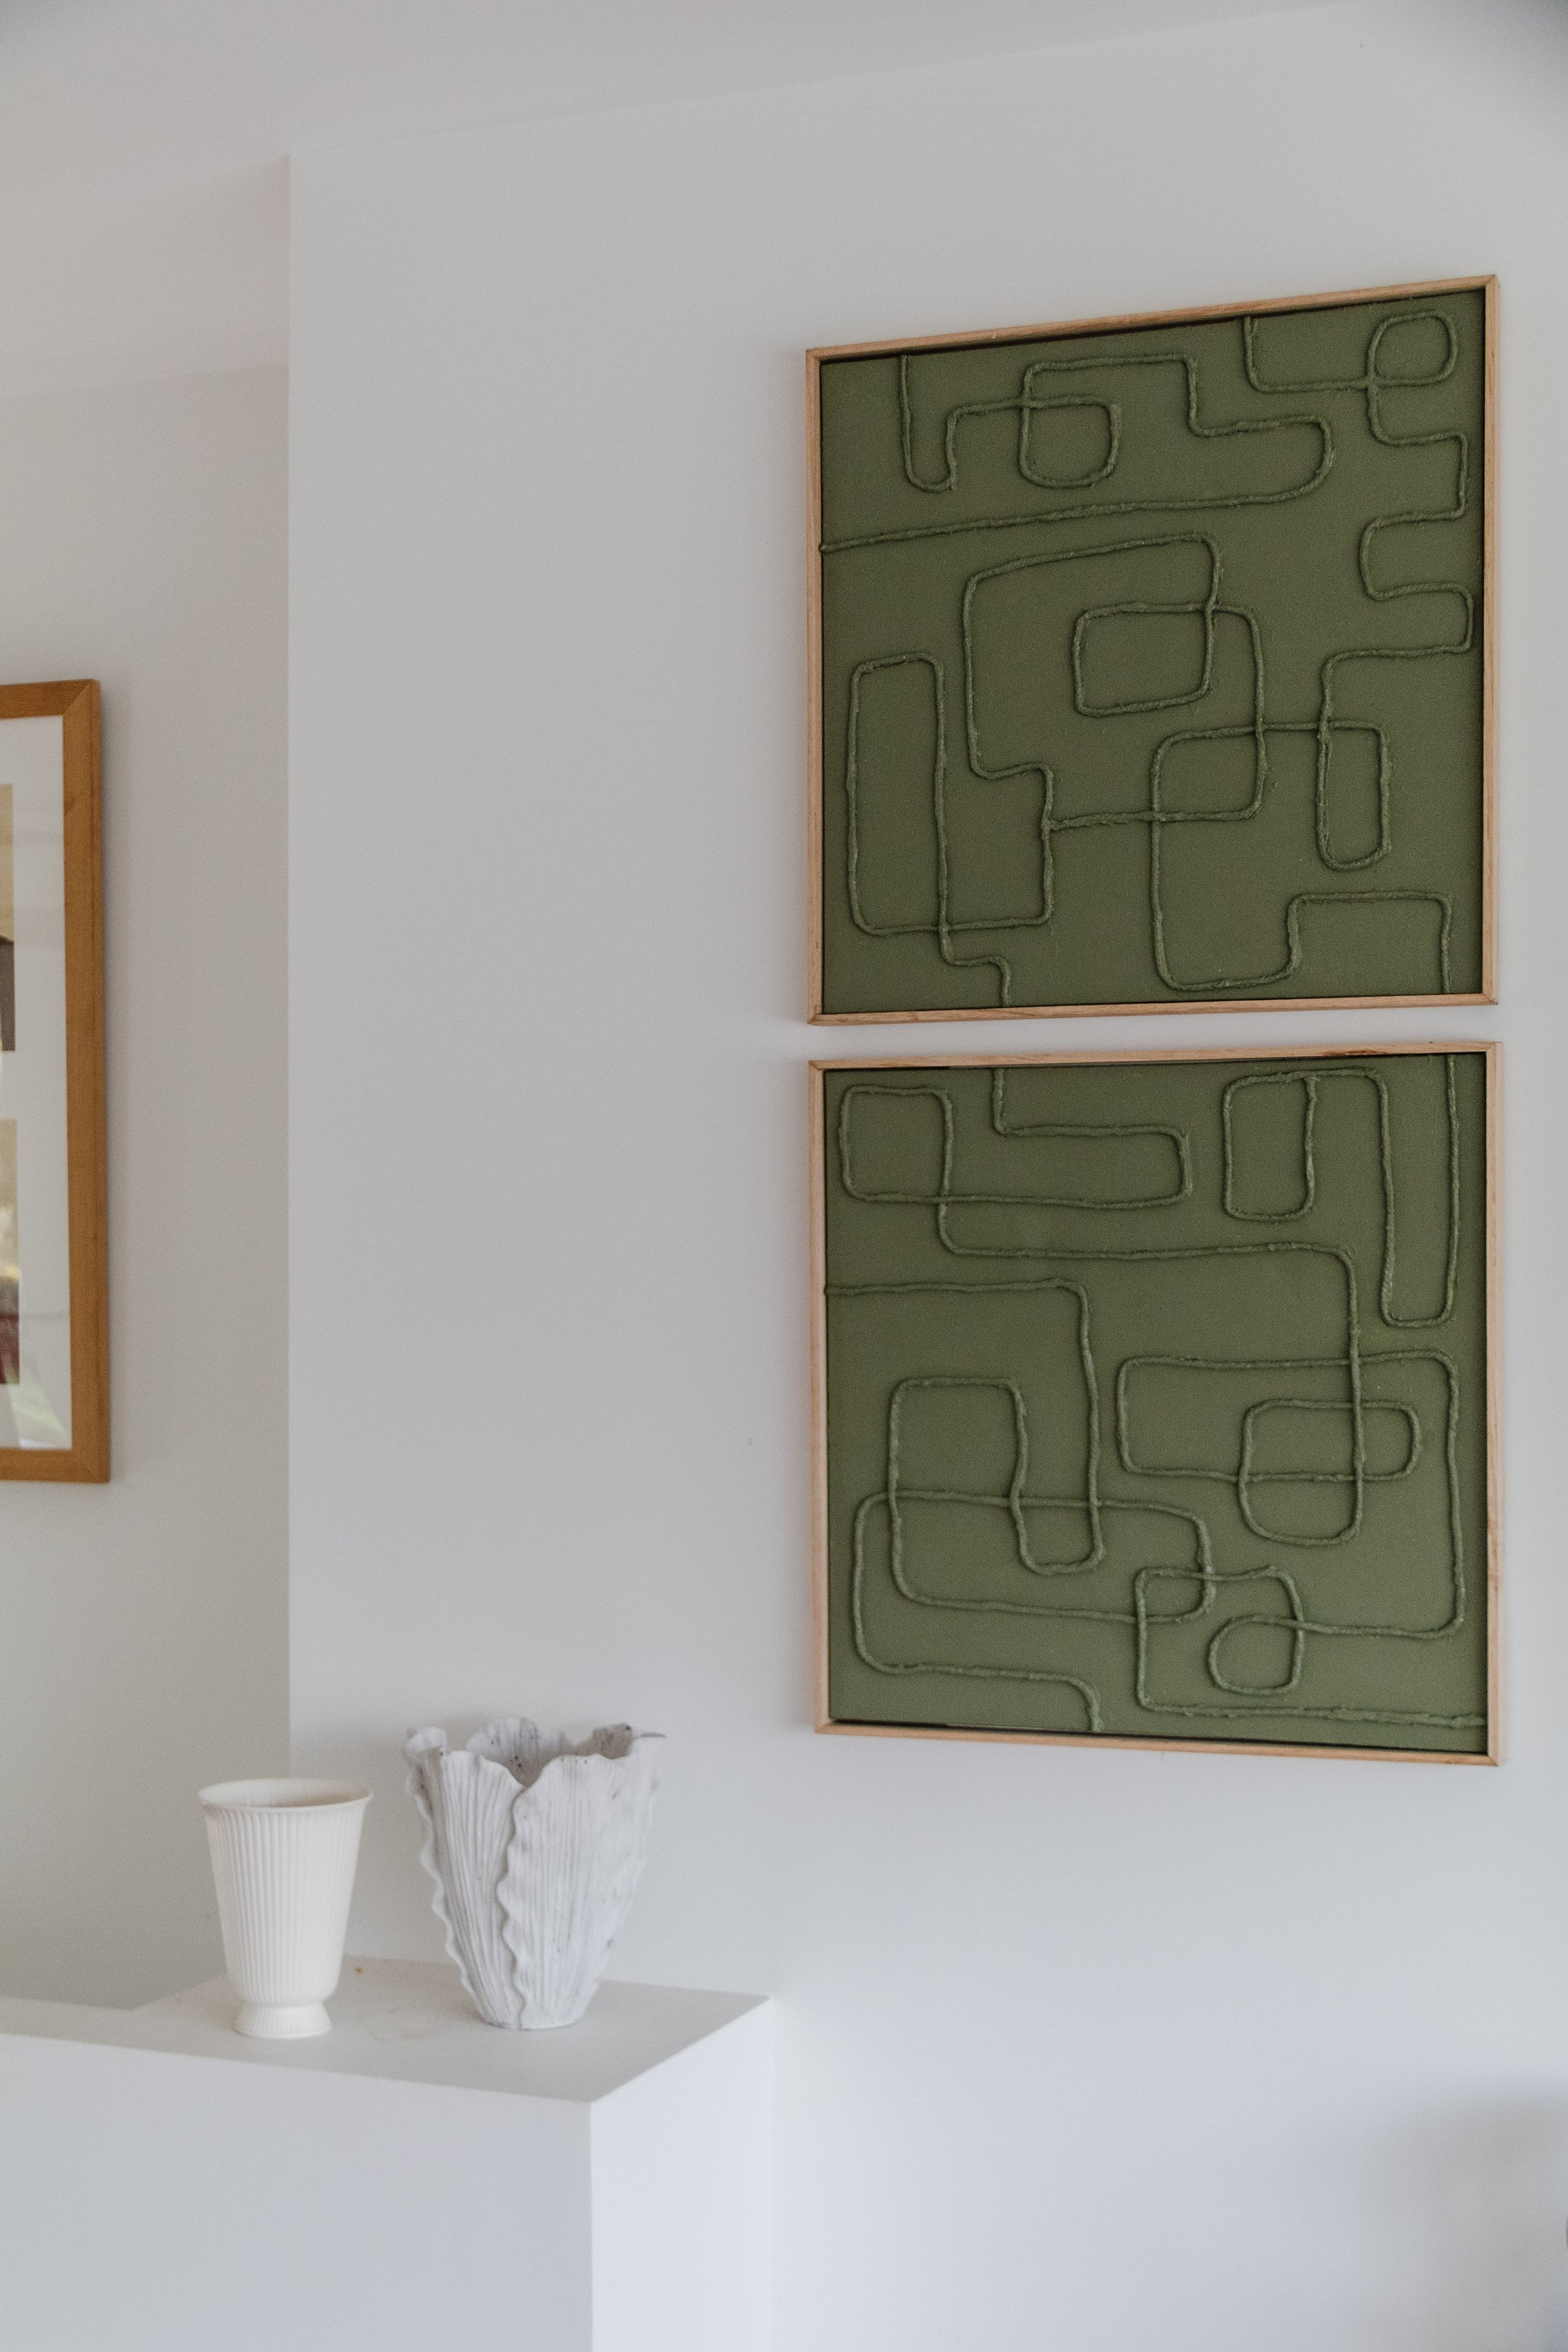
Frame the two pieces of art using my DIY Floating Timber Frame tutorial. I have included two different methods in my tutorial; the first using a mitre saw (which costs about $180), and the second using a tenon saw and mitre box (which costs around $30). You can make your floating frame any size you like!
To hang the art on the wall, apply four double sided velcro strips onto the corners of the frame, peel the wall stickers off and position it on your wall.

Ta daaaa! Its amazing what you can do with thrifted stretched canvas, plaster, rope and paint.
I love being able to use secondhand stretched canvas and materials I already have at home, and upcycle them into something as beautiful as this Upcycled Framed Rope Wall Art. Our living area feels so much better now, like the pieces have always been in our home. And dare I say it, they look quite professional (if I may be so bold and say so myself). I honestly can’t believe how enjoyable it is upcycling art and I look forward to sharing more of these projects with you here.