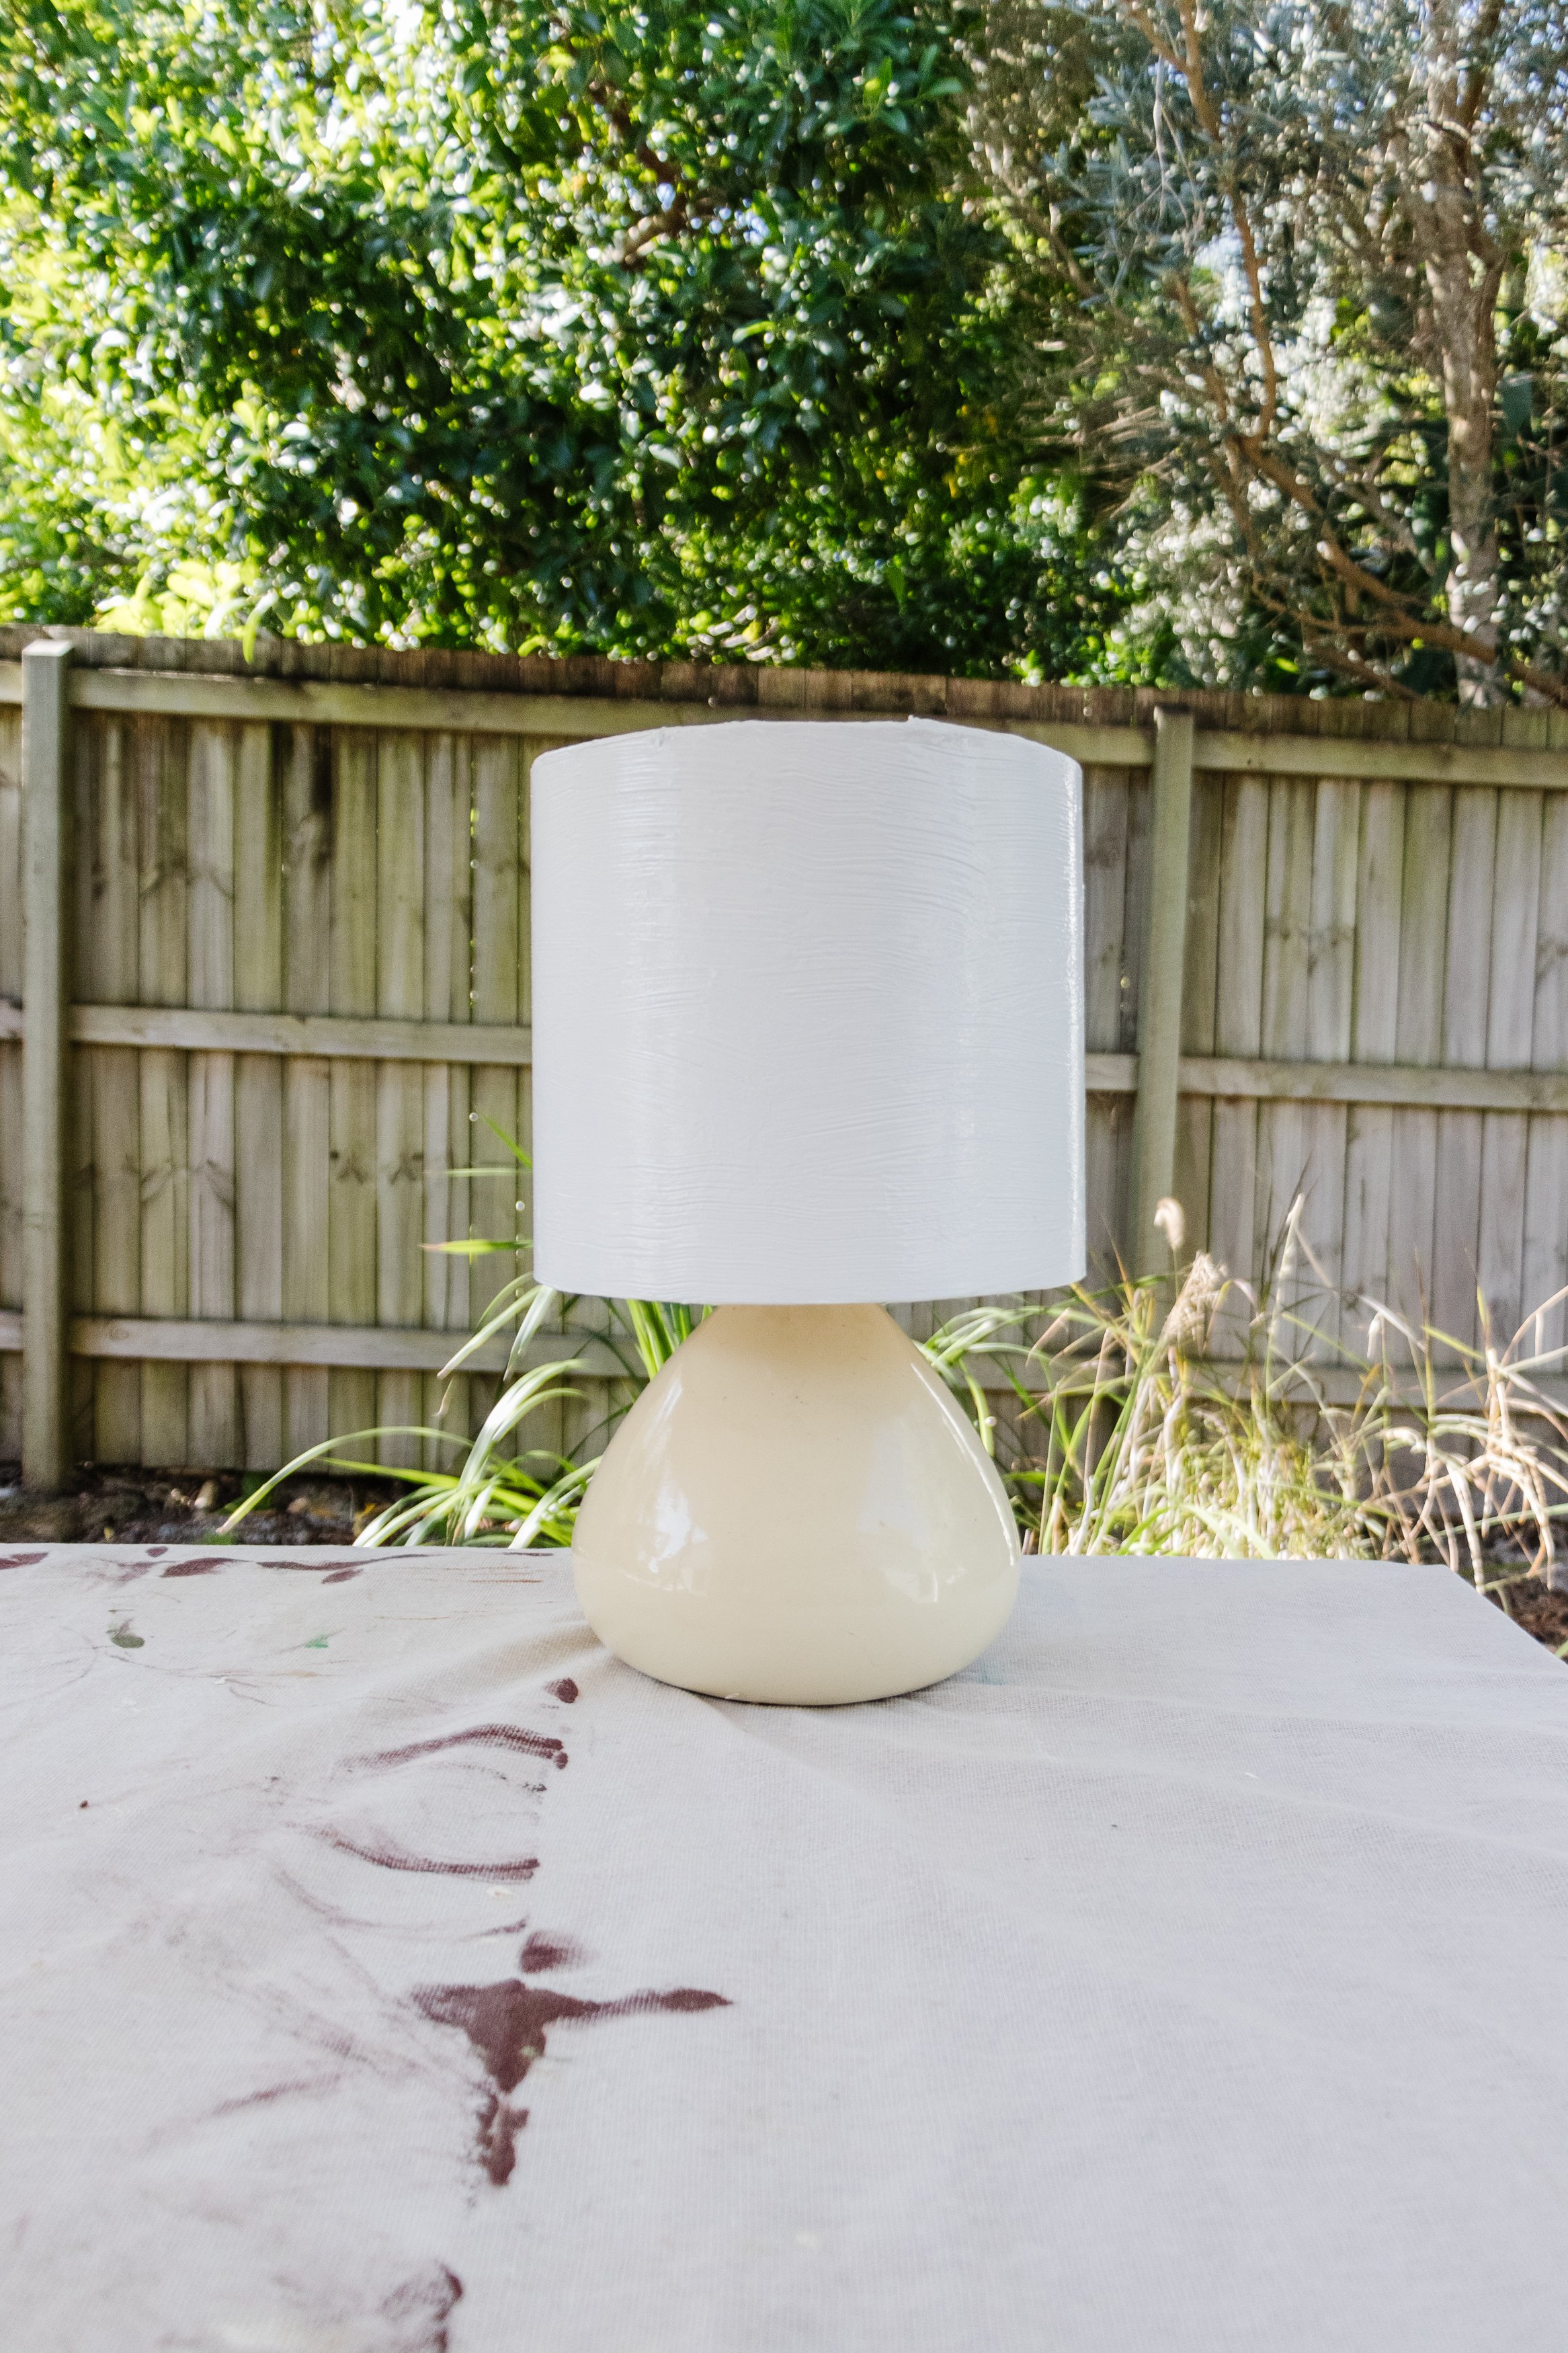
Upcycled Chrome Effect Lamp (using silver leaf!)
Transform an old lamp using silver leaf and…grout!
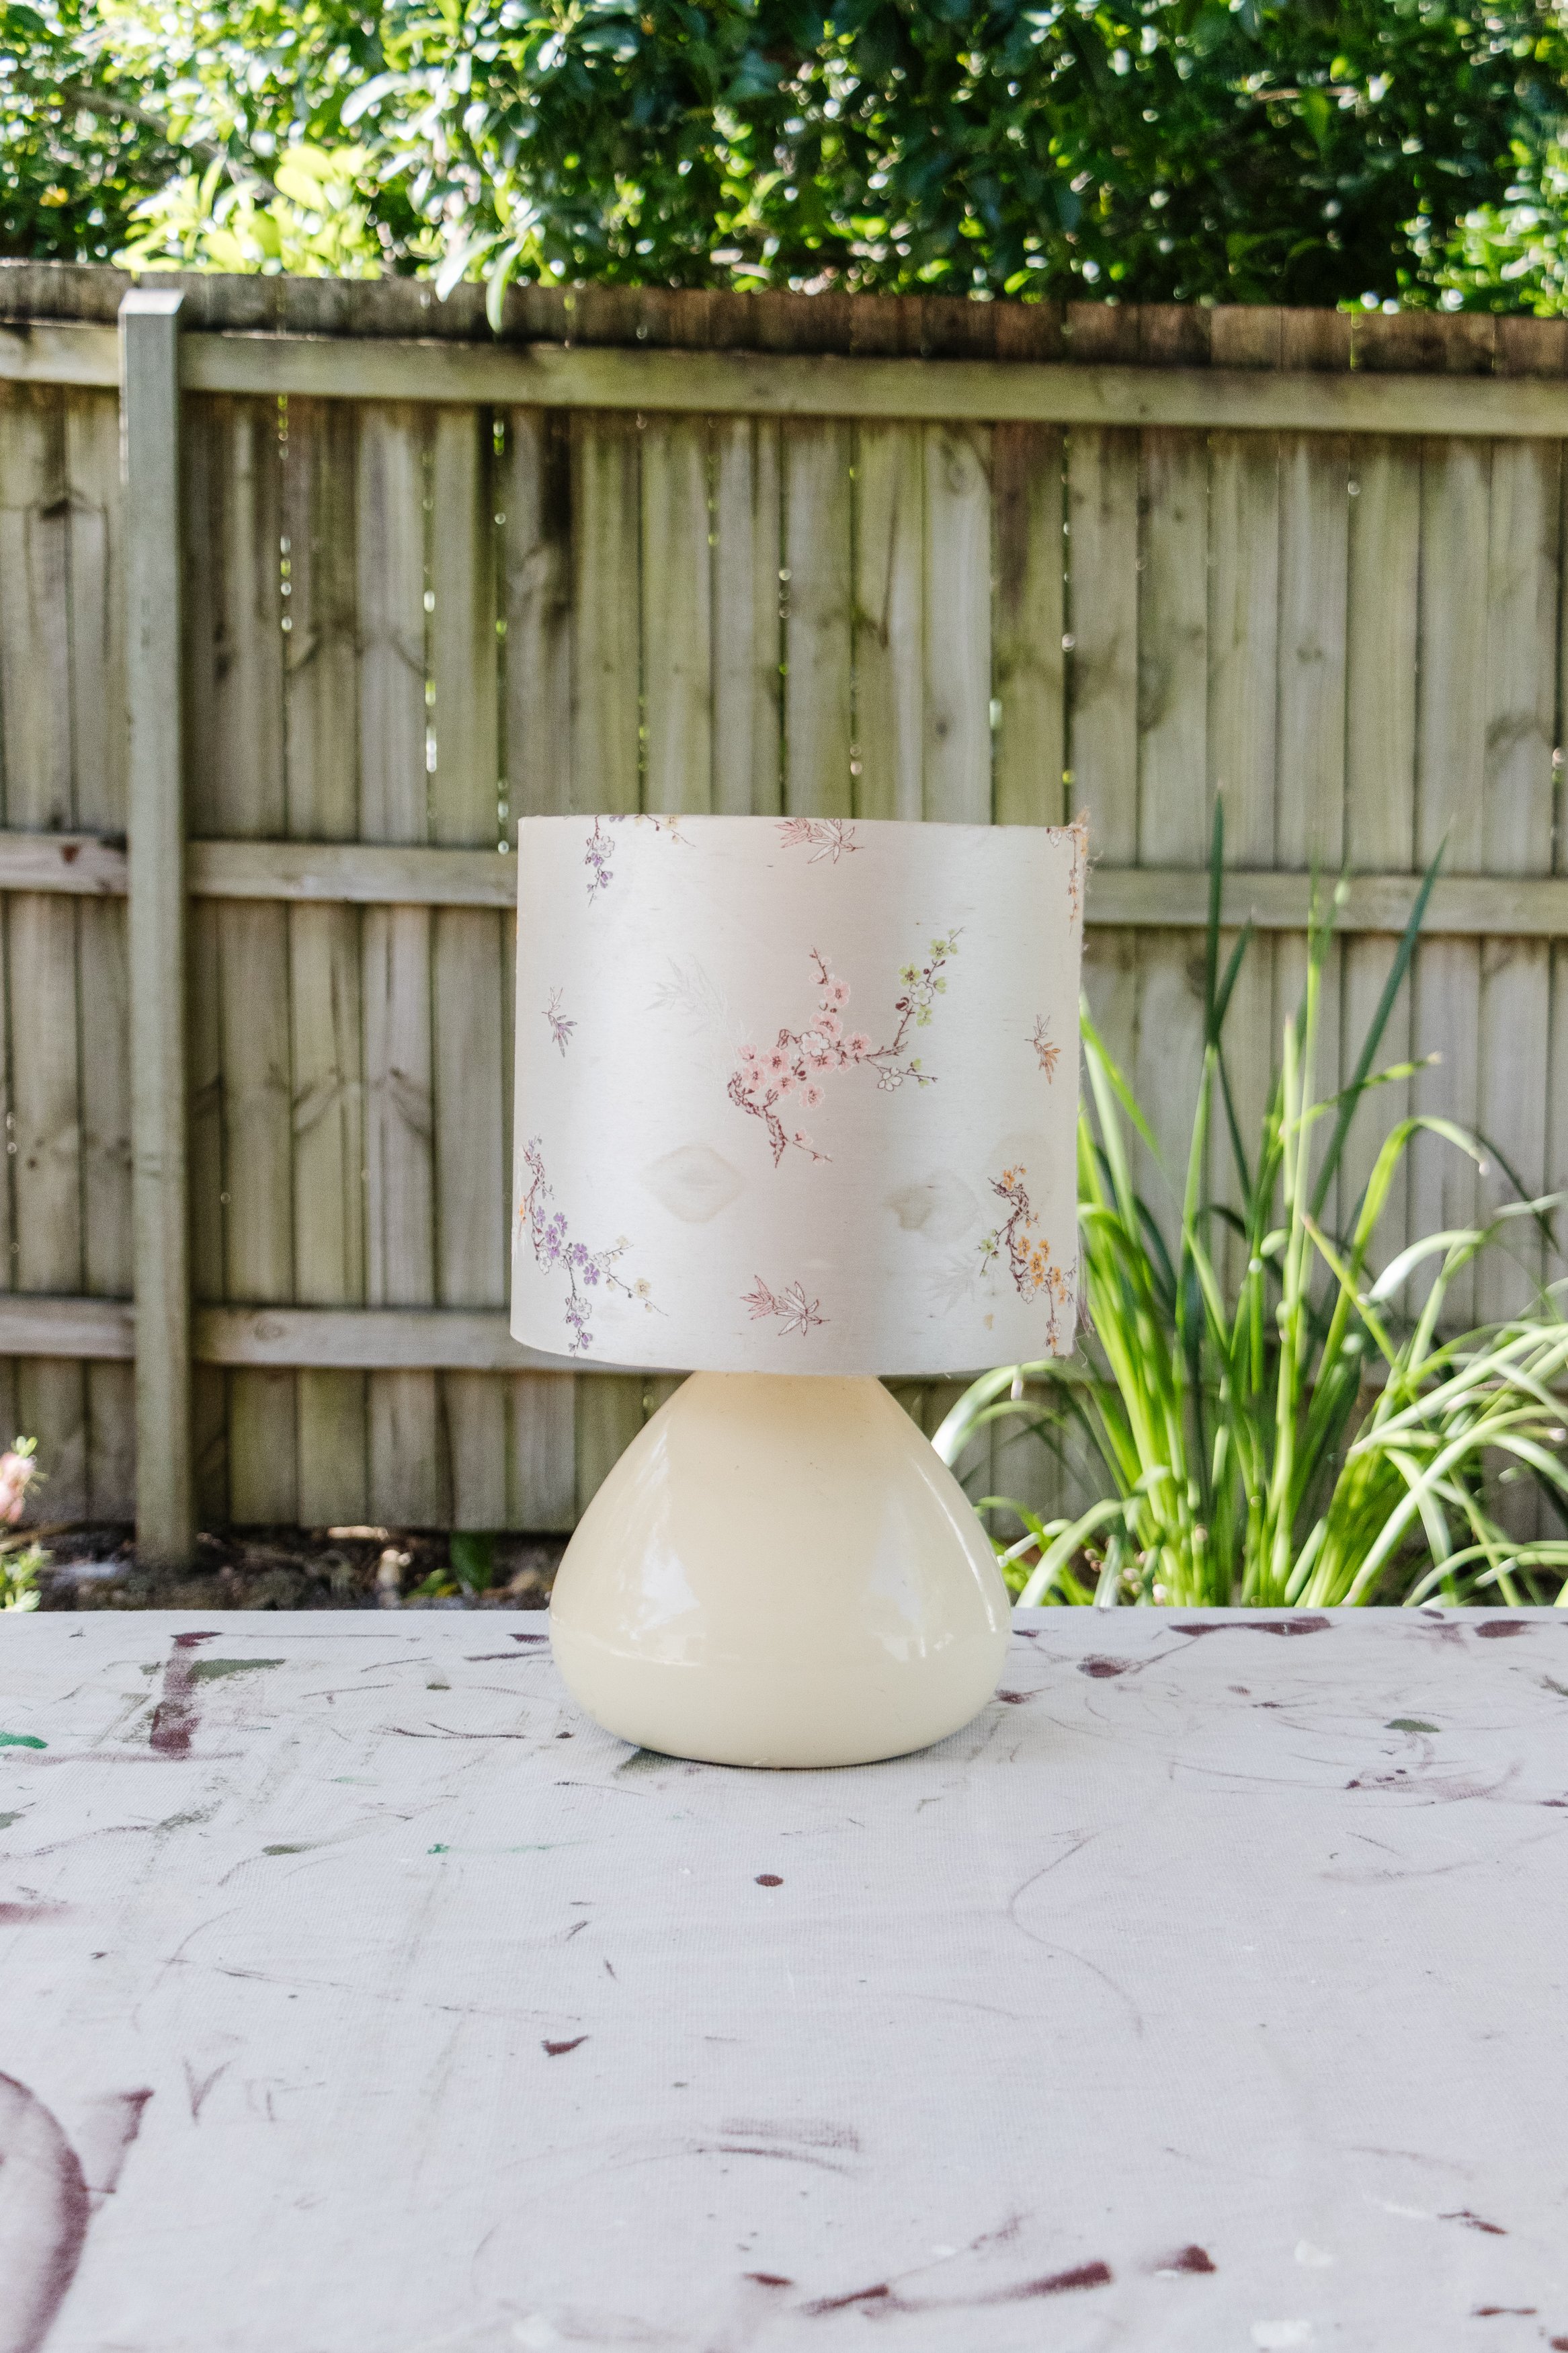
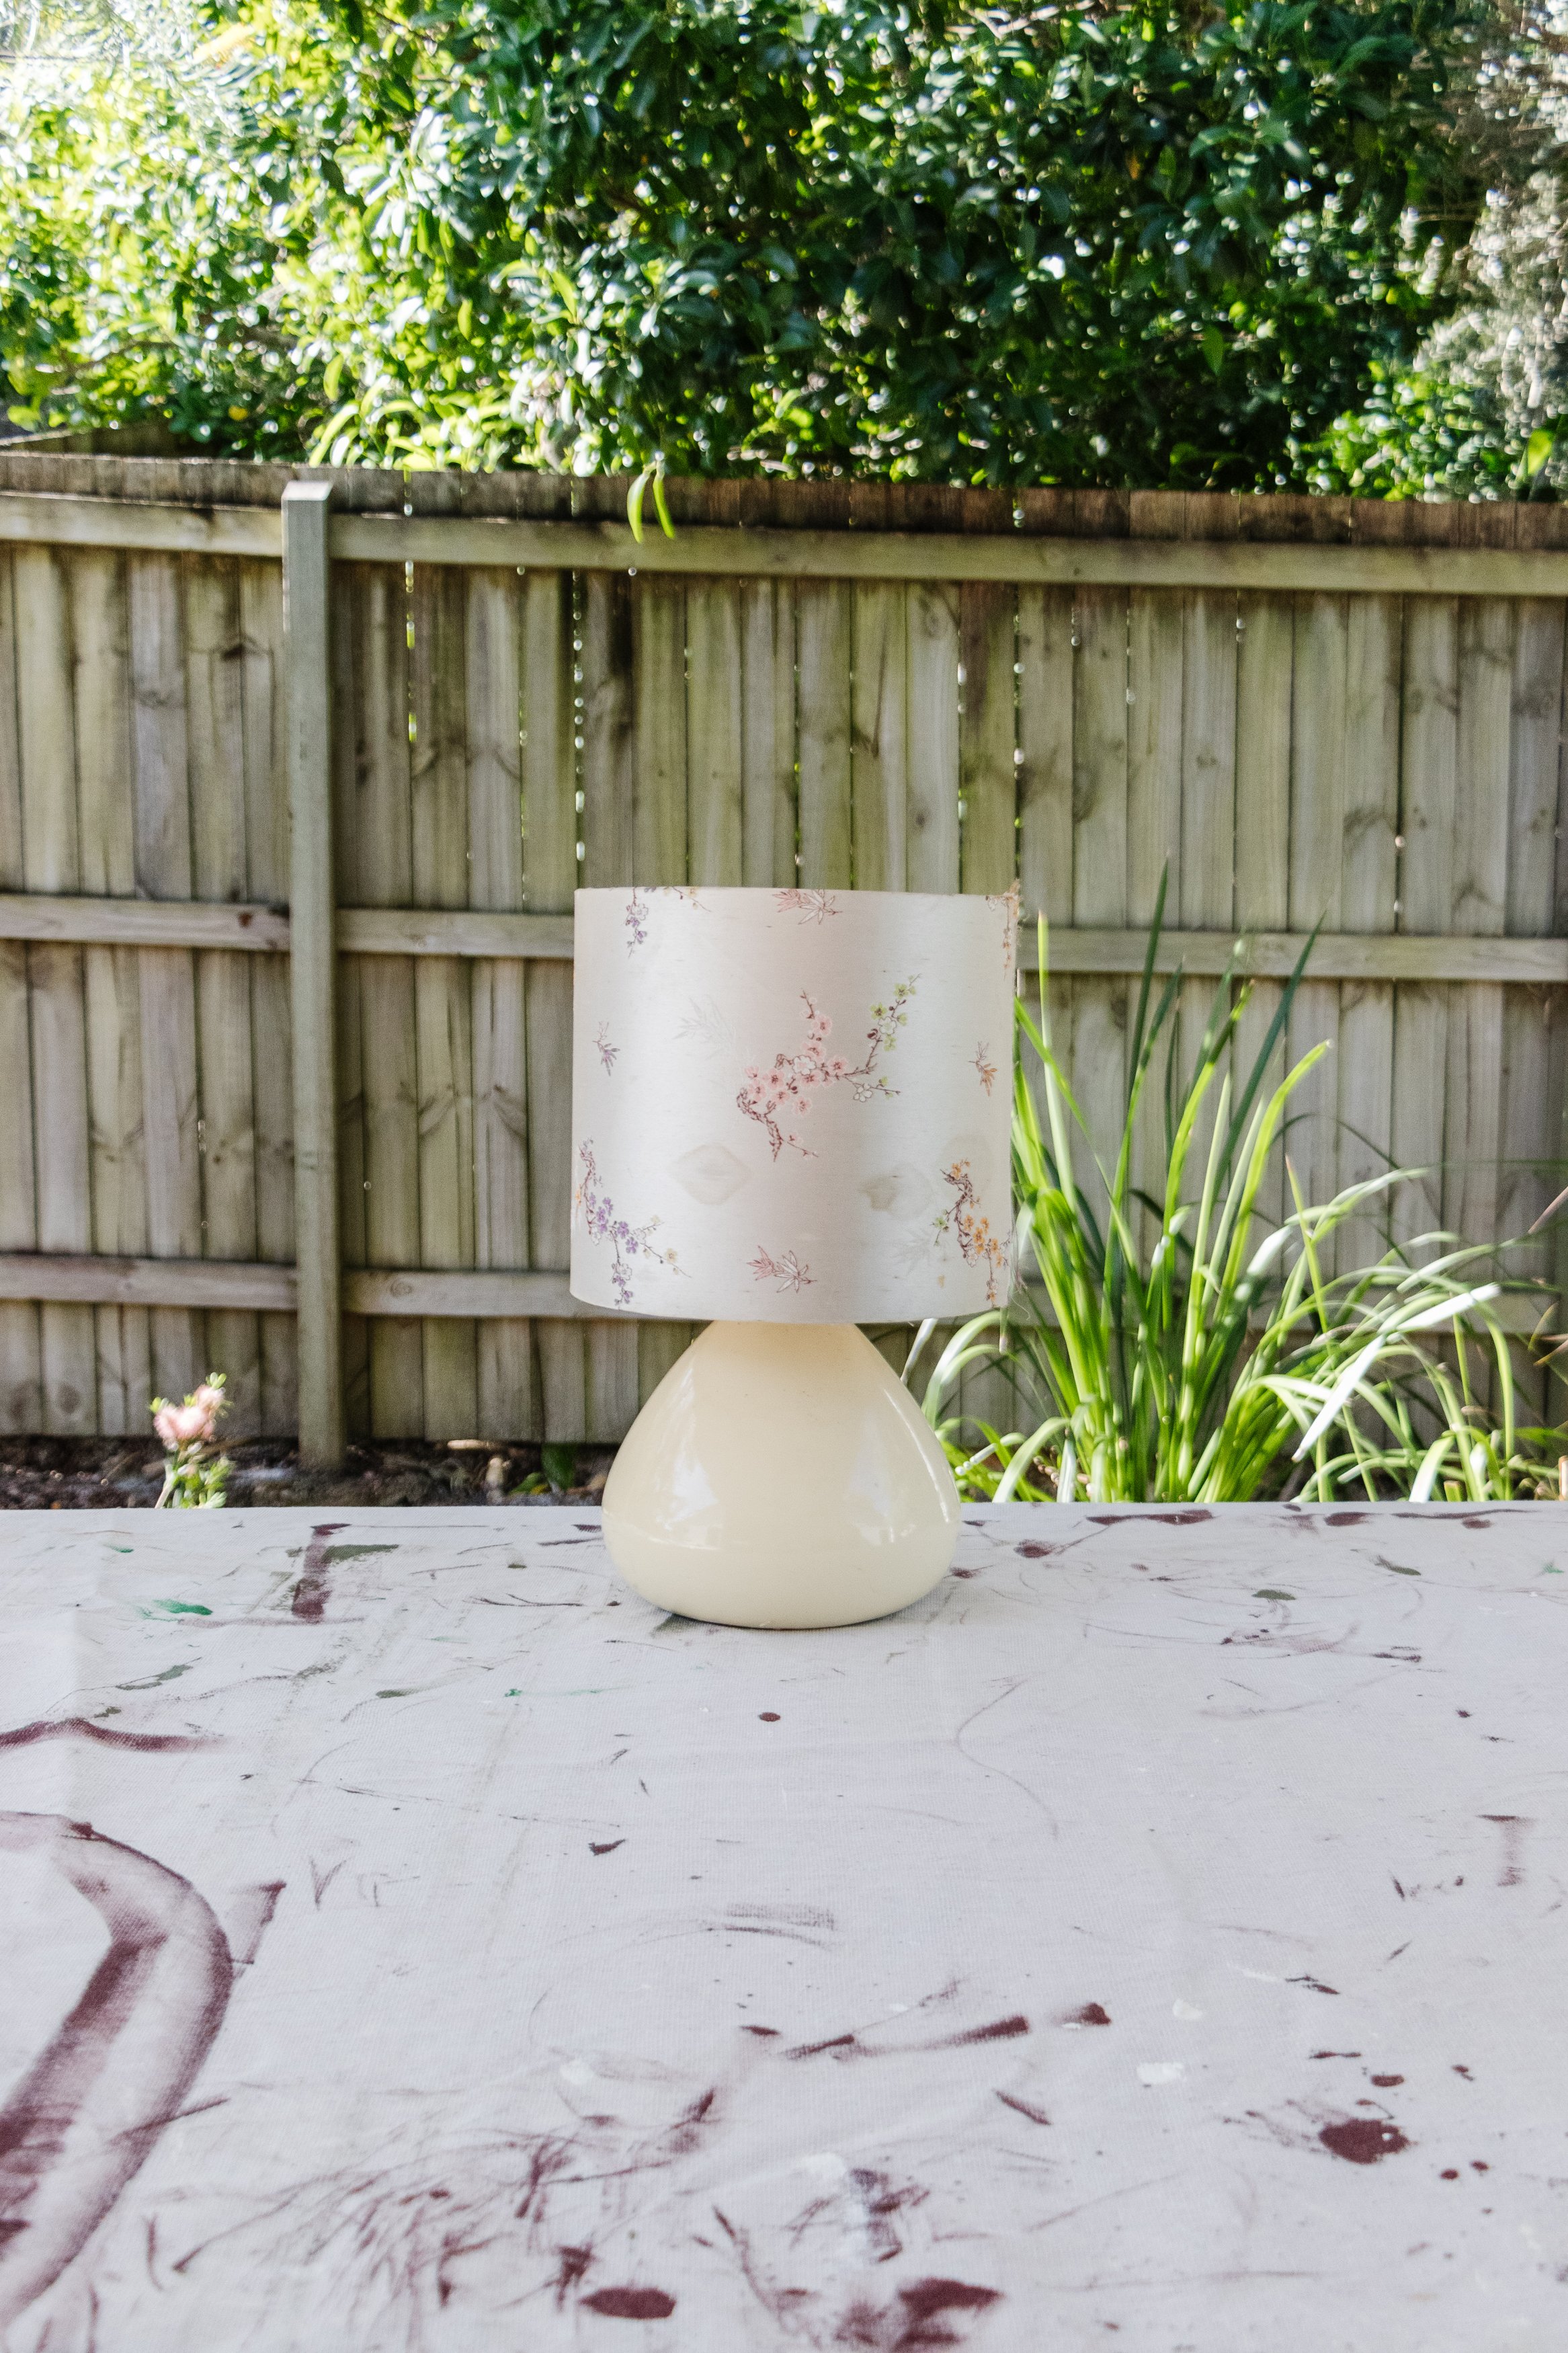
I don’t know what it is at the moment but I have fallen madly in love with all things chrome. It’s probably since I restored our chrome dining table chairs earlier this year, or maybe it’s because I’m a child of the 80s and 90s that it’s nostalgic to me. Whatever it is, I want more of it in my life. For a long while I’ve had this lamp saved on my Pinterest board and I tried and failed to recreate a chrome finish on an old lamp last year using chrome spray paint. Spolier alert - it was rubbish. I even thought about wrapping the base in aluminium foil, lol. I parked the idea and when I randomly thought about gold leafing recently, I wondered if silver leaf was a thing. And it is. Obviously I just had to see if I could use it to cover the base of a thrifted lamp and what do you know, I did - and it worked! Read on to find out how it all came together. And I can’t wait to see if I can apply silver leaf (or gold?) all over a piece of furniture, so stay tuned.
And make sure to watch this video to see how this project came together
Before & After

Project Details
♻️ Upcycling: Thrifted lamp
🕒 Project Time Estimate: 1 to 2 hours (not including drying time)
💰 Materials Cost: $TBC
🪑 Skill Level: Beginner
Materials
White interior acrylic water based paint
Tools
Baby wipes
Paint brush
Sandpaper
Paint Brushes for sizing

How To
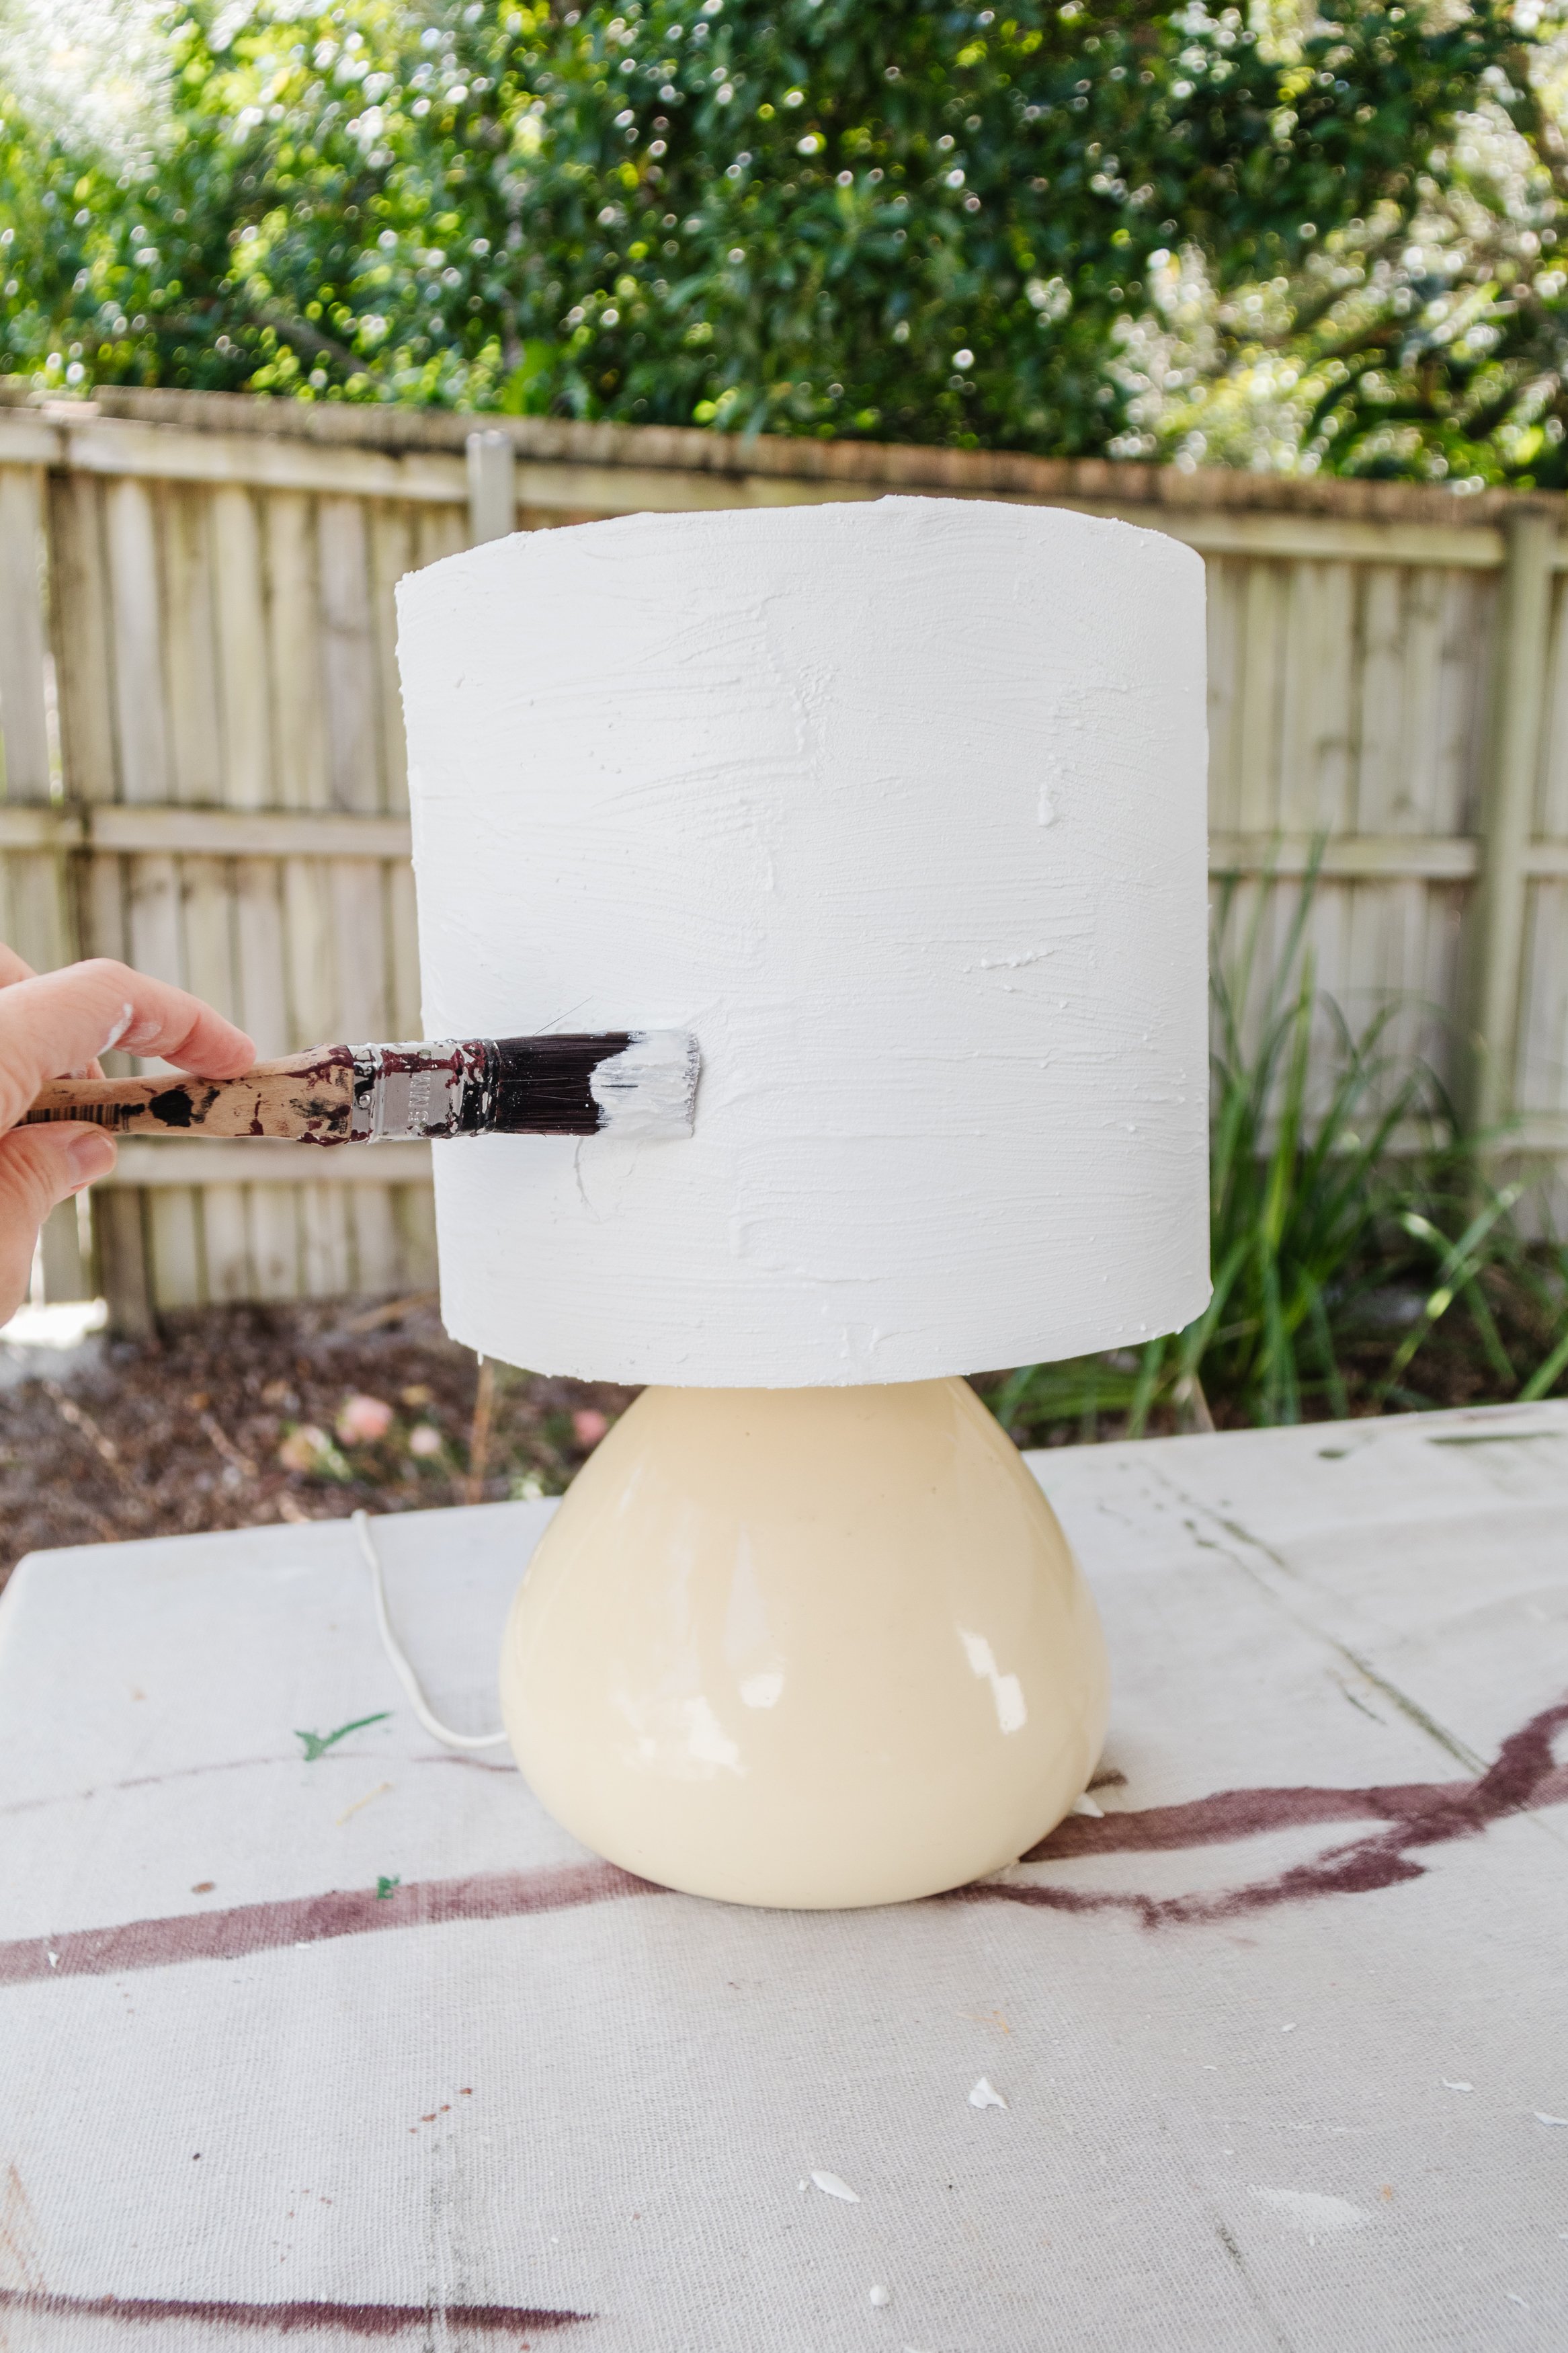
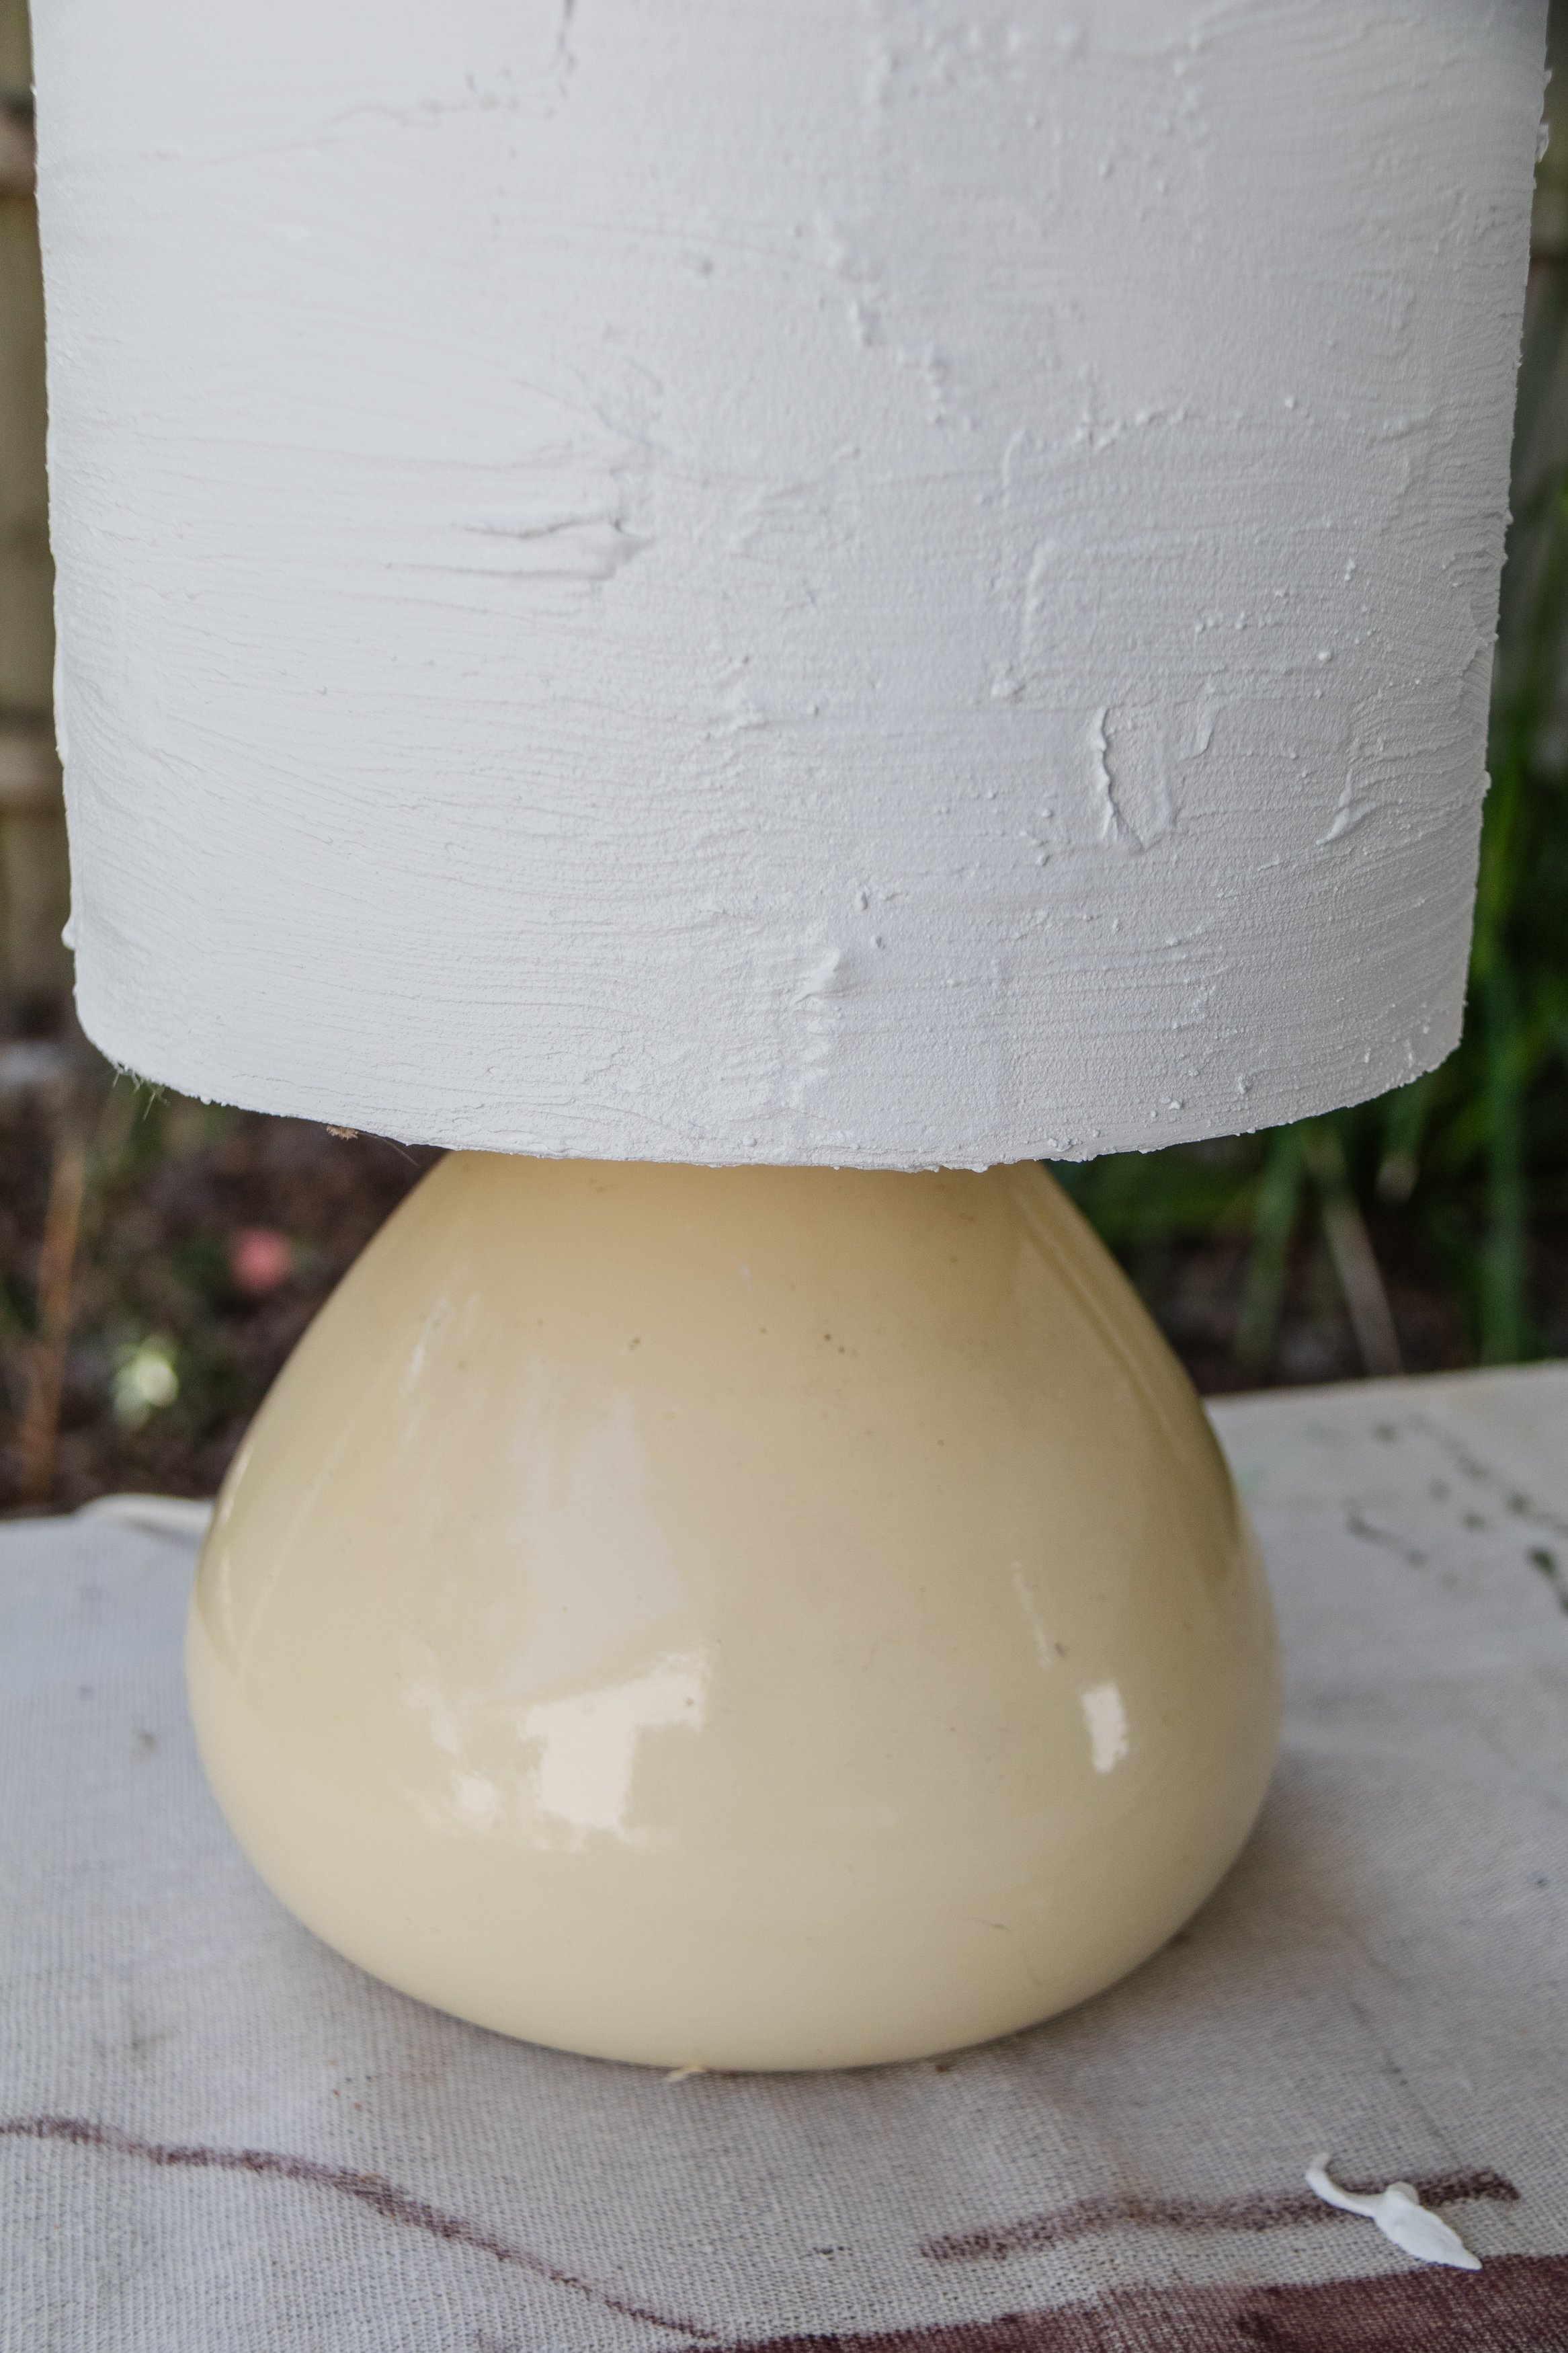
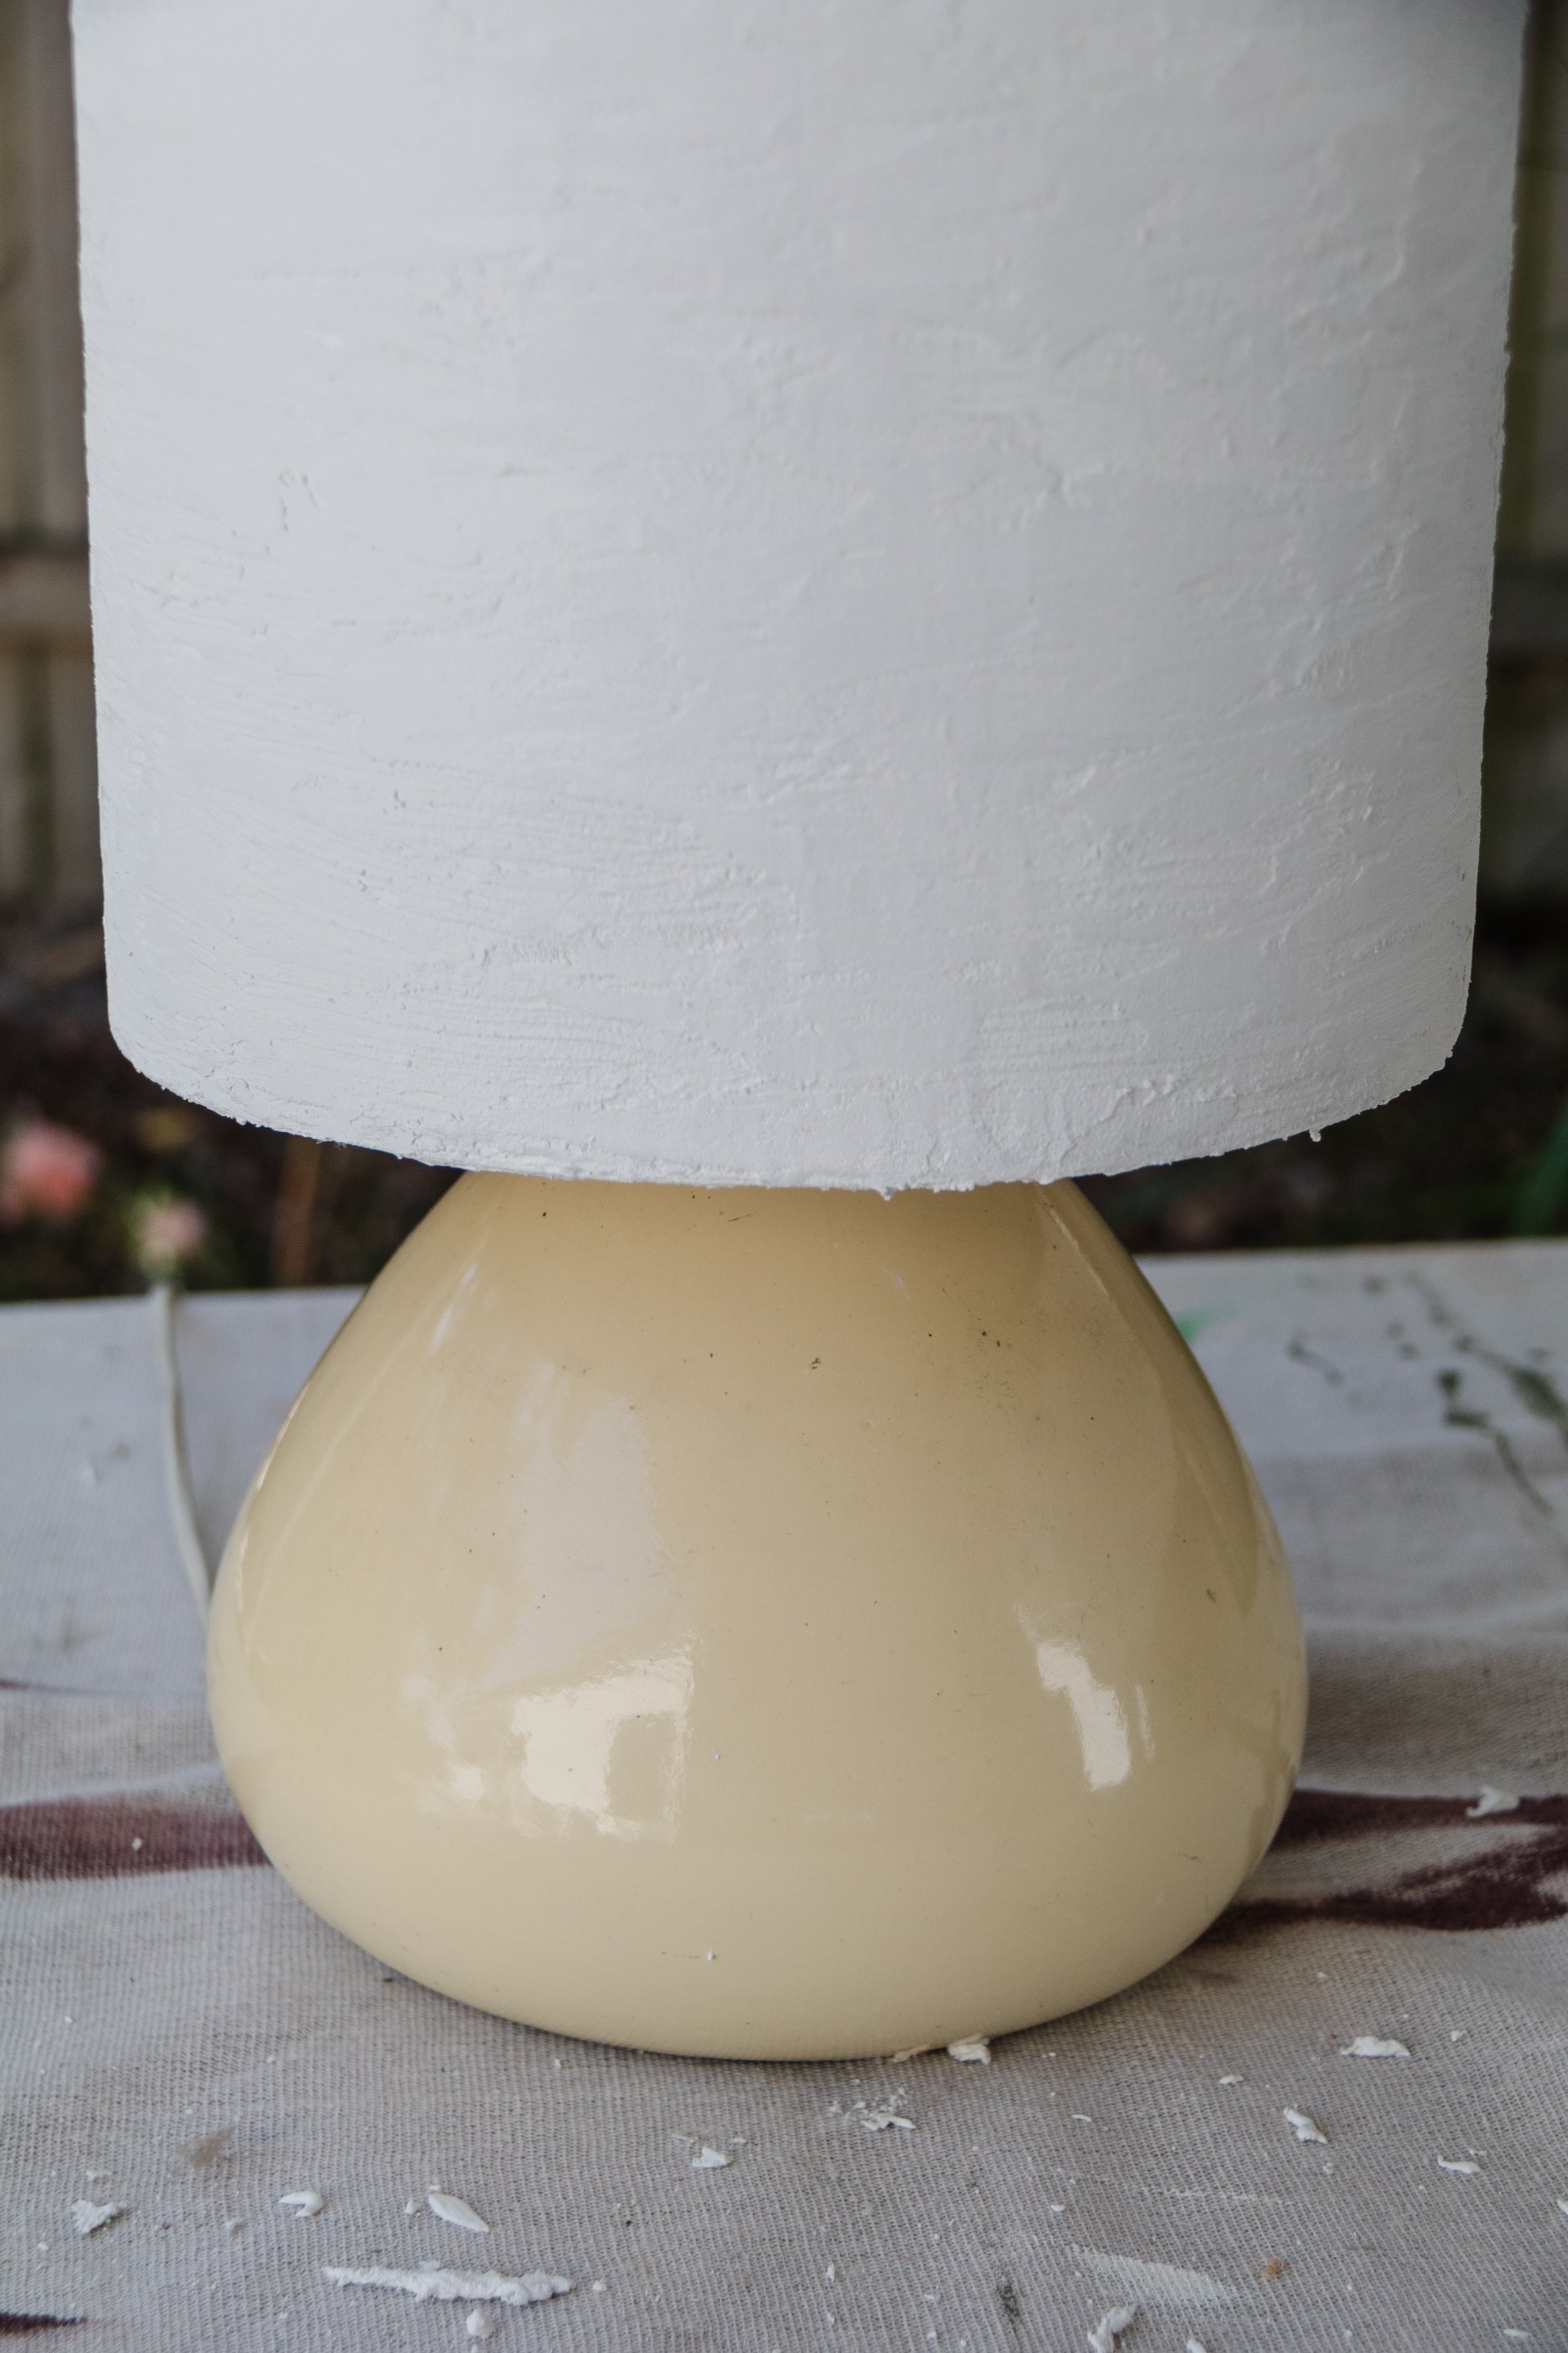
Step 1: To being with I wiped the lamp shade clean with a baby wipe and applied a thick coat of white paint all over the lamp shade with a paint brush to hide the fabric (do not paint the inside of the lampshade) and set it aside to dry.
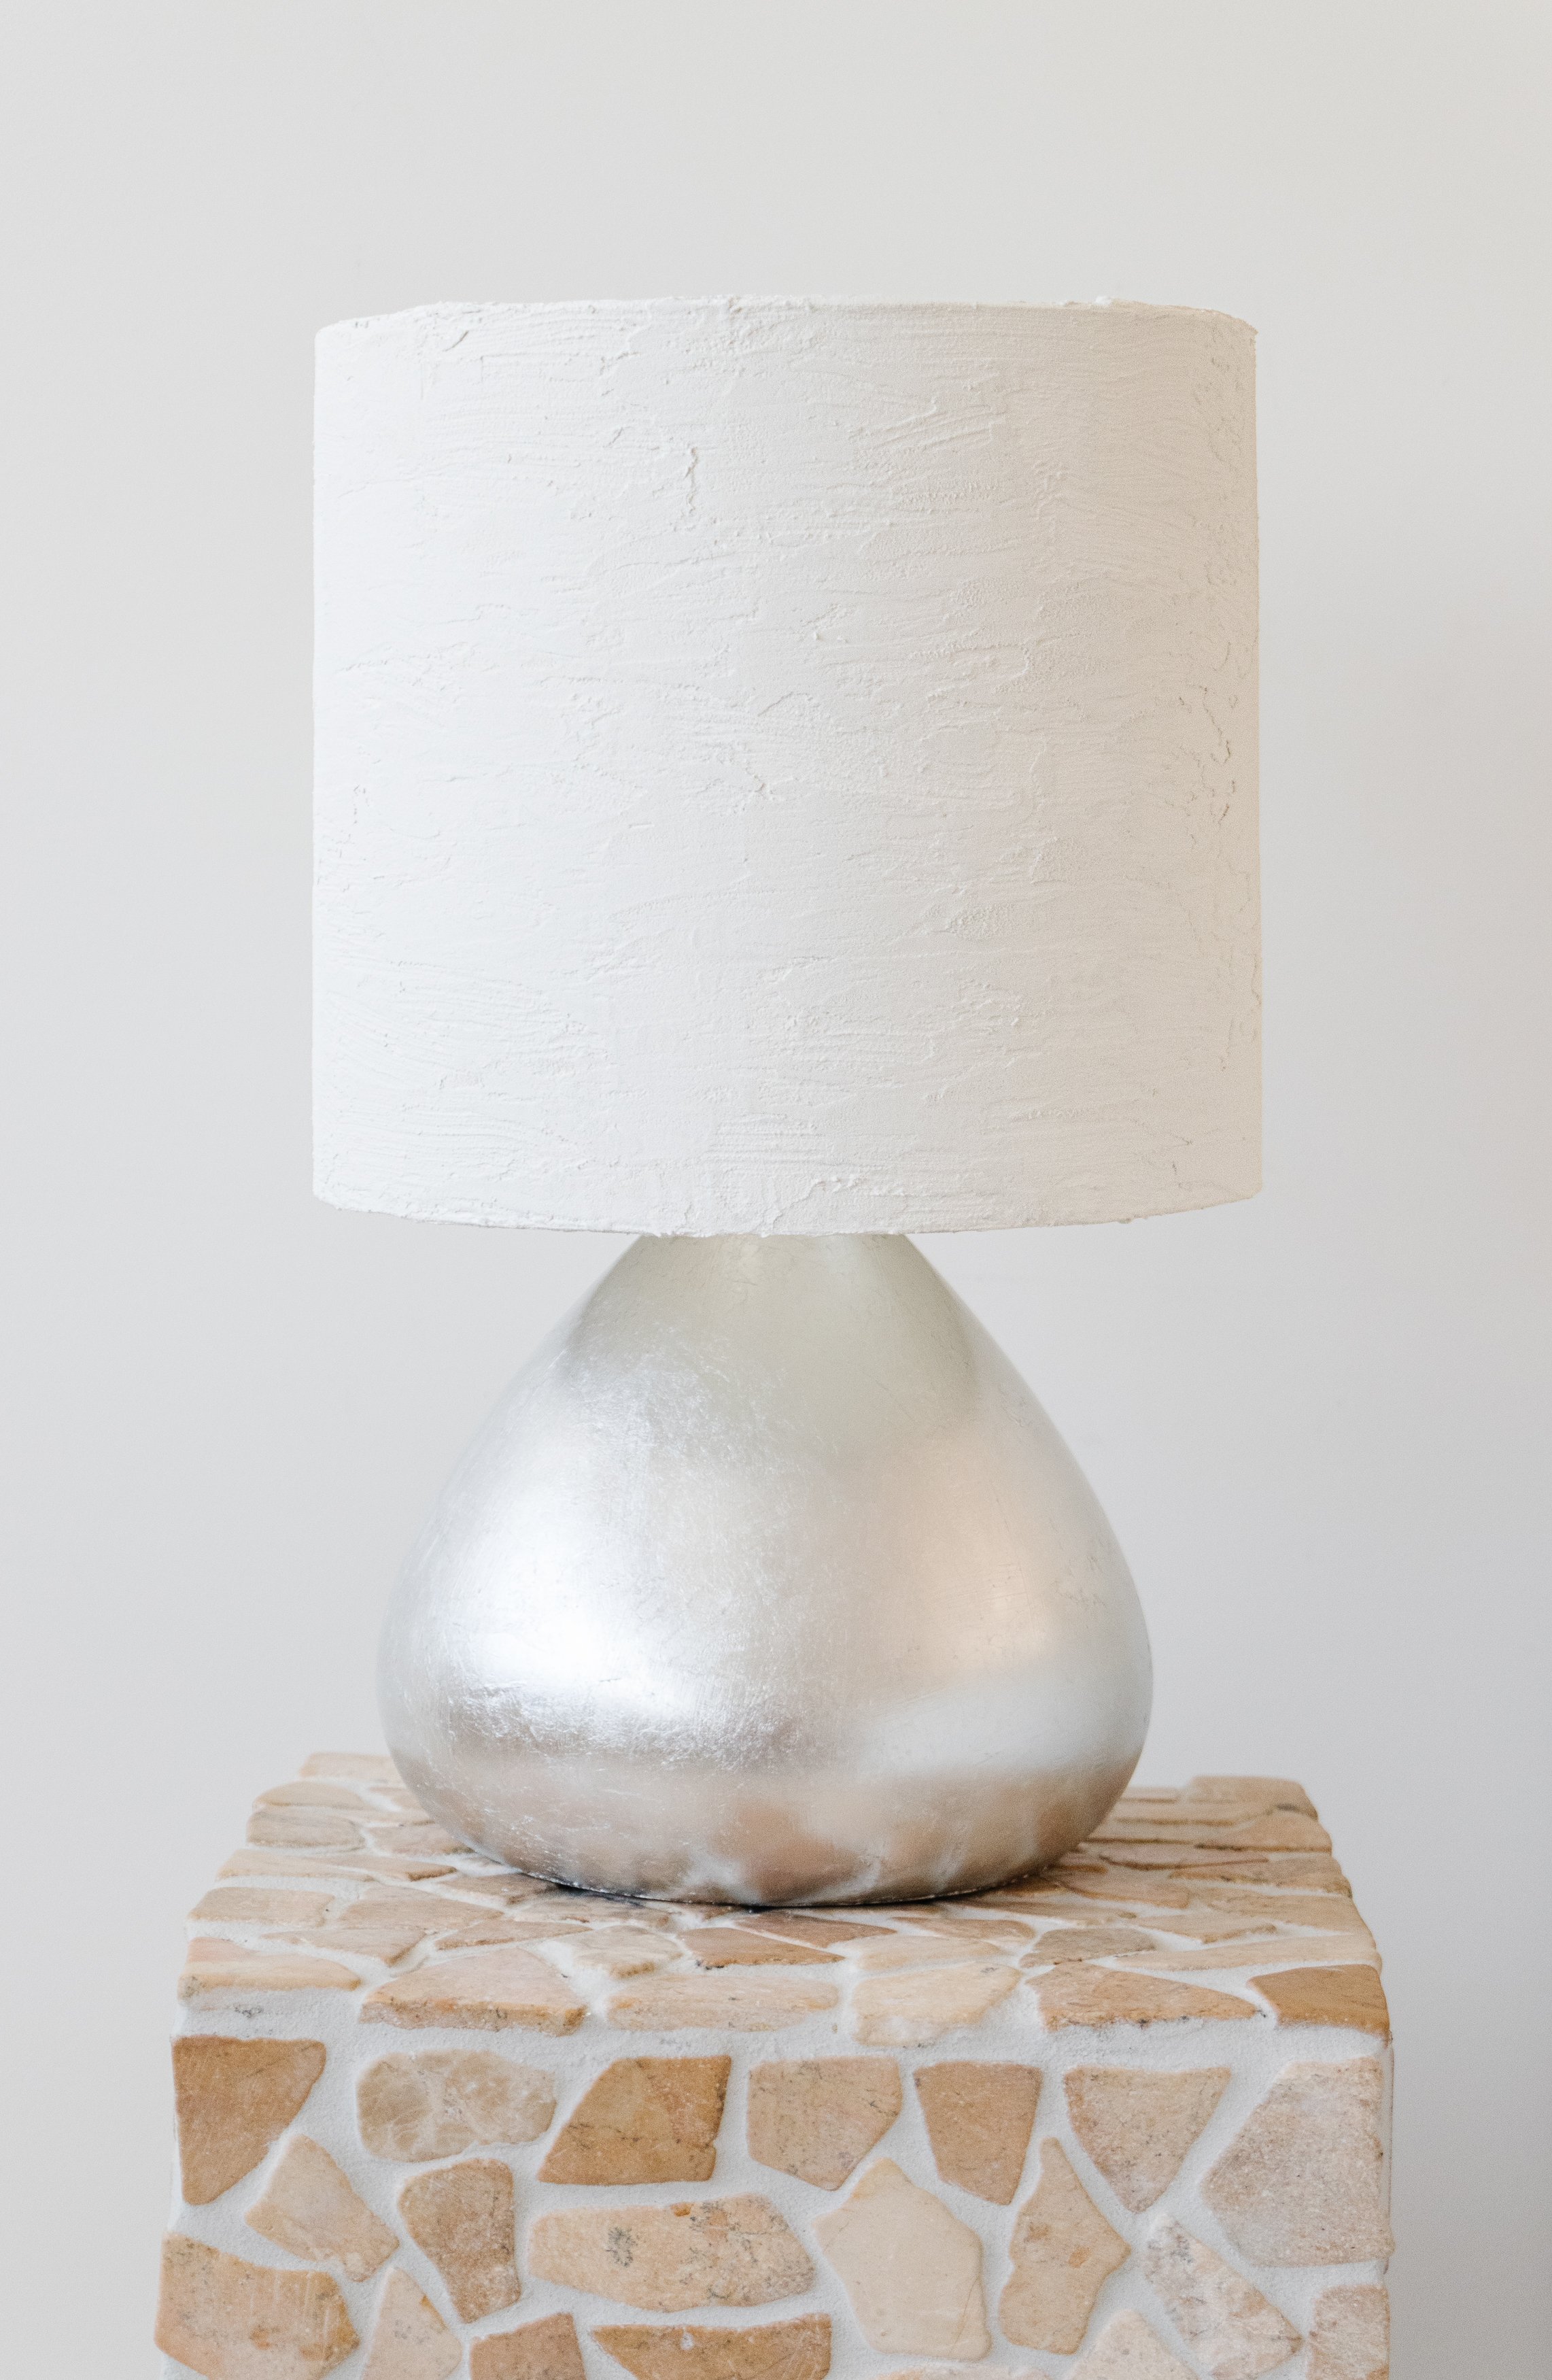
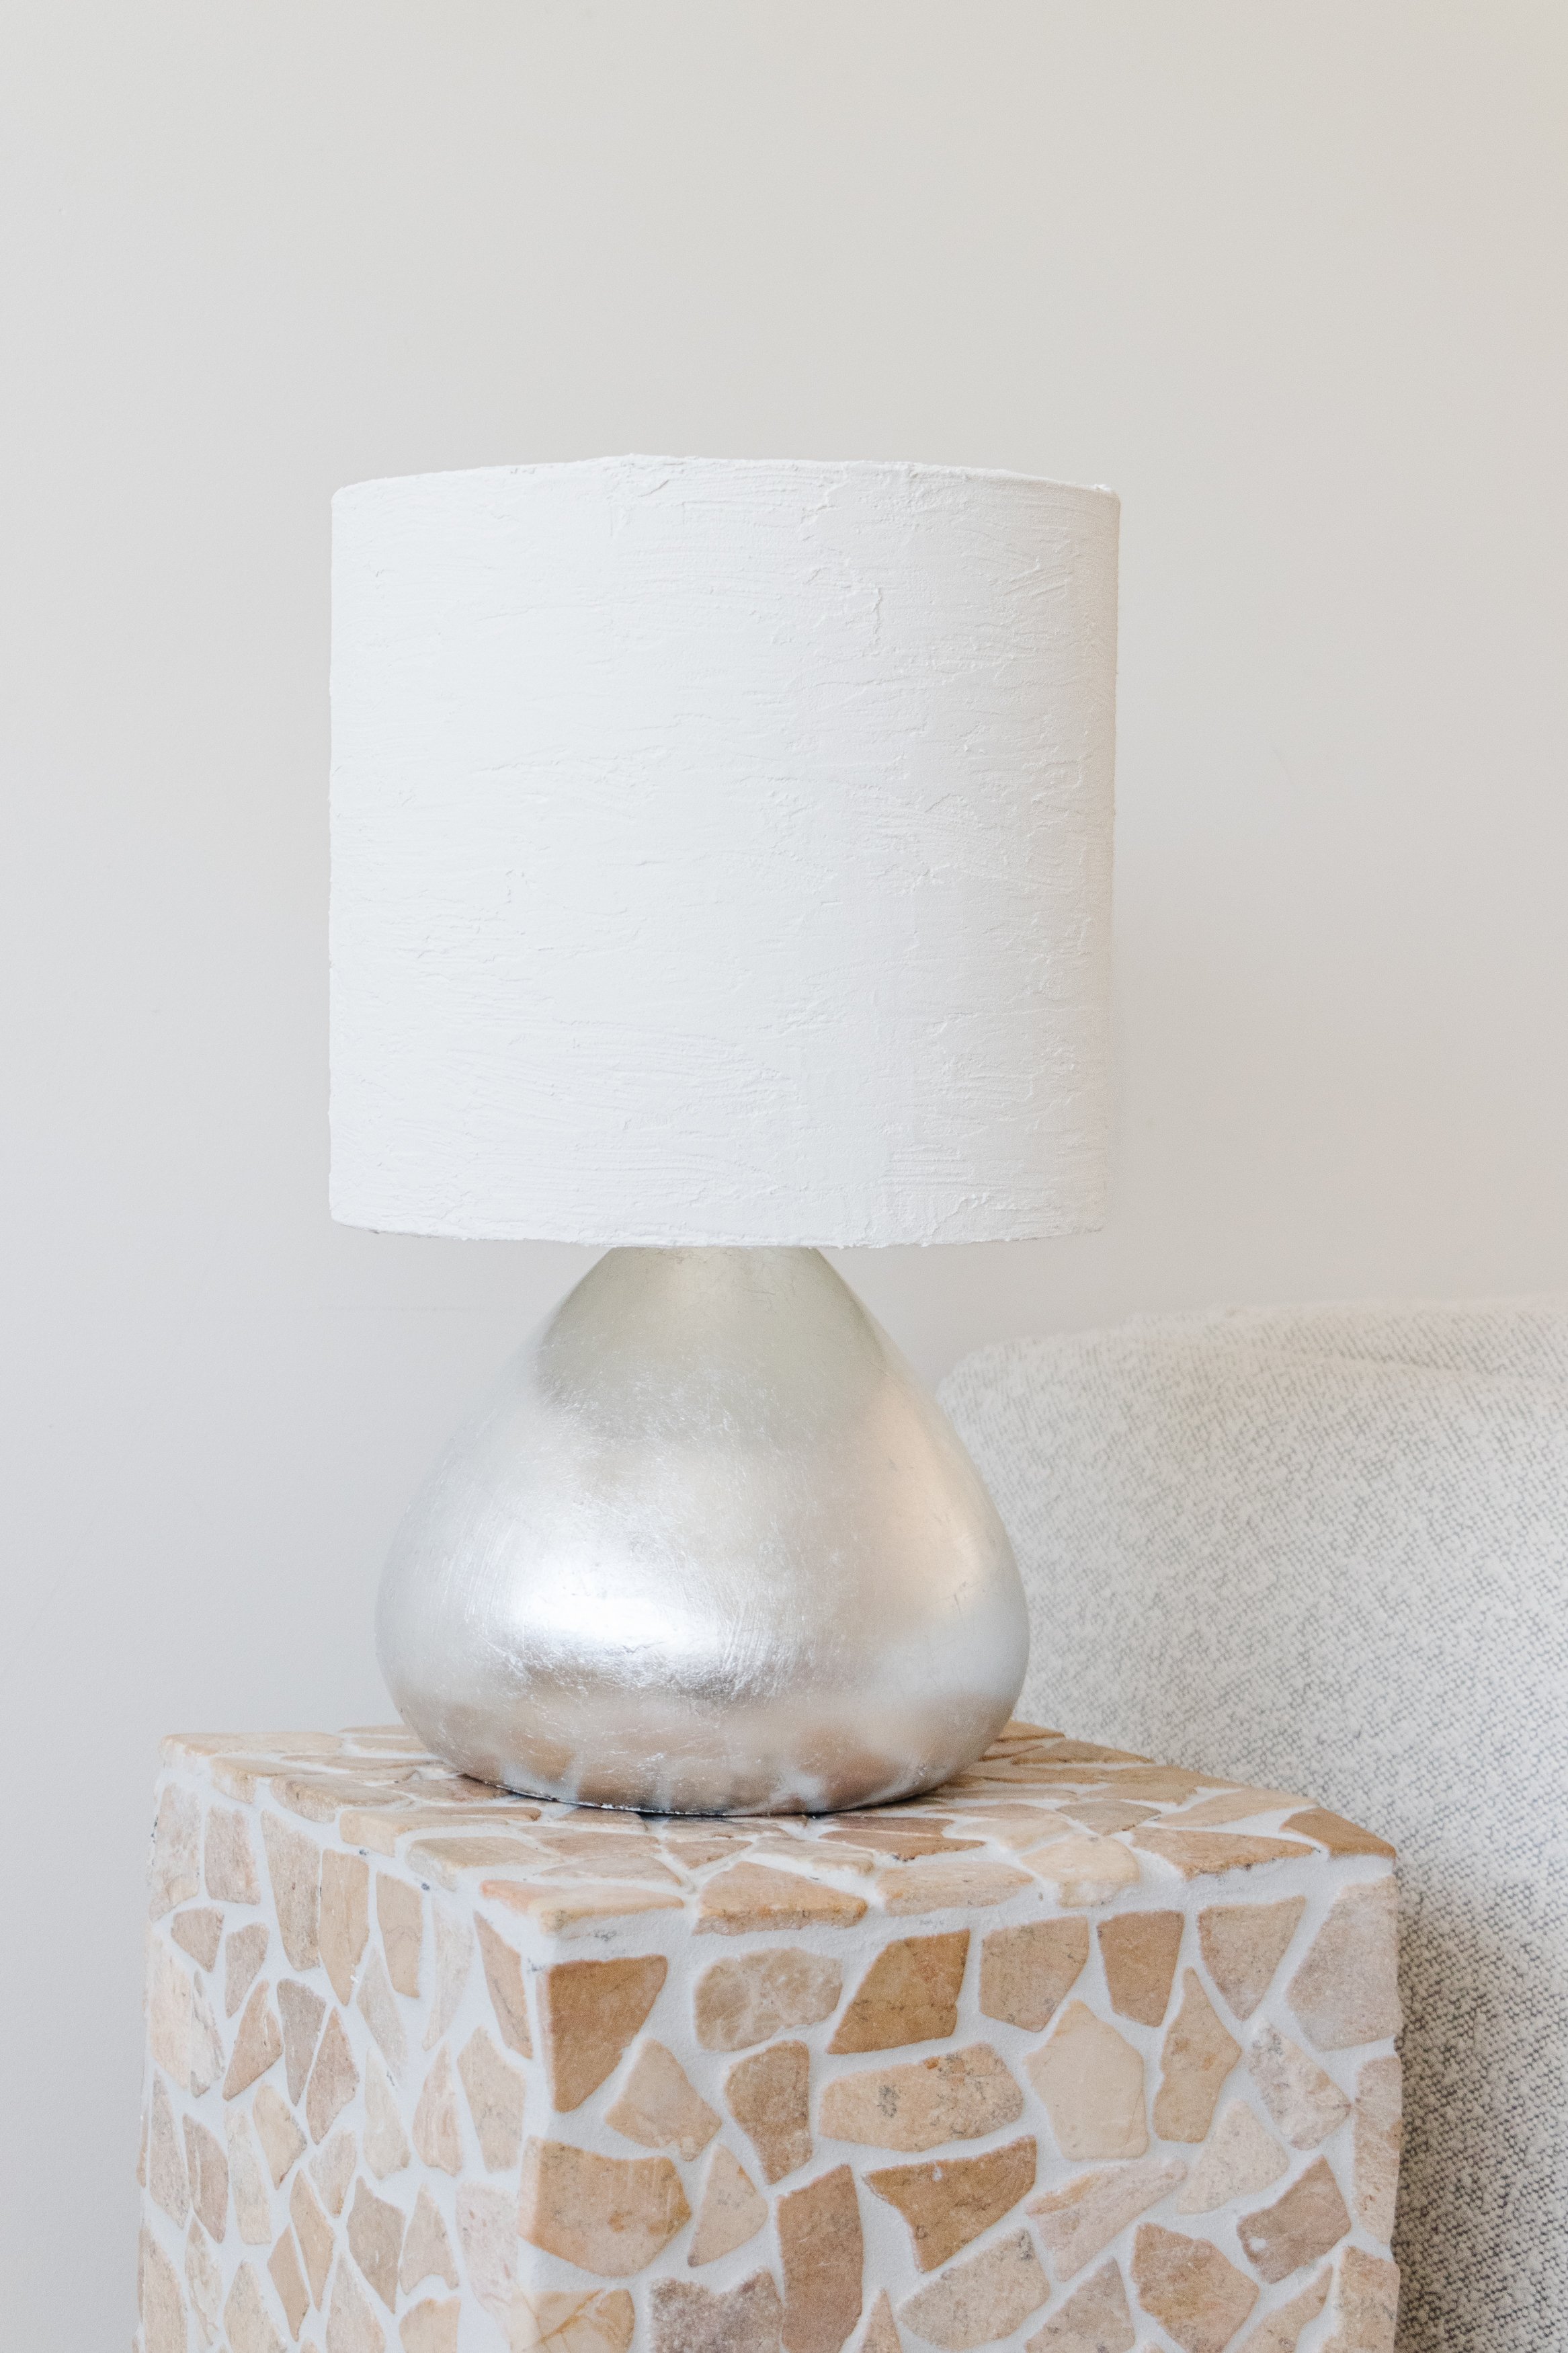
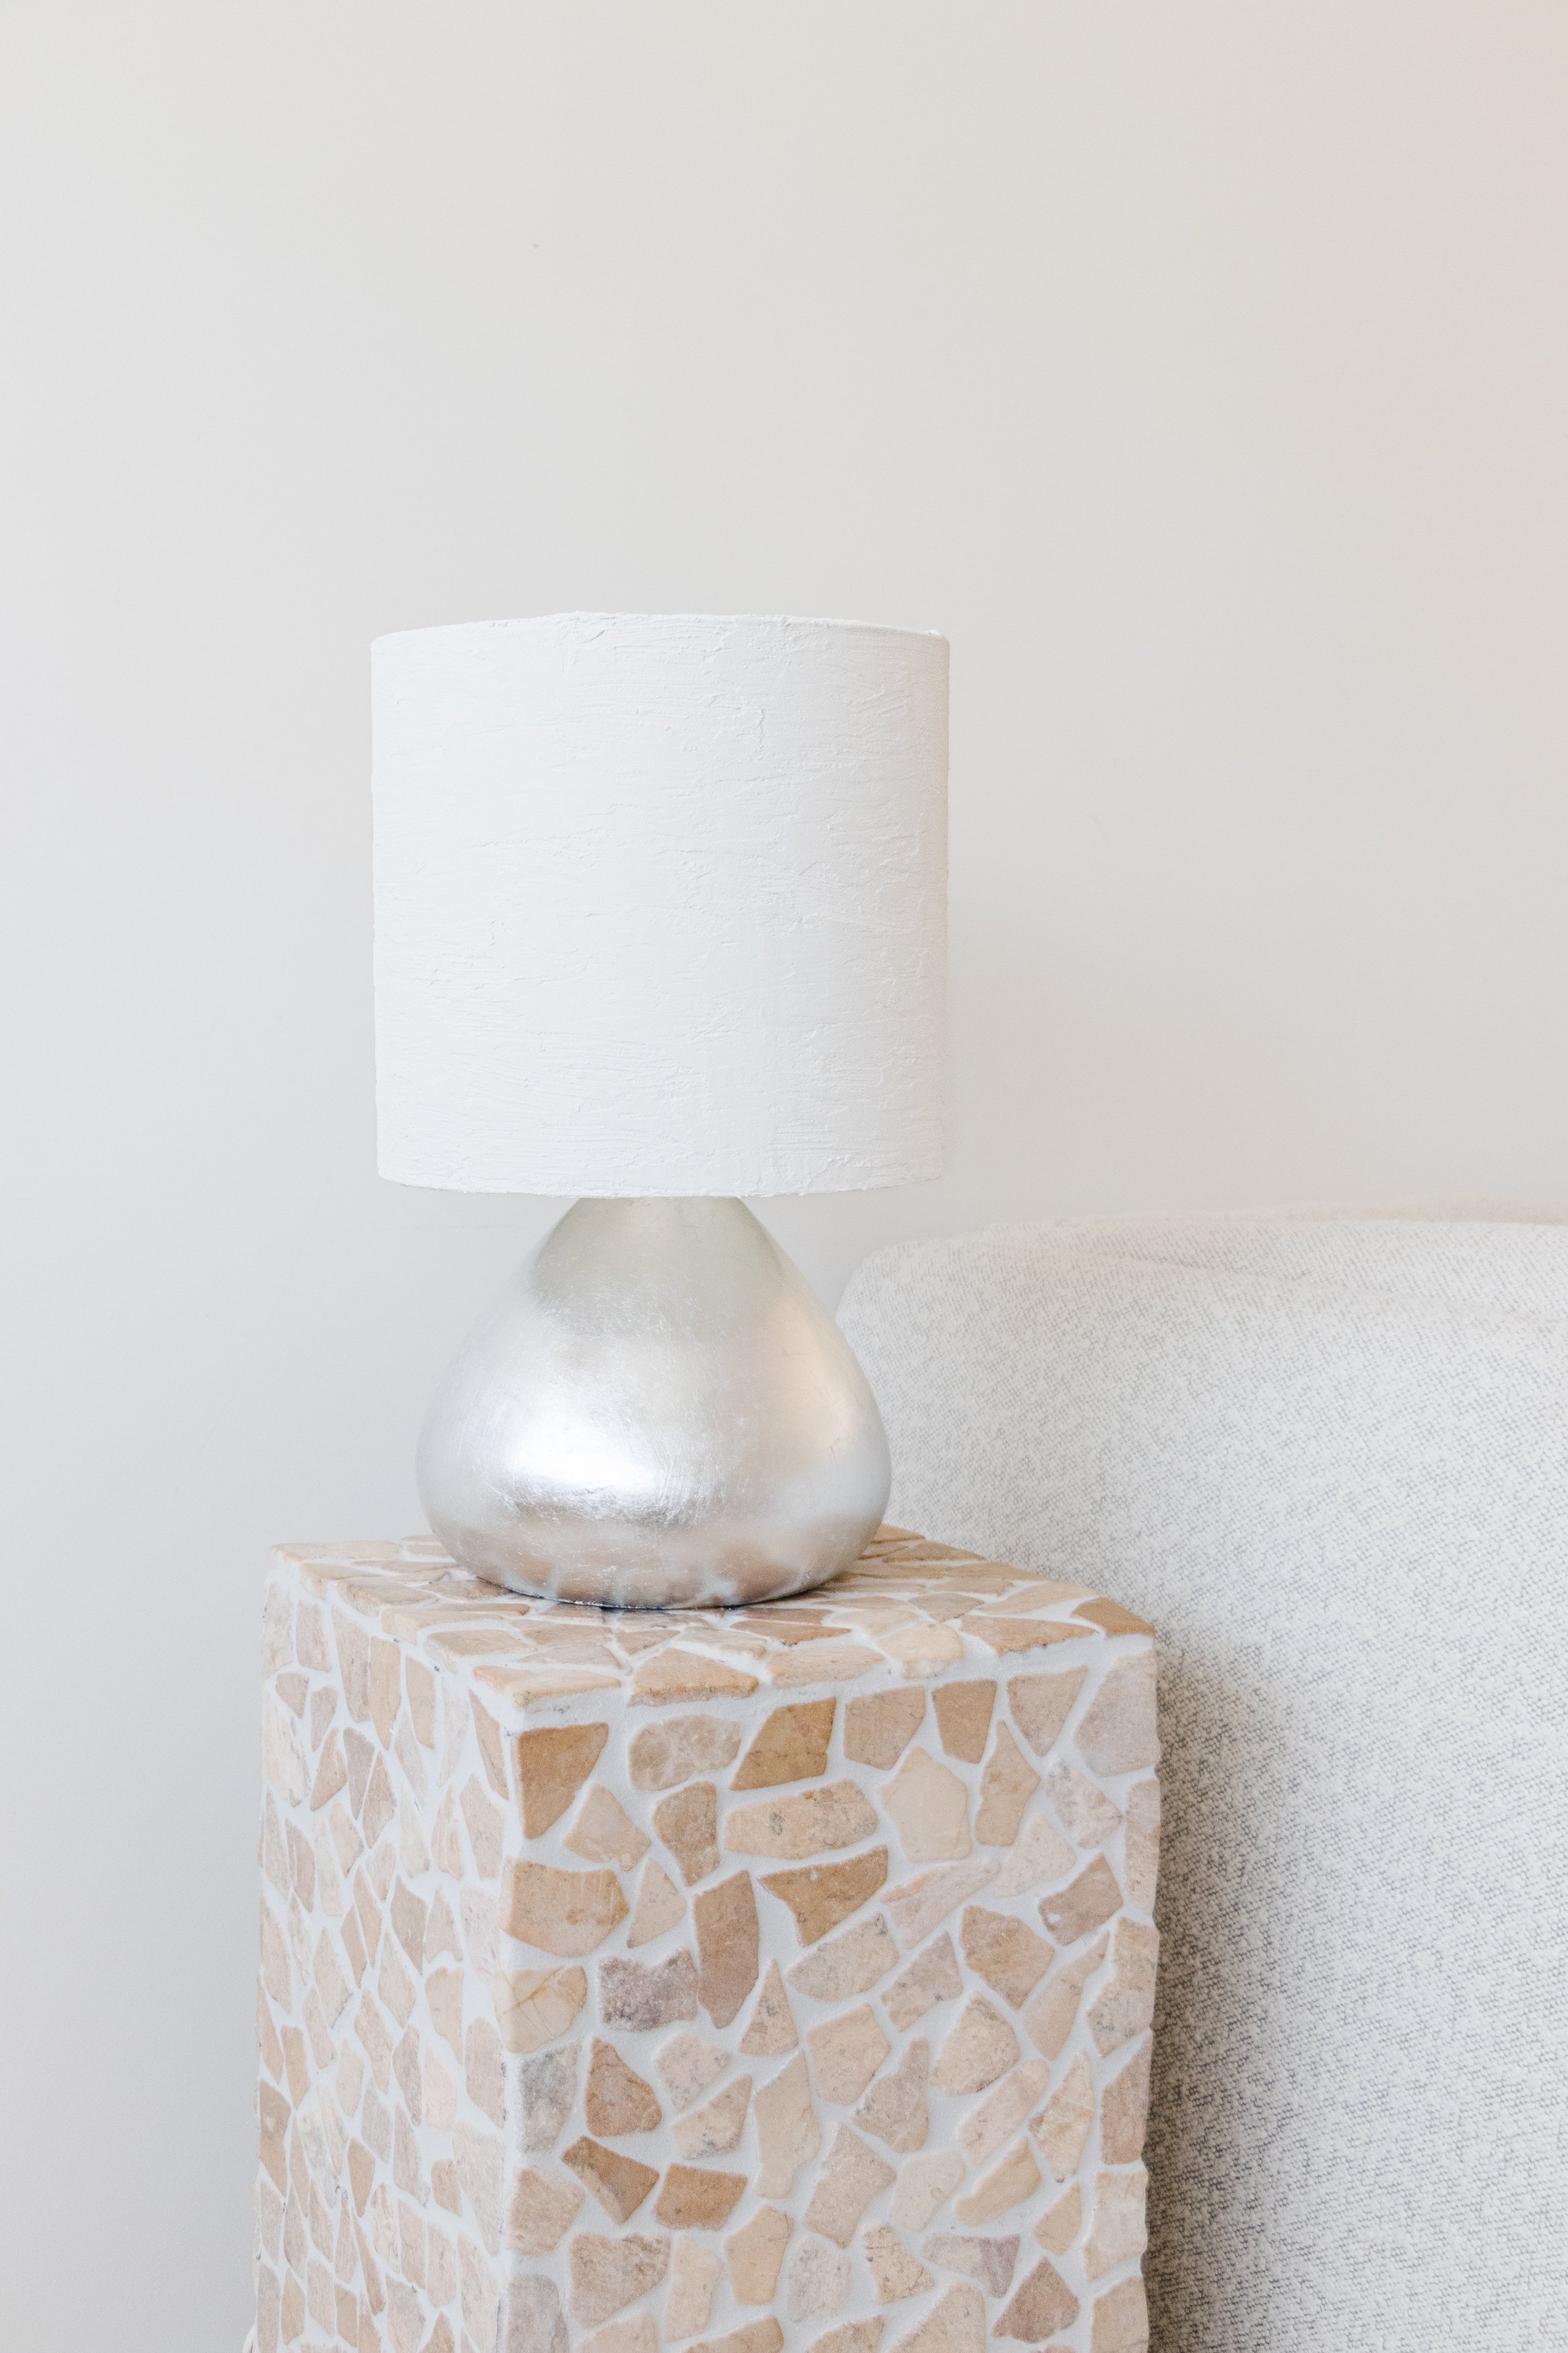
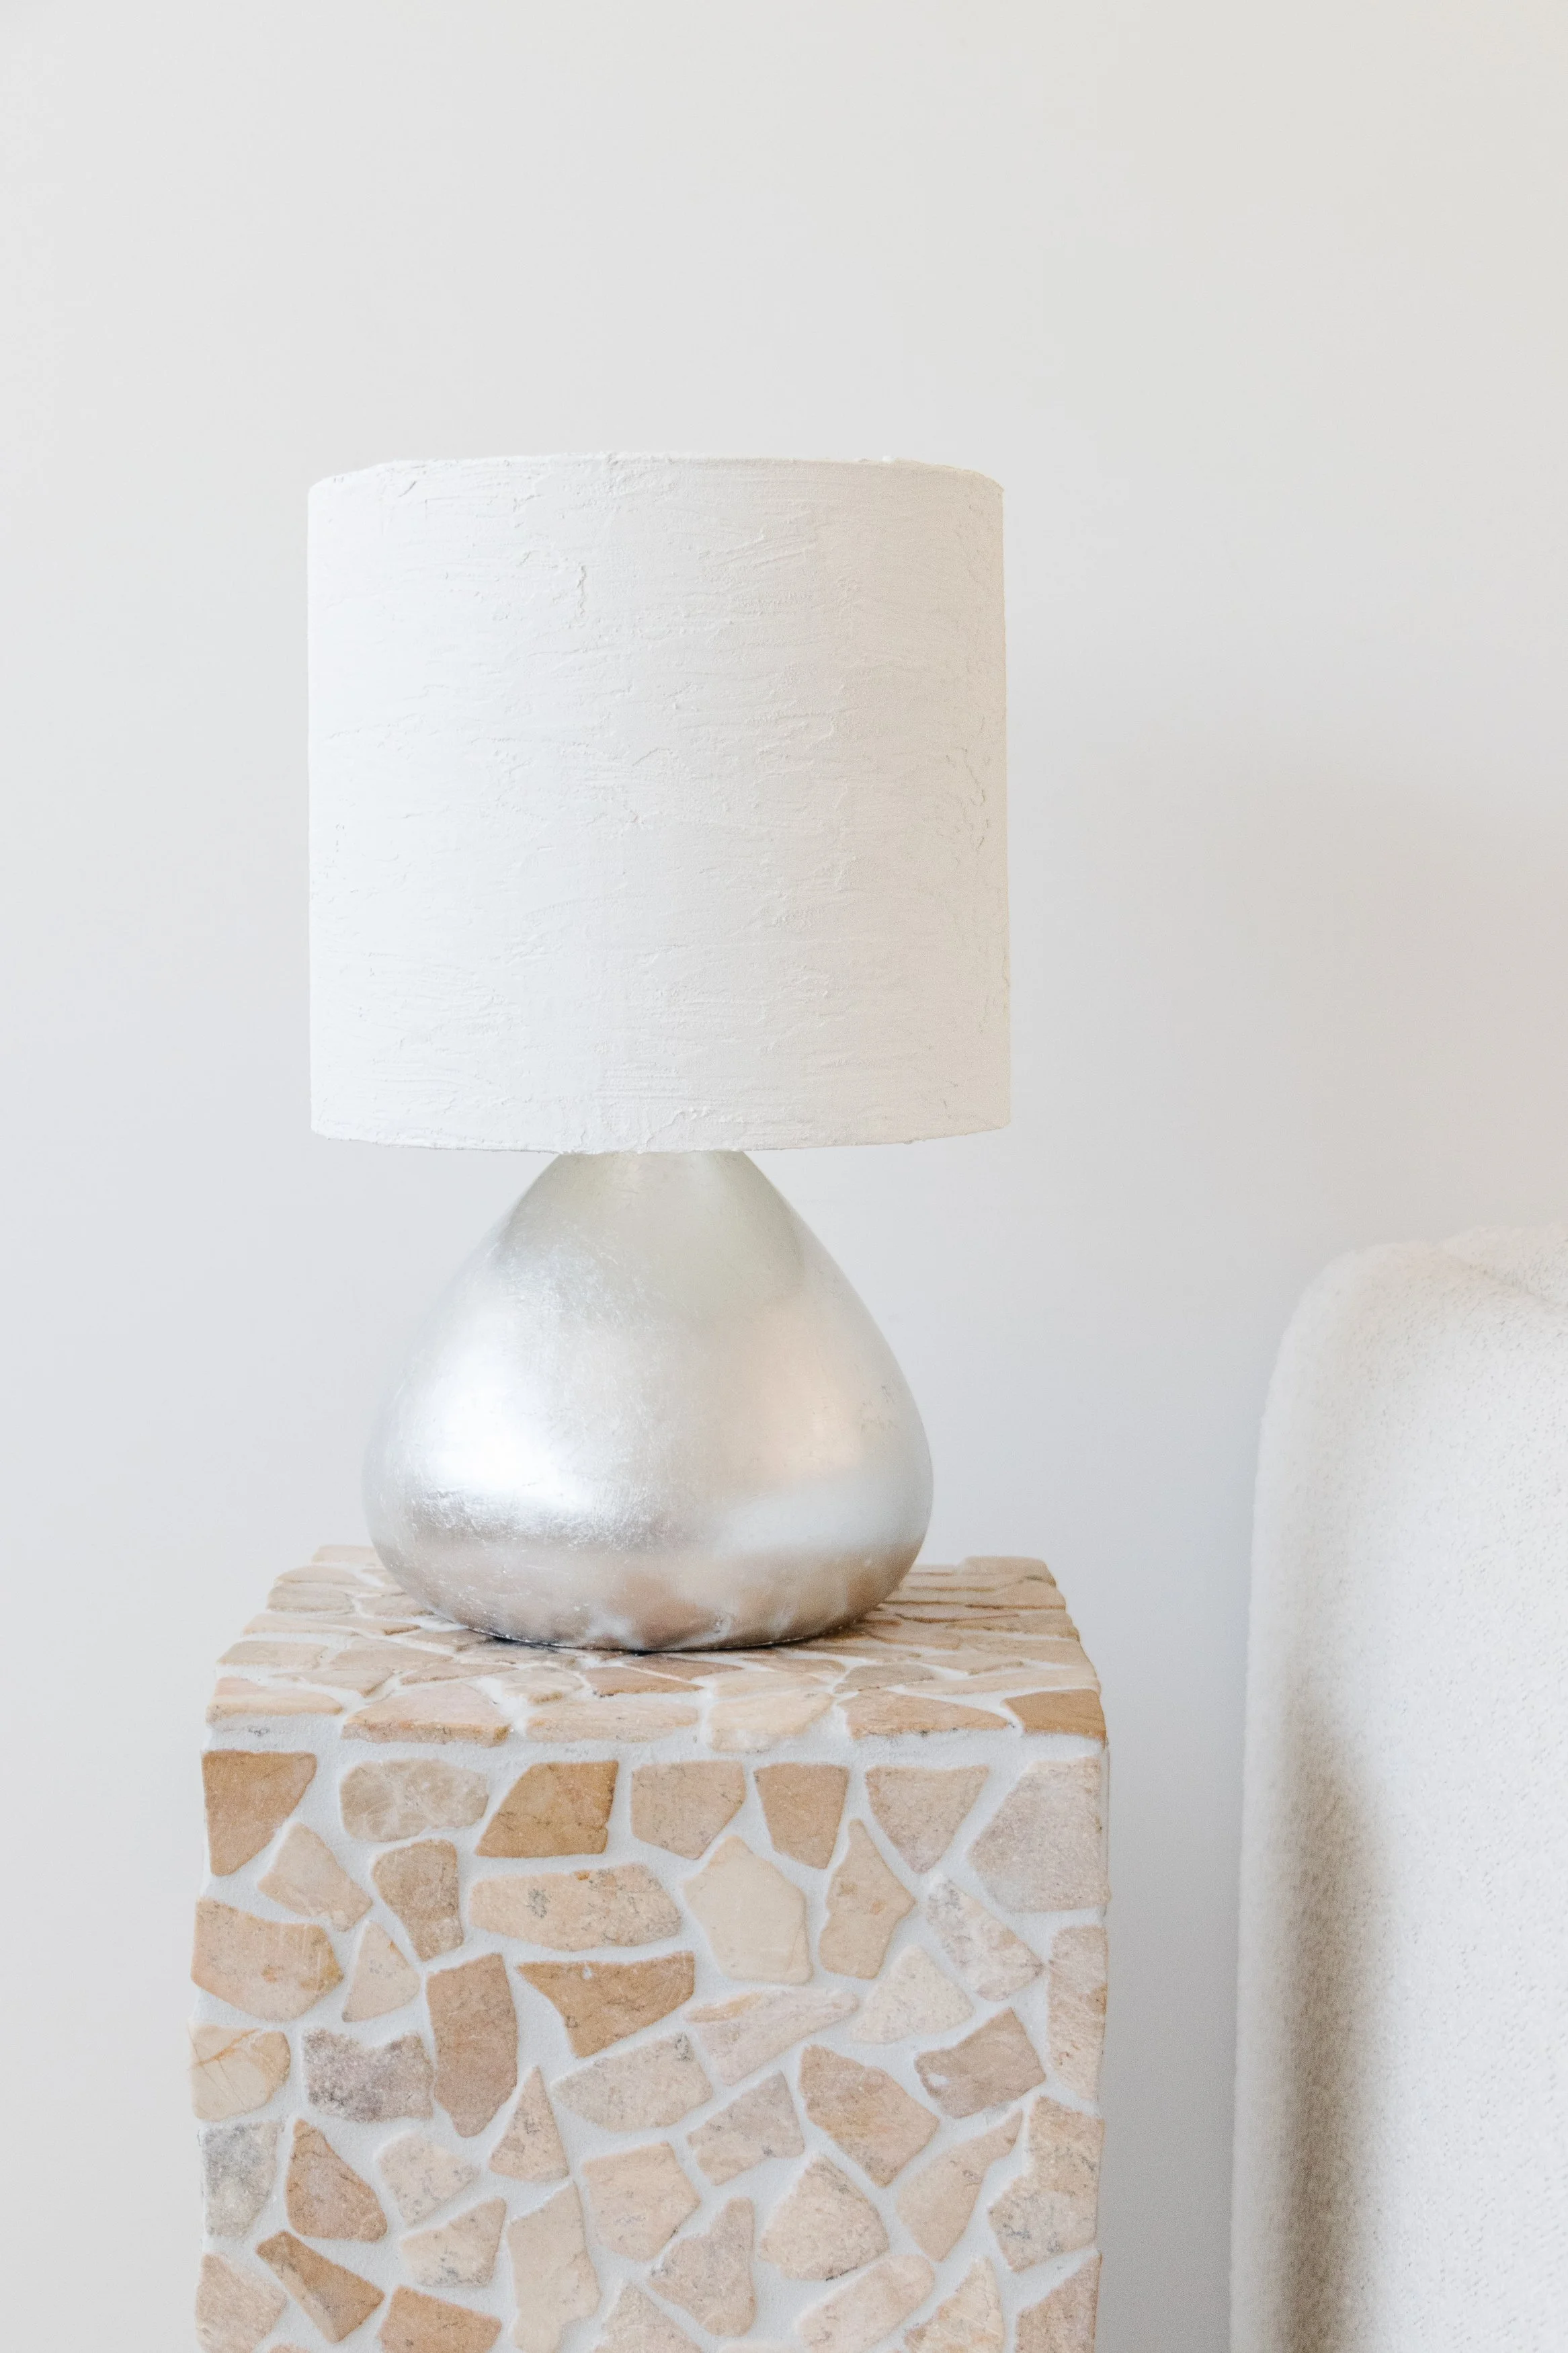
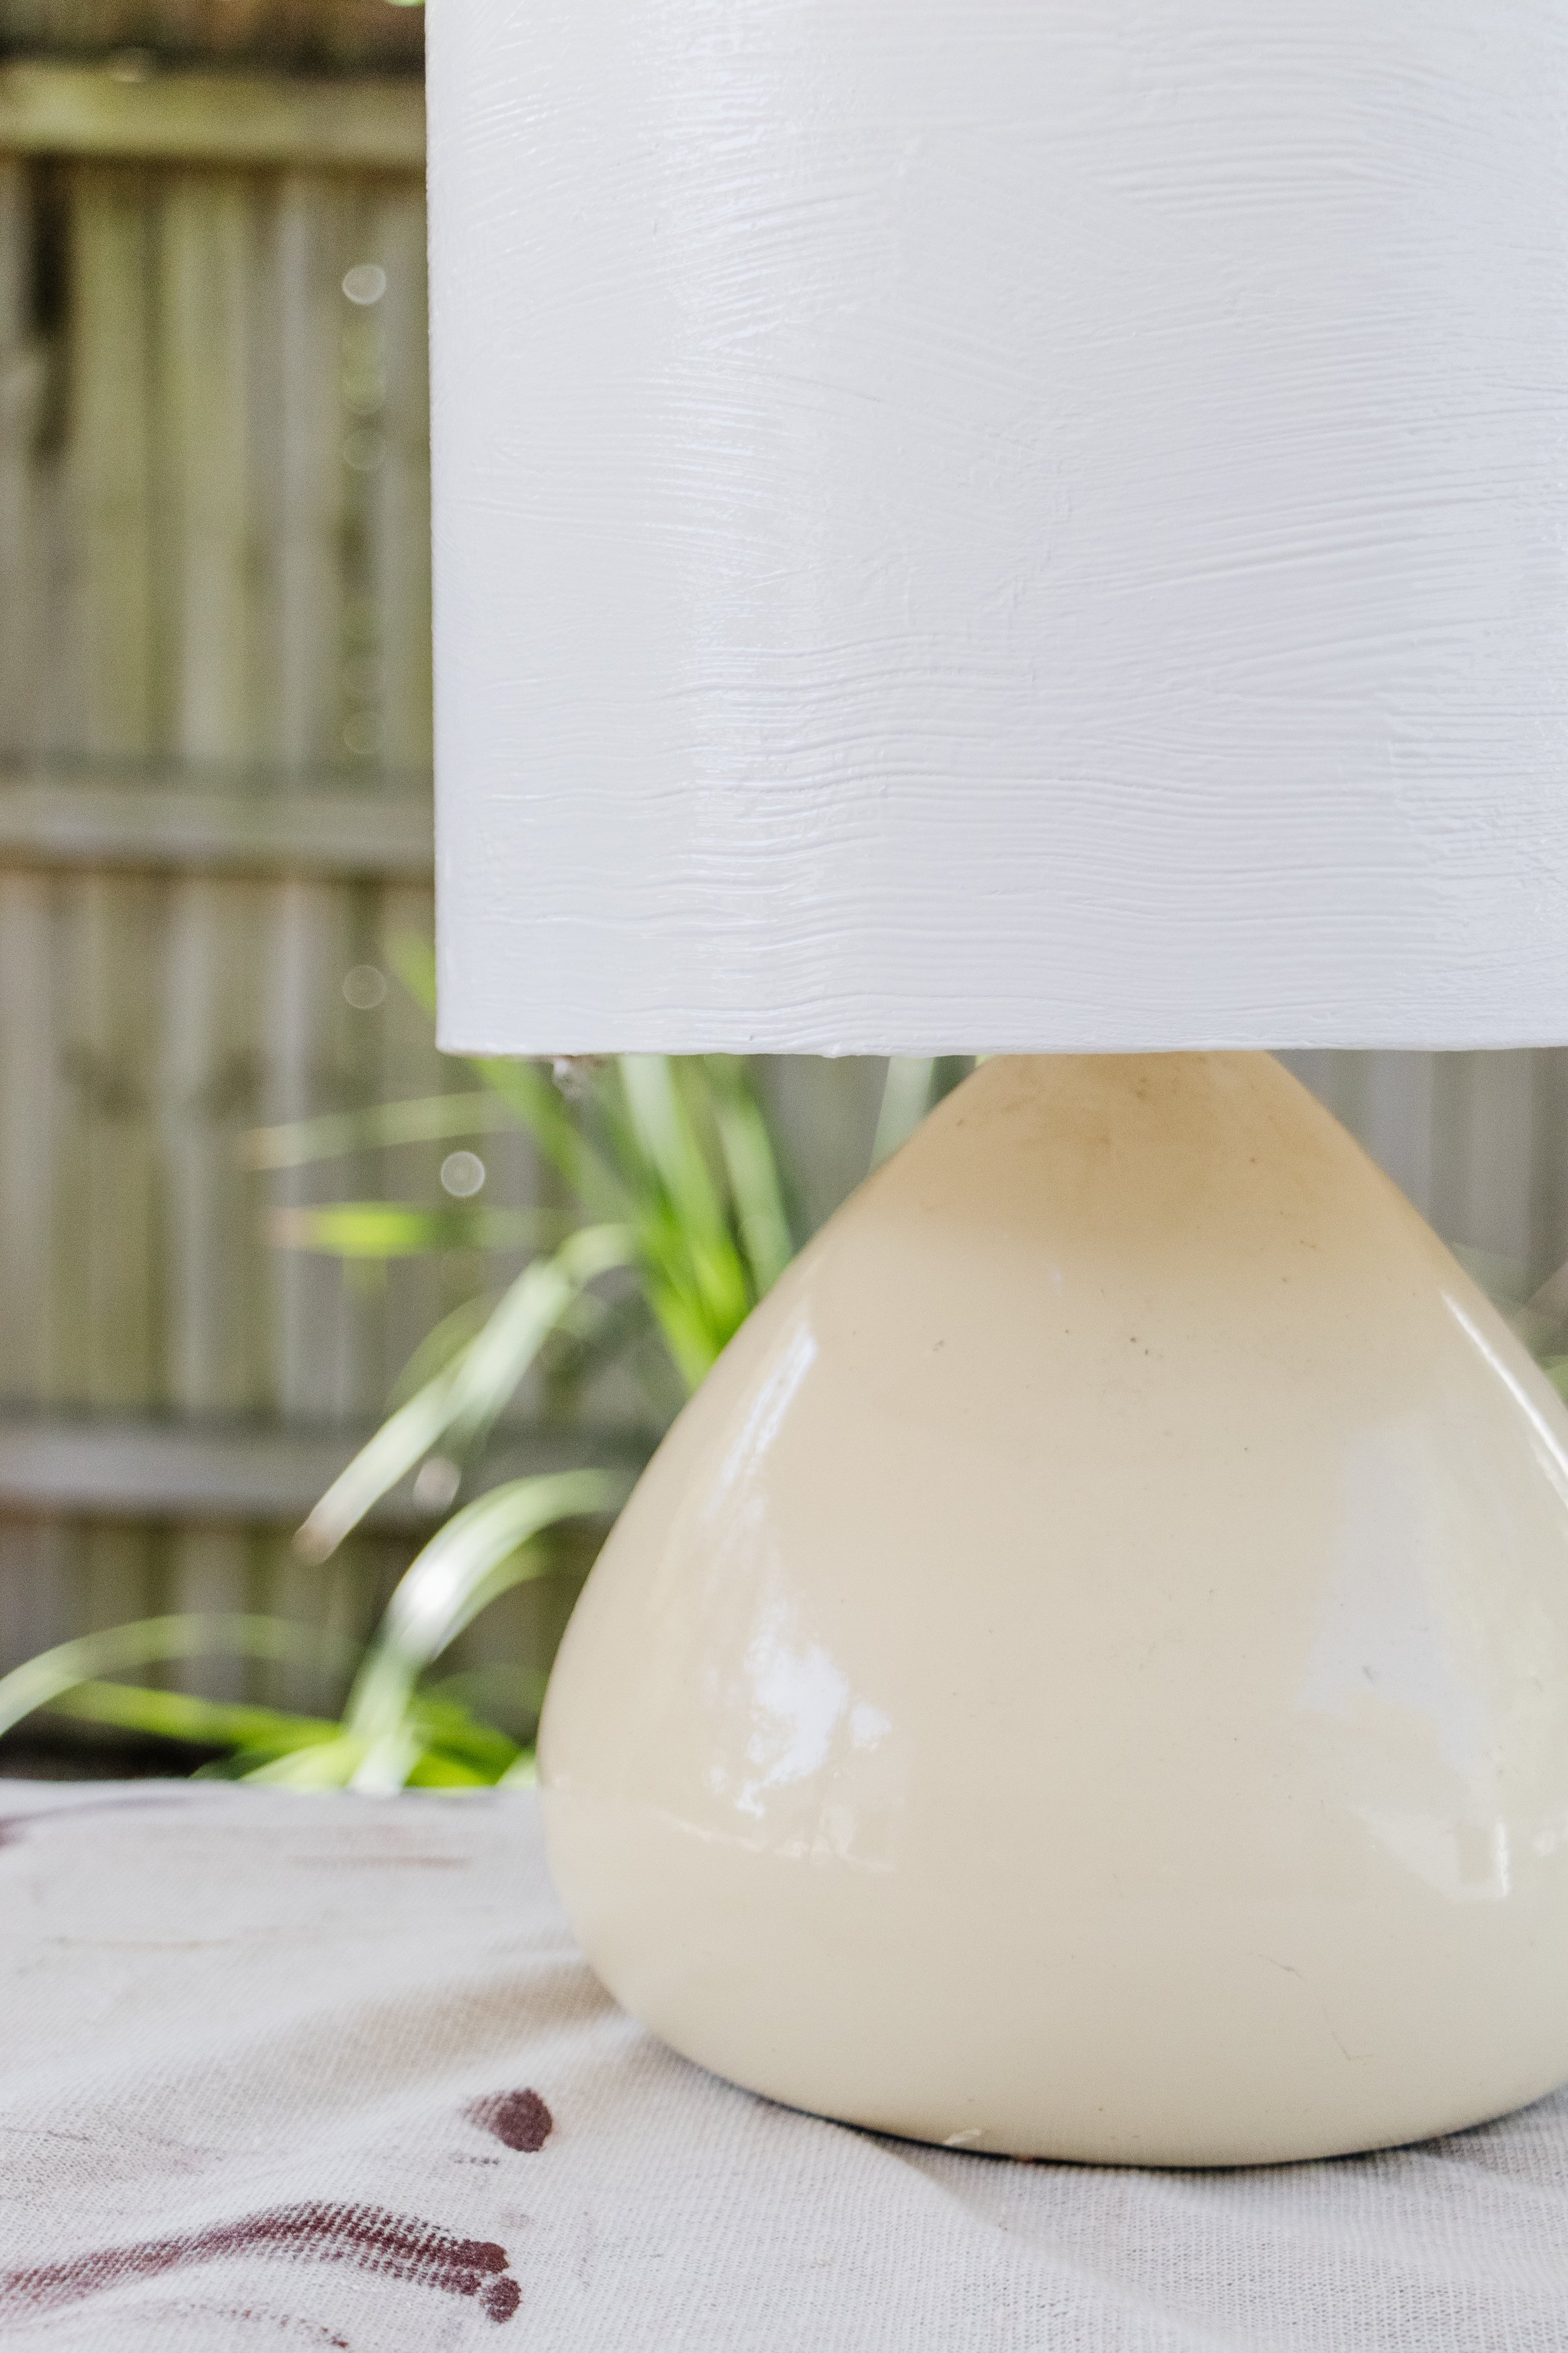
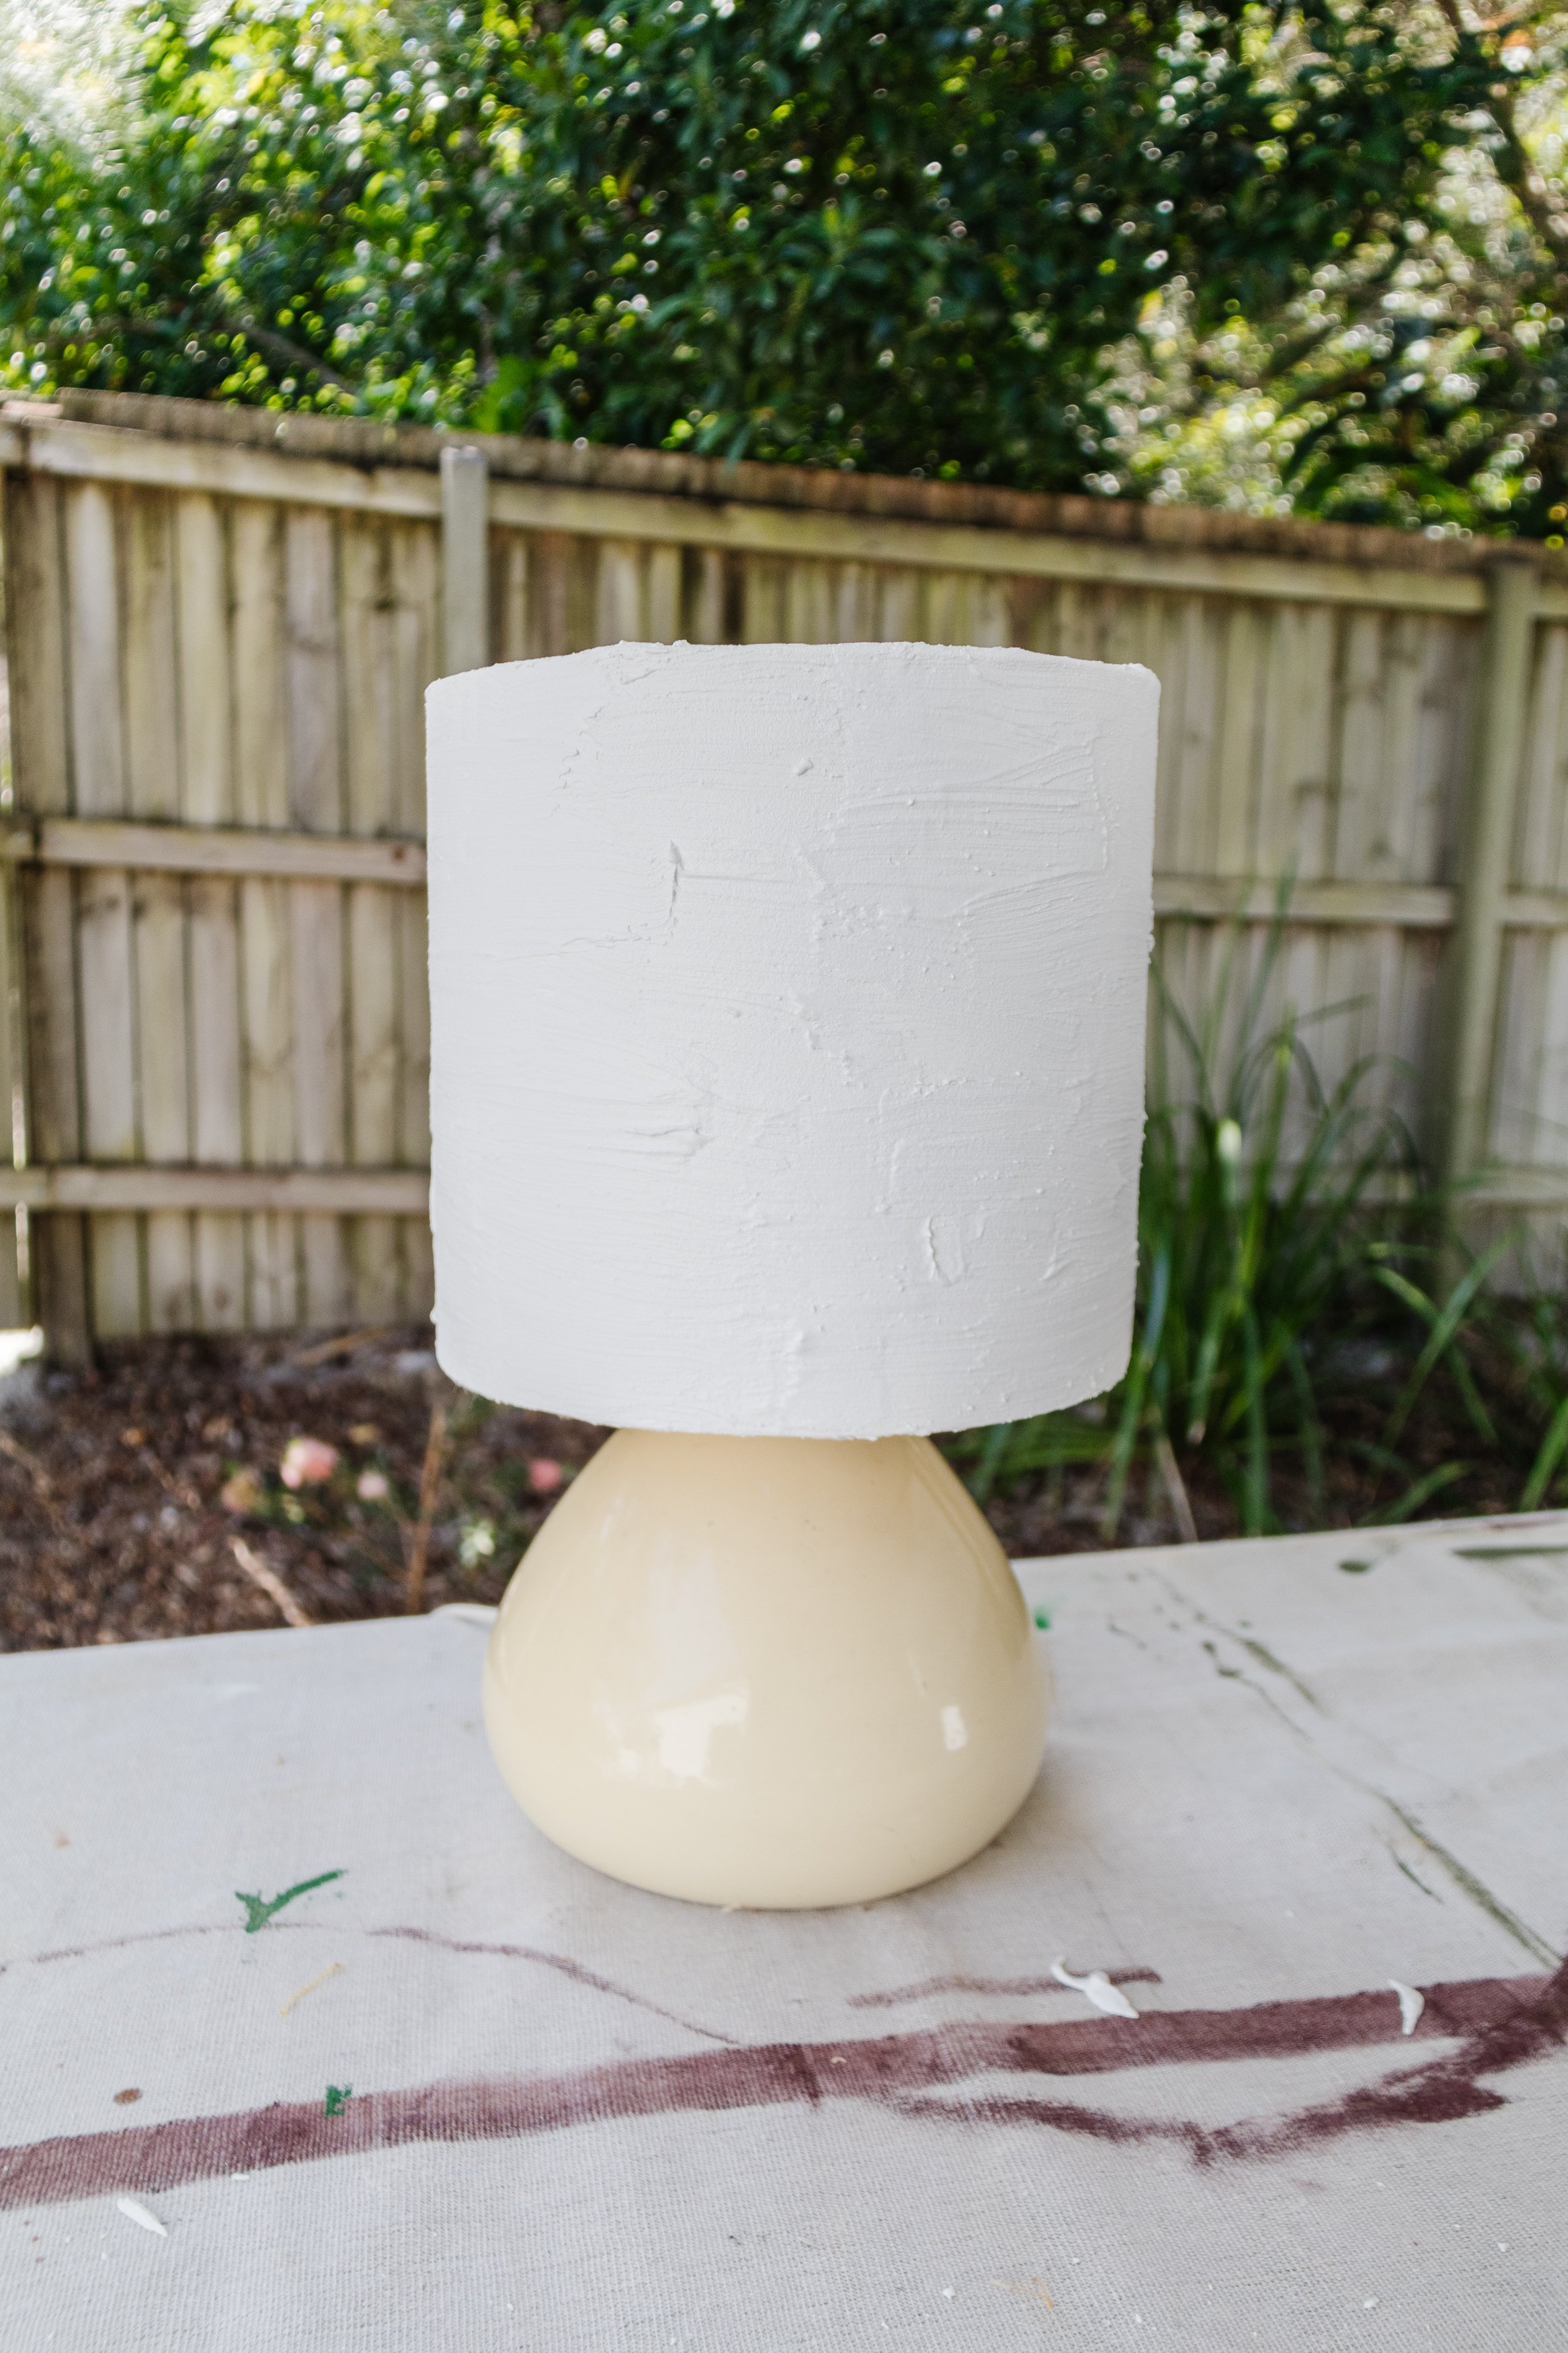
Step 2: When the paint had dried I painted a thick coat of white grout all over the lampshade using a paint brush (do not paint the inside of the lamp shade) and as it was curing (drying) I used a scraper to flatten and “scrap” the grout to create a beautiful scraped plaster finish. This is a technique I came up with for creating texture when I covered a thrifted lamp shade using grout a couple of years ago, so it was nice to do this again!
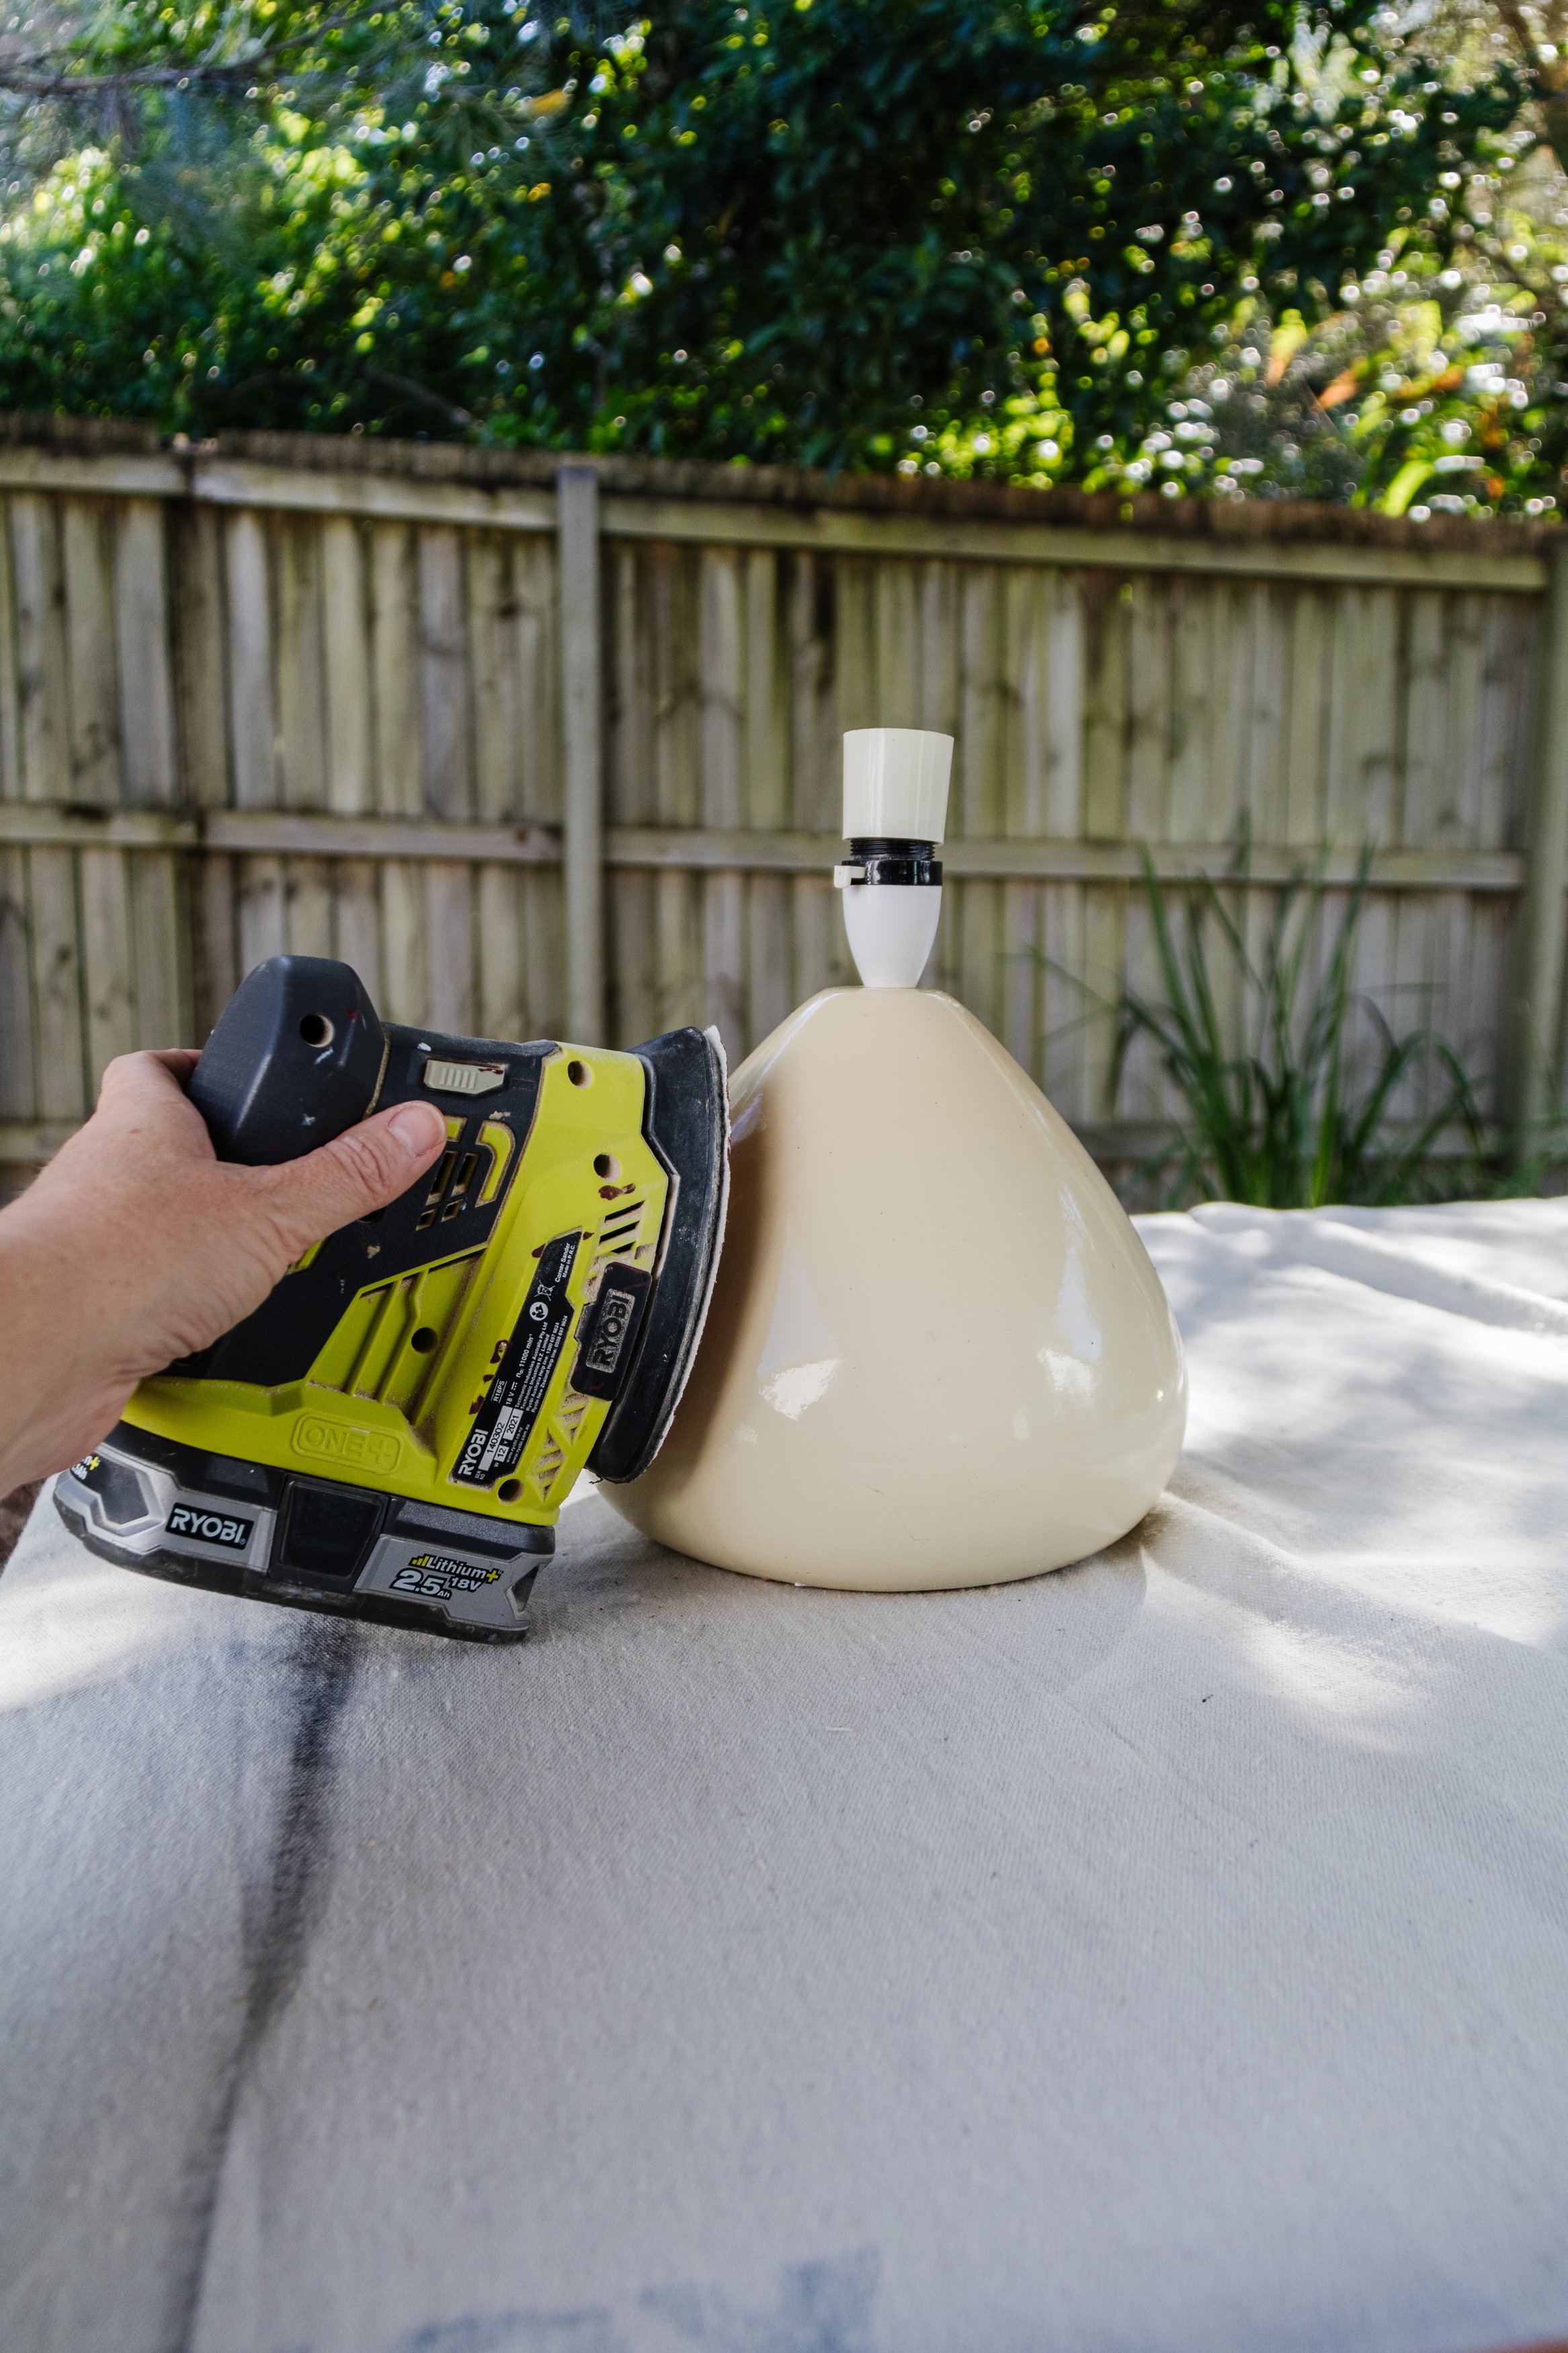
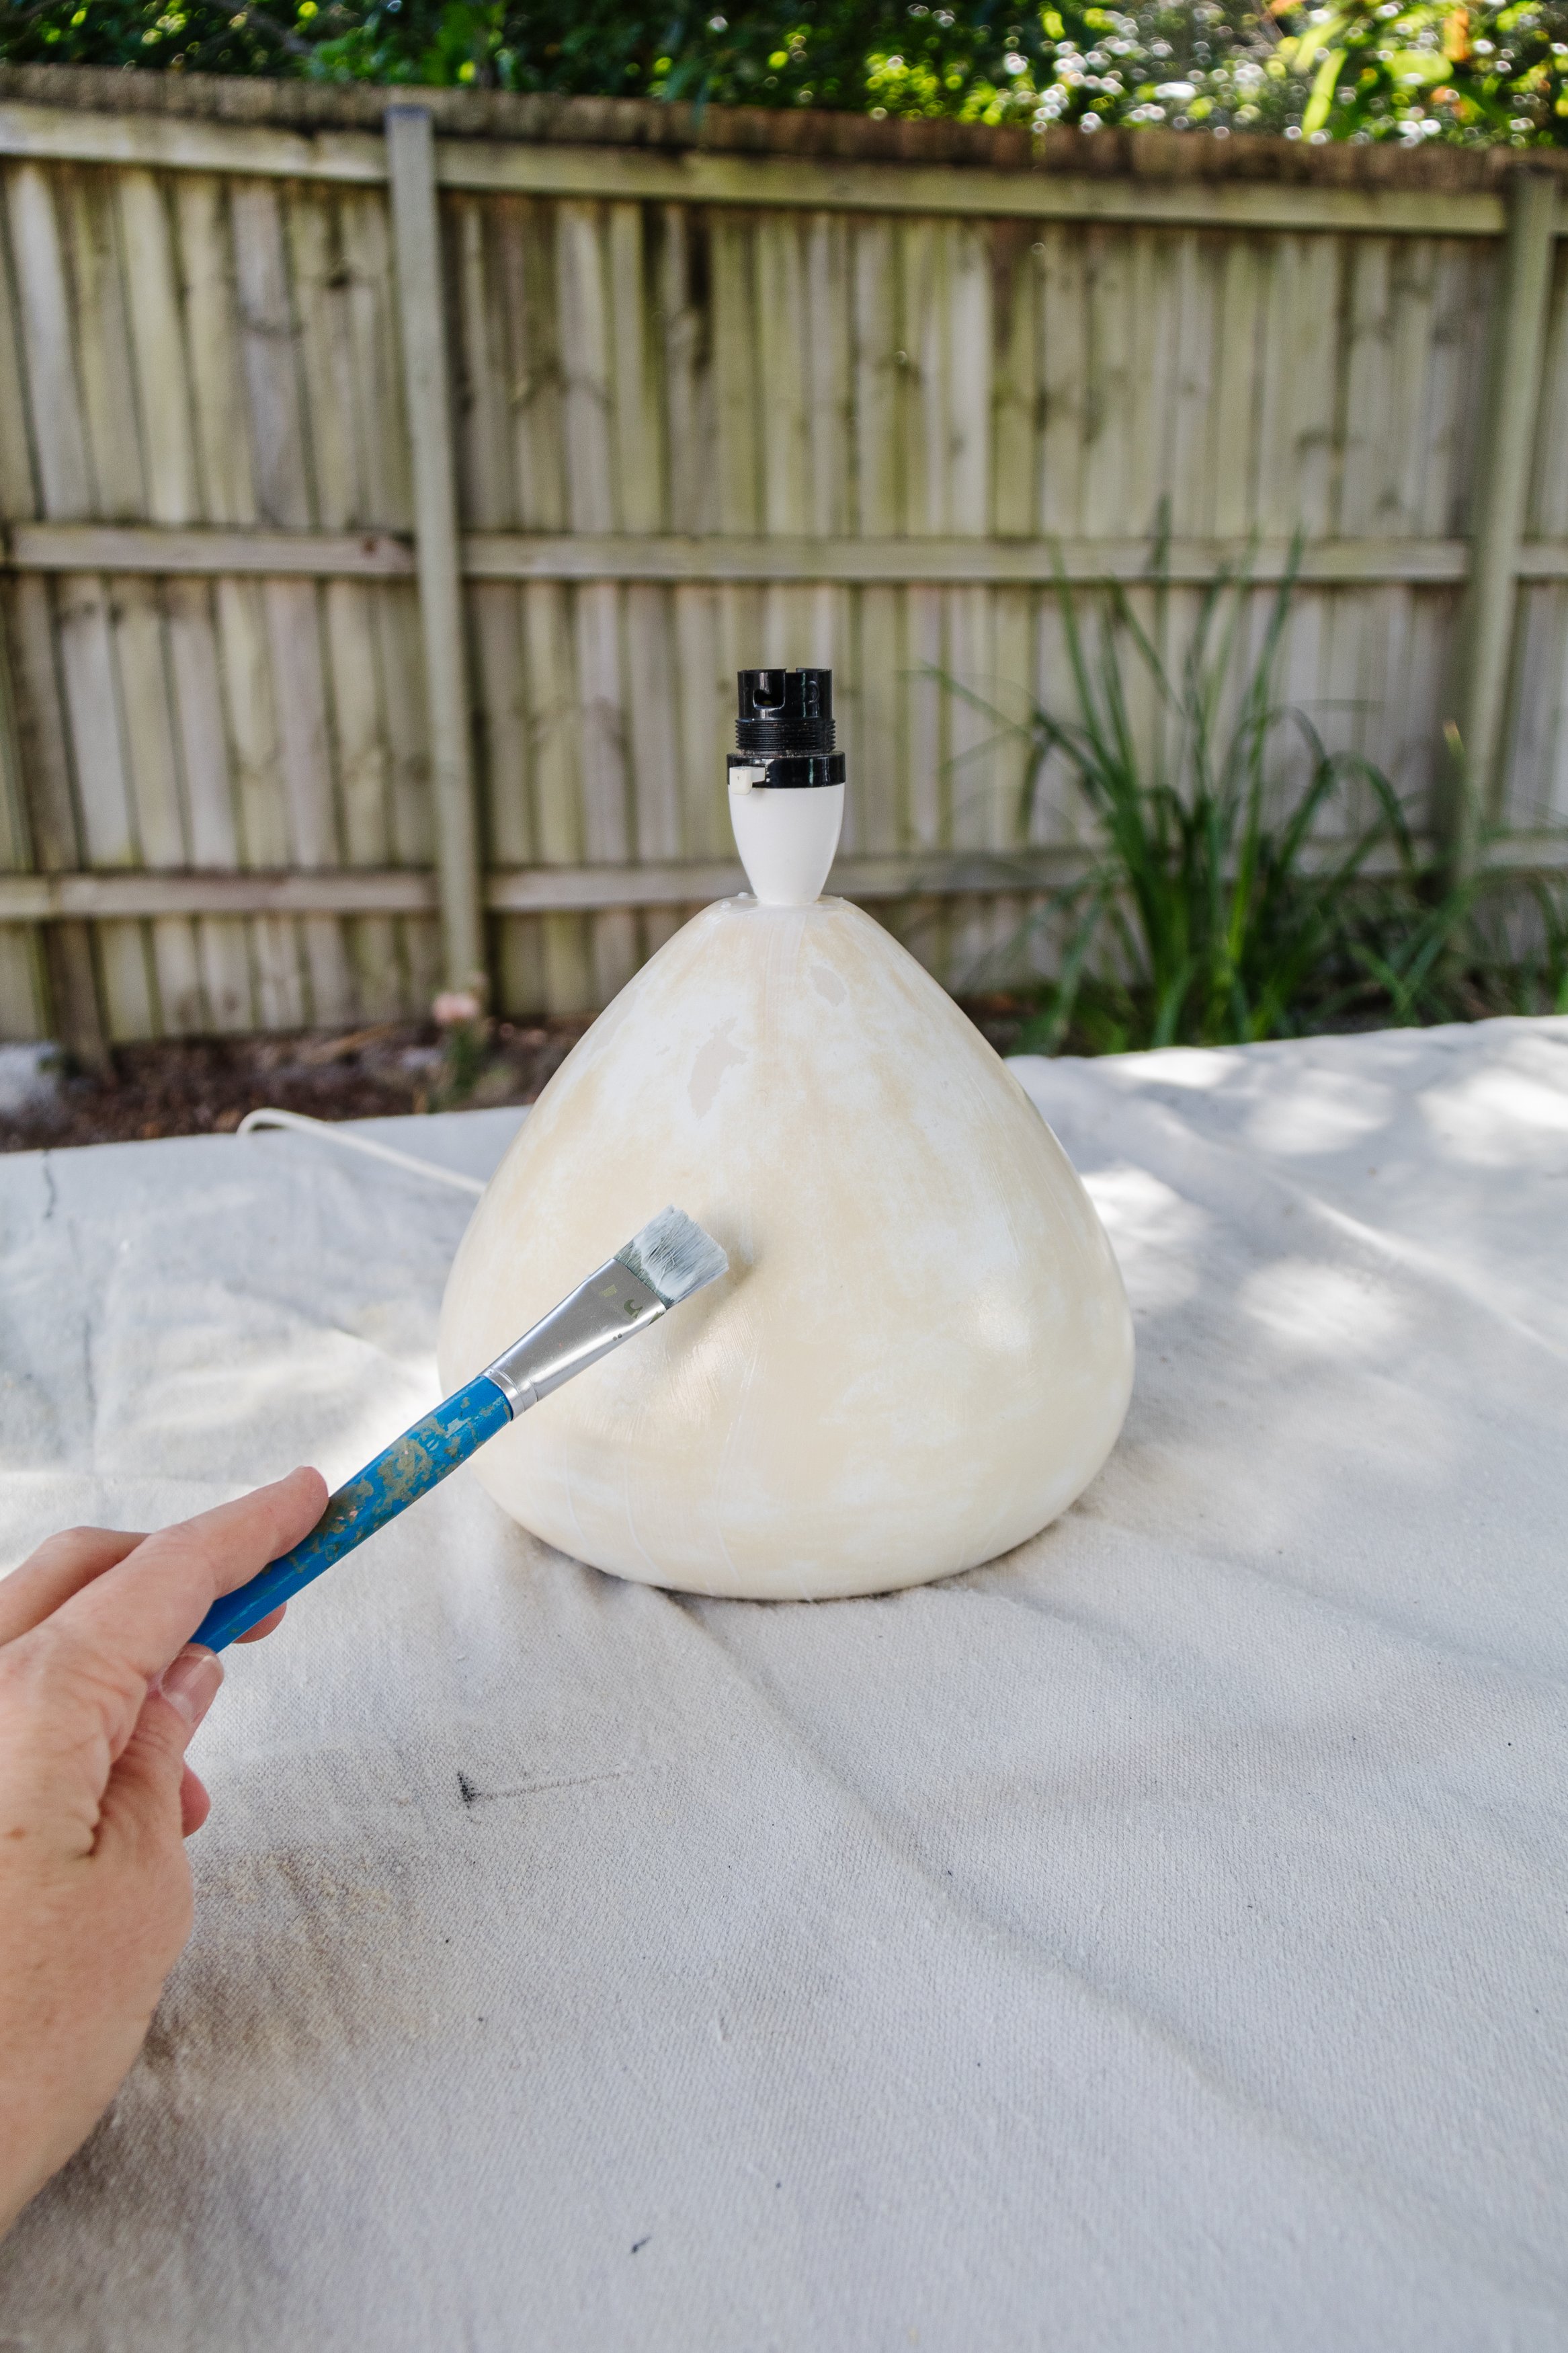
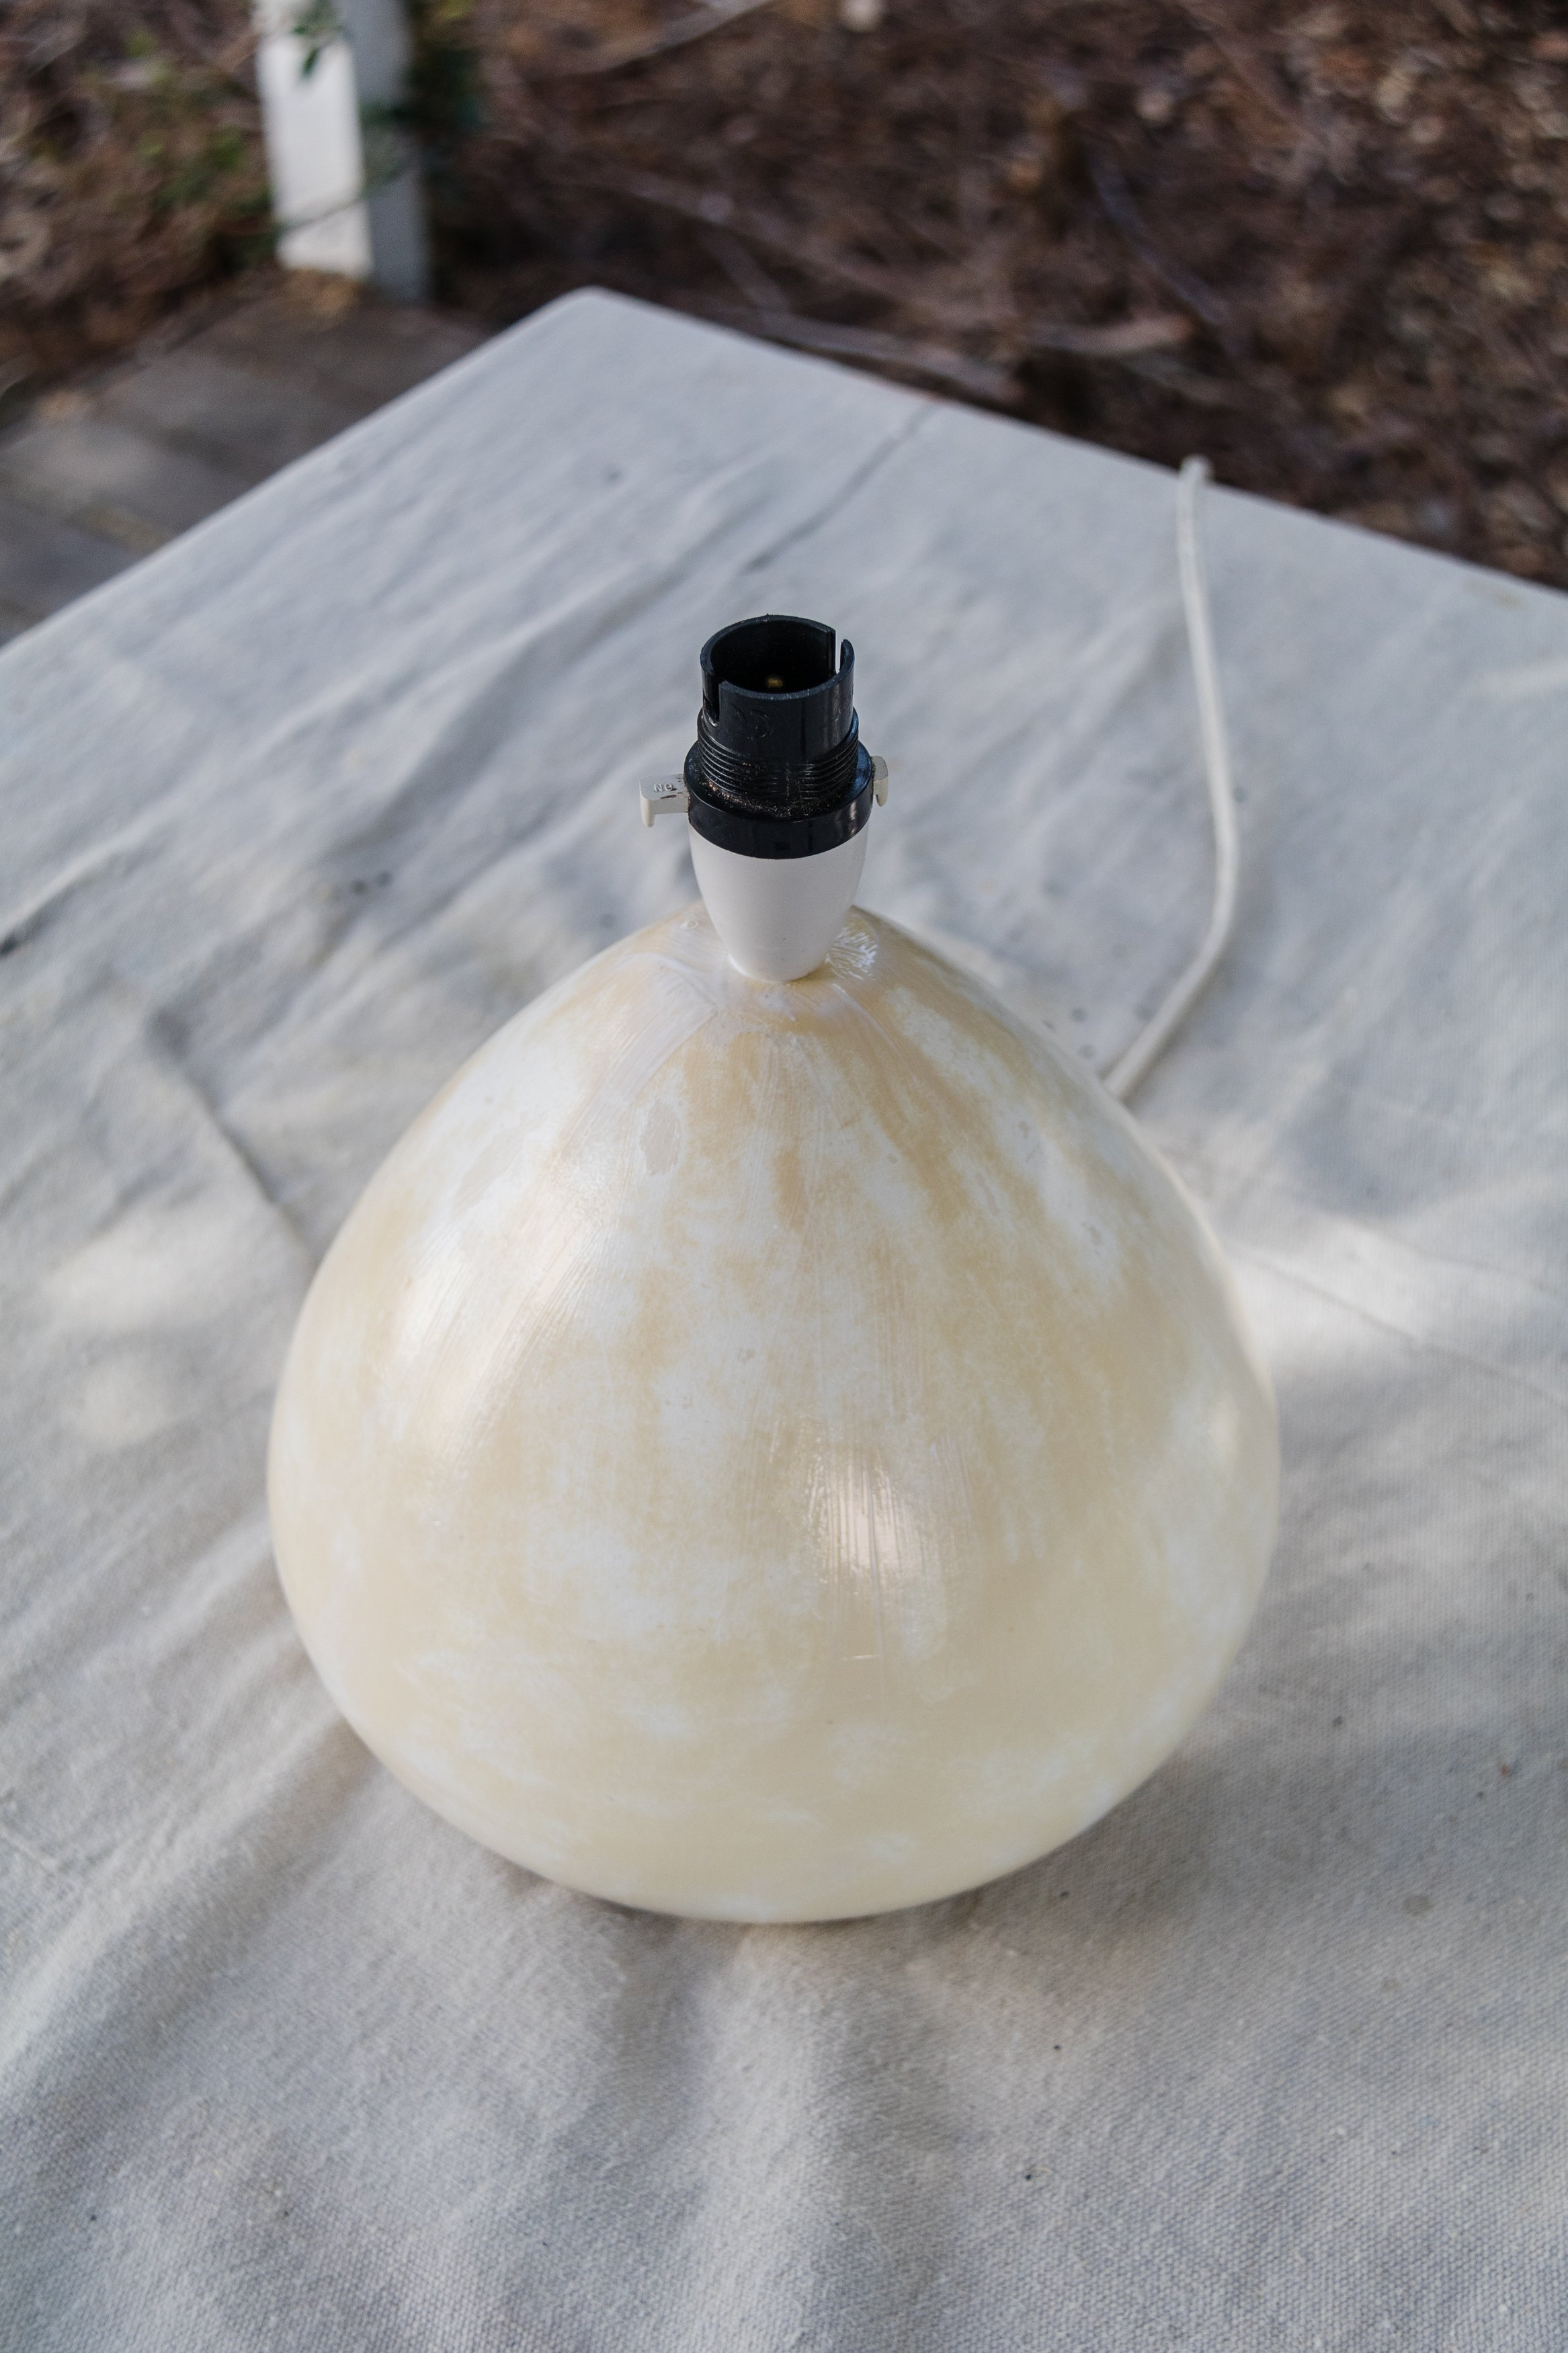
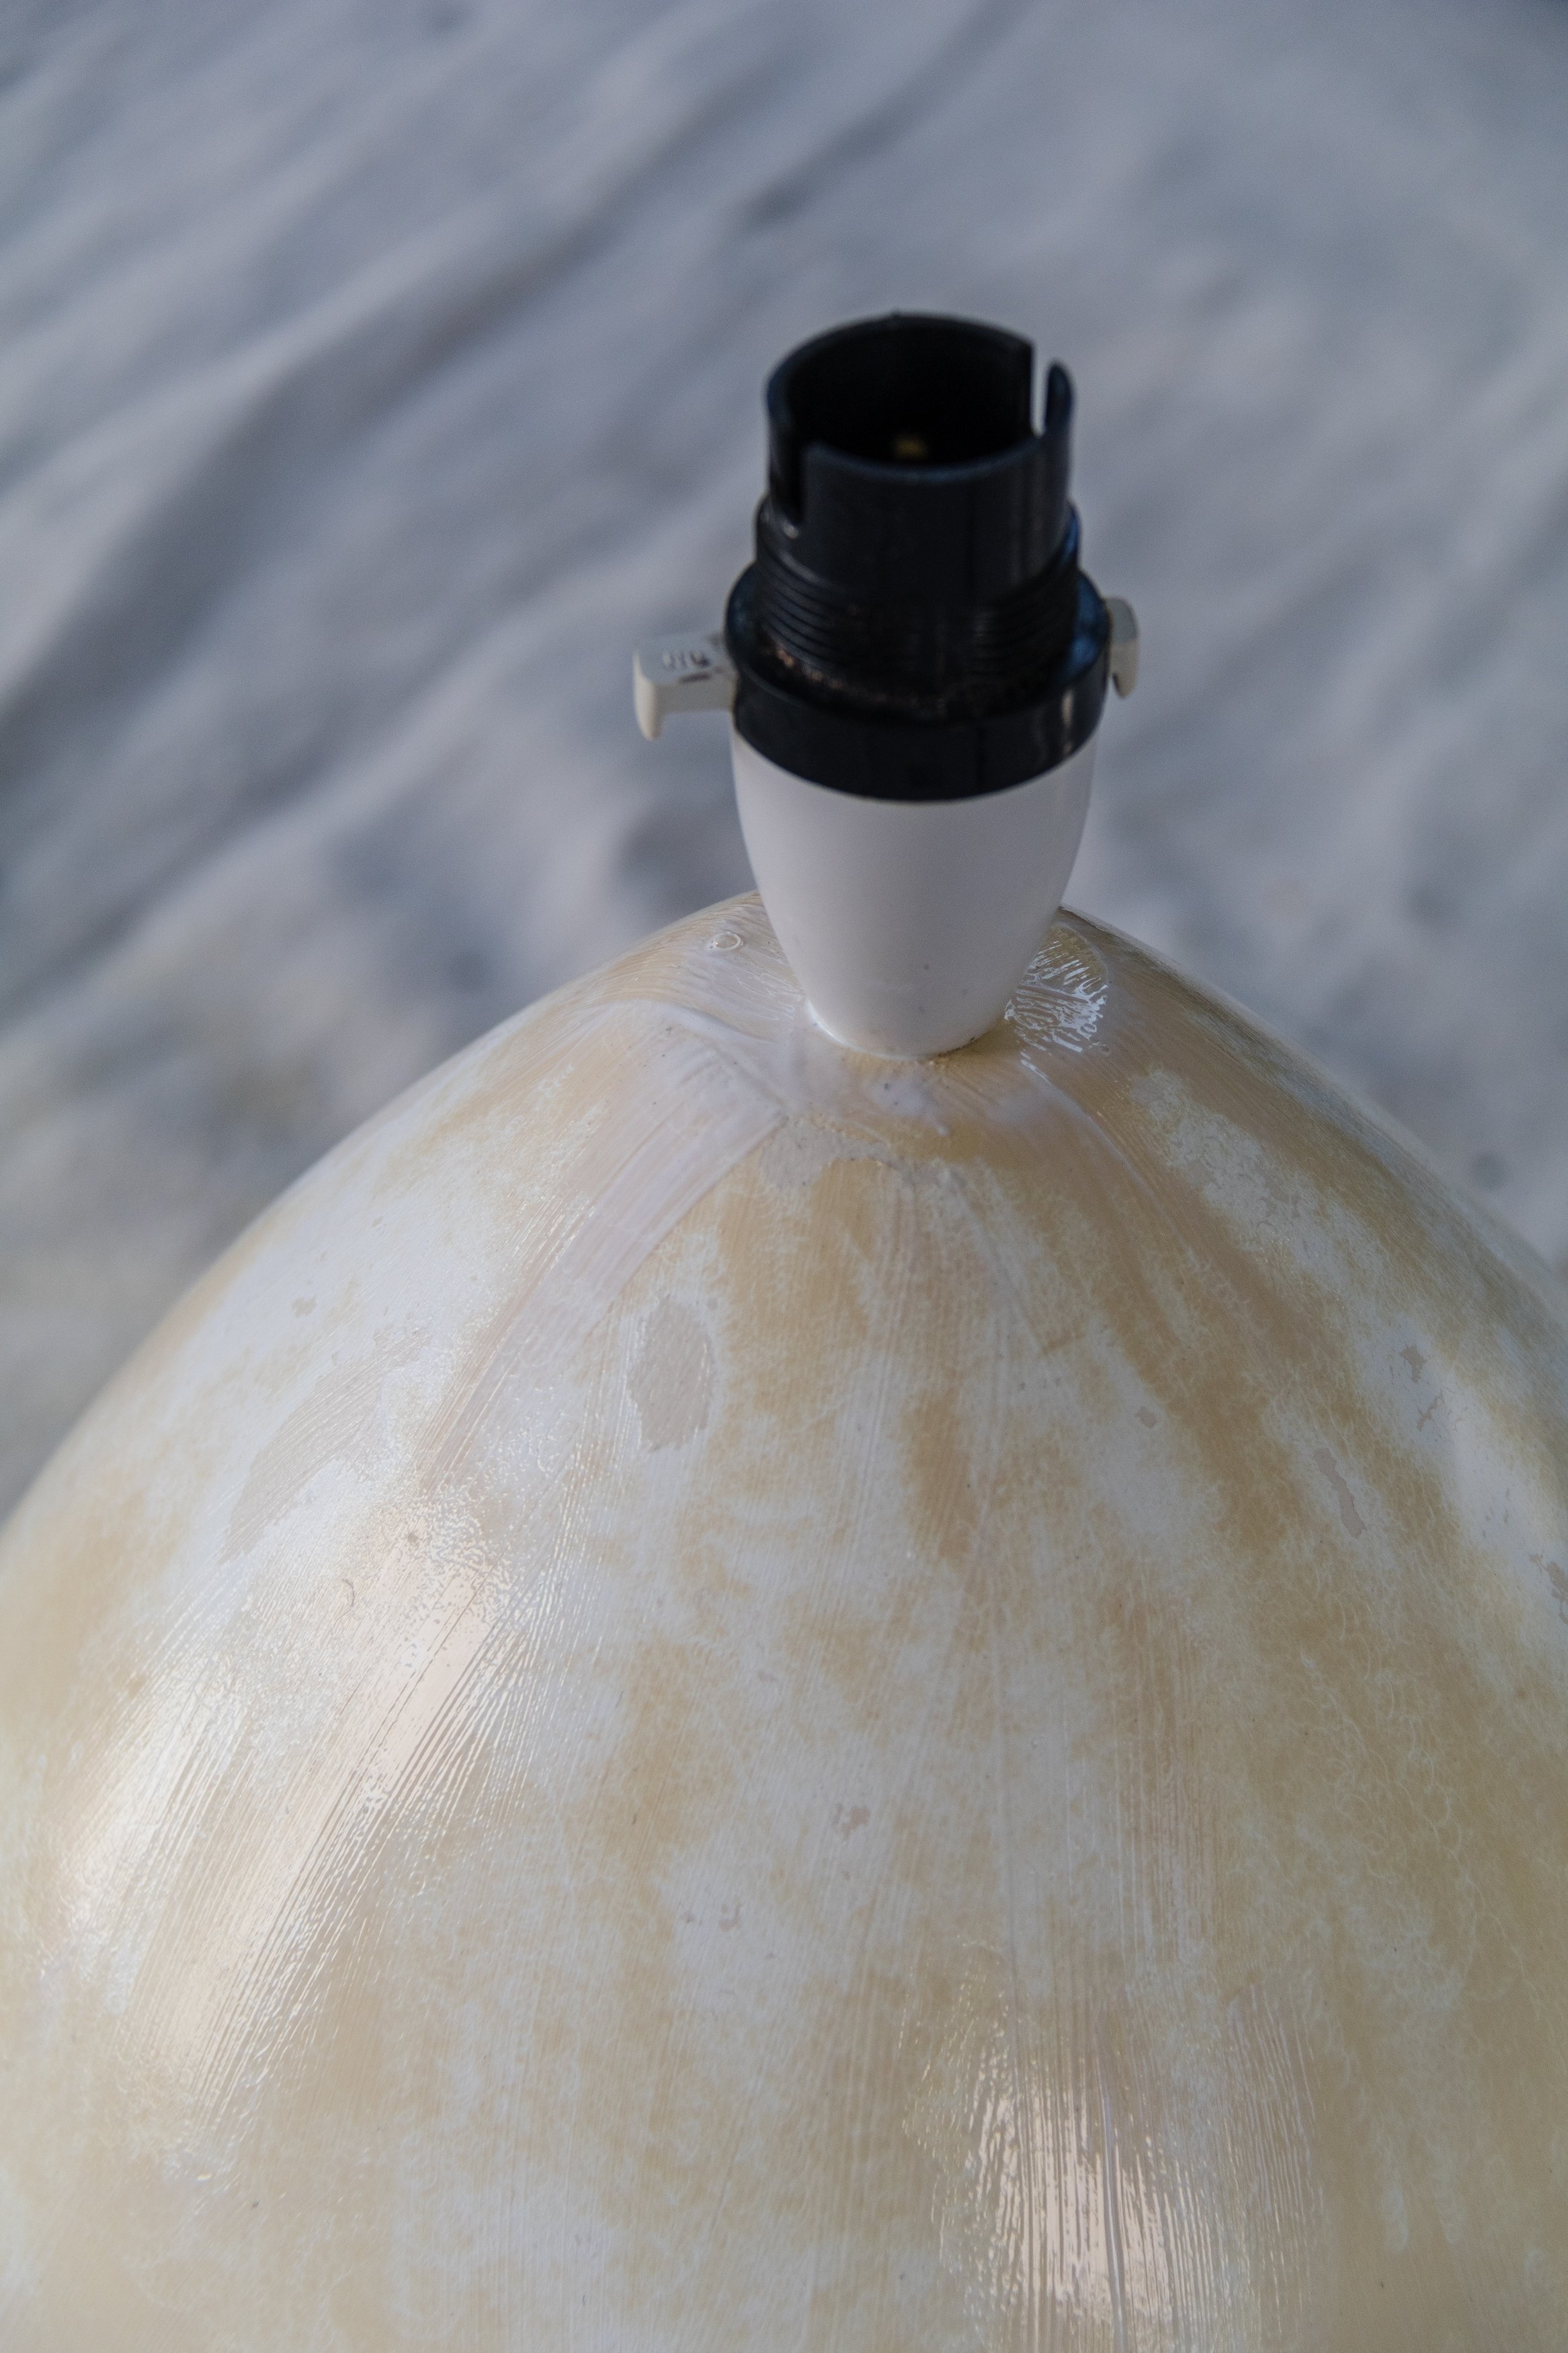
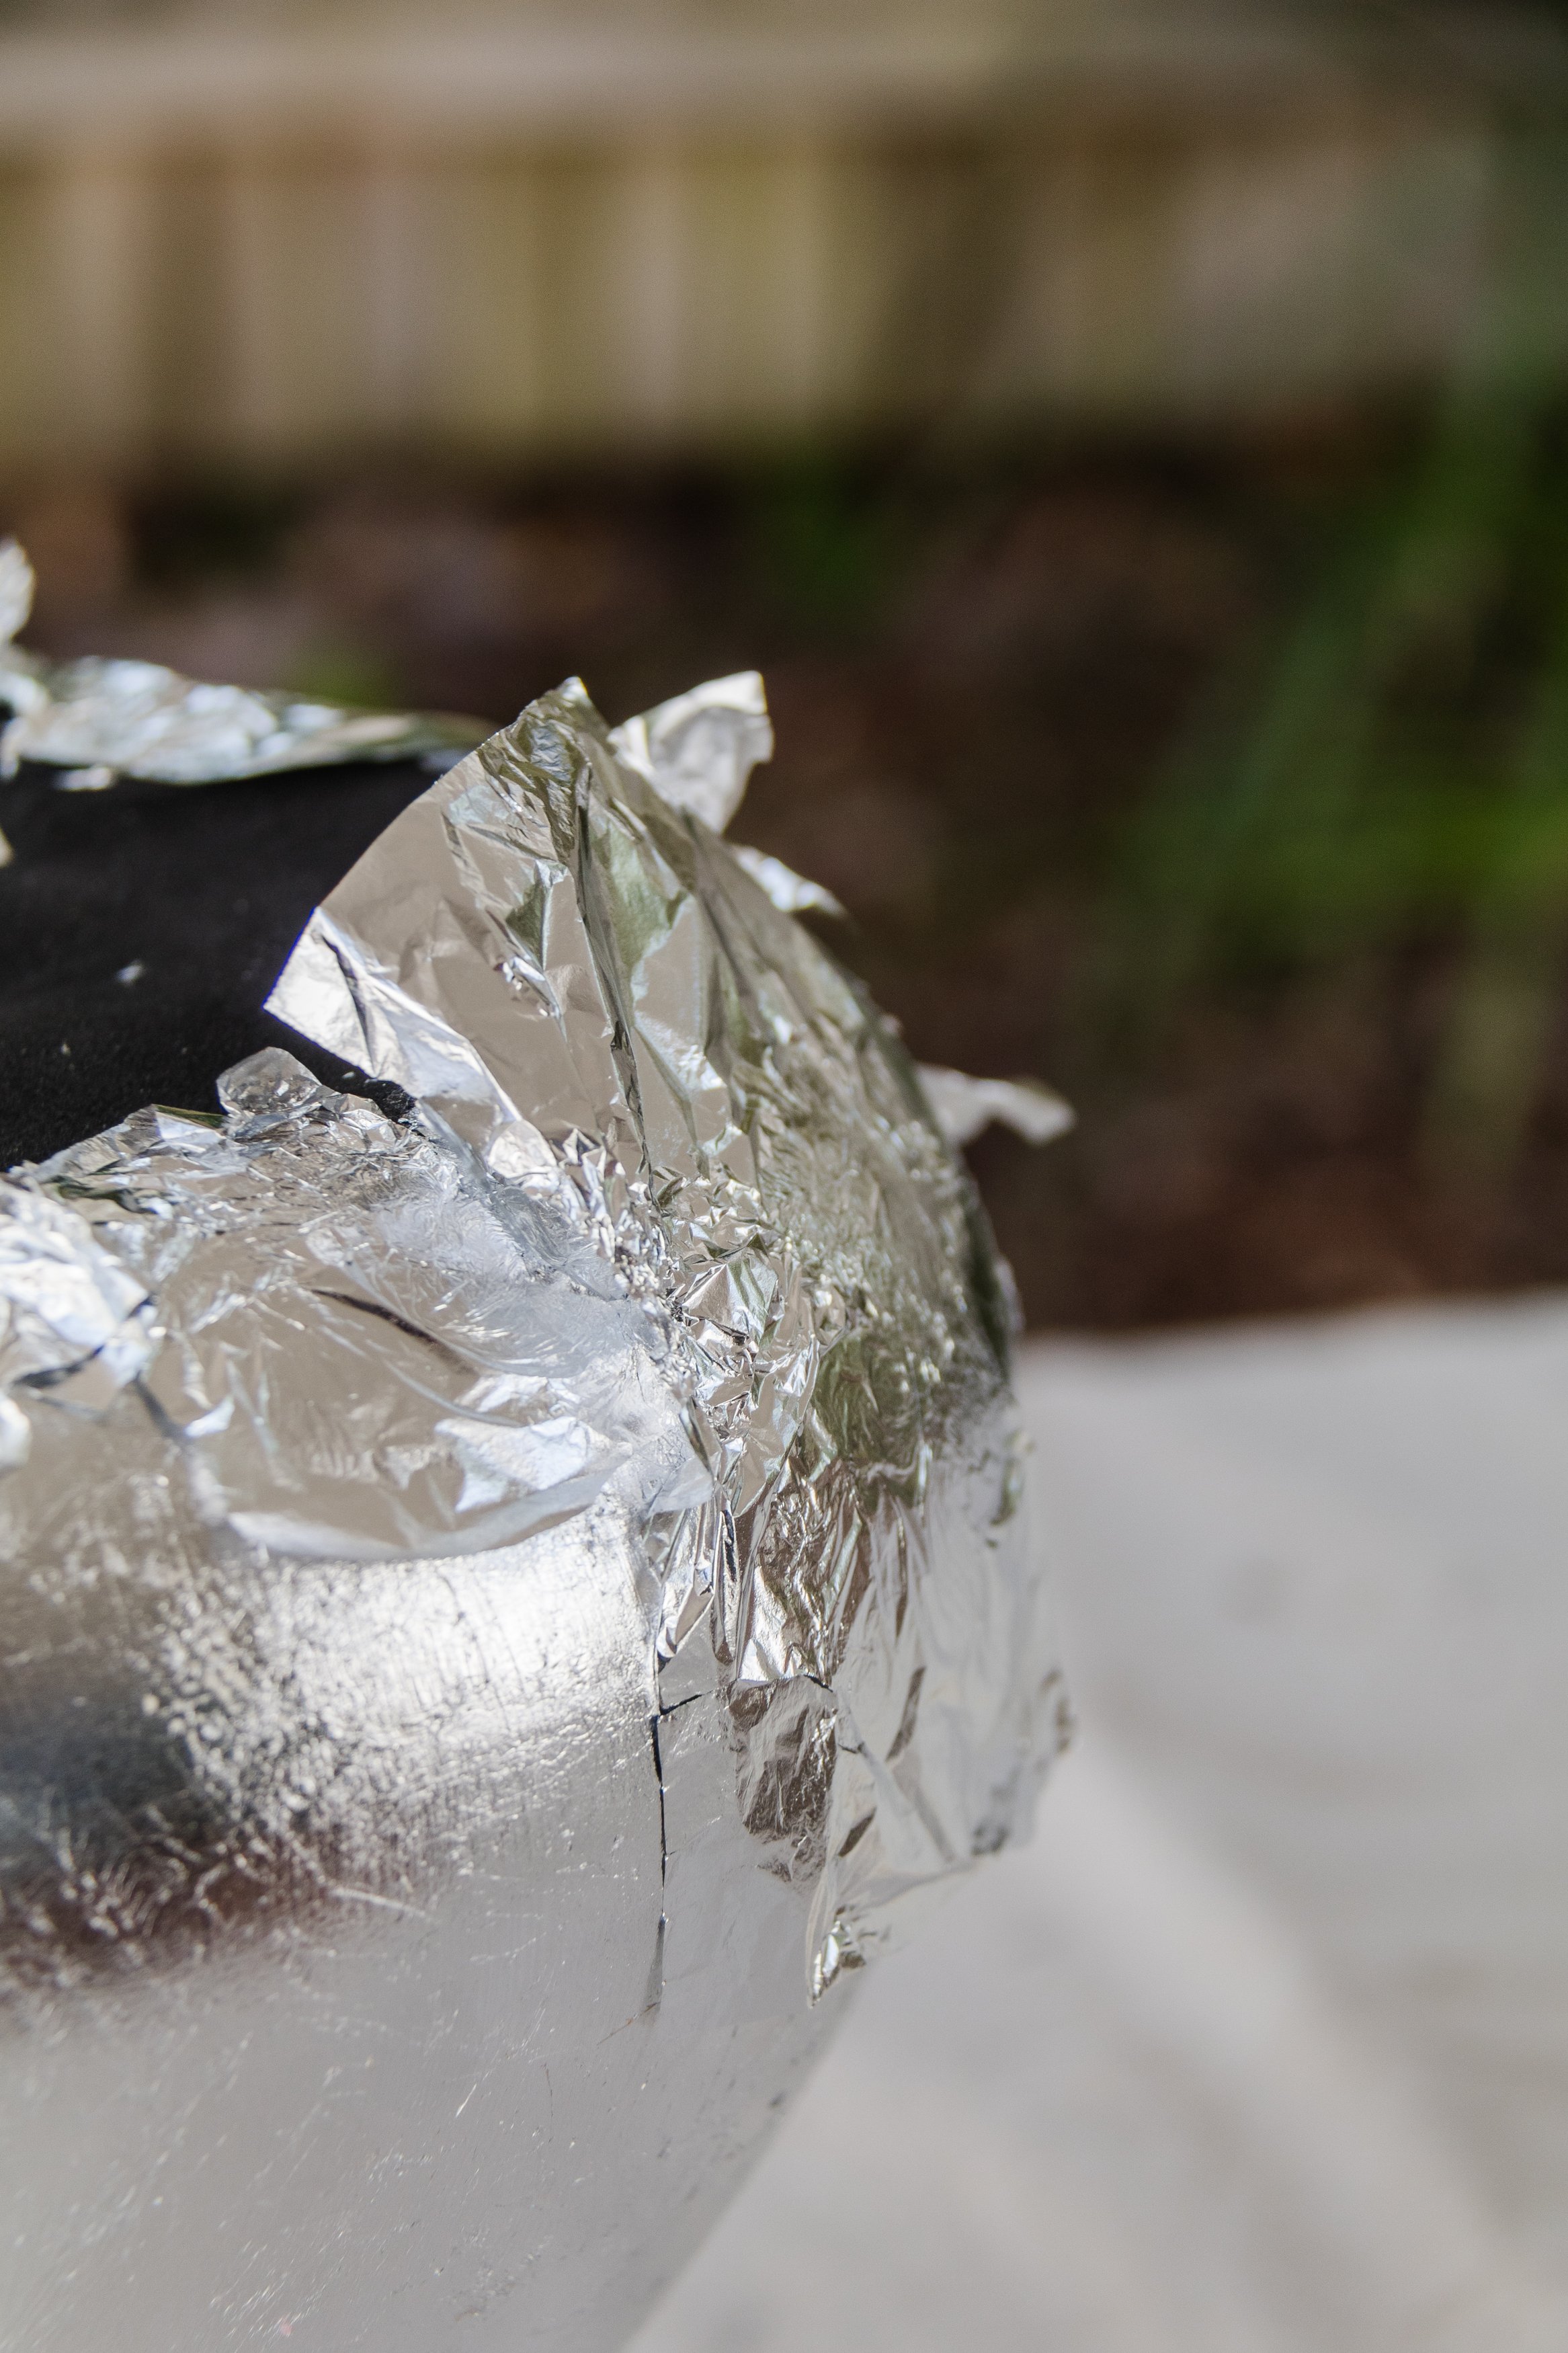
Step 3: When the grout had dried I took the lampshade off and cleaned the base using a baby wipe. The finish was glossy so to create some texture for the silver leaf to adhere to (also known as “teeth”) I sanded the base.
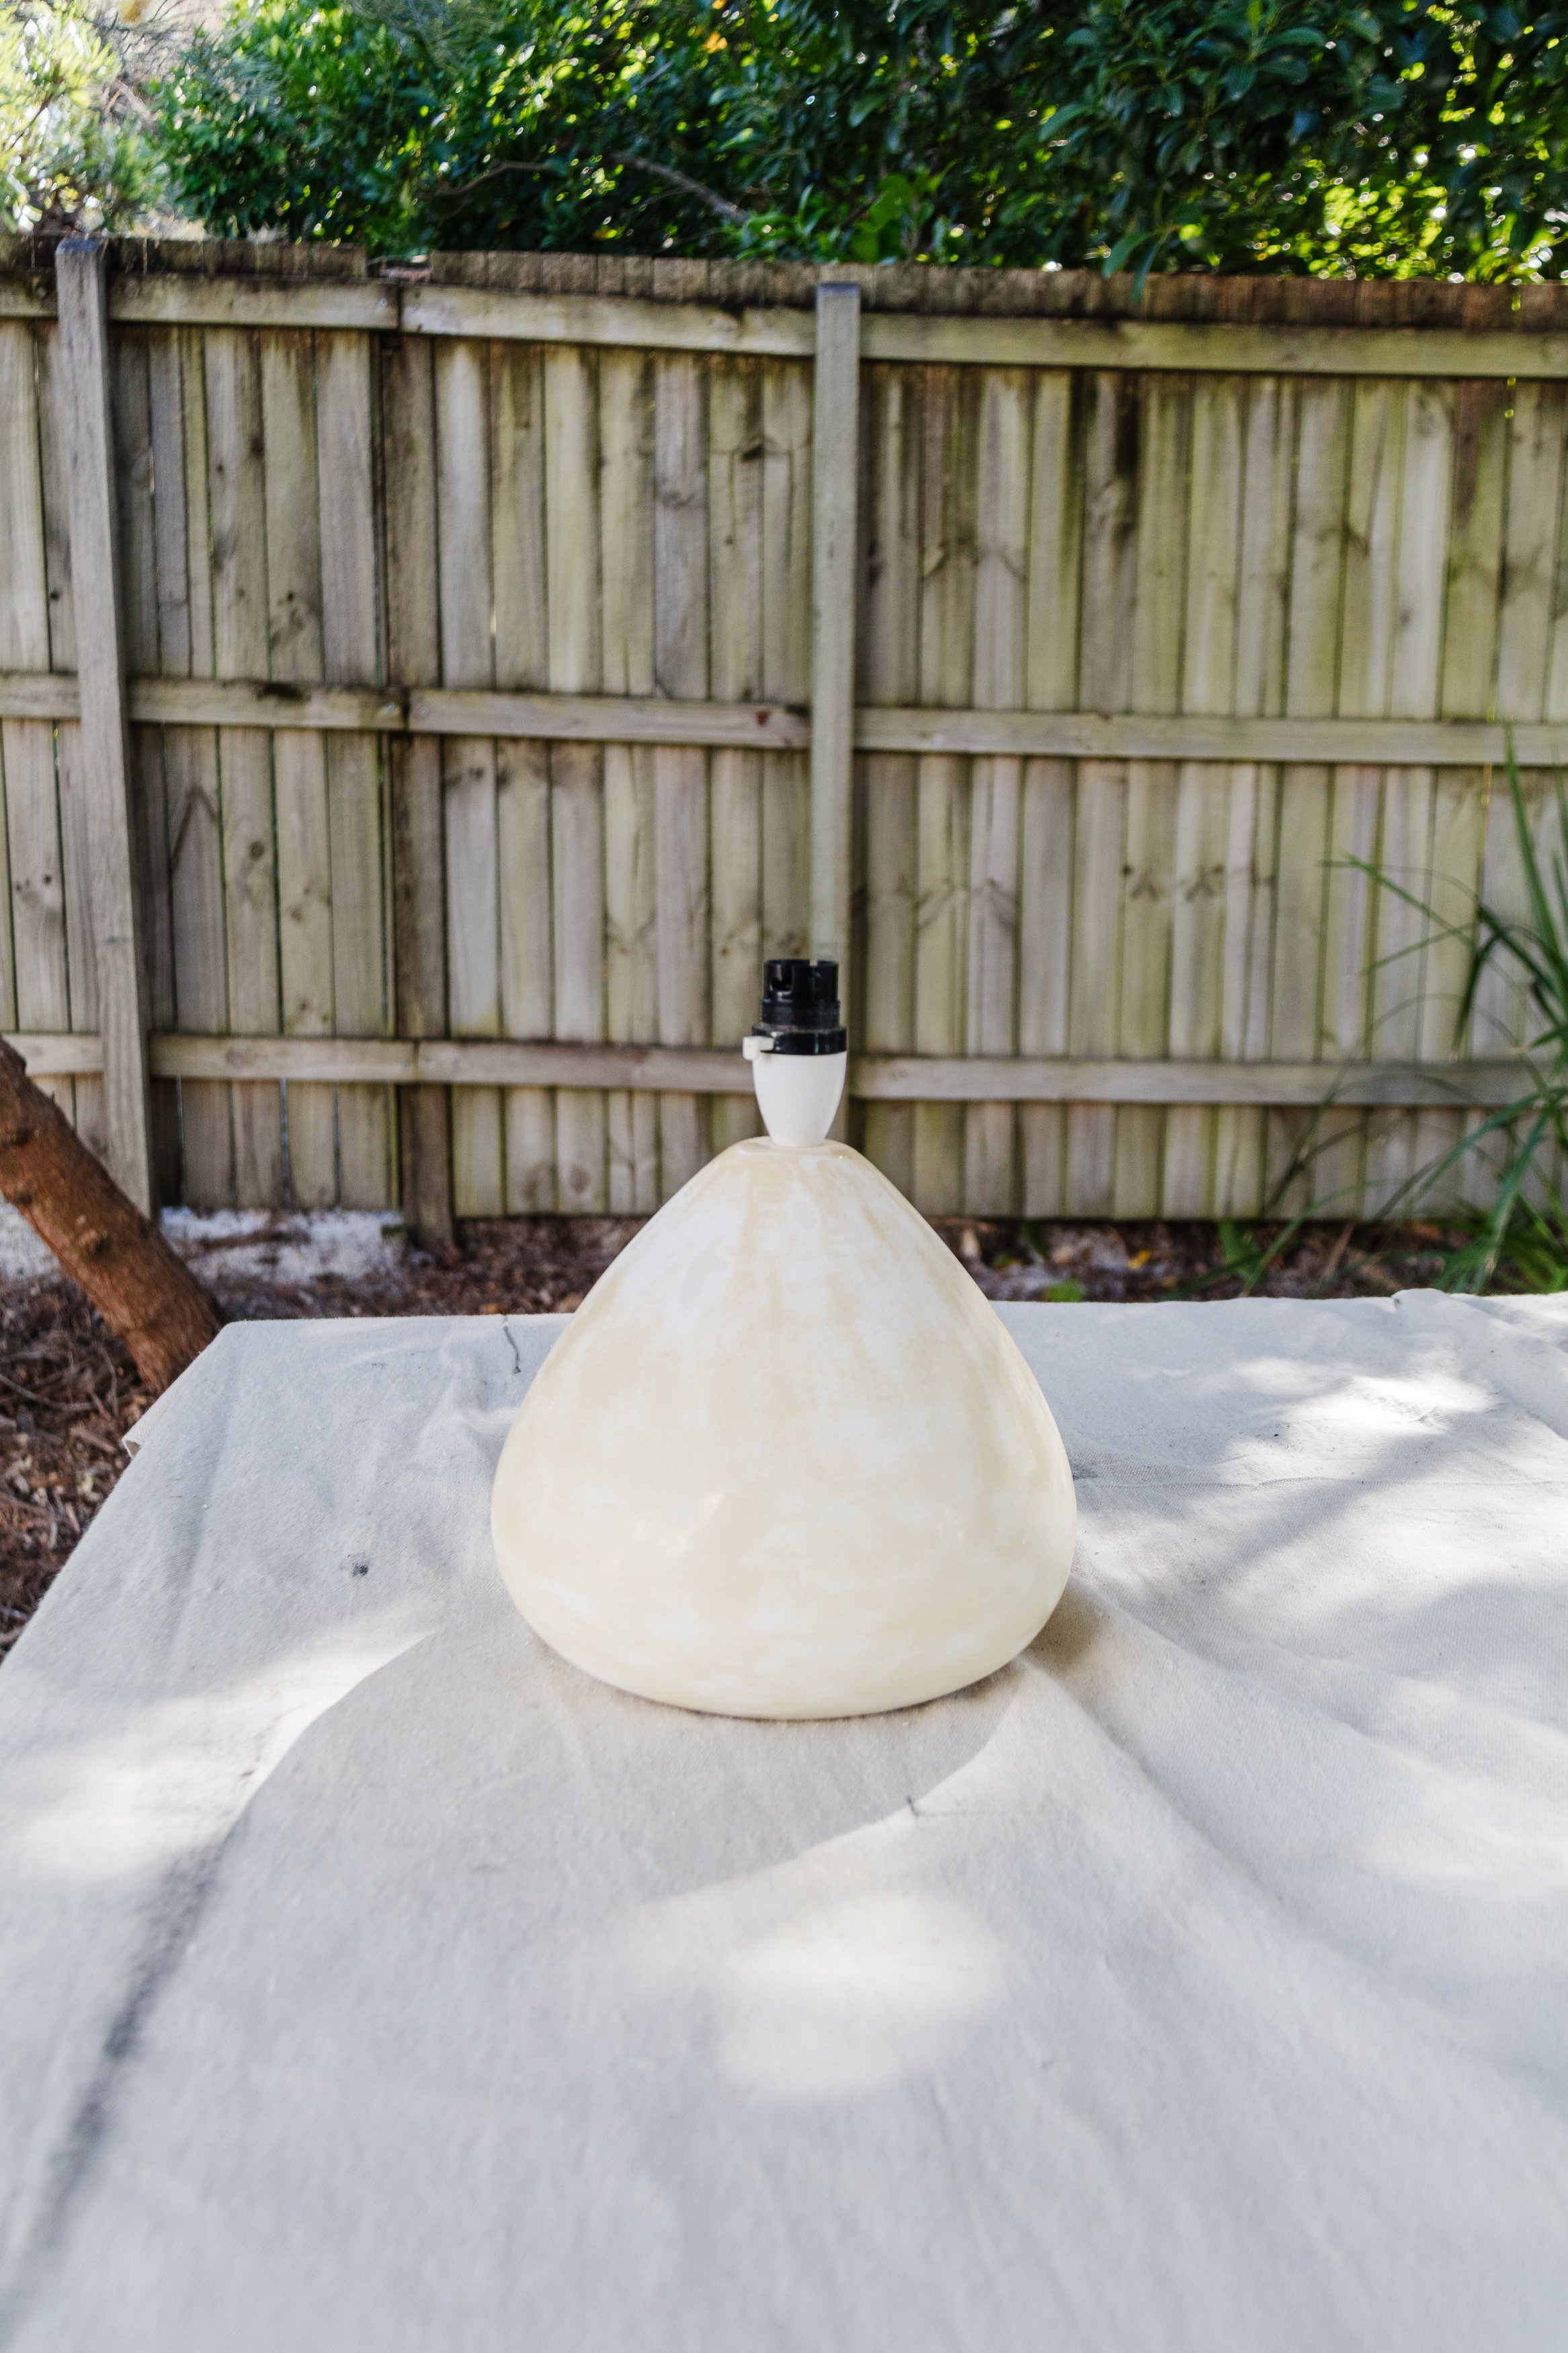
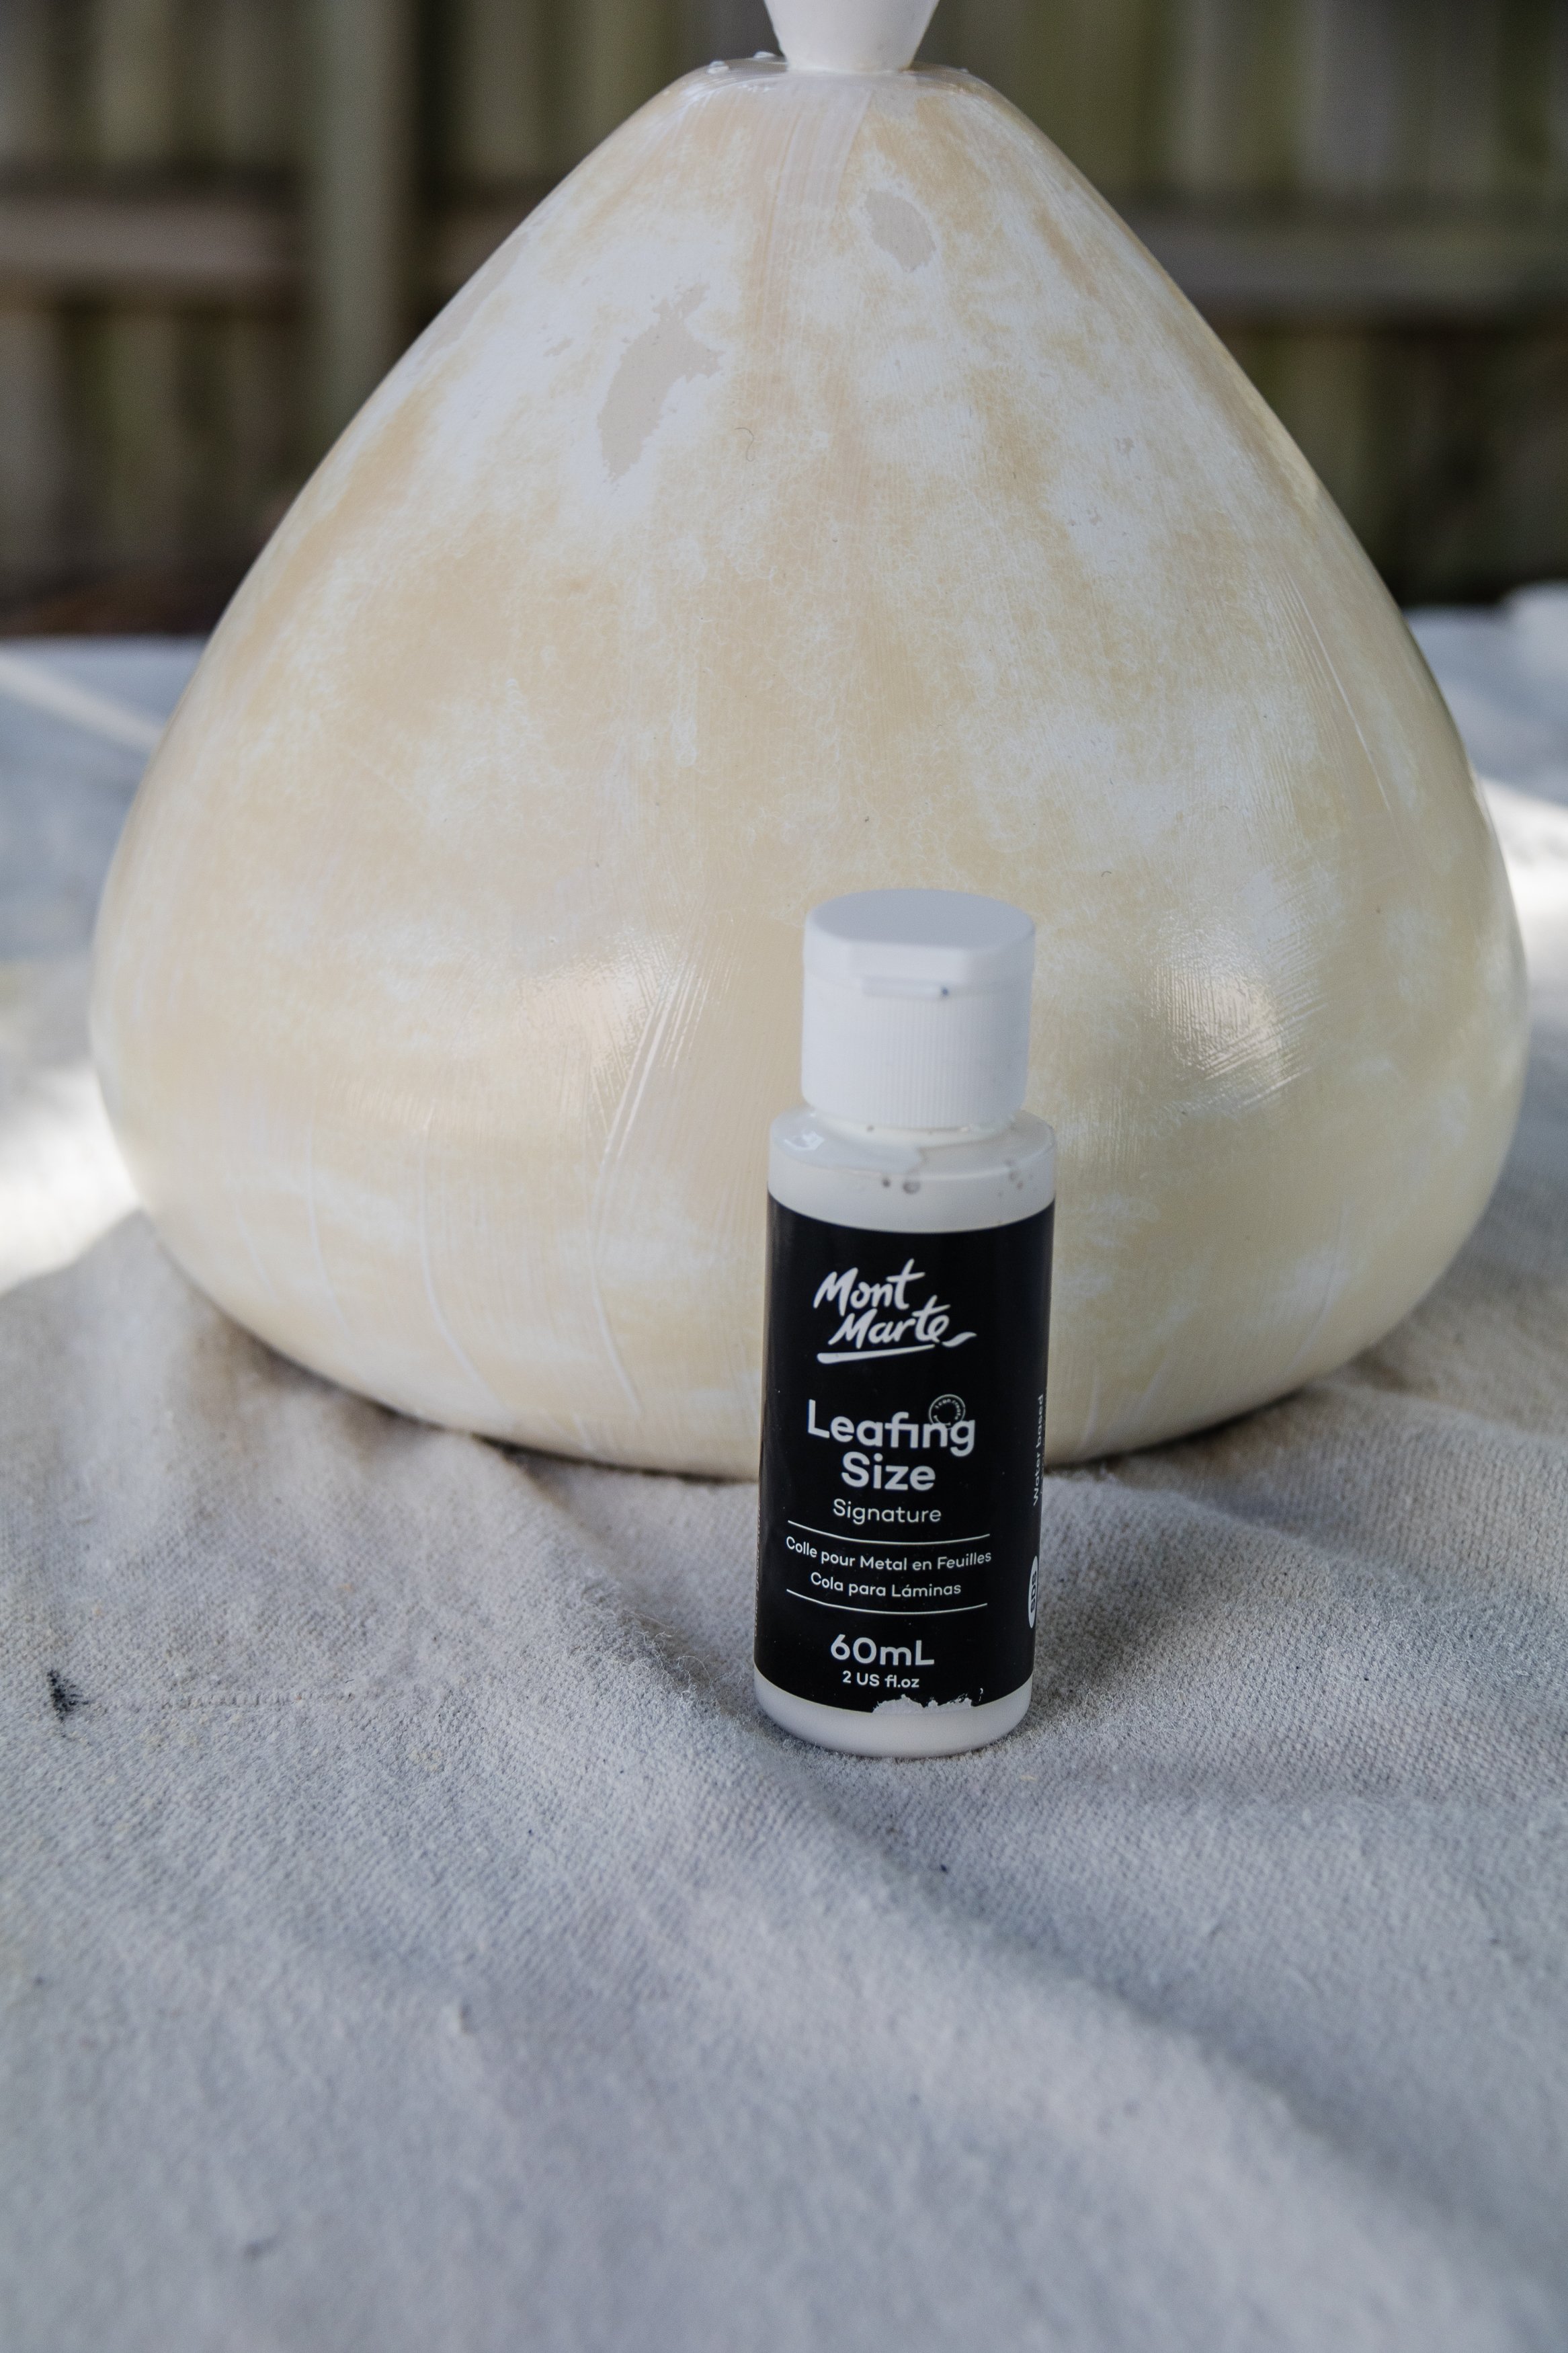
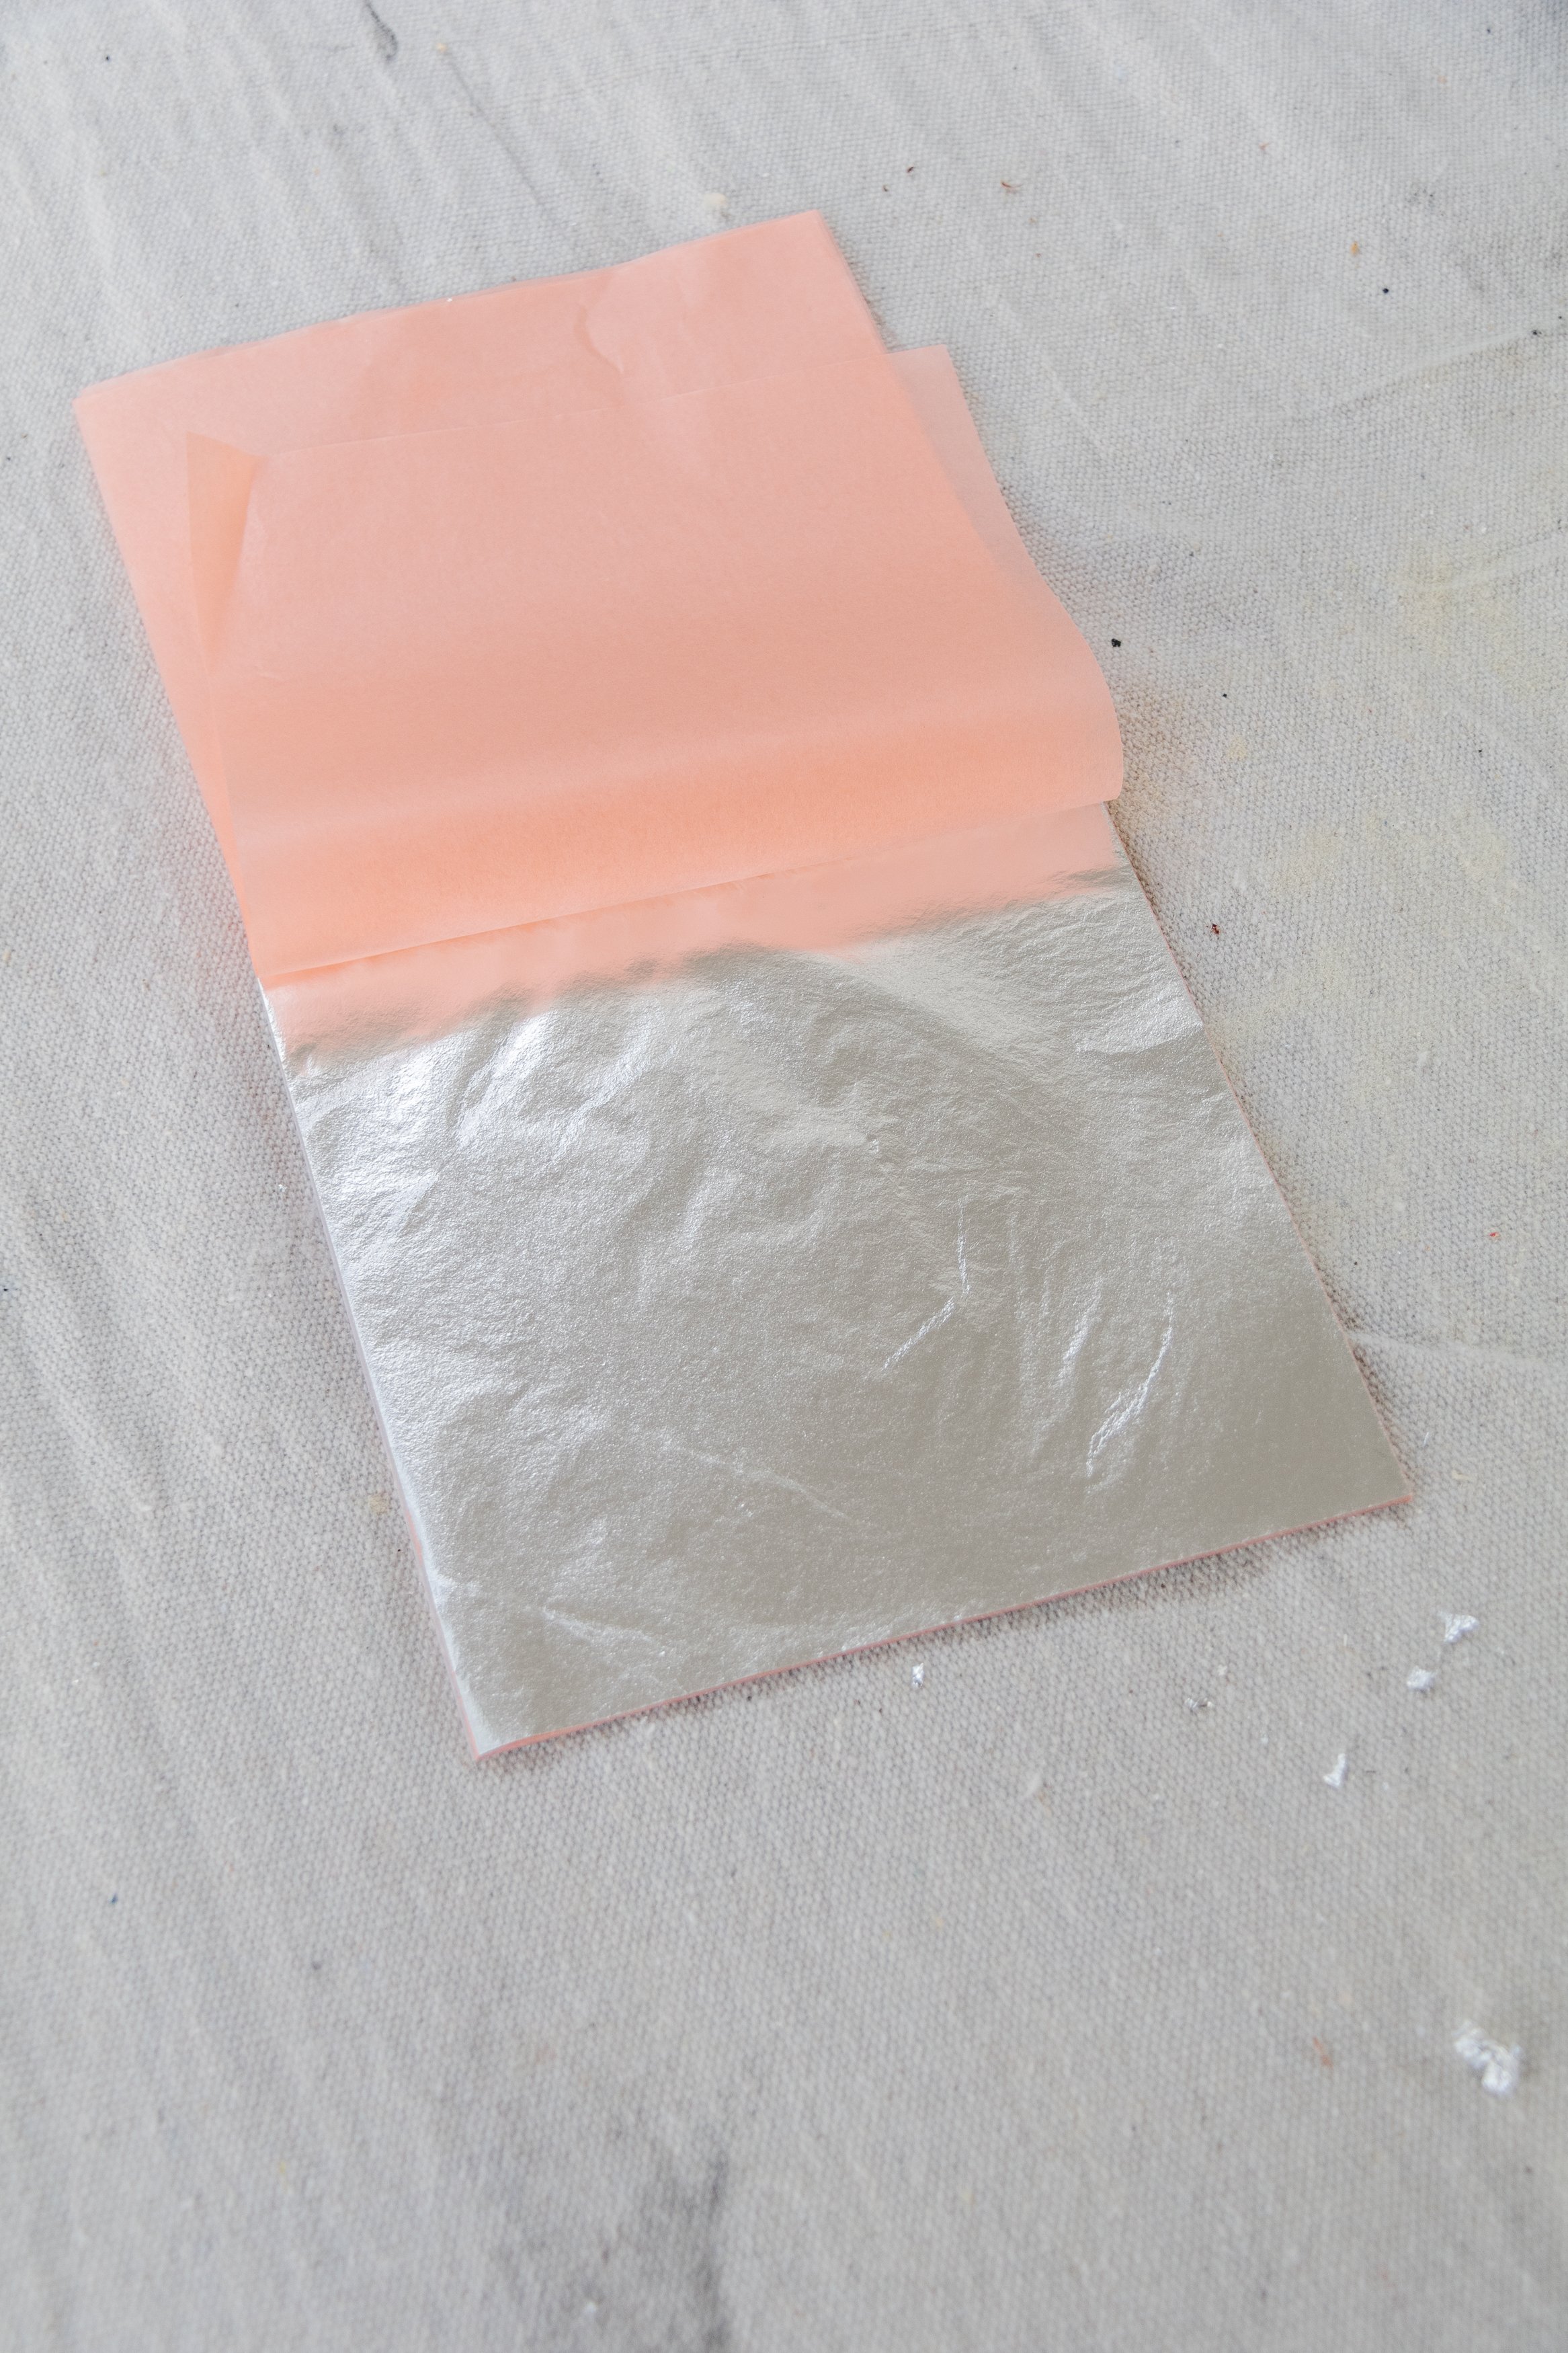
Step 4: Following this I applied a thin coat of sizing glue all over the lamp base. It’s goes on a chalky colour when I first applied it and after 30 to 60 minutes it turned clear, which means it’s “tacky” and ready for the next step - applying the silver leaf sheets.
Tip: Set up your workspace, preferably inside or outside if it’s not windy.
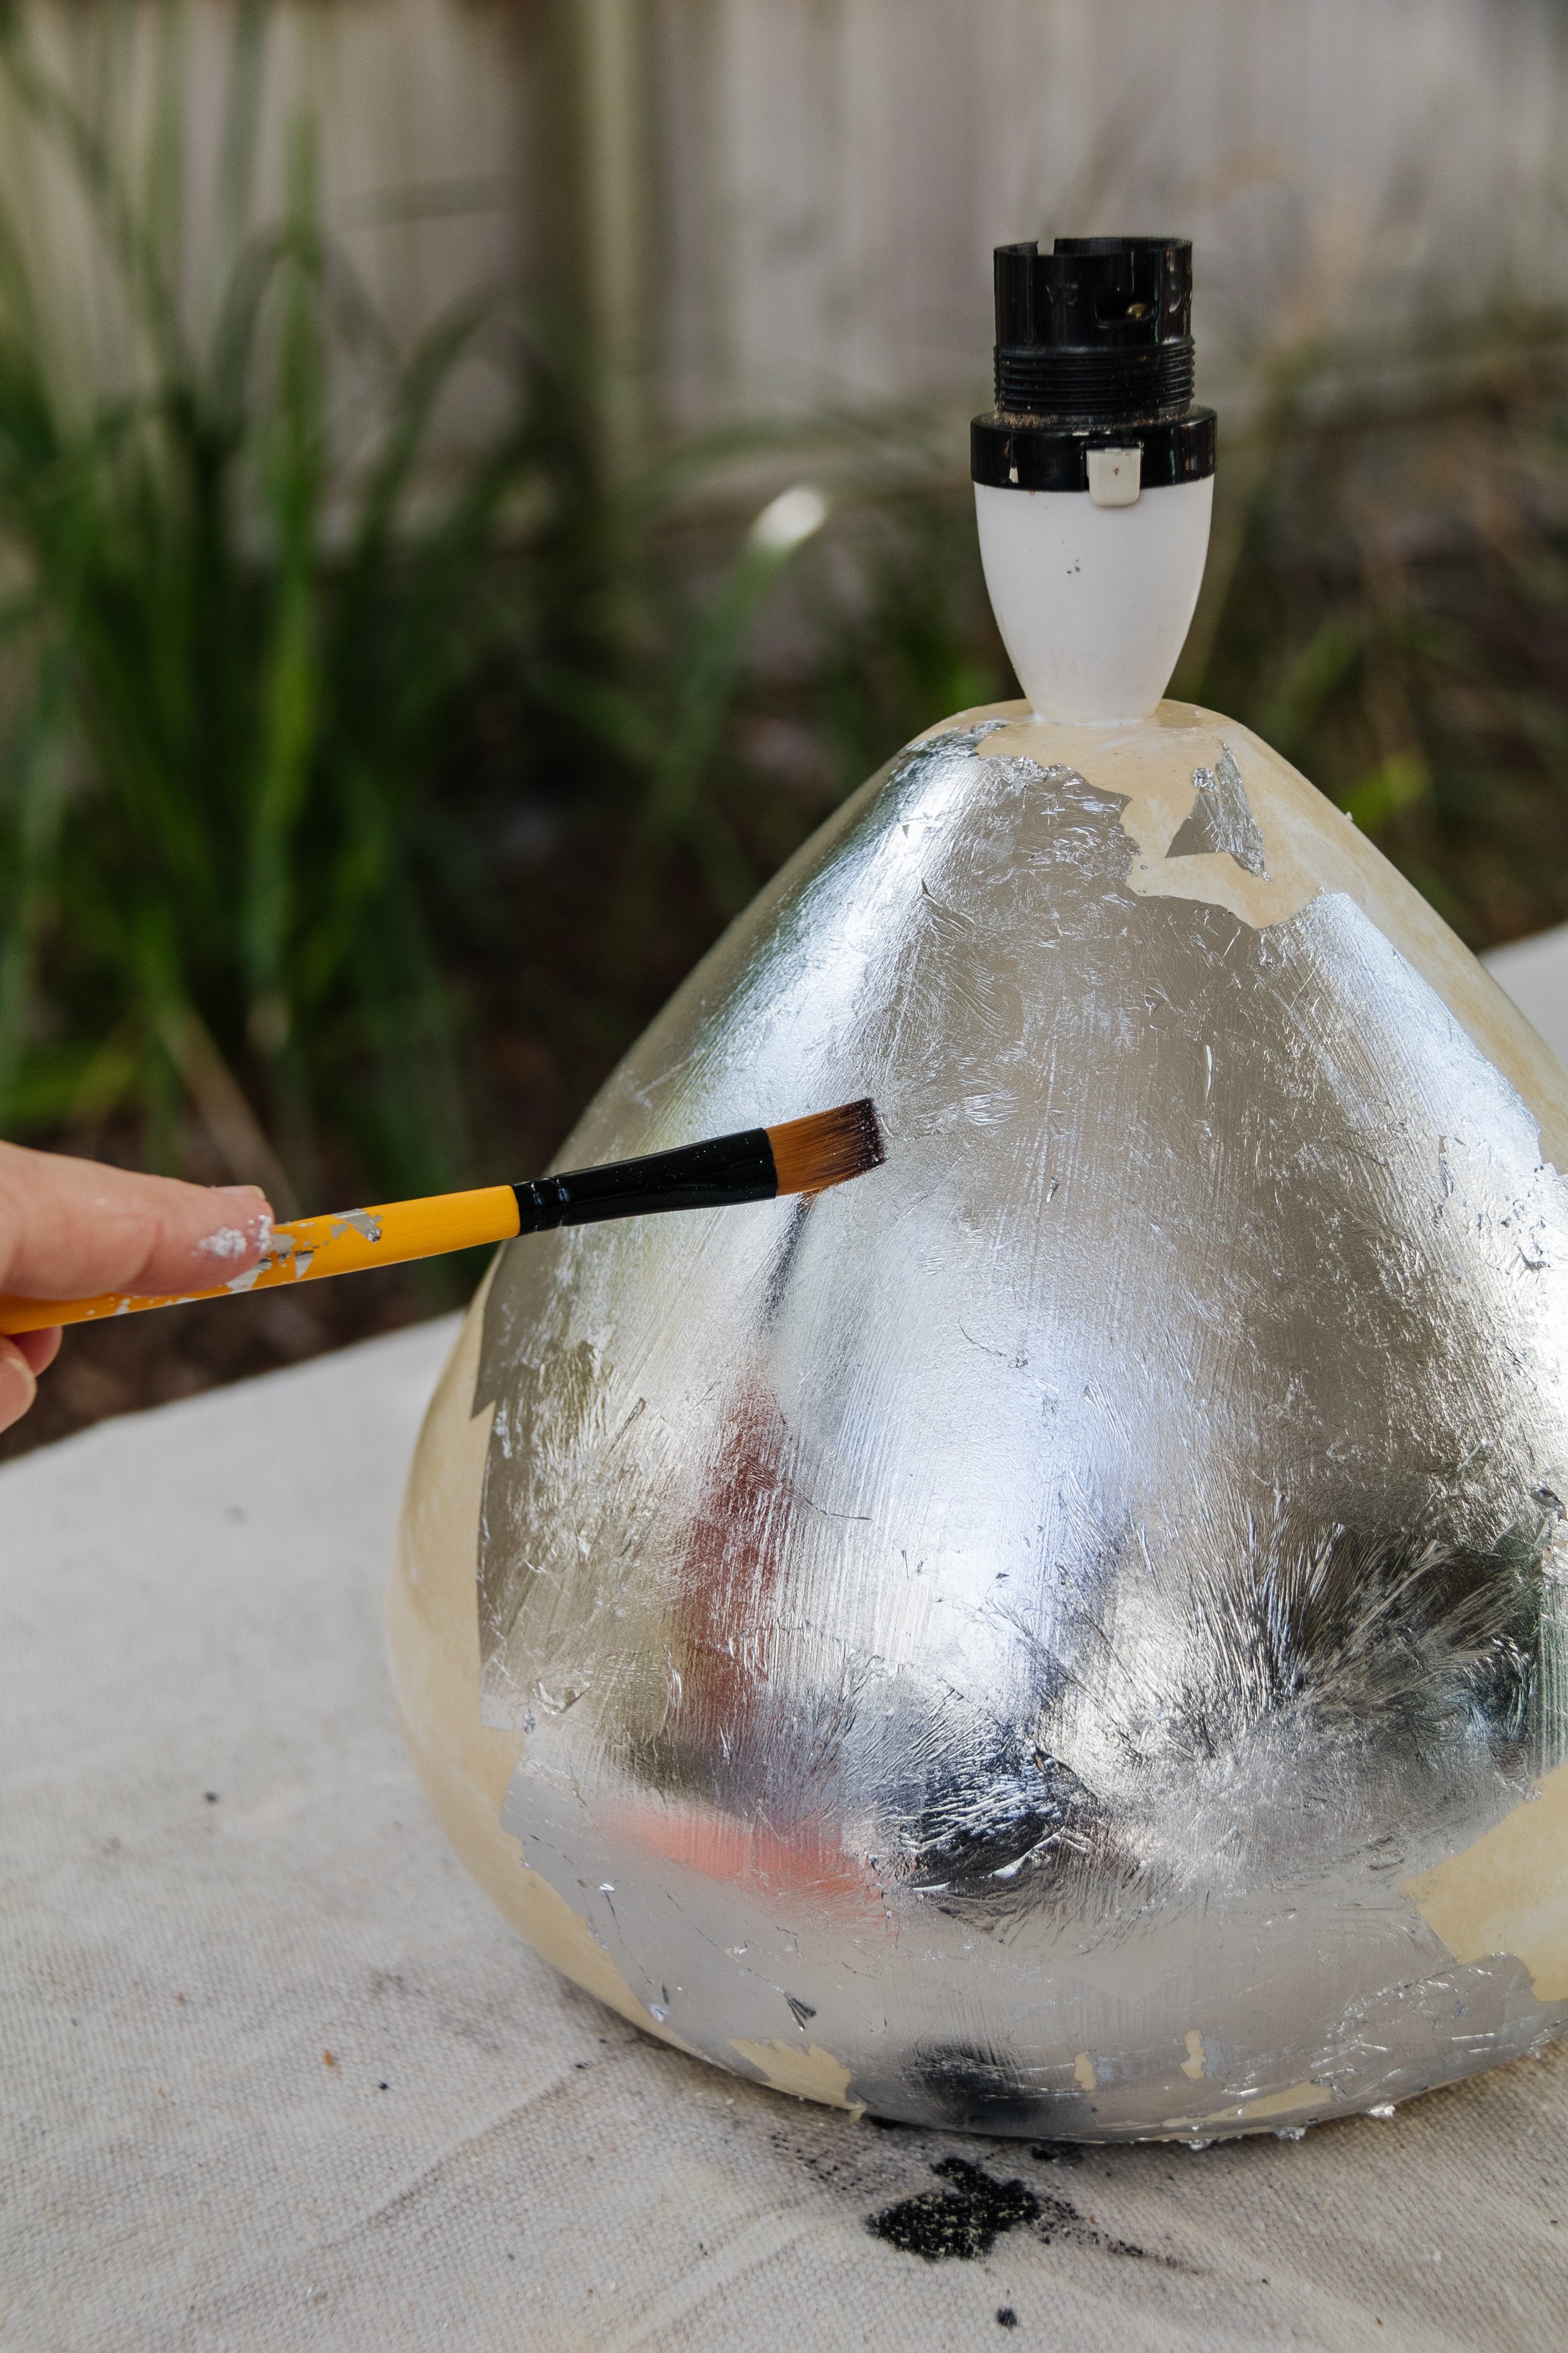
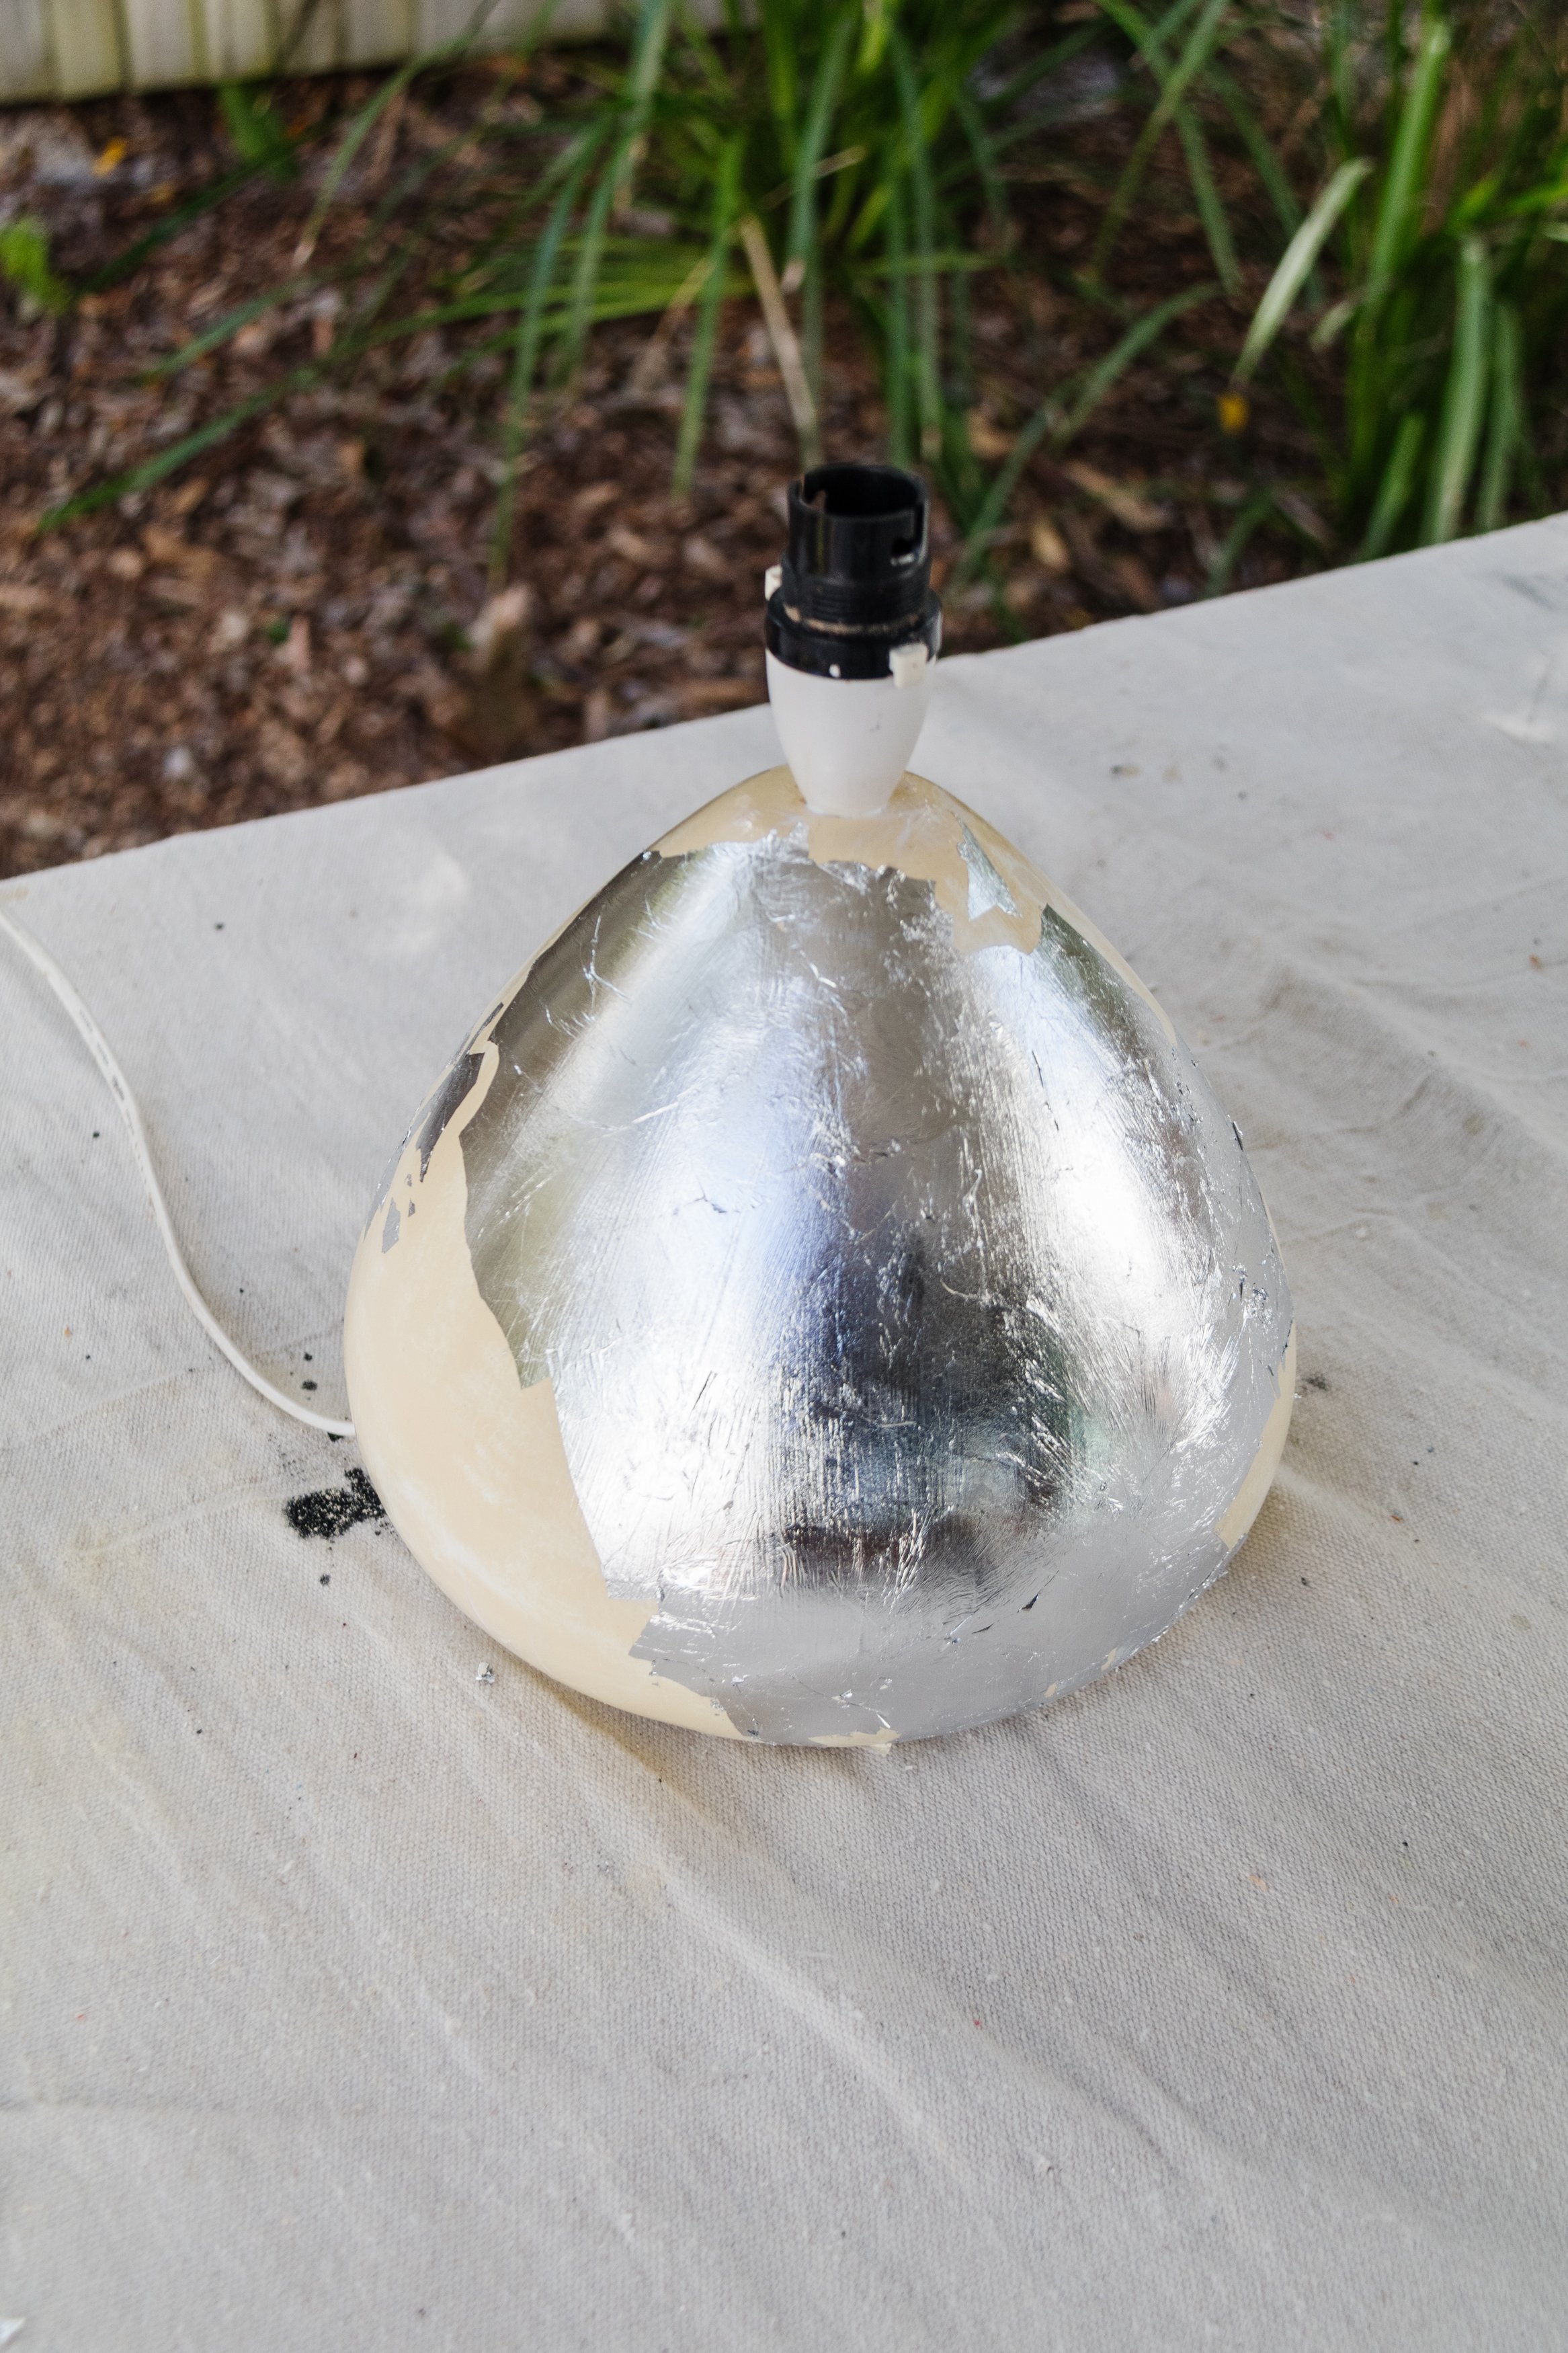
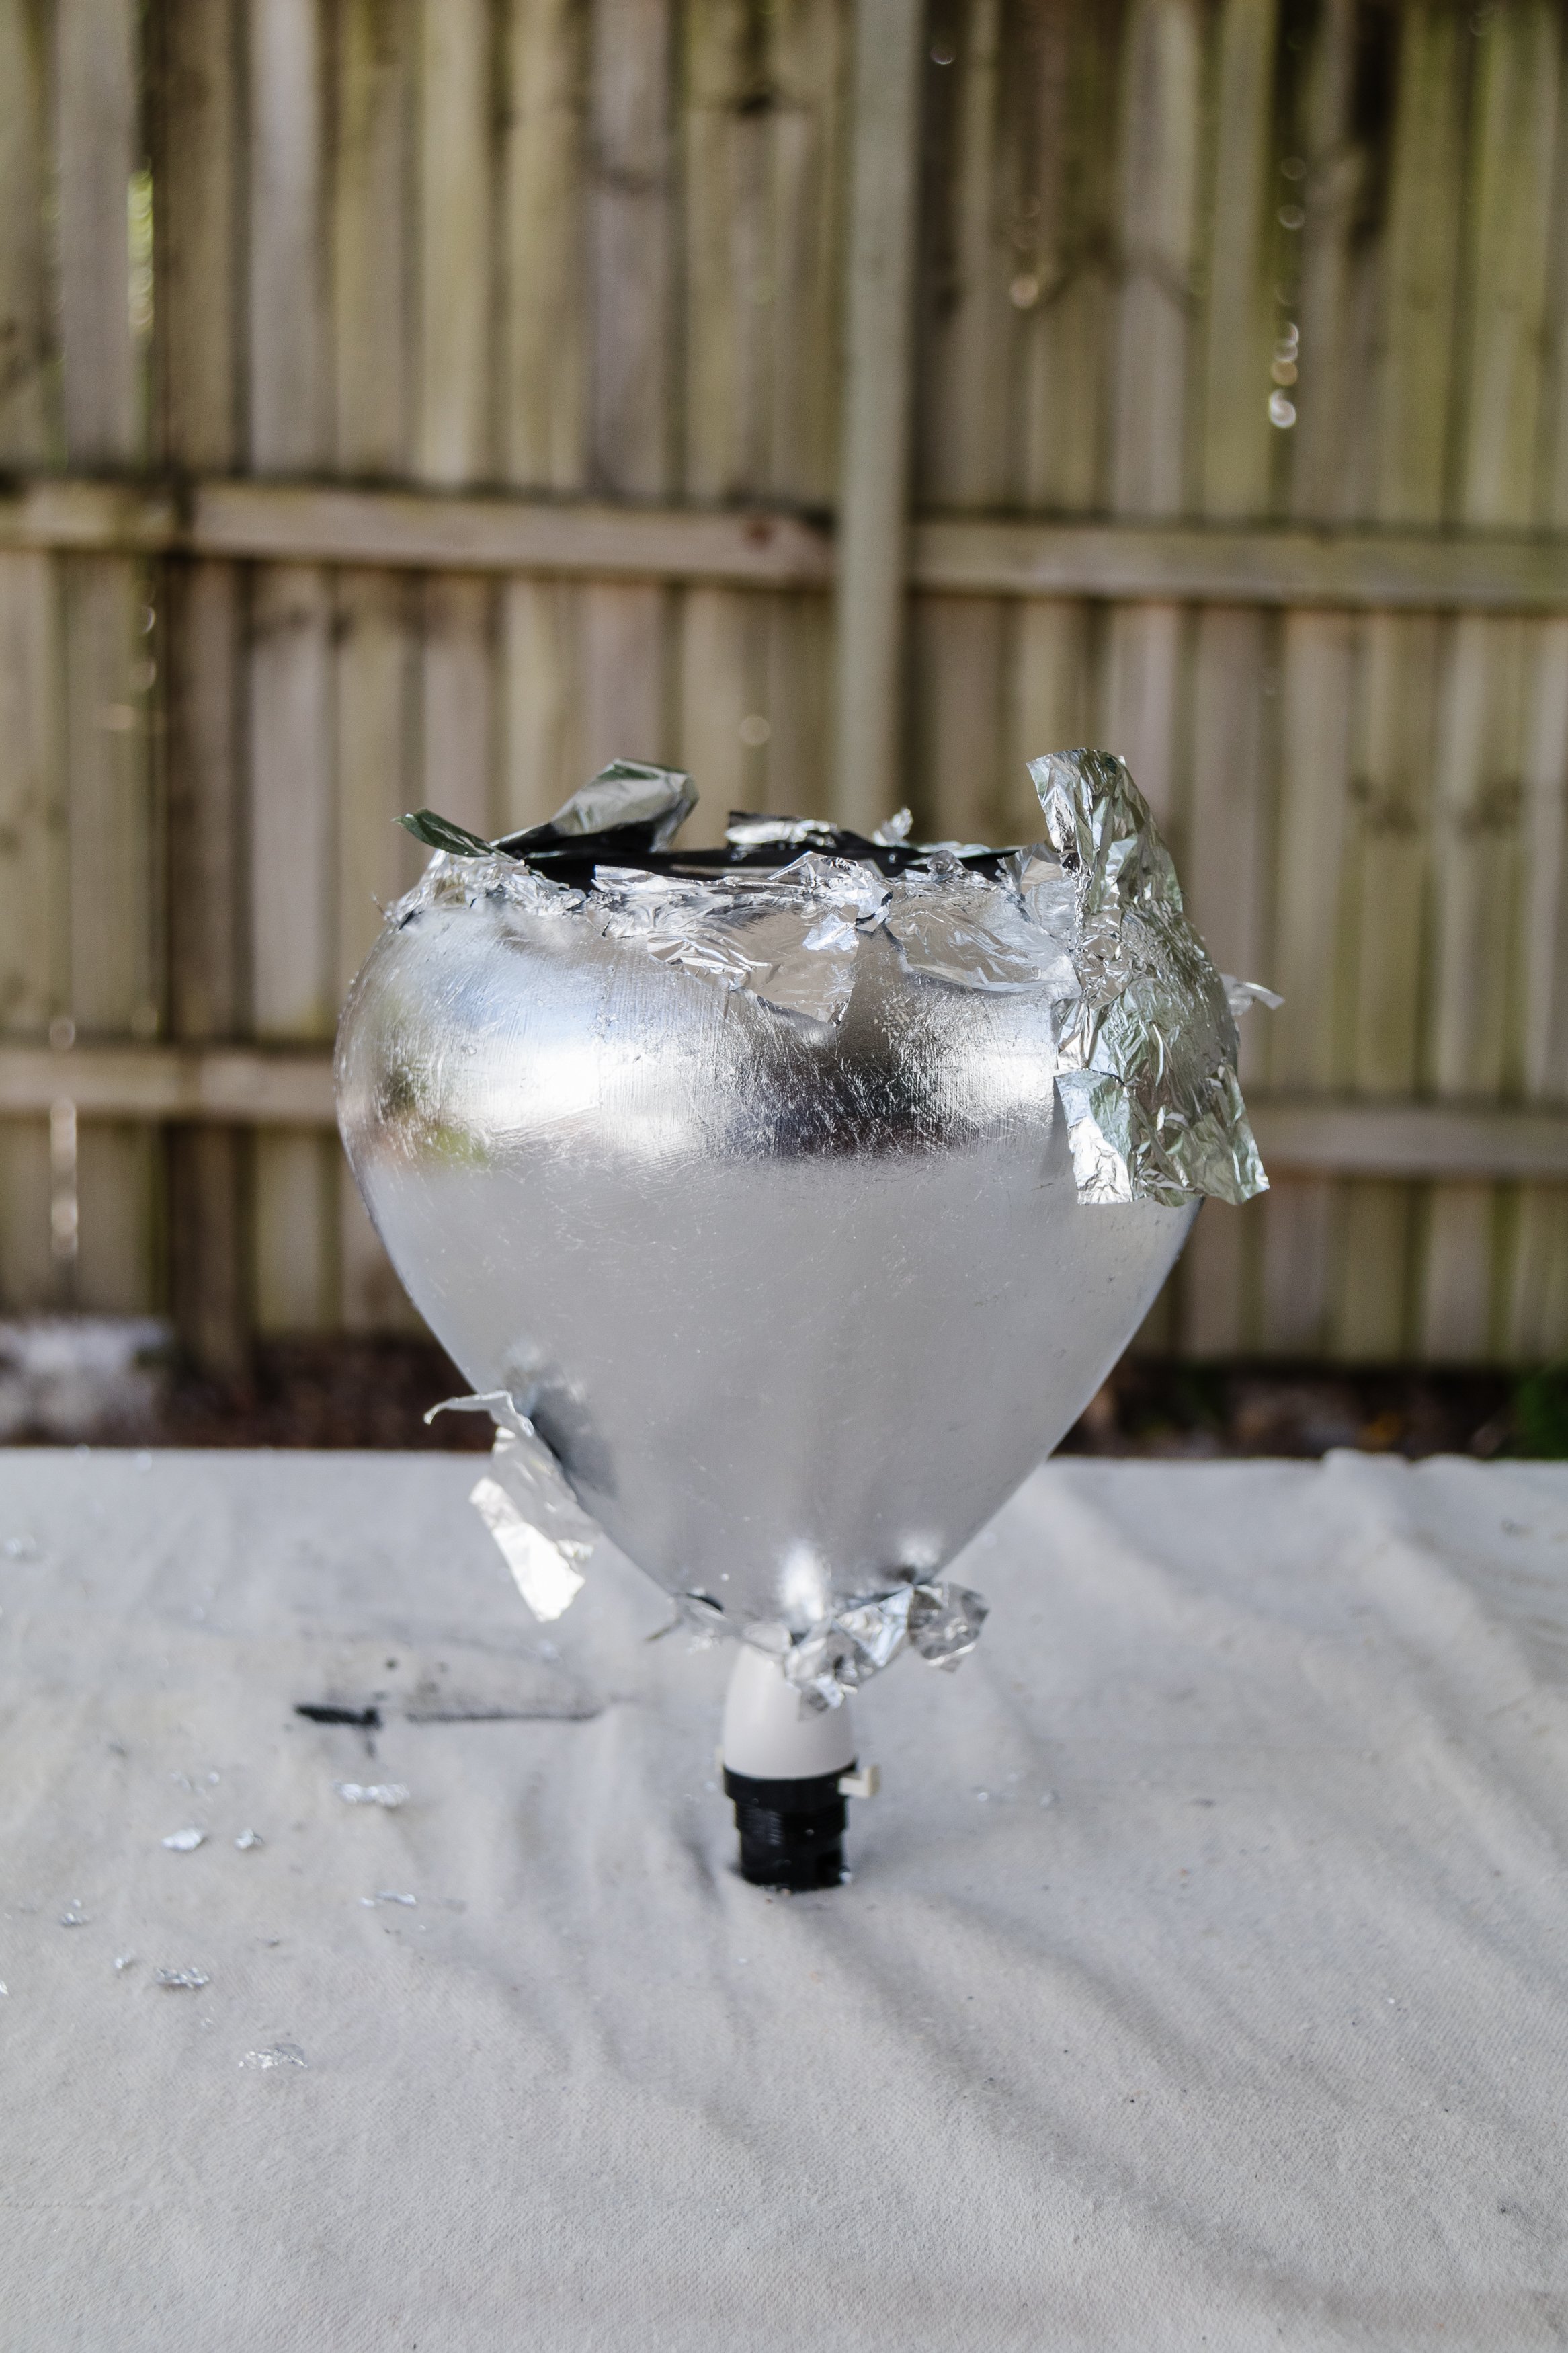
Step 5: I applied sections of the silver leaf onto the surface of the lamp base and tapped it down and brushed it across using a paint brush. Ideally you’d use a gilder’s brush but I didn’t have one of those and was fine without it. I wanted to avoid the sharp lines of the silver leaf sheets so I kept tearing the leaf carefully and then overlapped it on the lamp base for a more seamless look. I also used my paint brush to dust away loose bits of leaf and kept repeating these steps until the base was covered. There were some flaky silver leaf bits on the lamp so I used my hand to carefully brush them off.
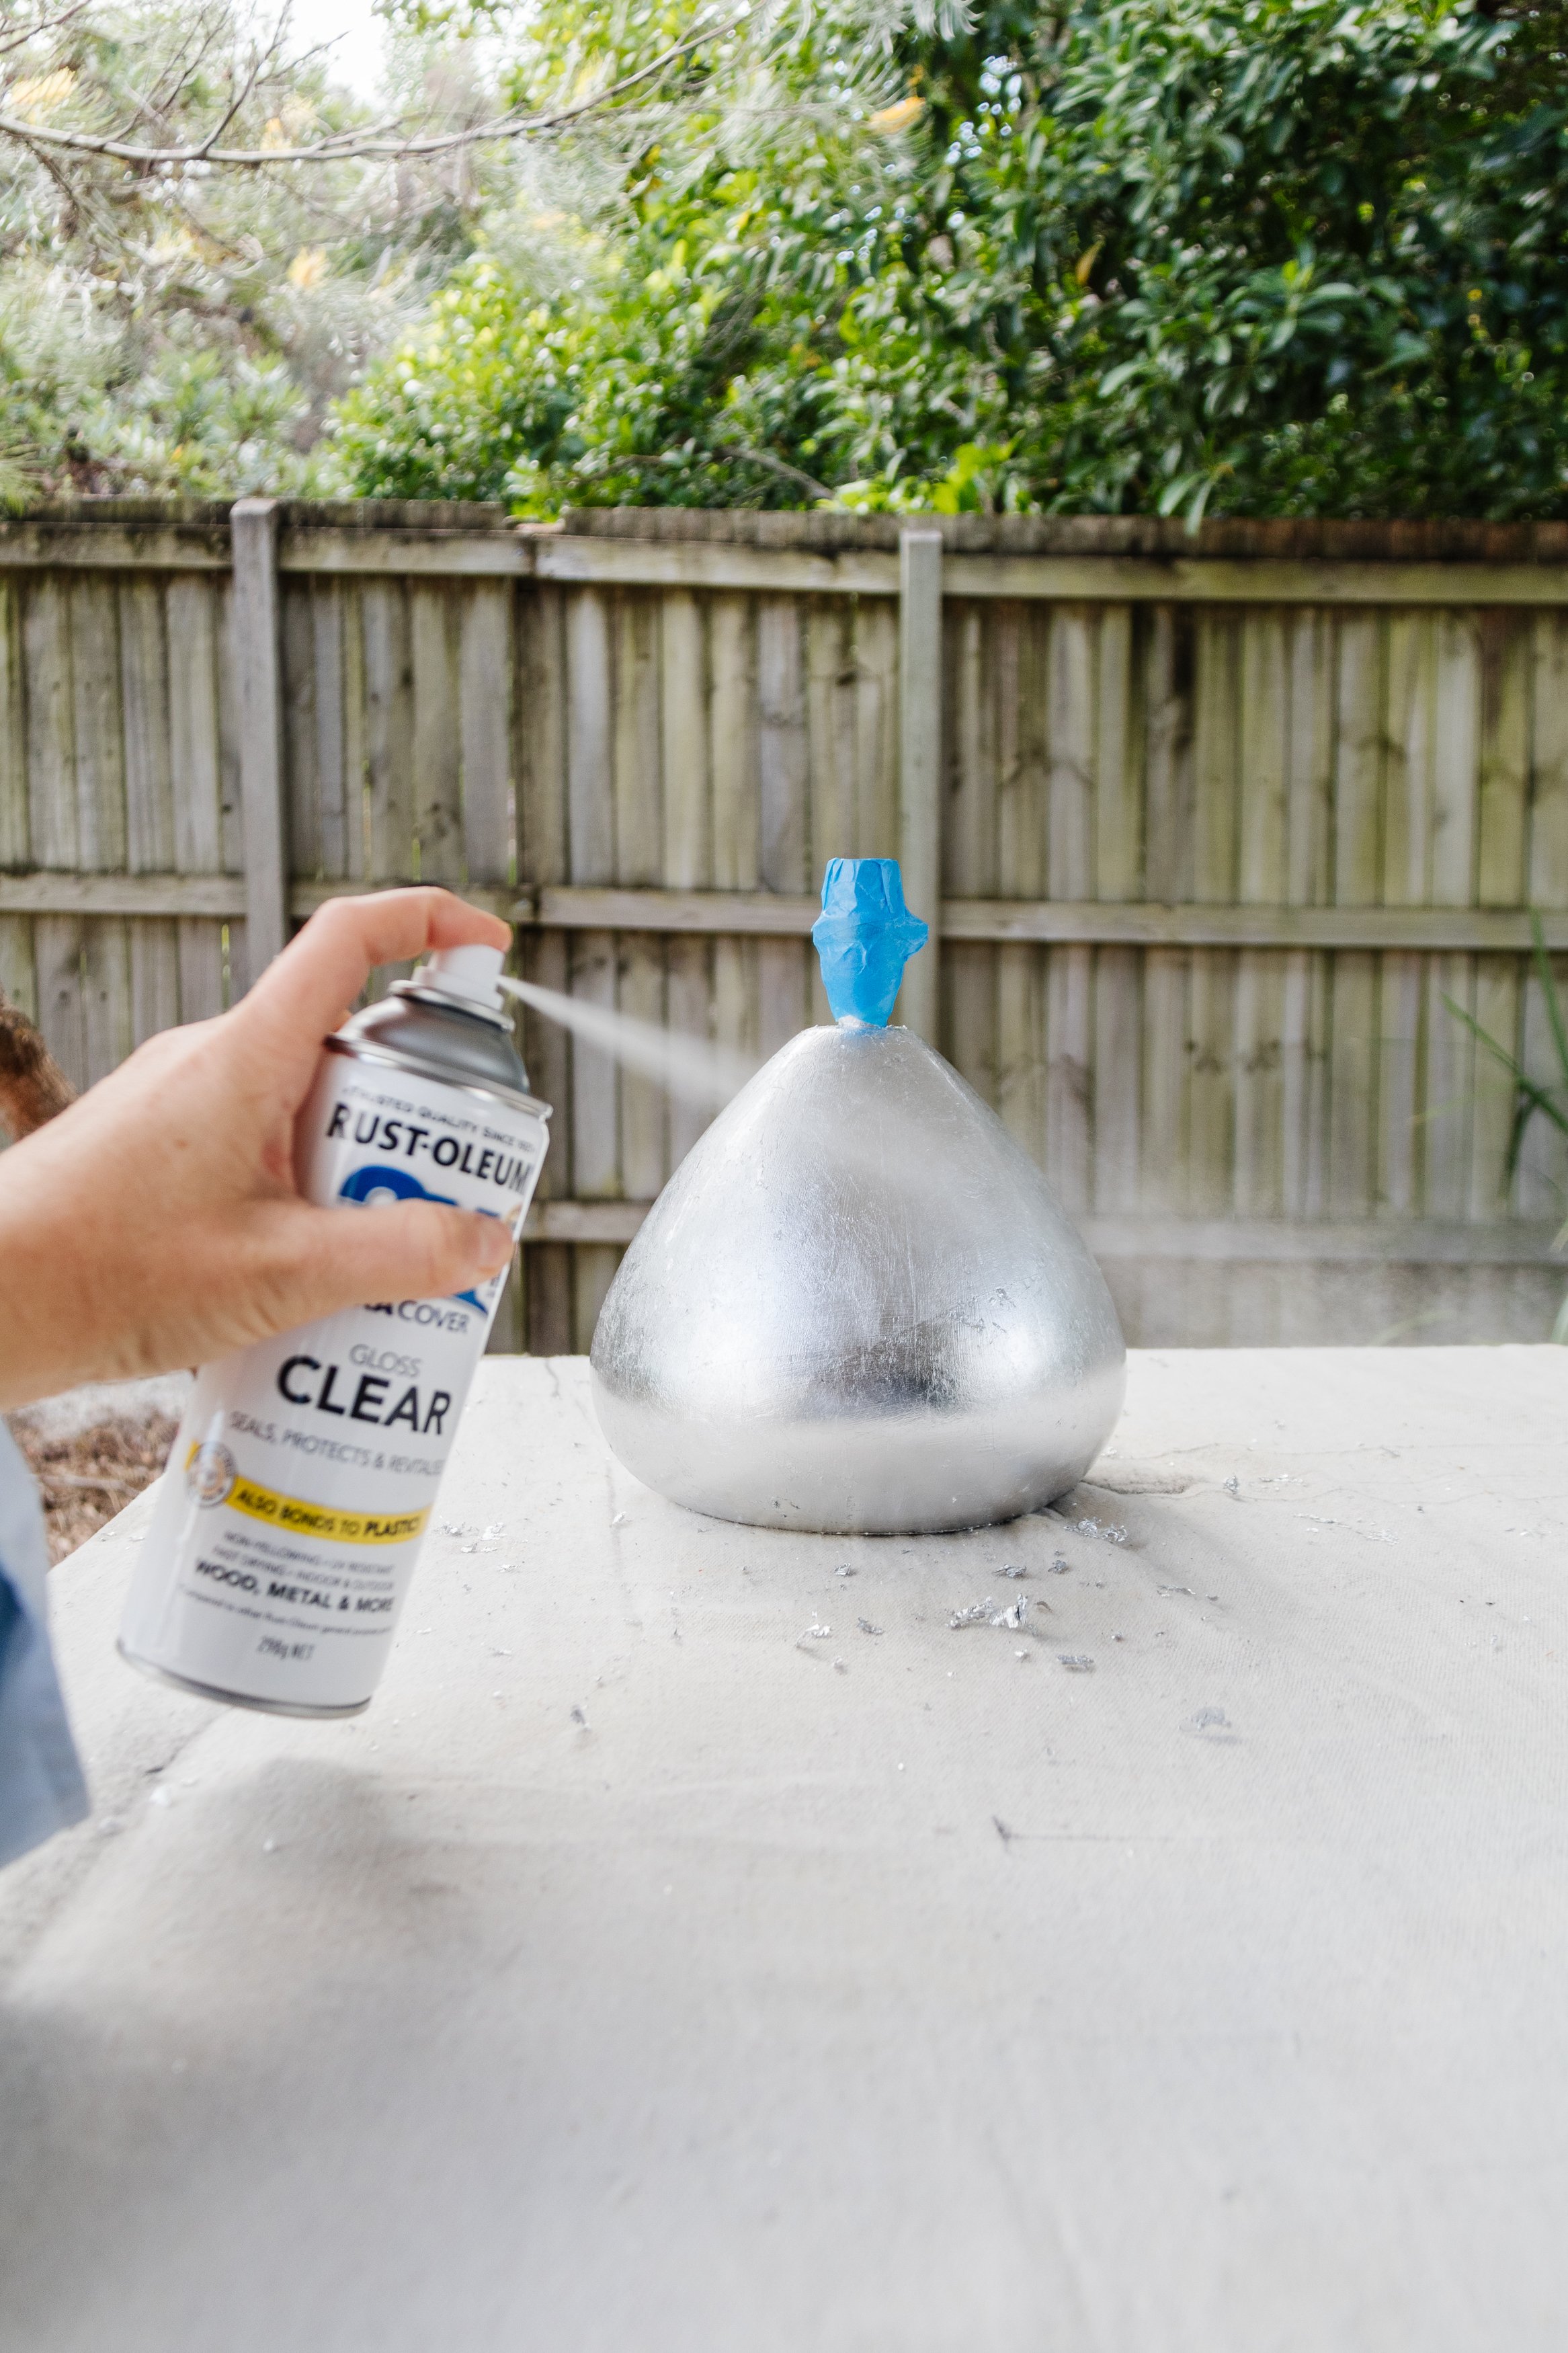
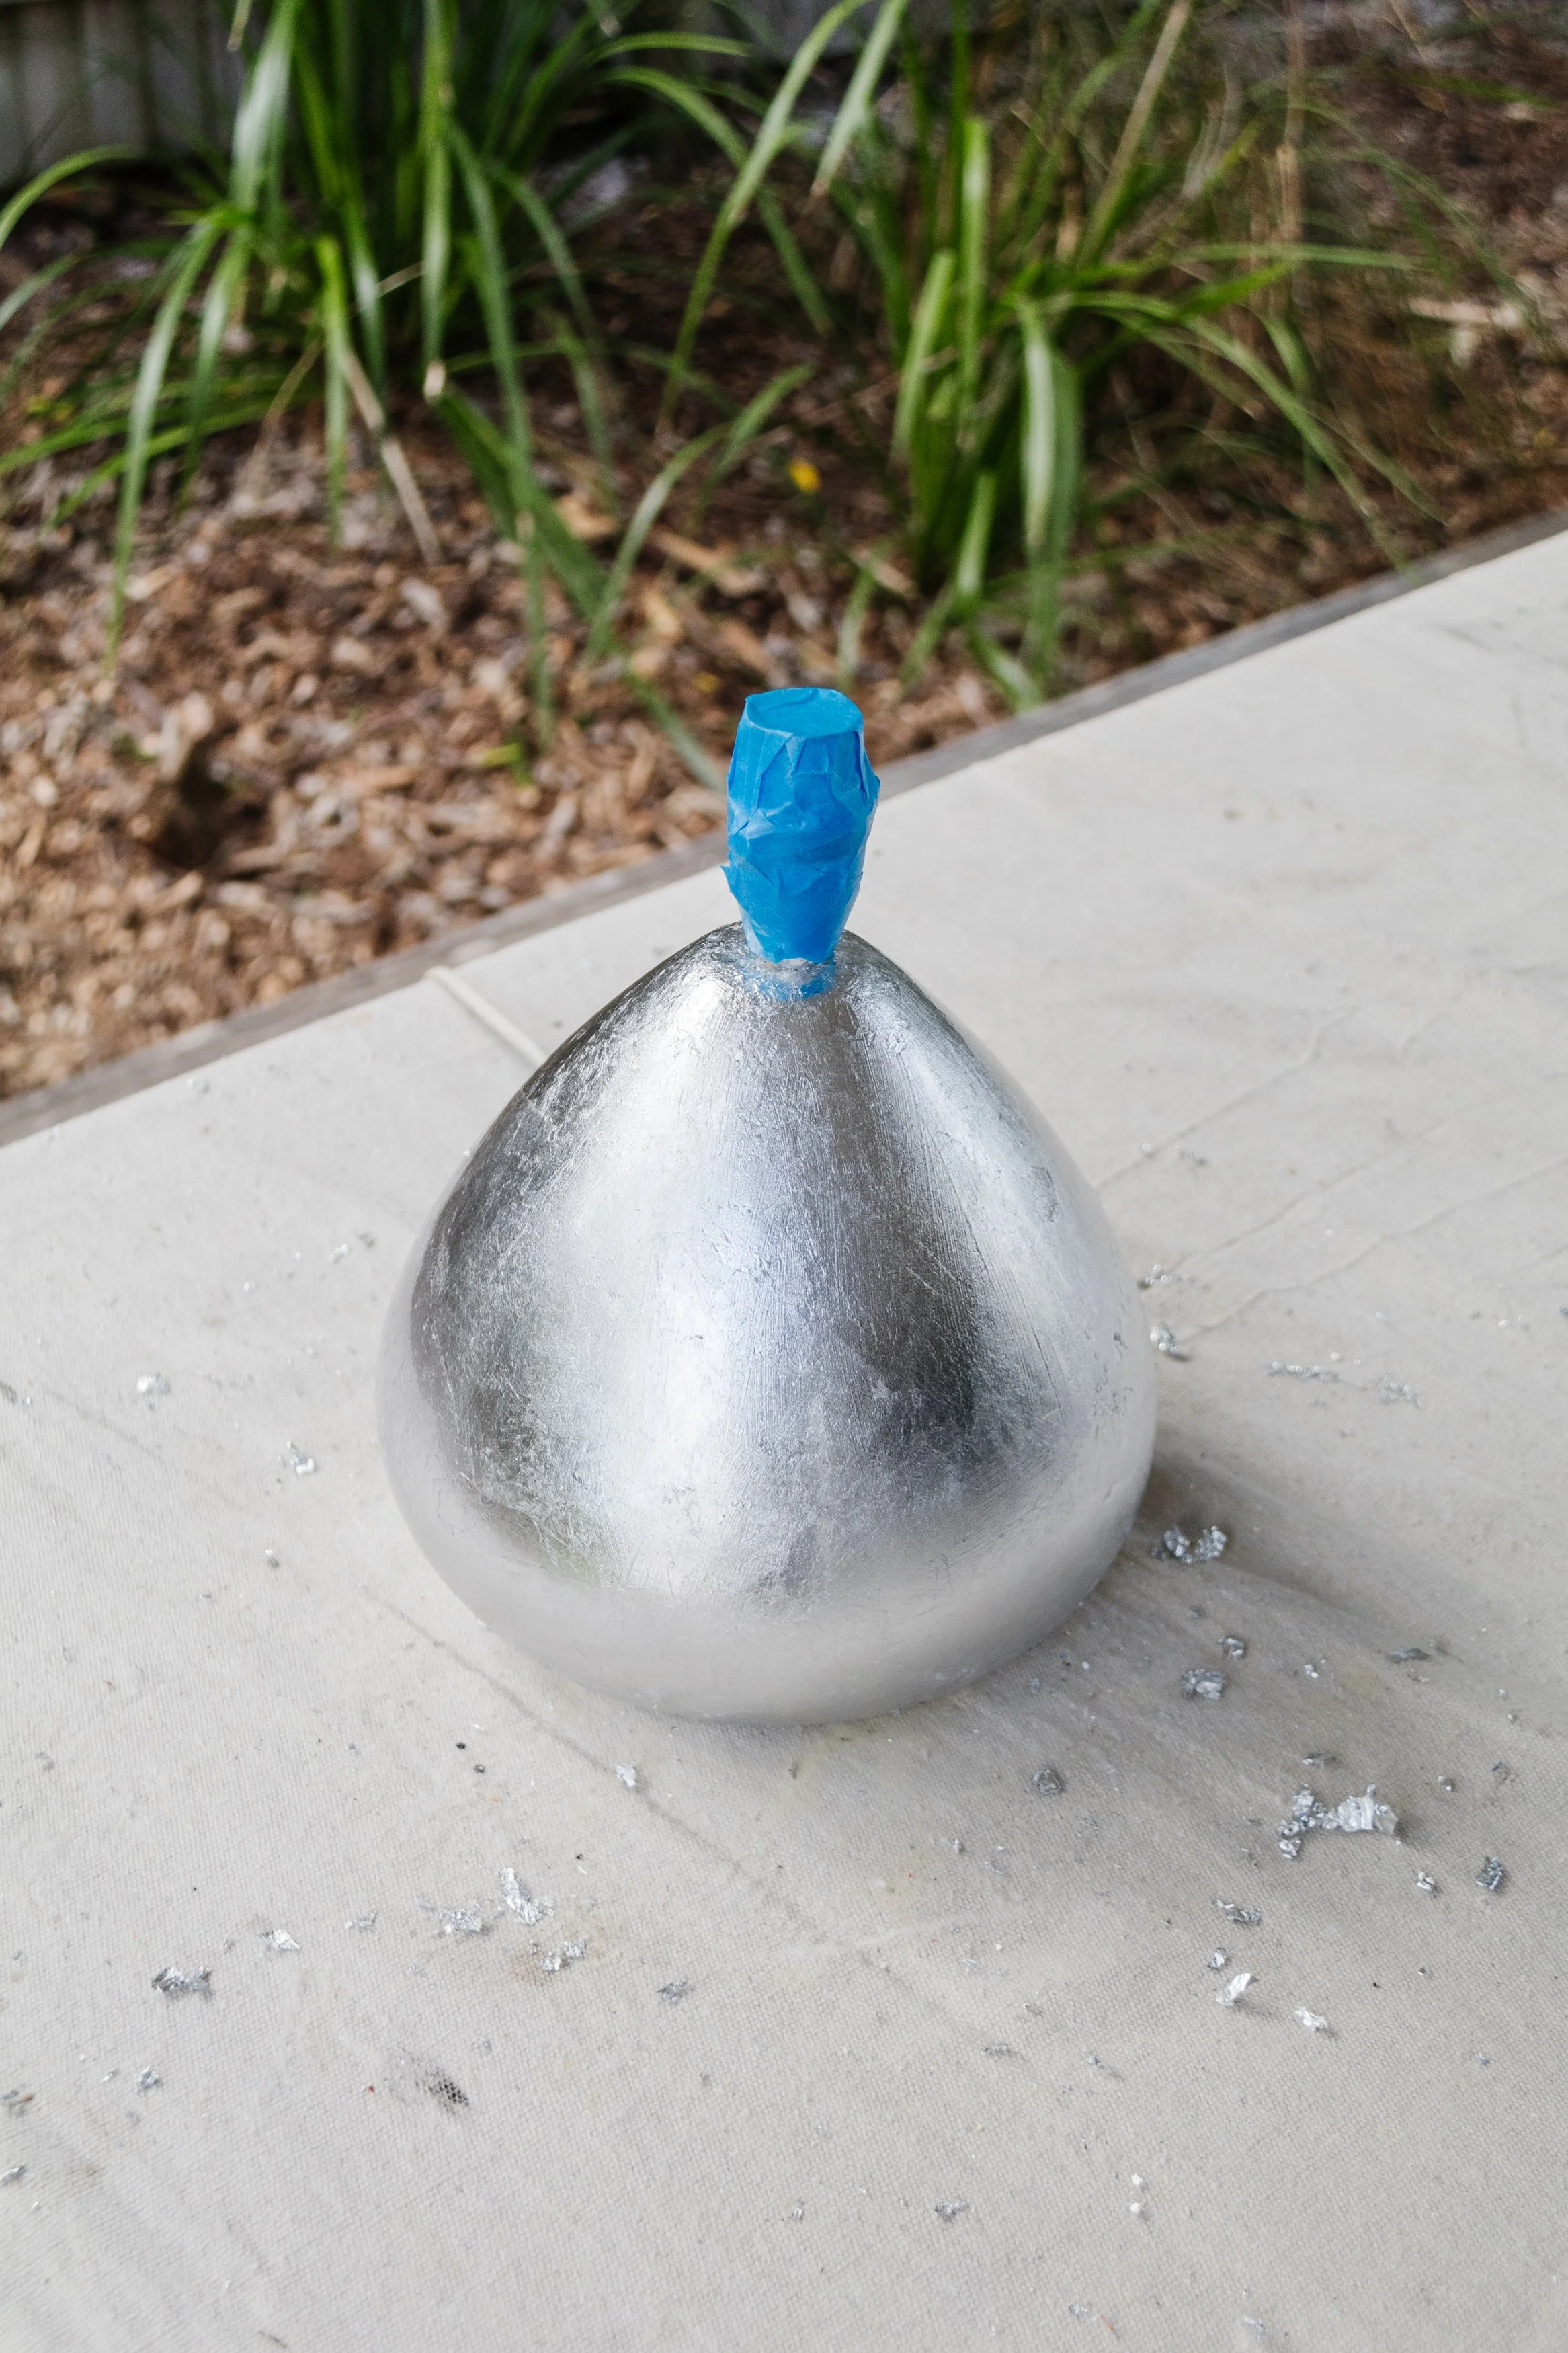
Step 6: Following this I sealed the lamp base with a clear acrylic spray paint. When it had completely dried, I put the lampshade back on and that’s it!

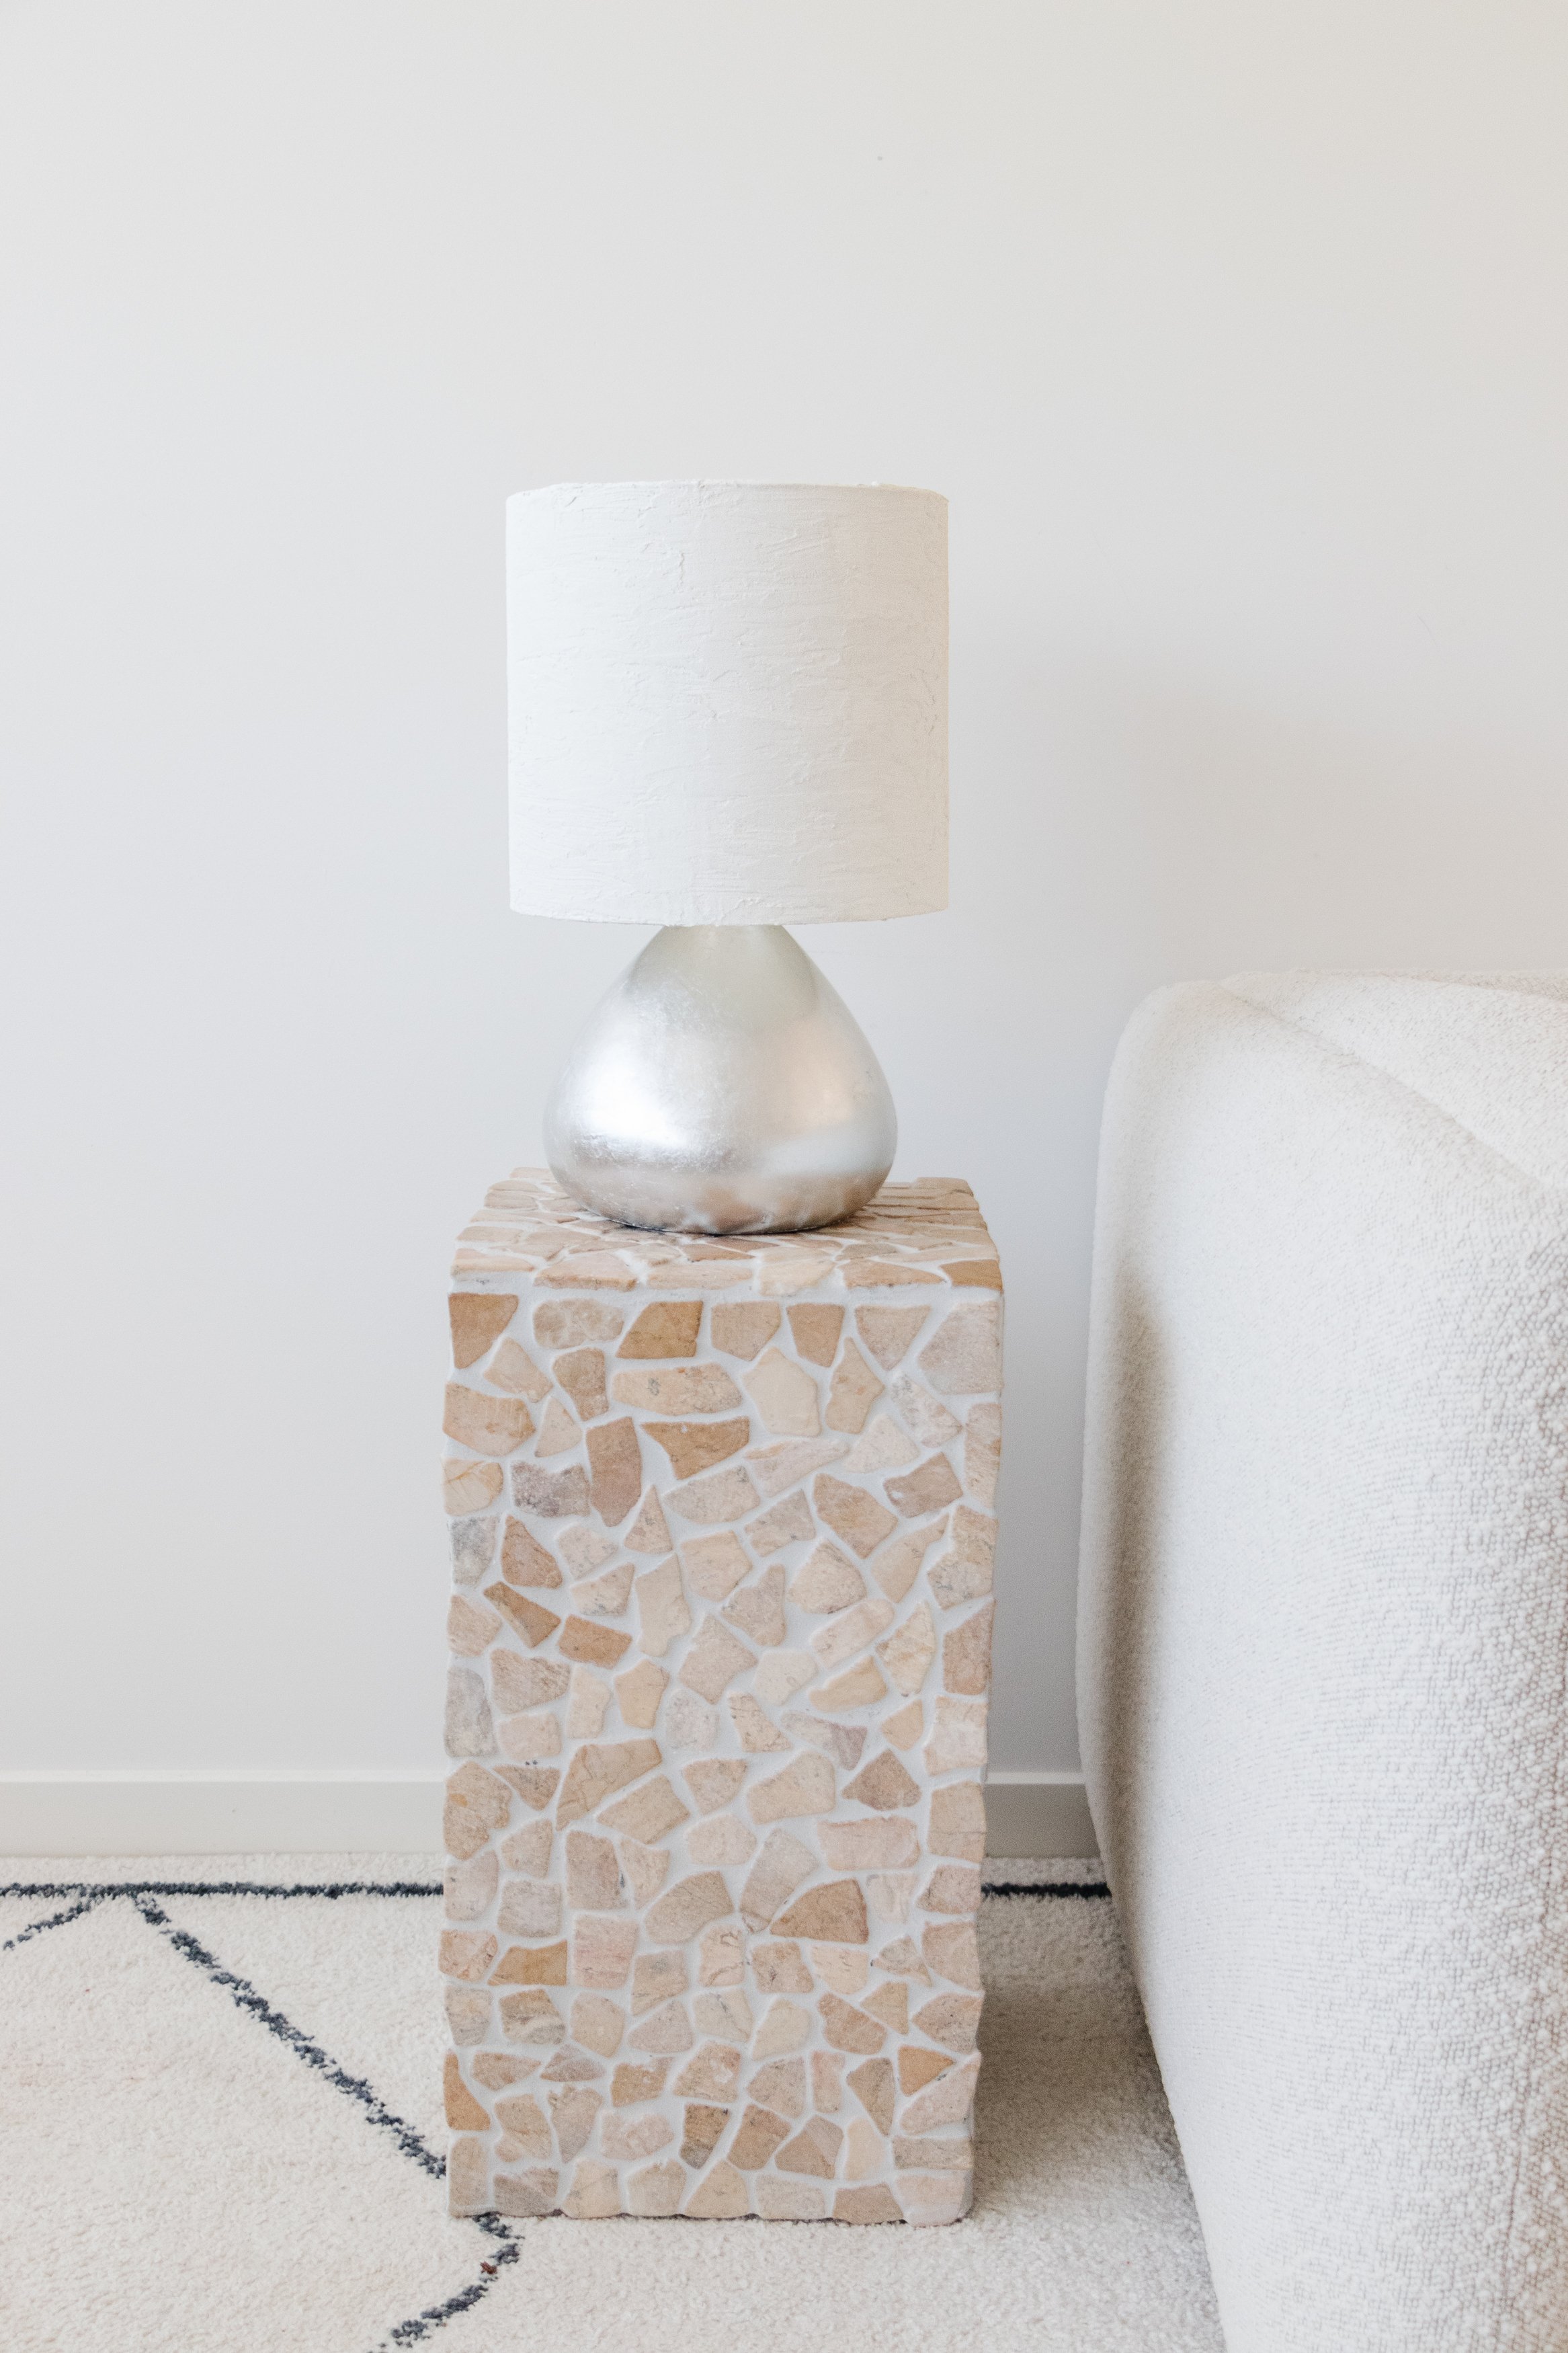
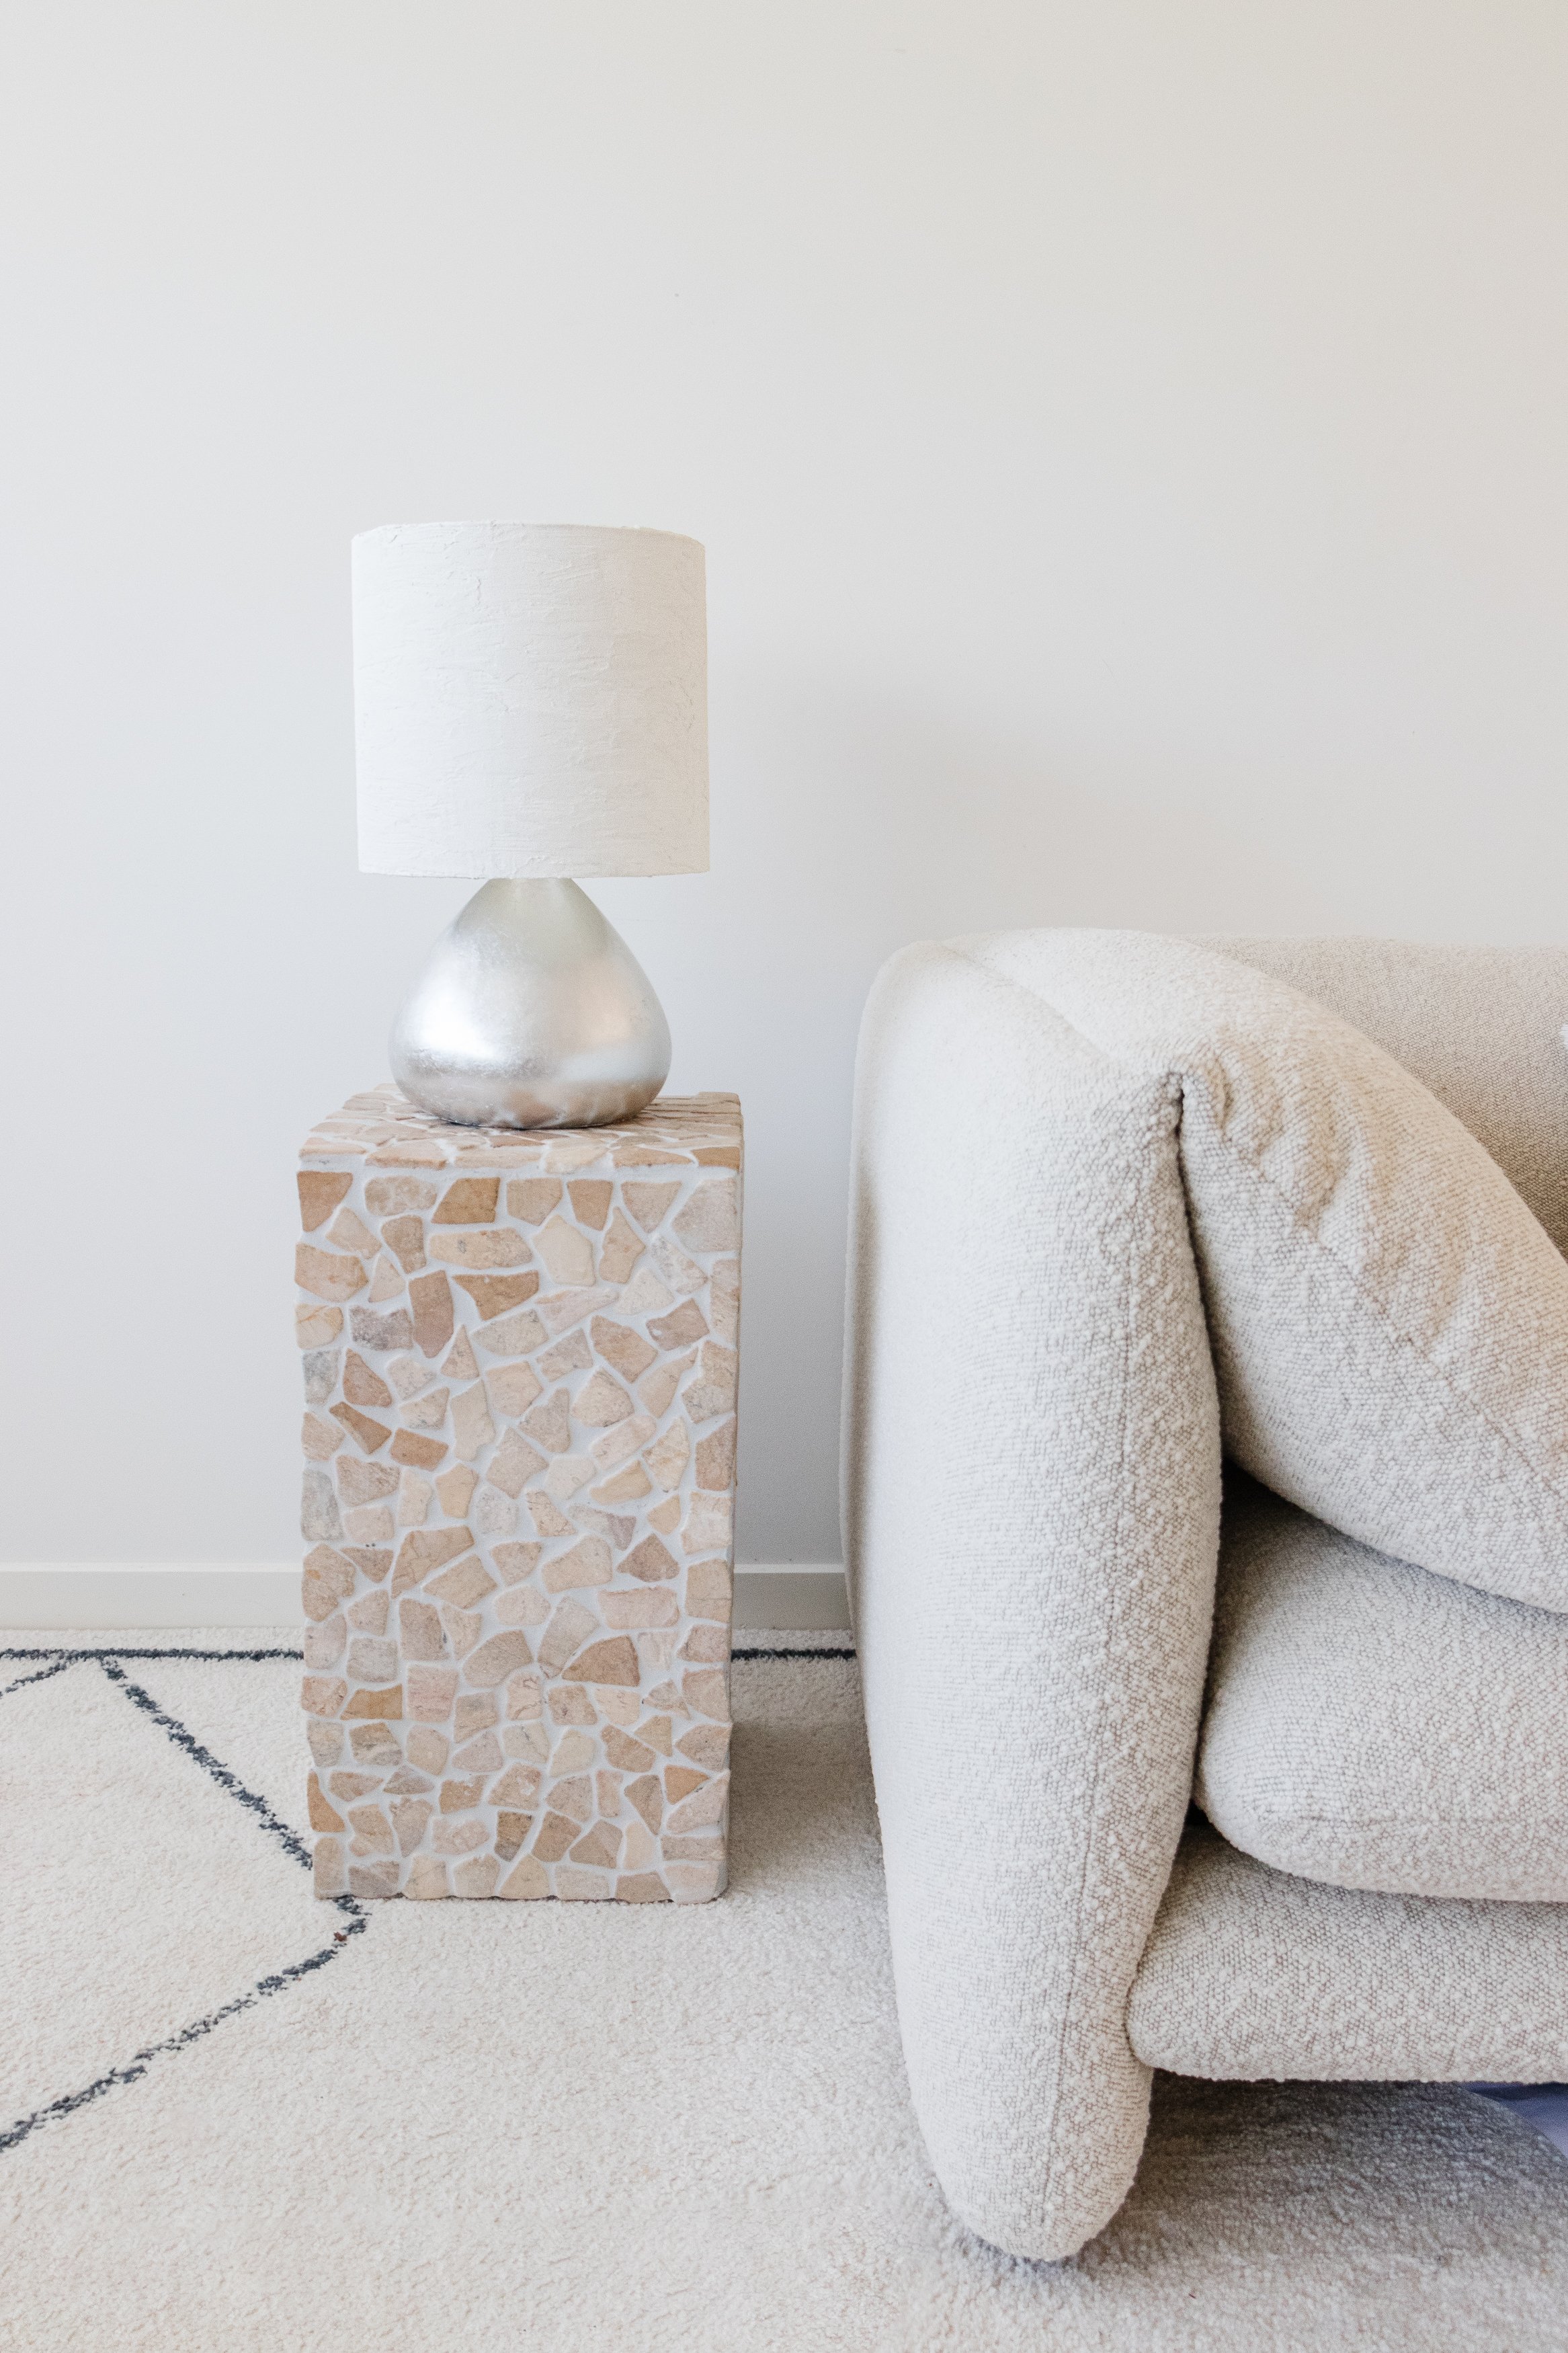
Ta daaaa!