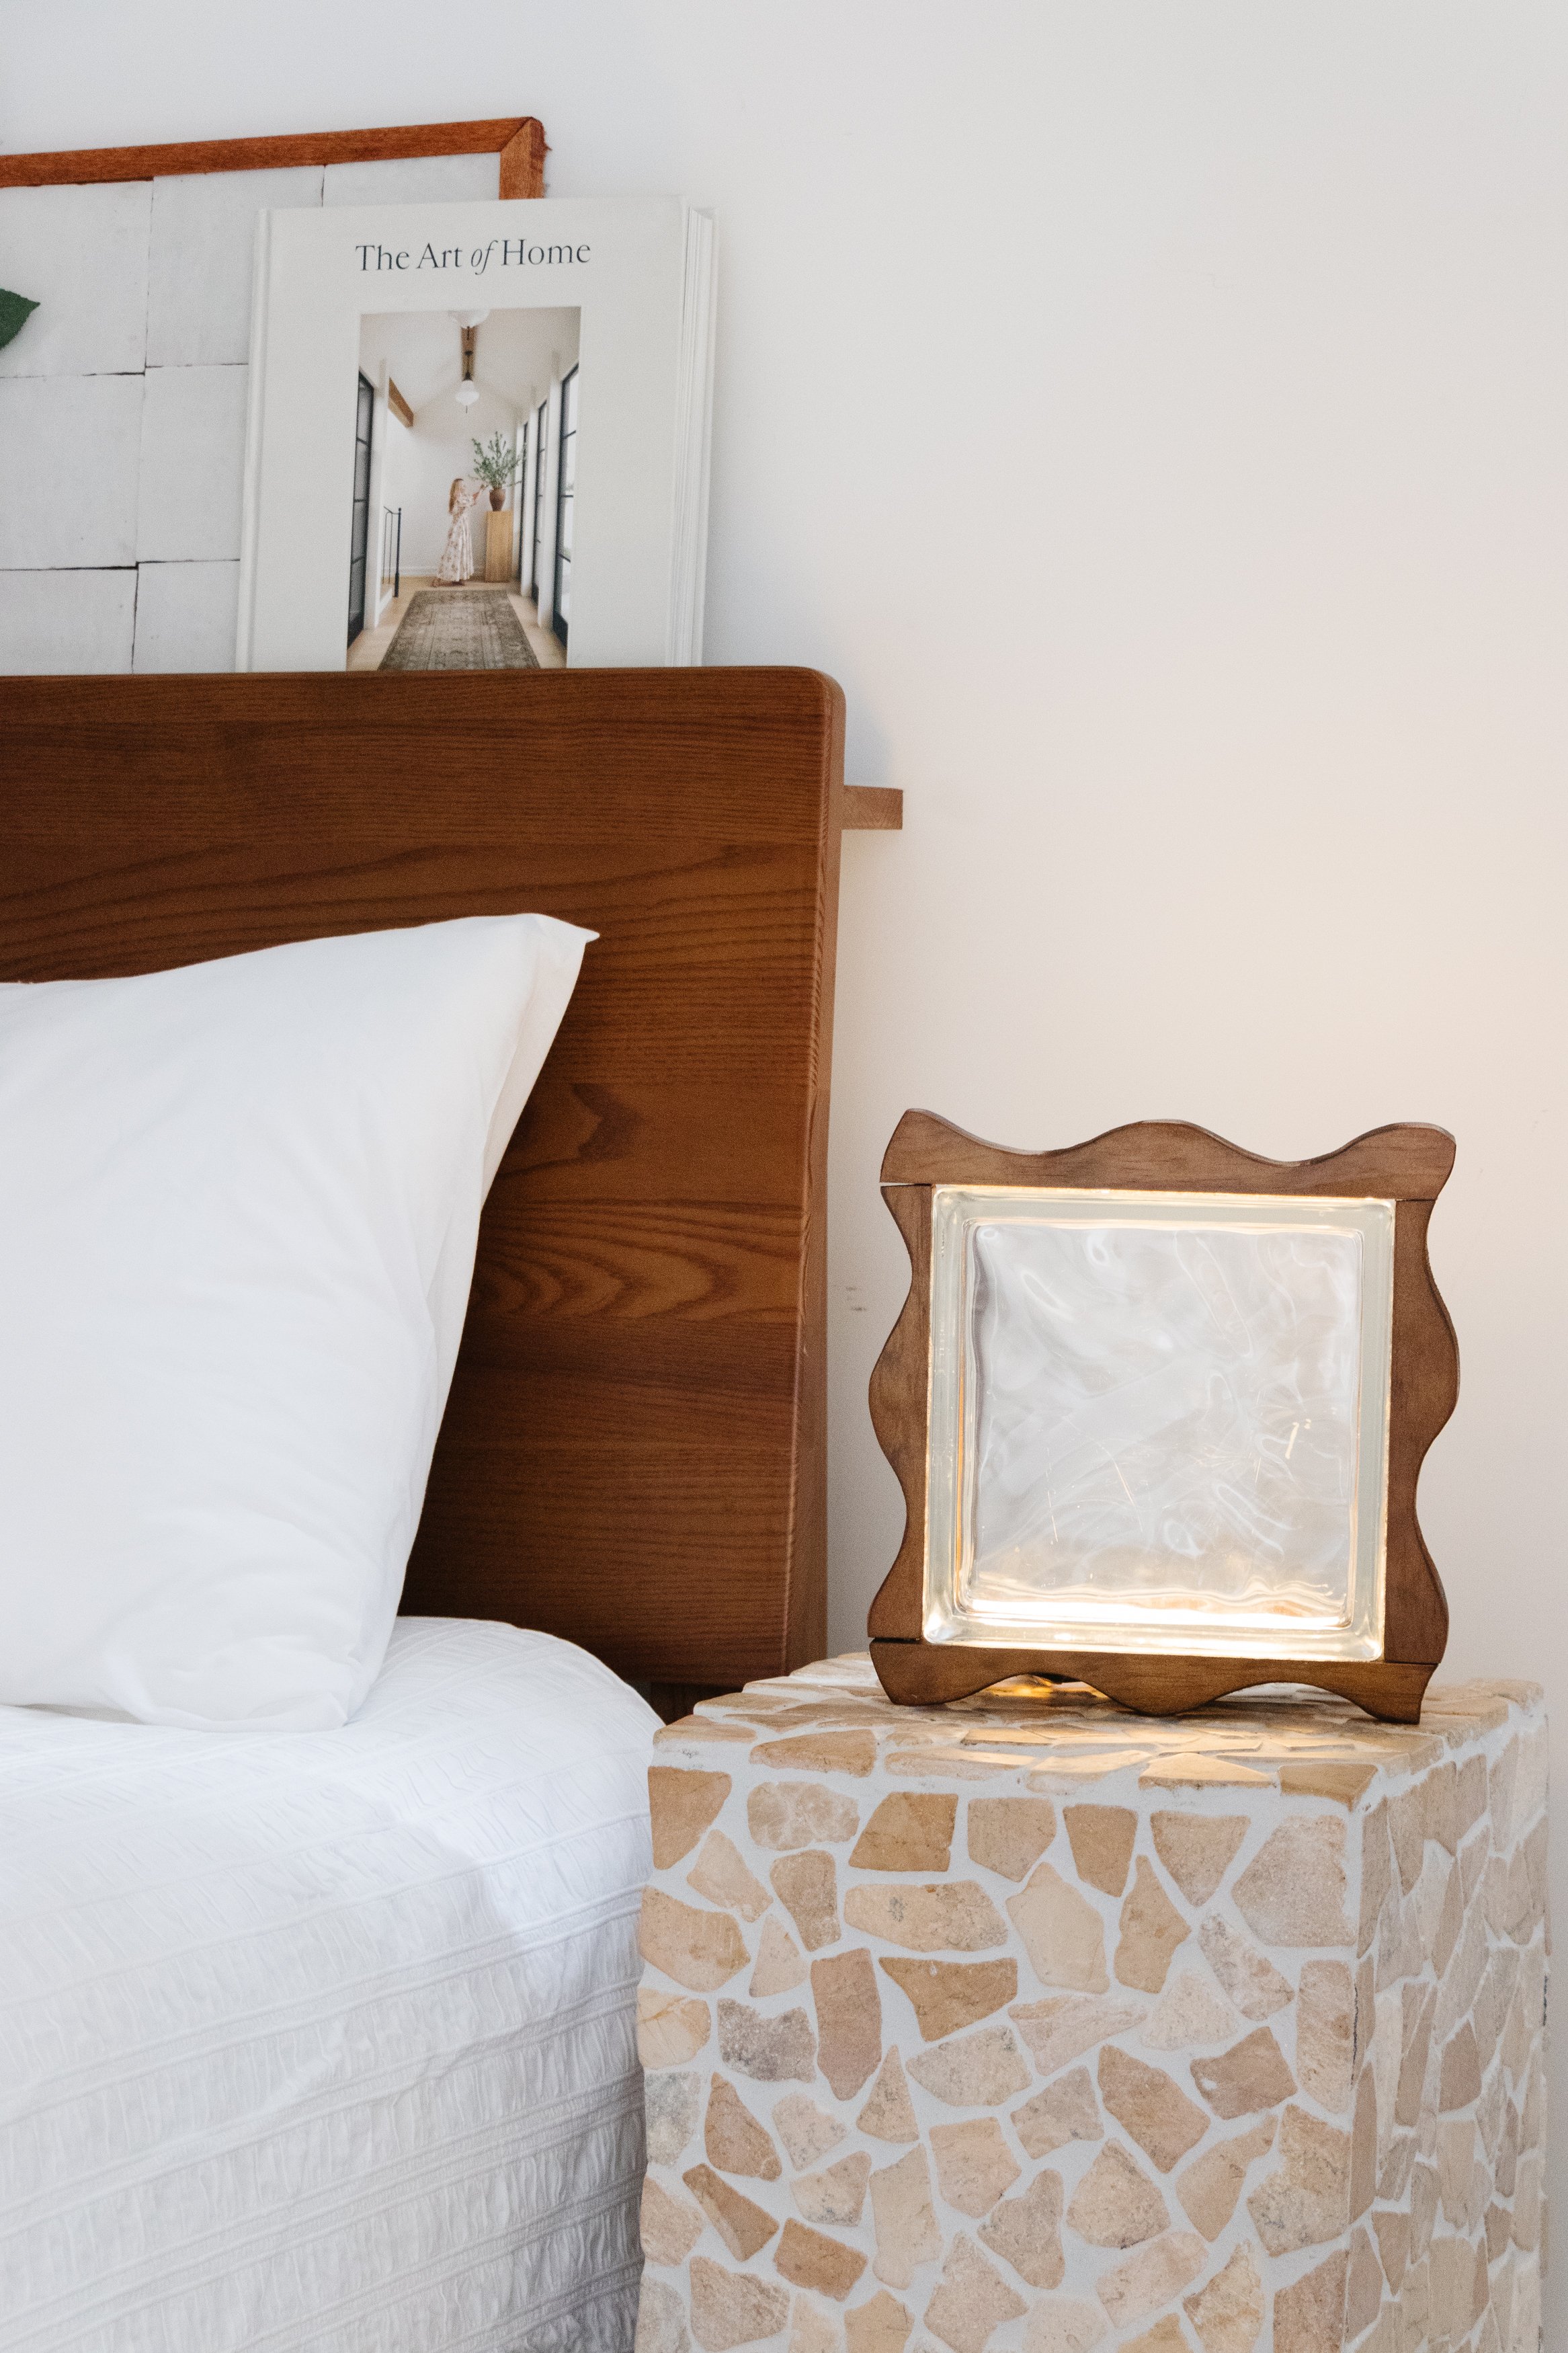
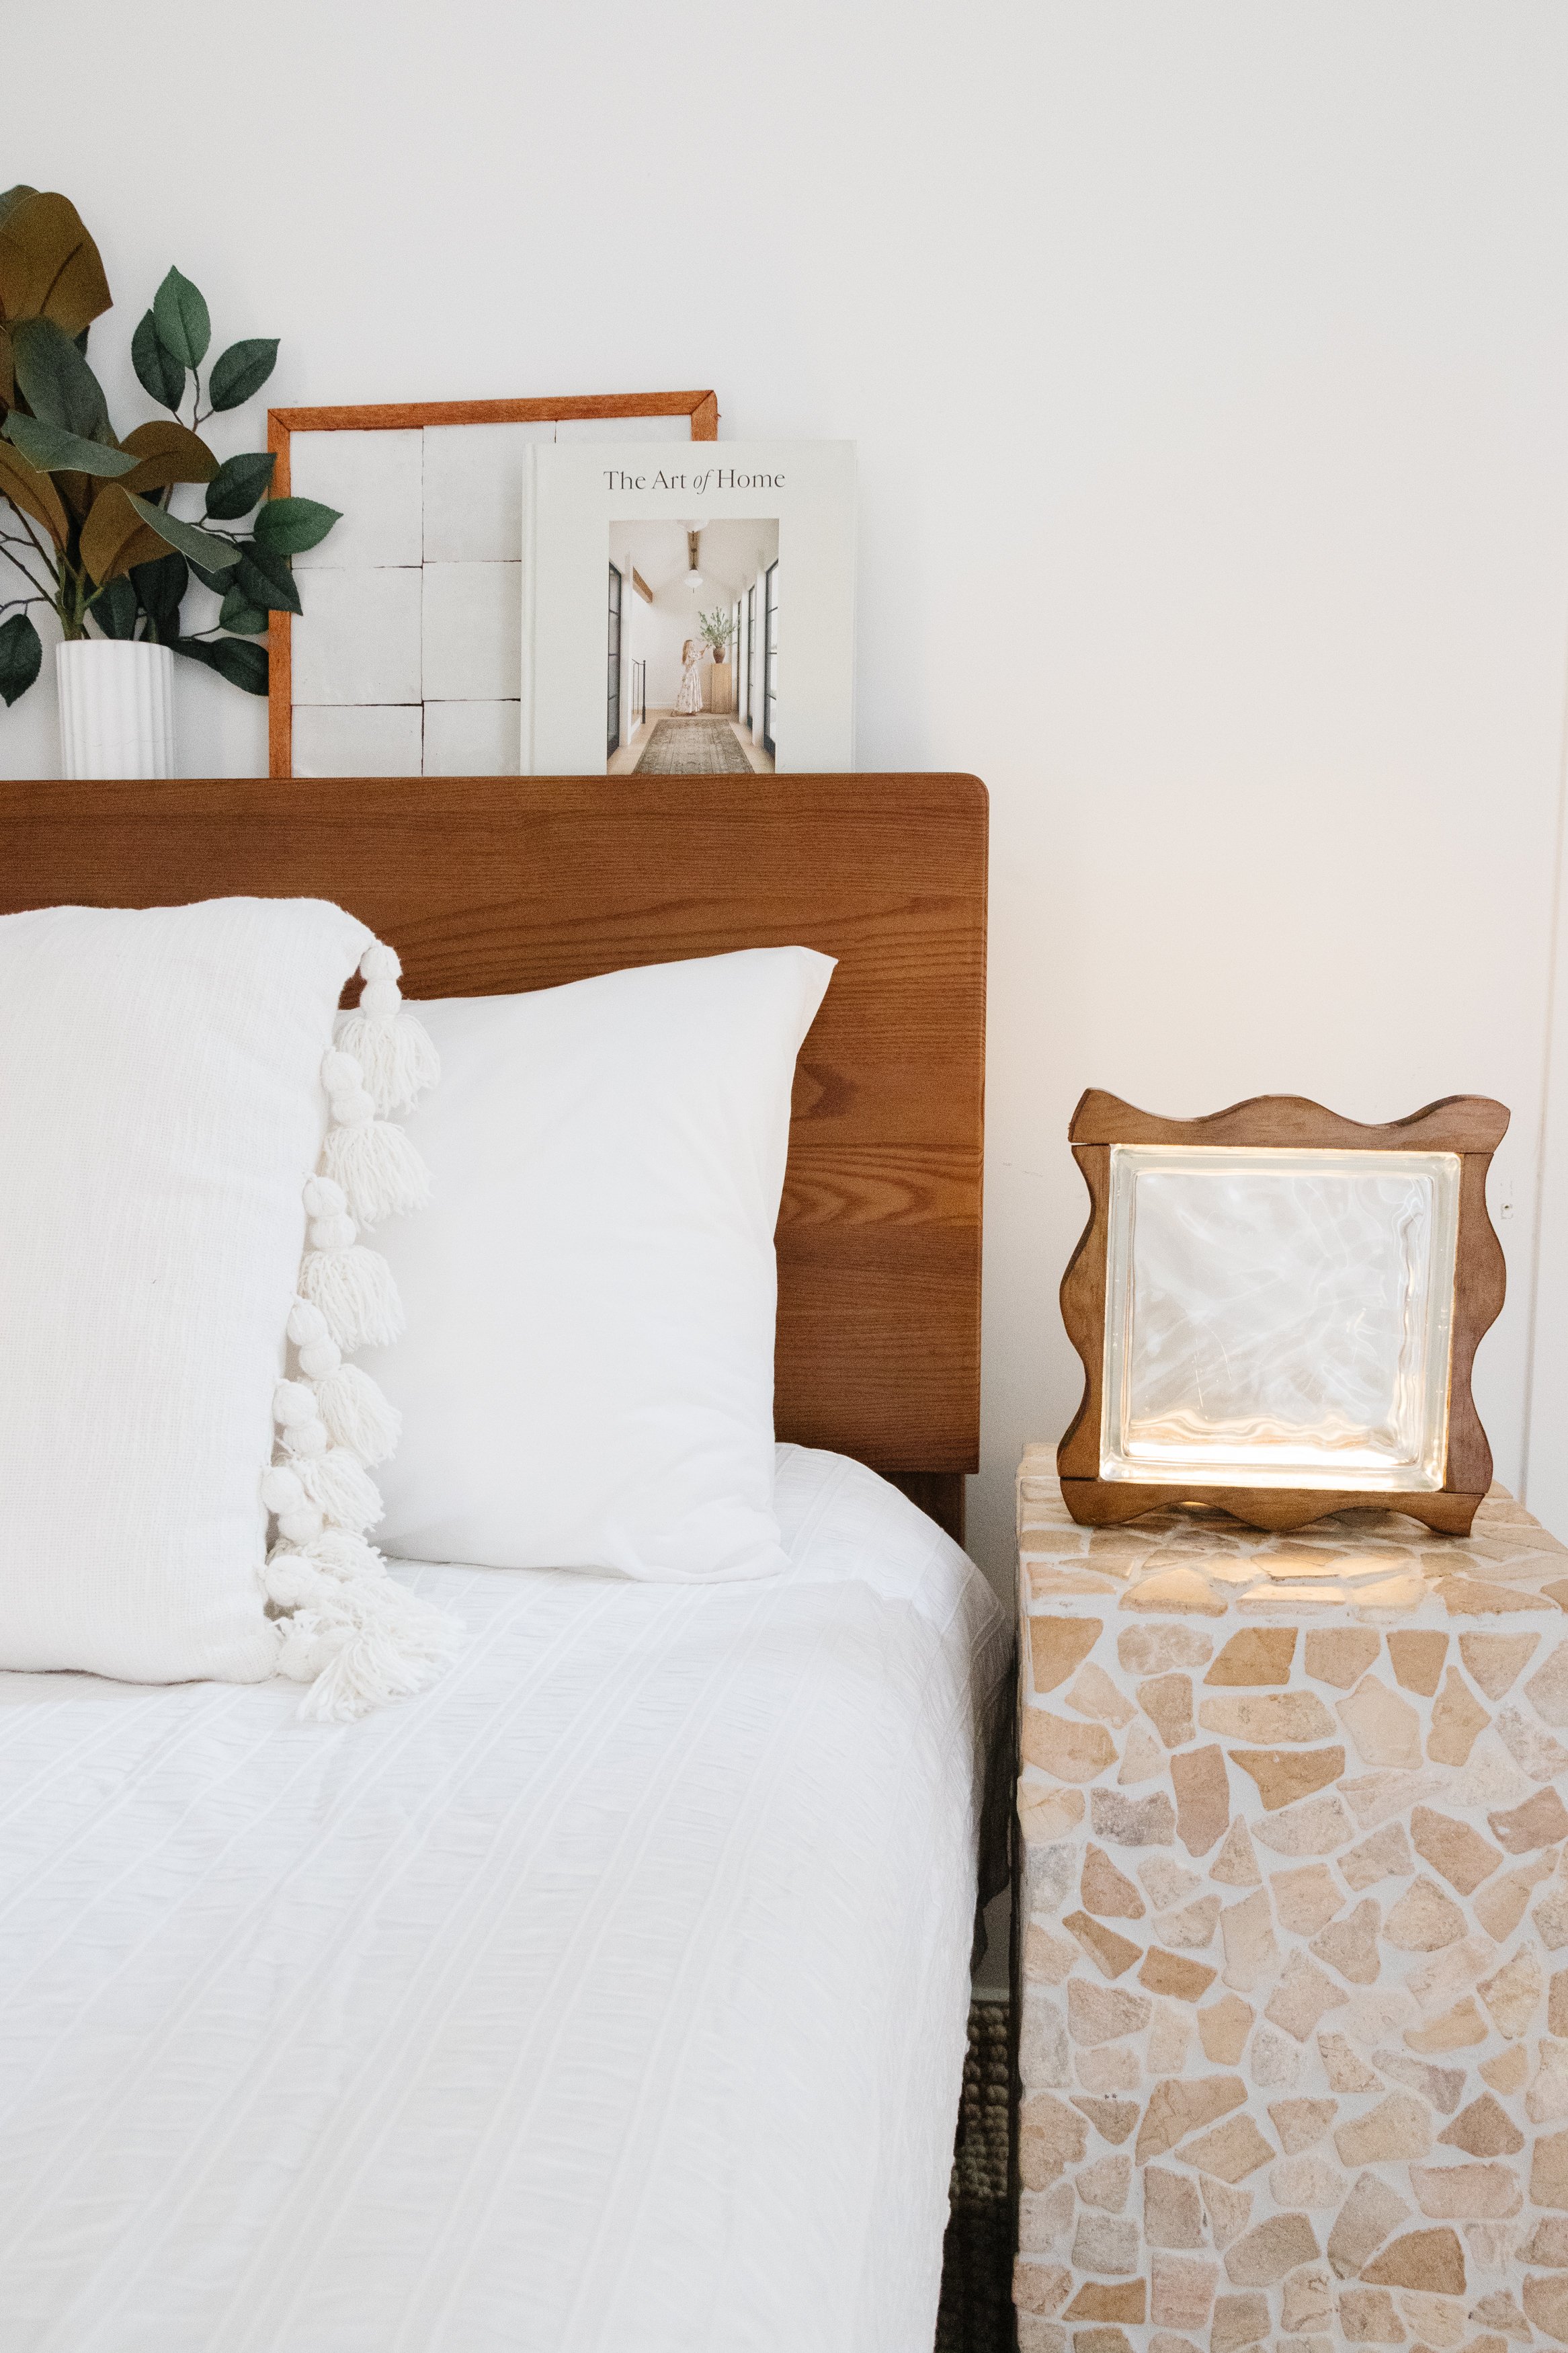
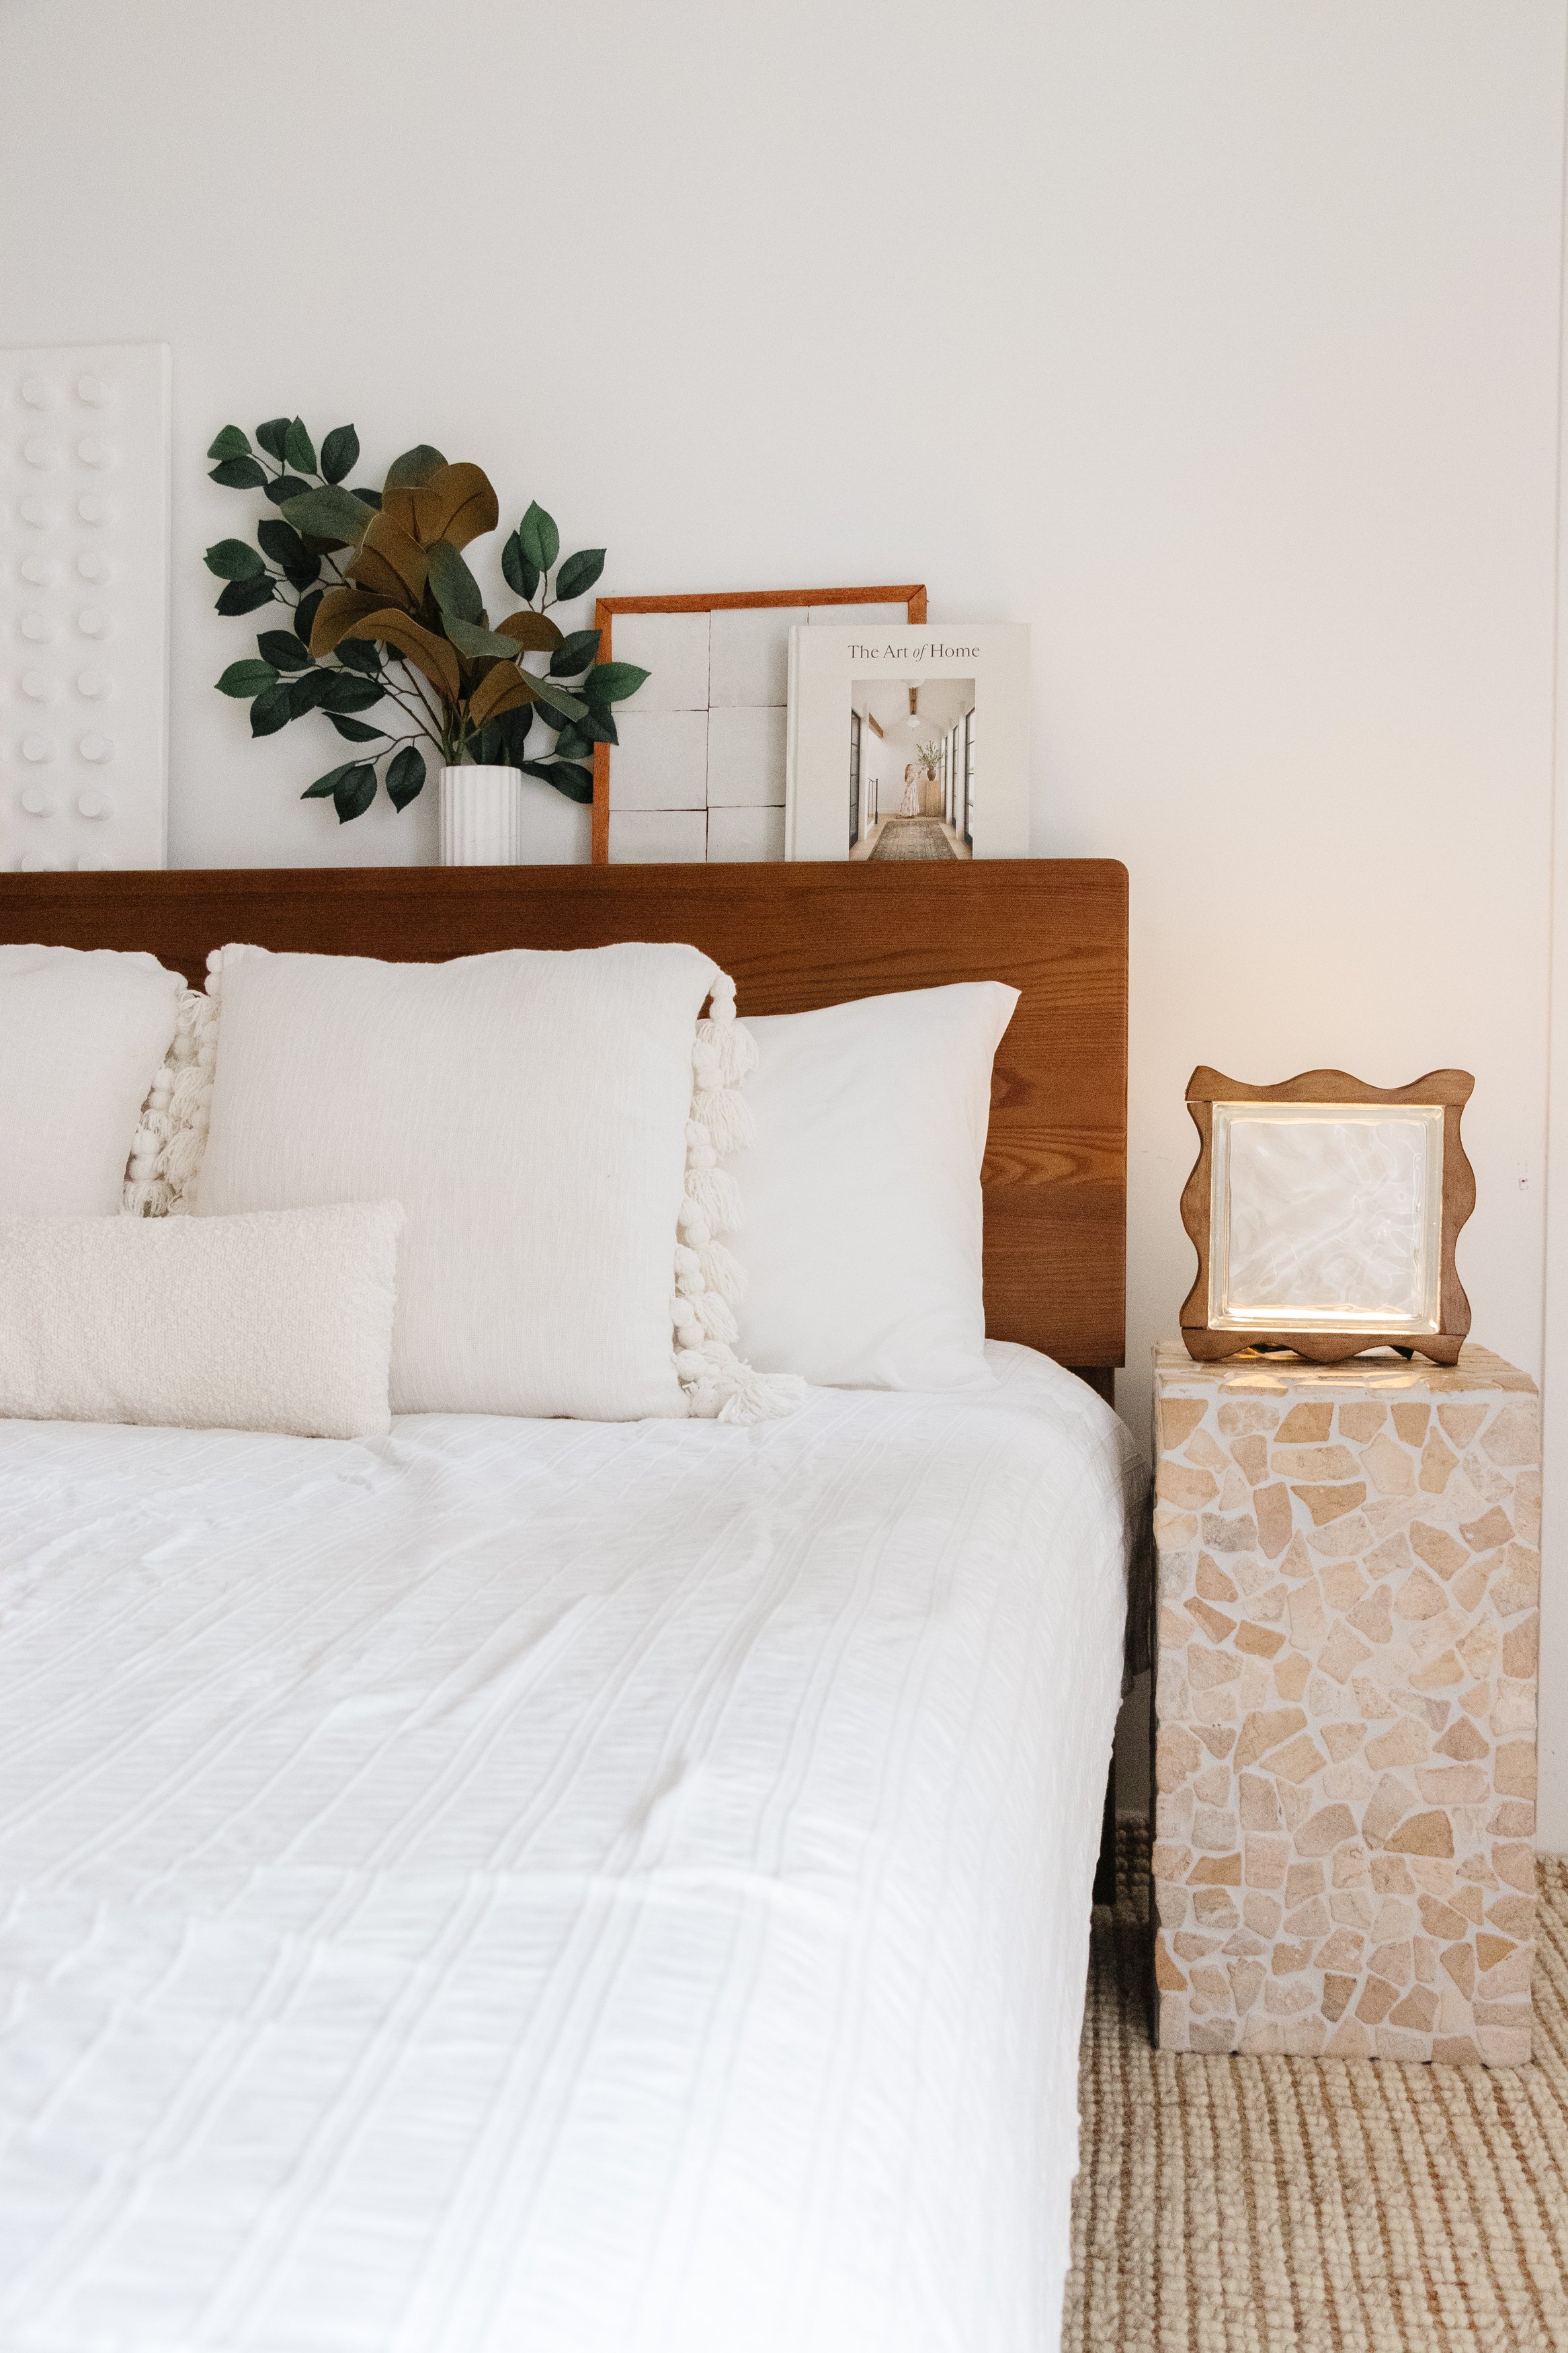
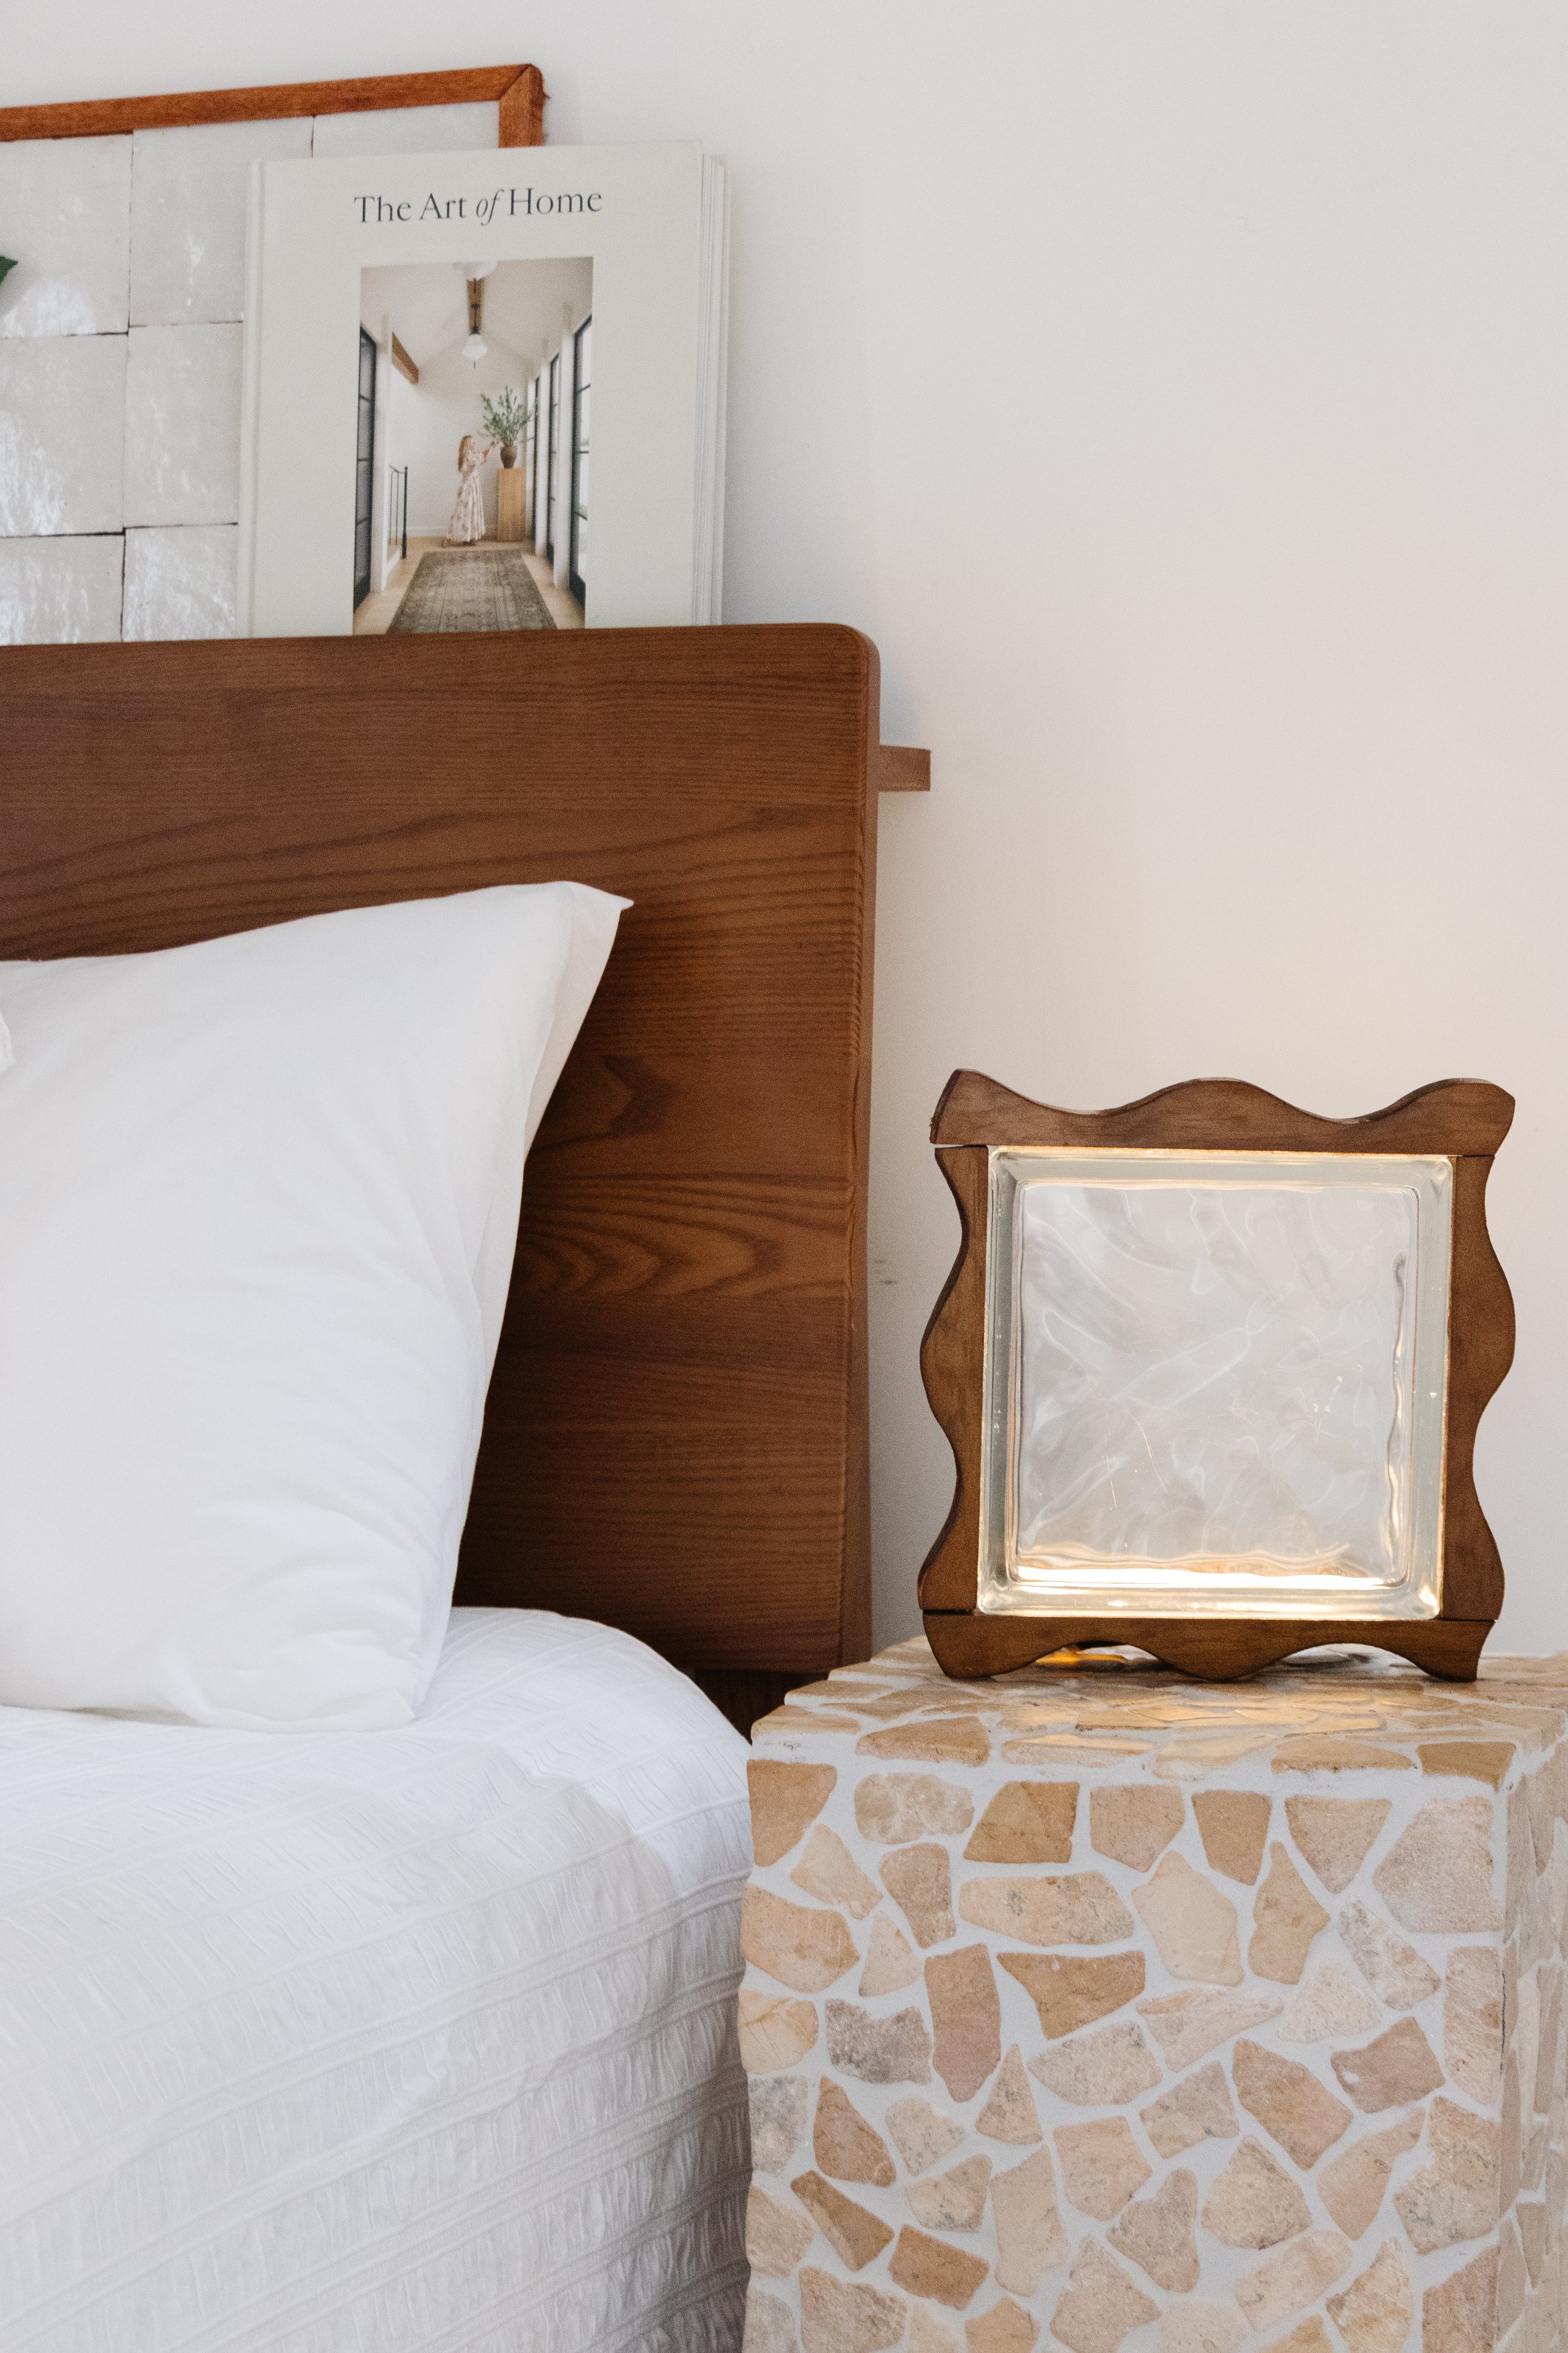
DIY Glass Brick Light
You'll look at glass bricks differently after seeing this!
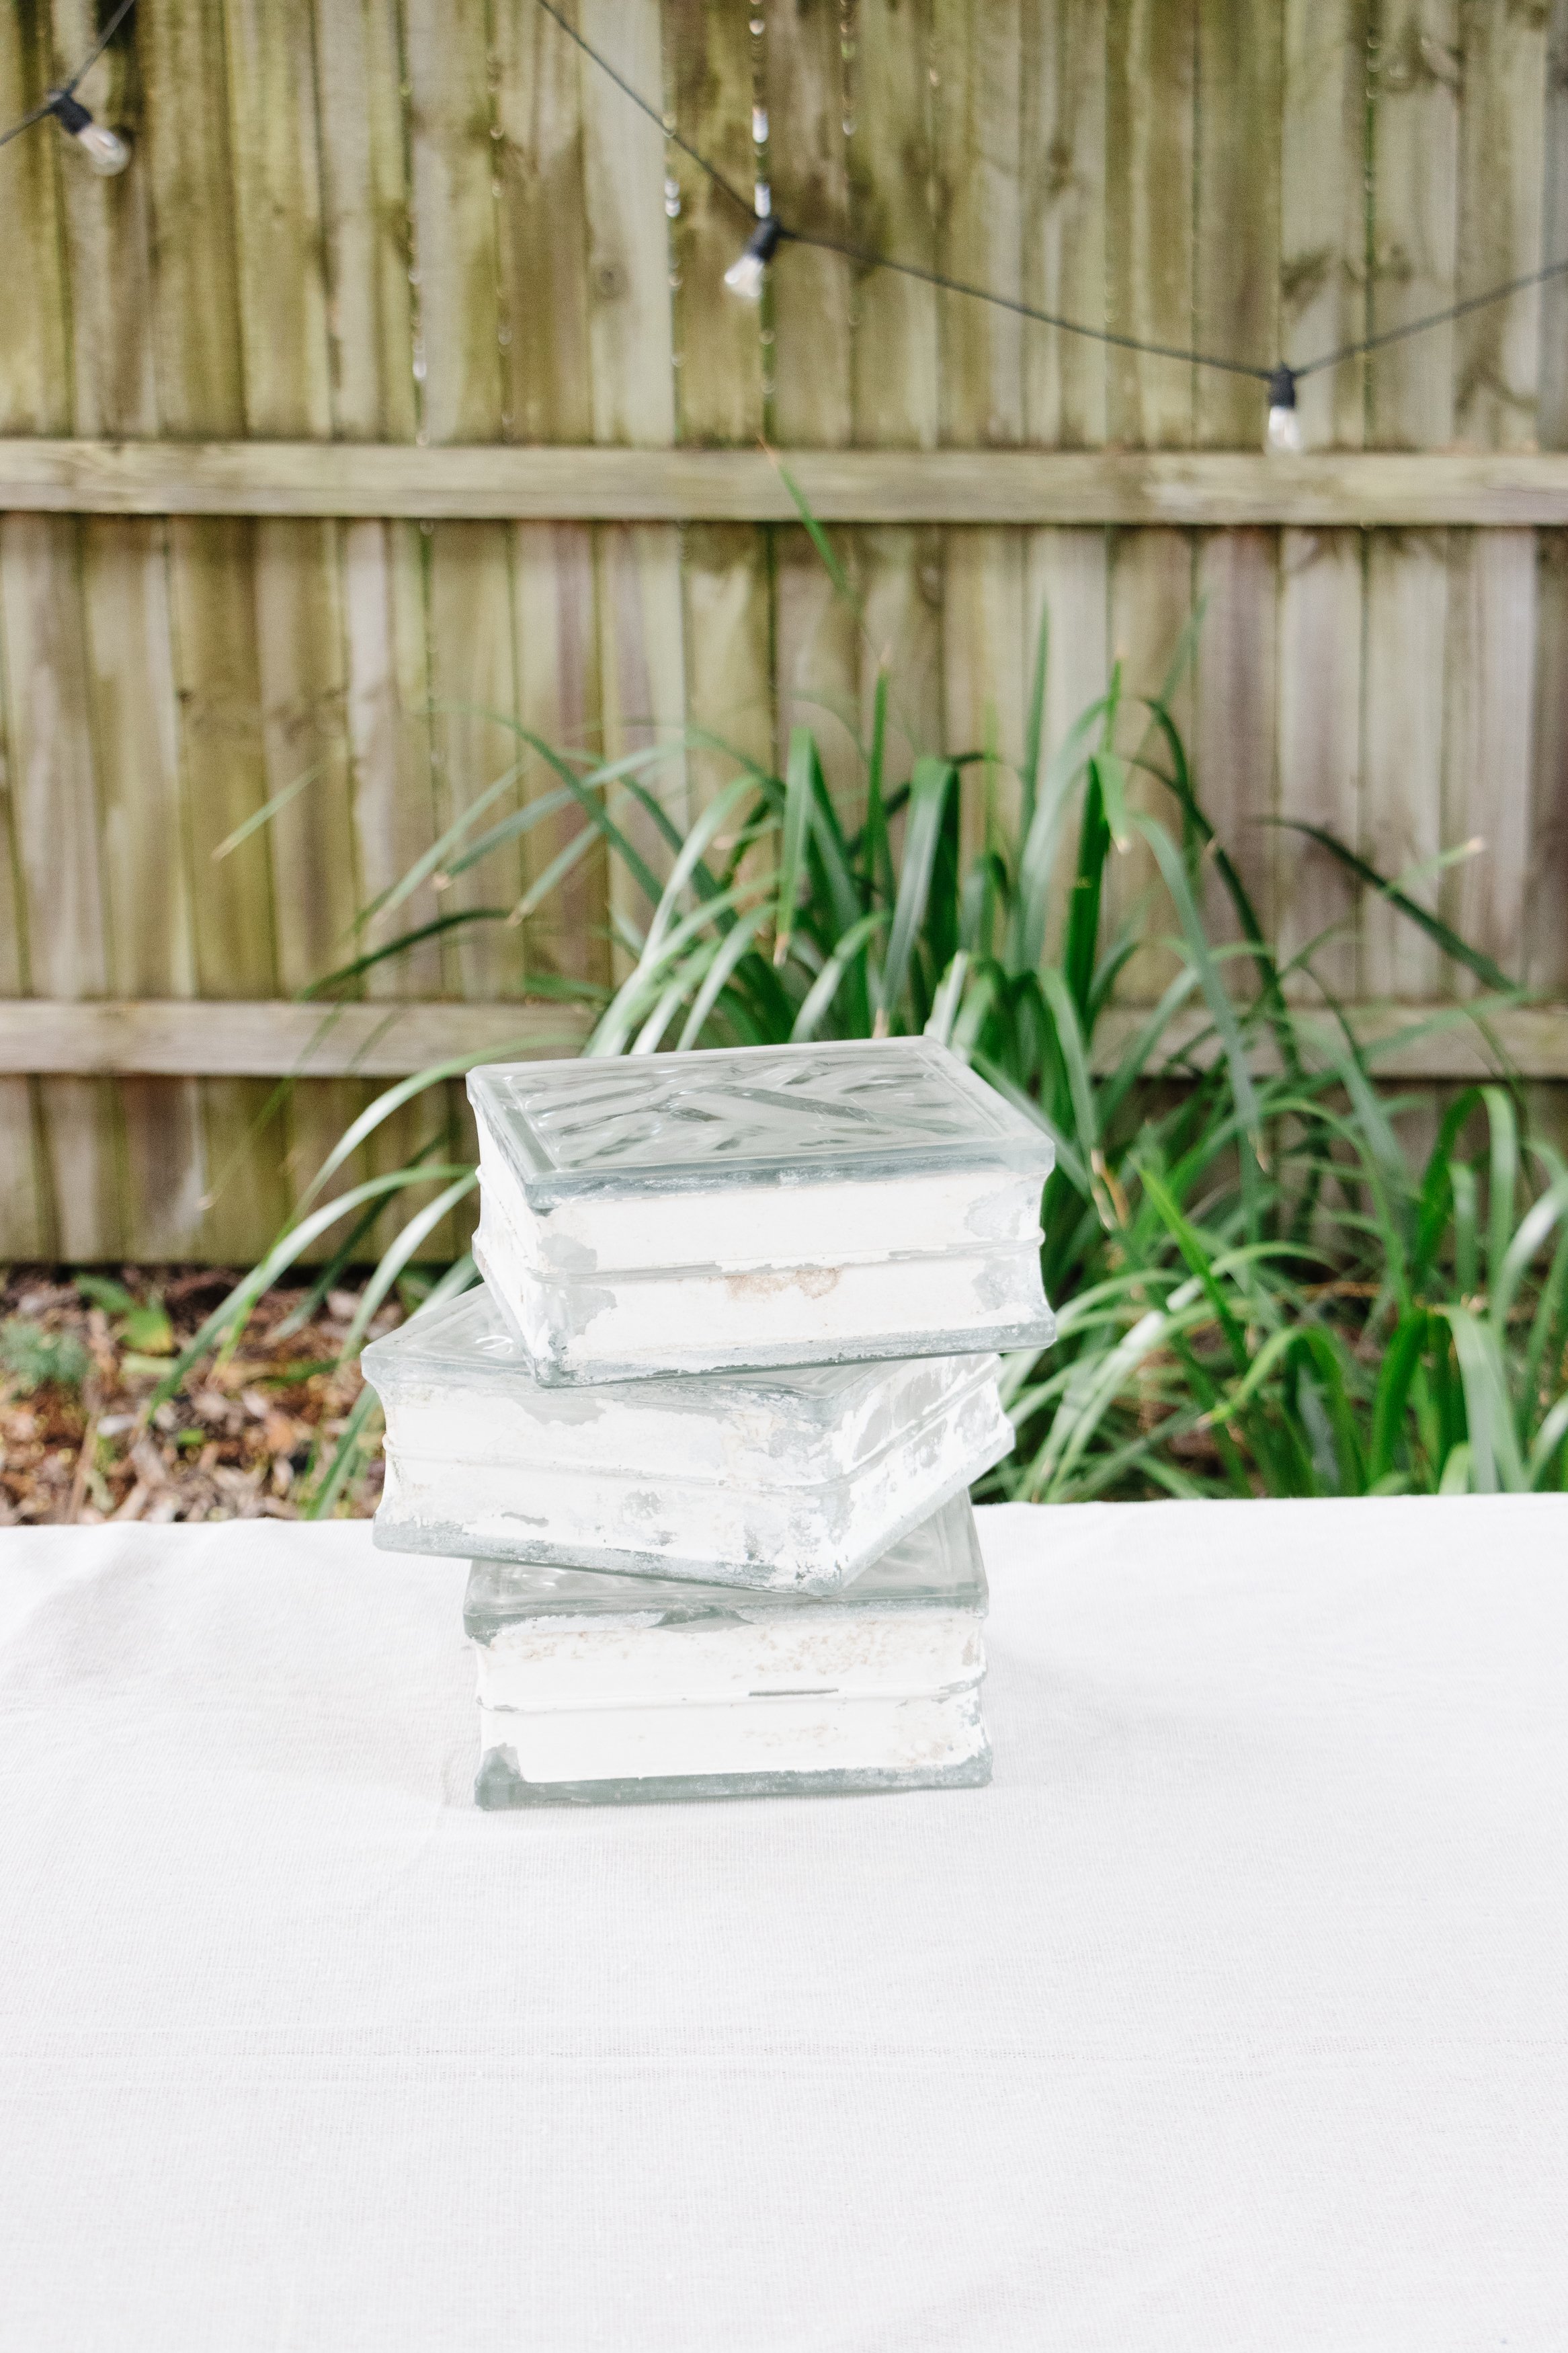
I thrifted some glass bricks last year and I've already made Glass Brick Bookends and a Glass Brick Vase. I received a few requests to make a light, so I got to work framing the front using scrap wood. It was a little fiddly because I wanted the wavy detail to flow continuously around the glass brick (it will be a lot easier if you use a square wood dowel). Keep reading to see how I made this DIY Glass Brick Light.
Watch this video to learn how to make this DIY Glass Brick Vase
Before & After


Project Details
♻️ Upcycling: Glass Brick Light
🕒 Project Time Estimate: 1 hour across two days
🪑 Skill Level: Intermediate
💰 Materials Cost: $
👷🏼♀️ Safety Gear: Face mask, safety eyewear and latex gloves
Tools
Jigsaw
Palm sander
Materials
Secondhand glass brick
Tape measure
Scrap wood
Pencil
Painters tape
Timber stain
Microfibre cloth
Construction adhesive
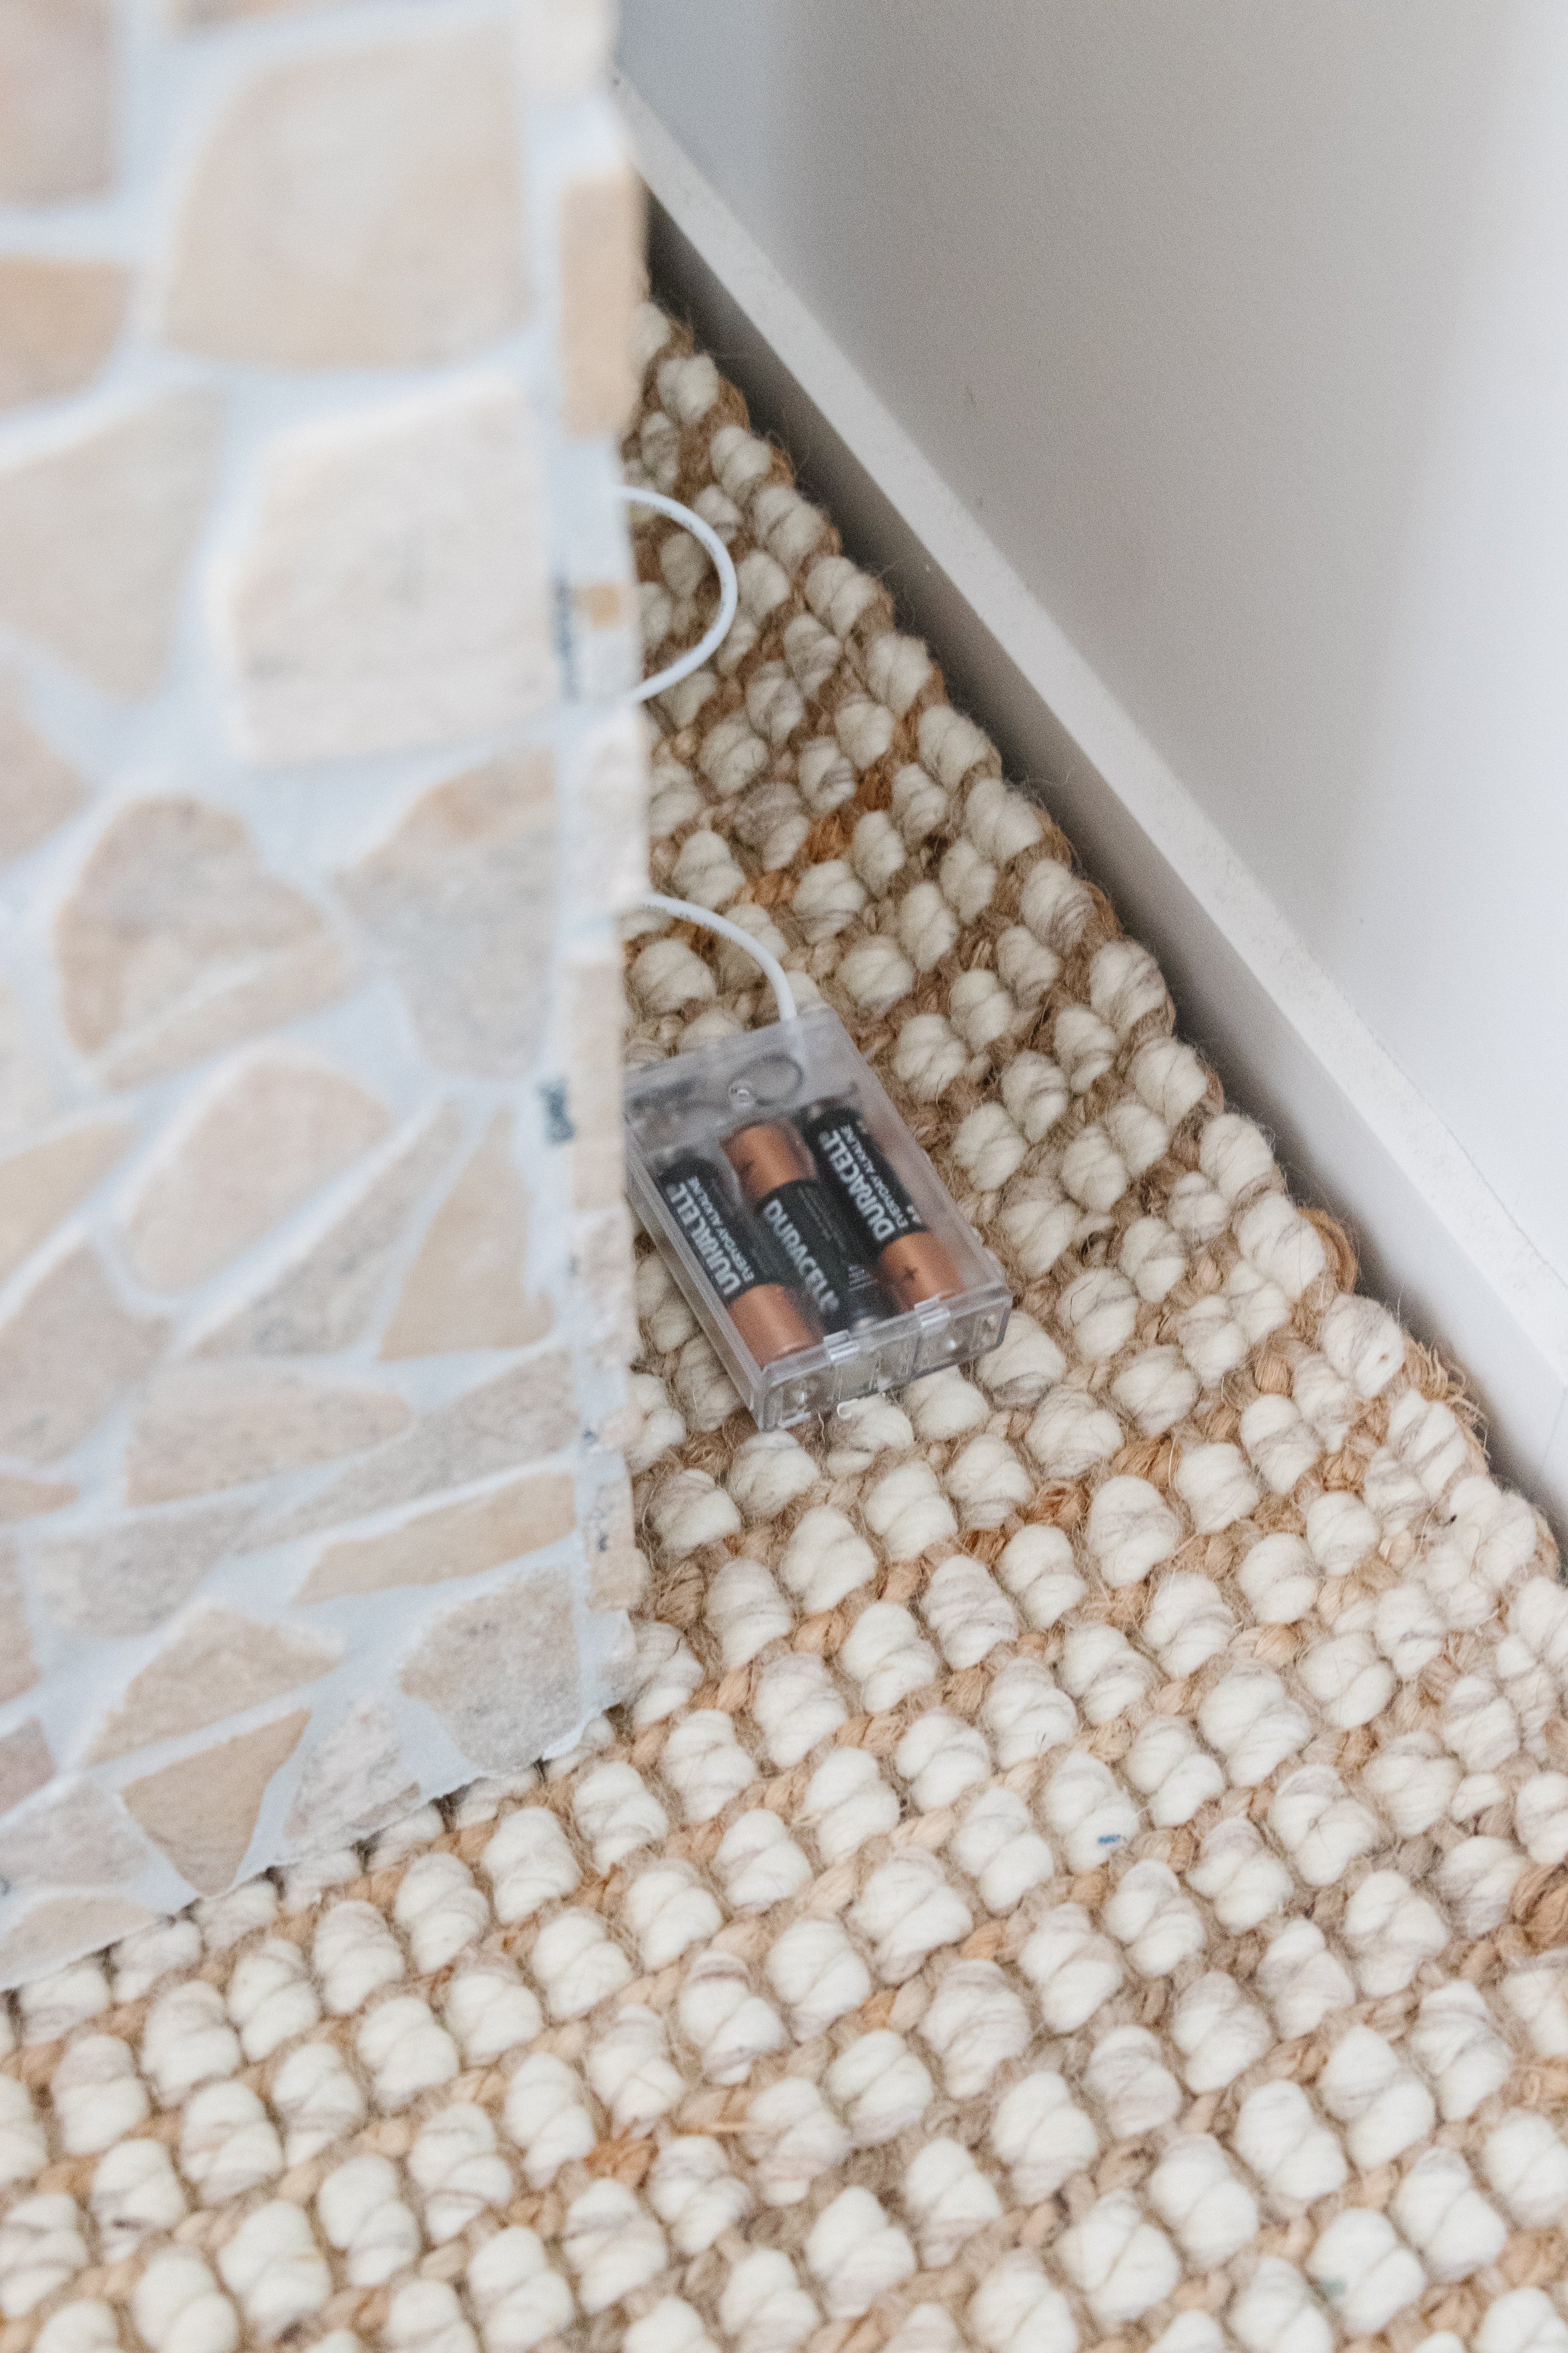
Battery operated strip light


How To Clean Glass Bricks
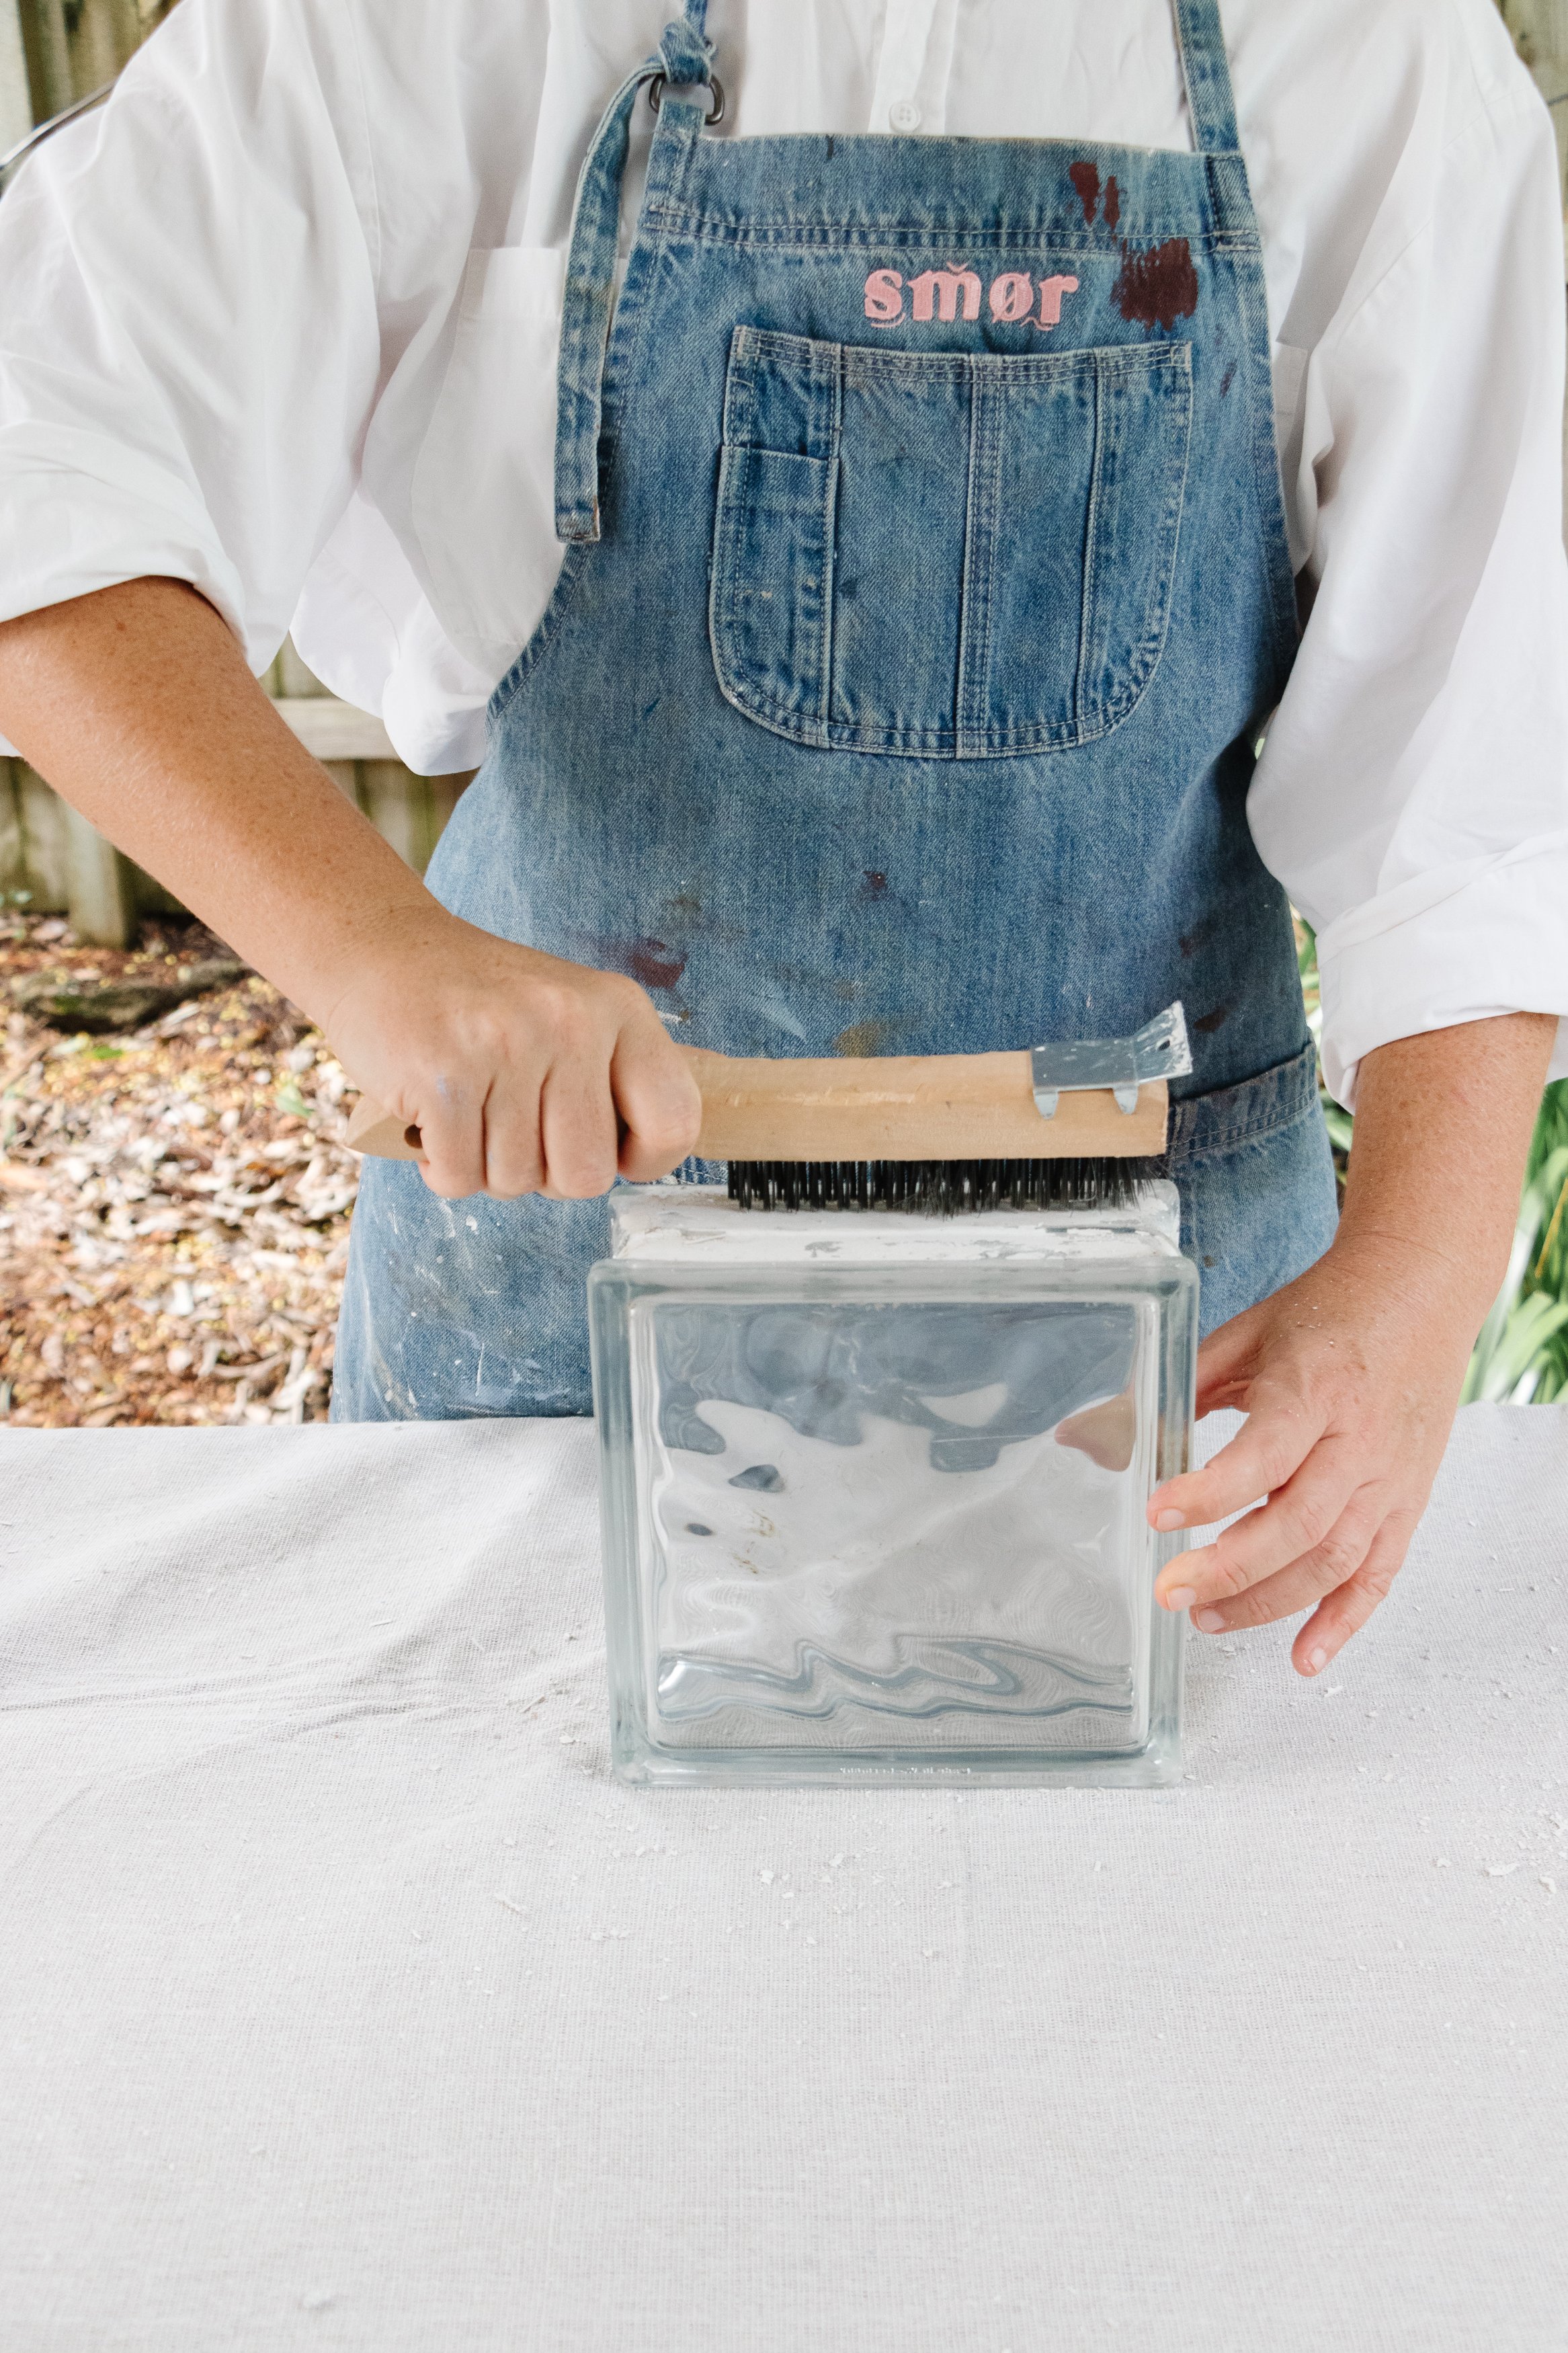
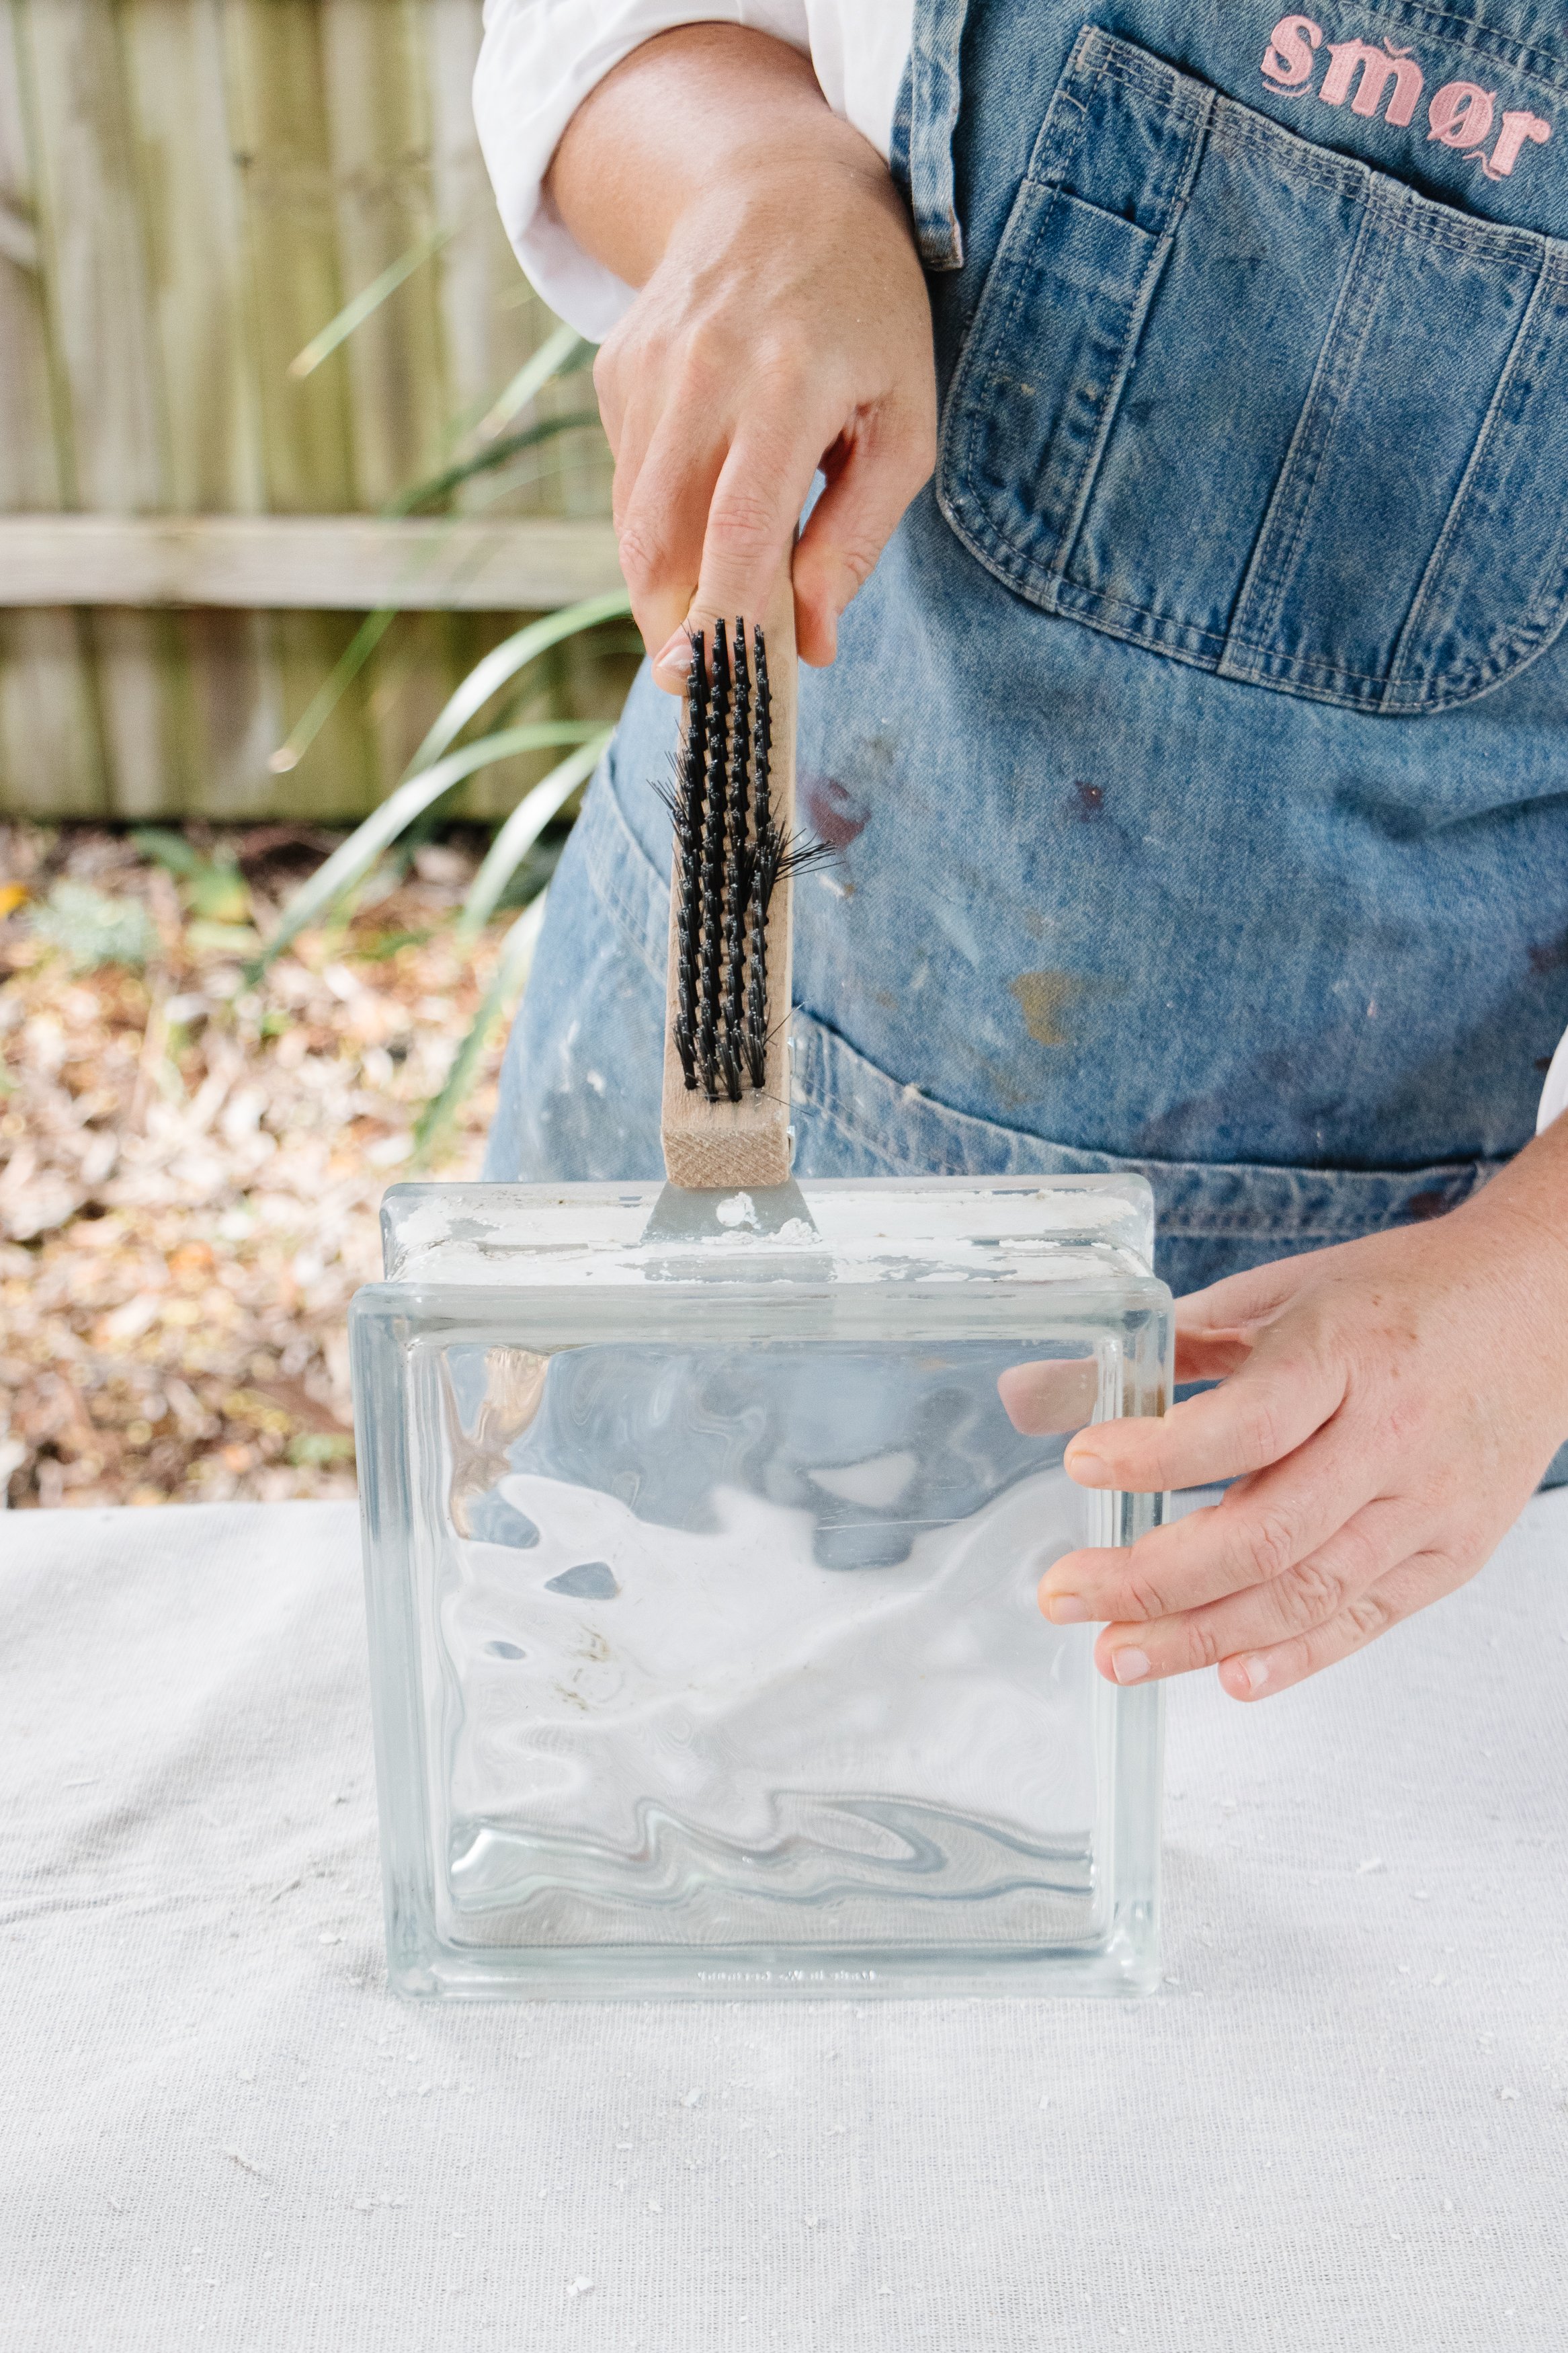
Firstly you’ll most likely need to clean your secondhand glass brick. If you do, head over to this tutorial for my practical step by step guide for easily getting rid of glue, grime, and dirt from glass bricks.
How To
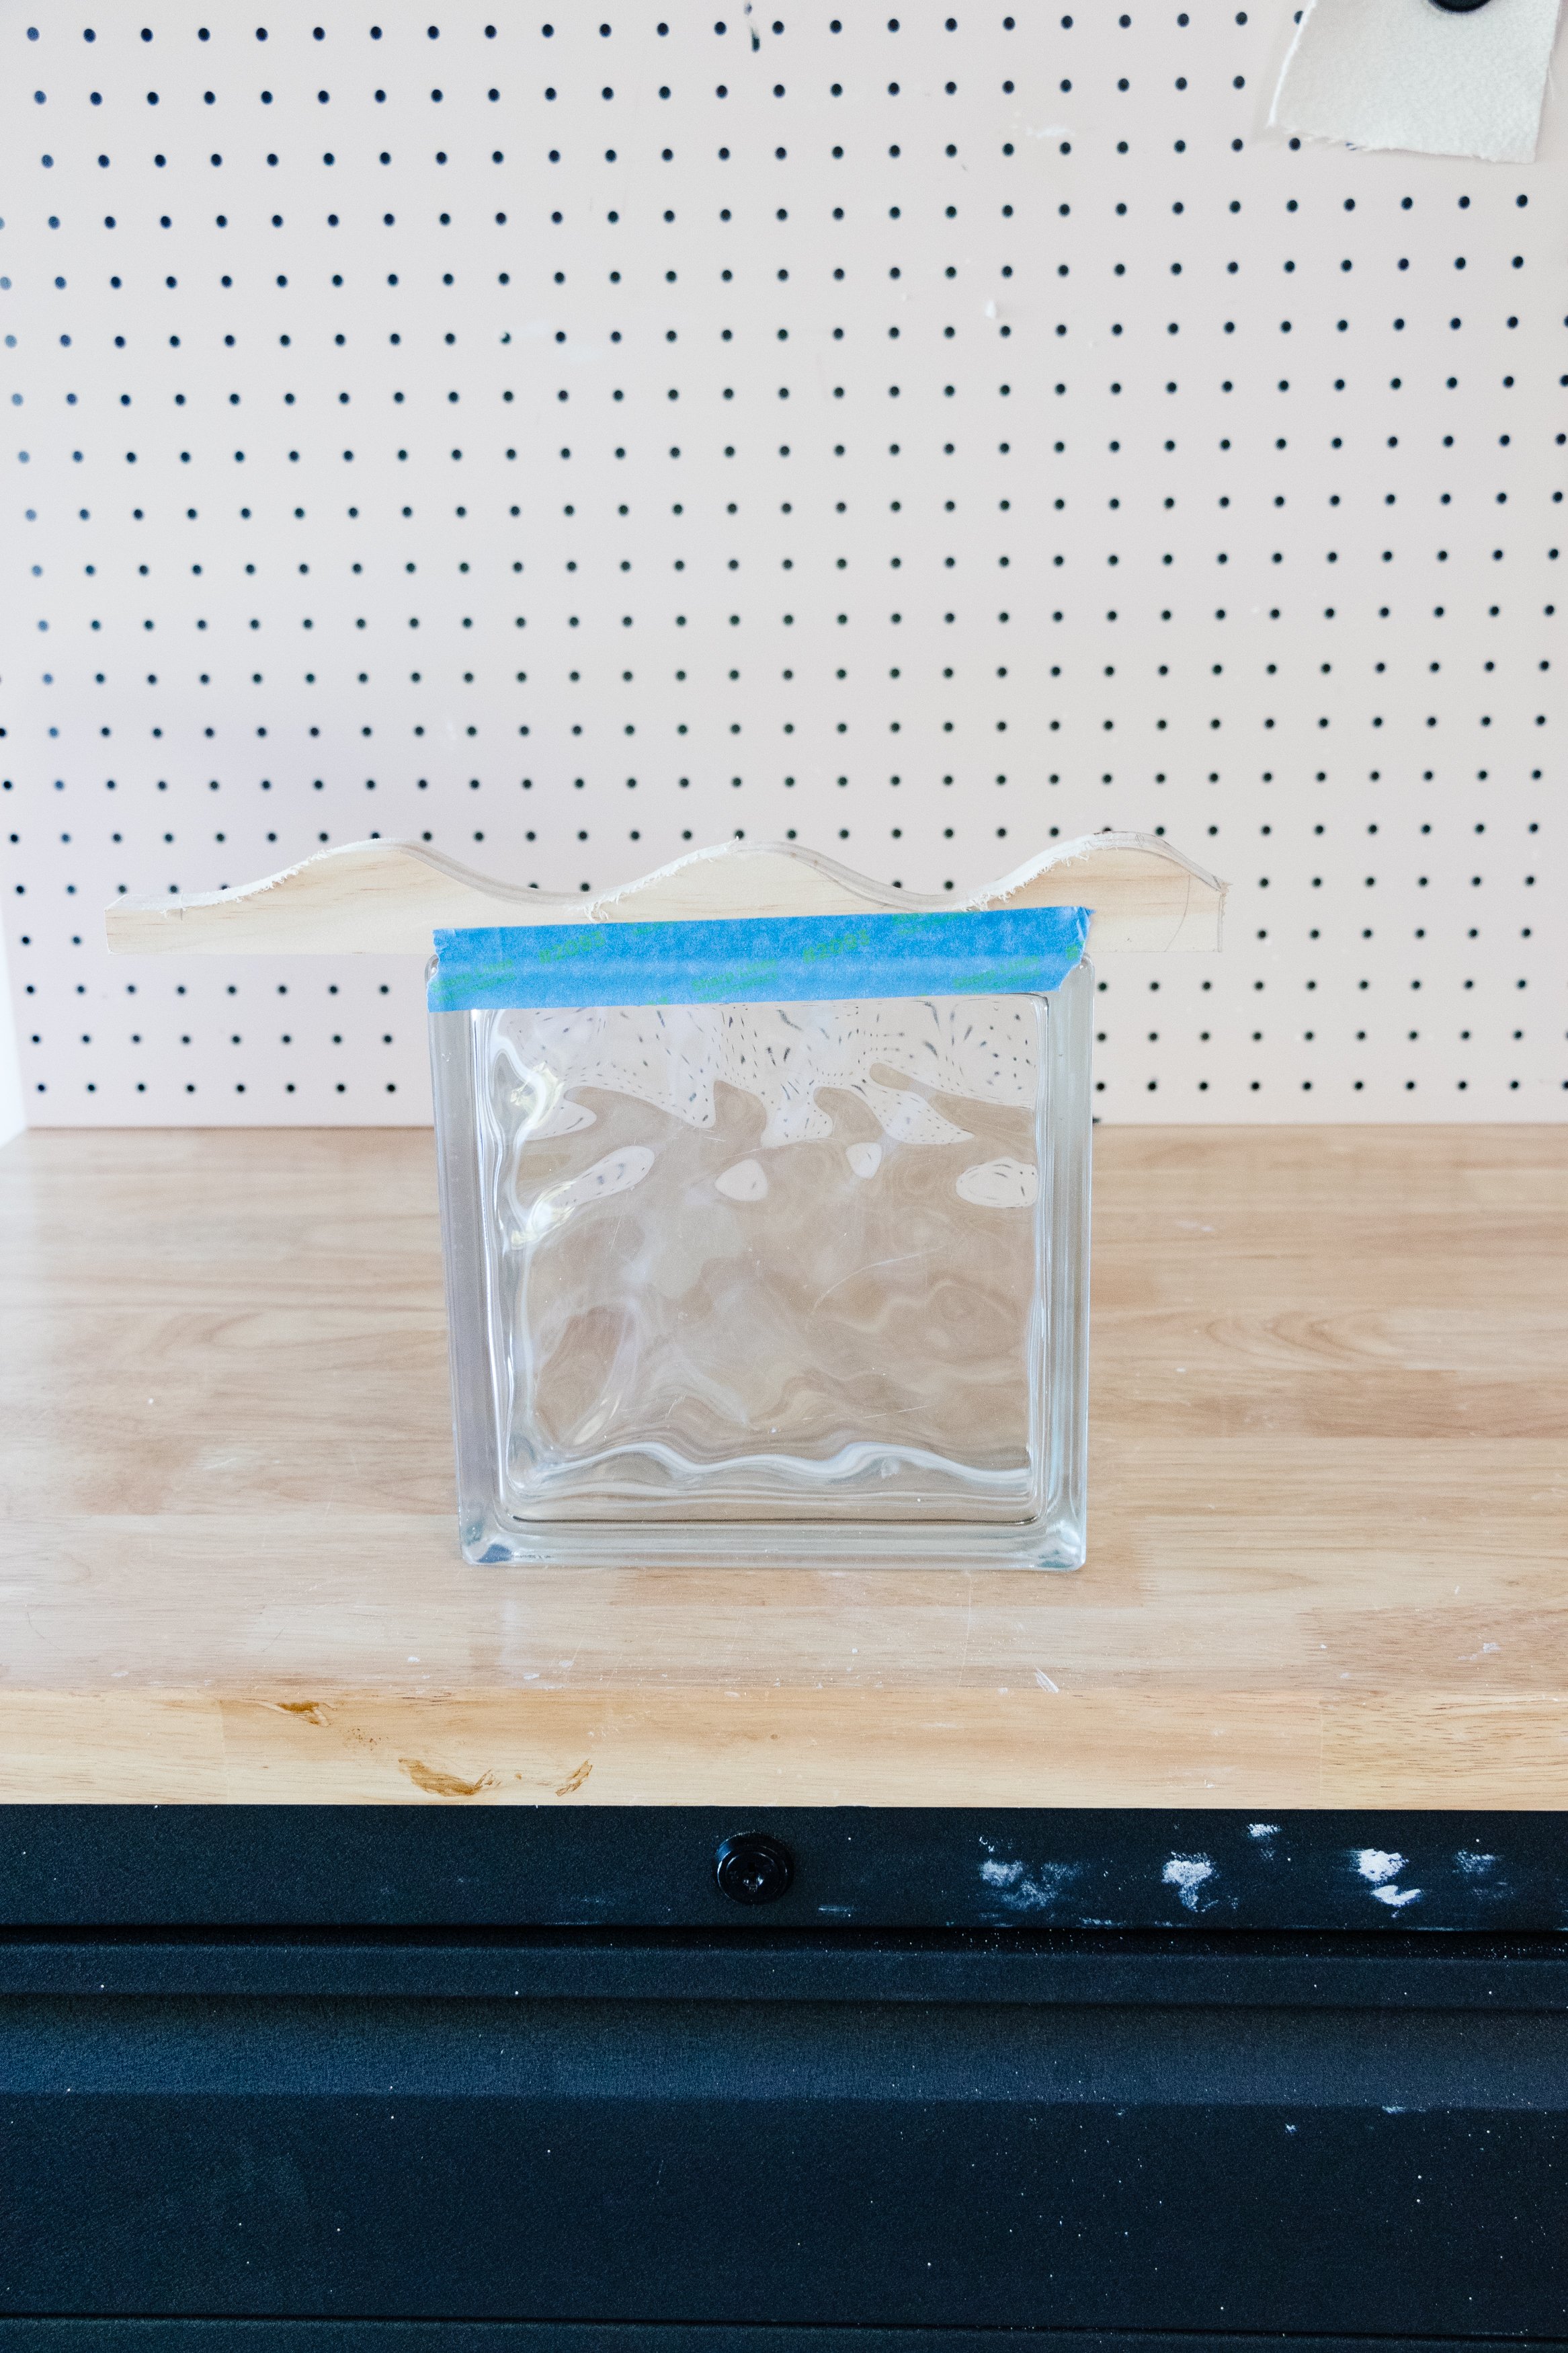
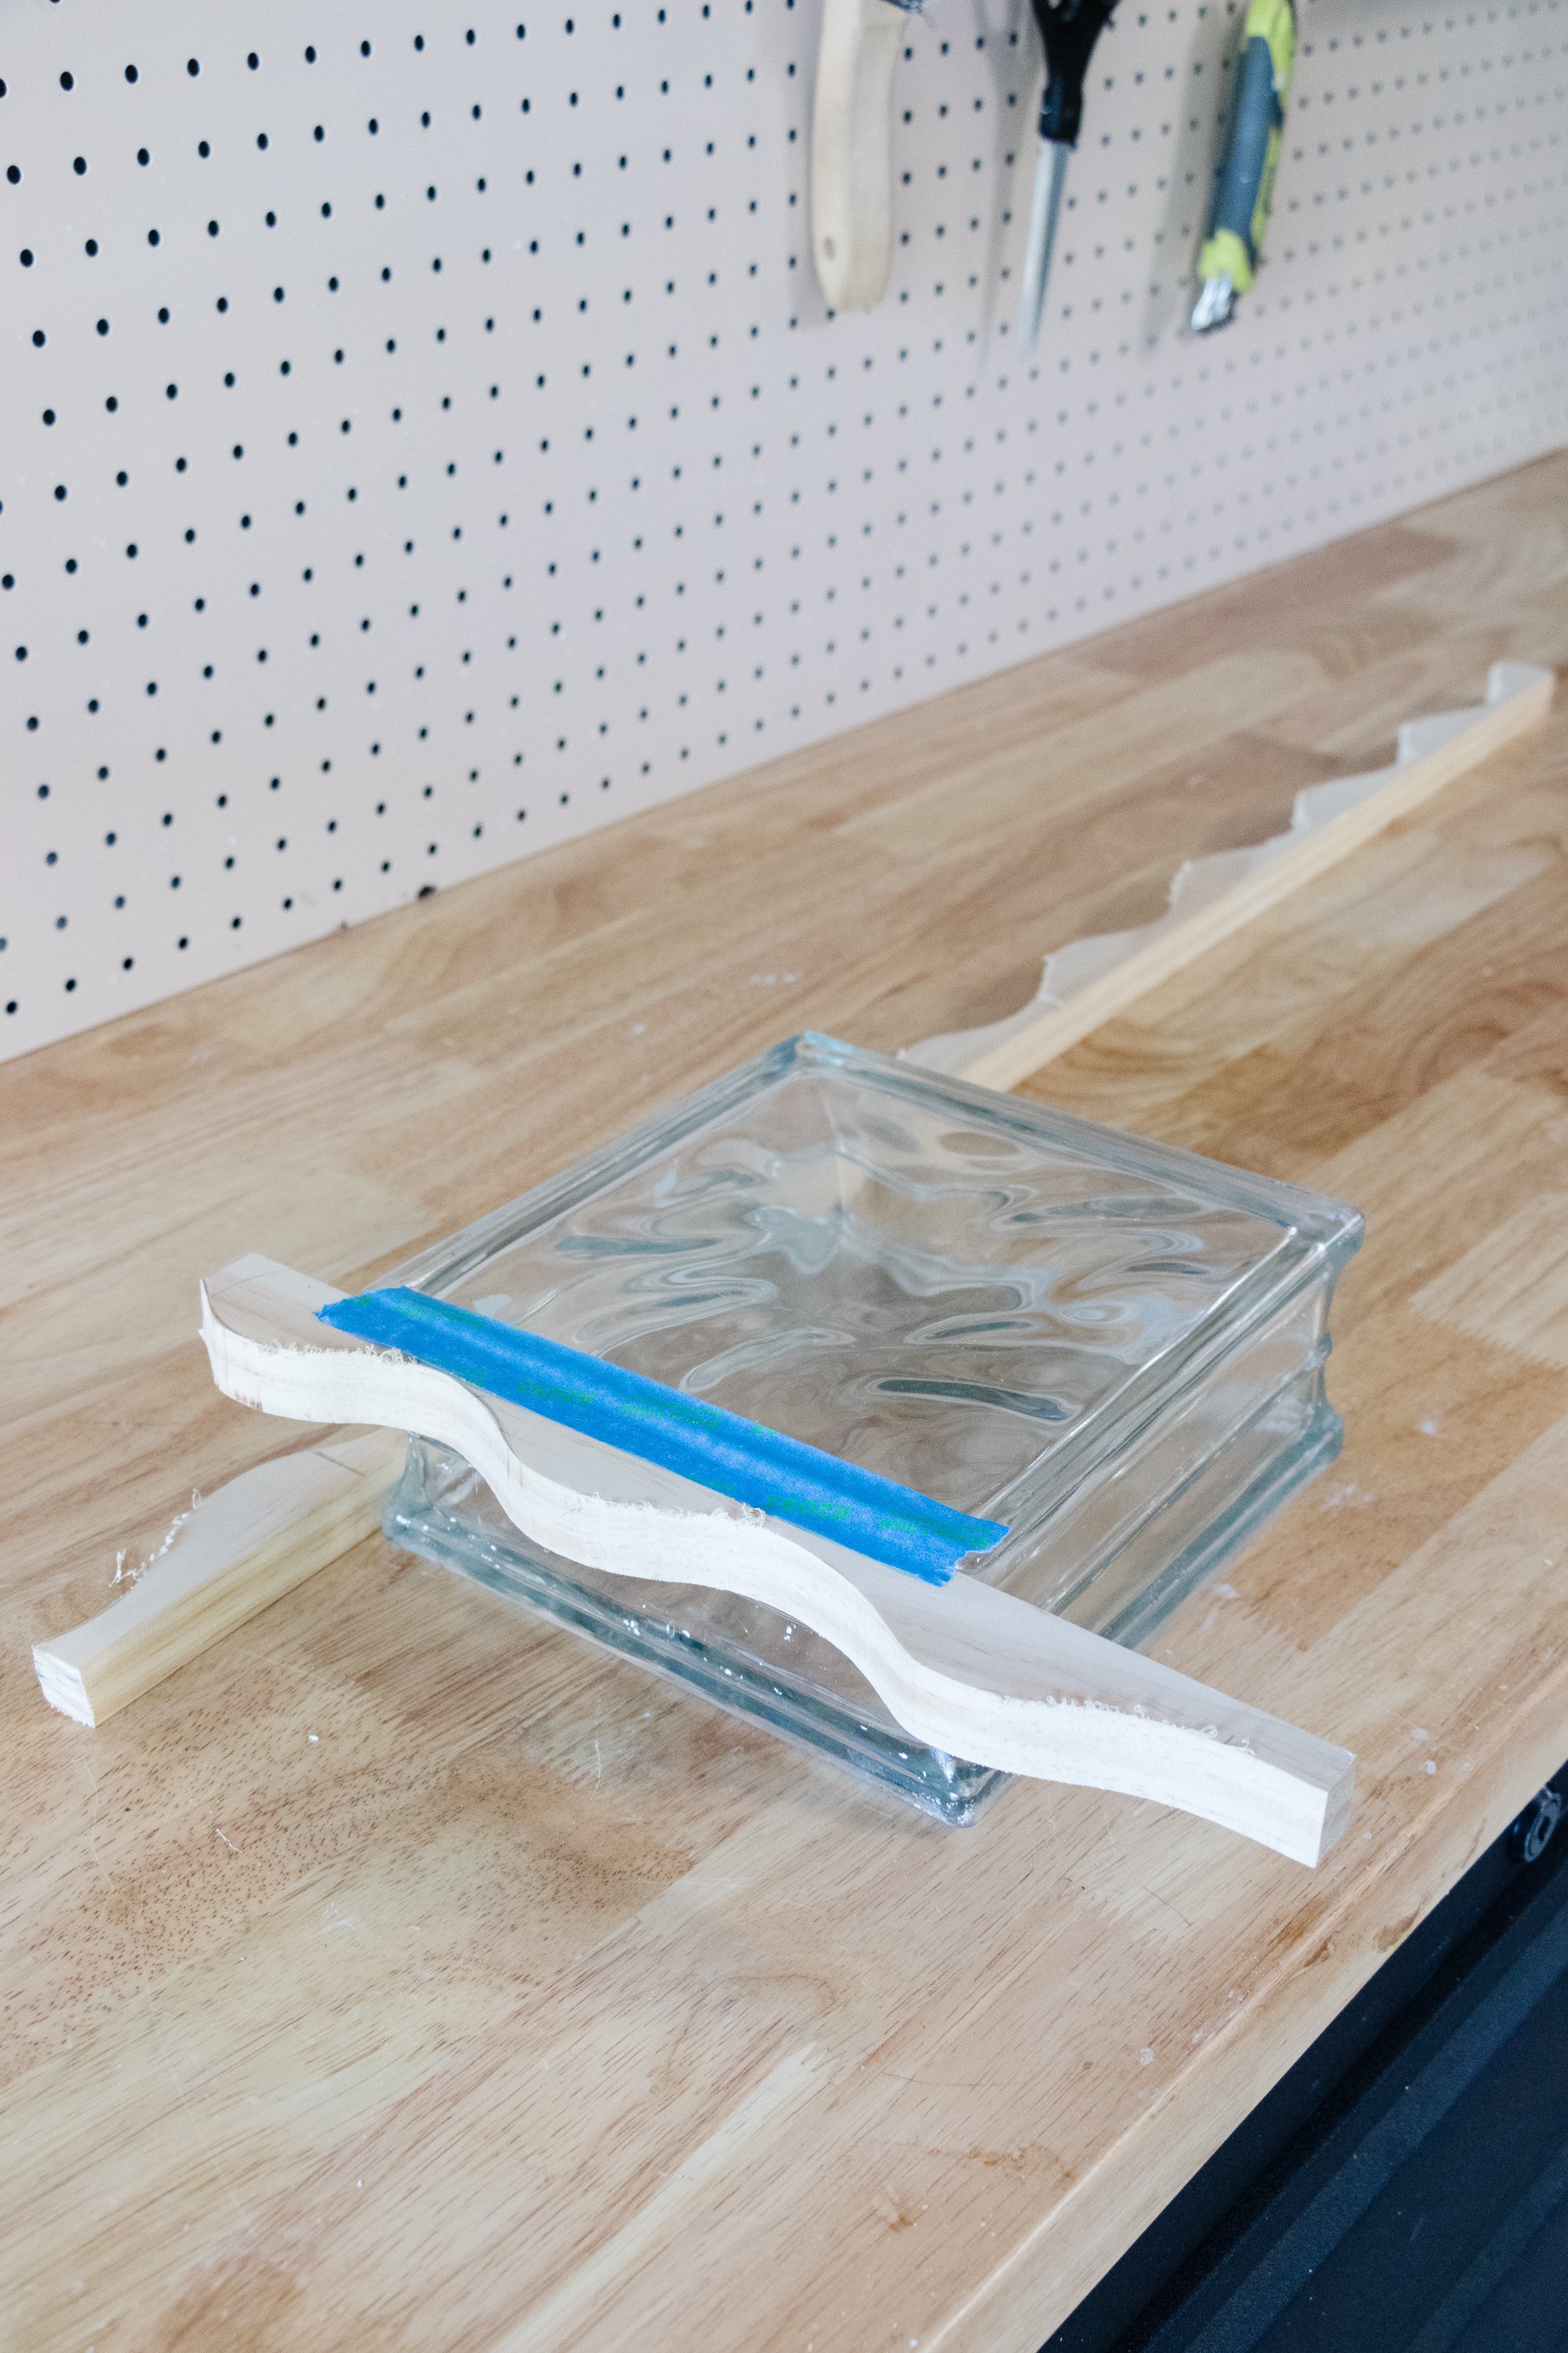
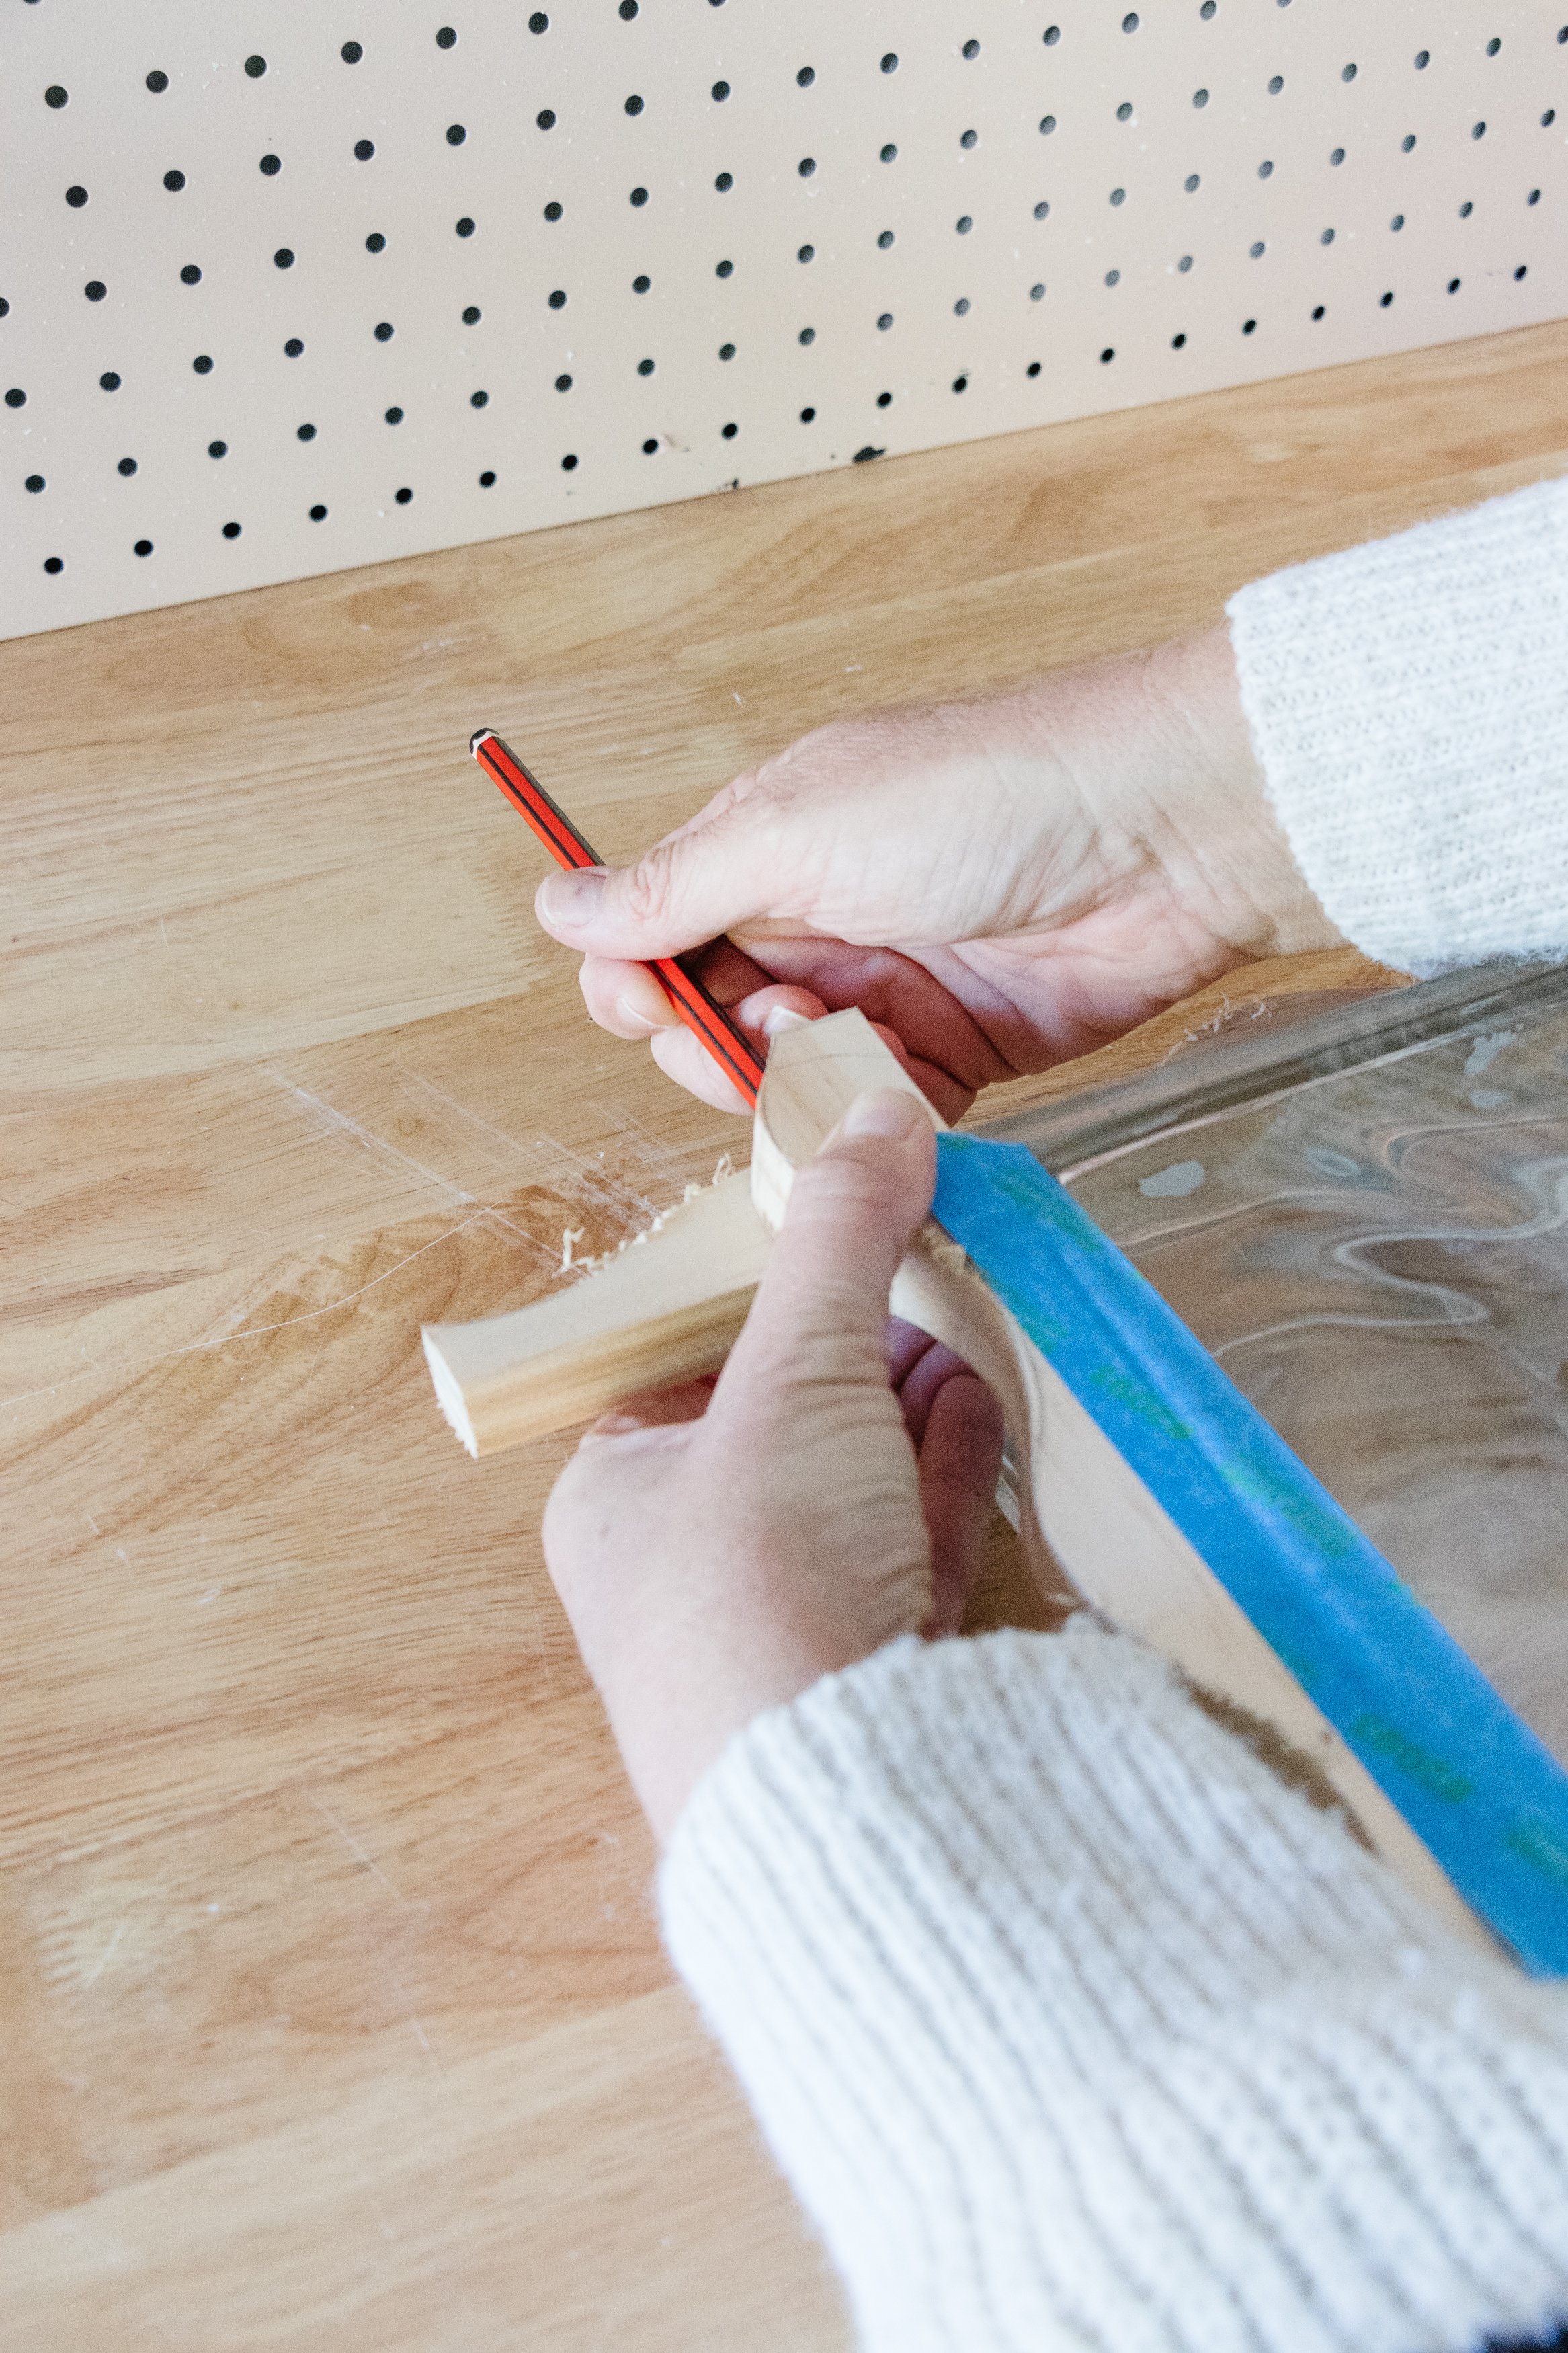
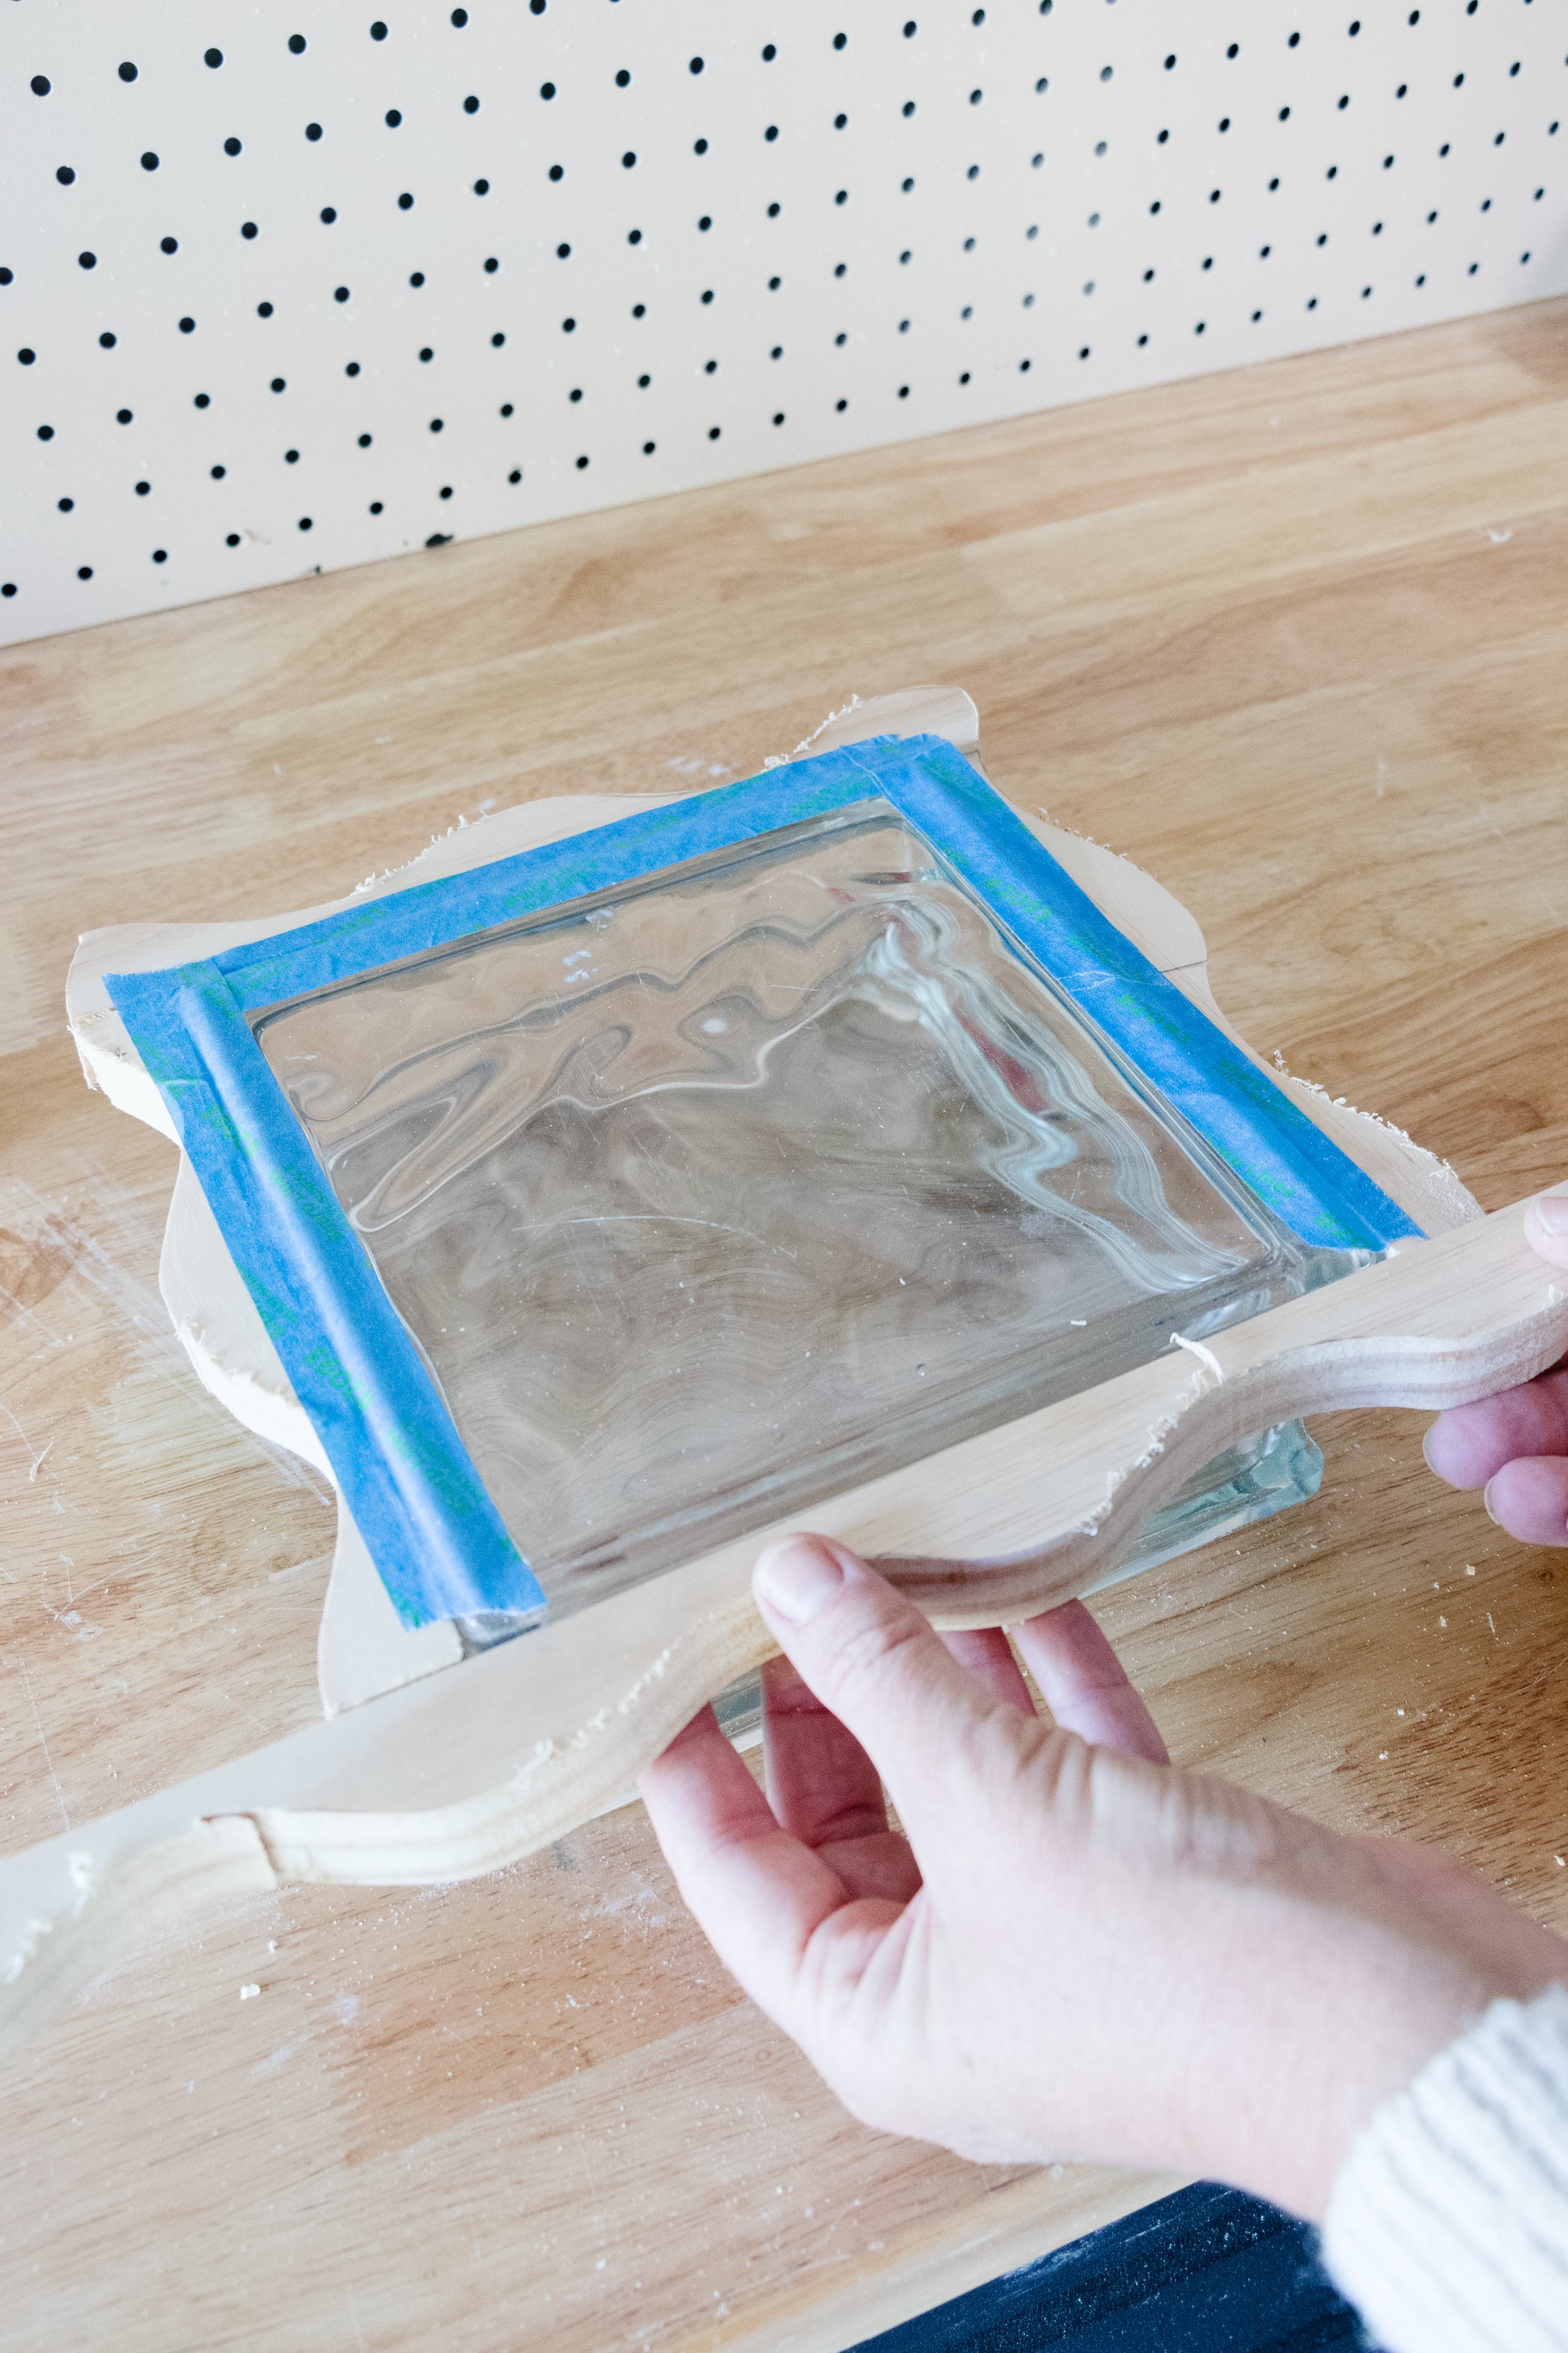
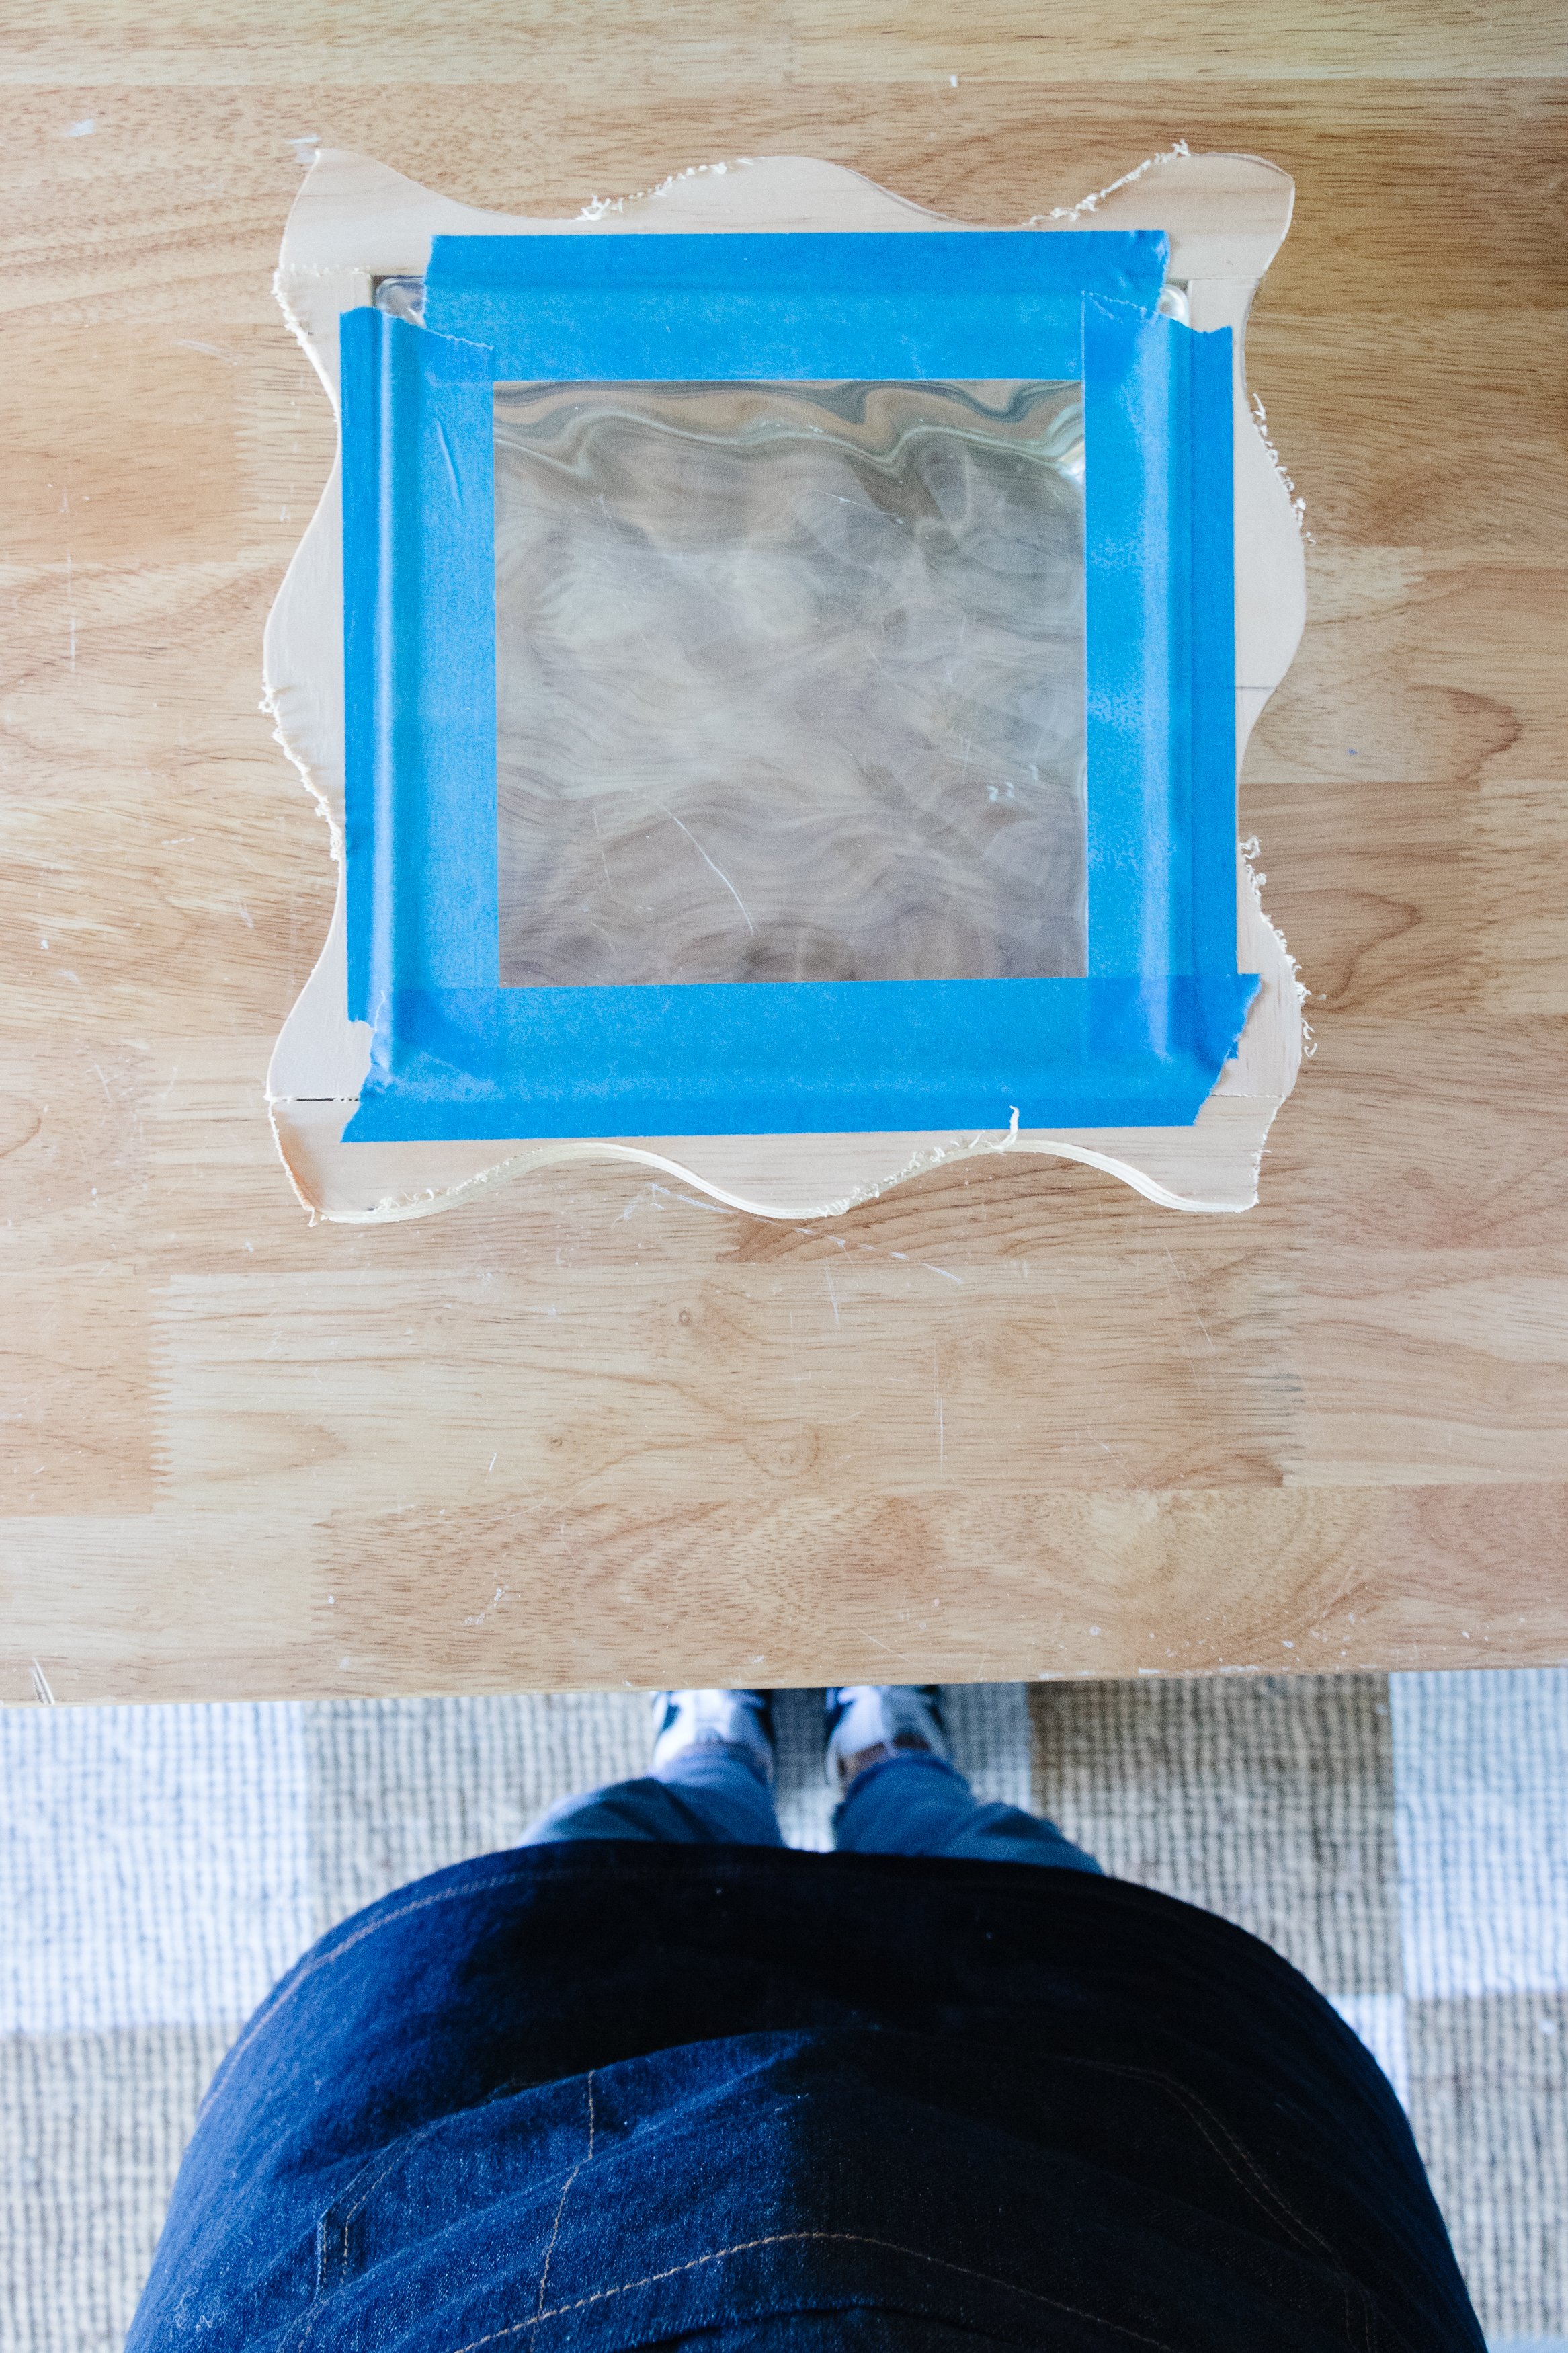
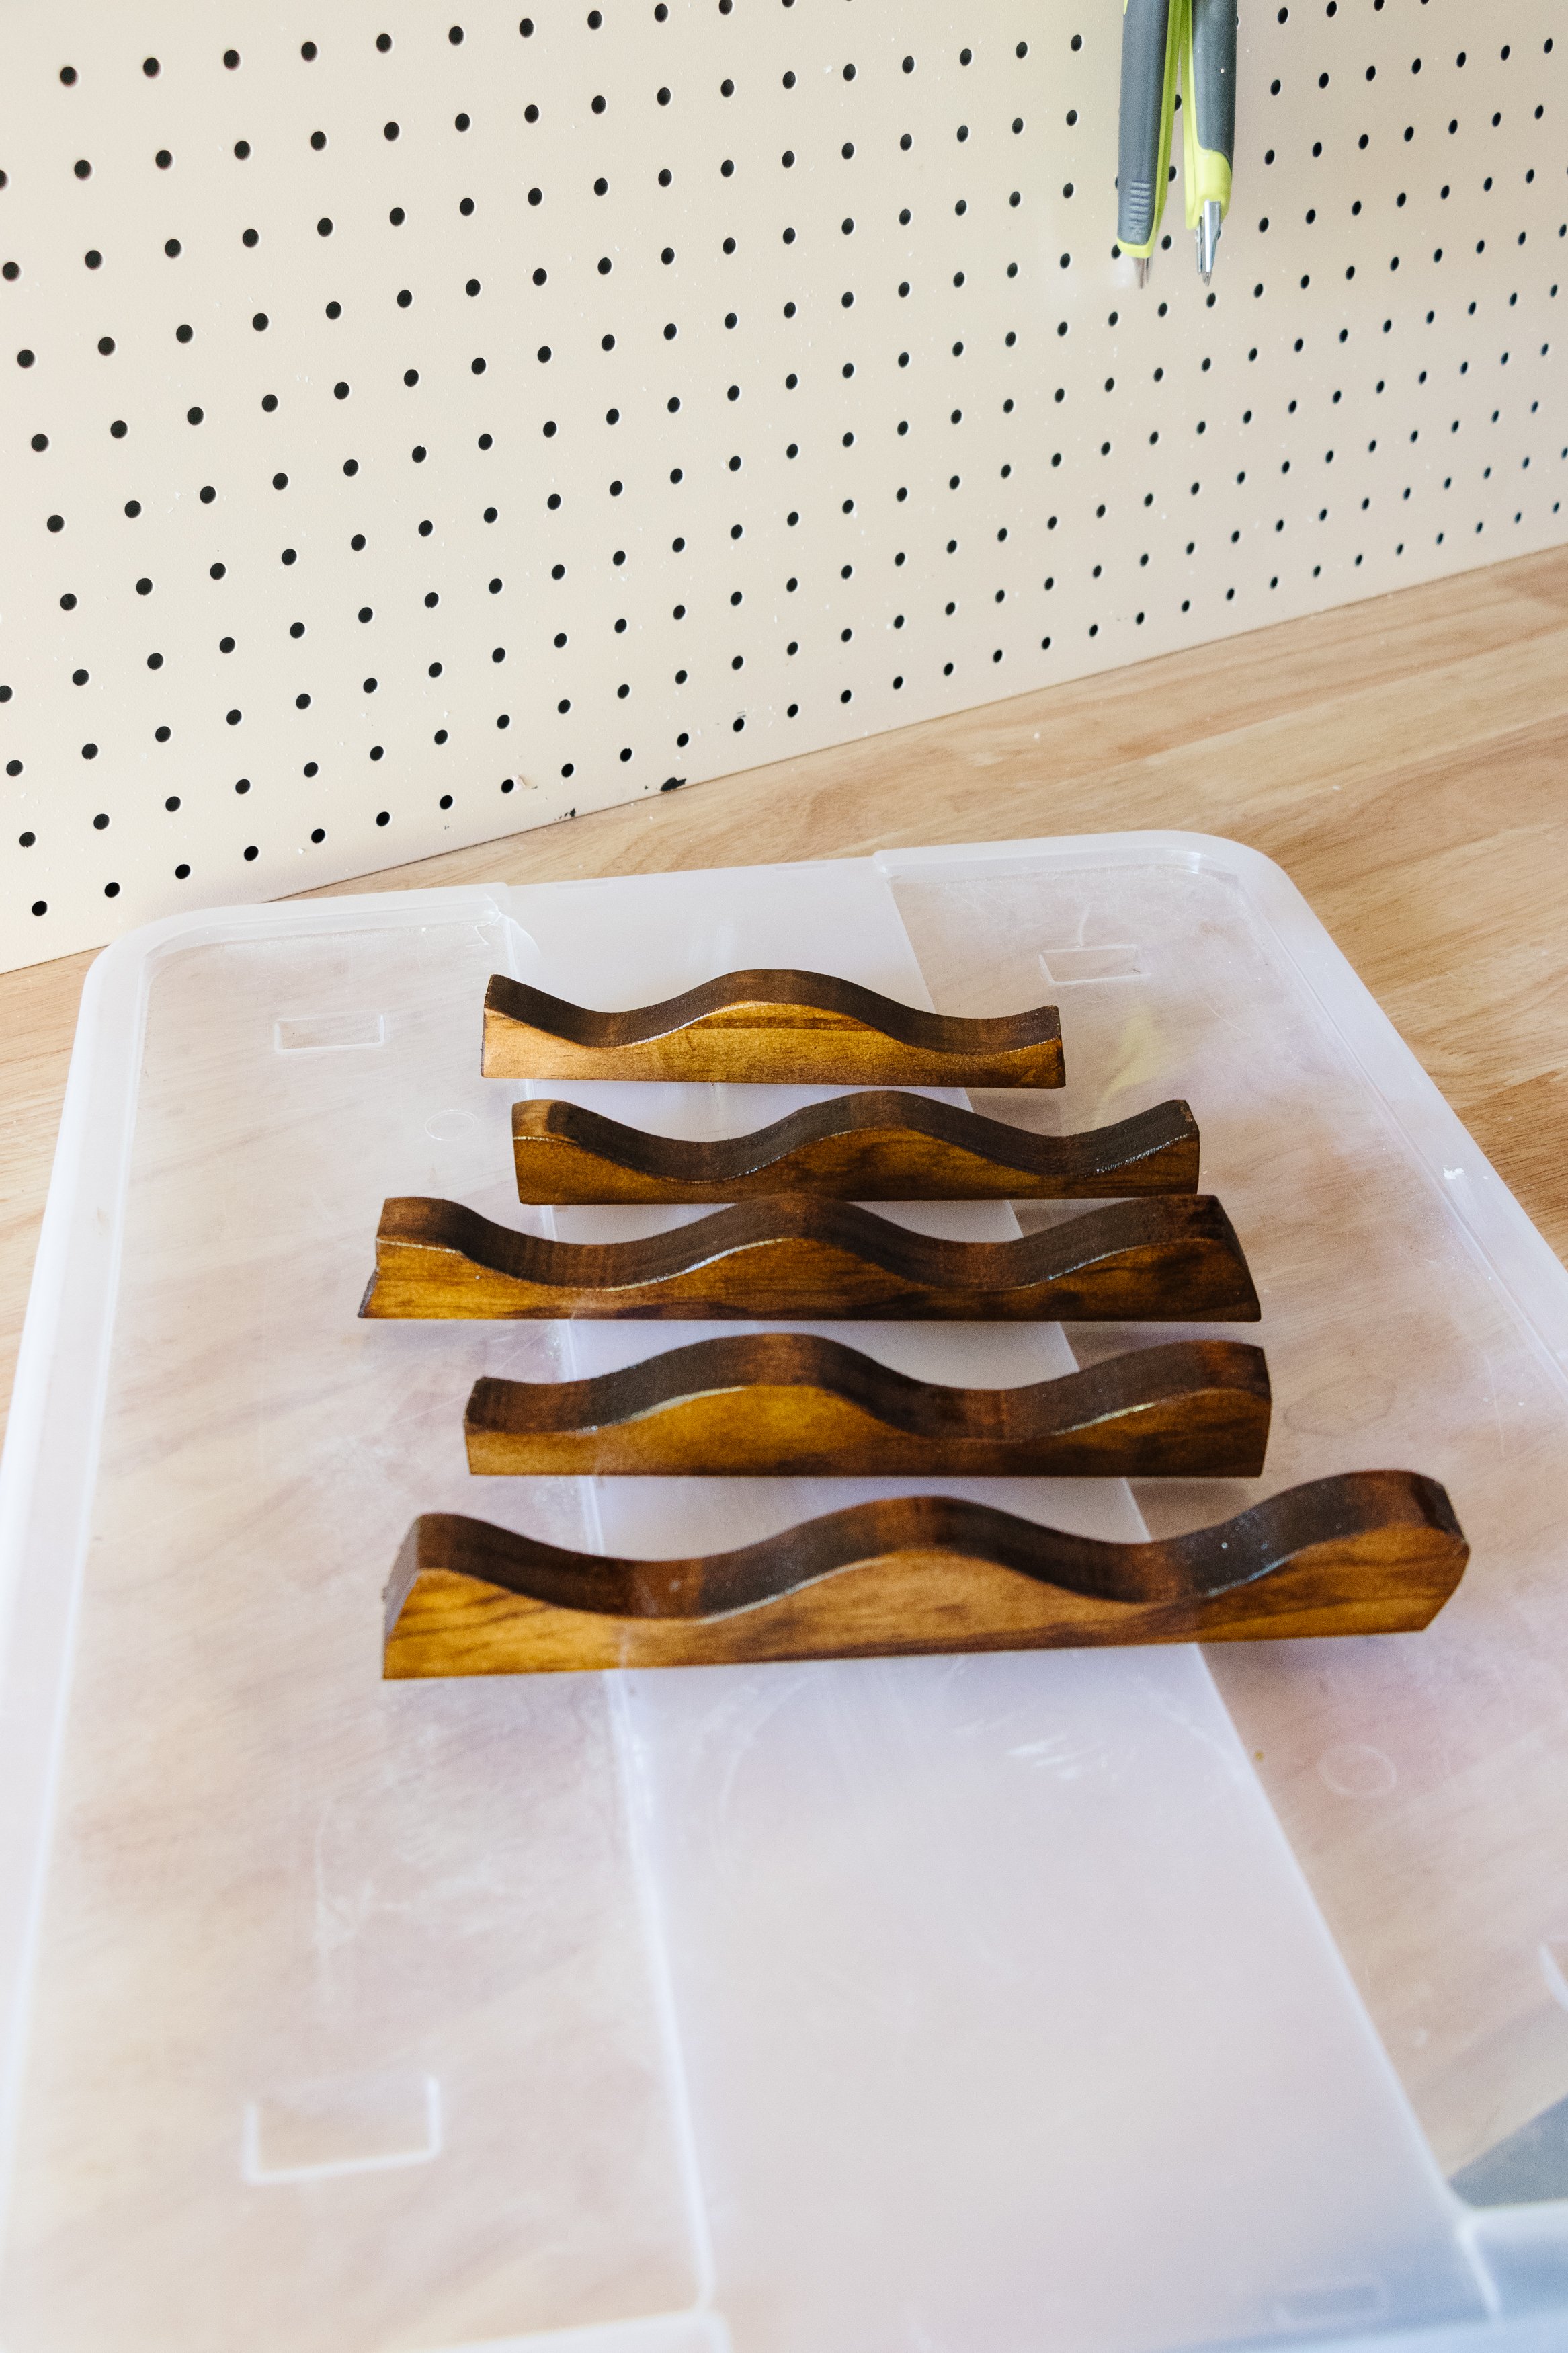
Step 1: I measured the scrap wood using a measuring tape and pencil. I cut the top piece first and used this as a guide to mark and cut the corners for the piece on the right side, followed by the left side, and finally the bottom.
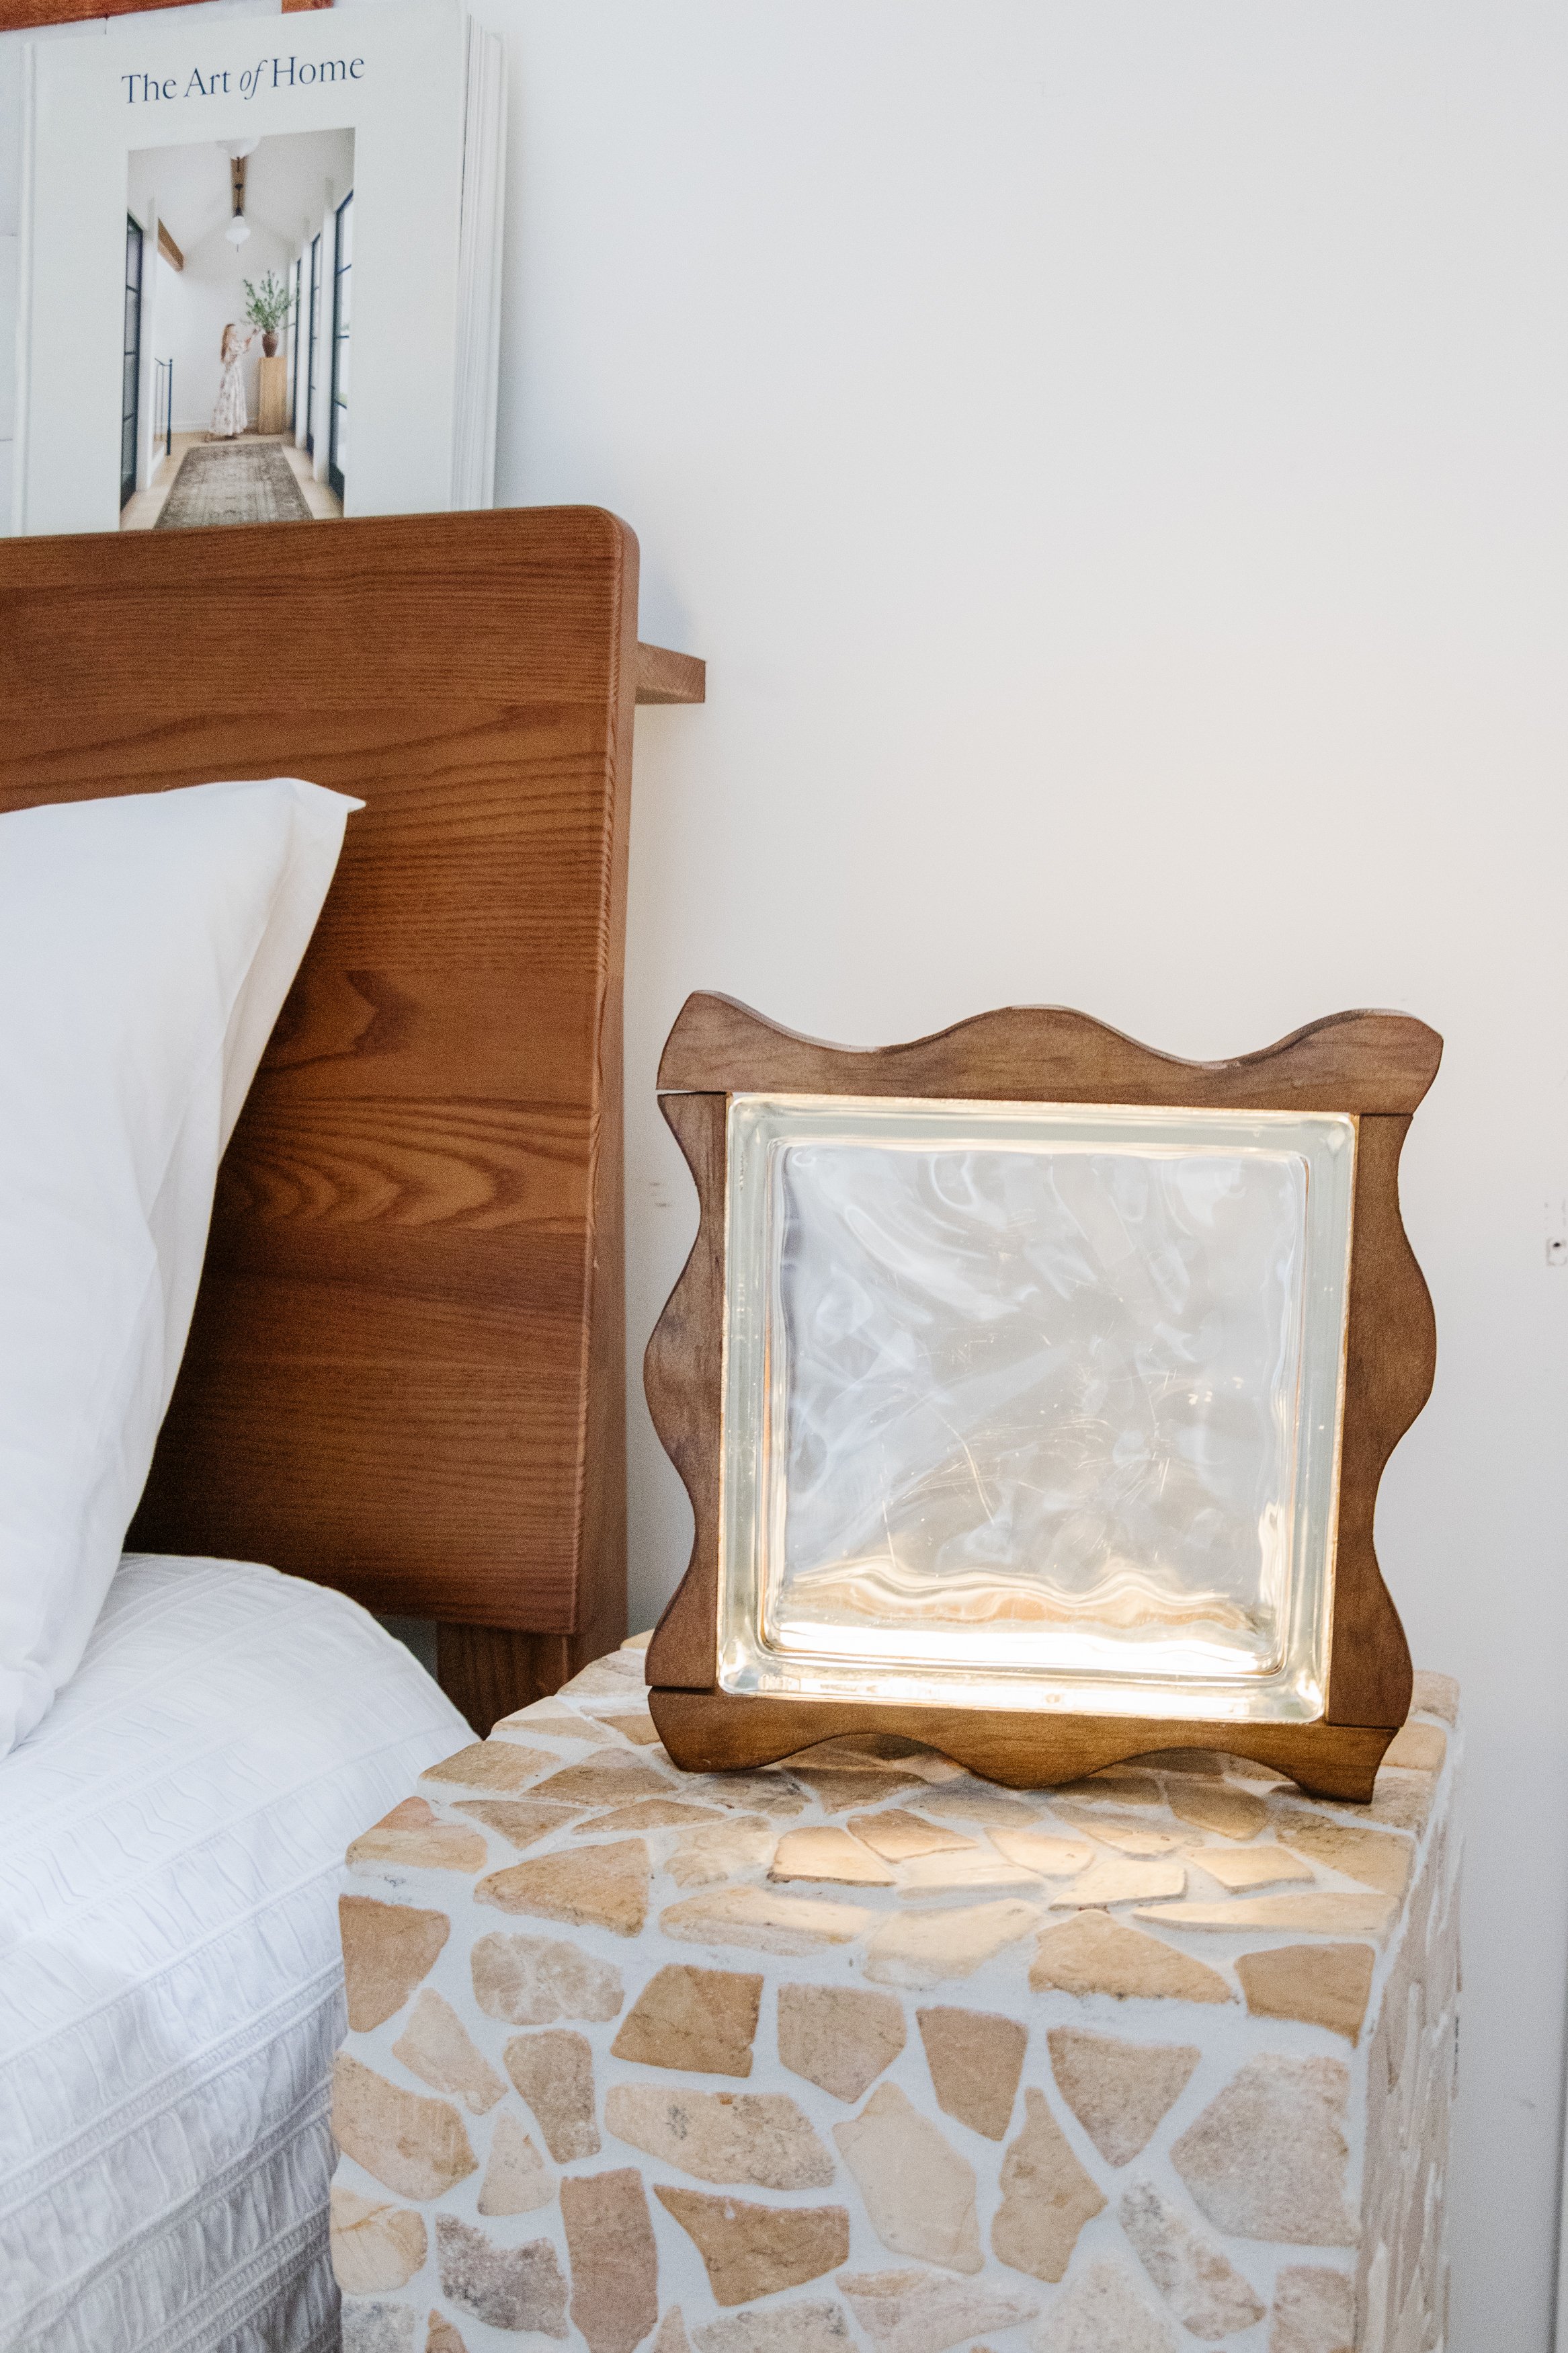
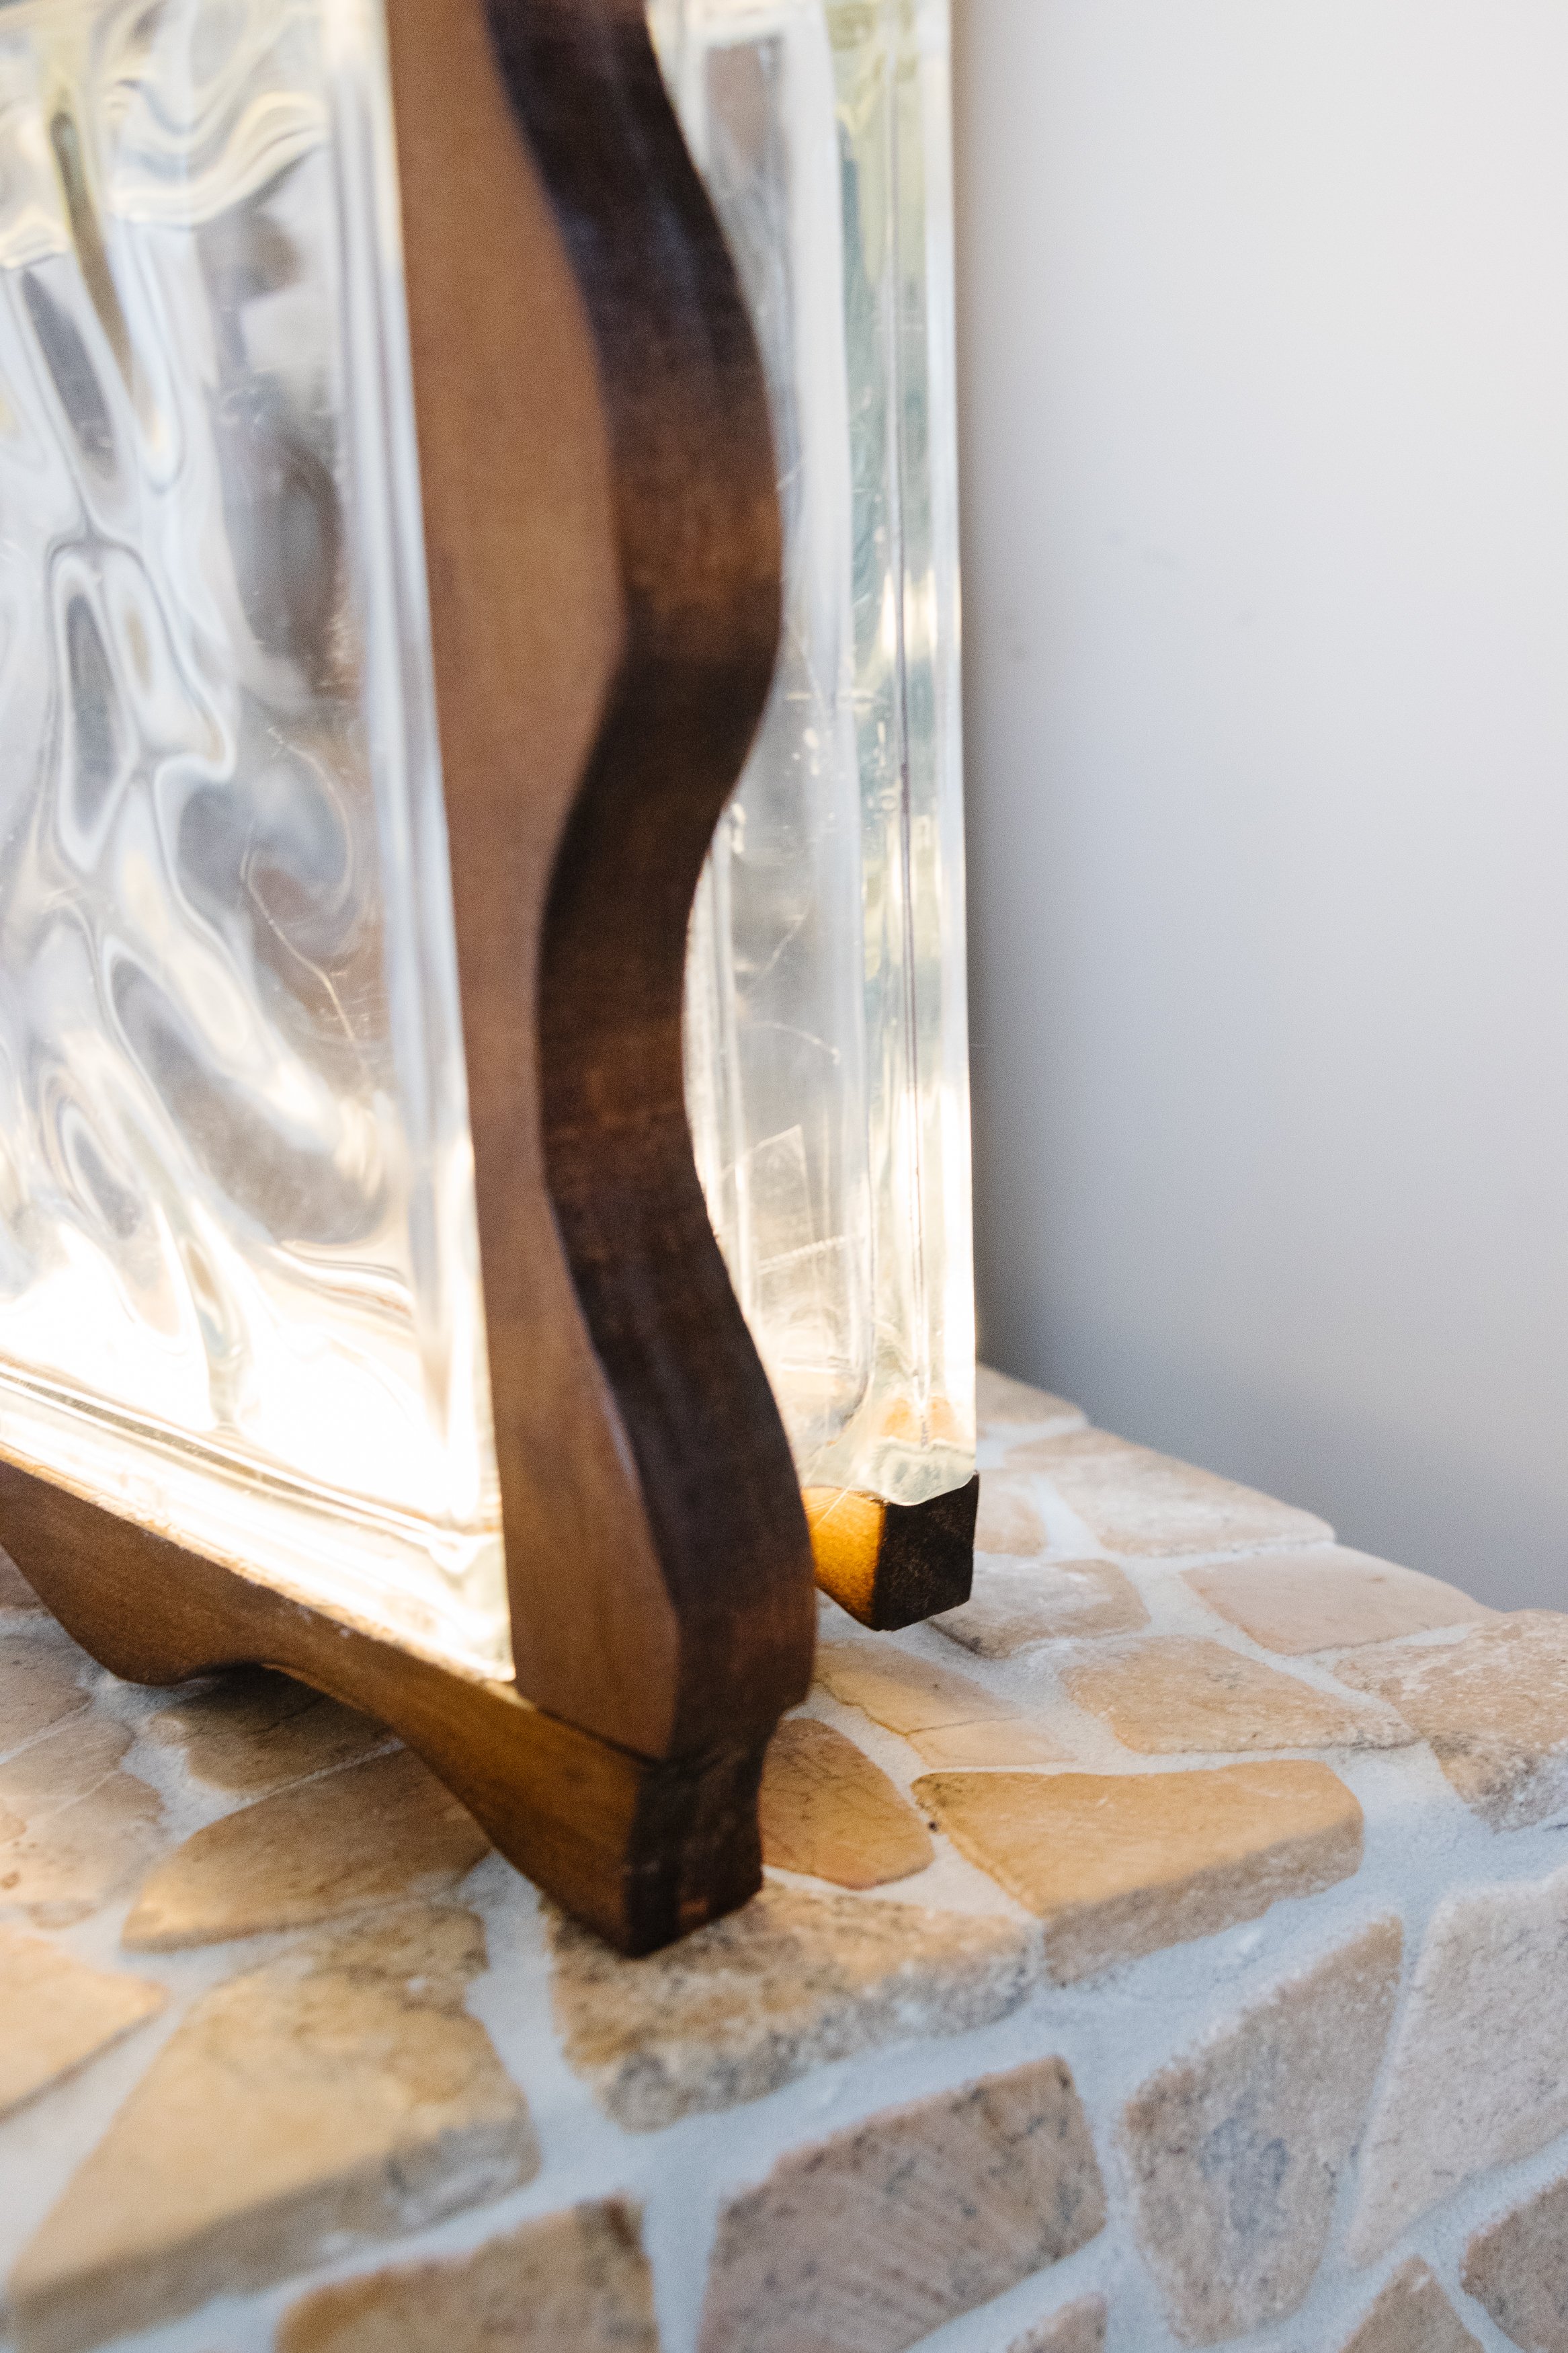
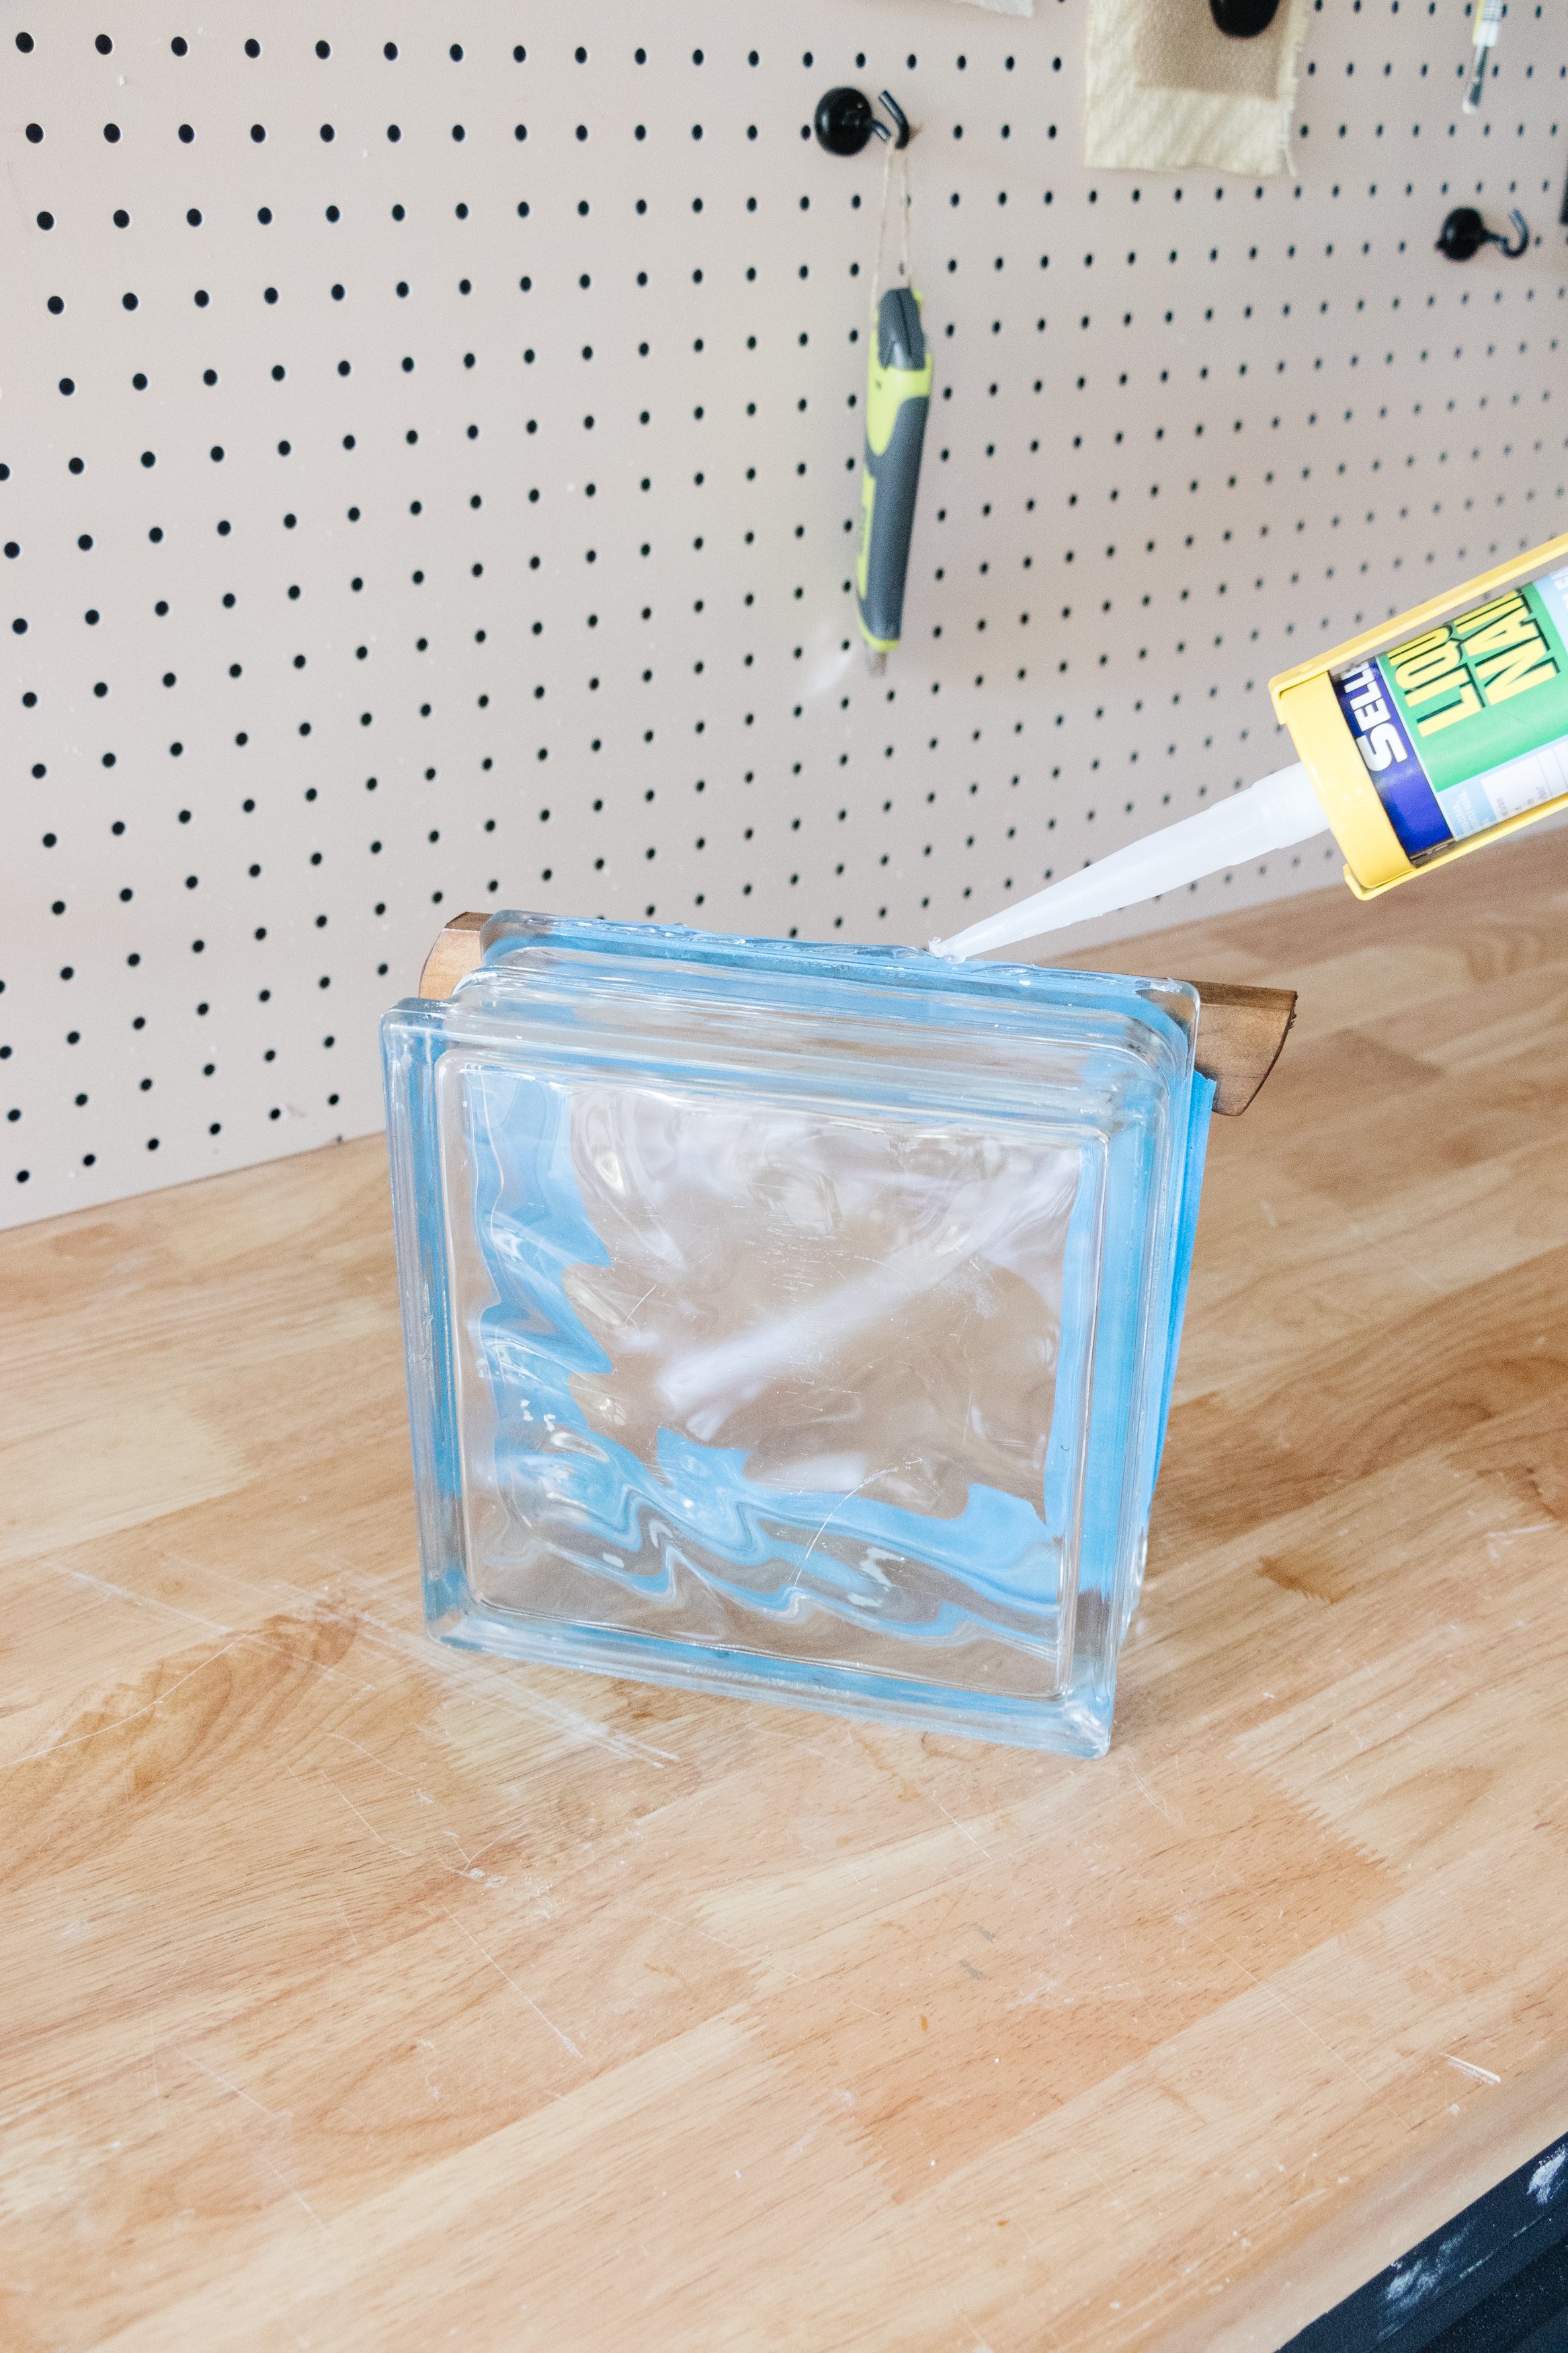
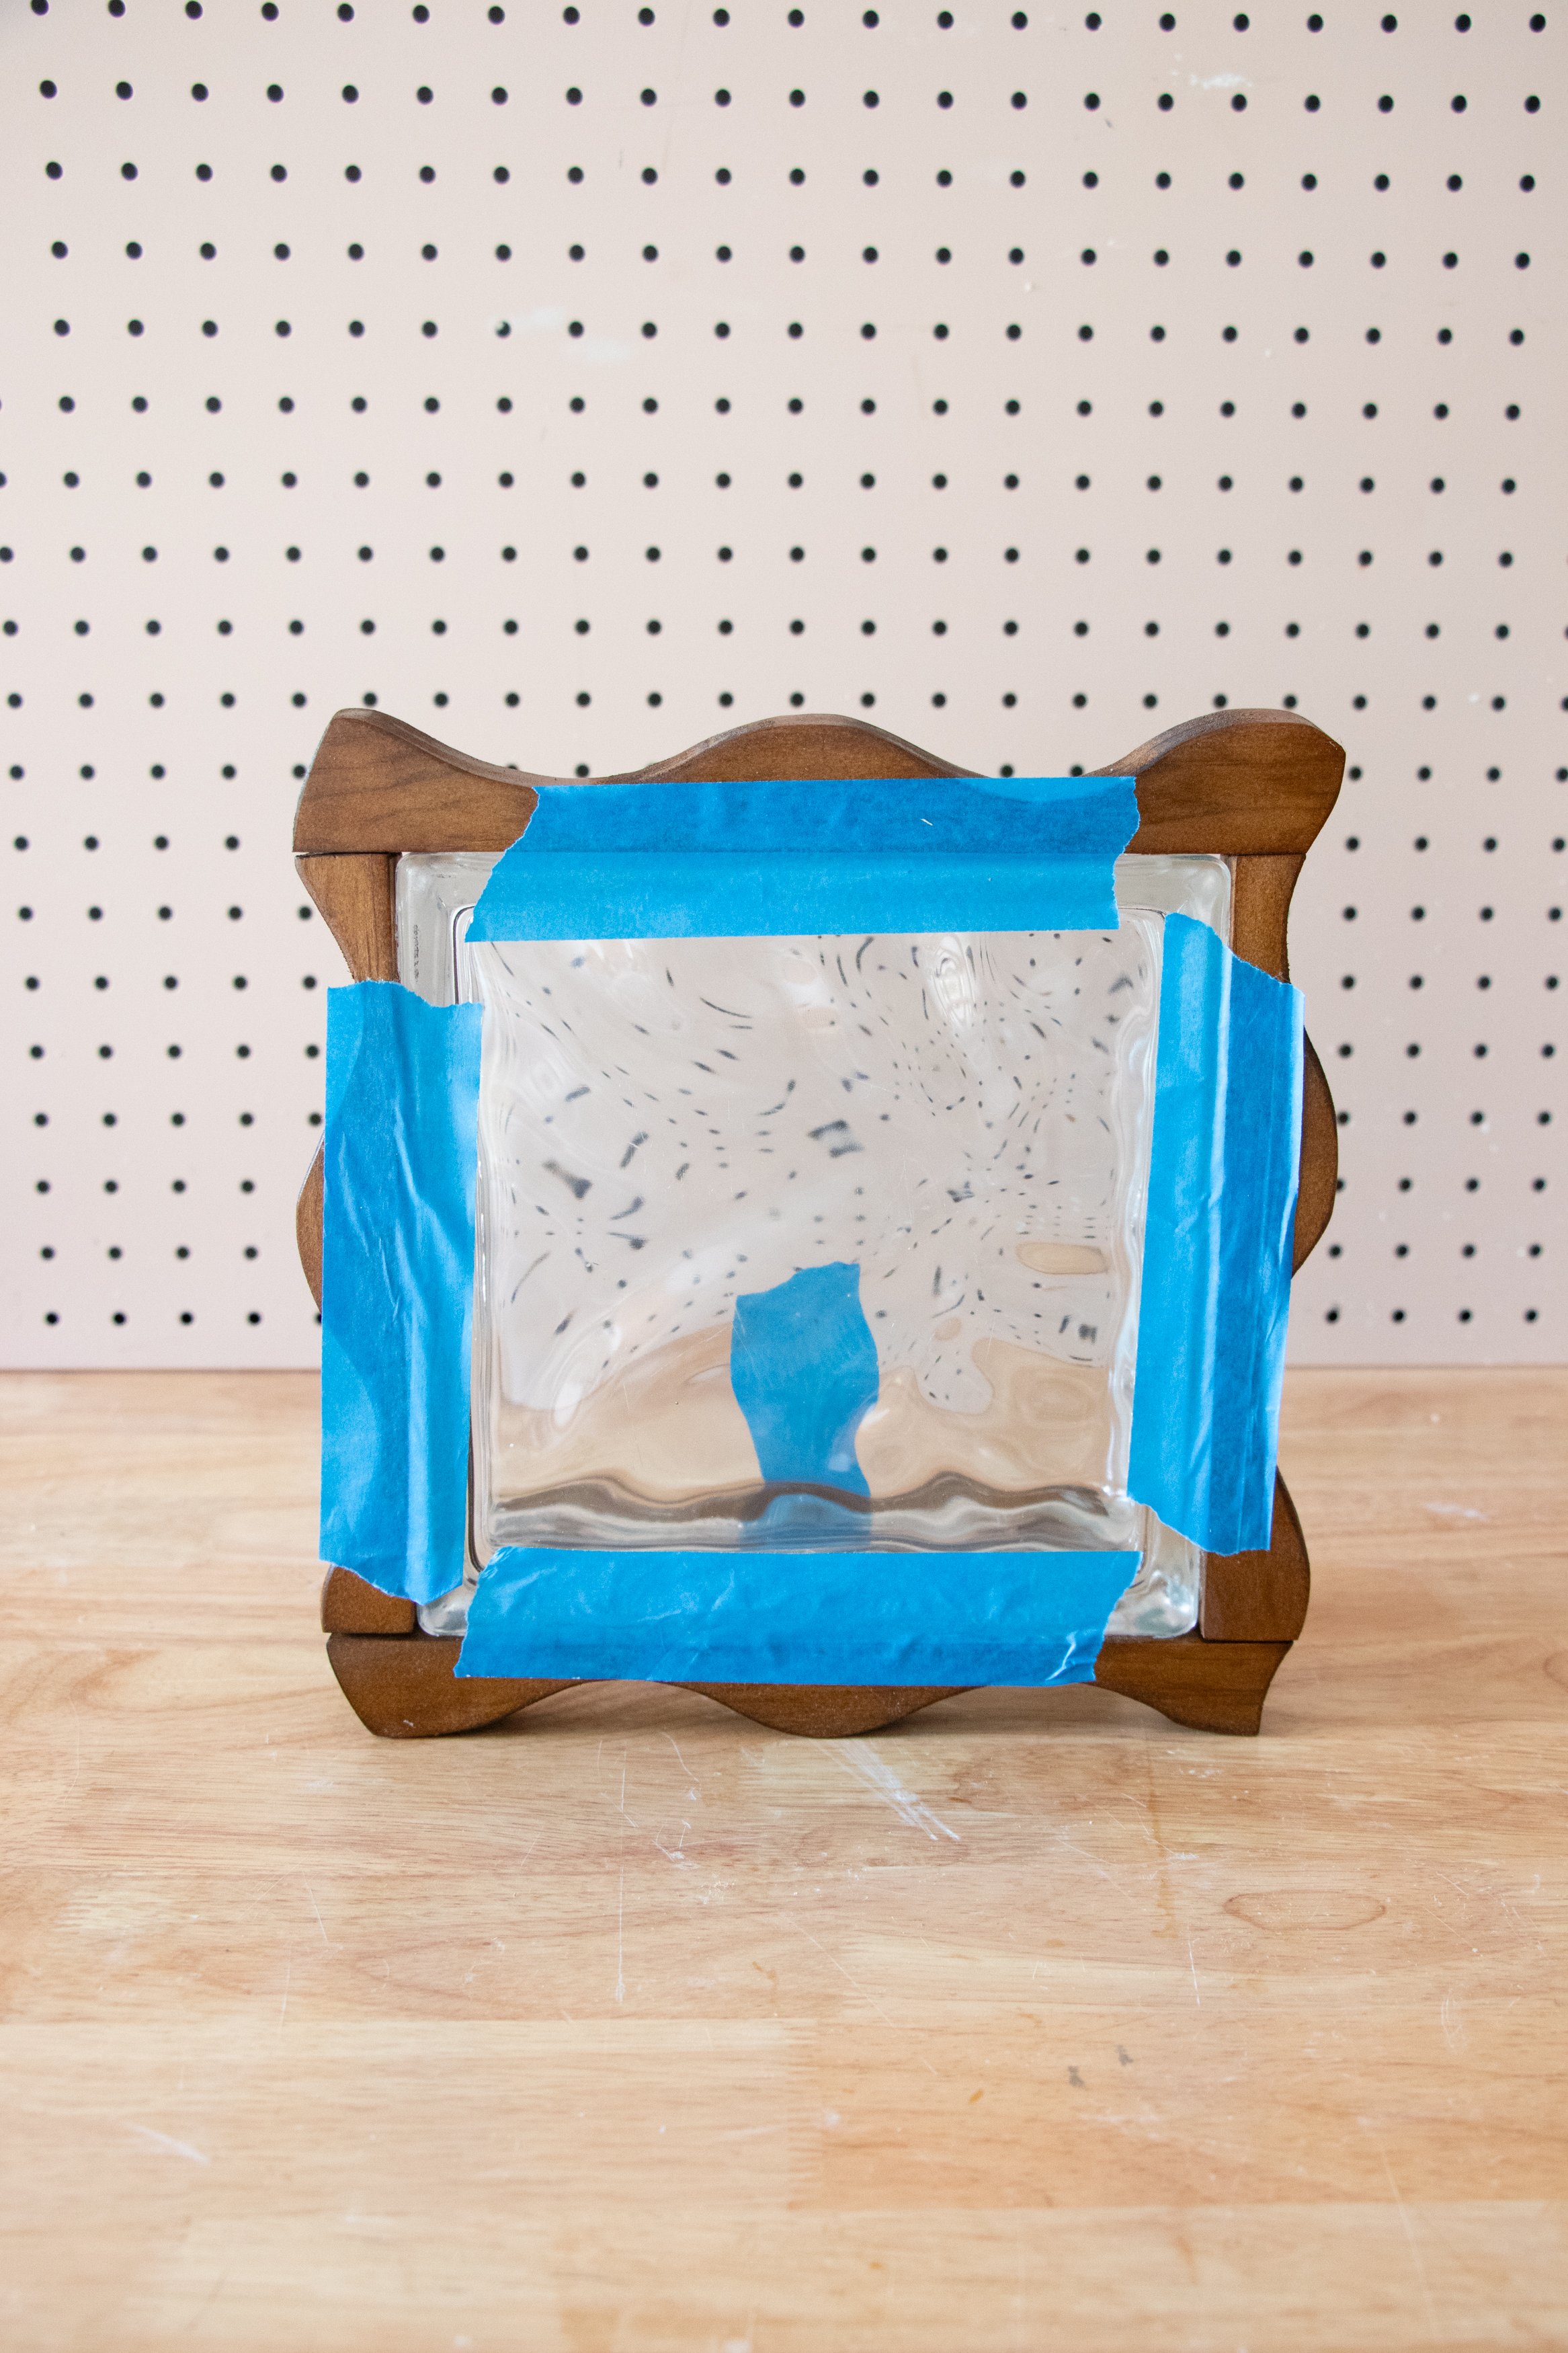
Step 2: I used painter’s tape to make sure the pieces framed the front of the glass brick beautifully and fit together snugly. Two of the joins didn’t match up perfectly, but I wasn’t too worried about that. I also cut a smaller piece to glue underneath the glass brick at the back, which meant the glass brick light could stand up without wobbling.
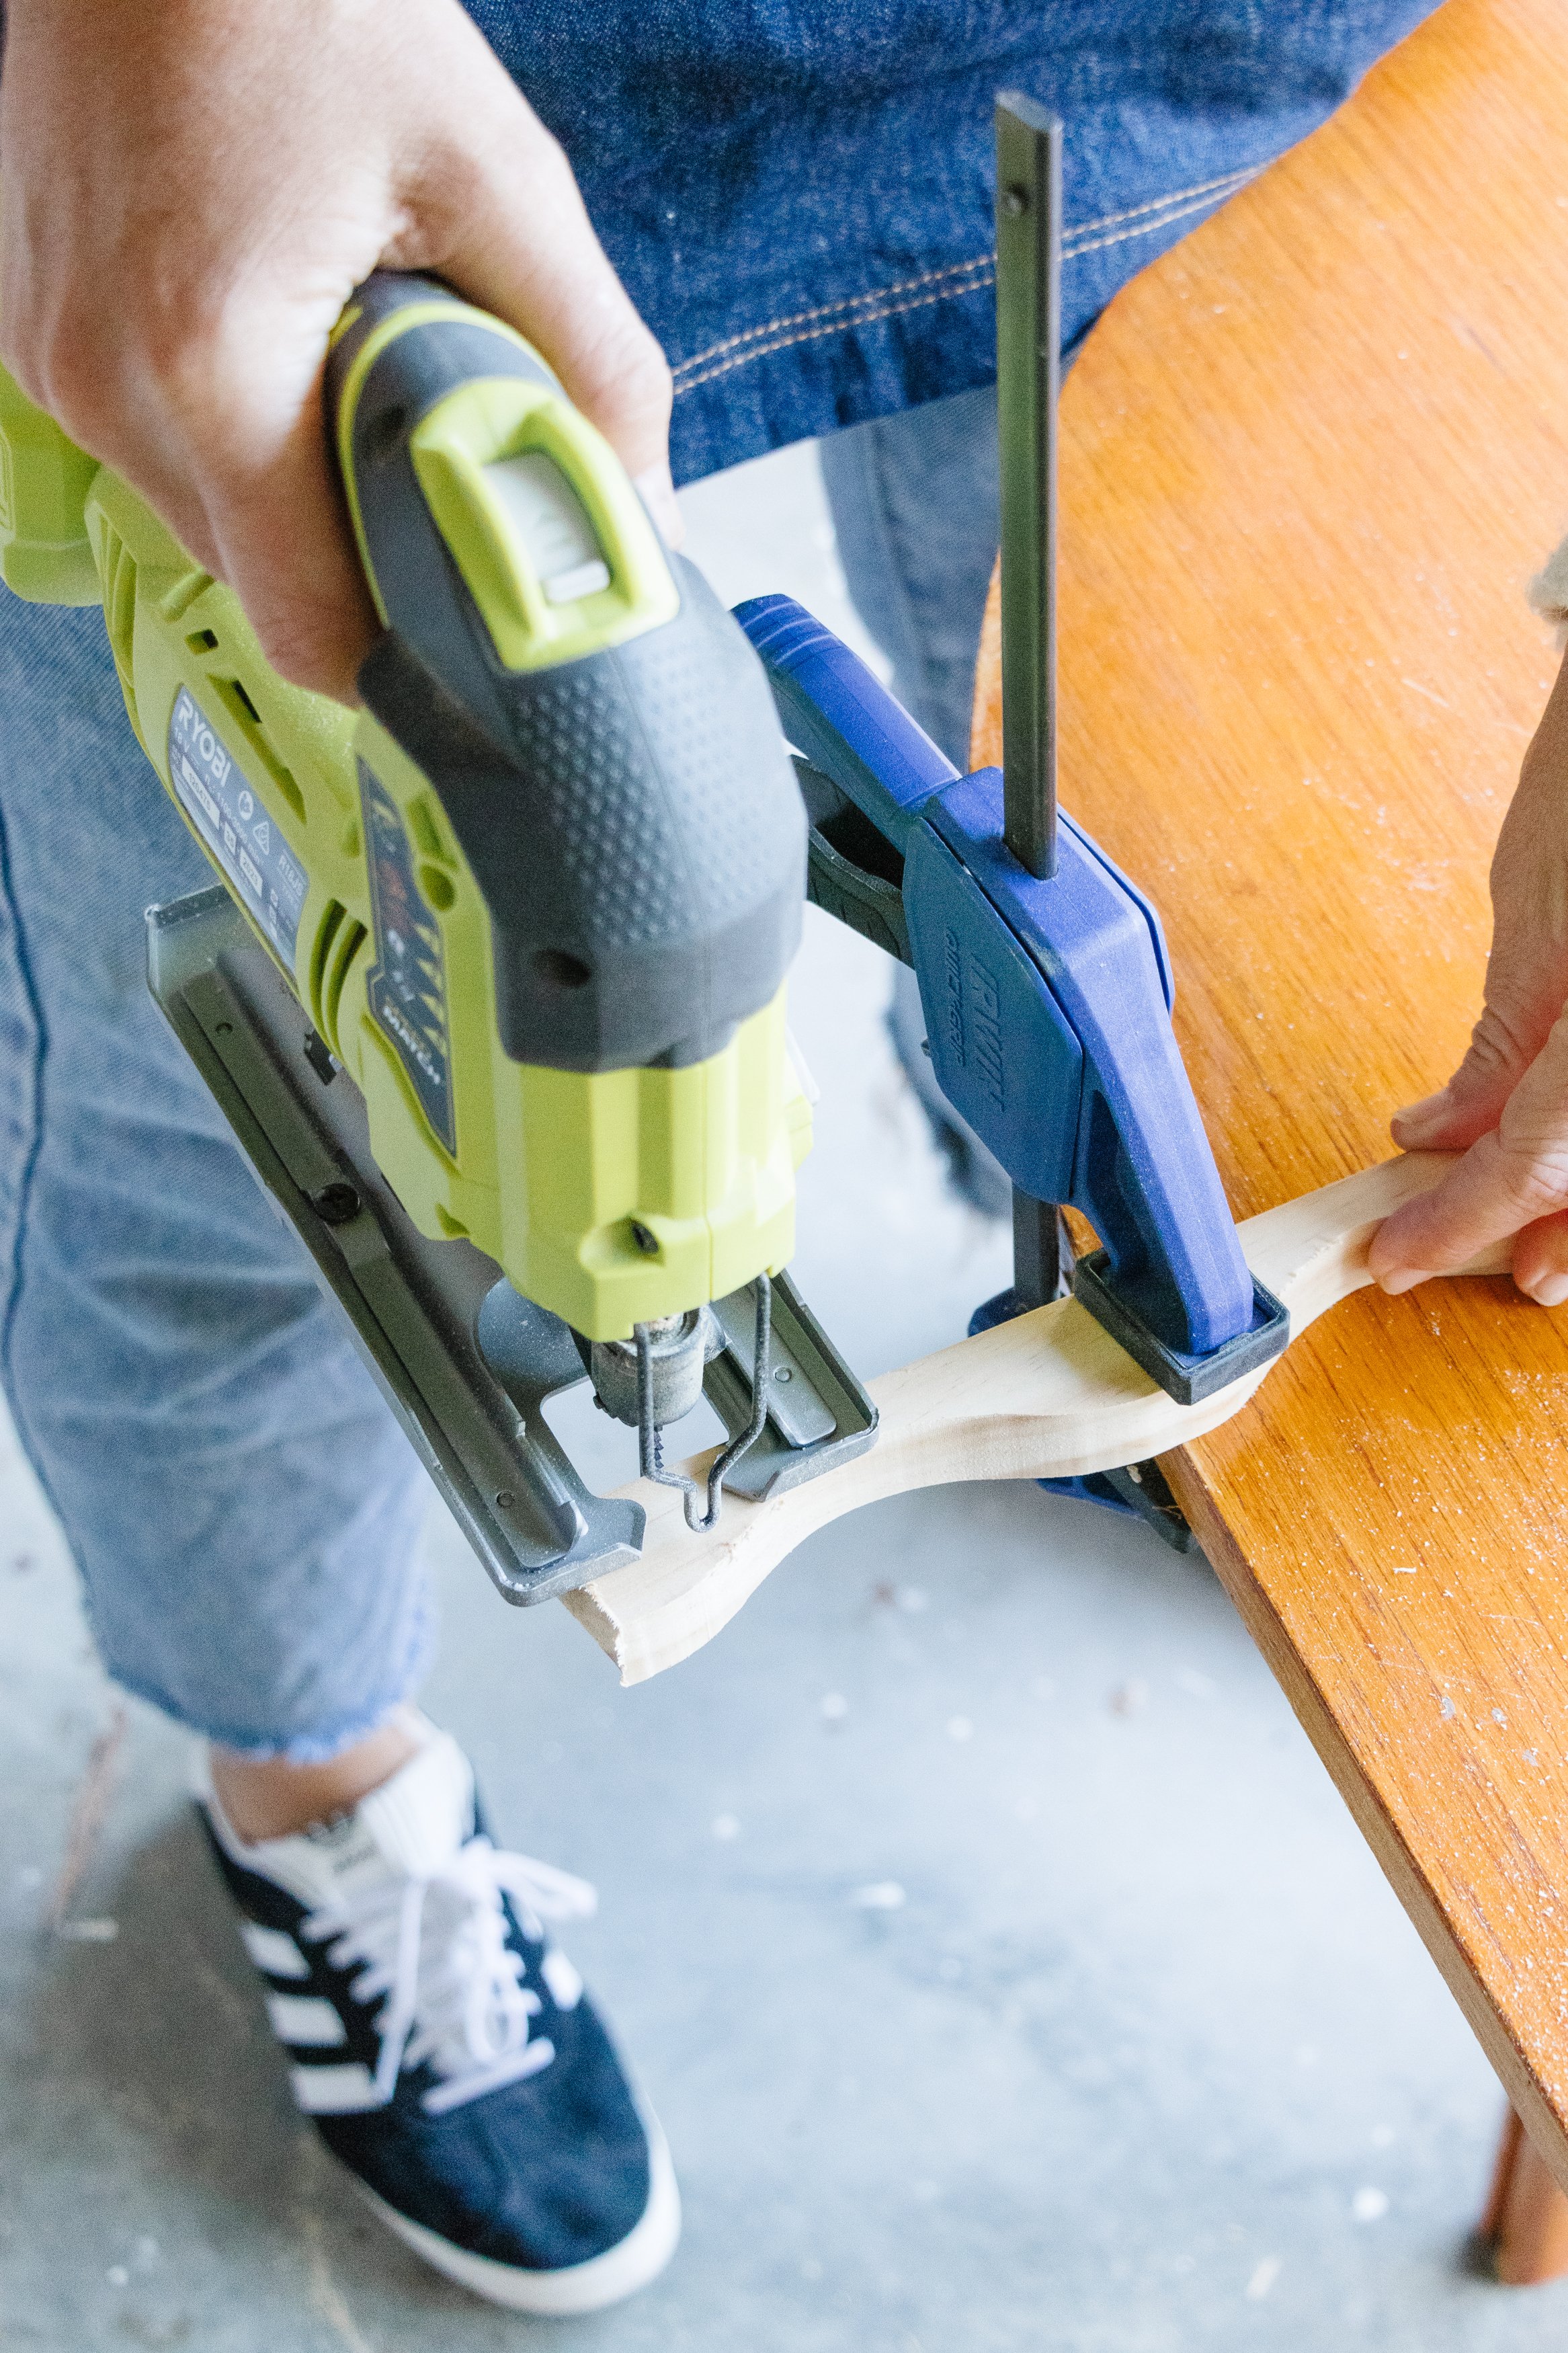
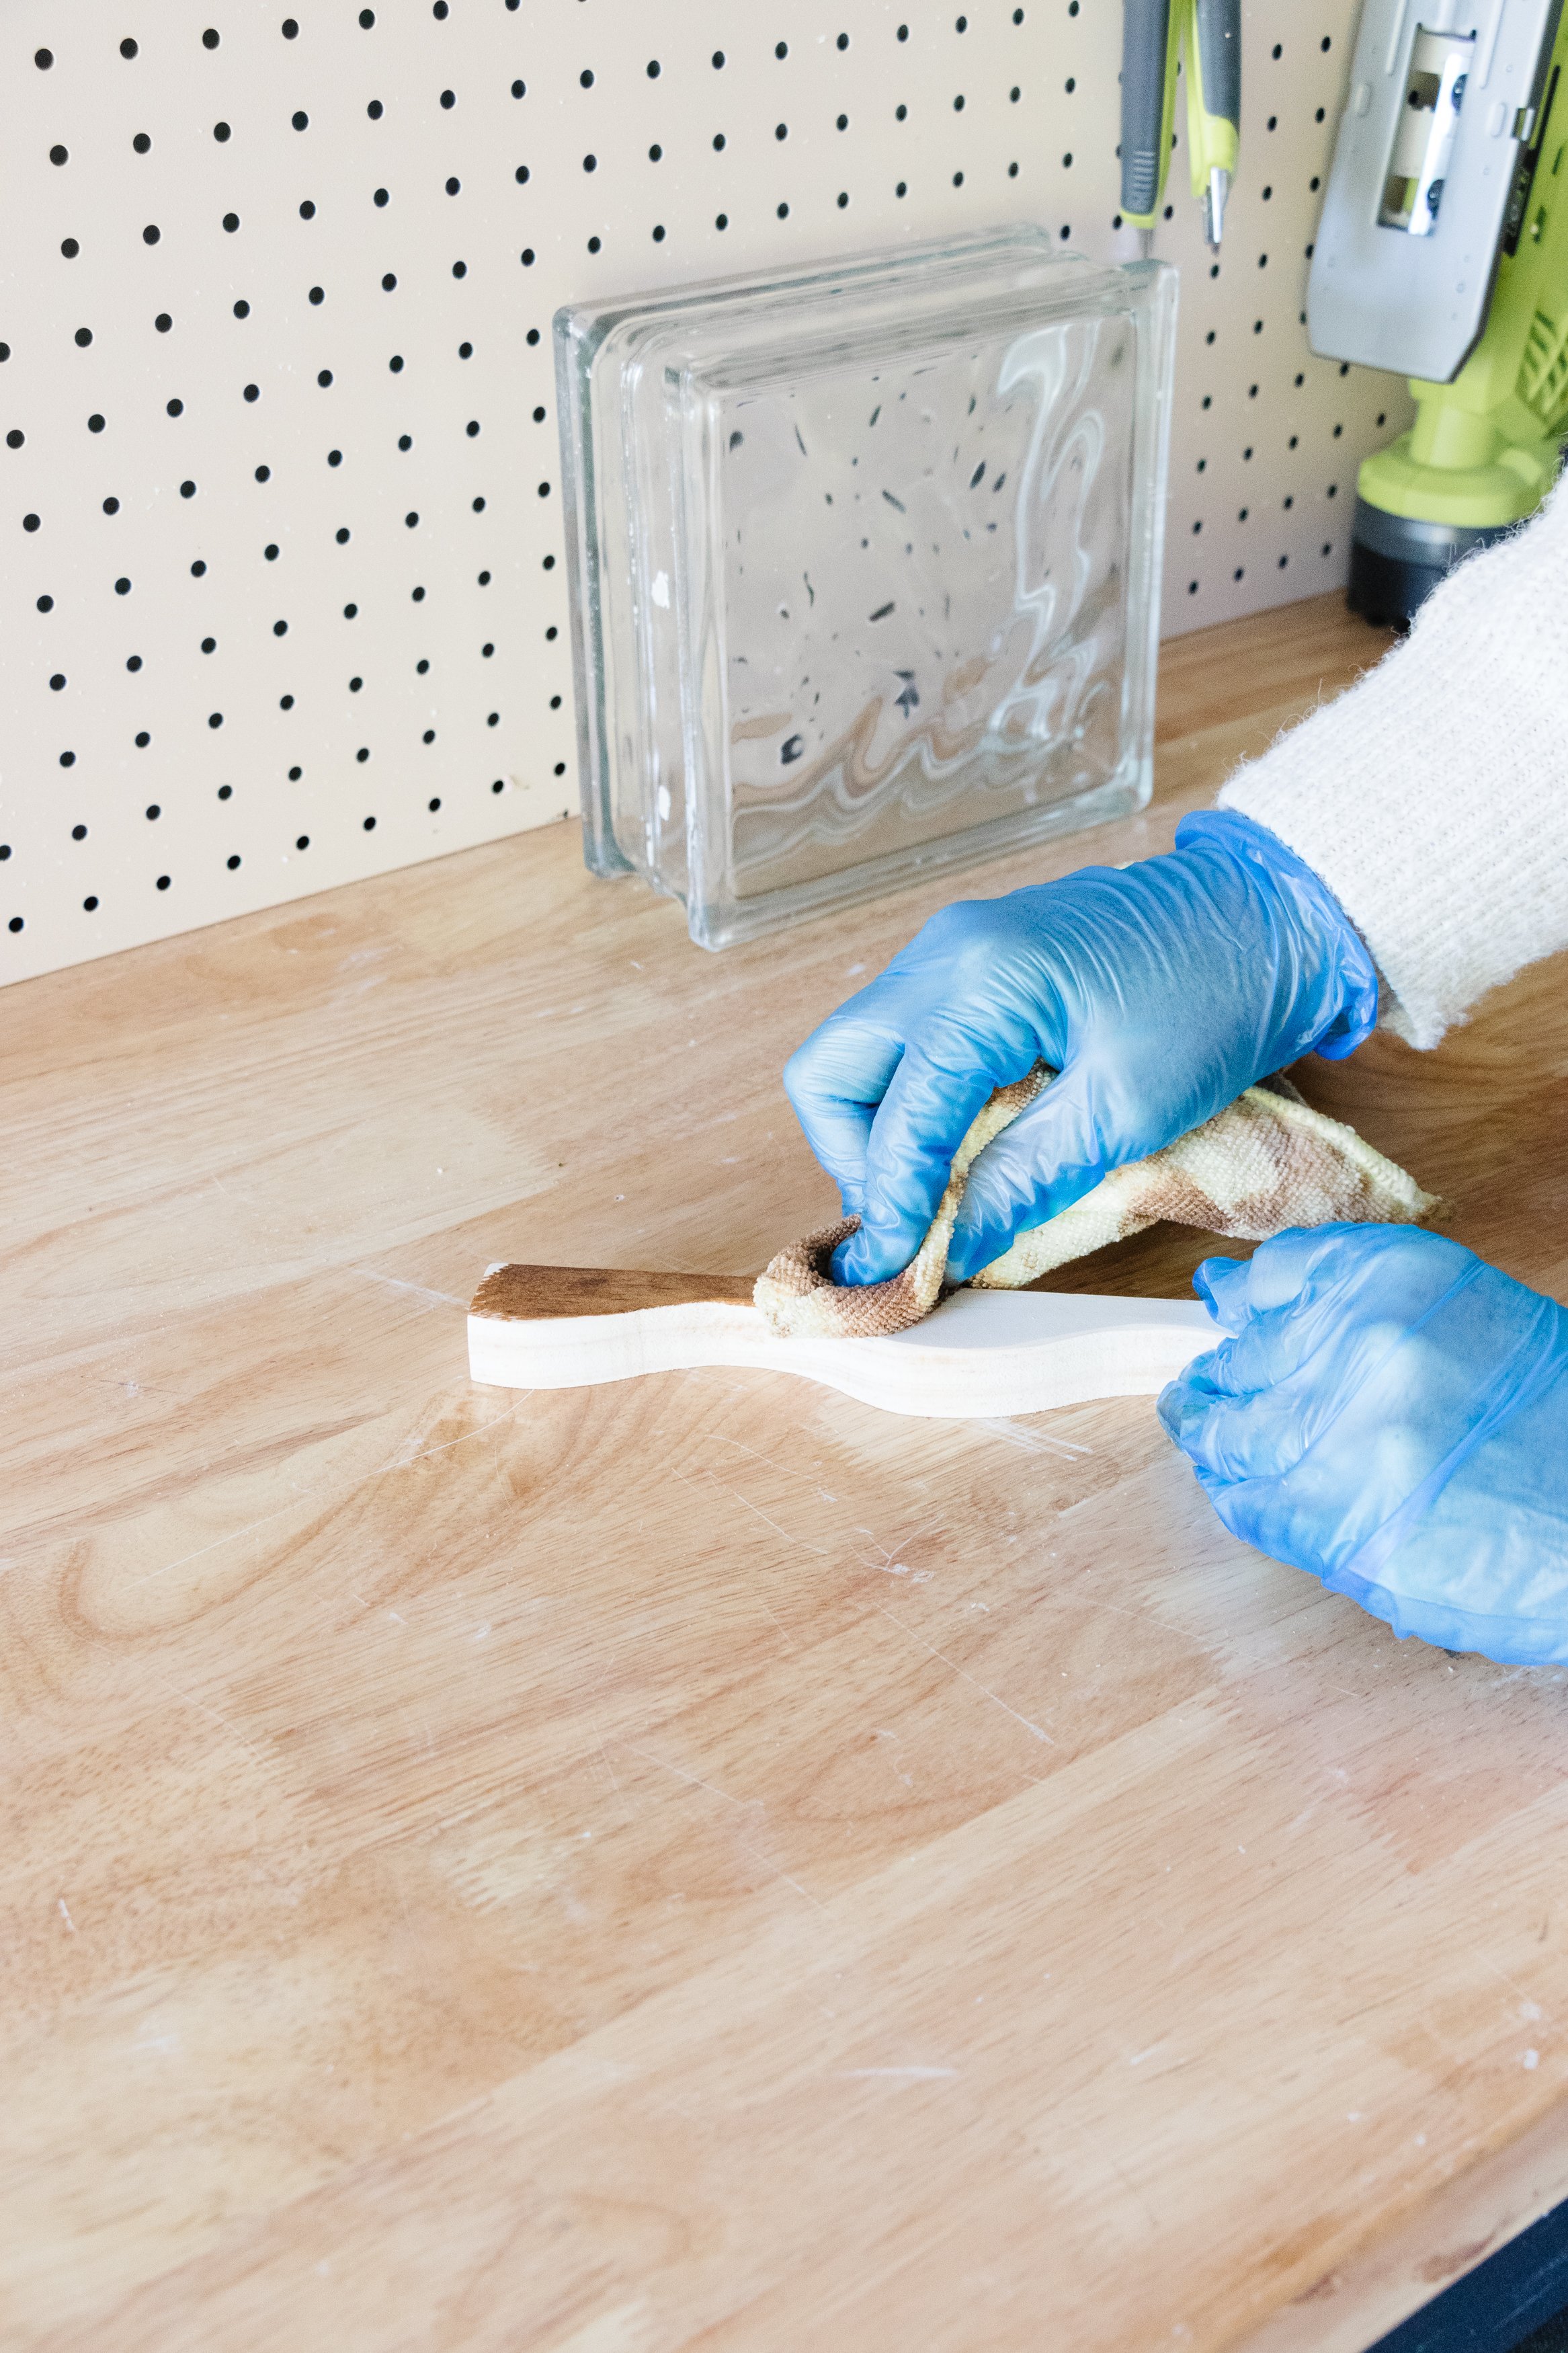
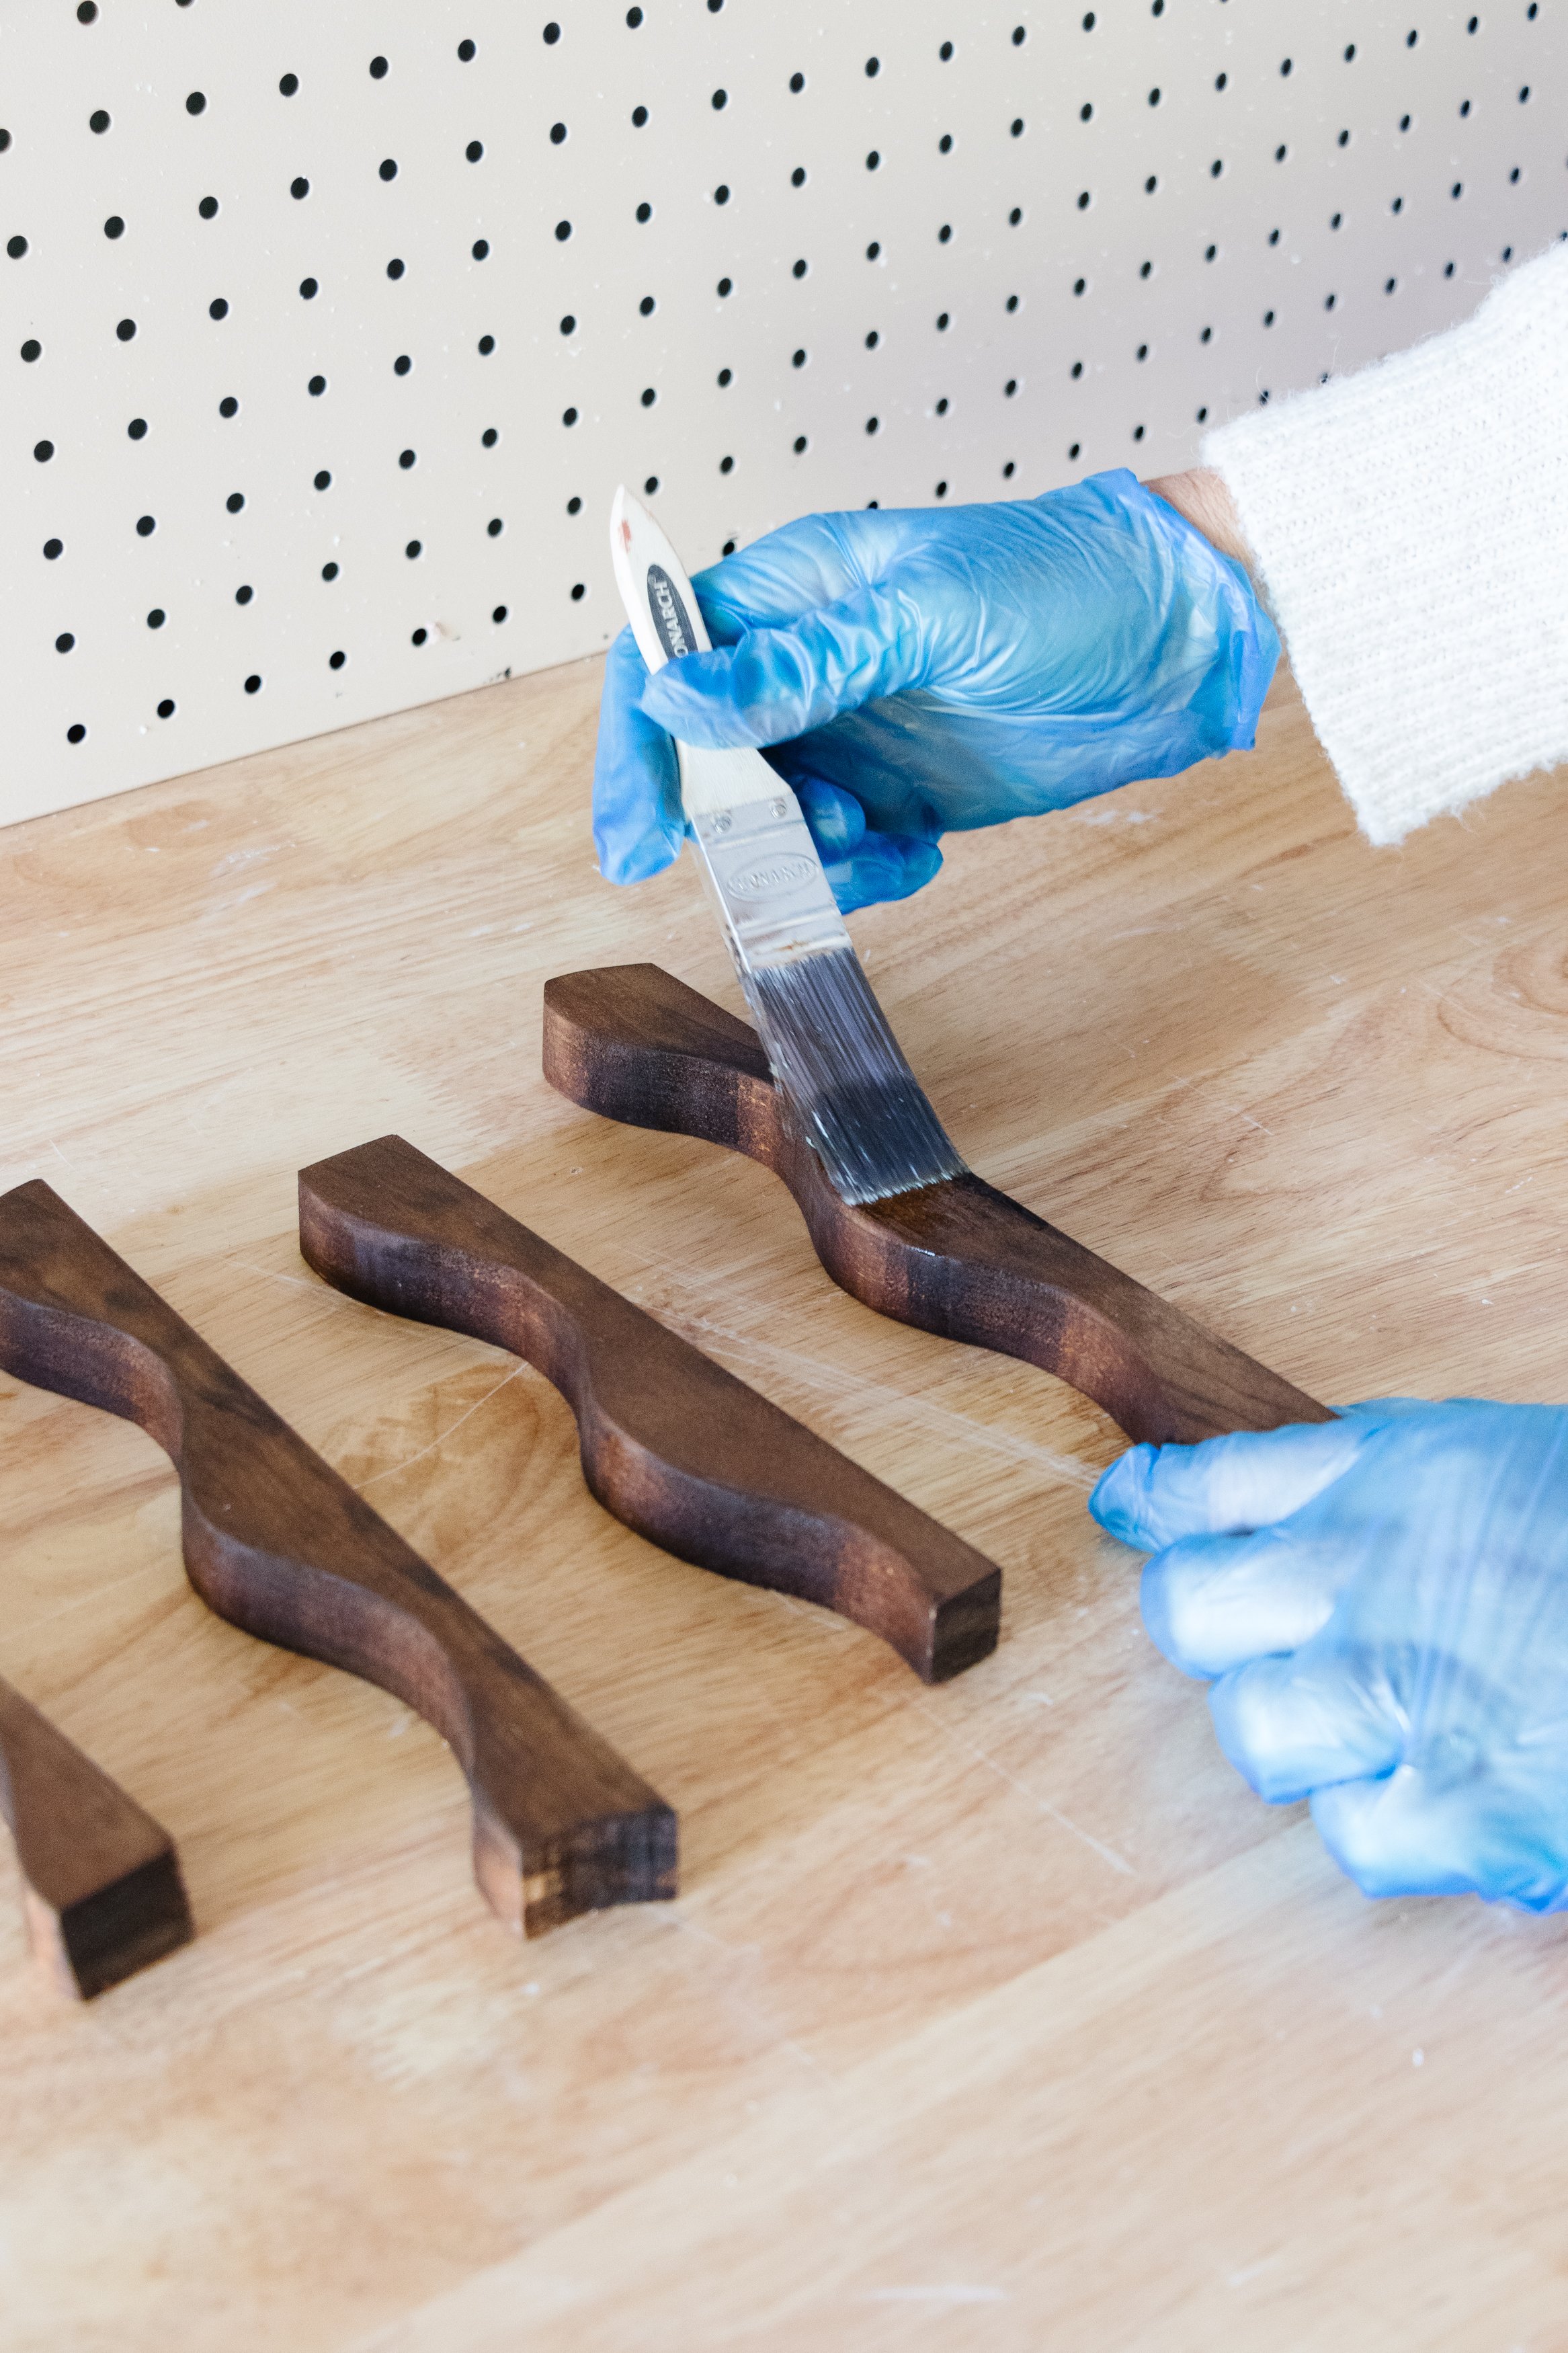
Step 3: Following this, I smoothed each piece using my palm sander. I rounded the wavy edges too. Then I applied two coats of timber stain to the wood pieces and when they dried, I applied two coats of satin varnish. I wish I had gloss varnish but satin was lovely too.
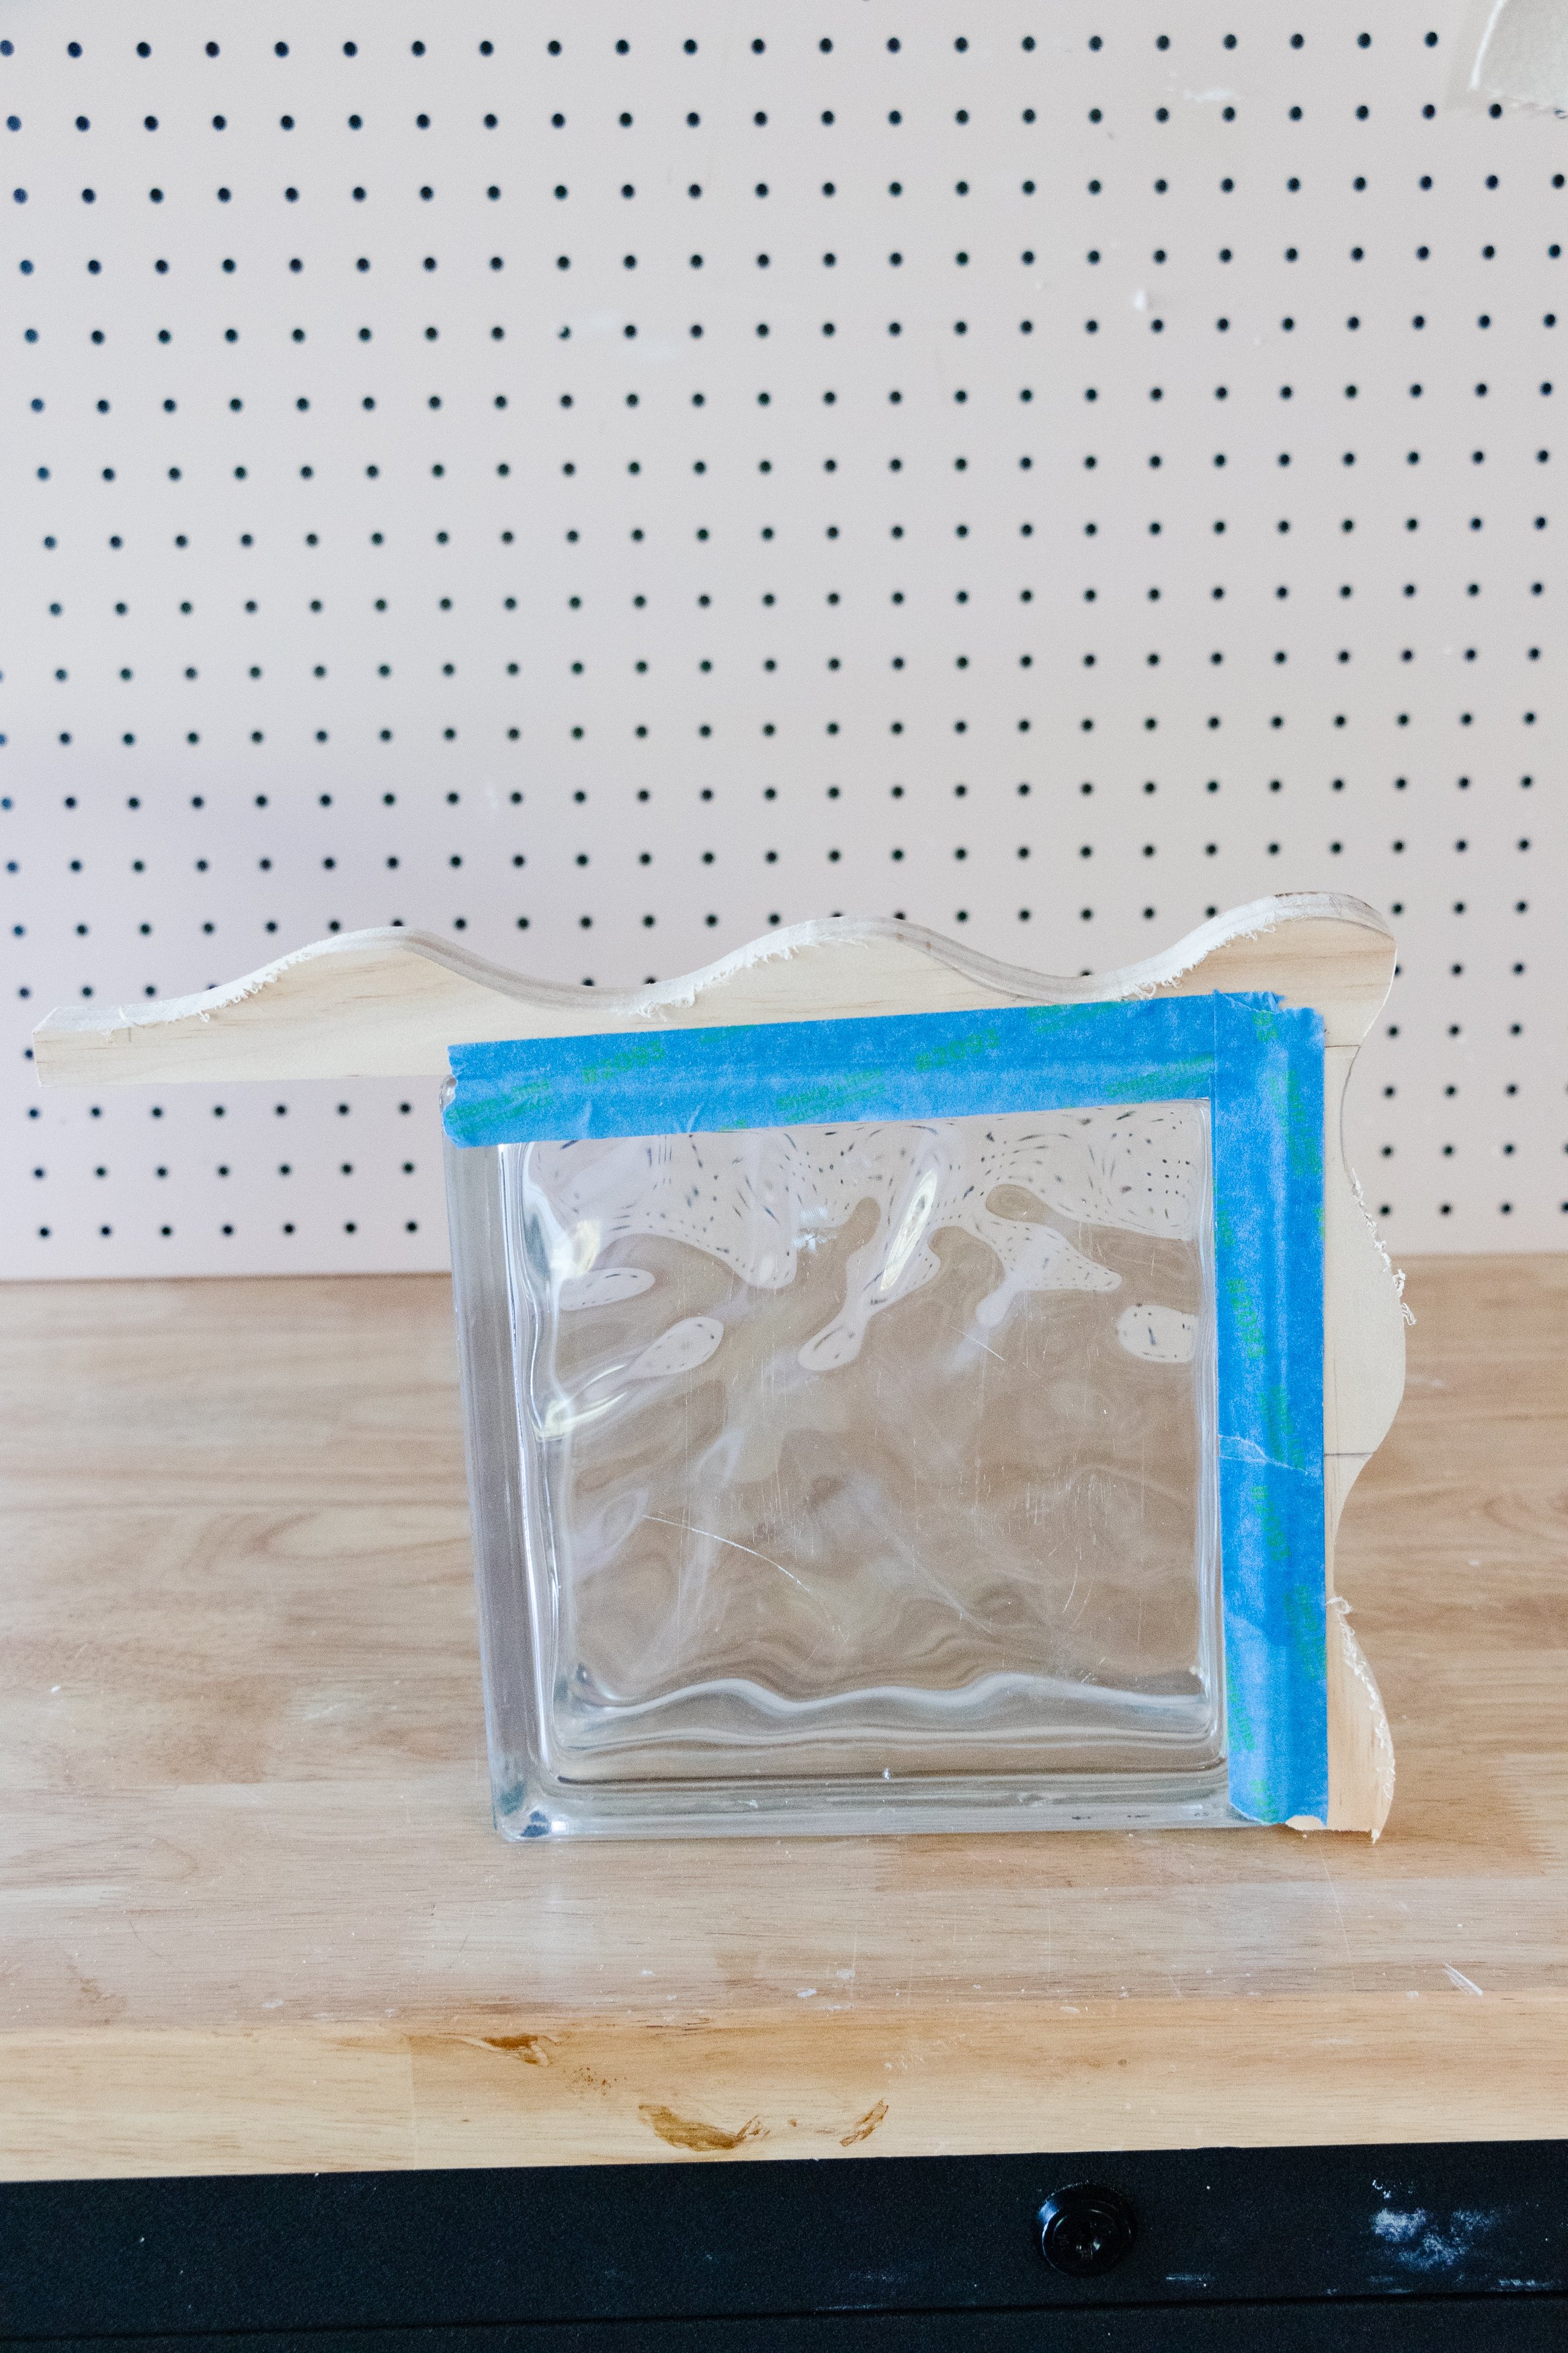
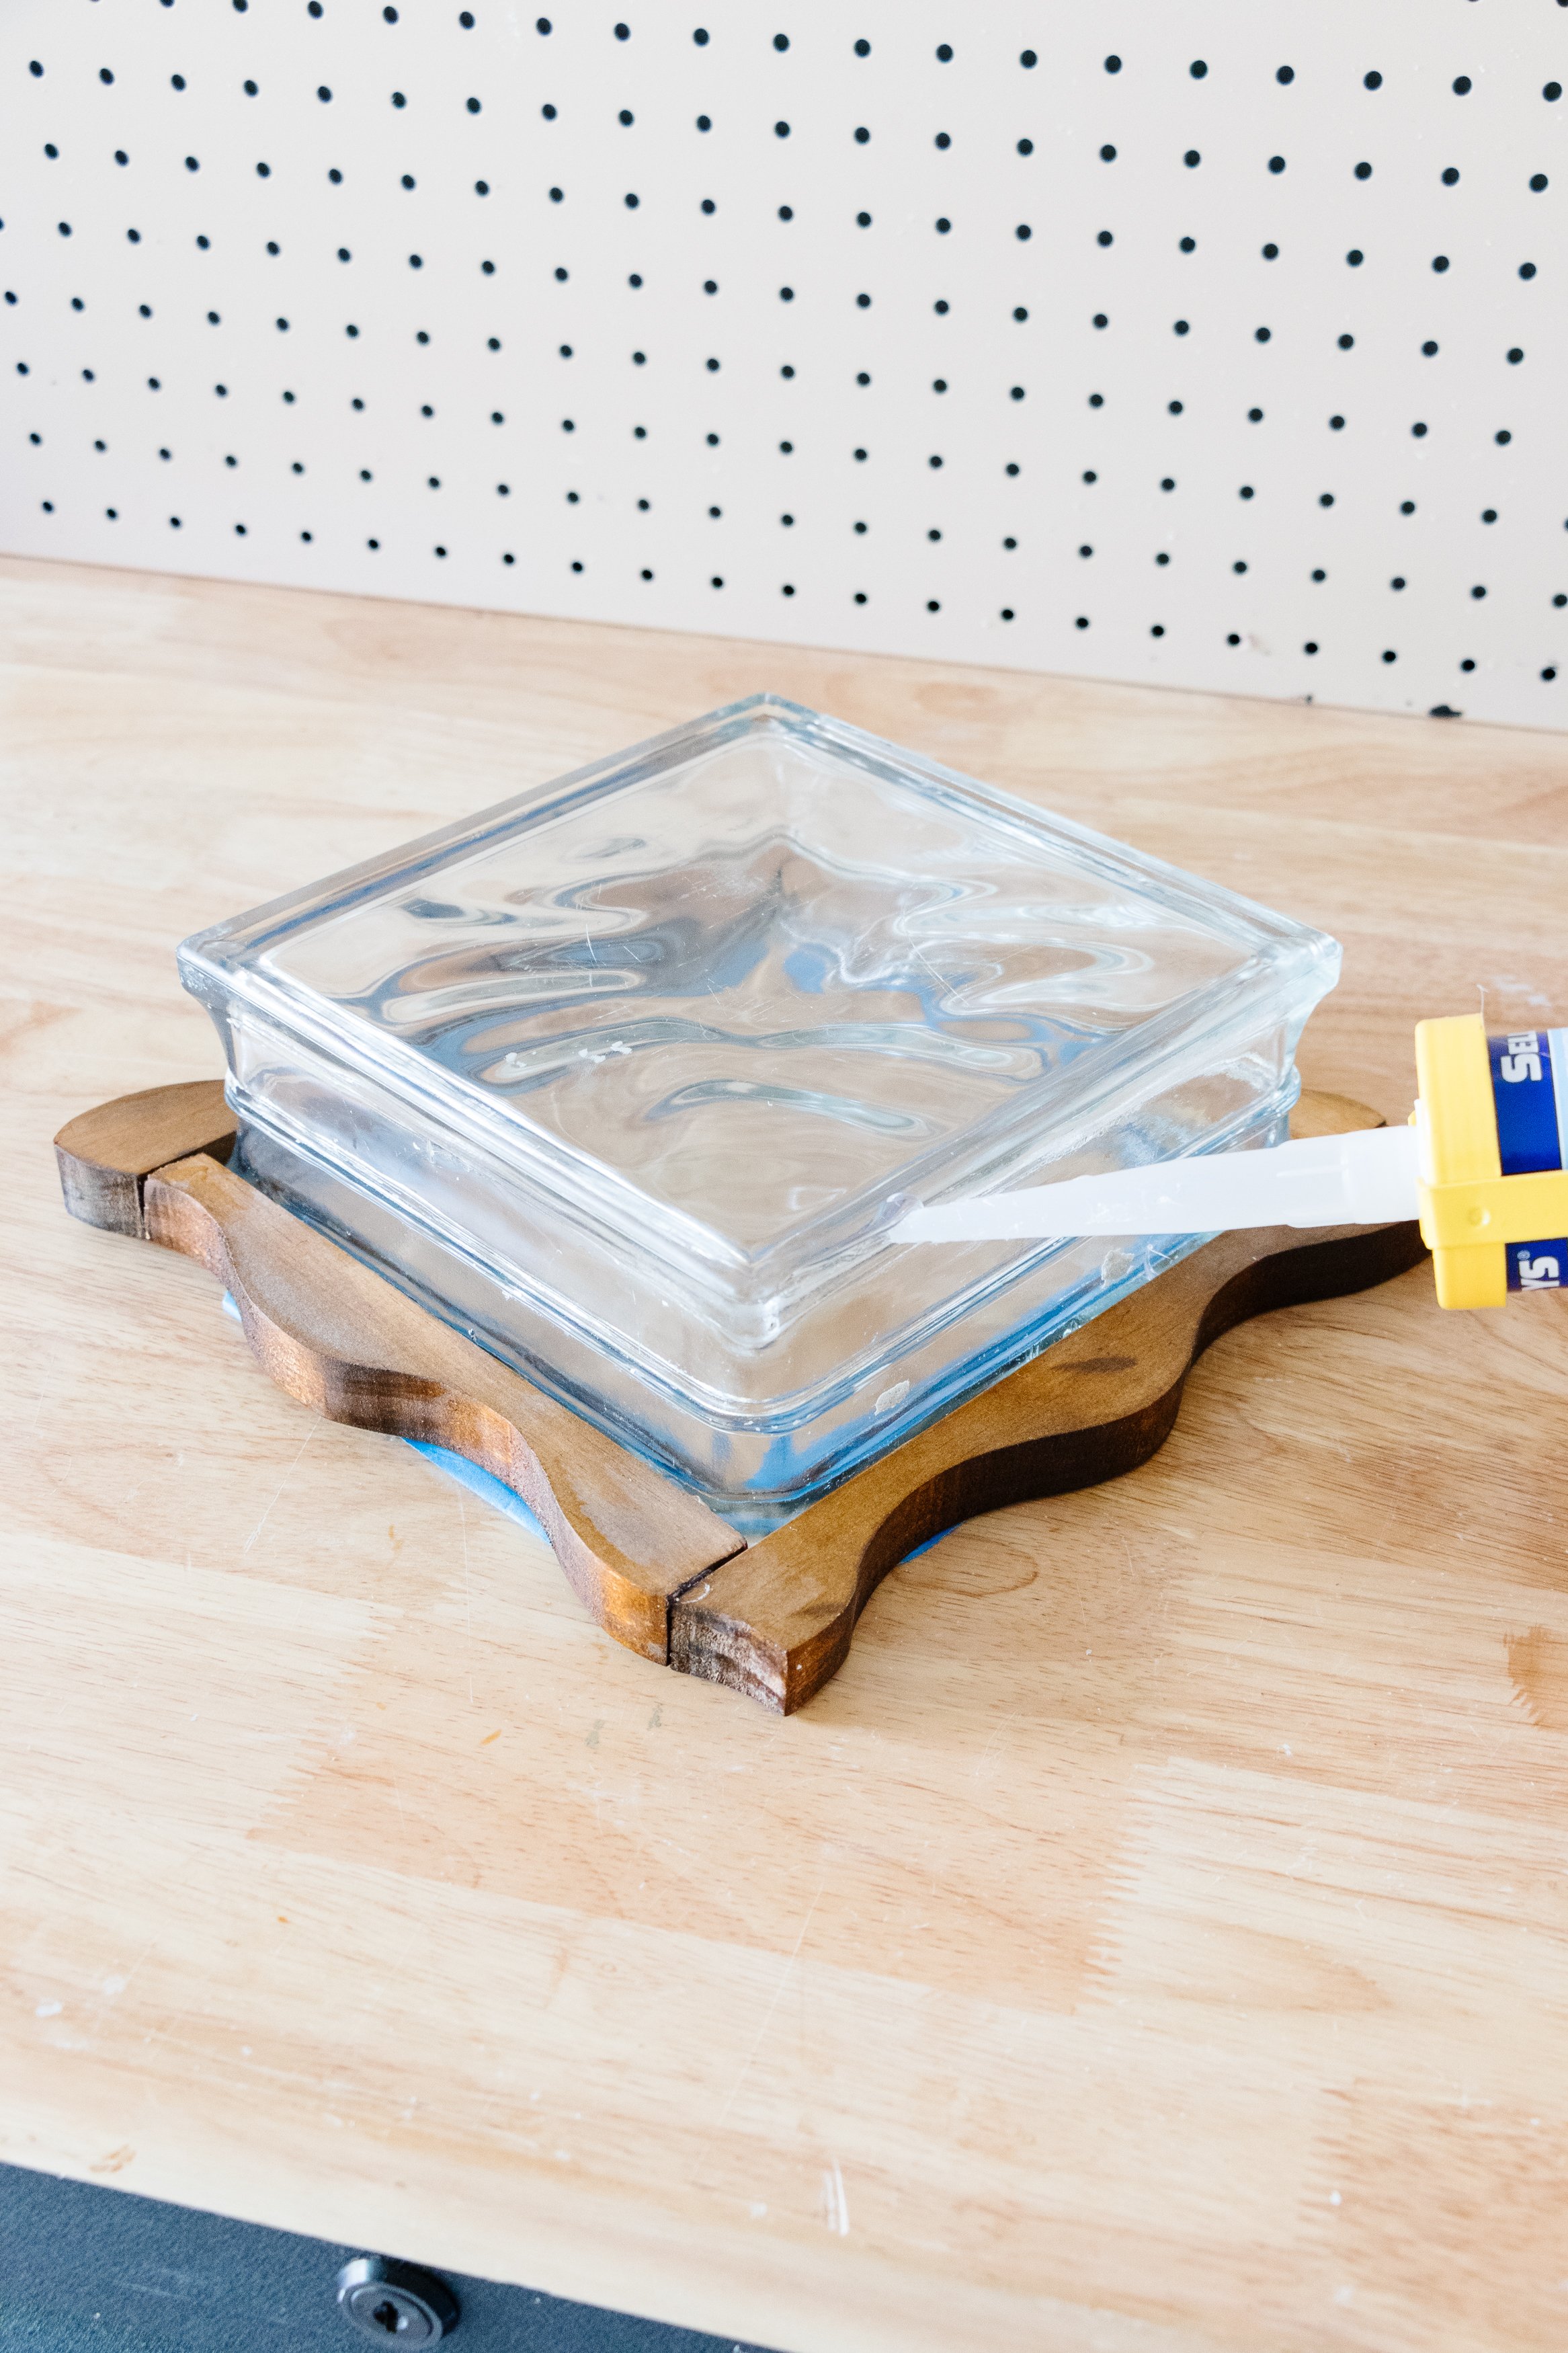
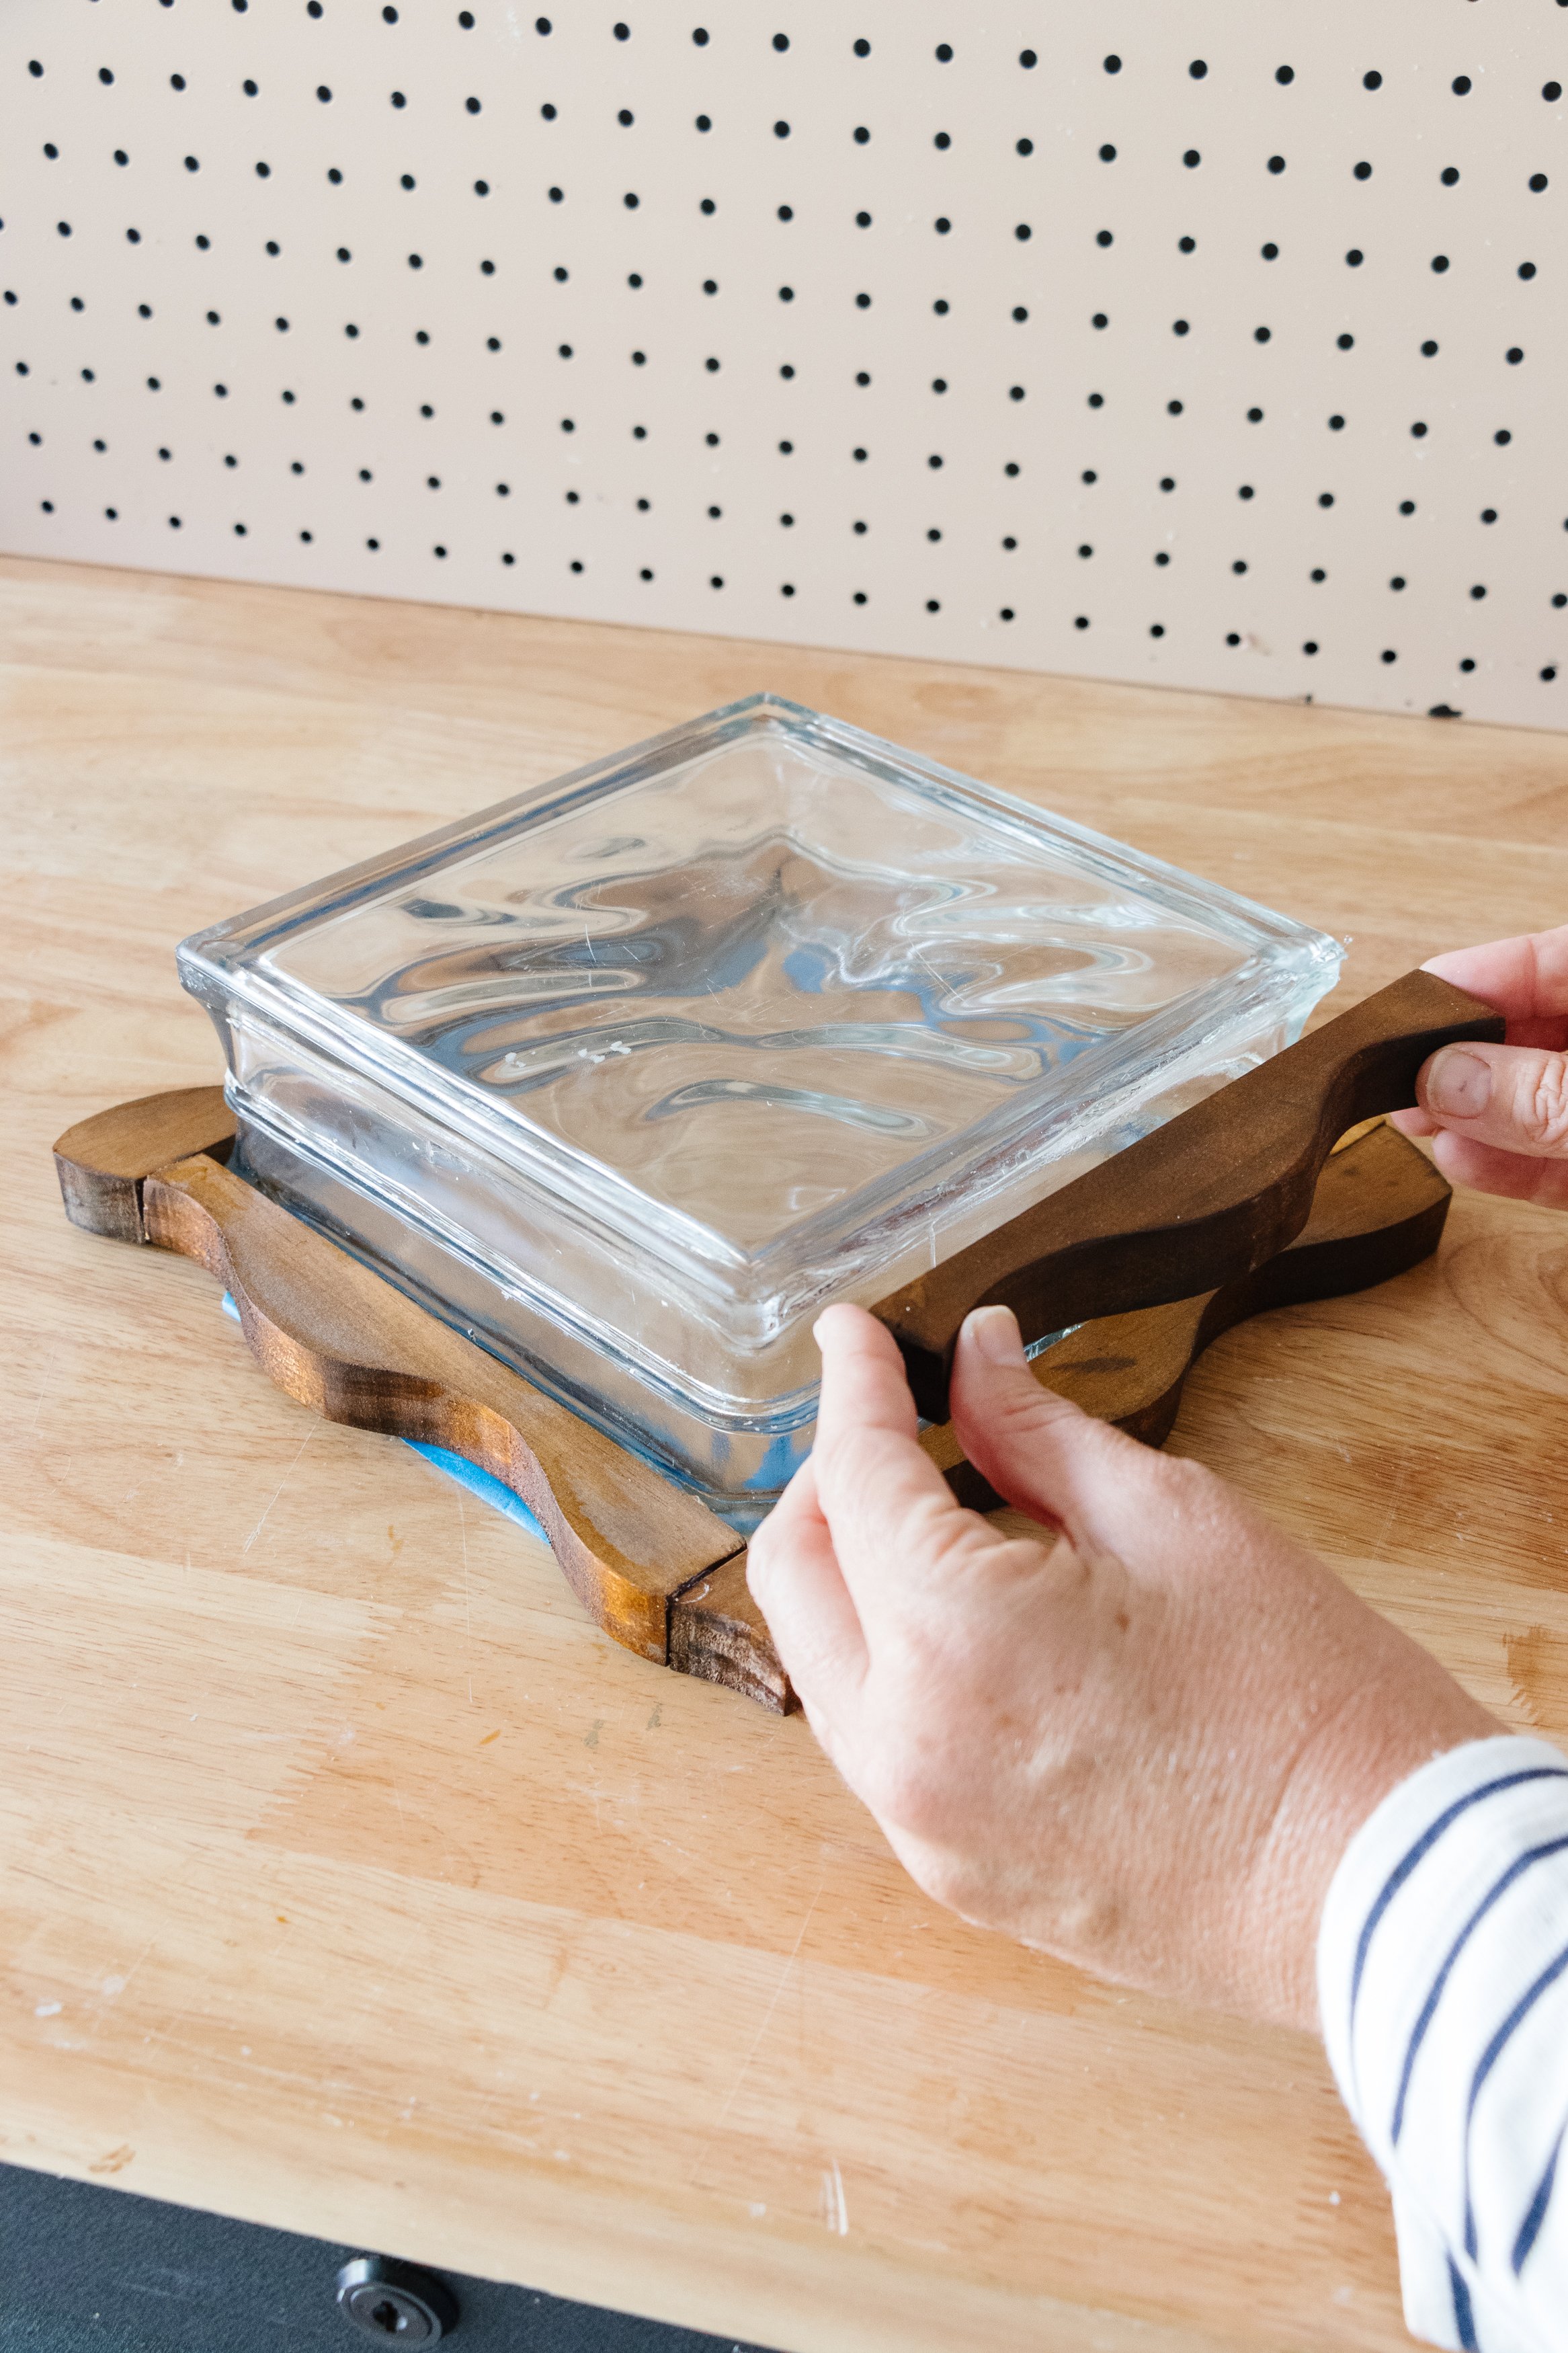
Step 4: Starting with the top pieces, I glued the wavy frame around the glass brick. I also applied painter’s tape to keep the pieces in place while the glue dried. I placed the glass brick down on to it’s front, and glued the back piece on. I set the brick aside to dry overnight.
Step 5: I rolled the strip lighting so it fit snugly underneath the glass brick. I also used a bit of clear sticky tape (which you can’t see when it’s pressed firmly onto the glass) to keep it from dropping. And that’s it!


Ta daaa!
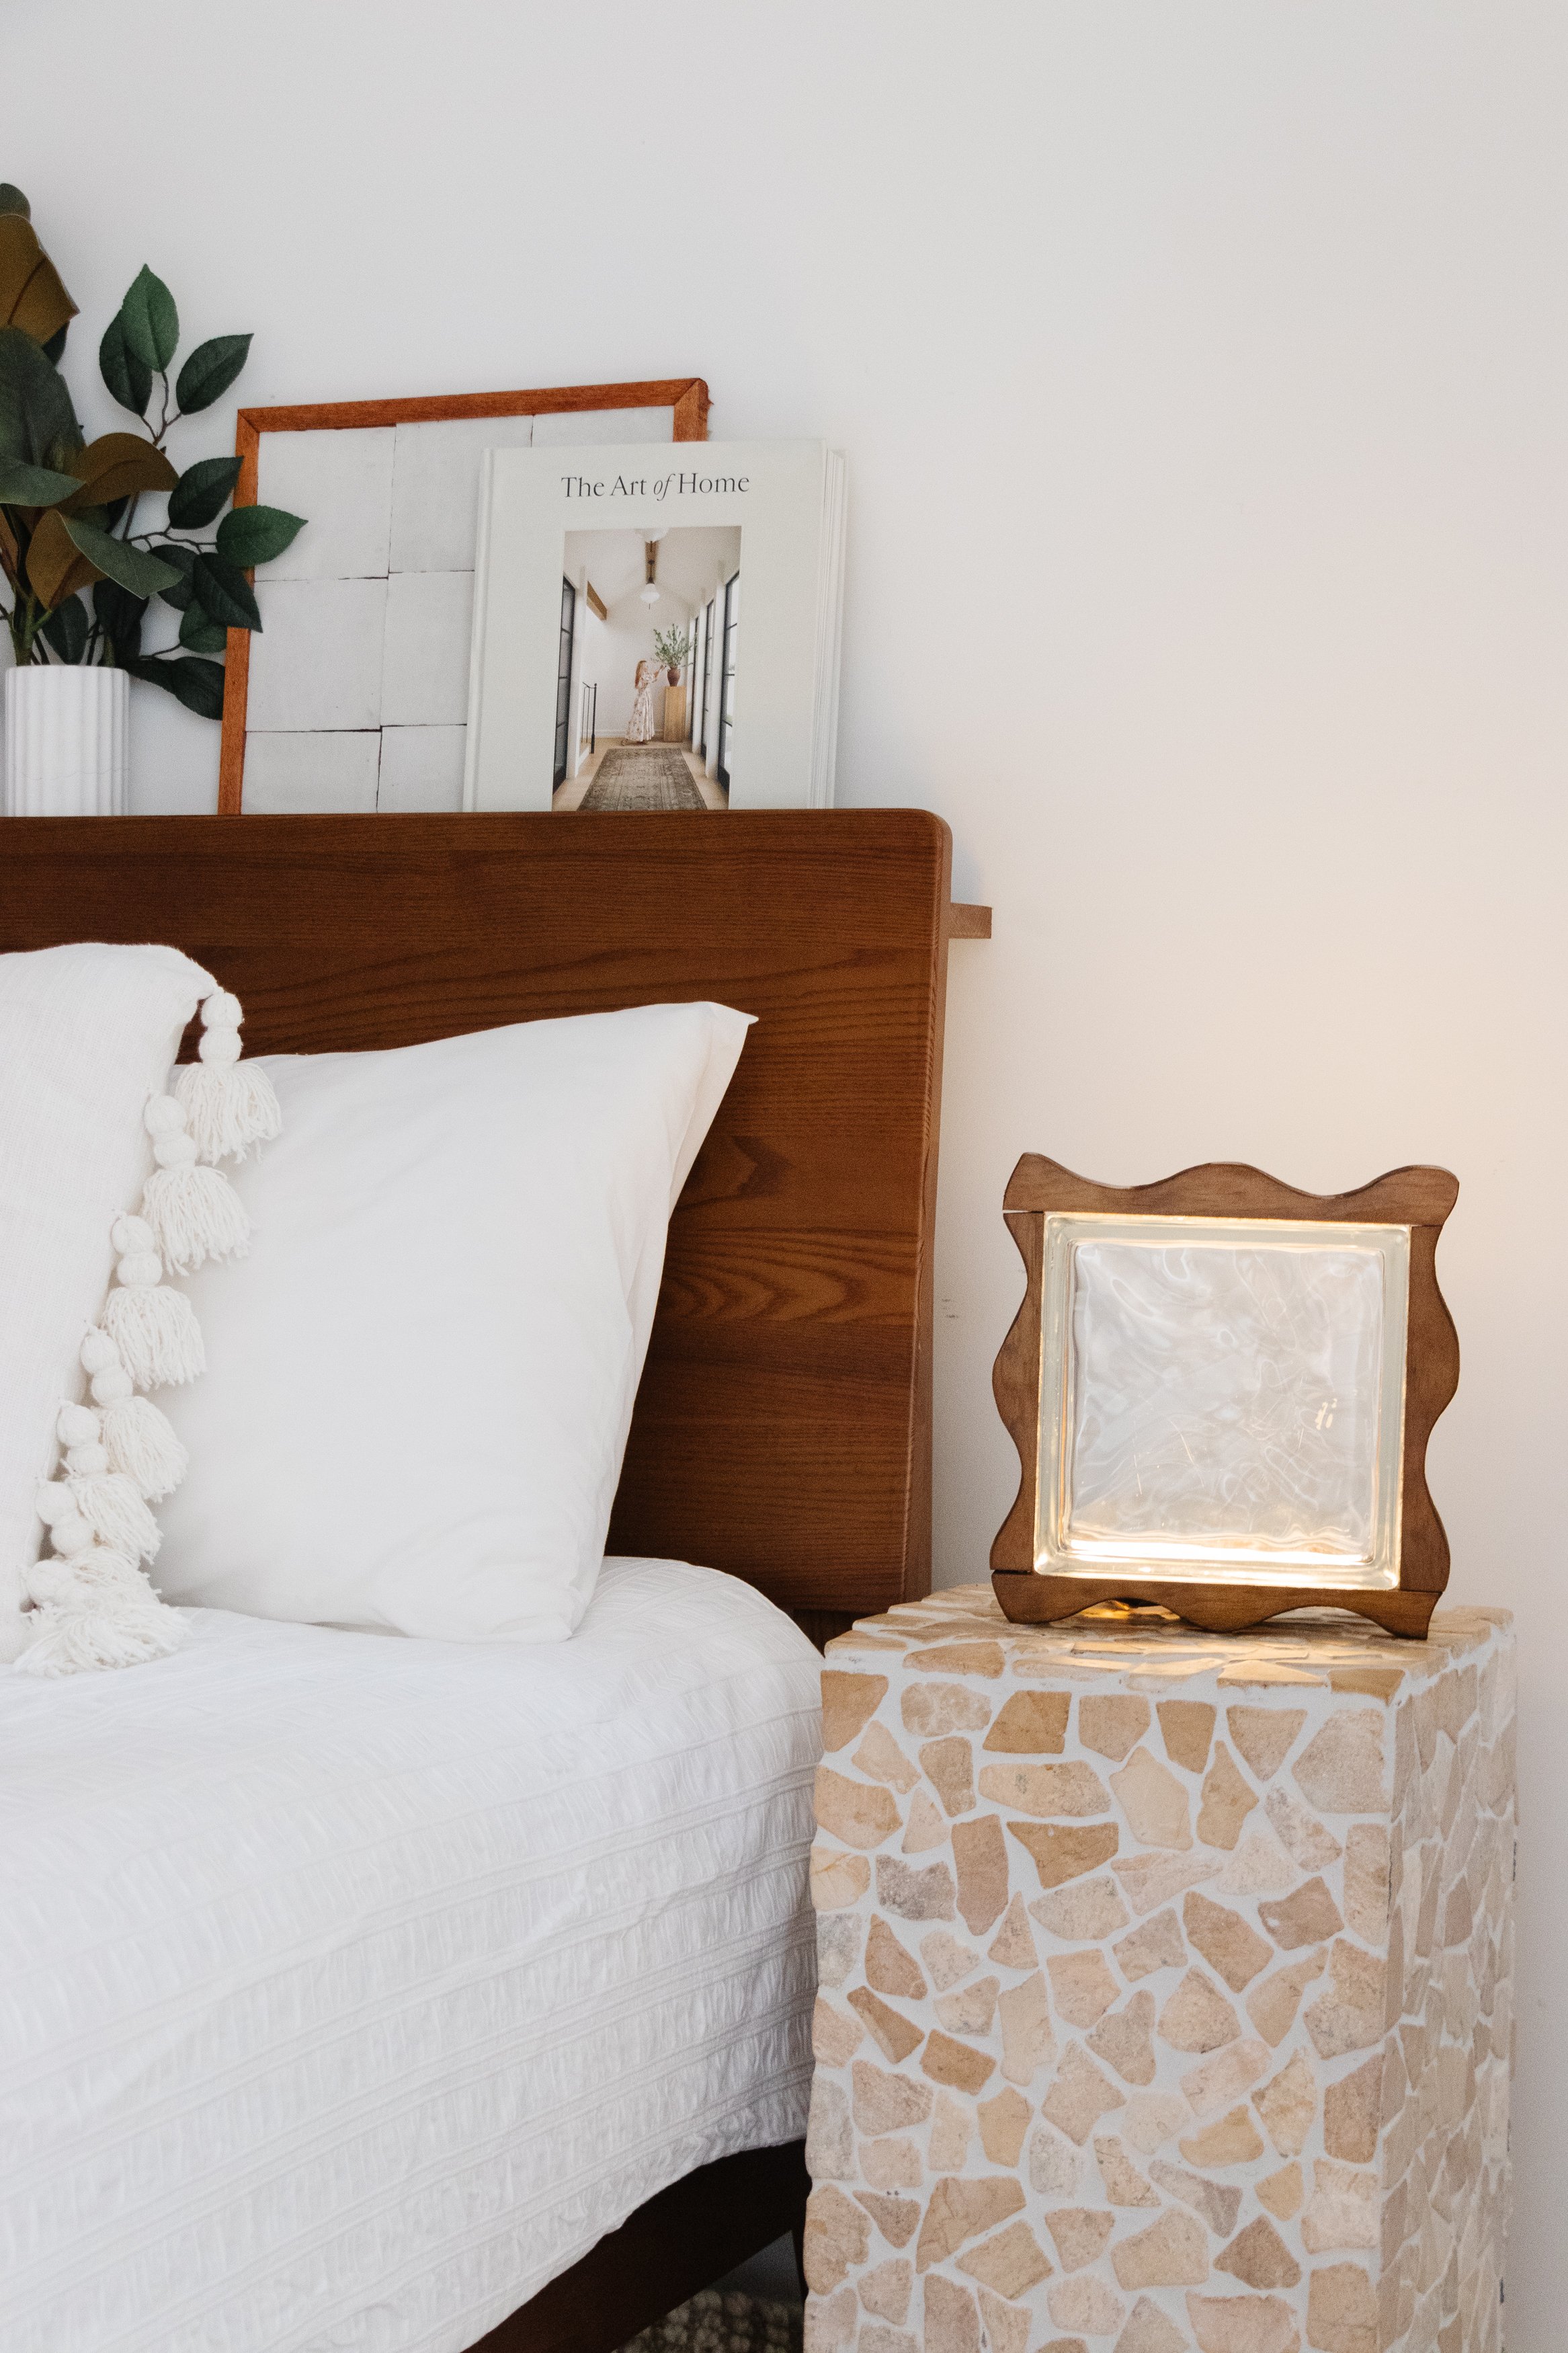
I am so happy this worked! After assembling this DIY Glass Brick Light, I installed battery operated strip lighting at the bottom to light up the glass, which means this glass brick light is portable and you can take it anywhere. SO GOOD. I'd love to know what you think and if you have any questions, let me know! I’m always happy to help.