Upcycled Fluted Bedside Table
If I told you it was possible to upcycle a secondhand bedside table in a day, would you believe me?
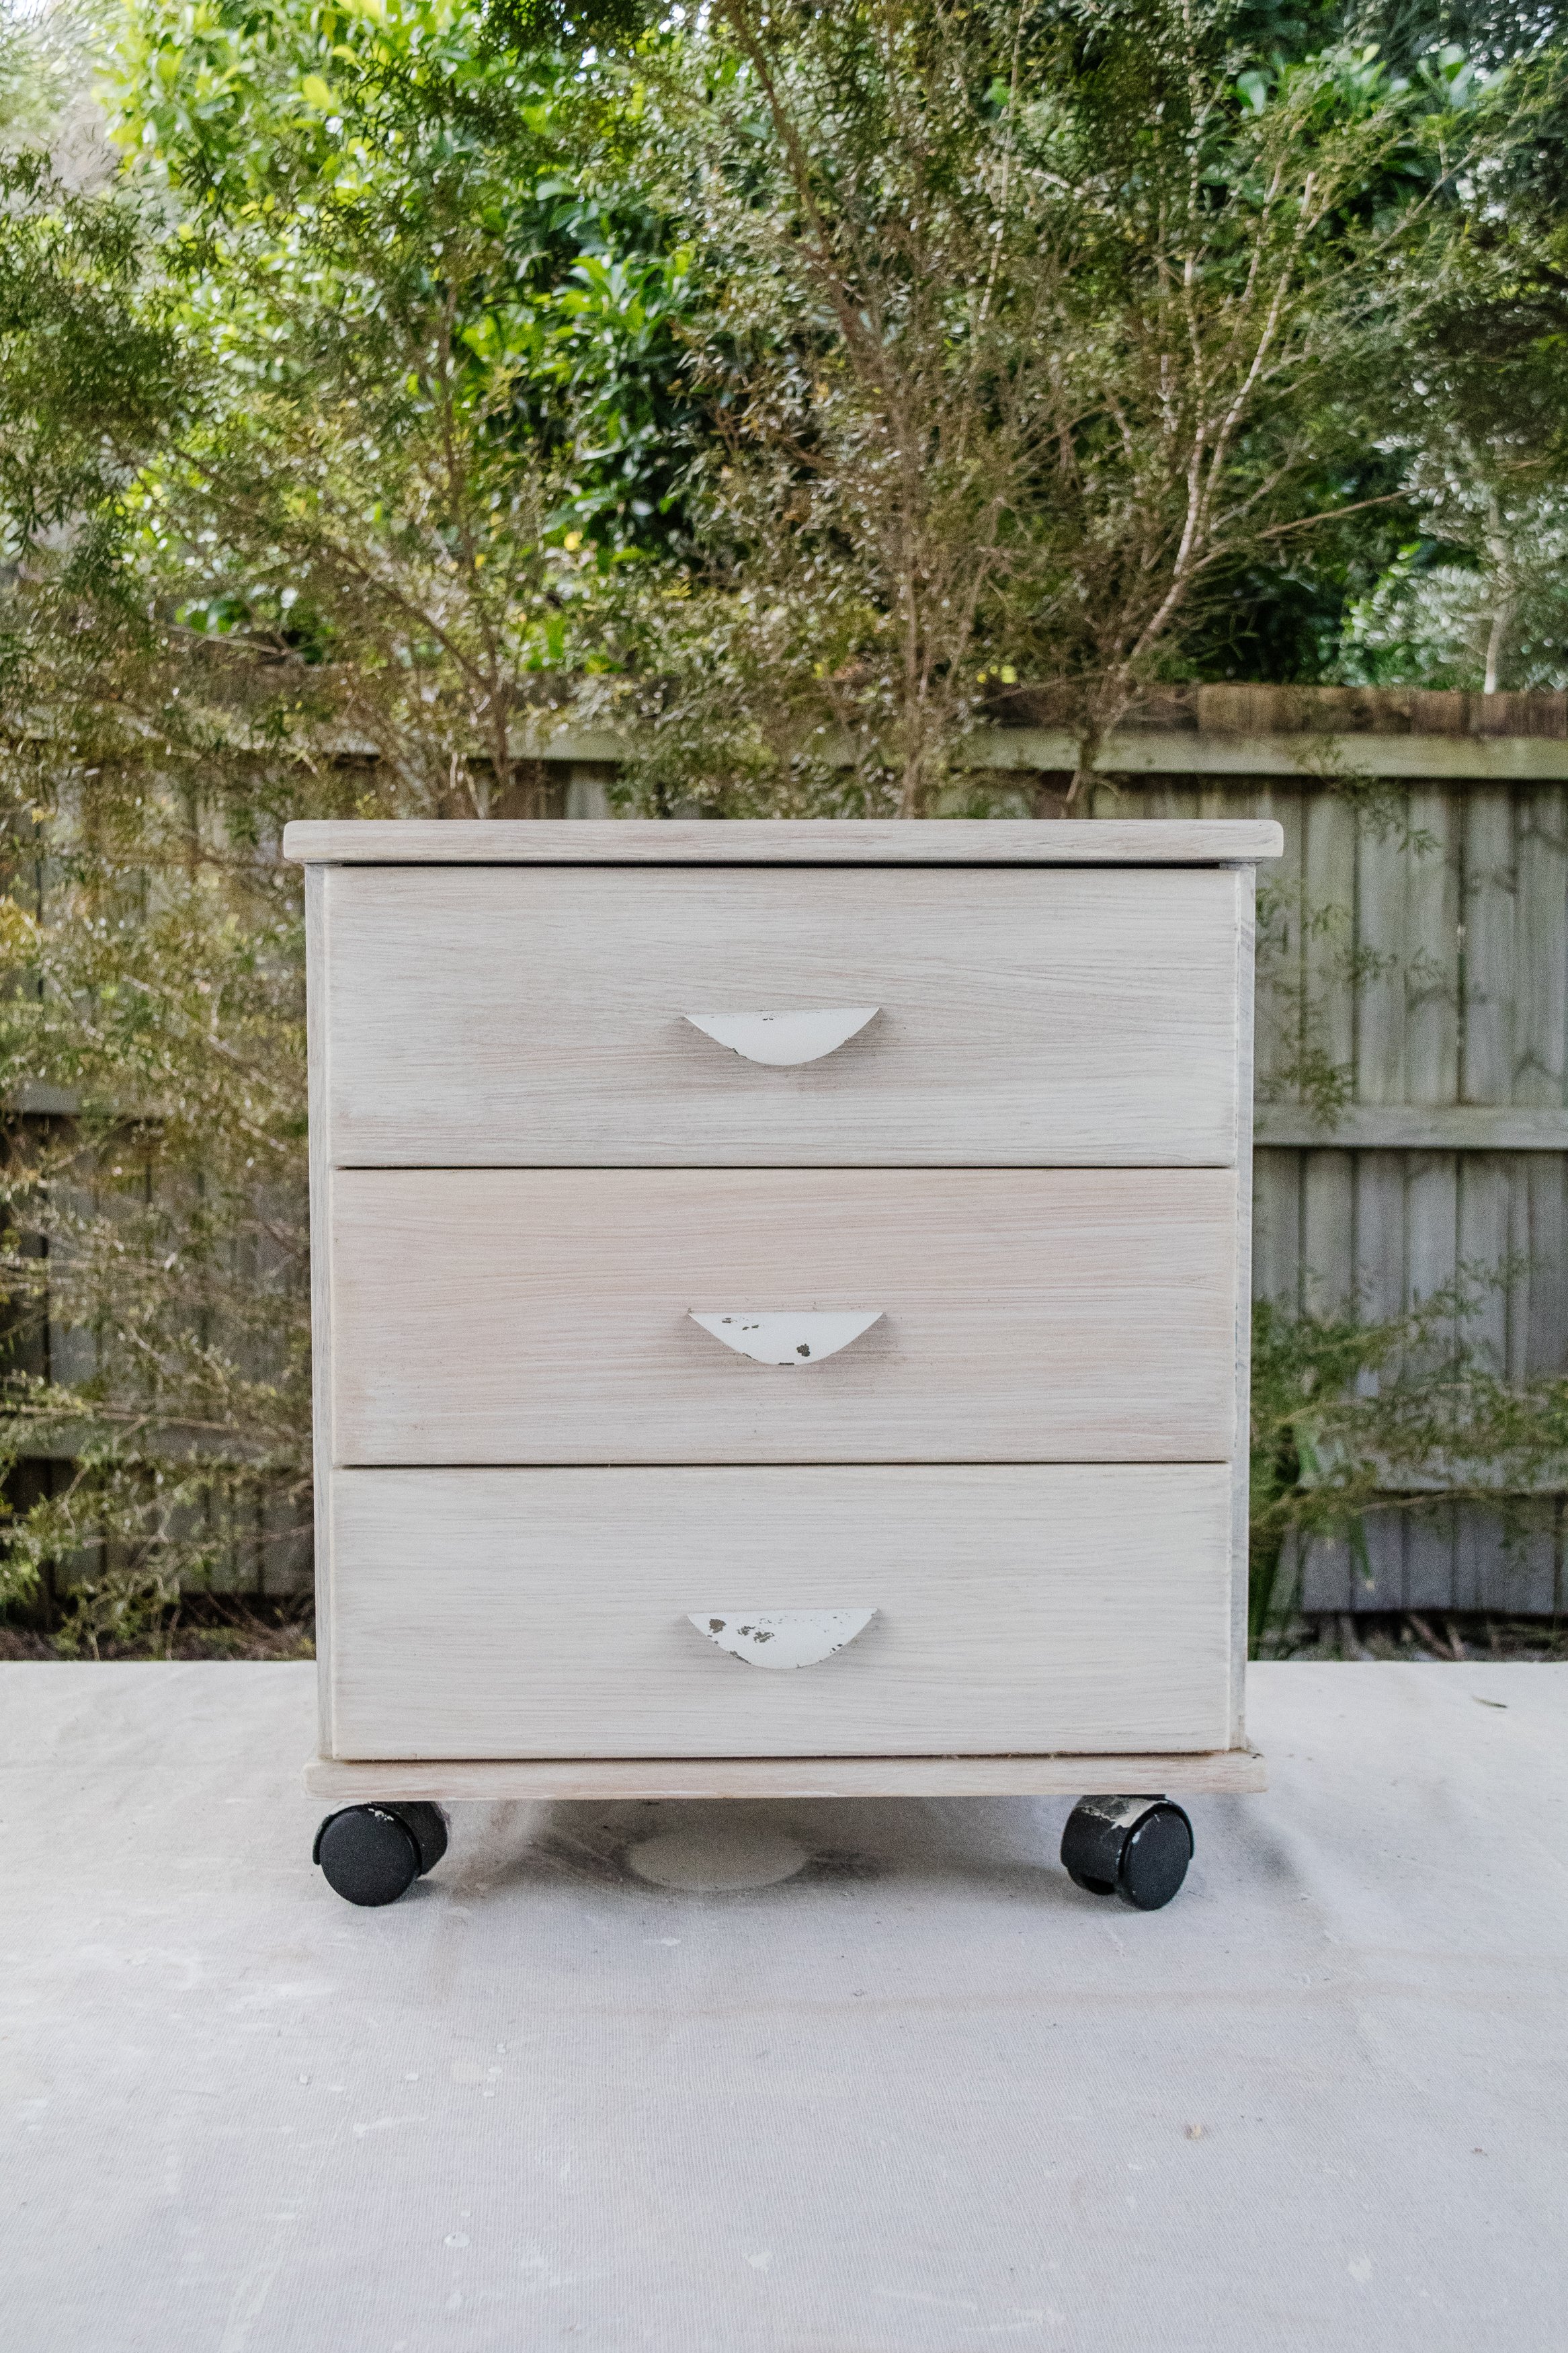
I hope so, because it’s true! And that’s what I did when I stumbled across a secondhand bedside table at my local tip shop for $10, and I knew straight away it had loads of potential. But I’ve got a secret…it was only possible because I used Rust-Oleum spray paints. I’ve never used spray paint to upcycle a bedside table before and I was surprised to find out it’s convenient, quick and easy to apply, it dries fast, it has a seamless finish, -and you won’t see any primer, messy paint brushes or annoying brushstrokes here!
But before we dive in, let’s have a chat about the bedside table I’ll be upcycling. I found it hidden underneath an old timber table and amongst a collection of dusty bookshelves at my local tip shop for only $10. Such a bargain! When I saw it, I immediately knew it had a lot of potential. When I find a piece of secondhand furniture that I think will be really good to upcycle, like this bedside table, there are a few things I like to check. I opened the bedside table drawers to make sure they were working well, I looked at the back, I turned it upside down and generally looked it over to make sure there wasn’t any water or mould damage, or any major dints or scratches.
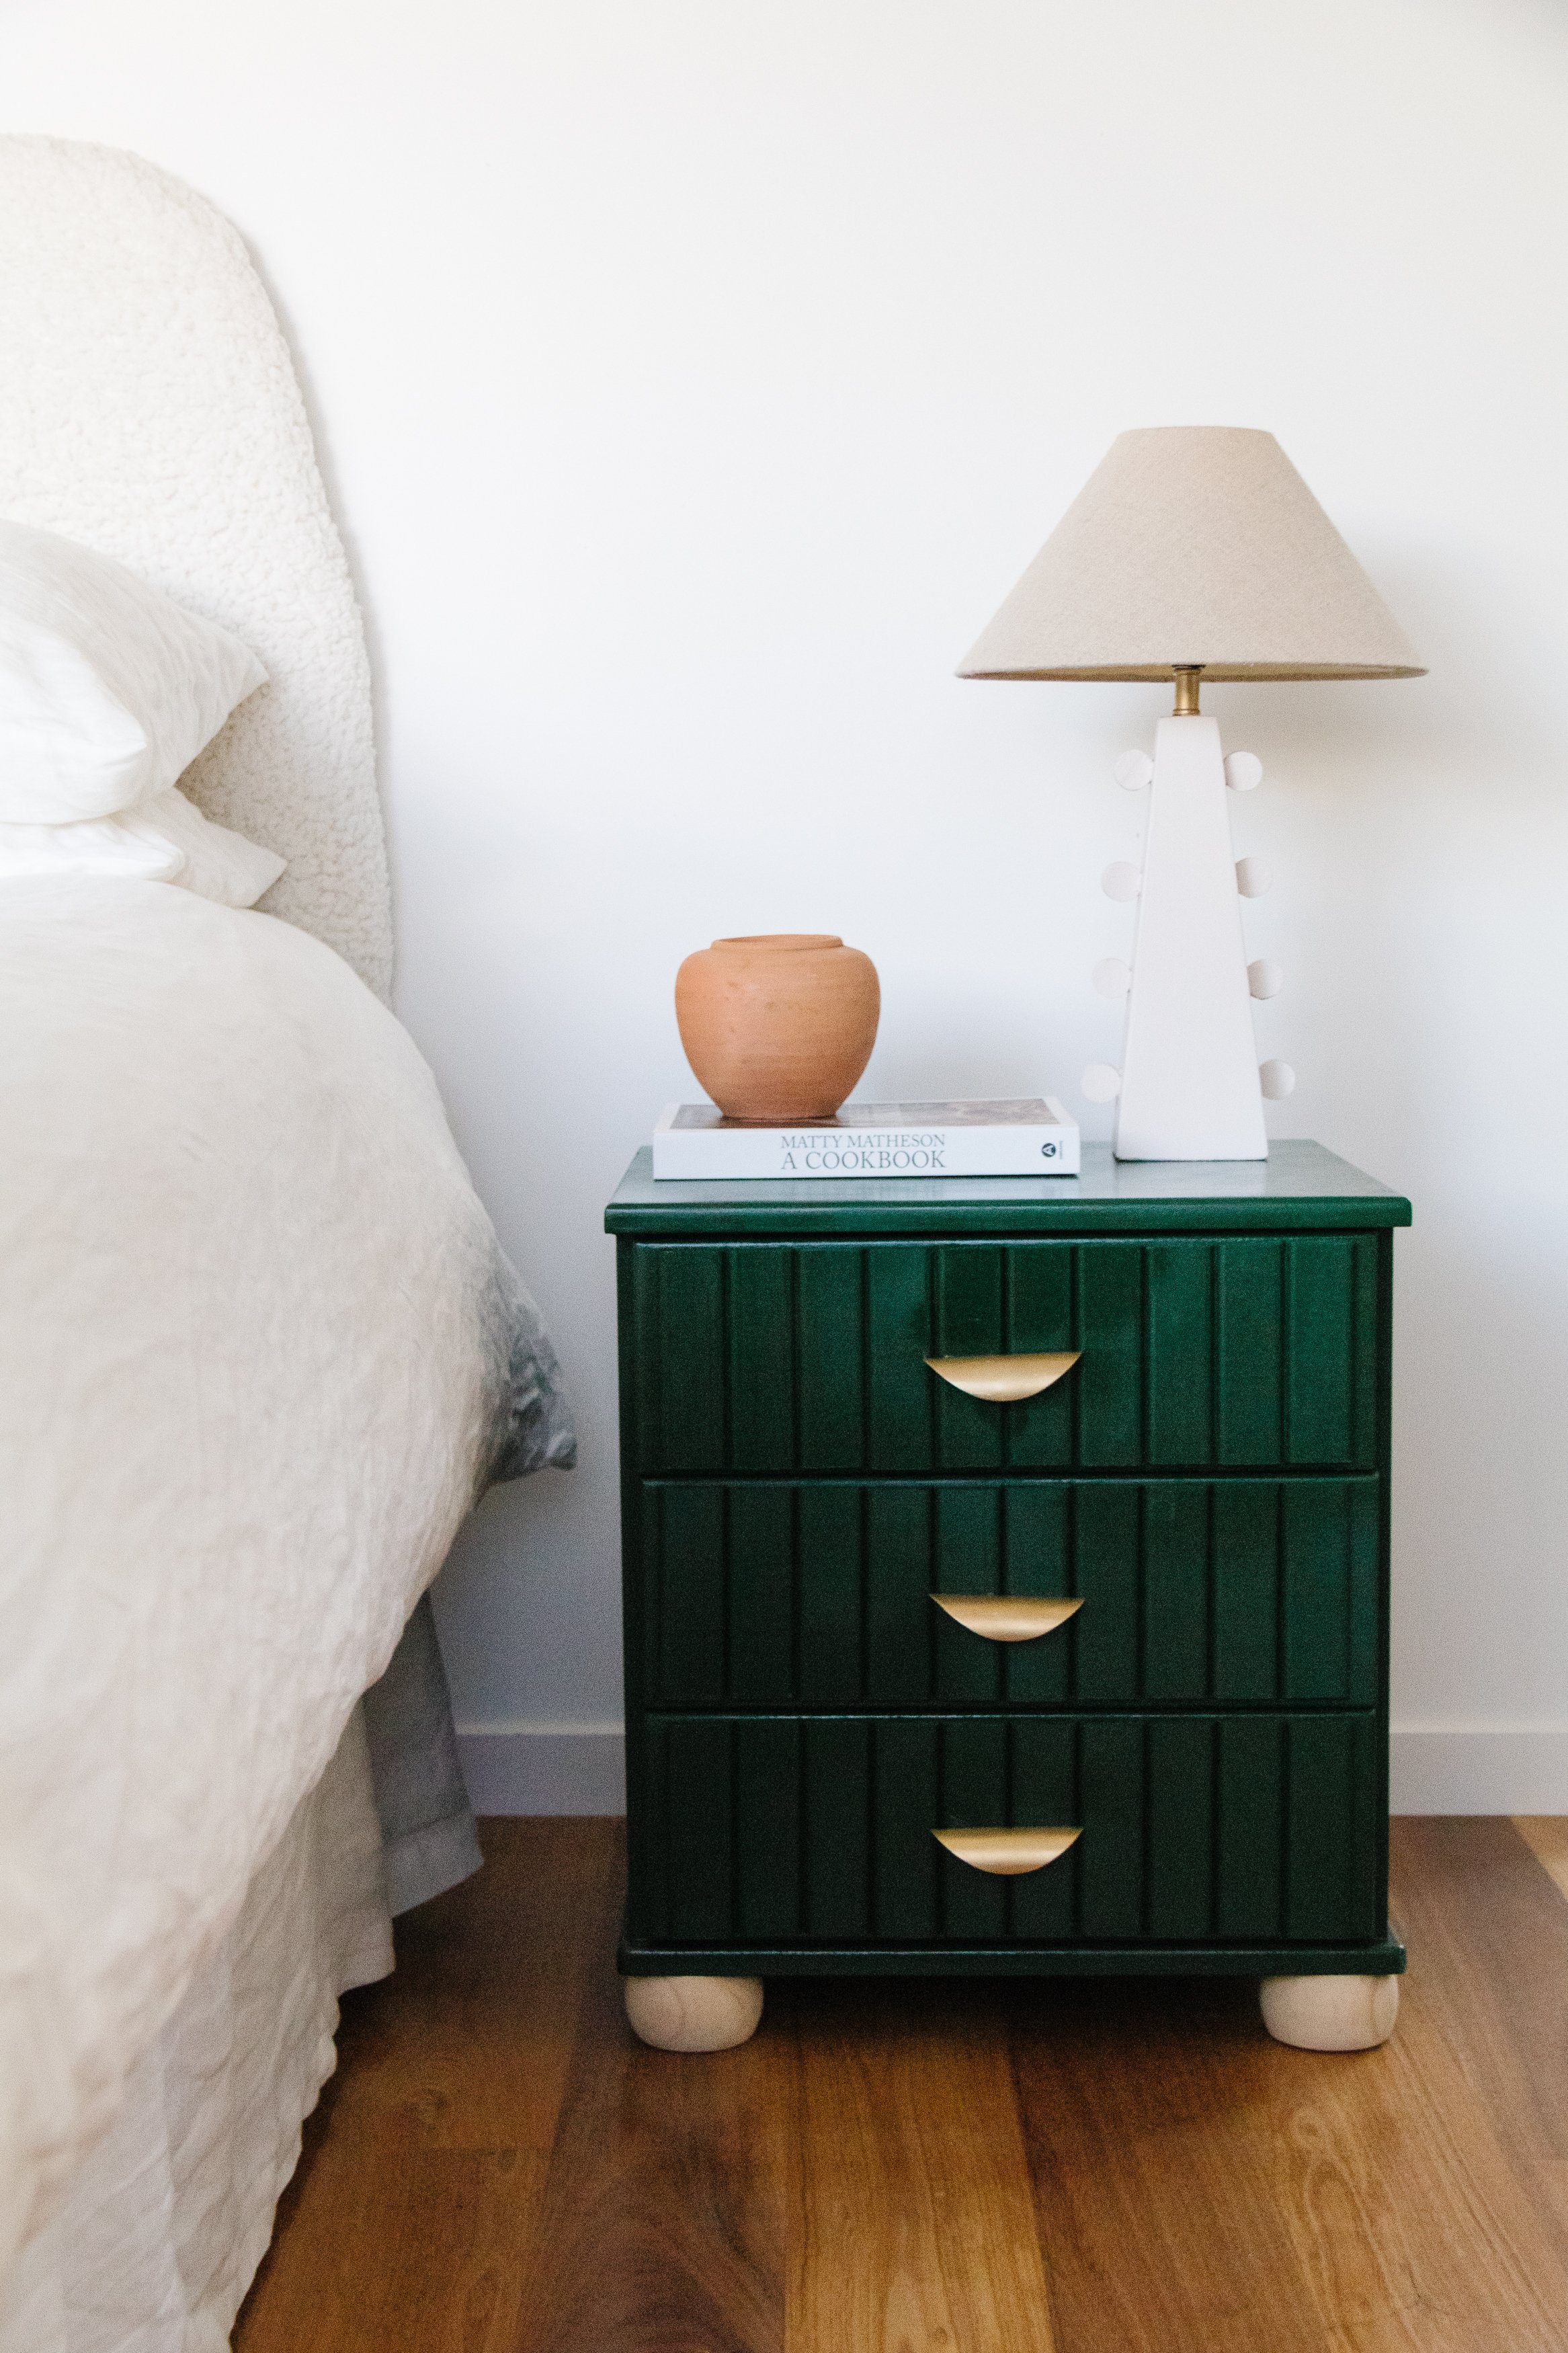
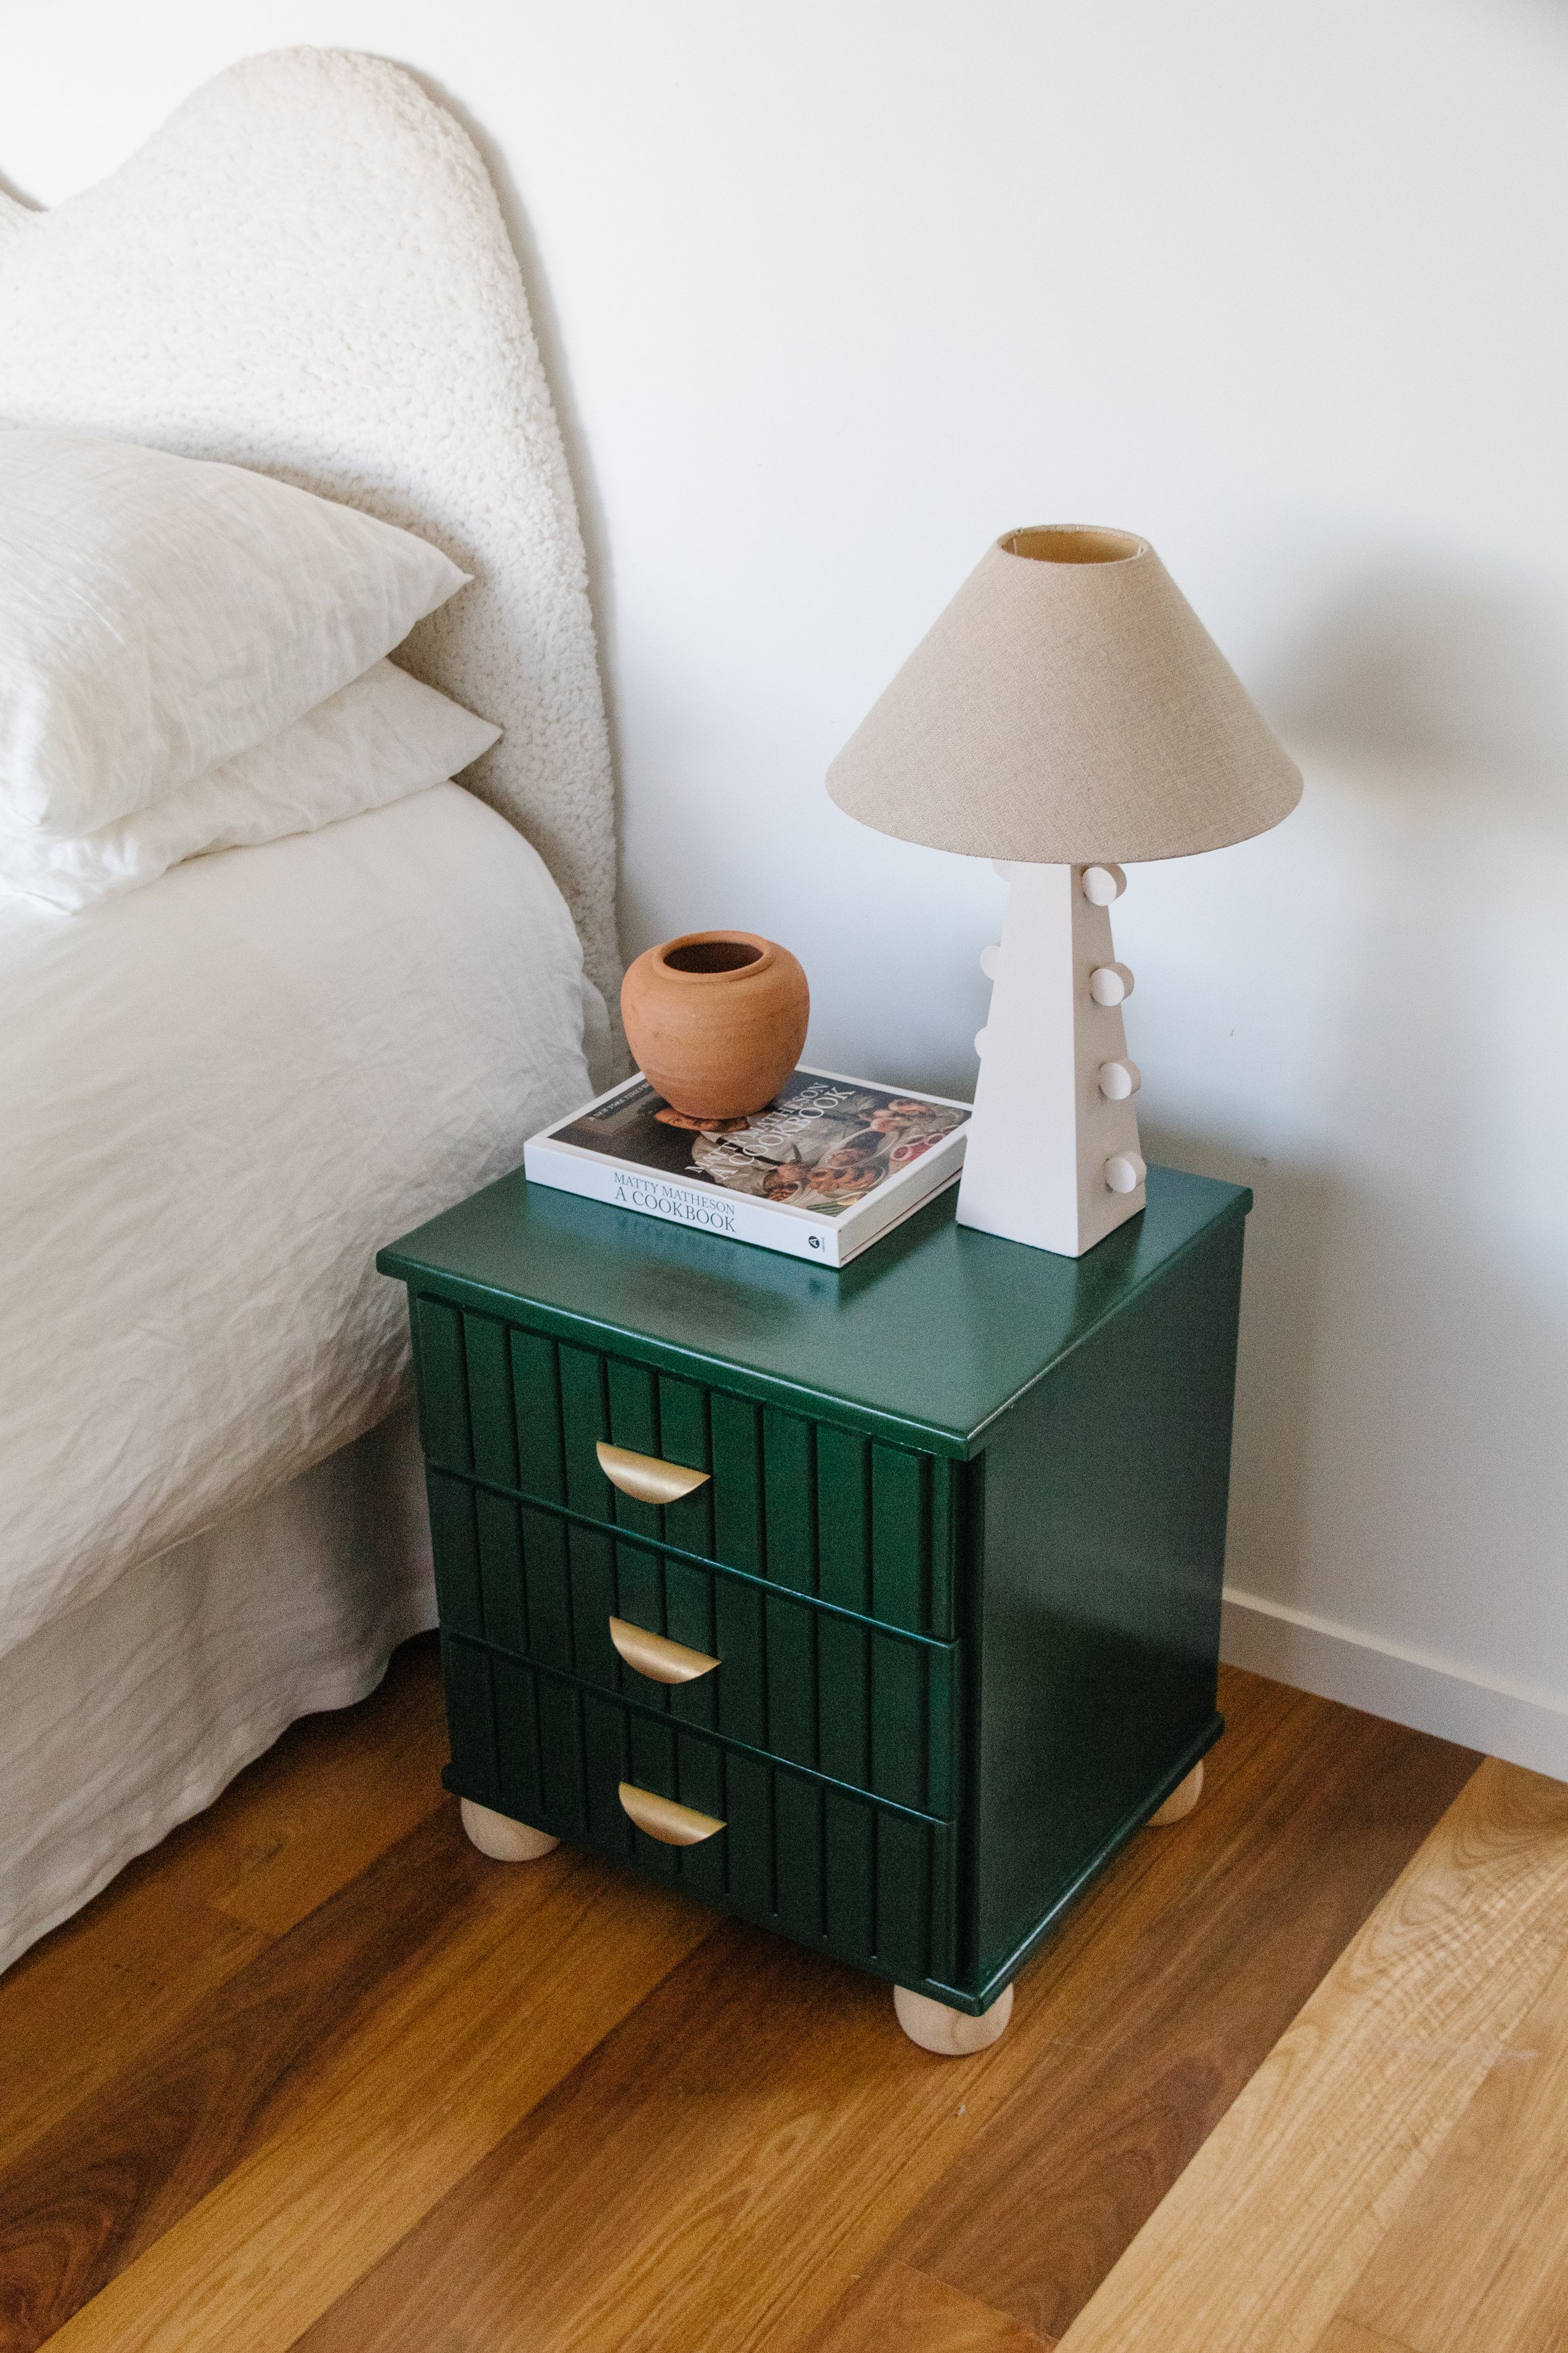
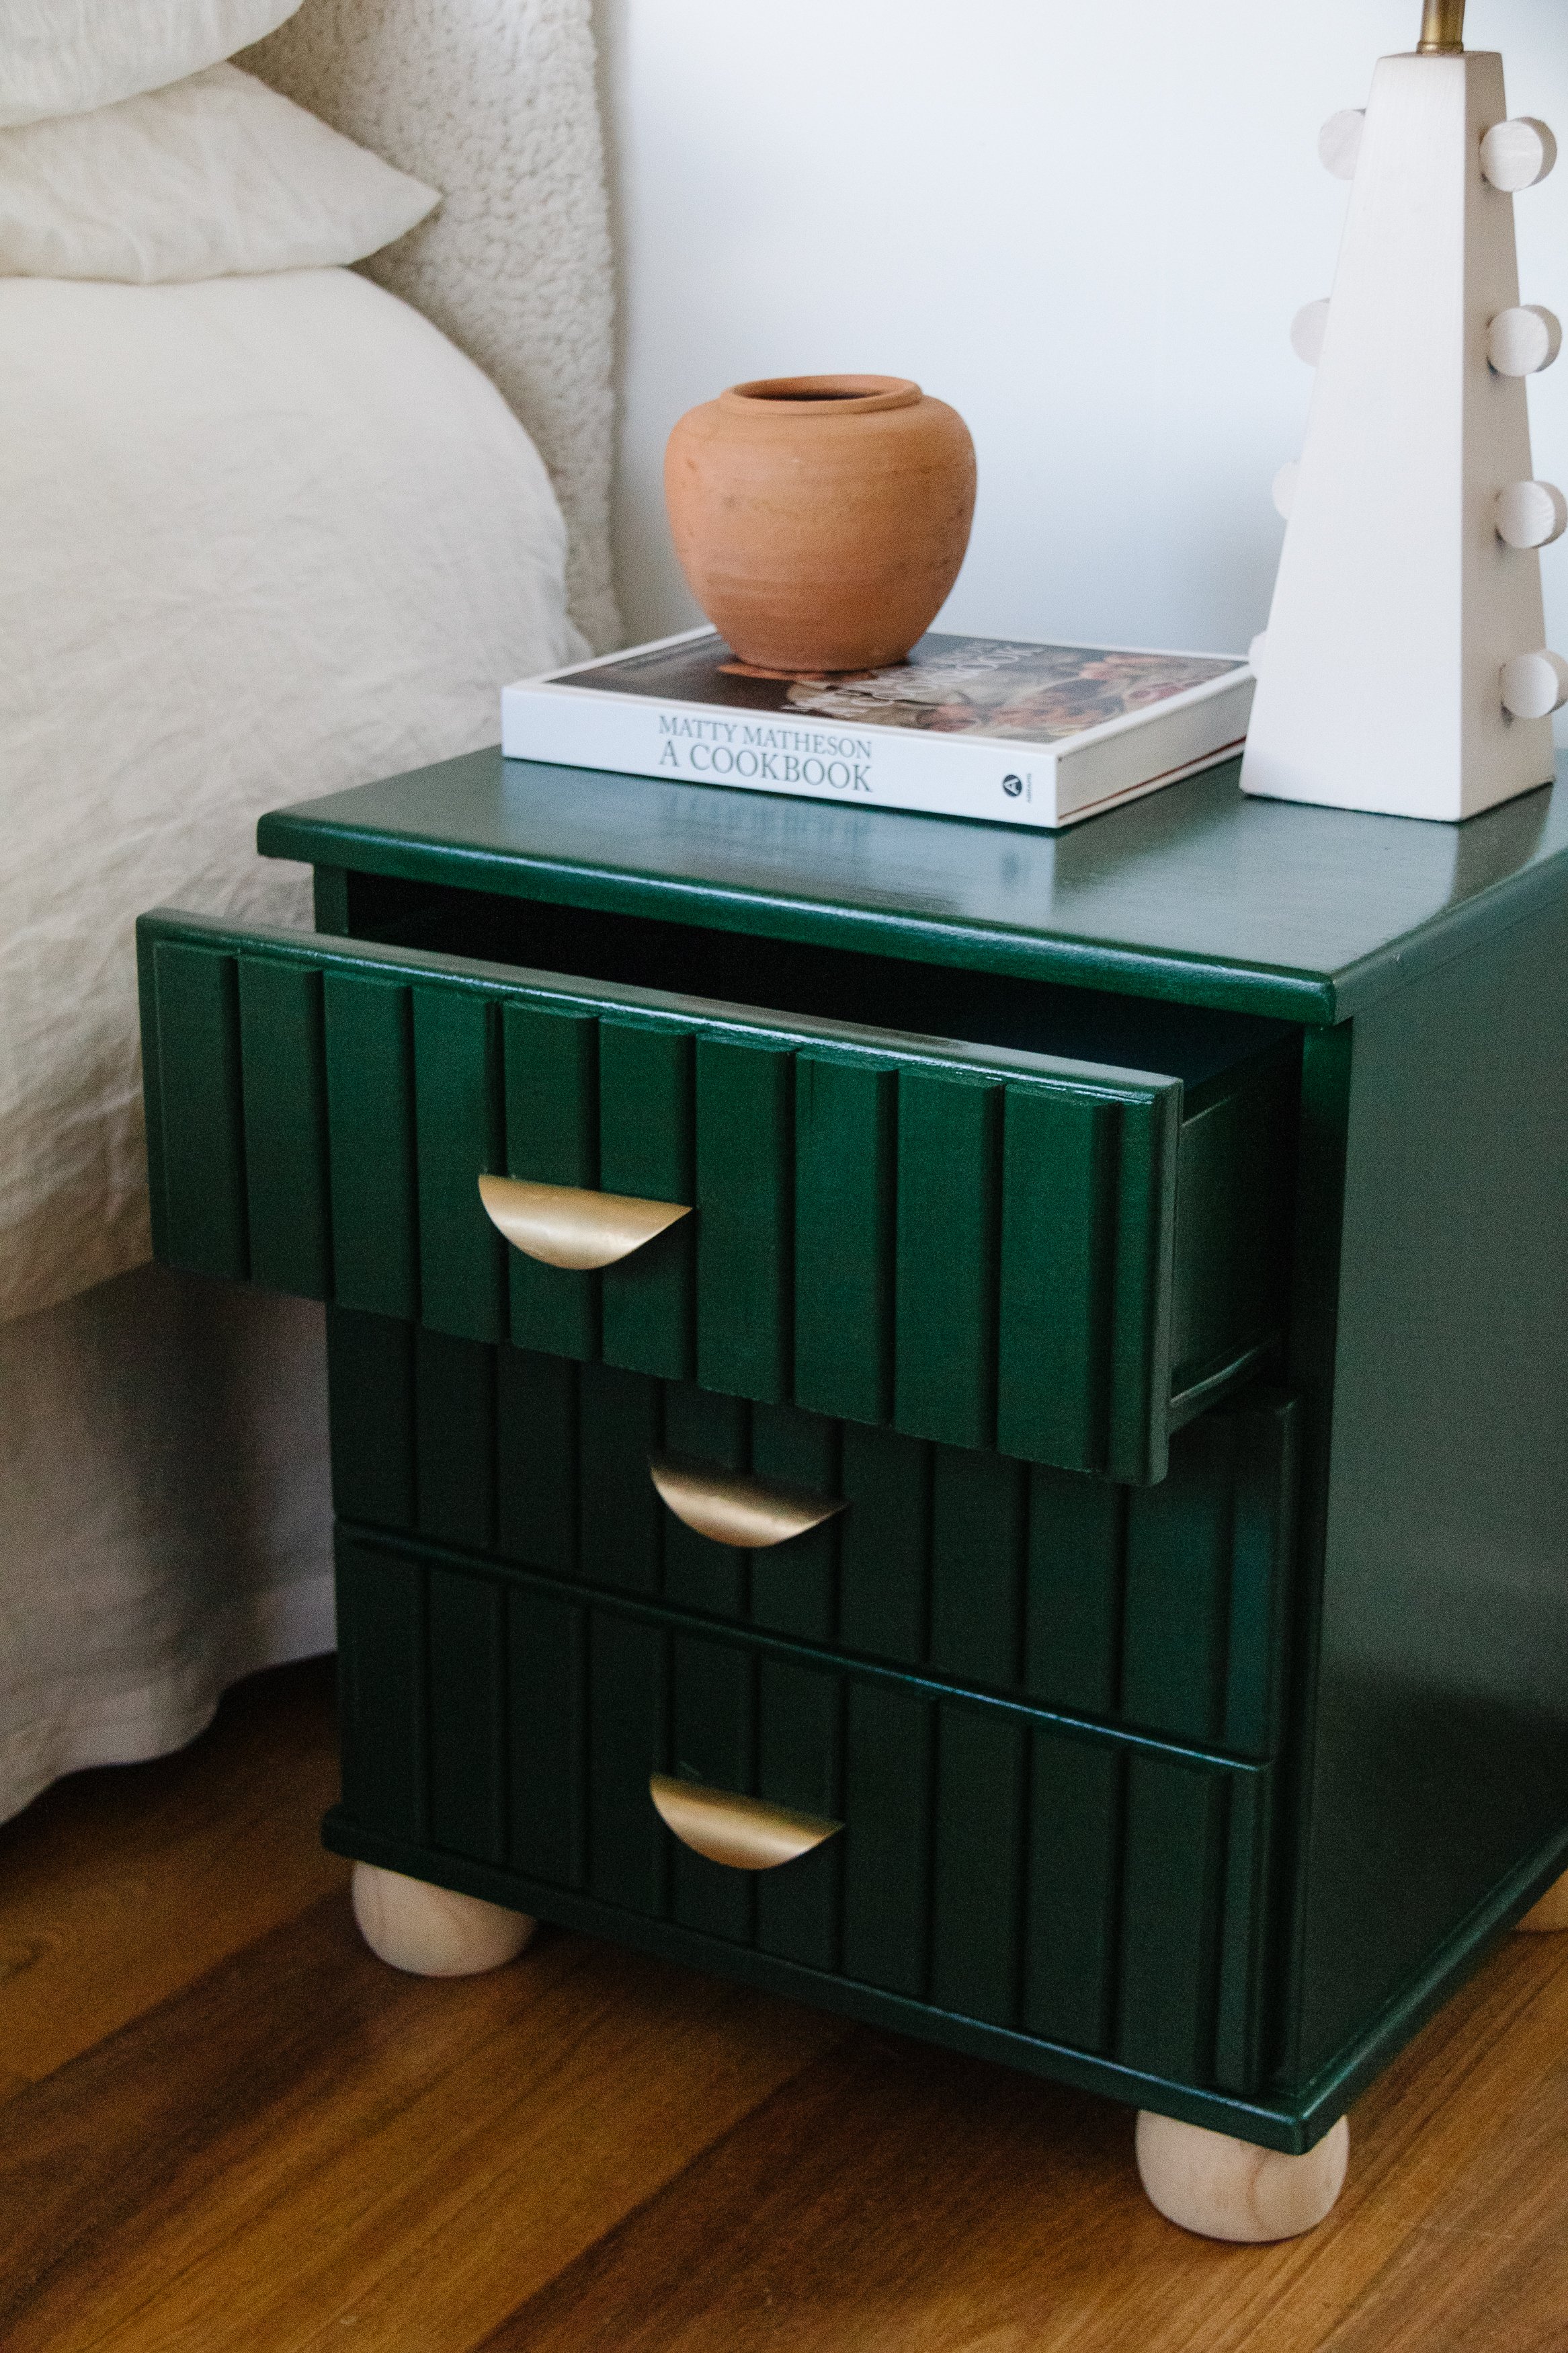
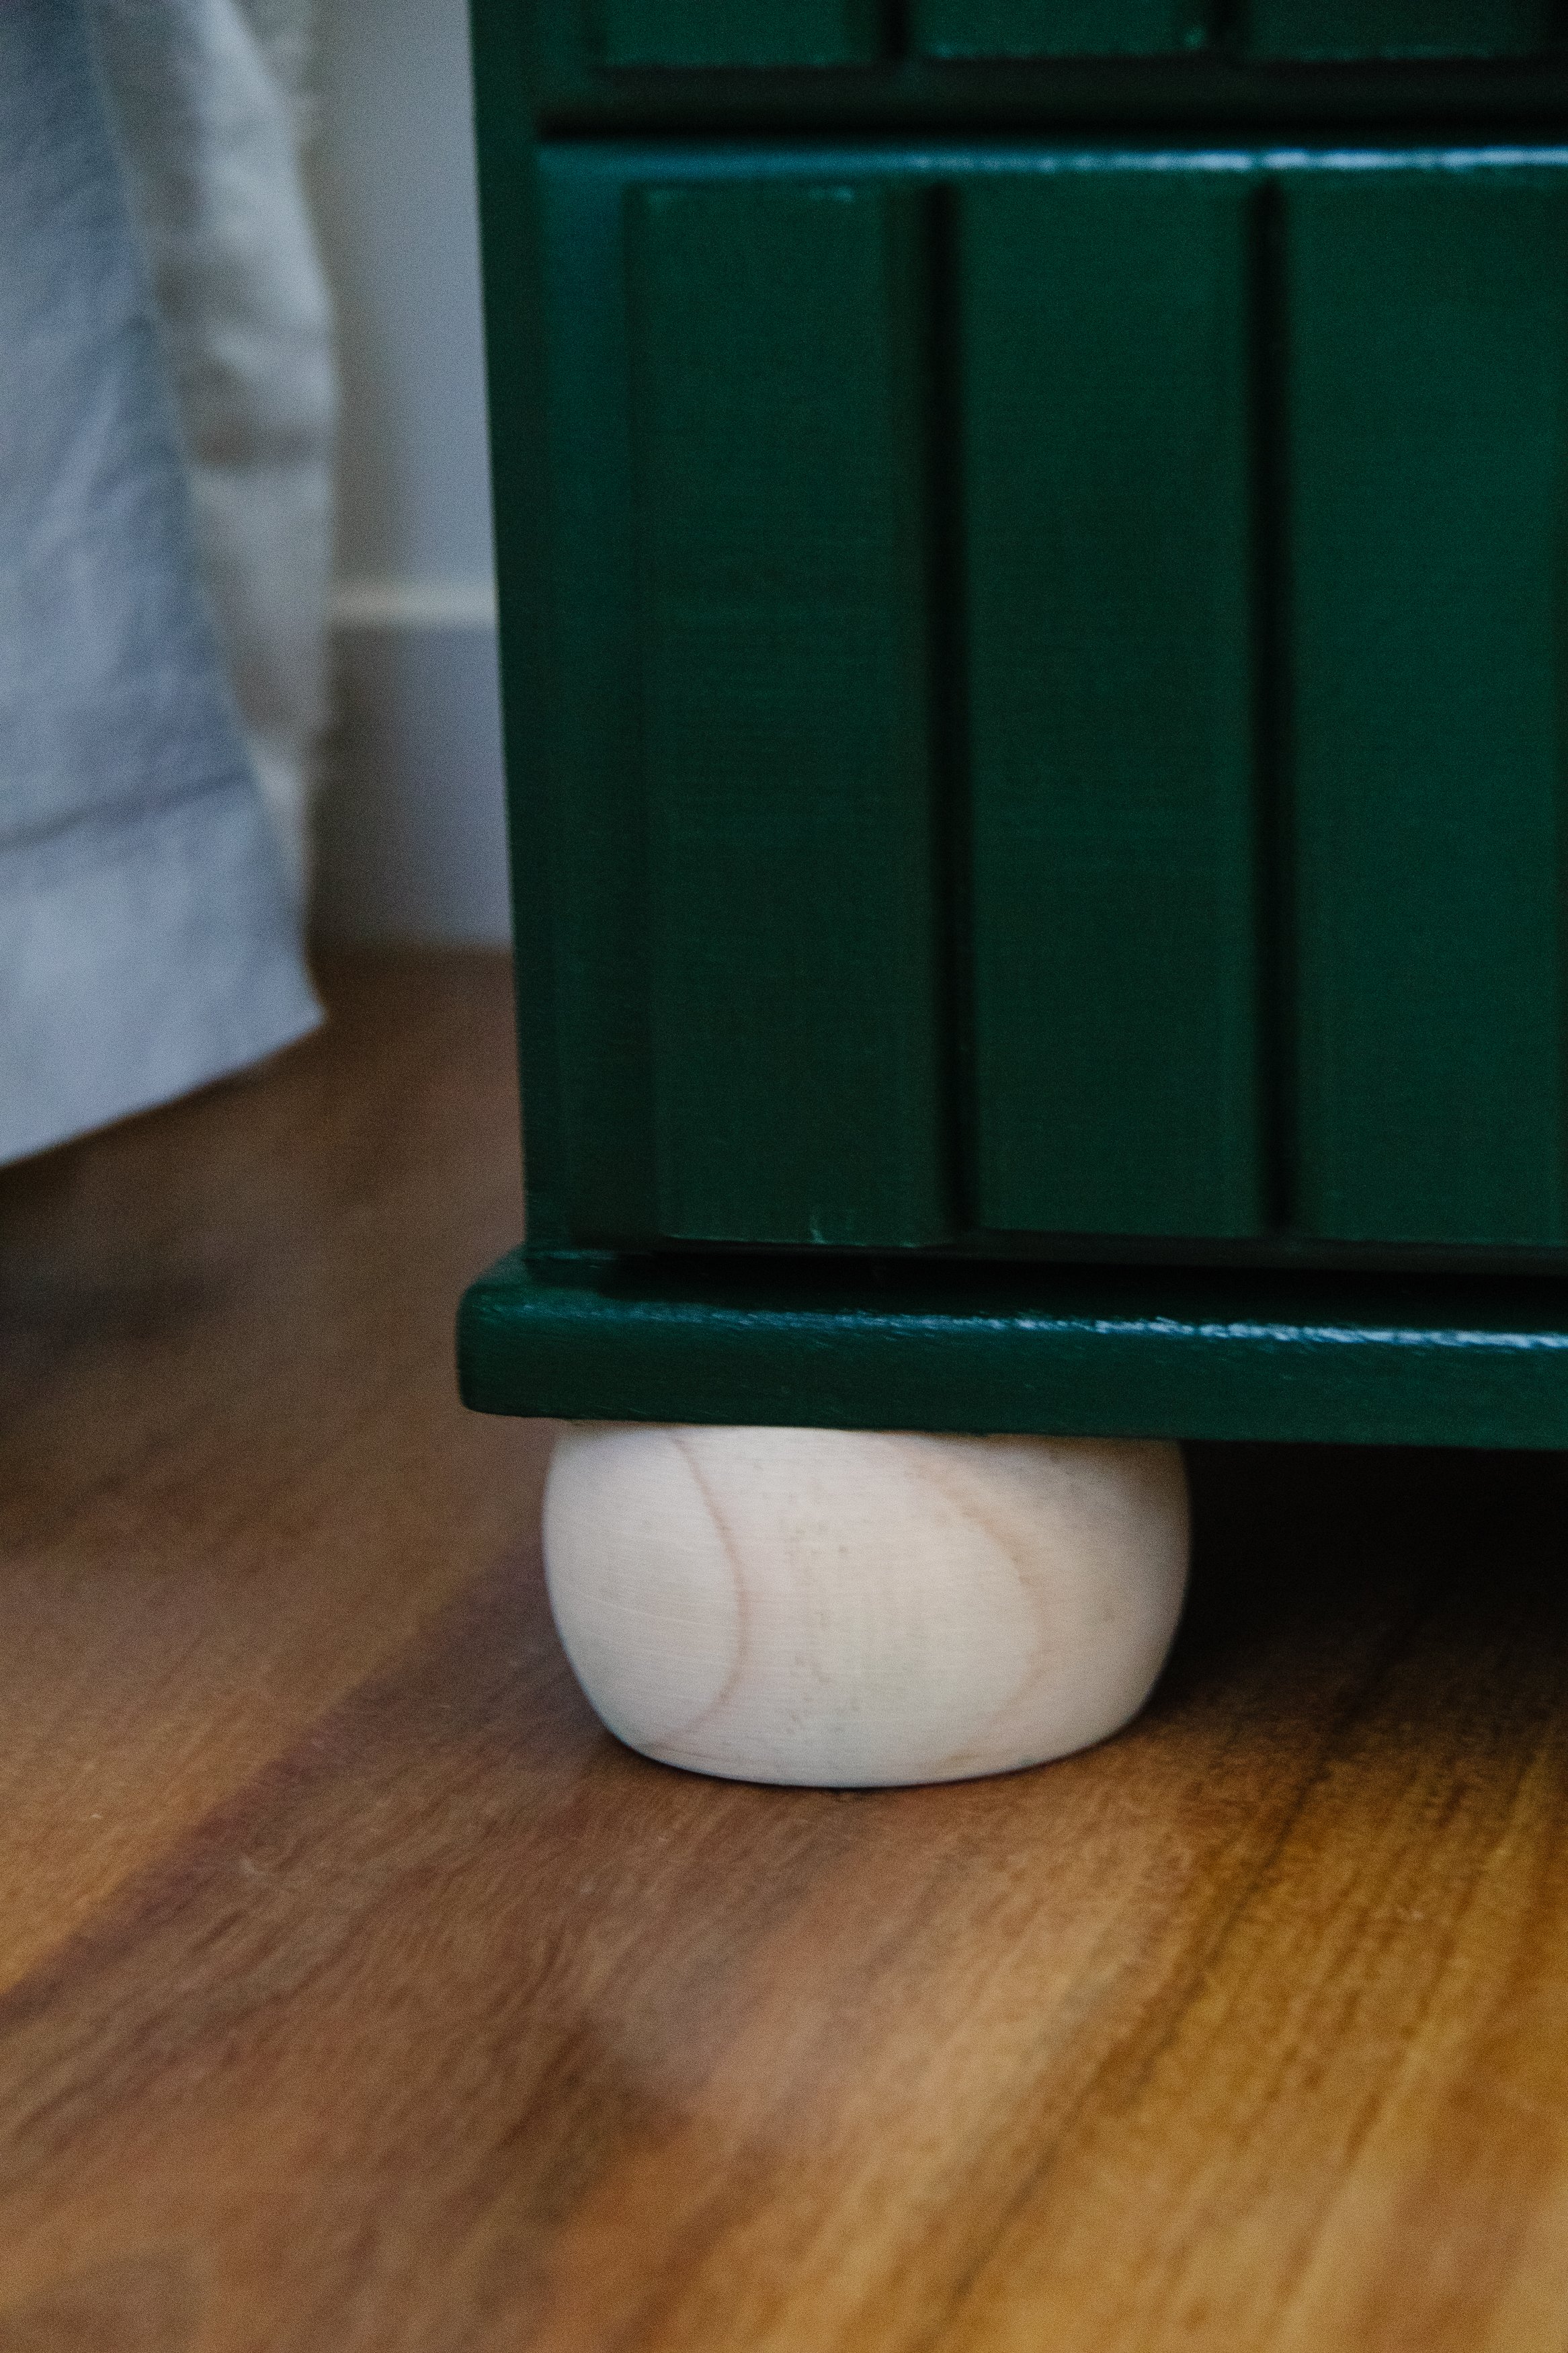
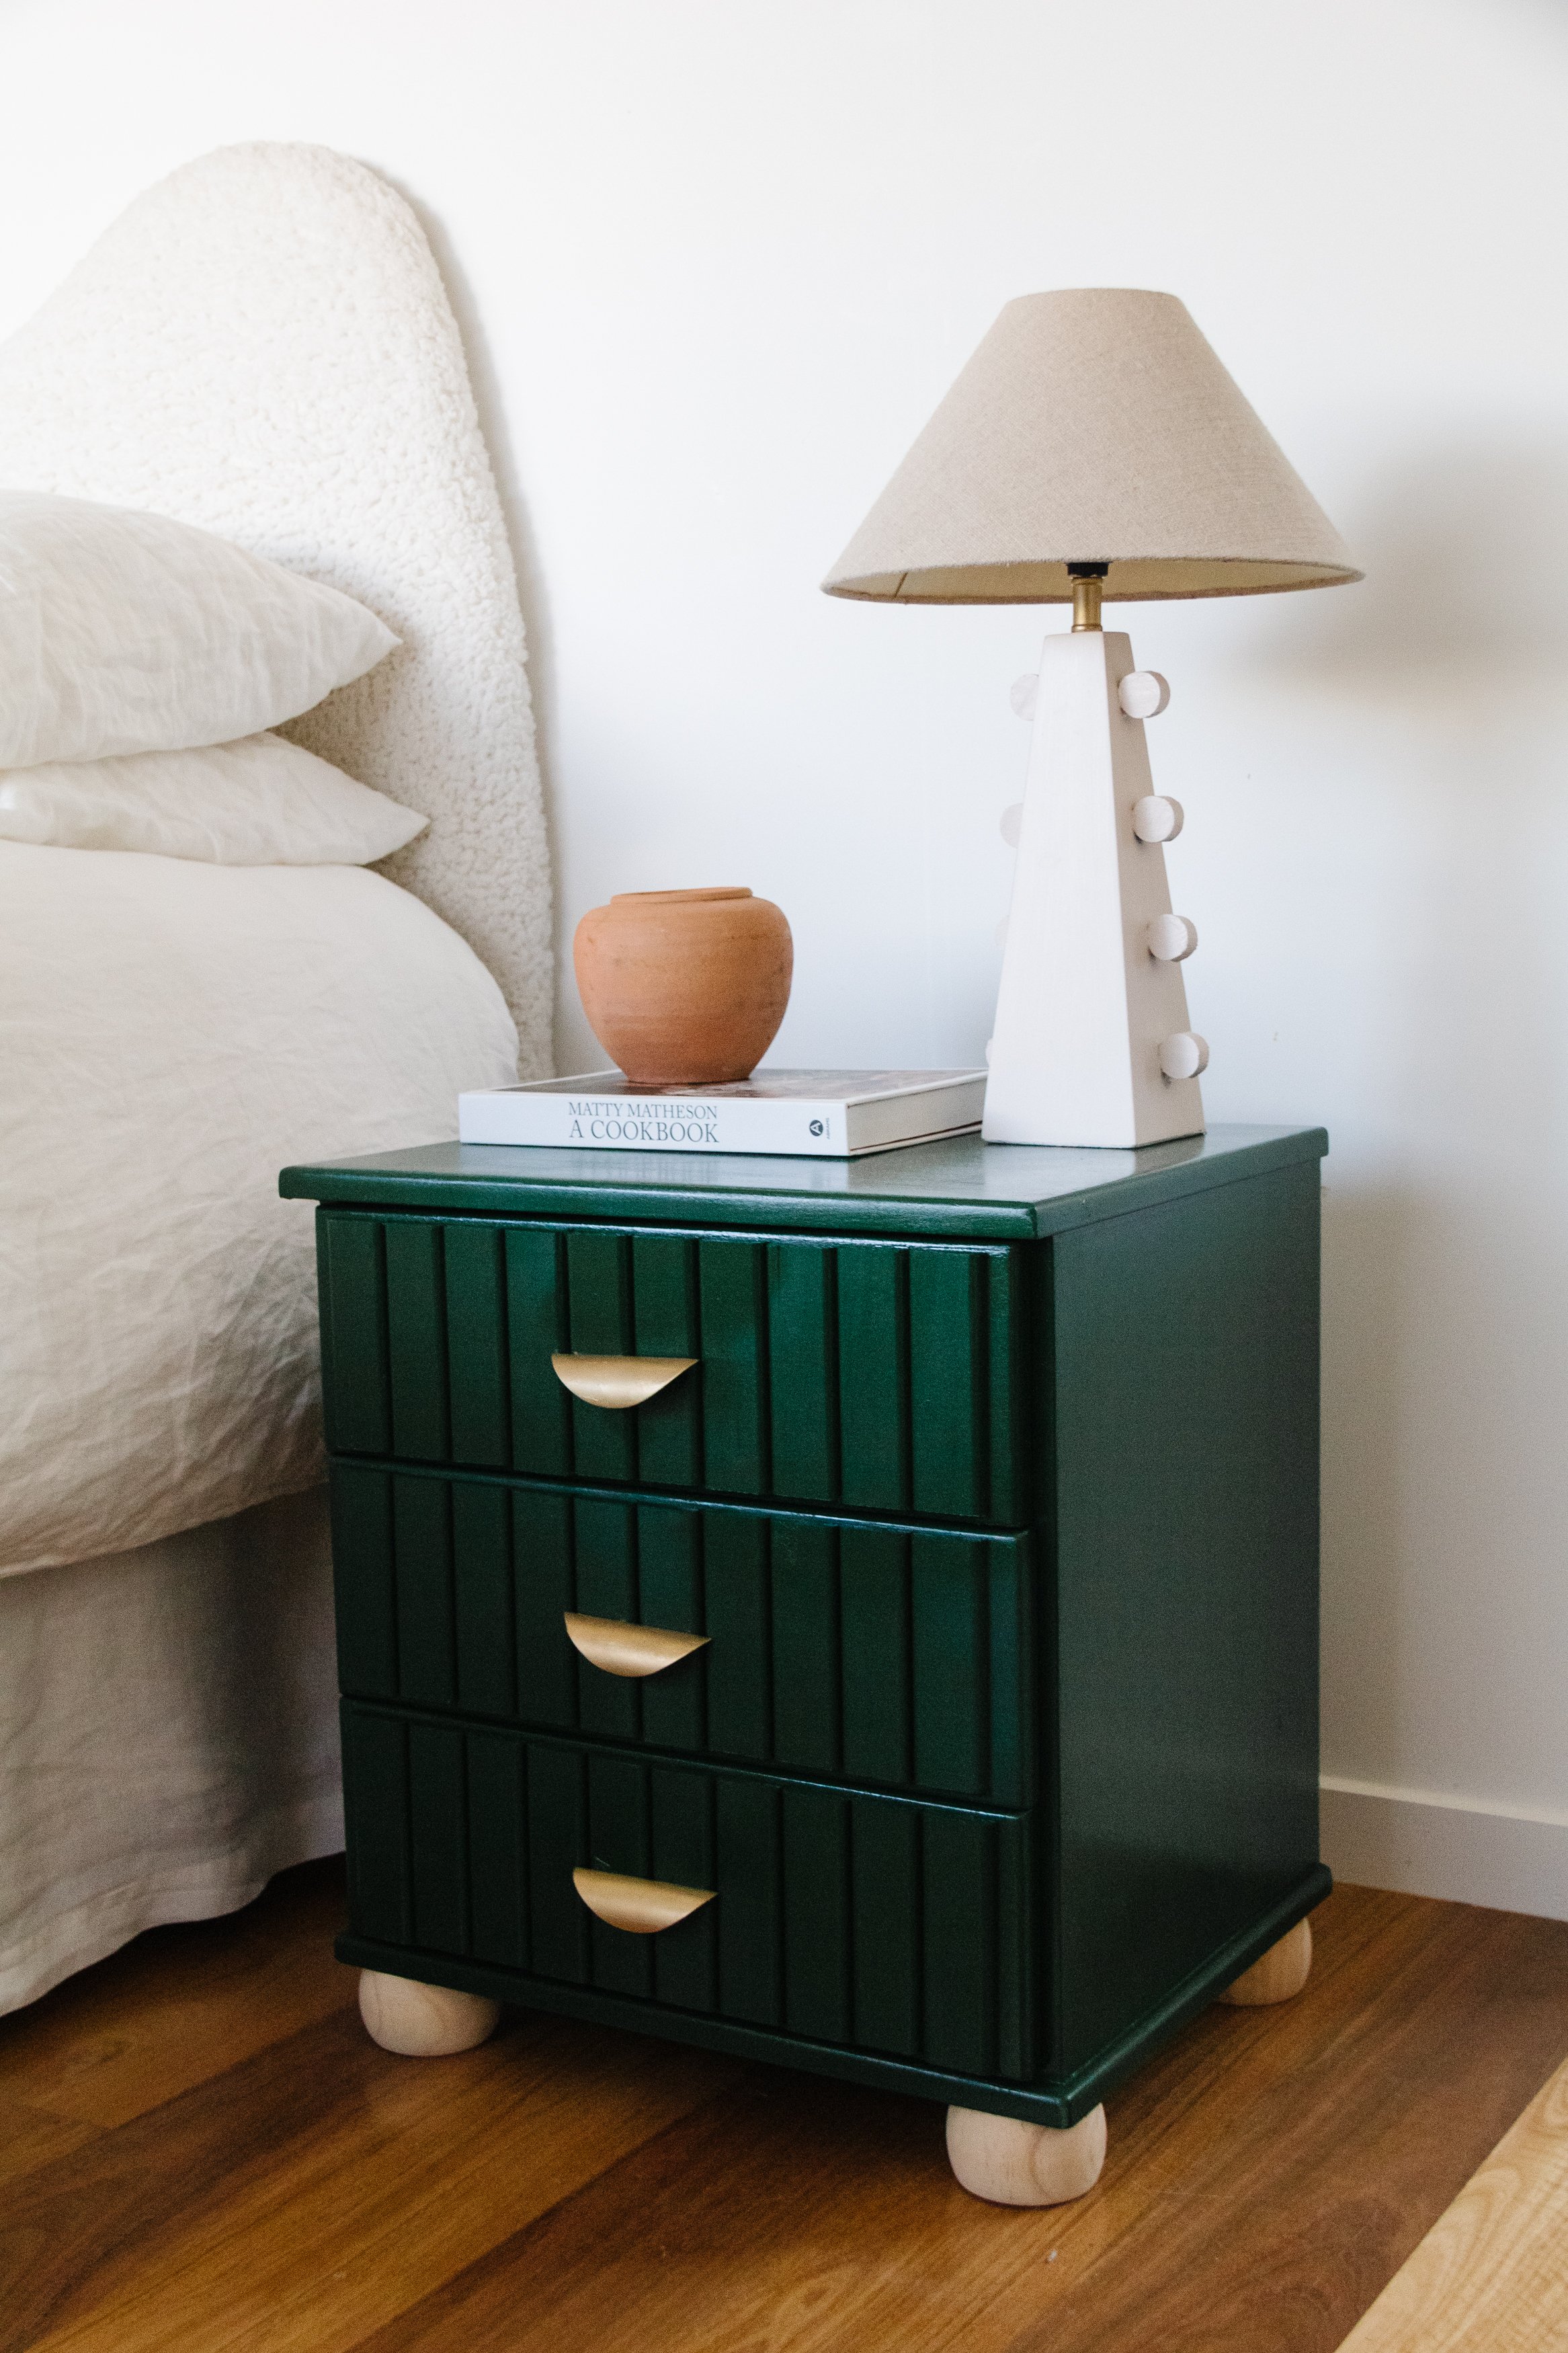
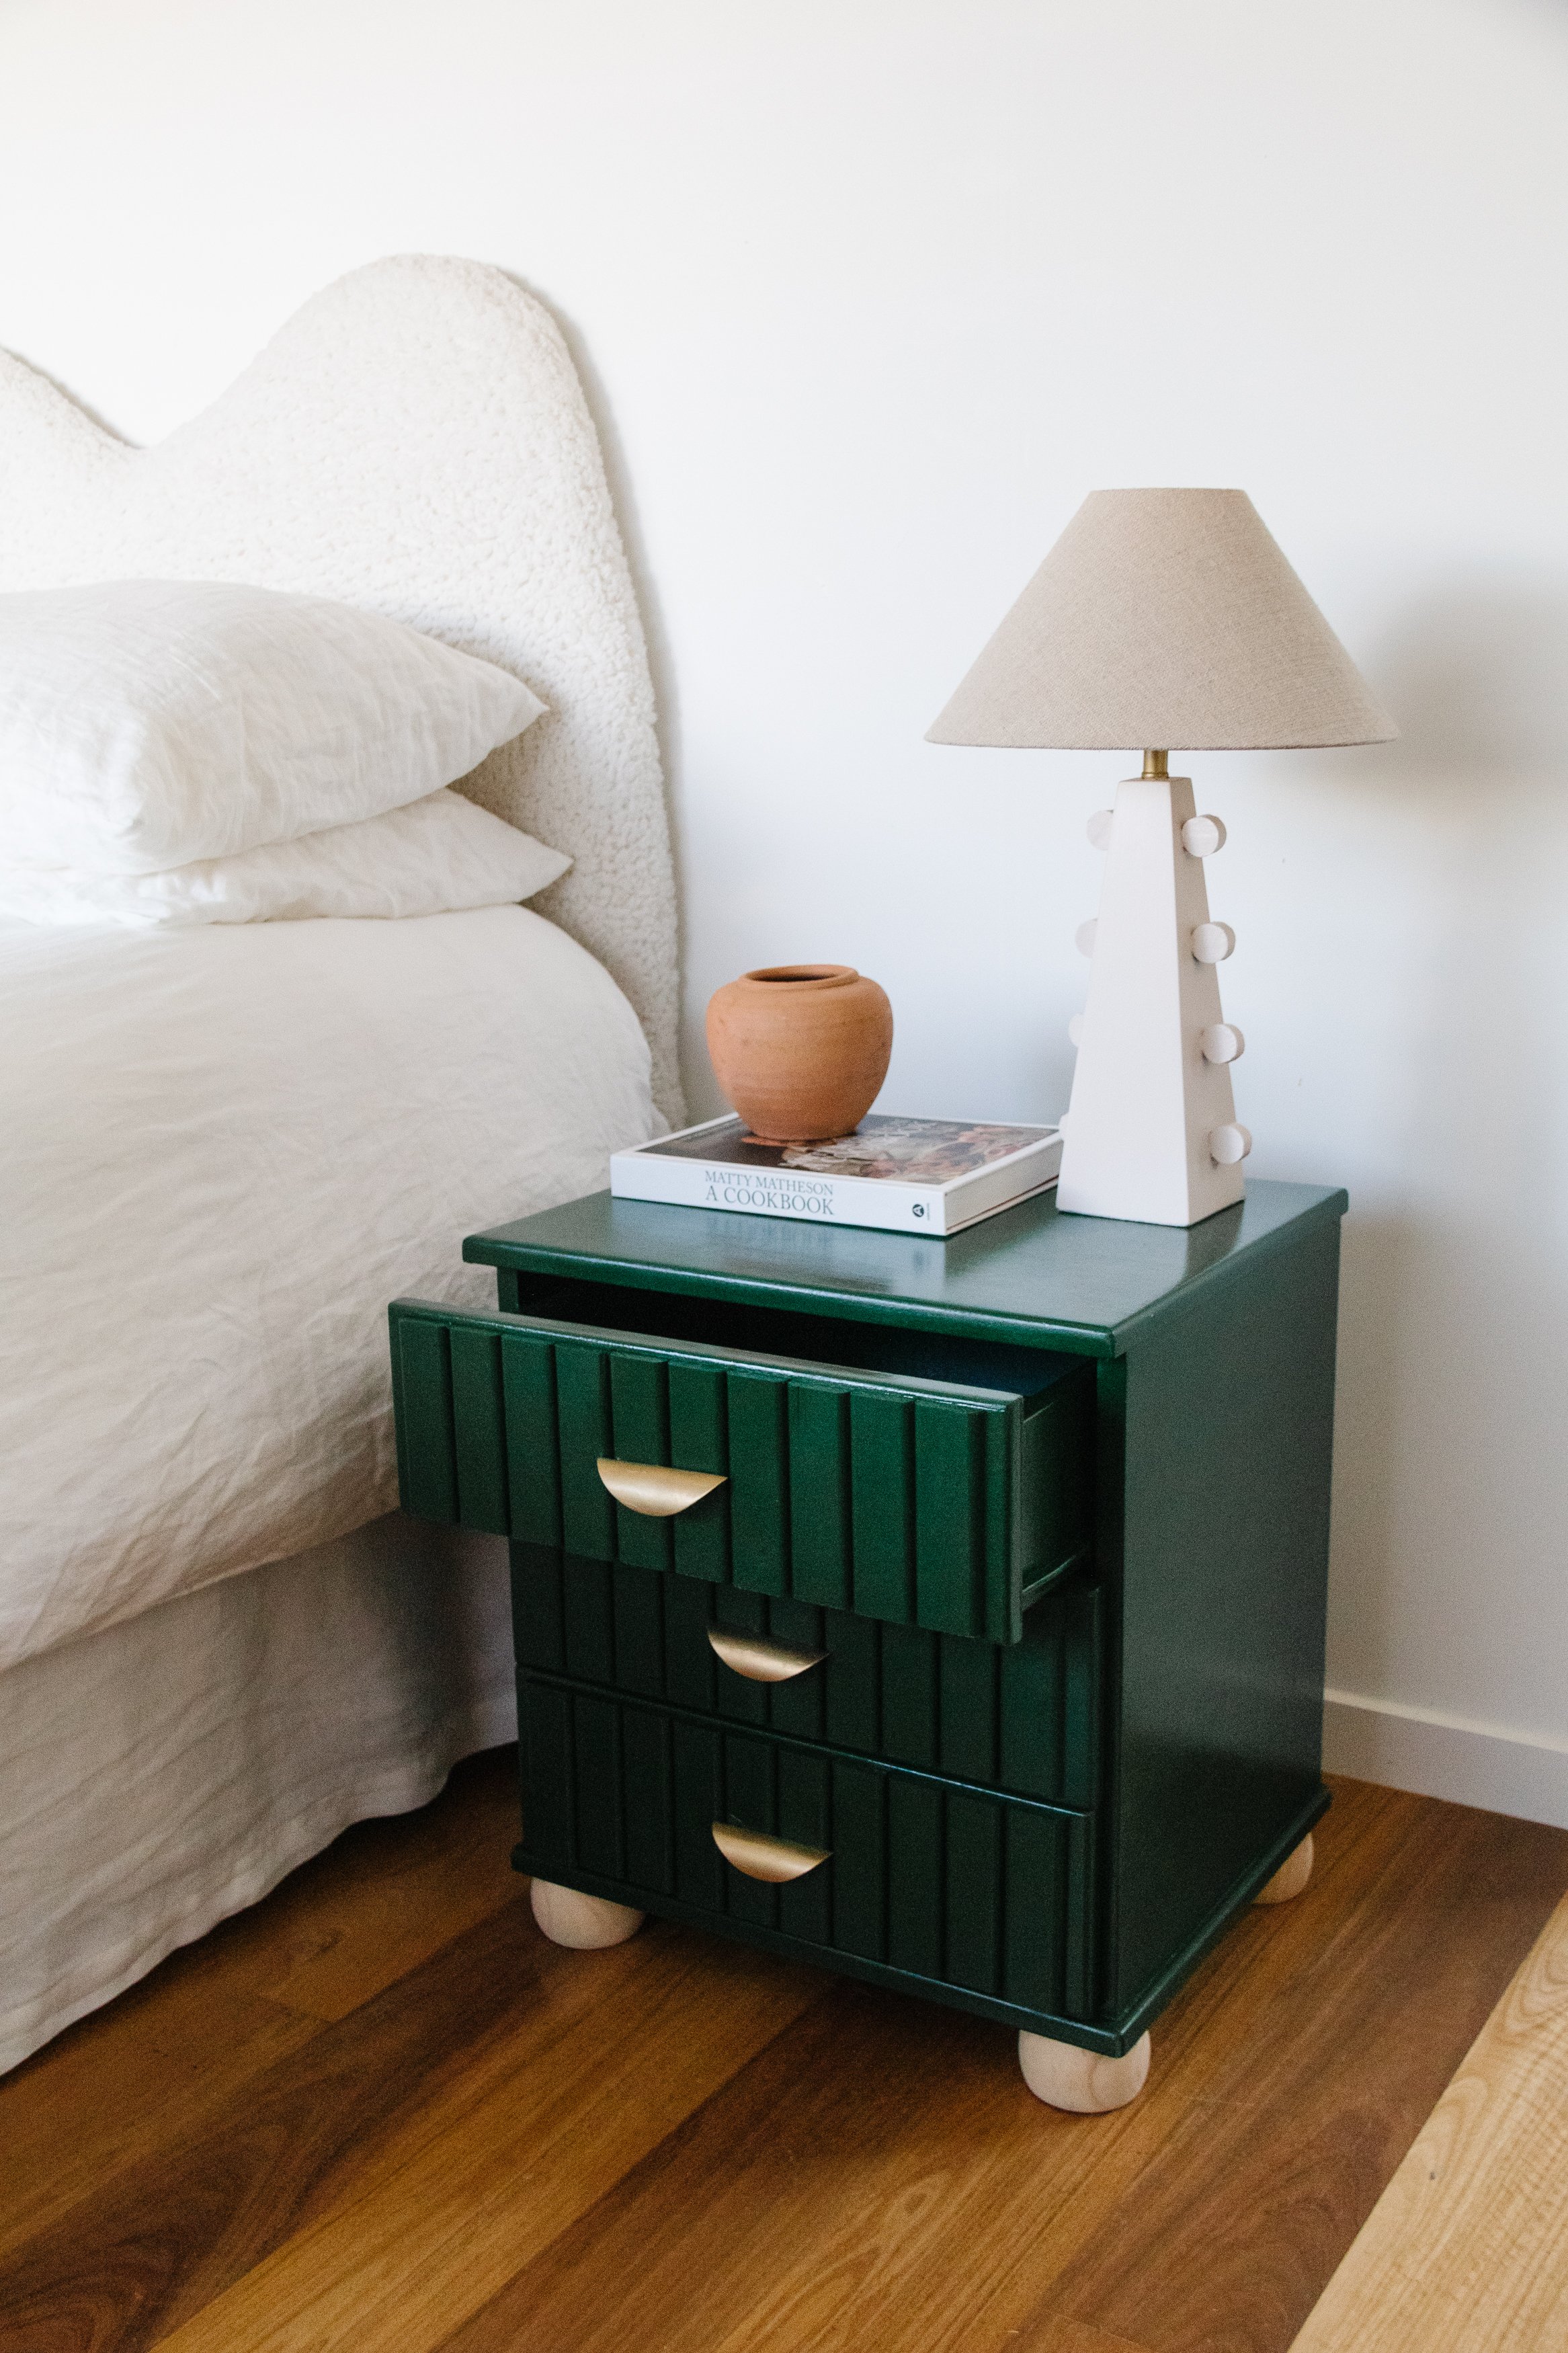
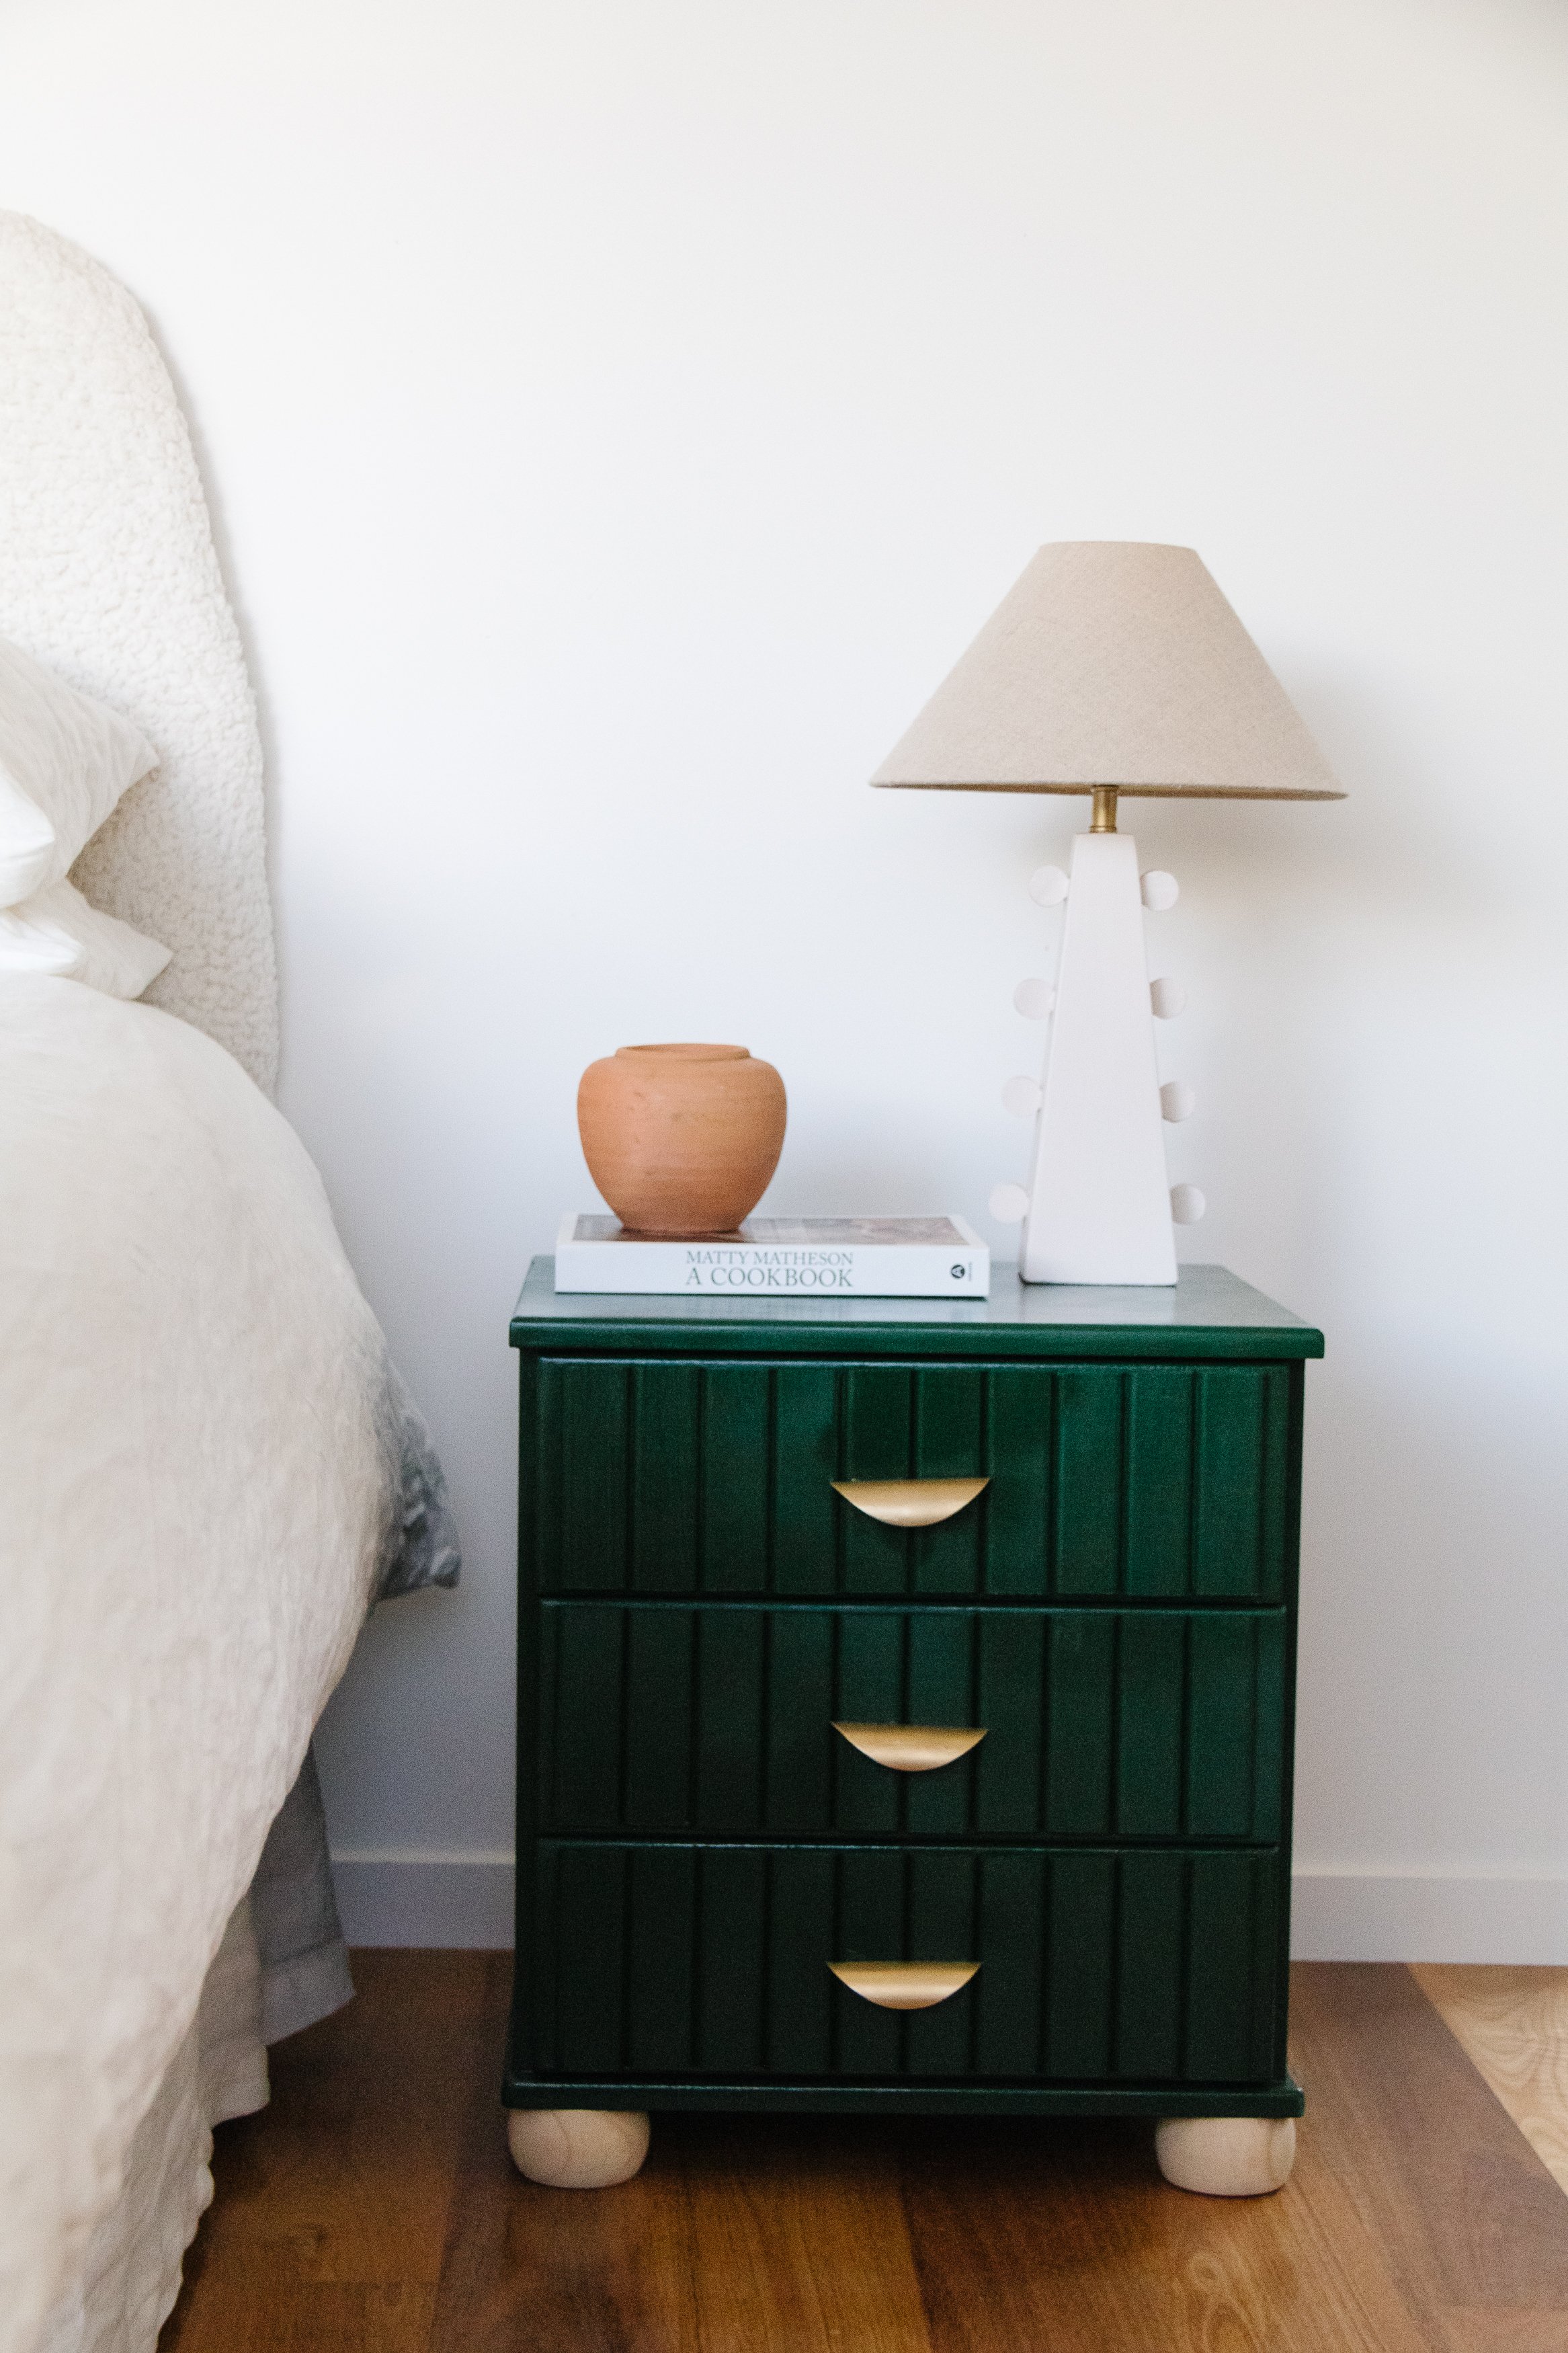
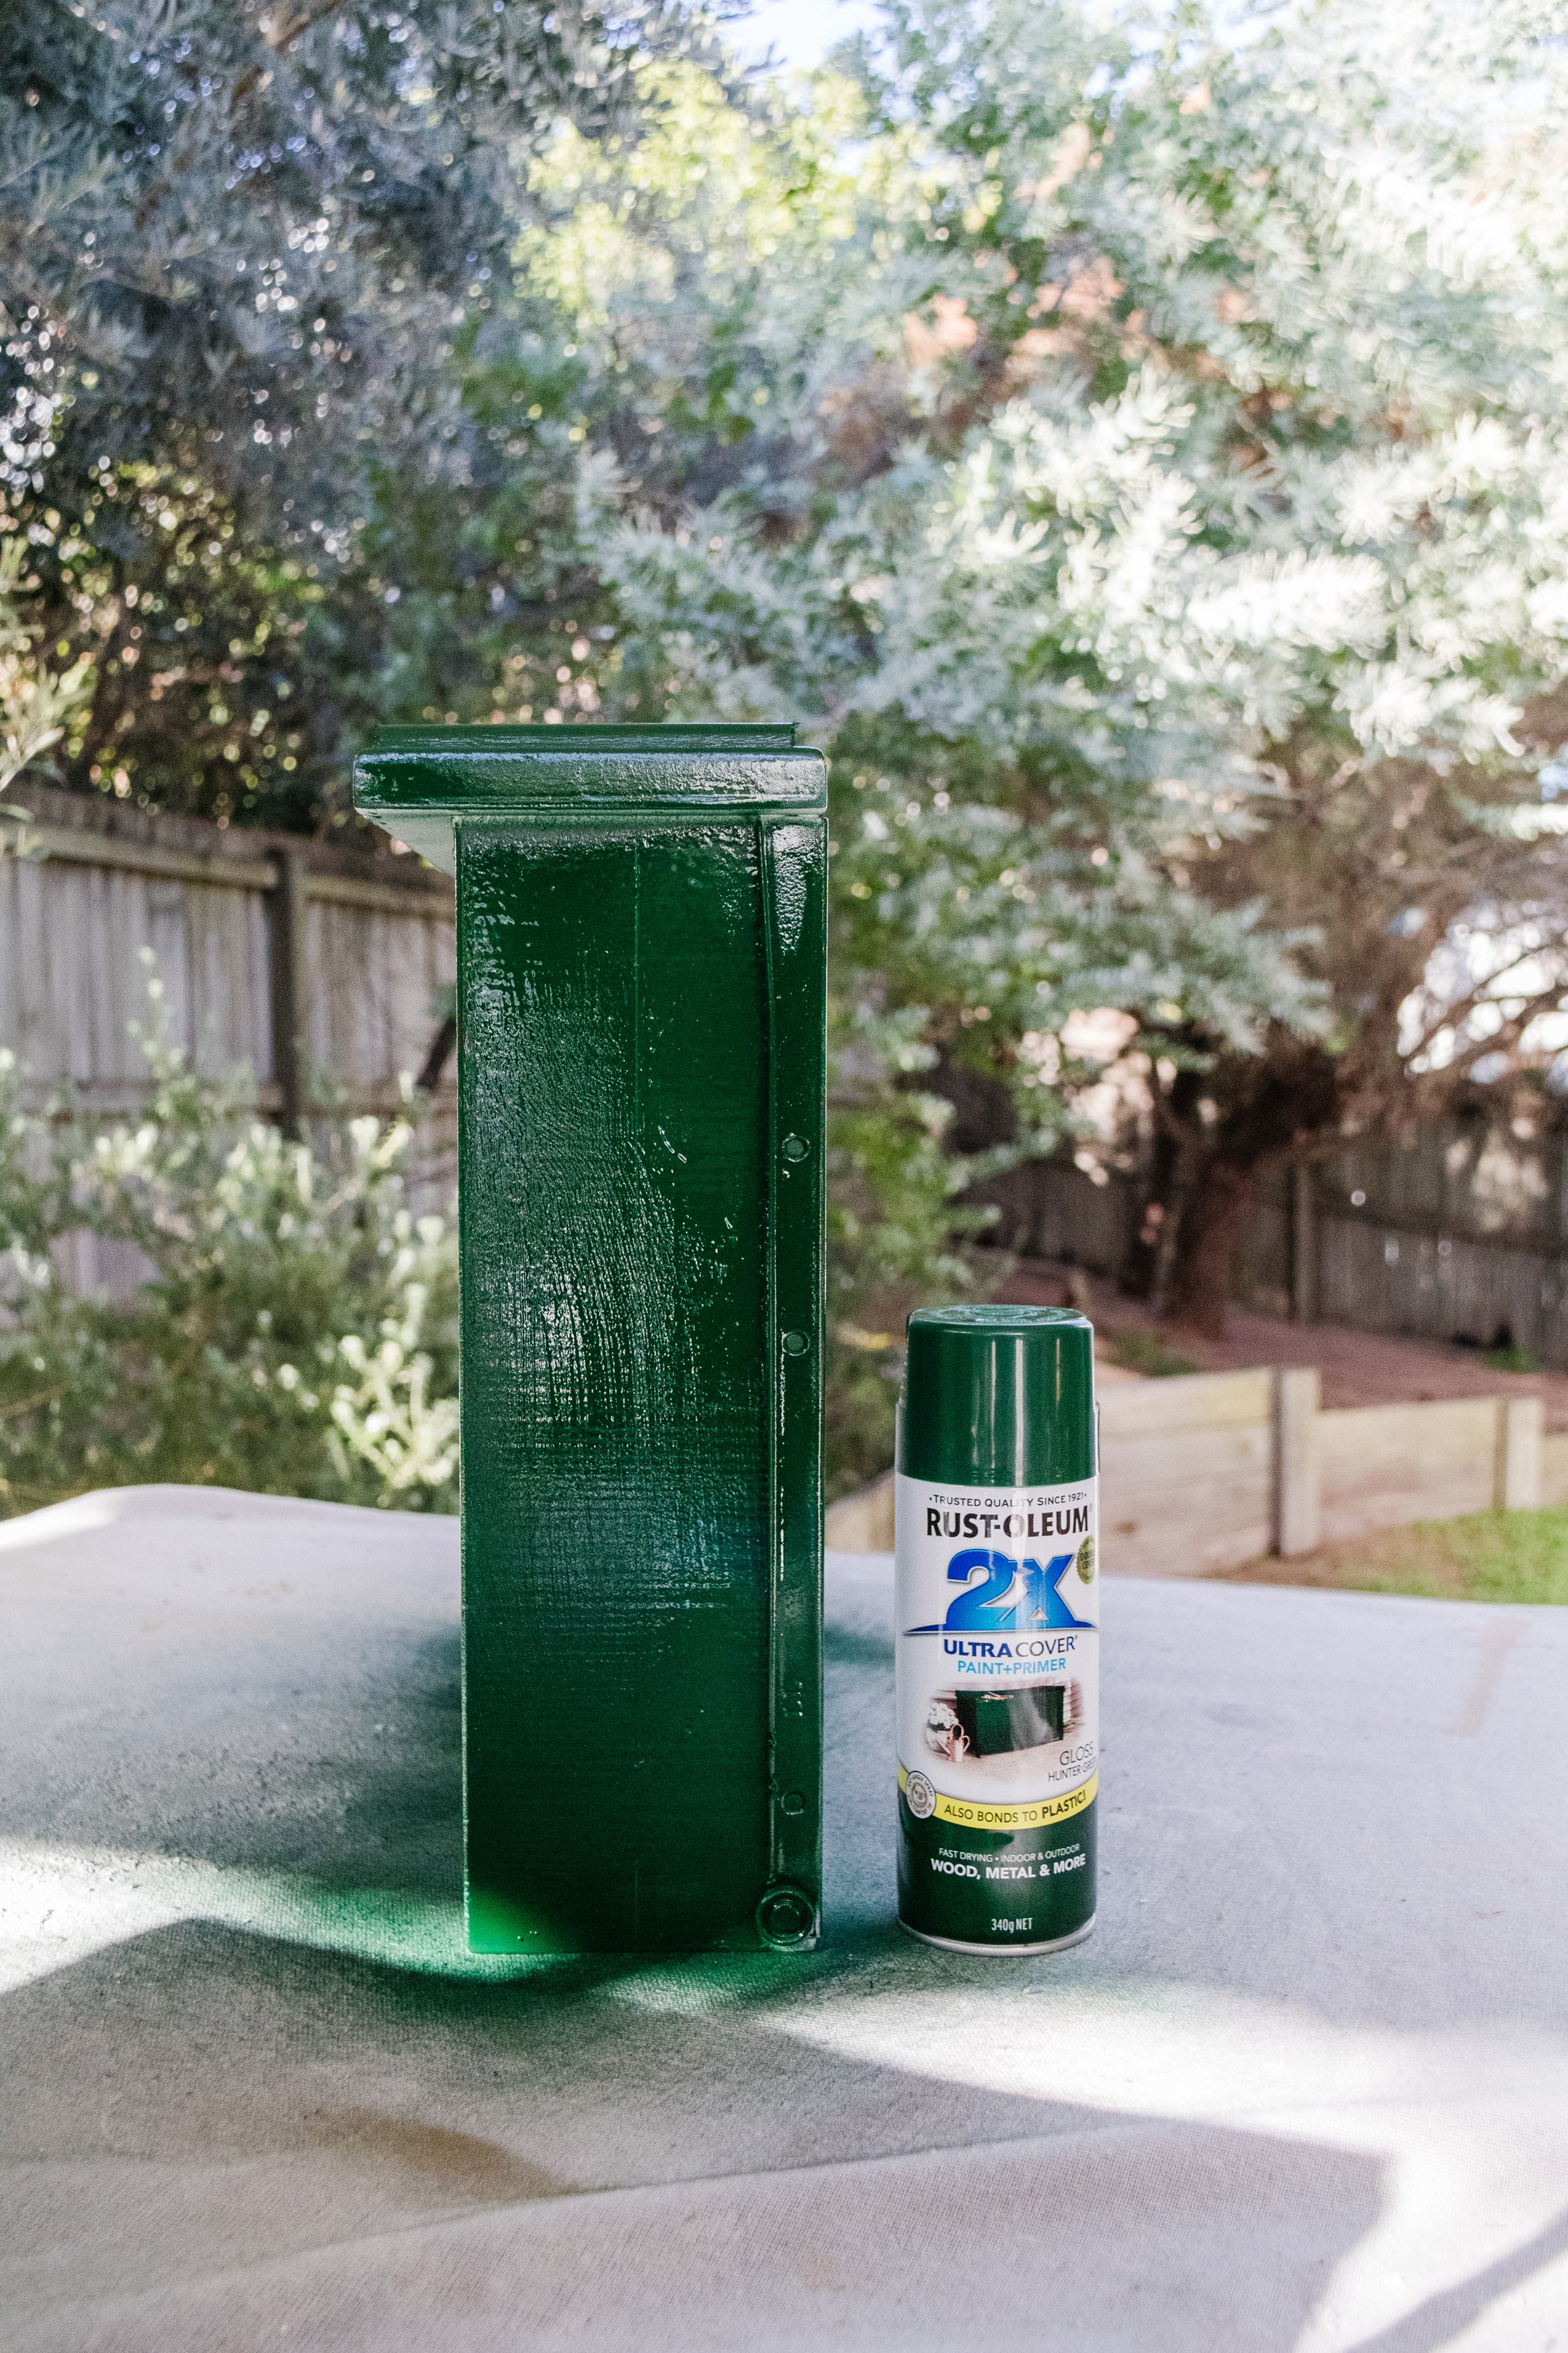
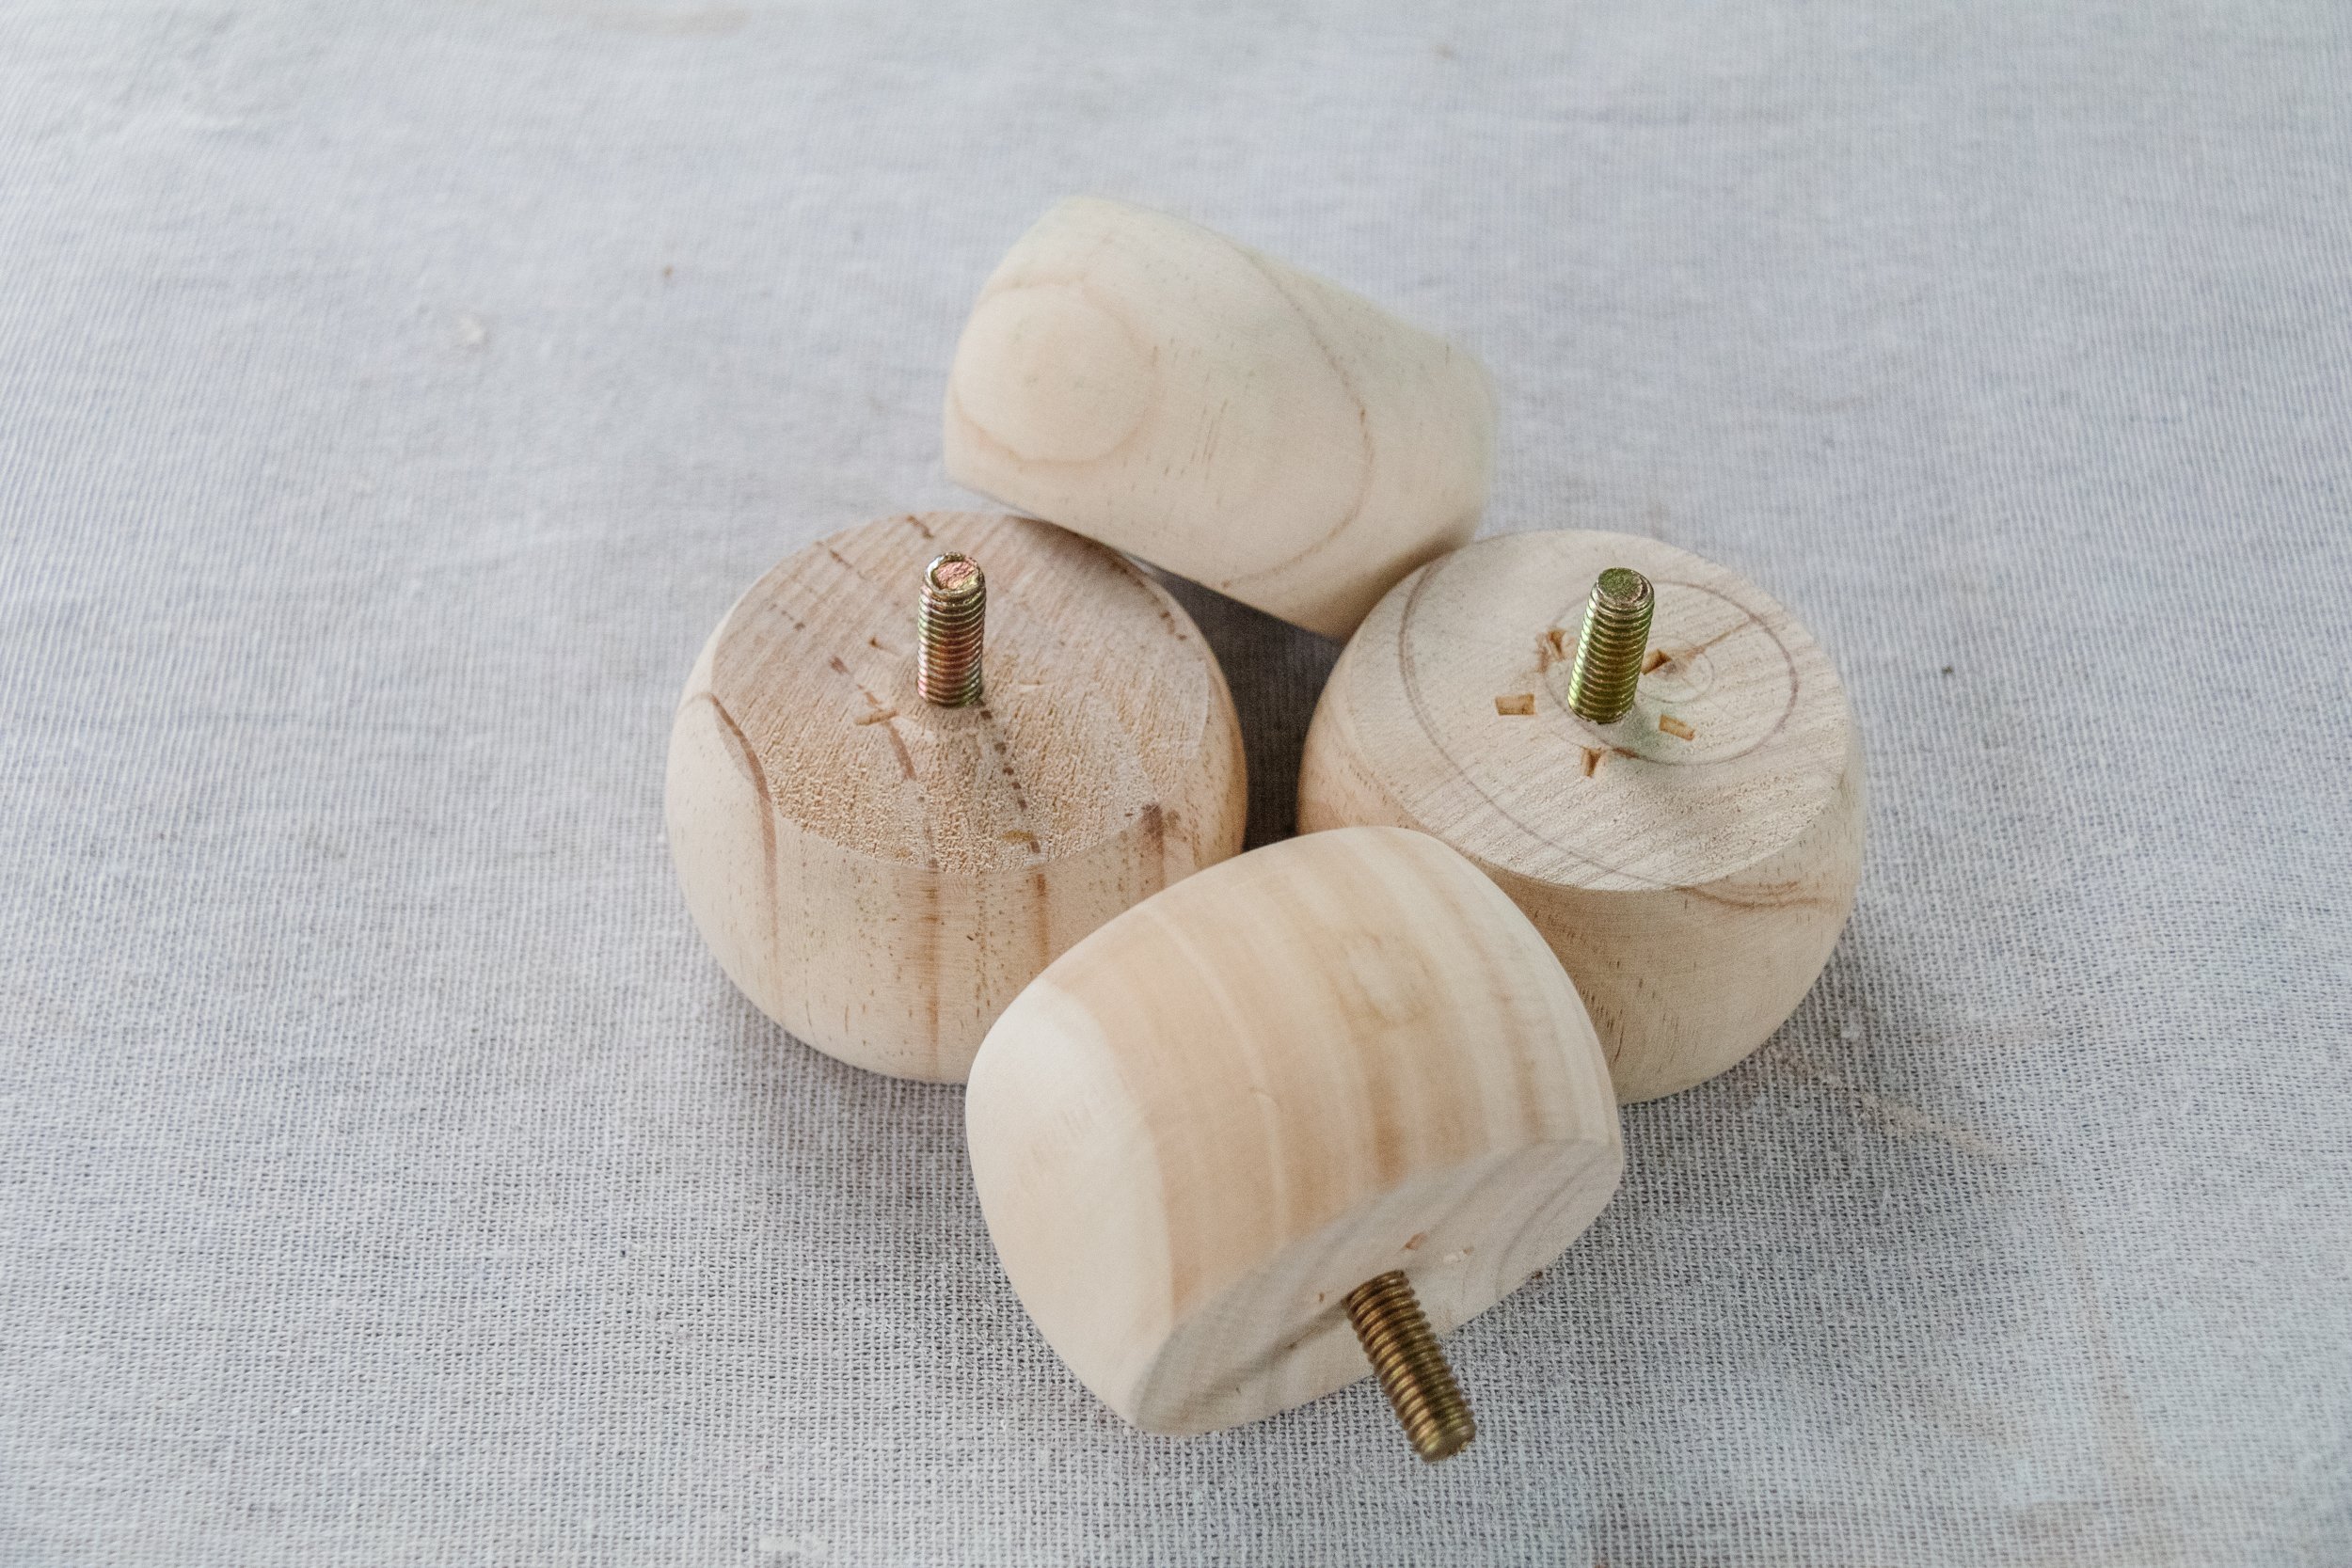
So how did I upcycle the bedside table? I used Rust-Oleum 2X Paint & Prime spray paint in a stunning heritage inspired Hunter Green to paint the bedside table, I cut leftover moulding to add a beautiful fluted detail to the front of the drawers, I used Rust-Oleum Bright Coat Spray in Gold to give the existing arch handles a glow up, and I replaced the ugly castors with raw timber ball feet. This is a tale of a bedside table that could have ended up in landfill but is now taking centre stage in our home. And I couldn’t be happier!
And that’s why I am so excited to show you how you can upcycle a bedside table in a day! And I am even more excited because I have partnered with Rust-Oleum to show you how easy it is! Read on the learn how to make your own Upcycled Fluted Bedside Table in a day.
And to see how this upcycle came together in one day, make sure you check out this video!
Before & After
Ps. The paint was still a little wet when I took the reveal photos :)
Project Details
🕒 Project Time Estimate: 4 to 5 hours
💰 Materials Cost: $100
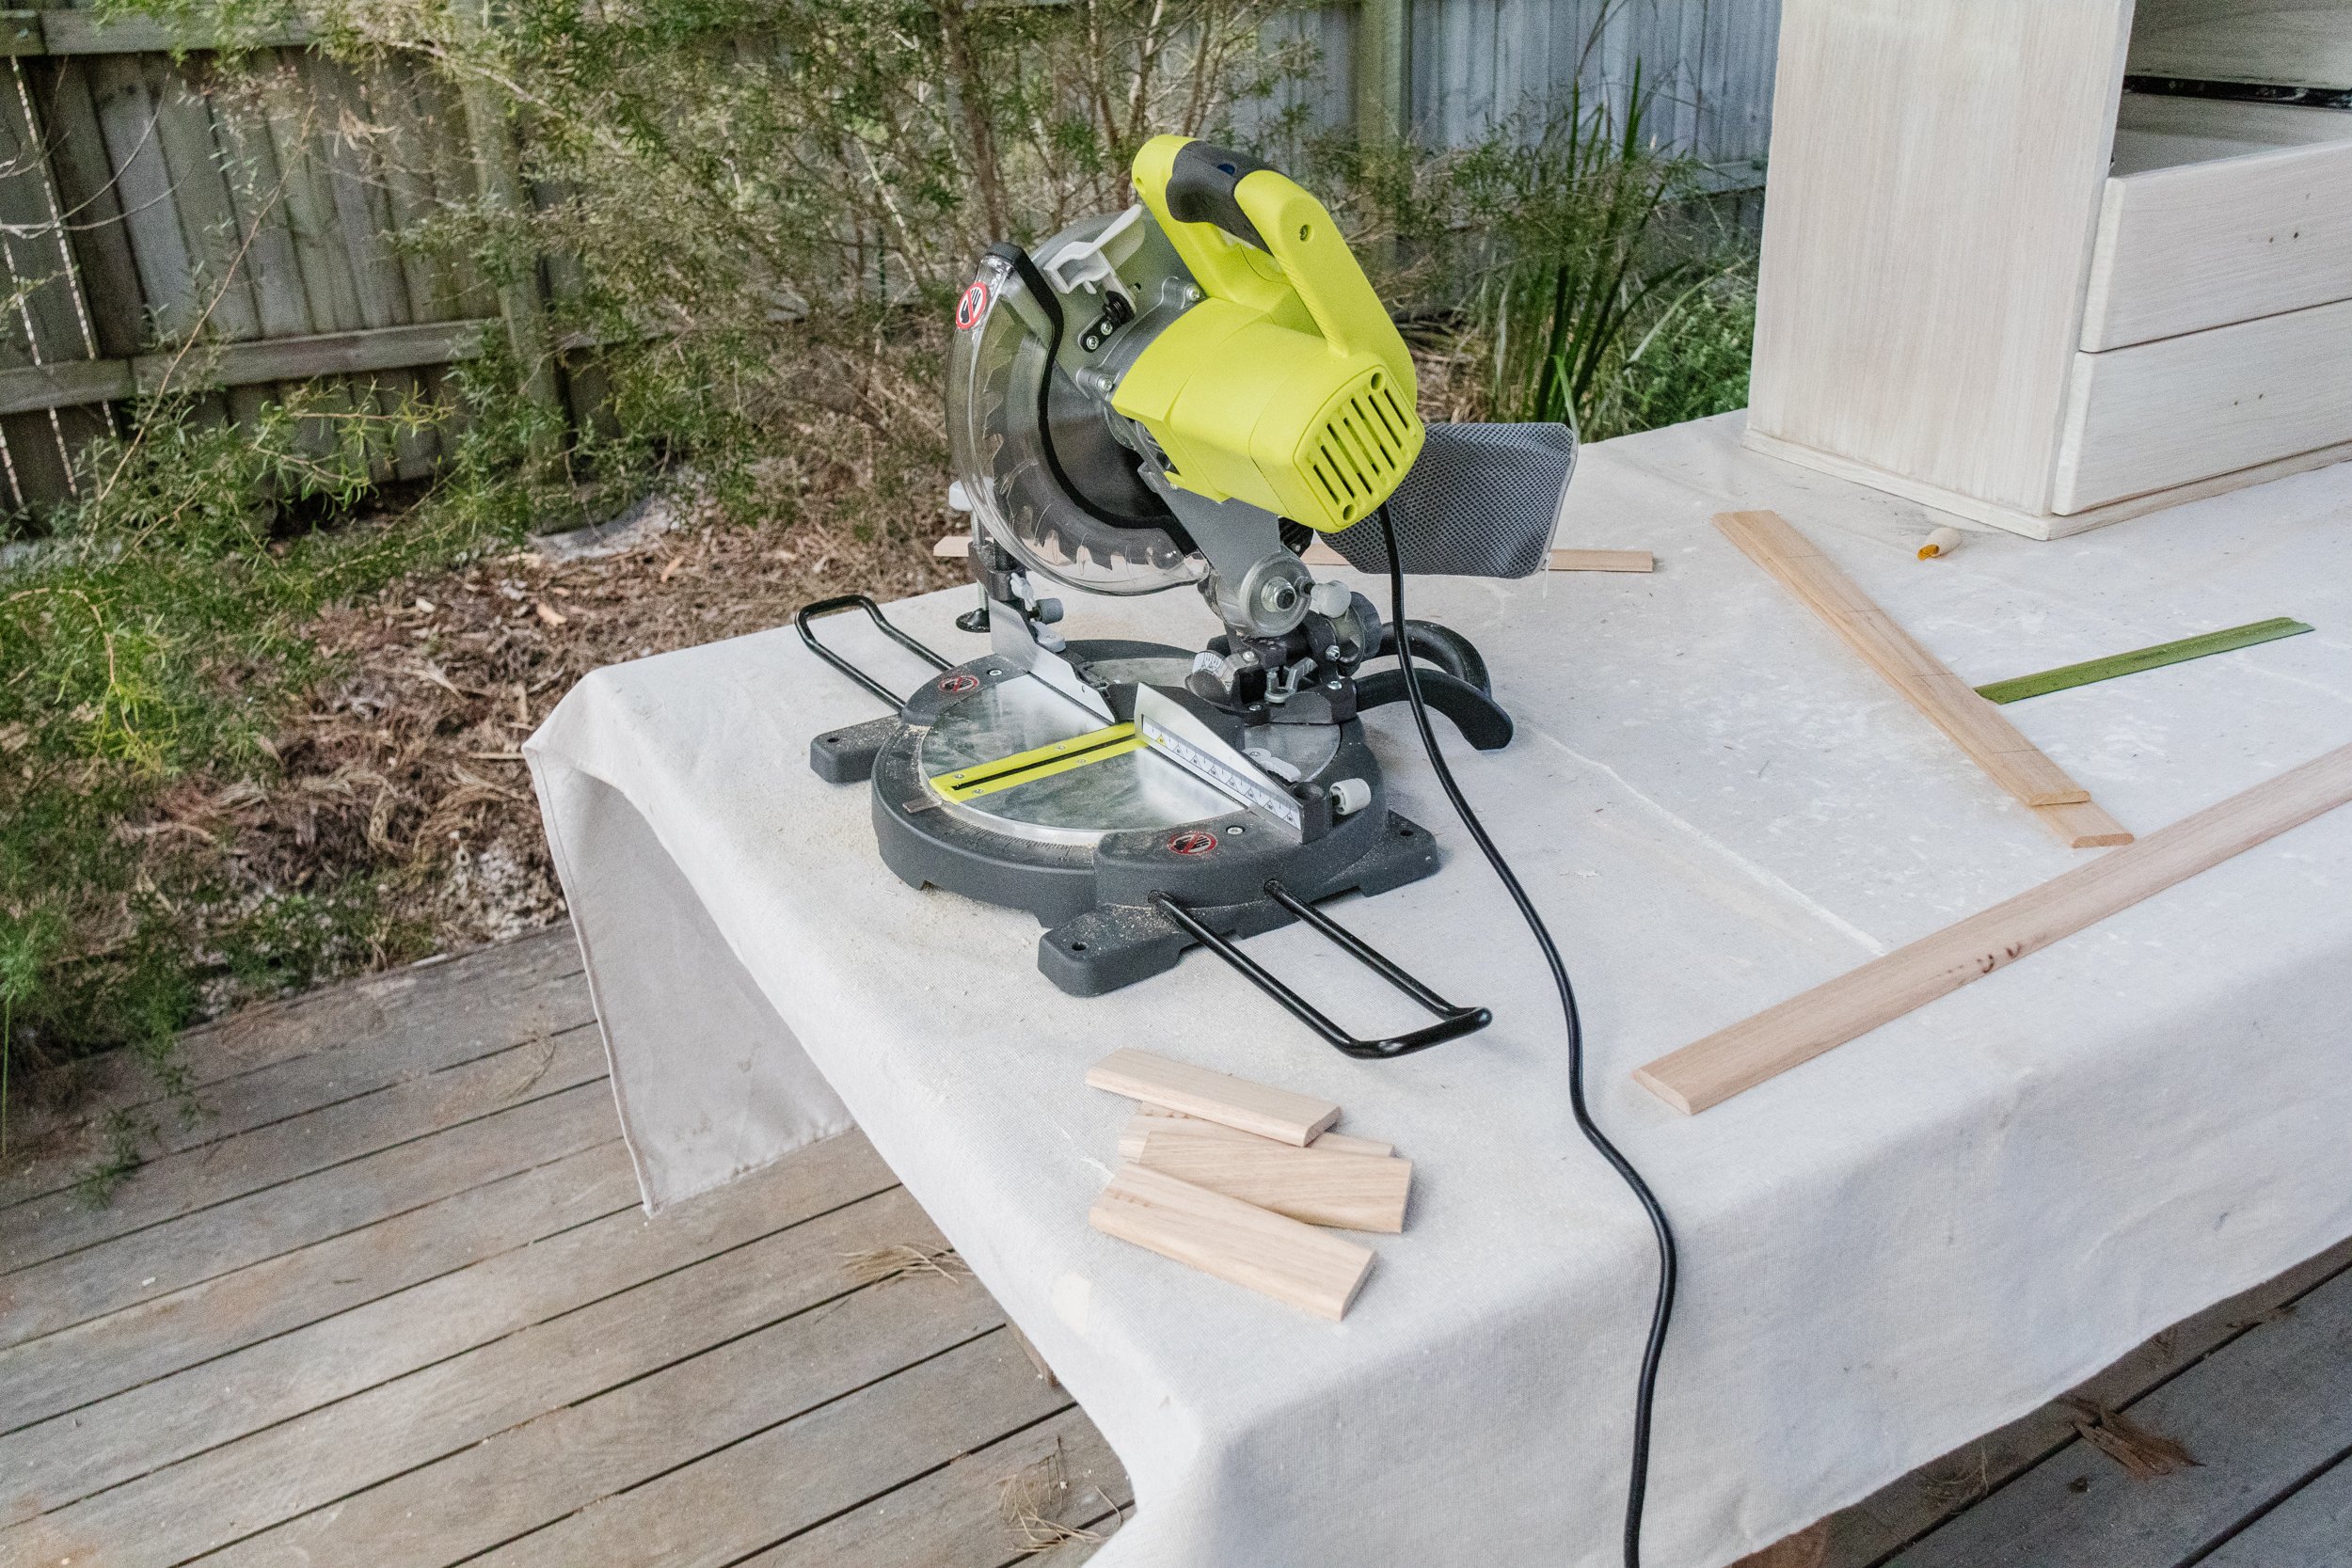
⚒️ Tools: Mitre saw, detail sander, screw driver and drill
👷♀️ Skill Level: Intermediate DIYer

Materials
Secondhand bedside table
Baby wipes
Measuring tape or ruler
Pen
For this project I used my compound mitre saw (or you can use a handsaw), drill, detail sander and screw driver. I also wore a safety mask when using the spray paint.
NB: If your local Bunnings does not have the Rust-Oleum spray paint you would like, head to the Special Orders desk and order it in. It’s a service not known to many people, but it’s so convenient and helpful!
How To
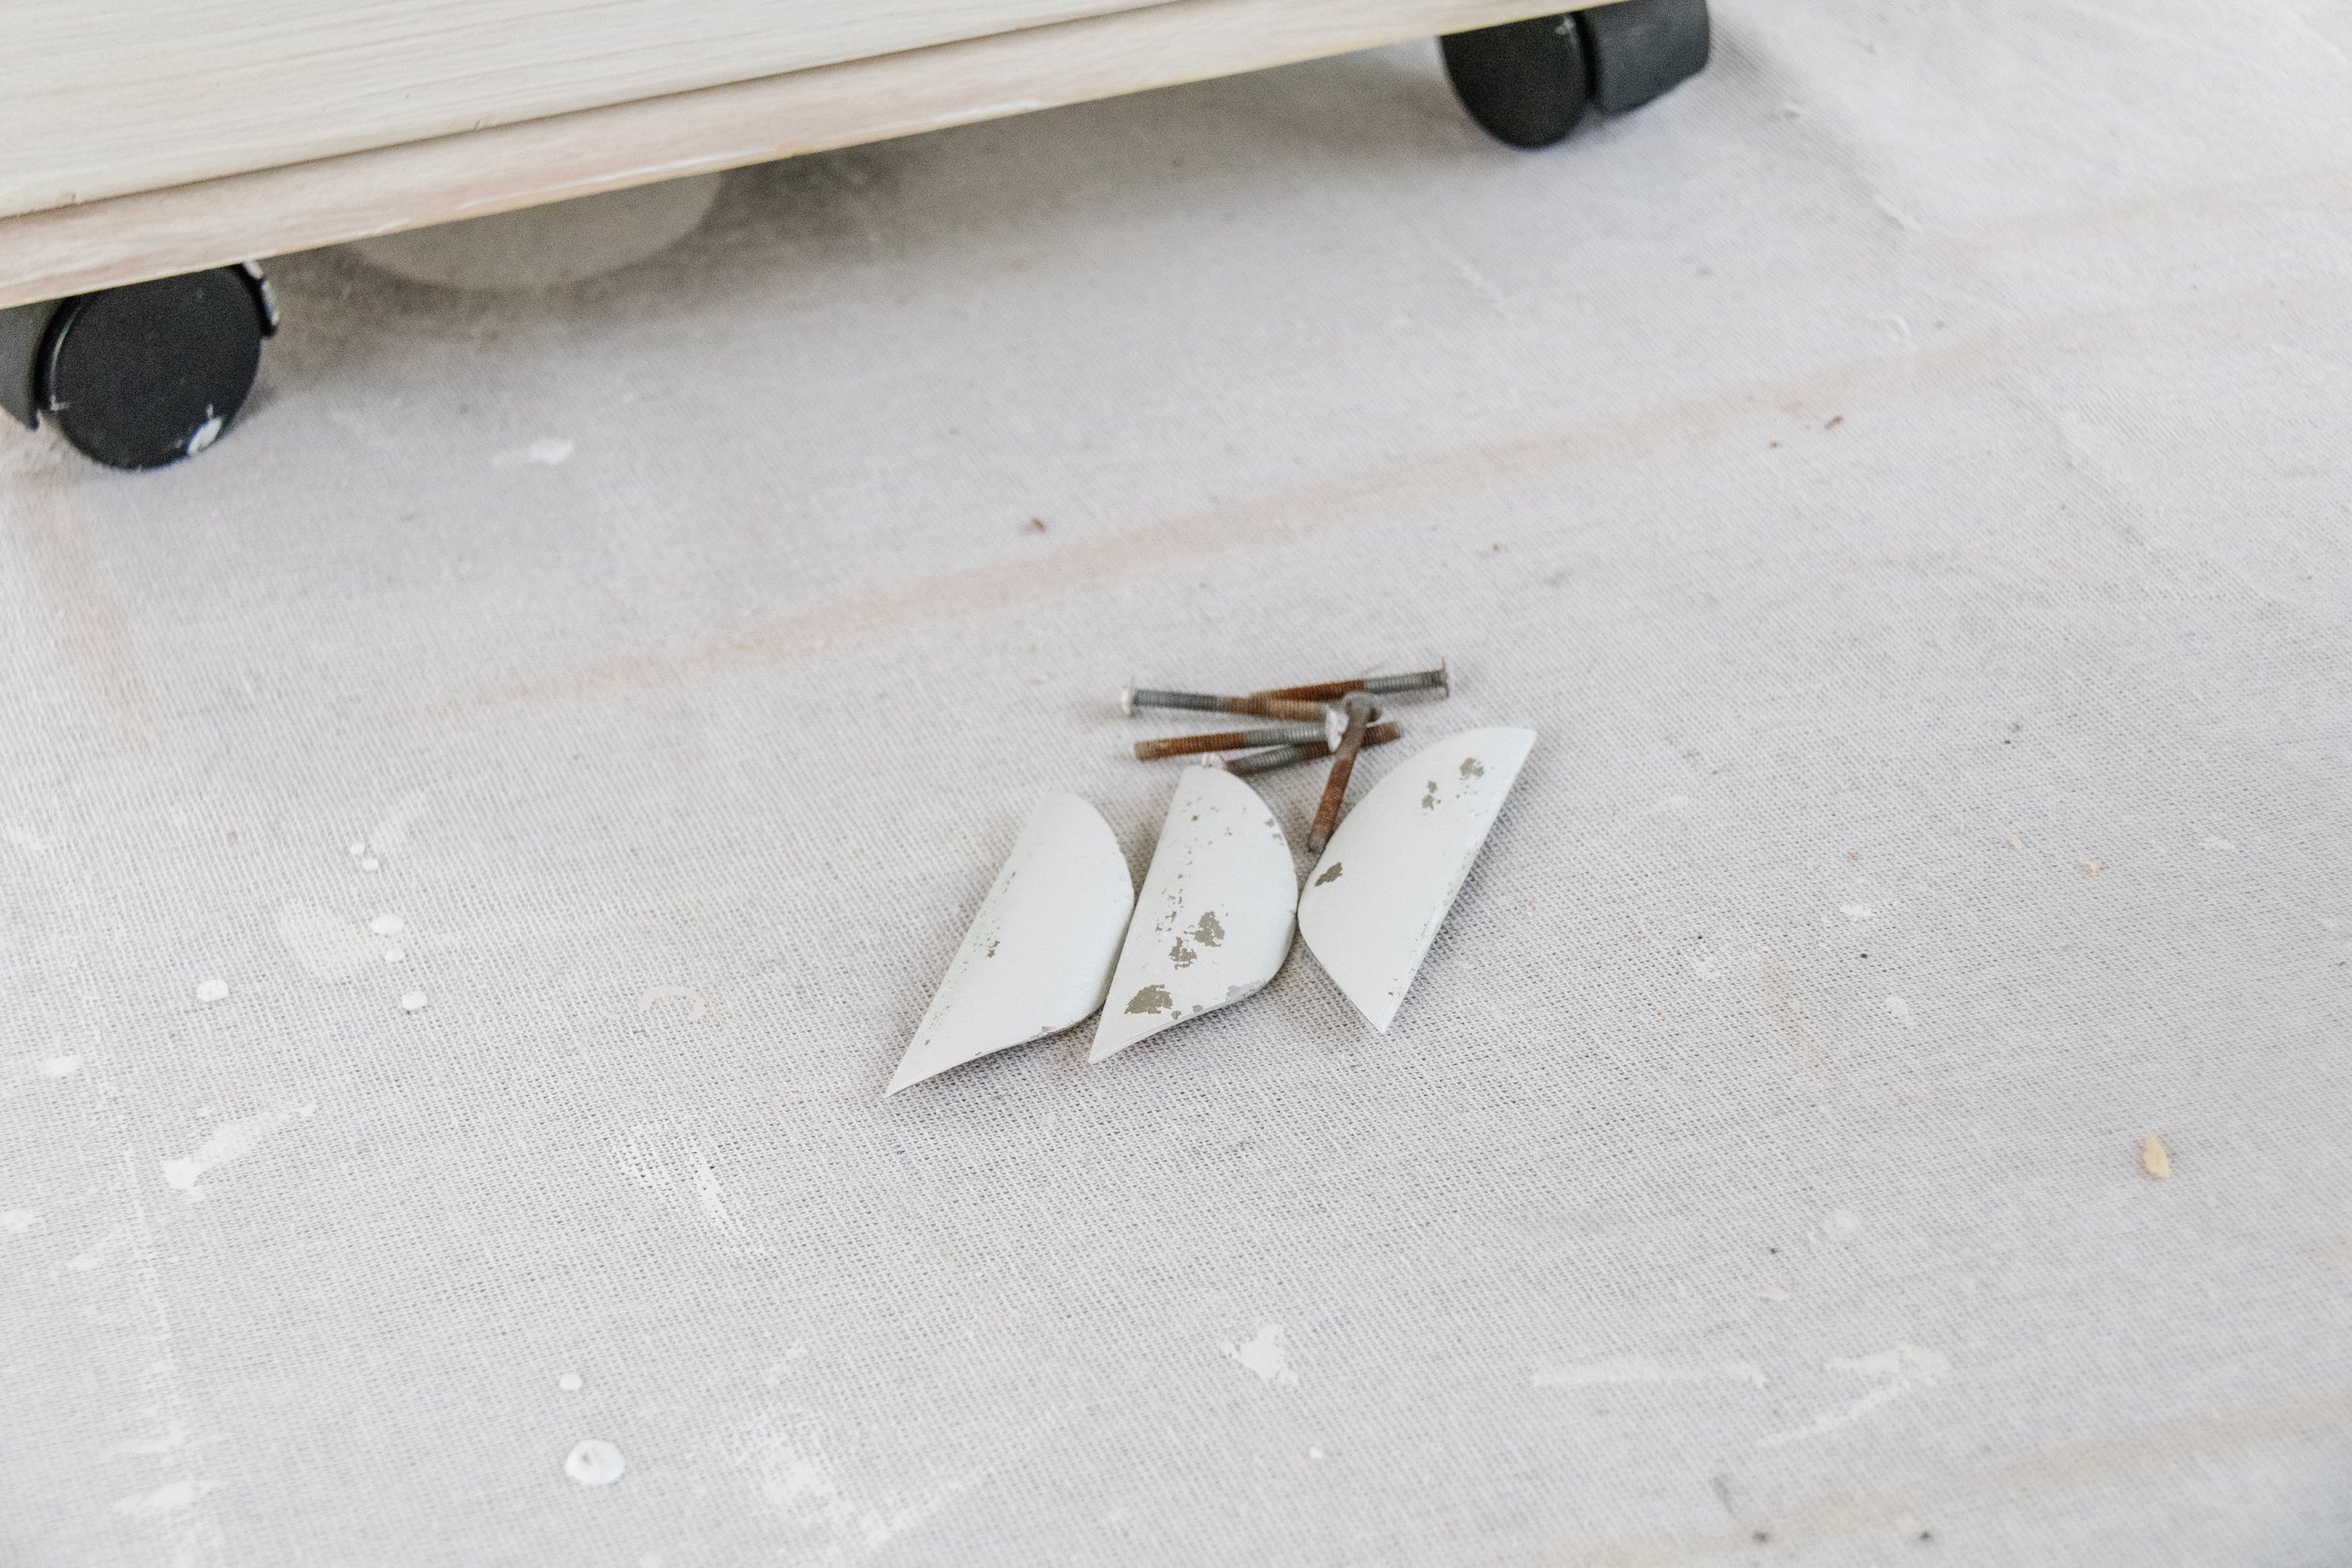
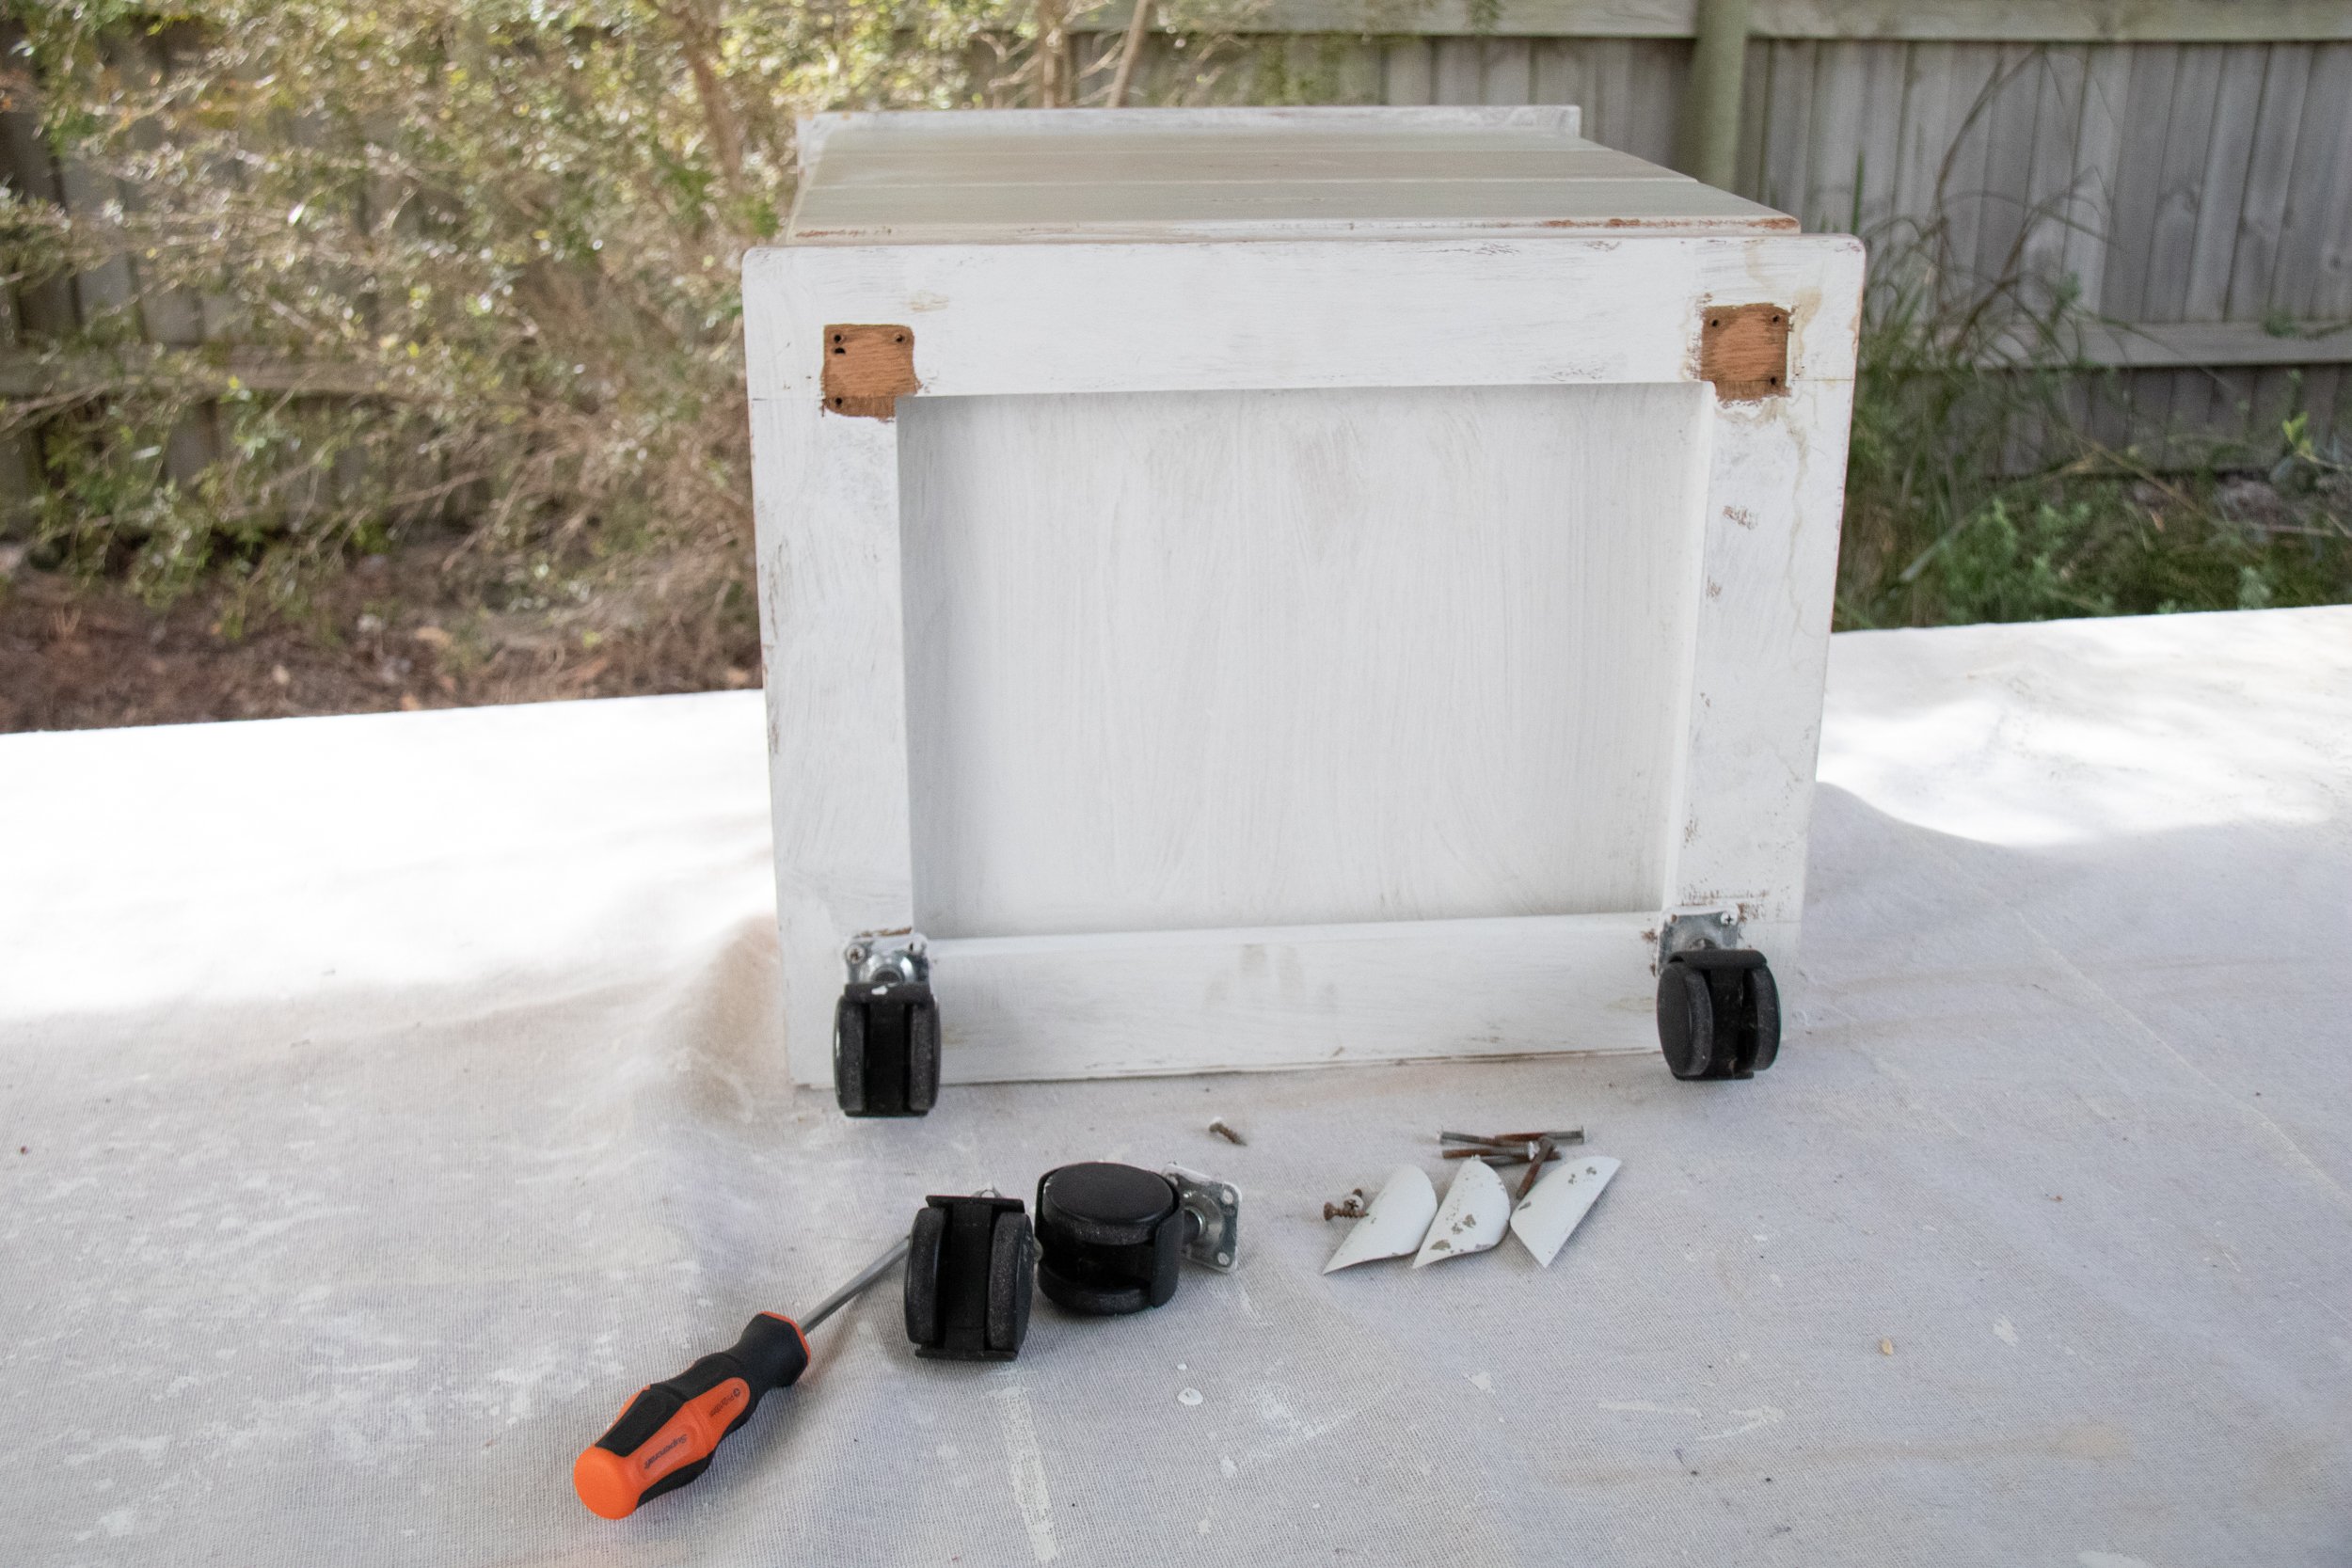
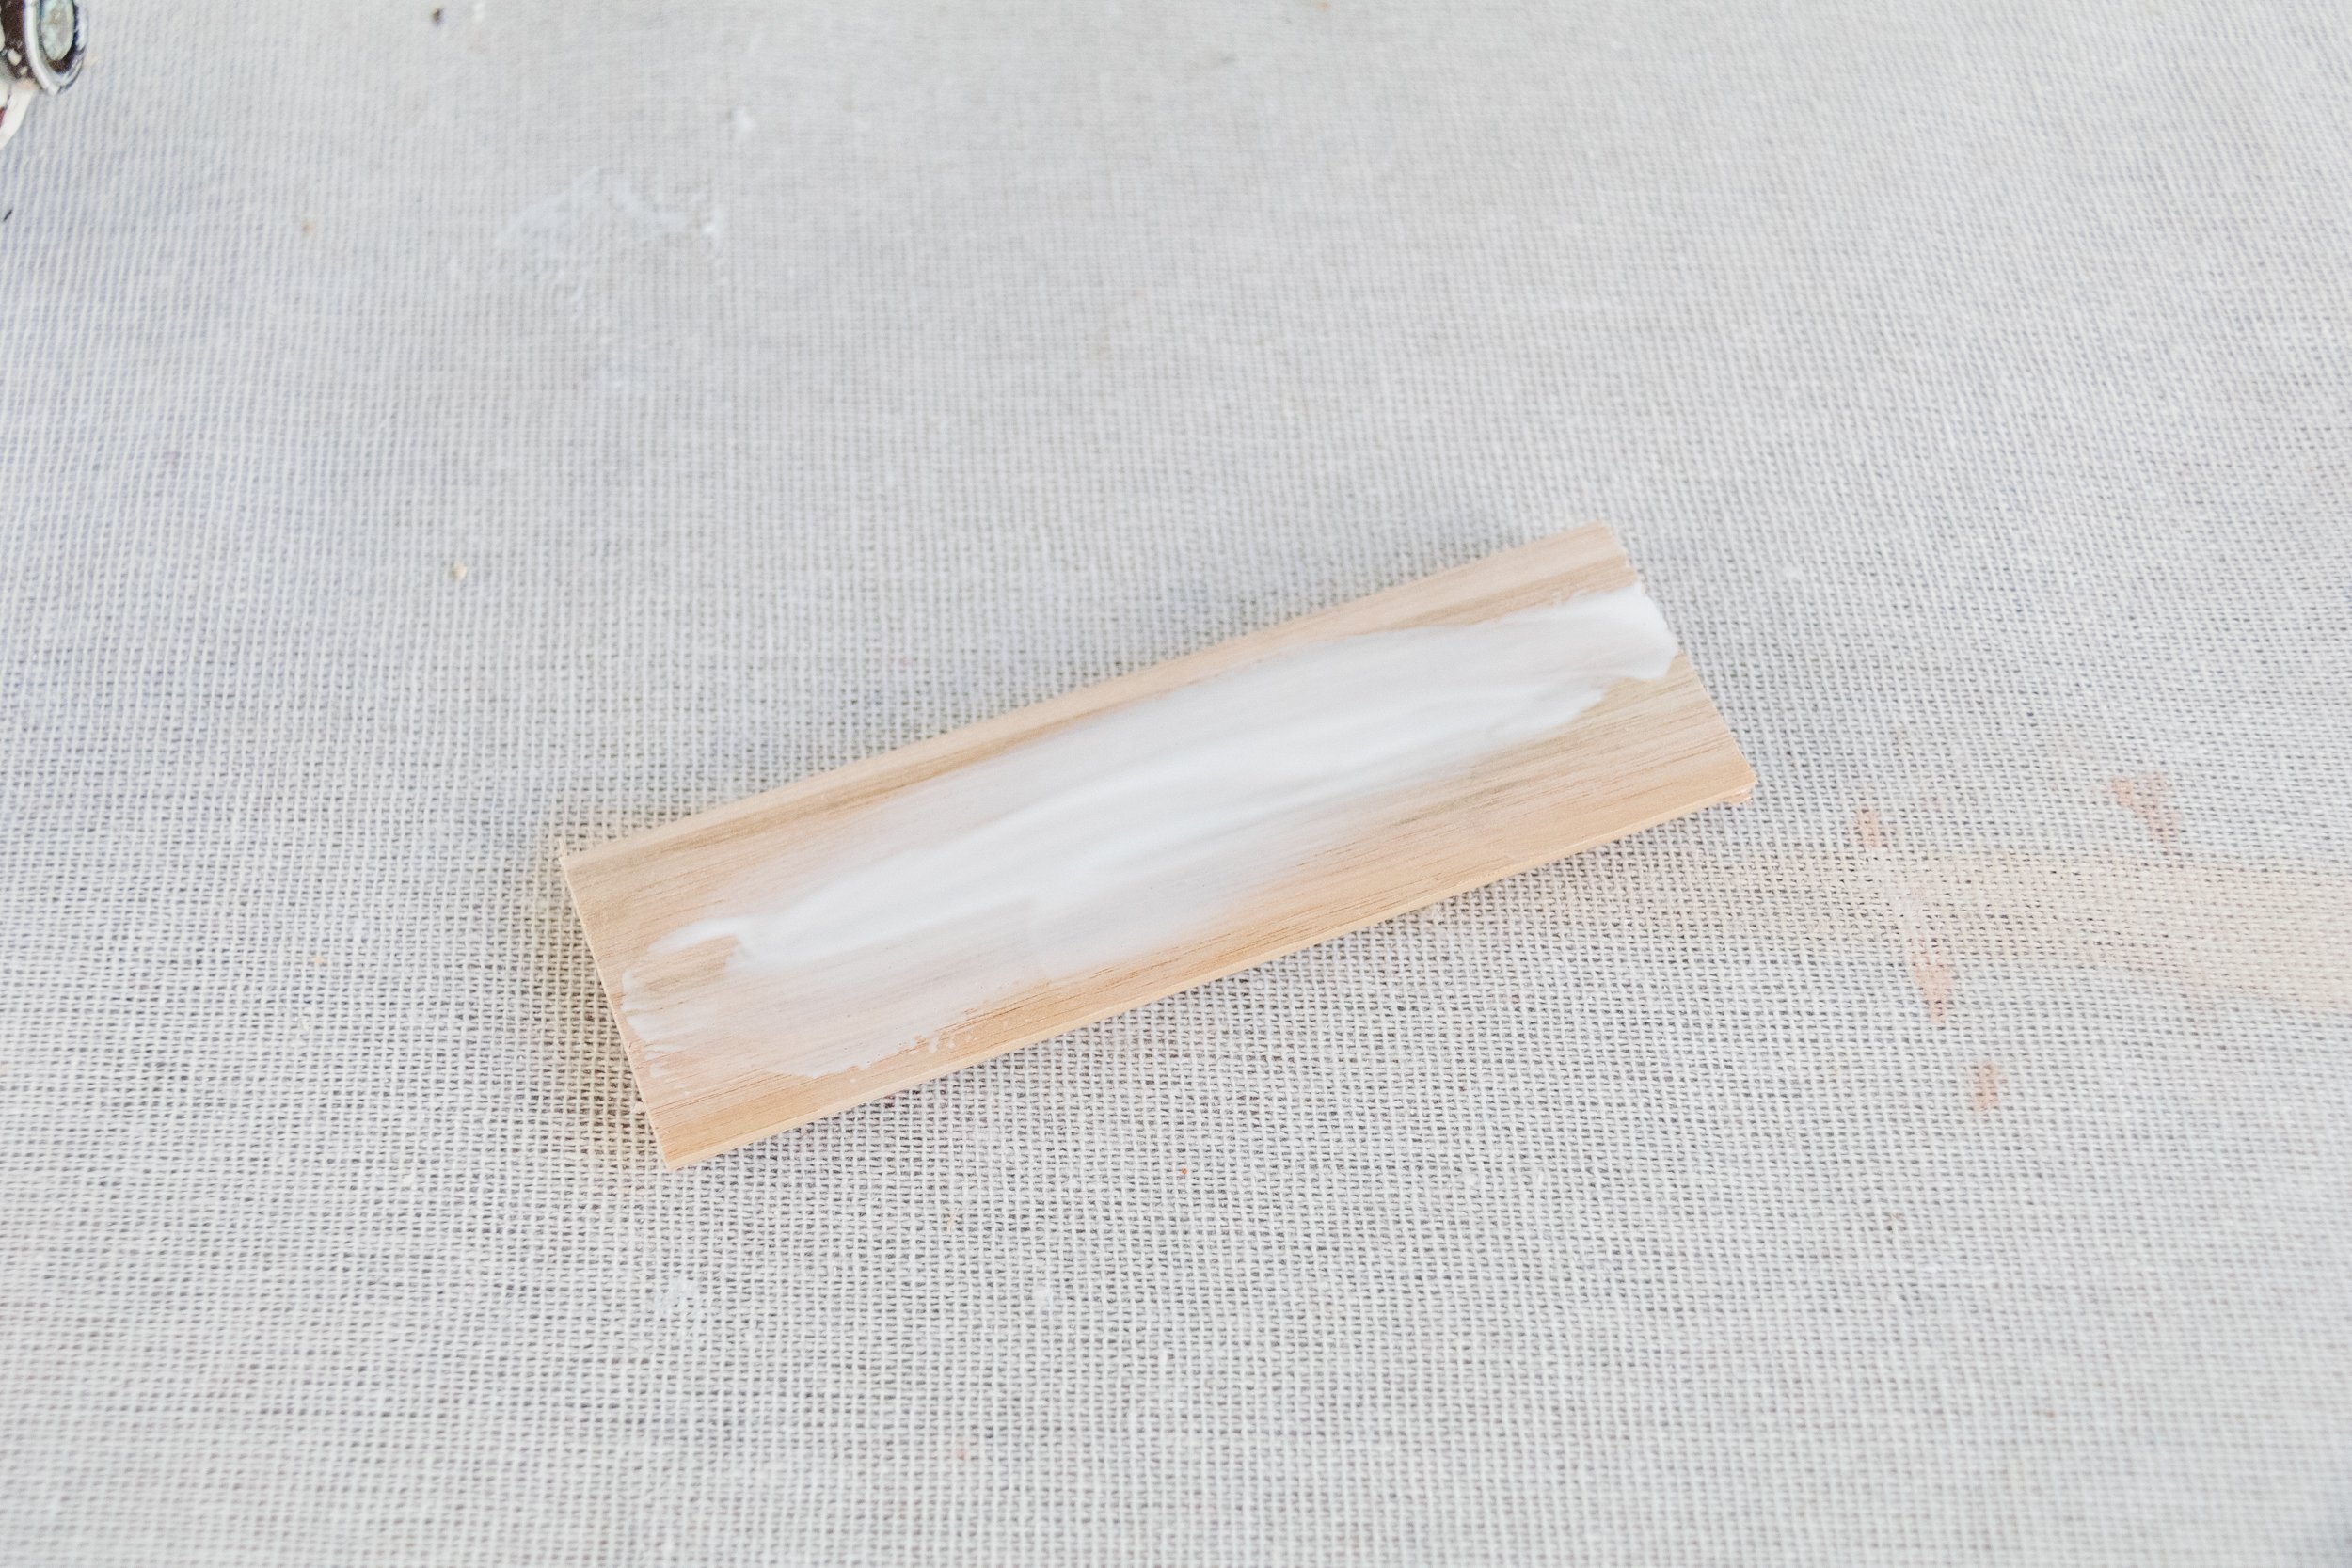
Start by removing the handles and feet using a drill and/or a screw driver, and set them aside. In my case, I reused the handles but I decided to donate the castor feet. Lightly sand the surface of the bedside table, including inside each drawer. Remove dust with baby wipes and set aside.
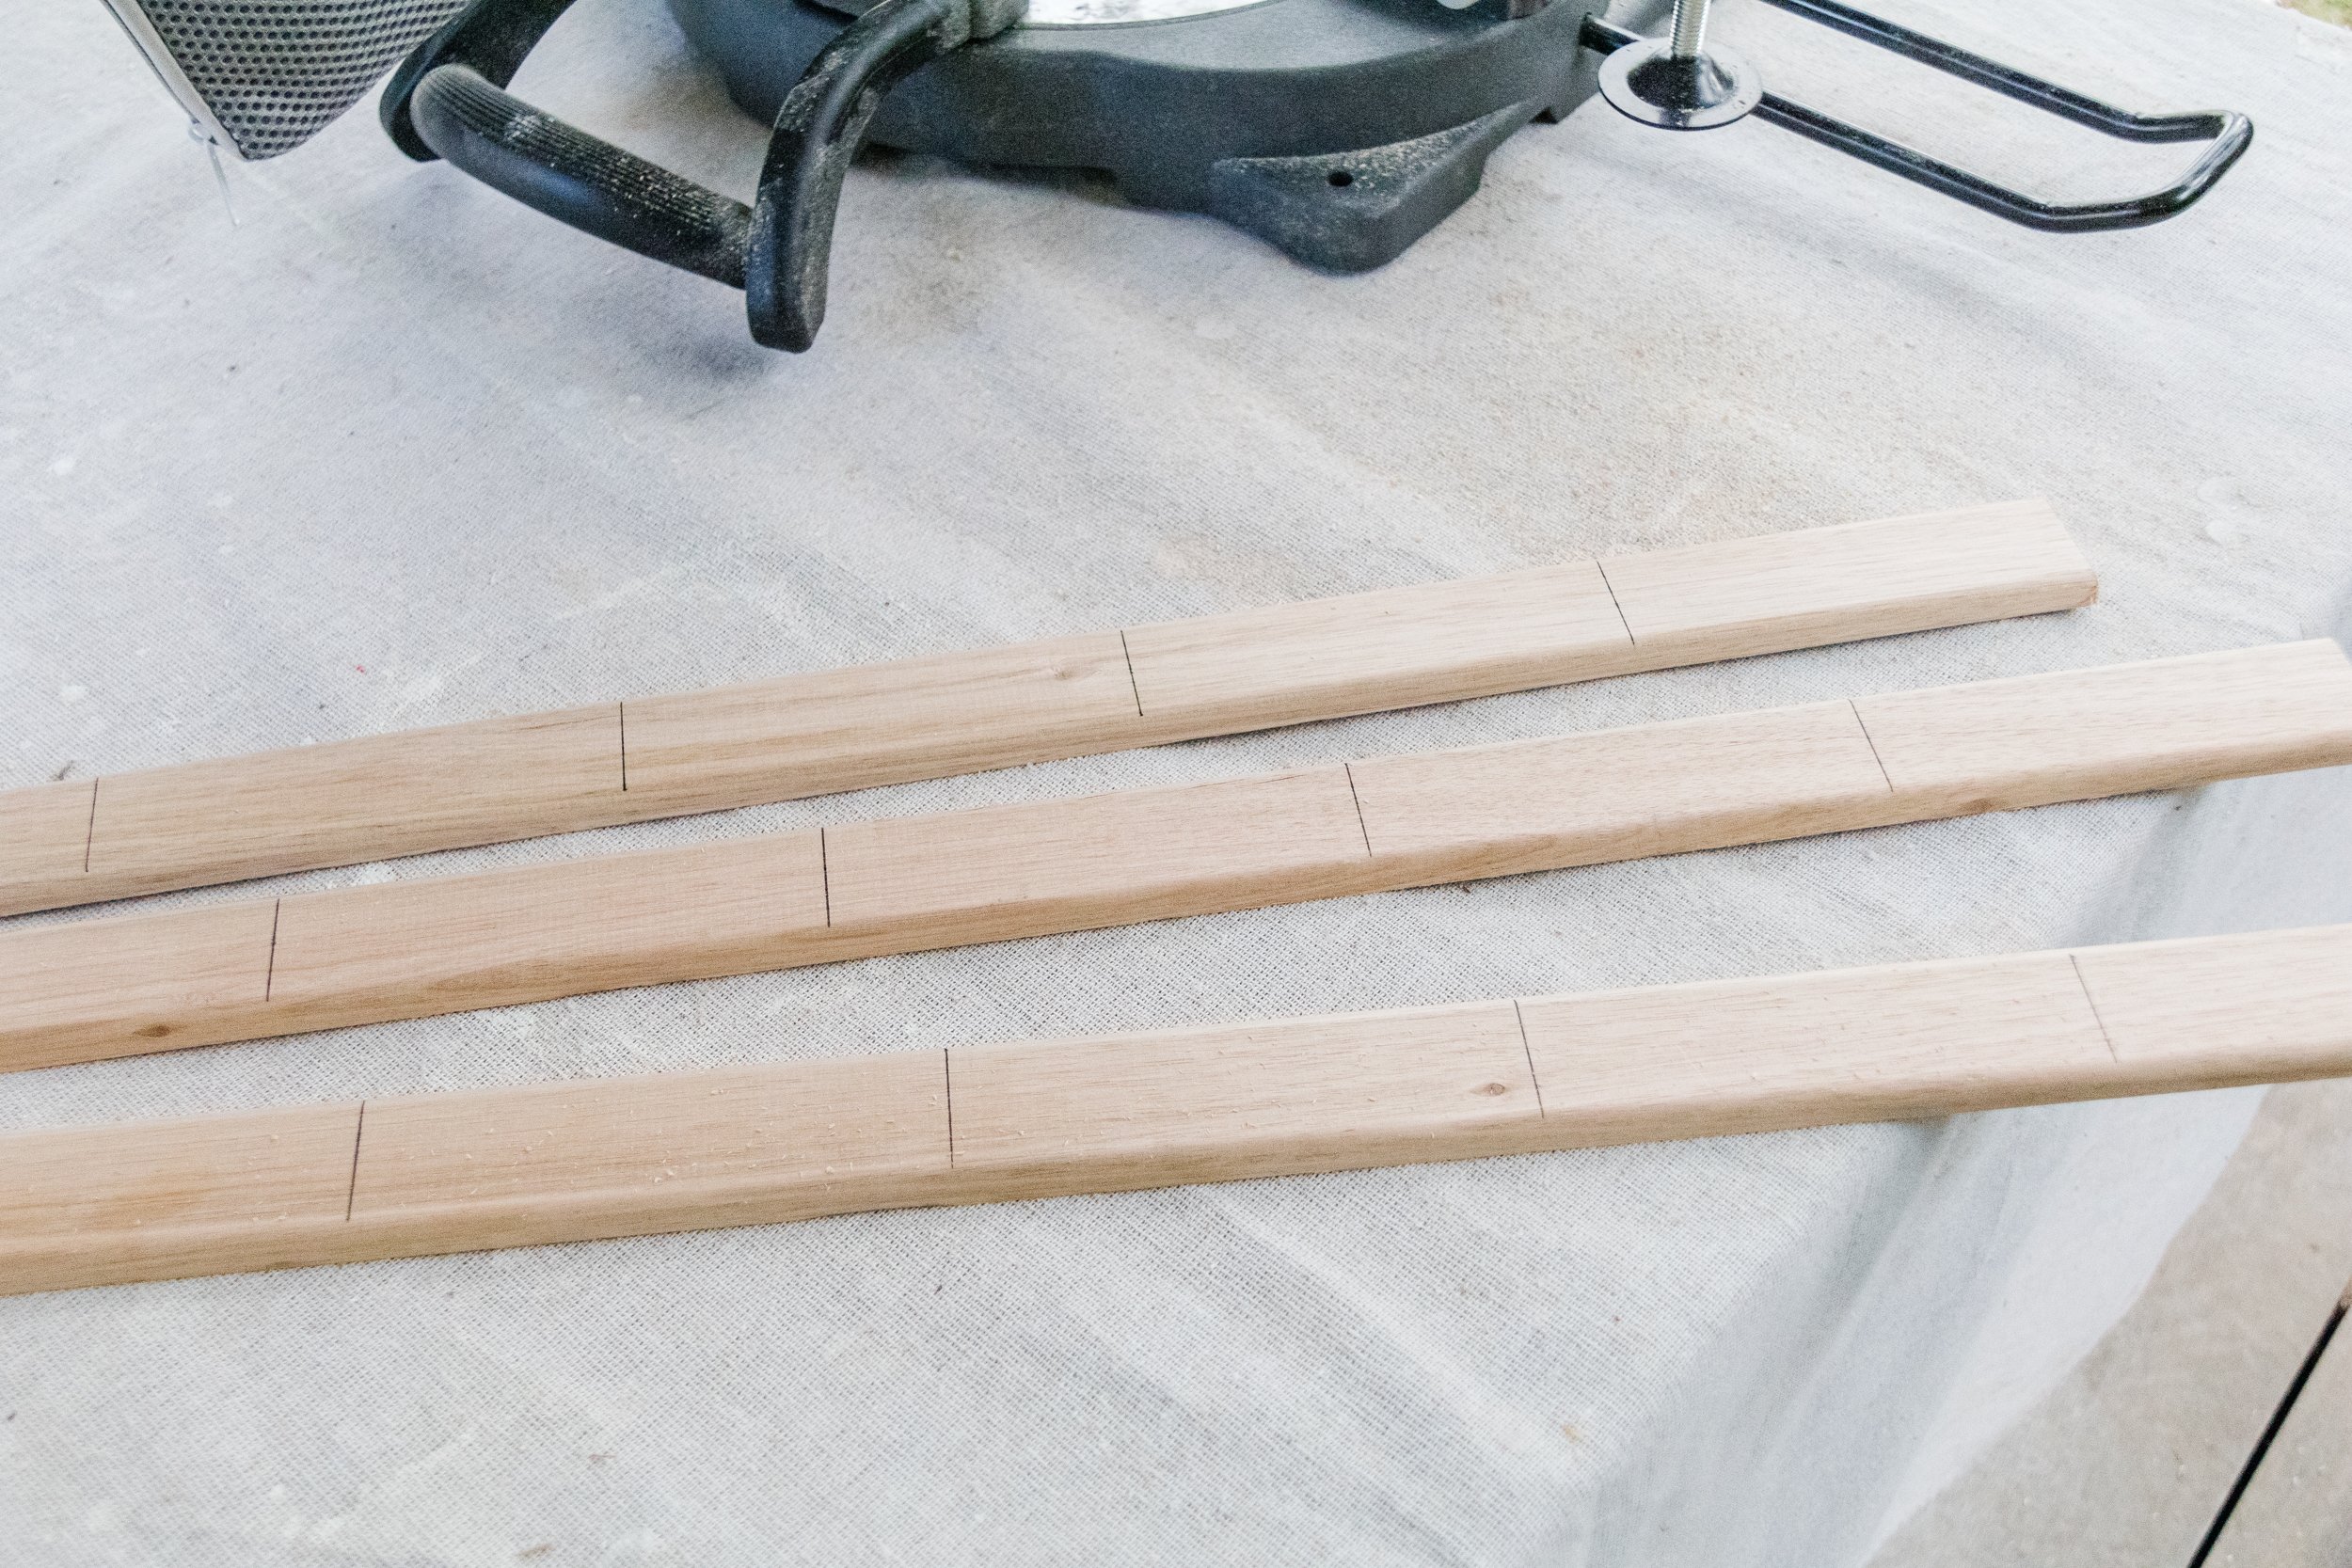
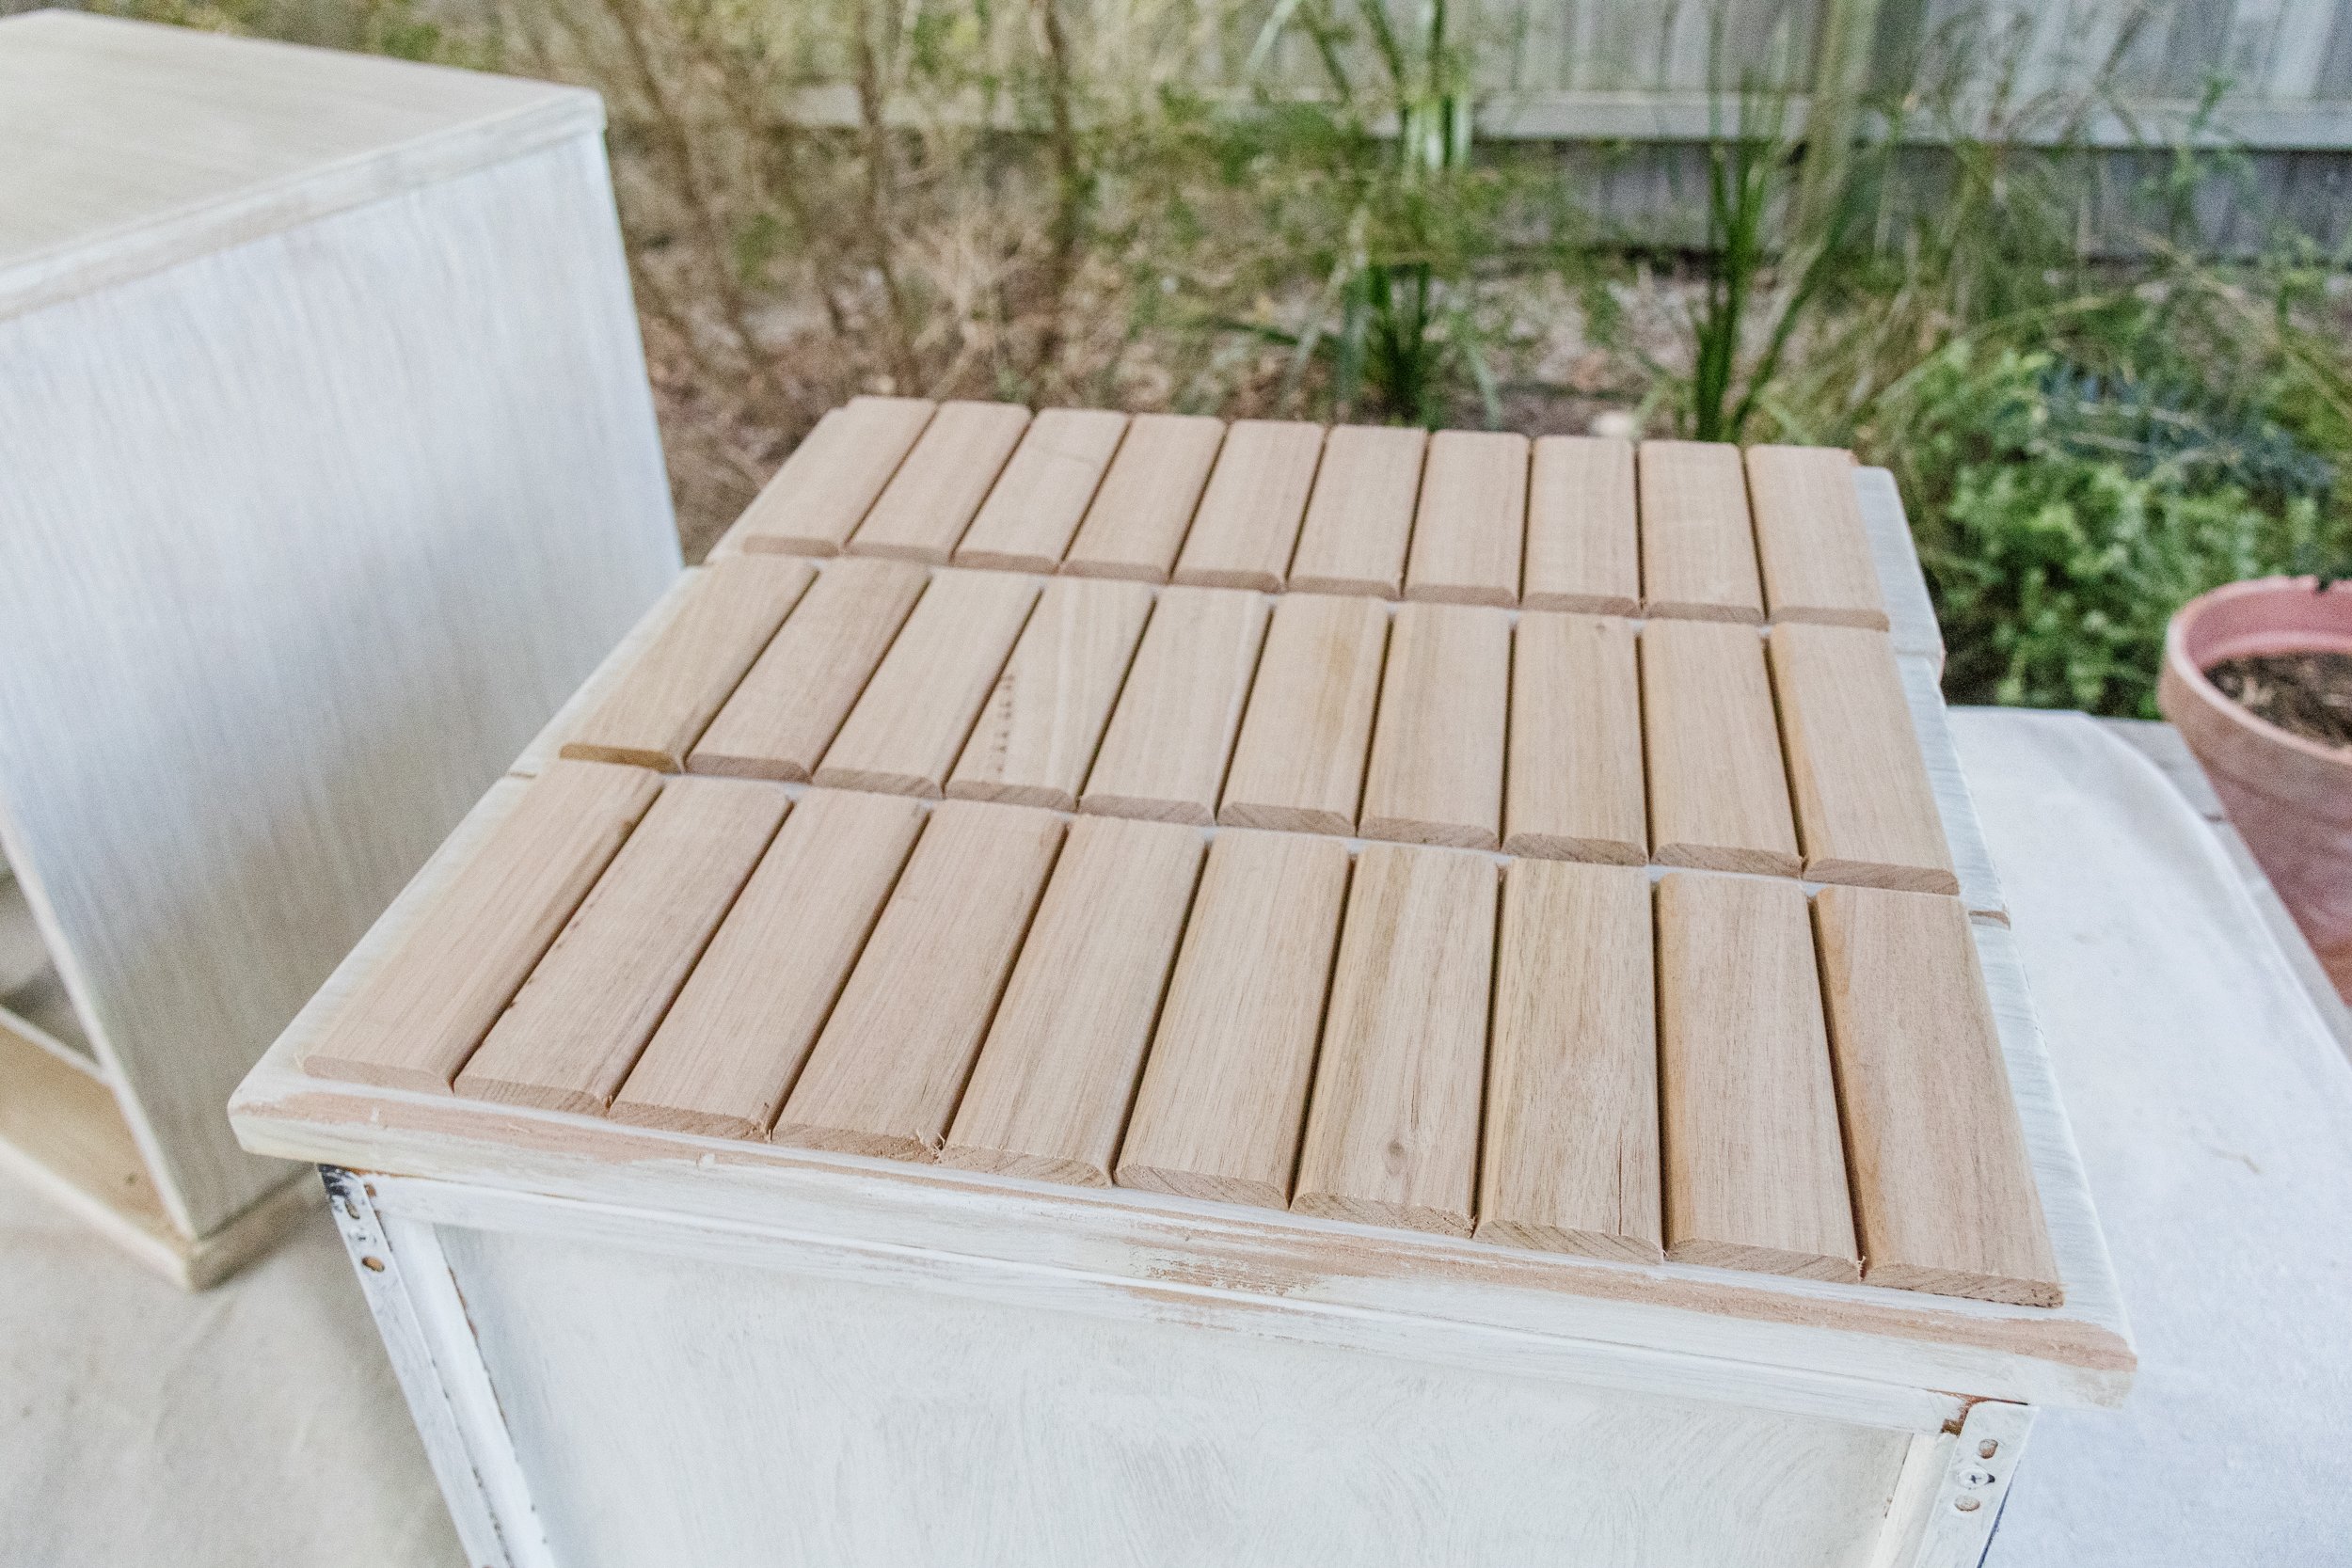
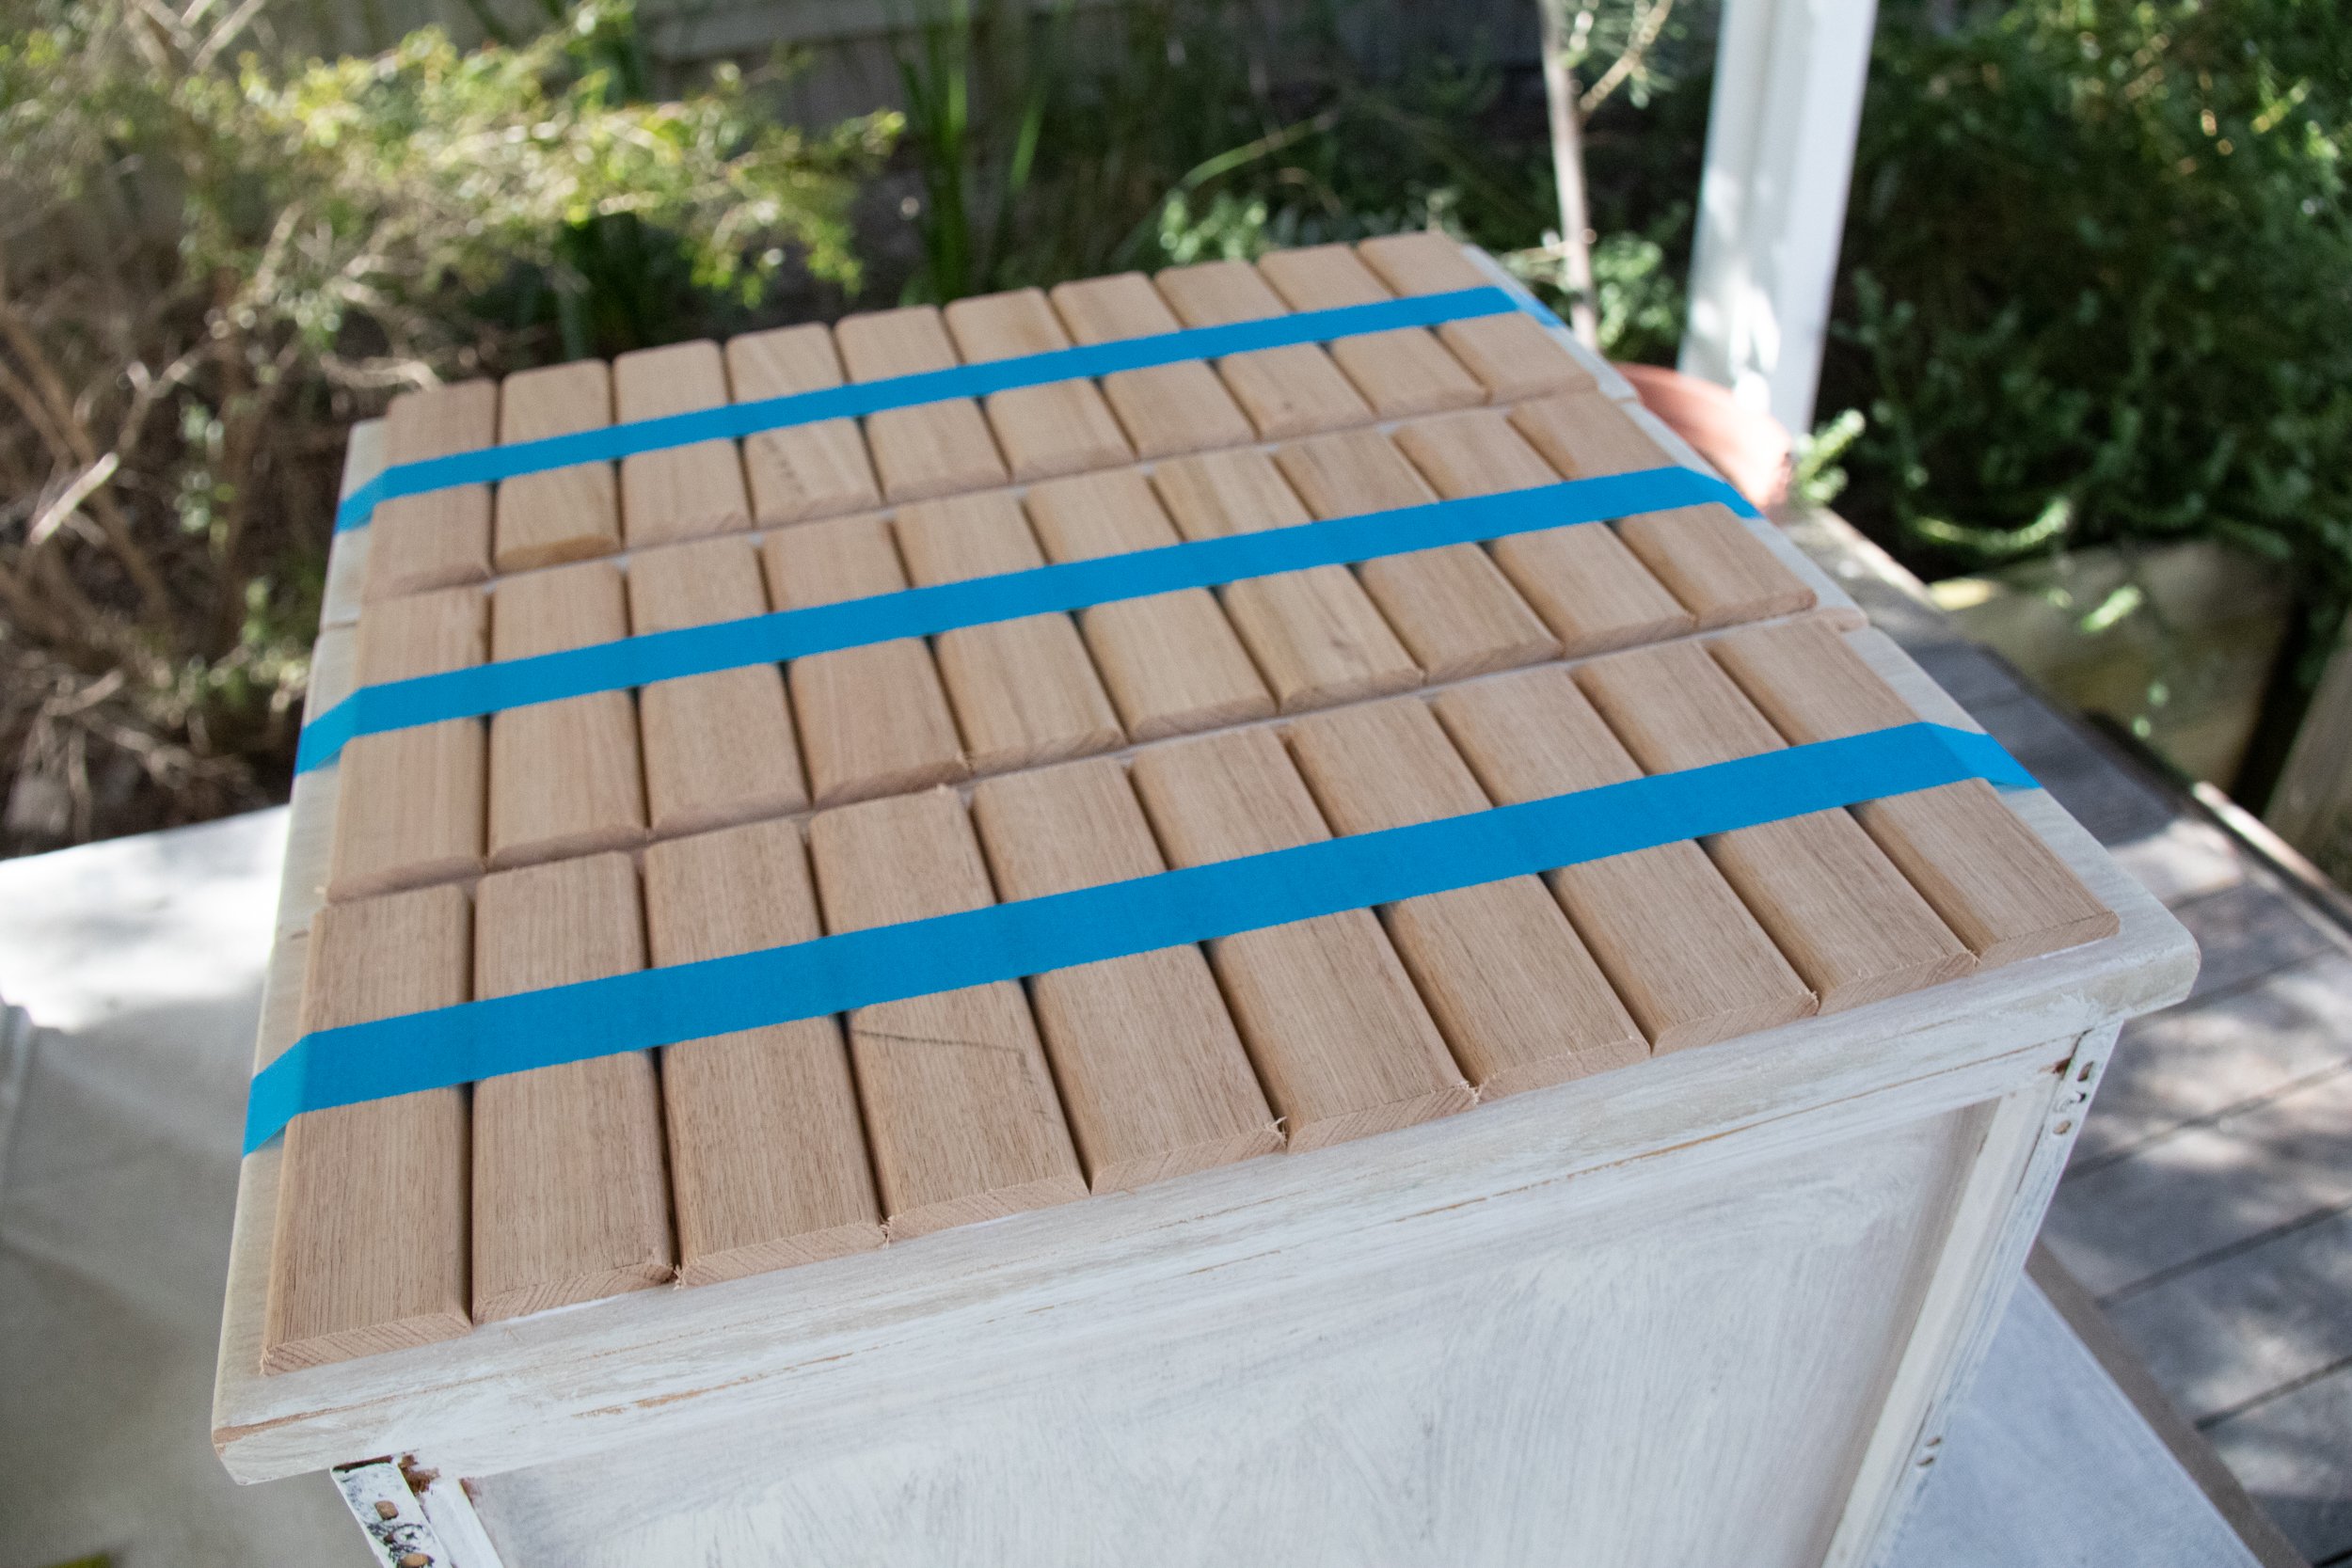
Measure the height of the drawer and cut the first piece of timber moulding using the mitre saw. Then use this cut piece to mark the rest of the timber moulding and cut enough pieces until you have enough to create the fluted detail. I needed to cut 30 pieces in total, so having a mitre saw makes this step go quickly and the edges are super straight.
Glue the cut timber moulding onto the front of the drawers to create the fluted detail. A follower on Instagram sent me a DM and told me to squeeze the wood glue onto the timber, then wipe it across with my finger tip before setting the wood into position. This stops the timber from slipping around and the glue dries a lot quicker - genius! I love getting tips like this from my amazing community and being able to share them with you here. Use the ruler to make sure the top of the cut timber moulding is straight. Secure the timber in place by carefully applying a strip of painters tape across the fluted detail. Set aside to dry.

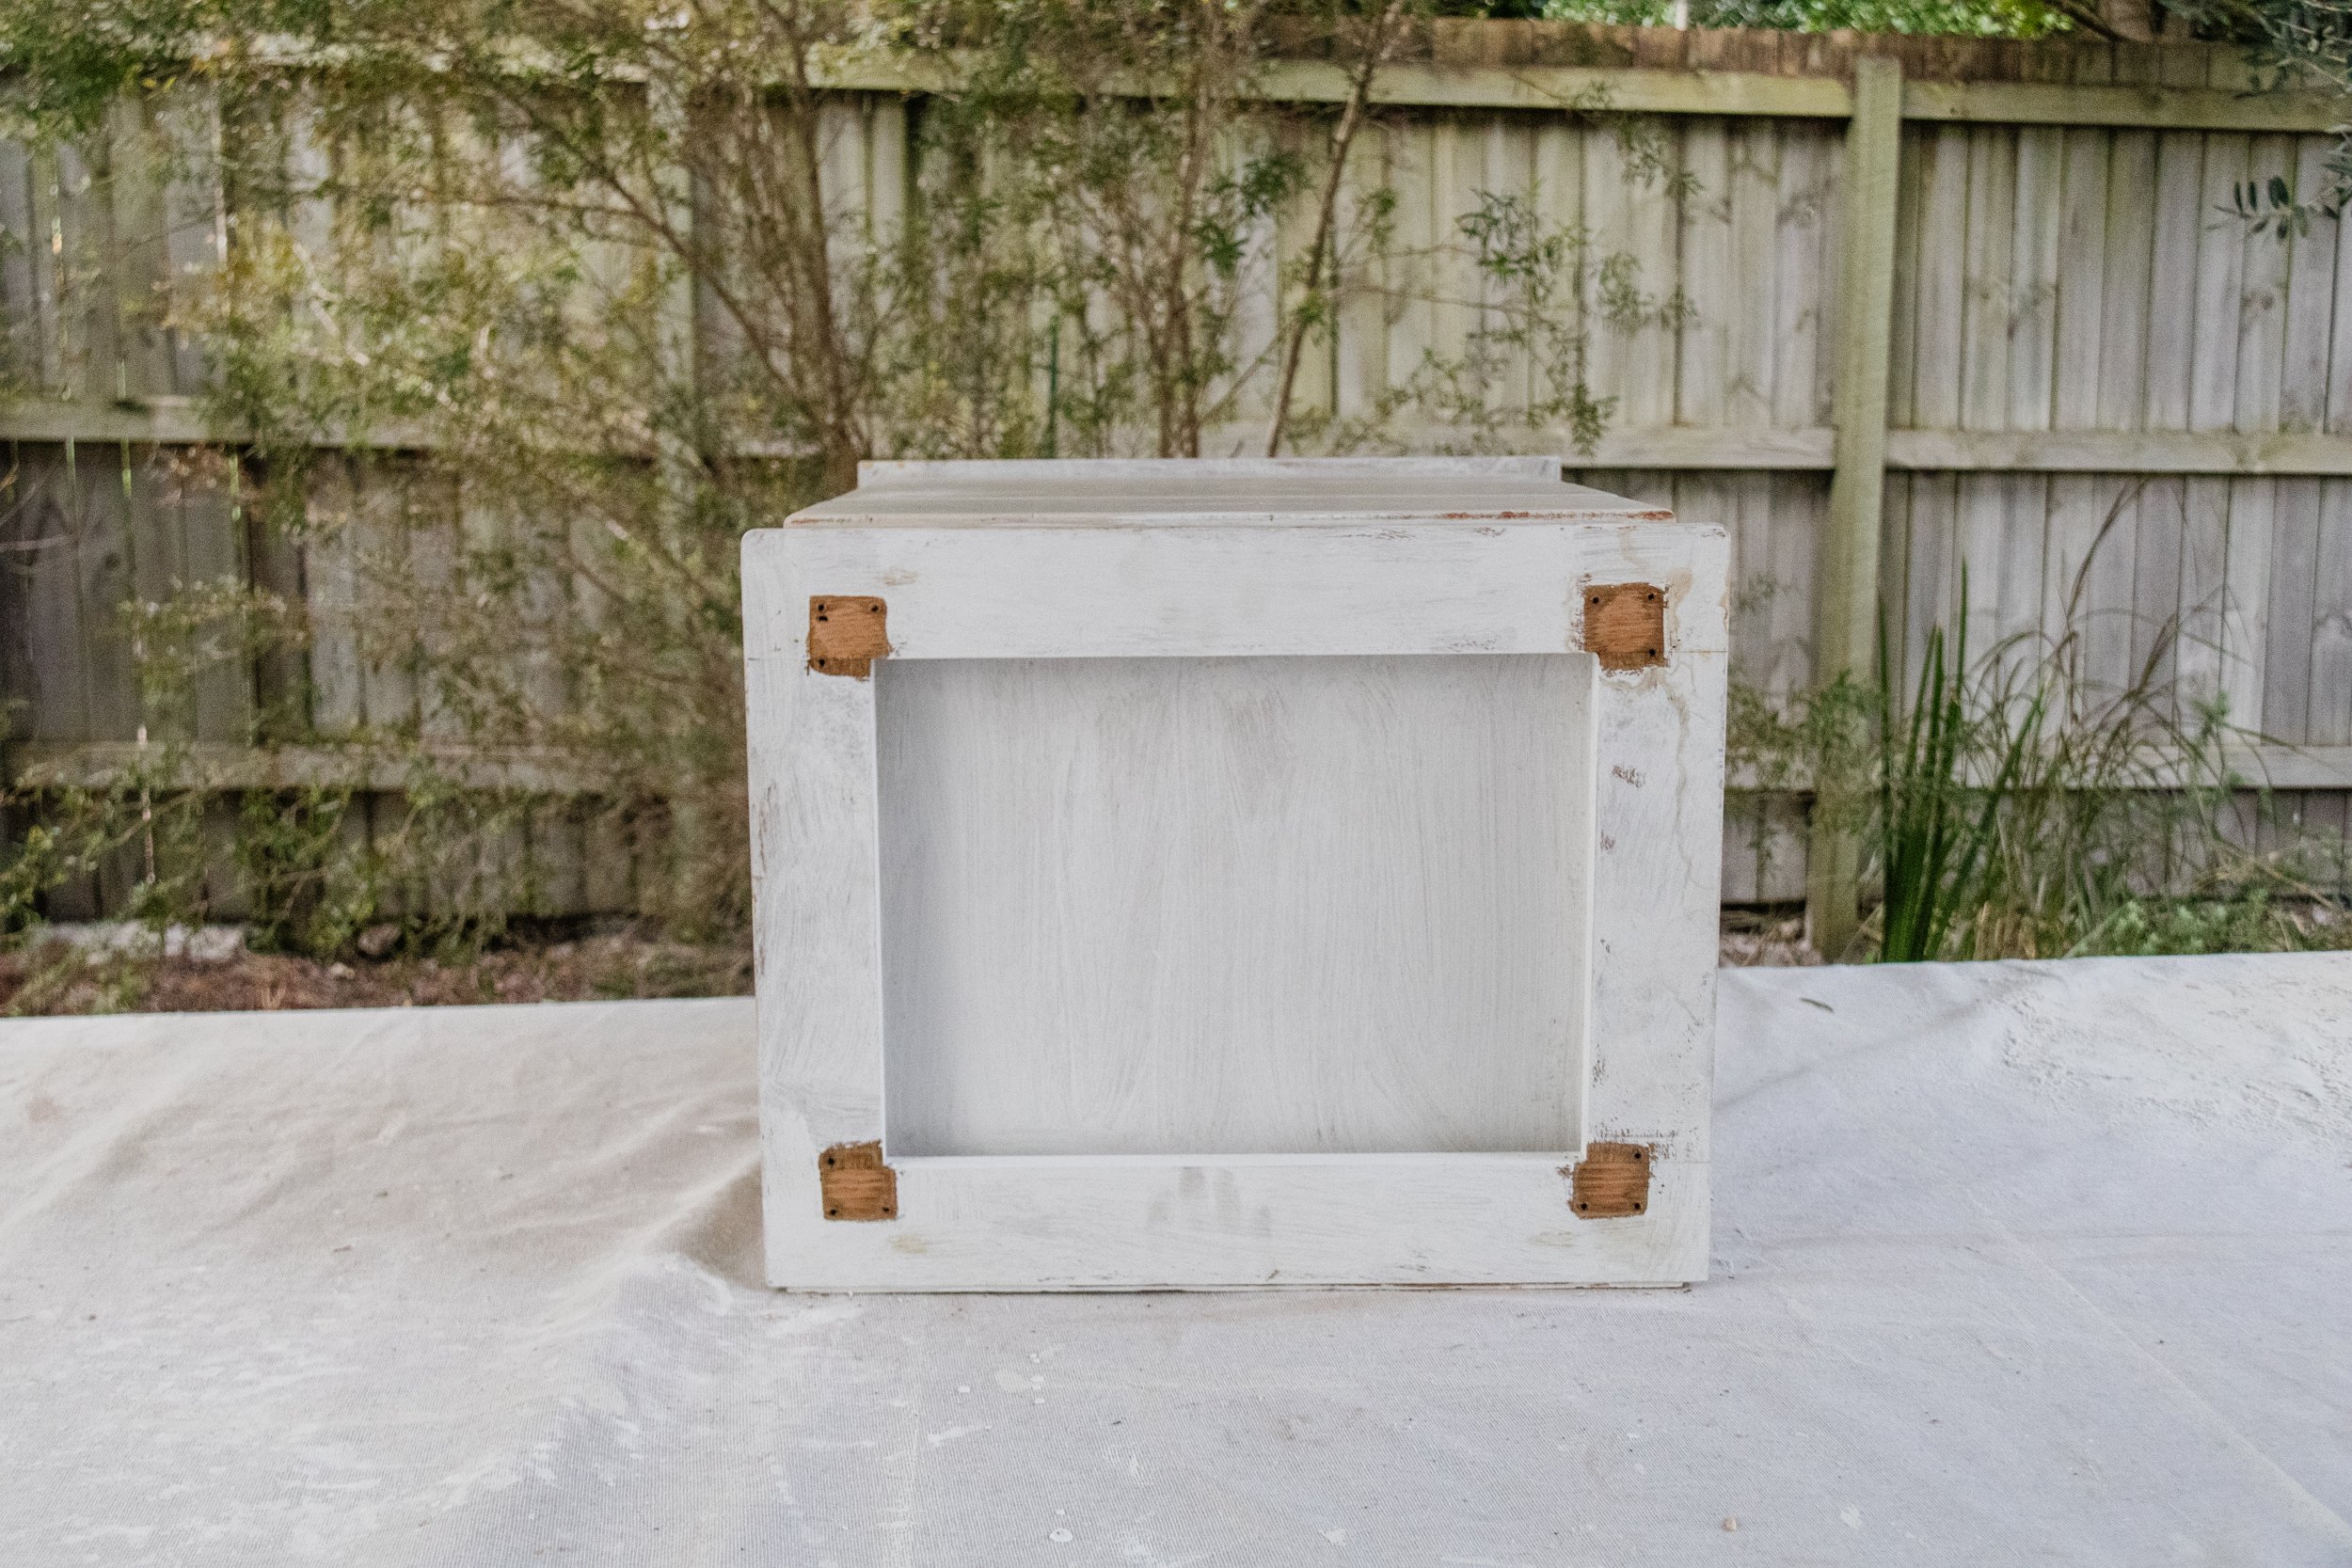
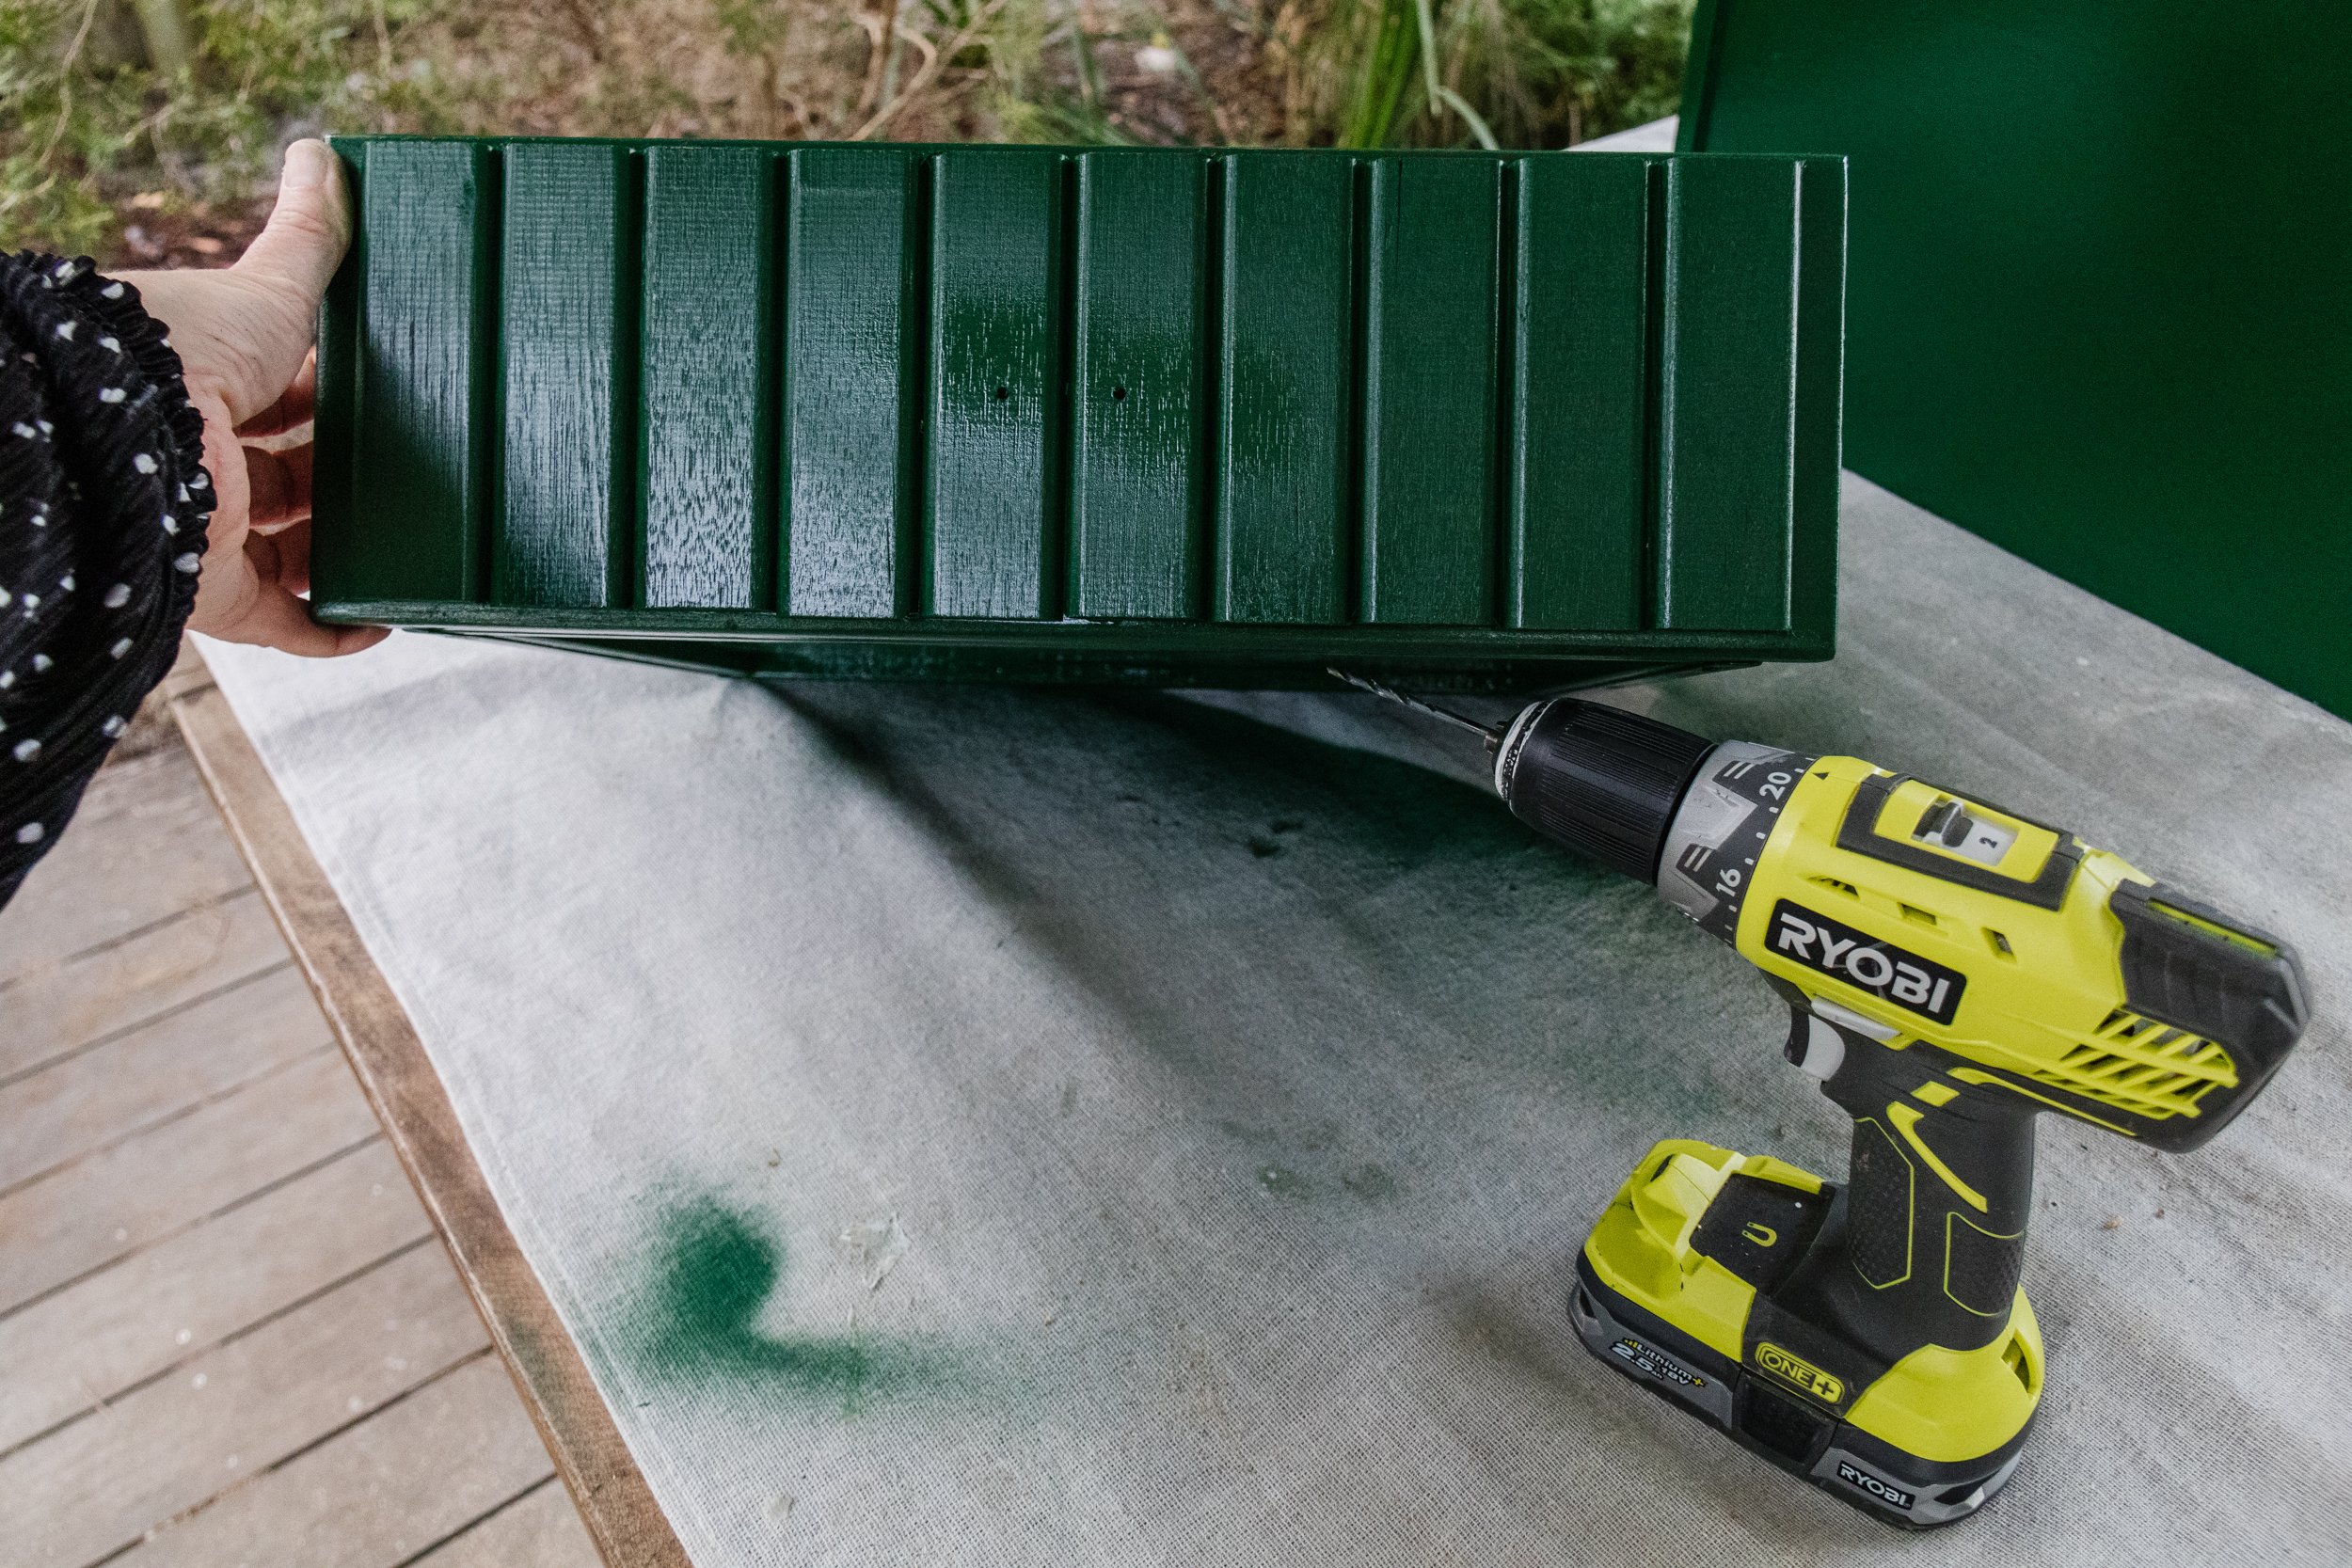
Spray the bedside table frame with Rust-Oleum 2X Paint & Prime Spray Paint in Hunter Green - you will need to apply 2 to 3 coats. It dries quickly so you will only need 10 to 30 minutes in between coats, depending on the weather. If the climate is cooler, you may need more time in between coats. Set aside.
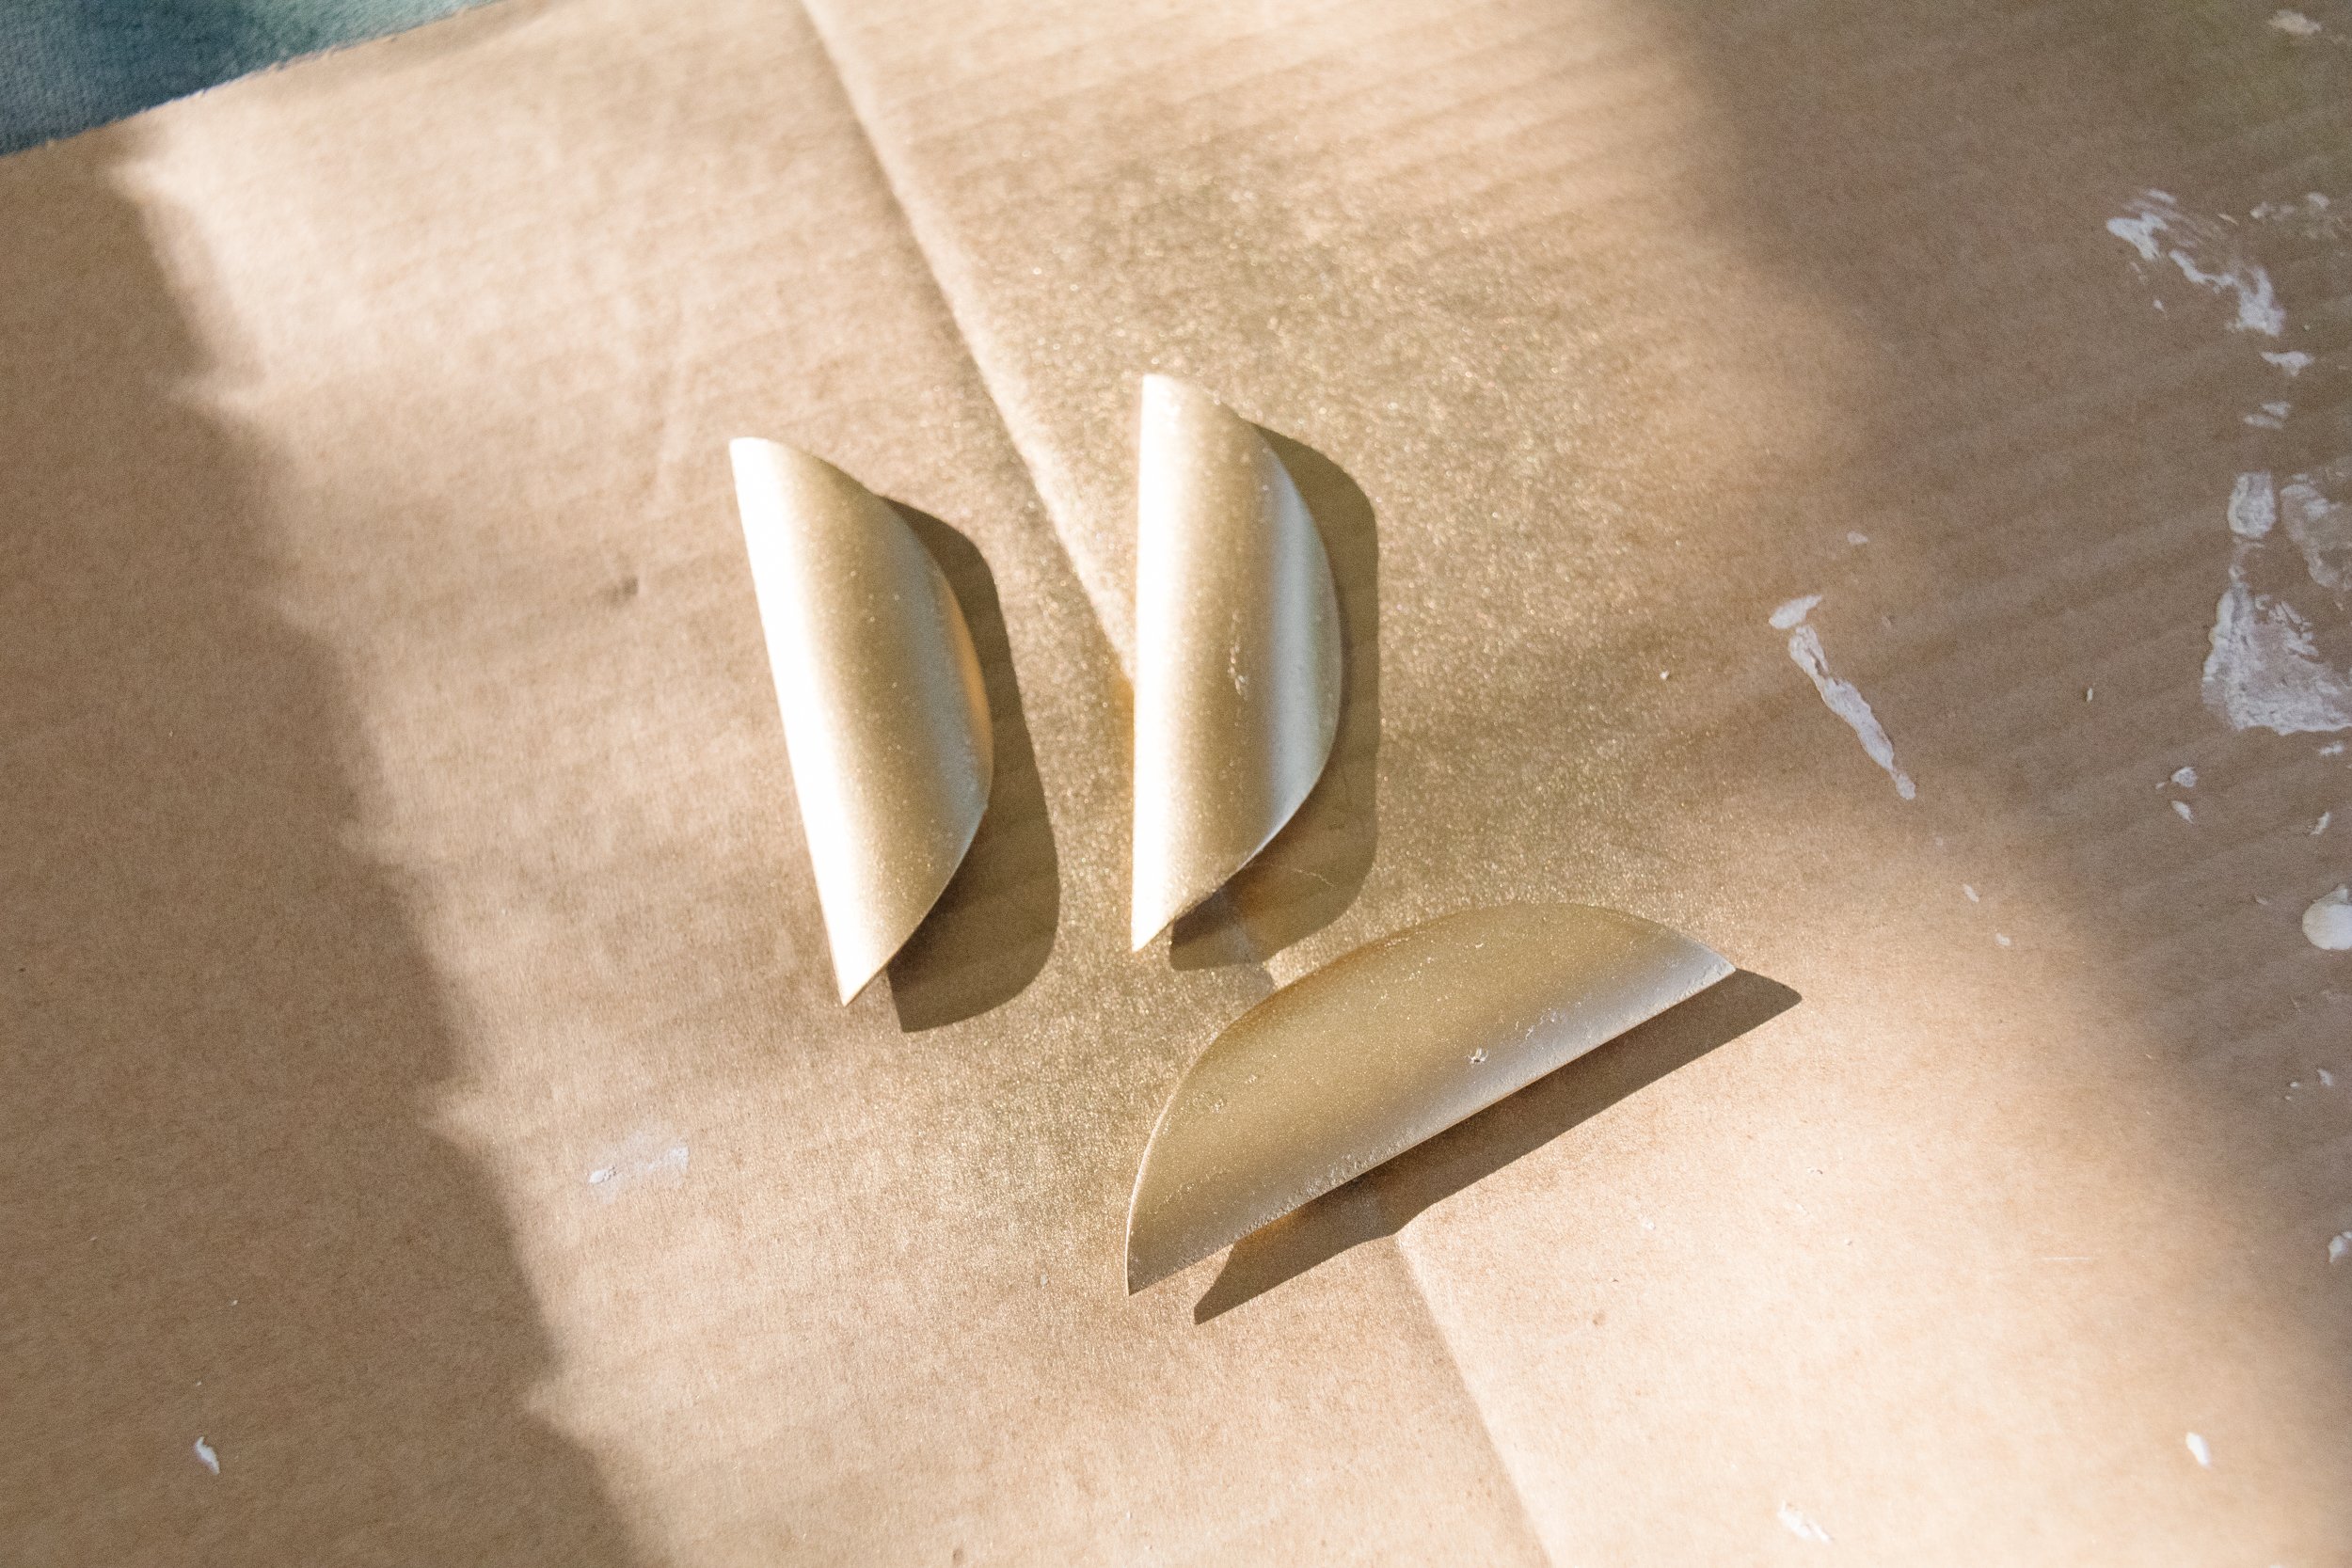
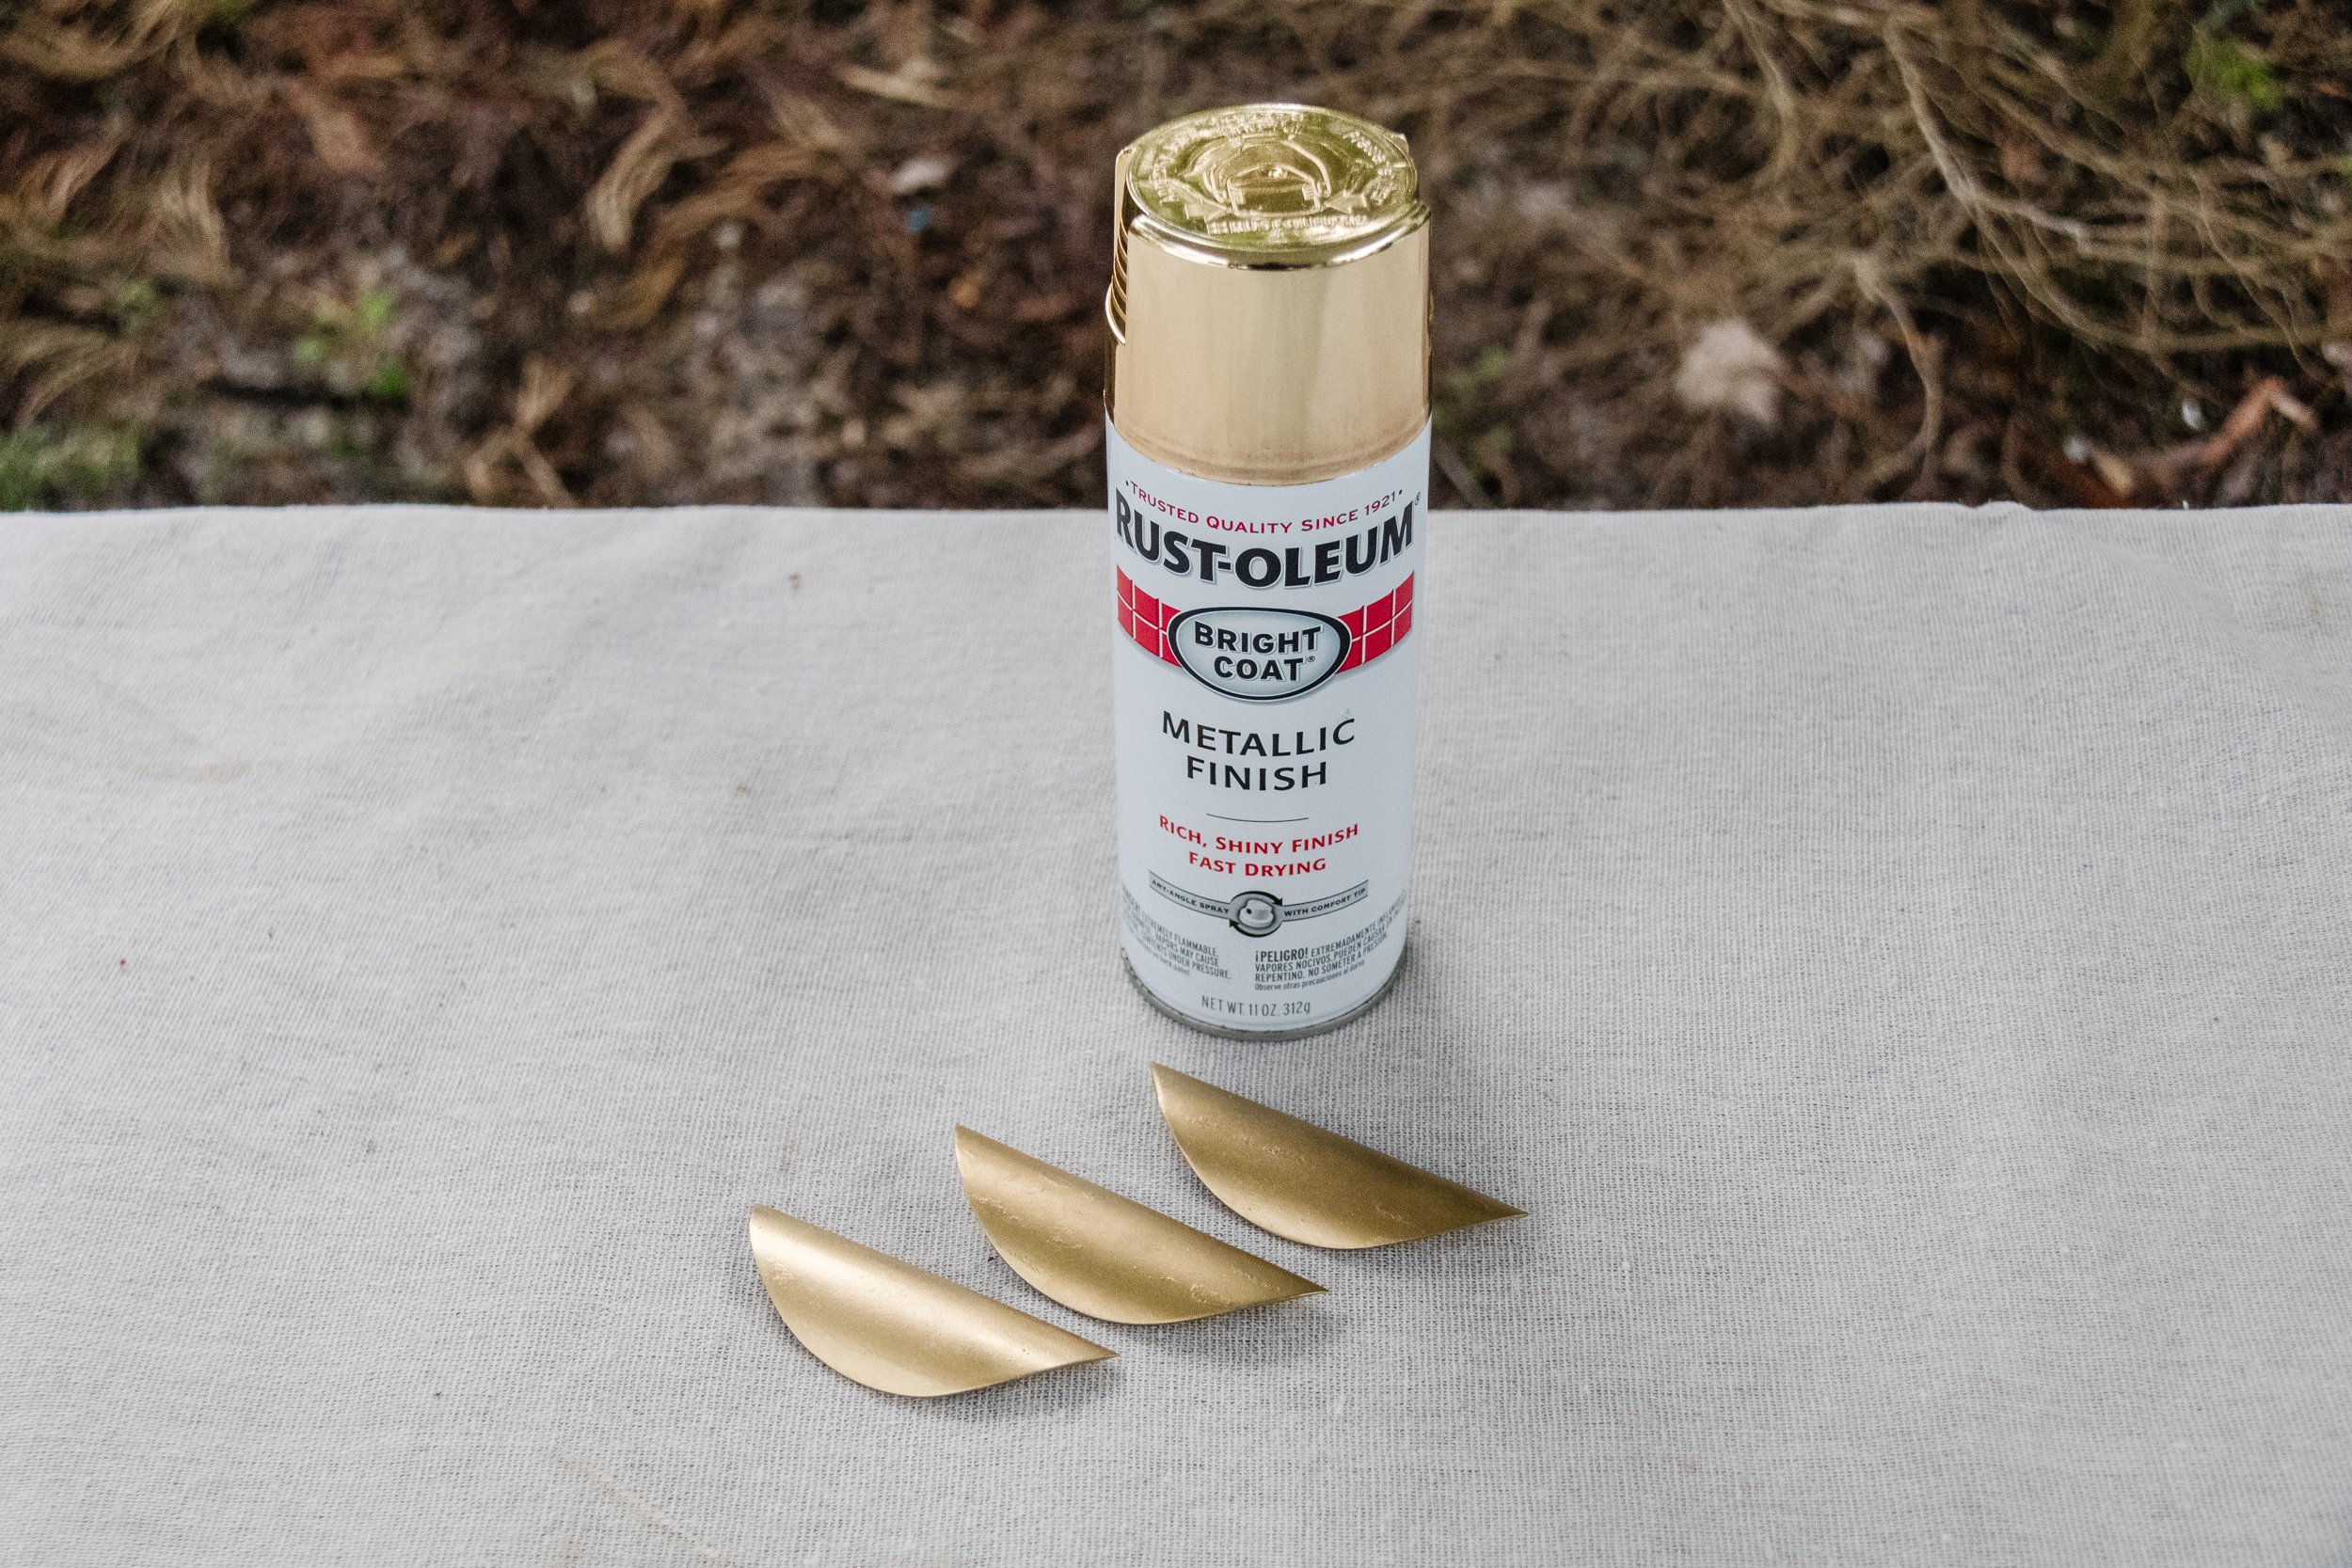
While that’s drying, sand the handles until they are free of existing paint. Spray one cost of Rust-Oleum Bright Coat Spray Paint in Gold, and when dry turn the handles over and spray the other side. One coat is enough. Set aside.
Carefully remove the painters tape and spray the bedside table frame with Rust-Oleum 2X Paint & Prime Spray Paint in Hunter Green - you will need to apply 2 to 3 coats. It dries quickly so you will only need 10 to 30 minutes in between coats, depending on the weather. If the climate is cooler, you may need more time in between coats. Set aside.
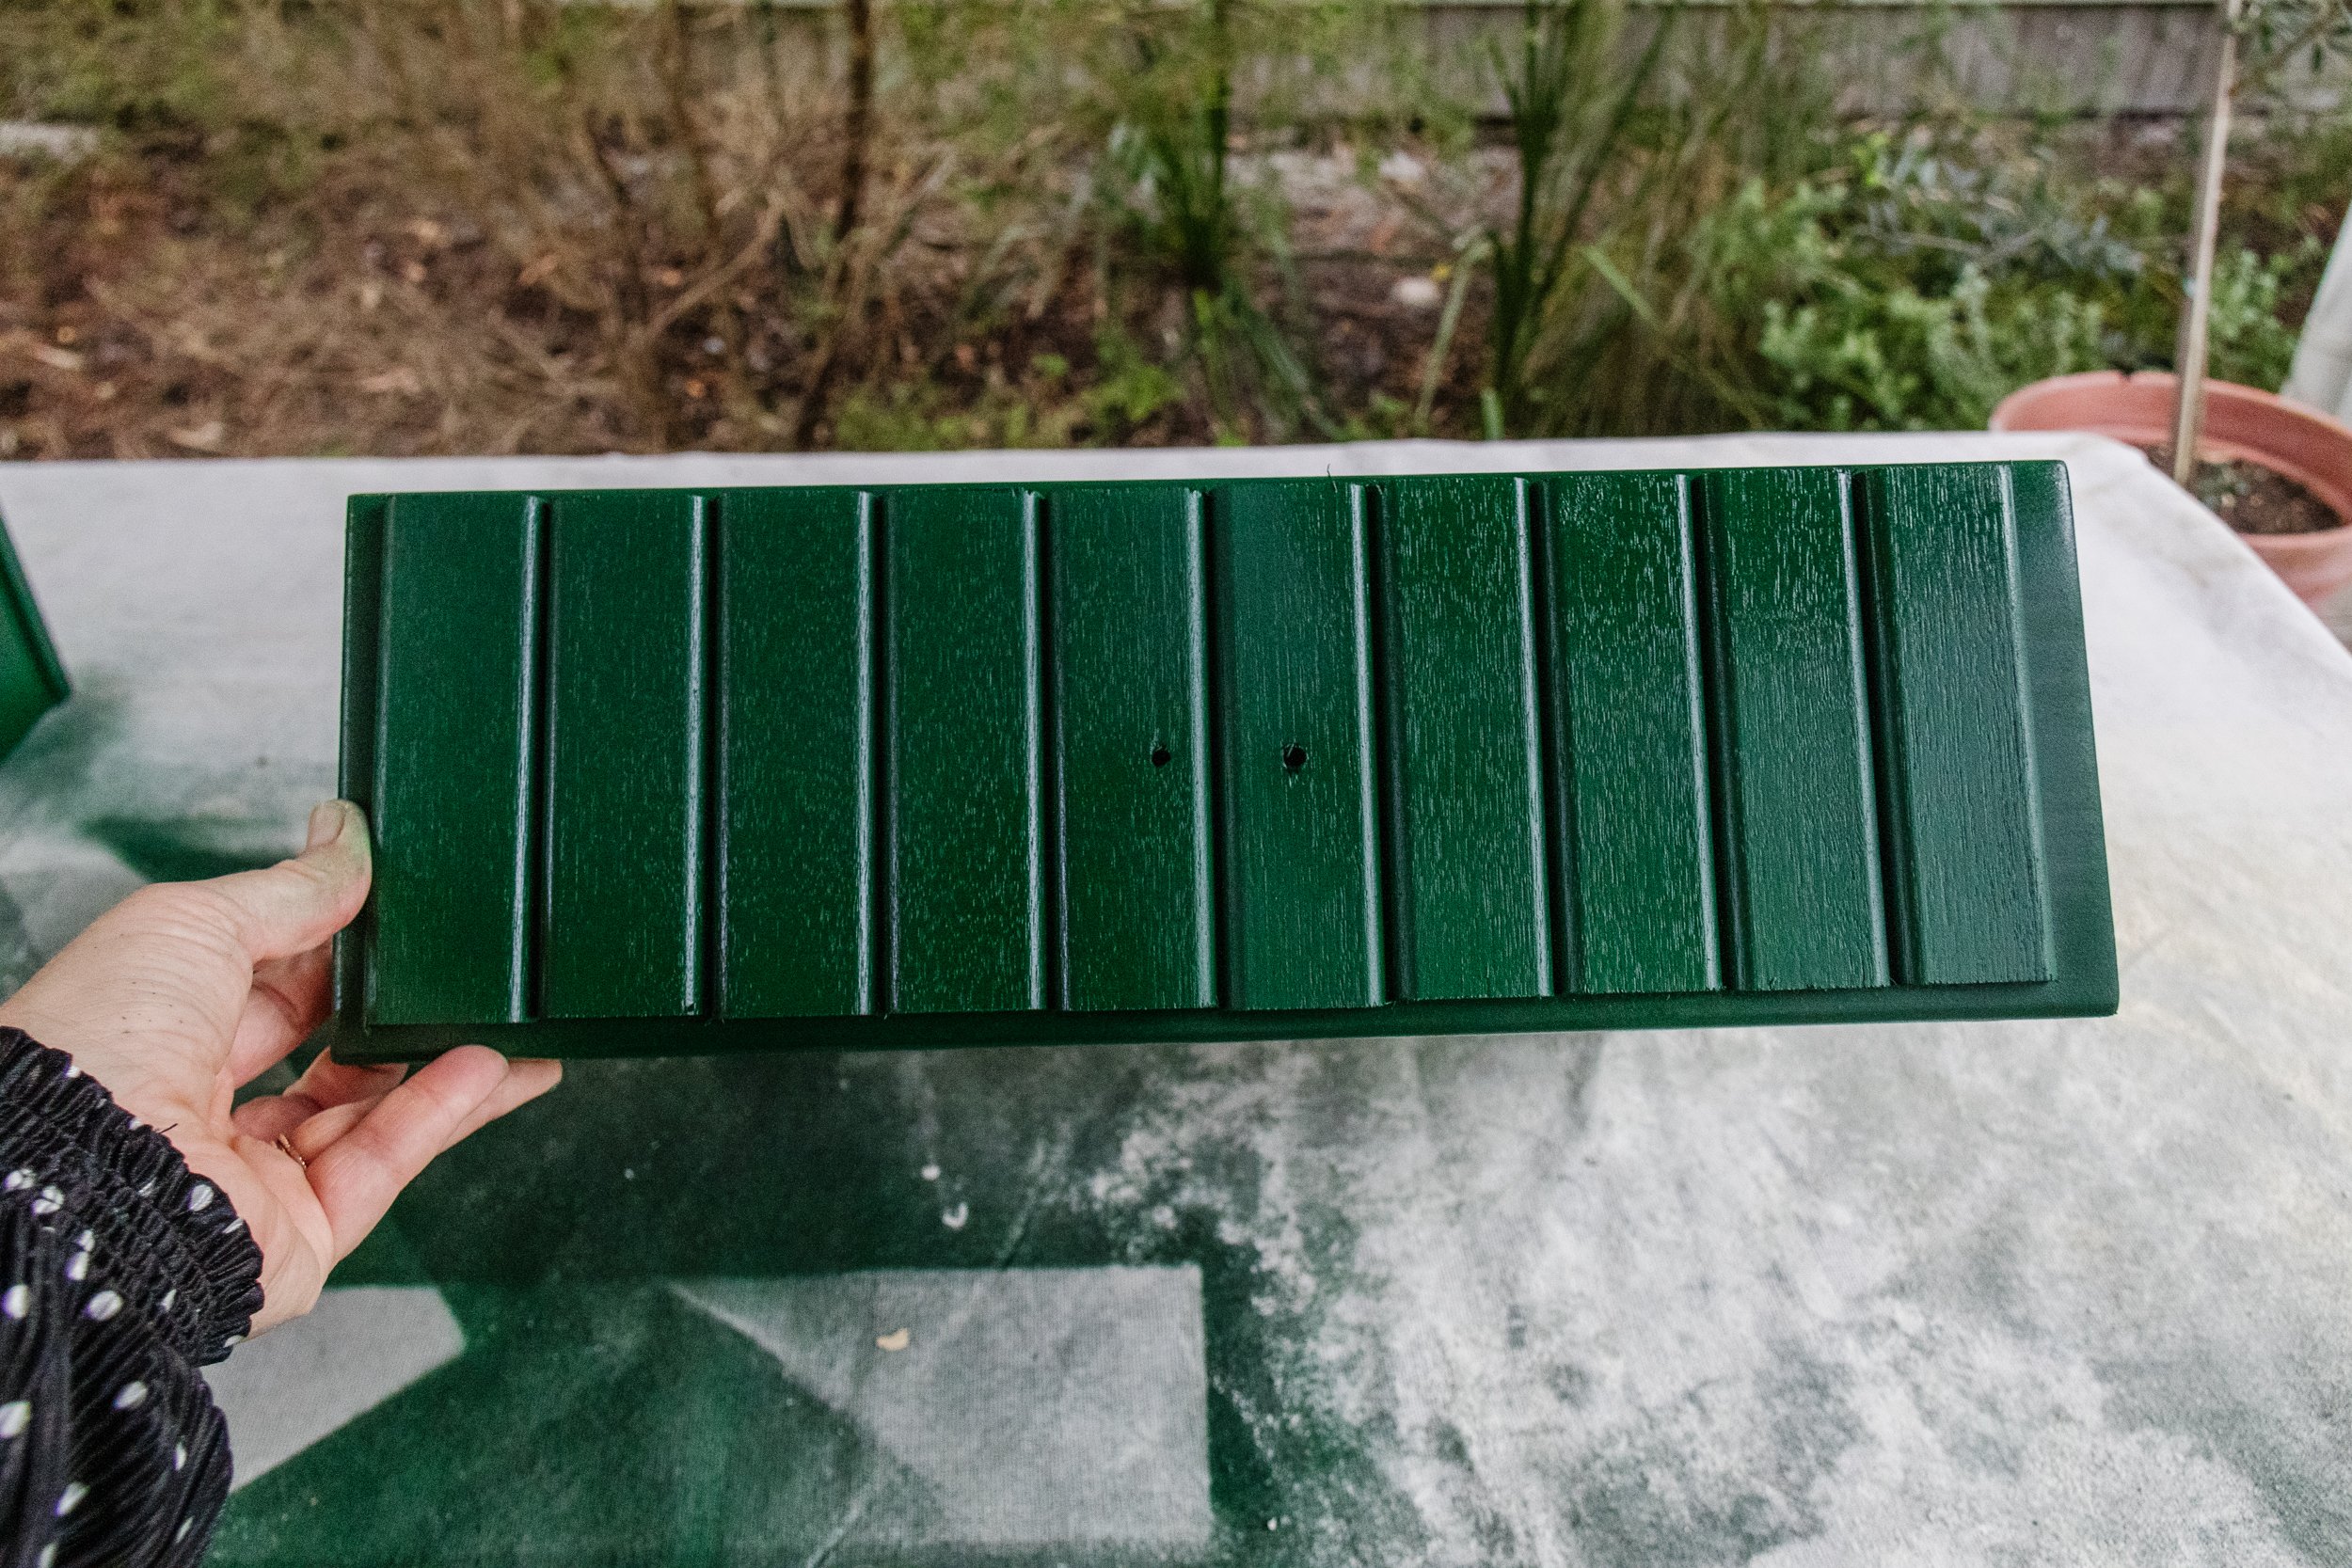
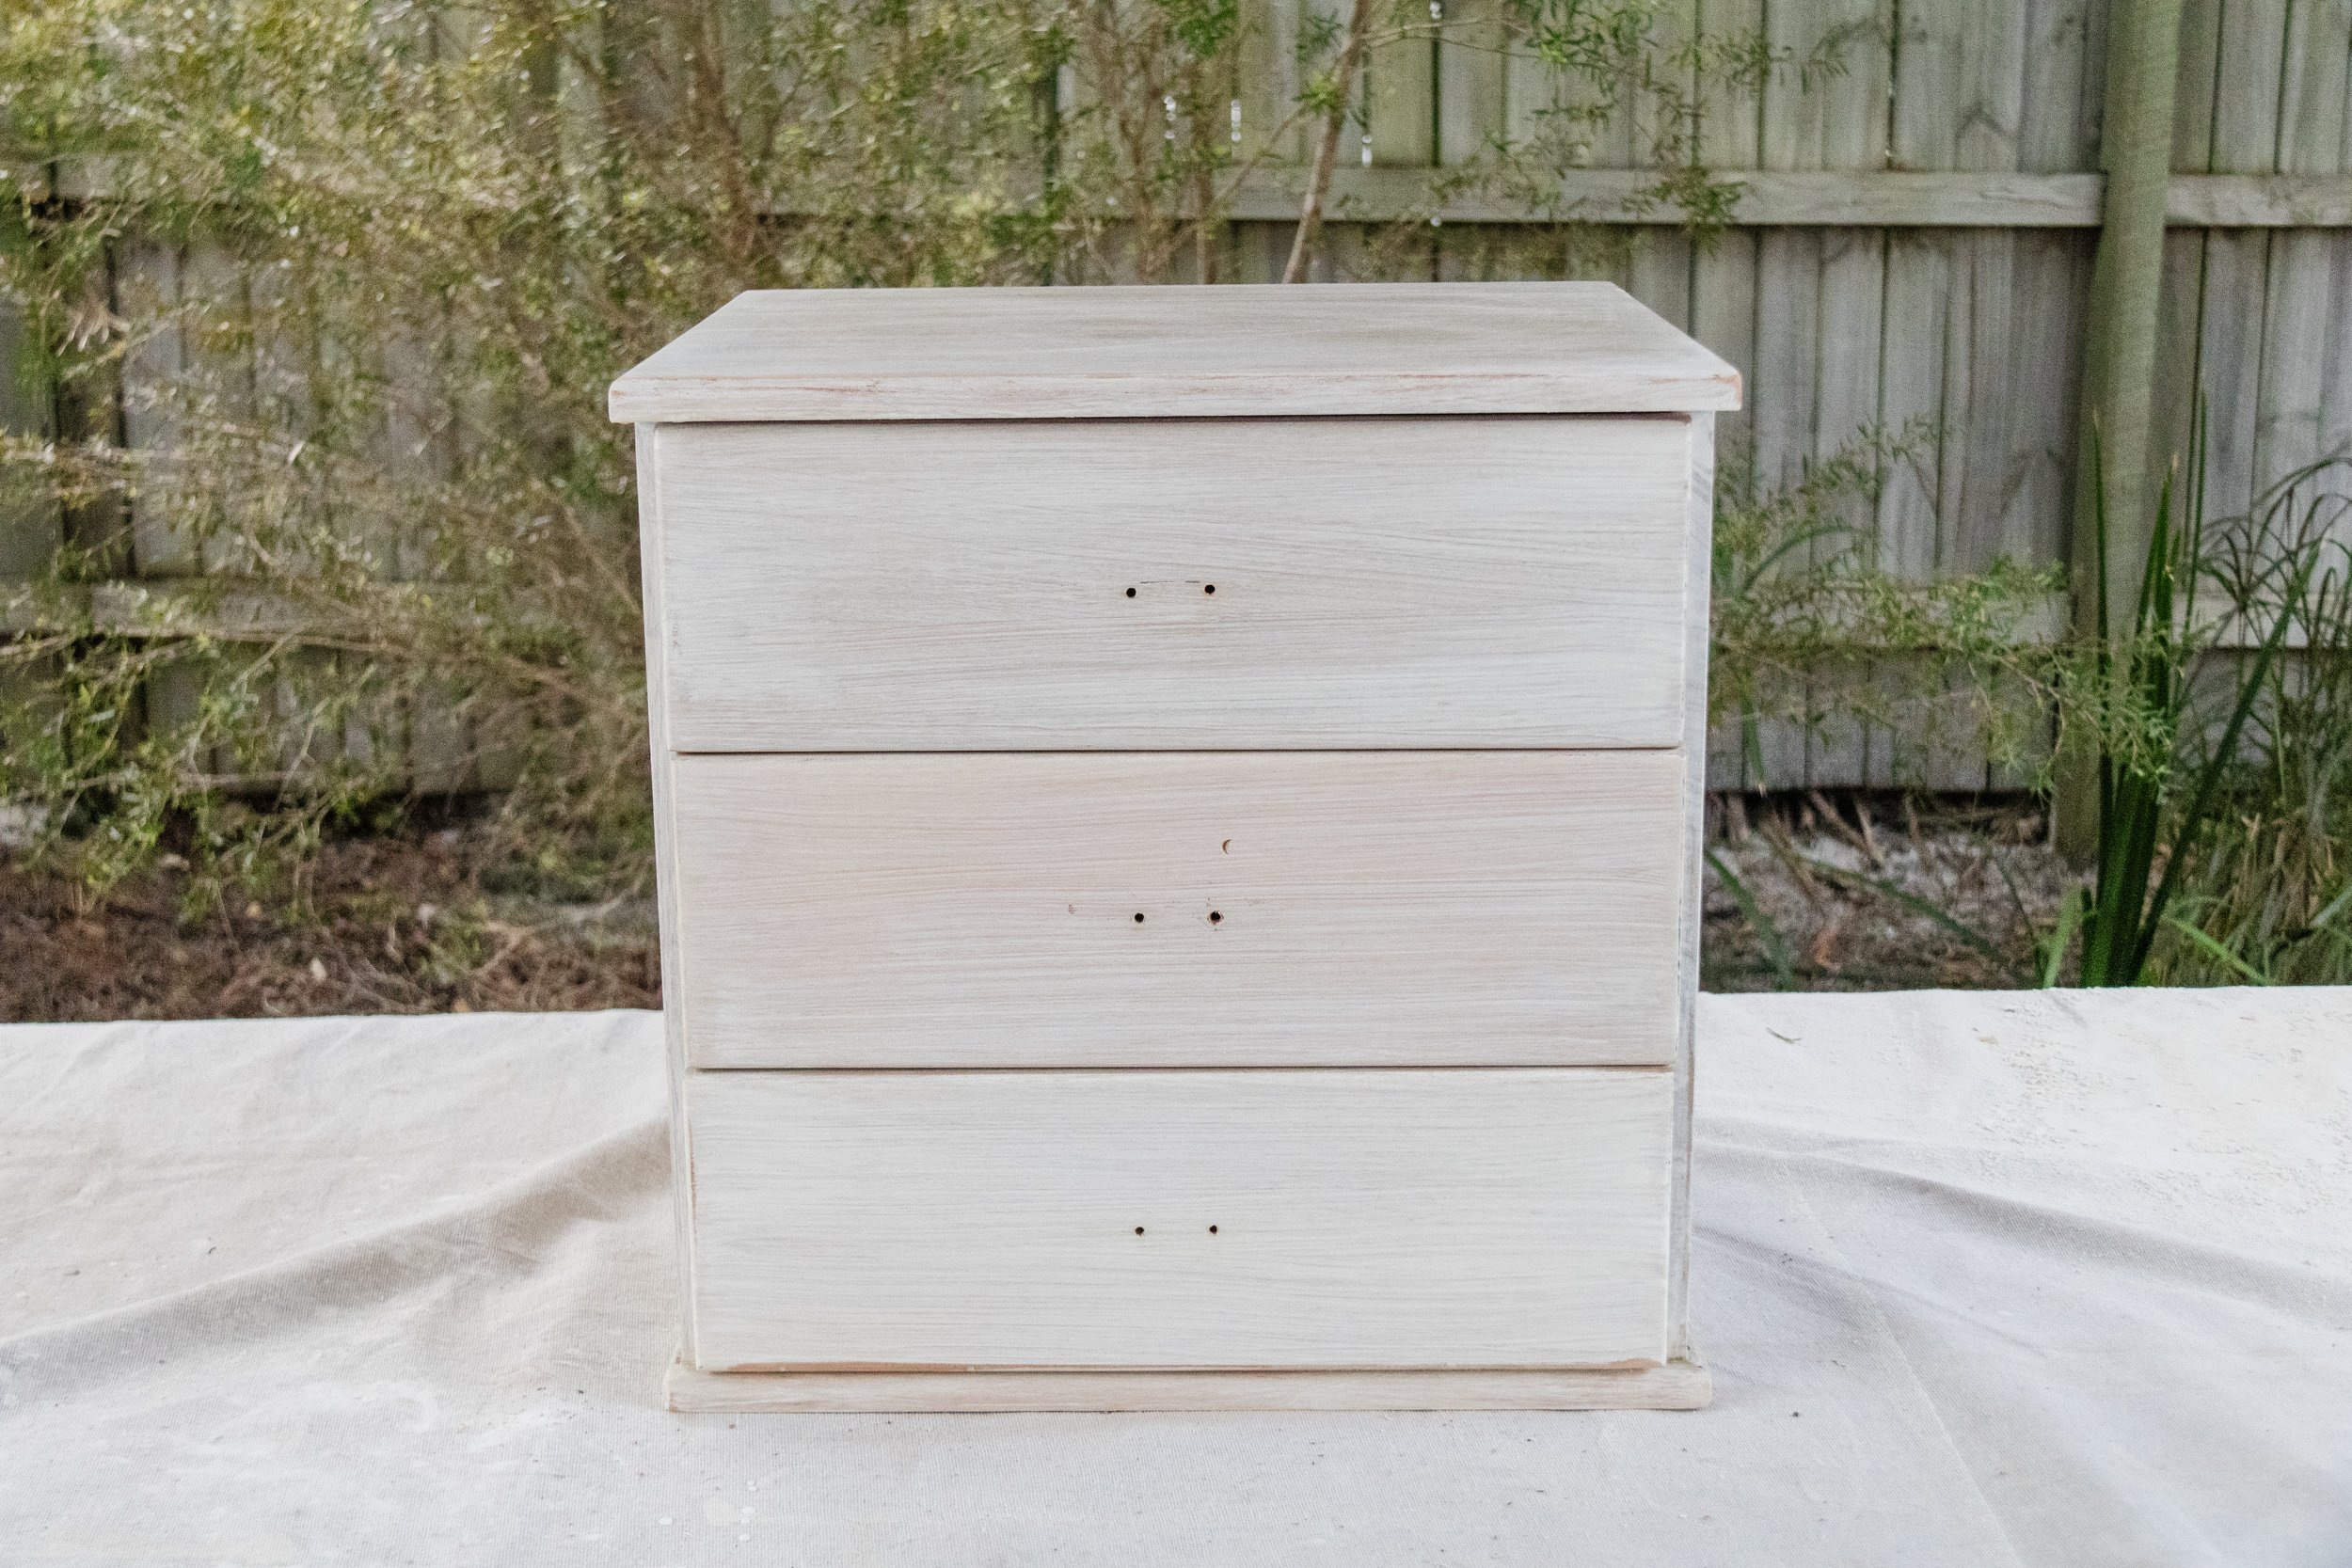
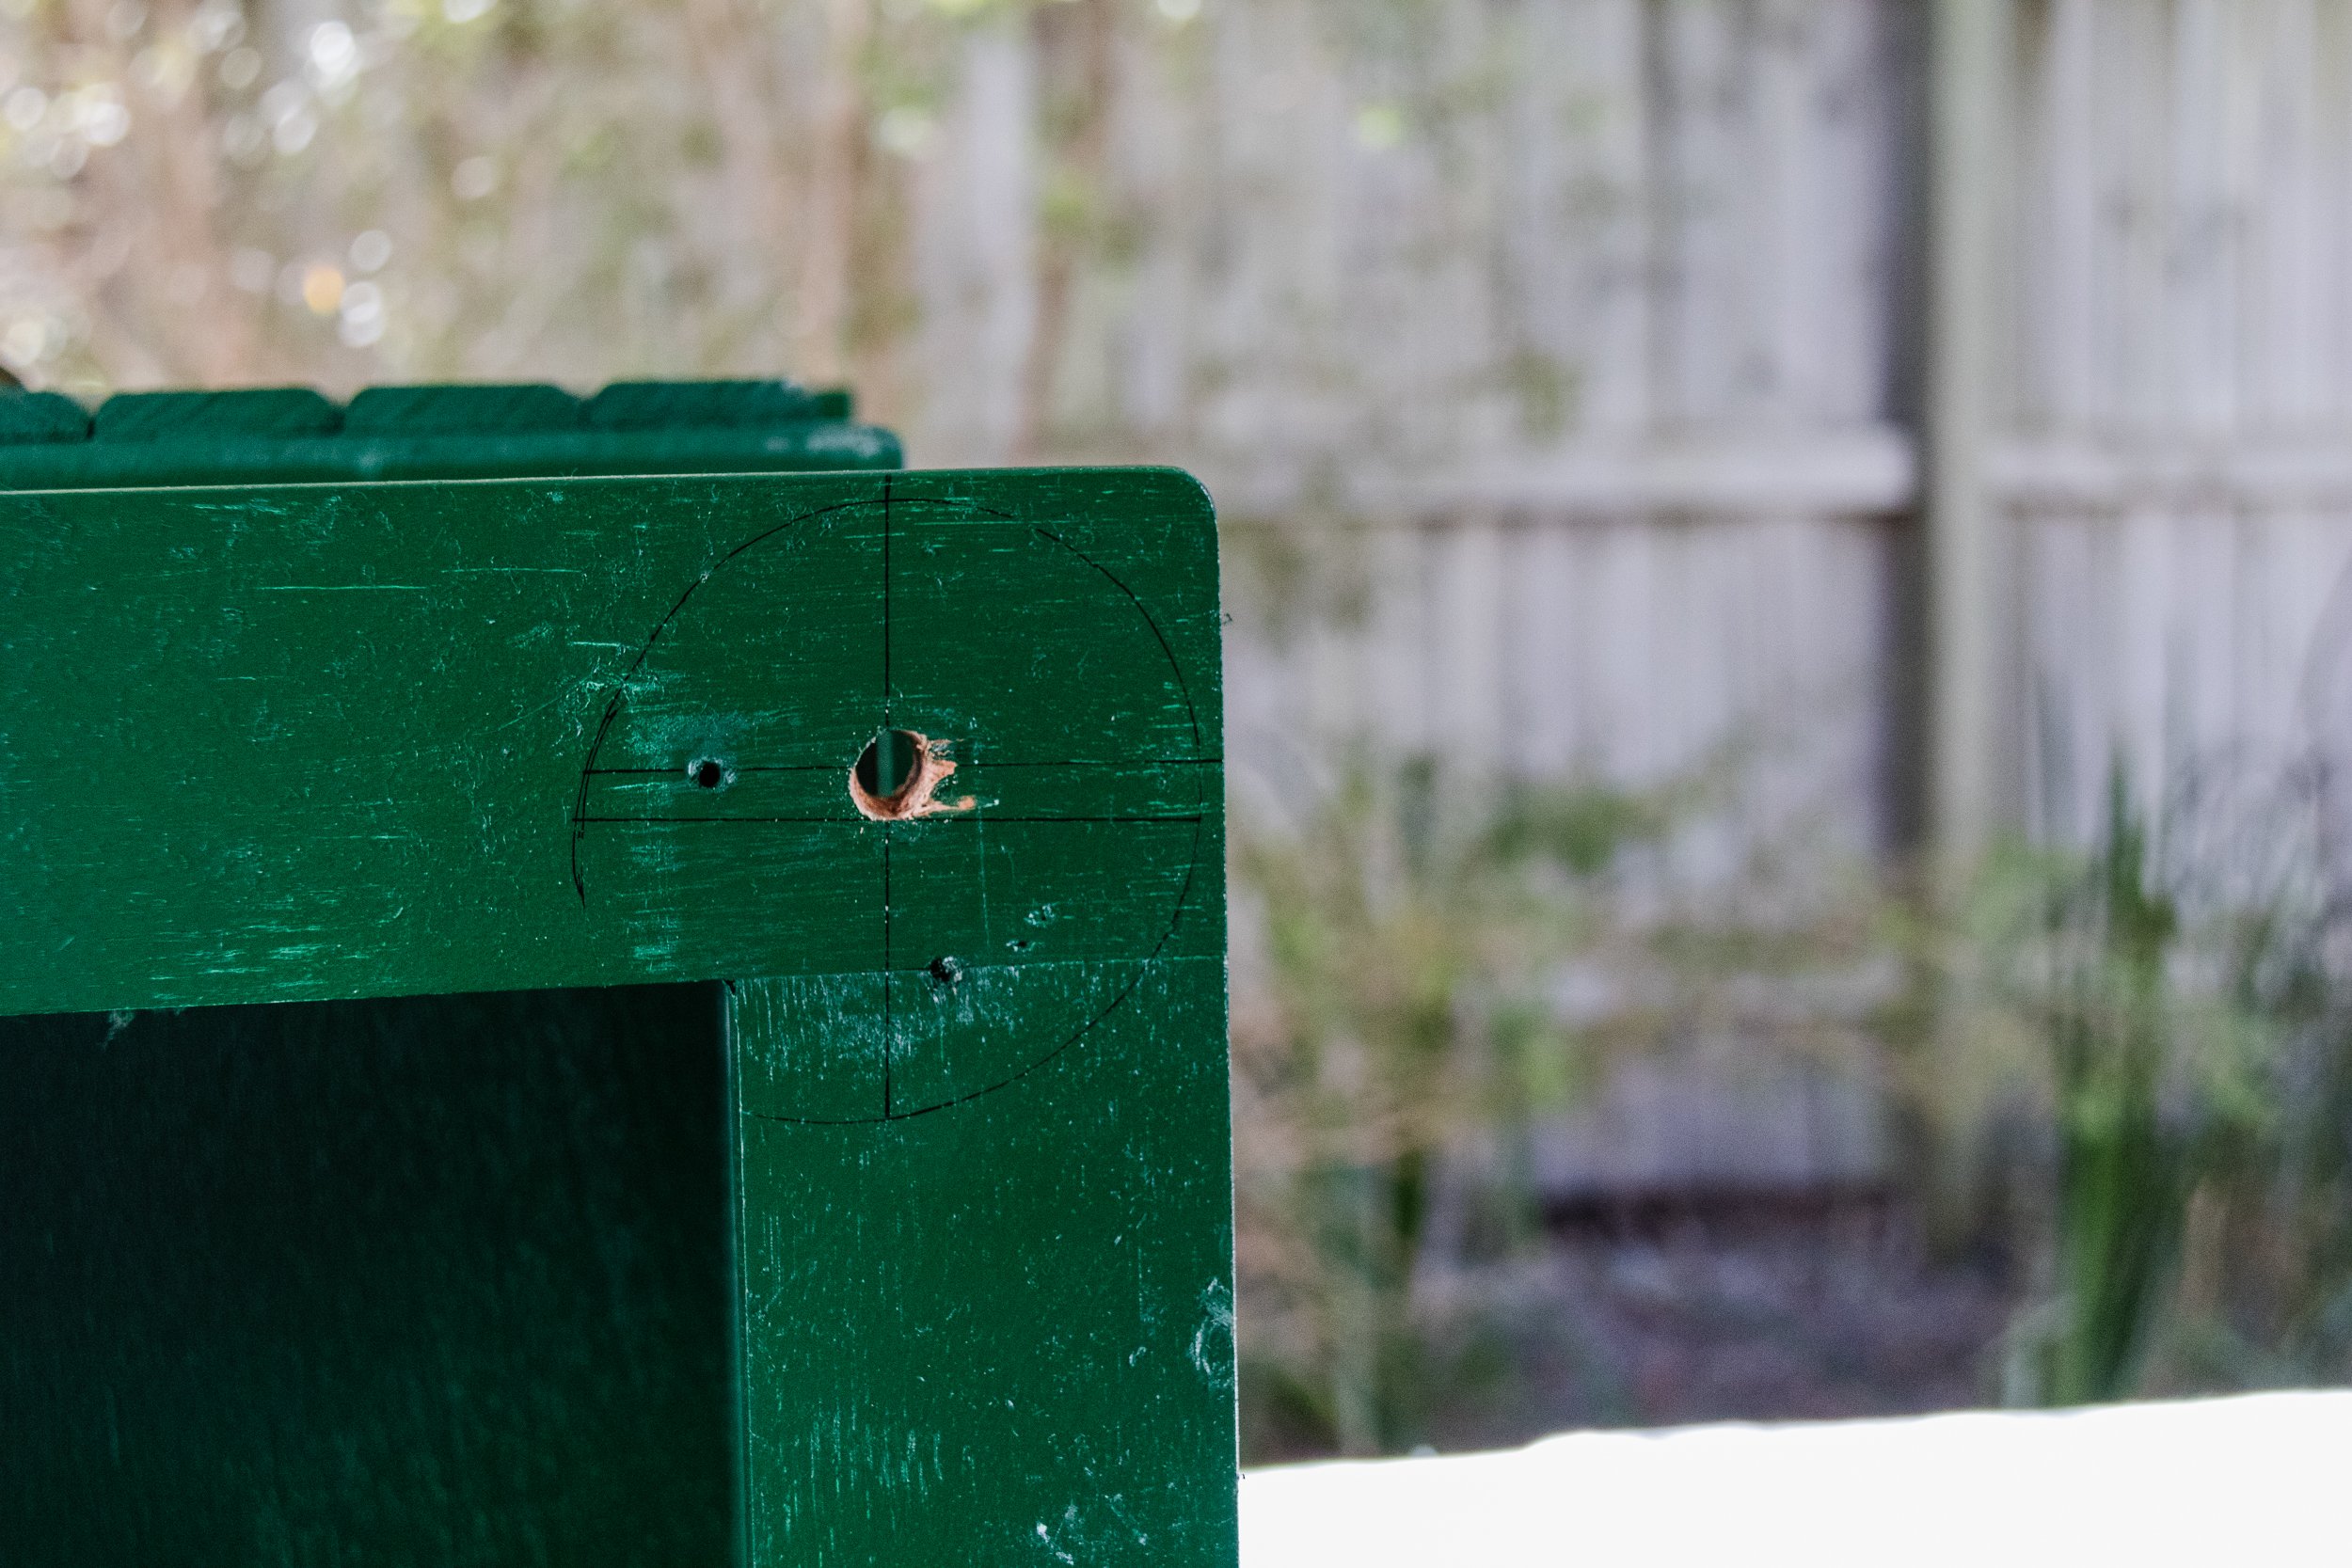
It’s now time to put the handles into each drawer. Using a smaller drill bit to the size of the new screws, drill into the existing holes inside each drawer until a hole is pierced through the front, where the fluted detail is. When all drawers have been drilled, lightly spray another coat of Rust-Oleum 2X Paint & Prime Spray Paint in Hunter Green over the holes to cover exposed timber moulding from the drilling. Set aside to dry. When dry, drill the screws and handles onto each drawer.
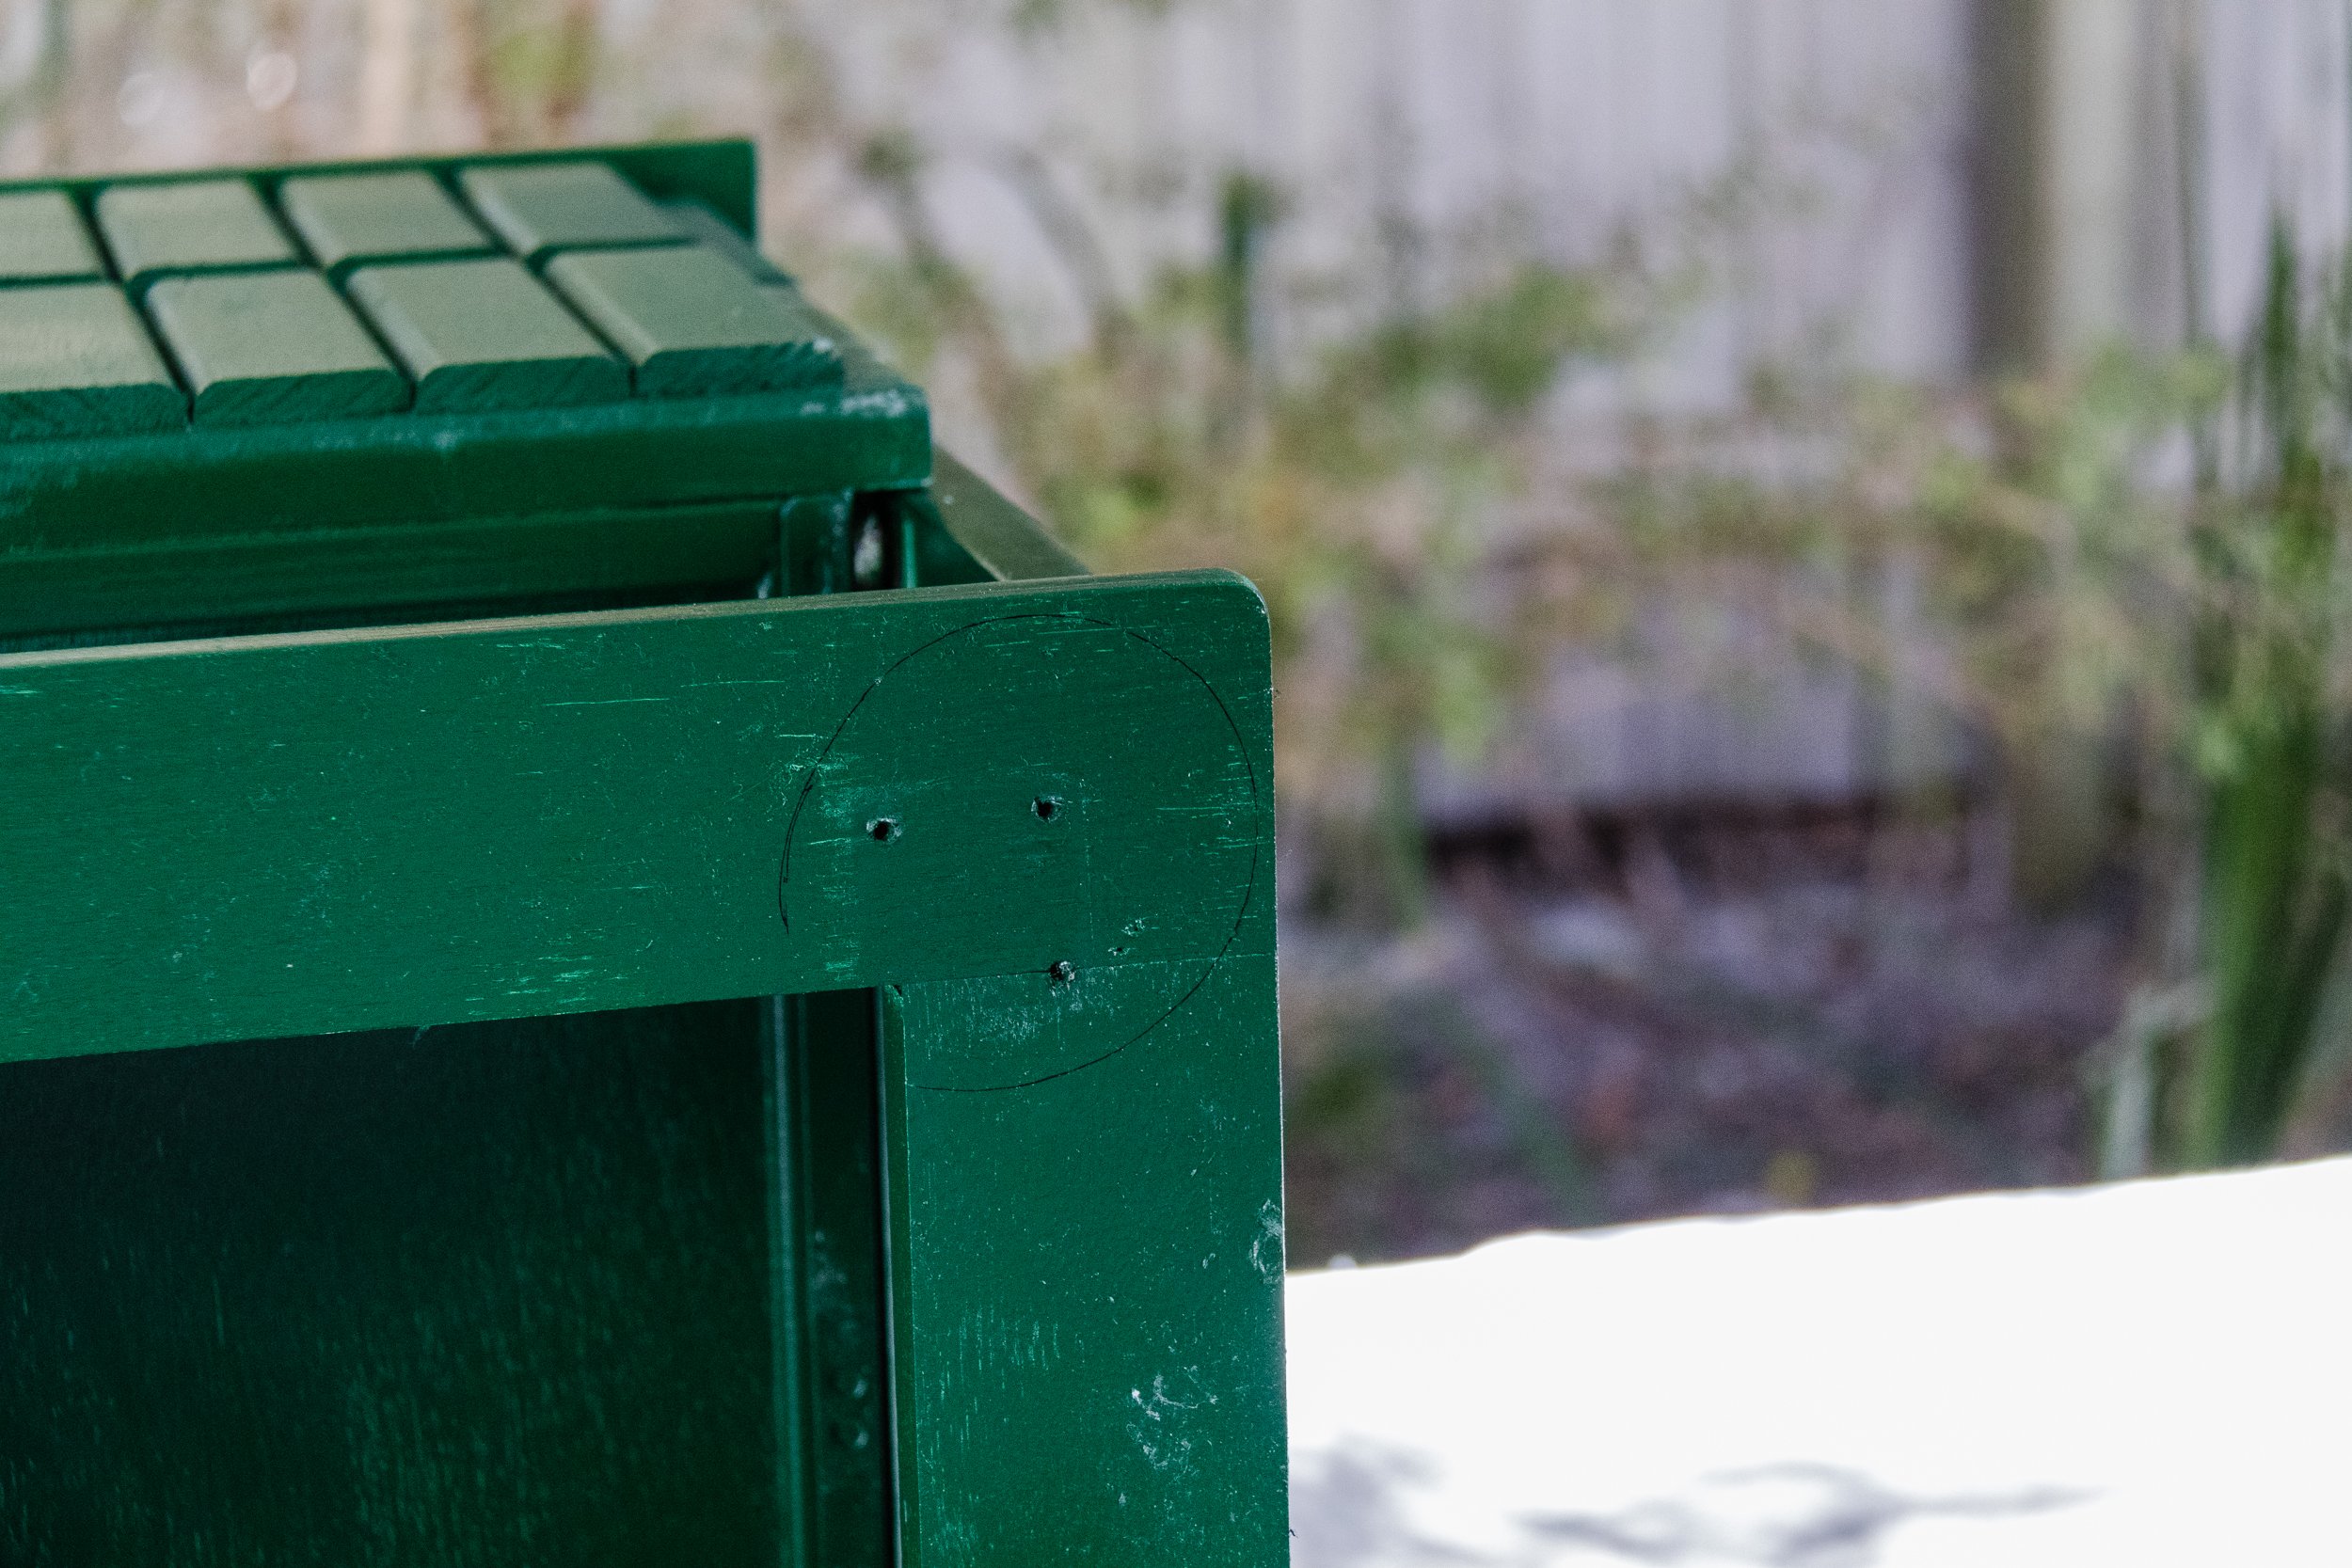
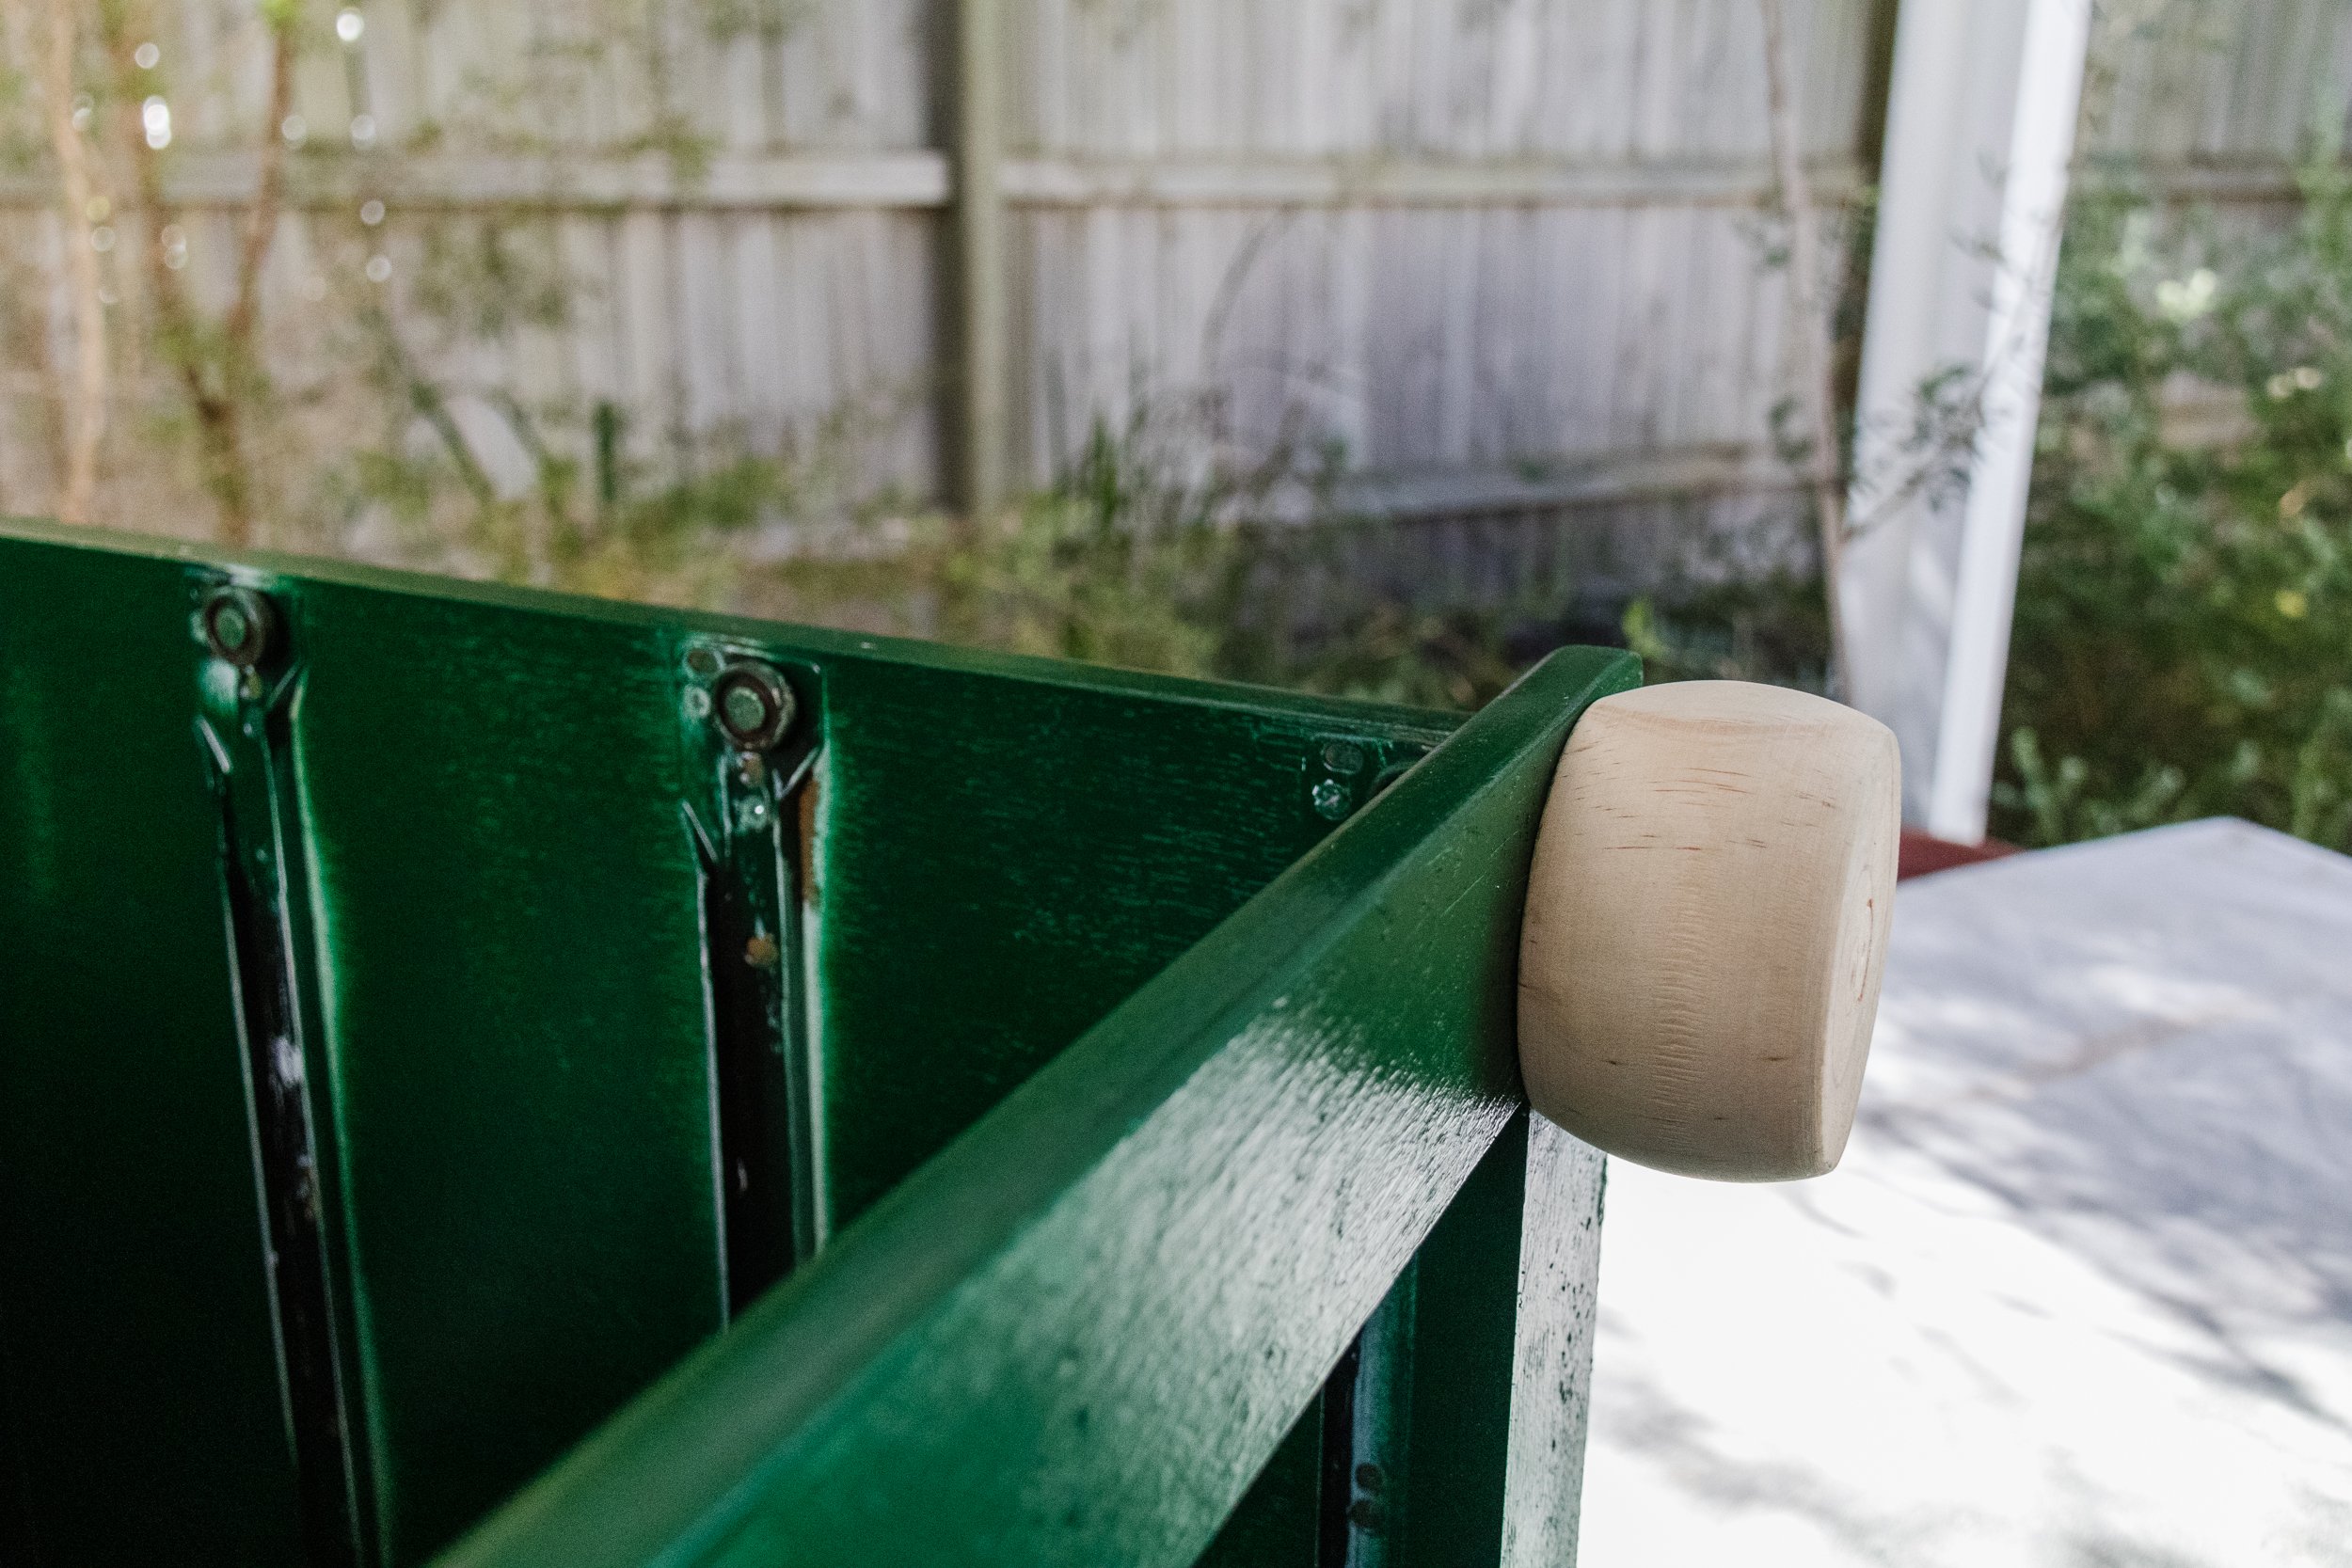
Turn the bedside table onto it’s back, get a pen and mark where the ball furniture legs will go underneath the bedside table. Use a smaller drill bit to the size of the new ball furniture feet, drill a hole into each corner of the bedside table. Then twist the feet until they are tightly in position.
Stand the bedside table up and place the drawers back in. And it’s done! Now get your favourite lamp, books and home decor, and have fun styling your beautiful new Upcycled Fluted Bedside Table.

Ta daaaa! Upcycling an ugly bedside table in a day? Oh yes, yes indeed!
Even I’m impressed I managed to upcycle this ugly secondhand bedside table in a day. This would never be possible with paint and a paint brush. I love how fast and easy Rust-Oleum spray paint is to apply, and because it’s a primer and paint in one there is not need to prime the surface first (other than give it a sand and clean with baby wipes). I cannot tell you the hours I have spent painting secondhand furniture - well, never again! And make sure you watch this video to see how this upcycle came together in a day.
This upcycle project is in collaboration with Rust-Oleum.