Upcycled Wavy Cabinet (Using Round Rubber!)
Transform a secondhand cabinet using round rubber!
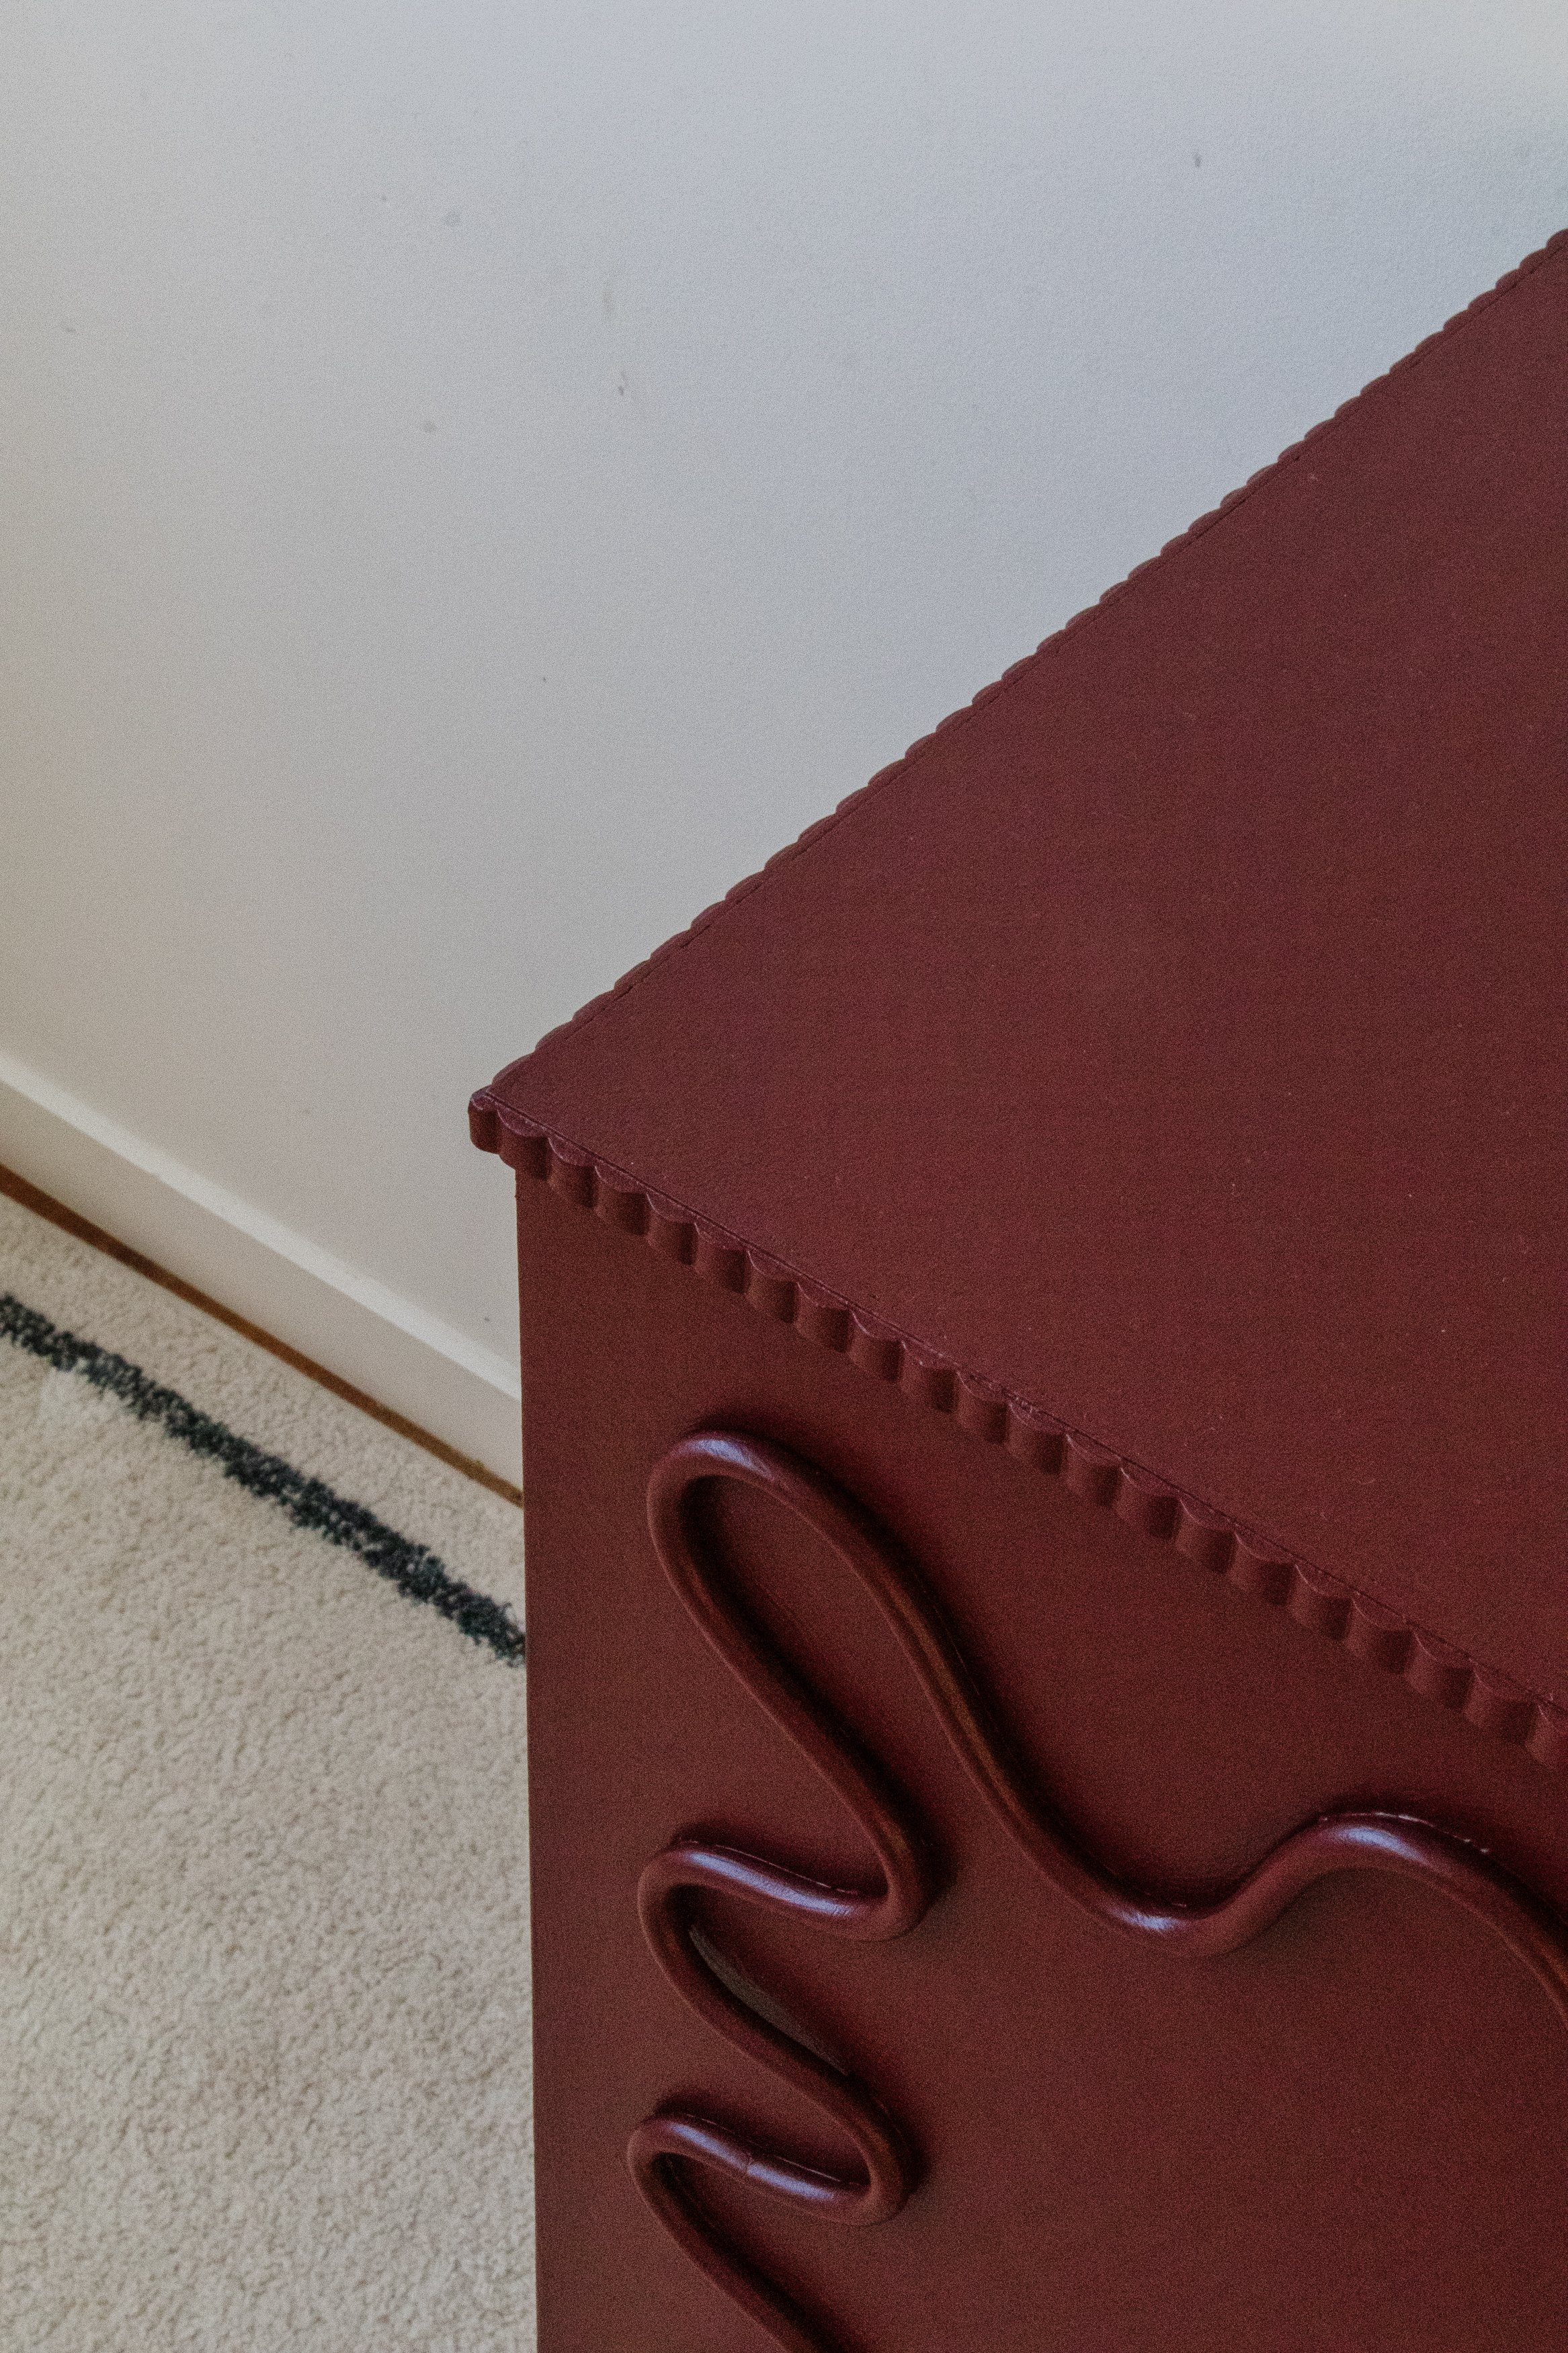
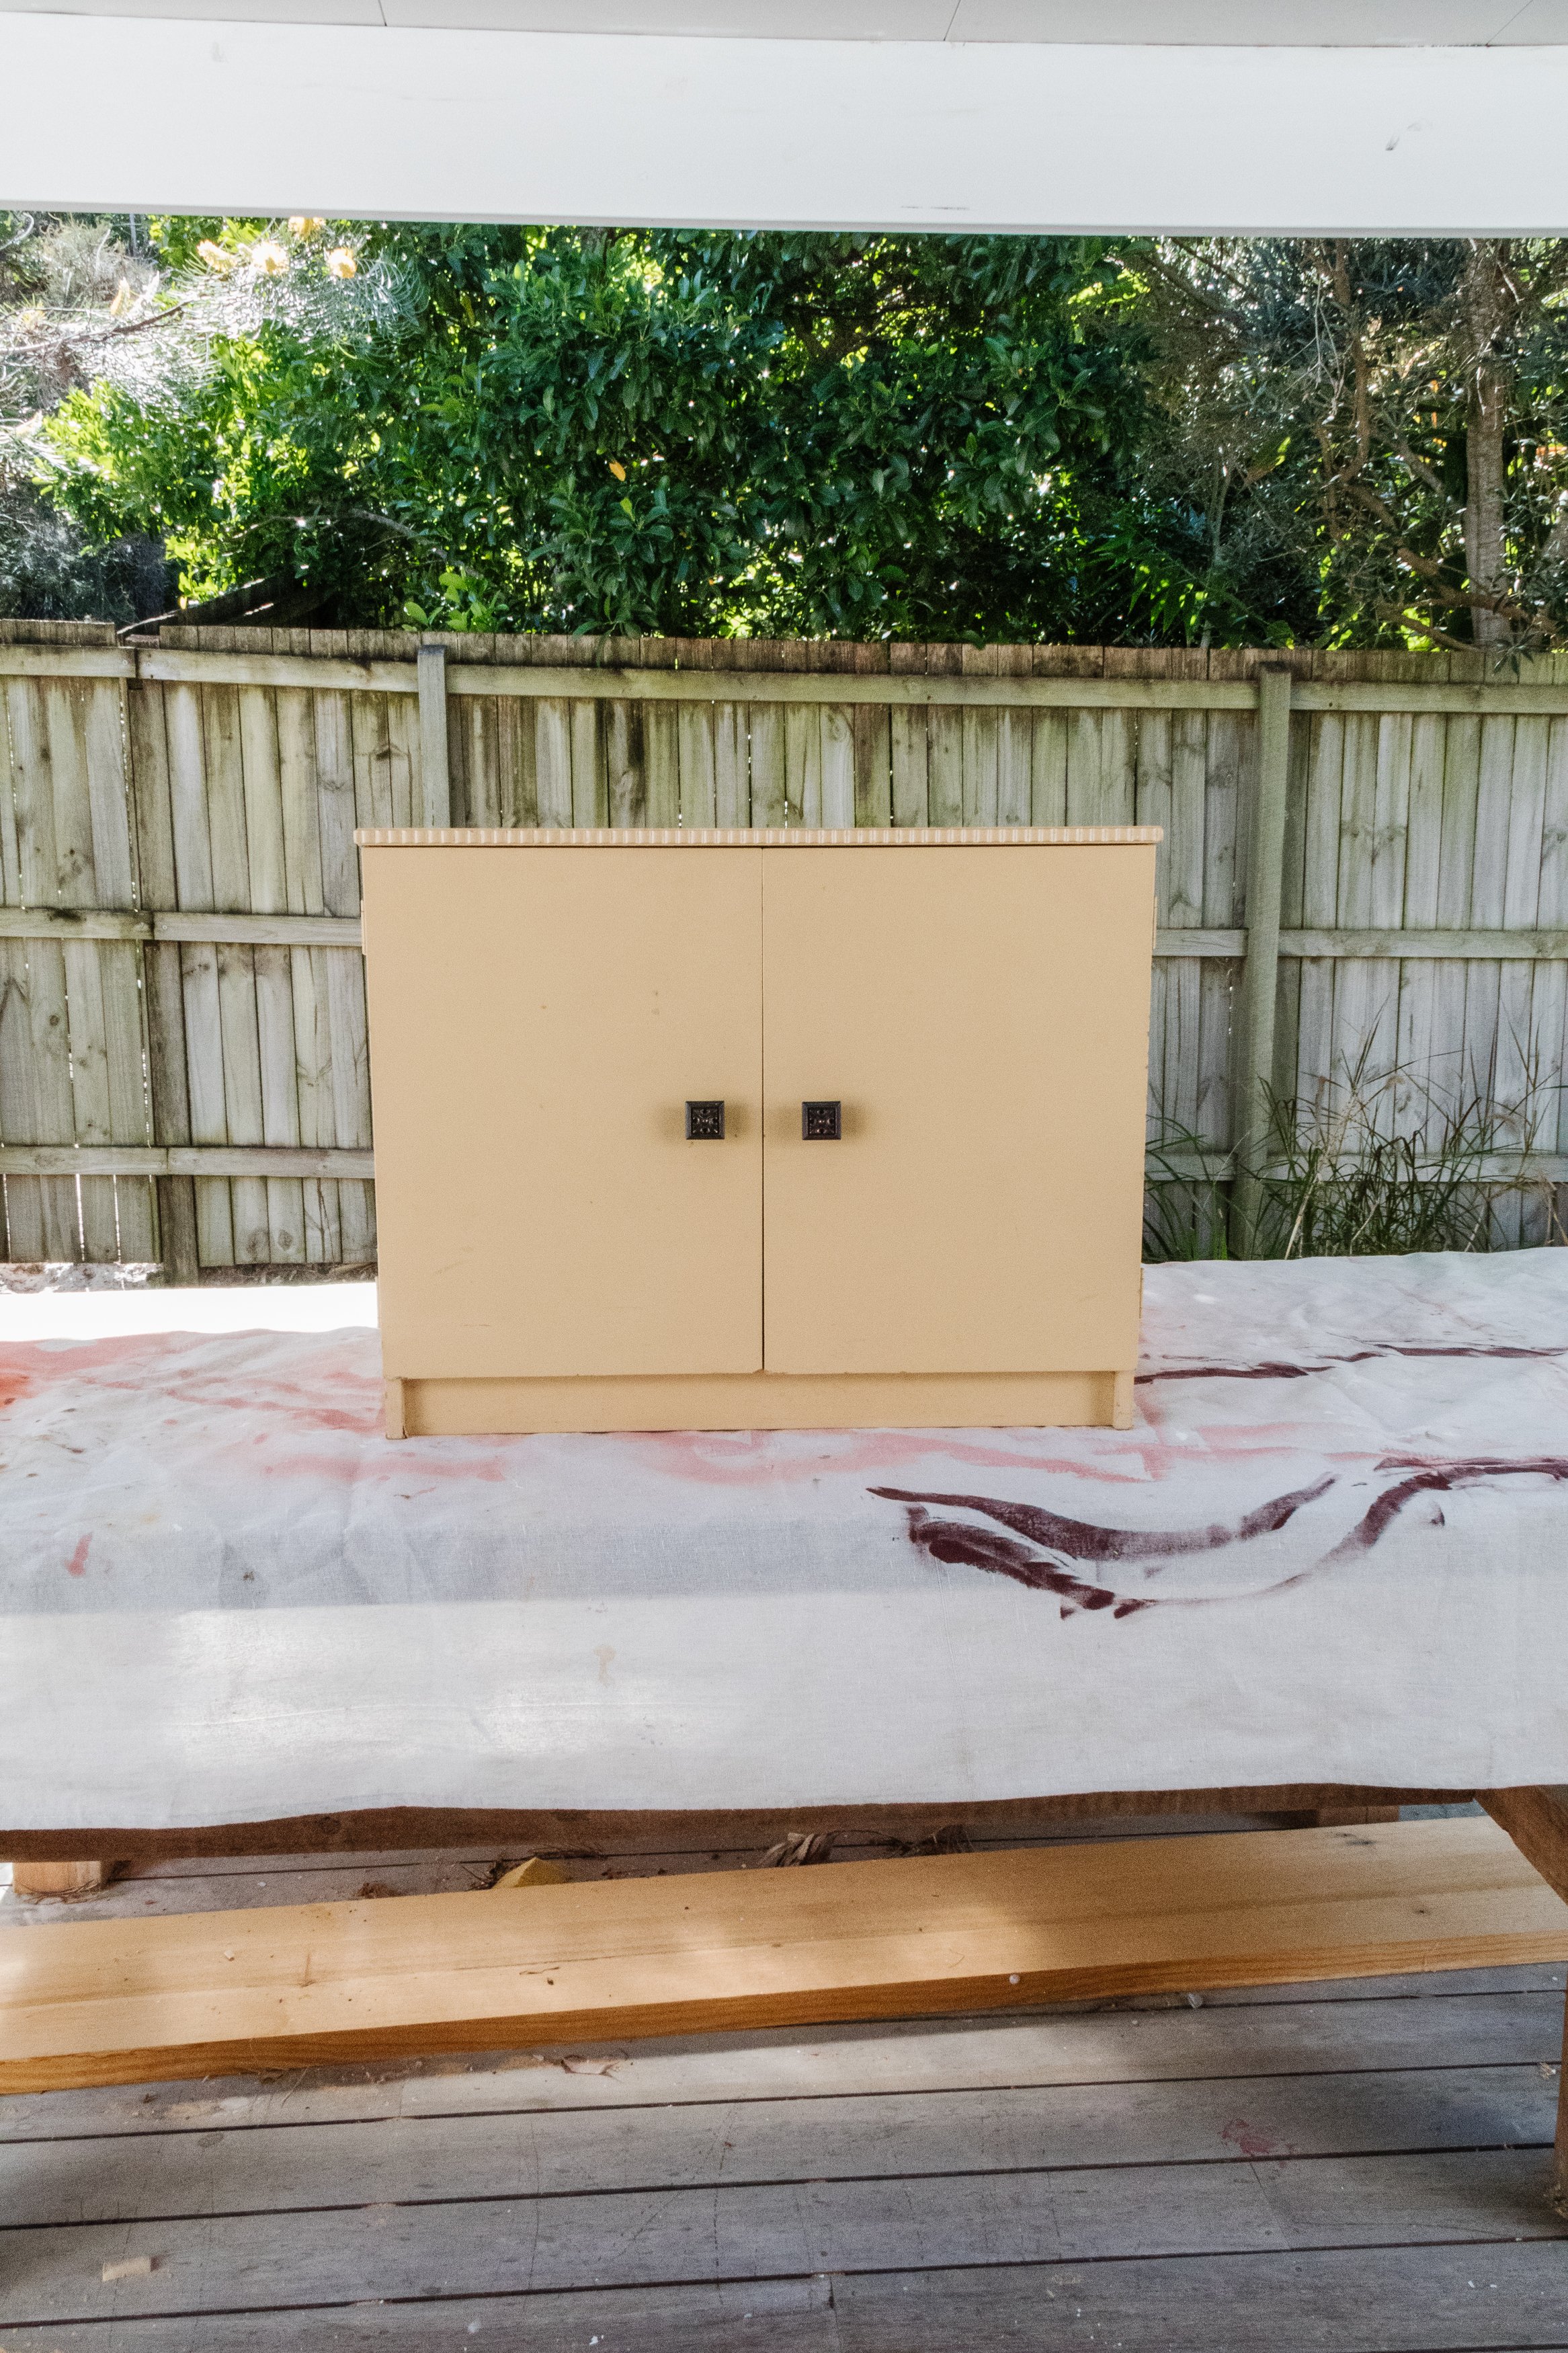
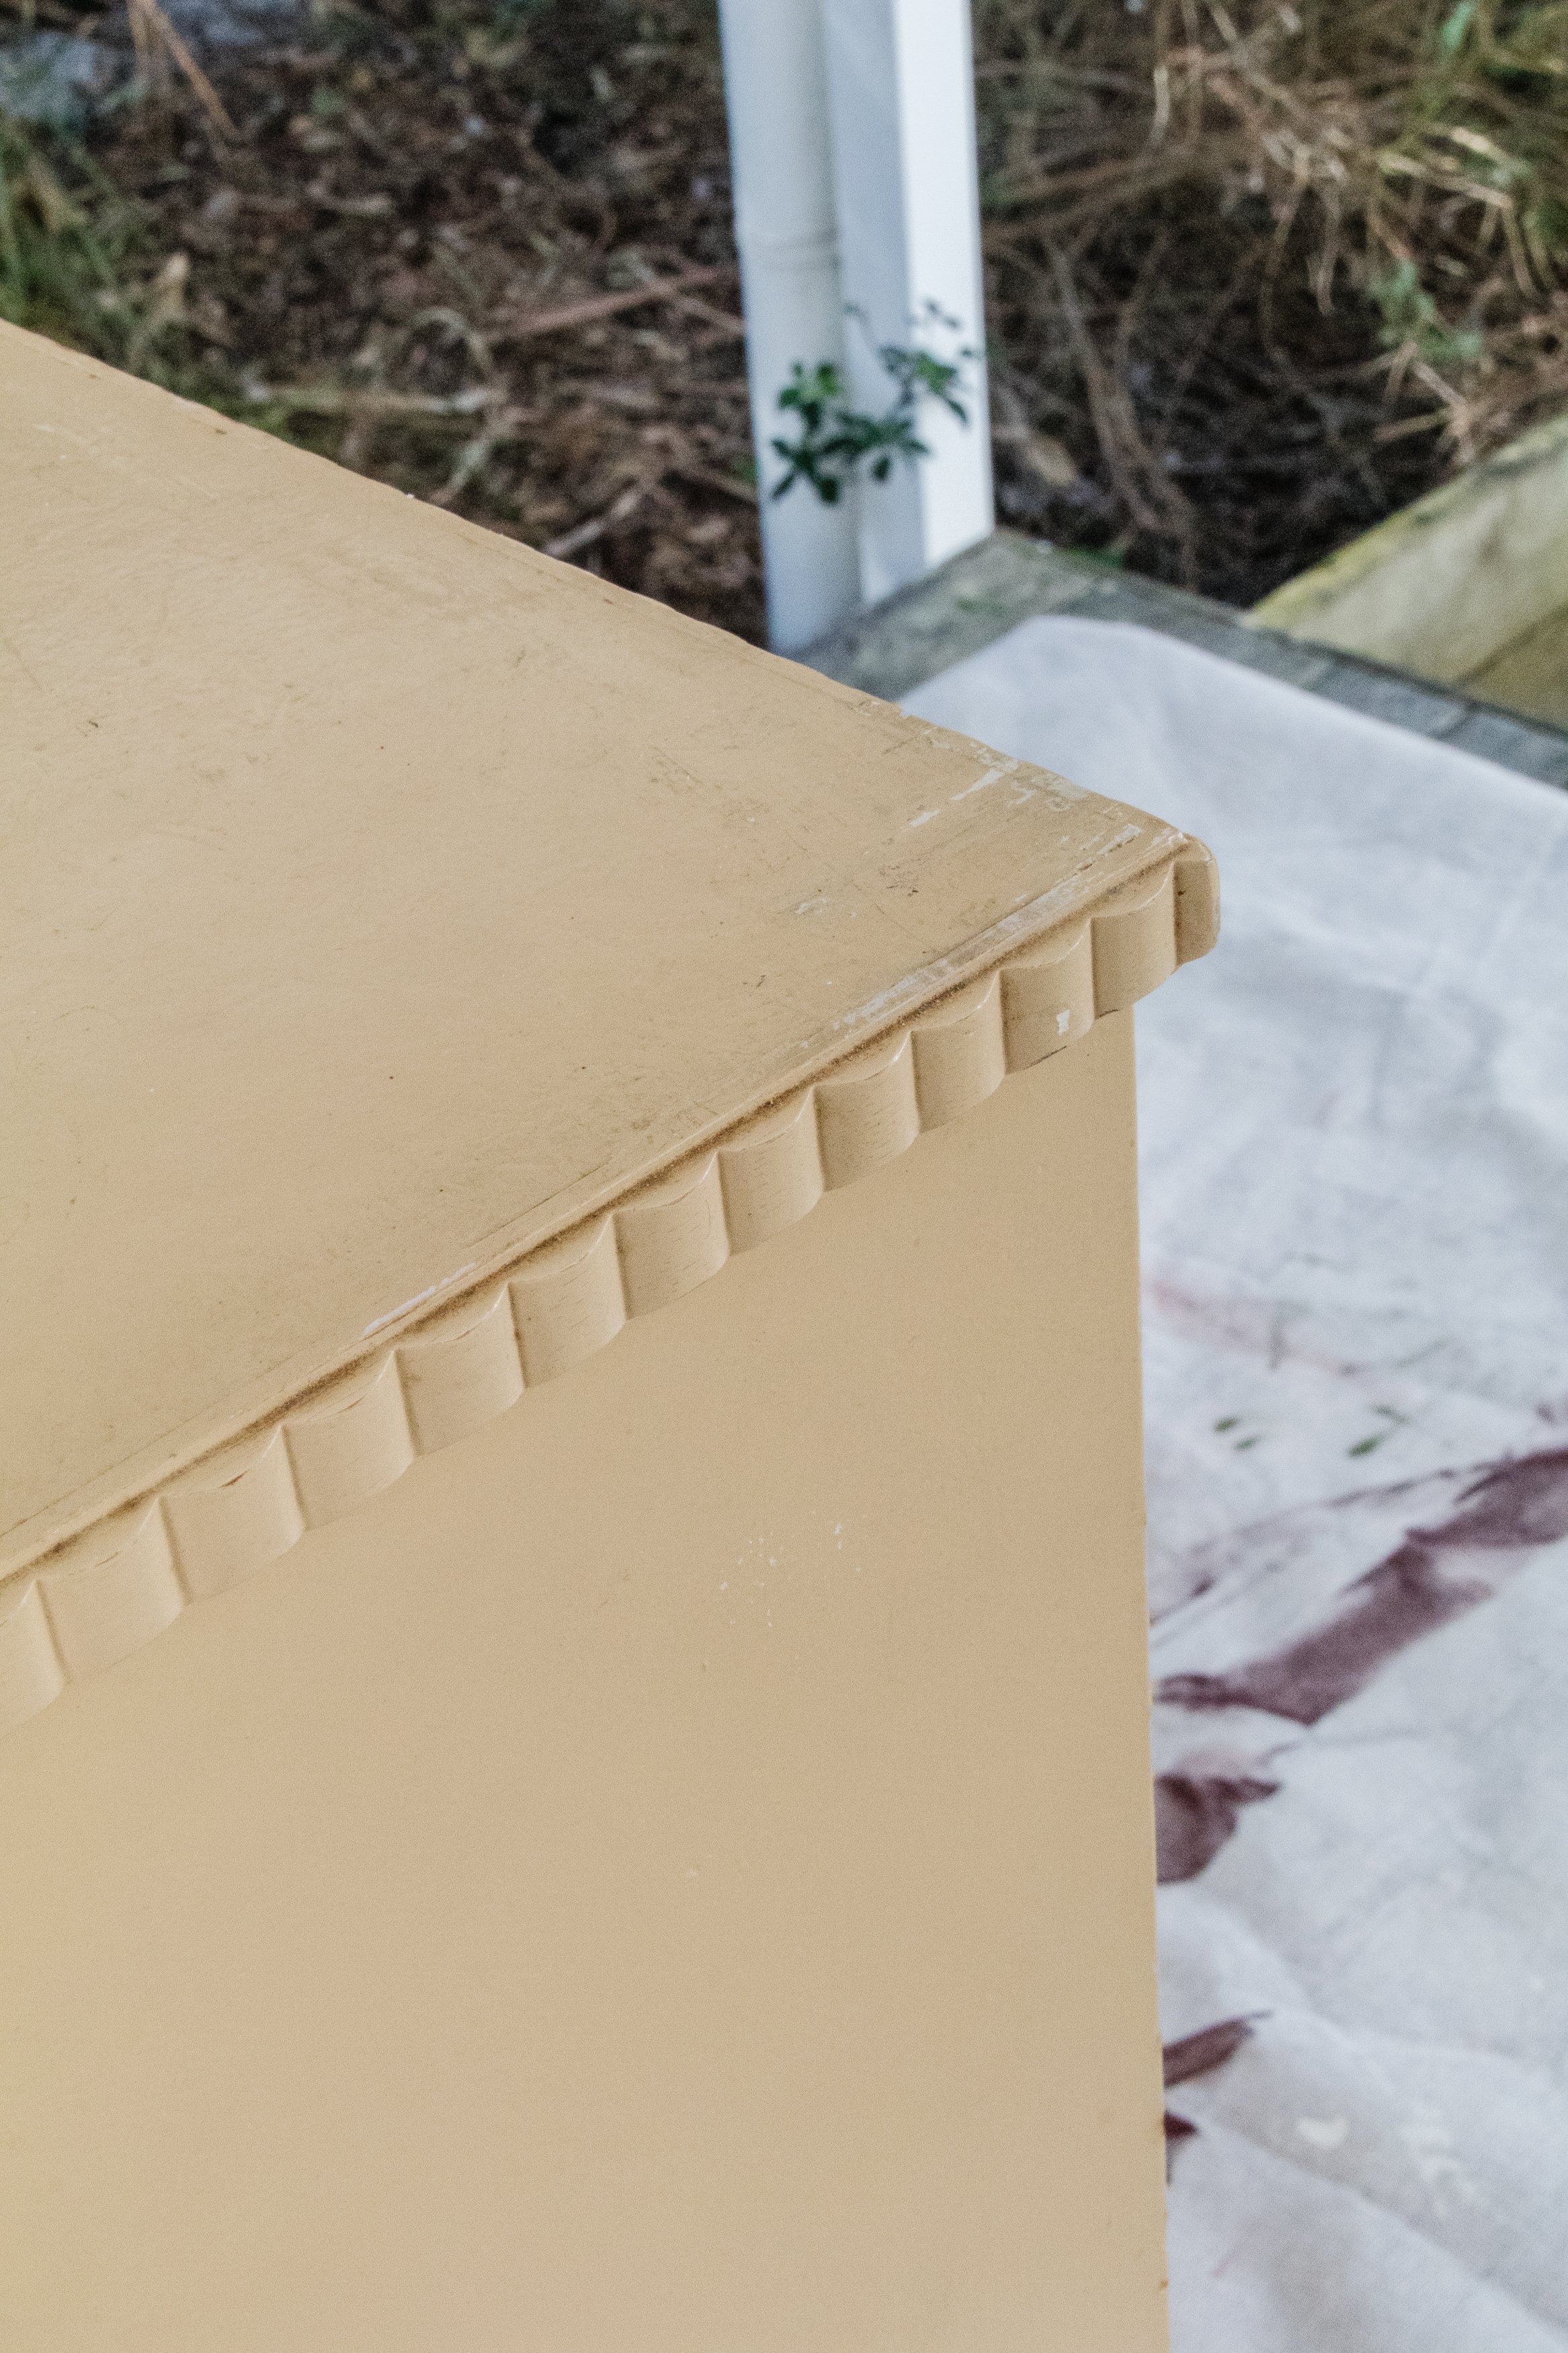
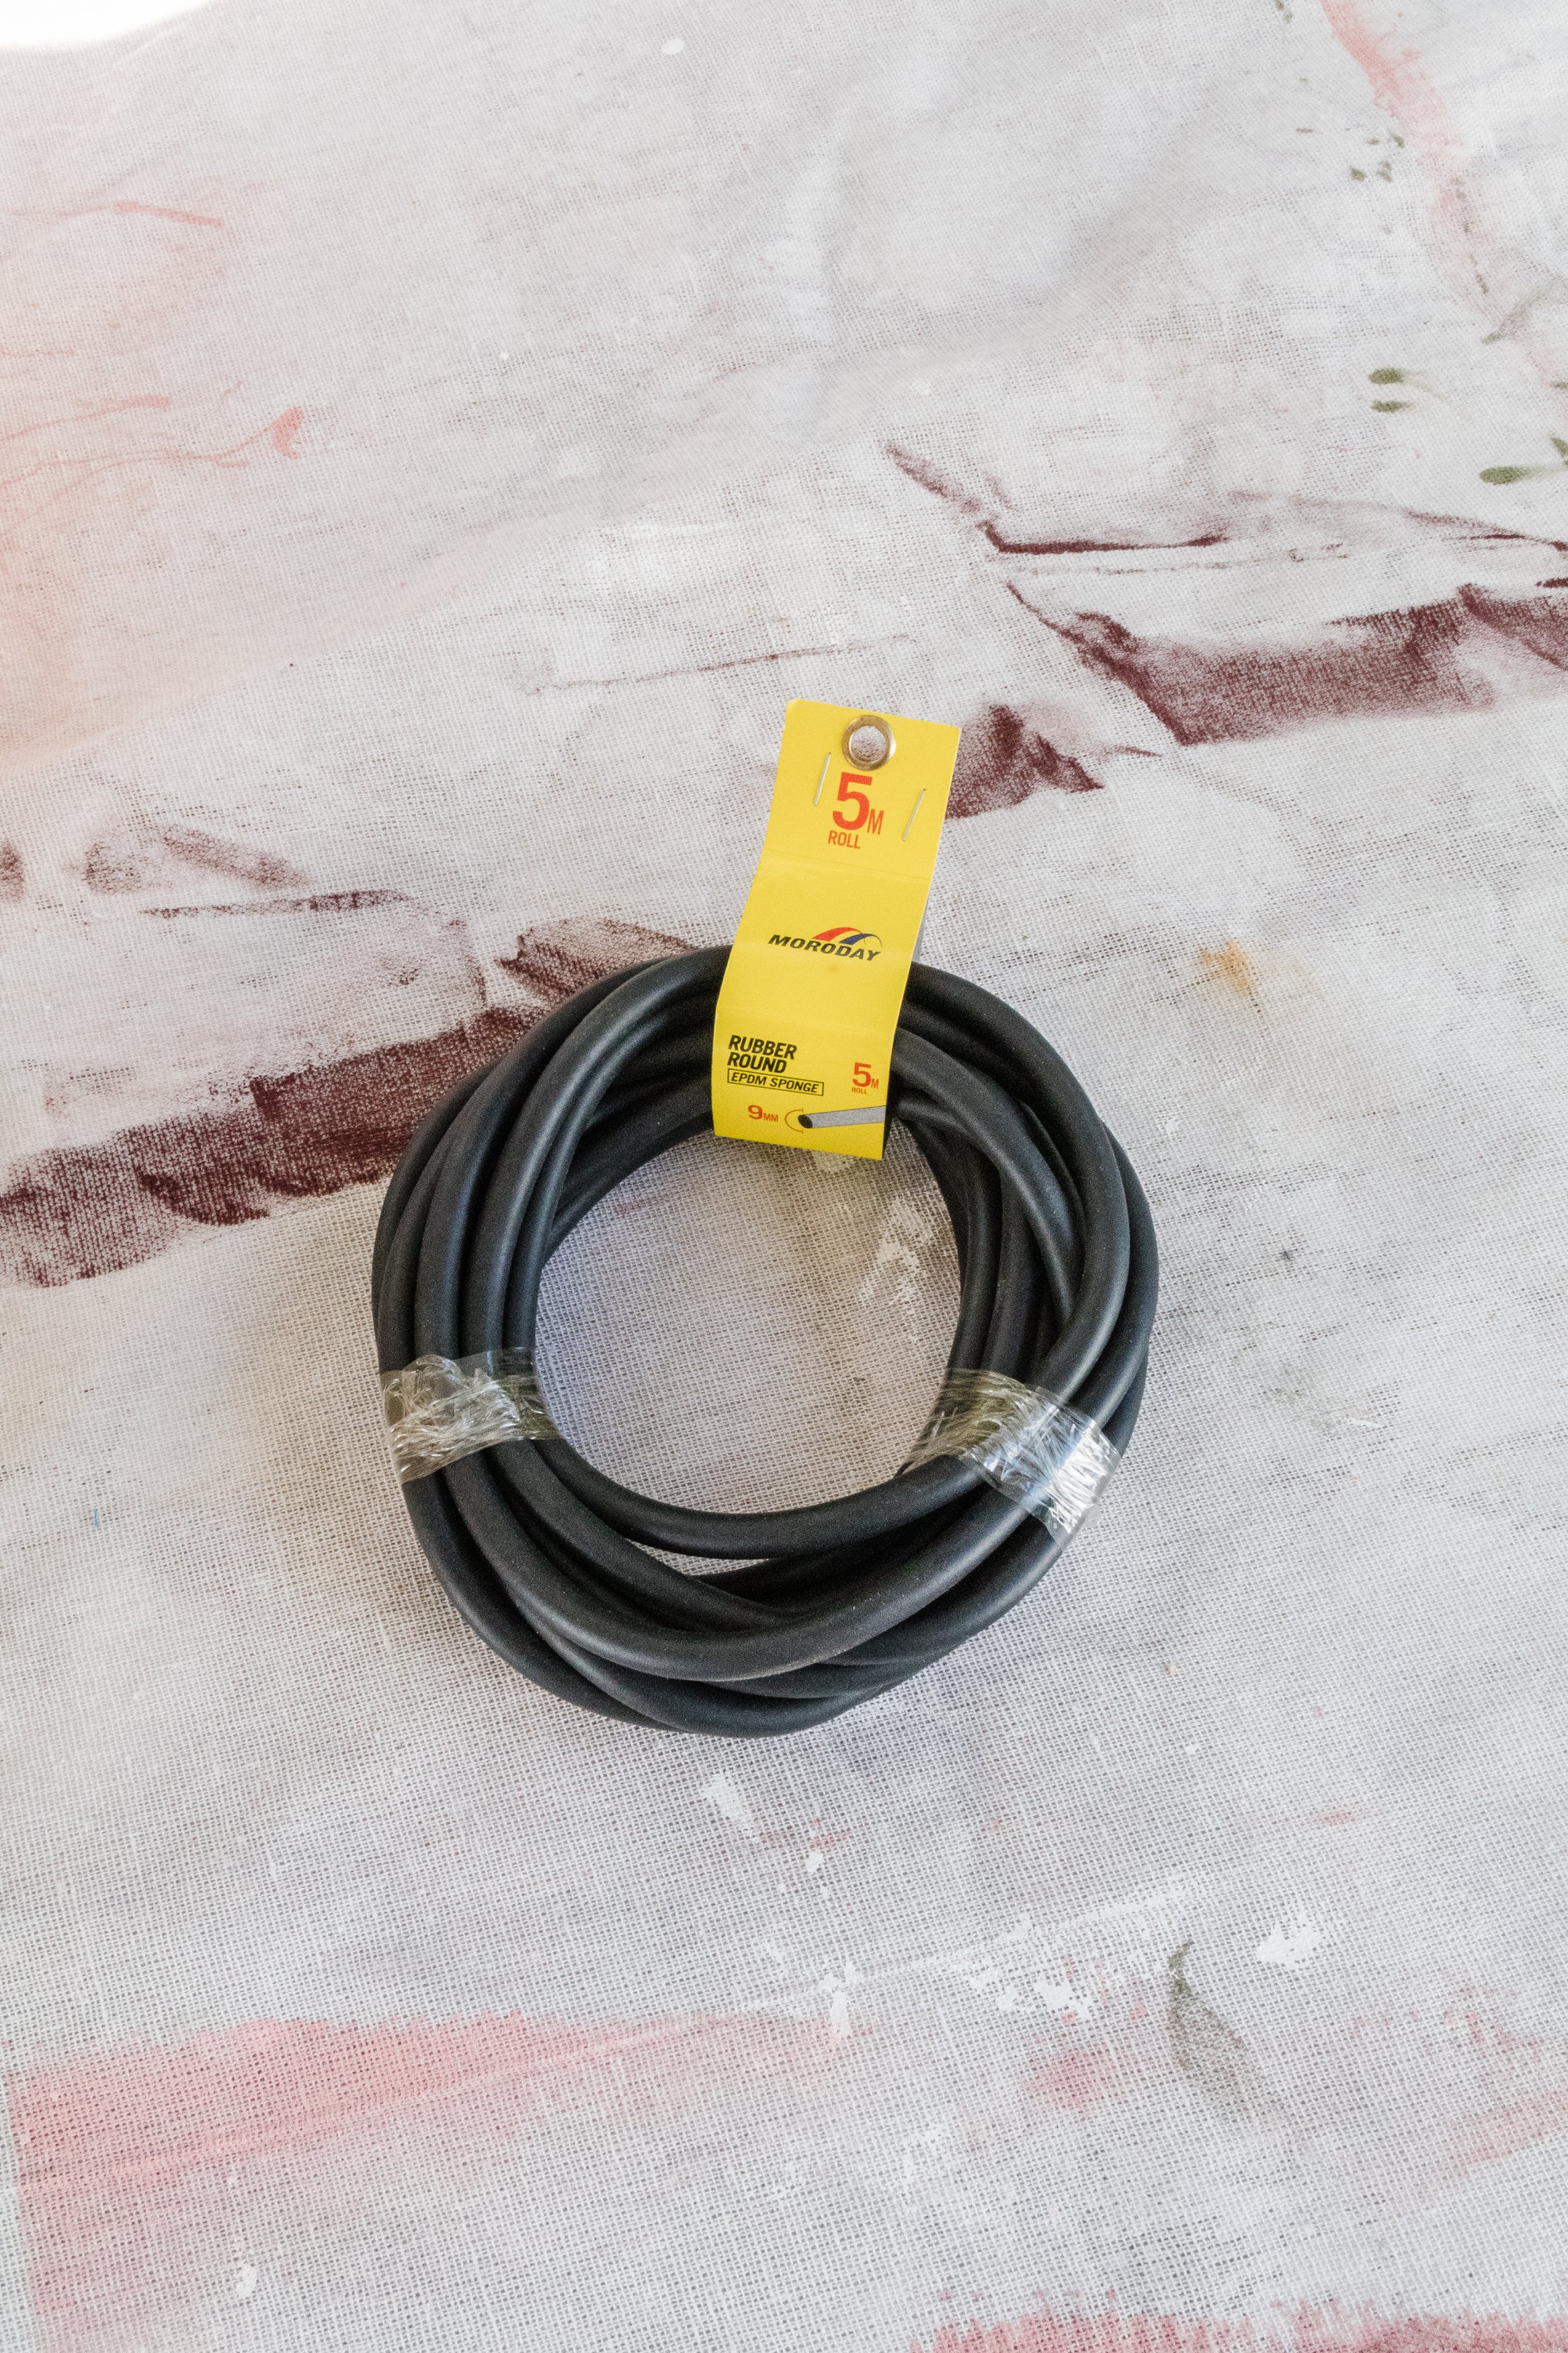
When I found a roll of rubber tubing at Bunnings last year I knew it had a lot of potential. And even though I had no project in mind, at the time I recognised it could be used to add a gorgeous fluid detail onto secondhand furniture and home decor. All I needed to do was find the perfect project. A few weeks ago I found a gorgeous secondhand cabinet and I was immediately drawn to the fluted detail. It was so ornate and crafted beautifully that I simply had to take it home. I remembered I had the rubber tubing in my studio and began to ponder if I could use it to make a wavy feature on the front. I got straight to work and spend some time testing my idea - throw in a lick of paint, timber feet I made from scratch using an old bed frame and of course my Wavy Handles and here we are. Read on to find out how it all came together.
To see this project come to life watch this video.
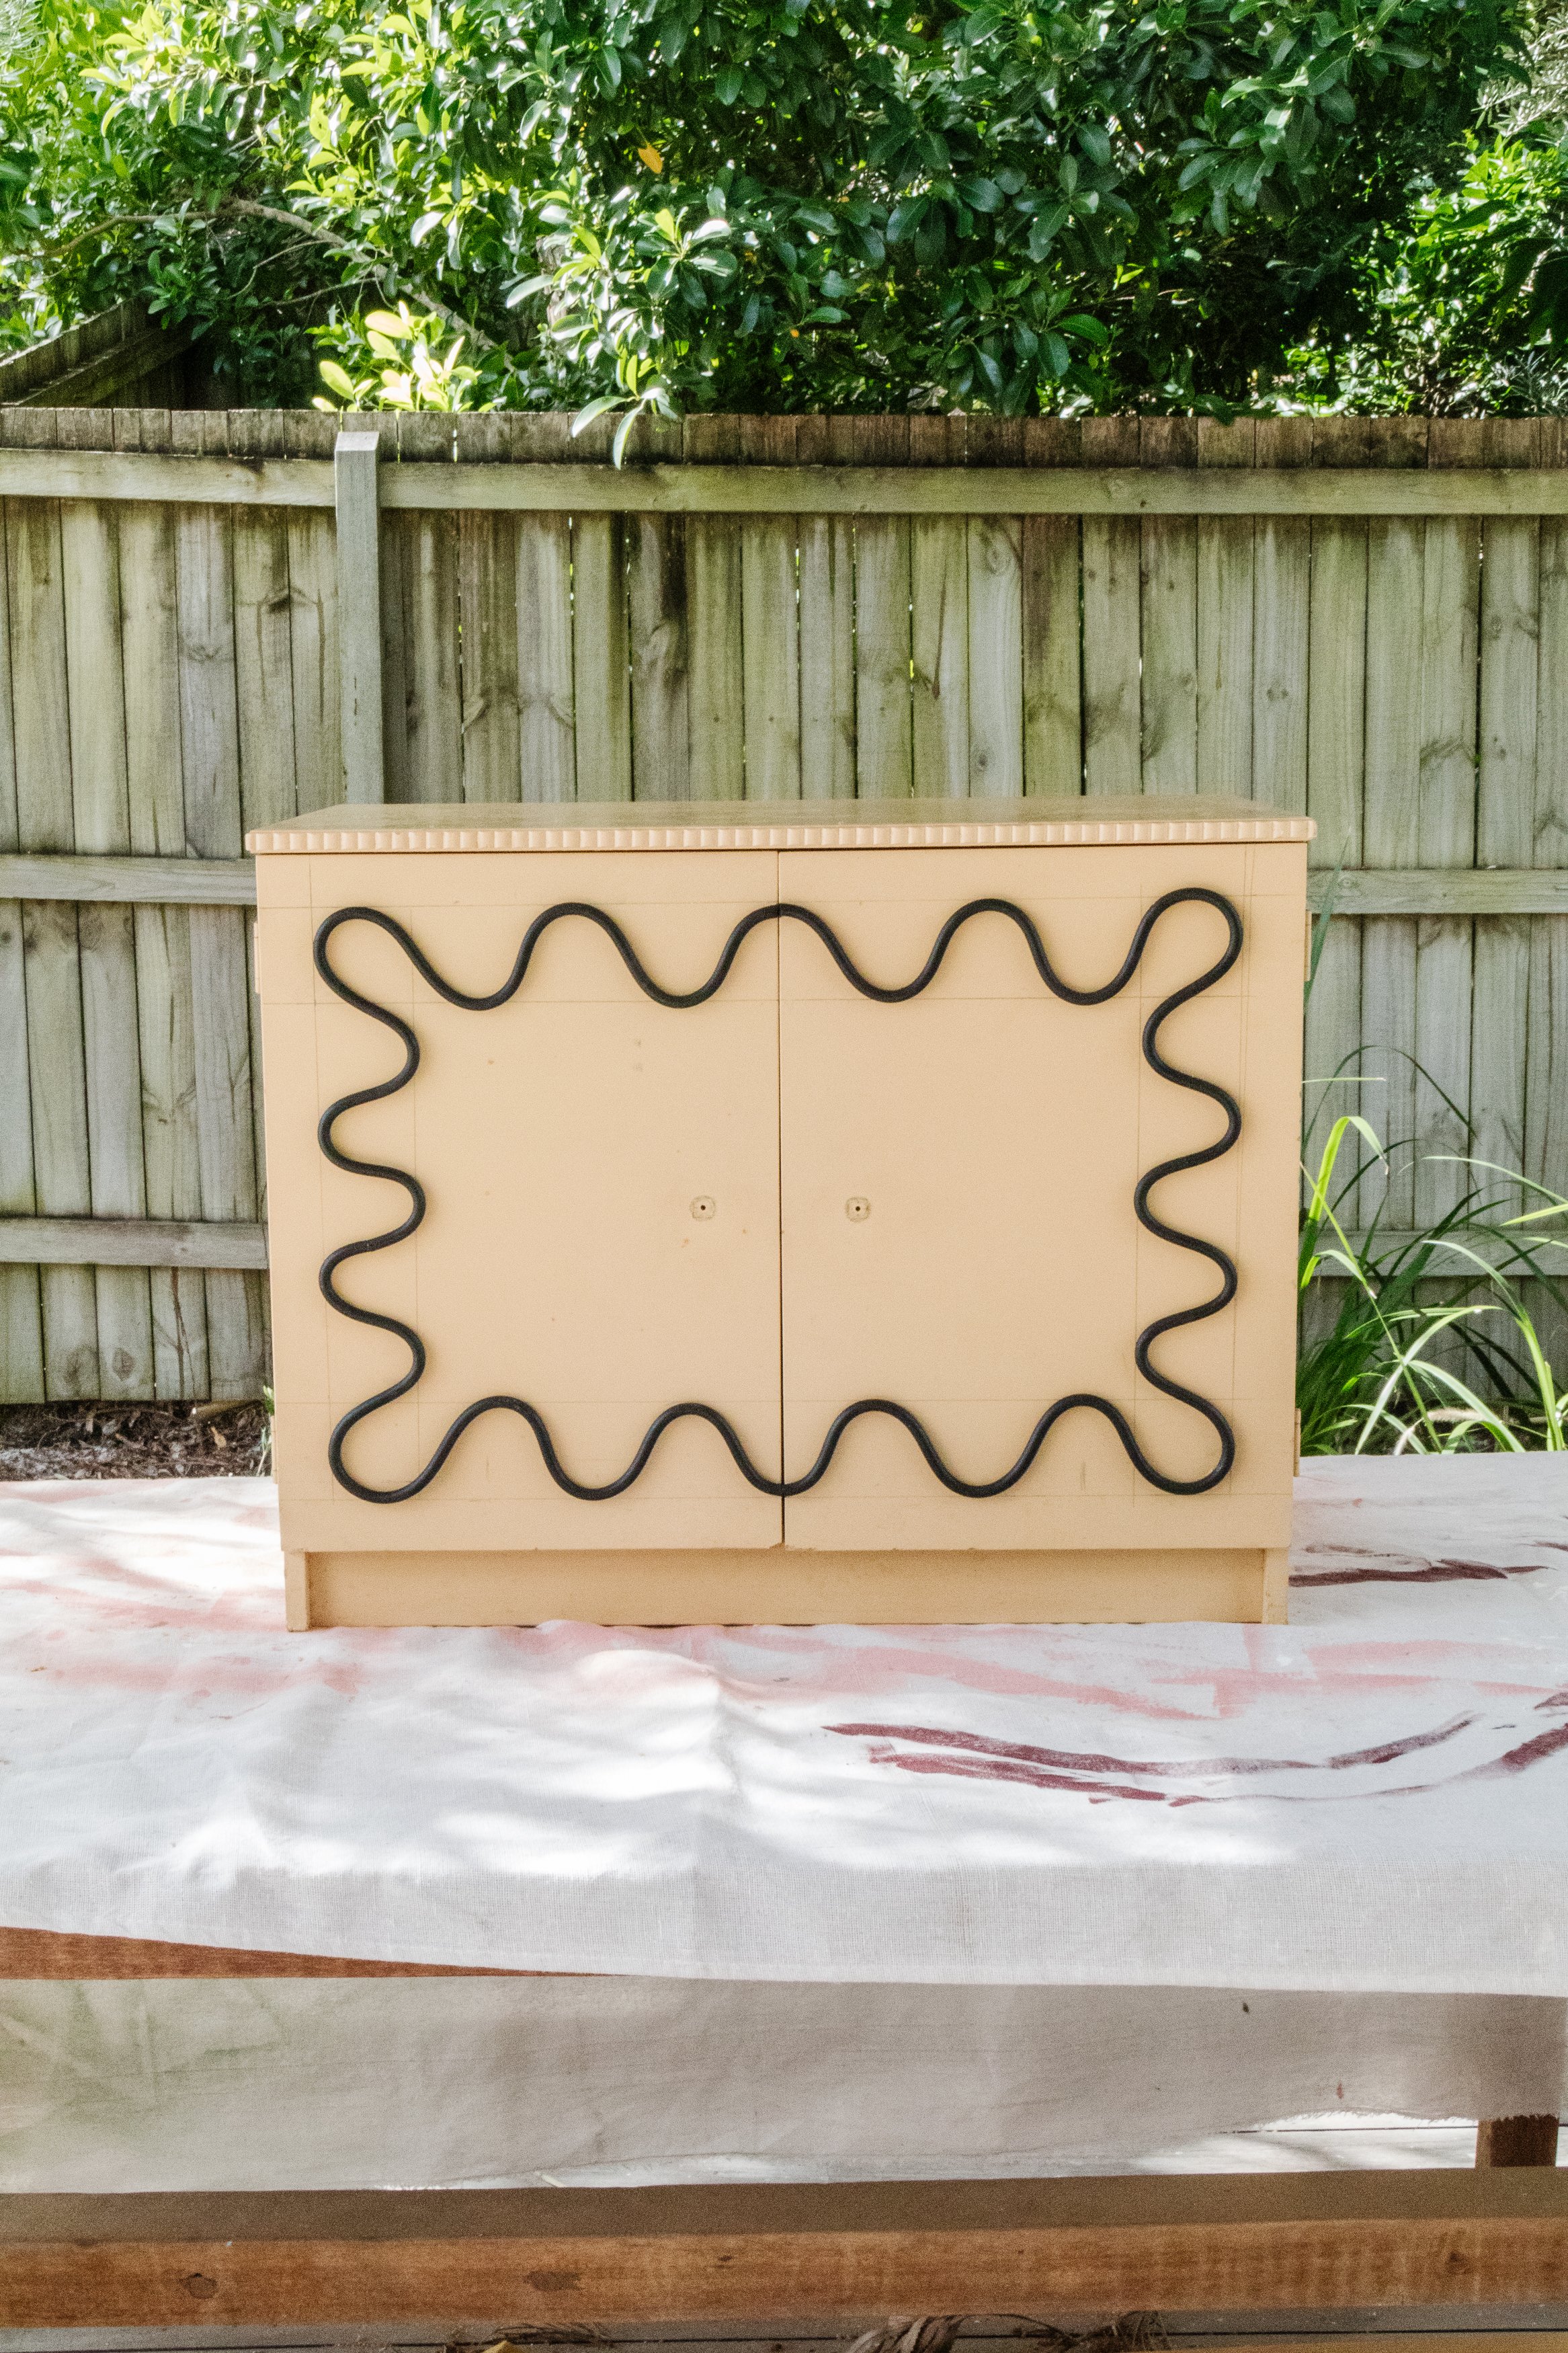
Before & After


Project Details
♻️ Making: Upcycled Wavy Cabinet
🕒 Project Time Estimate: 3 hours not including paint drying time
💰 Materials Cost: Under $50
🪑 Skill Level: Beginner
Materials
Secondhand cabinet
Painters tape
Paint (I used my favourite Indian Red by Dulux)
4 timber furniture legs
Tools
Drill
Ruler/measuring tape
Pencil
Scissors
Paint brush/roller

How To
Step 1: To begin with I removed the handles from the cabinet and saved them for a potential upcoming project.

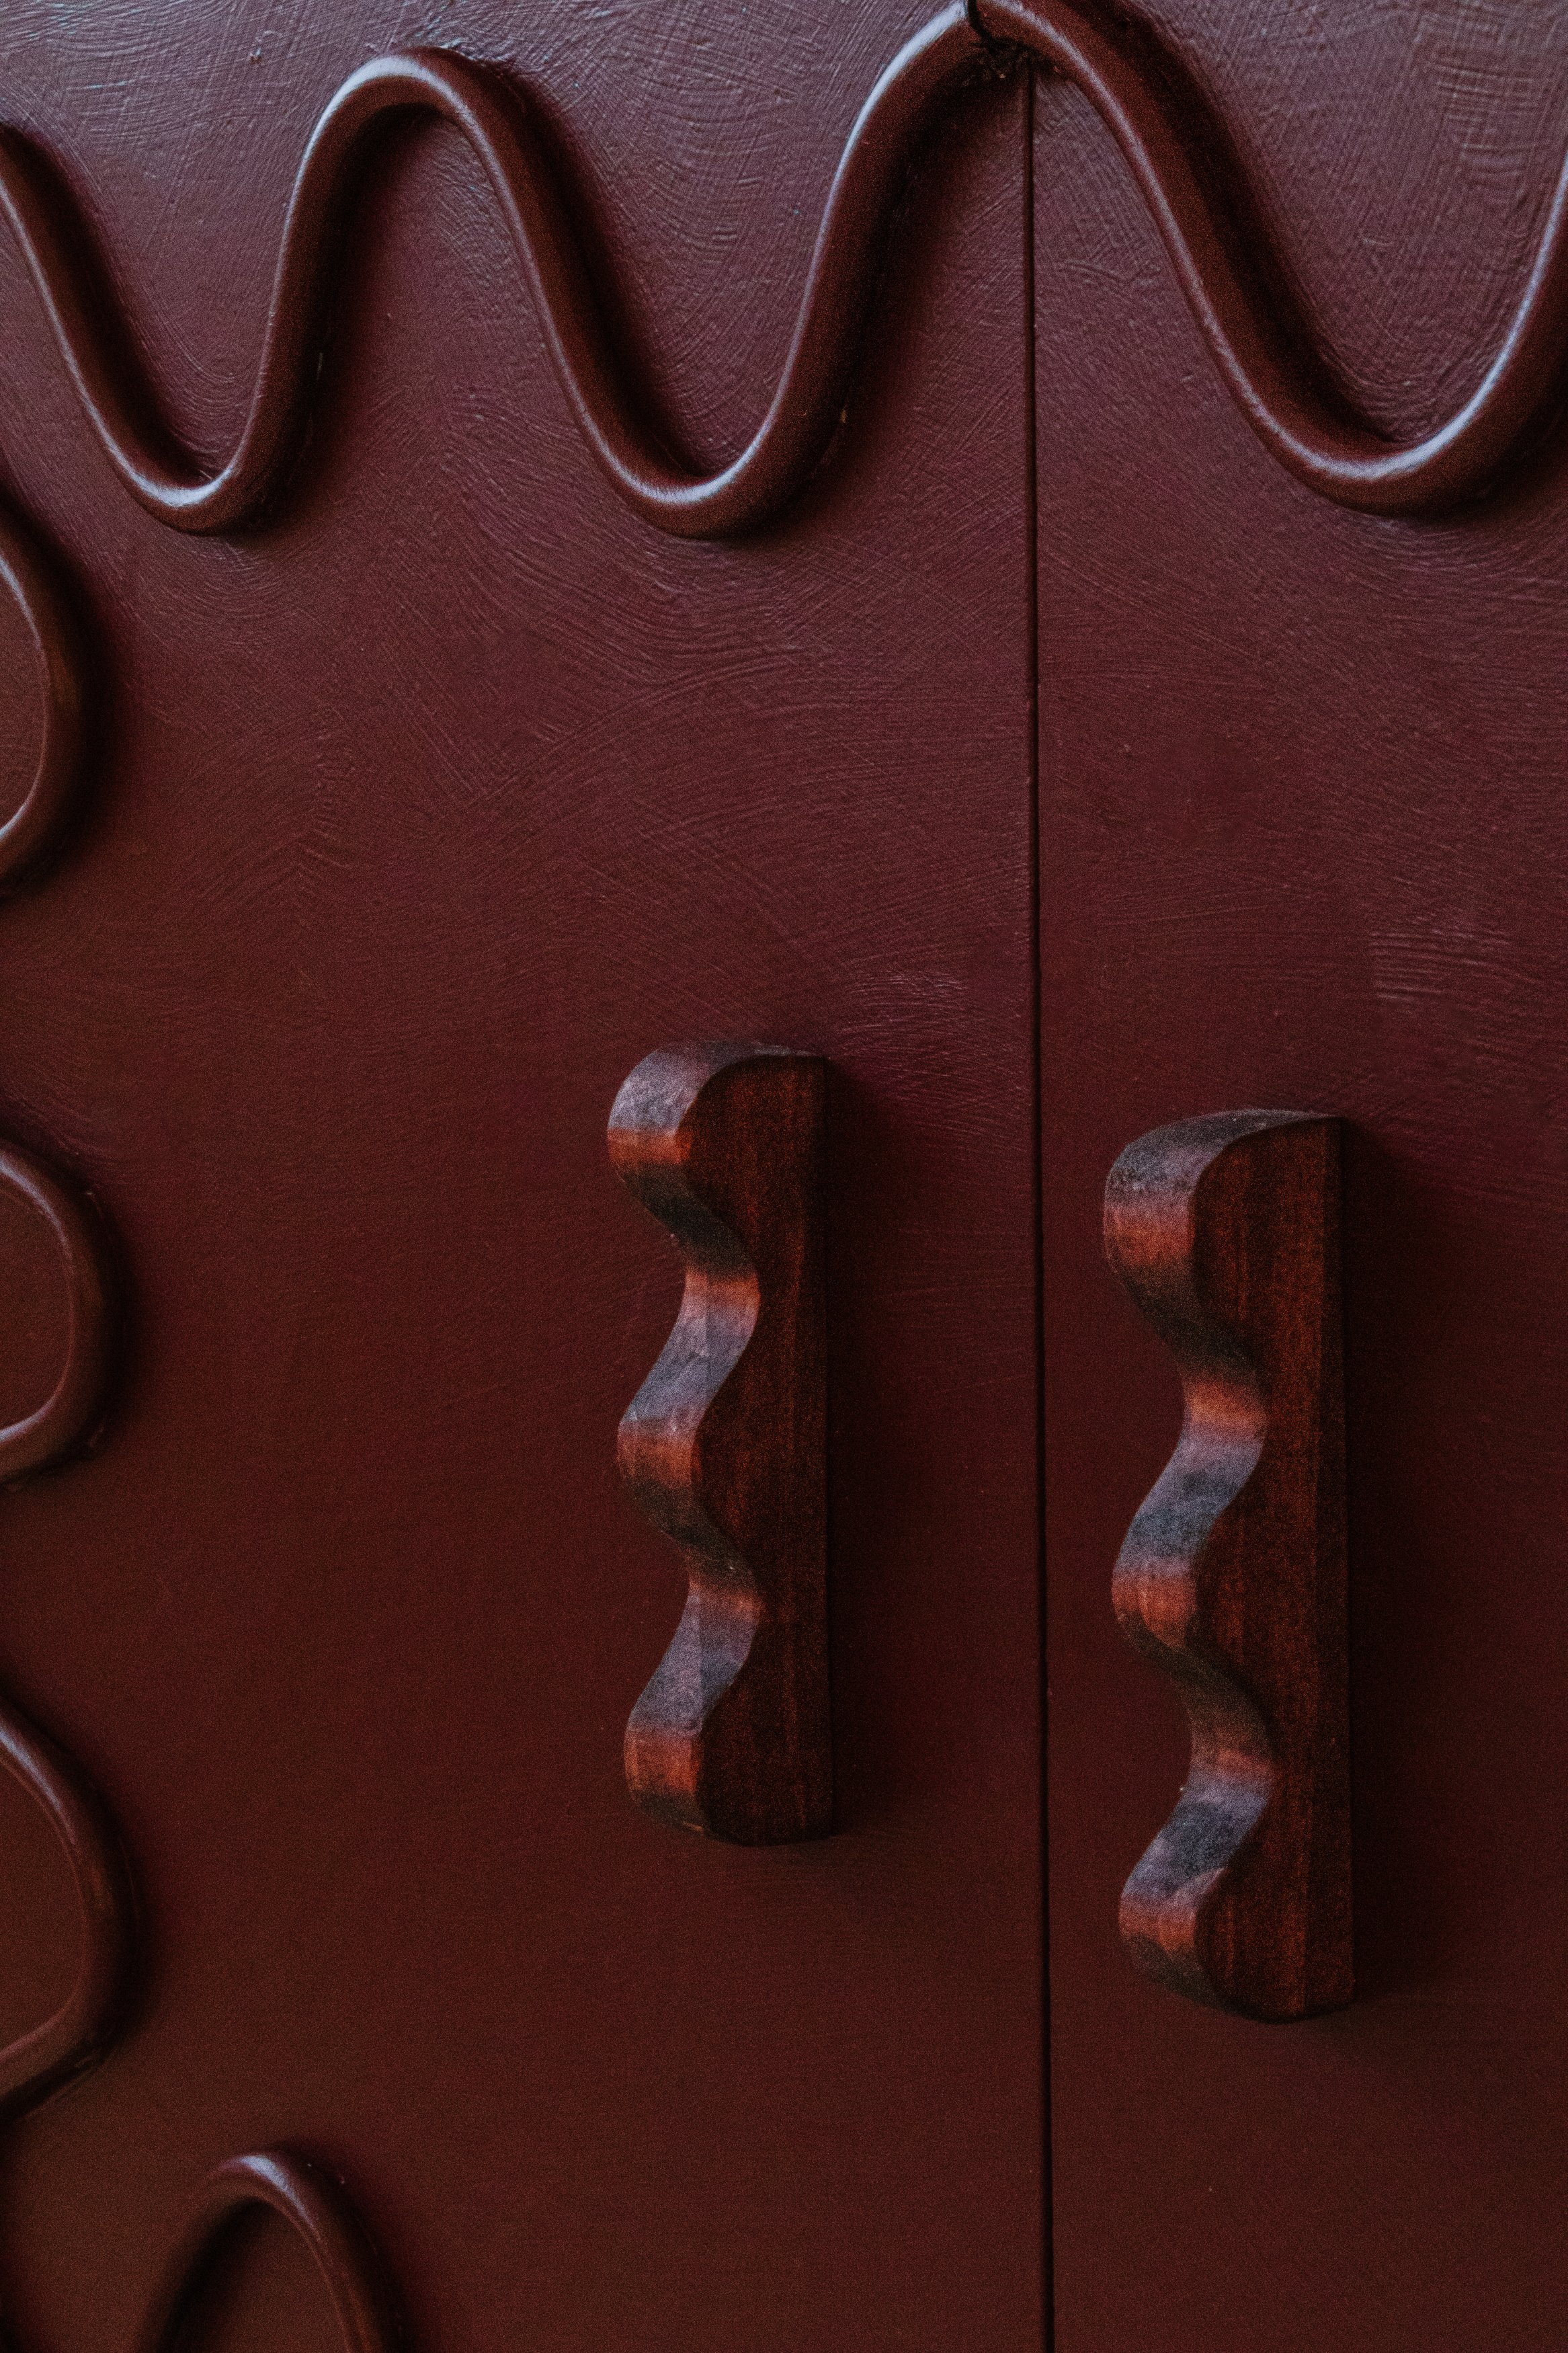
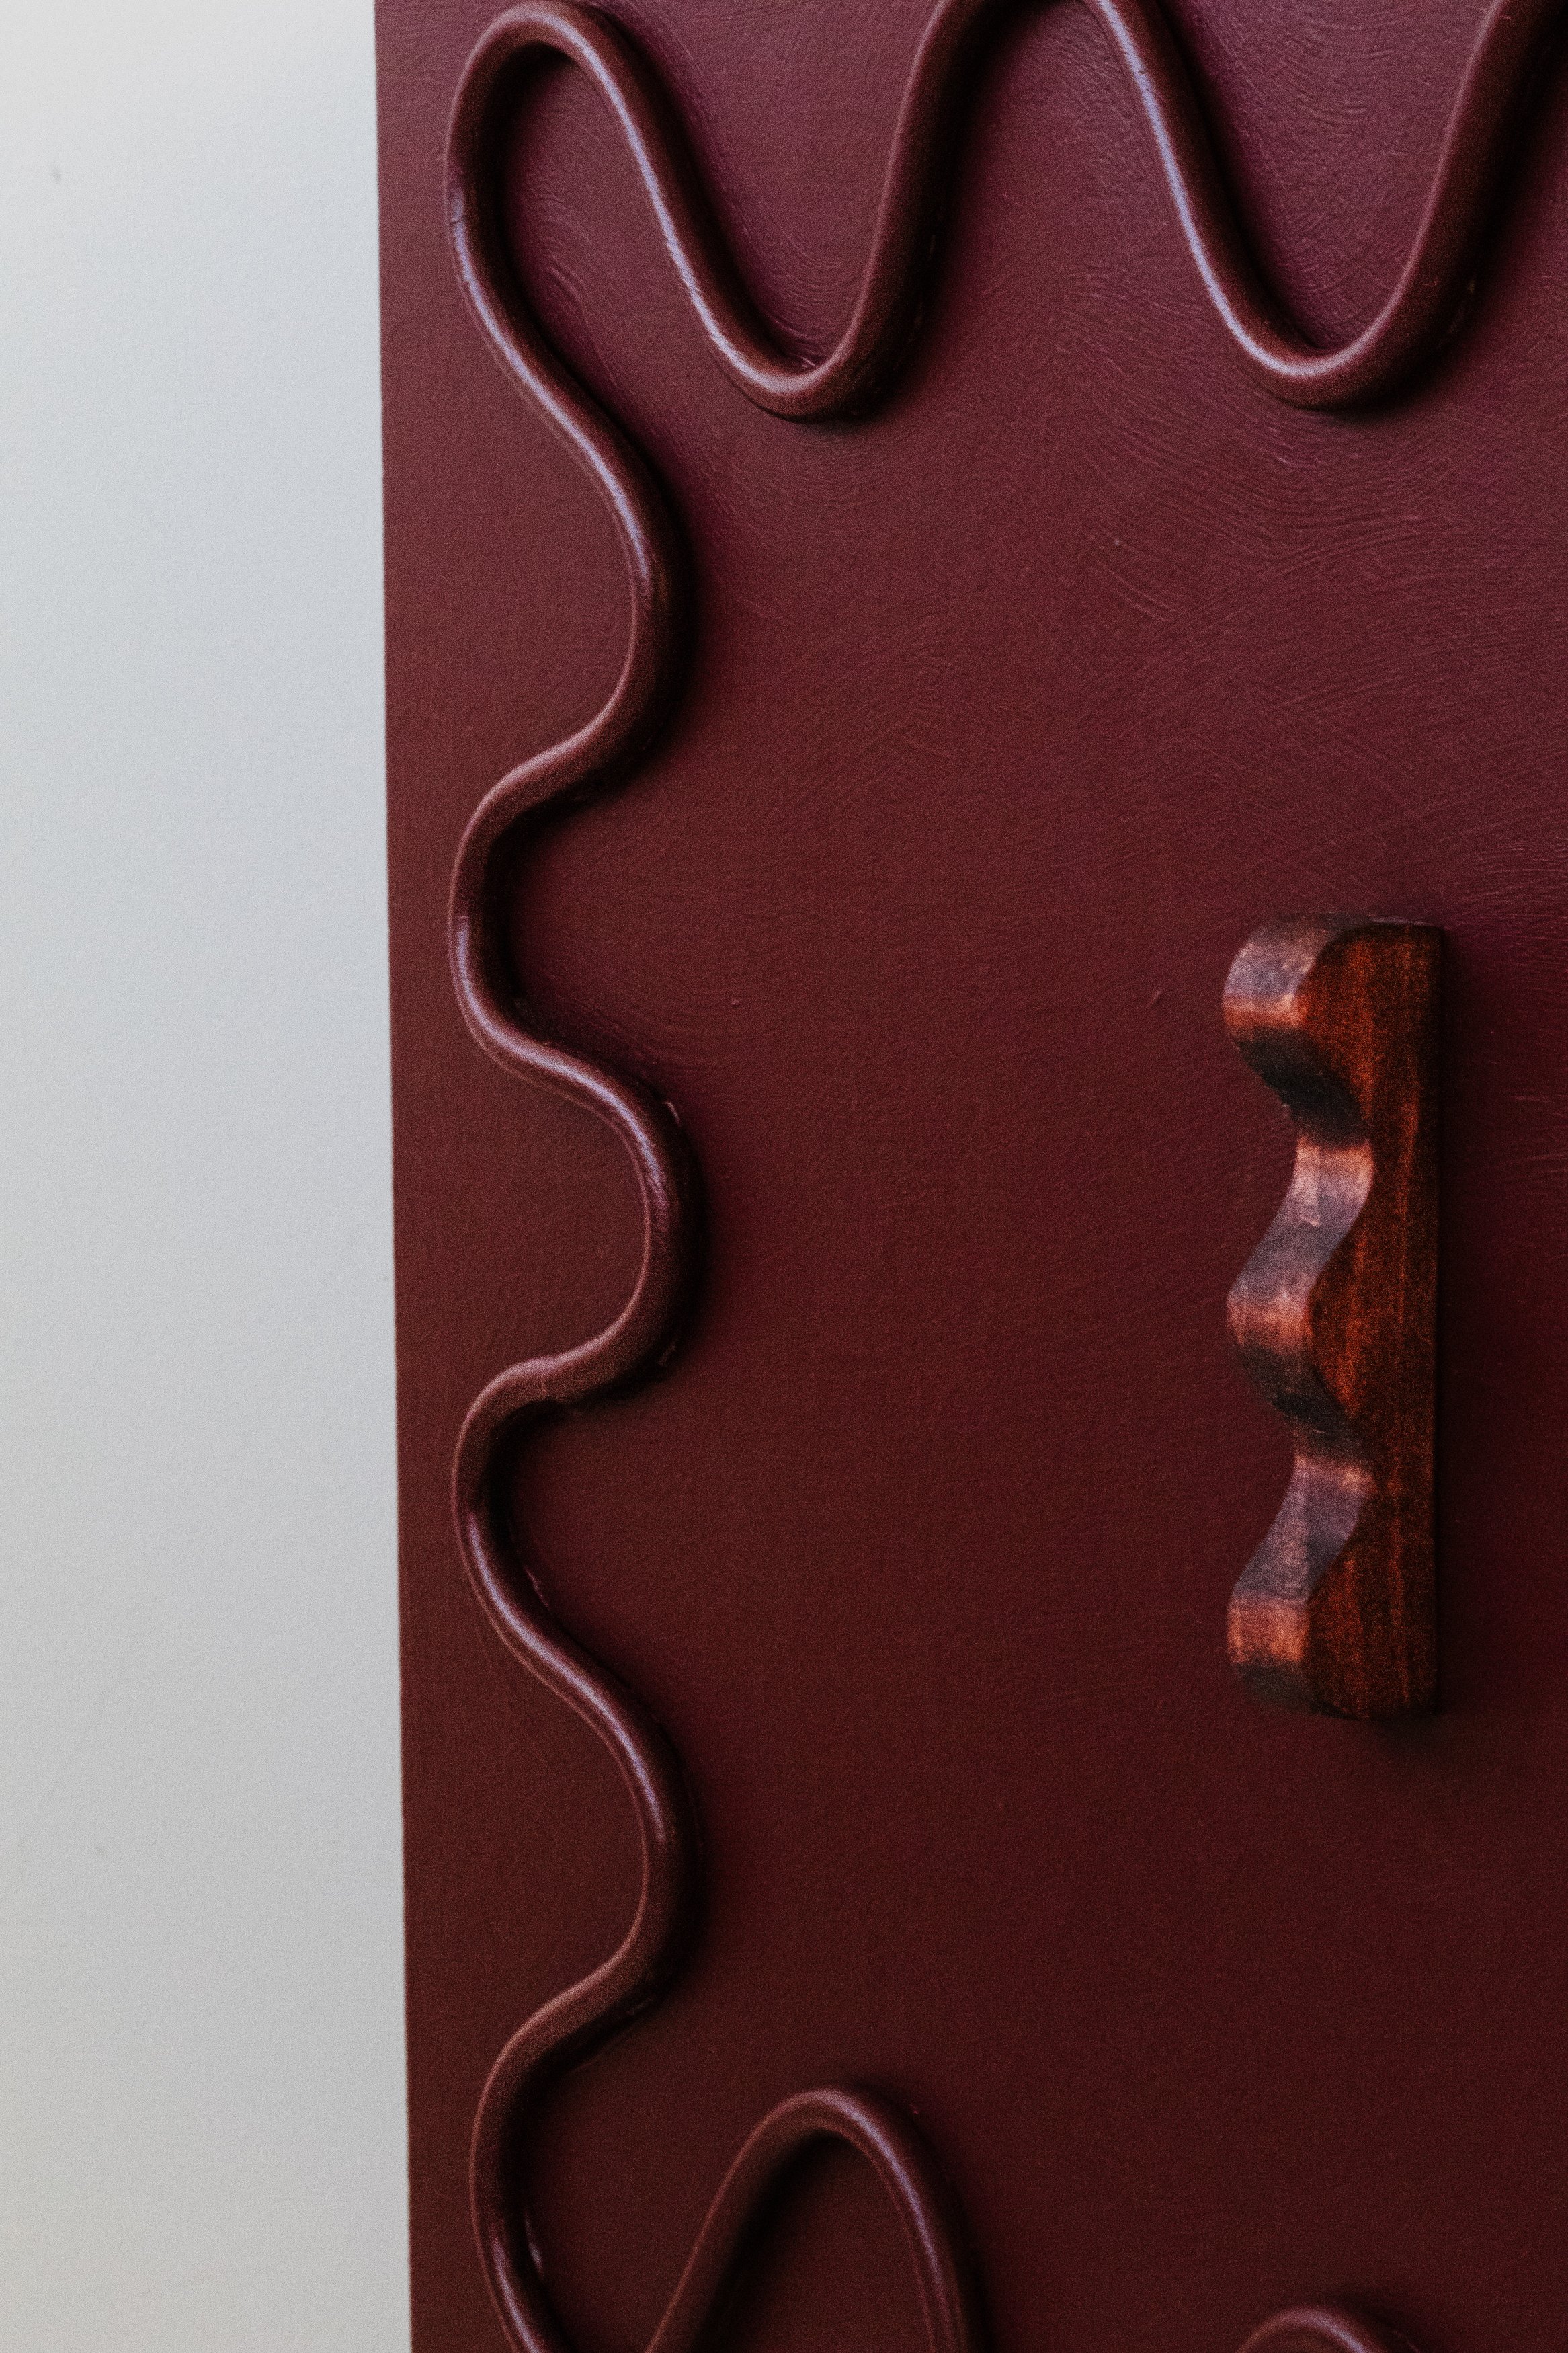
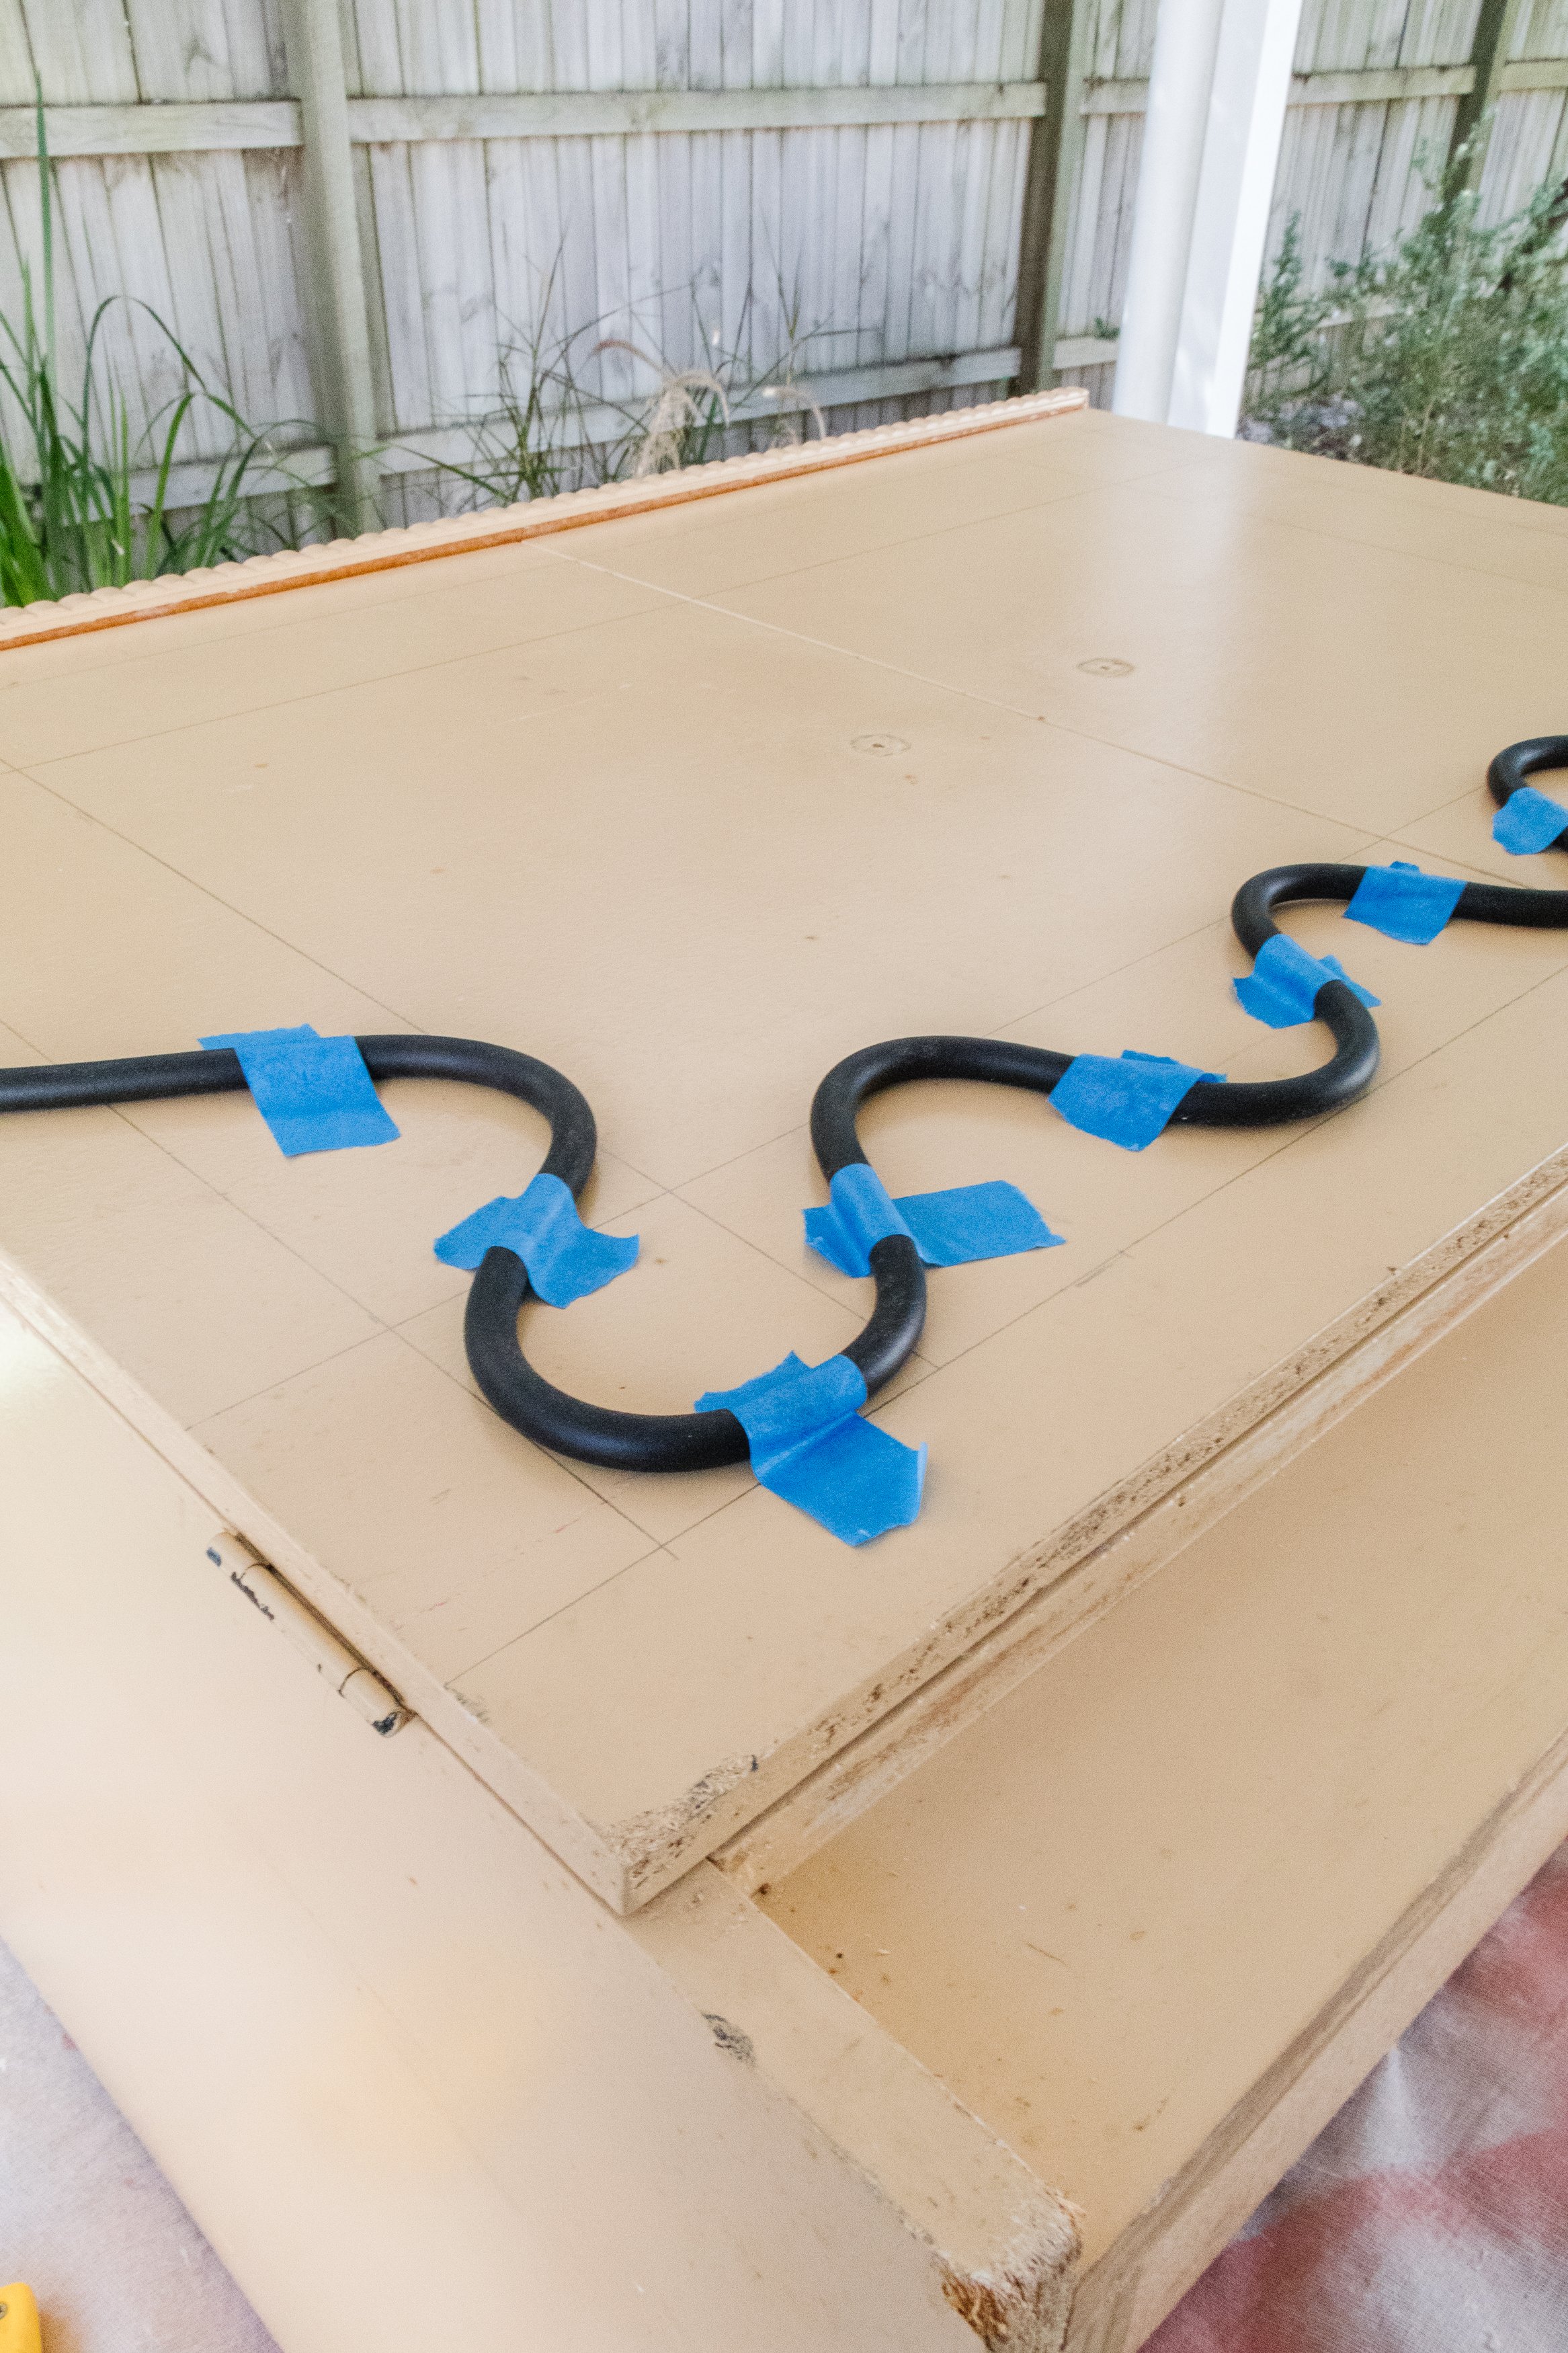
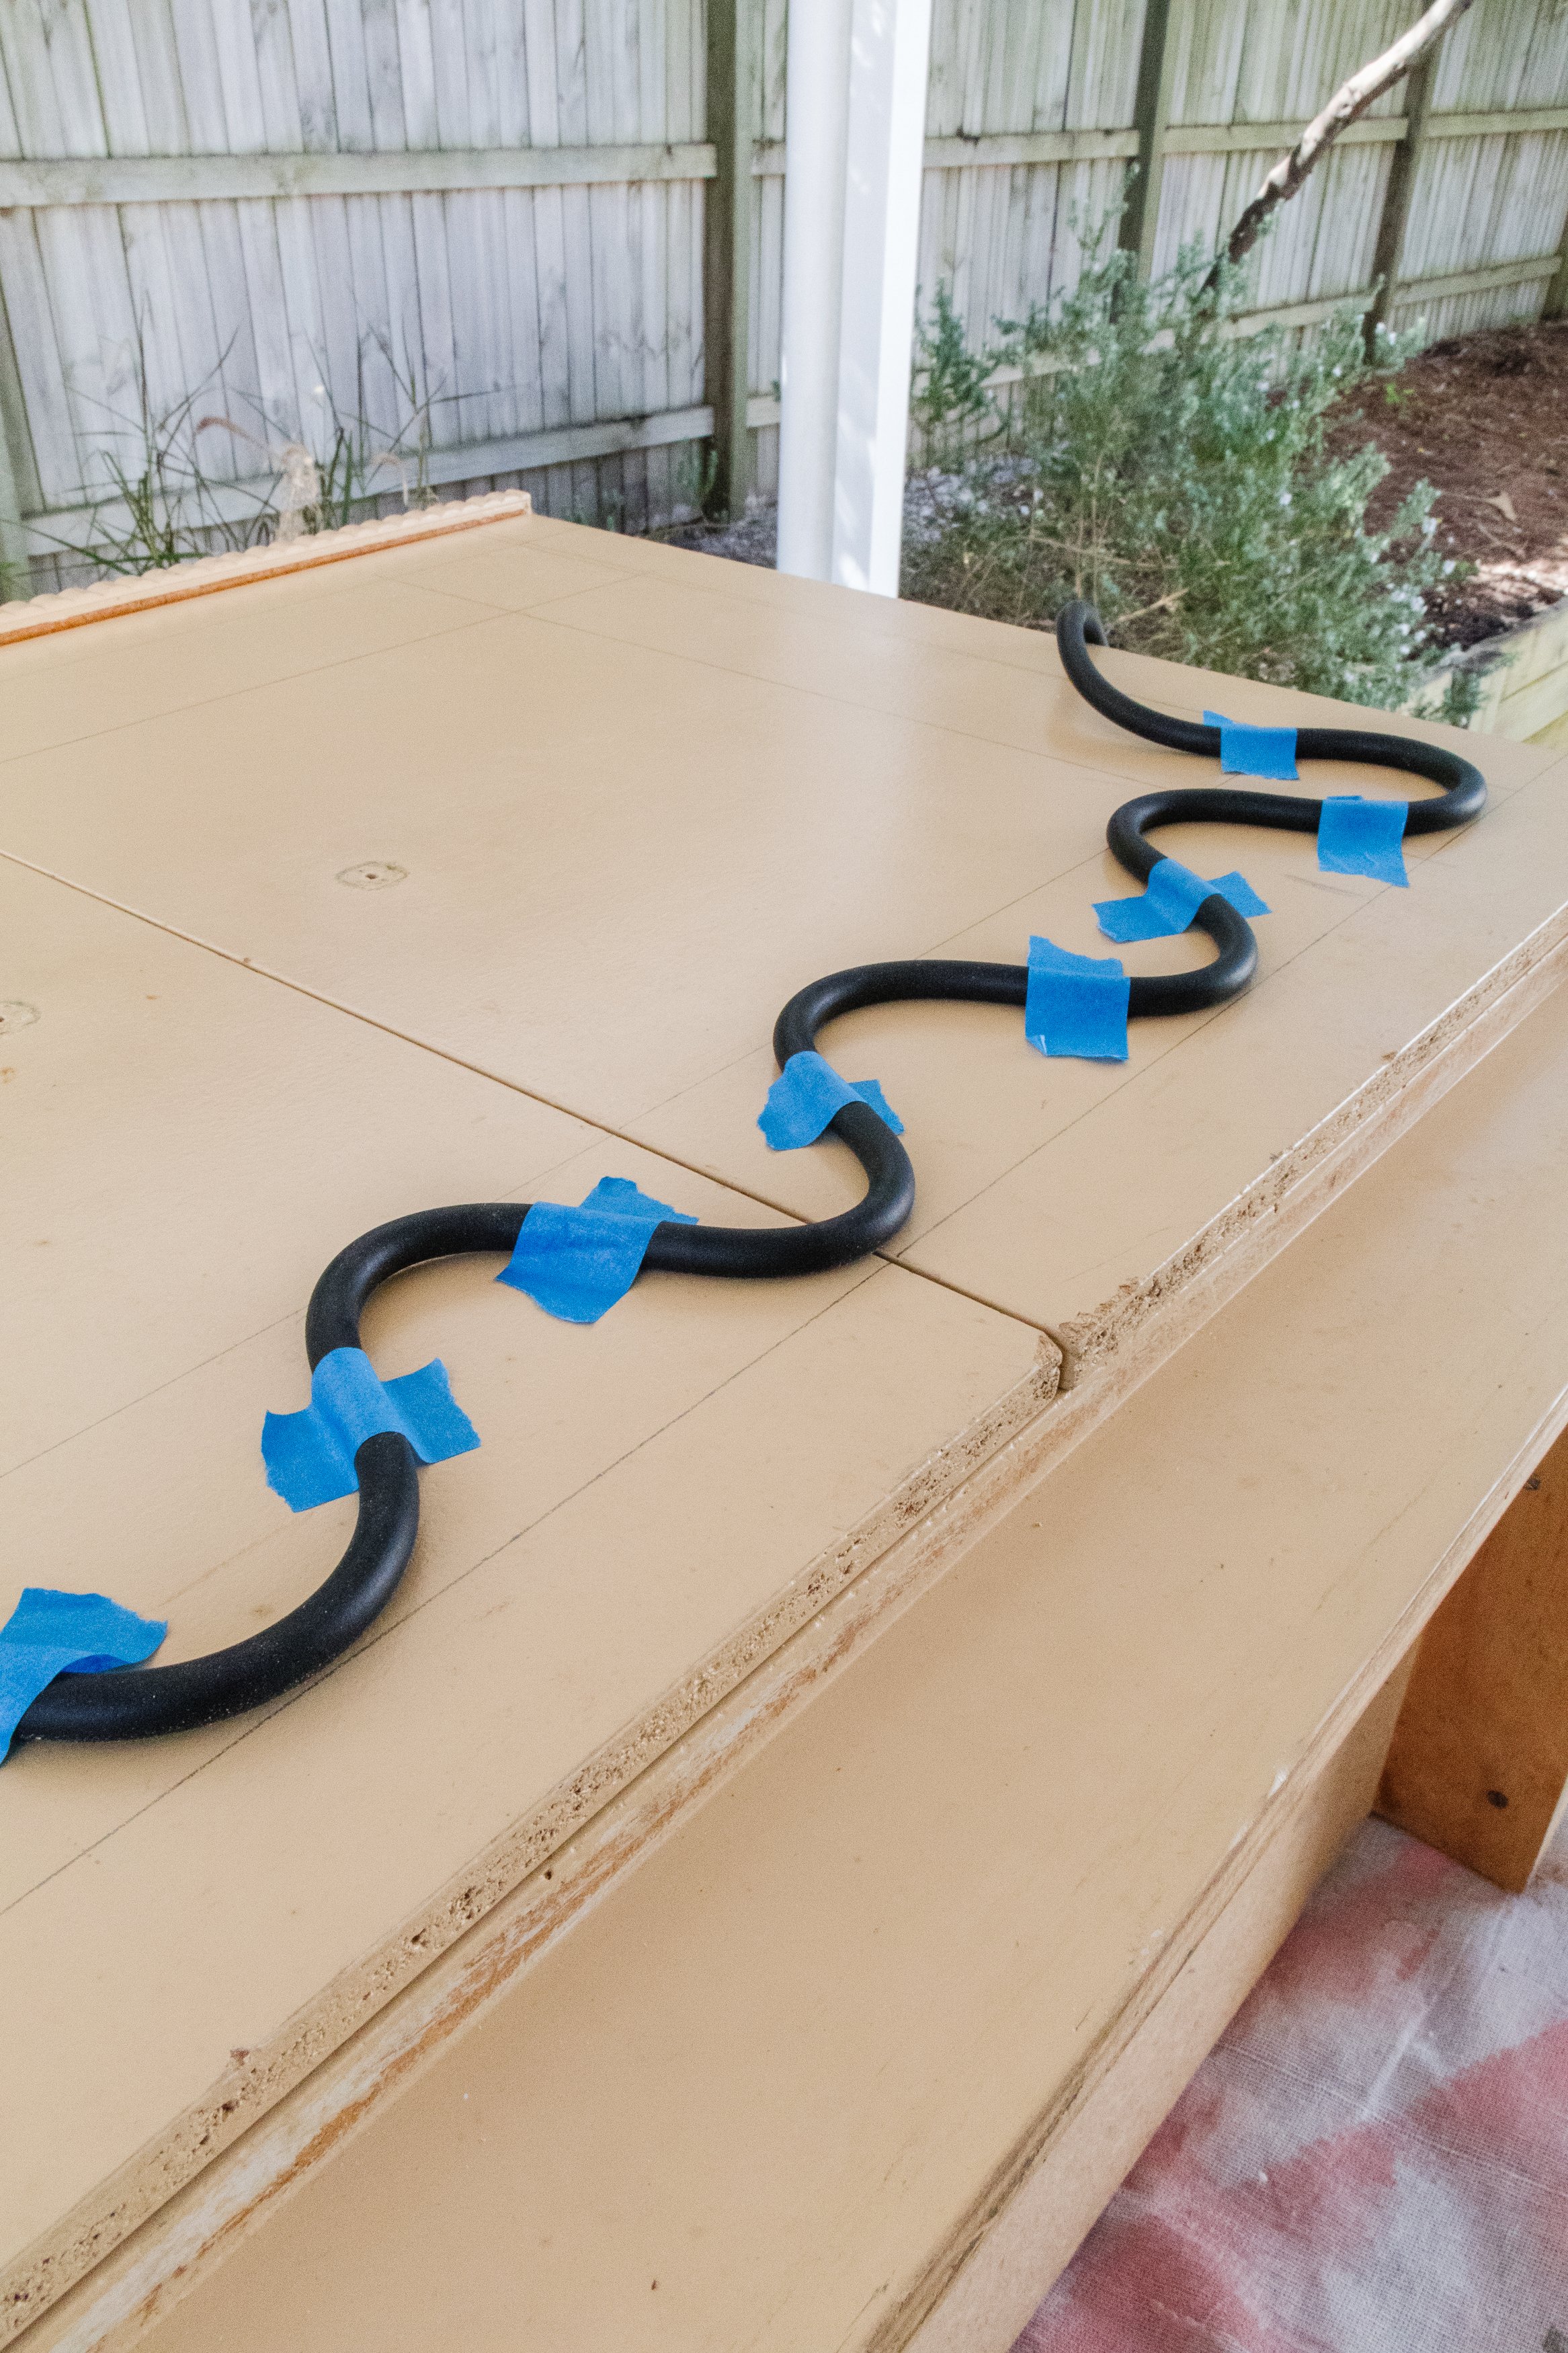
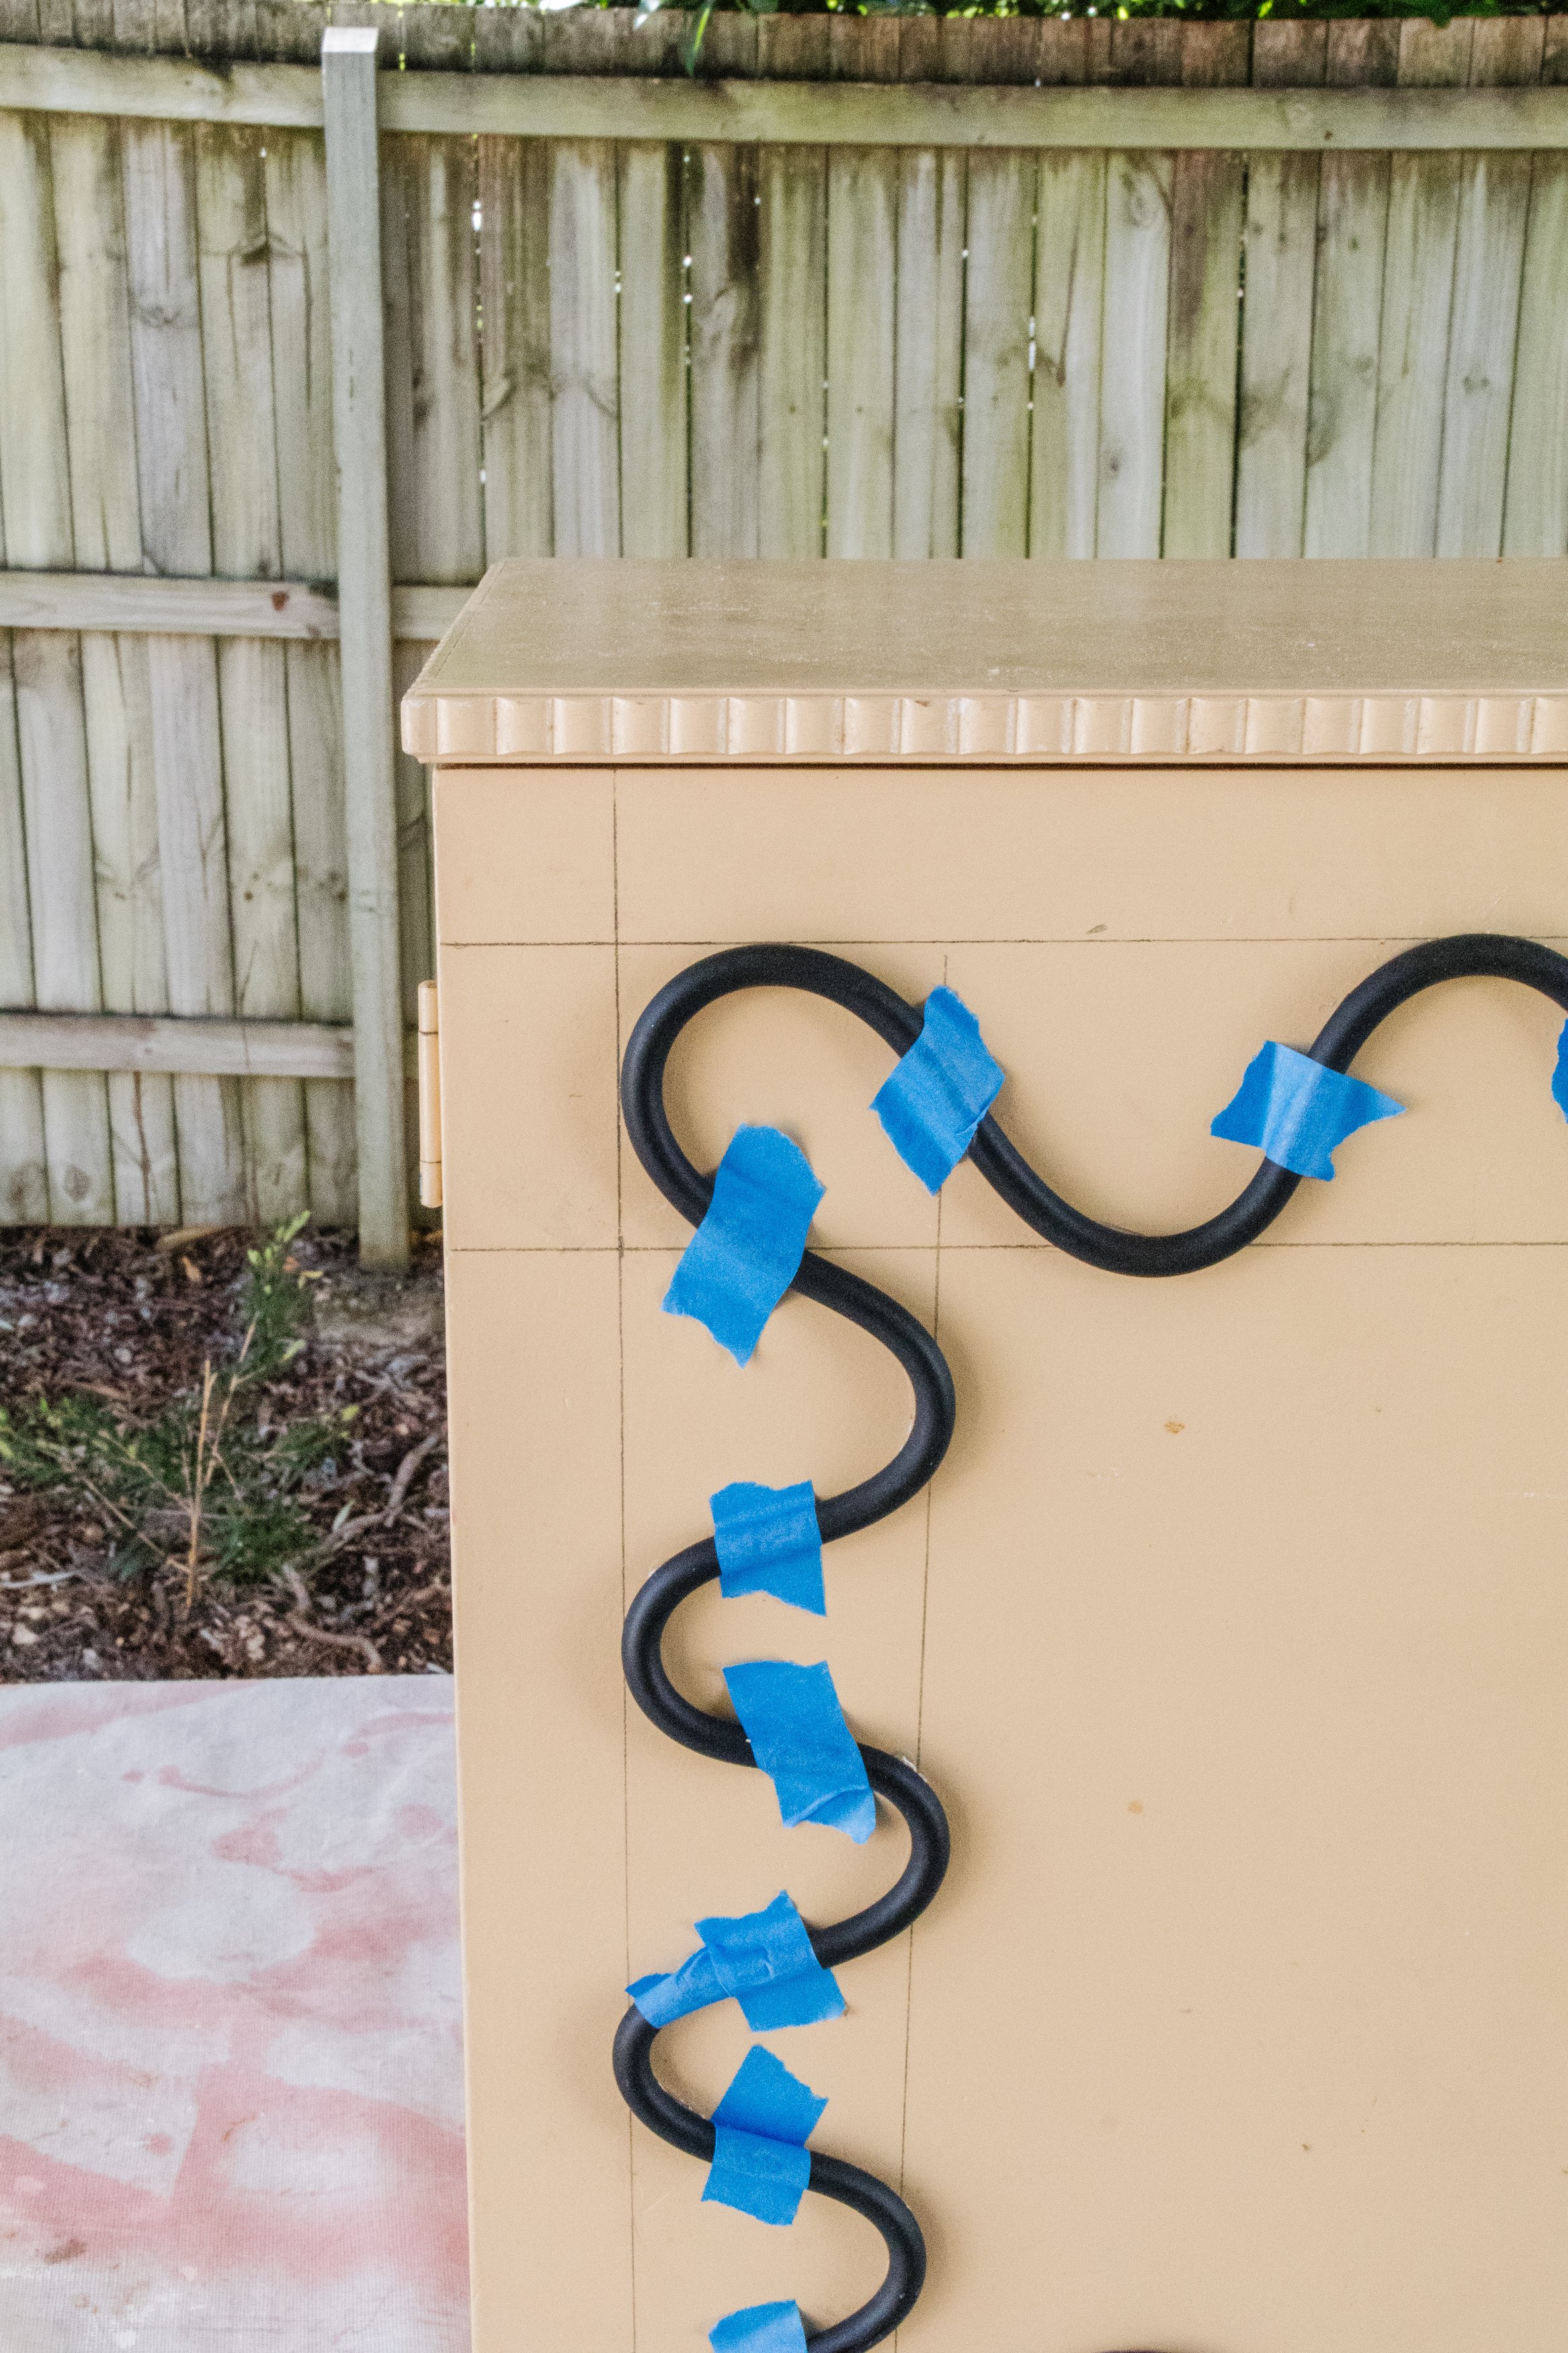
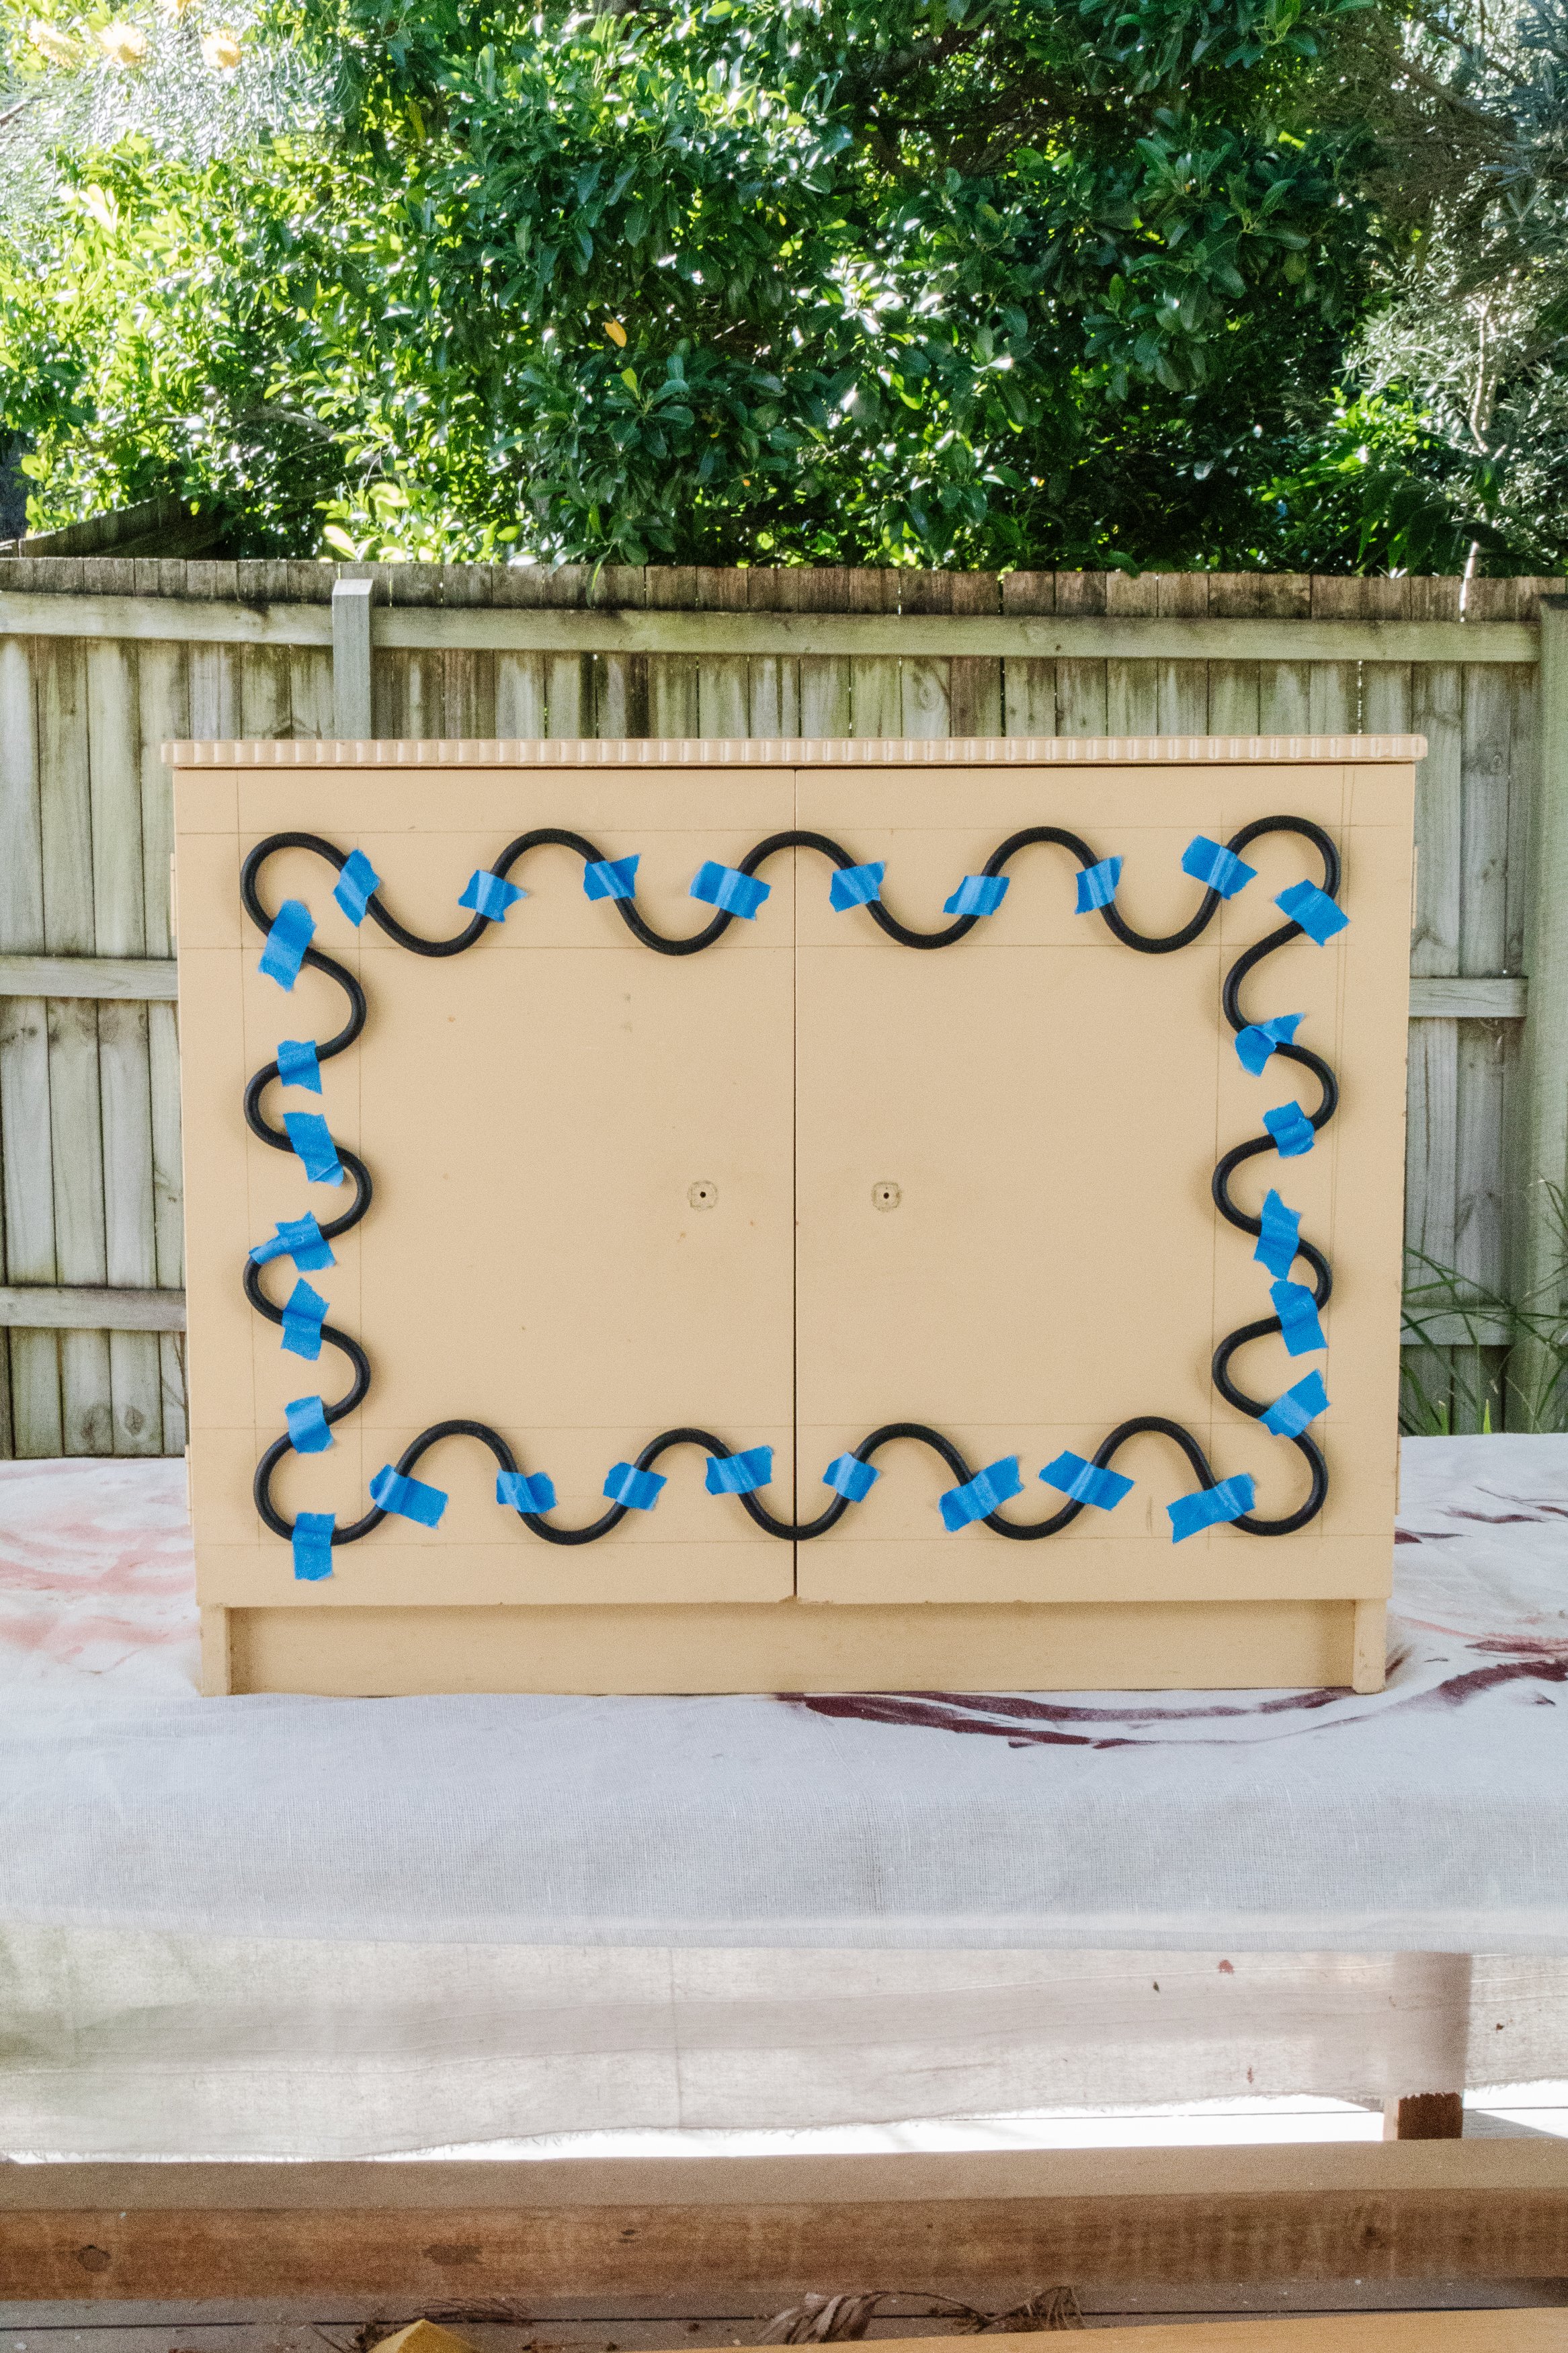
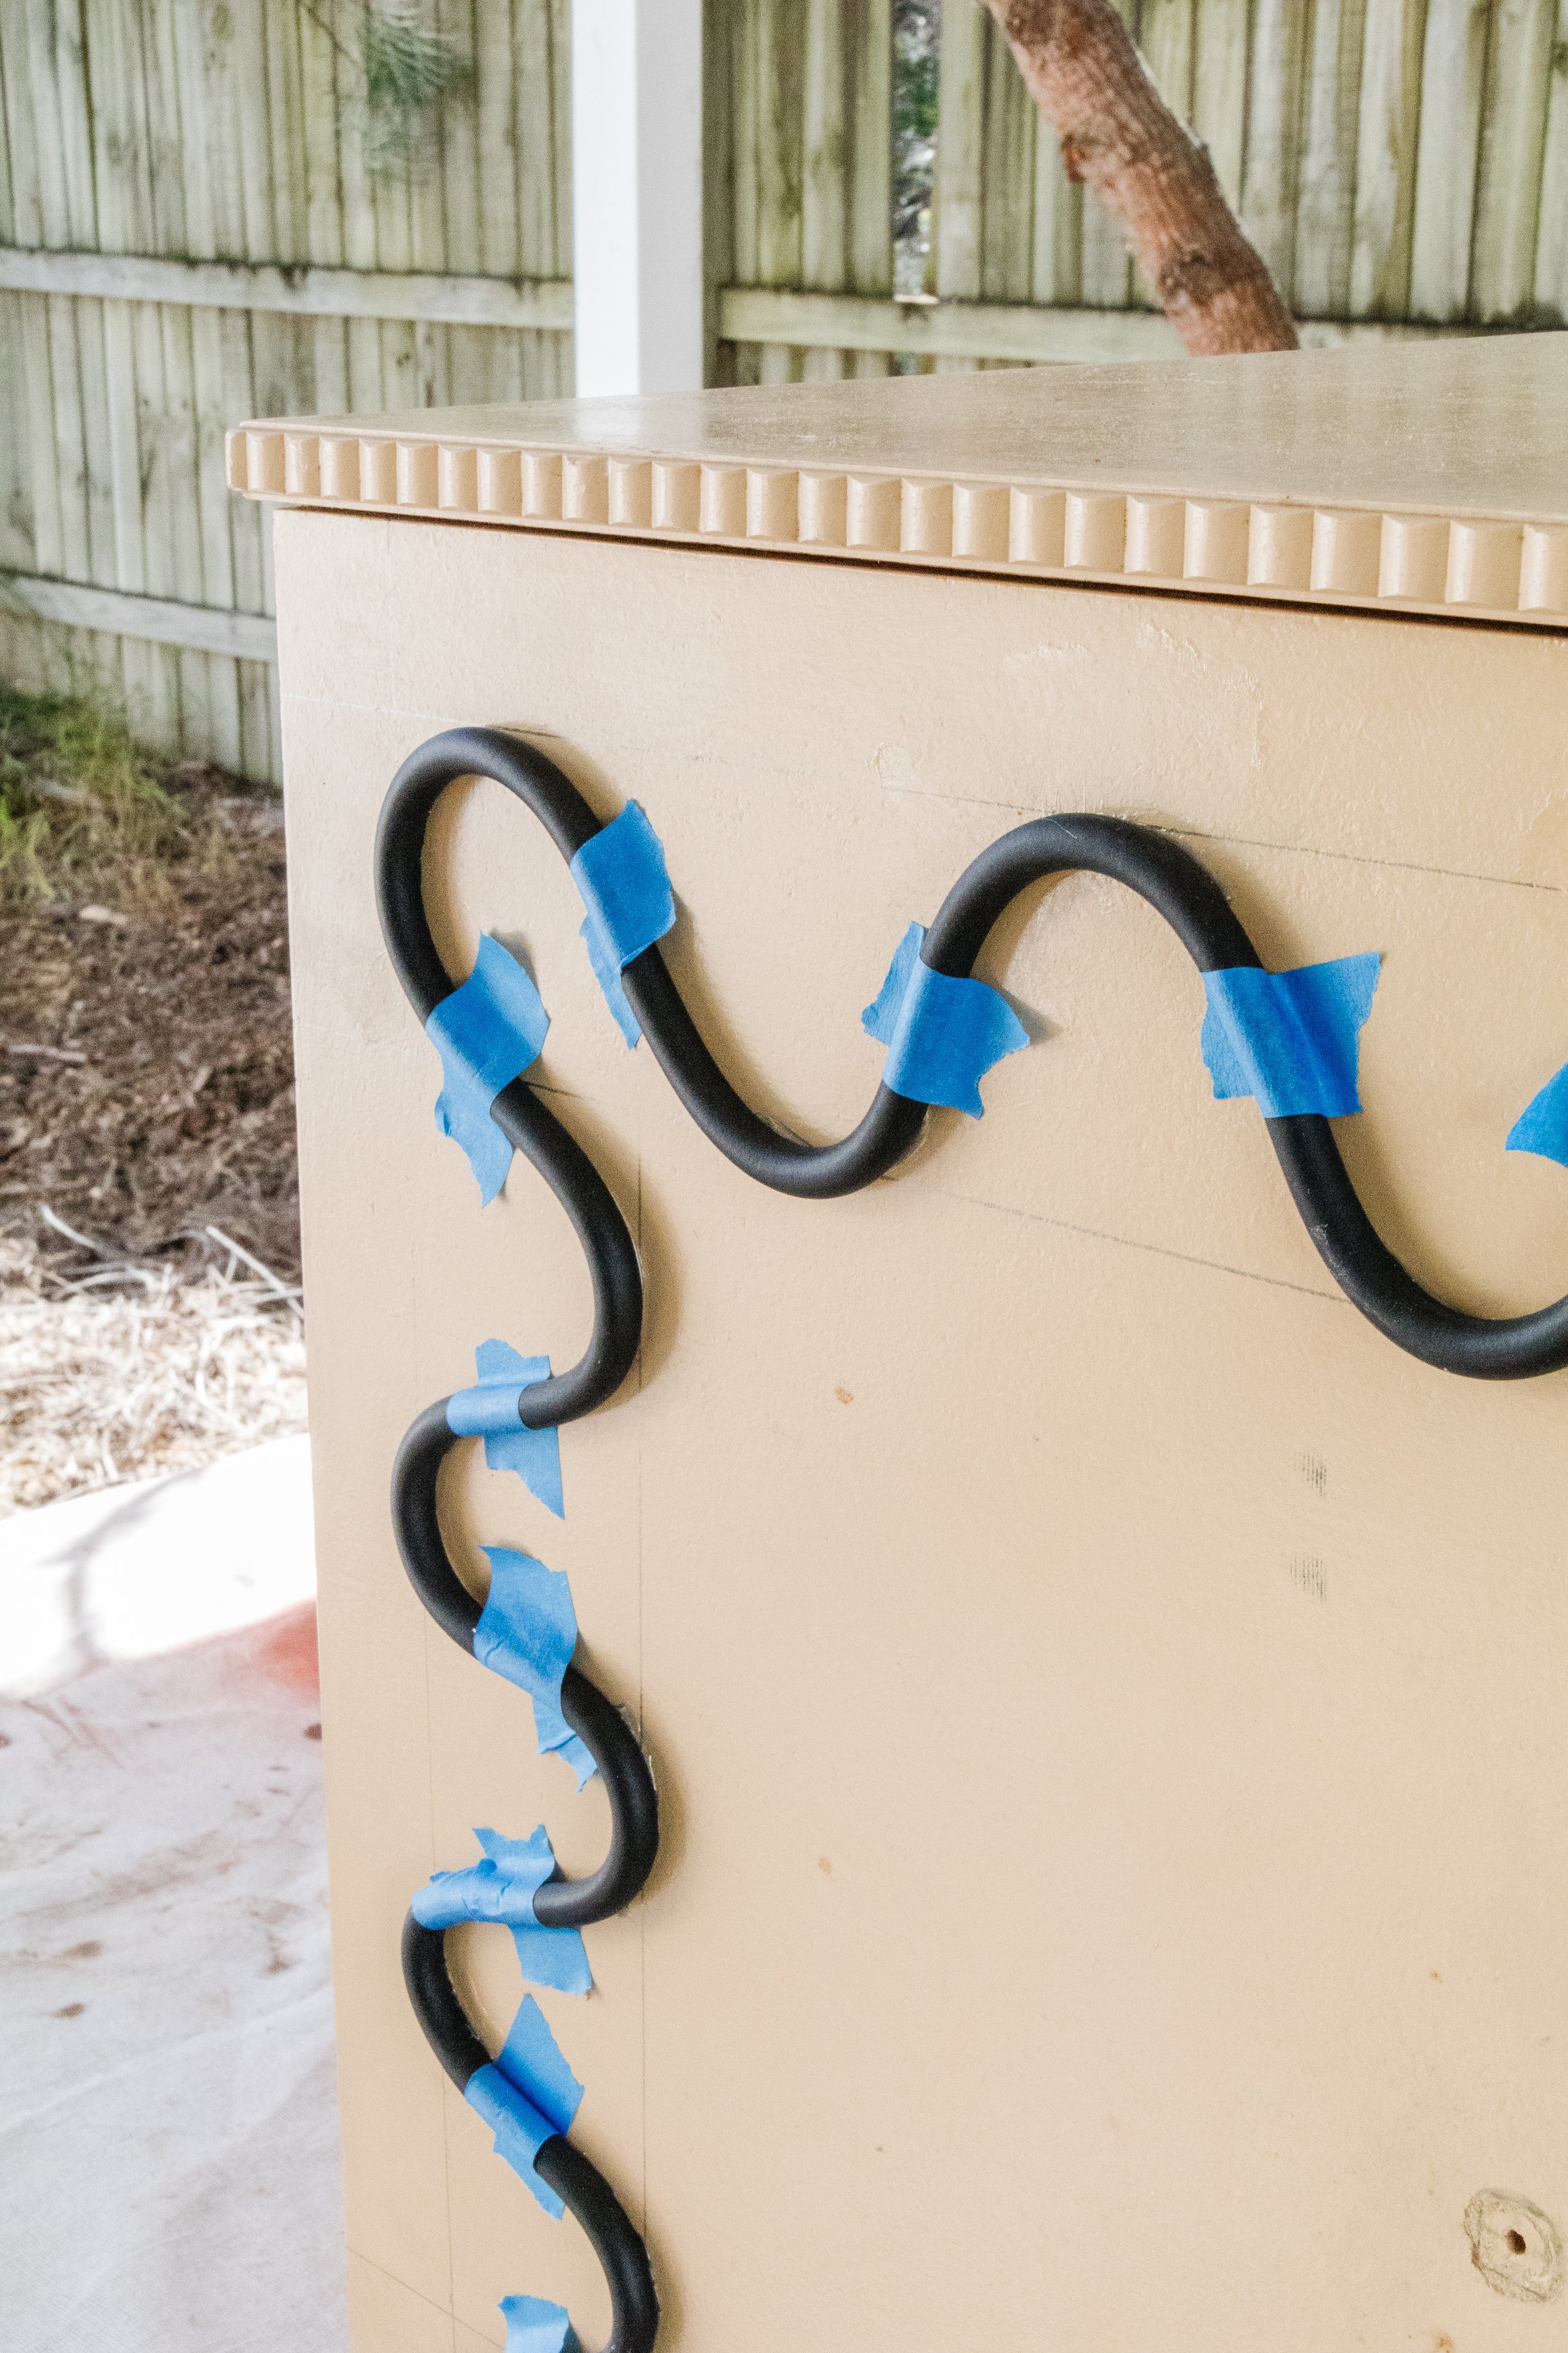
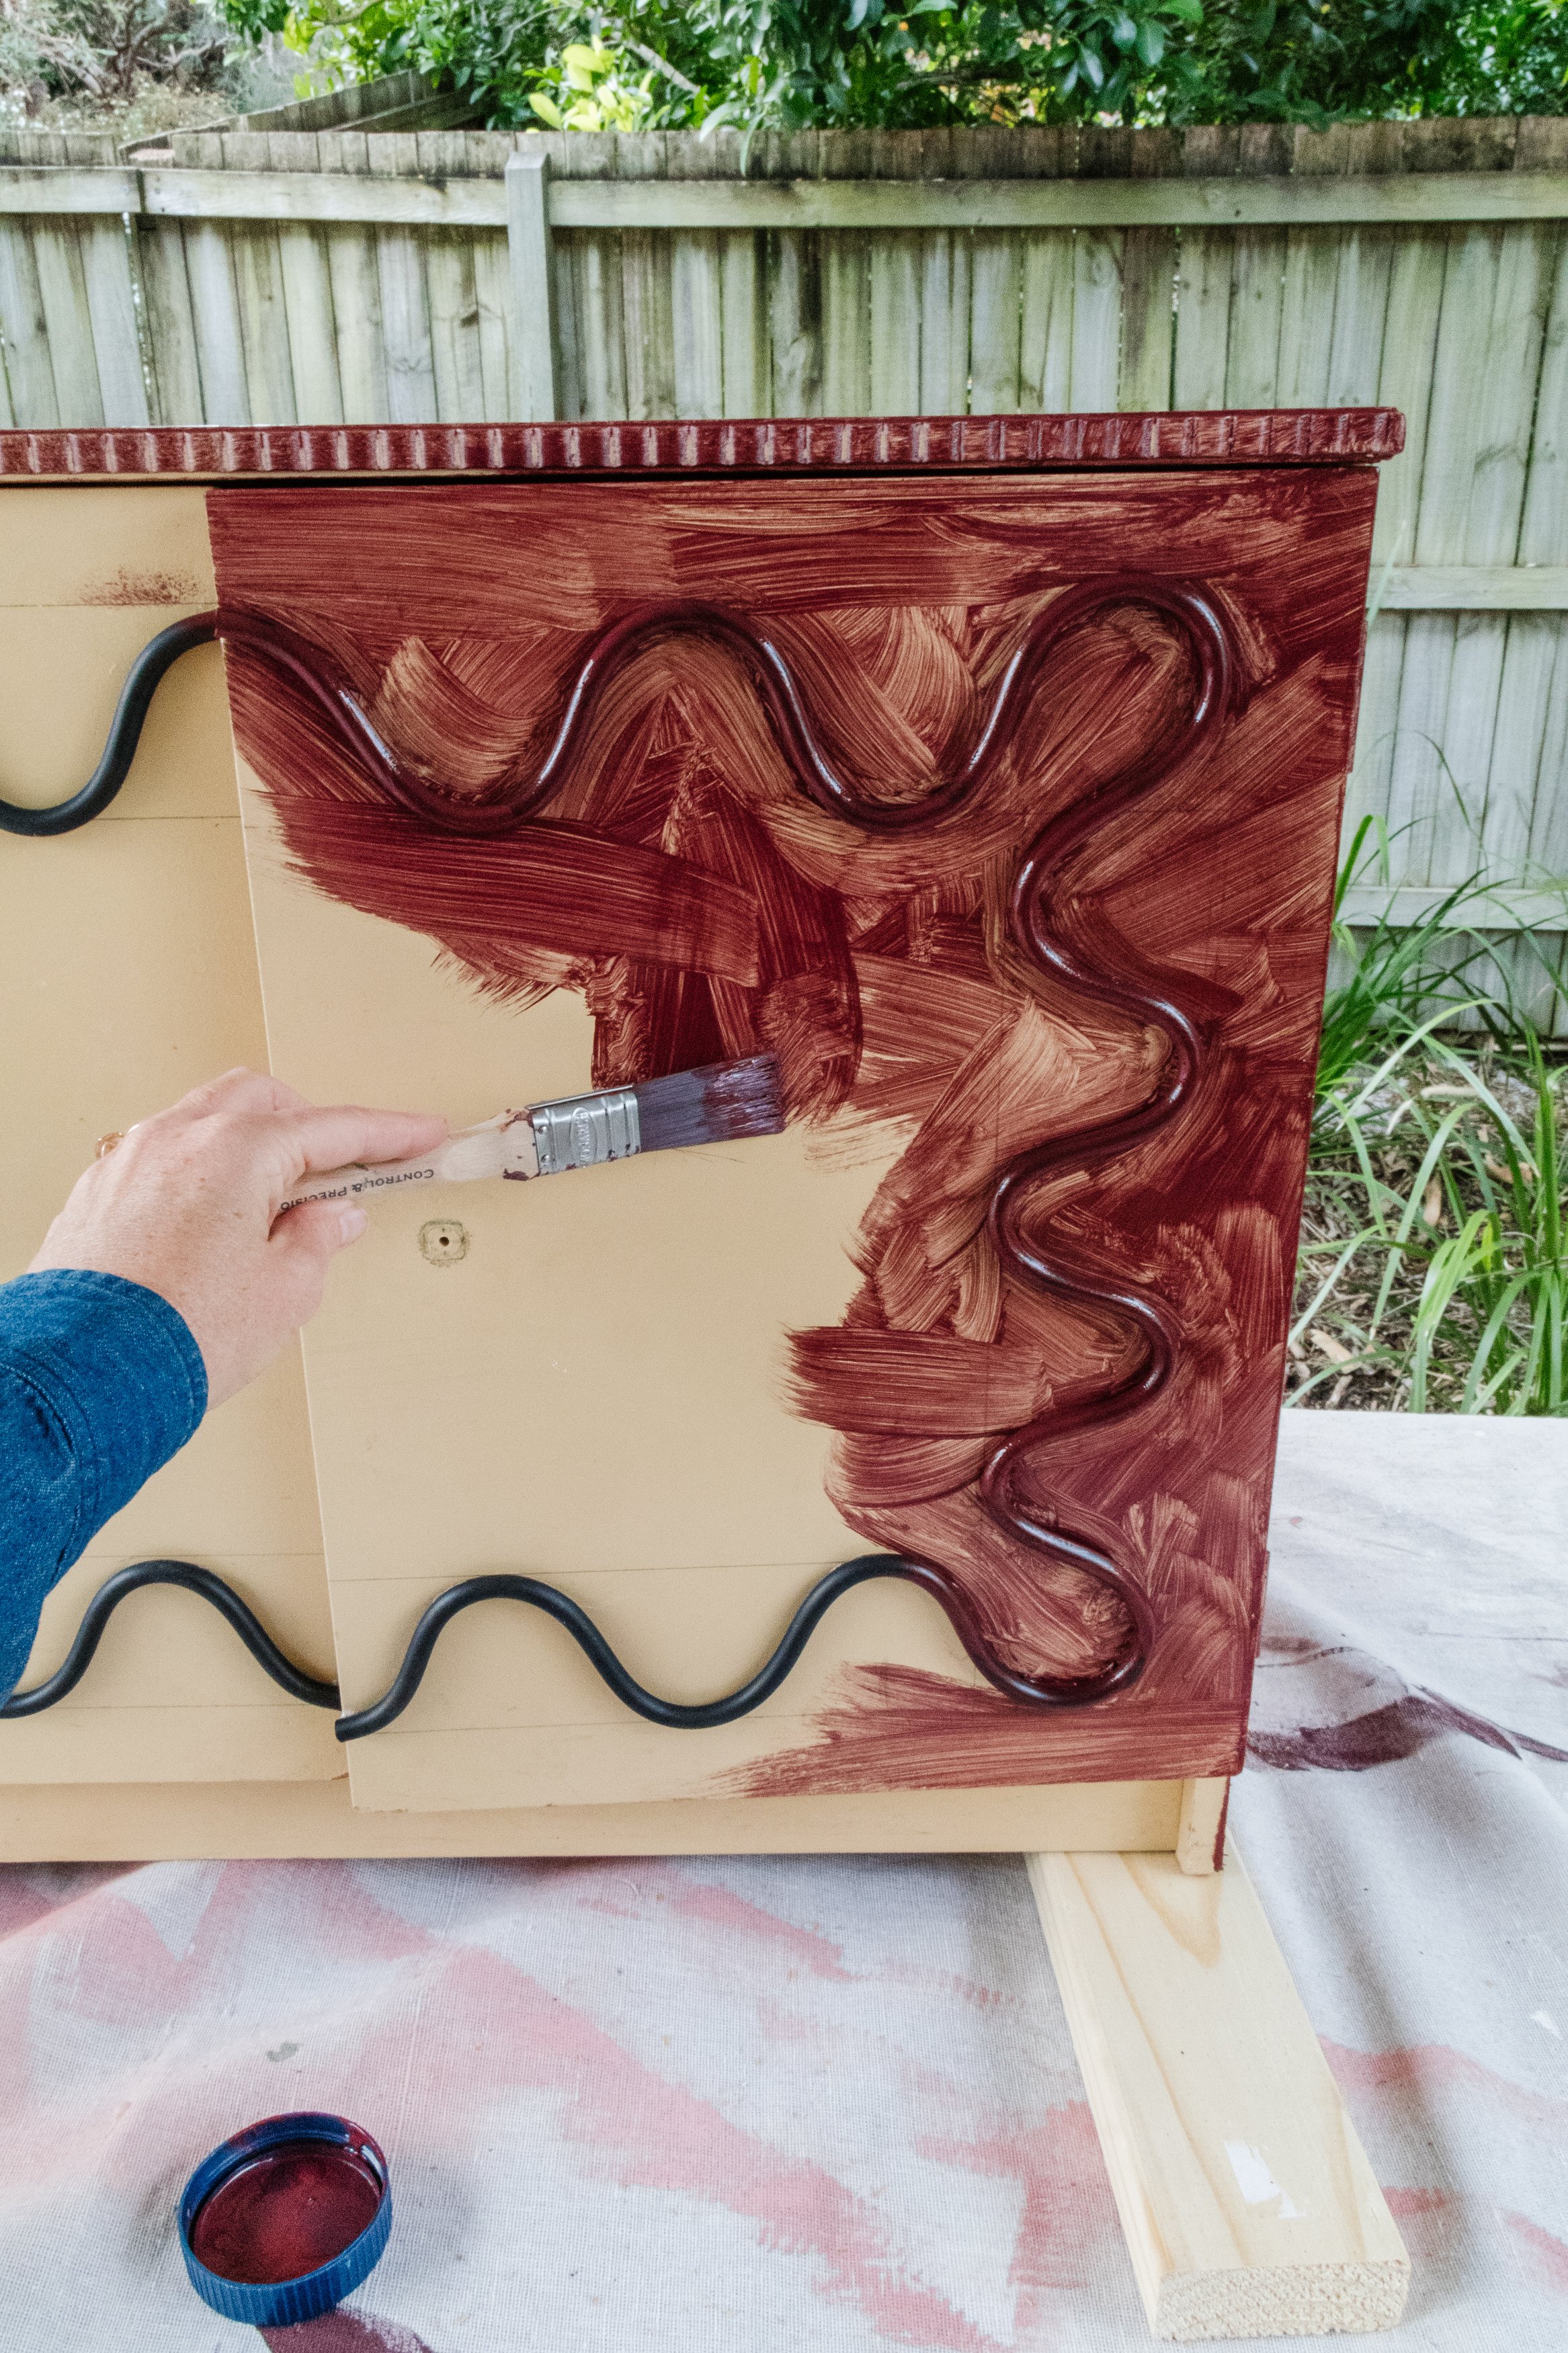
Step 2: I laid the cabinet down onto it’s back and using my ruler and a pencil drew a frame onto the face of the drawers. Using painters tape I created a wavy detail onto the front of the cabinet using painters tape to secure it down as I made my way around. I used the pencilled frame as a guide to ensure the peaks and the troughs of the waves stayed roughly the same.
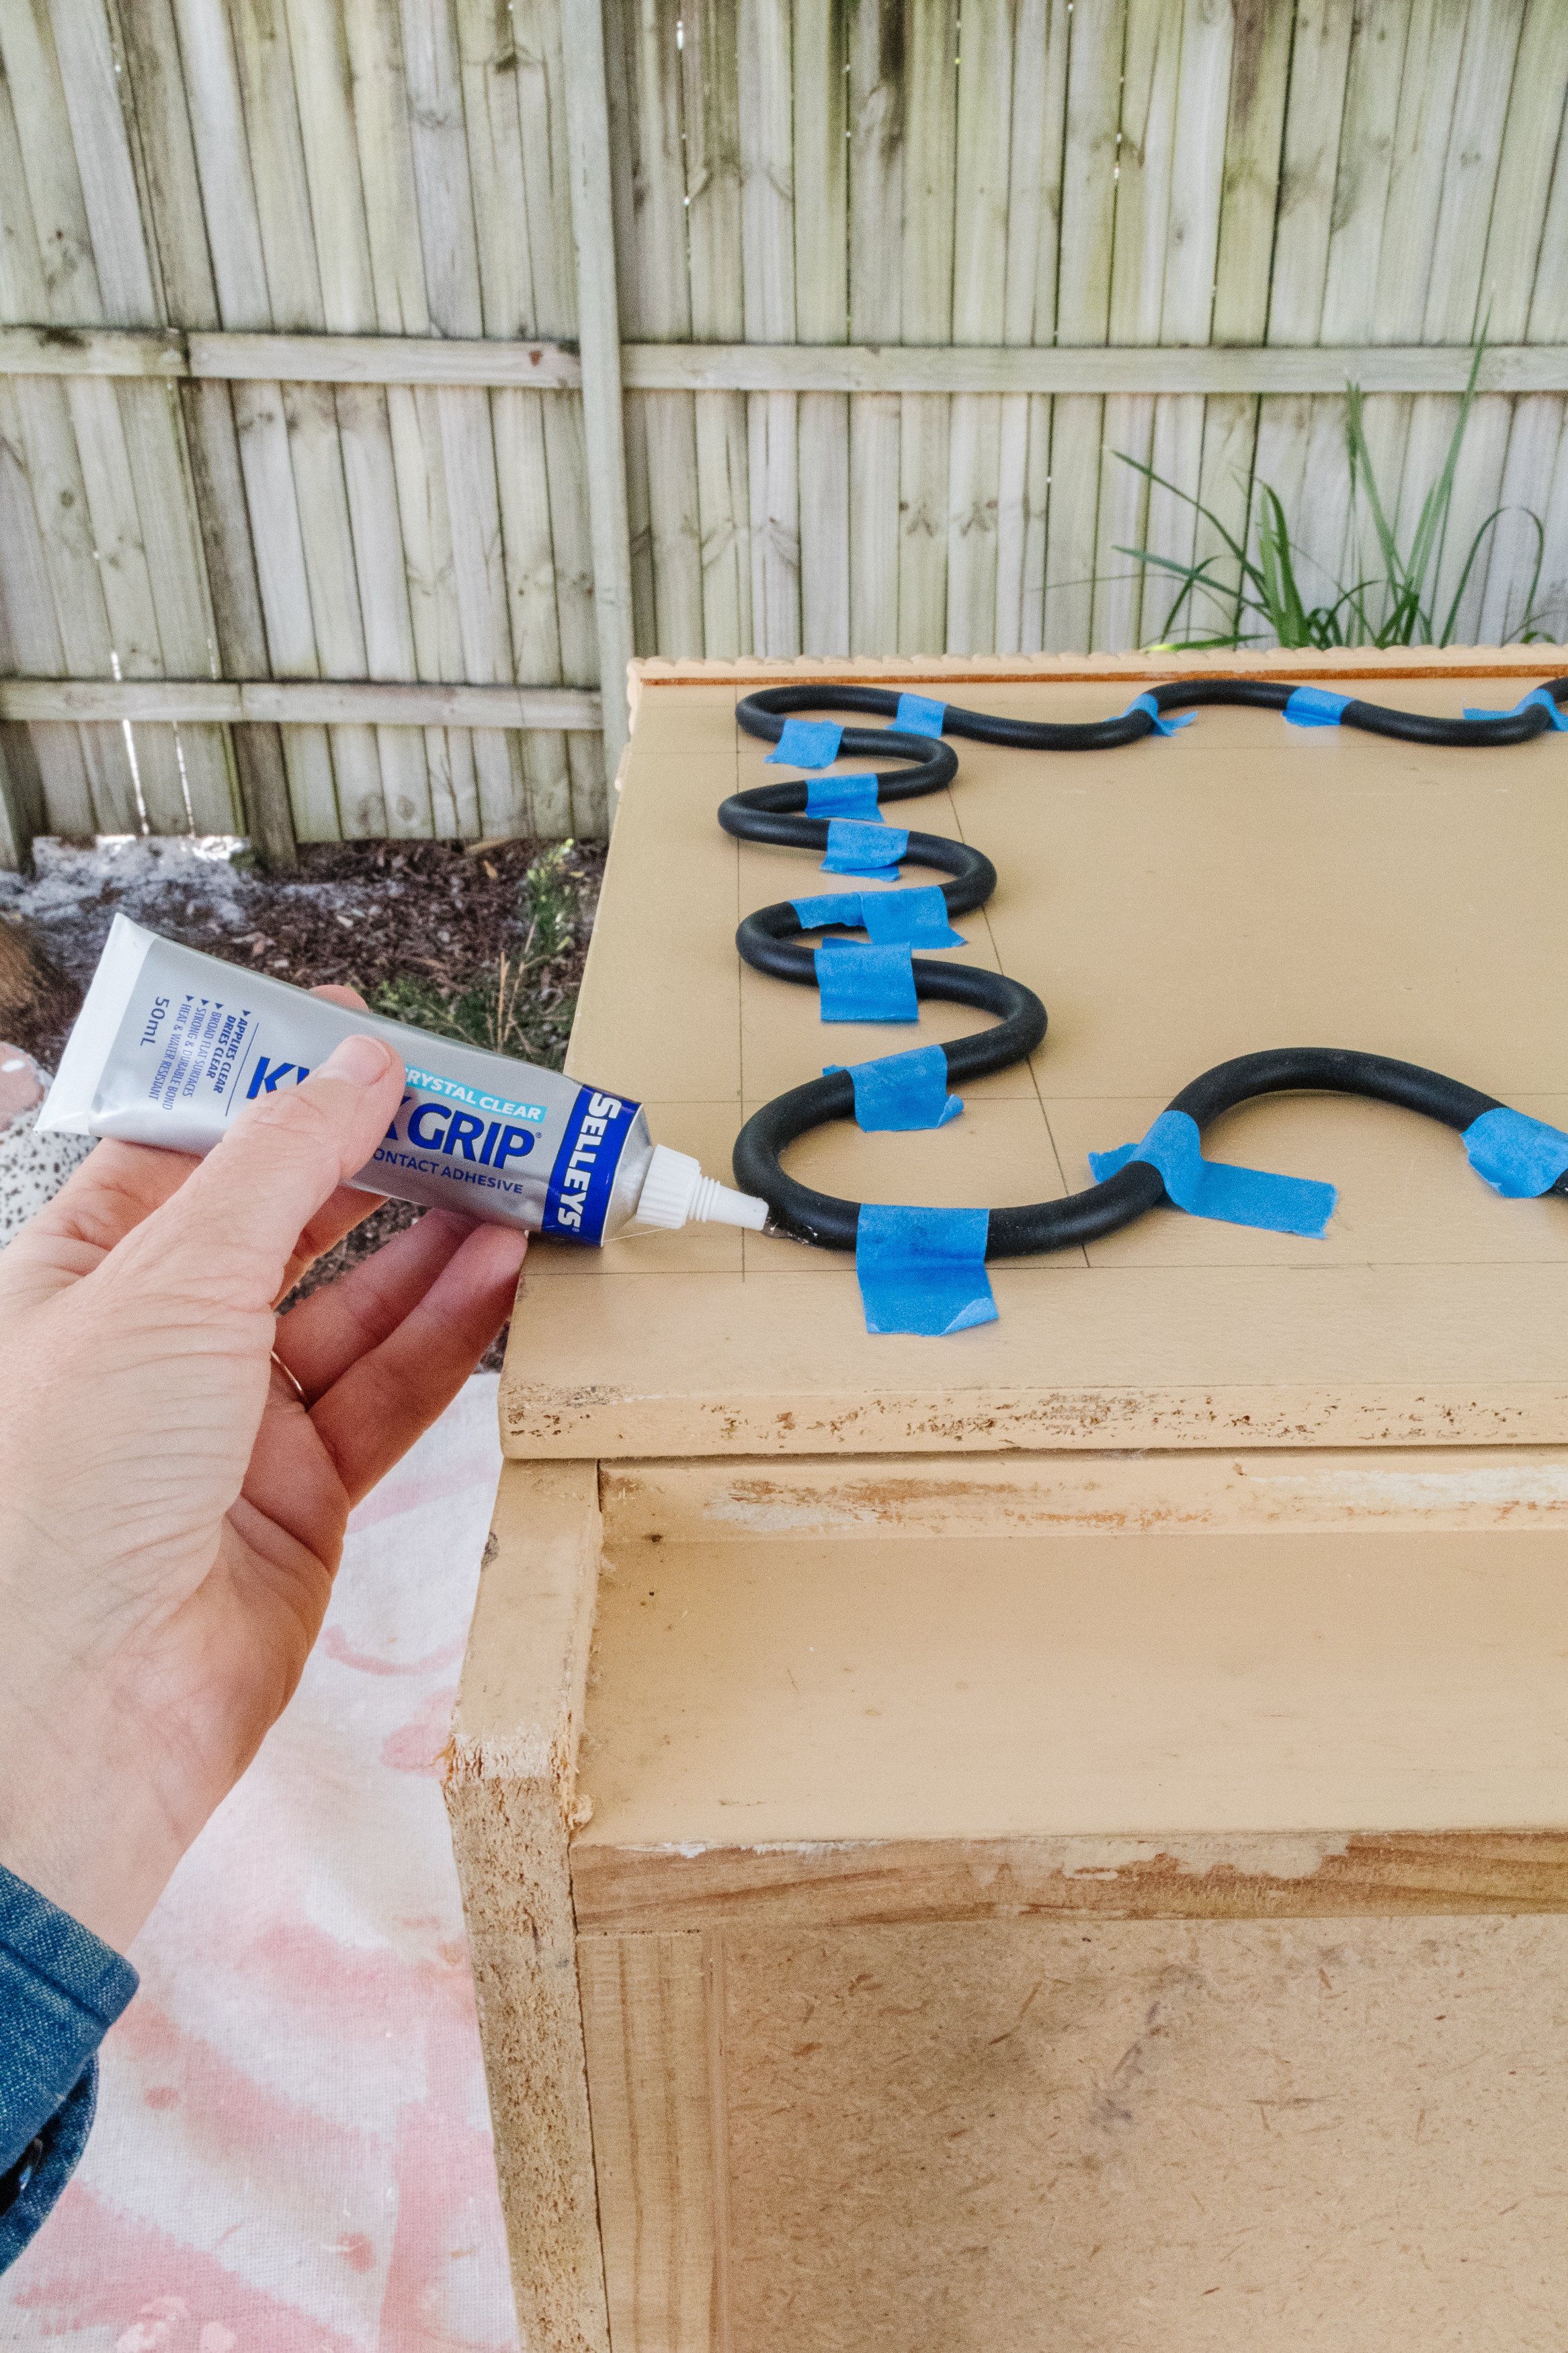
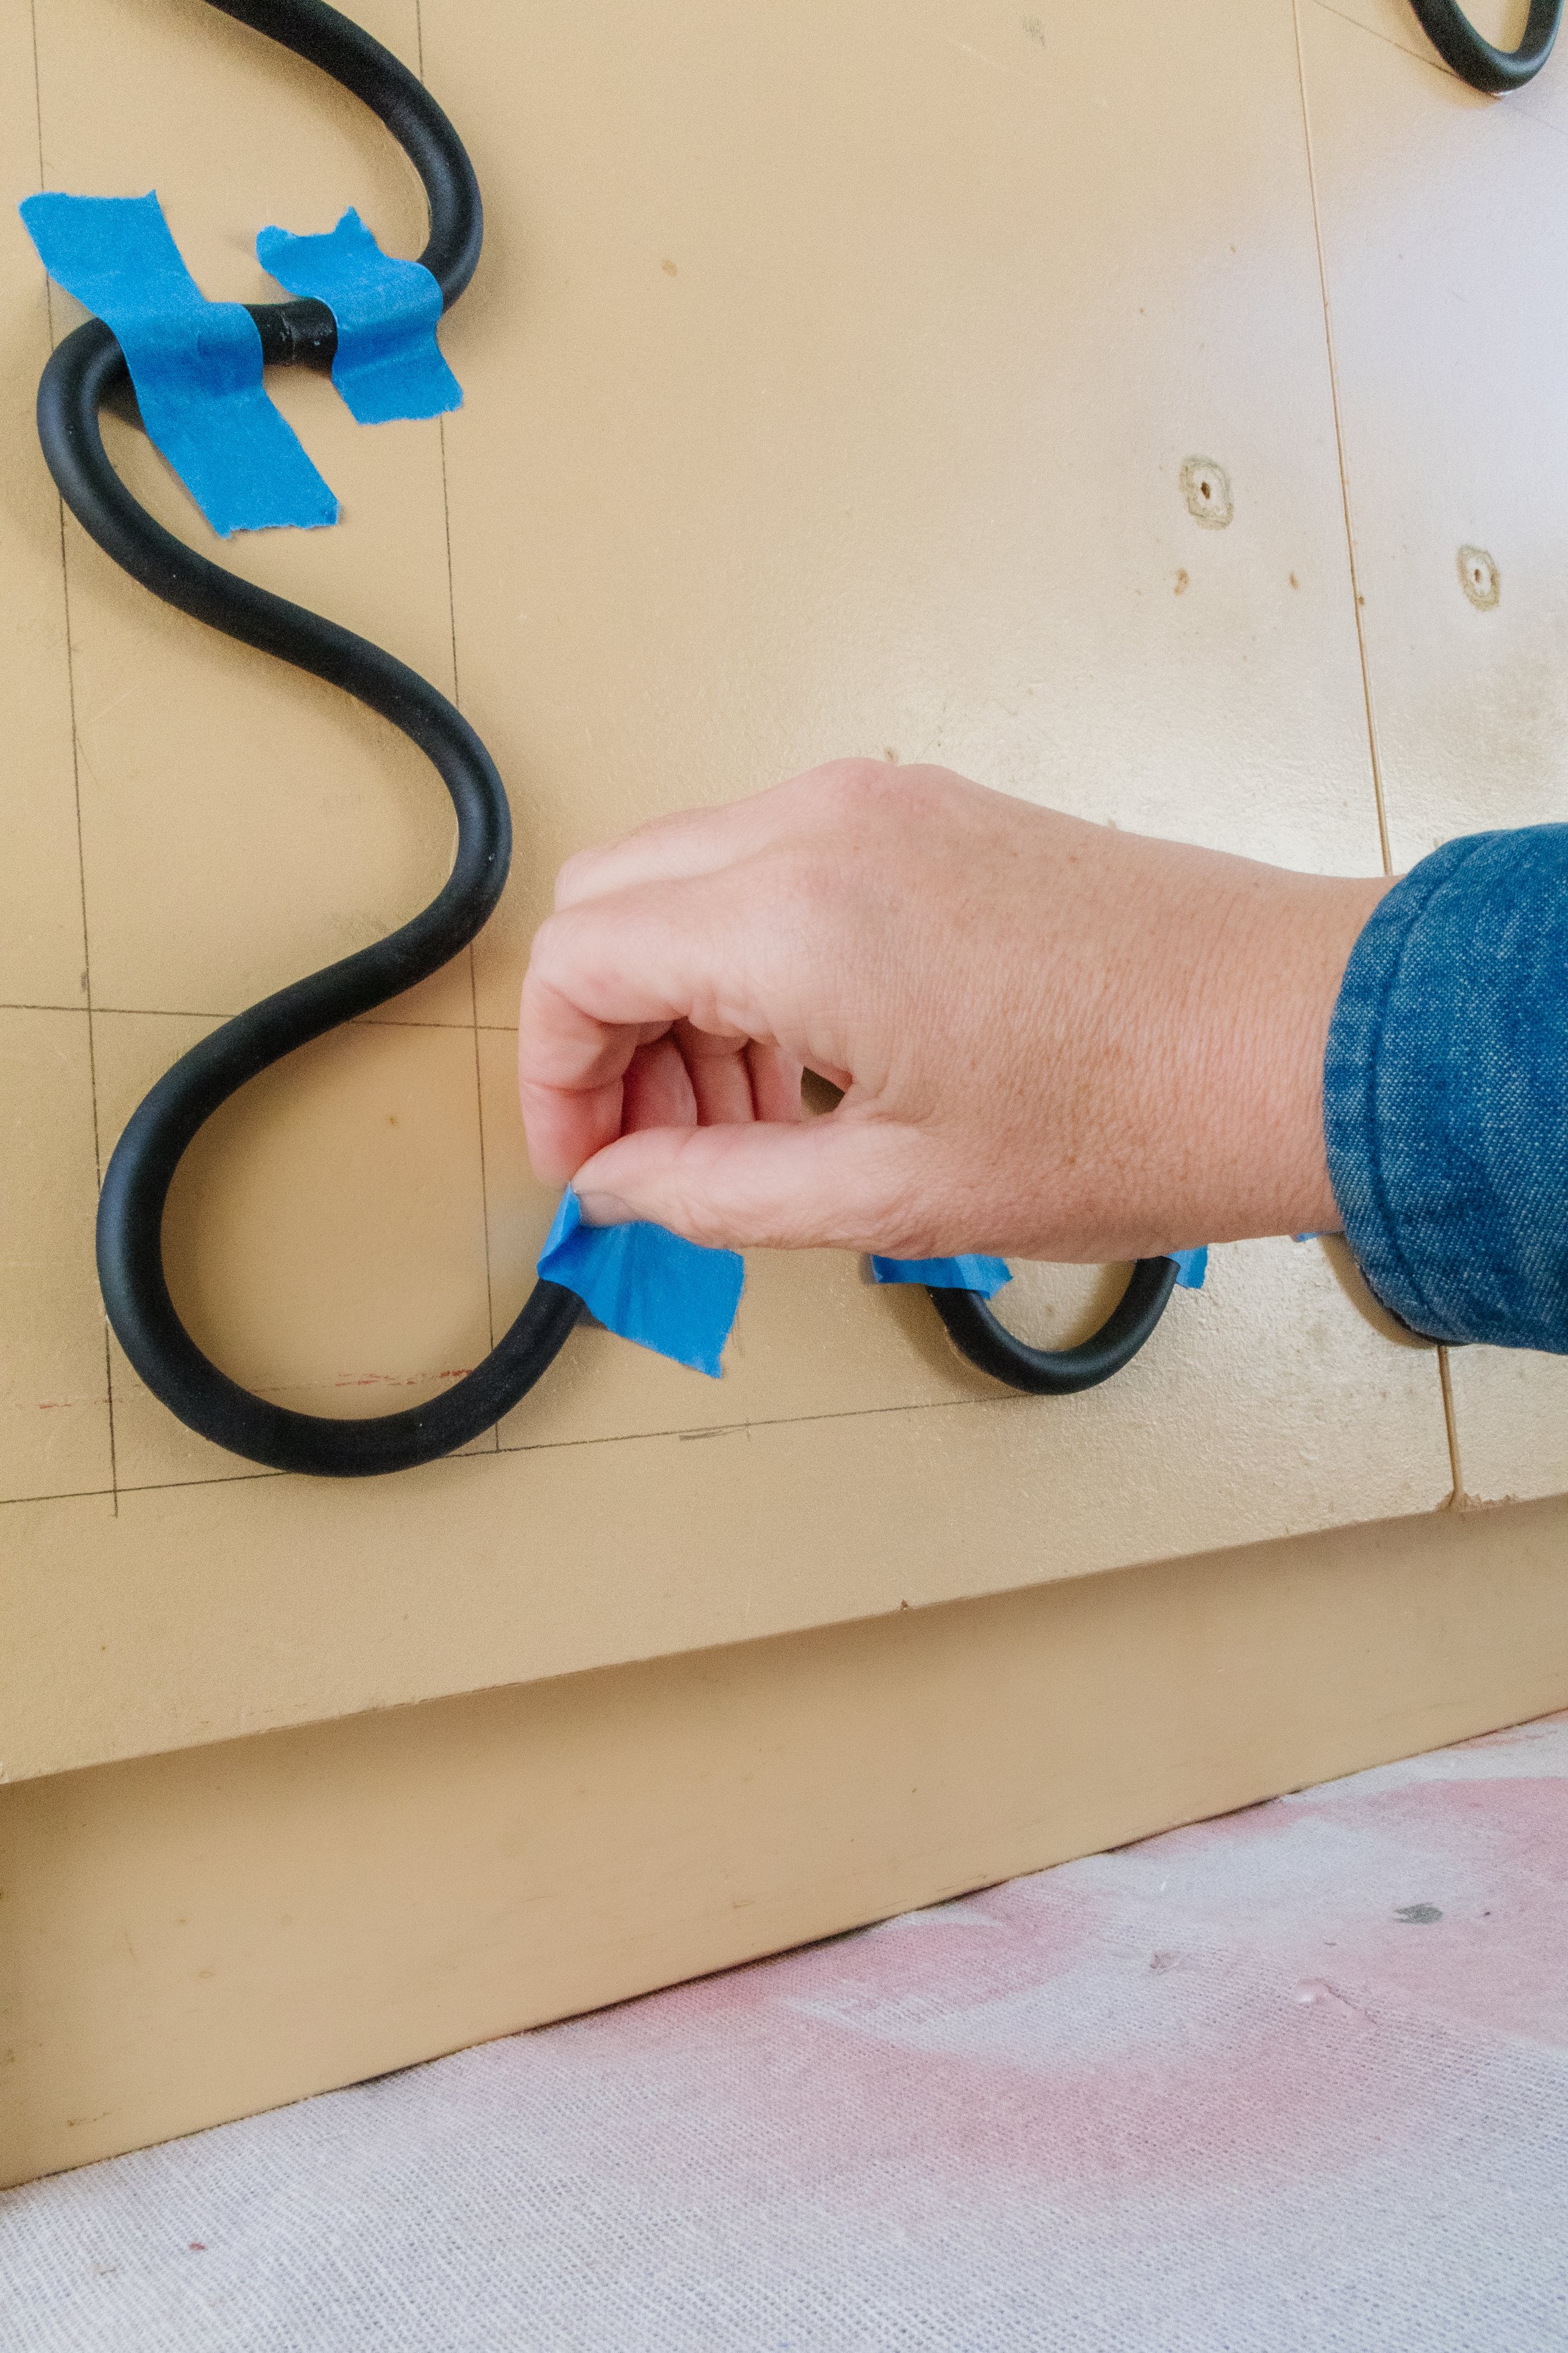
Step 3: Following this I lifted the rubber tubing carefully (where it was not taped down) and applied a very small amount of glue to the underside of the tubing. I carefully pressed it down for about 10 to 20 seconds to allow for the glue to quickly cure. I used extra glue and painters tape to secure the two ends together seamlessly. I waited an hour for the glue to dry before removing the painters tape.
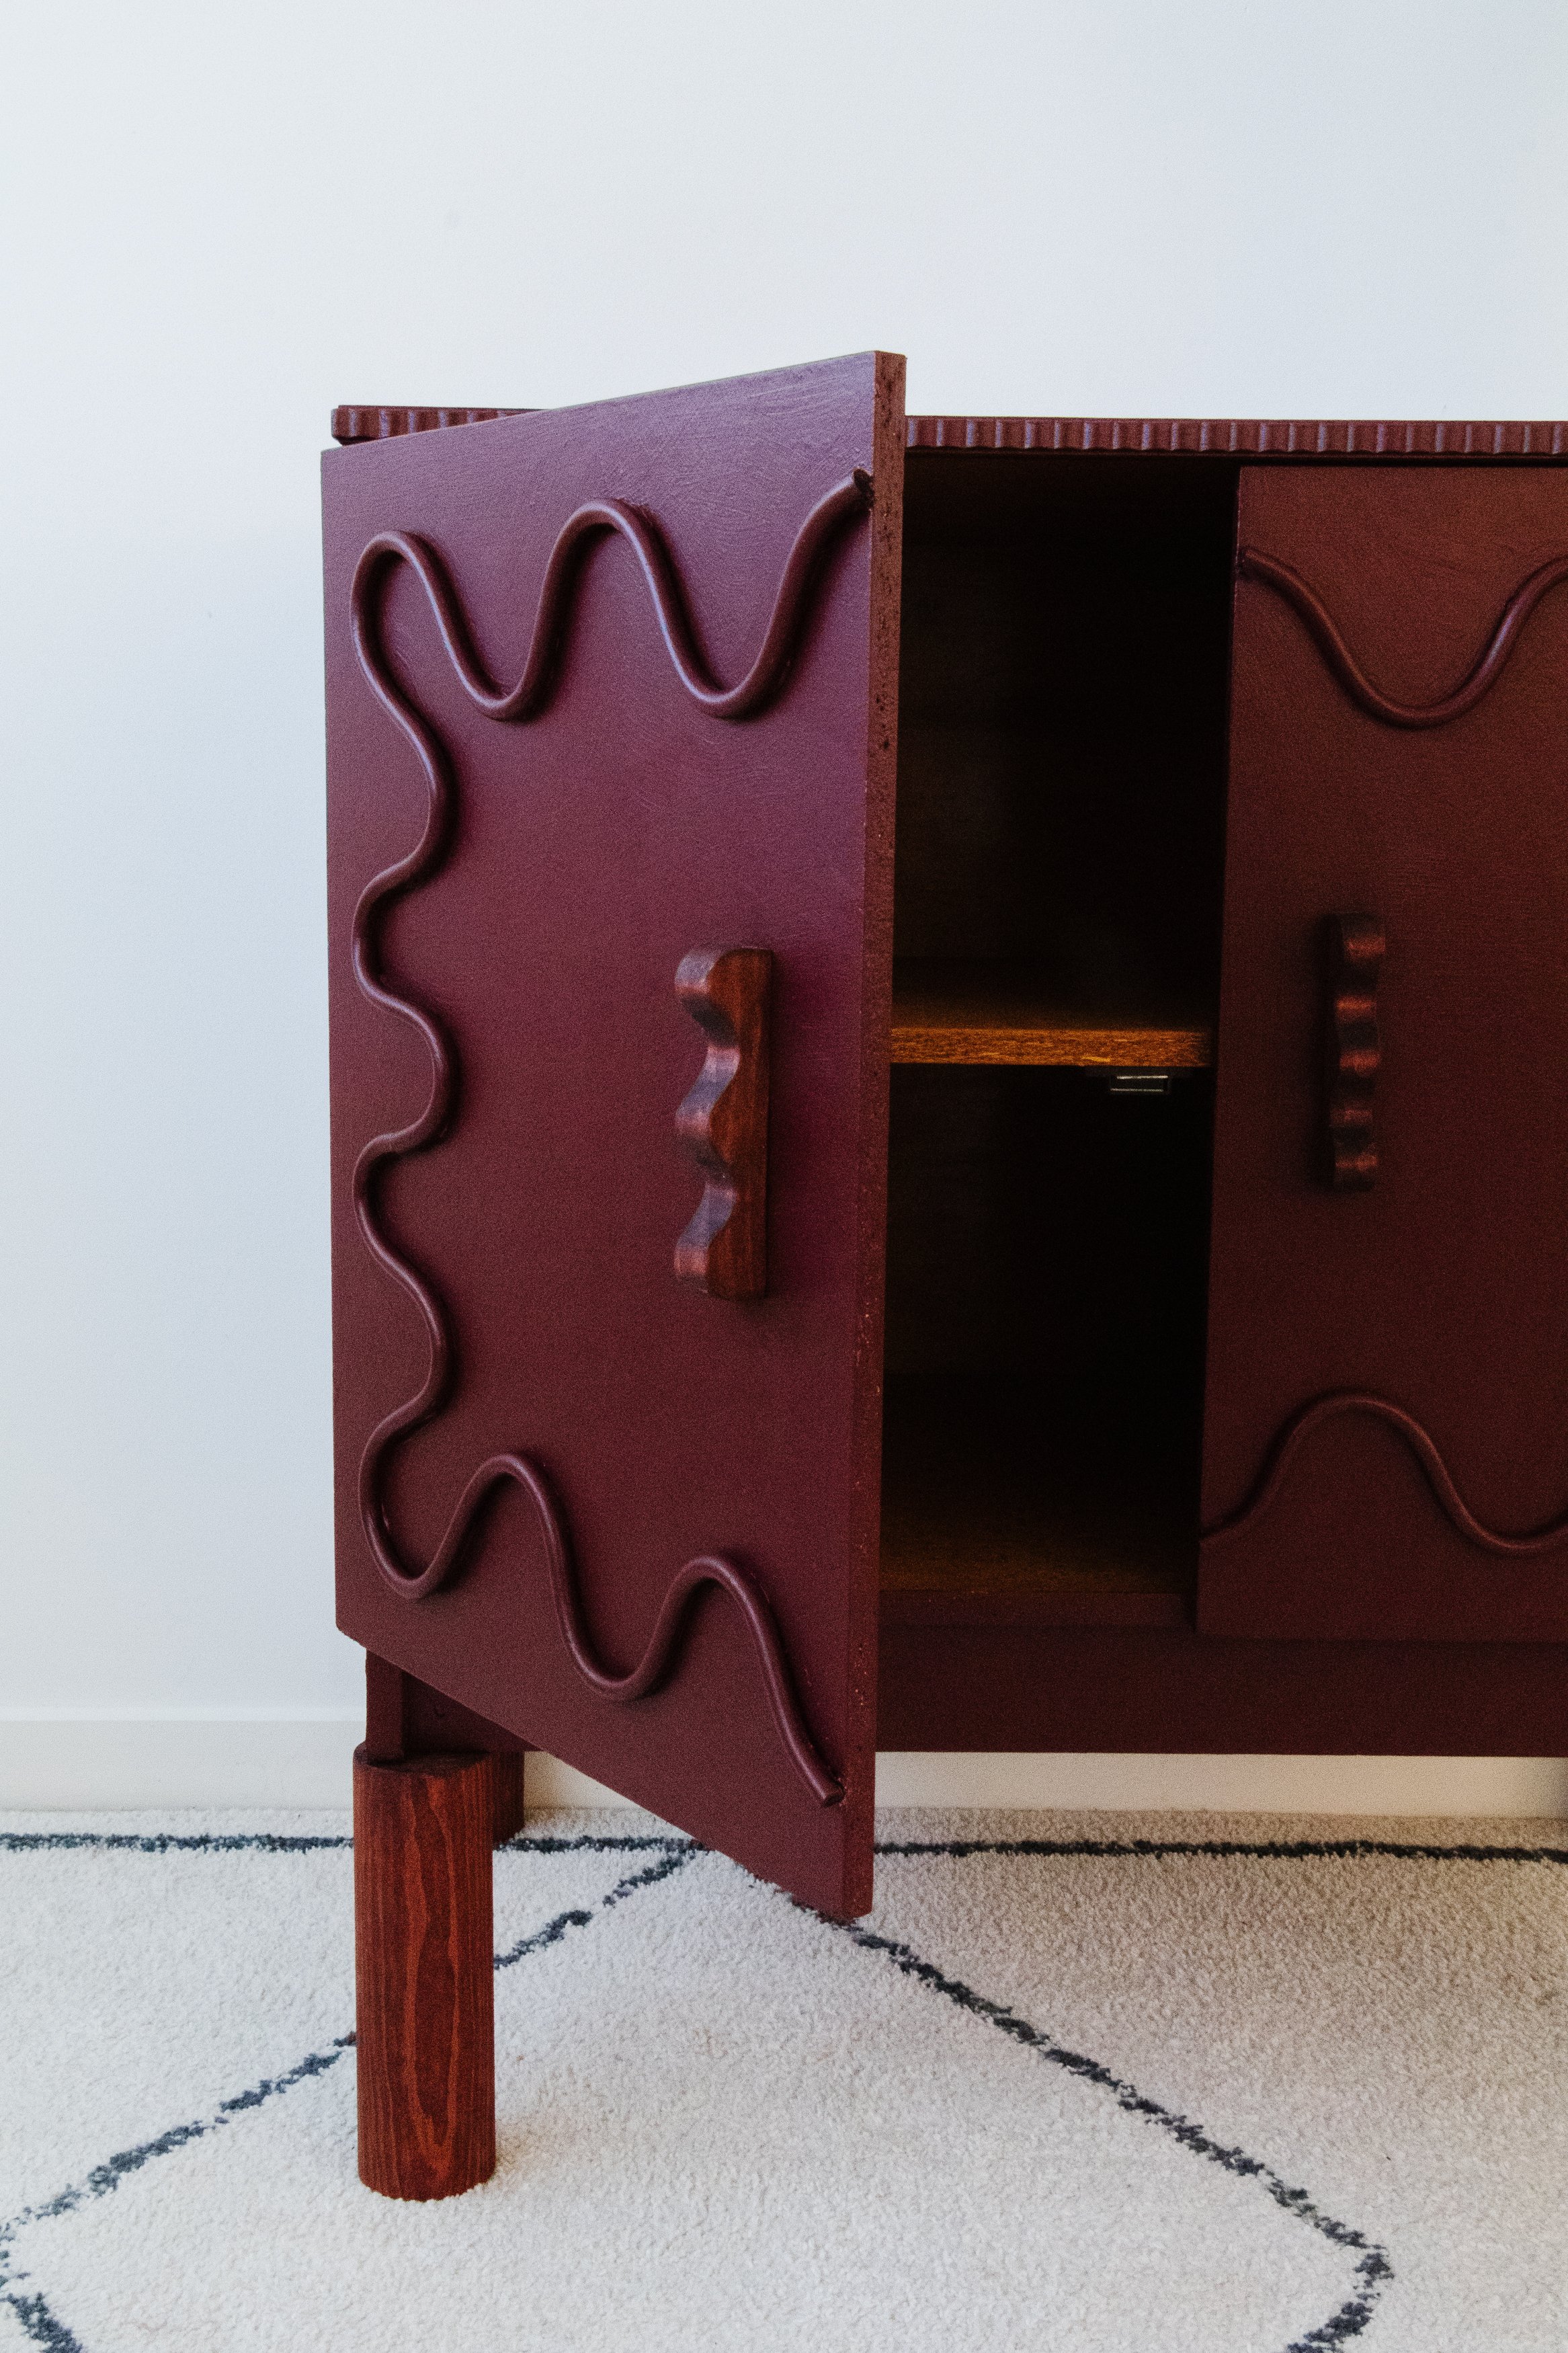
Step 4: I used scissors to cut the rubber tubing so I could open the doors. This made the tubing sag a little so I applied extra glue and painters tape to secure it in place, and waited another hour before peeling the final painters tape off.
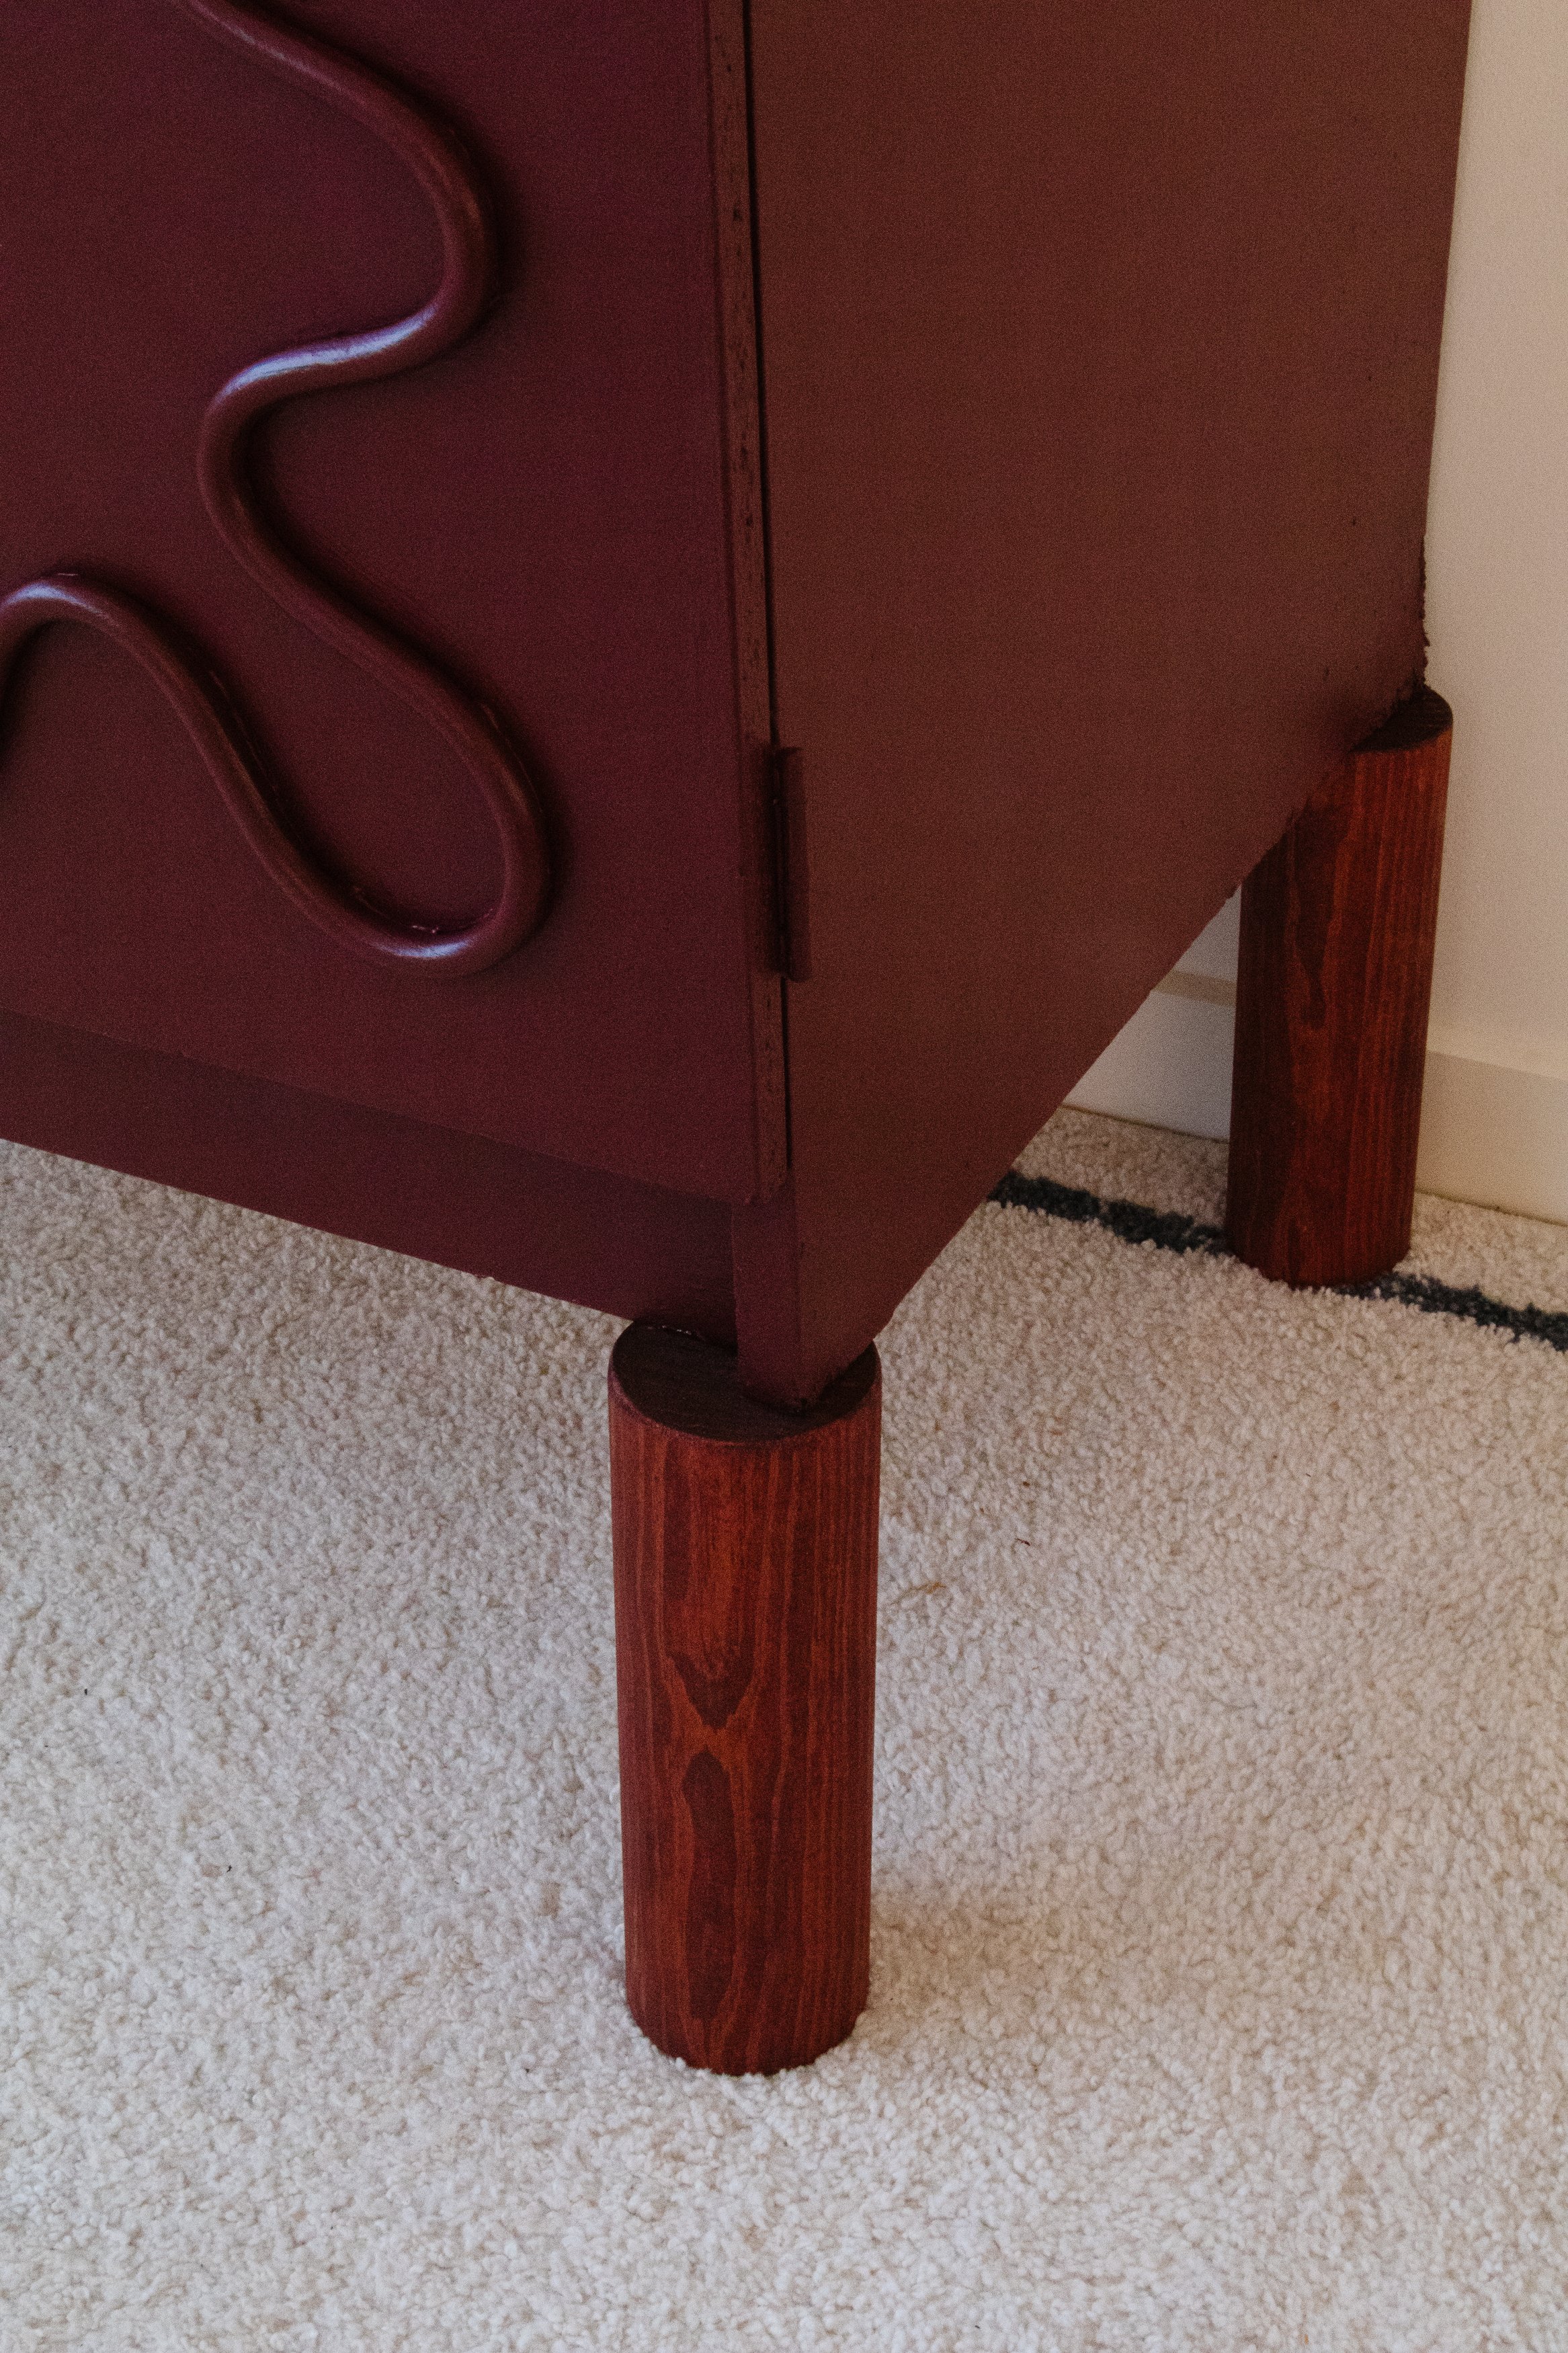
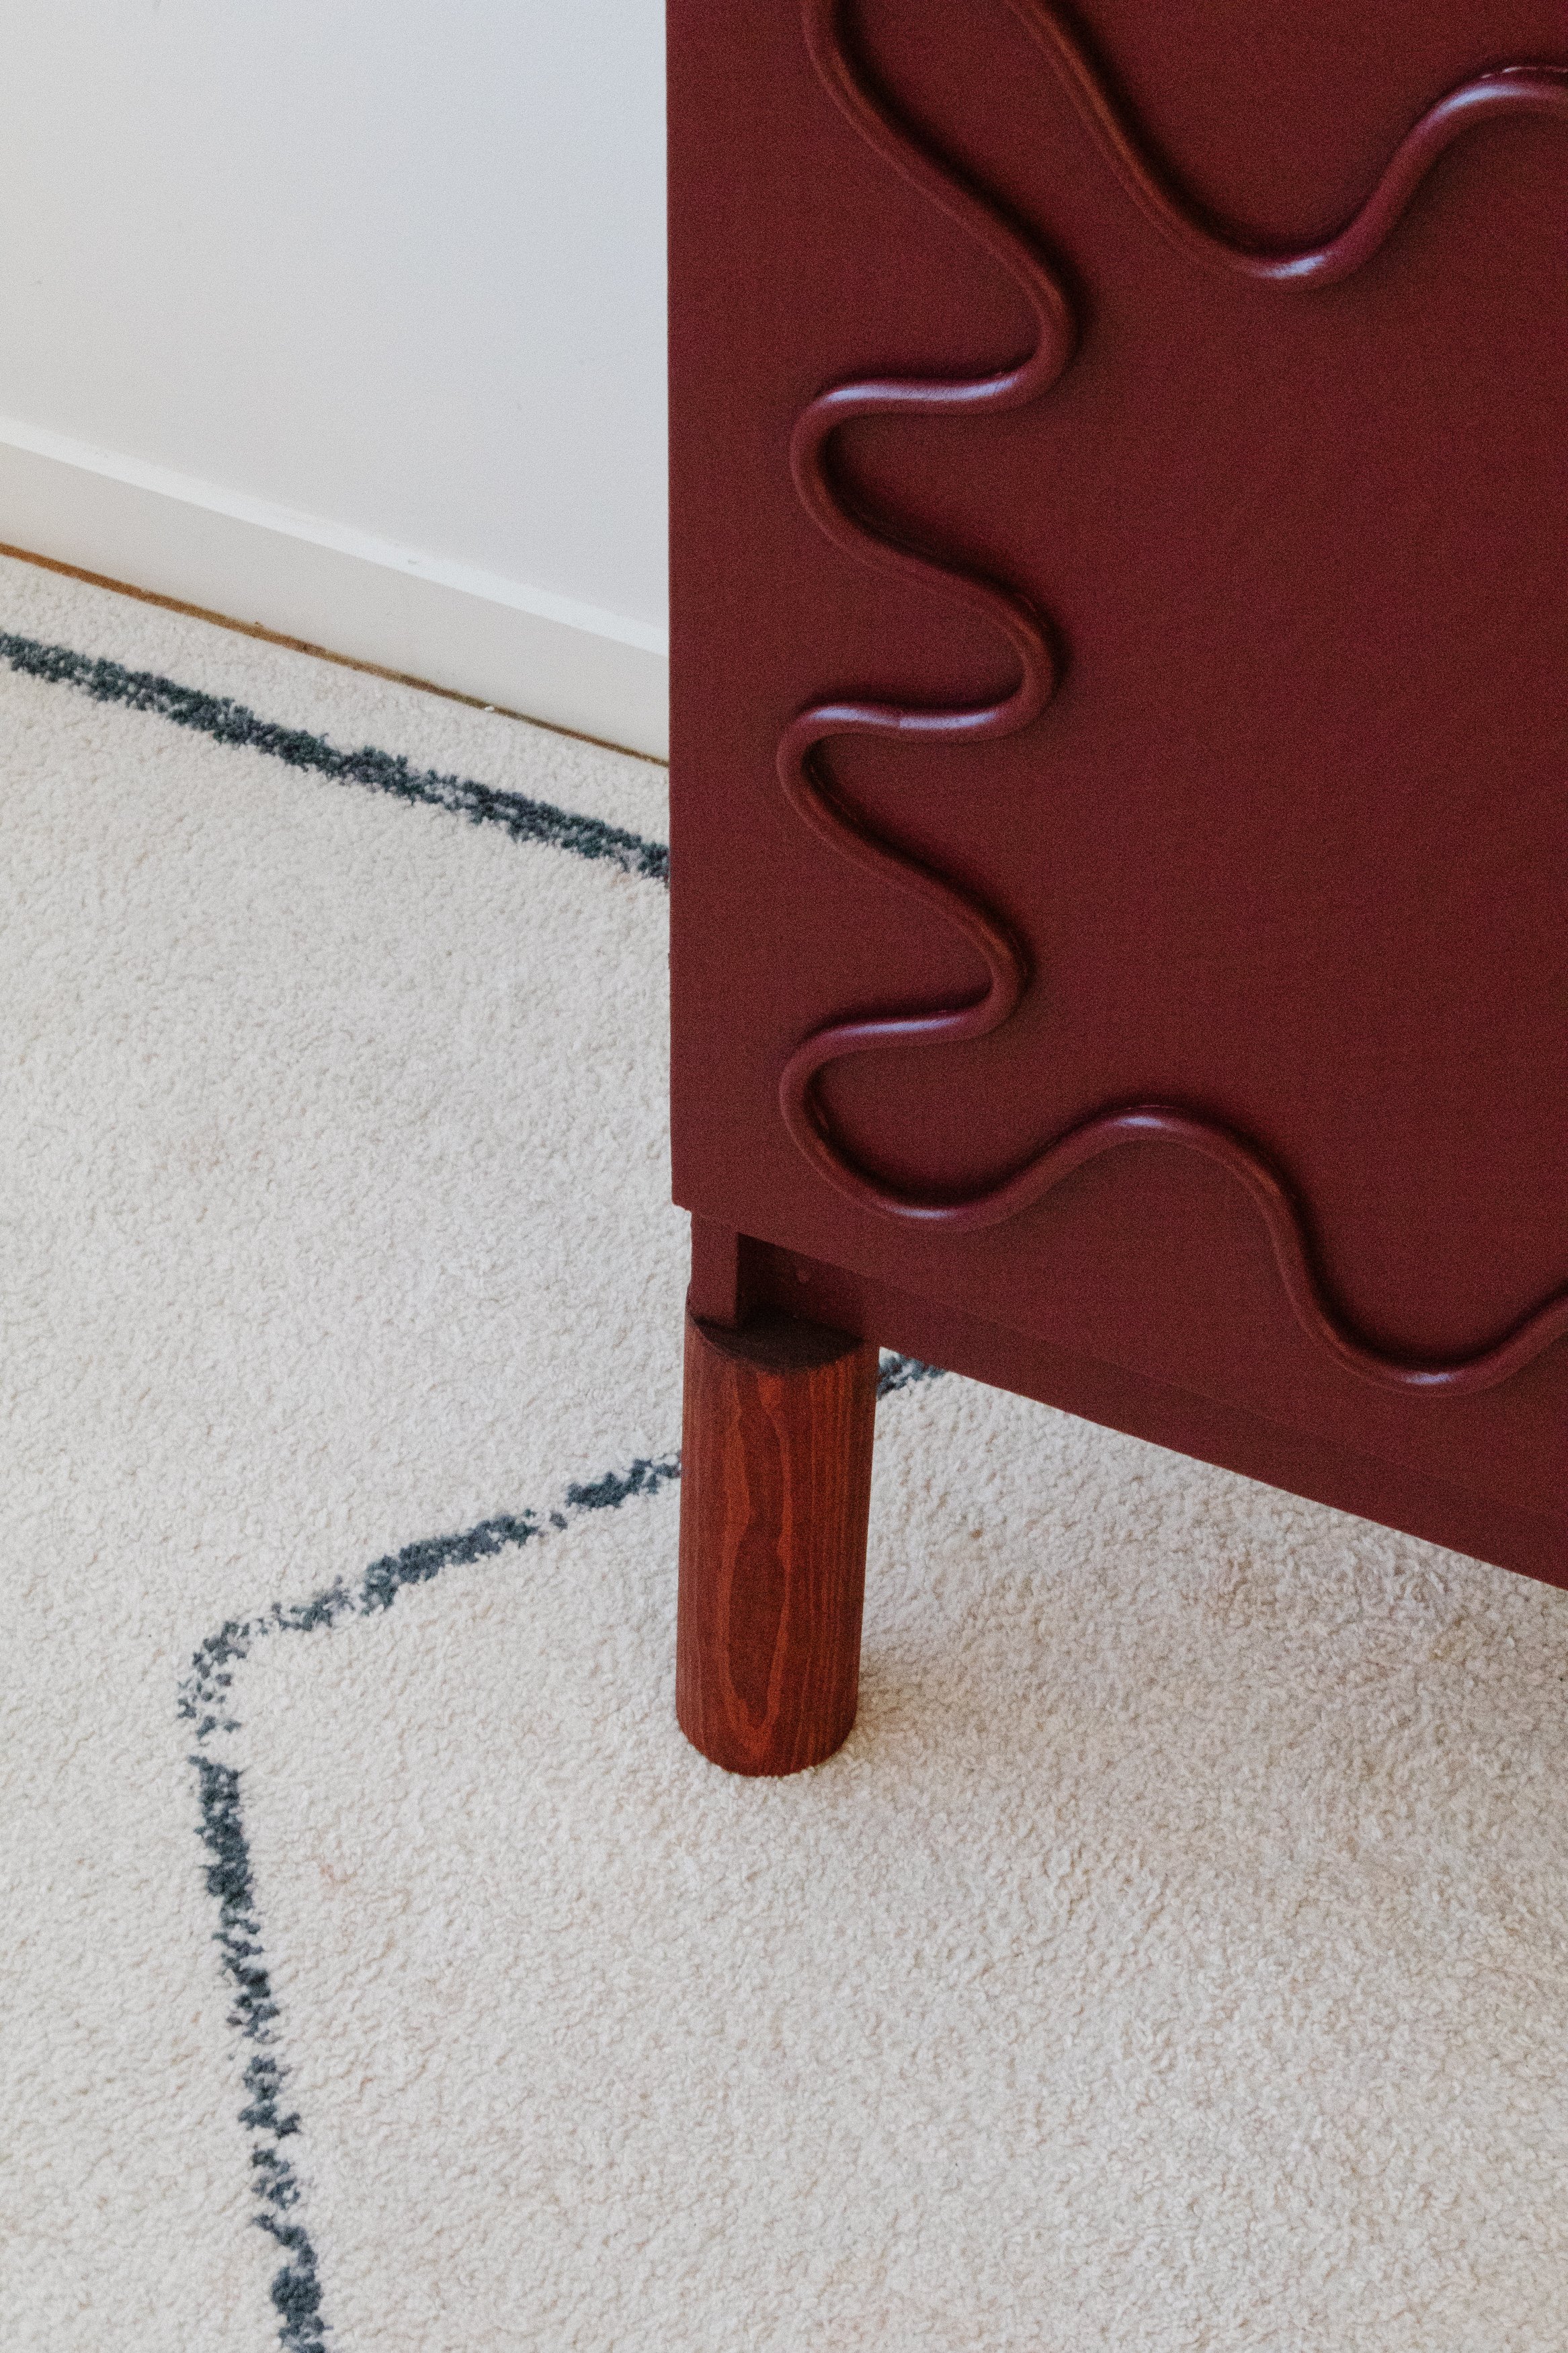
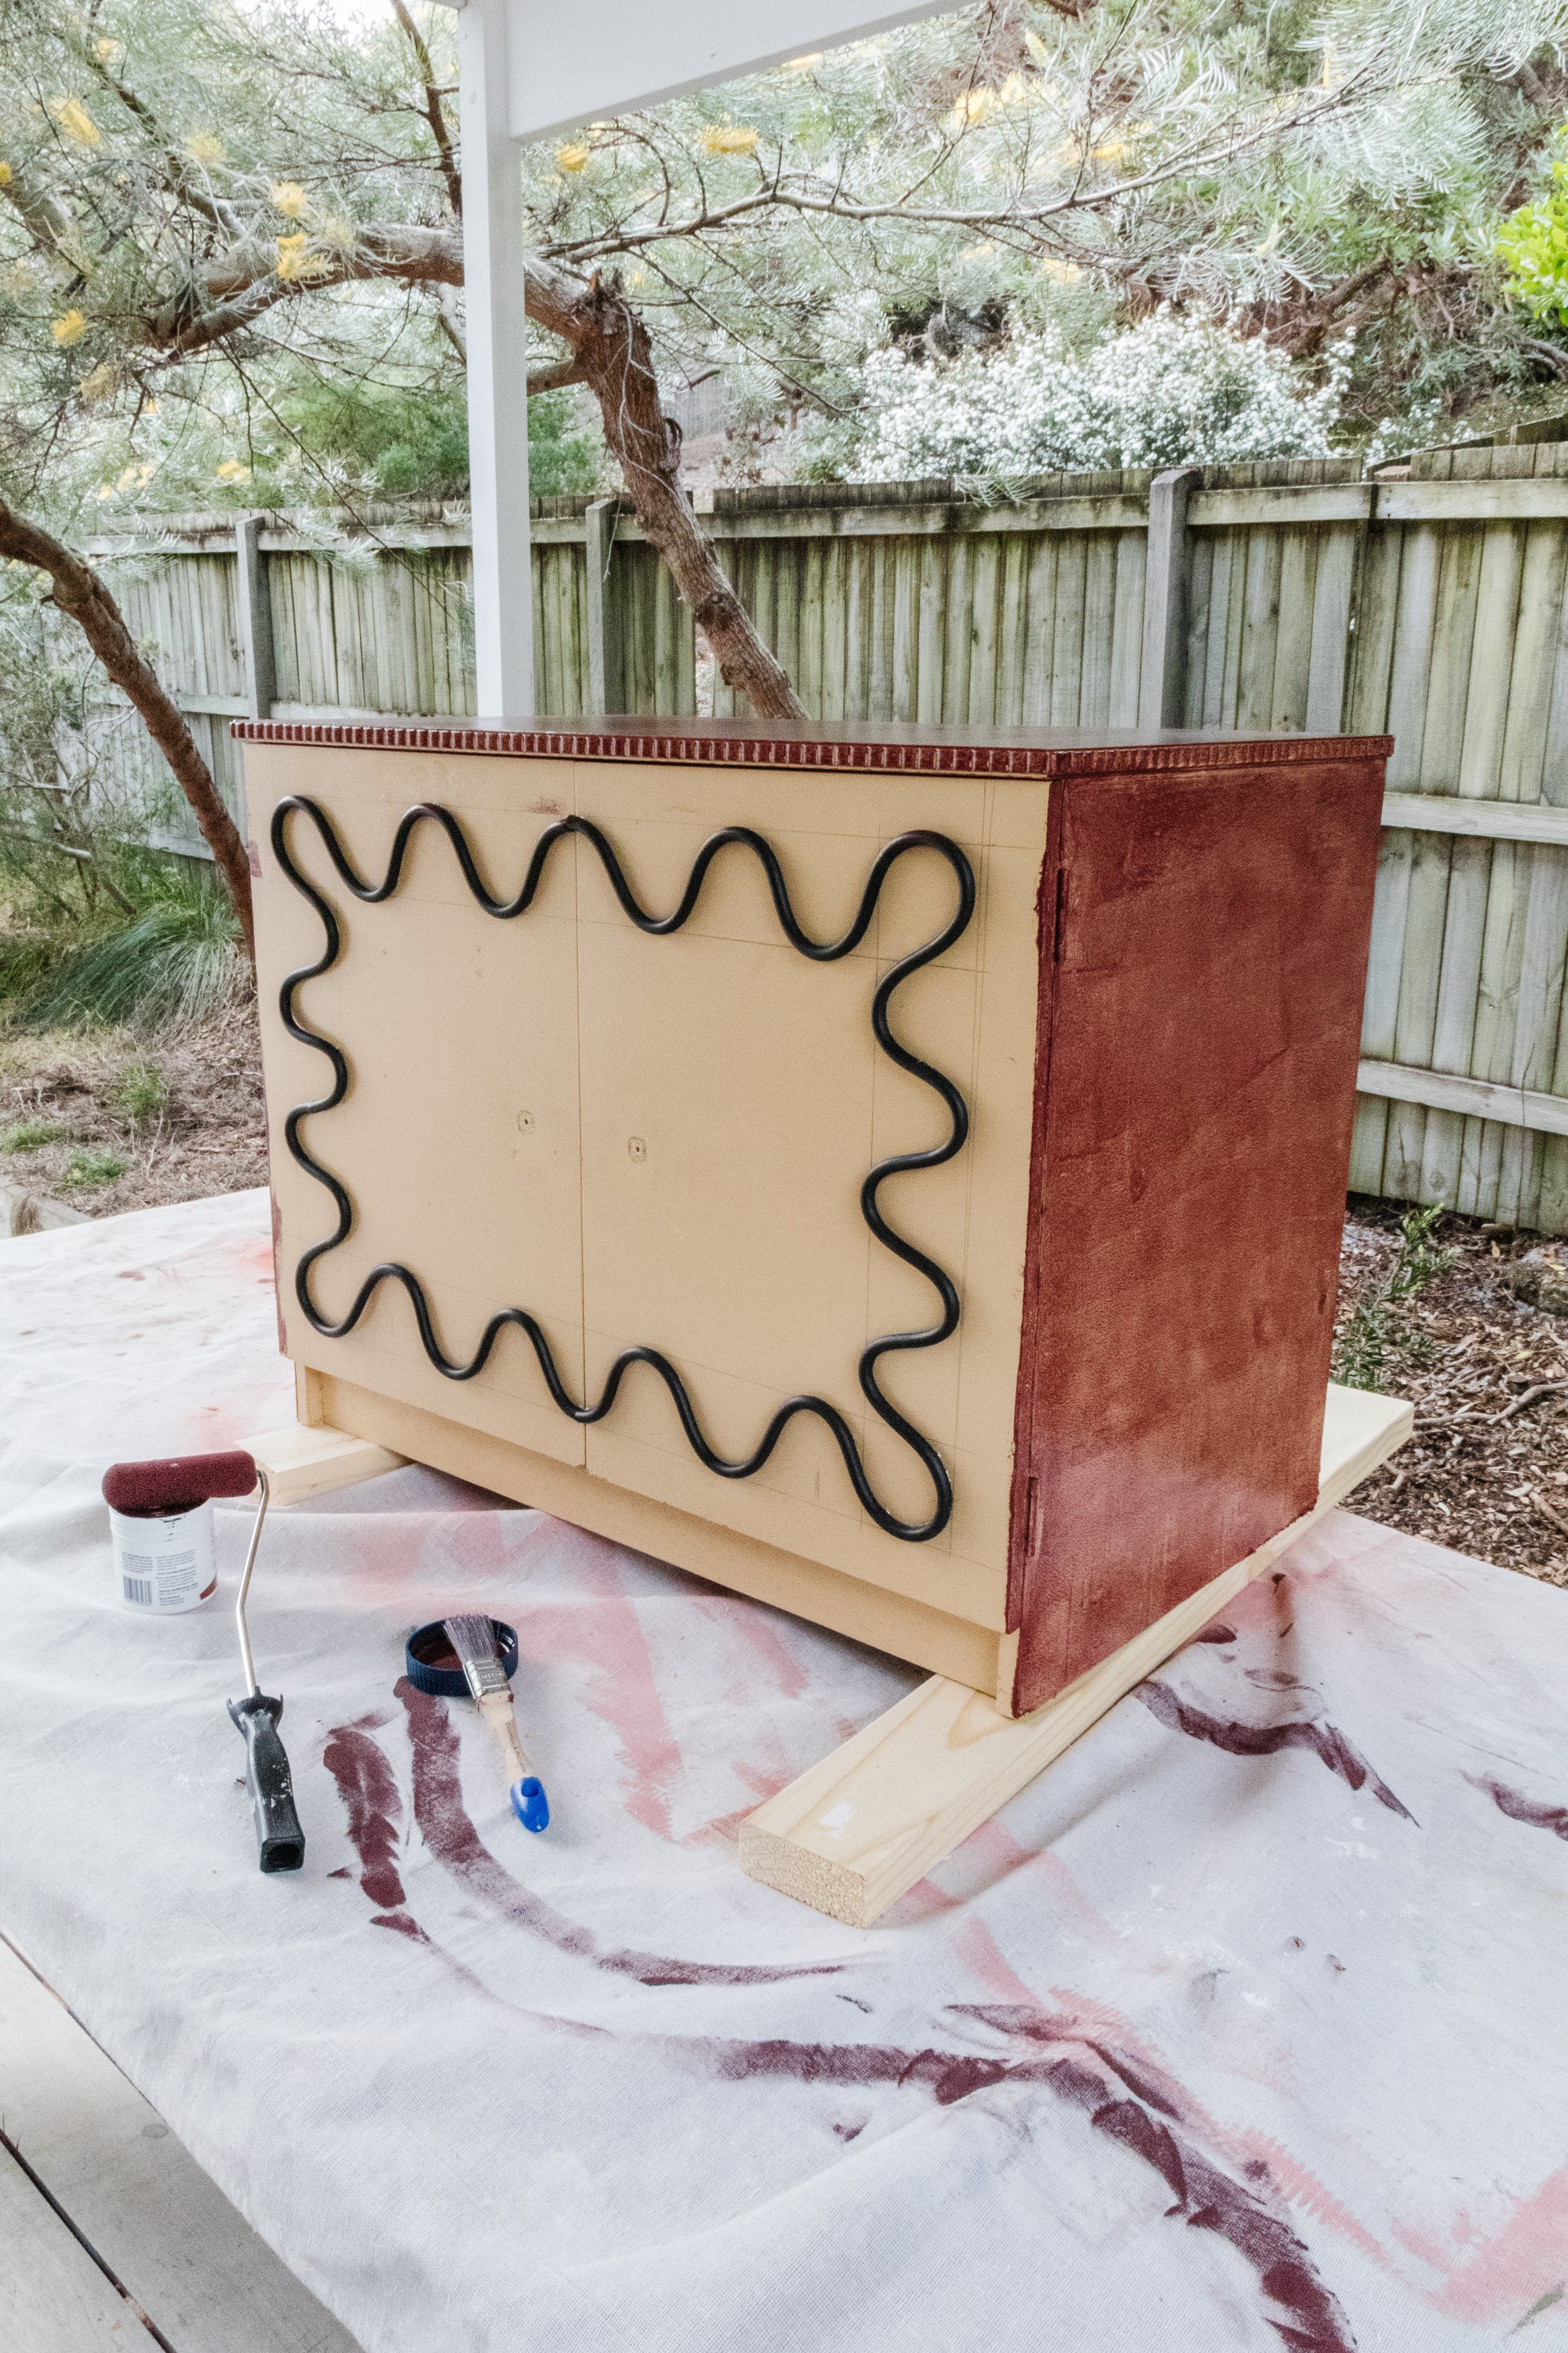
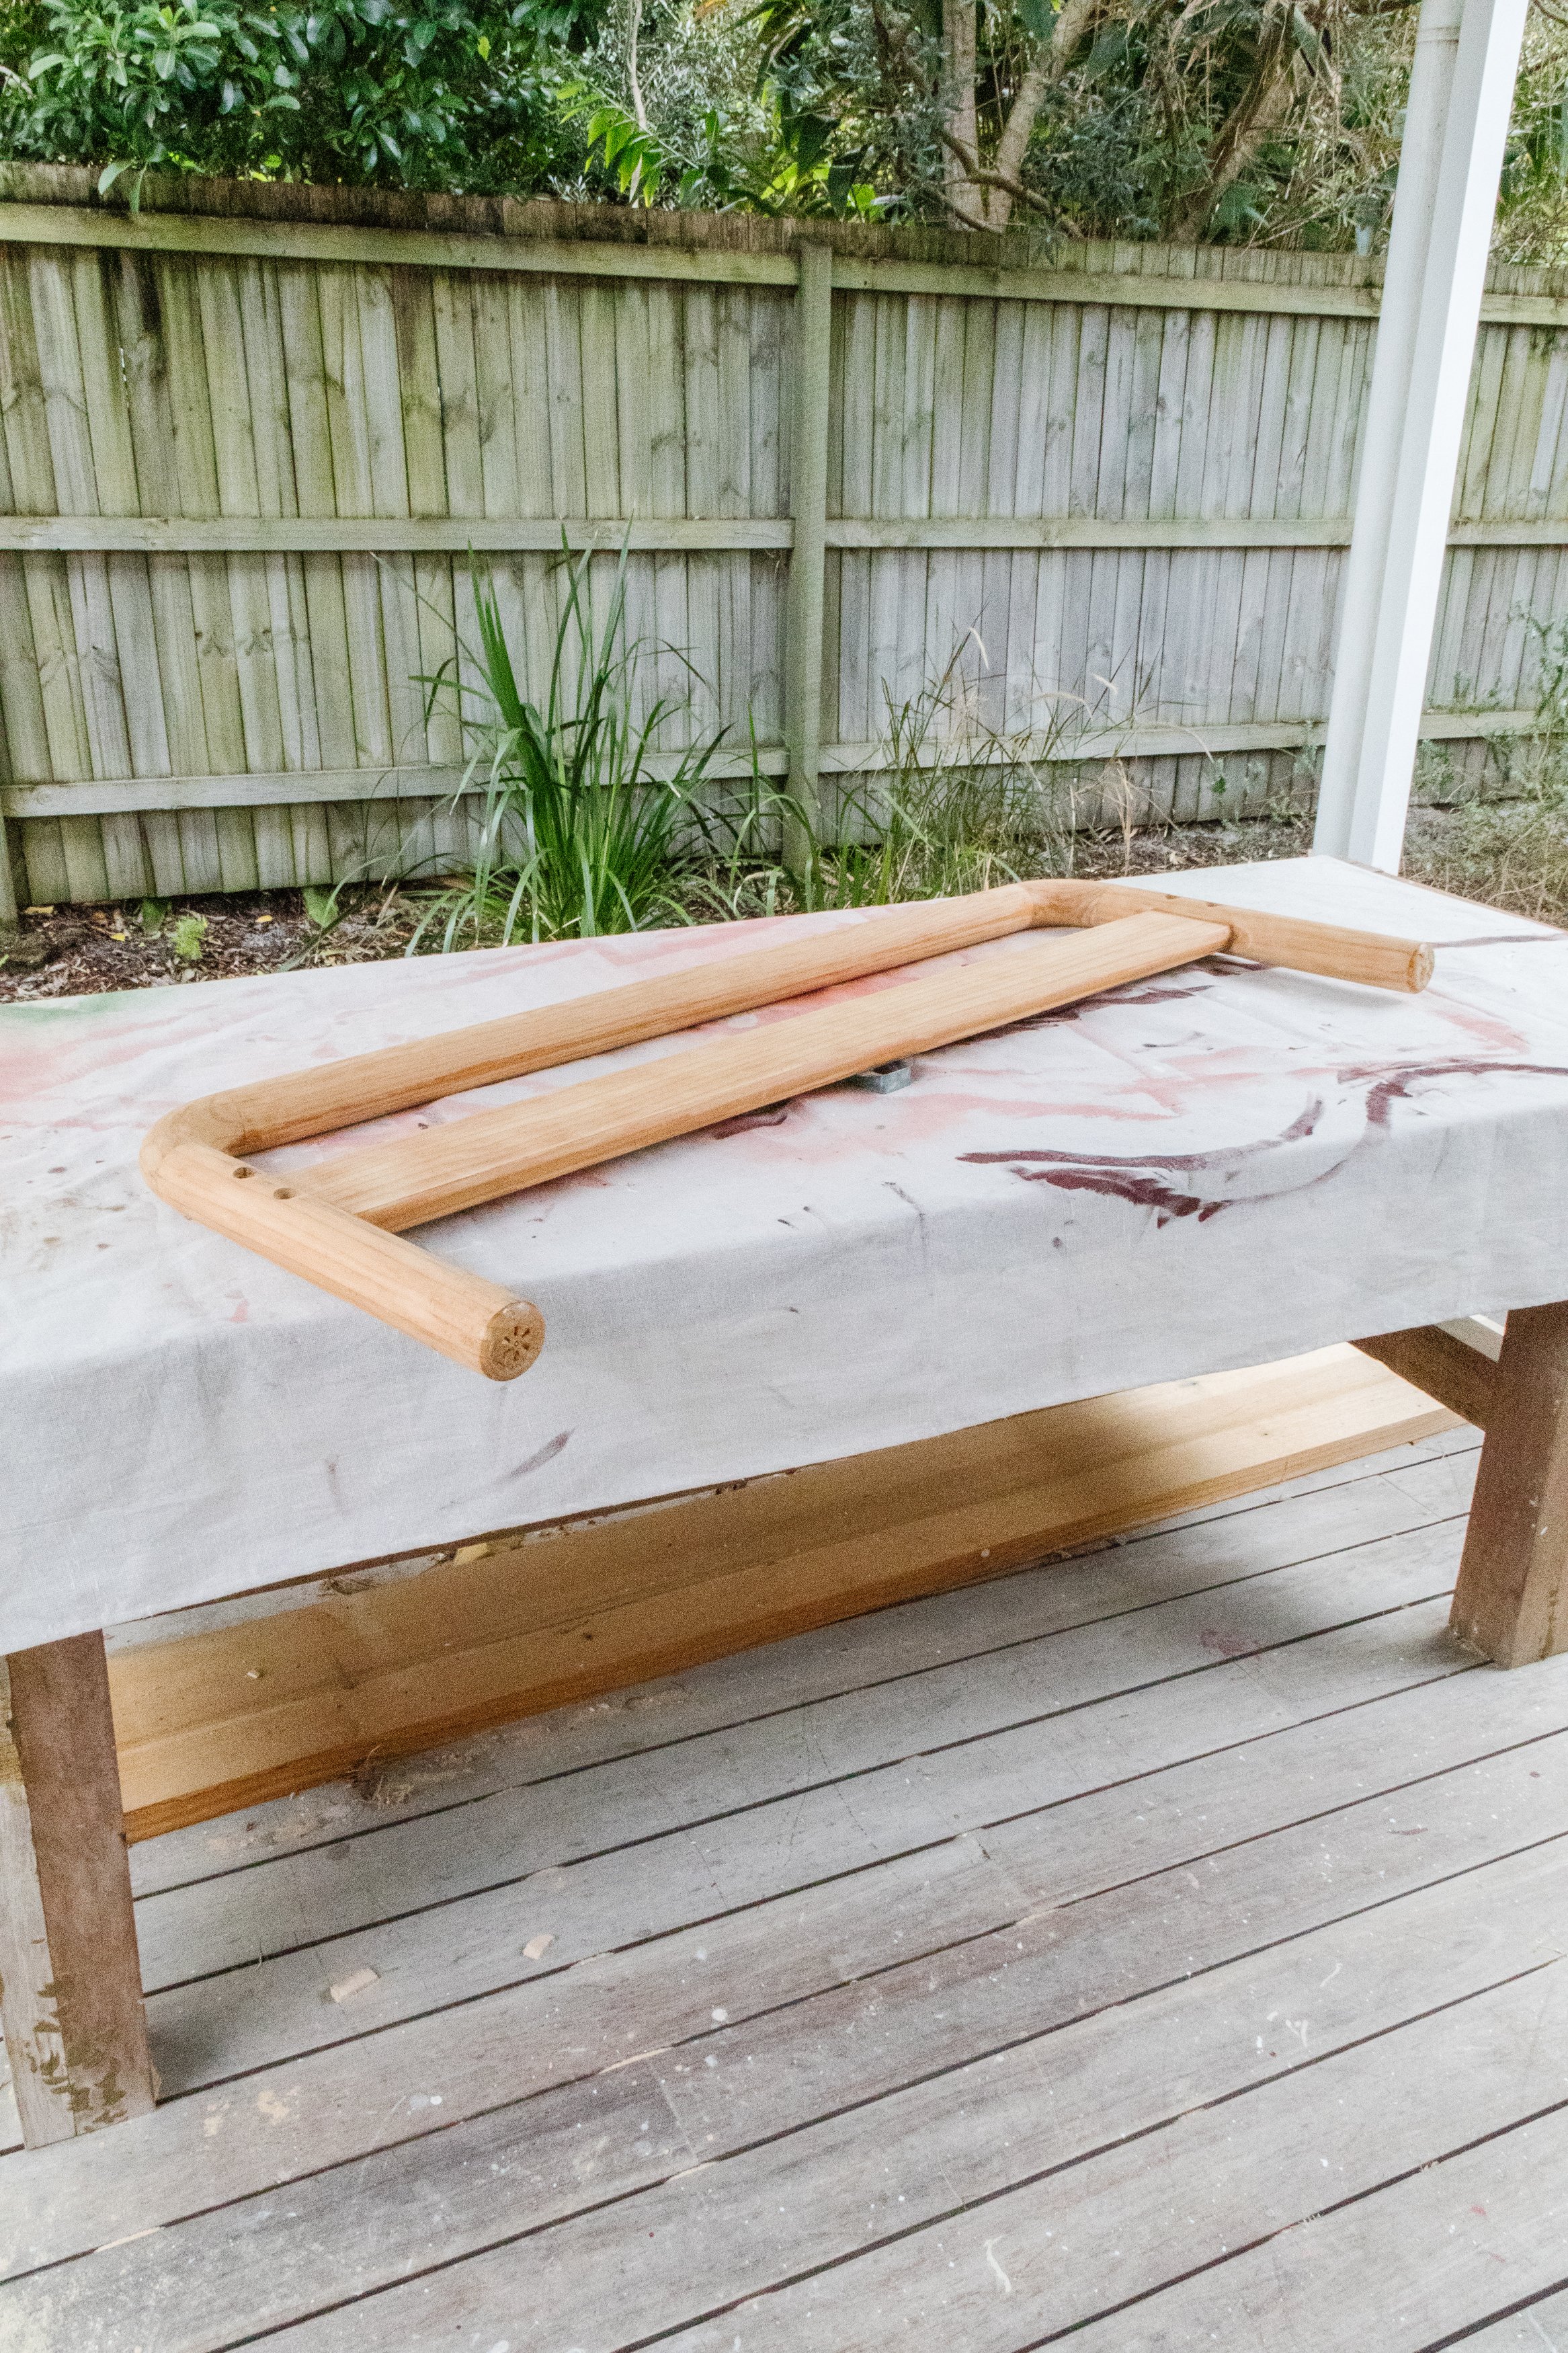
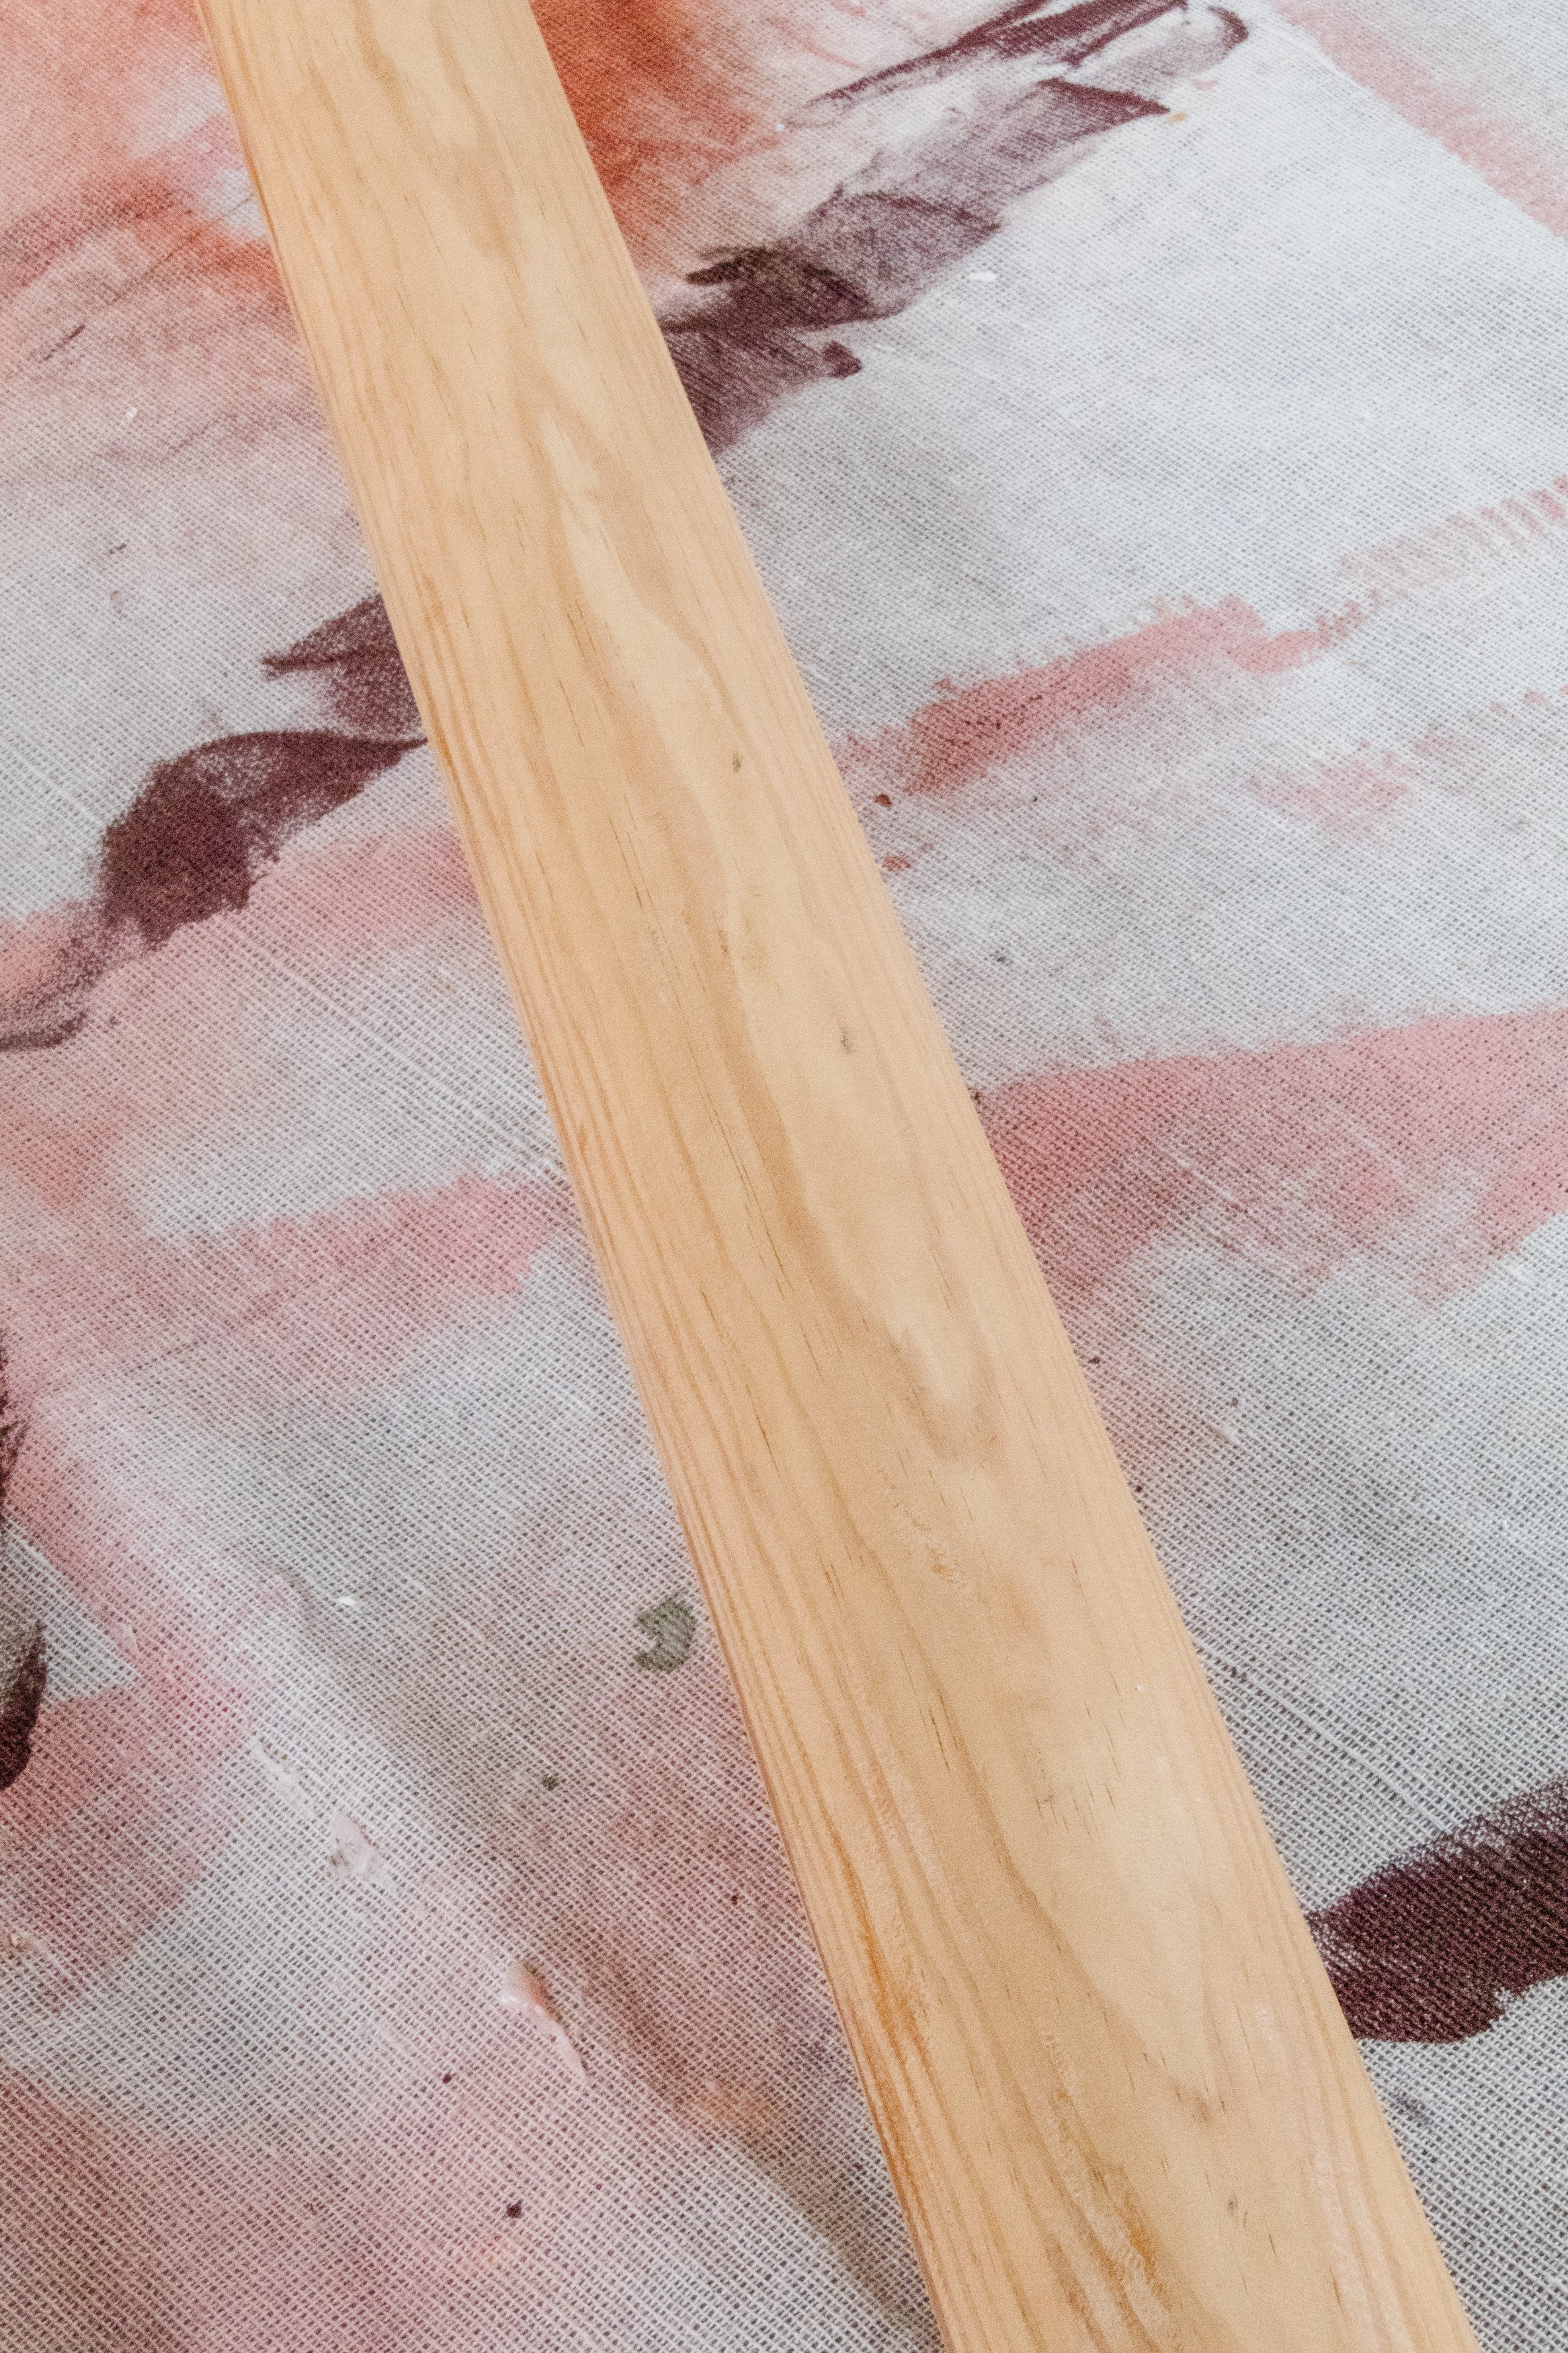
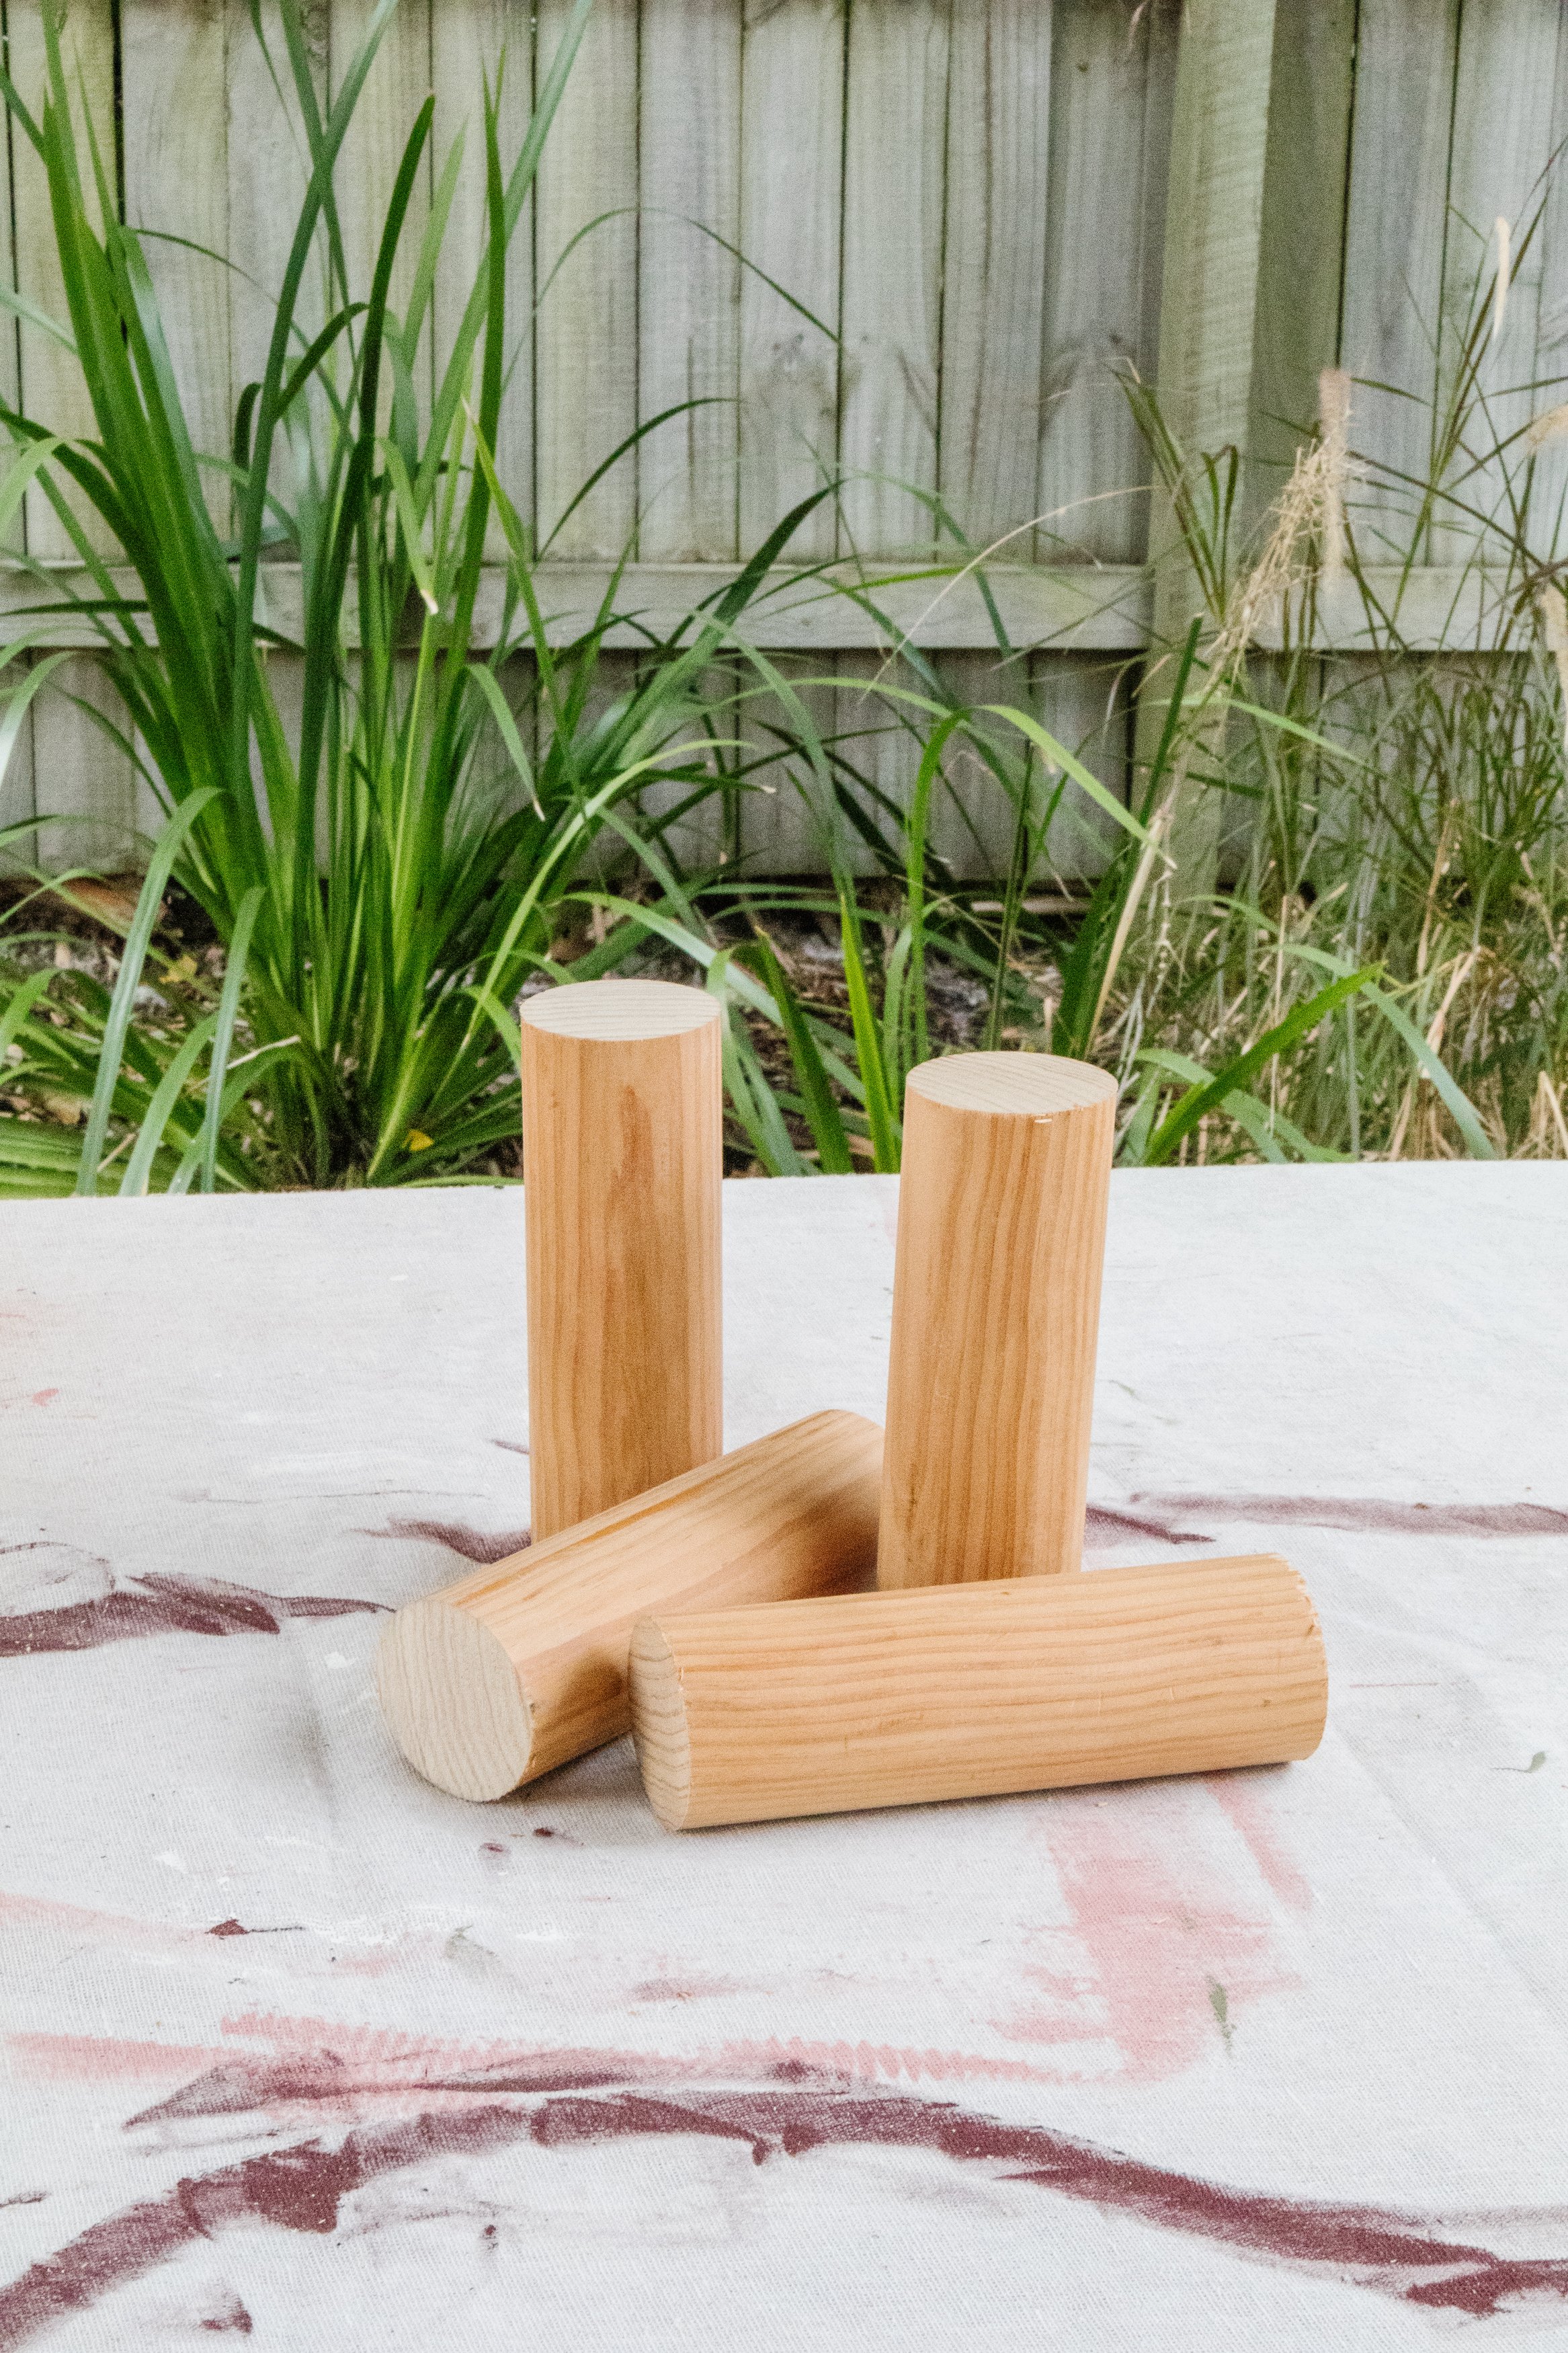
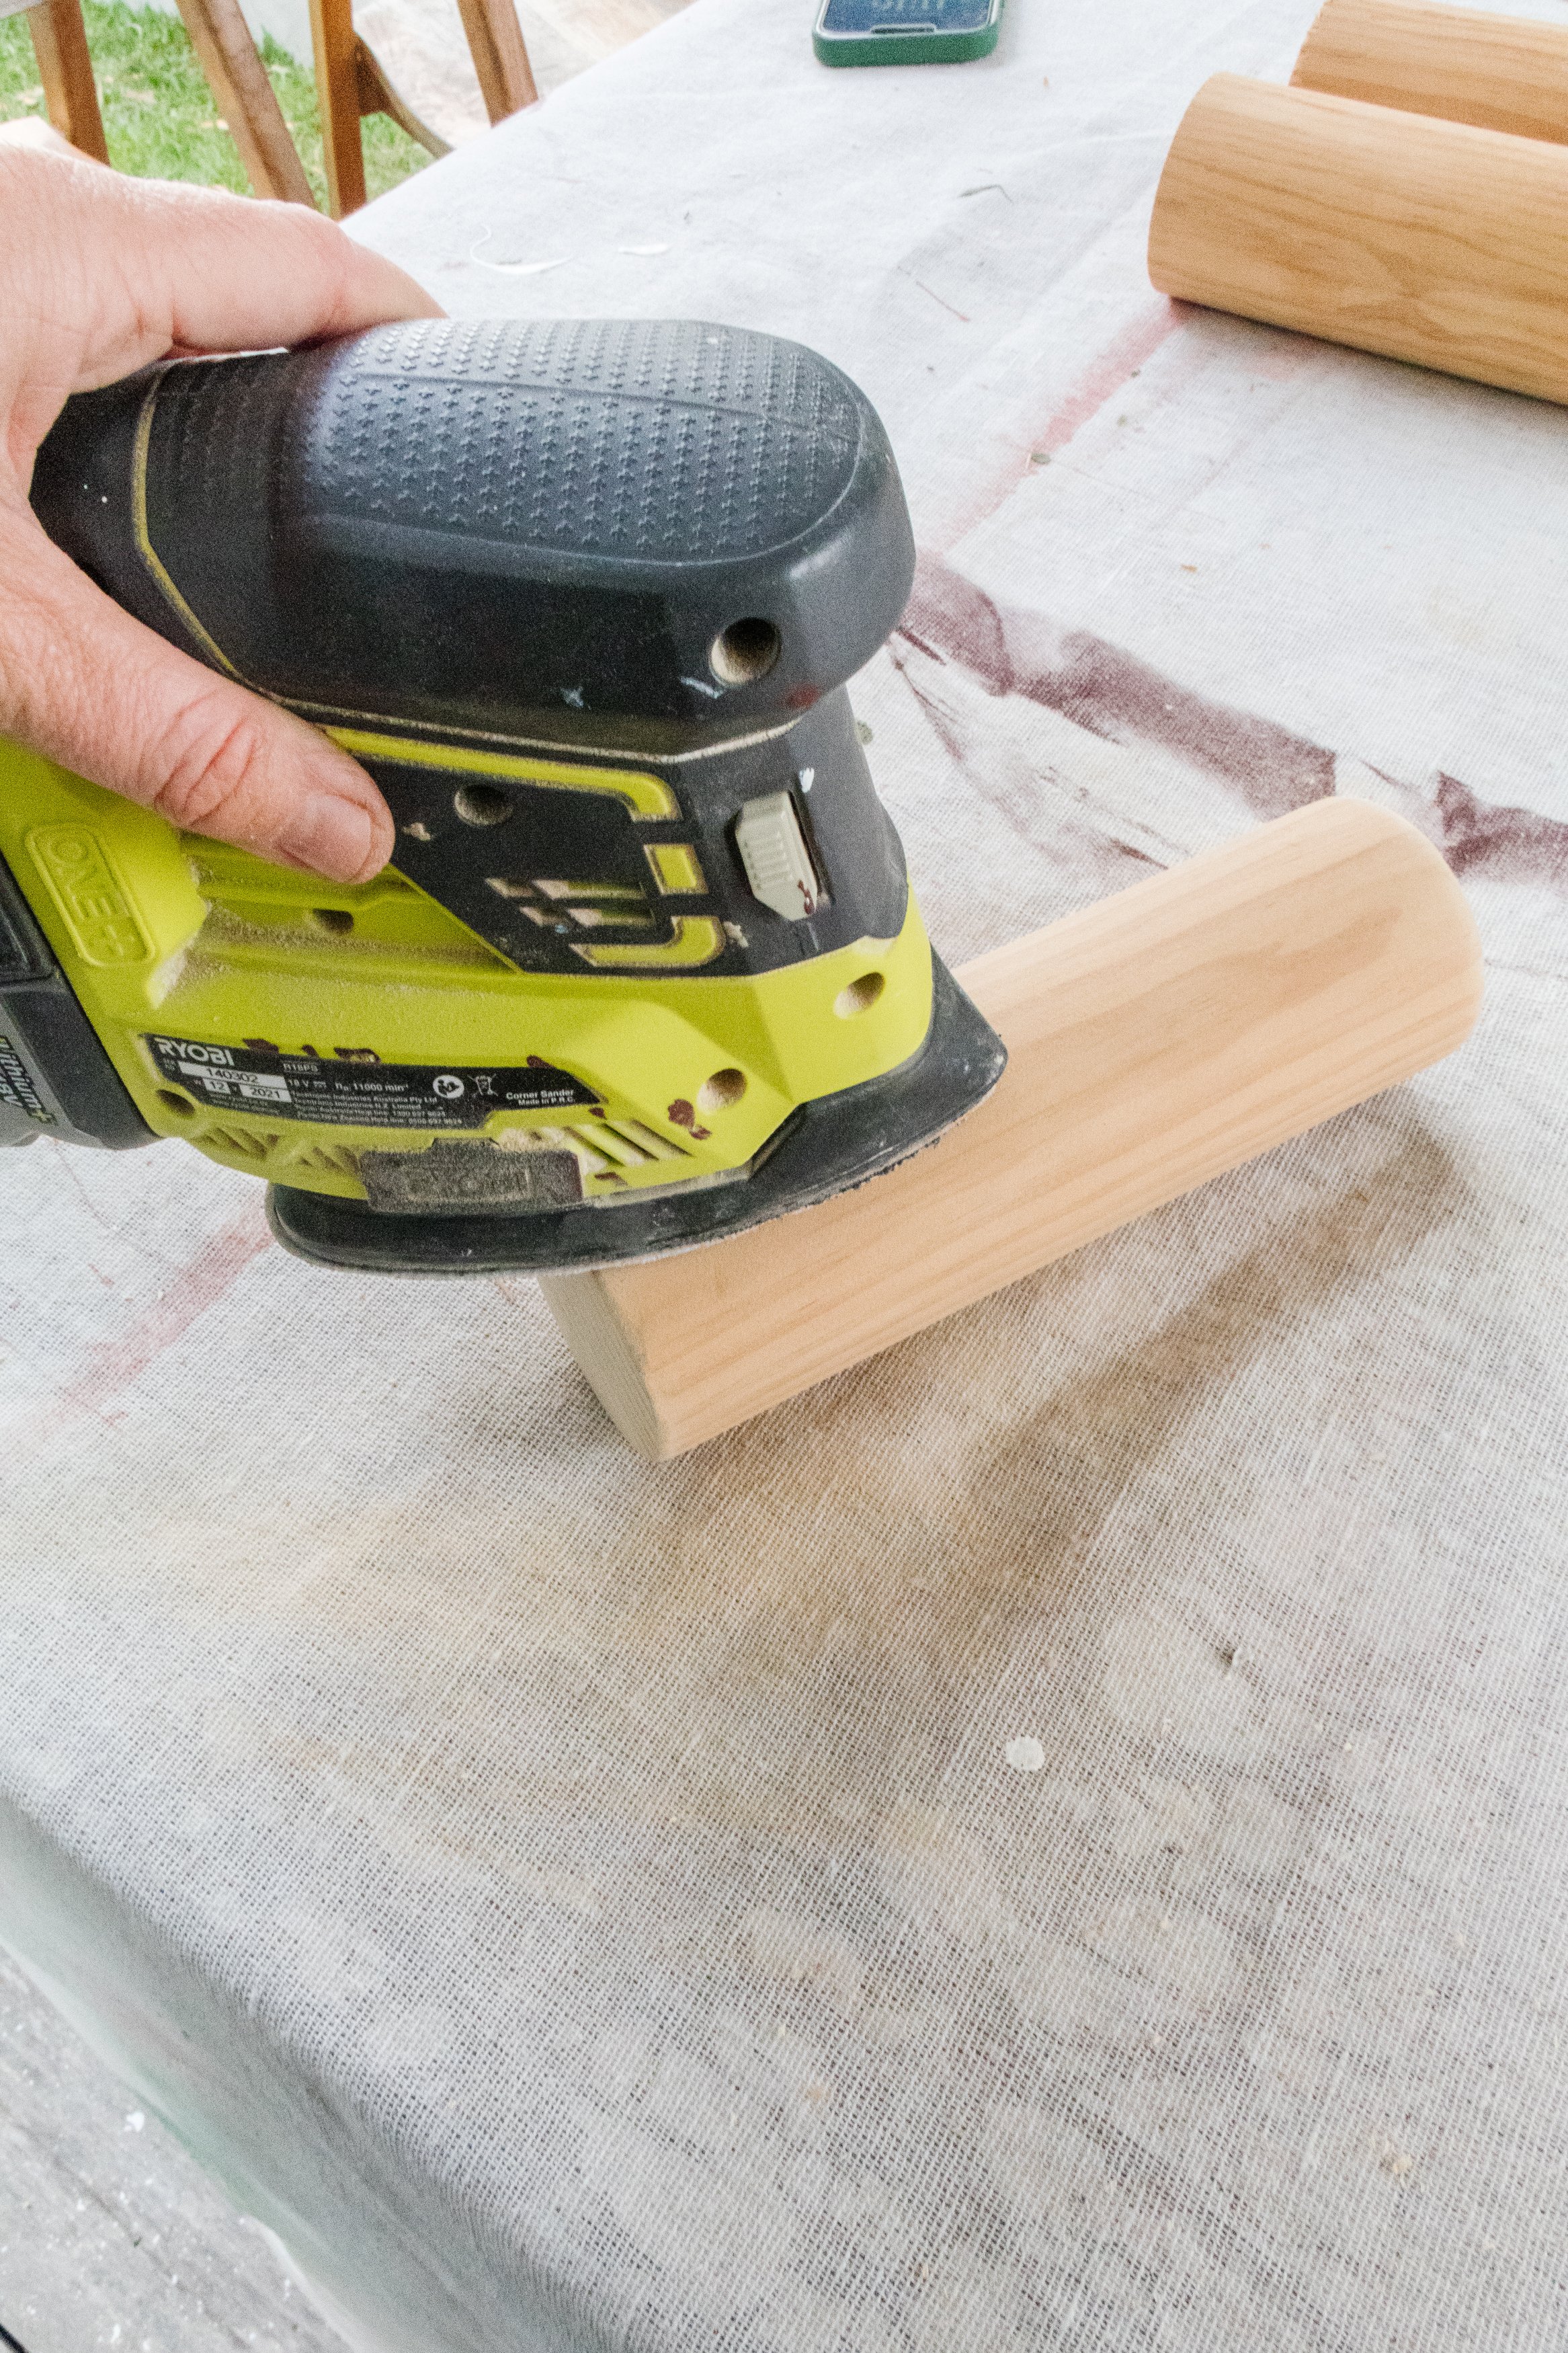
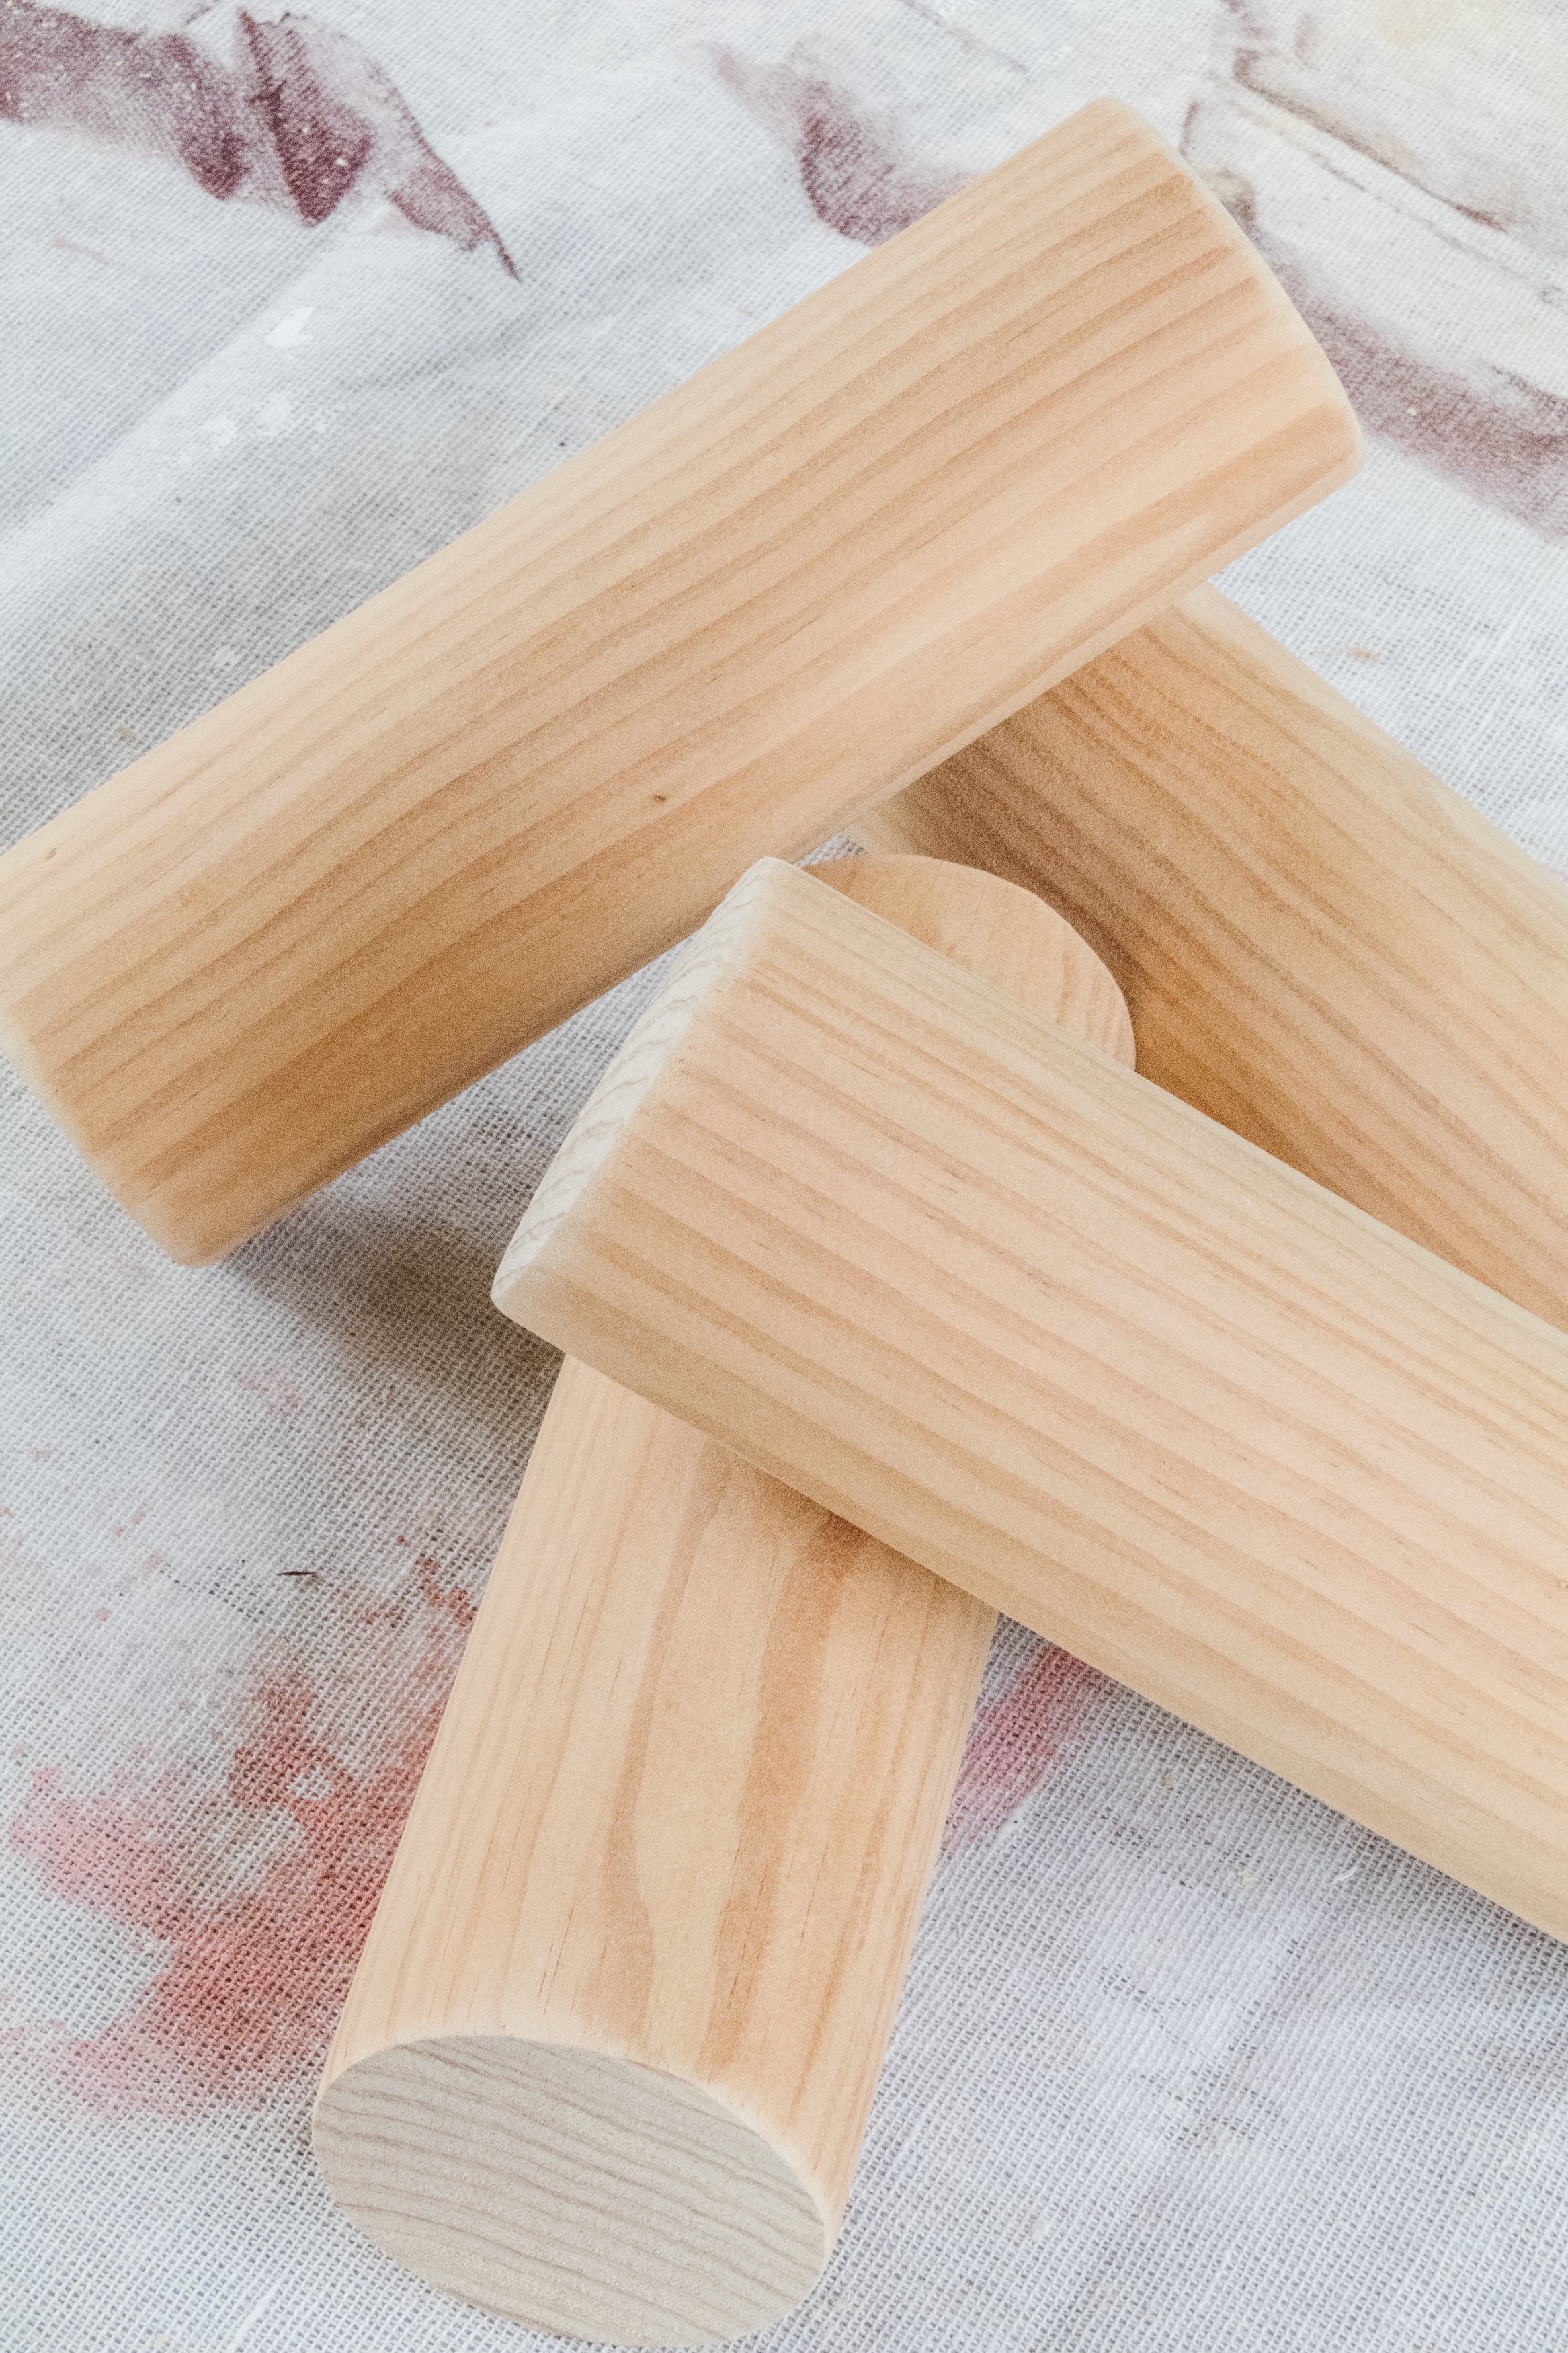
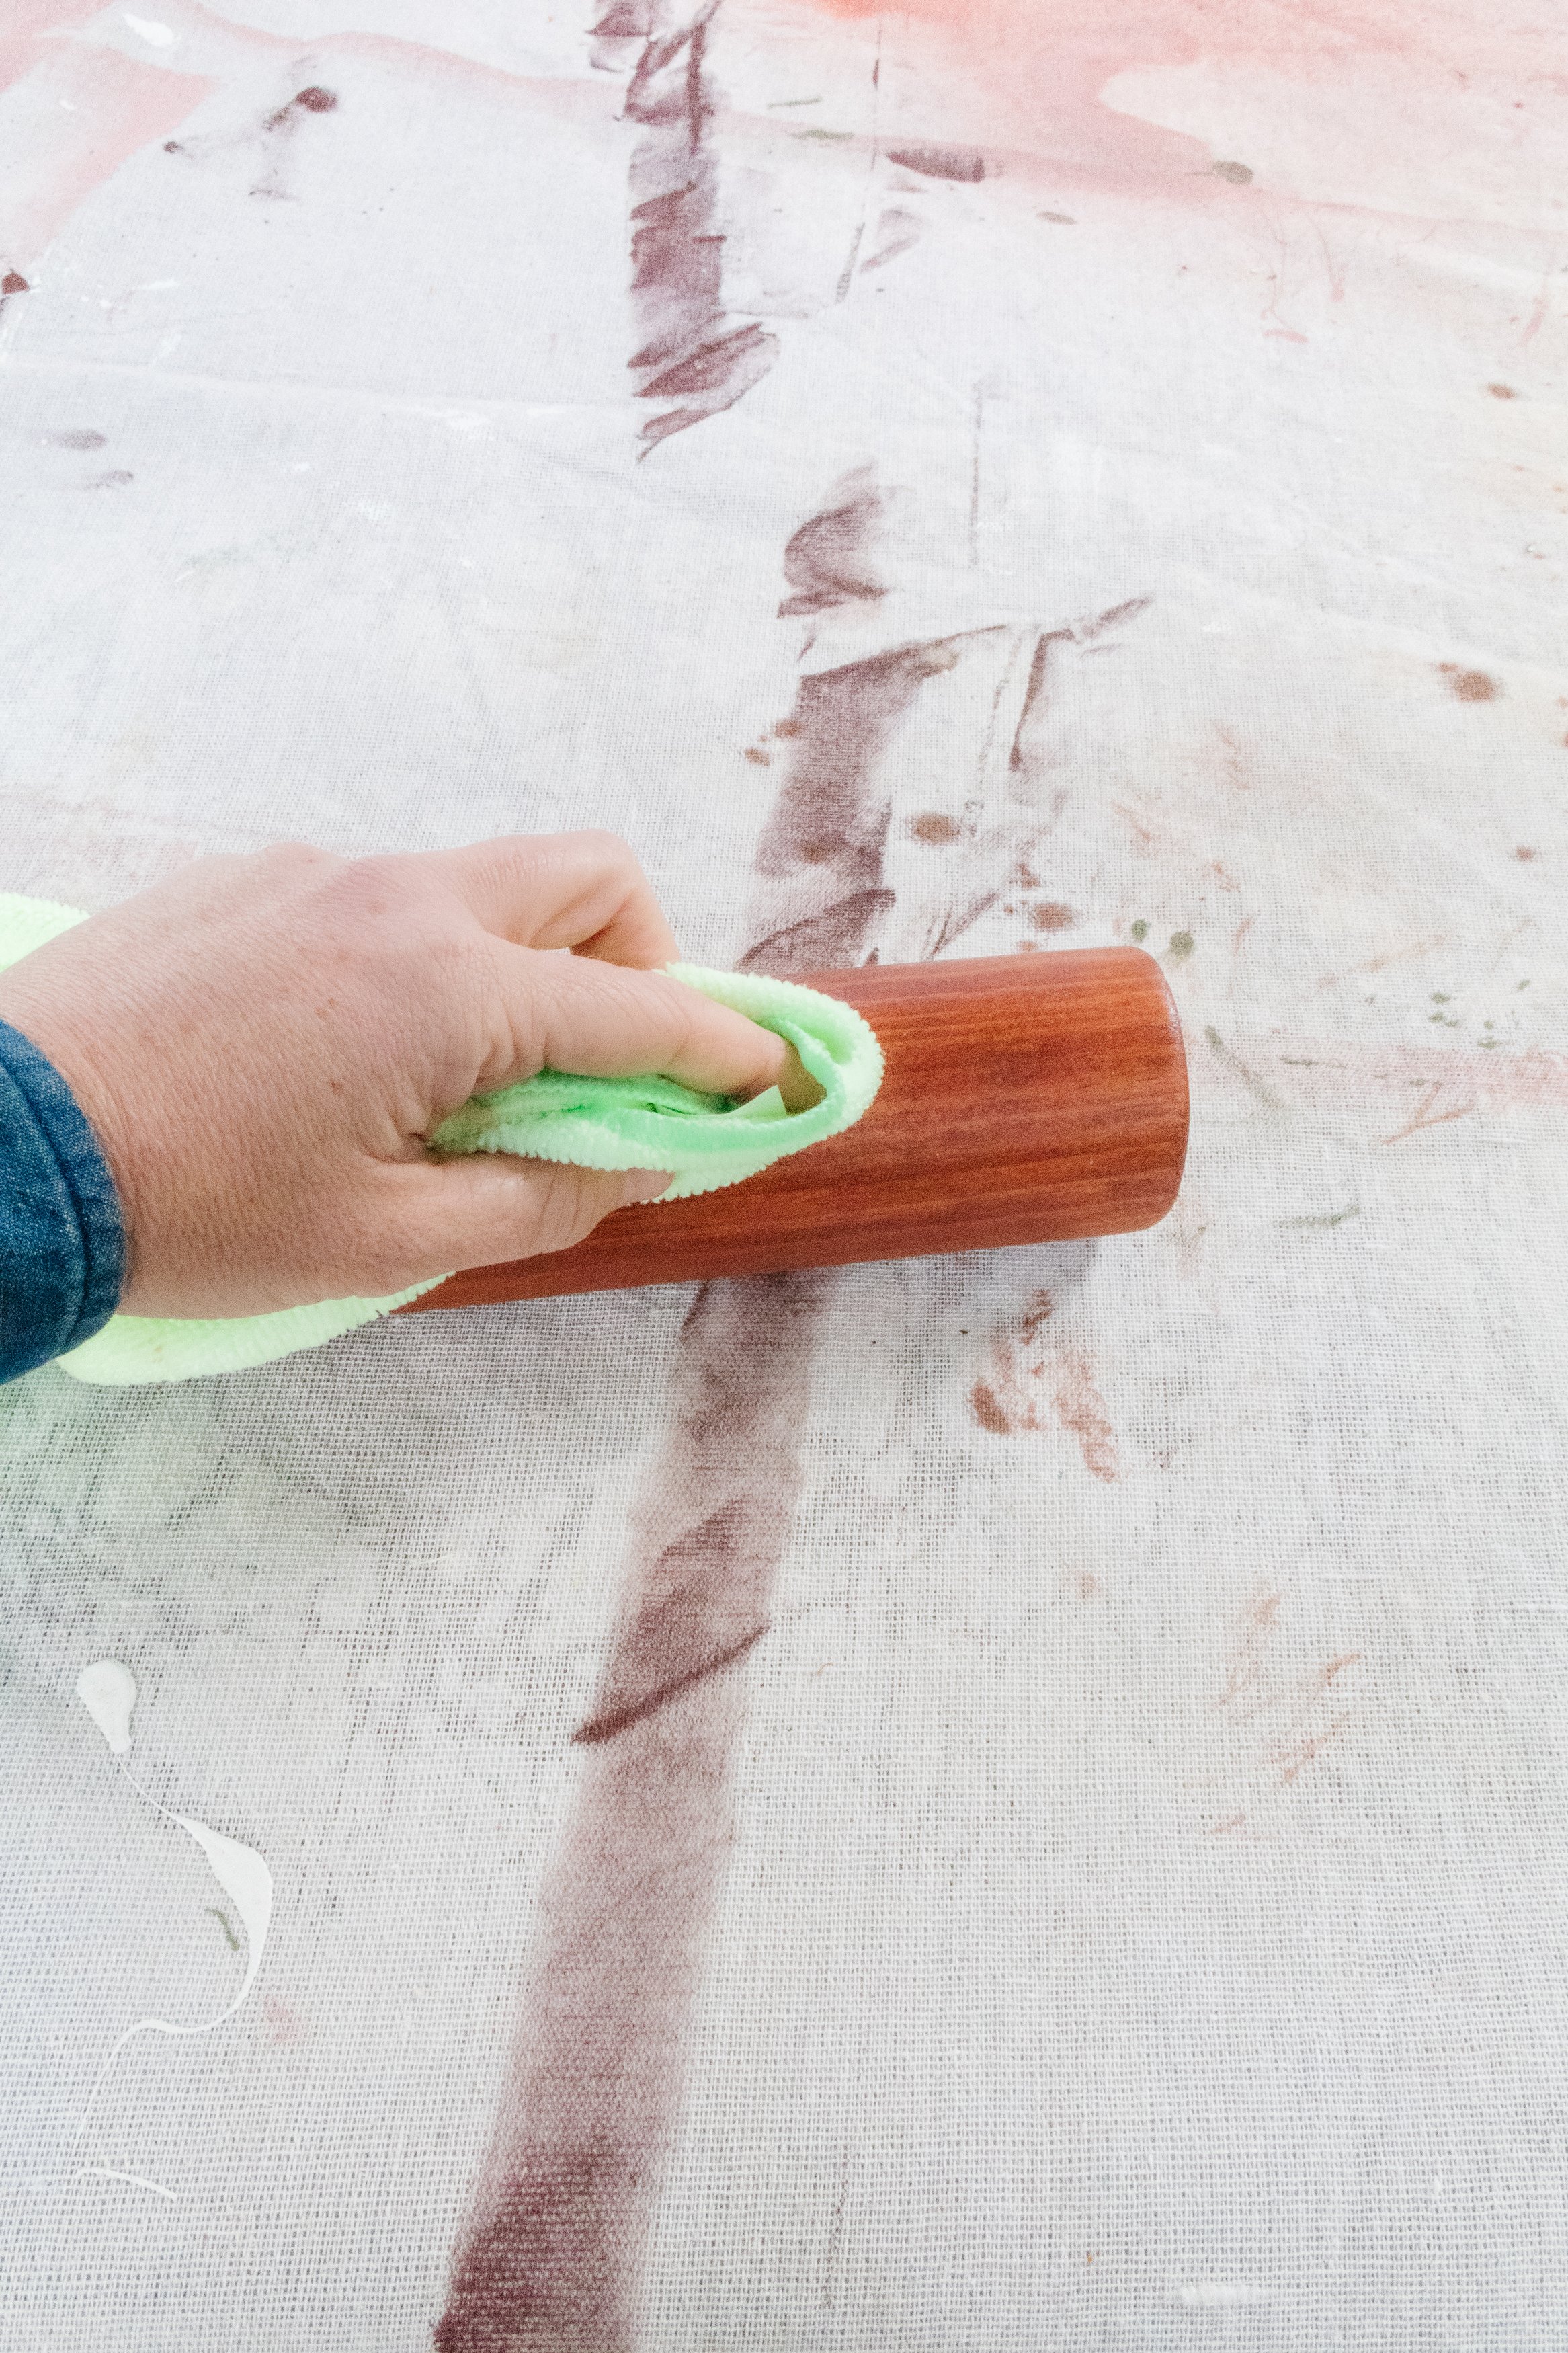
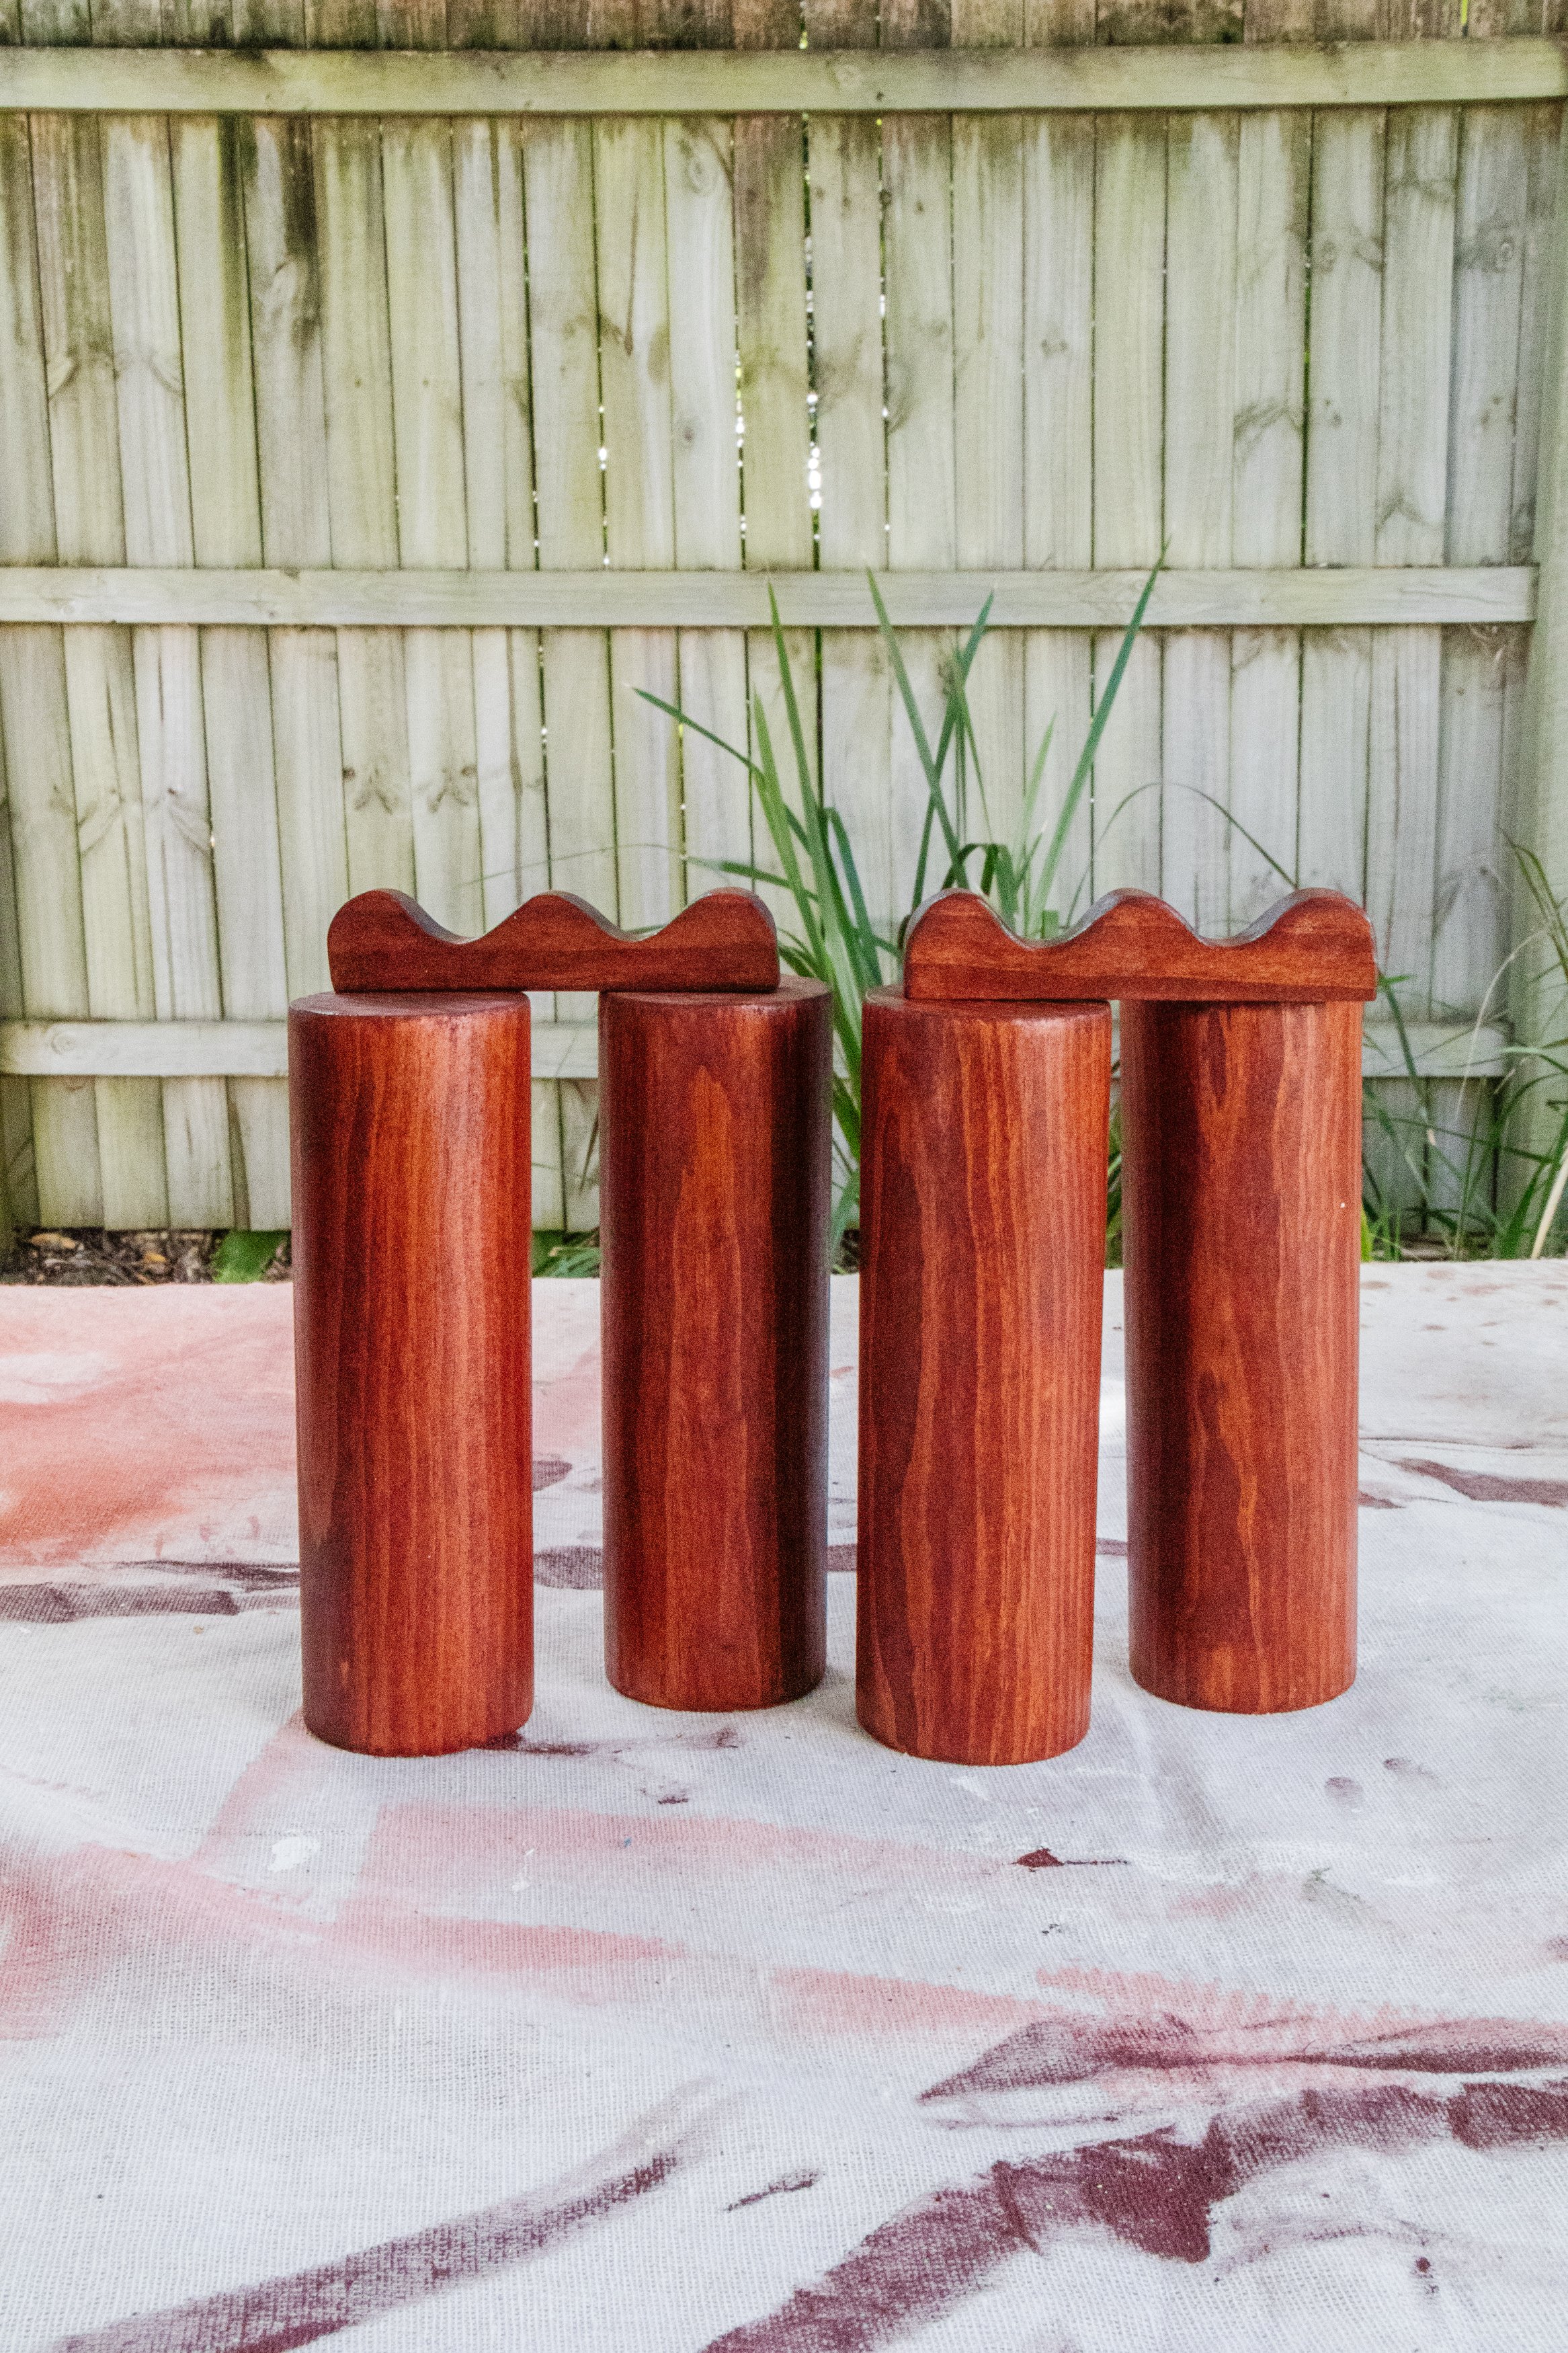
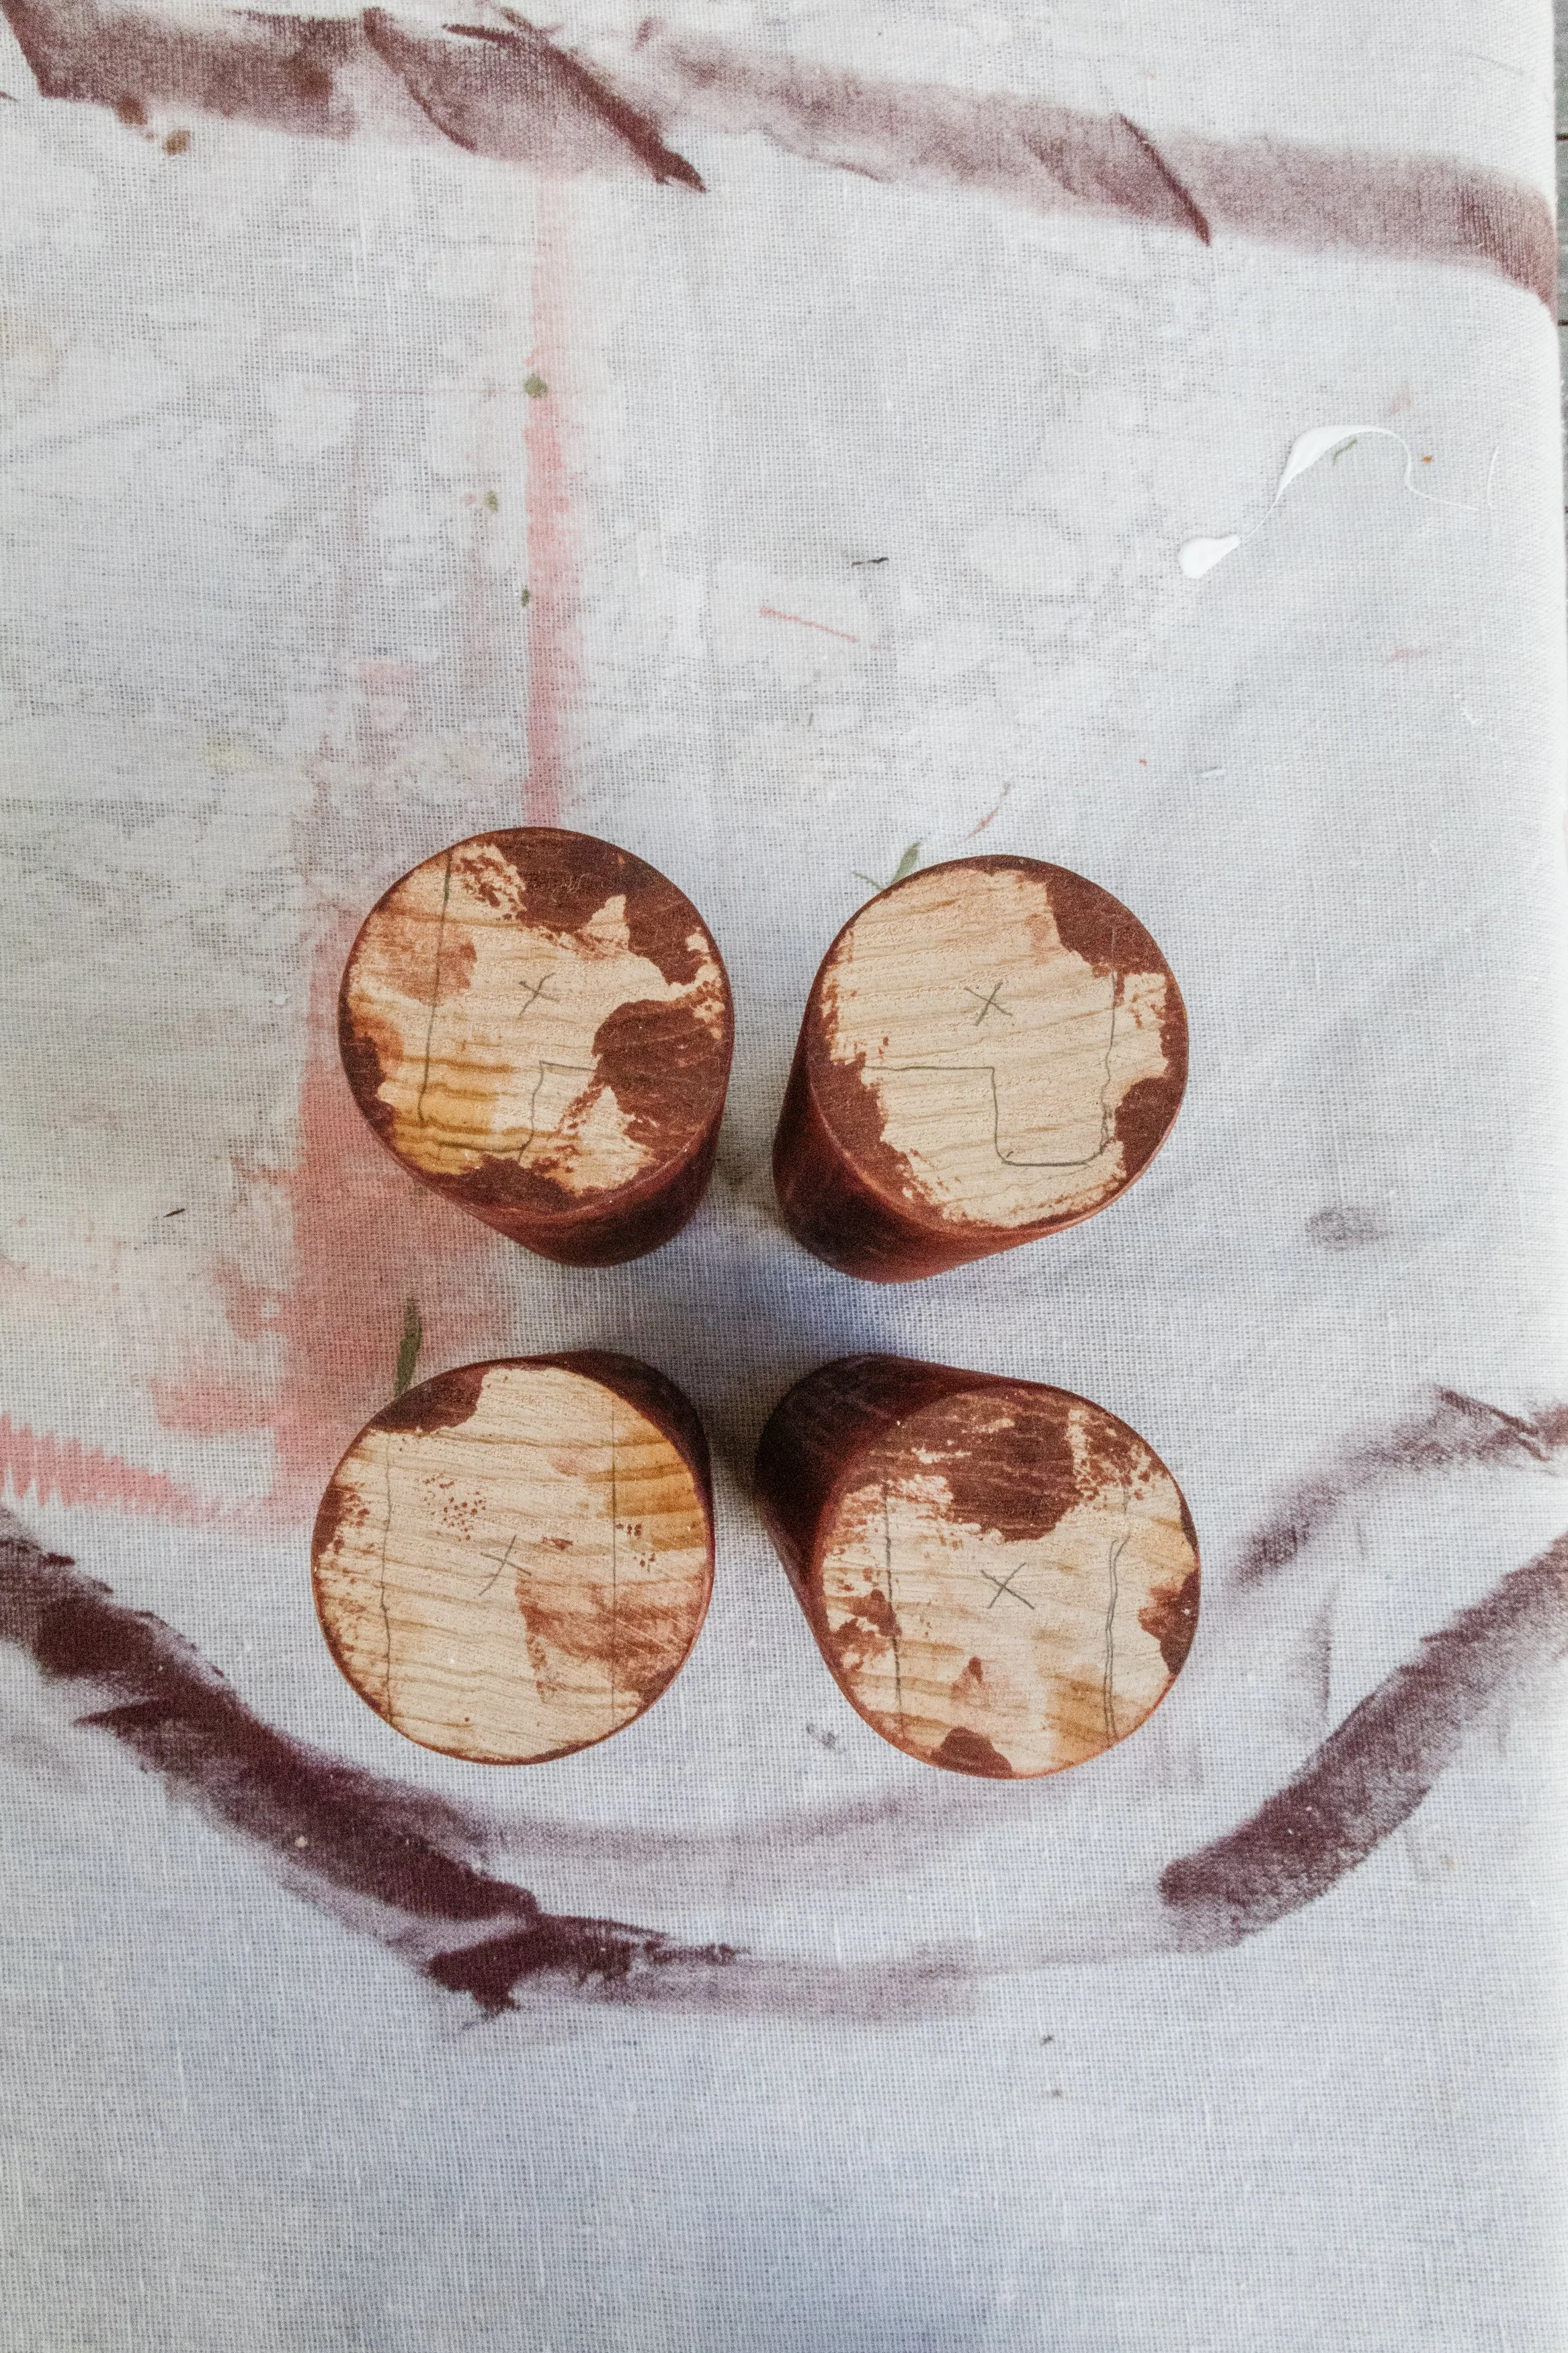
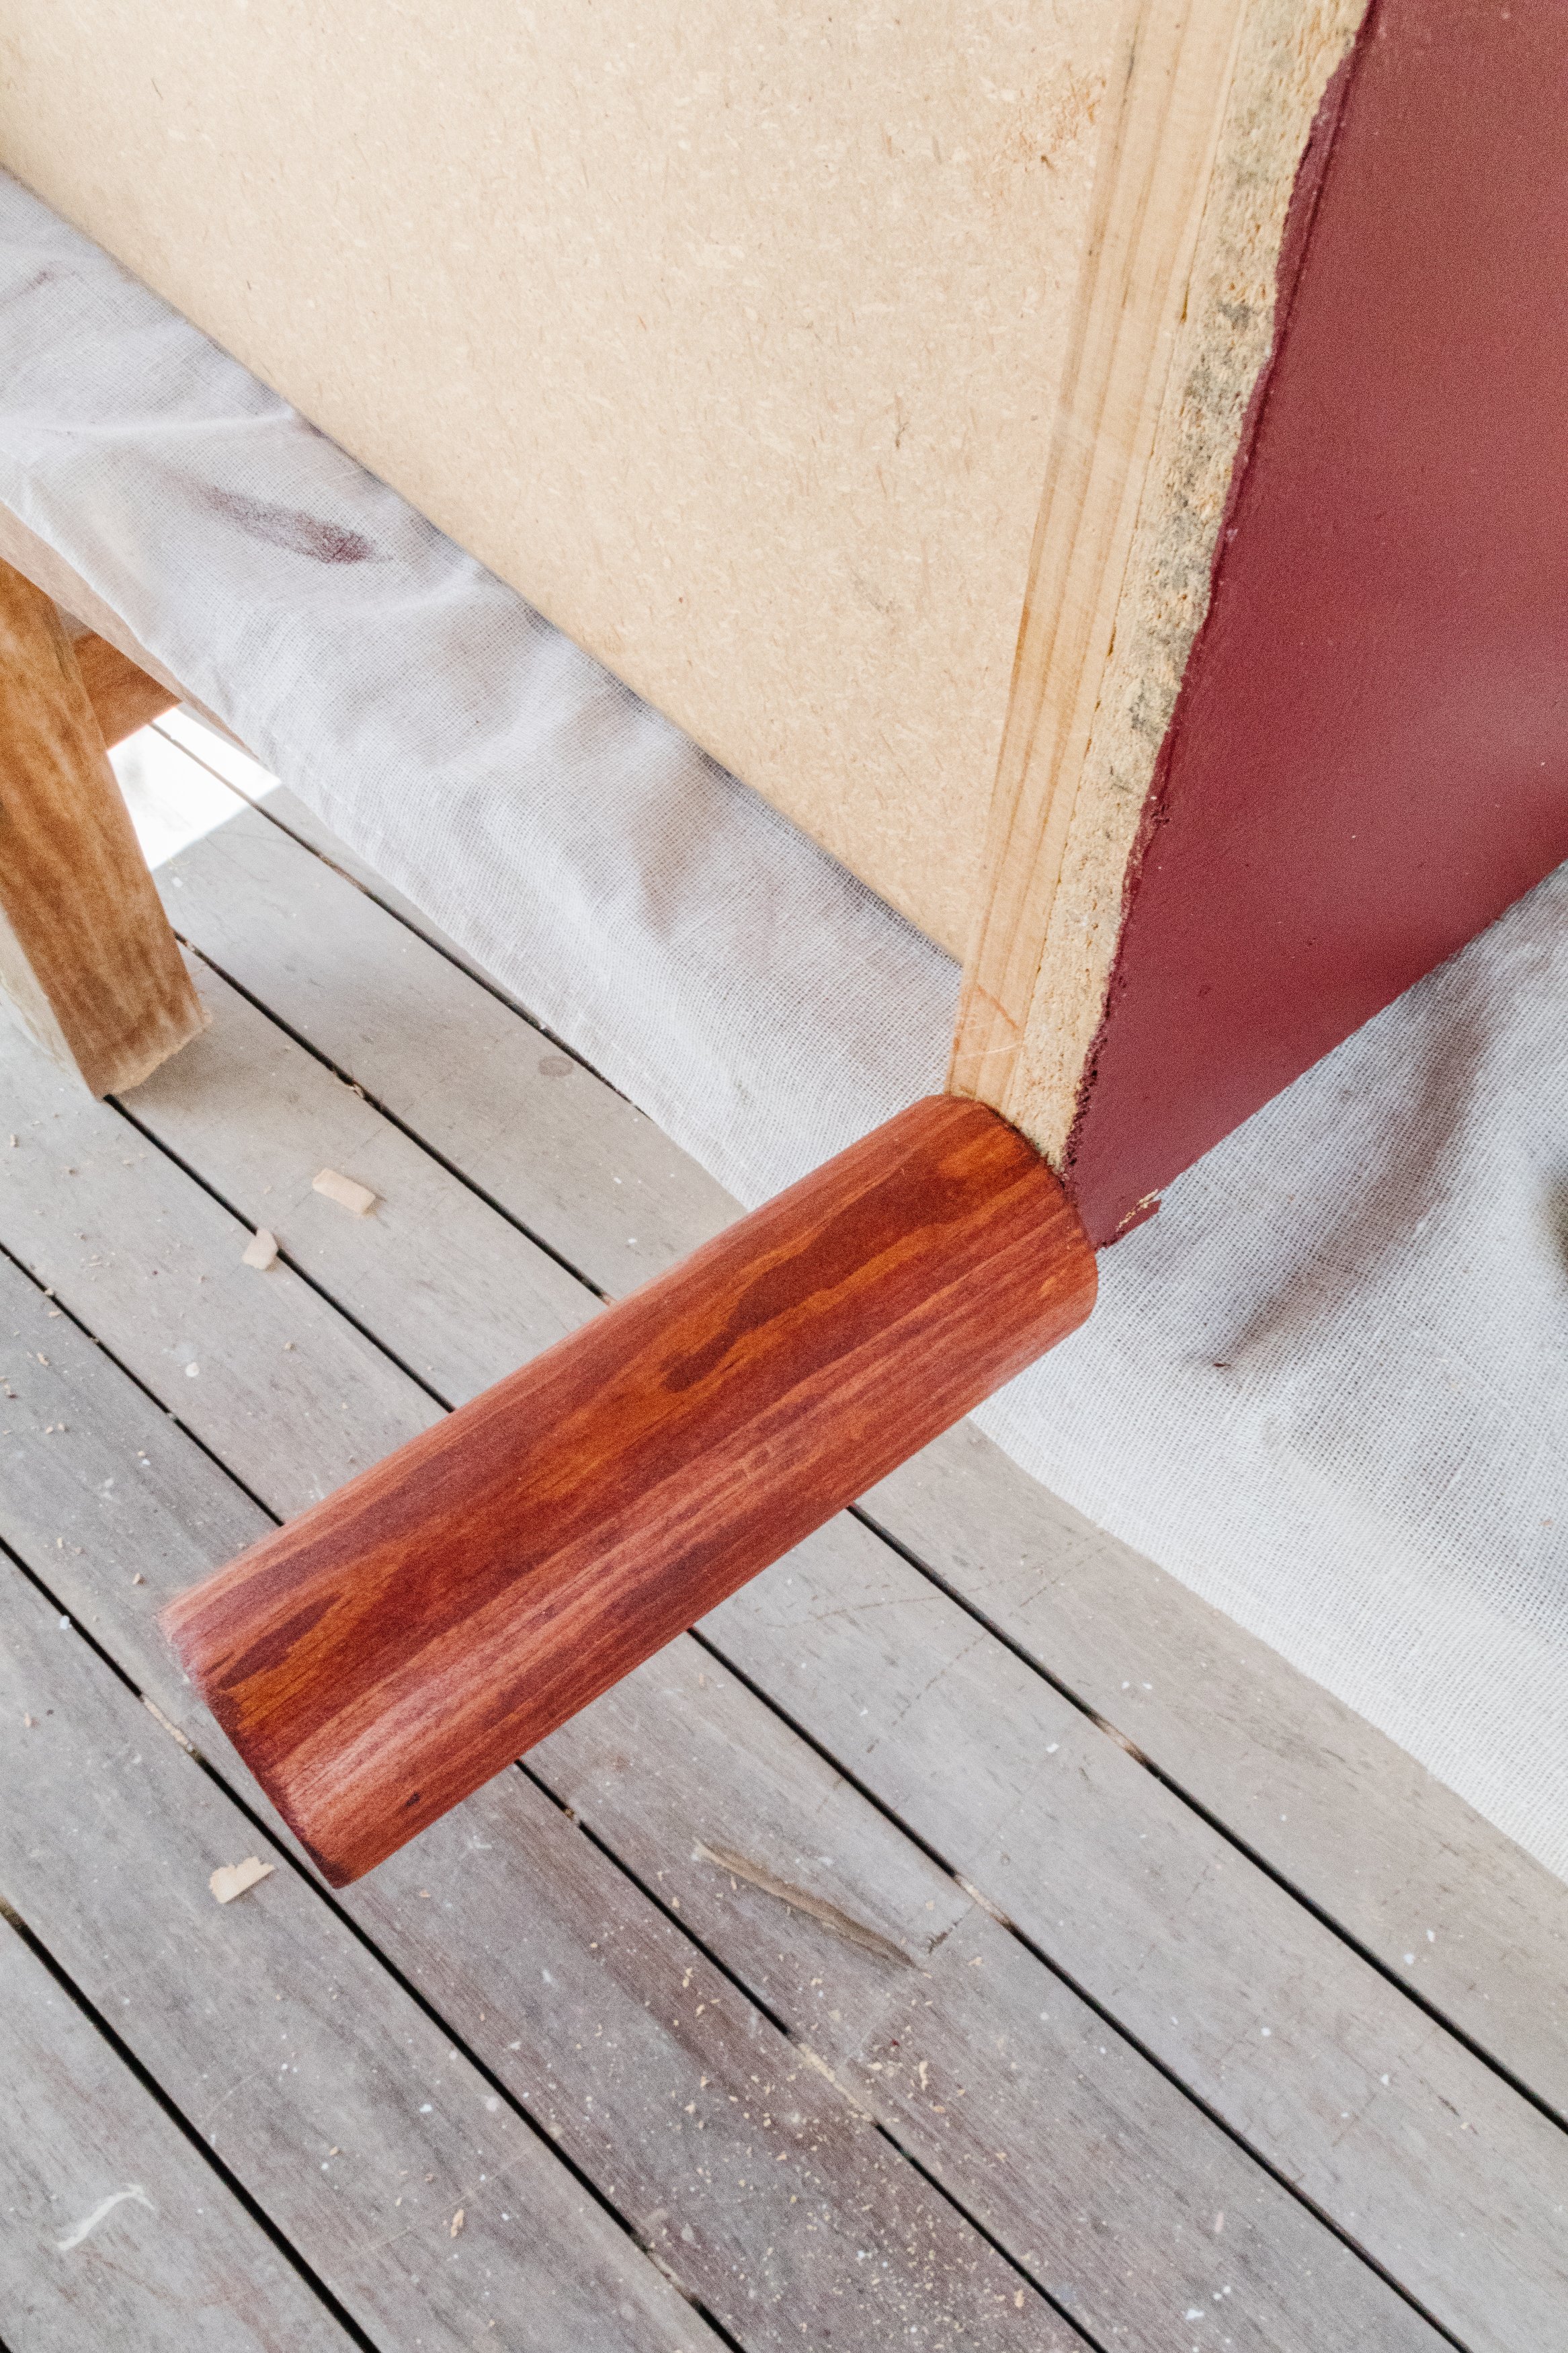
Step 5: I applied two coats of paint all over the cabinet. While the paint was drying in between coats I made my own timber furniture legs using a timber bed frame I picked up at a recycle centre; however I recommend buying new ones instead - it’s a lot easier! I installed the furniture legs using timber dowels and a strong construction adhesive and applied two coats of paint all over the legs for a colour blocking finish.
Step 6: I deliberated for a while as to use the original handles or not, but decided they were too ornate with everything else going on so I installed my Wavy Handles, which you’ll be able to buy from my website very soon. Click this link to join the waitlist.

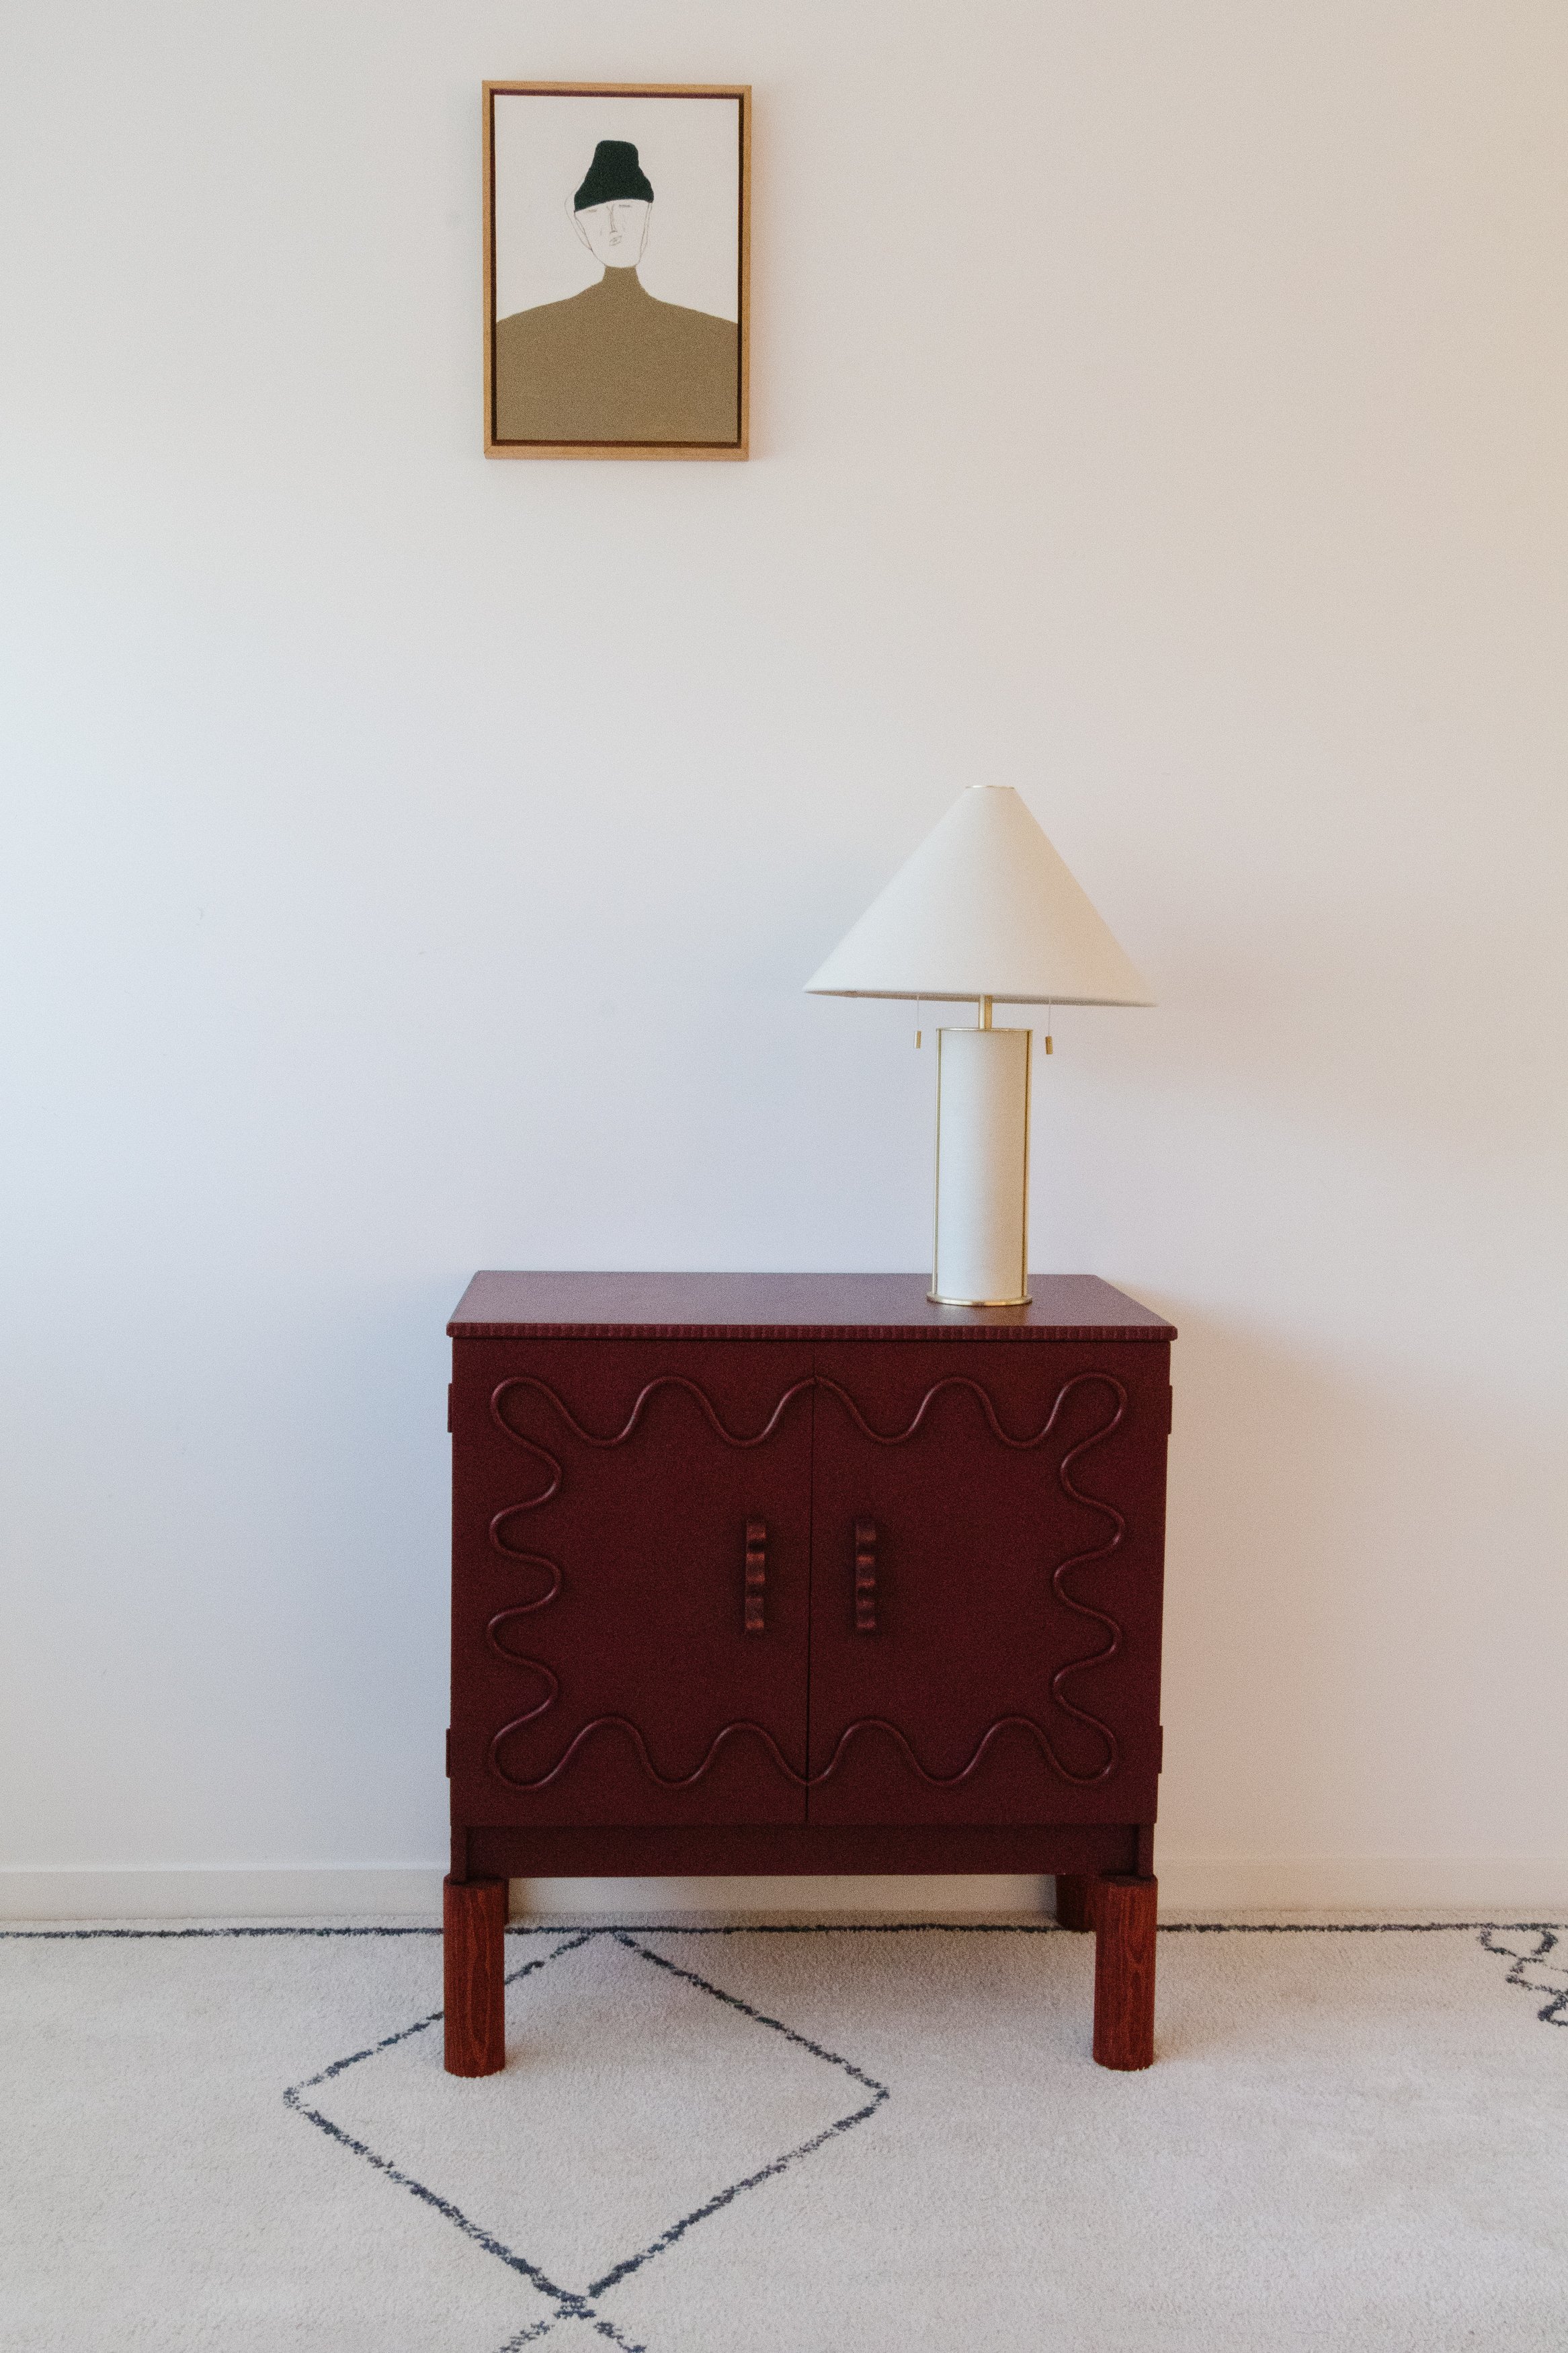
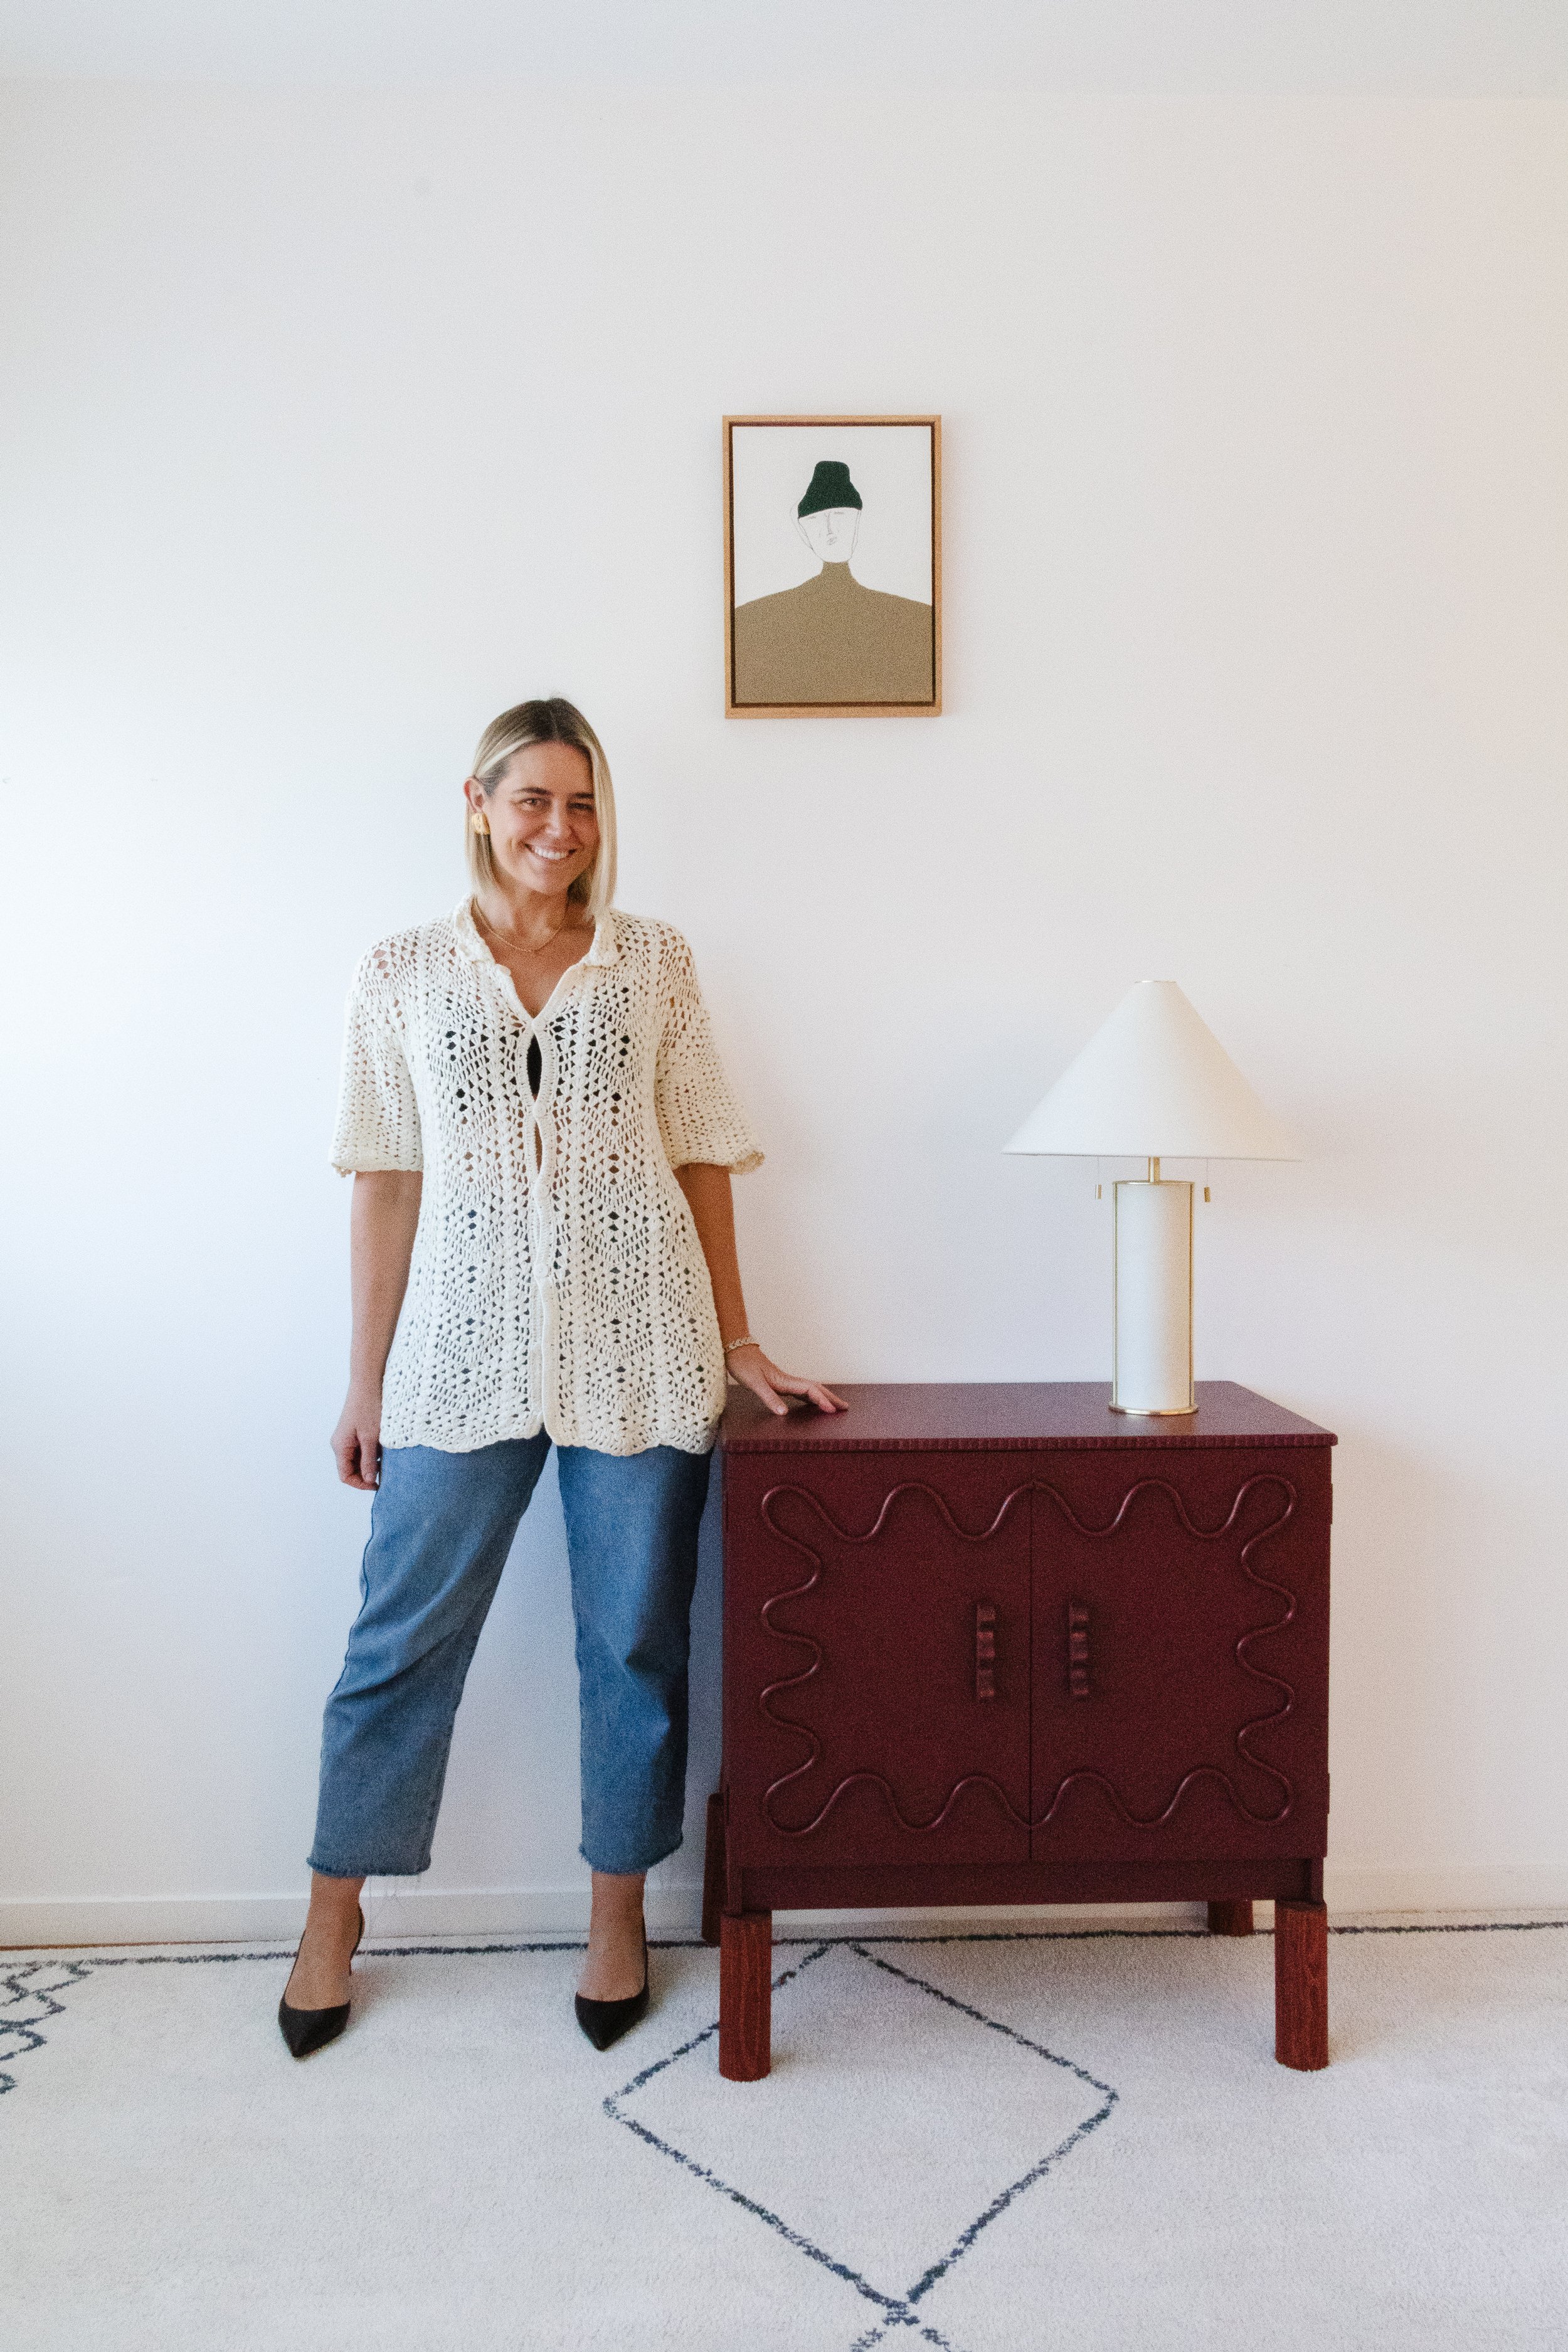
Ta daaaa!
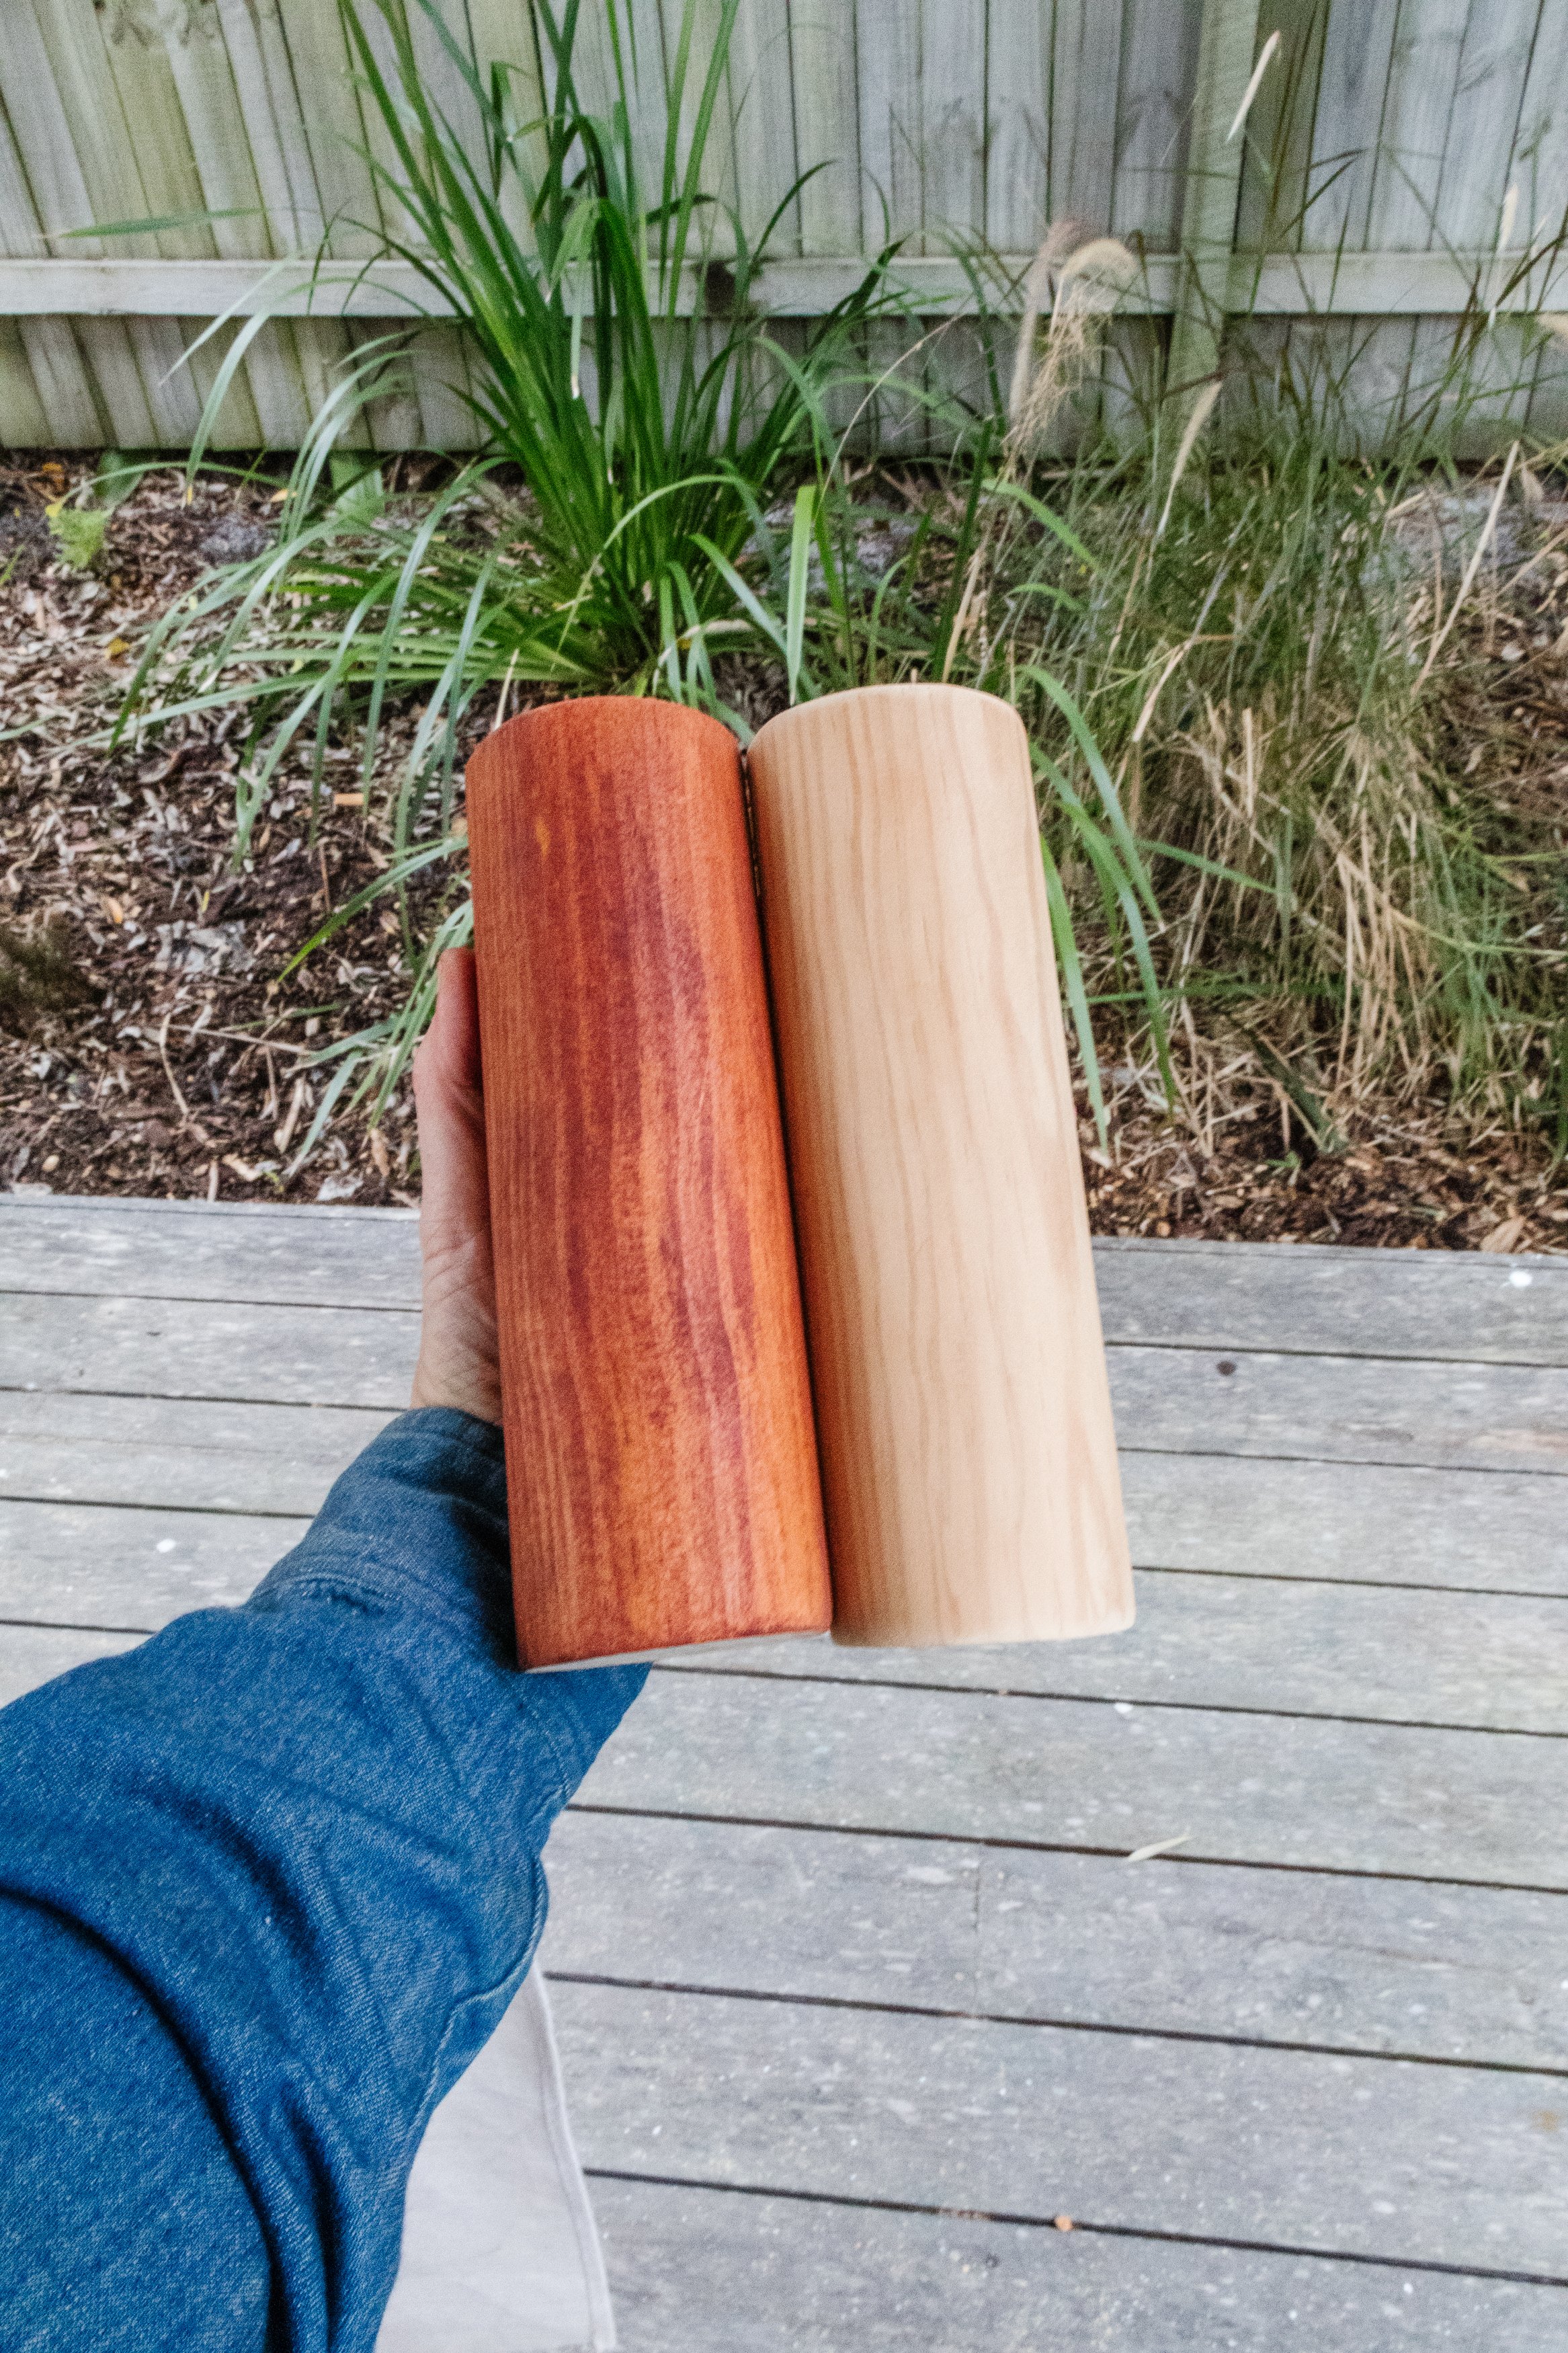
When I saw this secondhand cabinet with a beautiful fluted detail, I knew it was perfect for an idea I've been thinking about for a very long time - using round rubber to make a wavy pattern. And all I needed was a bit of glue and paint. I have been loving making my own timber furniture feet lately and it was fun using an unwanted bed frame to make the ones for this project. And of course, I had to add the final touch - my wavy handles, which you’ll be able to buy from my website very soon (click this link to join the waitlist). And I'm obsessed! The wavy pattern totally compliments the fluted edging, and who knew Indian Red paint and stained timber looked this good together! It’s a combo I’ll definitely pair together again.