DIY Painted Plates (you can actually eat off)
If it's up, then it's up...cycle! Introducing my DIY Painted Plates that you can actually eat off. These plates were collecting a lot of dust at my local charity store so I brought them home and gave them a little up-cycle. If you've been following along since last year, you'll know I have been on a bit of a journey trying to figure out how I could paint these thrifted plates and be able to eat off them safely too.
To my initial surprise, this project wasn't easy and I almost gave up! Finding the right paint was a huge mission because you need to use specific ceramic paint, and then I had to make sure I had the right paint brushes and sealant. I spoke to numerous experts at Bunnings, Rust-Oleum Australia, my local art shop Eckersley's, as well as ceramists and artists. I also did a tonne of research online. Oh the places I have been!
But if there's one thing I am, it's tenacious. And I don't give up easily.
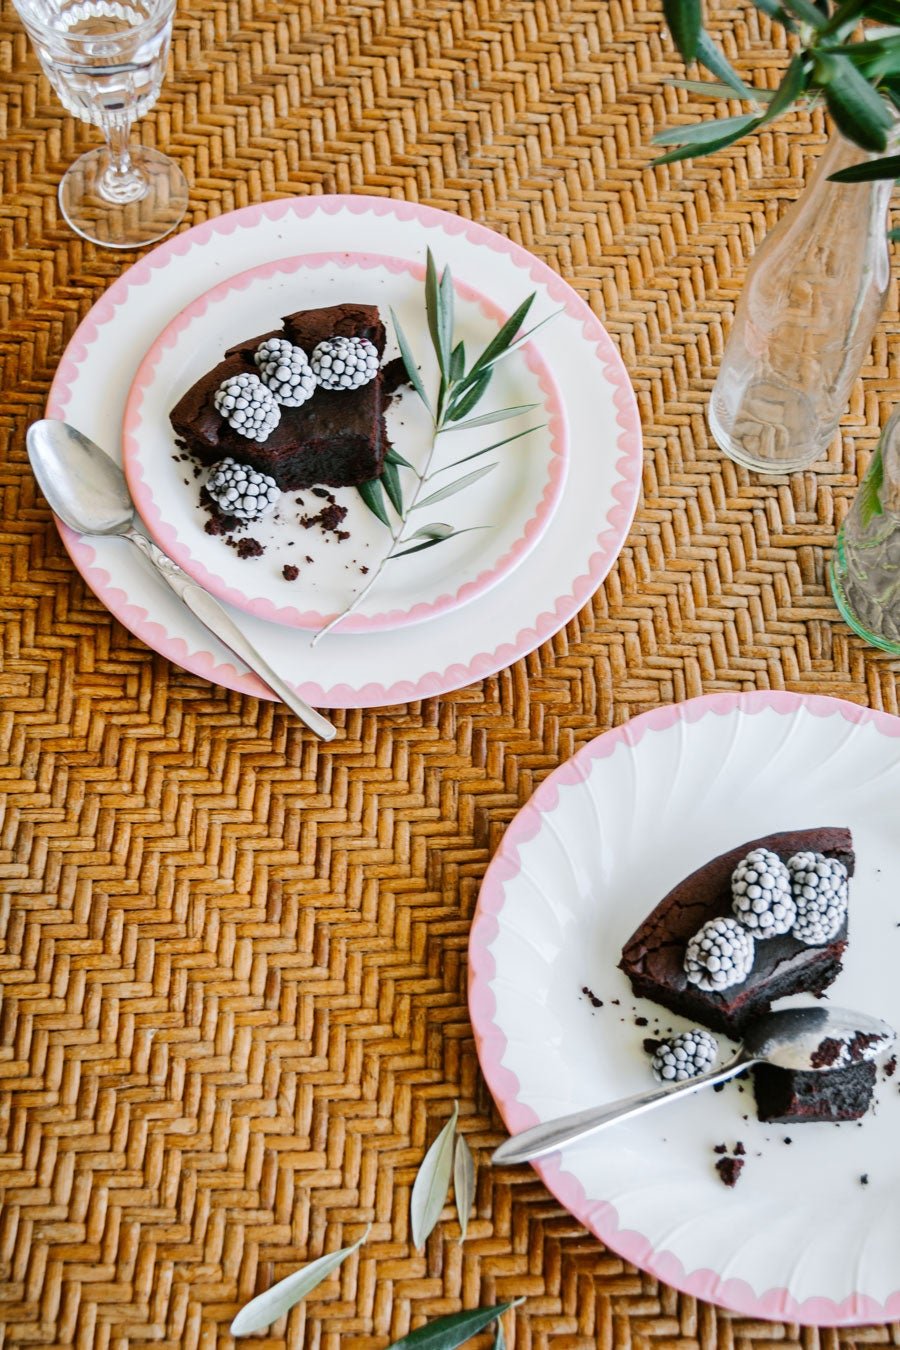
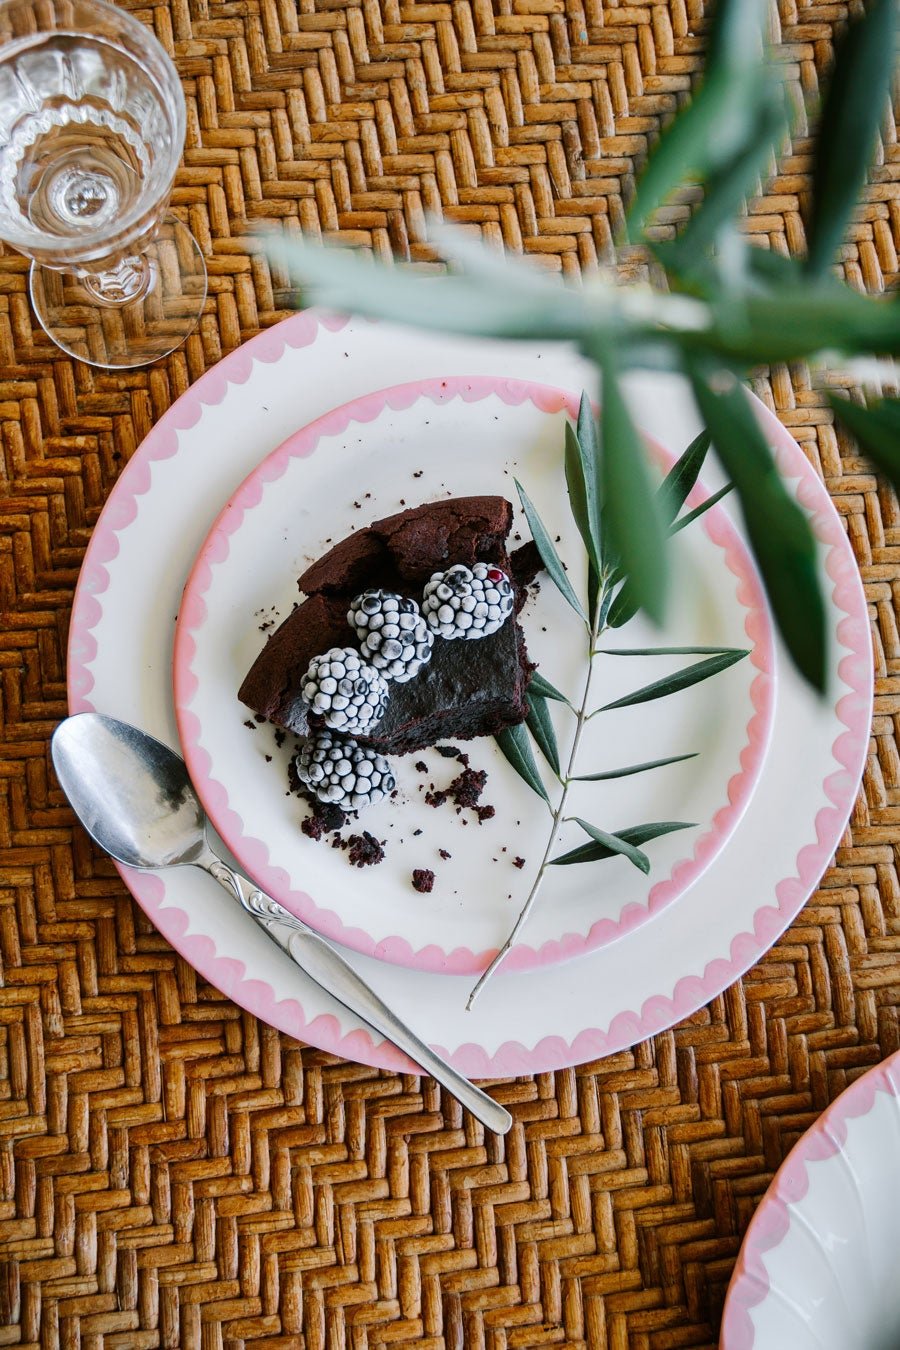
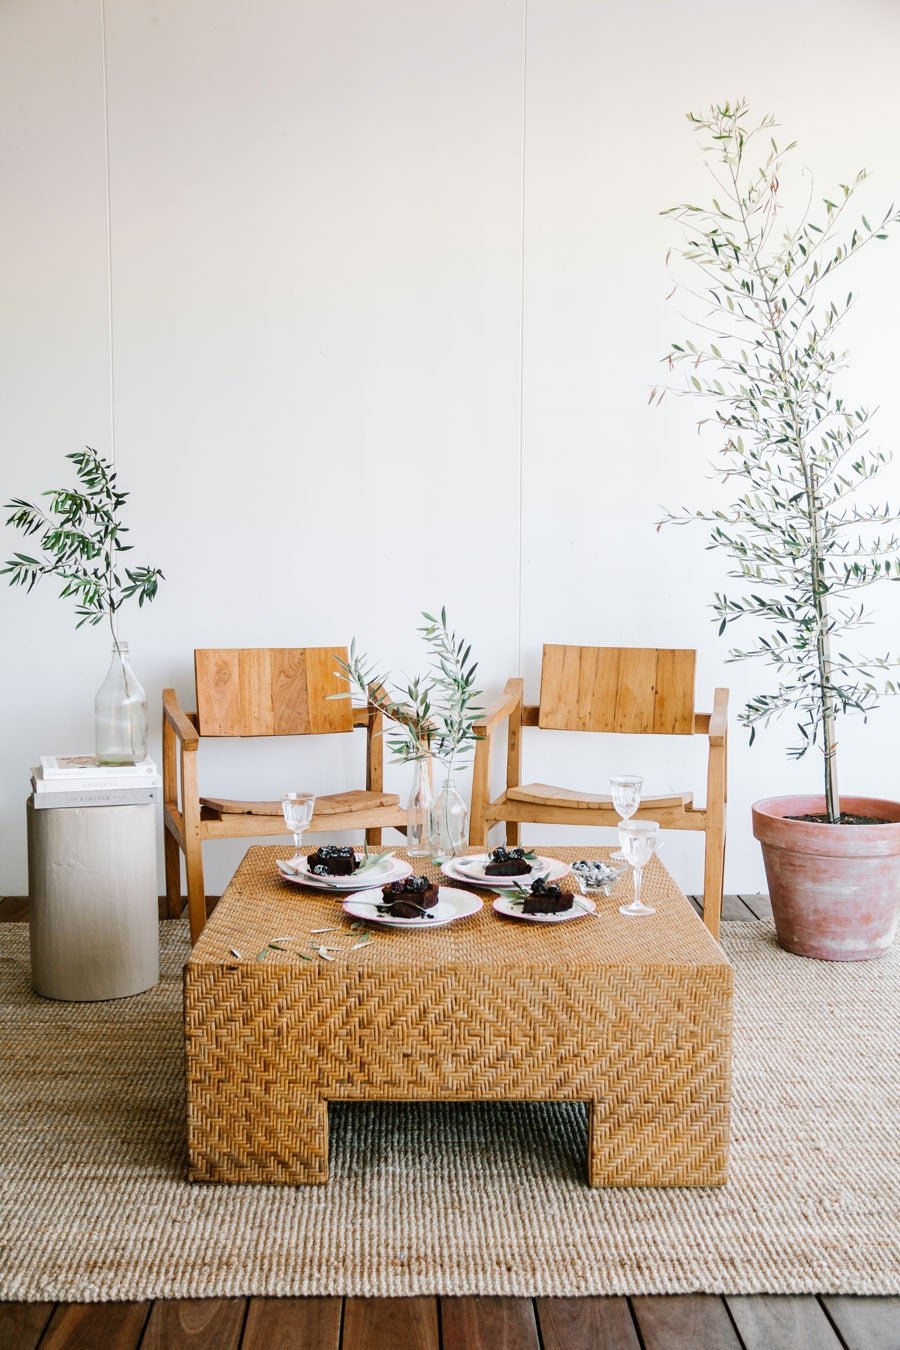
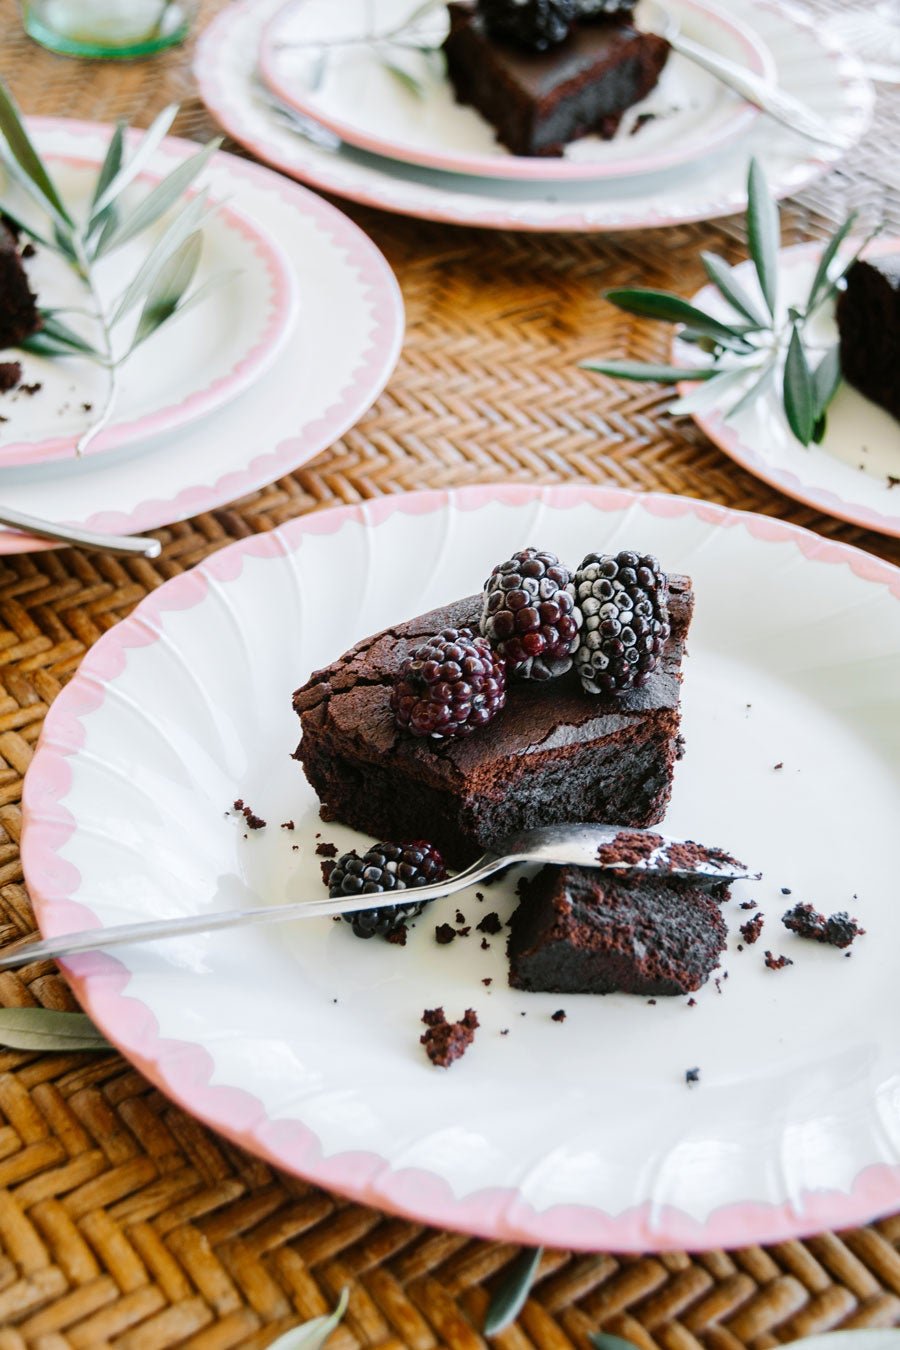
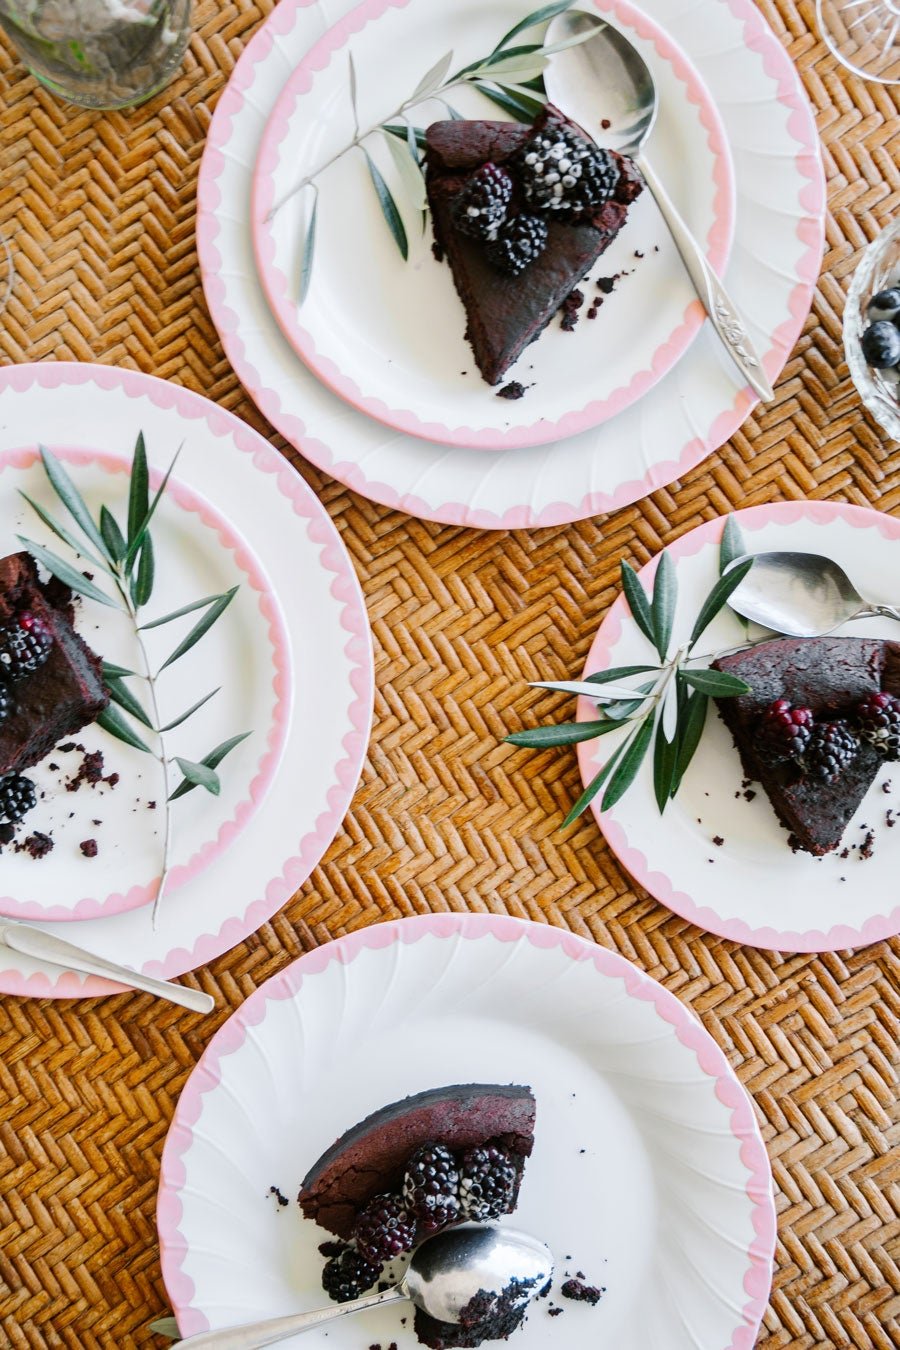
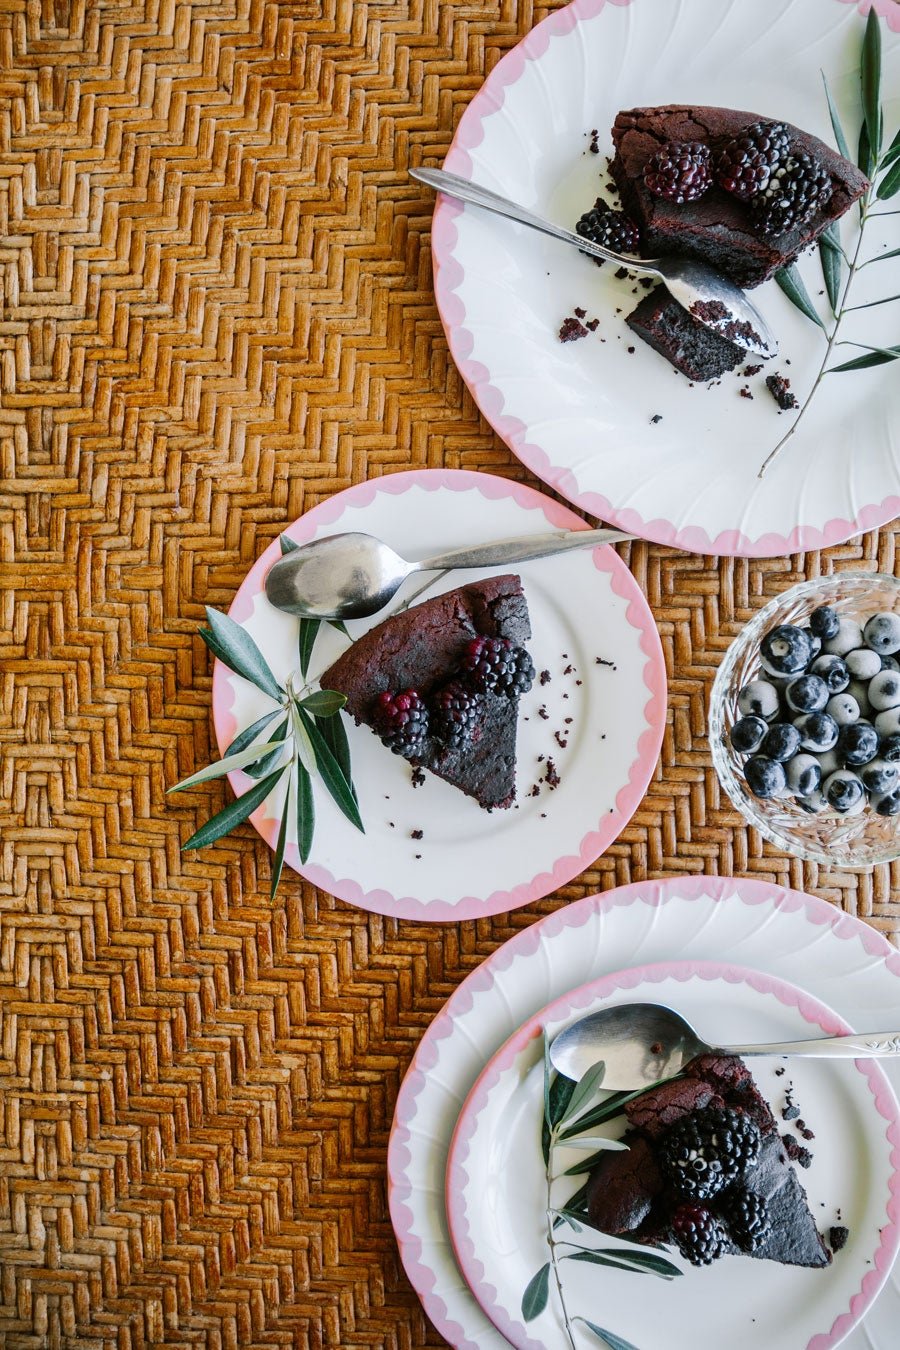
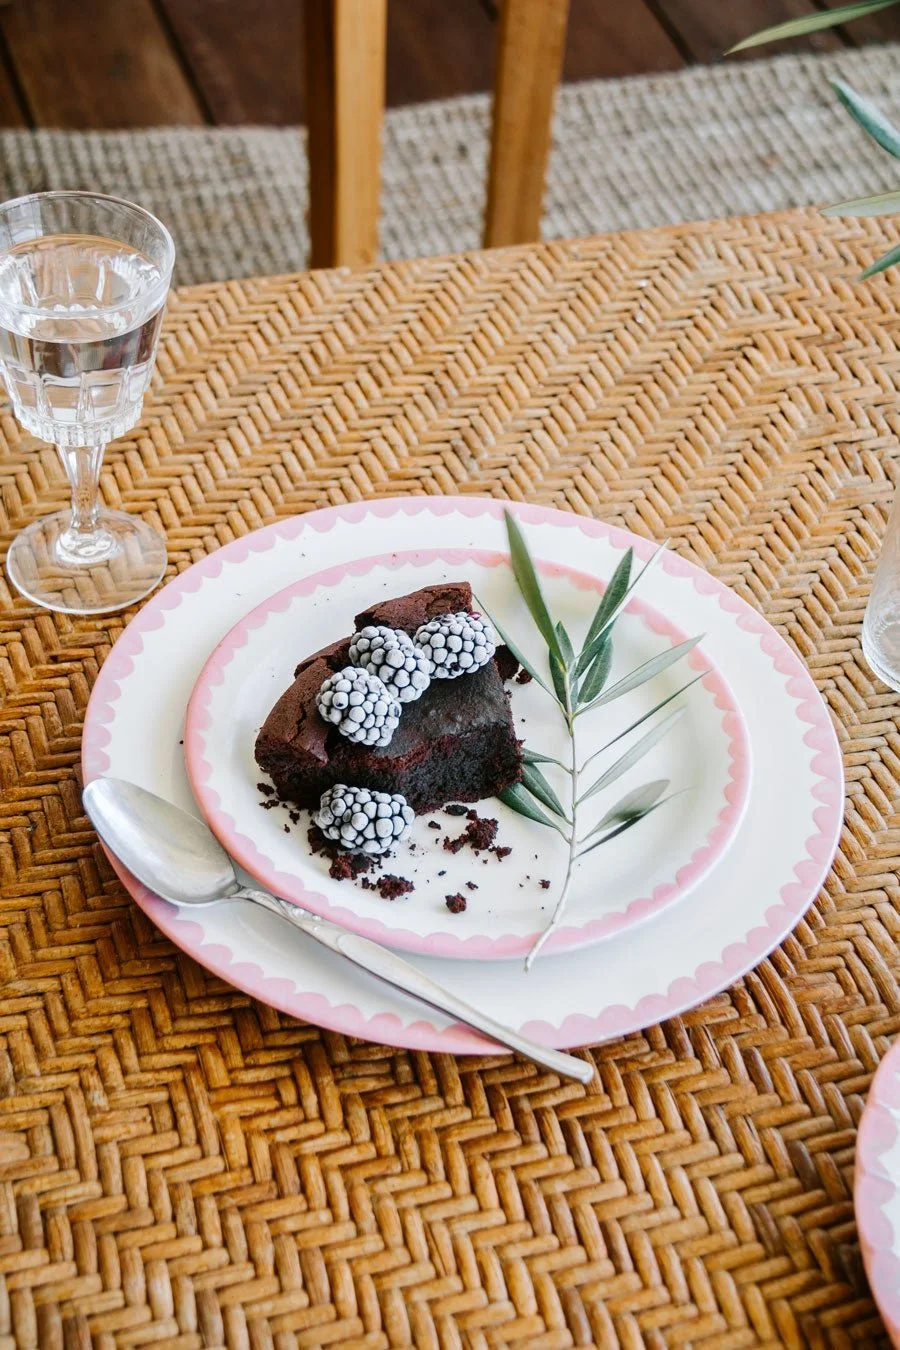
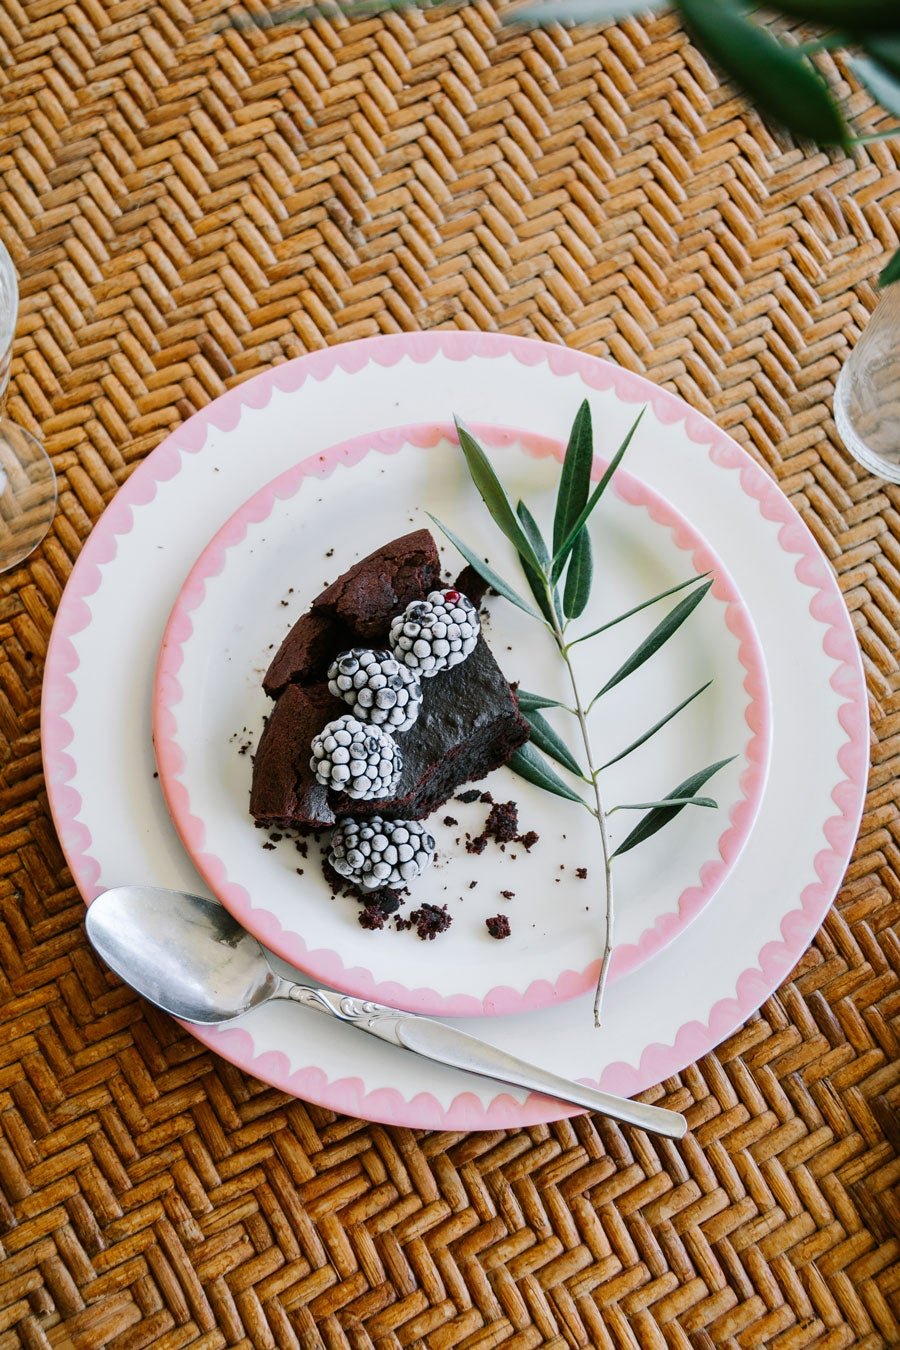
A few weeks ago I finally figured out the process and I couldn't be more excited! I had a few design ideas floating around in my head, and was initially very inspired by Matisse, but after a lot of trial and error (which you can see here) and on a whim, I ended up painting a beautiful scalloped edge in a pastel pink I mixed using an antique white and a bright pink. And then I couldn't stop. And here we are!
I think what is exciting for me is that you don't have to go through all the pain I did, and that's why I am so happy to share this project with you. I have linked all of the products I used below, the steps are really simple, and I share a few extra tips and tricks from what I learned along the way, including choosing plates that have an interesting rim. I can't wait for you to start creating and painting your own DIY Painted Plates! And you can also watch a little video I created showing the entire process.
Happy DIY'ing!

Materials
White secondhand plates from your local charity store. Please make sure the plates are not cracked or chipped. If they are, do not use them.
Alcohol cleaning spray from Bunnings
Hand towel
Pebeo Ceramic Porcelaine Paint from Eckersleys and Fruugo
Fine round paint brush from Eckersleys. I used number 8 from the Roymac Achiever Round Brush range.
Paint palette
Paint thinner such as turpentine. Mineral spirits or acetone are also acceptablethinners that can be used as analternative to traditional ones like turpentine.
Rust-Oleum 2X Ultra Cover Gloss Clear sealant from Haymes Paint Shop
How To
Before you get started please read the "Important" notes below and make sure you watch this little video I put together showing you how easy it is to recreate this DIY.
Clean the entire surface of your plate (top and underneath) with the alcohol cleaning spray and a hand towel. Set aside to dry.
Pour your chosen paint colours into a paint palette.
Paint your plates using a scalloped effect that I did or paint the plates to your desired design. This ceramic paint is quite thick so you should only need to paint one layer. Tip: Water doesn't clean the paint brush very well in between colours, so use the hand towel to wipe off excess paint from the brush. I found this worked best. If you need to stop and come back to painting, it's best to use a paint thinner to clean your paint brush.
Wait overnight for the paint to dry.
Lightly spray the surface of your plate with the Rust-Oleum 2X Ultra Cover Gloss Clear. Once the coating has cured for 7 days, the solvents are evaporated out of the coating making it safe to use for things such as food platters.
Please read the "Important" notes below.
And enjoy!
Important
You cannot eat from the plates if you don't seal them. Ceramic paint is toxic.
When the plates have been painted and sealed properly, do not put them in the microwave, oven or dishwasher. To clean, hand wash only in warm water and a gentle detergent.
Experts at Rust Oleum Australia have assured me the surface that the sealant is sprayed with will be able to withstand heat upto 93°C. Therefore "should" be fine to serve hot food on the plates, but it is not recommended you do this. Nor should you use sharp utensils as this could scratch the coating off and expose the ceramic paint.
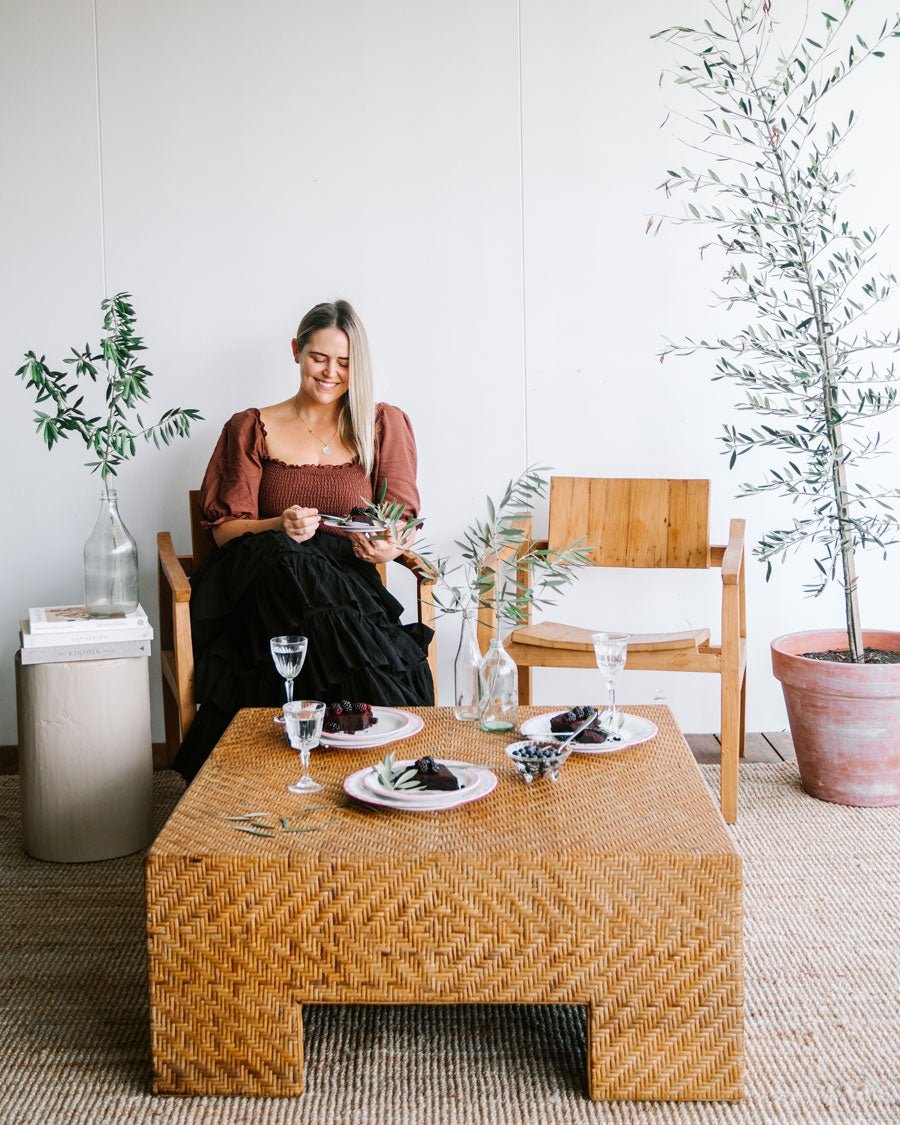
As you can see from my DIY Painted Plates and video, I have only painted the rim and I only sprayed the rim of the plates with the sealant, so technically it is safe to eat from the middle of the plate.
I recommend using the plates for cold salads, desserts, cheese platters and cold pasta salads where you are not using sharp utensils or excessively scratching the plates with a fork or knife.
If you choose to recreate this DIY, you do so at your own responsibility. But don't let this scare you away!
If you have further queries, please contact the suppliers listed in this tutorial: Rust-Oleum Australia (technical@rustoleum.com.au), Eckersley's, Haymes Paint Shop and Bunnings.
A note from Rust-Oleum: If the sealant is not available at your local retailer, you can ask them to place an order for you.