DIY Fluted Vases
Got spare glass bottles at home? Let’s make vases with them!
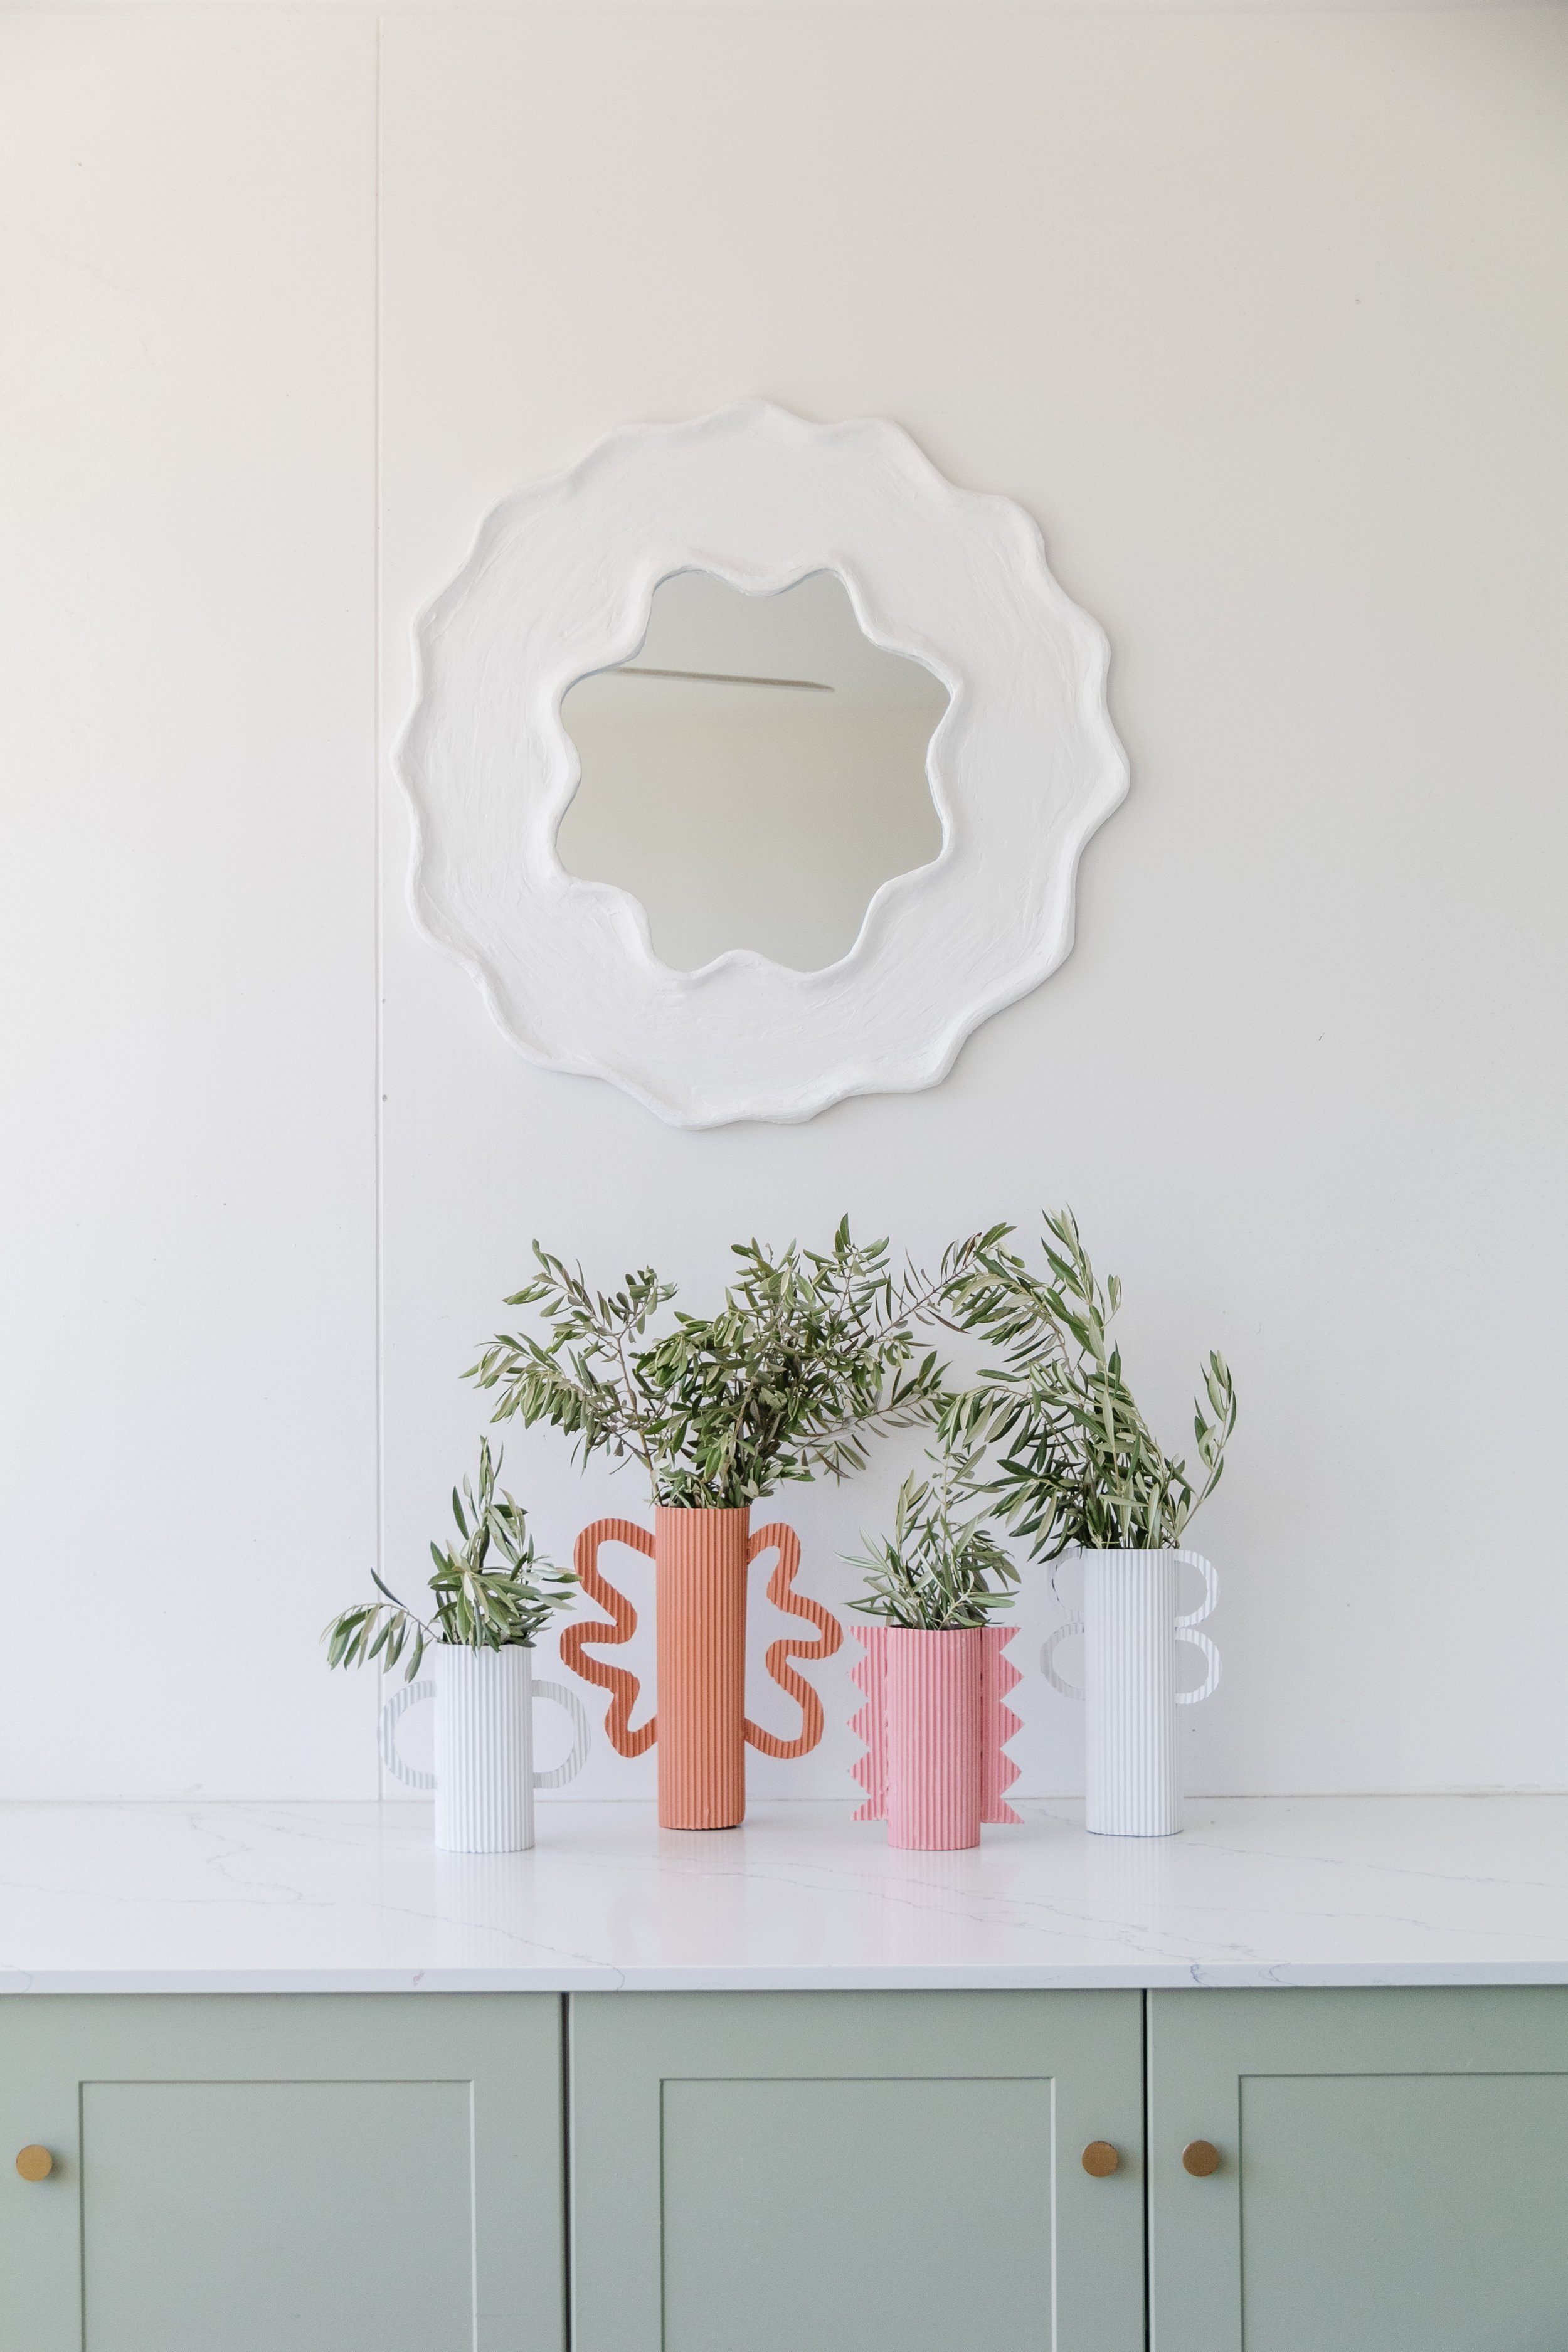
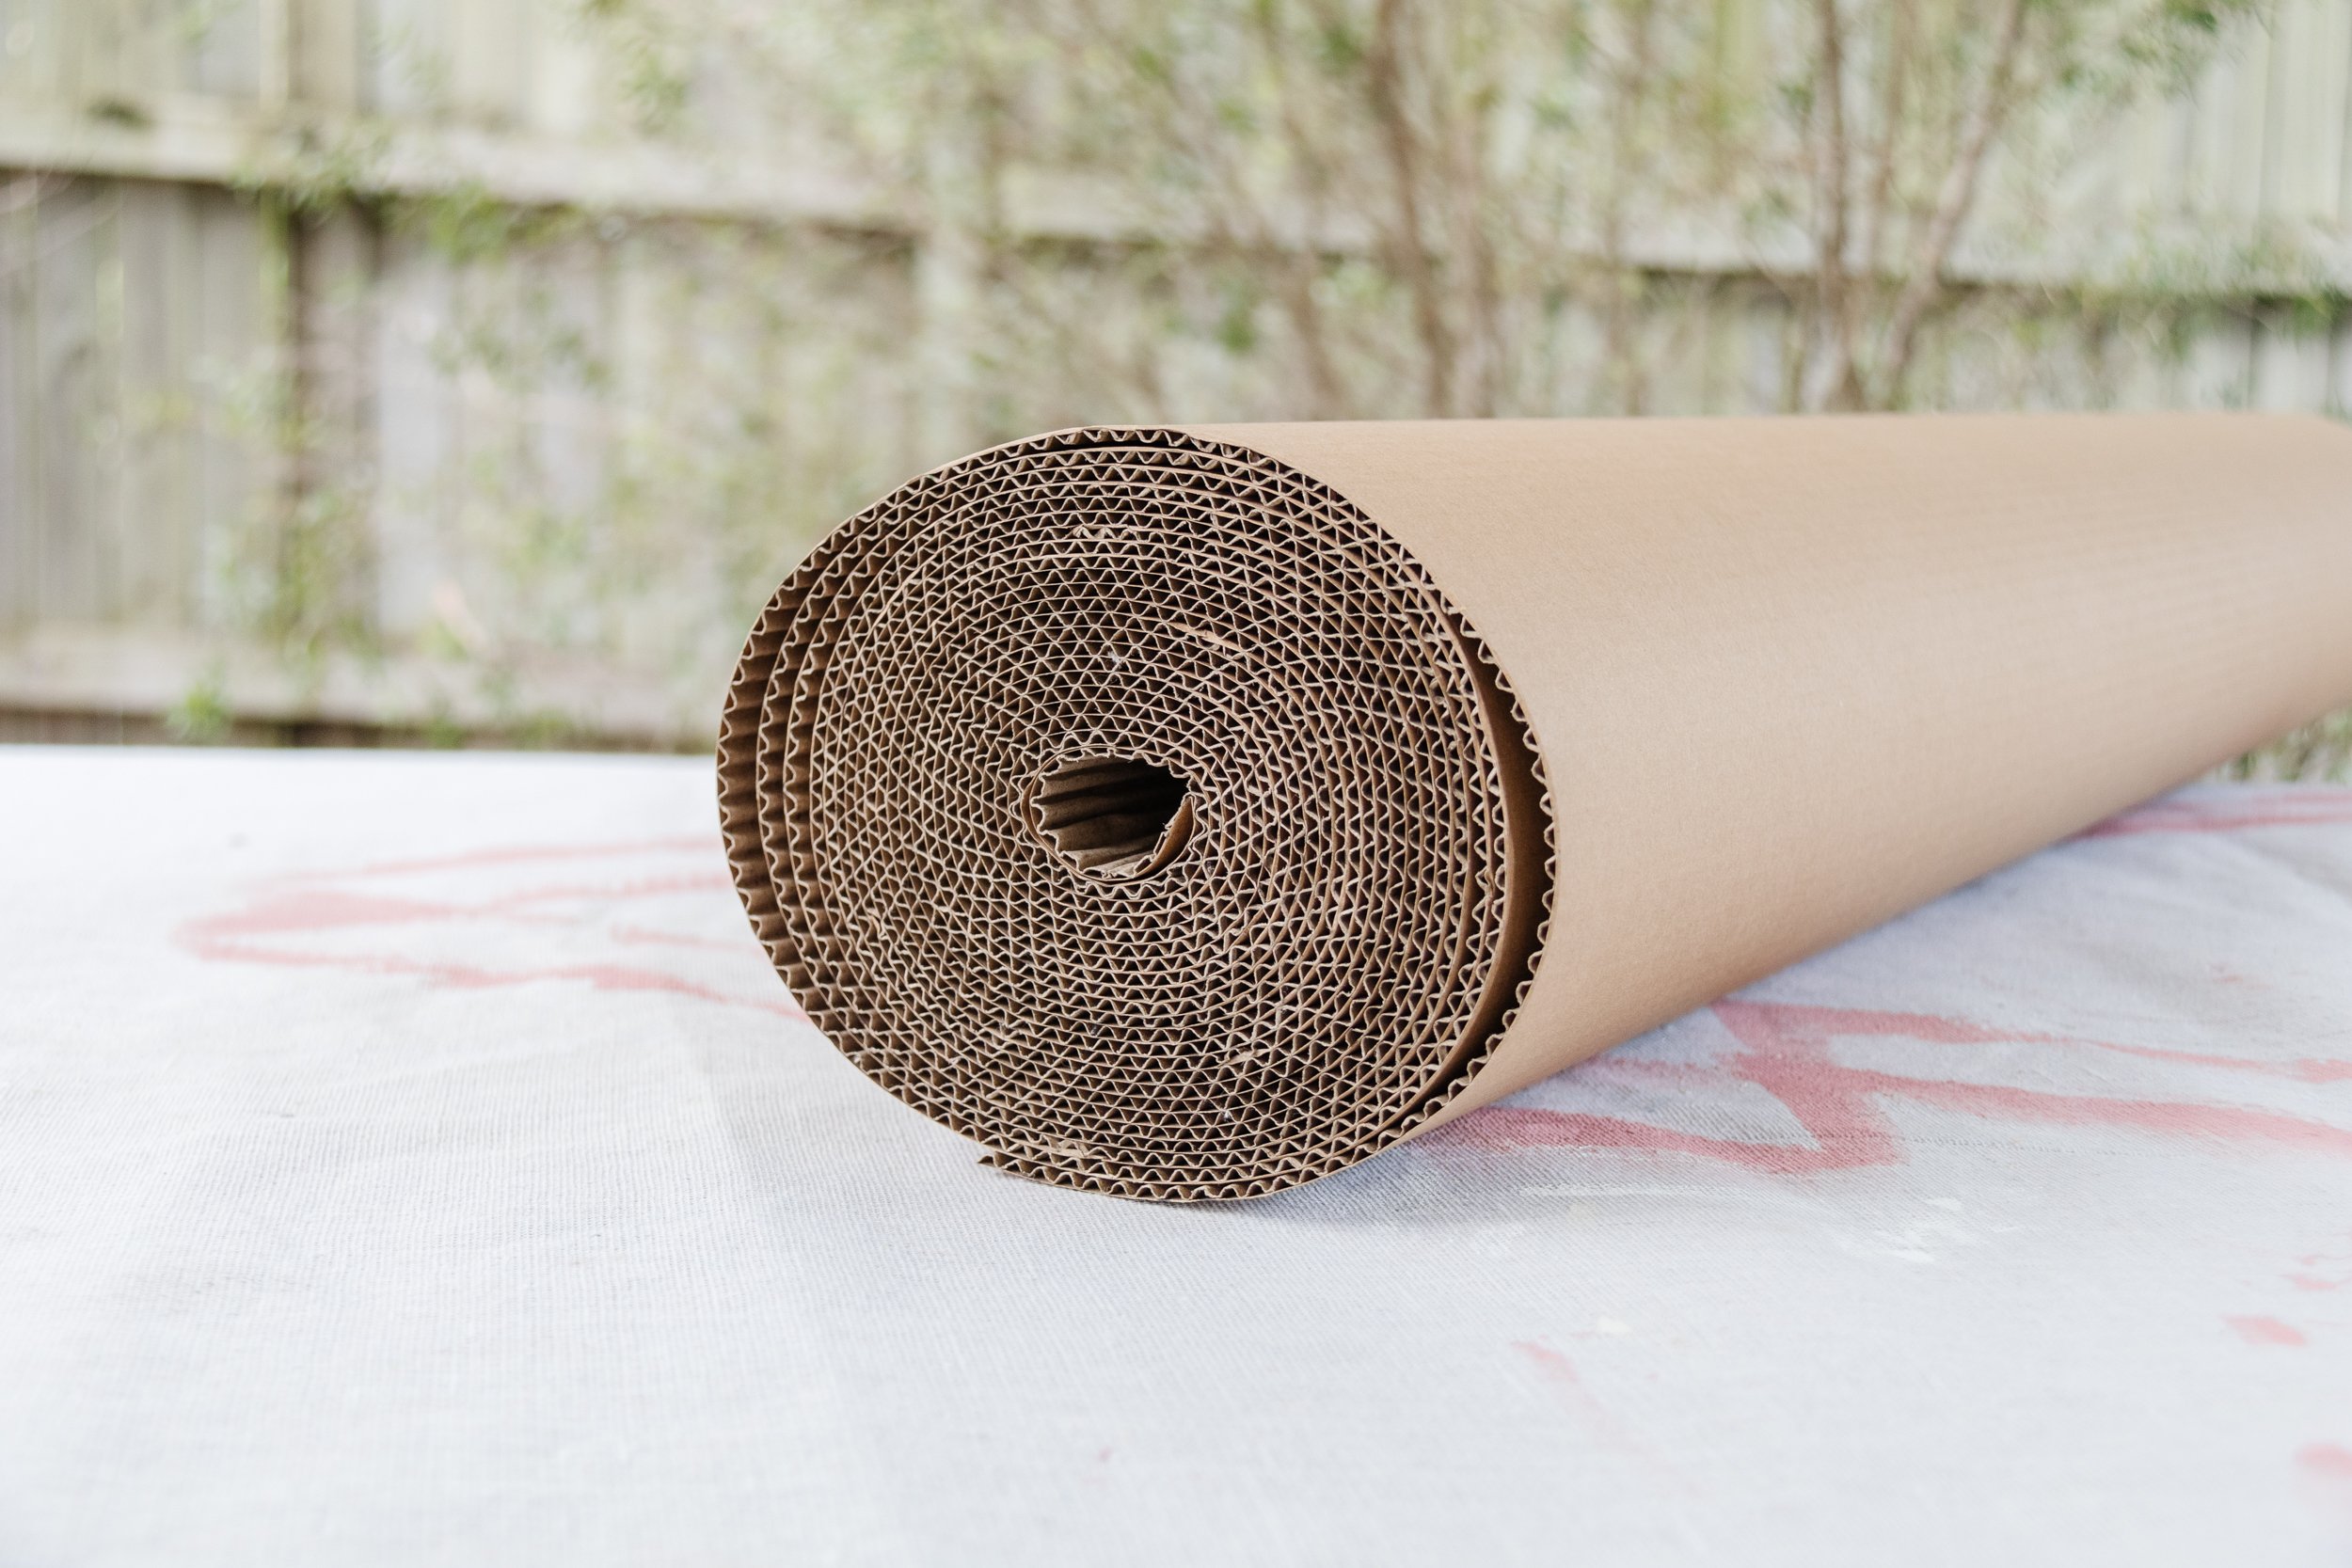
A couple of weeks ago I stumbled across corrugated paper at Bunnings, which is basically fluted cardboard. I couldn’t believe my luck - it’s absolutely beautiful and I knew straight away it had so much potential! The first project I made with it was a Christmas Tree for my parents and I haven’t been able to stop thinking about what else I can make. When I was clearing out my studio last week, I found a bunch of glass bottles and mason jars, which I used to make these Watermelon Cocktails last summer, and an idea struck. What if I could wrap these glass bottles and jars with the fluted cardboard and make vases? I grabbed my hot glue gun, scissors, spray paint and as they say, the rest is history. Read on to find out how you can make your own DIY Fluted Vases! Hint: They’re so easy!
And to see how these DIY Fluted Vases came together, check out this video!
DIY Fluted Cardboard Vases


Project Details
🕒 Project Time Estimate: 1 hour
💰 Materials Cost: Under $30
⚒️ Power Tools: None!
👷♀️ Skill Level: Beginner DIYer
Materials
Ruler
Scissors
Glass jars and bottles
Hot glue gun and glue sticks
Spray paint

How To
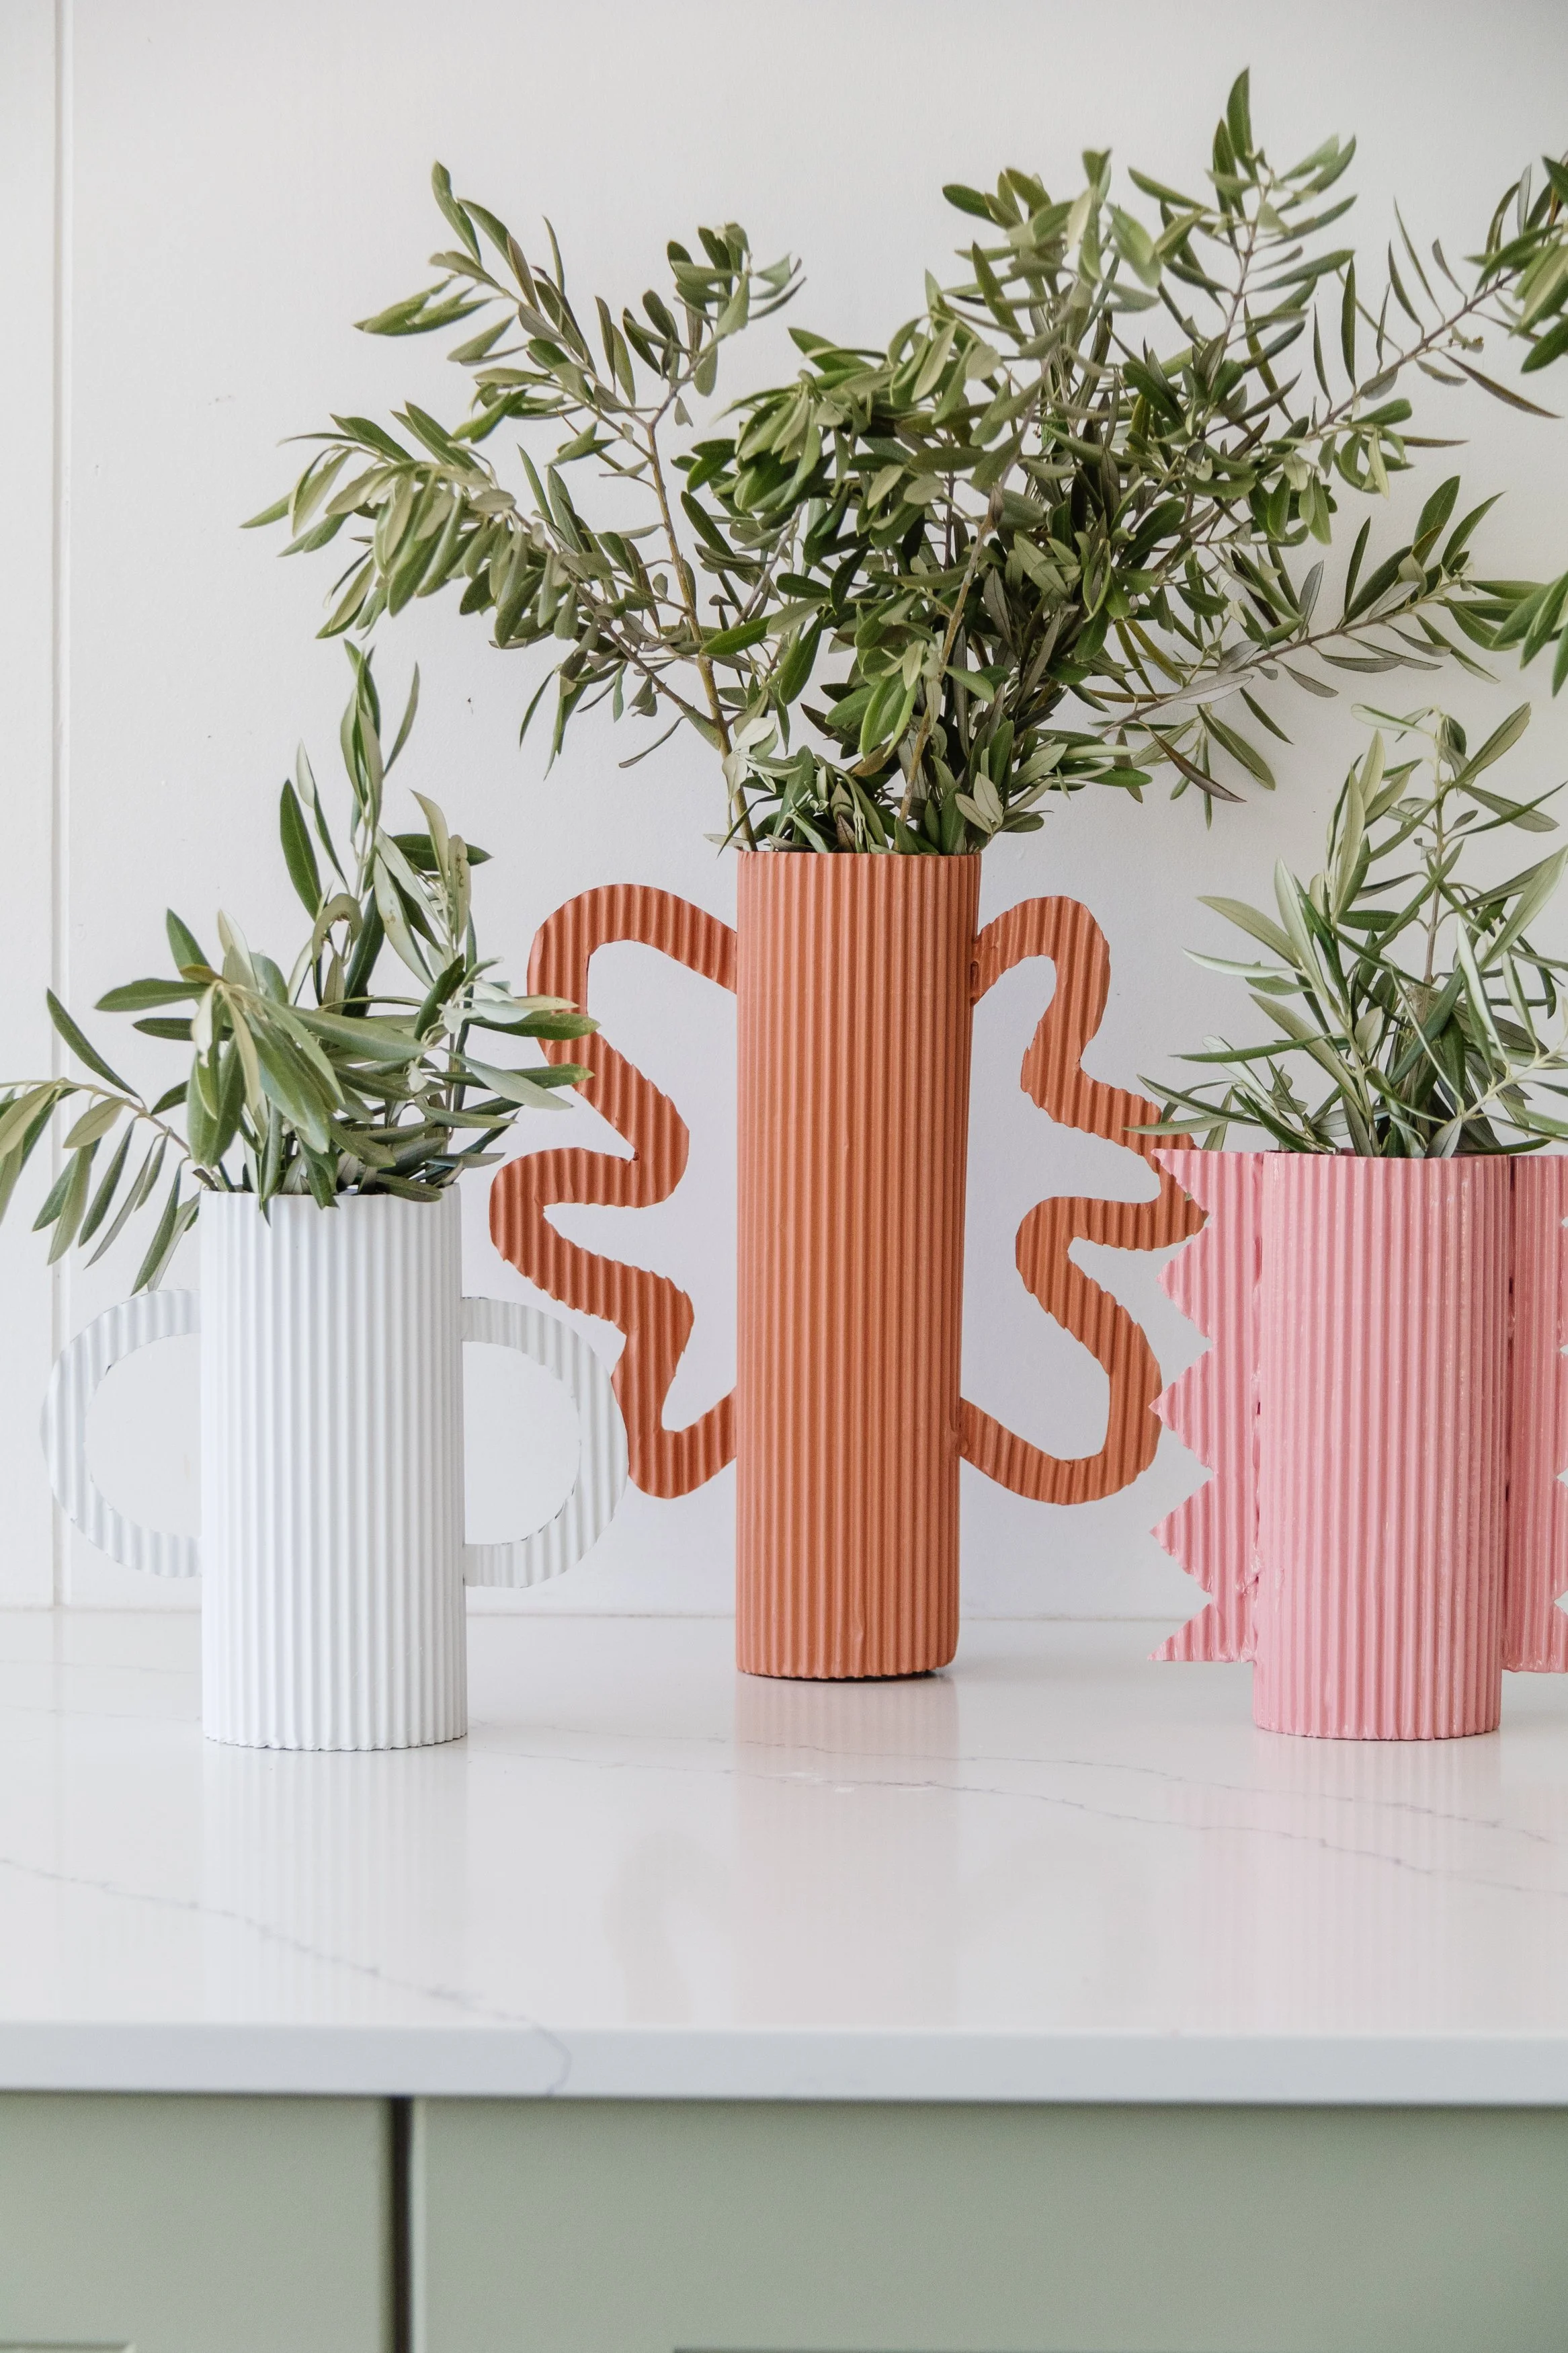
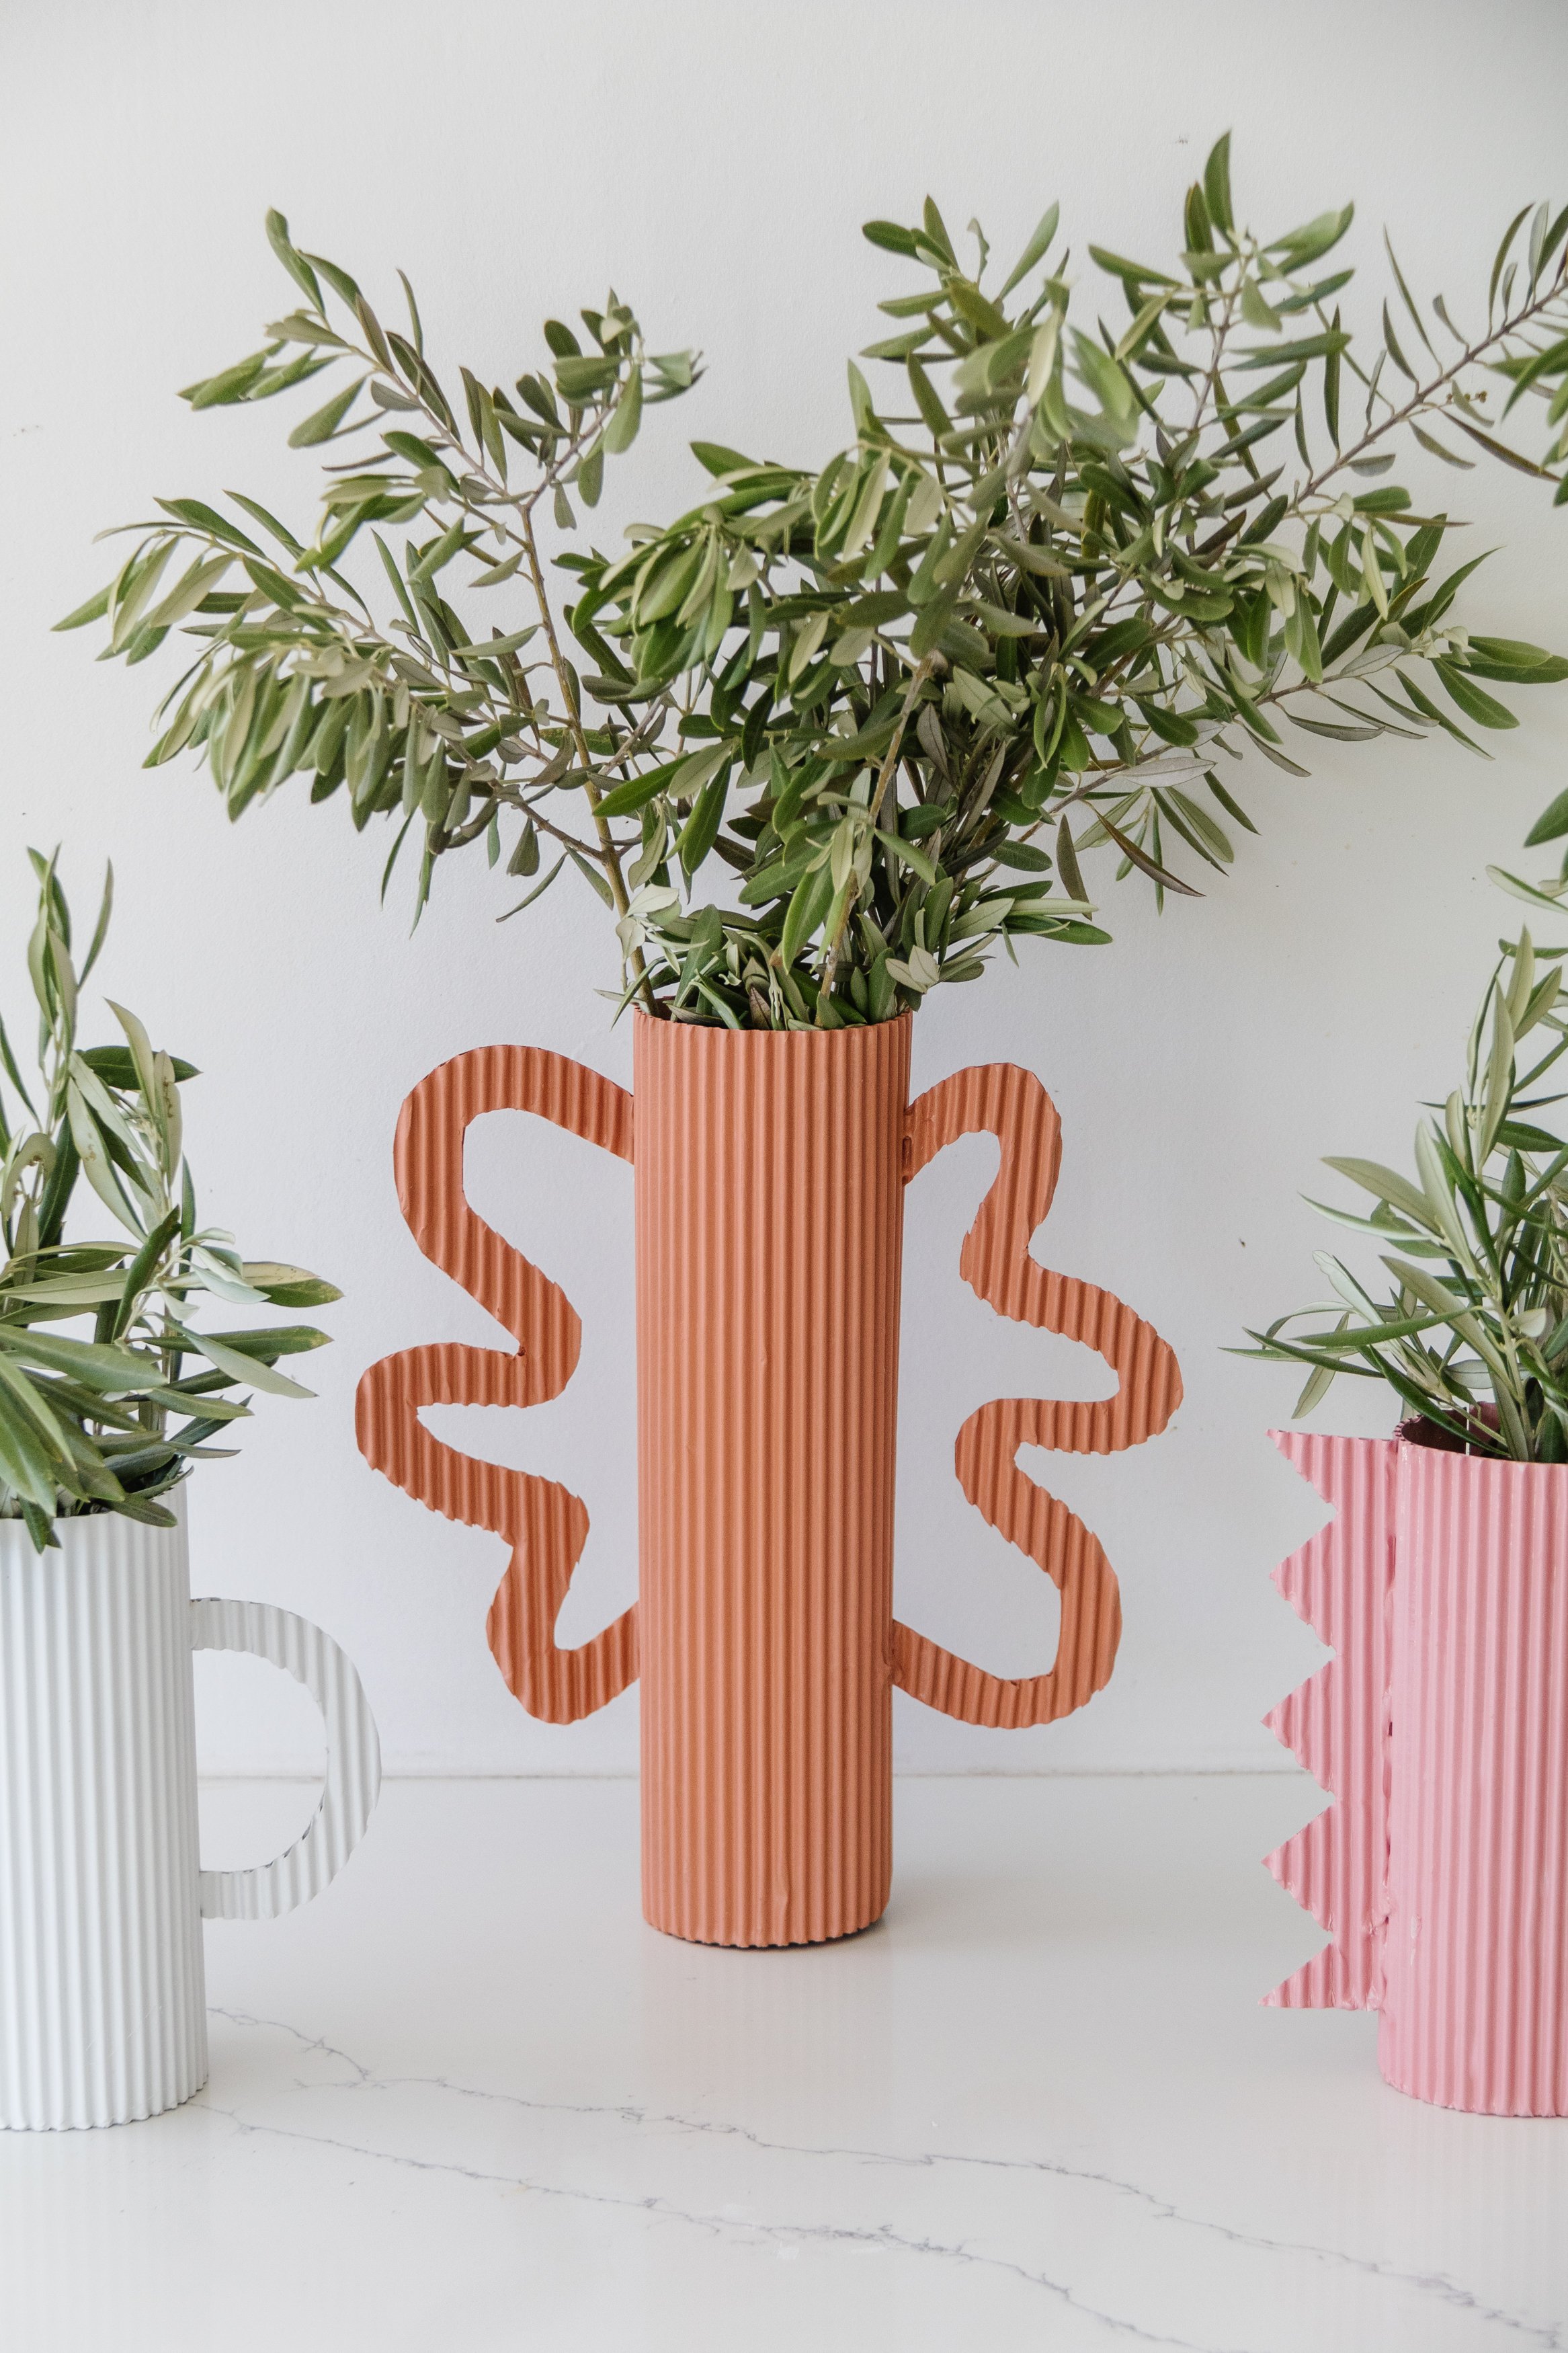
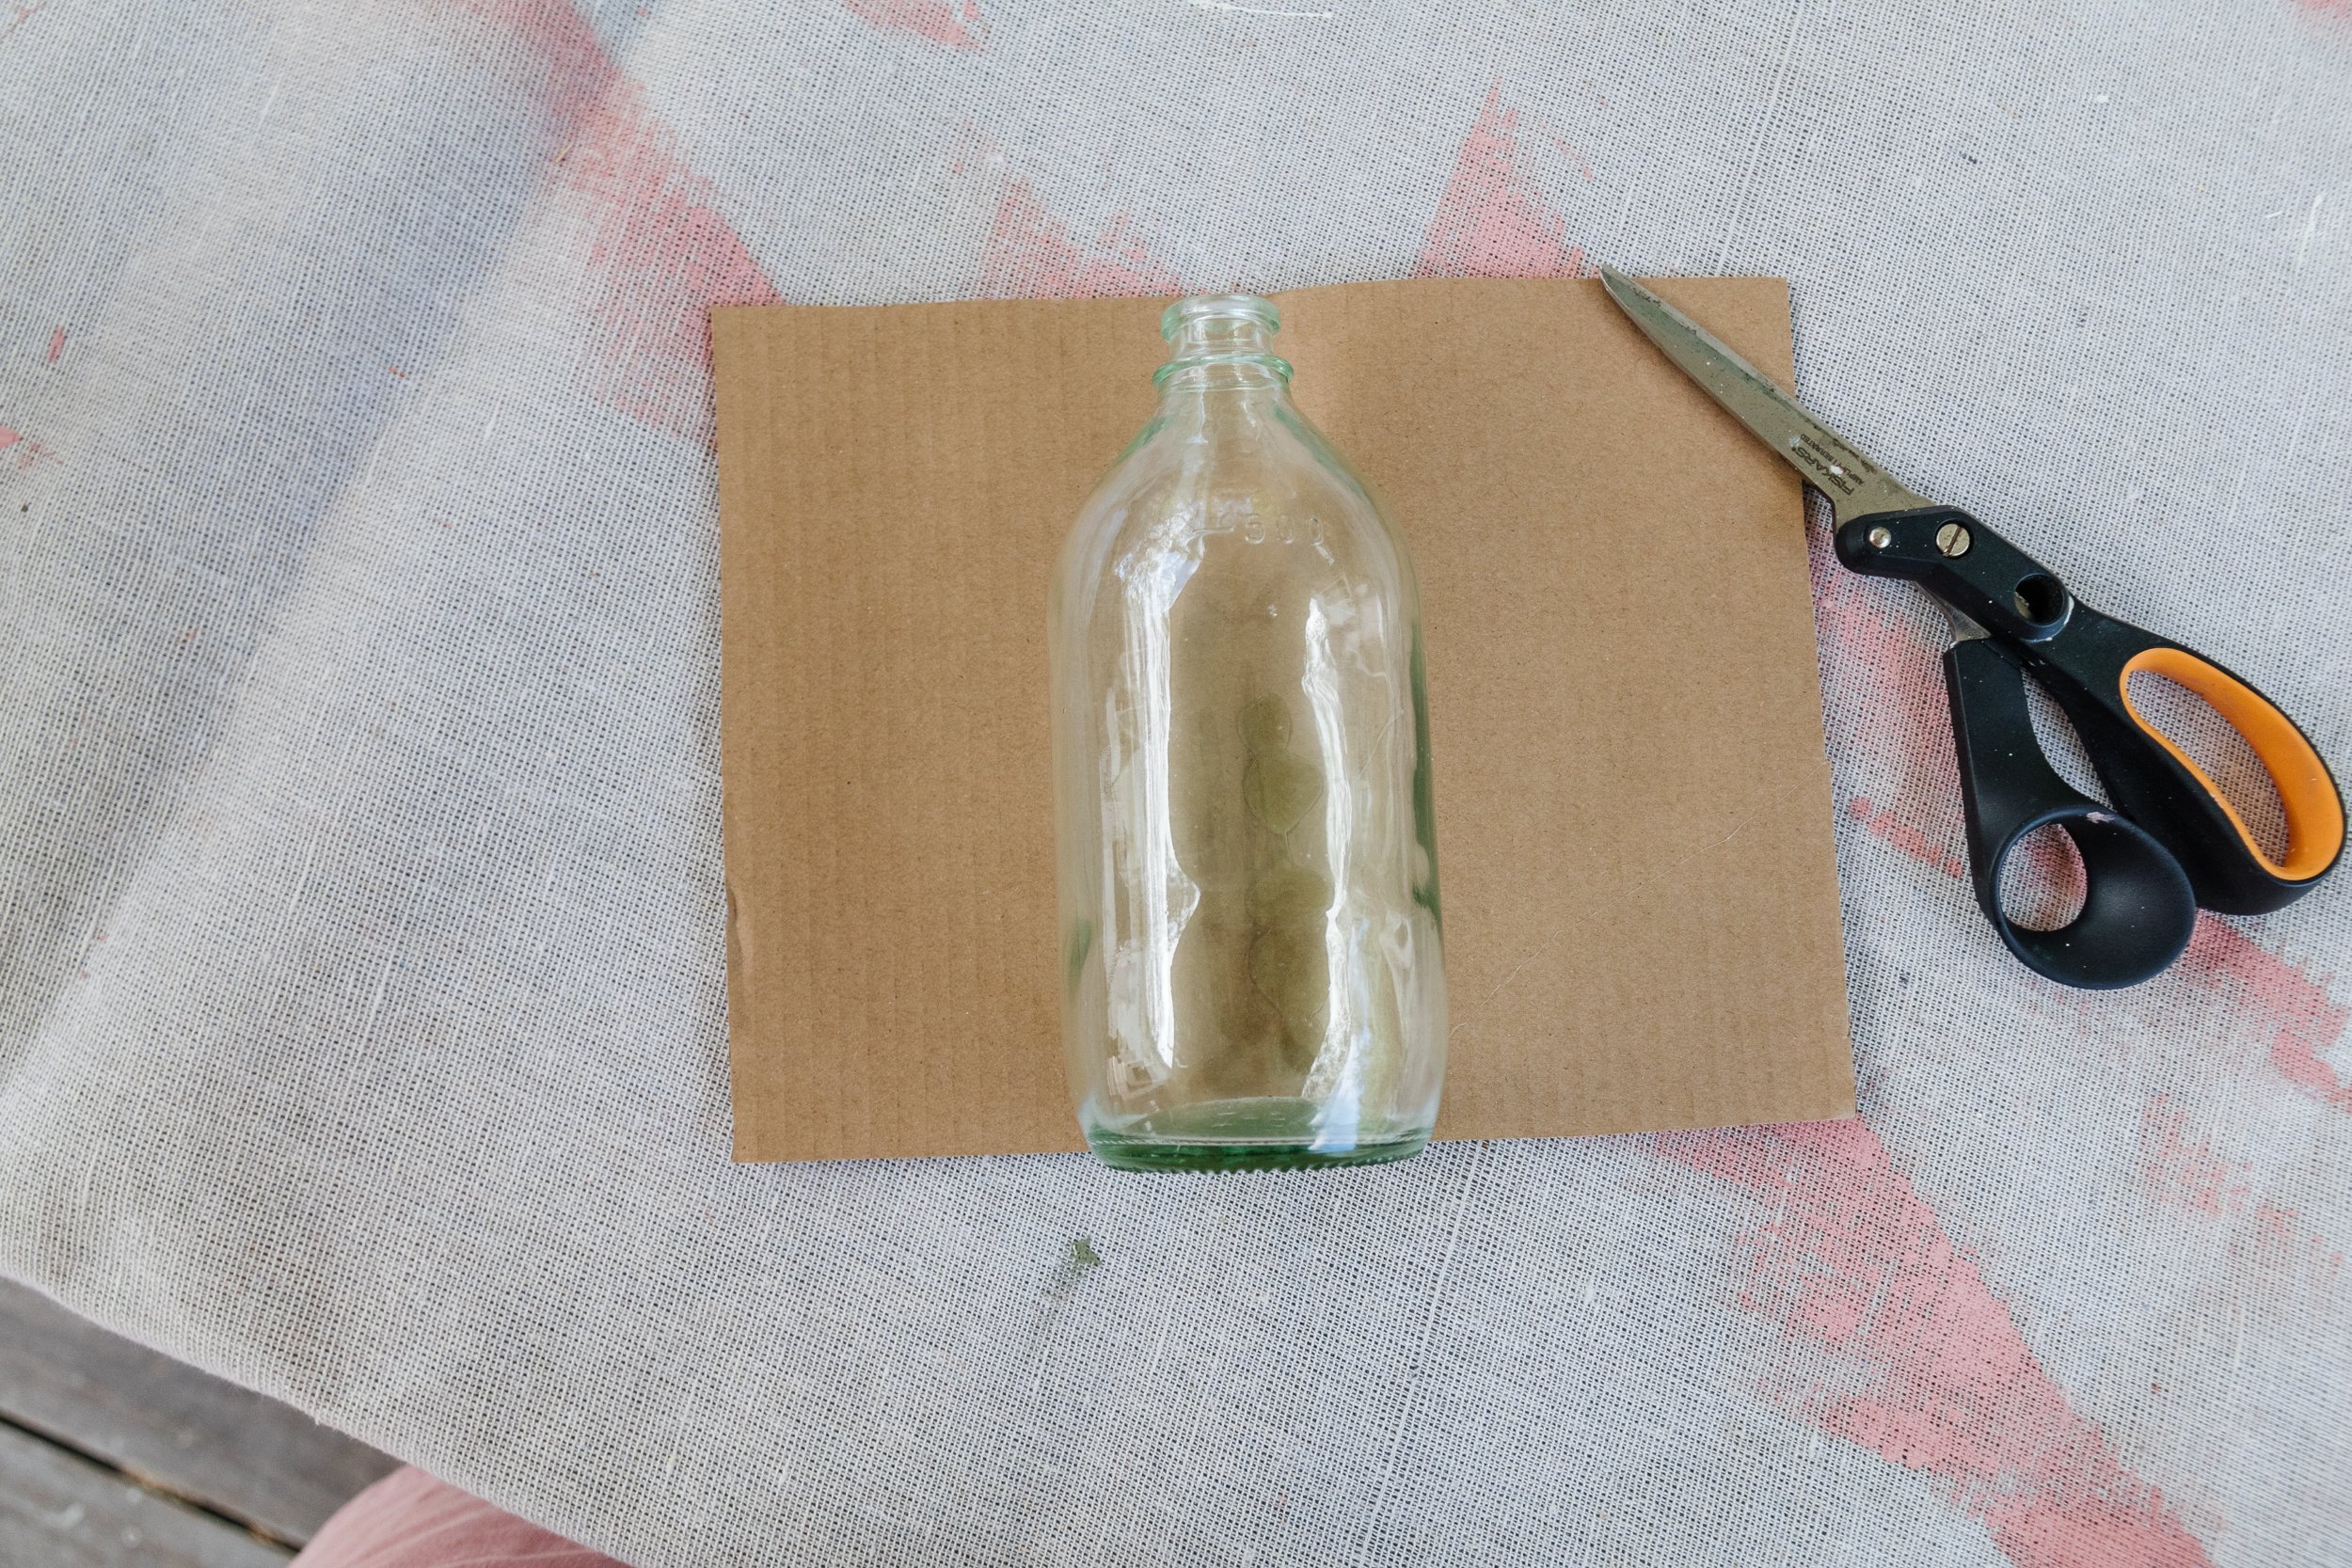
Step 1: I started this project by measuring and cutting the fluted paper so each piece wrapped around each glass vessel and met perfectly at the back.
TIP: You can tailor the height of each vase by cutting the fluted cardboard taller than the glass vessel. If your glass vessel is 15cm, you can cut the fluted cardboard to a height of 30cm, which will make the vase taller than the glass vessel. How good is that?!

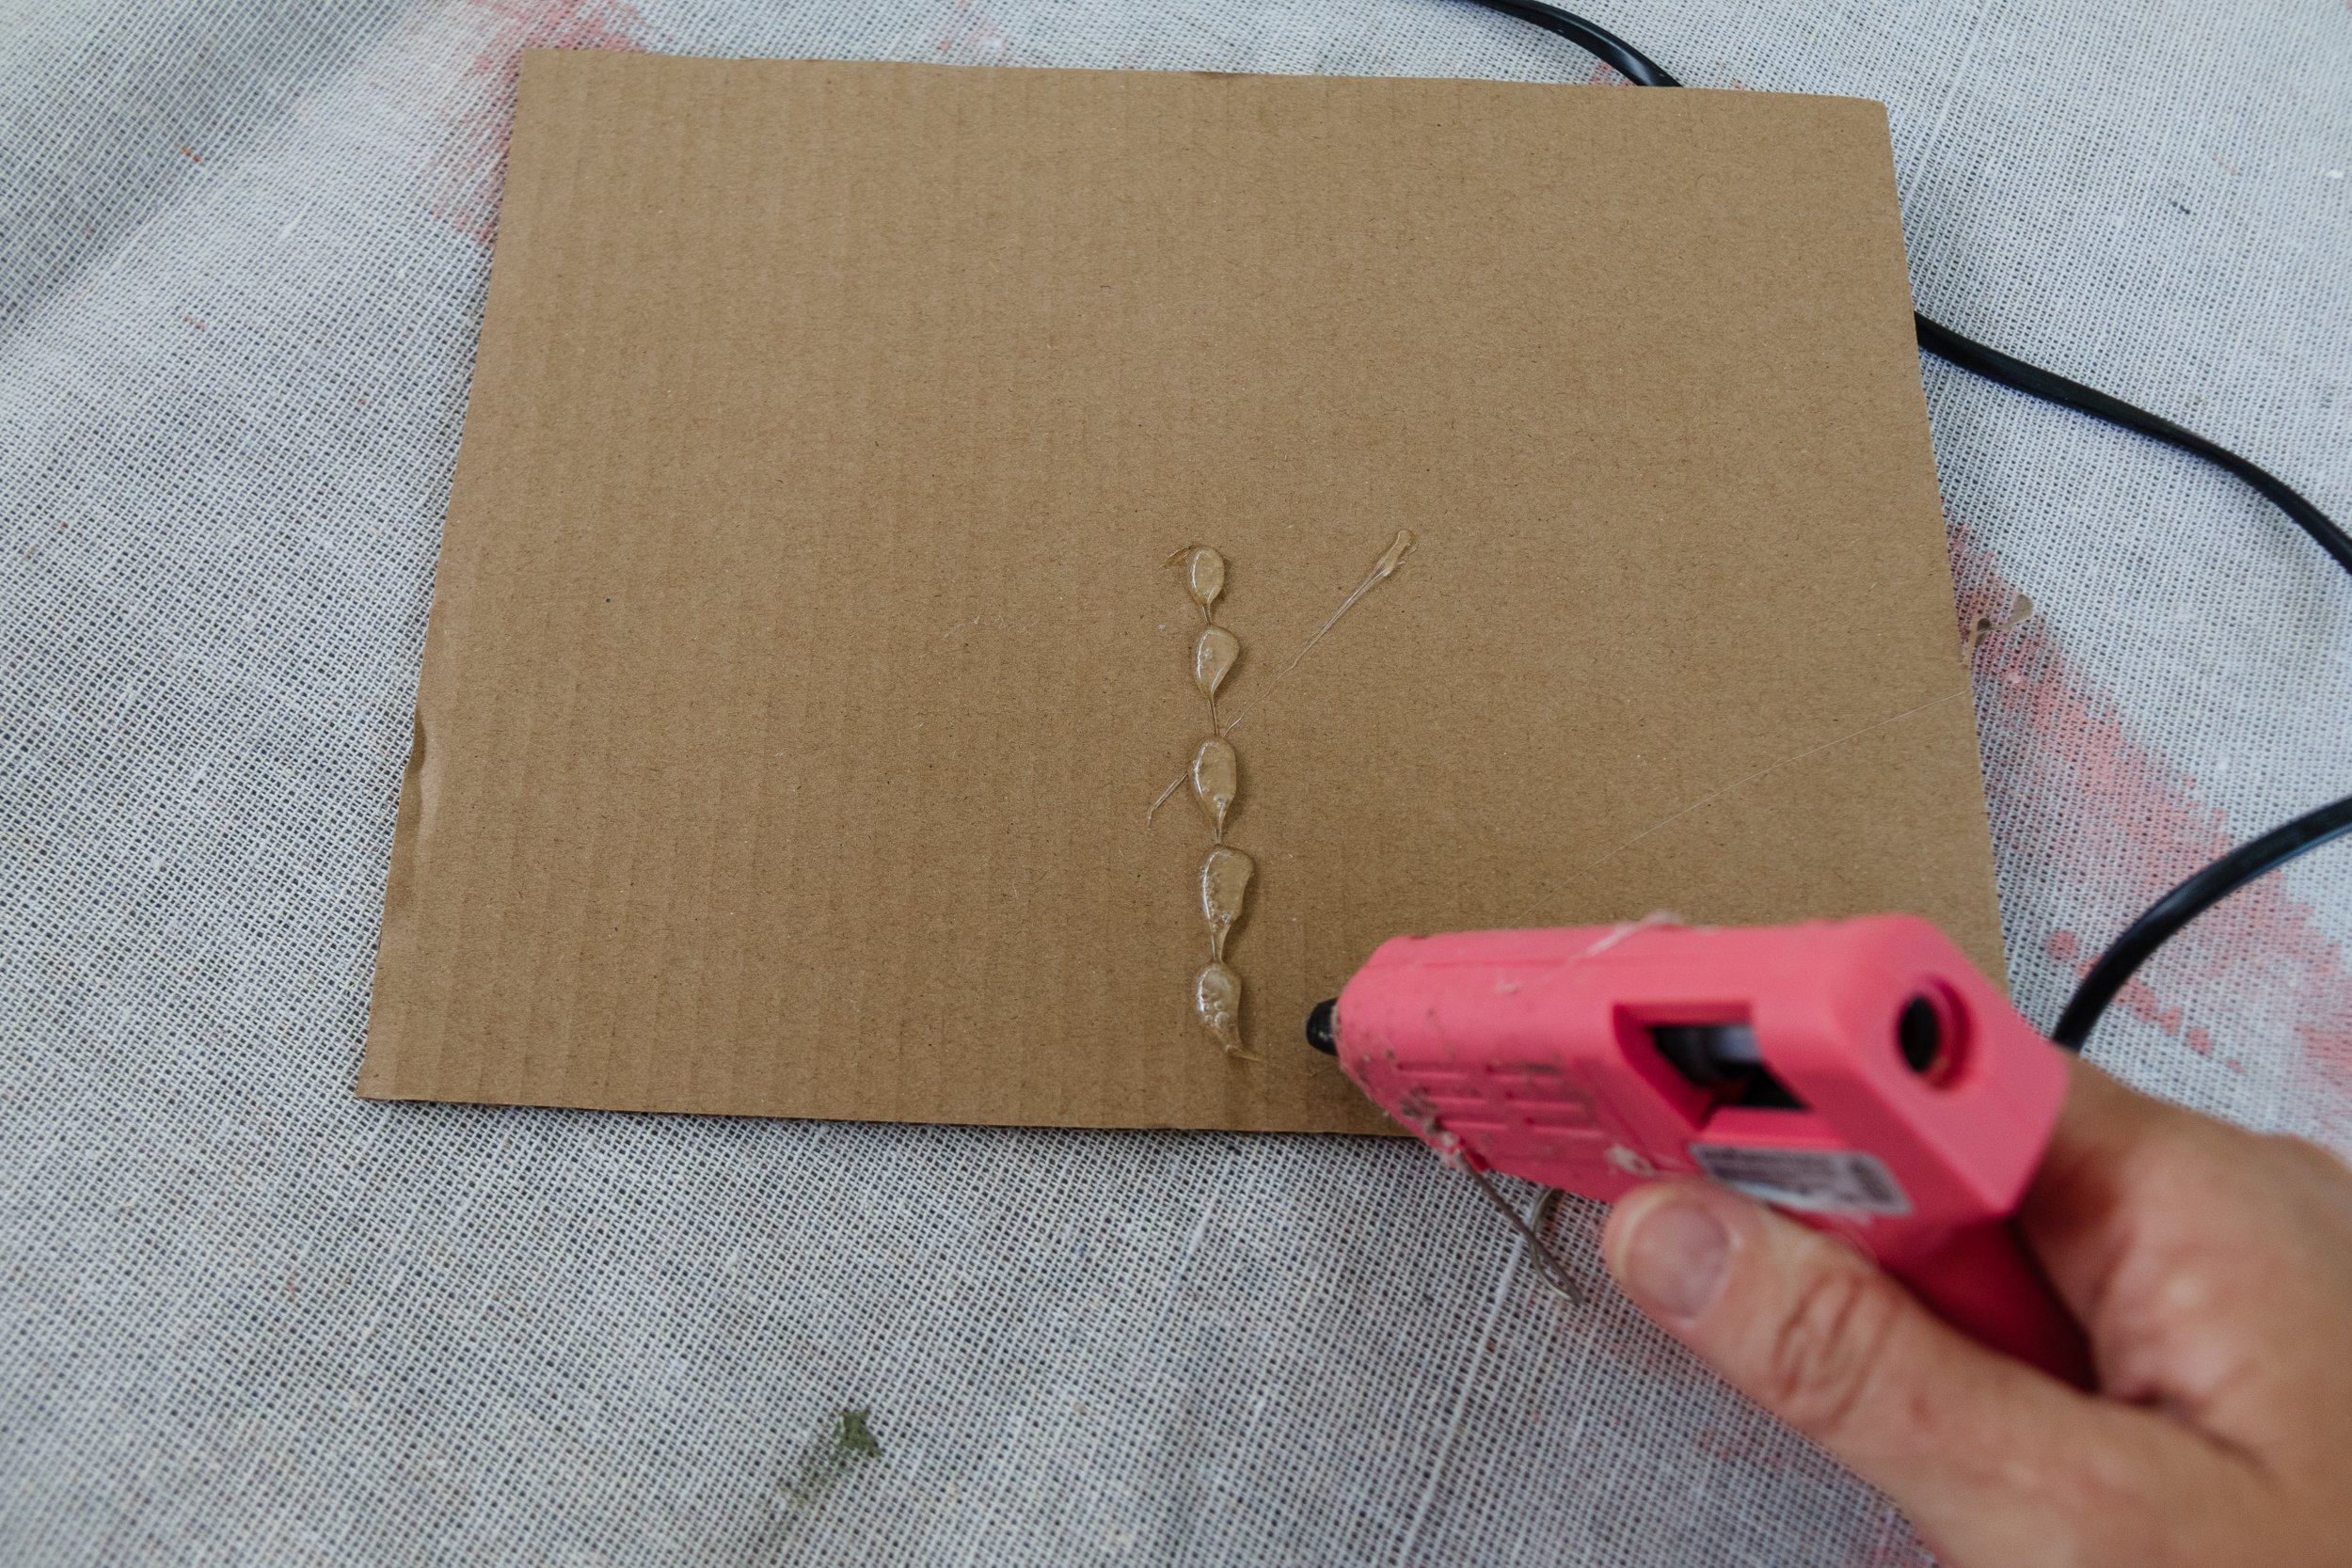
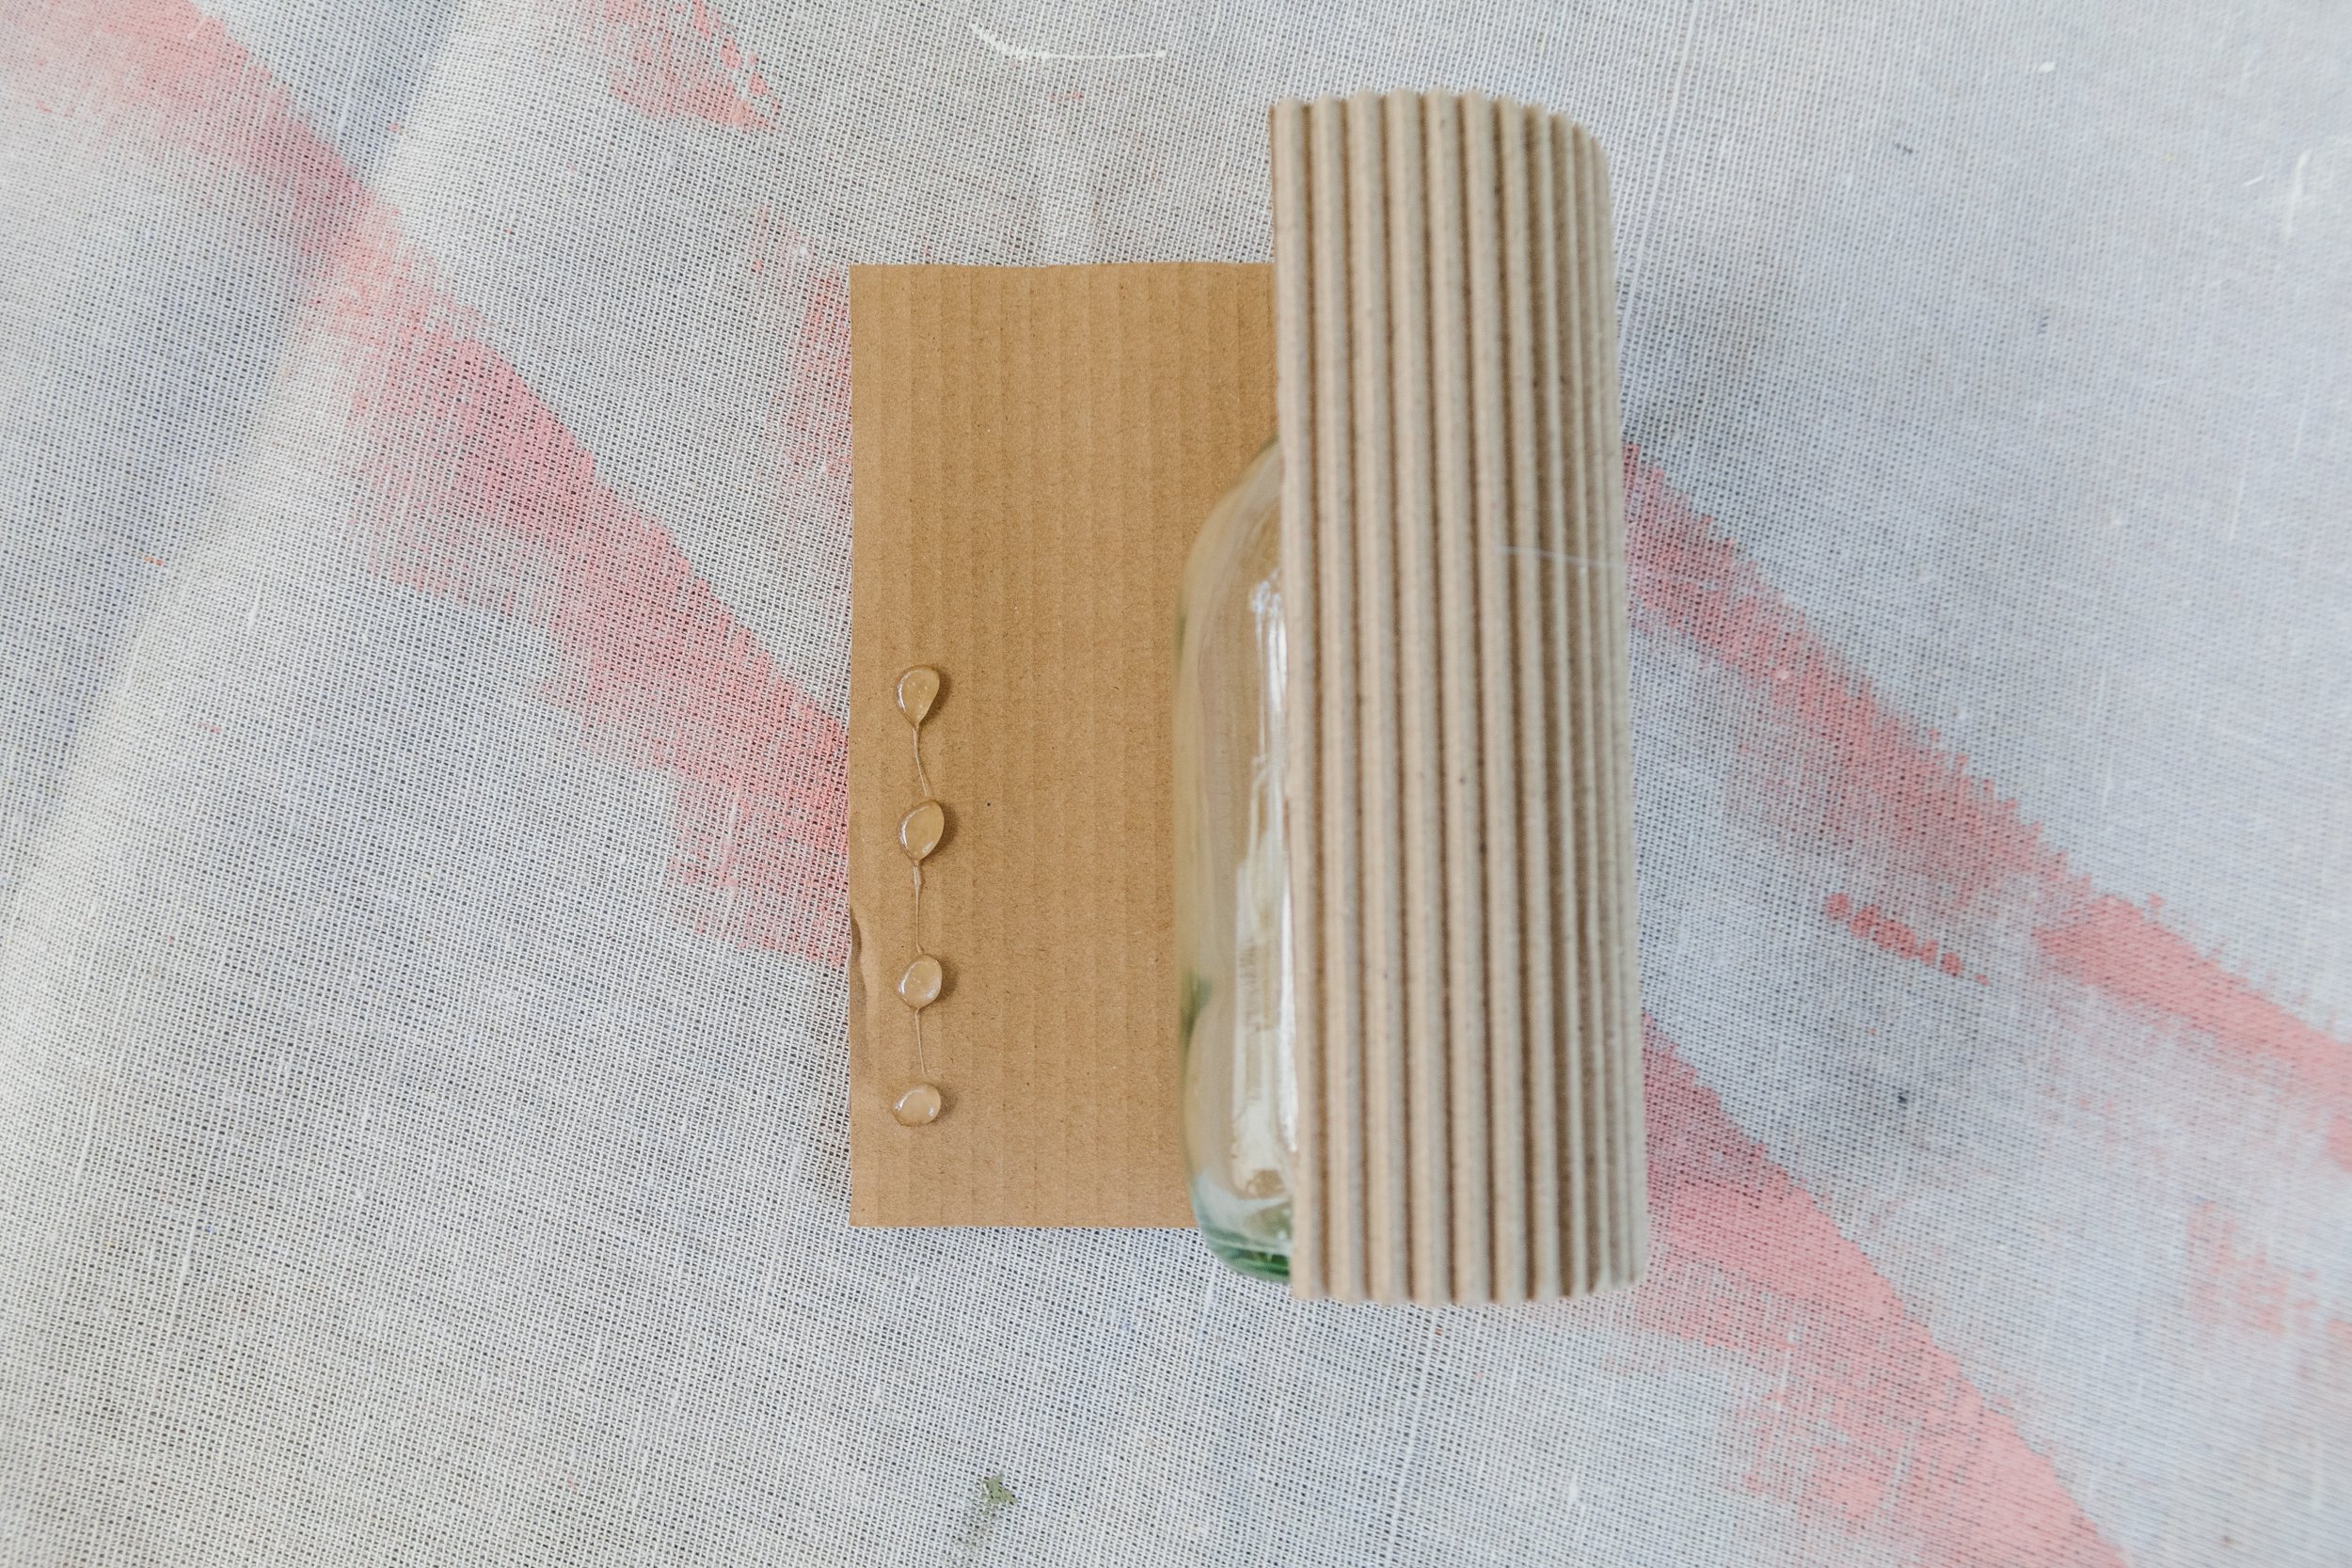
Step 2: Smooth side facing up (fluted side facing down) and with the fluted cardboard positioned vertically, I applied a strip of glue down the middle bottom of the fluted cardboard. I placed a glass bottle on top, then stood it up to make sure the fluted cardboard was flush to the table and hiding the glass bottle at the bottom. Then I put the bottle back down so the fluted cardboard smooth side was facing up again and I glued each end of the fluted cardboard together/onto the back of the glass bottle.
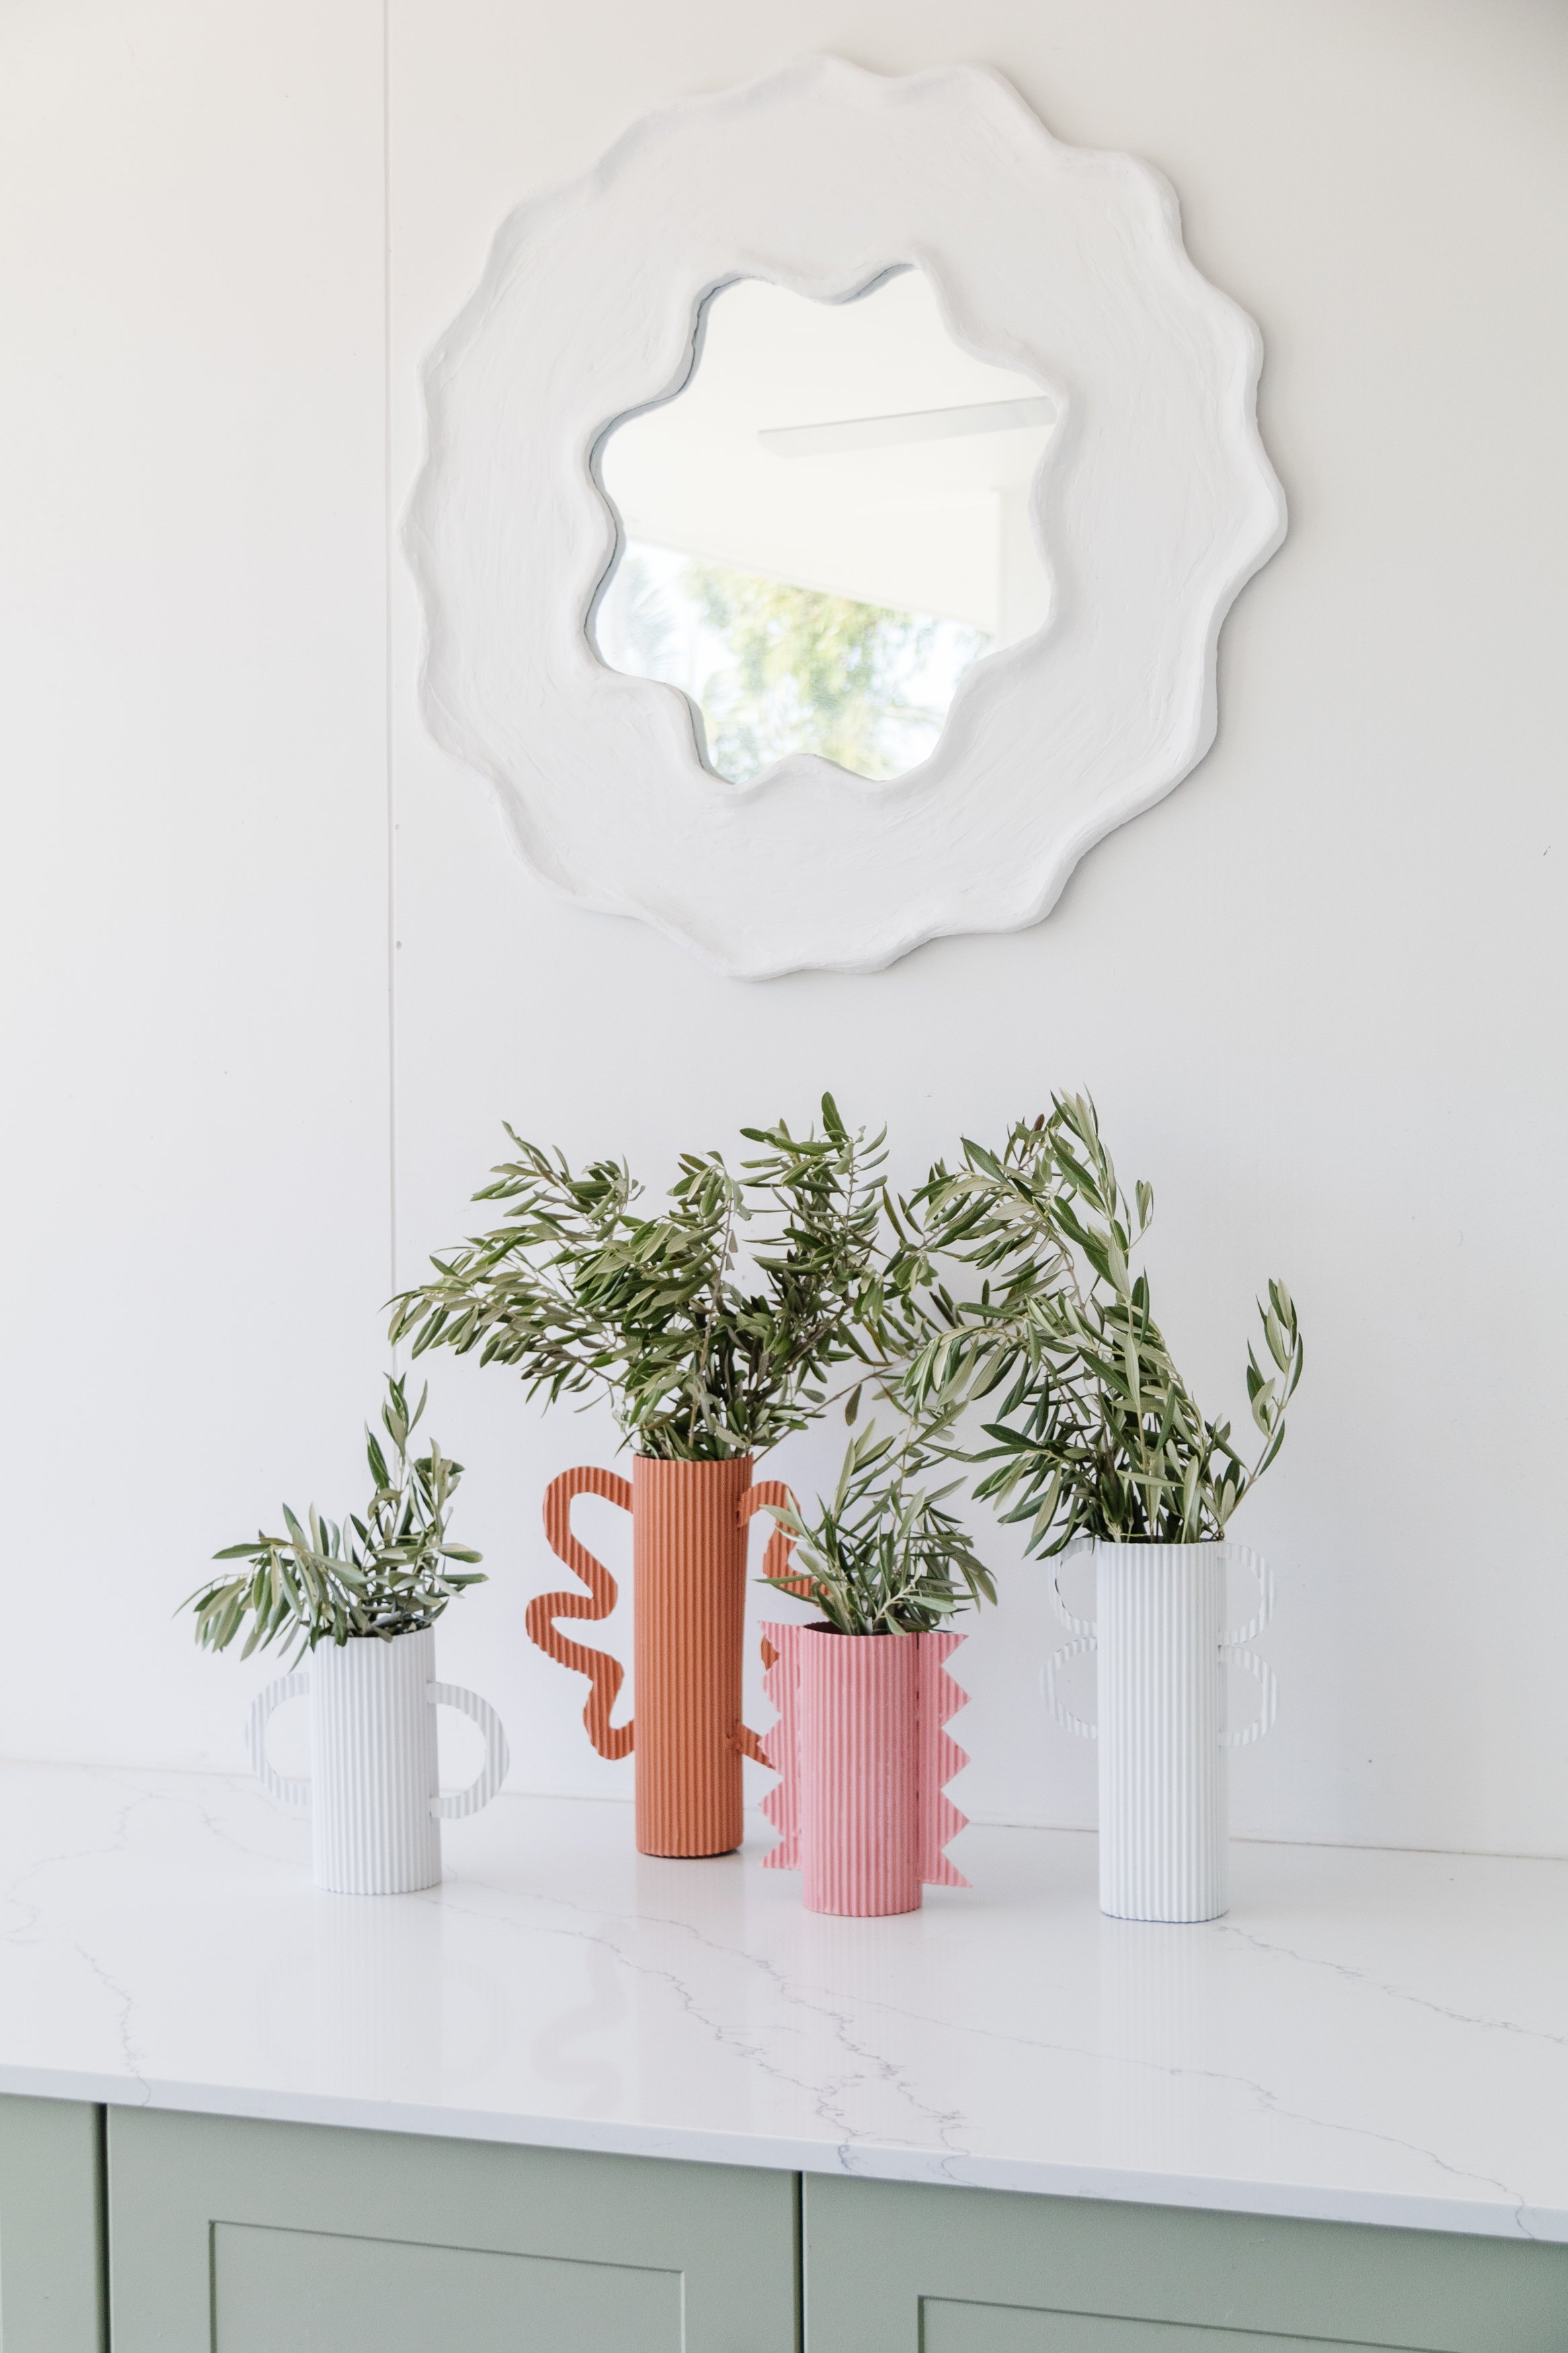
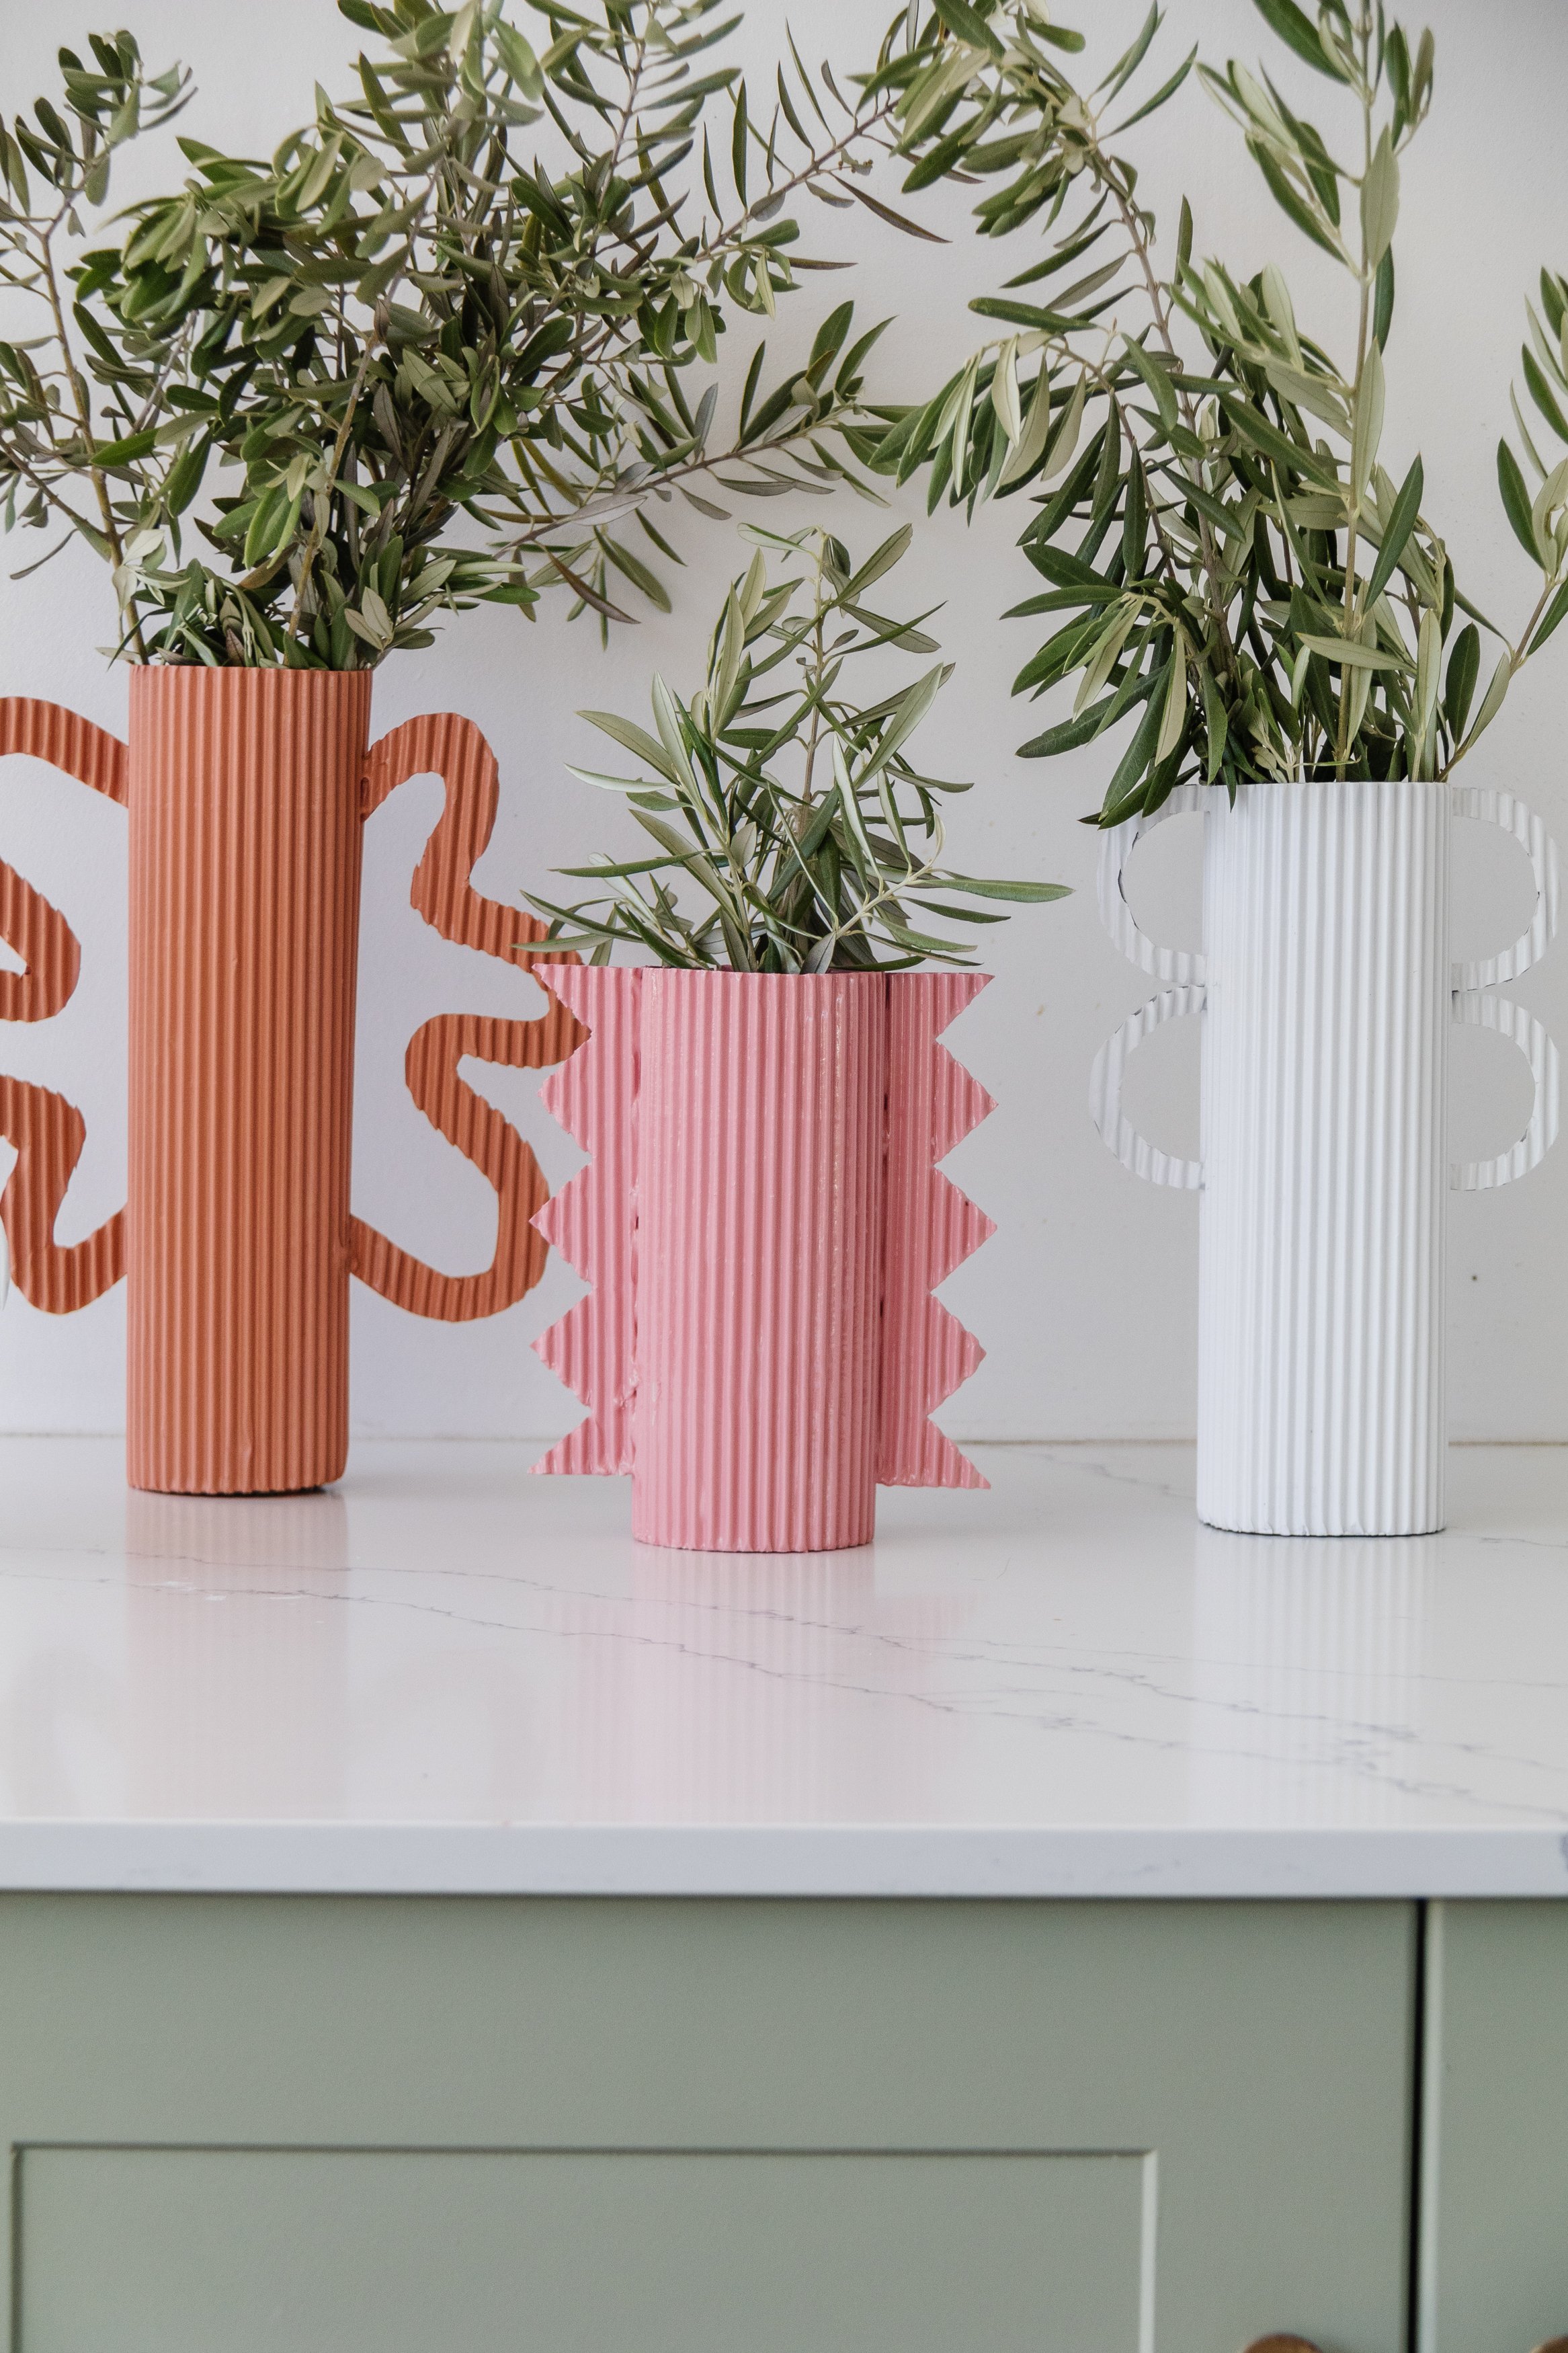
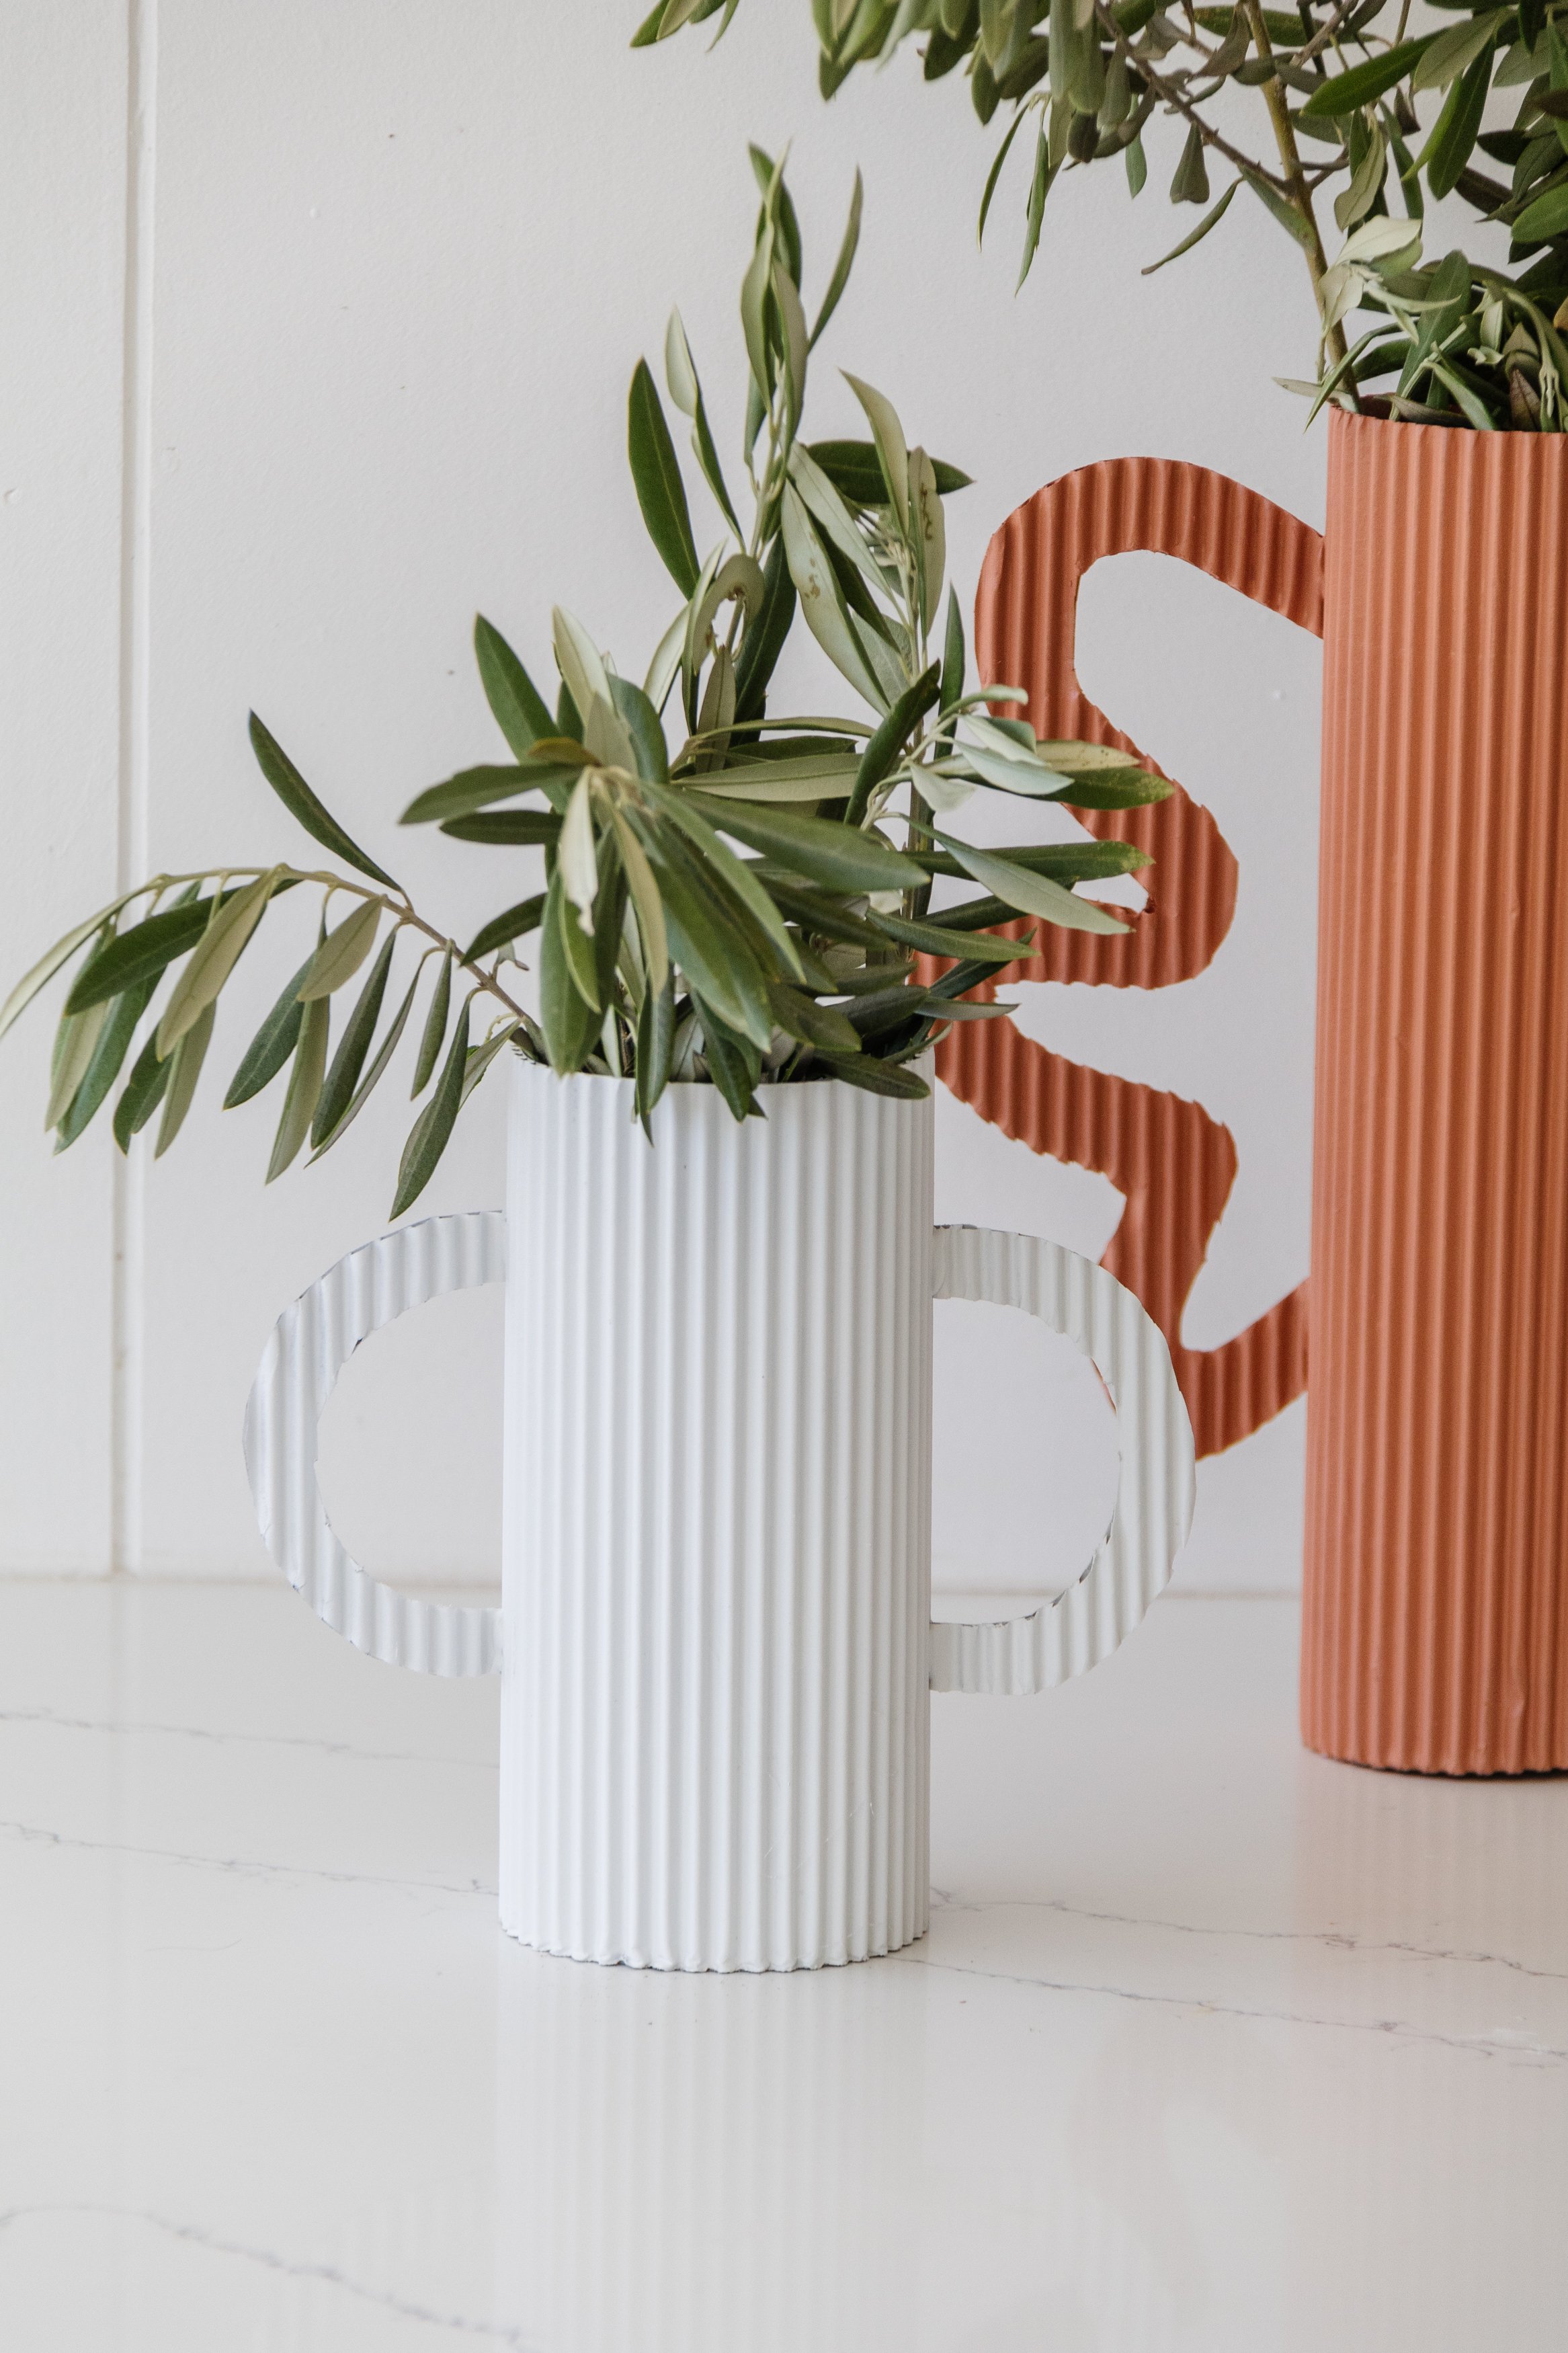
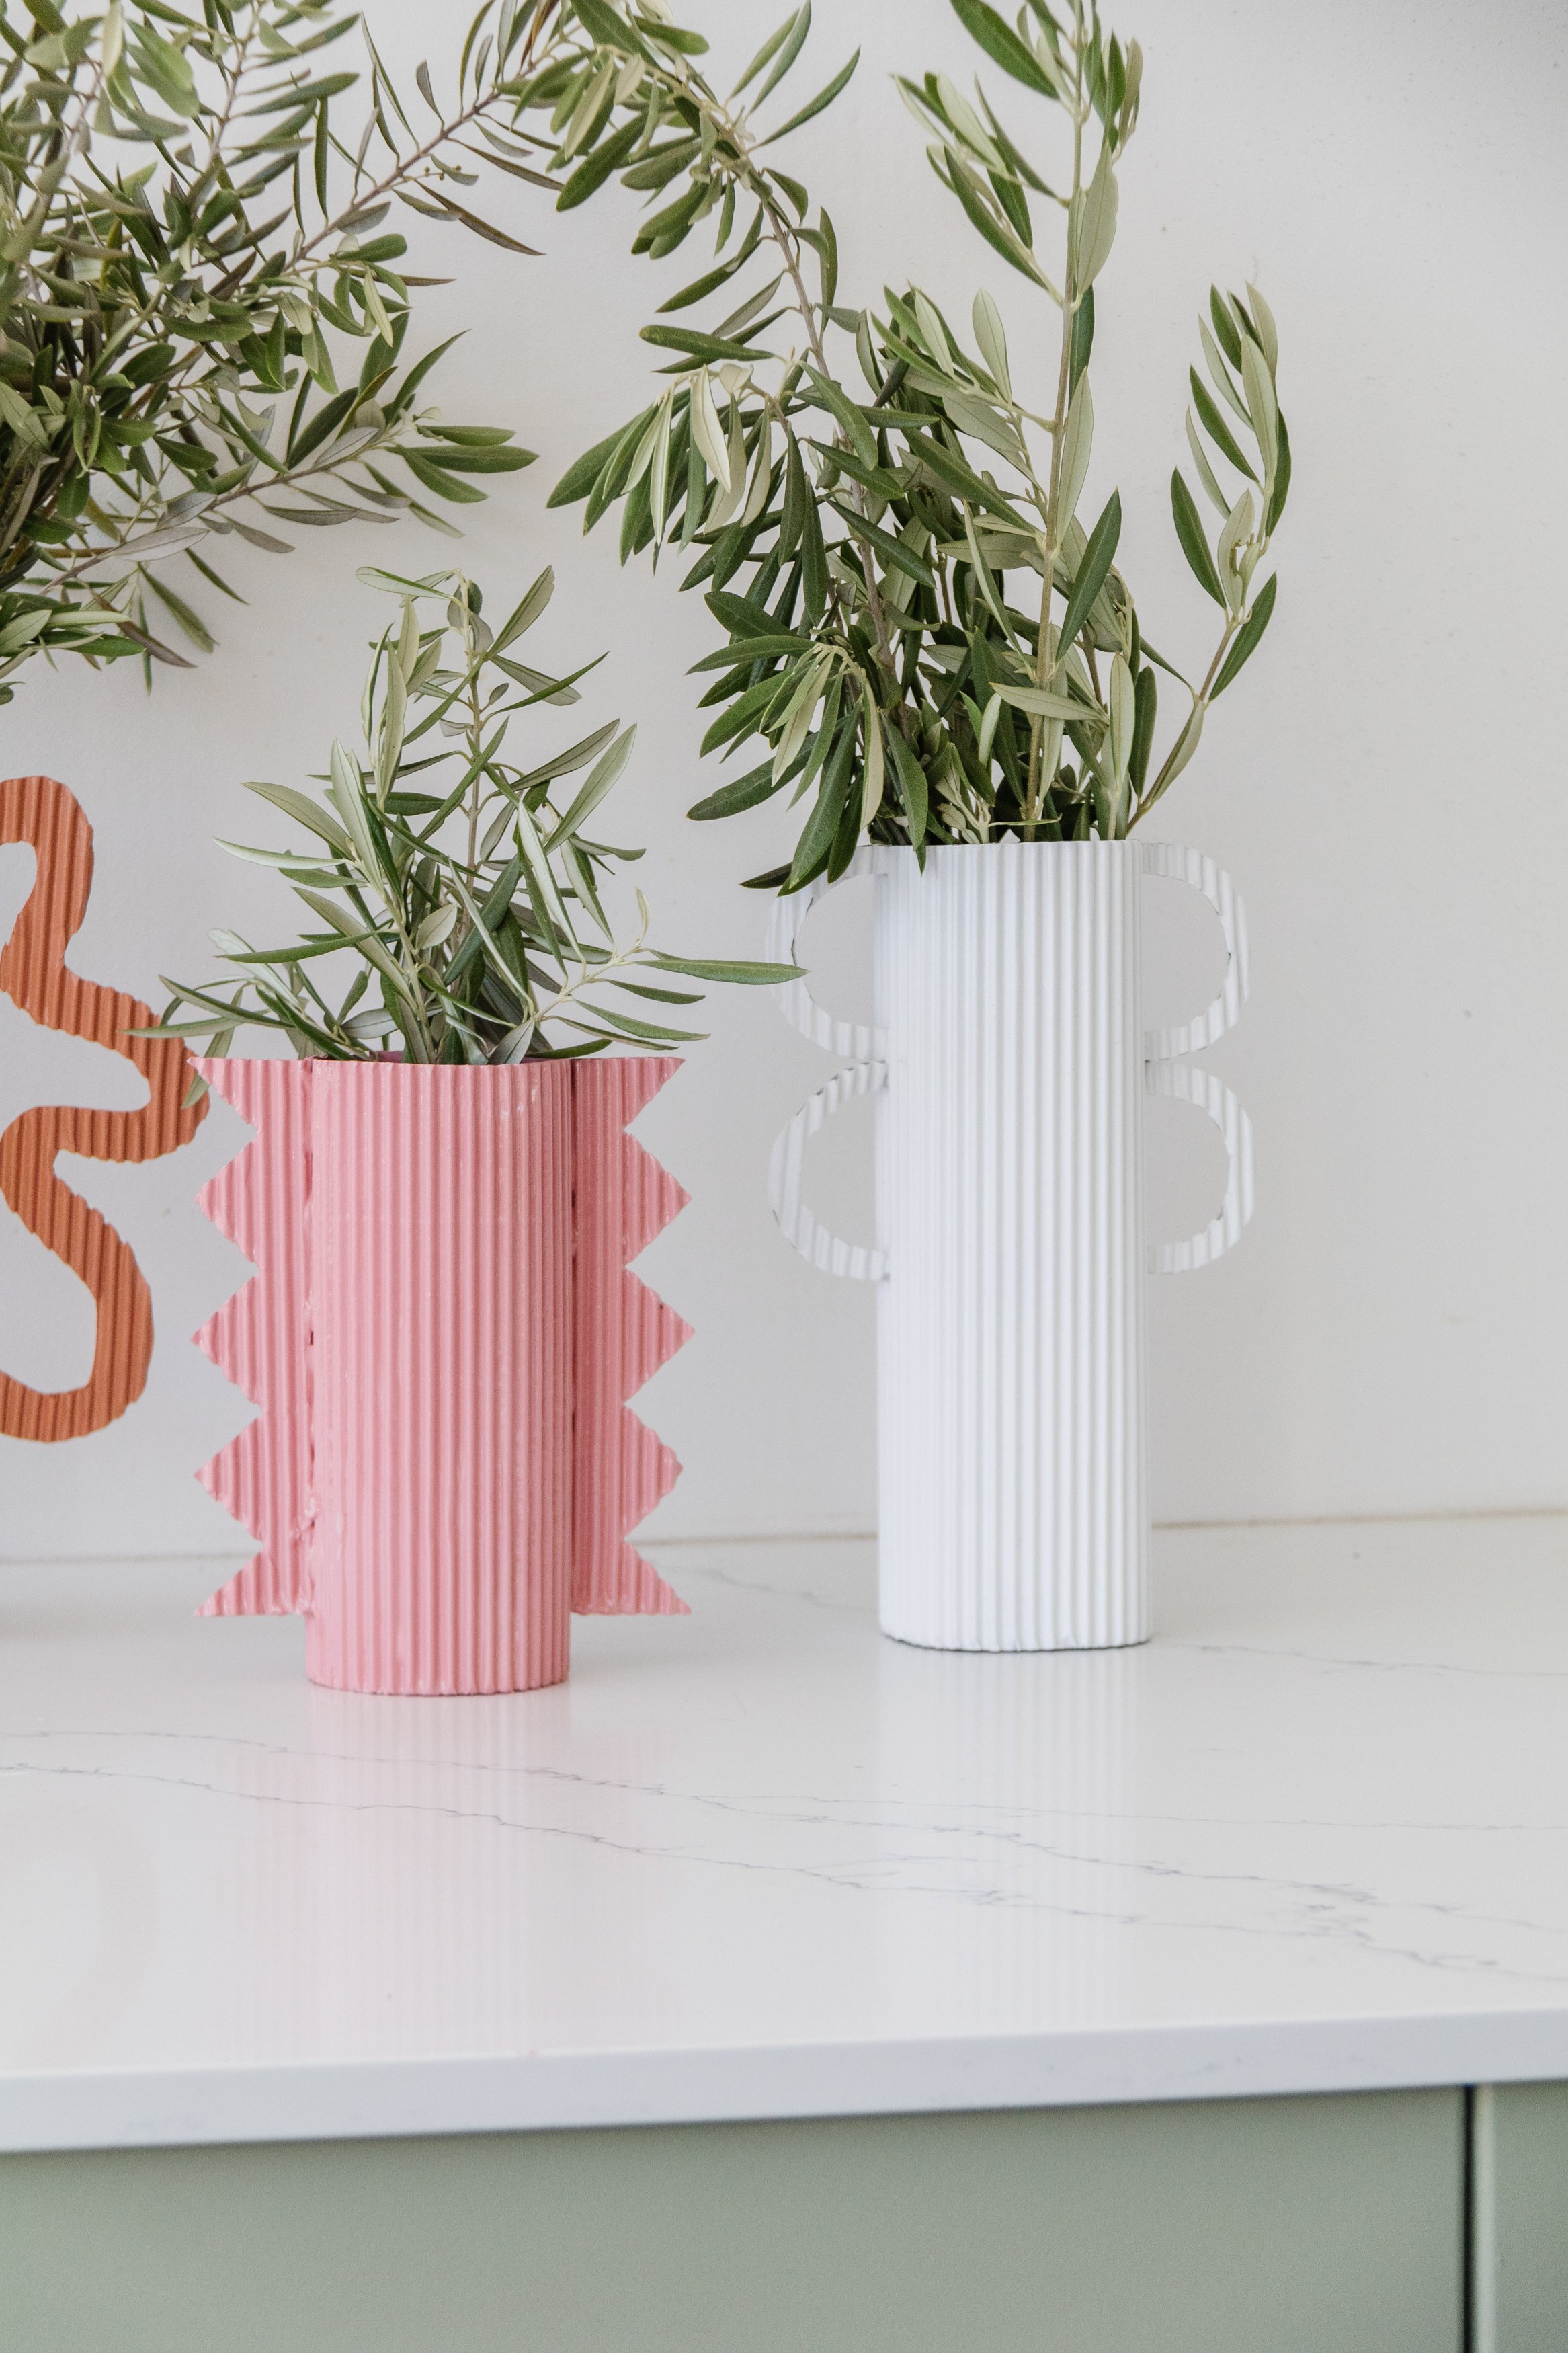
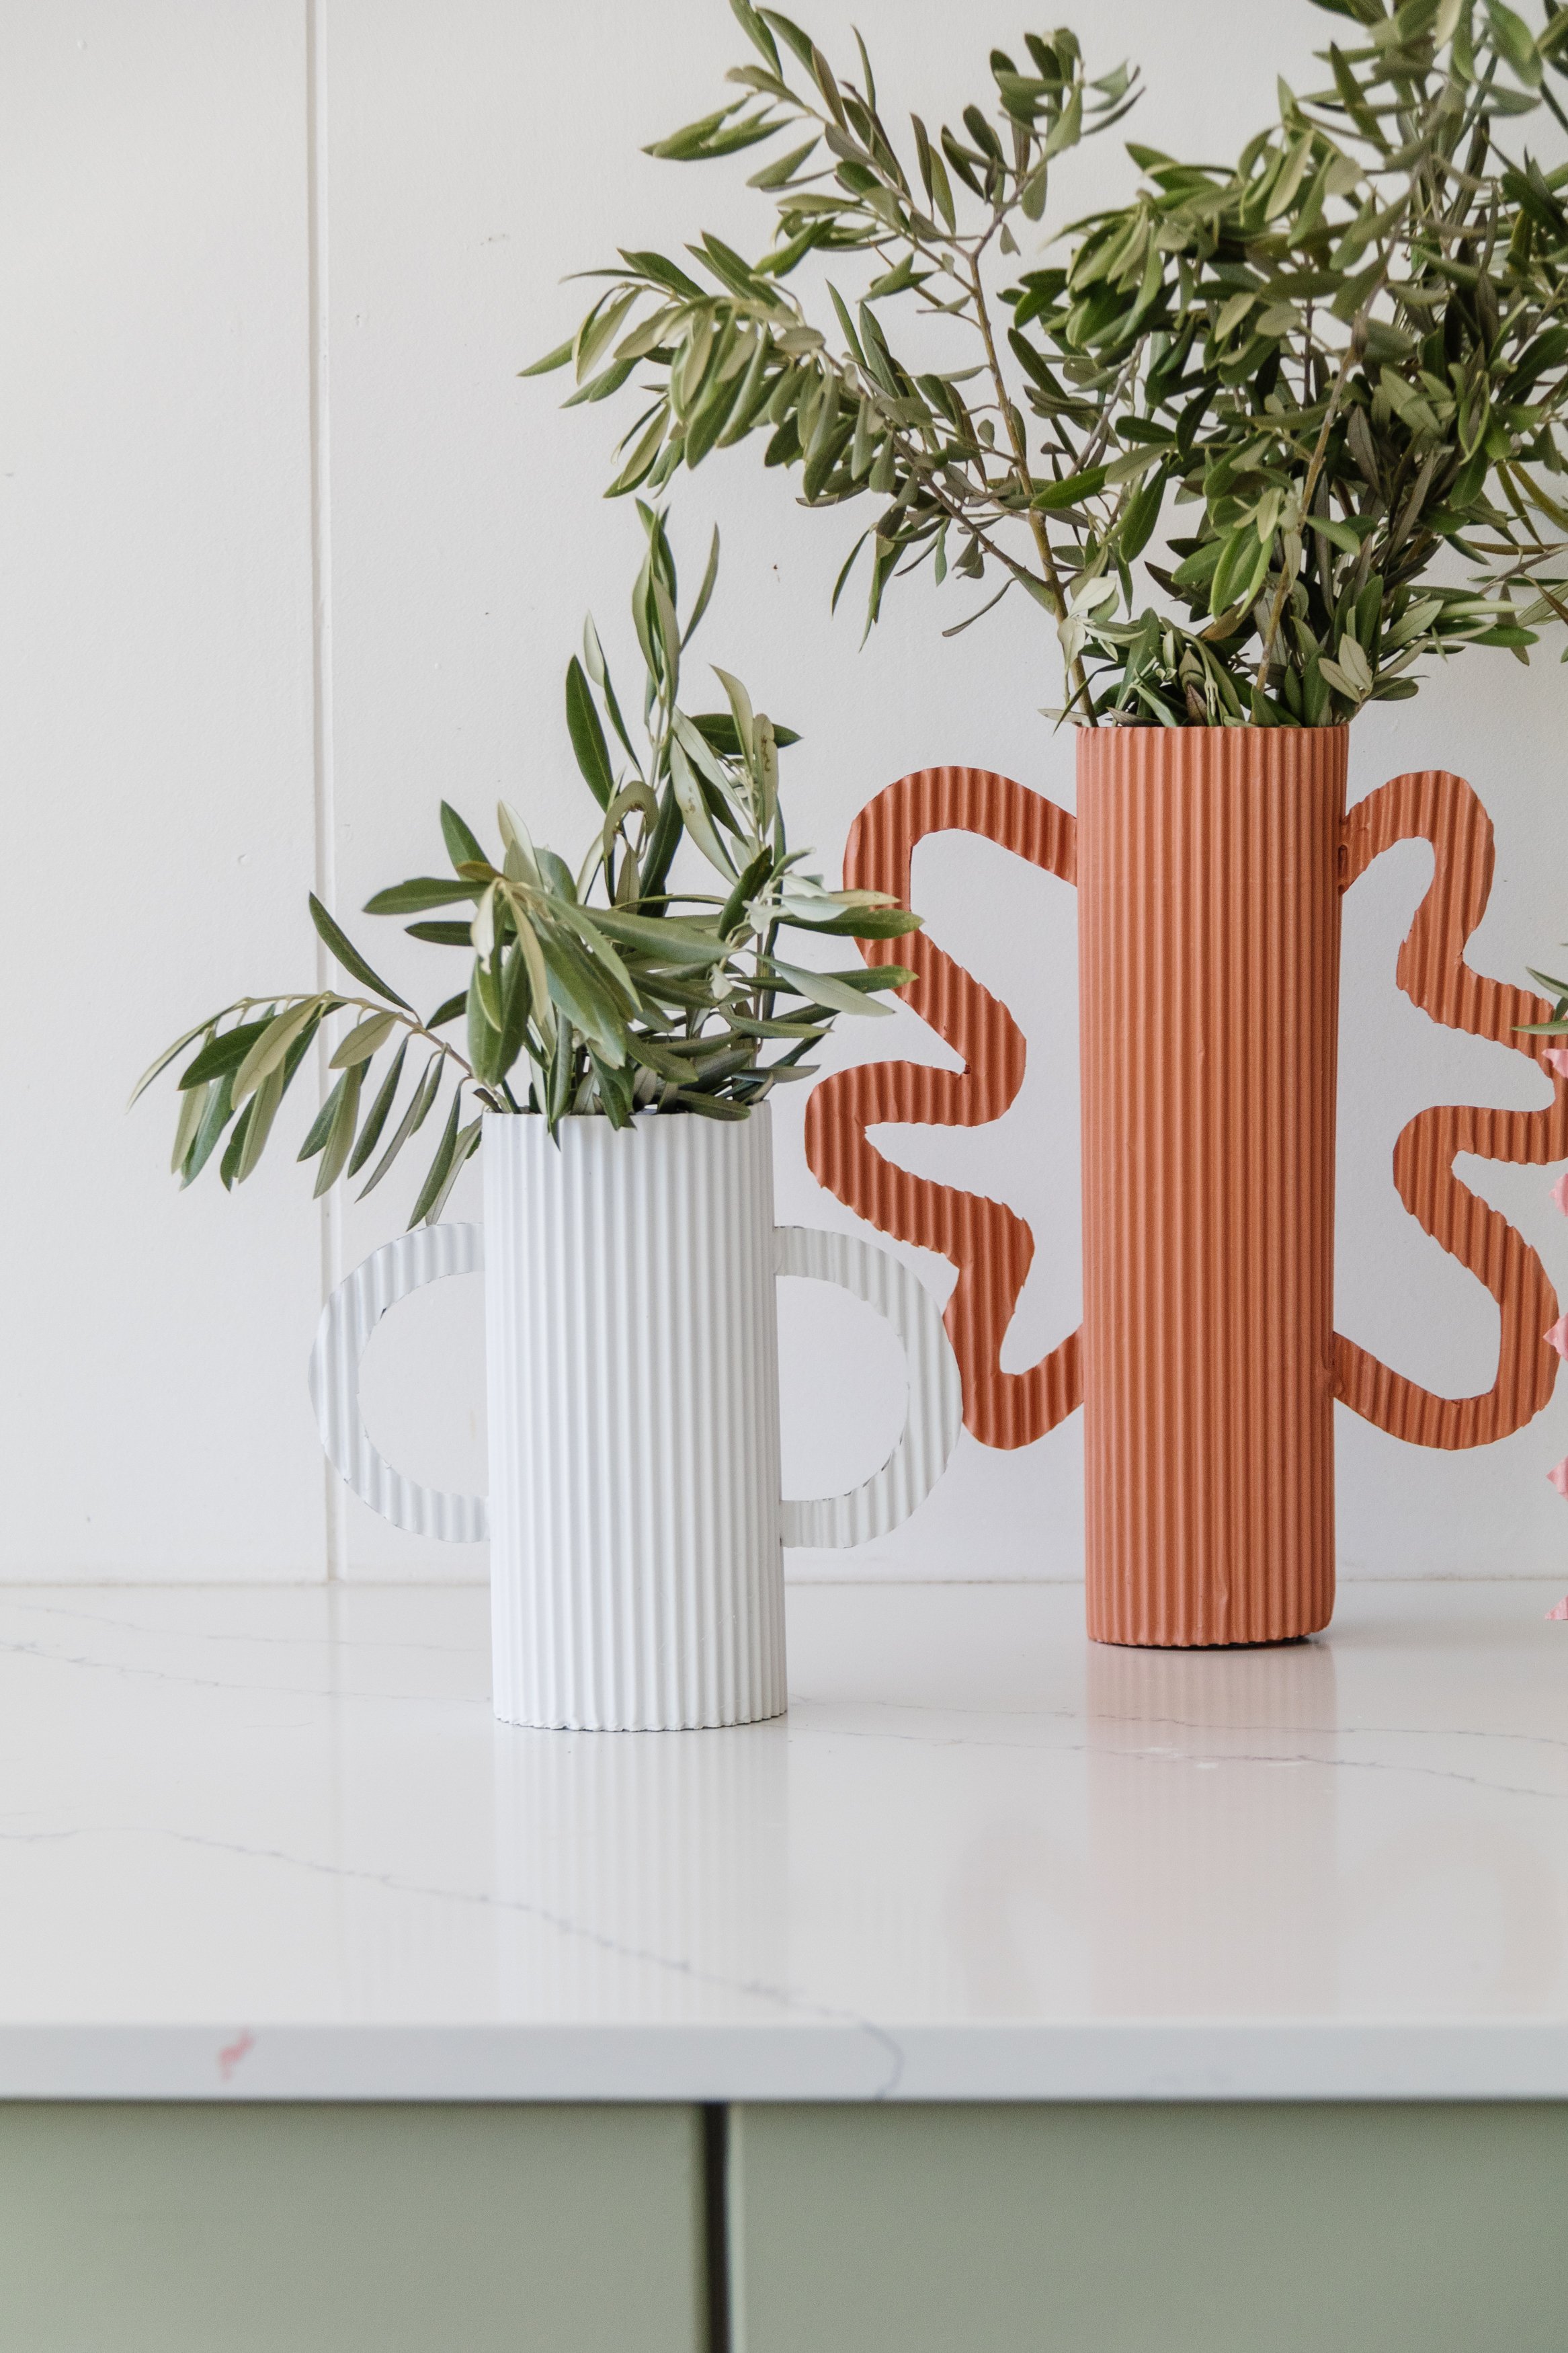
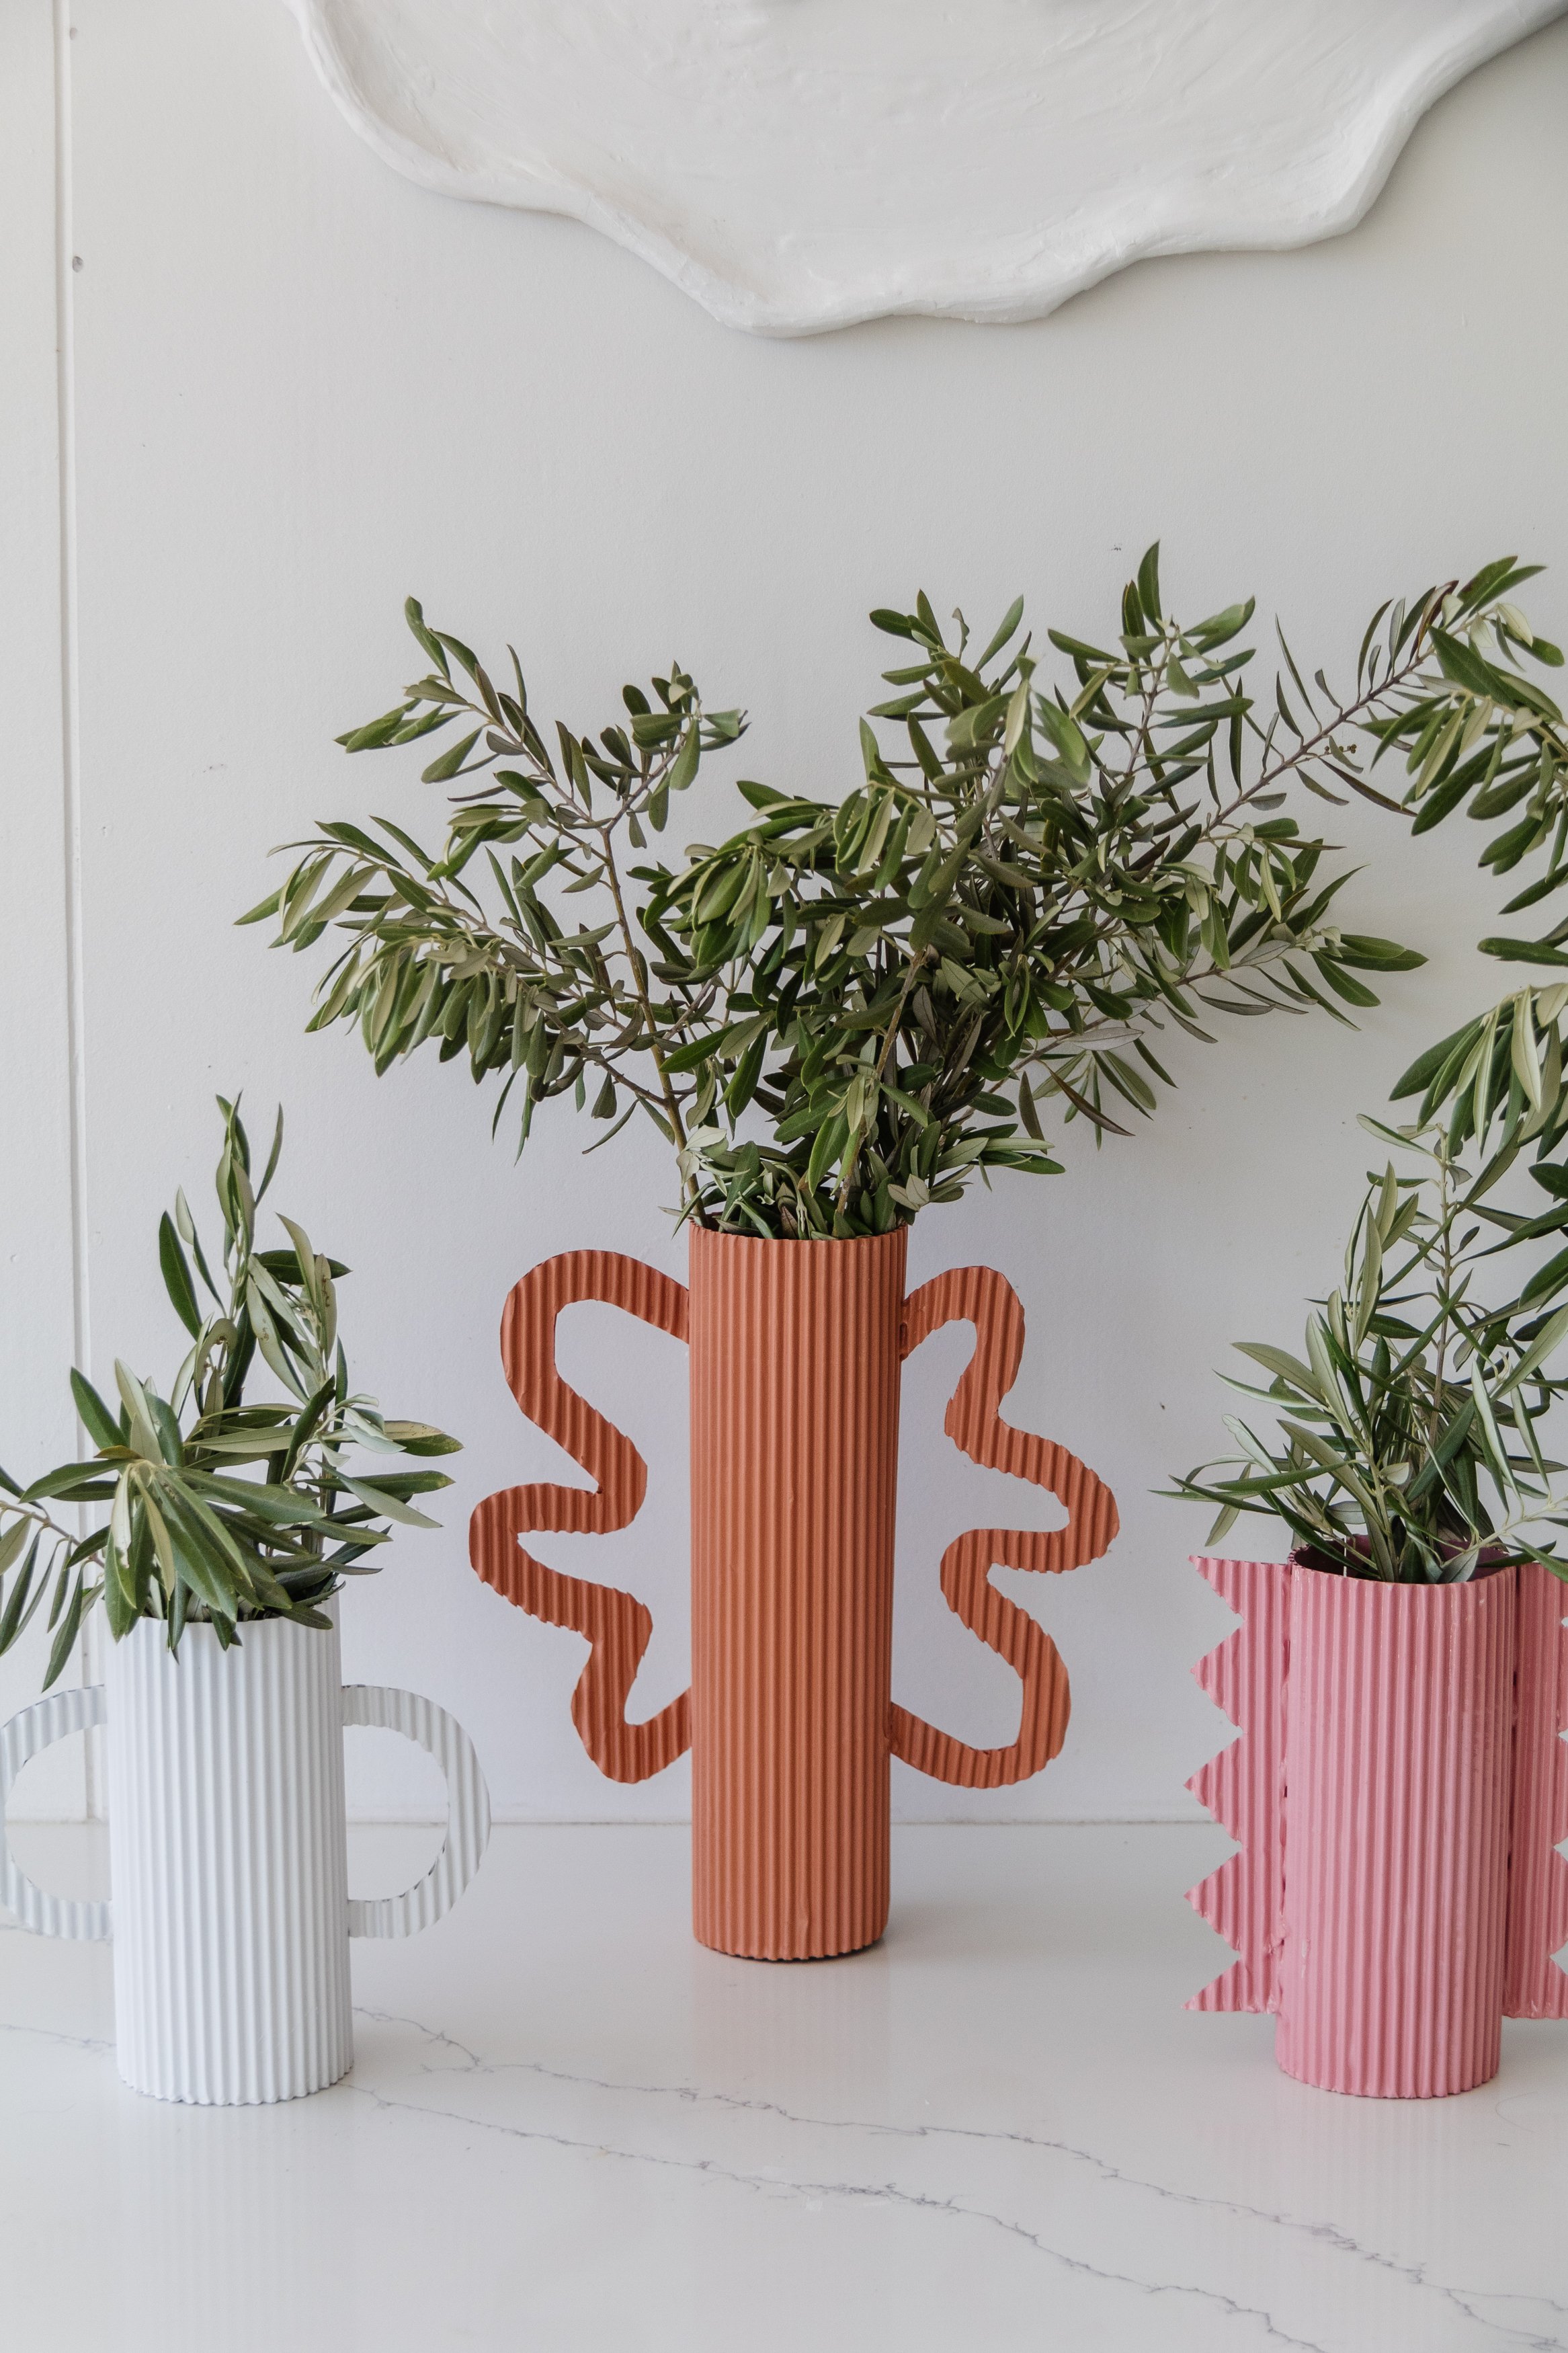
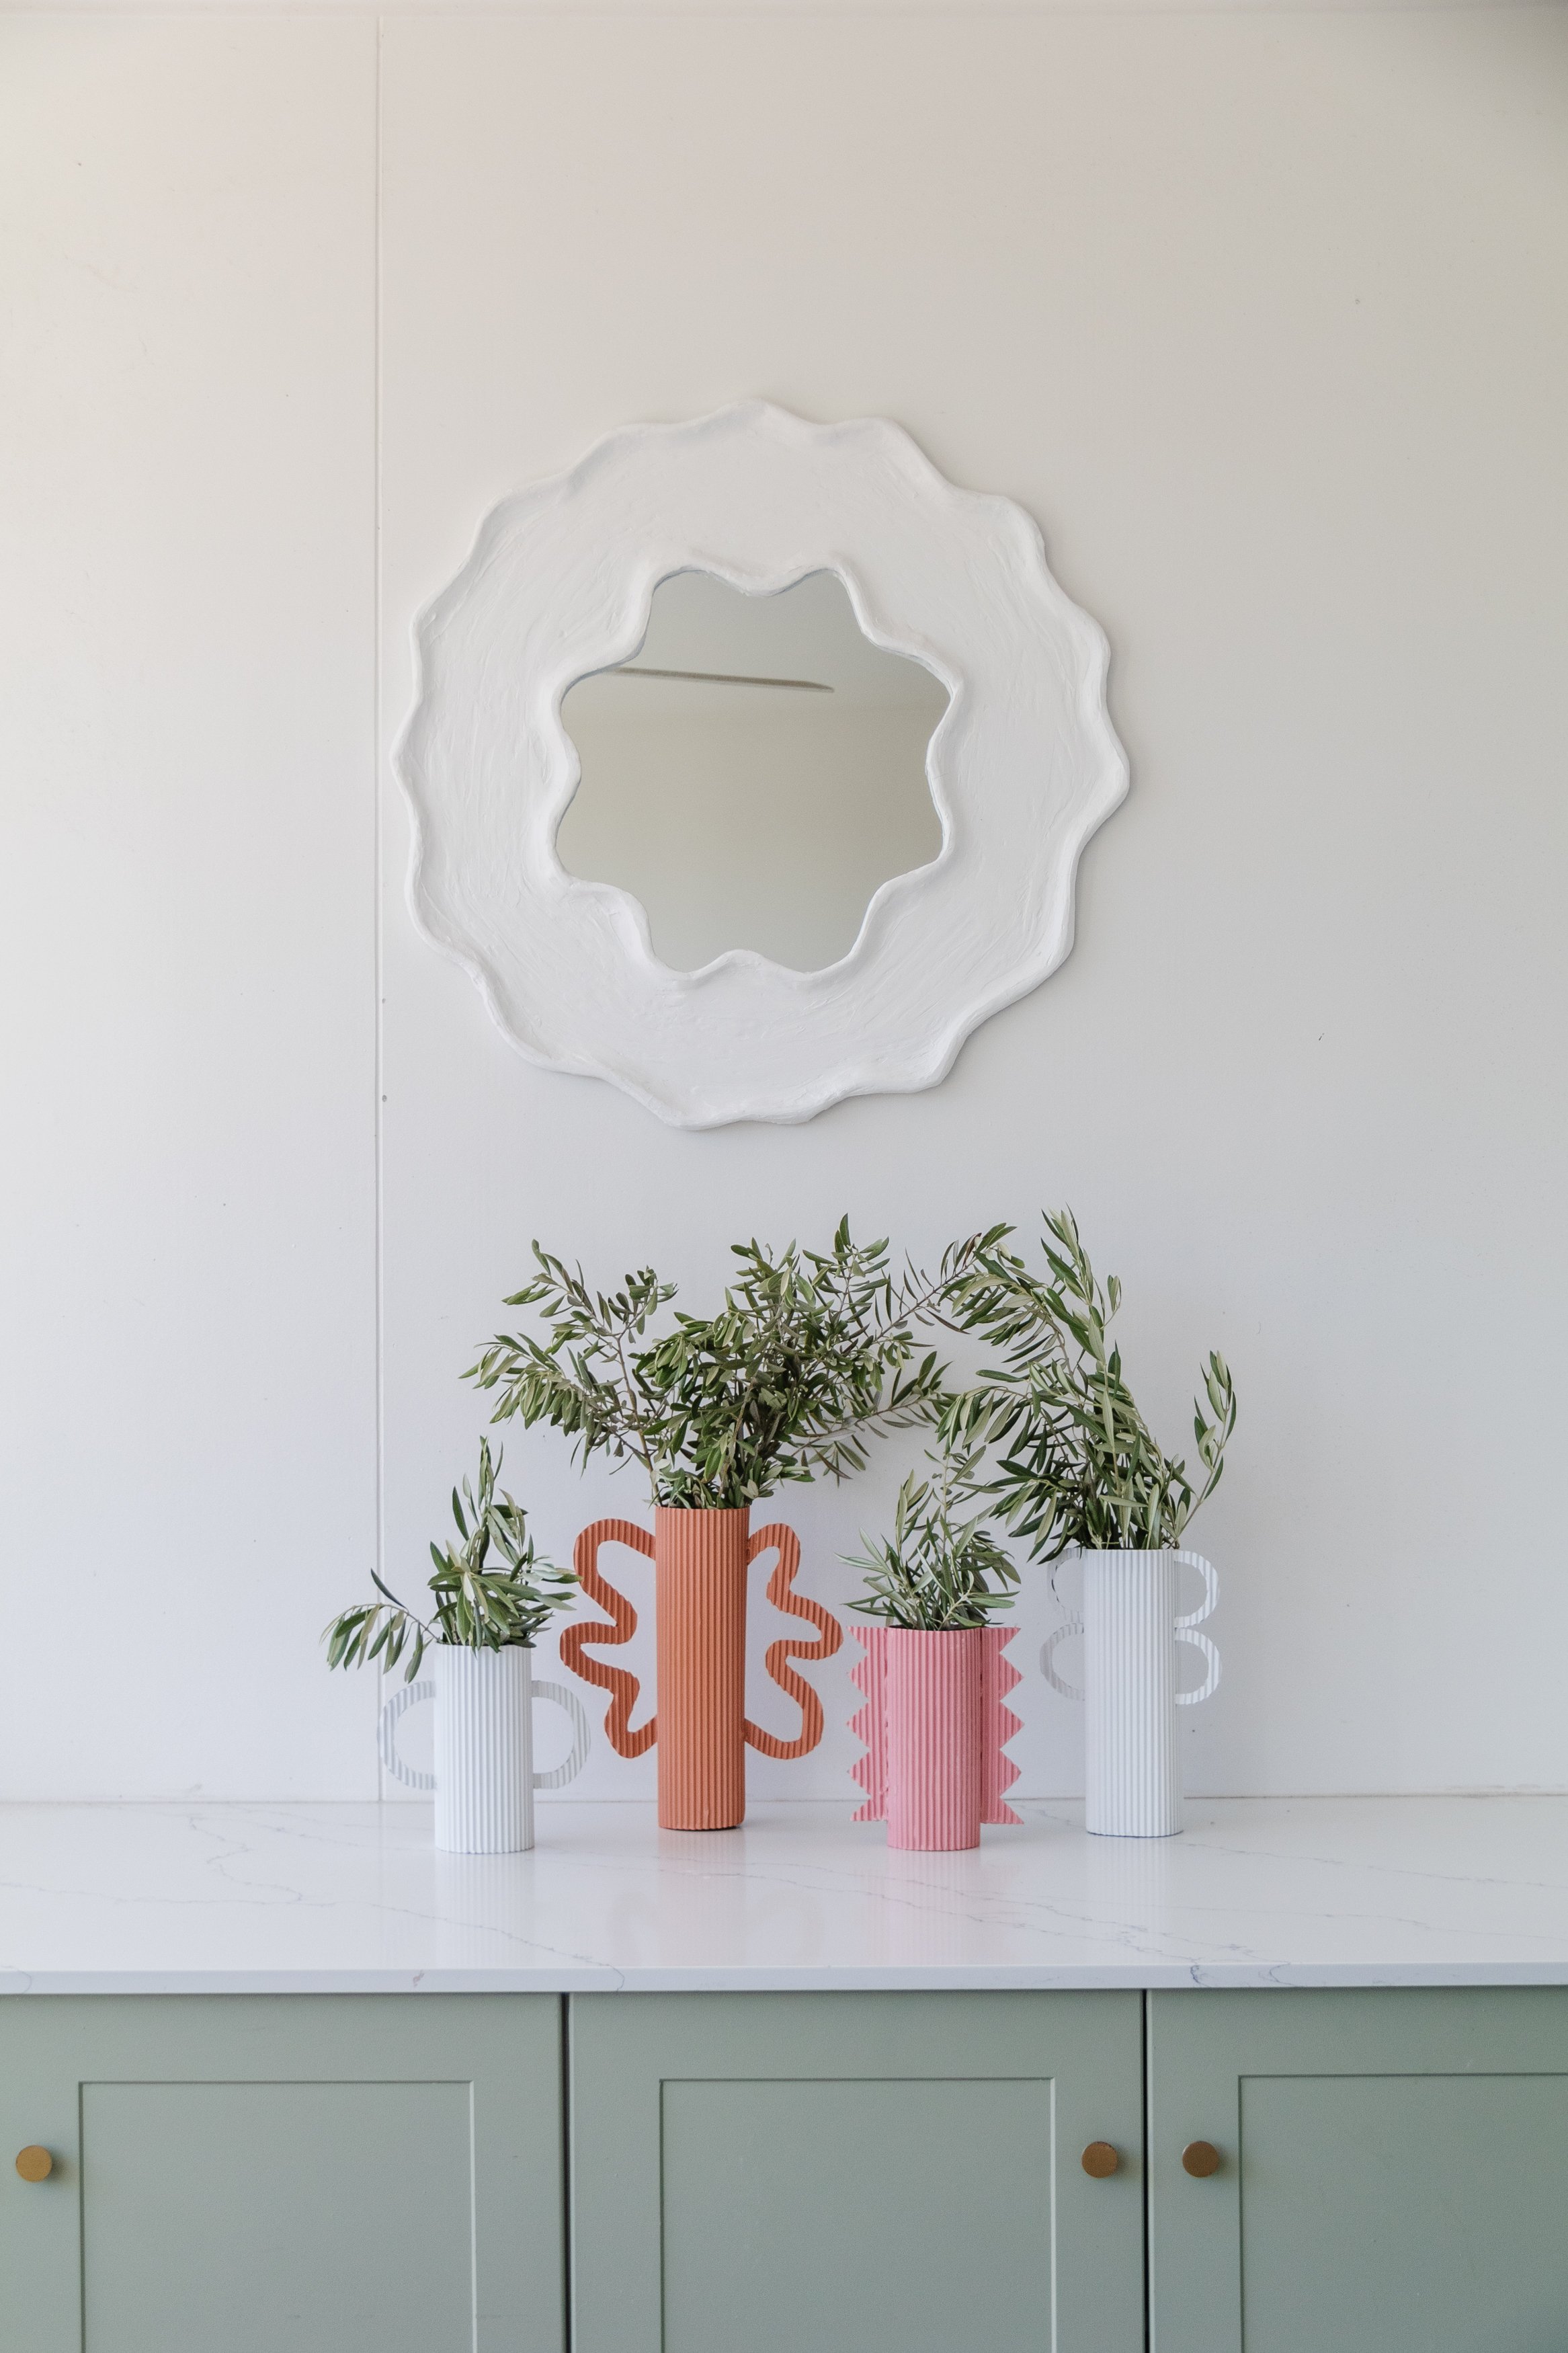
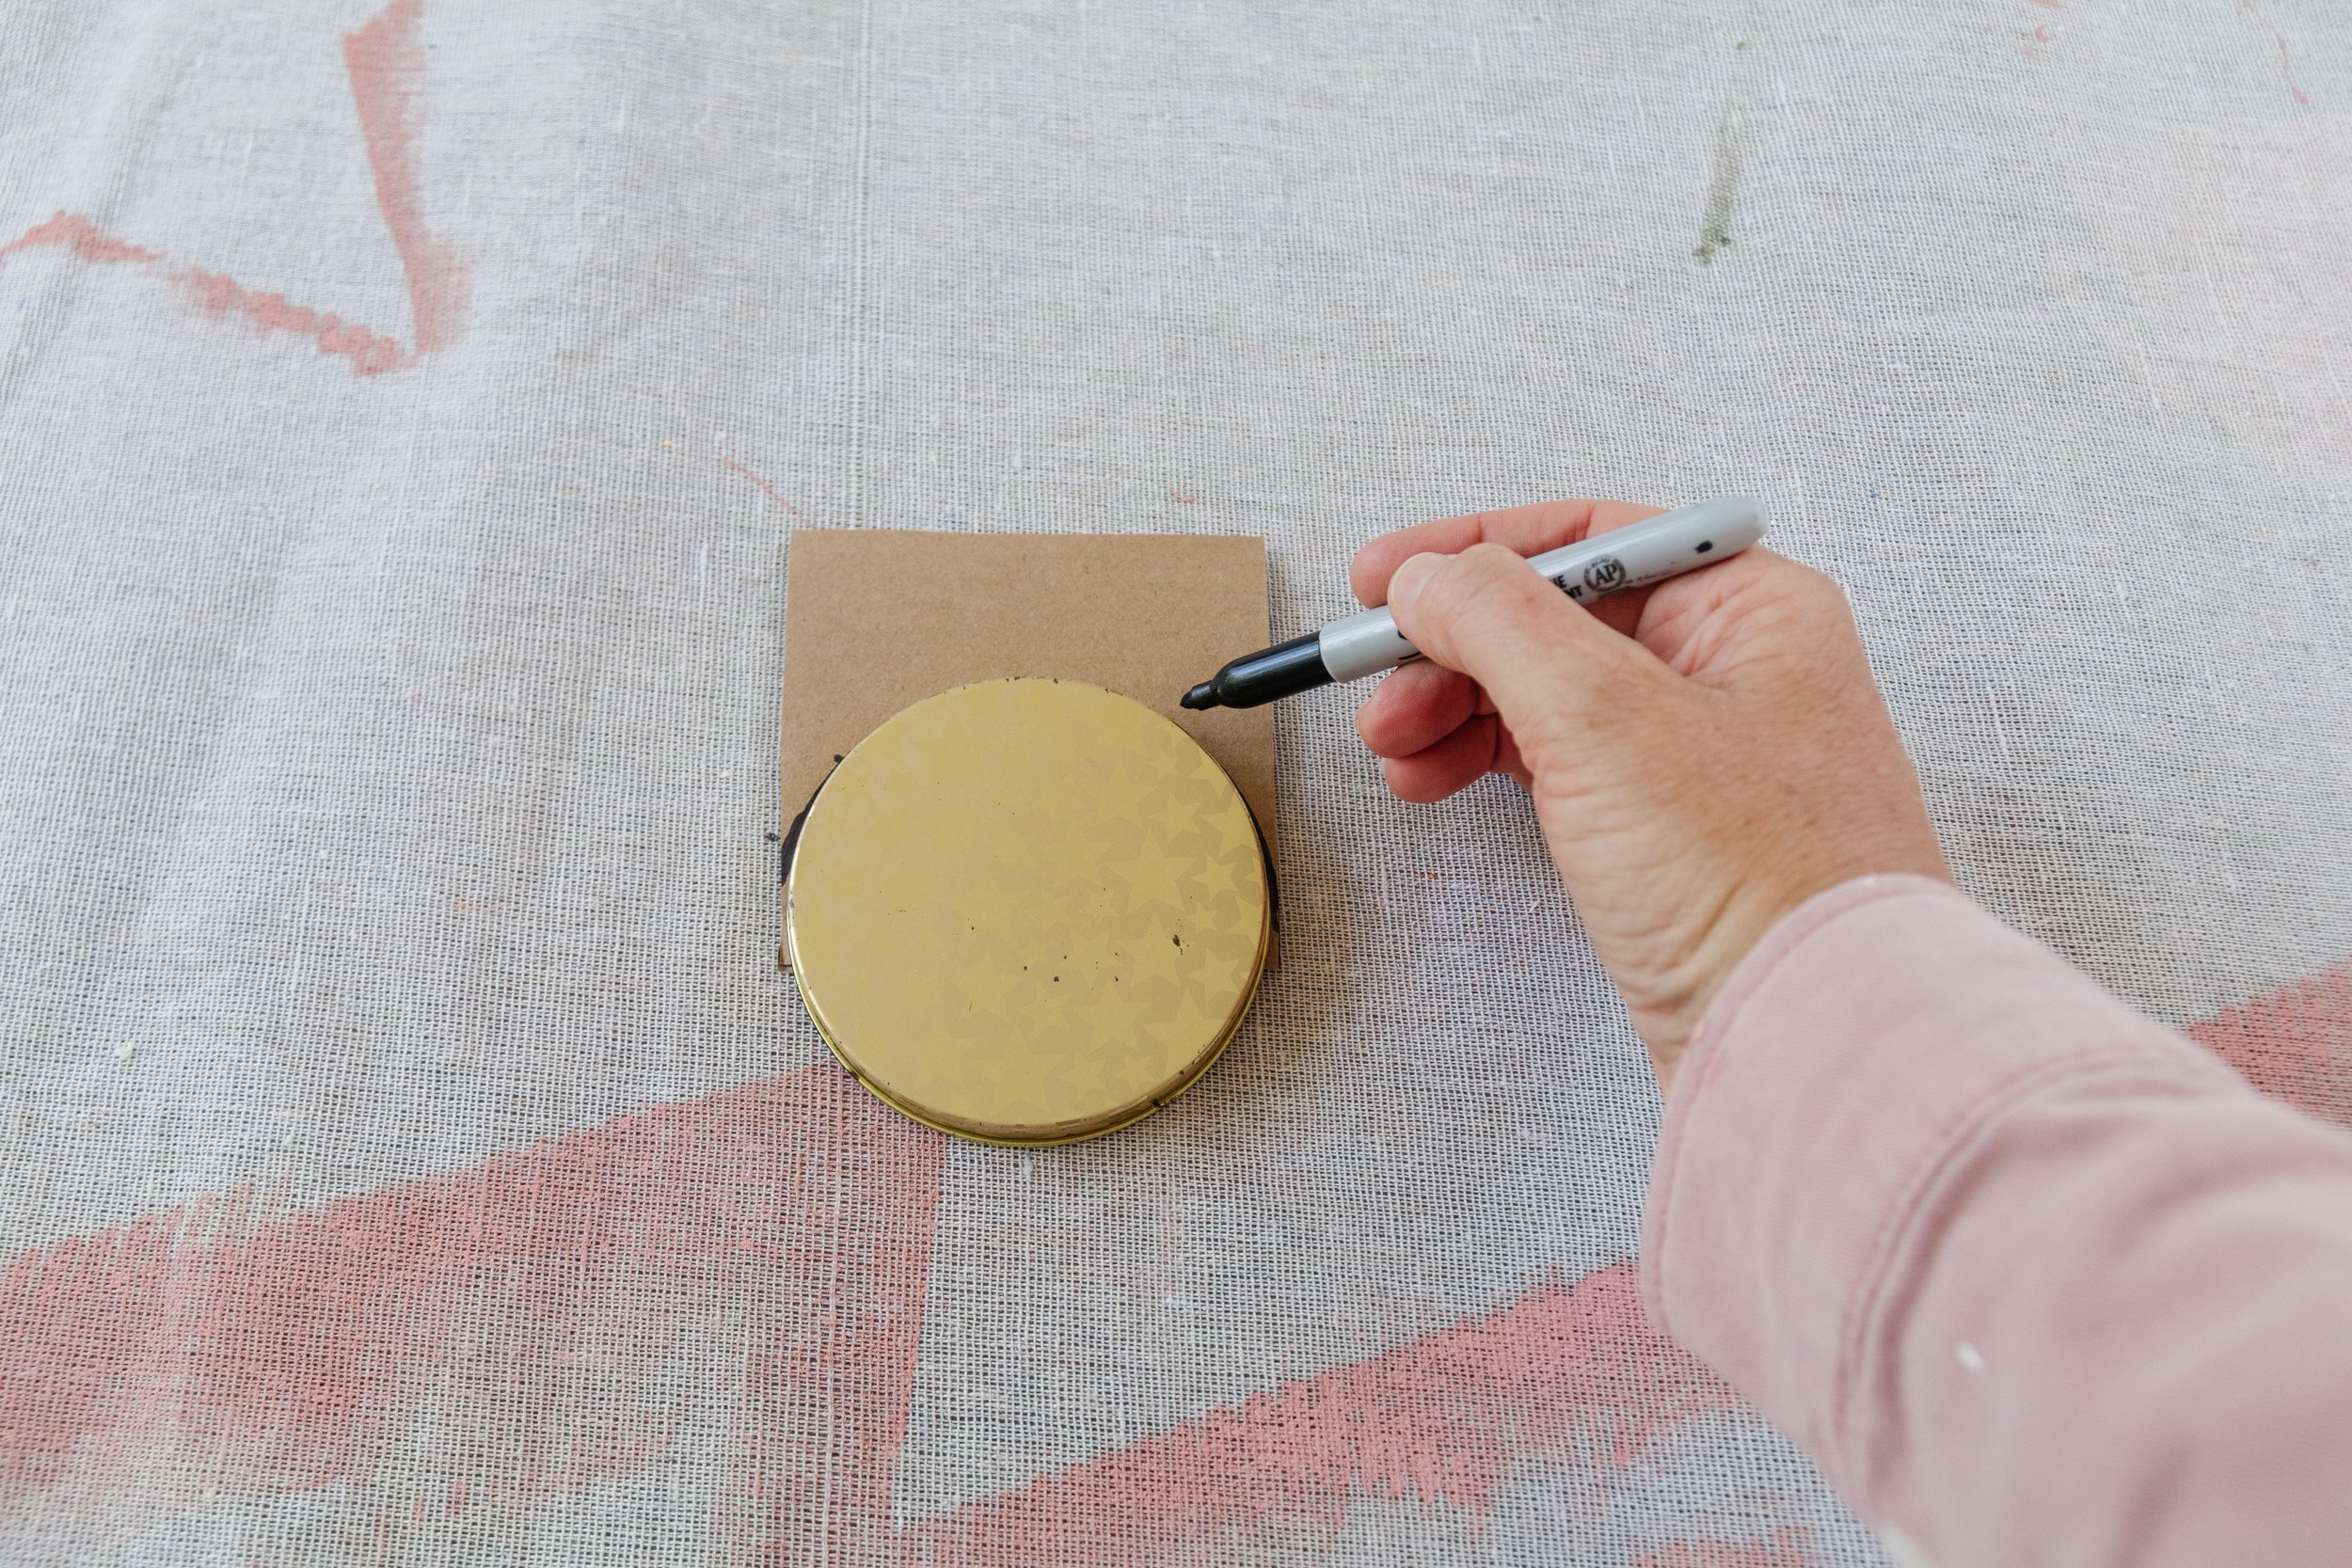
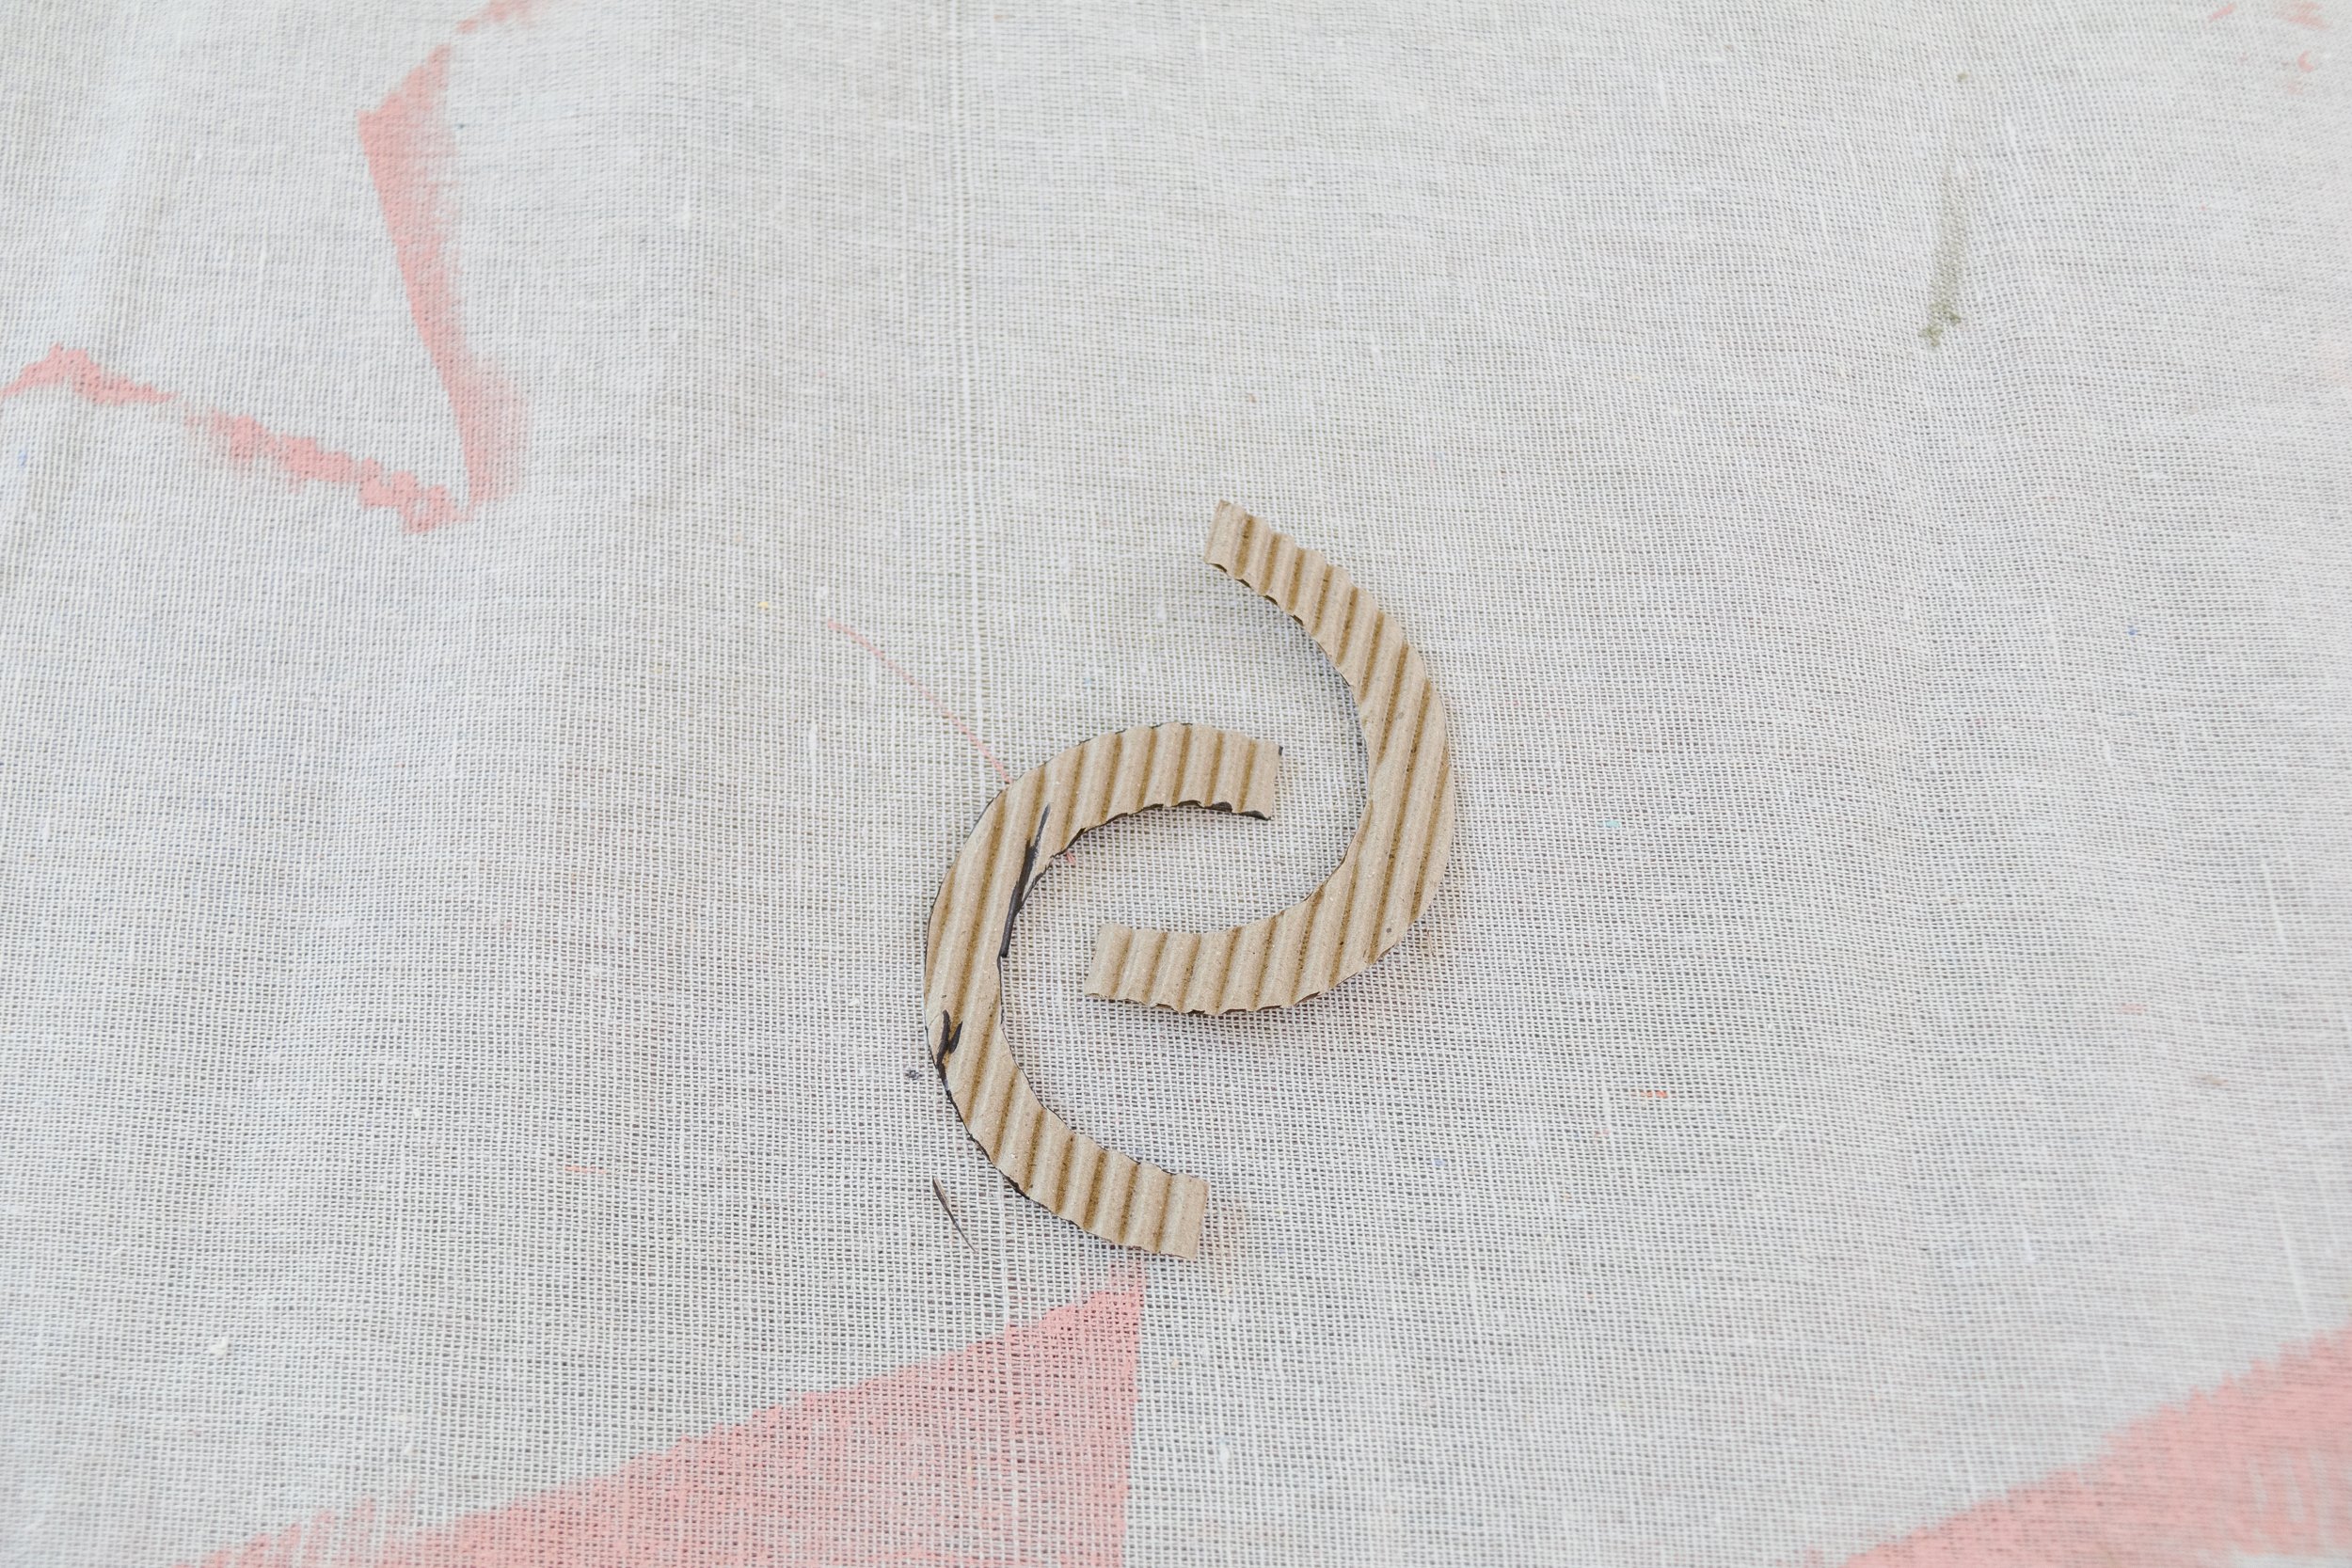
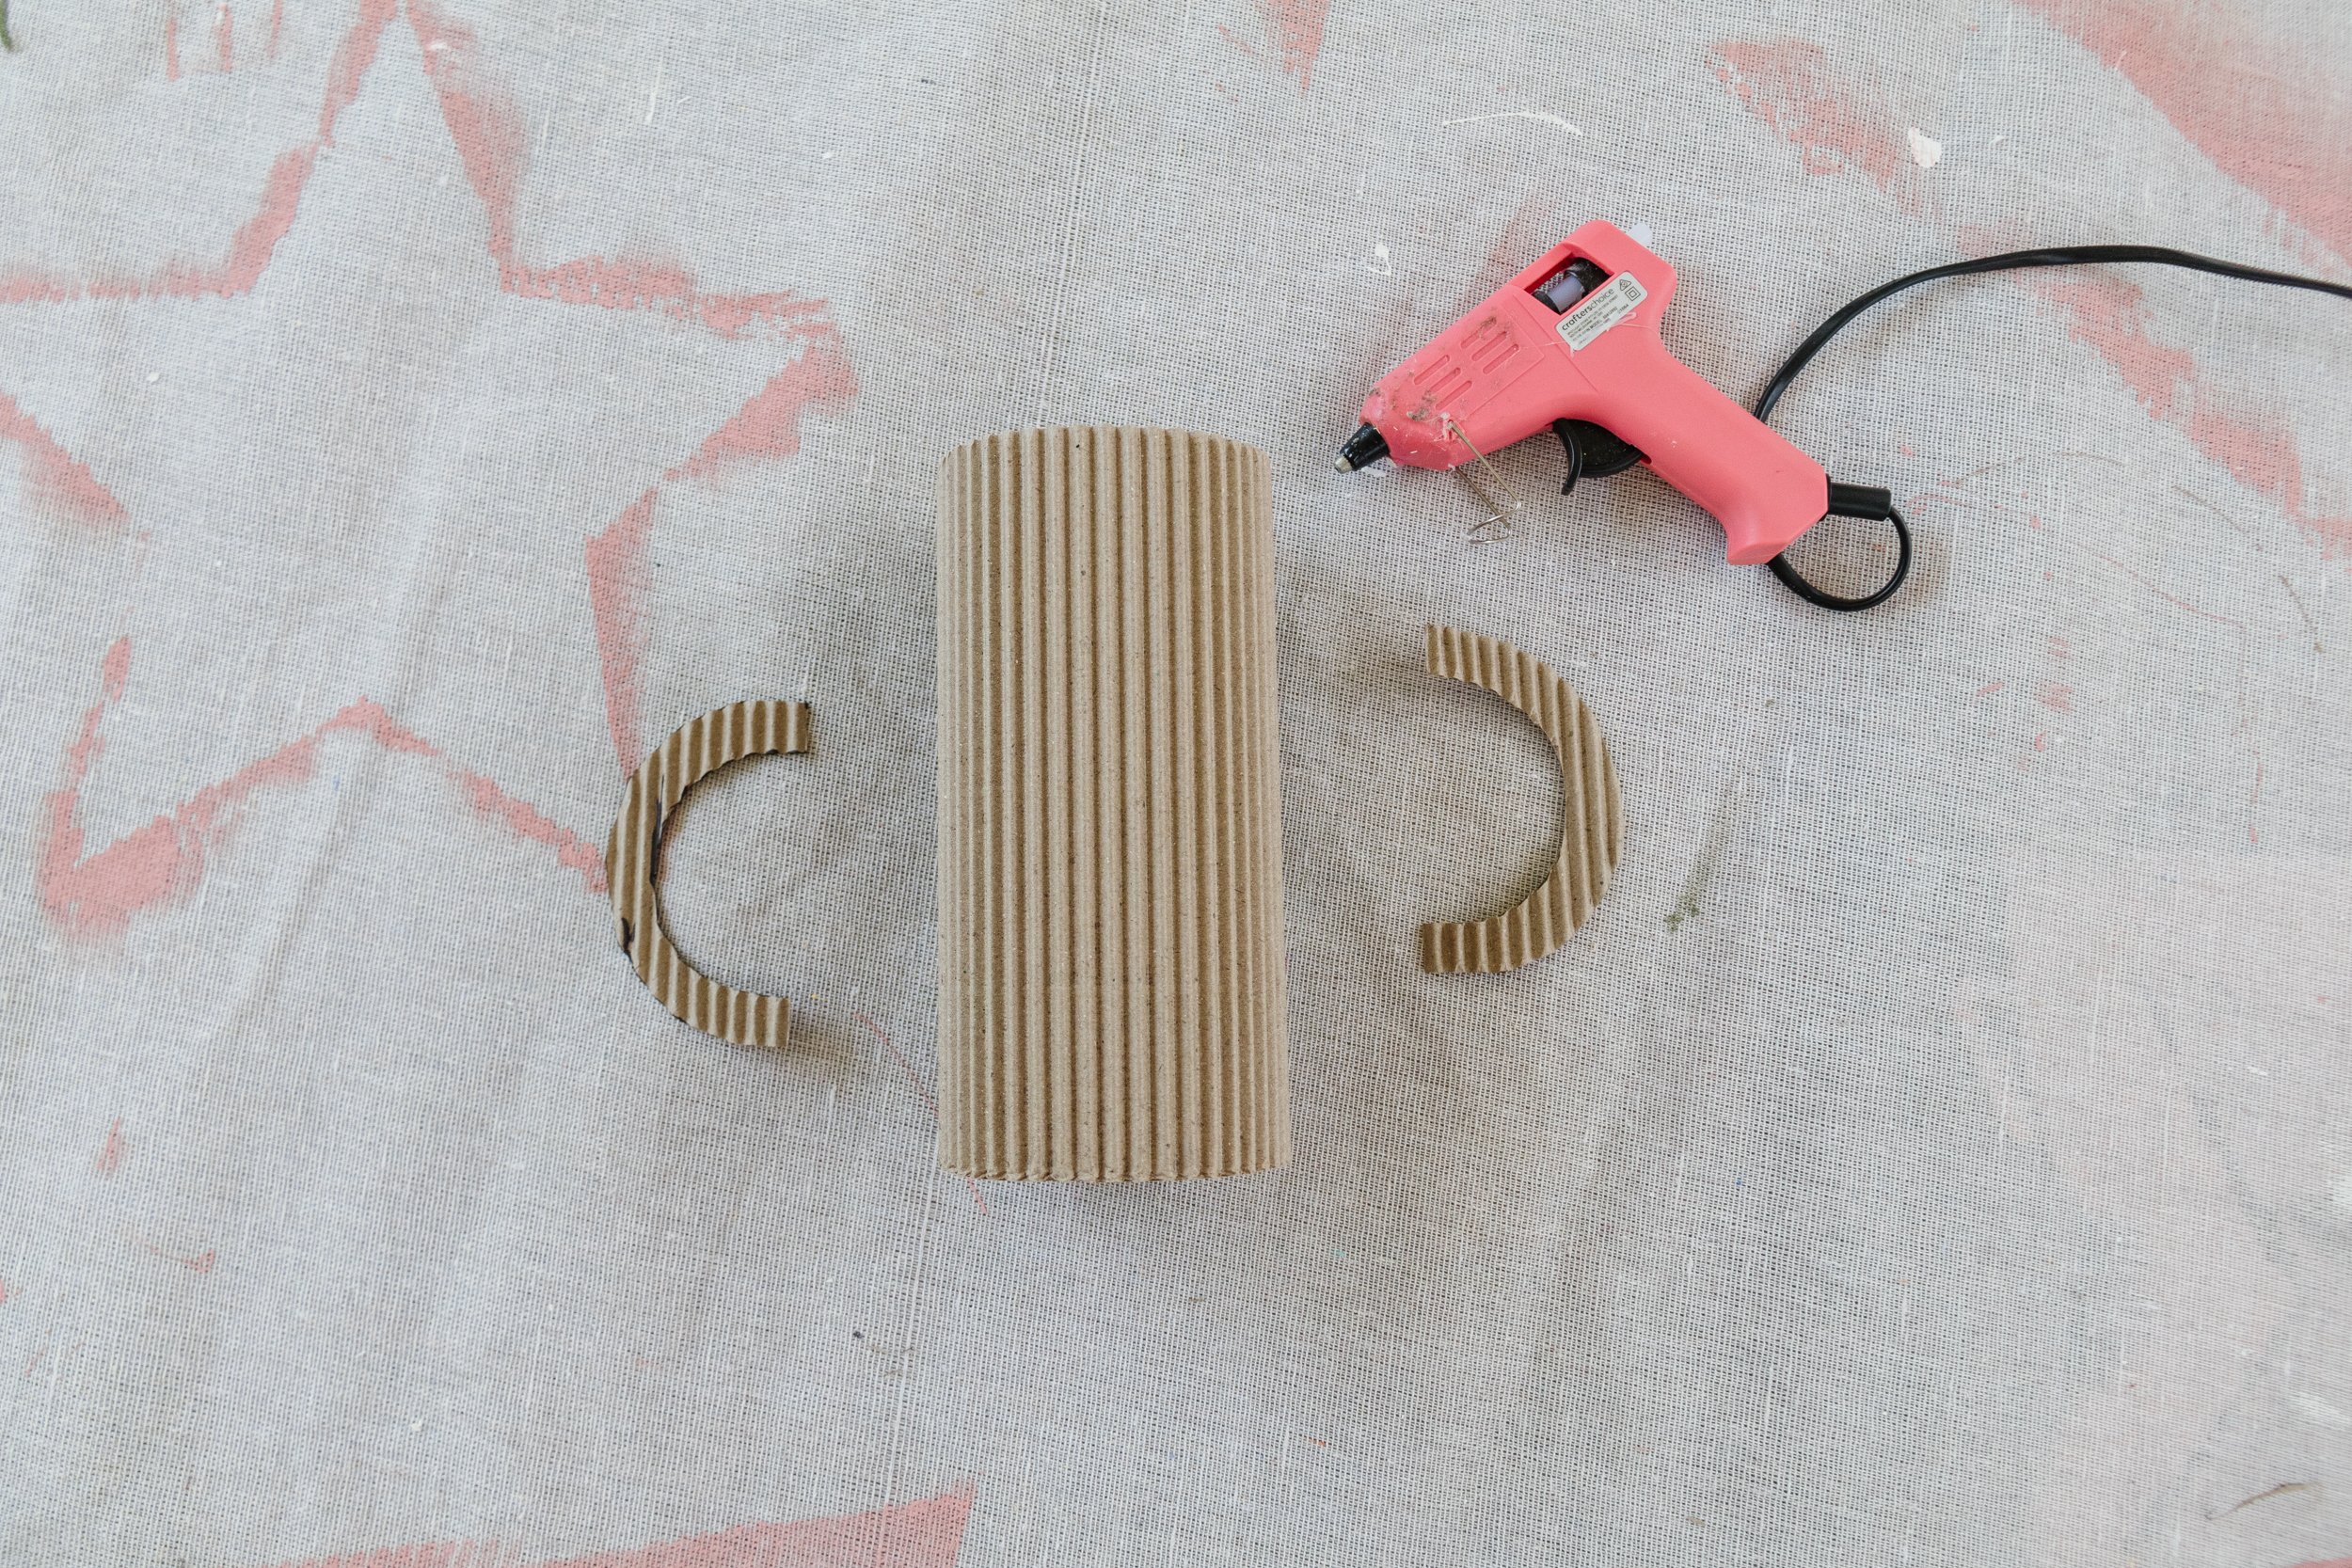
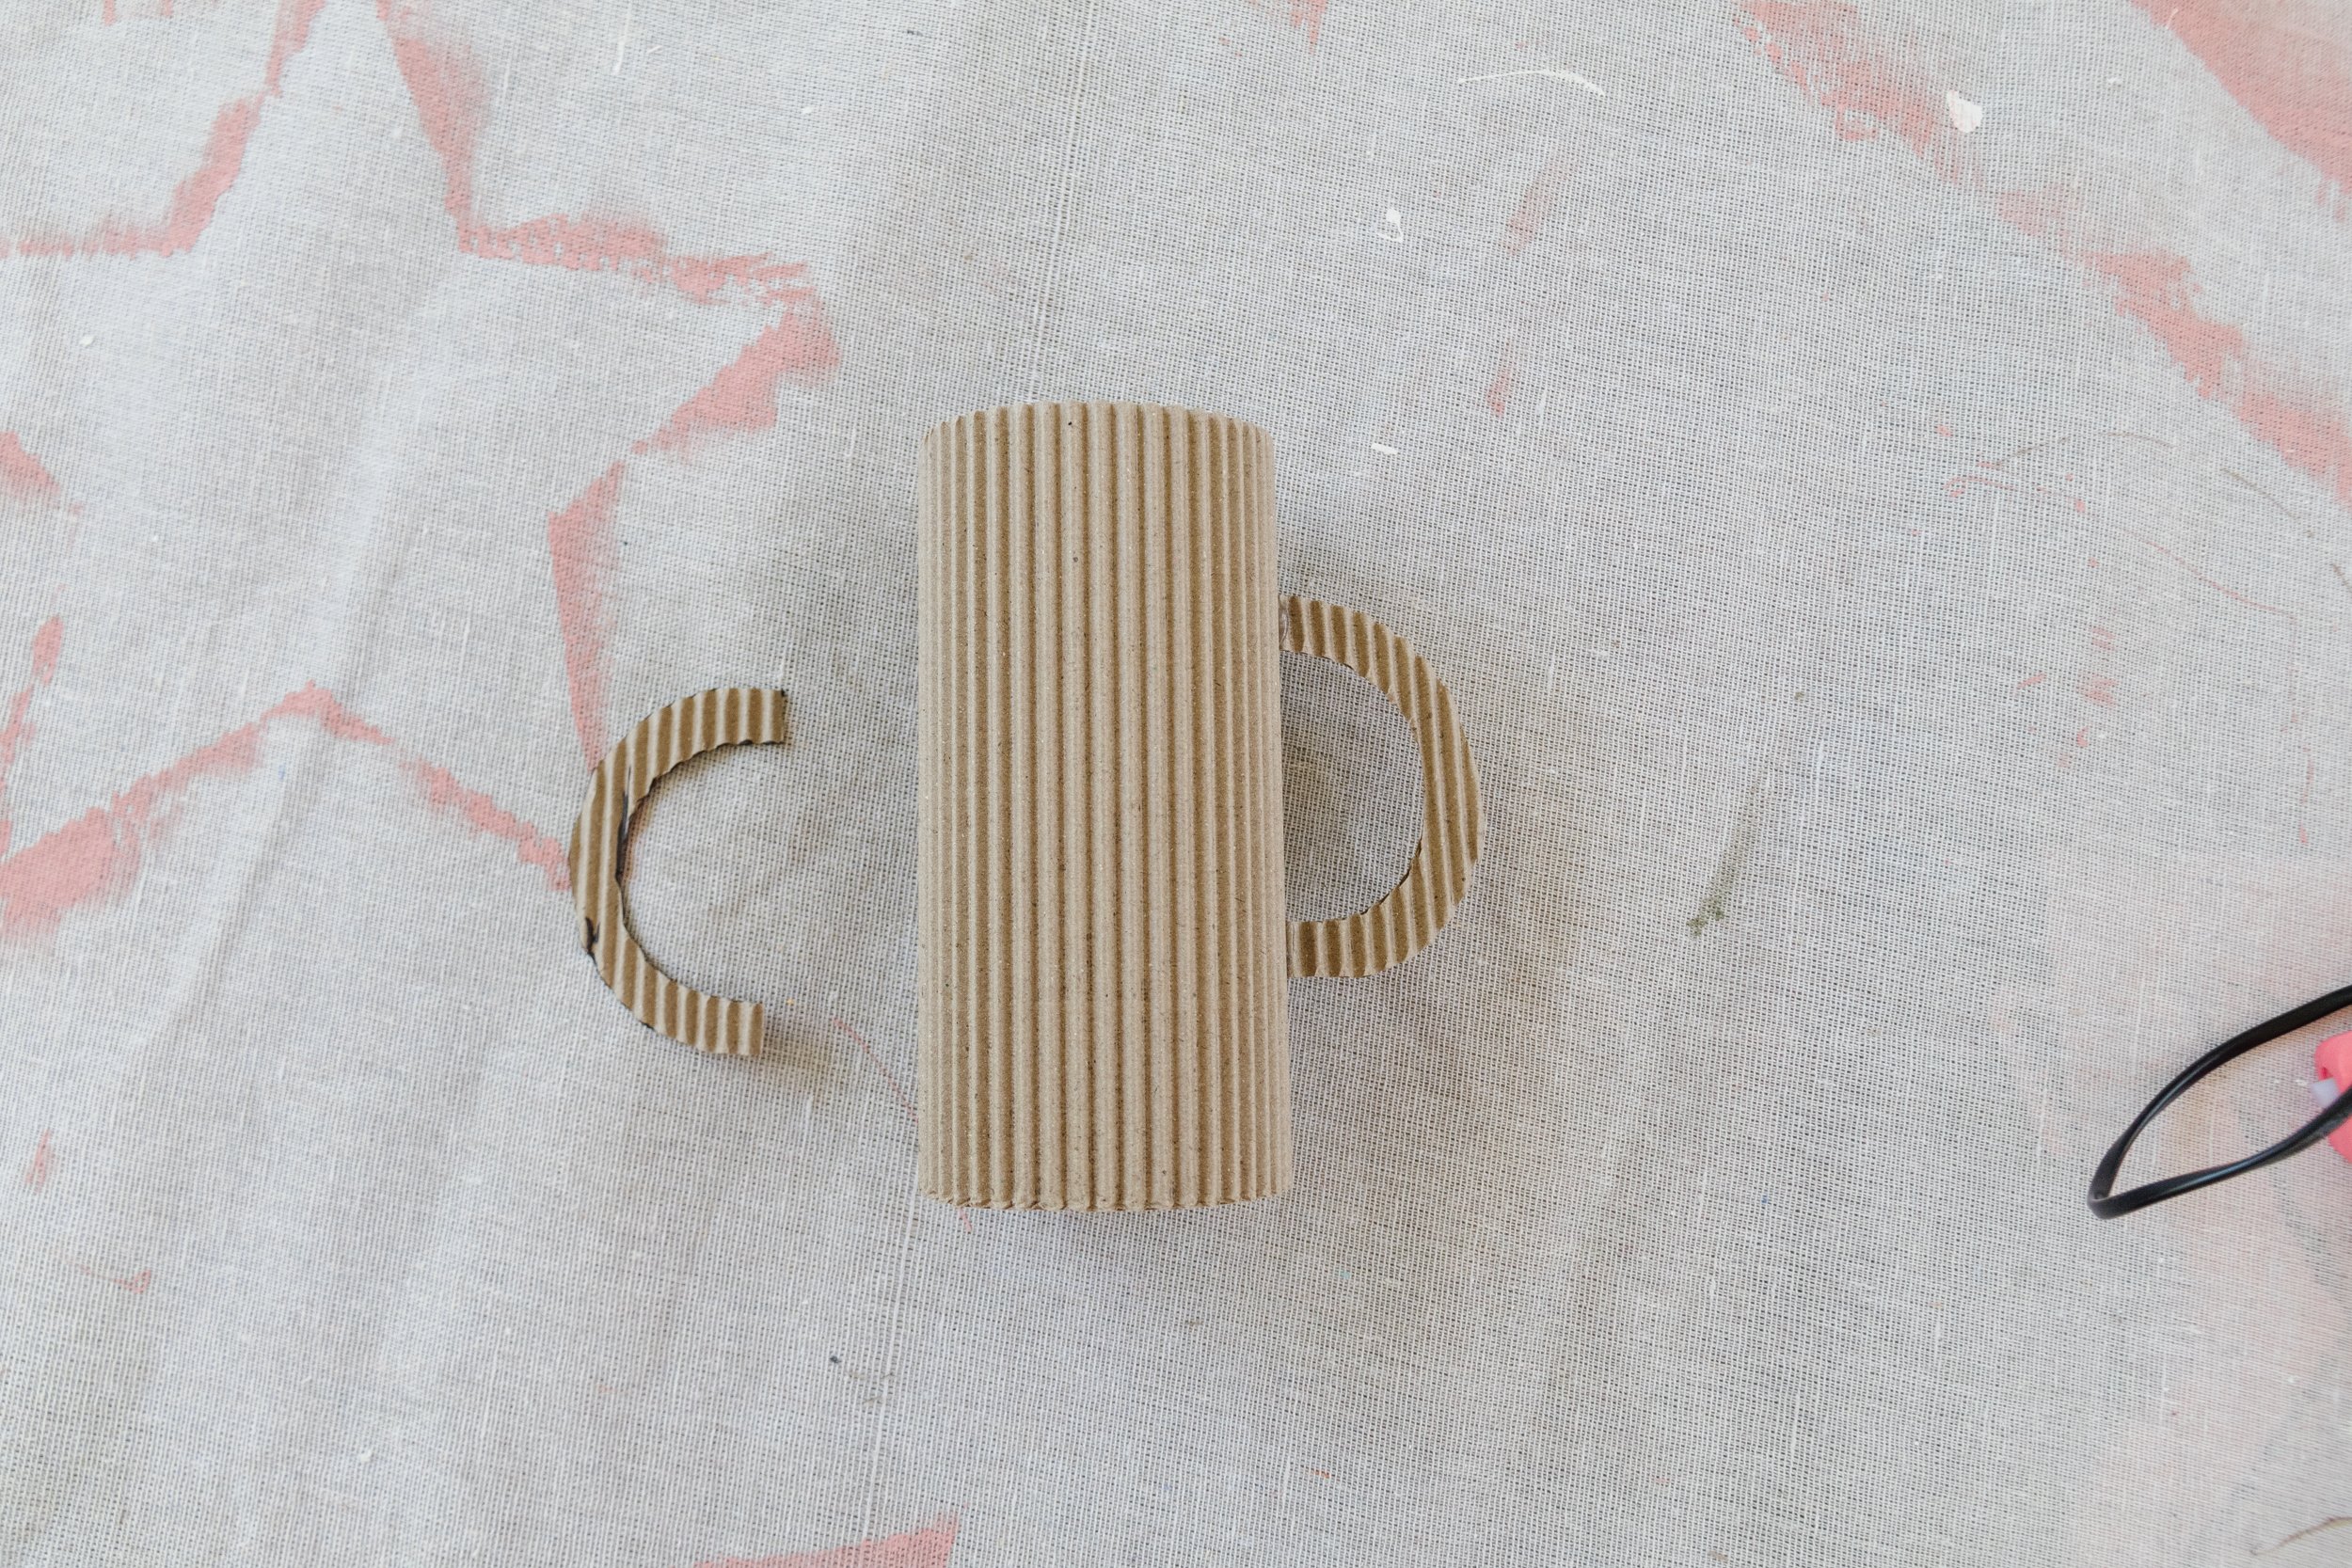
Step 3: I made a variety of handles using round tin lids and cardboard, and glued them onto the sides.
Story 4: Following this I applied a few light coats of spray paint onto each vase, allowing for each coat to dry before apply the next. And that’s it!


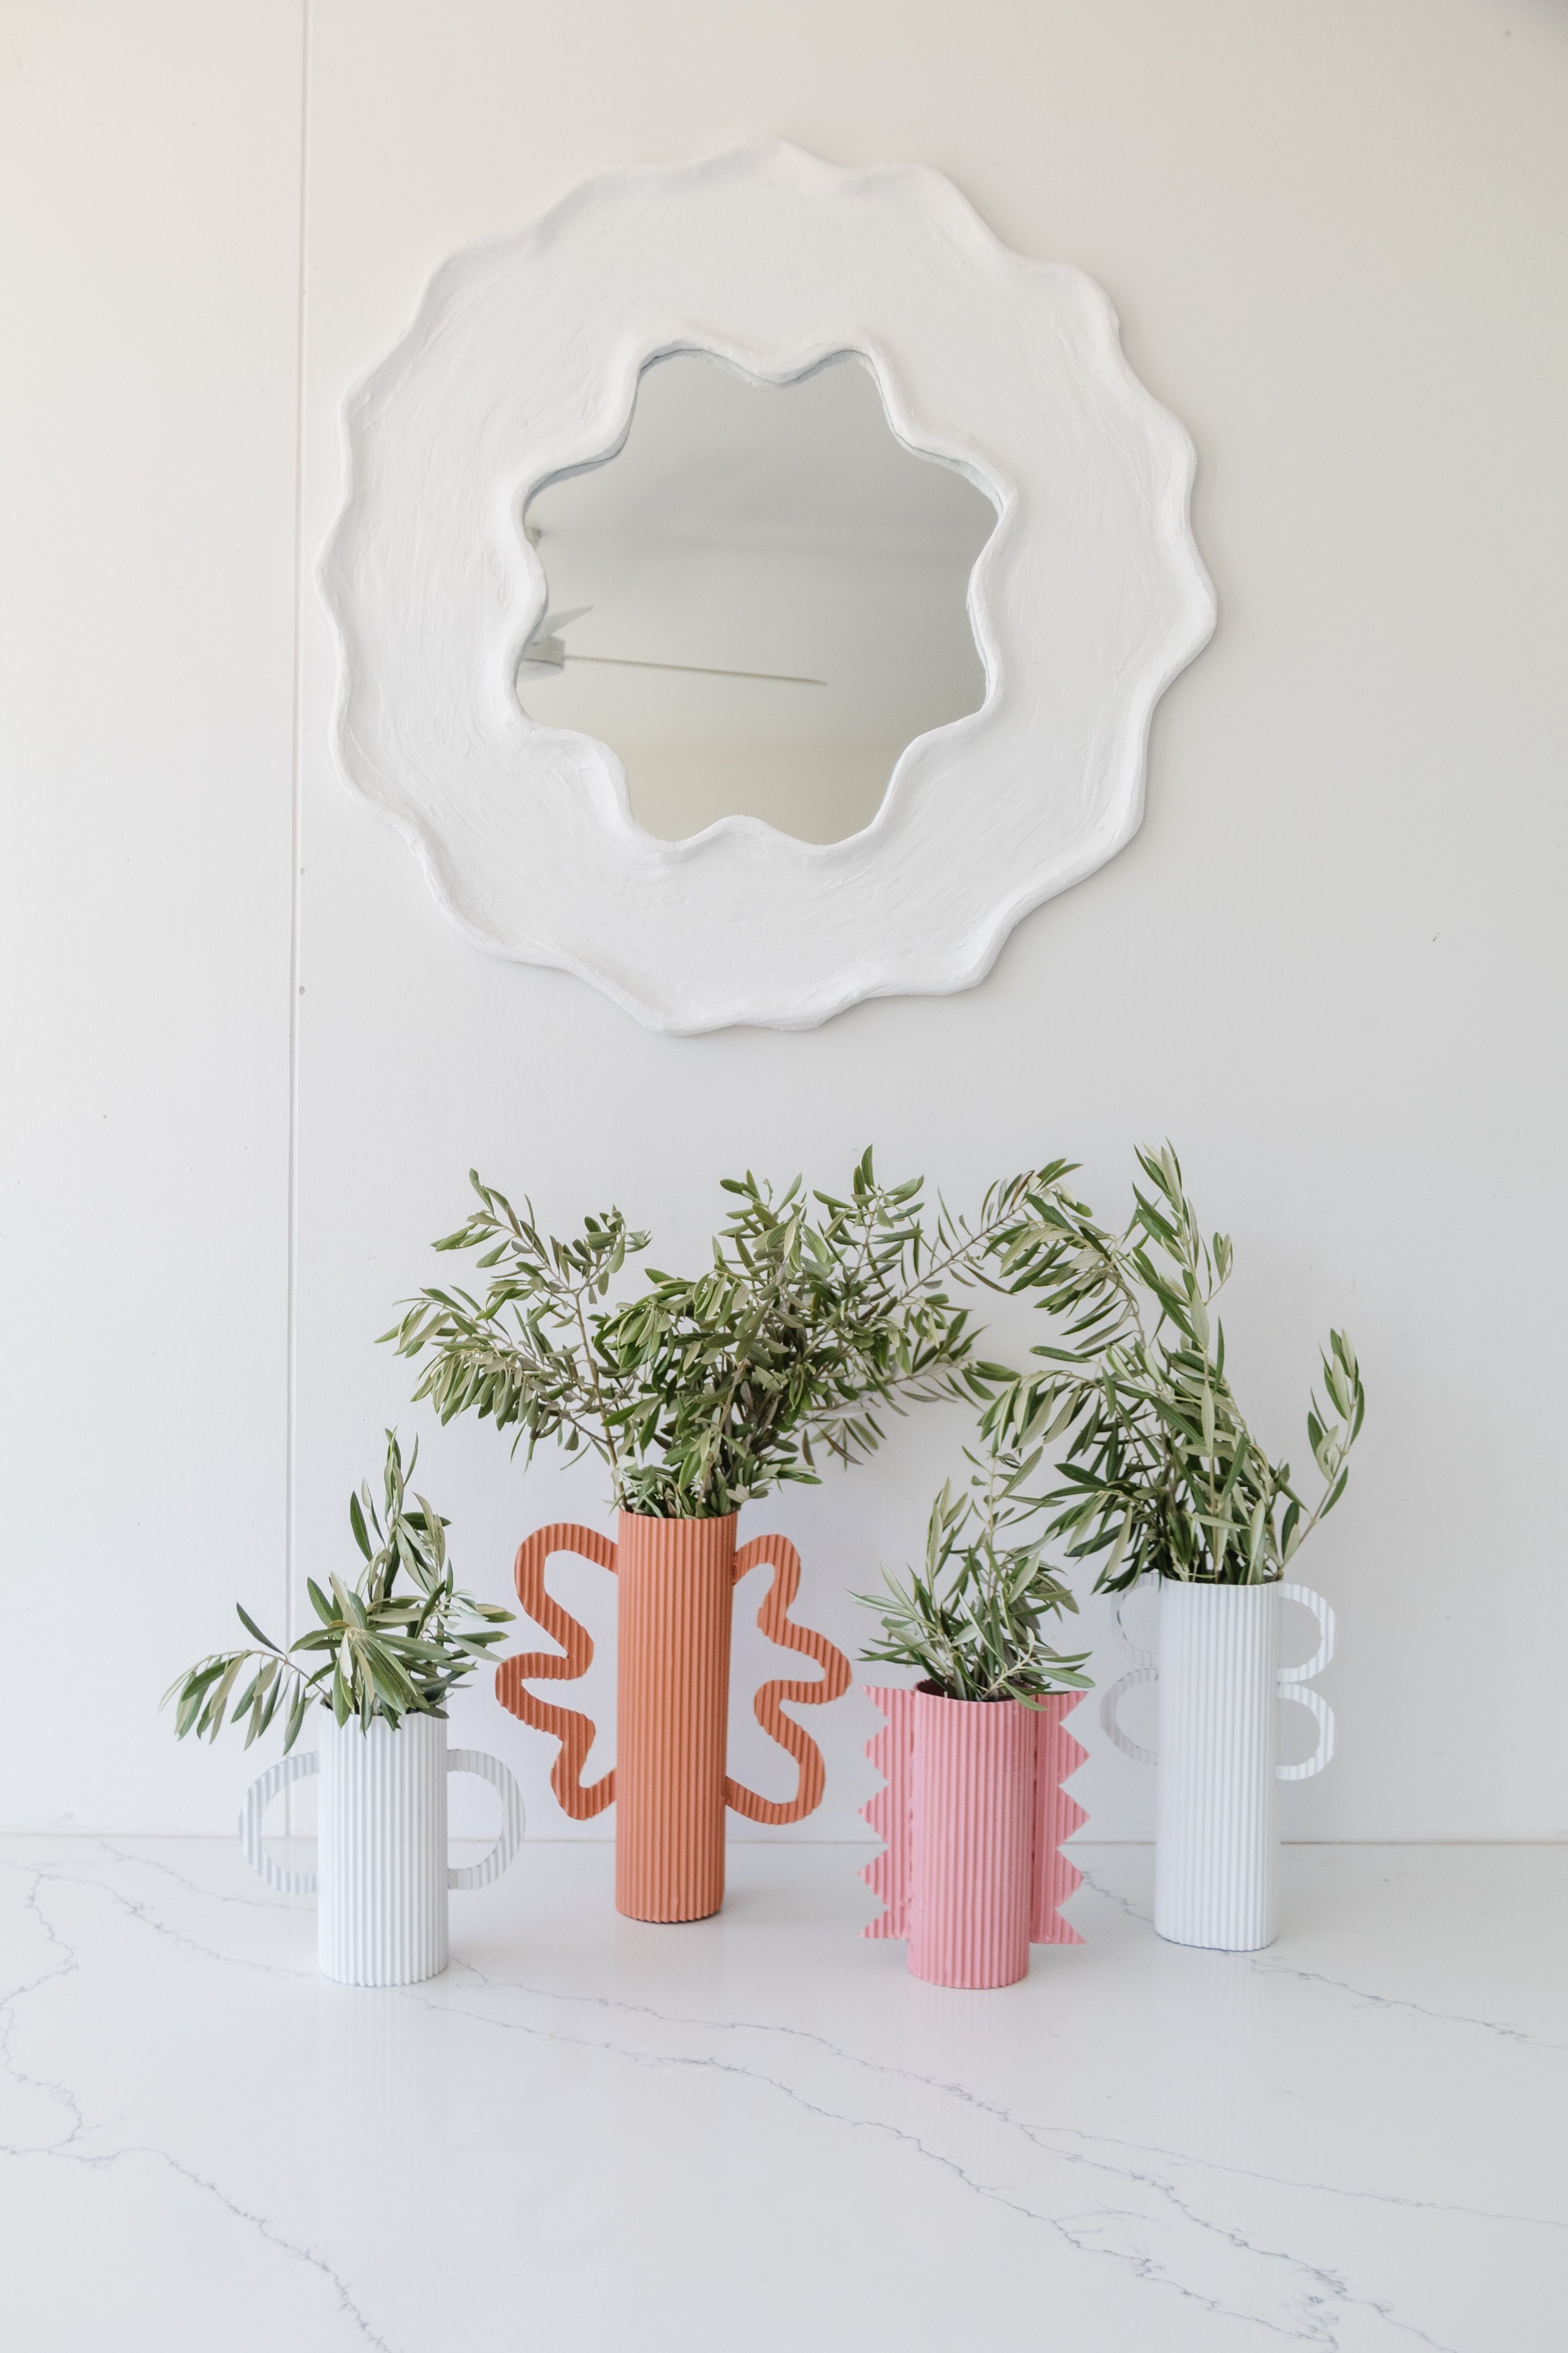
Ta daaaa!
This is one of the most satisfying projects I’ve done. Why? Because it’s brilliantly simple yet the result is so gorgeous! I think what I love most about this project is that you can get really creative and make the vases as short or tall as you like, depending on your personal style. You can create any handle design you like (although I wouldn’t carry the vases by the handles as they’re not sturdy enough) and paint them any colour you like. You don’t have to use spray paint like I did, but I would recommend it because it’s a lot less messy that paint would be. Anyway, I hope you feel inspired to make these DIY Fluted Vases. With so many festive events happening this month, I think they would look perfect on any tablescape - as well as inside your home. Enjoy!